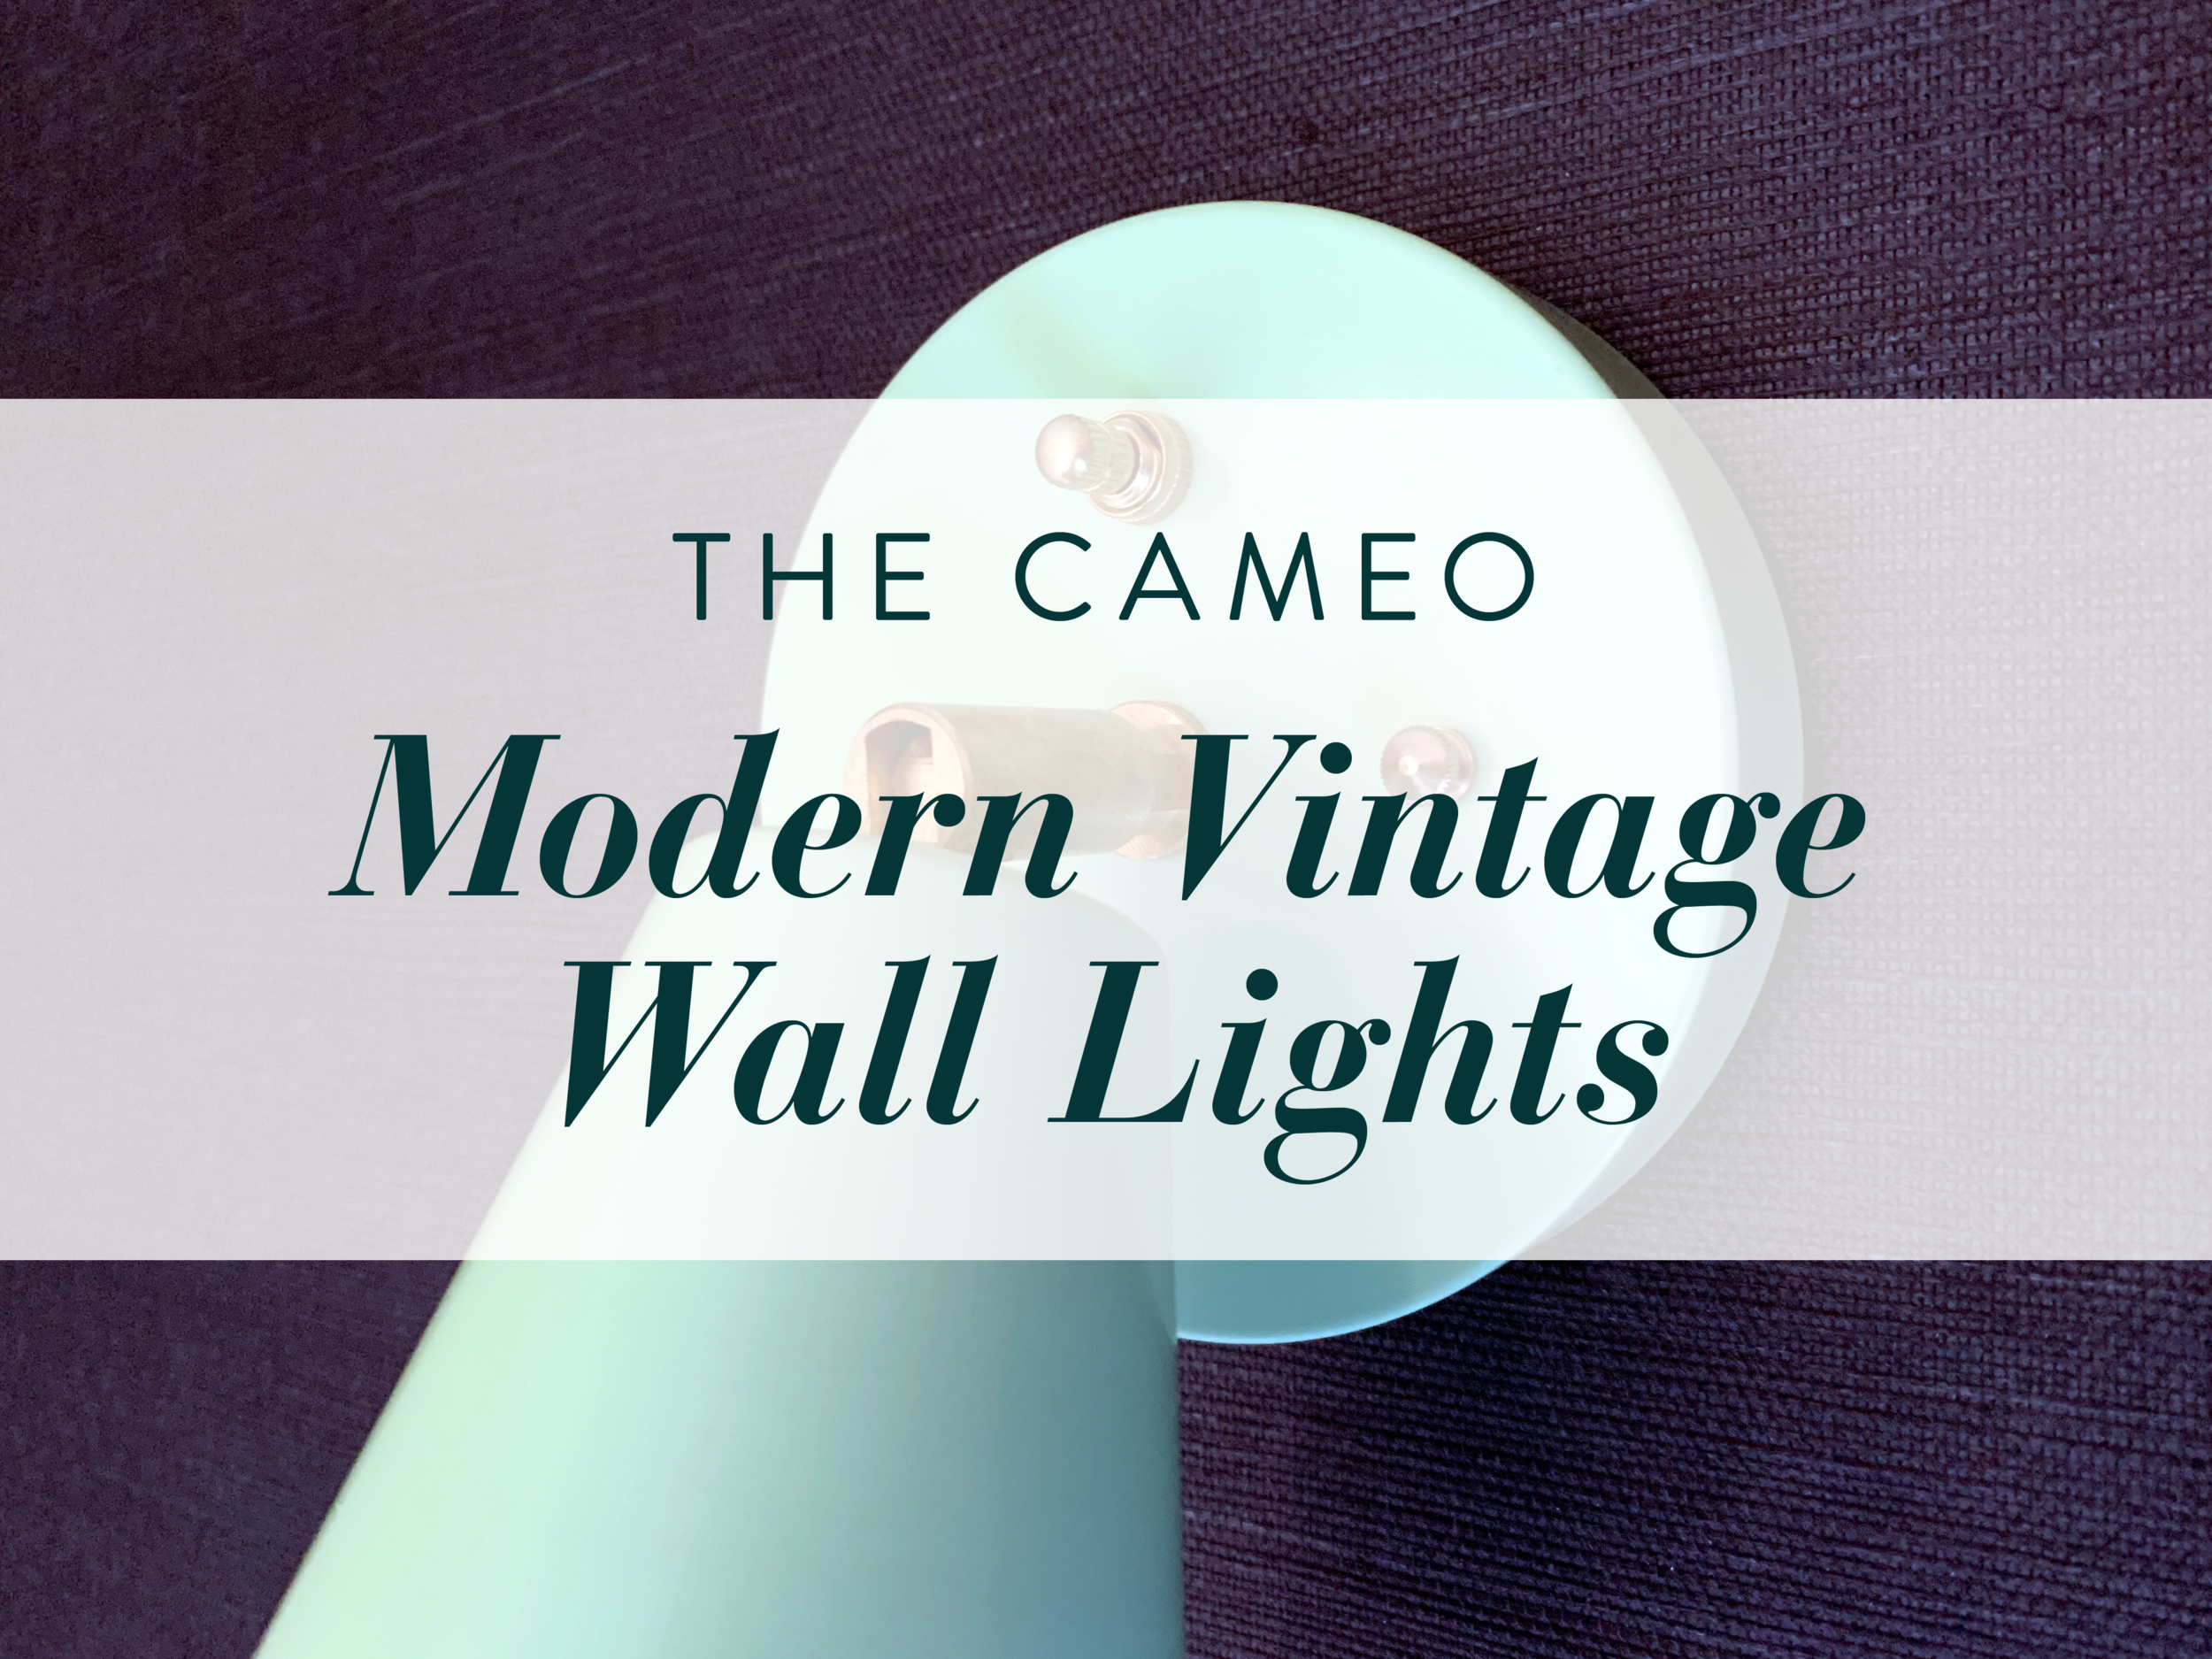
The Cameo Camper Renovation: Modern Vintage Wall Lights
Update: Since this post, we modified these light fixtures to be 12V. Check out how you can turn any 120V light to 12V for energy savings!
Disclaimer + safety
Please please please always make sure when you’re dealing with electrical that you turn ALL of your power off, wear the appropriate PPE (personal protective equipment) and use a reliable voltage meter to triple check that your power is actually off. You never ever want to find out the hard way that you guessed wrong.
Hey there! We’ve finally been wrapping up a lot of areas in the camper lately, and today we’re finally sharing how we installed our fun vintage-meets-modern mint wall sconces. I found these accent lights early on in the renovation and knew we (I) had to have them. In fact, they’re the whole reason we have mint in the camper! In addition to how beautiful and wonderfully retro they are, we found them on Etsy and we love supporting small businesses when possible!
We have two of these accent lights – one for the navy grasscloth twin bed “headboard” wall and one for over the sink on the mint-colored 3D wall.
Our accent light shopping list:
(2) Atomic Single Cone Wall Sconces – ours are the mint green color and we added on the raw brass switches to the order. You can get it in different colors and even in a plug-in version.
1/2” wood screws – for screwing fixture mount into the wall stud
Electrical twist caps (3 per light)
Wire strippers
Choosing the right wiring system
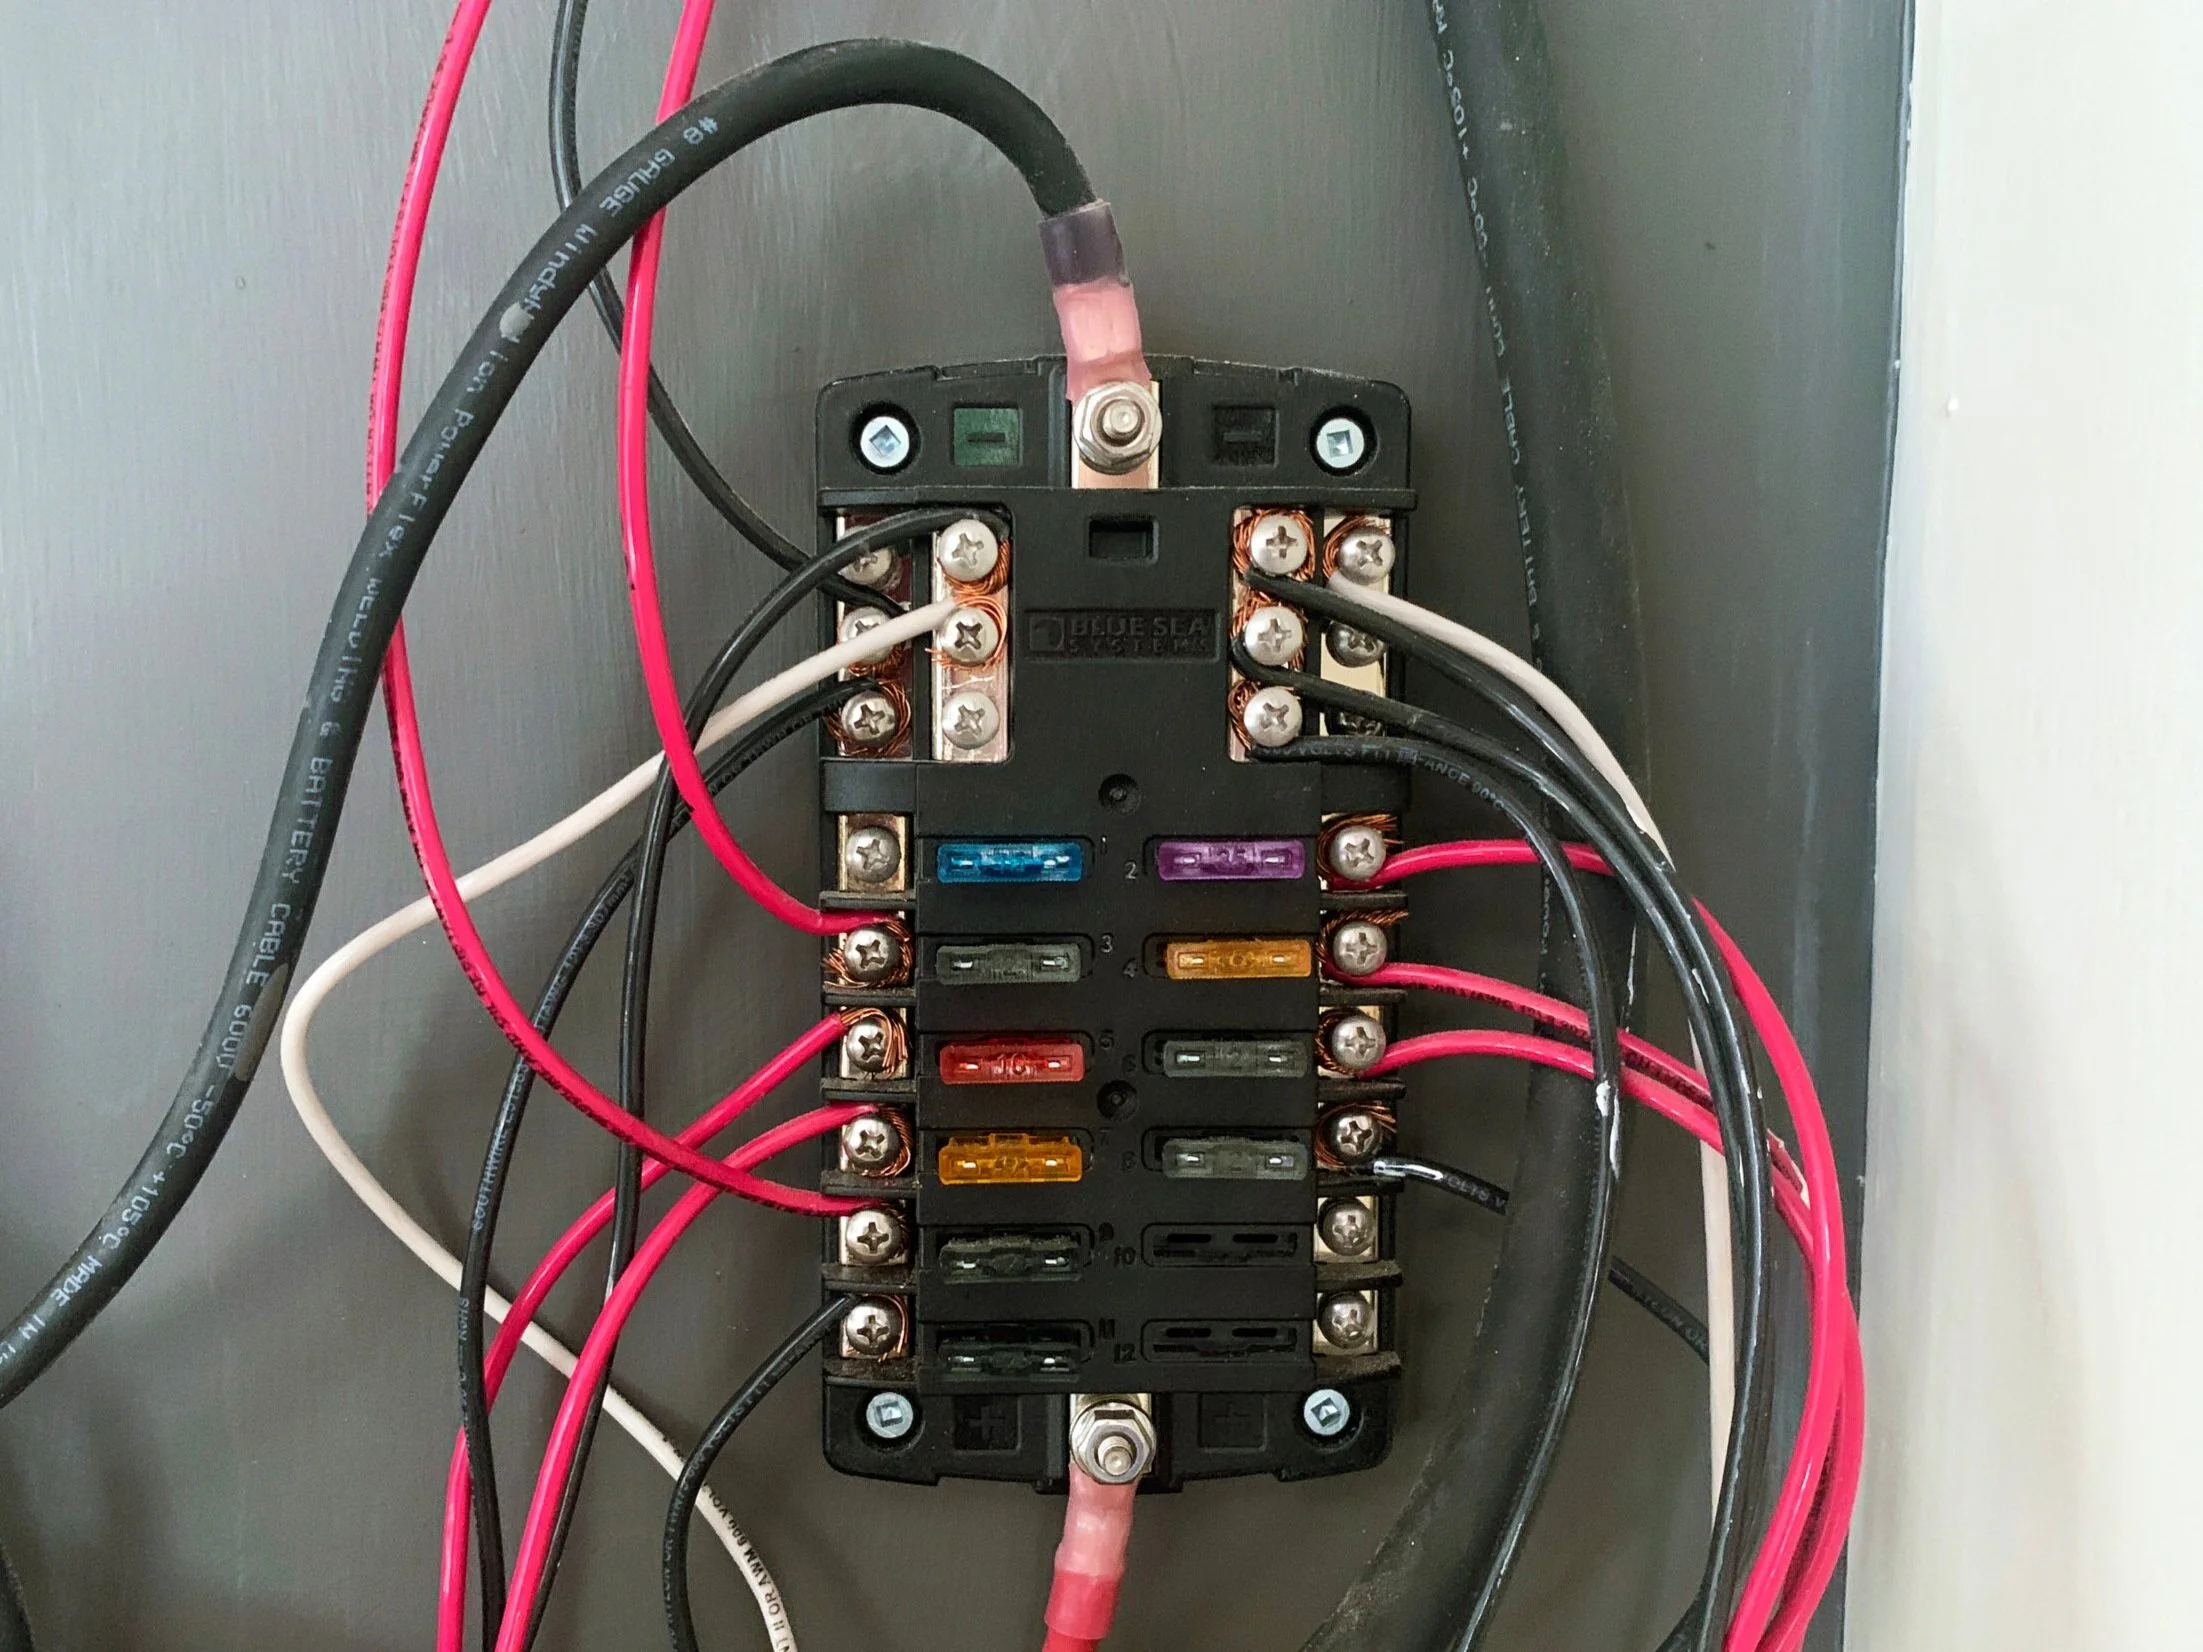
If you remember from our Wiring a Vintage Camper From Scratch post, these are the lights where we learned the hard way you most definitely need to know if you’re installing a light that’s 120V AC or one that’s 12V DC – something we’ve never had to think about in our live’s pre-camper.
Reminder: If your light has 3 wires (a hot, a neutral and a ground) it is a 120V light and should have black, white and green wires run to it. If it has only 1 wire (a hot, that’s grounded through the mounting hardware), or 2 wires (a hot and a neutral), then it’s 12V and should have red and black wires run to it.

These beautiful sconces are the 3-wire, 120V AC power kind that take more power to run, so they aren’t really ideal for a boondocking, power-saving camper situation … but I just couldn’t let them go once I found them so we decided we’d make an exception since they’d likely rarely be used with all of the other awesome low-voltage ceiling lights we have throughout The Cameo. We found out they were 120V by hooking it up to our 12V system and then wondering why (for probably too long, admittedly) the lightbulb didn’t turn on, but got really hot. This was in the time of figuring out we had a poor ground and testing our new ground, so we troubleshooted a lot of things and finally realized the issue was trying to make two different systems mesh that weren’t meshable, for lack of a better explanation. Thankfully we didn’t wreck anything, and learned the lesson early on.
For more info on the different types of power and how to convert and invert between the two check out this post.
Prepping for wall mounting in a camper
This part might be kind of obvious, but I don’t think we’ve ever officially covered exactly how our wiring is run through the walls and how they come out to the things we need to power. (We did cover our ceiling lights install here, which is pretty similar.)
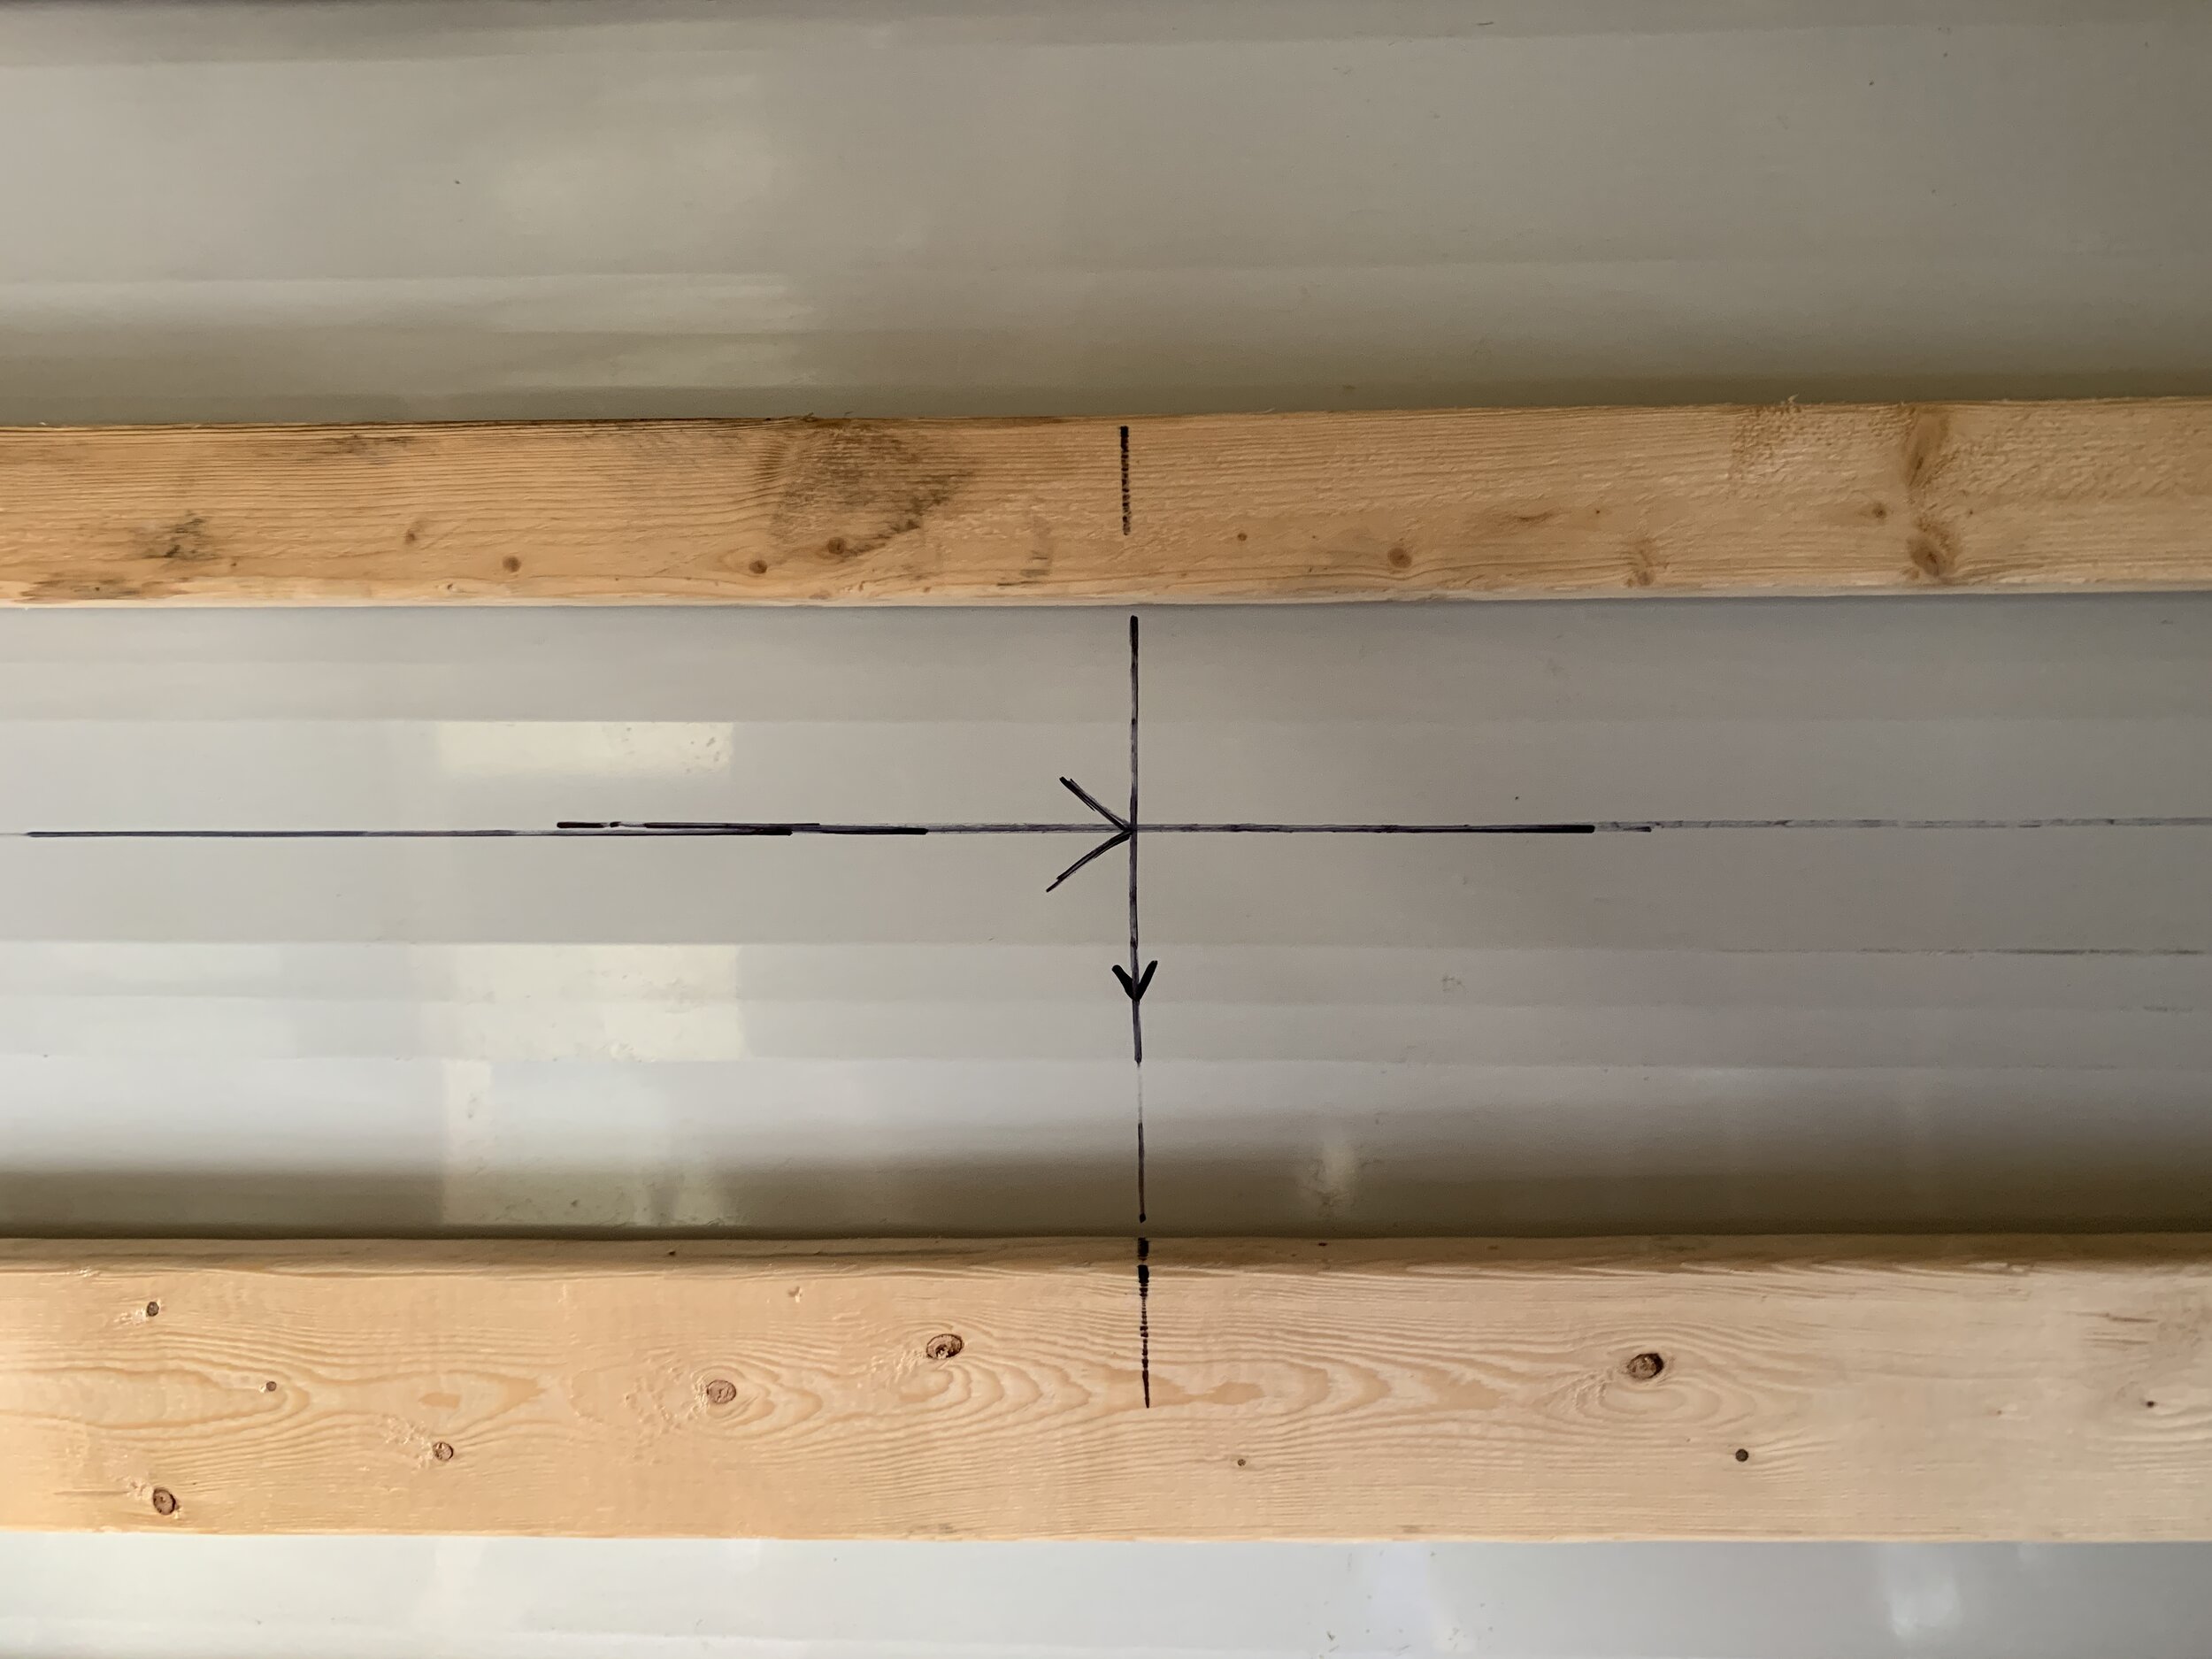
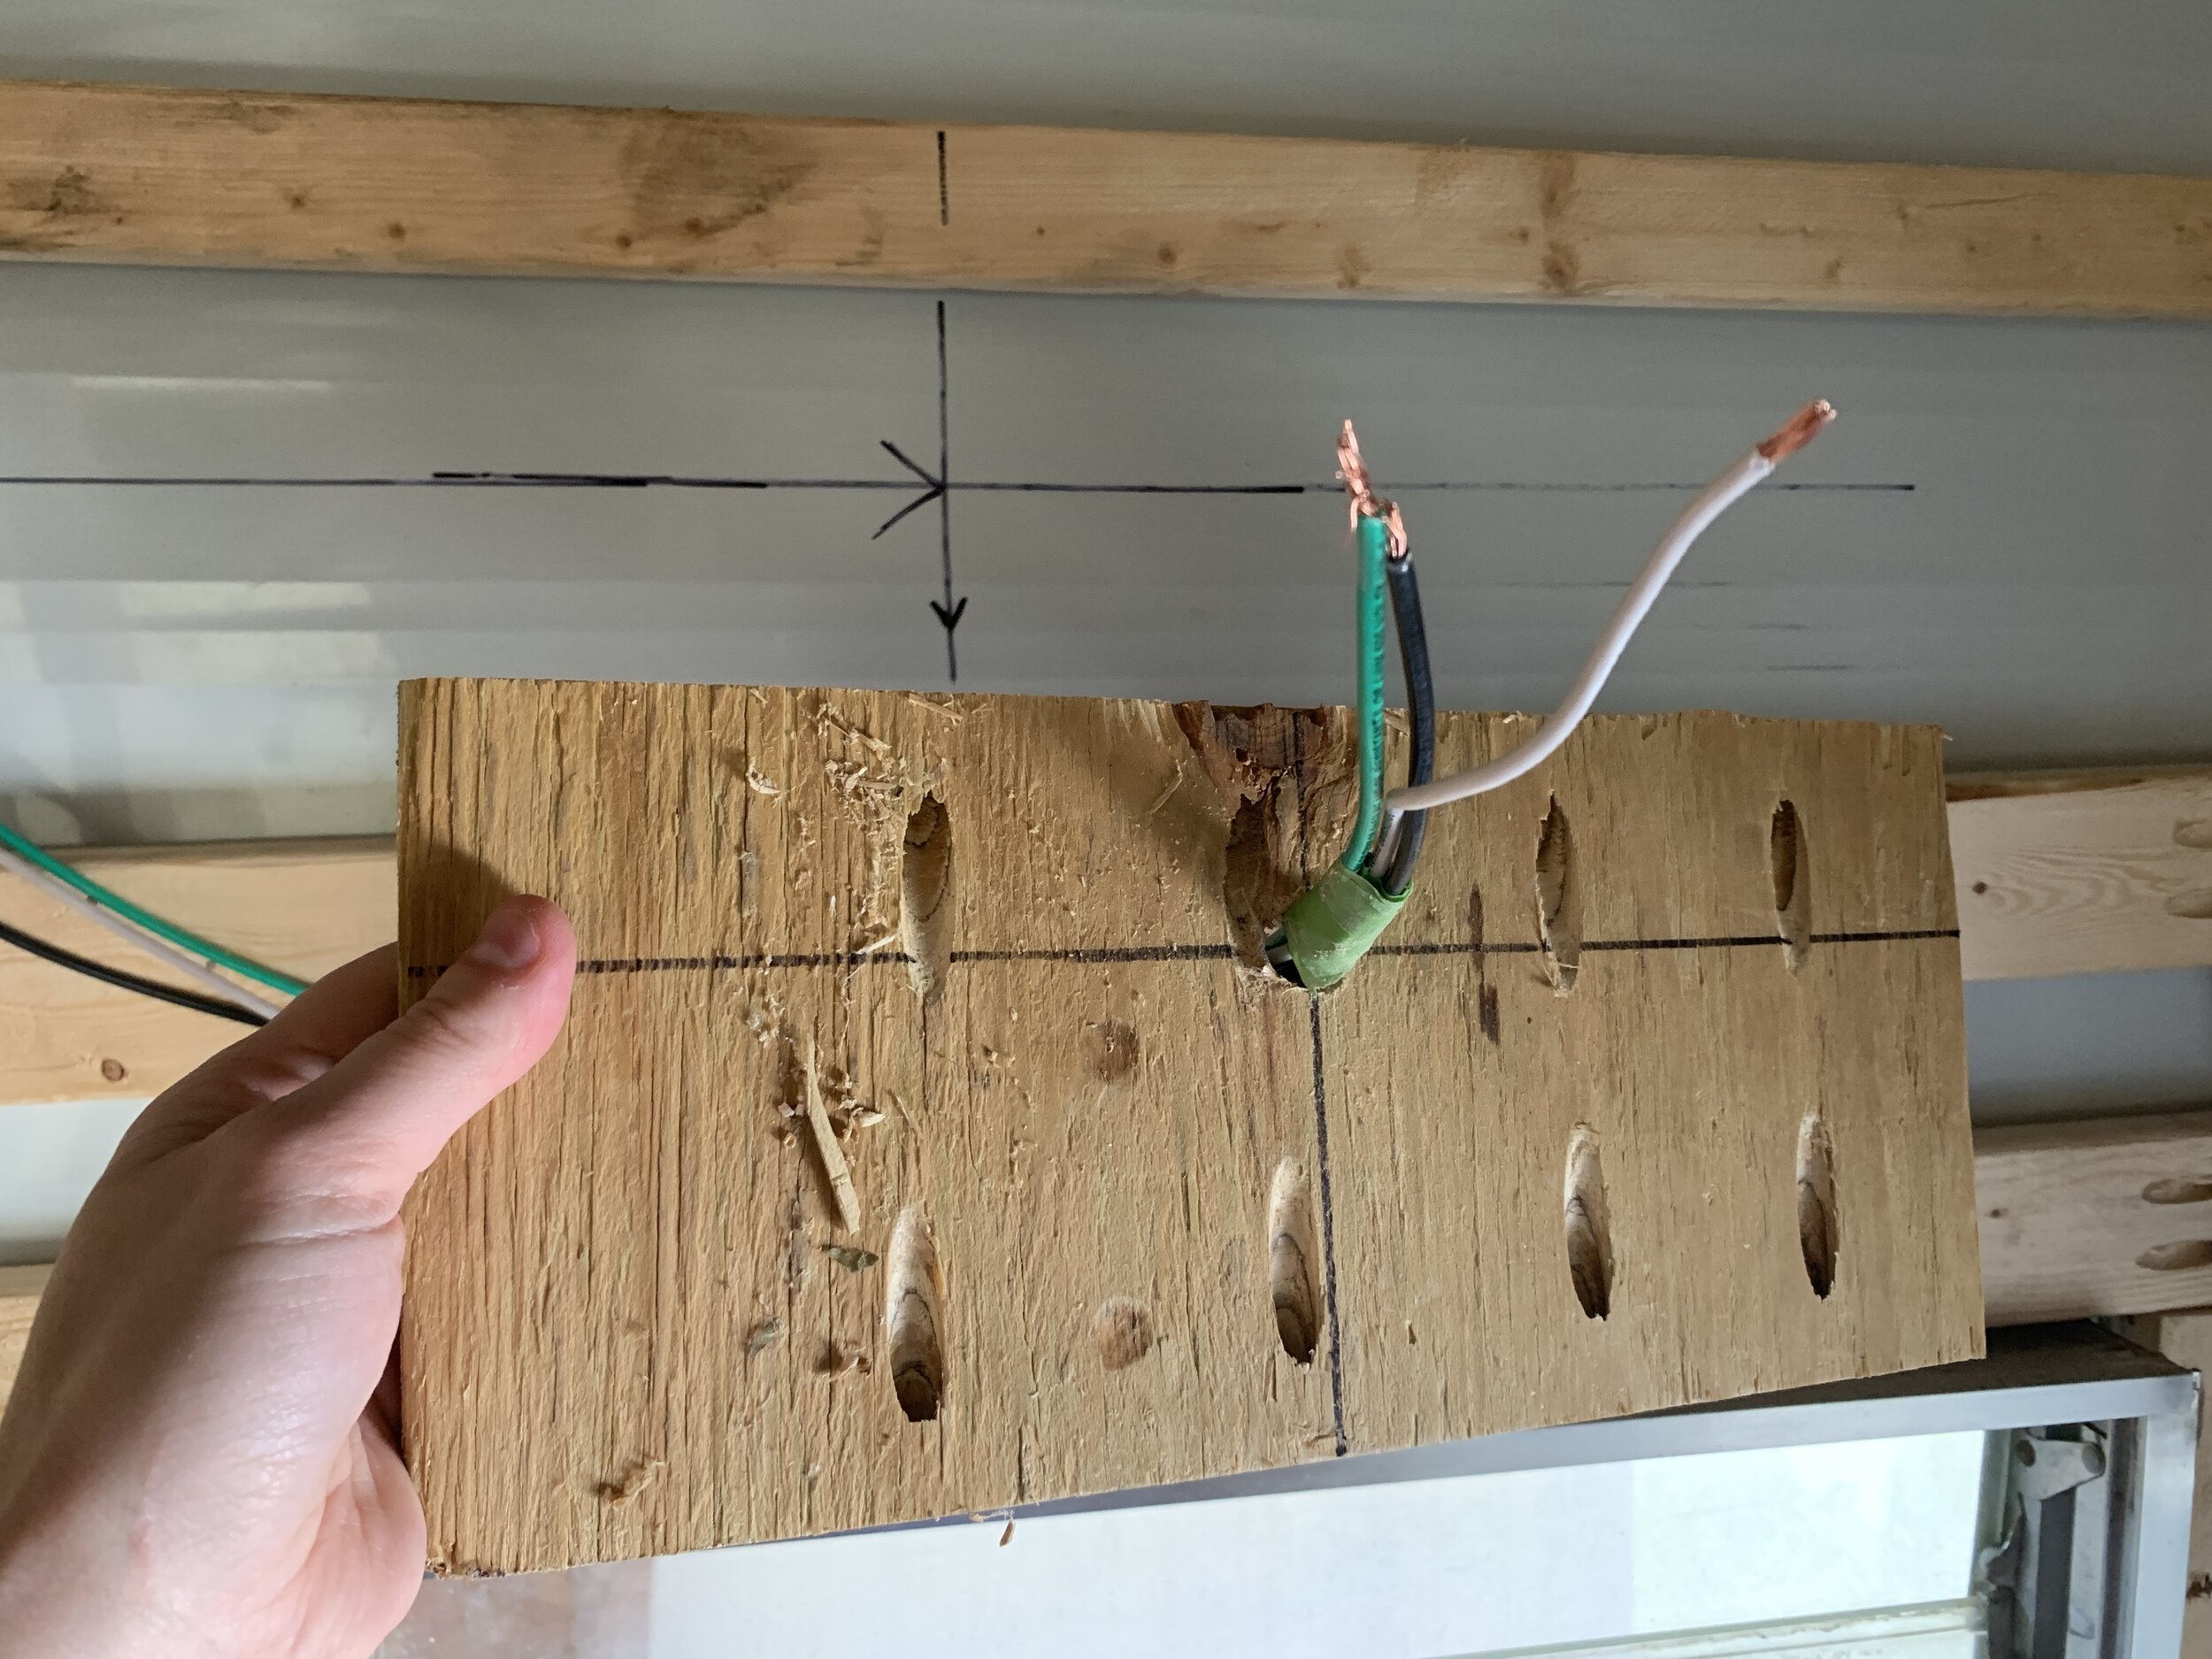
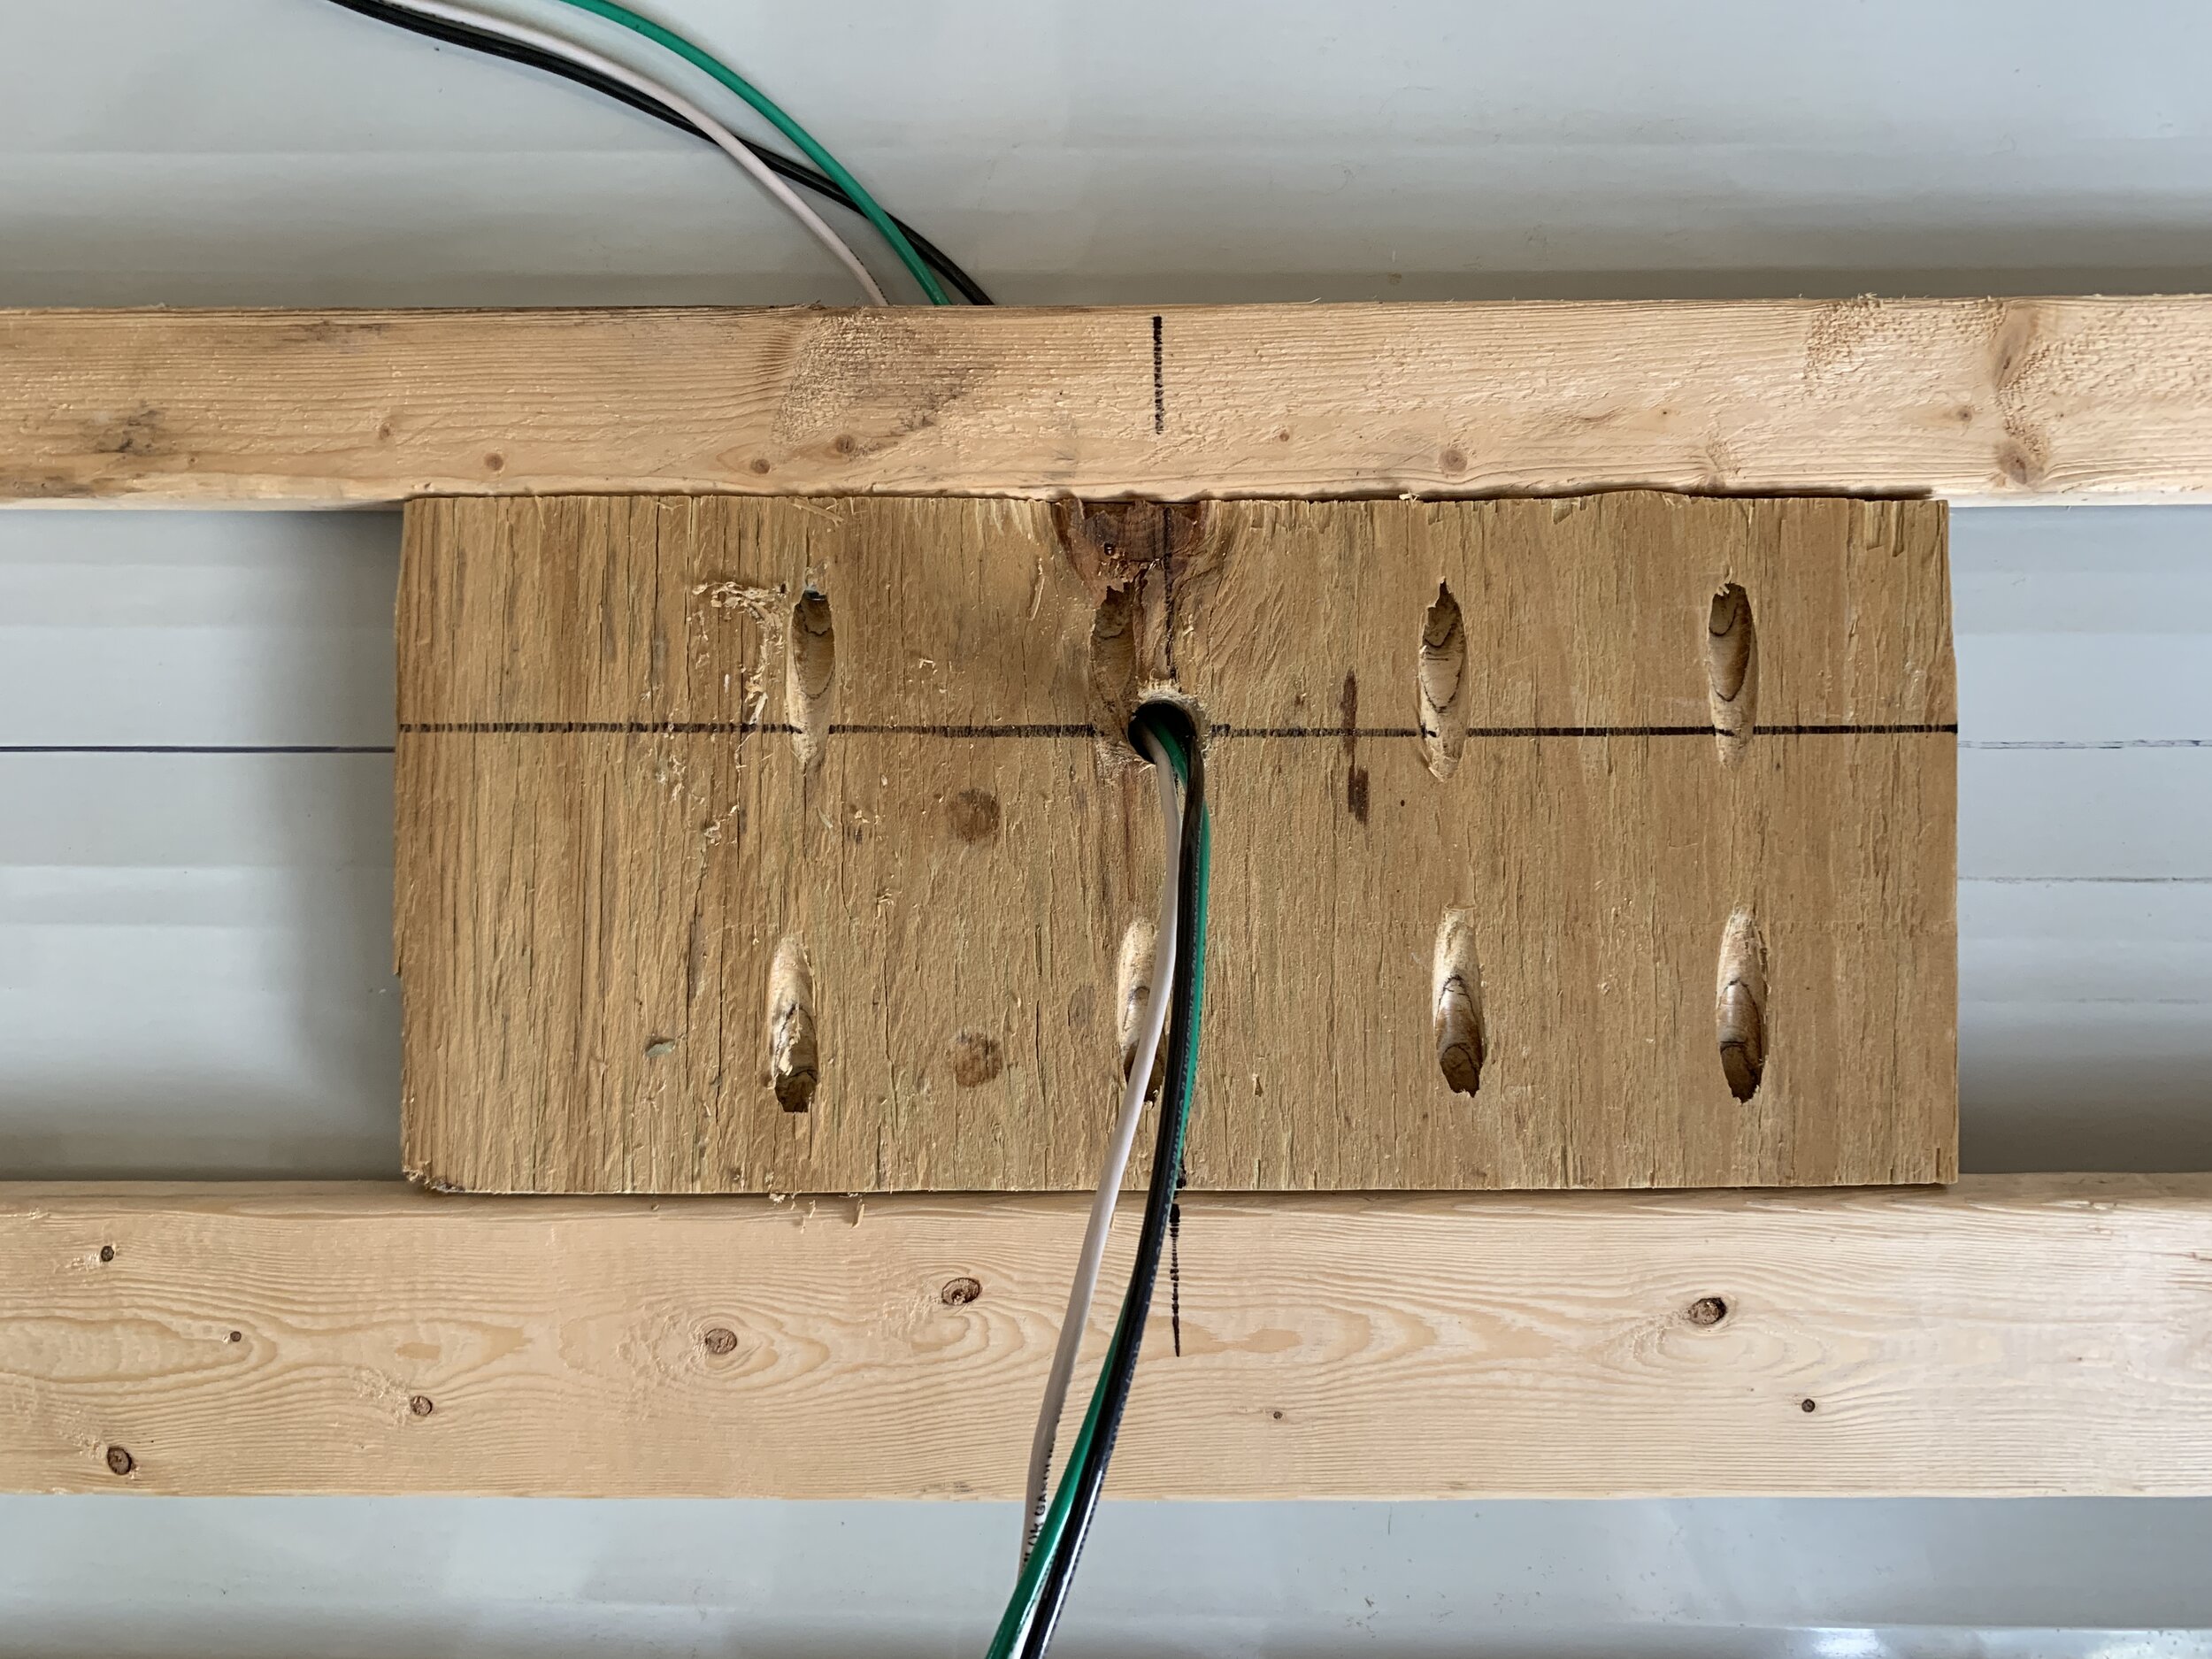
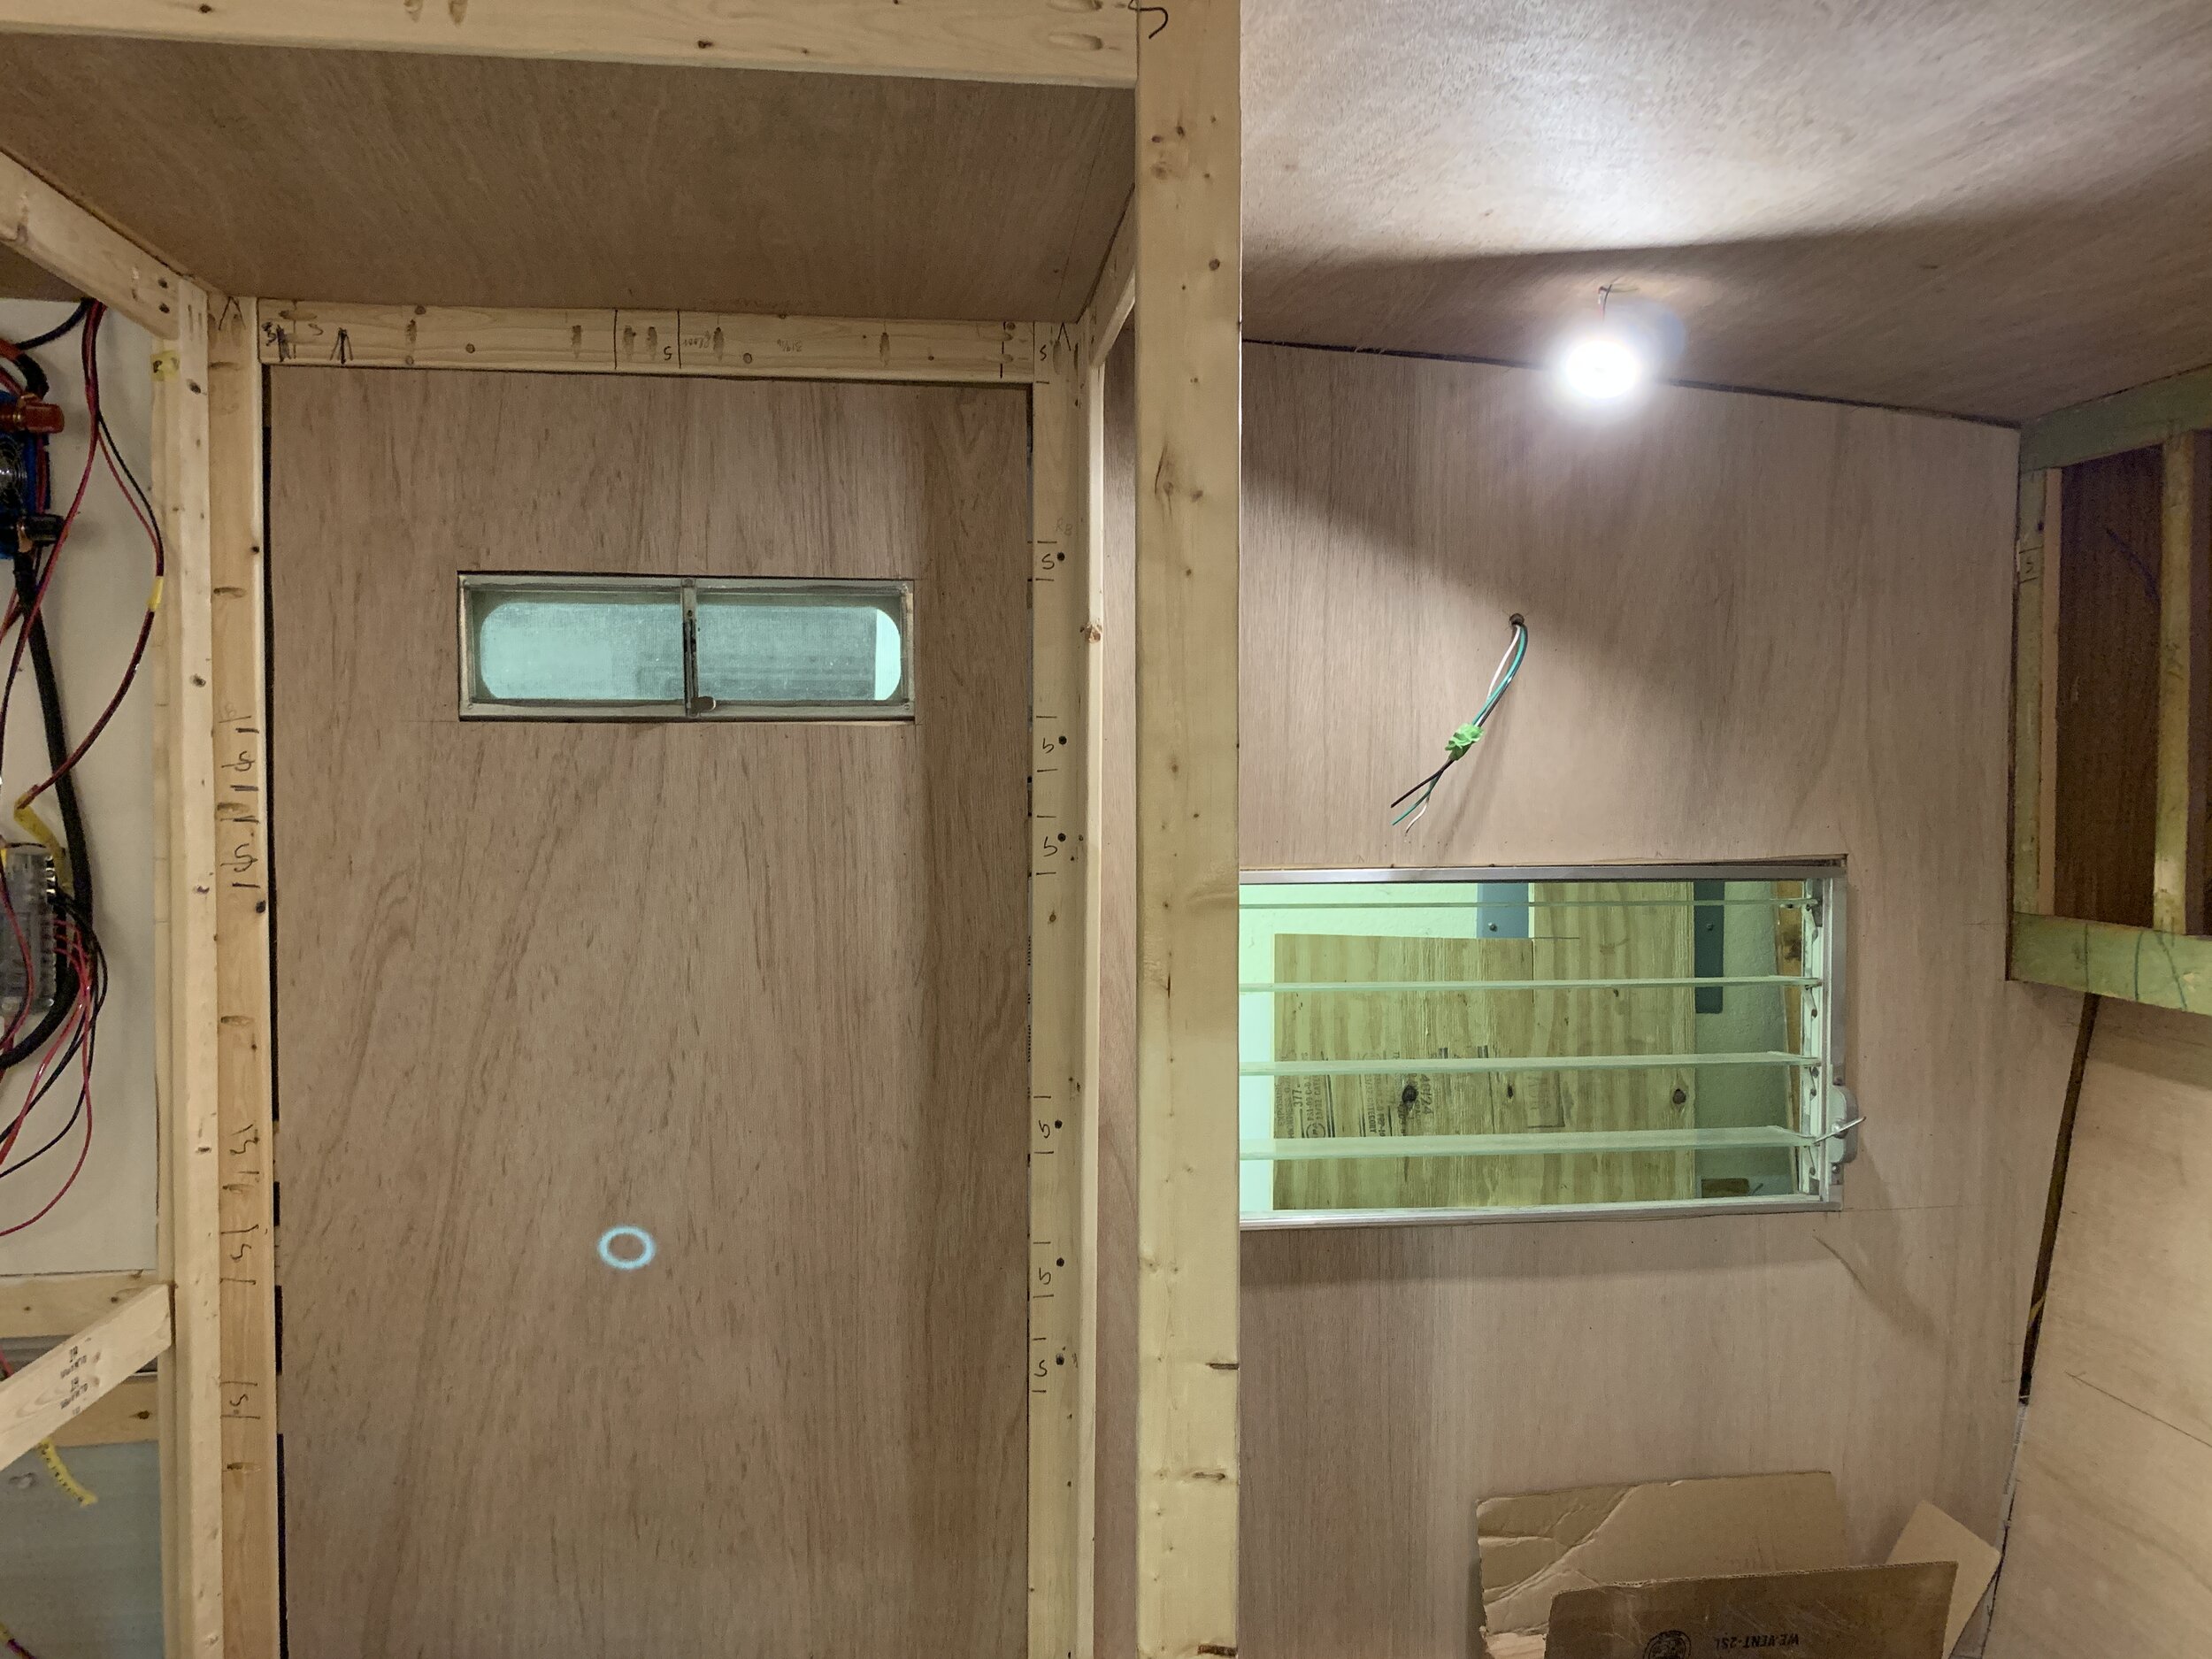
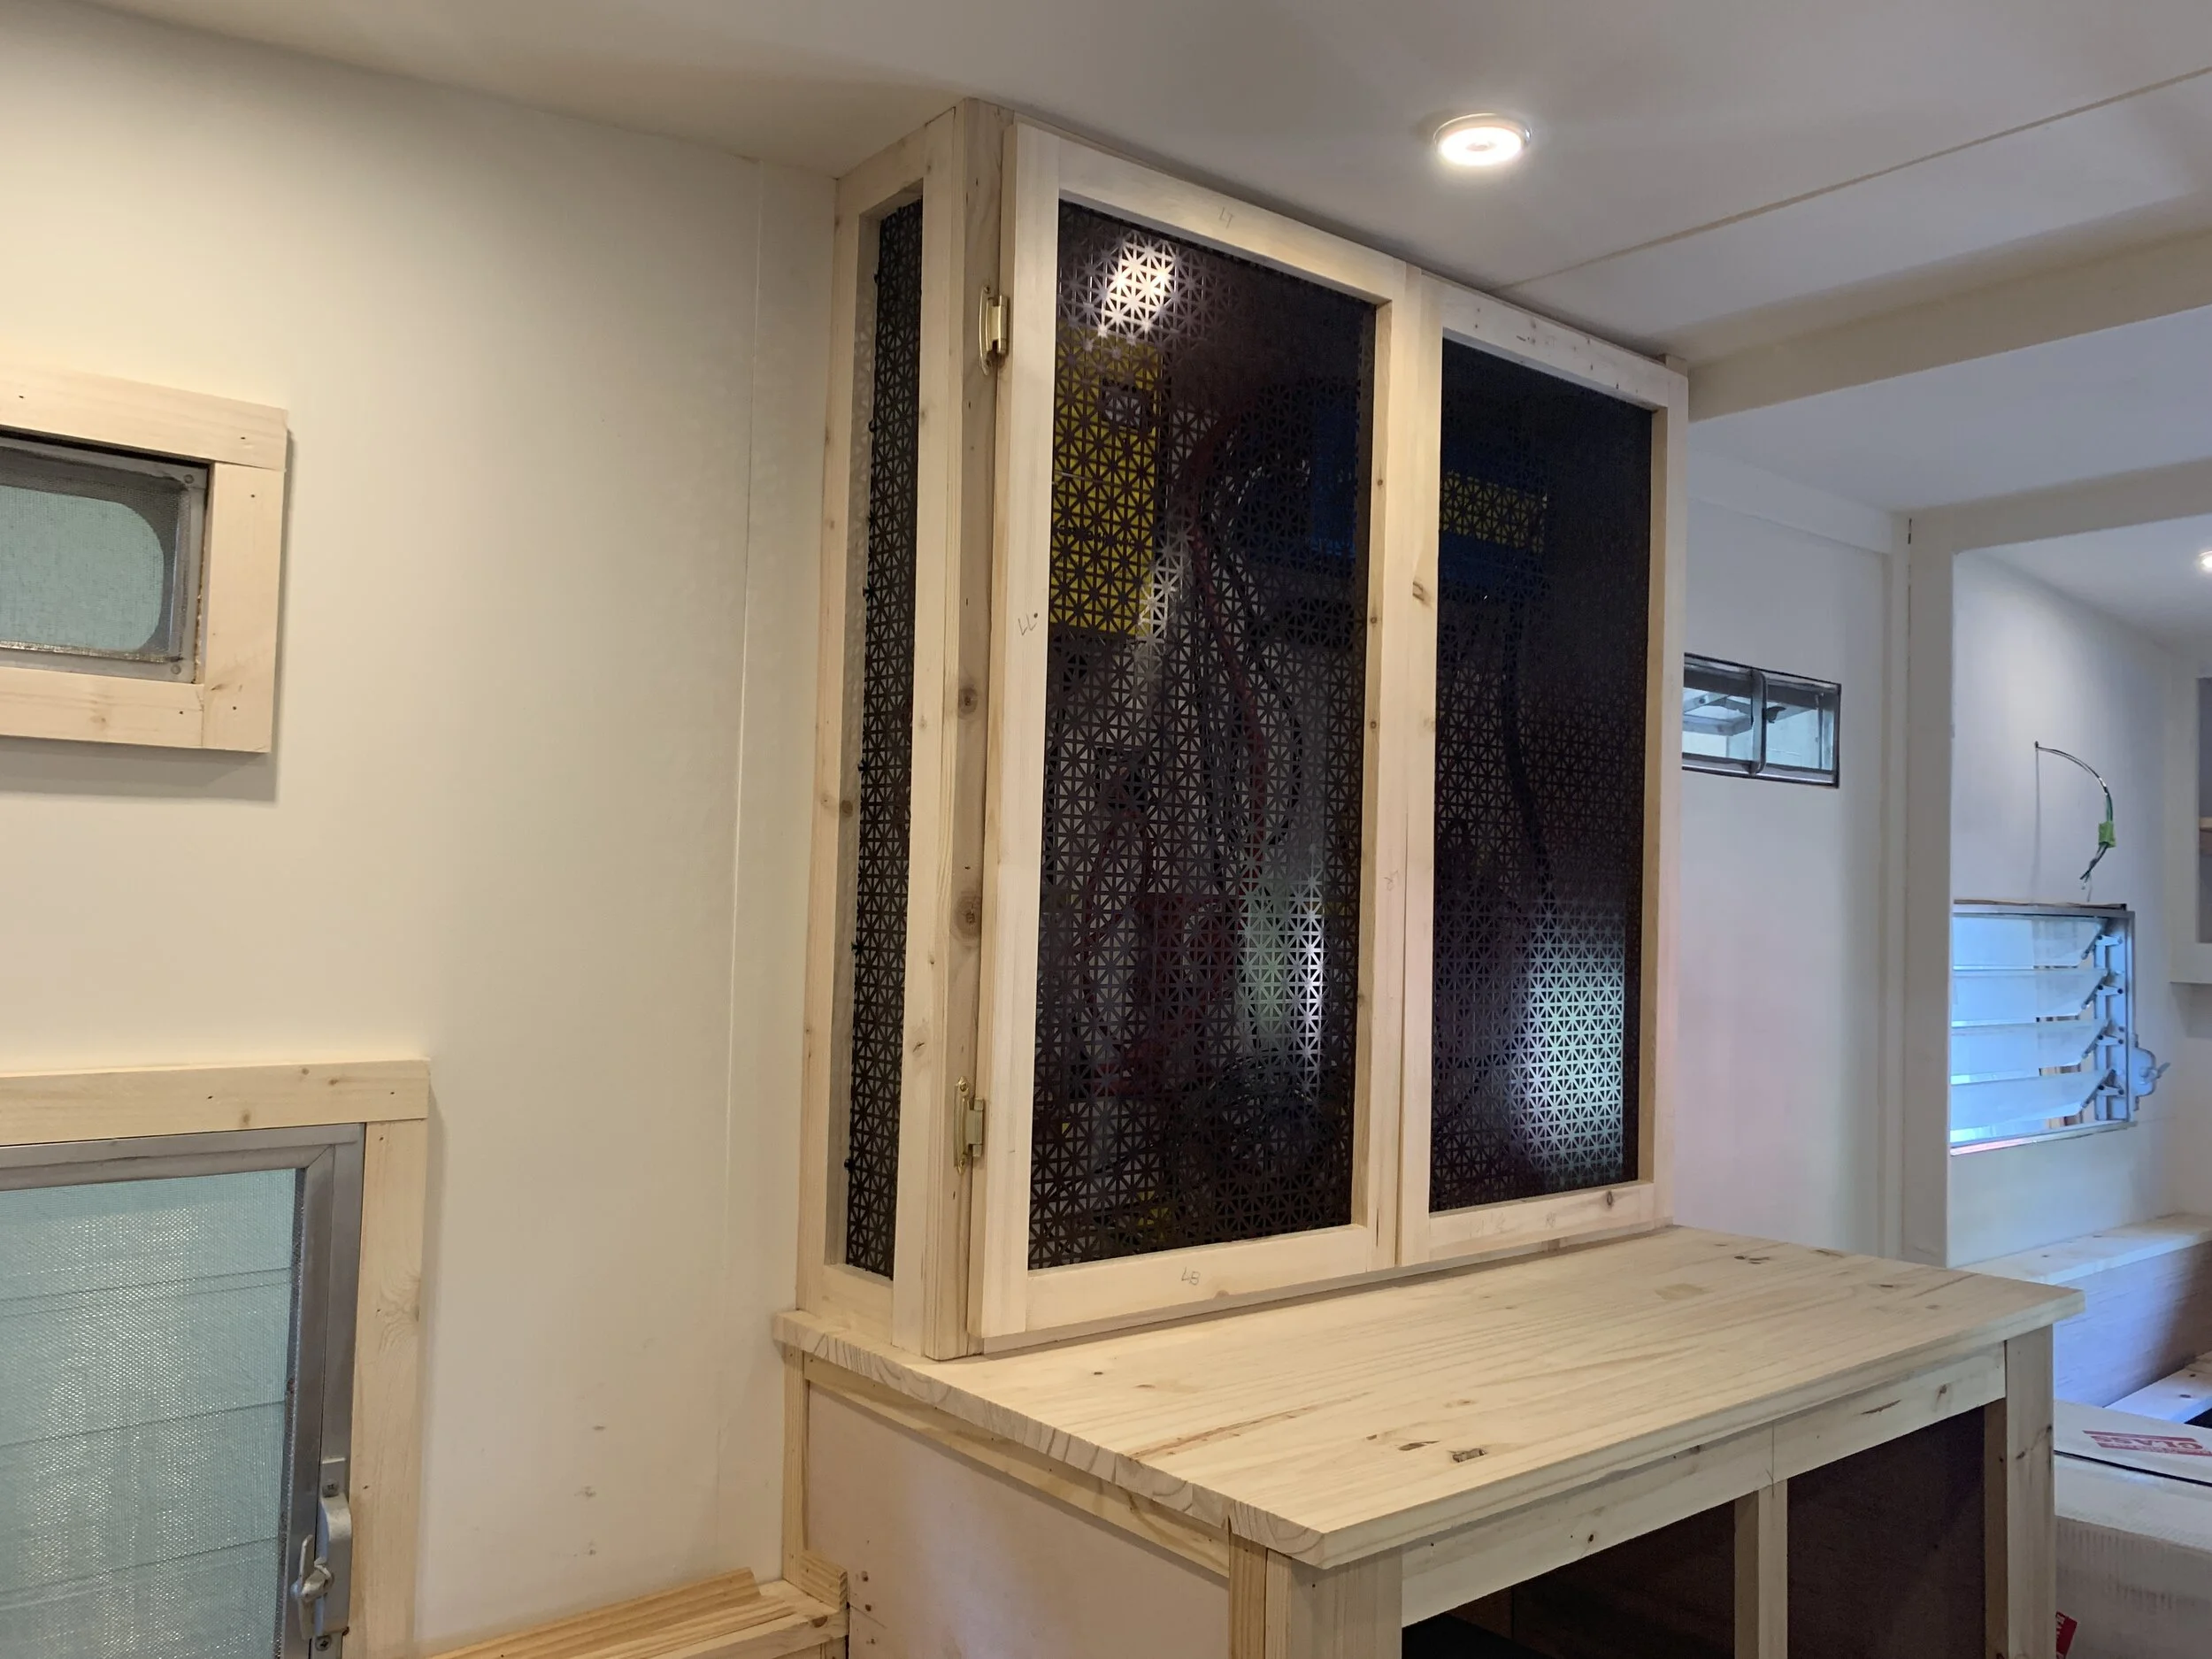
Long before we had interior walls, we planned to place the light centered above the window and used our Kreg jig to install a 3/4” plywood block (with a hole drilled through the middle for the wiring) in between two horizontal 1x studs. When we put up our interior walls, we pulled our 120V black/white/green wiring through the hole in the 3/4” plywood stud block and 1/8” plywood wall with enough extra sticking out into the camper interior (about 10 inches just to be safe) to wire our light fixture.
Mounting the fixture mount
After hanging wallpaper, we threaded our wires through the center hole in the metal mount and centered it left to right above the window, using 1/2” wood screws and our drill to secure it tightly to the wall.
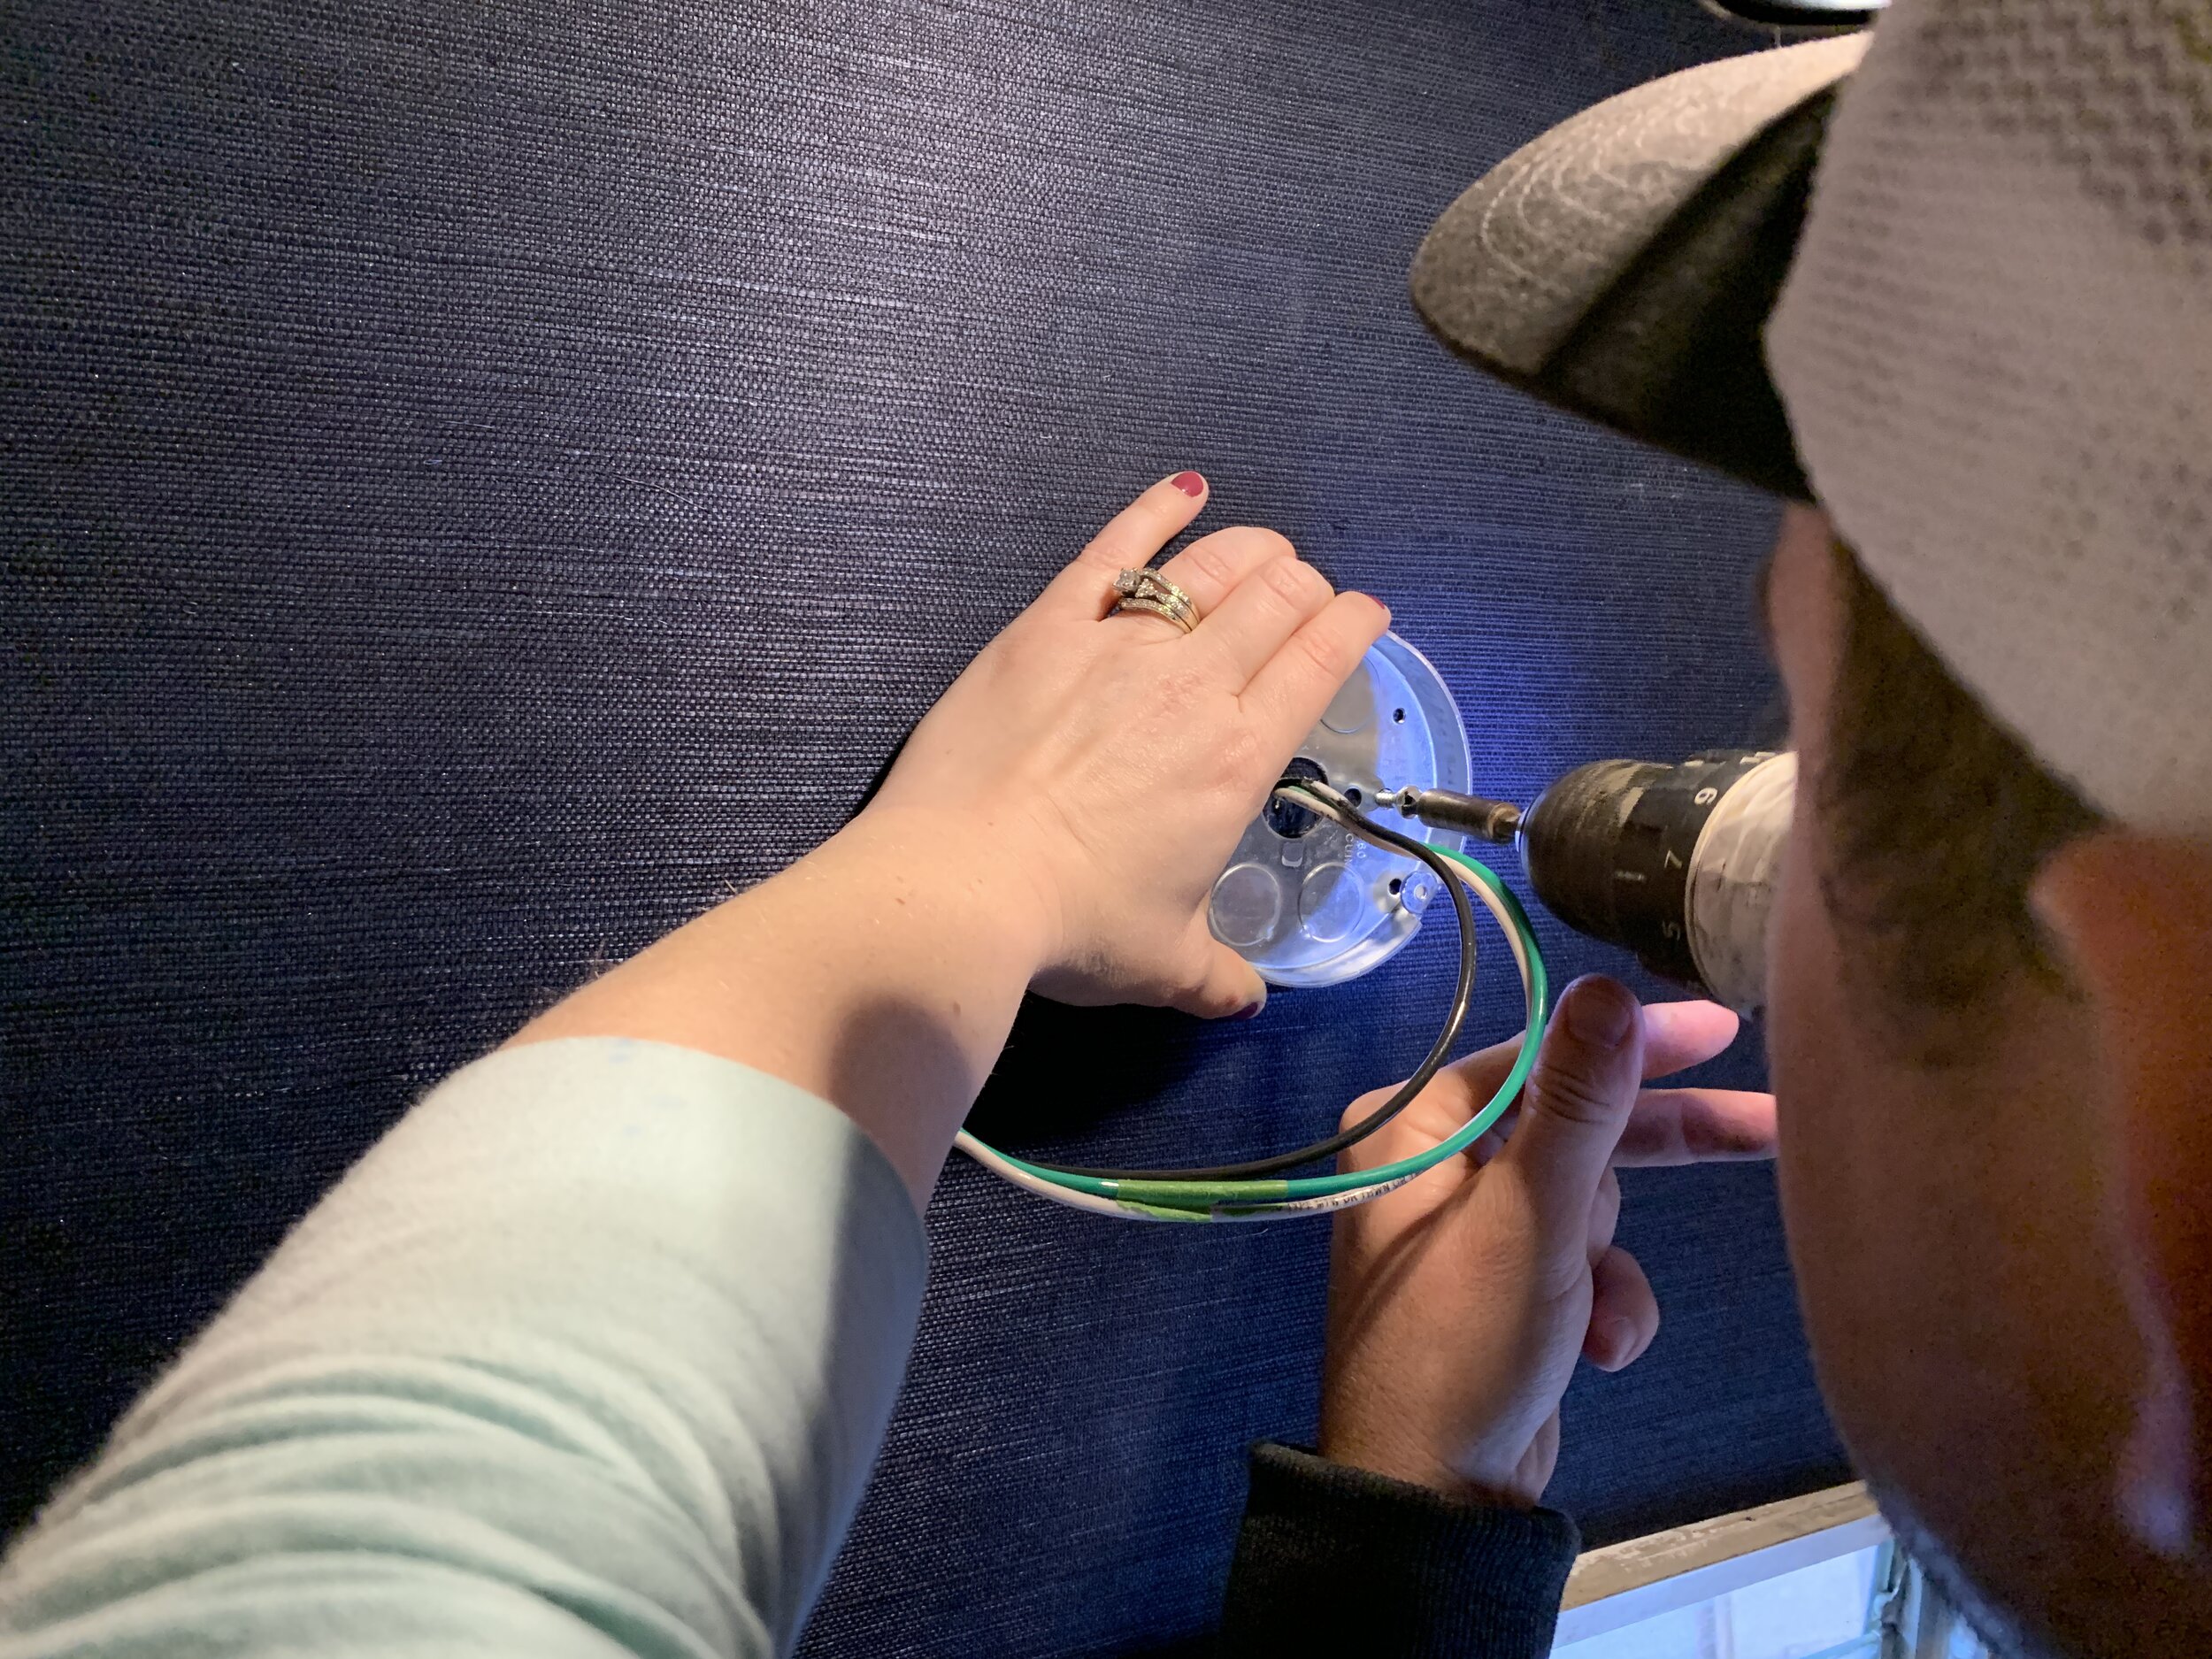
After the first piece of the base was attached to the wall, we installed the round flat part of the bracket that fits on top of the just-installed 3D wall-mounted part of the bracket – this second piece is what the light is actually attached to and can swivel to help with alignment depending on what holes/slats of the bracket you use. We took the two machine screws provided with the lights and inserted them backward (screw head facing the wall and threads out into the camper) through the backside of the bracket before screwing the second bracket piece to the first with other, shorter machine screws.

(Apologies for the weird orange-looking stripes in this photo – for some reason a lot of photos from this day came out like this. It’s not actually striped/defective wallpaper.)
Wiring the light
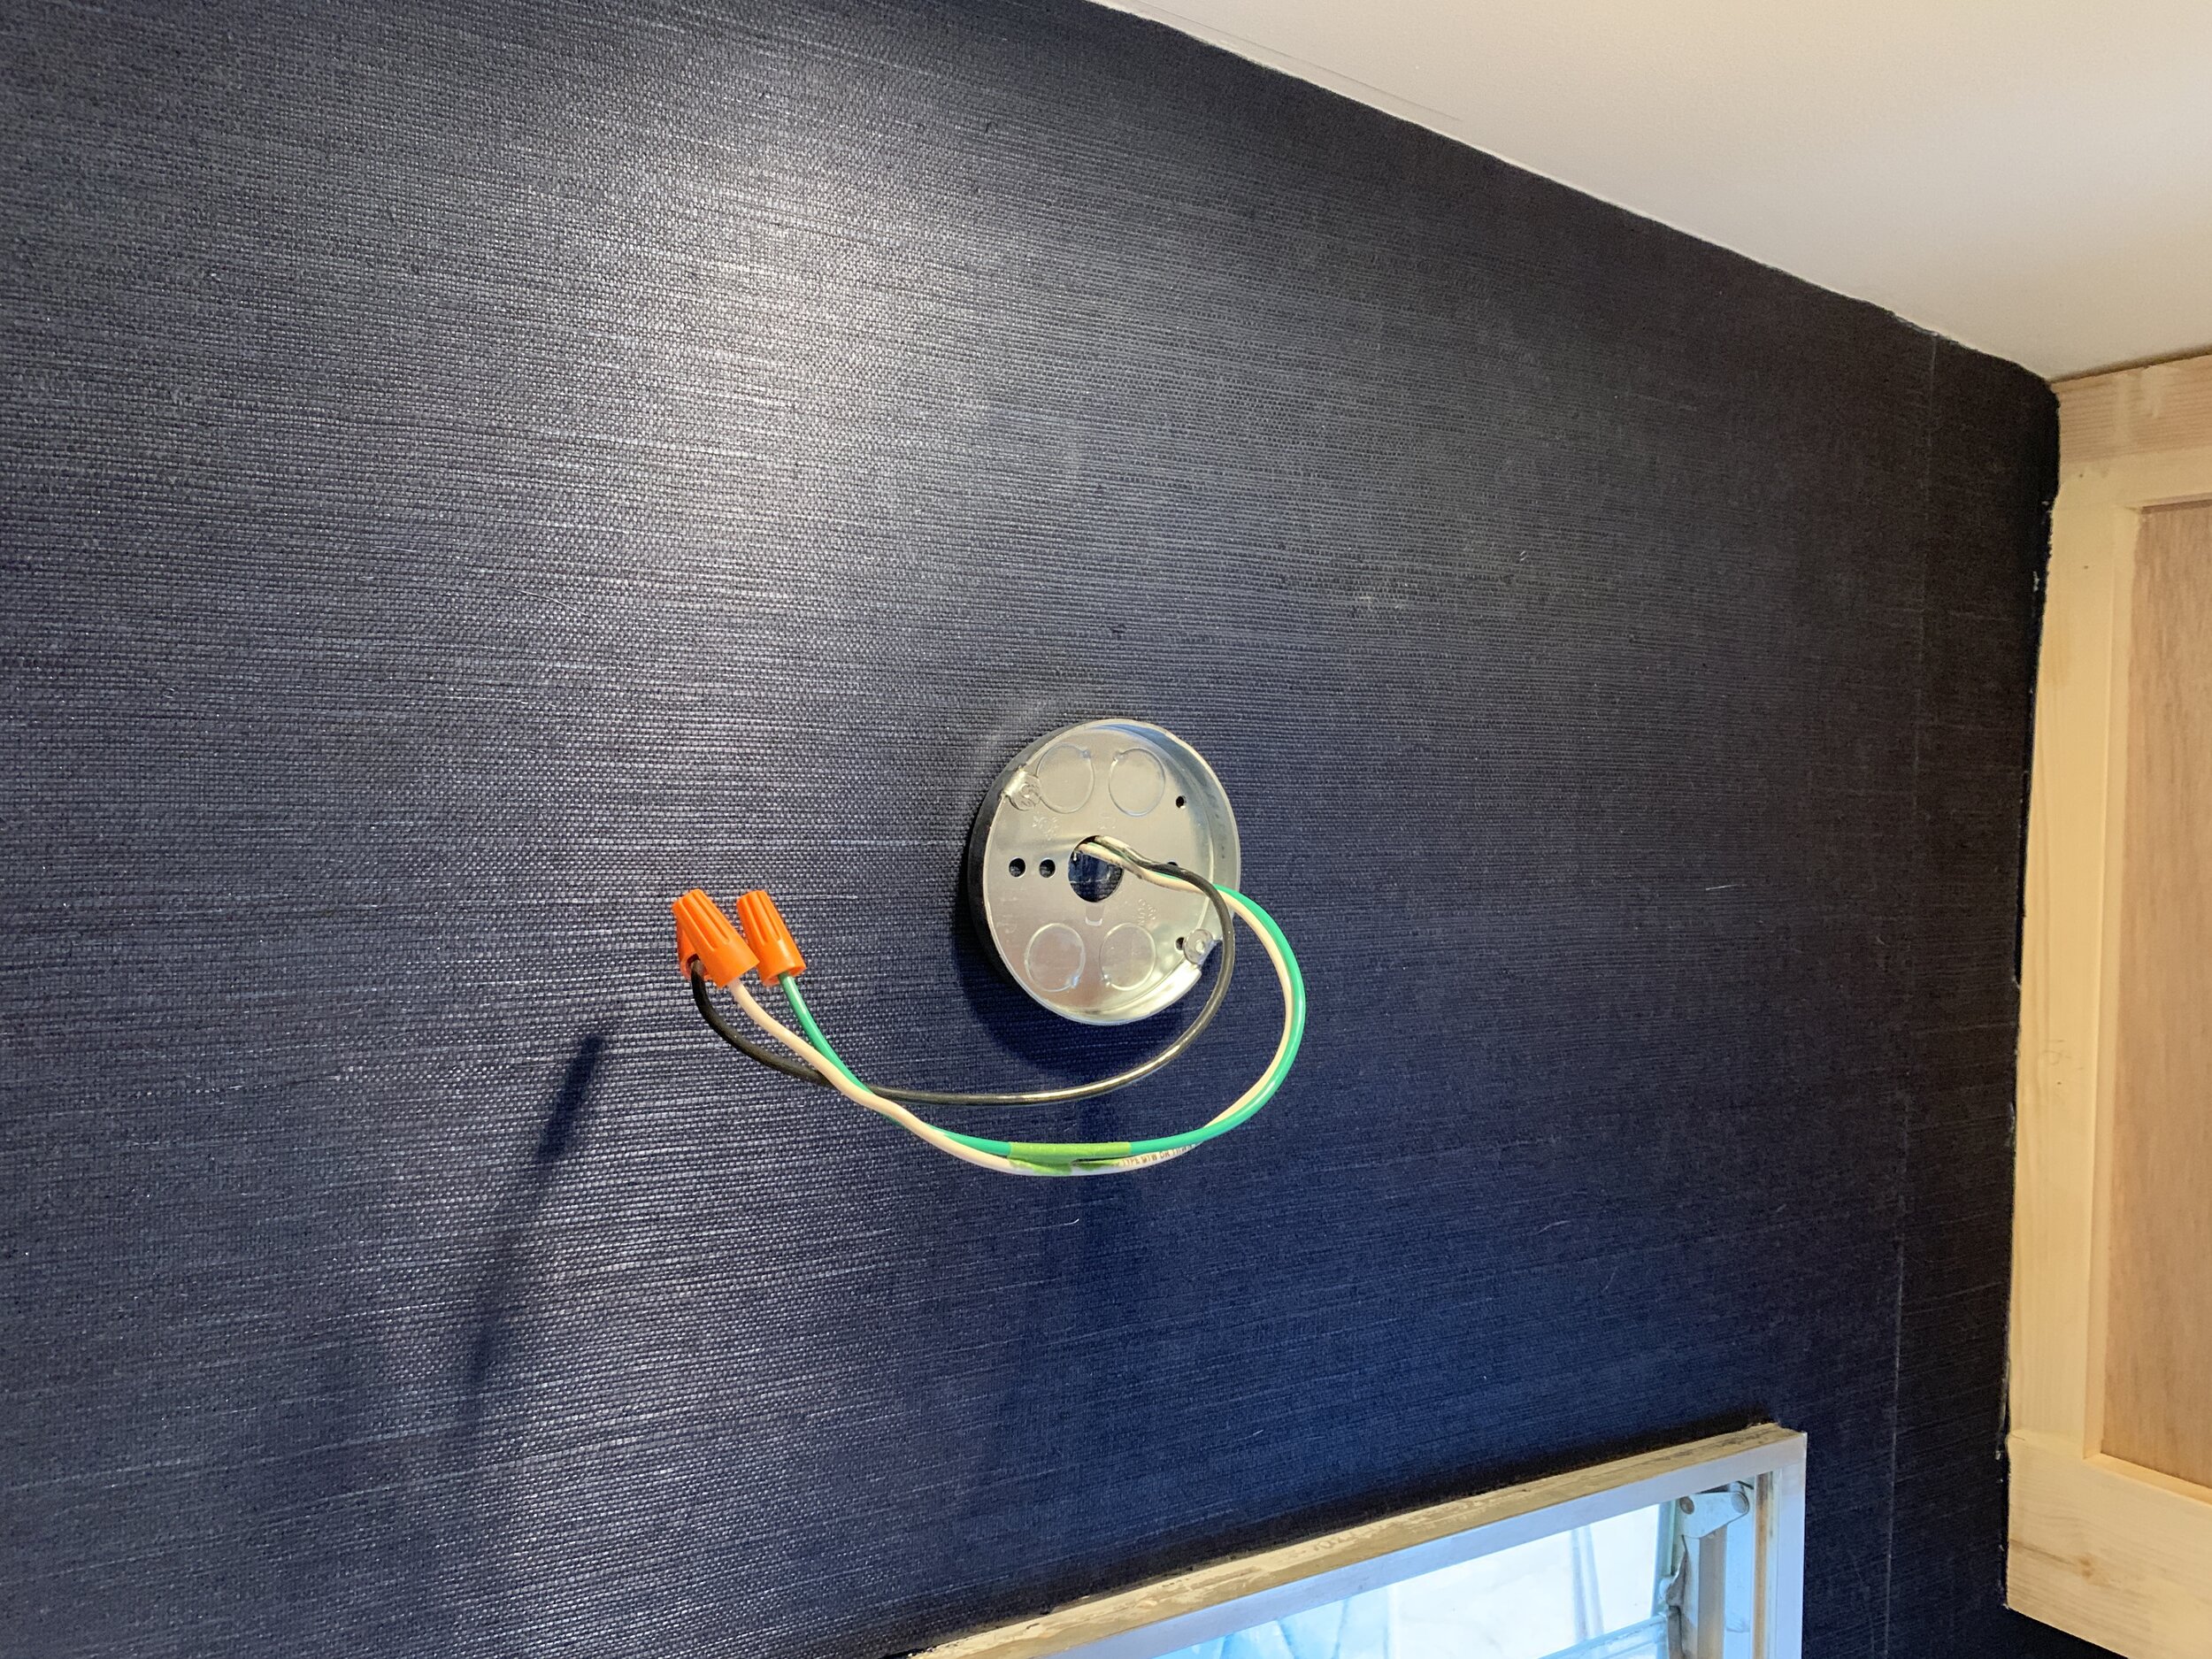
This part we don’t have photos of since it was all hands on deck, but it’s pretty straightforward. The black (hot) wire from the light goes to black wire coming out of the wall, the white (the neutral) wire goes to white and the green (the ground) wire goes to green. We stripped about 1/3” of the casing off on each of the wires using our wire strippers and used twist-style electrical caps to safely secure the light’s wires to the camper’s wires.
Mounting the light
With it all wired – and working, as carefully tested with a voltage meter – we lined up the two holes in the light fixture’s base with the backward-facing machine screws and screwed the brass caps on until the fixture was tight to the wall.

Since taking this after photo, we’ve swapped out the lightbulb for a smaller, more attractive, one. We’ve also trimmed out our grasscloth wall and window (a post we’ll be sharing very soon), painted the overhead cabinet on the right, the shower wall on the left, the twin bed below and repainted the tiny section of wall next to the window as well as the ceiling in a different color.
That’s it! It’s installed. Woo!
Installing the other wall sconce
This one’s easy – we followed the same wiring and install process for our second accent light on the 3D wall! :)

What do you think? are you loving these vintage-meets-modern accents lights as much as we are?