The Cameo Camper Renovation: Backlit Shower Walls Part 2
Last time we covered prepping the acrylic shower/wet bath wall panels – cutting, drilling and painting – as well as what not to do to save time, materials and perhaps most importantly, your sanity.
Today we’re covering how we created the recessed channel for the lighting and installed the supports for the interior acrylic walls.
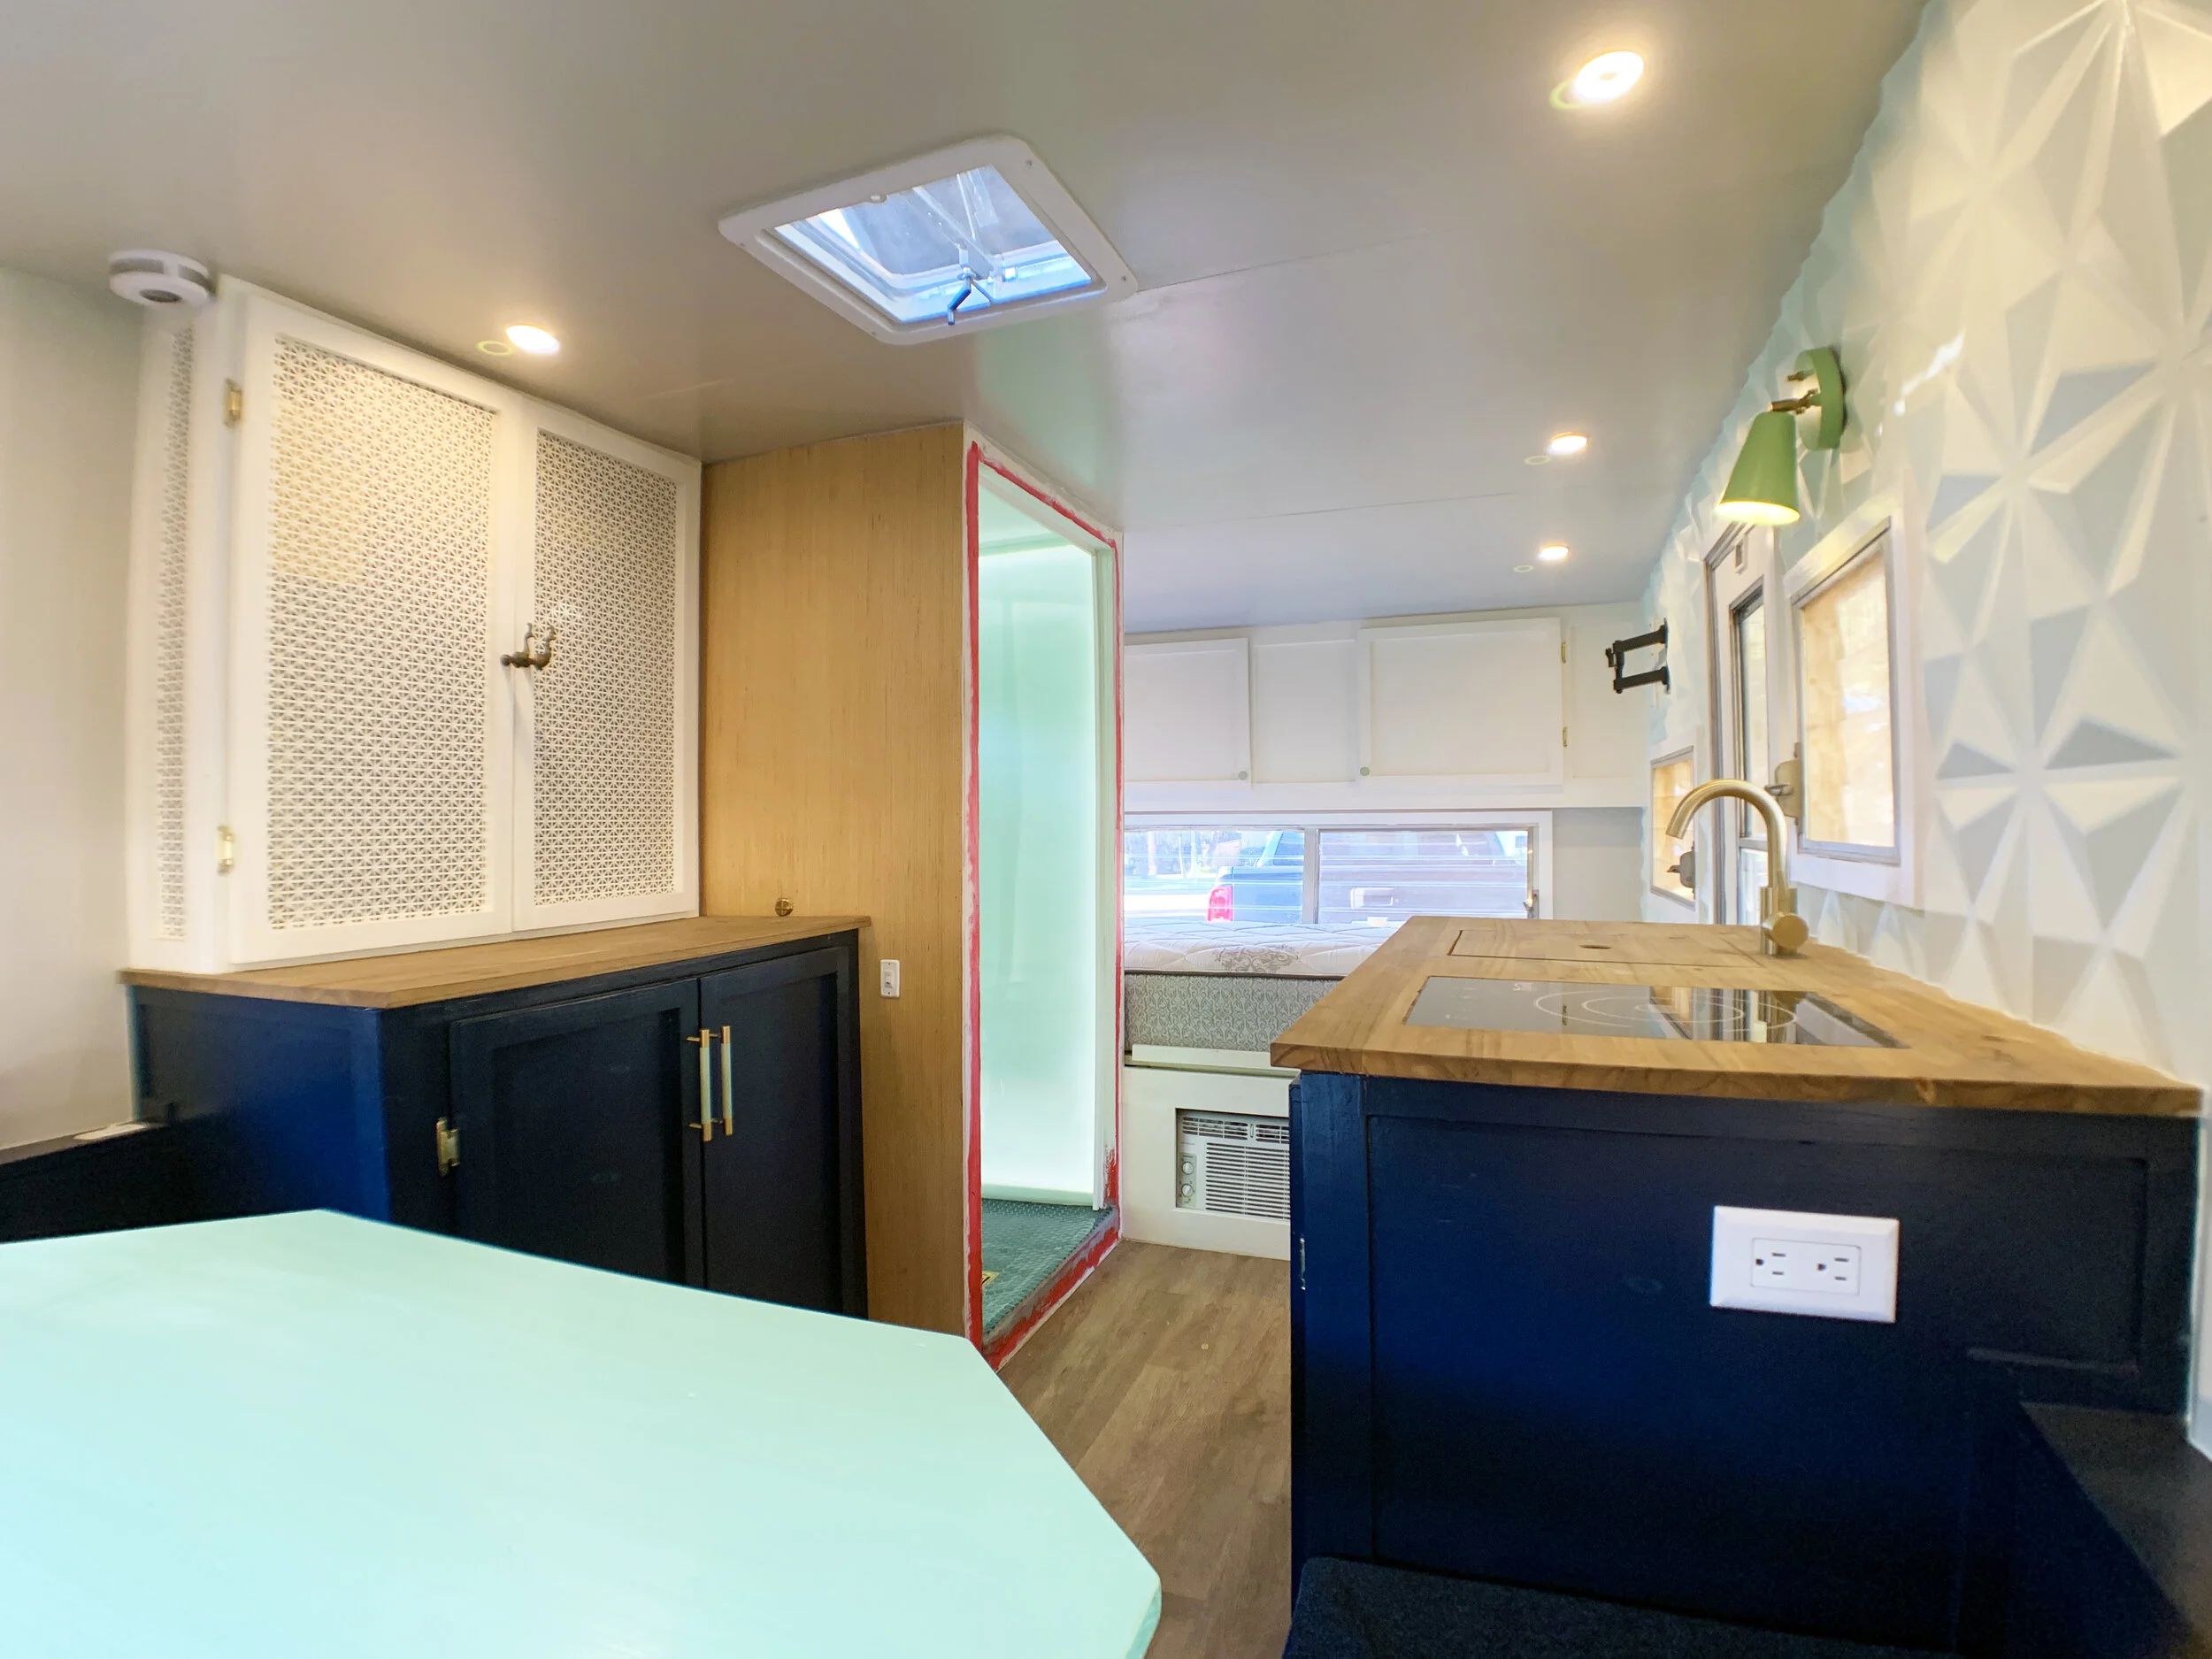
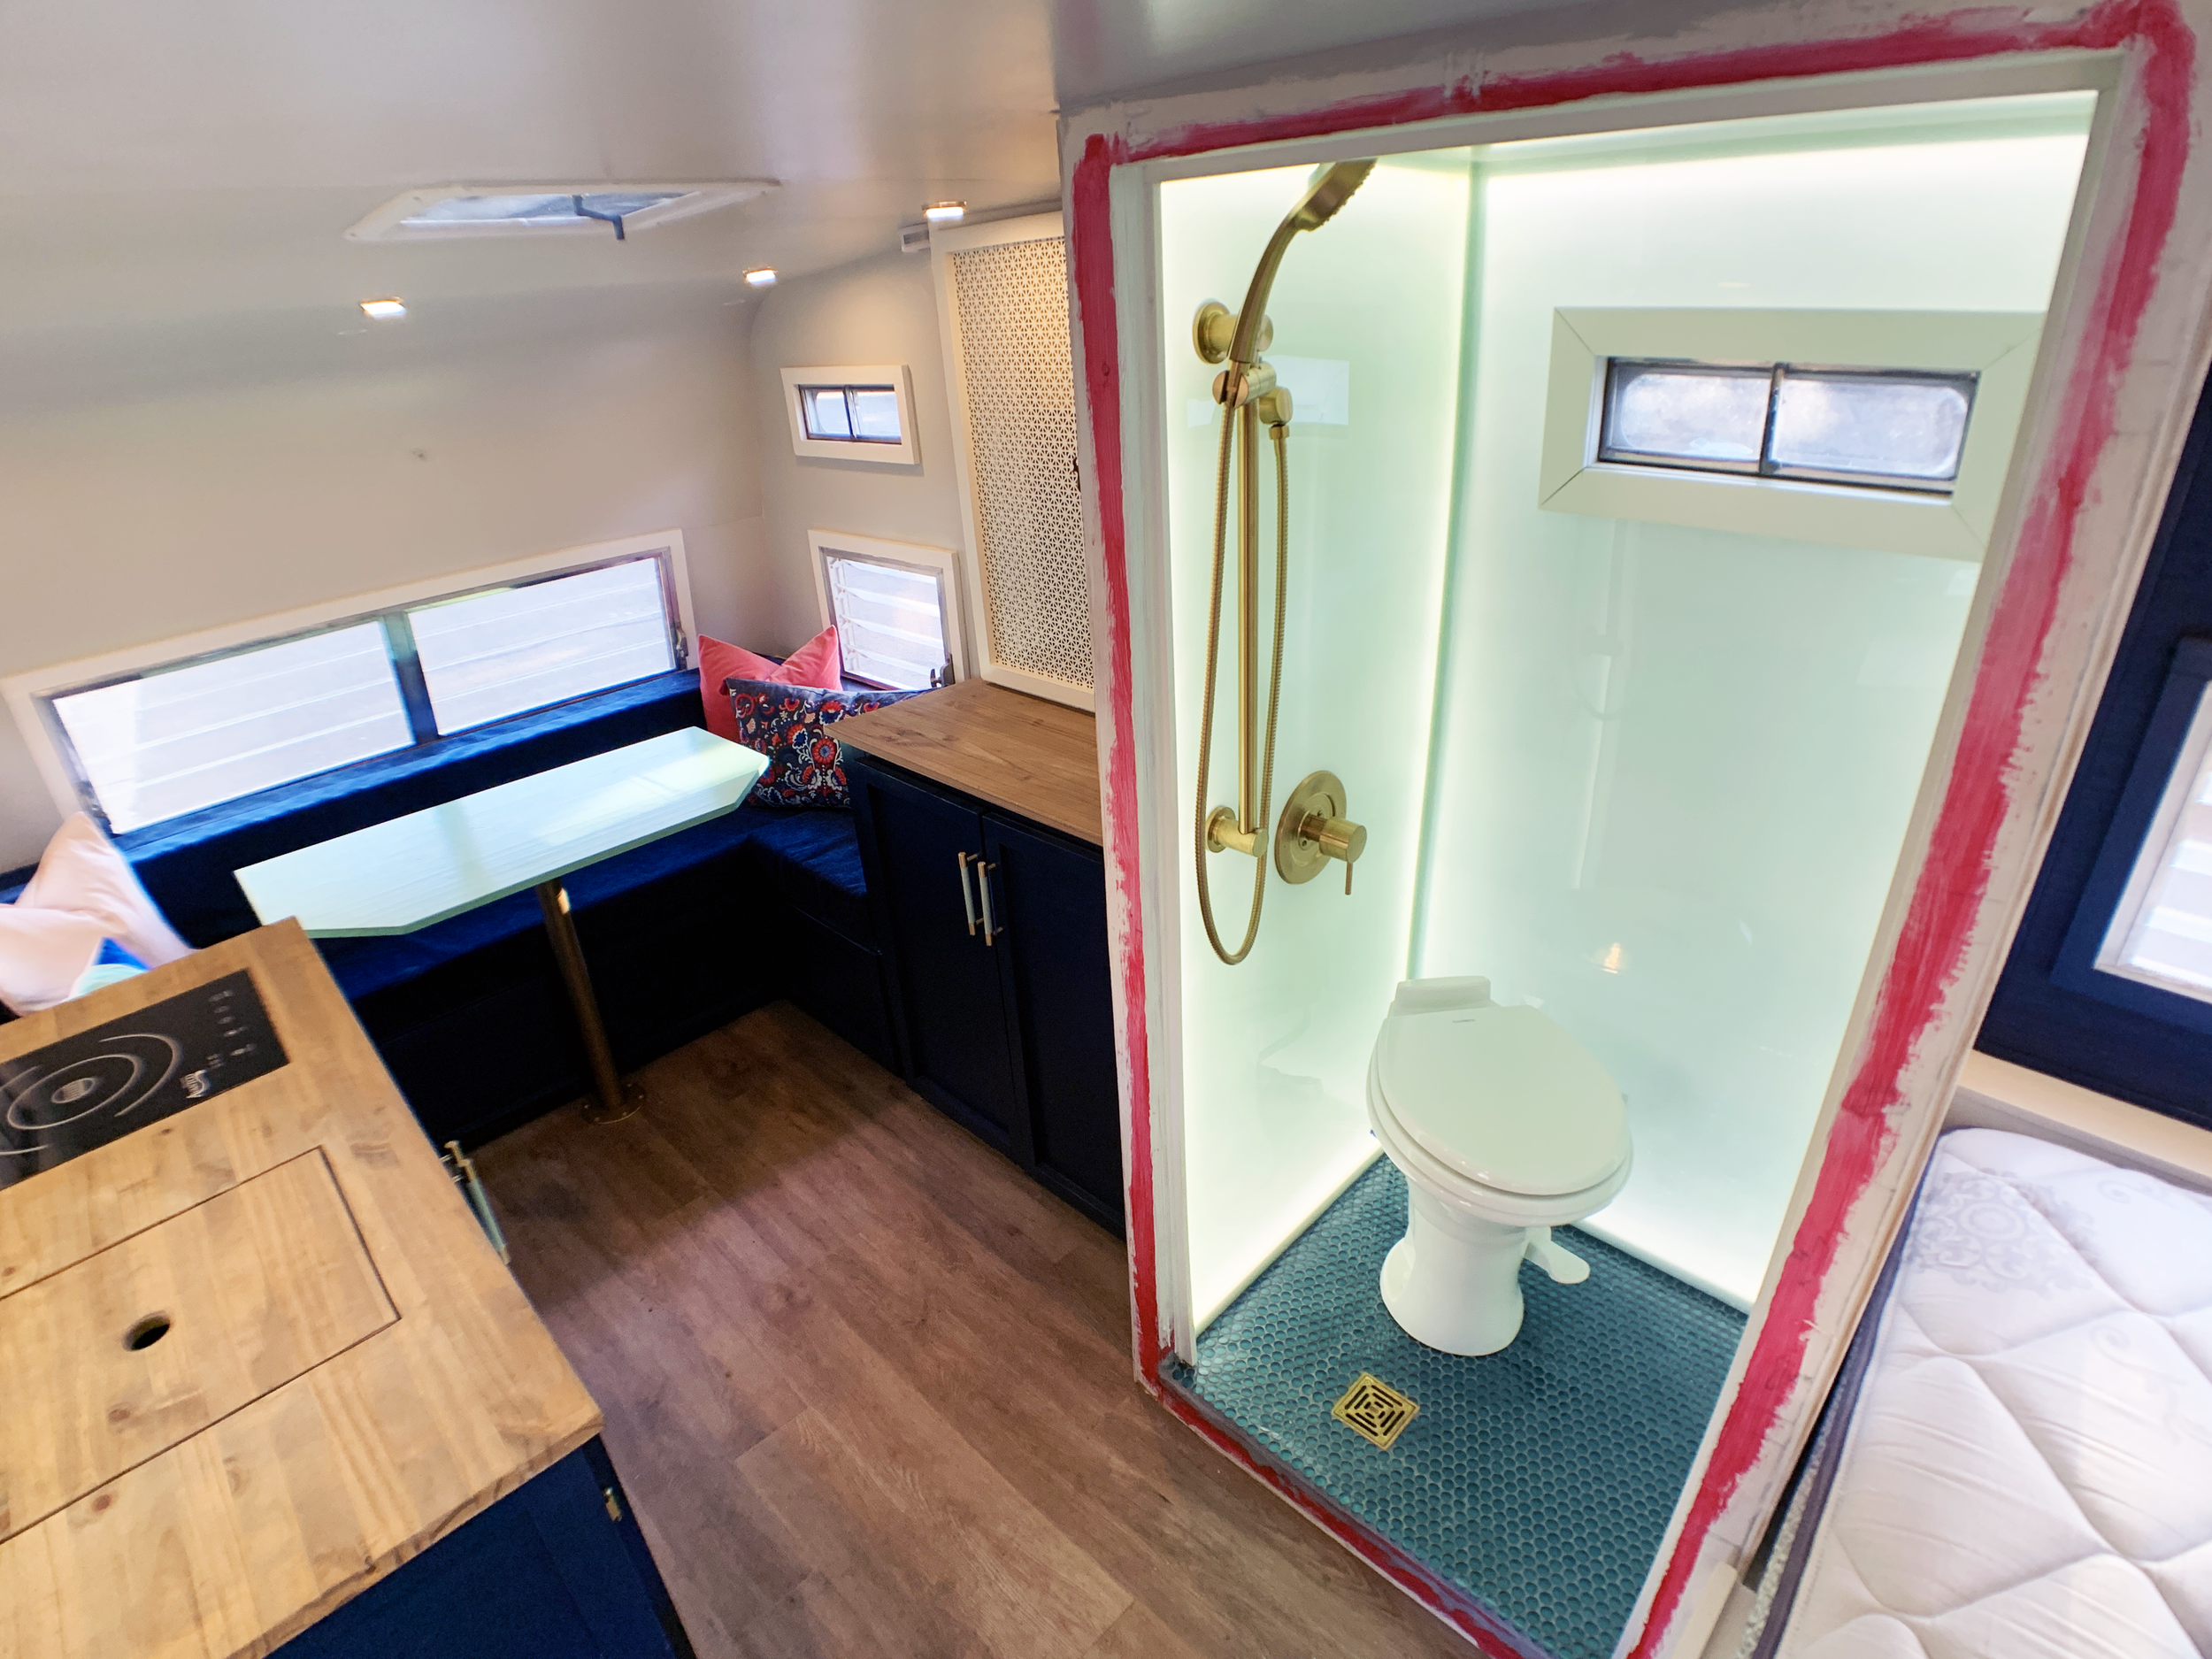
In the end the walls will look like this, where the interior acrylic has a glow around the perimeter of each wall with a soft diffused lighting effect throughout the panel:

OUR BACKLIT SHOWER WALLS (Part 2) SHOPPING LIST
(11) 1/2-in x 3/4-in x 8-ft Raw Pine Square Lattice Moulding – “bumpers” that create the channel for the lighting + bump out other areas to same depth
For a little more money, and if you can find it, you could use this perfectly square 3/4-in pine wood lattice moulding
Nail gun + nails
(1 or 2) 3/4”x8’ polystyrene mouldings – this is the same stuff we used for our black house window makeover since they’re the same thickness as the thin dimension of the angled PVC trim
(4) L-shaped 90° PVC corner guard mouldings – enough pieces to support the acrylic panels when adding up lengths of each
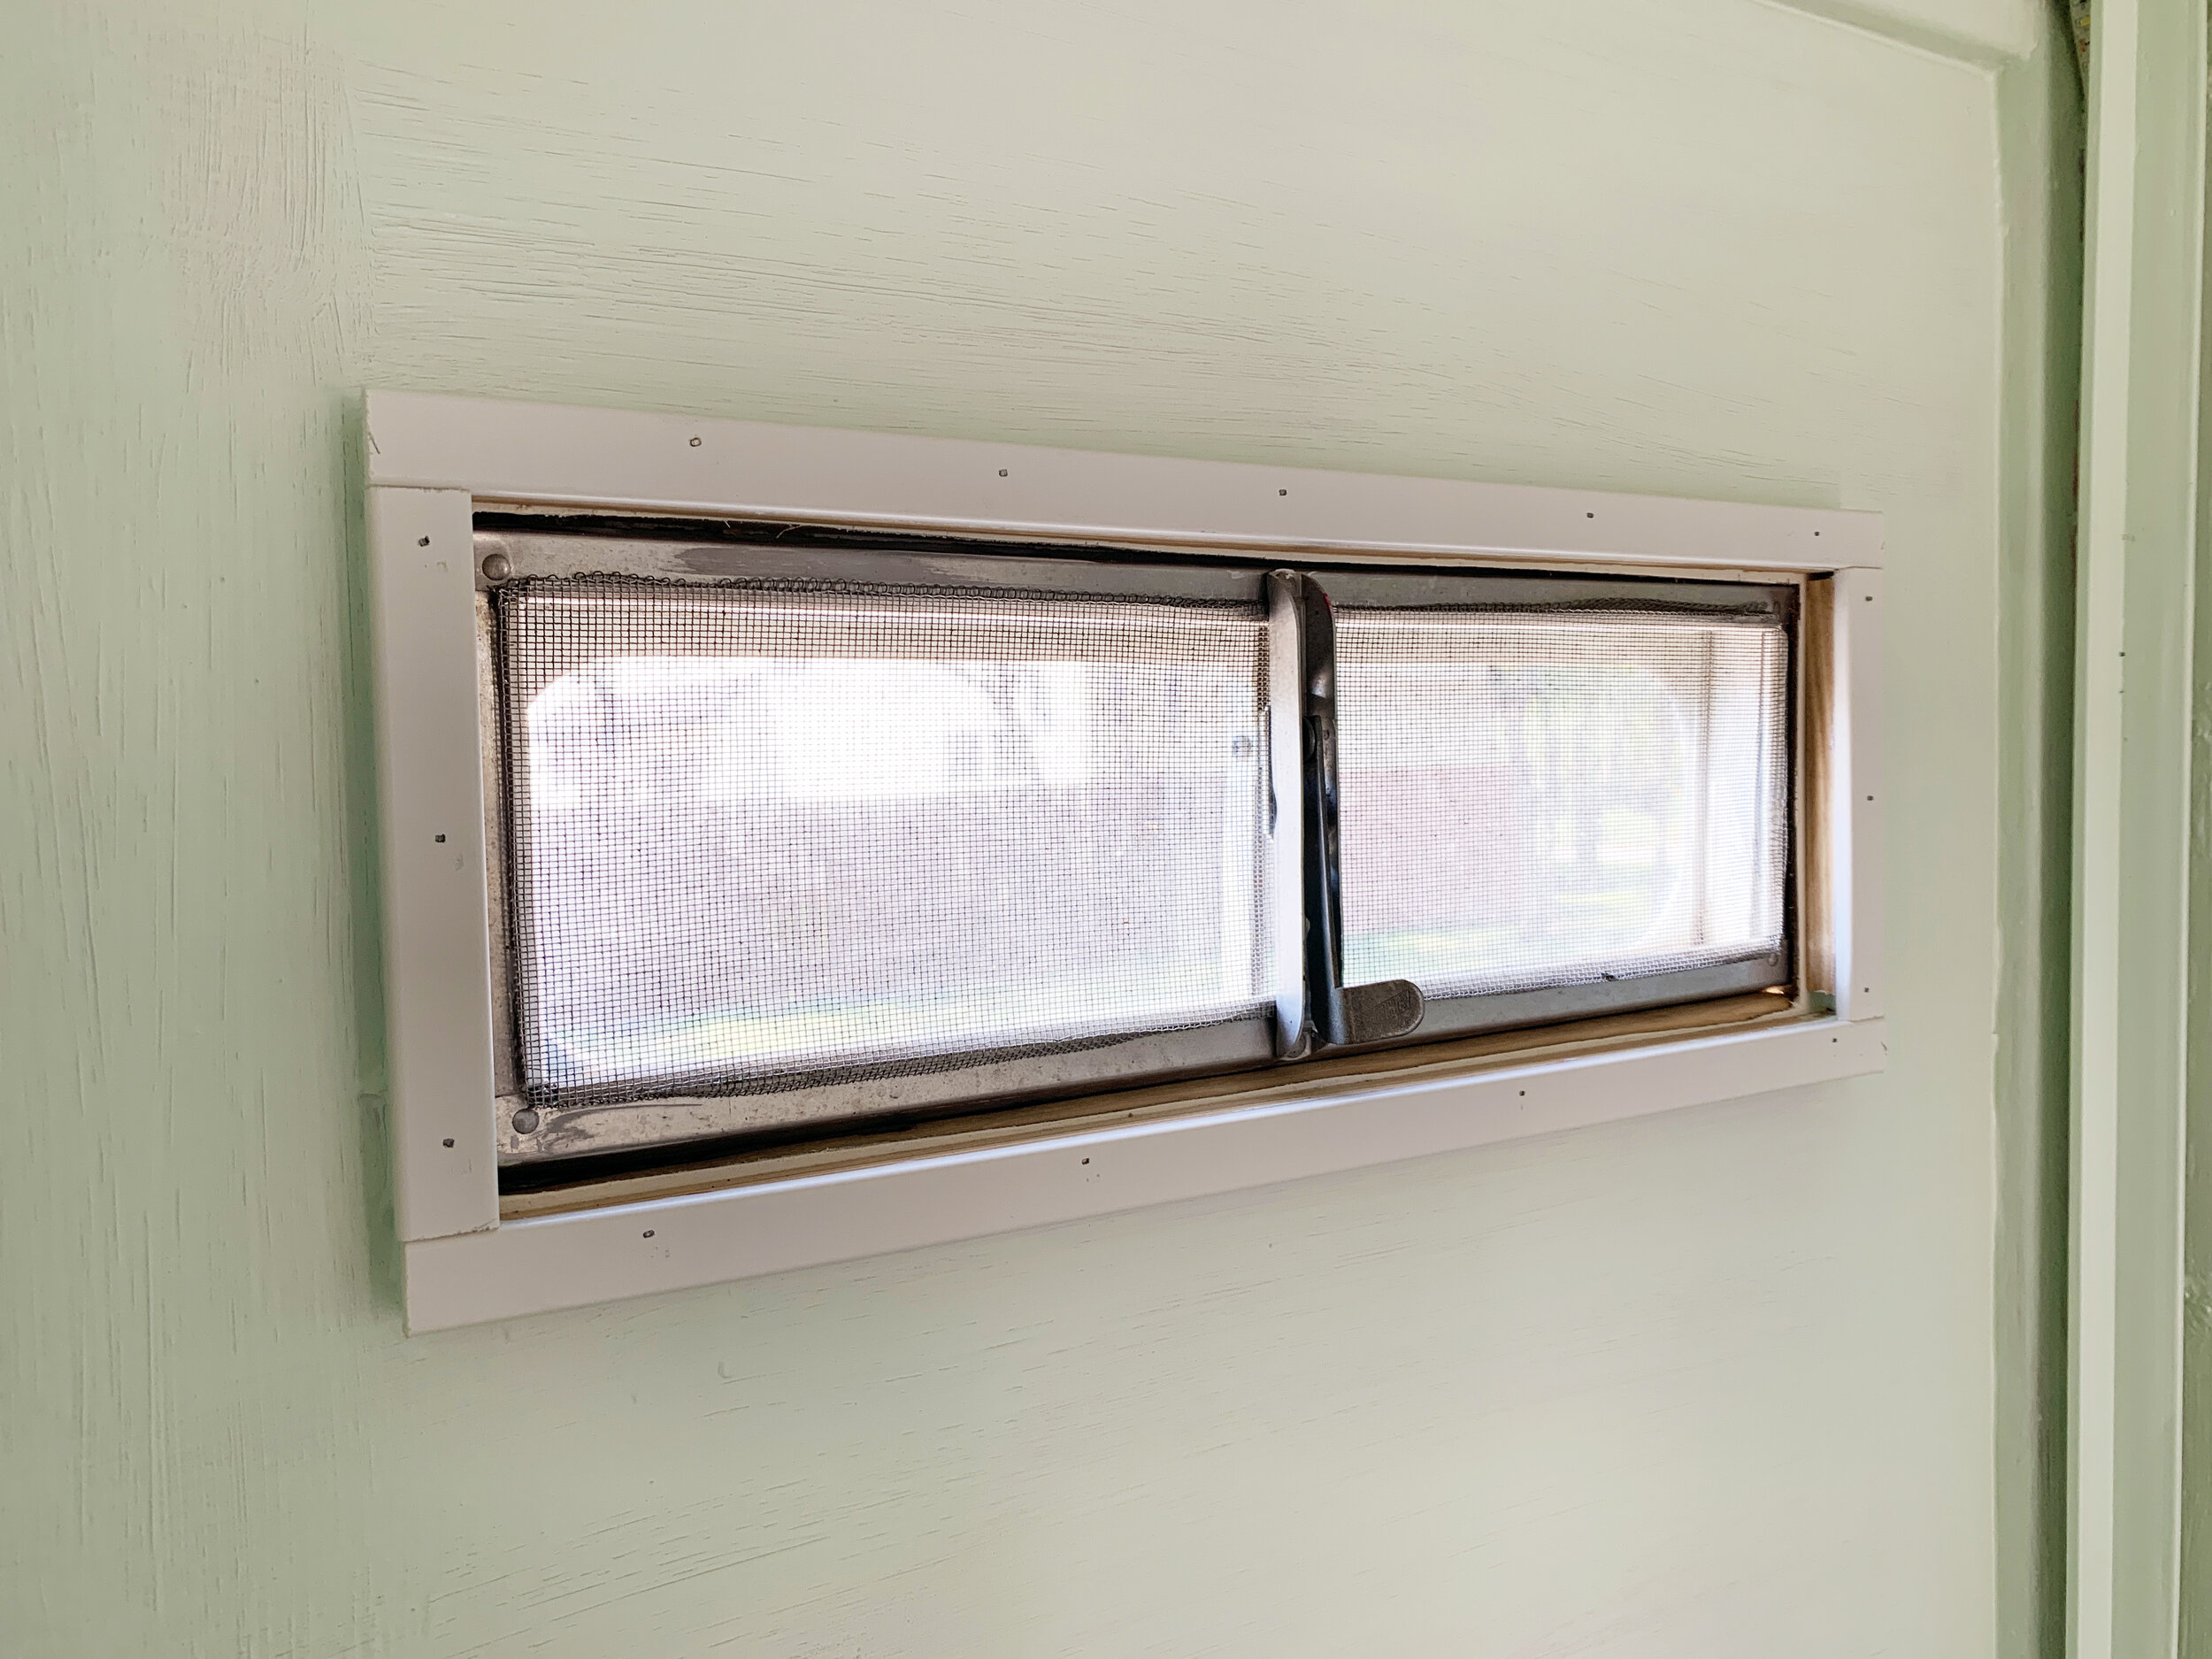
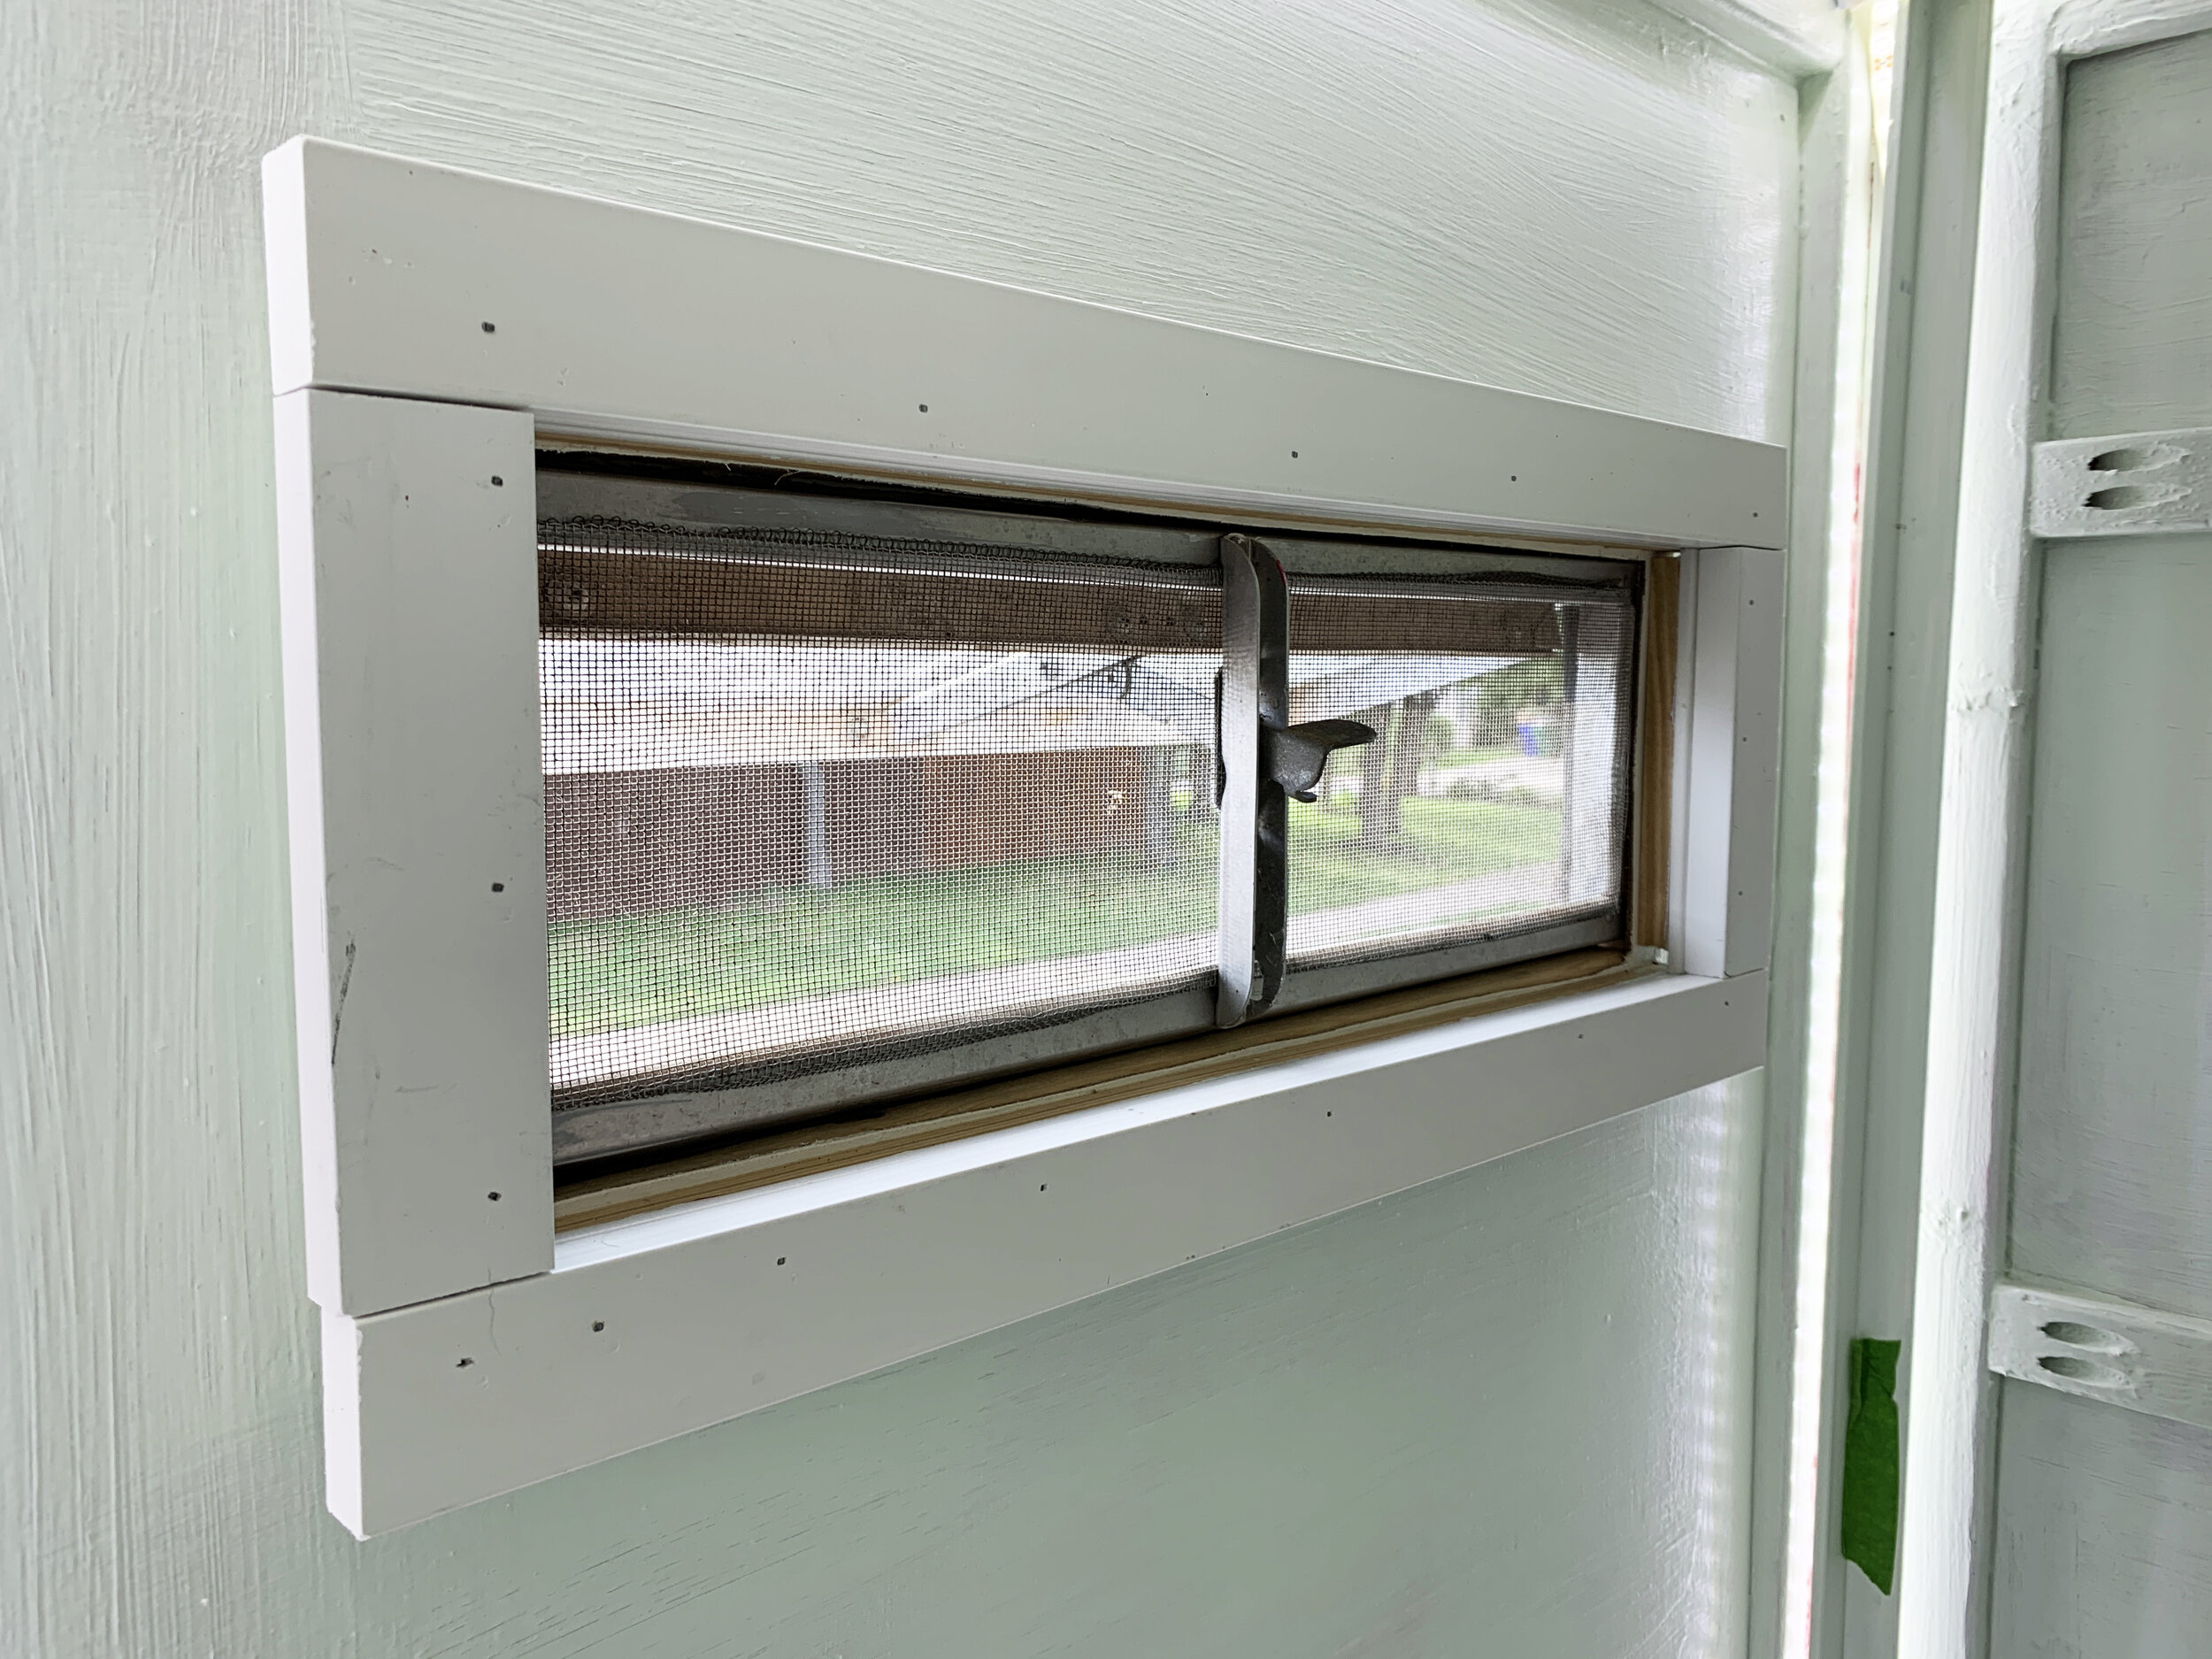
(1) 0.625-in x 1.5-in x 12-ft PVC Trim Board – to add support and thickness around the window; you may not need this based on your specific setup
Chop saw – all of these cuts are square cuts
Tape Measure
Pencil
Silicone – to be used as glue
Painters tape
Paint* + brushes – optional
Liquid waterproofing membrane – this step overlaps with and is covered in detail in this post
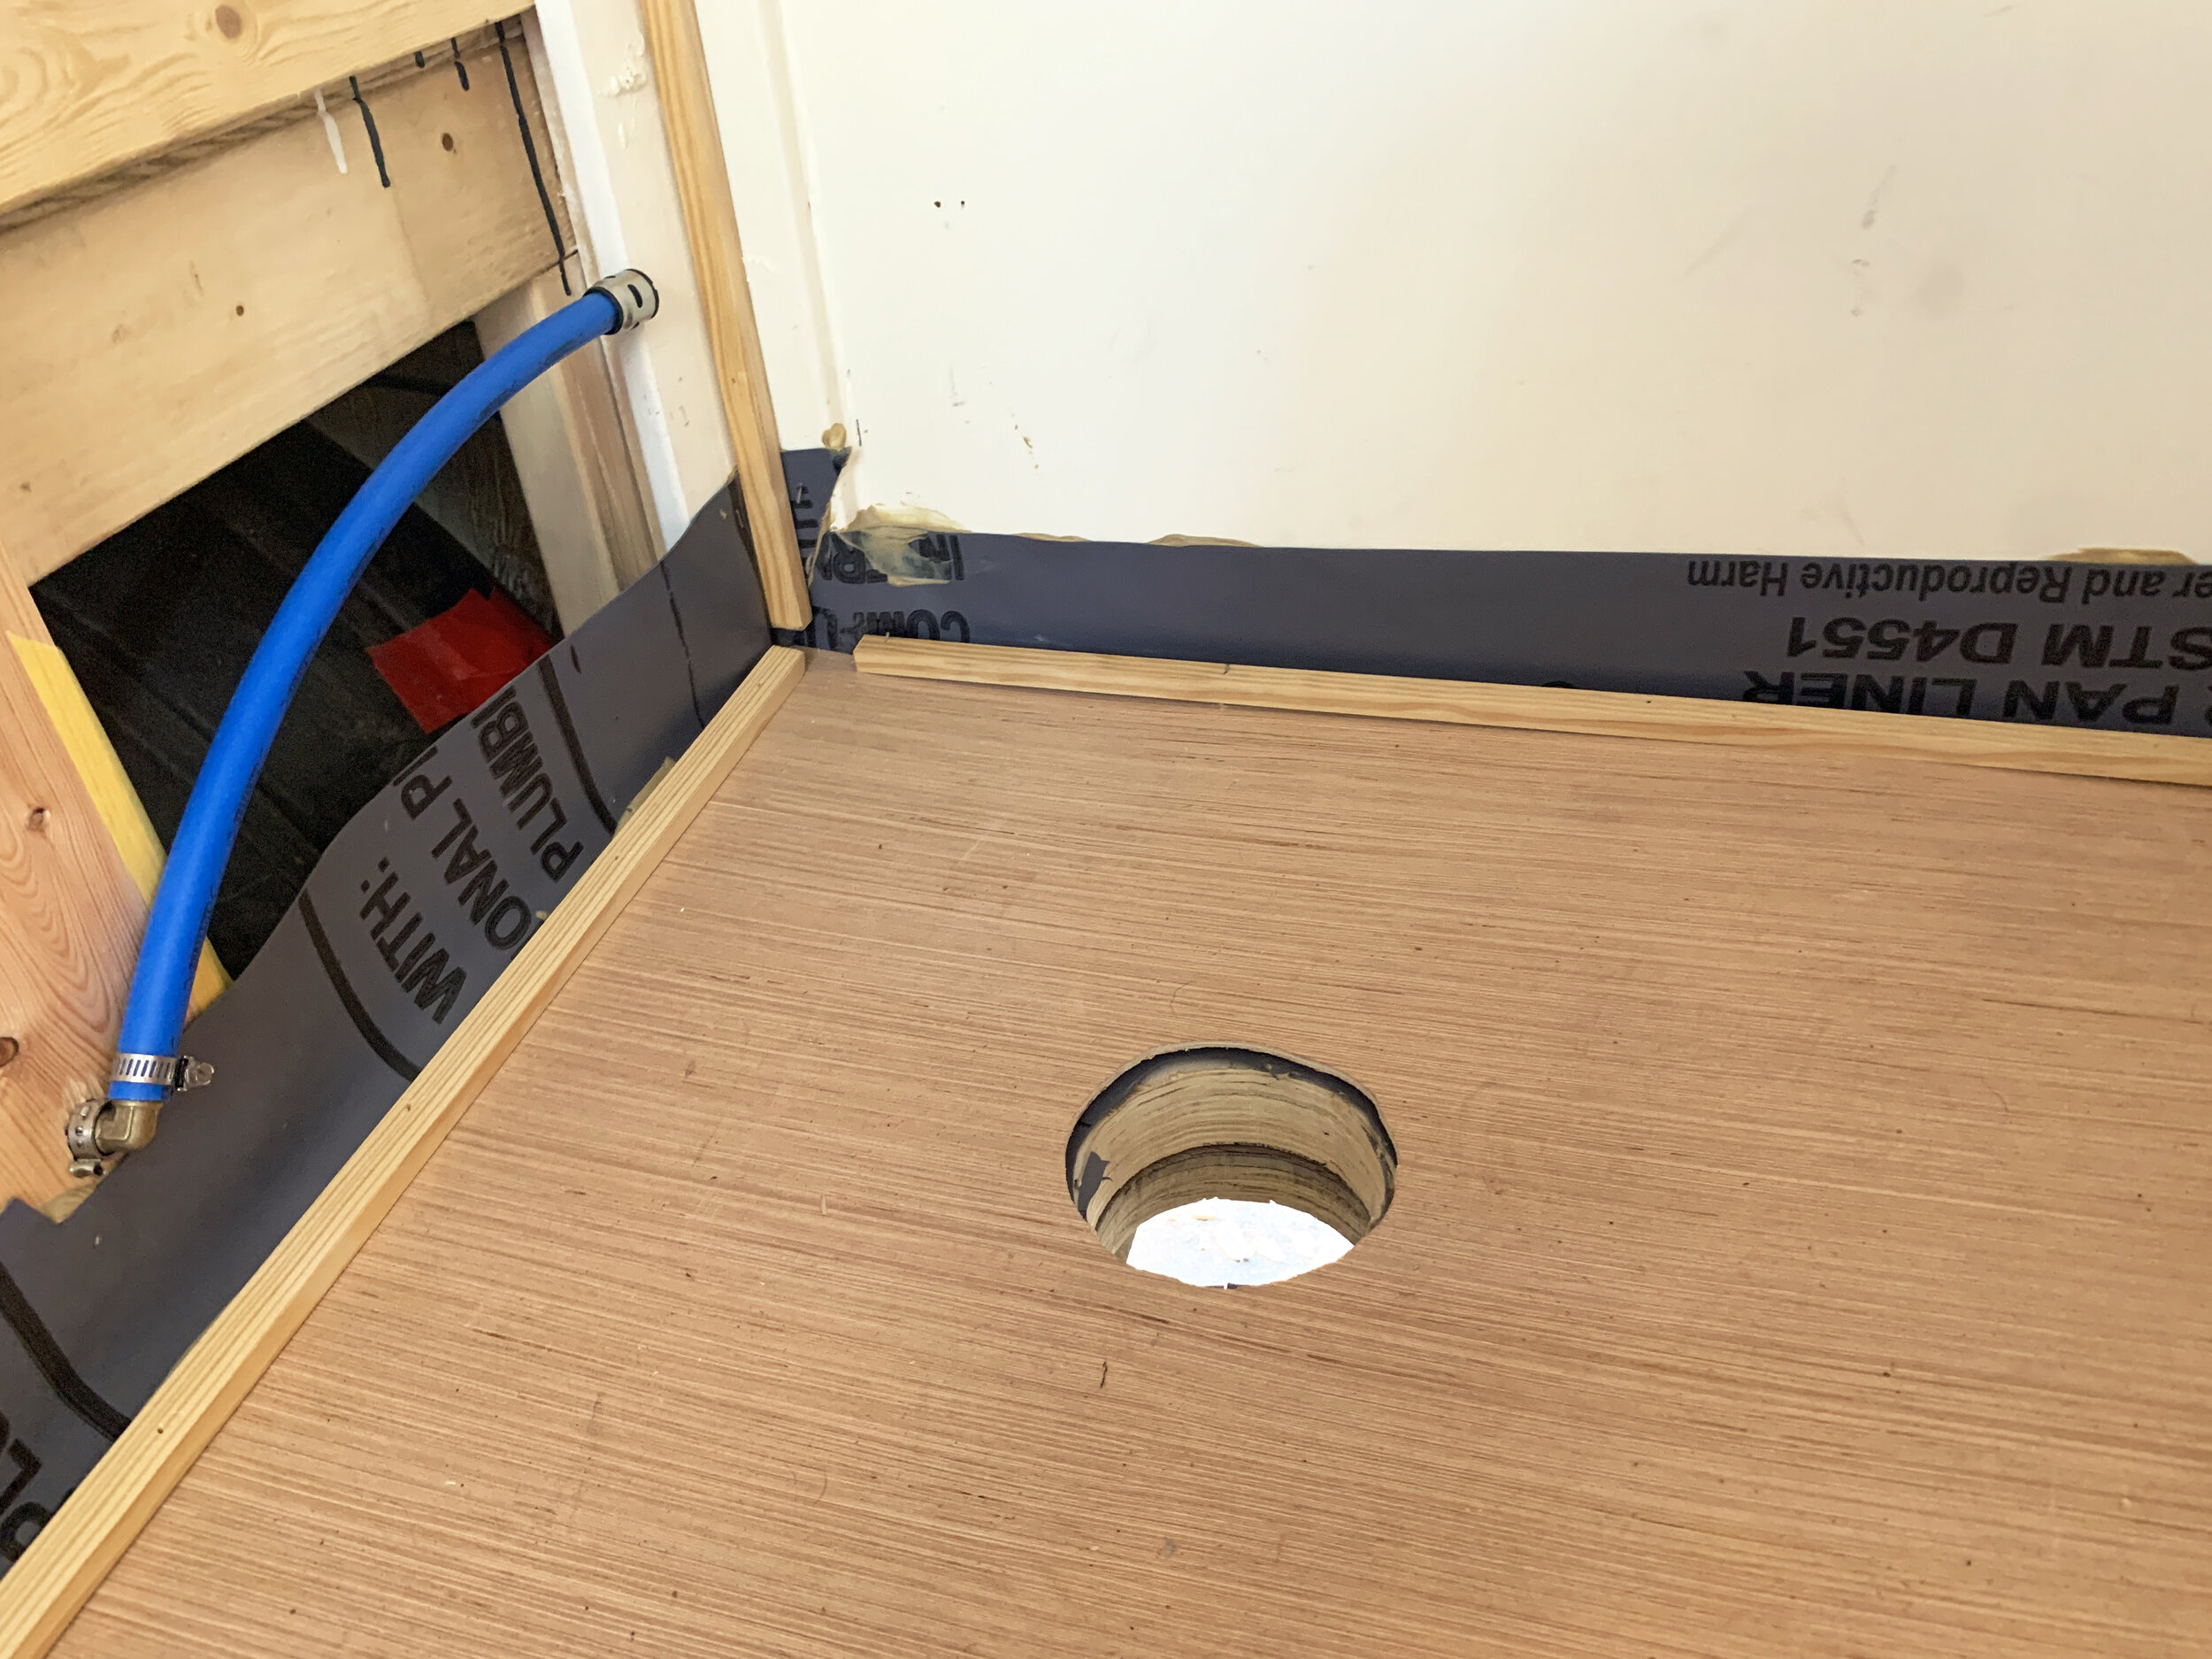
Here’s what our shower/wet bath looked like at the start of today’s project. (This goes between Steps 17 and 18 in this post.)

We had just finished the 1/4” plywood step of our custom shower base build, but hadn’t begun waterproofing with RedGard. We wanted to make sure that we waterproofed any and all wood in the shower that could be exposed to water with a liquid waterproofing membrane (like RedGard) to help protect against rot, so we installed our wooden channels after our floorpan was about down, and just before we waterproofed the entire wet bath interior.
Creating the lighting channel
Backlighting our walls, we needed there to be a hollow space in between the exterior shower walls and our to-be-installed interior acrylic walls for the lighting to go that didn’t have anything else in the way that would cast any shadows inside the walls, which is why we didn’t utilize the segmented spaces in the already-existing exterior wall framing.

Because we wanted the lights to appear more diffused/less bright around the perimeter of each wall and avoid the potential to see individual LED lights on the lighted strip, we chose to install the strips so the lights are facing into the center of the wall, and not facing forward toward the shower space. (That means it’s important that the wood “bumper” trim that sets the depth of the lighting channel is wider than the widest (adhesive) side of the light strips.)
We intentionally cut the wooden bumper pieces shorter than the actual wall lengths to leave small gap in each corner for the lighting connectors.
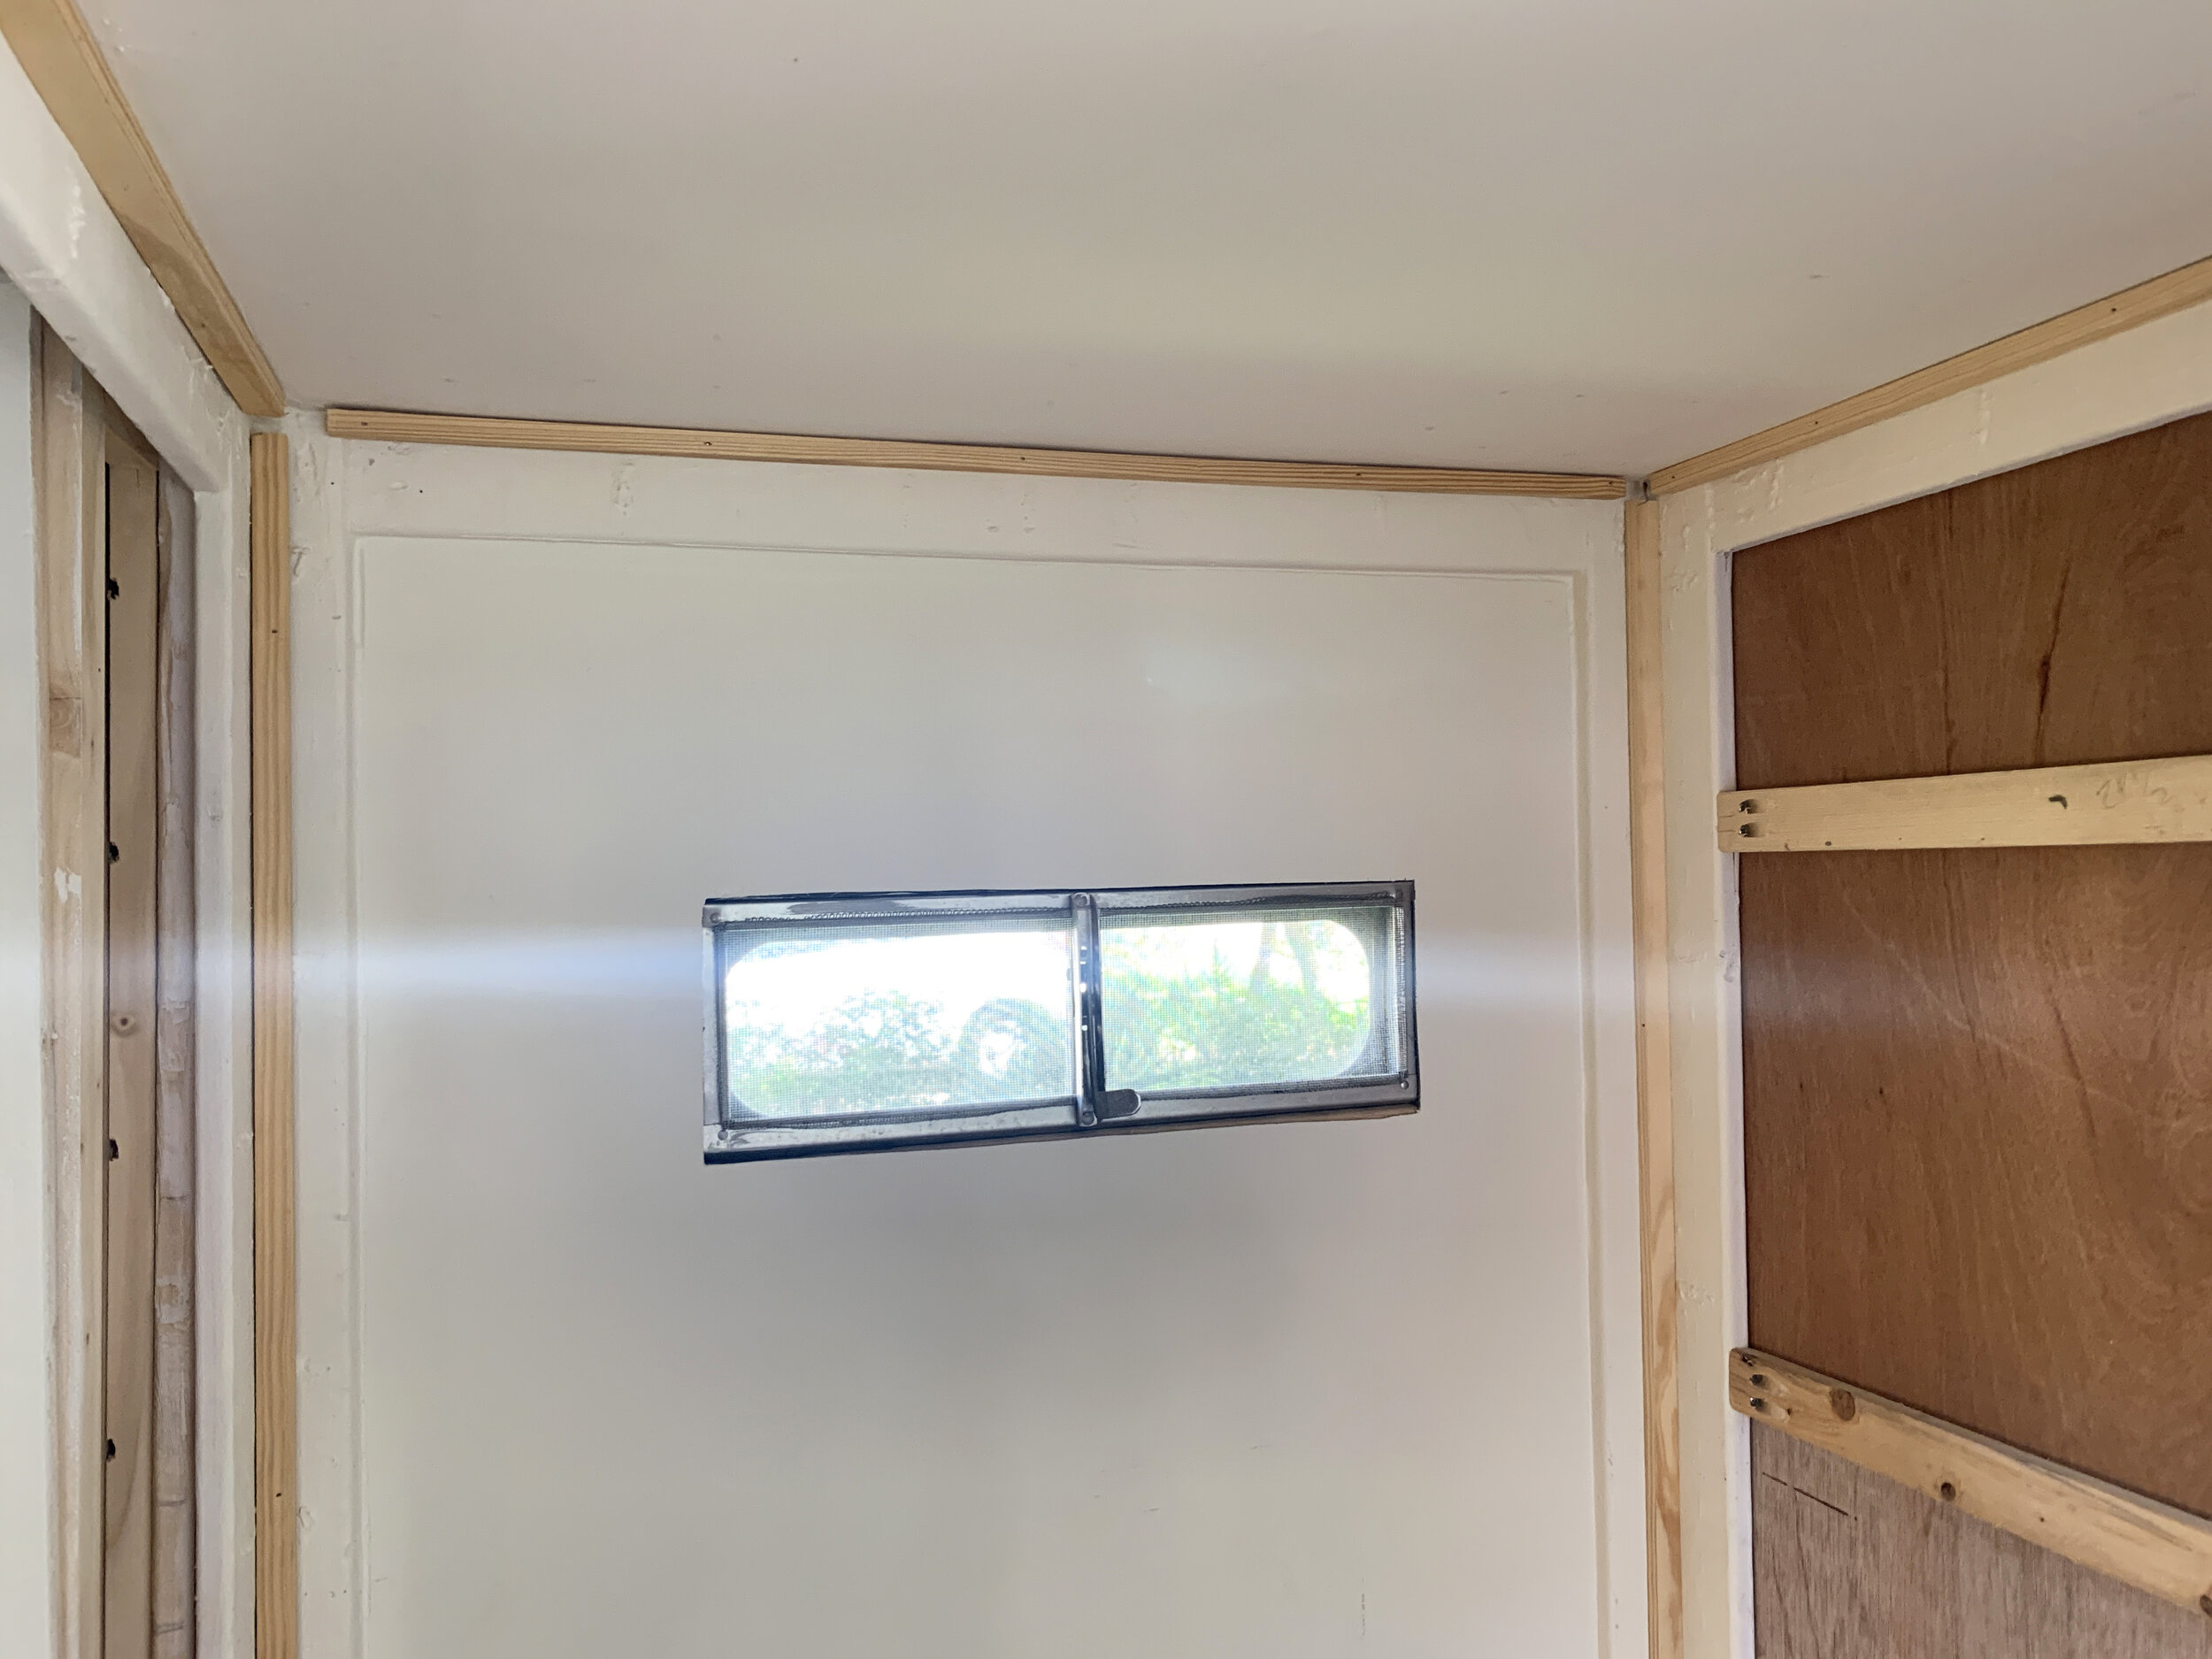
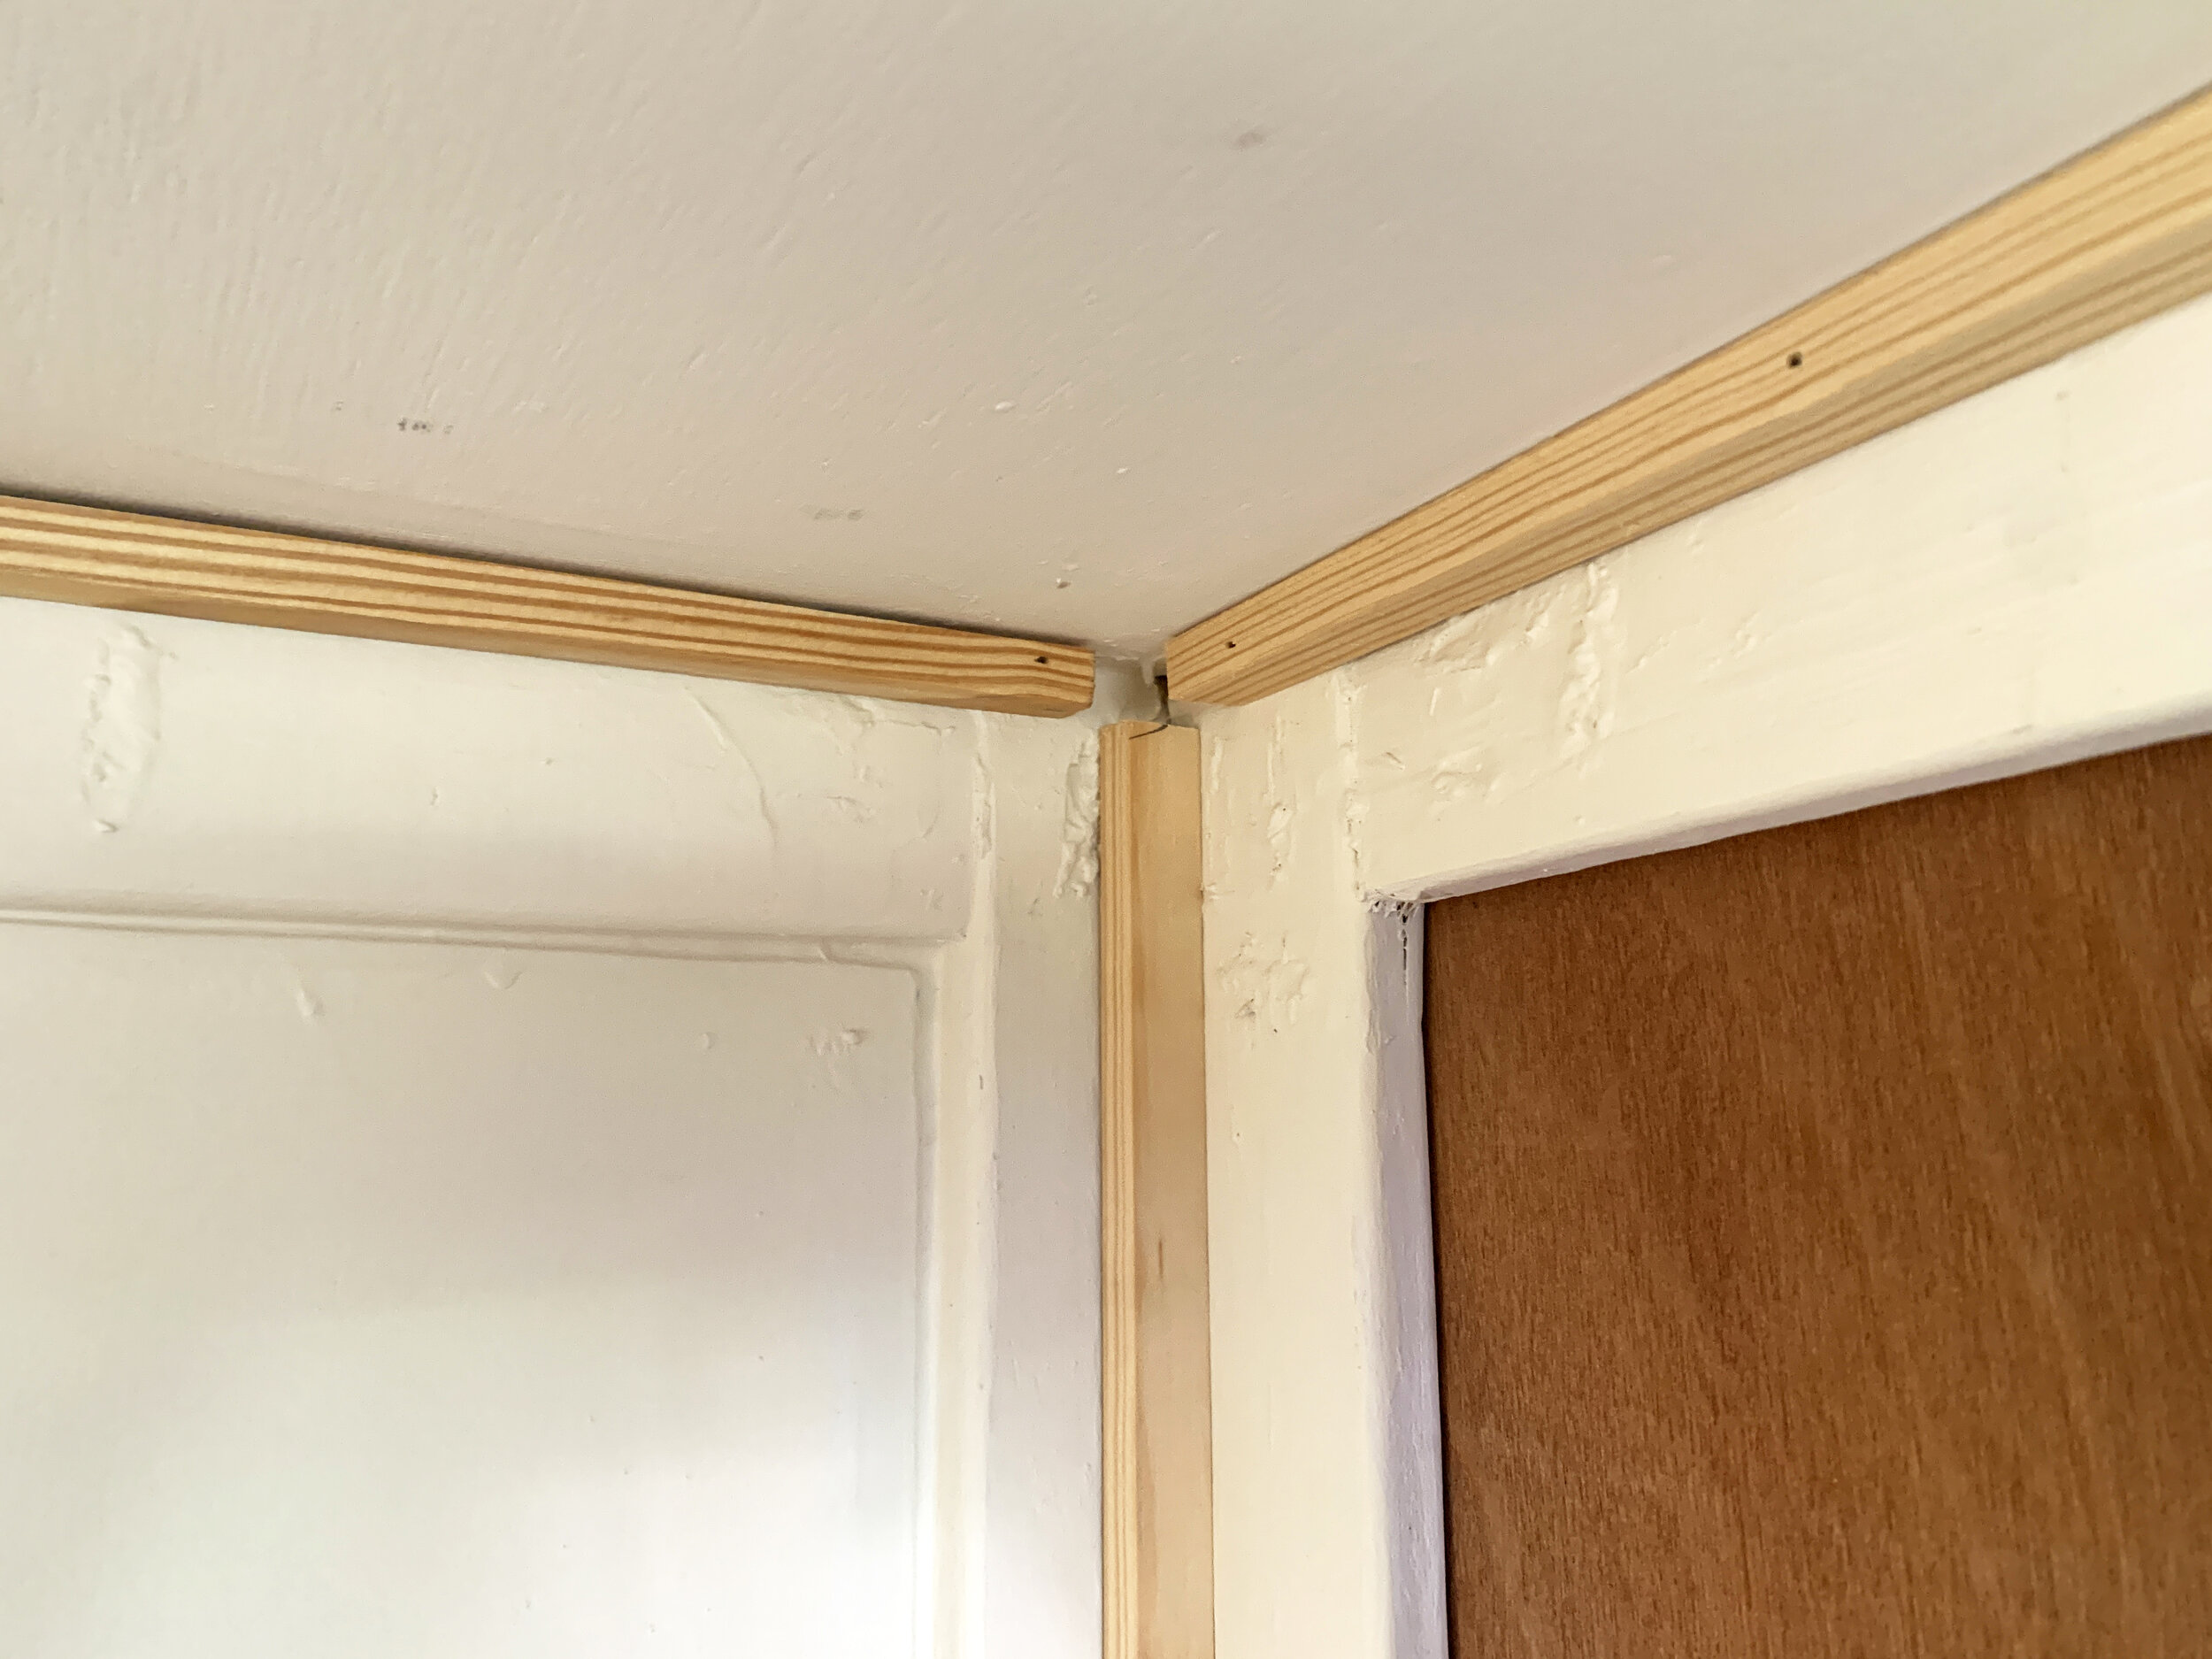
The pieces installed quickly with our nail gun. Specifically, we installed bumper trim around the entire ceiling (all four sides) shallow-side down to allow for the most head room, vertically in each corner and horizontally along the floor of the three panel walls (the one on the left, the window wall in the center and one on the right), and around the doorway. It’s at this point that we should’ve also installed the same bumper trim around the window to build out the same thickness to provide the acrylic support around the window – we added it later.
Note
Since the square-ish wood trim we used isn’t really square, we had to be careful to install the pieces so that the thickness of each piece we installed was the same across the wall. For example, we chose to turn the wood bumper trim so that the right and left side wall lighting channels were a little deeper since we had more room width-wise, which meant the thinner side of the wood bumper trim made the window and door lighting channels slightly shallower.
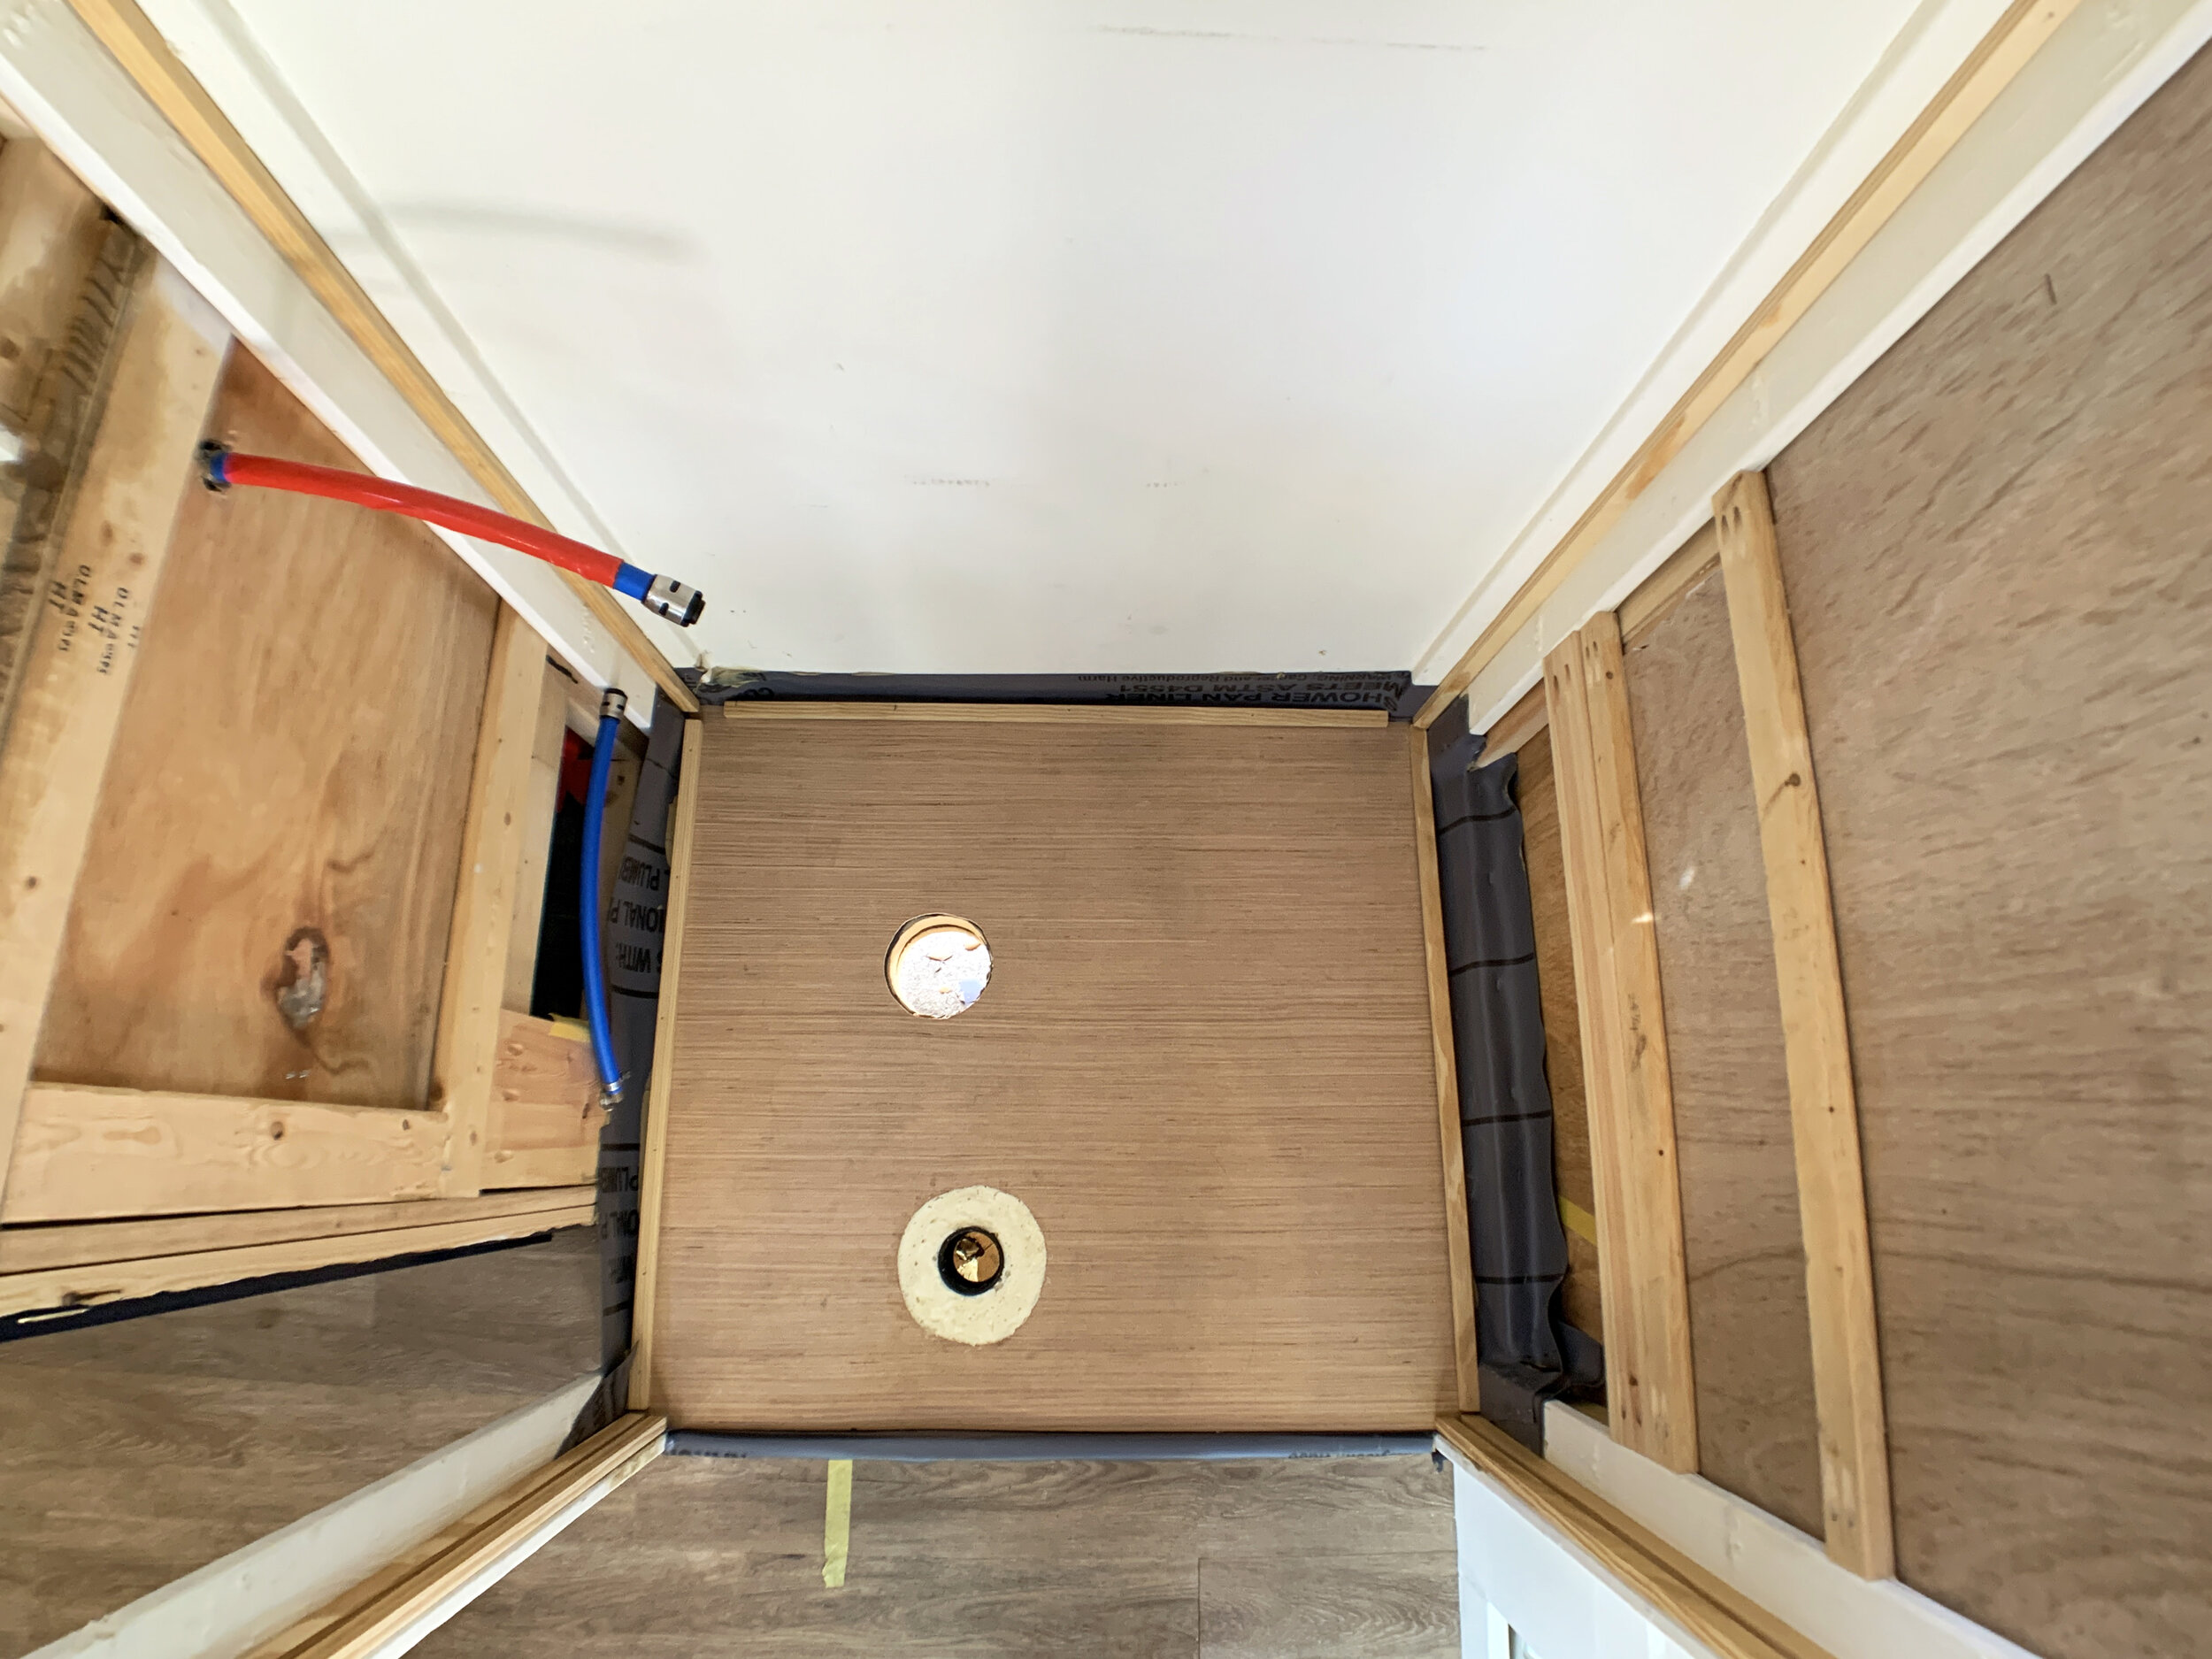
With (almost) all of the wooden bumpers in place (only missing the bumpers around the window), it looked like this:

At this point, we RedGarded the entire interior to protect the wooden channel bumpers (and all other wood in the shower surround) from moisture.

Installing the acrylic wall panel supports
Note
Though it probably would’ve been easier to install the lights before doing this step, we didn’t want the nails used to secure the angle trim to accidentally hit any electrical. Overall, they went in great, though we did have a couple nails that went in a little squiffy, so we’d recommend doing this step prior to the electrical work!
Balancing the angle trim on the outside corner of the bumper trim and pressing it flat to the ceiling bumpers, we used our nail gun to secure the pieces together, shooting the nail diagonally through the inner corner of the PVC trim. In the cases where the nail head didn’t sink into the trim all the way, we followed with a makeshift punch – AKA needle nose pliers and a hammer – to tap them in so the nail heads didn’t keep our acrylic panels from making good contact with the PVC trim later.
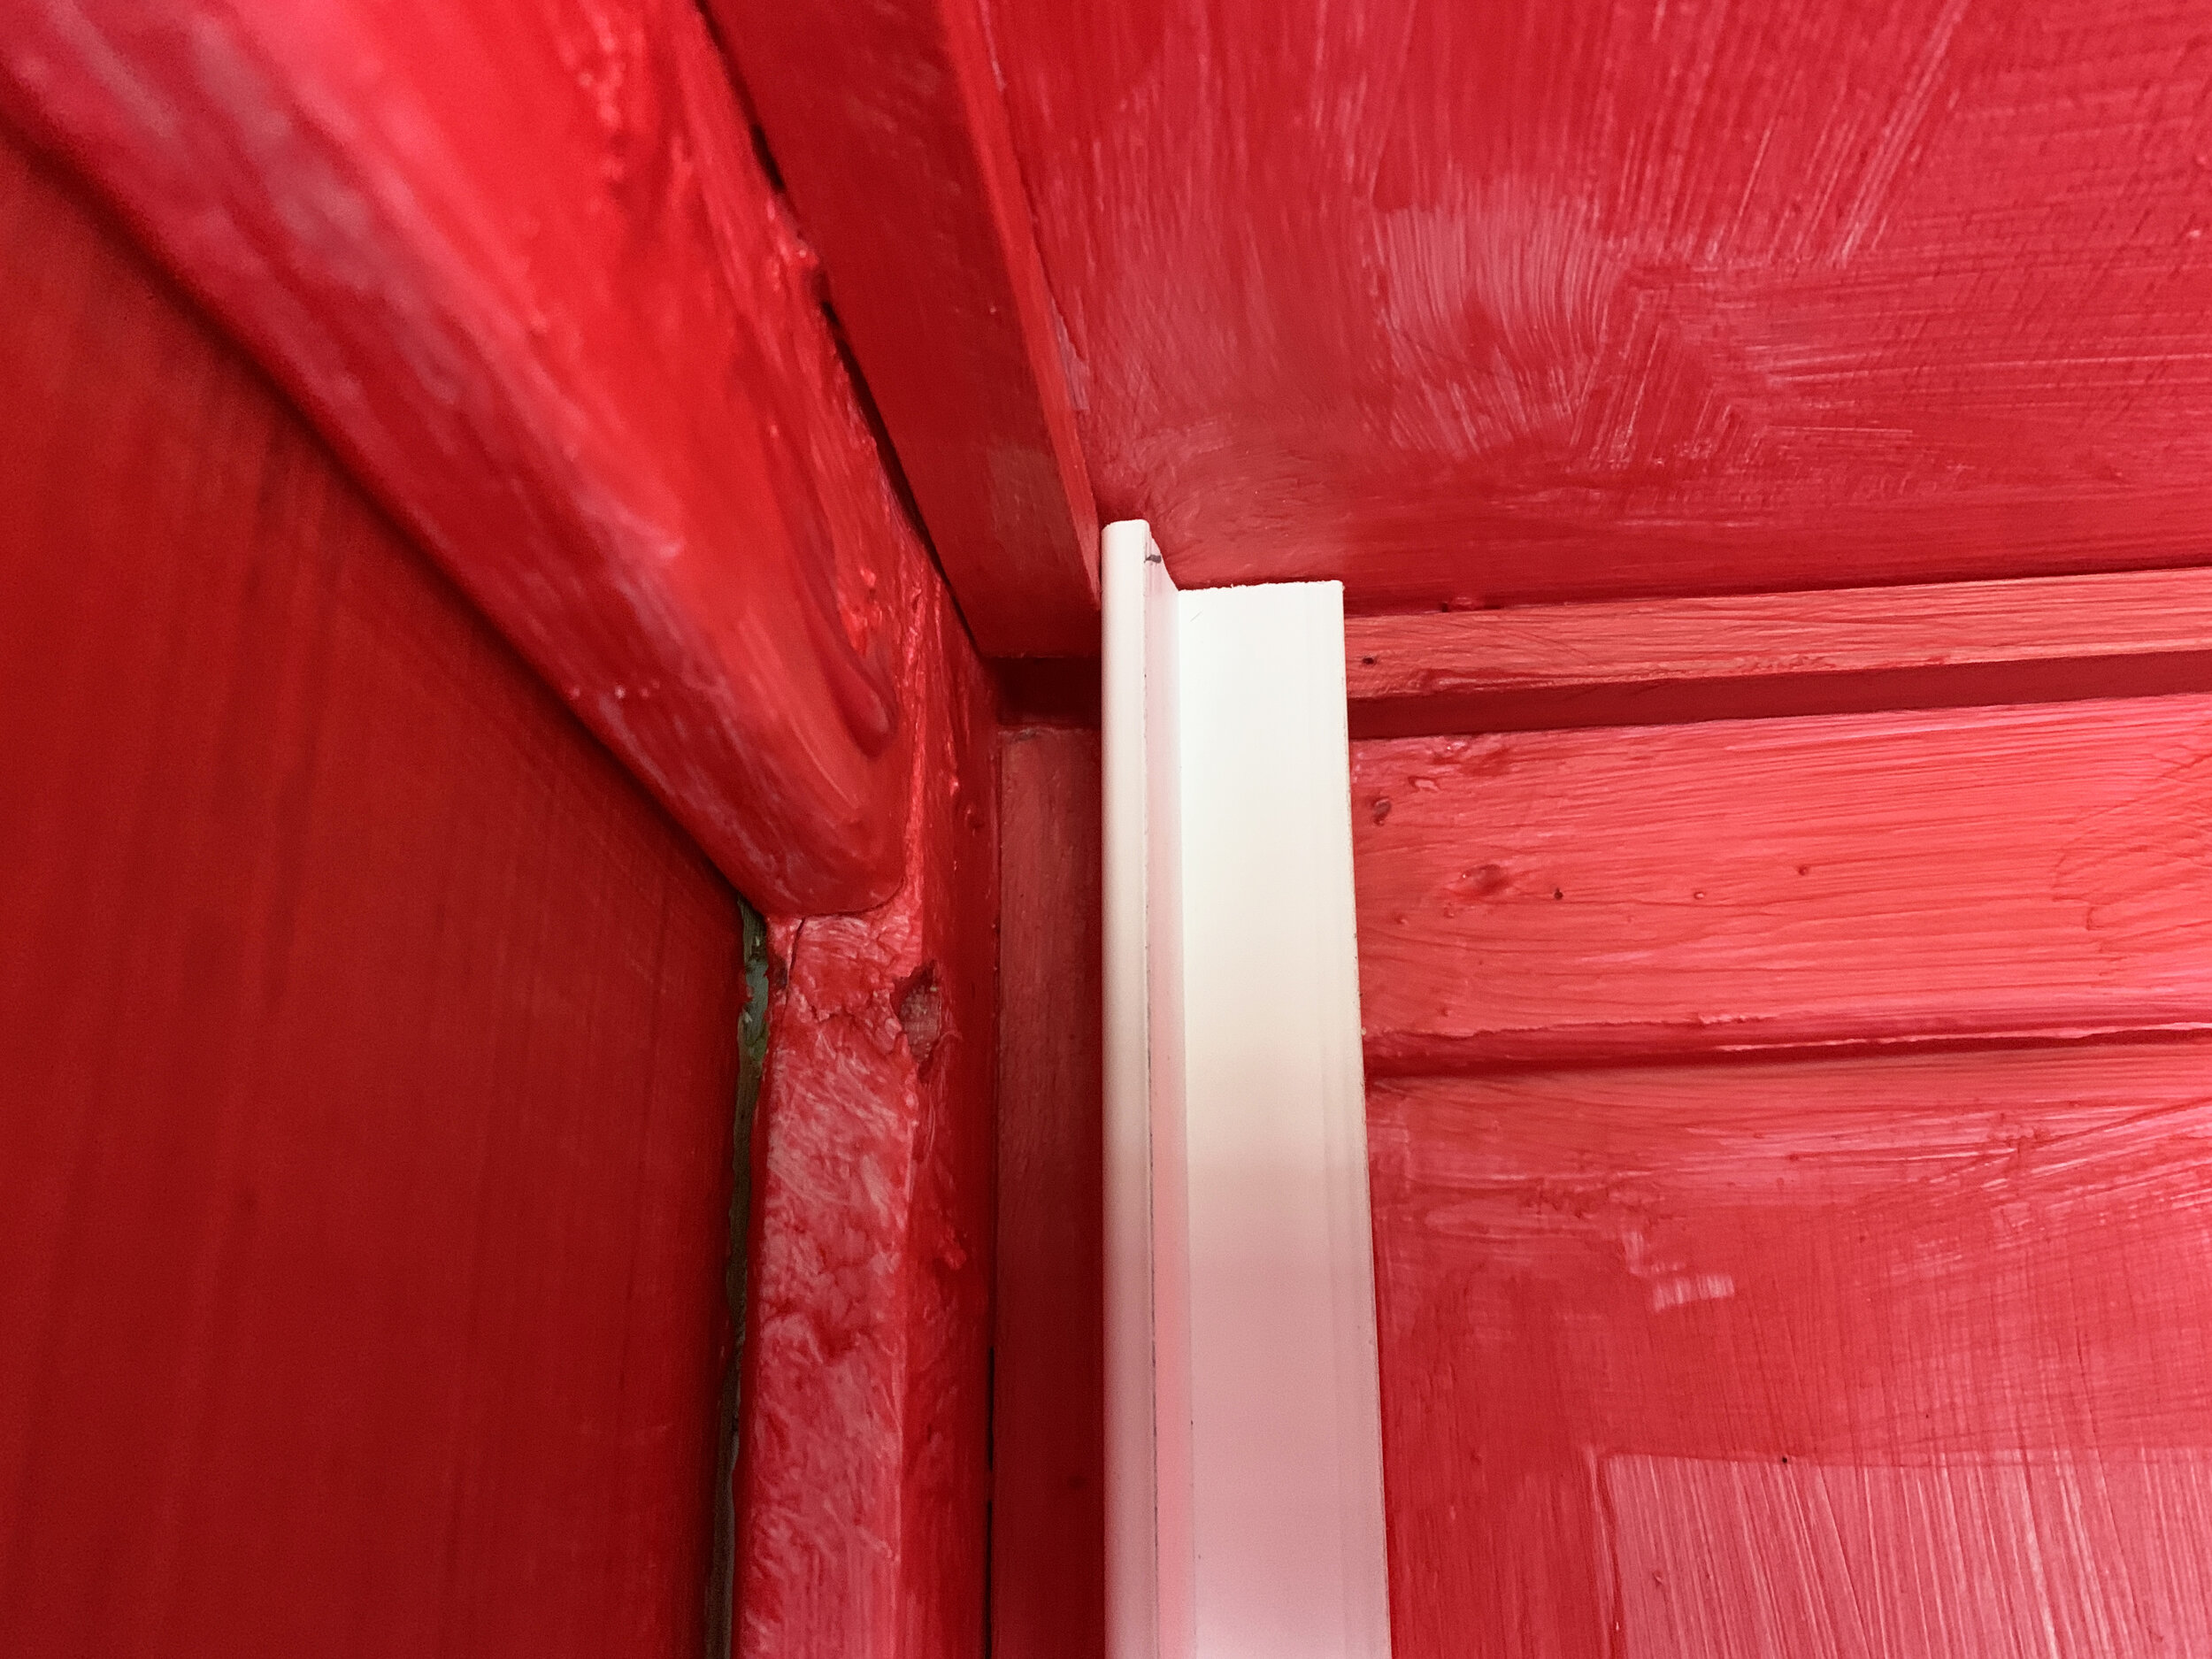
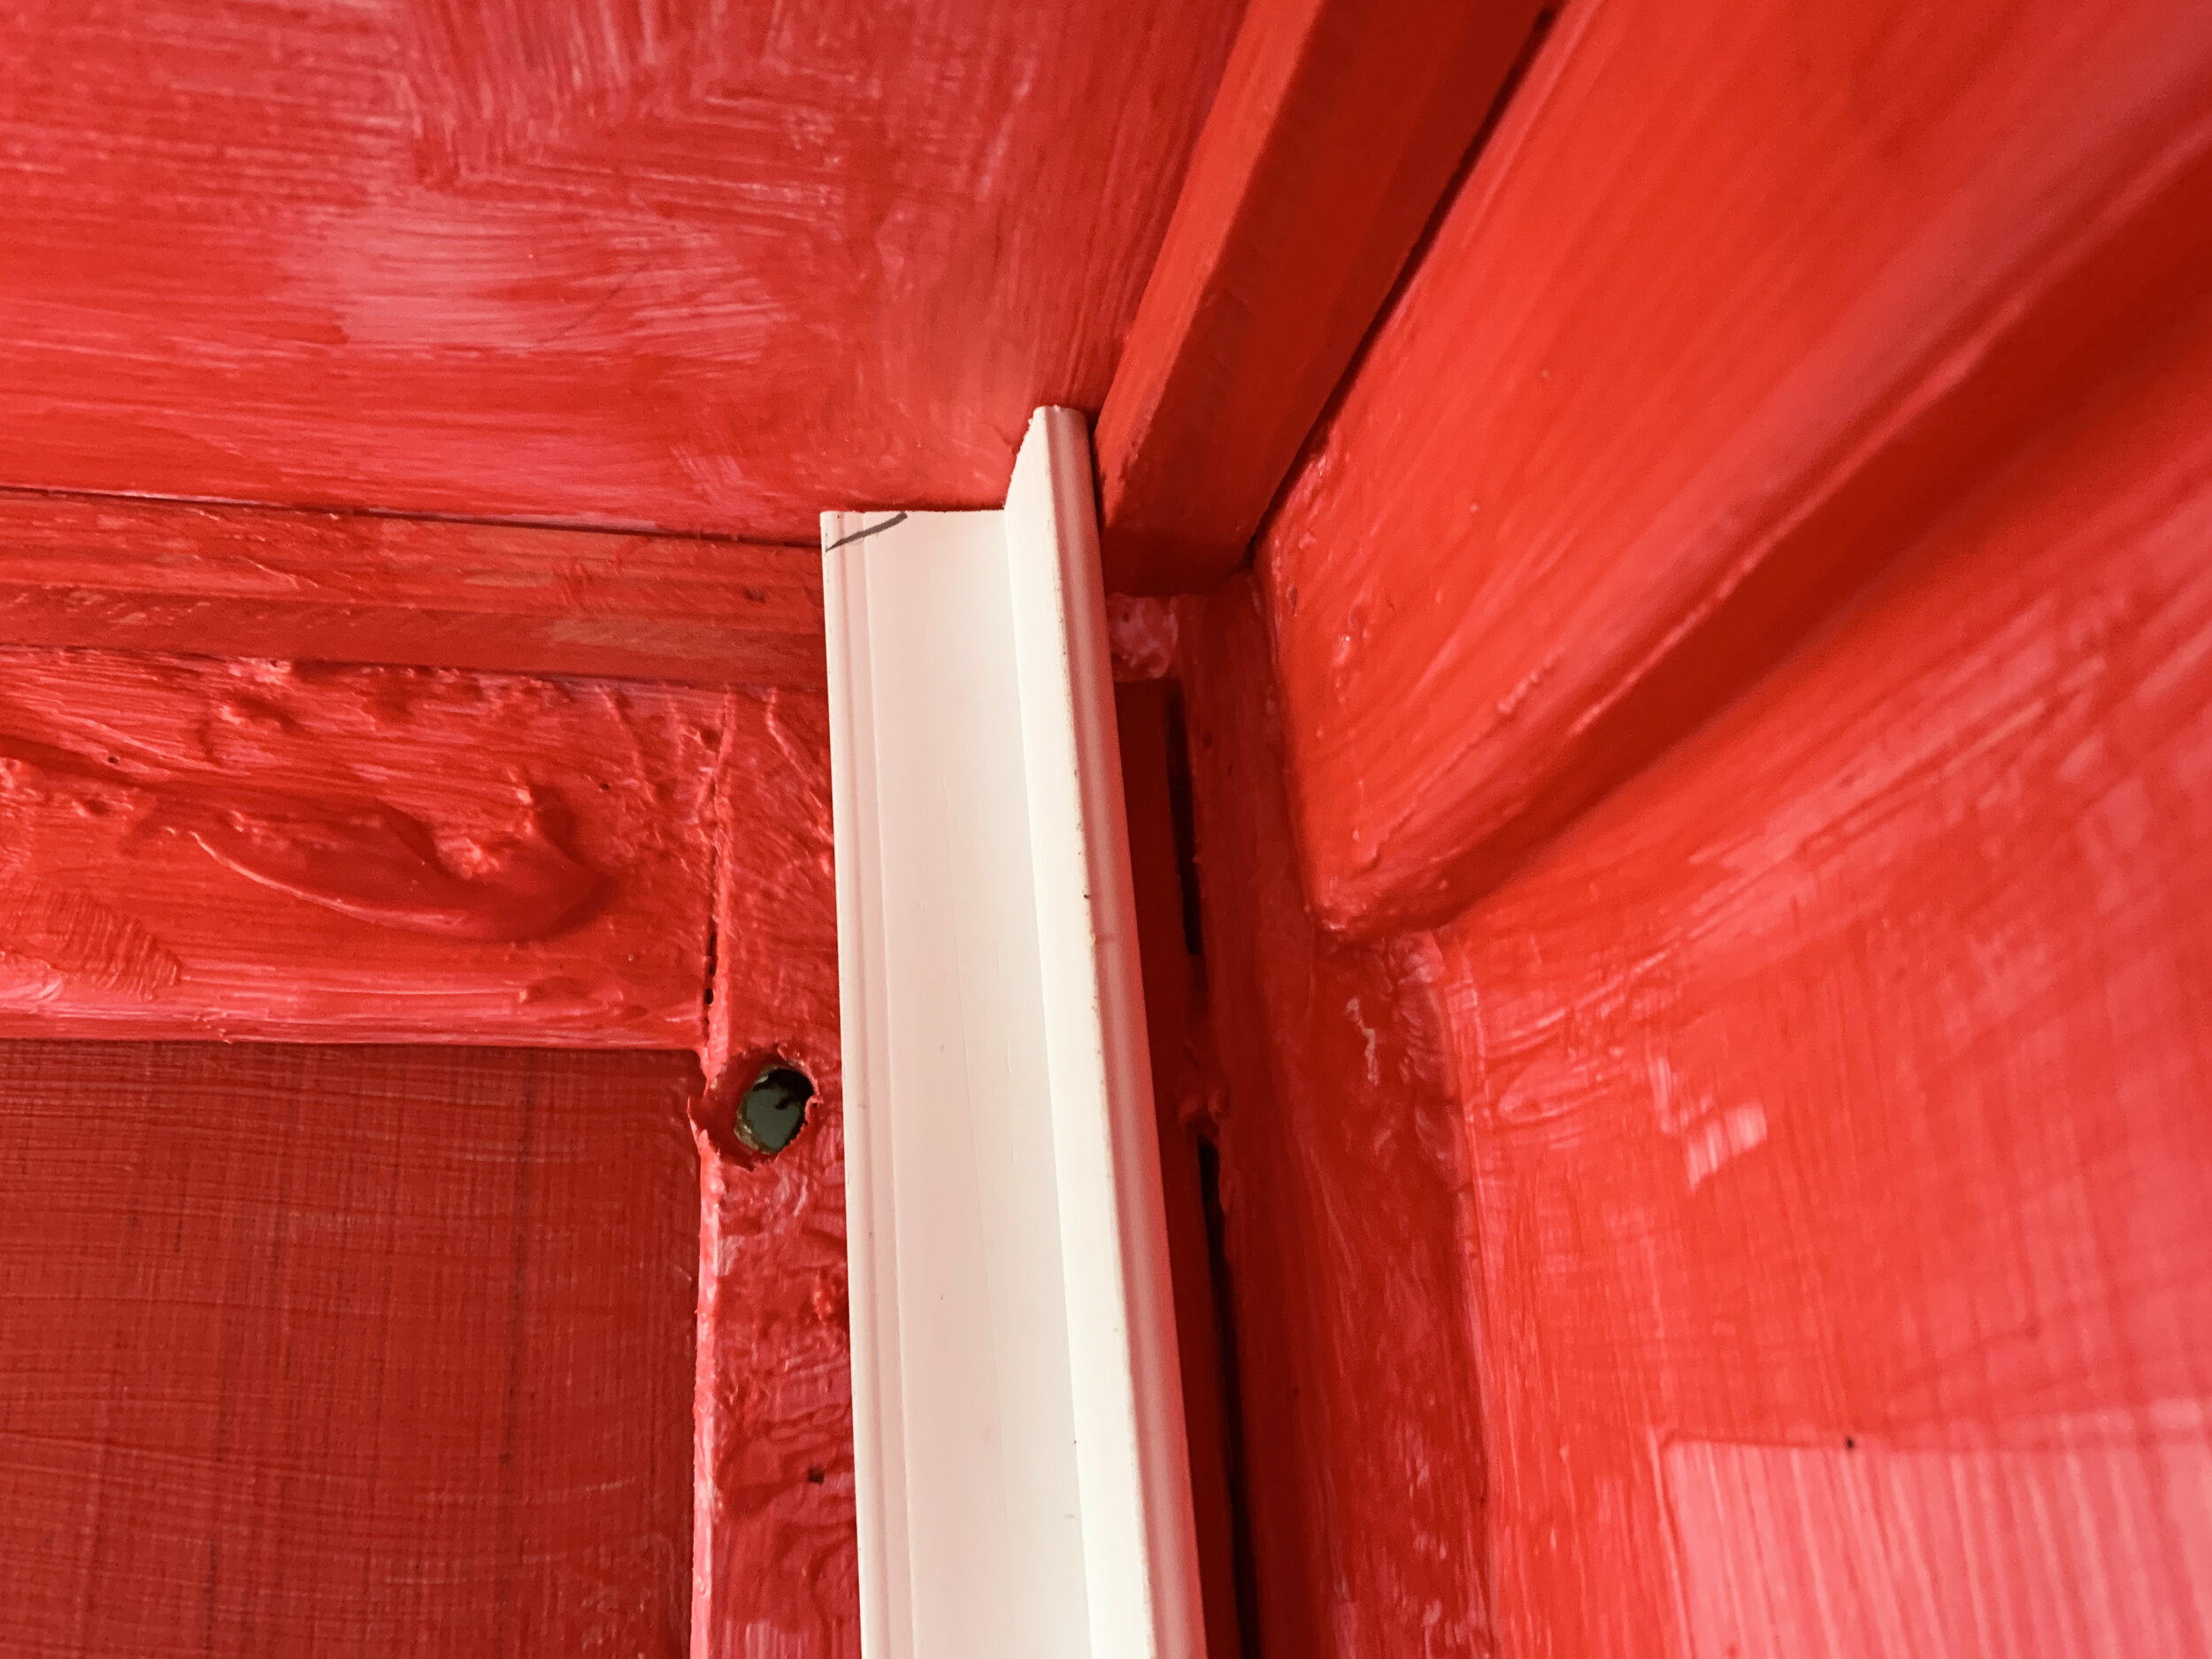
Here, you want to keep the angle trim square to the shower walls, so that the newly-created channels stay the same size in each corner and the inner faces of the PVC trim on each wall are even with each other. If the angled trim goes in at an angle, this will mean you won’t get good contact when mounting your panel and may have a squiffy, bendy wall, which not only probably wouldn’t look the best, but might increase chances for acrylic breakage on install.
First, we installed our four vertical corner pieces, then the horizontal pieces along the ceiling, and lastly the pieces along the floor.


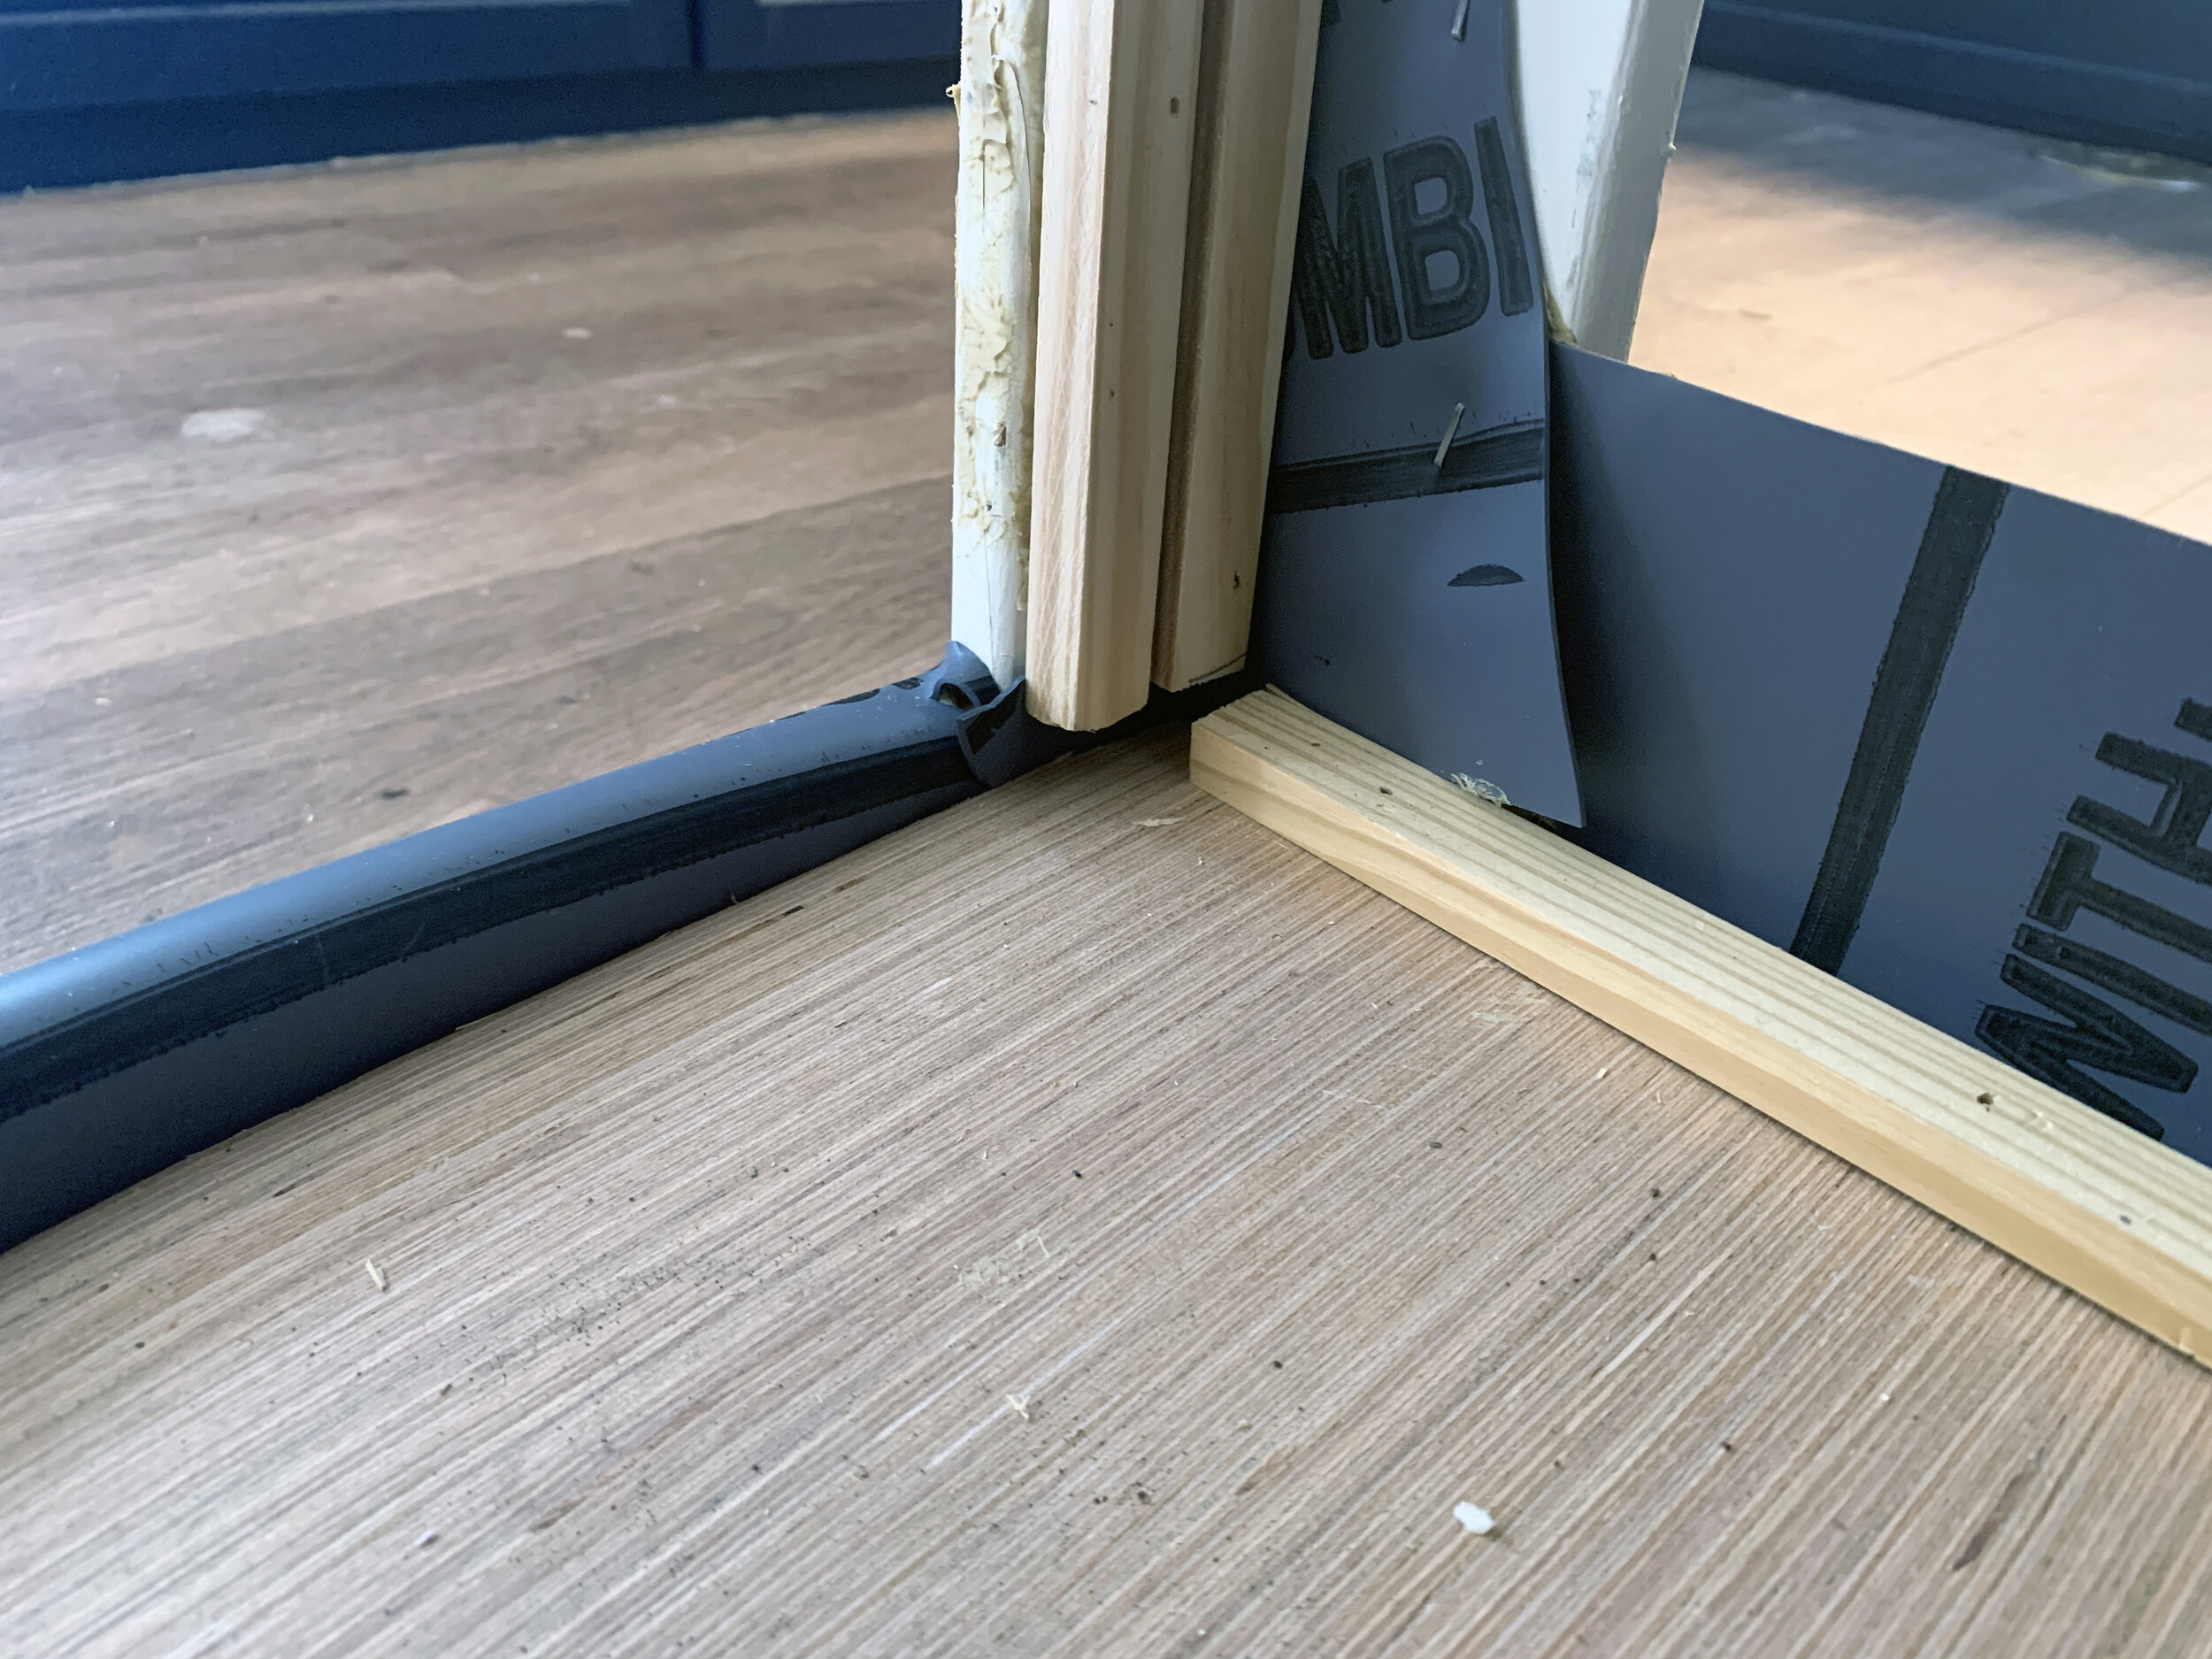
Unfortunately I don’t have great photos of the floor trim at this step so I’ve included photos from later int he process after we’d tiled the floor, but because we weren’t adding acrylic to the floor and didn’t want the angled trim to peek out from underneath the walls along the floor perimeter, we rotated the trim so that one side of the trim rested on the floor, and the outside edge of the other side of the trim faced the interior of the shower. This means along the floor, the lights sit inside/on top of the interior of the angled trim and the acrylic will be glued to the outside of the pieces of floor trim, versus how it glues to the inside of the vertical and ceiling trim pieces.

Unlike the wooden bumper trim where we intentionally left gaps, it is important that we cut the angled PVC trim to length to create tight seams, minimizing light showing through the cracks. You can see in the photo below the tiny crack of light happening toward top of the acrylic sample where the ceiling and left angle trim pieces meet.
We later filled our little cracks with white paintable latex caulk to help block the light.

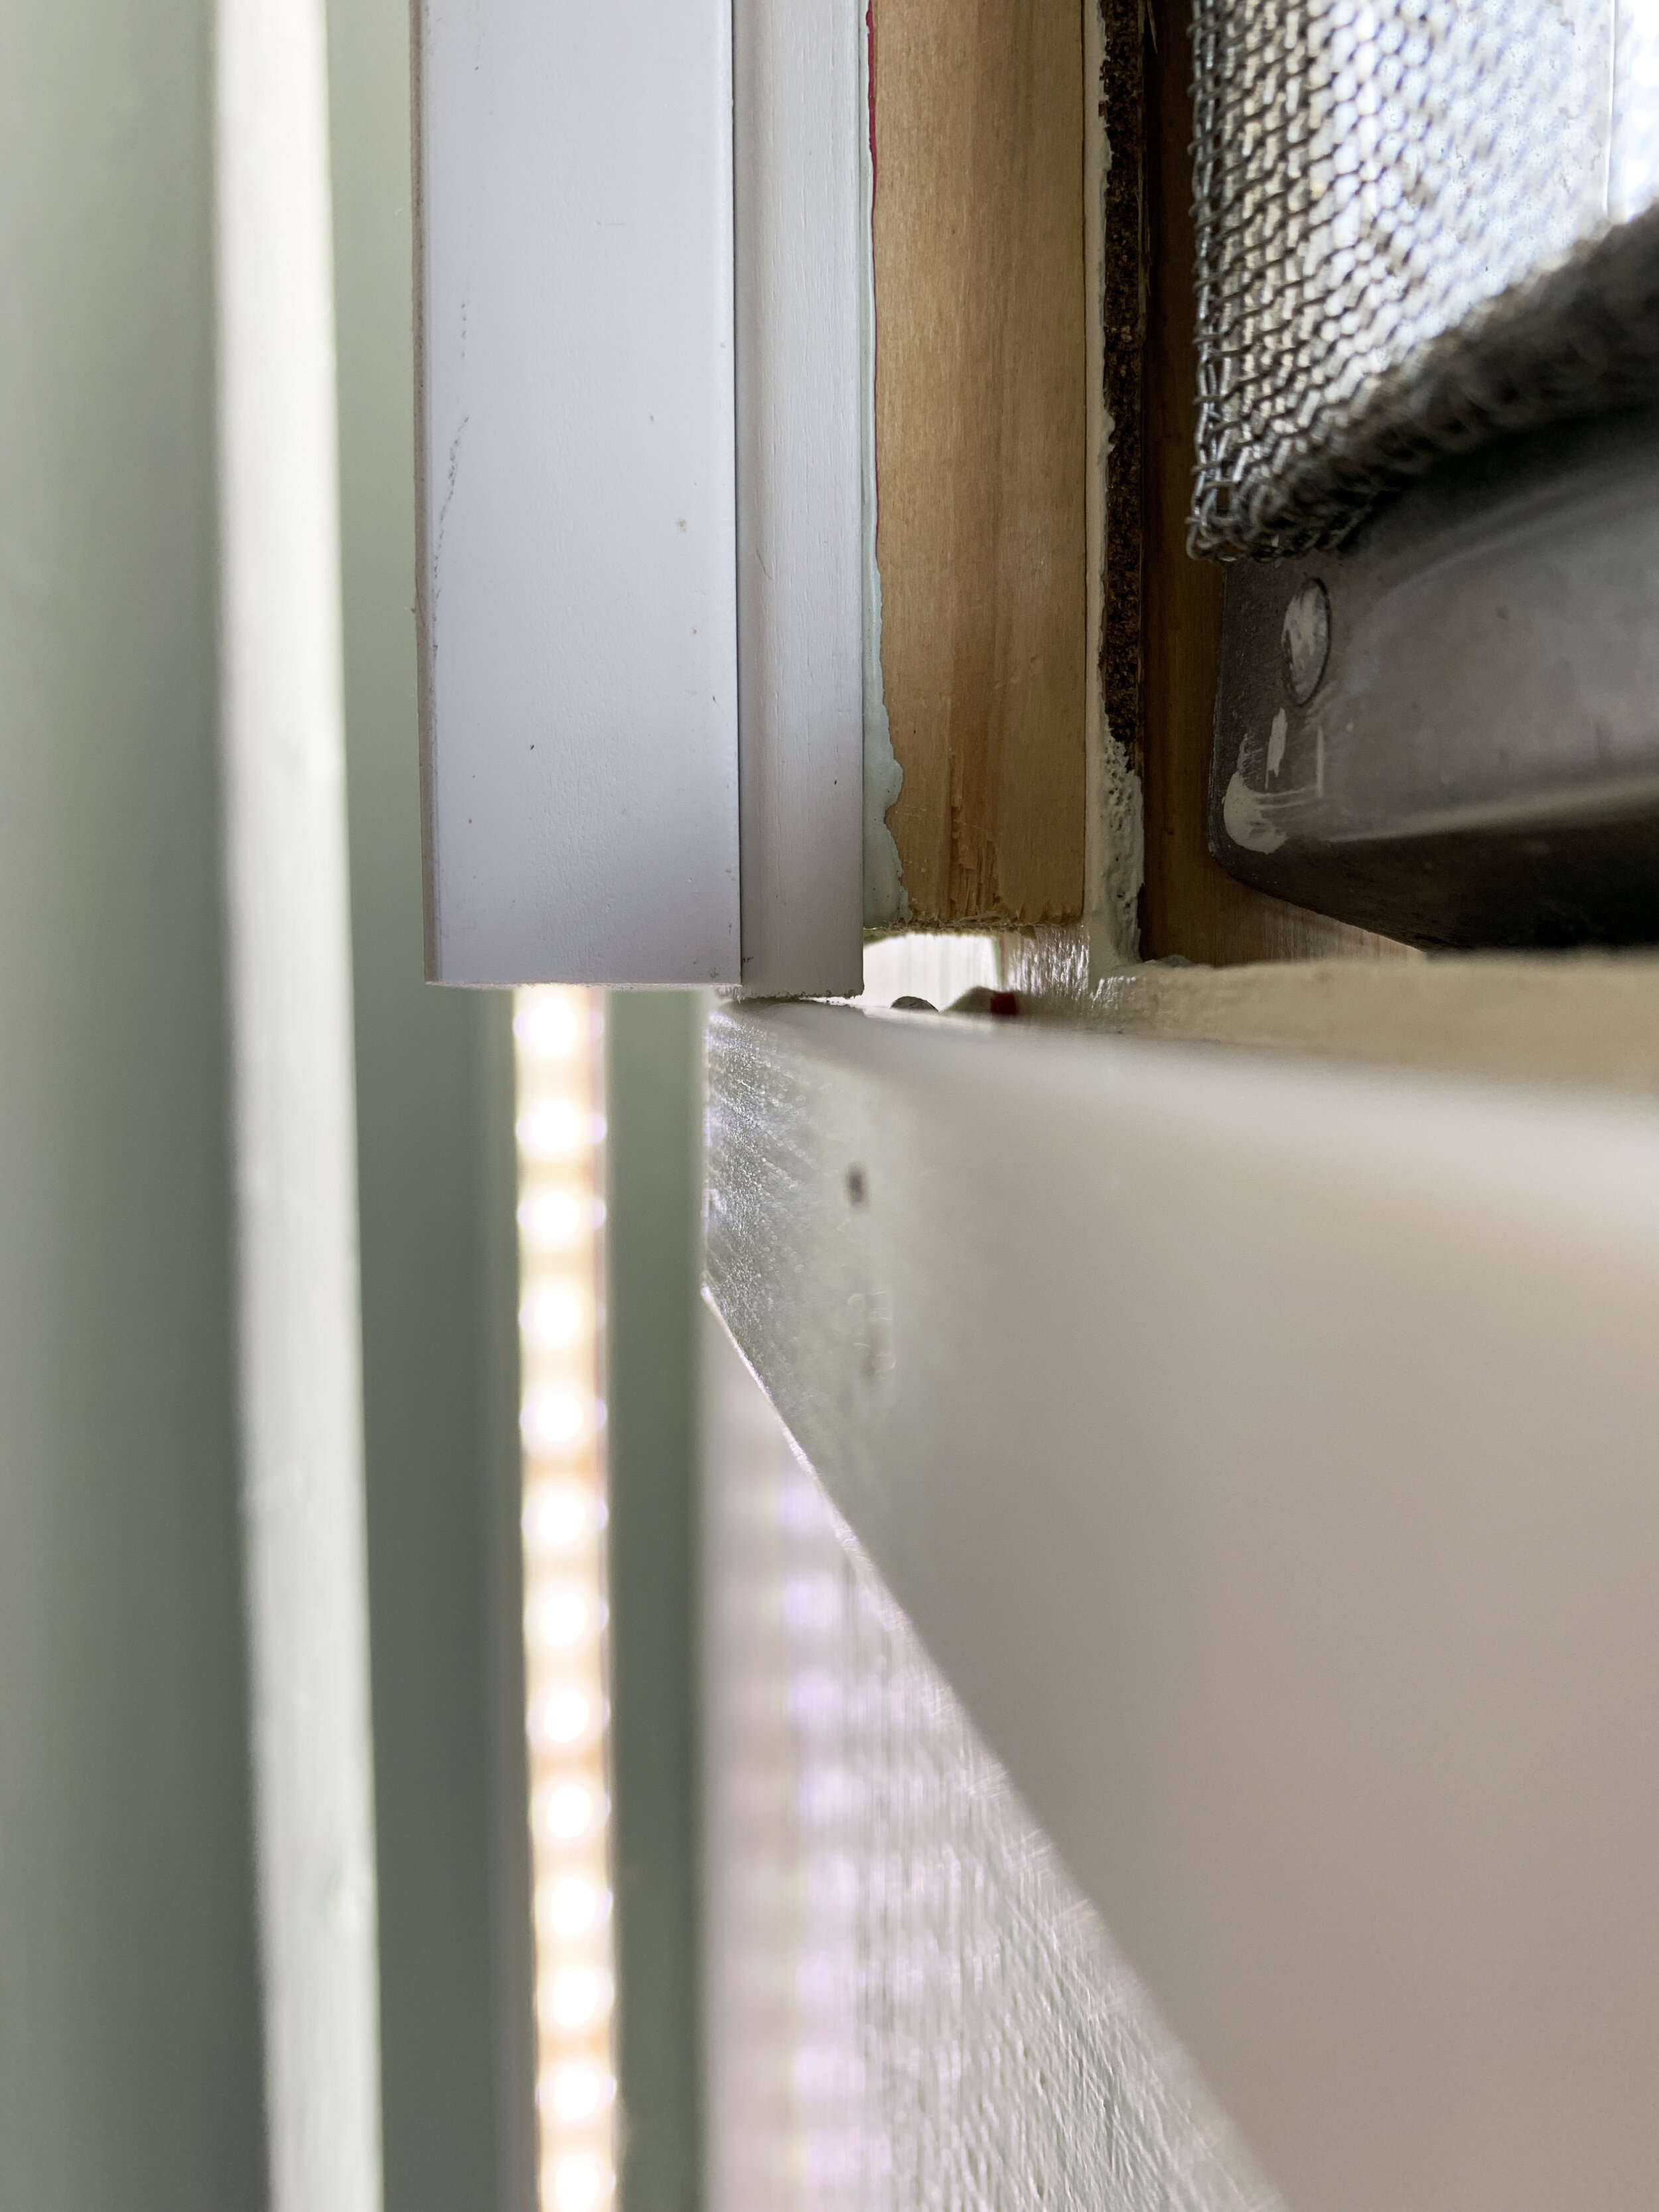
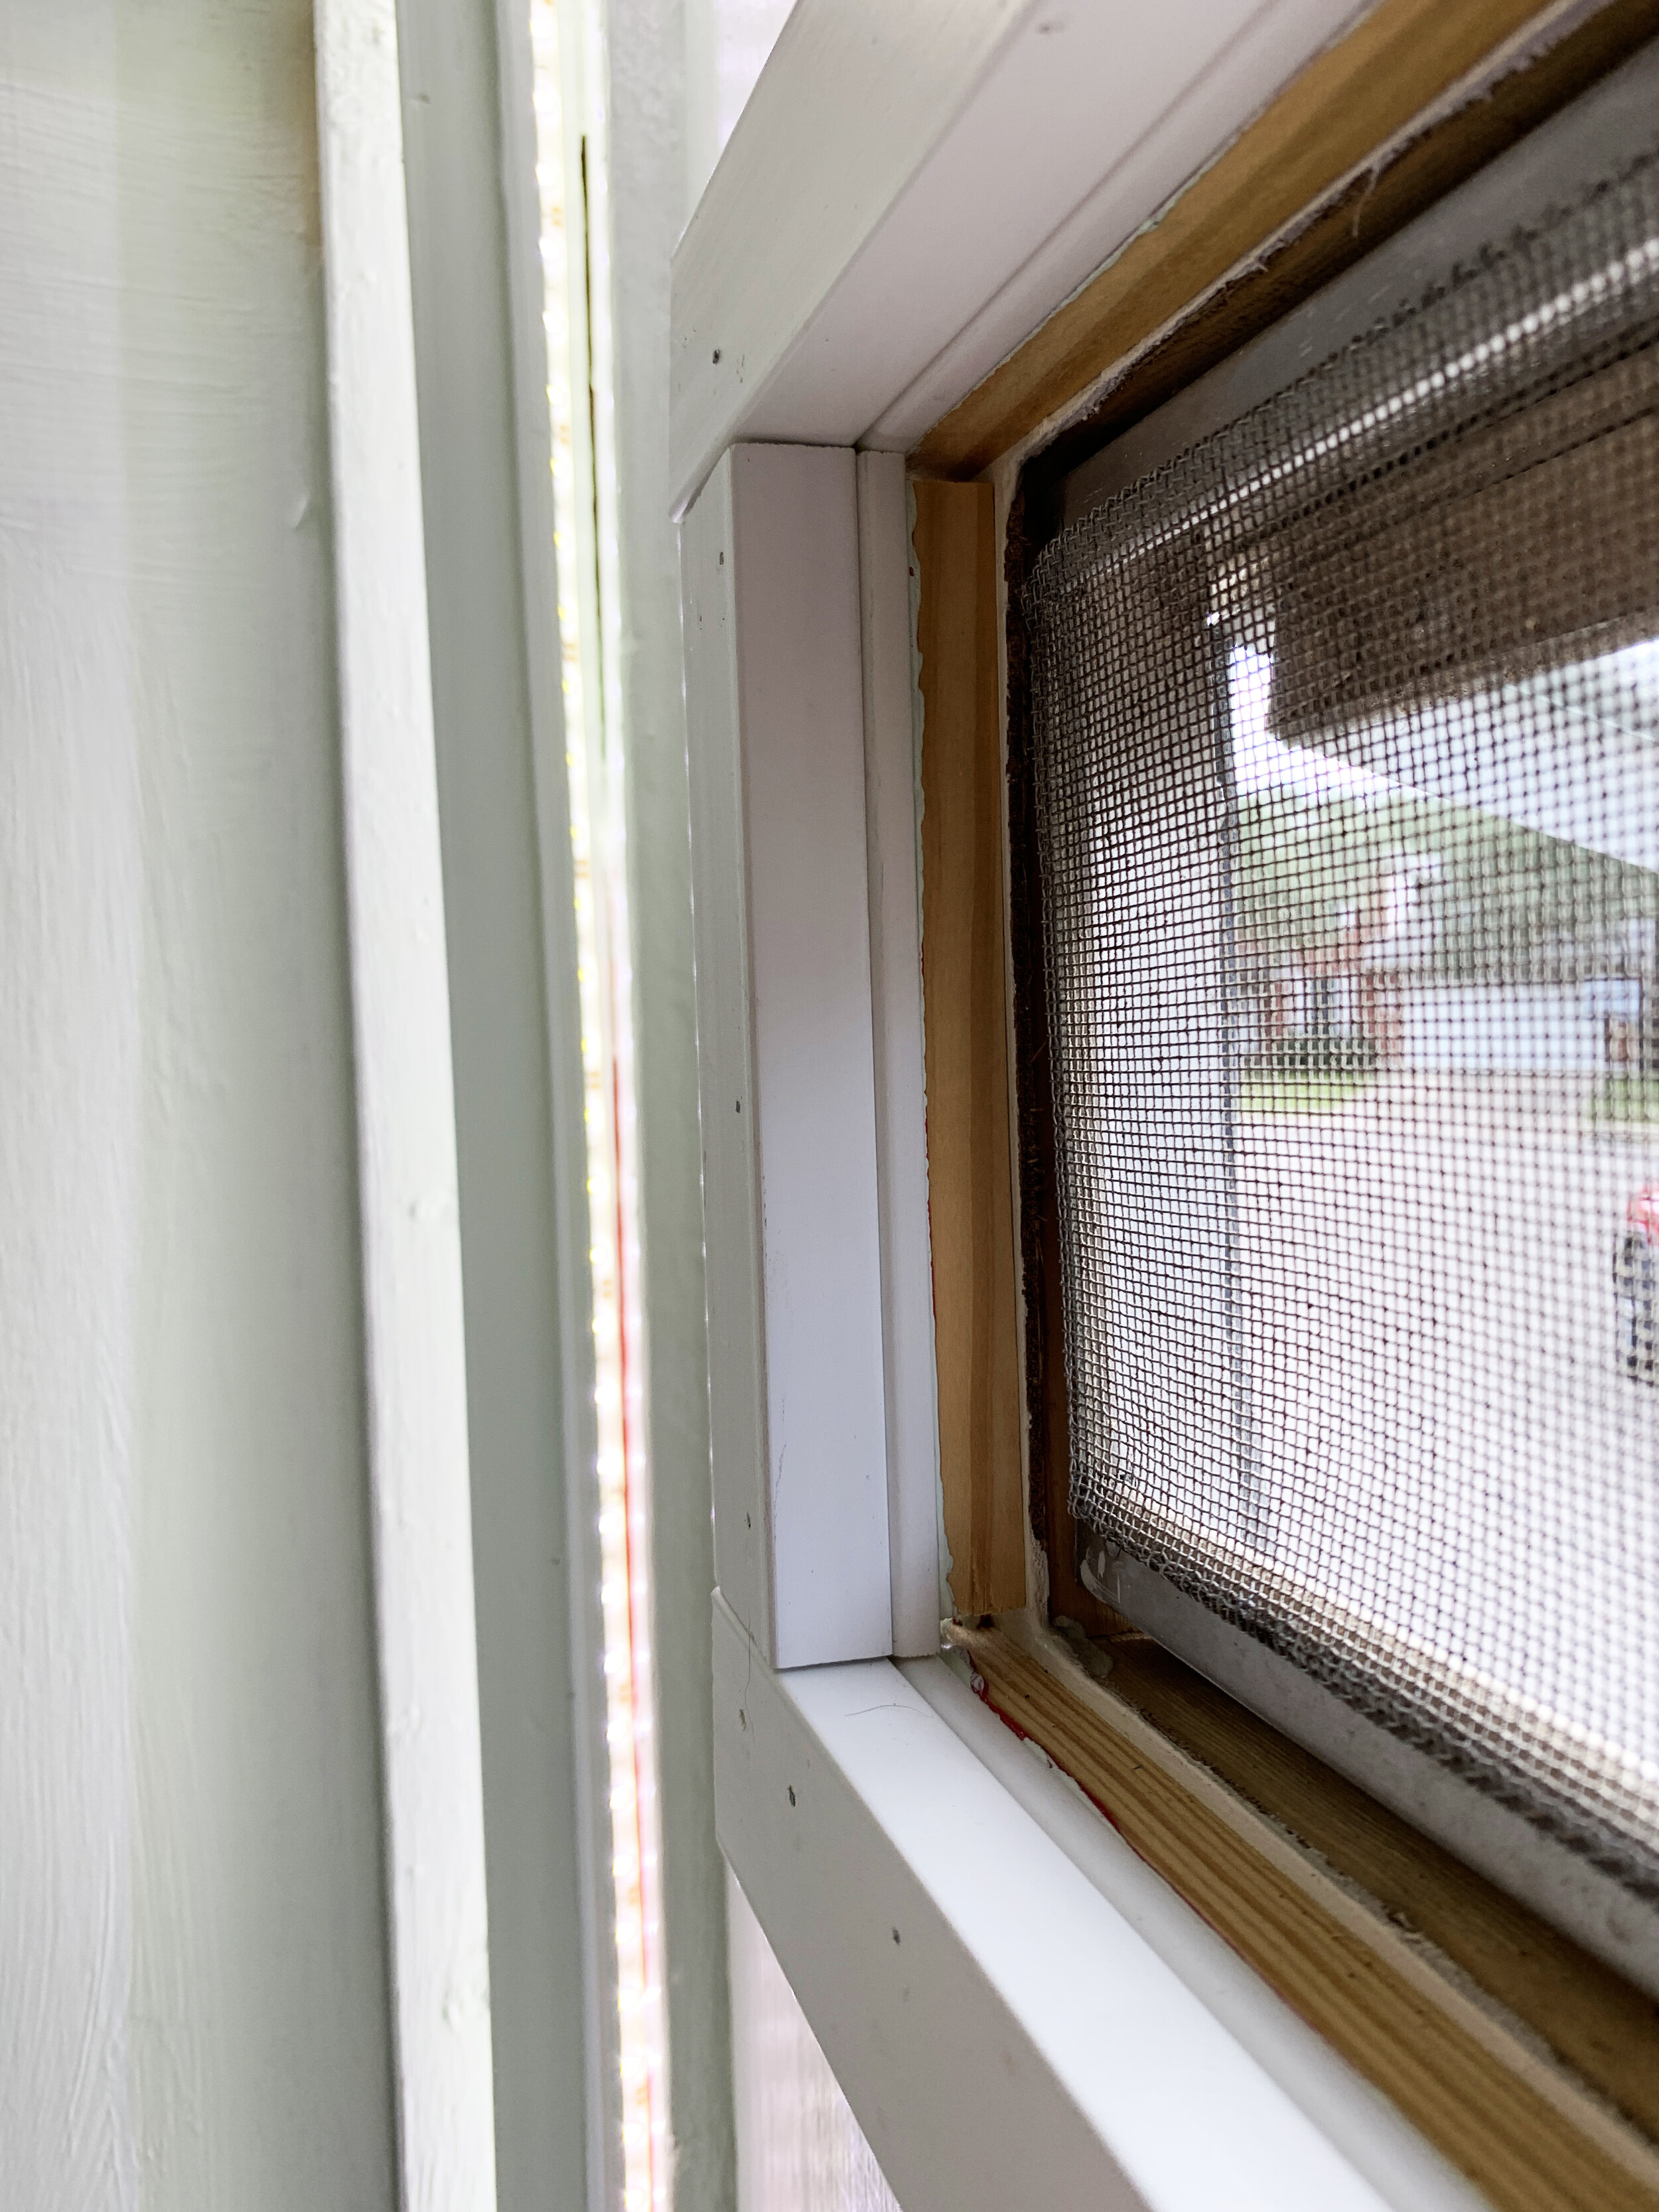
Though later in the process (because we forgot) we also used the flat 3/4” polystyrene moulding and the 0.625” x 1.5” PVC trim layered on one another to build out our depth around the window to match the depth on the corners, and should’ve/could’ve done it at this point.
We also (later in the process, again because we forgot at the time) used the same flat 3/4” polystyrene moulding, siliconed onto the ceiling to match the trim thickness set by the side mouldings.

Surprise! More painting real quick
You might be asking yourself, “self, how and why in the heck did we go from retina-burning red walls to mint all of a sudden?! She never explained that!”. Great question, eagle eyes.
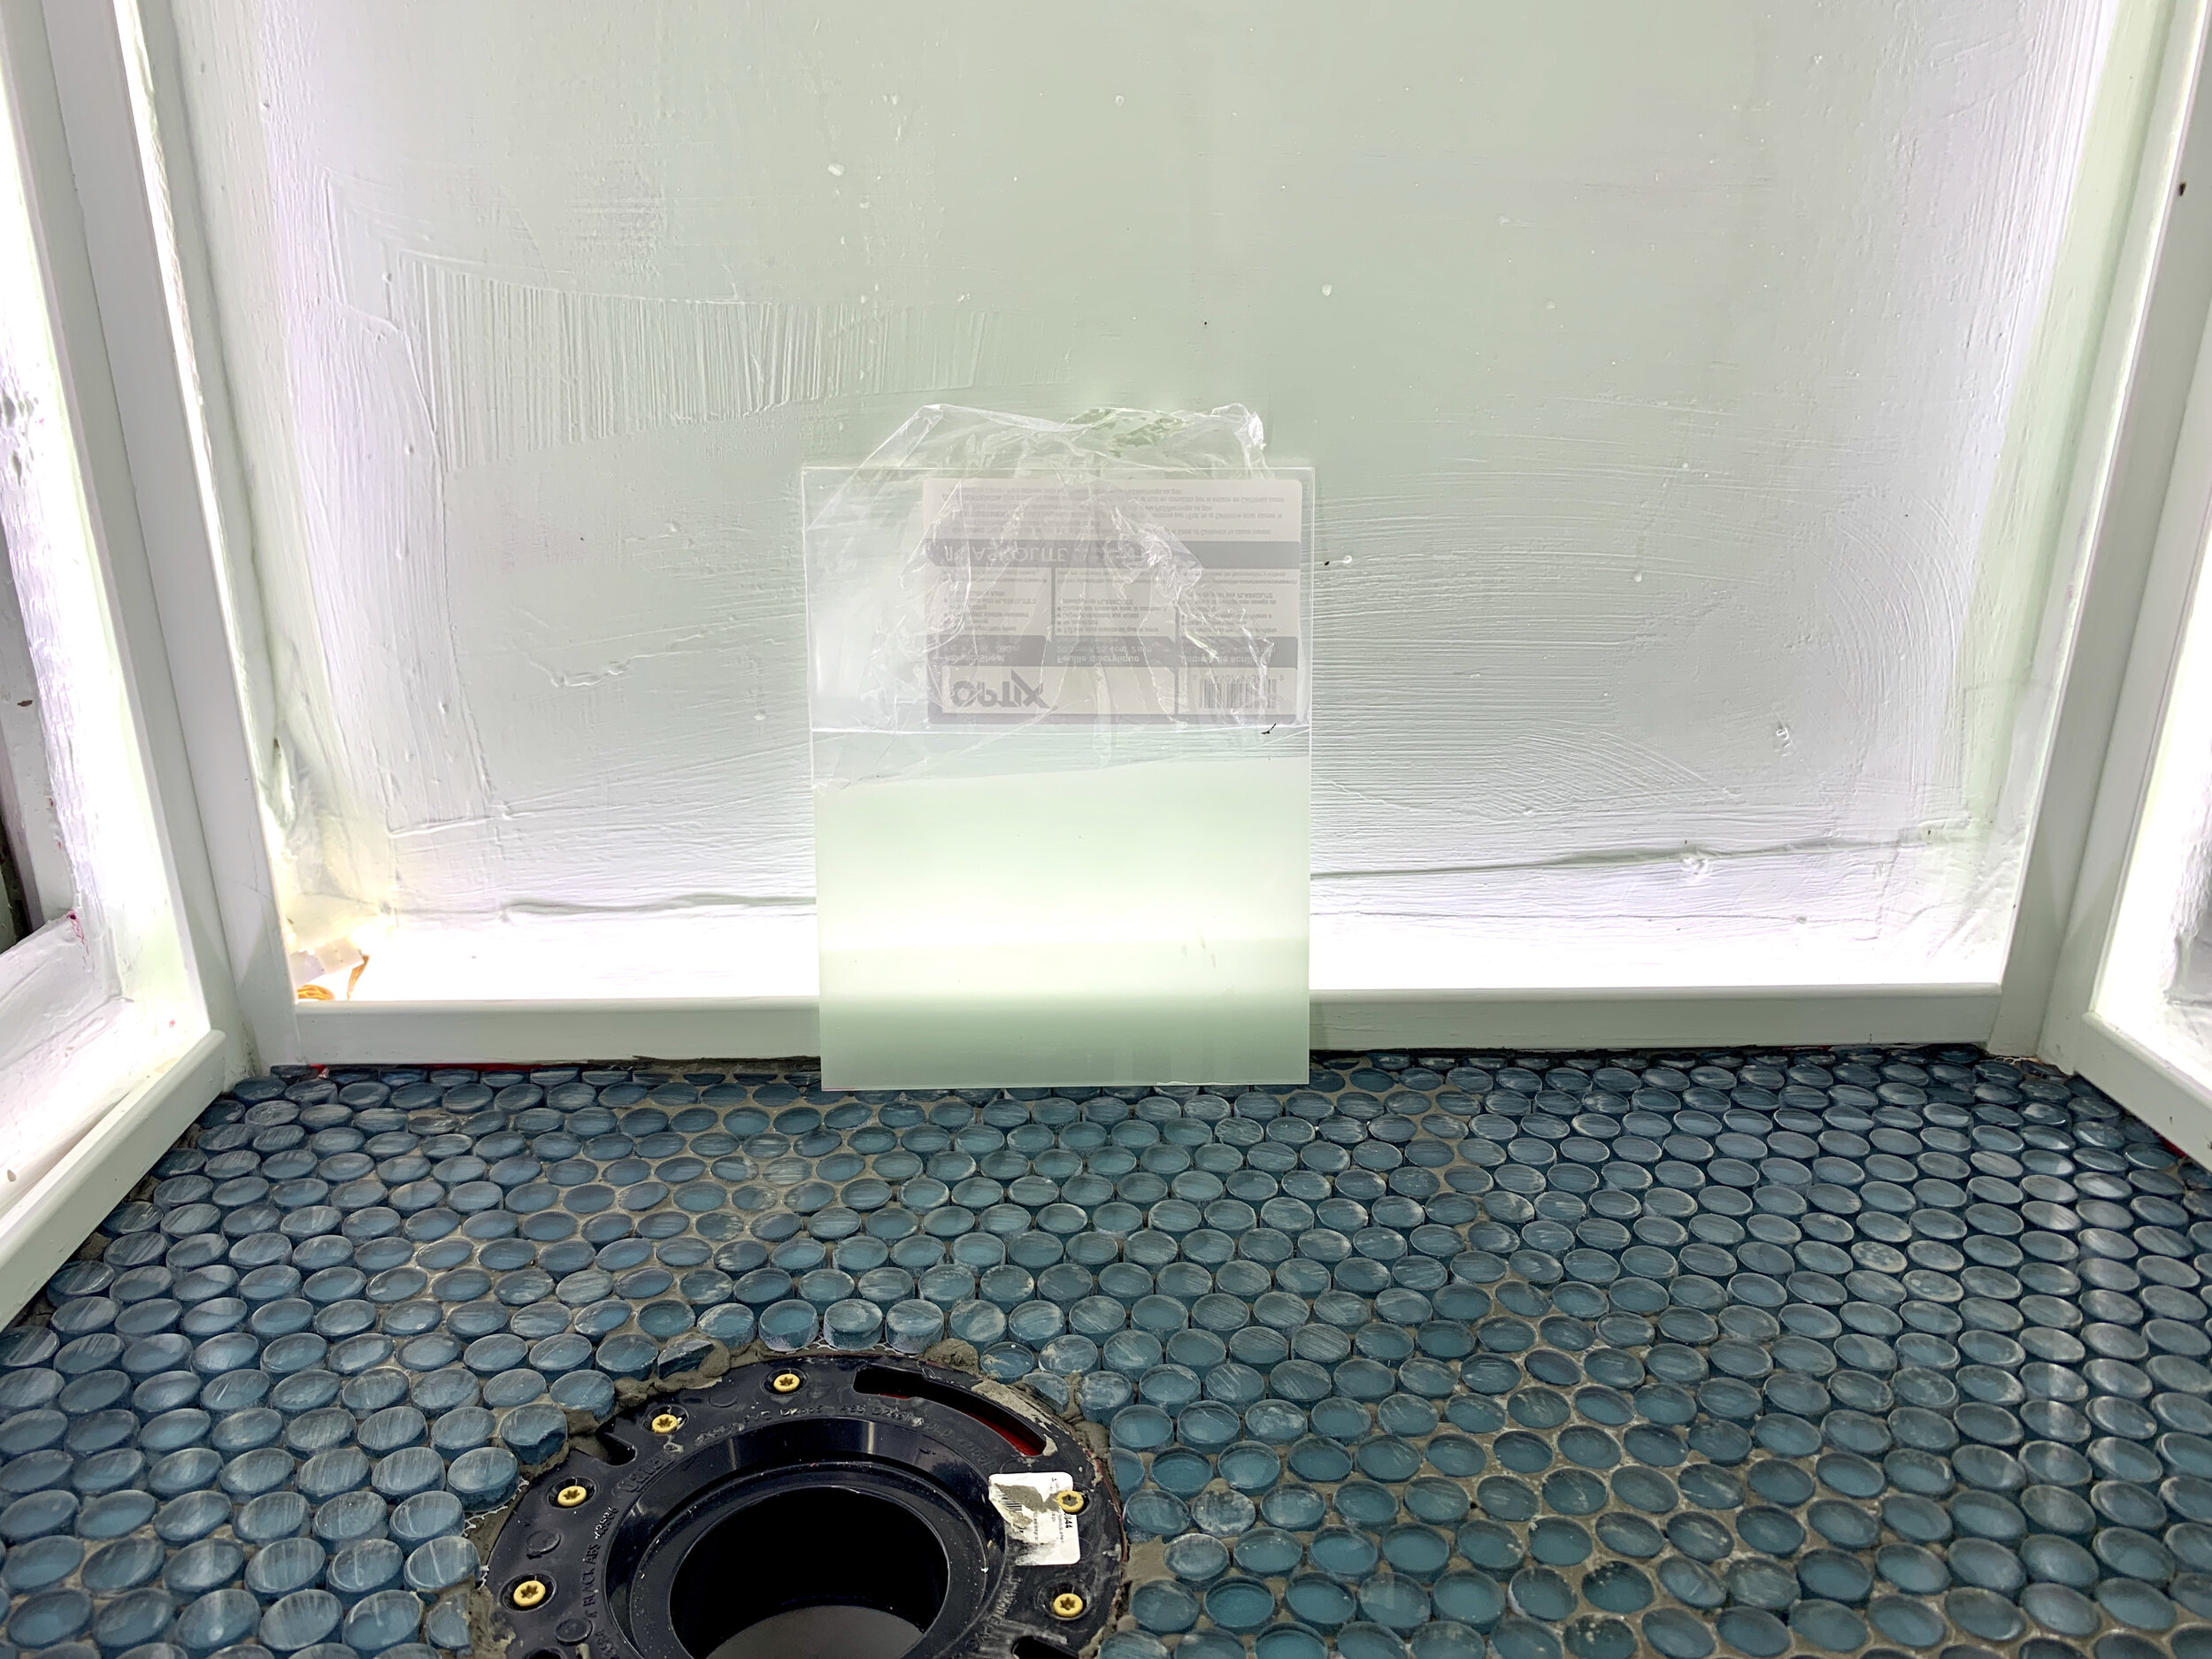
After we RedGarded the interior, we did some testing (holding up our little painted acrylic sample) and realized our liquid waterproofing membrane color was too dark/vibrant and discolored the lighter, minty sea glass of our acrylic wall panels. Drat.
Not the best picture, as it looked more dramatic in person, but here you can see the difference between the brighter, mint-painted area (top half of the sample) and the darker, red-painted area (bottom half of the sample) on our acrylic sample. The red also really made the white angle trim around the perimeter stand out much more in comparison, and we wanted a much more uniform color.

Had we thought about the color showing through earlier, we might’ve tried to go with Durock or Mapei Aquadefense, which we discovered (when I was doing some research for you on liquid waterproofing alternatives) are both light blue.
Instead, we used SW White Mint paint leftover from our 3D wall and painted a few coats over the bright red walls and our angle PVC trim just to help with the finished look. Painting the PVC trim did also help cover the black barcodes printed on them which also would’ve been seen through the acrylic if left alone, though they could probably be sanded off prior to install if you didn’t need to paint over your liquid waterproofing. We didn’t have any issues with the moisture in the paint reactivating the RedGard or anything, and haven’t noticed any peeling paint or anything either, thank goodness.

What do you think? Are you feeling like this is the longest project in the world like we were (and are, now that I’m reliving it all again in blog form), especially for such a tiny space?
Coming up we’ll be sharing in detail the electrical install – a part of the project where we had to once again figure it out by ourselves, as well as all of the bathroom plumbing hidden inside the wall, plus the actual acrylic wall install (finally), the install of the beautiful brass shower fixtures, the toilet install, the custom door build and the finishing touches that pack even more functionality into the small bathroom space.
We’d love to hear your thoughts in the comments below!