The Cameo Camper Renovation: Getting Our Vintage Camper Street Legal
Ok, so I know this isn’t really about renovating a vintage camper per se, but since the goal is ultimately to be able to actually use our vintage camper (and use it legally), we consider this a pretty crucial step in the process, and one that seems to be a point of much conversation in all the forums and blogs and all over vintage camper social media. We initially found out our process from bill of sale to license + registration after a very helpful chat with a lovely woman at the Waco, Texas DMV, and have since completed all the parts successfully. (This could change over time of course, but as of Fall 2019 this was the process that worked for us.)
(My apologies for all of the words, but this is a process that can’t really be shared with a bunch of pretty photos. You understand, which is why I’ve compensated with gifs peppered throughout. Onward!)

How do I get a title for a vintage camper bought by bill of sale?
So happy you asked. We mostly keep seeing answers to the effect of “That’s a bad idea”, “Don’t do it.”, “Nothing good will come from this.”, “Only buy a camper with a title or else you’ll get screwed.”, etc. And while we hope not, this may be the case in some states or instances. We can only speak to our experience, which is:

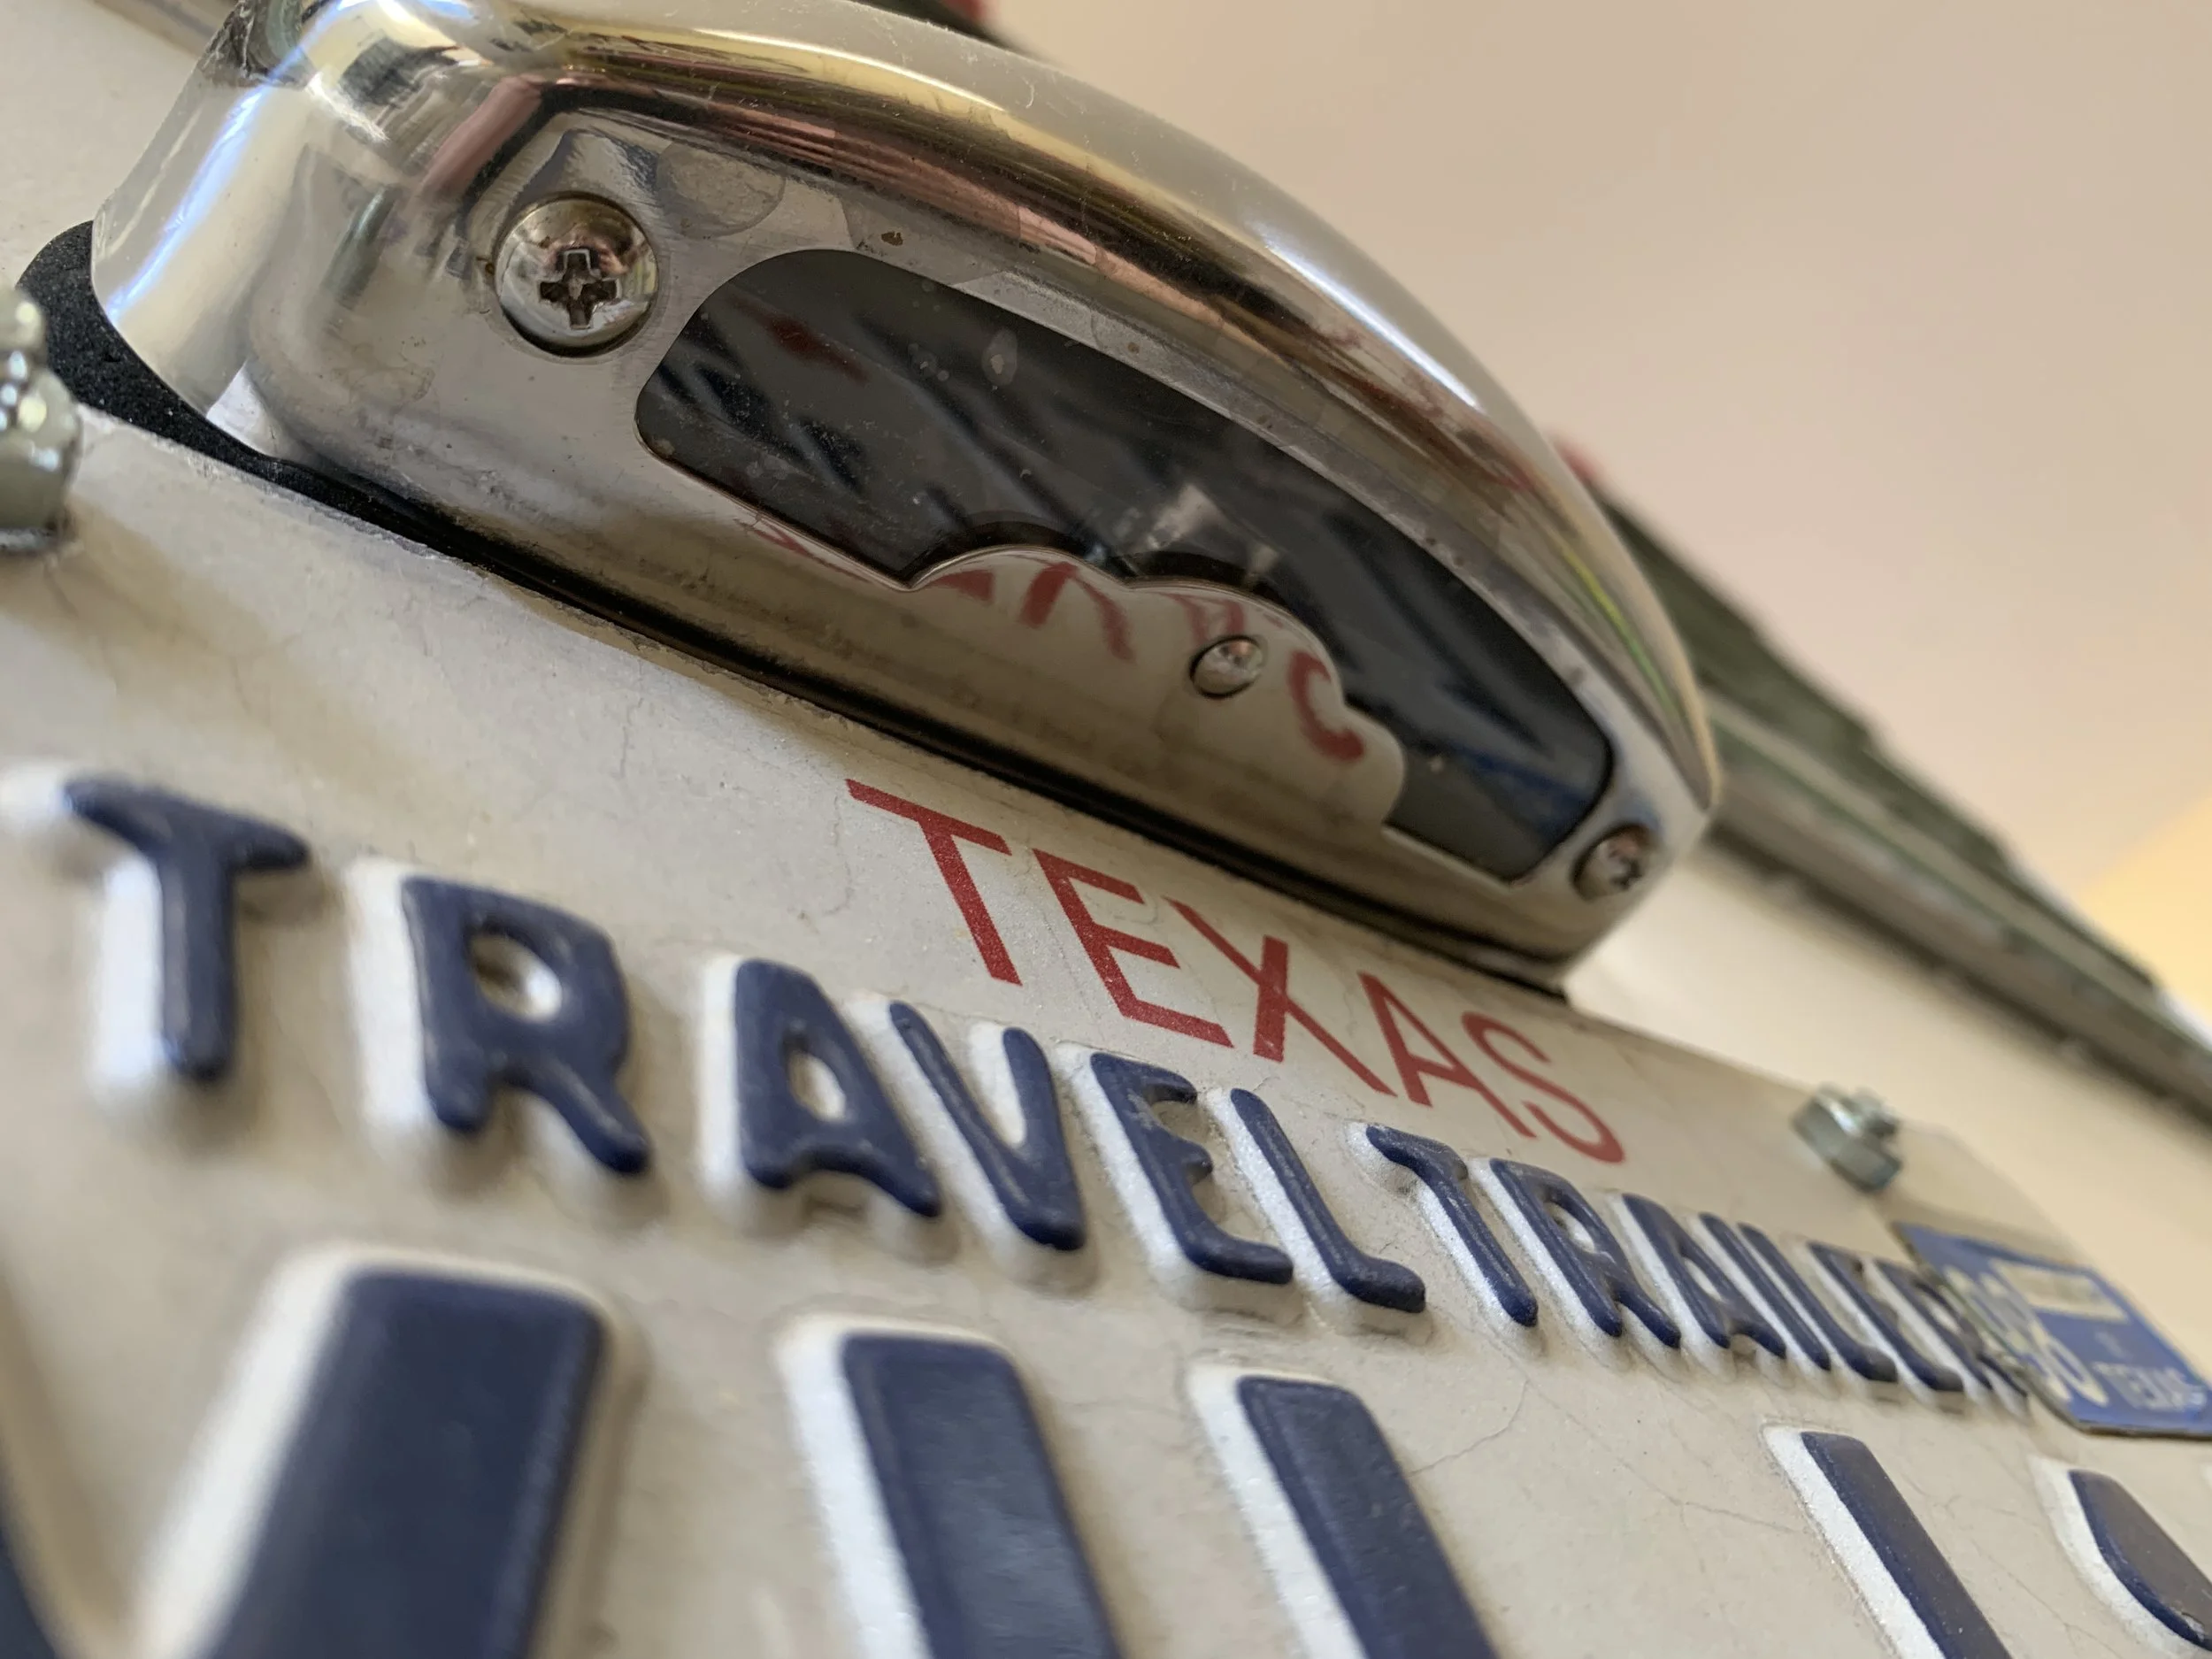
We’re in Texas, y’all. (As if you probably couldn’t already tell.)
We’re in the Williamson County/Travis County area.
We bought our vintage travel trailer from an individual by bill of sale only – meaning no title.
IMPORTANT: In addition to the bill of sale, our seller filled out the DMV’s 130-U form* and gave to us on “gotcha day” (which you’ll need for the last step and has the seller’s signature so do not forget this one!!). (*When I looked to get y’all a handy link to the form, the file it tried to give me is broken, so maybe by the time you’re reading this it won’t be and you can click the download link for yourself.)
Our camper weighs 1,820 pounds – way under 7,500 pounds, meaning we don’t need to provide photos, a weight certificate or get it inspected annually. Score! (Also, fun fact: Since it’s a manufactured trailer that’s under the 4,000-pound gross weight limit, technically we don’t need to get it titled according to Texas state law. BUT because we wanted to 1) register it so we weren’t riding dirty (as the kids say) and so we could, 2) insure it (in case of future damage, etc.), we had to have the title.
Our camper had a license plate on it already – meaning it already had a record in the state of Texas. (Which quickly helped us prove it wasn’t stolen** and helped tremendously by cutting out a whole extra step! Huzzah!)
**Note: In the state of Texas, if it doesn’t have a record in the state (e.g. you purchased it from out of state, or it’s never been titled in the state of Texas before), there are some things you need to do before you do our first step. One of those things is to make sure it wasn’t stolen and you do that by getting an “Auto Theft Inspection” within your county – which basically means you take it one scheduled morning to a specific parking lot somewhere where specially trained police inspect the trailer for signs of it being stolen. (We’re guessing wonky VINs, signs of trailer chopping, etc.) Now because we didn’t have to do this step, we’re unsure what they give you (I think just a signed paper stating it’s legit that you then maybe use in step one?) and what the process is if it does happen to be stolen. But I’m guessing that’s not a good thing. Also, PSA: Don’t steal, y’all.
It’s a multi-step process, one of which we were told by the sweet DMV lady over the phone could be done in one day if we planned well and drove all around town. We’re not too sure about that – especially given our luck with step two – but here’s exactly how we did it.
Step 1: Apply for a Bonded Title
You can do this in person and we’ve heard can walk out with it the same day – we opted to mail ours in (because, work and stuff y’all), but this must be done through your region’s service center.
Download, print and fill out this application (form VTR-130-SOF). (We lucked out and were able to use the NADA Guidelines to help us get a value and determine vehicle weight for the application.)
Mail the completed form + your bill of sale (we sent a copy, not the original, but you will need the original for step 3) + scanned copy of your drivers license(s) + a check for $15 to your region’s service center. (This is all we needed for our set of circumstances. You may have to do other things – read the form carefully.)
Wait for a rejection letter, which for some reason is a good thing. (To be honest, we have no idea what they’re rejecting, but this negative sounding letter is exactly what you want at this step in the process.) They’ll also mail you back all of the paperwork you submitted. For us, this part took about 4 weeks after we mailed it off.
Take the rejection letter + completed VTR-130-SOF form (now with portions filled out by the DMV’s office) + bill of sale + licenses photo(s) – hereby now known for our purposes moving forward as “the packet” – to get a surety bond.
Step 2: Get a Surety Bond for a Bonded Vehicle Title
This is where it gets a little interesting. We were told at the beginning from the helpful lady at the DMV to take our “packet” to our insurance company to get “a bond”. Through research and many many many calls, we found out this is specifically called a surety bond, and though they all knew about it in one way or another, none of the insurance companies we called actually knew how to get us one.
So, we did the next best thing and got one (basically instantly), here.
The bond amount will be for 1.5 times what the DMV deems the vehicle’s value is and is listed in the portion of the application filled out by the TxDMV Department. The bond amount given indicates what level of surety certificate you need, which determines your cost. After you buy it, the bond specialist may reach out for more info/paperwork needed, or they might just be able to mail it to you like they did with us. (To give you an idea of how quick this place was, we requested/paid for one at 6:30 p.m. and got an email notice saying it was in the mail on its way to us 15 hours later. It showed up in our mailbox 5 days later!)
Once the surety bond + the power of attorney that comes with it arrive together in the mail, sign the bond (all applicant/owners, even though there may only be one line for signature). Then you’re ready for the next step... which you need to get done within 30 days from the date the surety bond was issued.
sTEP 3: Fill out one. more. form.
This one threw us for a curveball, and after waiting in line for about an hour for what we thought was the final step, we found out by one of the nicest people ever we were missing a signature and a whole ‘nother form. Do yourself a favor and sign and complete this VTR-141 form (Trailer Verification Statement of Fact) before you move to step 4.
sTEP 4: Get that bonded title + get registered!
Now you’re finally ready to get it registered. Within 30 days of the issuance date on the surety bond, take the following to your local Tax Assessor/Collector’s office:
The “packet” you received in the mail at the end of step 1 – this is the rejection letter + the completed VTR-130-SOF form (now with portions filled out by the DMV’s office) + original bill of sale + licenses photo(s);
Signed and completed 130-U form that you got signed by the seller when you first bought the camper;
The surety bond + the power of attorney that came with it in the mail from step 2;
Signed and completed VTR-141 form (Trailer Verification Statement of Fact).
This step we did in person. We’ve been told you must bring all of the original documents to this one. (They took the copy version of our bill of sale, but just bring all the originals with you just in case).
That’s it. You should be able to walk out with registration sticker, and if you want a new license plate altogether for a small cost. You’ll receive the official bonded title in the mail in about 3-4 weeks. The bonded title is a safeguard for you, the buyer, to make sure there’s no one else out there that really owns and wants to claim the trailer. The way it was explained to me, the bond value is essentially your insurance so that if someone comes and claims it you have a protected value that they owe you in order for them to take it back.
sTEP 5: Make it official
Assuming you’ve bought it legit and no one else with a claim to it wants it for 3 years, you can apply for a real title. The title and bonded title basically function the same, but a regular title is what they call a “clear” title, meaning no one else has staked claim to it and that puppy is 100% yours. Huzzah!
How much does it cost to title a vintage camper?
I typically don’t care to talk prices, but I know I’d want to know what I was in for and how much I needed to save. This will likely vary by situation, but in total ours was about $300.
Application for bonded title: $15
Surety bond + power of attorney: $100
Bonded title + registration: $150
Real title: $33
Our Trailer Titling Tips
When you go to buy your camper – if they don’t have a title, make sure you bring a bill of sale form and form 130-U and have the seller sign both.
Start this titling process within 30 days of buying the camper to avoid a small ($5 in our case) penalty fee at step 4. We didn’t start that early because it was just going to be sitting in a garage while we renovated it, but because we have since found out we wouldn’t have had to be paying on it the whole time we could’ve done this at the very beginning.
Make sure everyone who’s going to be on the new title paperwork signs all of the documents, even if there’s only one line/the form only calls for the primary’s signature. This might save you a mid-week trip across town to get your hubby’s signature…
Just go online to get your surety bond. So easy and painless! Highly recommend!
Make sure all of your documents are signed in pen. According to a note on our local Tax Assessor/Collector office website, they will not accept documents unless they’re the originals and if they’re not signed in pen.
Check your local Tax Assessor/Collector office’s website for any time-saving tips. (Ours recommended avoiding their heavy traffic times: 11:30 a.m. - 2:30p.m. daily and the first/end of the month in particular.) The second time I went in the same day I was able to make a 30-minutes out same day appt. which was amazing.

So that’s it. That’s how we bought and titled The Cameo by bill of sale. Not the worst process ever, but if you can find one that’s already titled it may be worth it to you to avoid the paperwork. :) And for Pete’s sake, if you have yours titled, hold on to it for when you go to sell! (You might even be able to leverage having a title into a higher sale price.) To the road!