The Cameo Camper Renovation: Grasscloth Wall Part 1
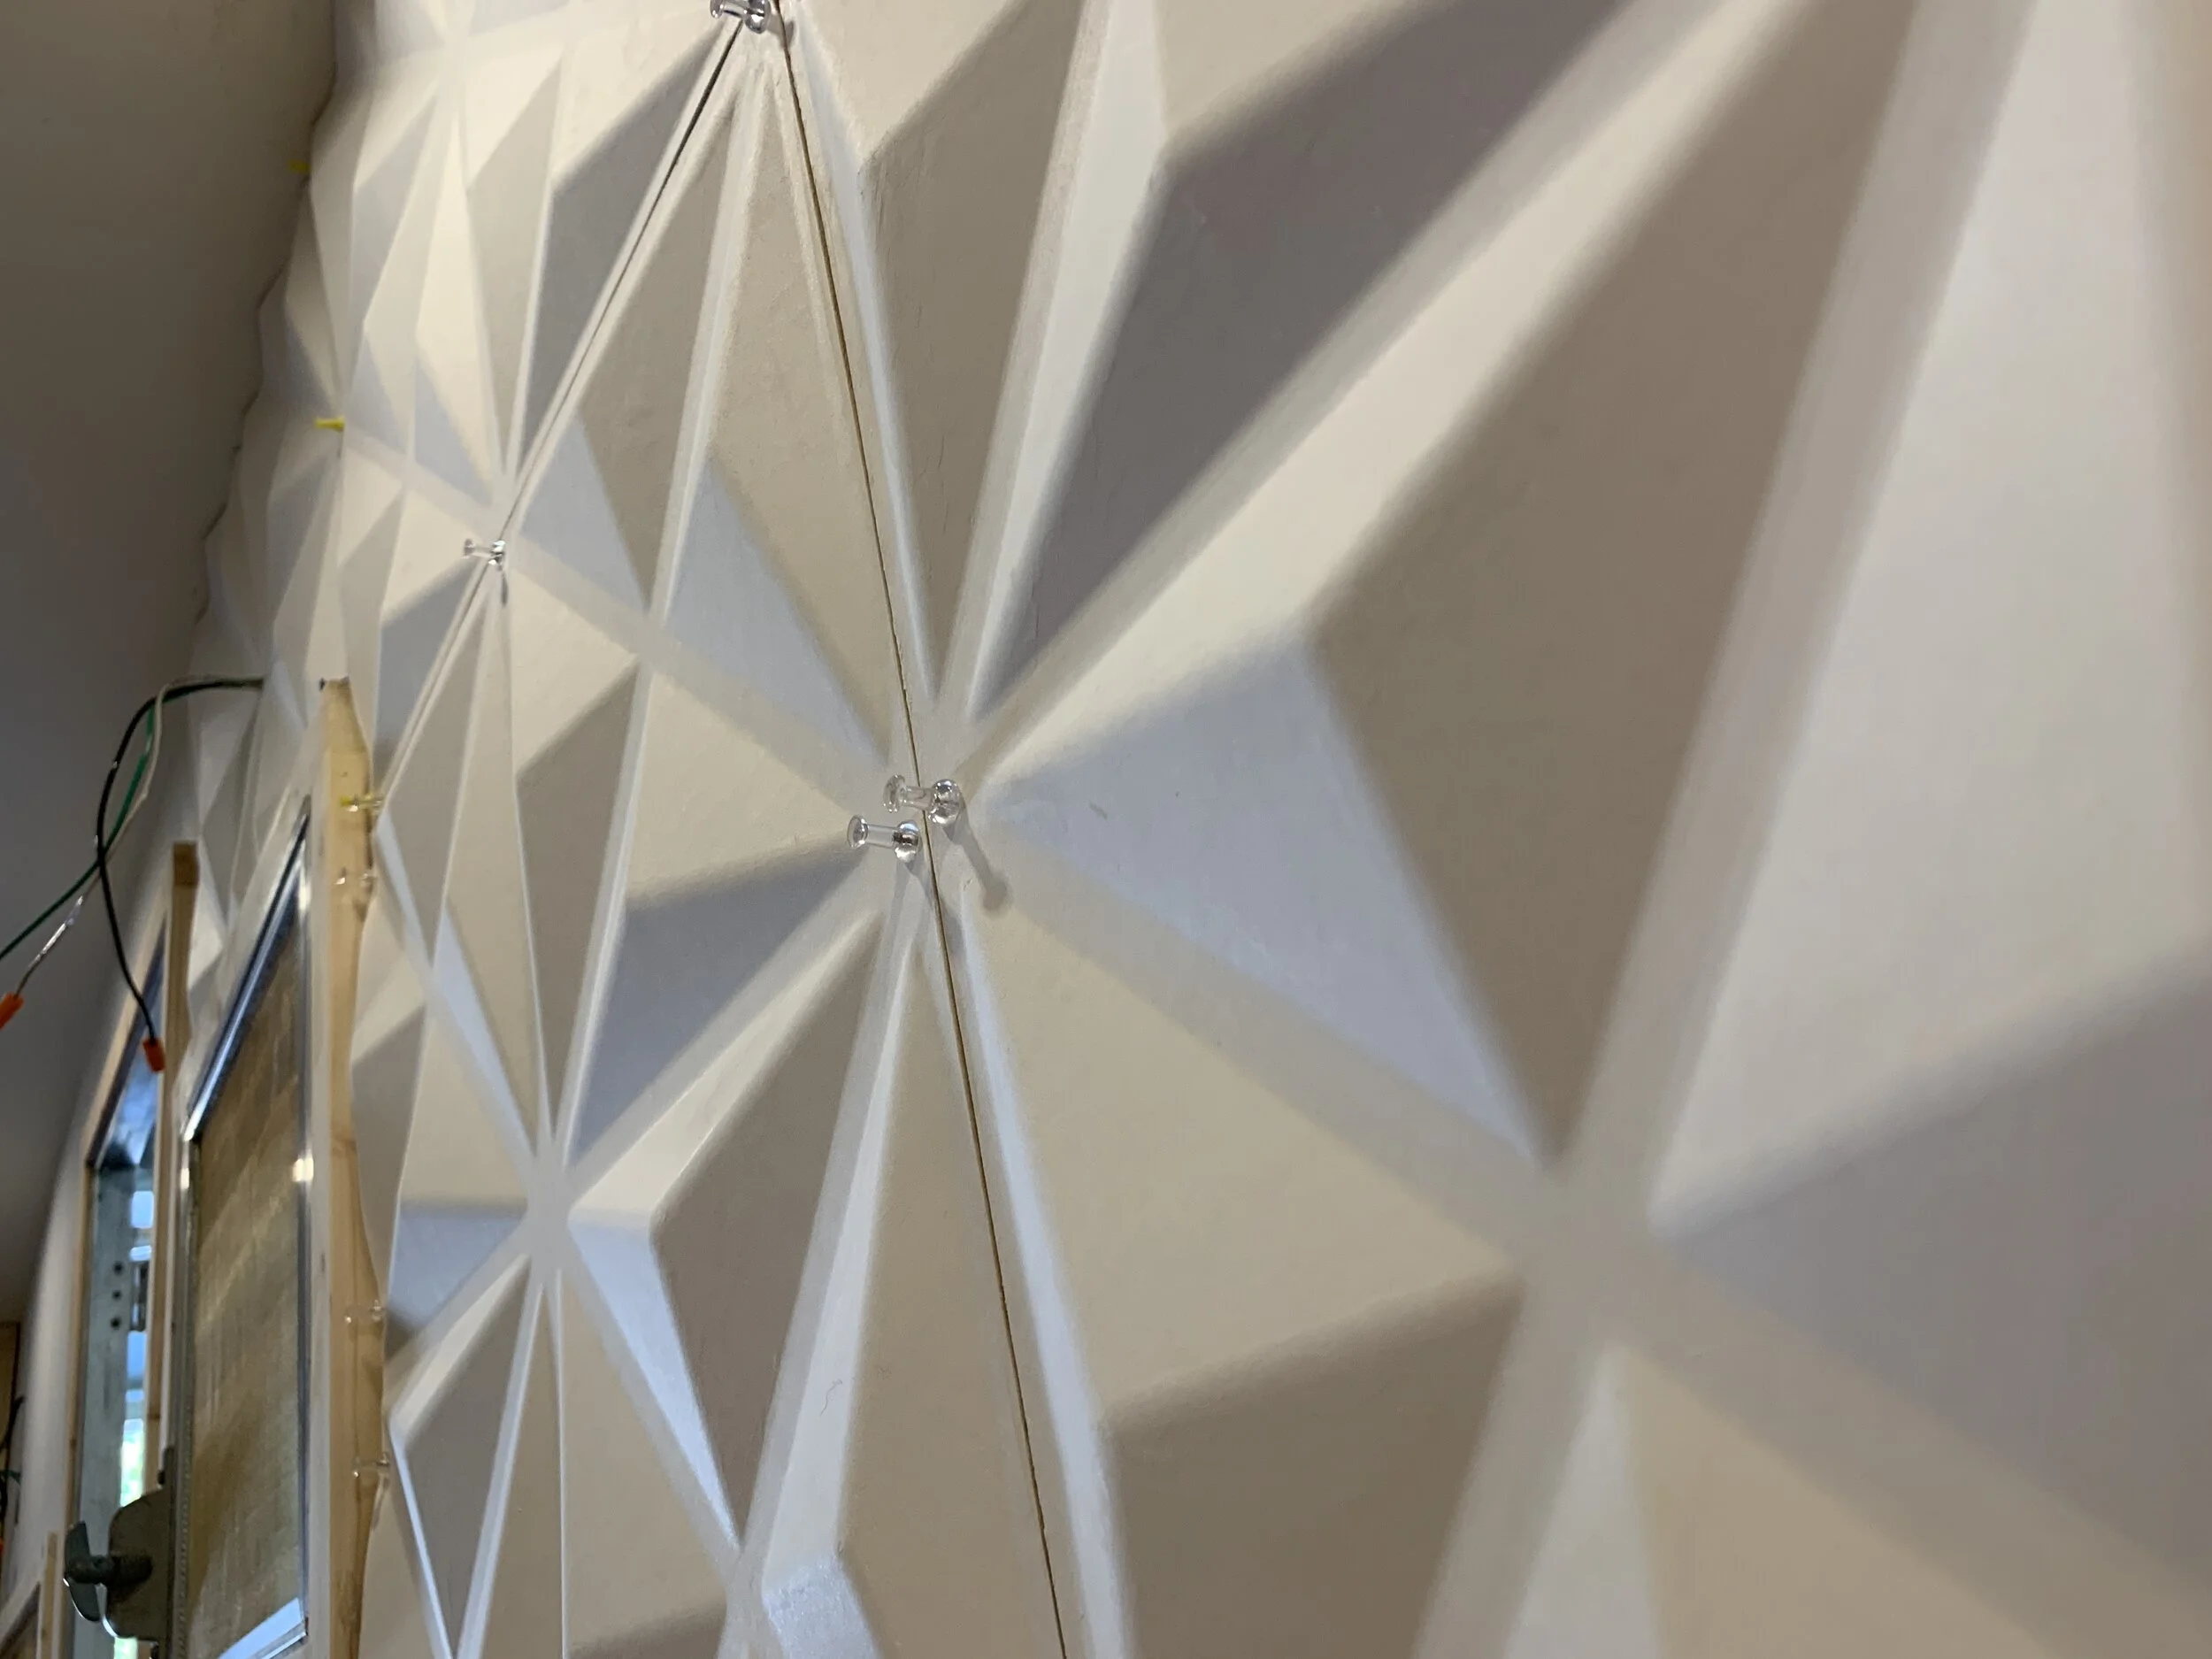
Hey y’all! We’re so excited to share another attractive post with you. Last time we shared part 1 of our 3D panel wall installation, a super cool dramatic feature wall made out of an eco-friendly product that added less than 13 pounds (or 7,150 grams) to the camper’s weight. (Much lighter than some of the other beautiful options we were looking at.)
Today we’re sharing another lightweight wall treatment that brings some nice texture and modern flare to the interior – our navy grasscloth “headboard”.

The twin bed in the front of the camper is really more of a daybed (so, basically a large, deep couch), but when you’re sleeping in it there will be a head-end and a foot-end – because, well, we have a head and feet – so we wanted to suggest which end is which with function and form. The “foot” of this daybed is the wall with the 3D panels we shared last time, and will have a TV mounted on it, so it makes sense the other side of the camper would be the “head” of the bed so you could comfortably watch TV from the natural little nook created by the shower. This is where we’ll have an accent light for reading and what not and where we’ll be squoze* into for today’s tutorial.
*Yes, of course squoze is a word. Just ask my sister.

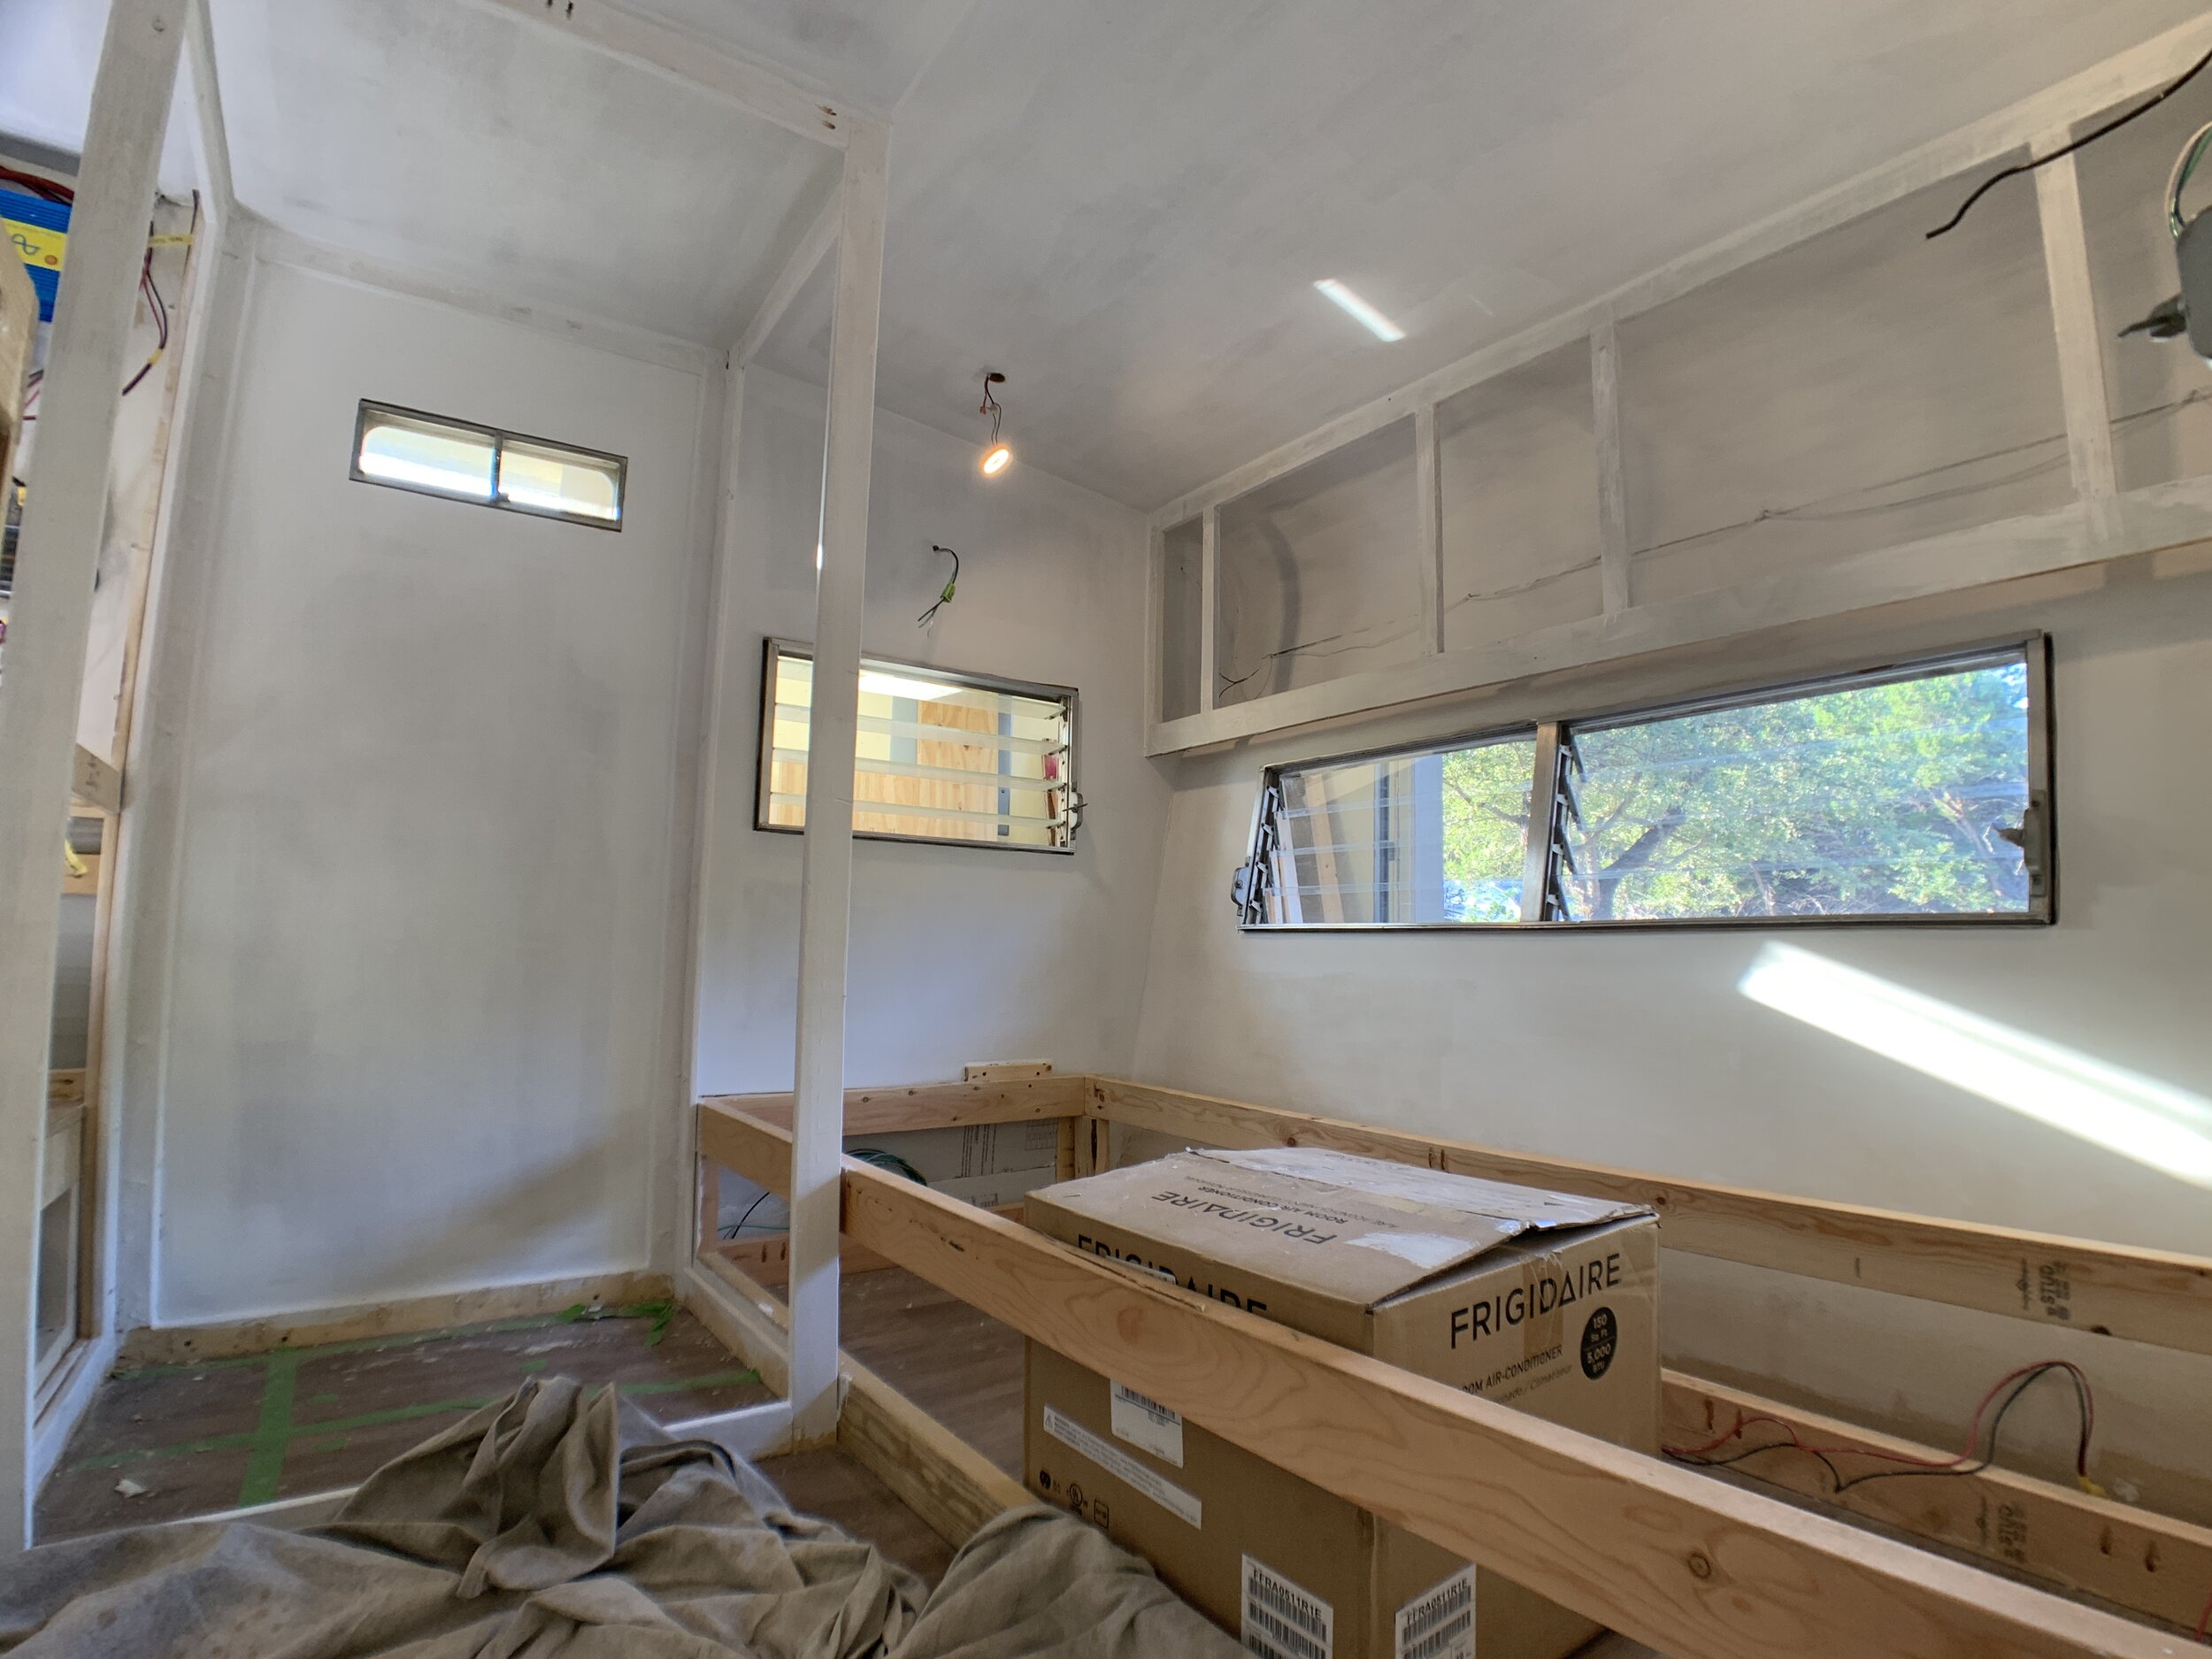
The small section of wall in the upper middle of the photo with the wiring sticking out above the window is the “headboard” wall.
This is our very first (ever!) attempt at hanging wallpaper and in our research have heard how grasscloth is a whole separate beast that’s one of the harder types of wall covering to hang. We’re here to tell you we hung it with no problem, and succeeded on our first try. (So if we can do it, you can too!) You just need the right tools. Which brings us to…
Our grasscloth wallpaper shopping list
Grasscloth wallpaper – you can find all different types and colors of grasscloth and suffice it to say they’re not all created equal. We LOVE the way this one looks – it’s not one of those super chunky, thick kinds that makes it hard to work with. And it’s a total plus that it saves on weight and space since it’s relatively flat, but still has a really beautiful texture.
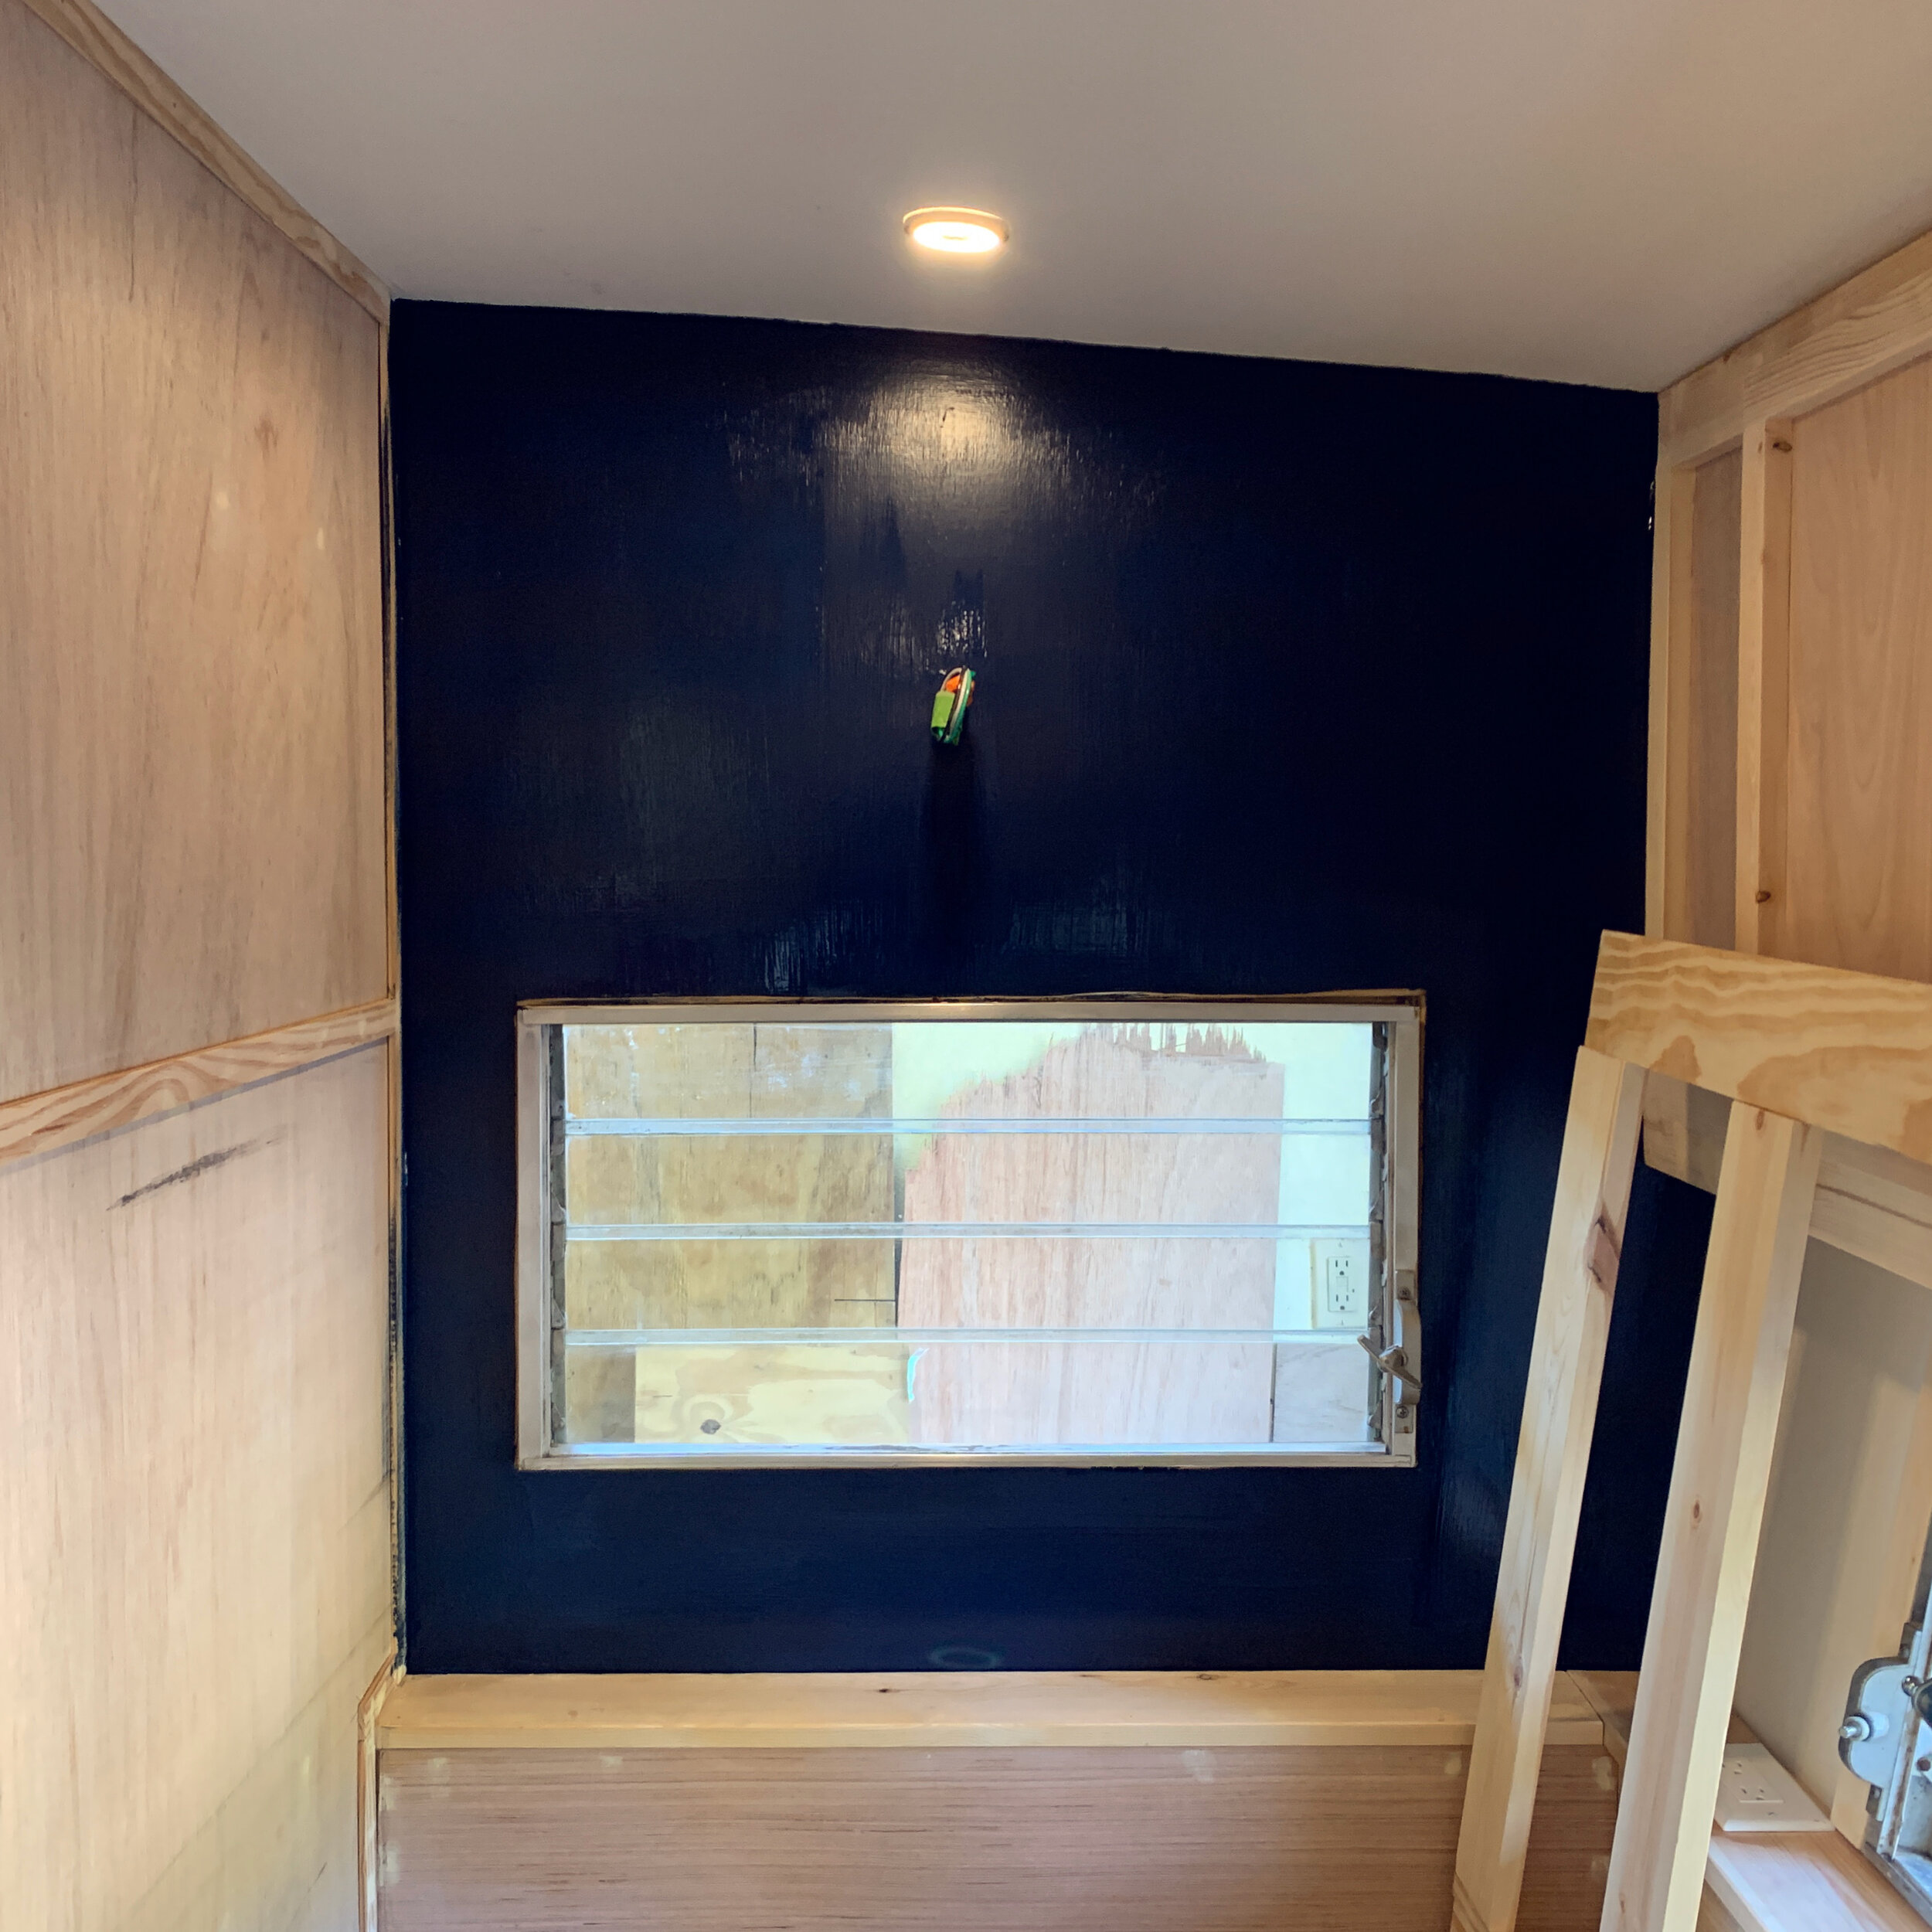
Colored wall paint that matches the color of the wallpaper – to make the seams less noticeable. (We used Sherwin Williams’ Naval.)
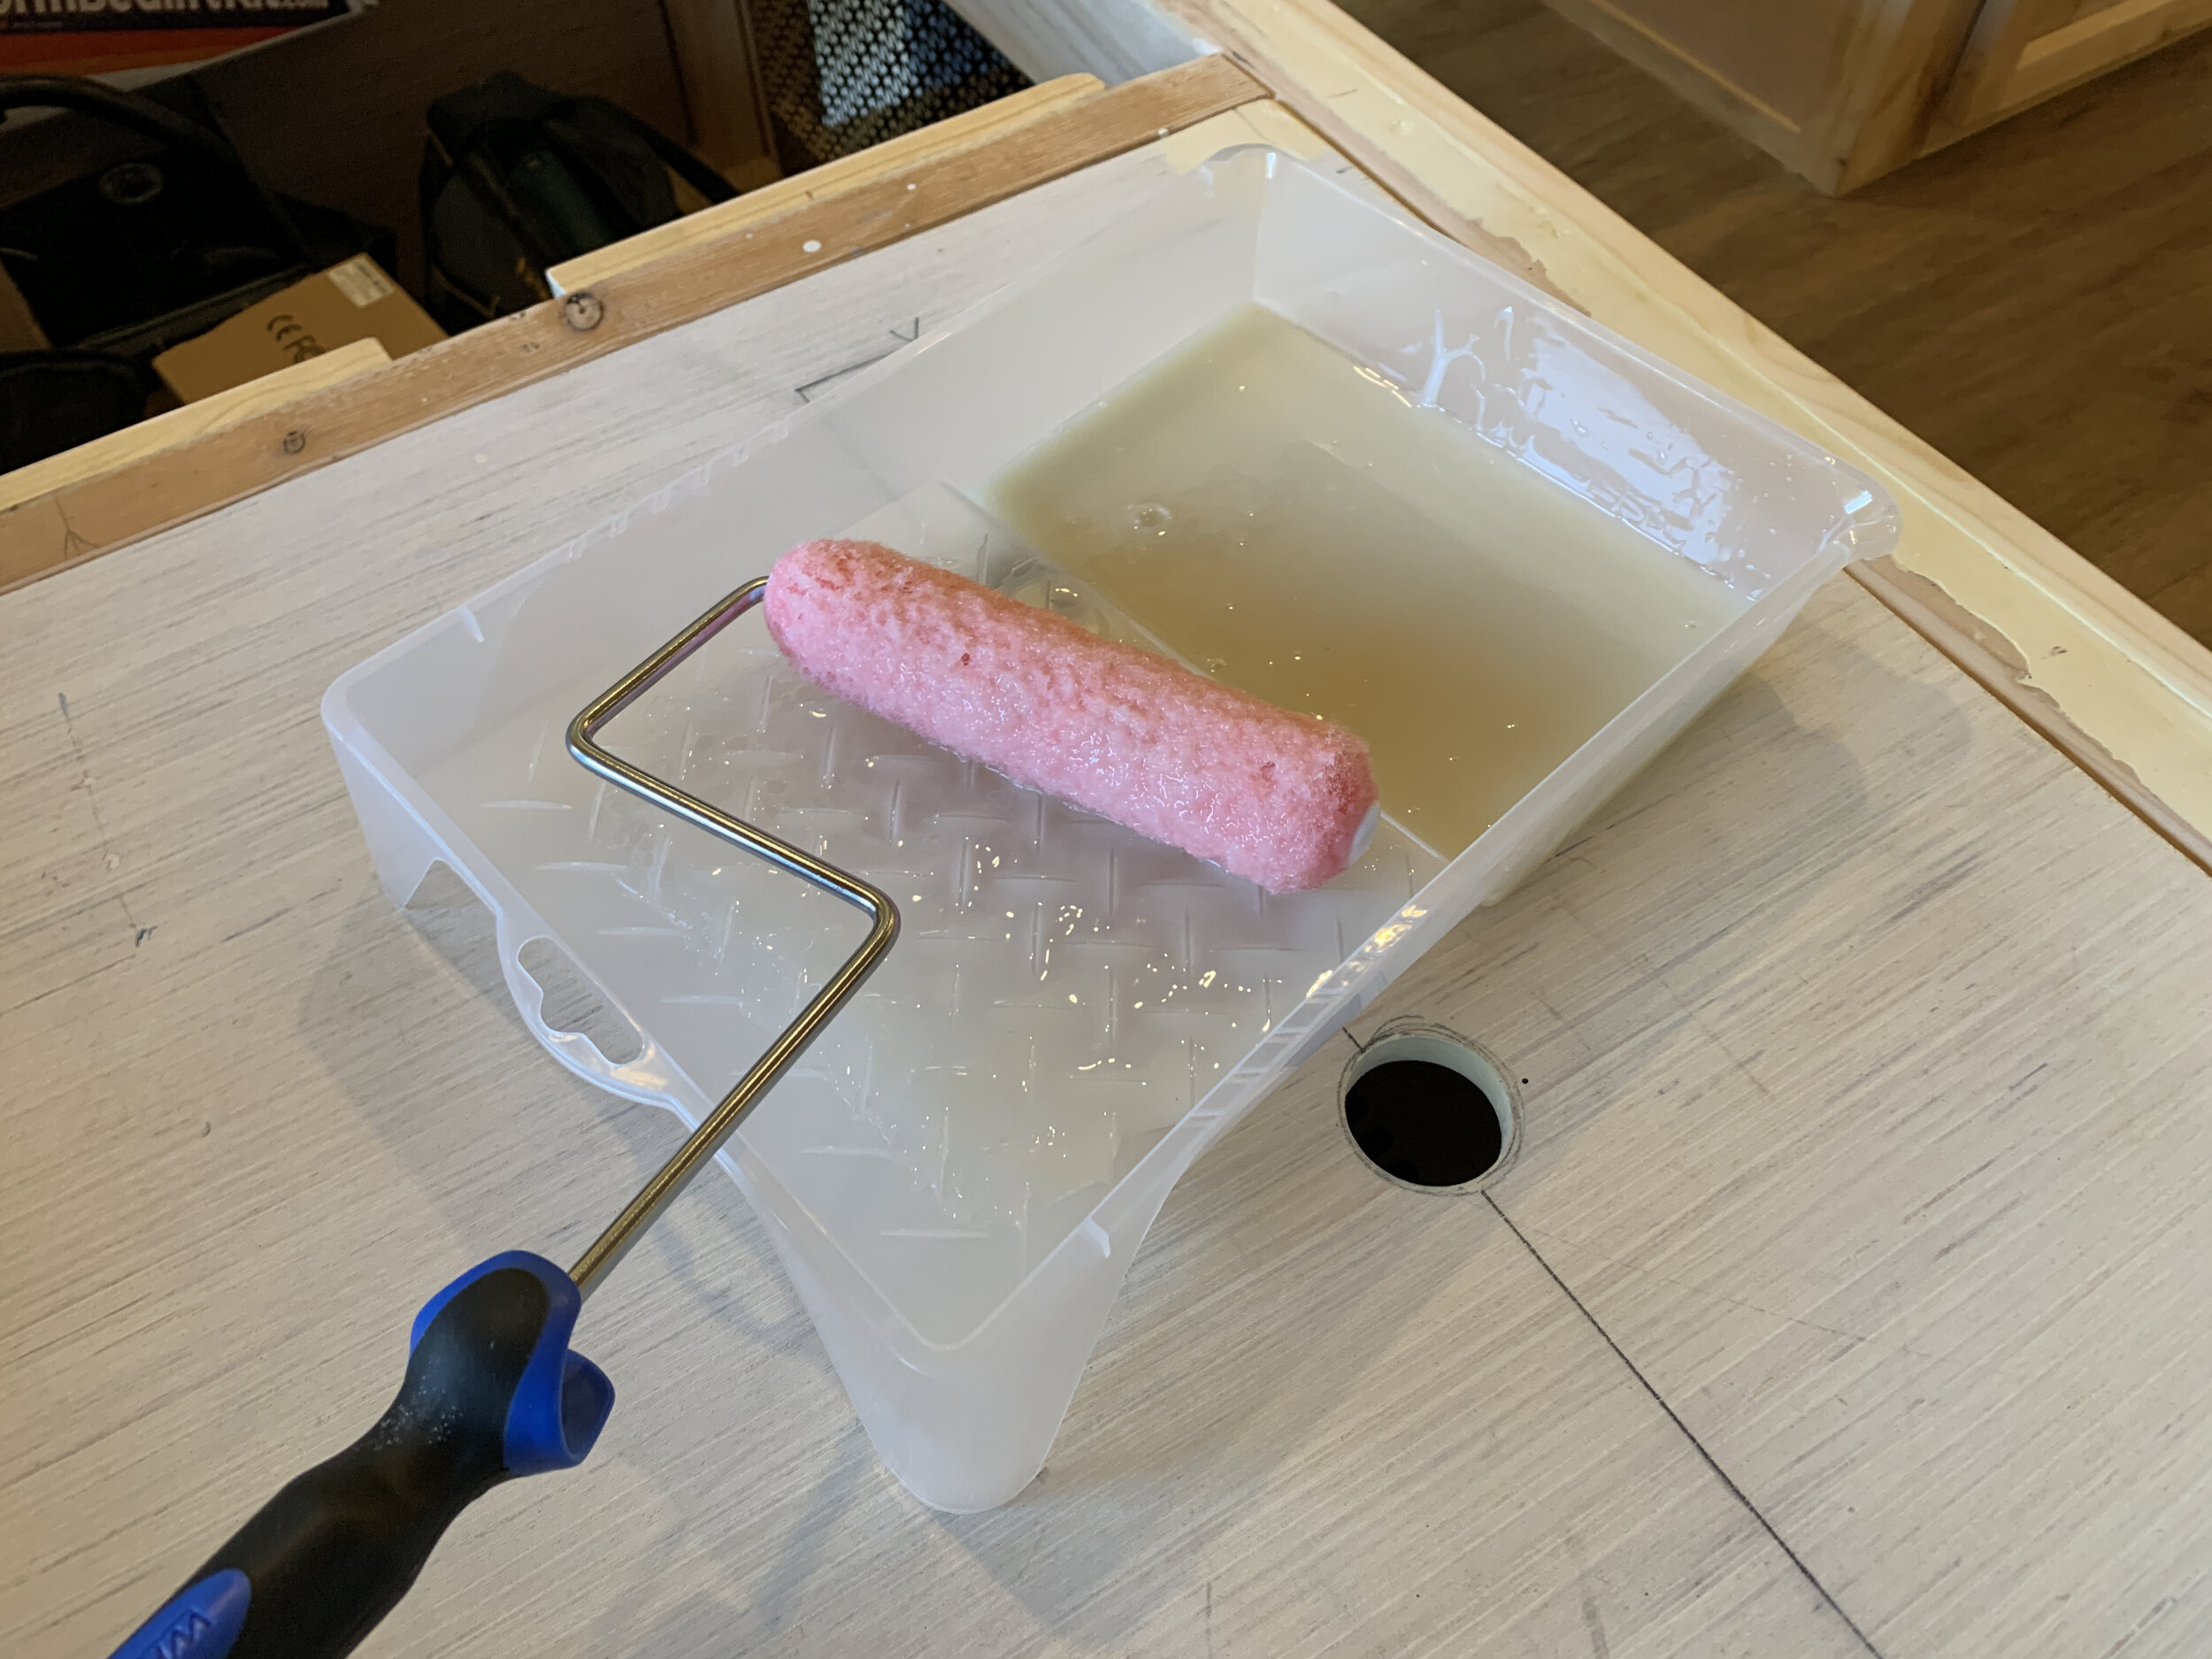
Wallpaper paste – nothing fancy here, just the standard clear stuff (unlike the low-moisture, clay-based one we had to use for the 3D wall panels)
6” textured mini rollers + tray
Scissors
Box knife + brand new sharp blade(s) – for trimming your edges. Could probably also use an X-Acto knife with brand new #11 blades. Whatever you pick it needs to be super sharp to avoid tearing, so multiple blades are recommended.
Flexible smoothing tool – for smoothing air bubbles and really sticking down your wallpaper
Long level + pencil – for marking a straight vertical line as a guide to start (if you don’t have something like a shower wall to set your vertical line, like we did)
Lint-free rag + paint thinner/mineral spirits – to wipe the wall down before painting
Prepping the wall for wallpaper
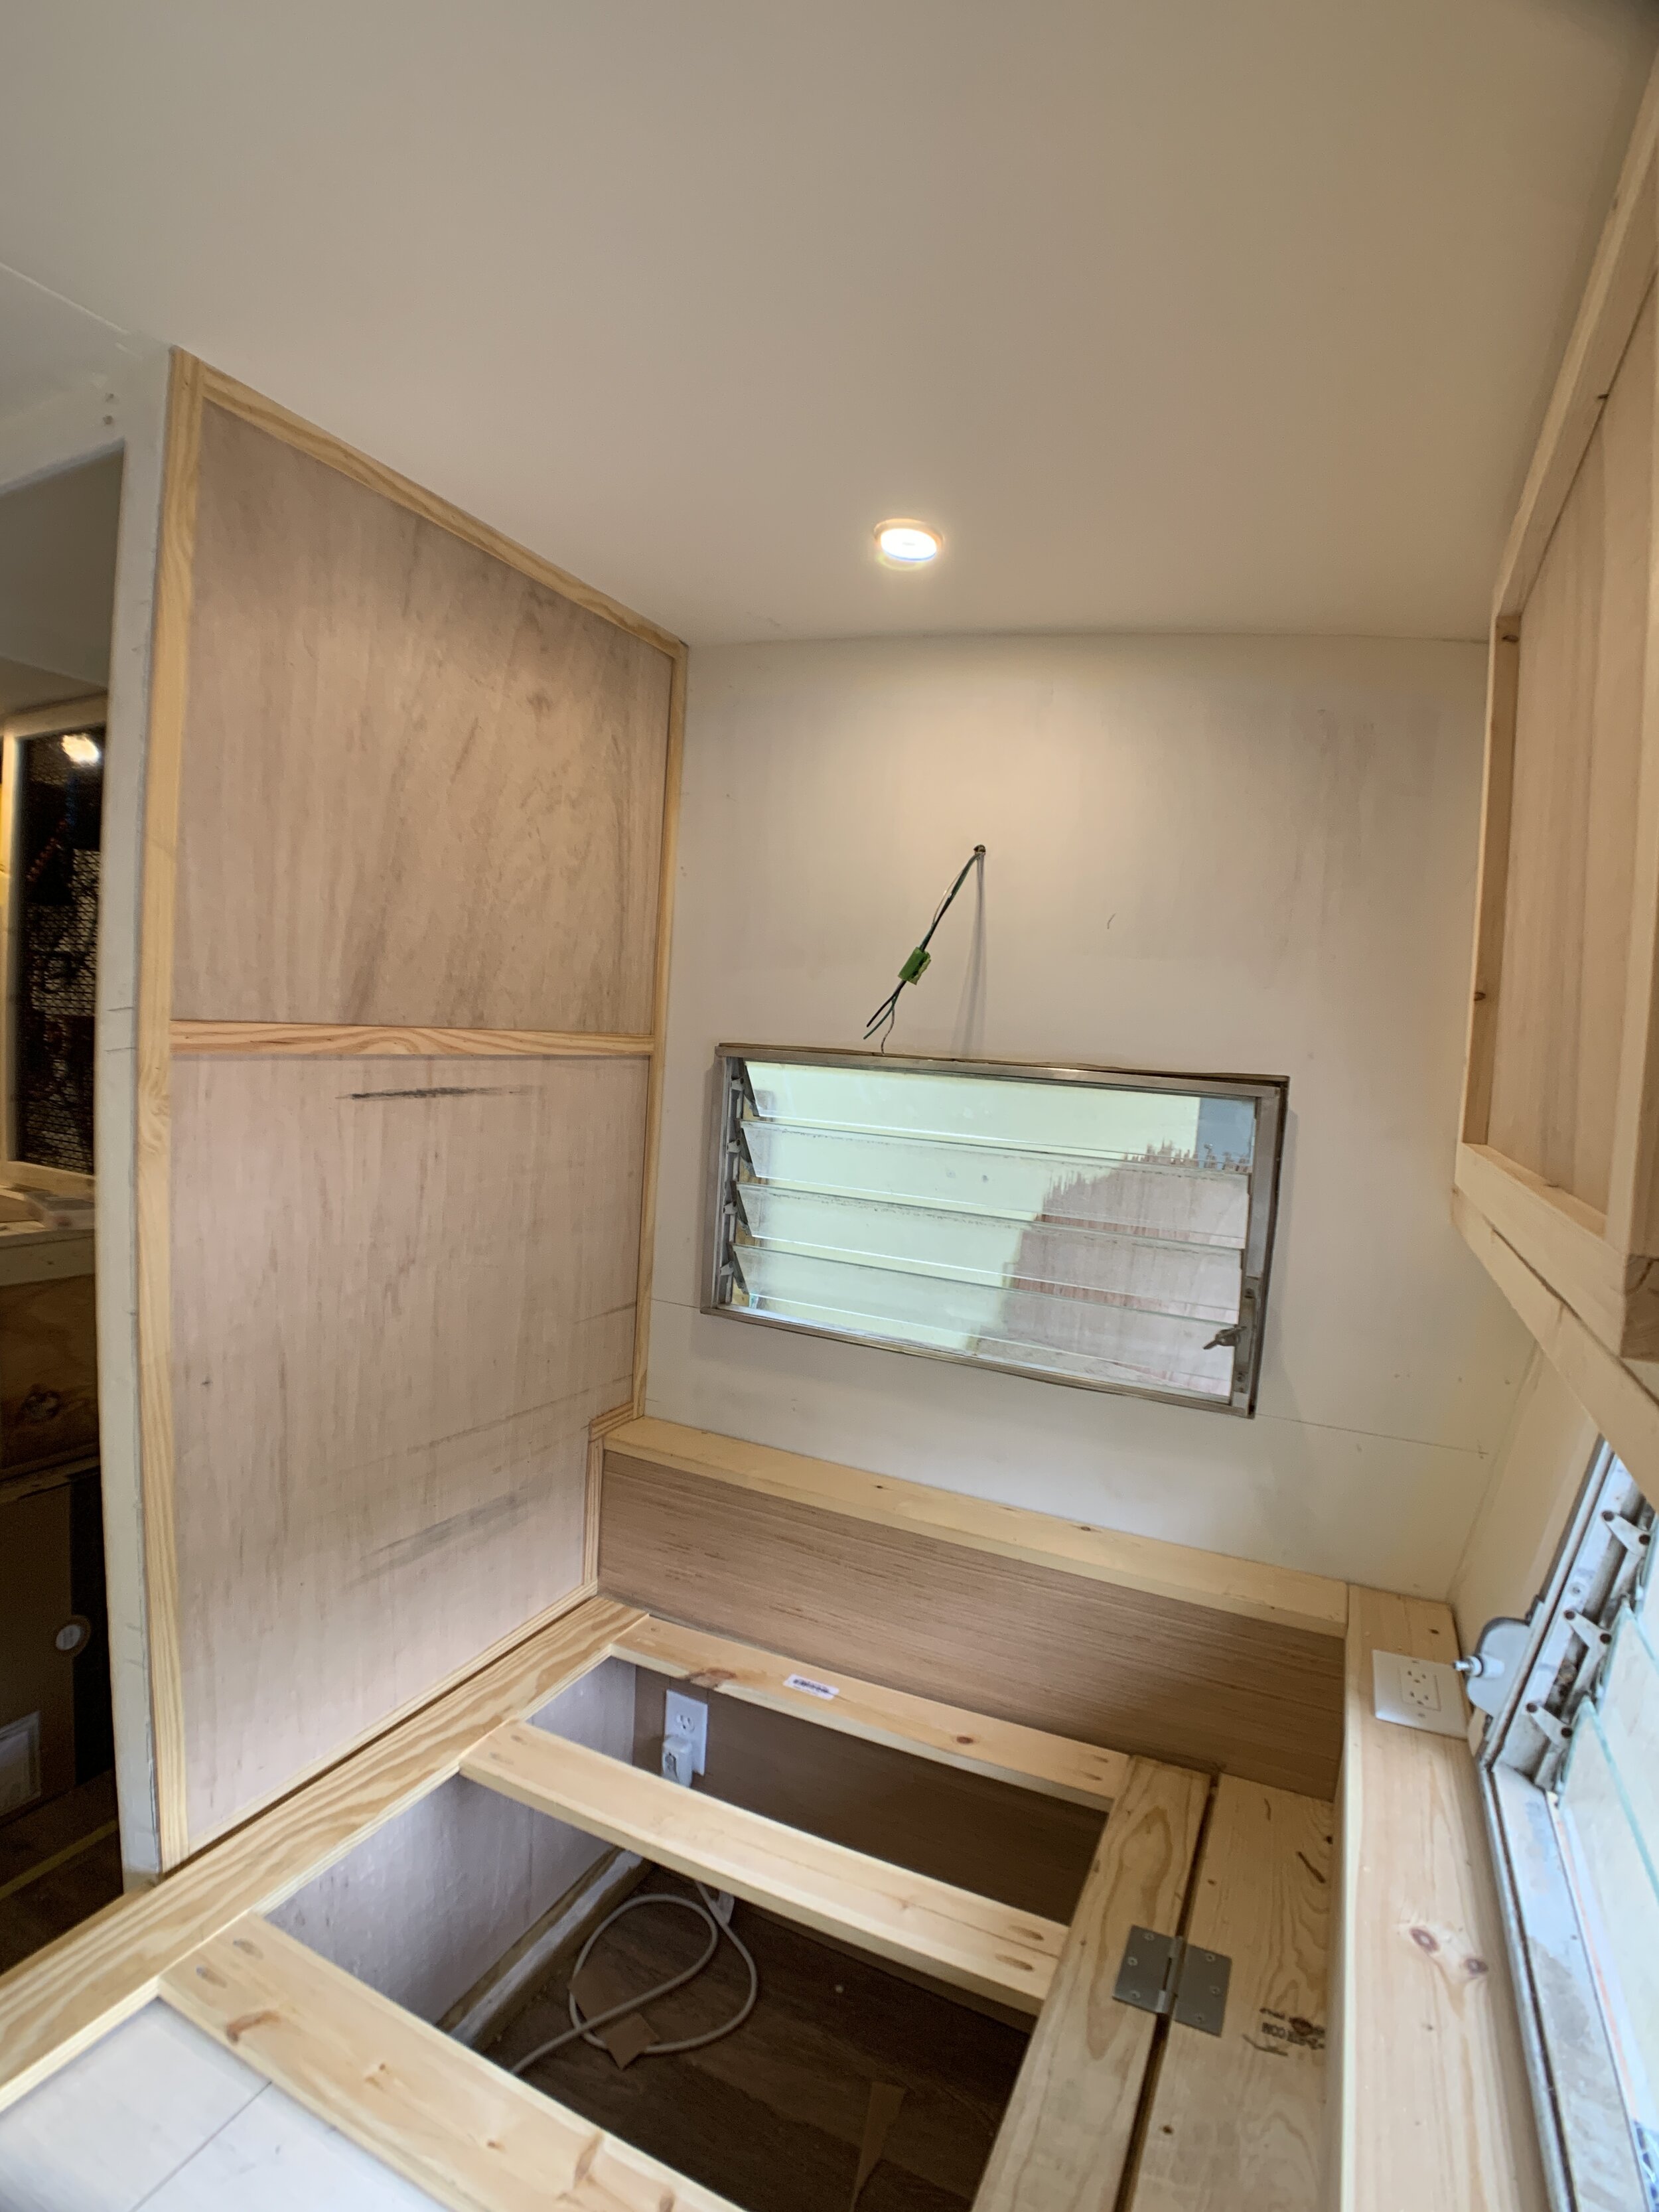
Before hanging the wallpaper, we had to make sure the wall was smooth and clean from any dust and debris. For us, because the walls were brand new and had no texture, that meant wiping it down with a rag and a little mineral spirits to get the small amount of dust and particles off so we could paint our base coat. (If you had a textured wall you could probably sand it down to be nice and smooth, and then just really make sure to clean all of the dust off with a vacuum and then mineral spirits.)
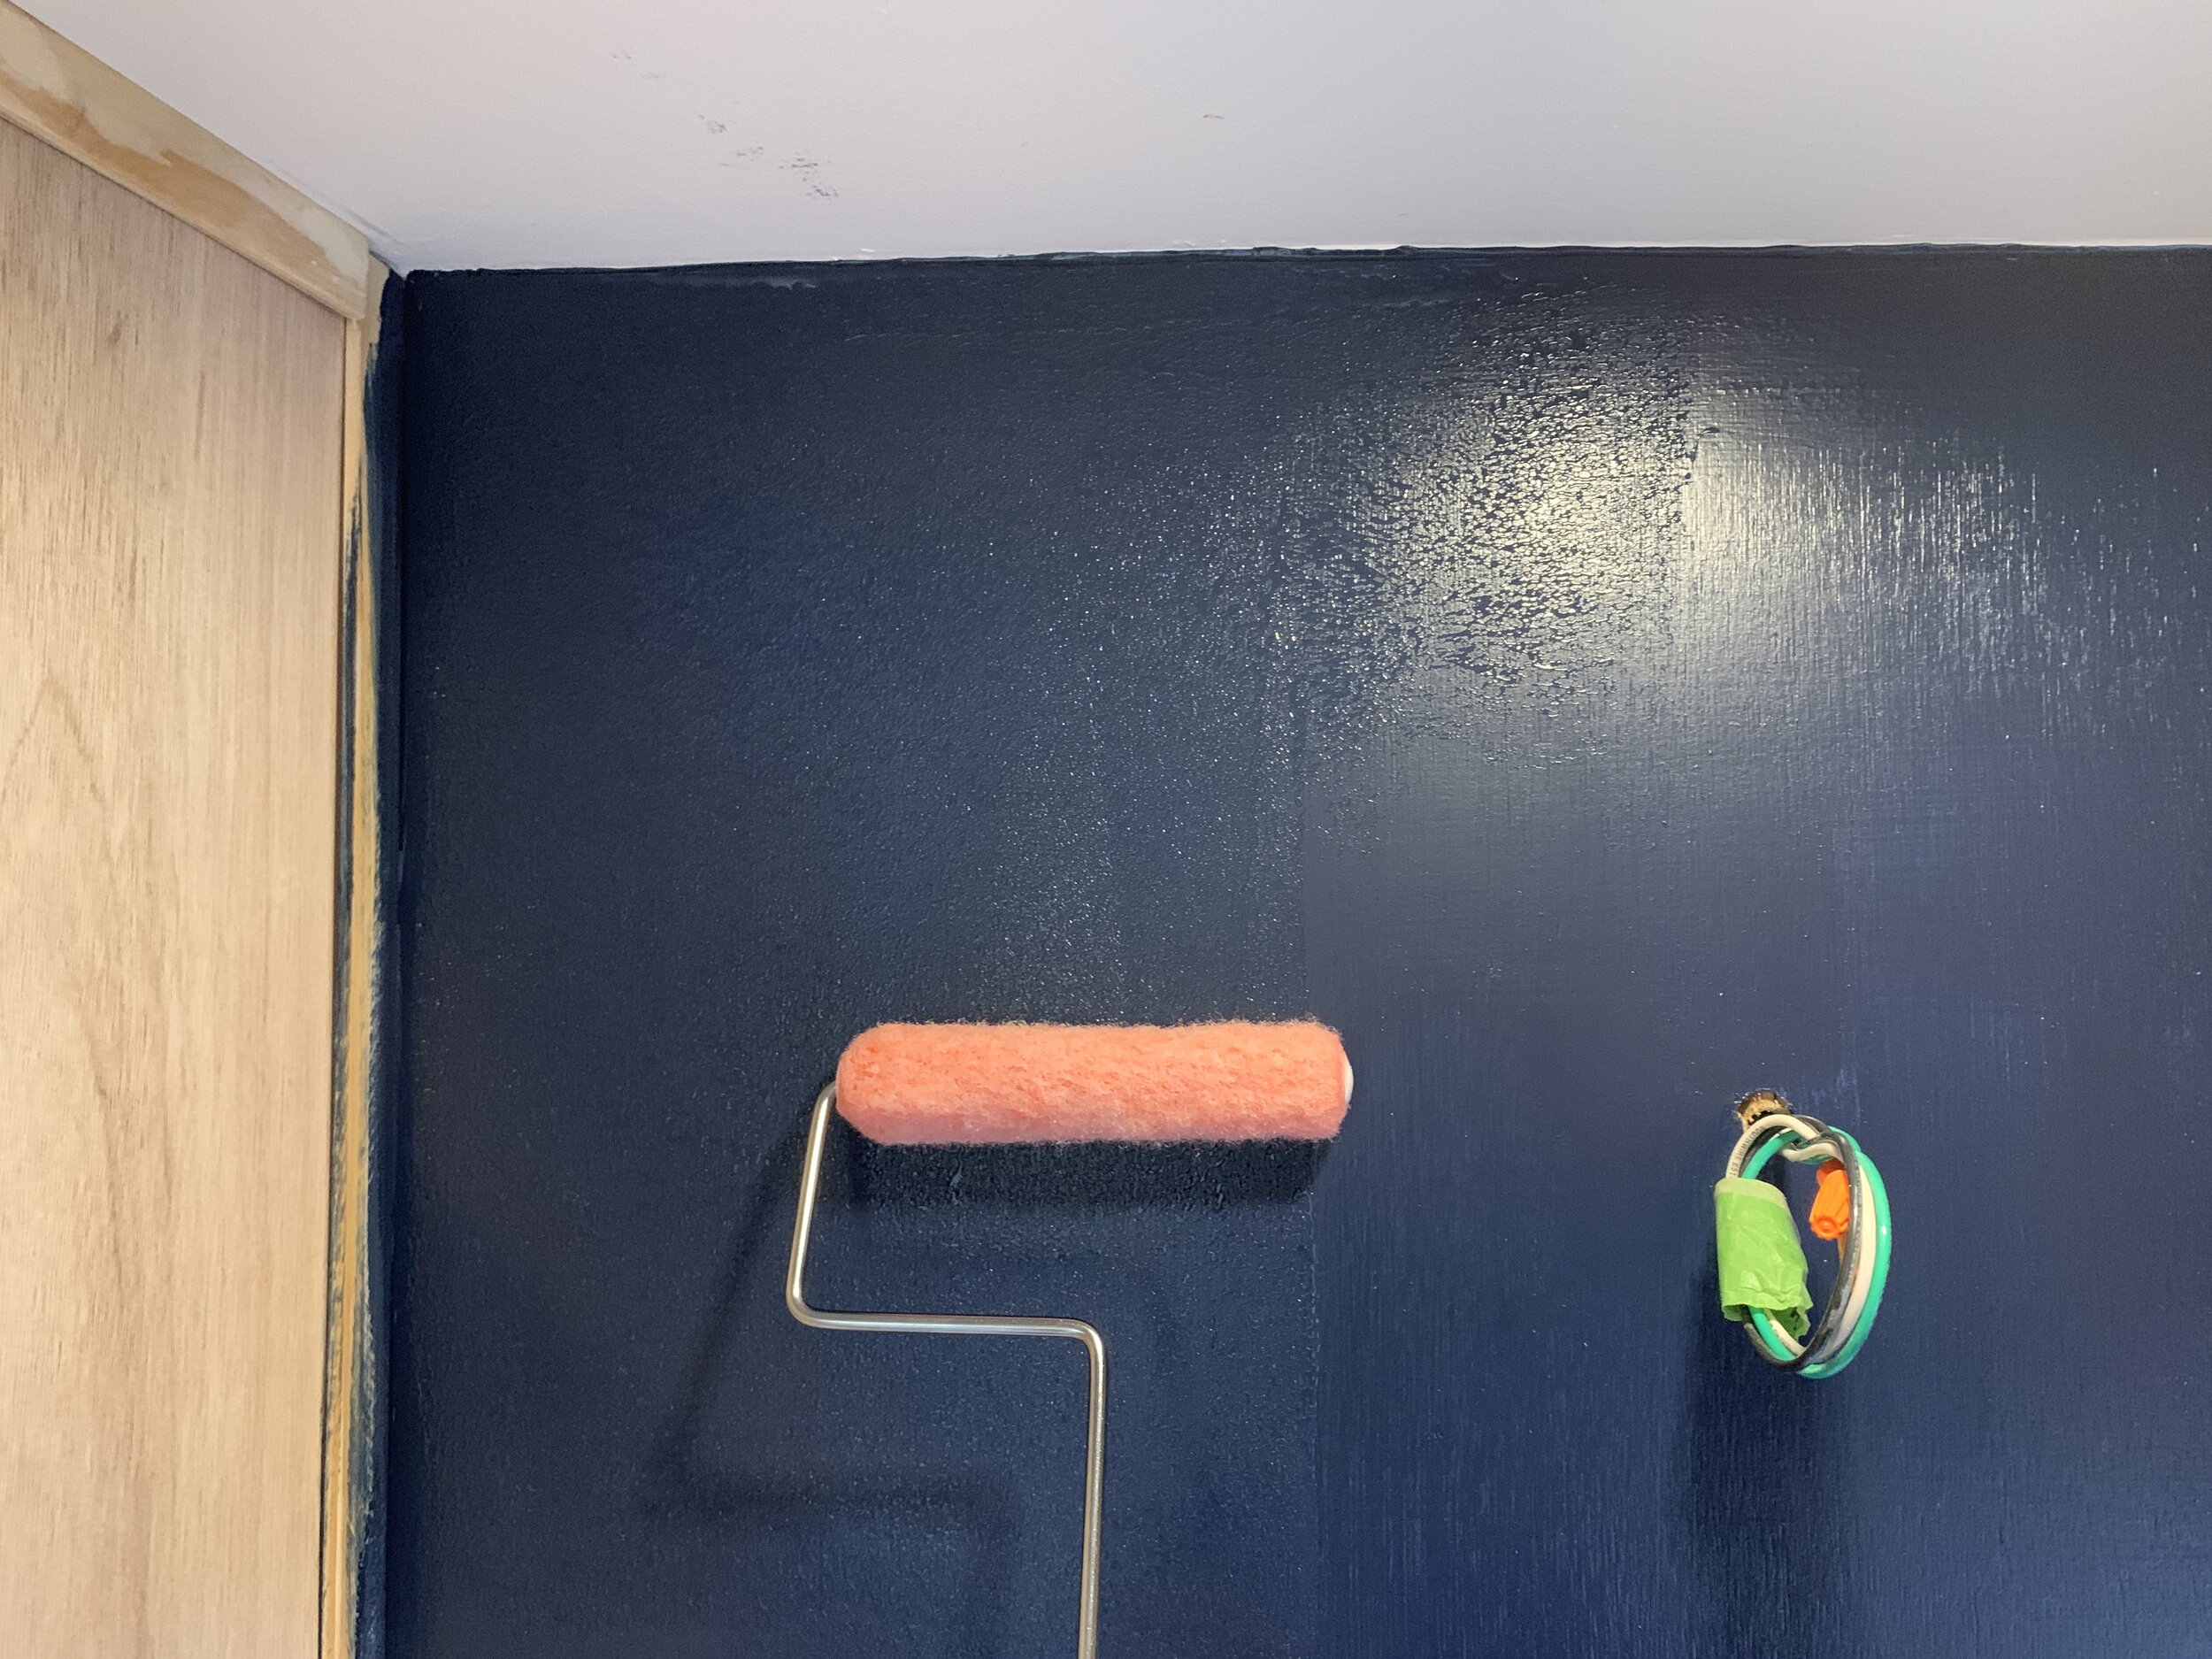
We had already primed and painted all of the walls off-white before we decided what we wanted to do on this wall, so after wiping it down we rolled on and cut in another two coats of paint – this time Naval, by Sherwin Williams – to make sure any imperfections in our first foray into wallpaper hanging would be downplayed as much as possible. (Smoke and mirrors, y’all.) After our second coat of paint was nice and dry we were finally ready to try our hand at hanging the grasscloth.
How we hung grasscloth wallpaper
Planning out placement of our first wallpaper panel
Thankfully we were hanging this in a small space (because we only needed one roll ... but not thankfully in that it required the two of us squeeze into that tiny twin bed area, straddling the slats in the furniture) and were able to use the side of the shower wall as our guide to start. Our twin “headboard” wall is slightly wider than the 36” wide roll, so our one and only seam is just to the right of the window. We thought about centering the seam, or the first roll itself (which meant we’d have two seams), with the middle of the window, but thought we’d have an easier installation, a more professional look and less waste if we hung it this way – with the left edge of the first roll touching the side of the shower wall, moving from left to right.
Prepping the first wallpaper panel
With a plan in place, we measured the height of our wall – making sure to account for the tallest part of the ceiling since it’s curved – and trimmed the first piece of wallpaper off the roll with scissors, making sure we added a few more inches than the actual wall height. As we cut the wallpaper panel to length, we rolled it up into a roll (pretty-side-out), careful to make sure we didn’t get any dirt on the backside of the panel or put any creases into the paper.

Hanging the first wallpaper panel
For us, this was a four-hands-on-deck kind of thing so we don’t have as many photos of the install as I’d like, but our steps went like this:*
Starting at the top left, we rolled on a healthy, even layer of wallpaper adhesive to the wall, making sure we rolled on enough to be slightly wider than the width of the panel, but only rolling down about a foot or two in height.
We lined up the left side of the panel with the right side of the shower wall with no overlap. Hanging it like this allows us to keep the factory-cut edge and keeps us from having to trim on the left.
Then we aligned the first panel so there was an inch or so extra on the top by the ceiling. This we trimmed off later.
Using the plastic spreader, we gently but firmly pushed the wallpaper panel to the wall – pushing out from the left toward the top, bottom and right as needed to remove air bubbles as we worked – making sure the remaining roll we were holding at the bottom was pulled out away from the wall a bit to avoid getting adhesive on the front, finished side.
Working in sections from left to right, from top to bottom, we rolled on adhesive as needed and repeated steps 1-4 until the panel was adhered all the way to the wall.
When we got to the accent light wiring, we used our scissors to carefully snip a small square out of the wallpaper. This didn’t have to be perfect because we would be covering it with the much-larger base of our light fixture, but we still wanted it to be pretty small.

7. We had a window in the middle of this first panel, so once the portion above and to the left of the window were firmly adhered to the wall, we used our box knife (with a brand new super sharp blade!) to follow around the perimeter of the window, then proceeded with smoothing out the areas below and to the right of the window.
8. Using a sharp knife we carefully trimmed the excess along the top and bottom of the panel along the ceiling and where the wall met the arm of the daybed.
*This might be the completely wrong way to hang wallpaper, but this technique worked swimmingly for us. We’ve seen other tutorials where you’re supposed to roll adhesive on only the wallpaper or on both the wall and wallpaper, but since we were in such a tight space, we didn’t want to put adhesive on the wallpaper so it didn’t get on the grasscloth when rolled up.

Hanging remaining wallpaper panels
After the first panel was in place, we lined up the left side of the second panel using the right edge of the previous panel as our guide for a tight seam. (The same process would be followed for however many panels you have. We only had the two.) After measuring your wall height and wallpaper length, repeat steps 1-8 above, as needed.
On the last panel, we used a sharp blade to trim along the right edge.
Using our spreader we firmly pressed down on all the seams and quickly and carefully wiped off any adhesive that squeezed out with a rag to avoid staining the grasscloth. The photo below is a macro shot of the seam to show you how tight we were able to get our two panels, but also how much the base layer of navy paint helps to disguise any gapping you might have. If we hadn’t done the navy layer, we’d likely have some bright white showing through because we are not perfect humans.

Before and now
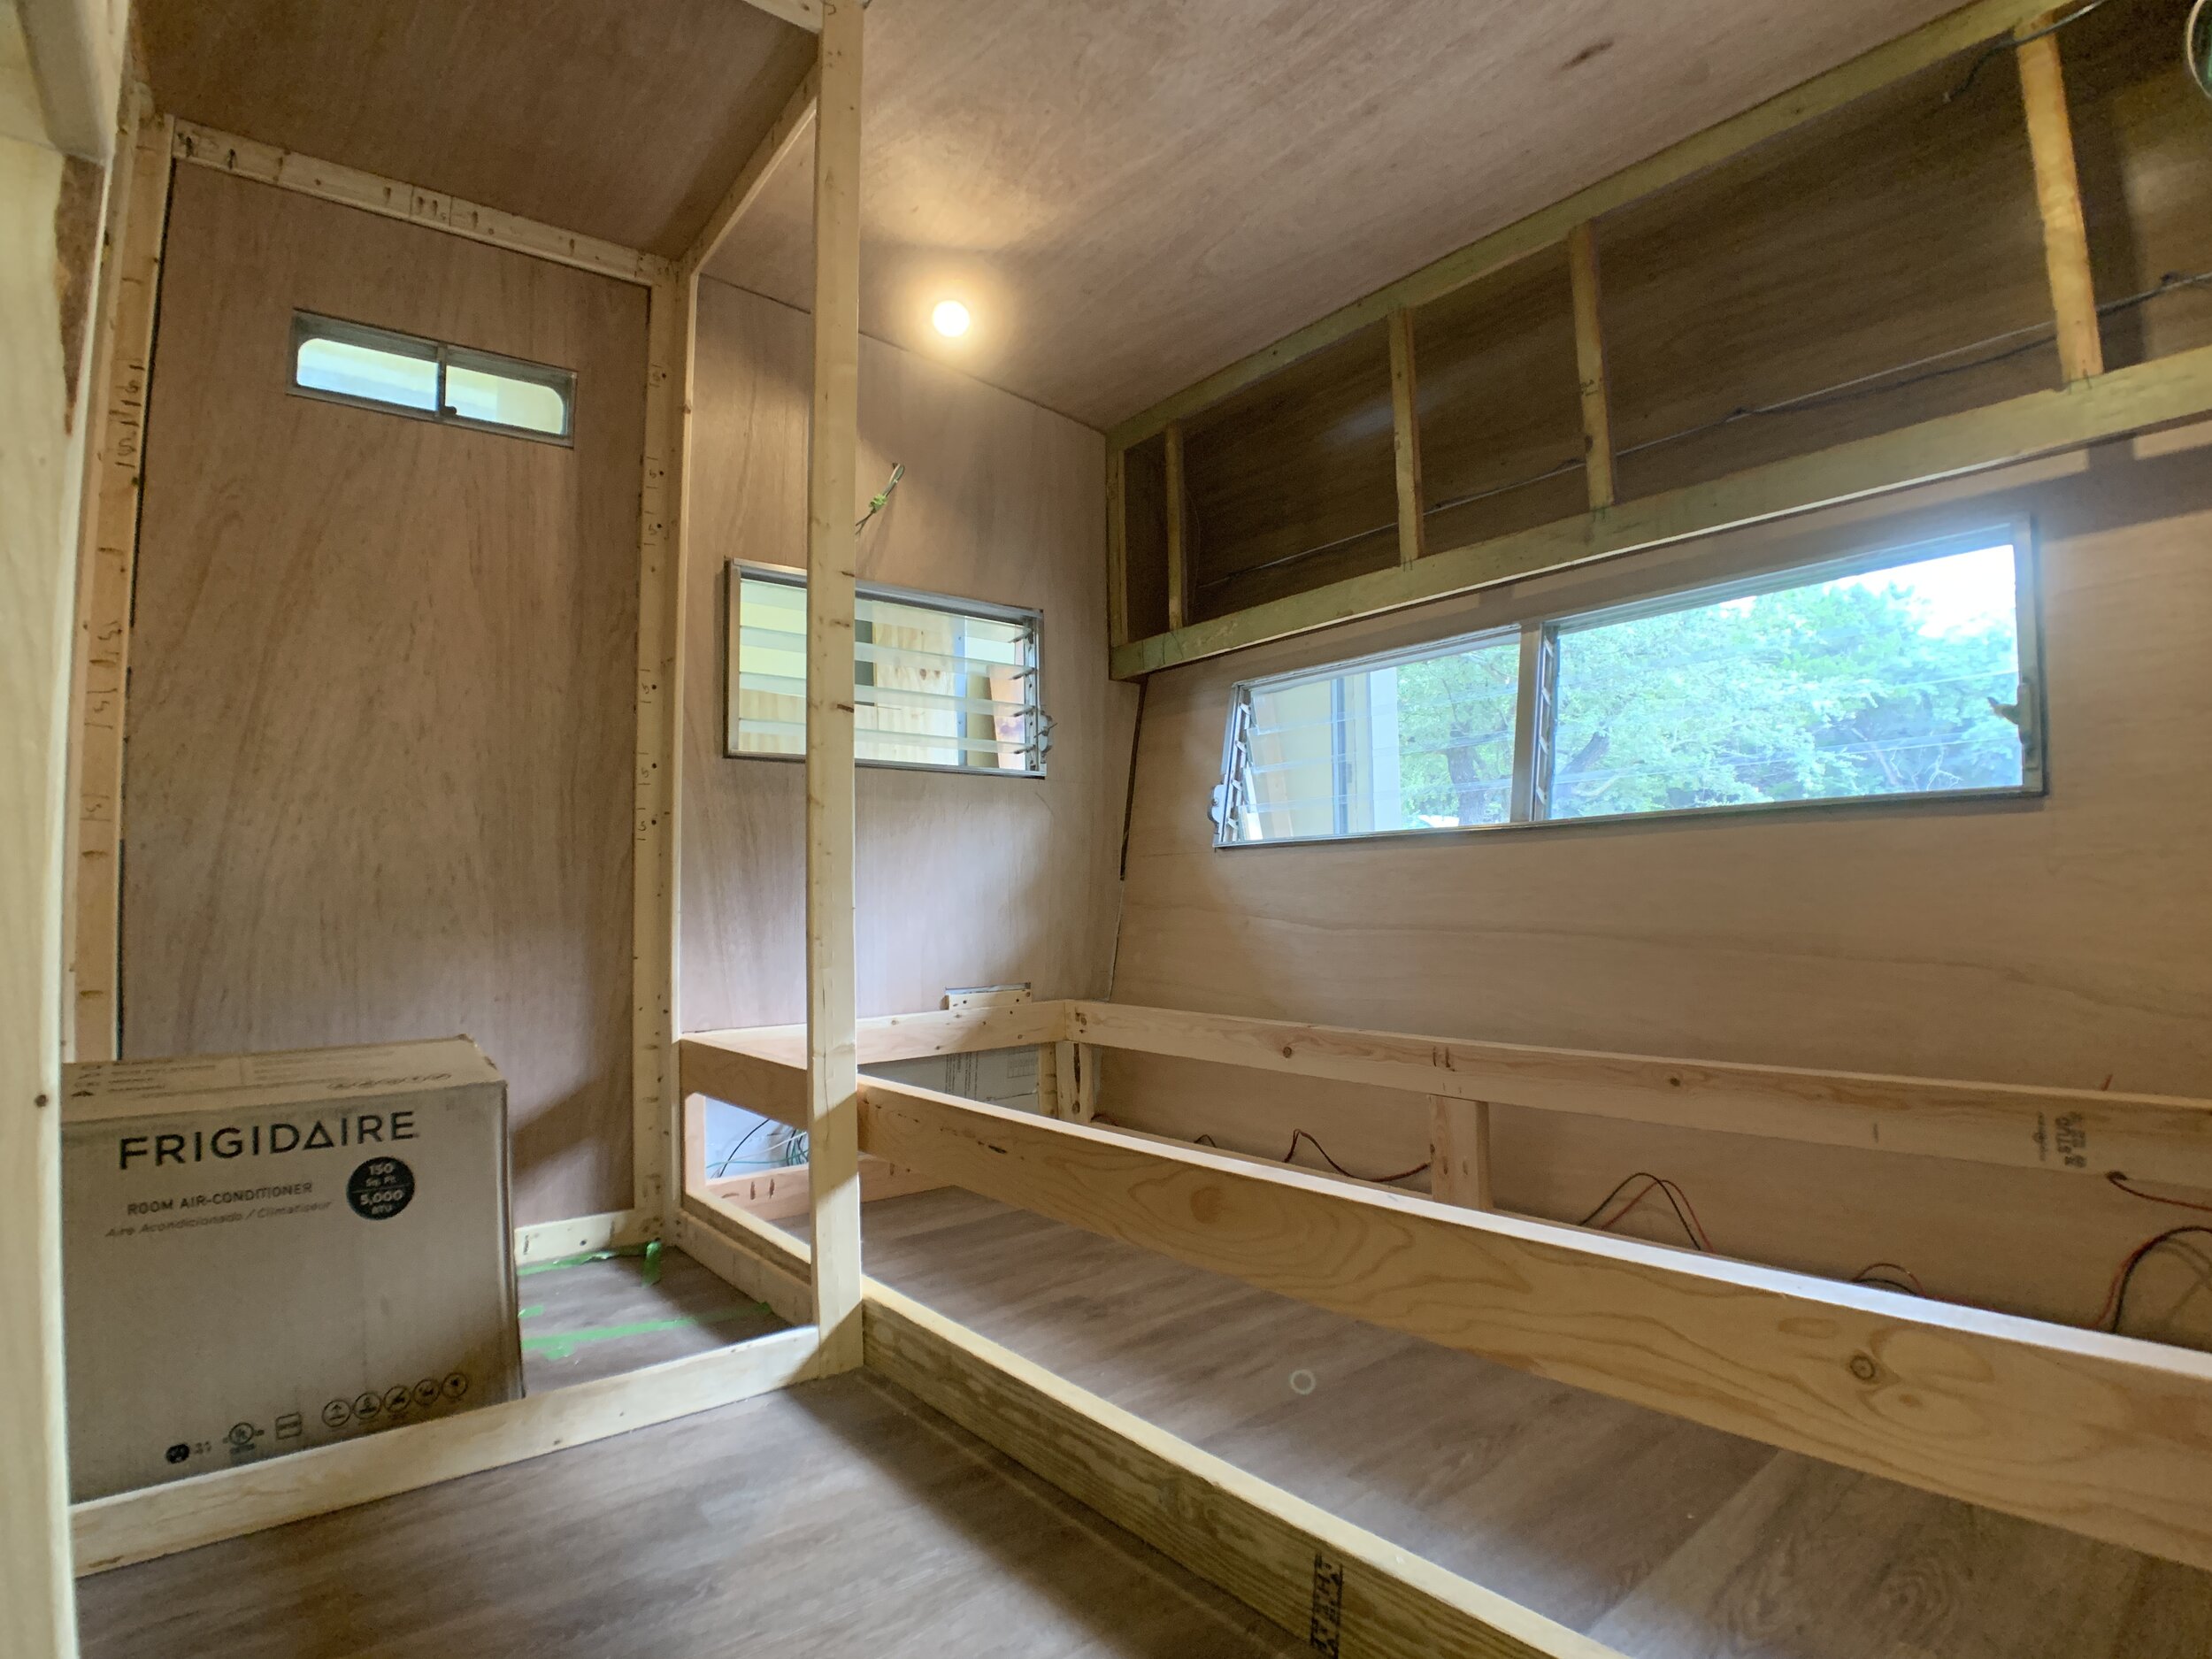
Here’s what it looked like at the beginning of the project (almost two years ago, before demo)…

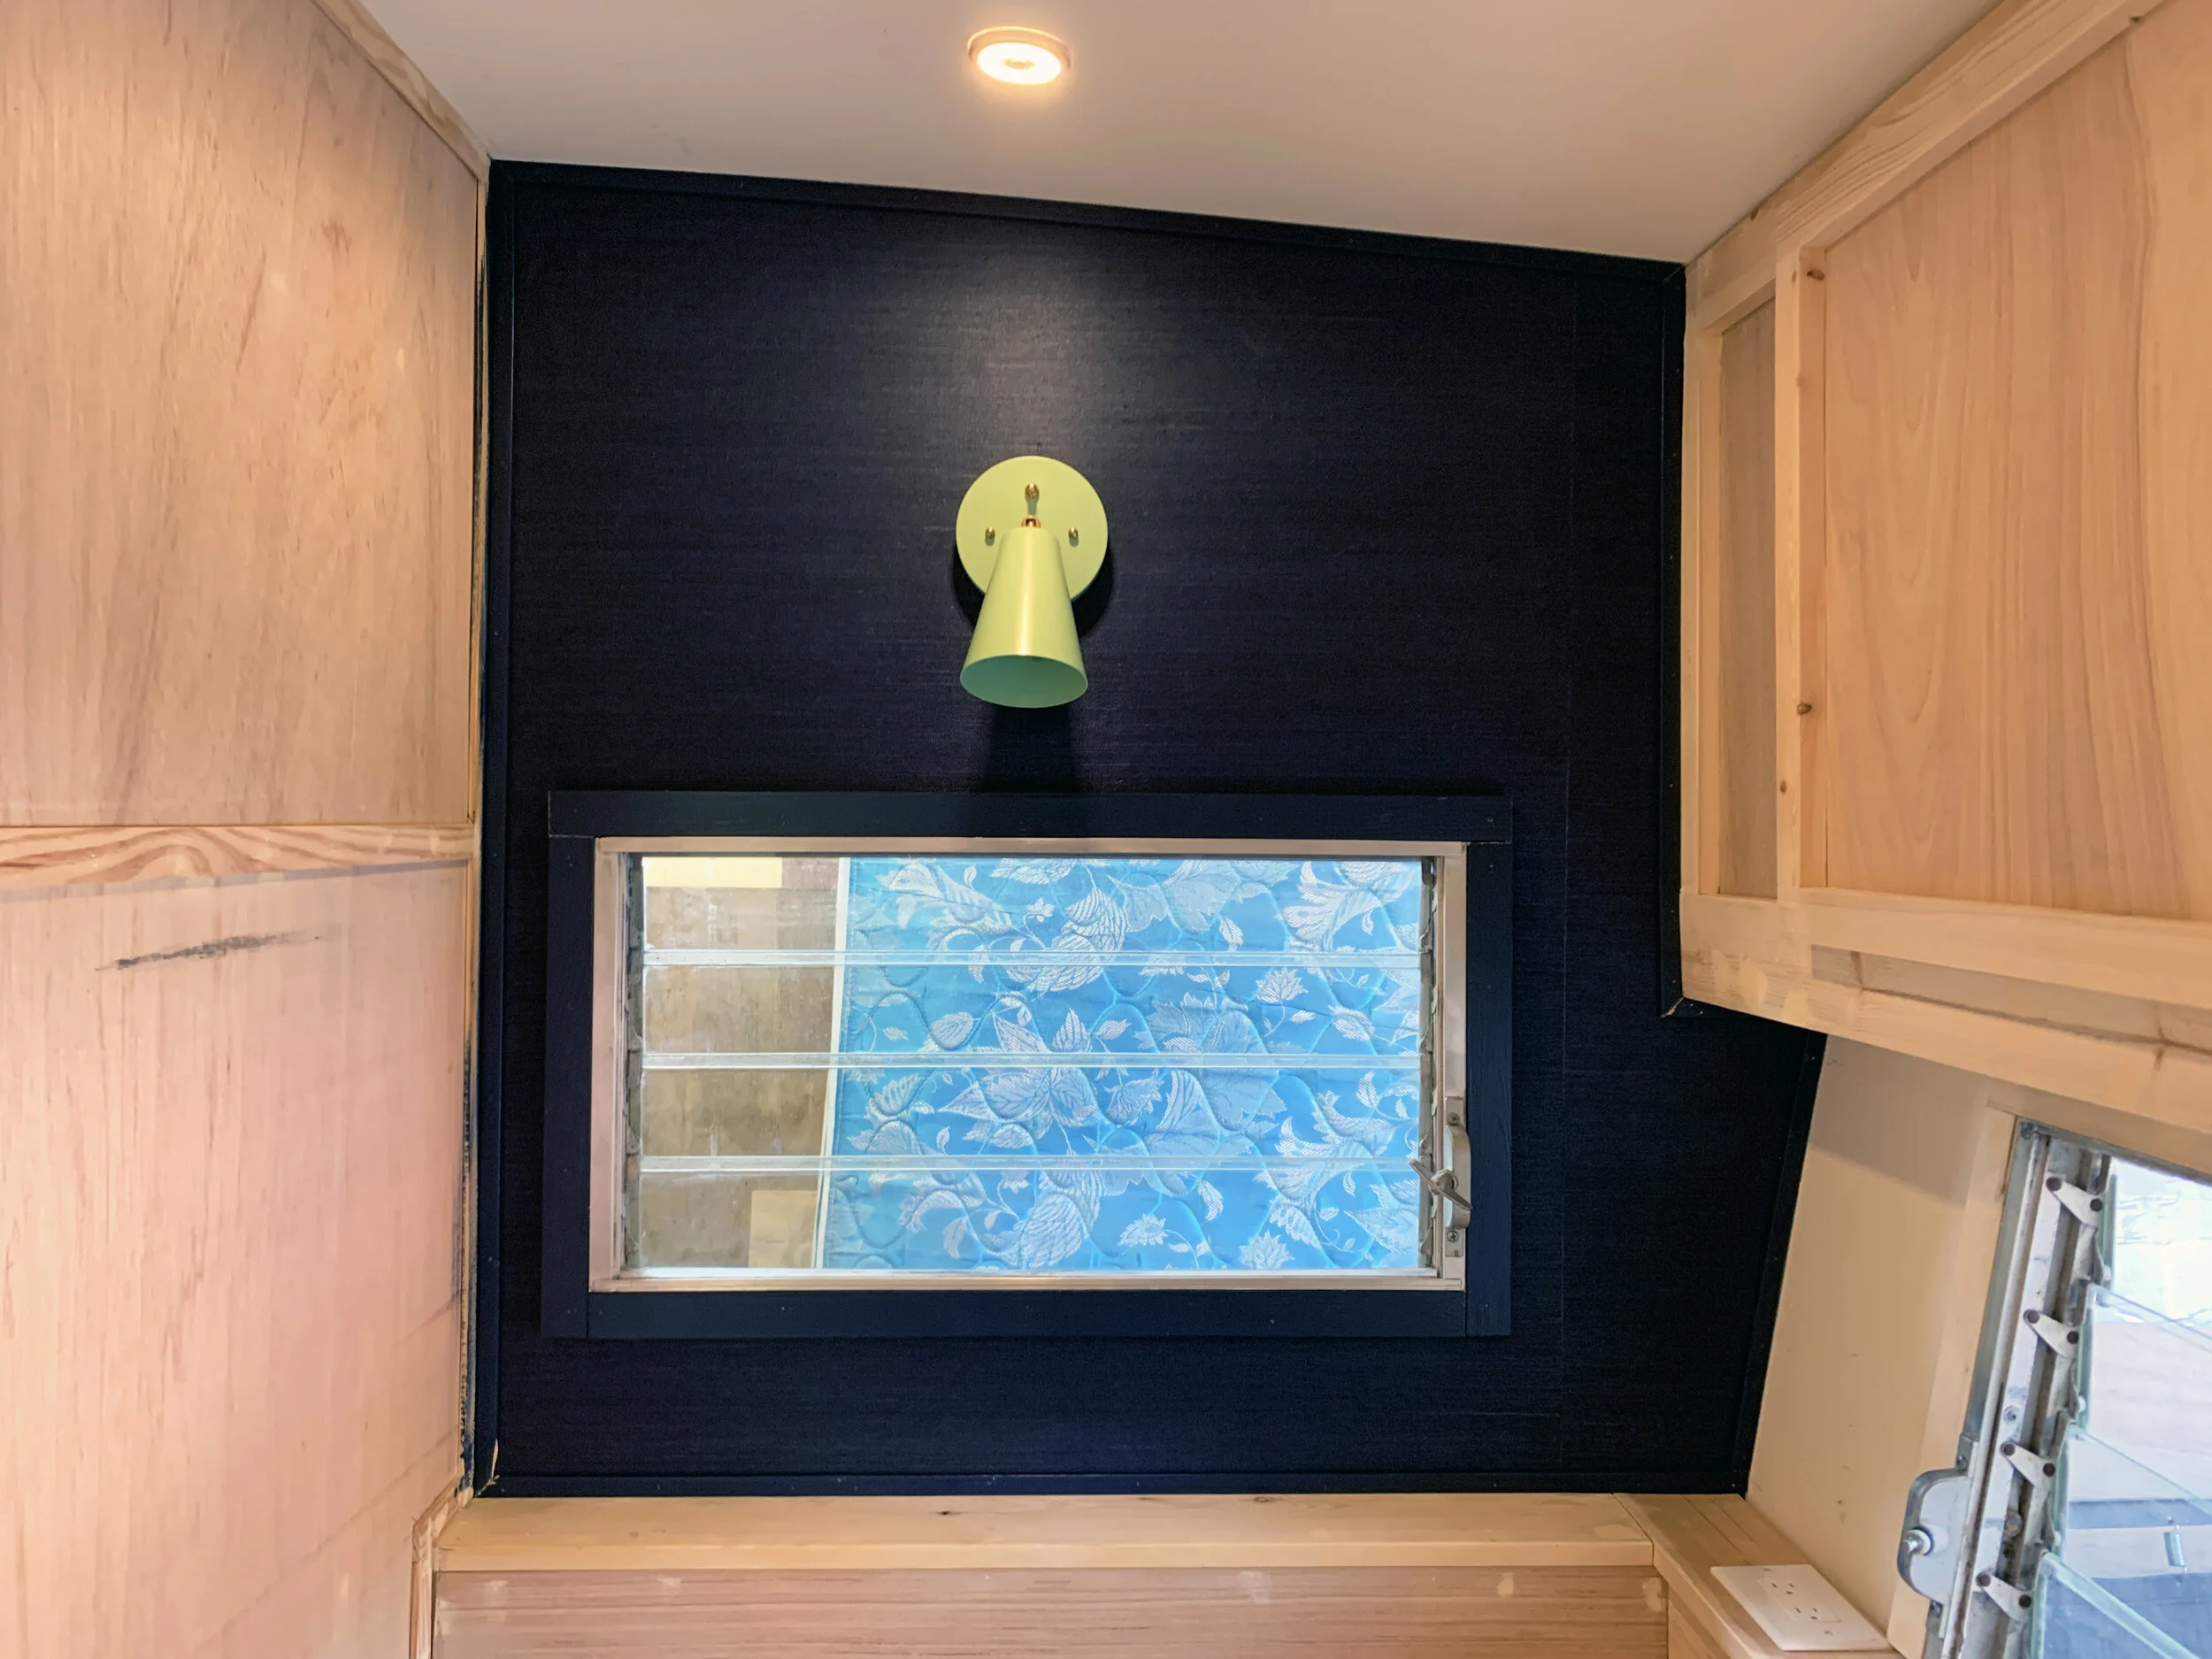
and how it looks after our wallpaper install! We have some paint cleanup to do, particularly on the left by the shower, but we’ll do that when we prime and paint the shower.

So what do you think? I love it so much I really want to put it somewhere in the house too! But where? Any suggestions?
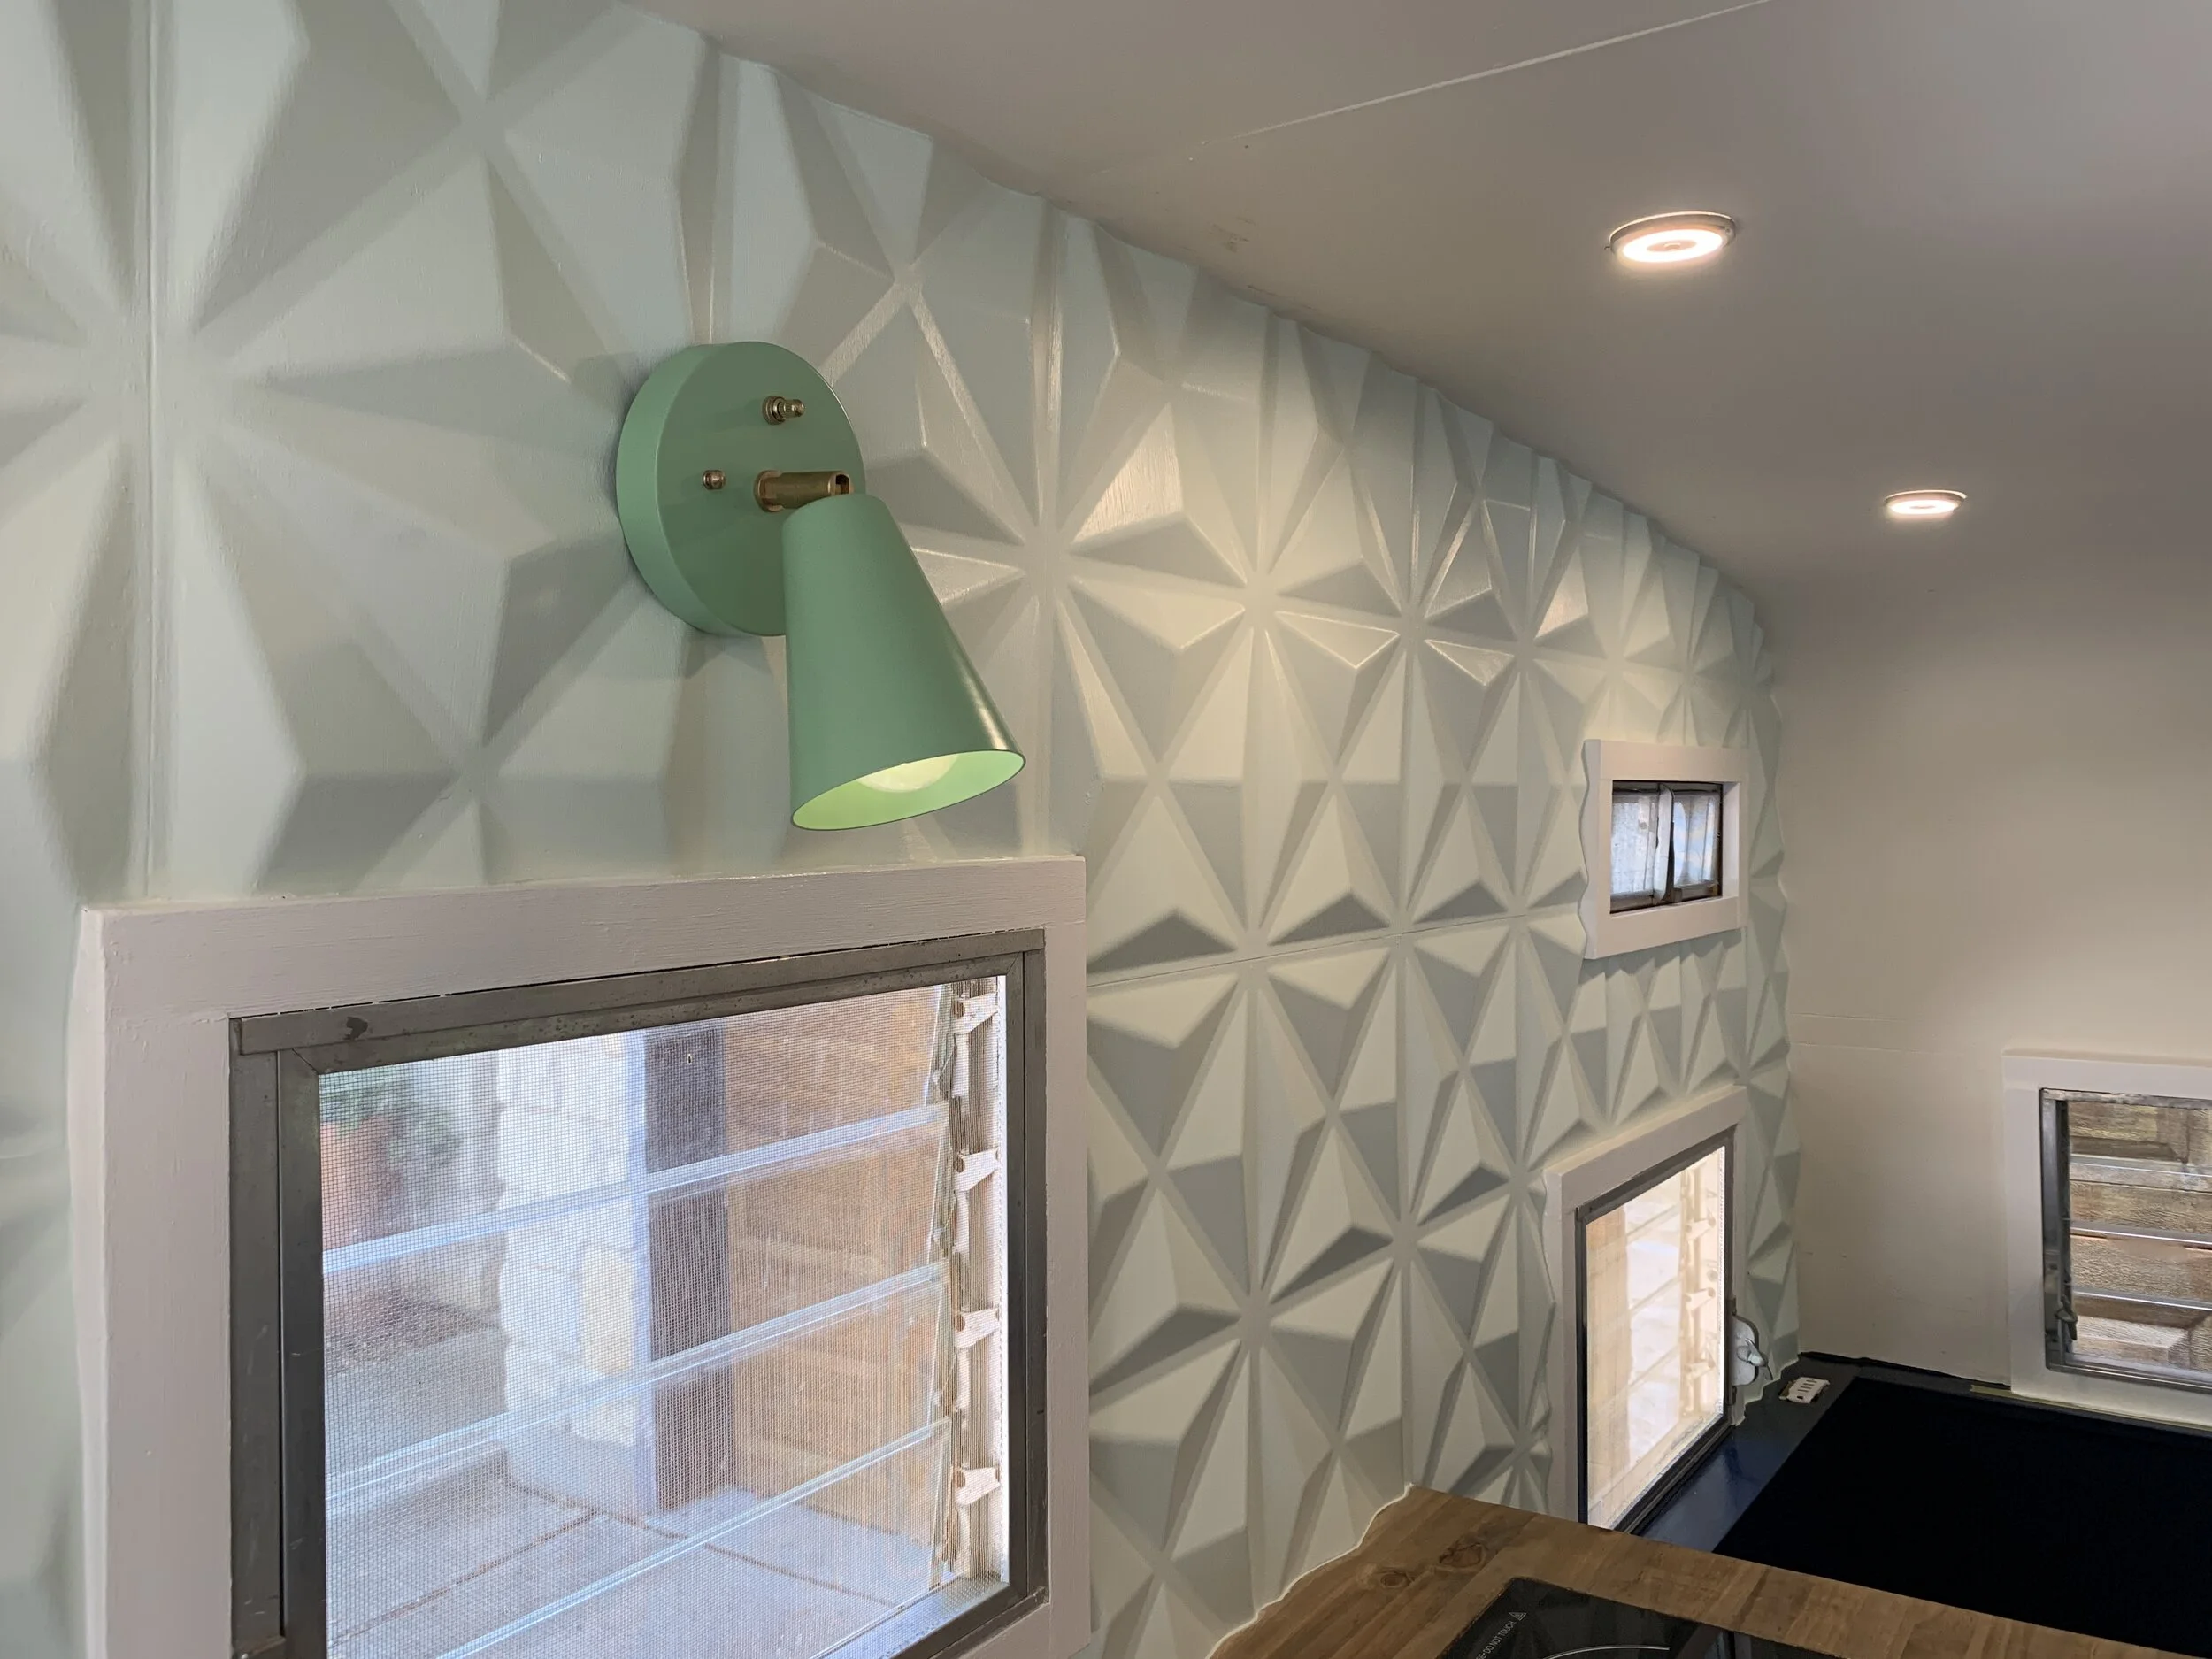
We can’t wait to show you the accent light now on this wall – it really pops and gives our headboard area that extra something. We’ll be covering it here on the blog soon!
Ok, now a bit of real talk. With everything going on the world, Nick and I want to share how much we love and appreciate you all. We’re all doing our part and even though we’re physically keeping our distance, we know we will get through it all together.
::: VIRTUAL HUG :::
Stay safe out there y’all. See you soon.