The Cameo Camper Renovation: Converting 120V Lights to 12V
Disclaimer + safety
Please please please always make sure when you’re dealing with electrical that you turn ALL of your power off, wear the appropriate PPE (personal protective equipment) and use a reliable voltage meter to triple check that your power is actually off. You never ever want to find out the hard way that you guessed wrong.
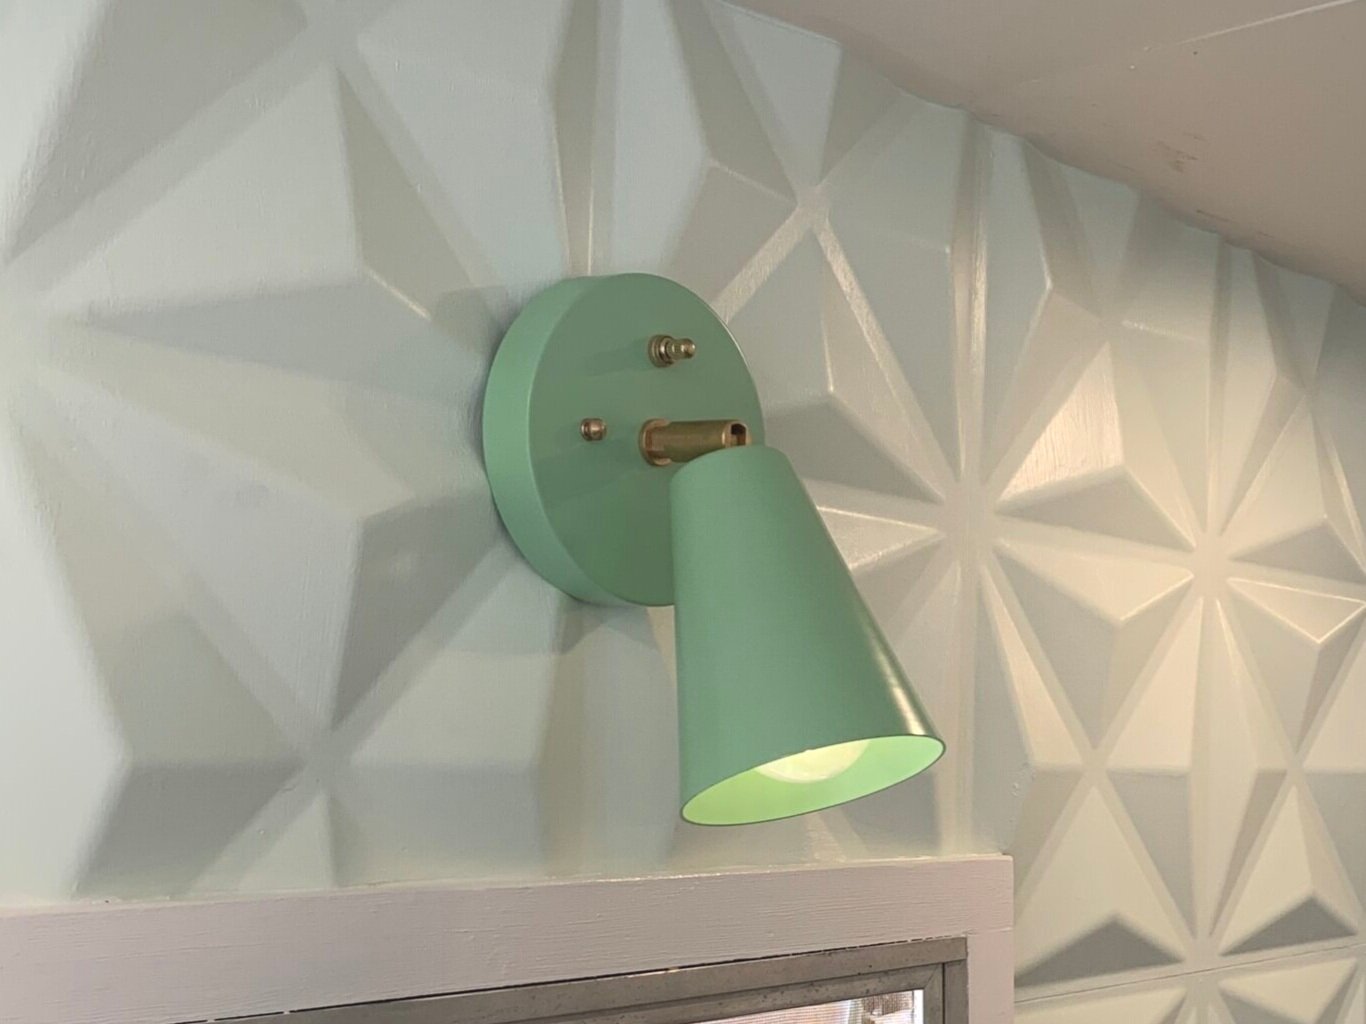
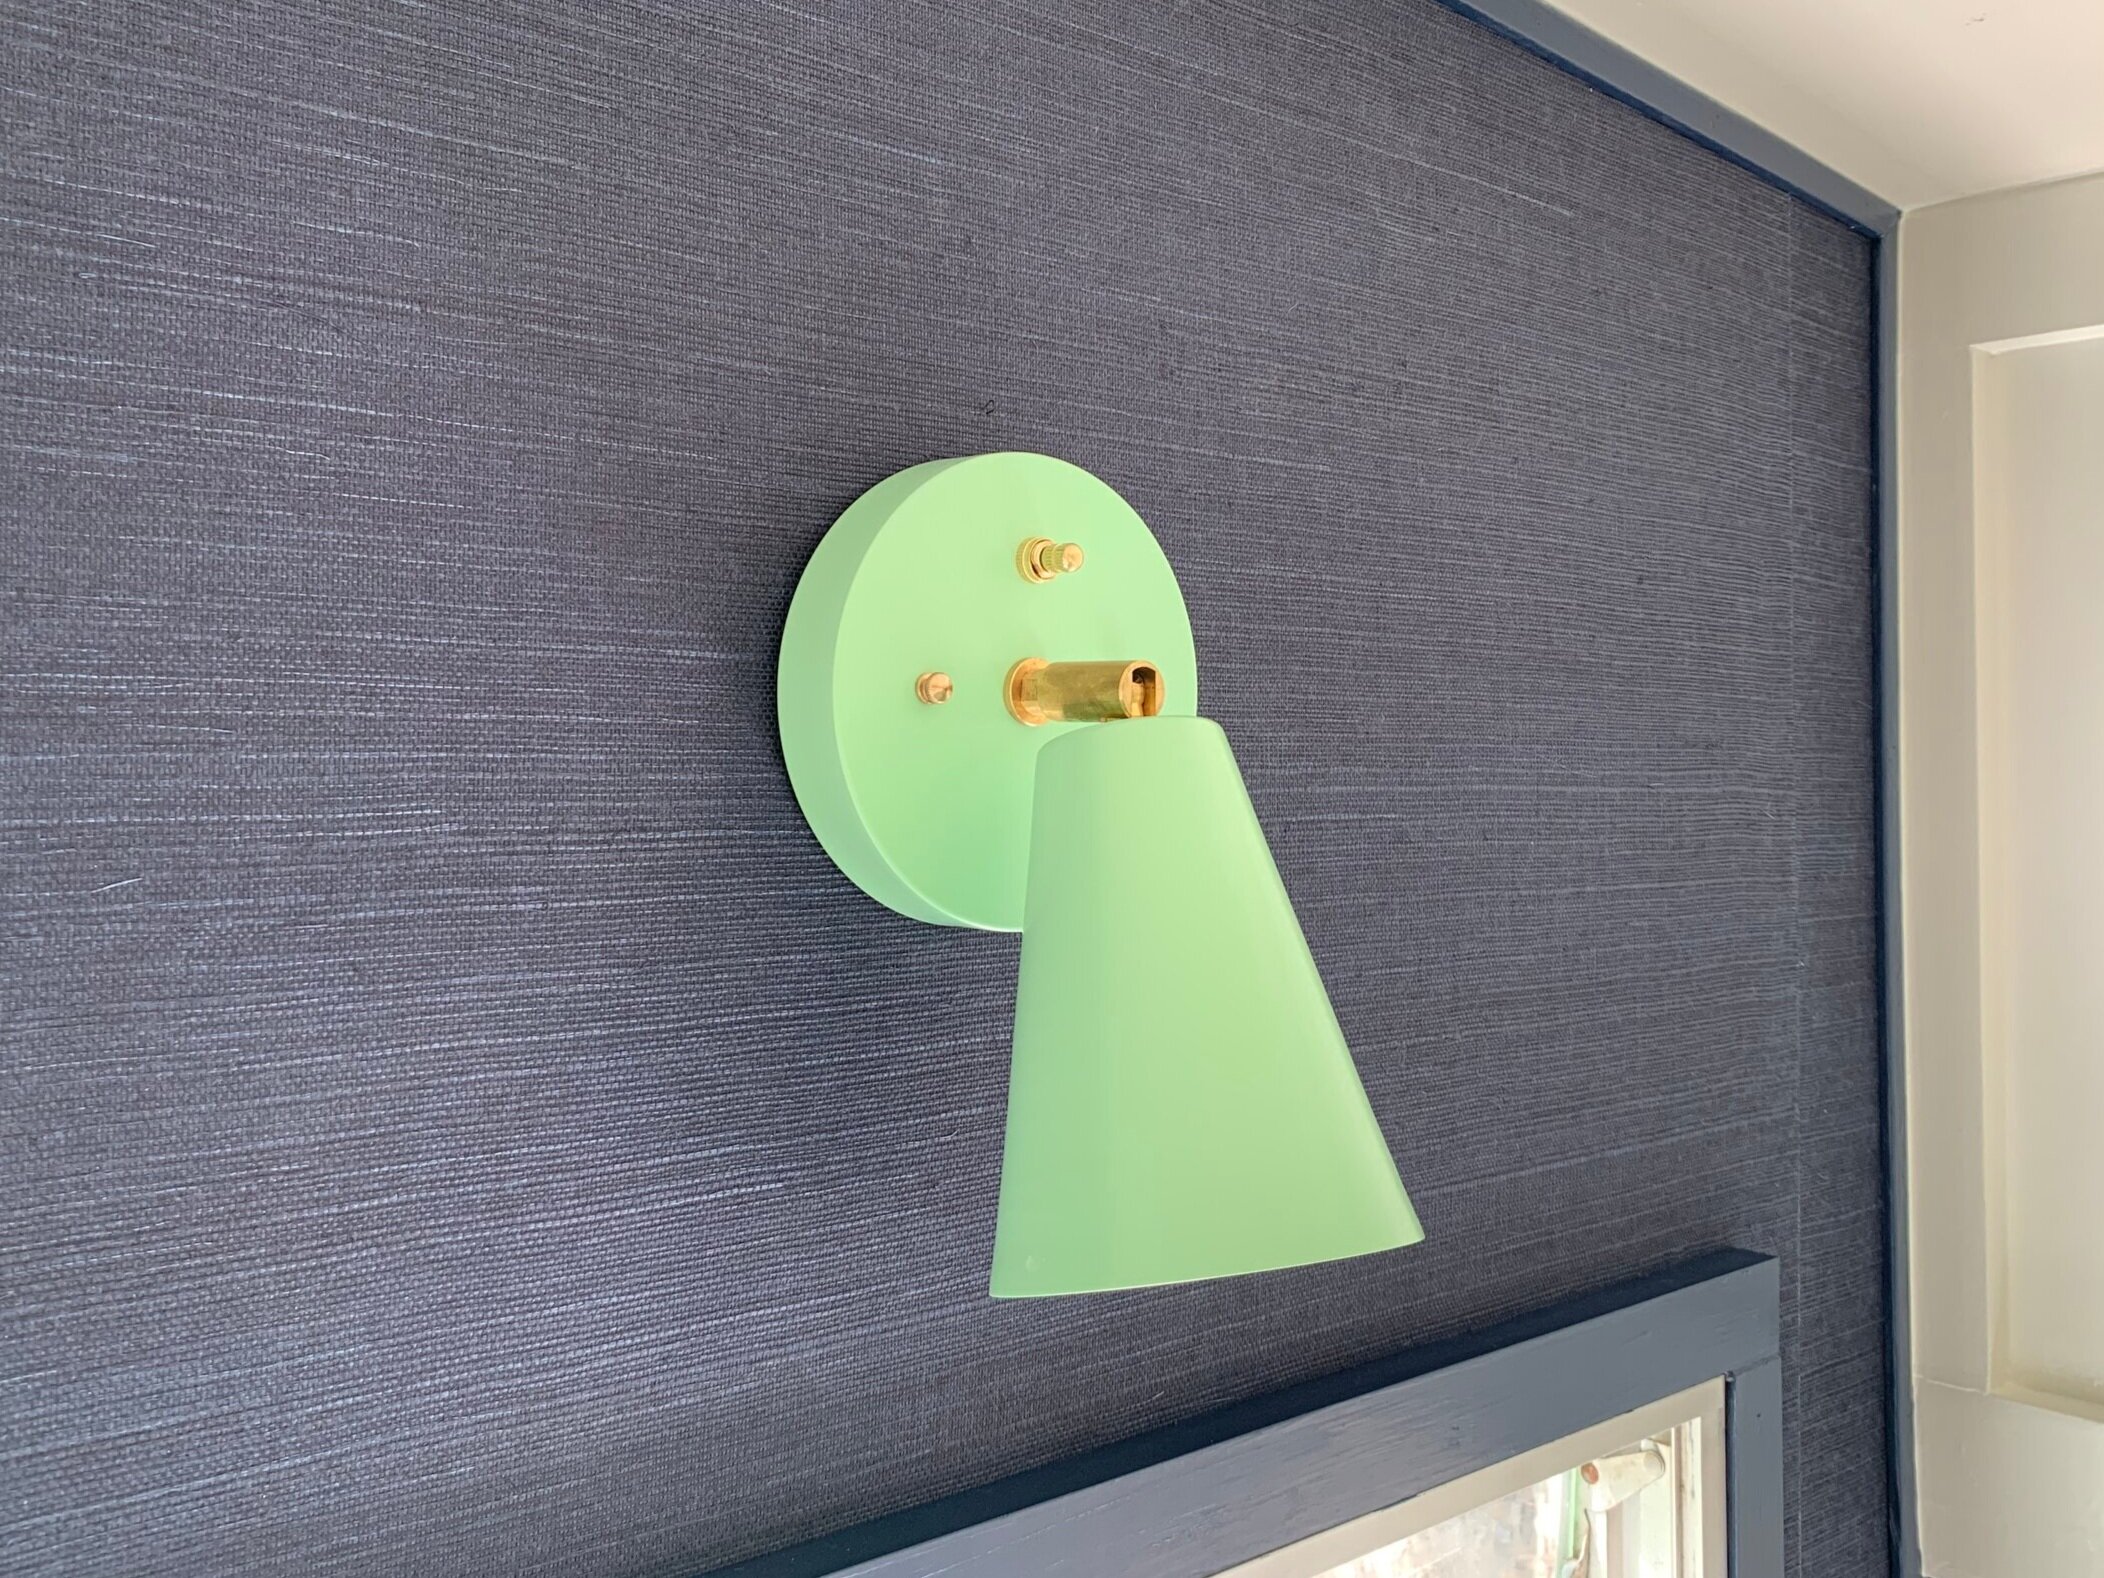
Hey there! While we are still playing catchup on our camper renovation posts, we are SO EXCITED to share this simple hack with you that could. not. wait. Remember the beautiful mint green wall sconces I fell in love with way at the beginning of our renovation and had to have in the camper even though they were 120V (meaning, they pulled more power than is ideal in a battery-run camper setting)?
Yeah, those beauts.
We have excellent news! We learned a week or so ago we can convert them to be low voltage in just a few minutes. I ran across someone on Instagram (forgive me, I can’t find the source) who casually mentioned they converted a standard light in their RV tour and we tested it out for ourselves this weekend just to see if it was too good to be true.
Lo and behold, it actually worked!
After literally years wishing we could magically make our light fixtures low-voltage, we learned we actually can with just a few items and a few minutes. Not quite magic, but hey, we’ll take it.
What you need to convert any 120V light fixture to 12V (AKA, the shopping list):
At least one light fixture – we converted our 2 Atomic Single Cone Wall Sconces. They’re the mint green color and we added on the raw brass switches to the order. You can get it in different colors and even in a plug-in version.
12V light bulb(s) – as many bulbs as your light(s) need. We originally bought a standard size bulb, but ultimately went with the shorter ones (linked) so they don’t hang out of the end of our sconces.
Wire strippers – we’ve had our so long, but these are similar to the ones we have. It’s good to have a pair that has a good range of pretty generic sizes – for reference our camper wiring is 12AWG.
3 electrical caps per light fixture – we like to have an assortment of sizes on hand, but we usually use the orange size
Voltage meter – to triple check you’ve shut off your power!! Safety first and always.
Safety glasses – to protect those peepers when cutting + stripping wires
A brief background on electrical in general
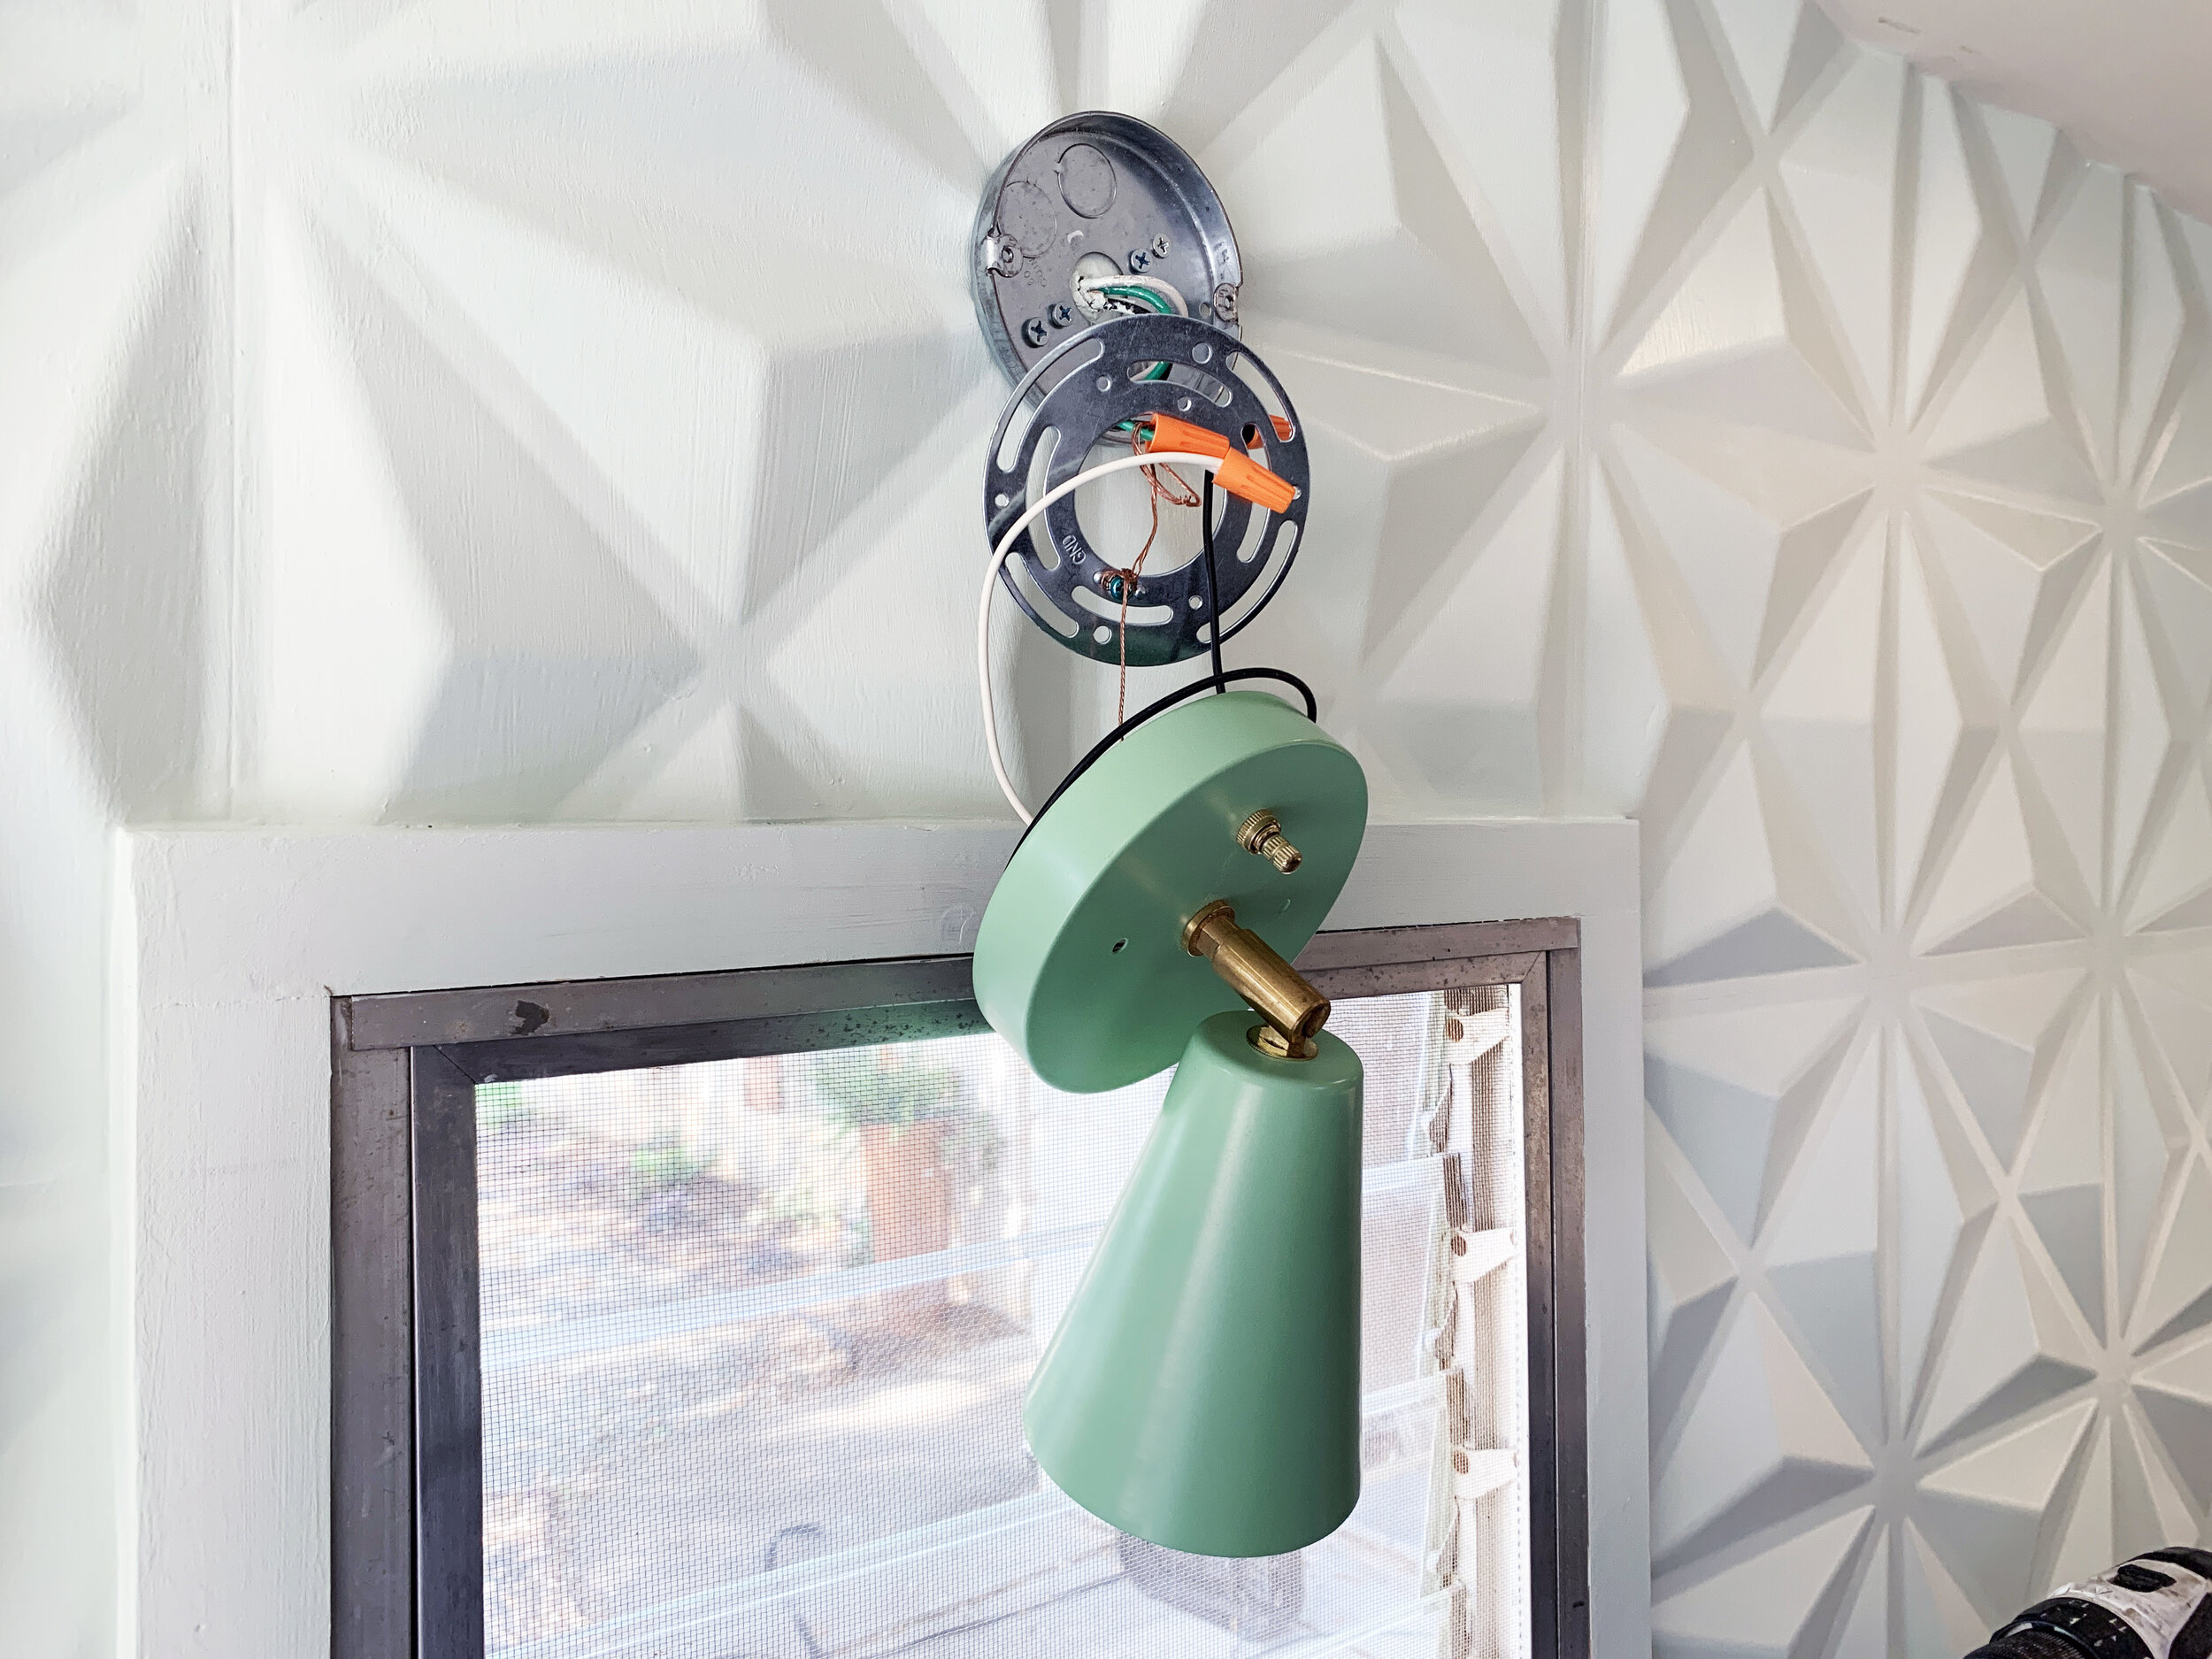
First, you’ll need to have a base knowledge of how to wire a light. It’s usually as simple as matching the colors of wires; black to black, white to white, green (or sometimes copper) to green. And in the case of our 12V lights, red to red and black to black. Remember, turn everything off and triple check there’s no power running to anything with a voltage meter. We cannot stress this enough.
As a quick reminder
If your light has 3 wires (a hot, a neutral and a ground) it is a 120V light and should have black, white and green wires run to it. If it has only 1 wire (a hot, that’s grounded through the mounting hardware), or 2 wires (a hot and a neutral), then it’s 12V and should have red and black wires run to it.
Today we’re sharing how we convert the 3-wire (black/white/green) kind to a 2-wire (red/black) kind.
You should know the wire colors are kind of irrelevant … in that the copper wiring inside the colored coating functions the same, carrying electrical current, but the colors themselves are important because they indicate what should match up during install to make sure polarities line up correctly. Long story short, safety, function and organization, y’all.
A brief background on our electrical system
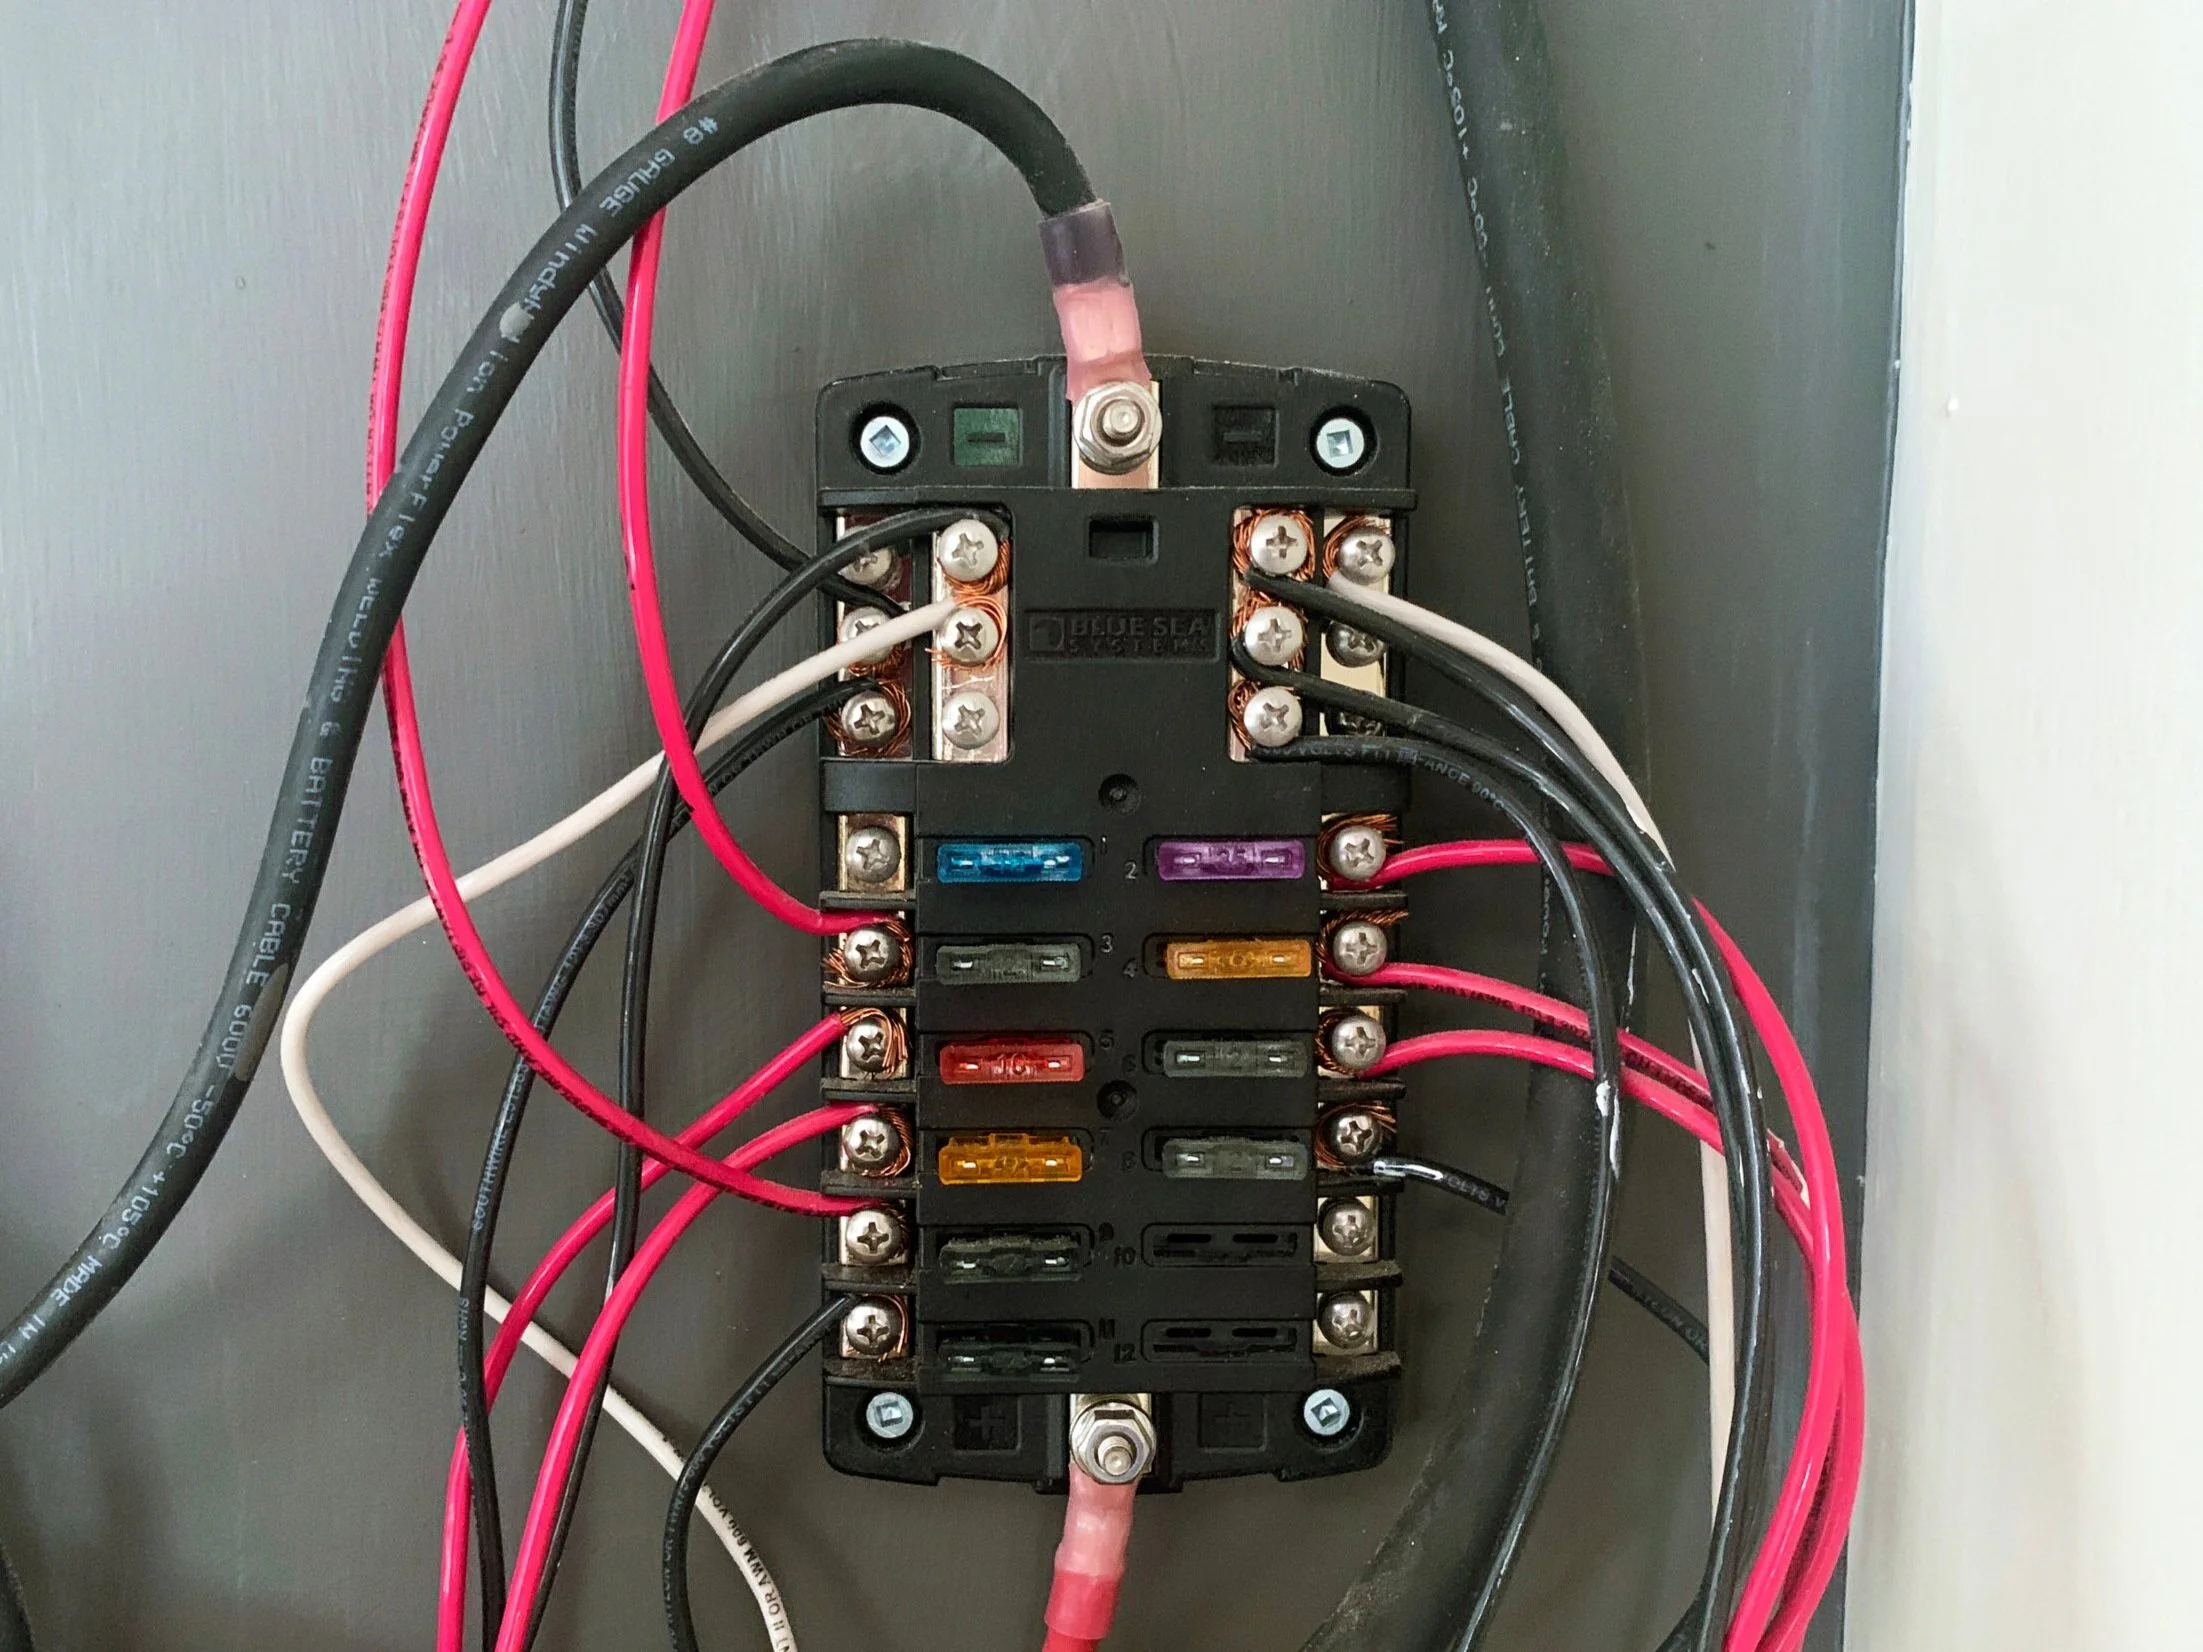
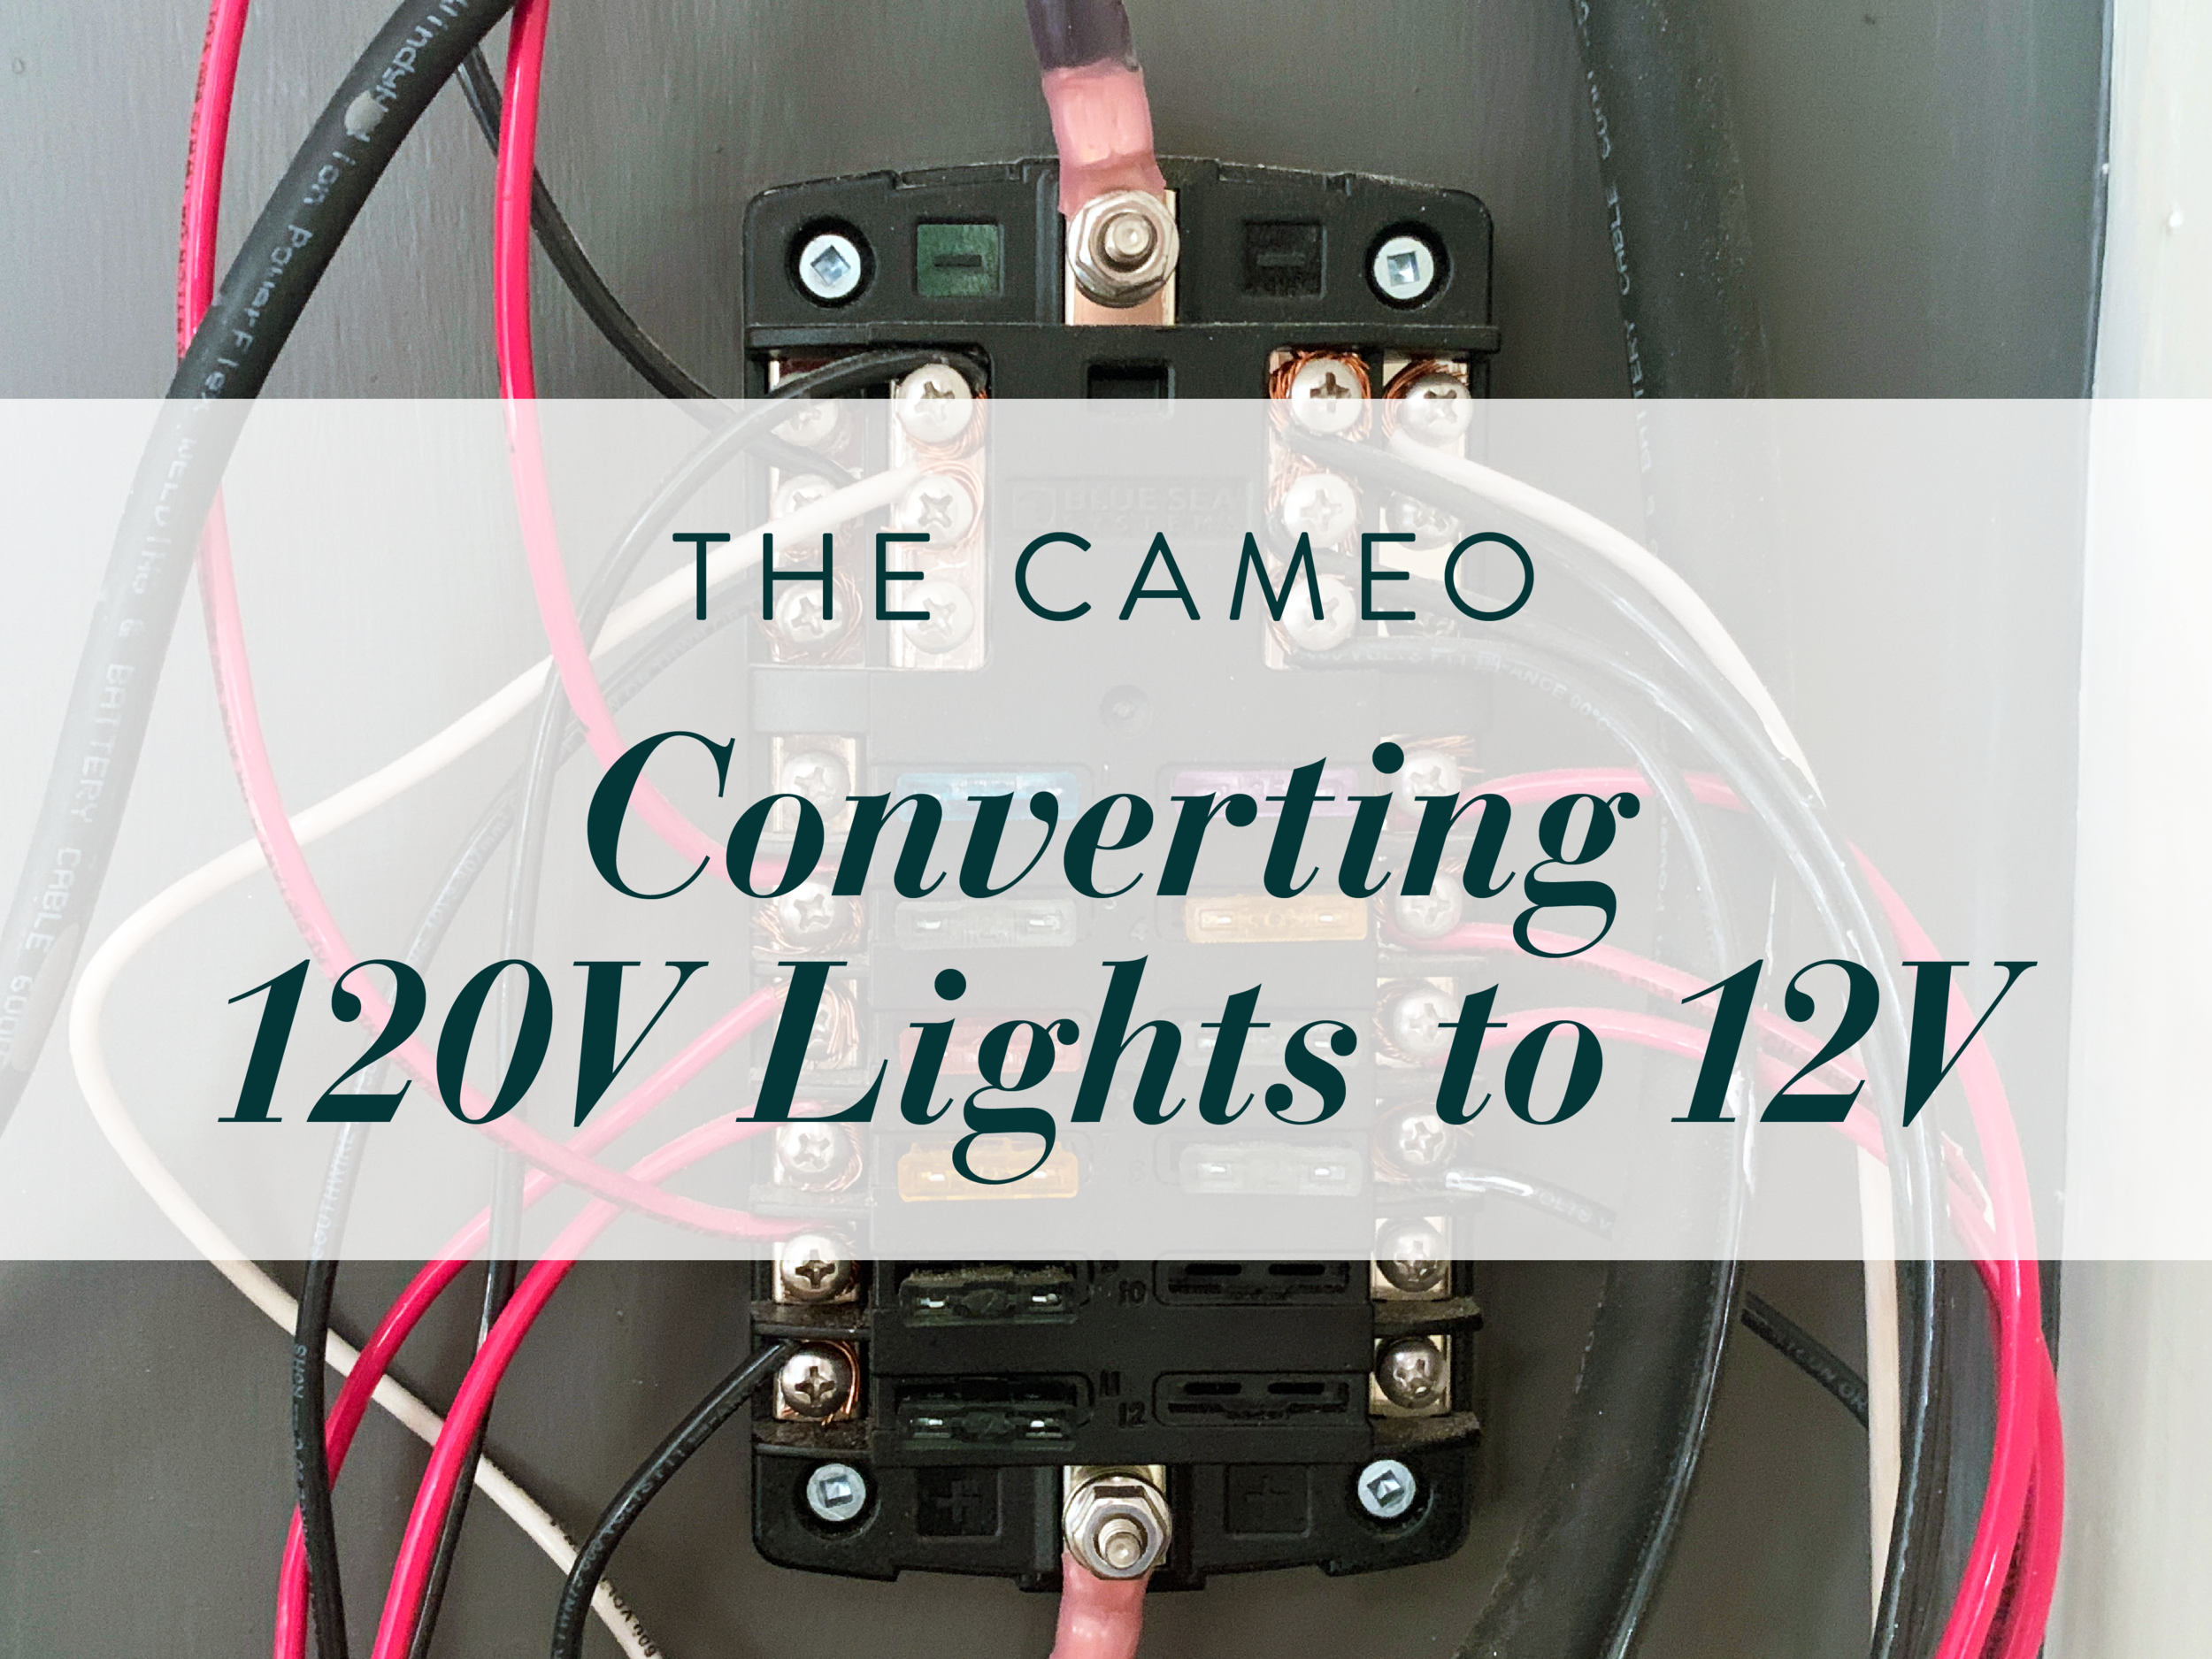
For our electrical system, you’ll notice the 12V items (ceiling lights, water pump, USB outlets, bathroom lights) are red and black and each runs through a fuse block, where each item drawing power has a fuse for protection. Like a baby breaker box of sorts, all grounded through one main terminal to cut down on wiring. Our 120V items are green, black and white and plug into our inverter (the big blue box thing that inverts the 12V power to 120V) with the standard size plugs like you’d use at your house.
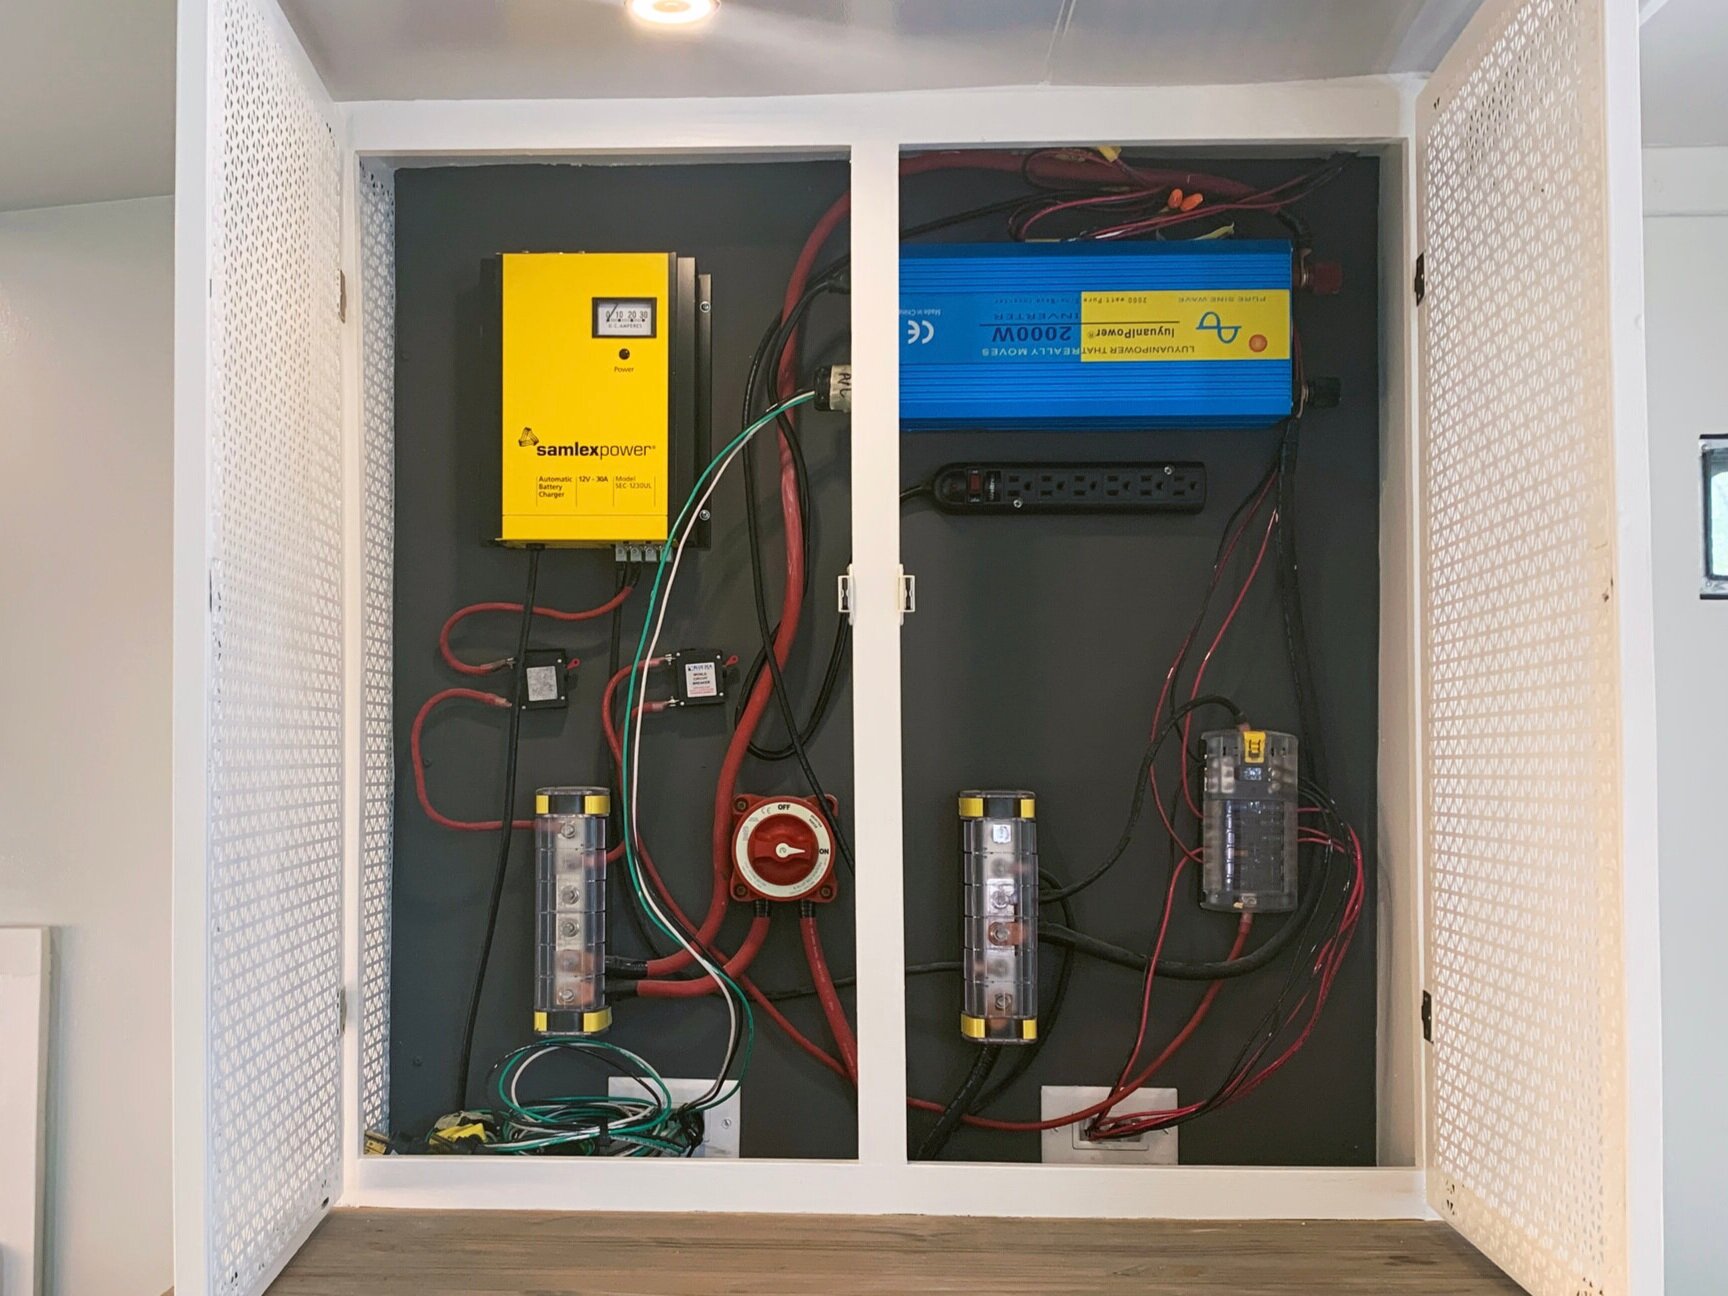
[If you want more details, check out our full electrical system setup.]
Converting the light fixtures
Now for this conversion, since we already ran our wiring and is all hidden behind finished walls, we didn’t change the light’s wire colors from green/black/white to red/black.
Wire colors if you converted the light after install, like us
That means for these two converted lights only in the photo below, the two white wires you see up top with the collection of black wires are what would/should be black on a 12V system (the neutral), the two black wires you see clustered with the red wires in the fuse area are what would/should be red on a 12V system (the hot wire).

Our fuse block with our converted light fixtures attached
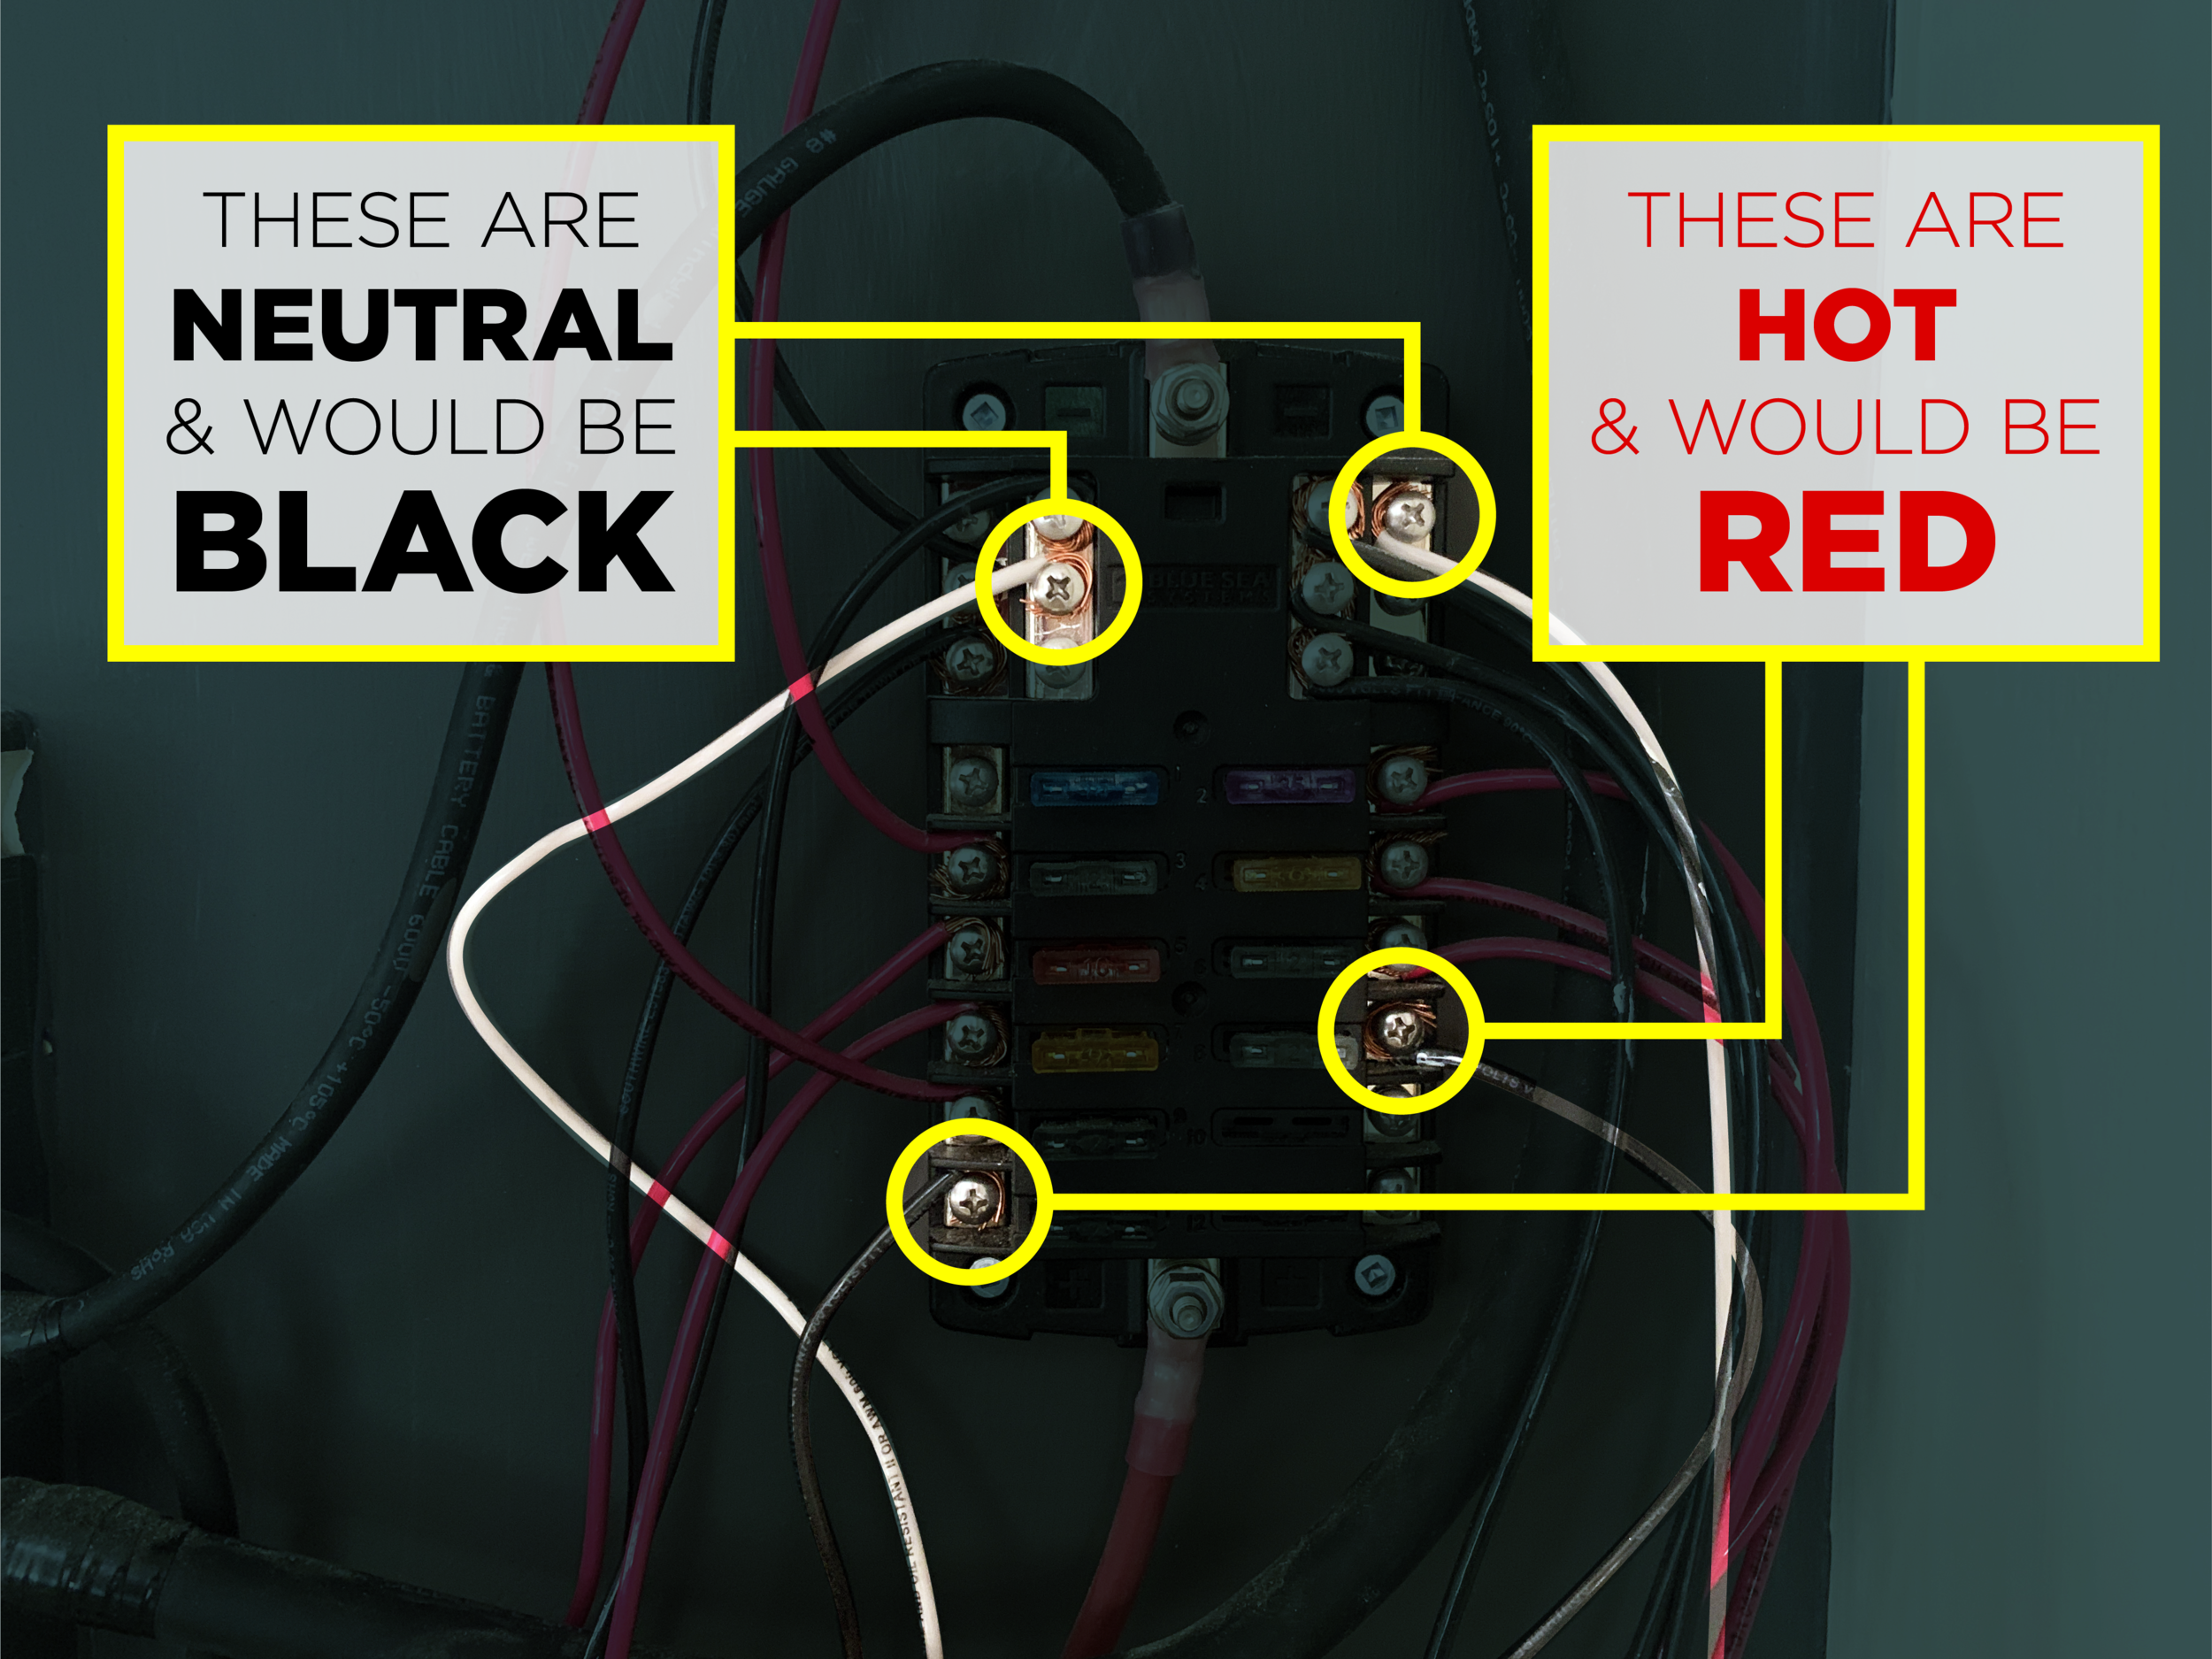
Our fuse block with the colors our converted light fixtures wiring would be
The green wire coming from the light fixture is capped off and isn’t connected to anything because a ground isn’t needed for 12V items. We have the two unused green wires rolled and tucked in the electrical cabinet for now until we better organize all of the wires in the cabinet.


Wire colors if you converted the light at the beginning
Obviously we don’t have photos of this part, but if you did this from scratch before closing up your walls, the black wire coming from your light fixture would connect to a red (hot) wire from that’s coming from your power source, the white (neutral) wire from your light fixture would connect to a black (neutral) wire coming from your power source, and the green or copper wire from your light fixture would be capped off and coiled up inside the housing of the light fixture and would'n’t need to be run through the wall and capped off in your electrical cabinet like we did.

Our fuse block with our converted light fixtures attached

Our fuse block with the colors your converted light fixtures wiring should be if you knew they were going to be 12V.
The final step to converting light fixtures TO 12v
Last thing to do, no matter when you converted the wiring, is to swap out your incandescent 120V (or LED equivalent) light bulb to a 12V bulb.

Voila! Now any beautiful light you want can shine bright in your camper using little to no power.
Did you know it was possible to convert your high-energy light to low voltage? Are you as pumped as we are that this is possible? Have you tried this yourself? We’d love to hear your thoughts and comments and how it worked out for you.