The Cameo Camper Renovation: Grasscloth Wall Part 2
This is part two of a series. Don’t forget to check out part one.
Hey y’all! We’re still playing catch up and today we’re sharing a super simple tutorial, rounding back to how we finished out our navy grasscloth “headboard” wall. Now, this part is entirely optional since the wallpaper went up easy and finished nicely on the edges. We just wanted to add a little more dimension and some durability to the wall, and make it easier for us to cut in different paint colors right up to it without damaging/staining the edges of the wallpaper. This addition was really cheap too, with just under $10 worth of trim and using our nail gun and navy interior paint that we already had on-hand.
Our grasscloth wallpaper trim shopping list
We only had to buy a couple pieces of trim, but here’s everything you’d need to complete this project yourself (in addition to what you’d need for part one of the install).
Wooden perimeter trim – we used a couple pieces
Nail gun + 5/8” and 1-1/4” nails
Miter saw
Paintable caulk
Wood filler
Putty knife
Fine sand paper
Paint thinner + white lint-free rag
Interior paint – we used Sherwin Williams’ Naval
Paint brush
Prepping for trim install
Before we installed anything, we painted multiple coats of navy on our wooden trim so we wouldn’t risk getting paint on the wallpaper cutting in against it.

Side bar: Anyone else’s garage get totally junked out like this during projects?! One of our next to-dos after the camper is done is getting our tools + this area organized.
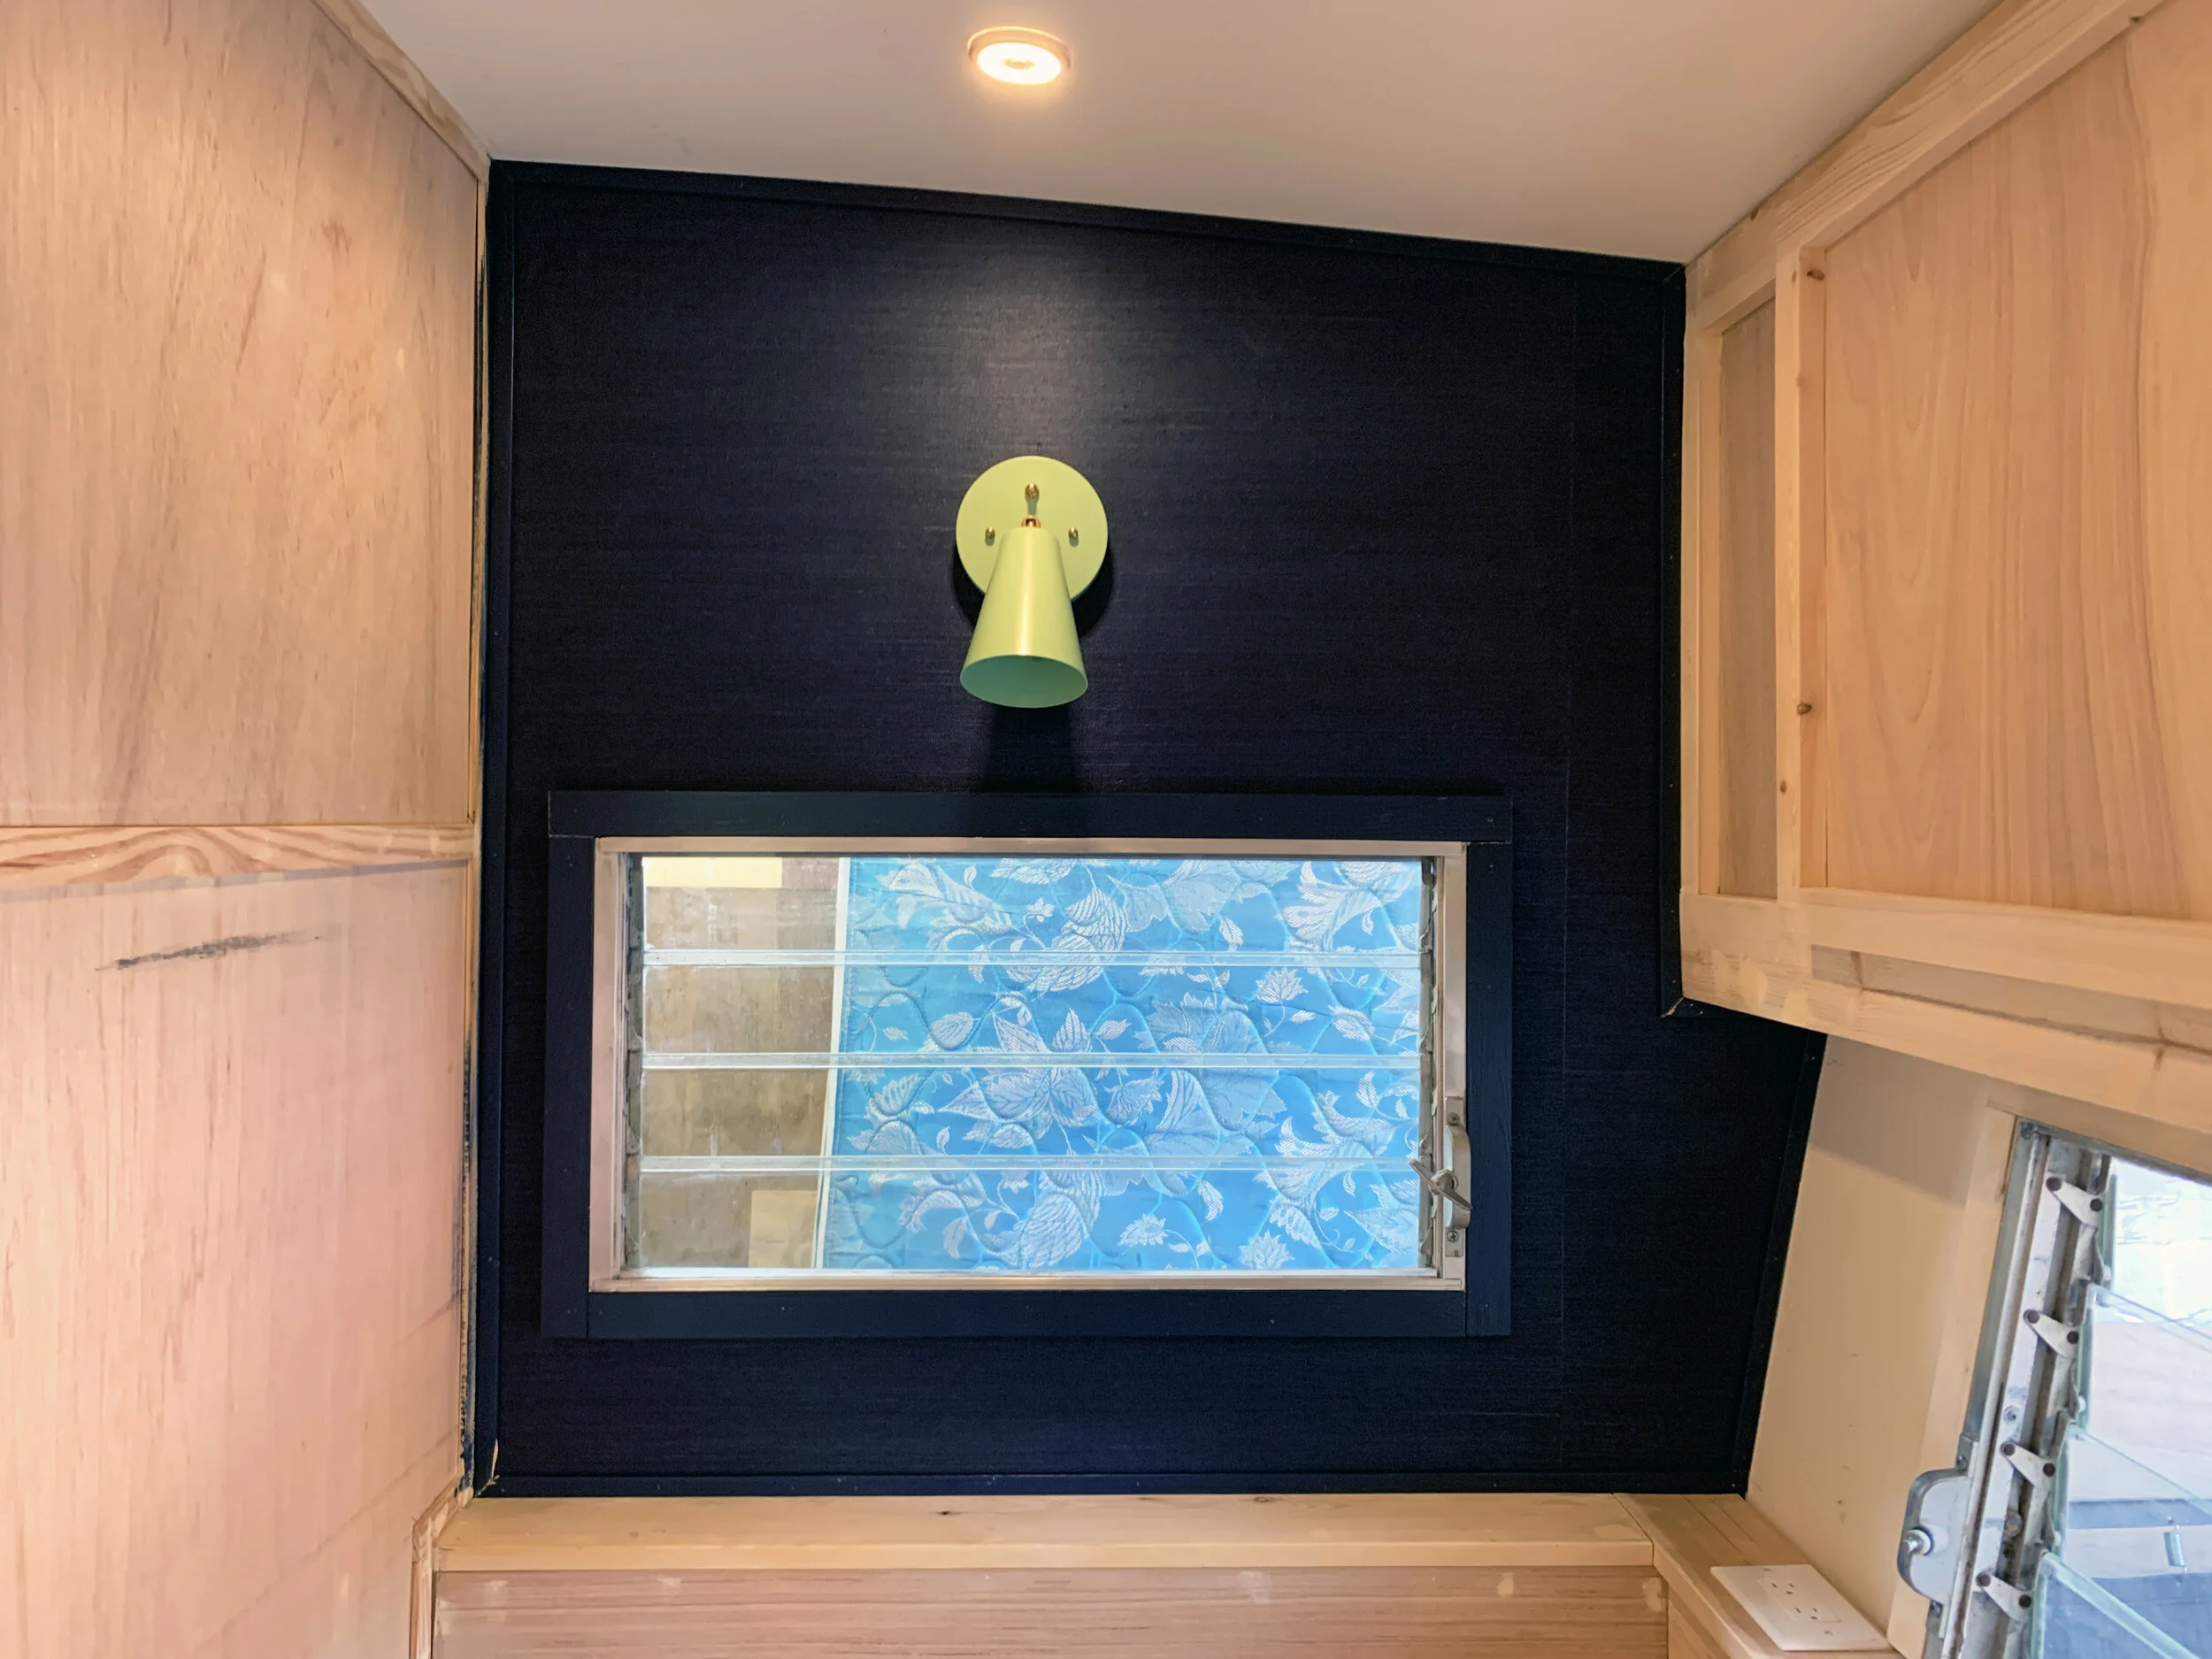
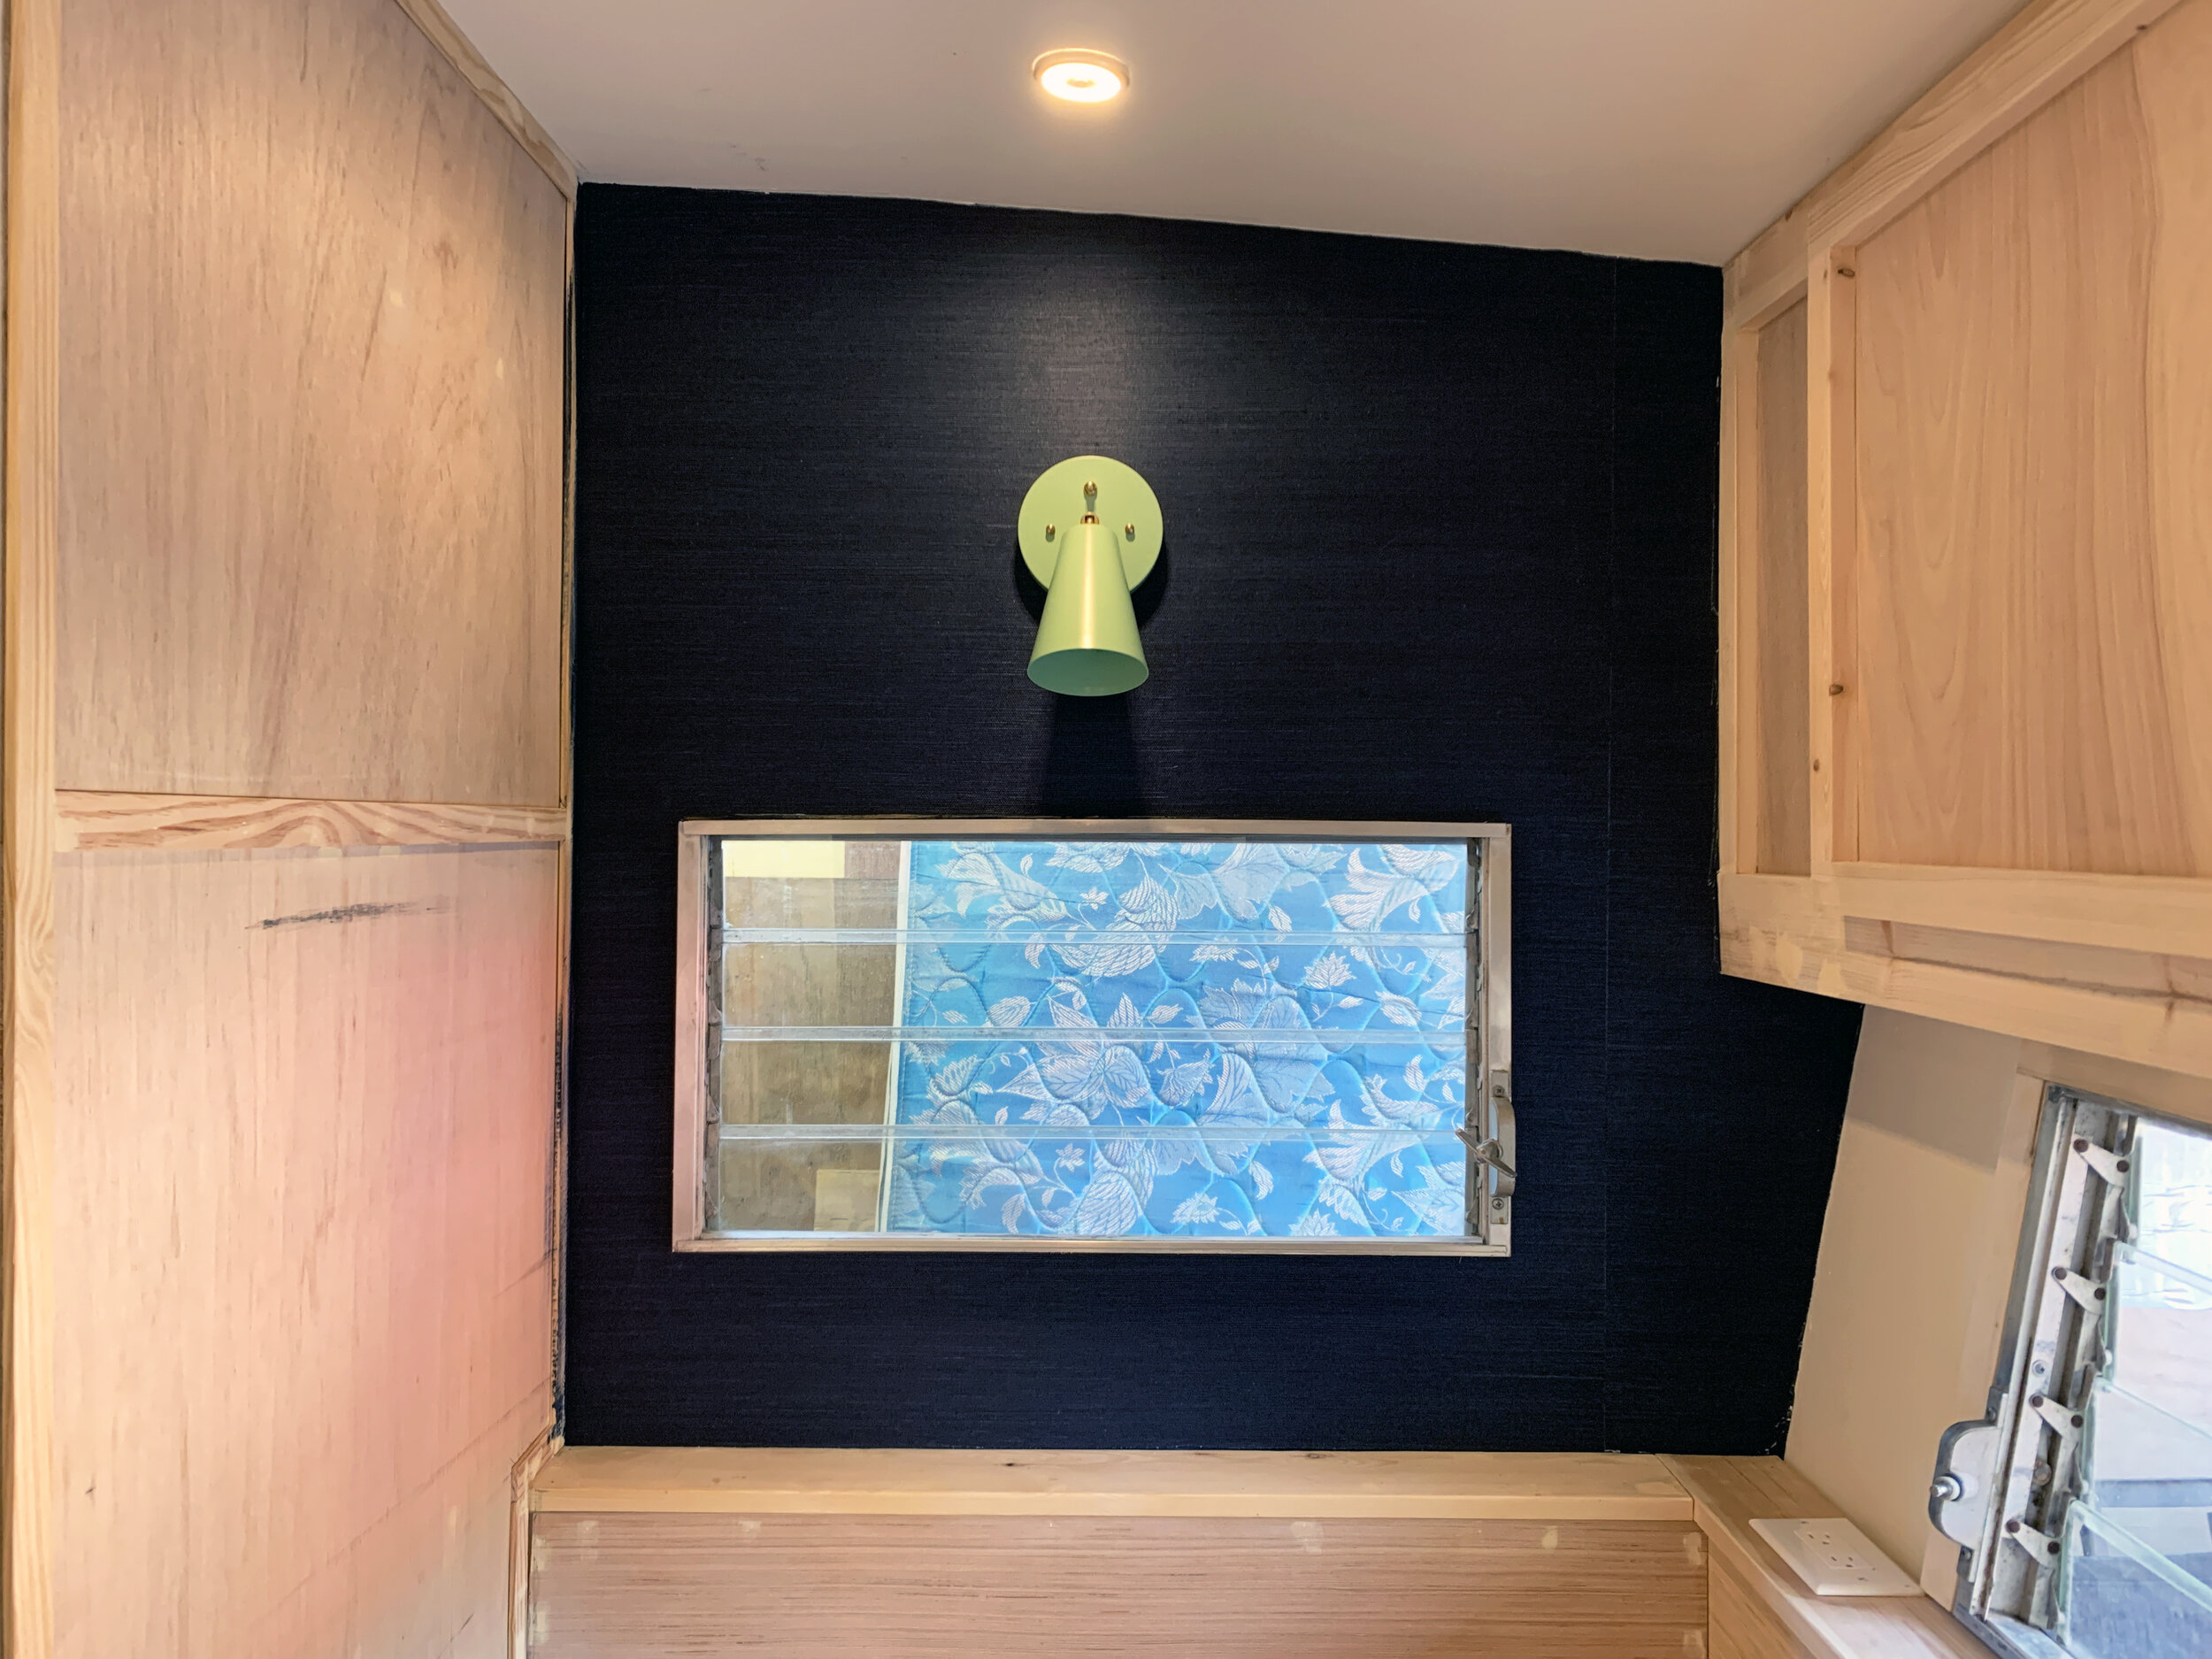
Last time we left off with the wall looking like this:

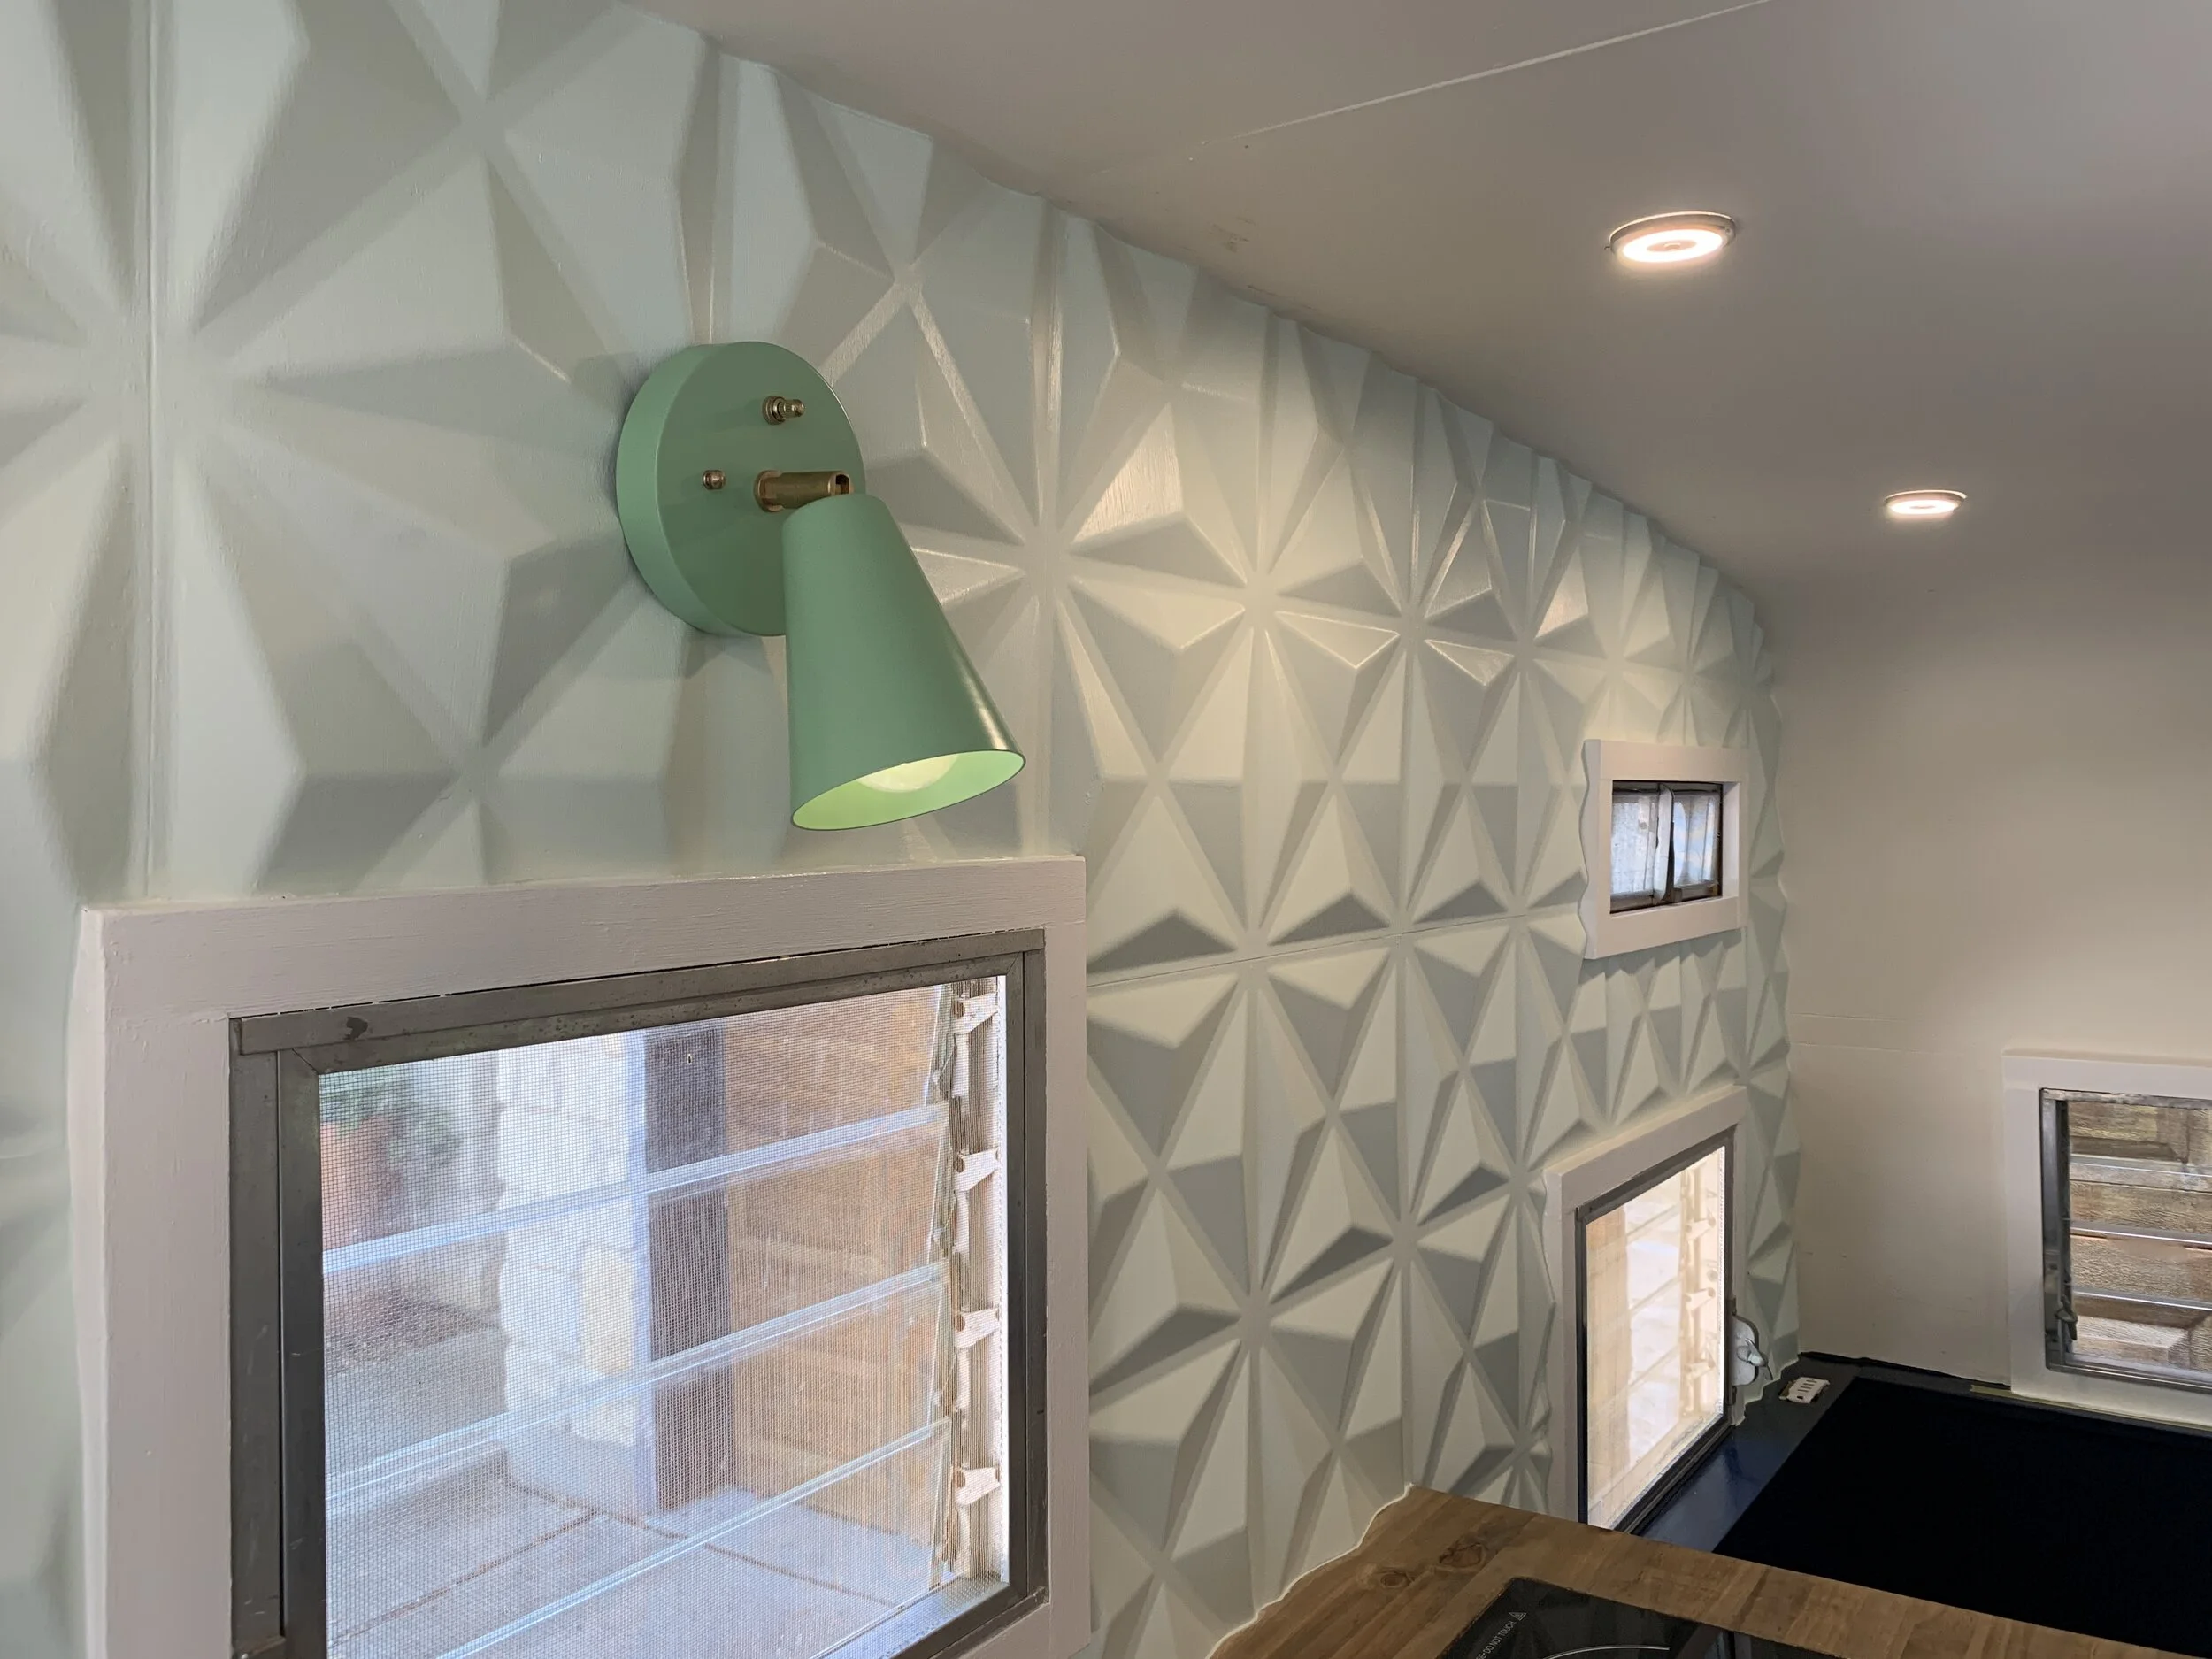
Since the initial wallpaper install, we’ve wired these cool mint green + raw brass atomic accent lights, which we covered here.
Installing window trim
Once our pieces were dry and ready to handle, we started by trimming out our window with our 1x2s. Like we did with the rest of the windows, we used square (vs. mitered 45-degree) cuts and nailed them into the wooden window studs sandwiched in between the interior and exterior walls.
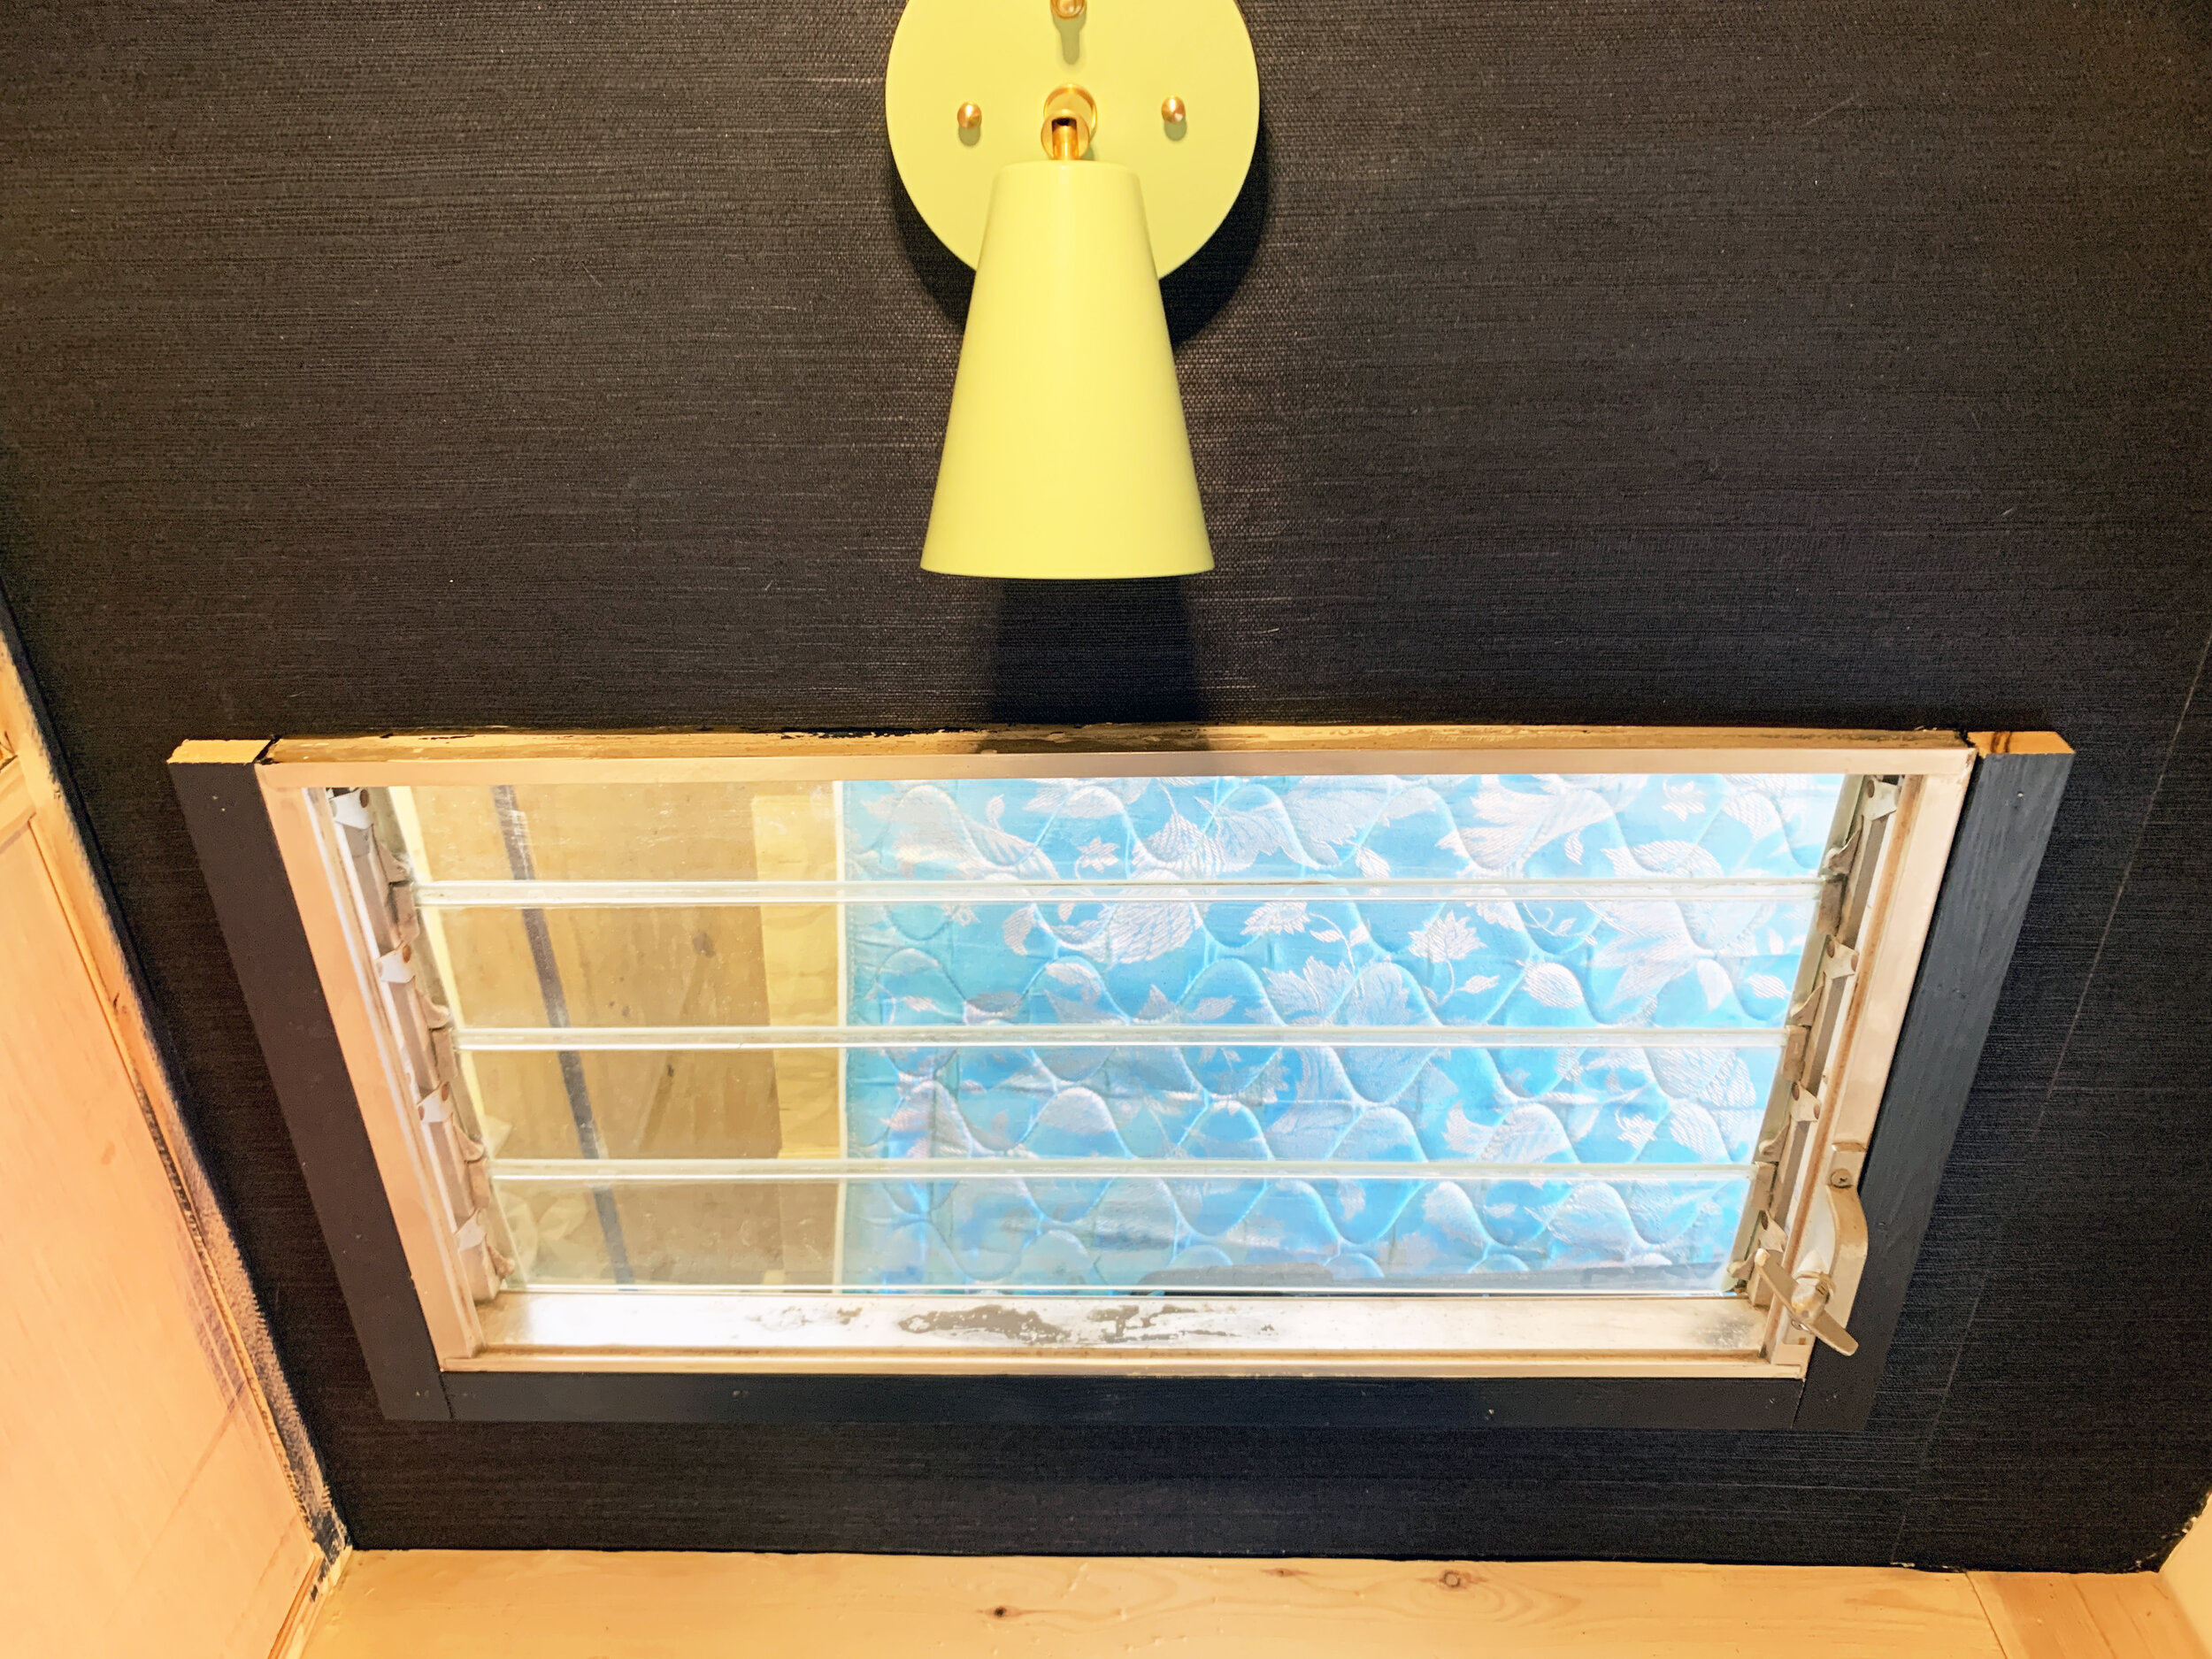

We cut the bottom piece to be the same width as our metal window frame, then using our nail gun and 1-1/4” nails, installed each of our side pieces to be the height of the metal window trim + 1-1/2” (the additional height the top 1x2” piece added). We added the top trim last, making it the width of the metal window trim + 3” (the added with of the two side trim pieces) until all of our trim pieces were aligned on the edges.
Installing perimeter wall trim
(This is where I’m a bag blogger and forgot to snap photos of the perimeter trim install in progress. Thankfully, the process was pretty straightforward.)
After our painted trim pieces were dry, we started by taking the measurement of one of our sides and marked that as our long side of the trim piece, cutting the trim at 45-degree-angles (so the piece was cut kind of like a trapezoid) and nailed it in using our nail gun and 5/8” nails.
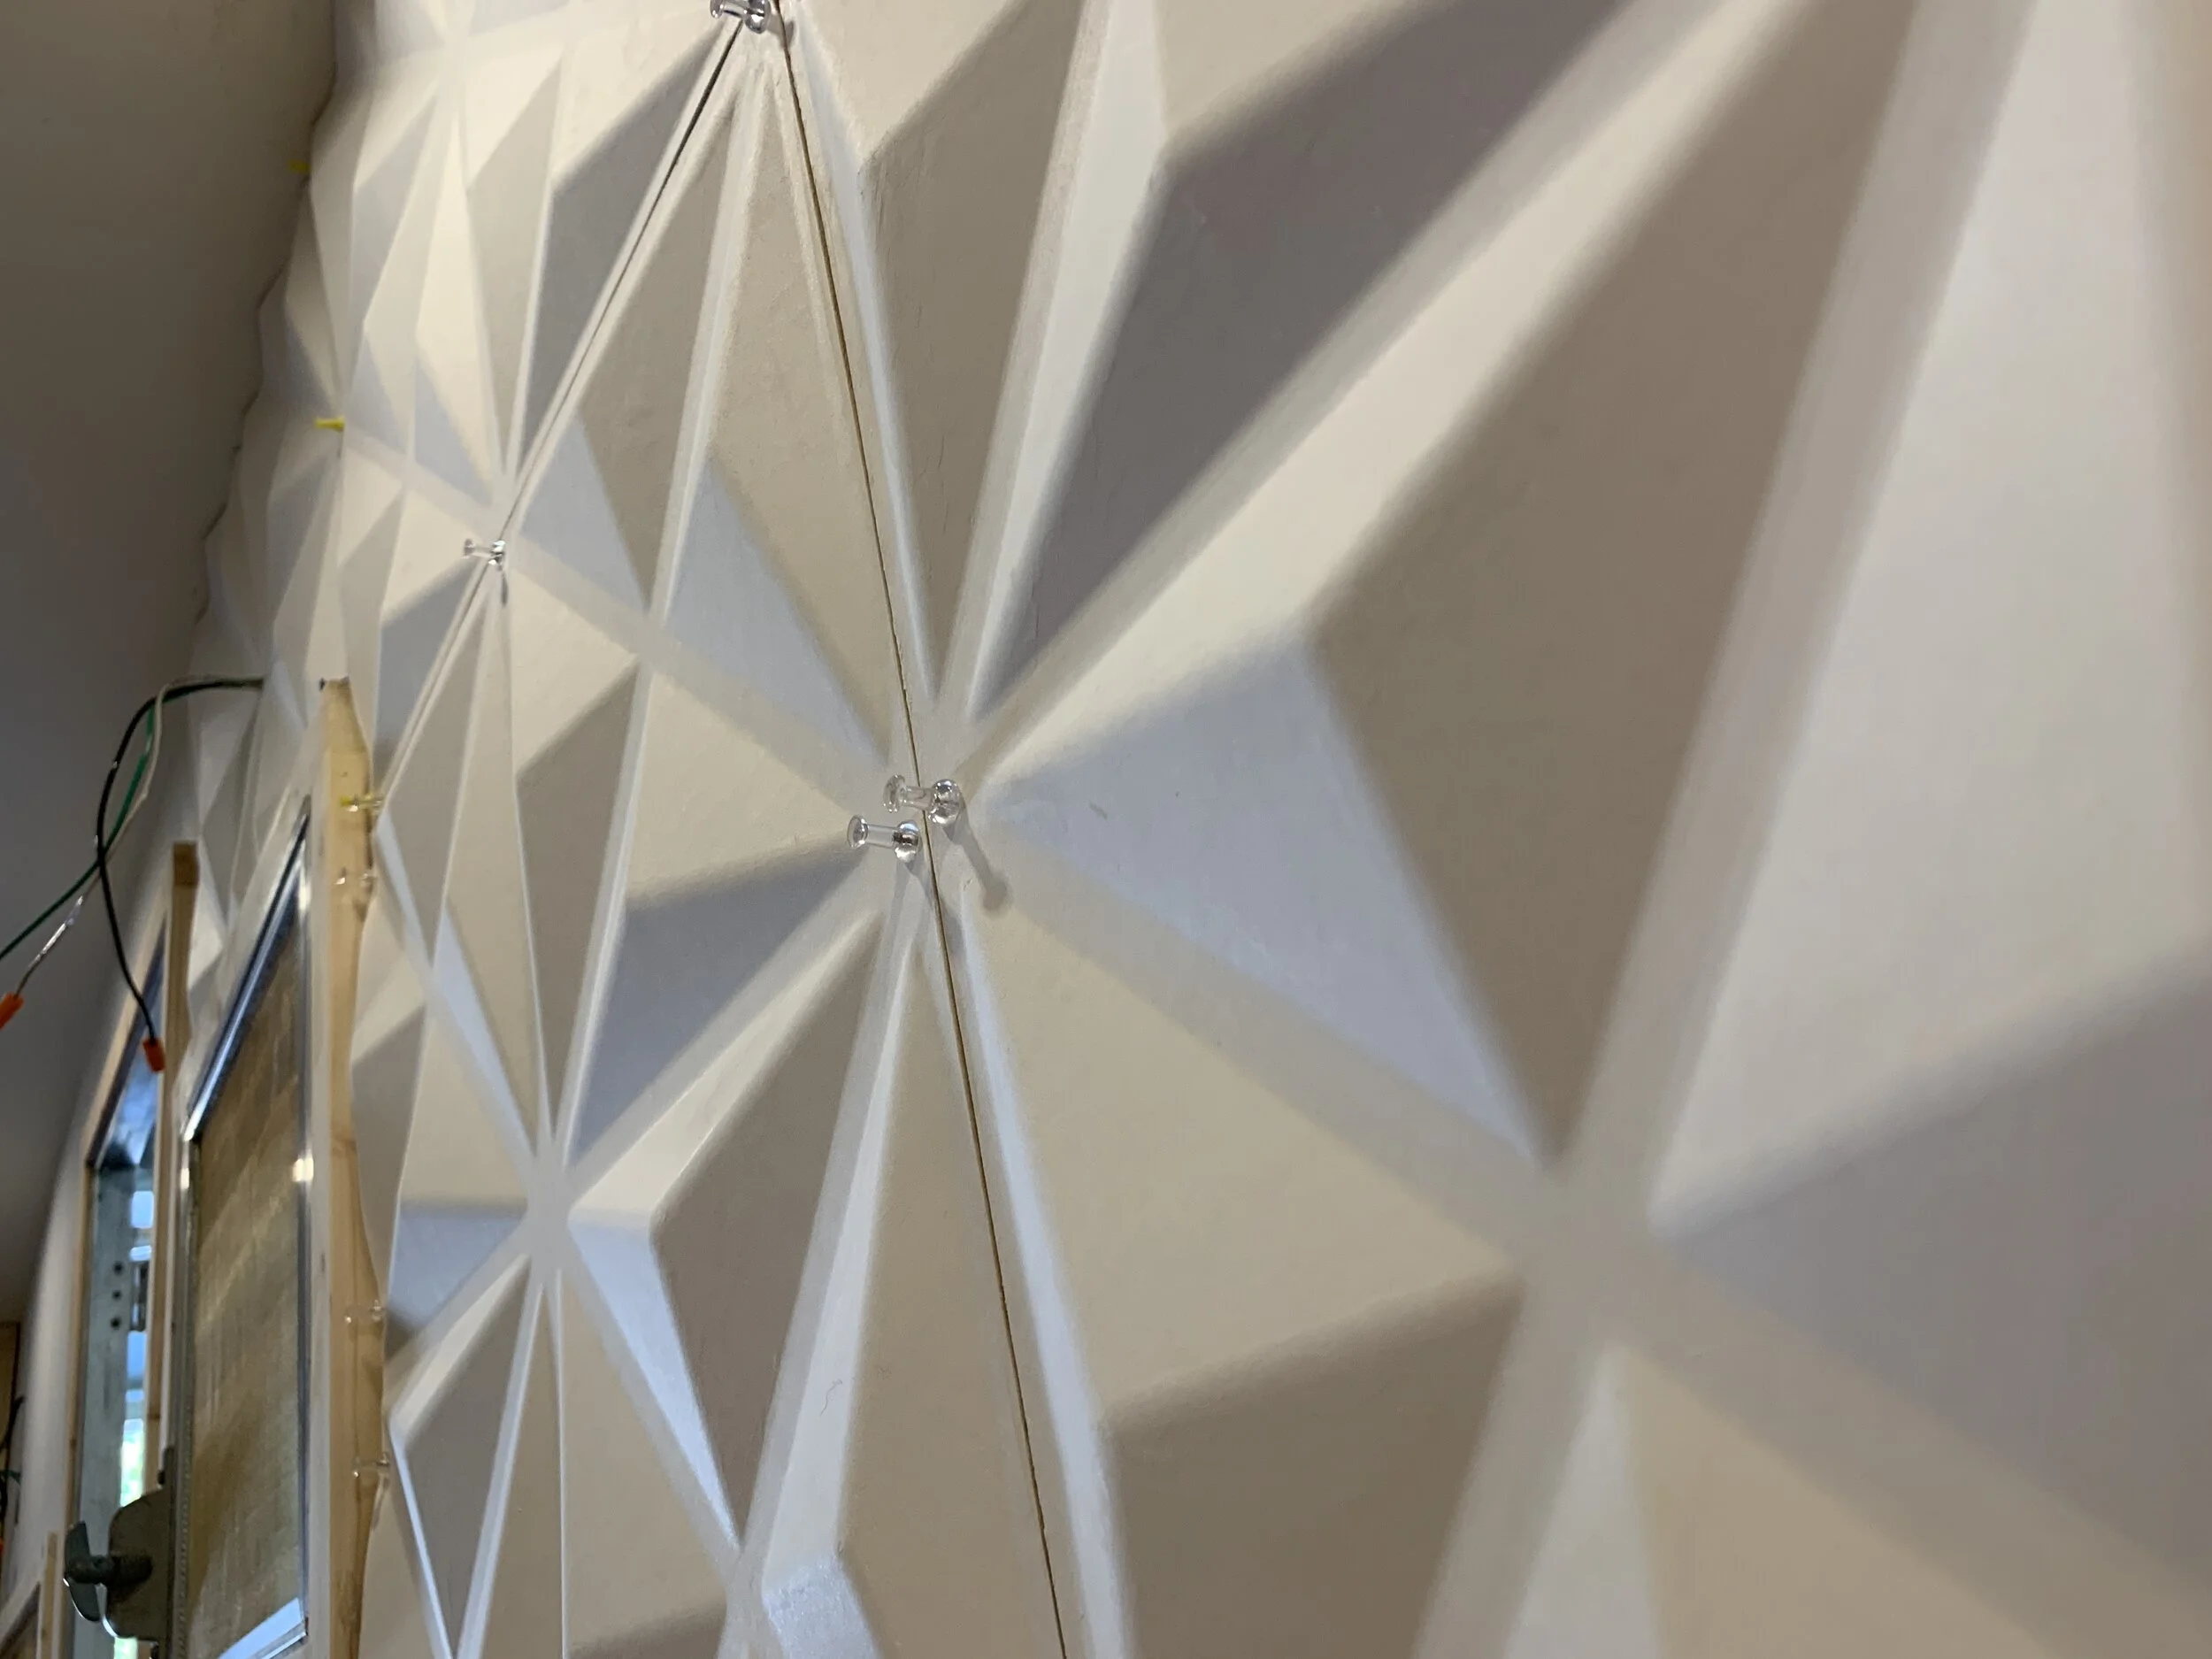
After our first piece was secure, we chose one cut edge and chased it around, measuring, cutting and nailing in each consecutive piece until we were done. All of our pieces were installed on straight edges, except the one along the ceiling which was slightly curved.
To get the curve, we nailed in the first nail on one end, then slowly pushed it up against the ceiling and nailed in sequence one at a time, using the previous nail as leverage to make the curve.
Finishing the trim

With everything nailed in place, we used wood filler to fill the nail holes and paintable caulk to fill the seams and cracks where the trim met each other and the ceiling + walls. After a light sanding to knock down any wood filler, we wiped off the dust with a paint thinner-soaked rag and touched up the paint on the seams, nail holes and cut areas with exposed wood.

Since finishing this wall we’ve repainted our ceiling to give it more contrast from the overhead cabinet and shower wall which meant more cutting in on the trim. Thank goodness we decided to add the wood perimeter or else I can pretty much guarantee we’d have to be redoing our wallpaper from little drips and paint stains!
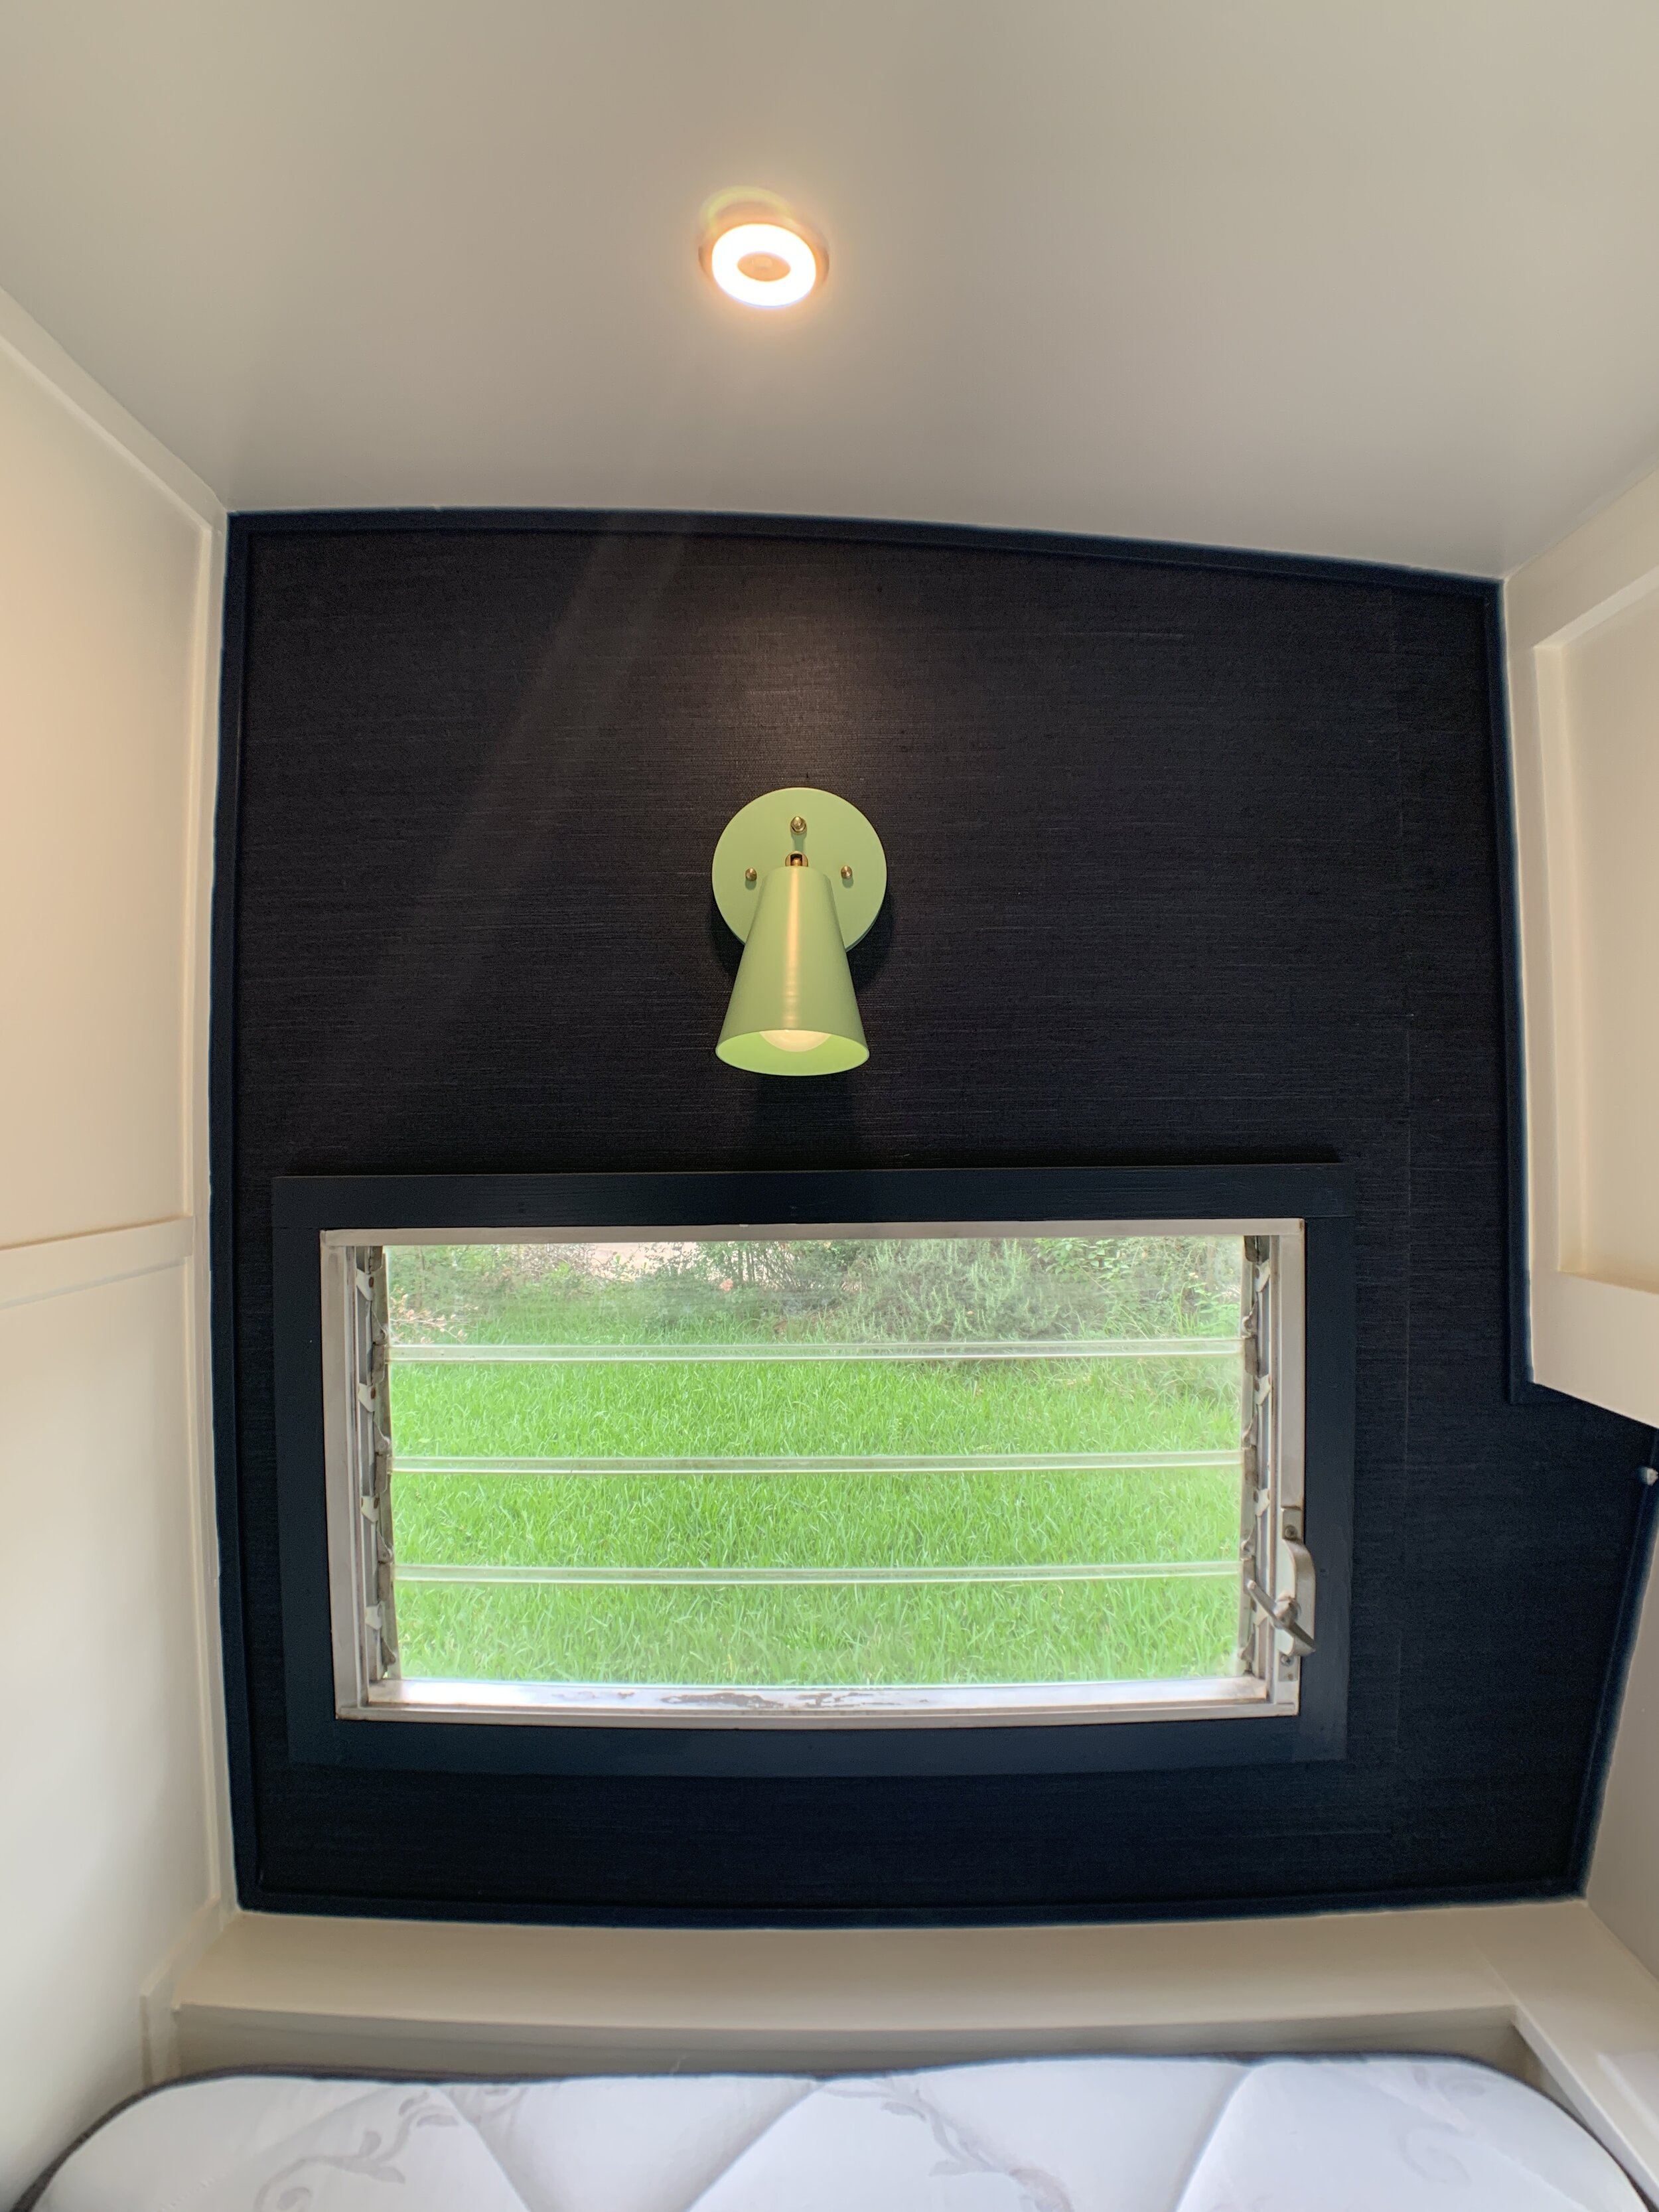
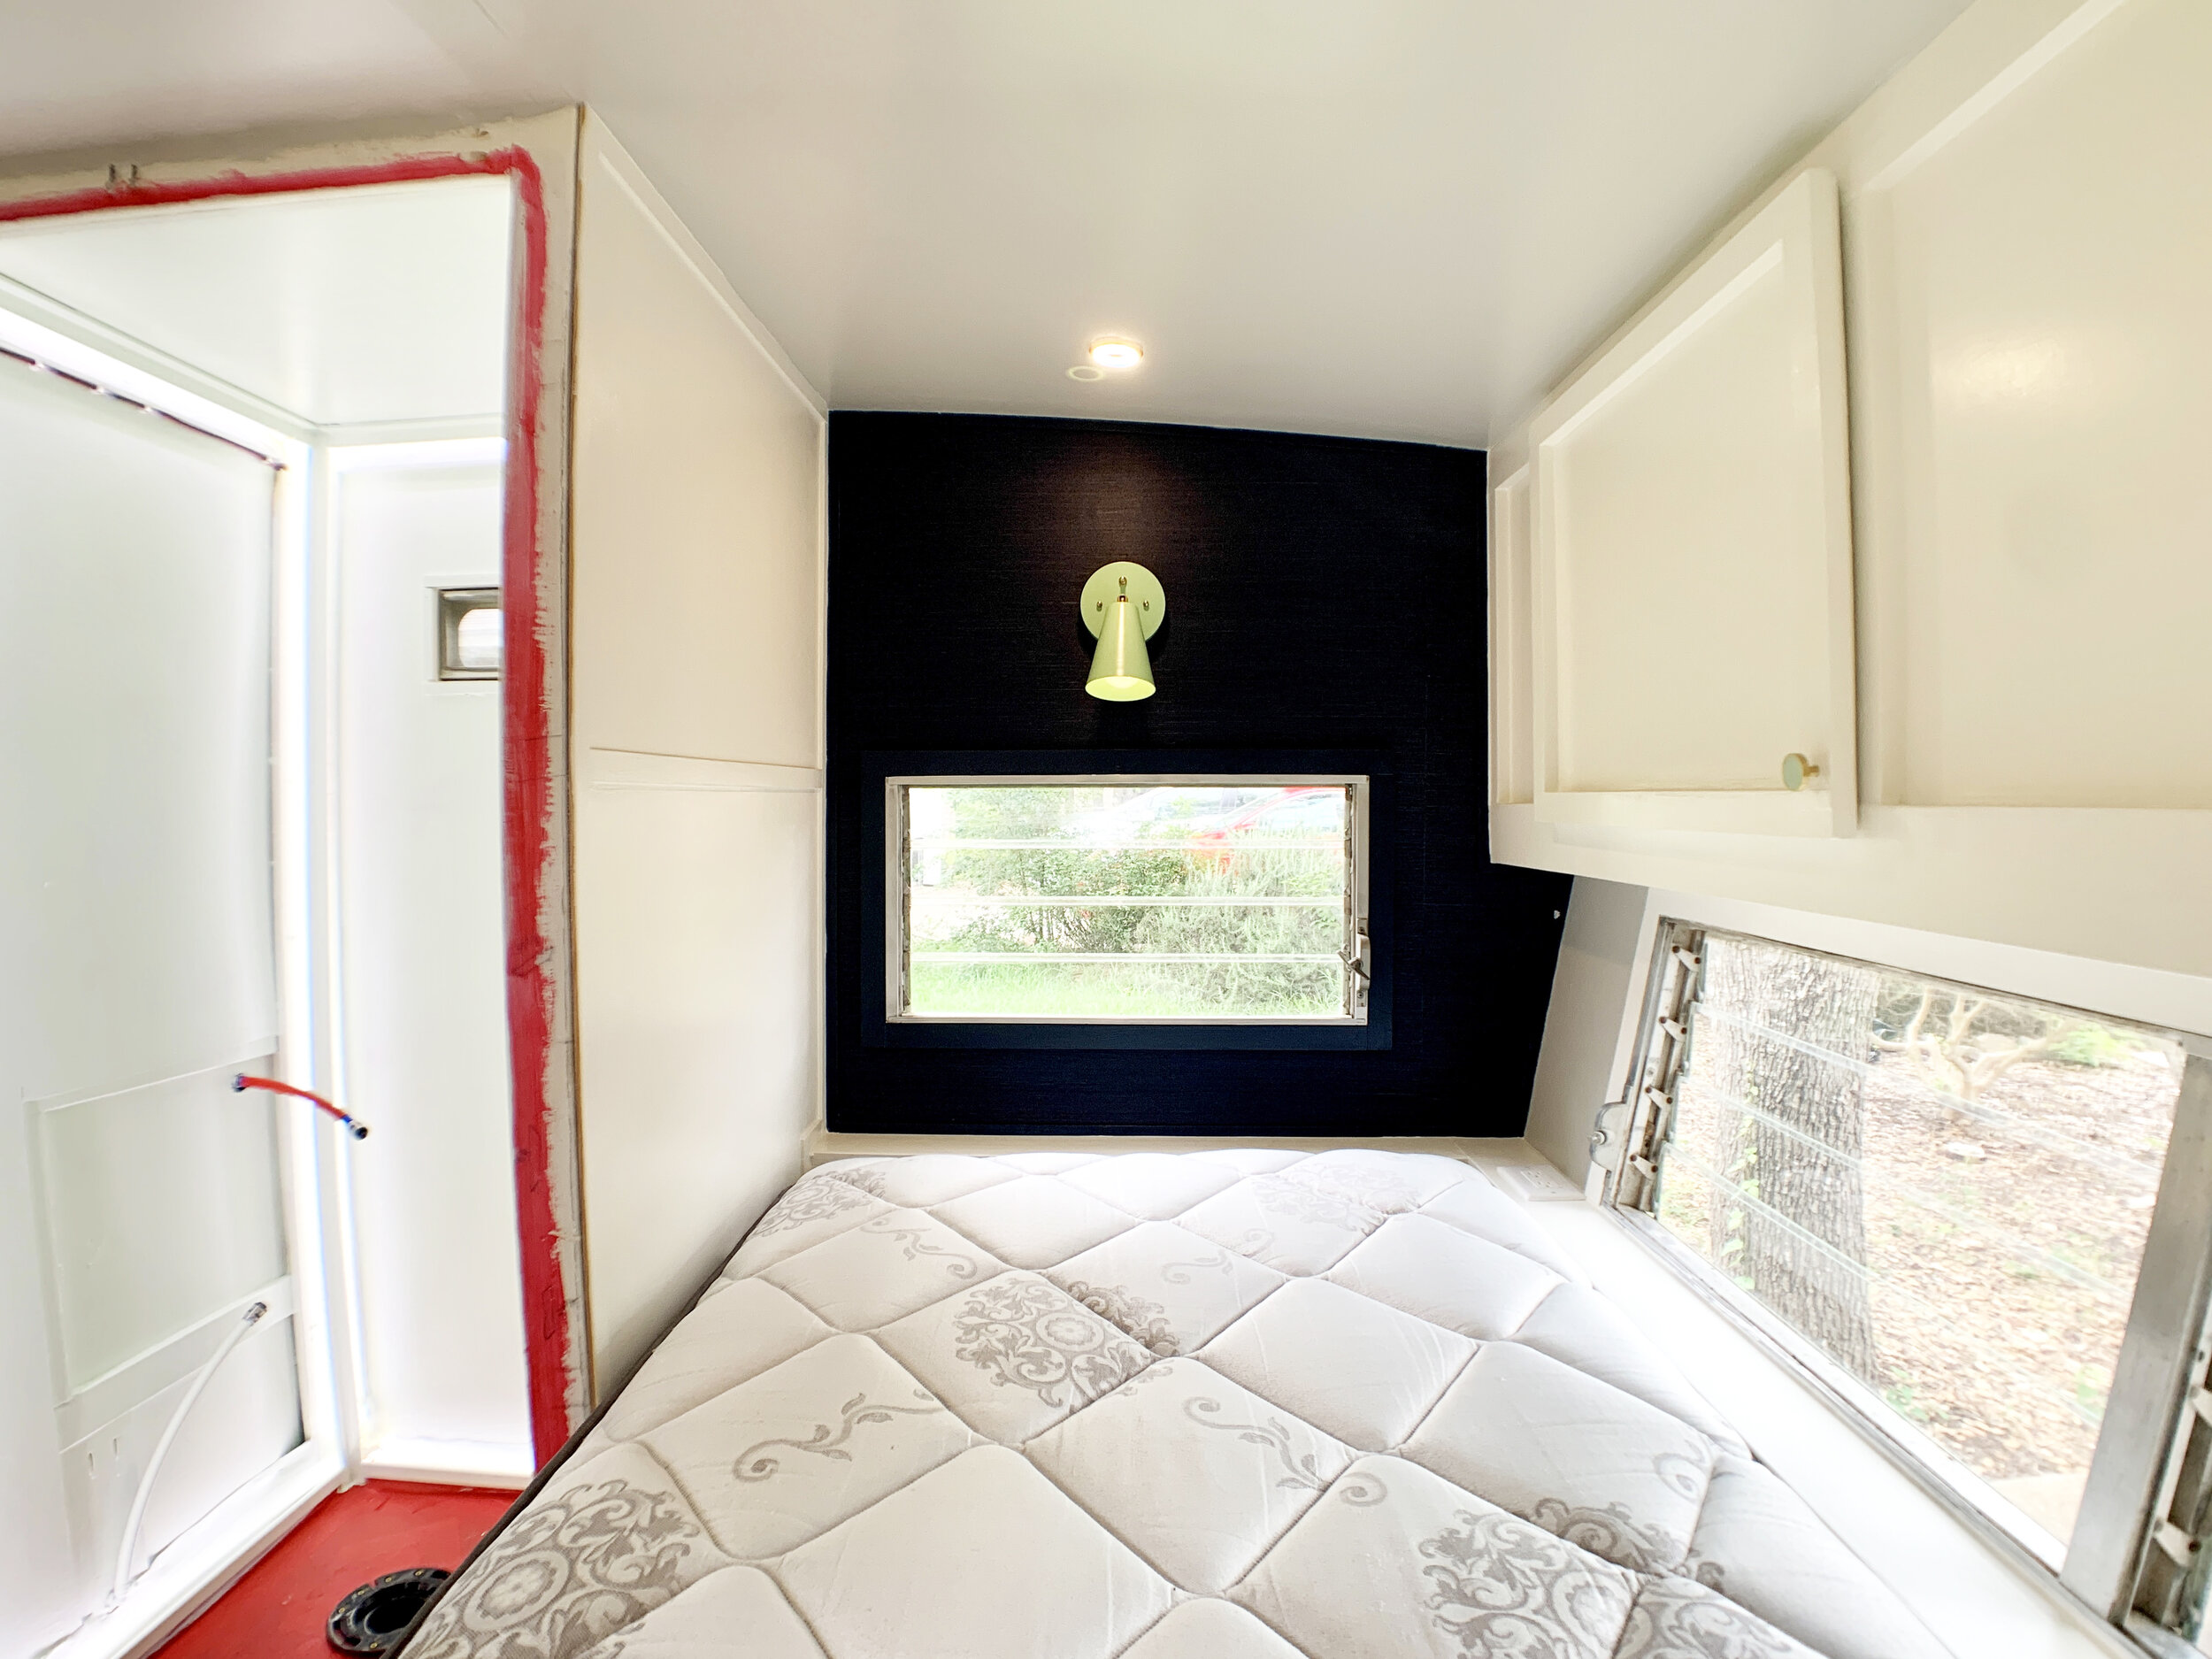
In fact, you can see in these most recent photos above (since painting the ceiling and making progress on the wet bath) we got a dot of gray paint on the navy so we have a tiny paint touch up, but other than that this wall can be added to the ‘done’ list.
Yahoo!
What do you think of the finished “headboard” wall? We’d love to hear your thoughts in the comments below.
Coming up we’ll share how we mounted our flat light fixture and flat electrical TV outlets to our very three dimensional wall, our $10 interior door makeover, plus our full plumbing system!