The Cameo Camper Renovation: Backlit Shower Walls Part 3
Last time we shared how we built the support structure for the acrylic wall panels and the channels for the LED lighting.
Today we’re sharing the details of maybe the most exciting part of our backlit wet bath walls – wiring the 12V LED strip lights and the light switch install. (I’ll admit it doesn’t sound super exciting, but seeing even our unfinished walls light up was so thrilling and rewarding!)
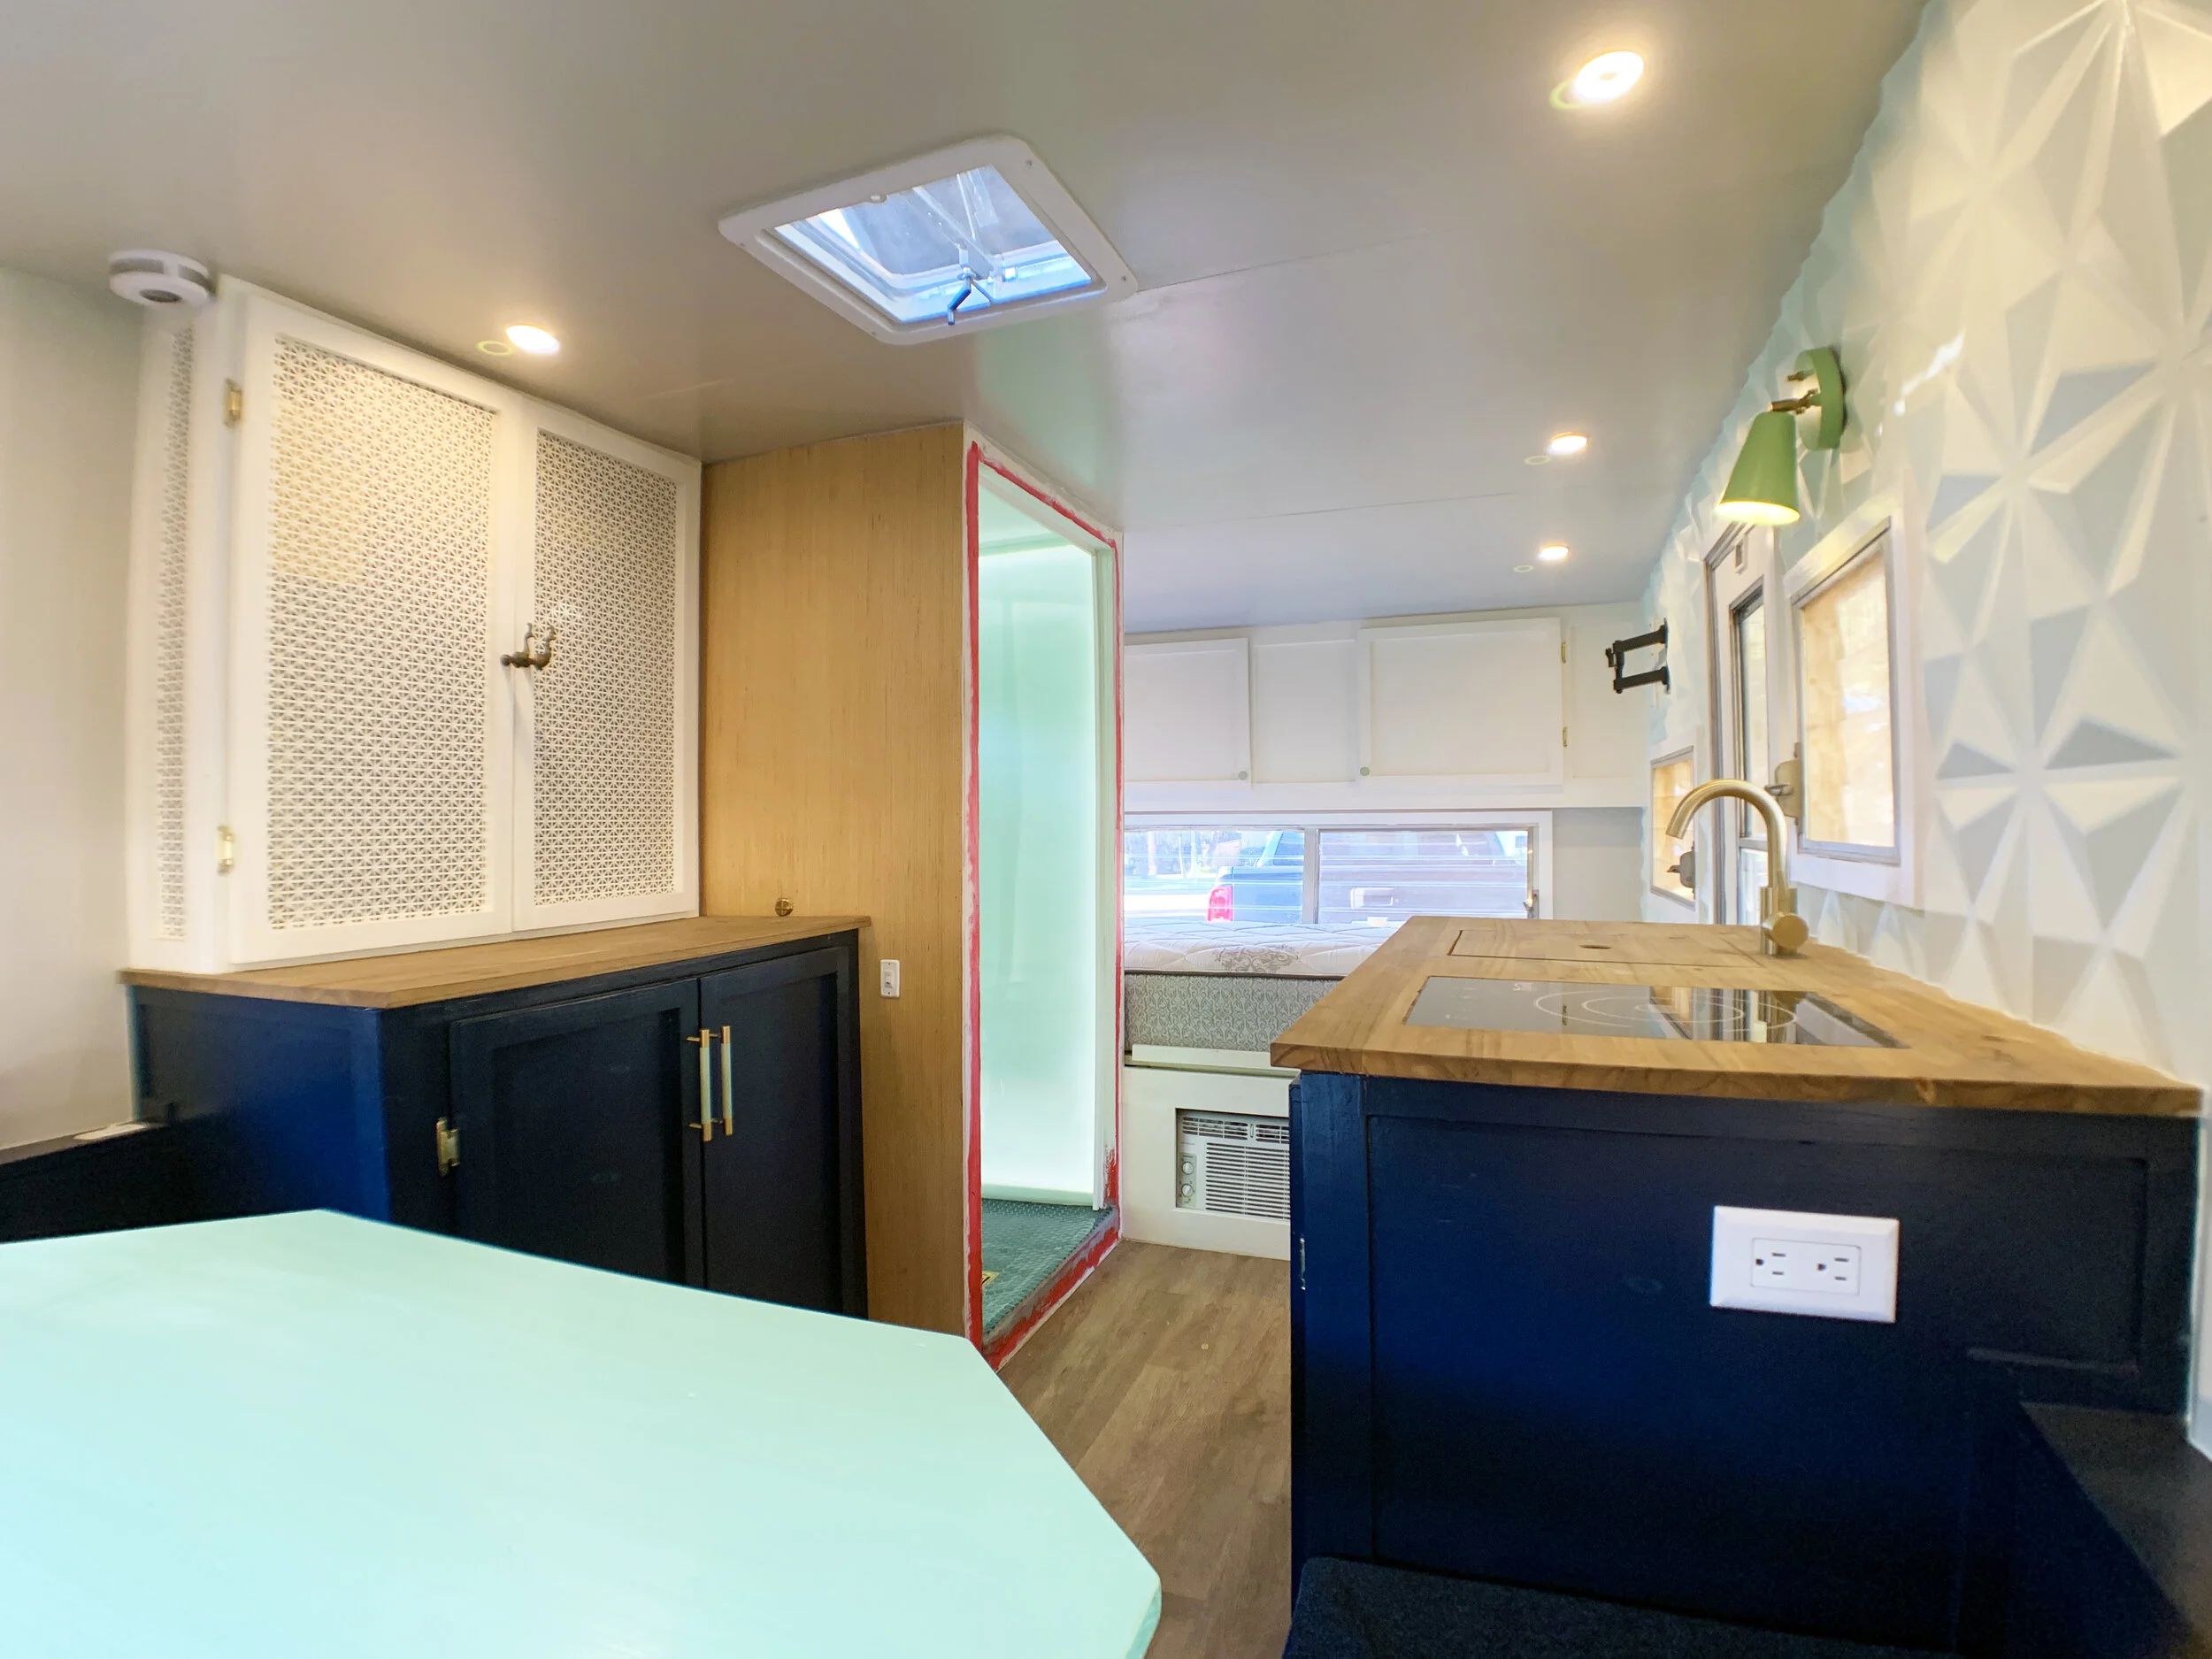
In case you forgot or need some motivation to continue on this very layered project journey, when the interior walls are finished the mint-colored acrylic will have a soft, diffused glow and look like this:

OUR BACKLIT SHOWER WALLS (Part 3) SHOPPING LIST
12AWG wiring in black and red – enough length to get from your power source to the light switch
Short wood screws – for mounting light switch
Drill + drill bit to match screw head type
Scissors
LED light connectors
Ls – for connecting two strips
Ts – for connecting three strips
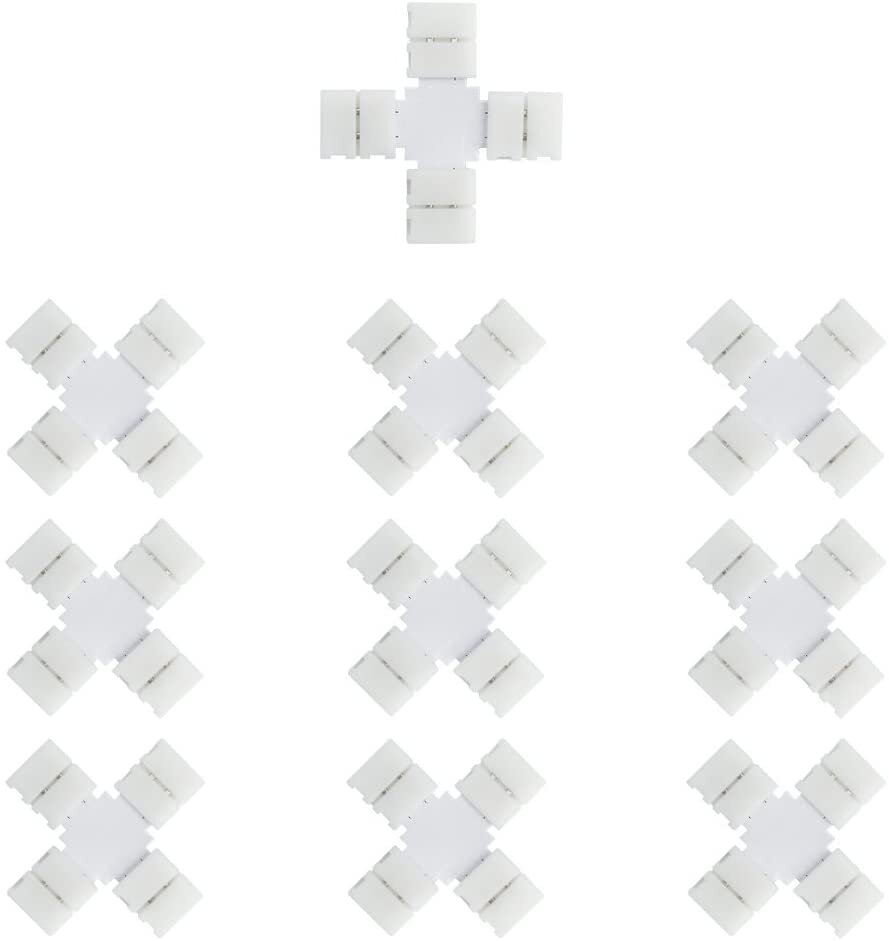
Xs – for connecting four strips
Singles – for connecting two strips mid-wall
Long extenders – for getting around tight corners or where you need a gap in lighting
X-acto knife + #11 blades – or other very sharp detail knife to delicately remove waterproofing layer
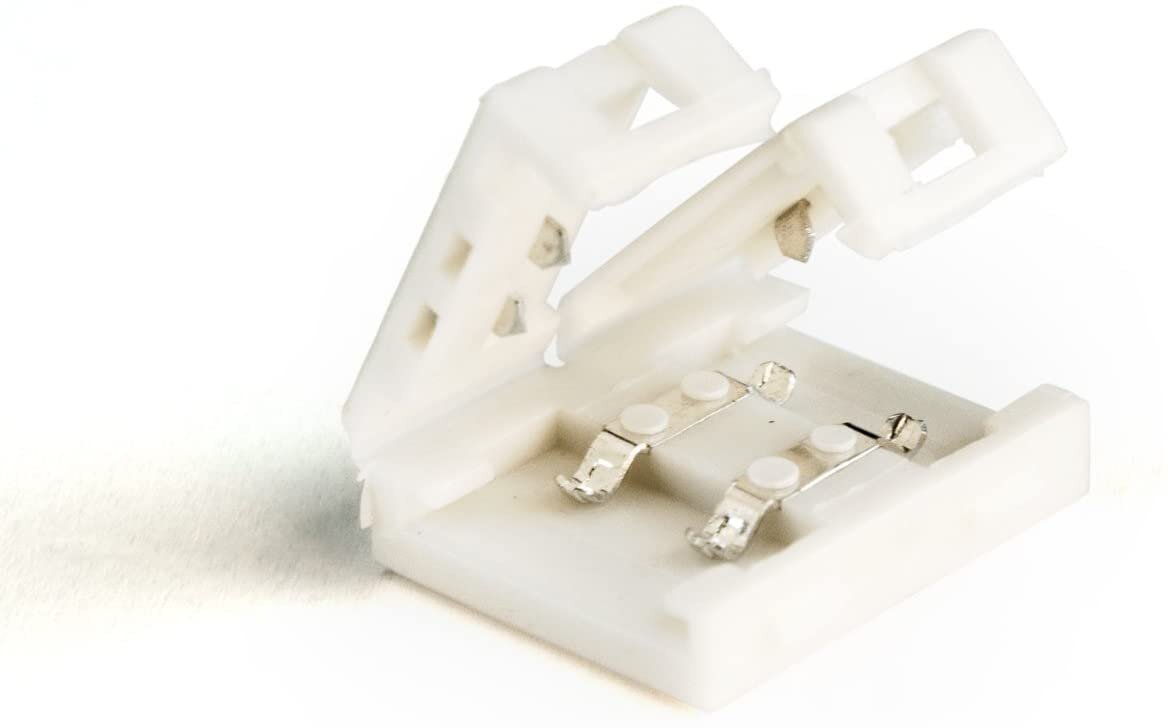
Small flat head screw driver – to open plastic connectors clasps
Paint thinner + lint-free rag
Wire strippers – we already had some, but you’ll need to be able to cut and strip 12AWG wiring, or whatever gauge 12V wiring you used
Compact, lever-style wire connectors – these are rapidly becoming my favorite way to connect electrical wires (compared to the screw cap-style) since they’re so easy to use and take up little room, especially when you need to connect more than two wires.
With the exact ones we’ve been using out of stock, these are the same kind and will likely be what we use next when we run out of ours.
Plastic nail-in cable clips – to keep wiring neatly secured and away from the acrylic
Hammer
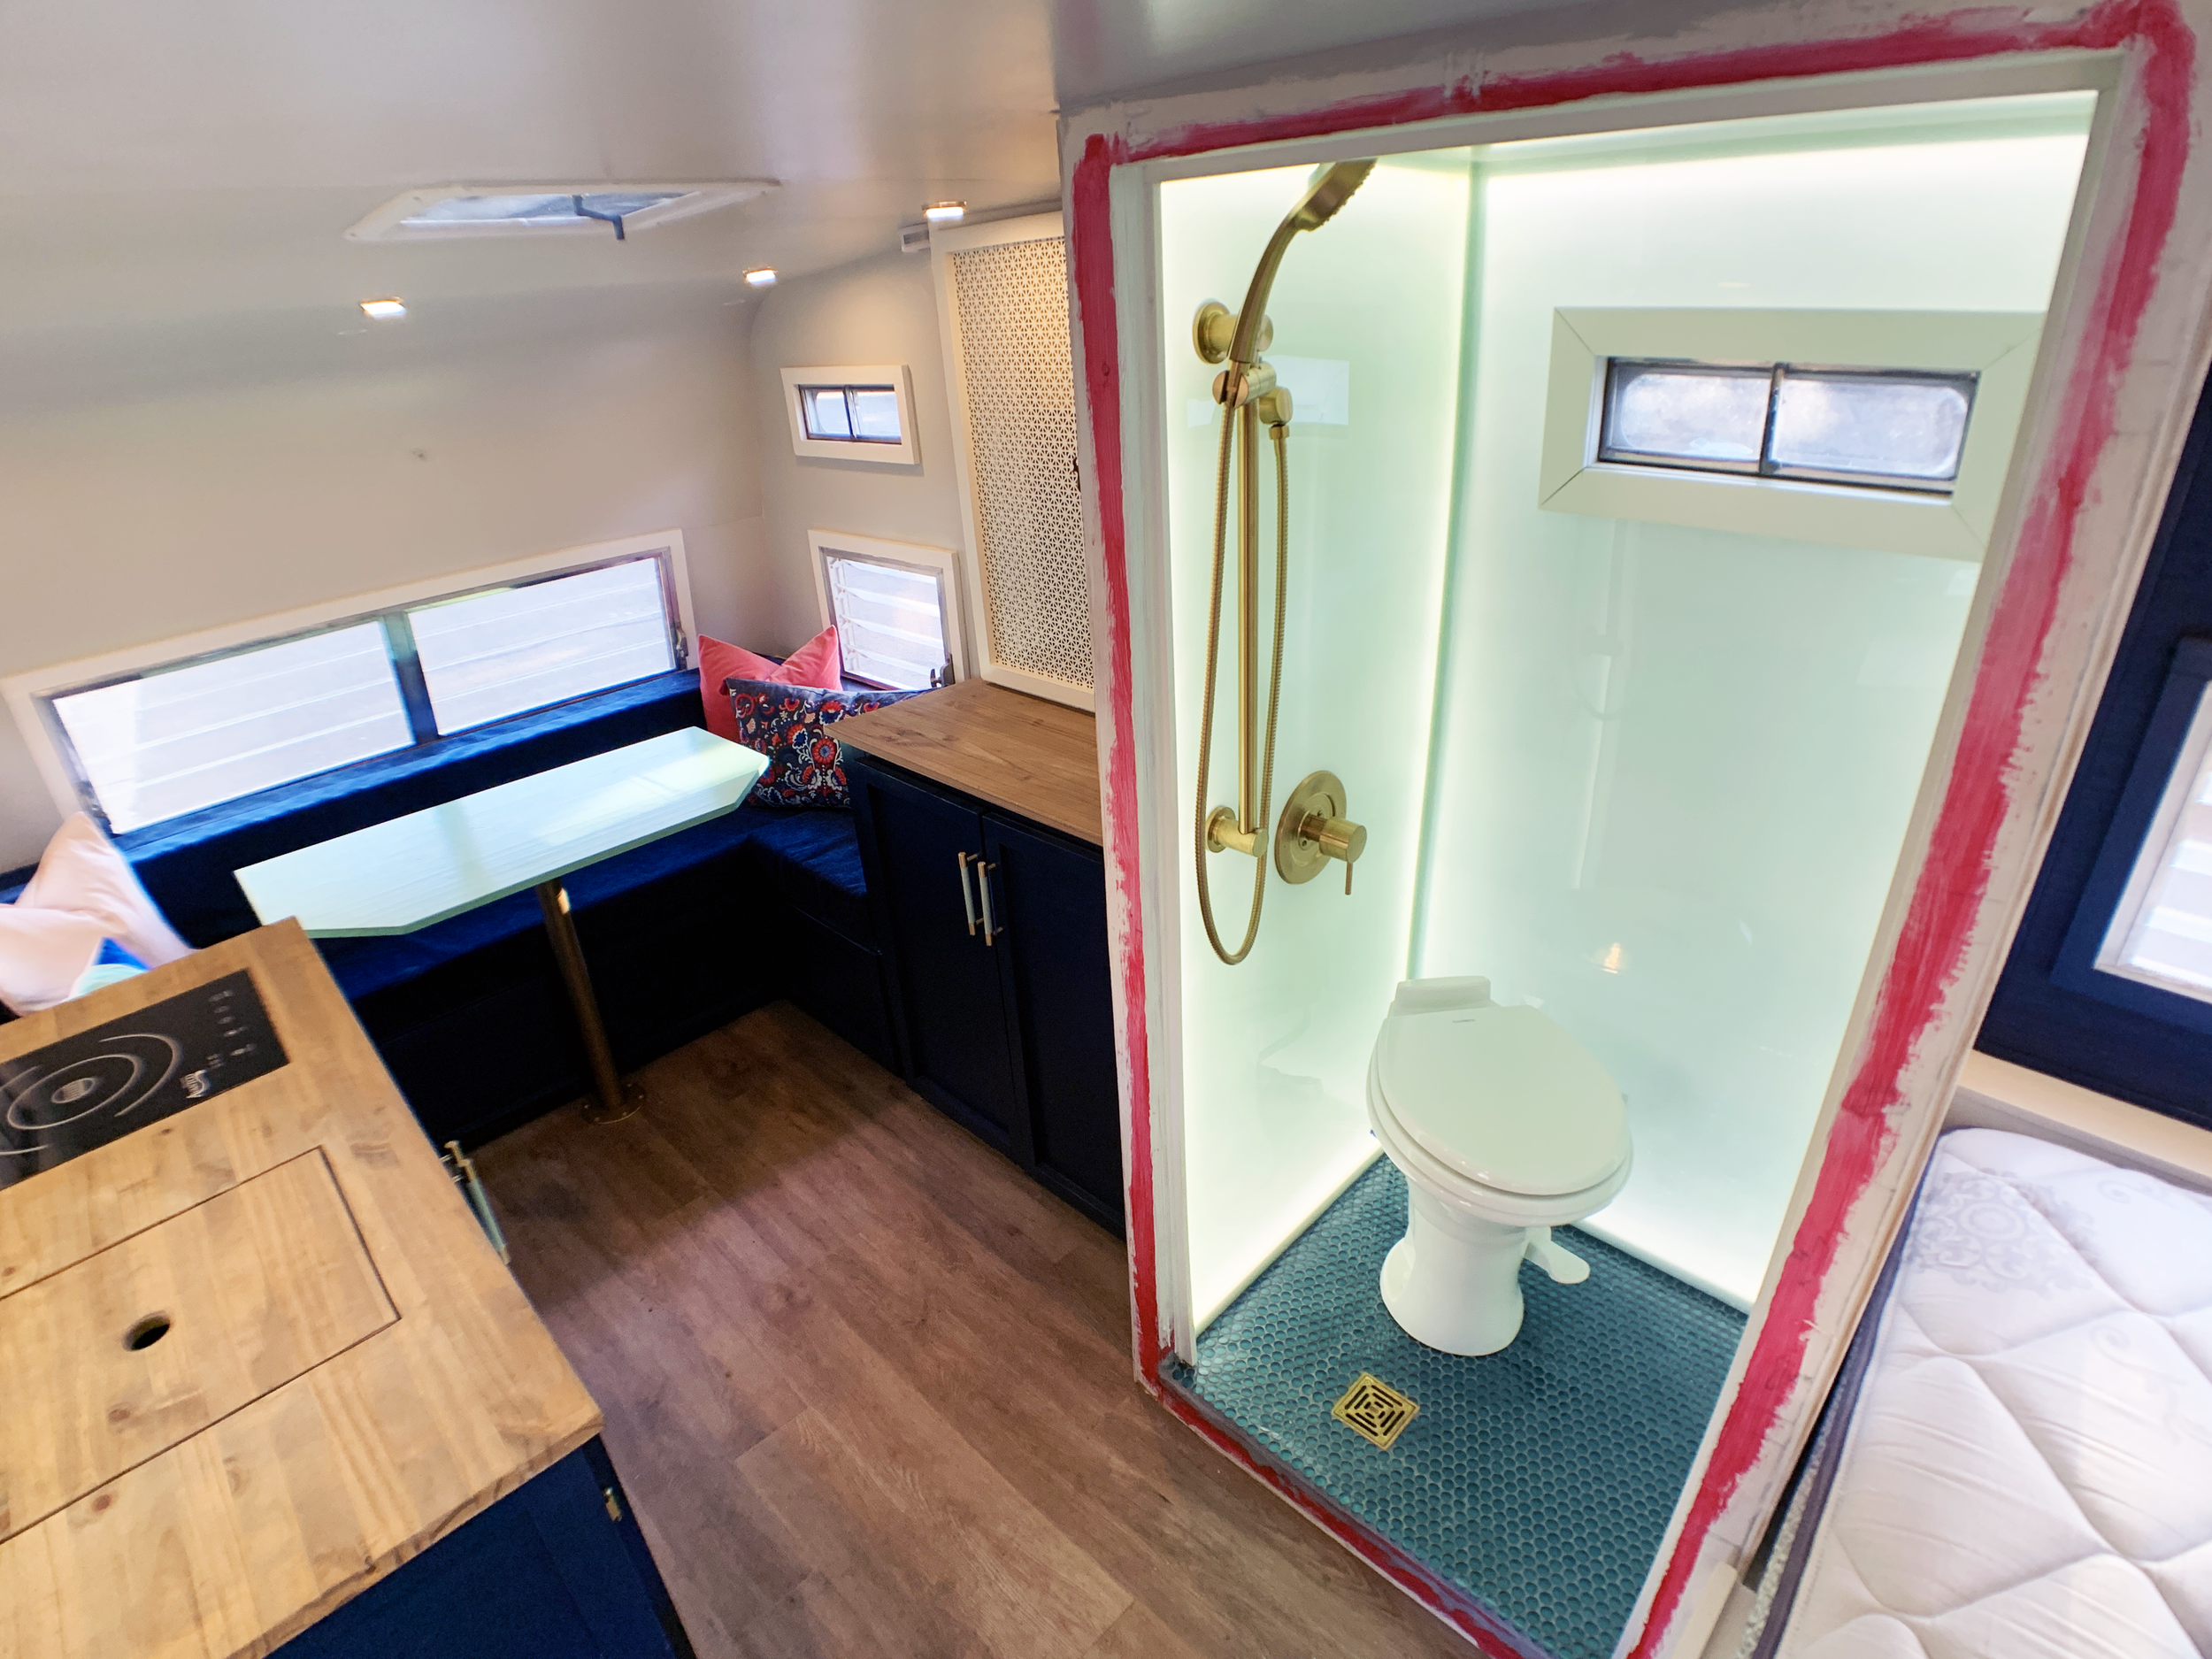
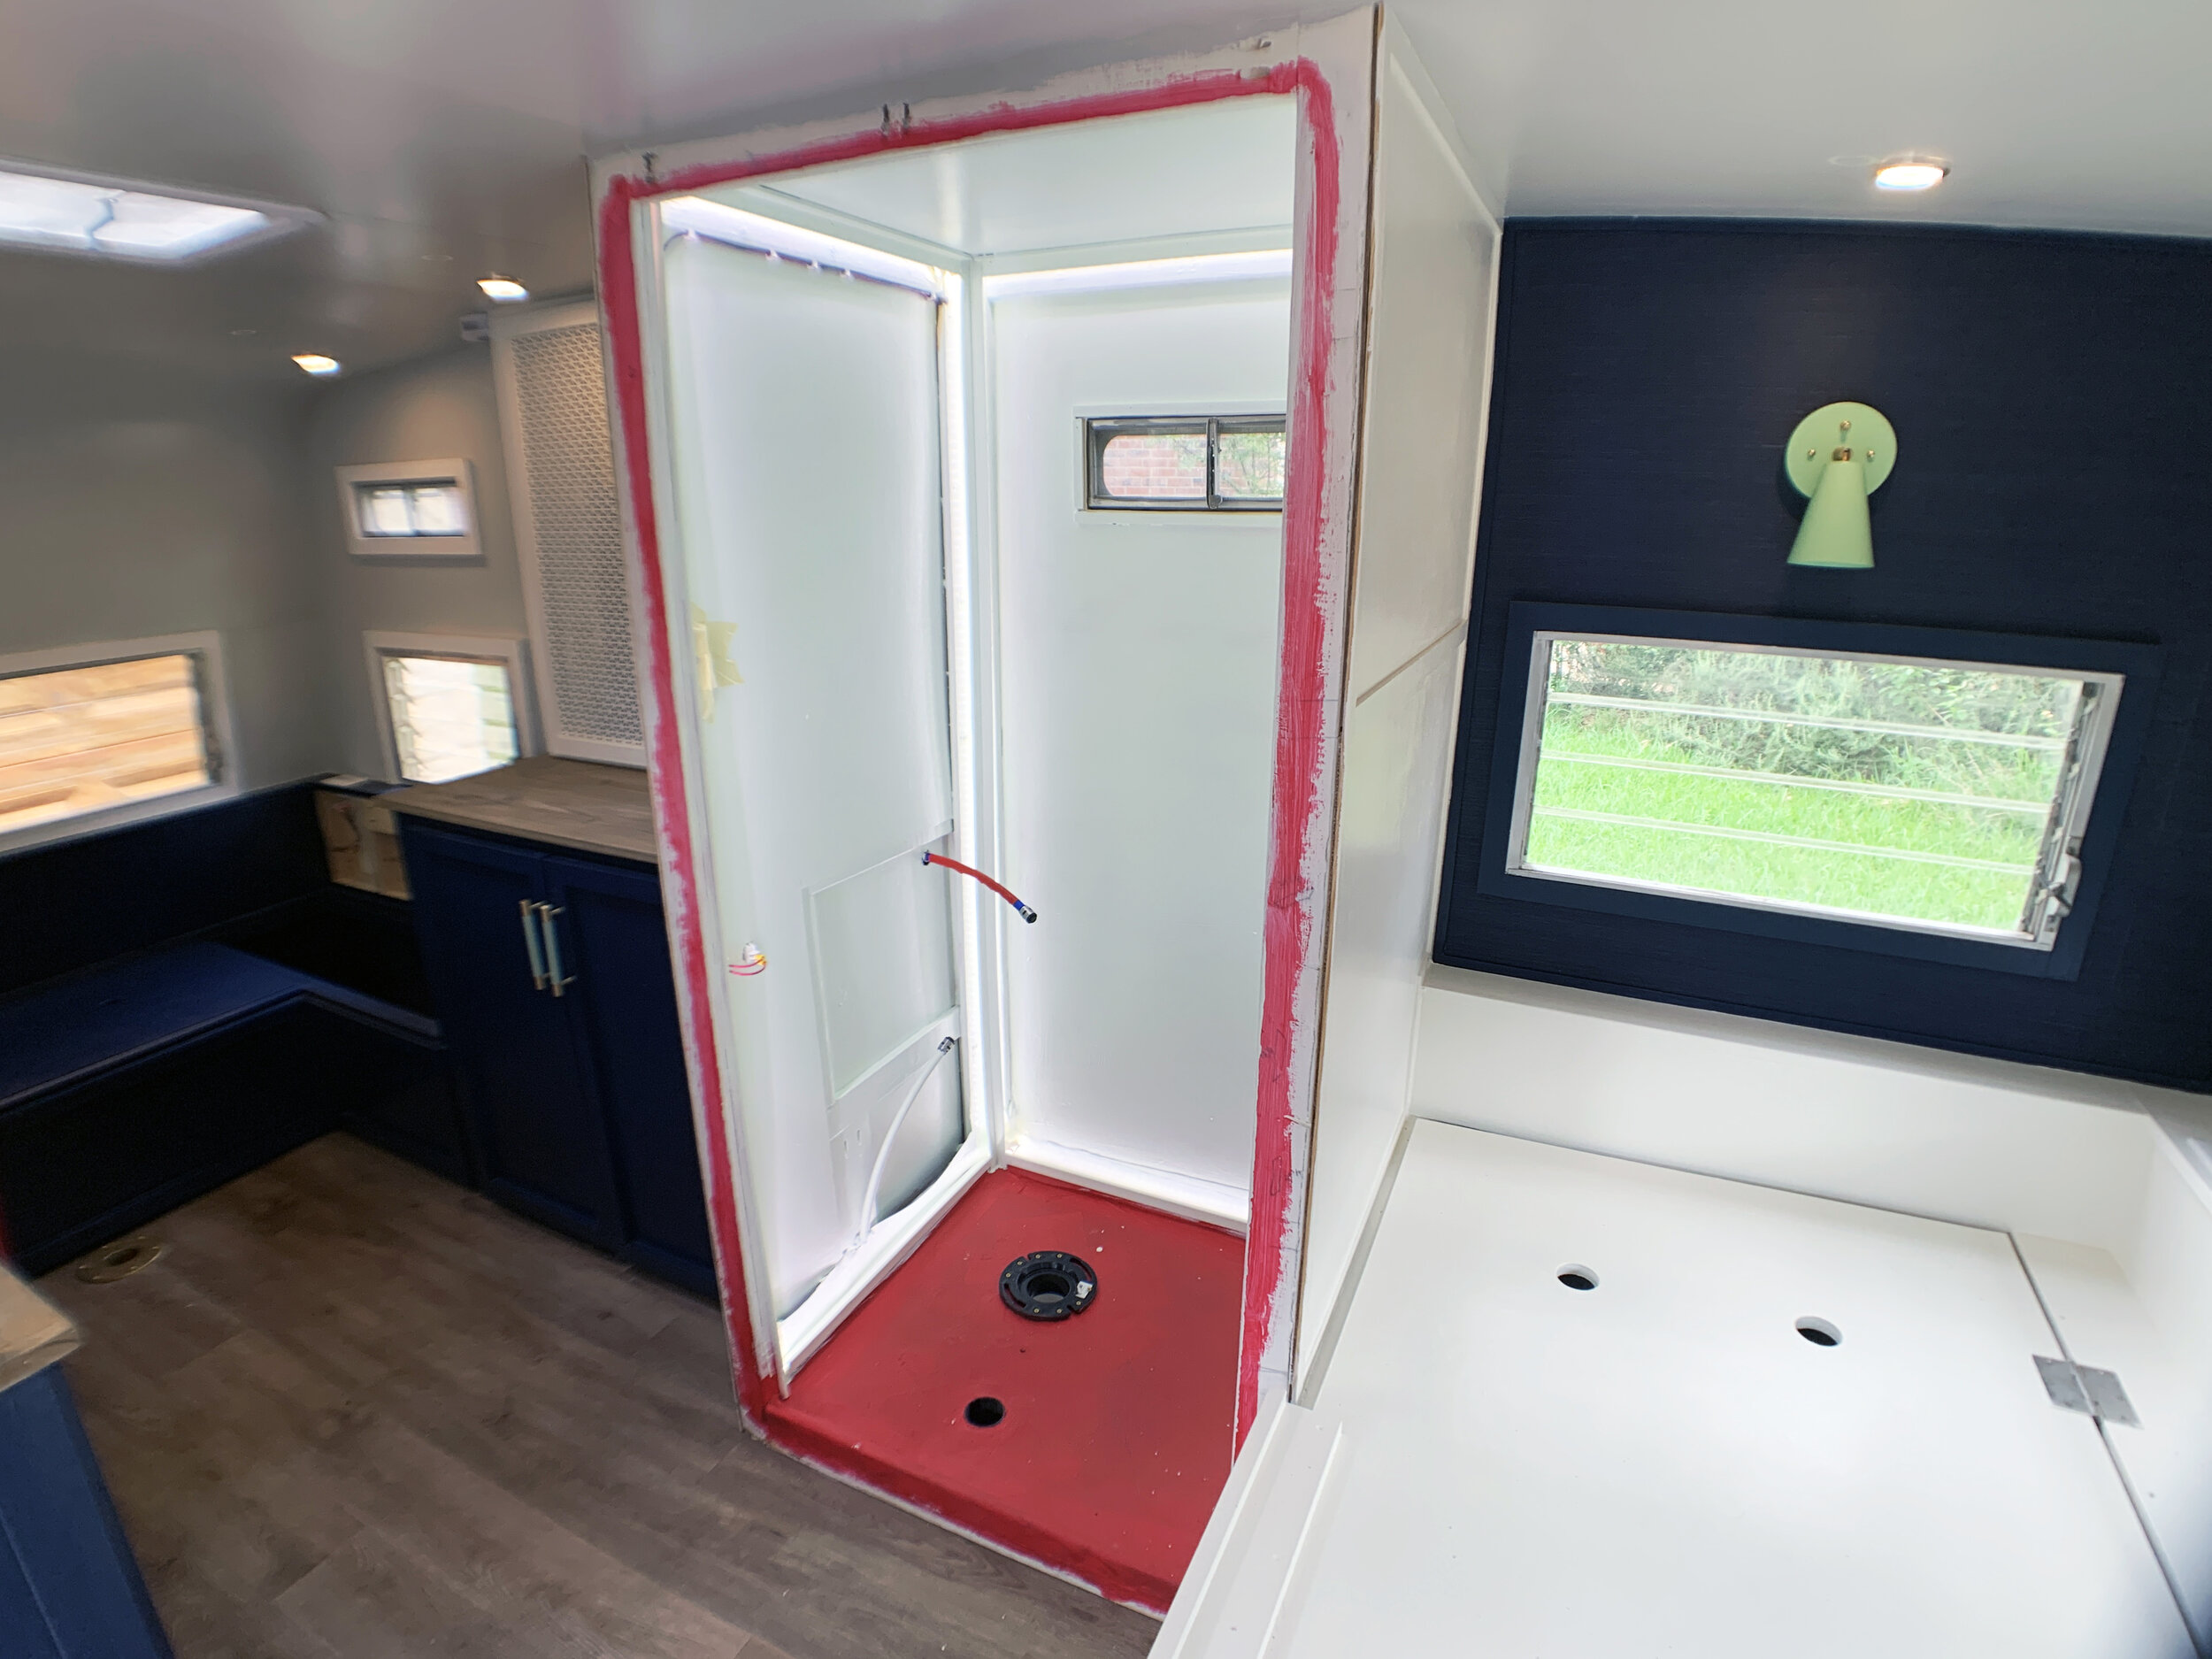
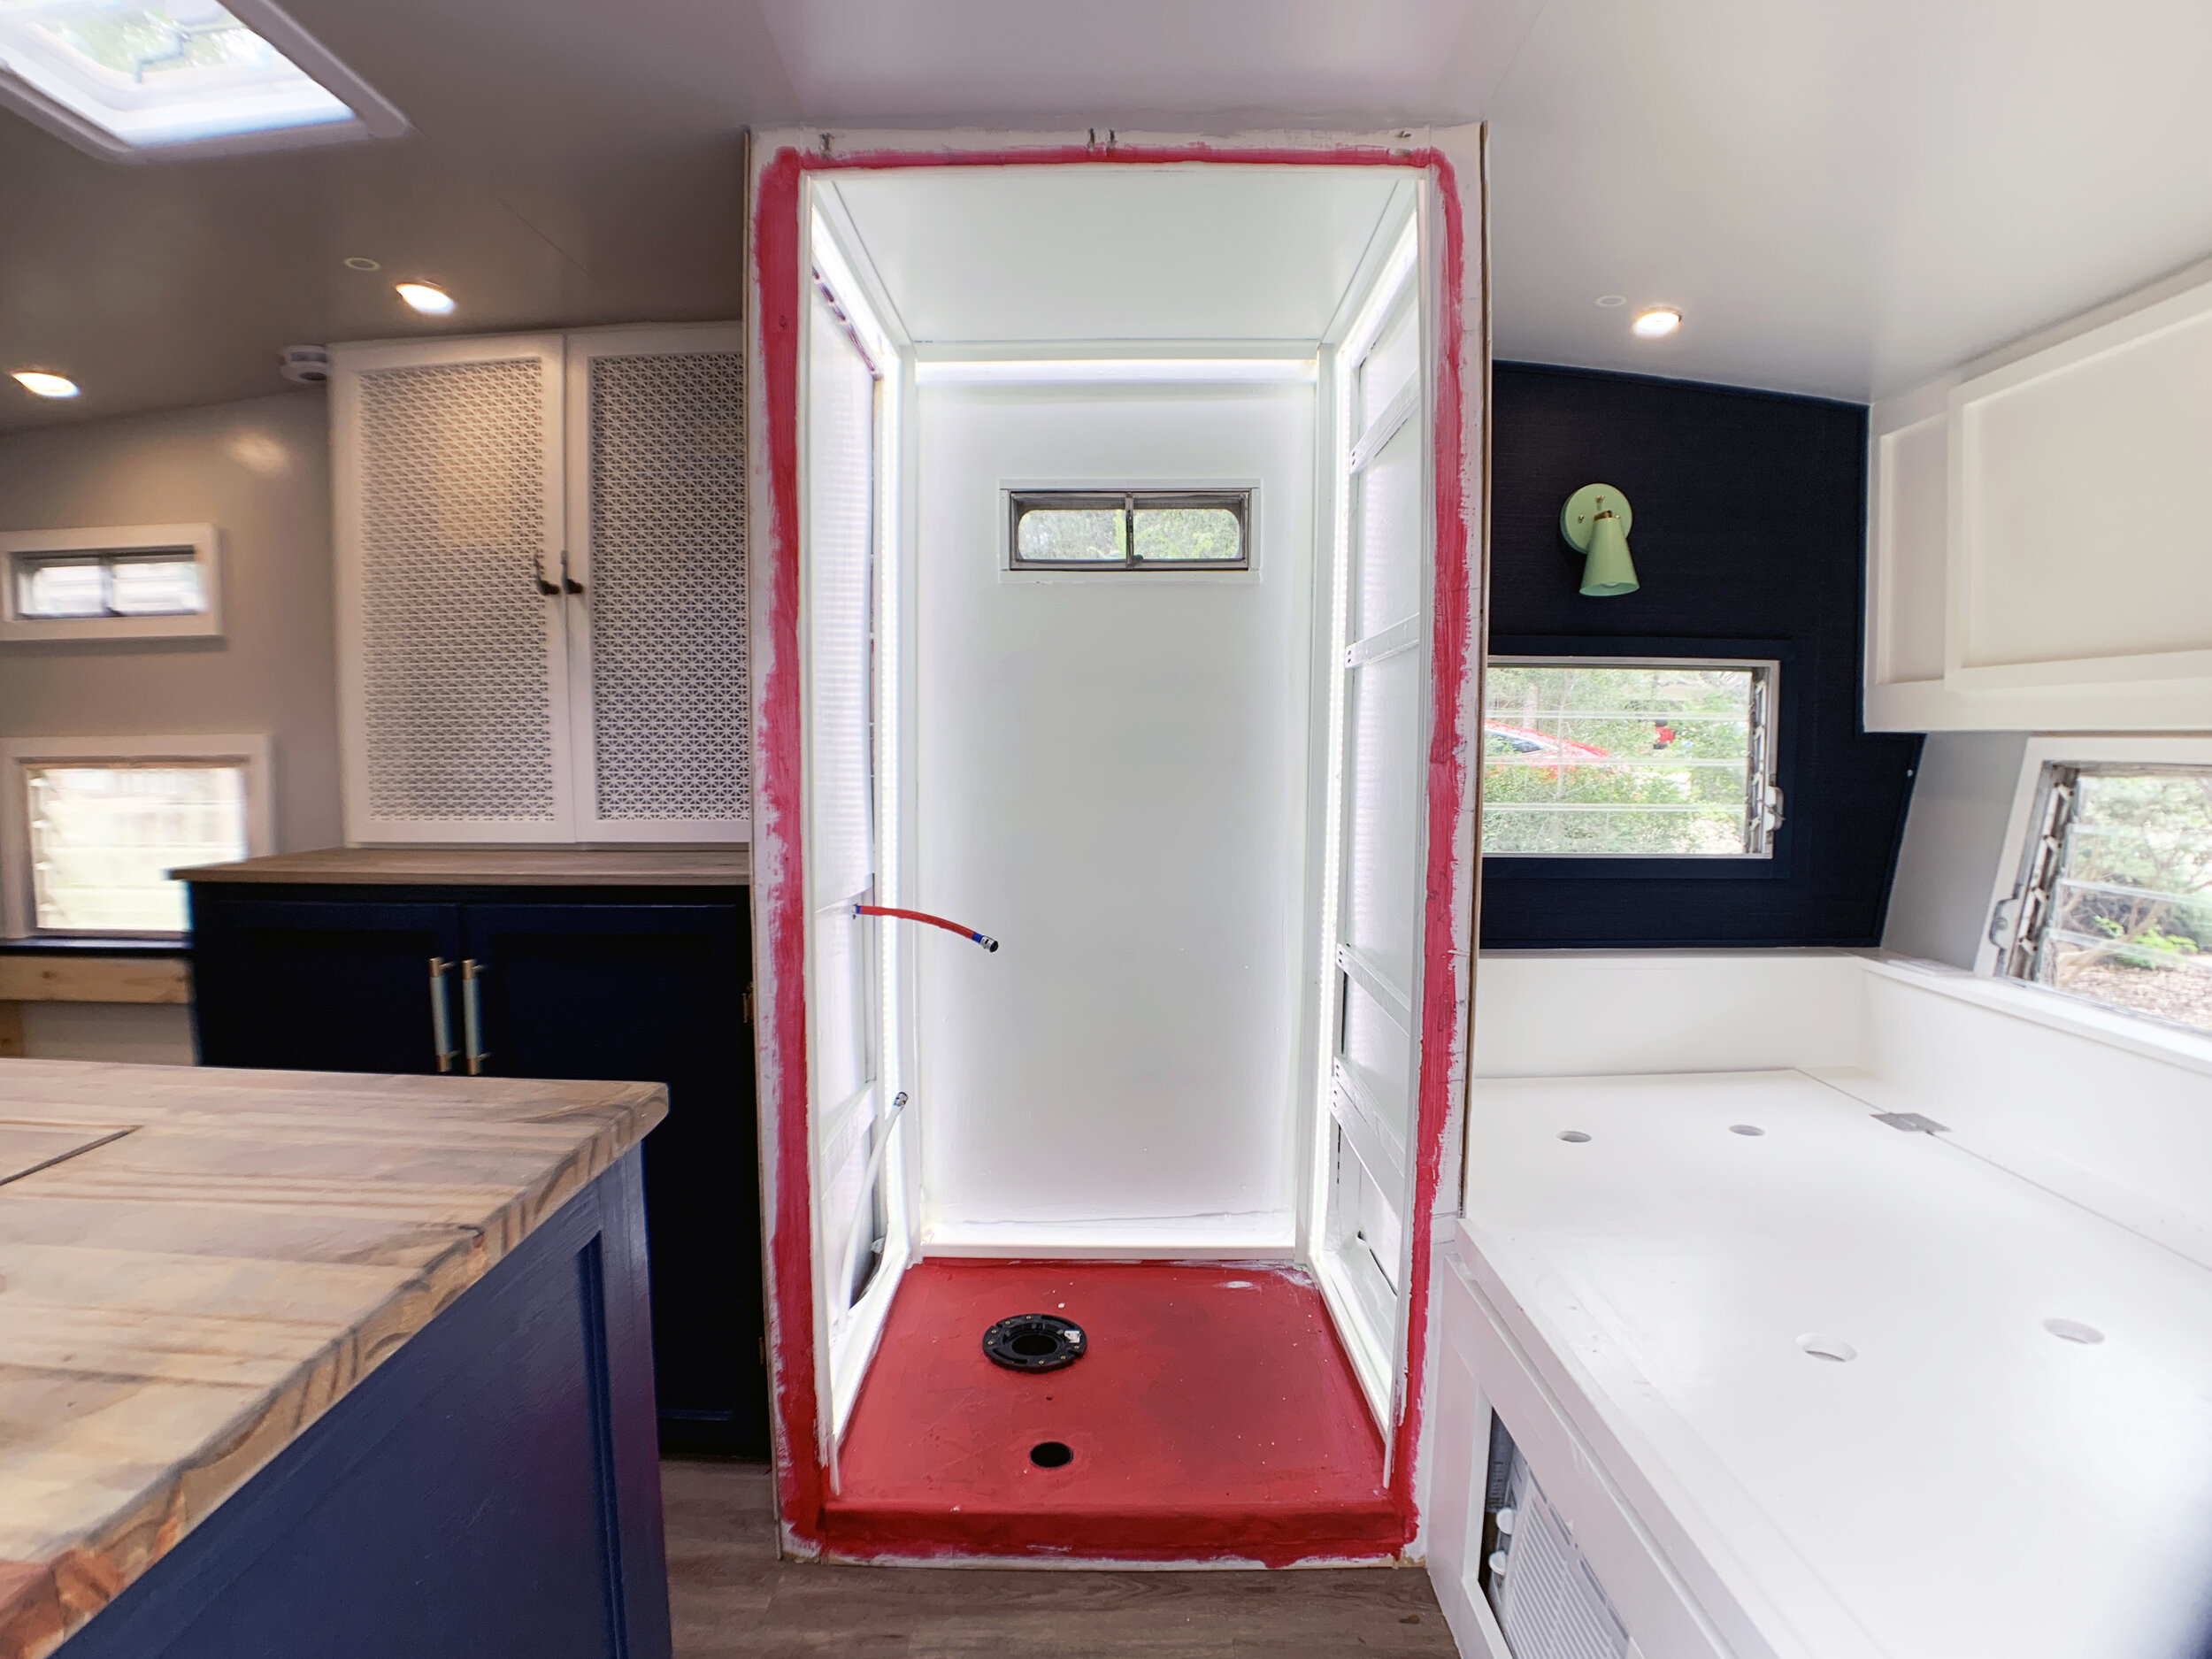
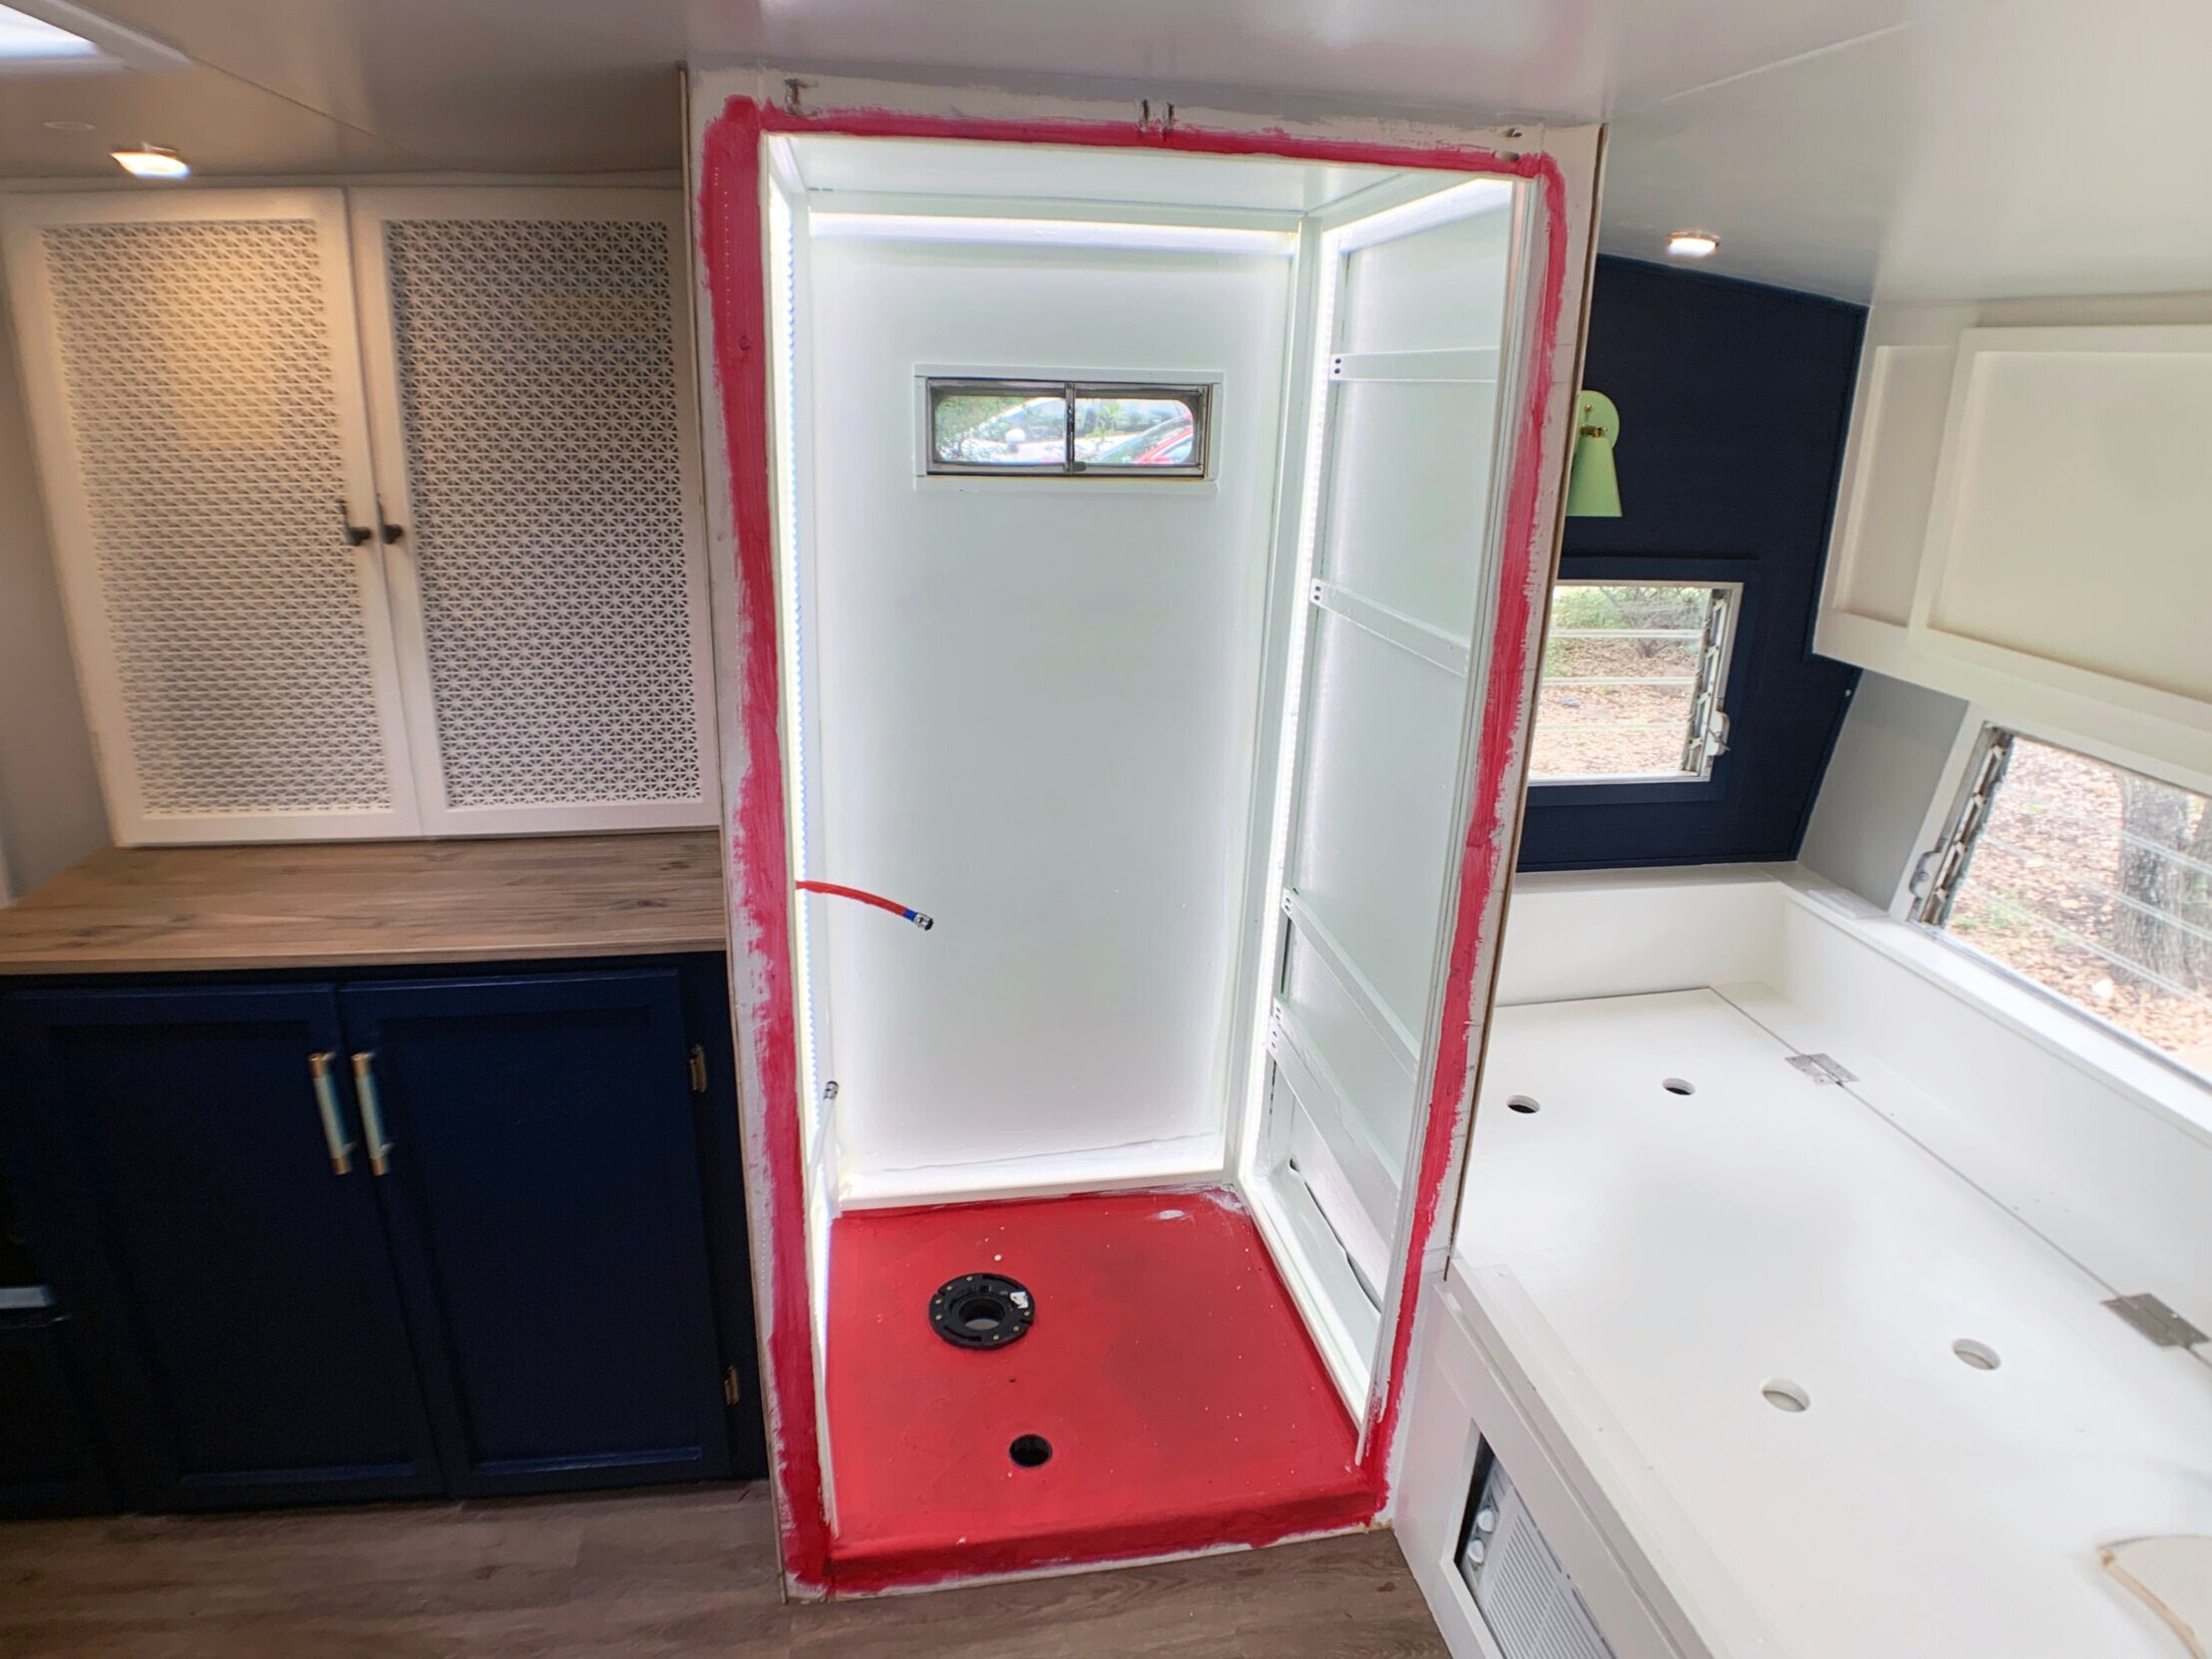
Here’s what our shower/wet bath looked like at the start of today’s project:

Installing LED lights
Wiring plan
Before starting, we picked a location for our light switch (on the outside of the left wall) and planned how our lighting would snake around through the walls so that we had only one LED light strip per side and nothing doubling back on itself to keep our lighting as consistent as possible. Again to keep our lighting more consistent and to avoid a noticeable drop in brightness, we planned for the light switch to be placed in the middle of the circuit, with two light strips coming out from it, rather than having one continuous light strip with the switch on one end.

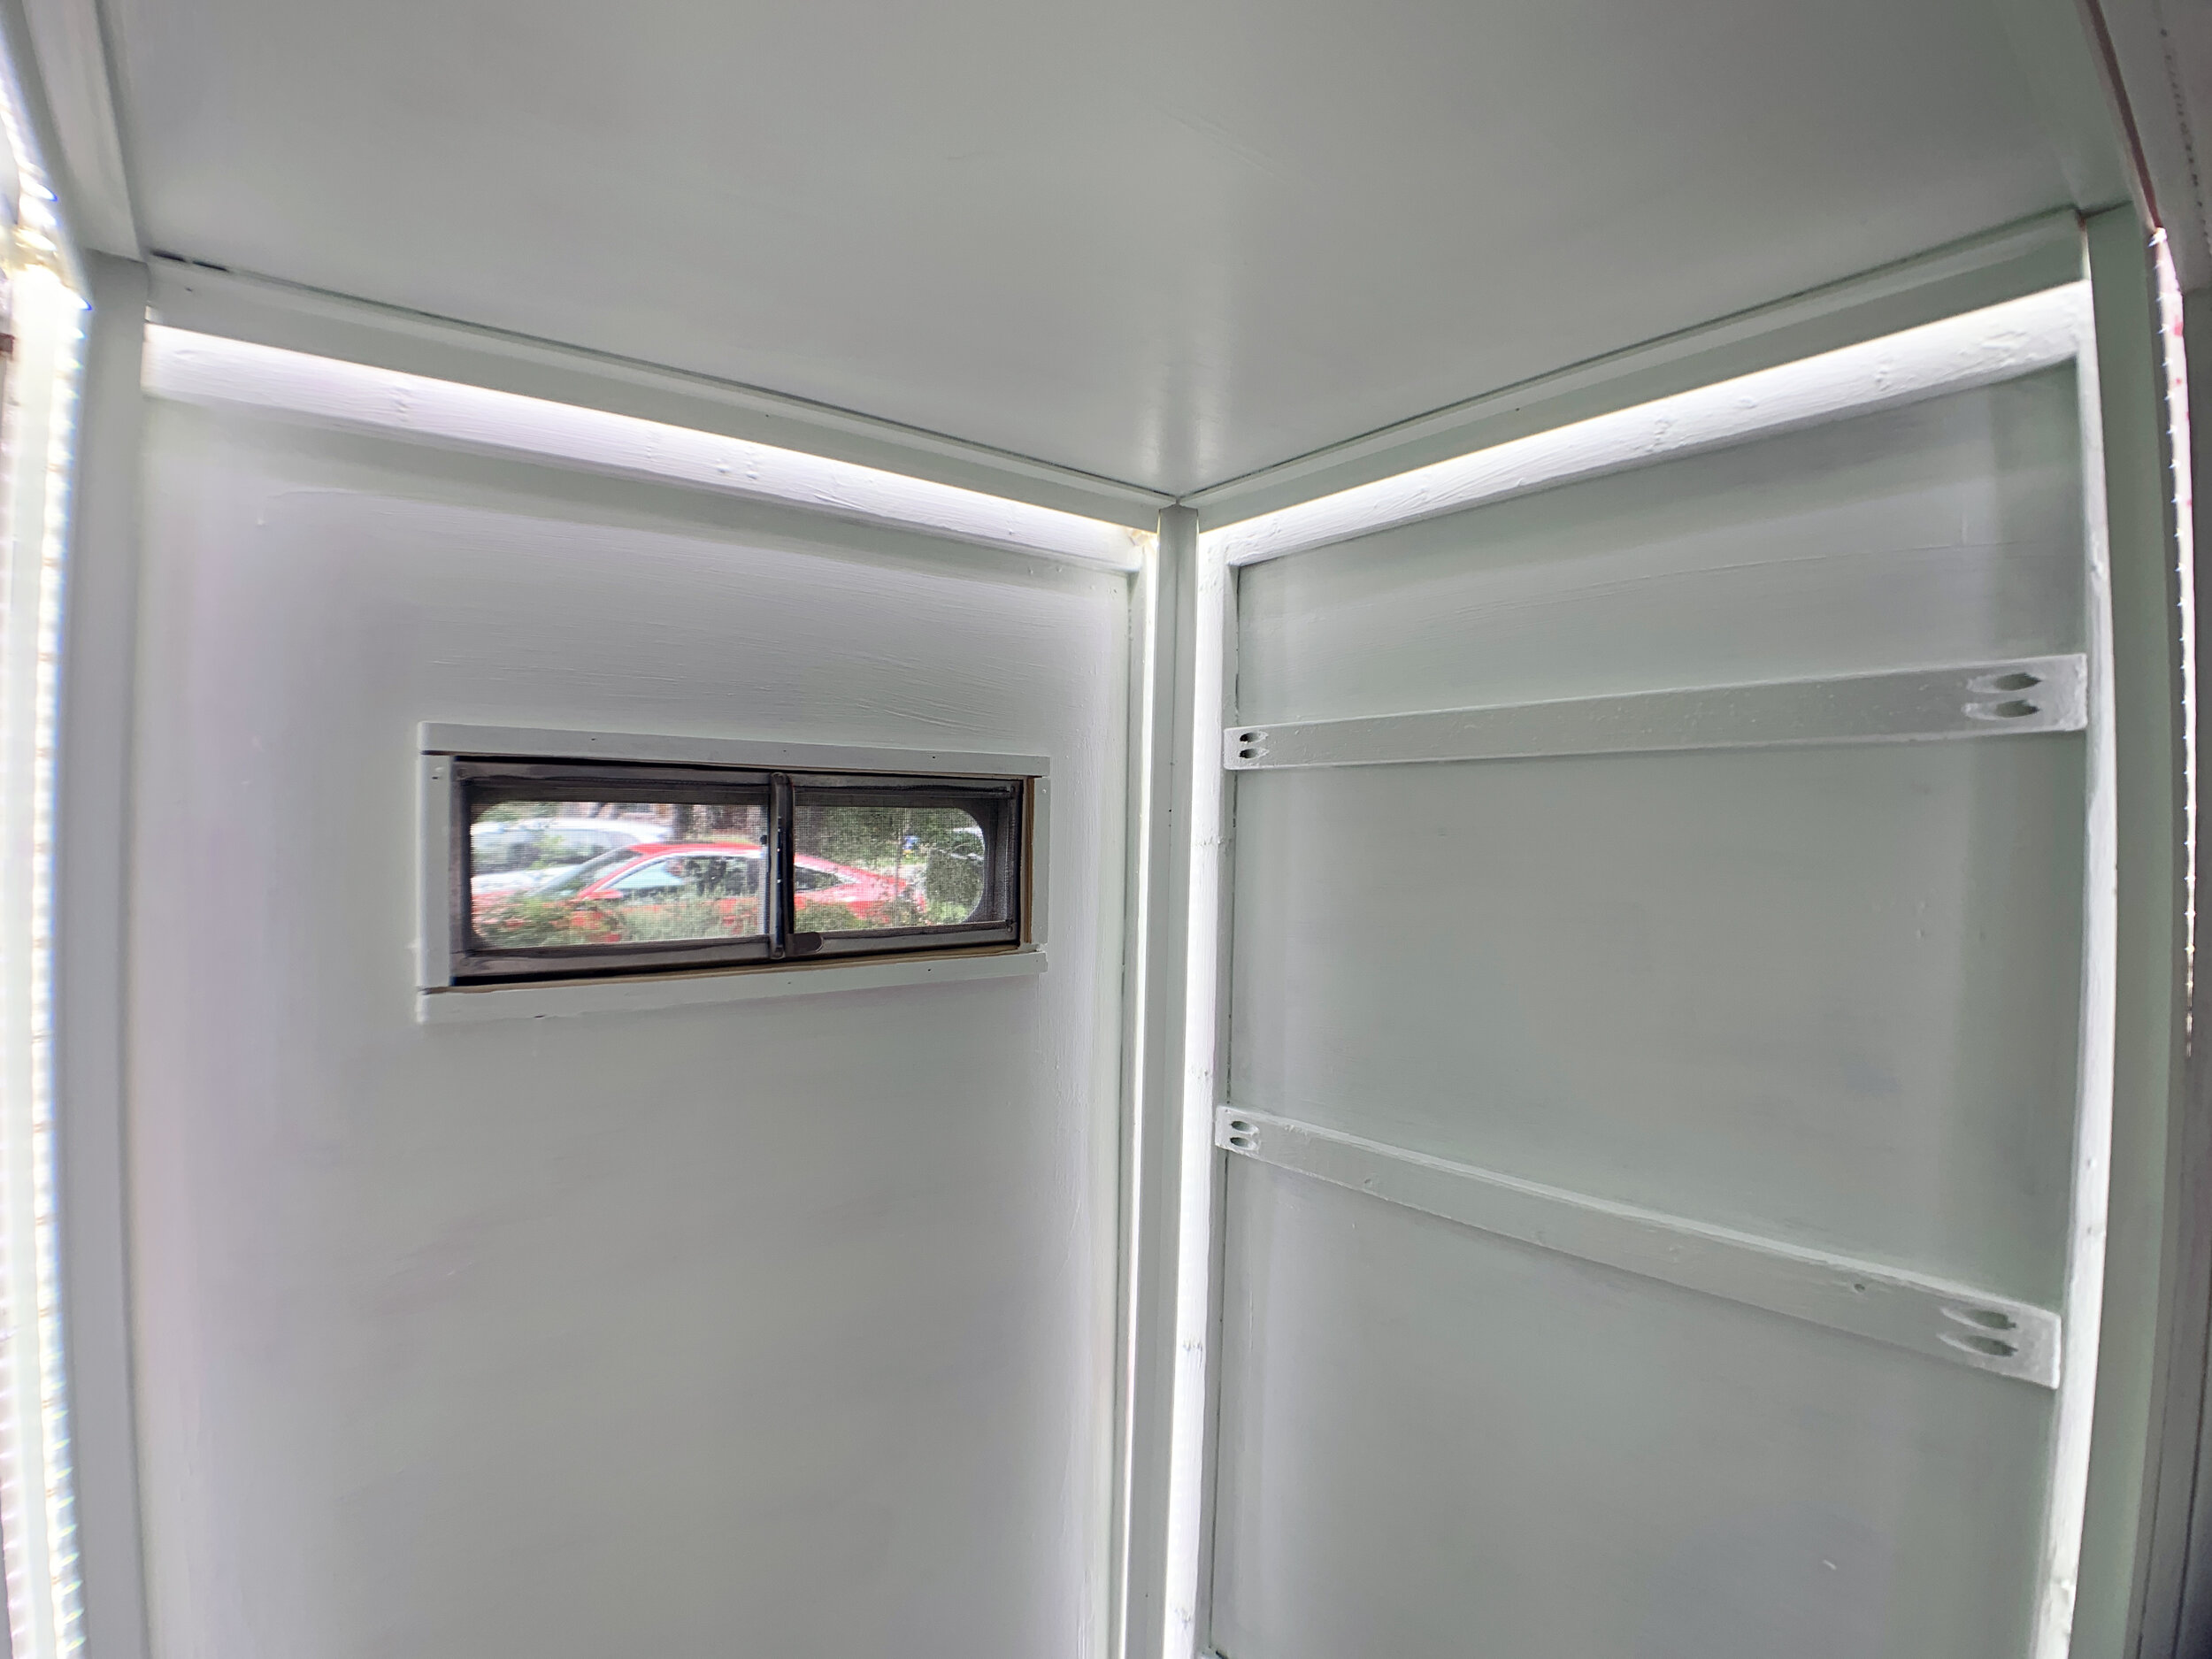
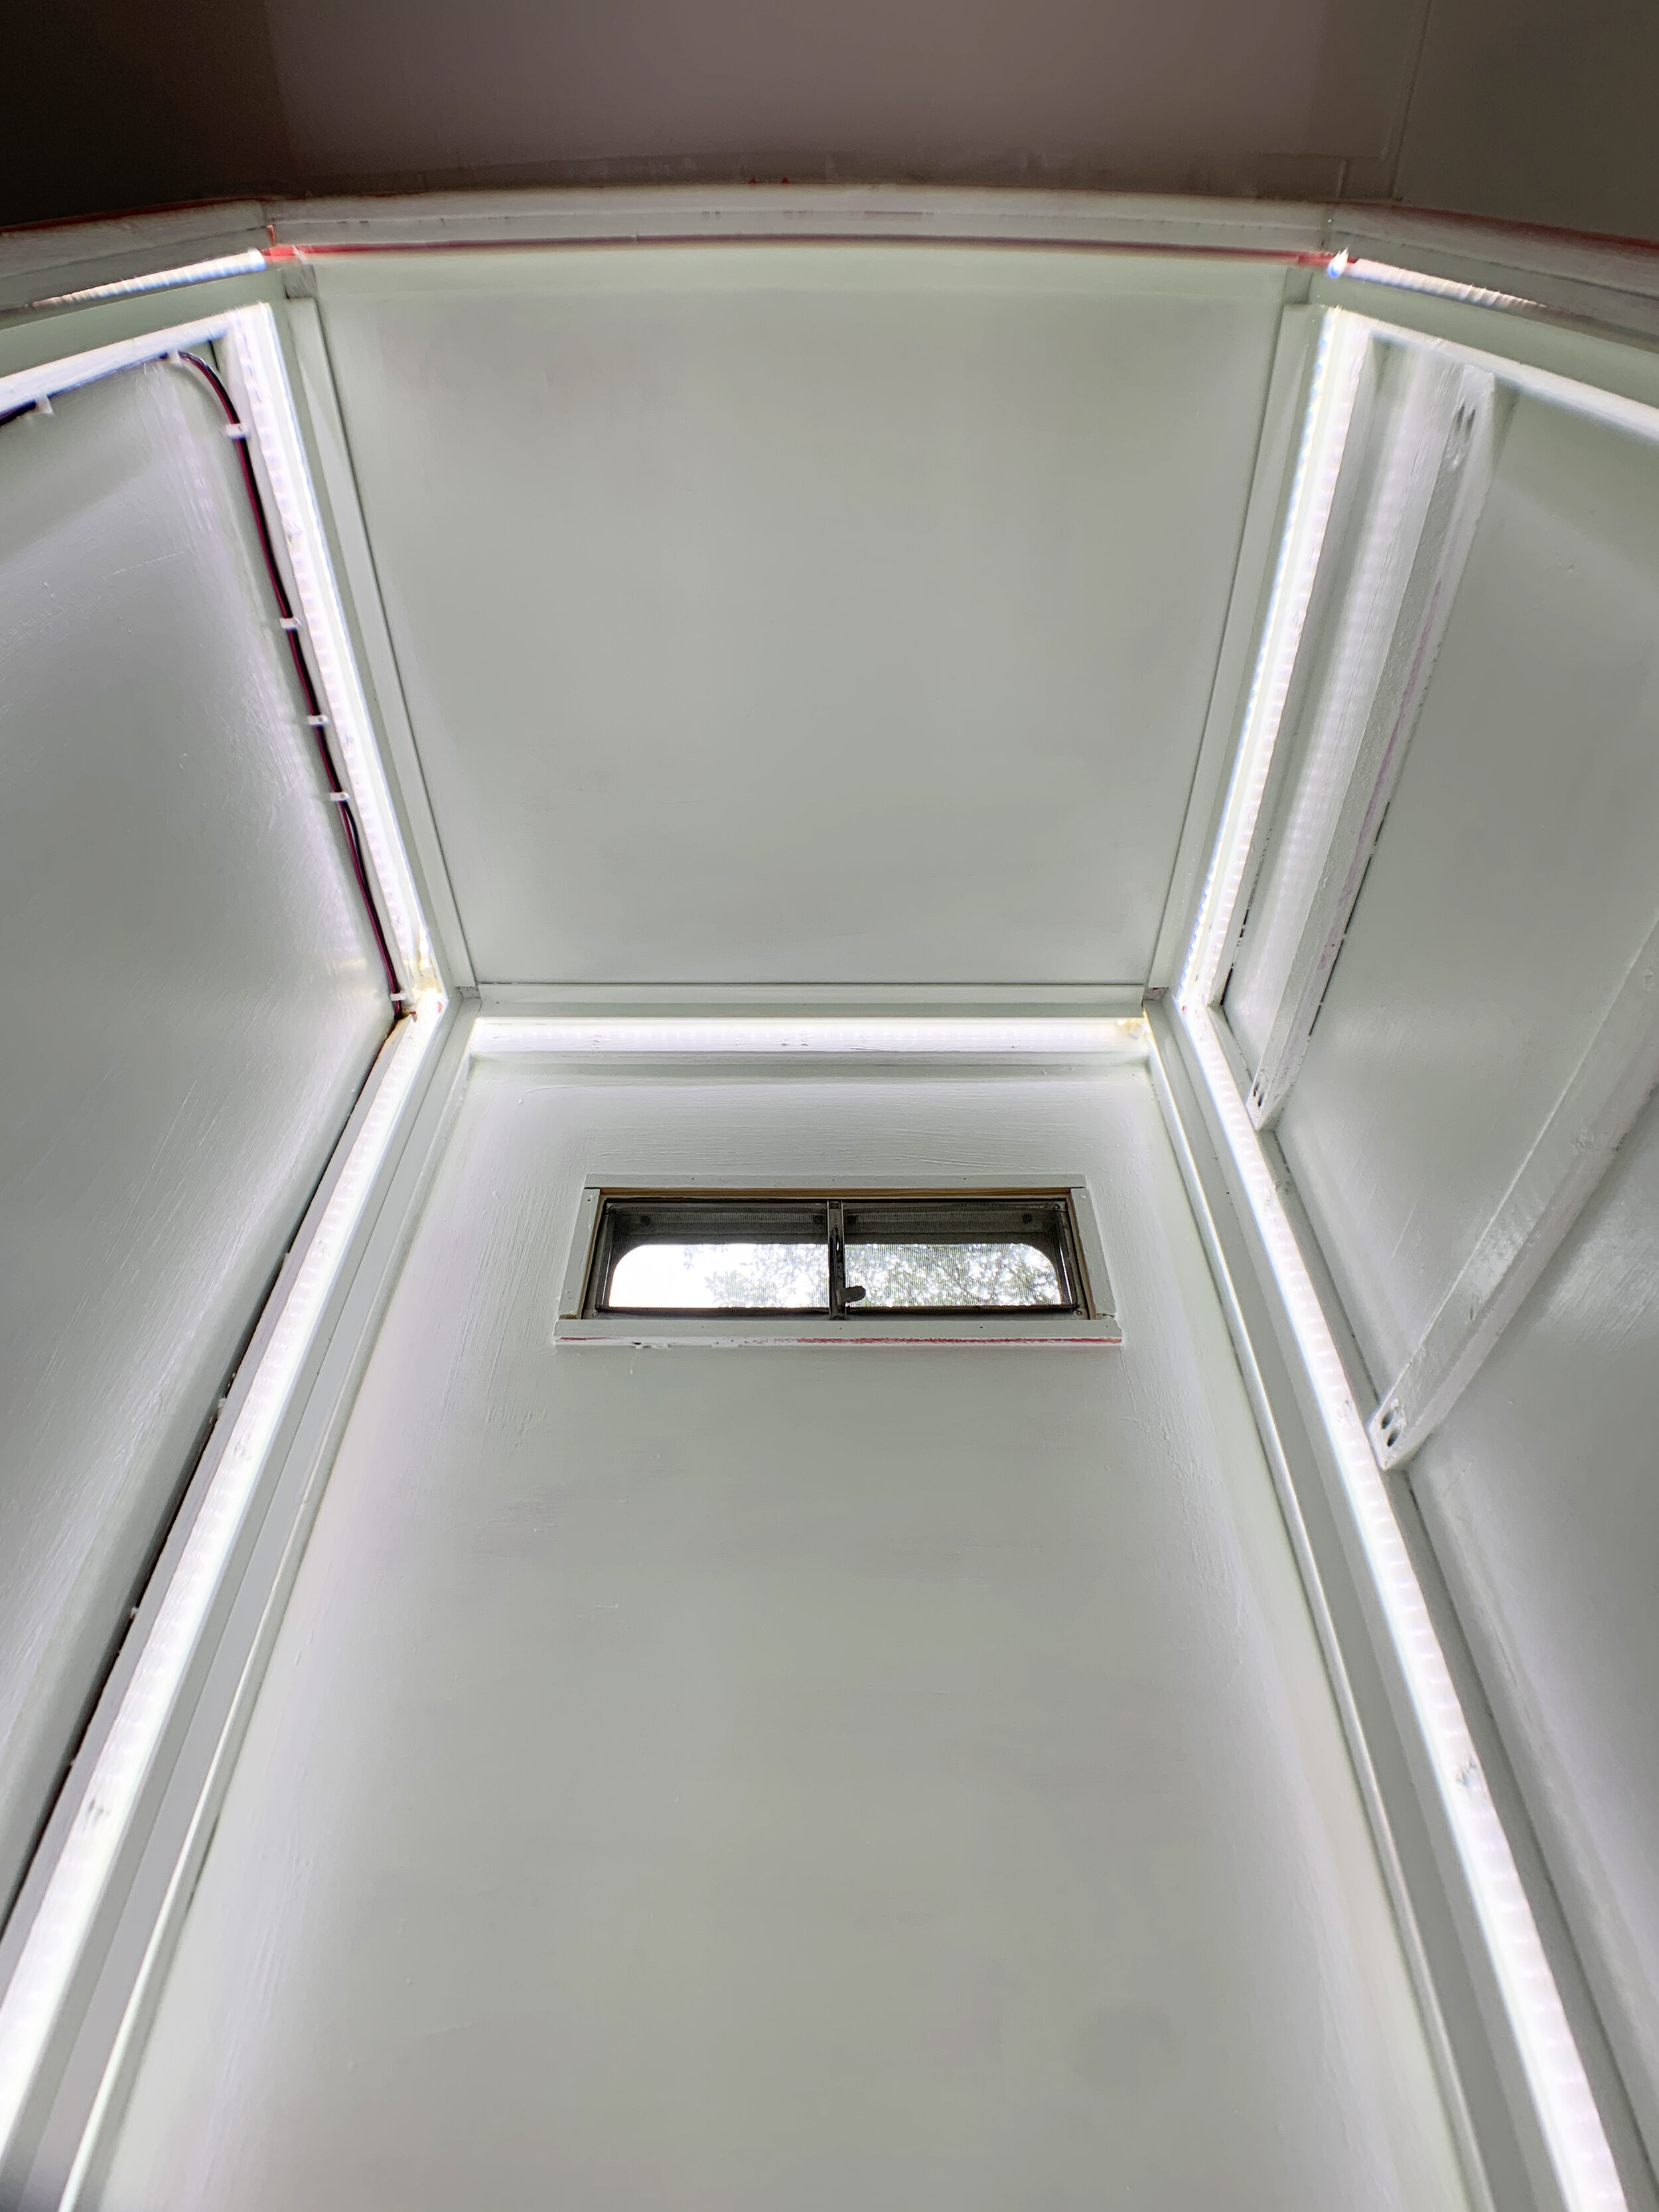
Here you can see how the two different light strips coming from the light switch snake through the walls to prevent a noticeable drop in brightness. Each light strip faces into the wall it’s on, rather than forward toward the center of the shower.
Because our door takes up more or less the entire wall, we did not install lighting or acrylic on the door-side wall.
Securing incoming wires
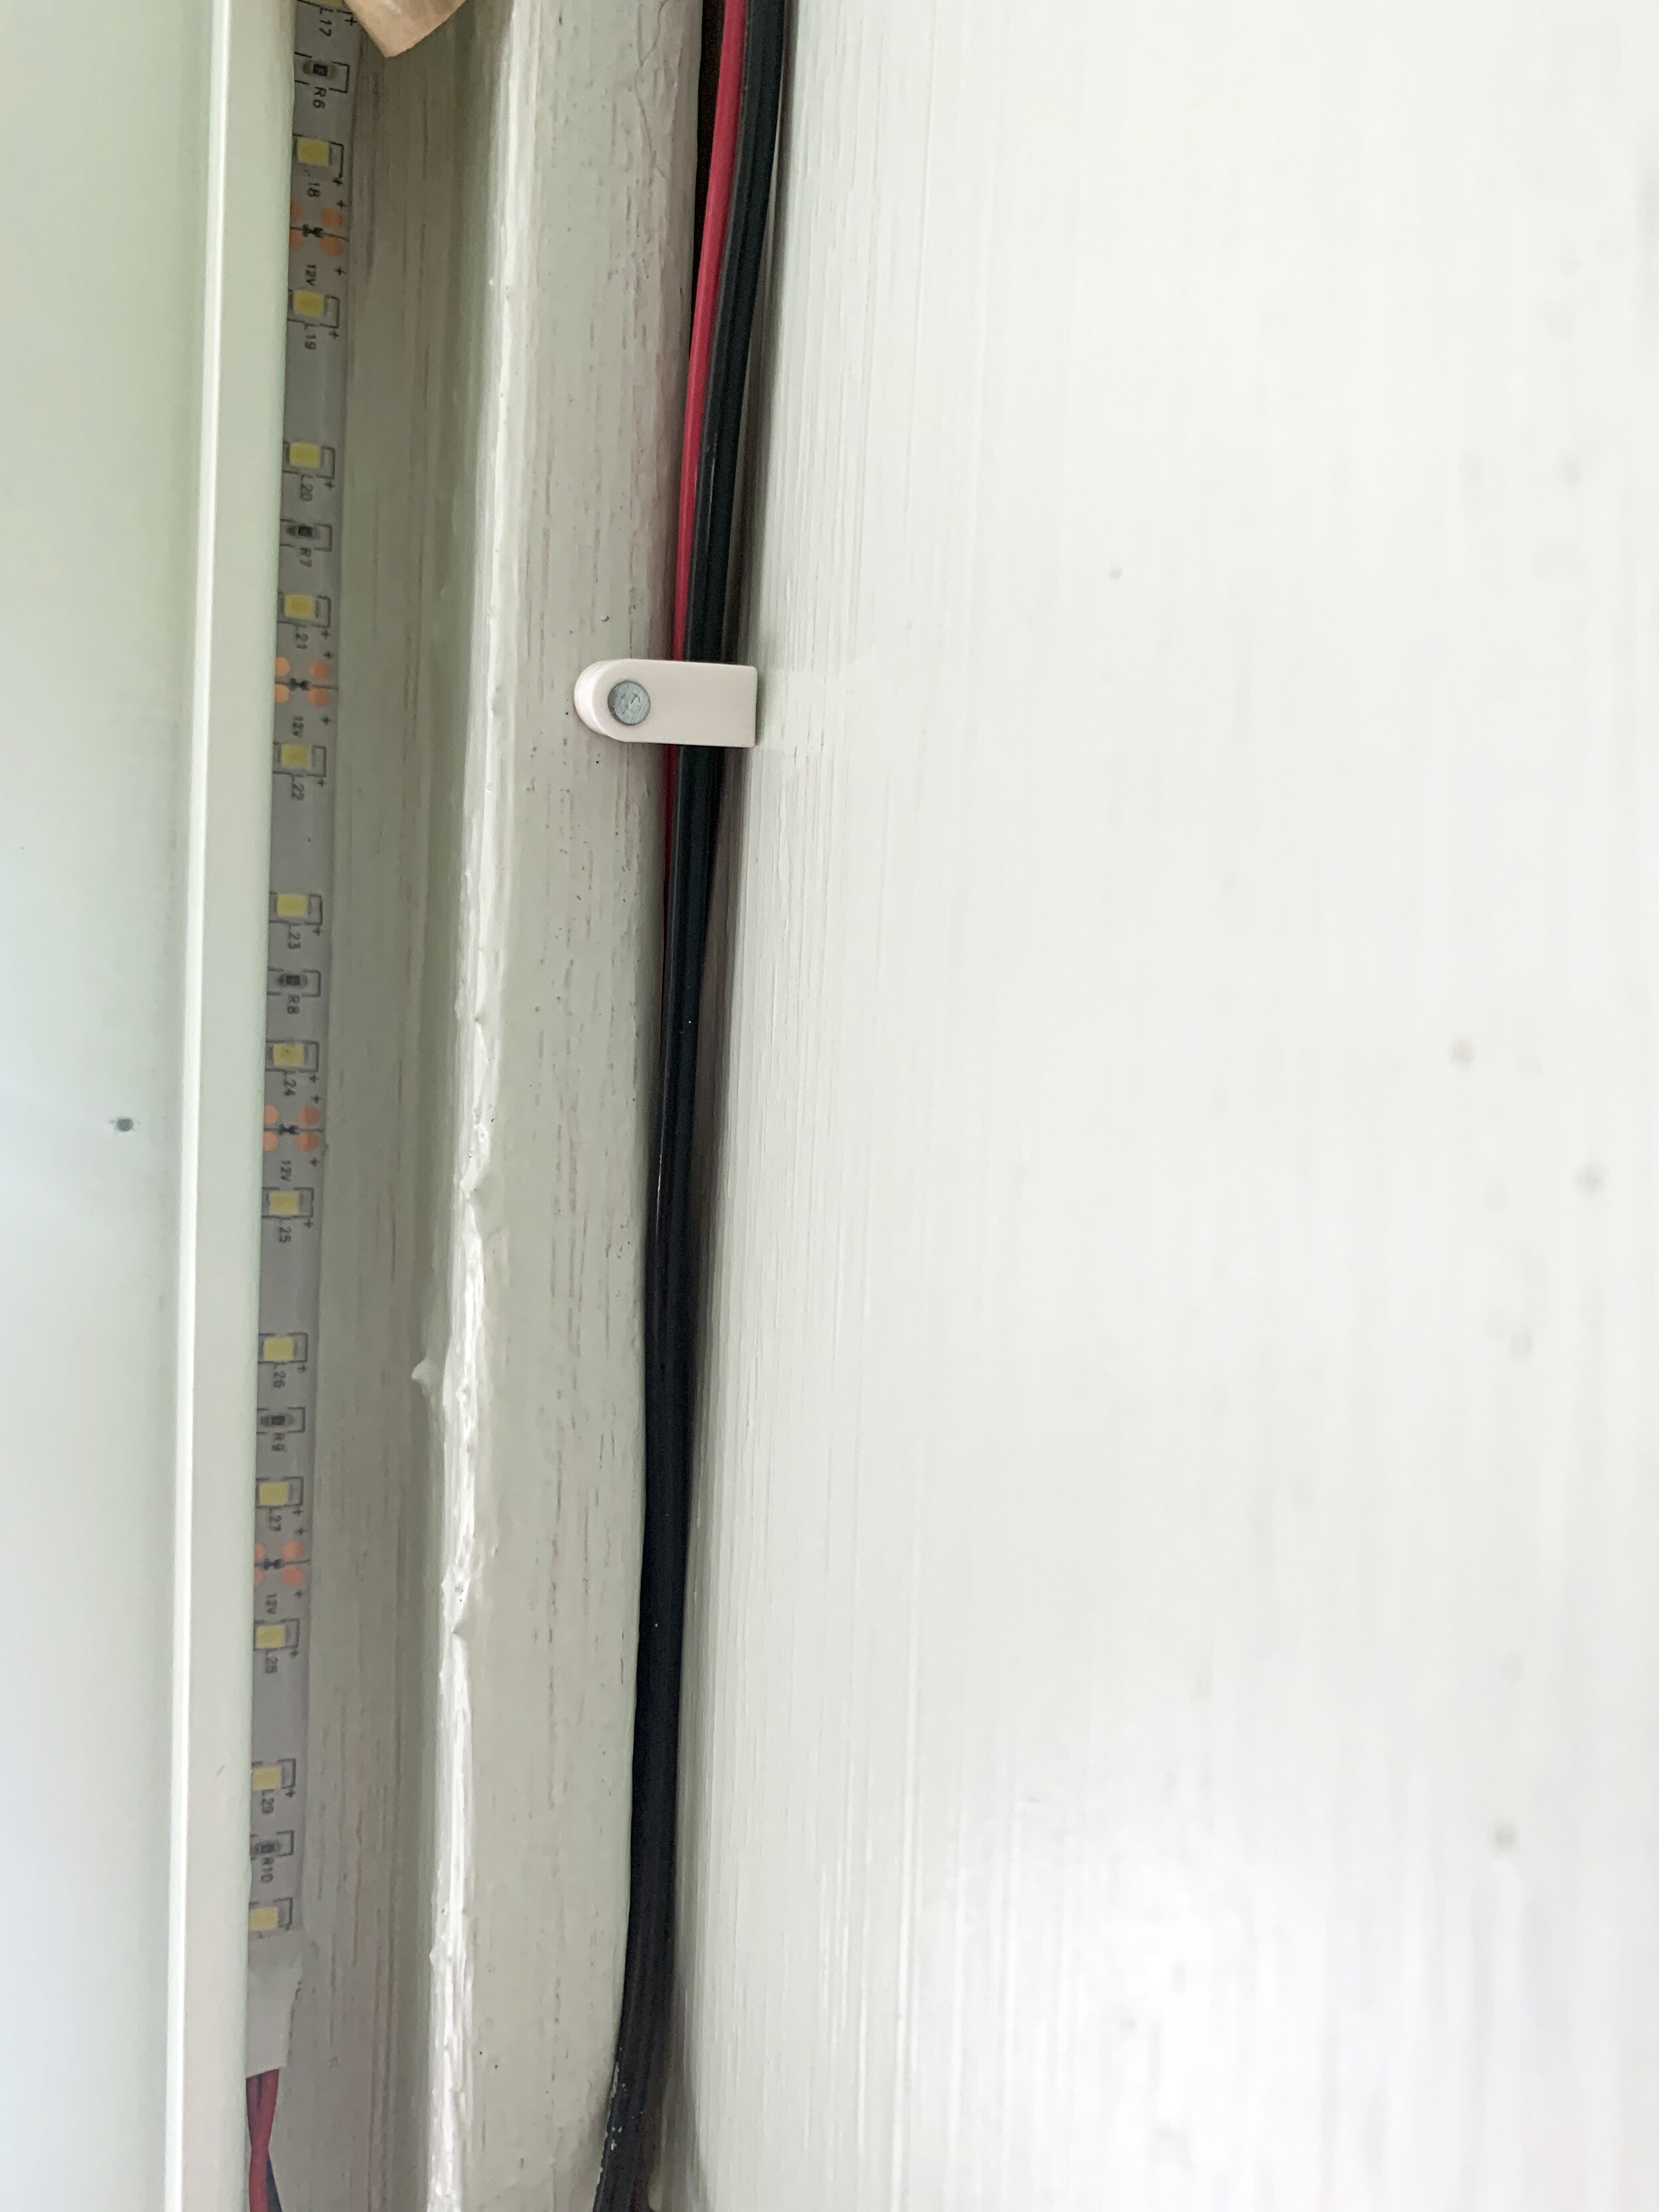
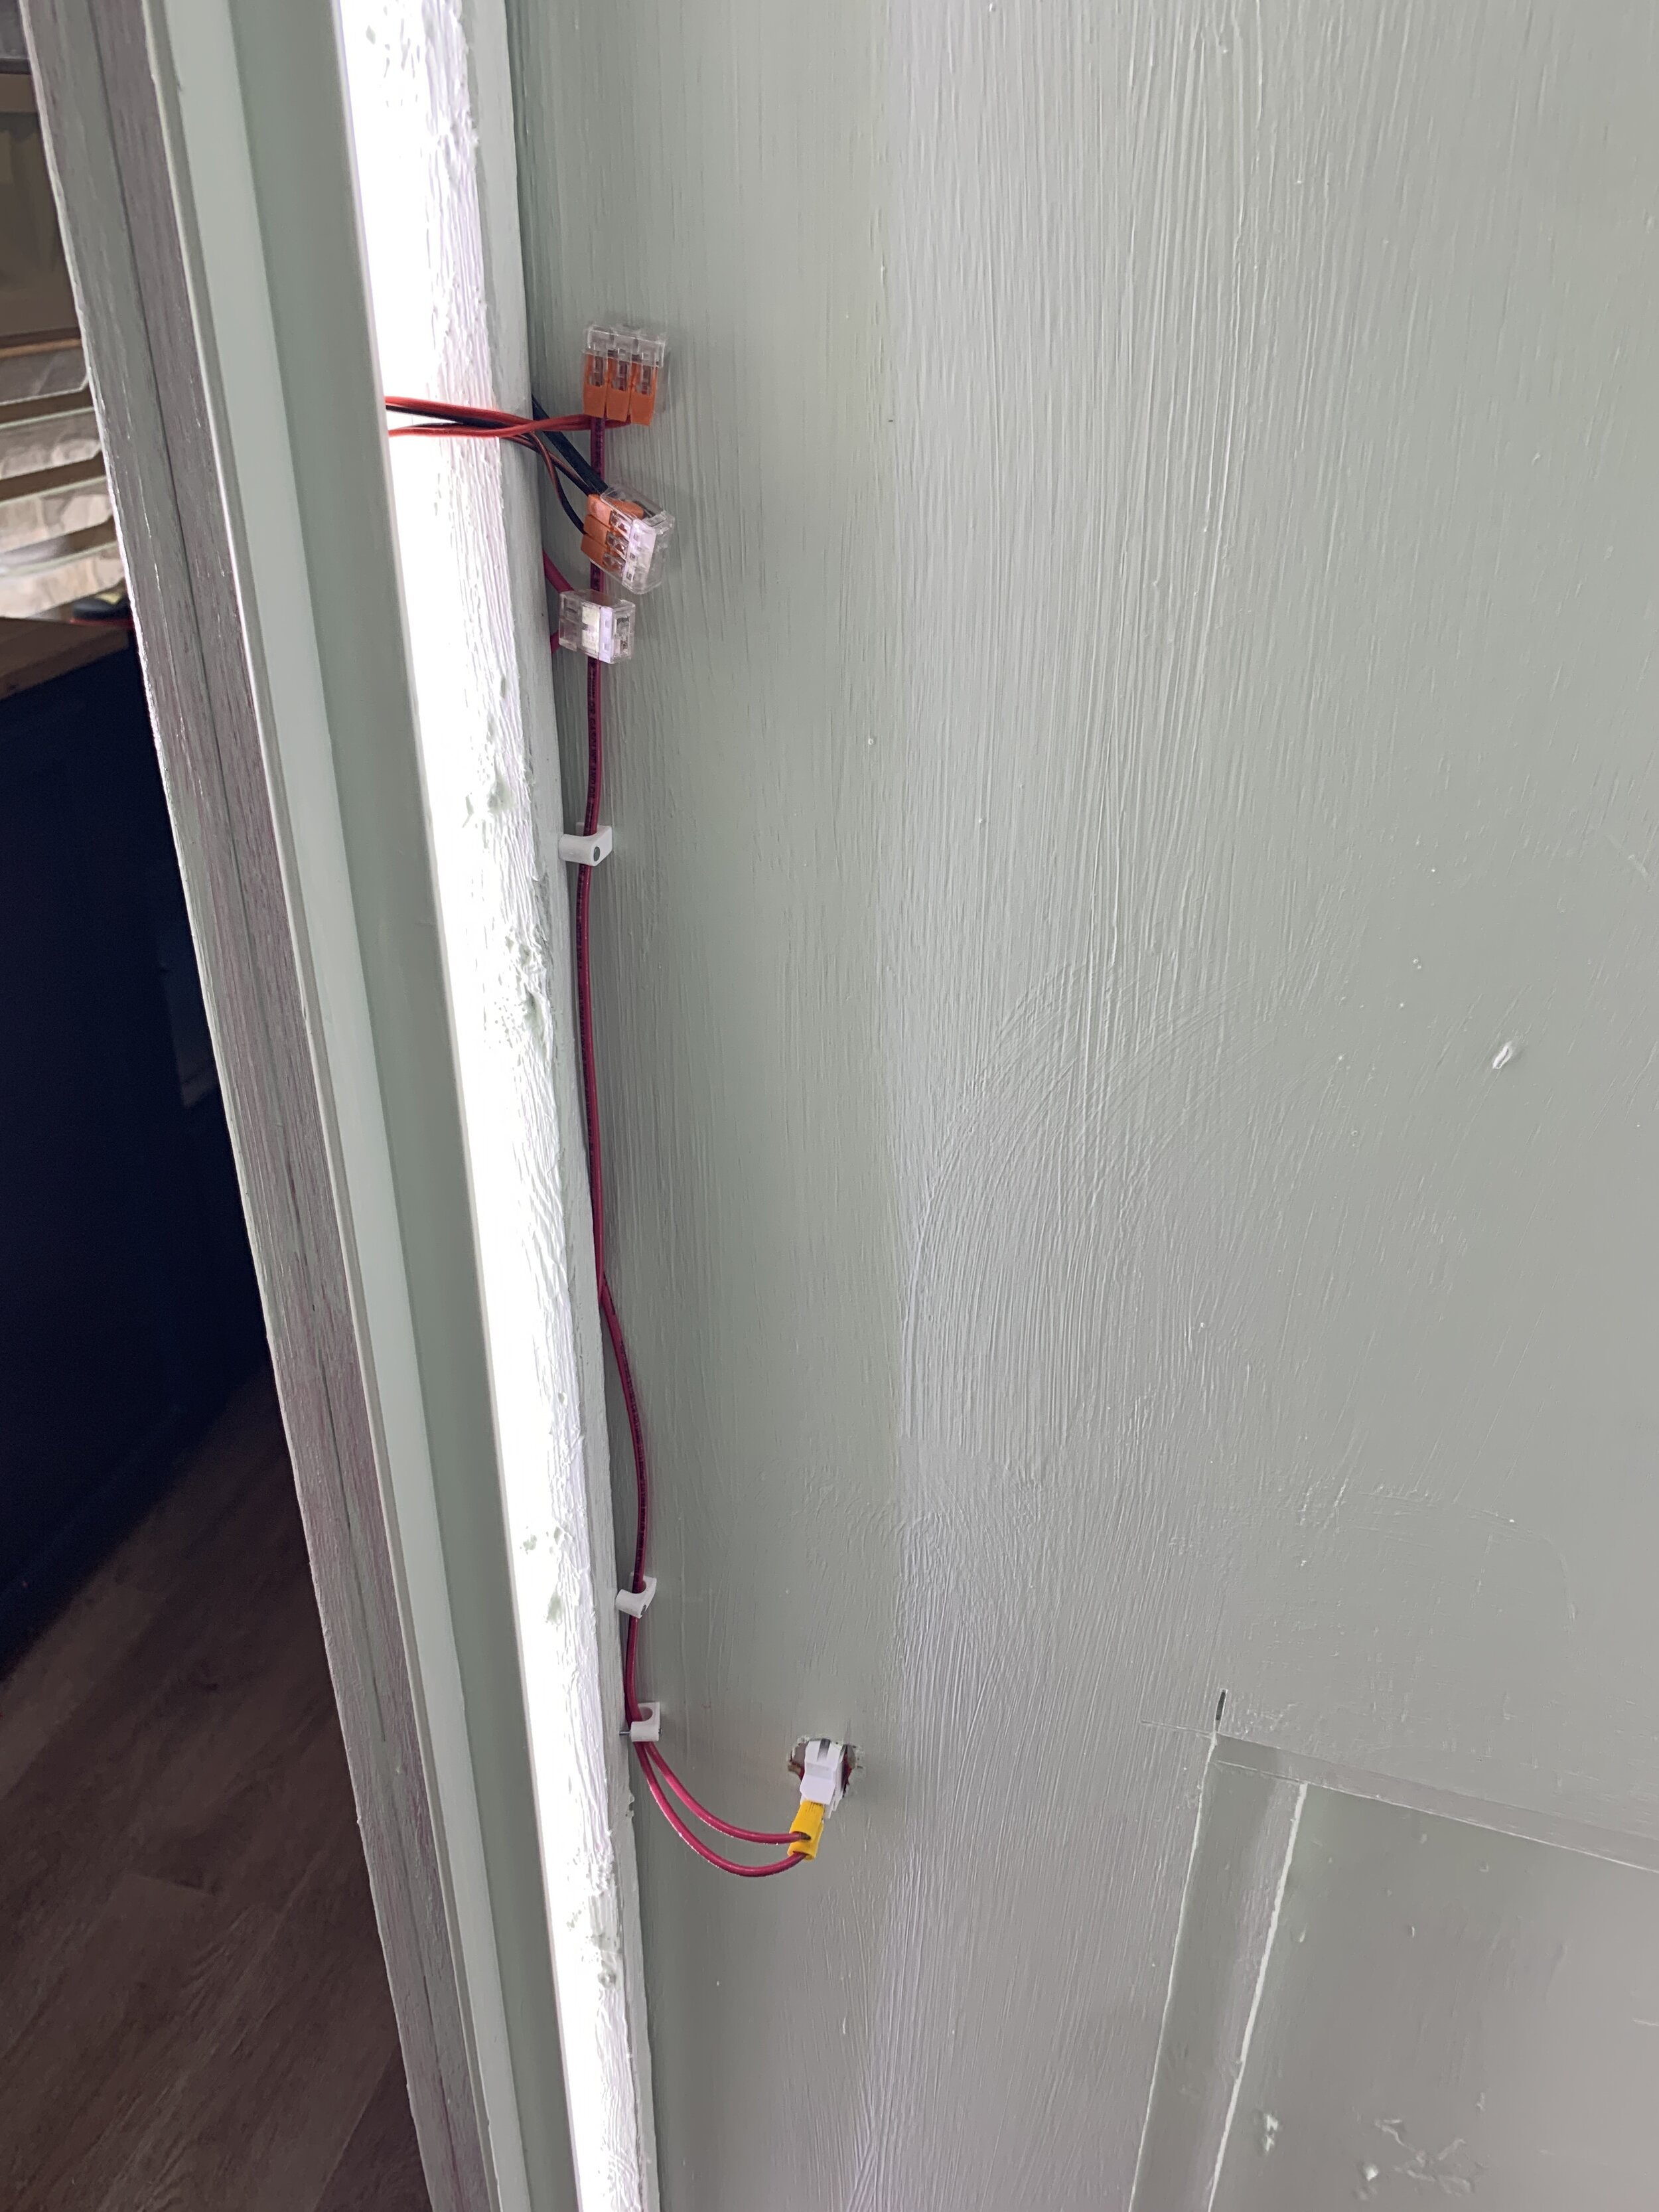
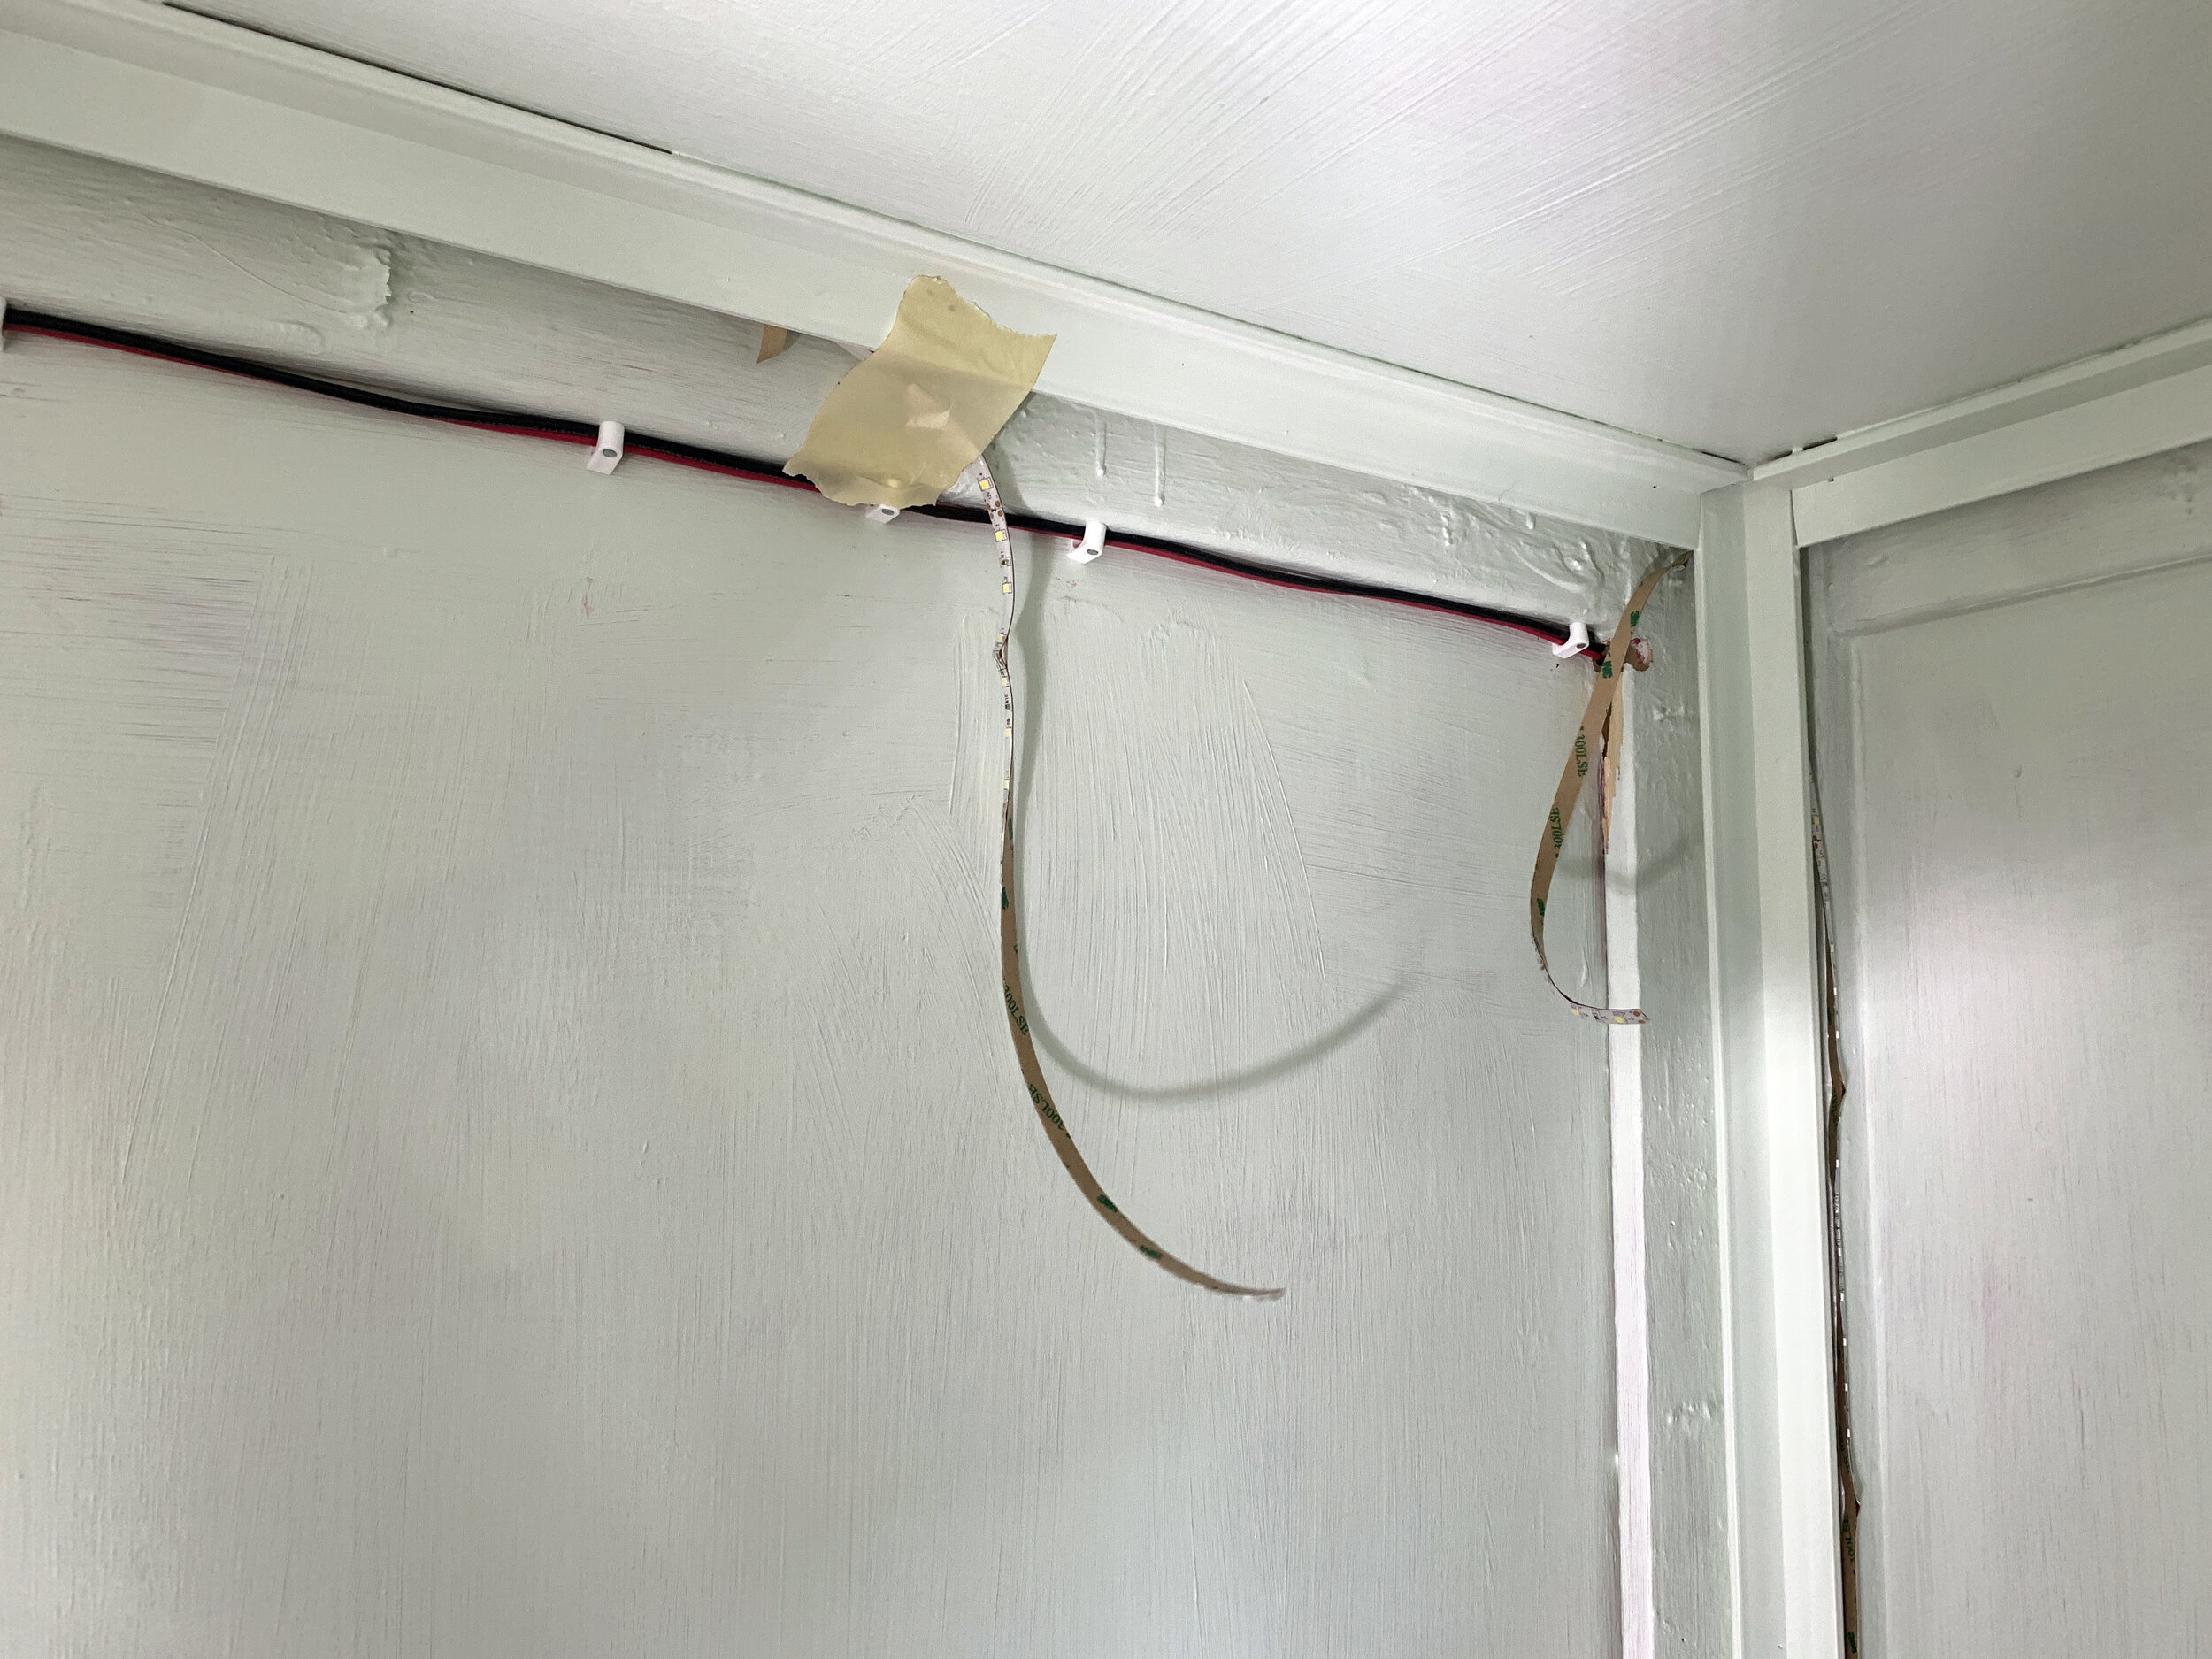
After coming up with our plan and determining the light switch placement, we ran our incoming power source wiring along the ceiling/left wall seam and down the left side of the left wall using the cable clips to secure them to the wall’s exterior framing.
Note
It’s important to nail these as far to the outside as you can, to keep the area inside the wall and in front of the light strip channel as clear as possible to avoid casting shadows into wall panels. Ideally, the lighting channel should be in front of where you’re securing the wiring.

Installing the light switch
We installed our light switch first so we could use it to test each light strip segment as we worked. To do this, we drilled and cut a small rectangular hole in the thin plywood exterior wall of the bathroom just big enough for the interior part of the light switch to fit in. Popping the light switch and light switch cover together, we pushed the back metal part of the switch through the wall and screwed in the face plate from the outside.
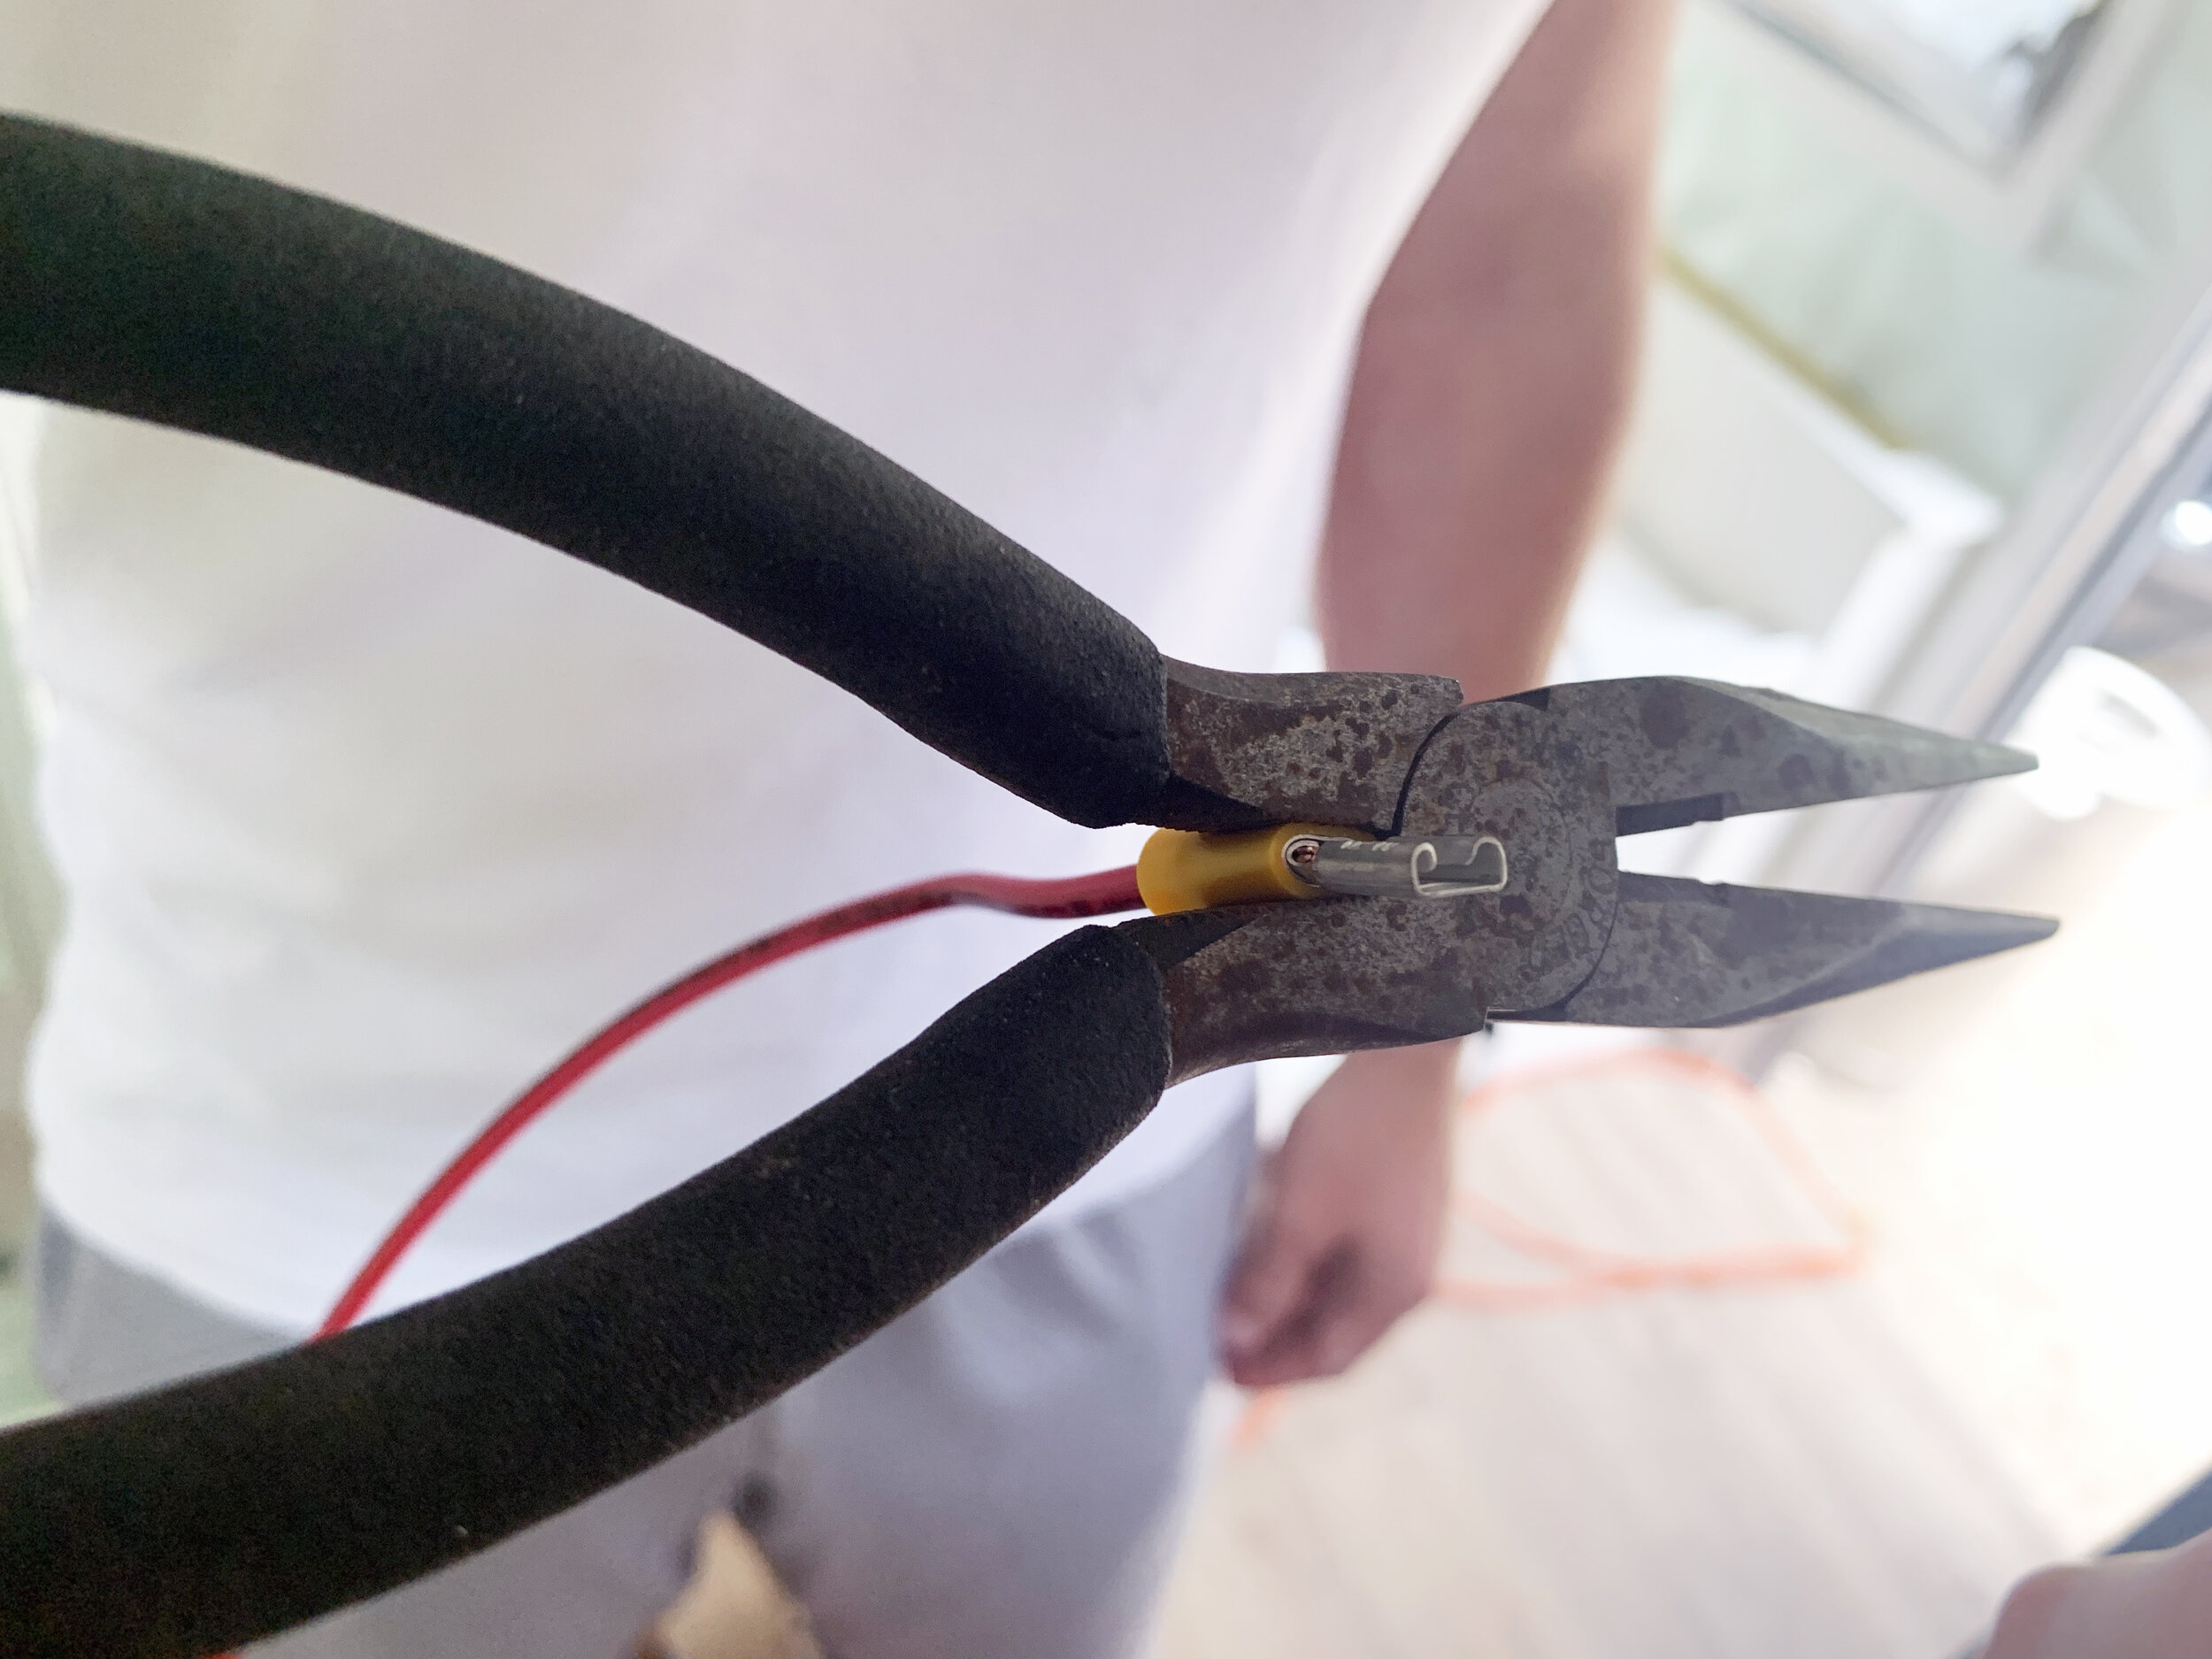
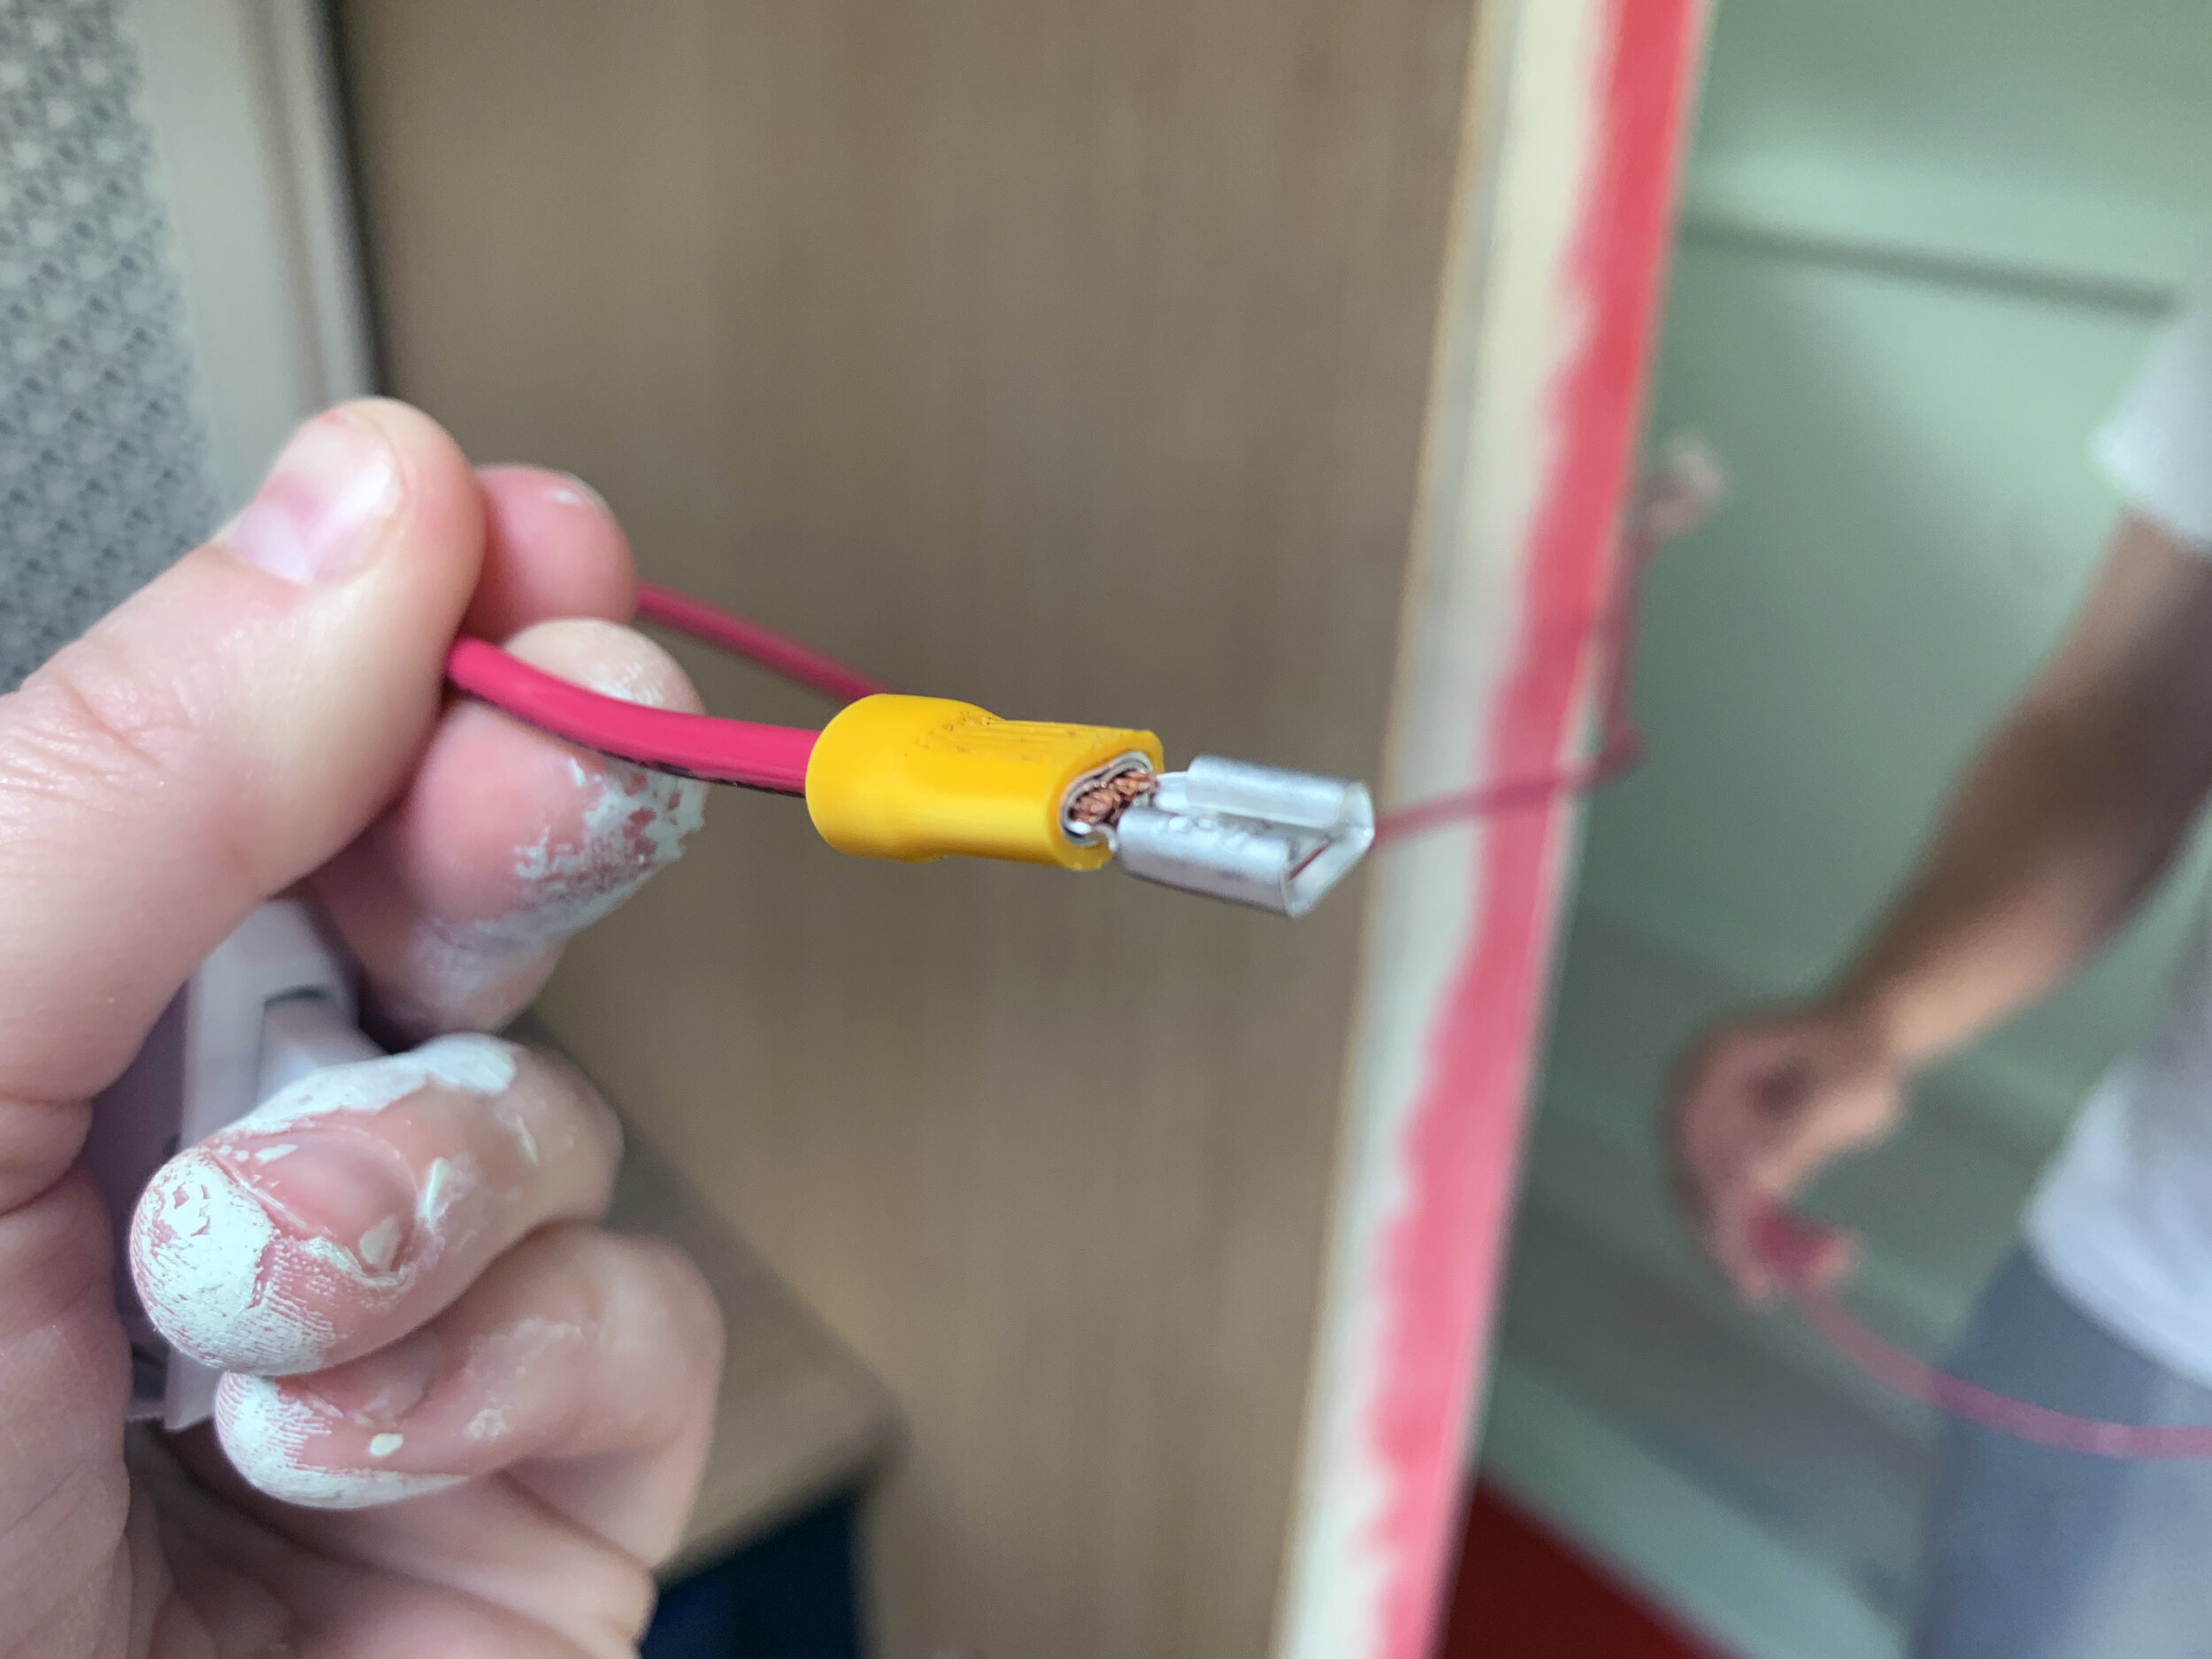
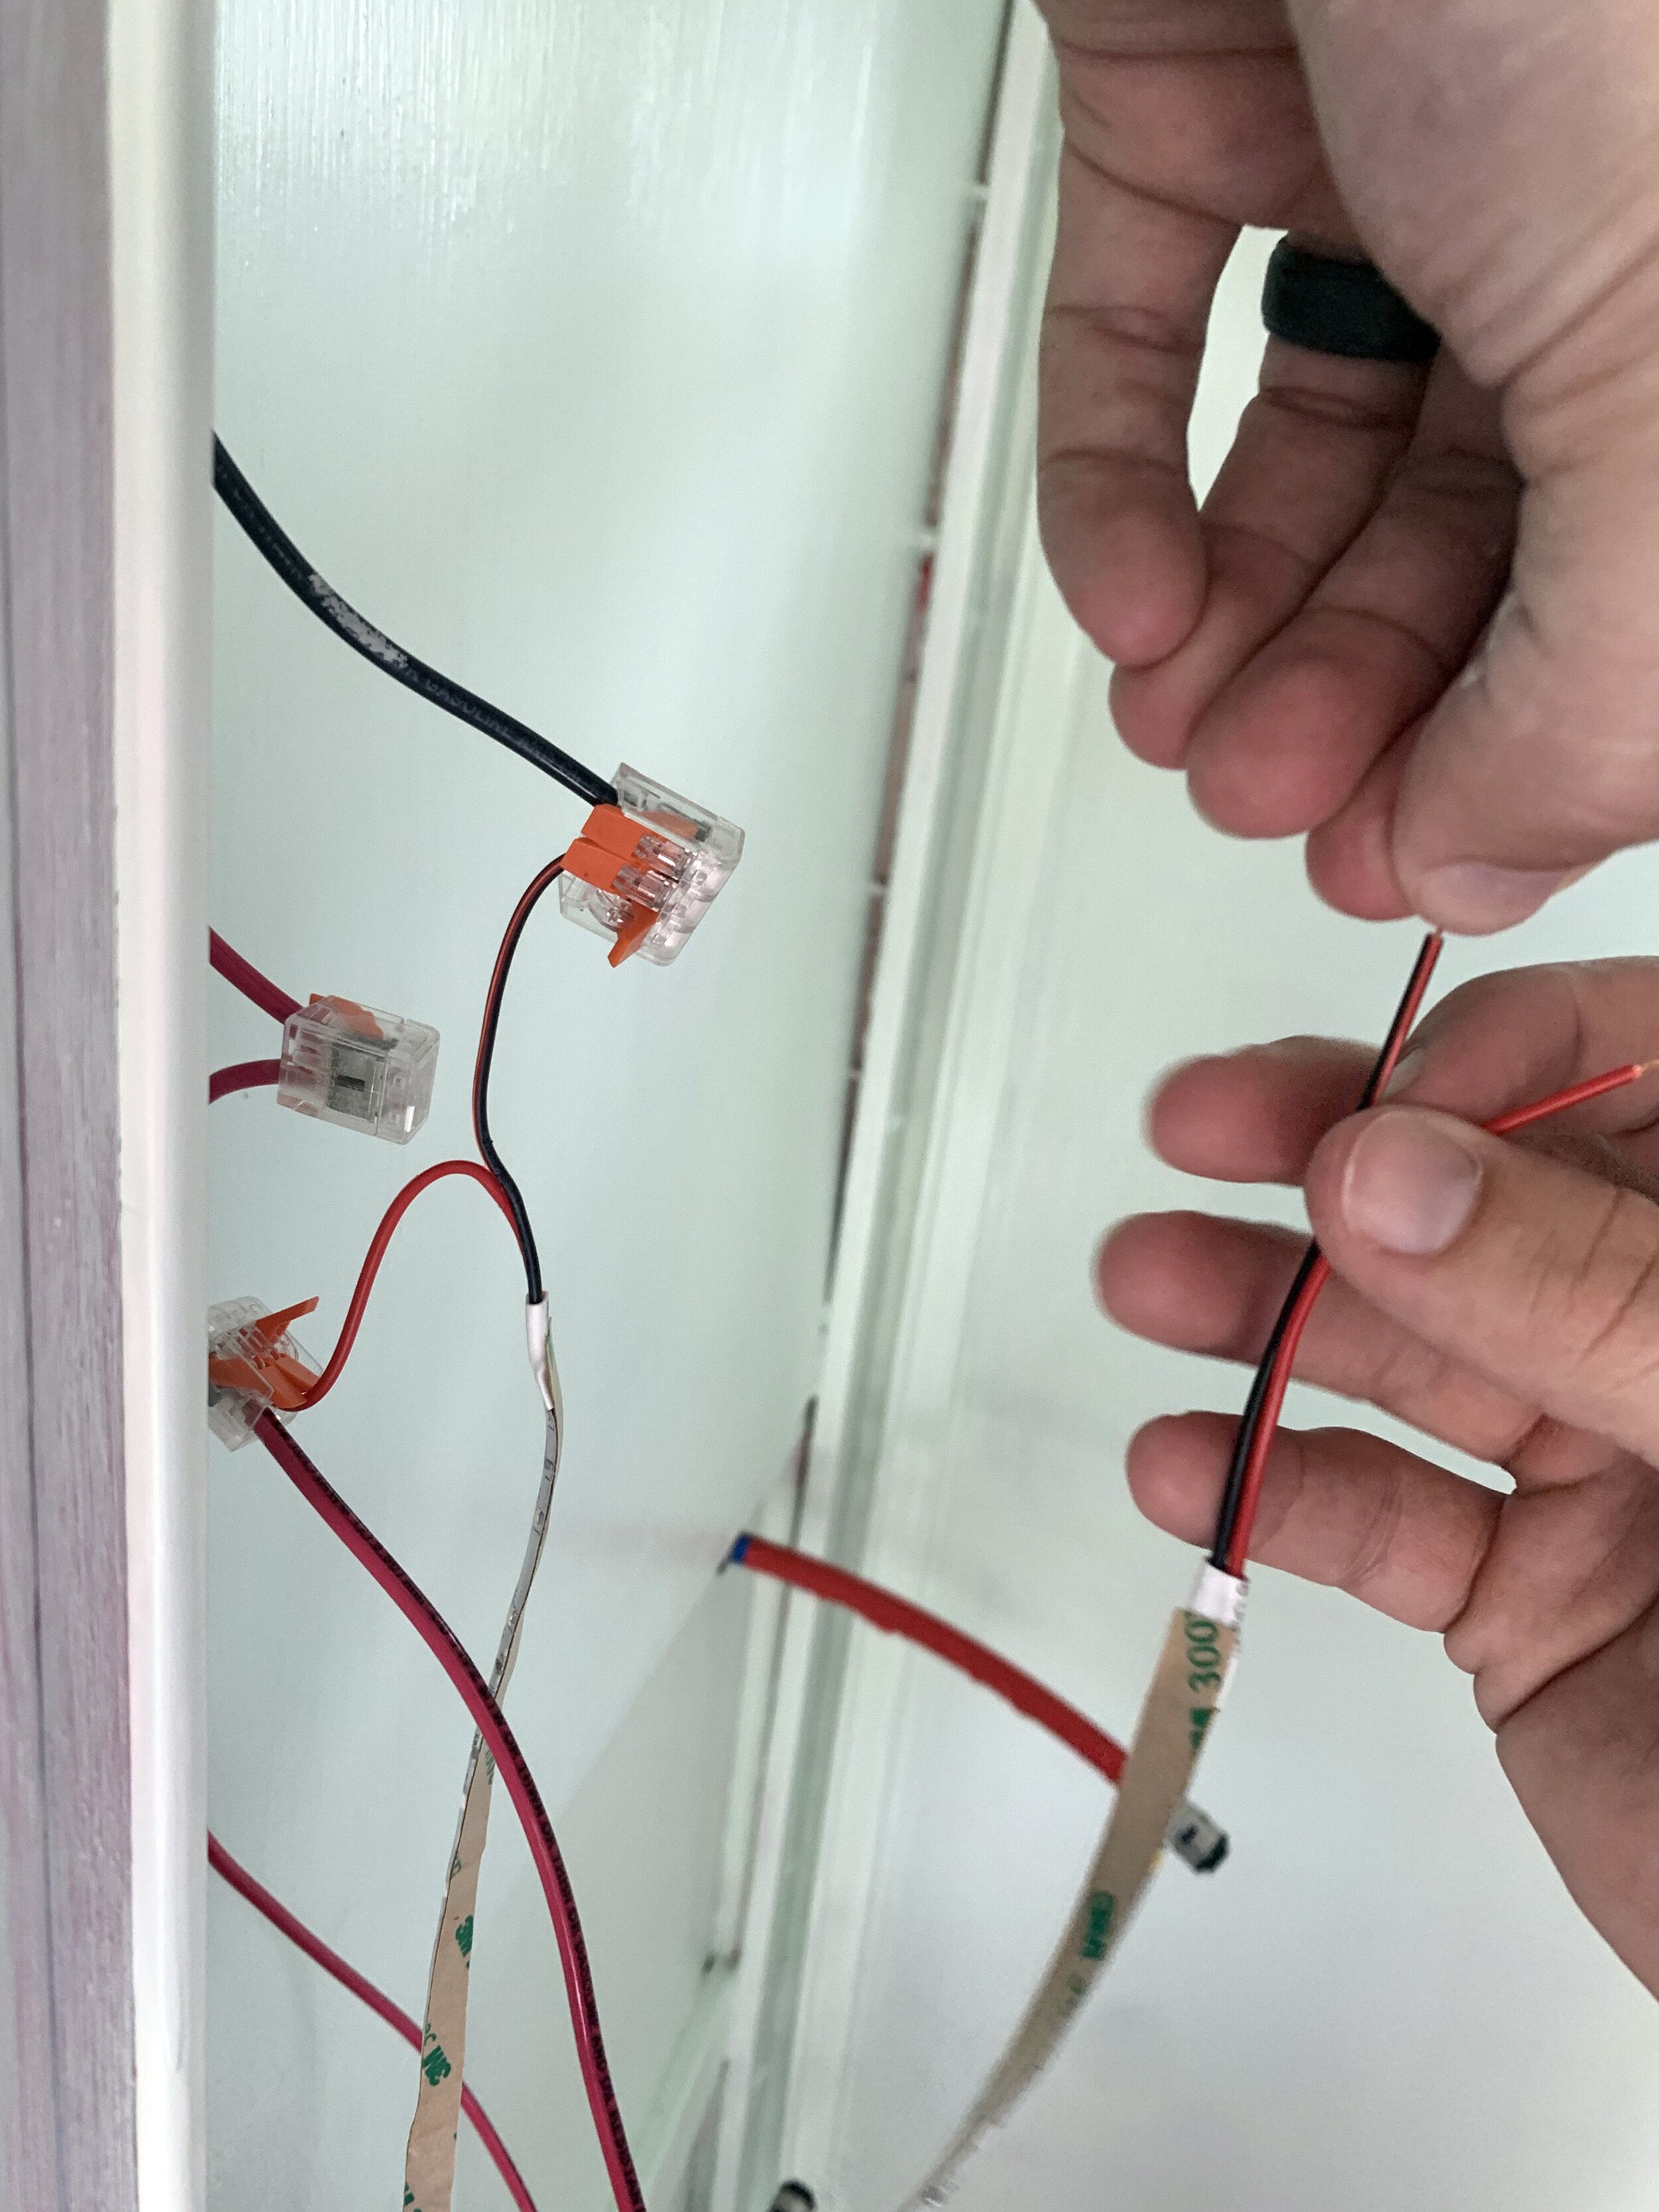
After using the area right behind the fulcrum/hinge of our needle nose pliers to crimp the female disconnect wire connectors on, we clipped the two red “hot” wires to the back of the light switch (seen at the bottom of the photo below), connecting the other end of one to the red “hot” power source coming in from the electrical cabinet and the other connecting to the two thinner red wires coming from our upper and lower LED strips. The two black neutral wires (one from the upper and the other from the lower LED strip) connect to the black neutral wire coming in from the electrical cabinet.
(For a look at how we wired our other 12V switch, check out this post.)
Types of connectors
We bought an assortment of connectors and as this was our first experience dealing with LED light strips like this, sort of figured it out as we went. Hopefully with our plan above already figured out for you, you can shop with more focus than we did.
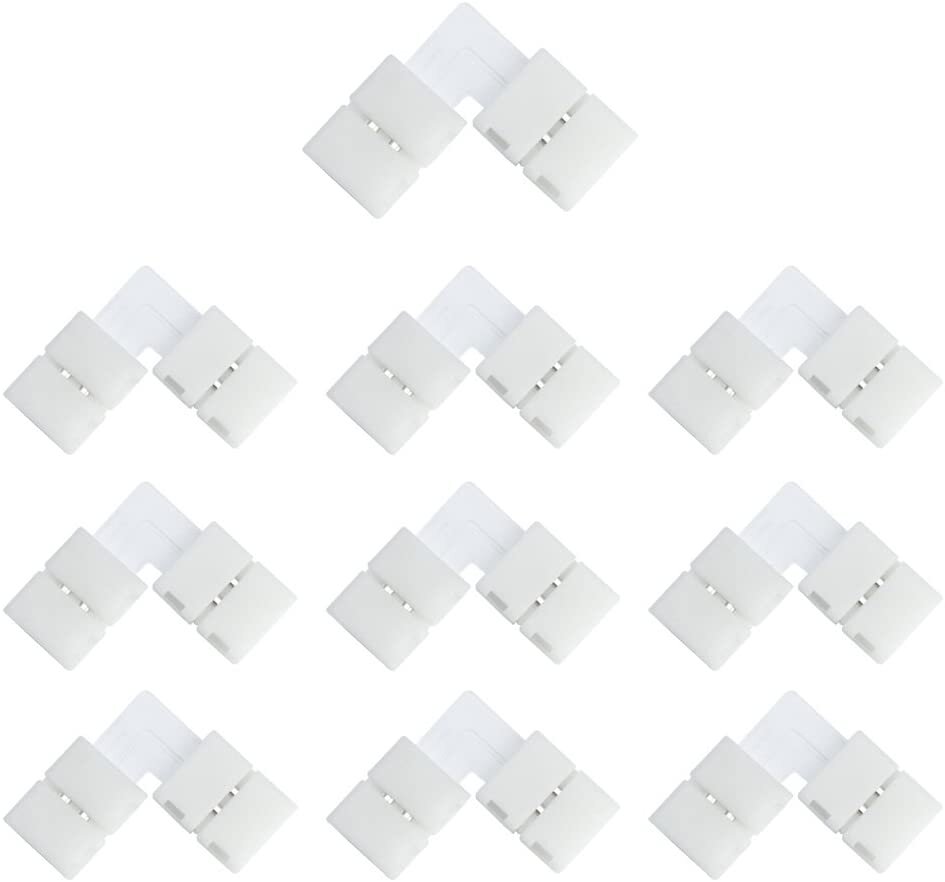
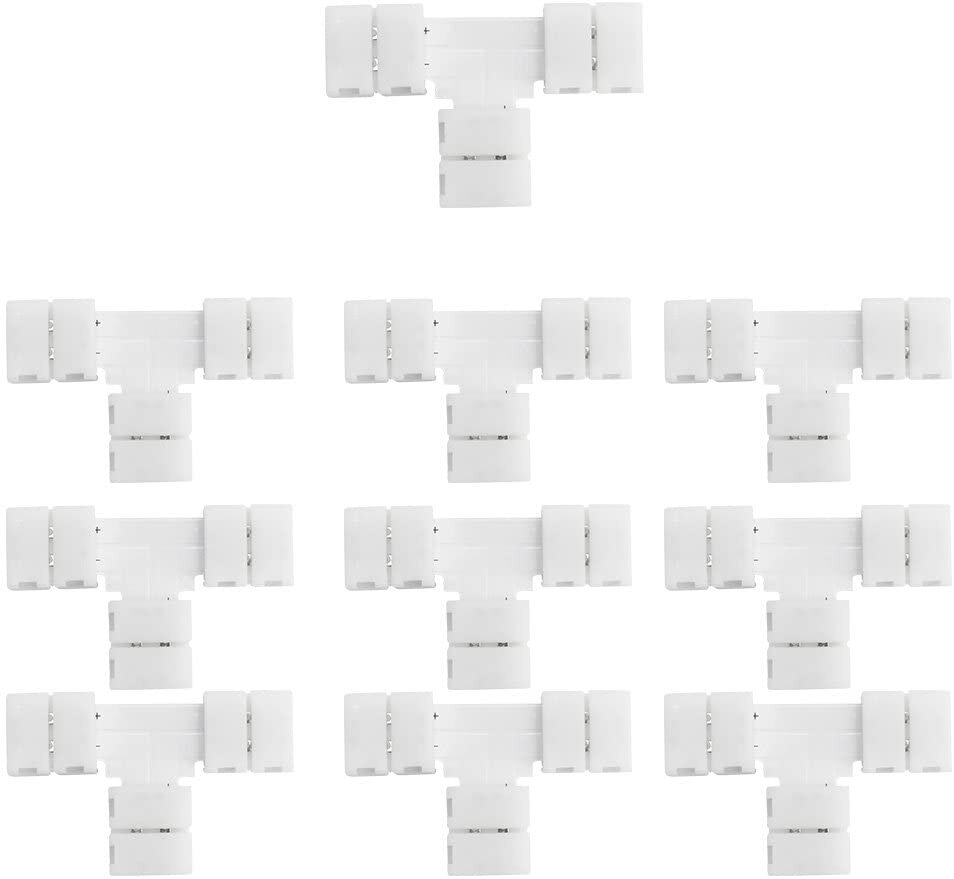
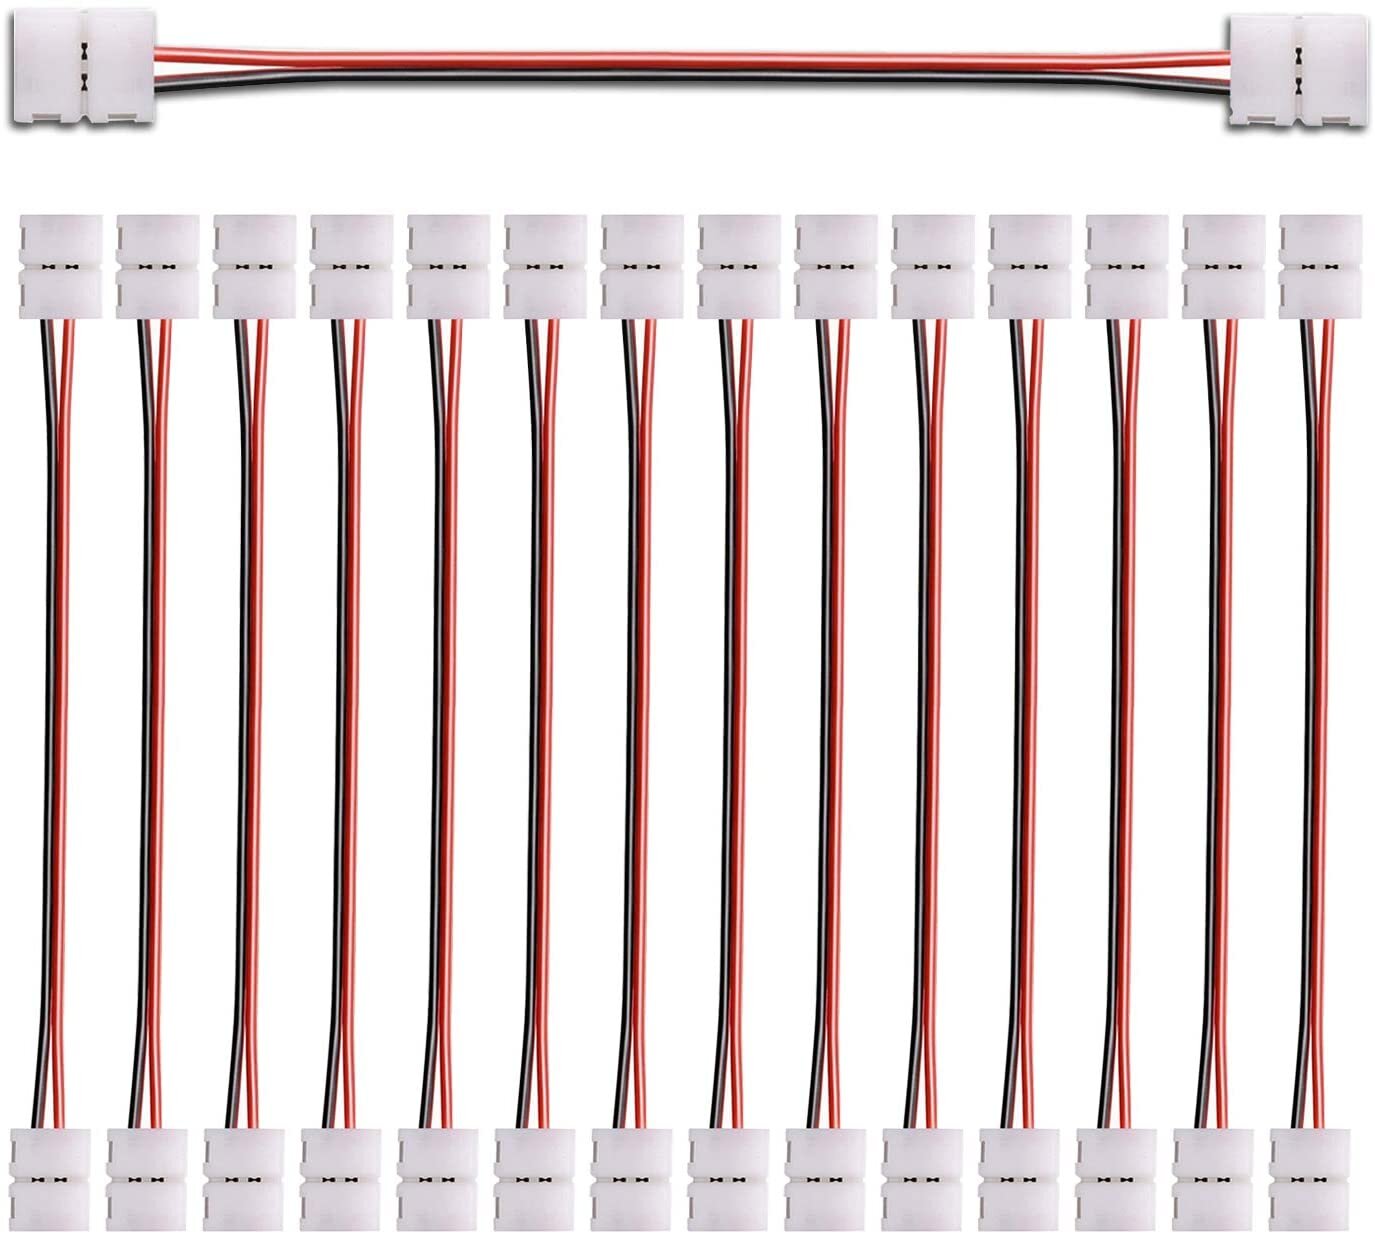
The Ls were used in corners where we need to connect two light strips (like on the left upper and lower corners of the light switch wall and upper right of the right wall); the Ts were used in the corners where we needed to connect three light strips (like in the bottom right of the left and center walls and in the upper left of the center and right walls), the long extension connectors are used in areas where bumper channel pieces are too tight to fit one of the above connectors or if you needed a little more distance in between strips, and the single connectors are used if you need to splice strips together mid-wall.
We did not use any of our extenders or single connectors and looking at it now, I don’t think we used any of our X connectors either, though they would be used if needed to connect four strips (such as two ceiling and two wall segments) in one corner.

Thankfully, these L, T and X connectors can be bent a little (carefully, since there’s wiring in there!) to be used in corners and help direct the light strips in the right direction (like two ceiling and one wall).
Making connections
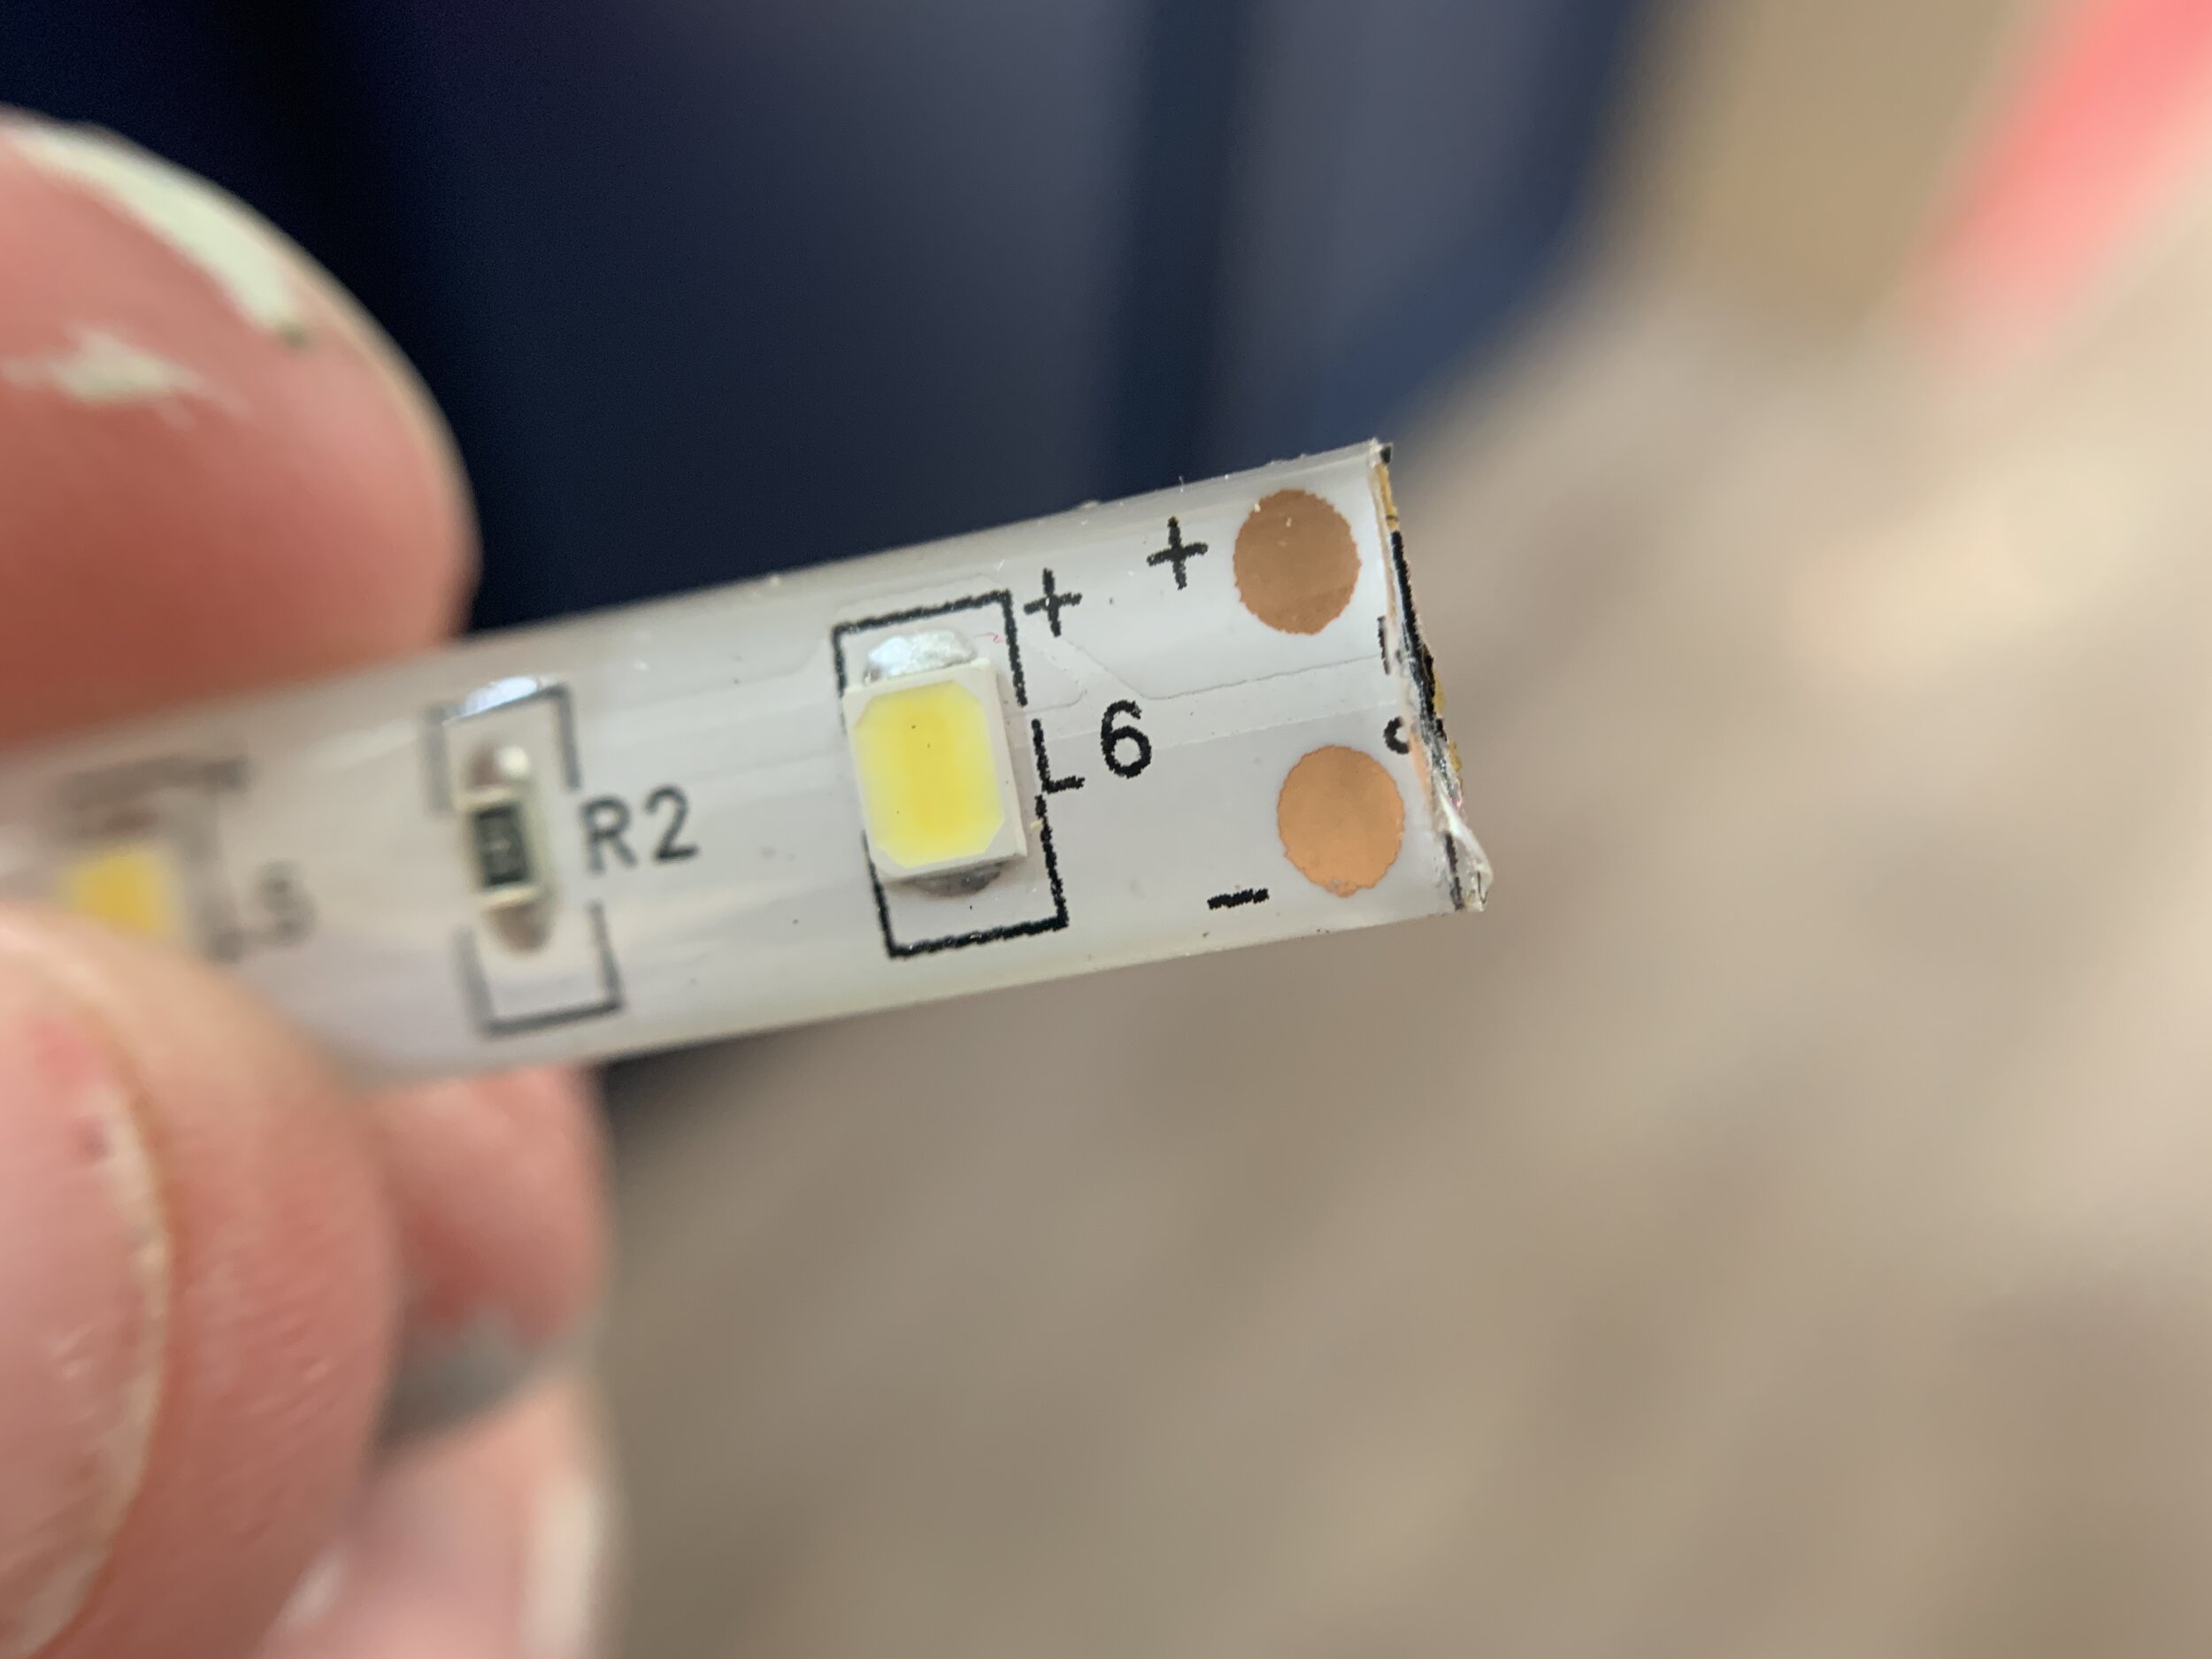
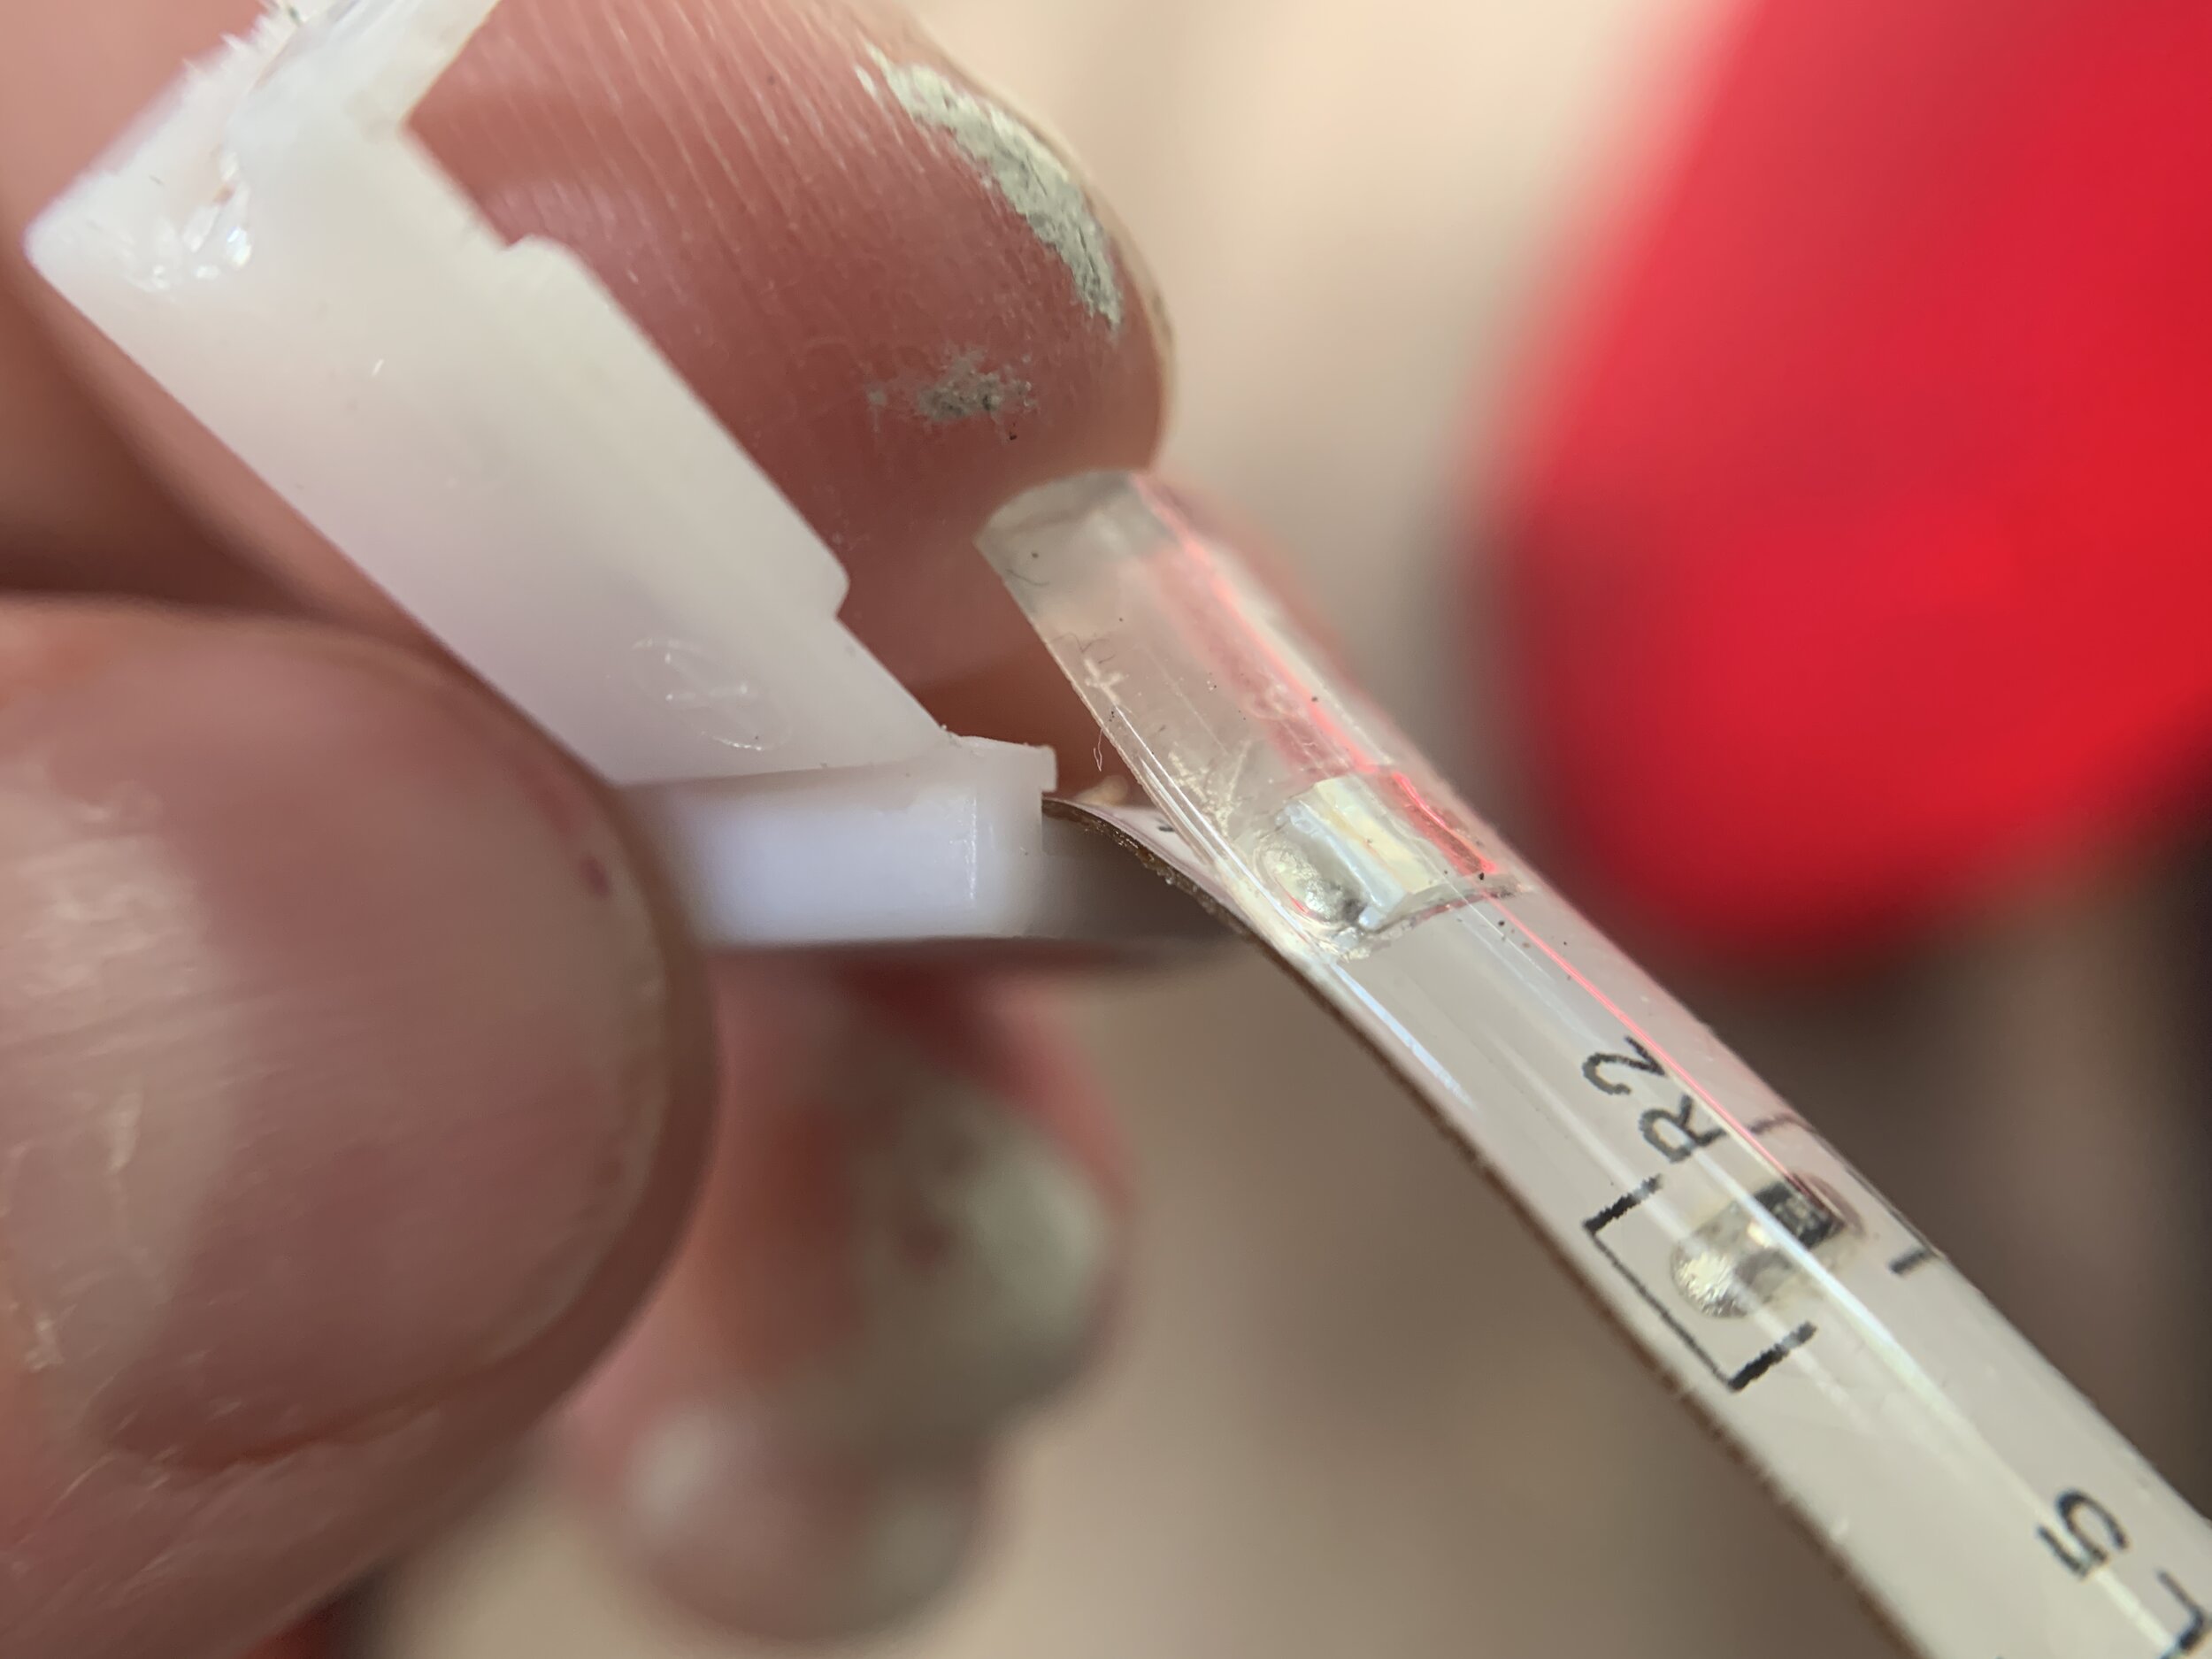
Firstly, it is very important these light strips only be cut on the small line with the scissors icon on it. It’s located where the copper dots are and there aren’t any damageable wire bits in this tiny section – cutting anywhere else and you’ll ruin the circuit’s connectivity.

With this being our first time dealing with LED strip lighting and having unclear directions included with the lights, this was quite the learning curve for us.
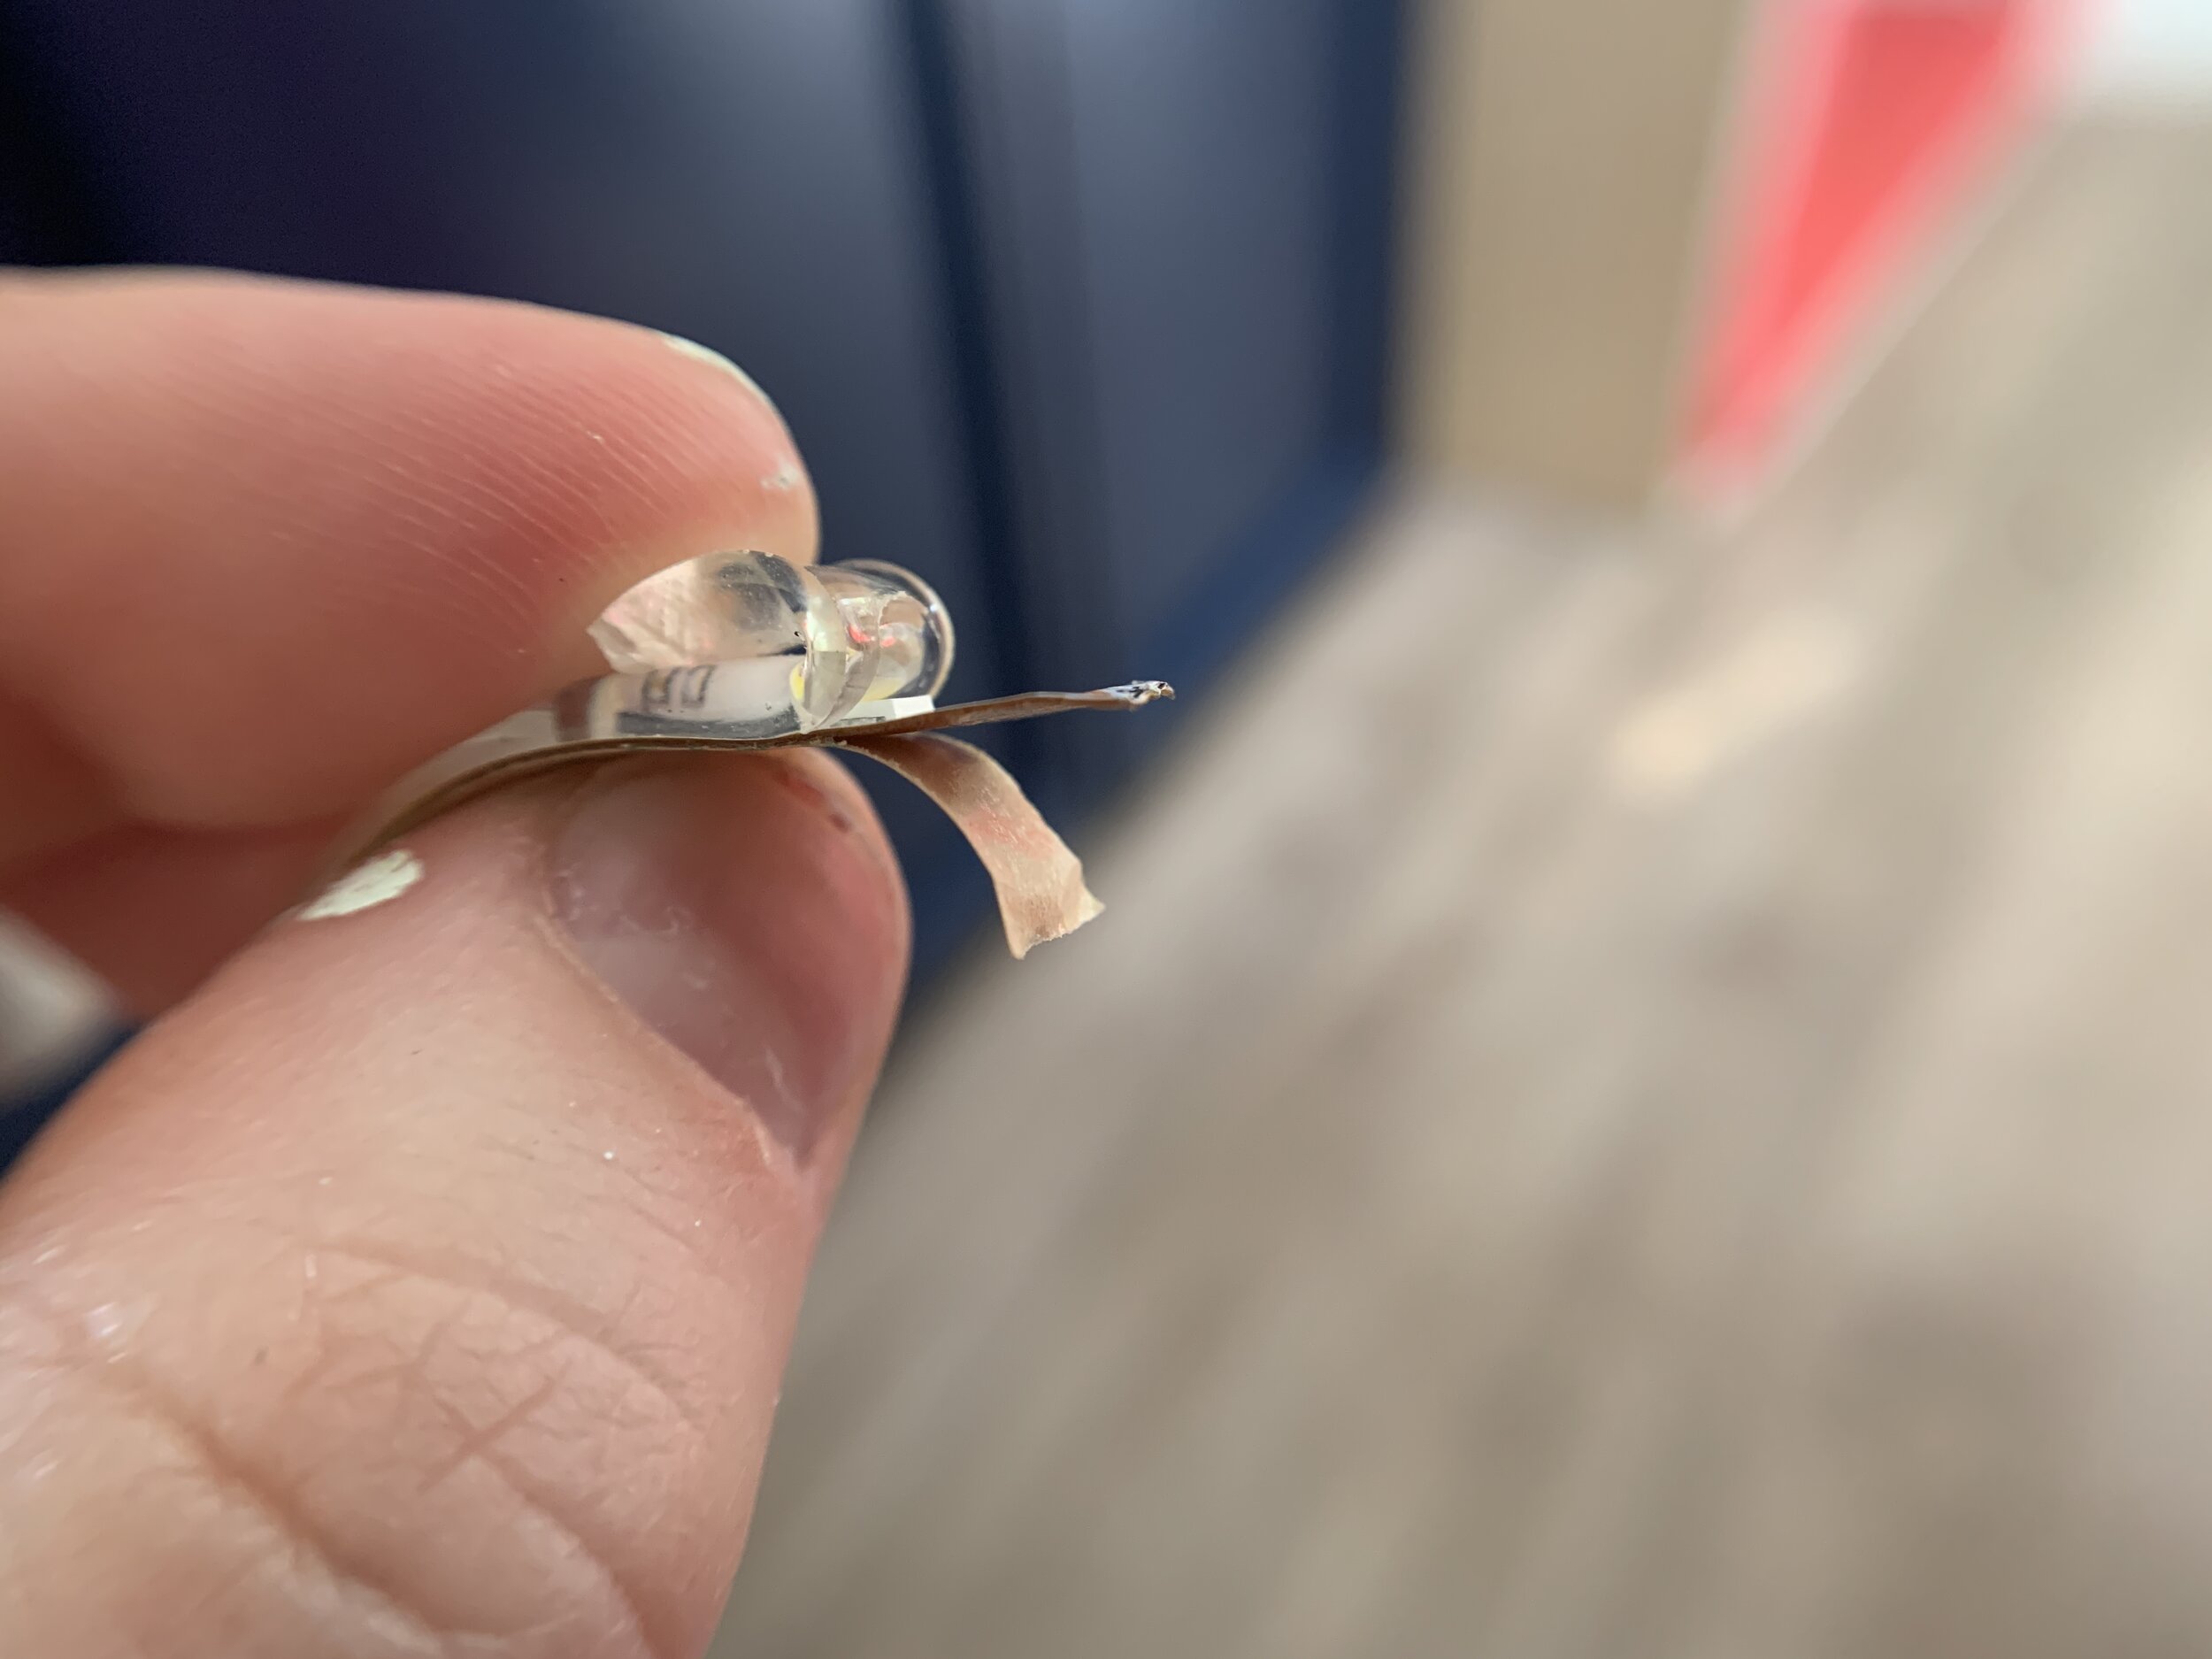
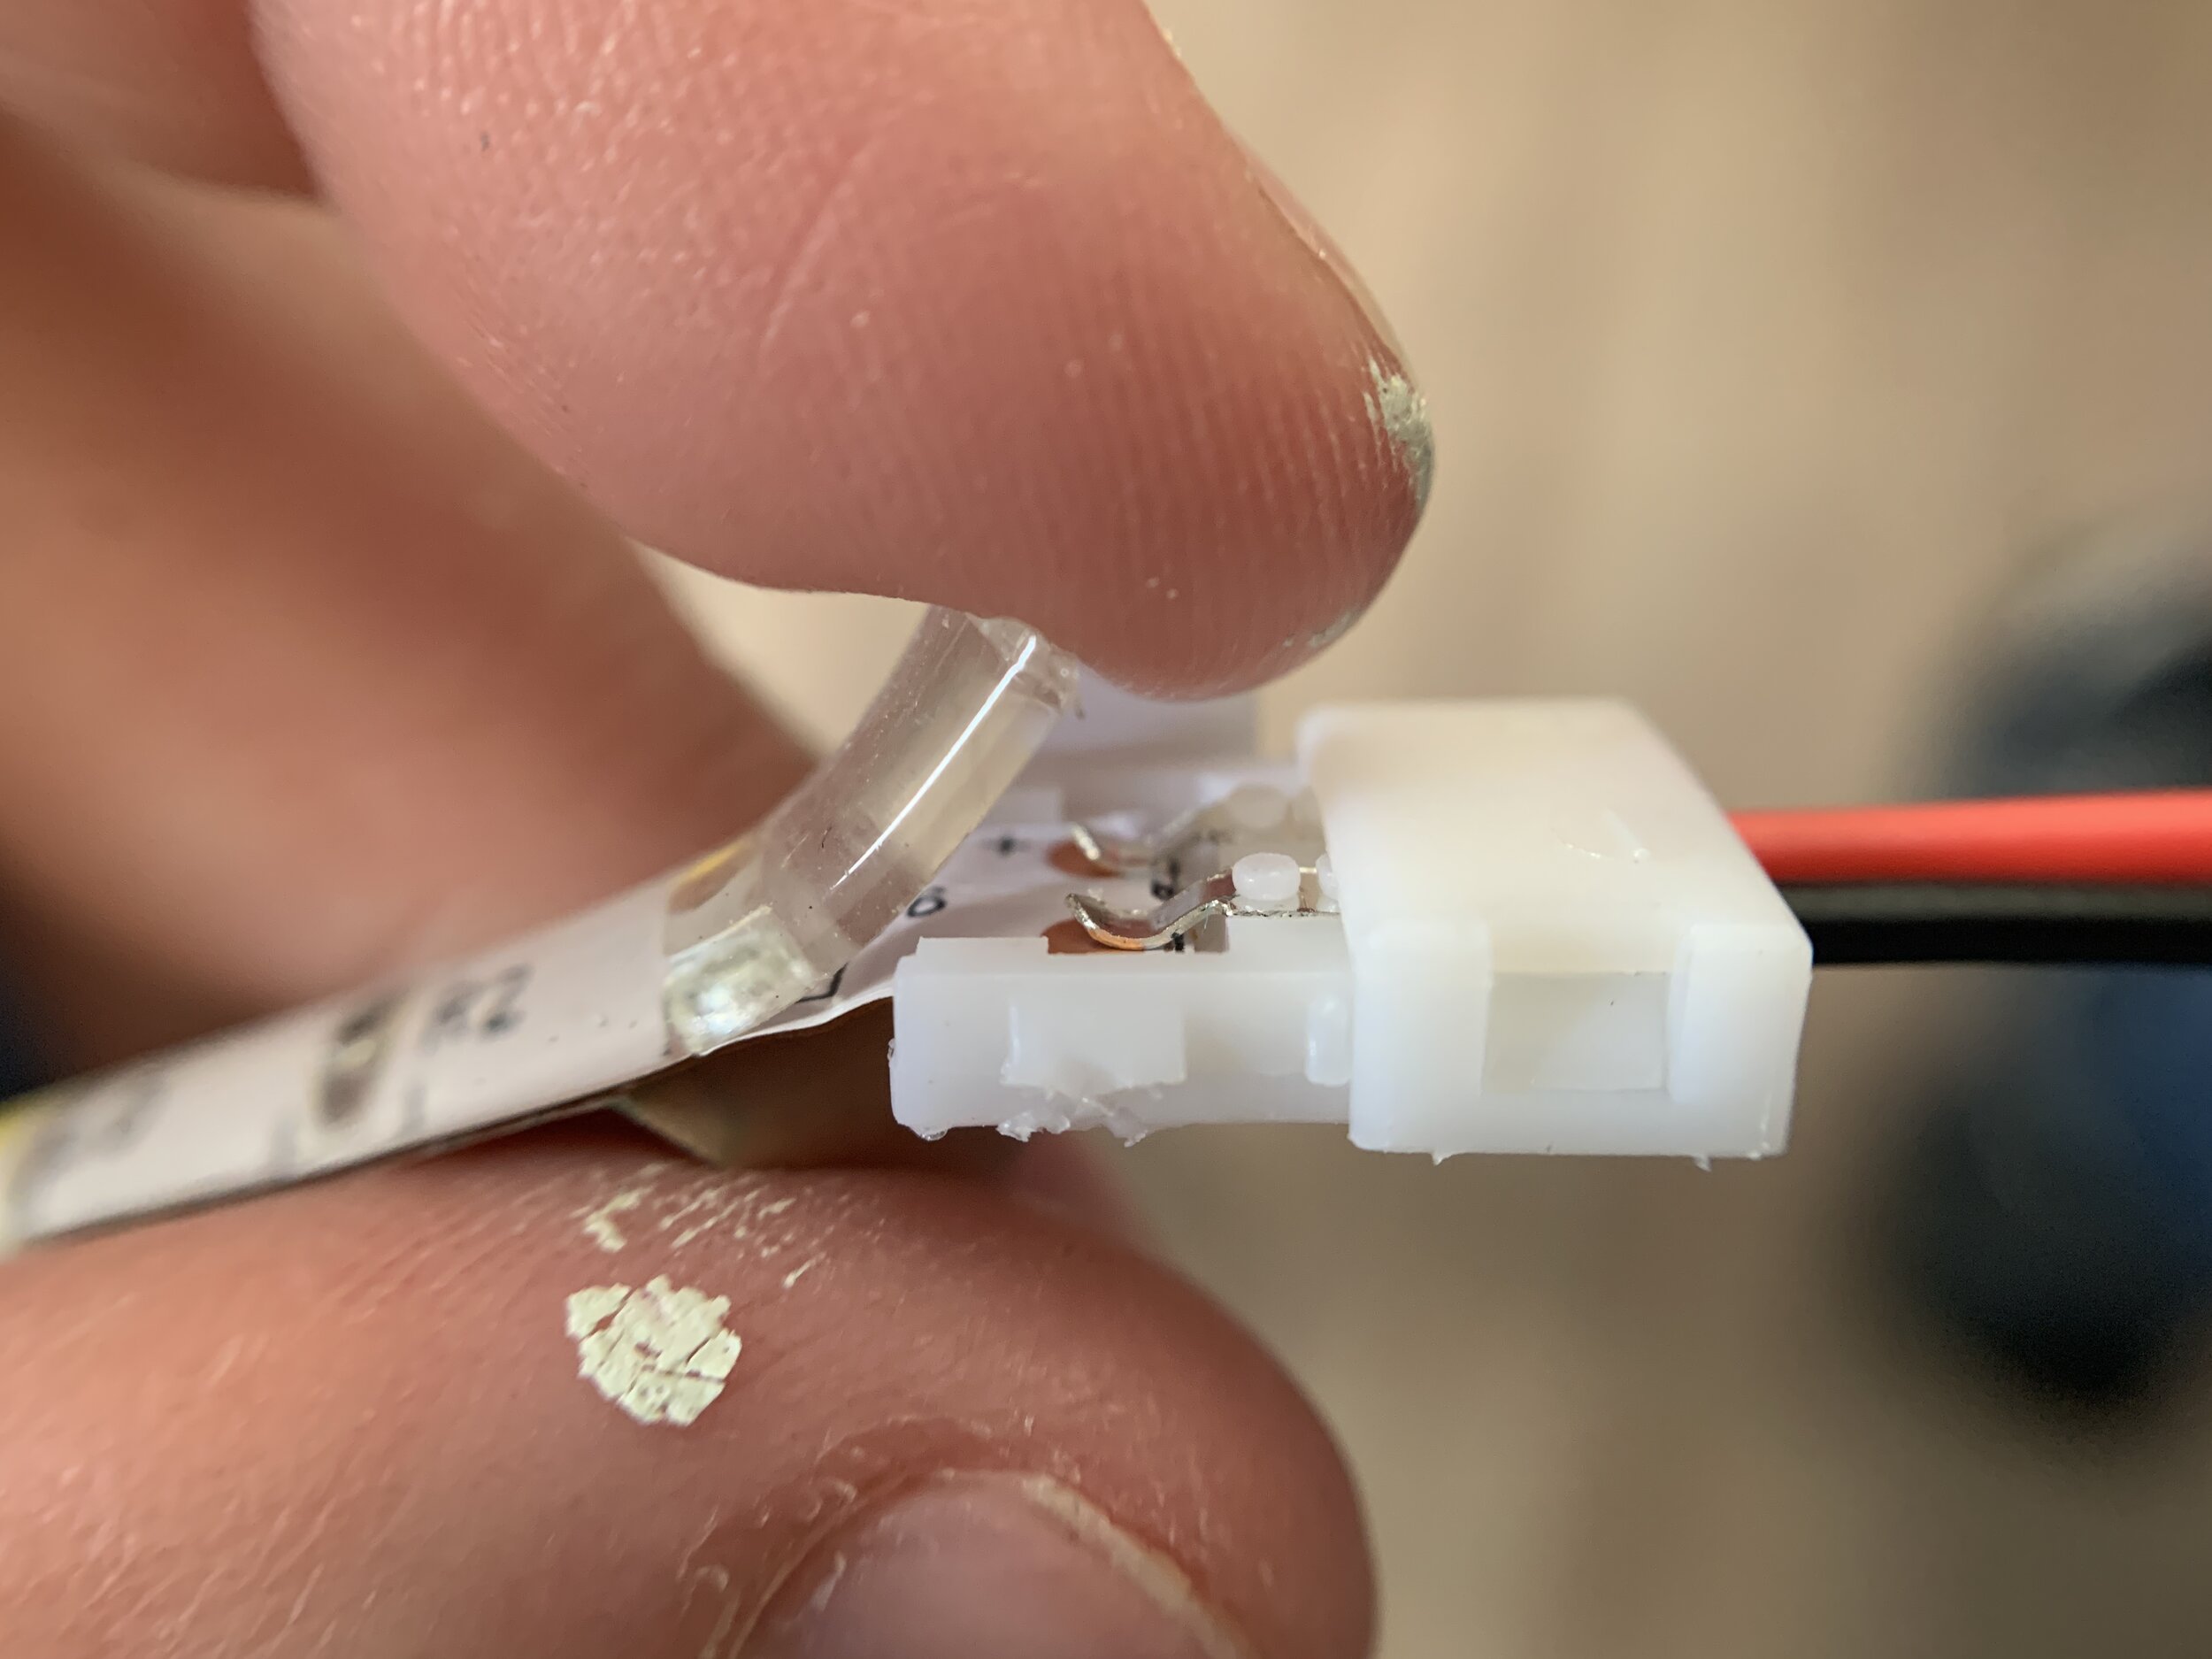
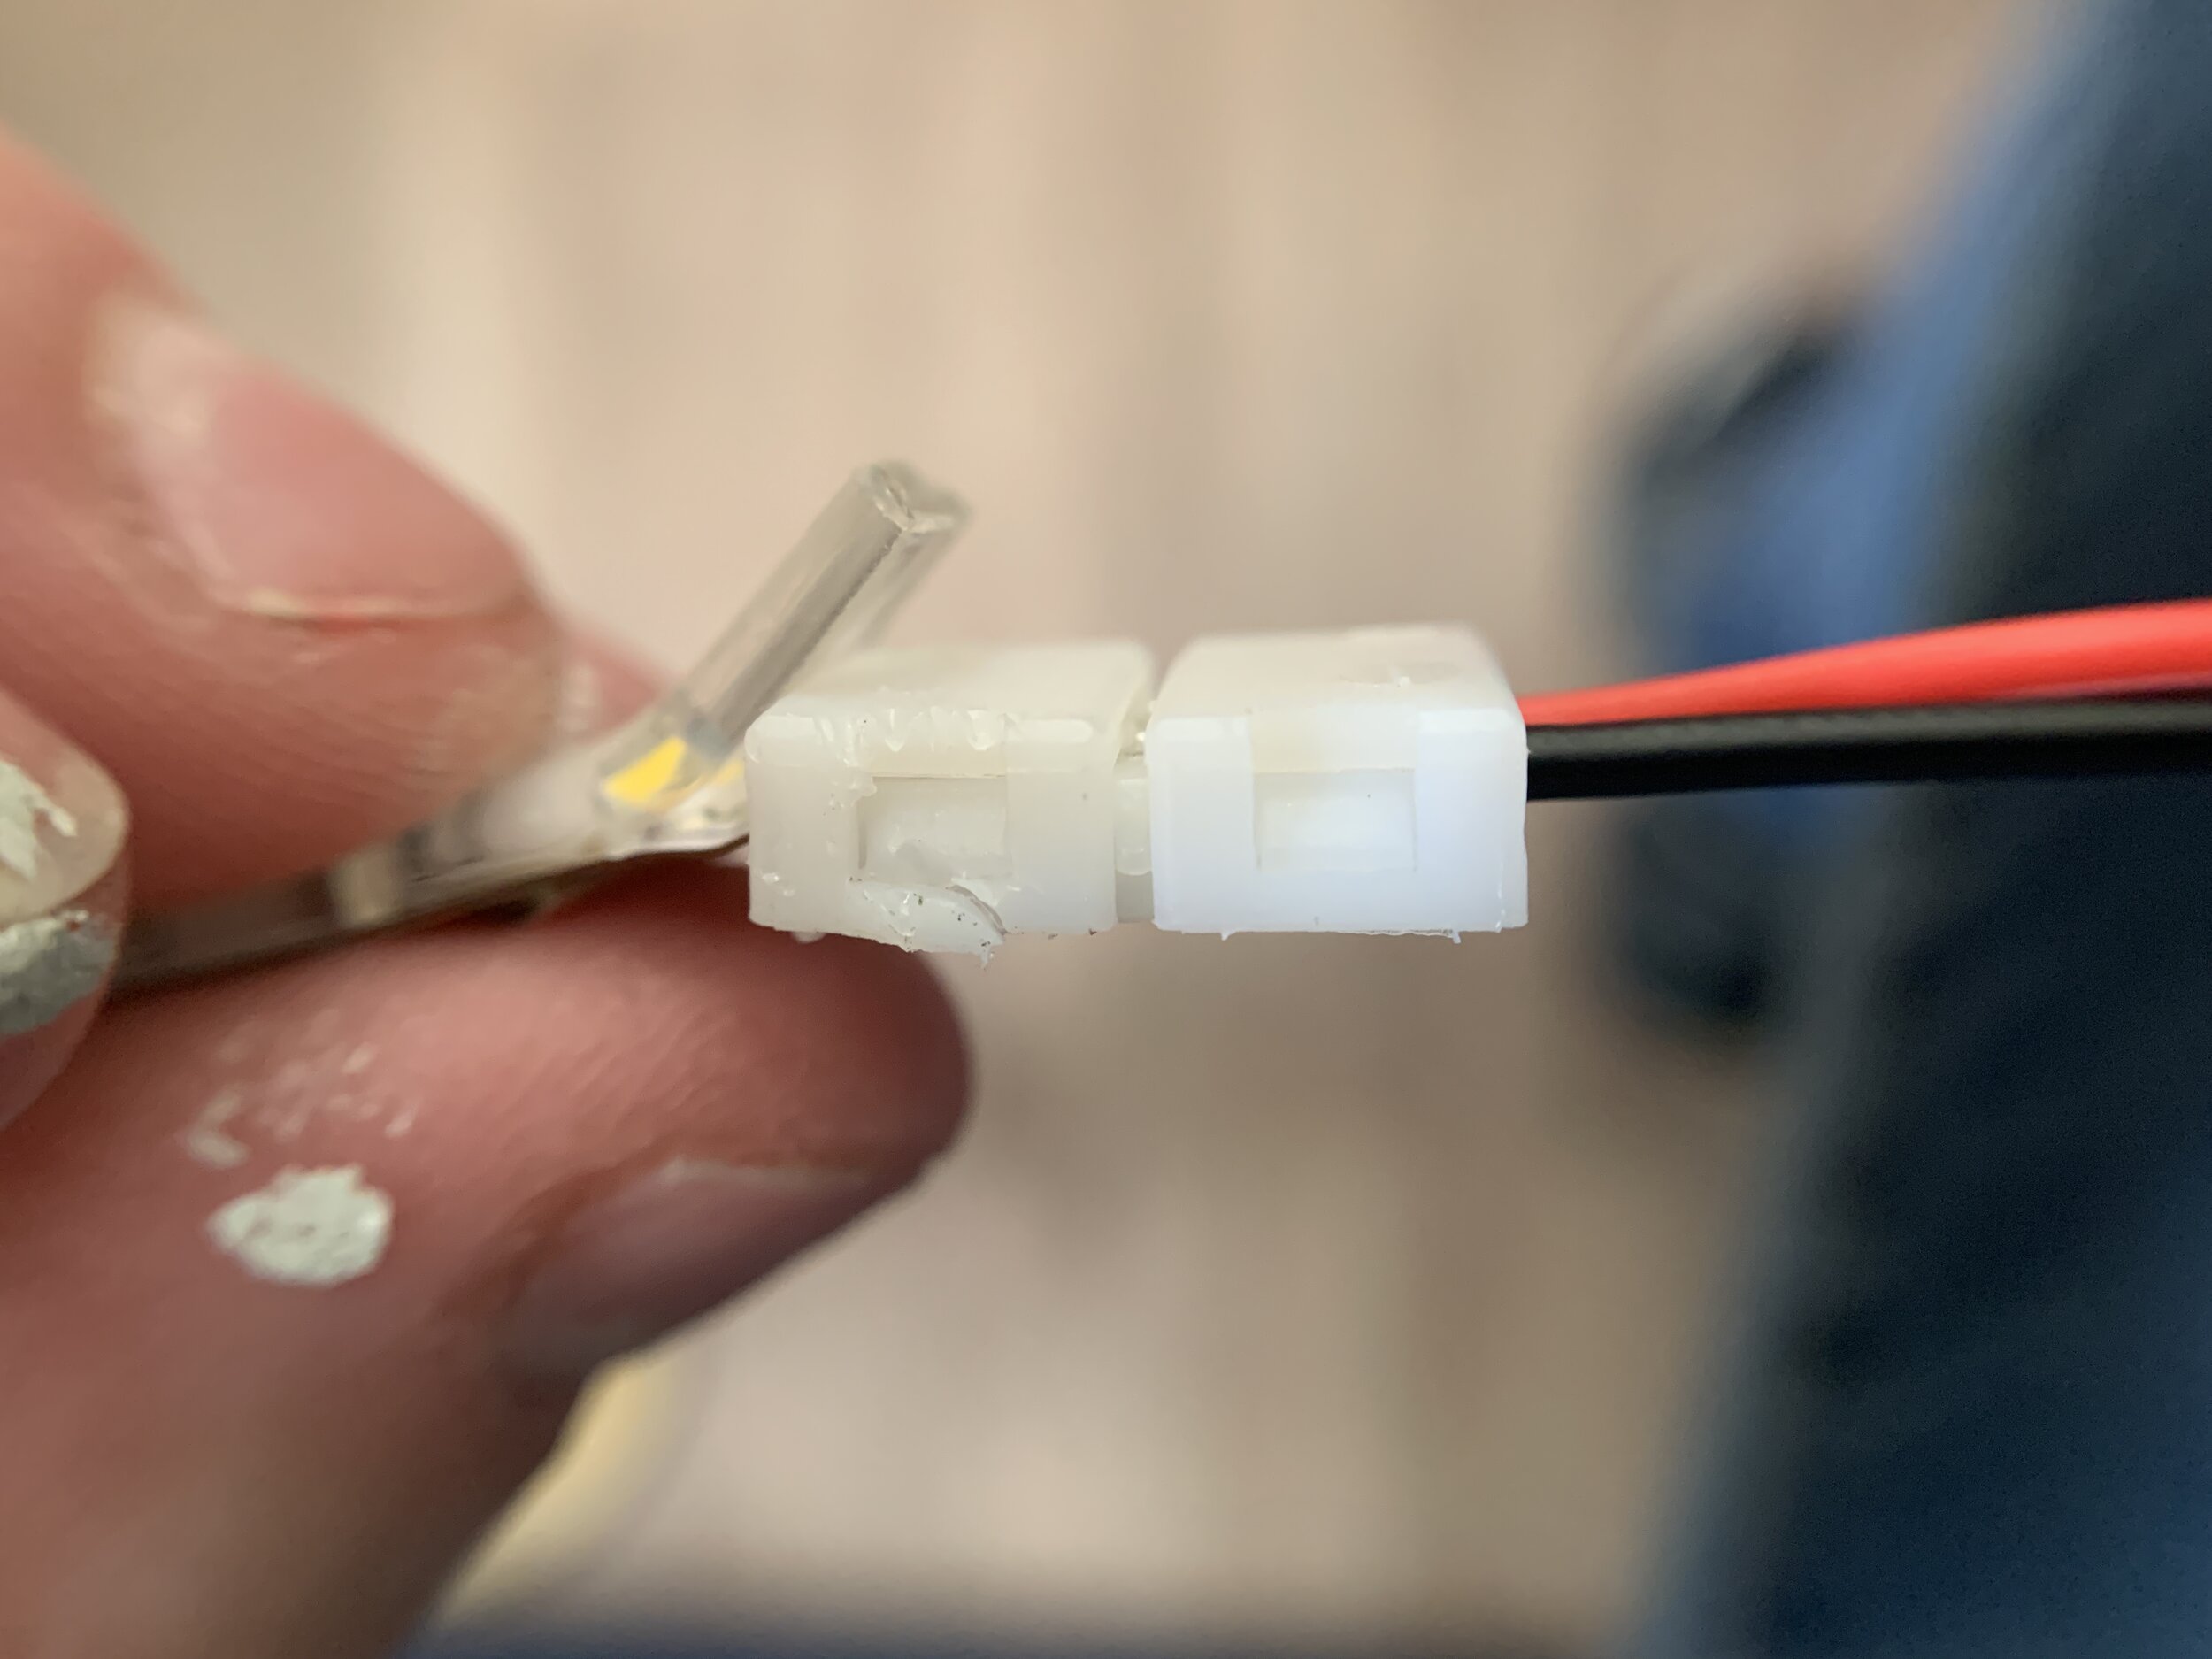
After much trial and error and watching plenty of video tutorials of strip lights (none of which that showed the waterproofing layer we had), we finally discovered we needed to first peel back the thick waterproofing layer on top of the delicate electrical strip to get access to the copper contacts. (At first we tried various ways of skewering the thick waterproof silicone layer with the metal clamps hidden inside the connector pieces, but found the plastic connector tabs couldn’t close.)
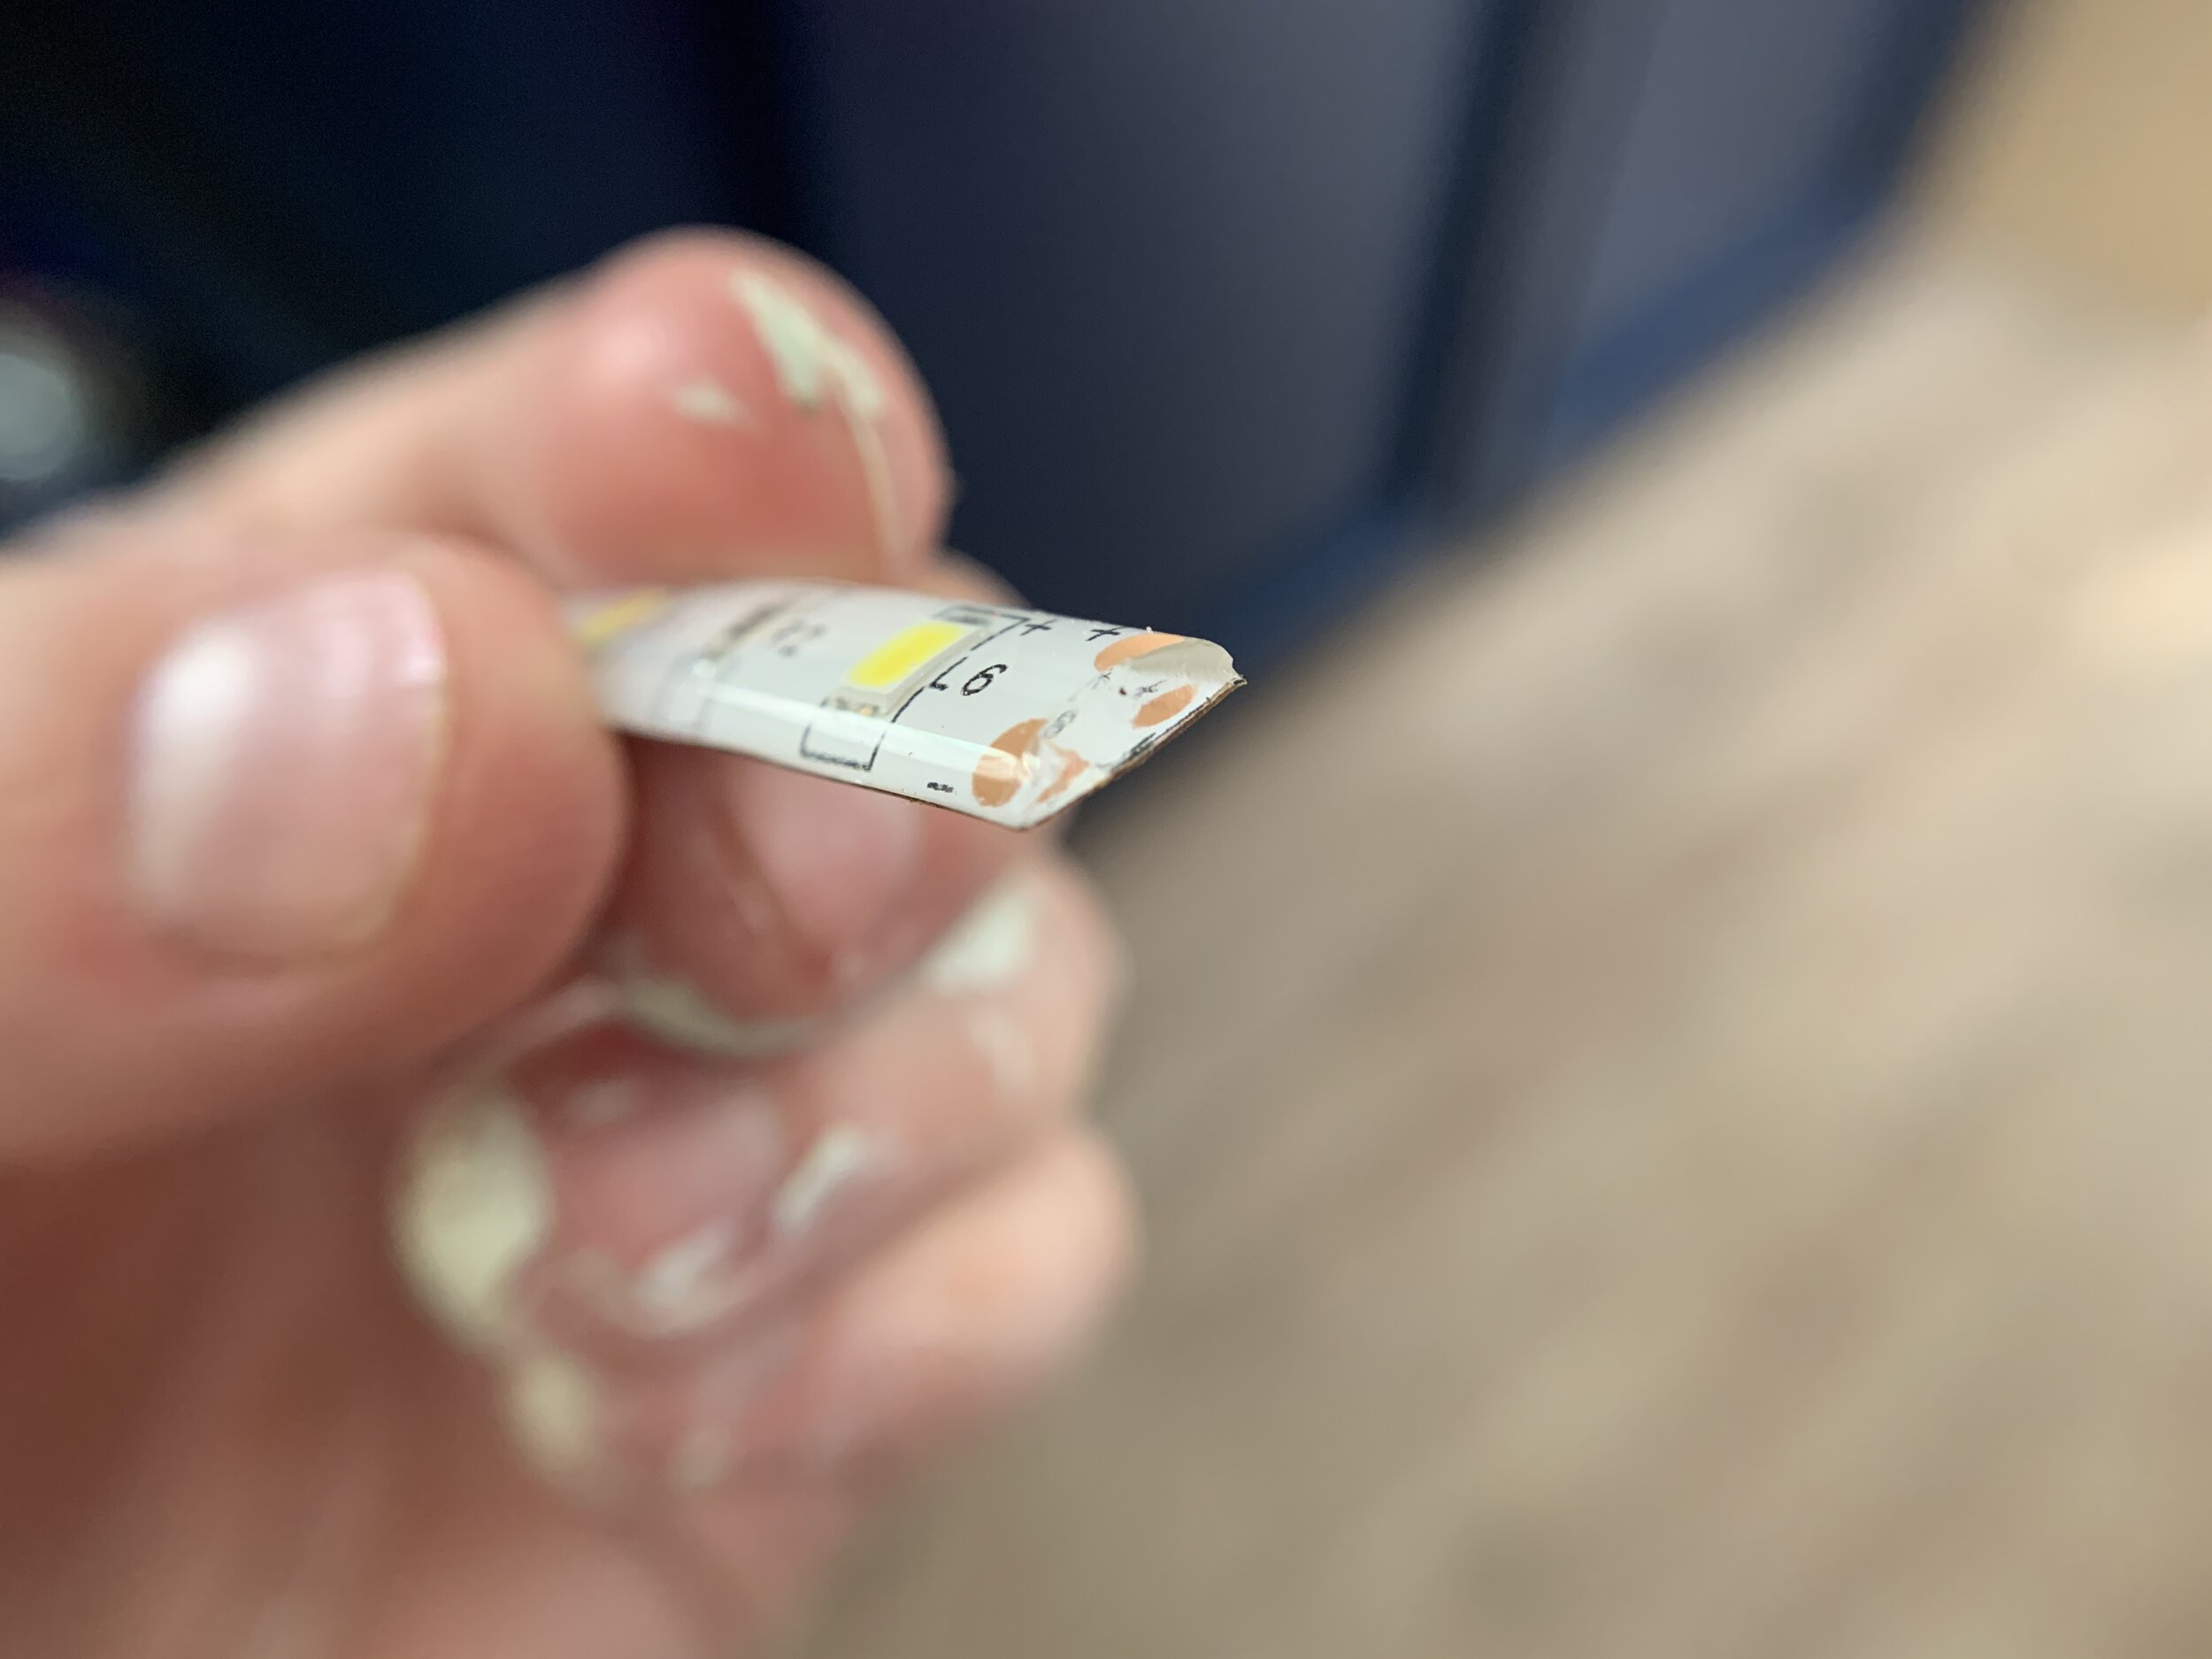


With the help of an X-acto knife, we carefully cut through/peeled back the clear silicone waterproofing layer to reveal the shiny copper contact points on the light strip. This can also be done with your fingertips if you’re lucky, but it is kind of difficult and after a while your fingertips start to hurt doing such precise and nimble work.

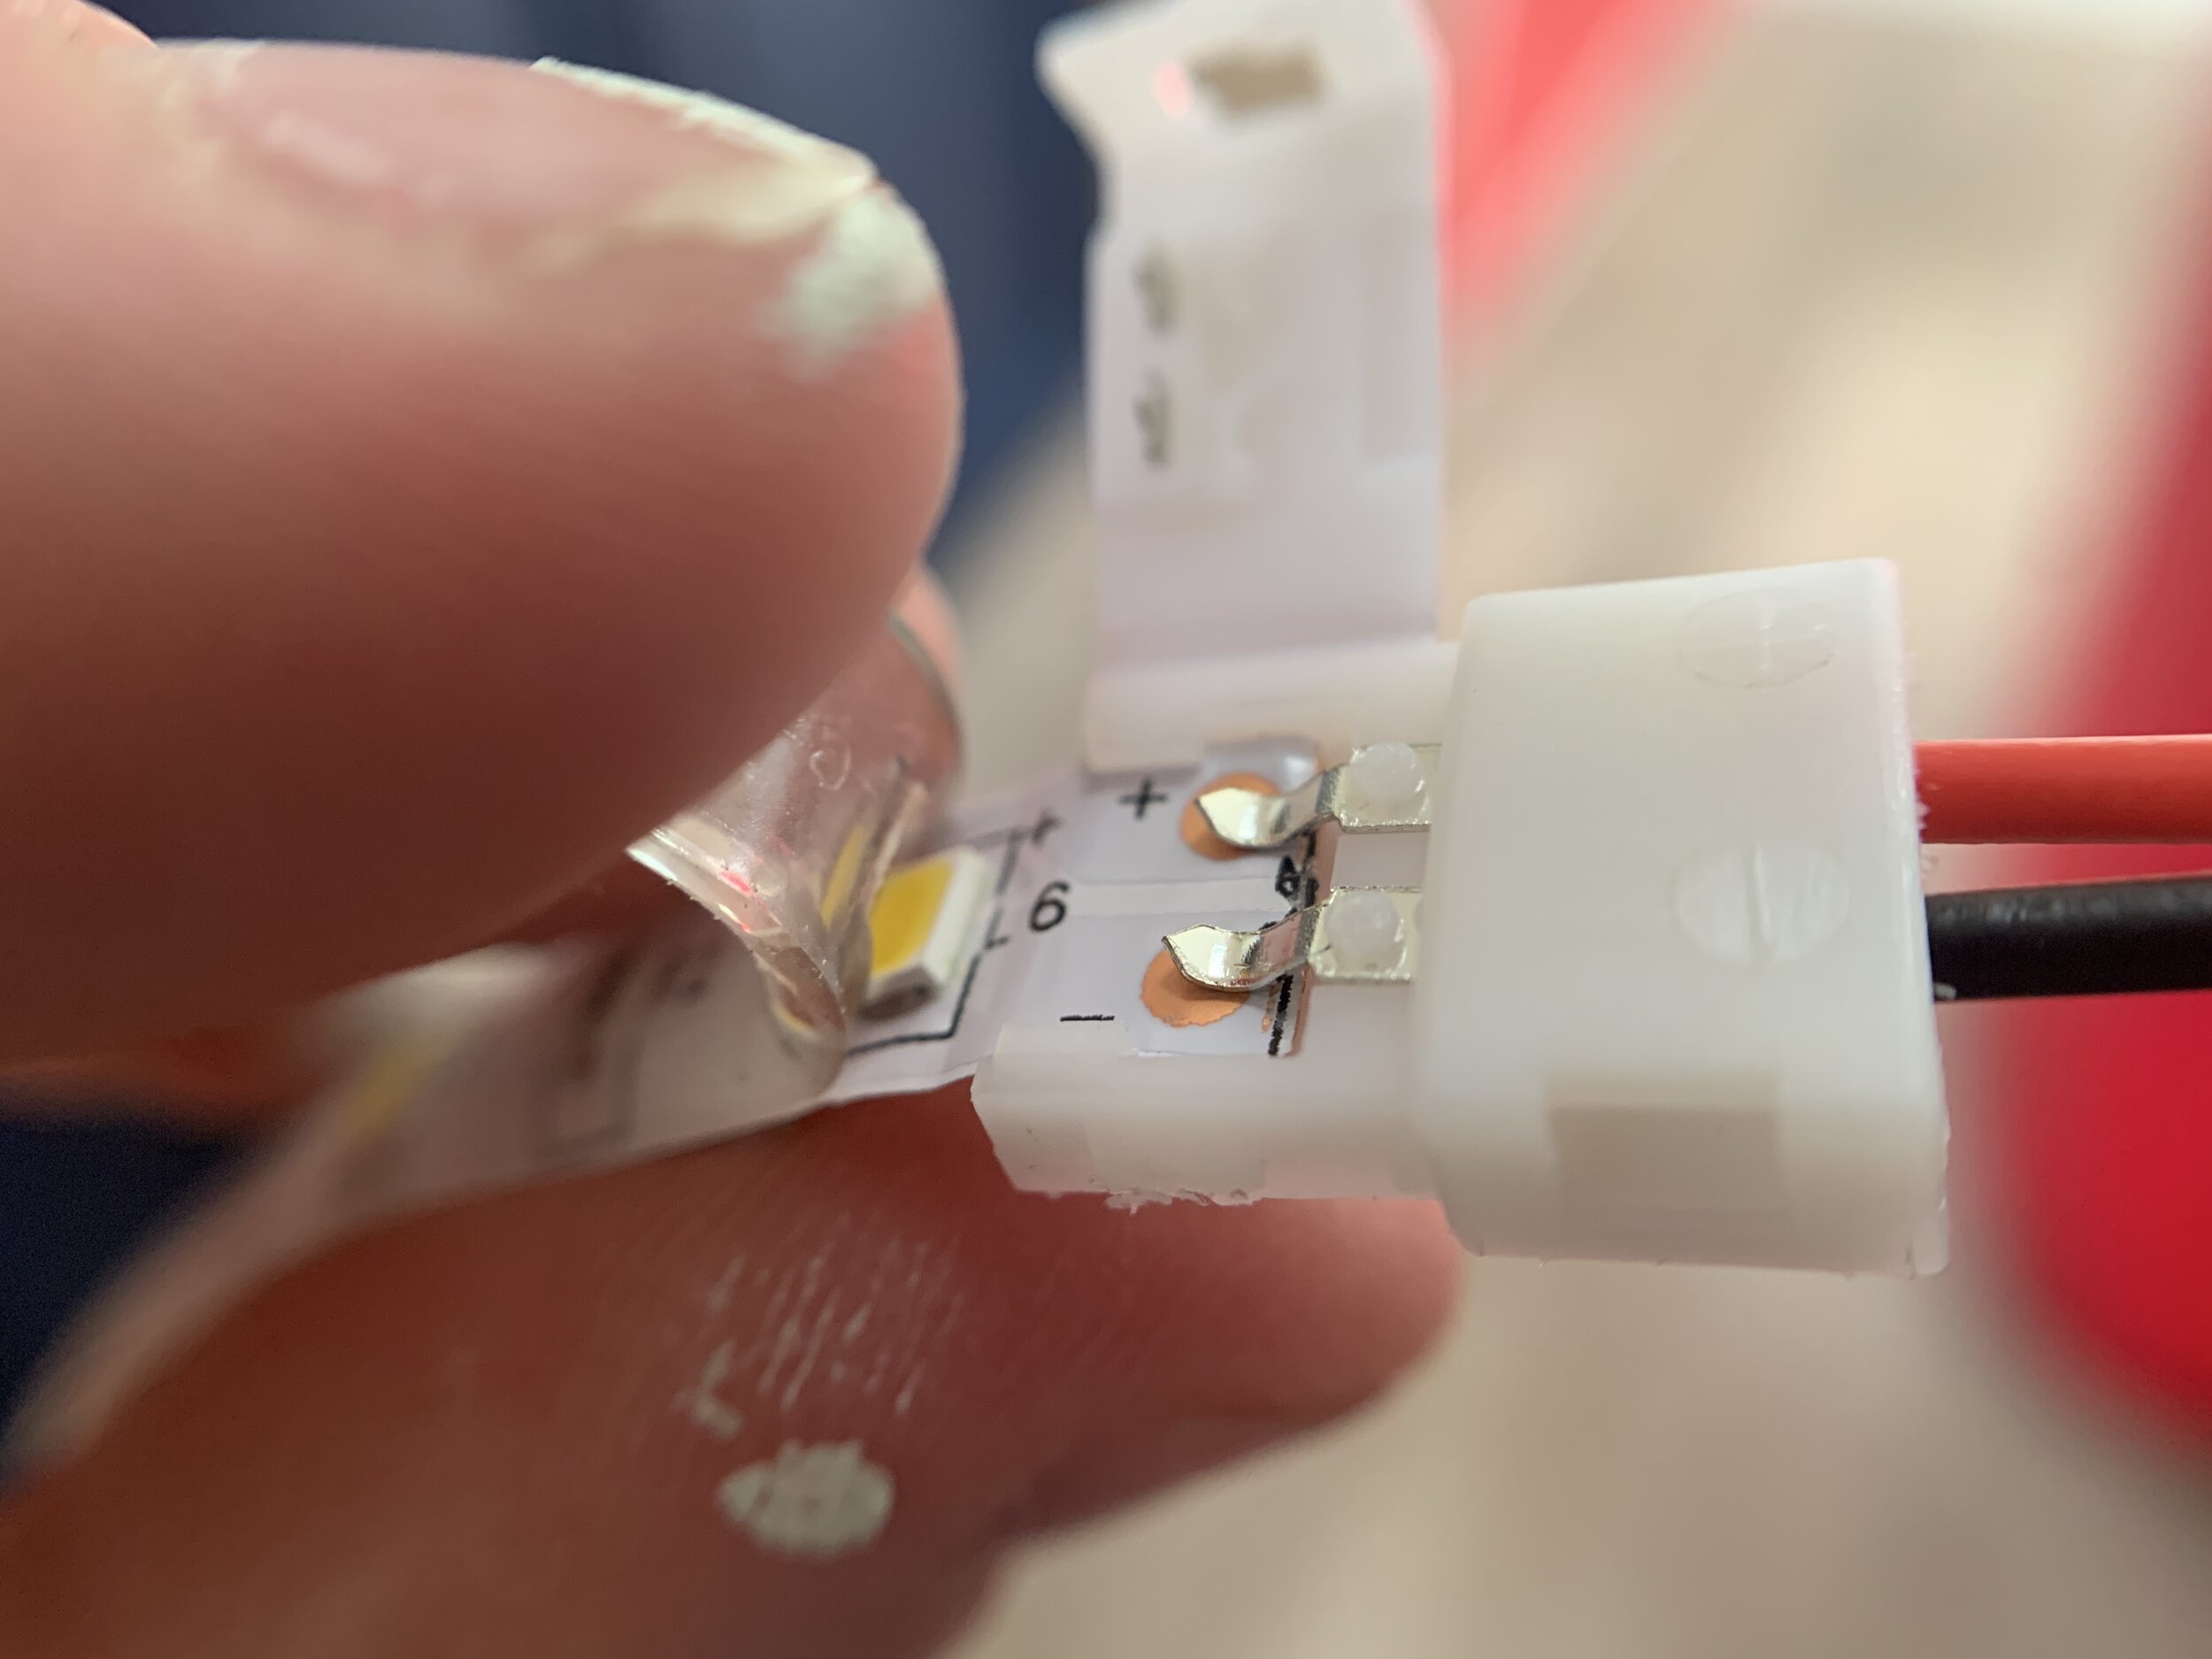
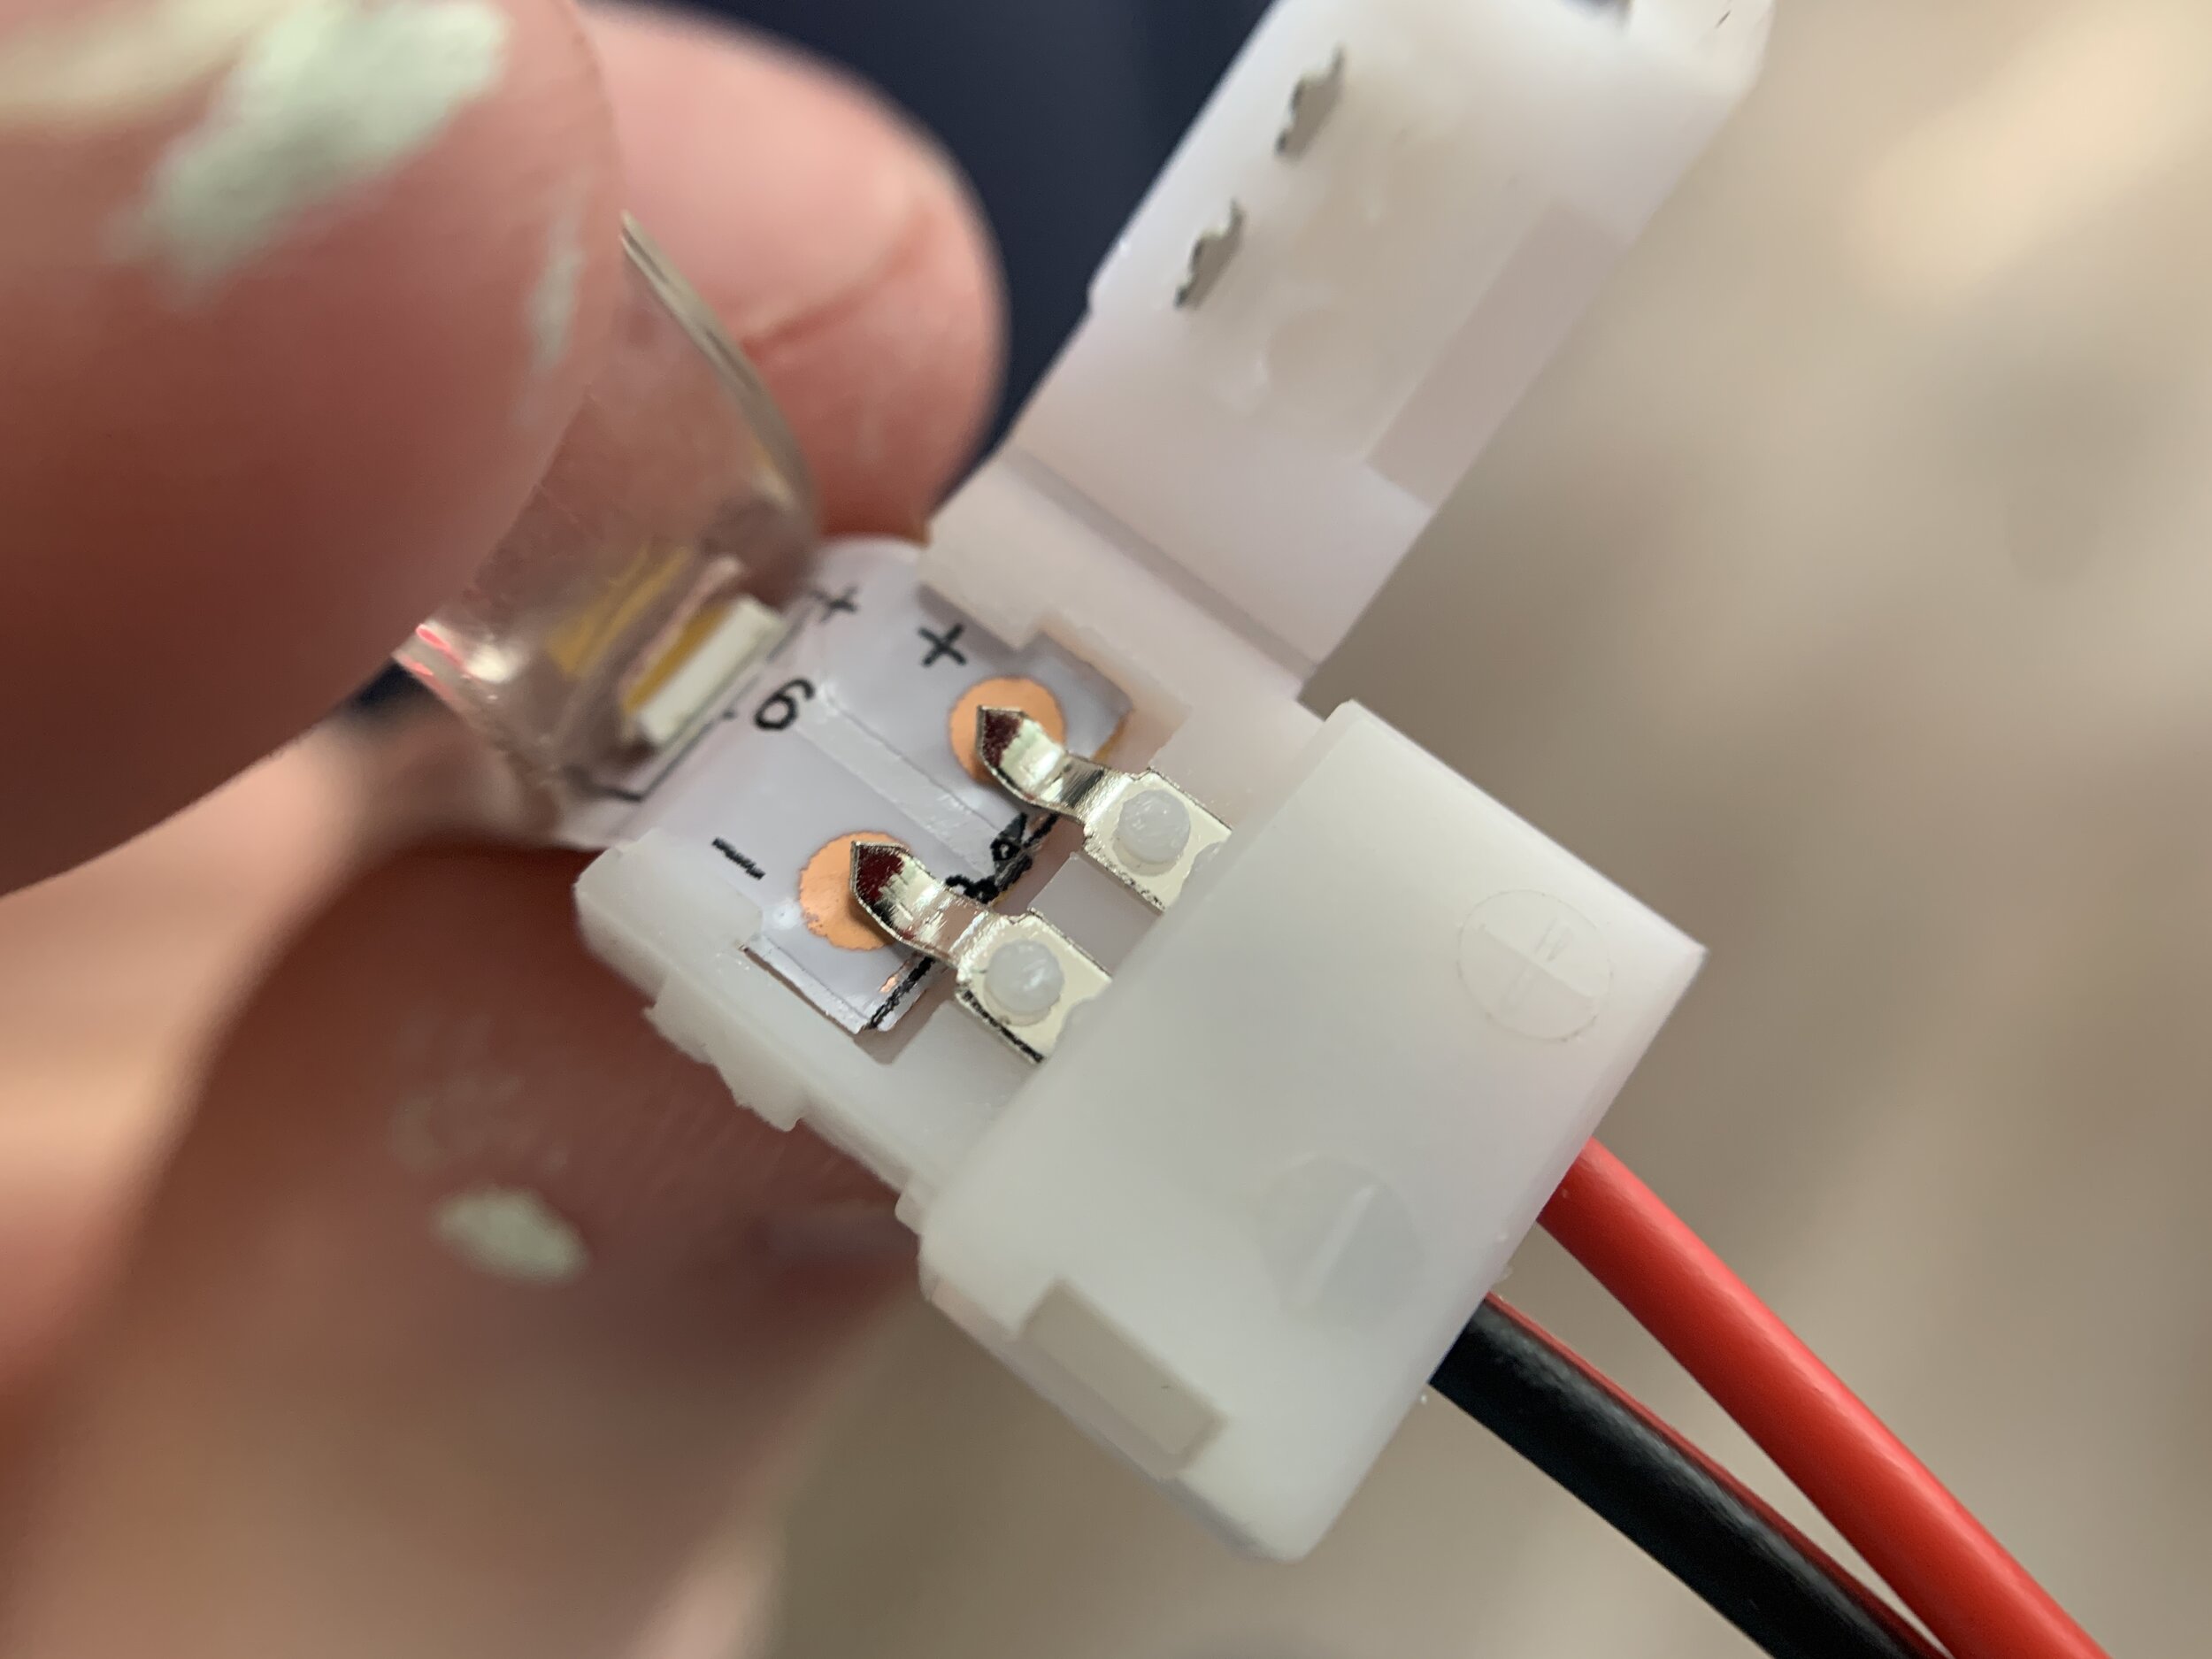
We used a small flat heat screw driver to gently pry open the plastic connector tabs to expose the little metal prongs inside. With the waterproofing layer removed and the adhesive backing peeled back a bit (so it isn’t trapped under the tab later when we go to install the lights), we gently slid the LED tape strip under the two metal prongs so that the copper contacts were touching the underside of the metal clamps.
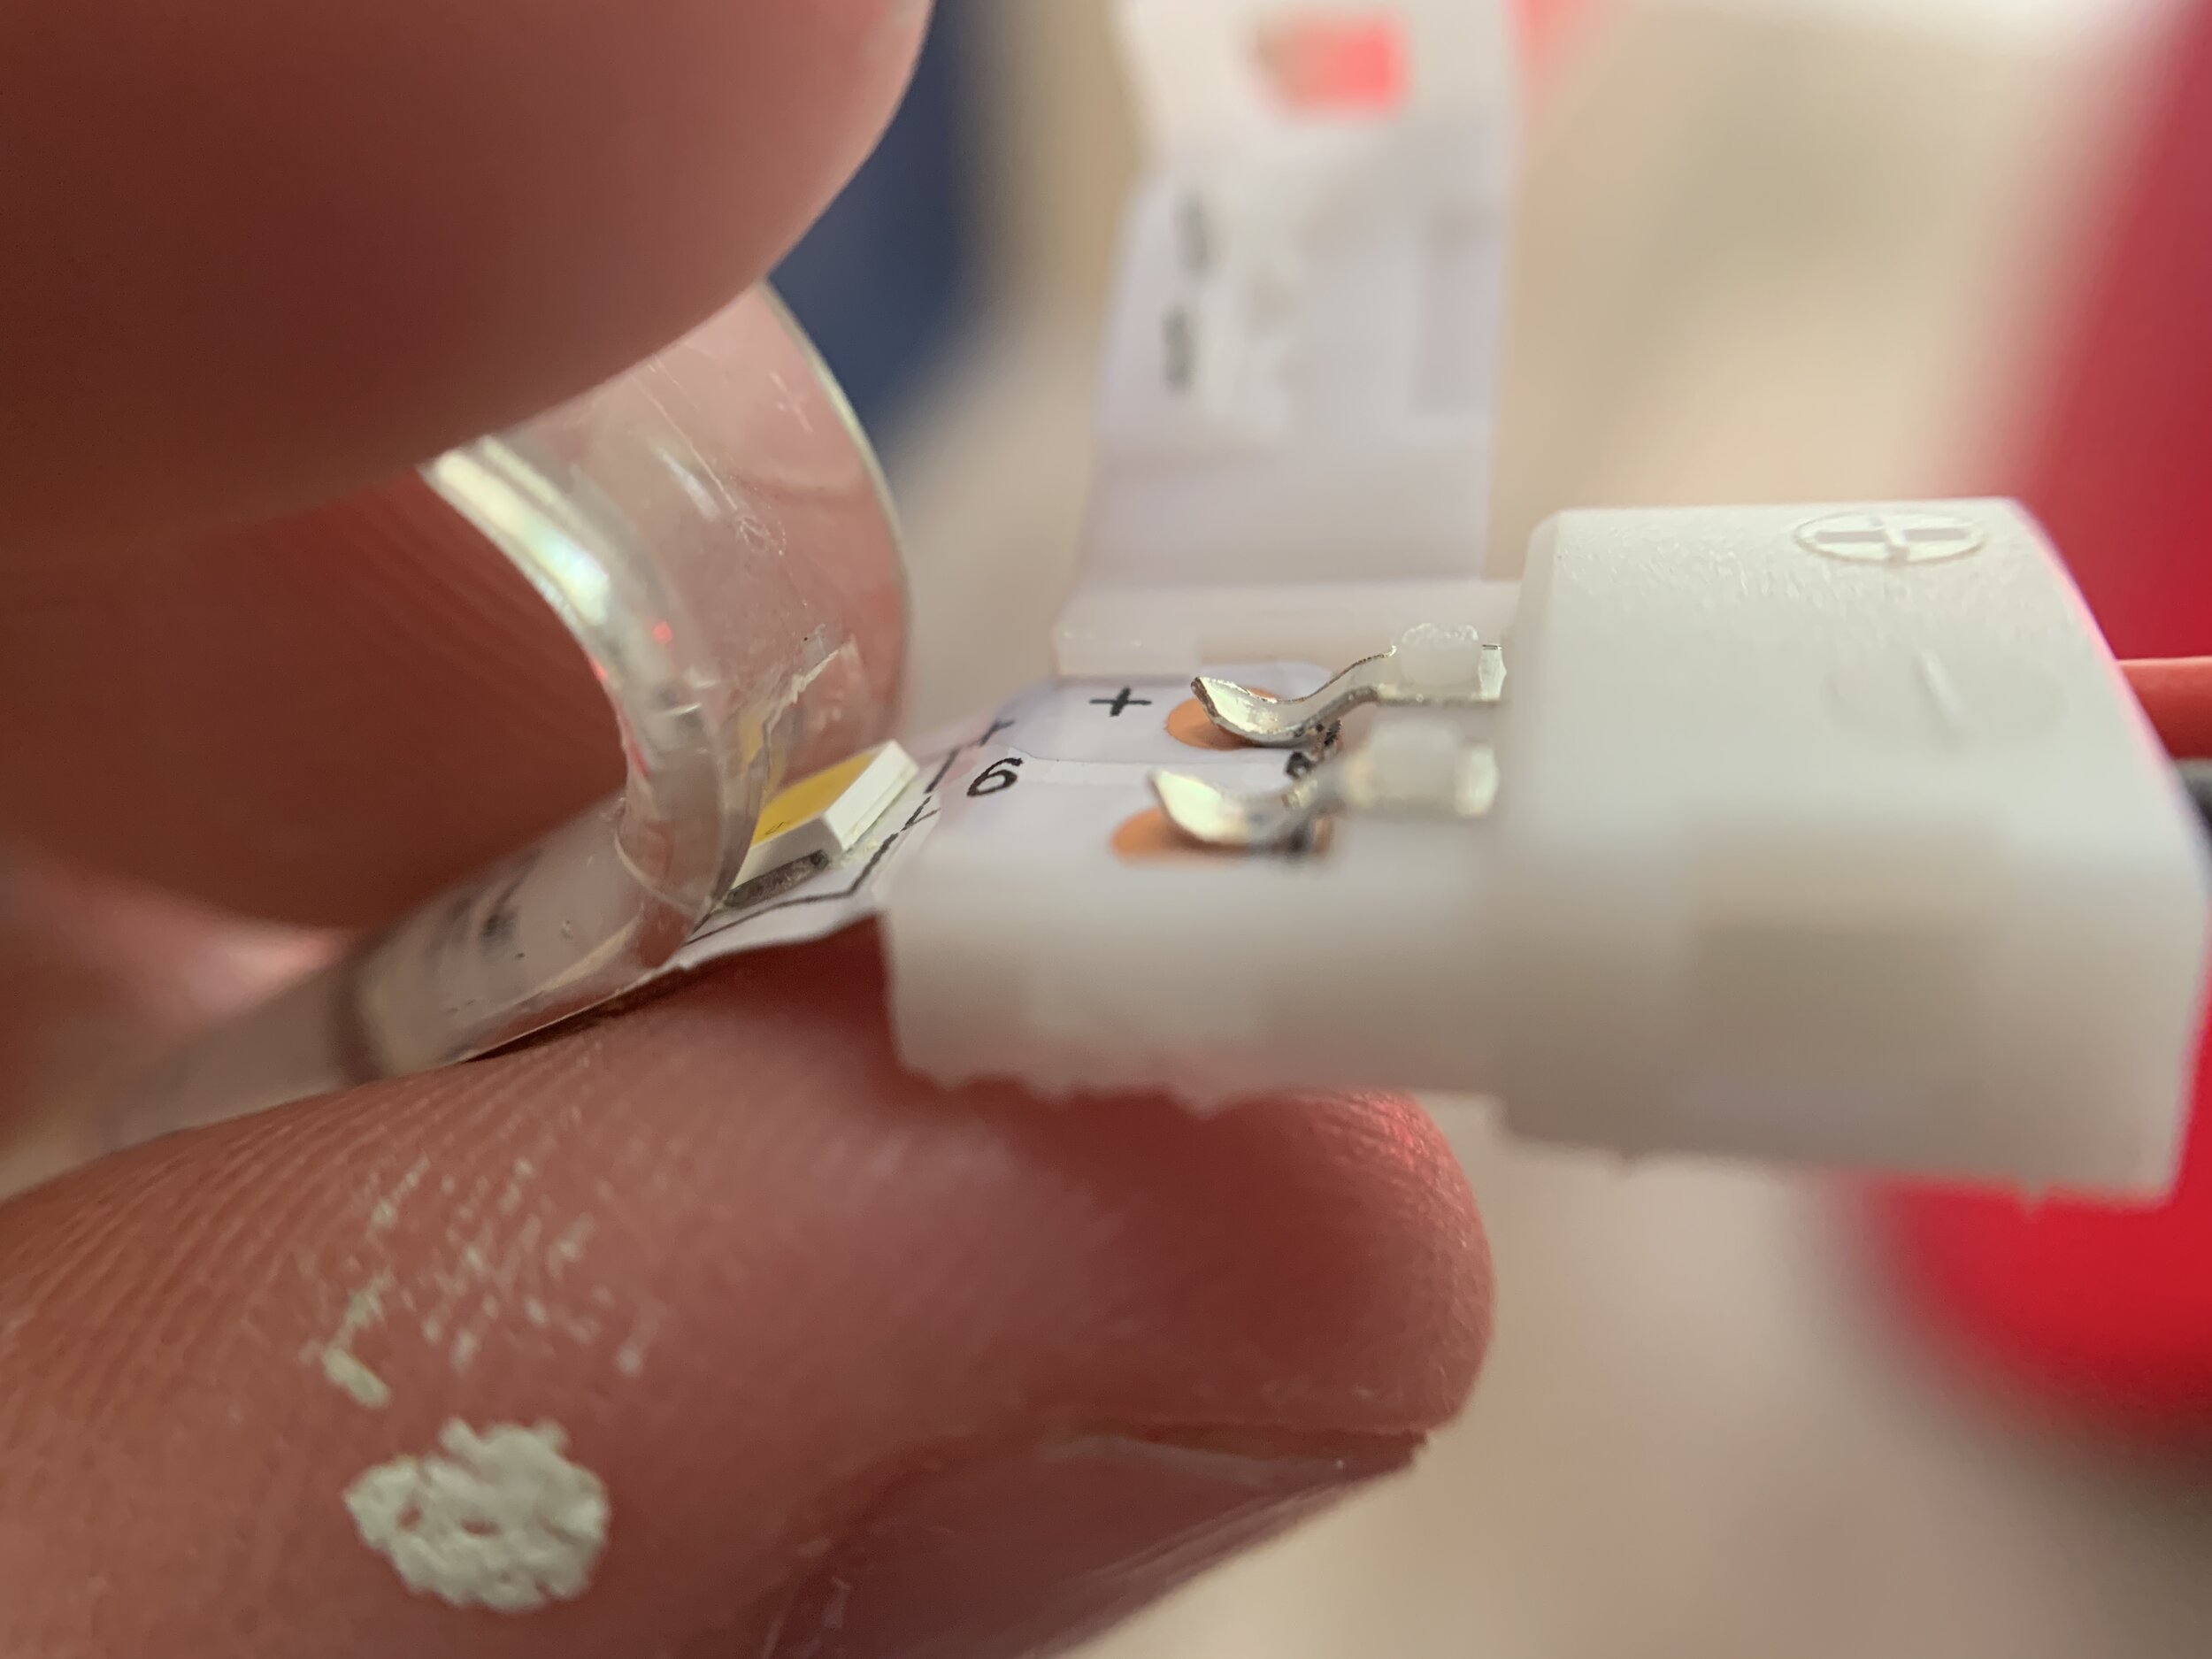
Important!
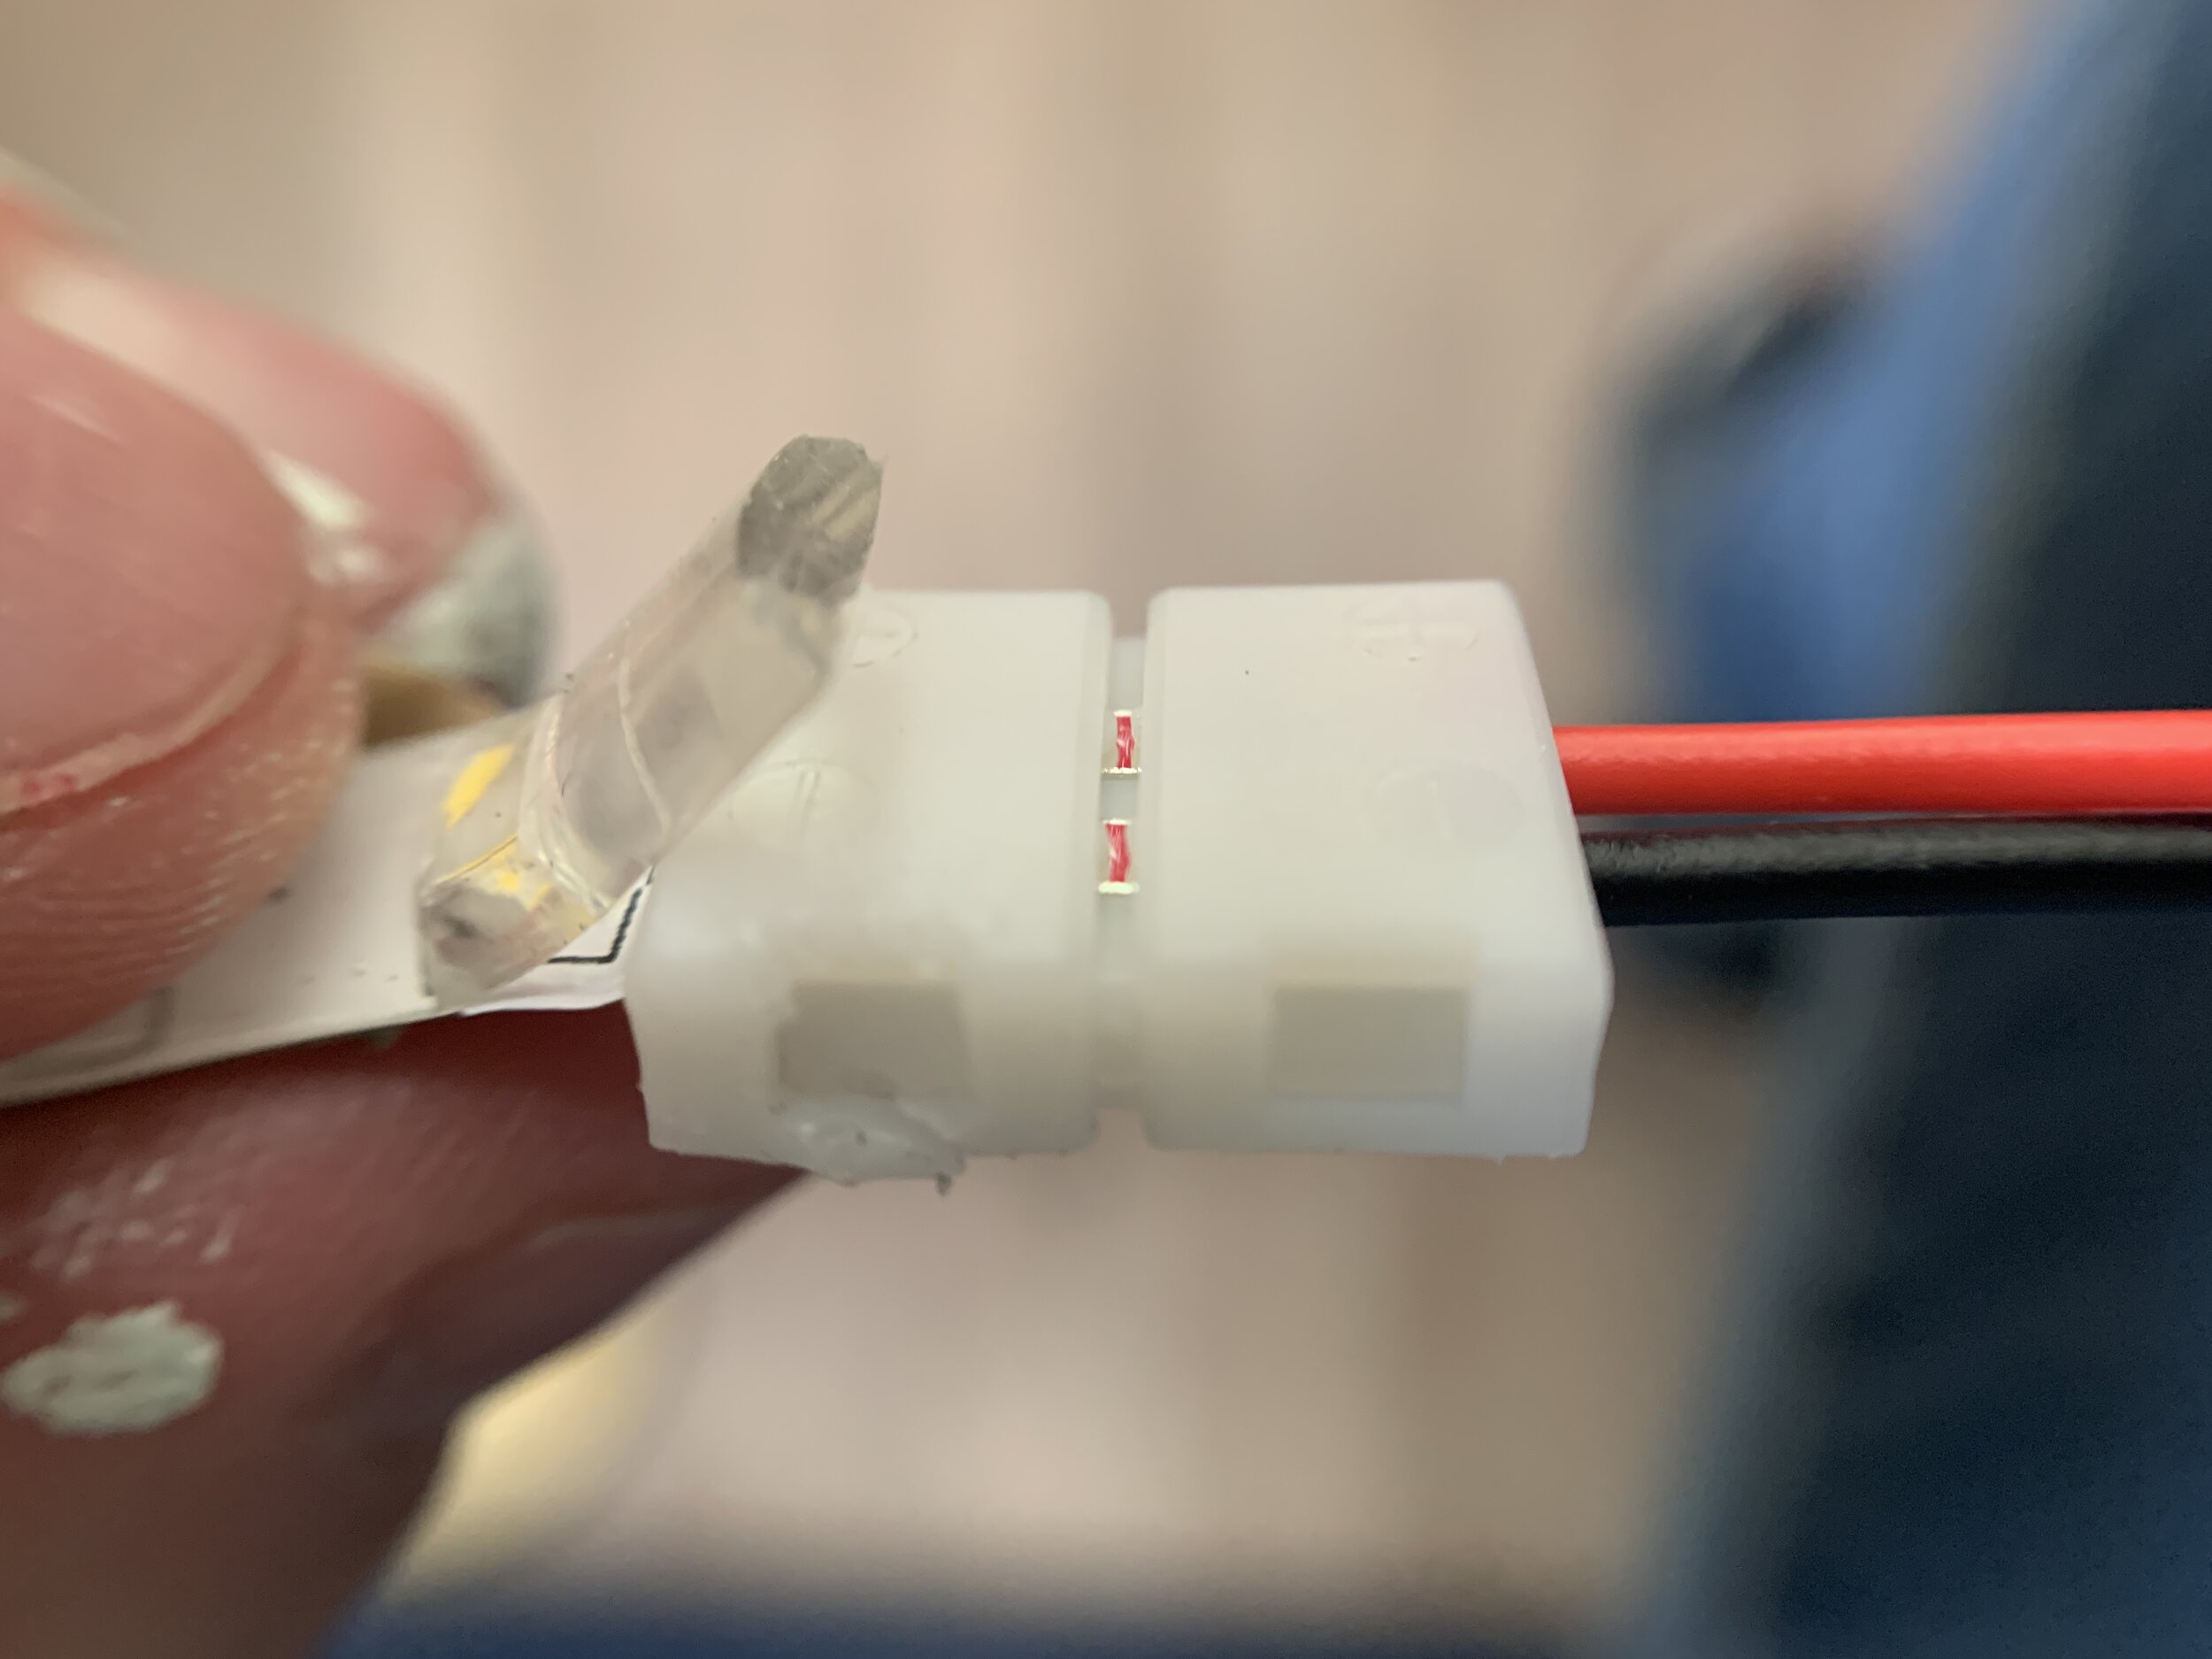
Make sure the polarity of the light strip matches the connectors. The strips must run a specific way, matching + to + and – to –. The positive and negative symbols are on the top of the plastic part of the connectors – they’re small and very hard to see, but they’re there.
If you look very closely, you can see the positive + symbols on both the tab/lid of the plastic connector and the cut edge of the silicone waterproof layer.
With the strips clamped tightly in under the metal prongs, we closed the plastic tab until it clicked shut, locking the light strip in place. We gave our connections a little tug and wiggle to make sure they stayed put before install.
Installing THE lights
First, we wiped down our wooden bumper channels with paint thinner and a lint-free rag to clean off any dust and debris, then let the areas dry fully. You only get one shot at it and a clean channel surface is the key to getting the adhesive to stick.
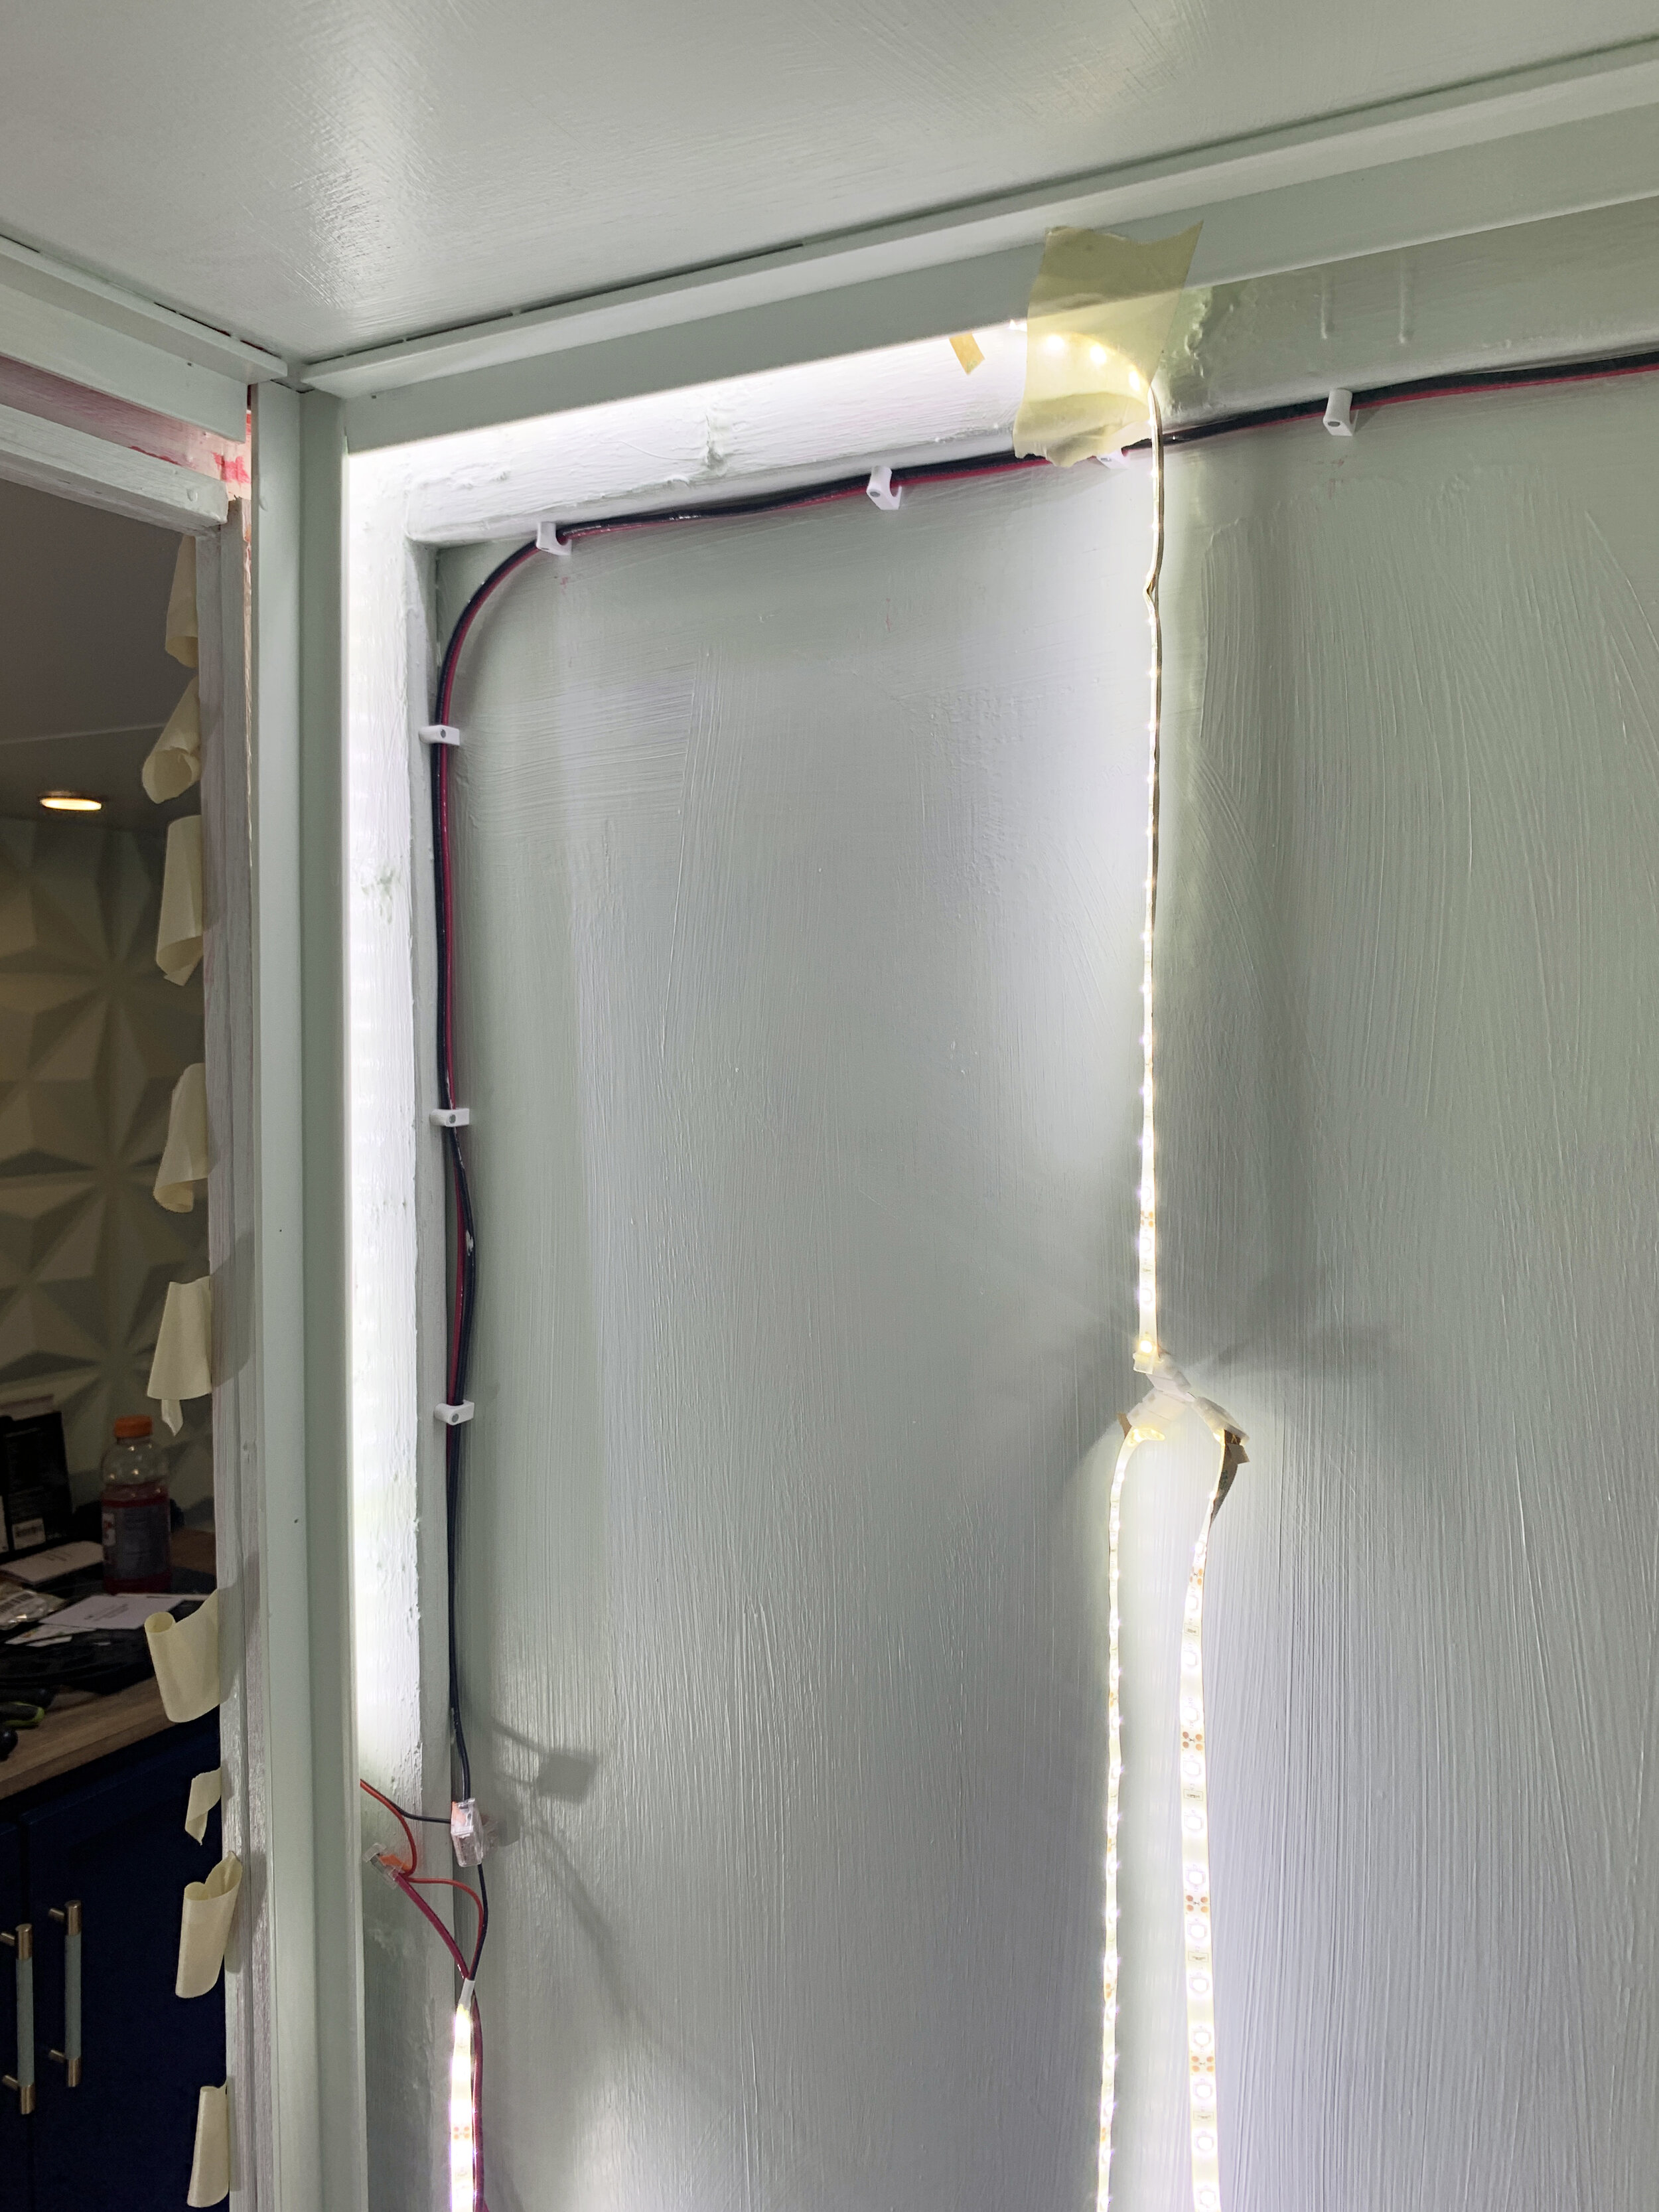
We installed the light strips so the lights are facing into the center of the wall, not facing forward into the shower to get a diffused look that fills the entire wall panel. You can see in the photo below on the section of lighting that’s facing outward (toward the center of the shower) you get these sort of “hot spots” where the actual individual lights on the strip stand out, versus the softer diffused light effect happening up at the top of the acrylic sample where the lights are facing right, toward the center of the wall.

Working from one side to the other and with a small amount of adhesive backing peeled off and stuck to the channel at just the start of the strip, we cut the strip to length for the wall segment. Then, we peeled back the waterproof layer on the other end to prepare it for the connector. Before sticking the whole strip down, we gently threaded the starting end (or ends if it was a T connector) of the next light strip behind the angled PVC wall support trim in the gaps we intentionally left during the wooden channel bumper step to meet the end of the previous light strip, making sure the polarity of the following strip matched the connector.
With the two ends prepped, we clamped our lighting into the connectors as described above. Then, working in short increments, we removed the adhesive backing and pressed the first light strip onto the wooden bumper to make complete contact.
As we clamped each light strip, we flipped on the light switch to test our connection before moving on, repeating the steps with the next segment until each wall had a light strip along the ceiling, floor and both vertical sides.


At this point, I was giddy and couldn’t help but sit back (read: jump up and down, clapping and giggling like a schoolgirl) and admire our small feat and getting that much closer to completing my hare-brained bathroom lighting idea.
Still to share in our camper bathroom series:
Hiding all of the bathroom plumbing inside the wall
Installing the acrylic walls
Mounting the brass shower fixtures
Installing the toilet
Building a custom, out-swinging door
Adding the finishing touches that pack even more functionality into the small bathroom space!
What do you think? Are you digging the 12V LED strip lights as much as we are? (Now that we know how to do it, I’m so tempted to use LED strip lights for under-cabinet lighting in our home kitchen!)
Have you done anything similar you’d like to share? We’d love to hear your thoughts in the comments below!