The Cameo Camper Renovation: 3D Panel Wall Part 2
This is part two of a series. Don’t forget to check out part one.
Hey y’all! We’ve finished the much asked about 3D wall and I’ve finally gotten back to the computer to share the full reveal and how-to! We’ve been so busy (in a great way) with working on the camper and researching our next steps now that we have The Cameo at the house during shelter-in-place that my usual writing time has been cut down. But enough about why we’ve been quiet here on the blog for a bit.
Now you might’ve already seen it on Instagram and Facebook, but here we’re sharing more photos and exactly how we finished it out, plus links to materials. Don’t forget to check out part one if you’ve missed it or need a refresher.

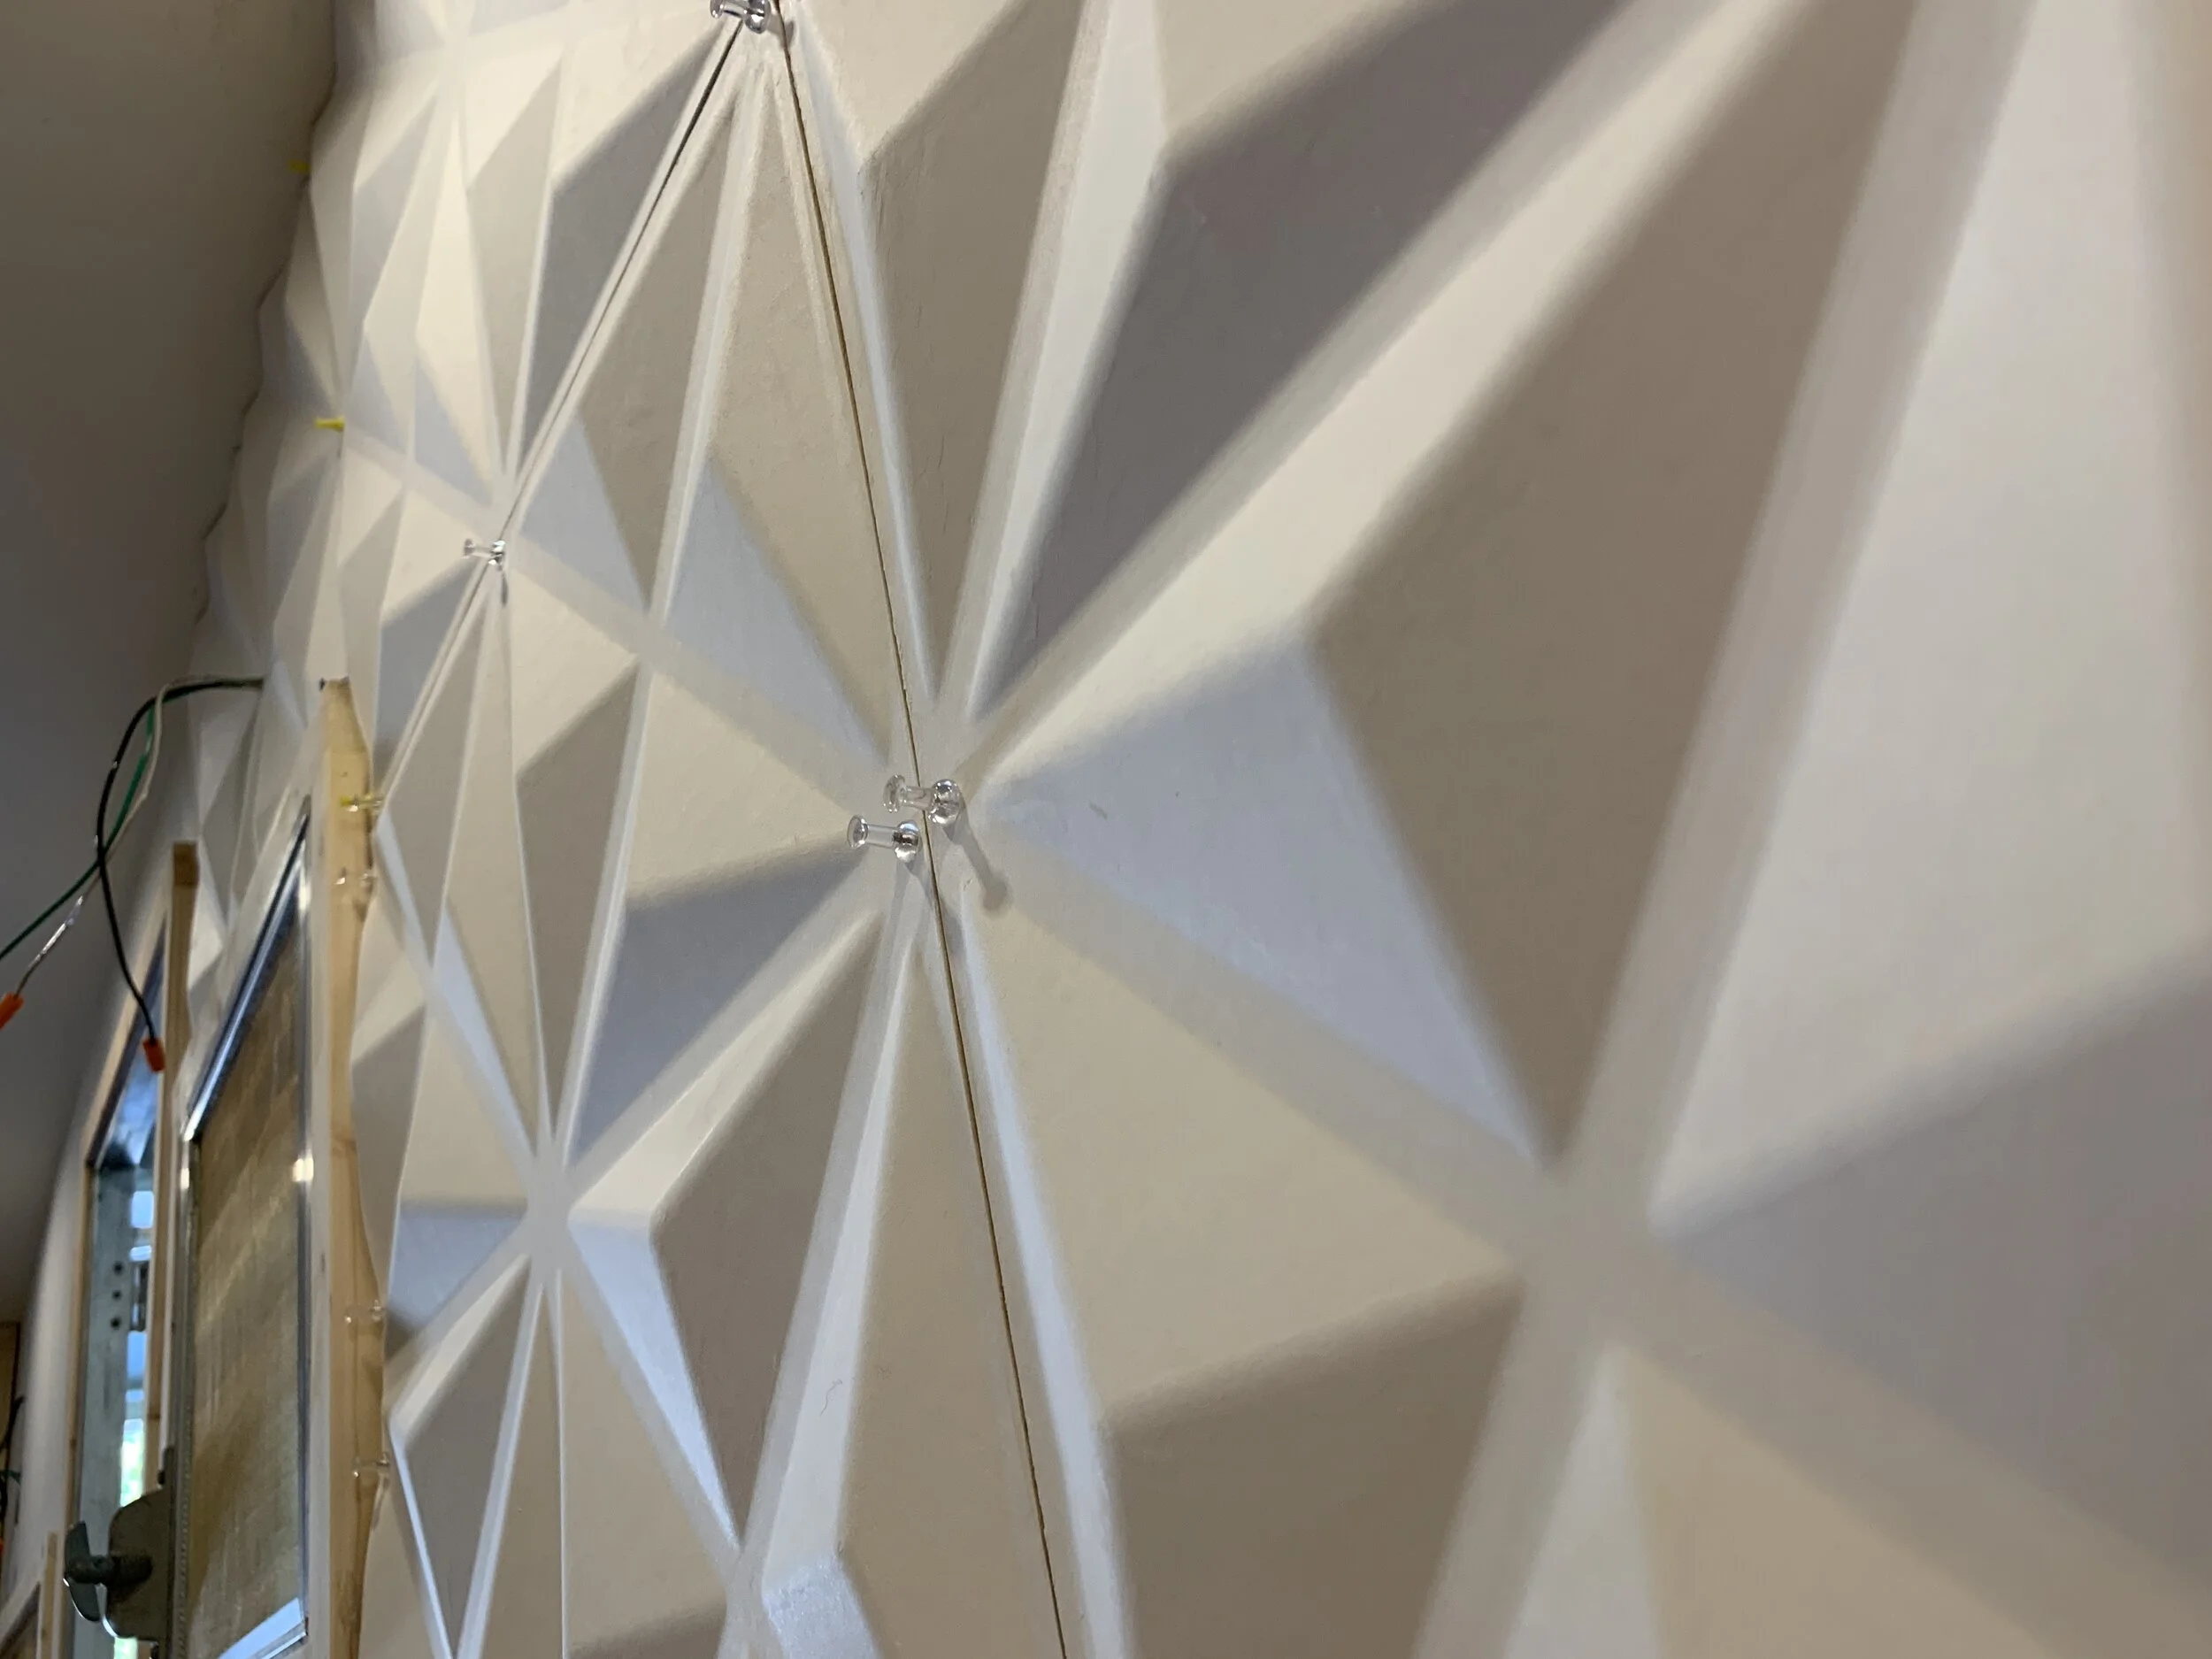
Last time we left our wall, it looked like something like this:

Super cool, but full o’ seams and pushpin holes that we weren’t really feelin’.
How we got a near-seamless finish on our 3D wall
So like the install in part one, there’s what was suggested by the manufacturer, and then there’s what we actually did.
According to Inhabit’s install instructions, for a near-seamless finish you want to:
Leave a 1/16” gap between panels.
Prime the panels before any finish work is done.
Fill the gaps with Sheetrock Durabond joint compound.
Sand the joint compound. but don’t over-sand.
Prime and paint.
Our finishing needed to allow for the moving and flexing that happens in a traveling box, so we did not use joint compound which would likely crack from all the movement.

Instead our process when something like this:
Leave a 1/16” gap between panels.
Fill gaps with paintable caulk, wiping down the excess with a damp rag or wet fingertip (making sure not to wipe too much back and forth! Remember, this stuff is basically made out of paper so it will pill if you get too aggressive with it.) If you’re like us, you may have to do this multiple times to get the gaps filled enough so they disappear.
Prime the panels.
Paint! For us, we painted 3 coats.
oUR 3D WALL PANEL INSTALLation Shopping list

Paintable latex caulk – more than you think you need
Water – to keep your rag/finger clean and the caulk smooth
White lint-free rags – for wiping excess caulk. We recommend white so you don’t accidentally transfer color and stain the panels.
Paint brushes – my go-to is a 2” angled brush with a short handle and a chiseled tip; great for free-hand cutting in.
Paint(s) – we used Sherwin Williams Pro-Industrial Acrylic paint, color White Mint in eggshell finish
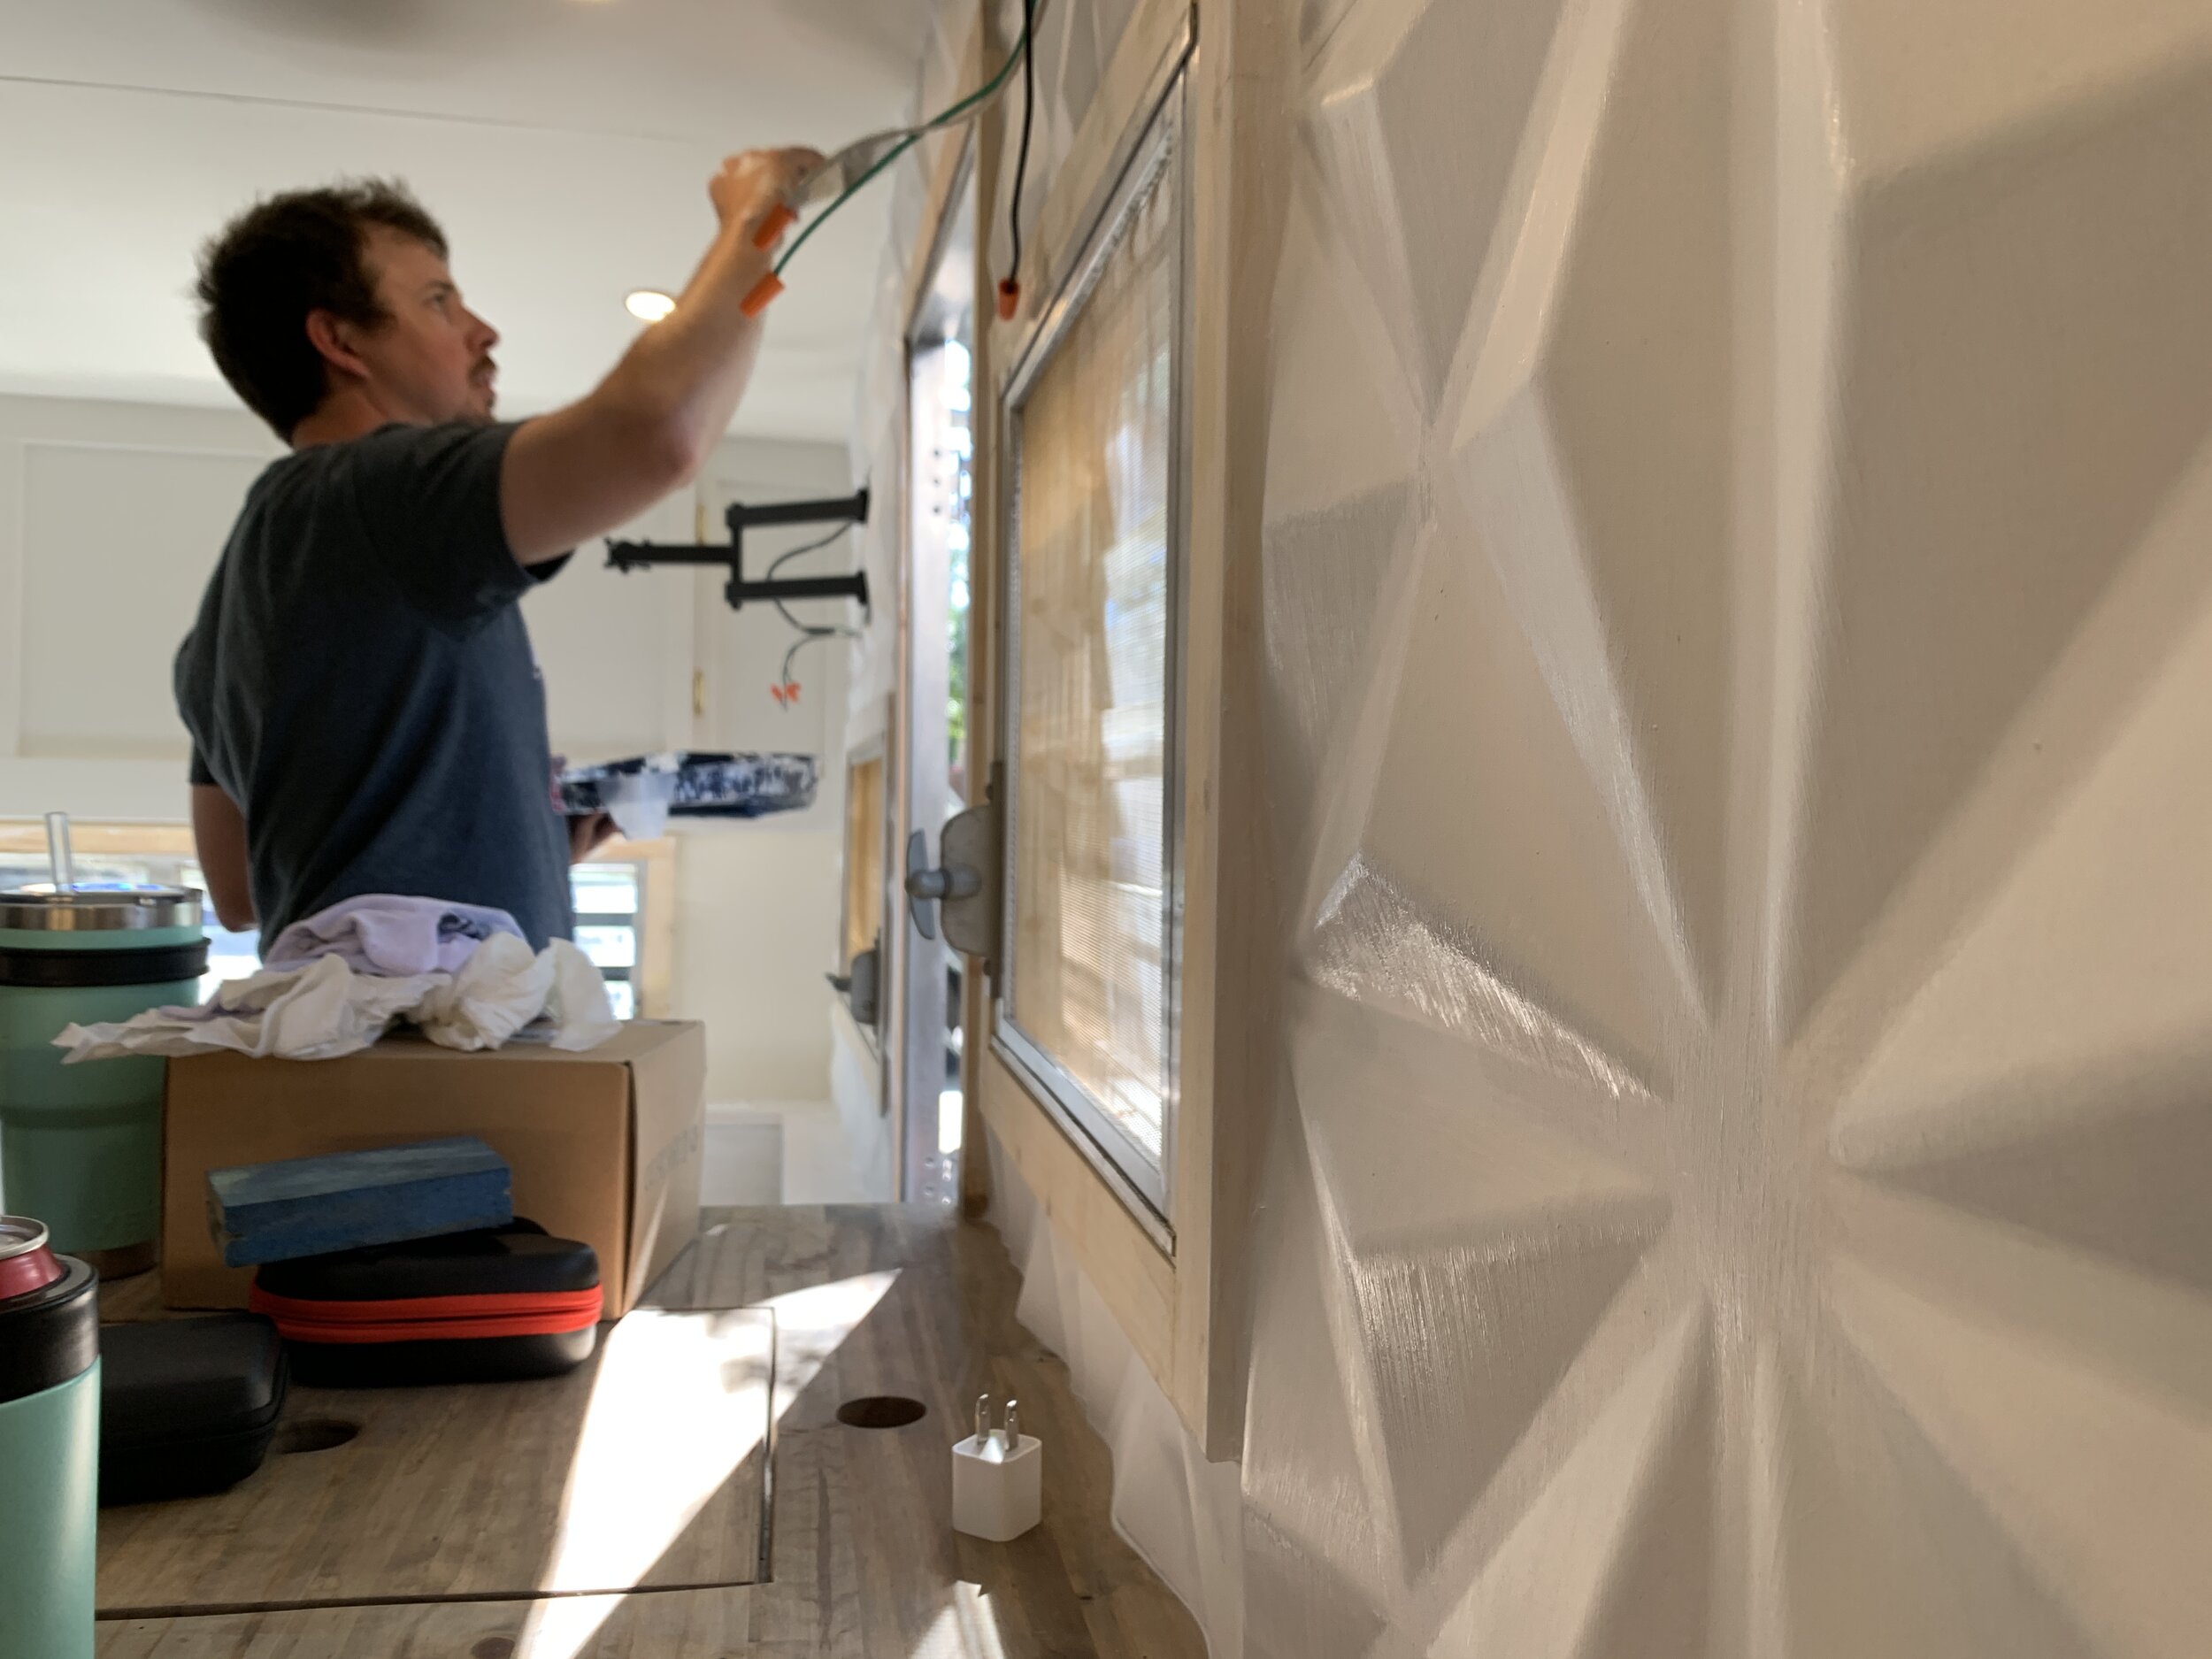
How we primed + painted our 3d wall
Priming
We debated whether or not we should spray the wall or if brushing it on would work. We wanted it so be seamless and not streaky-looking, not to mention make sure each angled surface of the design was covered evenly and not have any drips either. After testing an extra panel (not glued to the wall) with brushing on primer, we determined the brushstrokes were so minimal they didn’t bother us, plus it saved us from renting/finding a sprayer (while sheltering in place too) and taping off the entire rest of the camper from overspray.
Thankfully, priming day was a hot one so the primer dried super quickly. It’s a barely-noticeable difference that took the wall from white to a brighter, slightly cooler-tinted white.

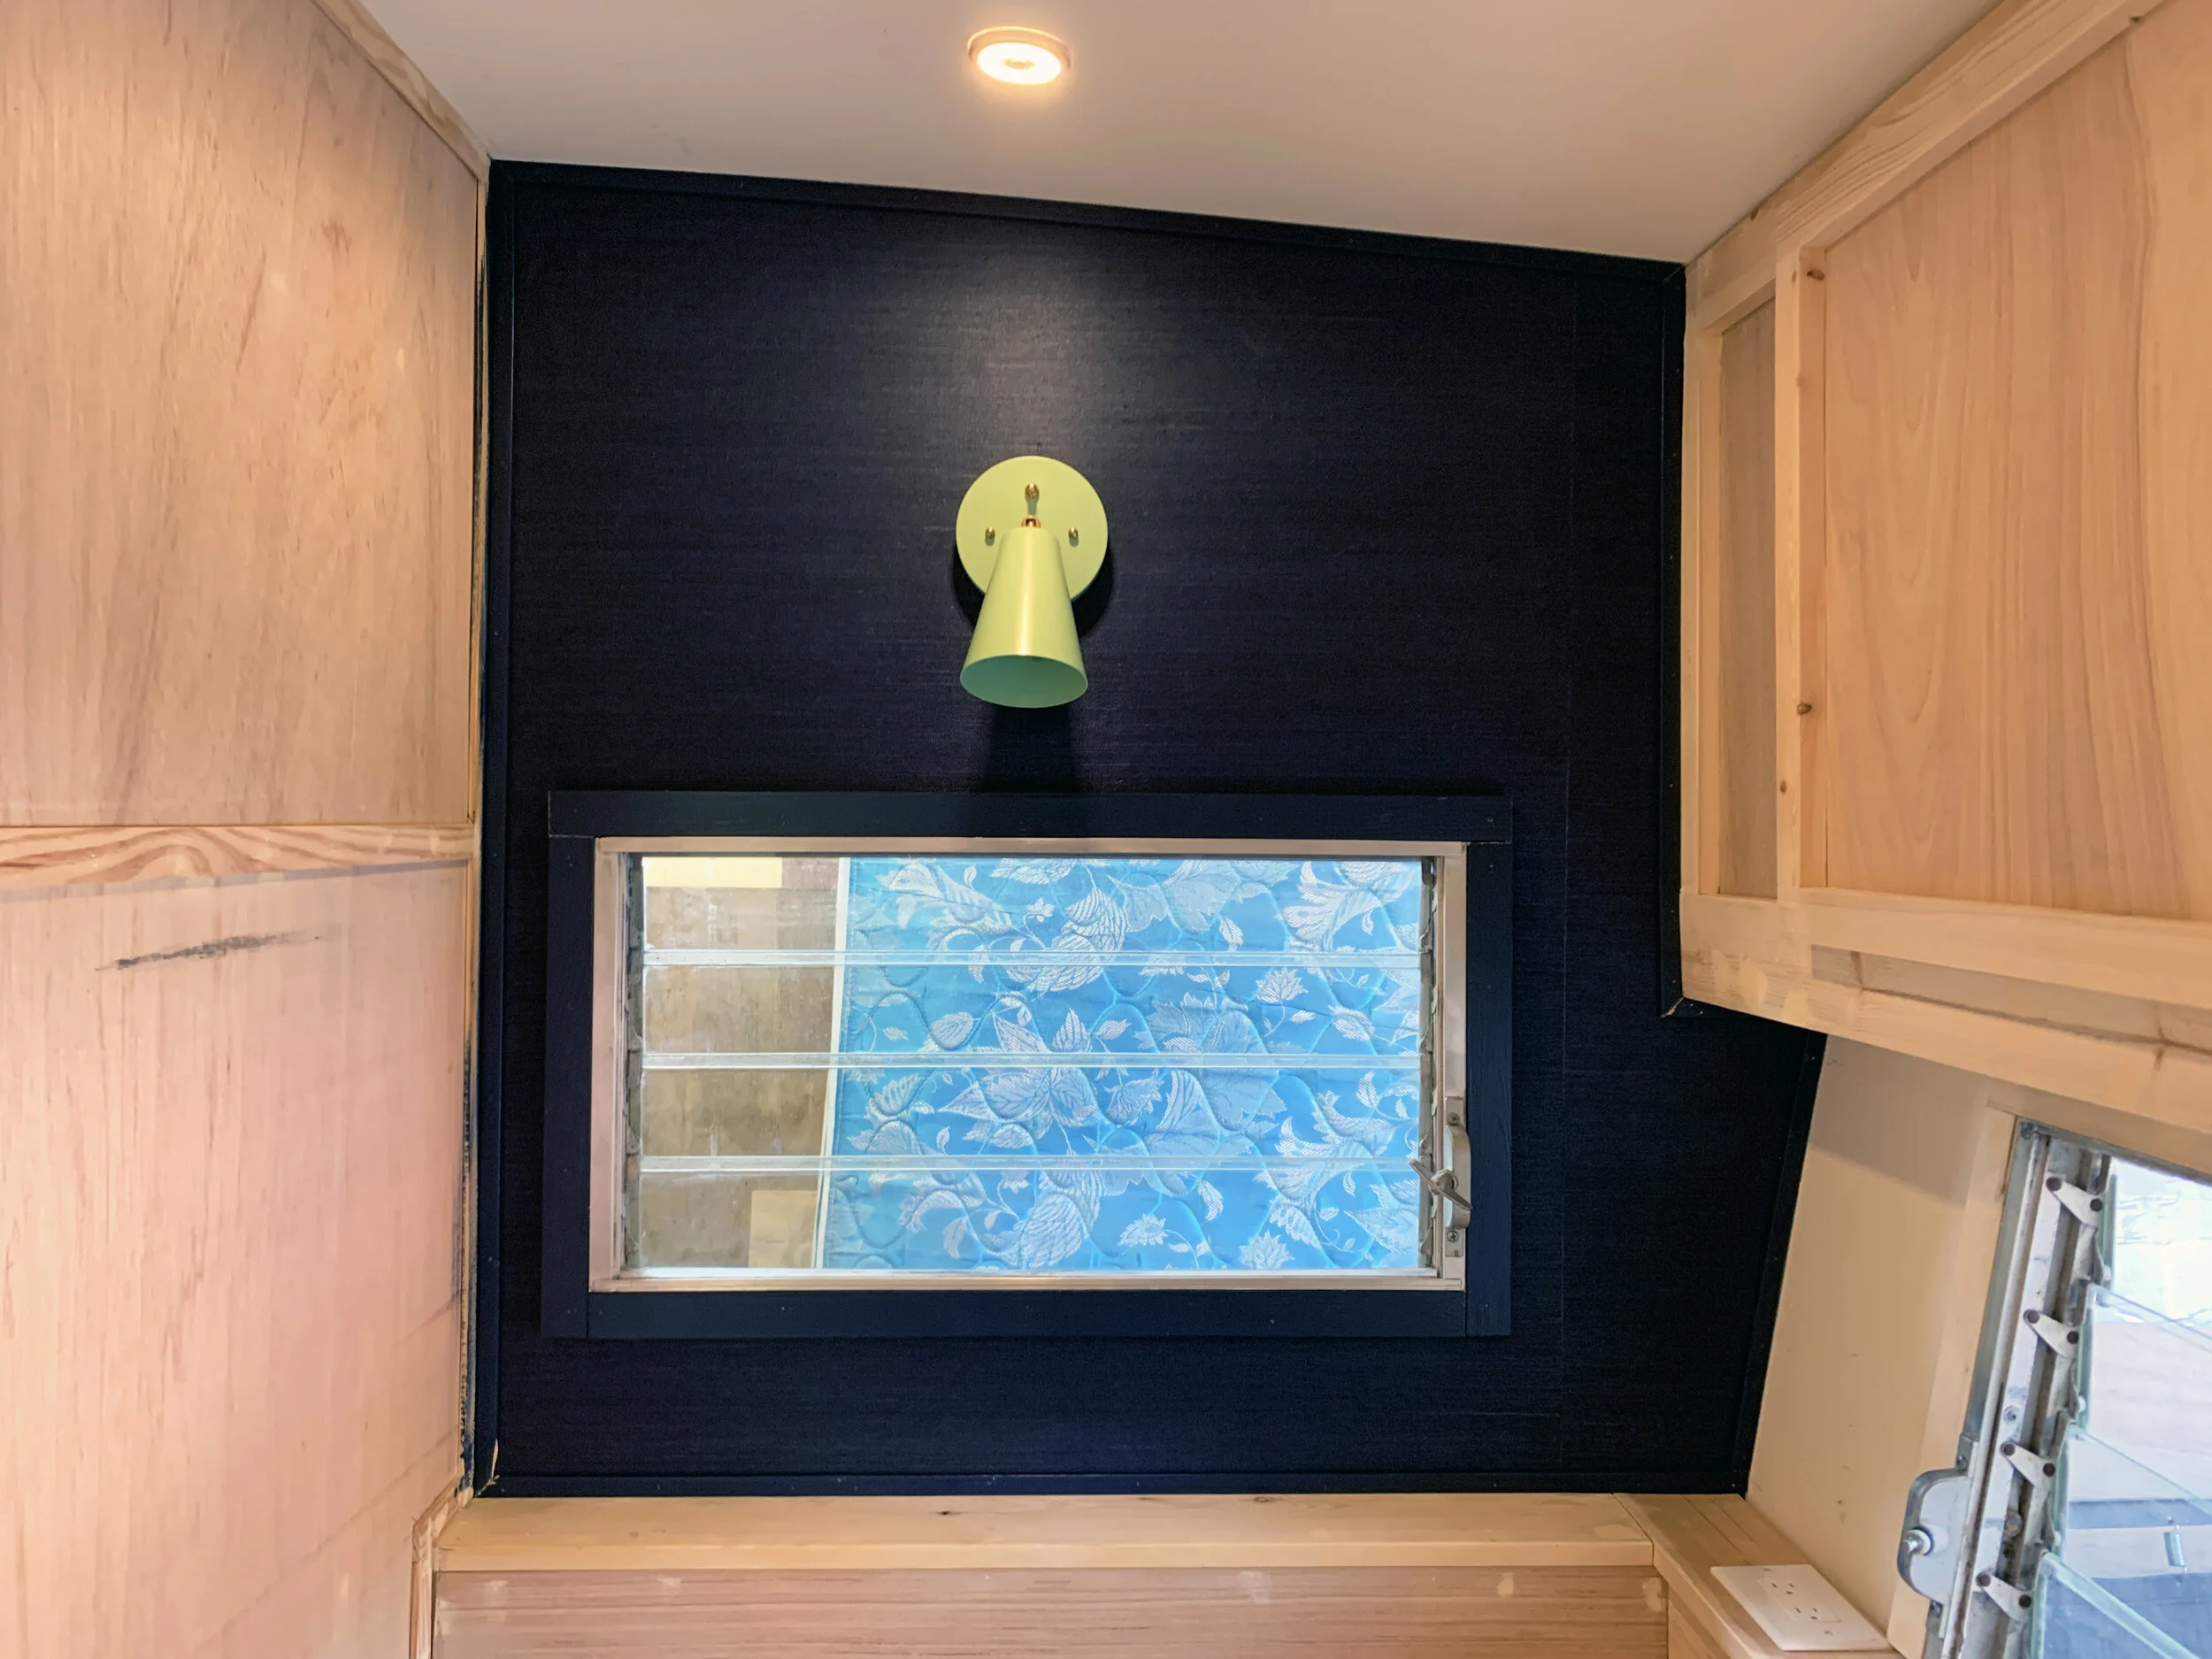
Before primer

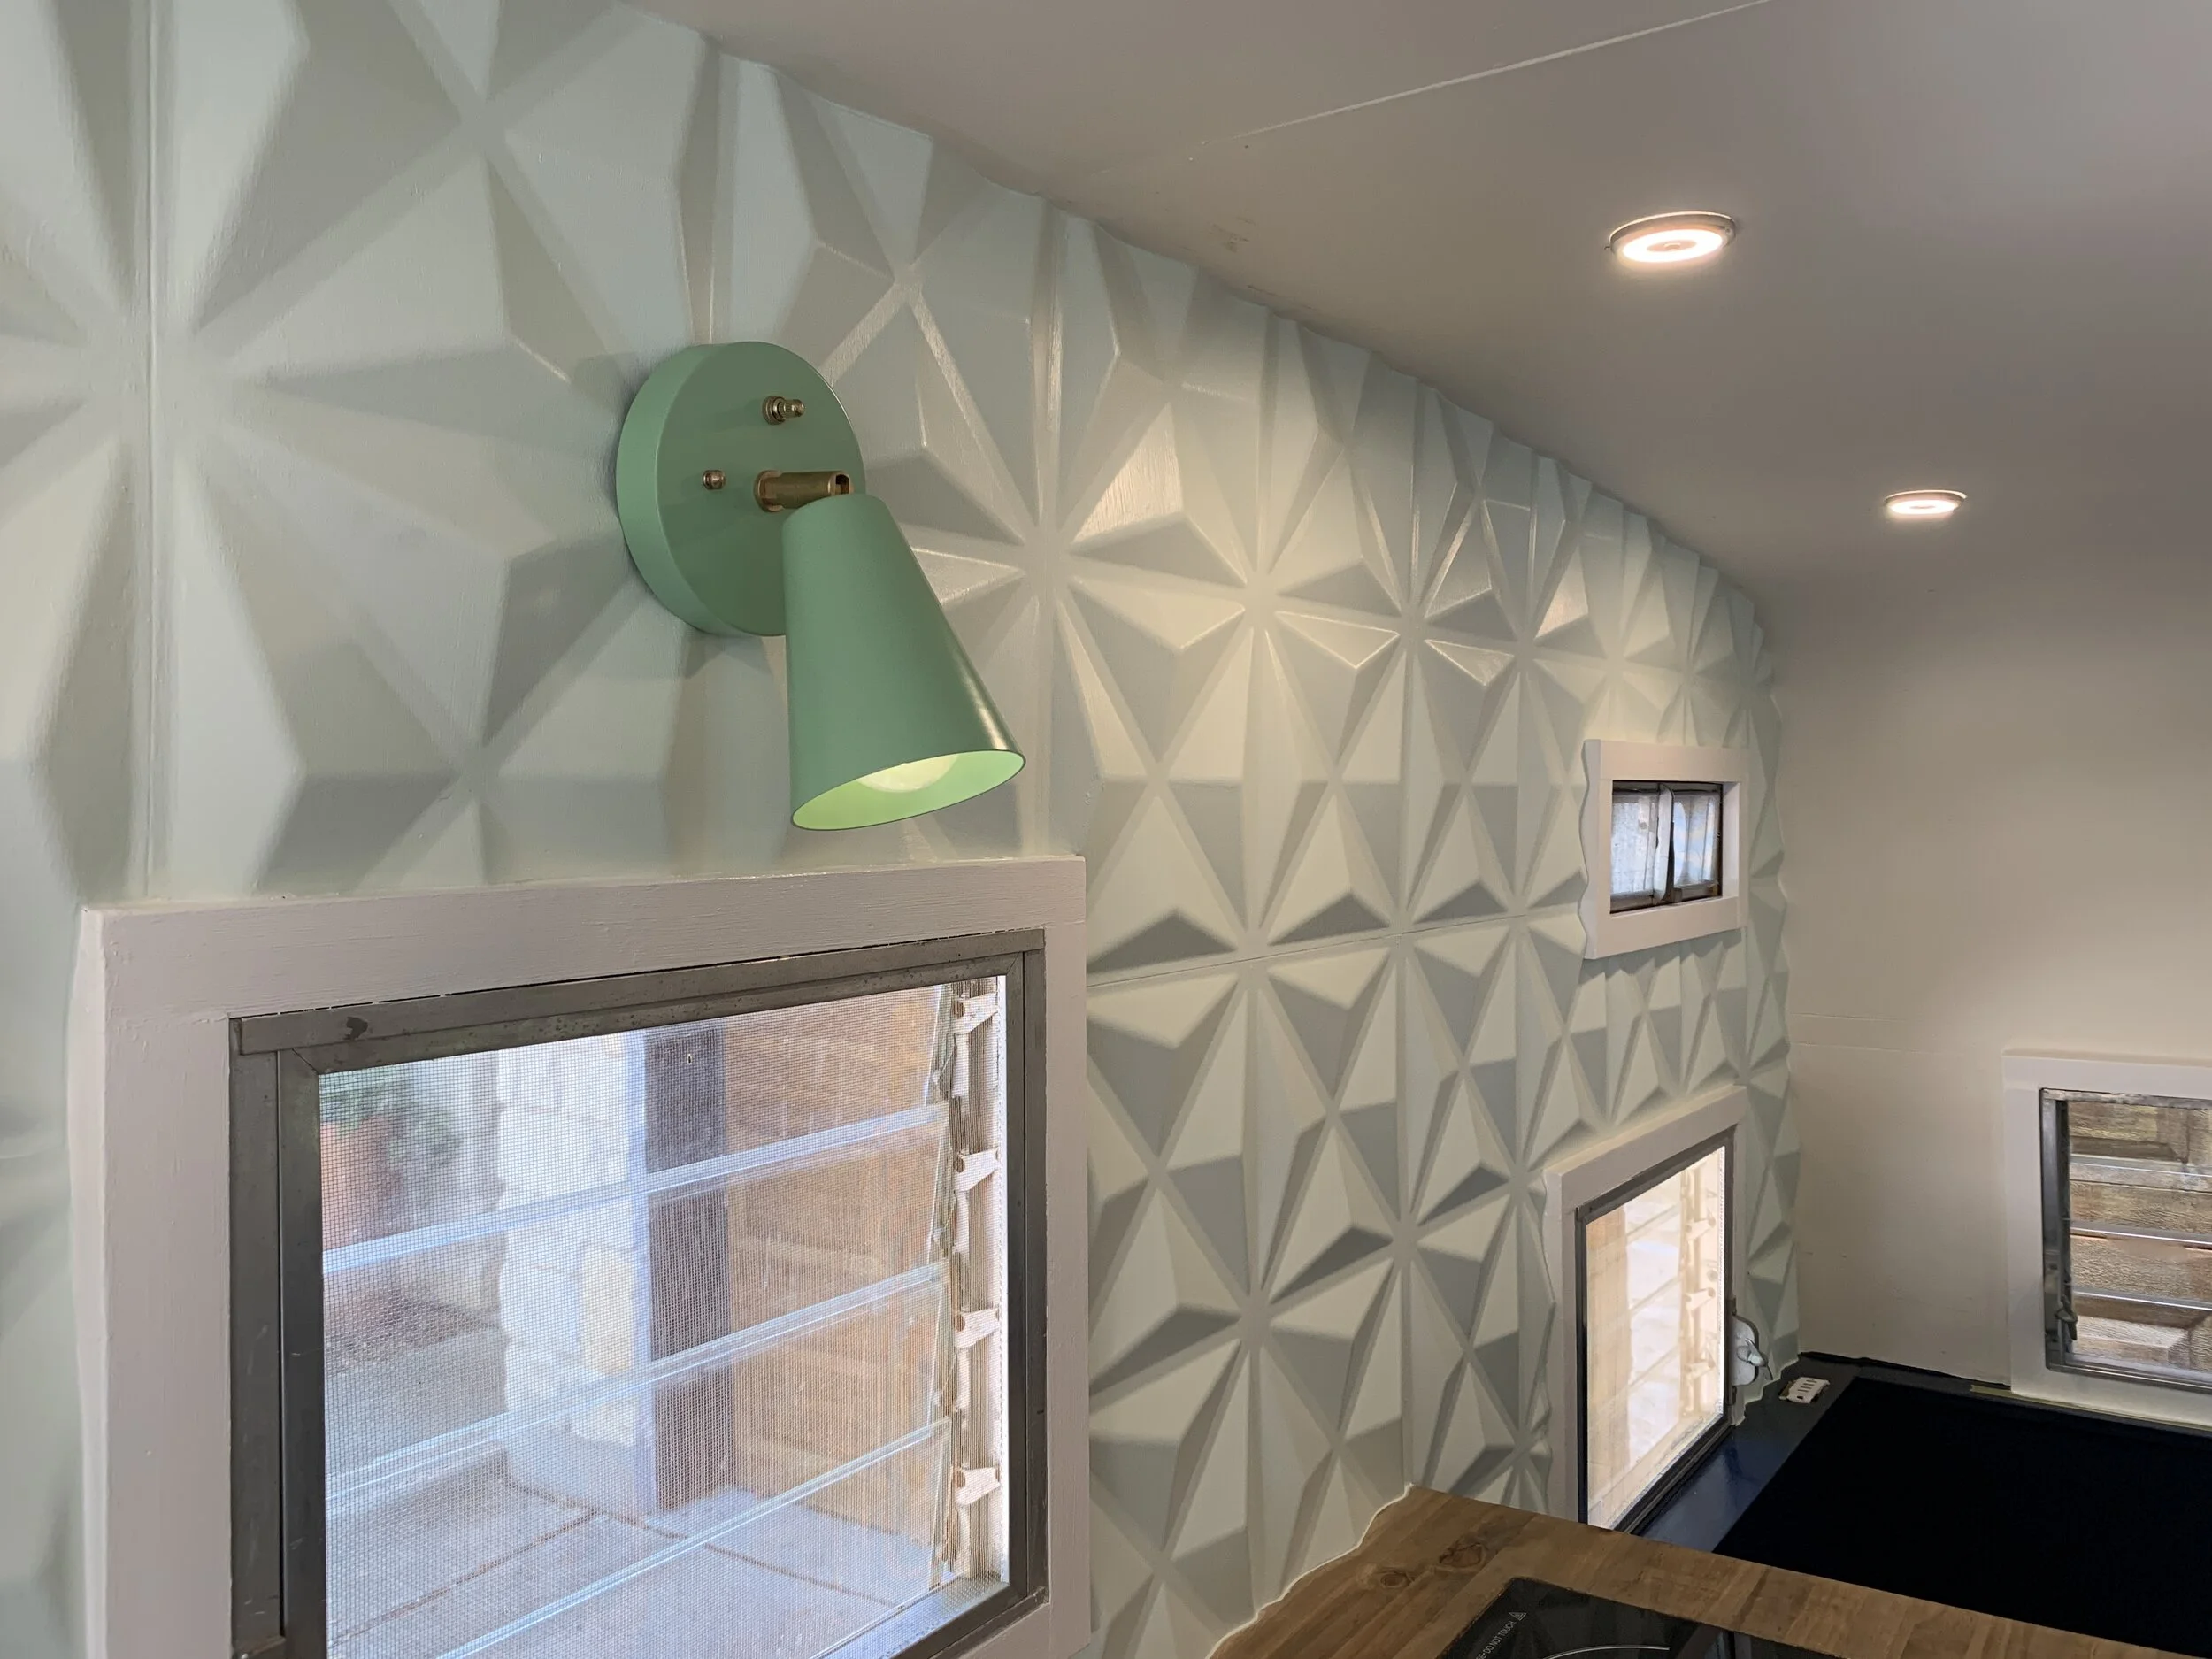
After primer
Our 3D wall primer + paint tips
During priming, we learned a great method for painting each panel to make sure nothing got missed:
Work on one panel at a time and work from the top down and from one side to the other. (Nick started at the front of the camper so he went top down and left to right. I started at the back of the camper so I went top down and right to left.) This kept us from being overwhelmed and going at the wall like a couple’a drunk monkeys with paint brushes.
For consistency (in case brush strokes did show up in the end) we applied the paint in an X motion down in the valleys of the tiles first, then painted the top part of the triangle, followed by the two lower parts of the triangle, then quickly repeated for each set of triangles within the tile.
Quickly and before the tile dried, we brushed each 3D triangle vertically, feathering our strokes into each other to remove any drips and blobs.
If you paint too long, the paint will be partially-dried and will get a weird texture. To a certain extent, imperfections can be lightly sanded so don’t freak out and over-brush if the paint is already starting to dry. If that’s the case, you can always work in smaller areas.

The above photo shows the coverage of one coat of primer. The brushstrokes get less and less noticeable with each coat of paint.
Painting
We used the tips above to paint the wall which worked really nicely and painted three coats total, which actually minimized the appearance of brushstrokes even more. Because this wall is the backsplash in the kitchen and will be around some water, we went with an eggshell finish to help it repel water and bounce some light without being super glossy. The mid-level sheen also helps accentuate the 3D design, but isn’t so high gloss that it also really plays up any imperfect seams. The color is SW 6441 White Mint which we are loving – it’s a great blend between the greener mint of our accent light and bluer mint of the dining table, with more white in it so it still keeps the camper nice and bright and almost acts as a neutral.

Initially, we also painted our wooden window trim mint thinking it would help it blend in and not take away from the 3D panels, but instead it just made the whole thing look blah. Nick had the great idea to paint the window trim bright white which is exactly what it needed to make the White Mint look fresh and modern.

The all-mint wall and trim looked dark and dingy

Bright white window trim made the mint wall feel bright and fresh

Since this photo, we’ve re-painted the entire ceiling and the other walls in the camper and have made over the inside of the door which really helps the interior feel so much more finished.
Now that we’ve been at home 24/7 and the 3D wall is complete, we’ve knocked out a ton of camper stuff over the last couple of months and we need to play catch up again here on the ol’ blog!
As of today’s writing, we’ve:
Gotten the kitchen faucet installed
Installed the over-the-sink accent light
Finished the TV outlet and coax cable ports
Got the plumbing mostly completed (water inlets, fresh tank, kitchen sink and water heater – all that’s left is basically the entire bathroom, ha!)
Painted all of the furniture
Installed all of the cabinet hardware
Replaced the twin bed lid after I broke it (safe to say this is officially my brand, btw)
Made over the inside of the exterior door
Got a free twin mattress for our day bed (huge shout out to our friend Jessi)
Three of our five bench cushions are upholstered (huge thanks to Nick’s mom)
And we repainted the entire ceiling and back wall a different color, which meant cutting in on the 3D wall more times than I can count
So yeah, there’s lots of detail-sharing that I need to catch up on.
In the meantime we still need to:
Finish the bathroom – which means building a shower pan from scratch, waterproofing the whole thing, running electrical to the wet bath, plumbing the toilet, making the bathroom door and configuring the attached gray and black tanks under the floor
Run our sink drain to the to-be-installed gray tank
Tie in an exterior water spigot to the current plumbing system
Close in the dinette bench backrest
Hook up the TV
Mount a shelf
Install window coverings
Figure out the front window’s exterior rock guard
And do some minor paint touch ups on the interior and exterior.
Our goal is to knock all this out in the next month or so! Are we totally crazy? Wait, don’t answer that.
It has changed a bunch since the photos in this post were taken. For the latest progress while we play catch-up, follow us on Instagram.