The Cameo Camper Renovation: Installing Interior Lights + Wiring a 12V Switch

We’re so excited! We’re half way into October and it’s finally officially fall in Texas (today, at least… yesterday was more like winter, and the day before it was summer). You may think I’m exaggerating, but for real it jumped from sweltering 90s to a frigid, drizzly, windy low 50s to perfect 60s all within a span of 48 hours, which has us more motivated than ever to get The Cameo finished so we can finally enjoy it and this nice weather for adventuring. We’re also finally to a point in the renovation where I feel like we actually have content waiting on me to blog about it! So today we’re going to talk wiring which has been pretty much done for a while now, but I wanted to combo our ceiling lights install with how we wired the wall switch for them (which wasn’t done all that long ago since we mounted the switch into a cabinet we only built in the last few weeks).
If you missed the overall post on how our camper’s electrical system works, go here. There (among other things) we also shared the difference between 120V AC and 12V DC power and why we chose to have both in our travel trailer.
Is this 120V that I have, or is this 12V?
Before we dive in, let’s make sure you actually need 12V. (And yes that was a Jessica Simpson Chicken of the Sea reference, because, why not?) So we came across this question when I absolutely fell in love with these beautiful accent lights (that we haven’t shared yet because I want it to be a surprise (!) and to be totally honest - because we haven’t installed them quite yet…though I’ve been staring at them in the garage since July) before we really thought about the different needs of 12V vs. 120V. Like many things in this reno, we audibled mid-way and had to remove our red/black 12V wiring and re-run green/black/white 120V in two spots because I’m so in love with them and couldn’t bear to send them back and move to yet another plan B. This may not be an issue for anyone else, but we thought we’d share in case it could help literally anyone else.
If a light you’ve purchased (or already had) for your renovation has 3 wires – black + white + green (or maybe copper) – then it is a 120V AC light and you need to run 3 wires to match. These are the ones that will plug into your inverter (the blue box in our electrical cabinet) using a standard 3-prong house plug. Our 2 accent sconces are this type – as are our A/C unit and TV and the 120V outlets in the front and rear interior of the camper.
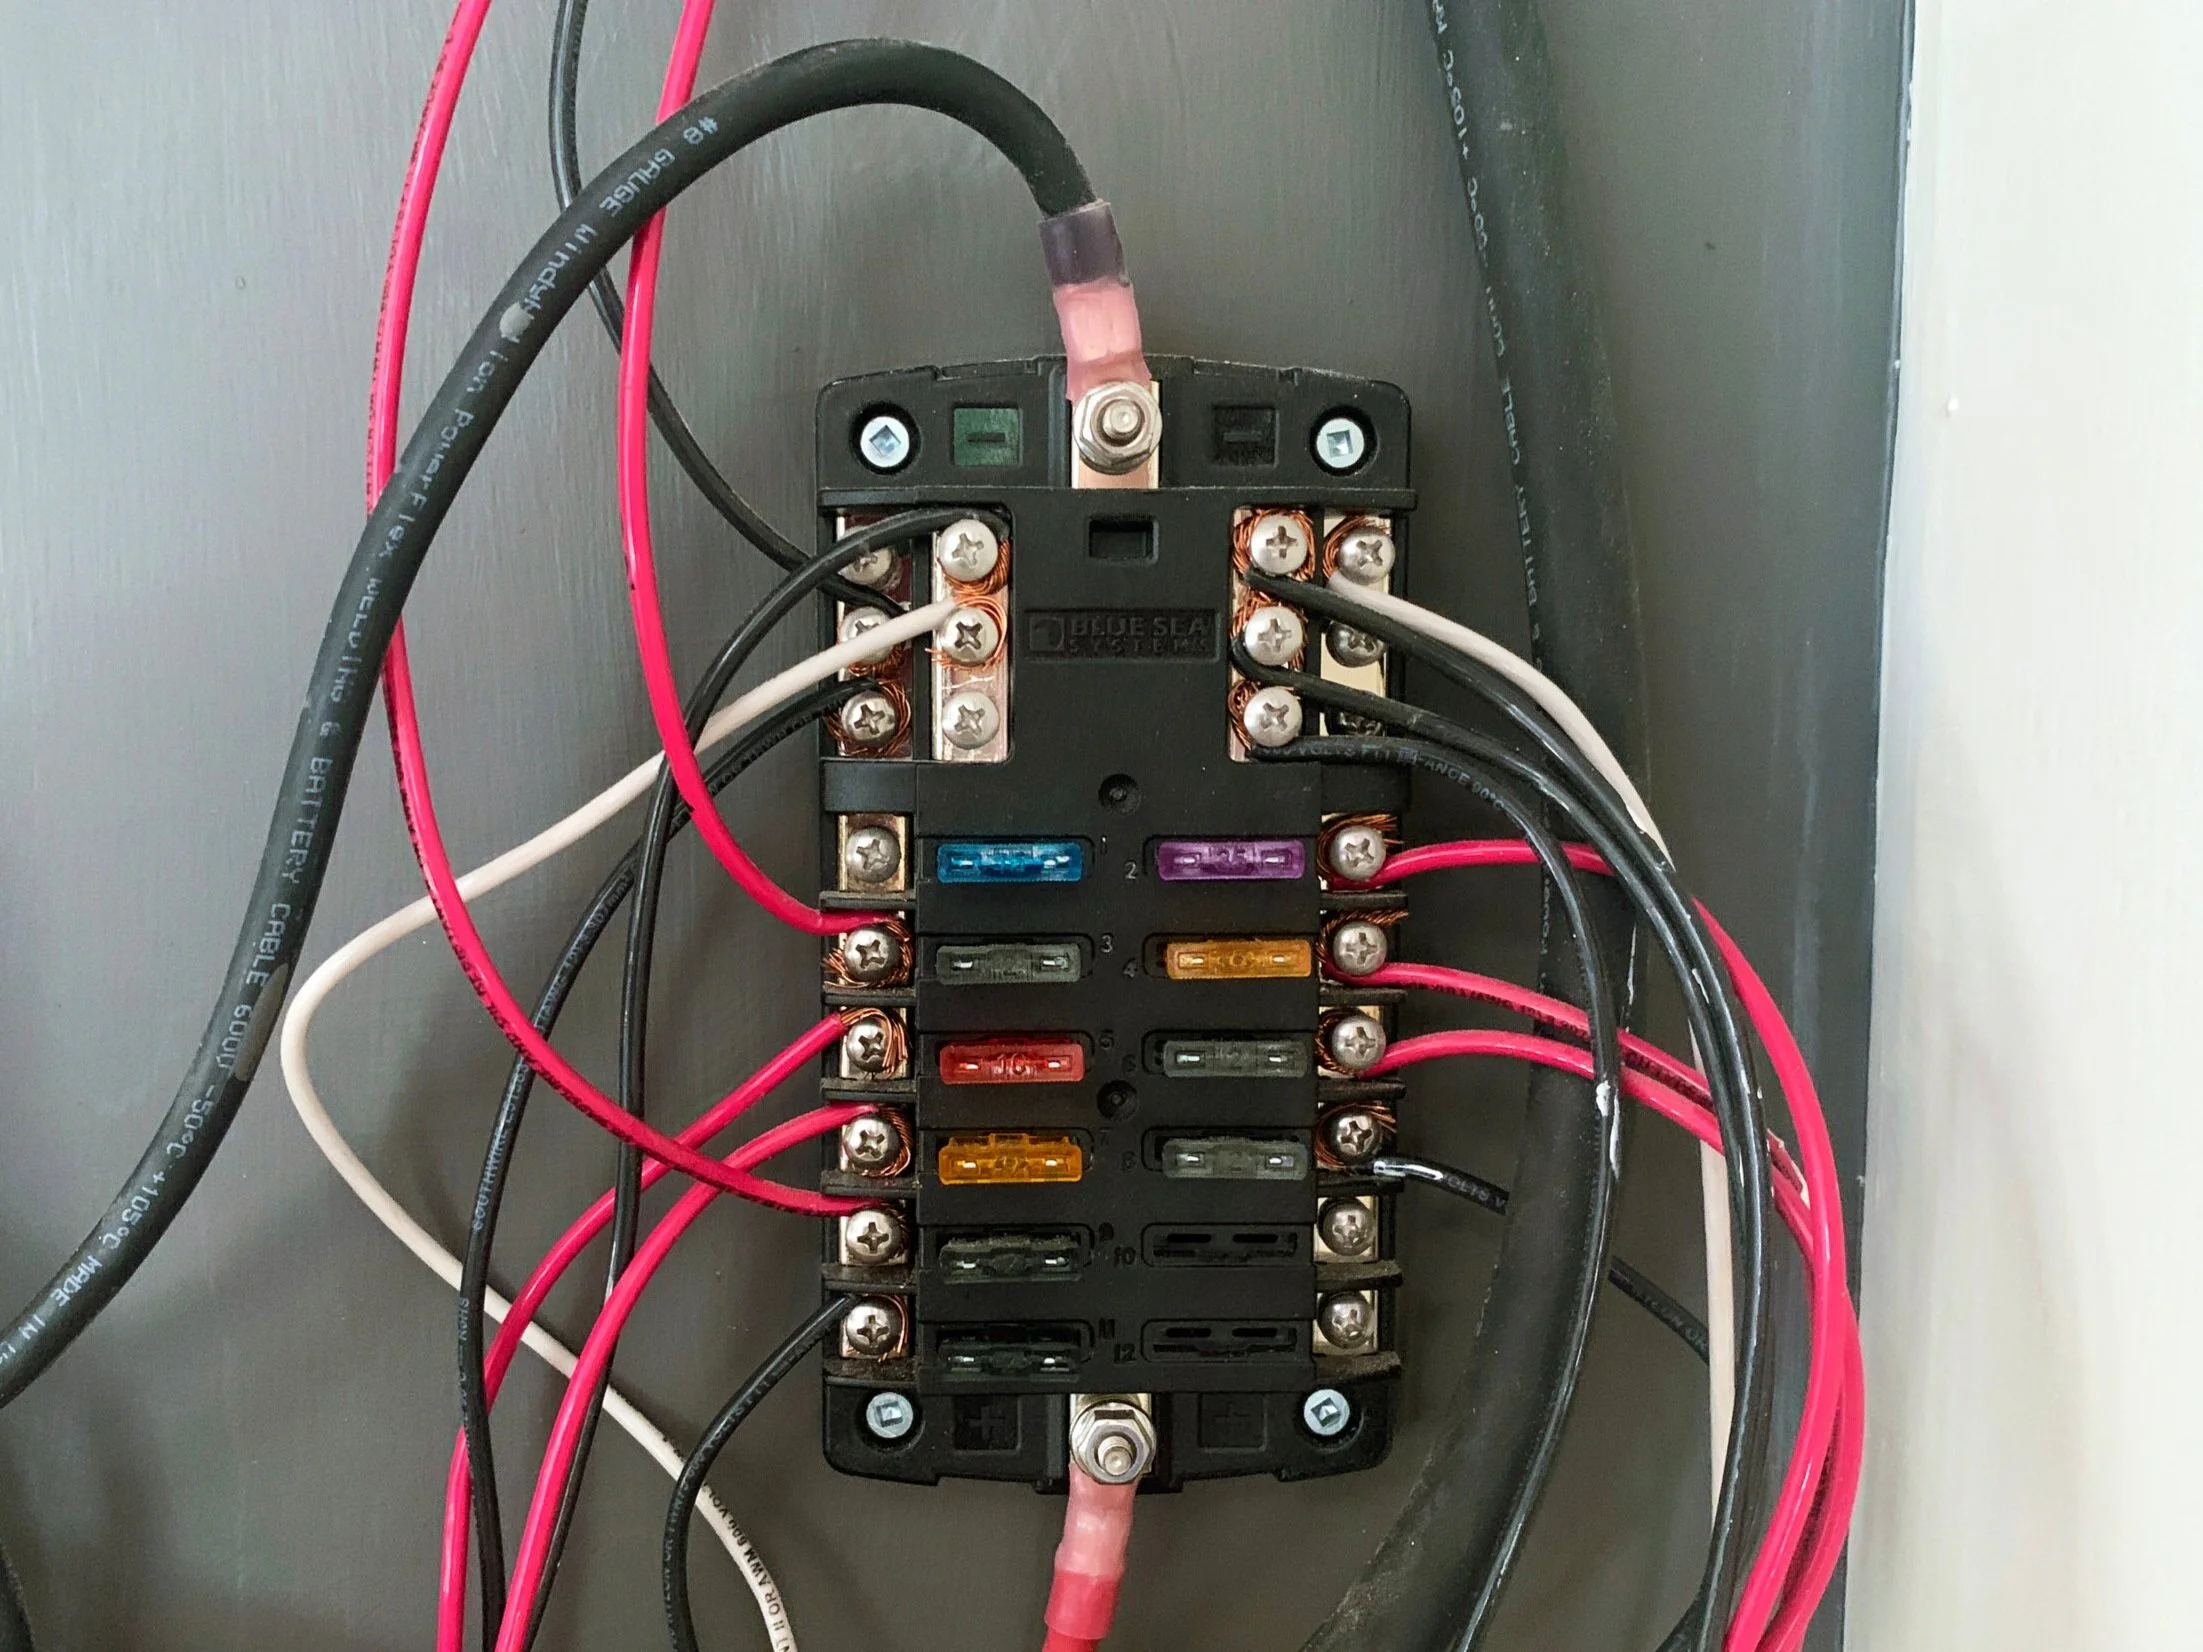
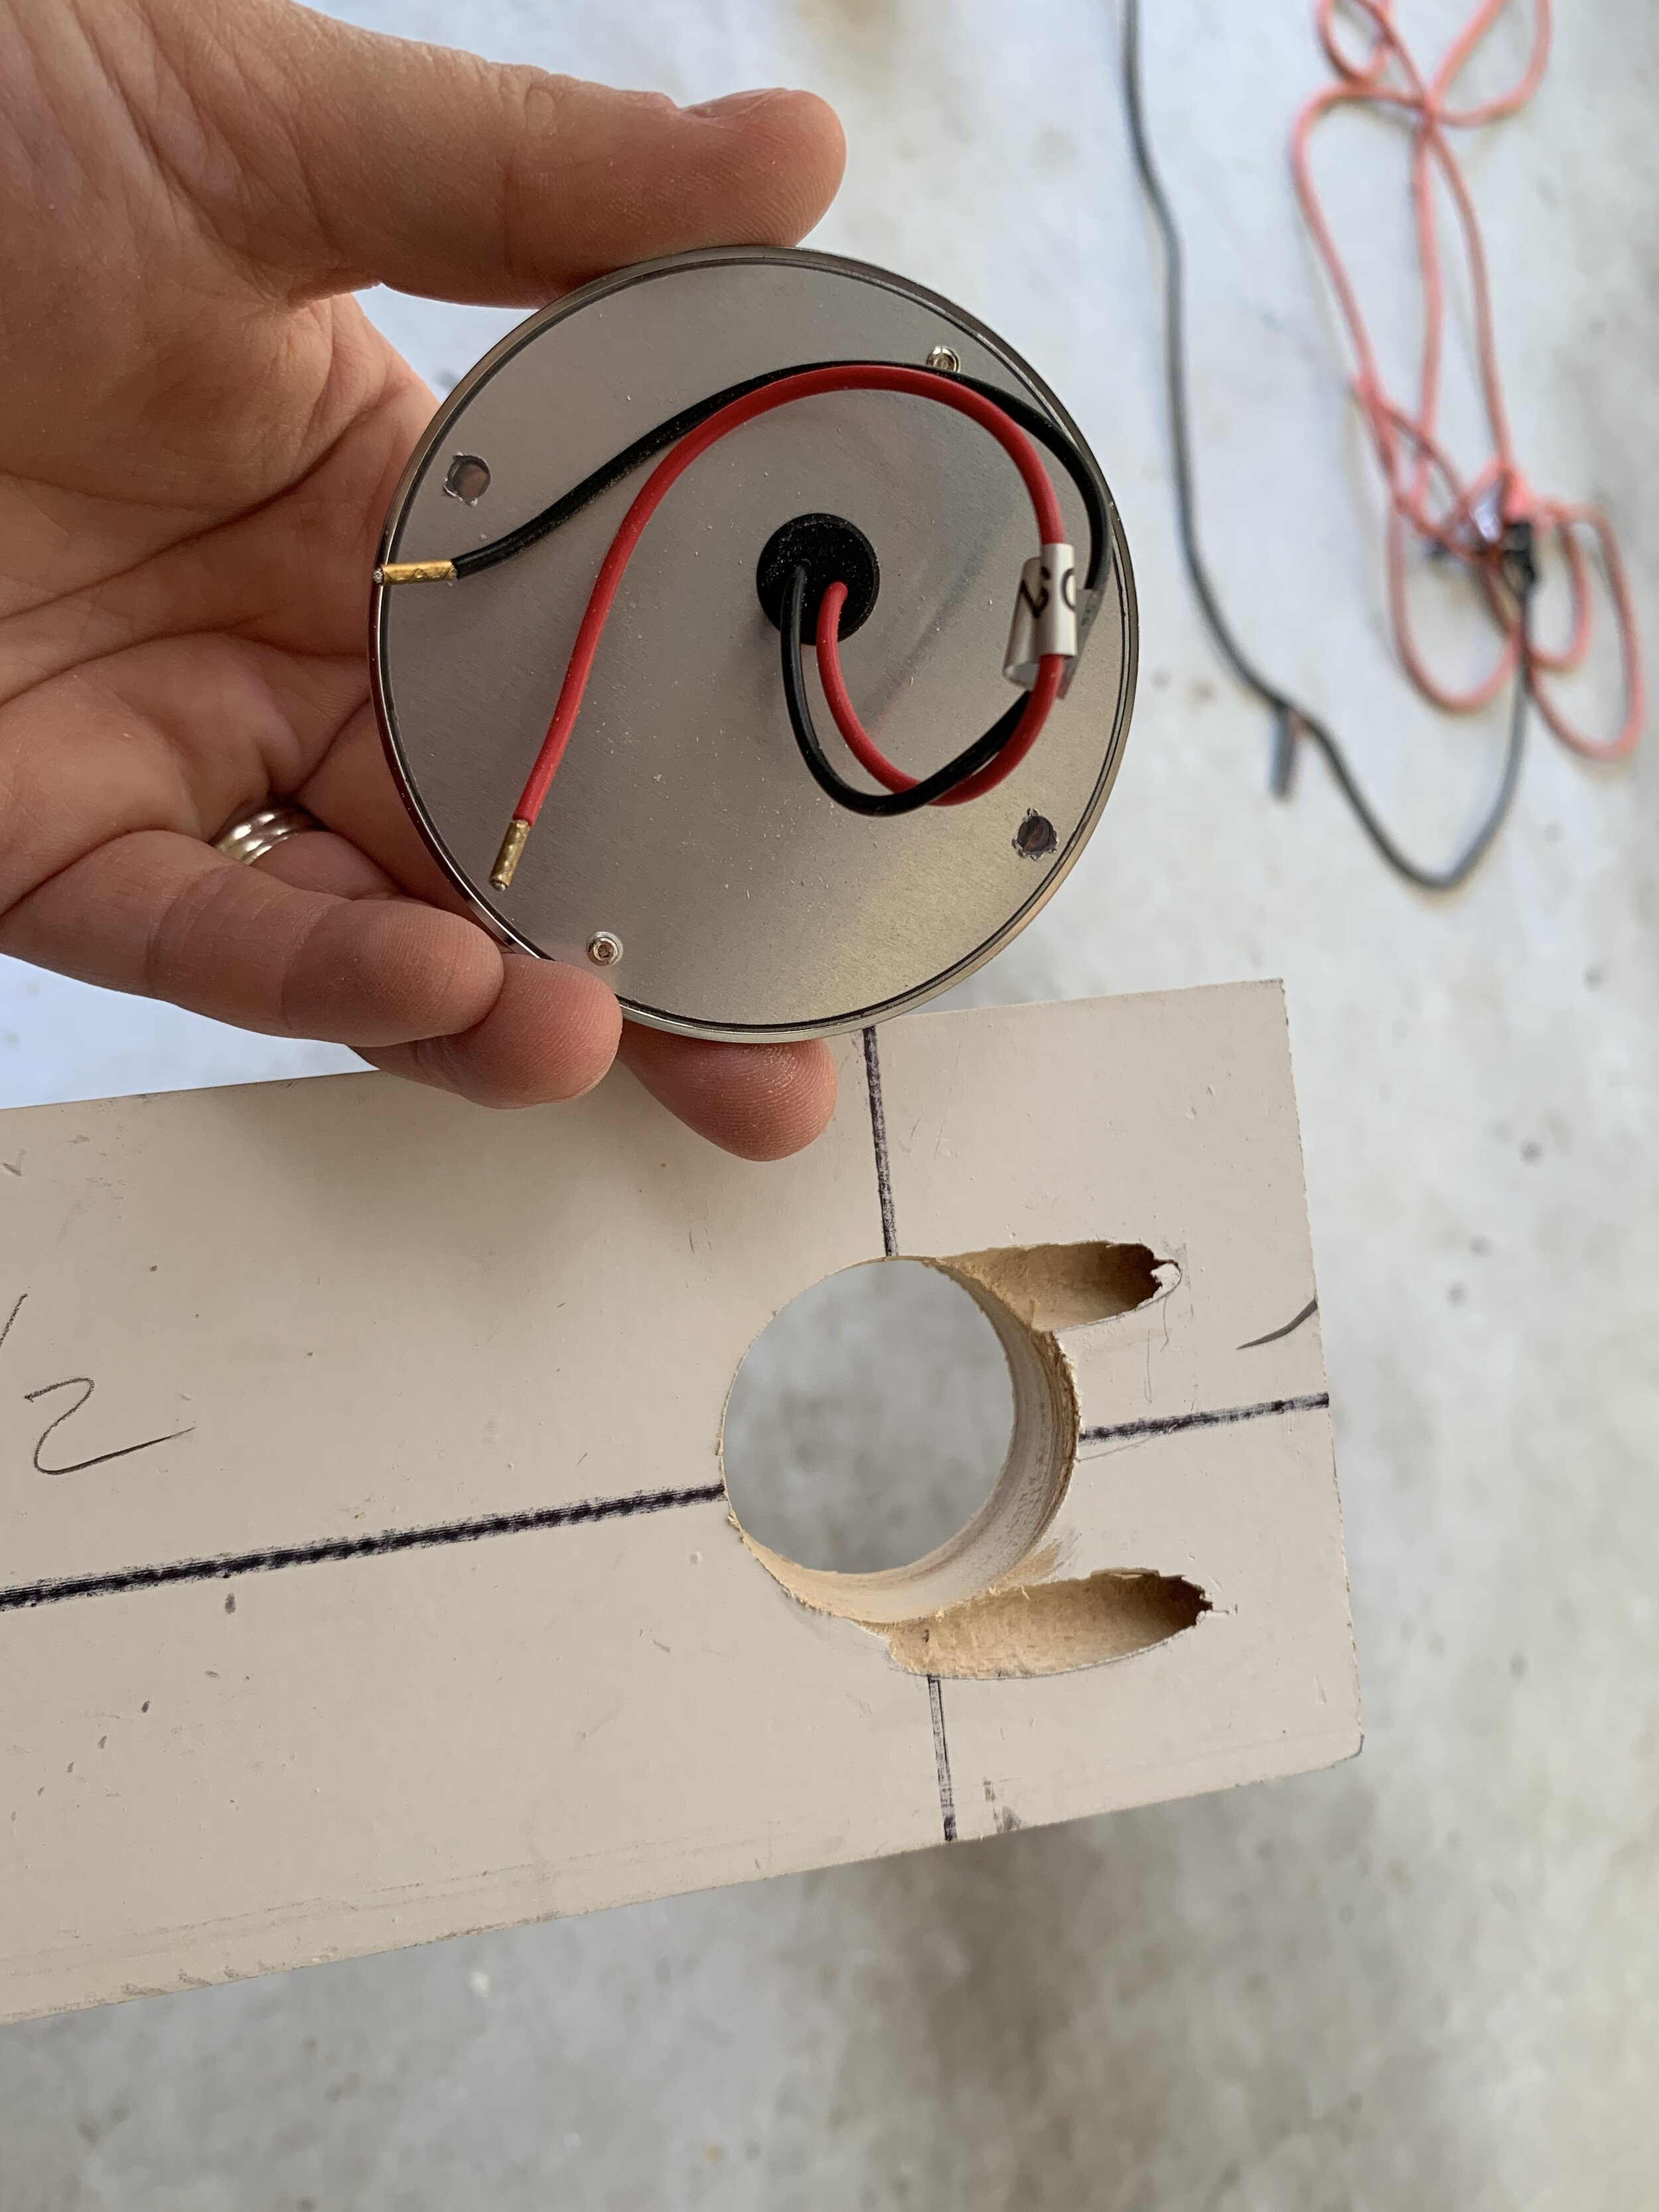
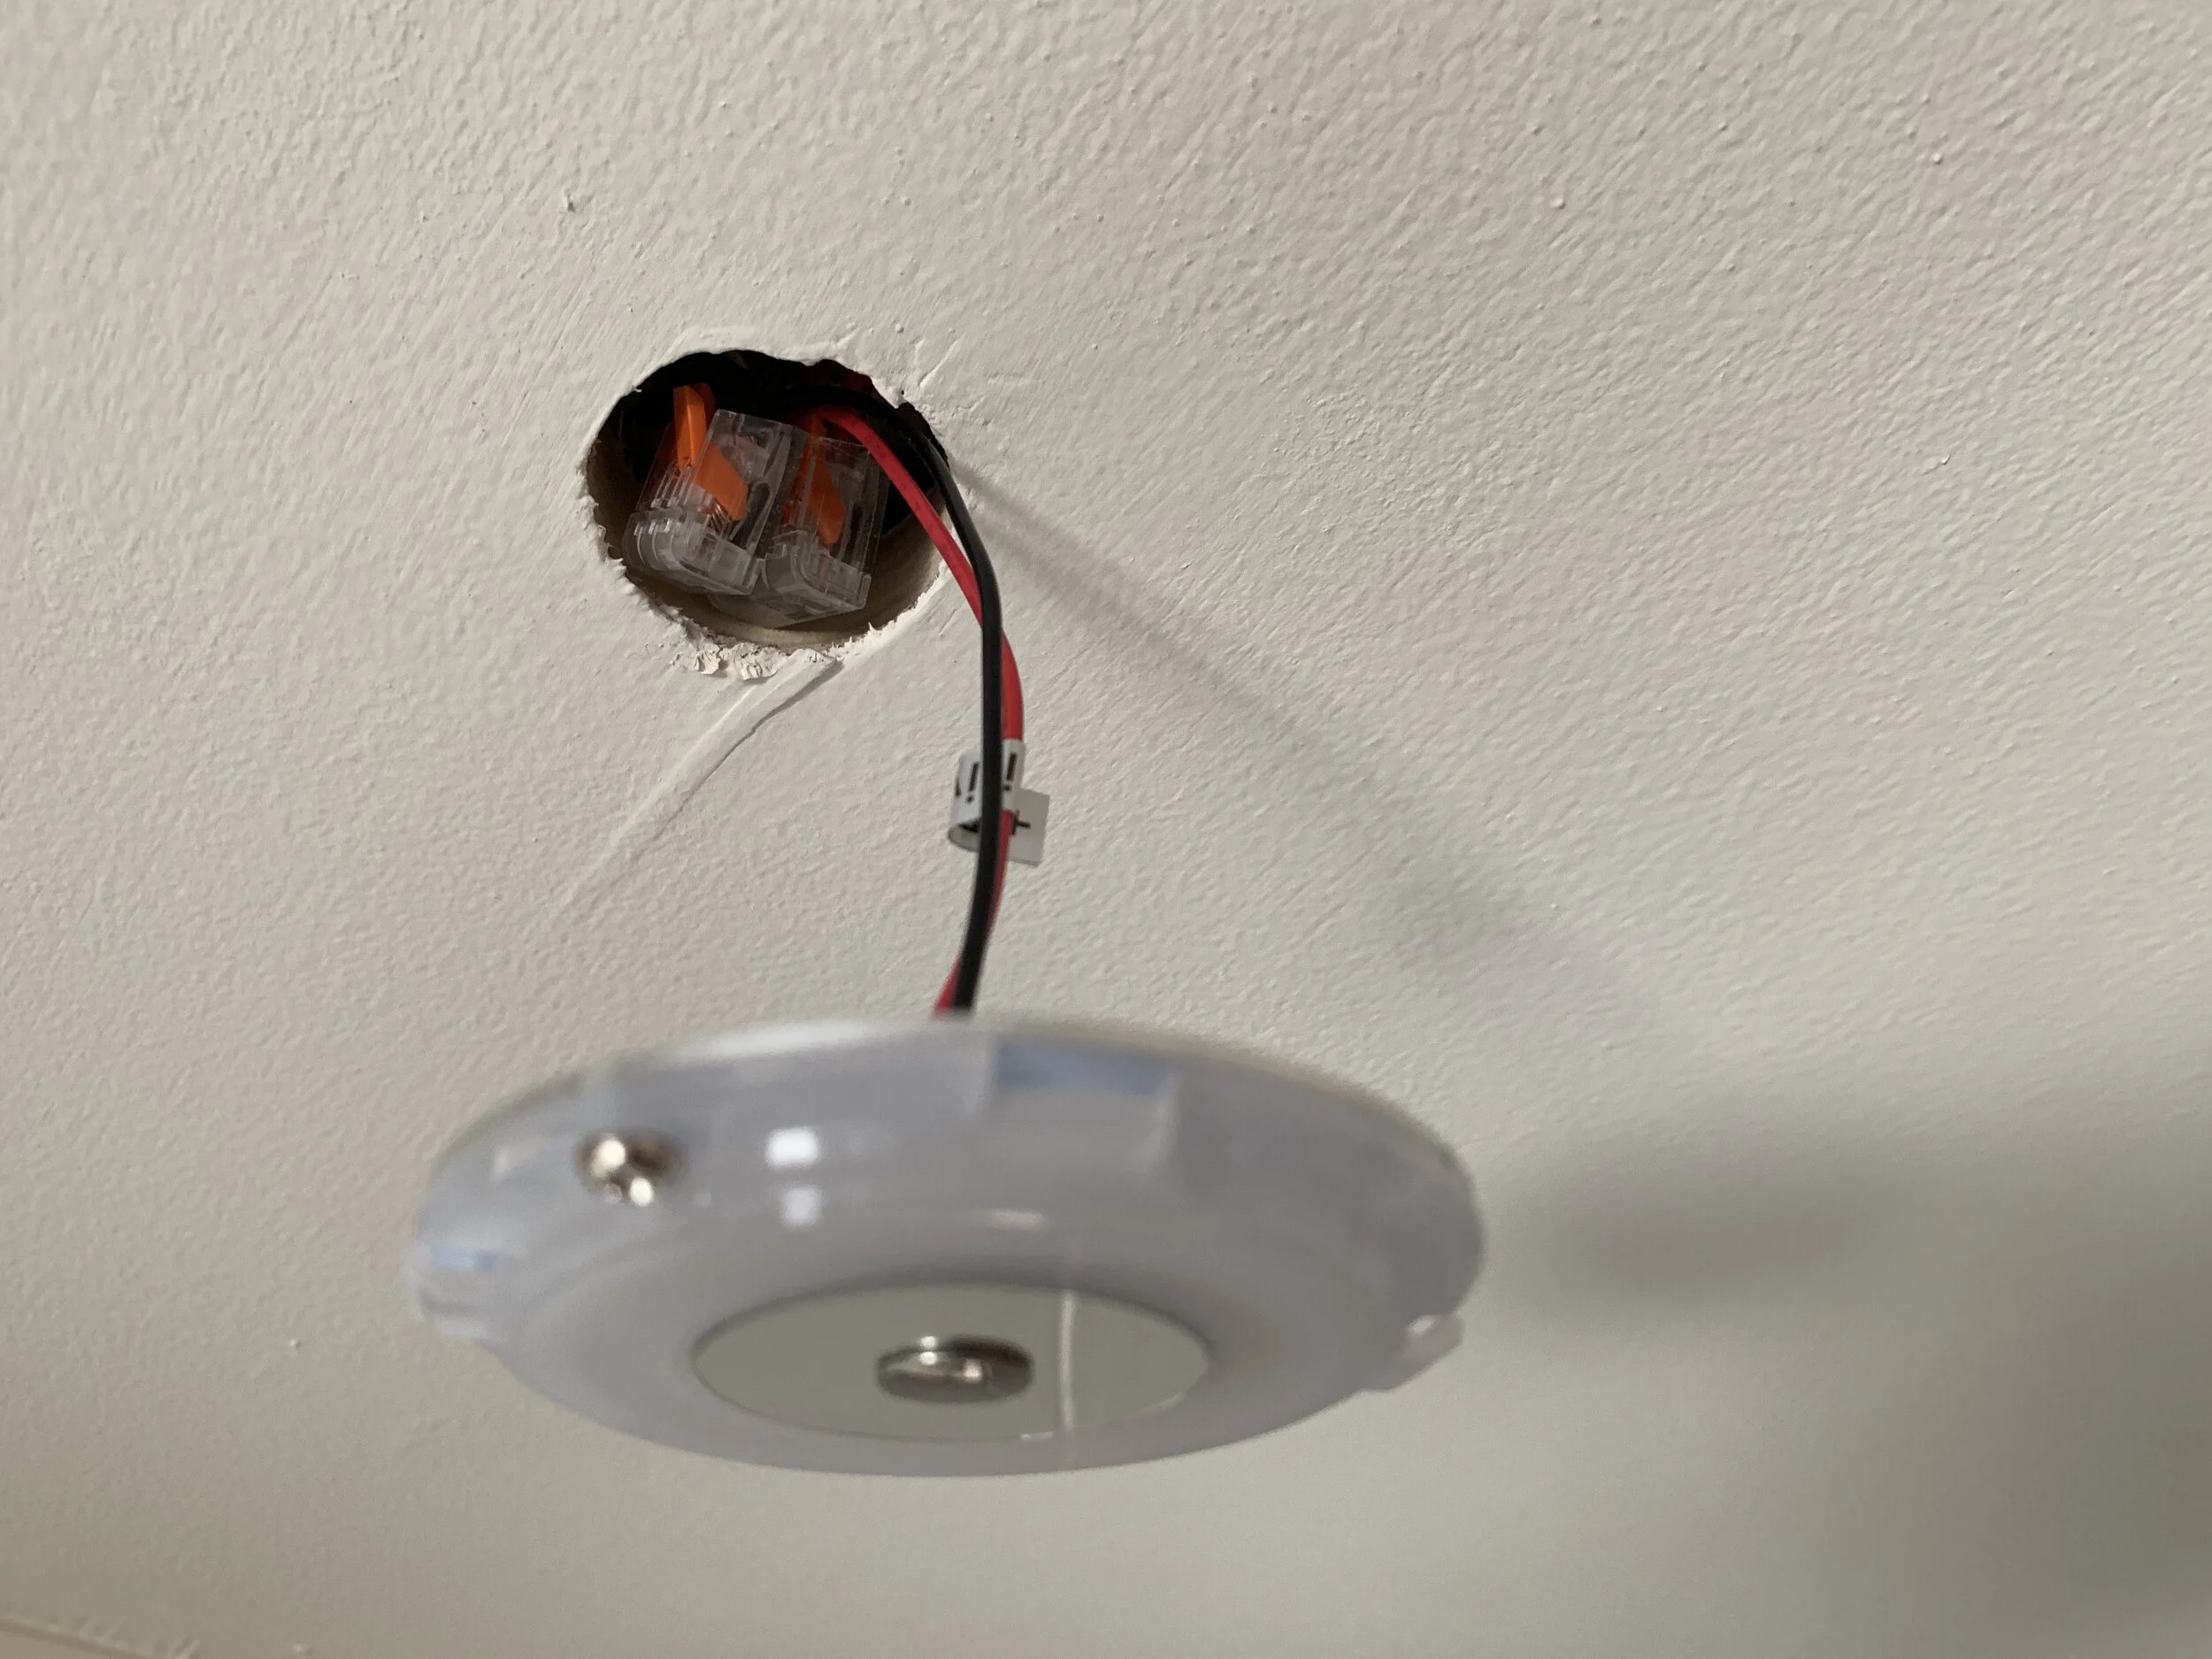
If your light/device has only 2 wires – likely red + black – then it is a 12V light and you should run 2 wires (red + black) to match. These are what we have connected to our bus bars. (Remind me again what a bus bar is…) The ceiling puck lights are this type.
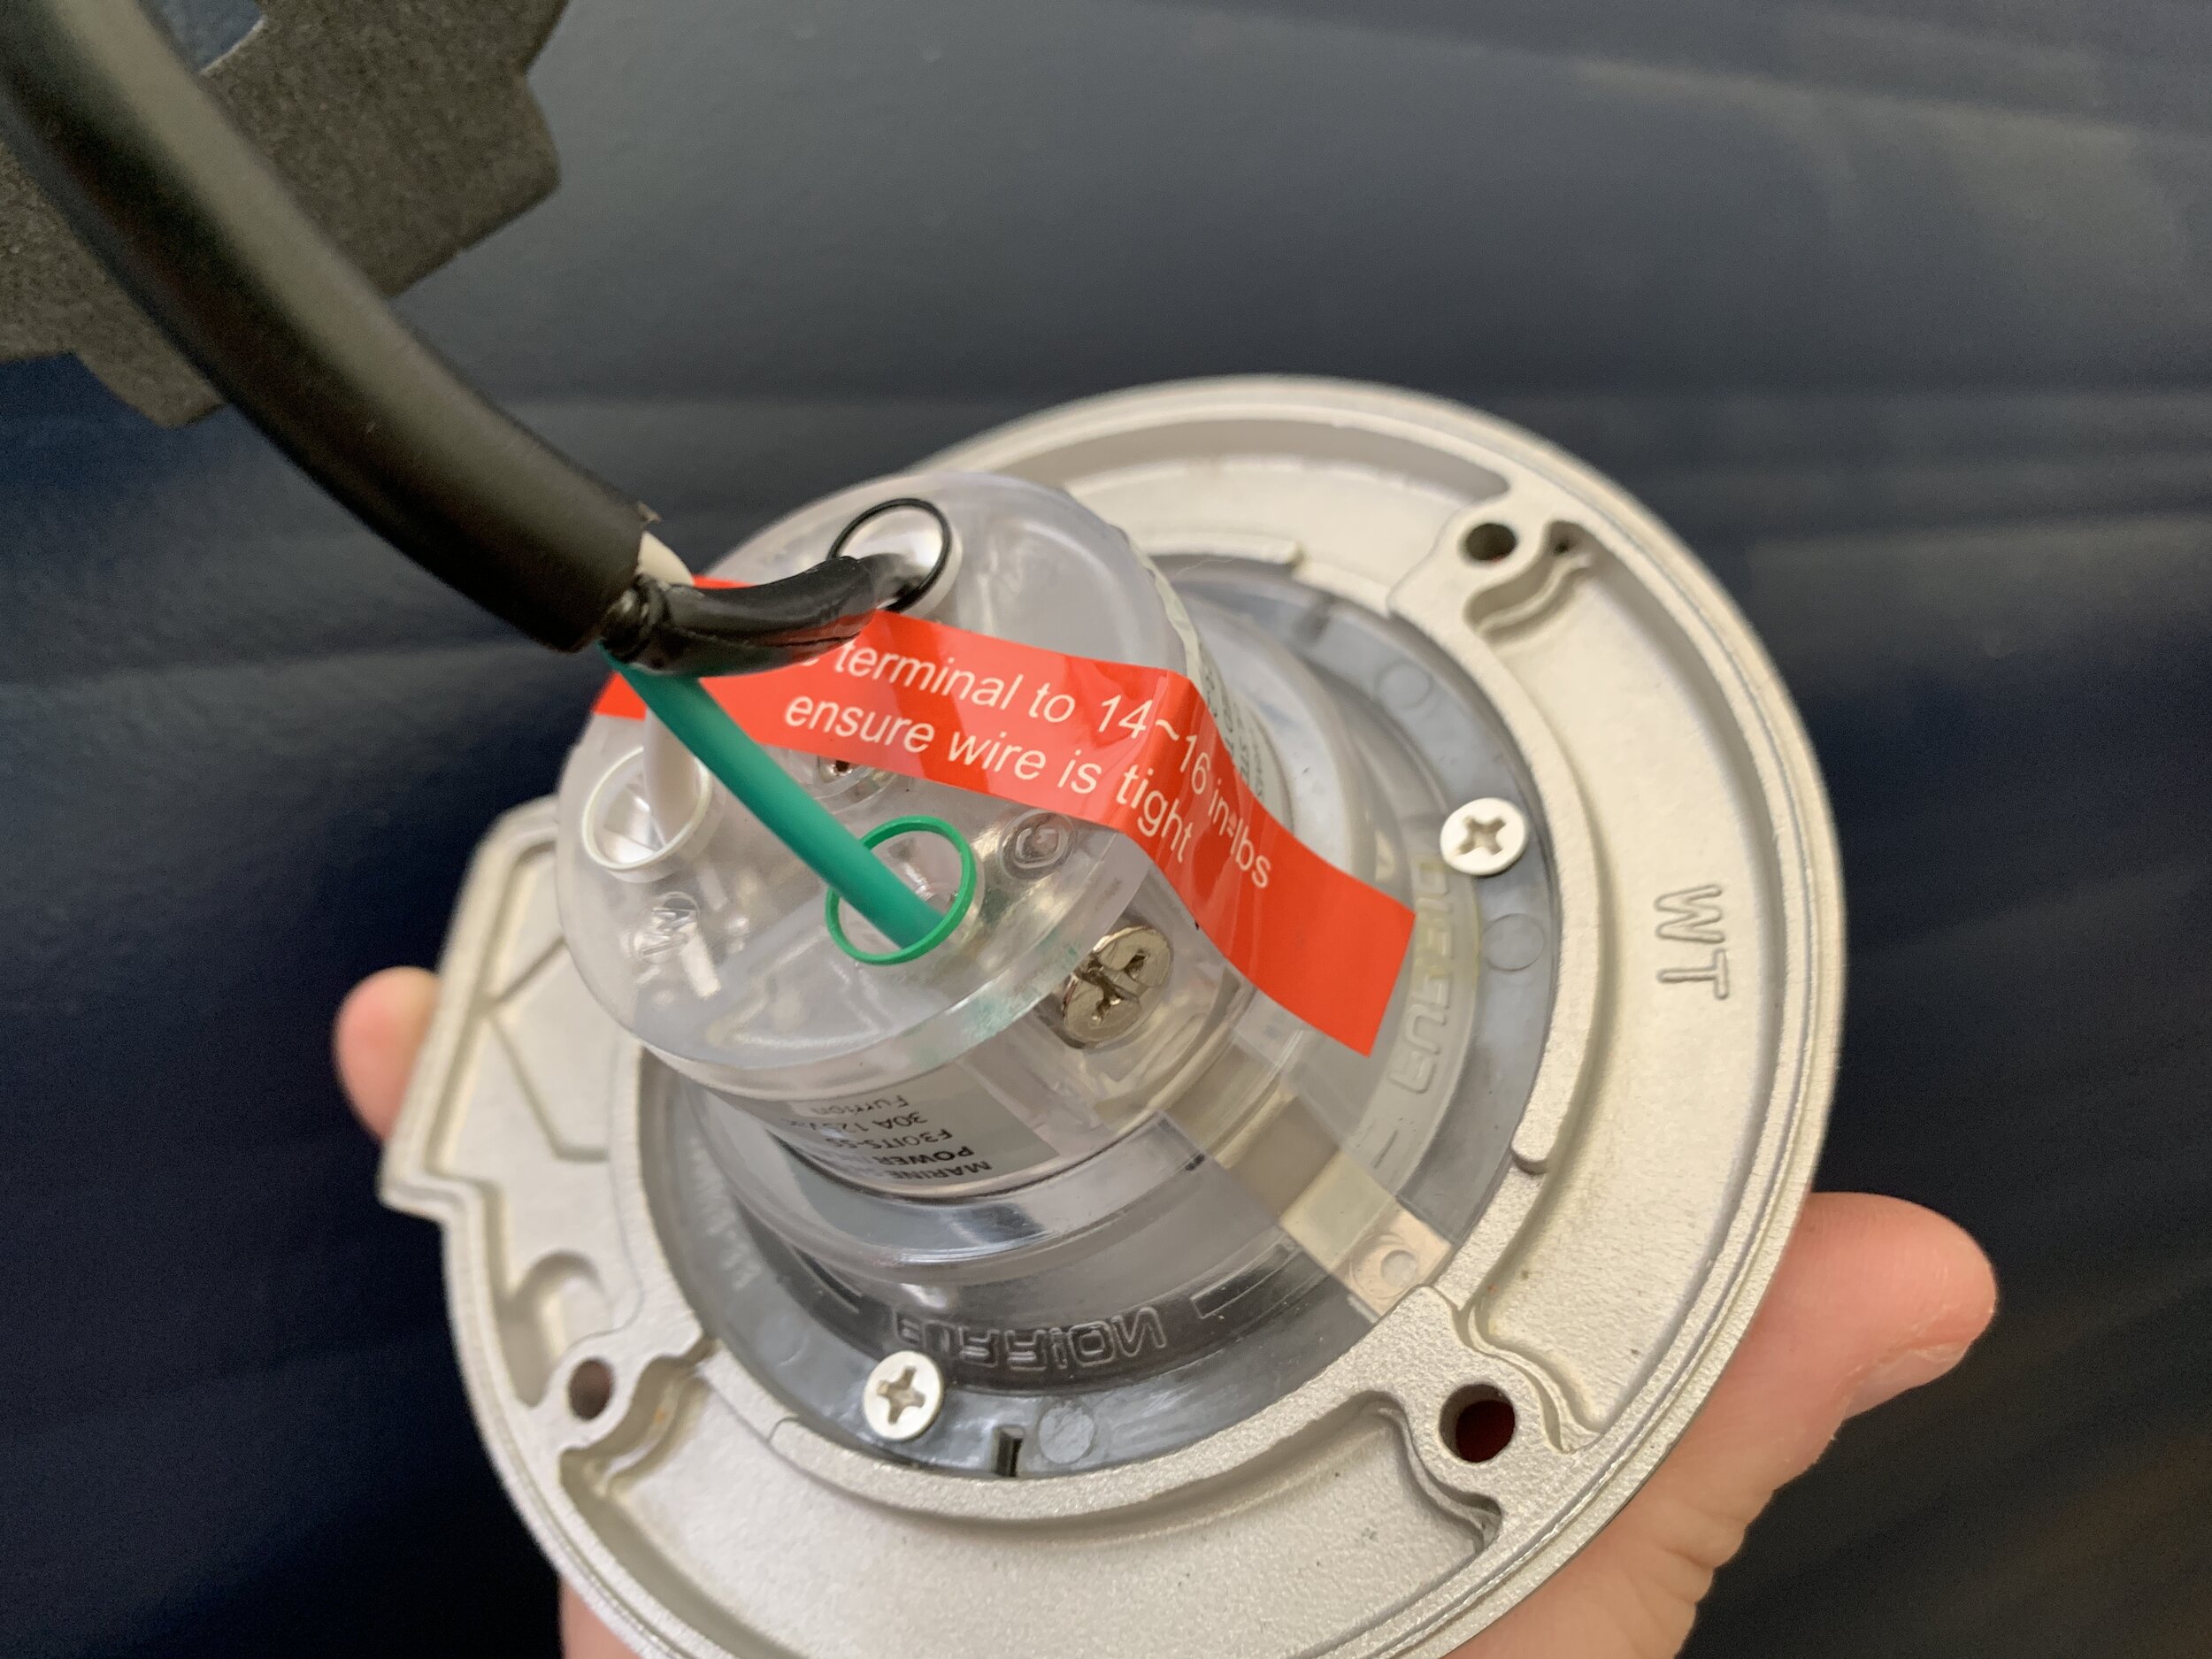
If you have a light that only has 1 wire – don’t worry, it’s probably a 12V light that grounds through the skin of your camper. It may seem daunting and unusual but in camper world it’s more than normal. This is how our porch light is, so we’ve wired it to a switch so it’s not constantly “on” when we don’t need it.
Today we’re specifically talking about numbers 2 and 3.
*Note: The colors of the wires coming out of your lights/appliances might not match the colors we’ve listed above. In our experience the number of wires is more important/telling than the color of the wires.
Our 12V light + switch shopping list
1.25” hole saw + drill
12AWG wiring in black and red (or whatever gauge 12V wiring you determined you needed for your project) – enough length to complete your circuit(s)
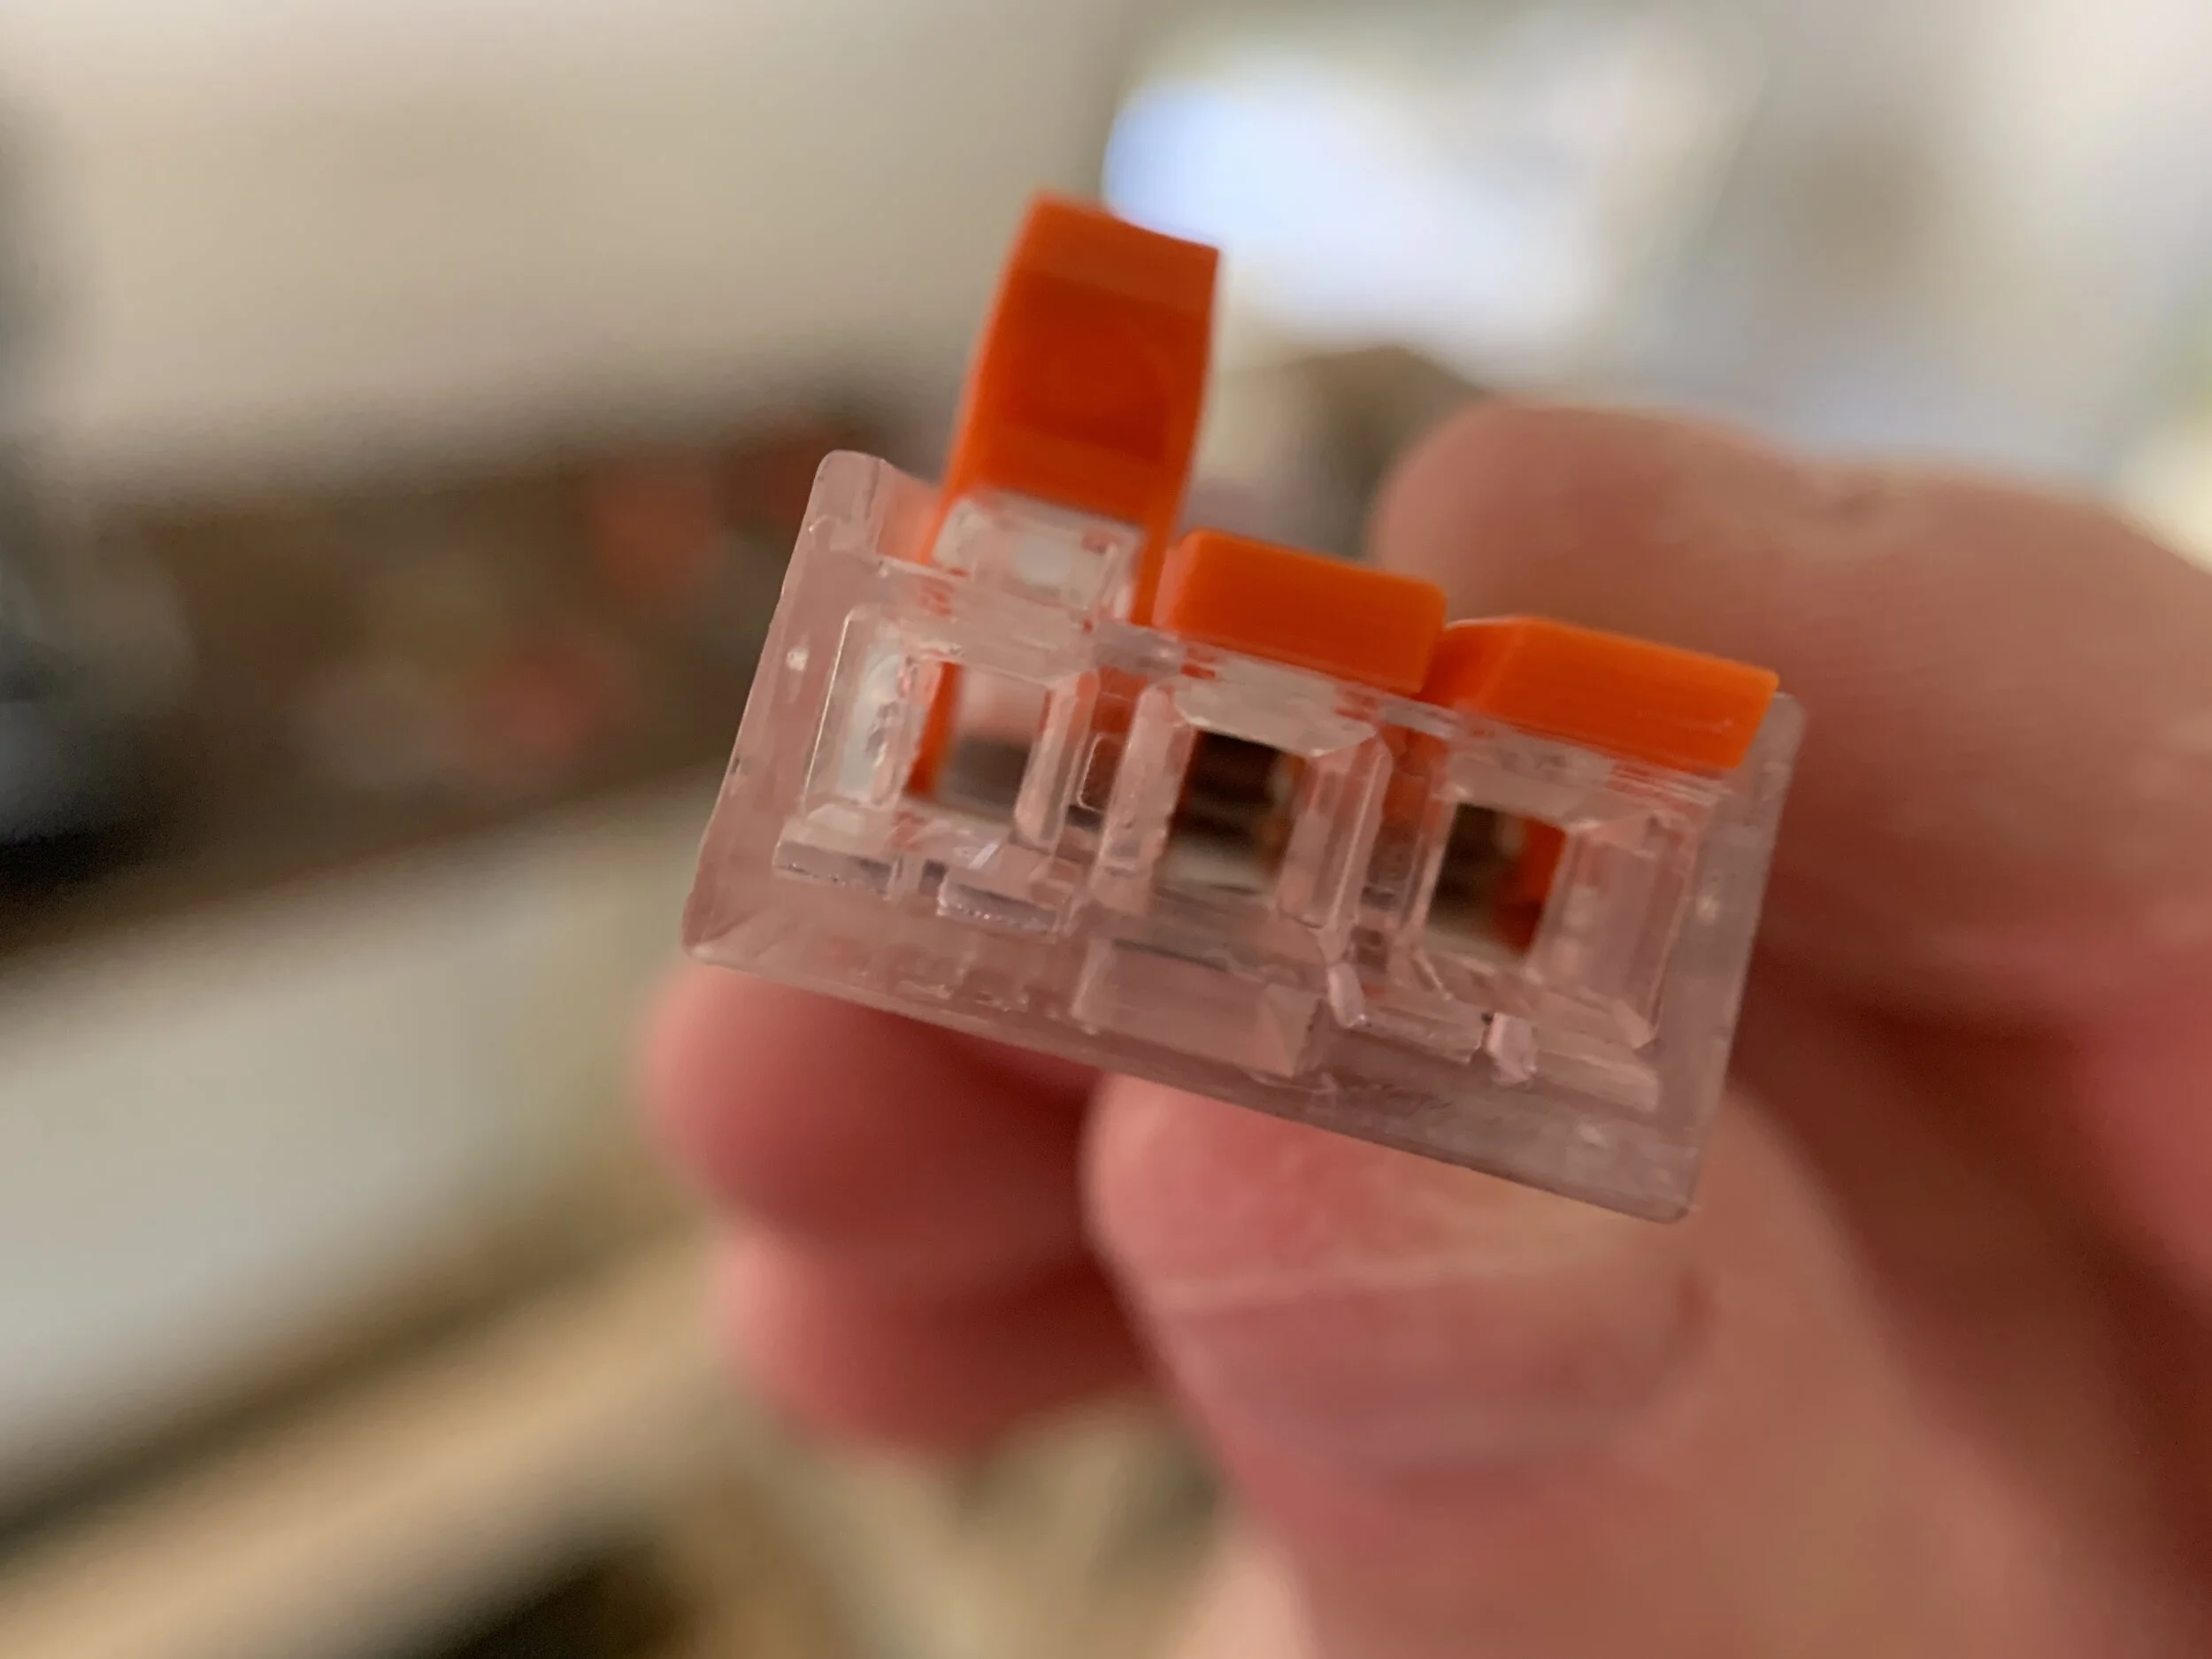
These amazing connectors – from the set we used the 2- and 3-port connectors
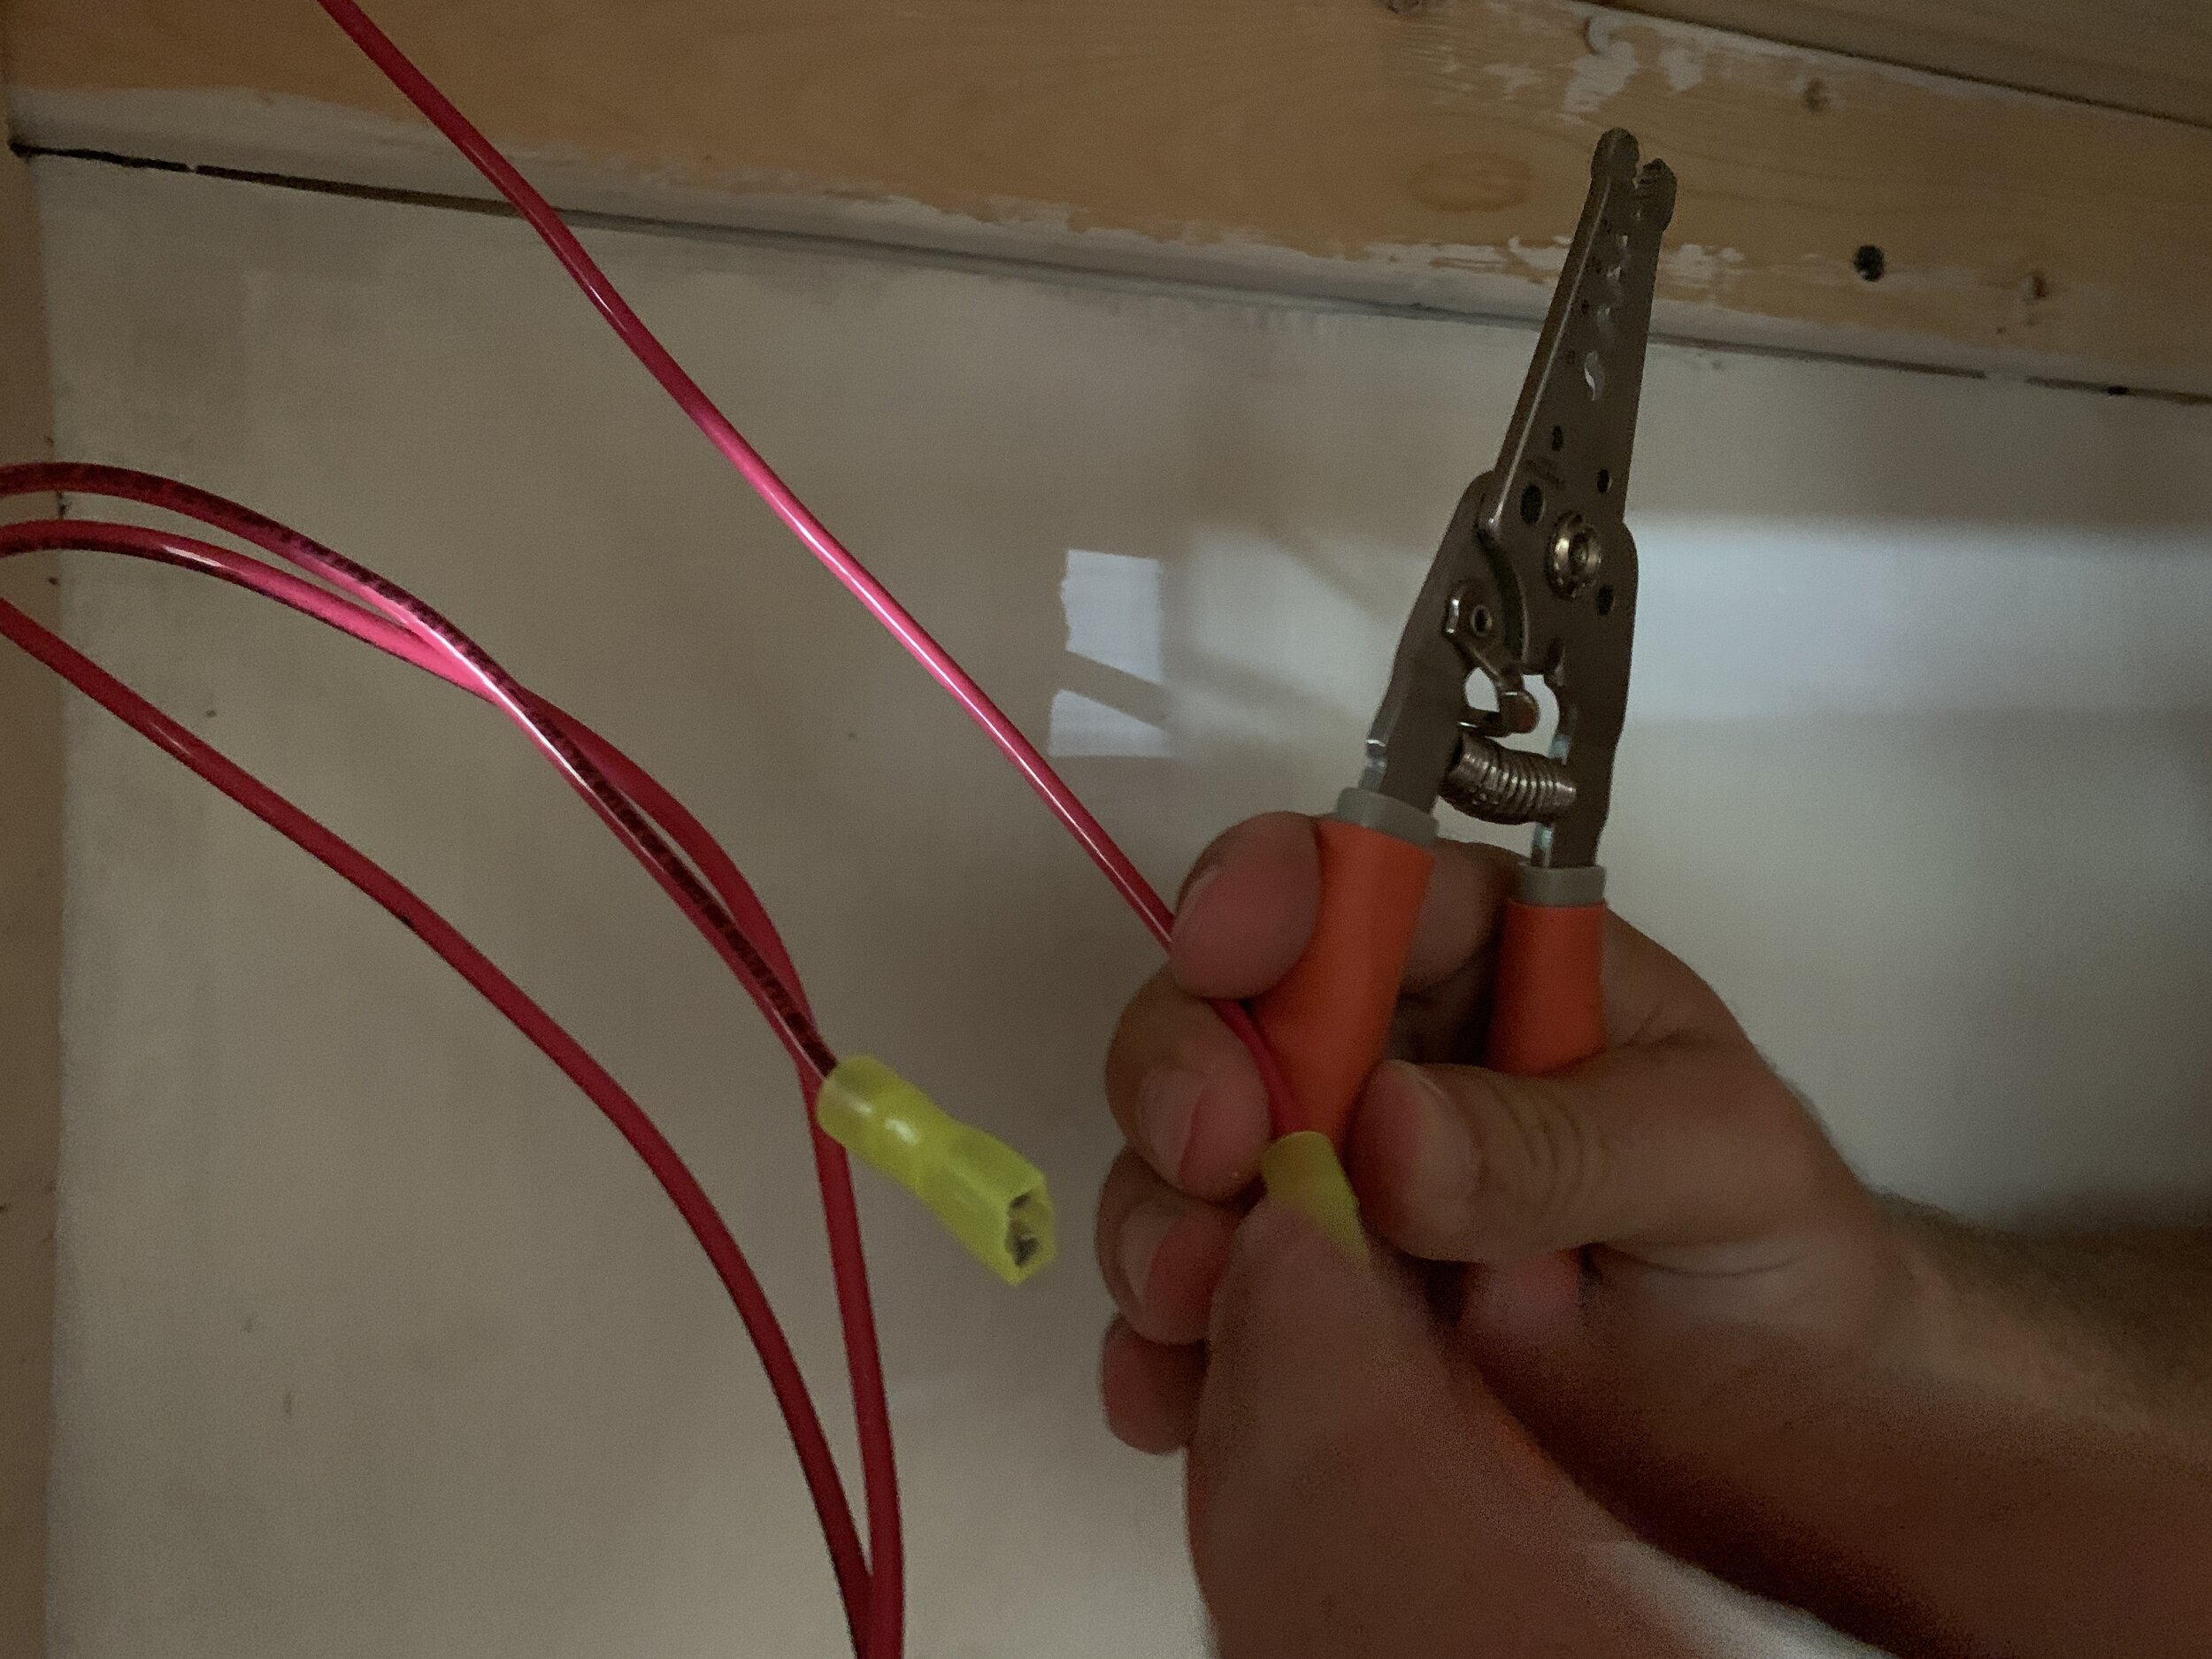
Stripper/crimpers – we already had some, but you’ll need to be able to cut and strip 12AWG wiring, or whatever gauge 12V wiring you used
Female disconnect wire connectors for 12AWG wiring, or whatever size your 12V wiring is
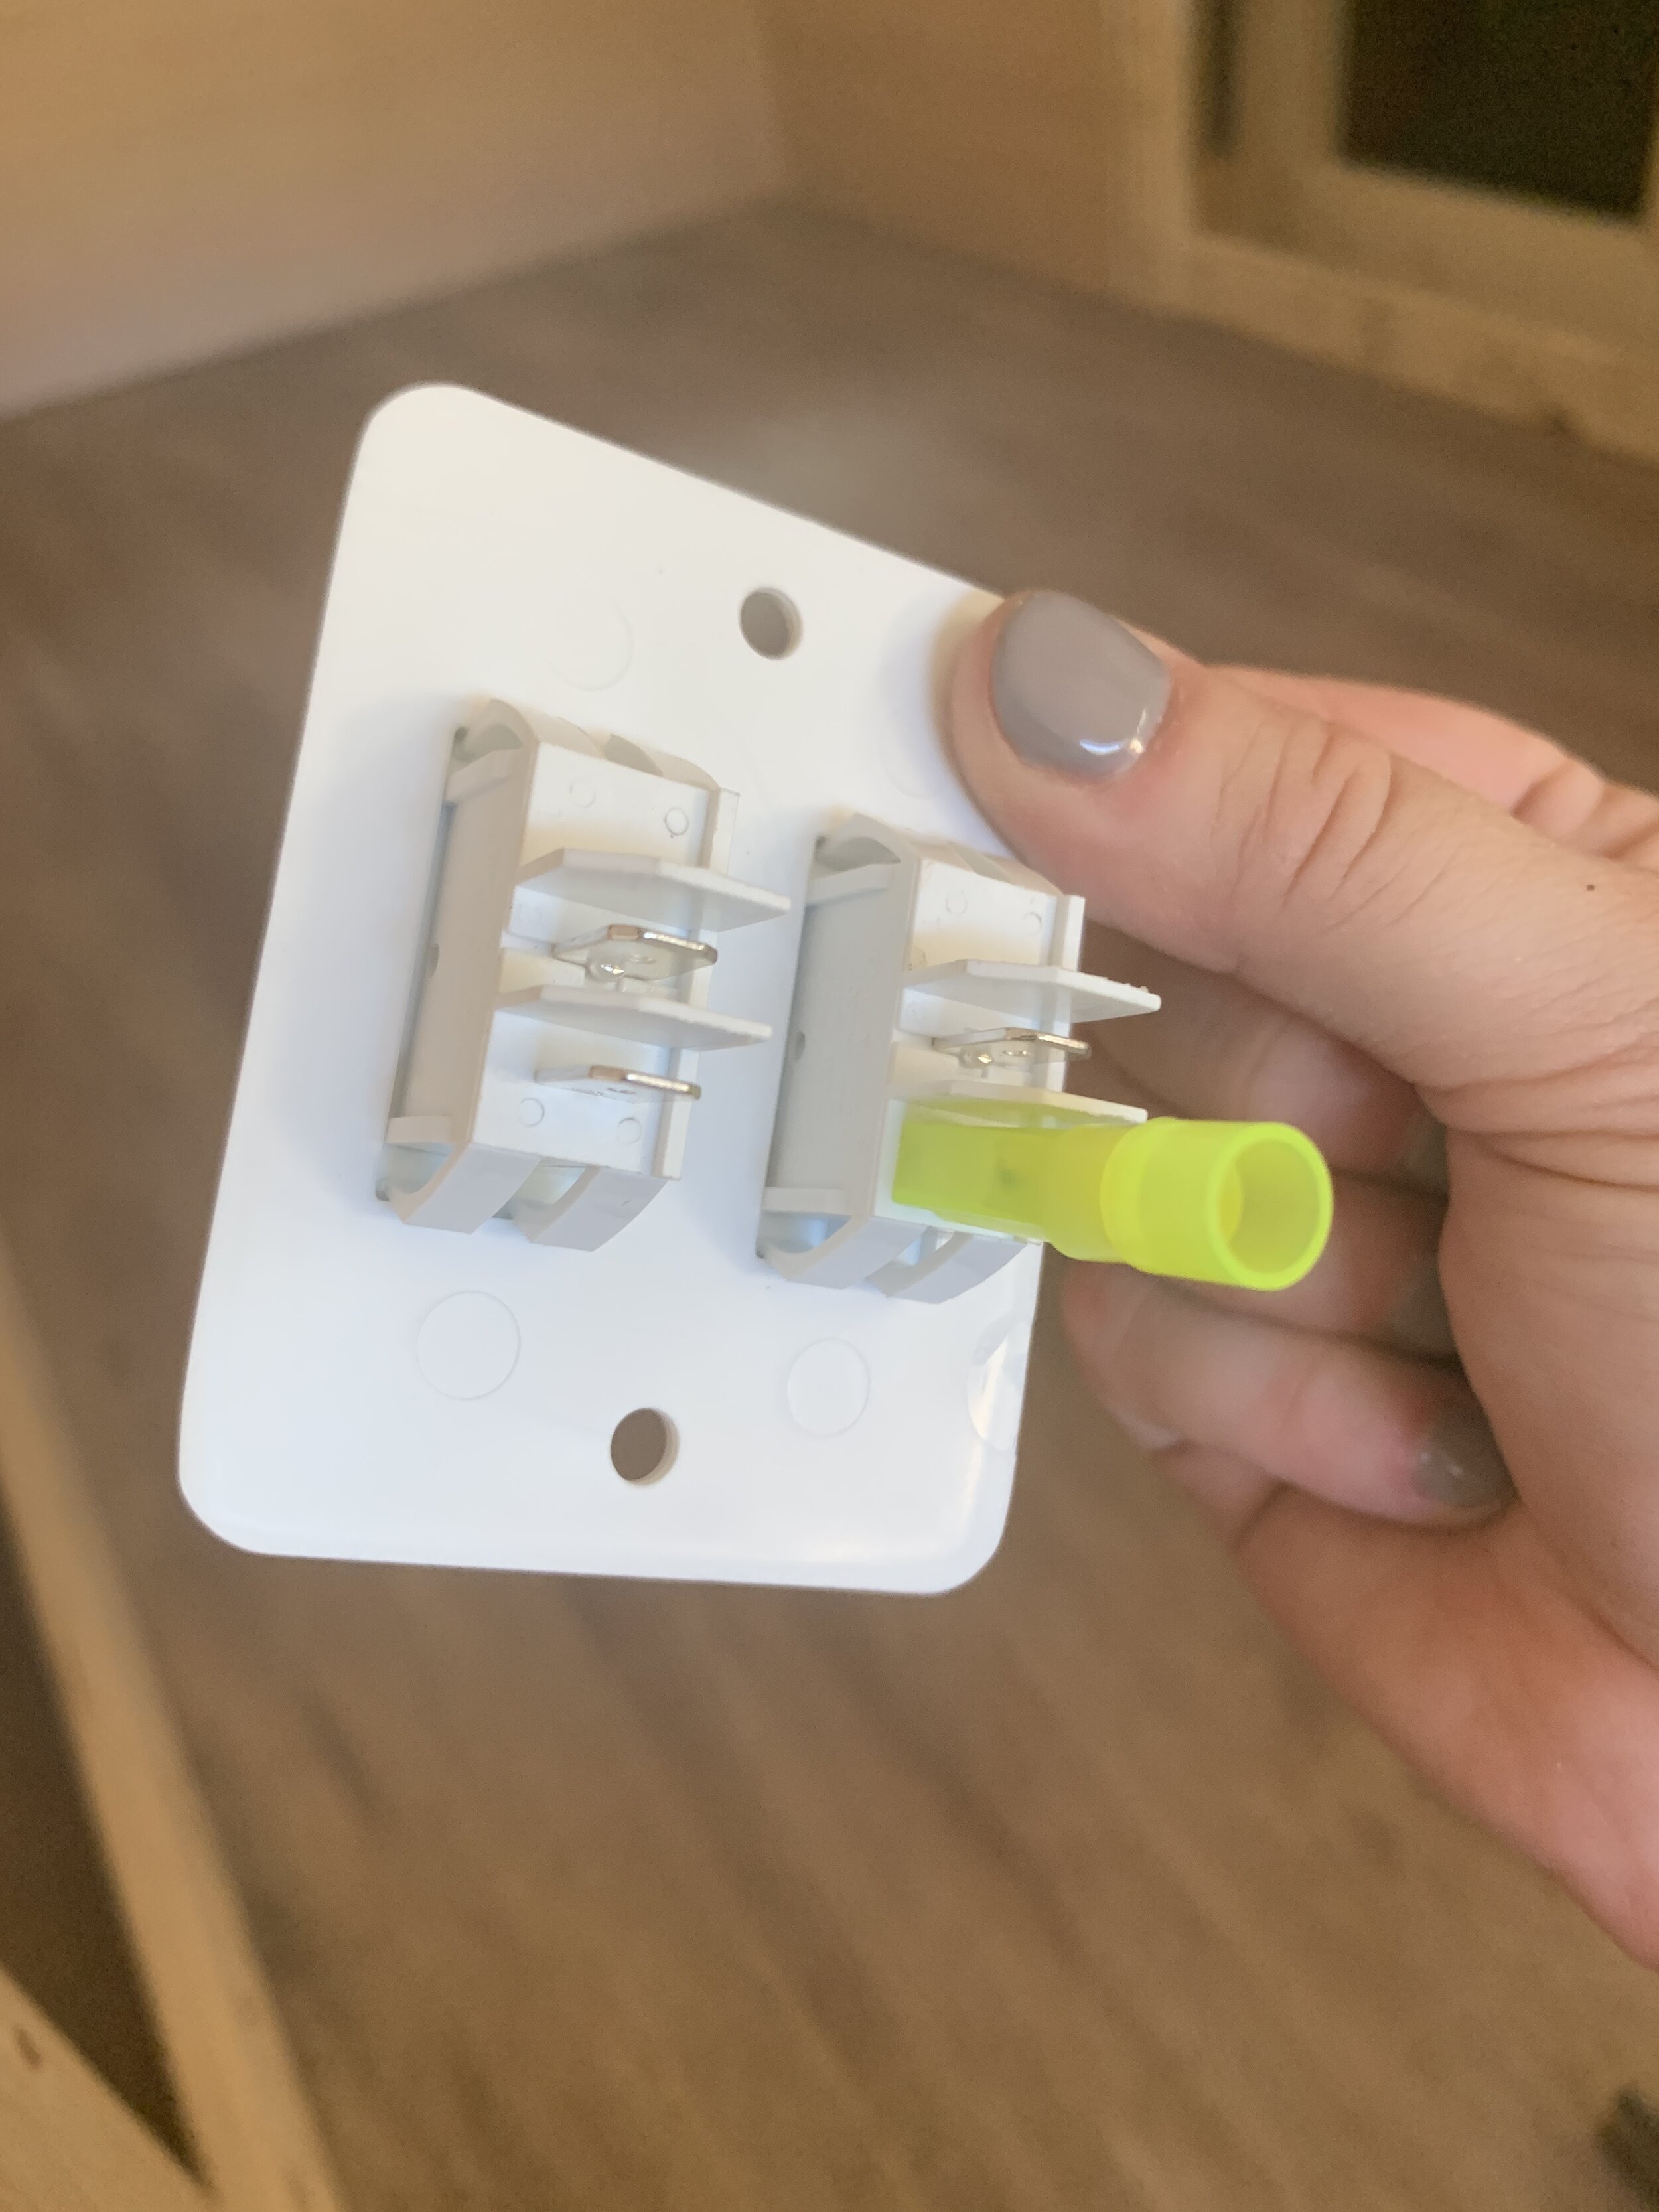
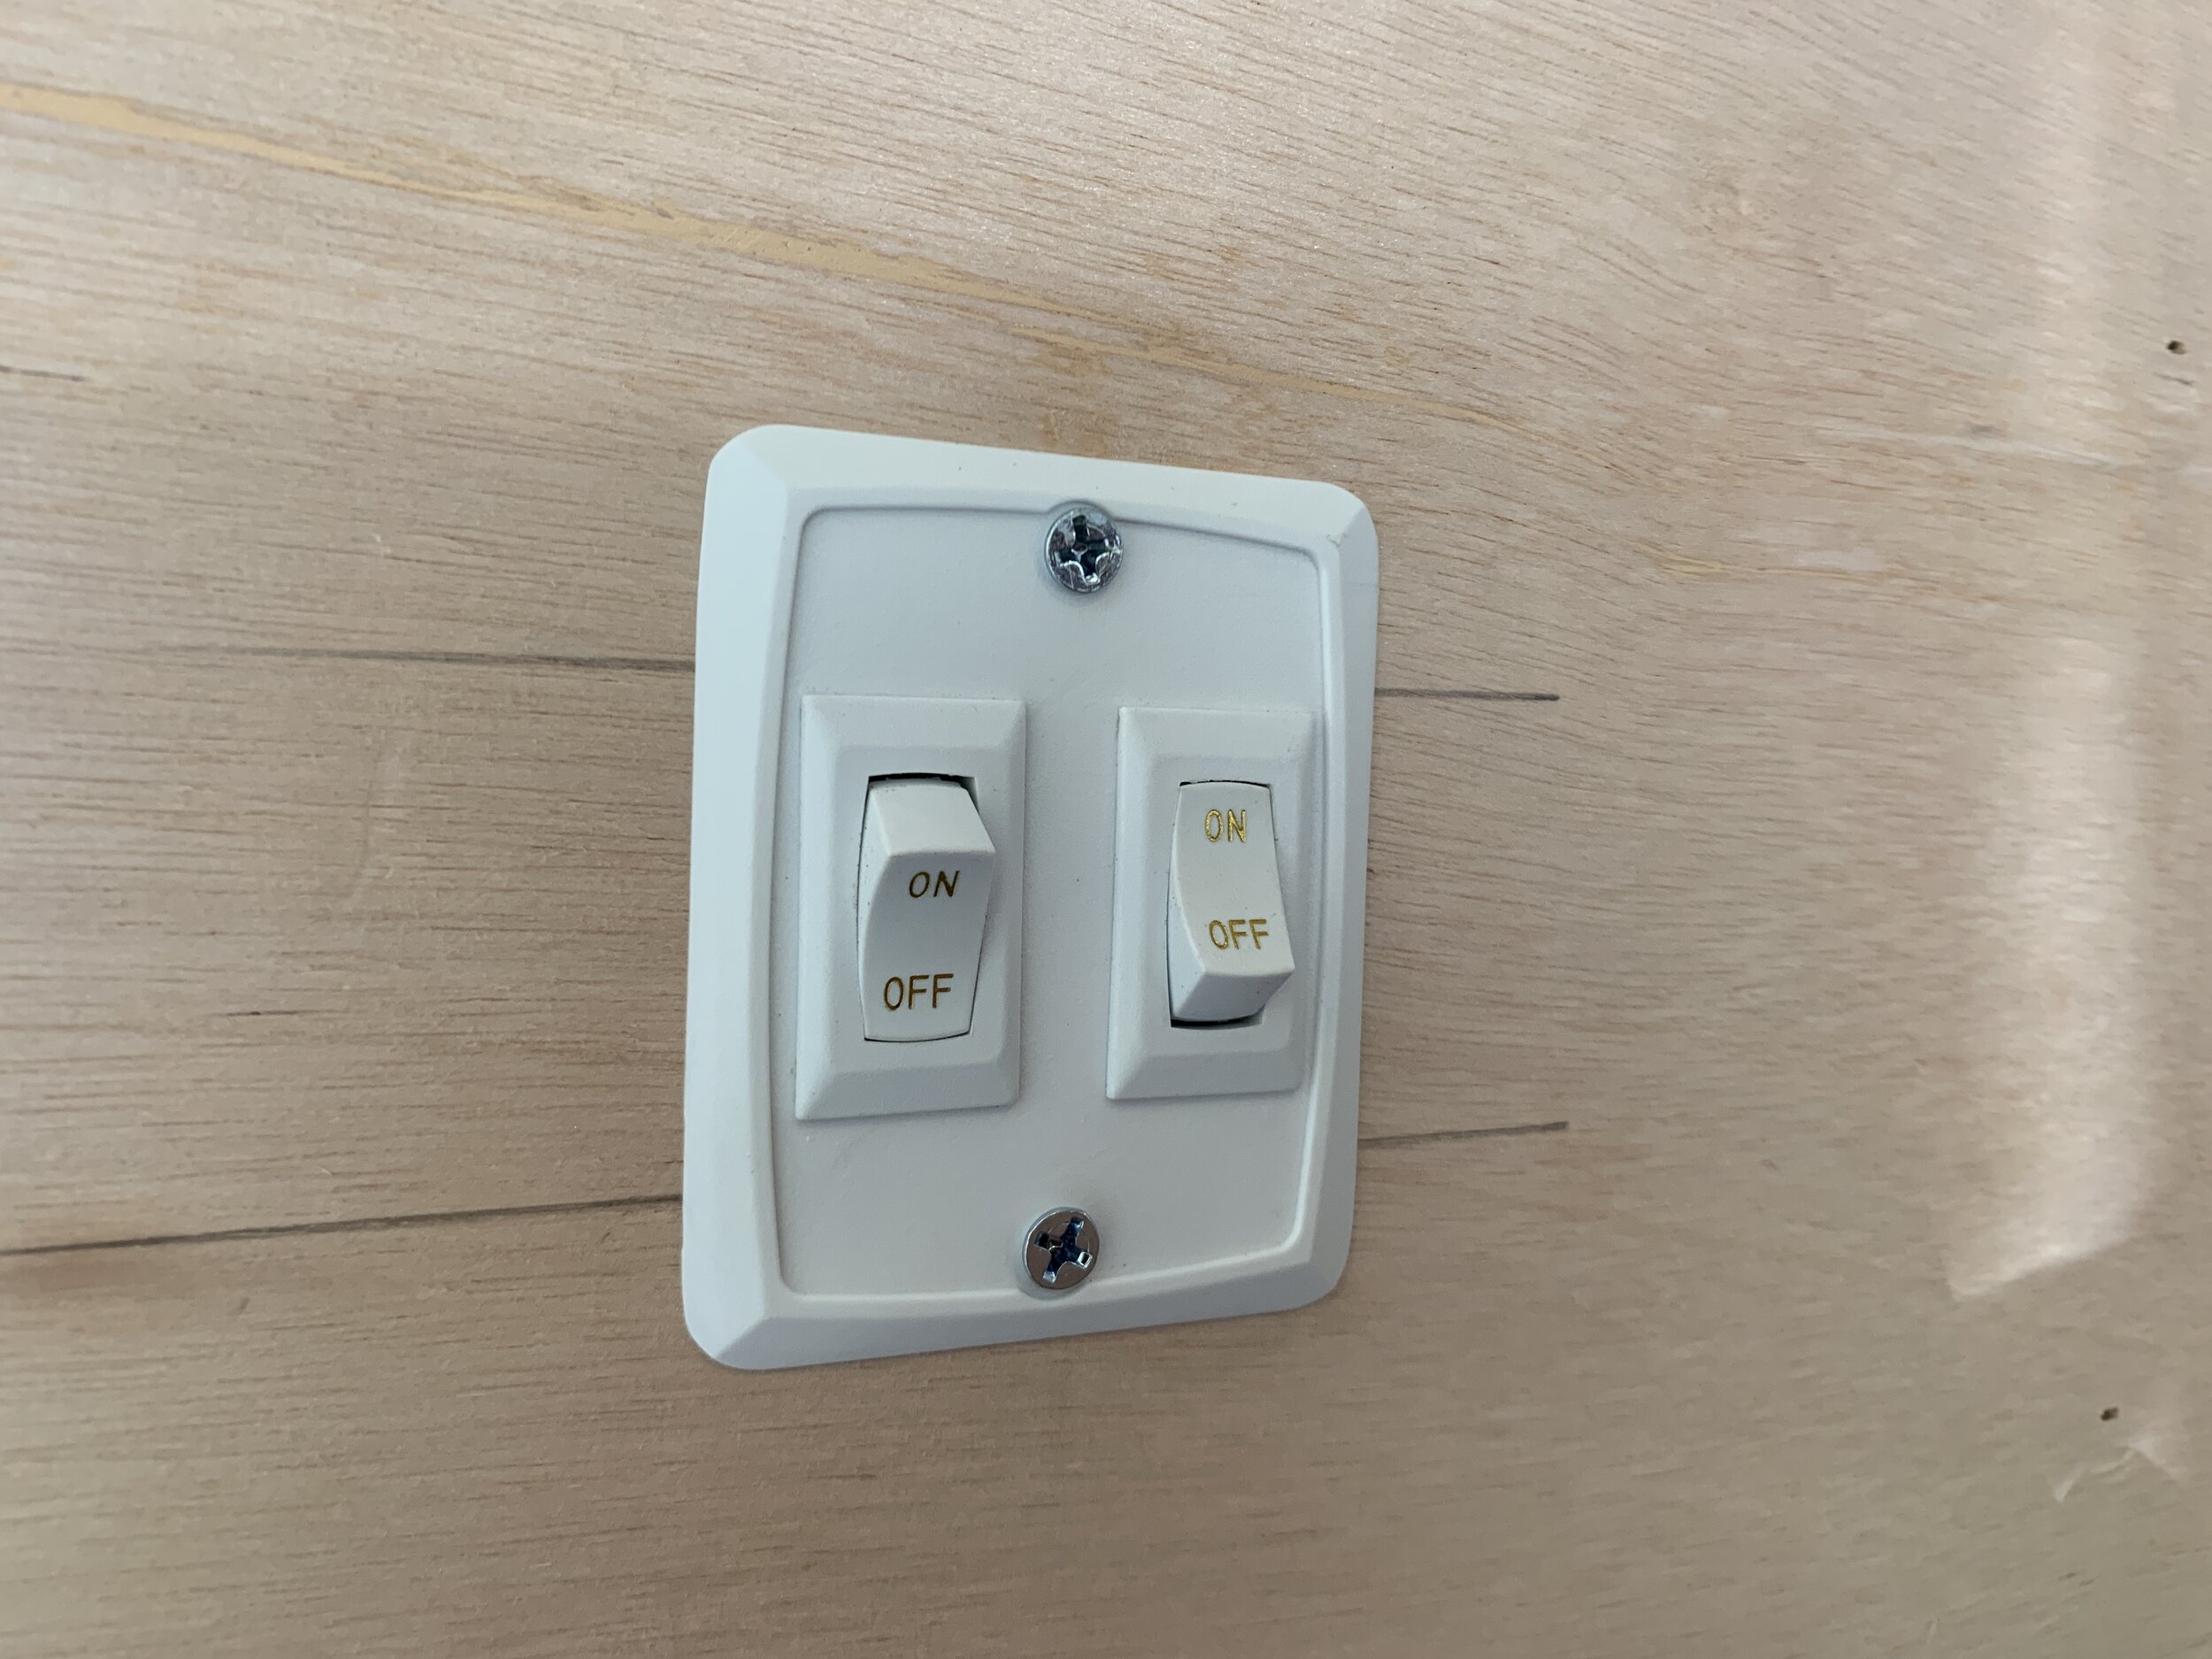
(2) 12V ON/OFF rocker light switches – we went with white
Double switch plate – we chose a white 2-gang switch because we decided to put the switch for the ceiling and porch light in the same place. If you only need one, you can order a single switch plate and just one rocker switch.
How to install 12V lights in a vintage camper
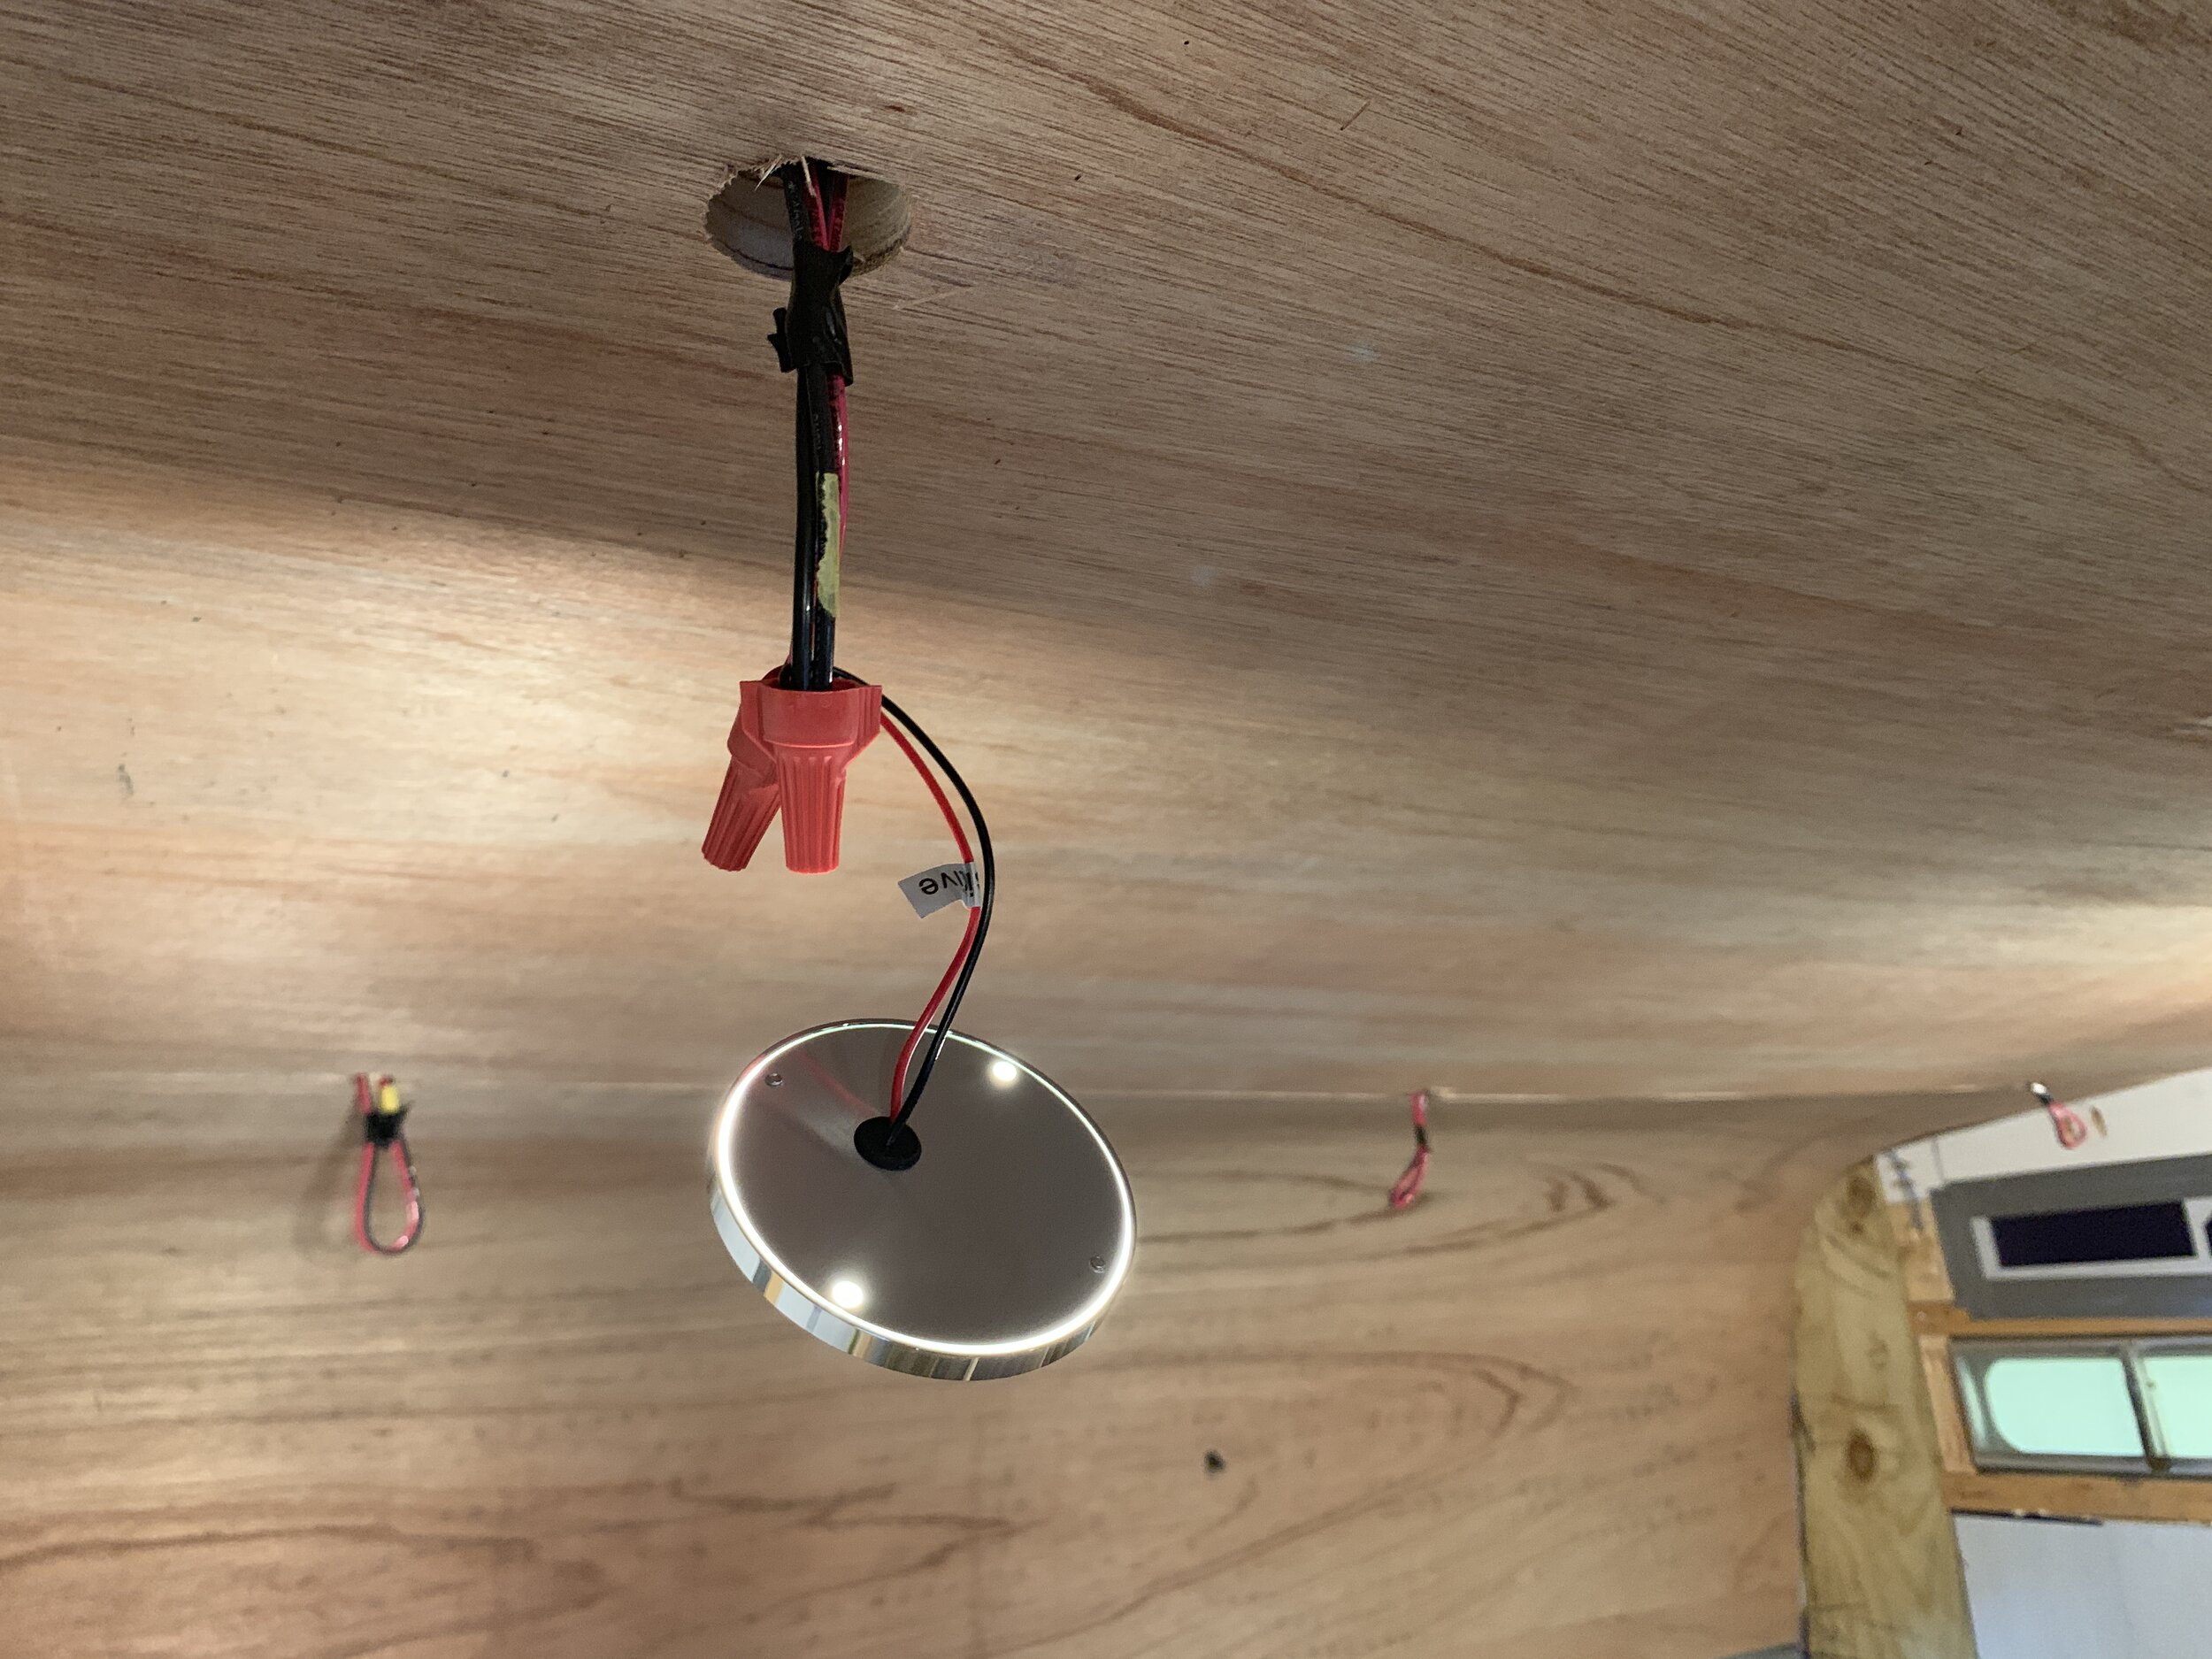
These are the best puck lights, ever. Besides being super easy to install, they can work independently from each other and/or as a complete set (if wired together). Each one is touch-operated and can even be dimmed and brightened by the touch of a finger, and each light remembers the last setting it was set on which is extra awesome. They’re ultra slim so they take up practically zero head space at all (super important in a tight space like this) and they run on only 12V of electricity, but are still so bright you’d never know they weren’t energy hogs. We wired ours to a switch so in addition to being independently operated, we can turn the whole set of 8 off and on at once as soon as we walk into the door. (And I promise we don’t work for Vintage Trailer Supply, but their products and service are just amazing – we cannot say enough great things about them, and how awesome these lights are.)
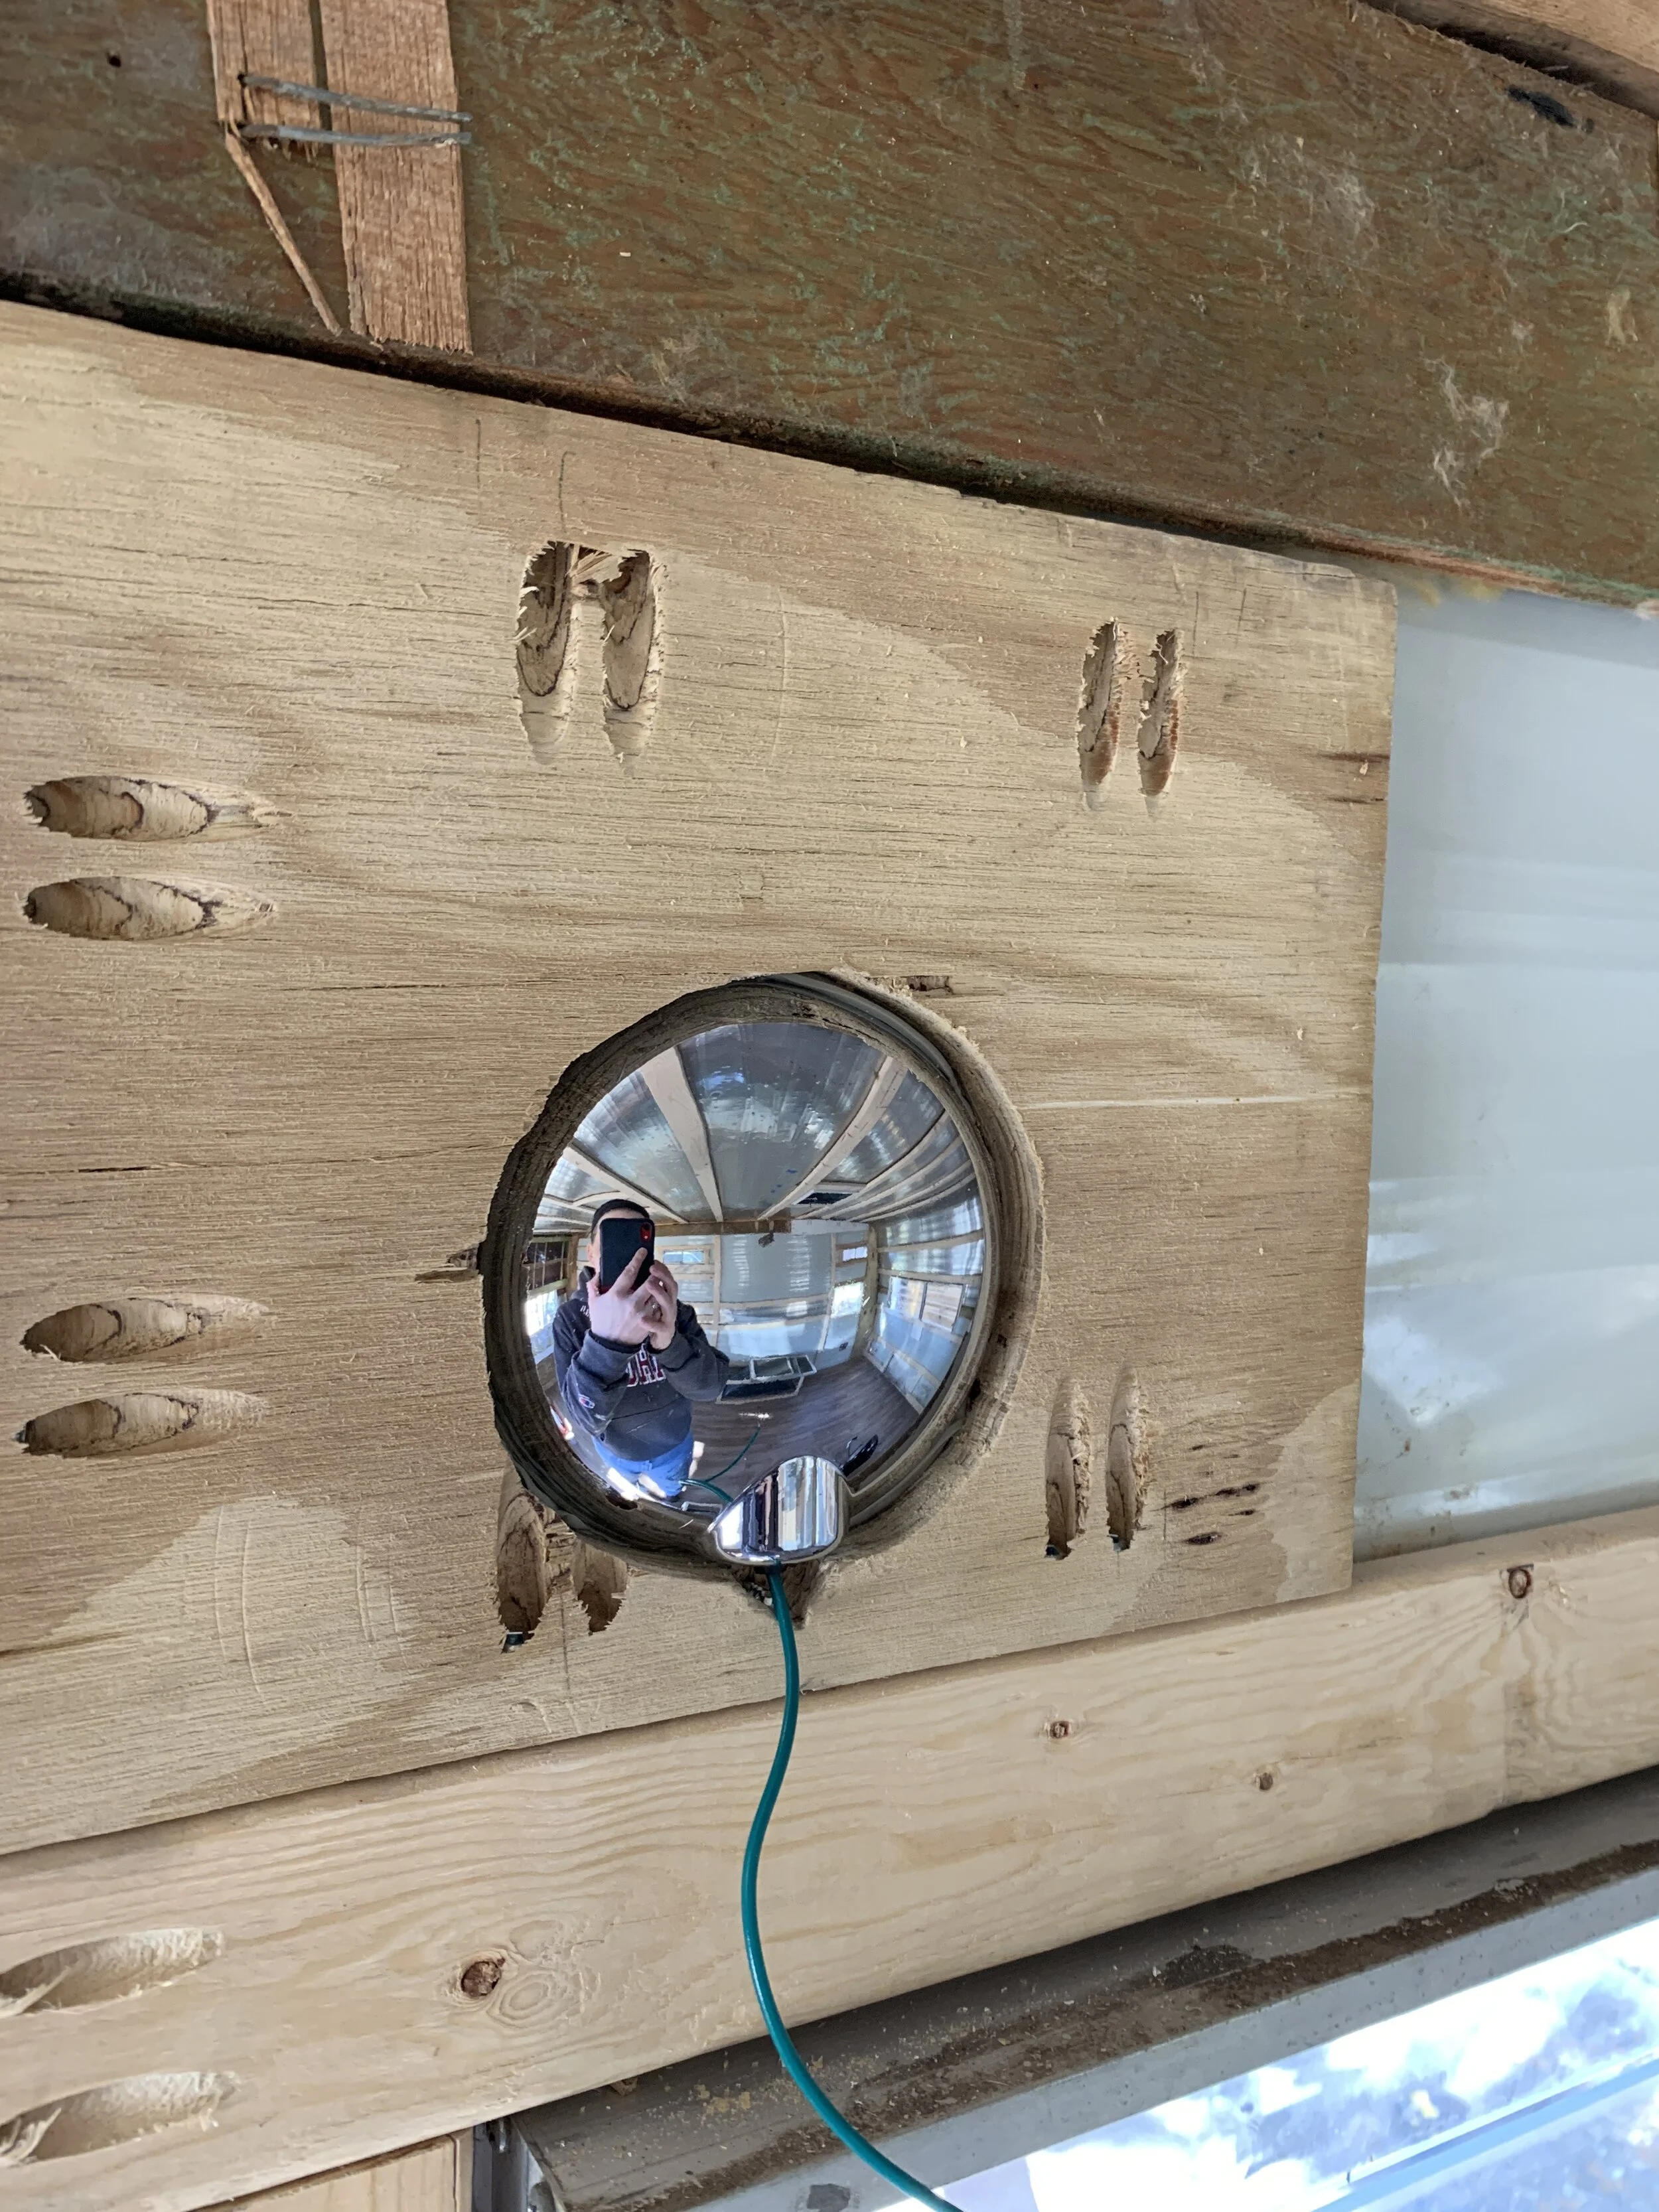
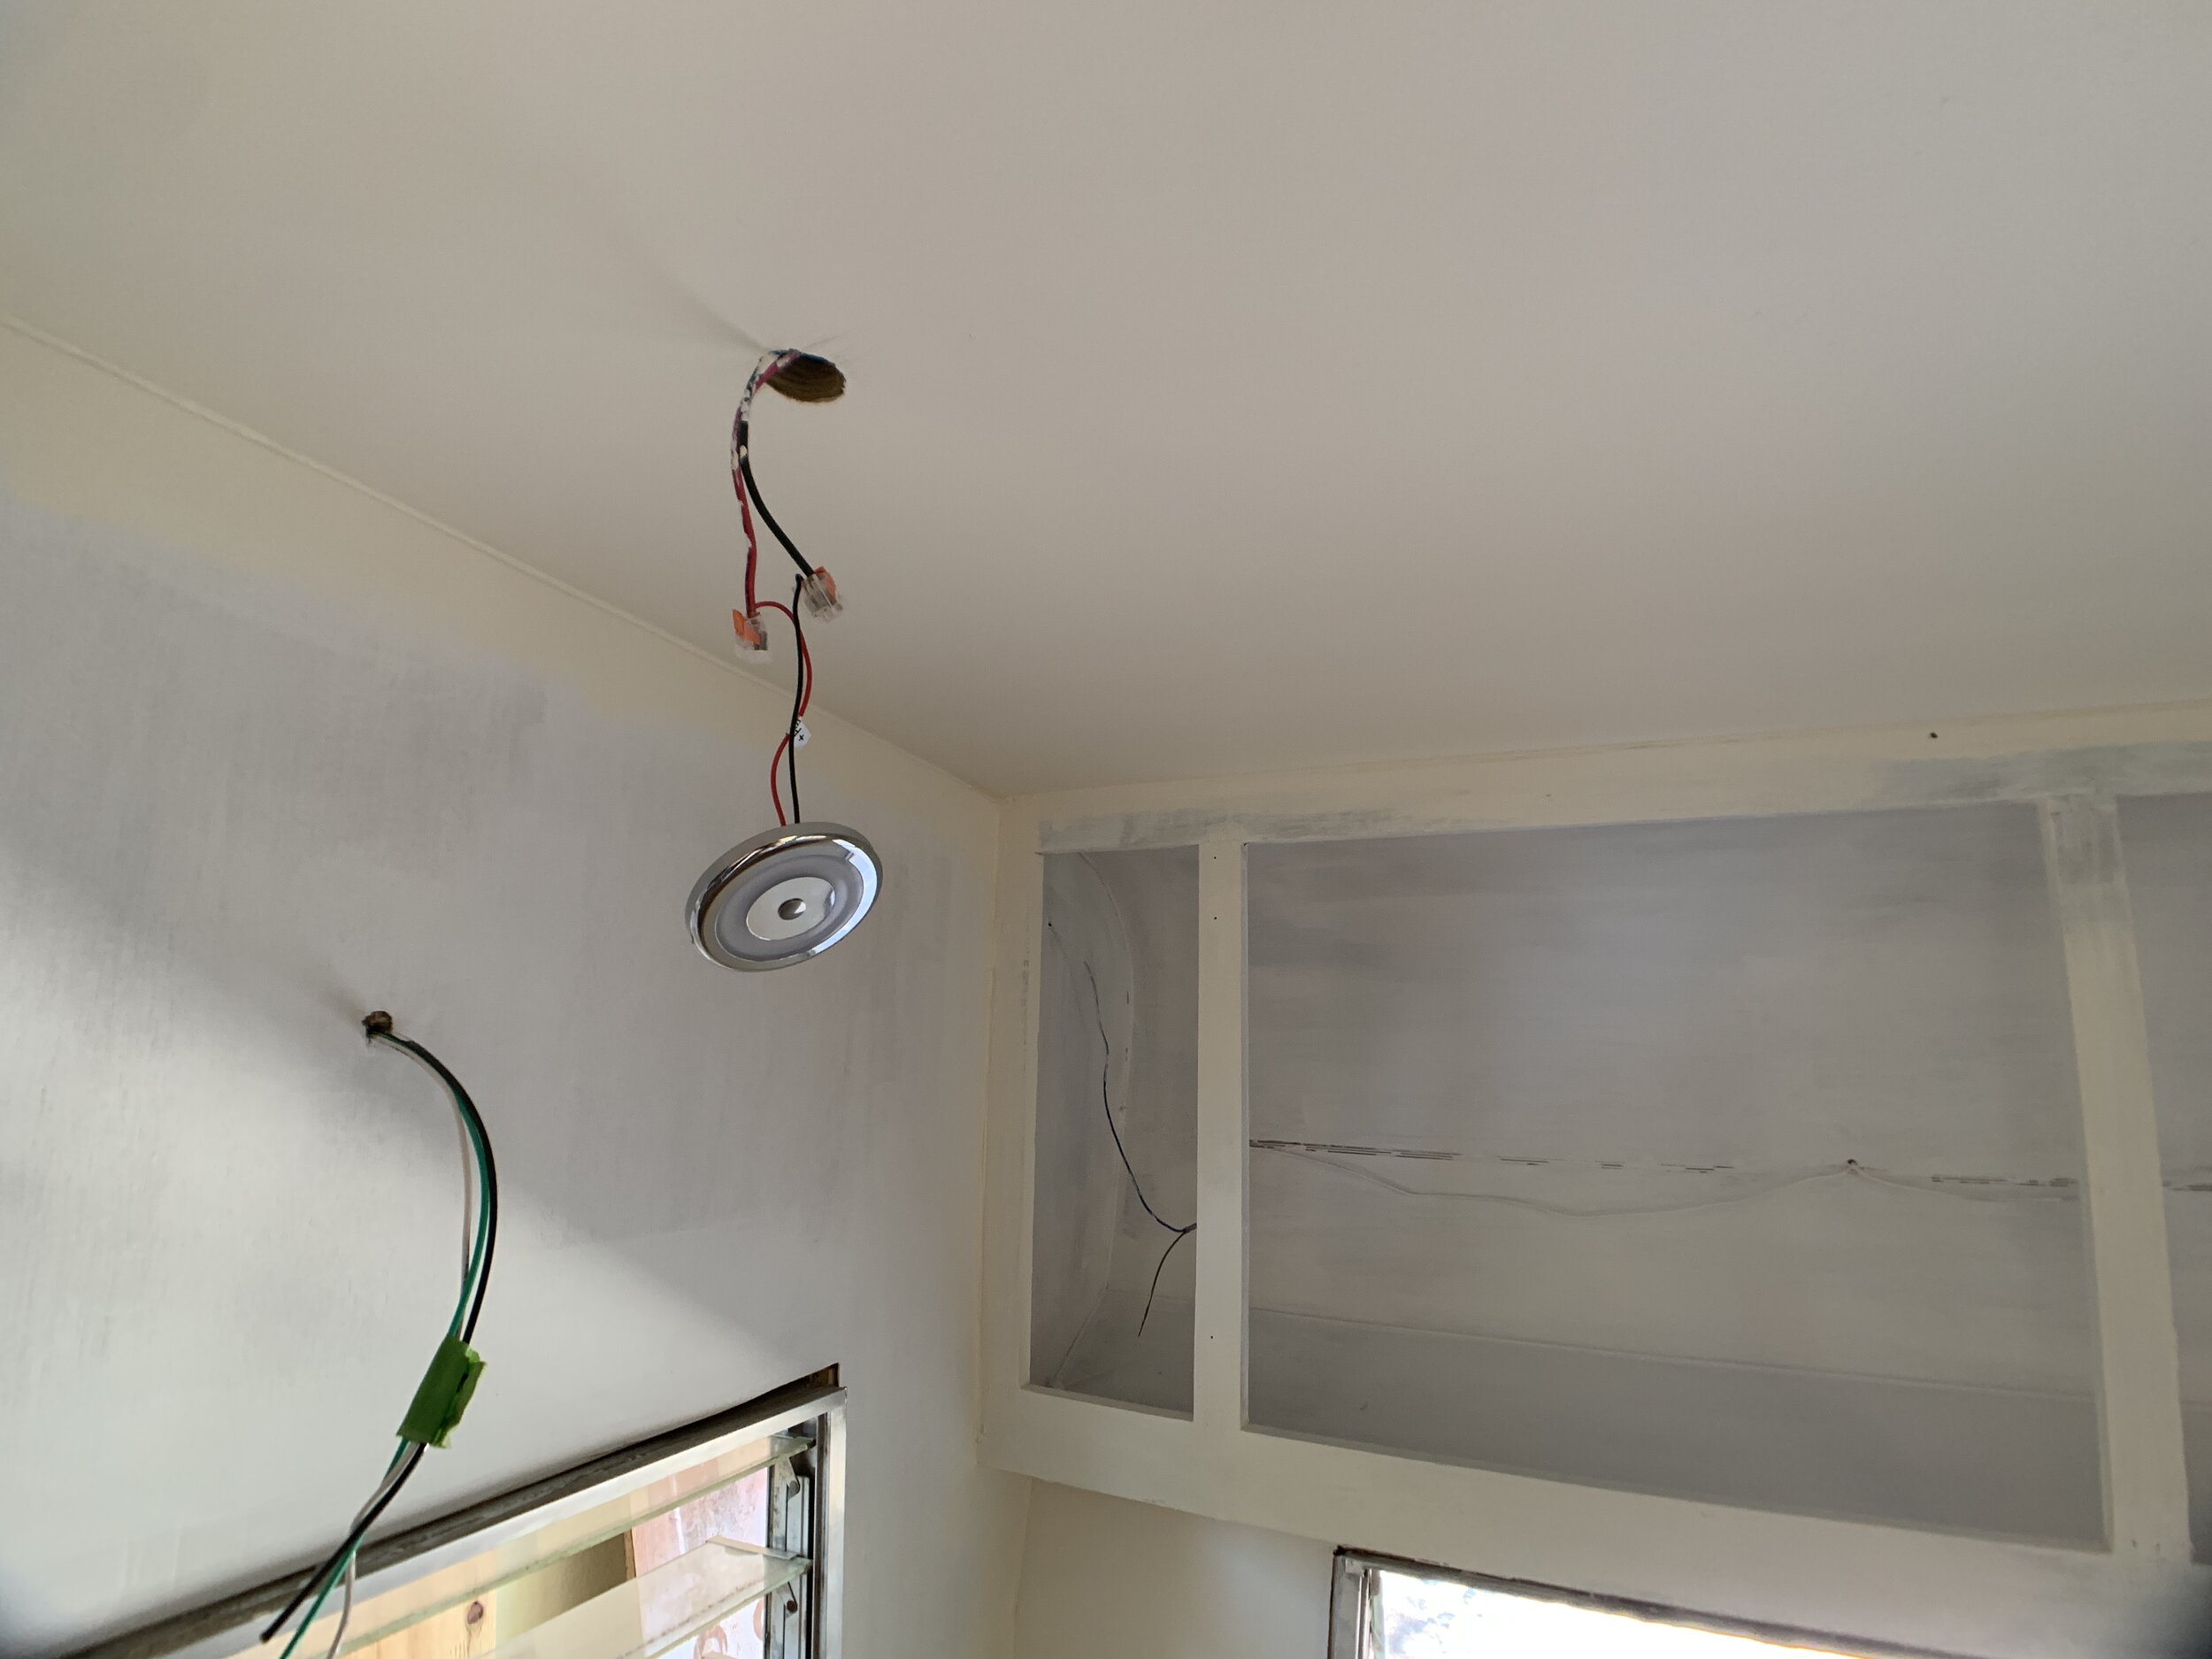
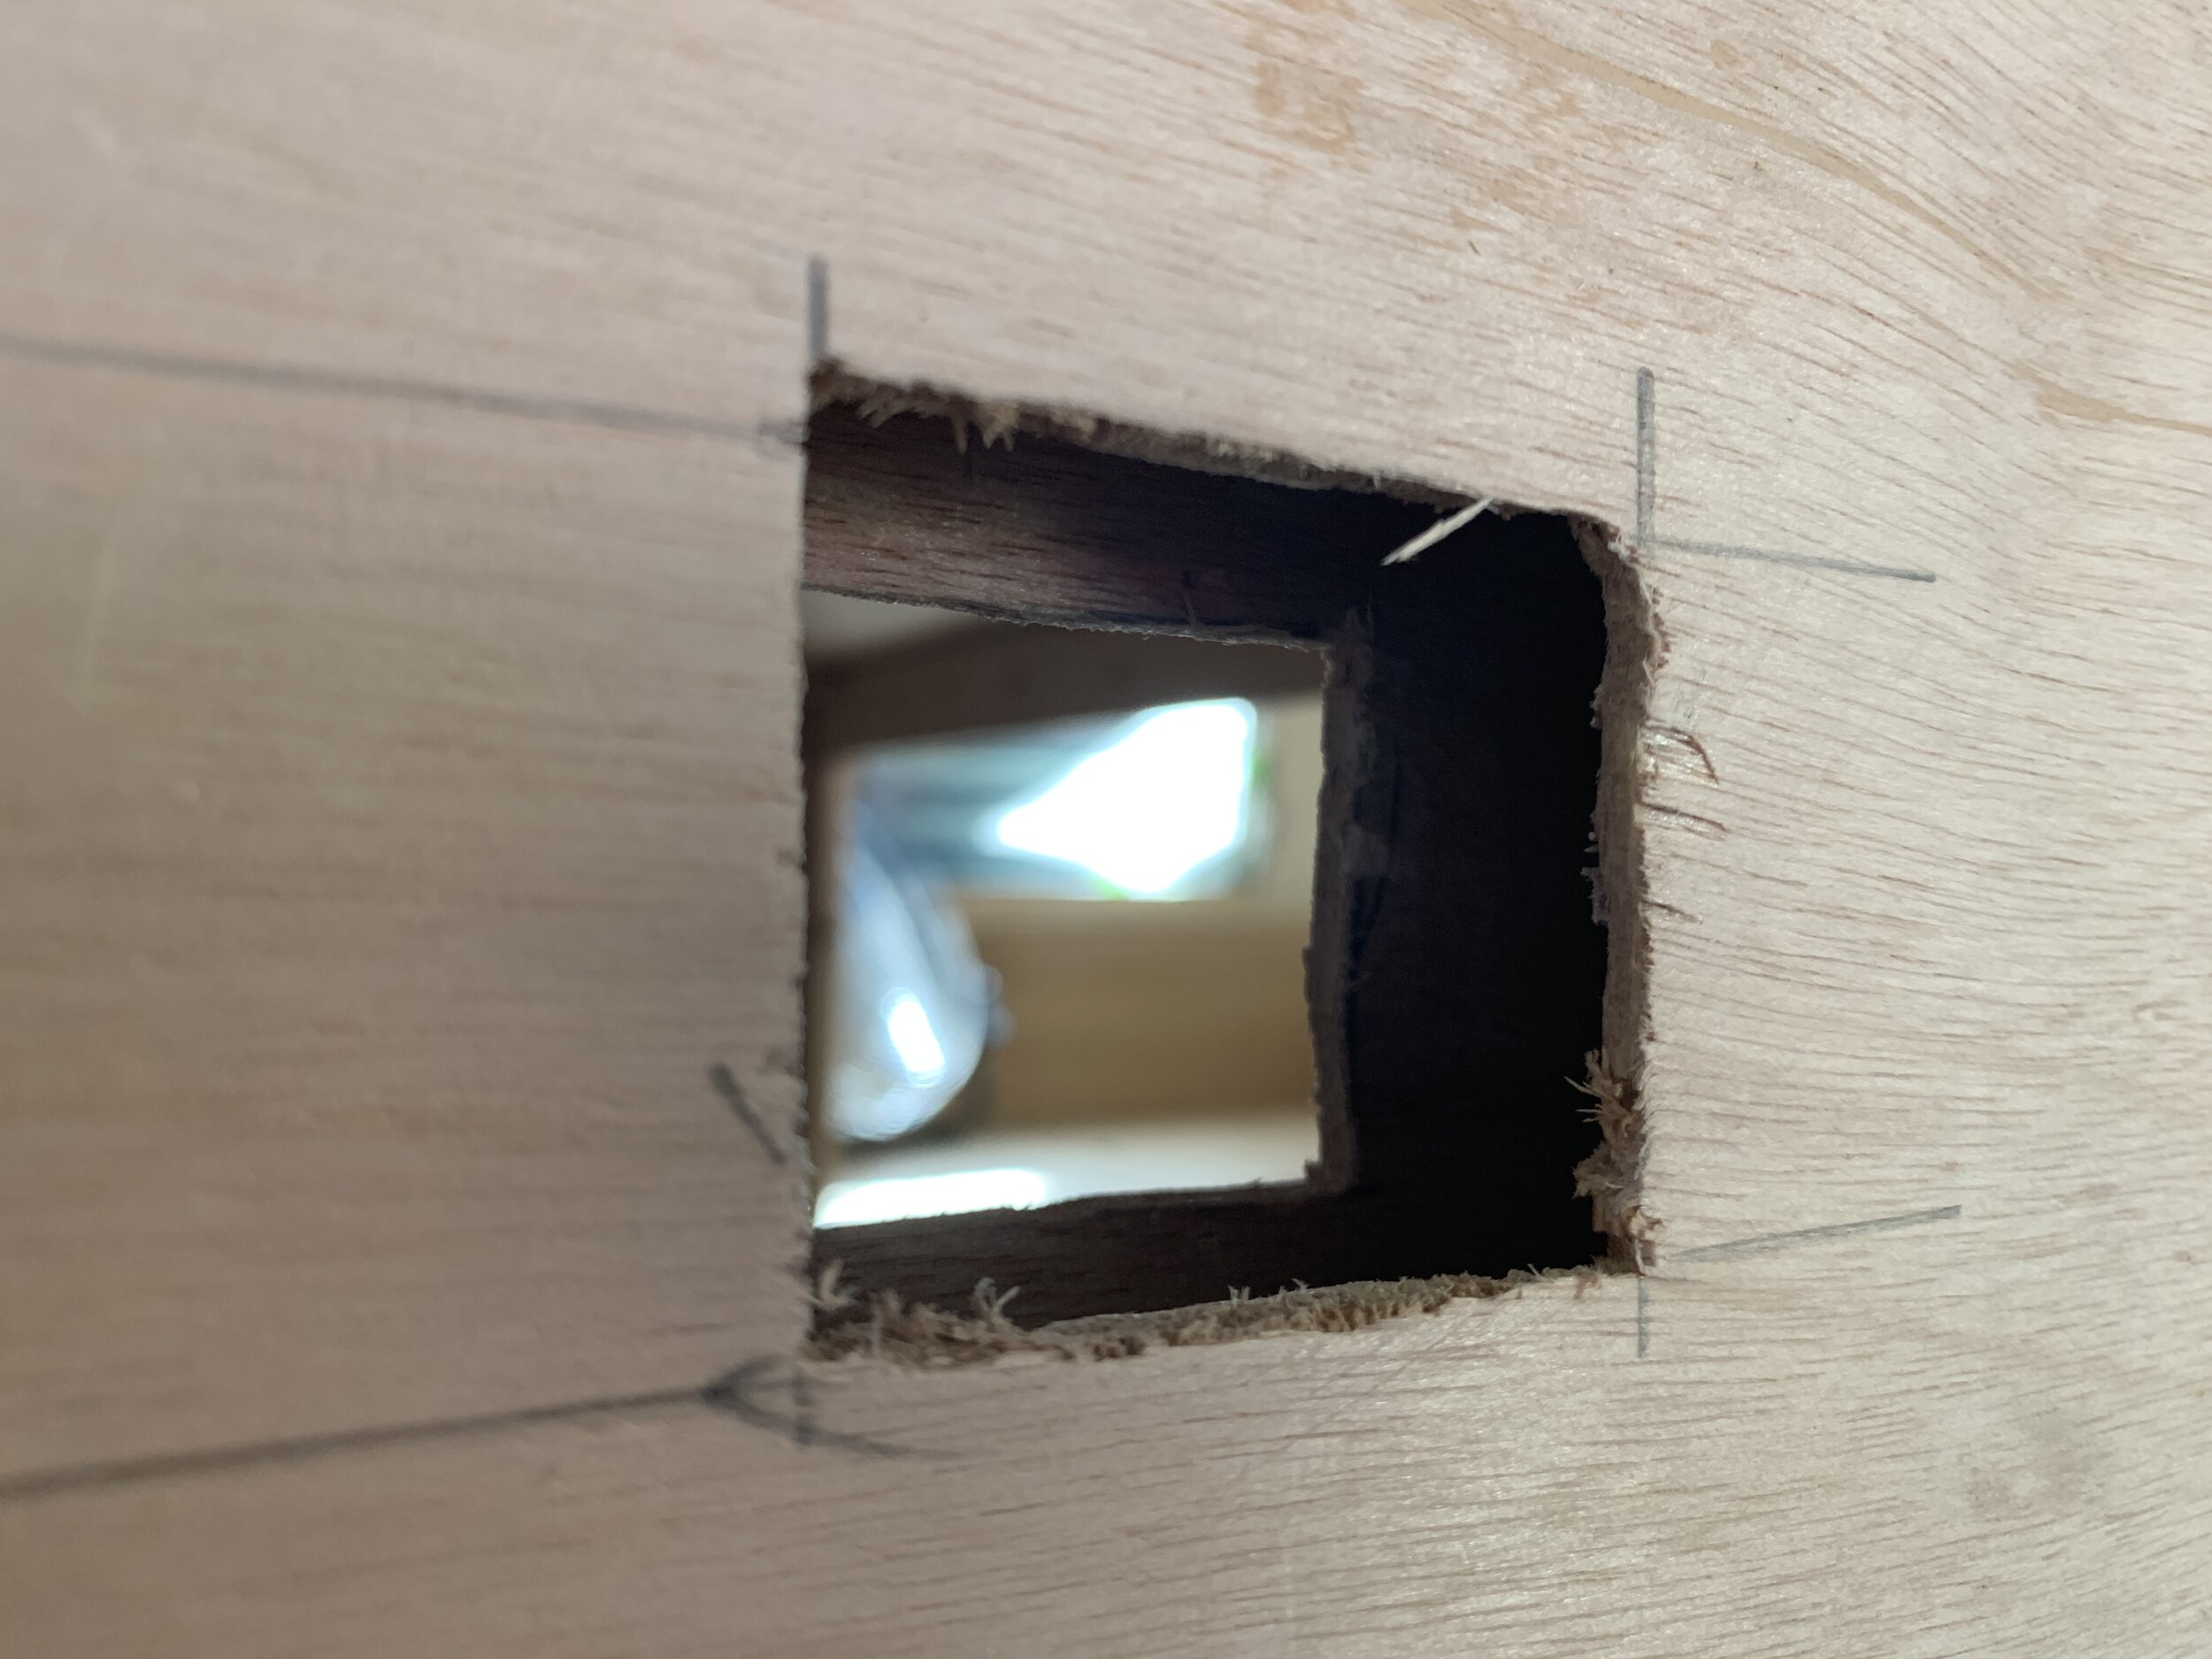
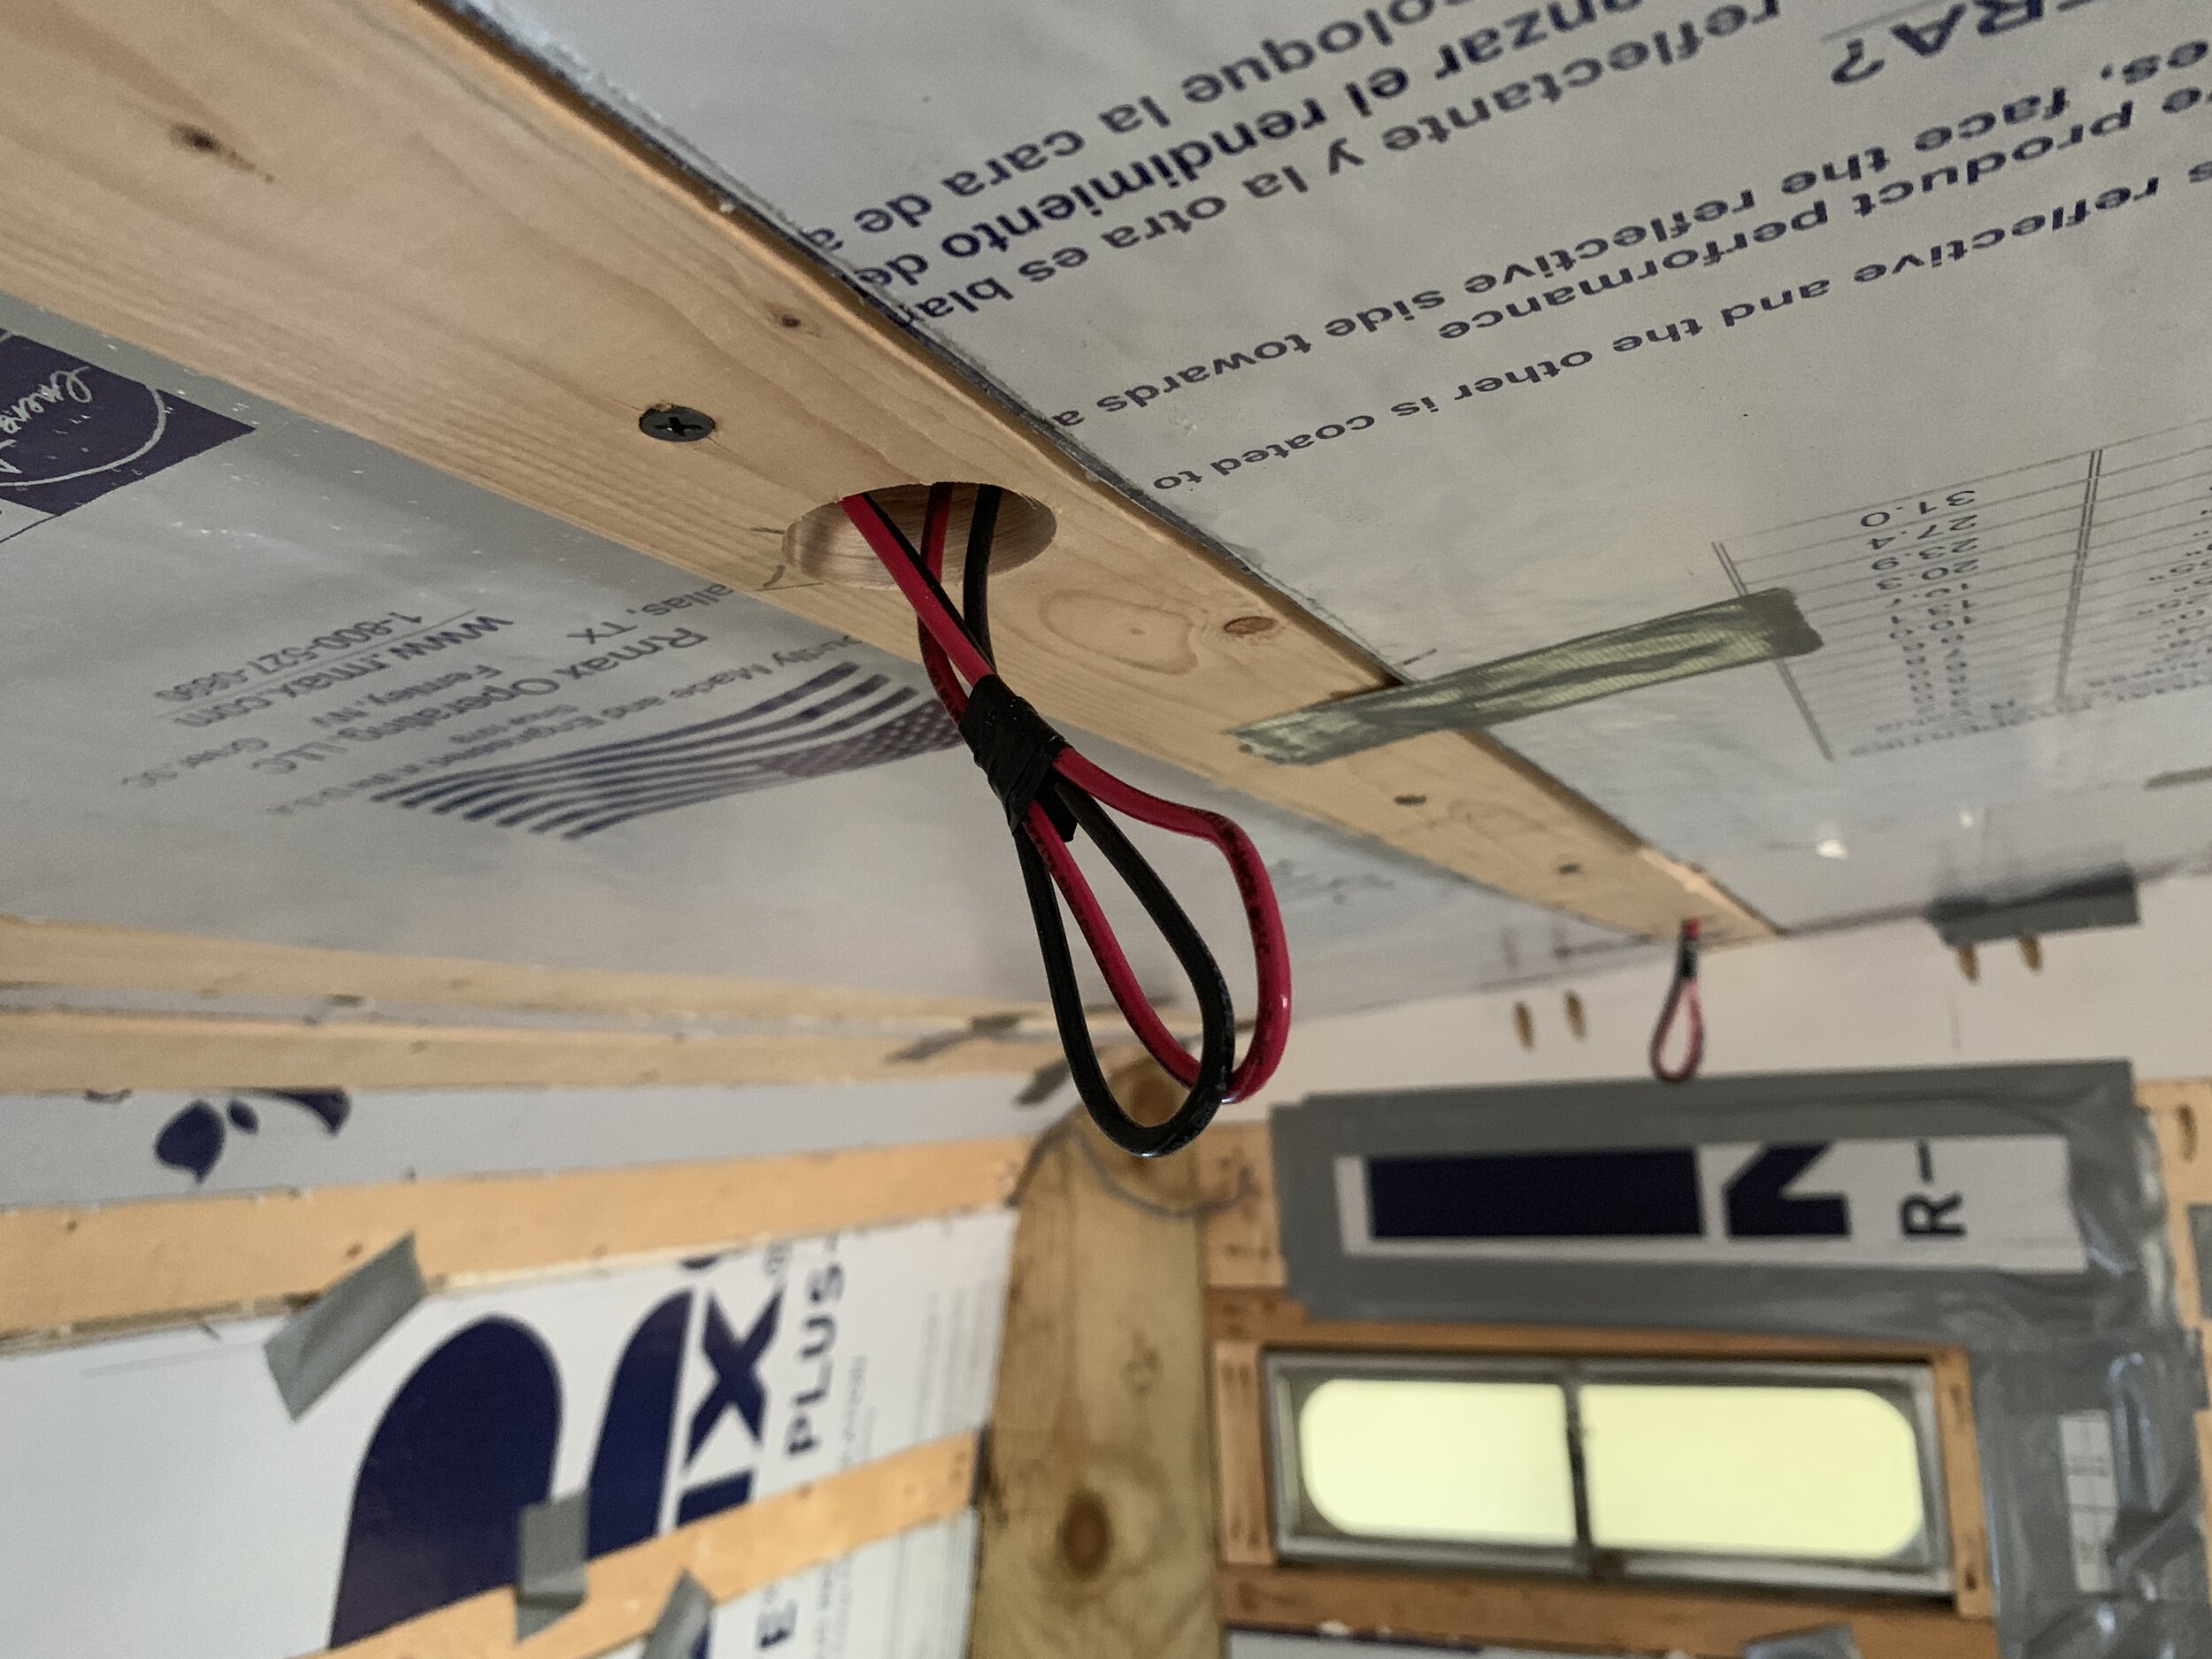
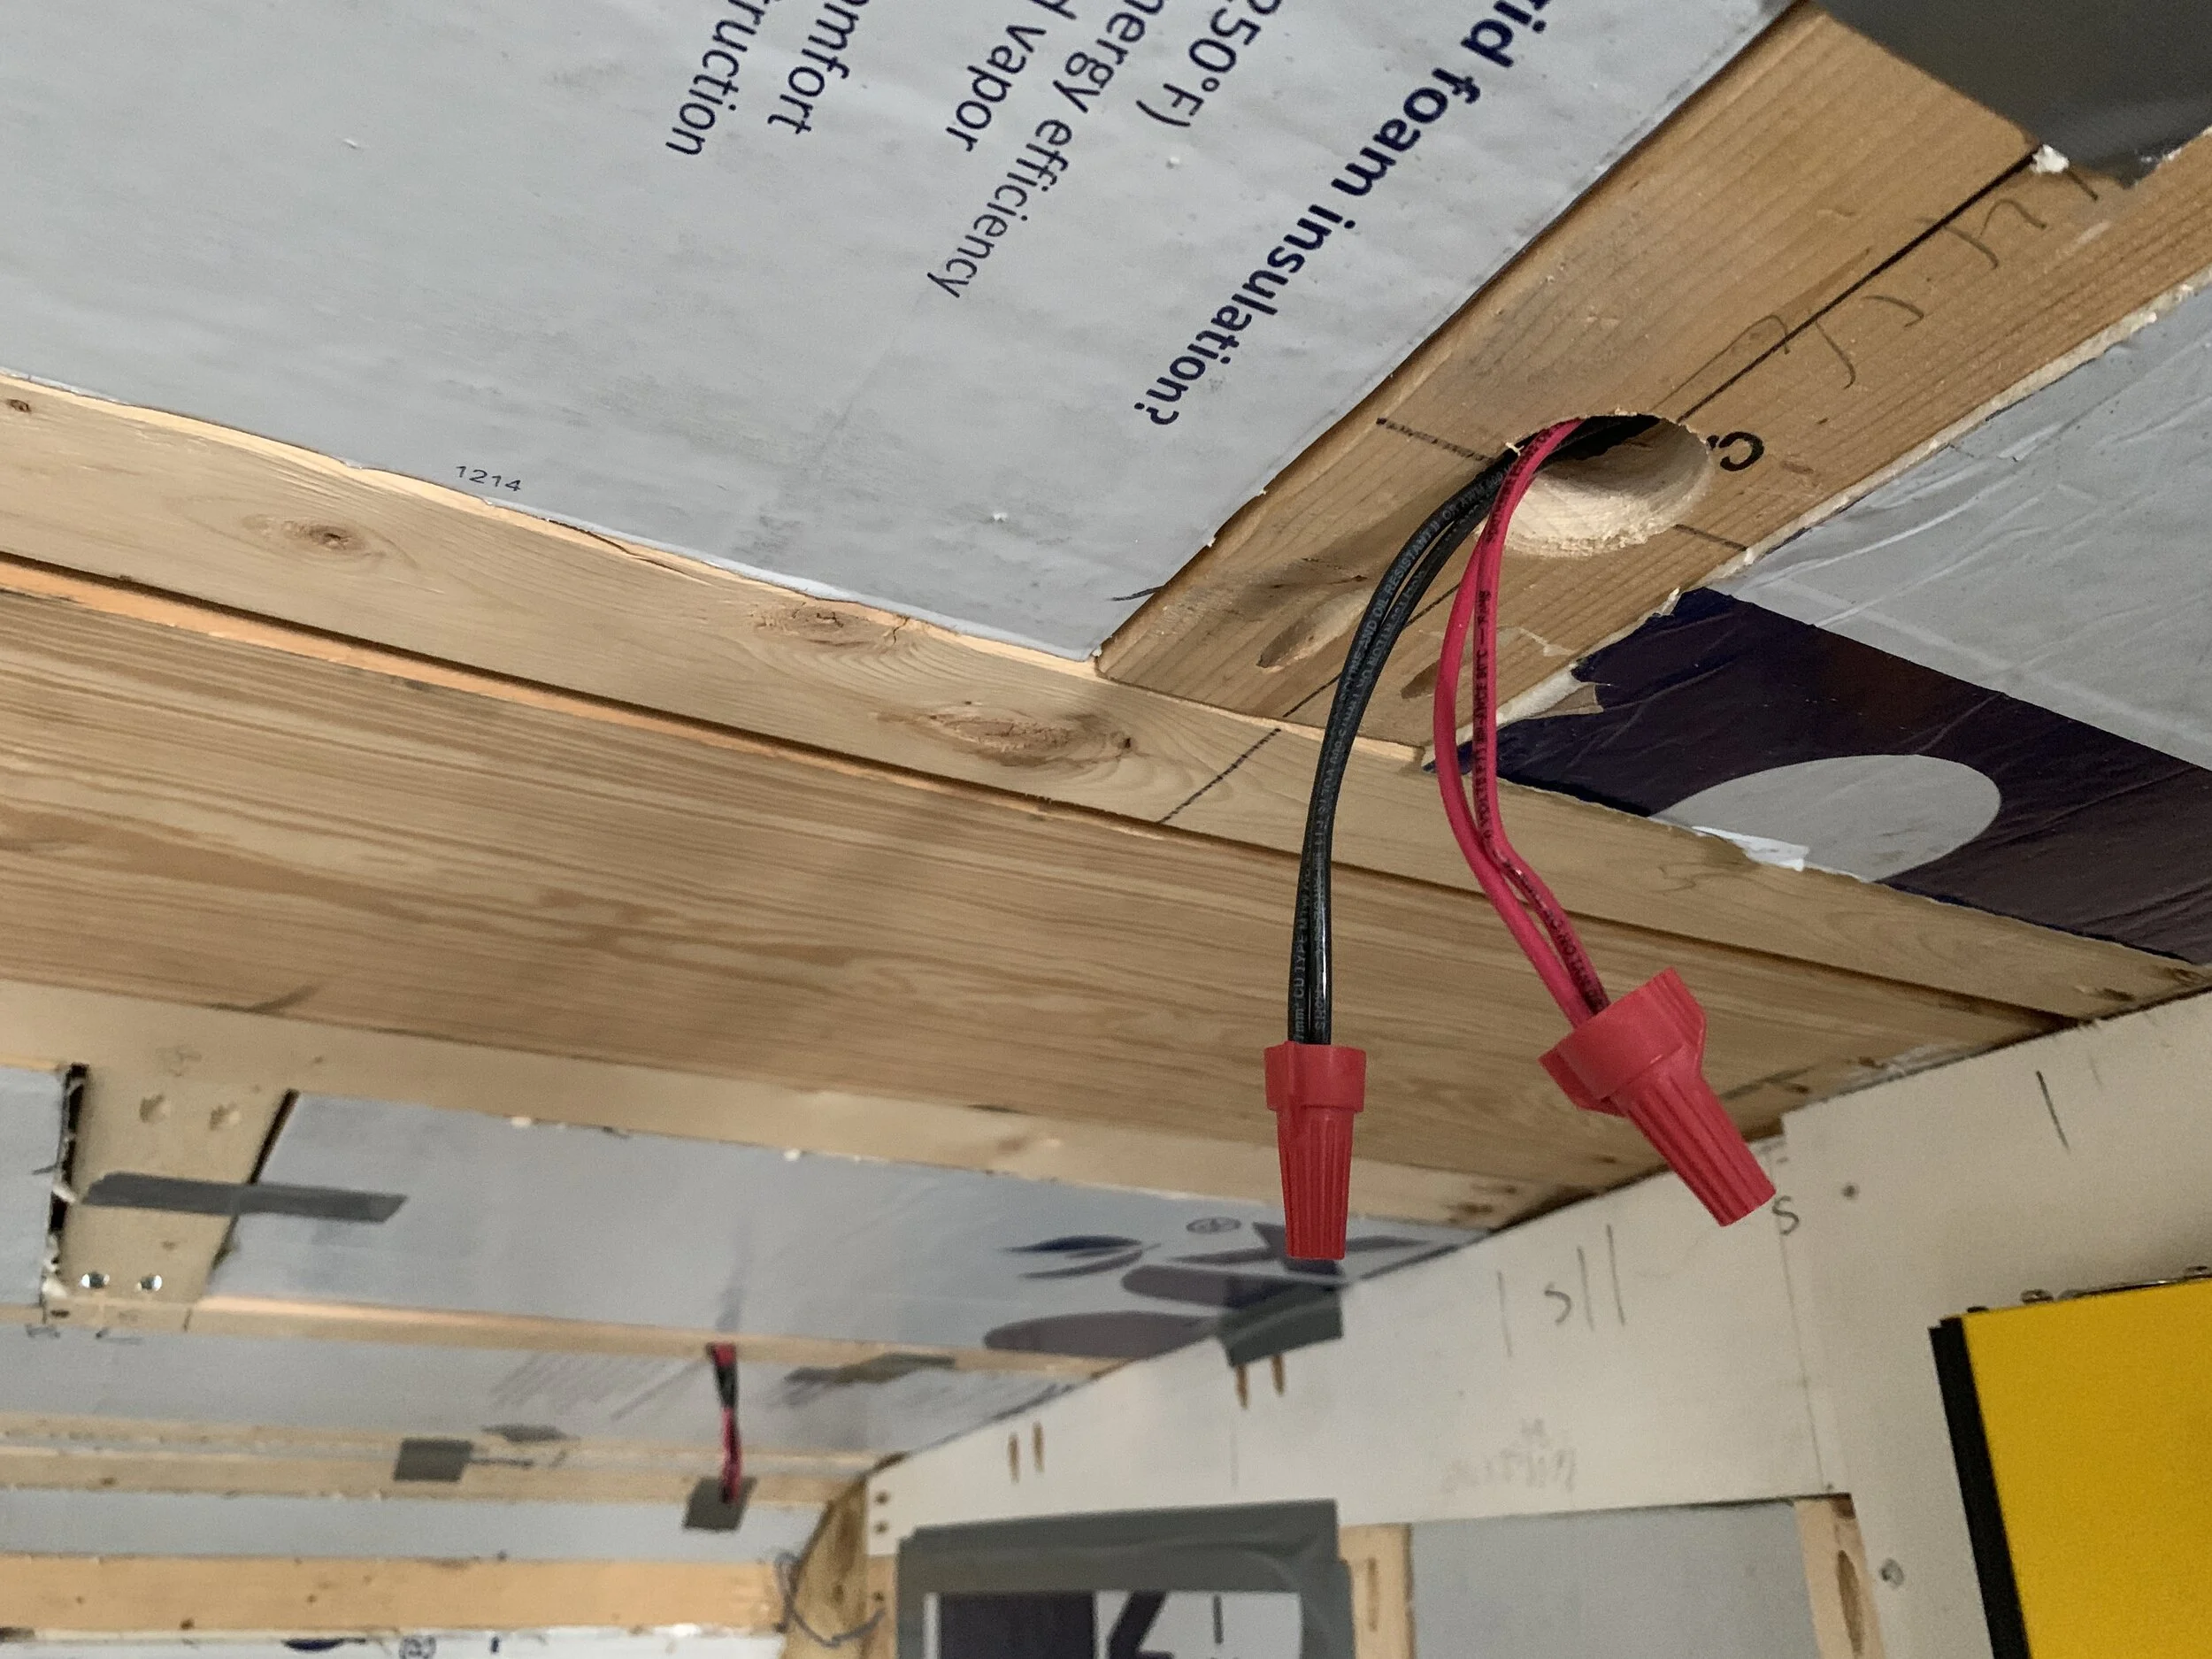
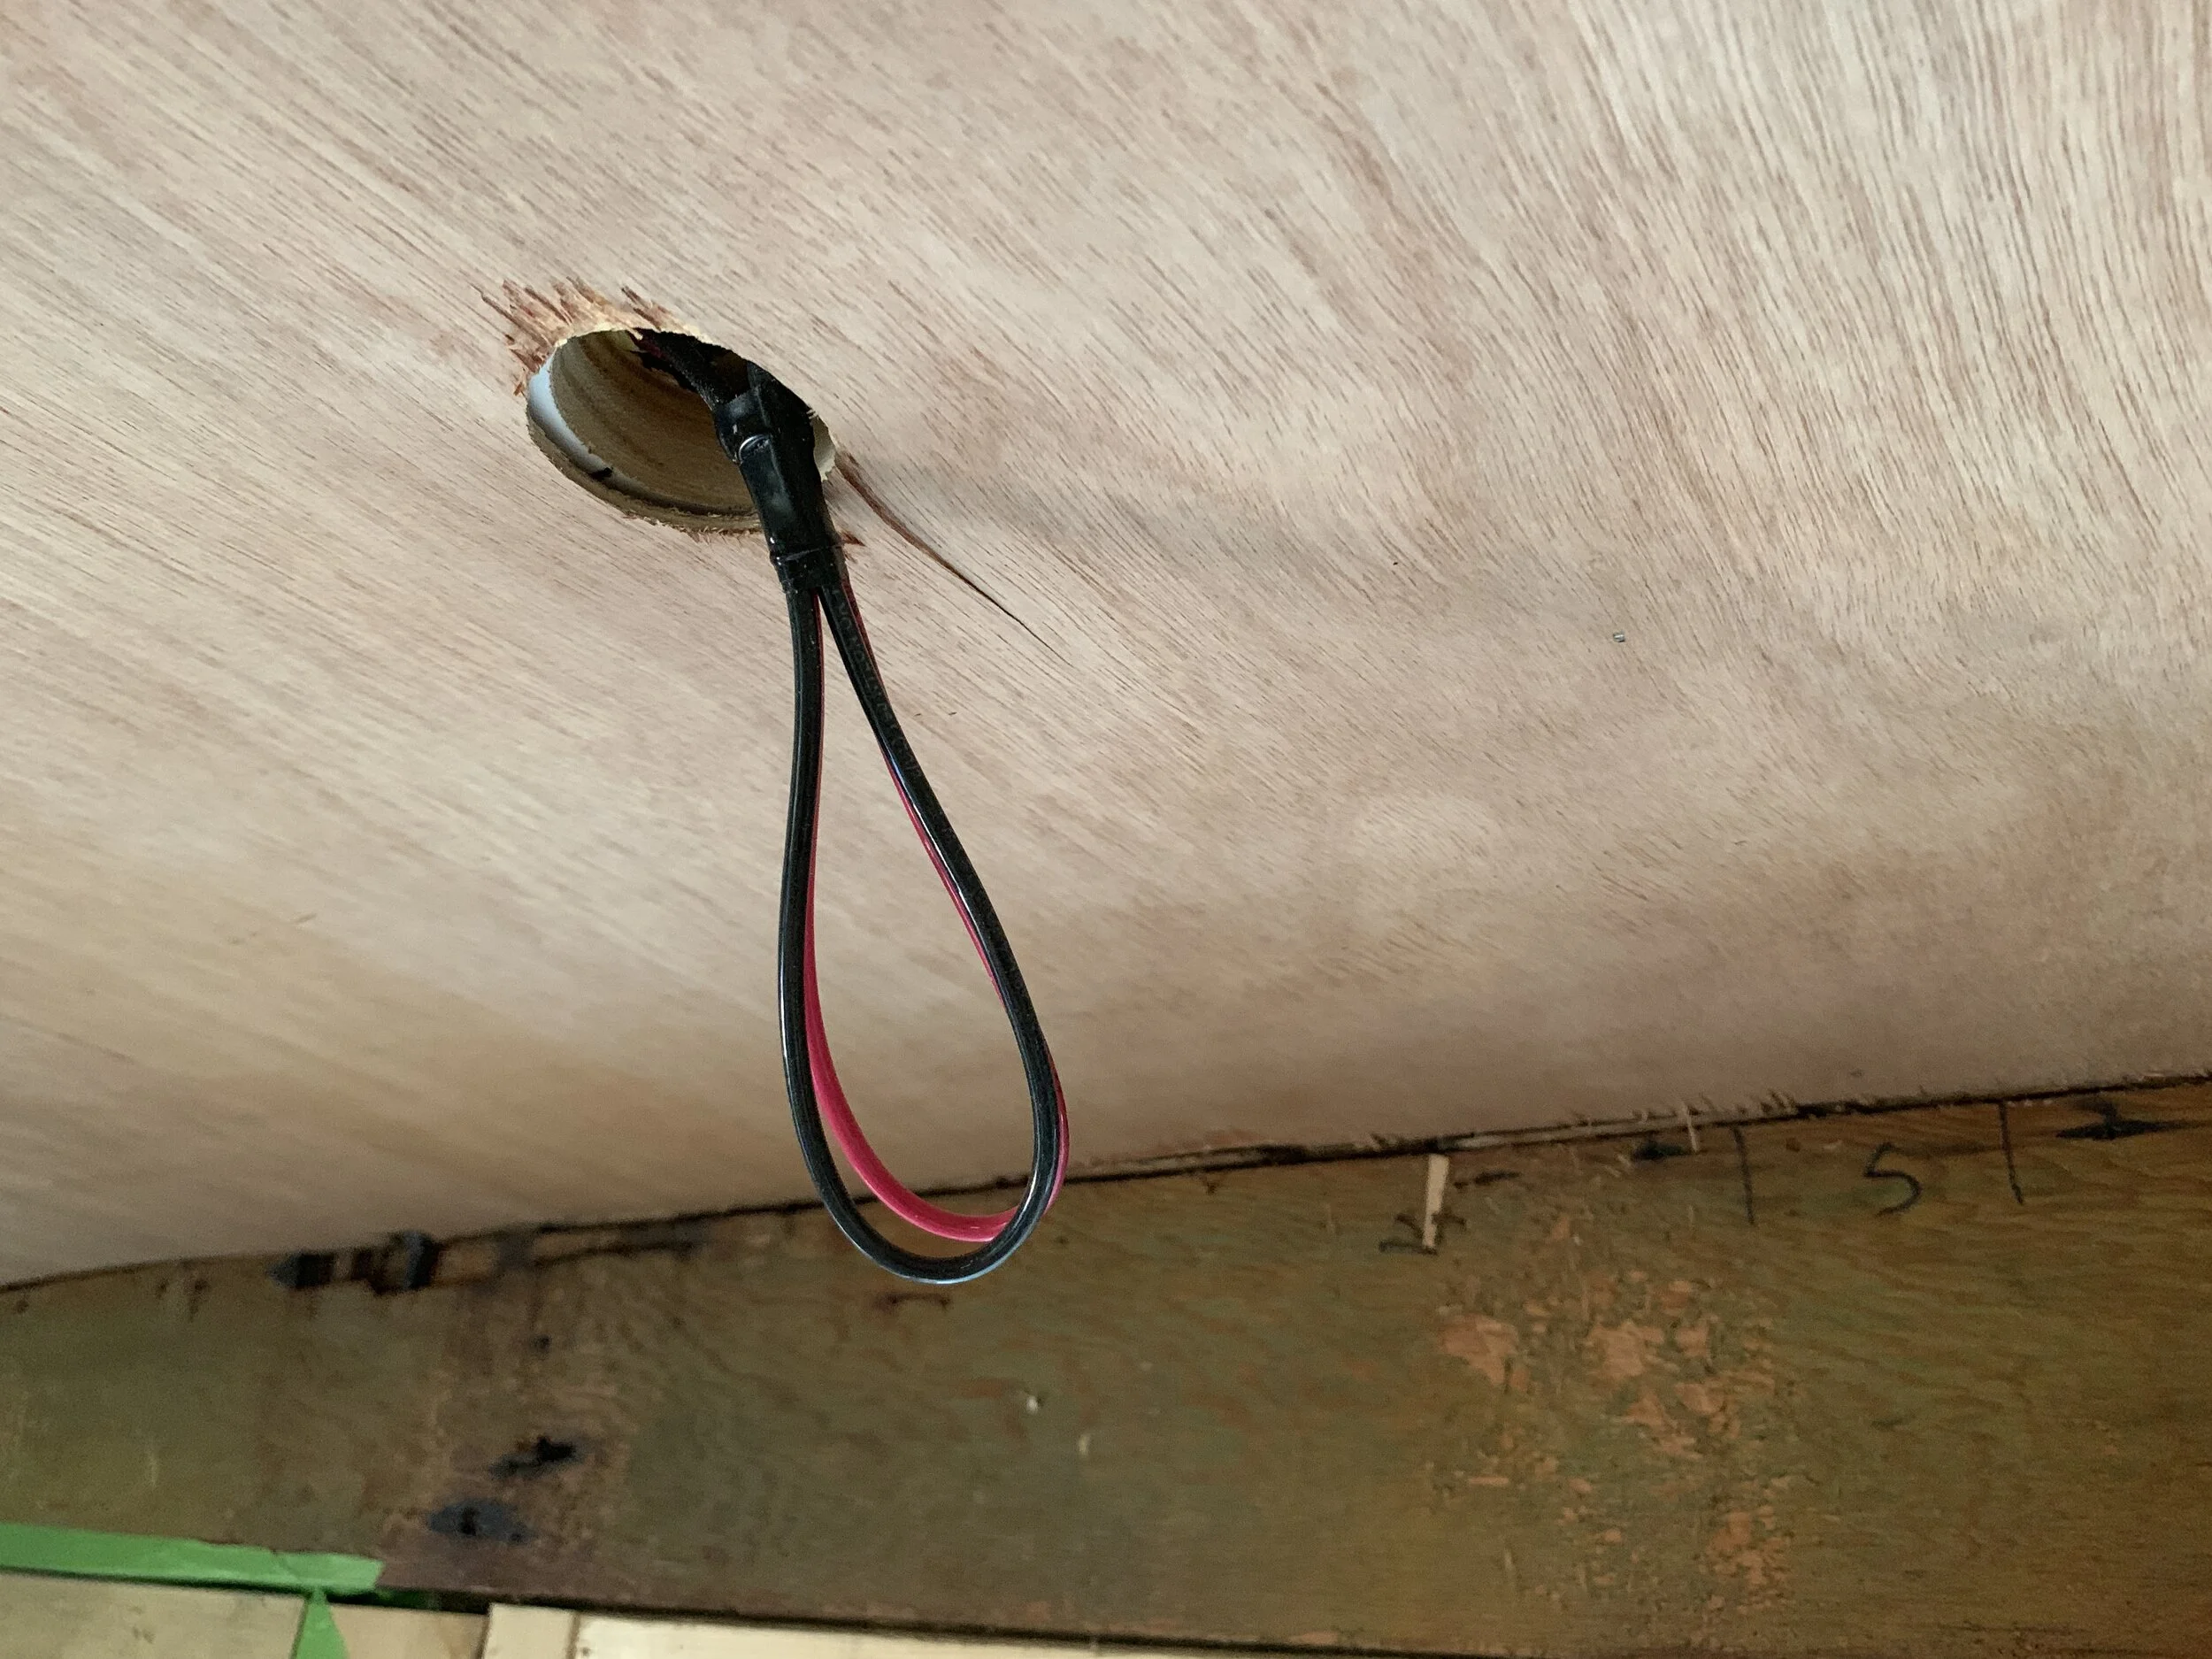
First (before we installed the ceiling paneling) we used a hole saw to drill through our ceiling supports where we wanted to install each light. When pulling the wiring through the ceiling, we made sure we had enough slack to connect our lights by taping a small little loop pulled through at each light’s location.

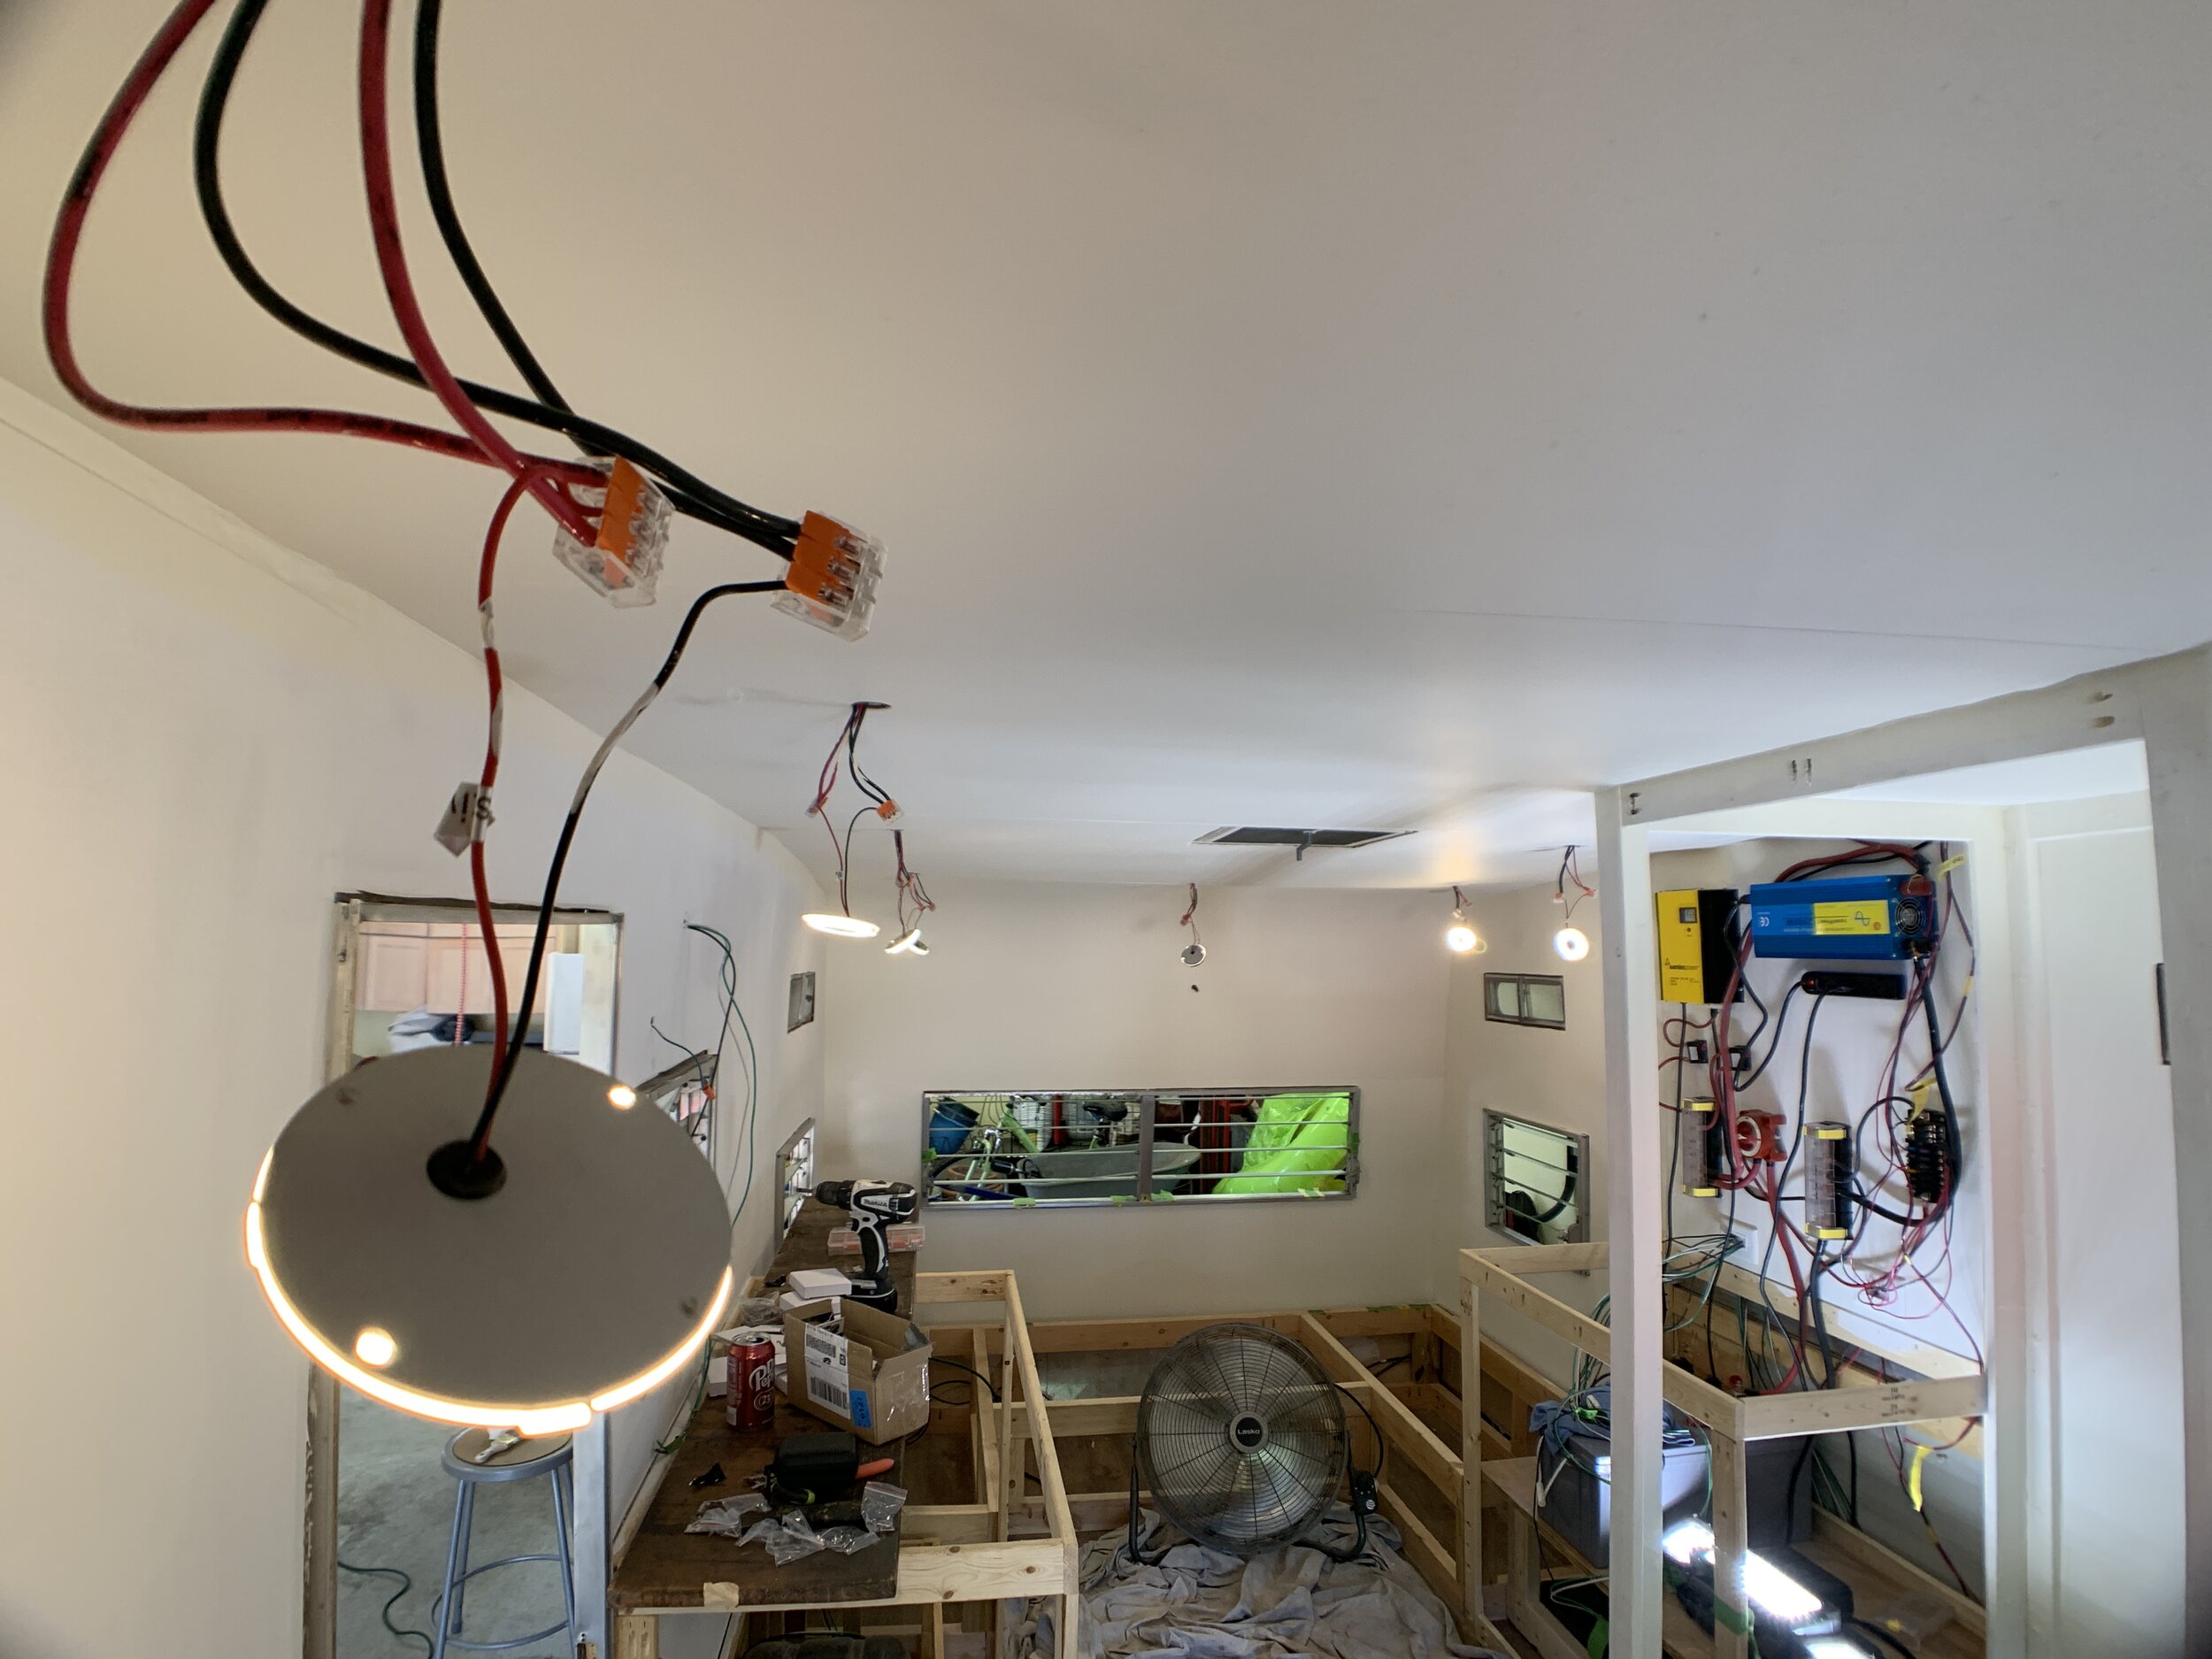
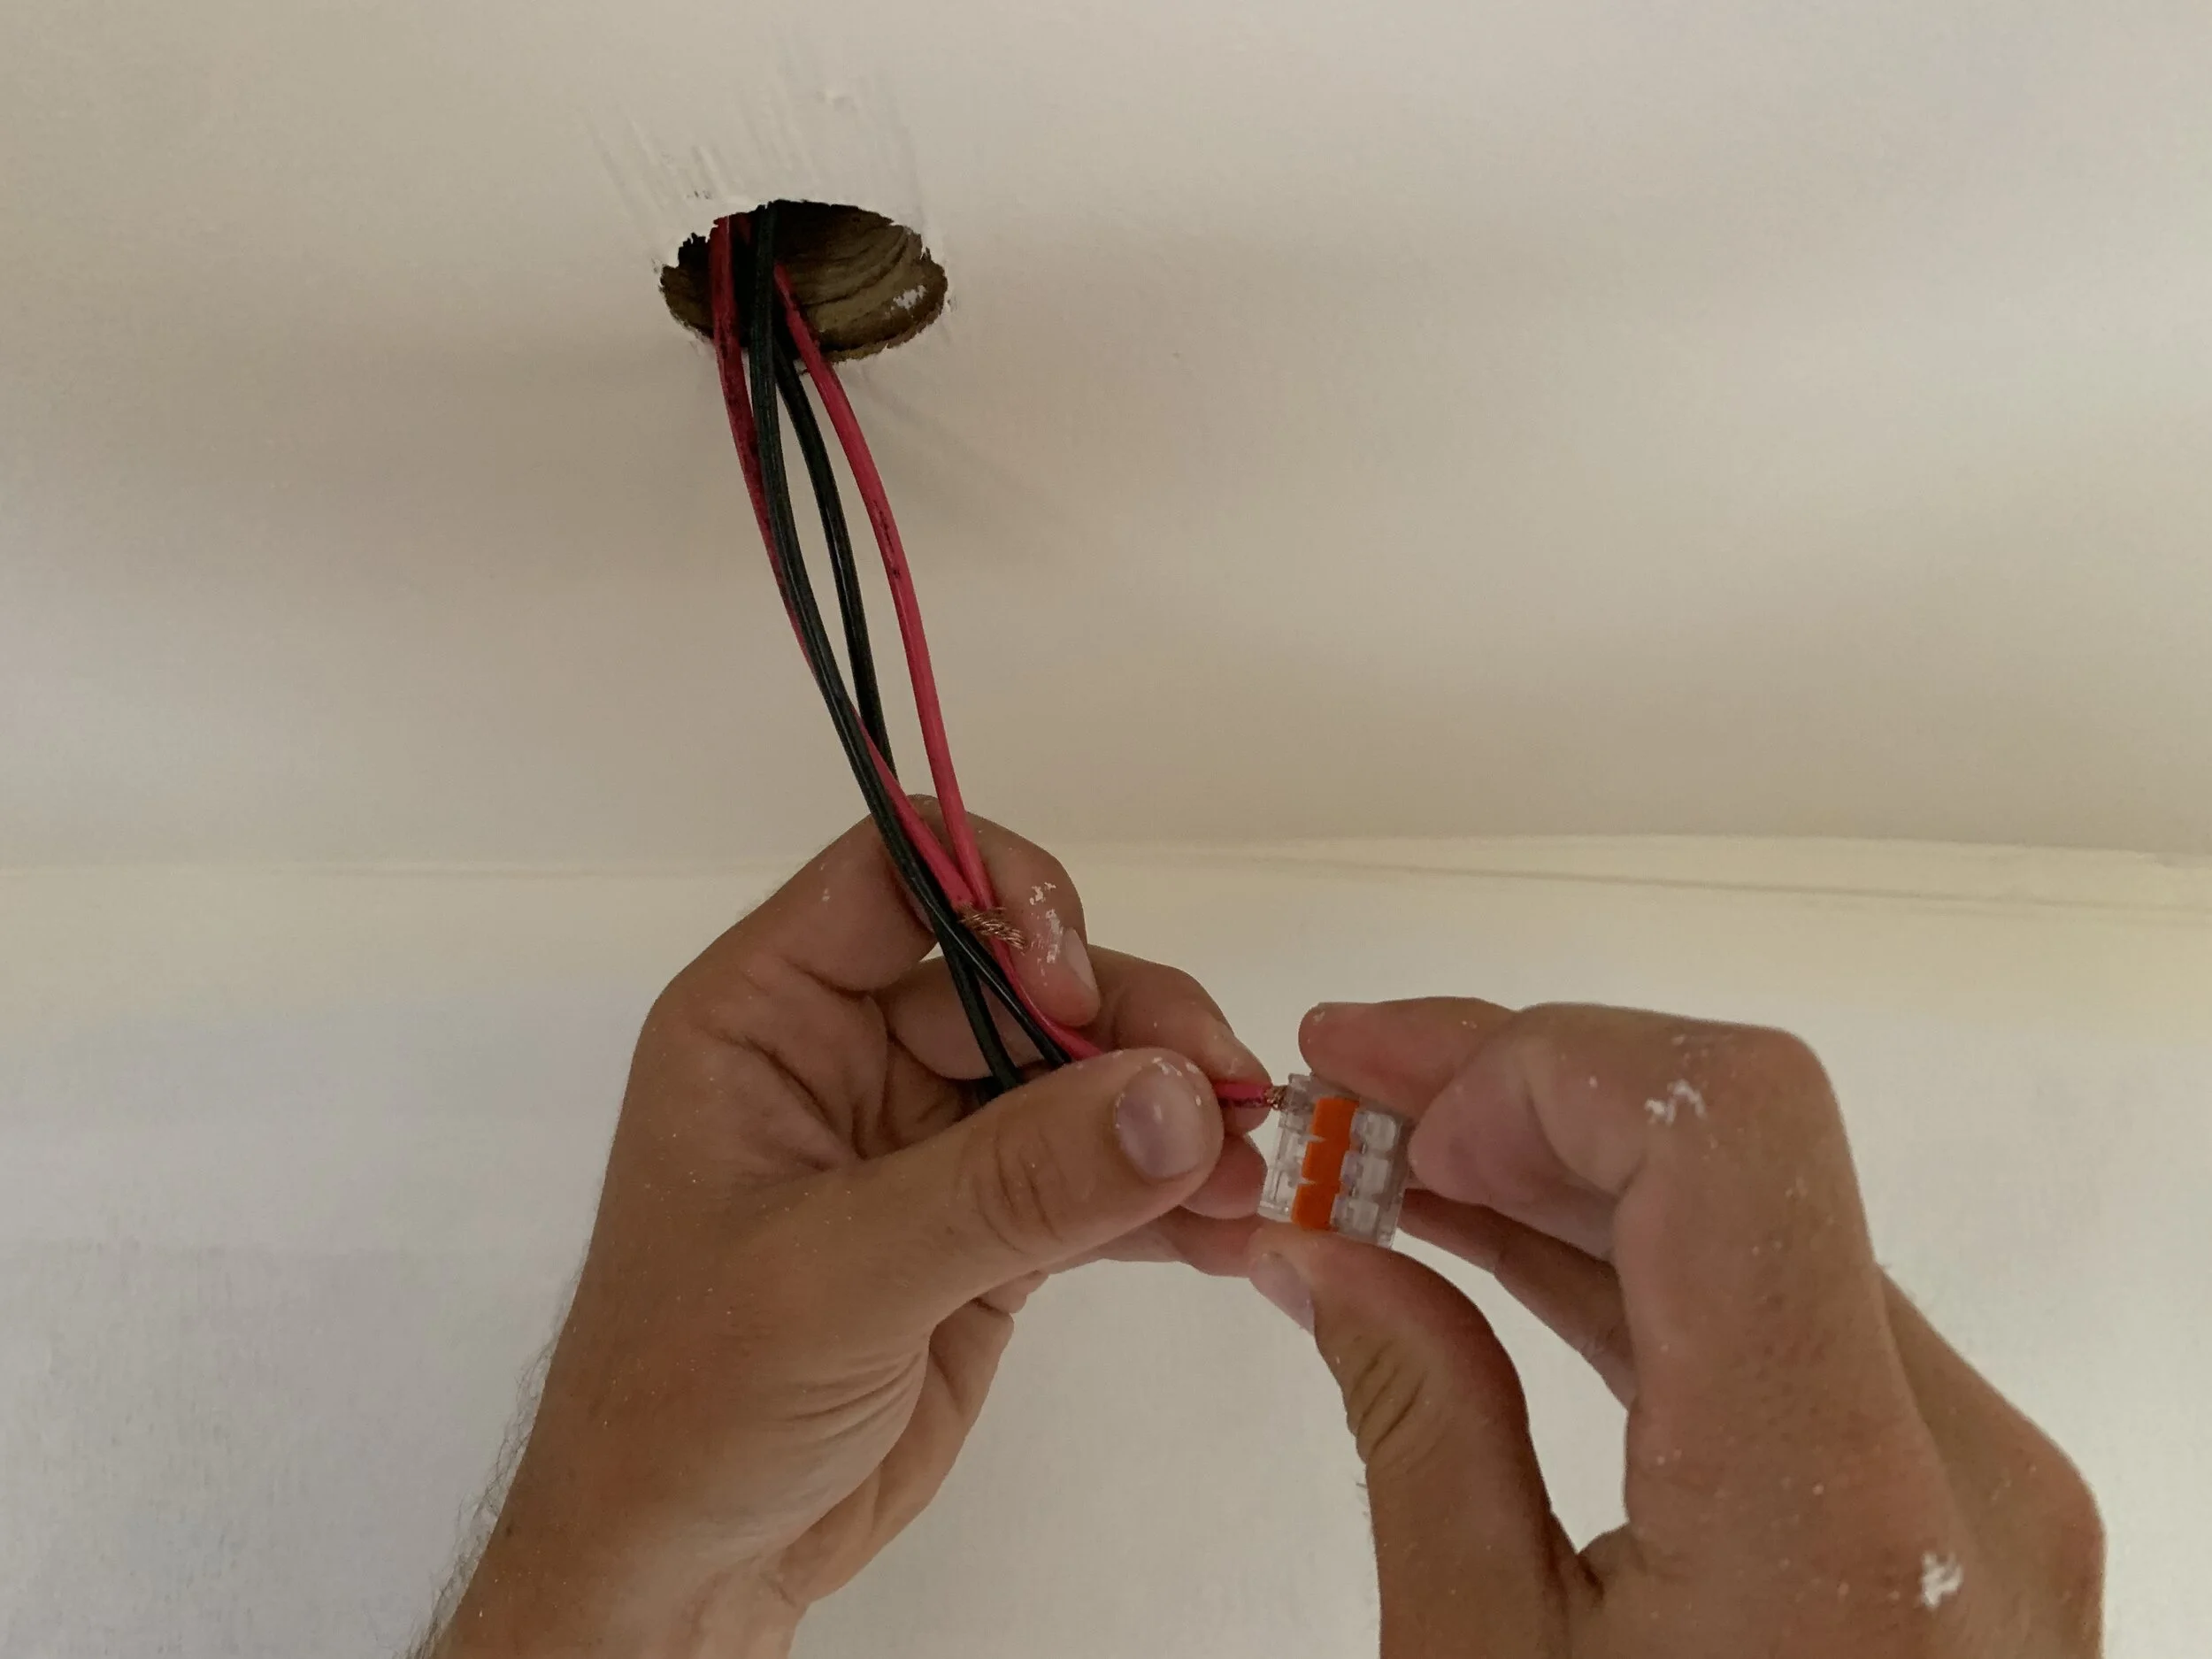
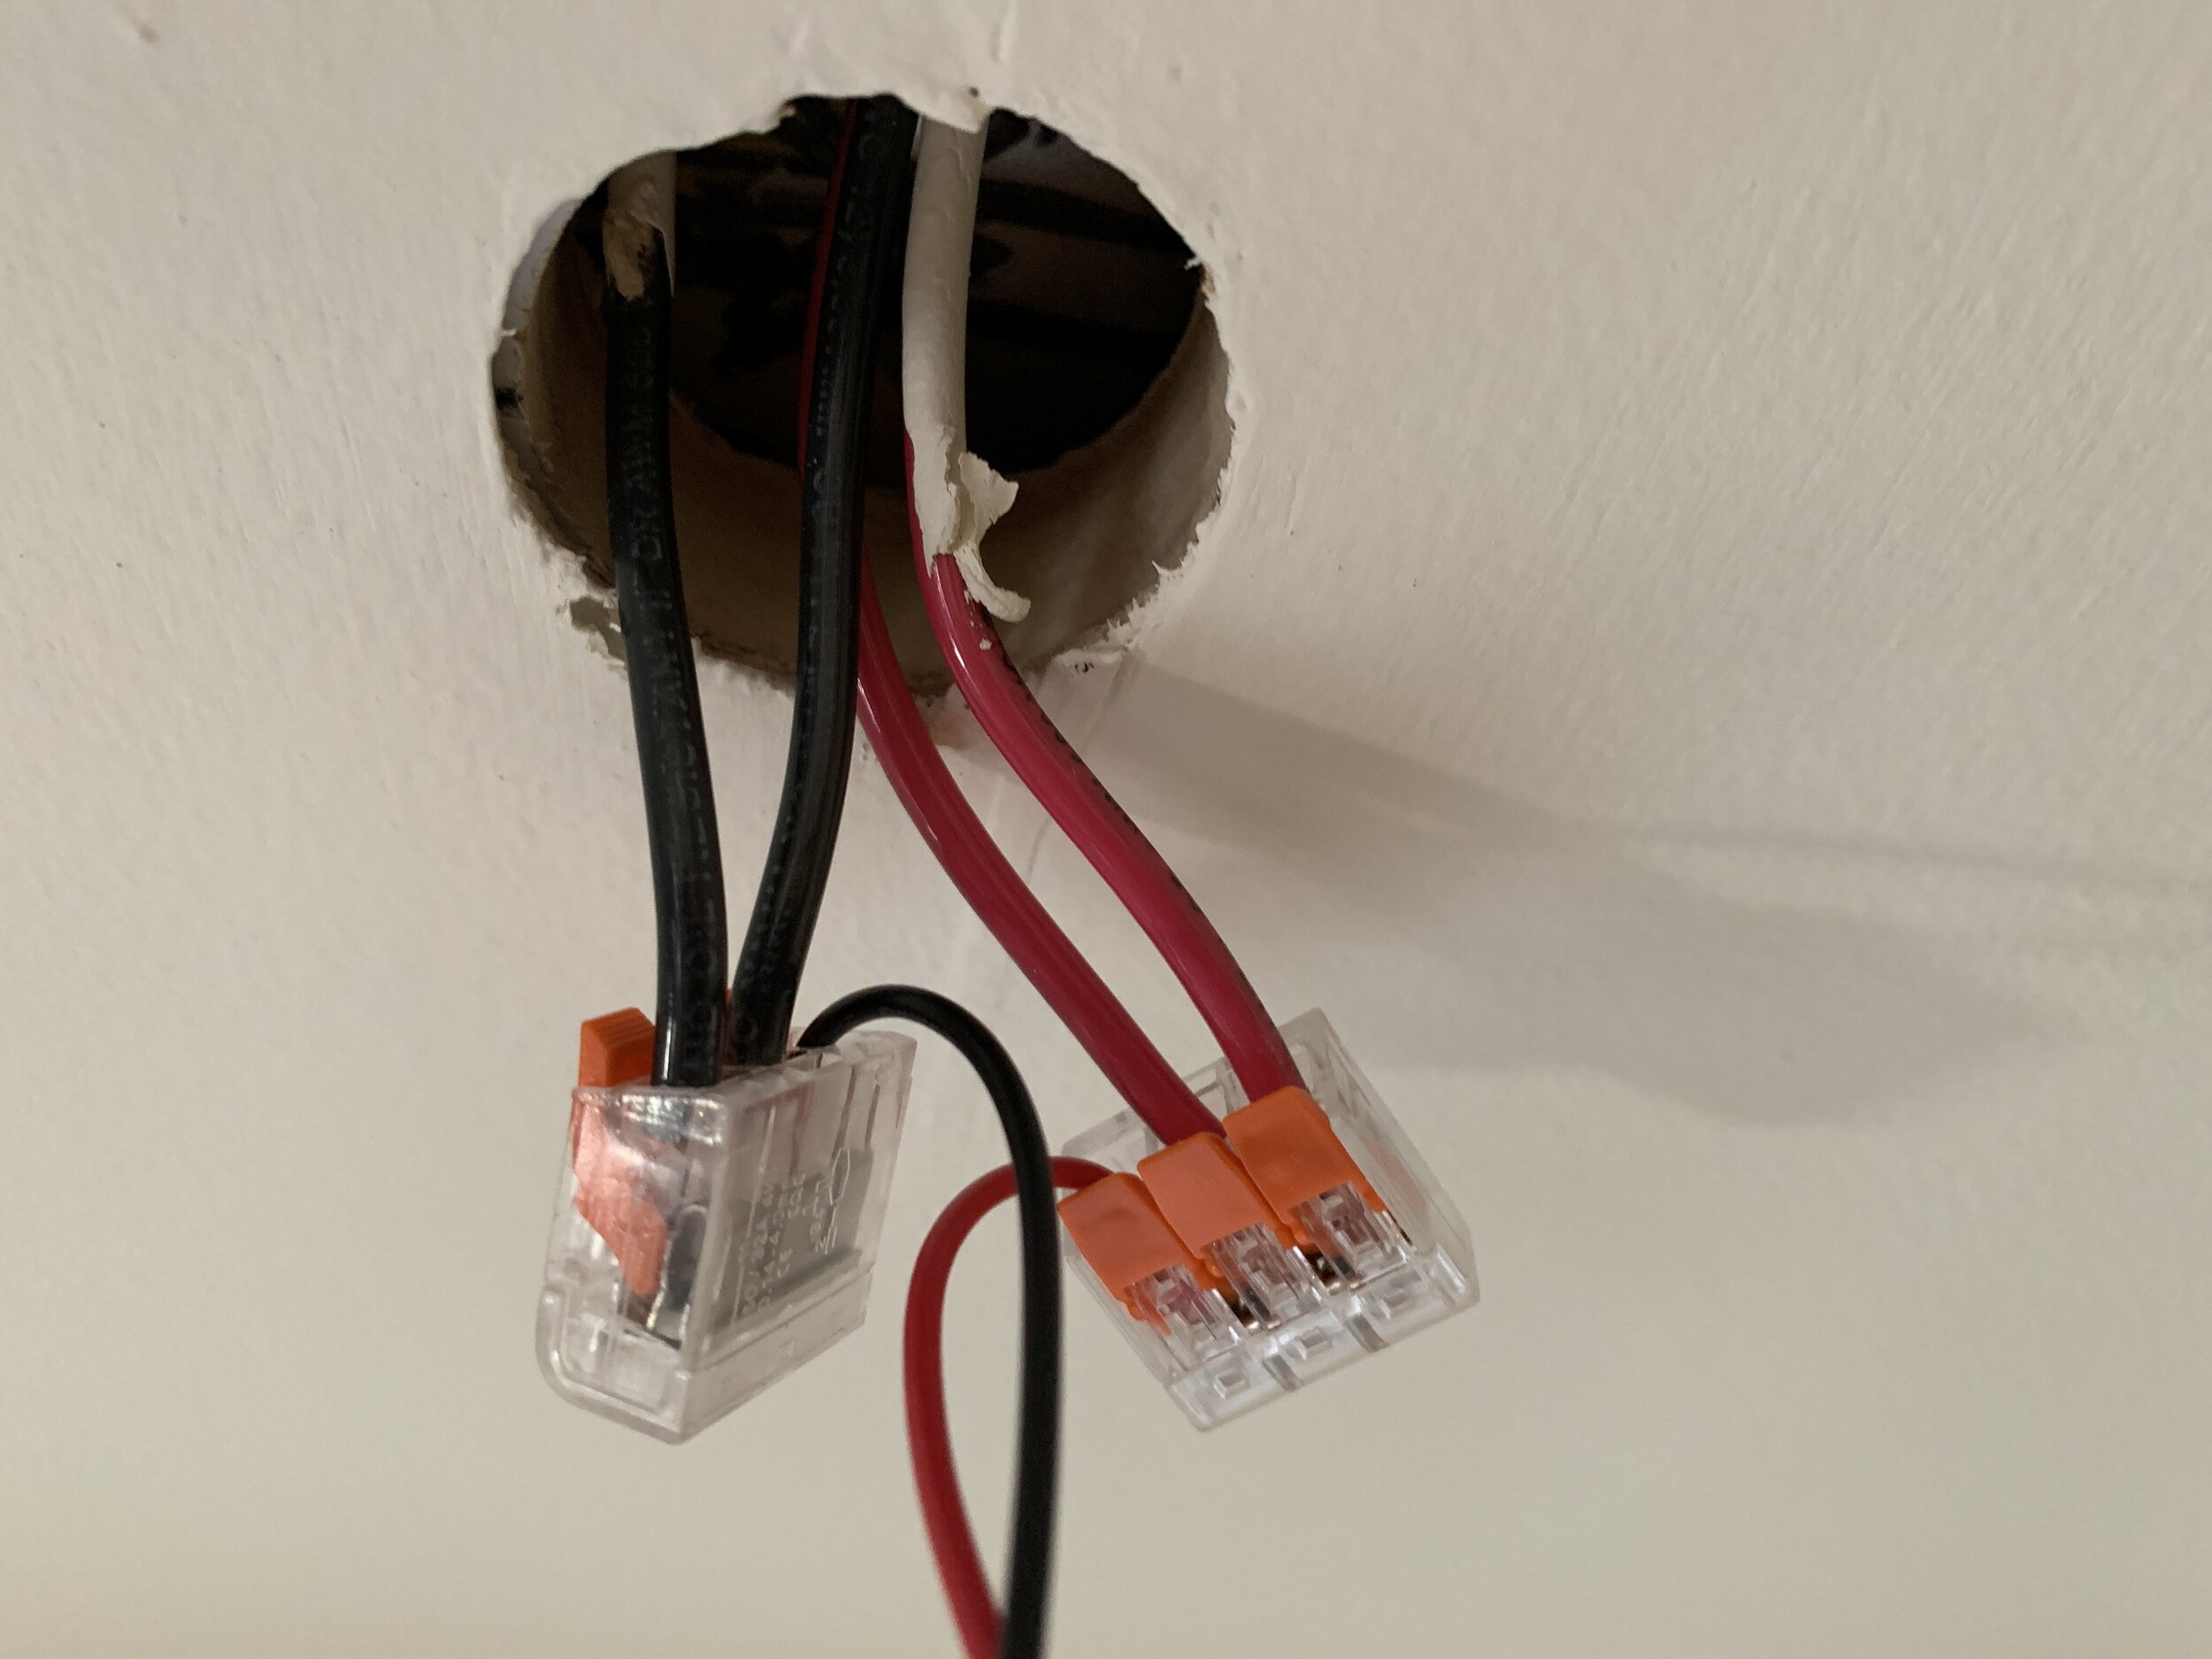
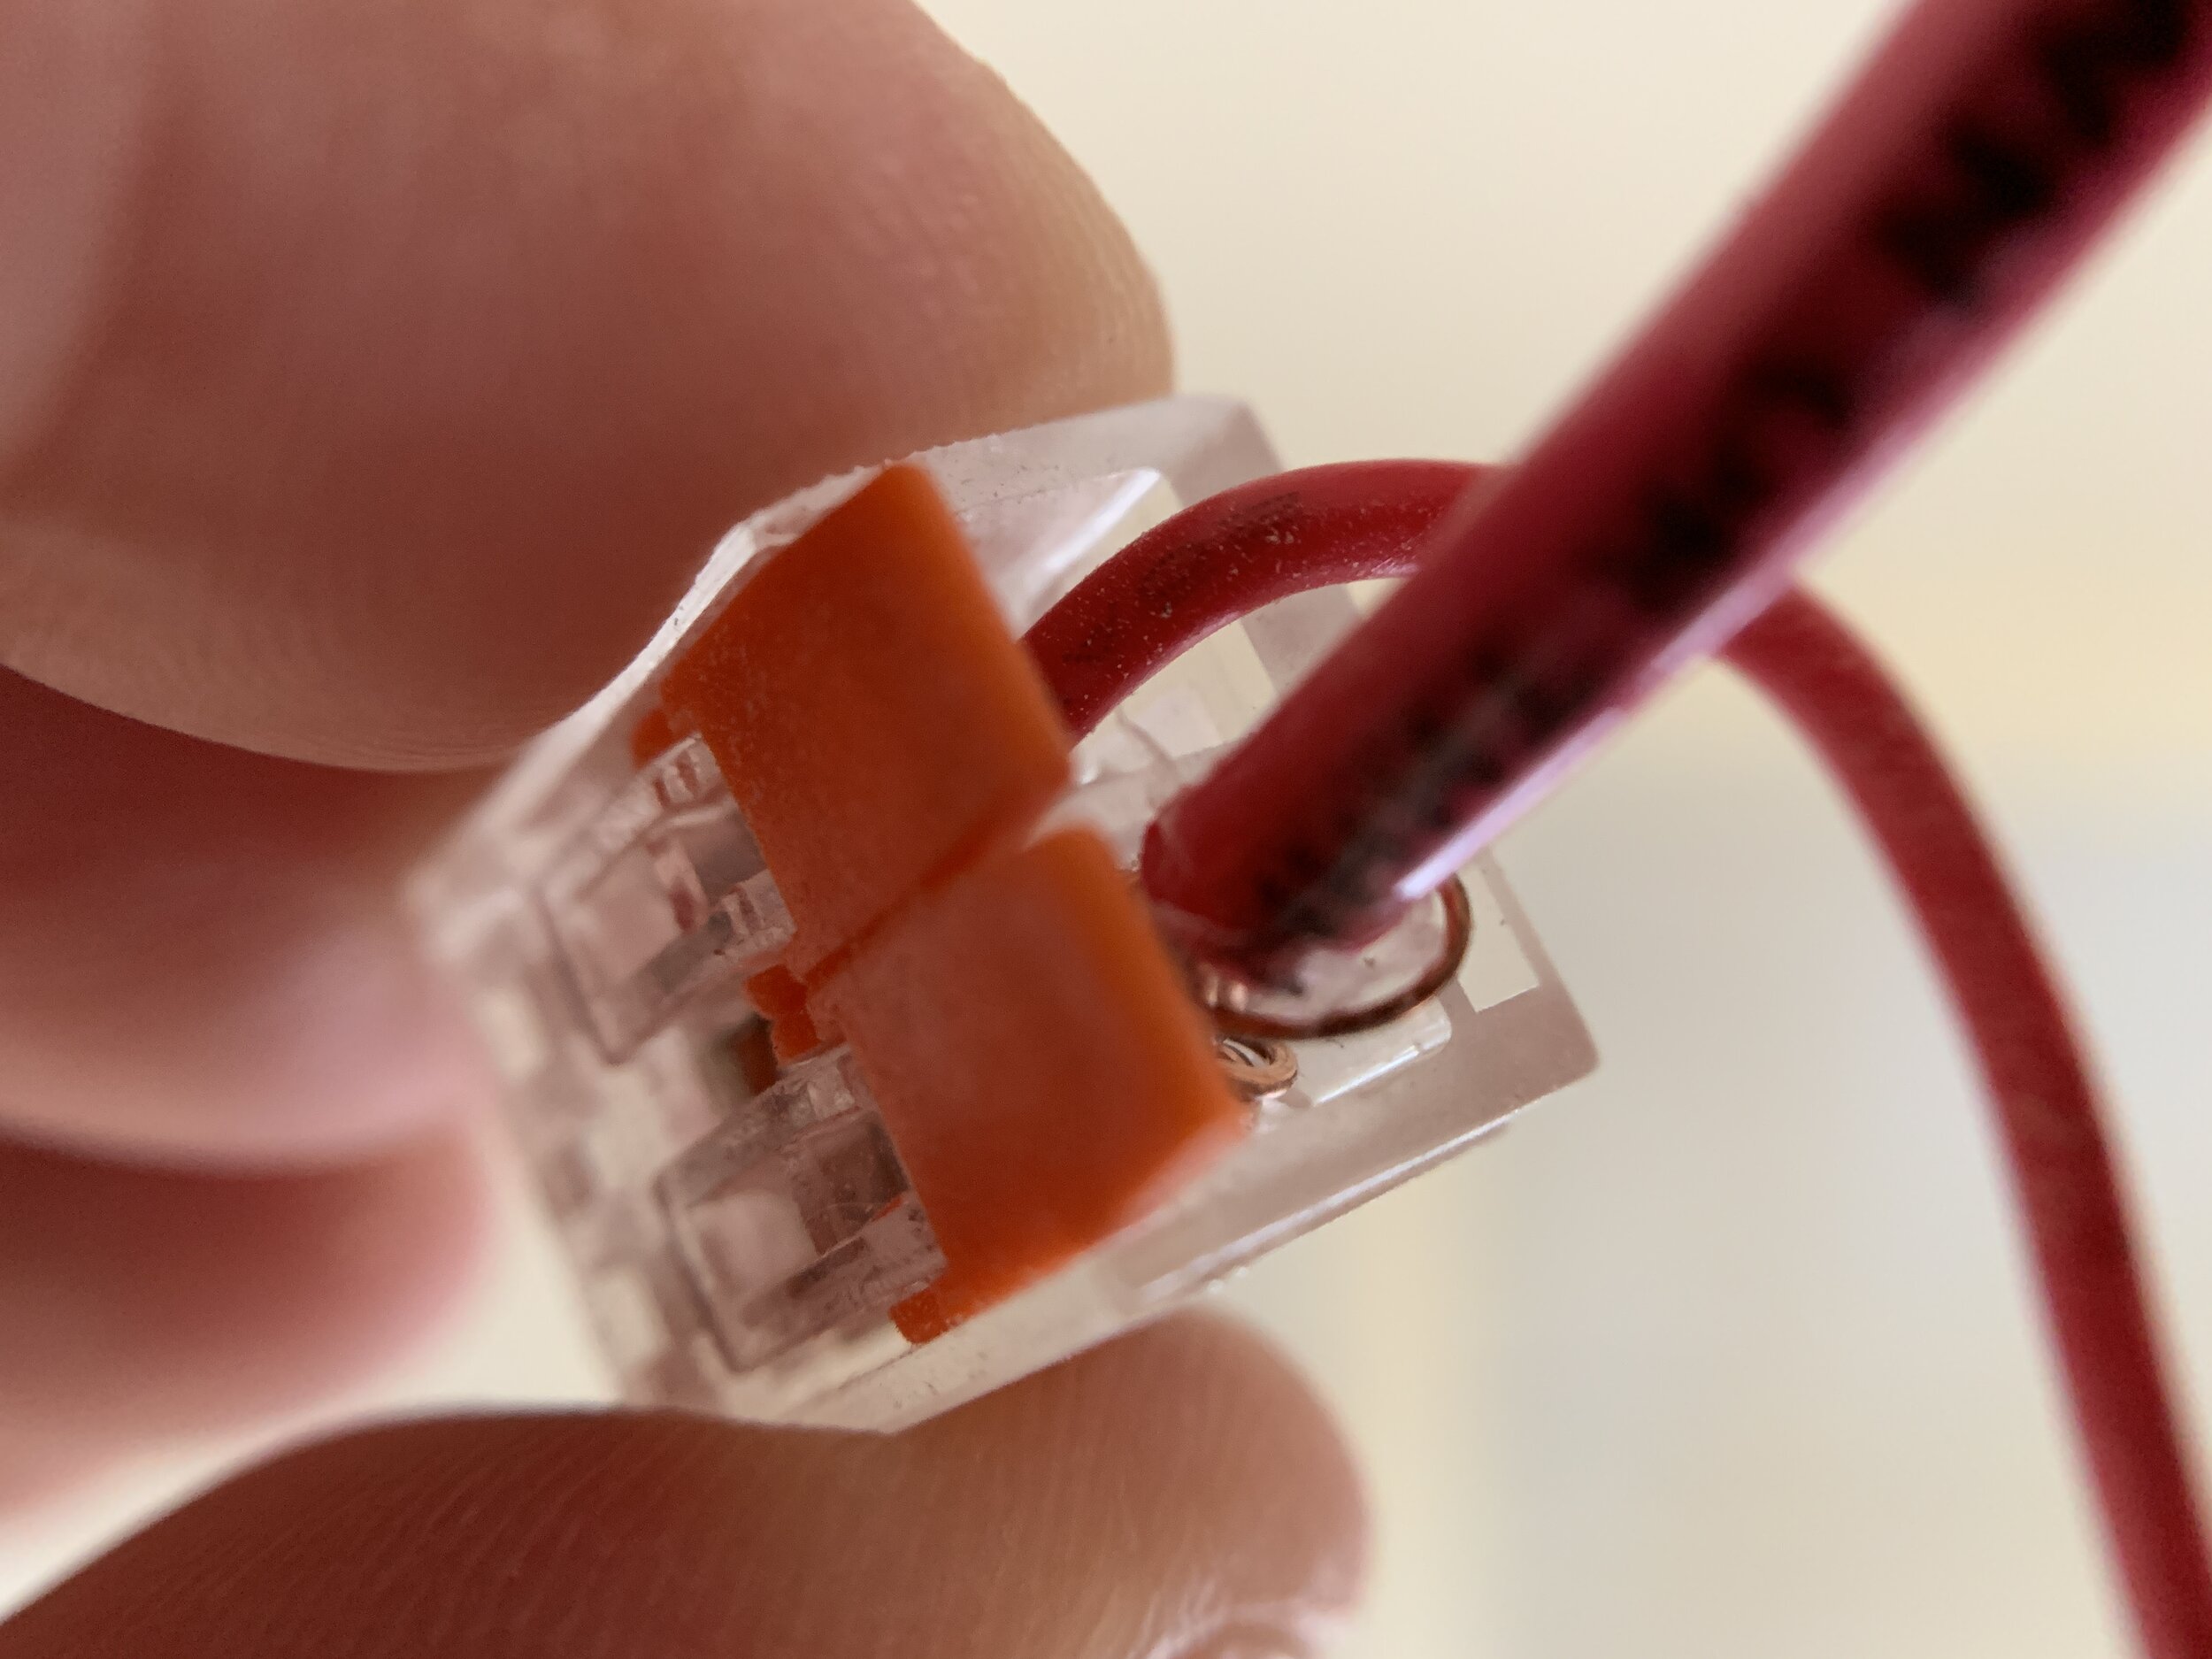
All but the last light in the circuit use two 3-port connectors – one slot is for the wire for the light itself, one port is for the light (or switch) before it, and the last one is for the light after it. The last light in the chain uses two 2-port connectors – one for the light itself and one for the light before it in the sequence. It does not matter the order that you put the wires in the connectors, as long as you have all the red “hots” in one, and the neutral black wires in the other connector. After the ends of the wires are stripped, they just clamp into the connector by the orange levered tabs. Once they were wired together, we tested the whole thing to make sure we had our connections right. Then we tucked the wiring and connectors into the ceiling holes, secured the lights to the ceiling and popped the chrome finish ring onto it to complete the look.
We decided to run our ceiling lights in series (vs. parallel), meaning we ran our 12V red and black 12AWG wiring in one loop from our electrical cabinet through each light until we dead ended into the last one in the chain.
Sounds familiar, but remind me the difference between series and parallel circuits…
In a series circuit, the total energy used by each individual light is equal to the battery’s voltage, so the same electrical current flows through the whole circuit, and the lights all share 12V of energy. This means there’s a “drop” and the lights on the tail end of the chain may be less bright than the ones closer to the power source/battery. We haven’t noticed a change in brightness across ours.
If that’s a concern for you, you could wire your lights in parallel, meaning each light in your circuit gets the full energy coming from your battery/power source (in our case 12V), and the lights all get the same energy and are the same brightness.
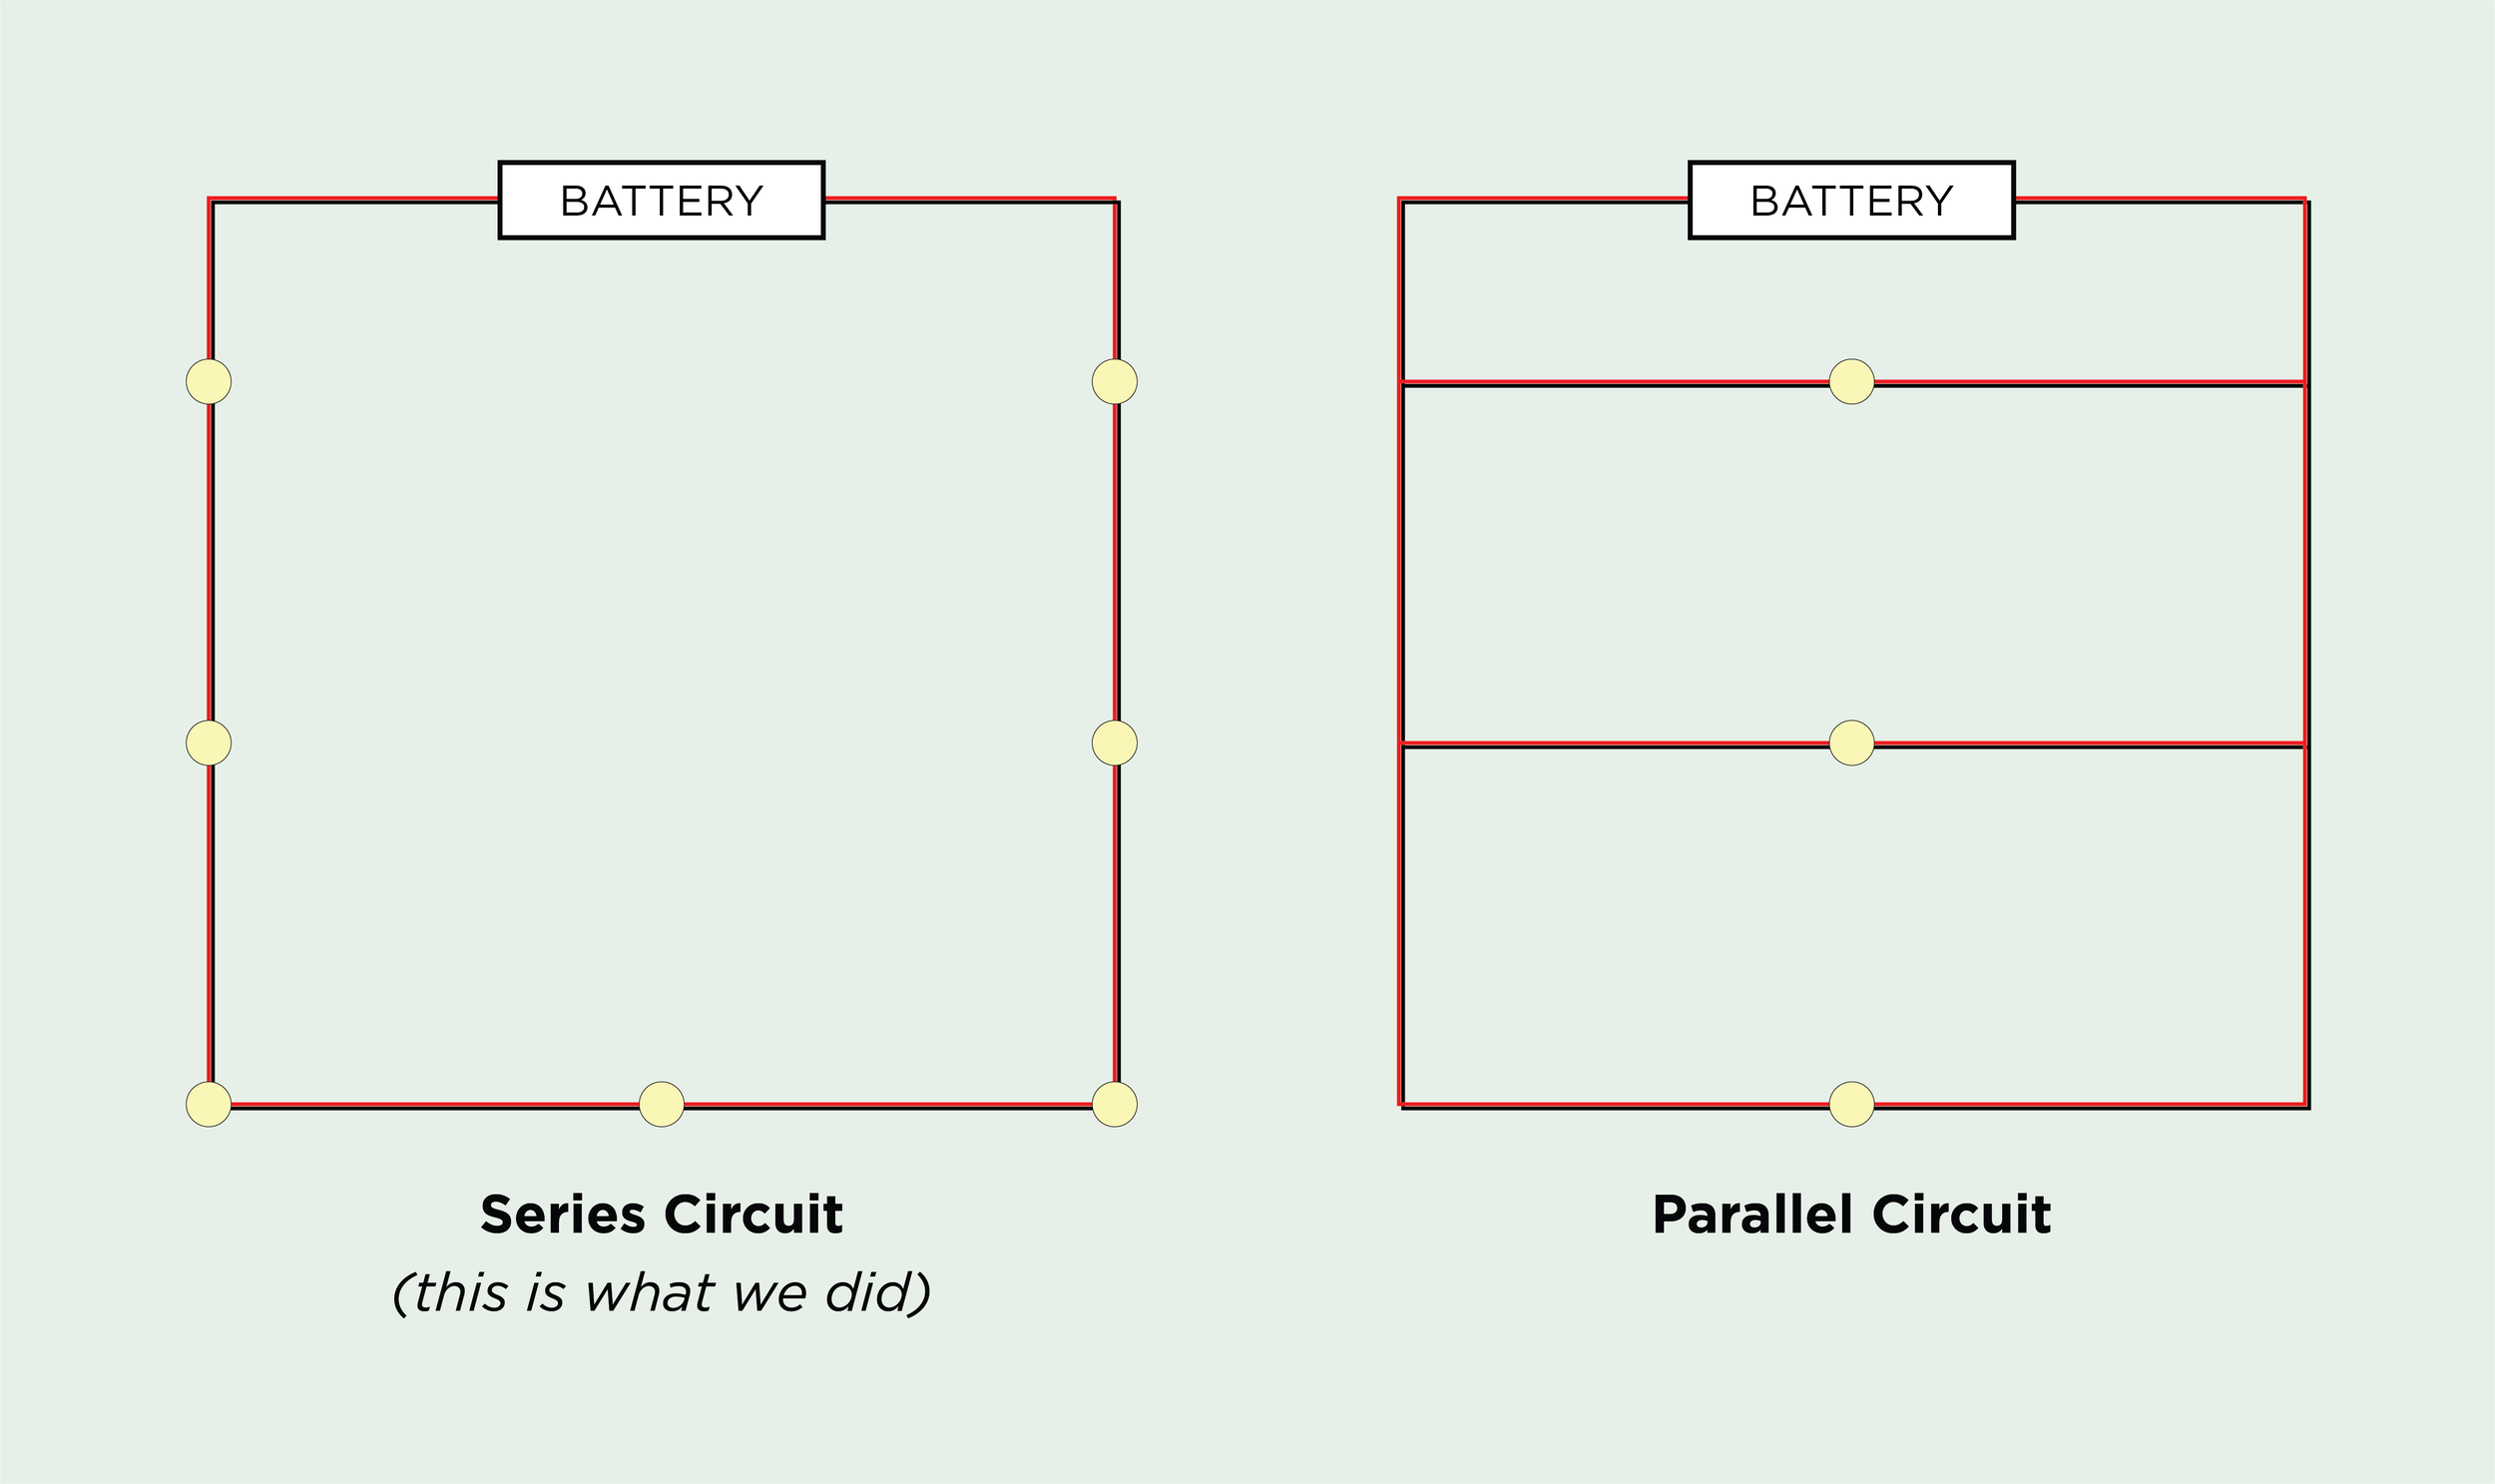
Our 12V ceiling lights are wired in a series circuit.
How to install a 12V light switch

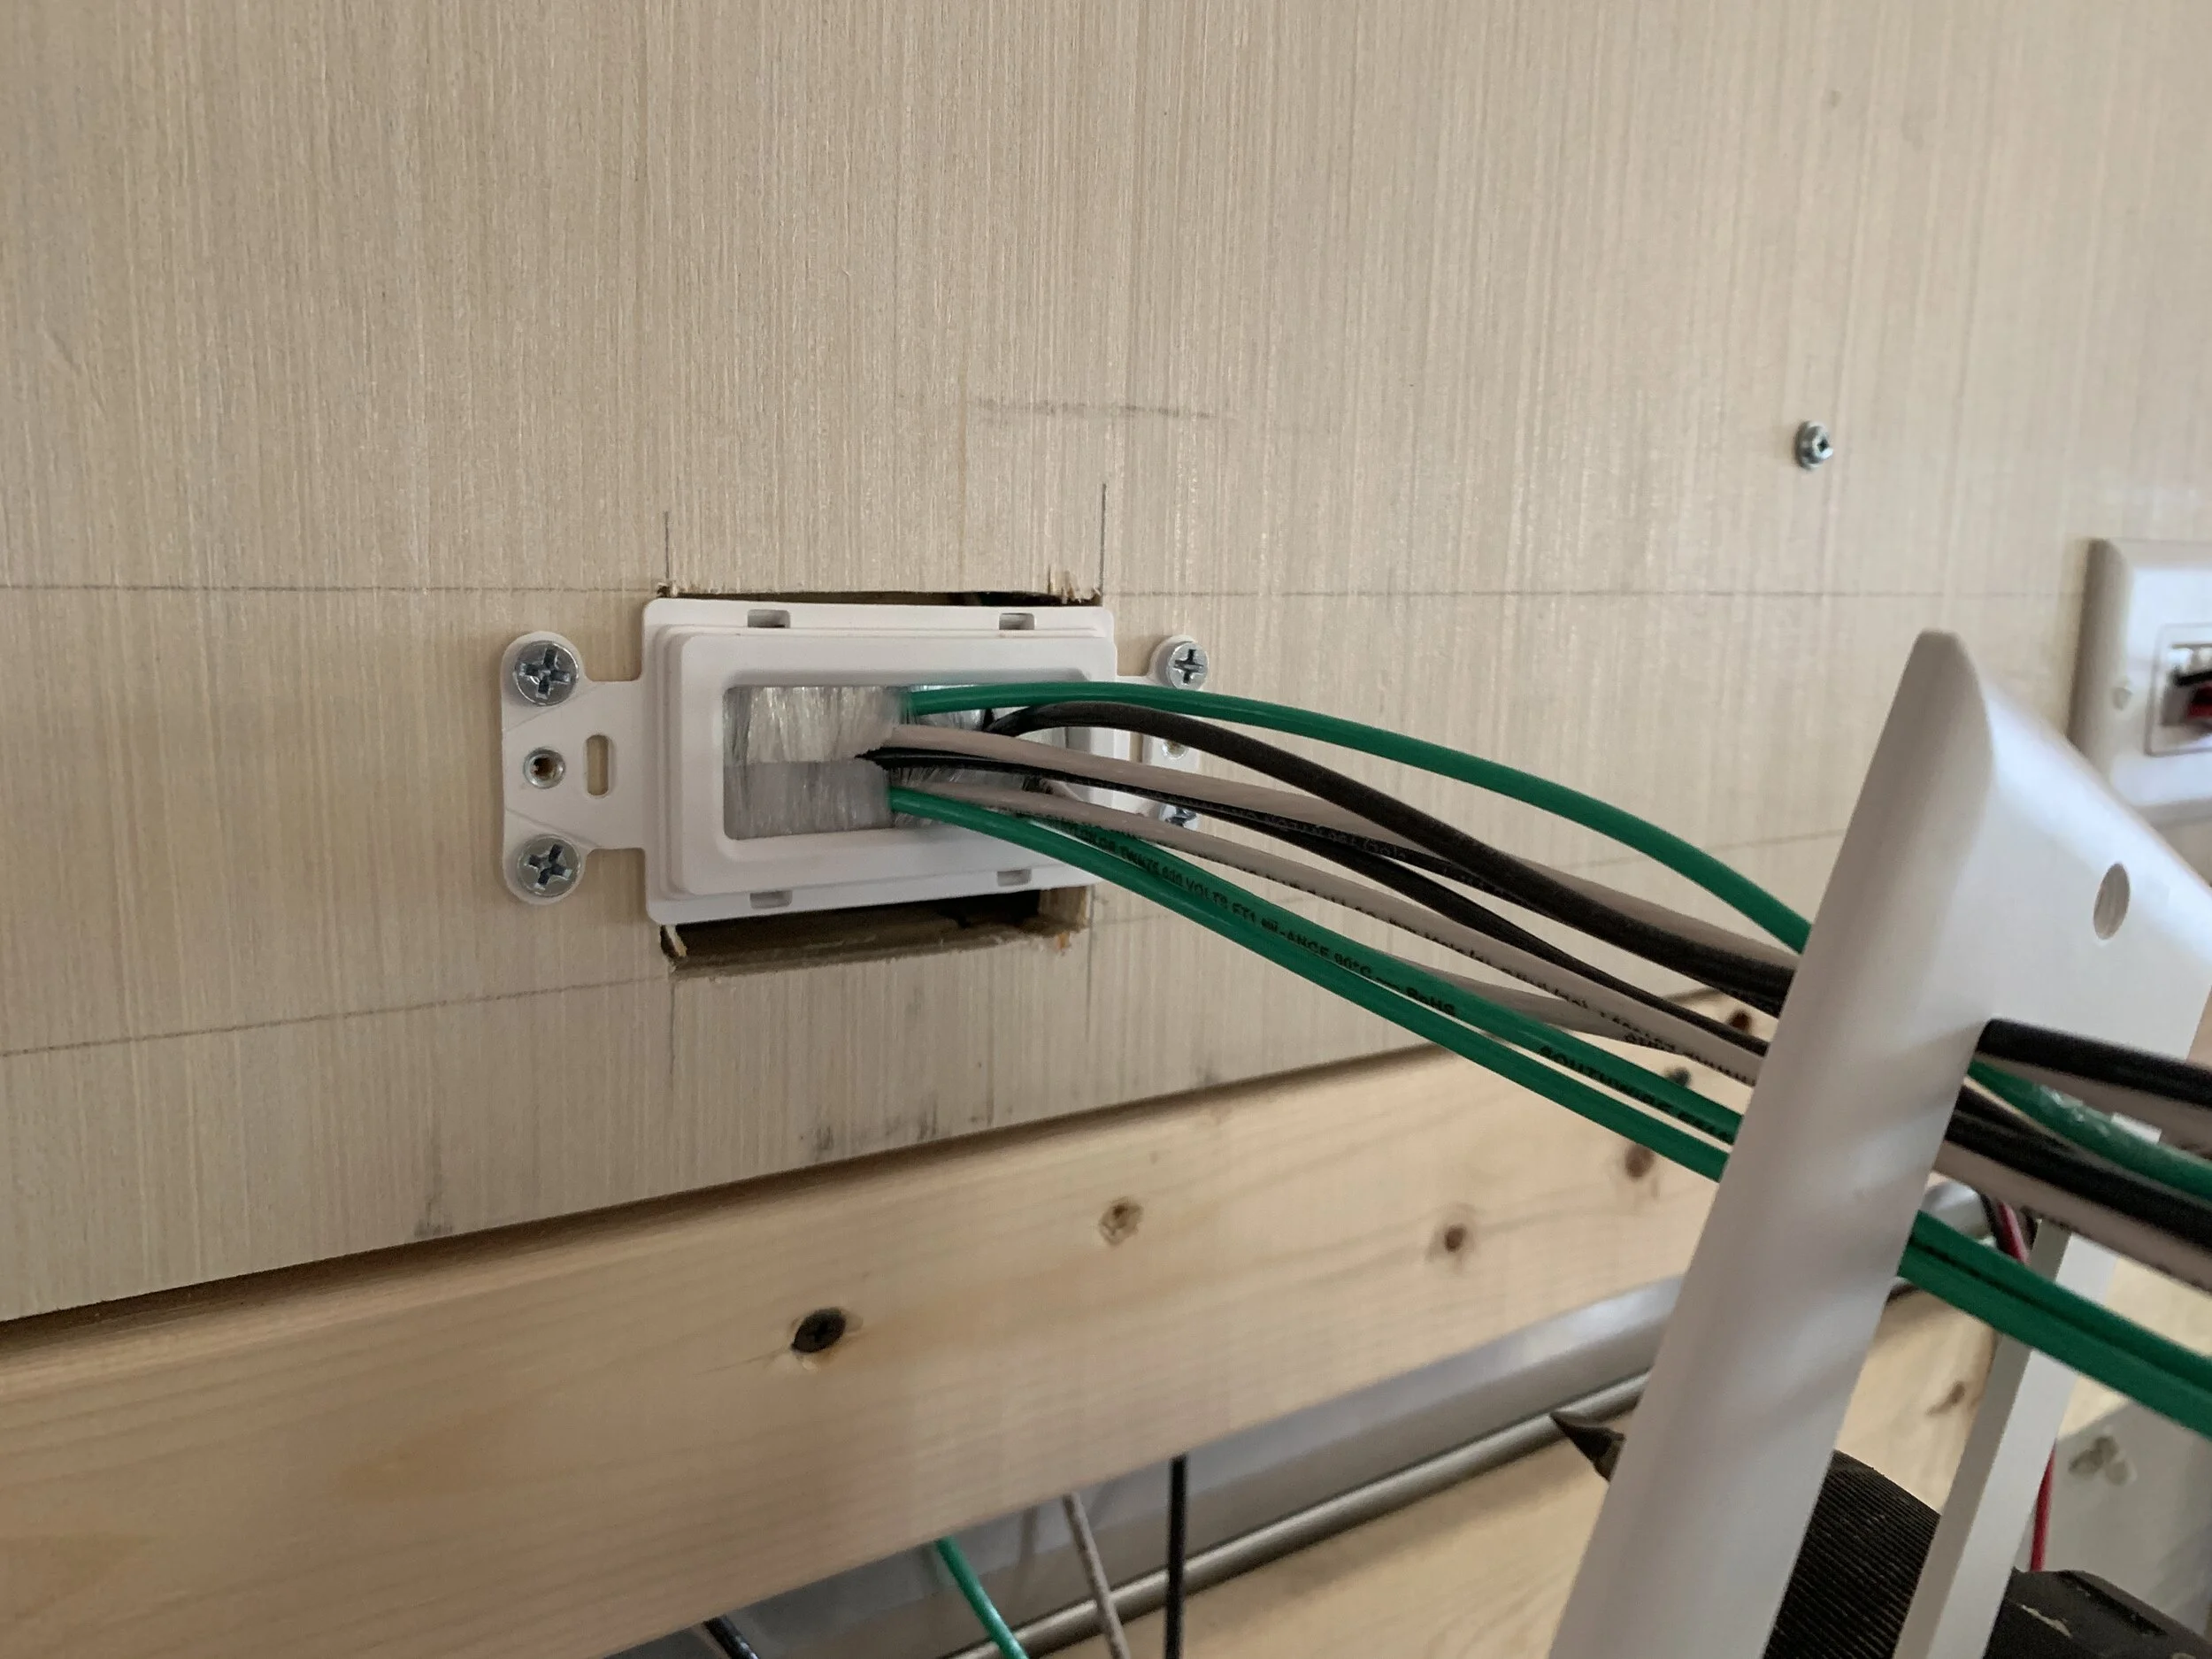
When wiring our switch, we made sure it was the first thing in the circuit, placing it in the electrical “chain” between our power source/electrical system and the first light/appliance in the series it would be controlling. So the order of the pieces of our circuit goes: 1) battery, 2) light switch, 3) ceiling lights. Red wires only go from the battery to the light switch and from the switch to the first light. Both red and black wires connect all of the lights together. At the back of the light switch, we wired hot to hot using the neon-colored female connectors.
Using only one red wire we followed the same hot-to-hot connection process for the porch light too. It’s circuit order goes 1) battery, 2) light switch, 3) porch light.

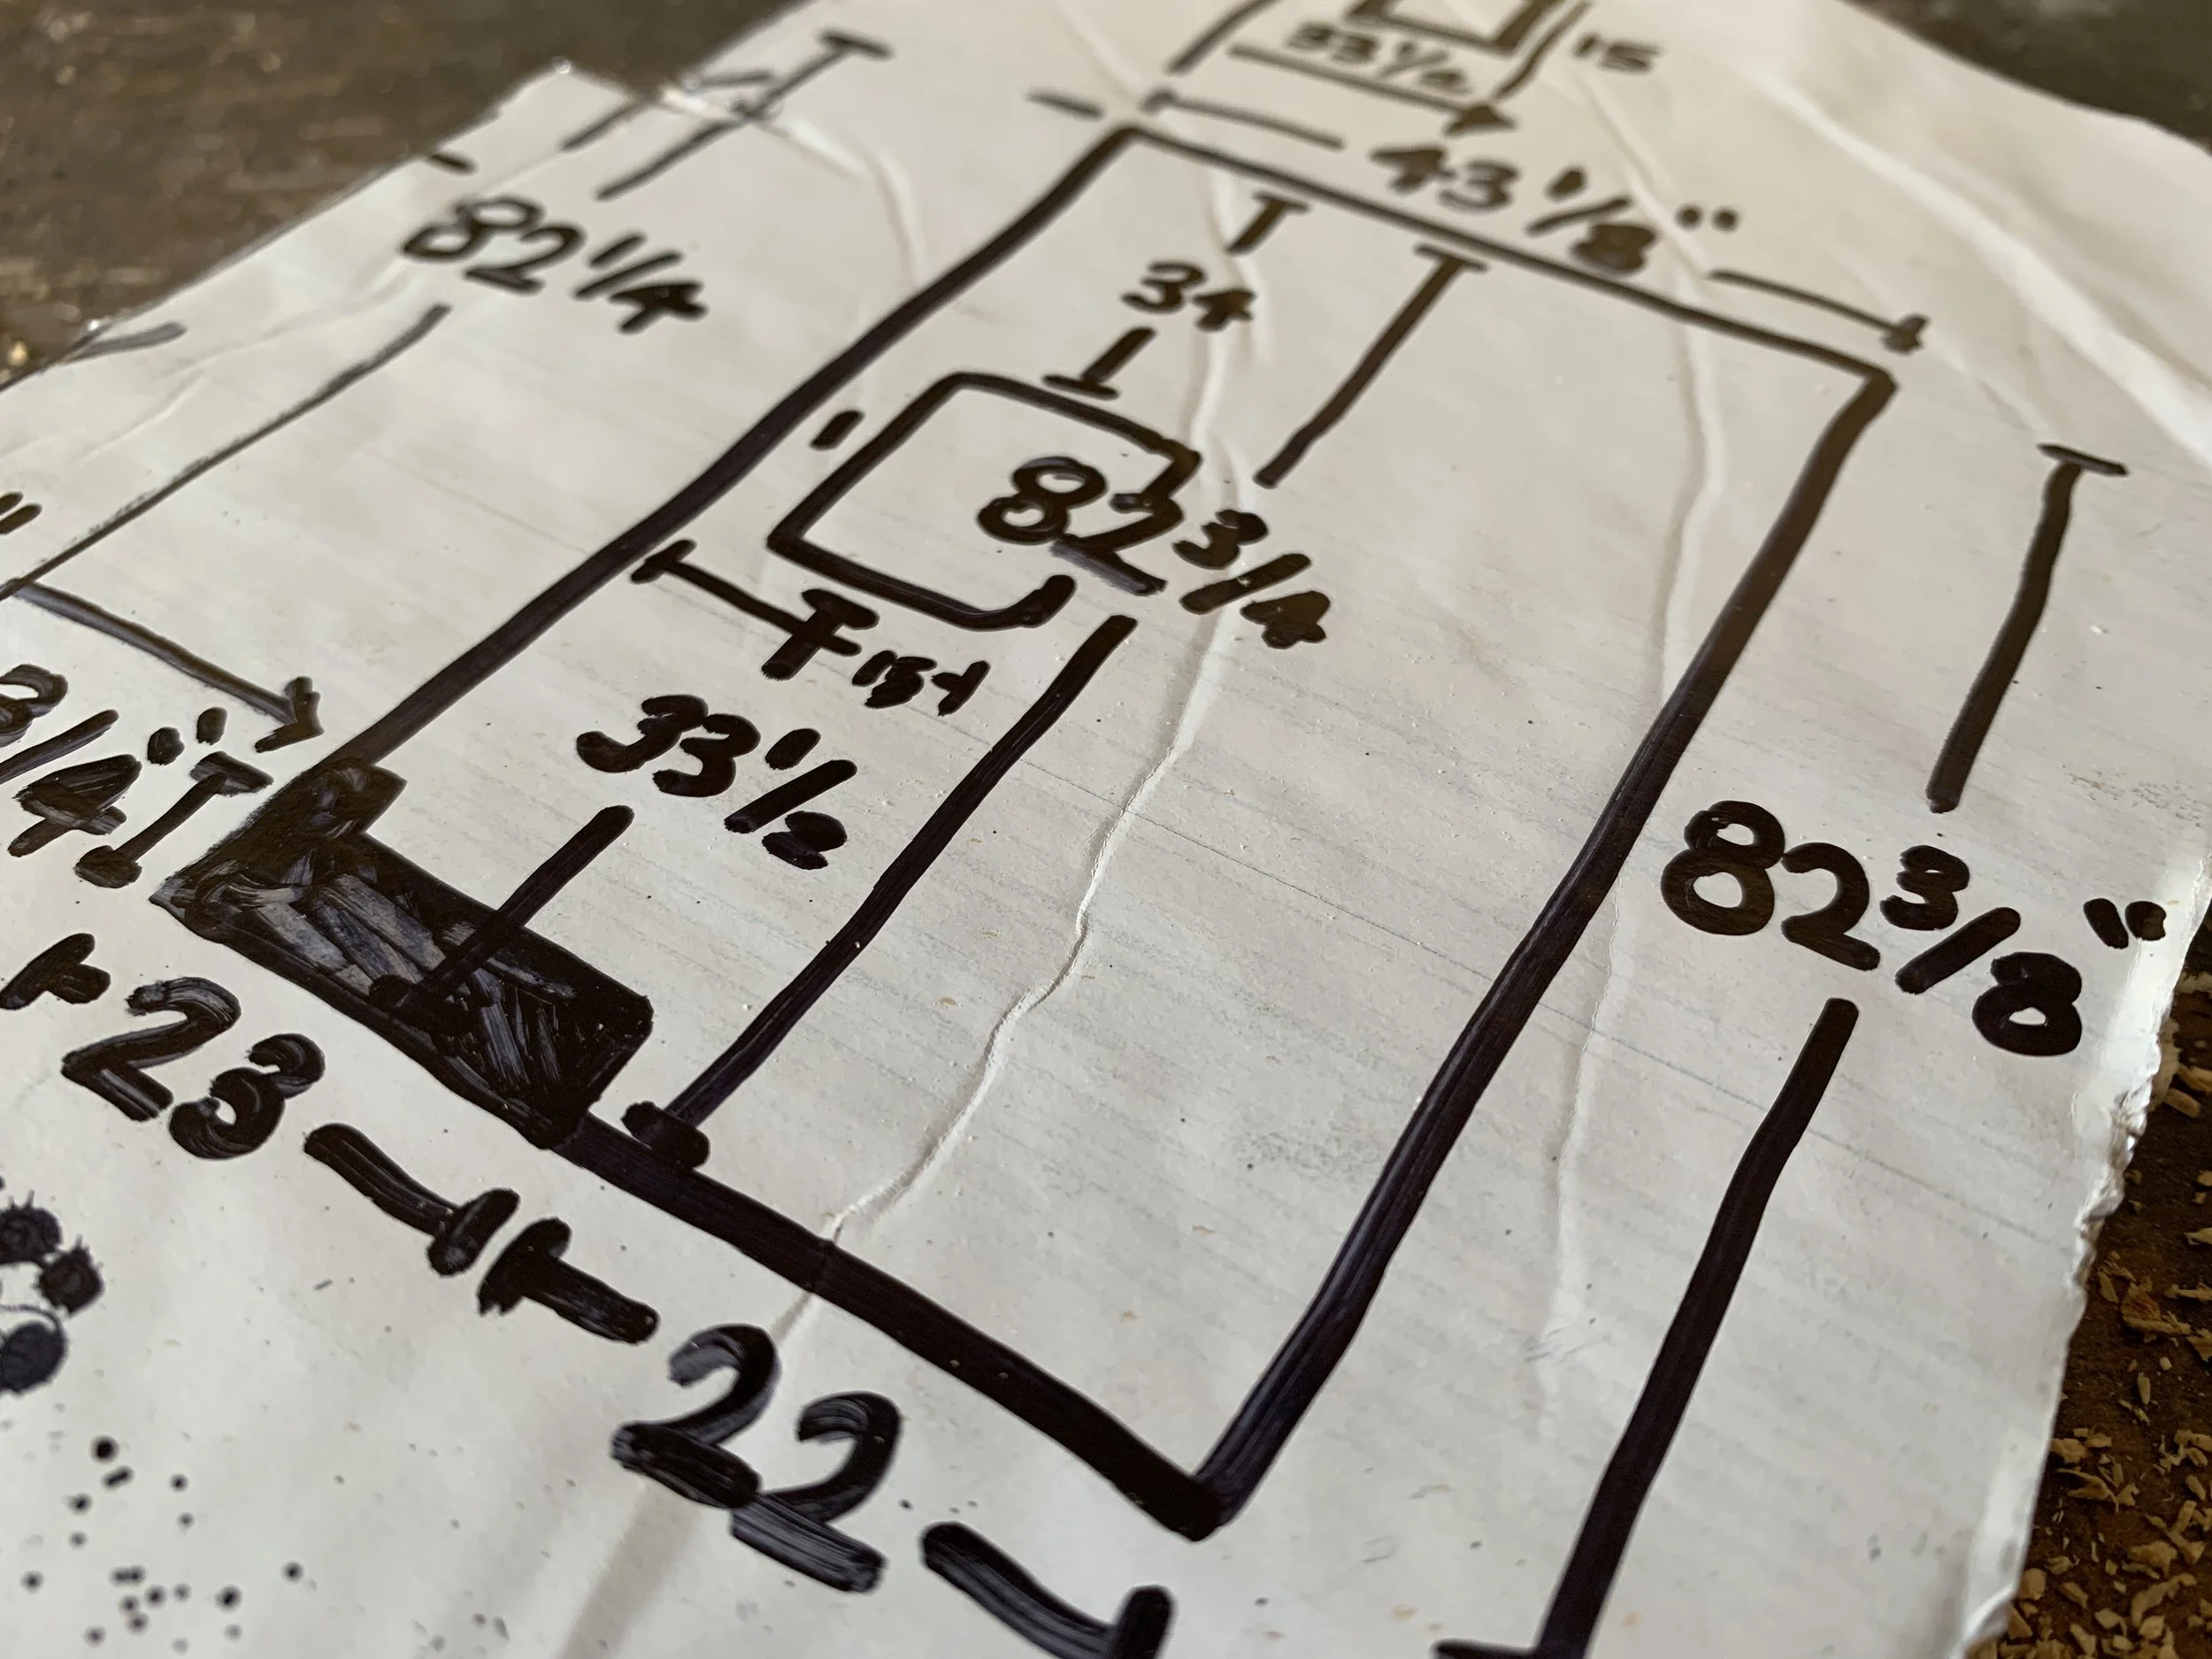
A look at how we wired the ceiling lights and light switch. We wired them in series (vs. parallel). The red and black 12AWG wires just go through the system in a straight line – they do not intersect each other even though it looks like they overlap in the diagram.
Tips for your light + switch install
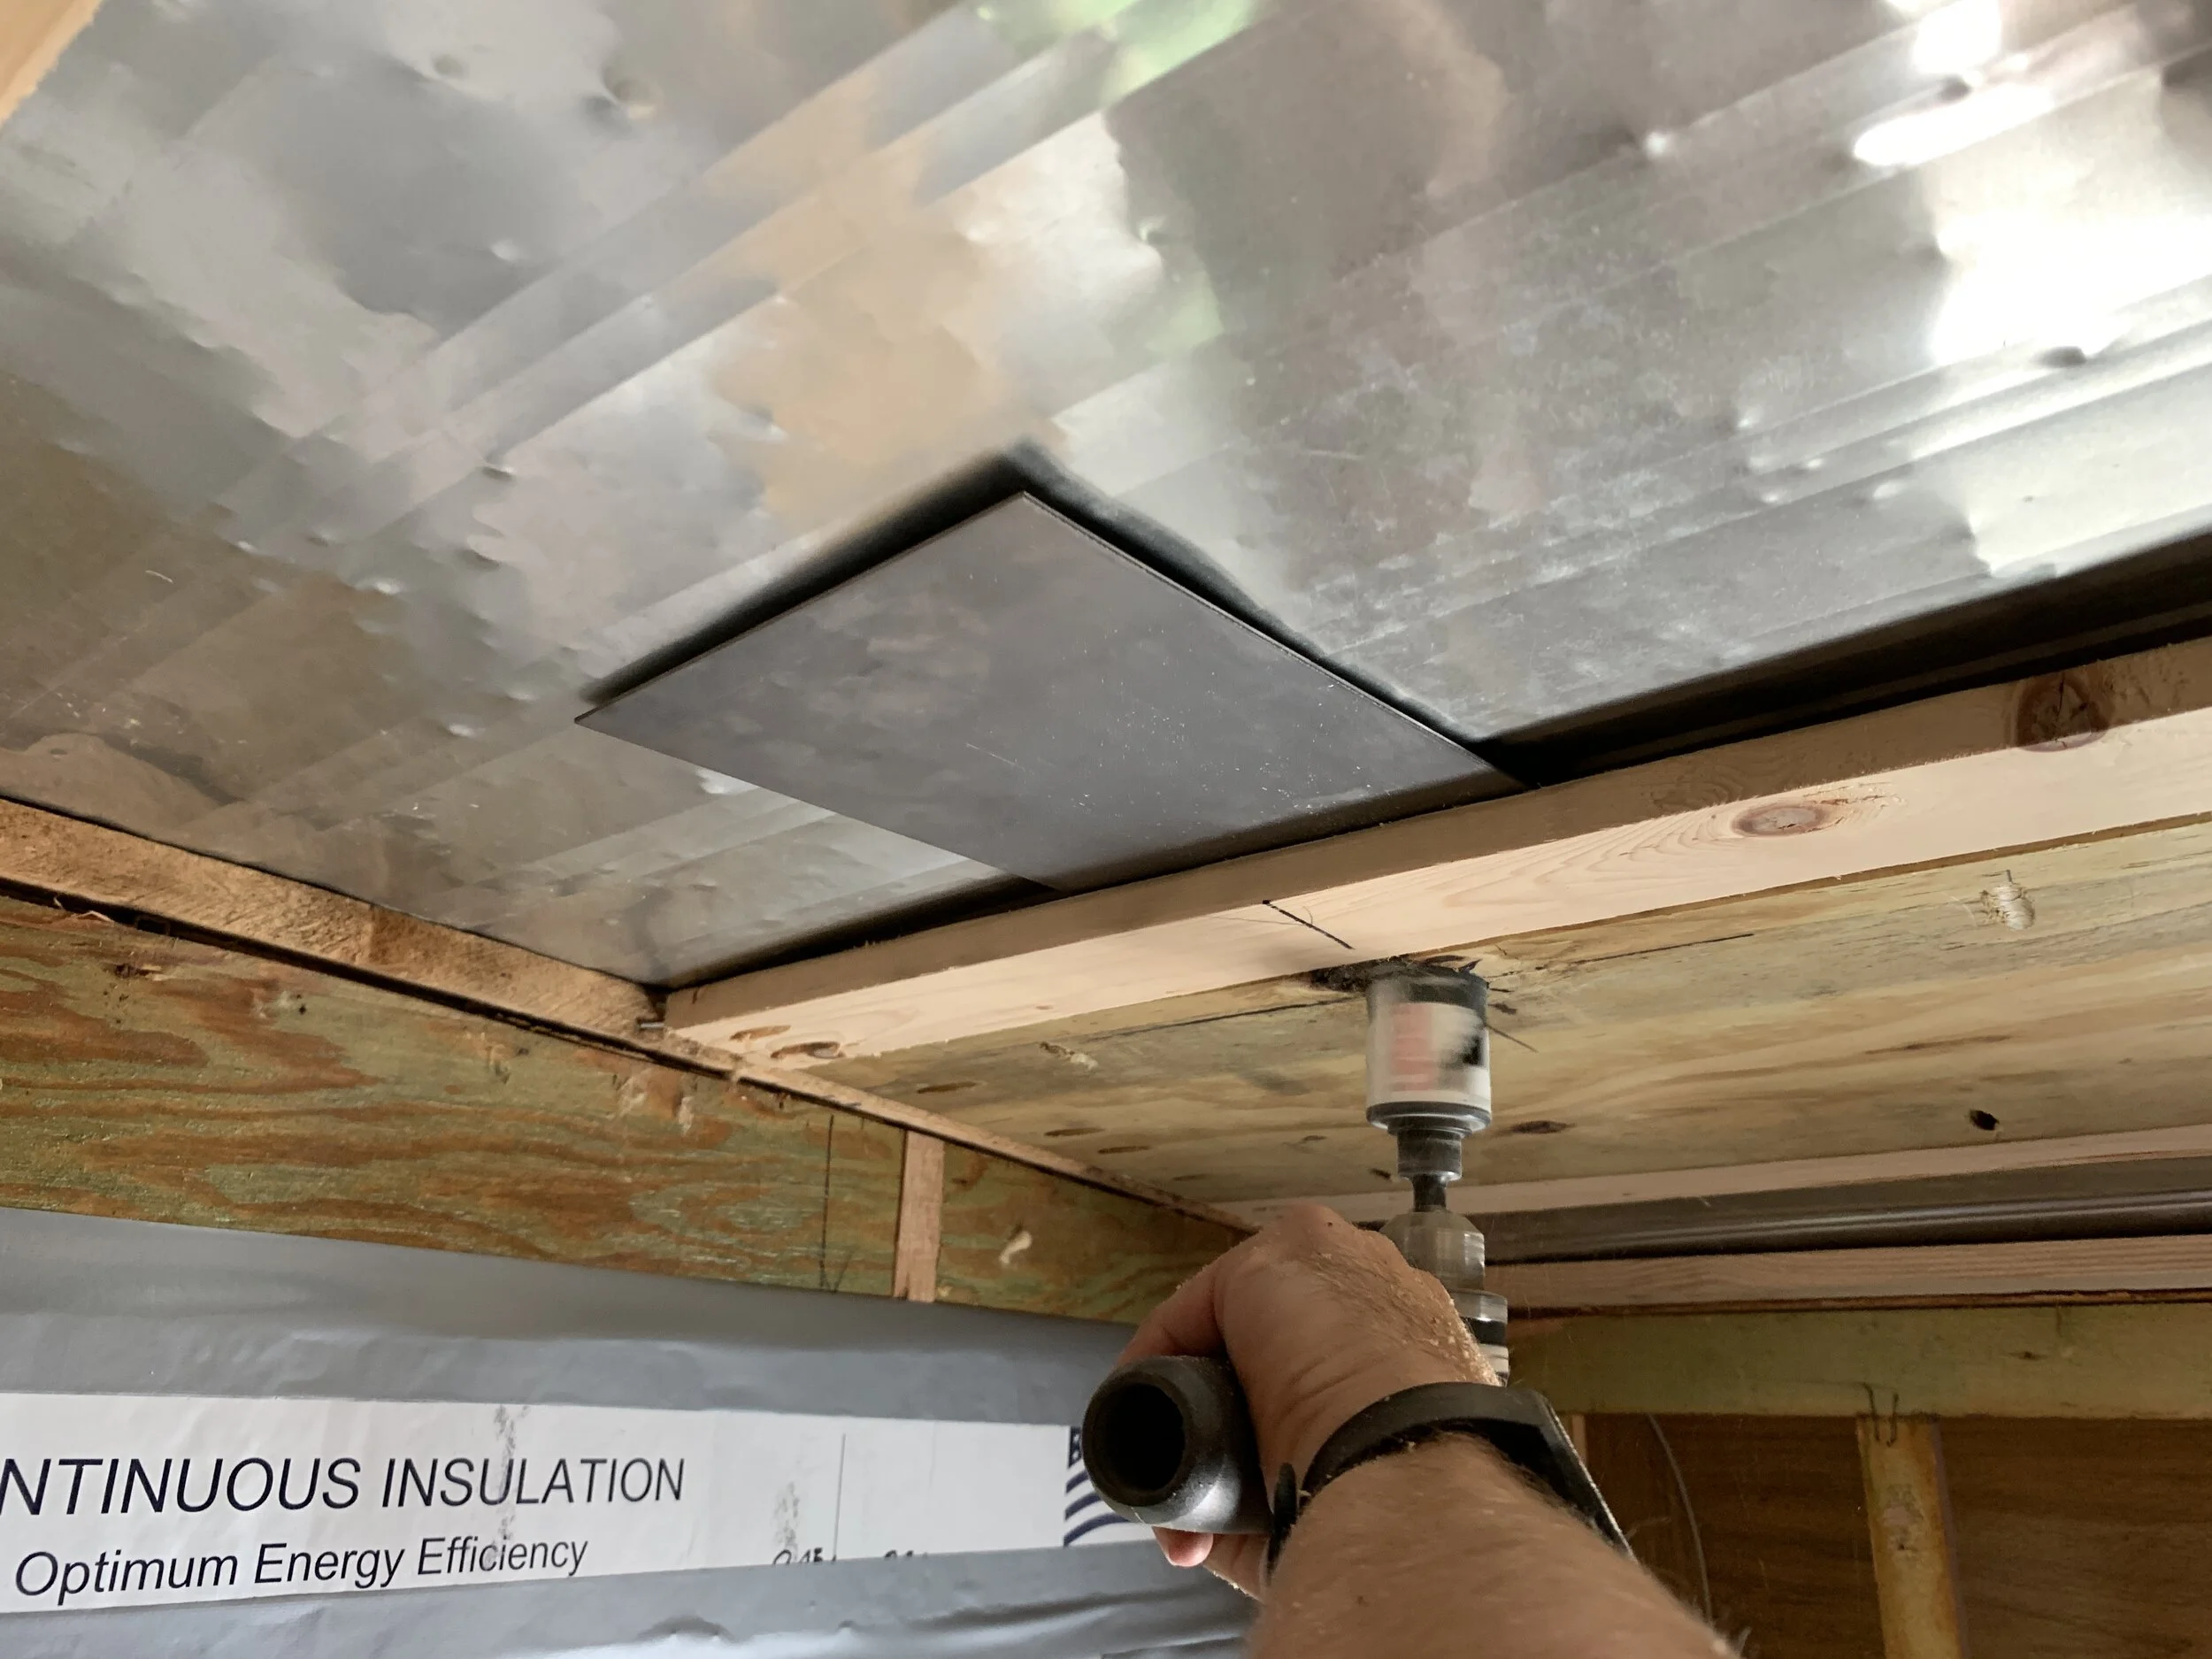
Don’t TEAR A HOLE IN YOUR CEILING
Already have your support studs in place and need to drill a hole for your ceiling lights? Use a thick (16 gauge) piece of scrap metal as a backer so you don’t drill through and accidentally rip a hole in your exterior metal roof.
Do pull – and cut – yourself some slack
When you’re pulling your wiring, make sure you leave enough extra wire at each light to be able to work with. Check them often as you move down the line to make sure you don’t accidentally pull the slack out of the lights you previously pulled.
Do give yourself some flexibility
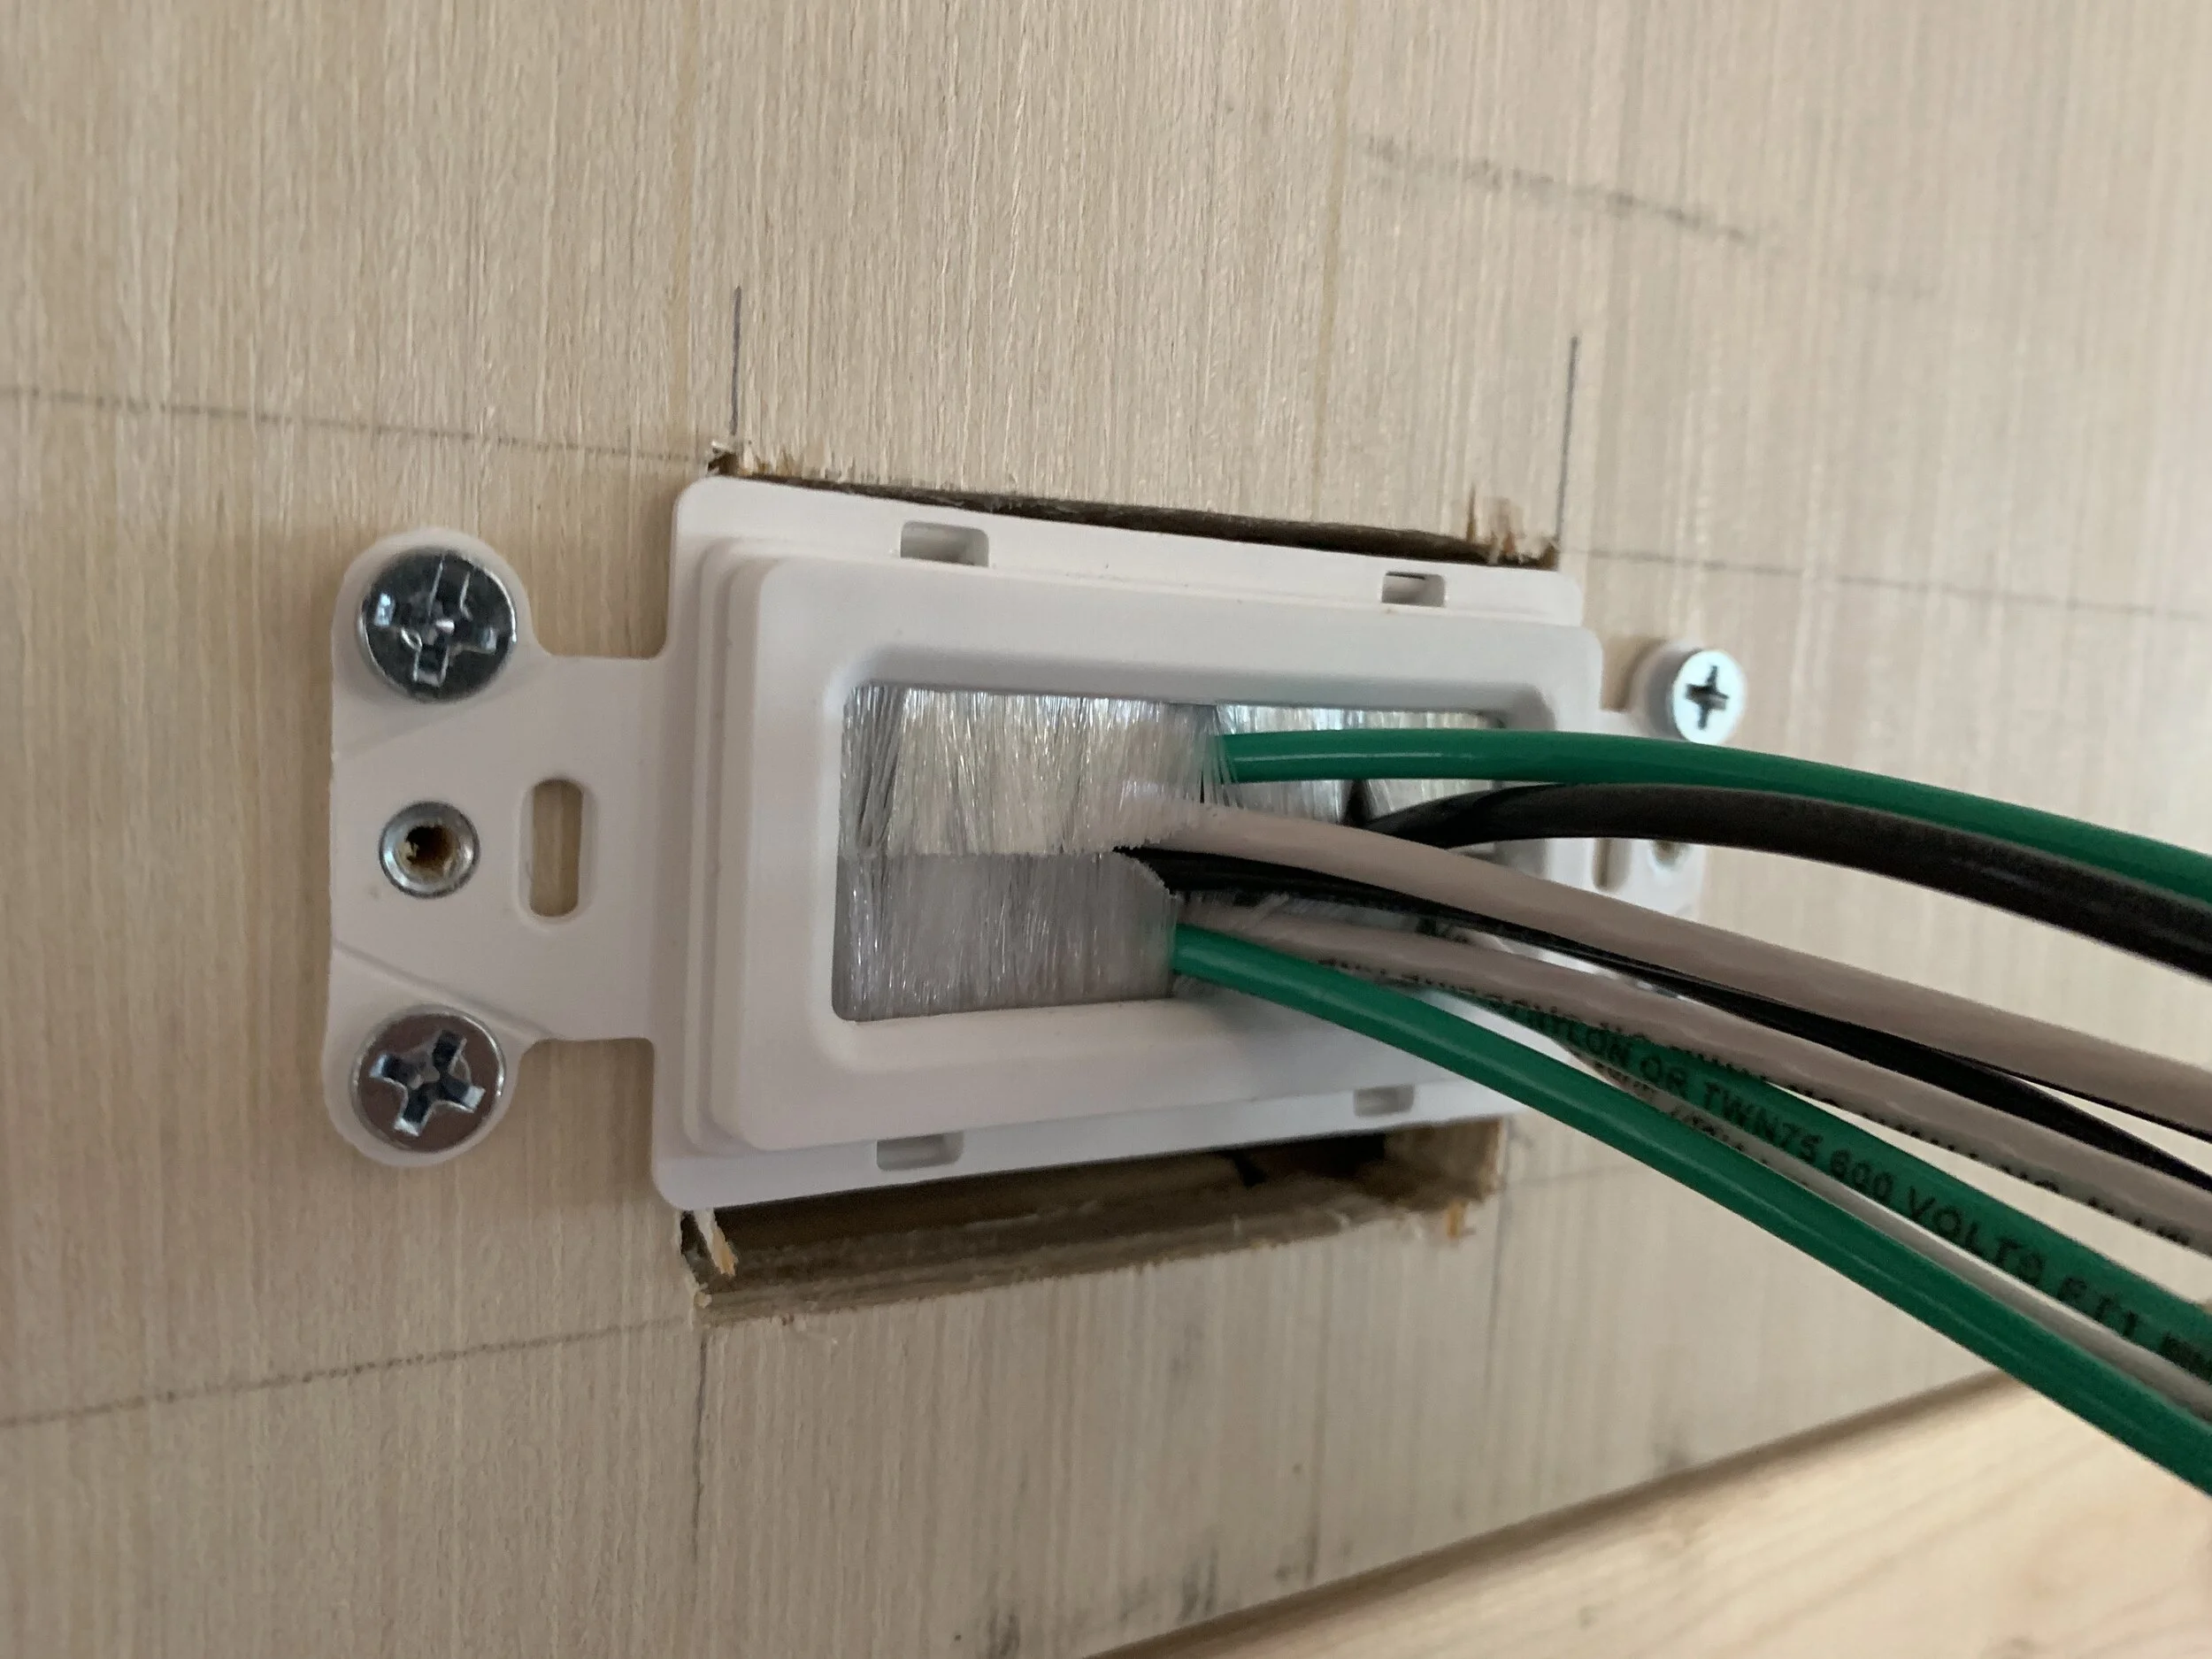
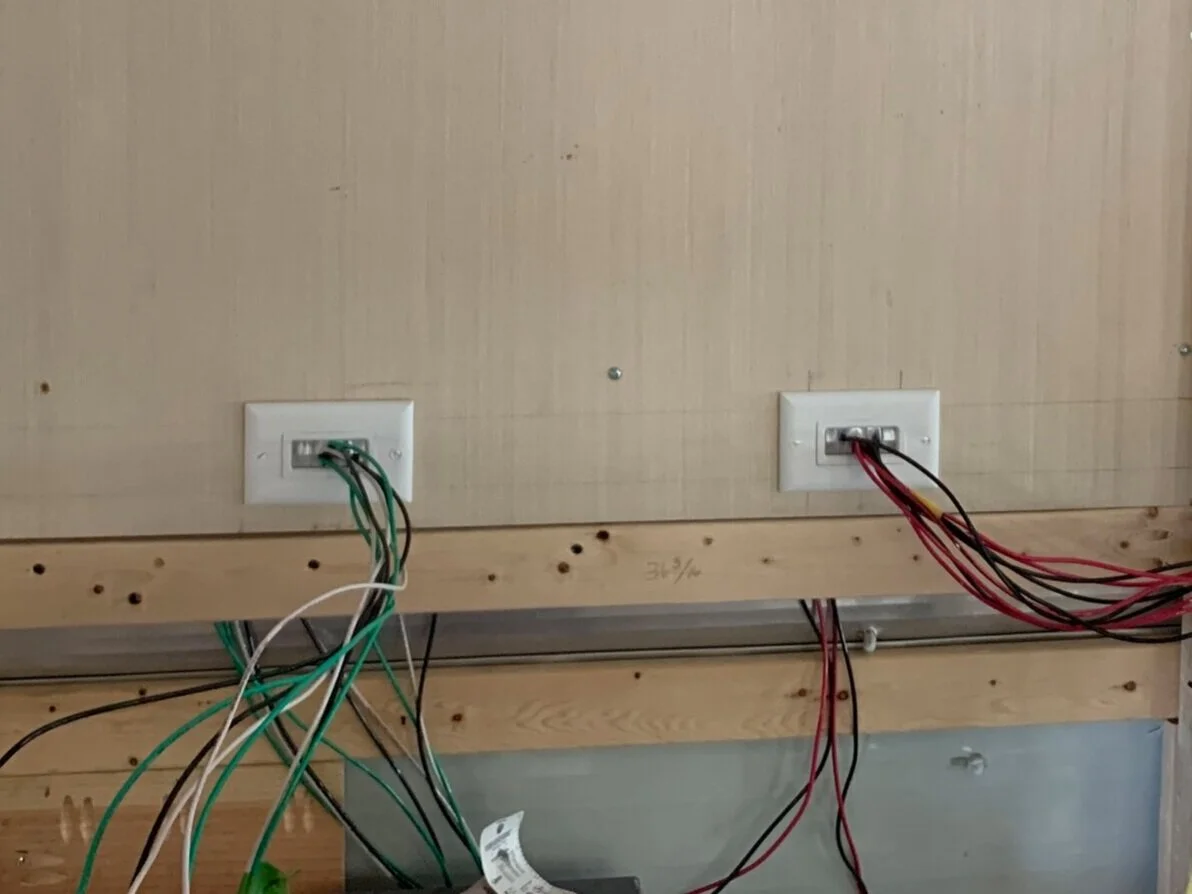
We used brush guards inside our electrical cabinet to help give us some slack for our wiring. This method allows you to pull out what you need and tuck the excess back into the wall.

What do you think? Are you planning on installing a light switch in your camper? While we play a bit of catch up on our blog posts, follow us on Instagram and Facebook where you can see what we’re doing as we do it. Coming up we’ll share how we transformed the bookshelf in the front of the camper, upgraded the bumper with some (super cheap) gold bling, and how we built out the dinette (complete with storage!) and cabinets, among other things.