The Cameo Camper Renovation: Gold Window Bug Screens
Hey y’all – we’re back and today we’re talking about how we gave our original window screens a little something extra. Who says something as functional as a screen to keep those big (and little) Texas bugs out of the camper has to be boring? Here’s our step-by-step process to updating our metal window screens to something that’s got form and function.
And if you missed our most recent post, make sure you check it out – it’s a catch up on everything we’ve done so far with lots of before and current photos of everything!

Our gold window bug screen shopping list
Needle nose pliers – for removing the old spline
Steel wool – if you’re a glutton for punishment
Blue Magic Polish – if you have better things to do than scrub metal with a little ball of metal, taking days off of your life and possibly giving yourself an arthritic elbow and a little PTSD
Disposable gloves
White lint-free rag(s)
Face mask – or work in a well-ventilated area
Gold/bronze metal screen (or any color/material screen you like)
Thick work gloves – to protect you from scratches and metal splinters
Scissors/tin snips – to cut the screen
Window spline – in the size that’s best for the track in your frame (we got both .125” and .140” diameter and the .125” worked better for our screen frames)
Removing the old screen
Our screens had seen better days – they were a combination of gray-silver vinyl (I think) and silver aluminum screen material, most had tears and holes in them, which makes them much less functional for keeping out bugs than we’d prefer. The screen in our door (below) was mostly intact but was coming out from the very beginning, and the loose spline in was flopping around in the wind, getting worse as we drove home.

Exterior door screen (aluminum) – before
To remove the screens, just take one end of the spline (the probably black or gray rubber stuff that looks kind of like a spaghetti noodle) and pull it out of the track. If it’s old like ours is and has been baking in the sun for years, it’s probably fairly brittle and kind of hard. You might be able to remove it with your fingers, but needle nose pliers make it much easier, especially if they’re still really pushed down well in the track.

Once the spline is out, the screen should come off super easily.
Cleaning the window screen frames
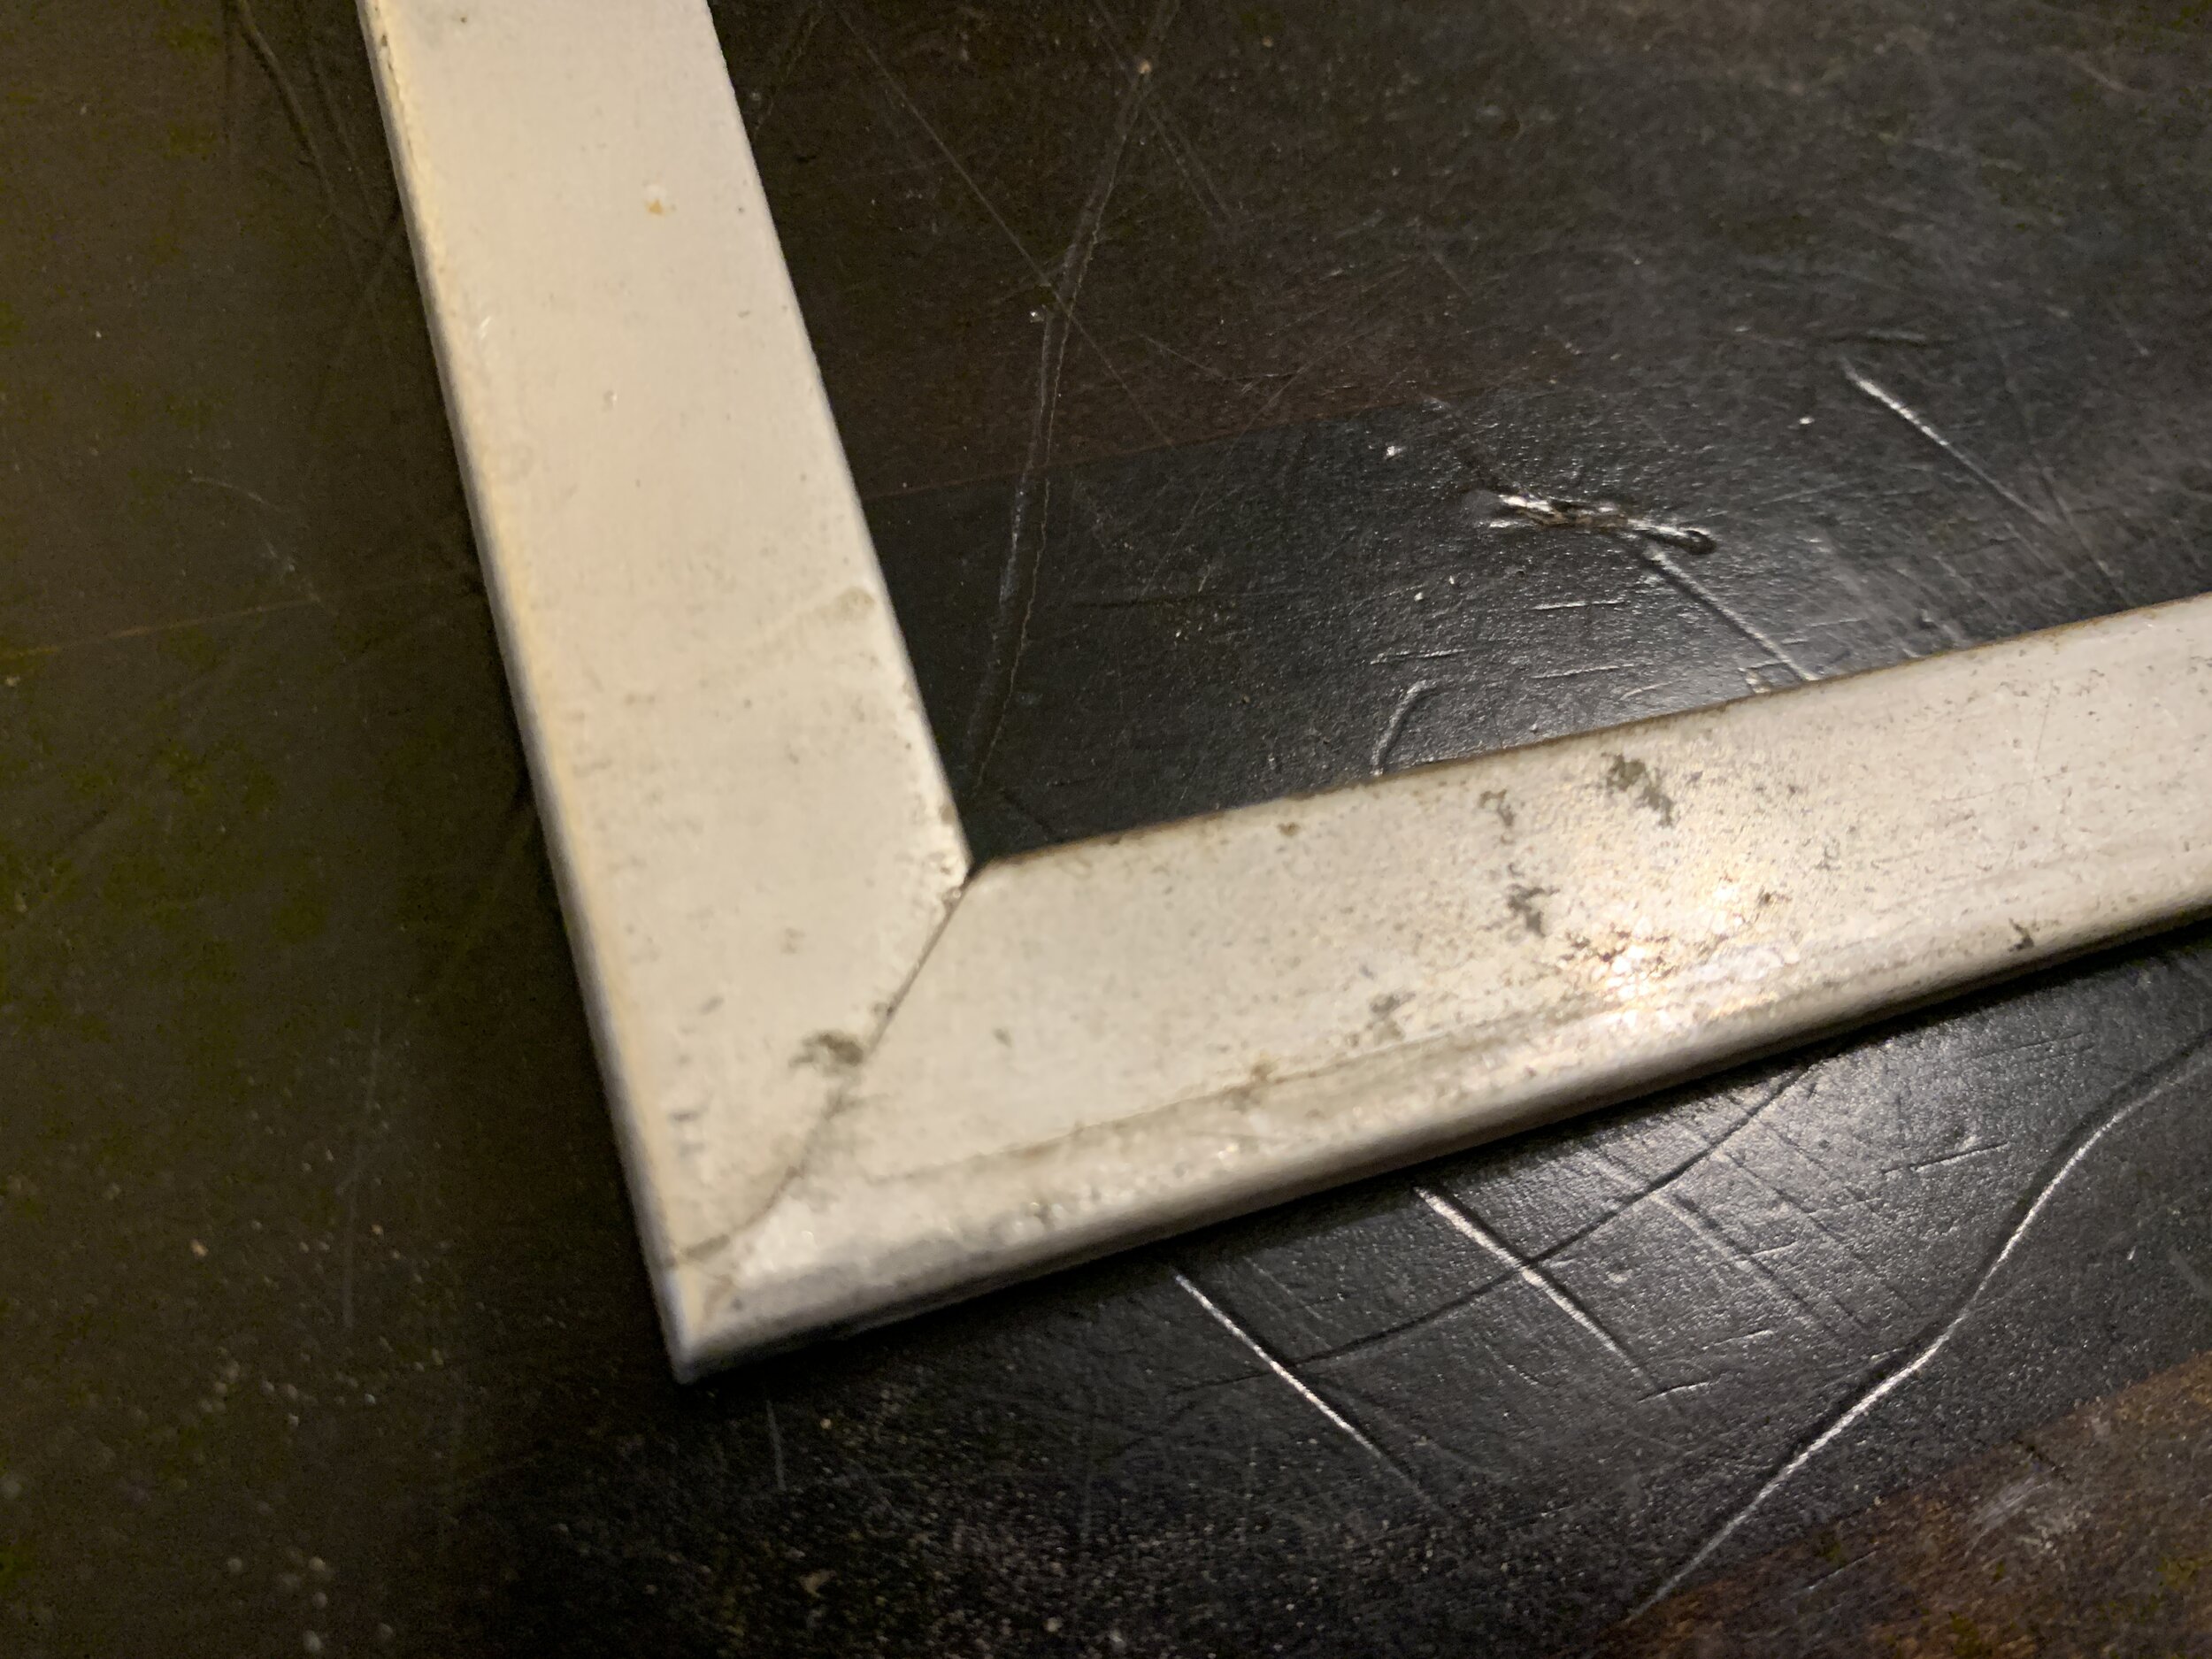
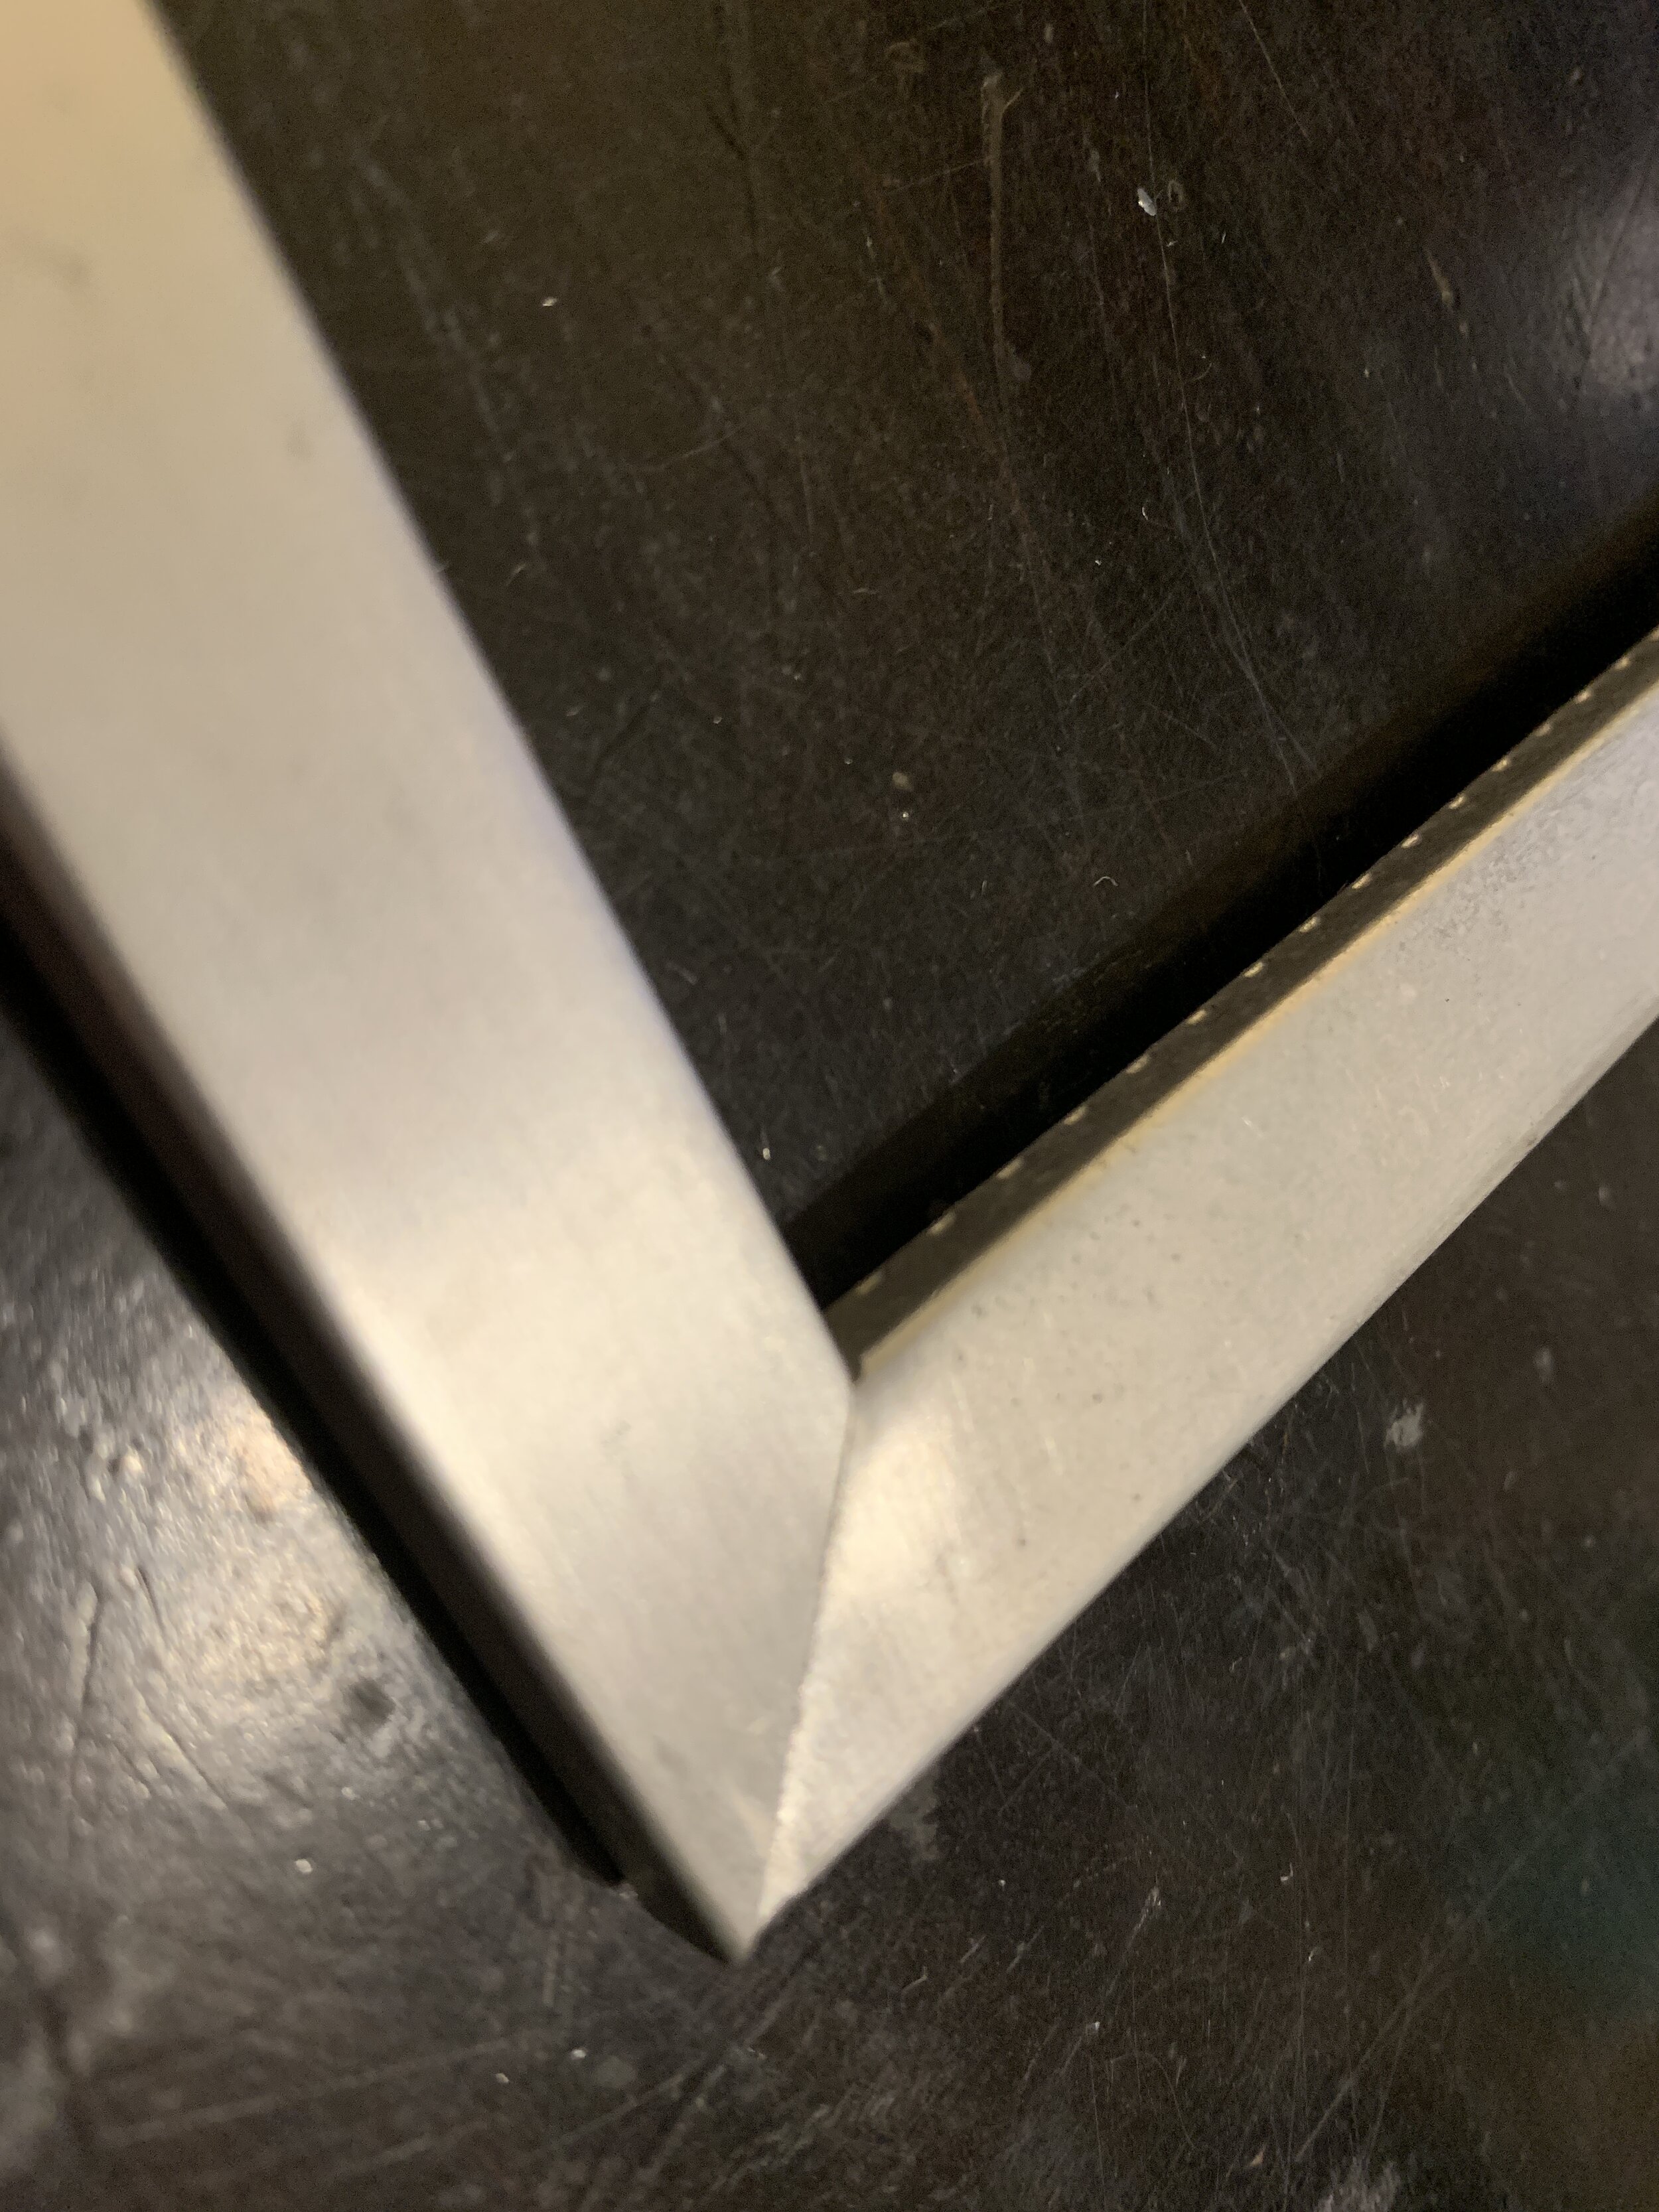
Our metal window screen frames were in good shape overall – they’ve stayed together and still held their shape with no bends or breaks. They were just oxidized and had some minor rust spots, so thankfully we were able to keep them all and just clean them up. First we vacuumed out the track to remove all of the dust and debris, then used steel wool in various grades and a ton of good old fashioned elbow grease to polish the frames. If you want an arm workout and have a ton of time to kill, do this.

You can see in the before and after photos below the steel wool did help considerably with removing the spots, but…
If you want to work smarter rather than harder and get a better result (which I highly recommend), just get this polish cream instead.

After sharing my sweat, sweat and more sweat steel wool progress on Instagram months ago, an amazing person recommended this stuff and my elbows, hands and I could not be more grateful. (To be completely honest with you, the amount of physical effort and time it took me to do just a couple of screen frames the hard way kept me from working on the rest of the screens for months and months, even with how easy and relatively quick using the polishing cream is. I suppose it was some type of PTSD – Polishing Traumatic Stress Disorder – so long story short, just do yourself a favor and get the polishing cream. Thank you for coming to my TED talk.)
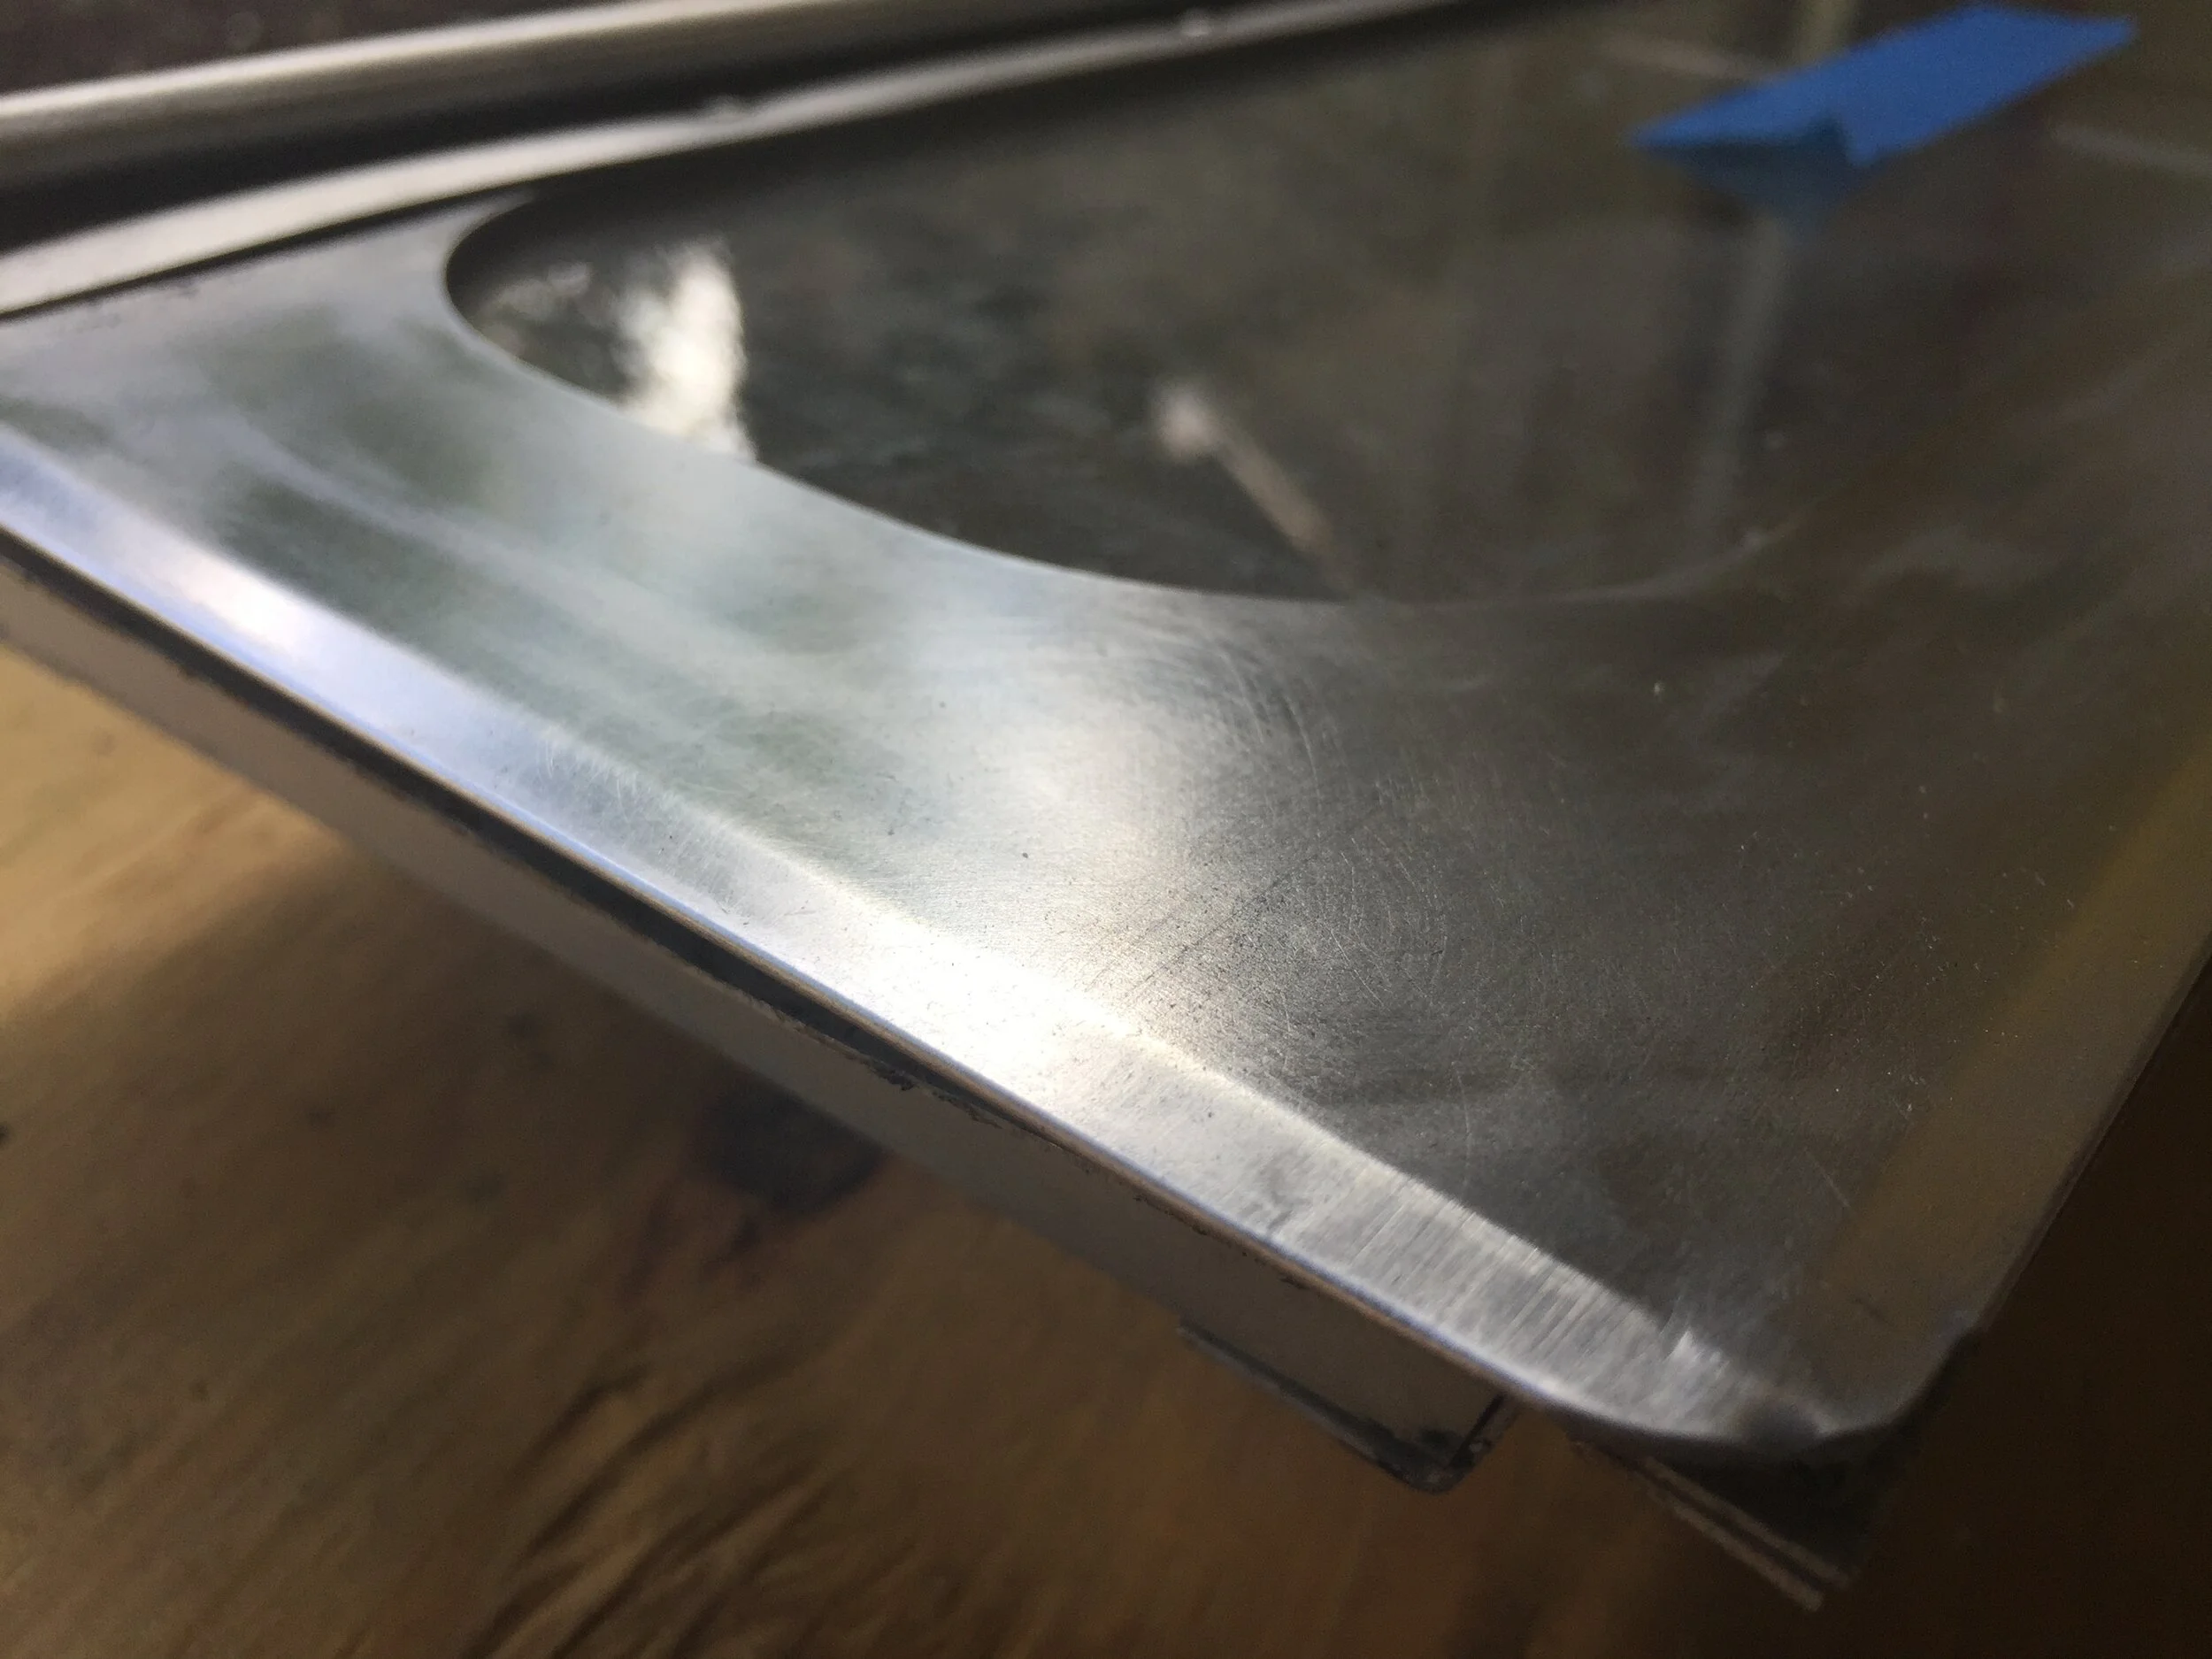
If you don’t believe me, take a look at the comparison of frames that we did using steel wool (the frame on the bottom) vs. the one where we used the polish cream (the frame on the top). They’re both a lot better than where we started, but the top one is so nice and shiny that it makes me want to go back and use it on everything aluminum that we’ve already cleaned the painful way.
A couple of things you will definitely want to make sure you do is work on it in a well-ventilated area and/or wear a mask, and definitely wear gloves. You do not want to smell it or get this stuff on your skin – it is like burn your insides strong smelling, but the results are totally worth it.

We followed the instructions on the tub, which is basically (wearing gloves) rub on a small amount with a rag and buff until the blue cream turns black. Wipe it off and buff a little with a clean cloth and voila! Not brand new, but a heck of a lot better!

Adding new window screen
There are different options for bug screen available these days – aluminum, vinyl, fiberglass. While the vinyl kind is much easier to work with and what we use for our windows at home, we decided to use metal to keep that vintage charm that would be original to a 1969 camper – but went with gold to give it a modern pop.
What is spline + what size do i need?

Spline sizes – .125” diameter worked best for our screen frames
In addition to choosing screen, you also have to figure out what size spline works with the track in your screen frames. This is the stuff that holds the bug screen in place.
We bought a couple of different sizes, played around with them to see what worked best and returned the unused packages. The first one we chose (.140” diameter) kind of worked, but wound up being a little too large and after doing a couple of screens, the spline settled or something and wouldn’t stay put in the track. It could also be because our spline tool was a little too big and couldn’t push it in the track as much as it needed to really lock it in place.
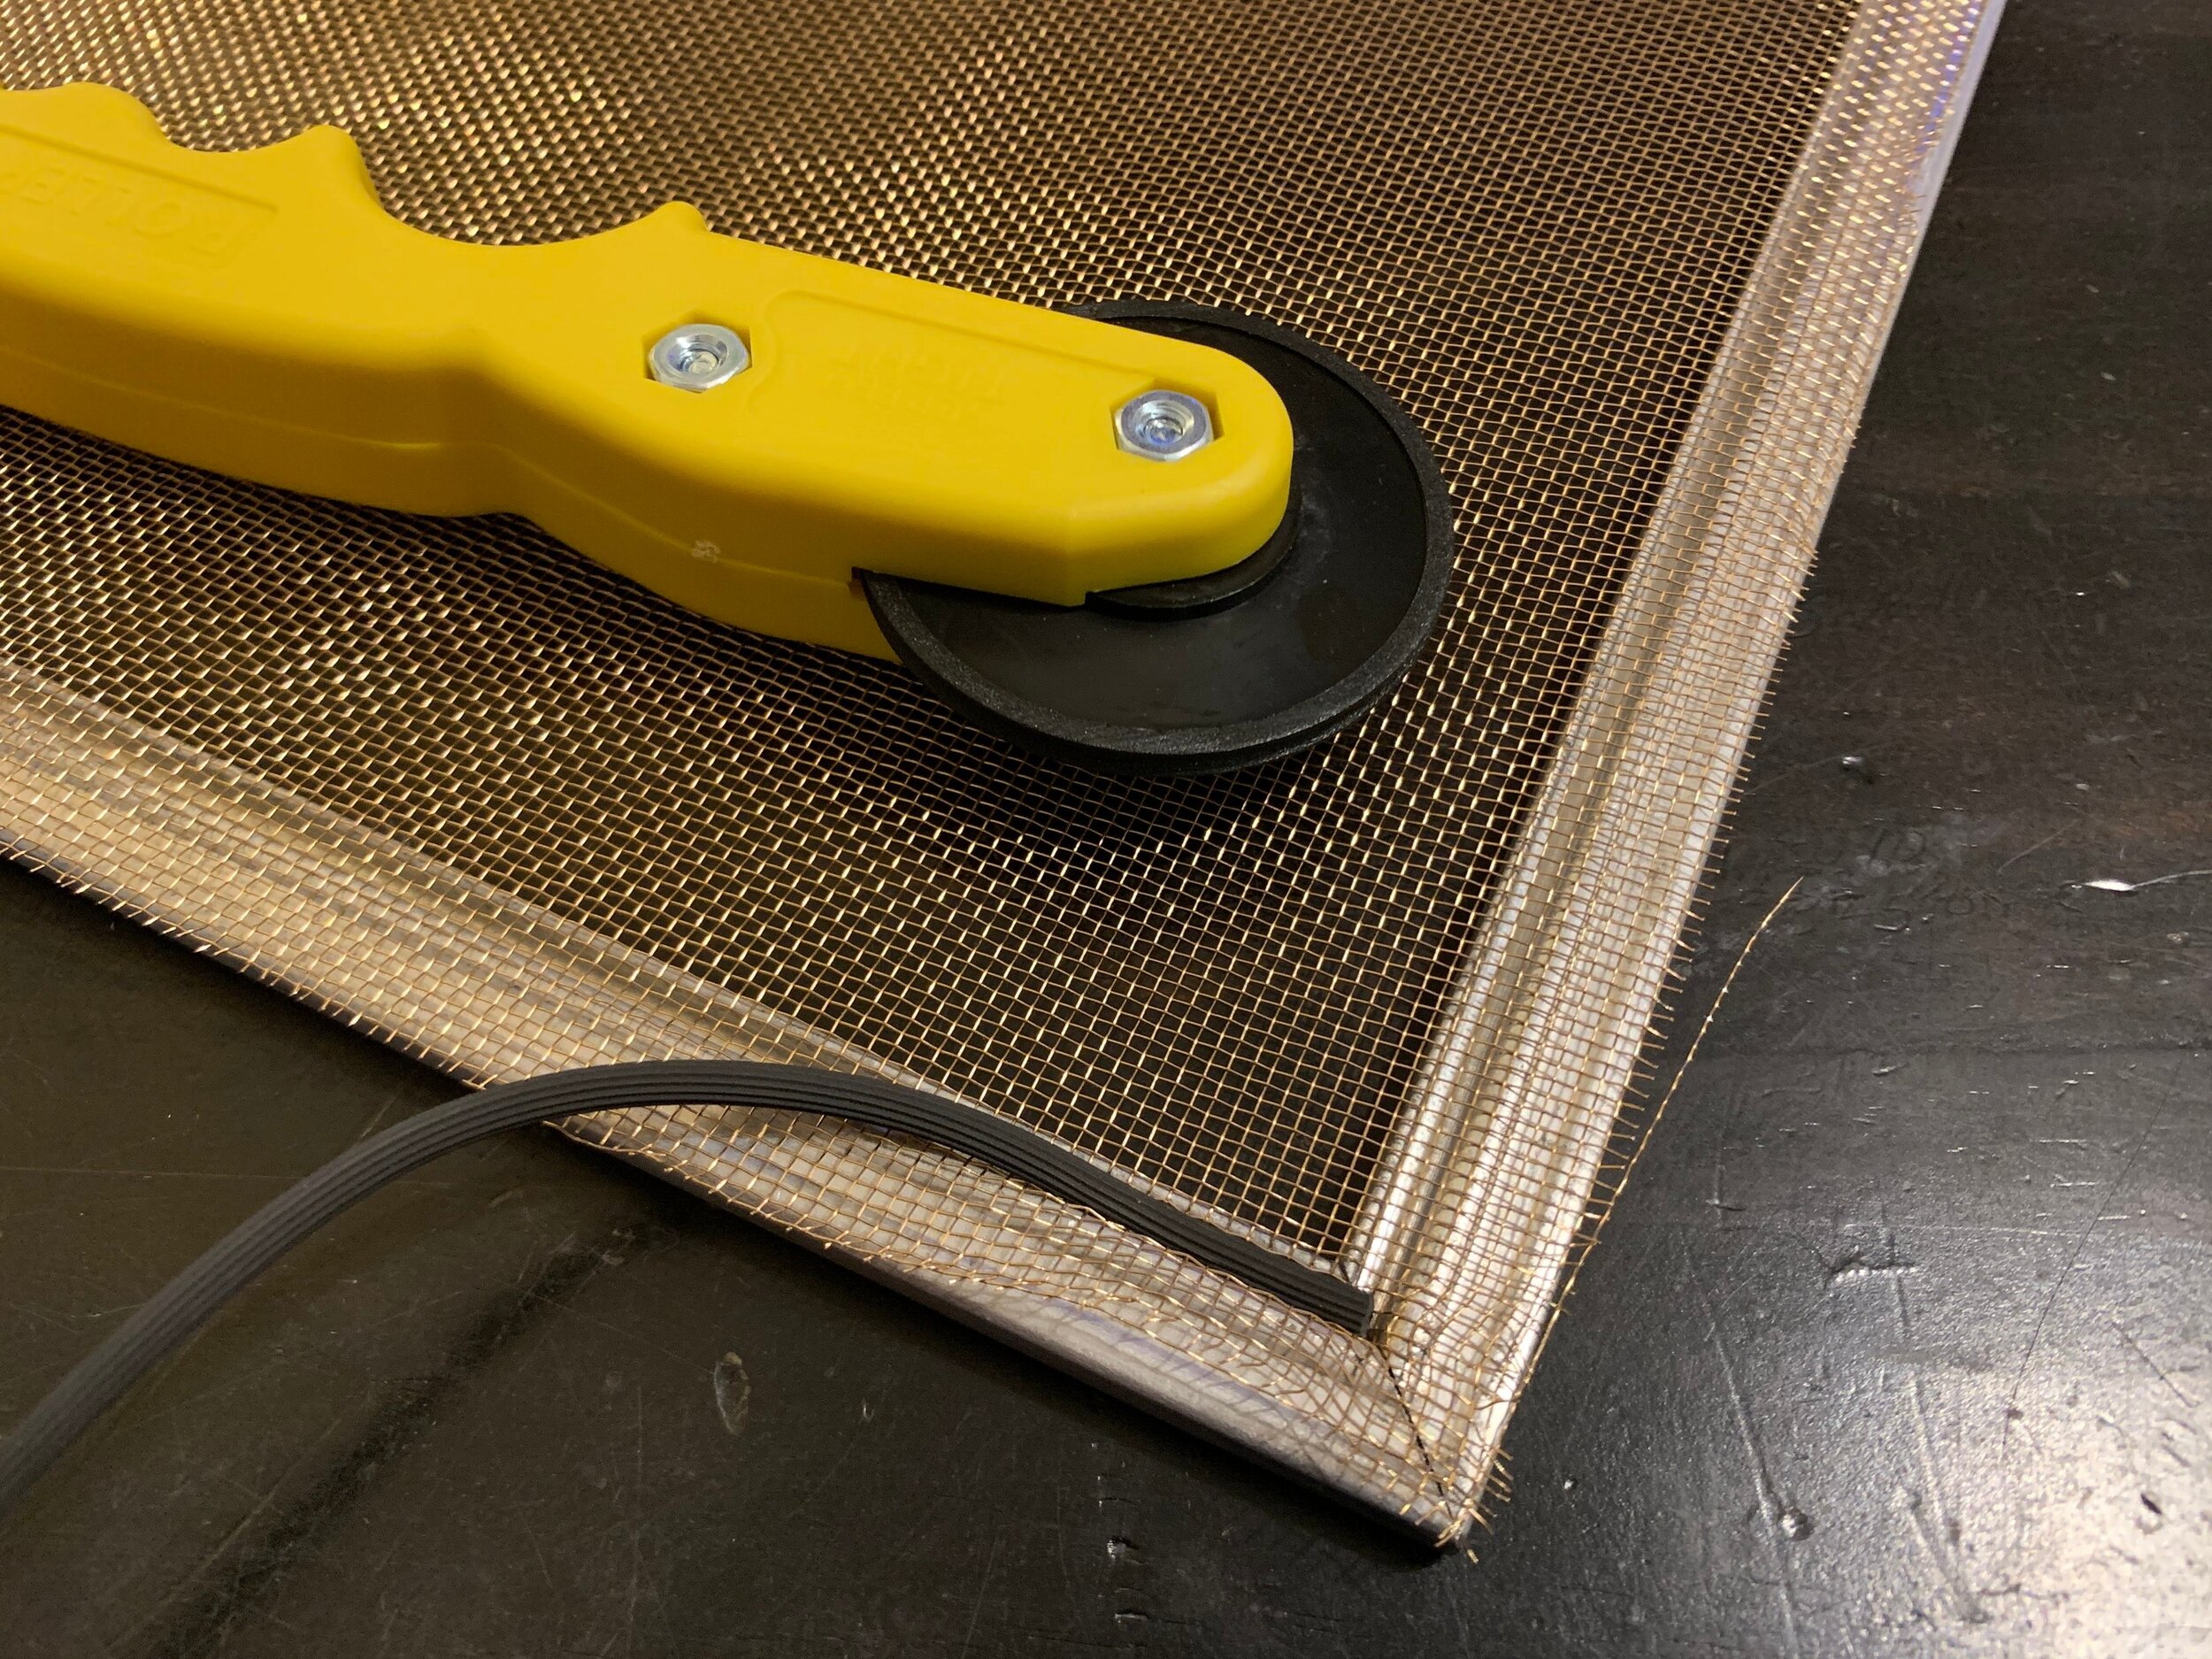
Since, we’ve redone those with thinner spline (which also required we buy another spline tool with a thinner wheel, if you’re wondering why some photos show our old, bigger yellow plastic one while we link to and have other photos with new, smaller wood + metal ones). It also really helped that the new wood and metal spline tool had two different shaped wheels, but more on that later.
Sizing the screen + securing the spline

This stuff from Vintage Trailer Supply is ordered by the foot and comes in a roll that’s however long you need. (The roll is 24” wide, so each foot you order is really two square feet.) It’s pretty thick stuff and feels like super high-quality. We highly recommend.
We cut the screen out a little larger than the frame using tin snips, and starting in one of the corners laid the spline on the track. Using the notched-wheel-side of the new spline tool, we pushed the spline into the track, making sure the screen stayed square to the frame as we followed it around and rolled it into place with the tool. Once we made it all the way around we cut the excess spline with scissors (or your spline tool may have an included hook-shaped blade like our yellow tool does).
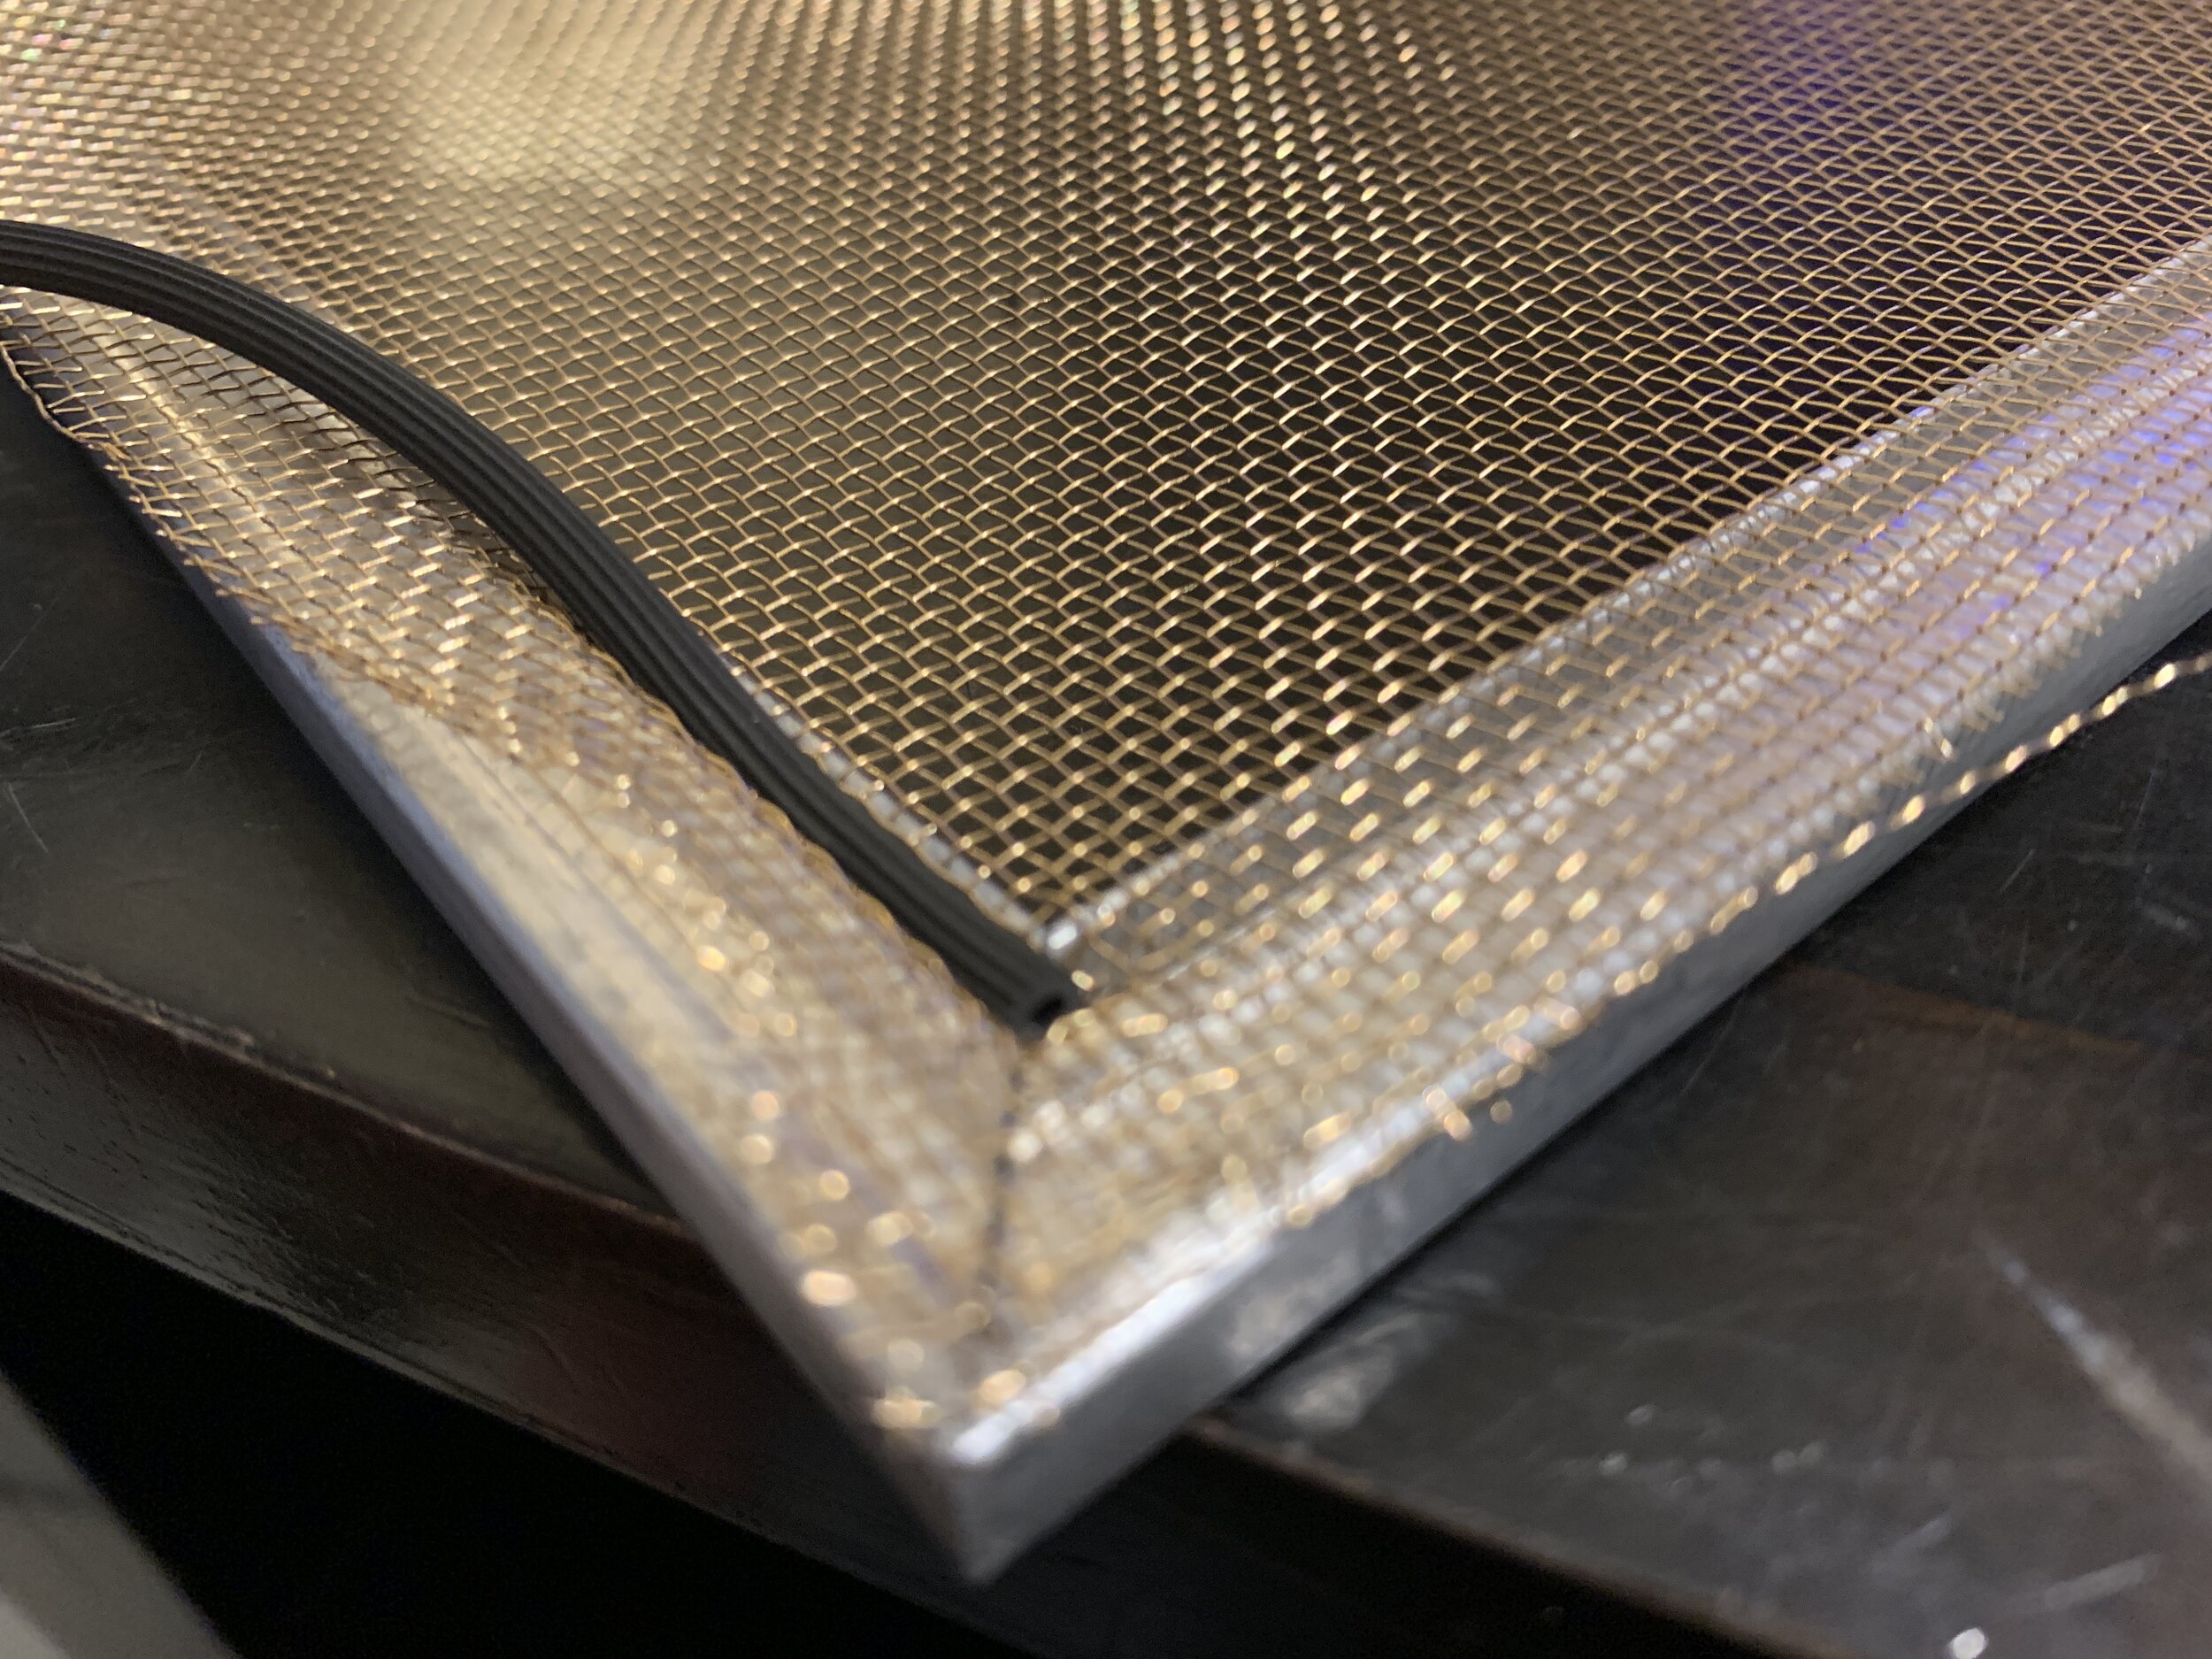
Getting the screen tight – but not too tight
As you’re going, slightly pull on the opposite edge of the screen to keep it nice and smooth and tight. Don’t pull too tight, since it will need some slack to have enough to push into the spline tracks without distorting and twisting the frames. Also, if it’s too tight it could pull itself out of the tracks, and especially if you’re using vinyl it can tear holes in the screen. Unfortunately I don’t have any photos of this since it’s a two-hands-needed kind of thing, but similar to upholstery the goal is to keep the screen in a grid that runs parallel and perpendicular to the frames without any pulling that makes the lines go all wavy.
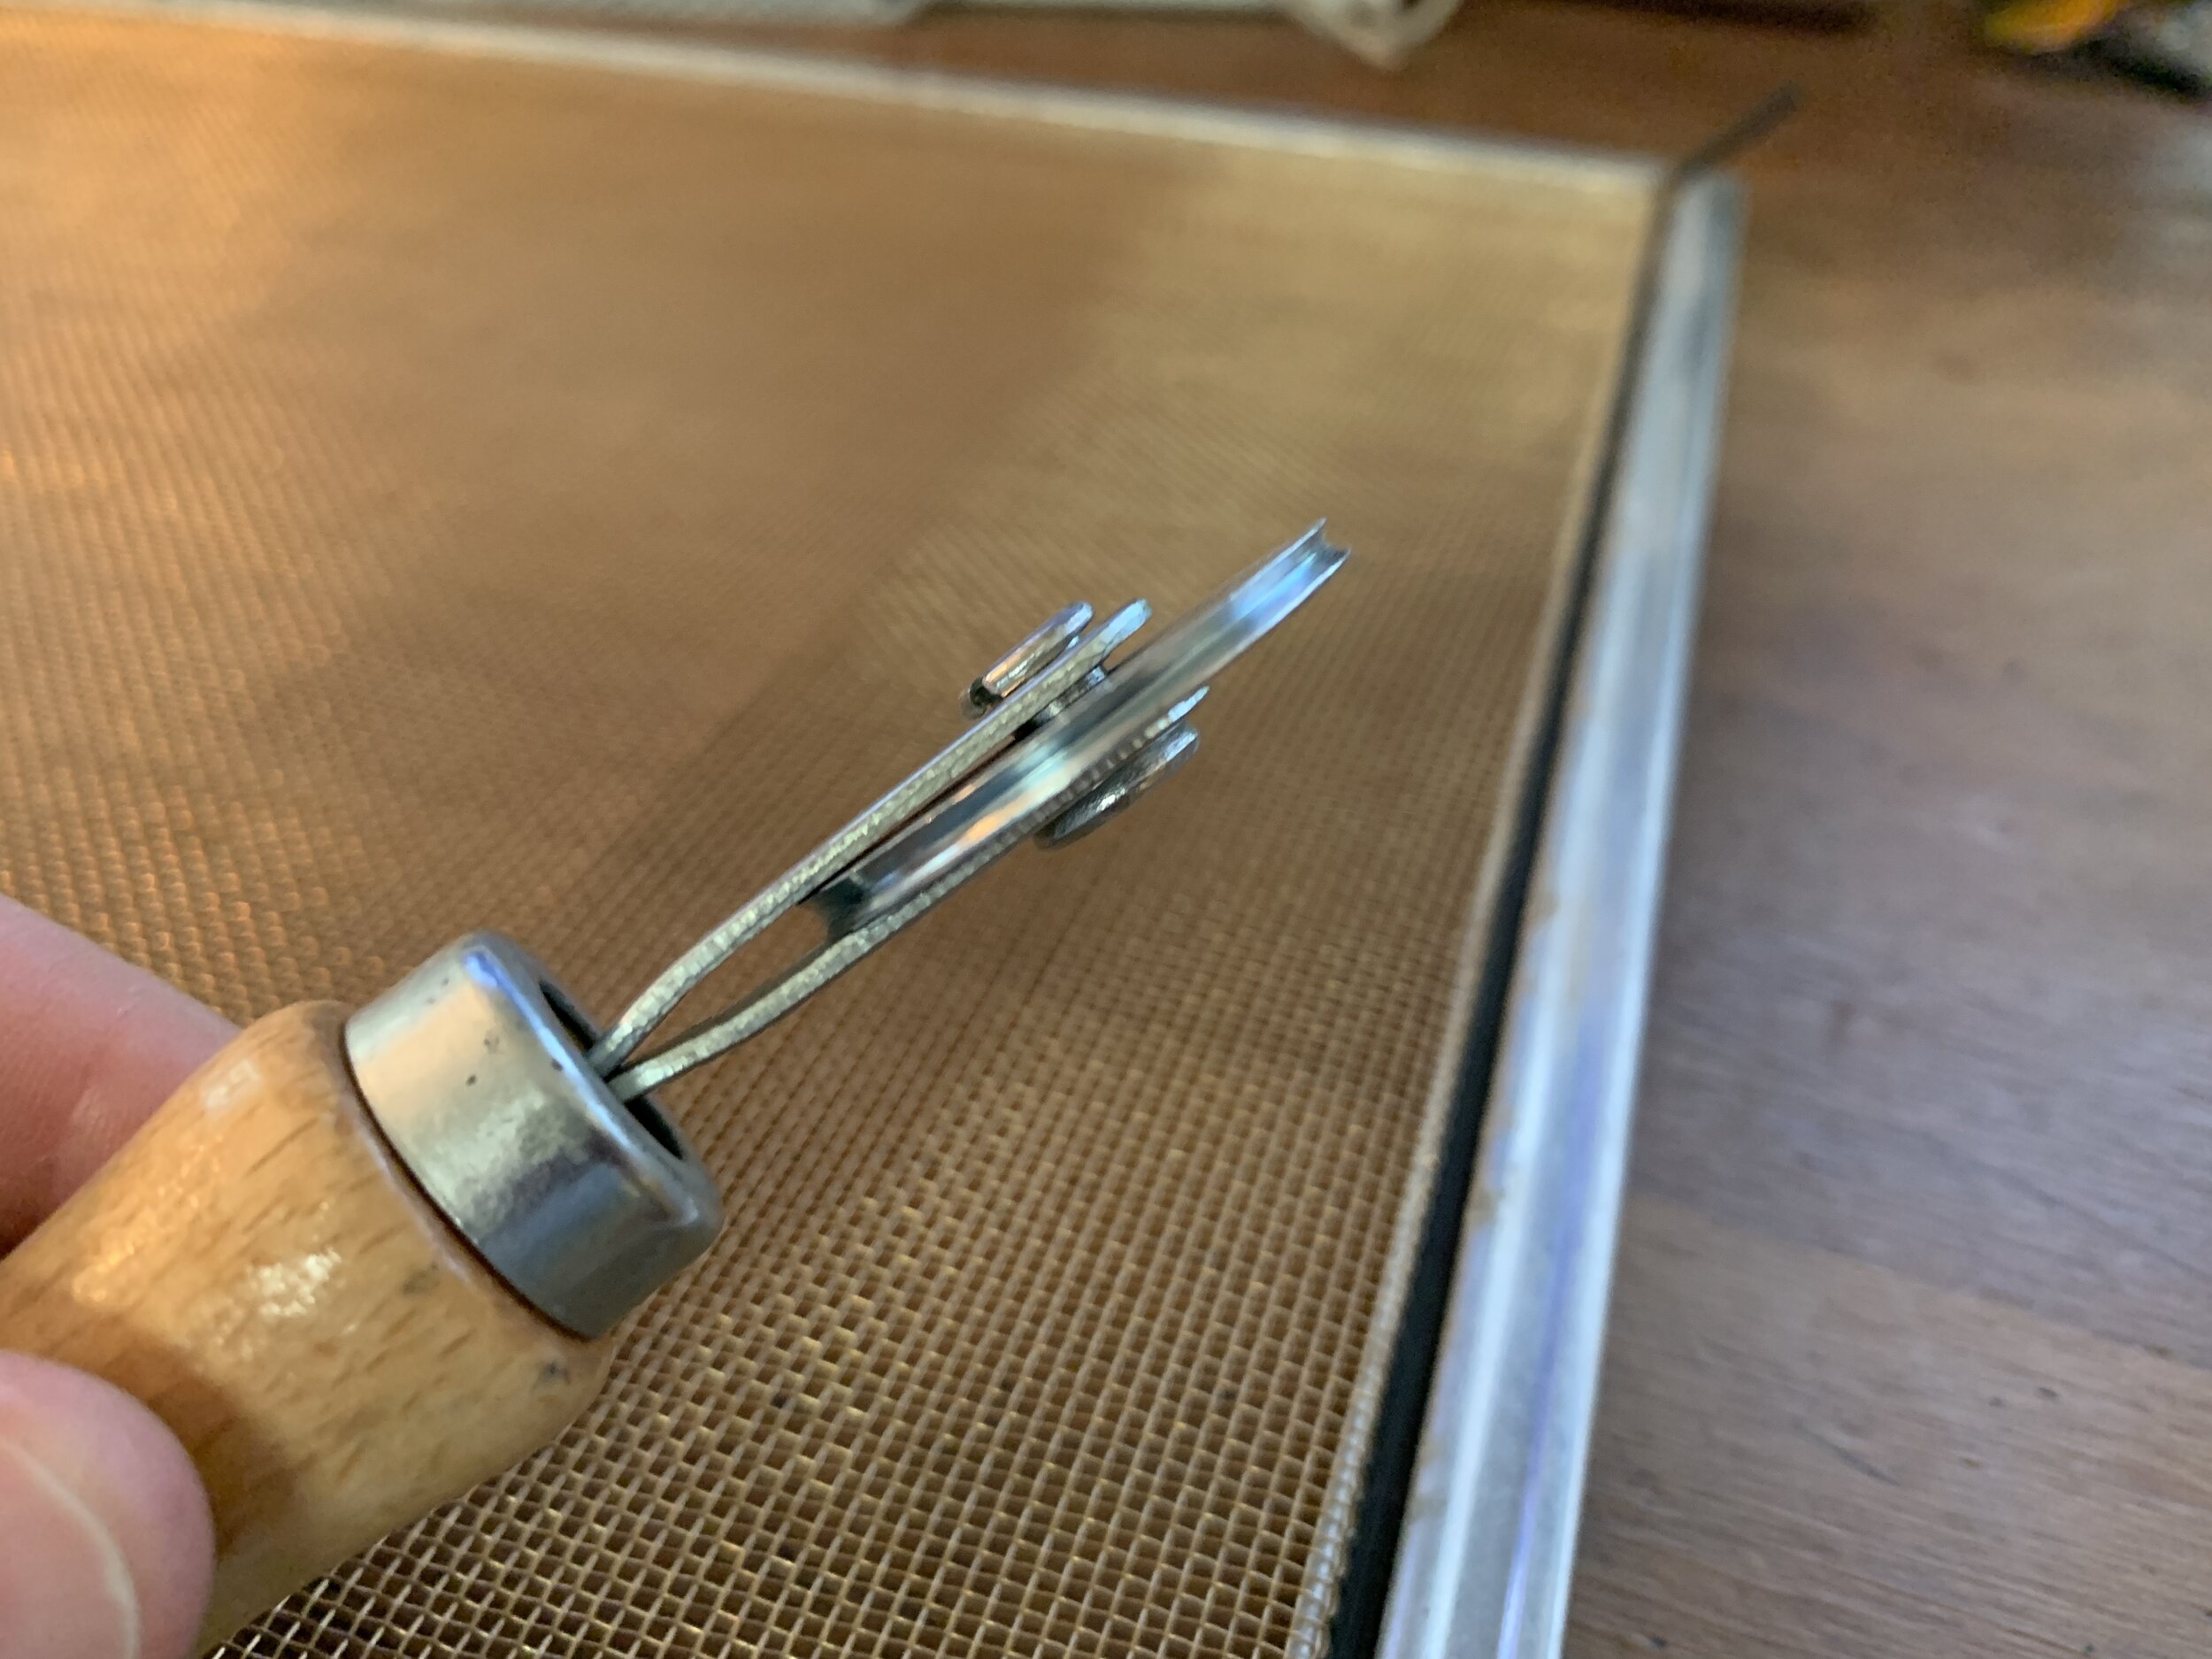
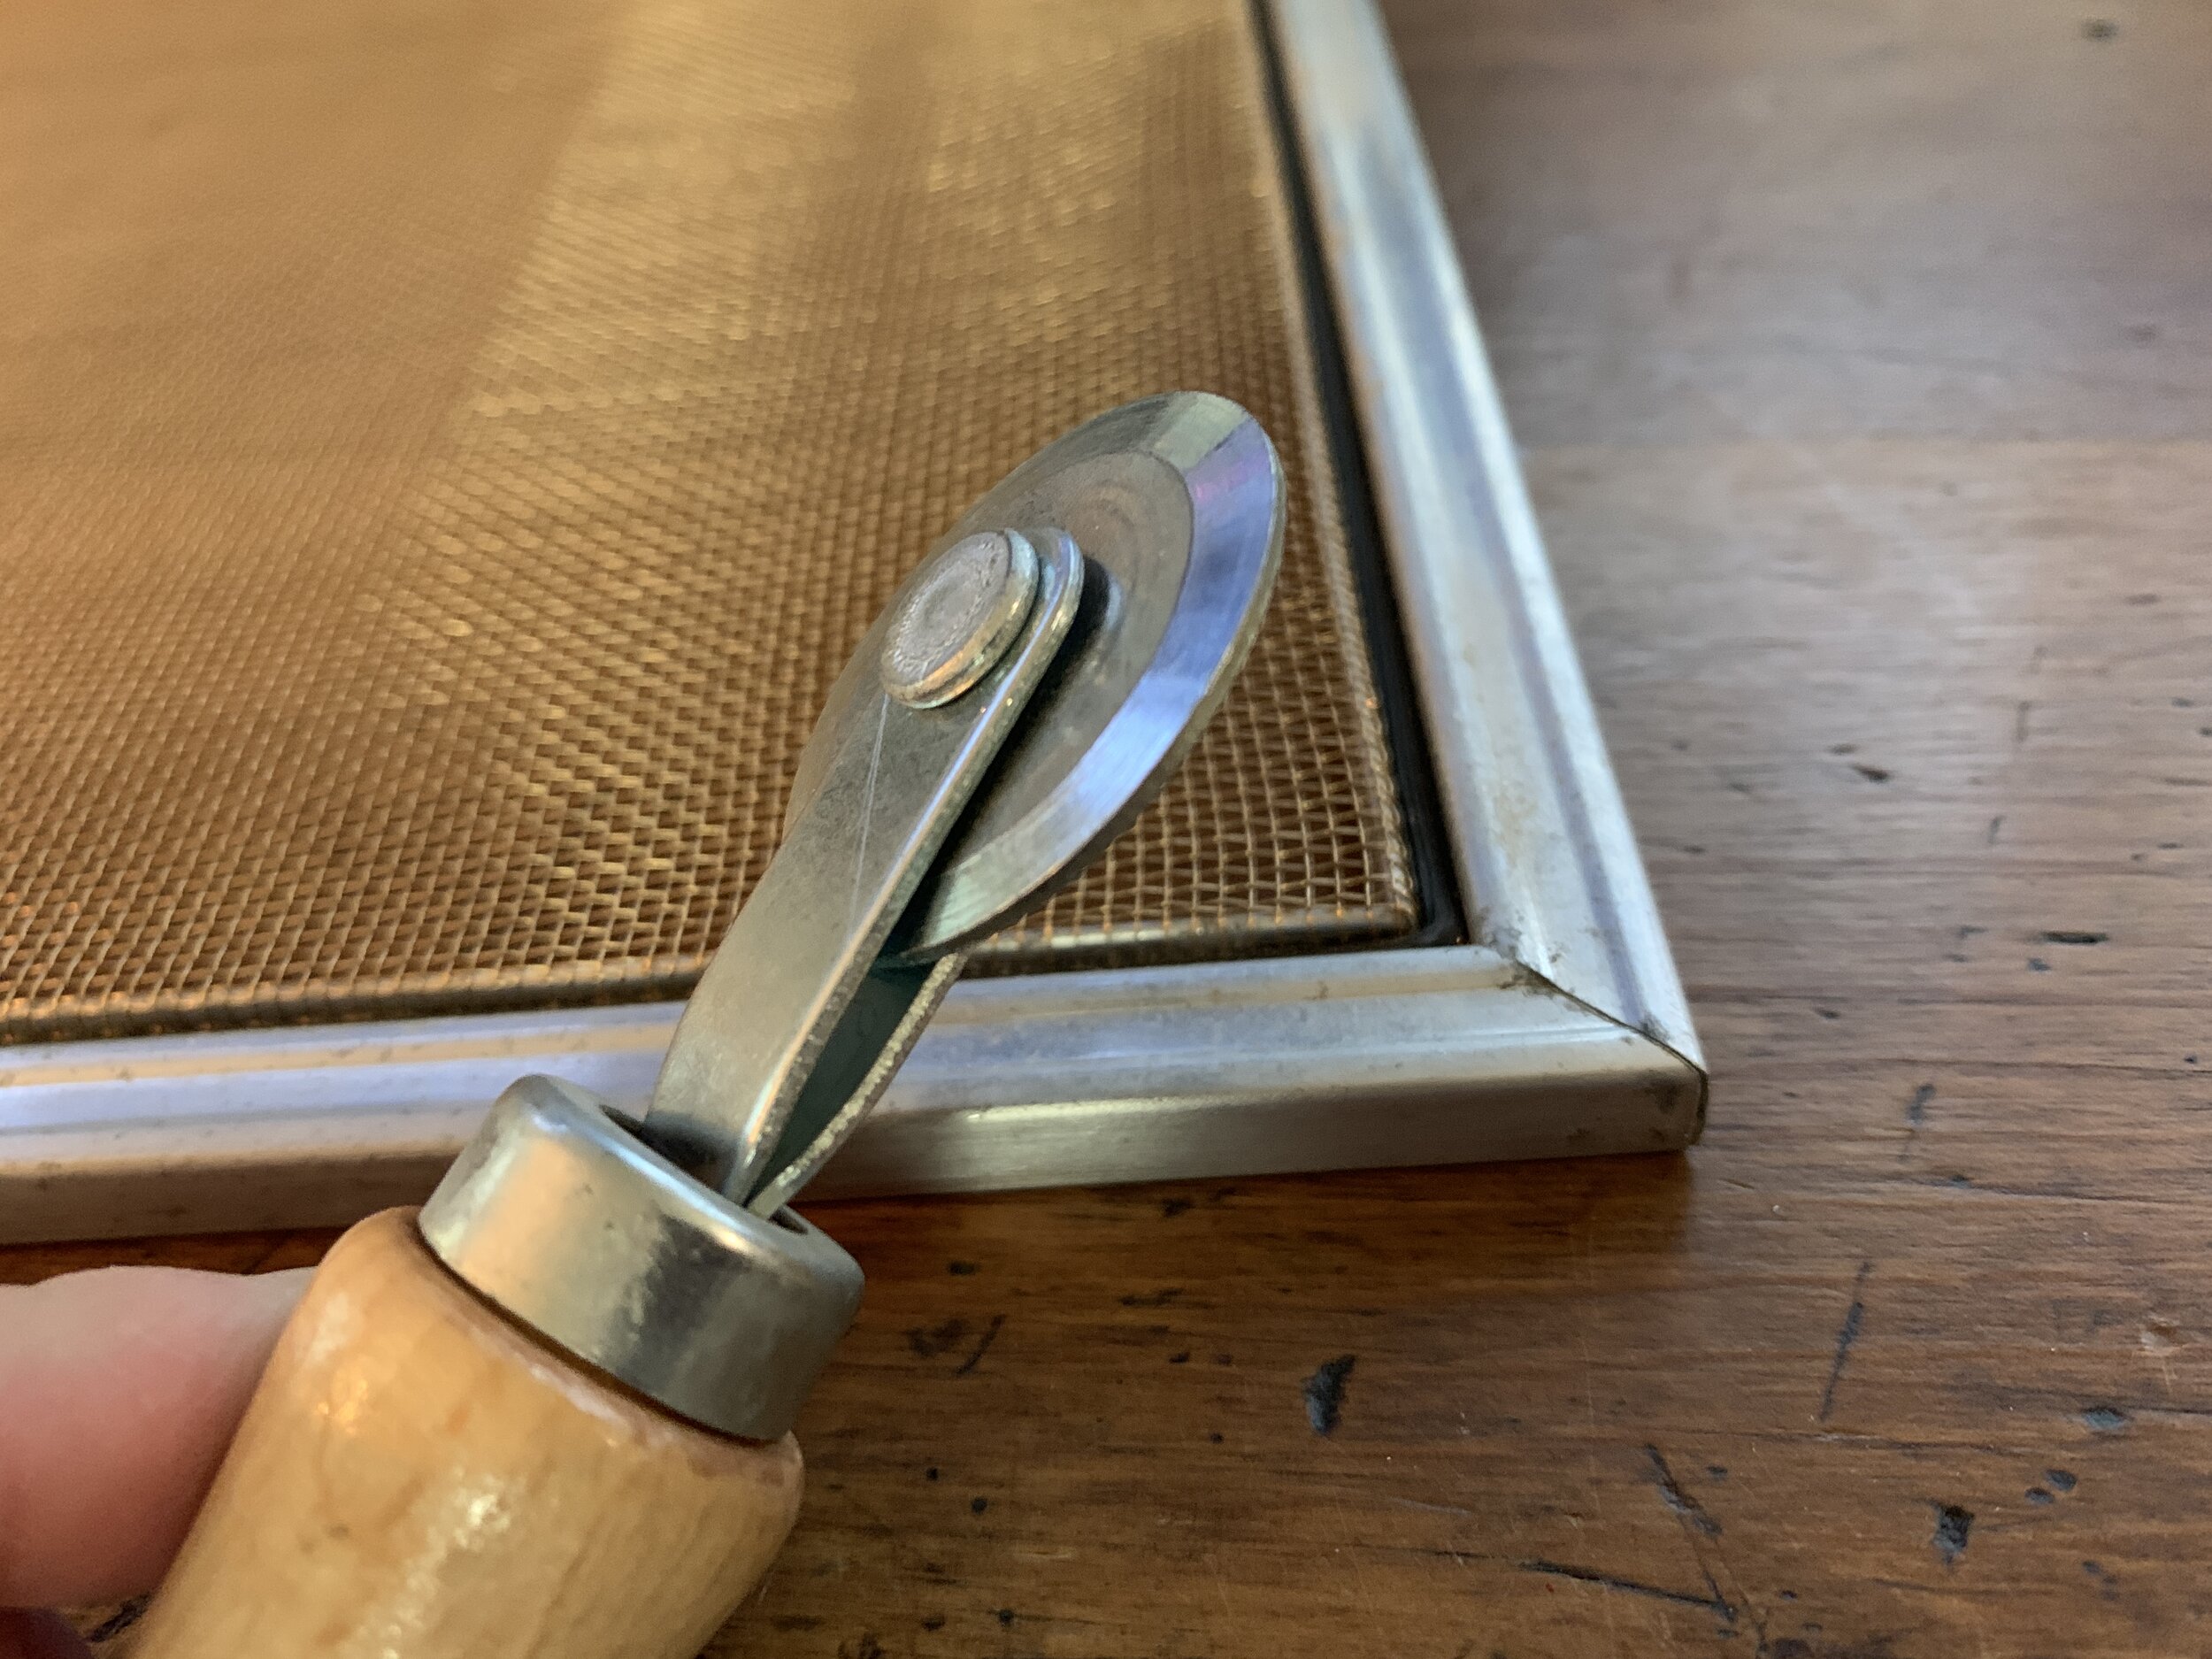
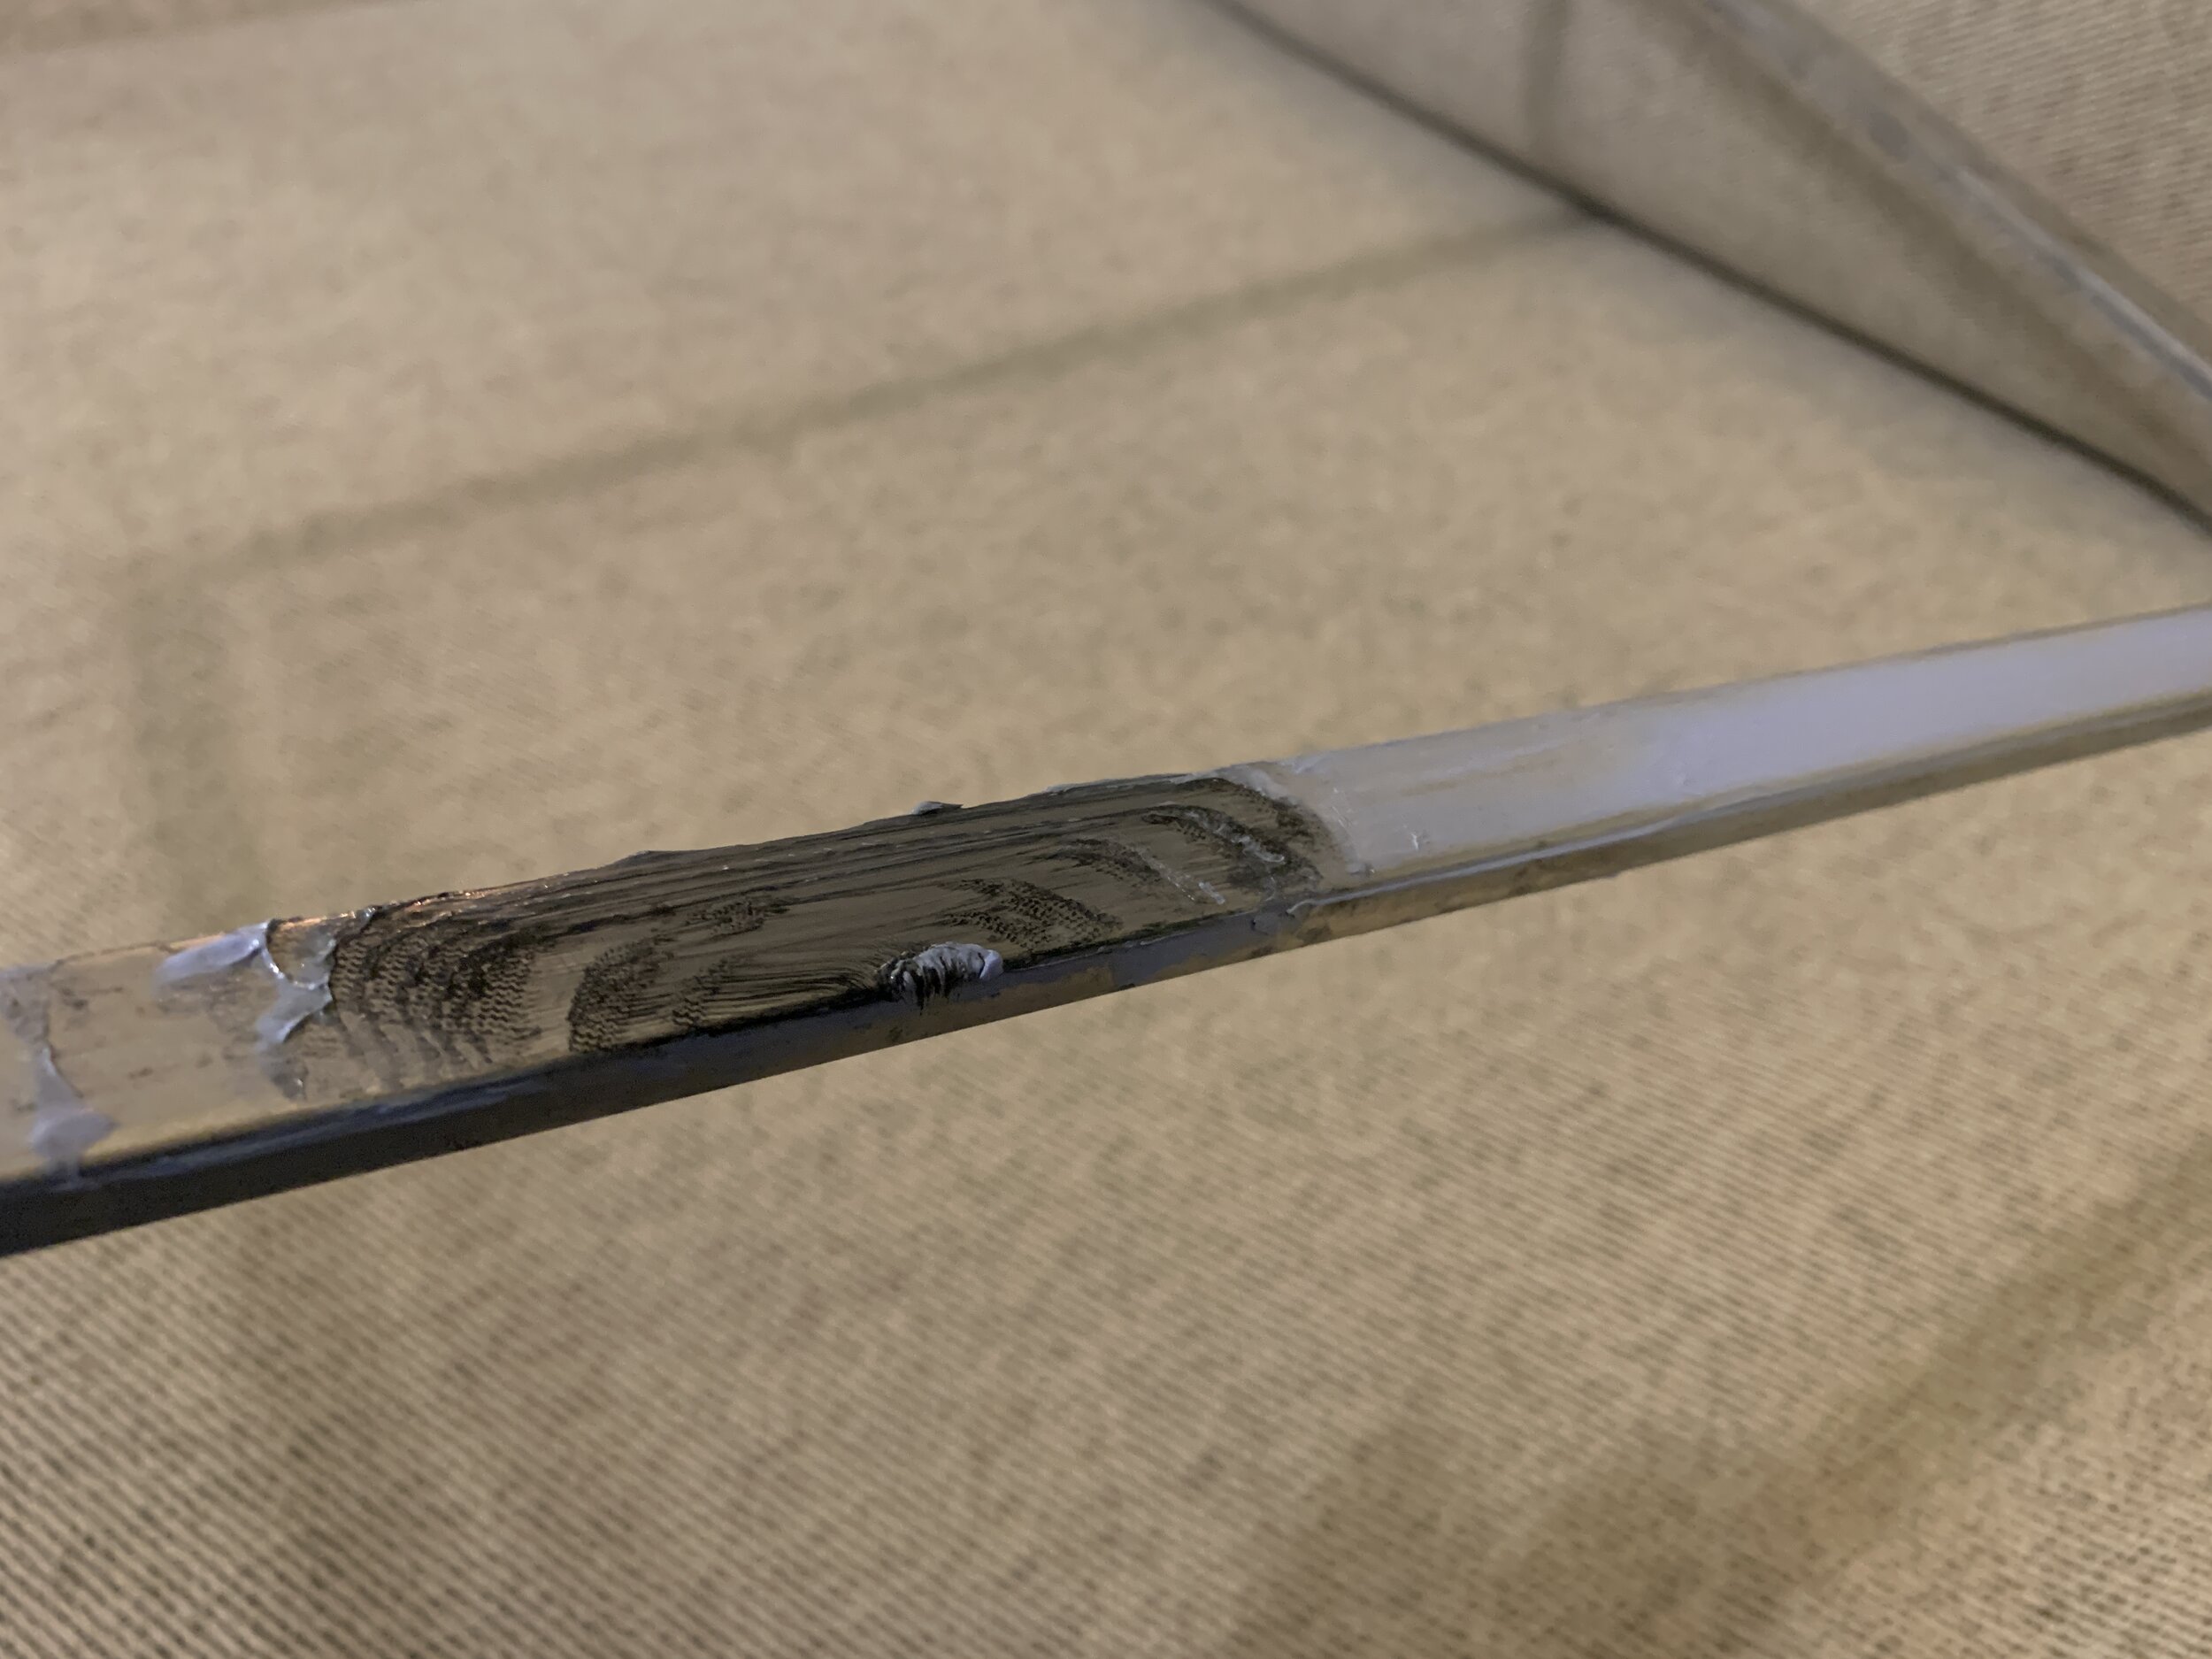
After you have the spline kind of locked into place using the concave/grooved-wheel-side of the tool, go back over it with the convex/rounded-wheel-side of the spline tool to really get it down in there. You can seen in the photo below the difference between being in with the grooved wheel (where the spline sits up a little higher in the track) and the spline really being in when you use the rounded wheel.

If you keep the spline in place, but not really down in the track, the screen can easily come out with a little bump, say while you’re painting the inside of the camper. (I speak from personal experience, so lock that spline down the first time.) And if you lock it down after you trim (read more about that below) it’ll help further hide the raw cut edges in the track.
After the straight runs are “locked in”, make sure the spline is pushed down in the corners really well too or else it could help the straight spline come out pretty easily, plus it doesn’t look the best when it’s still kind of poppin’ out at the corners. Photos below show before and after pushing the corners down with the convex/rounded wheel.

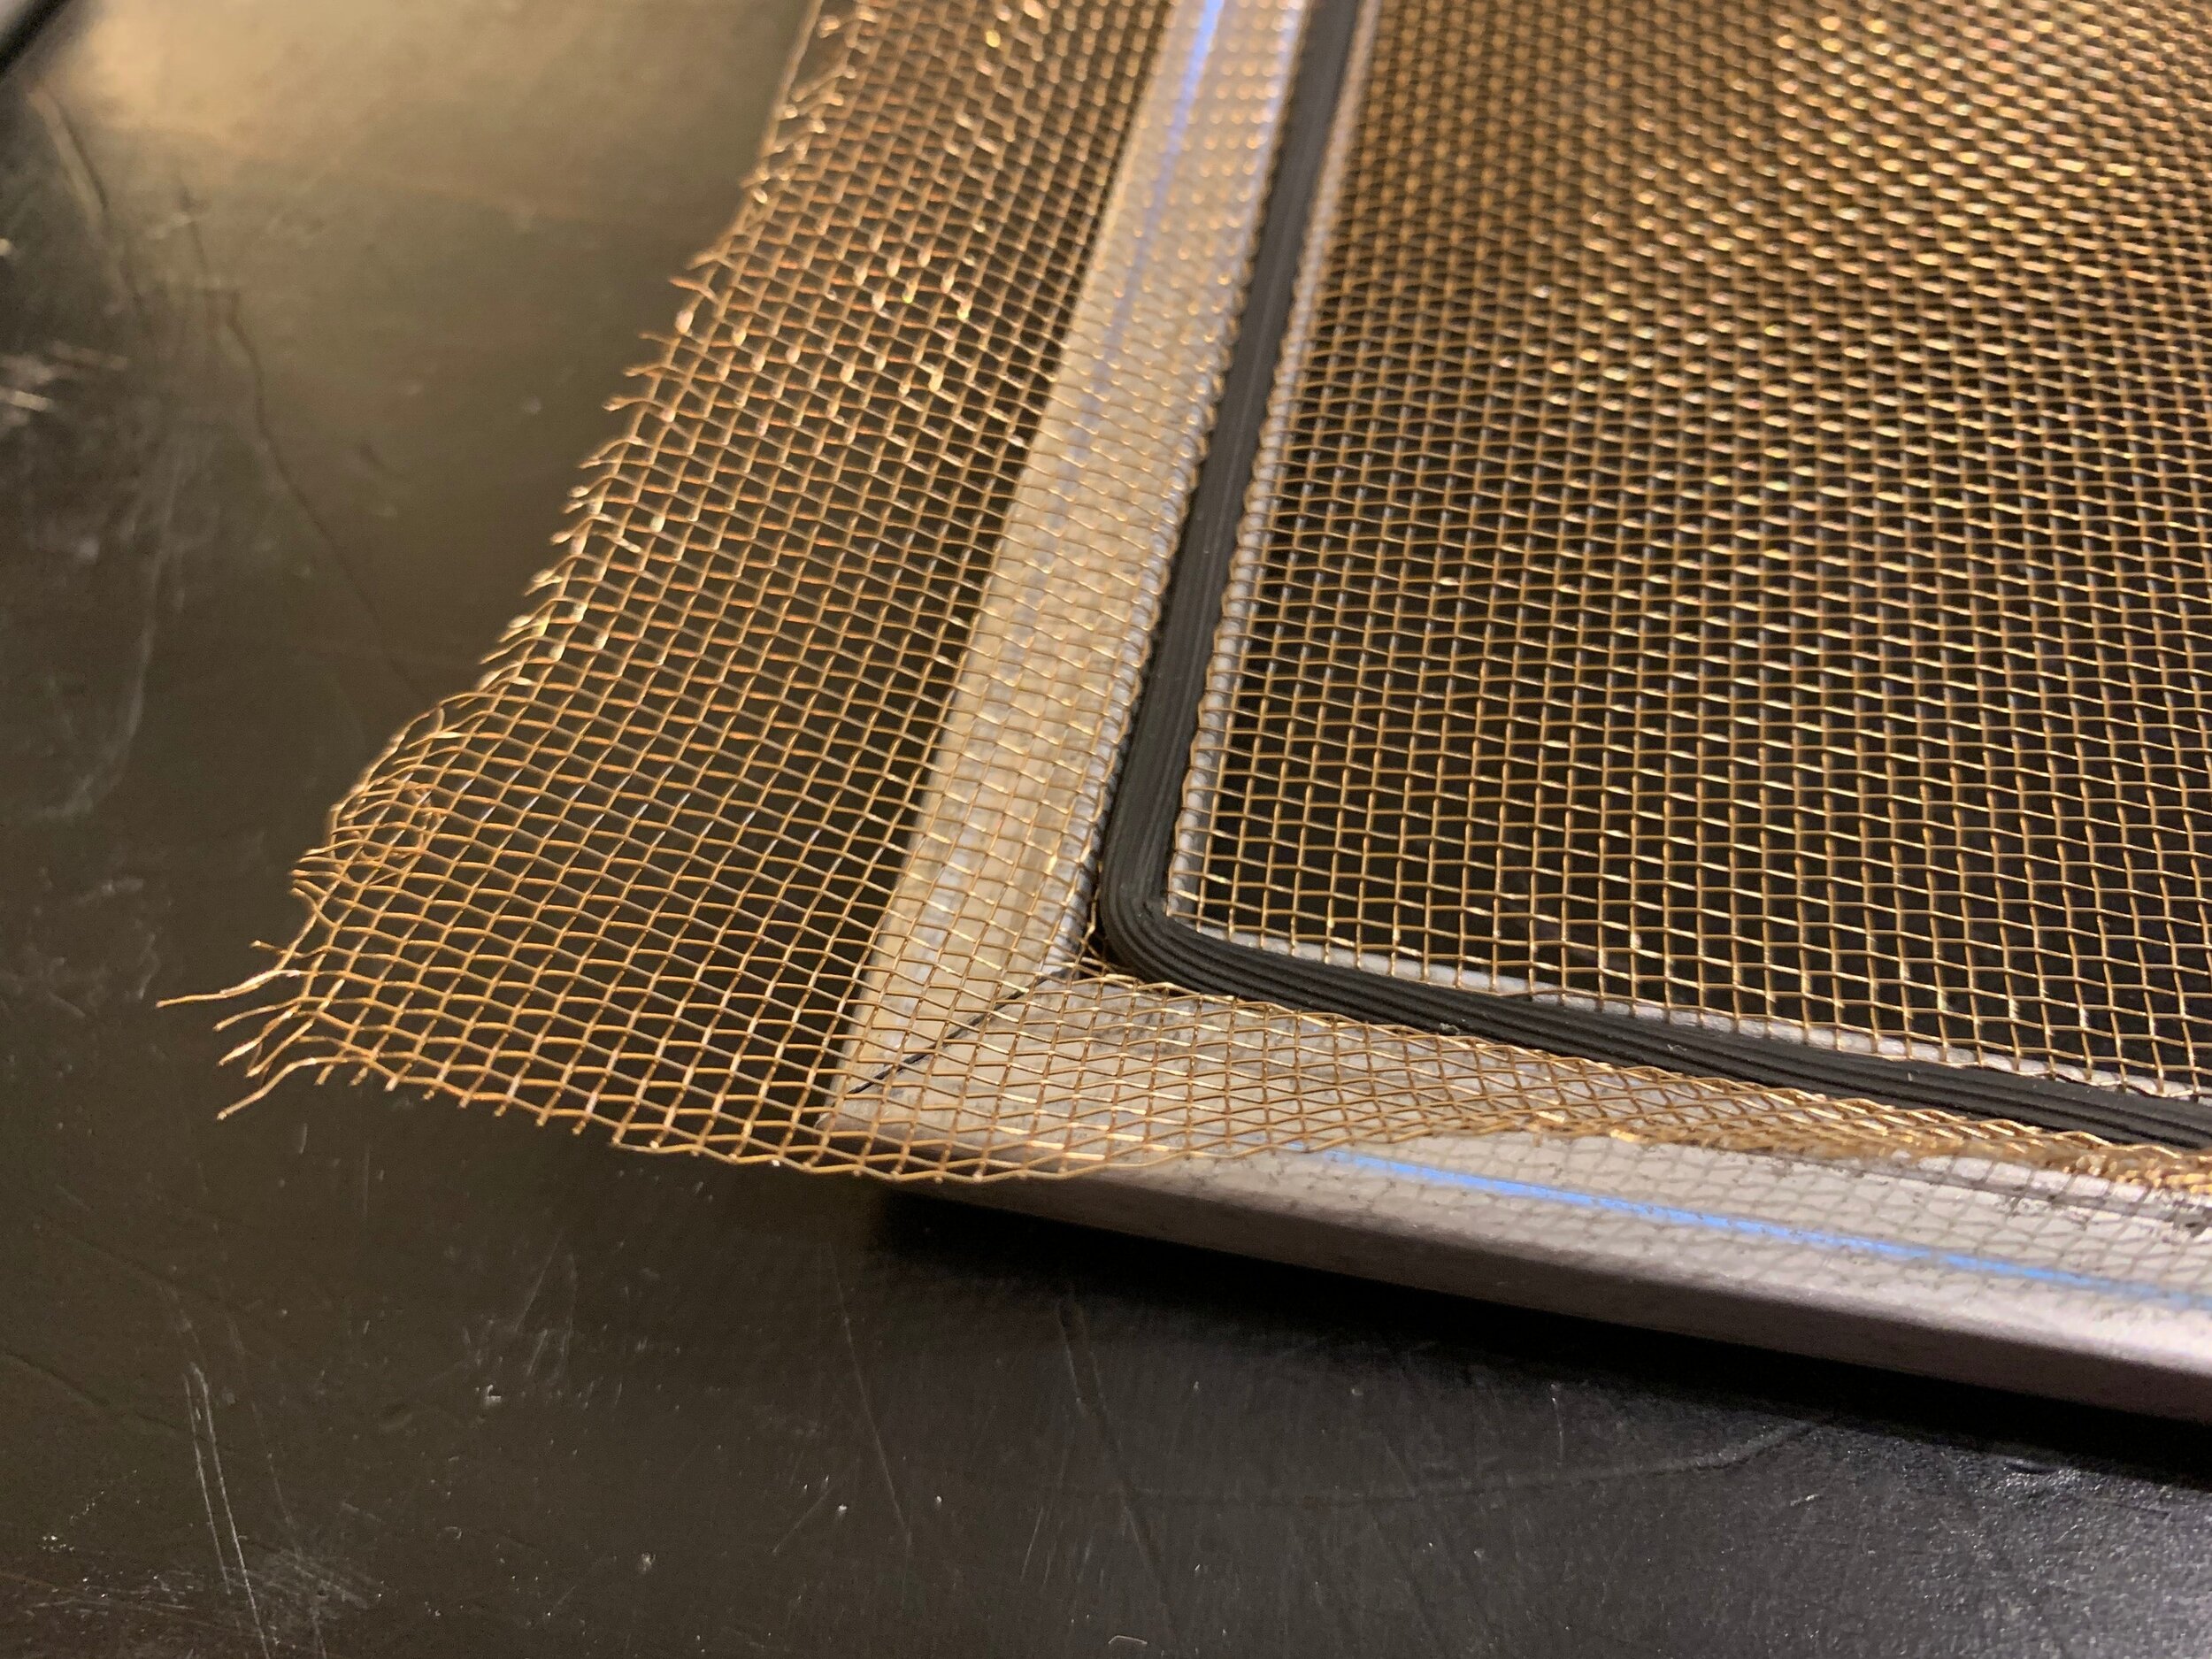
Trimming the screen
If you’re really good and doing it “right”, when you cut out your screen initially you won’t make it that much bigger than the frame, so when you use the tool to put the spline in the track you won’t have to trim it after the fact. That’s what the pros do and they make it look so easy. I tried this and was not good at keeping the screen that precisely placed as I went around so I decided to do it my own way to keep from ruining it and wasting screen material. All that means is after our spline was in, I had a lot to trim and used sharp scissors to do it, getting as close to the frame as possible. (I tried a few different things – tin snips, an X-acto knife, a box knife – but found regular ol’ scissors let me get much closer to the frame than the tin snips and cut much better than the knives.)
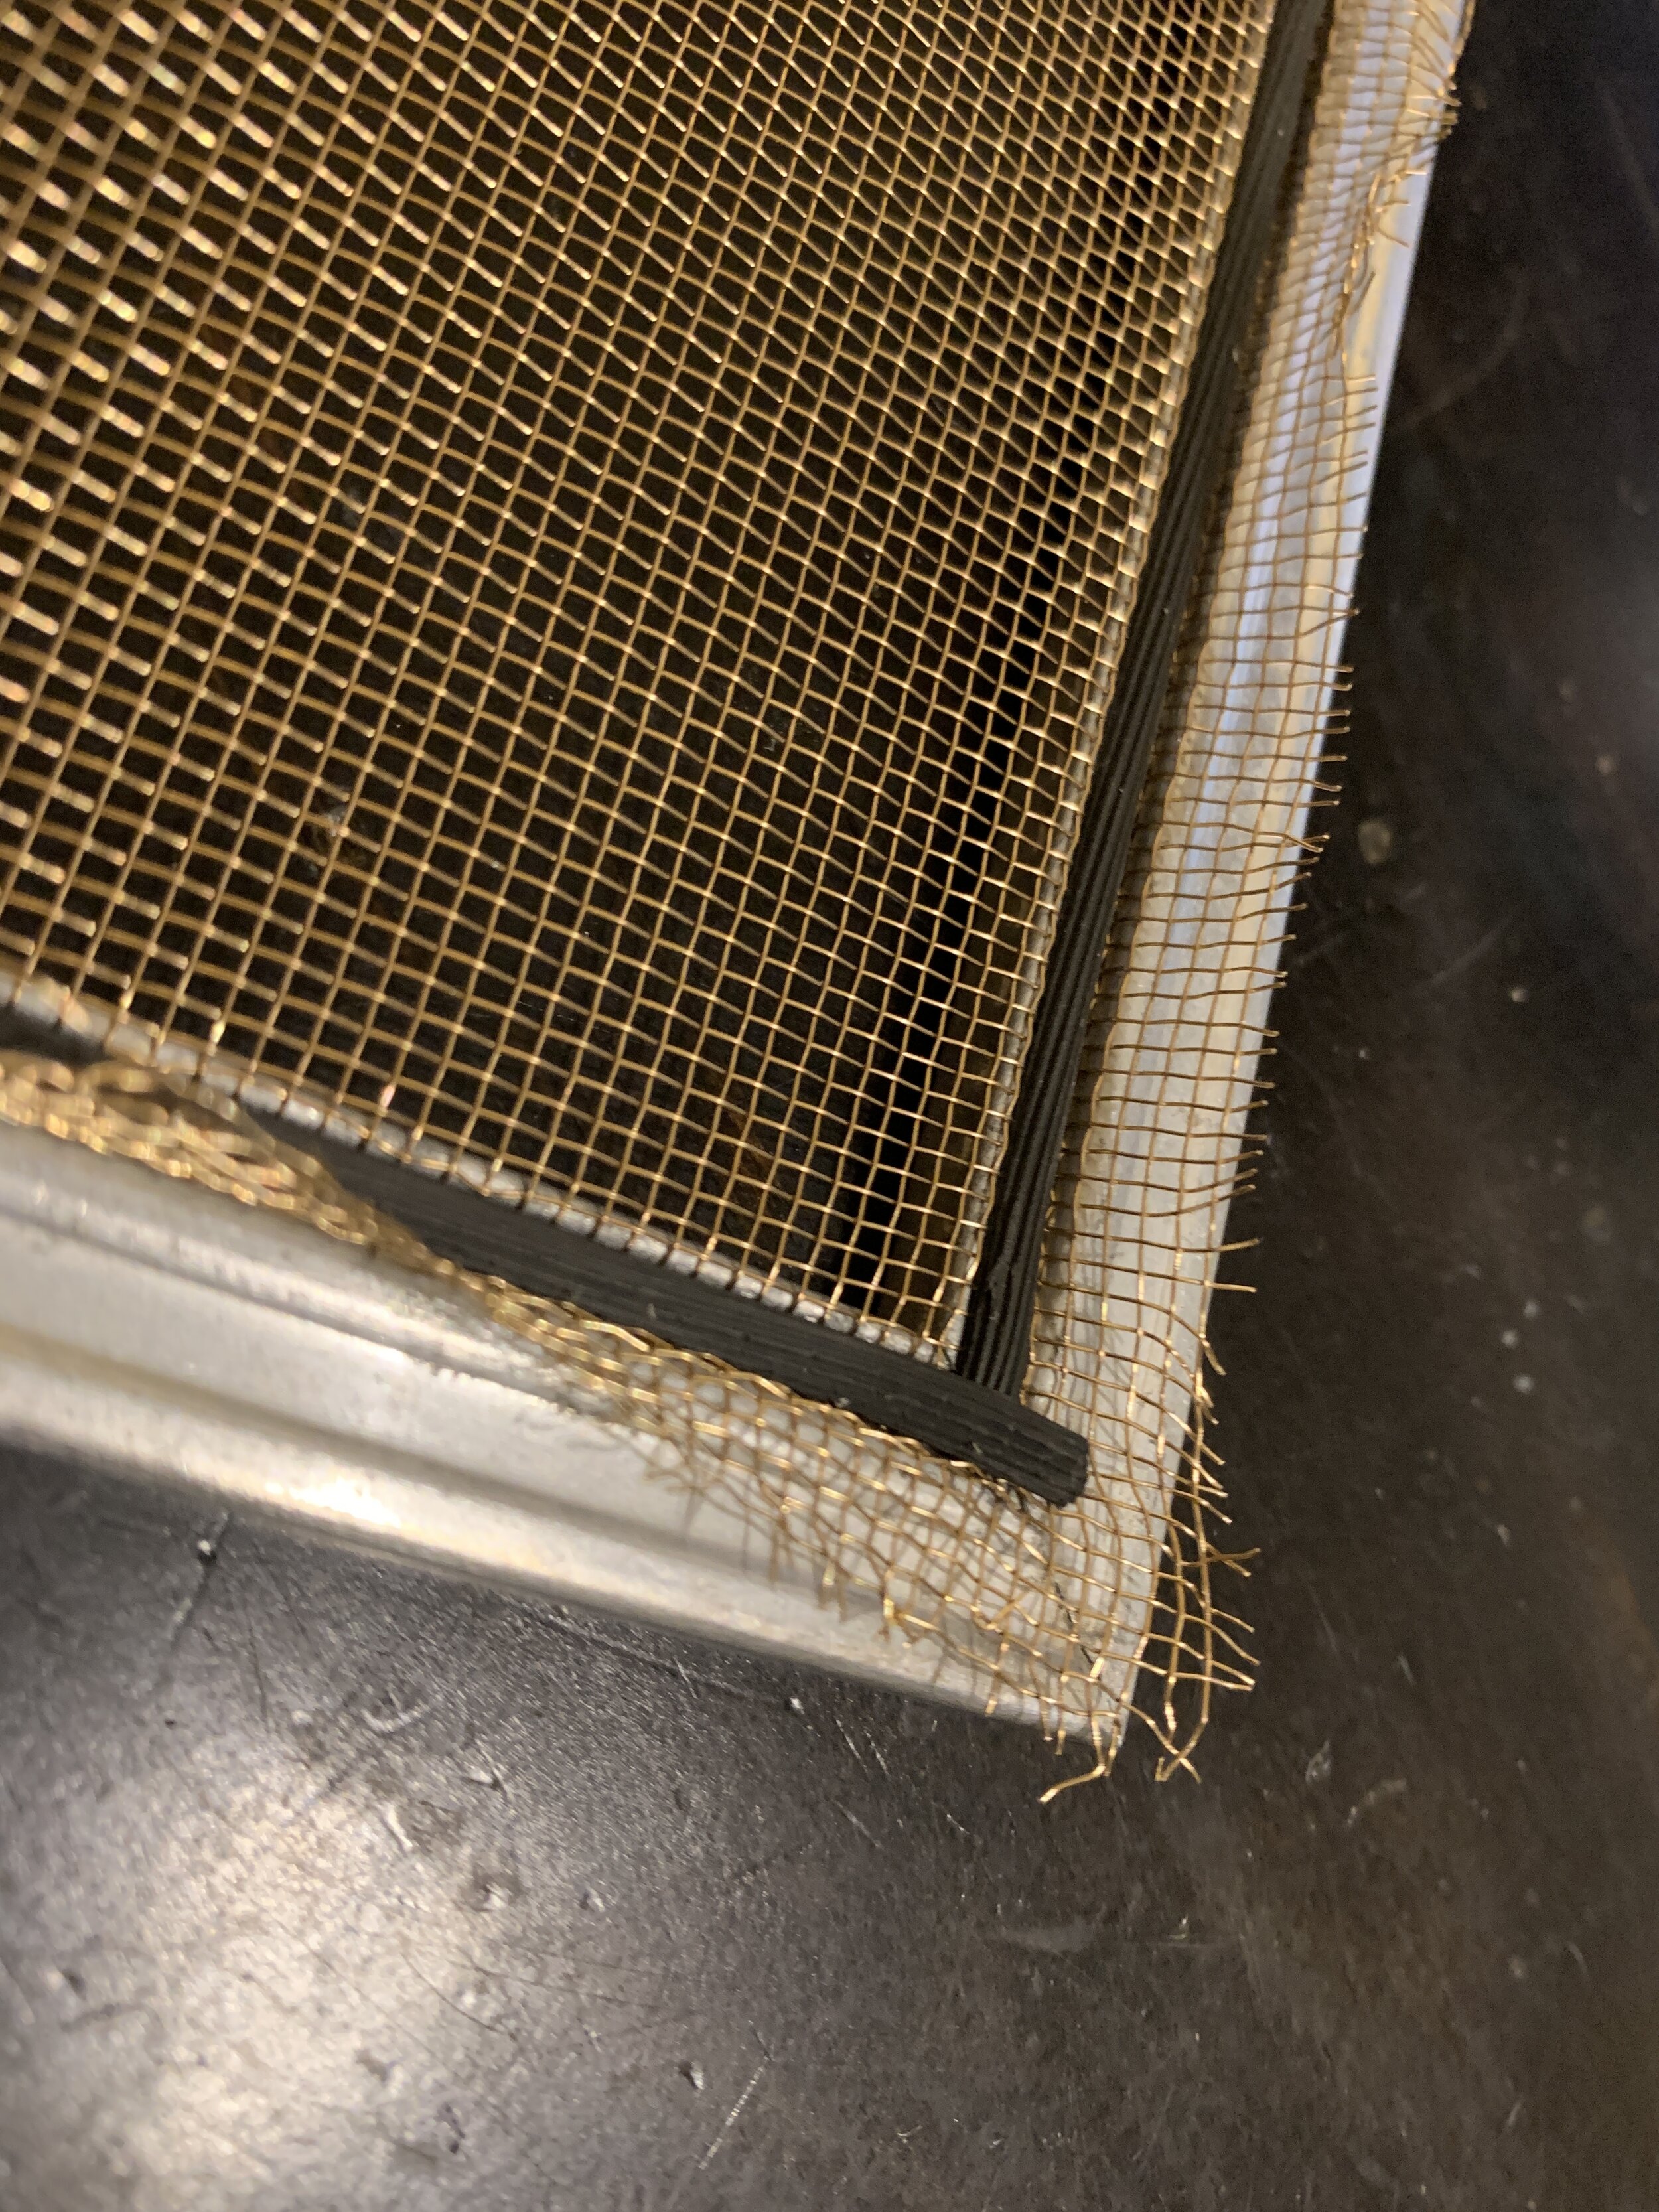
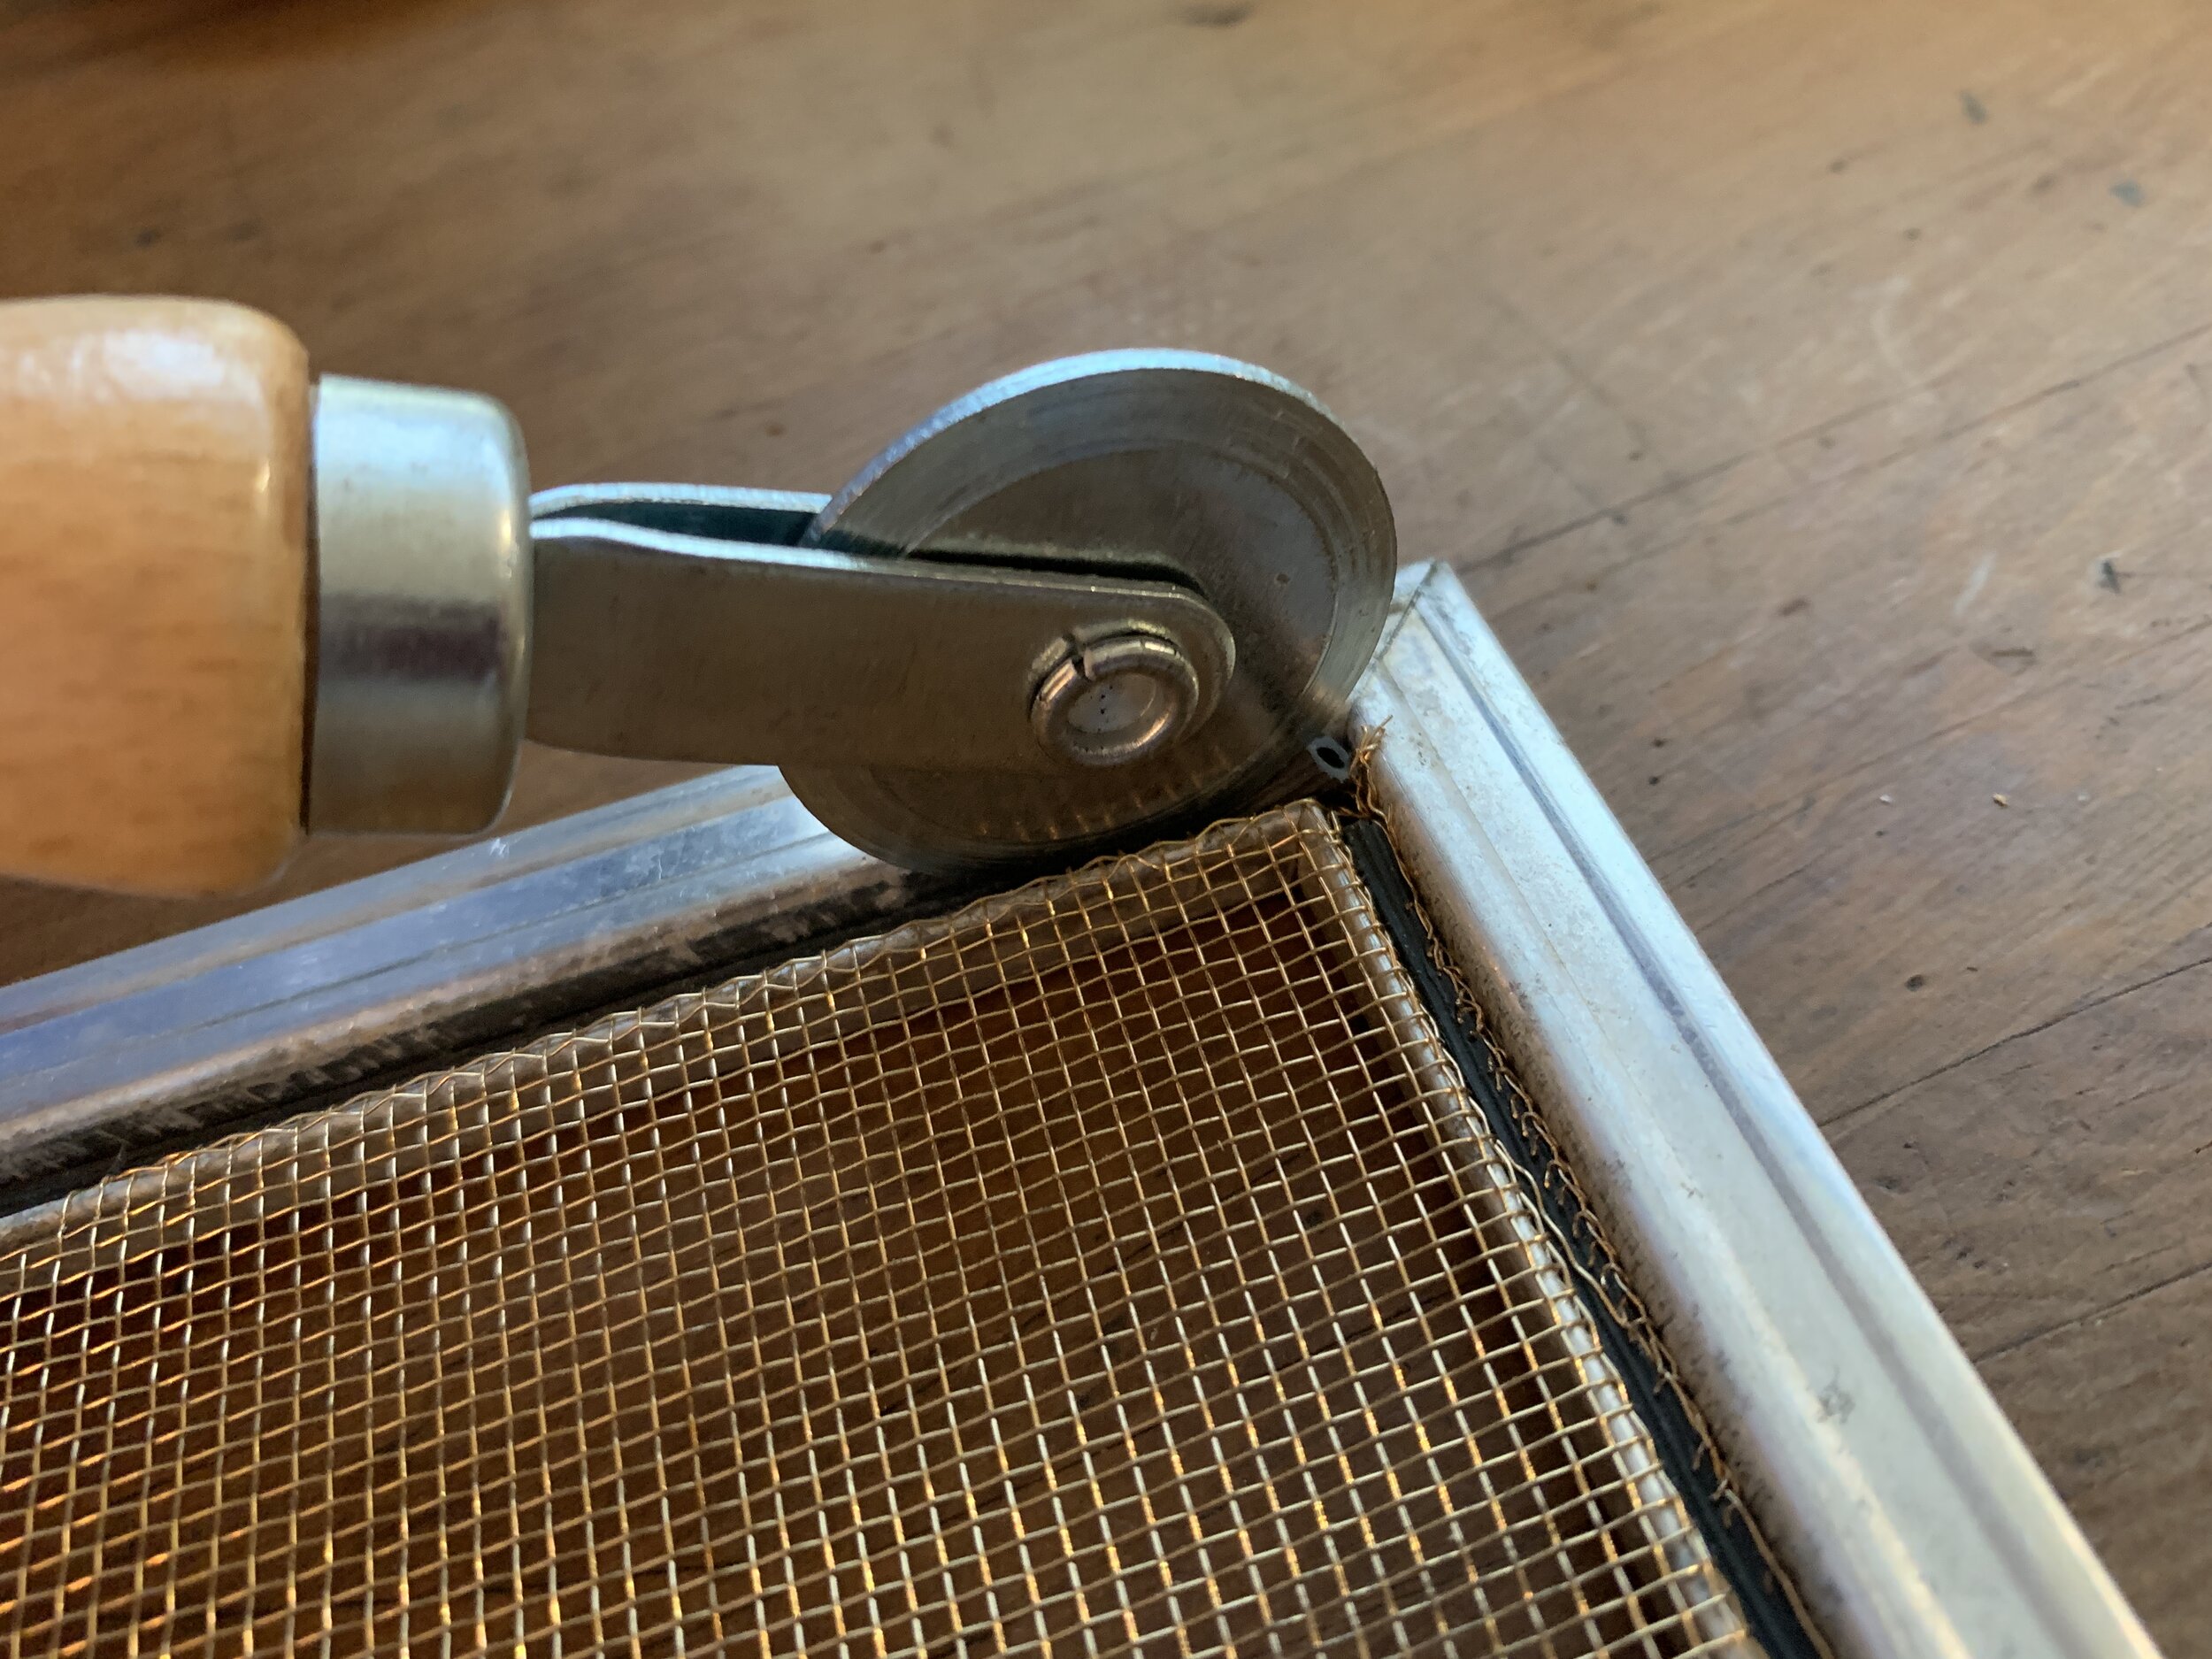
It worked best to trim the screen after the spline is in place and pushed down with the grooved wheel, but before it was “locked in” using the rounded wheel. For the most part the little excess screen left after trimming was pushed down into the track during the “locking it in” step. For any remaining rough cut edges that weren’t pushed down in the track, I used a flathead screwdriver to carefully fold over and in any extra metal bits so nothing was sticking out.
Safety note:
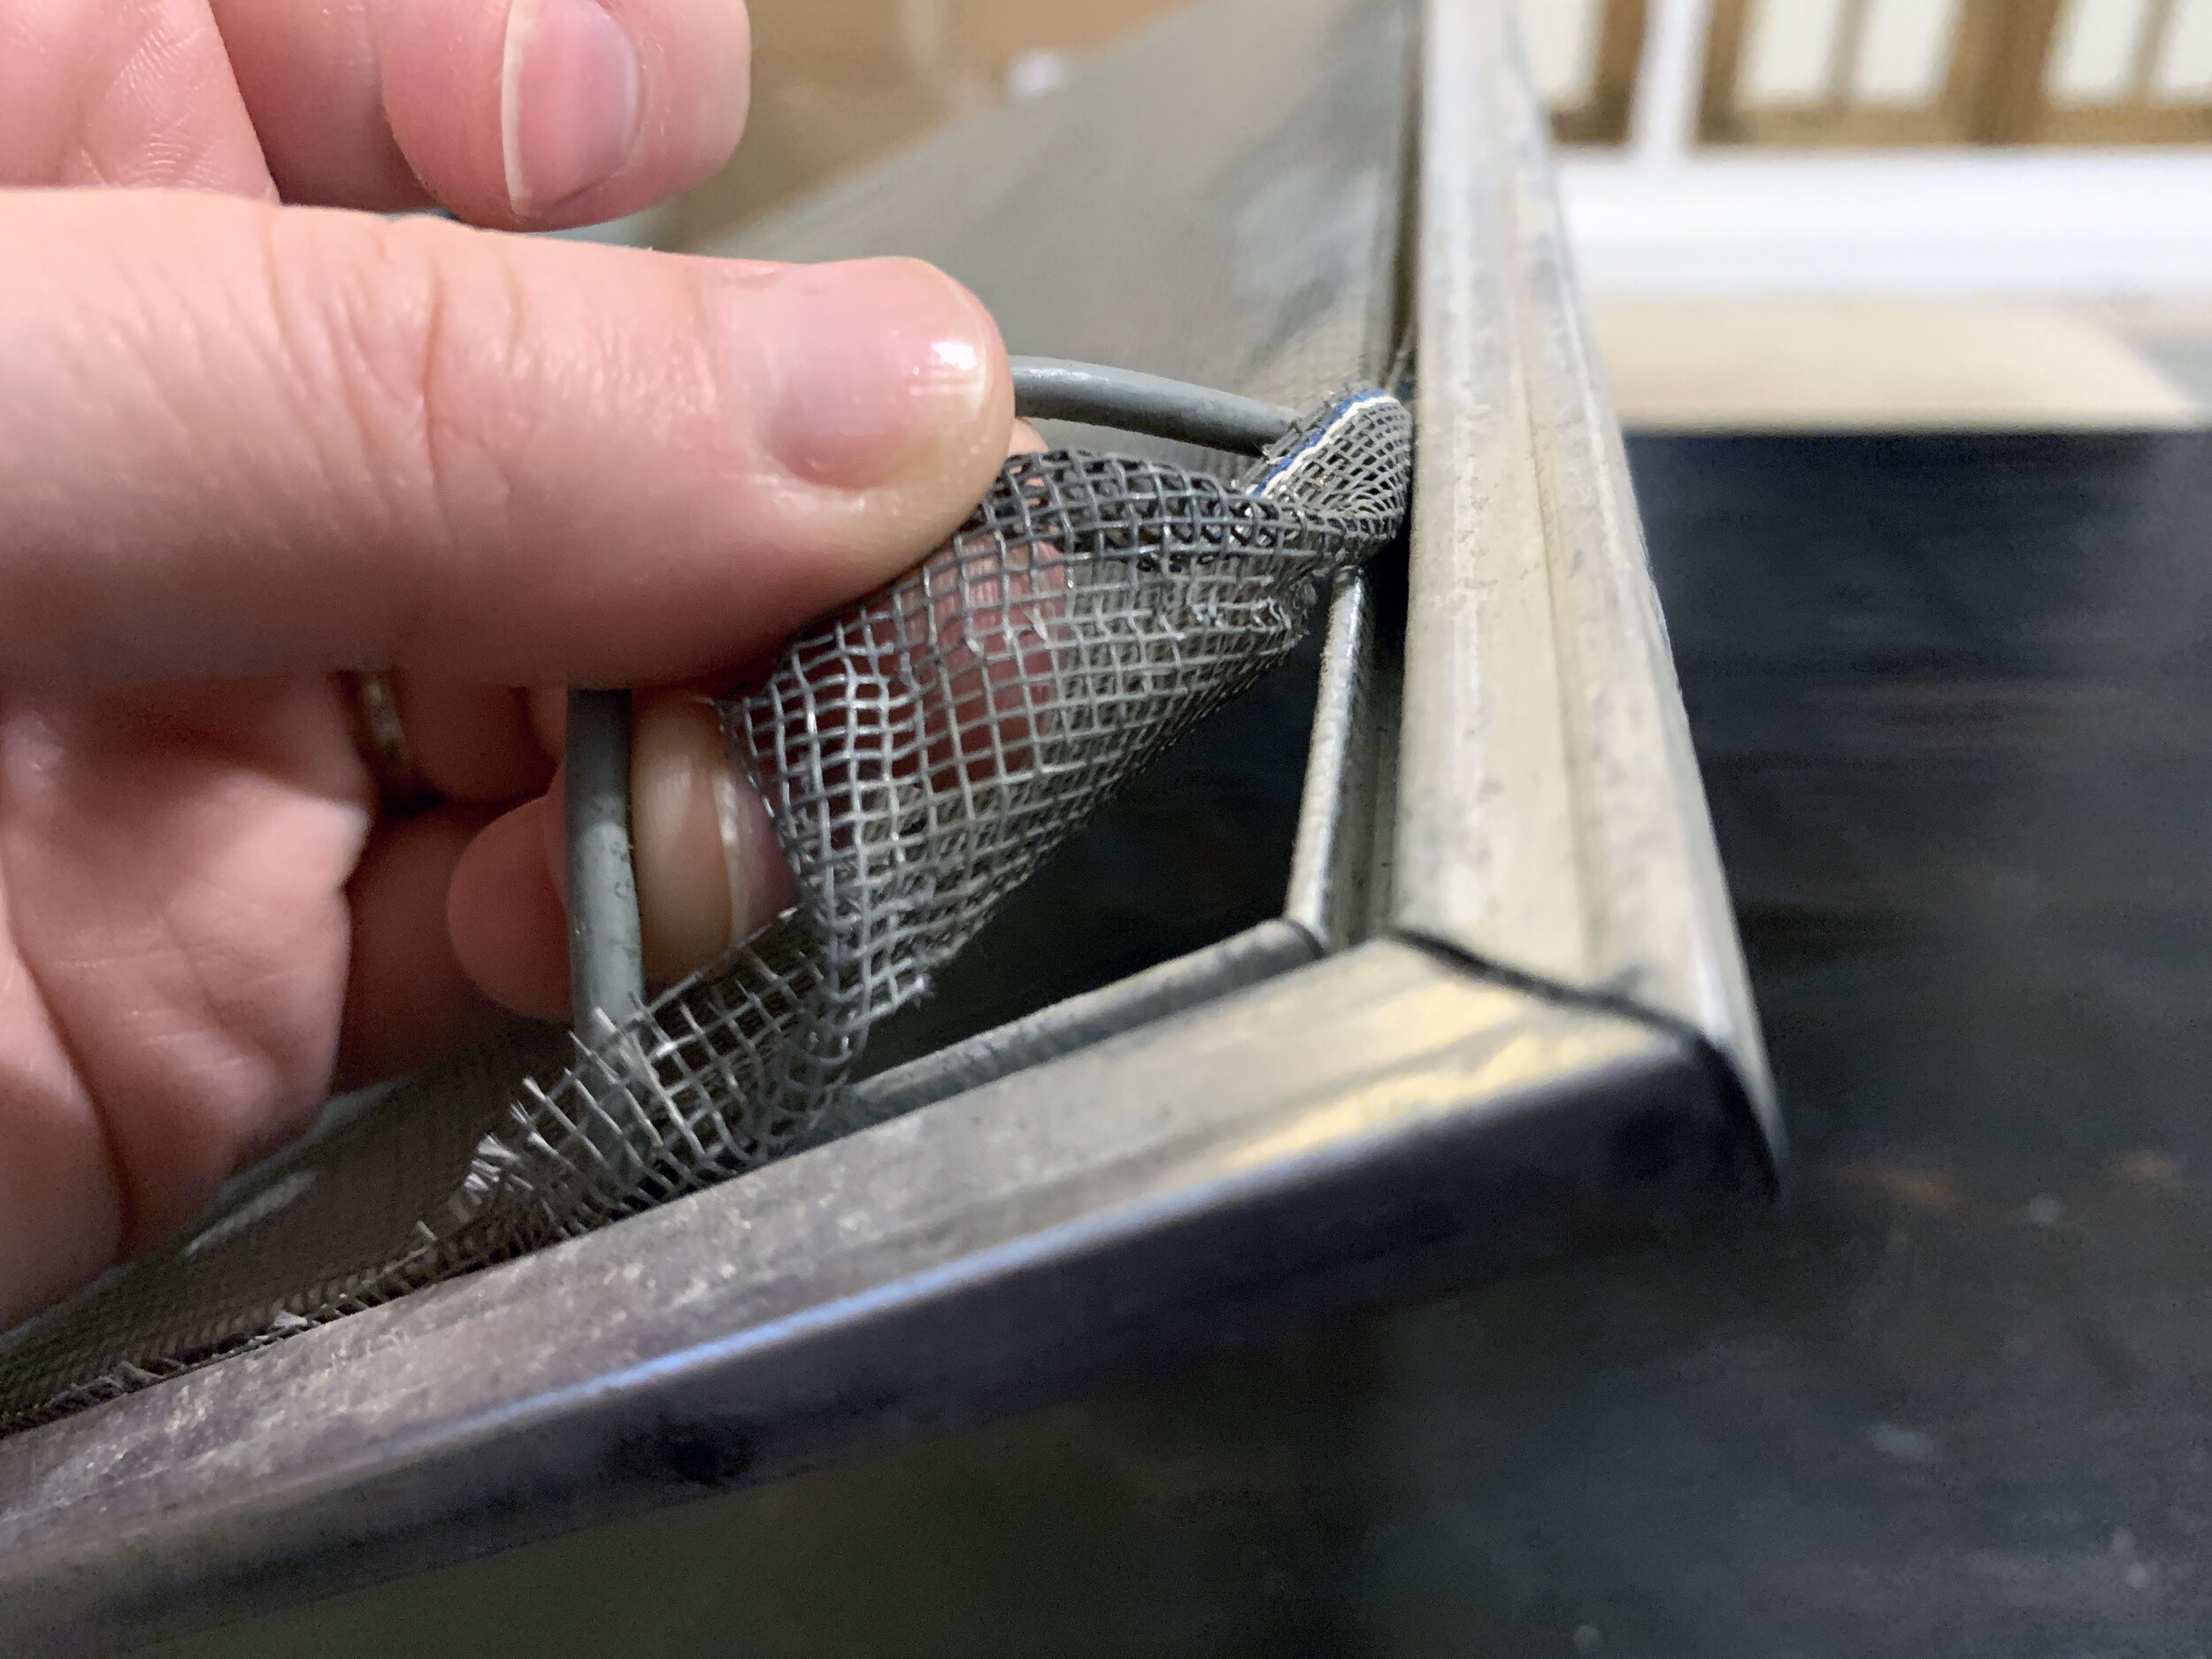
Wear gloves while you’re trimming or you’ll probably get poked and a little scratched up … and maybe bleed a little. Hey, it’s a labor of love, but let’s try to be safe.
And this is probably a thing whether you do it “correctly” or trim it afterward like I did, but be careful because you might find little metal screen bits left around your work area which are basically pretty little metallic splinters waiting to happen. (Don’t say I didn’t warn you.) We’ve not had this particular issue with vinyl, but it’s also not near as beautiful or interesting as gold metal screen, so you win some and you lose some.

Tiny metal “splinter” while installing new screen
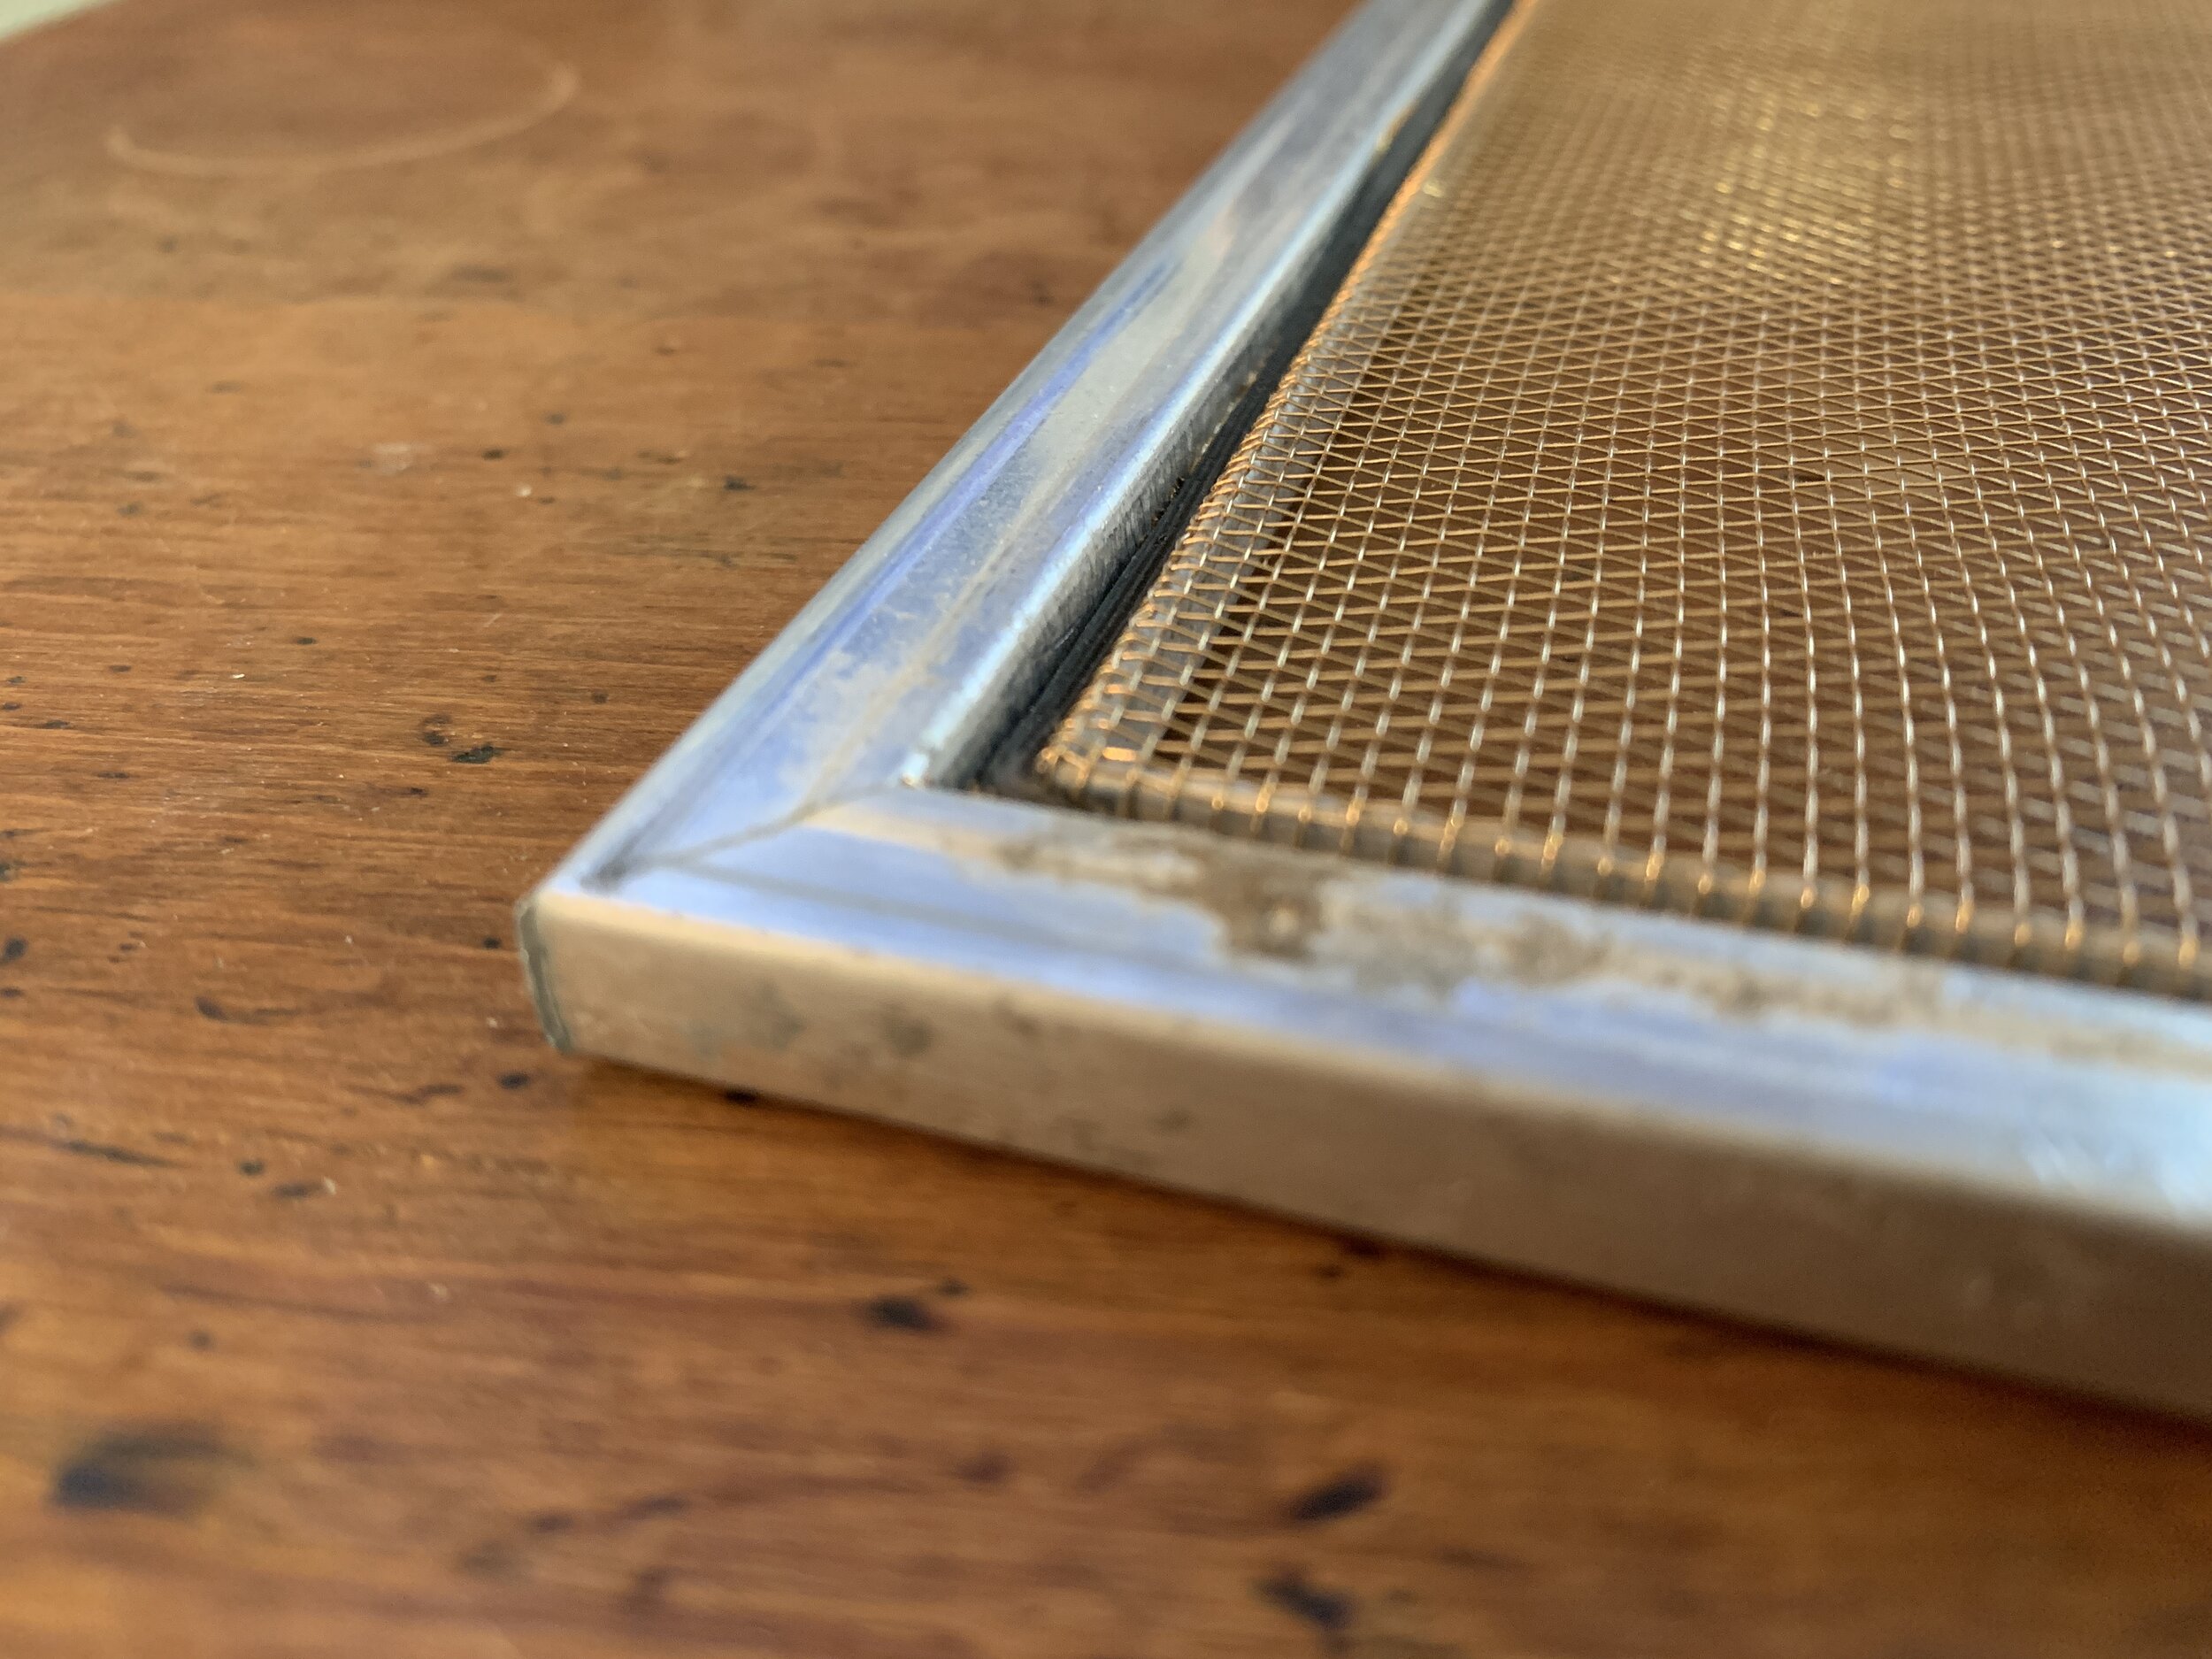
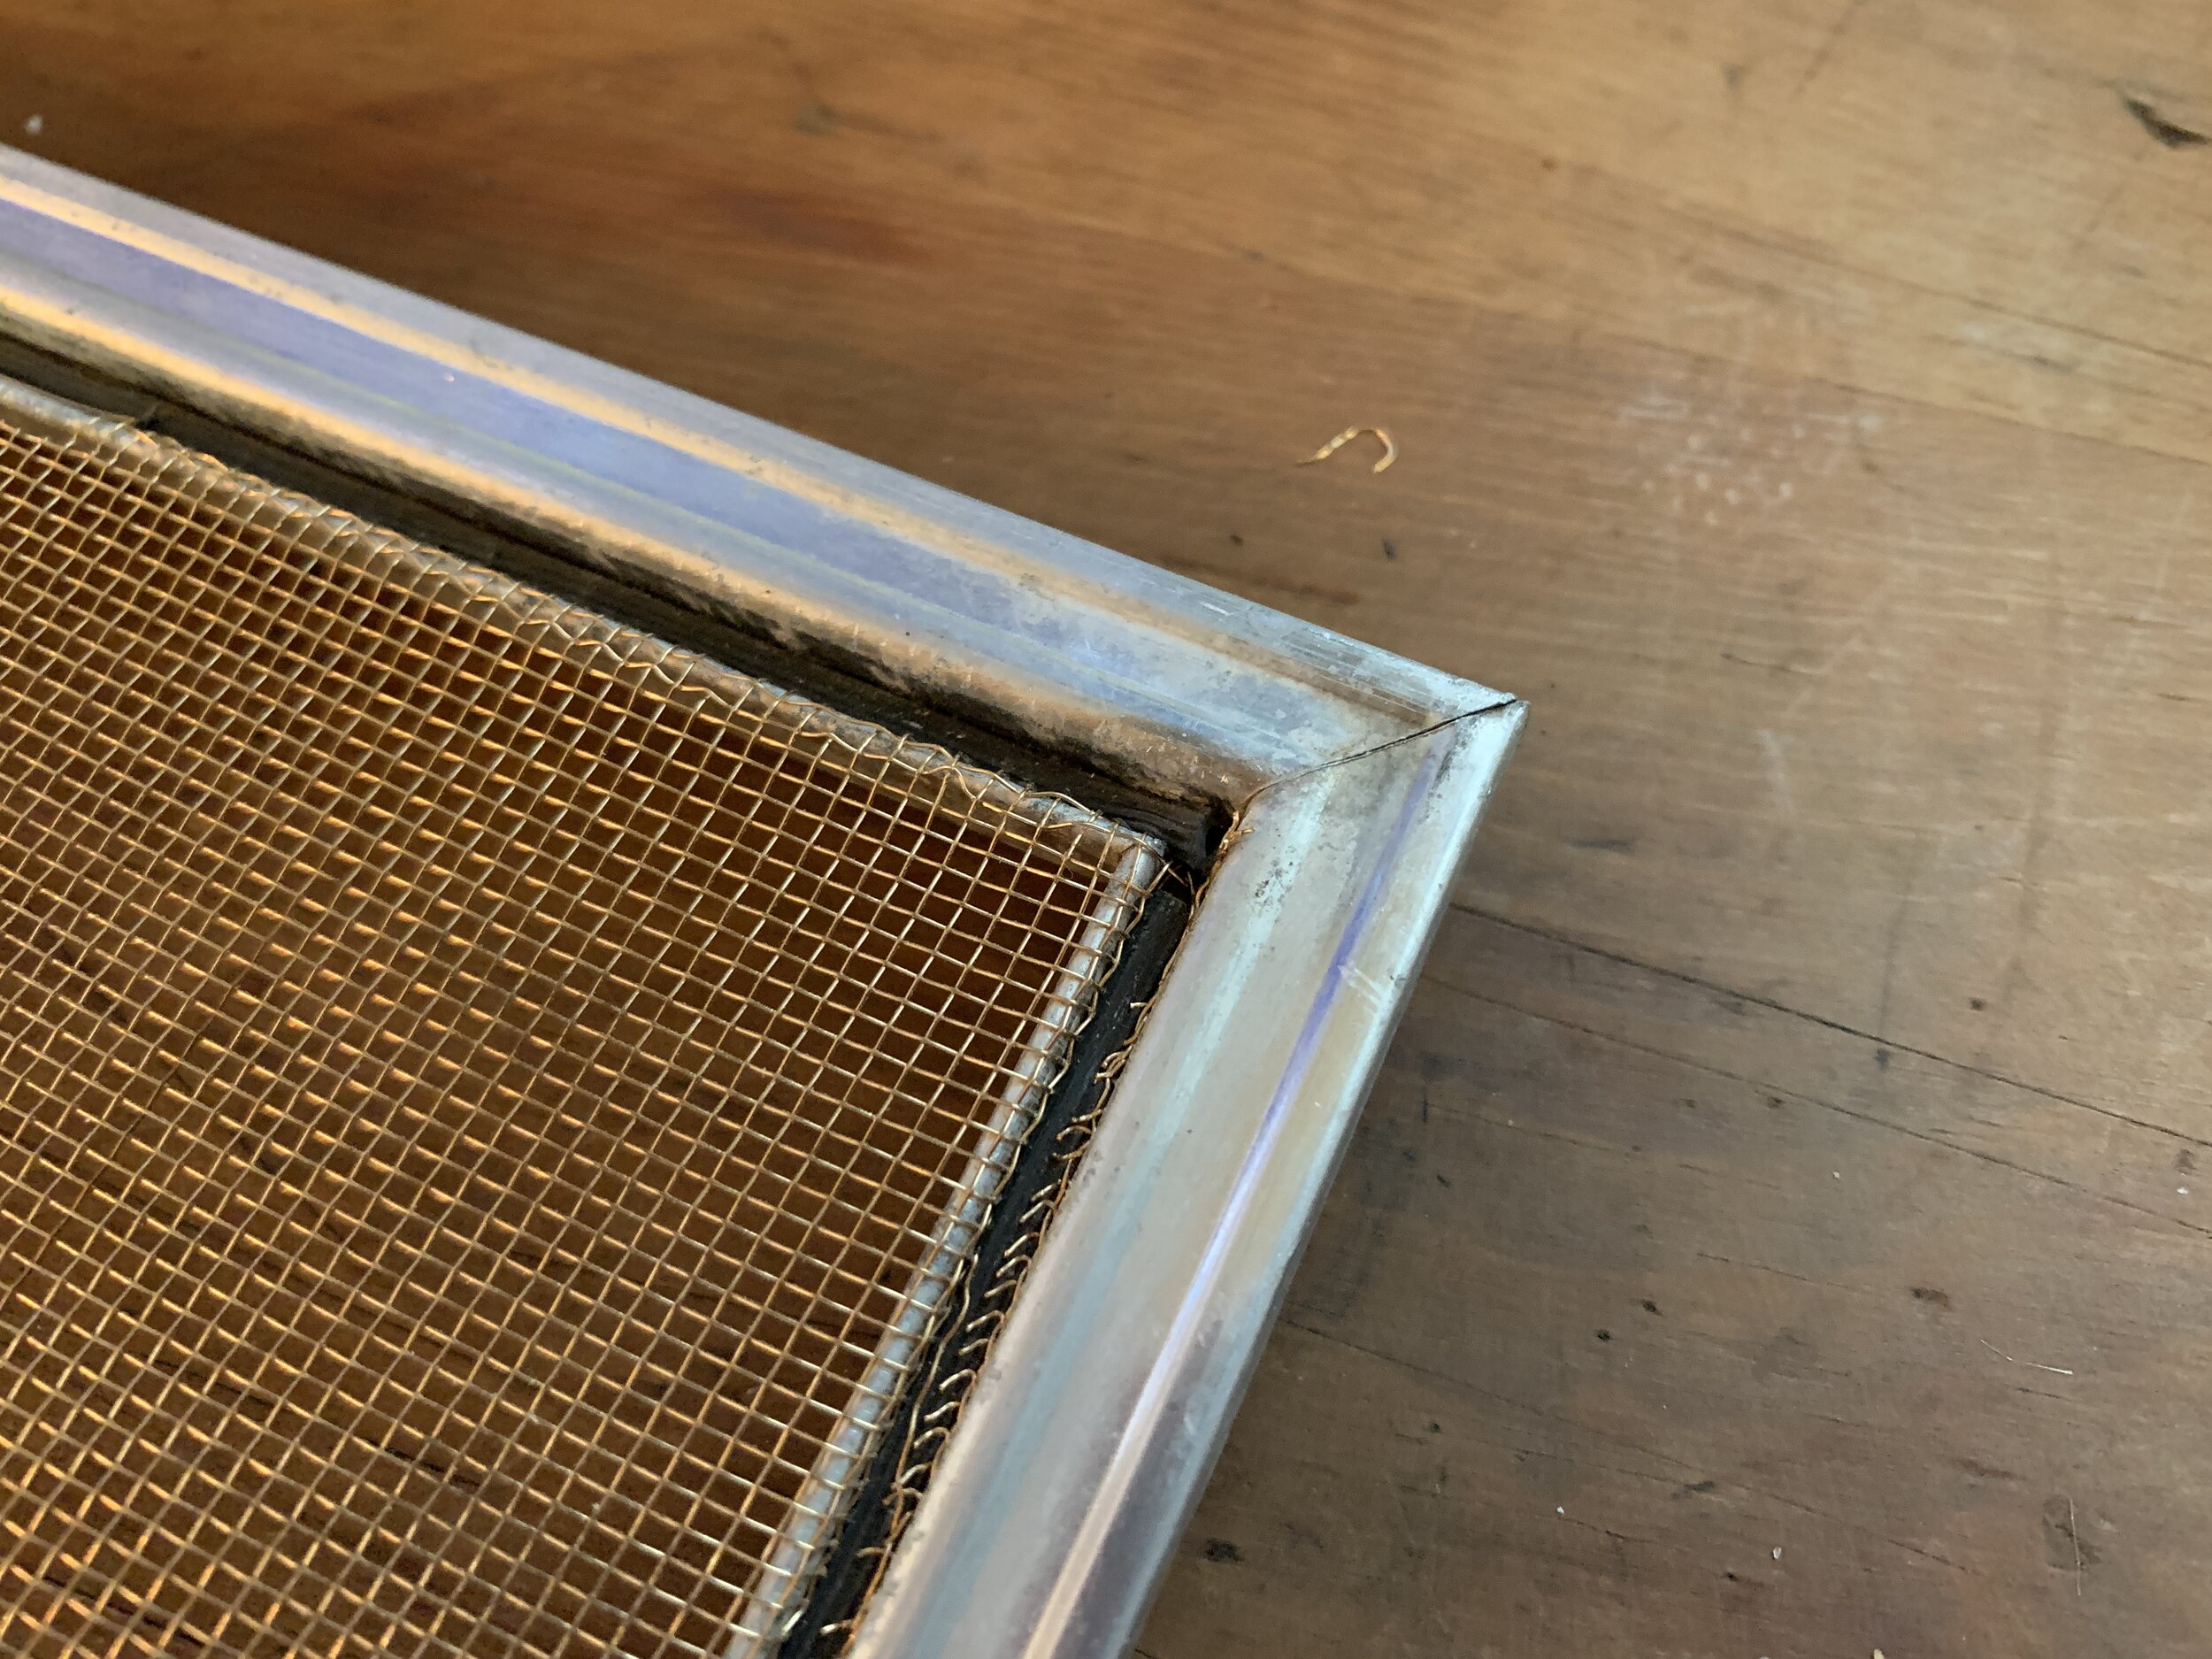
All done
That’s it. Time to flip it over and admire your work.

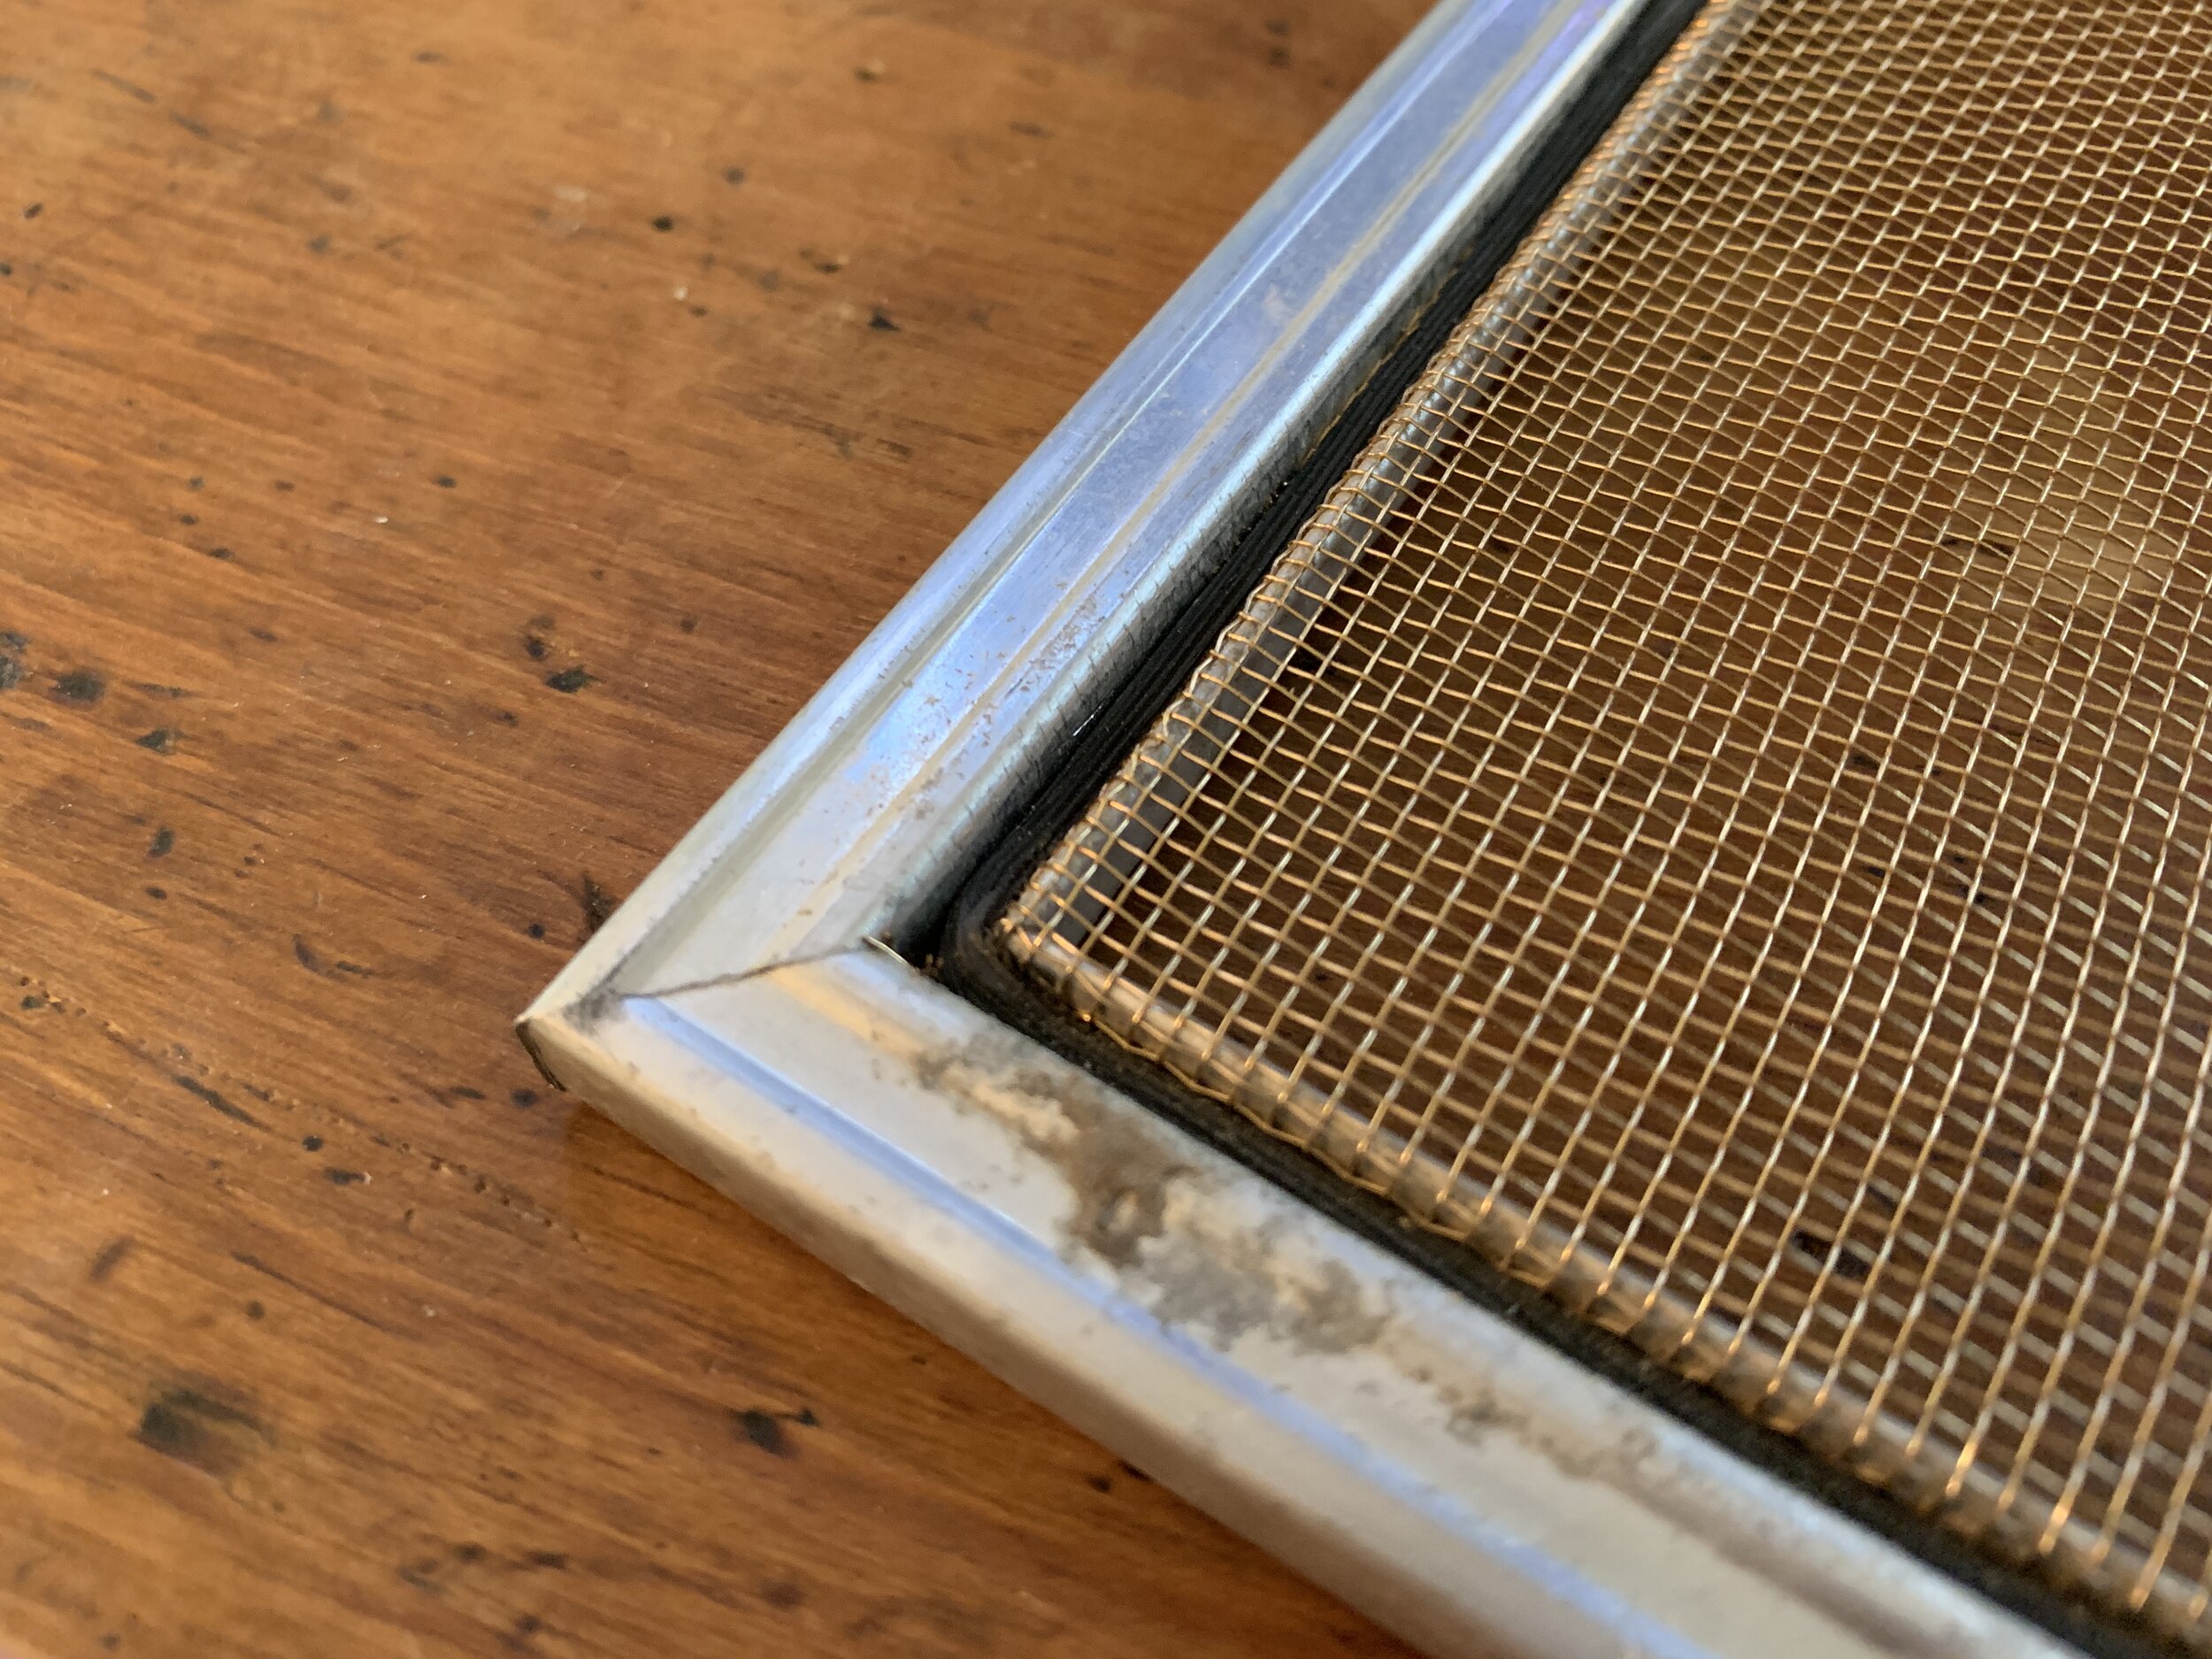
View of the back of the screen

View of the front of the screen
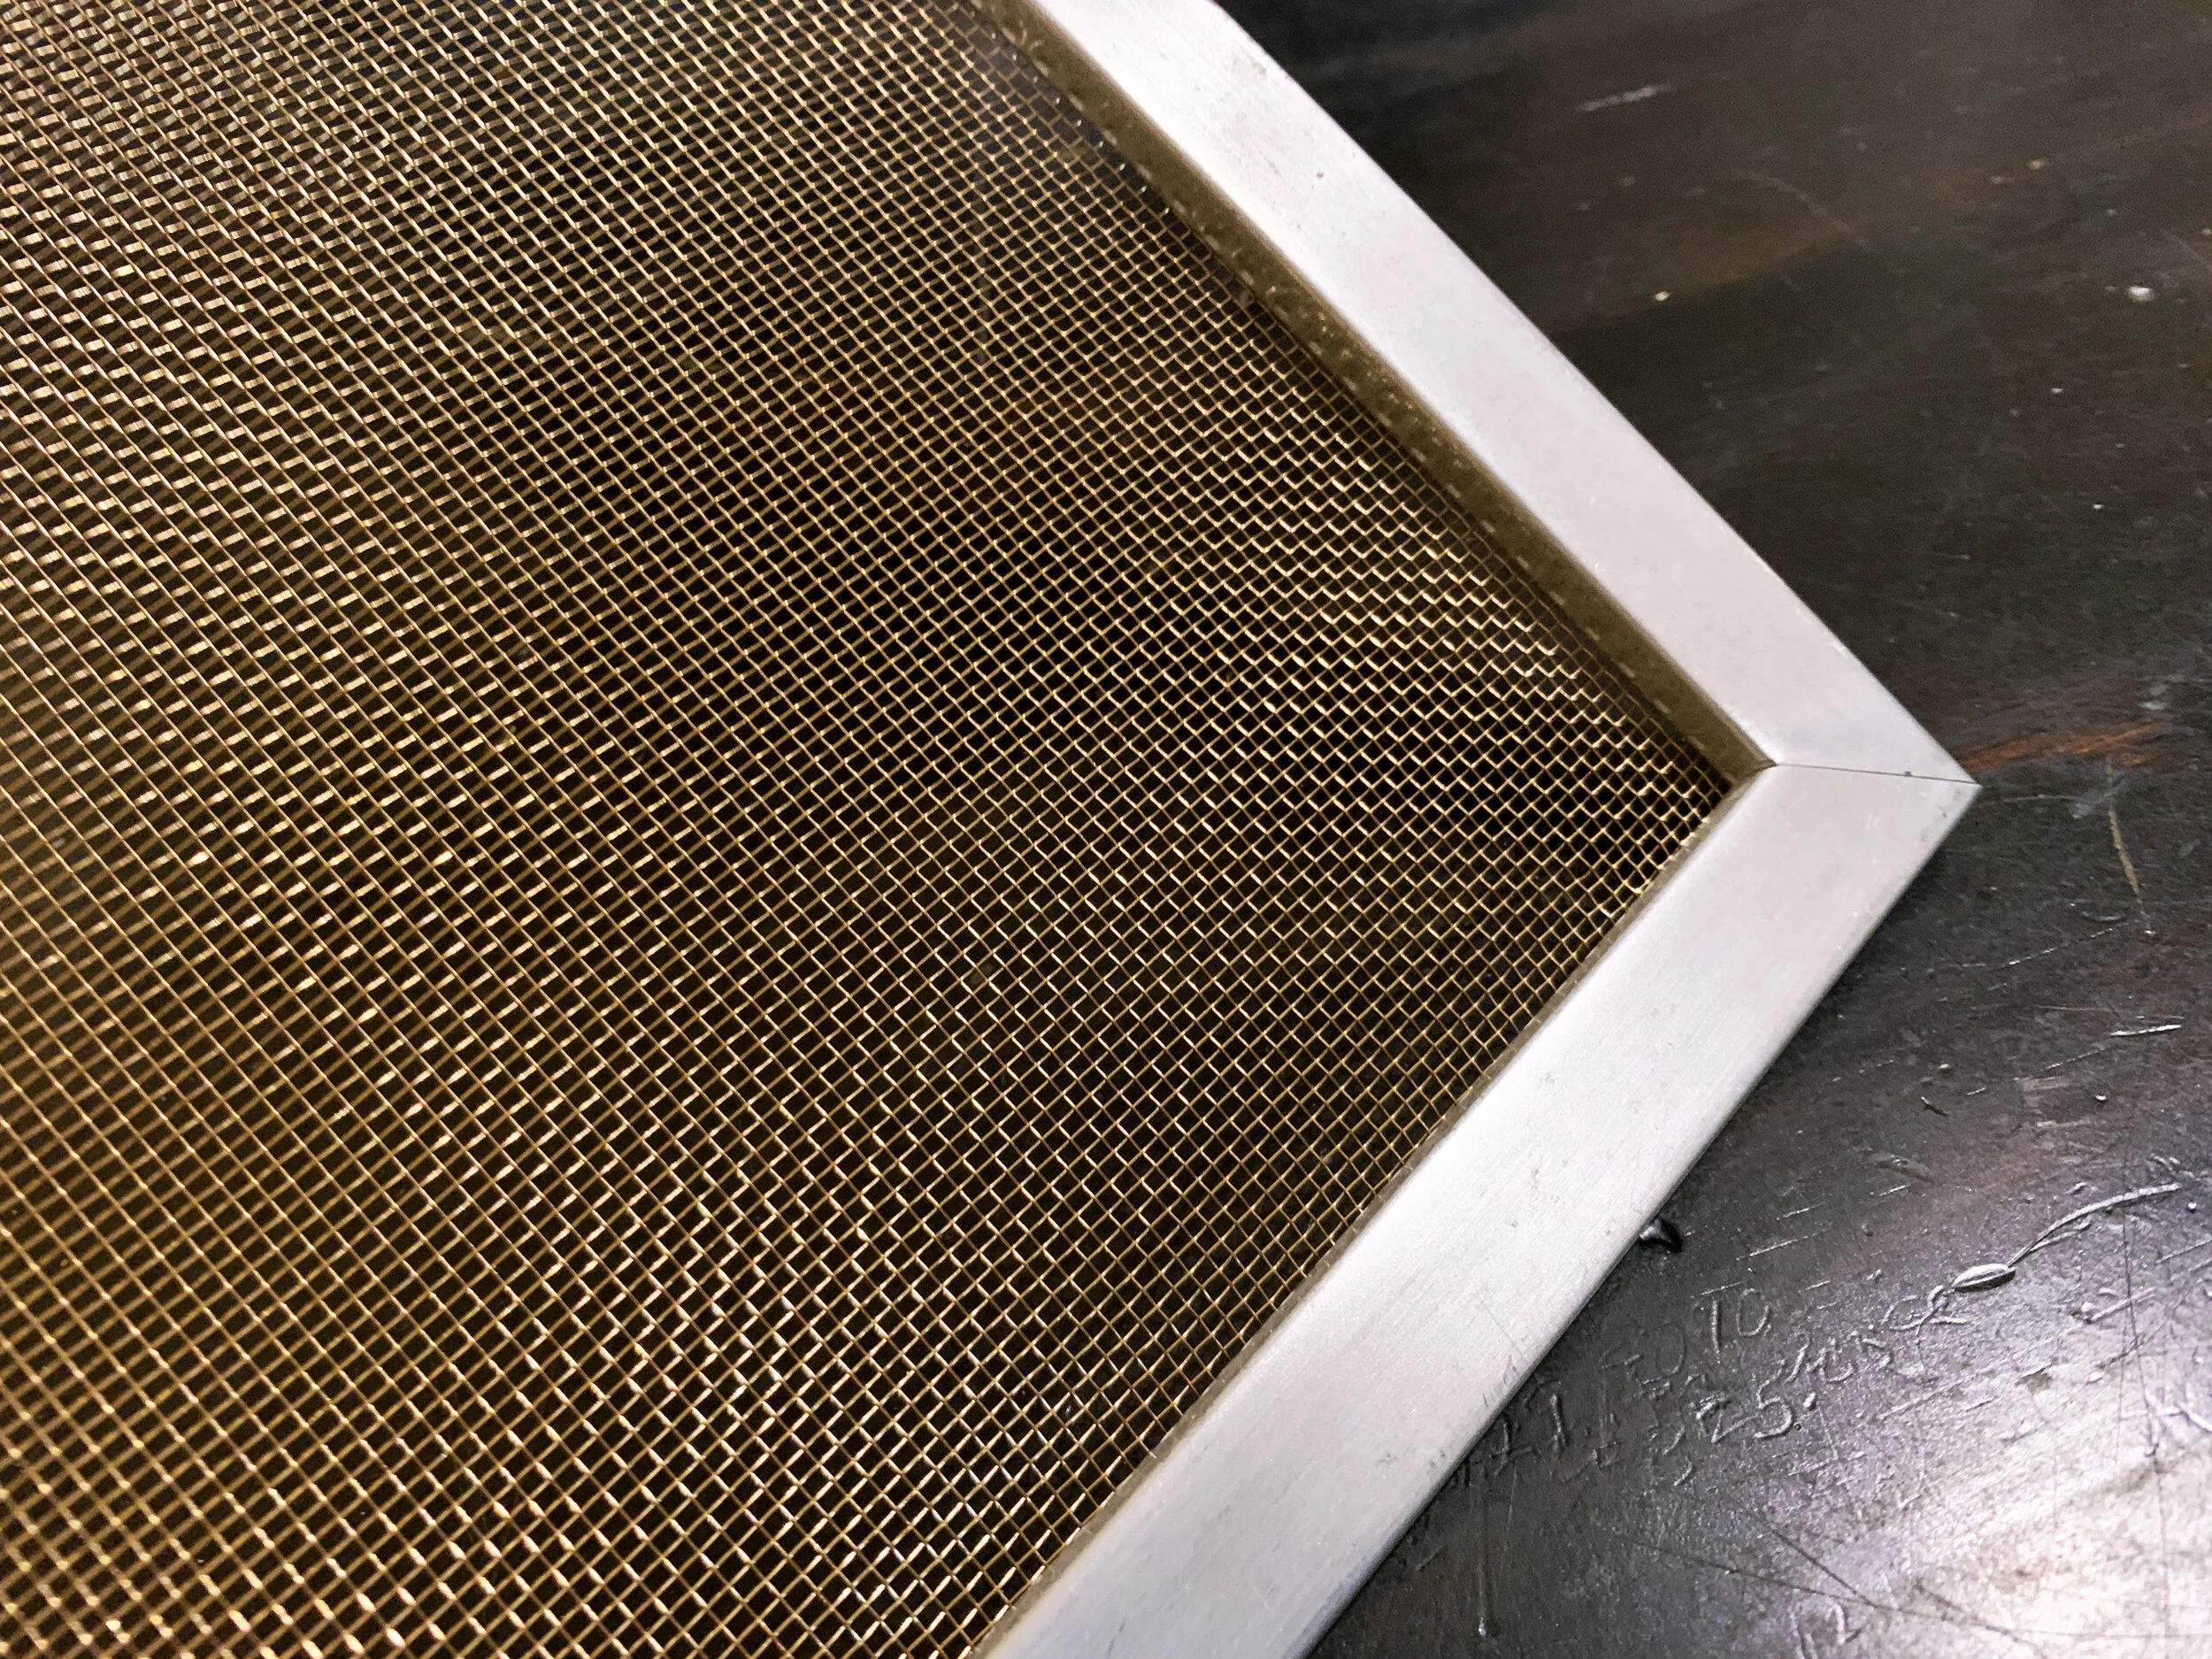
All that’s left to do is to repeat all of the steps as many times as you have windows (for us that’s 13!), and then pop them into place in your camper.
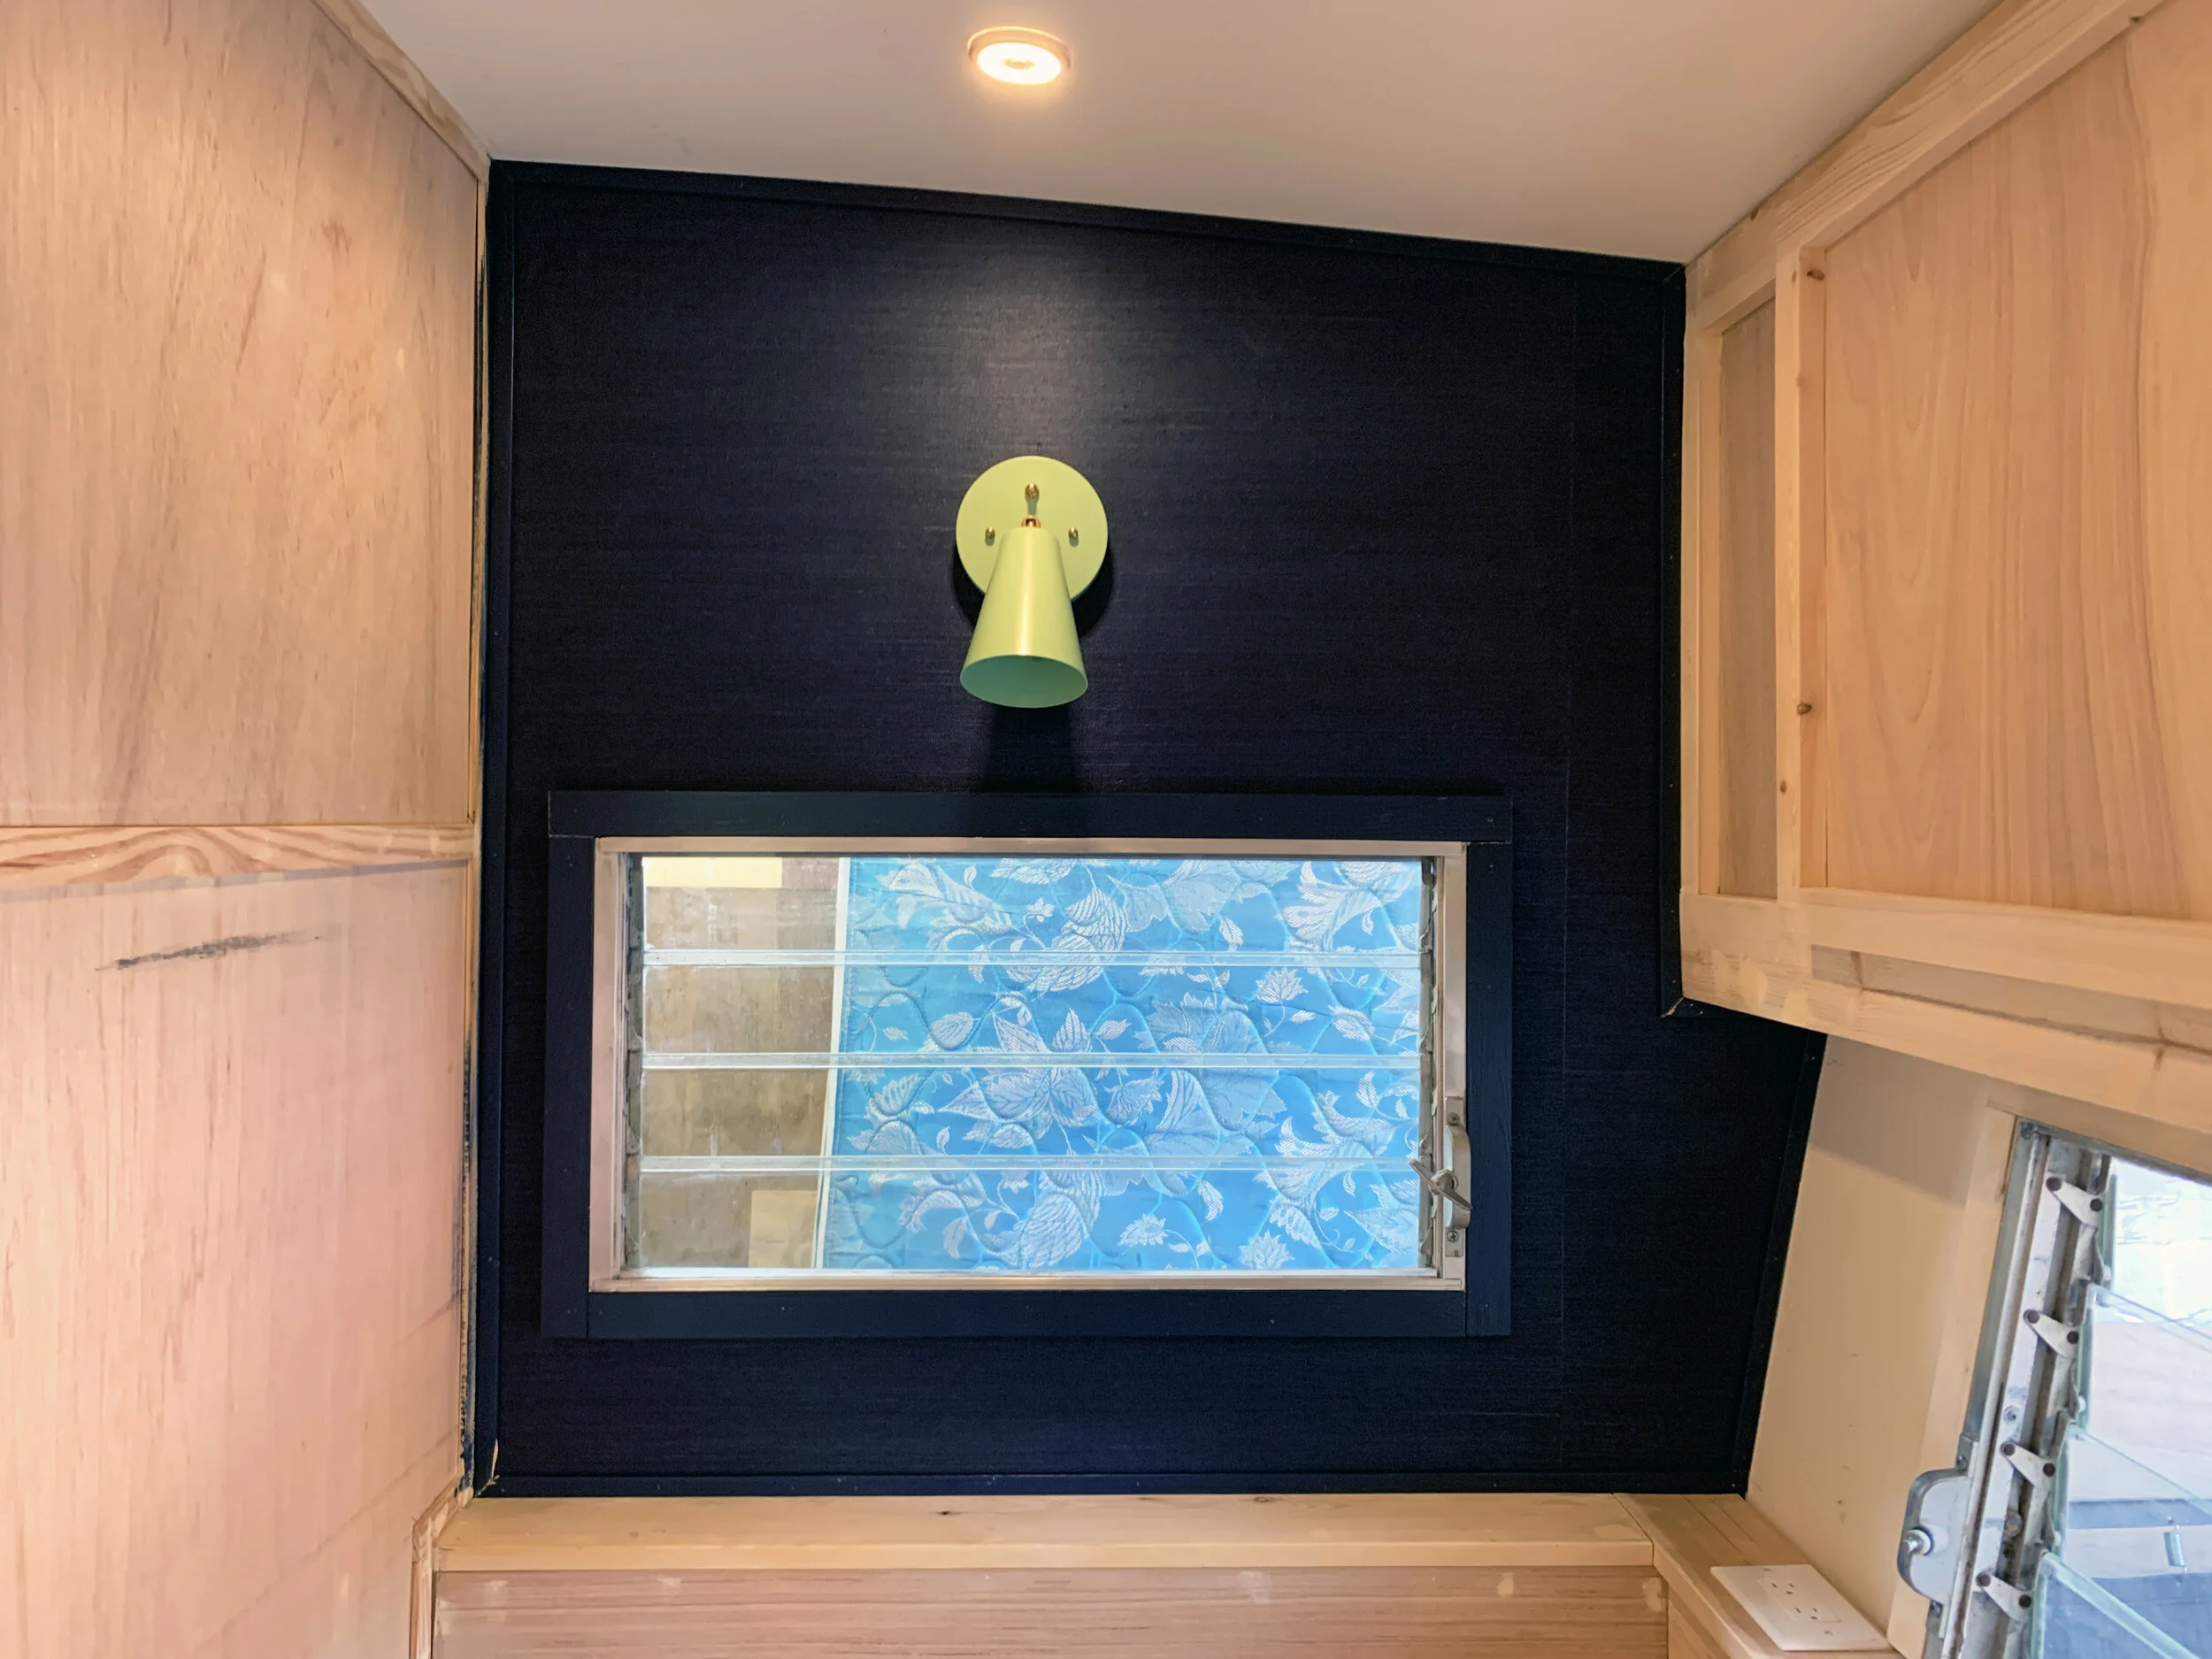
I like to place the finish-side toward the interior of the camper since the frame edges are kind of obscured with the window mechanics from the exterior and you really have to get up in there to see the spline from the outside.

View of the back of the screen, from the outside of the camper
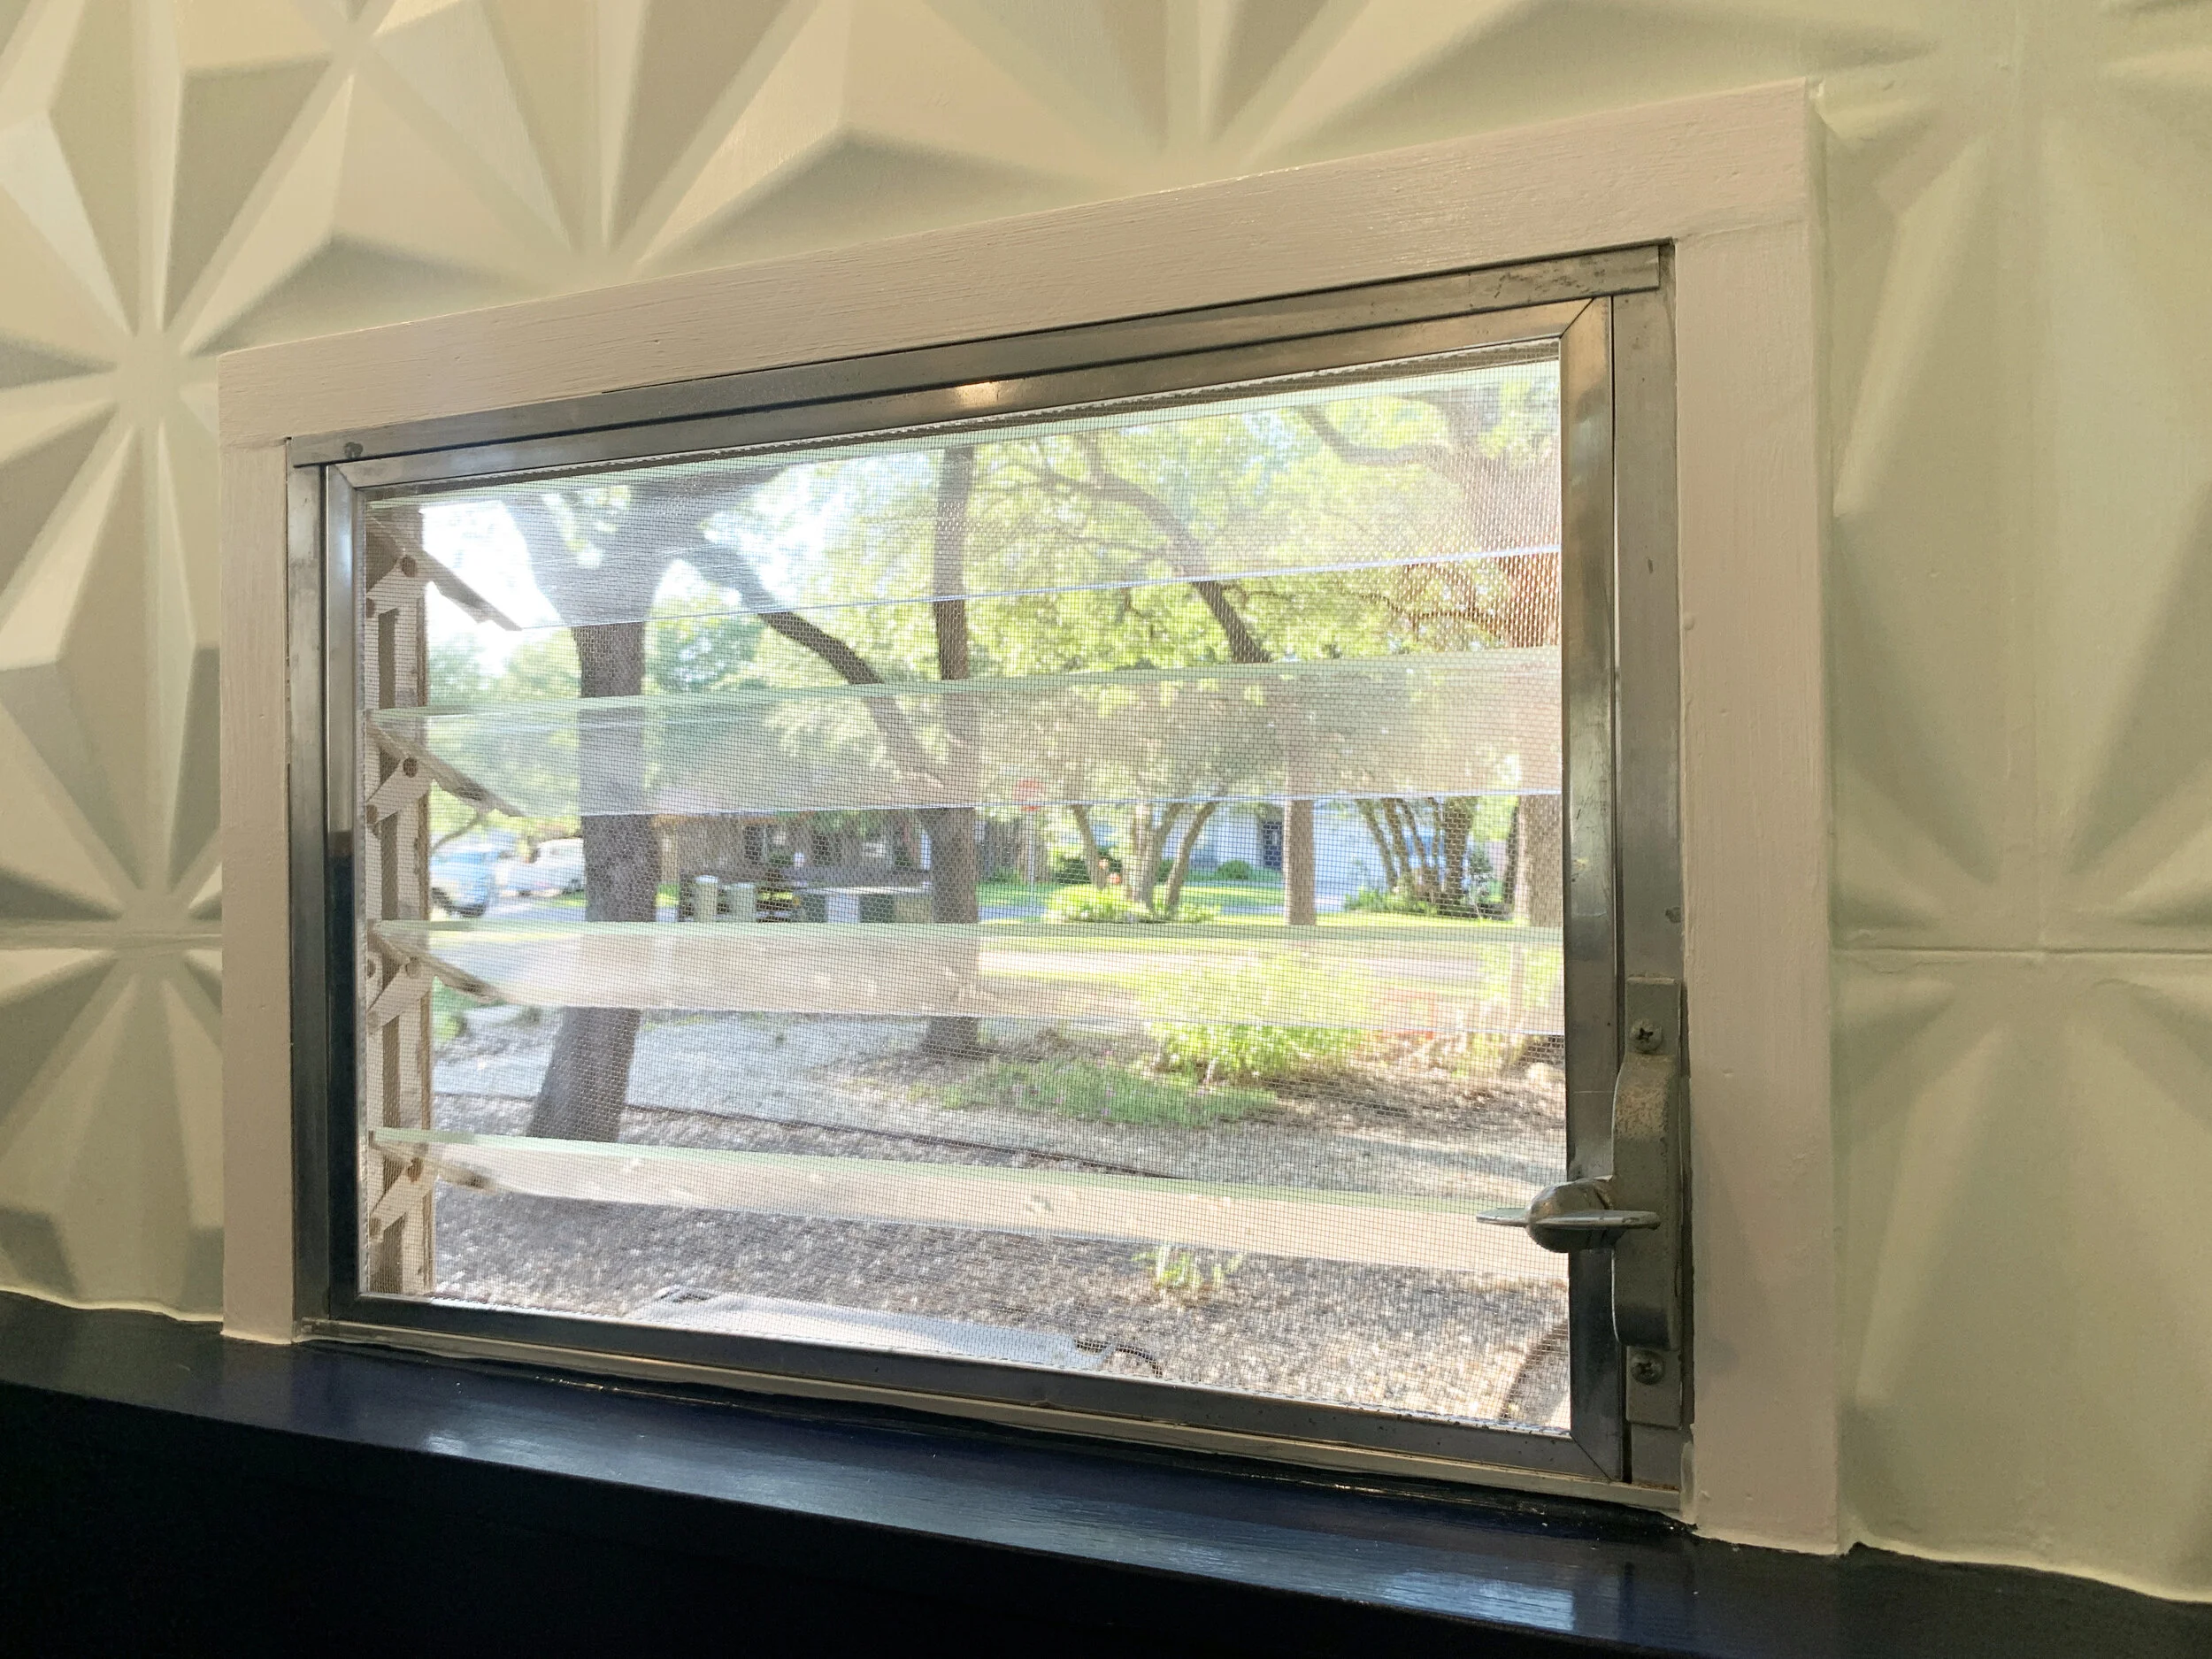
View of the front of the screen, from the inside of the camper

Close-up view of the back of the screen, from the outside of the camper
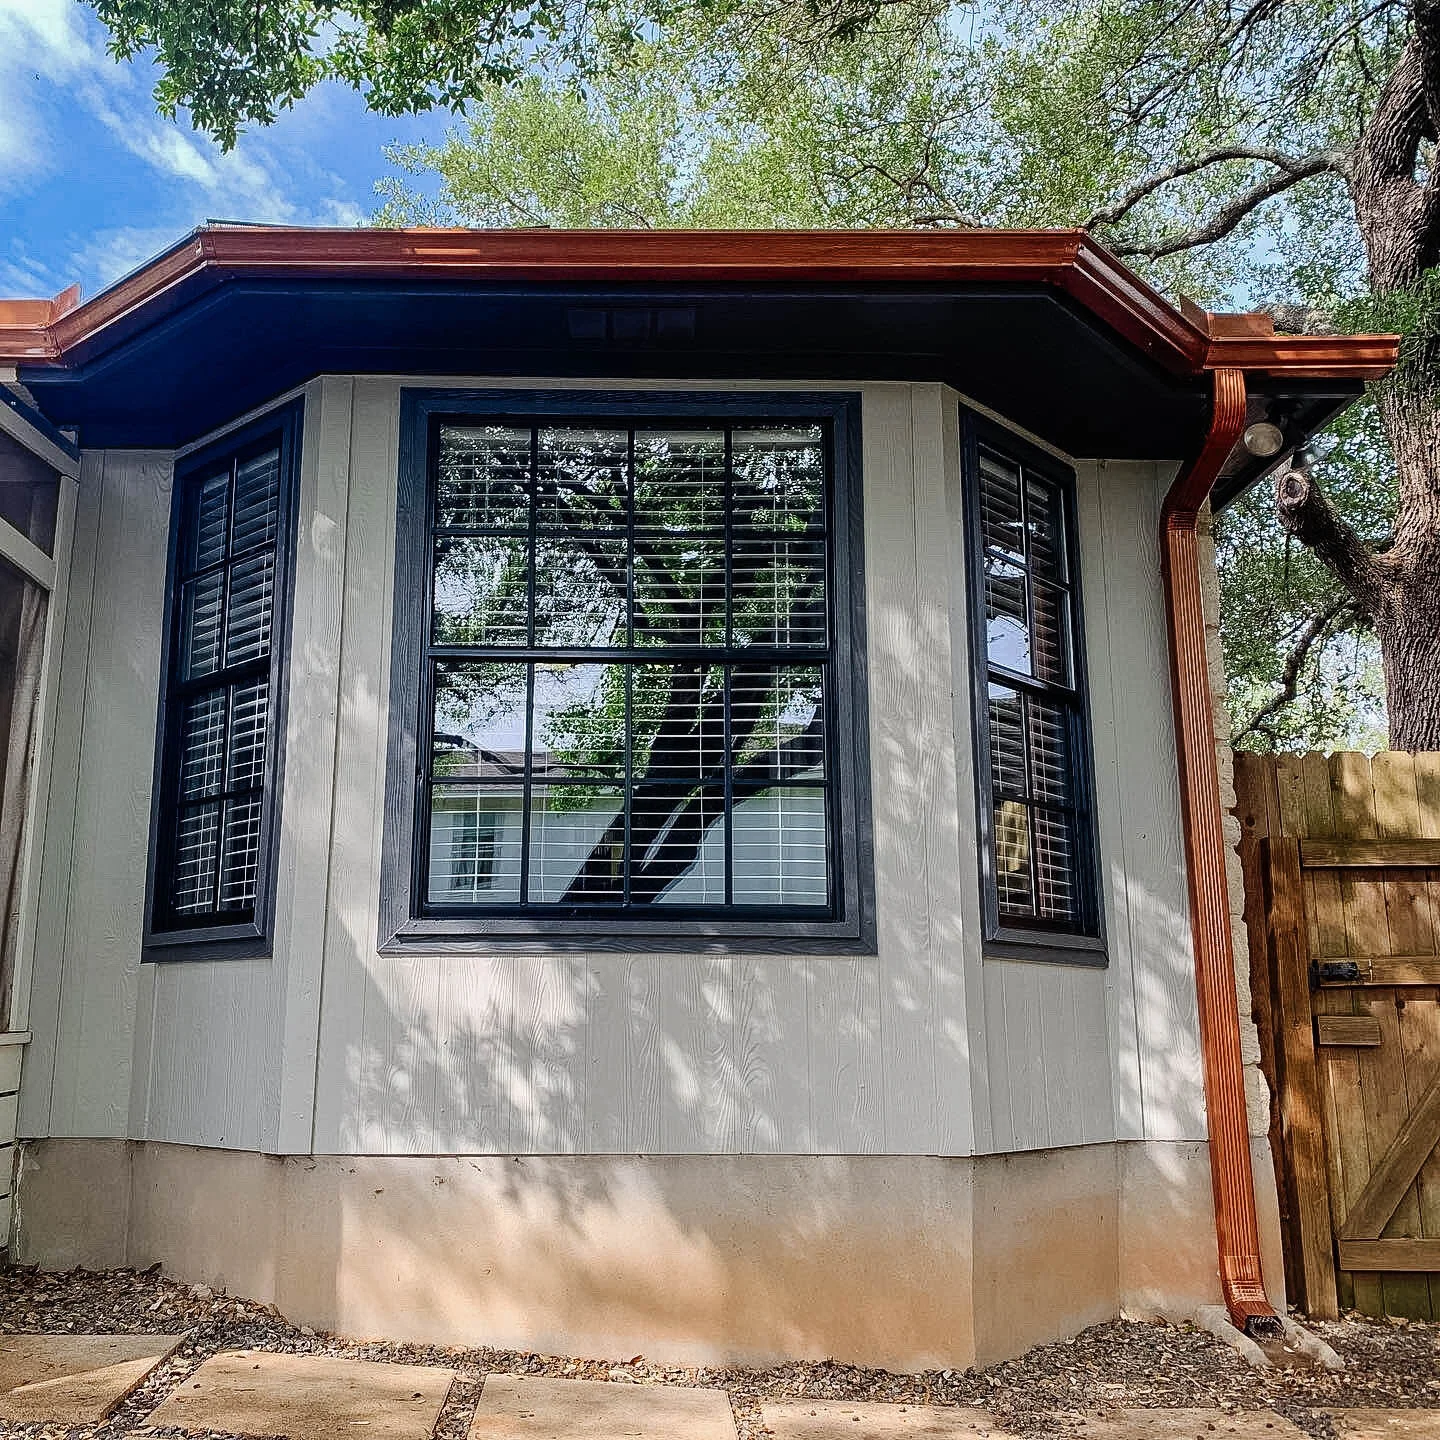
We’re really glad we went with the gold/bronze screen because, while subtle and at most angles near invisible, it really brings a nice warmth to the exterior and adds a little more interest and contrast than standard silver aluminum or vinyl screens would. Plus it helps tie in our gold bumper and brass accents going on inside!
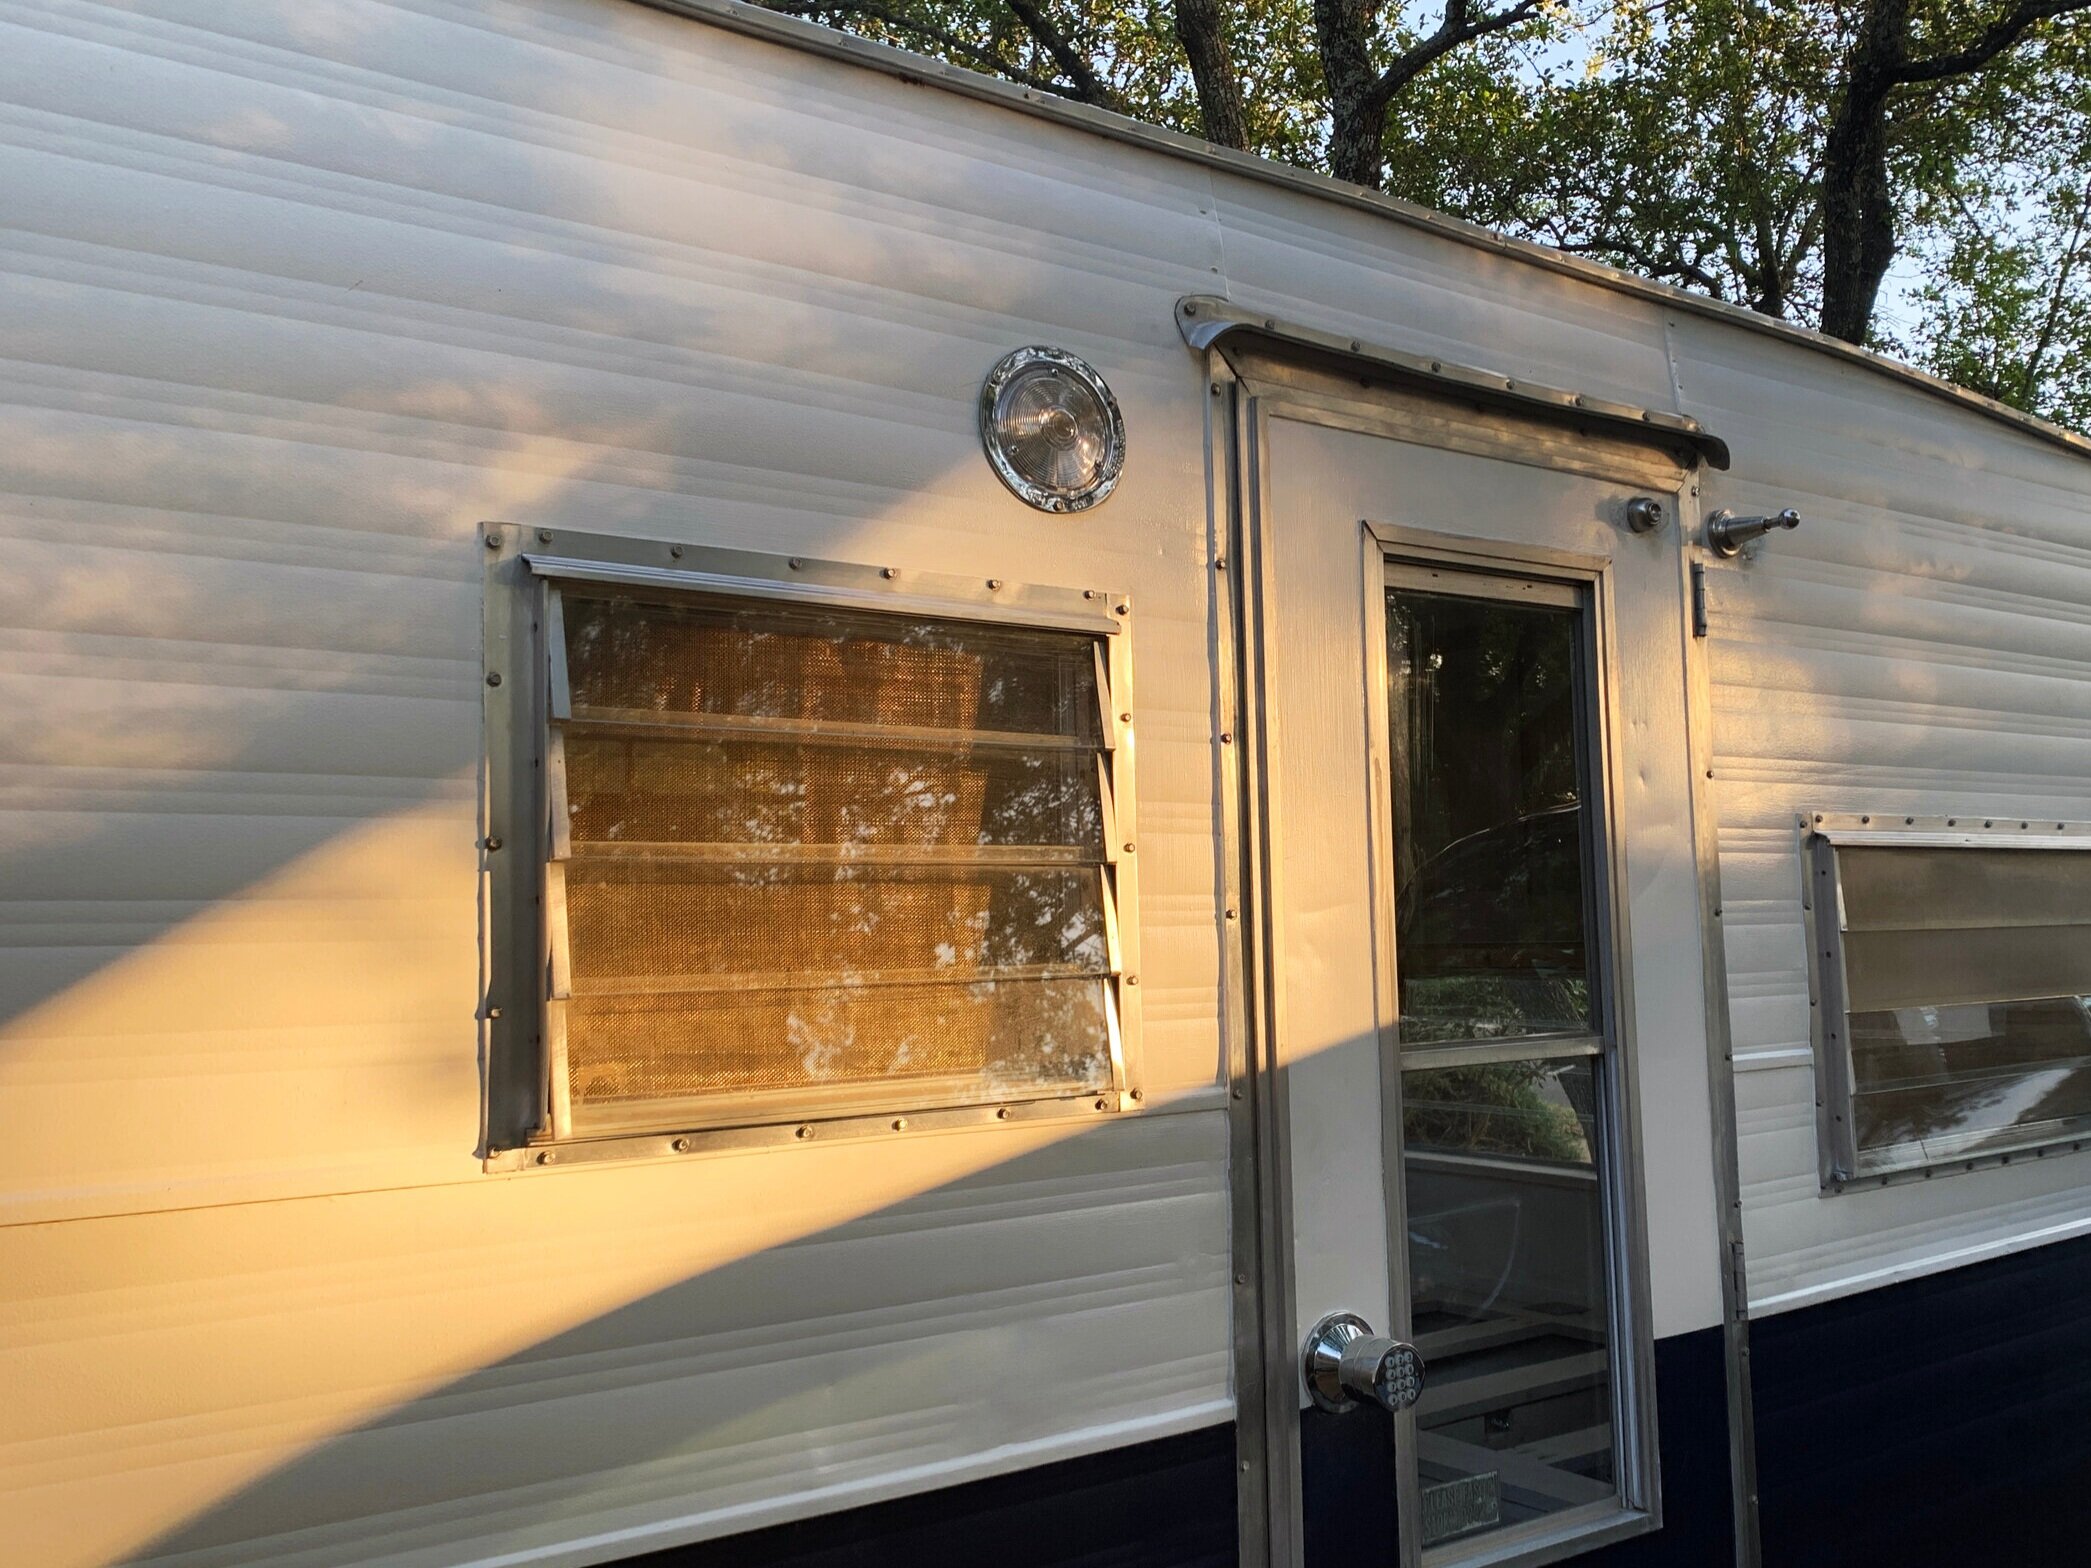
It’s a lot of work and is a relatively small part of the renovation, but I’m reminded that the hours of work were totally worth it every time we get that glint of gold when the sun sets. It’s all in the details.
What do you think of the bronze/gold bug screen? Would you use it in your camper?
Now that The Cameo is at home (temporarily) so we can work on it after regular work (now that we’re at home 24/7), we’re getting a lot done during the week and the weekend! We’re always a touch behind here on the blog since these things take time to write – don’t miss out on the live action happening over on our Instagram.