The Cameo Camper Renovation: 3 Steps to Polishing Aluminum Trim
Hey there! Today we’re sharing an all-in-one post to talk about something we frequently get asked: How did you polish your window trim/aluminum?
We get asked this pretty regularly, and though we’ve shared our process for rehabbing our windows (which includes removing oxidation, among other things) and a post on our window bug screens (where we found out how to really make the metal shine) we thought it might be a good idea to share the complete condensed process of polishing metal only, without the other “stuff” in the way.
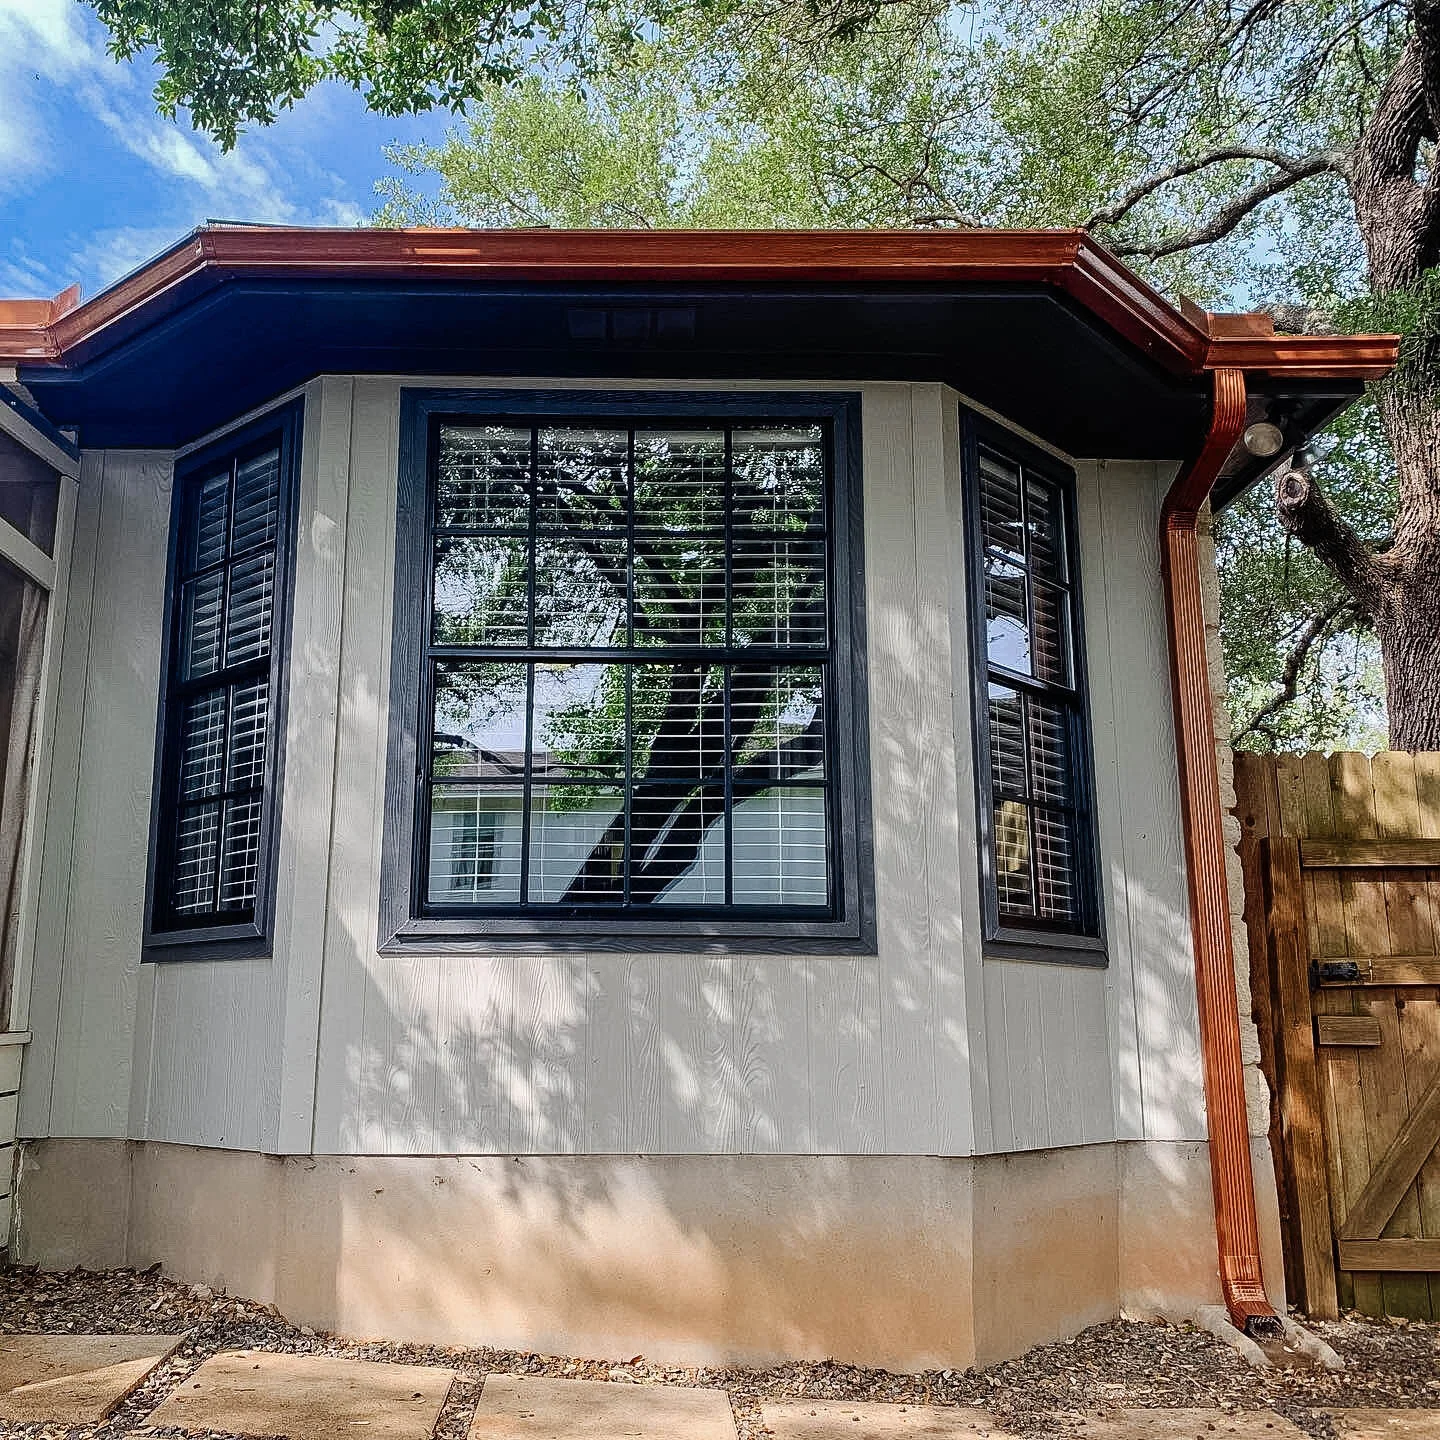
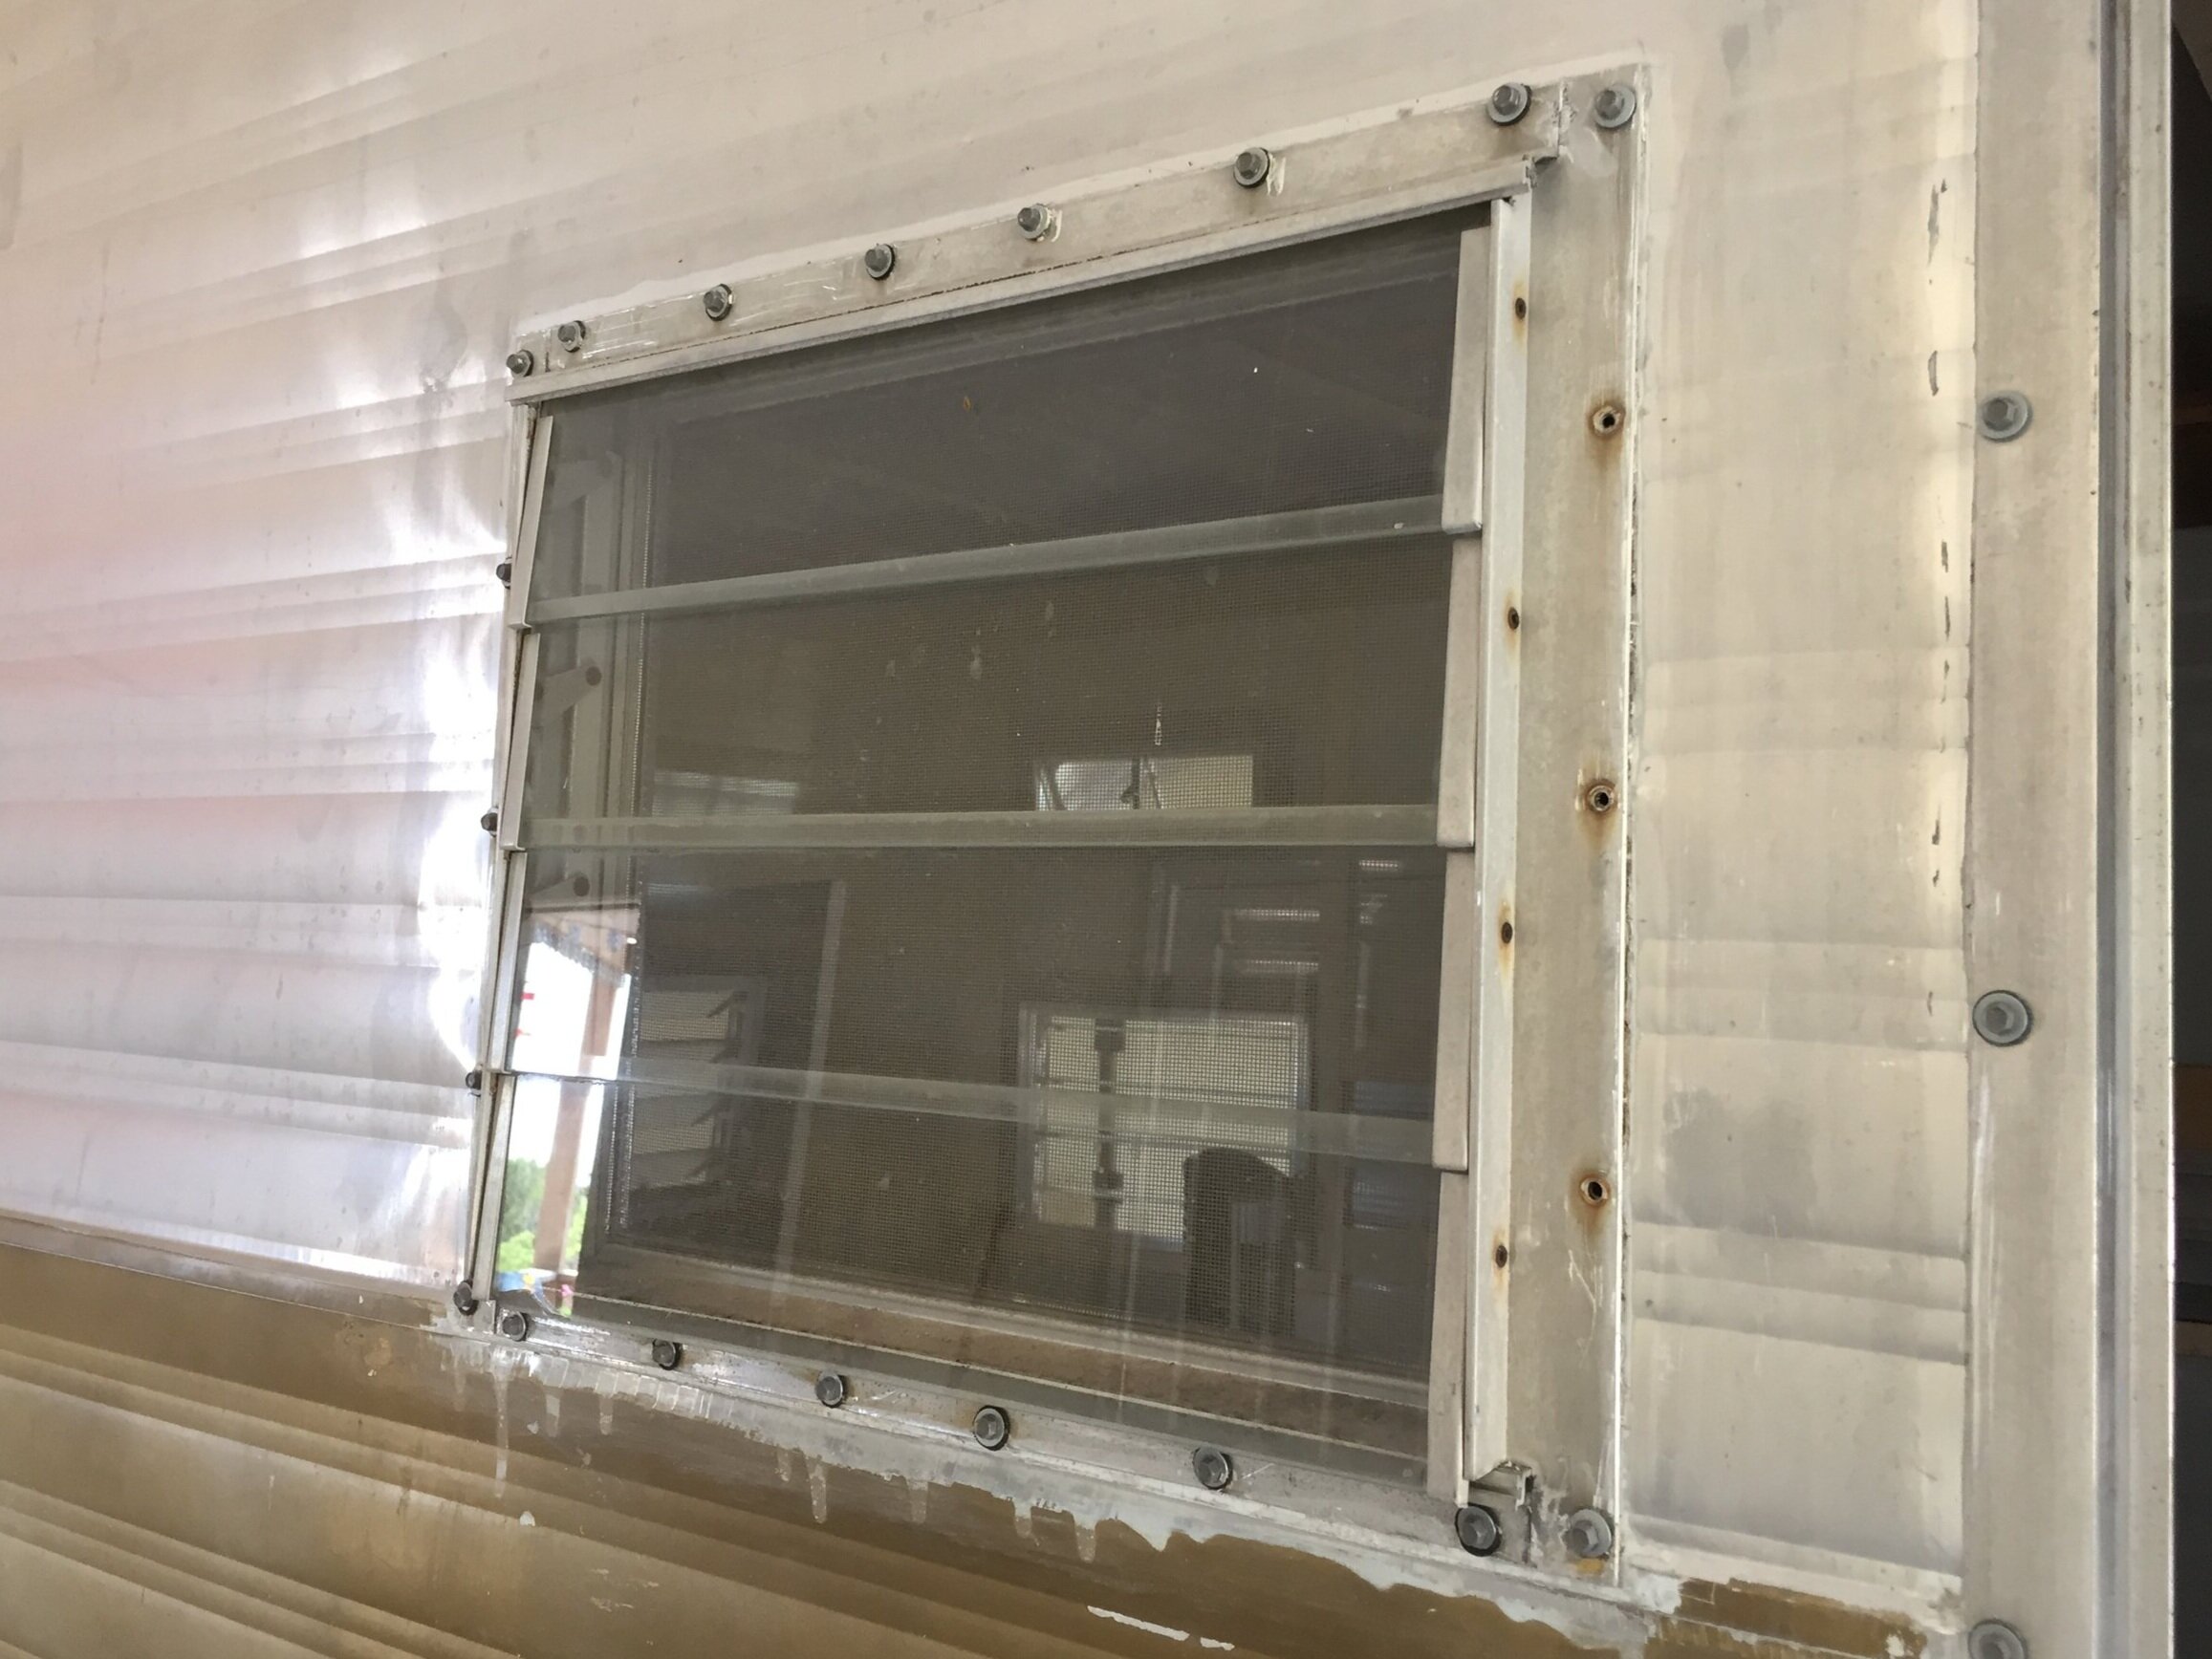
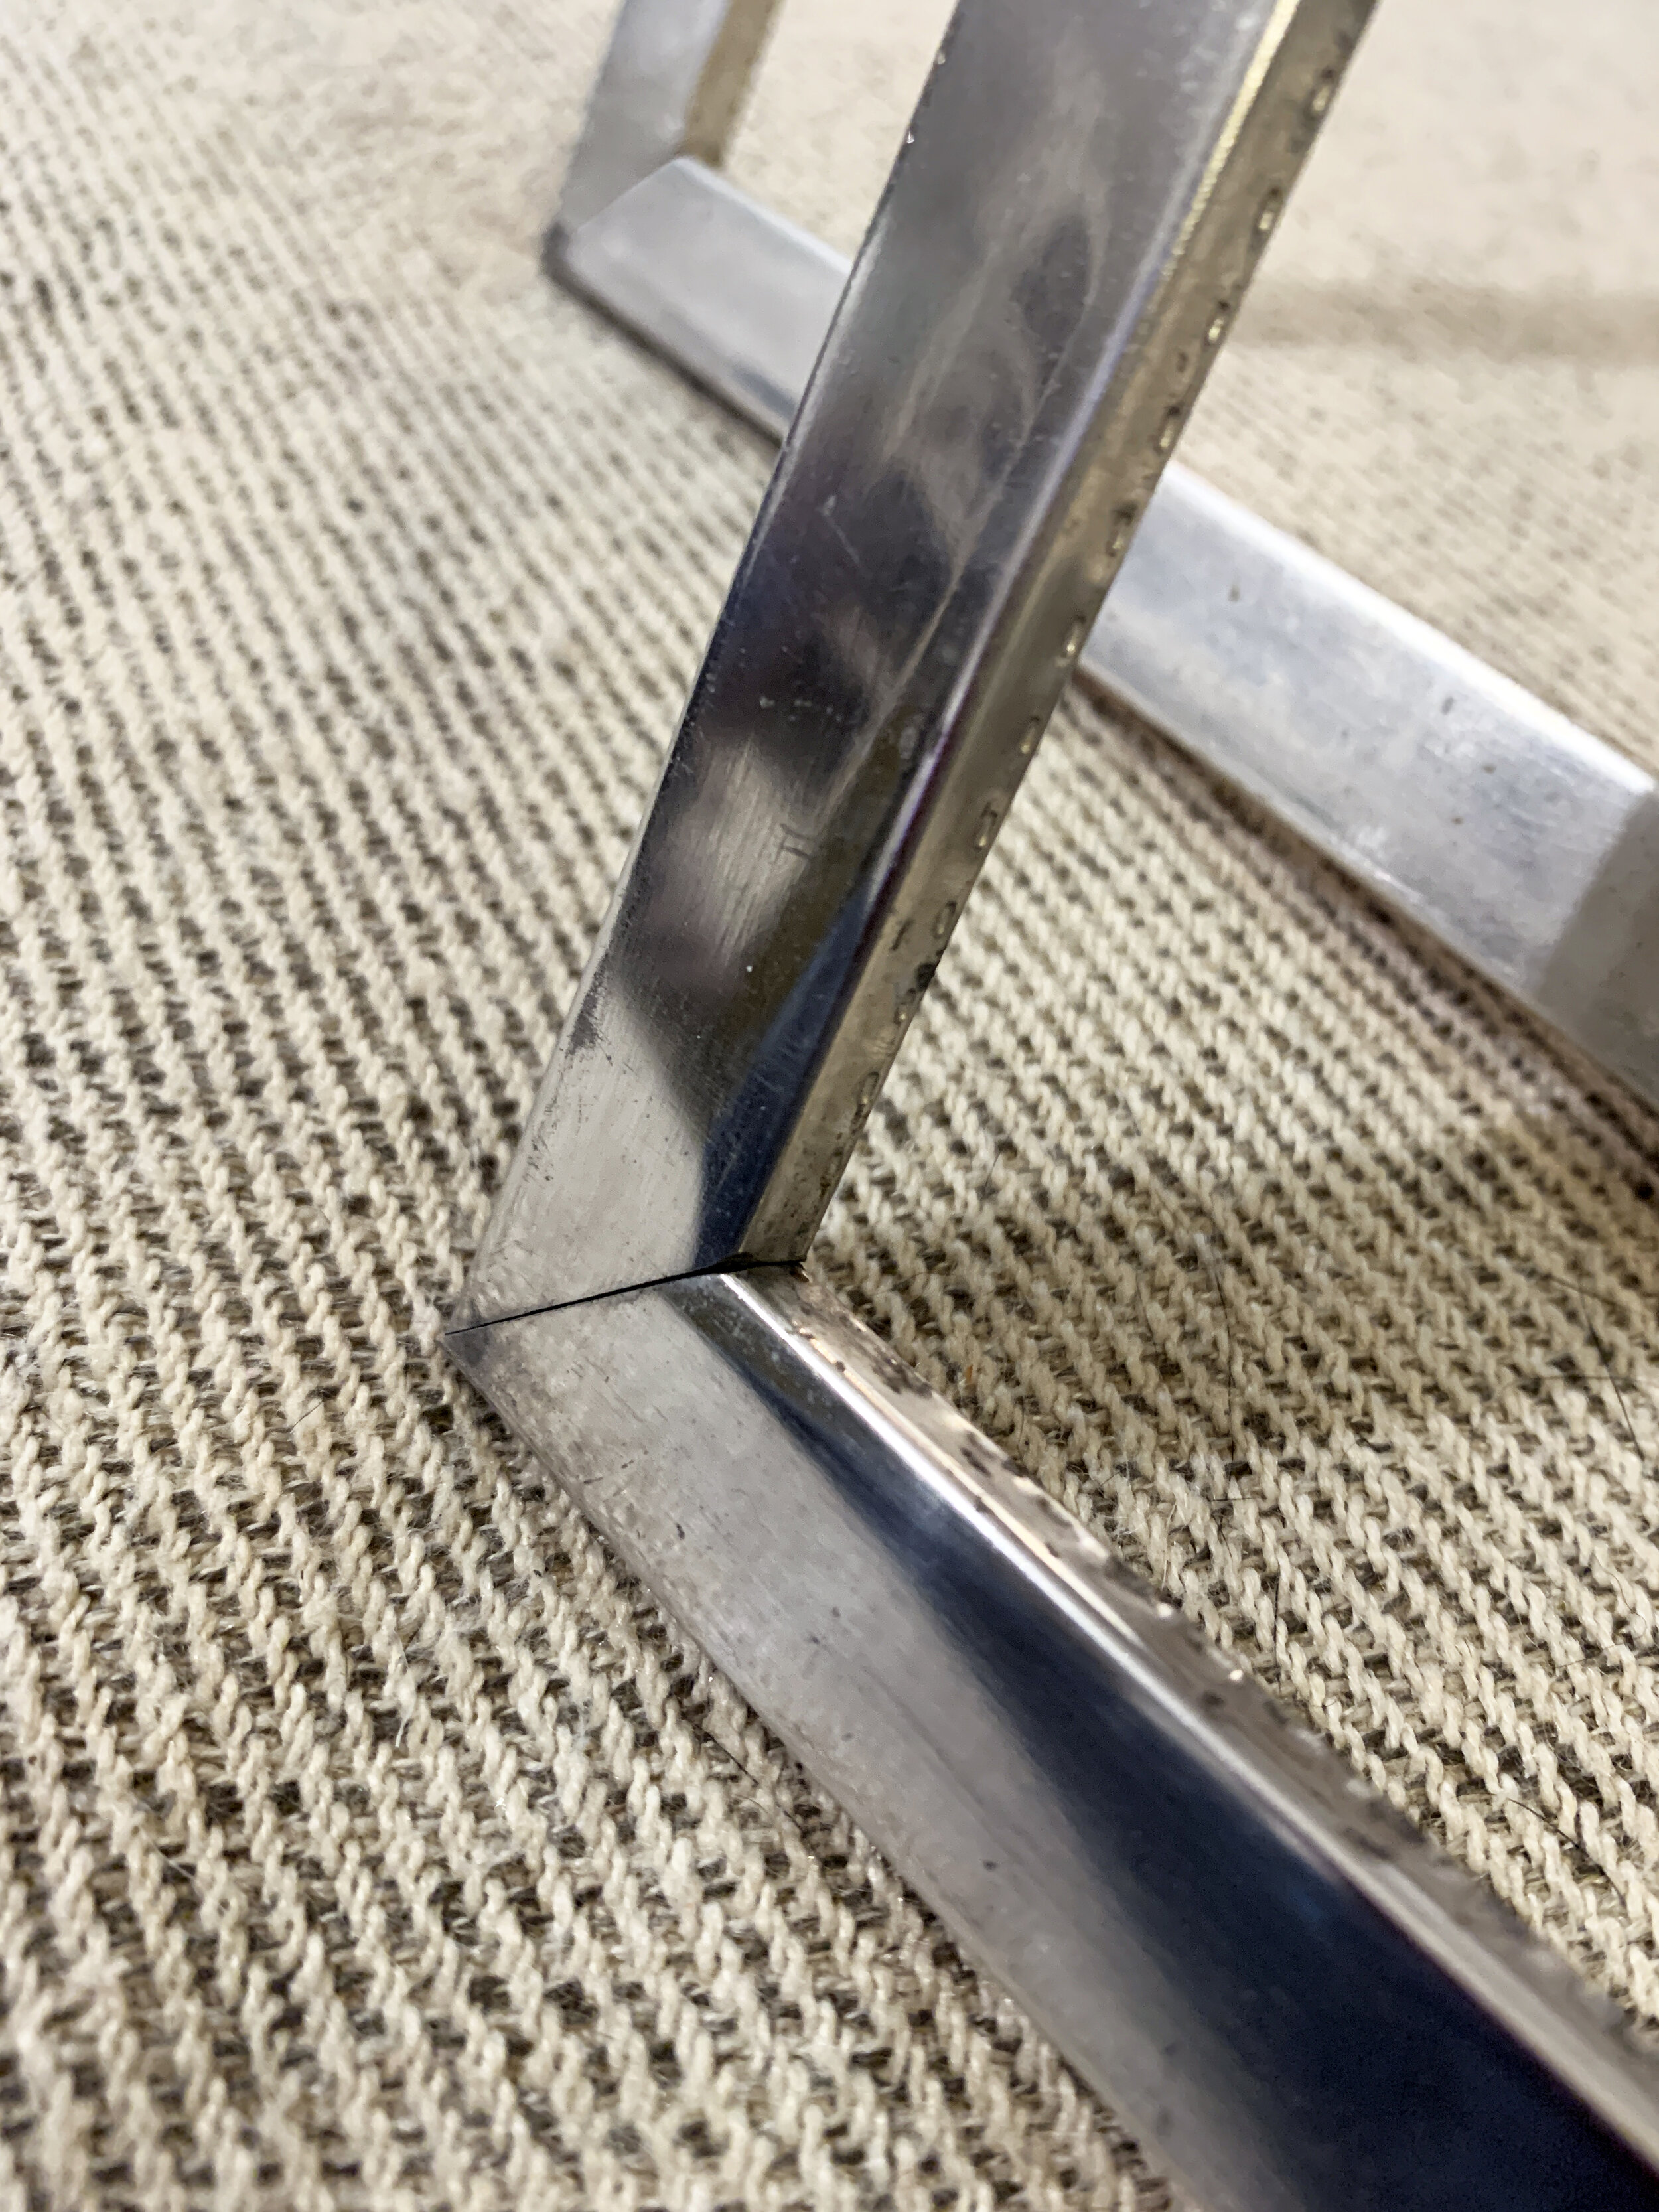
As you may remember (and can probably imagine), our 50-year-old exterior aluminum pieces had shown some wear. They had a little bit of rust, some bleed spots from the screws, some dings here and there, and a lot of oxidation that made the metal dingy and gray and speckled and streaked here and there with brown.
Our Aluminum Trim Polishing Shopping List:
Step 1:
Safety gloves – something thick like leather work gloves should do the trick to protect against cuts and metal splinters.
Safety glasses – protect those peepers from metal splinters.
Corded drill – we recommend a drill with a cord so you don’t burn up the battery on a cordless drill … (we speak from experience)
Wire brush made for drills – to get off all the crusty bits, rust and oxidation
Step 2:
Very fine #00, extra fine #000 and super fine #0000 grade steel wools
Safety gloves – I like this kind with the rubber-coated fingers because they help me stay dextrous, but are thick and protective and the rubber helps grip onto stuff.
Step 3:
Blue Magic Polish Cream – the name is accurate … this is the magical stuff
Disposable nitrile or latex gloves
White lint-free rag(s)
Face mask – or work in a well-ventilated area
3 Steps to Polishing Aluminum Trim
Depending on the shape your aluminum trim is in, you might not need all of these steps, but this is what we did to take our window trims from dull to high reflective shine.
Keep in mind, we did not polish our exterior wall skins so I can’t say whether or not this would be good for that. I’d imagine for such a large surface area you’d probably want a solution where you could do it all with a drill and various buffing pads. This is how we polished our smaller aluminum accent pieces.
Step 1: Use a drill + wire brush
This step is needed if you have some major and/or widespread oxidation and/or some rust spots to remove that aren’t so bad you need to replace the metal altogether. You could skip this step and do this all by hand with steel wool, but trust me, that is a slow and tiresome process, especially if you have nooks and crannies and screw-like bits to cover as they are definitely not kind to the hands.
The drill + brush helps speed up the process quite a bit – and saves your fingers and knuckles – but may not be needed if you only have a small amount of light oxidation, no dings or rust to take care of … or if you’re just a glutton for punishment and like your hands to feel sore and arthritic.
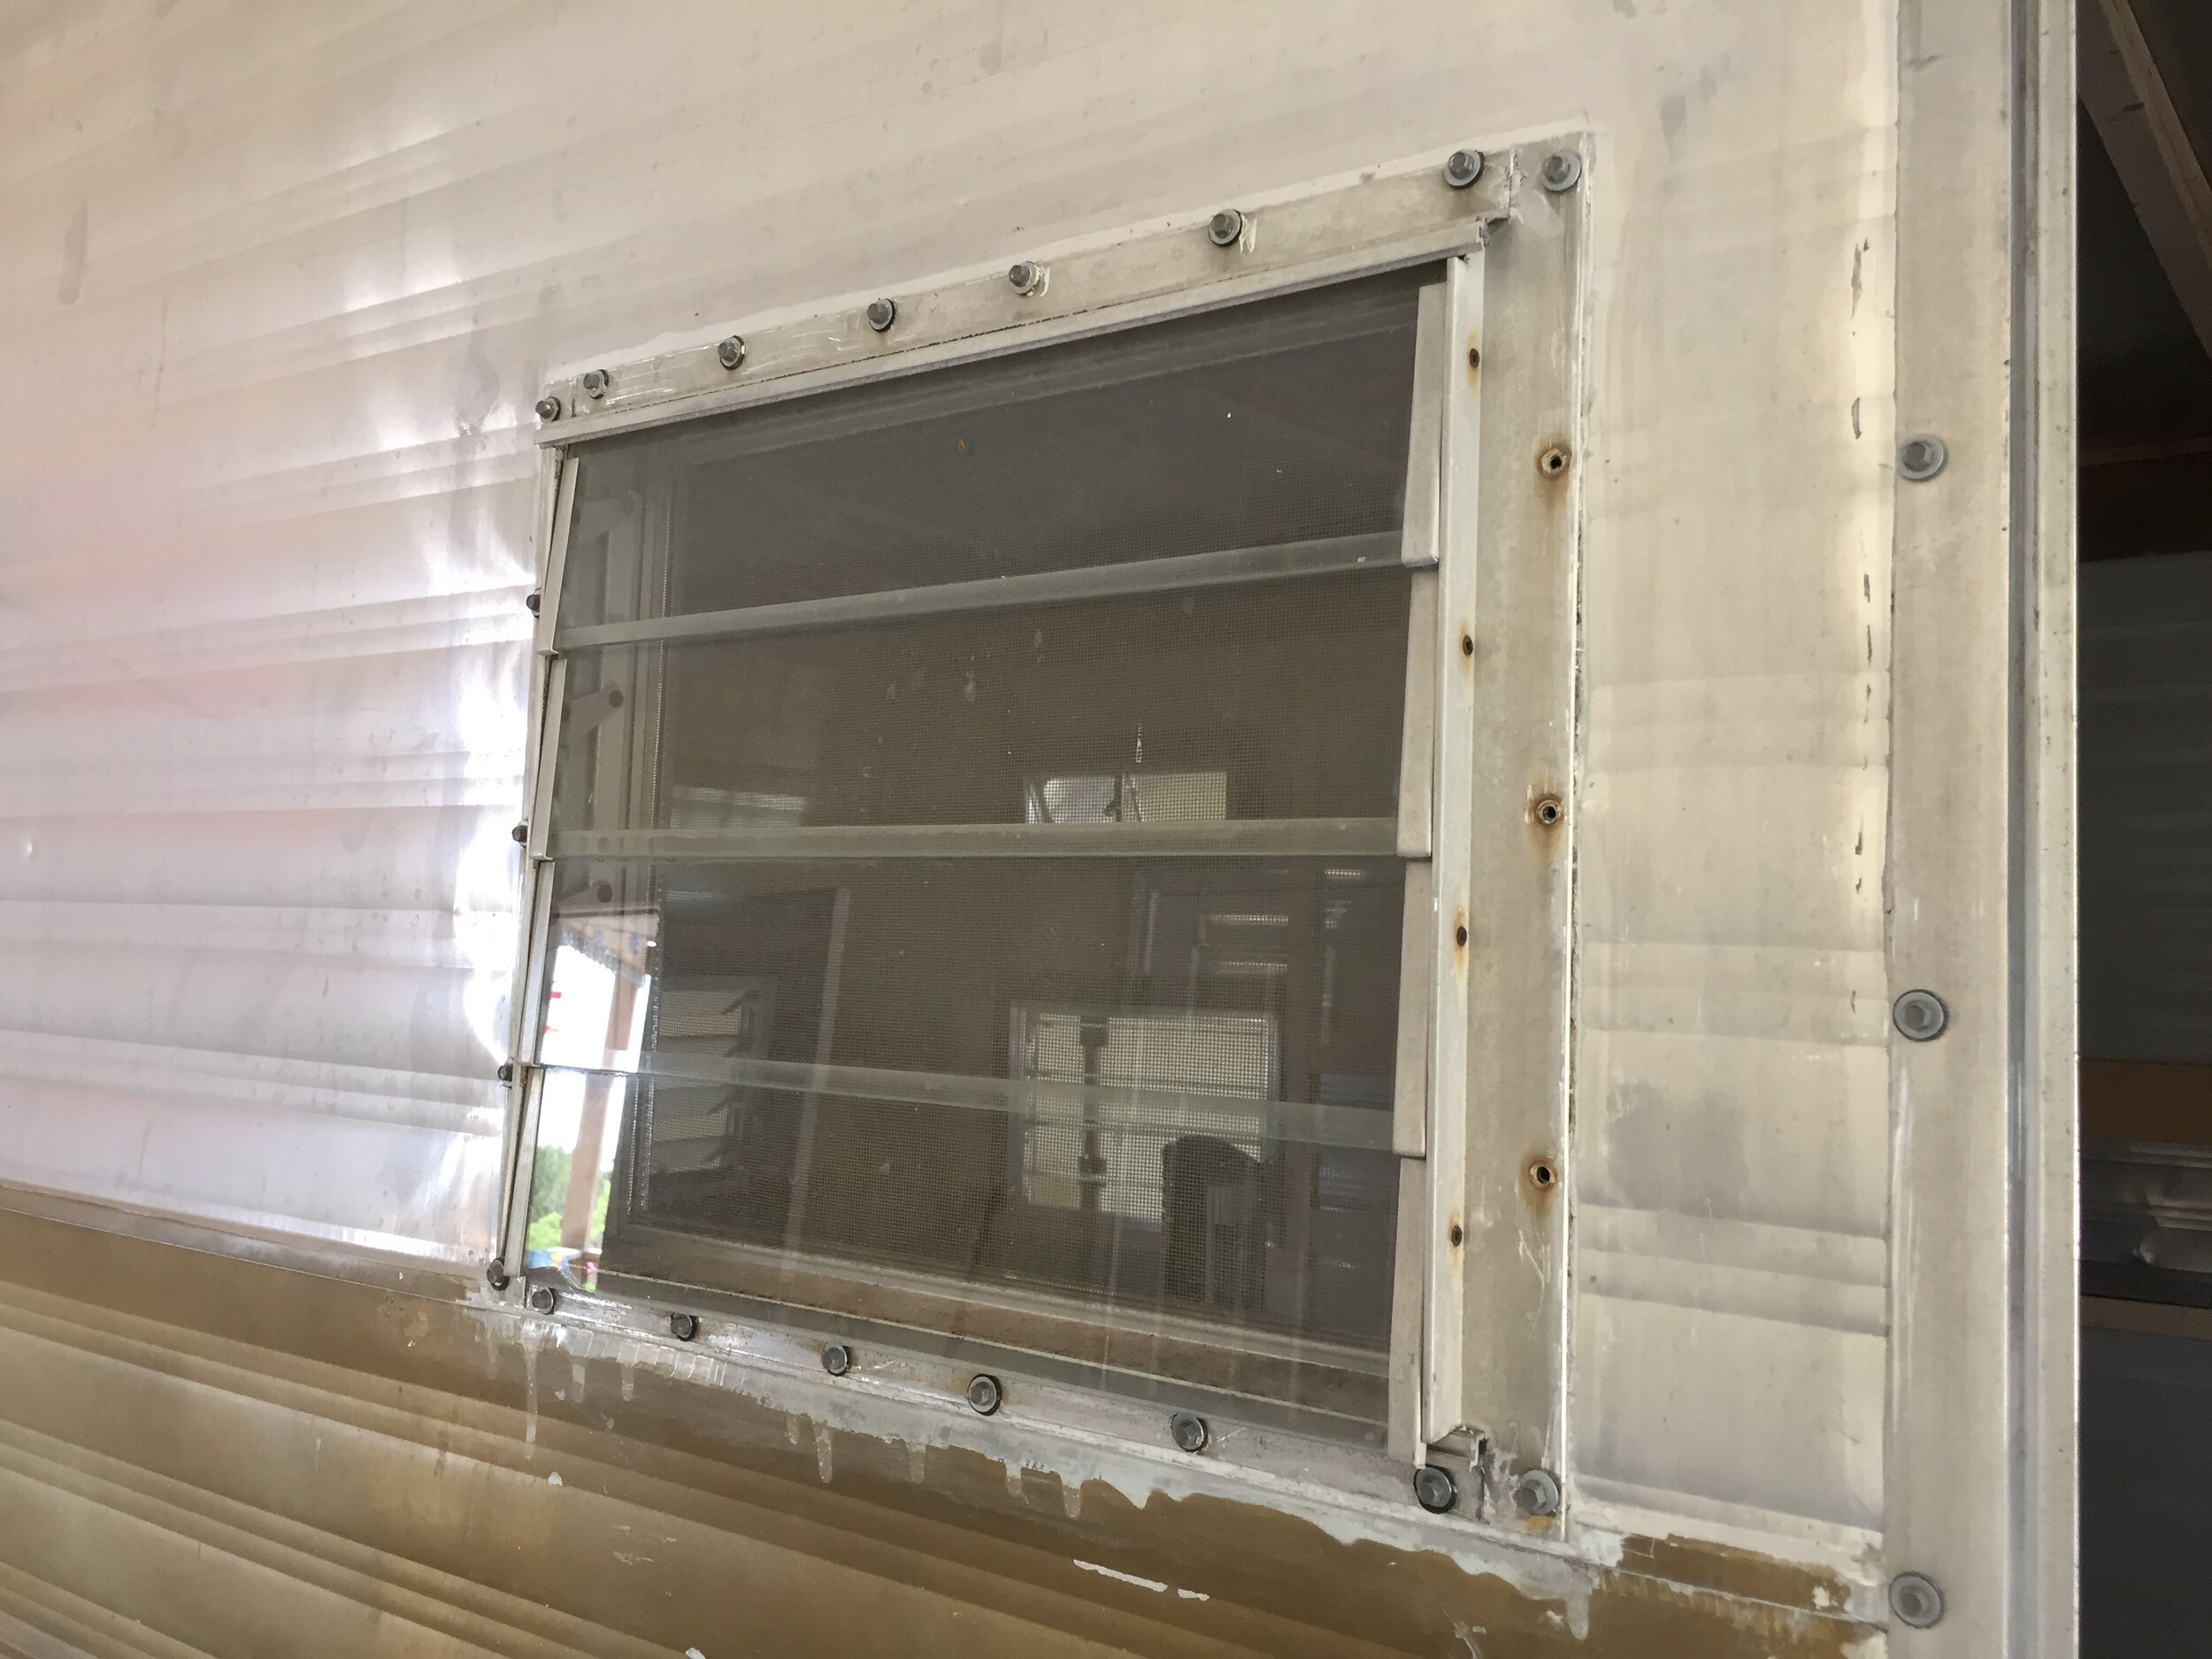
Nick carefully used the wire brush to clean the crusty bits on the back and do the preliminary polishing to the window frame fronts. When cleaning the back of the windows to remove the old putty tape (we removed the windows and worked on them on a workbench) he used the side of the wire brush, and when he cleaned the front of the window trim (after the windows were reinstalled in the camper wall) he used the front/brush tips of the brush.
Step 2: Buff with steel wool
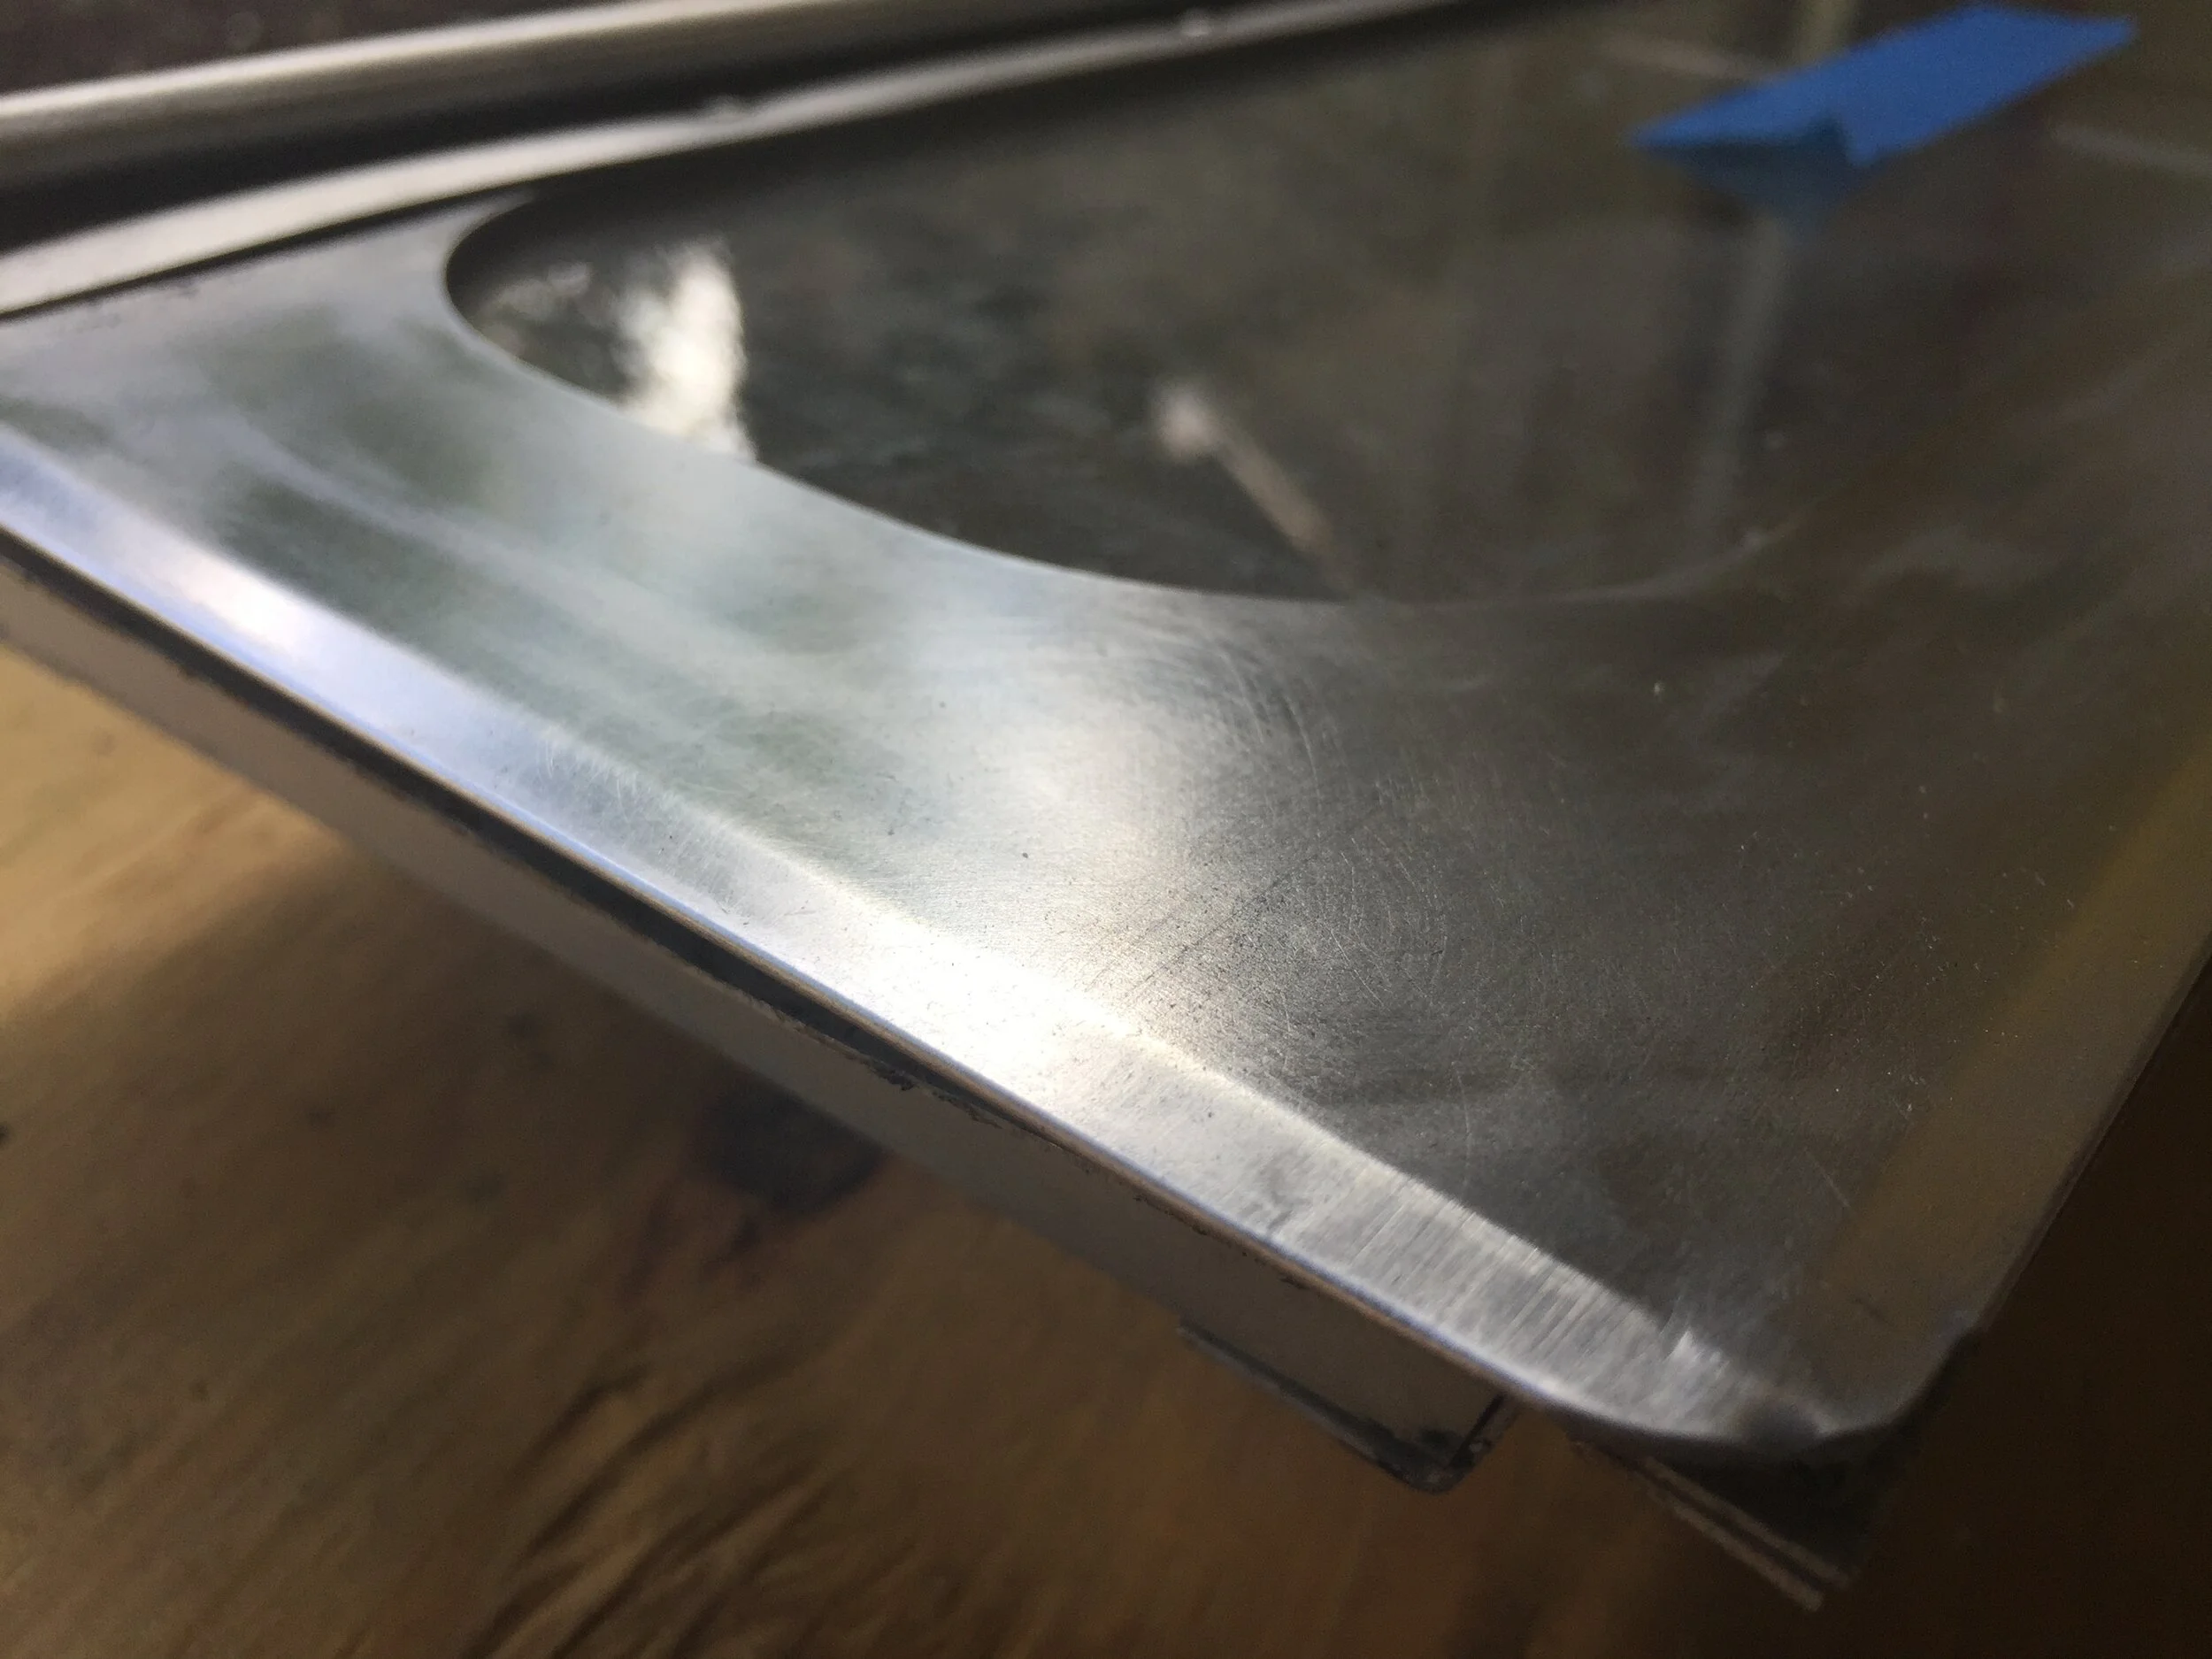
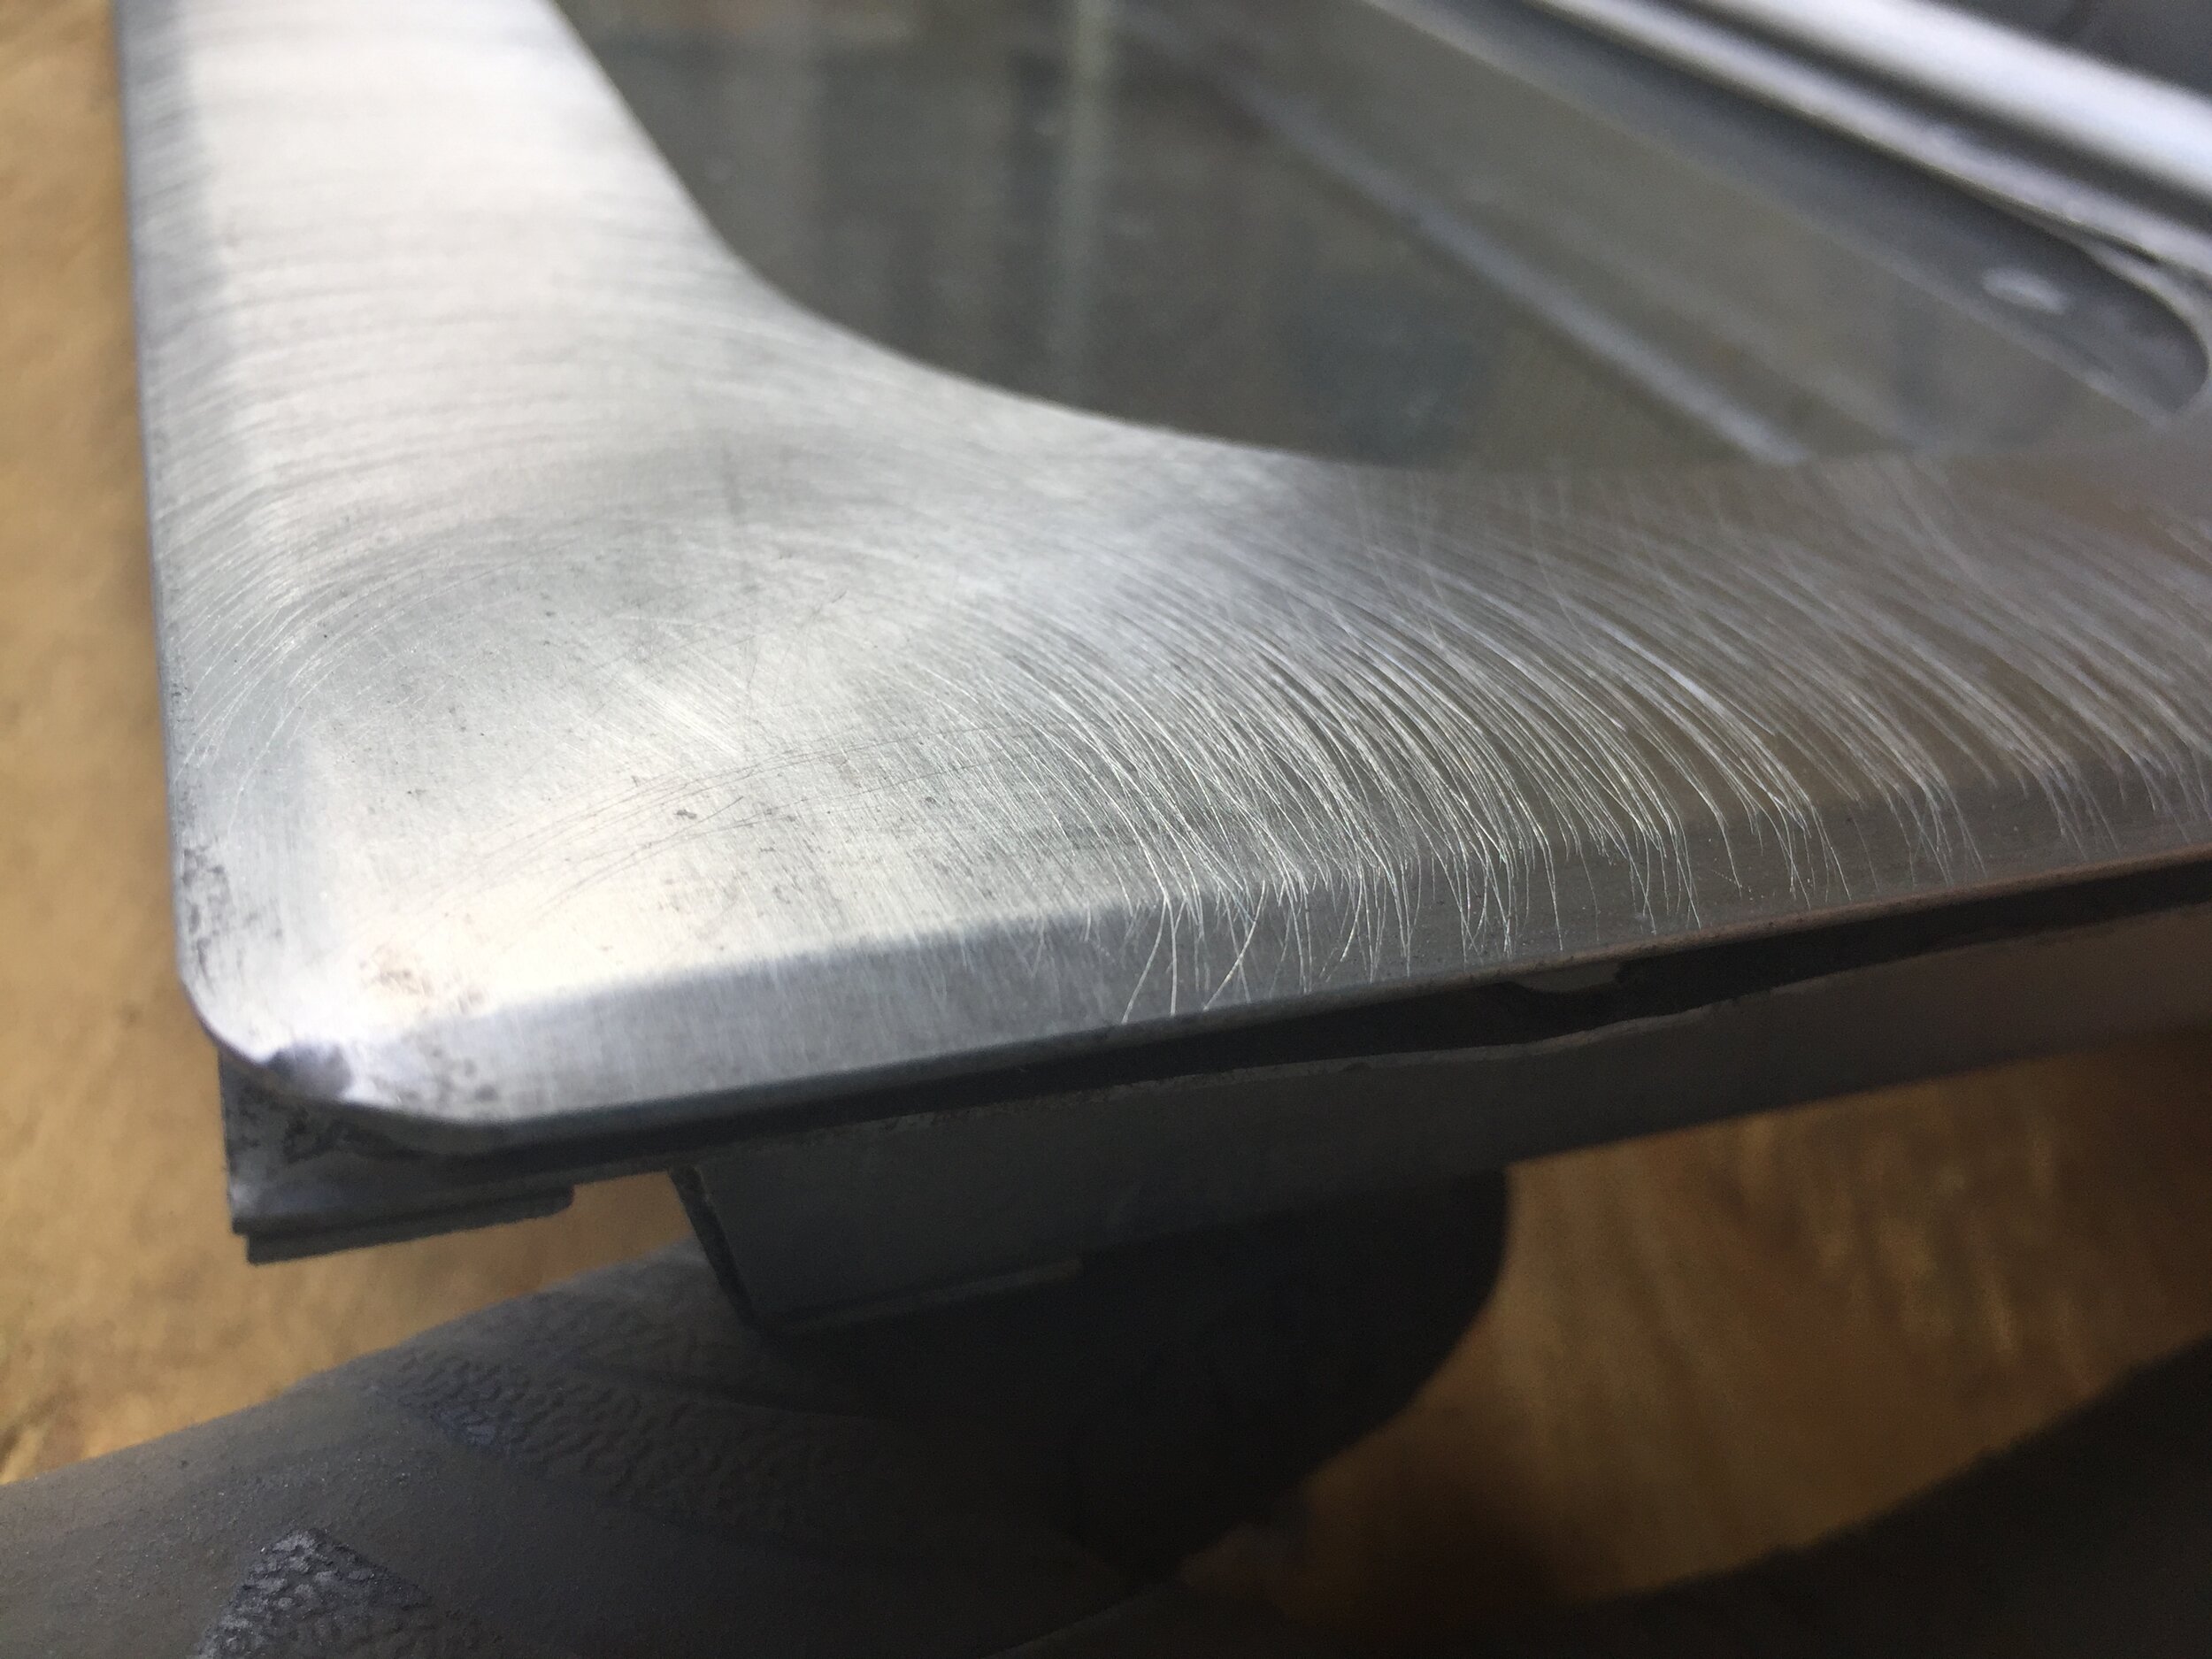
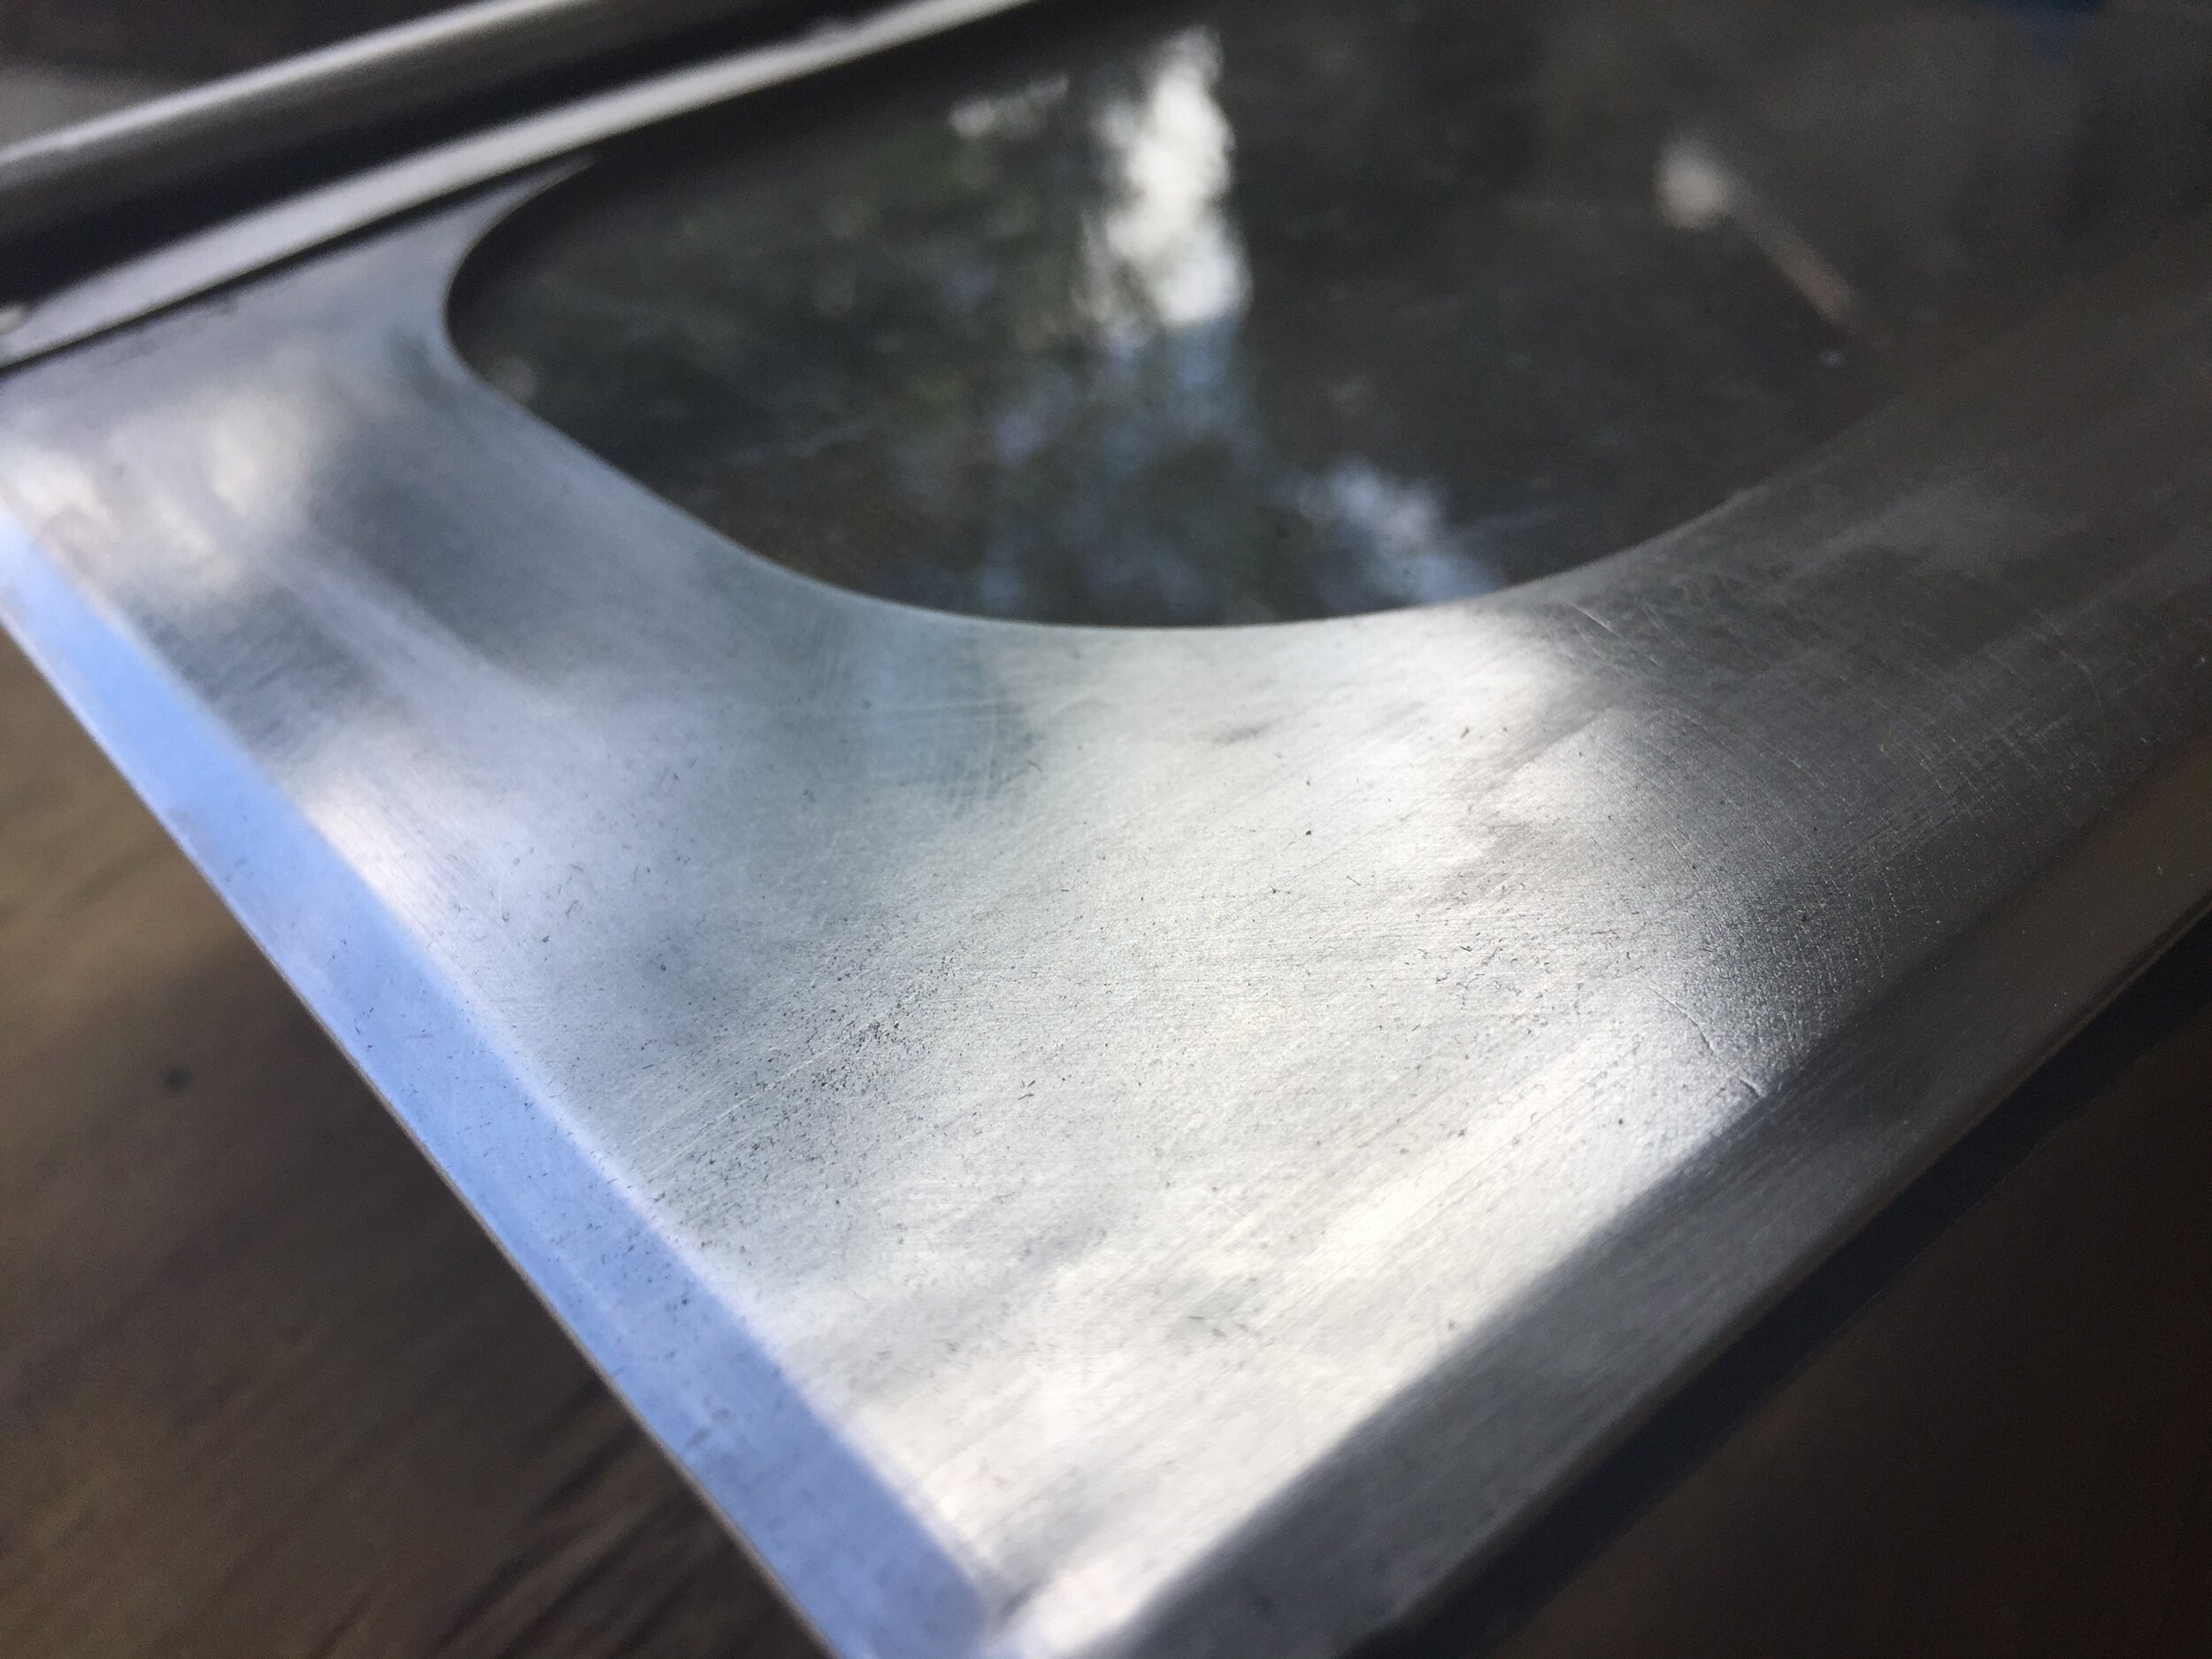
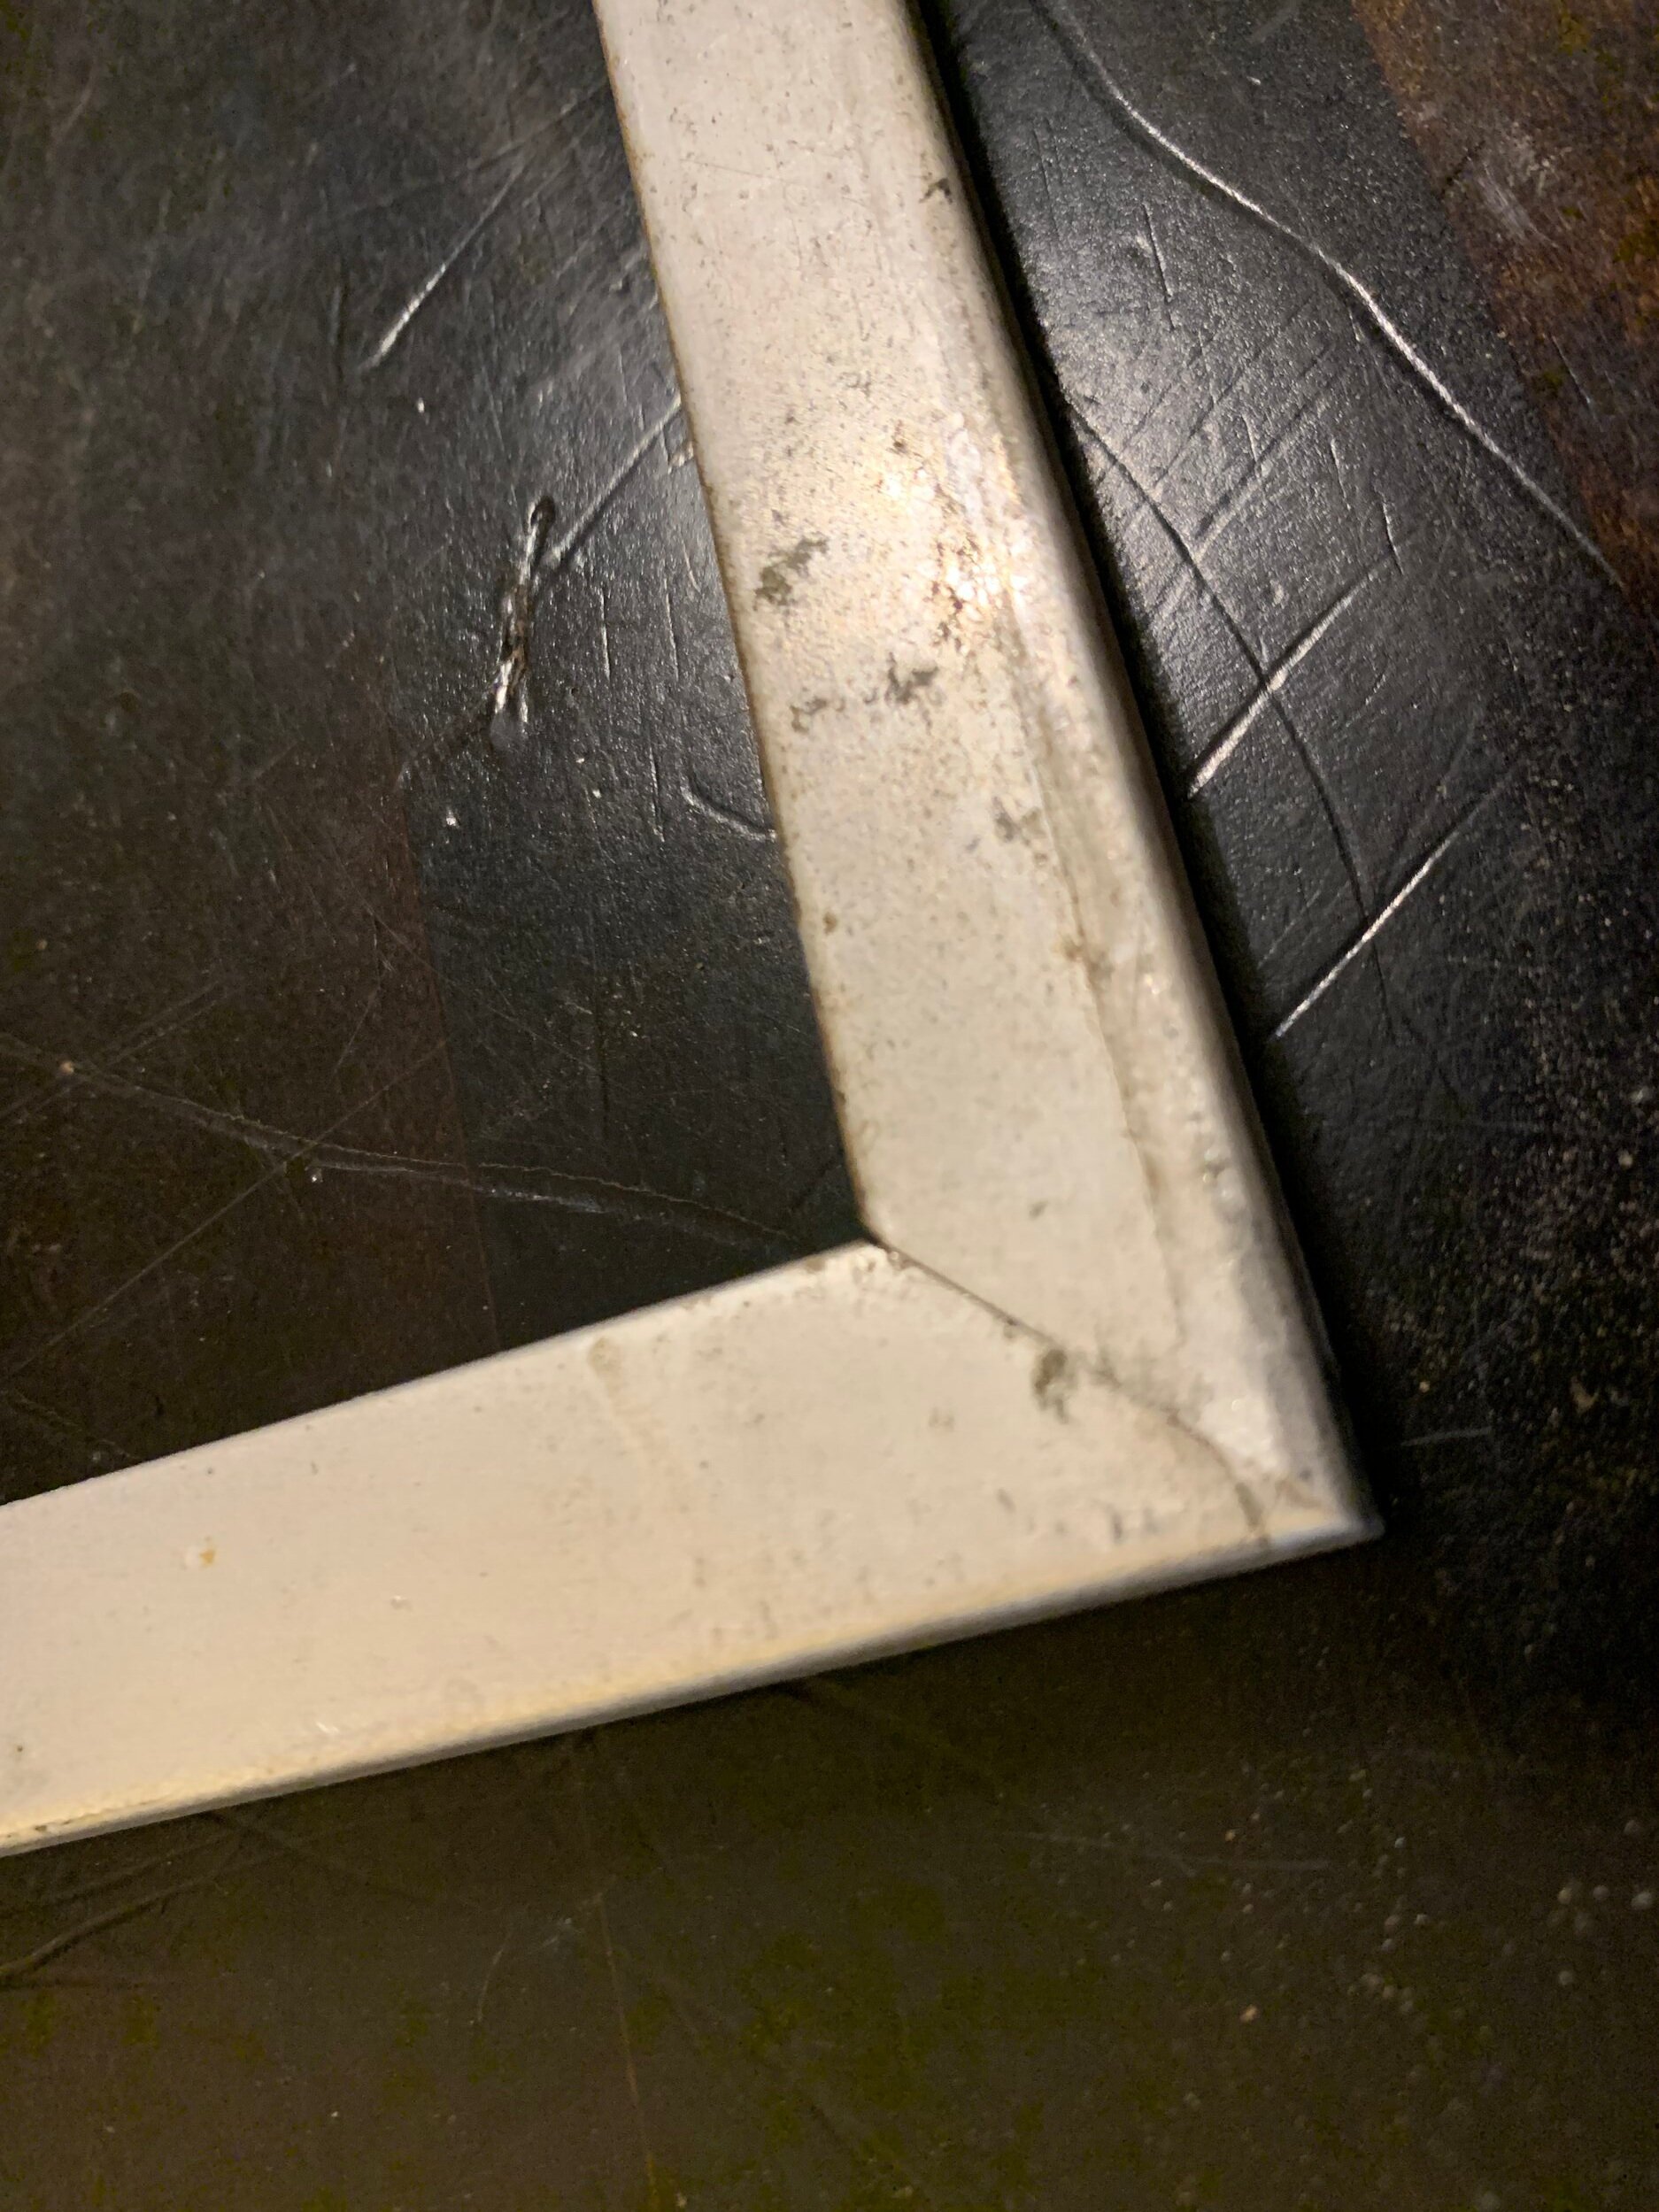
Once most/all of the oxidation was removed with the wheel, we used steel wool from coarsest to finest grit to smooth out the light swirl marks left by the wire brush. If you’re lucky enough to find some kind of super-fine wire brush you might not need this step, but we couldn’t find anything with a fine enough wire that didn’t leave some little swirls (as seen in the photo on the left below). We worked by hand from #00 to #0000 steel wool grit as needed to smooth and soften the lines and remove any additional oxidation/rust still left from the previous step. For this we rubbed very hard, back and forth in different directions with the steel wool.
I’d like to tell you there’s some kind of trick here that makes it easier or faster, but we didn’t find anything. Just good old fashioned elbow grease, hard work and sweat.
Beware: Your fingers and hand muscles might hate you for a couple days after gripping the steel wool so tight and applying so much controlled pressure. Make as many passes as needed to buff out any grooves left from the wire wheel and remove any remaining rust spots. Even though this part is tiring and tedious, it’s also a very rewarding part of this process because the metal does shine up and smooth out pretty nicely.
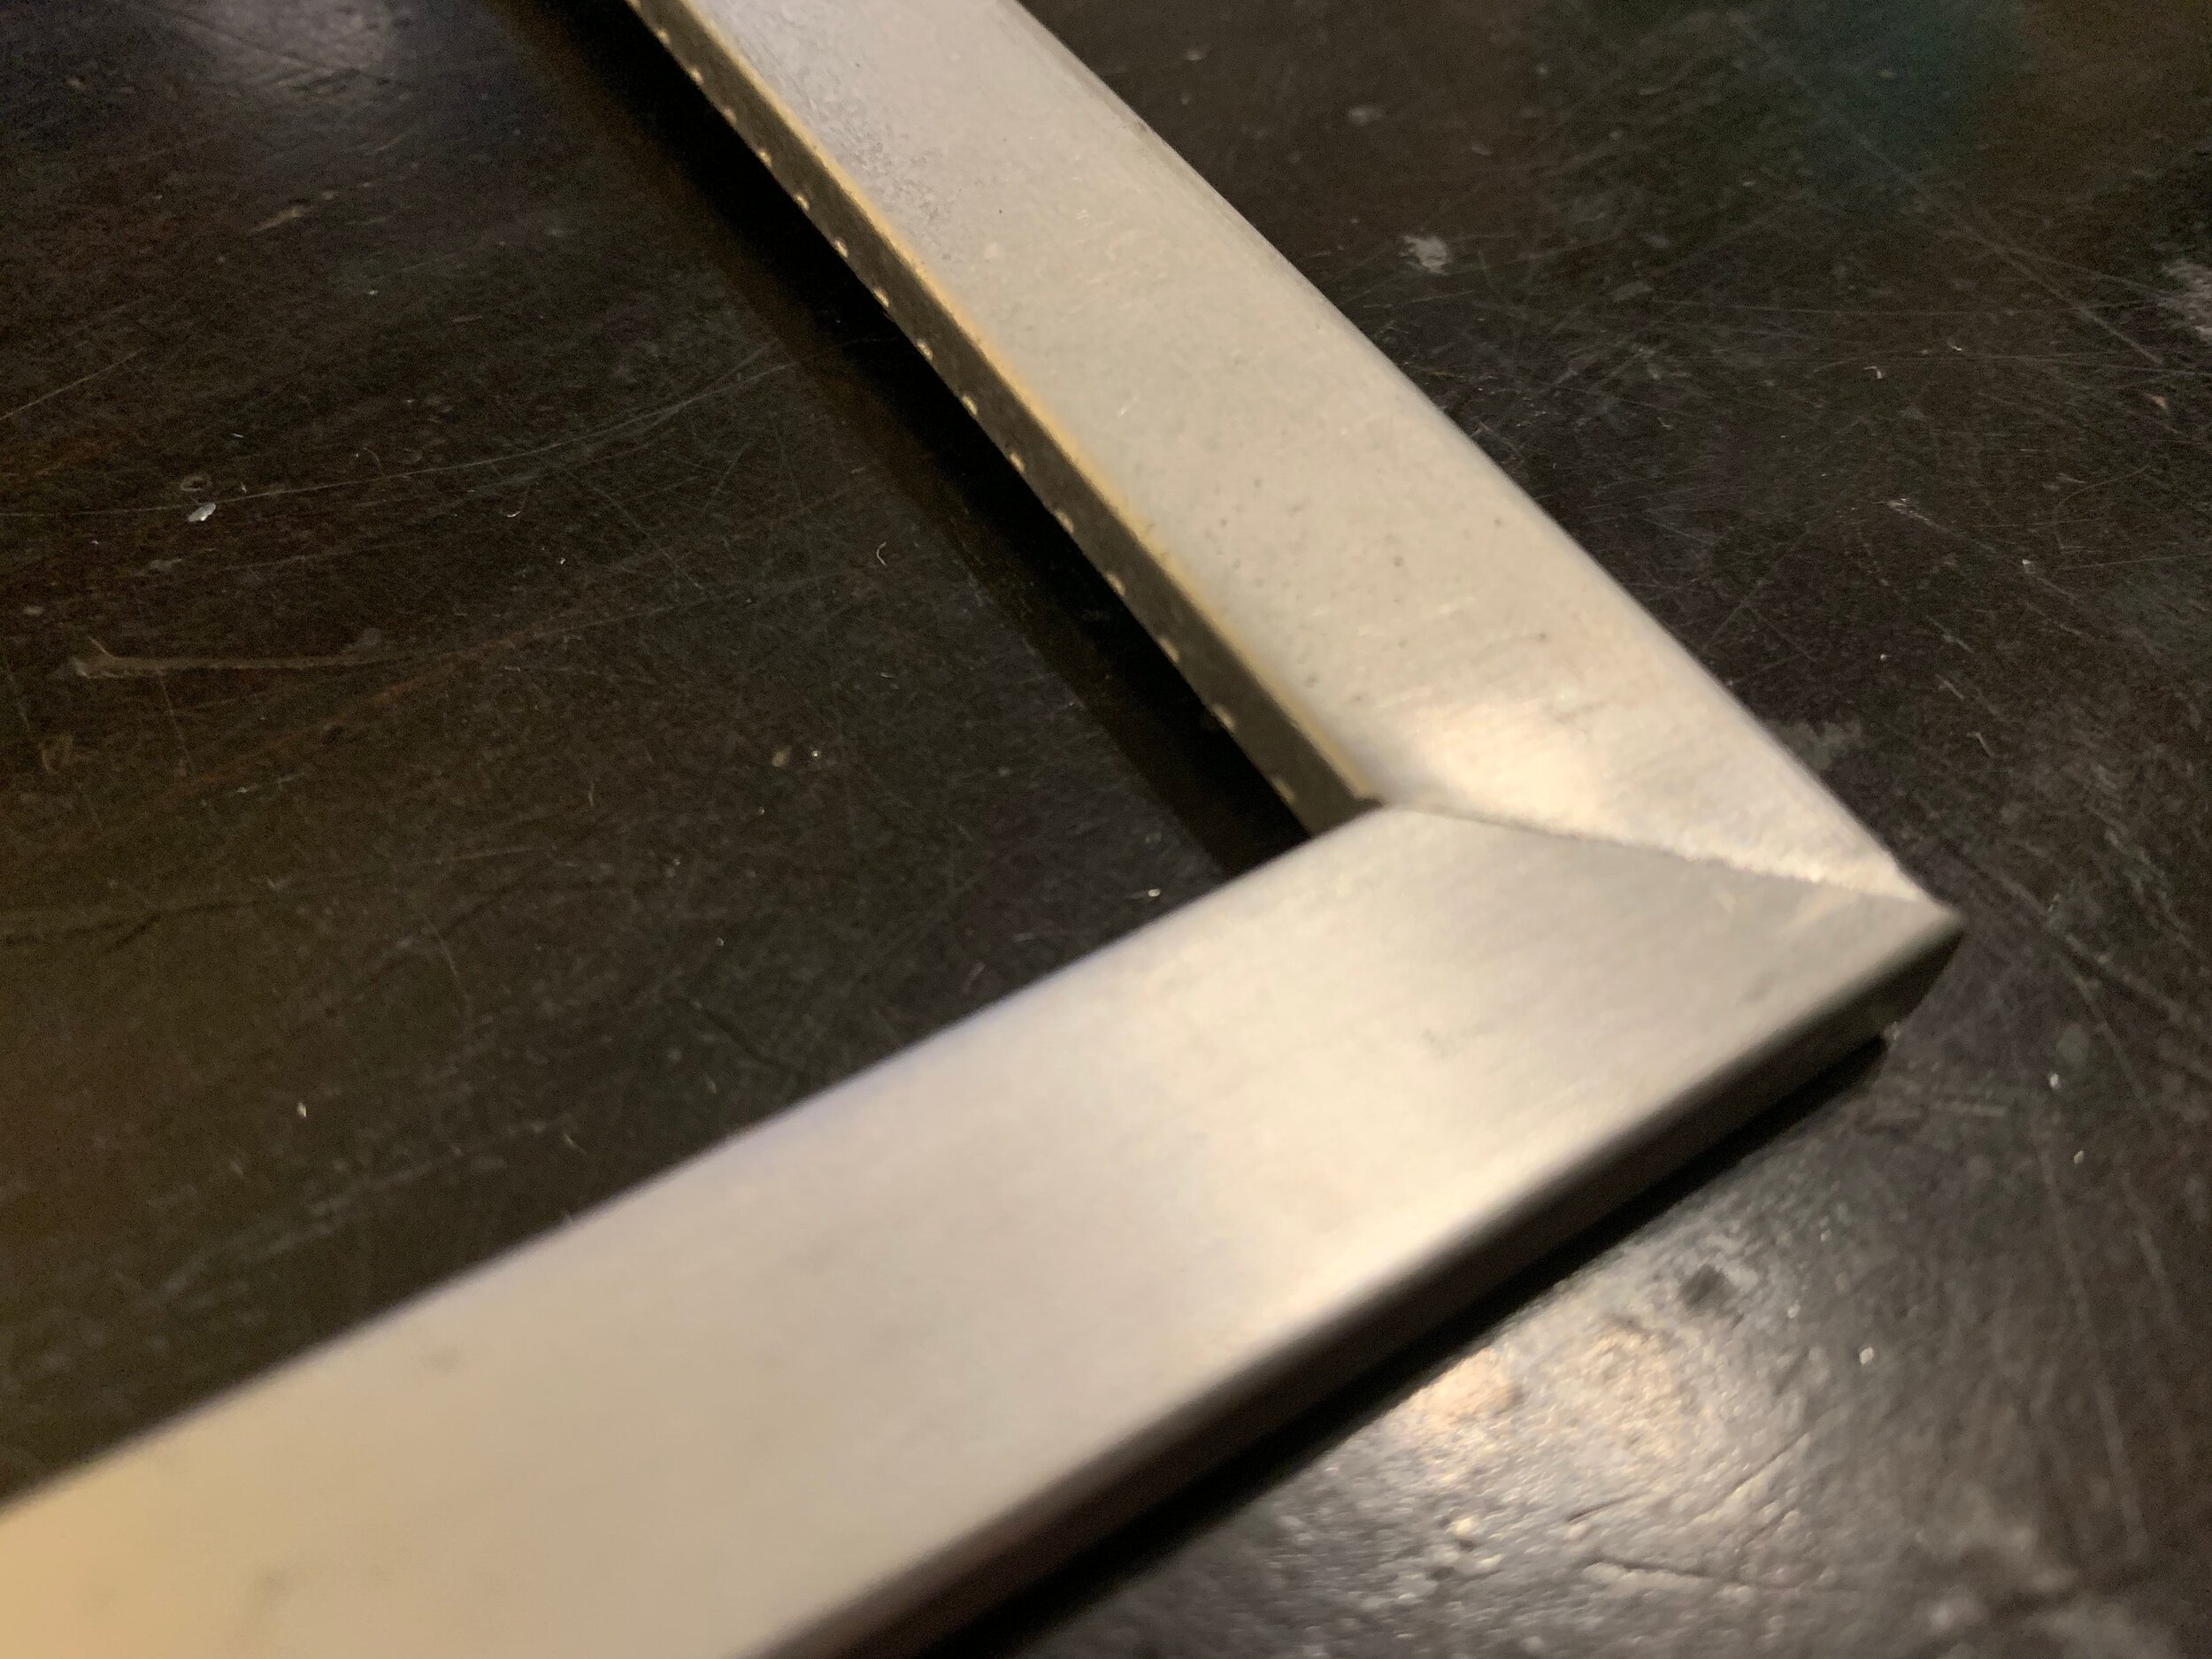
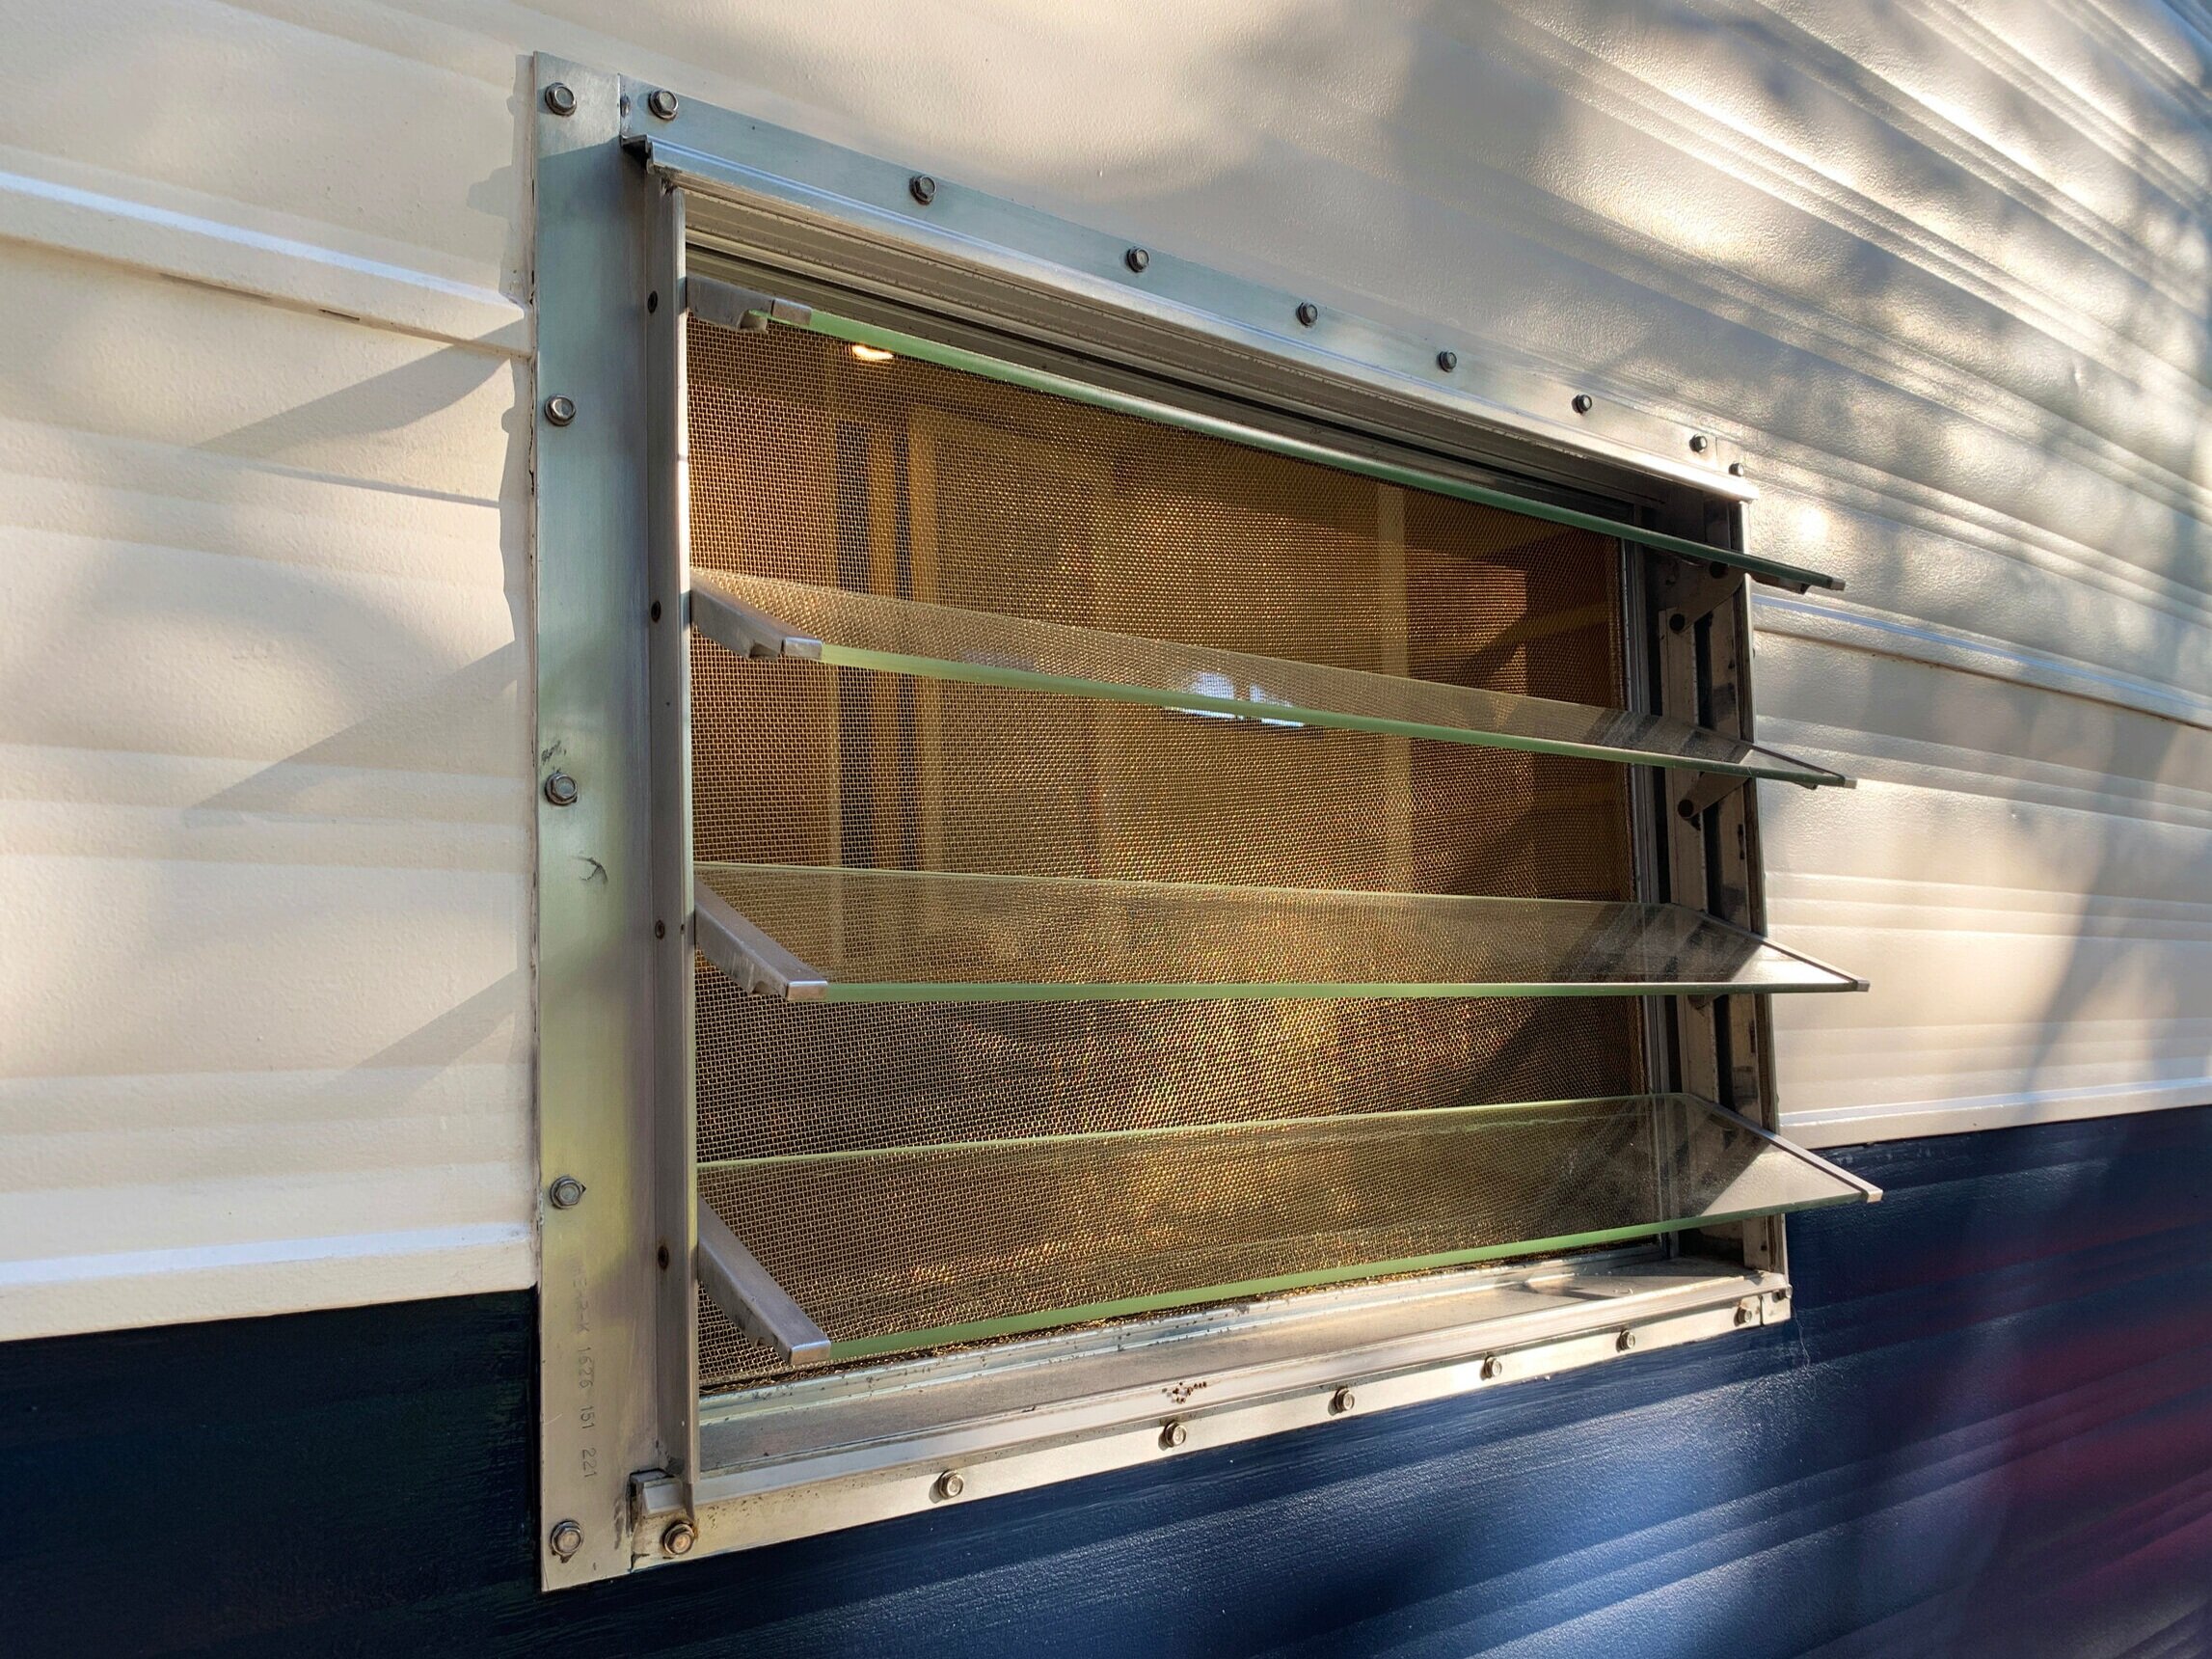
The bug screen frames above were only polished by hand with steel wool as they were not in that bad of shape to need step 1.
It’s important that you get out any gashes and clean off any rust, etc. spots you want to at this stage before moving on to step 3, since none of that will smooth out later.
Step 3: Polish with cream
This final step is what really takes it up a notch from polished silver to a glossy, almost mirror-like finish. You can see in the gif below the difference the polish cream makes. The top frame is after the cream, and the one layered on the bottom is what it looks like after just the steel wool.

Since we initially worked on the window frames, we discovered this polish cream that works wonders. We haven’t used it on our window frames yet since we’ve already installed them and painted the exterior, but we did use it on our bug screen frames and they look amazing.
A couple of things you will definitely want to make sure you do is work on it in a well-ventilated area and/or wear a mask, and definitely wear gloves. You do not want to smell it or get this stuff on your skin – it is like burn-your-insides strong smelling, but the results are totally worth it.
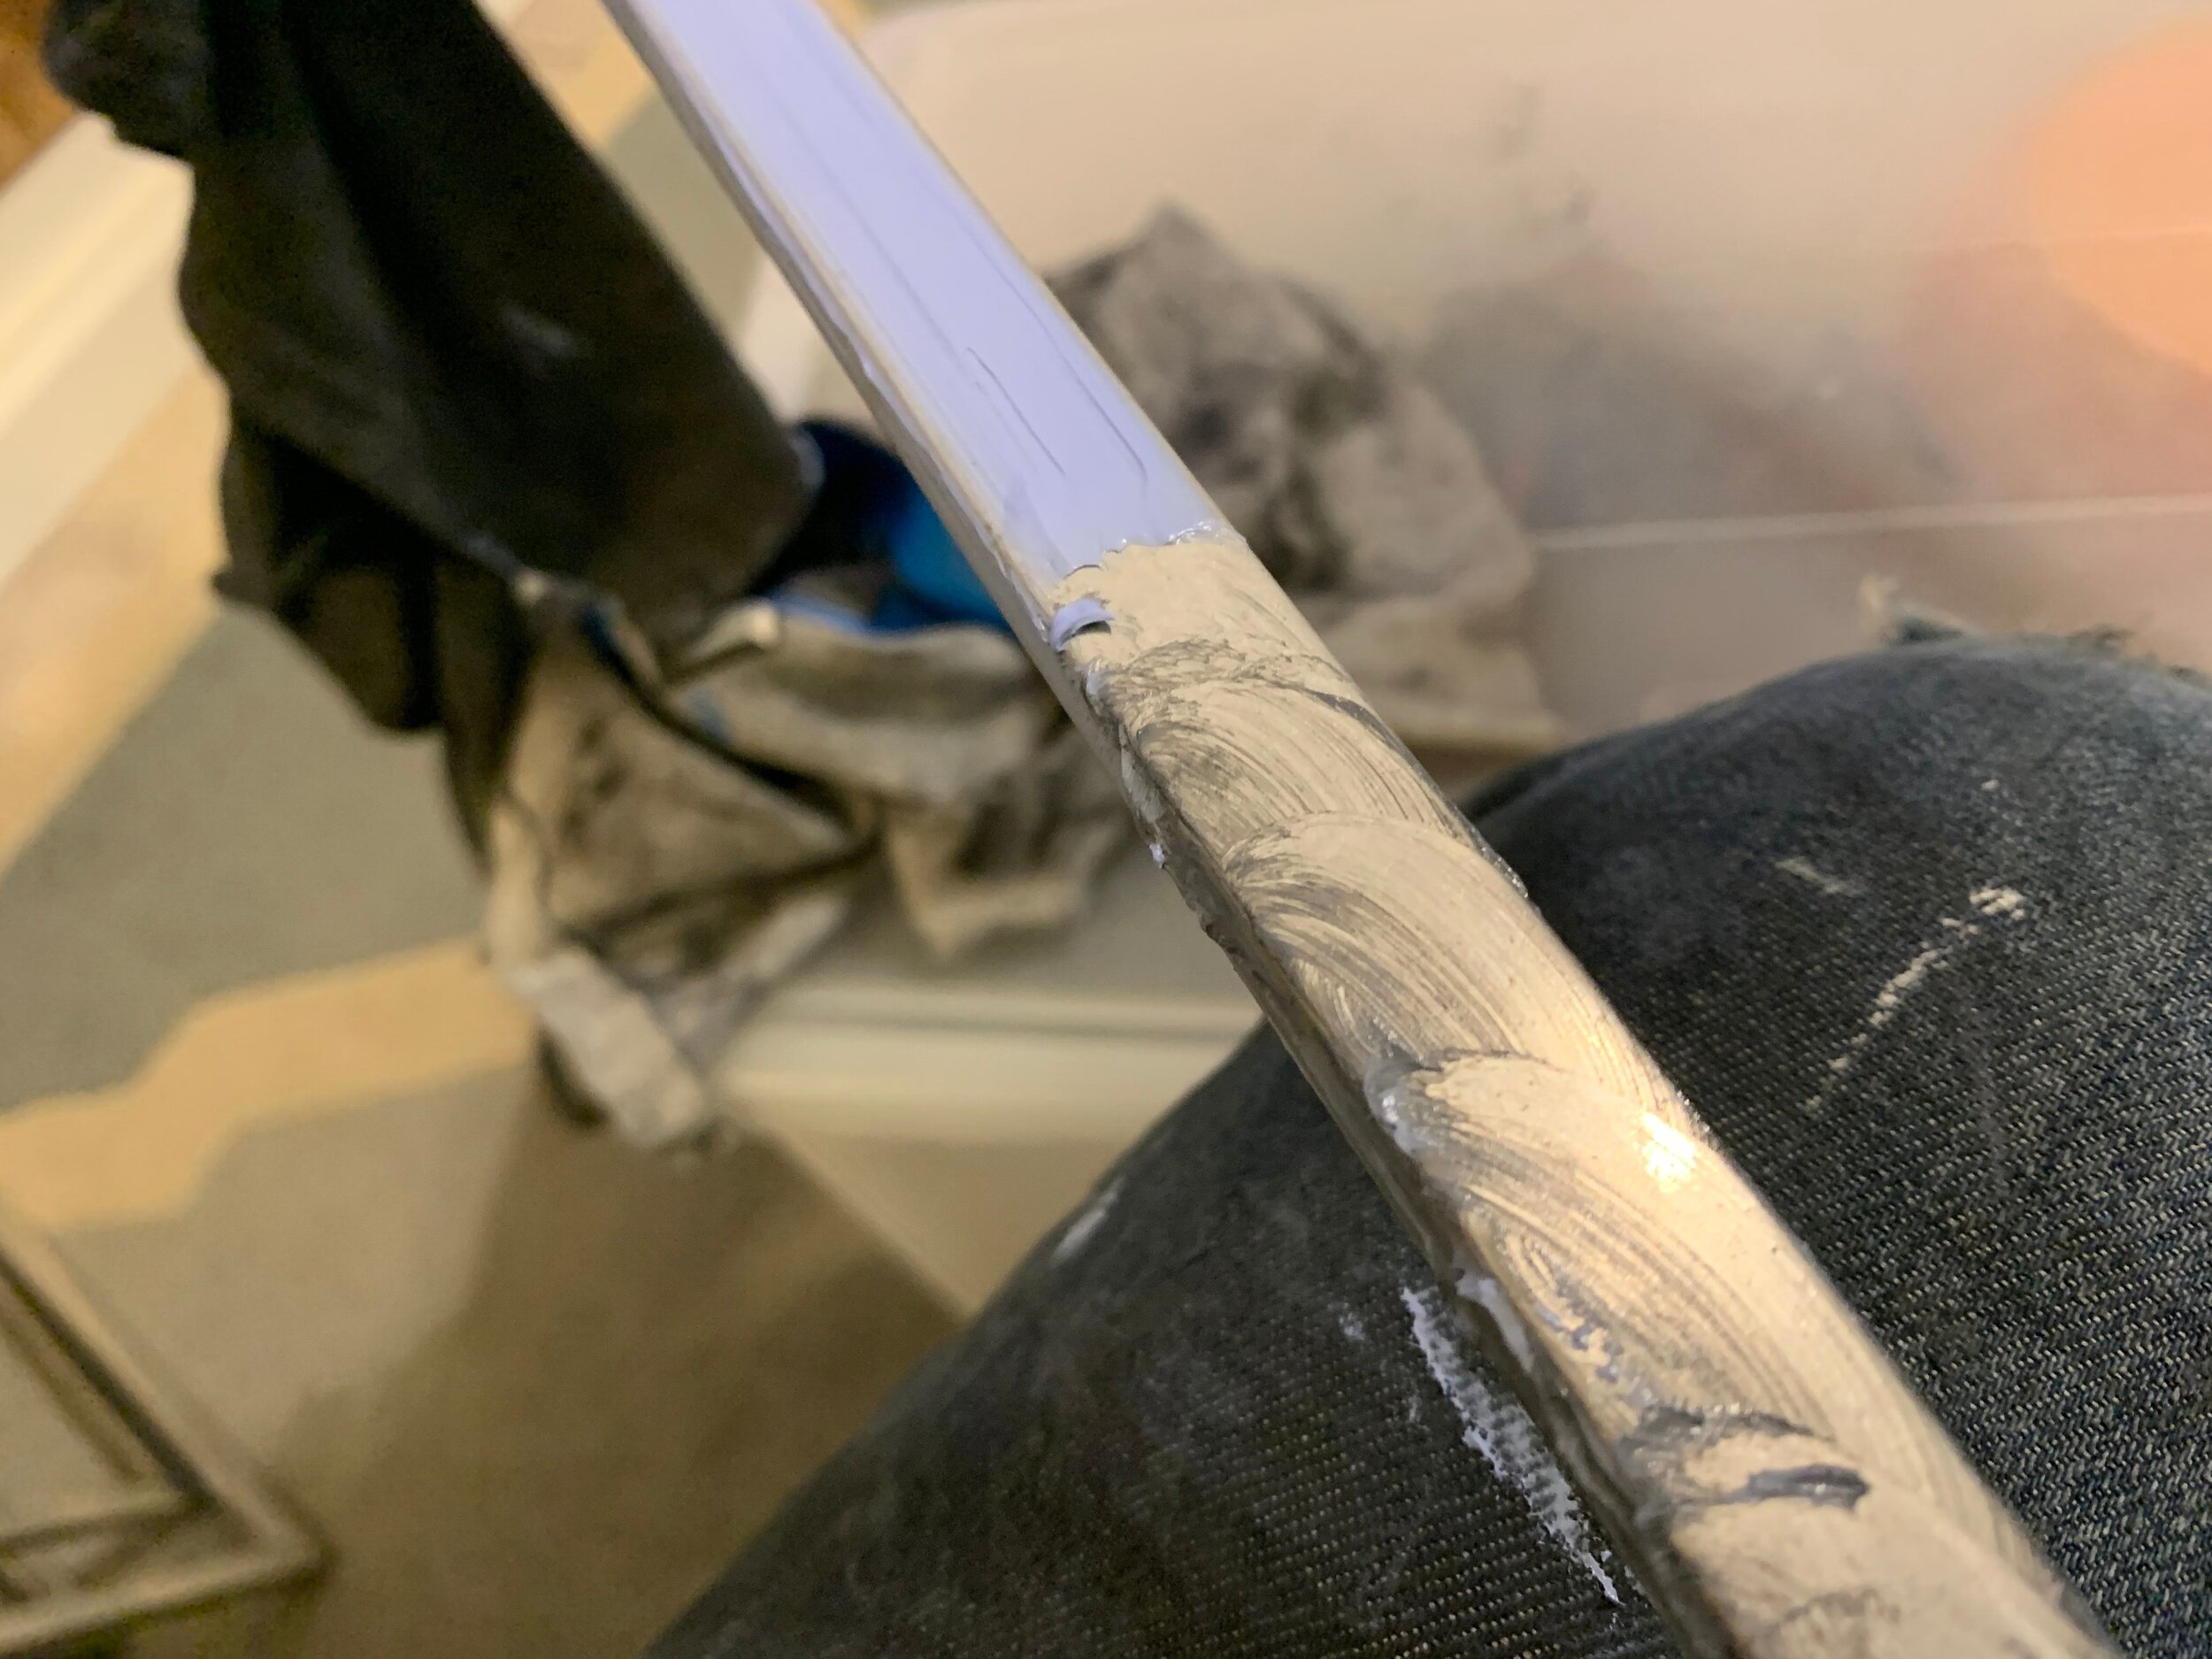

We followed the instructions on the tub, which is basically (wearing gloves) rub on a small amount with a rag and buff until the blue cream turns black. Wipe it off and buff a little with a clean cloth and voila!
If you do any – and certainly all – of the three steps, it can make a HUGE difference. Take a look!
(Yes these are completely different things … but the window frame on the left is before anything was done, and the bug screen frame is after the polish cream.)
So what do you think? If you’ve had success polishing up your aluminum, what did you use? We’d love to hear what worked (or didn’t work) for you in the comments below.