Back of the House Makeover
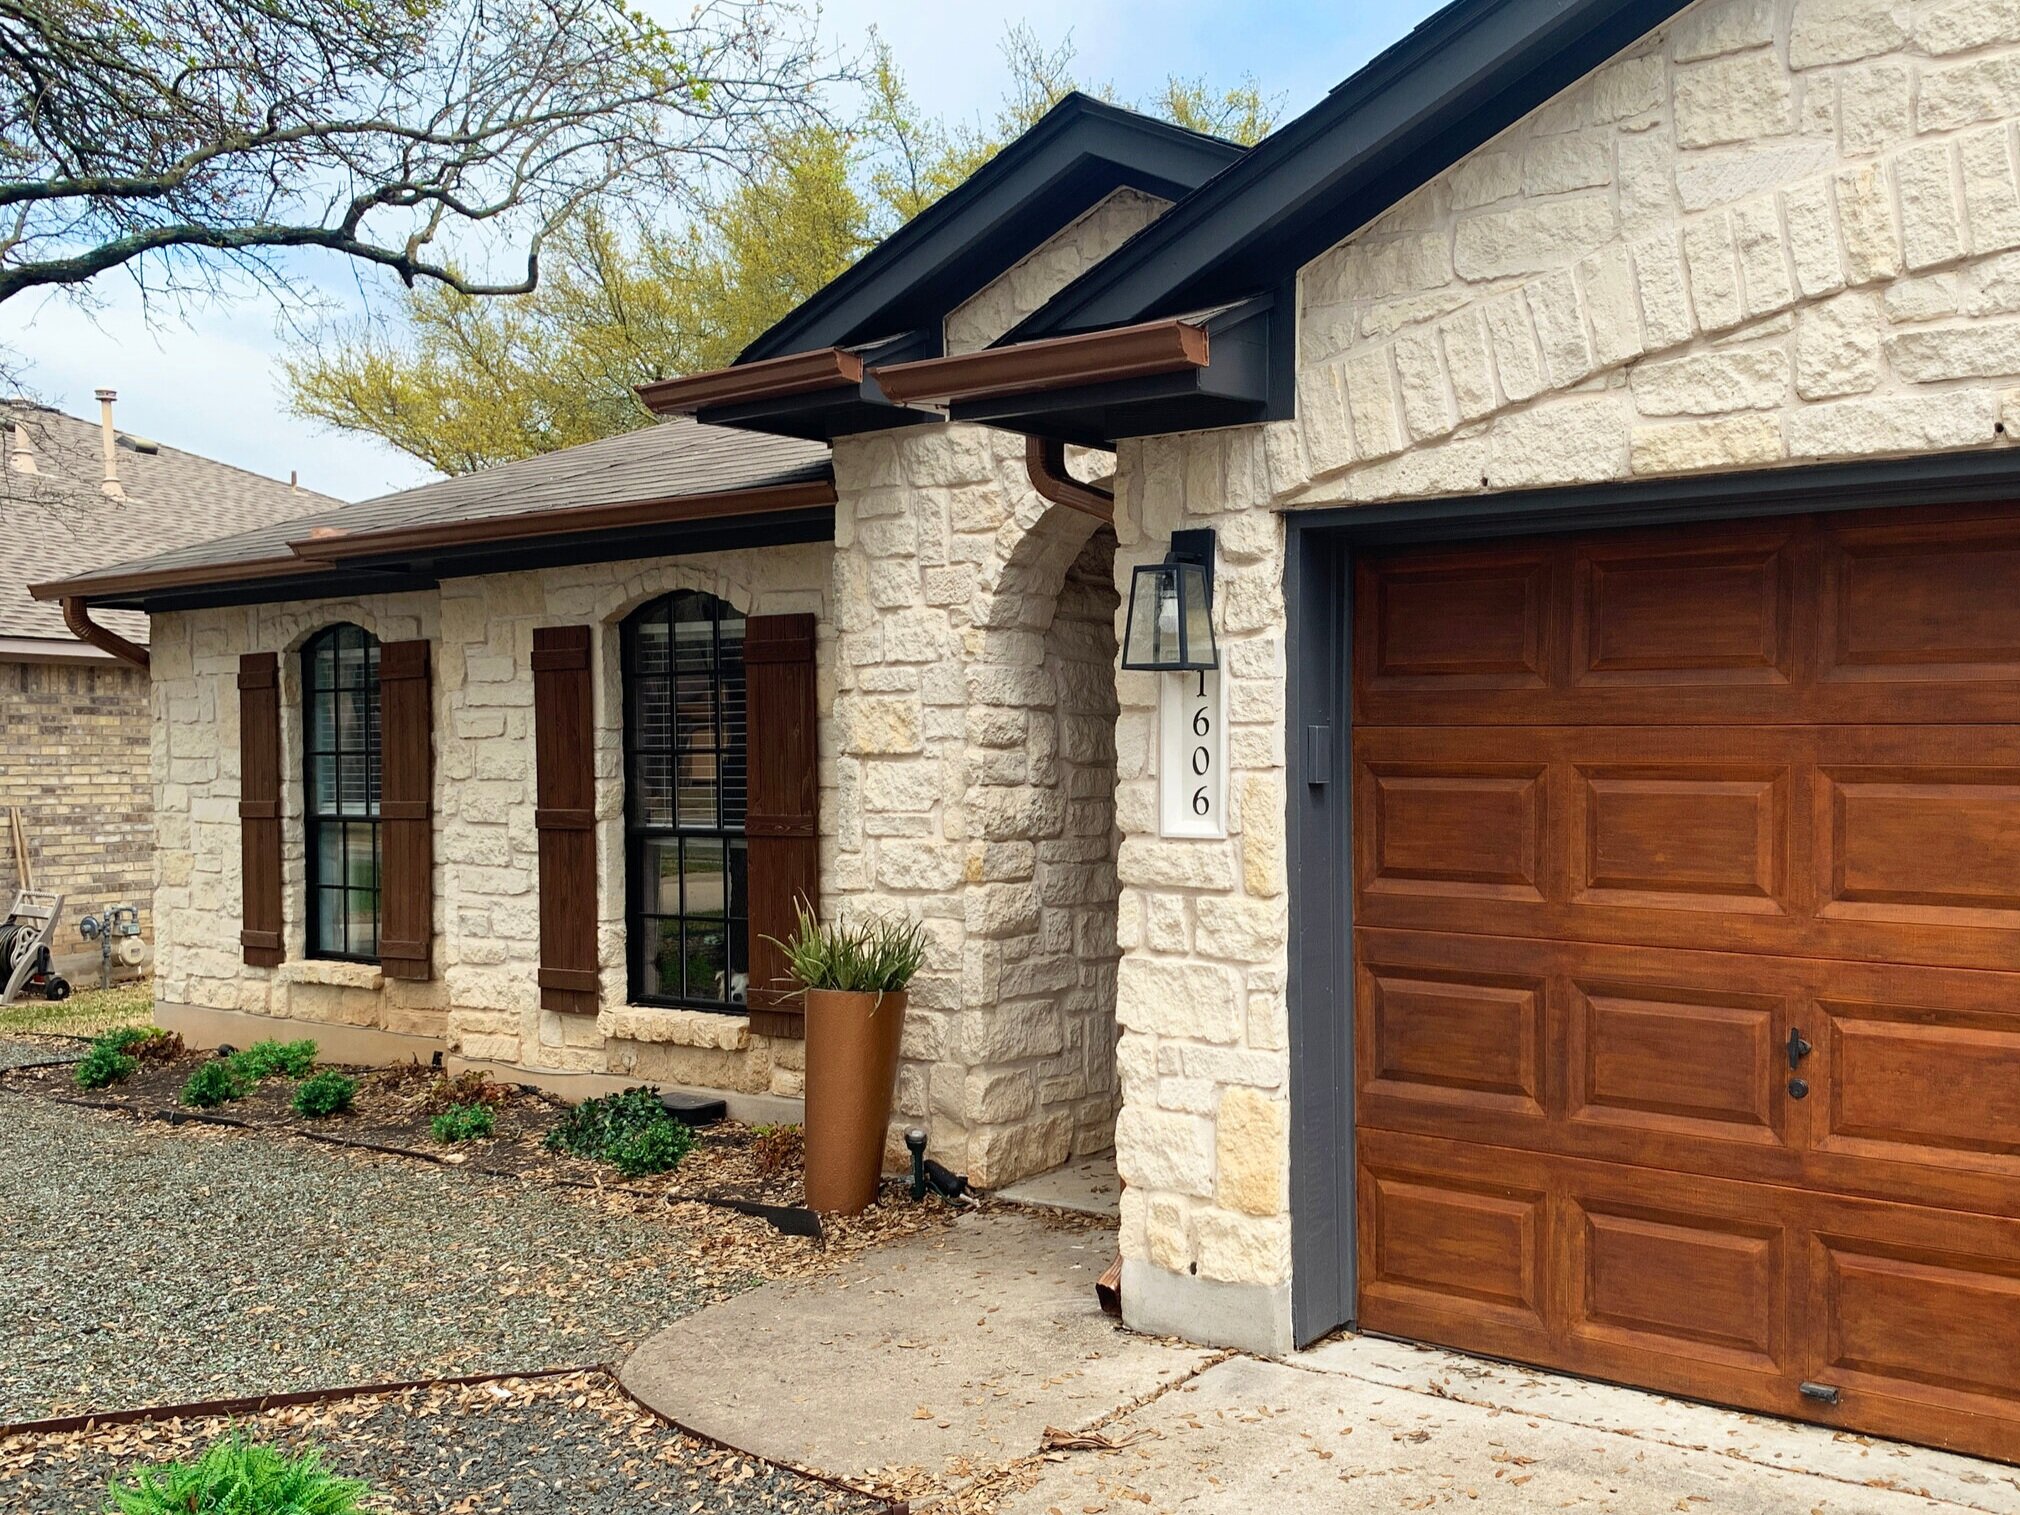
If you remember not too long ago we shared how we updated our trim and gutters, and a little bit before that how we got beautiful black windows on the cheap. We’re super happy with the dramatic update, especially when compared to when we first bought out house!
Full disclosure, we’ve only have done that on the front (and sides) of the house.
::: Shame :::
There are only so many hours in the day y’know? Since it’s the public-facing part (and because we have an HOA) we wanted to make sure the front of the house looked partially-finished for as little as possible, much to the detriment of the back of the house that got neglected entirely. (Sorry backyard neighbors!)
So we’re finally getting caught up and popping back to the back of the house to bring it up to speed and into the same style as the front of the house.
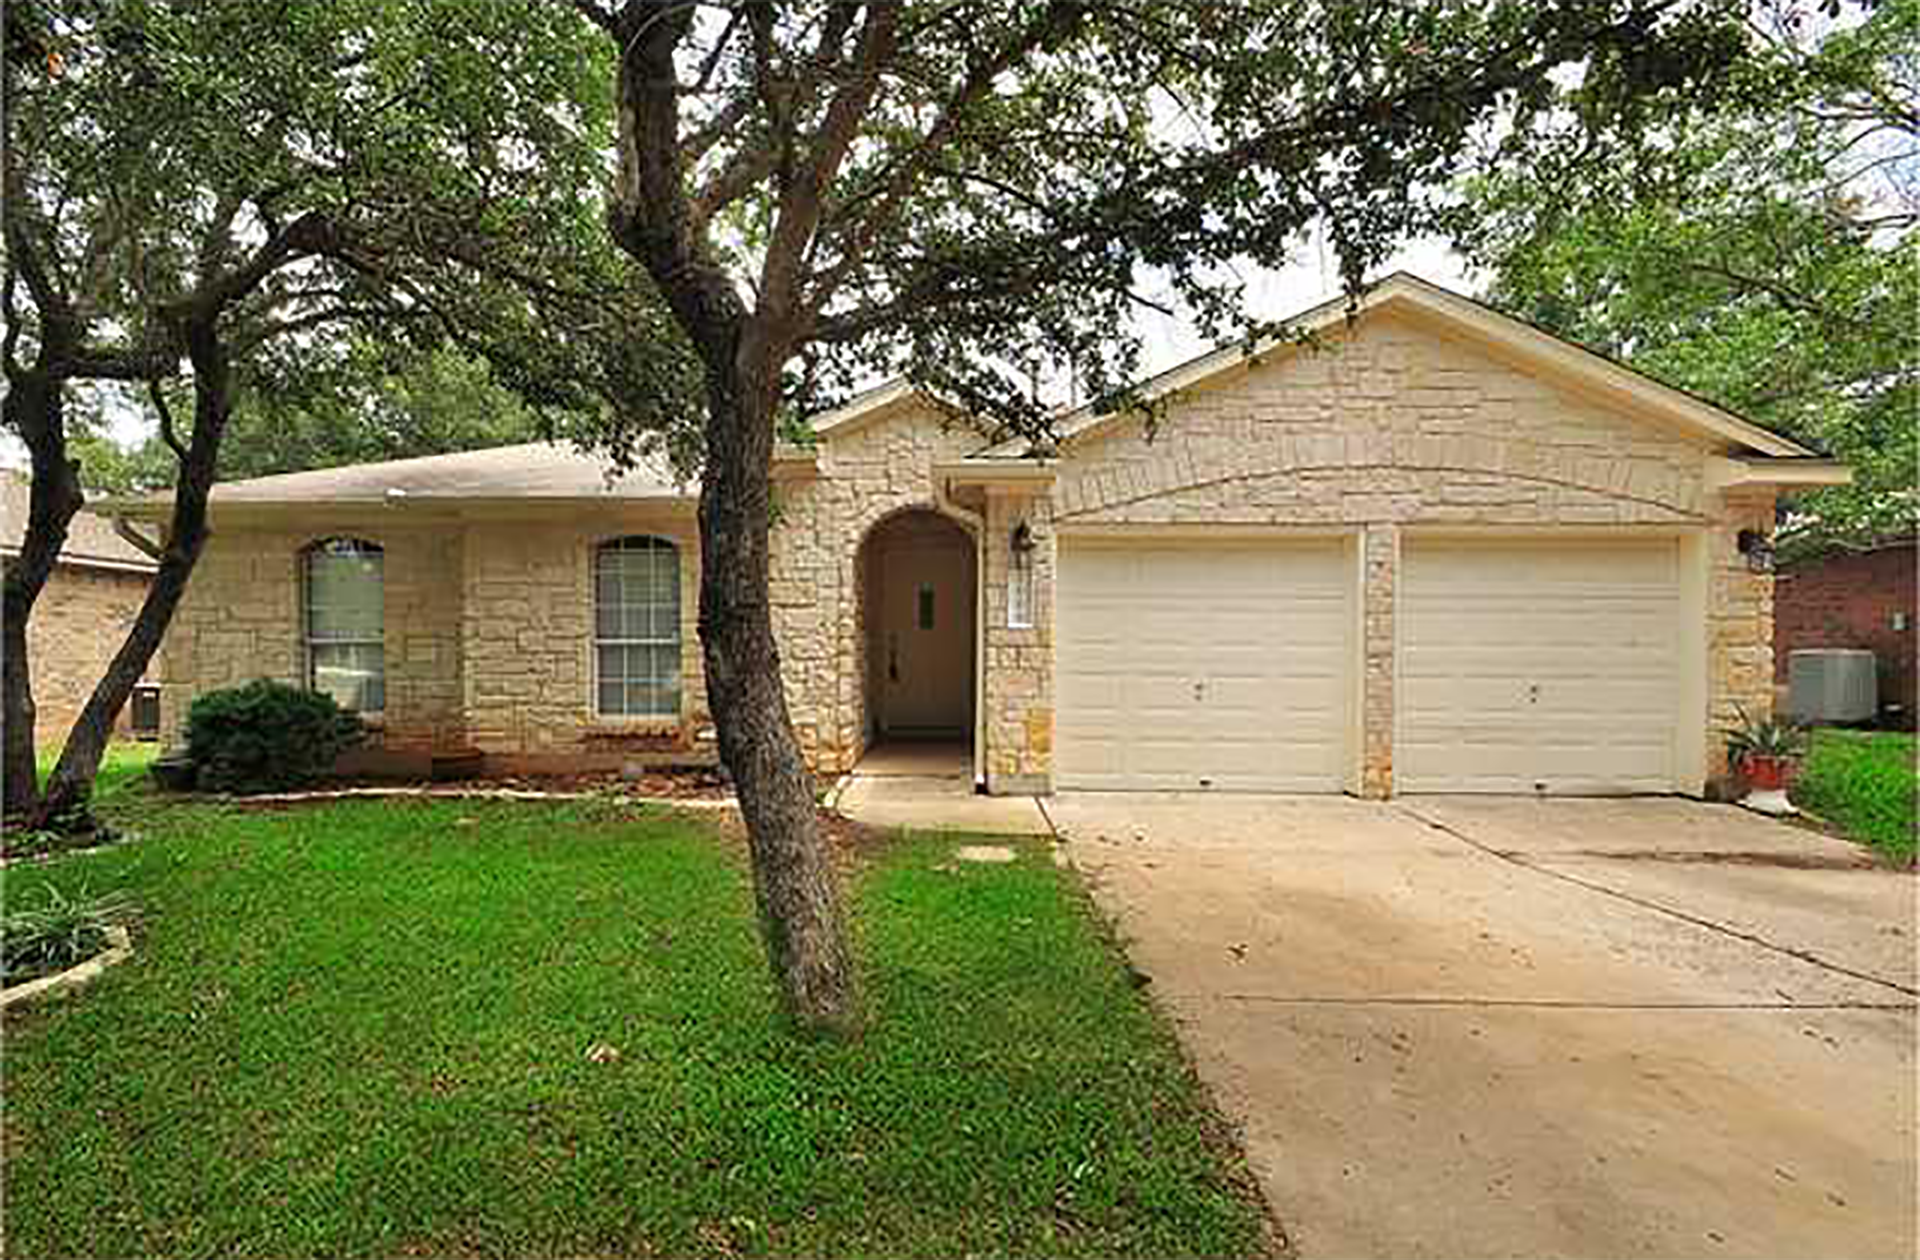
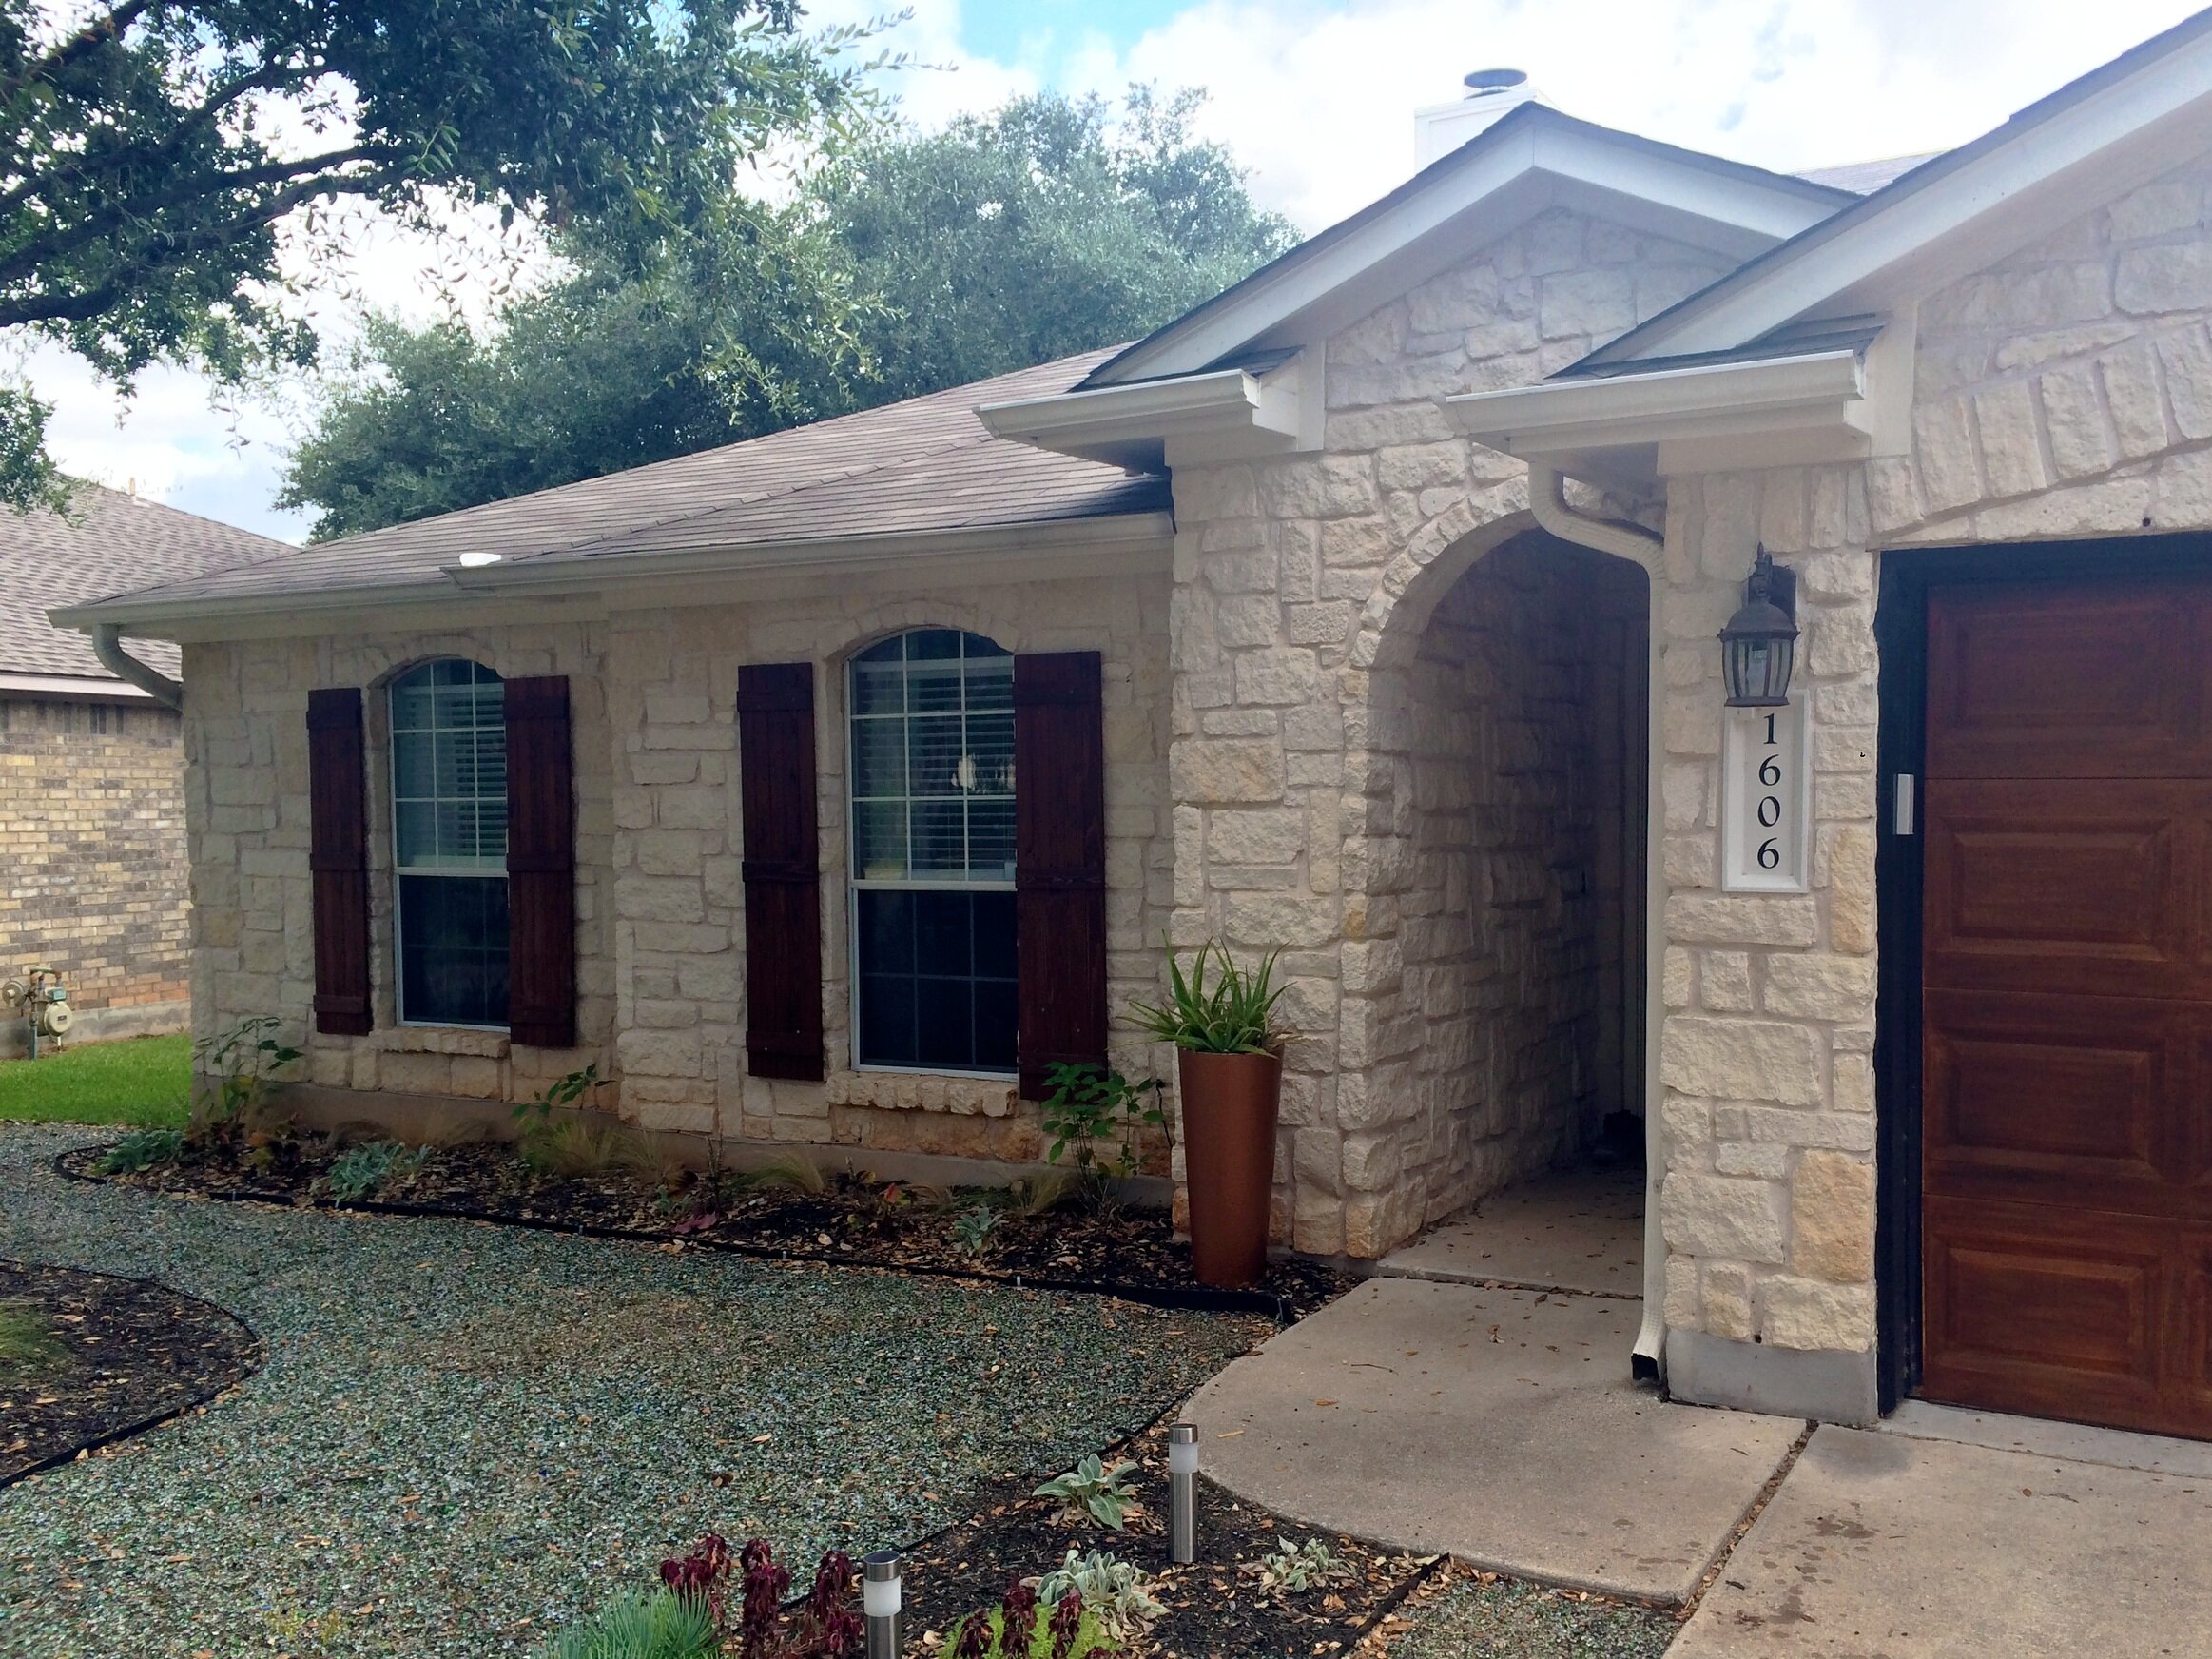
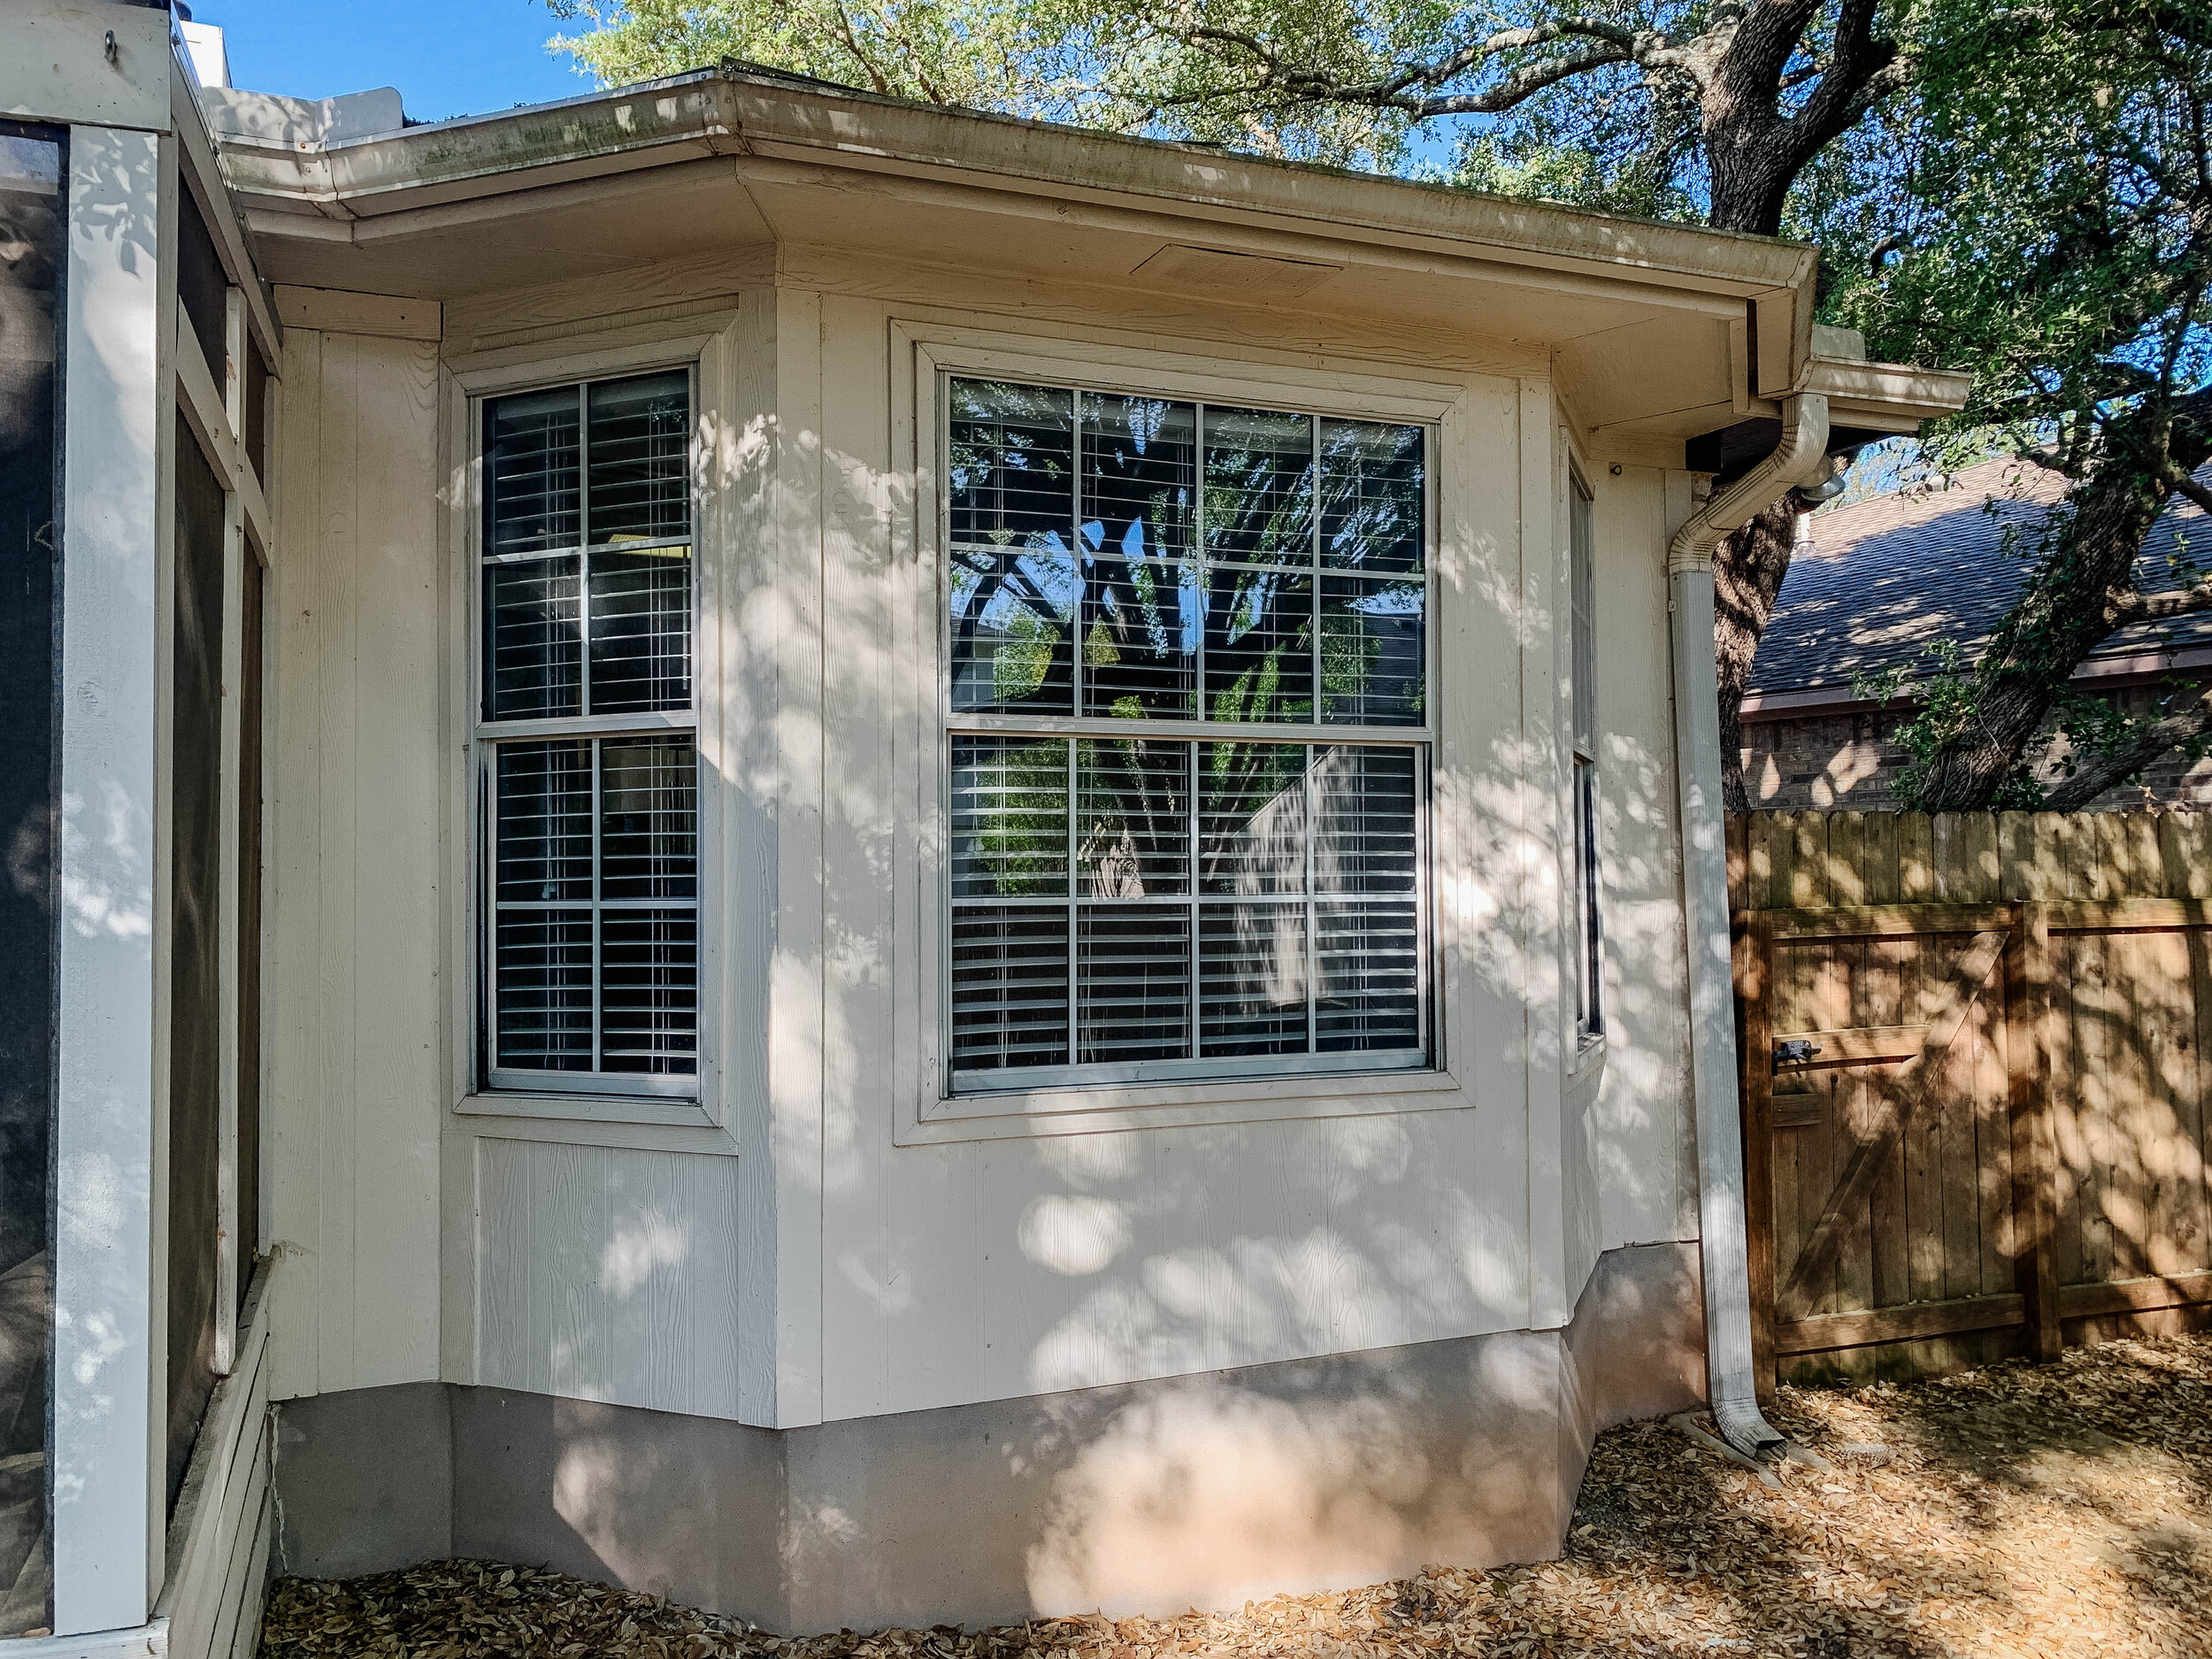
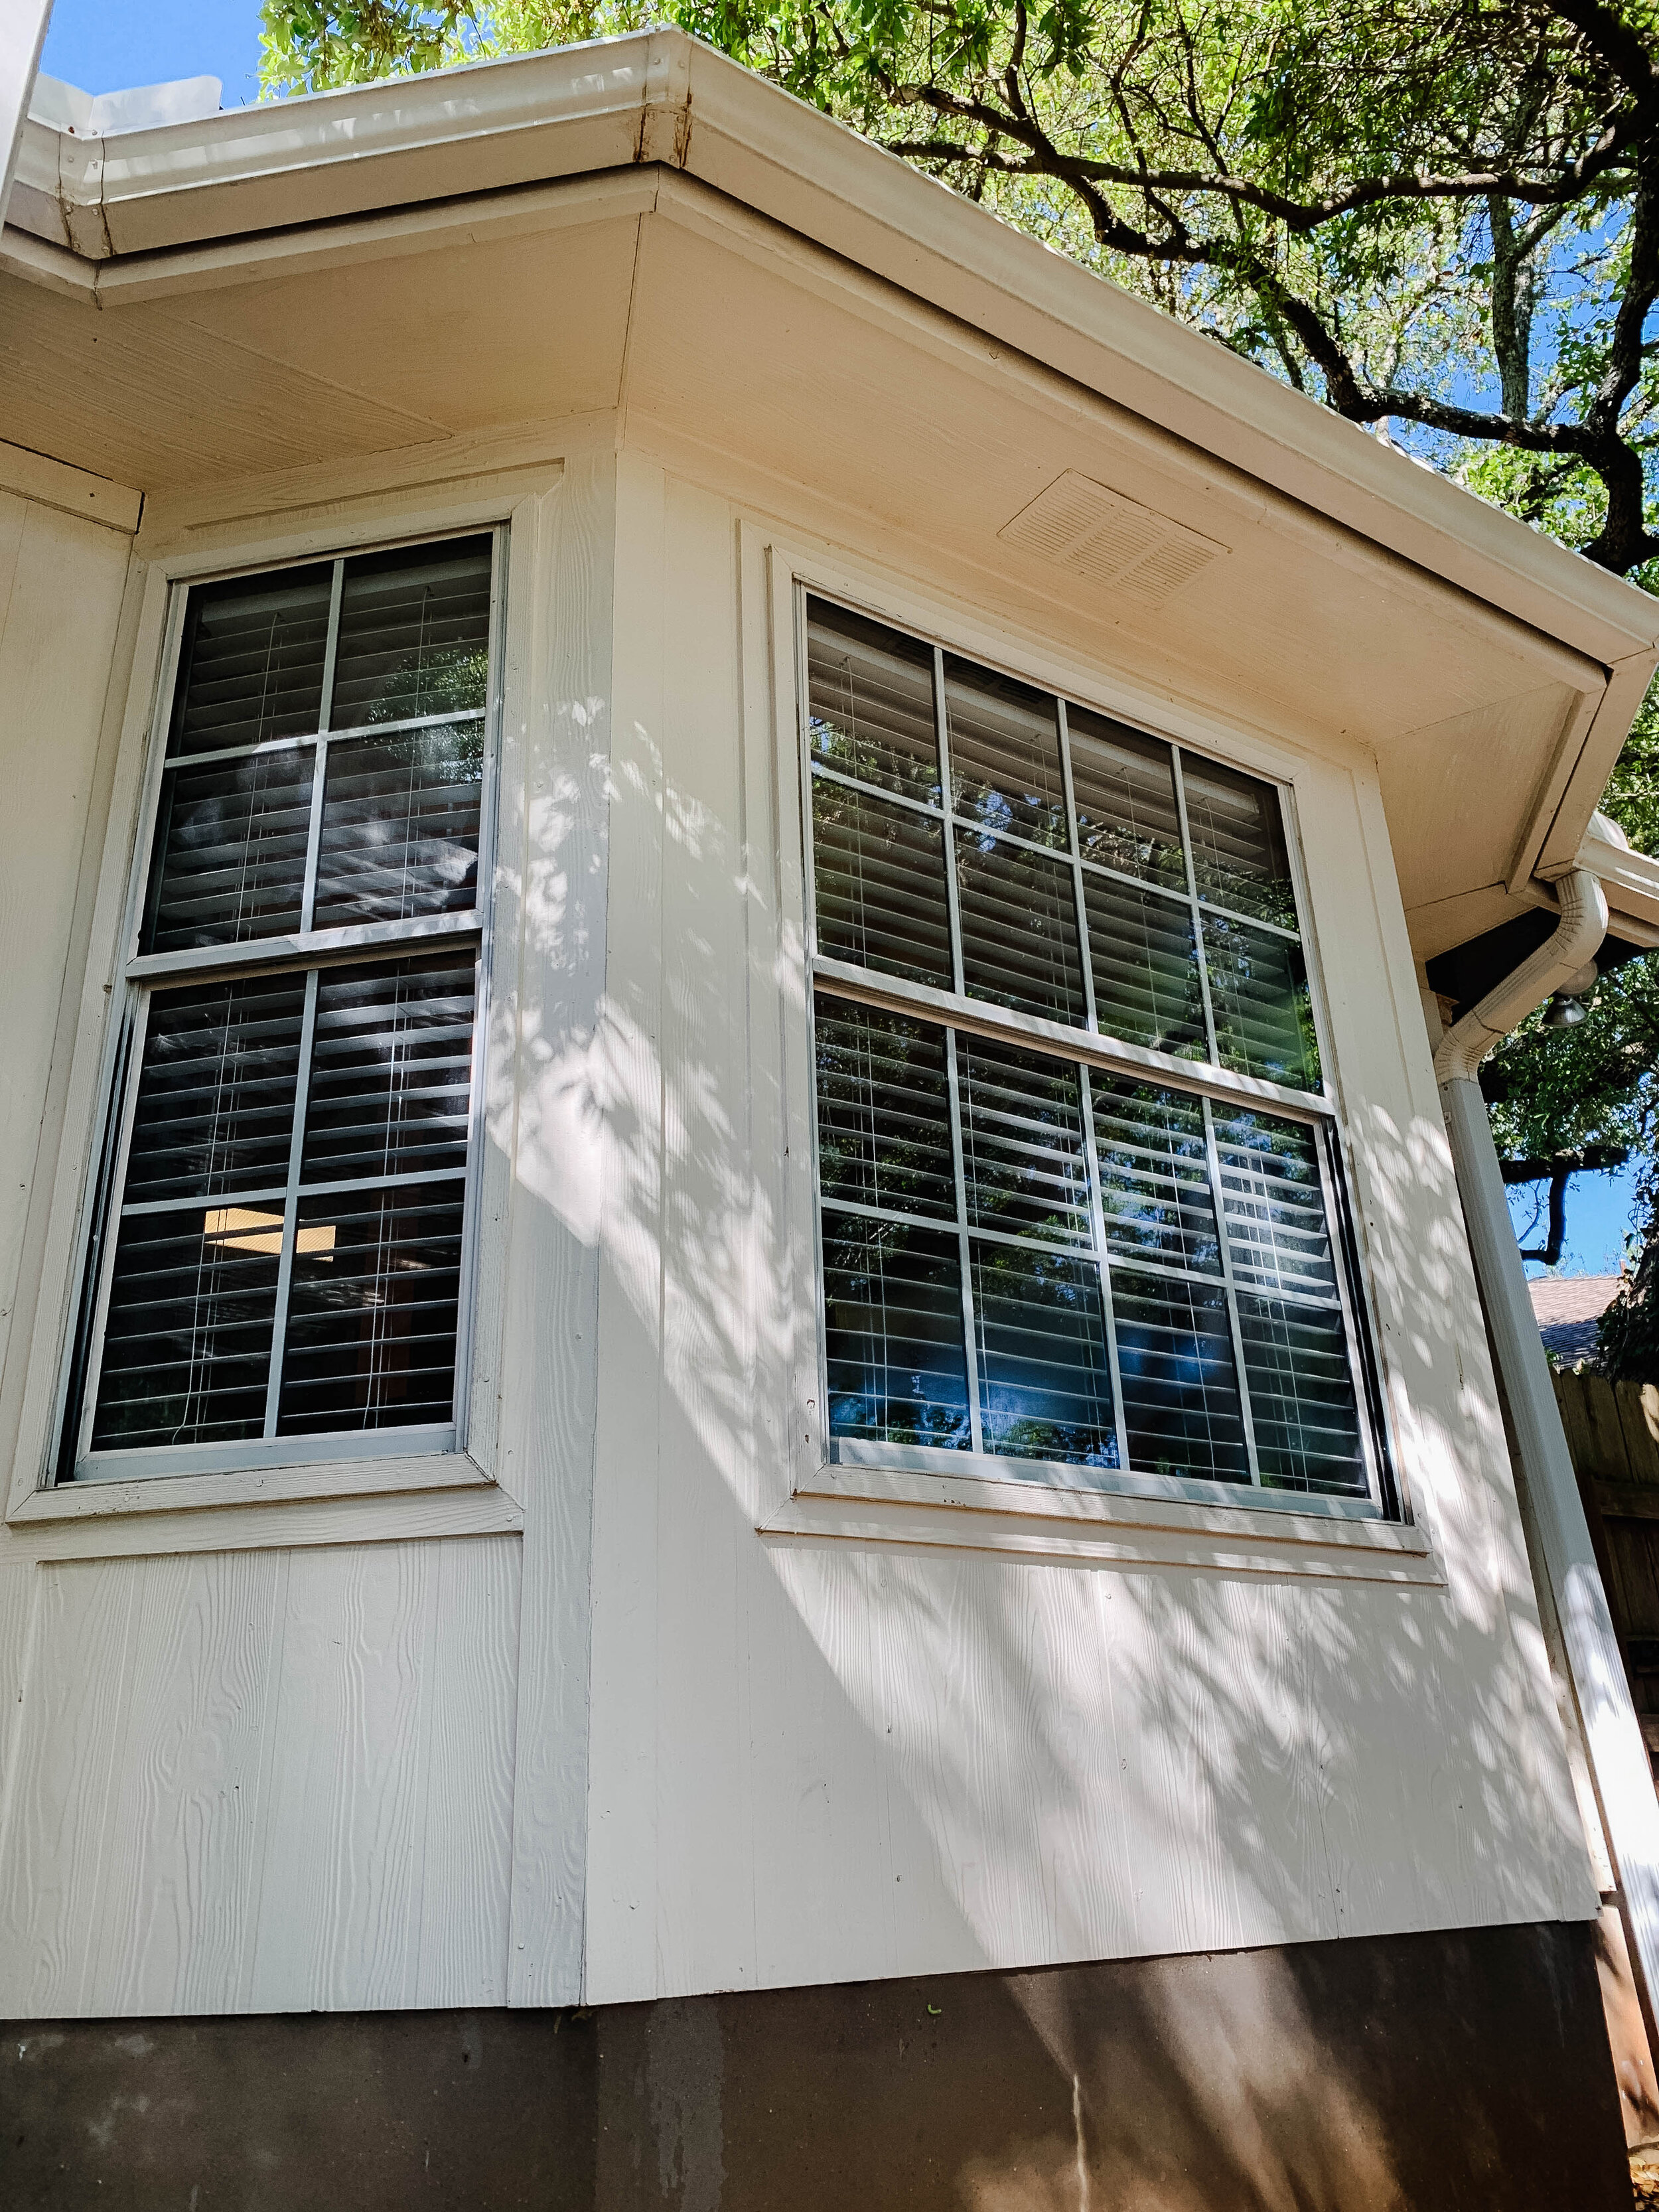
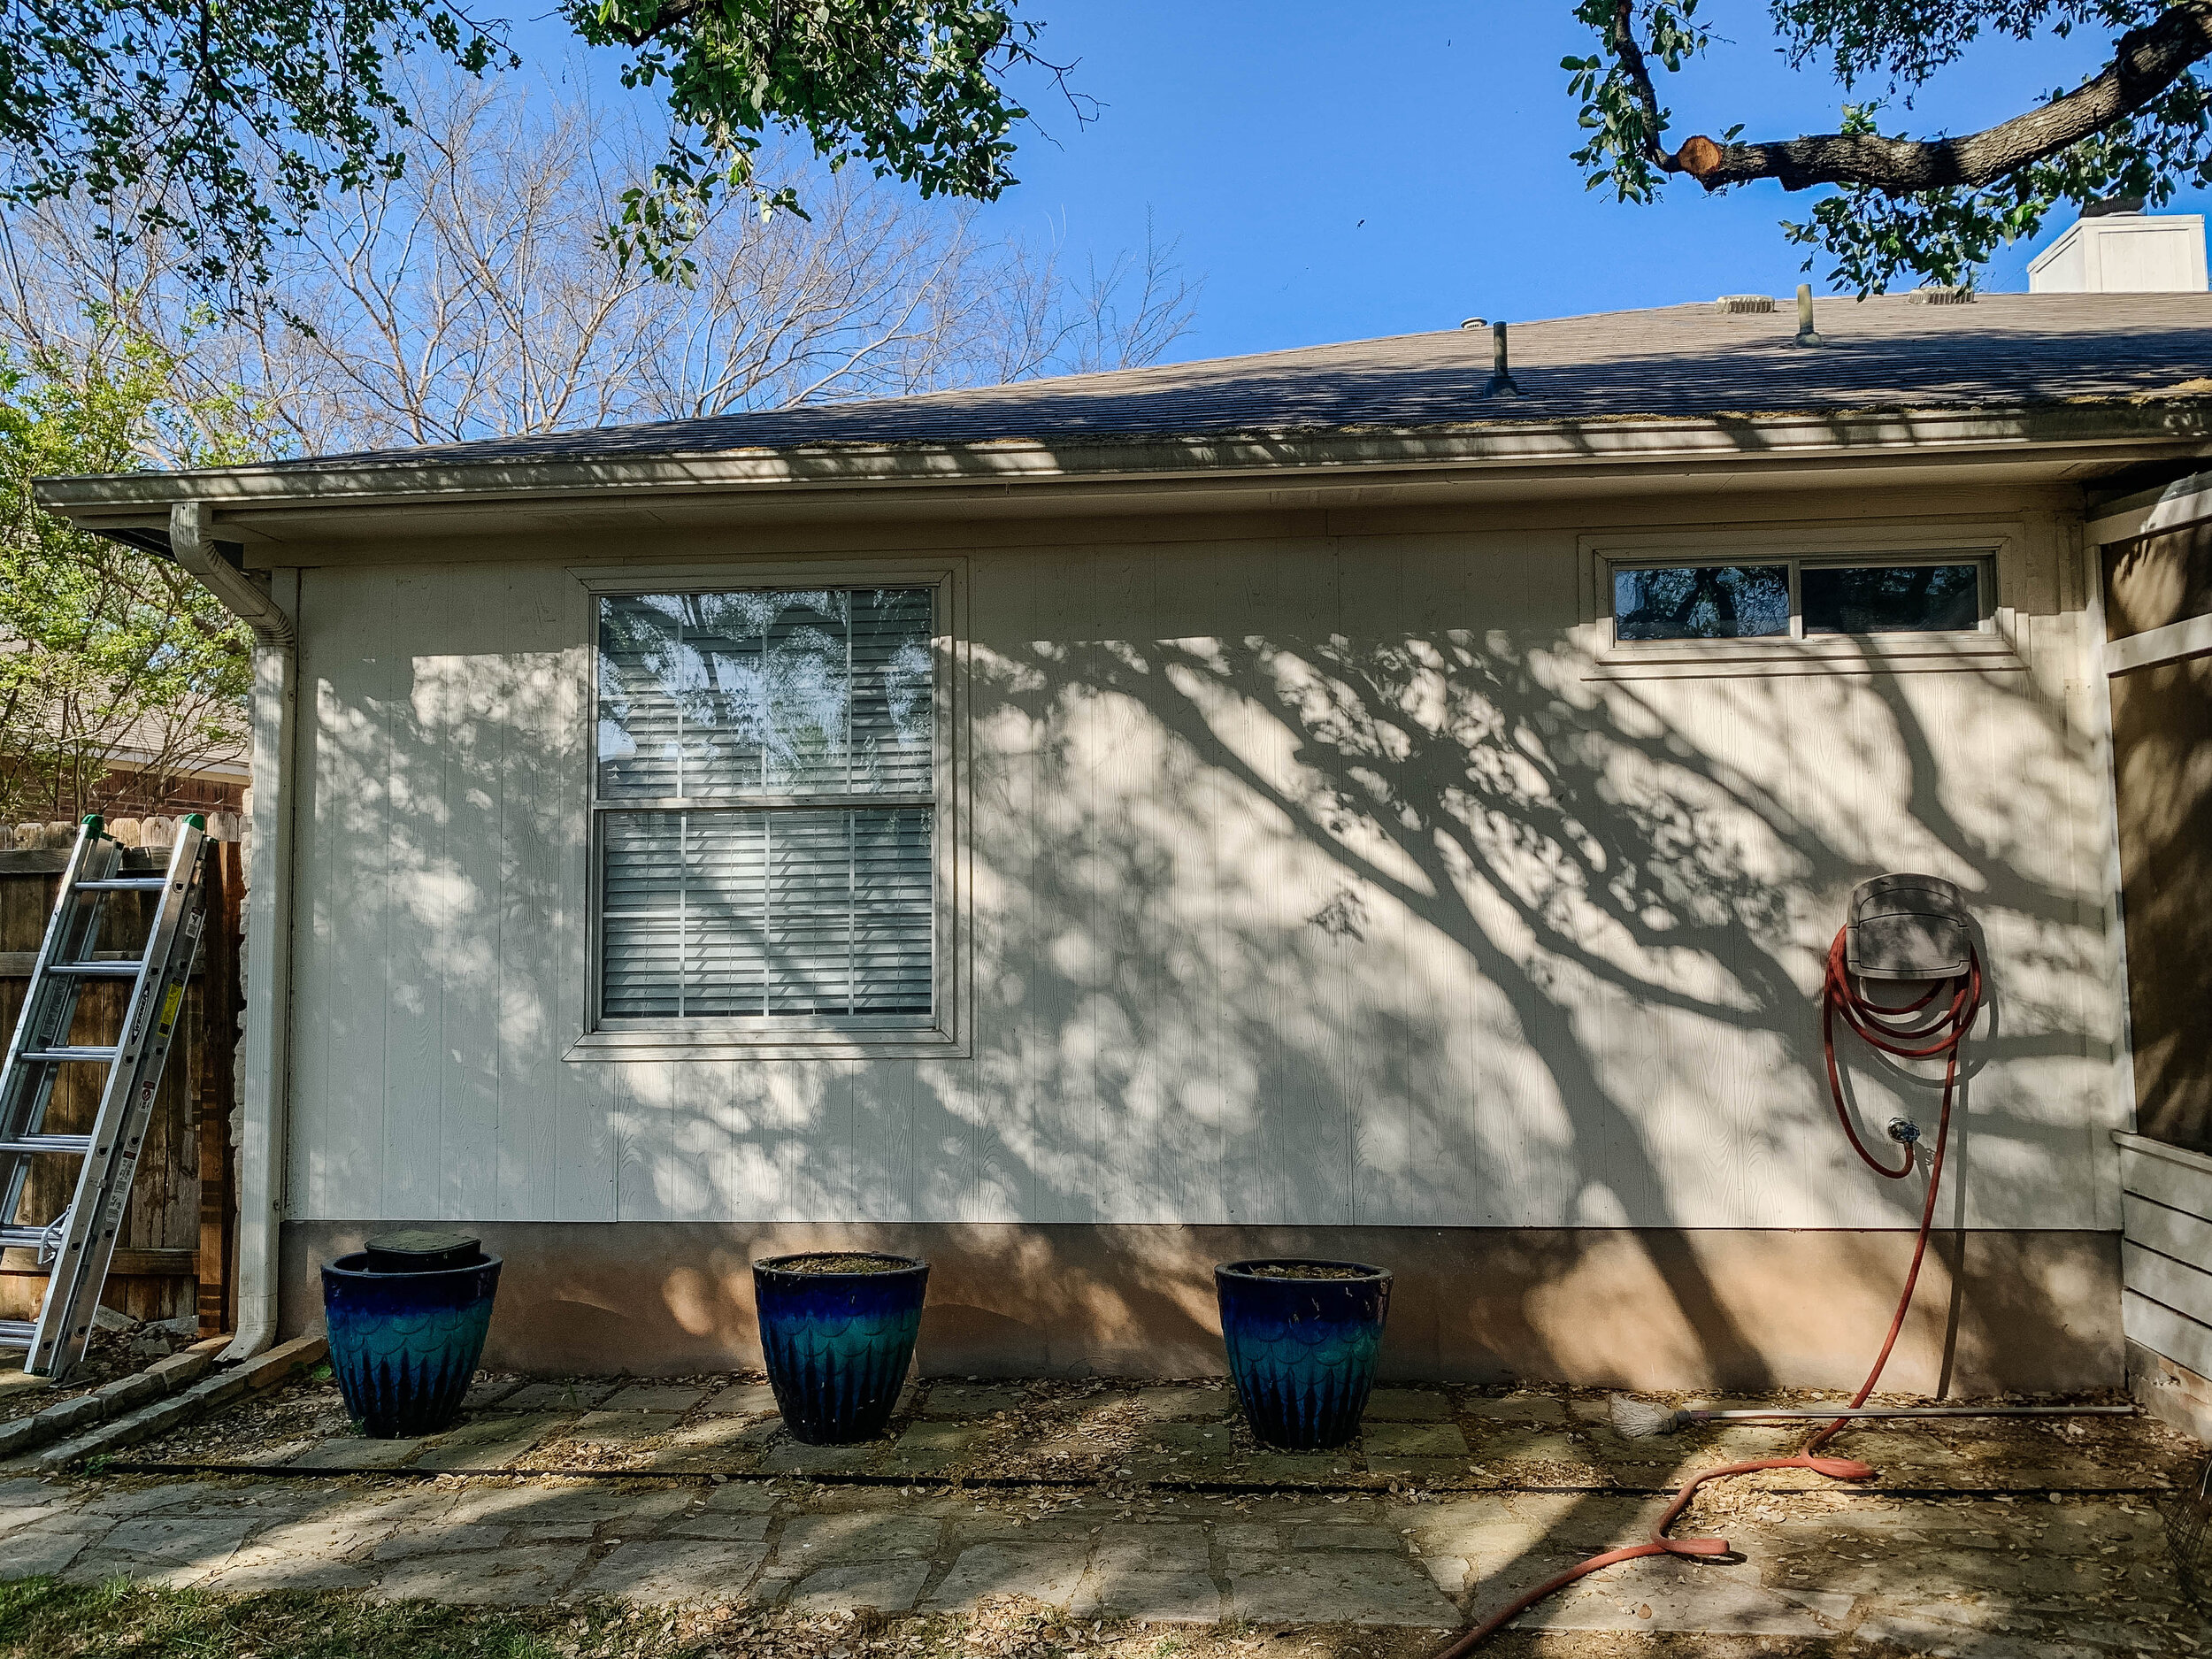
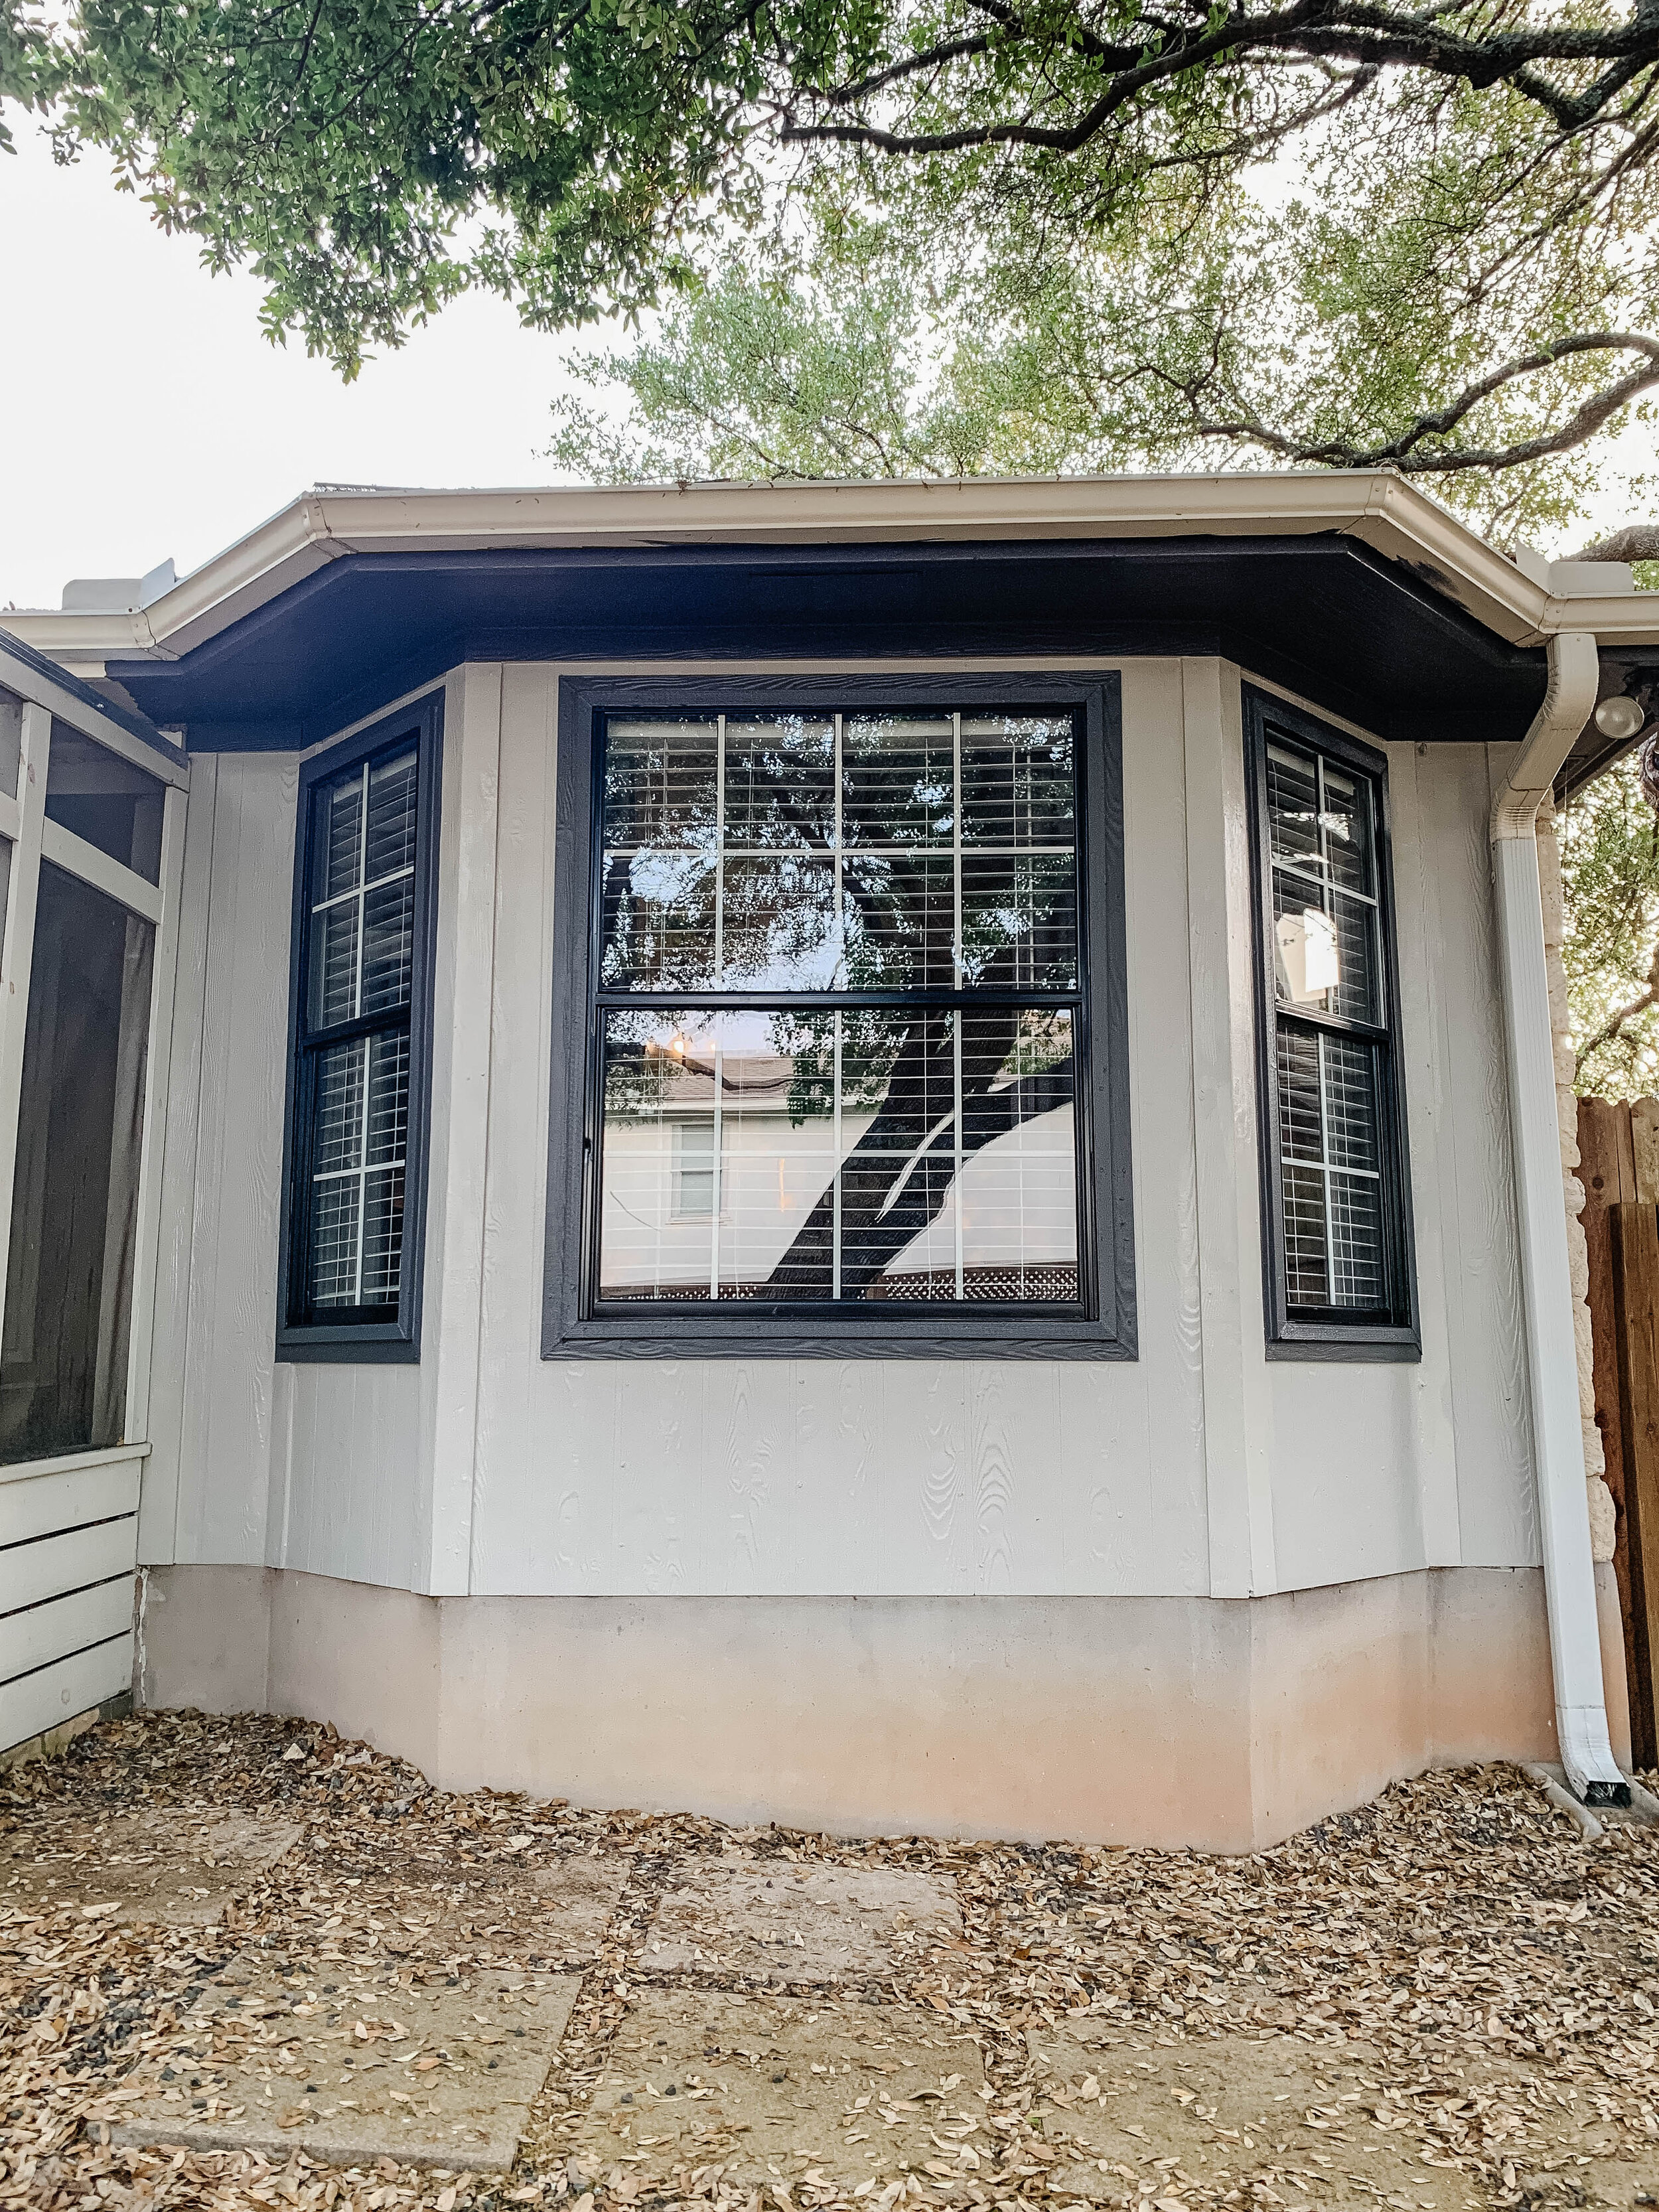
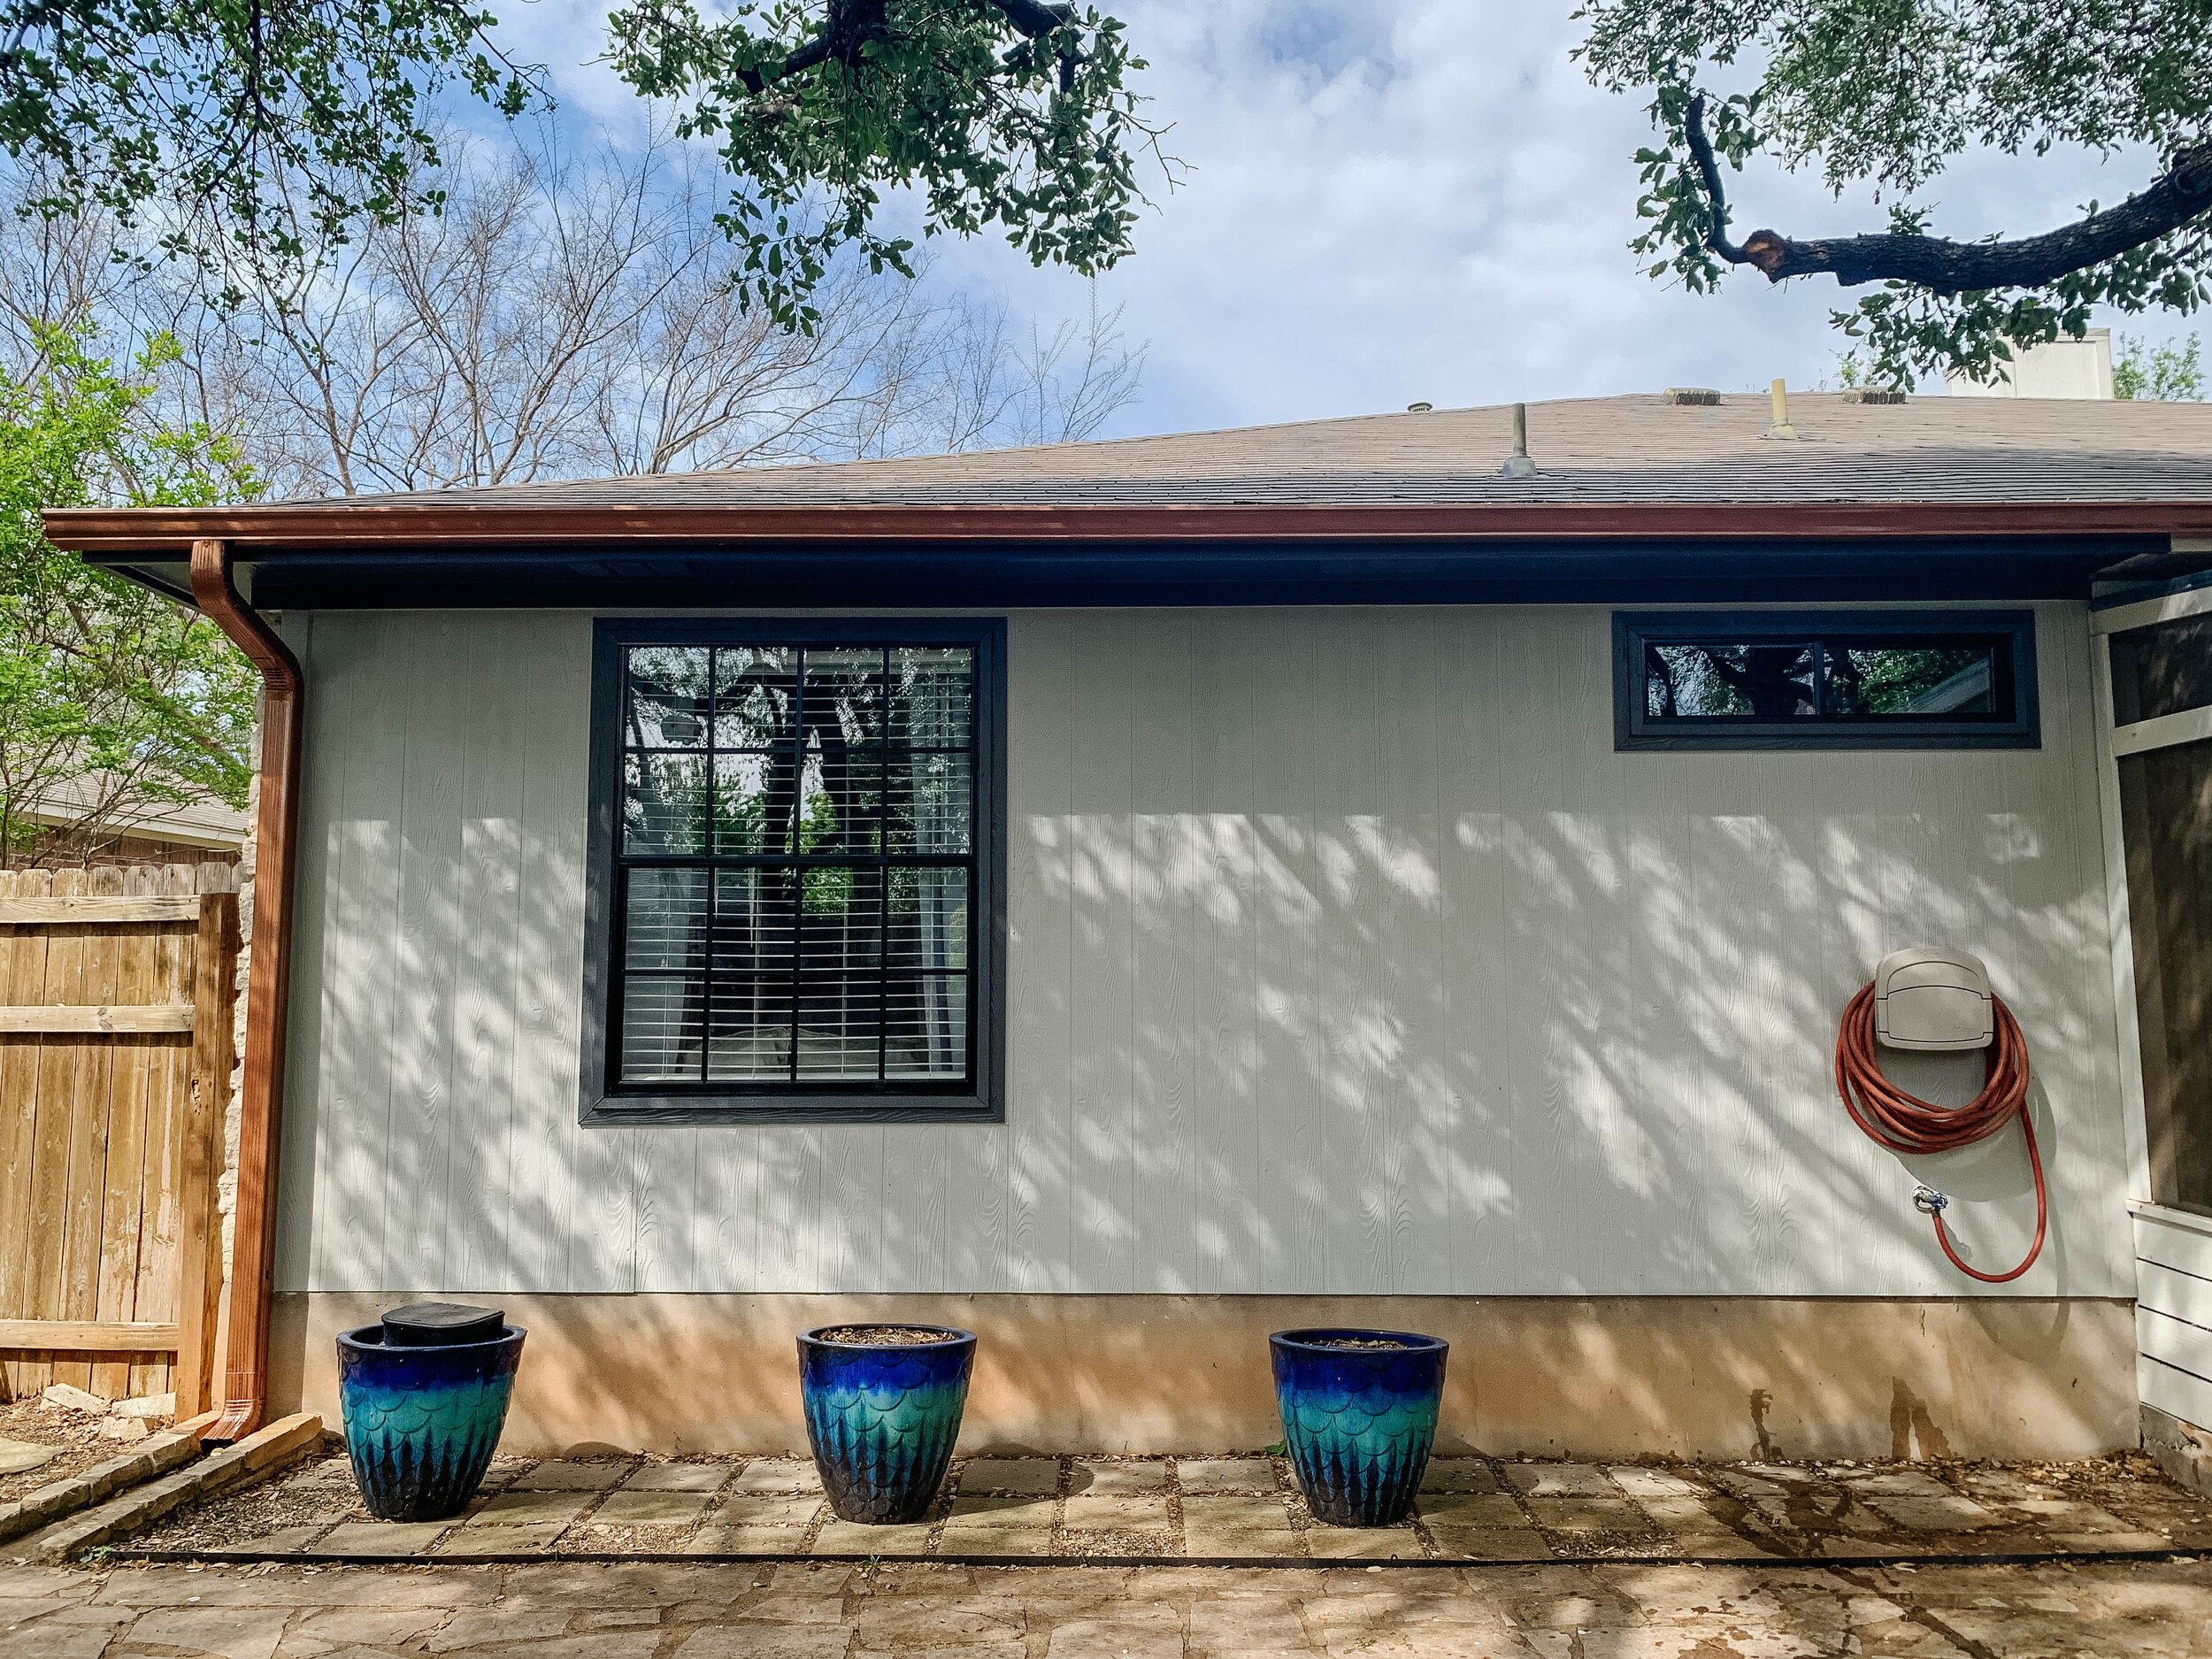
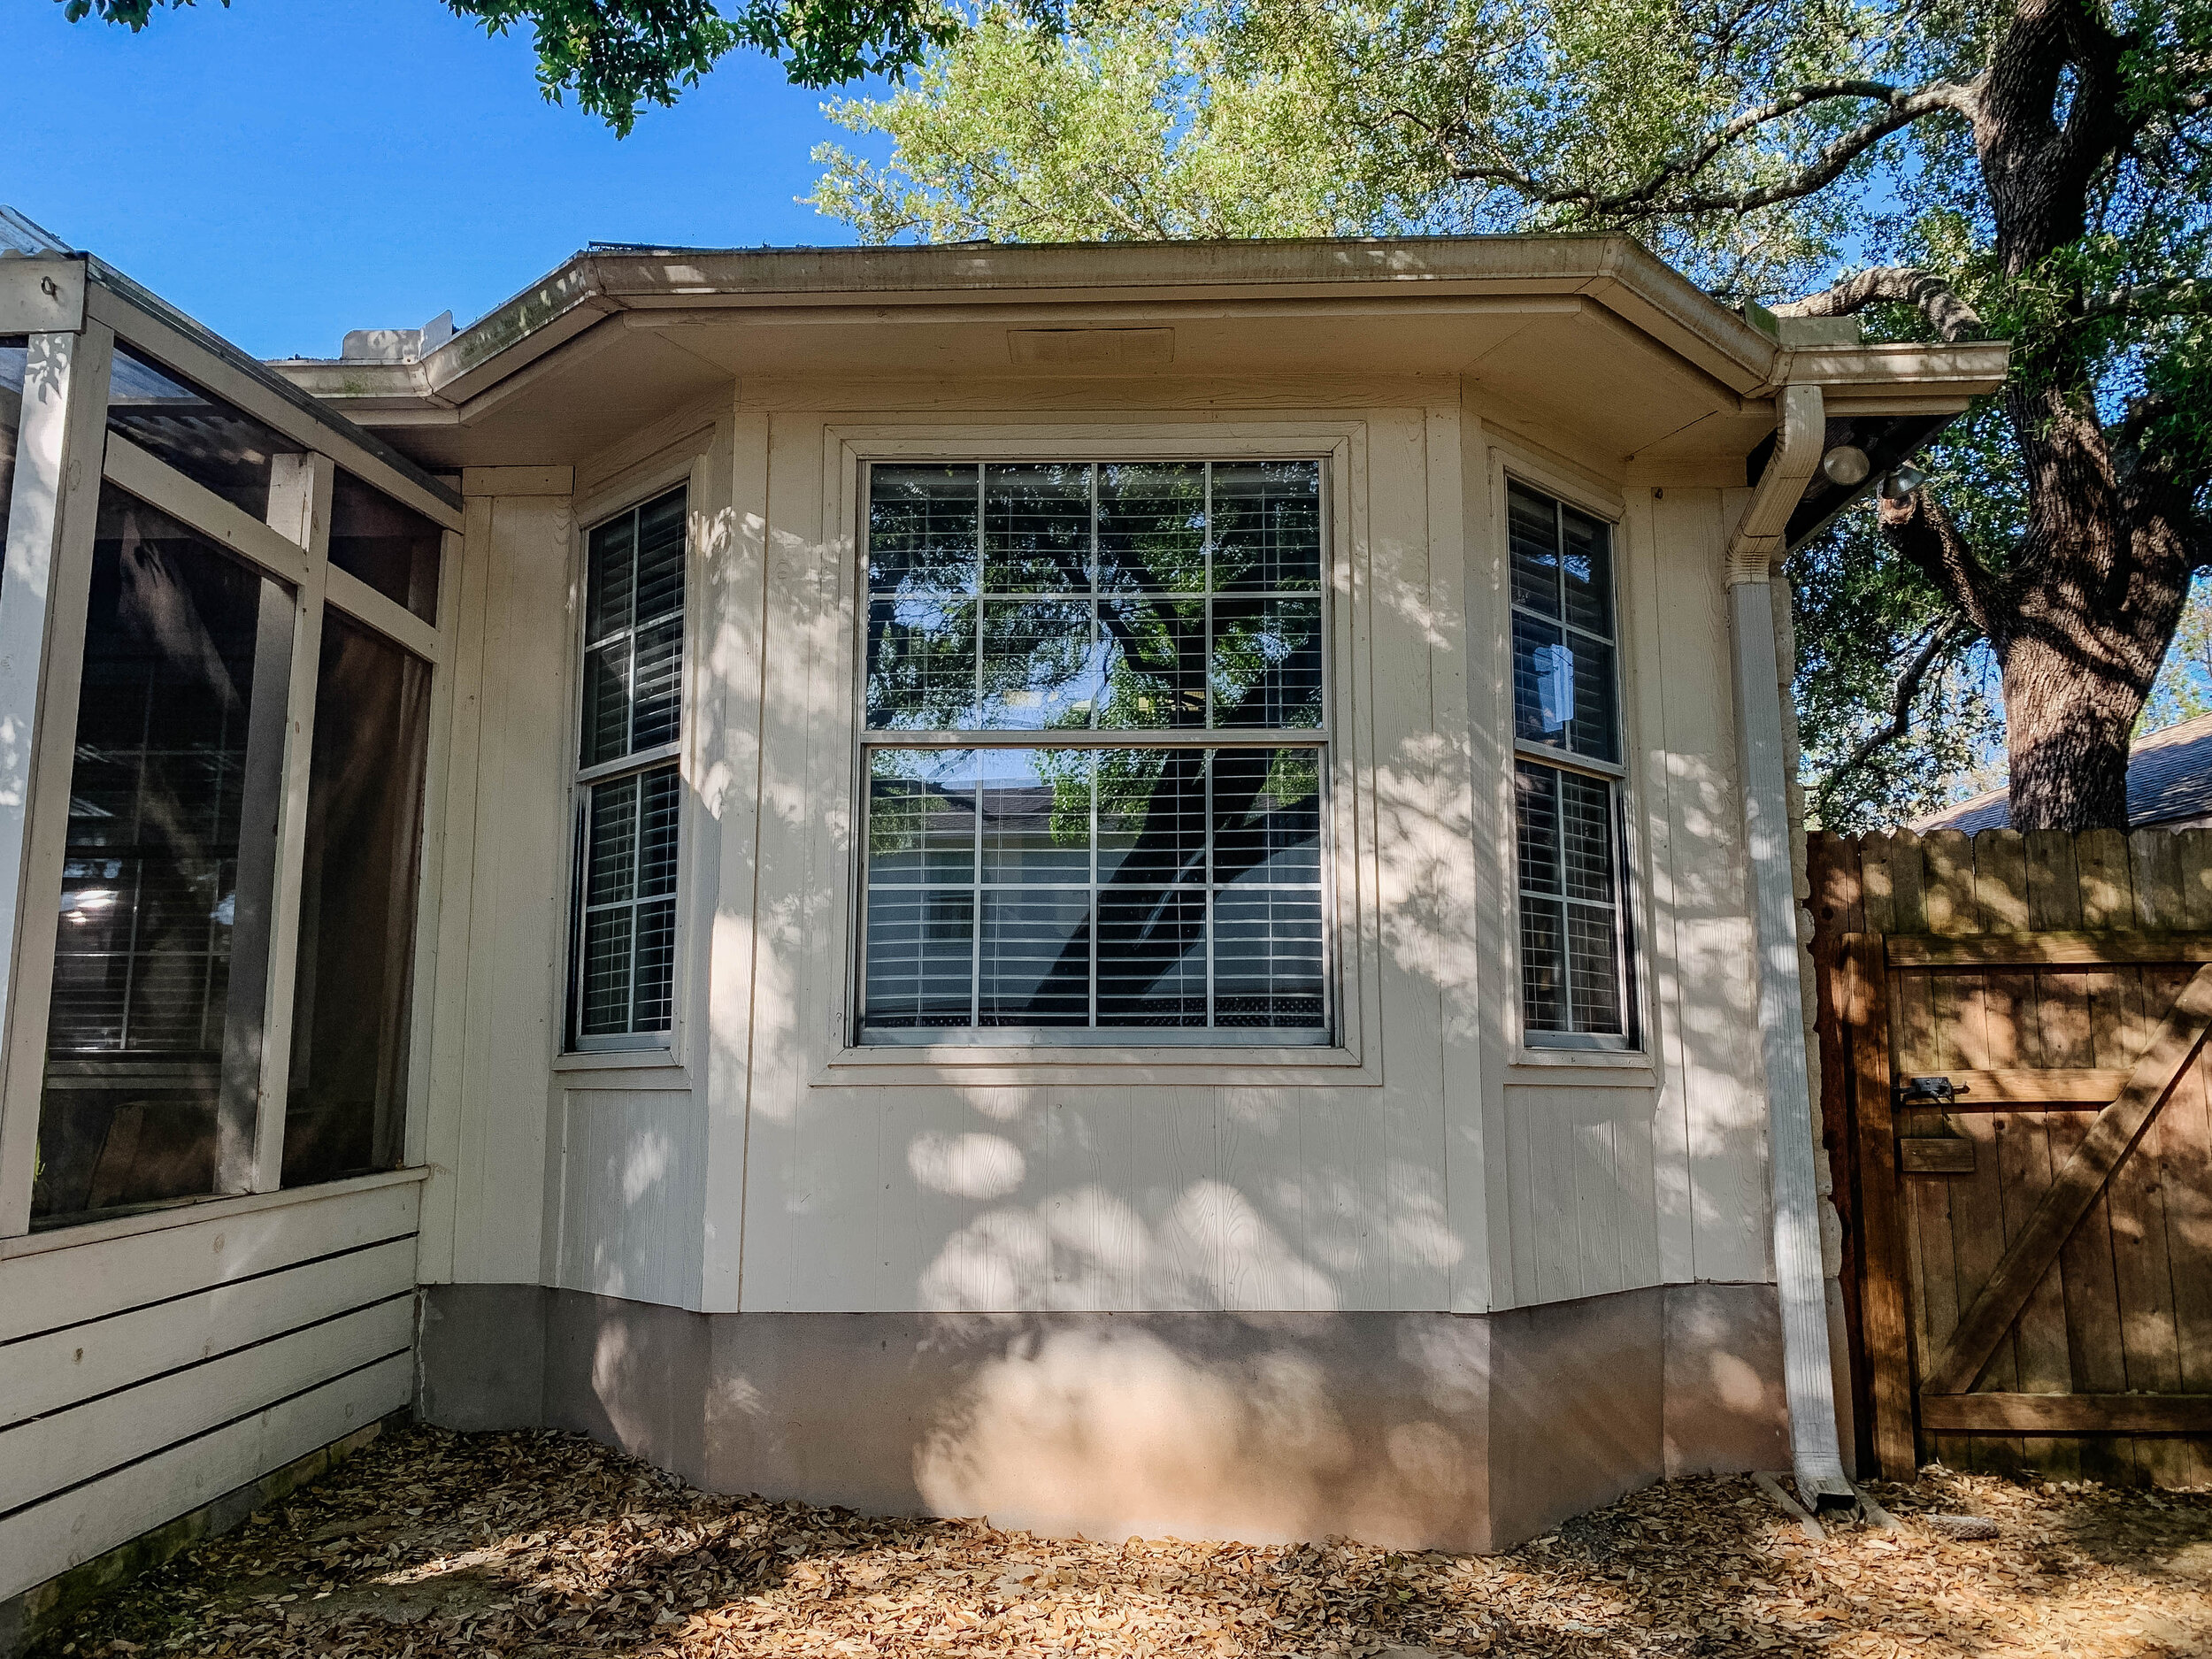
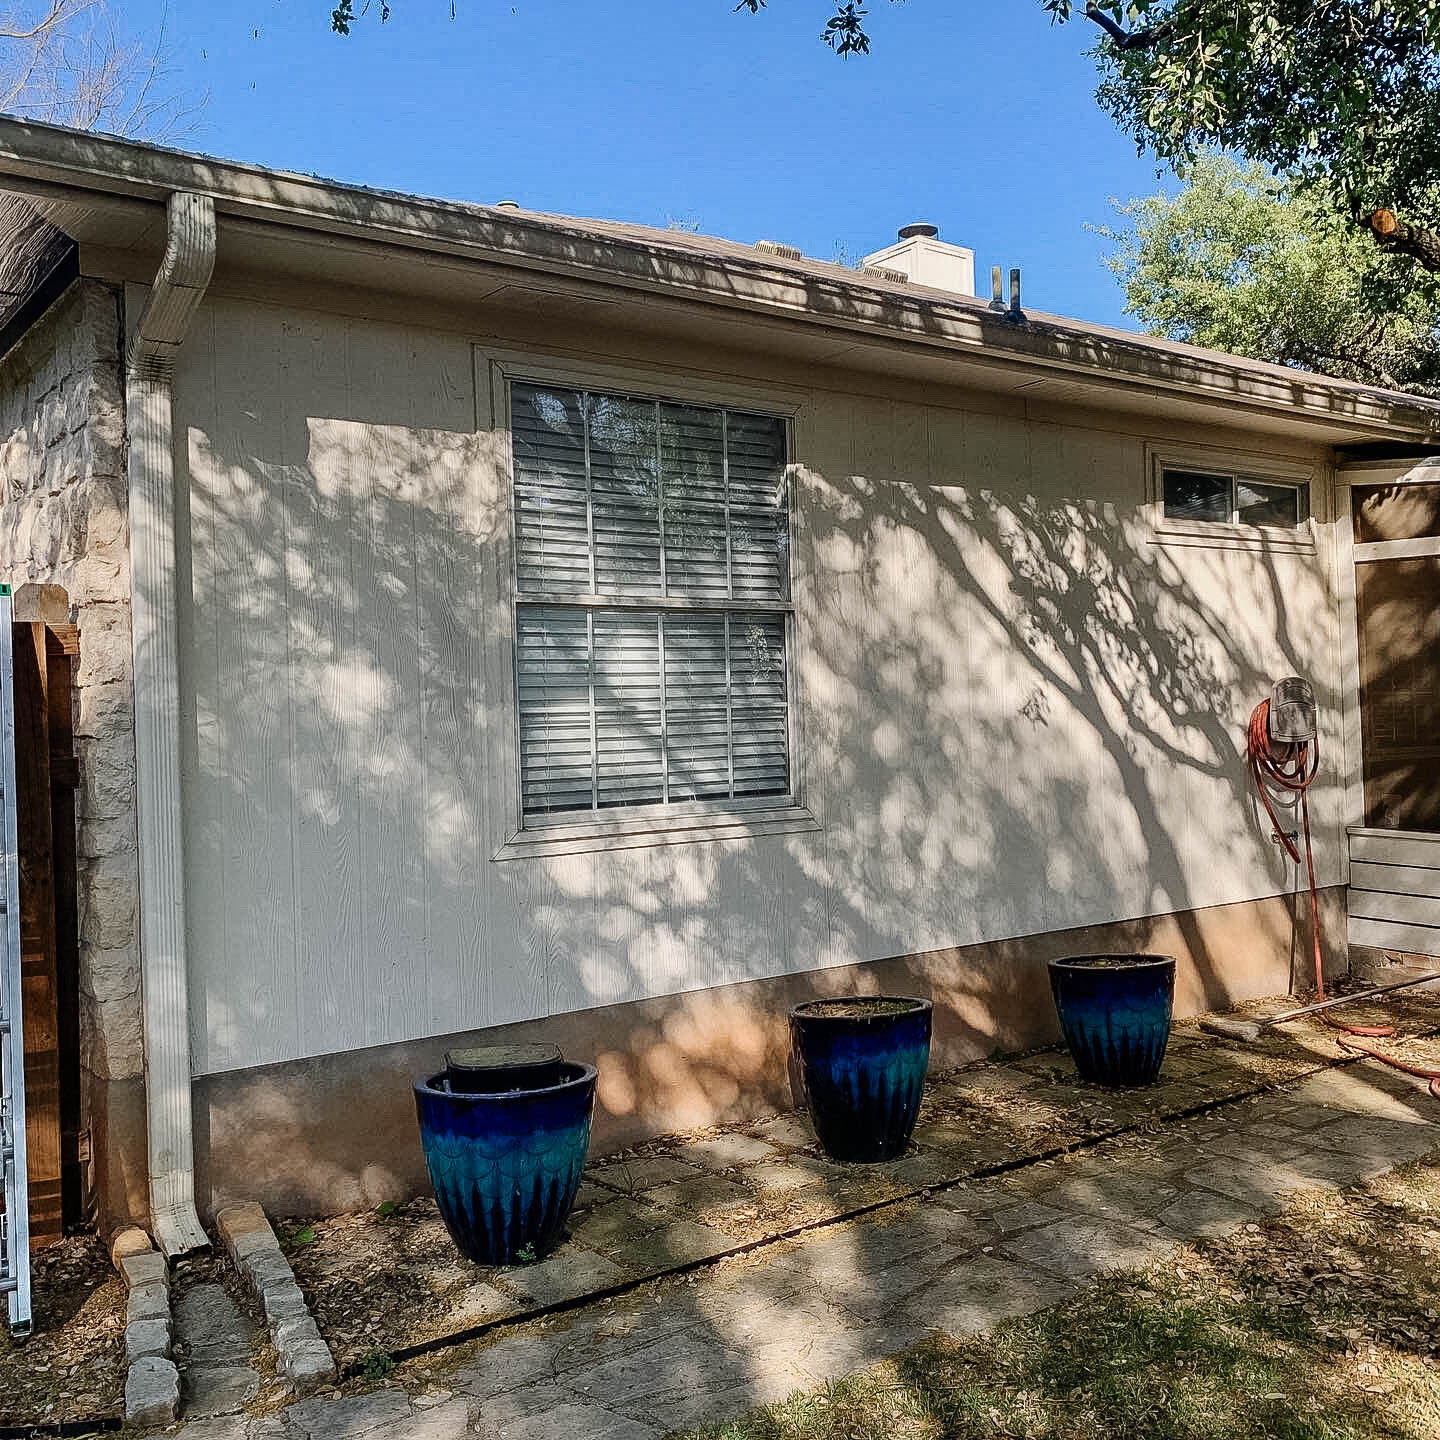
The before
Bland. Dirty. Vanilla.
And a total mismatch from the depth and contrast we’ve added to the front of the house.
The plan
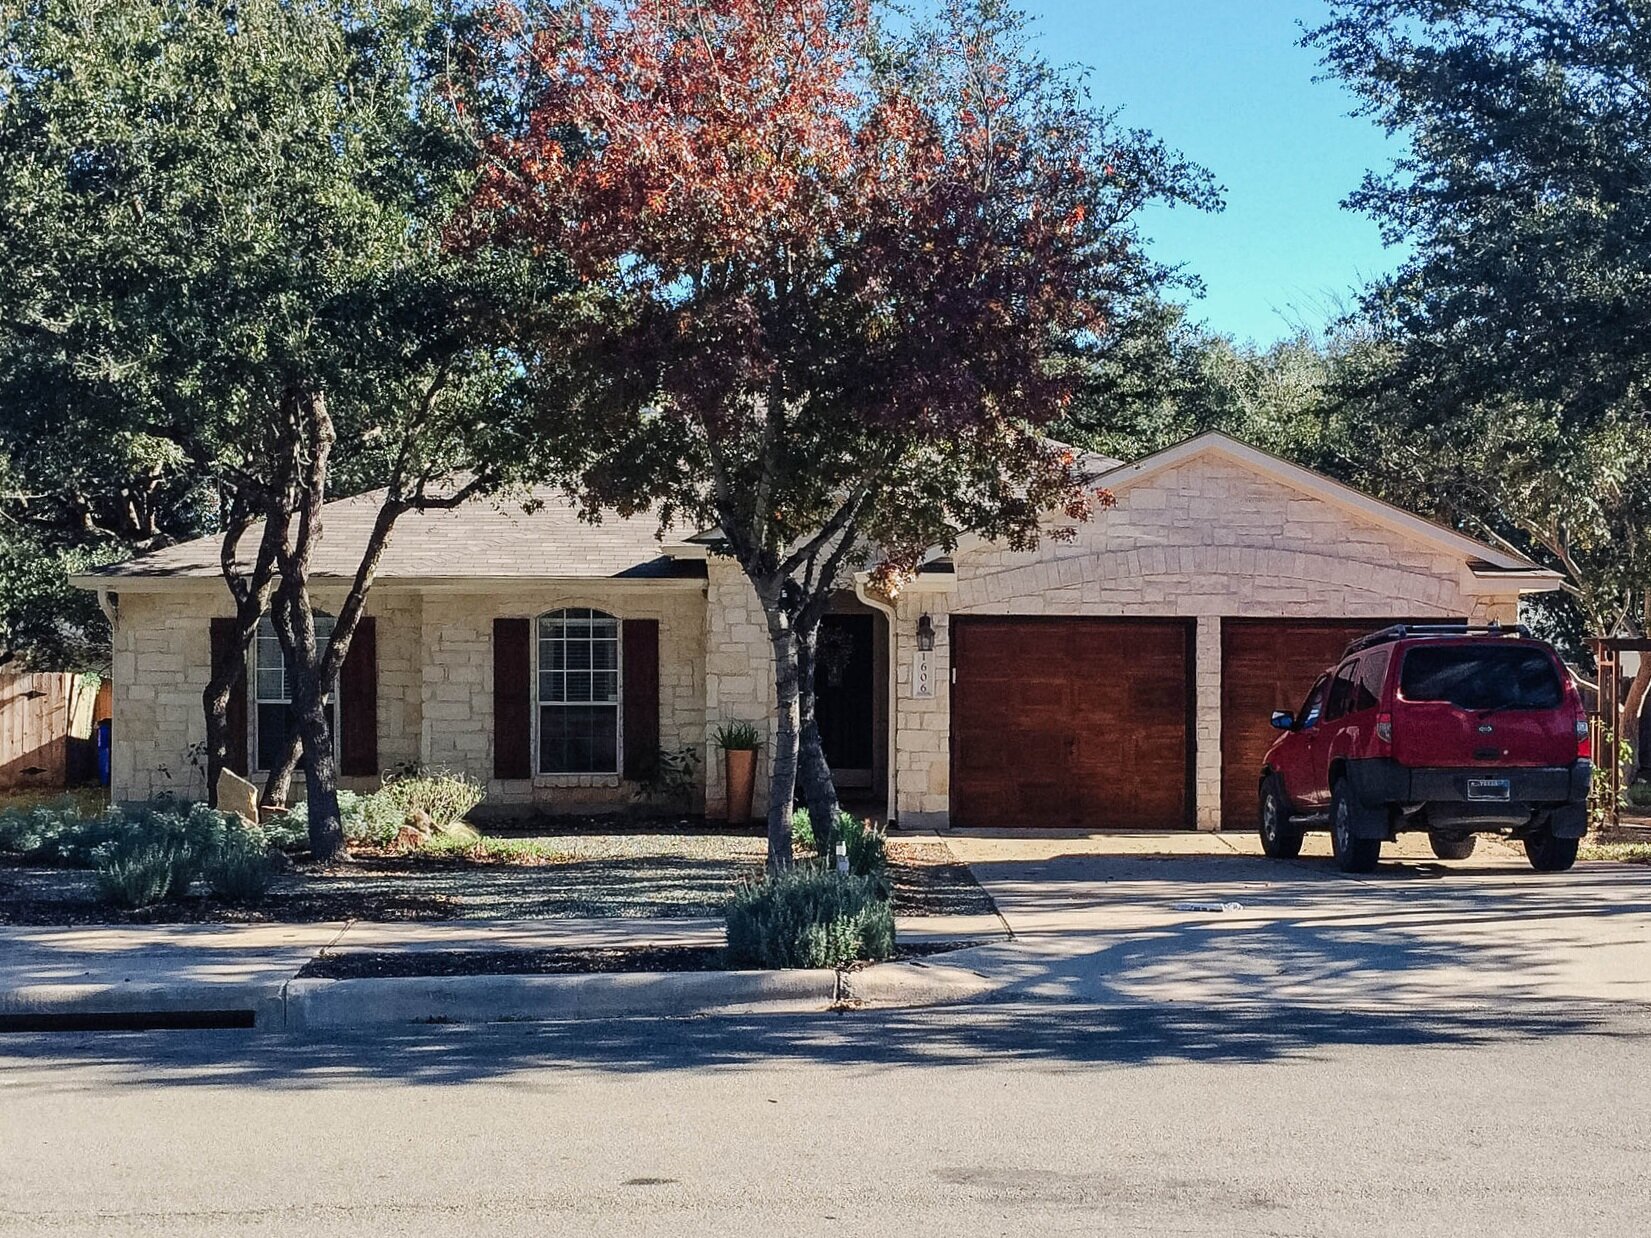
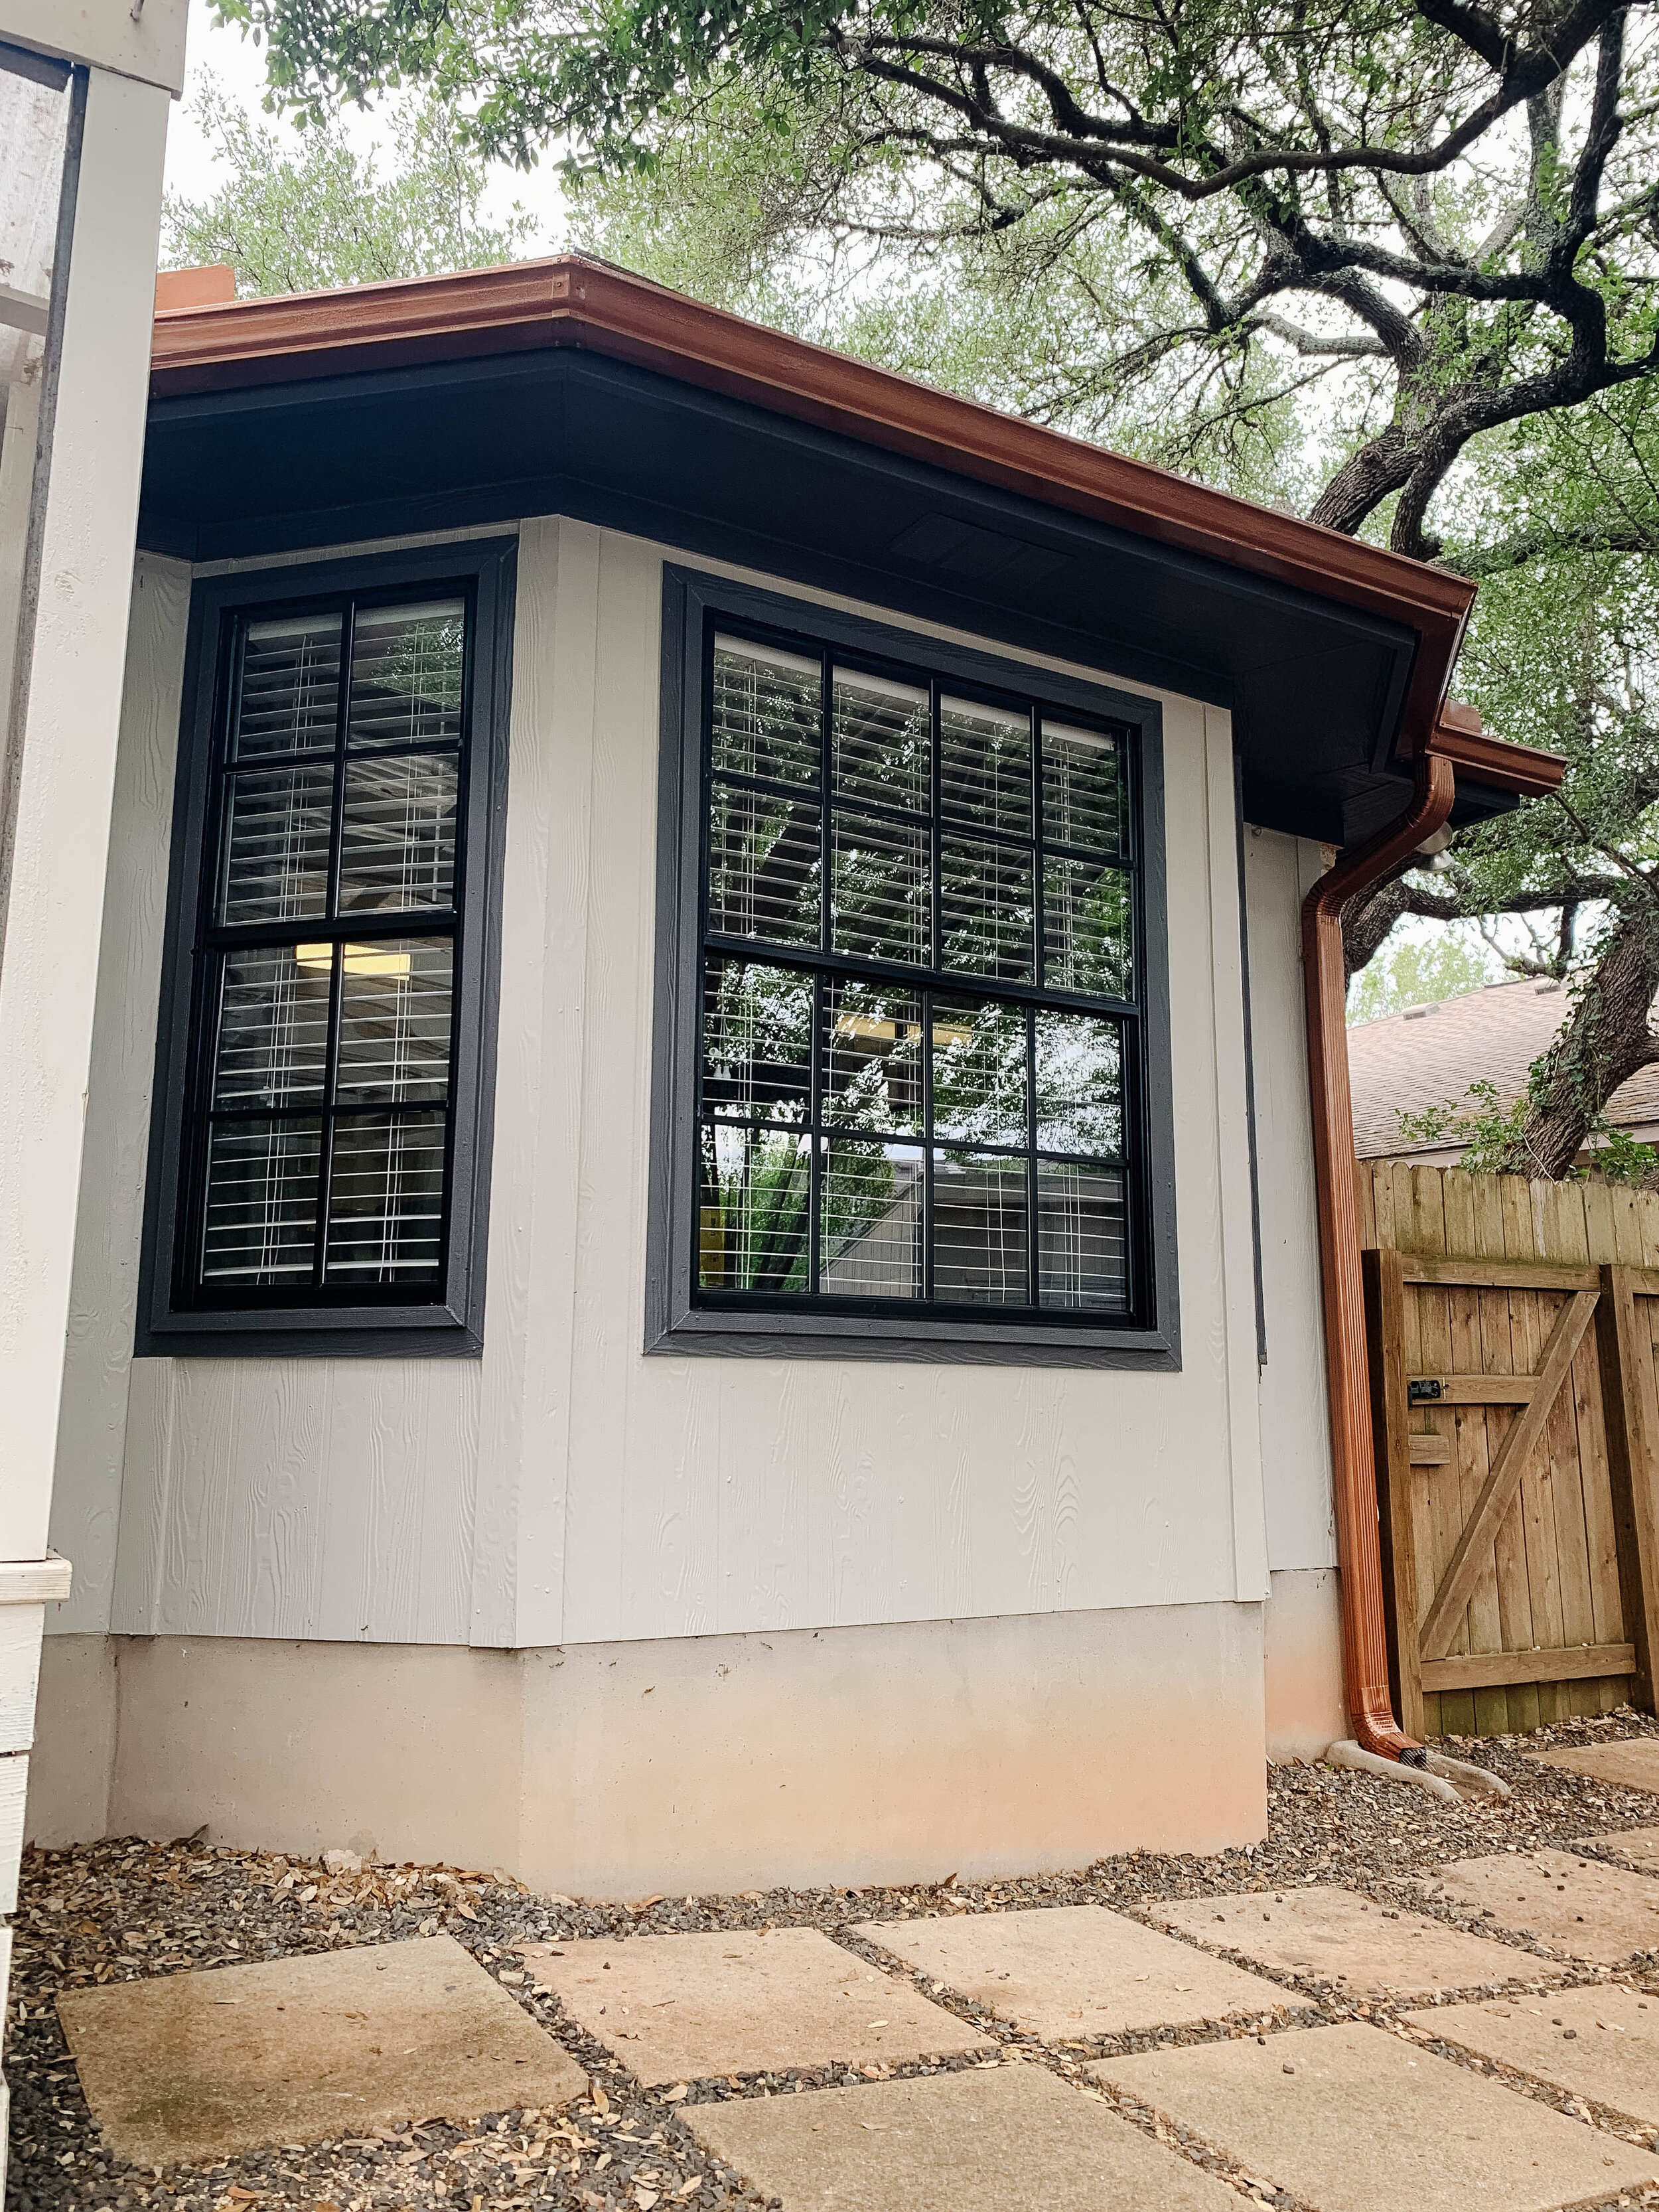
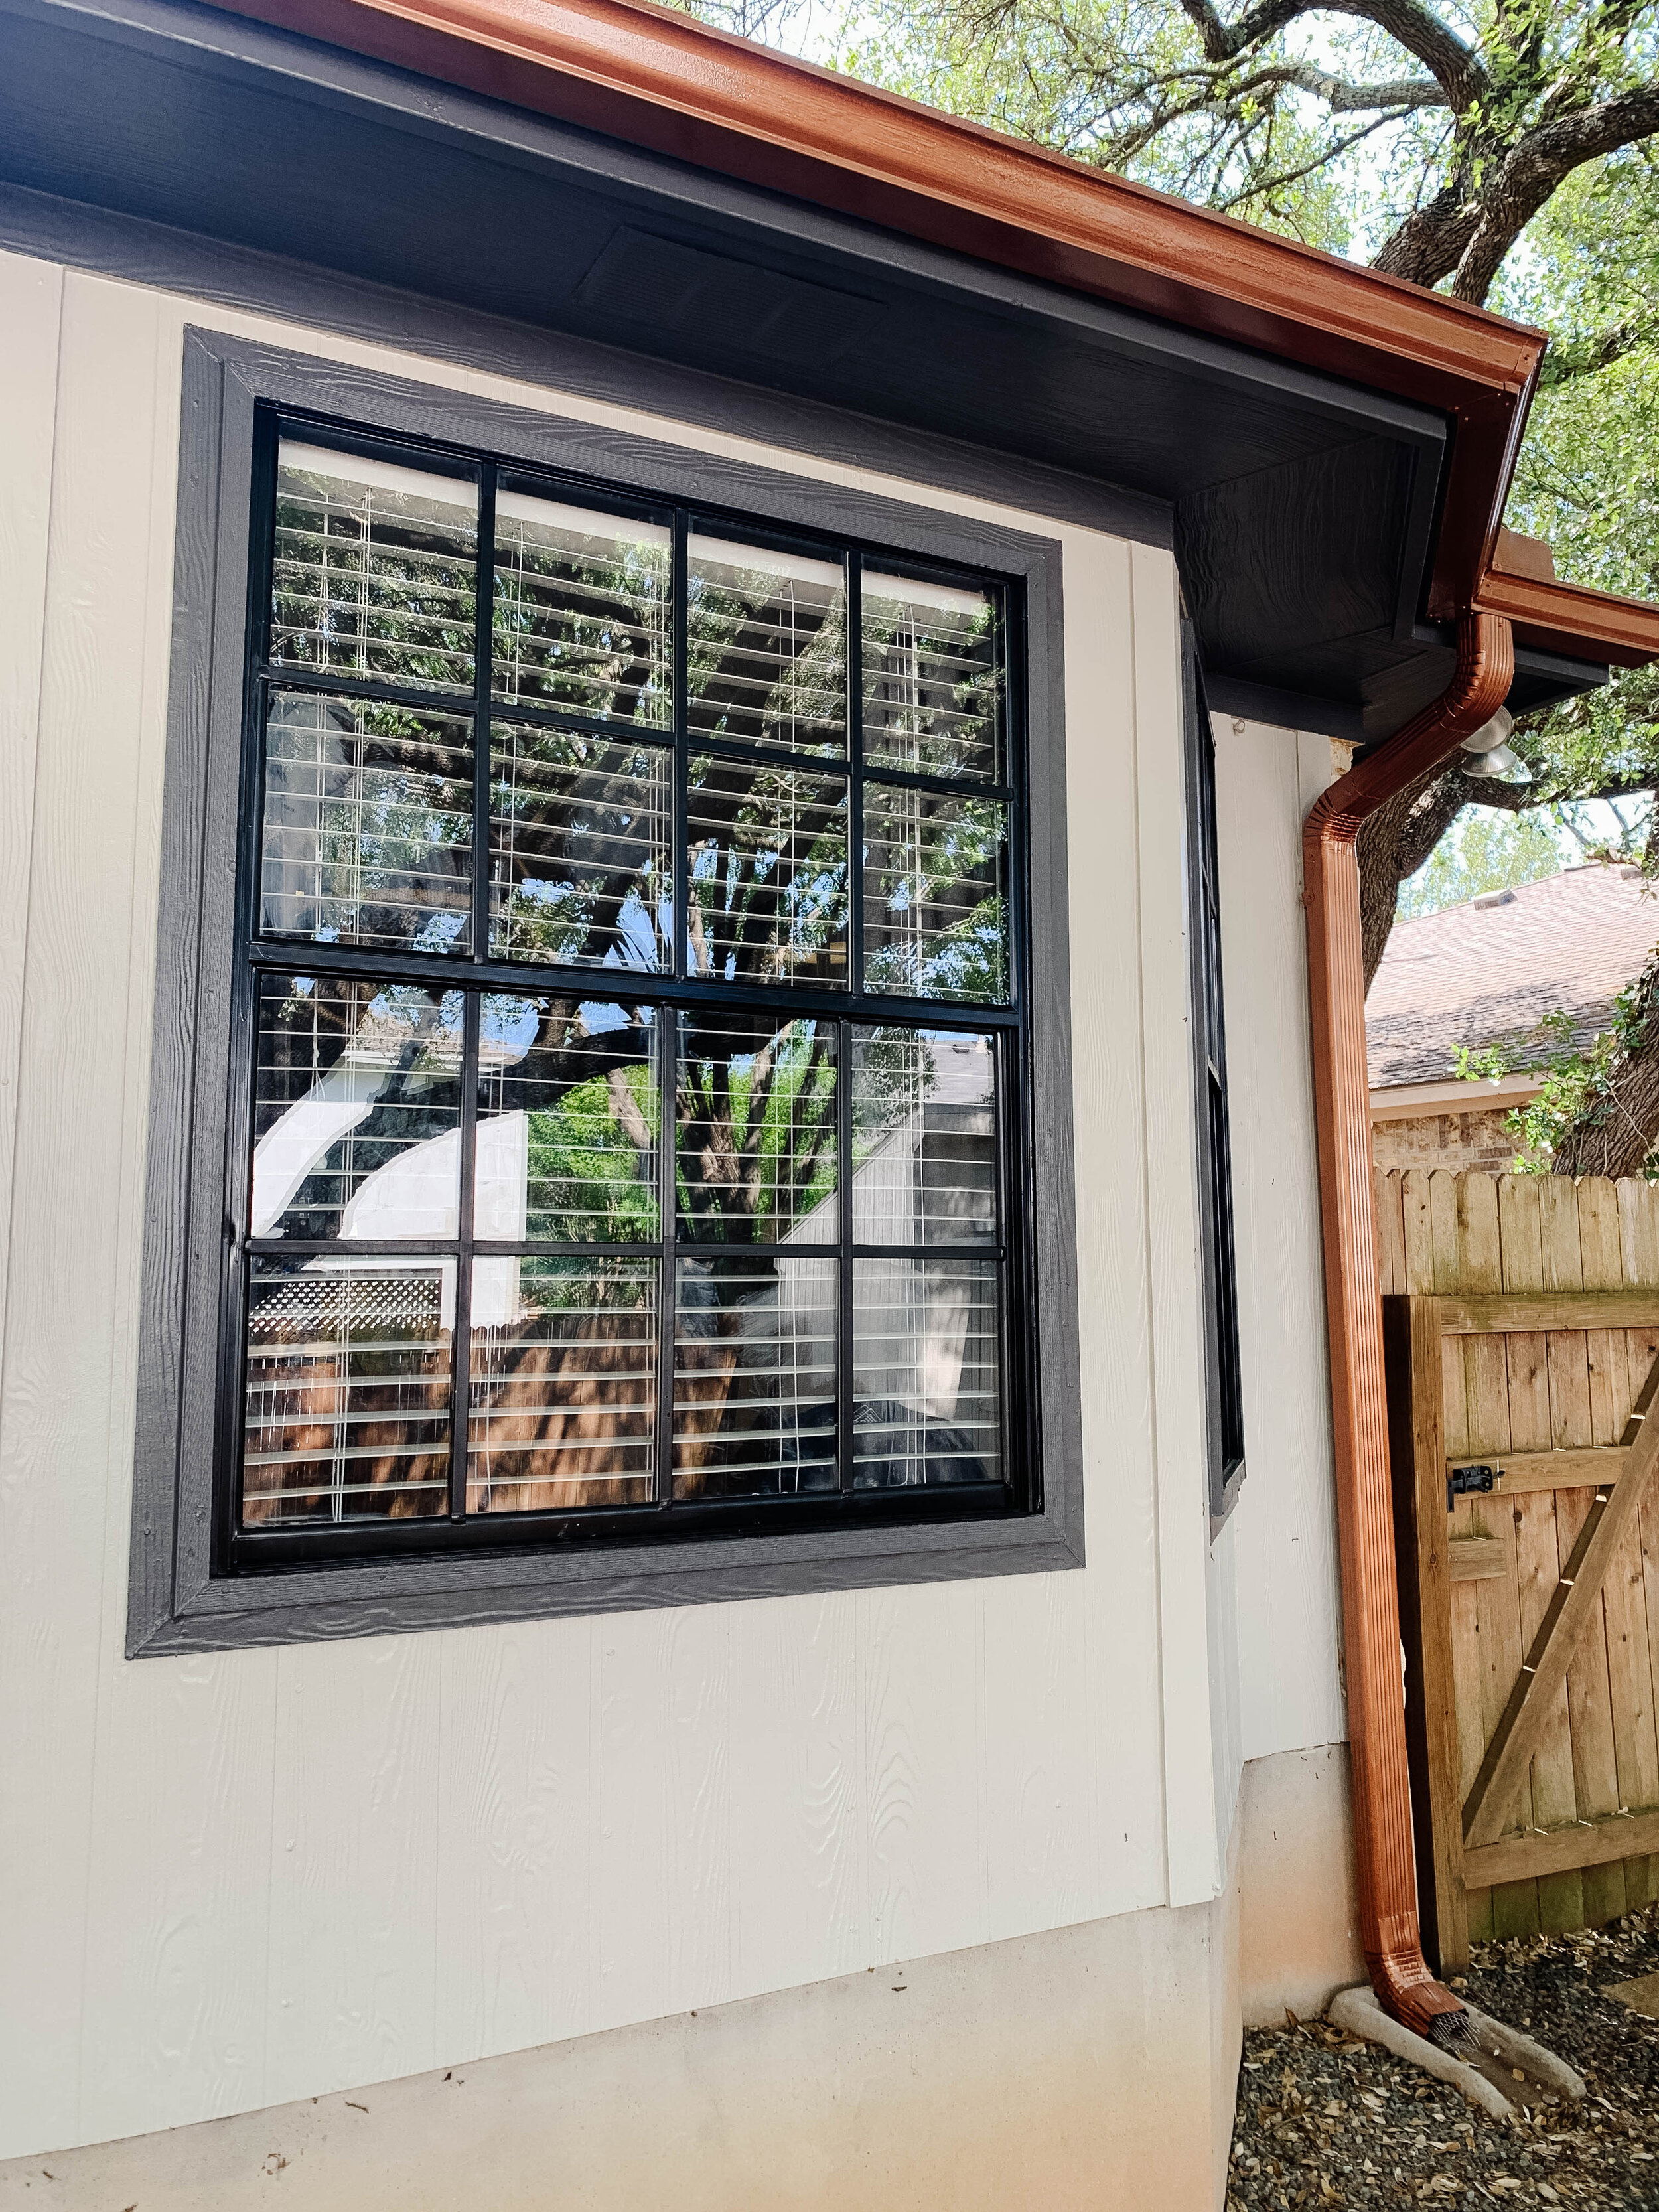
Makeover the 5 windows (one in our bedroom, one in our bathroom and three in the dining room) from white to black
Paint the Hardieplank siding (something we don’t have anywhere else on our 3-sided-limestone house)
Paint the trim
Paint the gutters
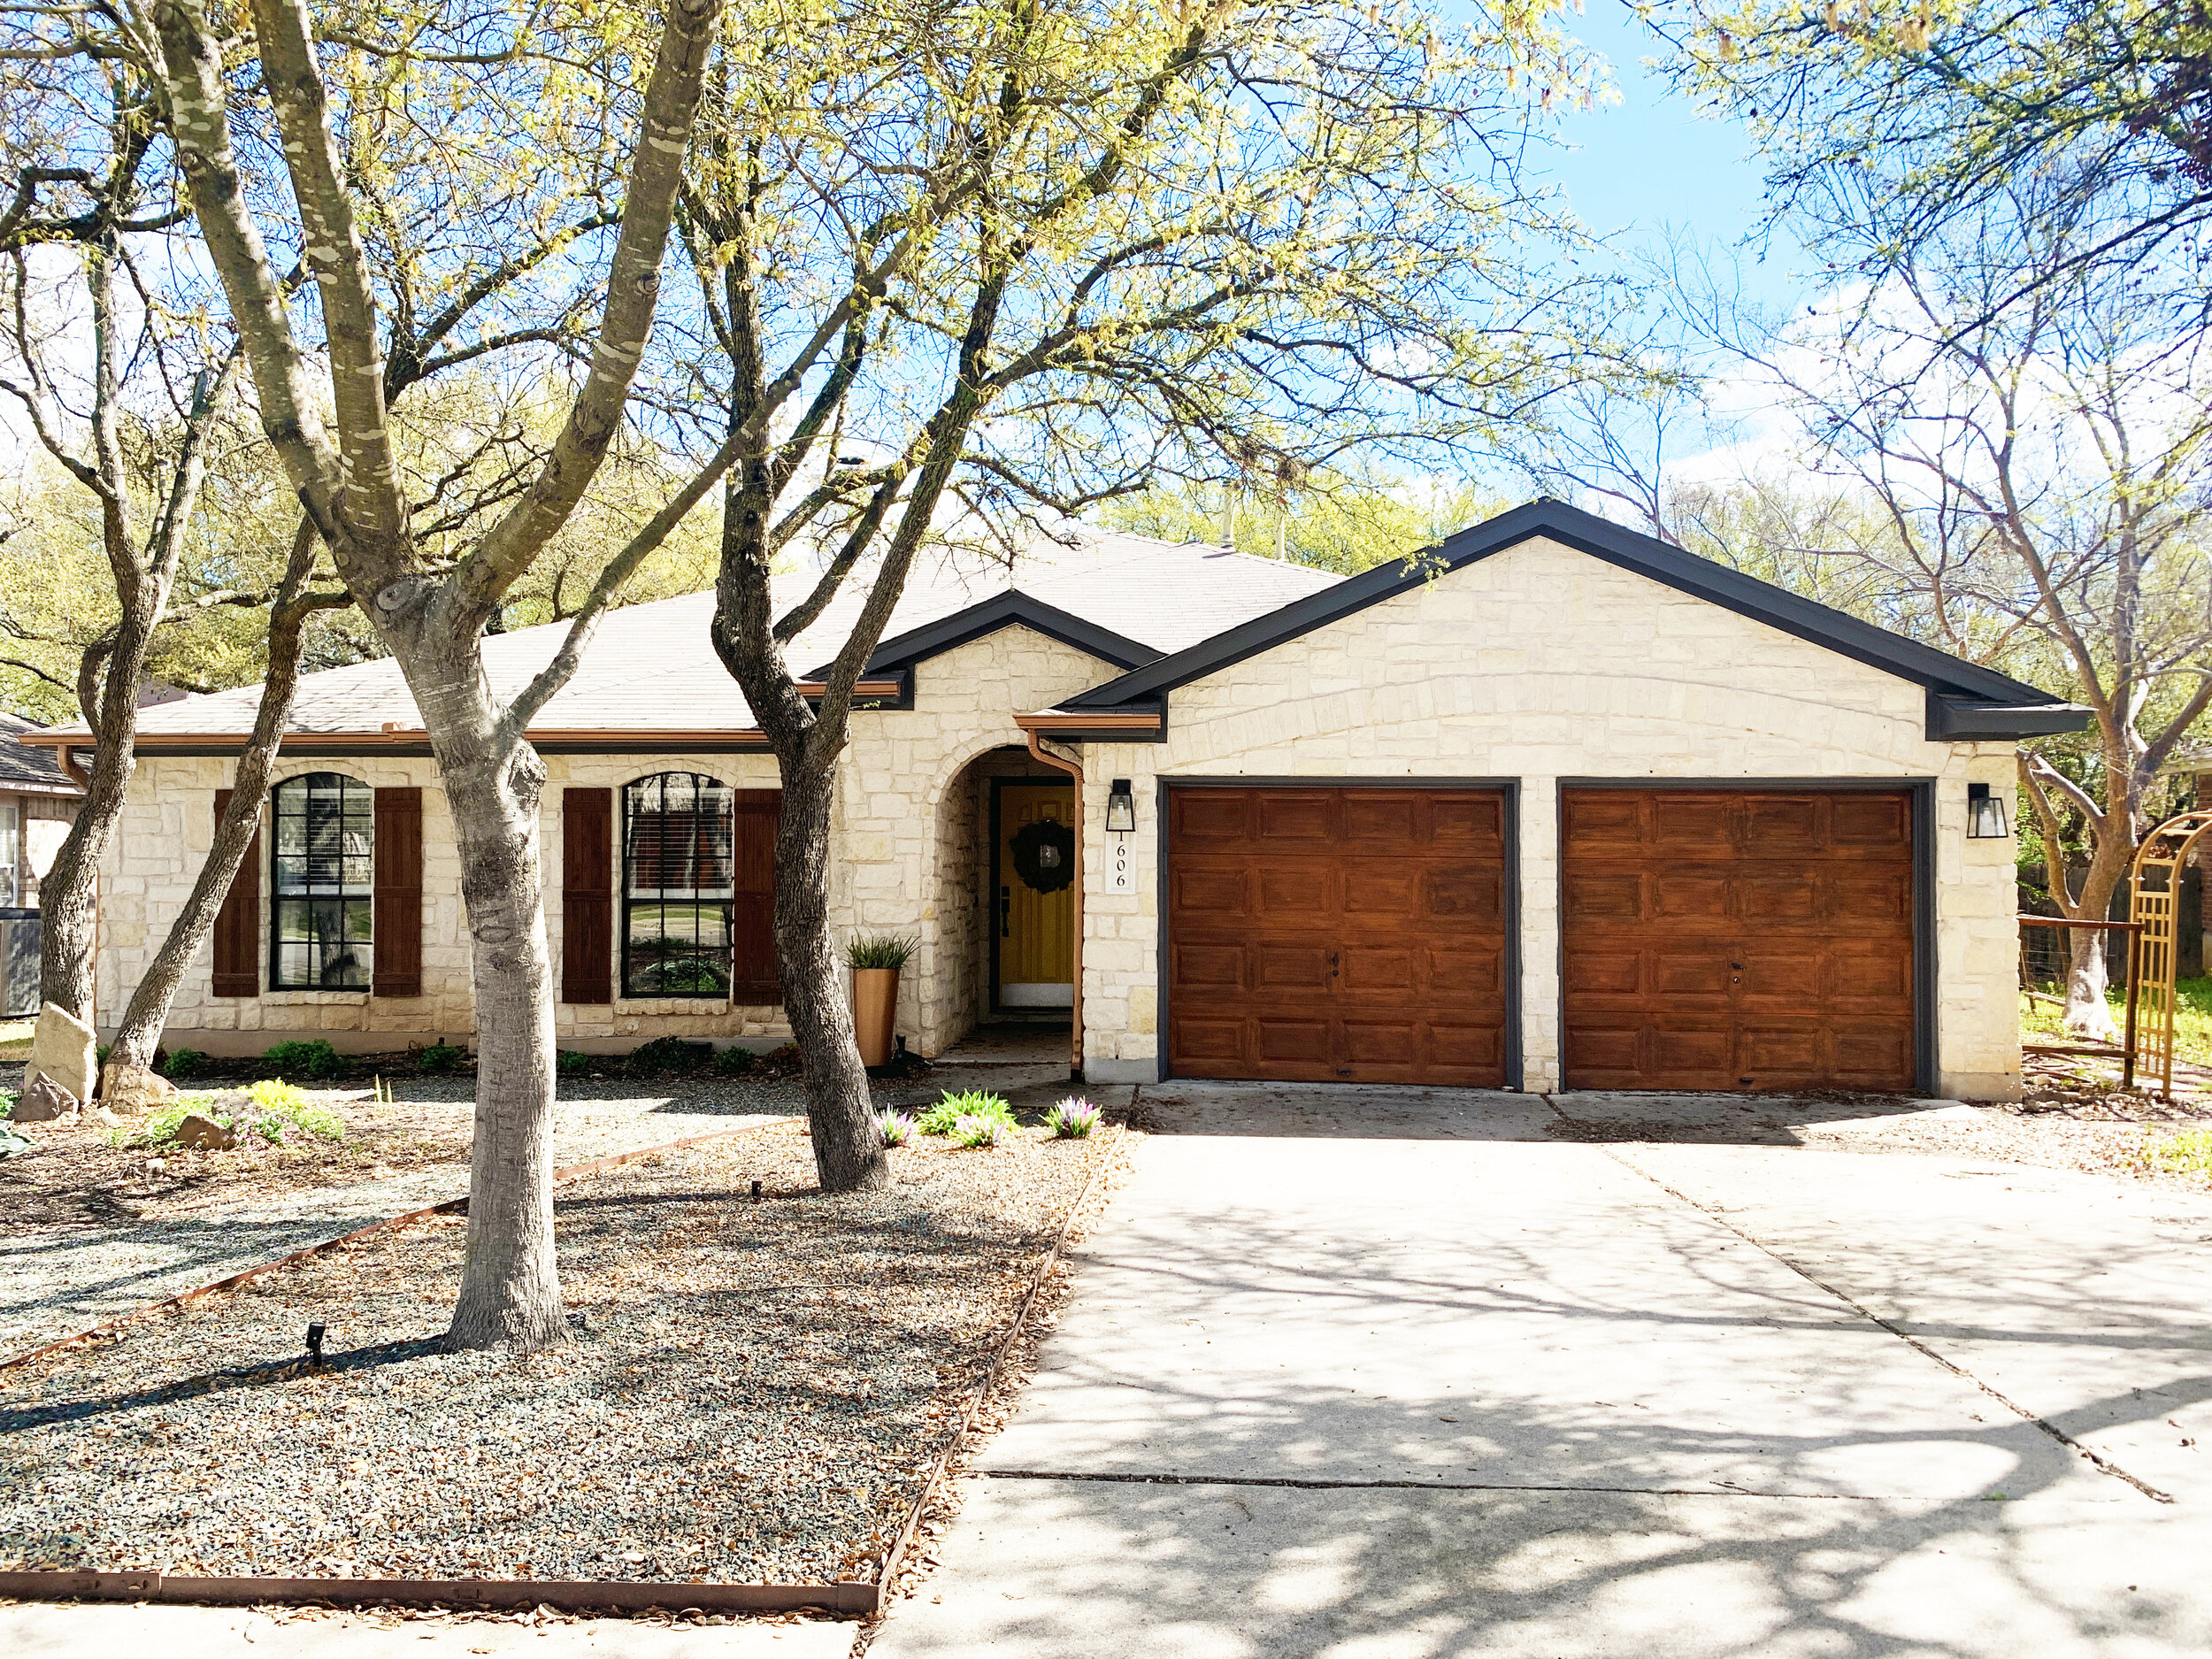
The colors
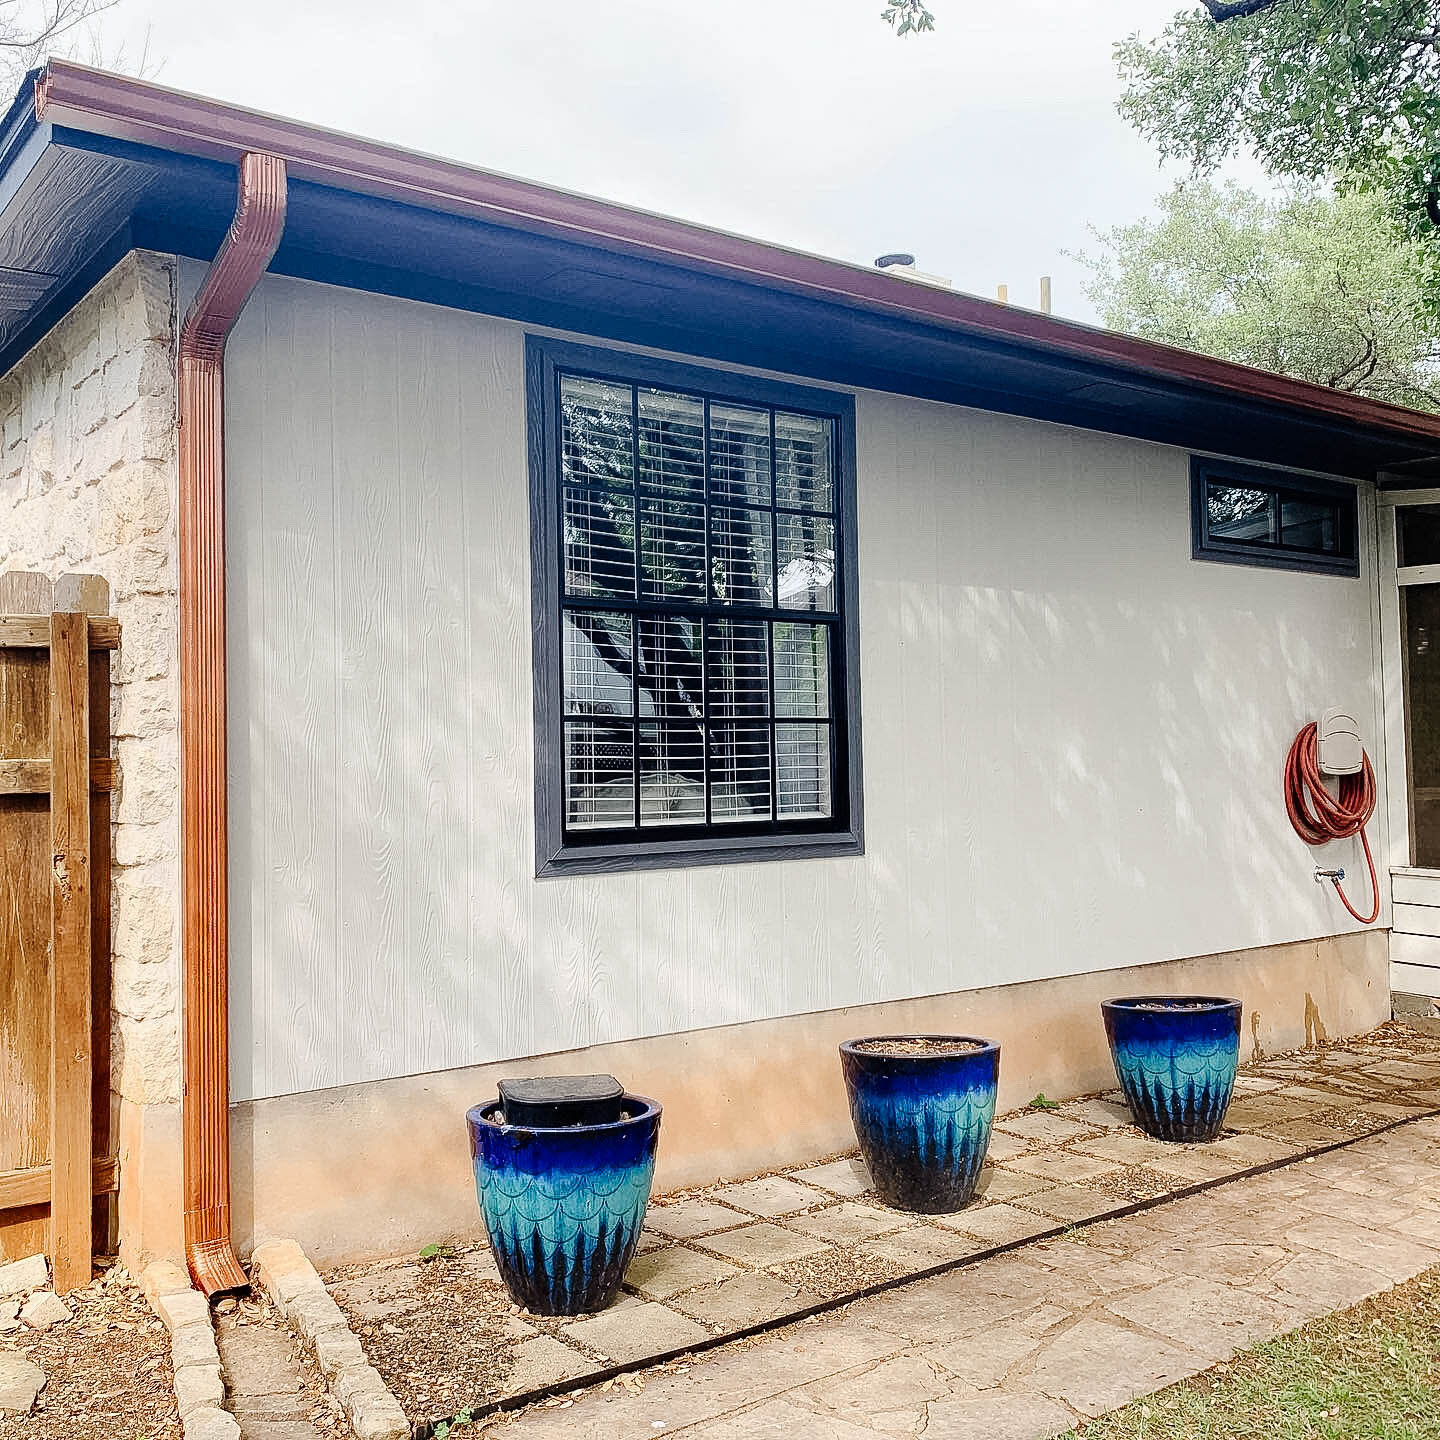
We’ll be using the same colors we used on the front and sides of the house – a rich charcoal trim, copper gutters and black windows – plus a new color for the siding that we only have on the back of the house.
Sherwin Williams’ Mindful Gray is a beautiful soft warm-tinted gray that we love and use inside our house for our baseboards and door trim. It’s a really nice medium tone that bridges the gap between our creamy limestone and dark charcoal trim and keeps the blue-tinted Peppercorn charcoal color from feeling too cold and too modern for the style of our home.

The materials
Windows
For the full list and detailed window how-to, see this post
Siding
Trim
Gutters
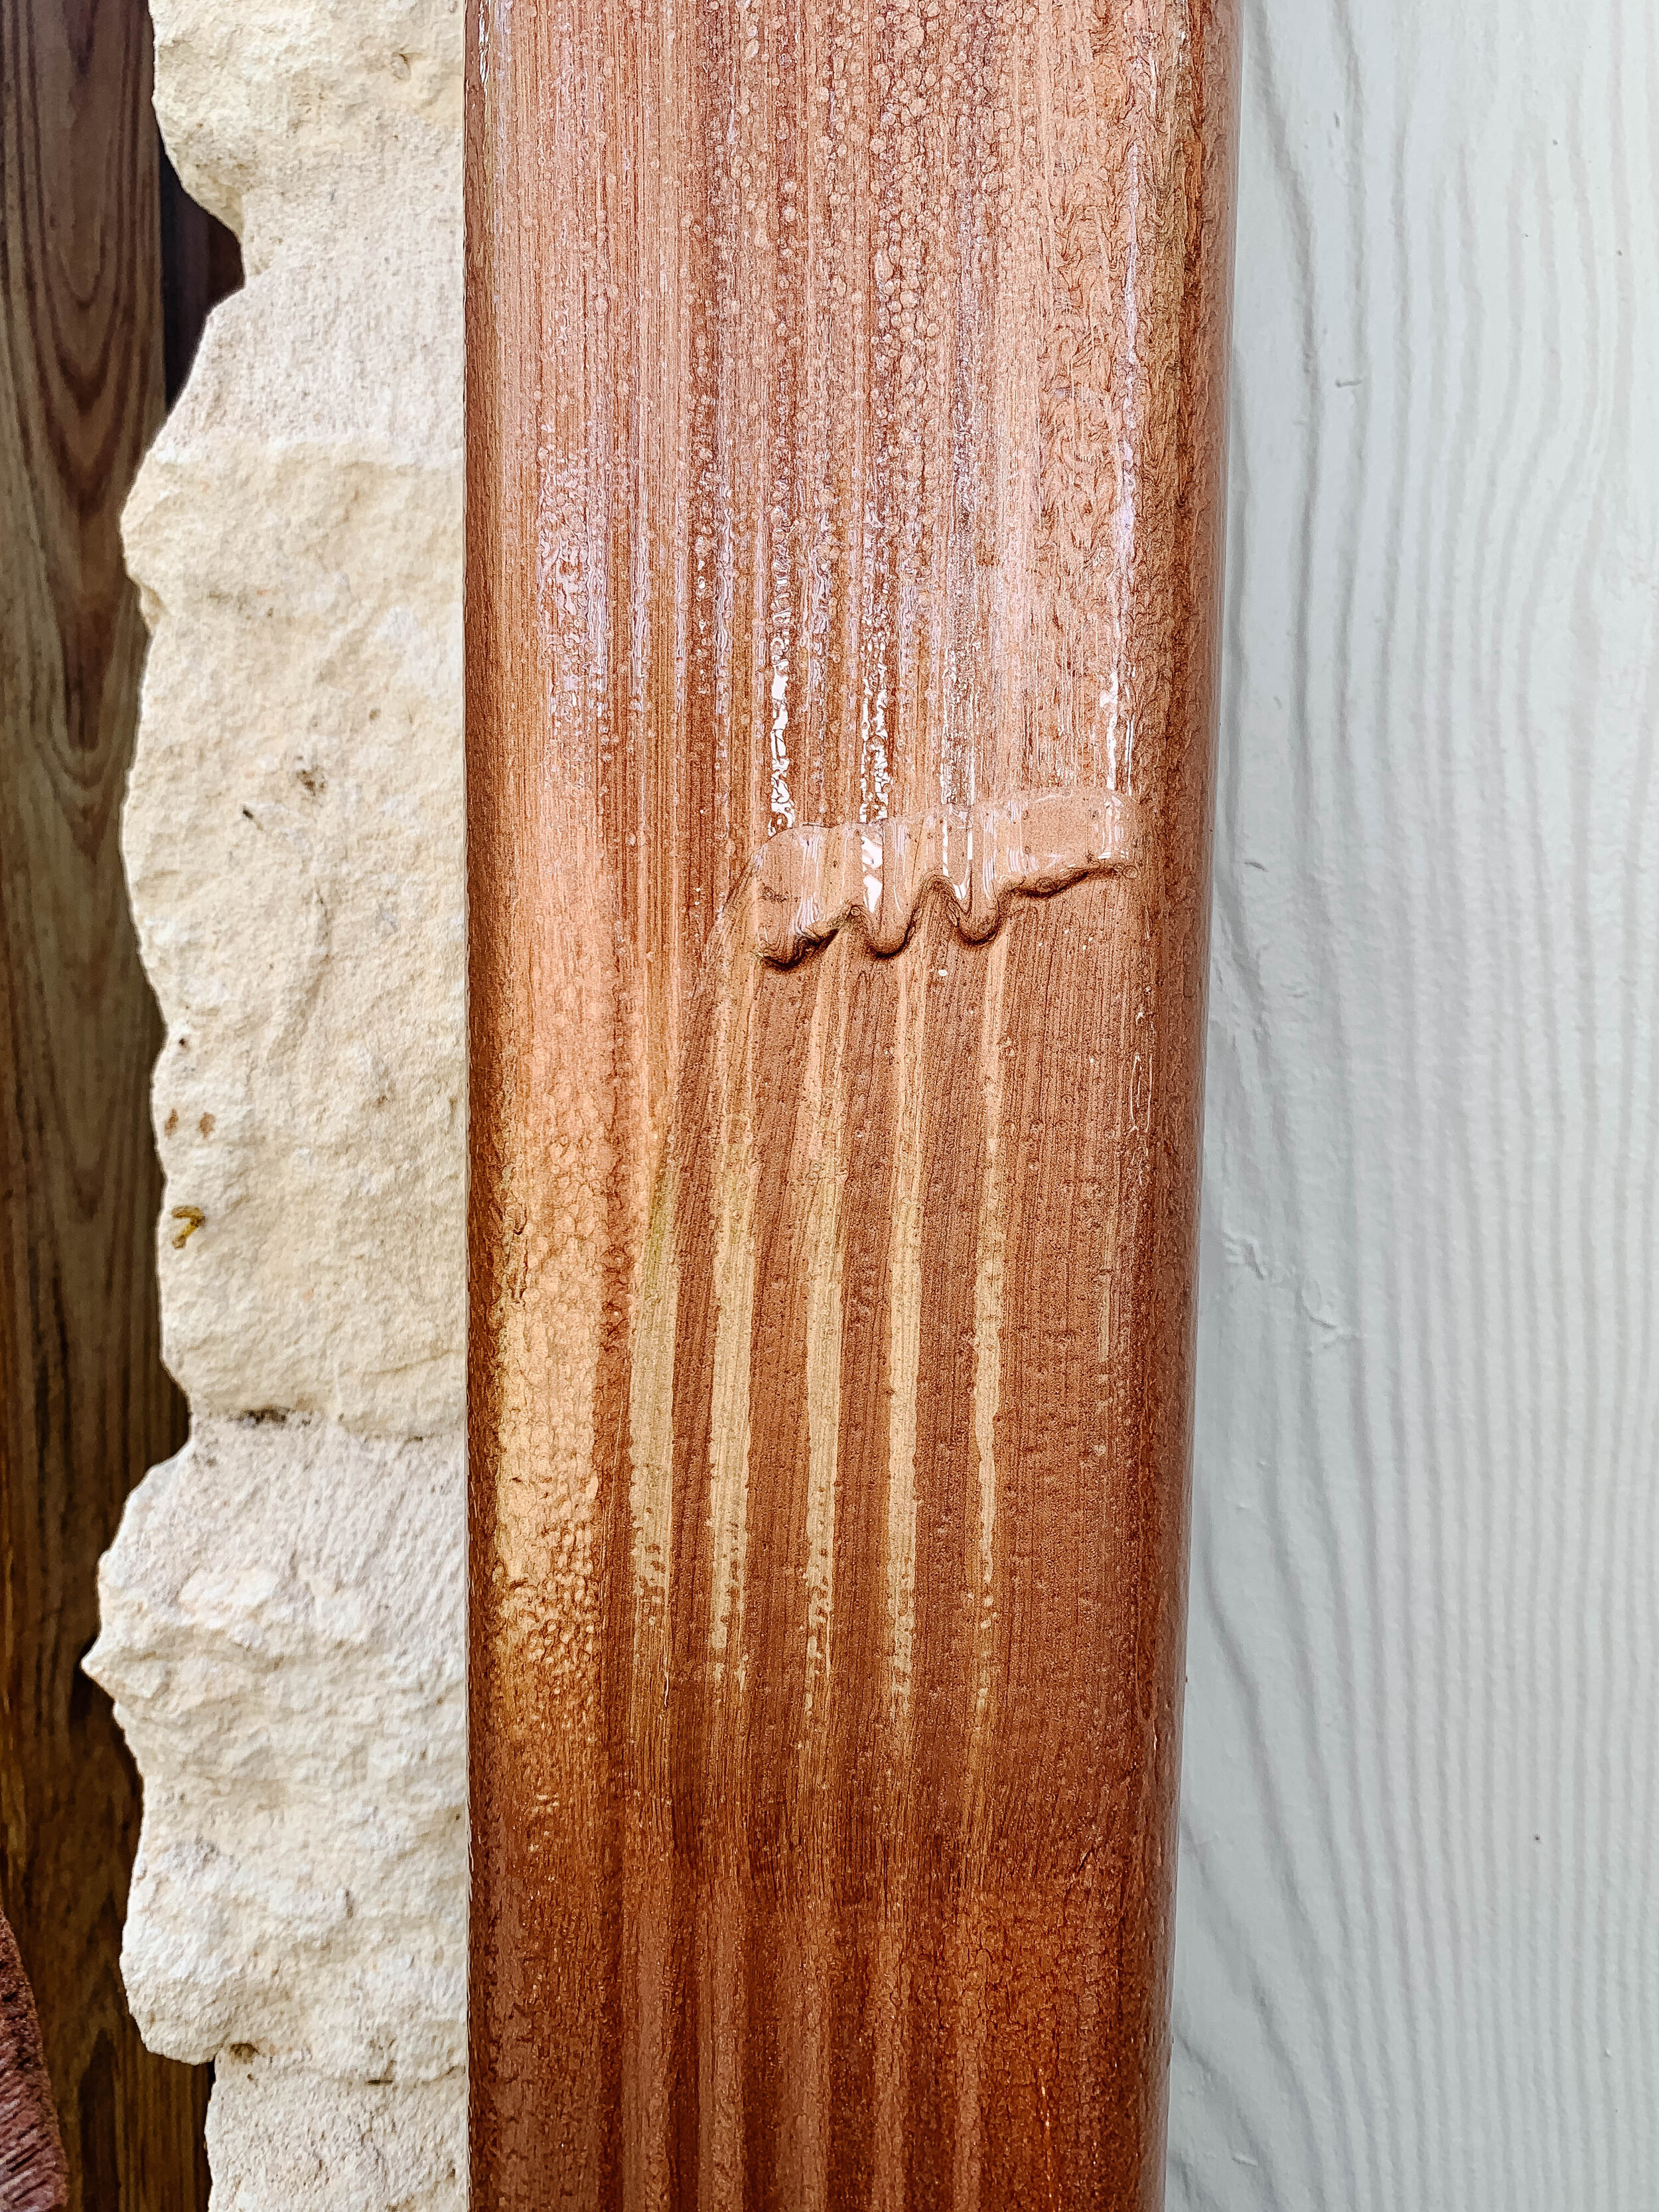
Rust-Oleum Hammered Copper oil-based paint
It paints on easily and pretty quickly it transforms from brush stroke-y to a hammered texture that only gets better after the second coat.
They also sell this in a spray paint, but since this is going outside I recommend the brush-on kind for added durability, no masking off and less waste.
The DIY
Prep
Before anything can be transformed, prep is key.
For this we first used TSP and a scrub brush to clean off all of the dirt and grime on the gutters, trim and siding. Then we rinsed it with a hose sprayer and let it dry.
Then (if needed) you’d use a paint scraper to remove any chipping or loose paint and fill any gaps, cracks and knot holes in the trim with paintable exterior caulk. Thankfully, the back of the house for whatever reason was in much better shape than the other sides so we were able to skip this step.
Paint
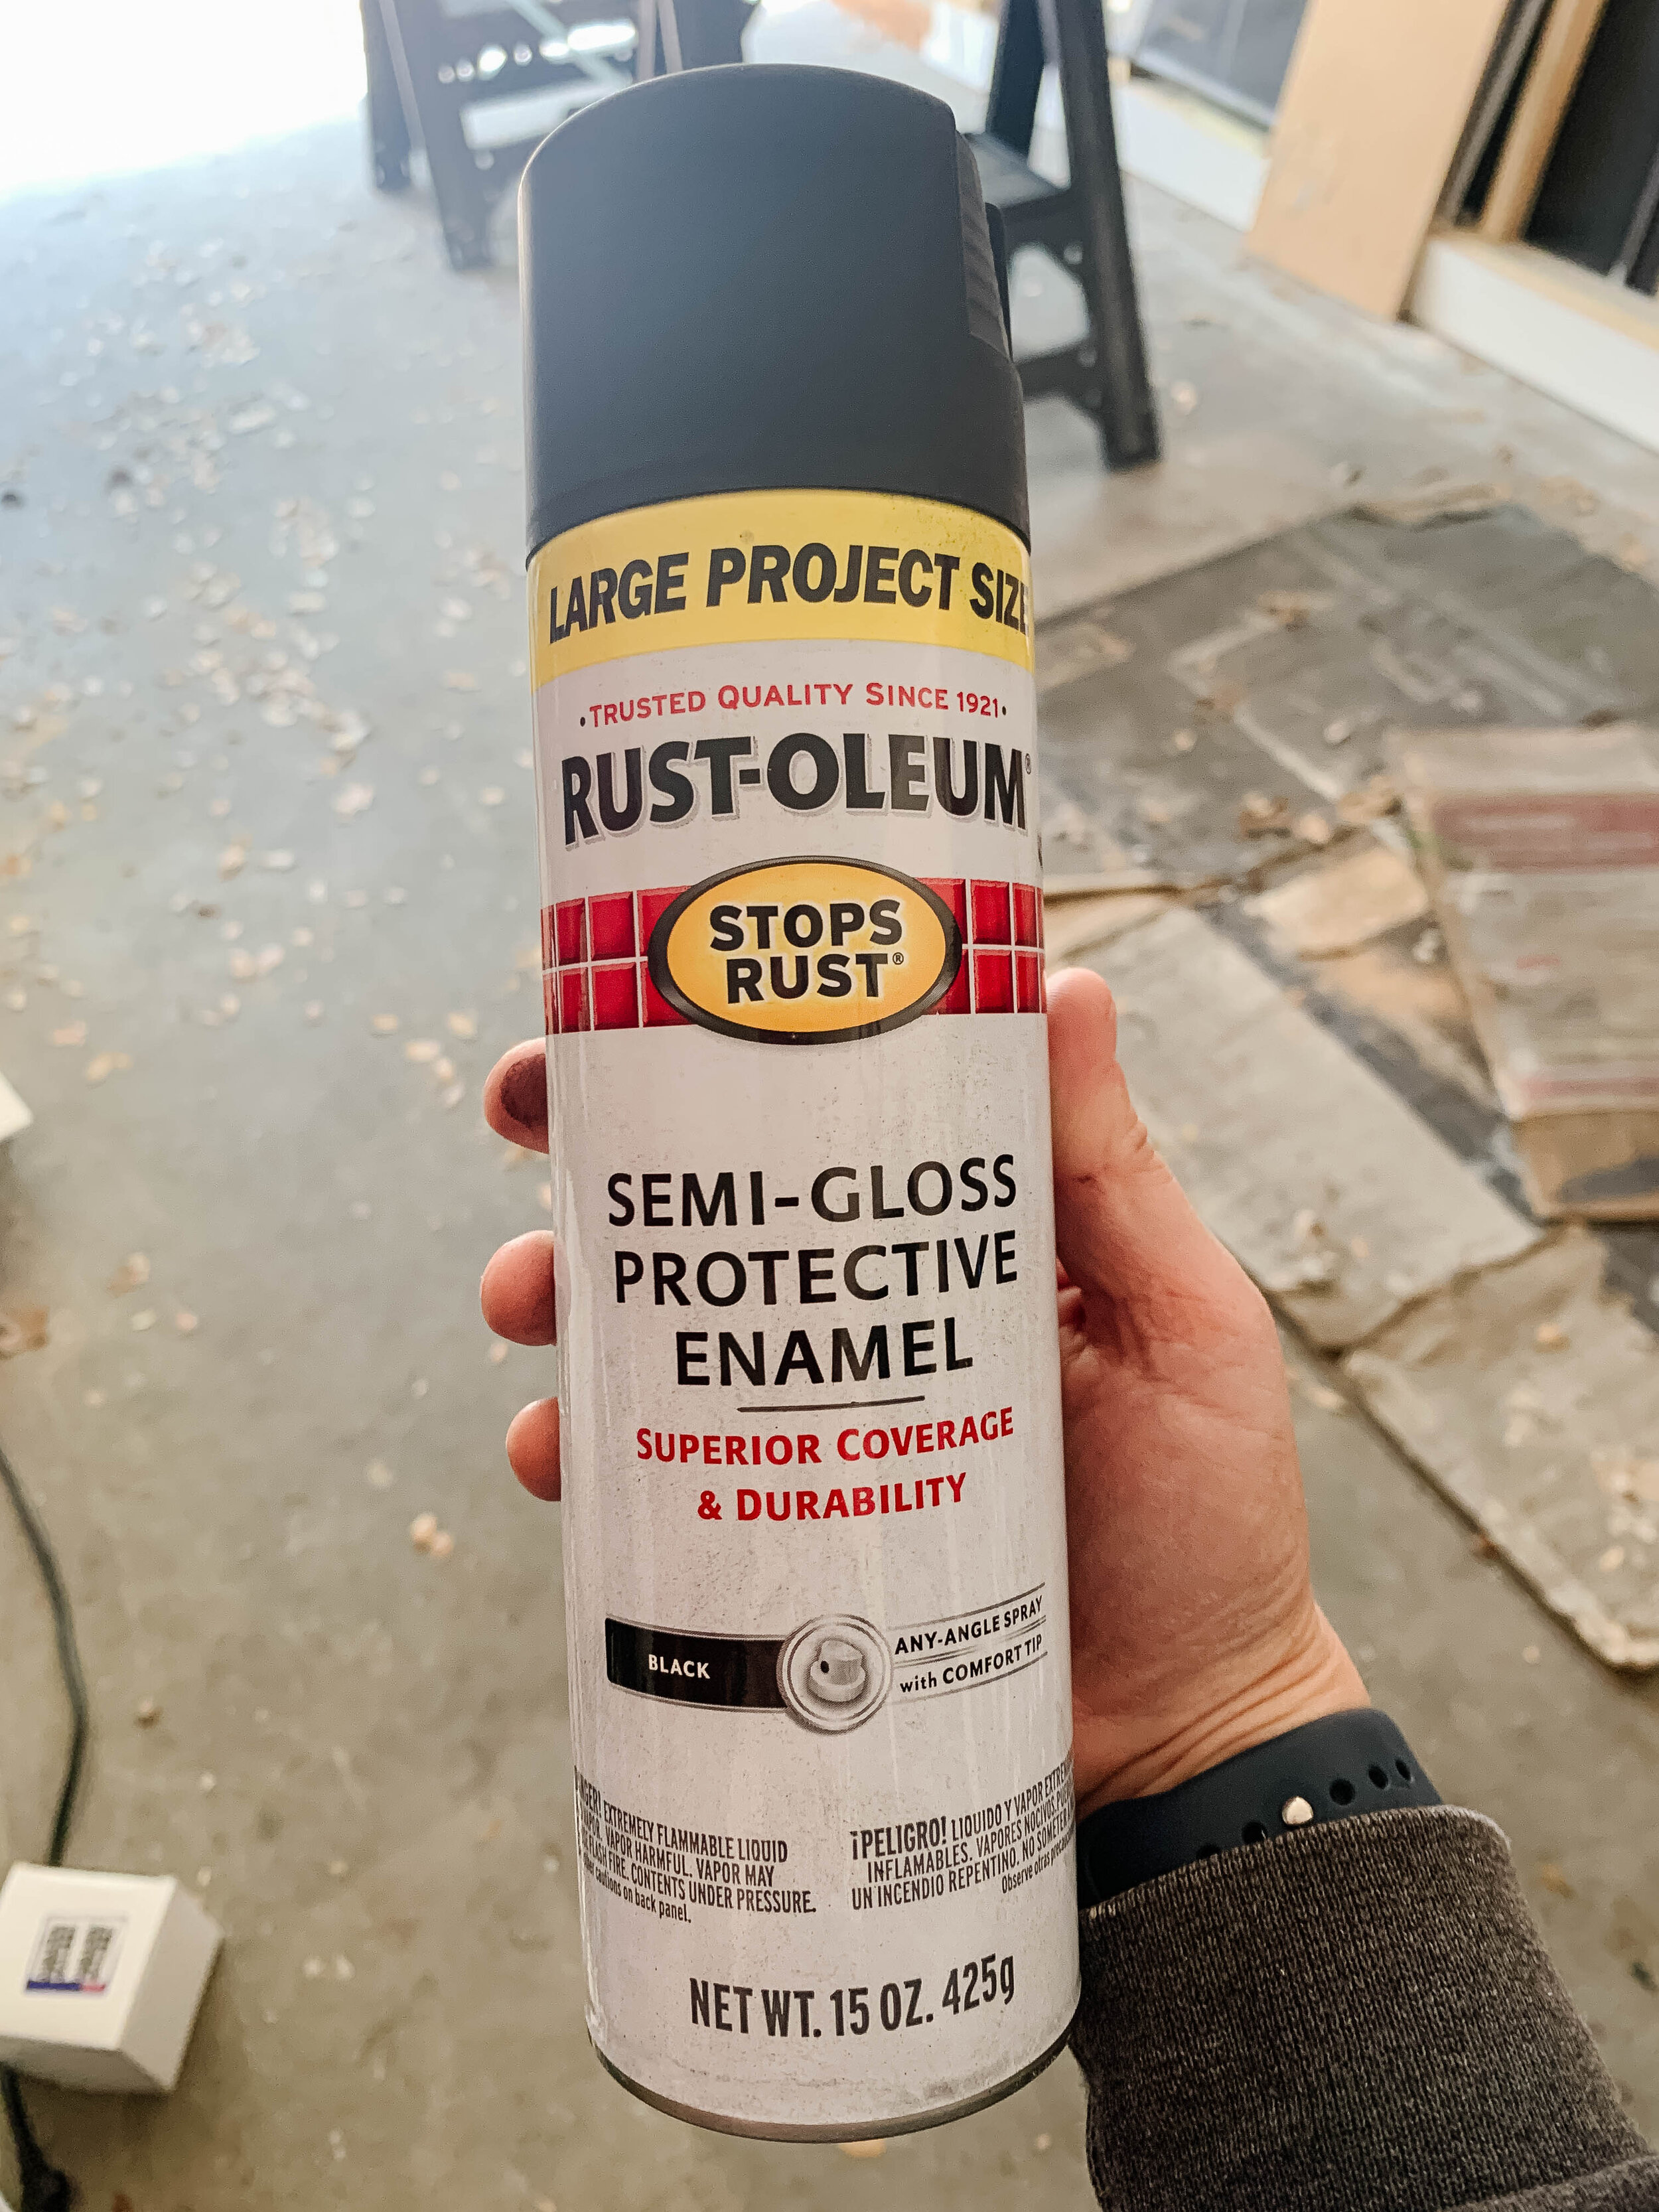
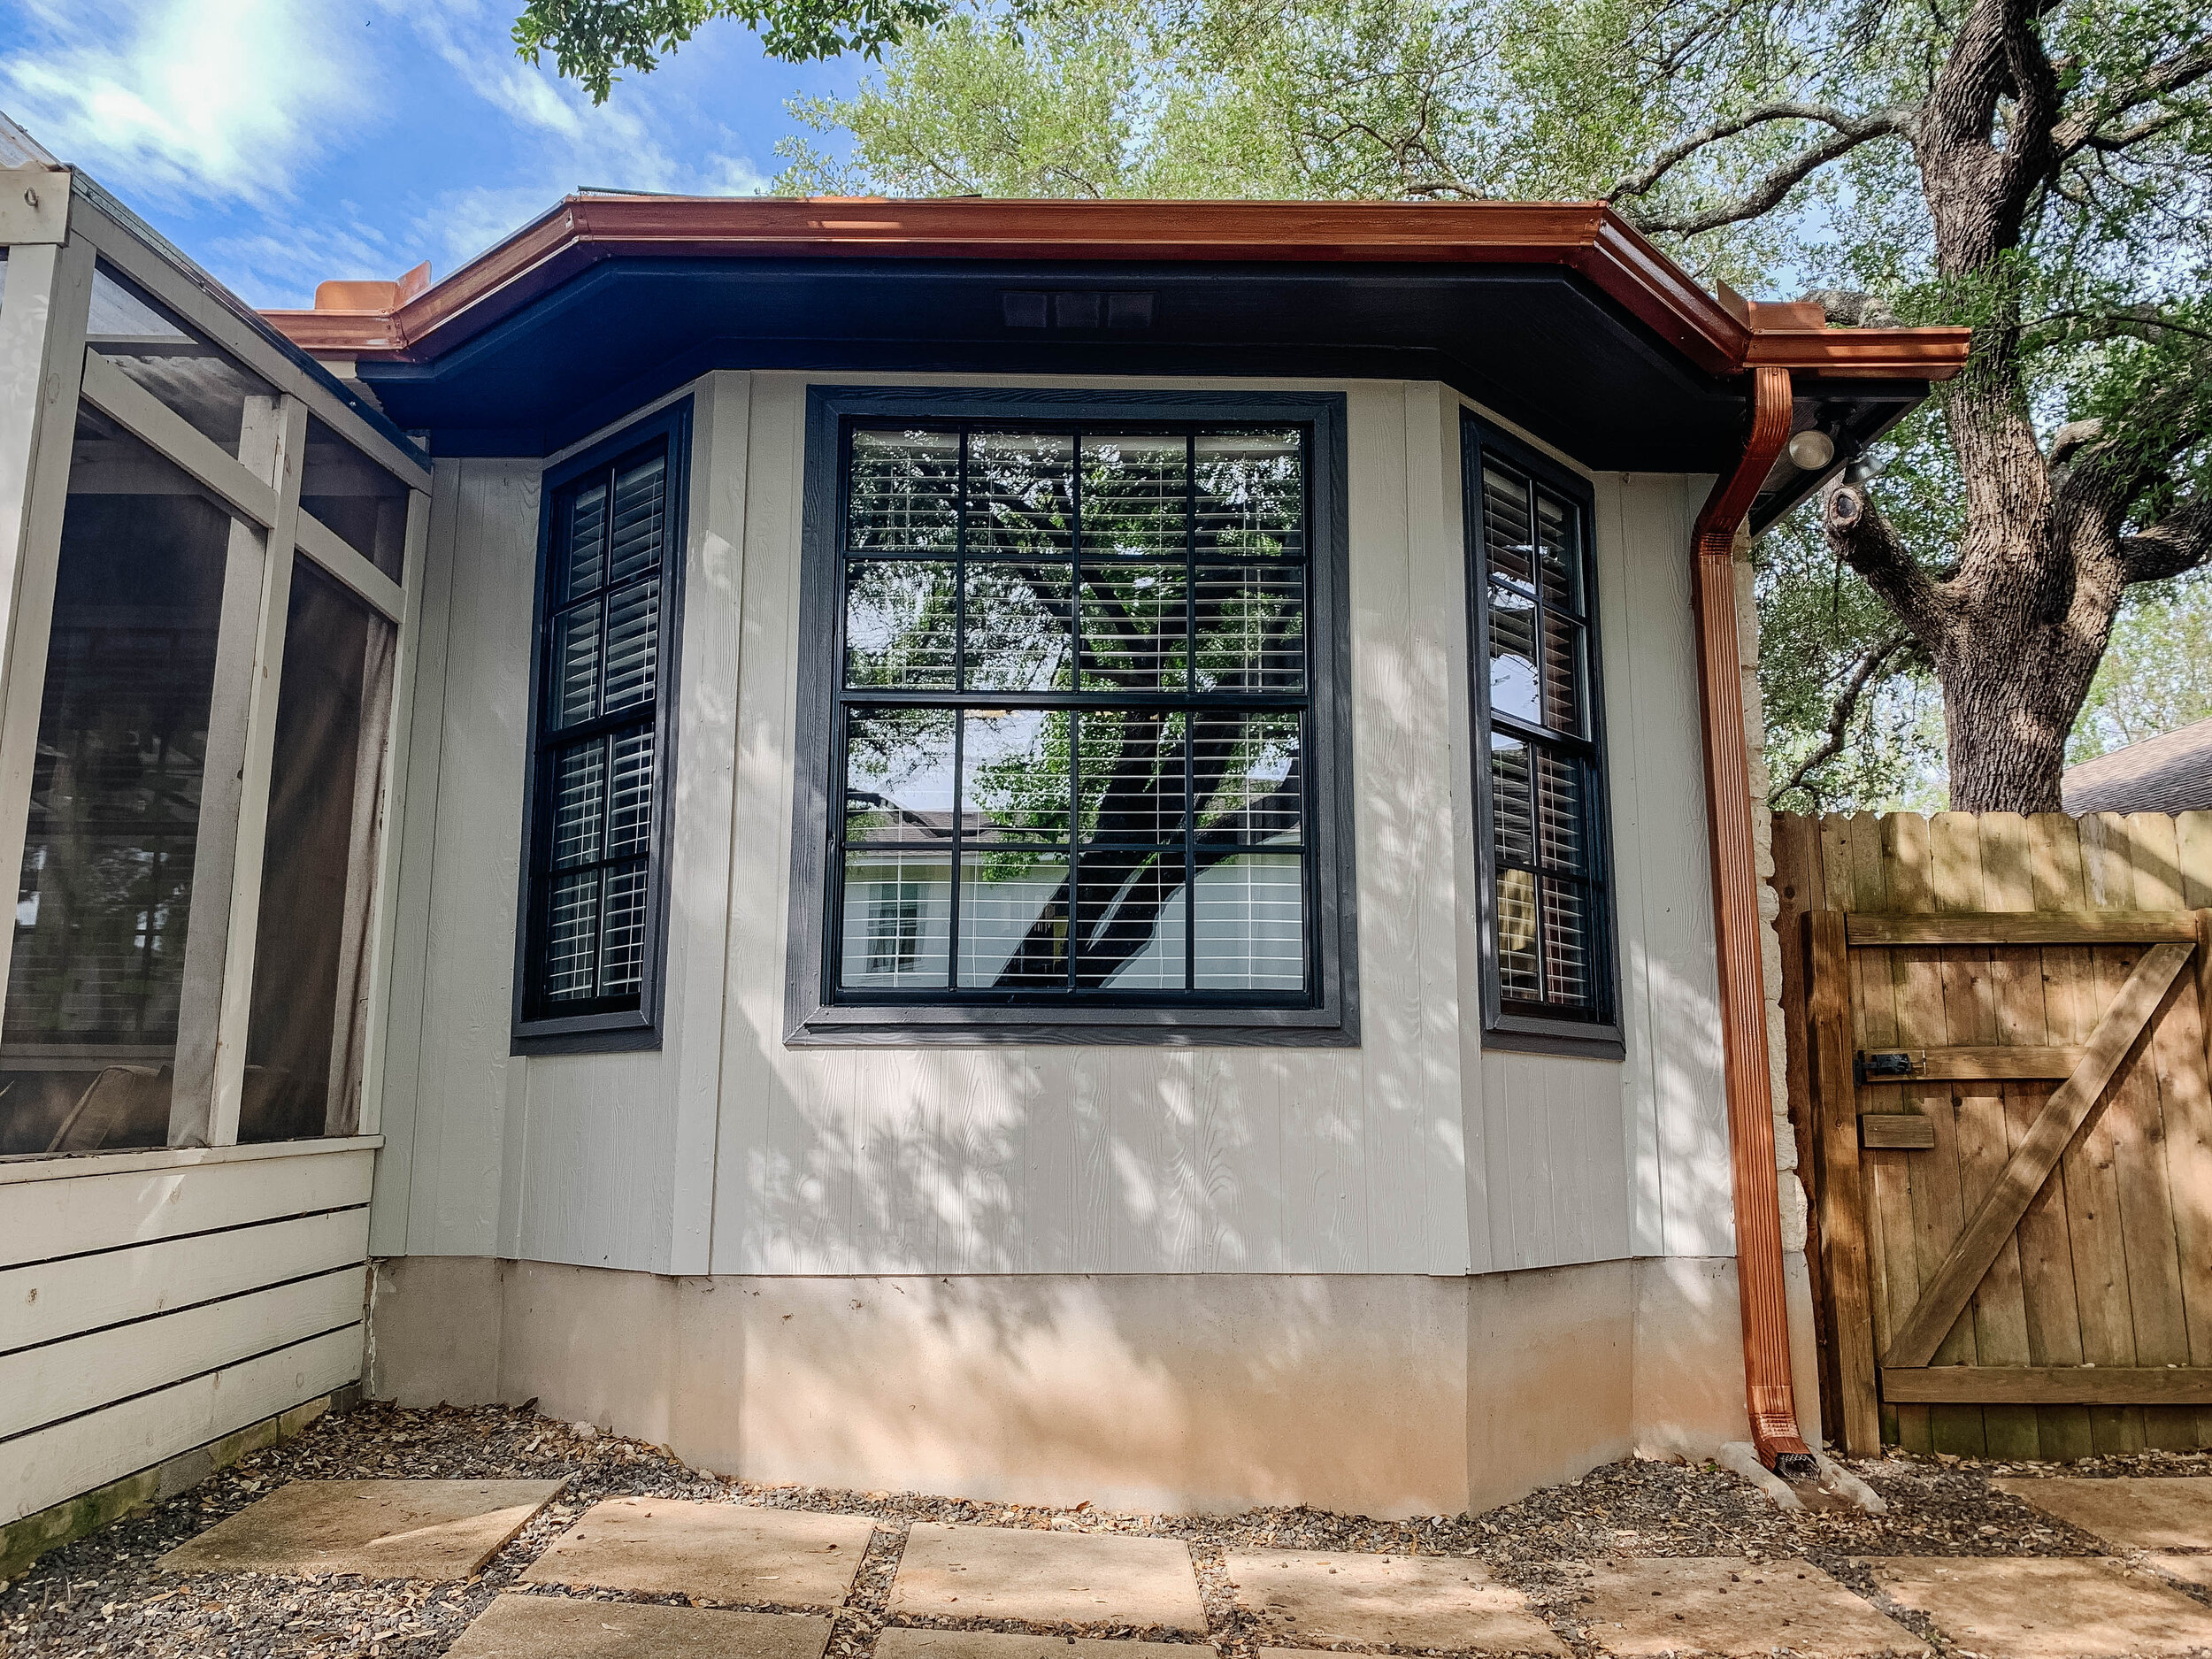
First, I spray painted the window trim black. It was really nice in a way that we’d waited until we were painting everything because I didn’t have to mask anything off, like we did previously, since it would all be getting painted over anyway.

Then when that was dry, we used a combination of a 2” angled paint brush and a 6” roller to paint the siding next. I cut in with the brush and Nick followed me with the roller, feathering in the brush strokes and painting the siding. We did two coats.

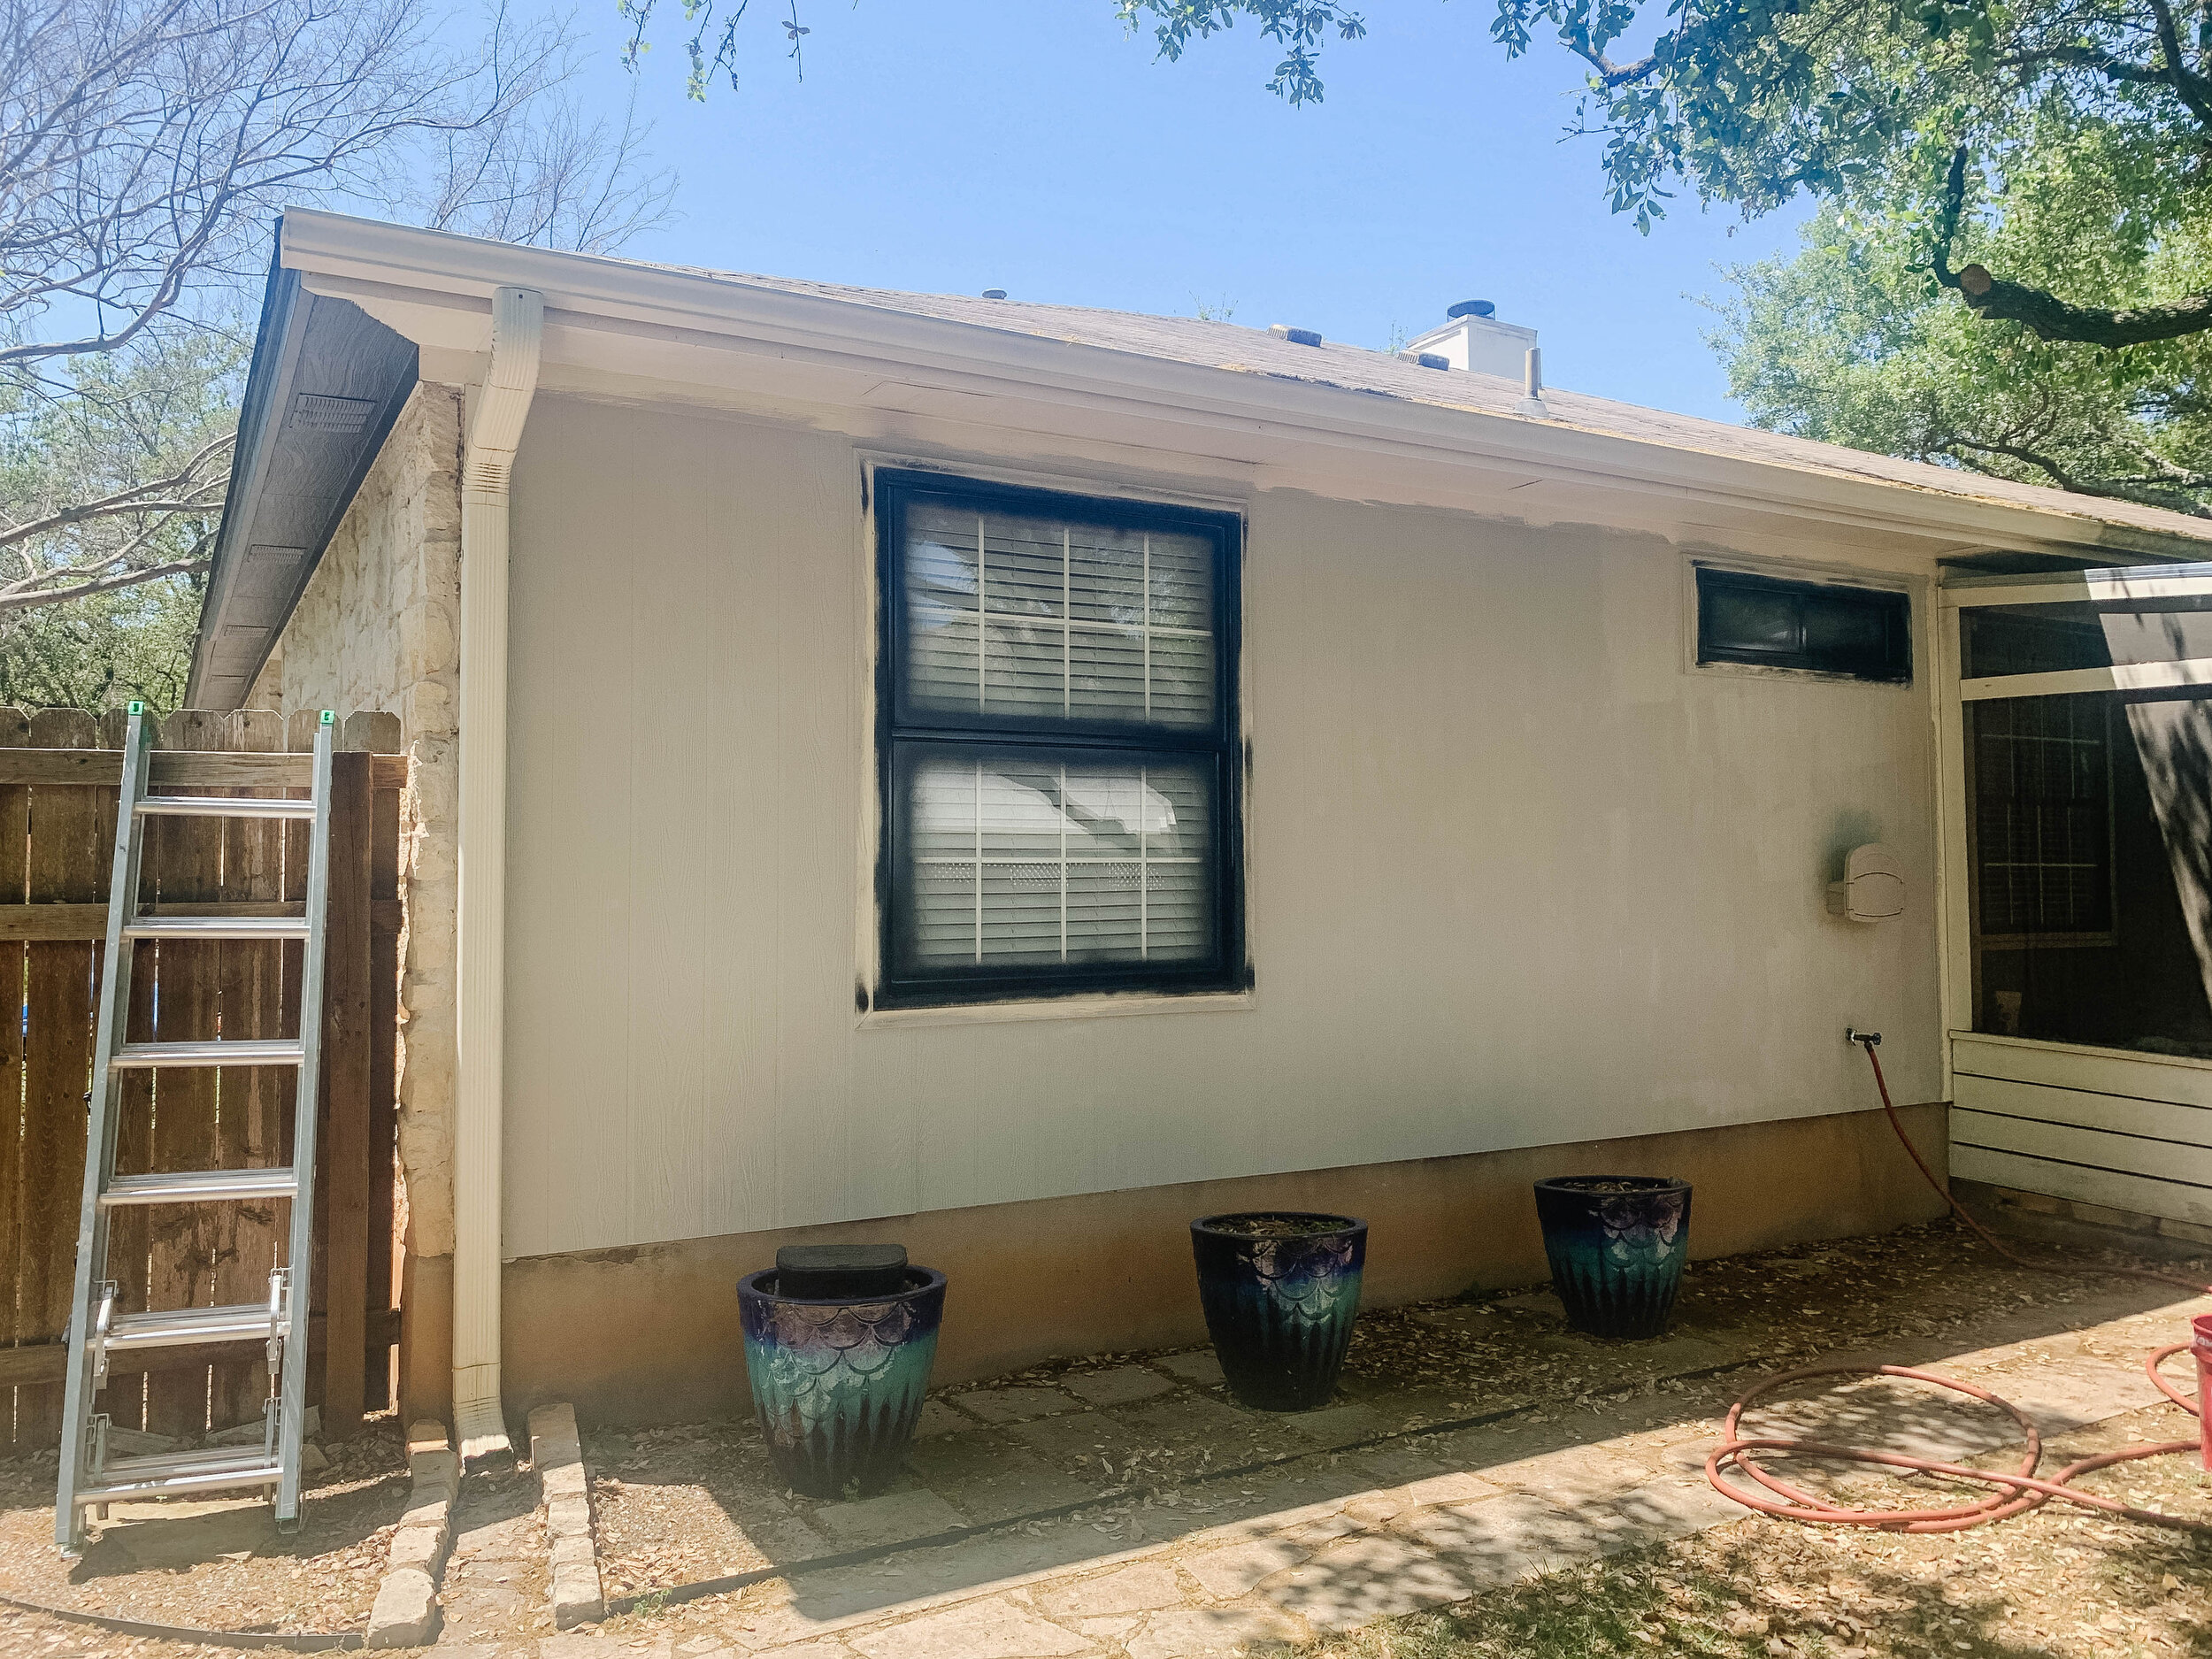
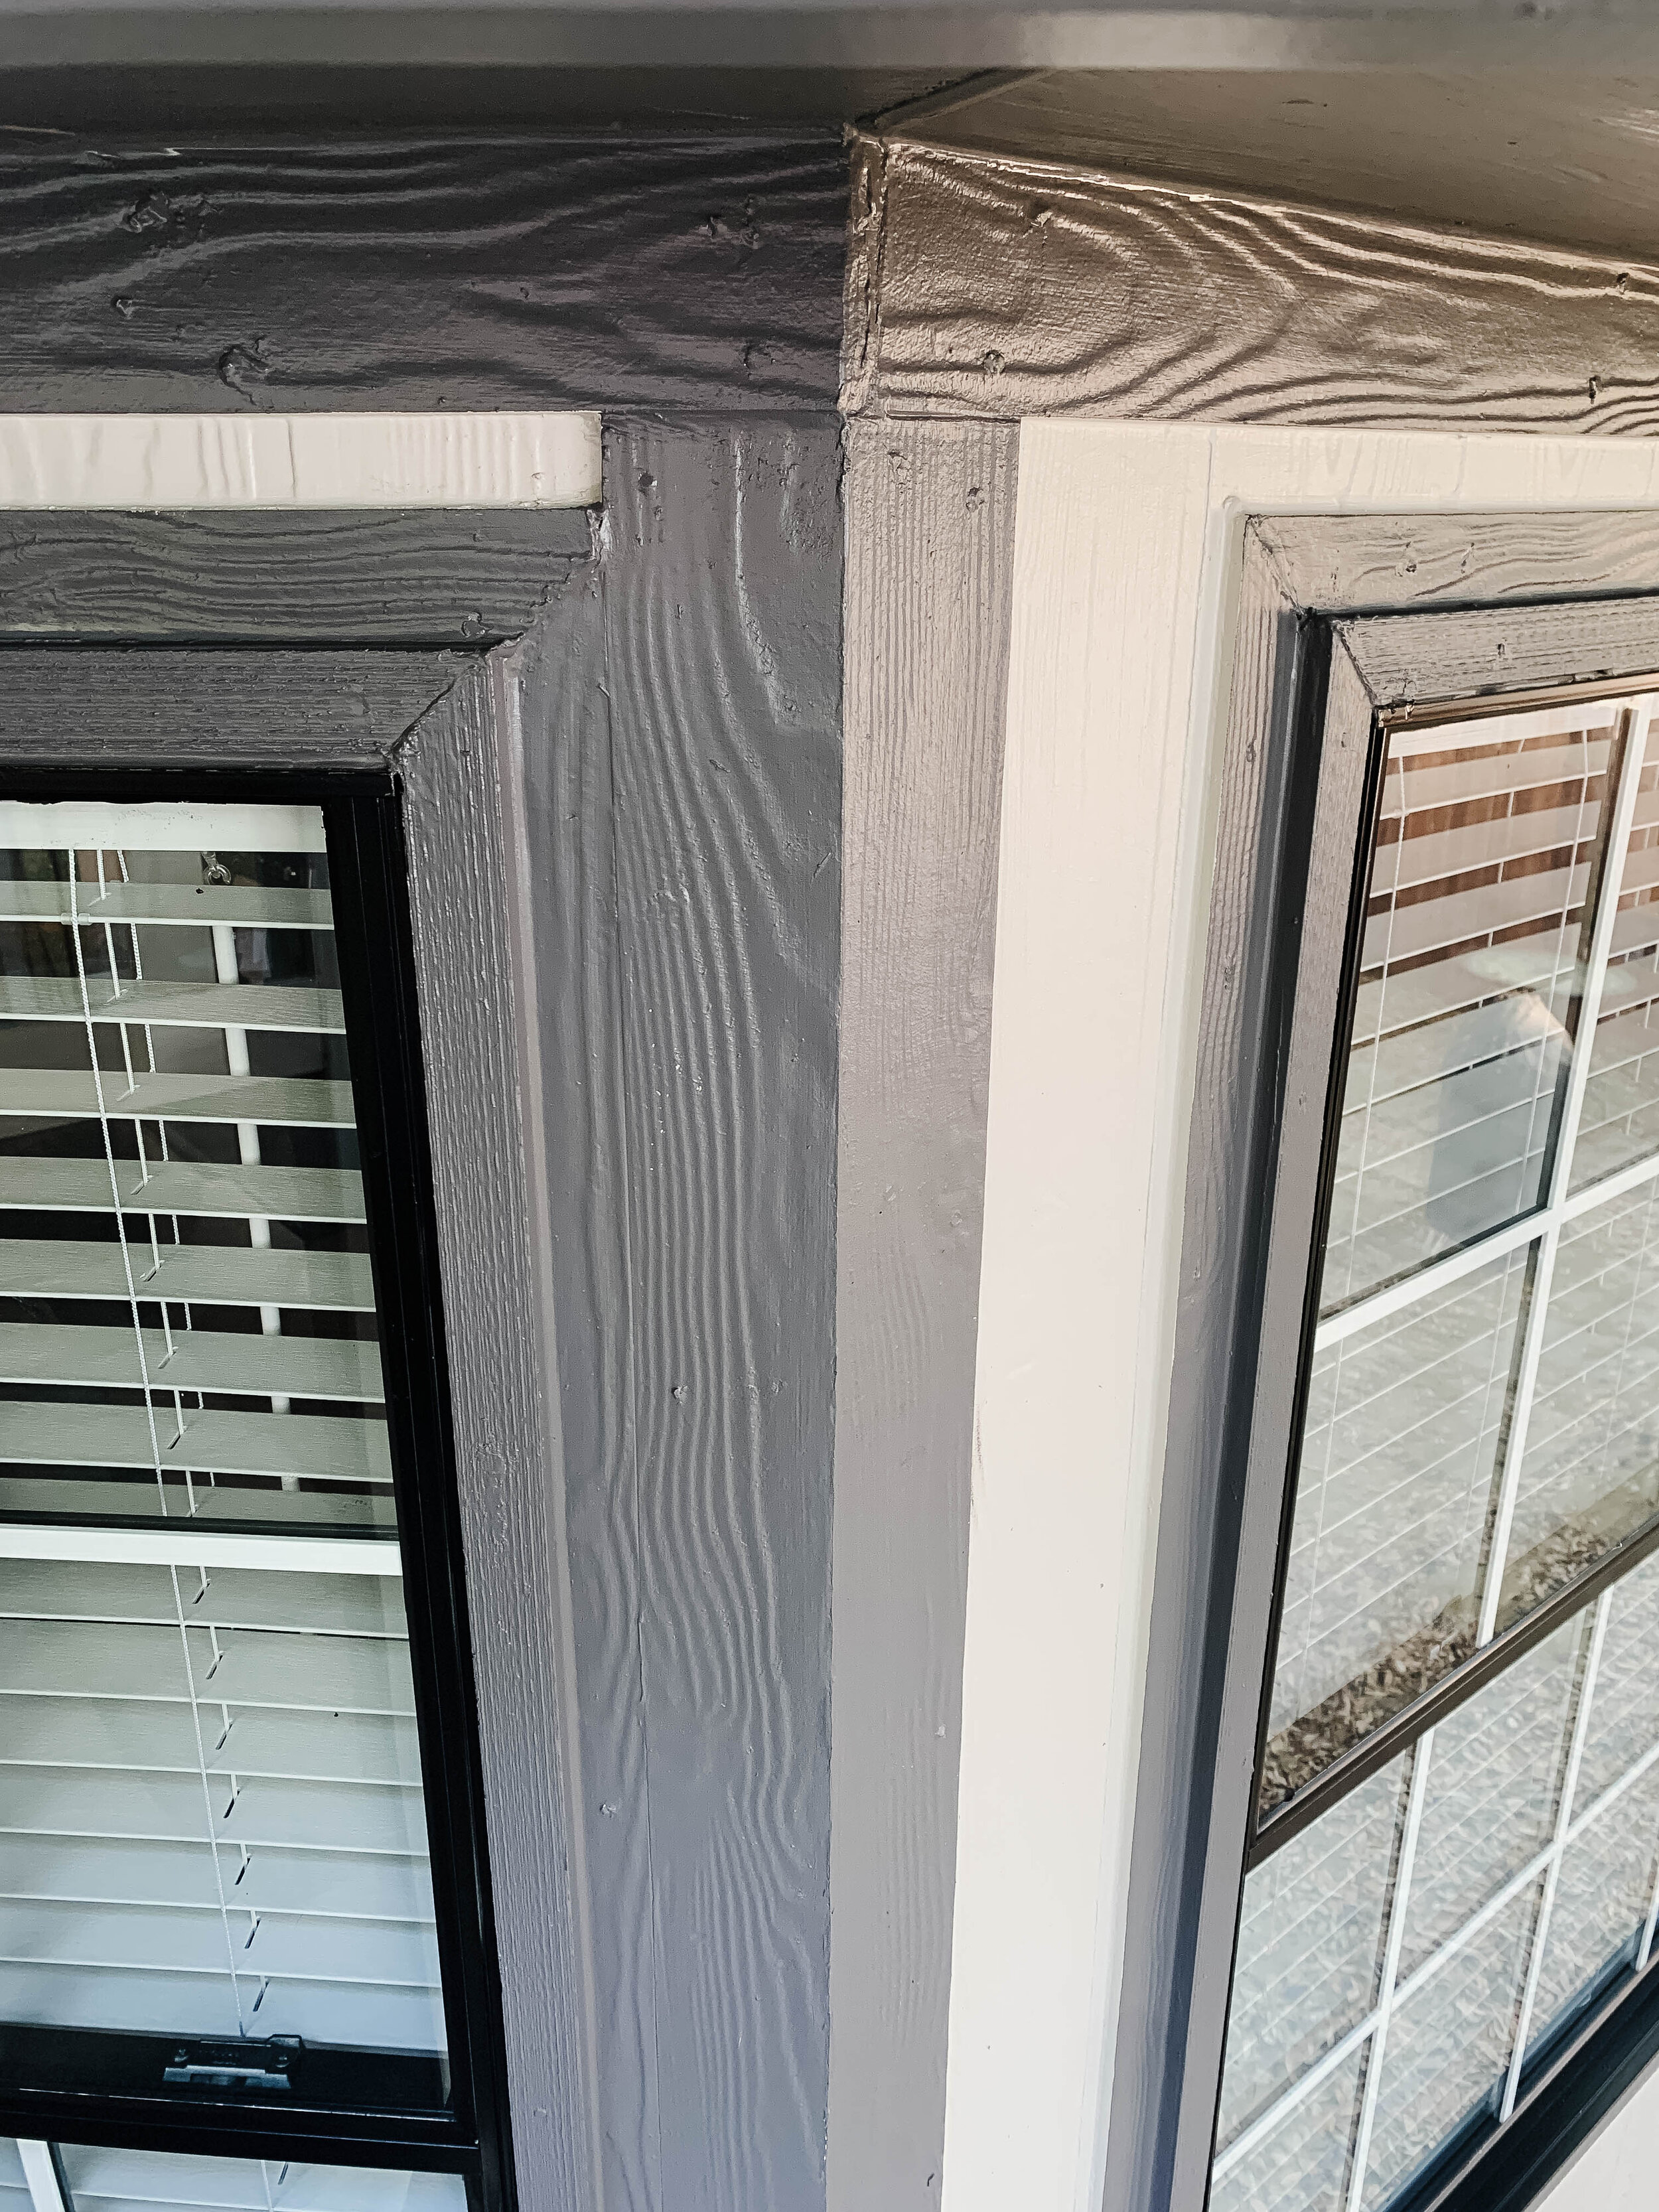
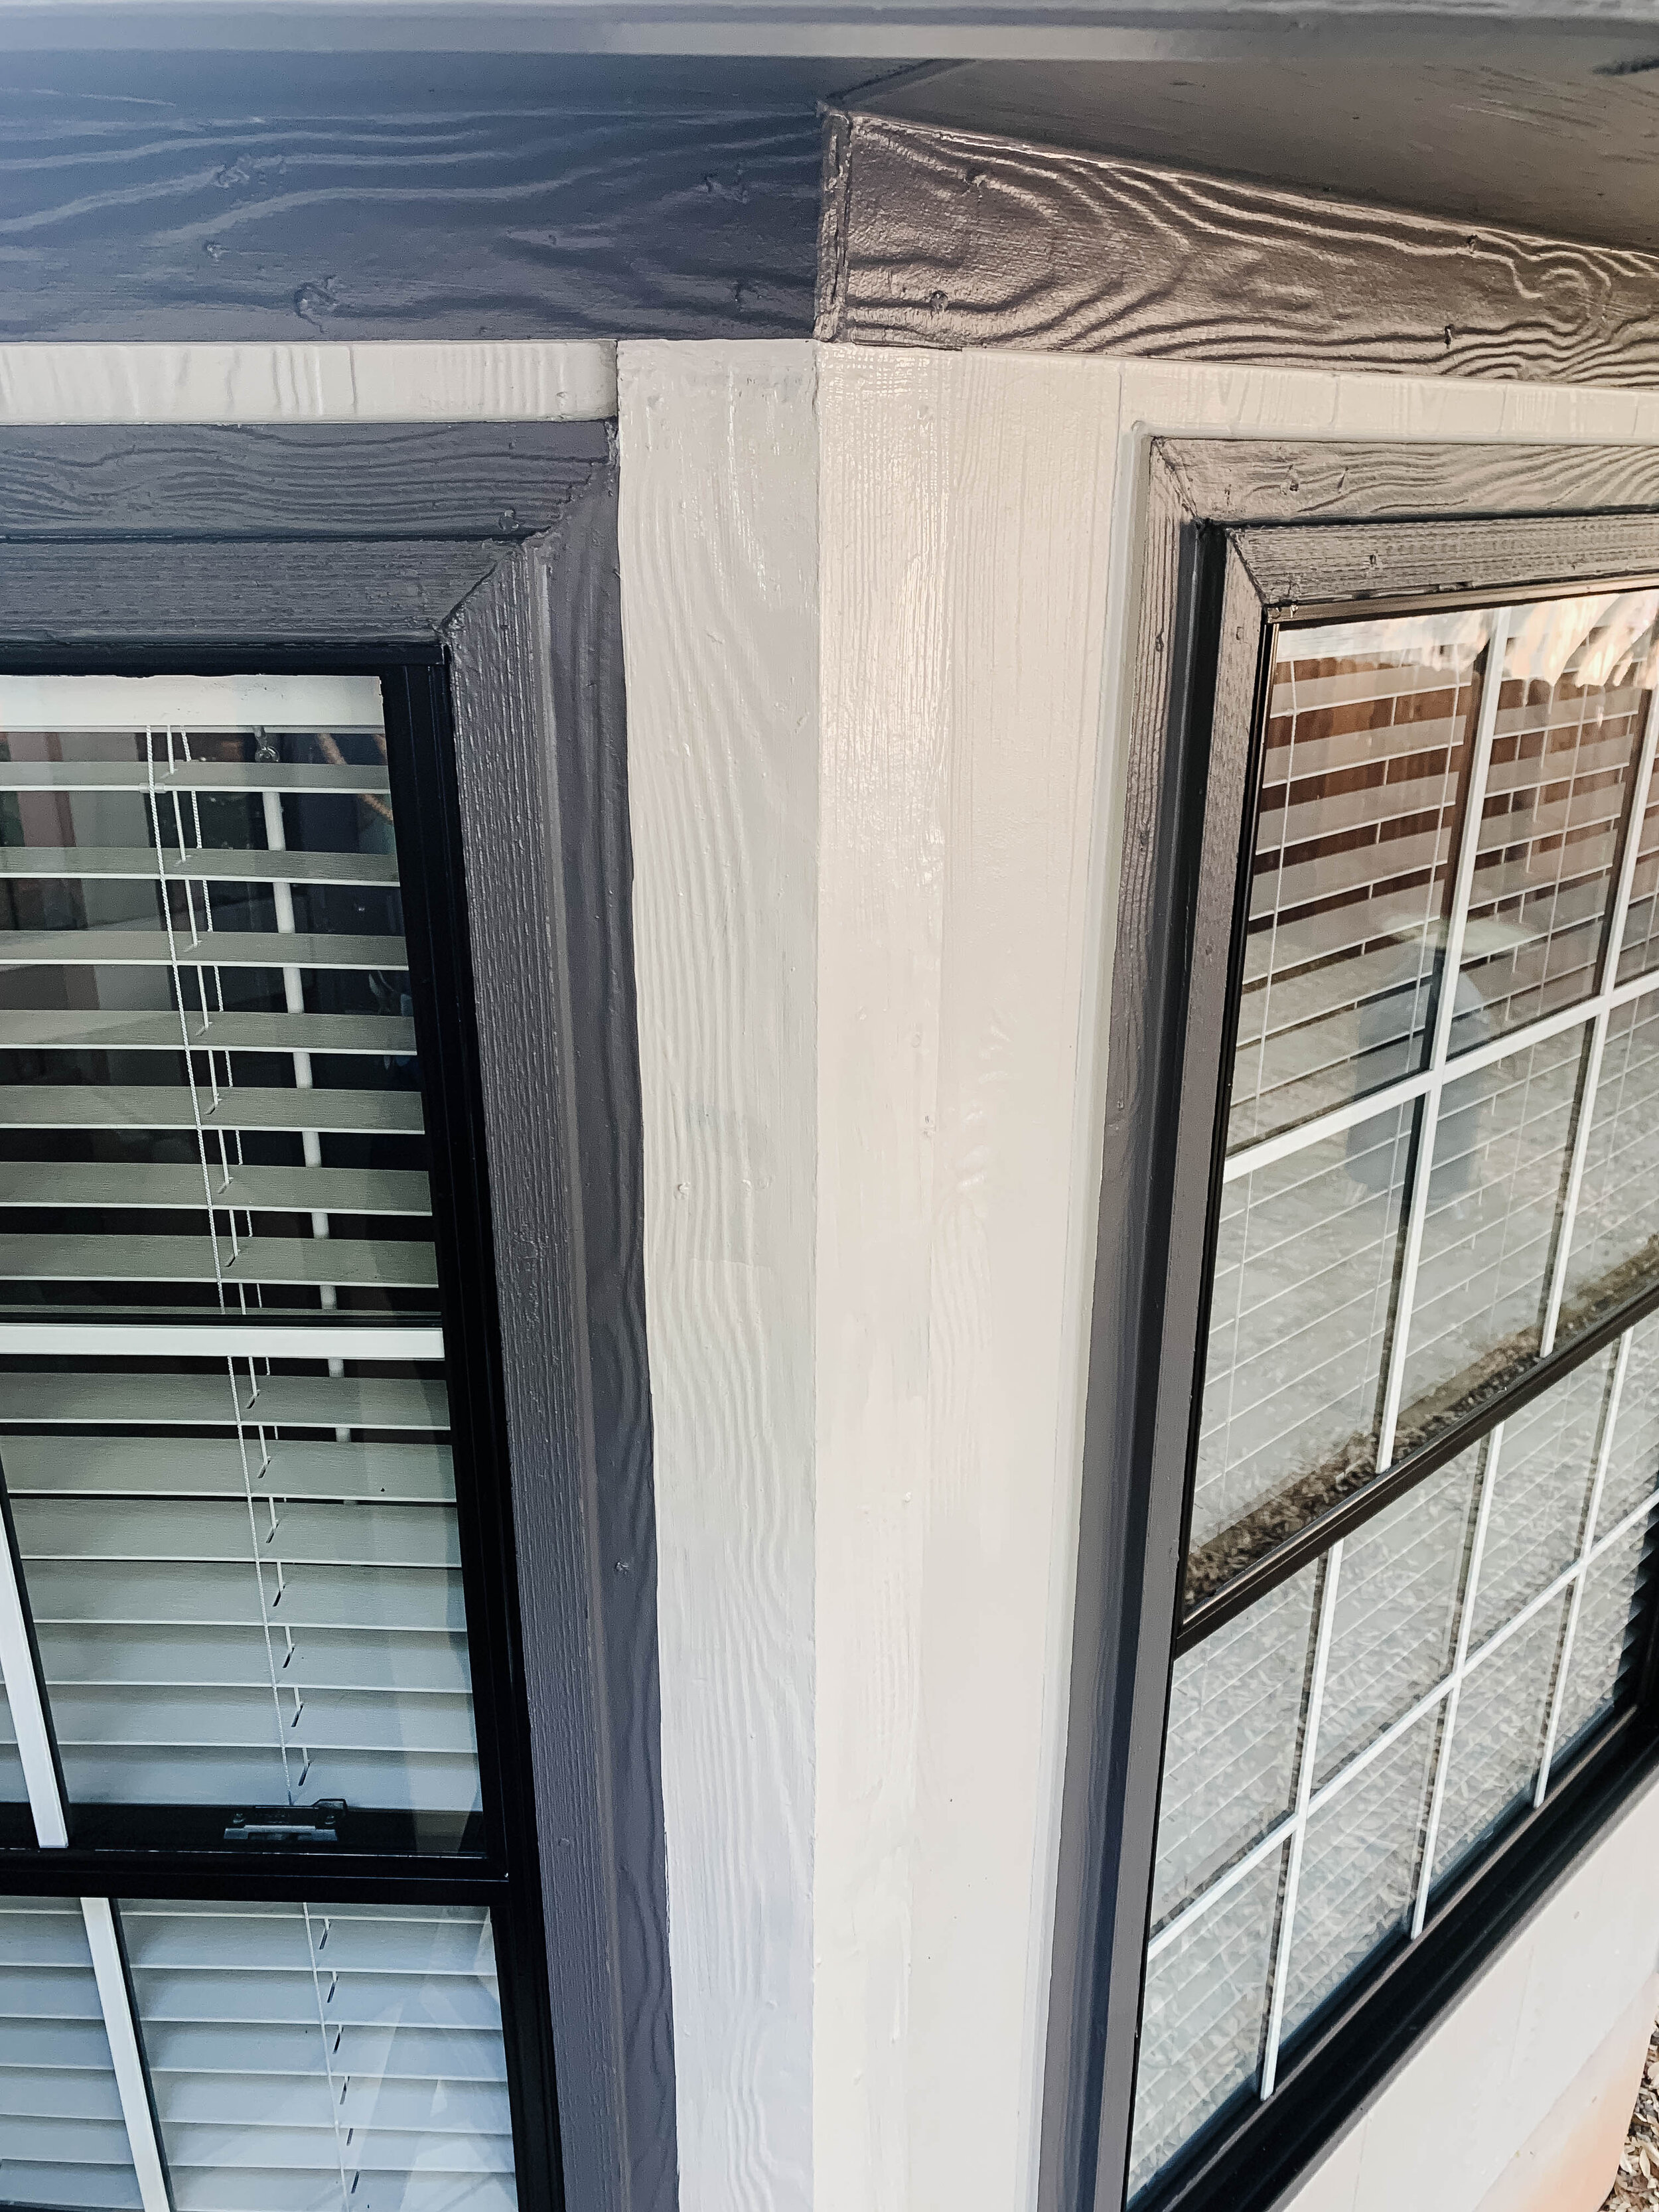
Then, I used the angled brush to paint the soffit and the fascia (trim) dark gray. Two coats of this too.
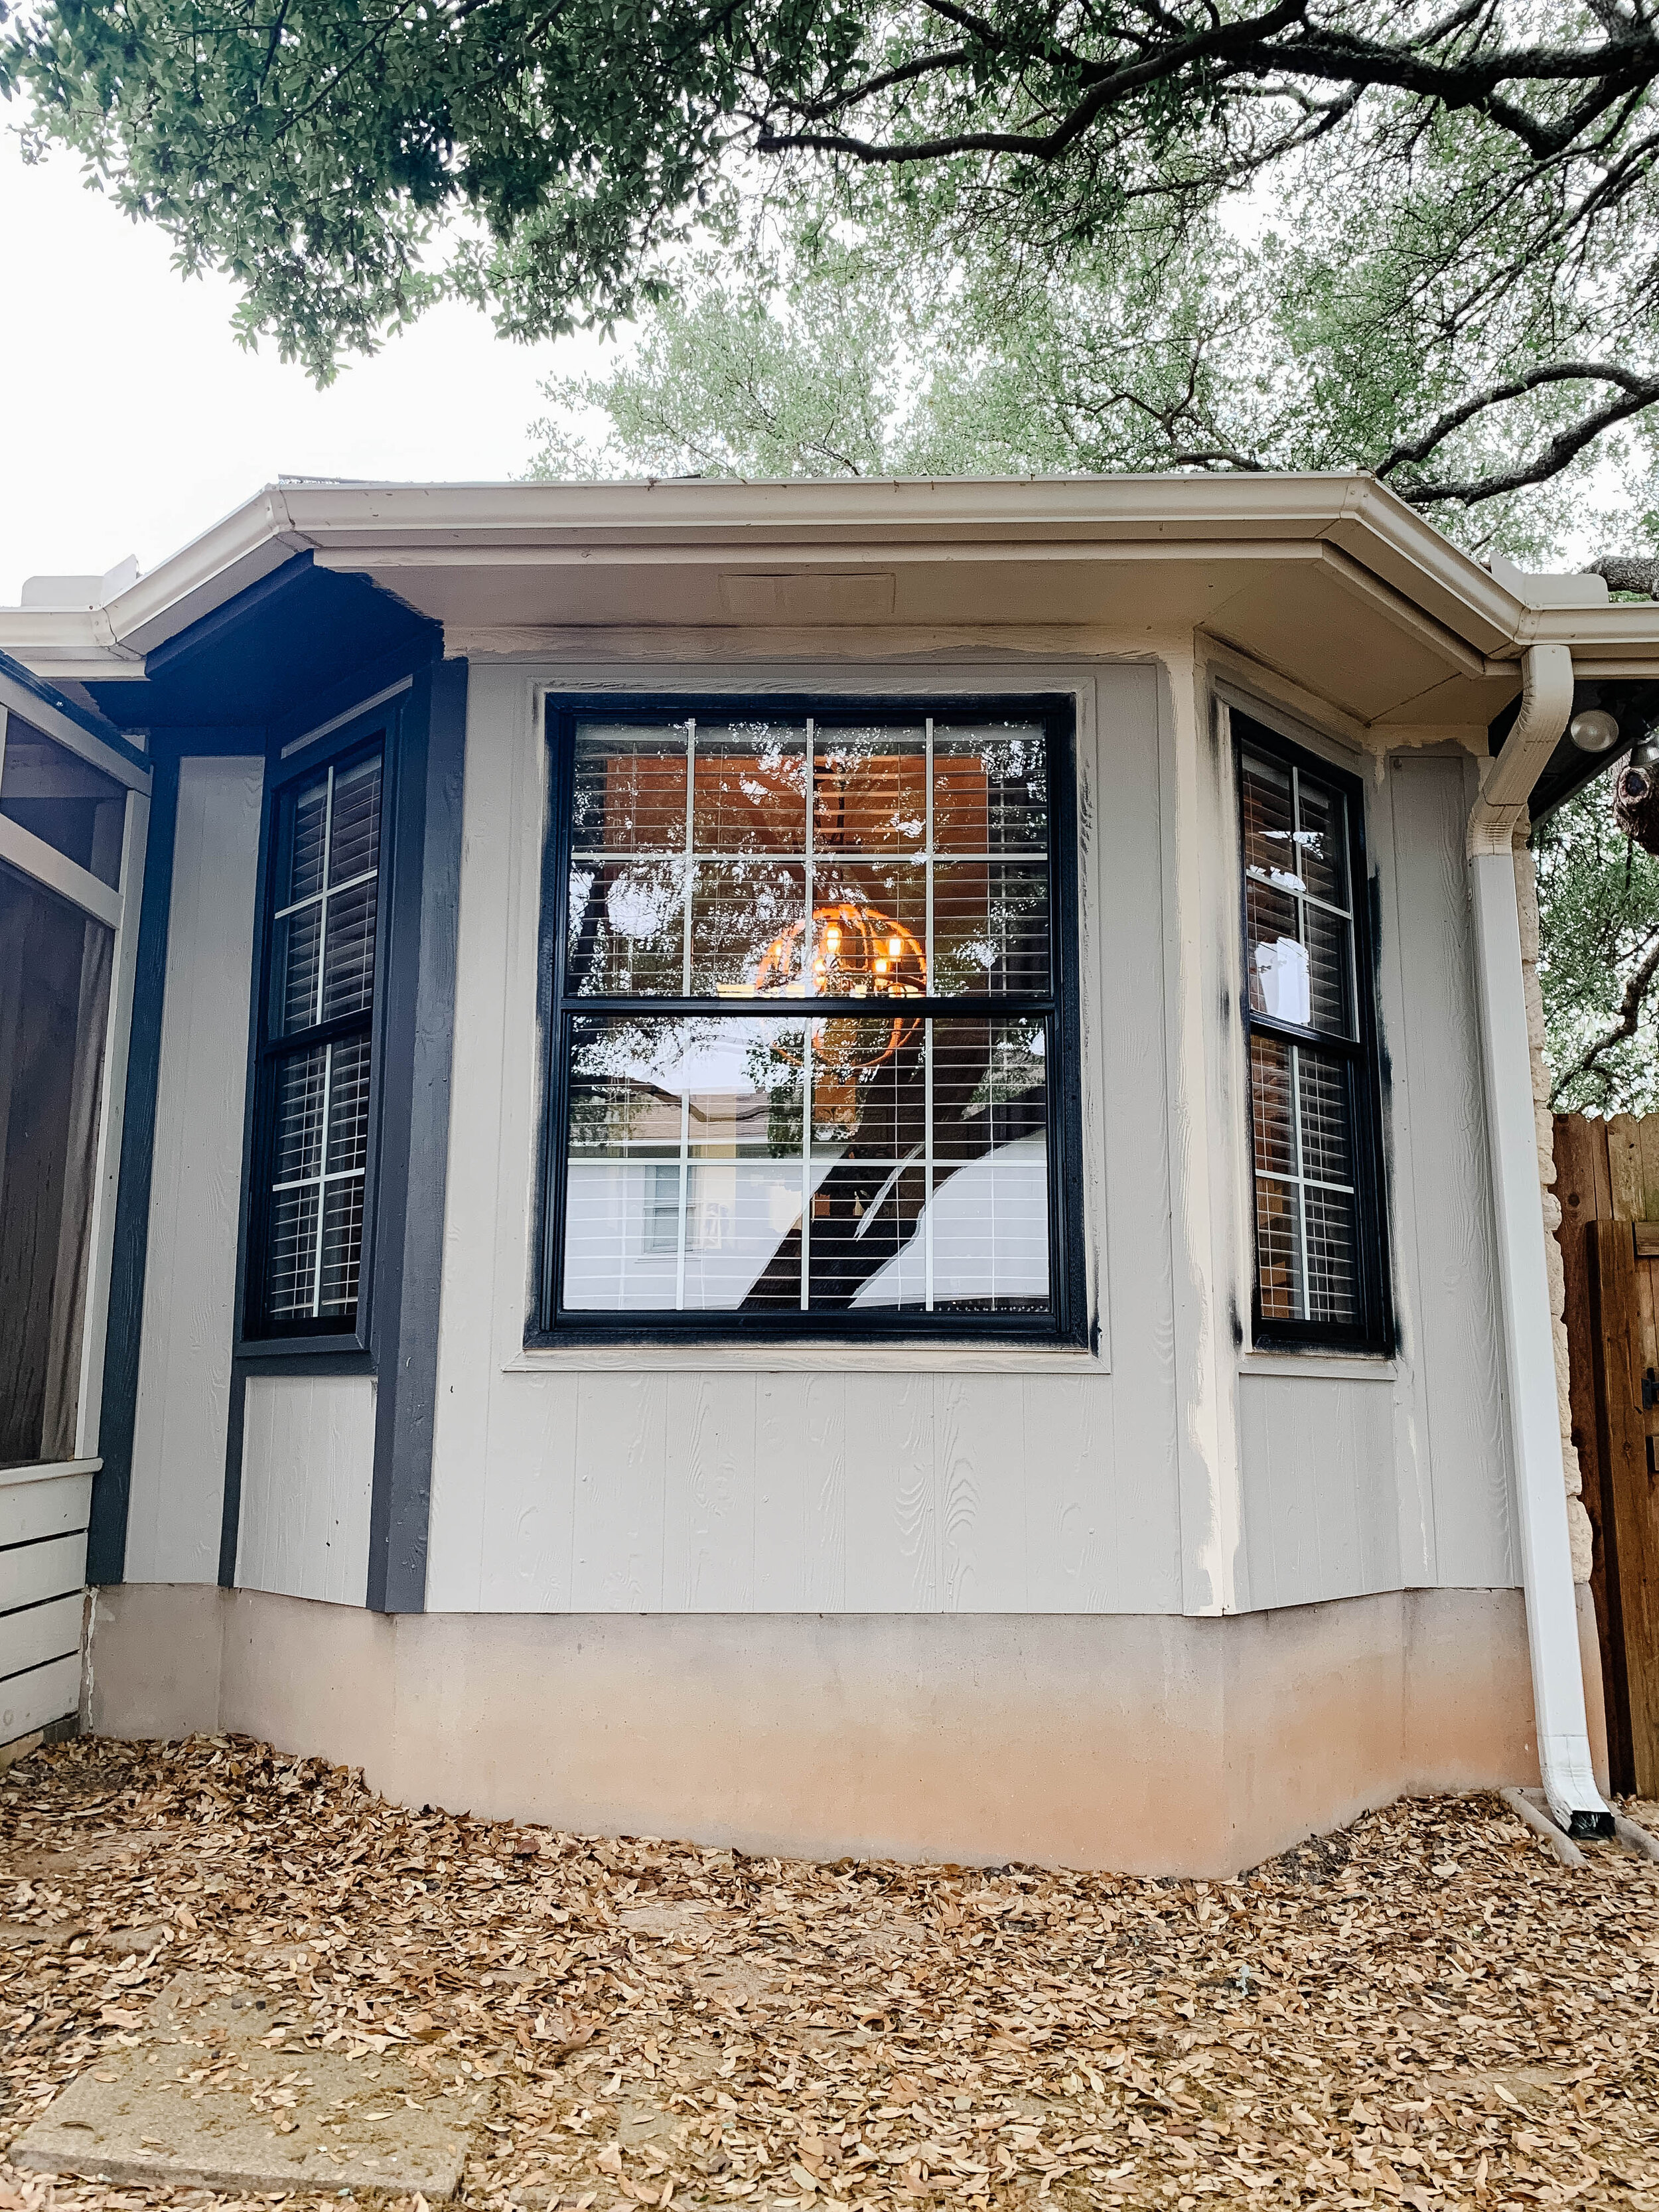
Initially I started painting all of the trim that was raised from the siding, then after seeing the left side of the bay window we decided it felt too busy, too Tudor, and didn’t really match the architecture of our house to paint the full vertical pieces dark gray. We chose to just emphasize the window trim (and paint the soffit) with the dark gray for a cleaner look.
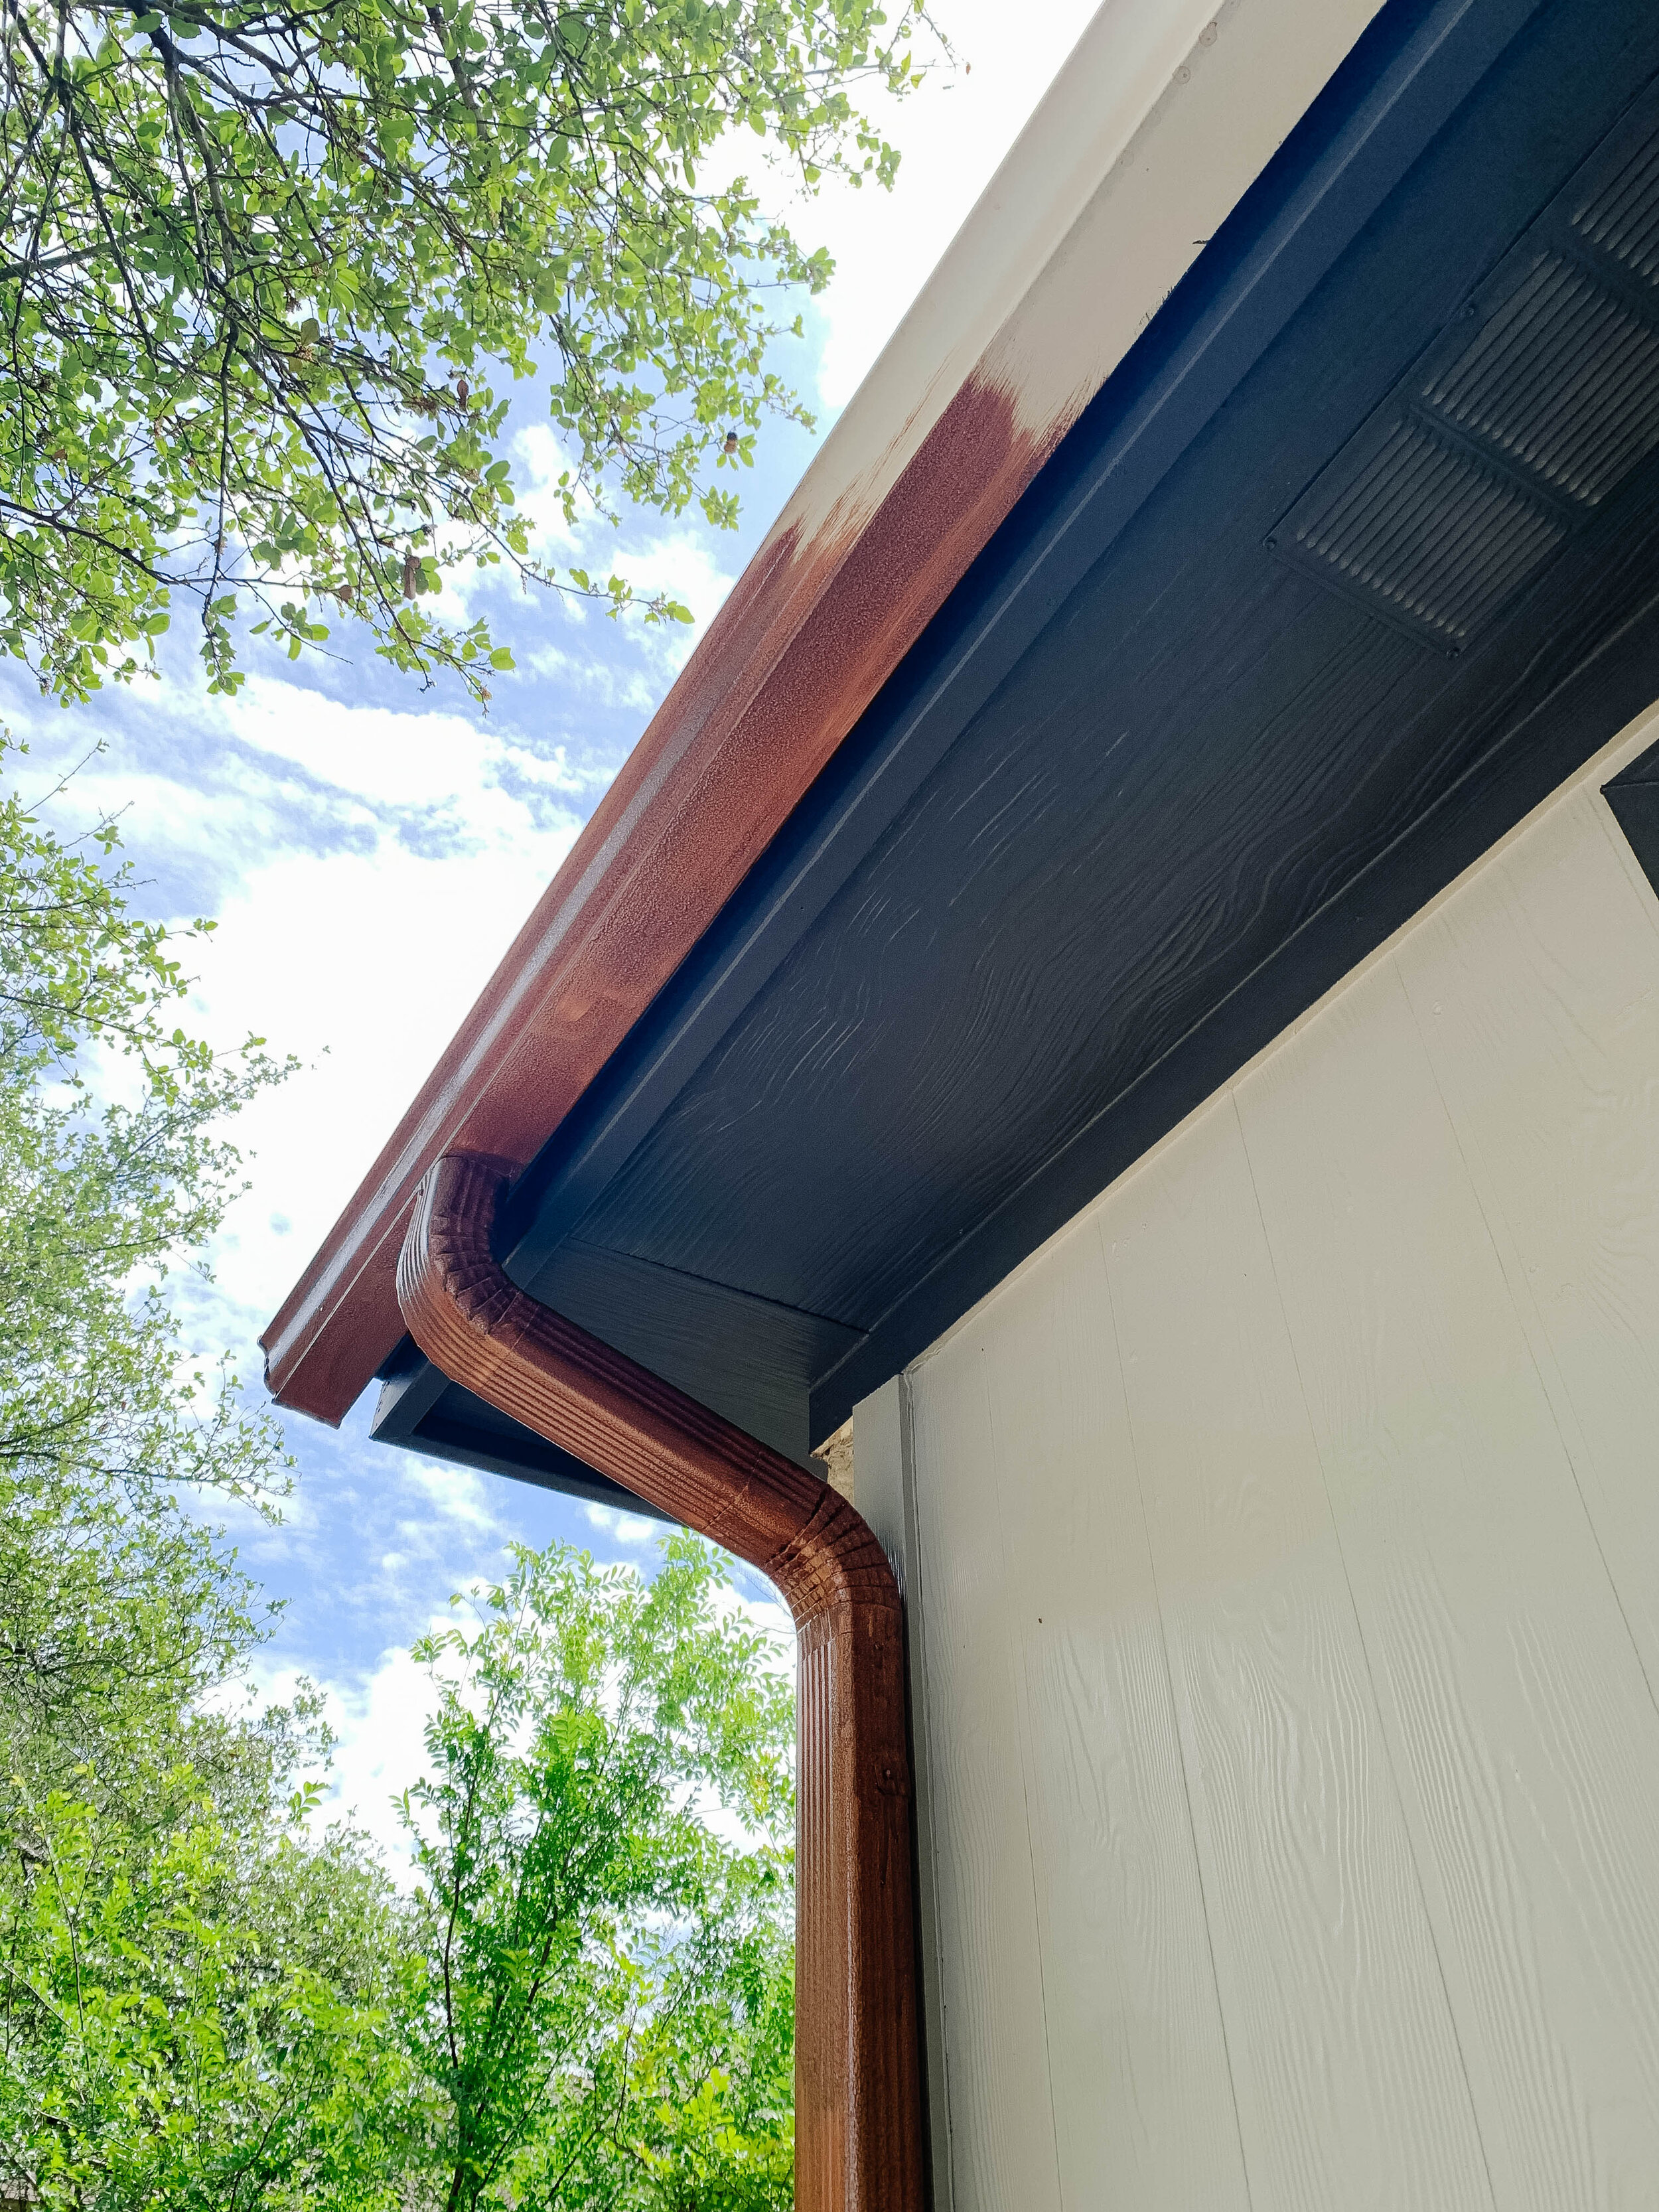
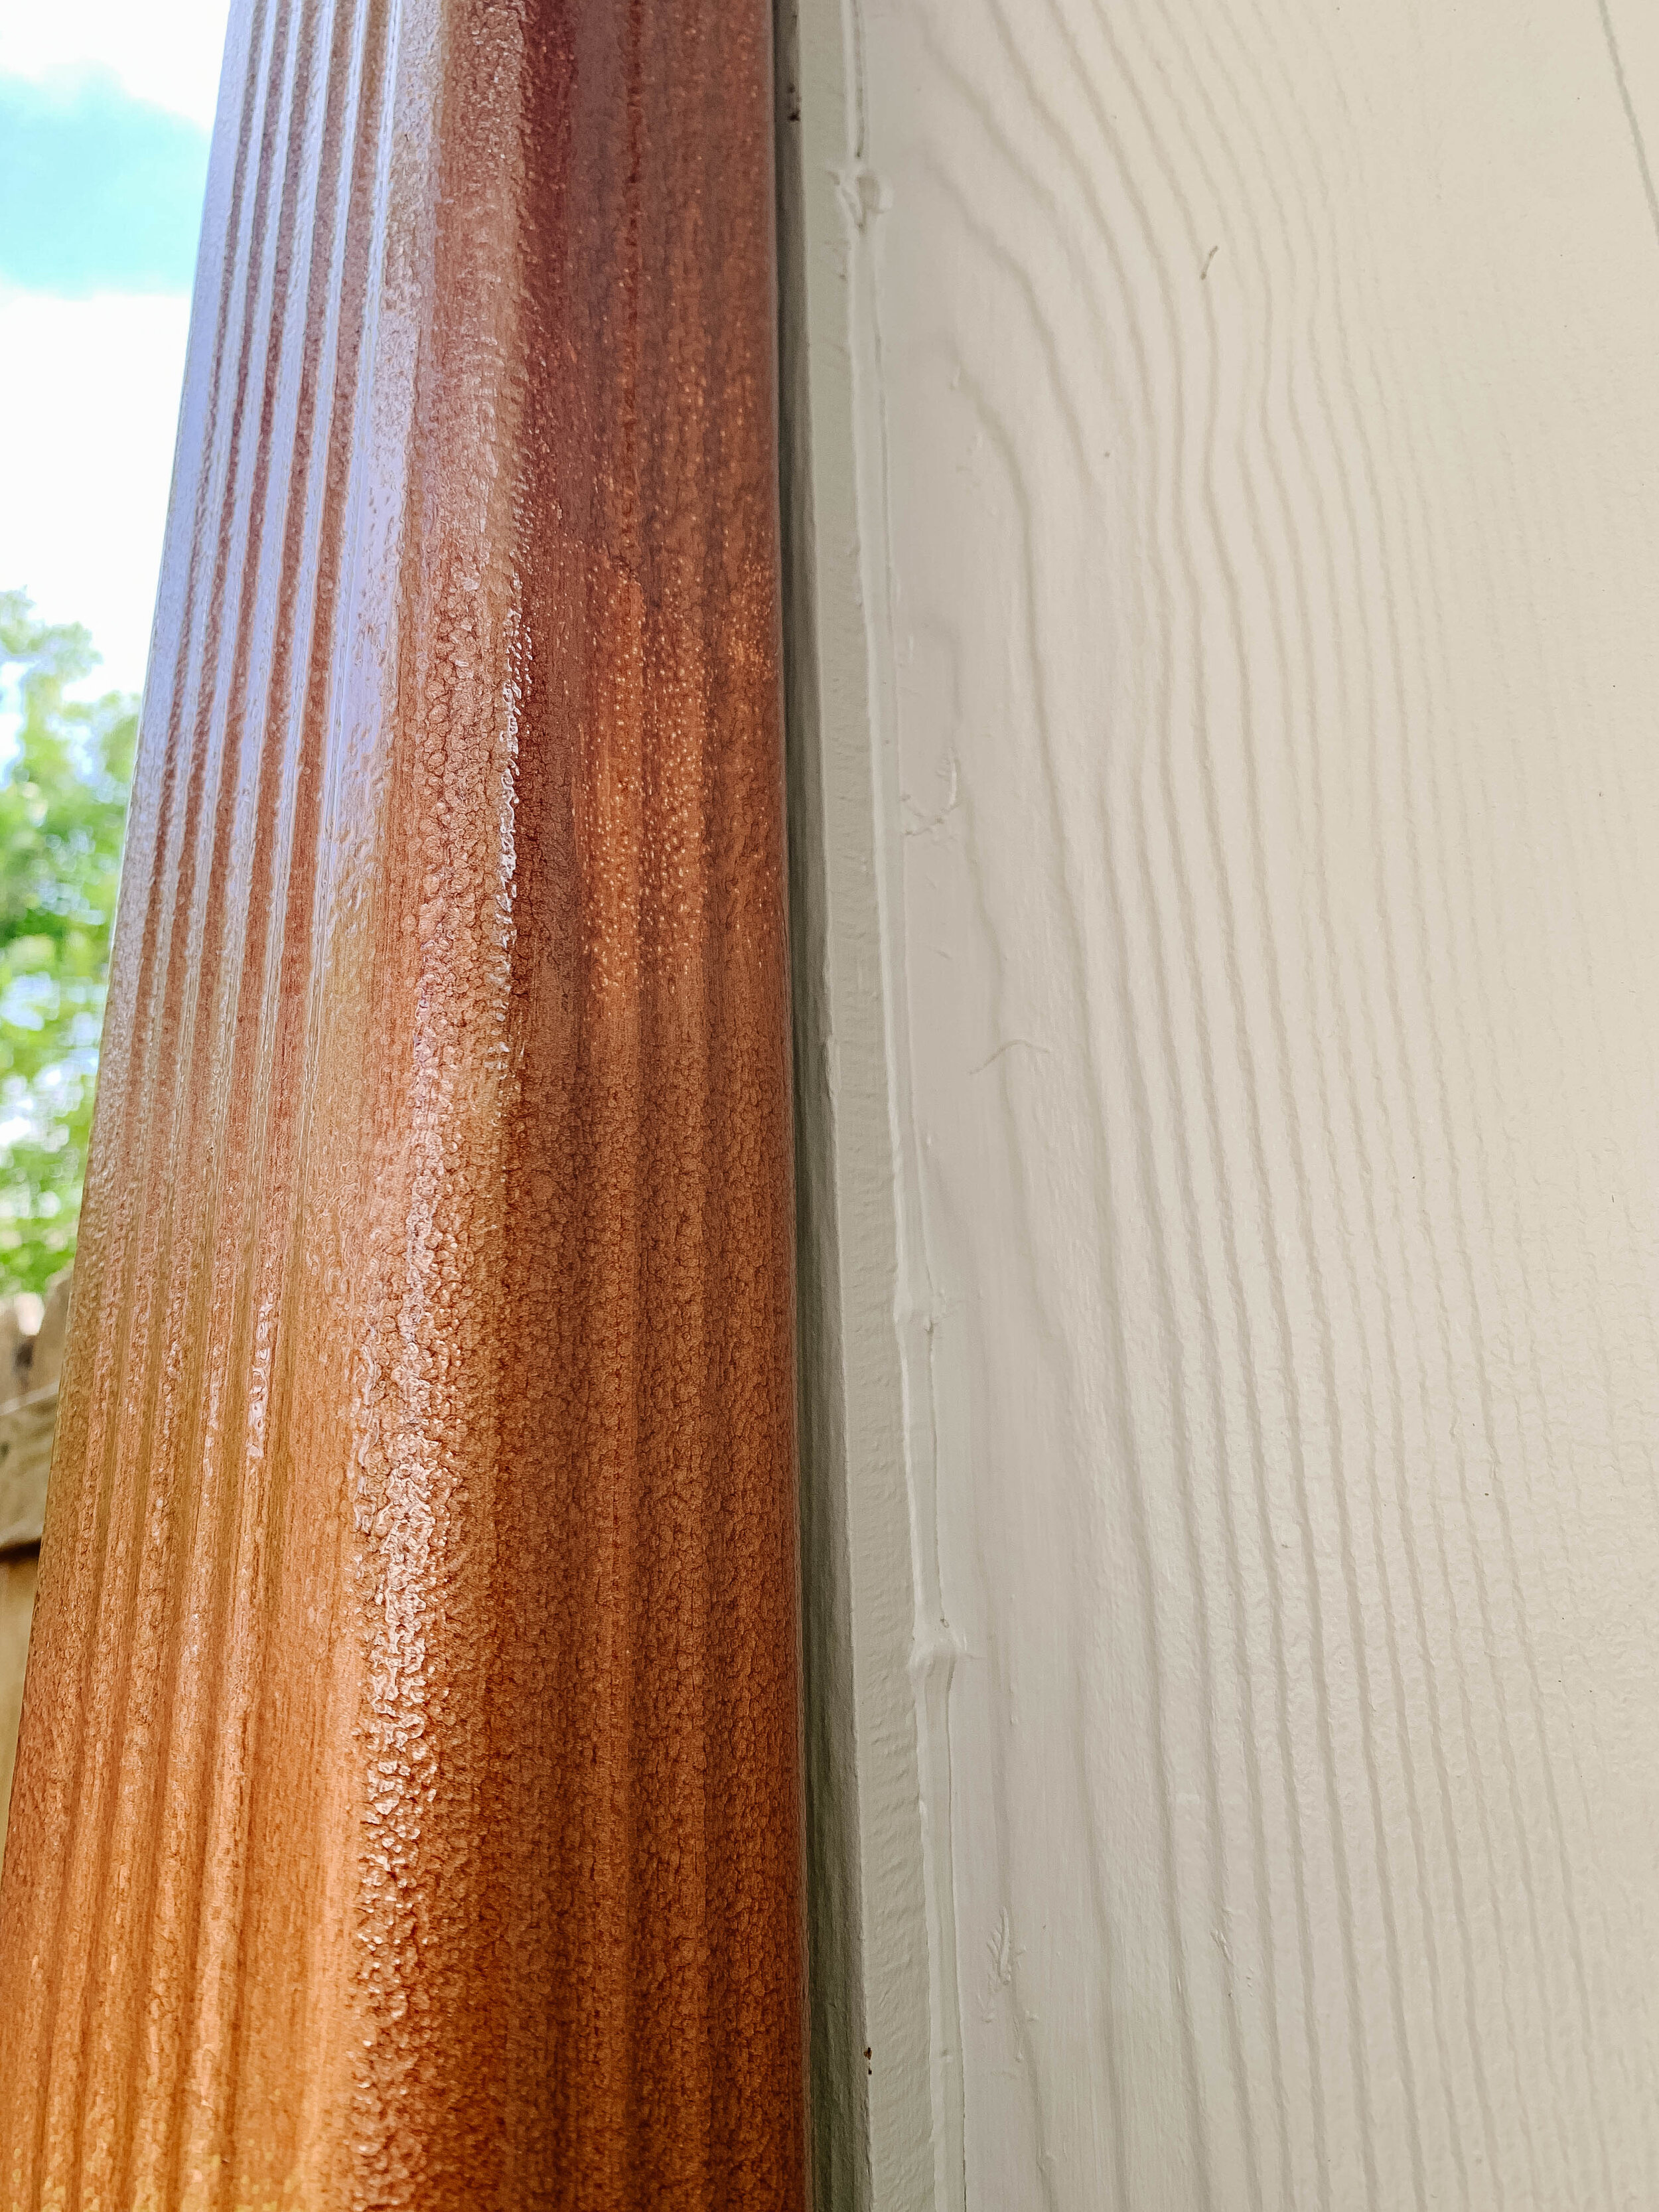
Finally, I used an angled brush to paint two coats of copper on the gutters. You can see in the first photo below it goes on really smoothly (at the bottom), and then it quickly transforms to create a hammered texture (toward the top of the photo). Unlike how it actually looks in the first photo, it’s important to quickly smooth this paint out to avoid drips since it hammers and dries pretty quickly. In the third/last photo below, you can see how one coat looks (toward the top of the photo) compared to two coats (toward the bottom).
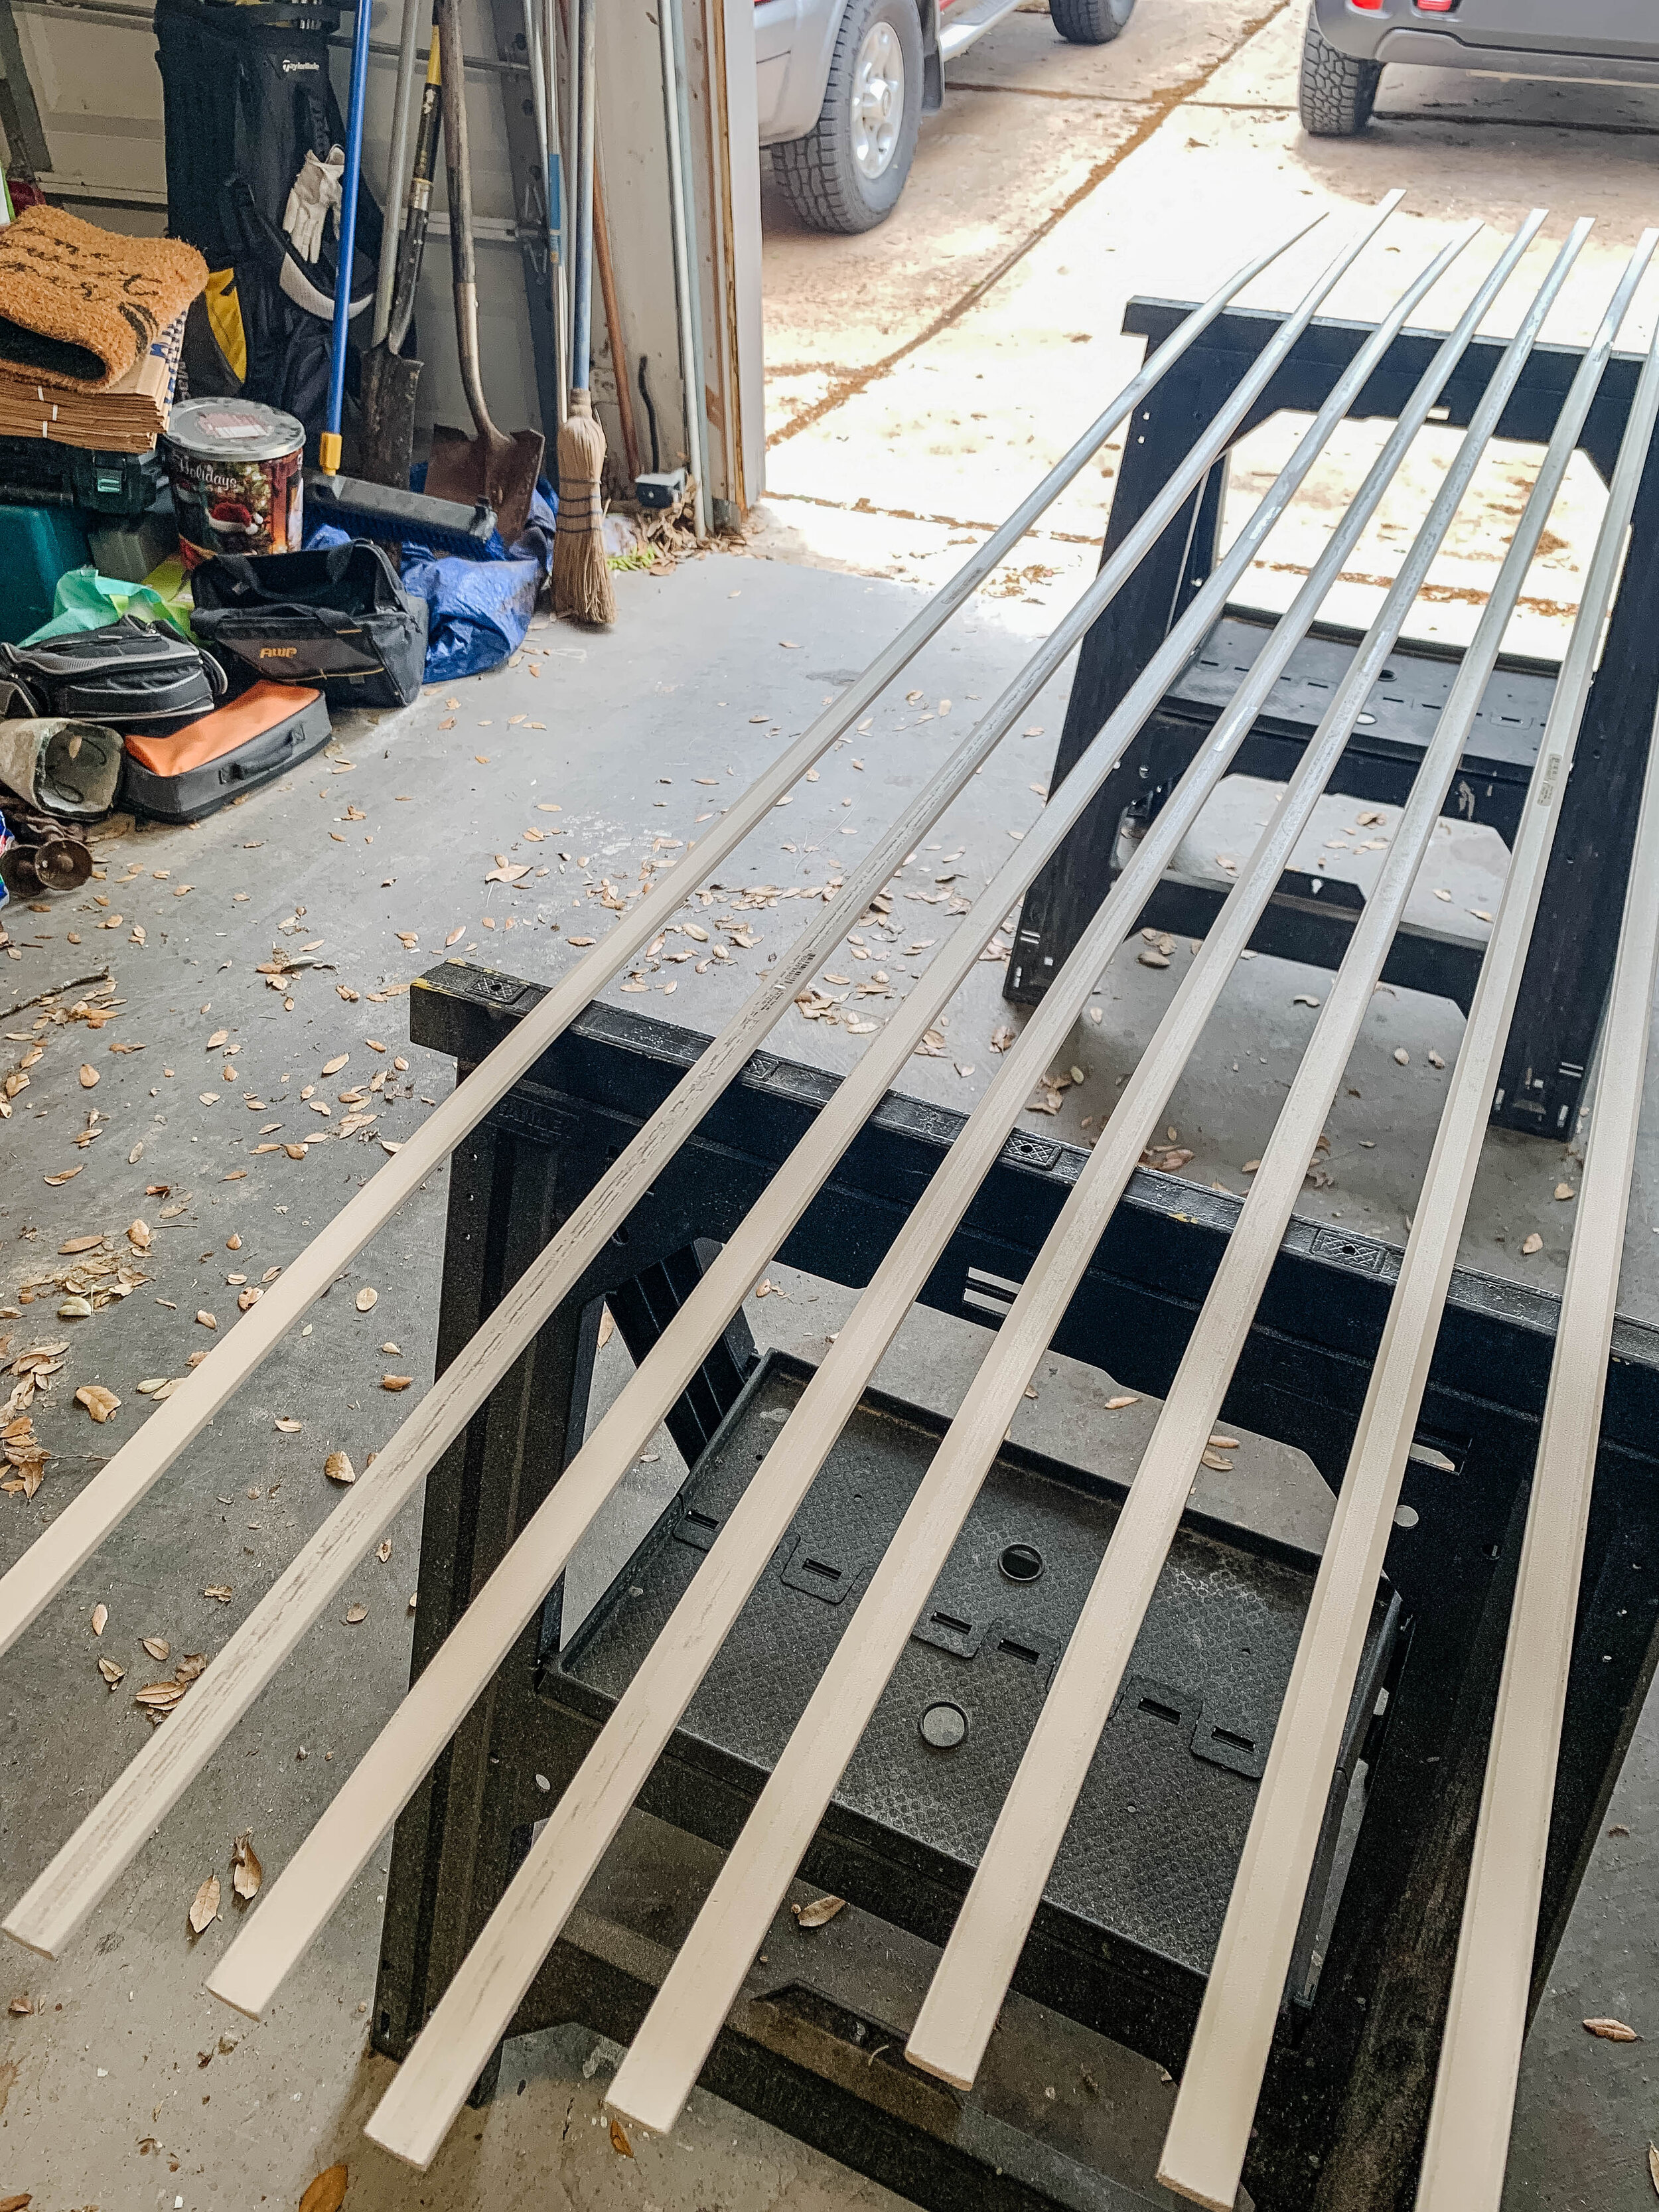
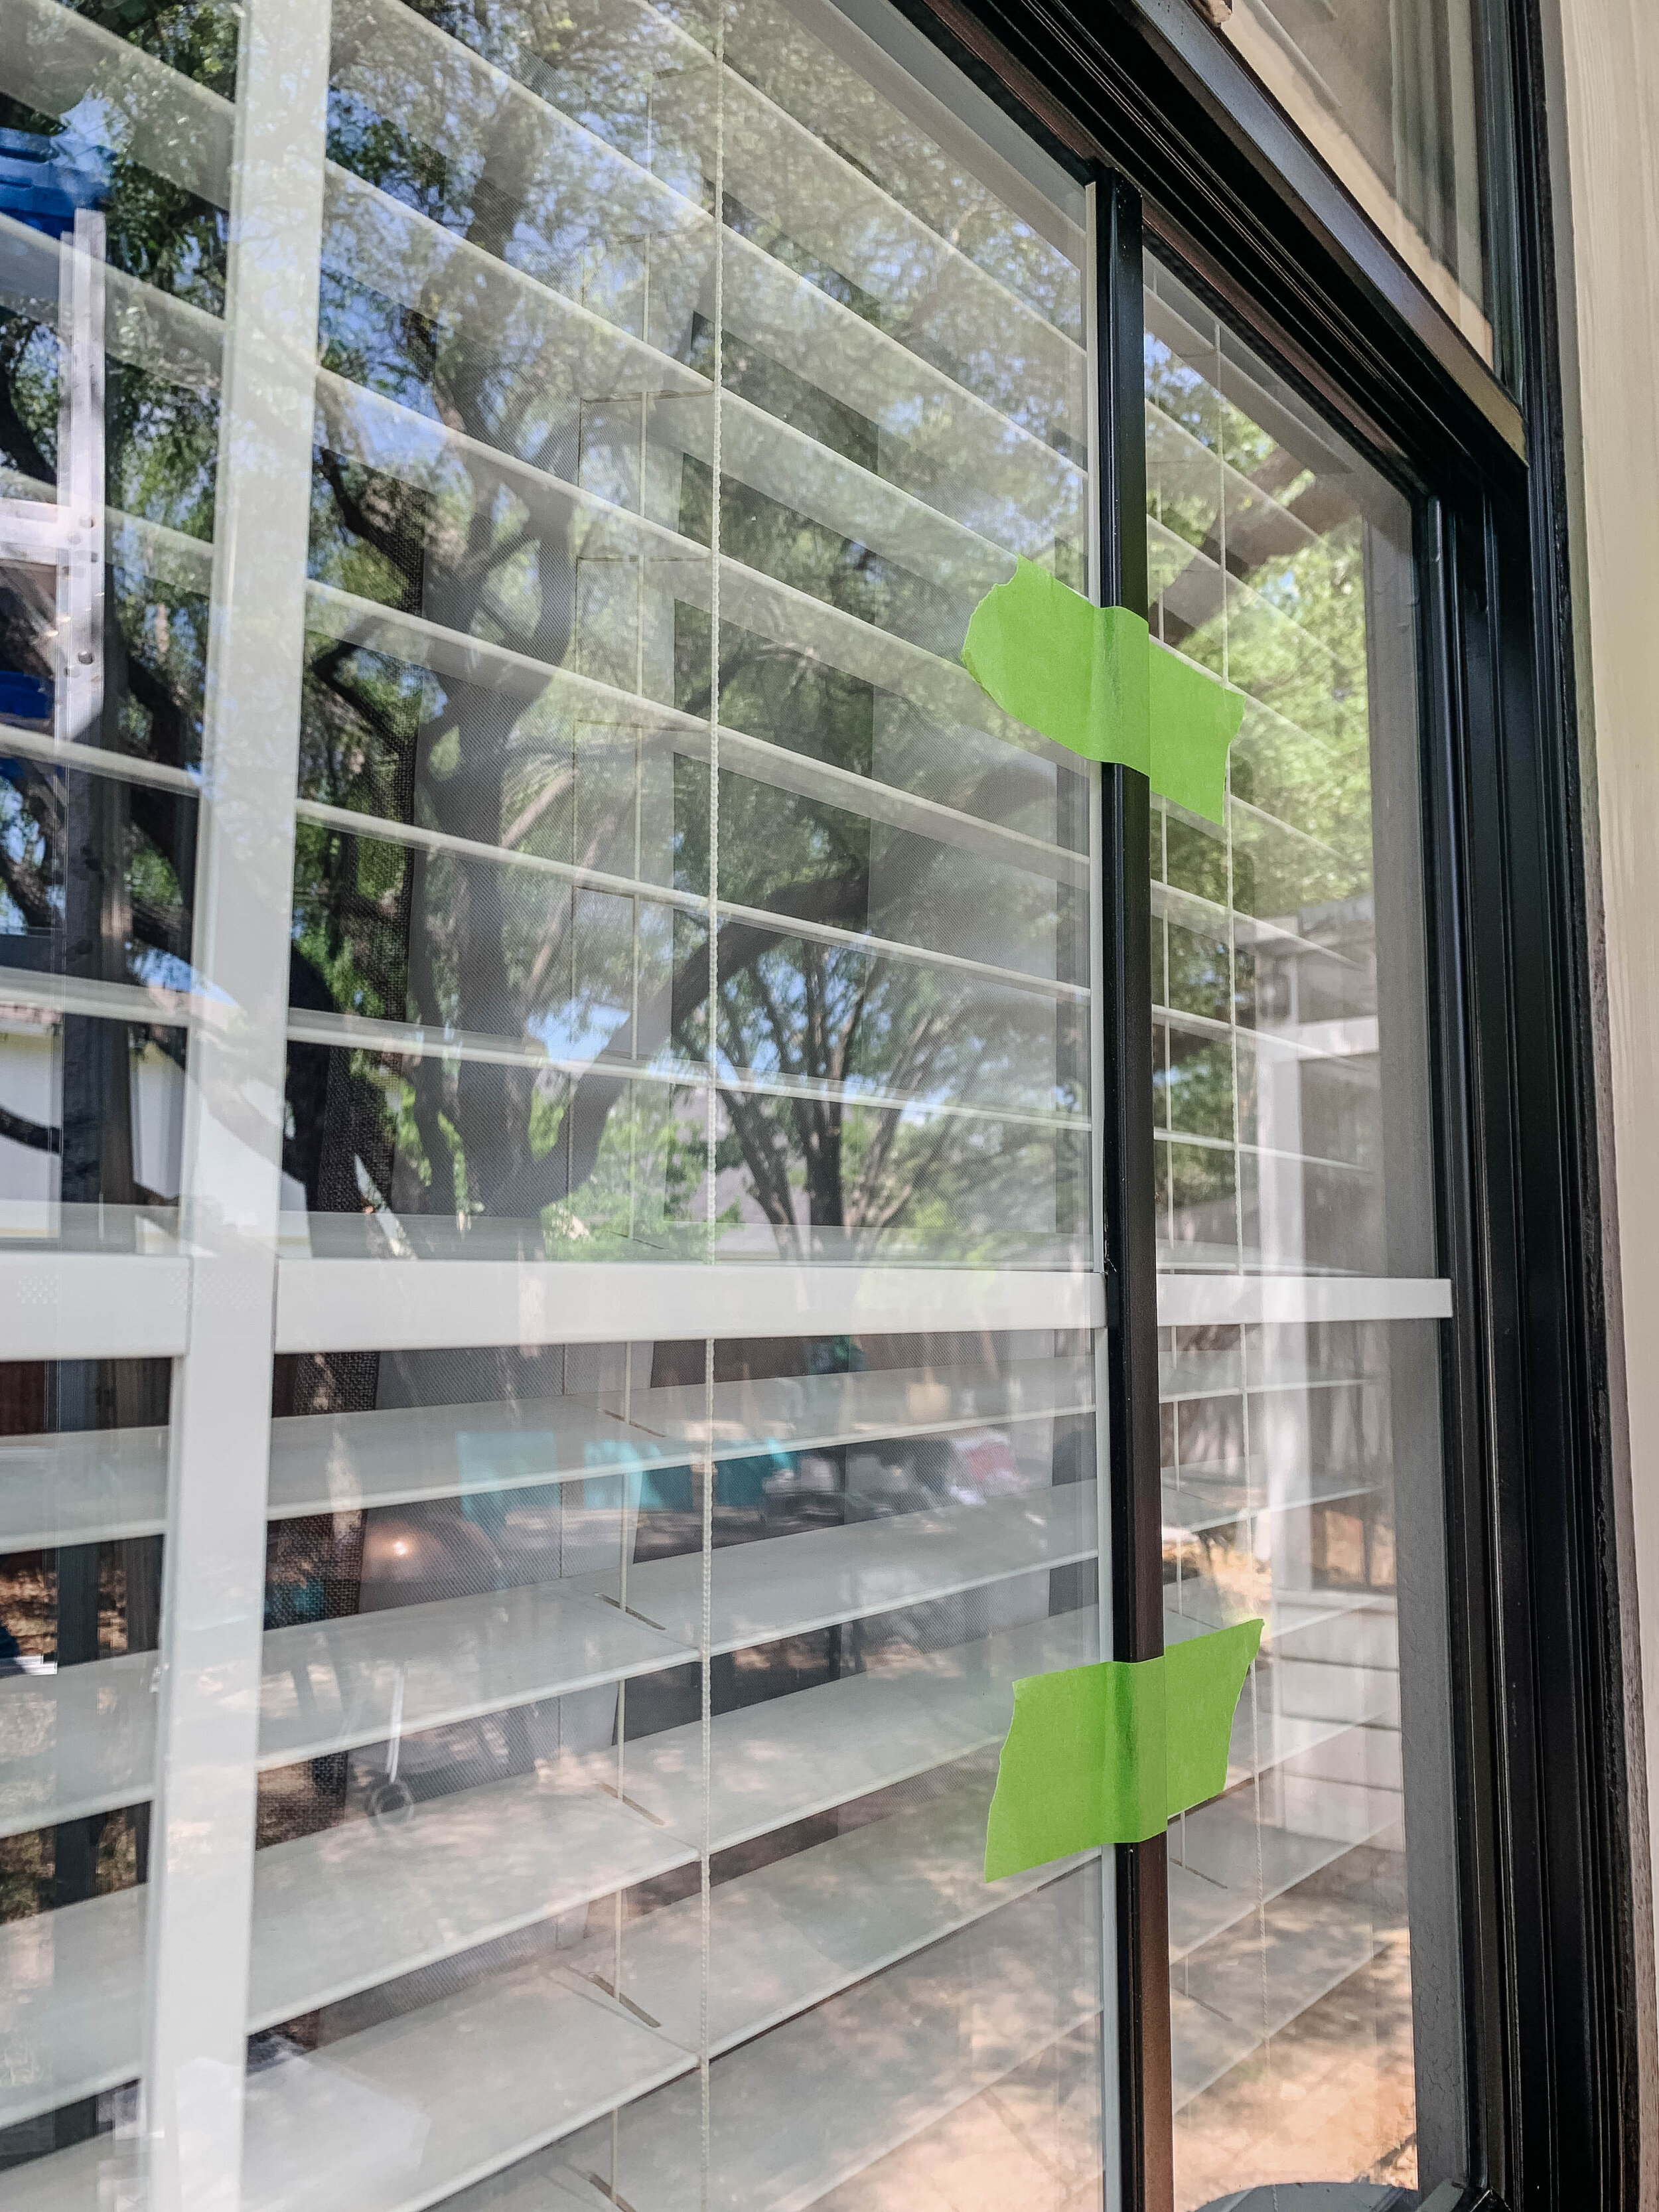
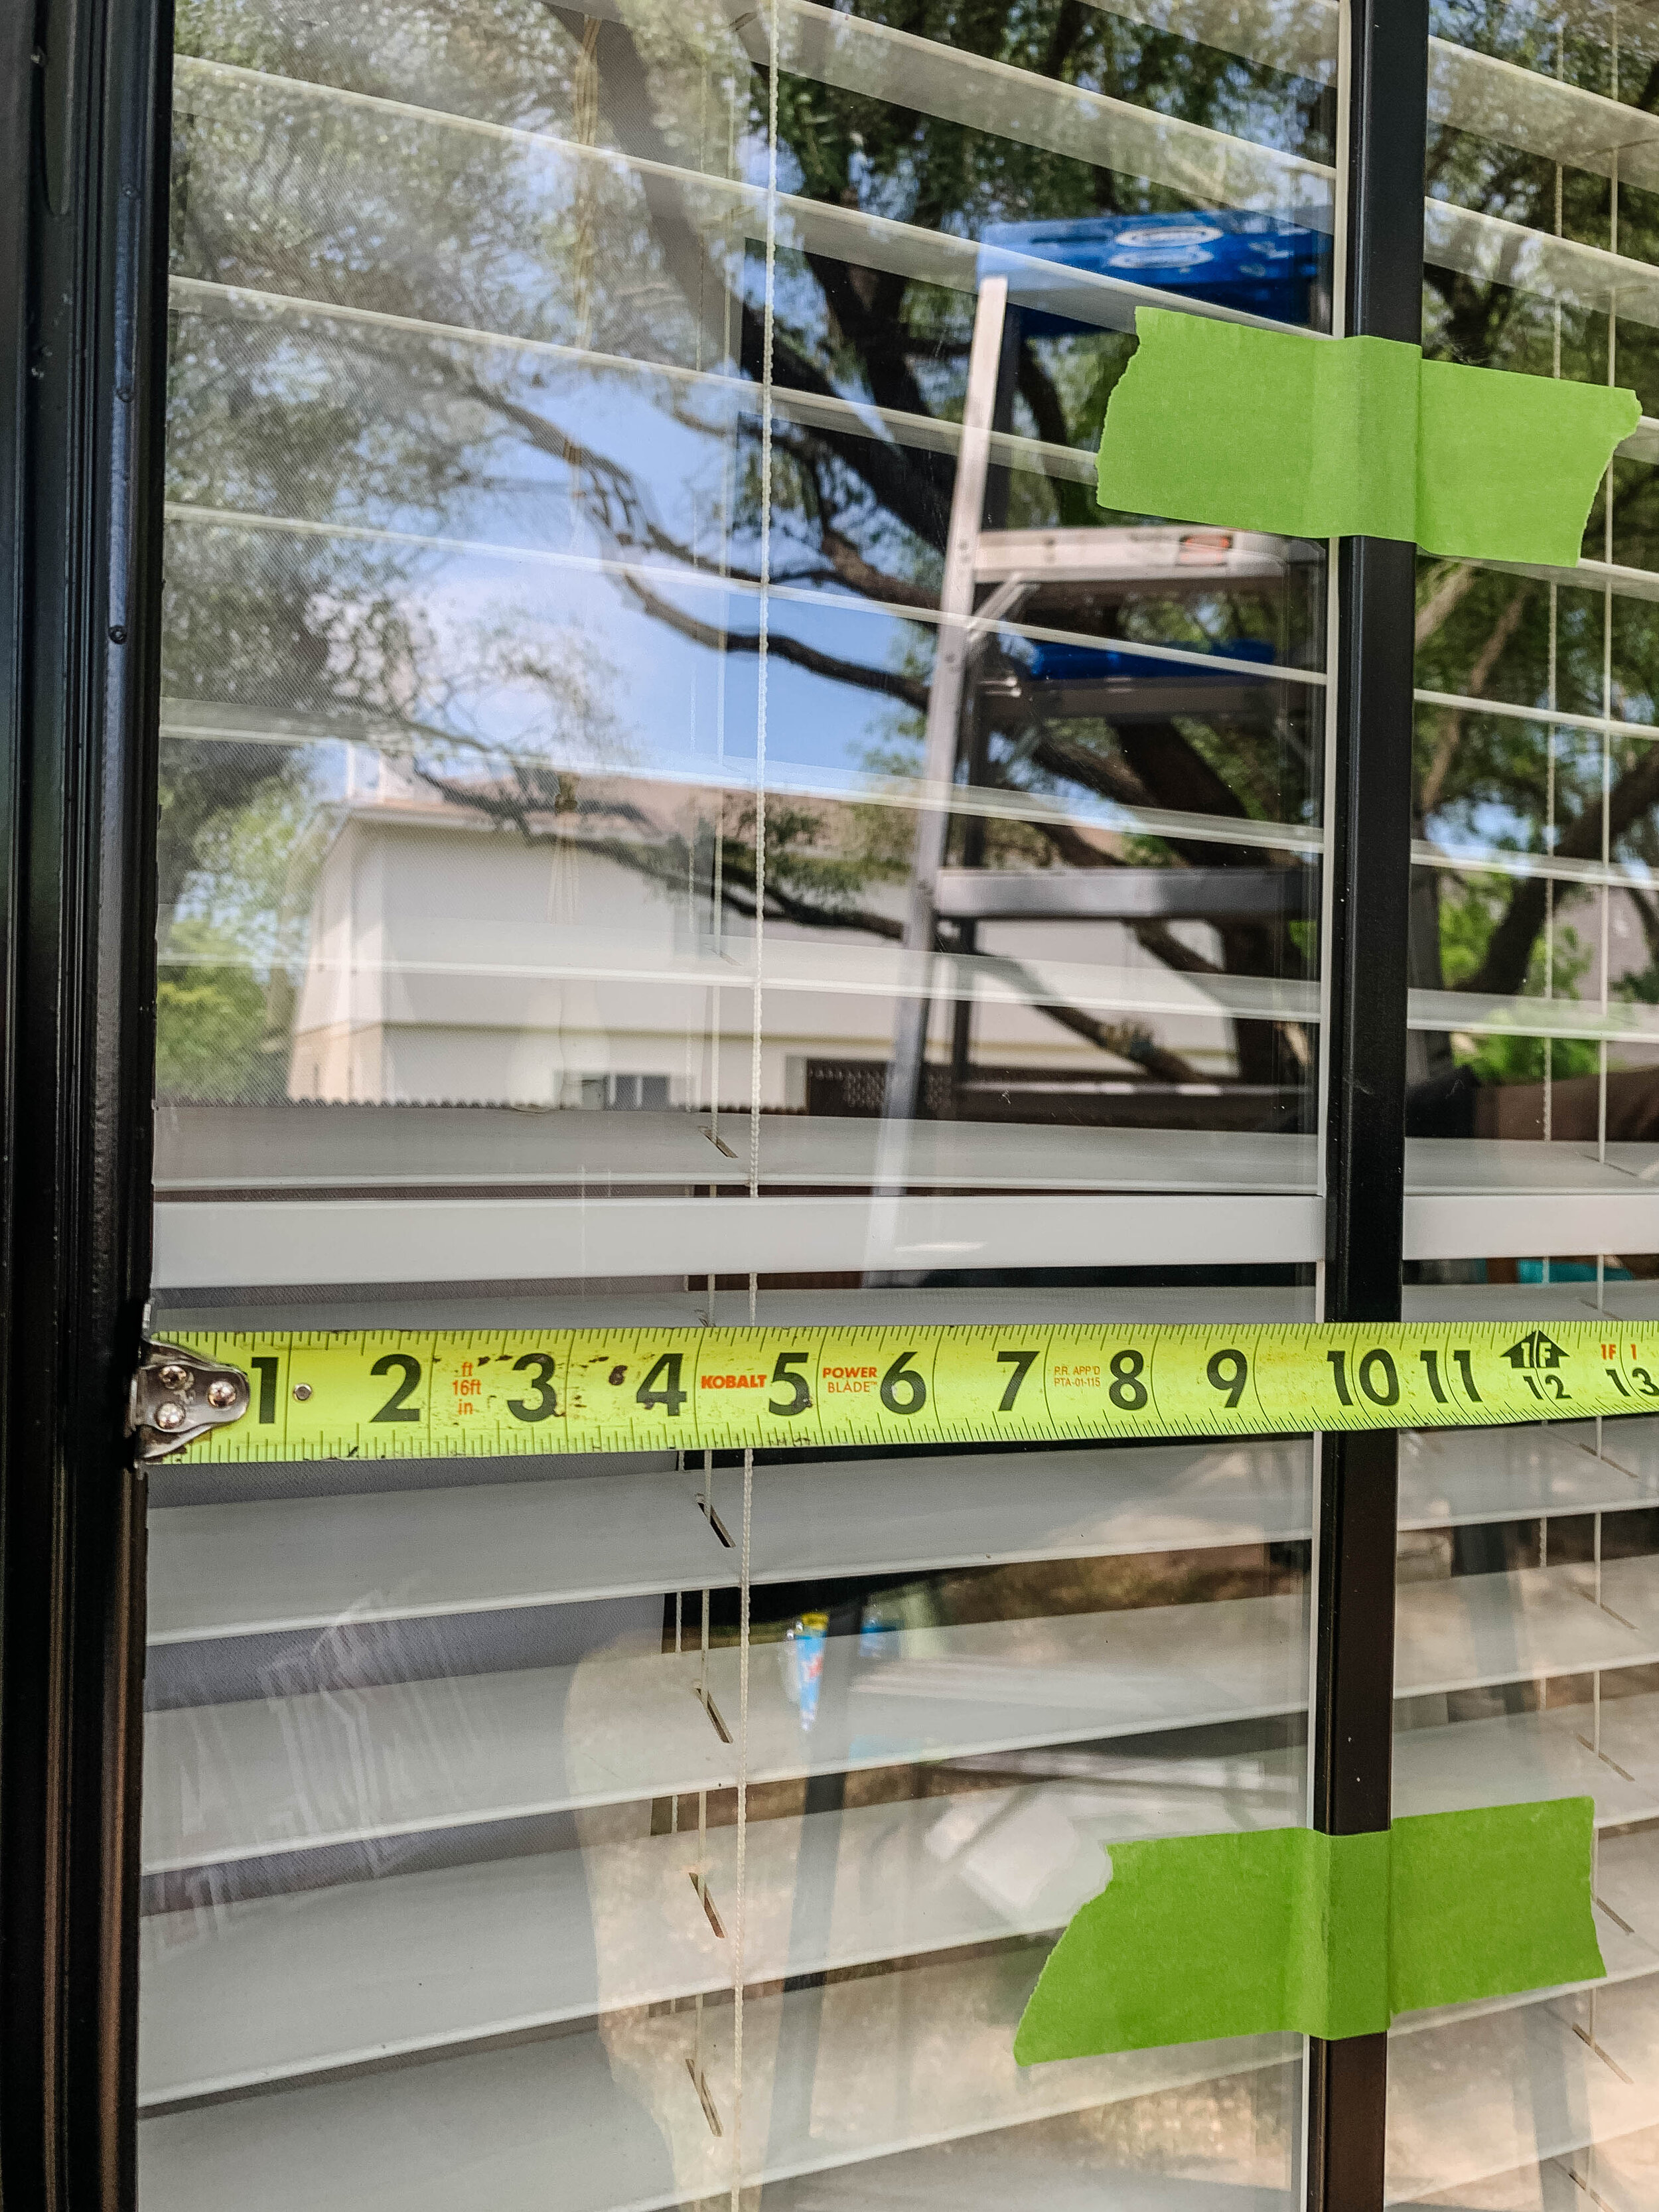
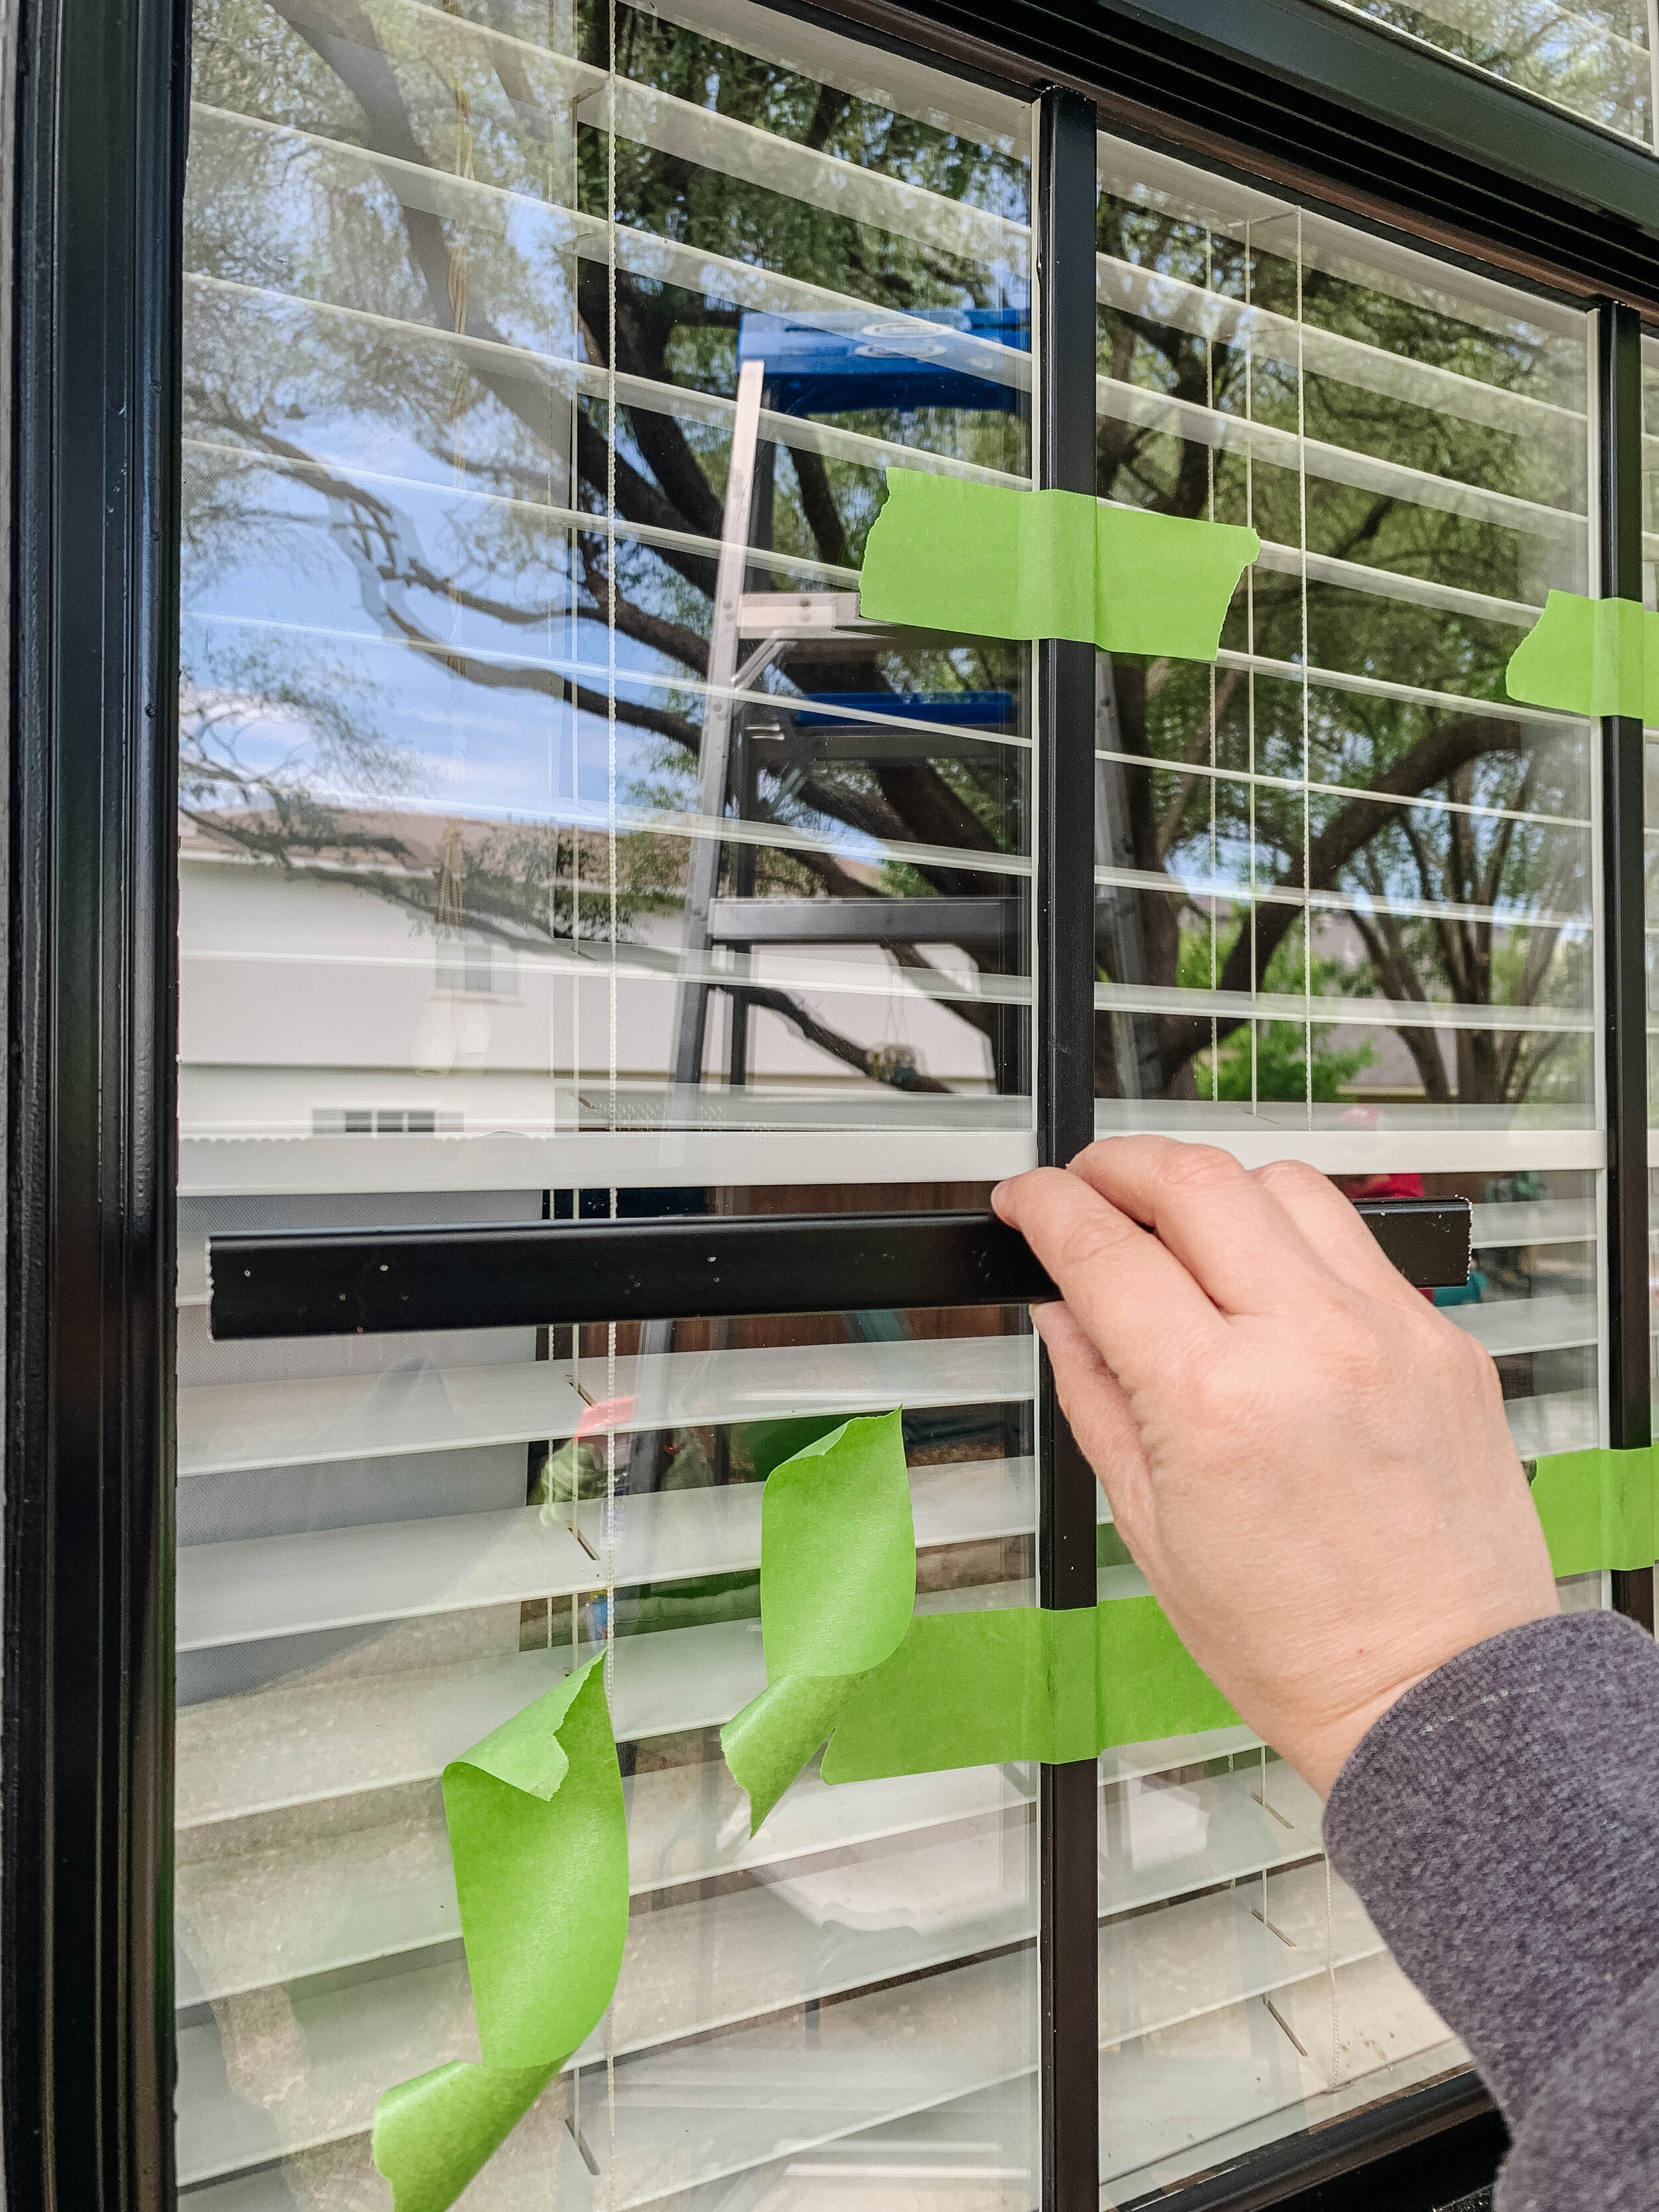
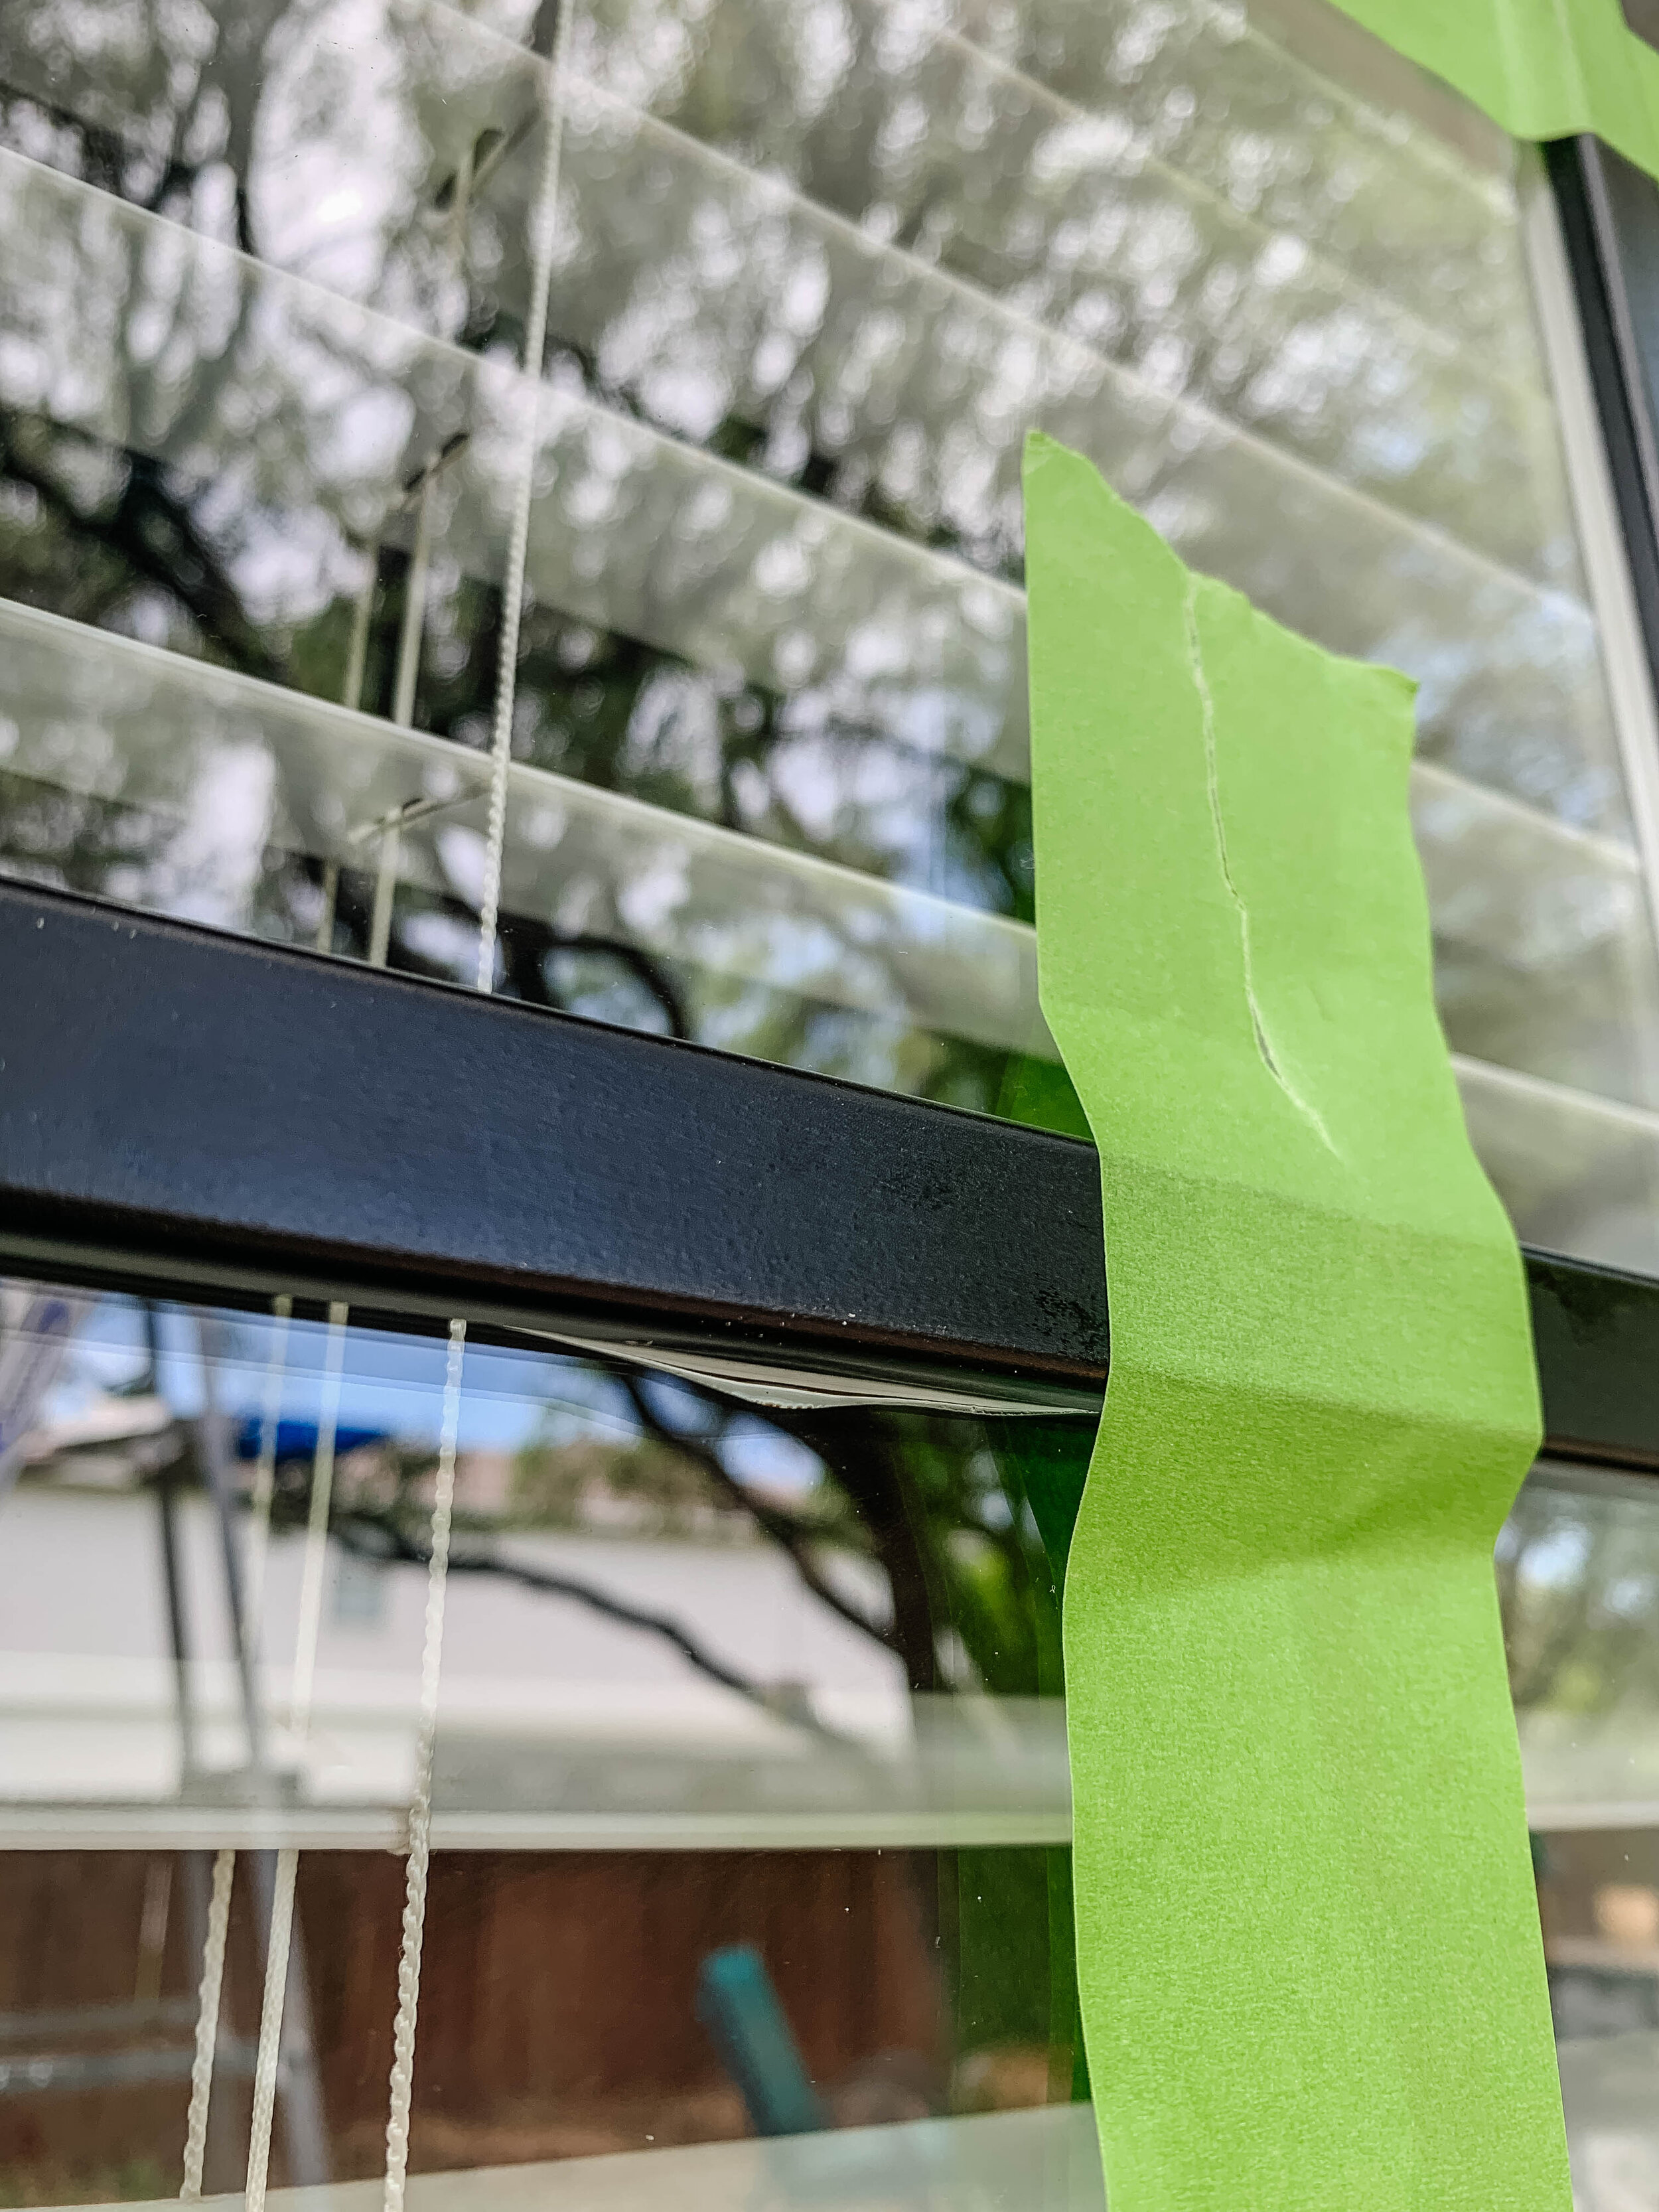
Window mullions
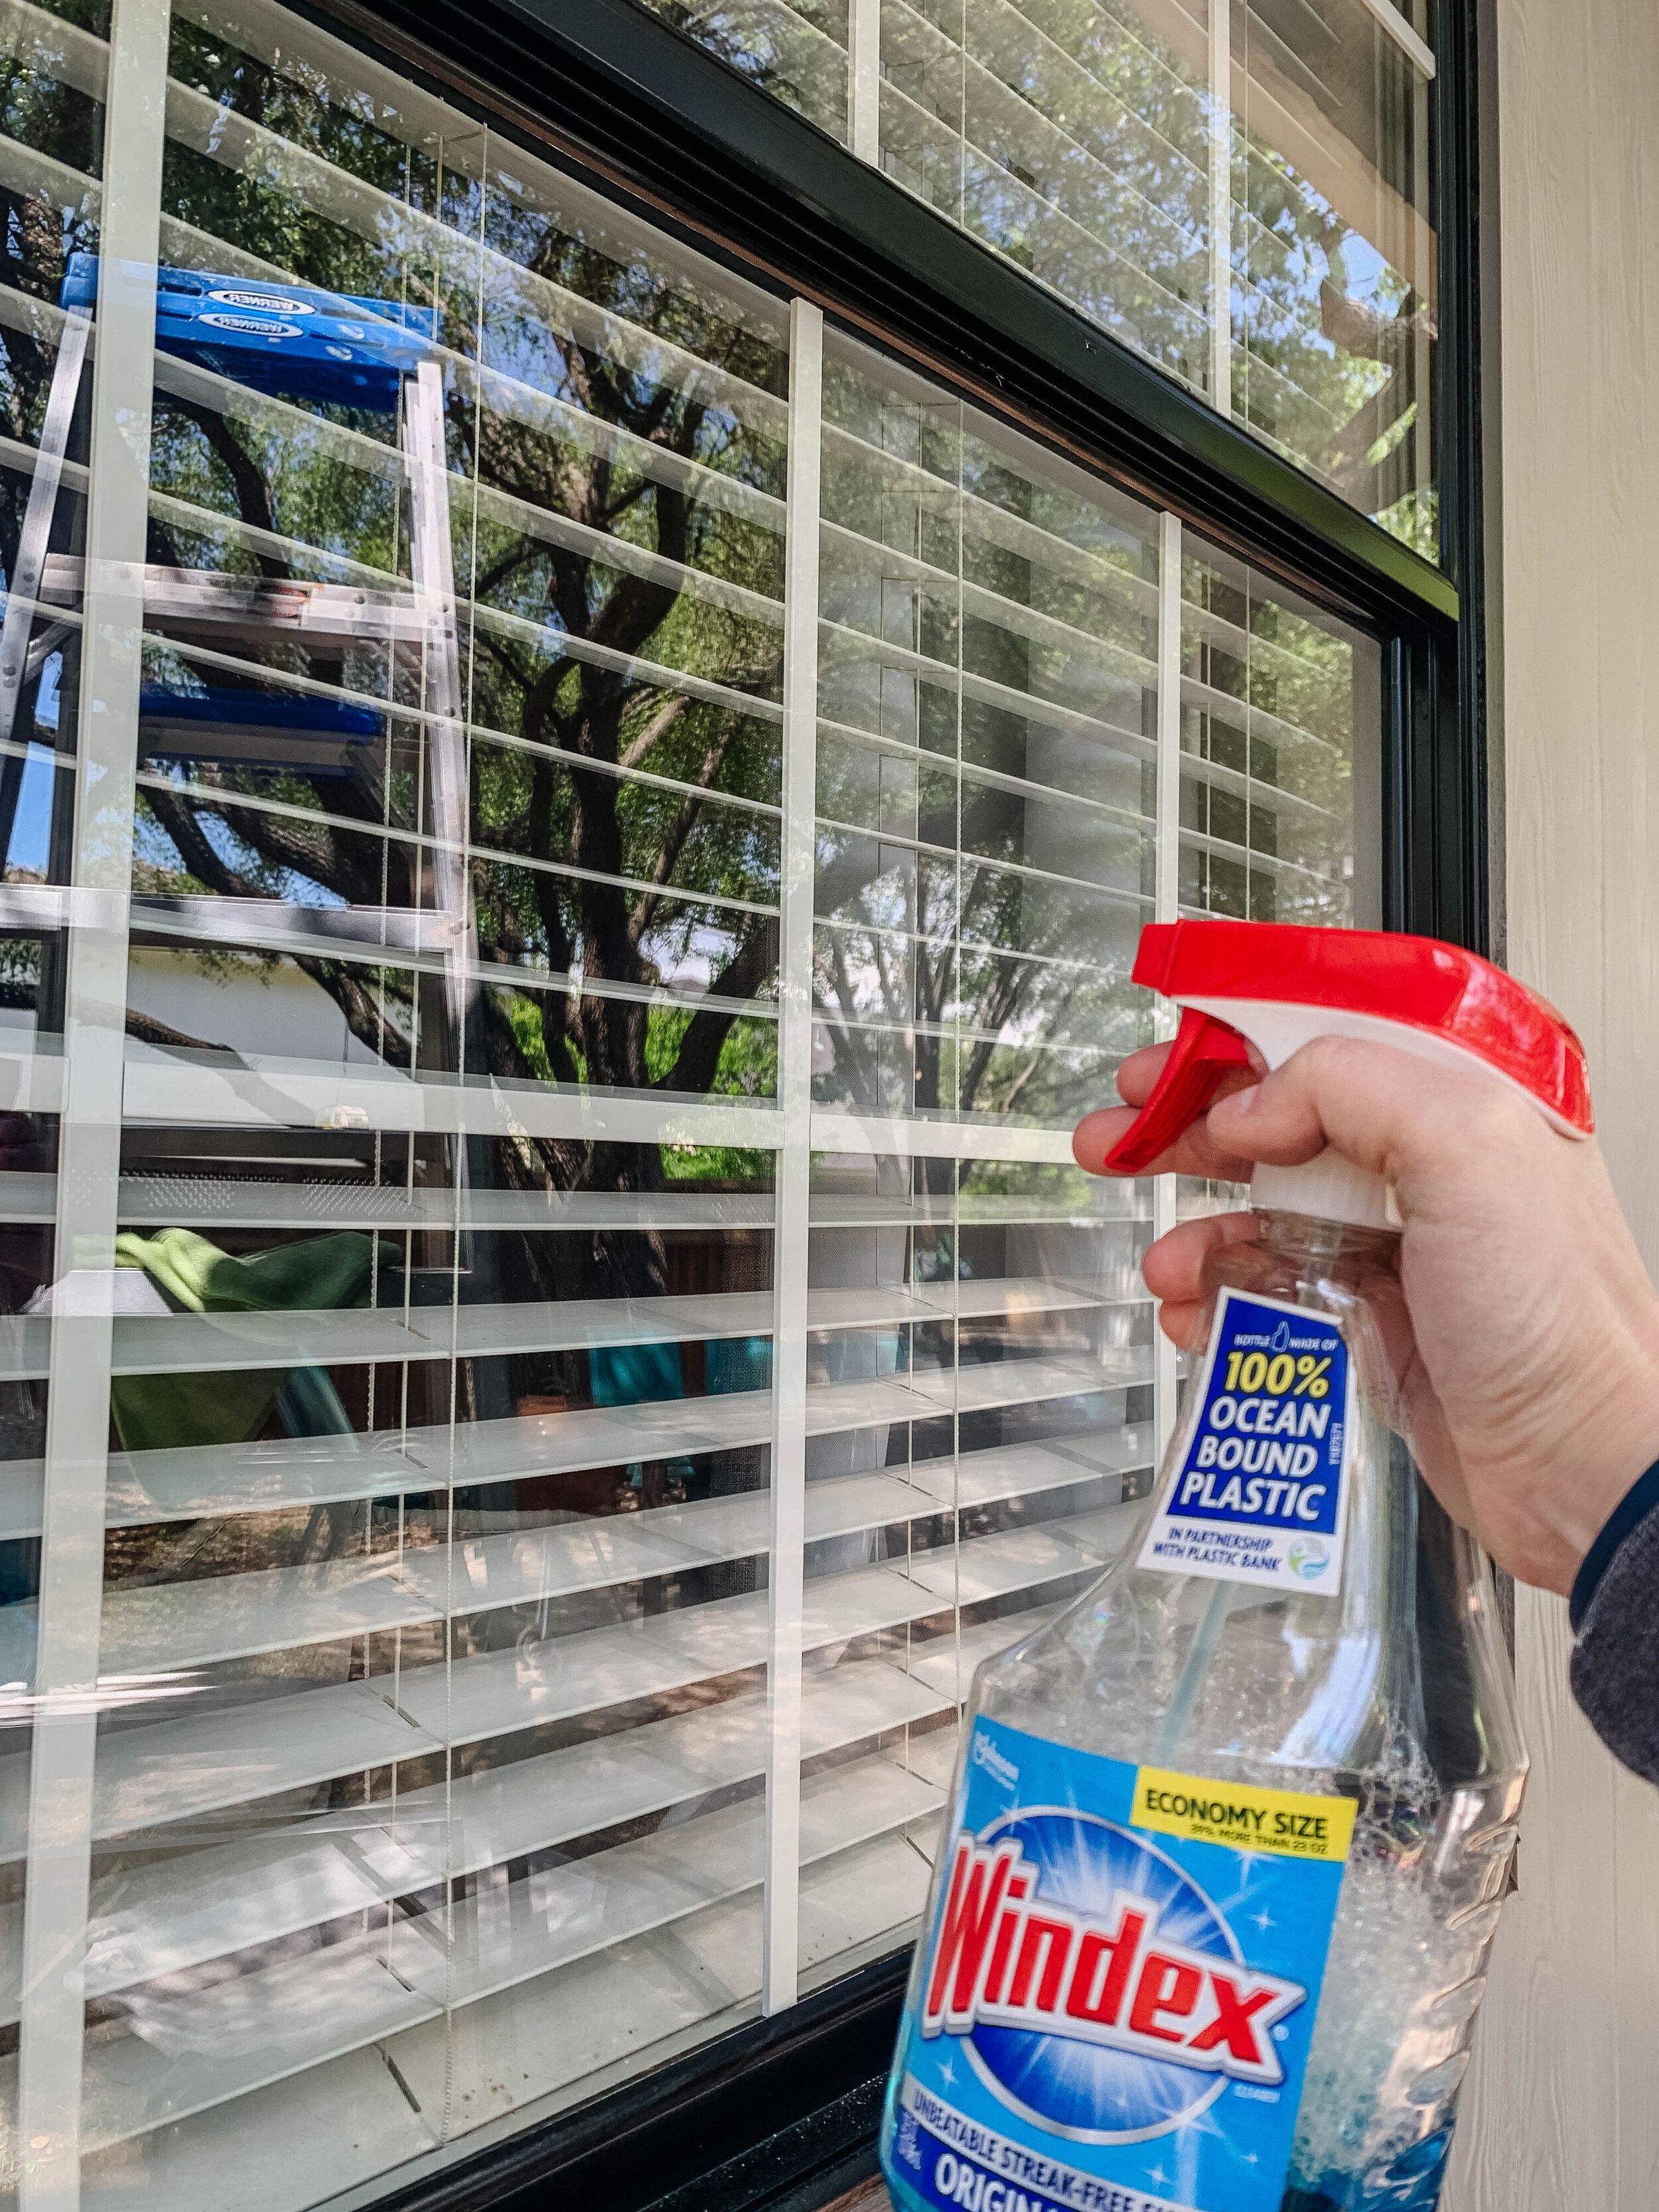
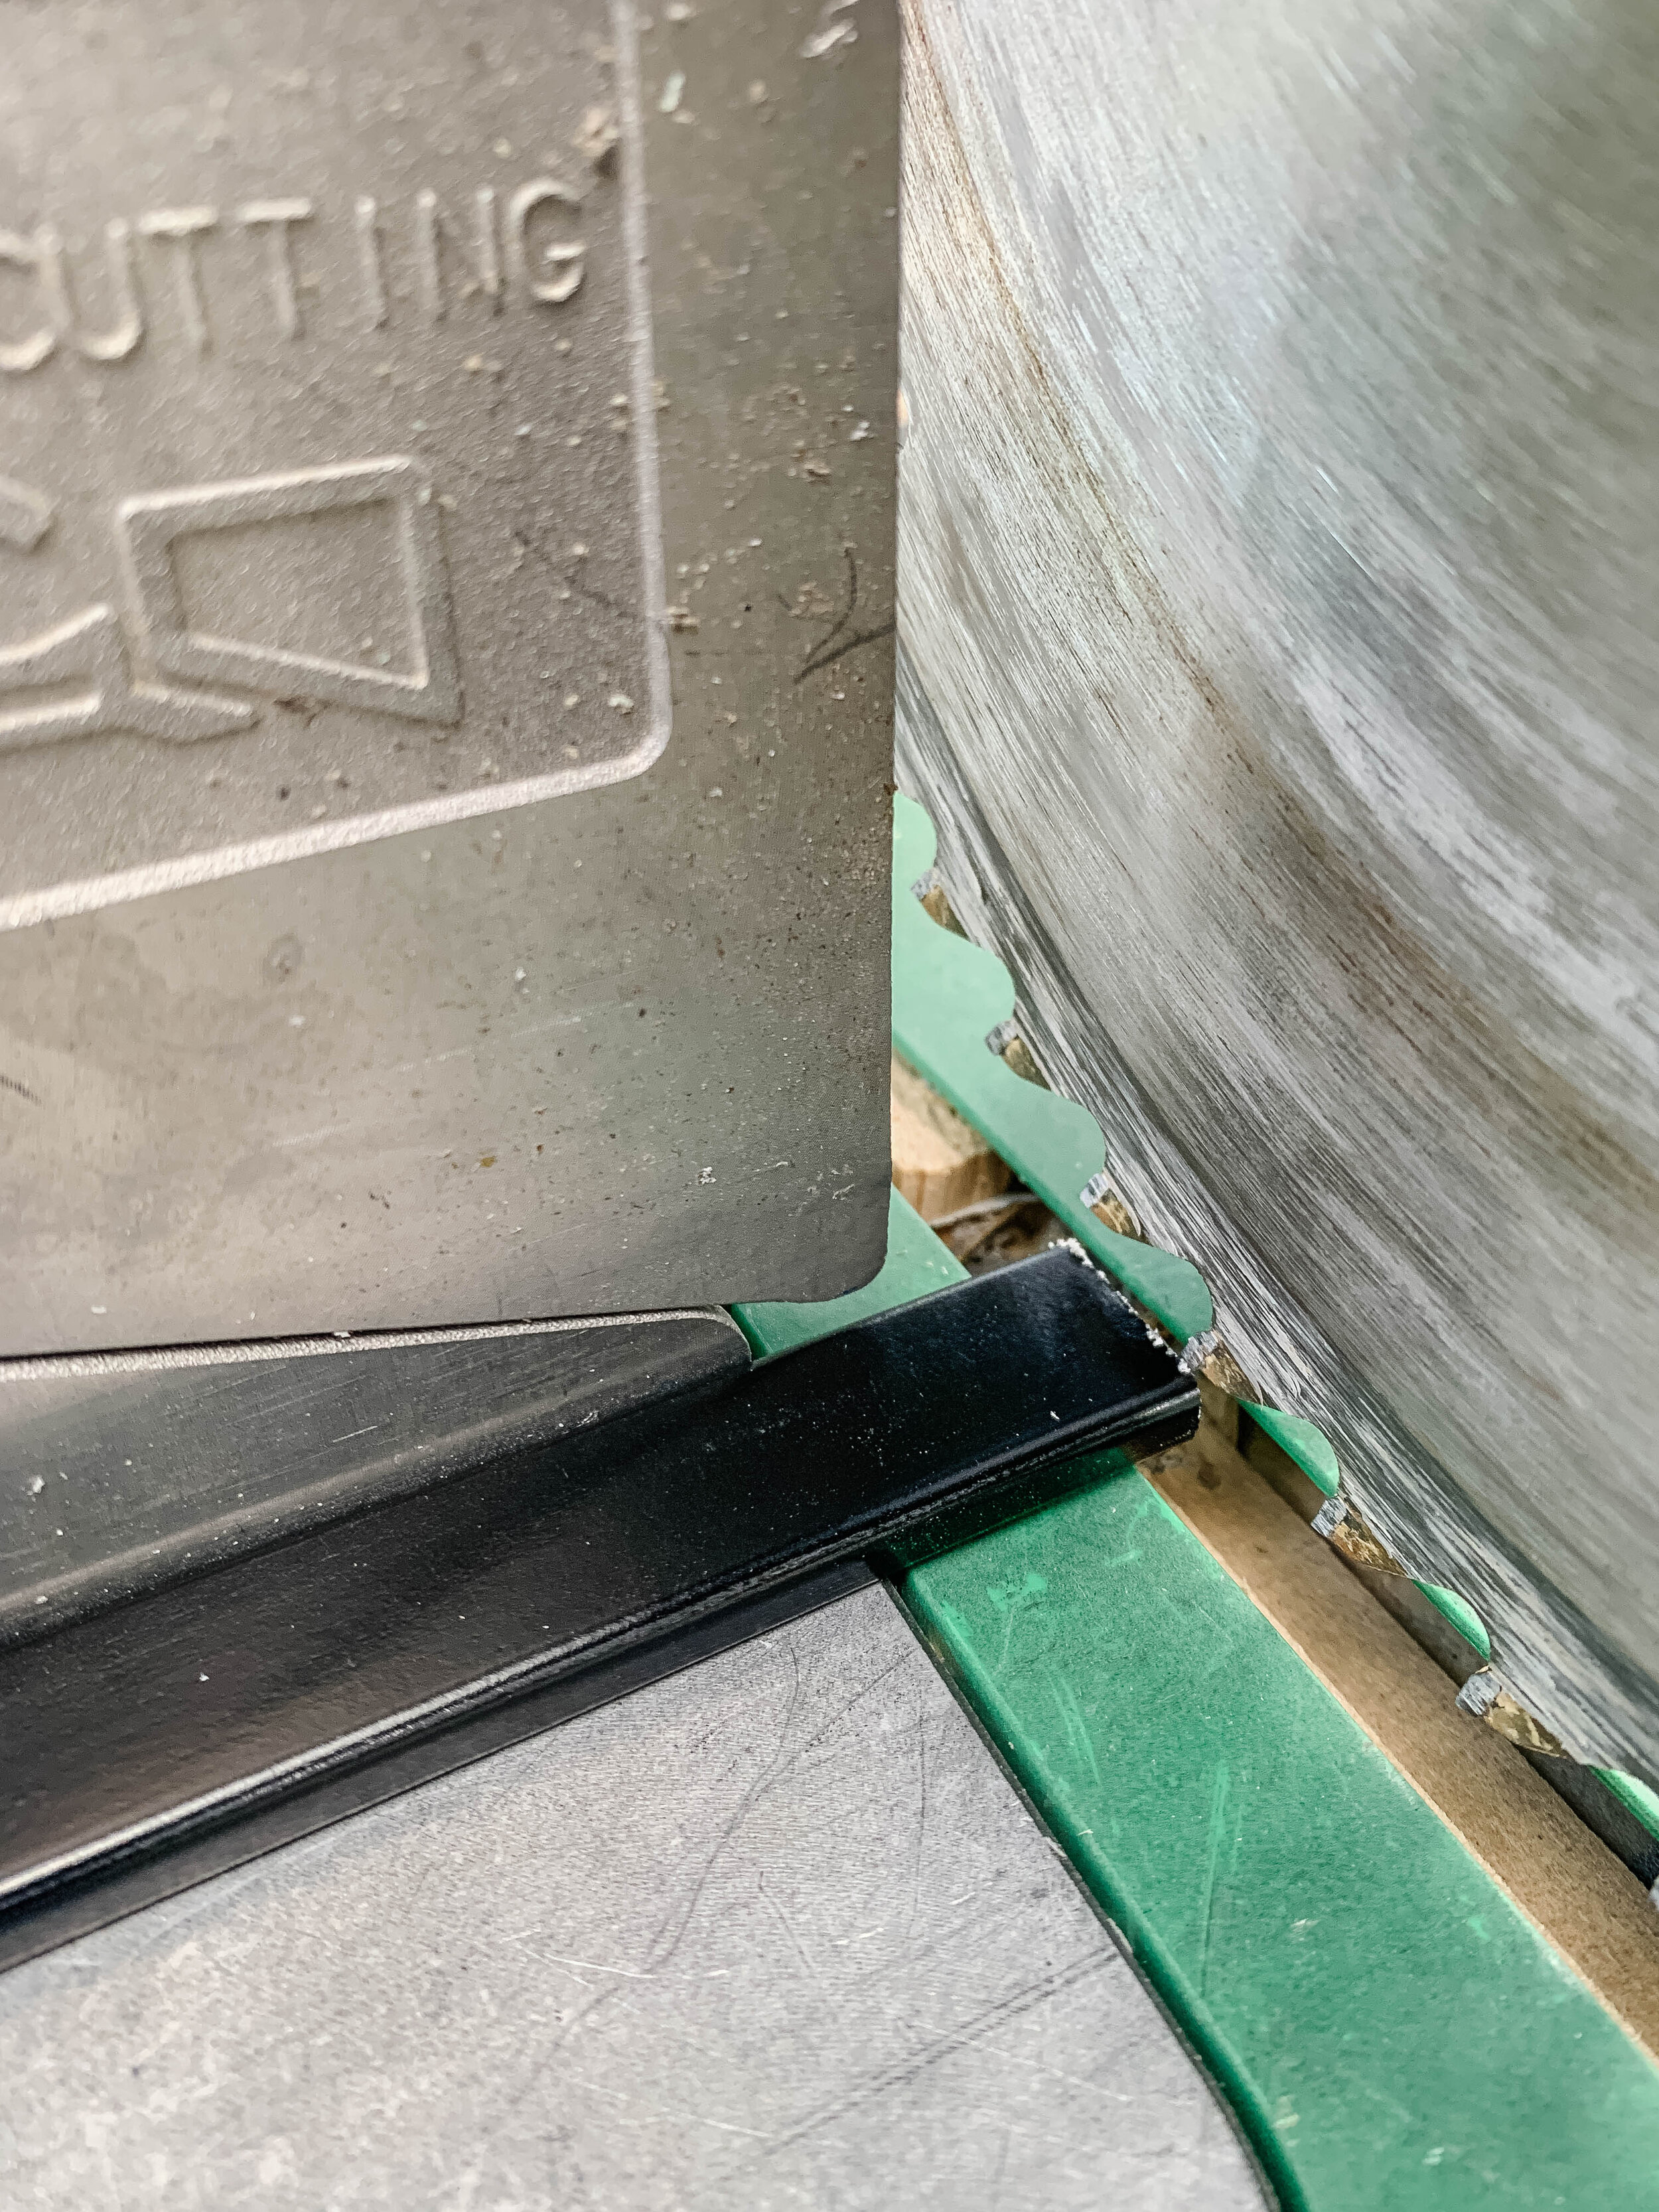
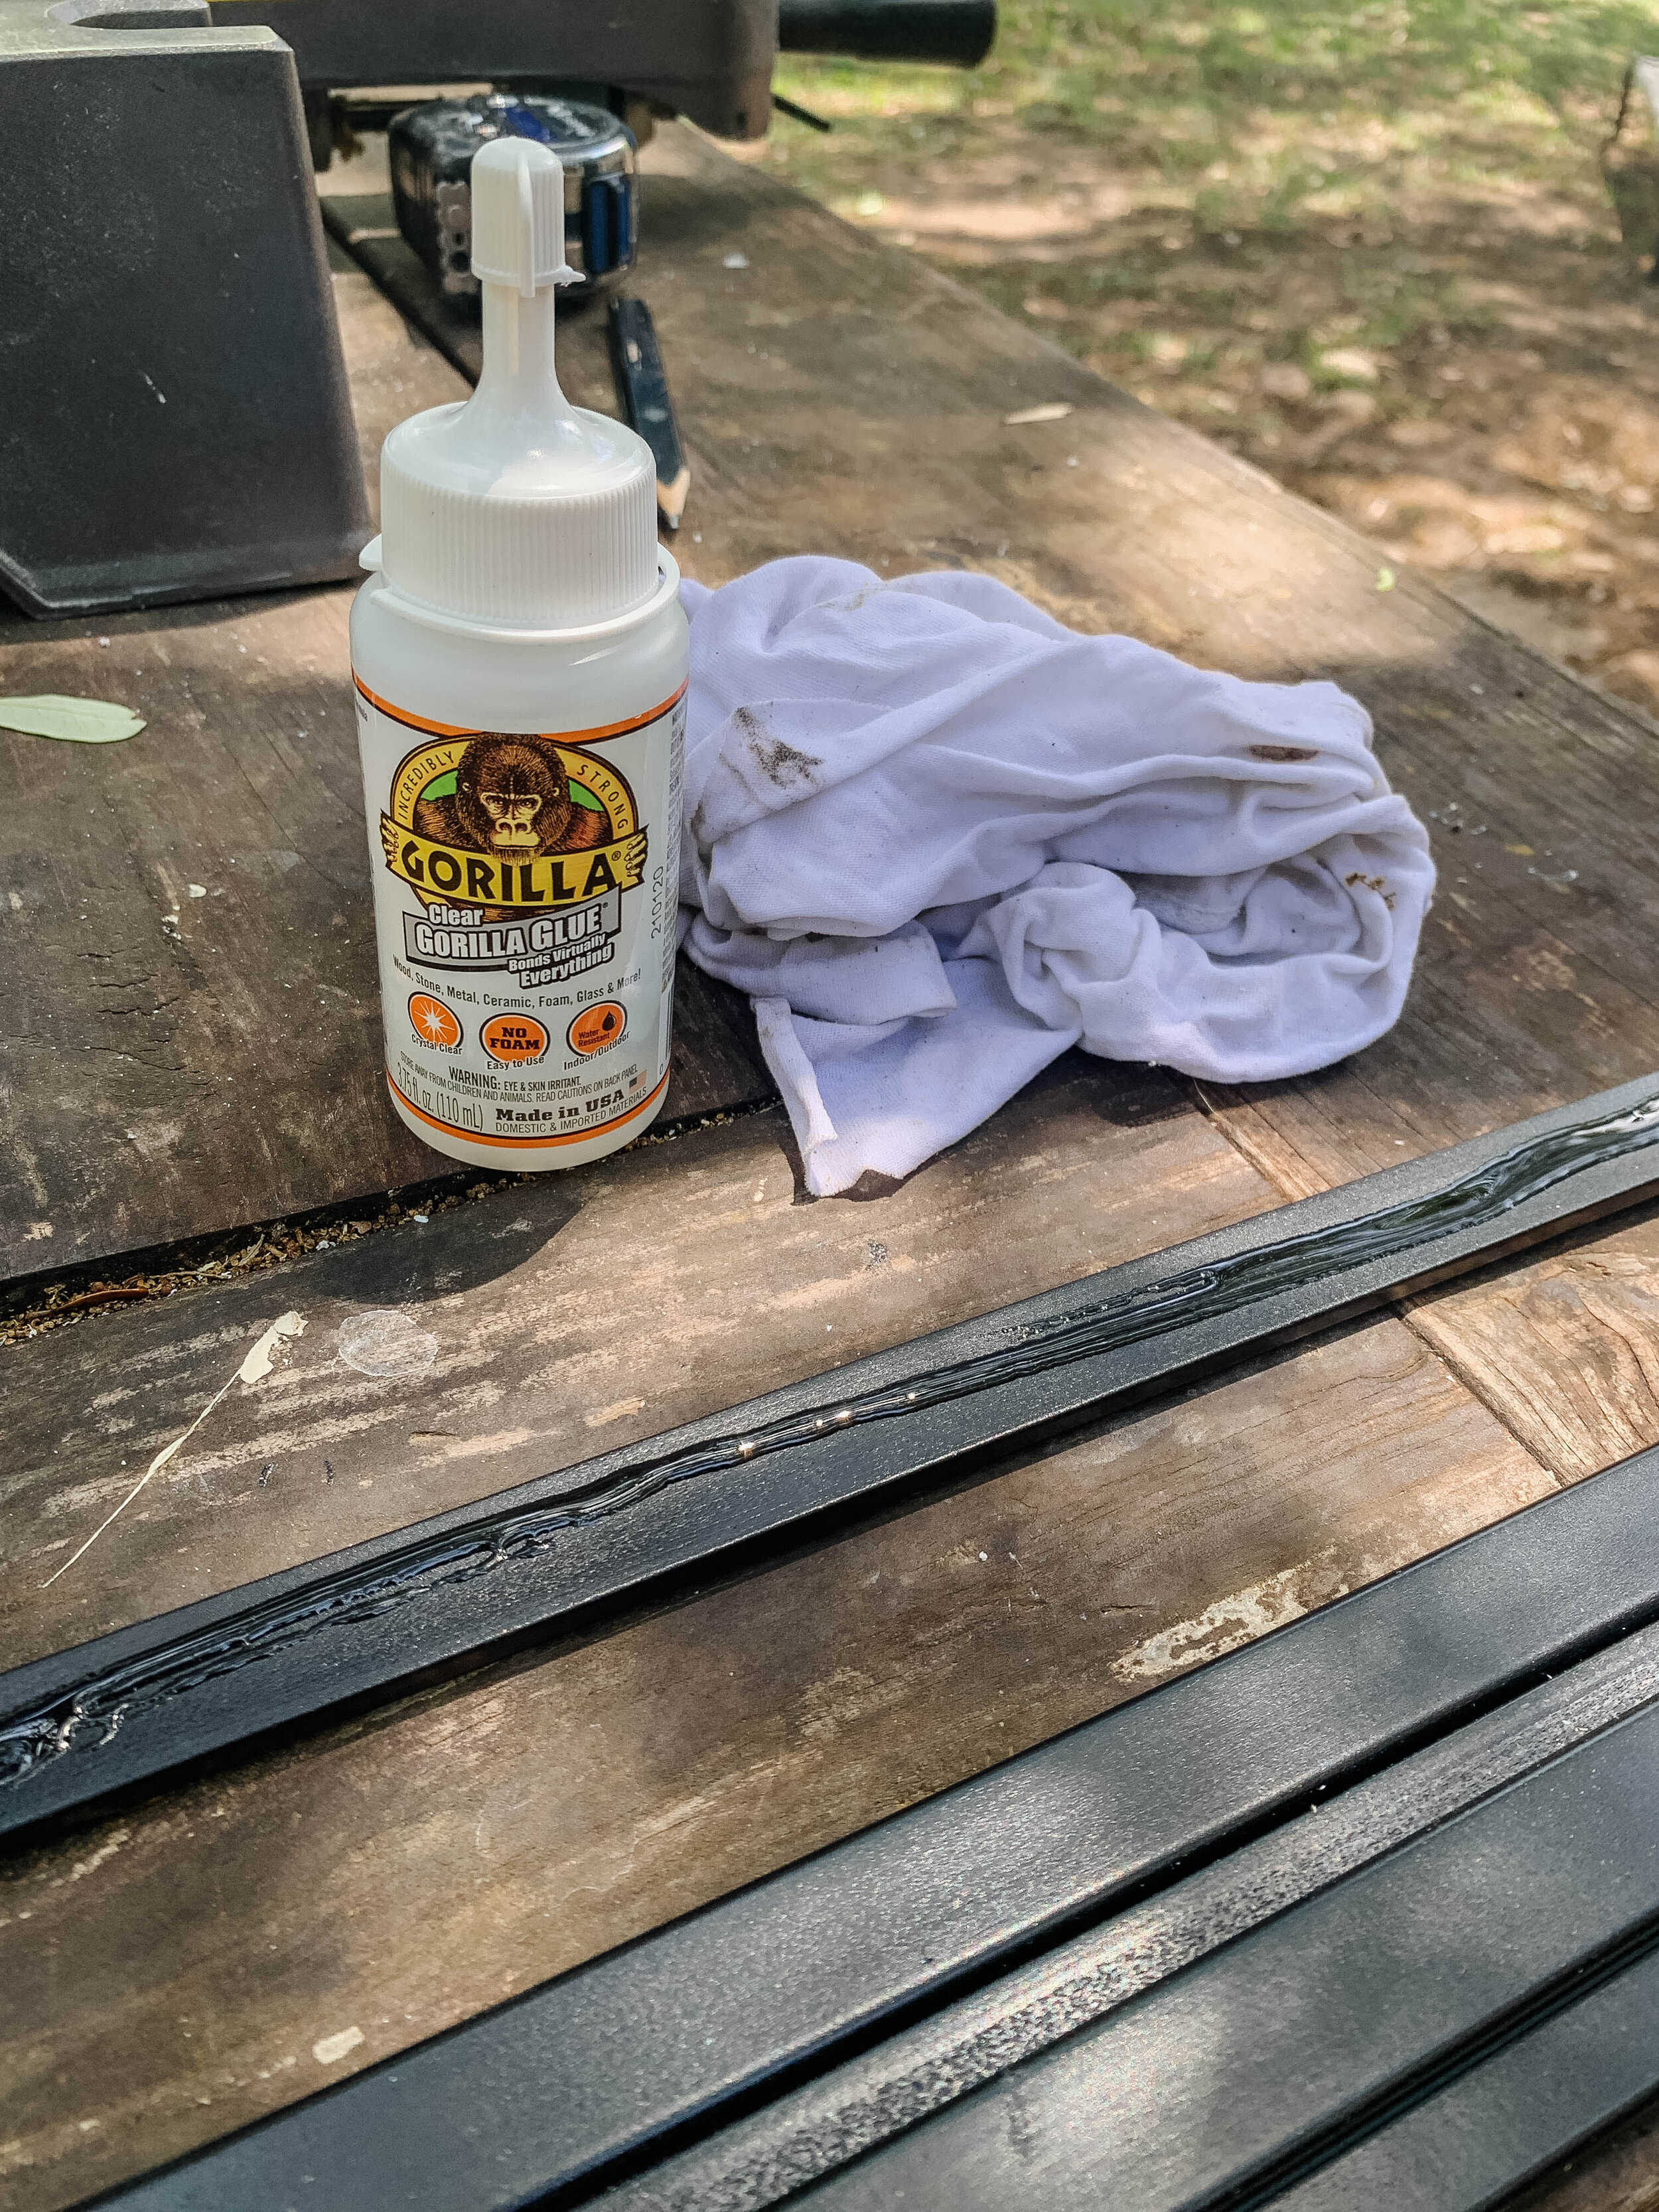
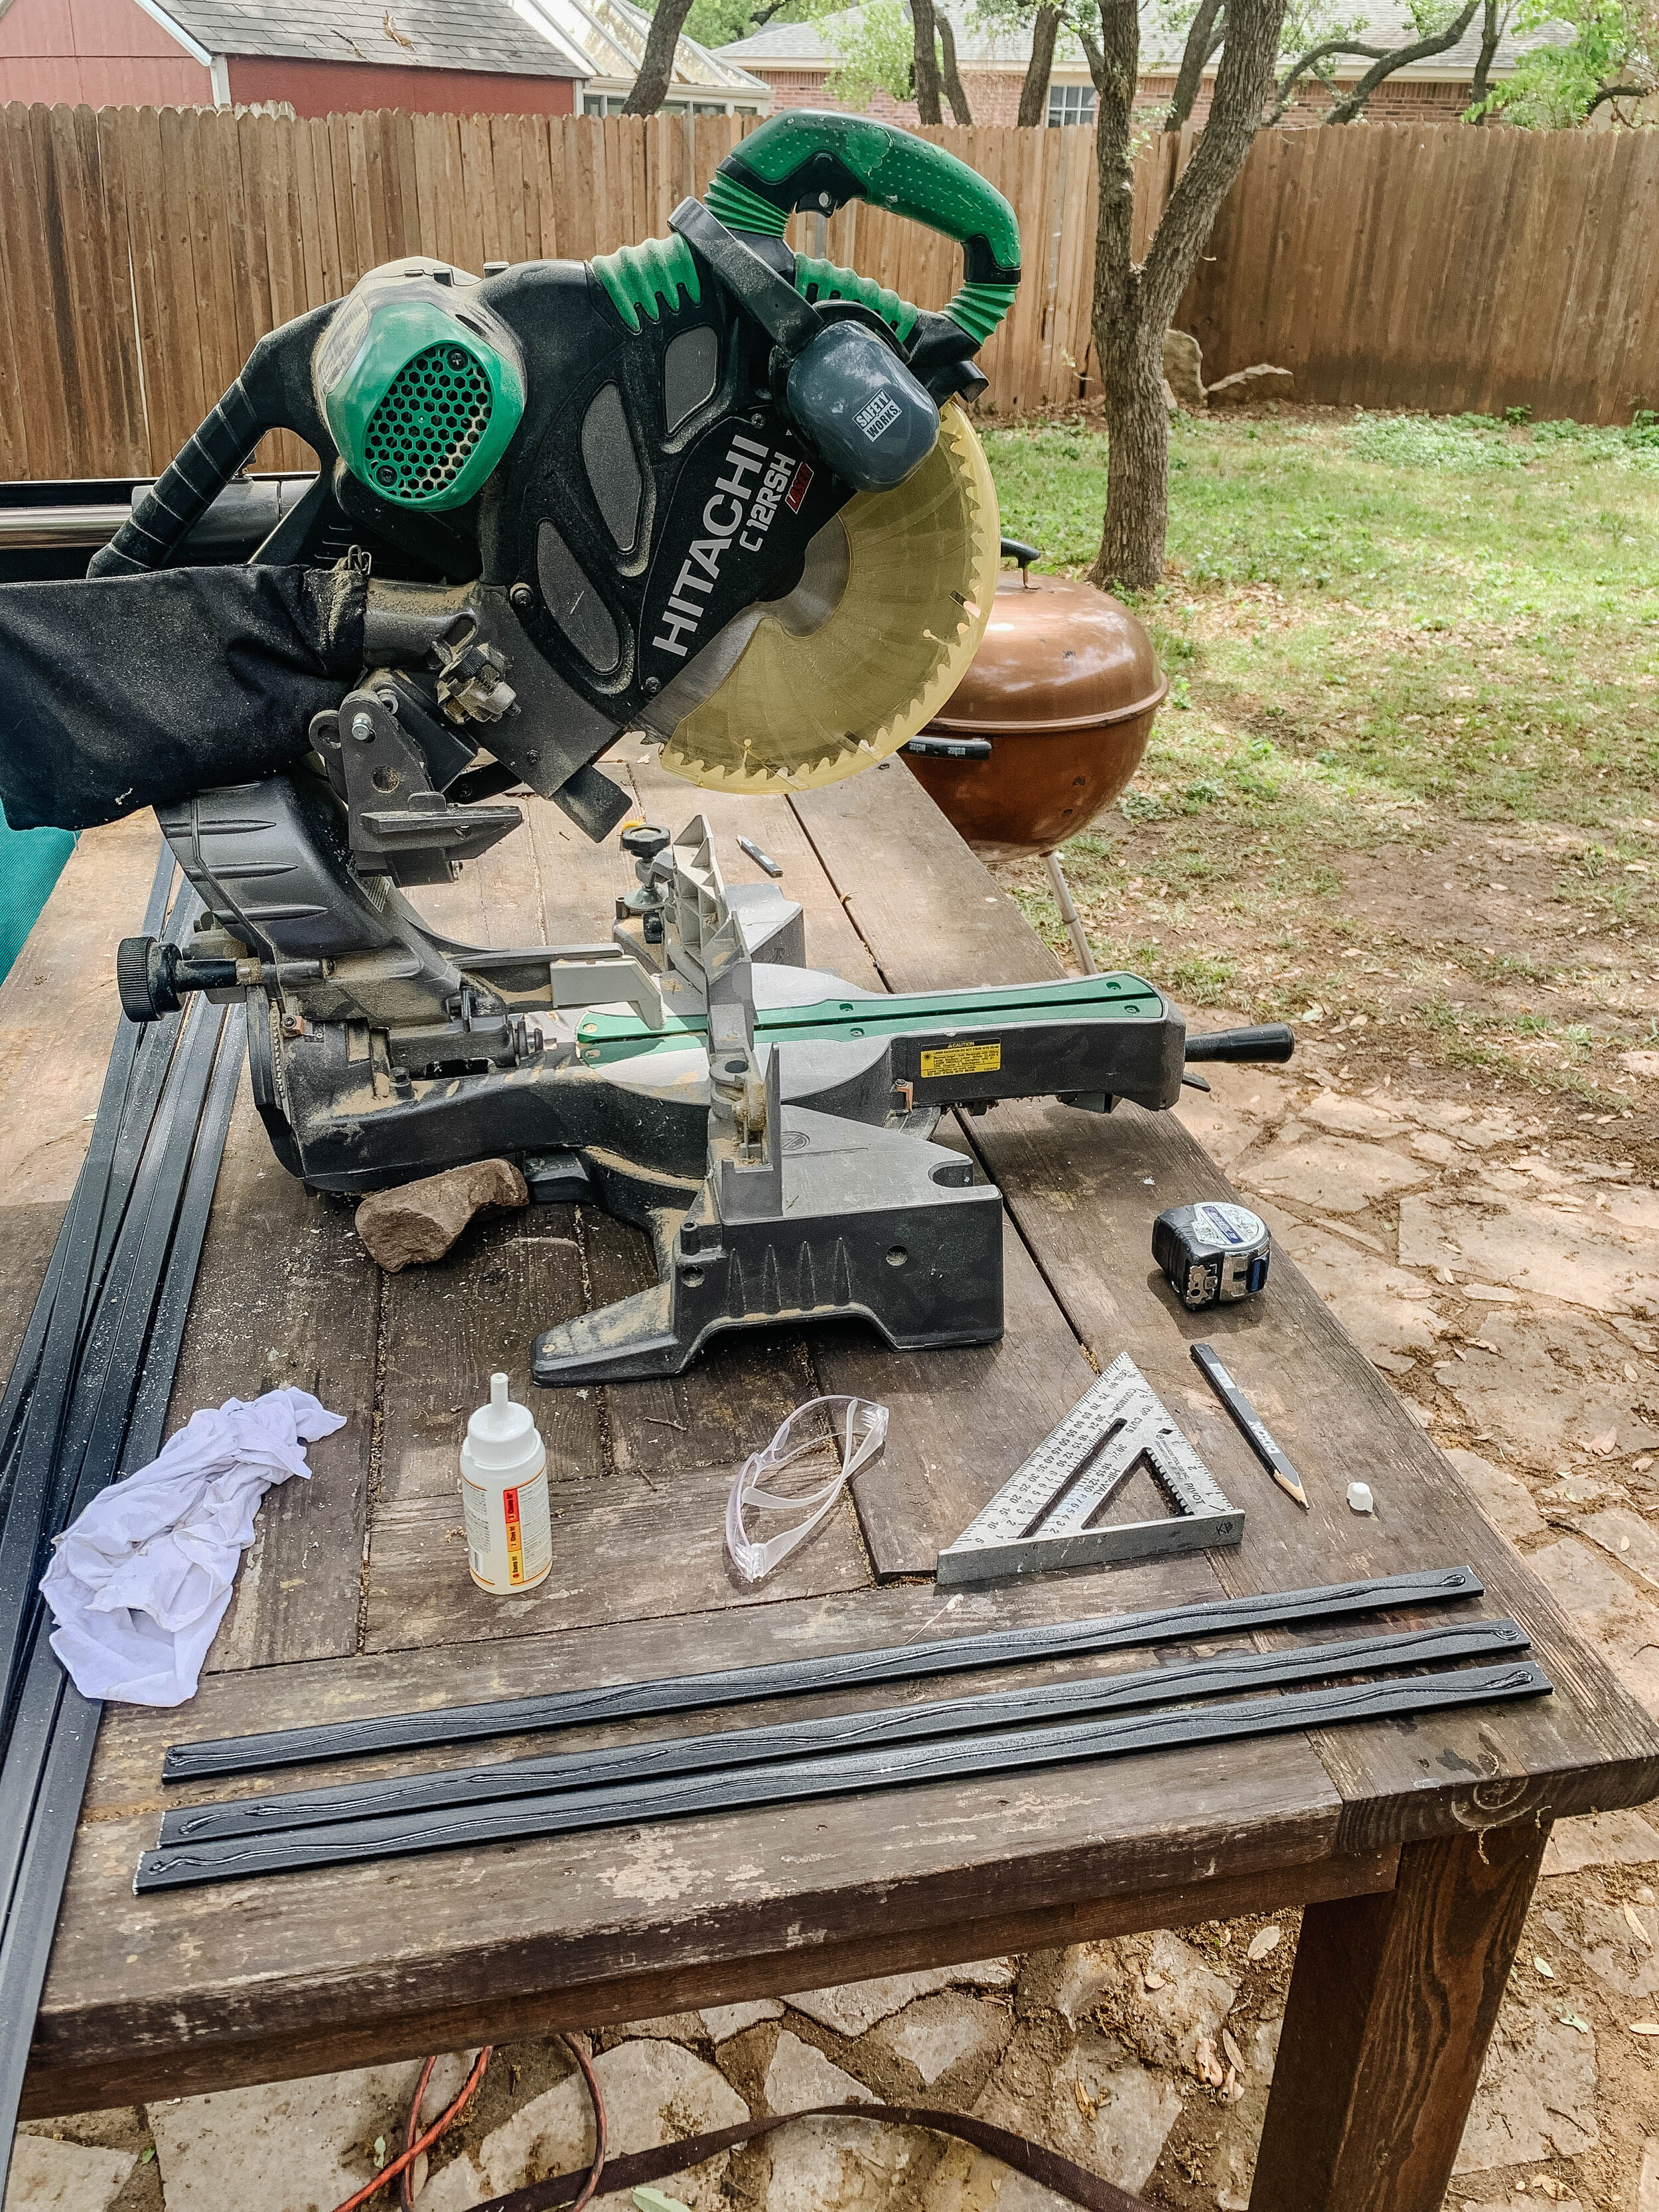
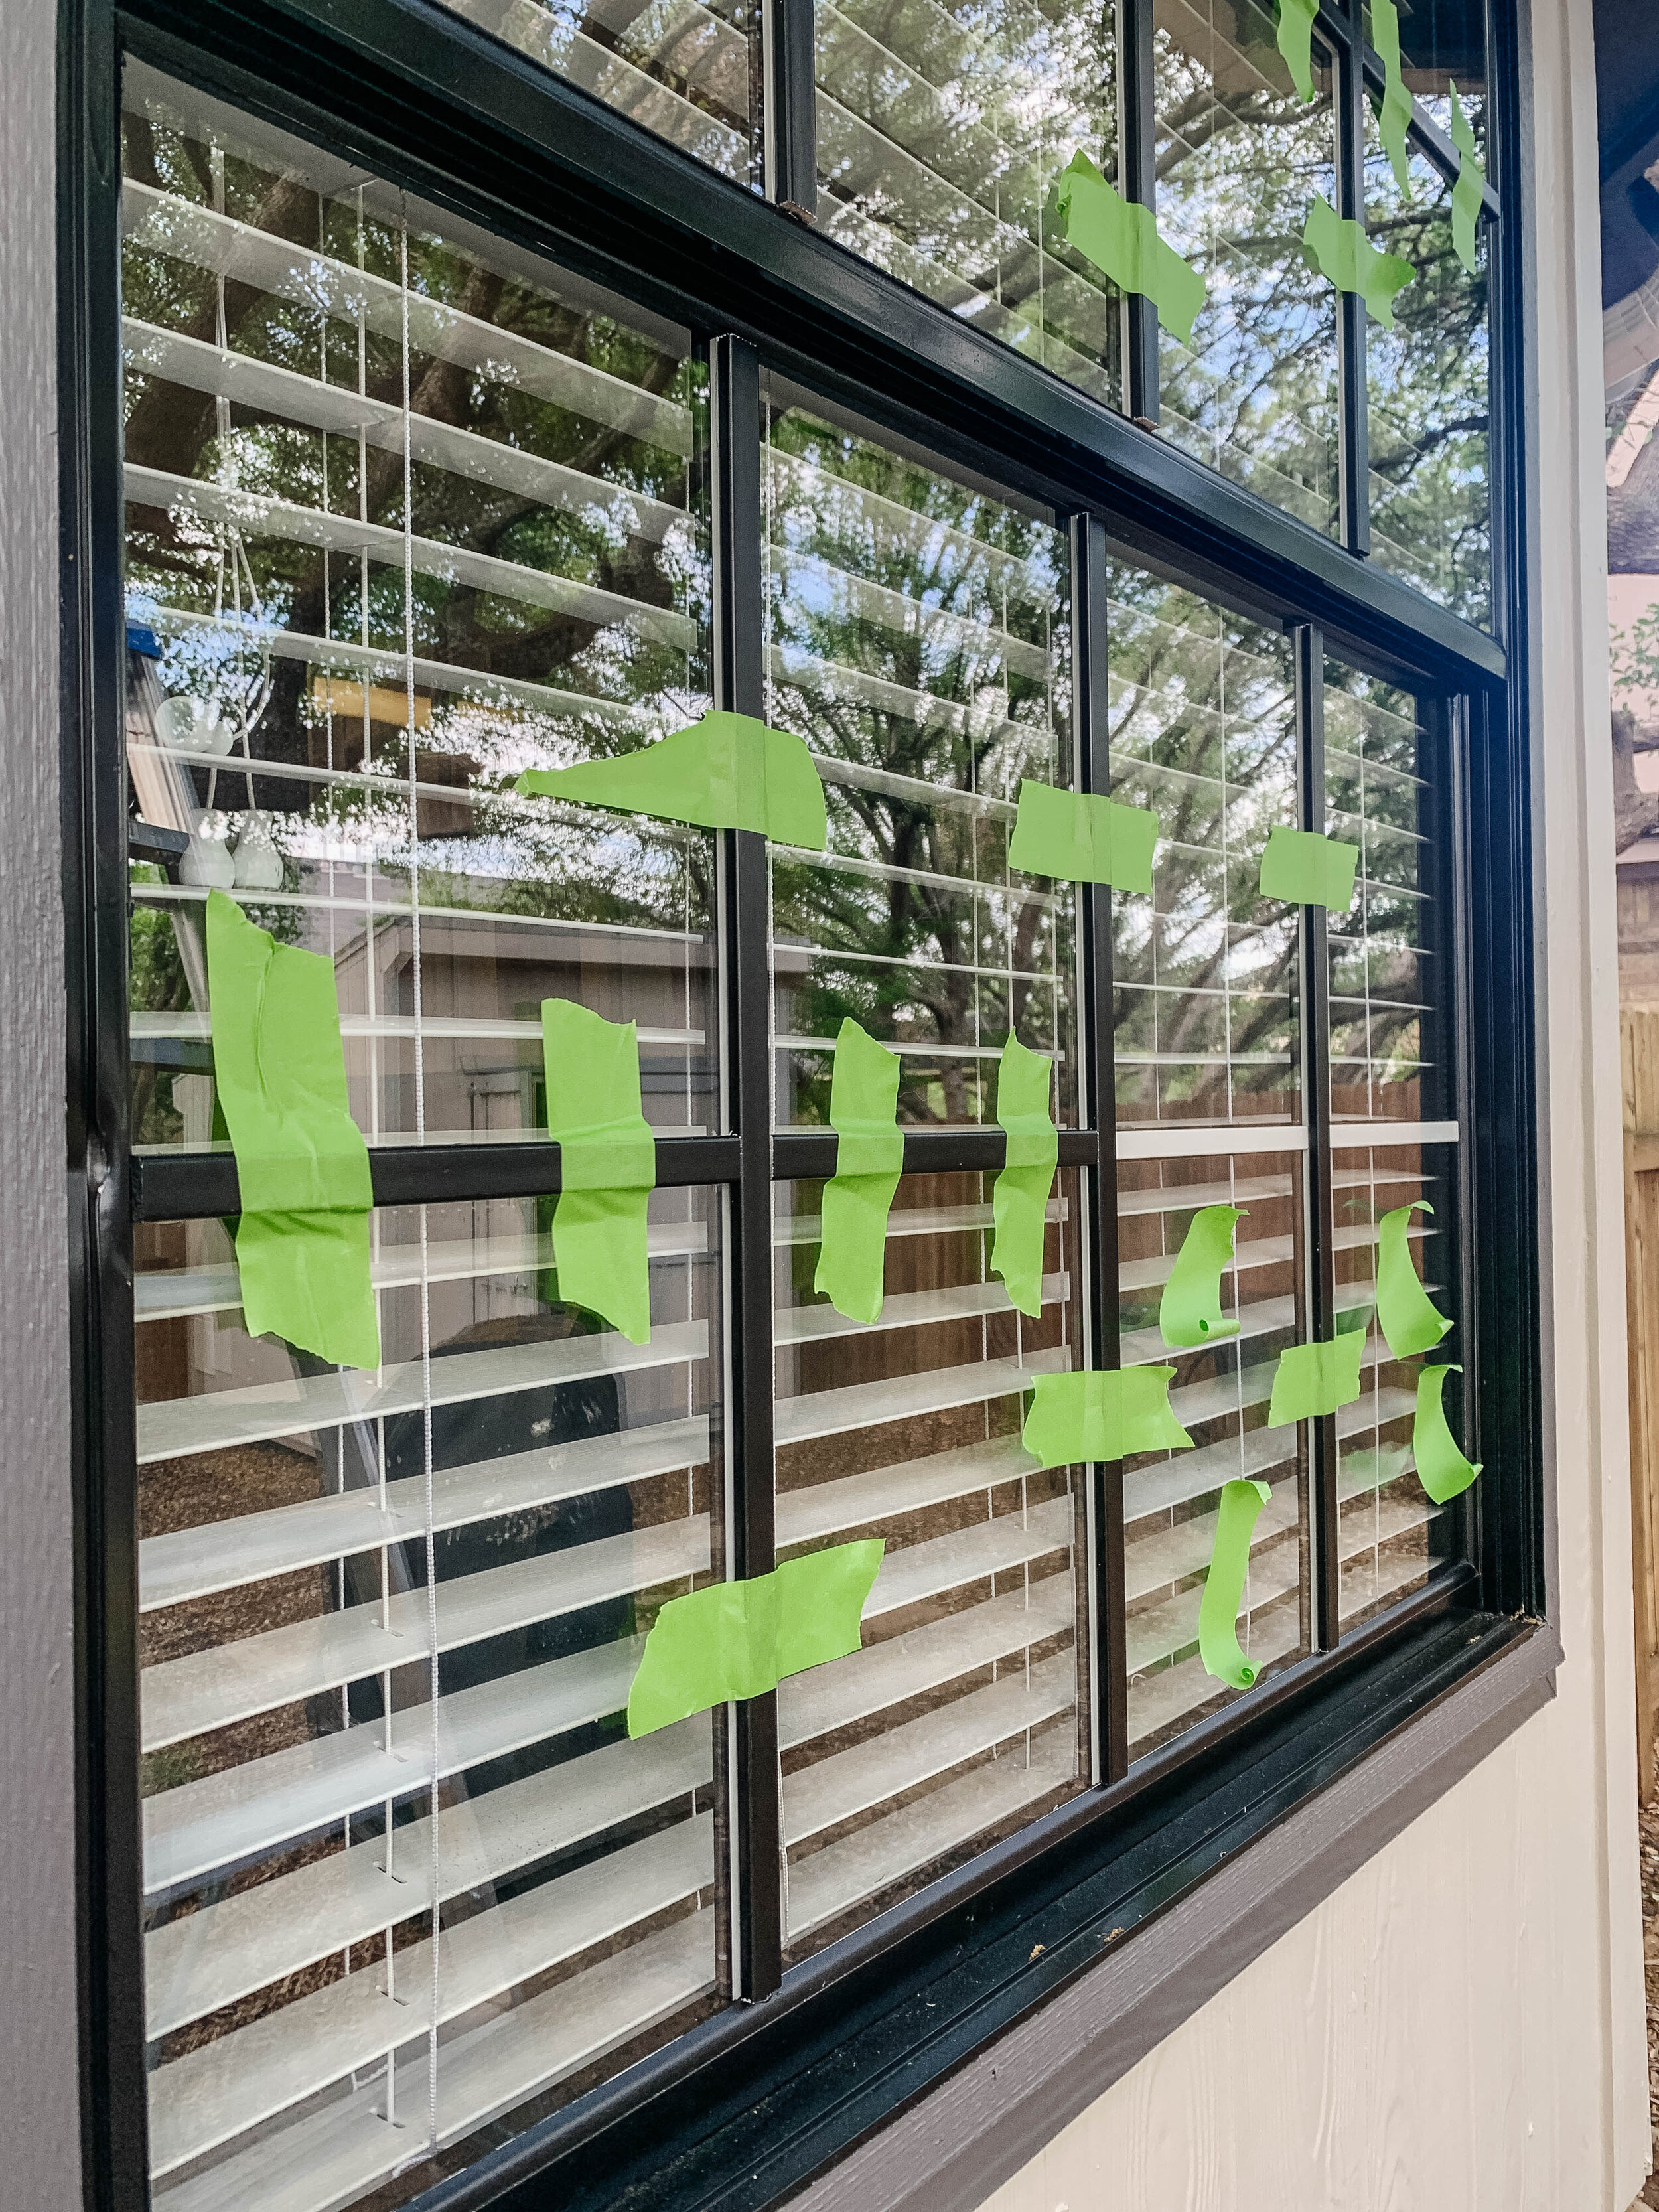
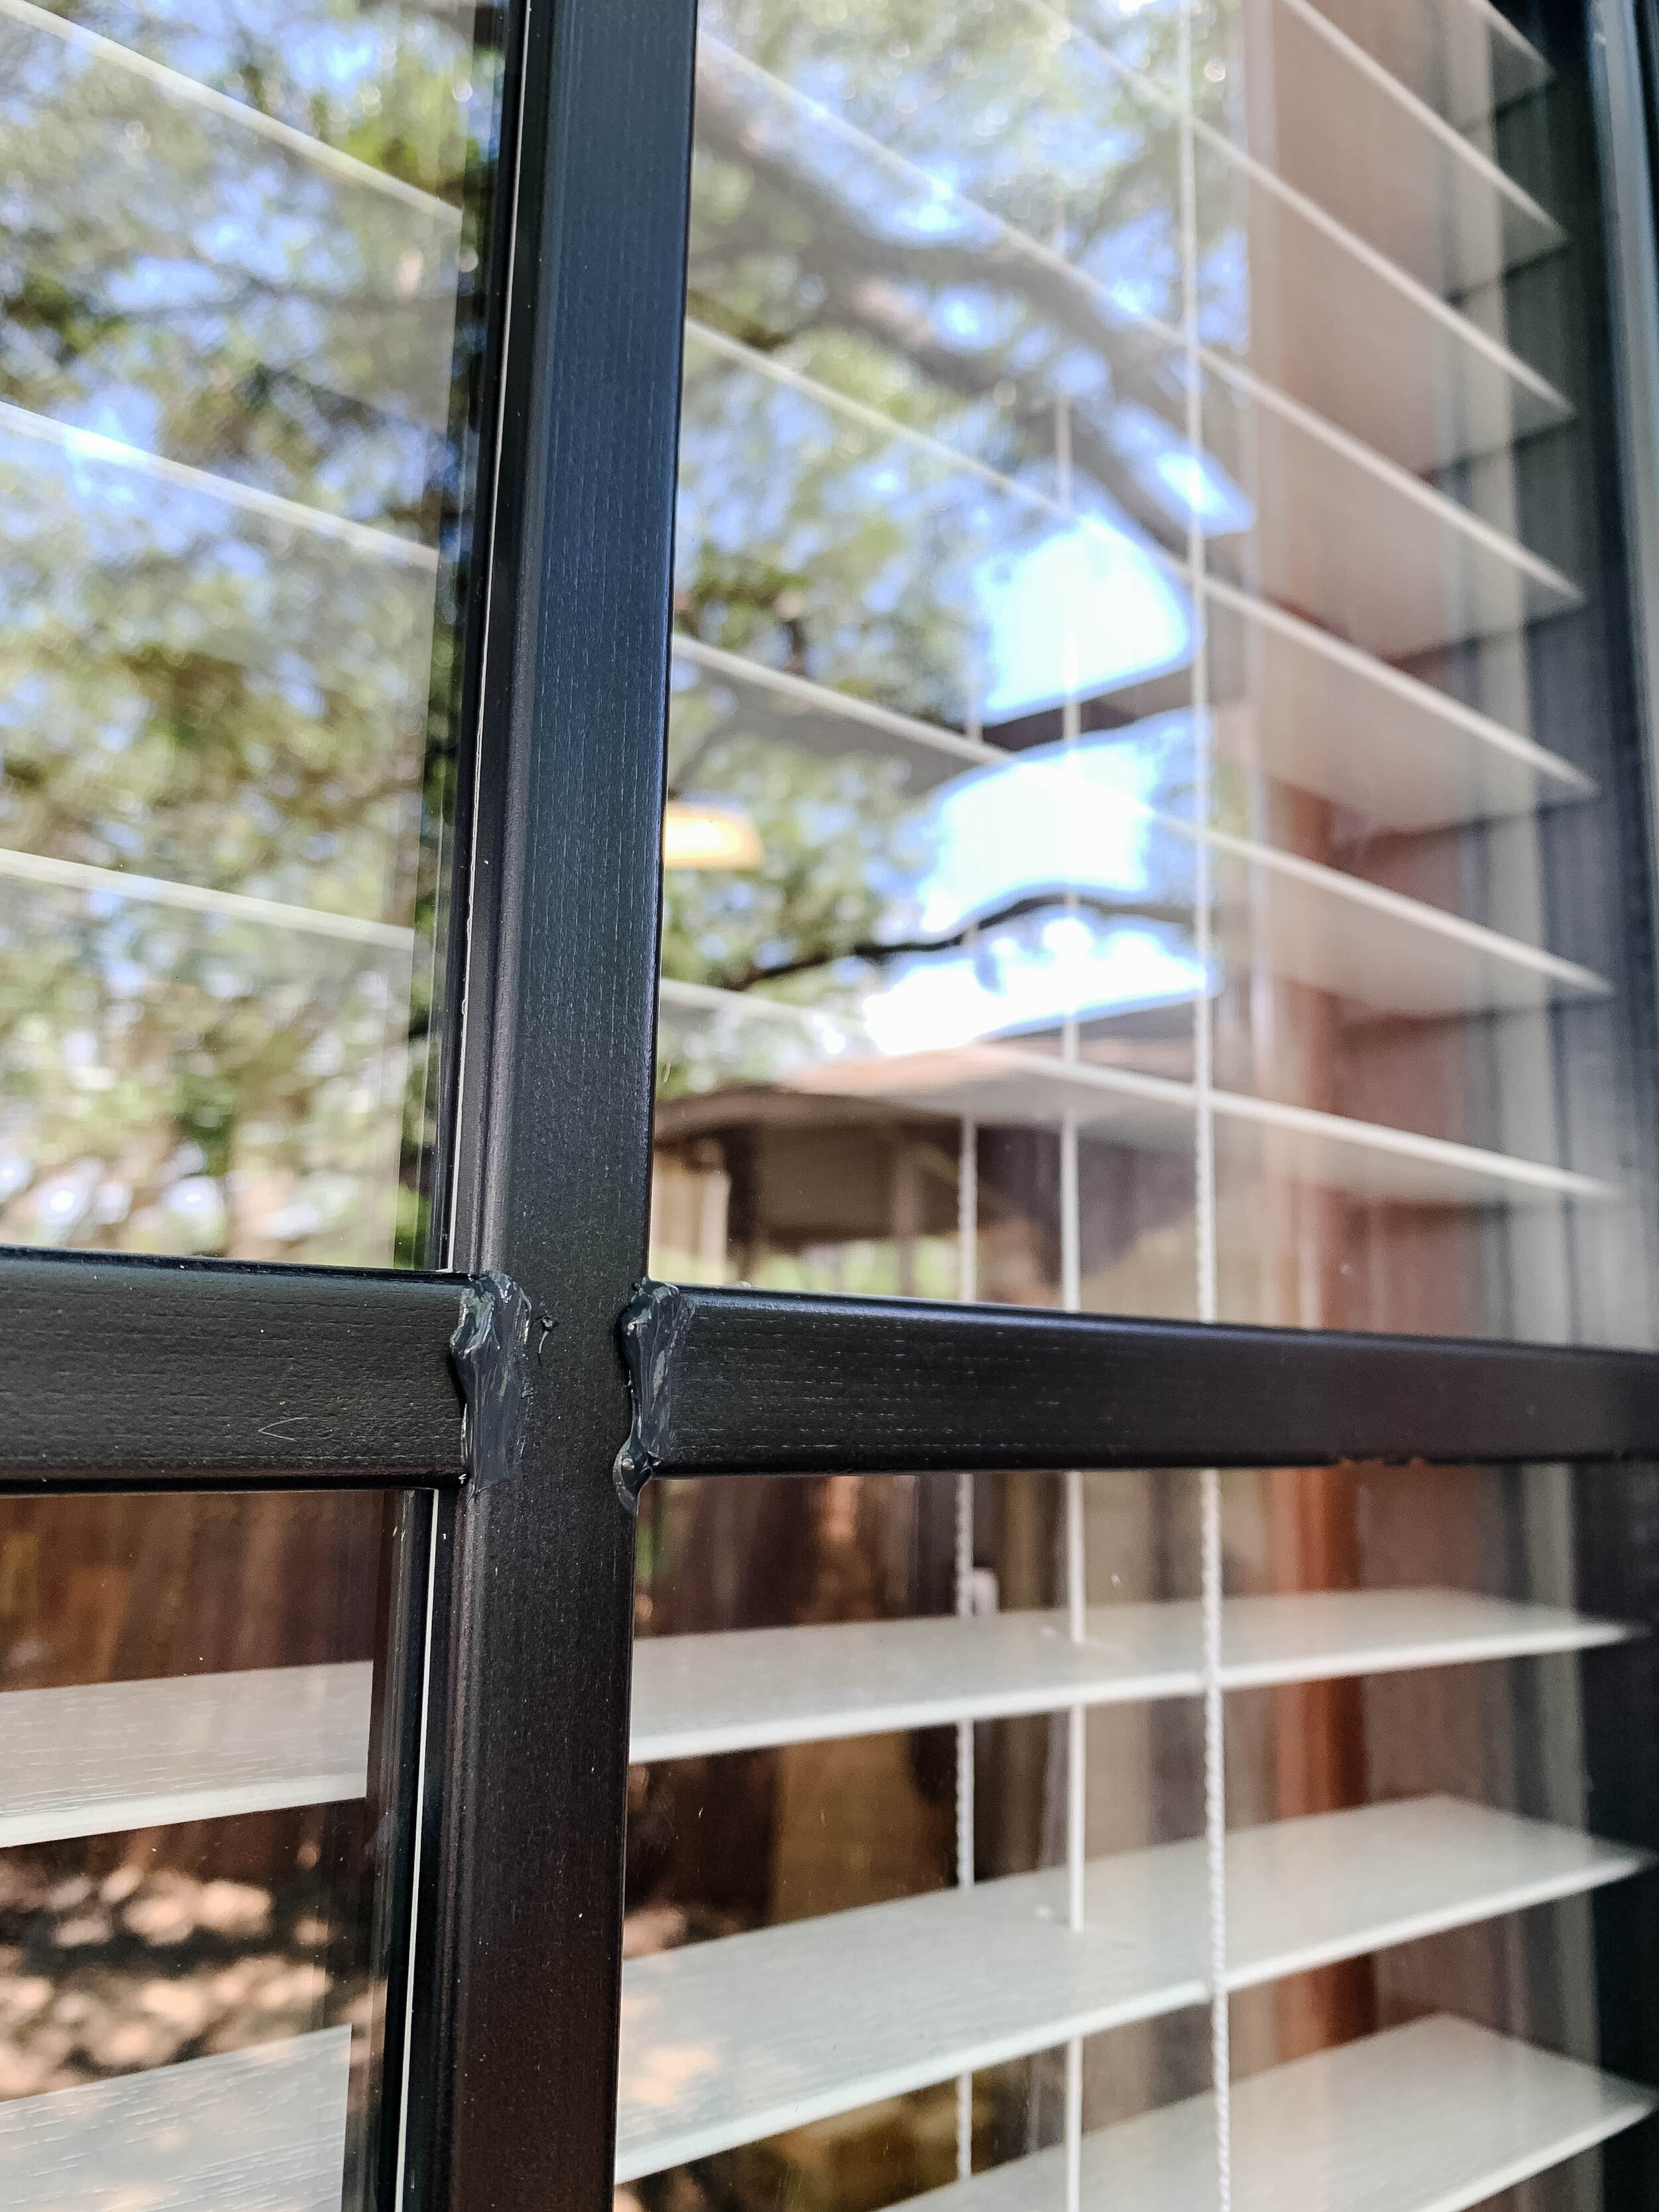
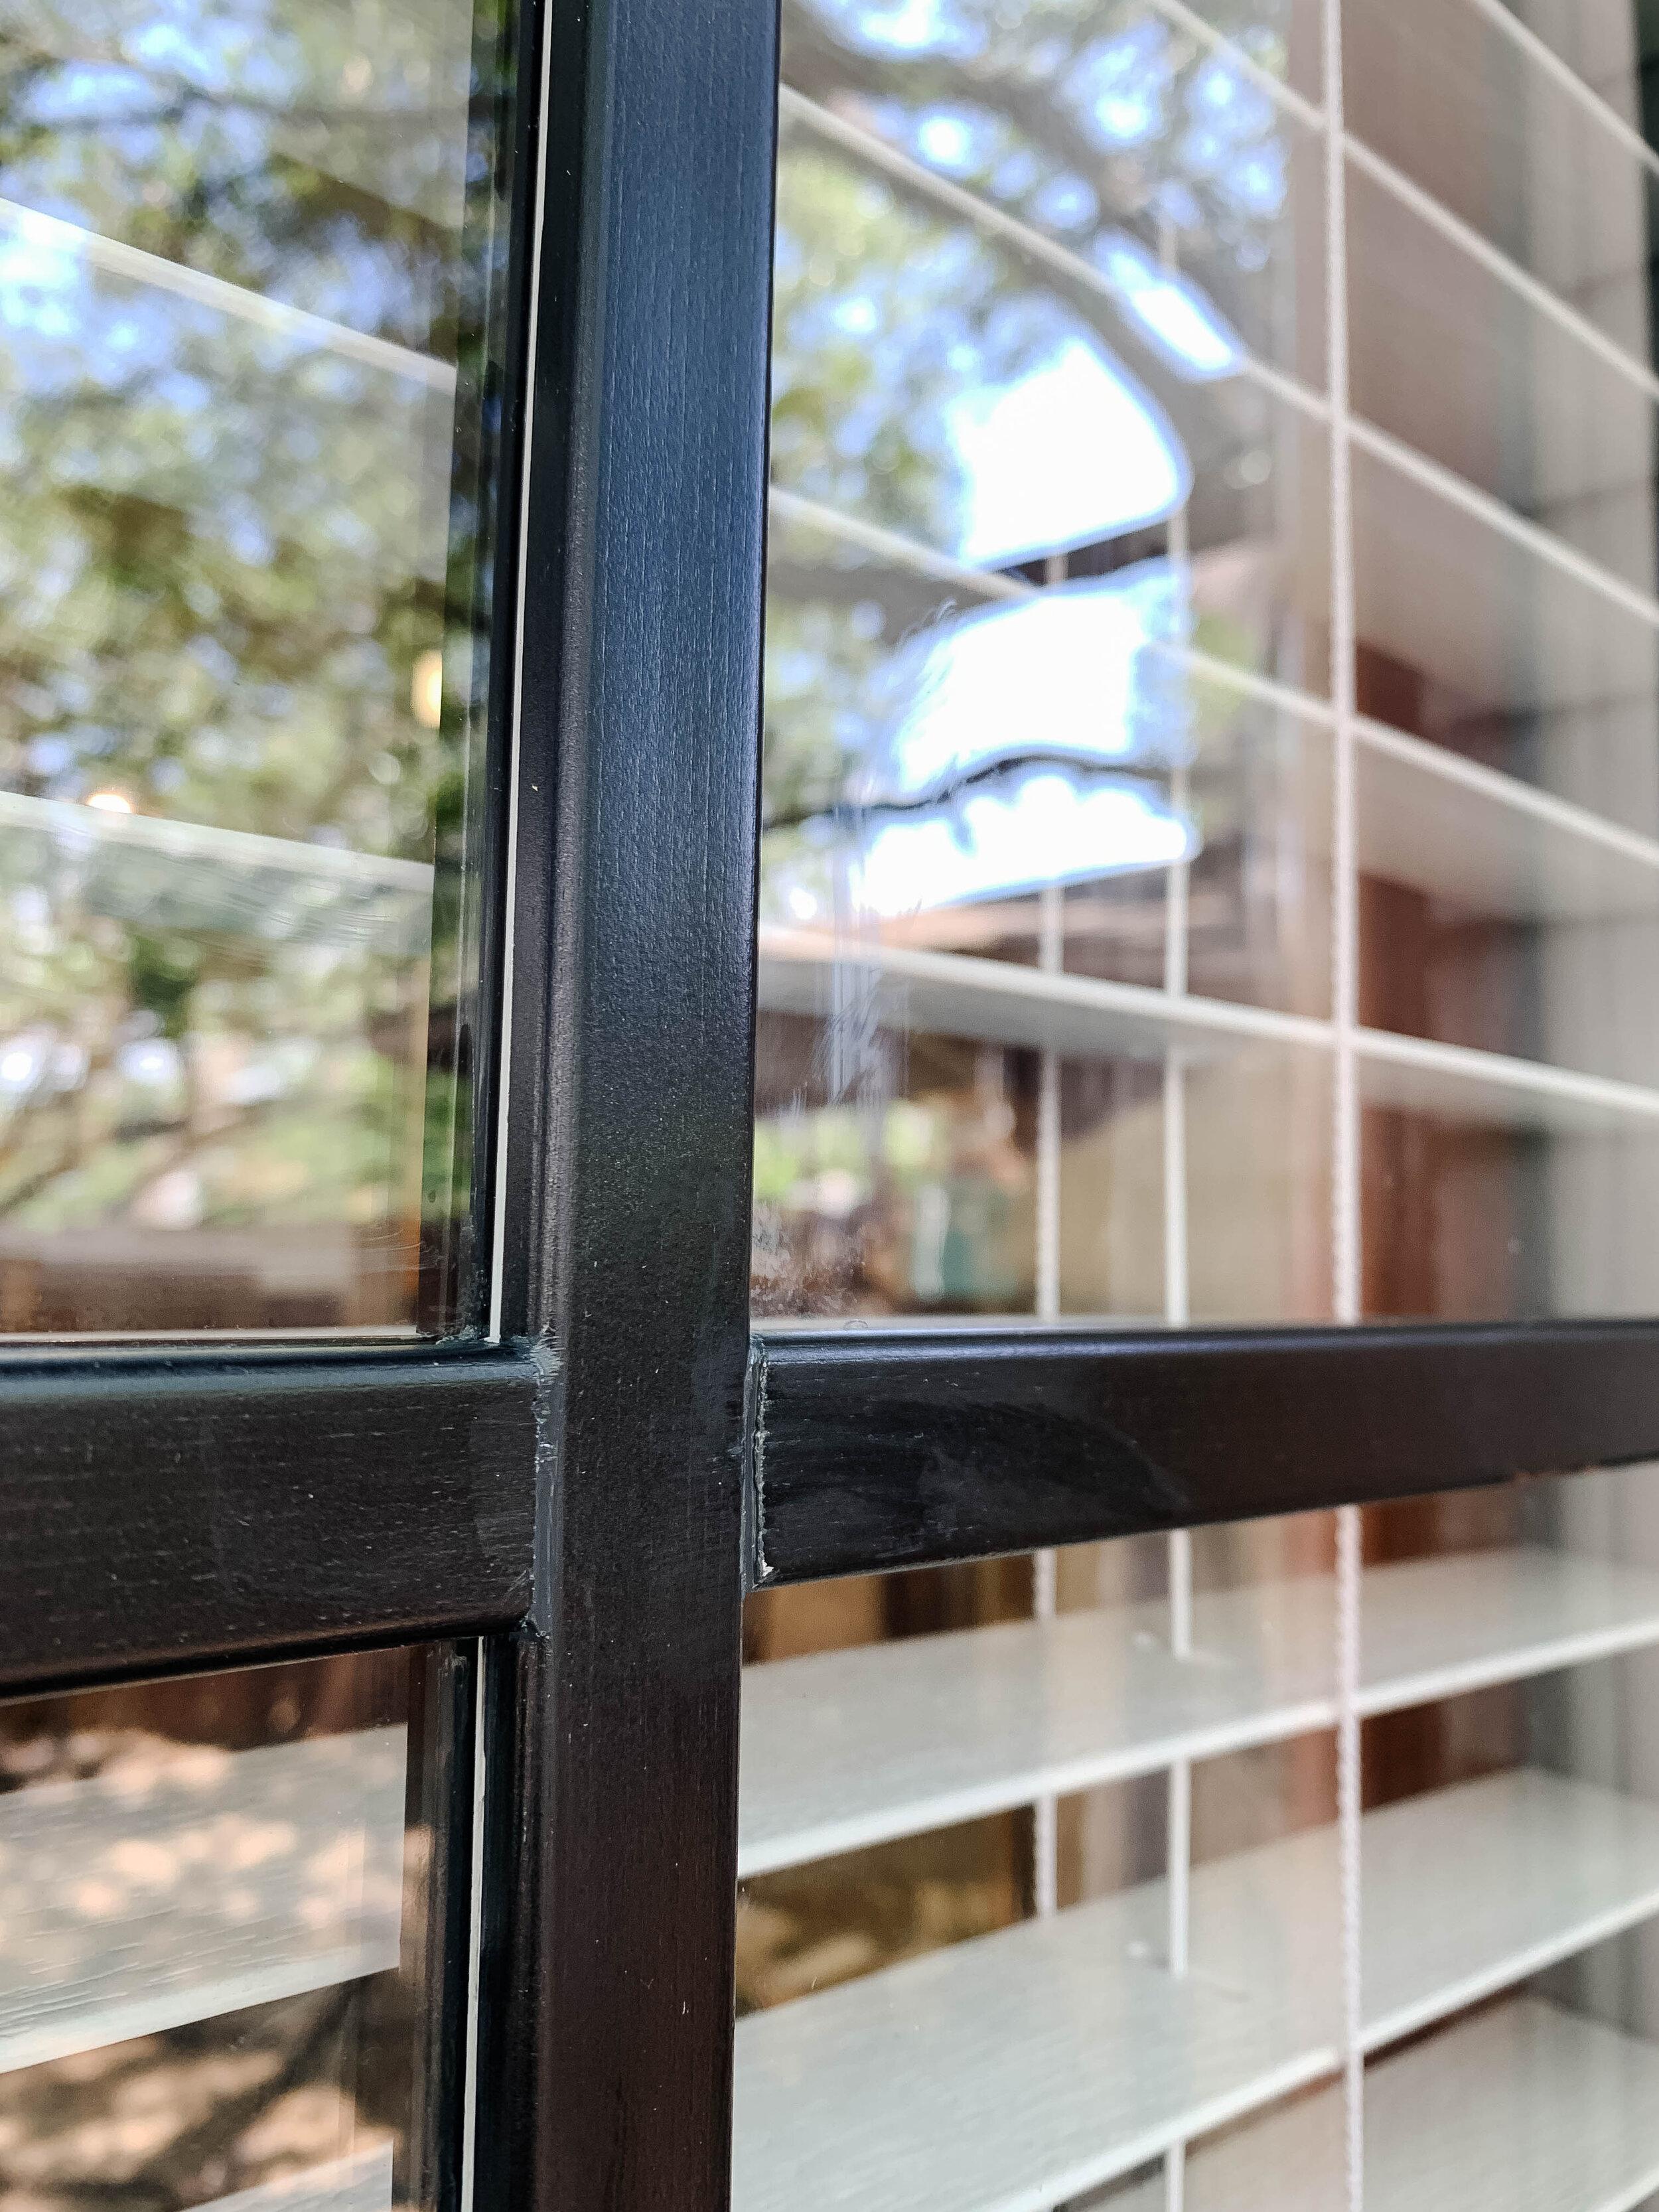
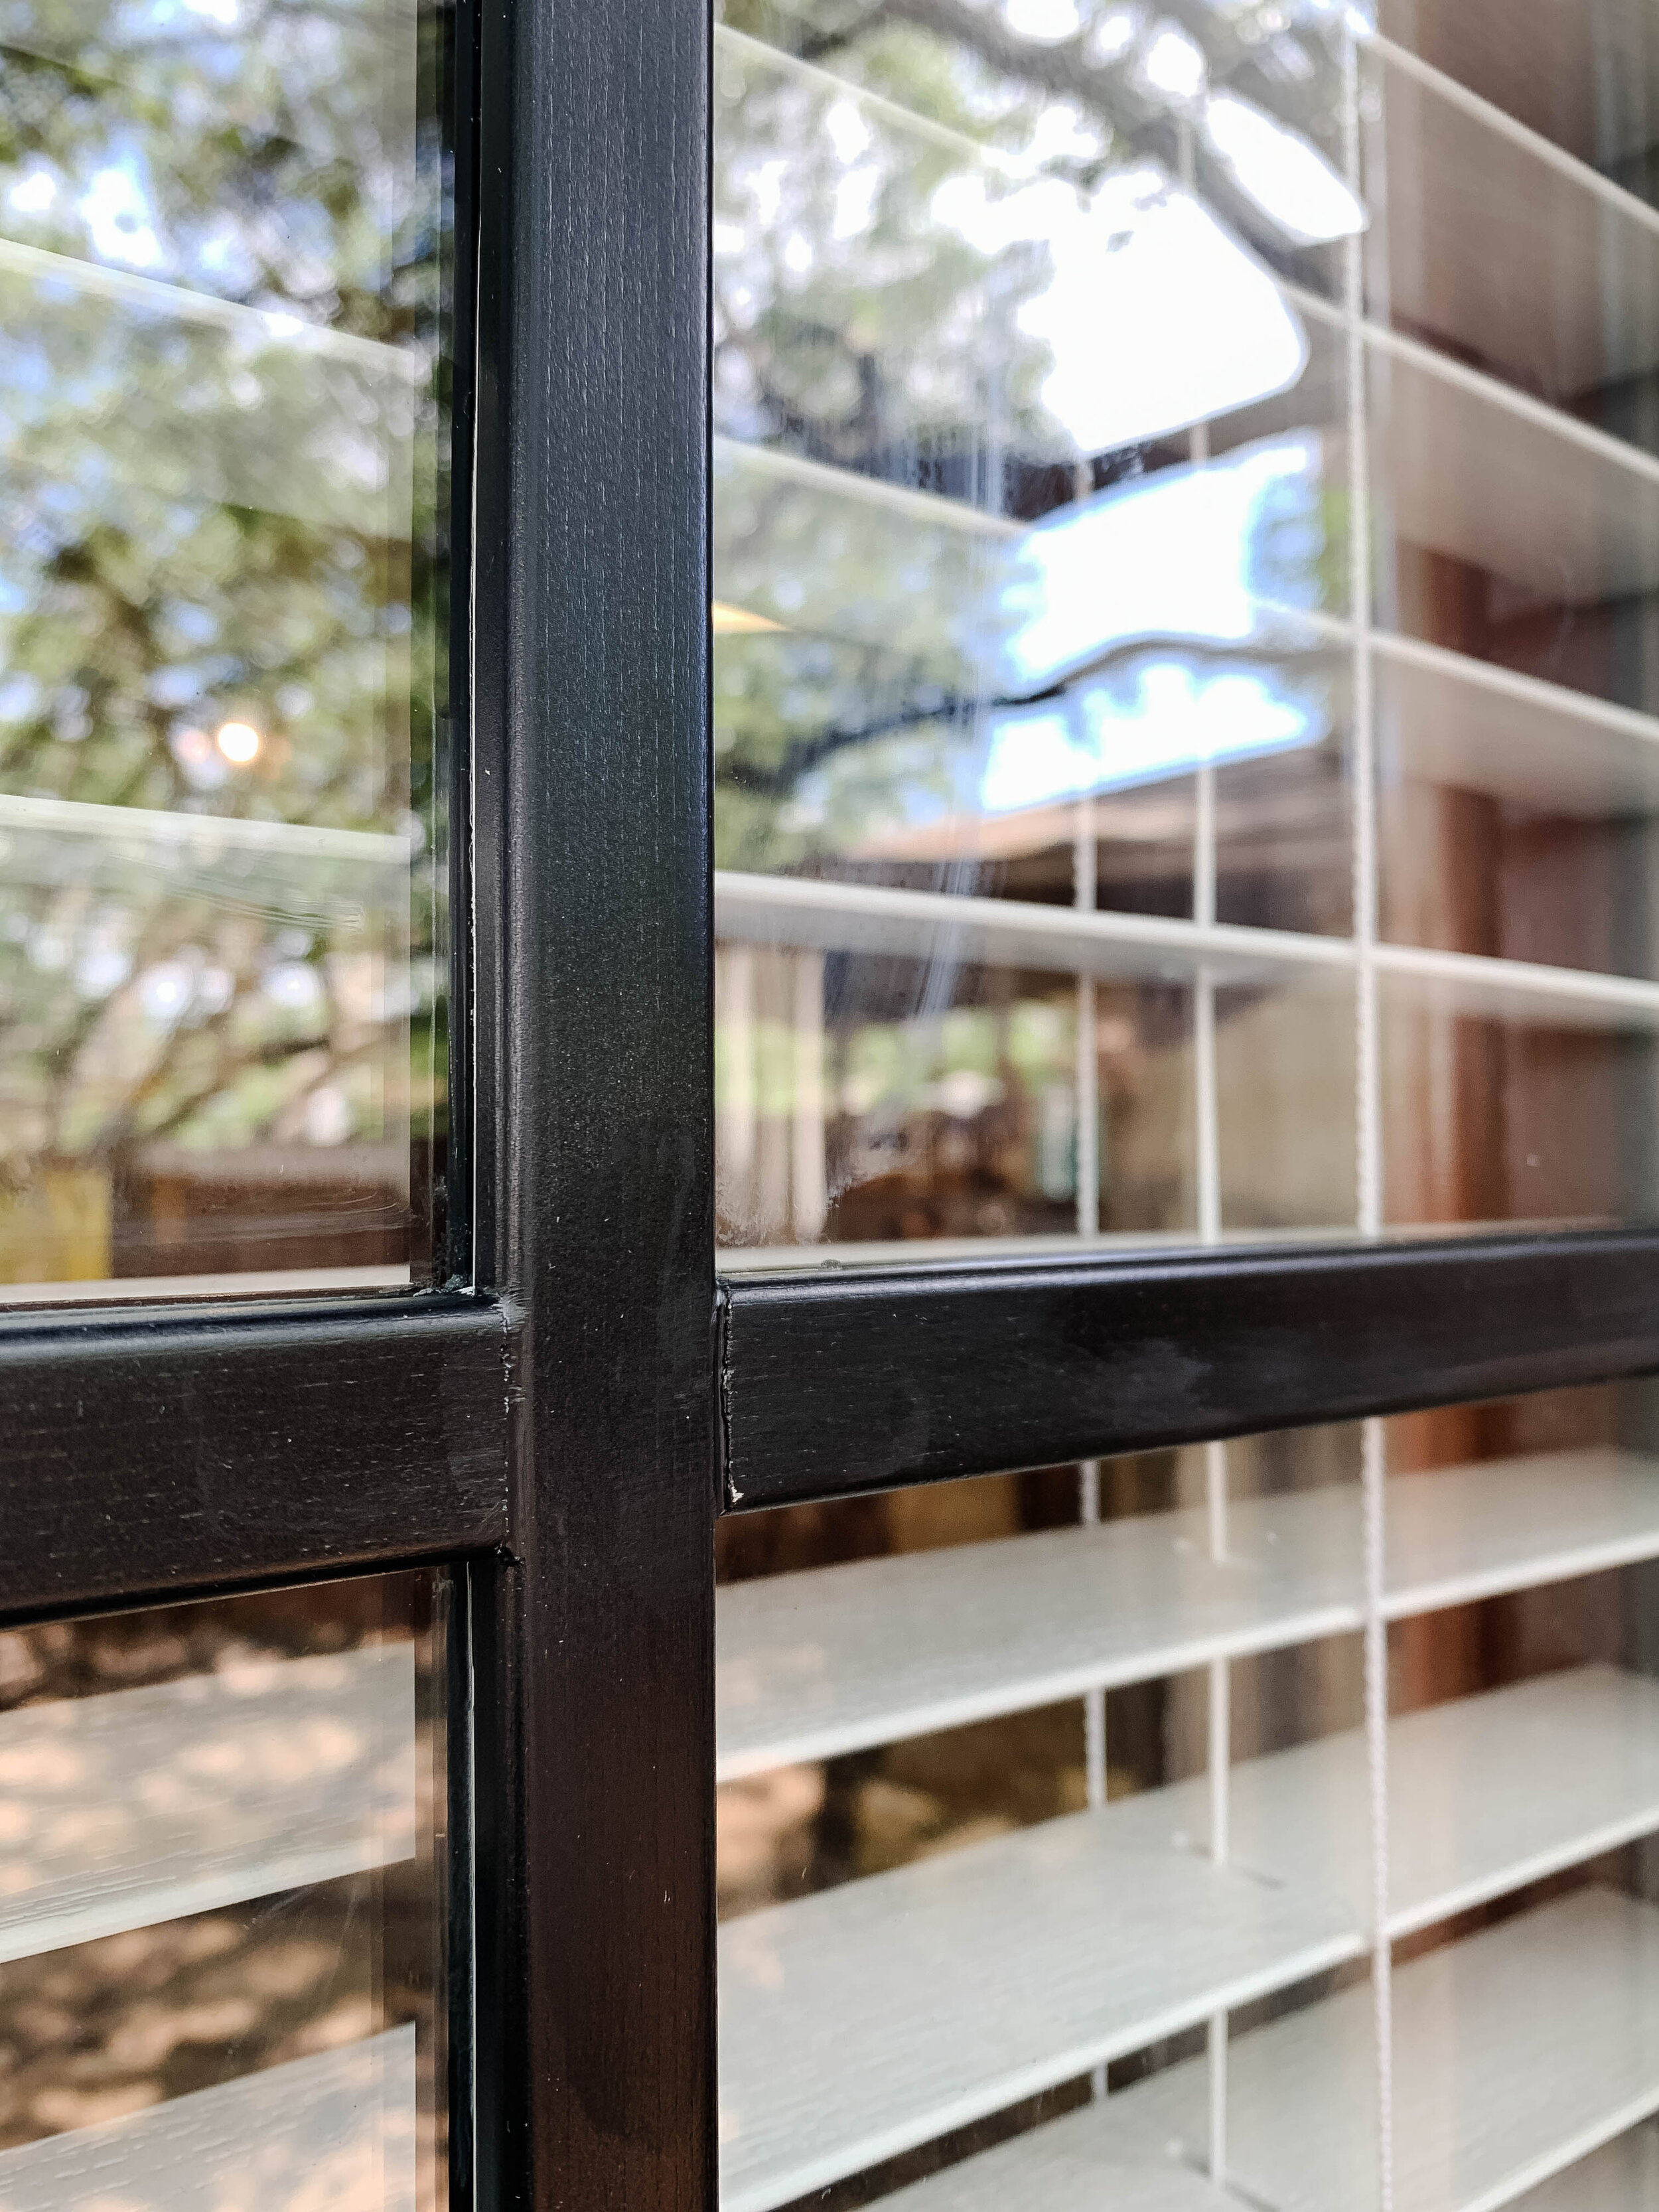
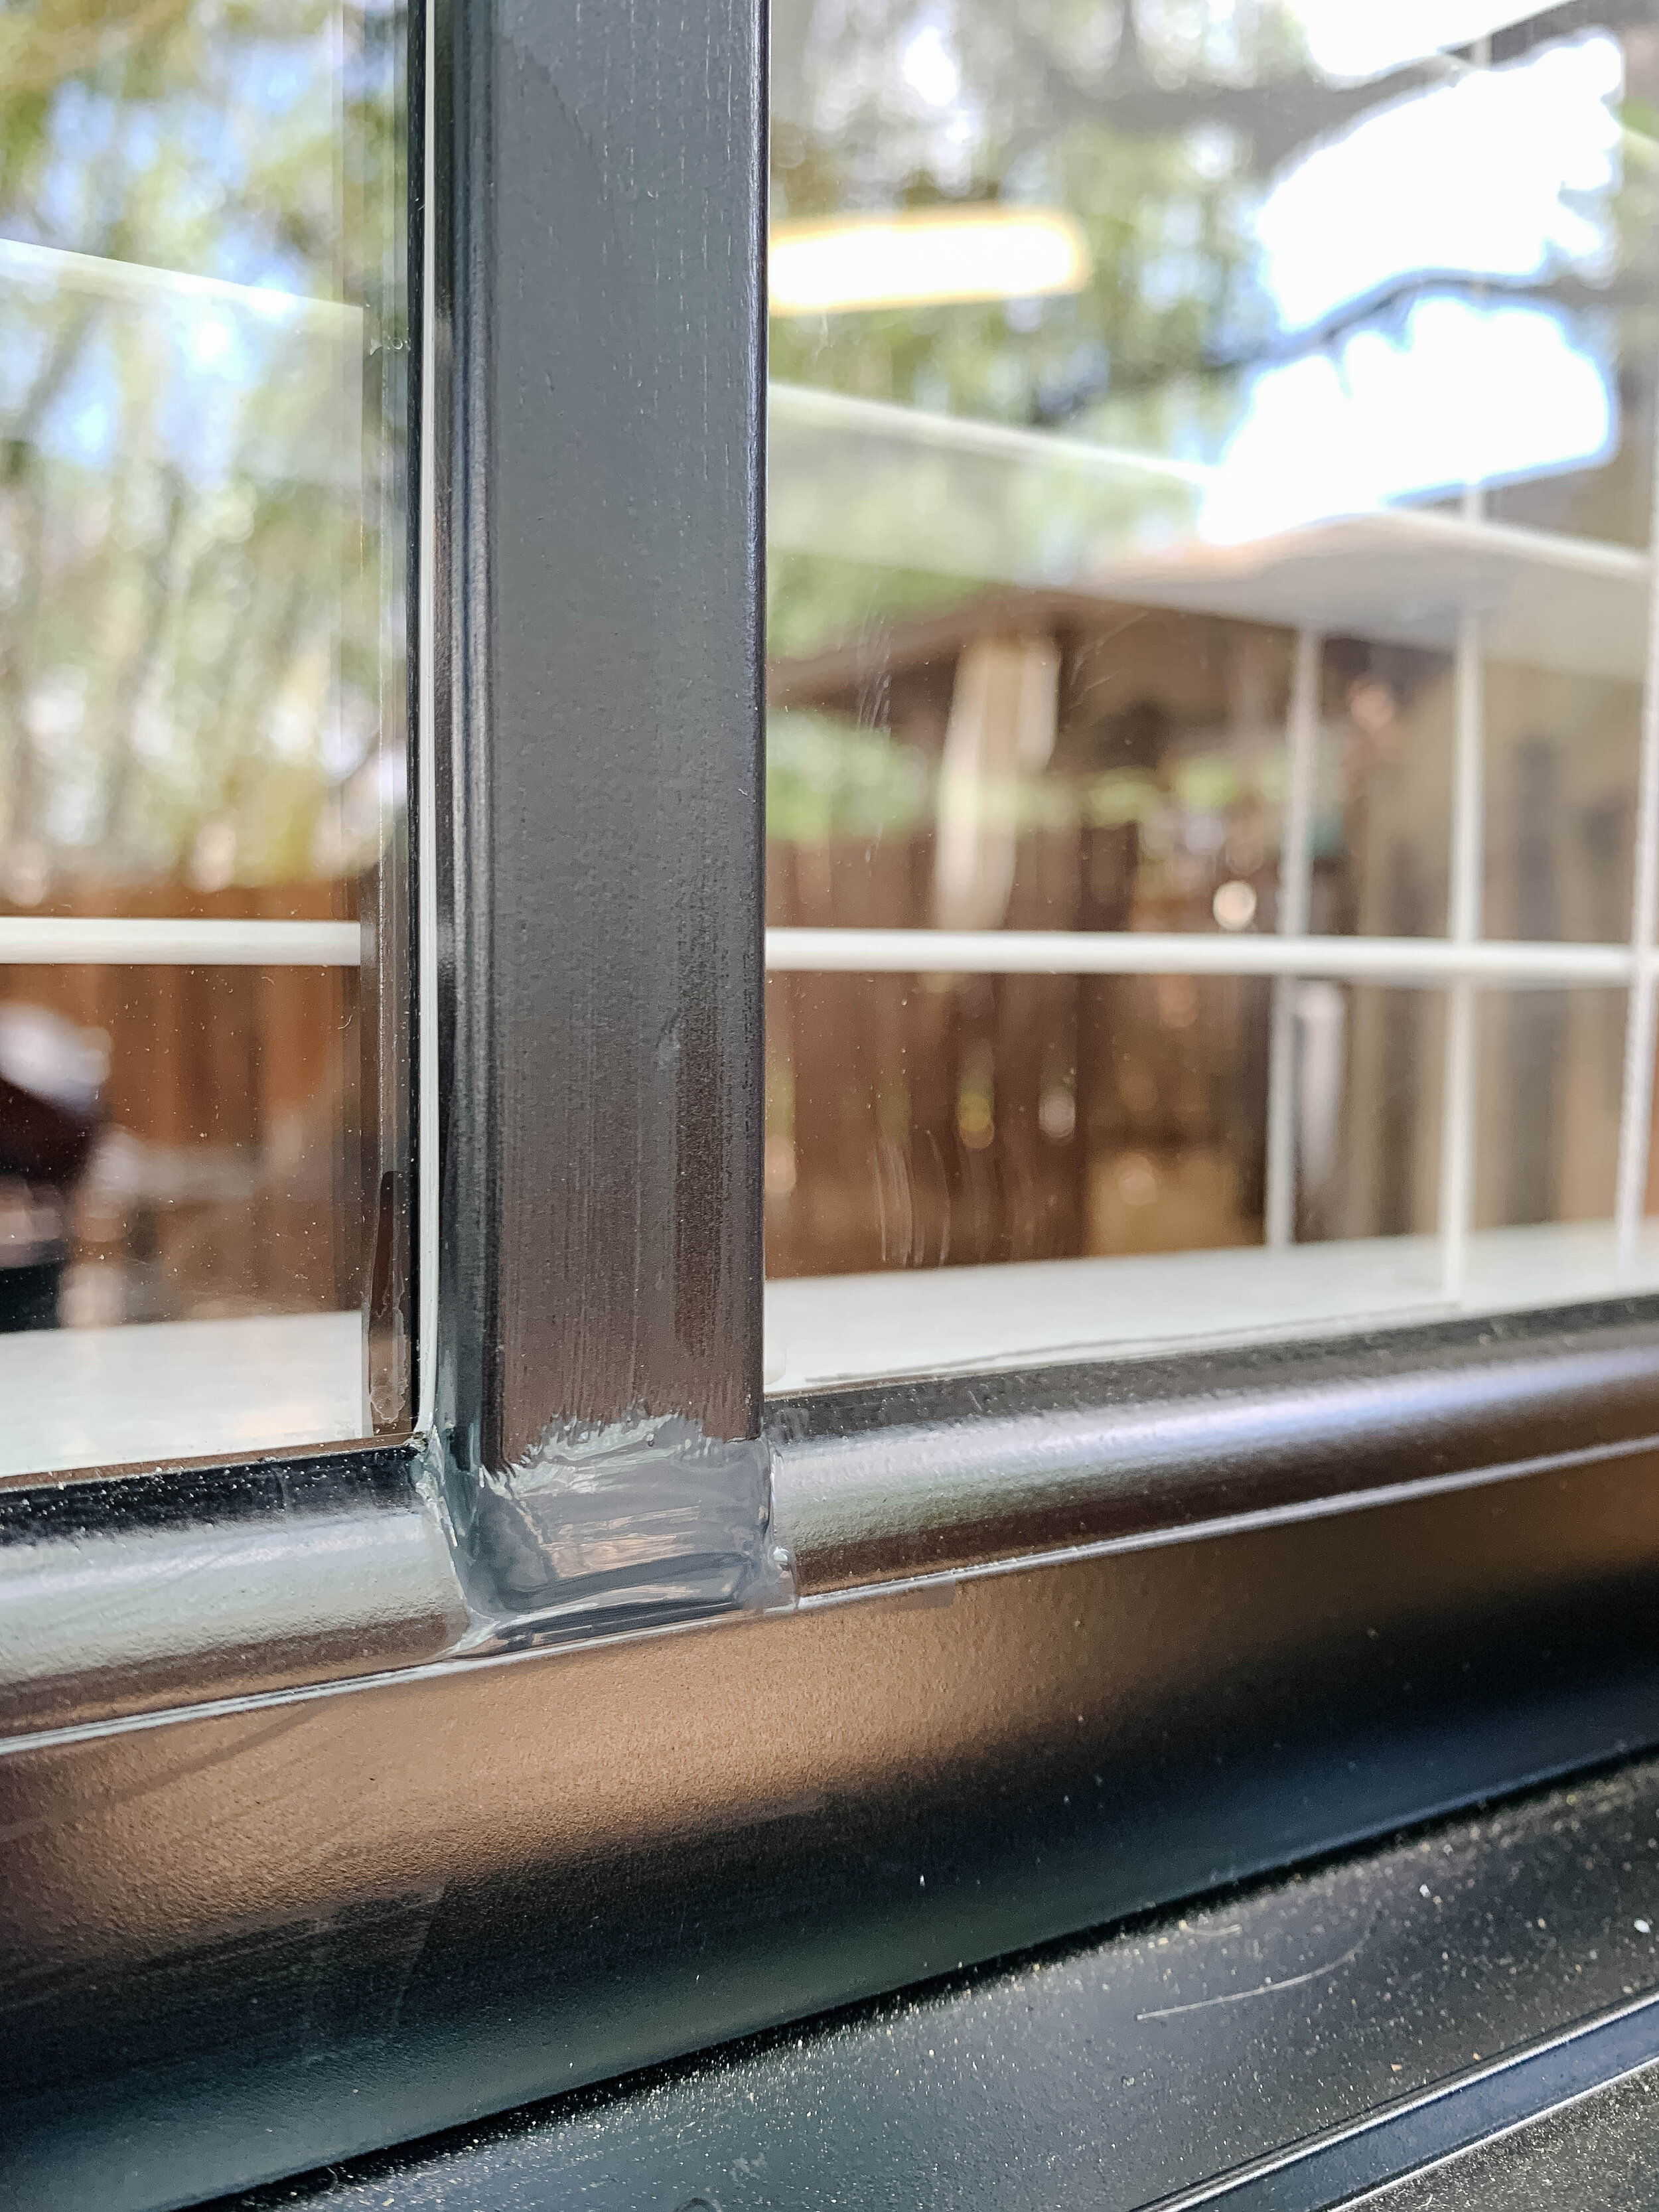
Following the same process we shared in detail here, I worked on the black window mullions while the various surrounding layers of house paint were drying:
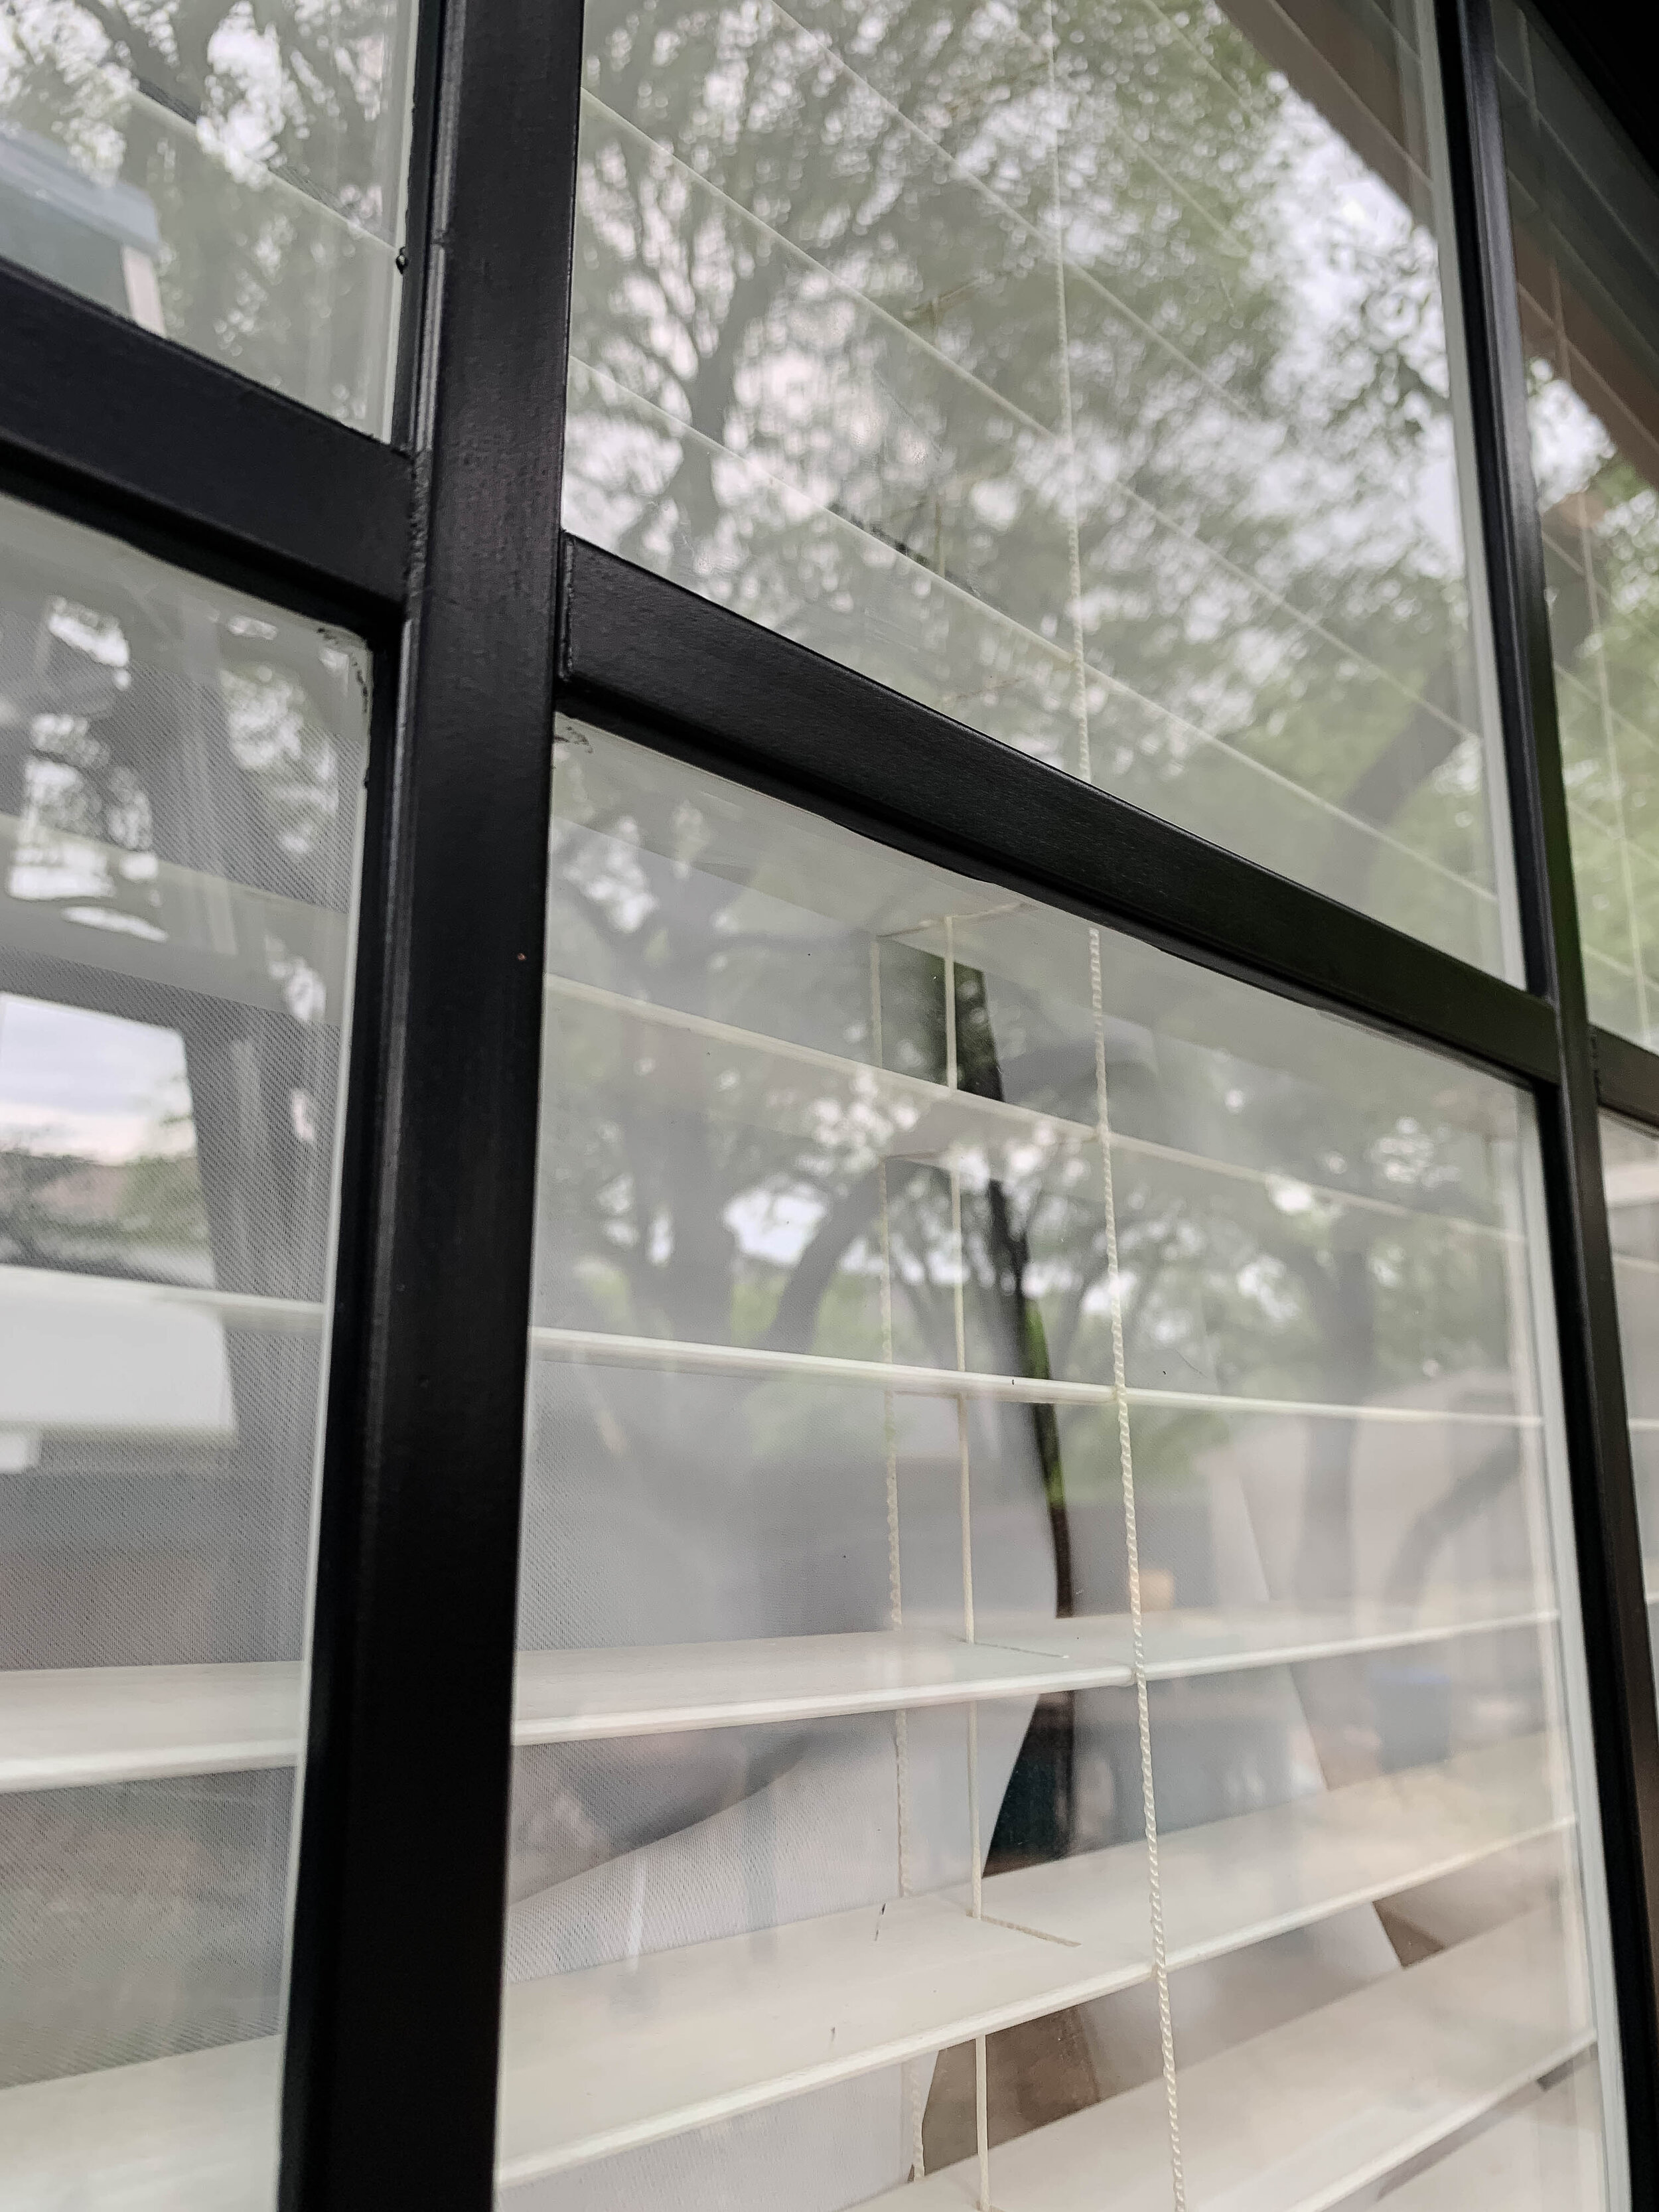
High level how-to: Paint trim, clean window, dry fit trim pieces and adjust length as needed, apply glue, tape to window while glue dries and repeat until all mullions are attached to window. Let glue dry and carefully remove painters tape when dry. Use black caulk to fill seams and form edges where trim meets window. Let dry. Use window cleaner and a microfiber cloth to remove caulk remnants from glass and painted trim.

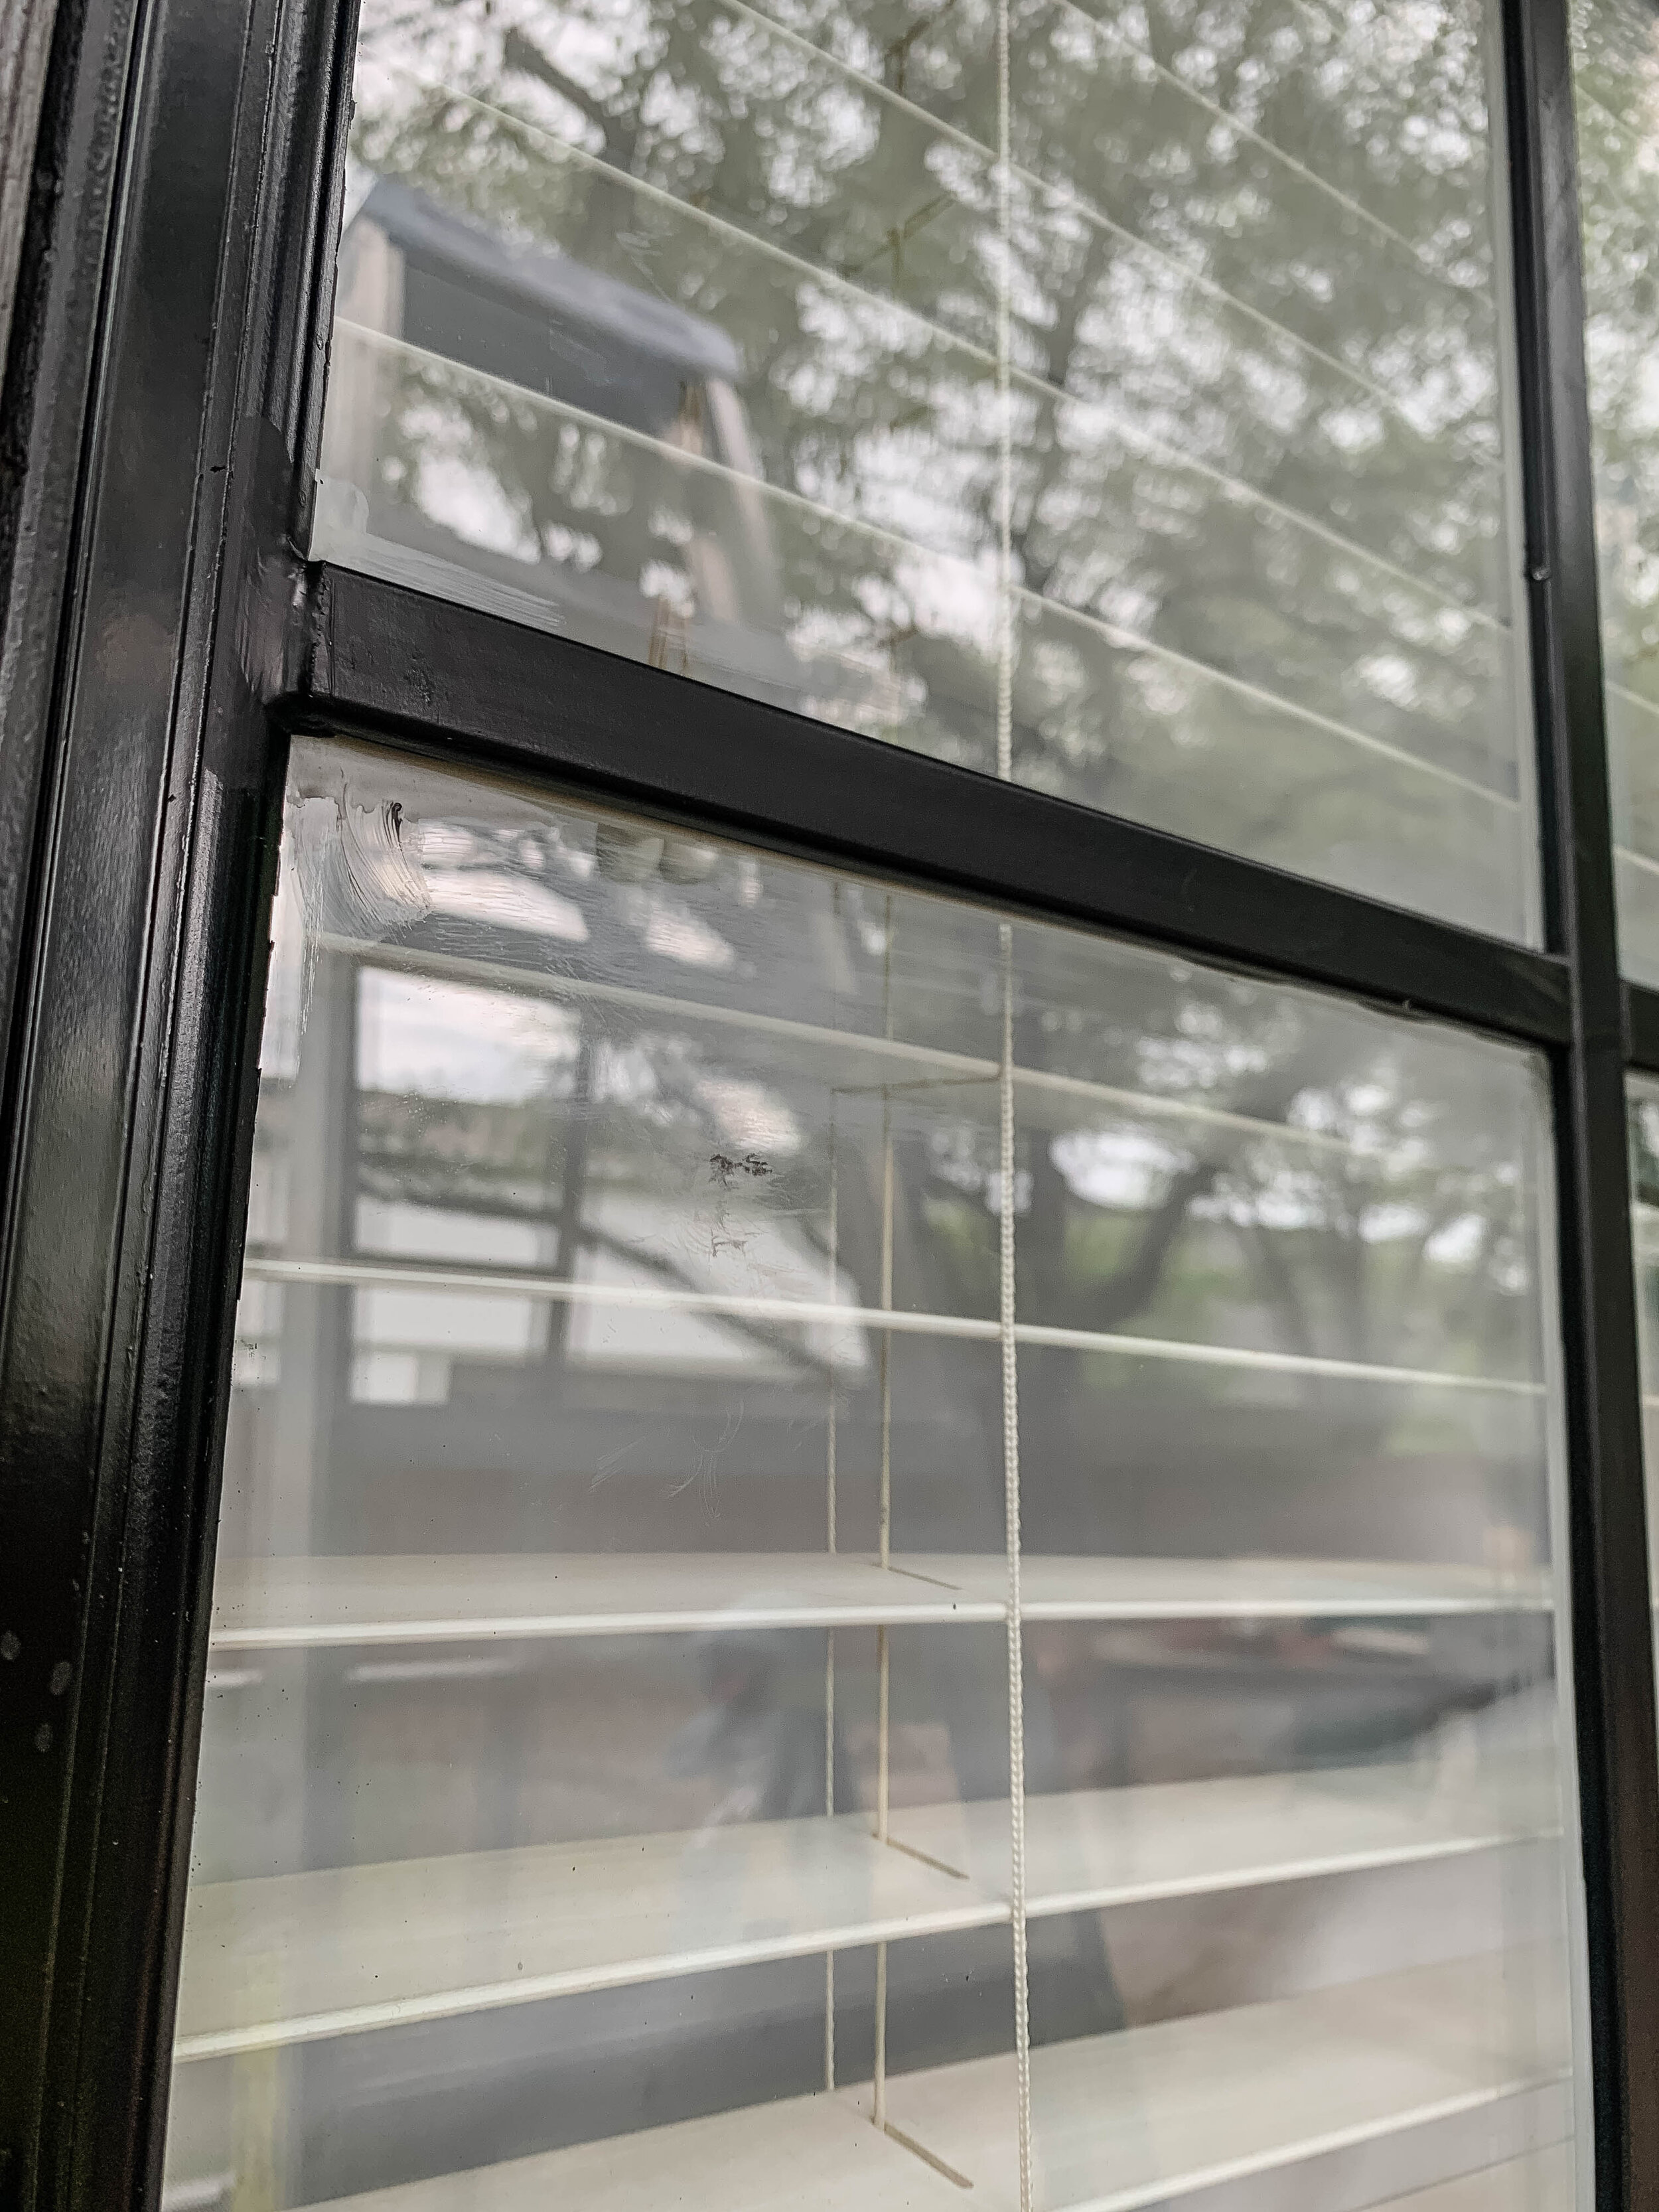
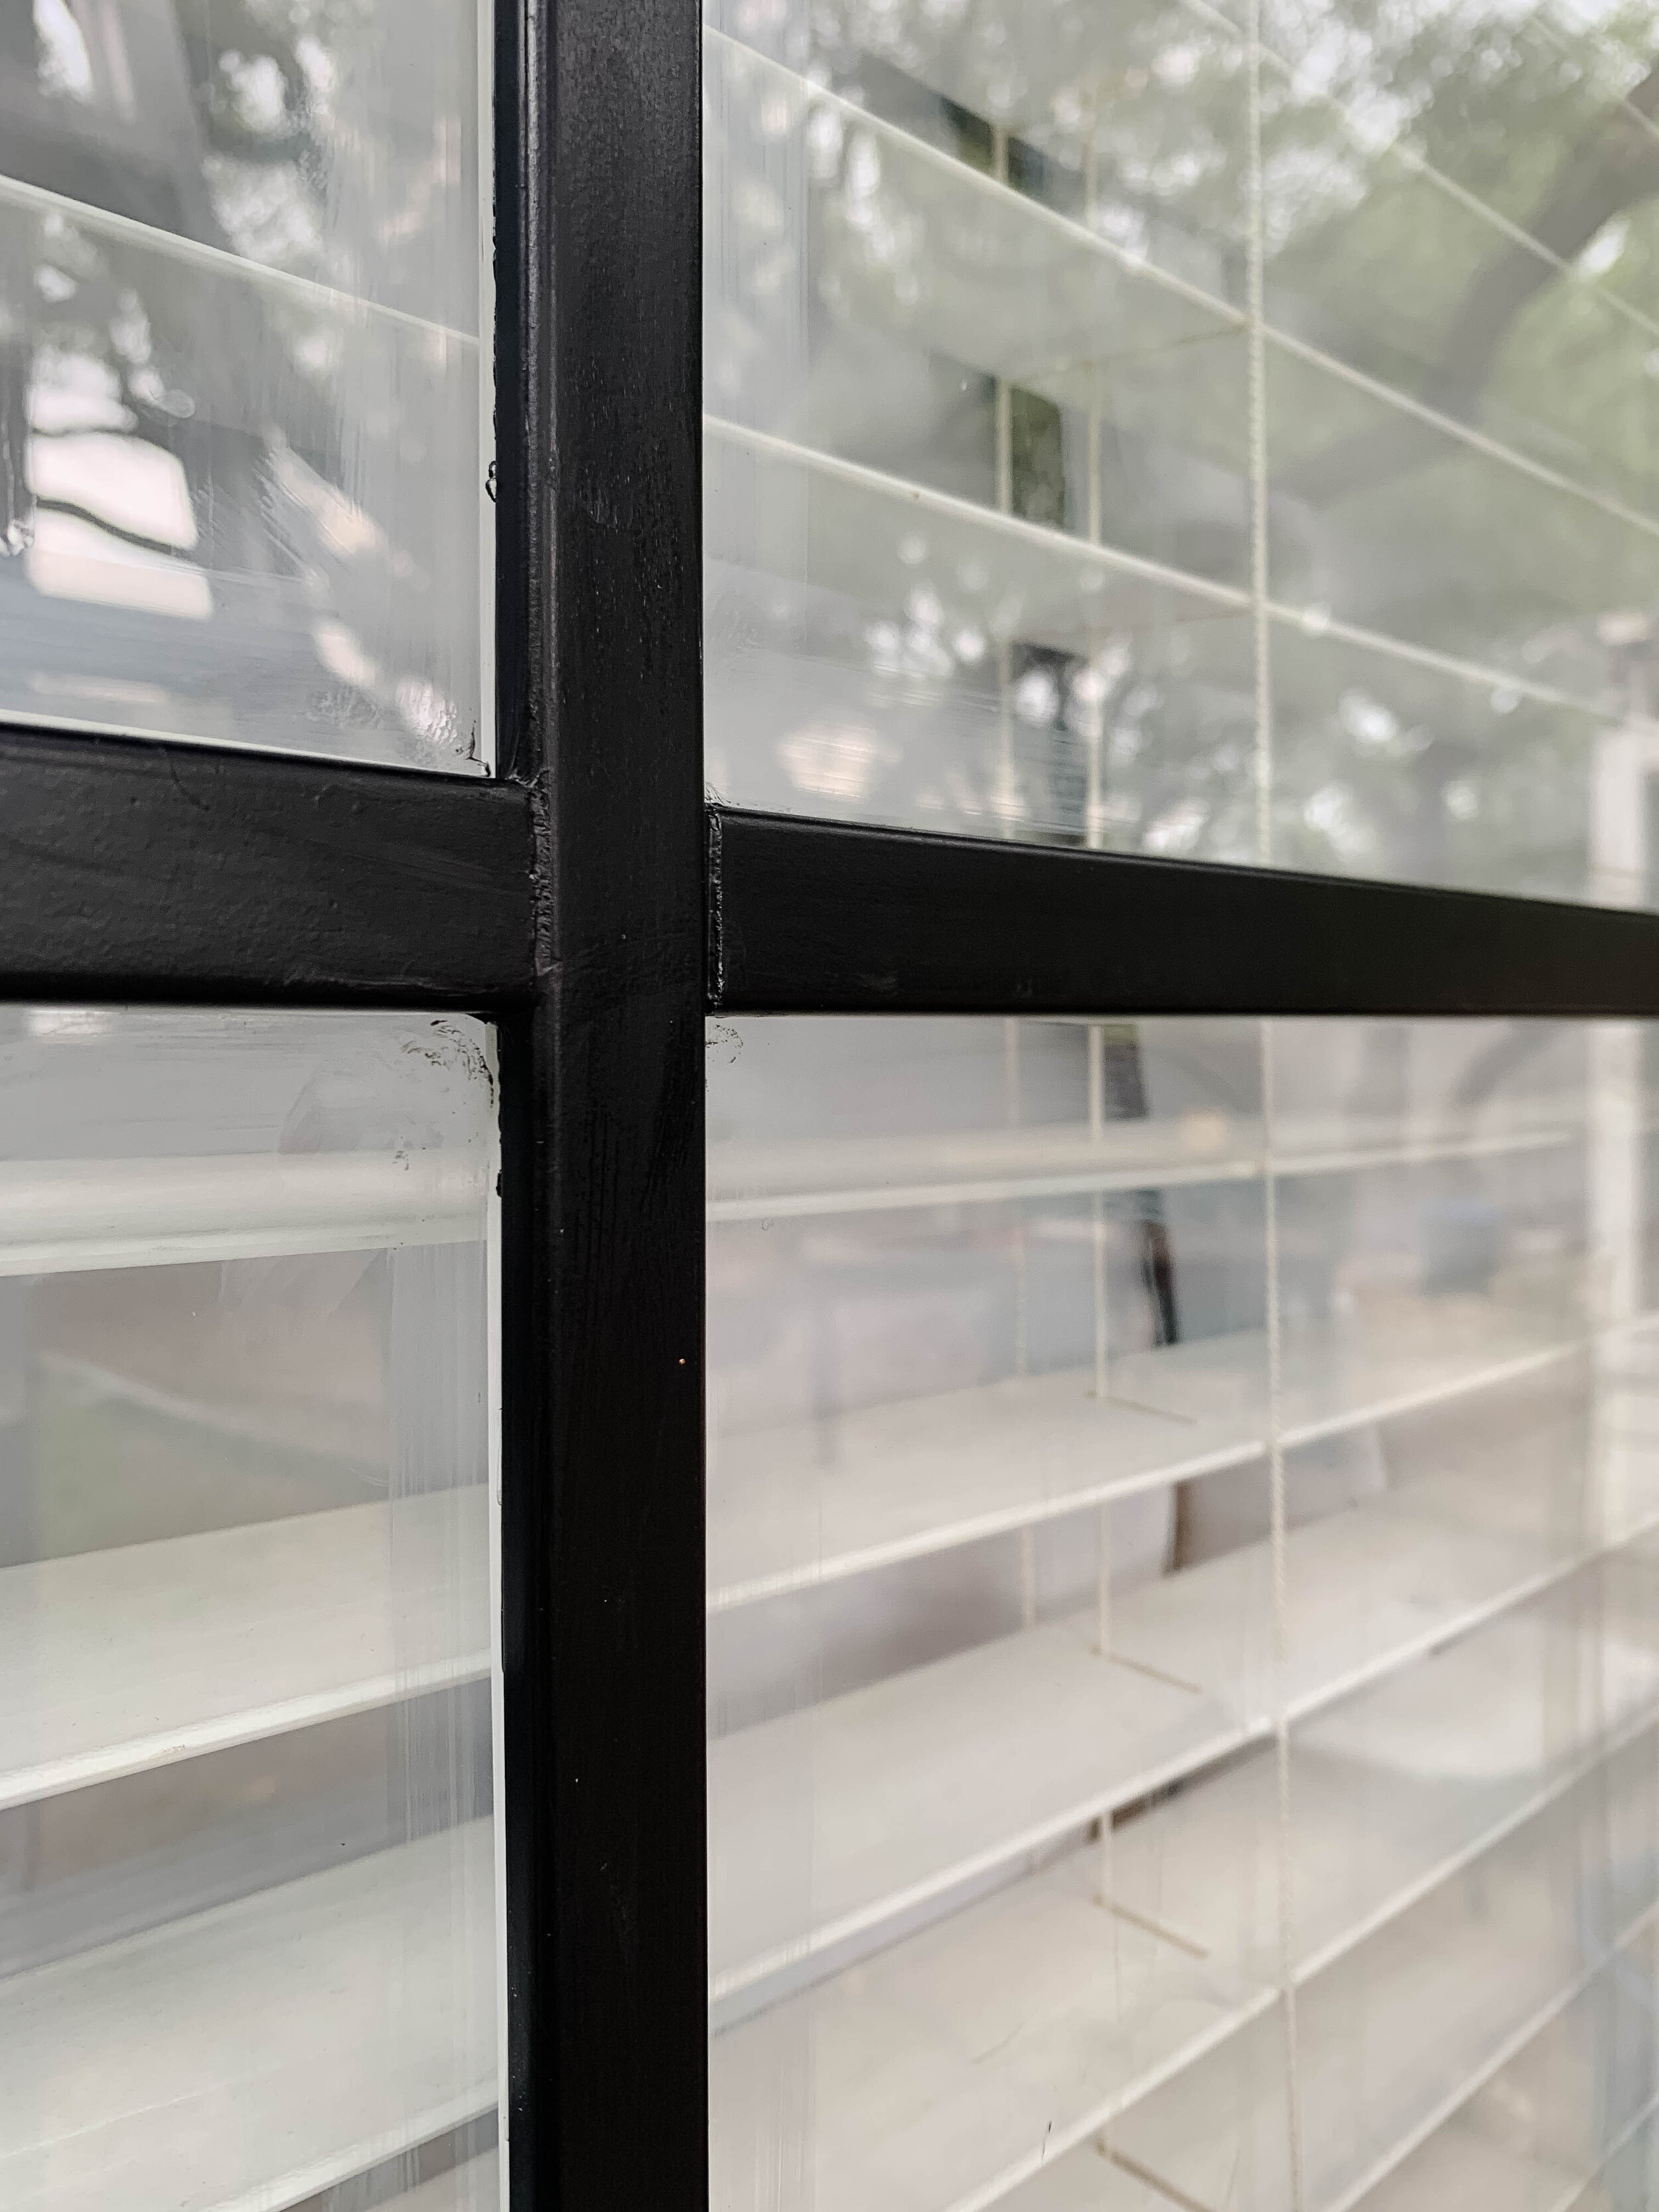
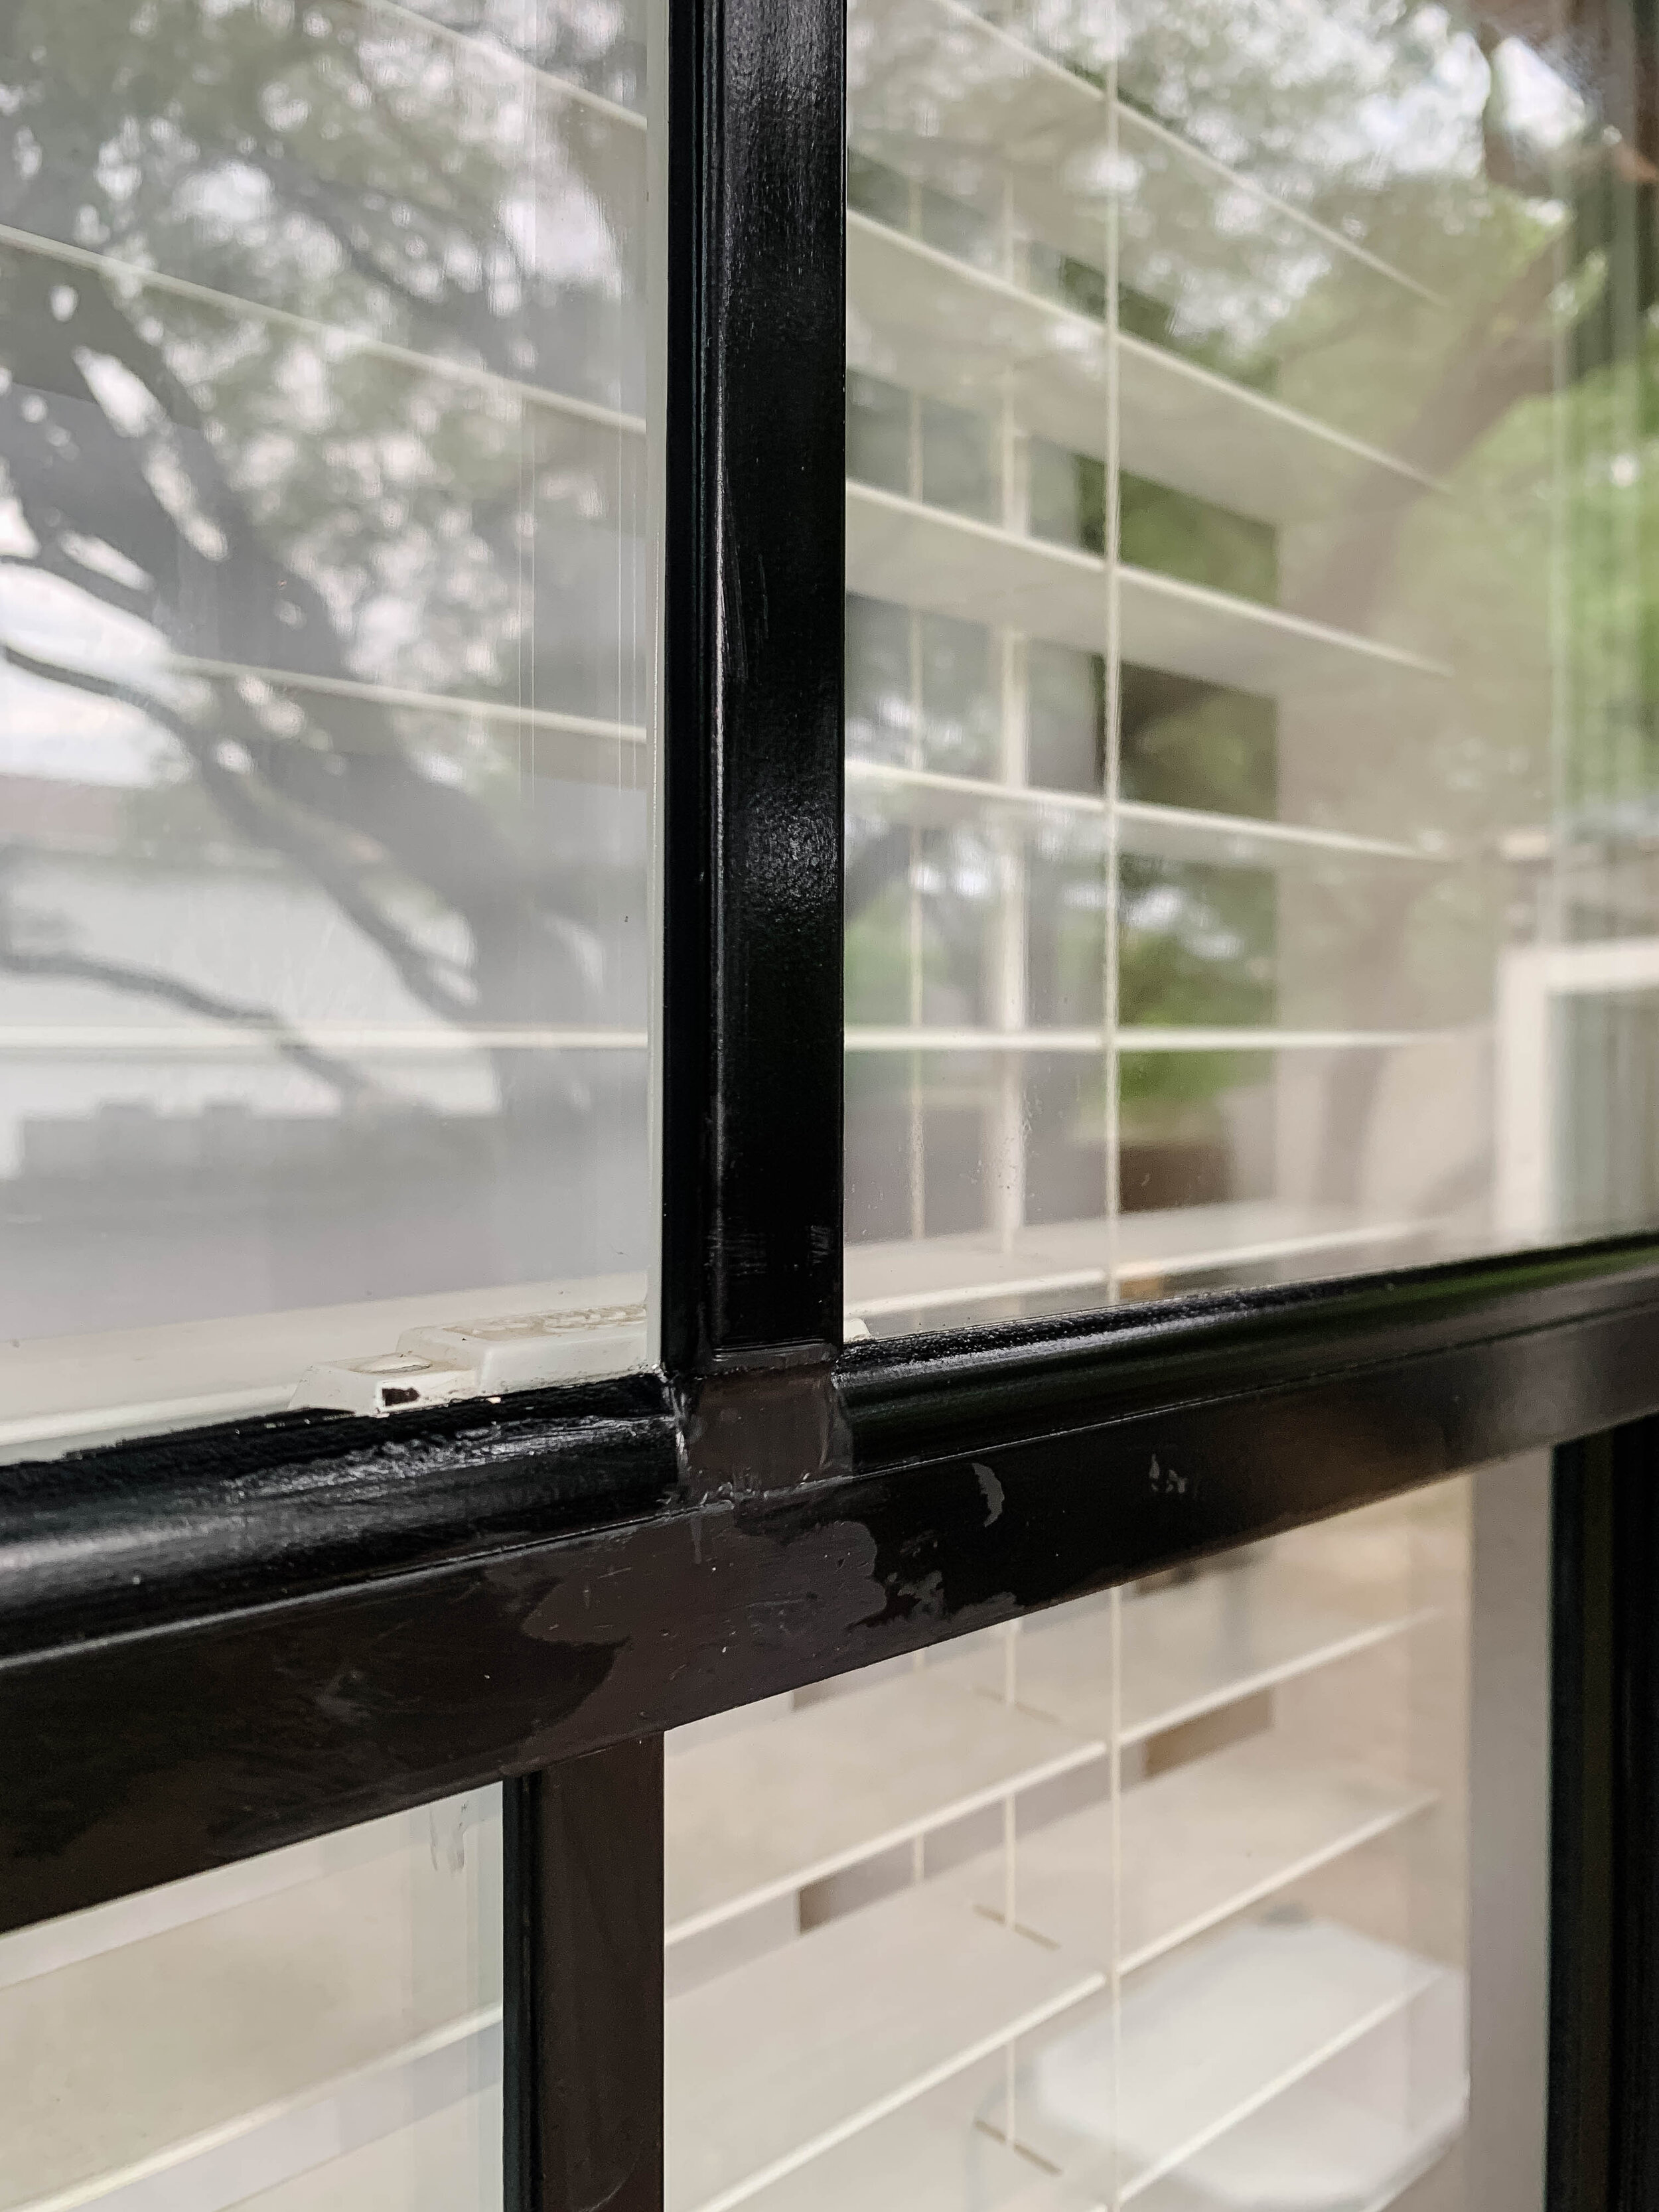
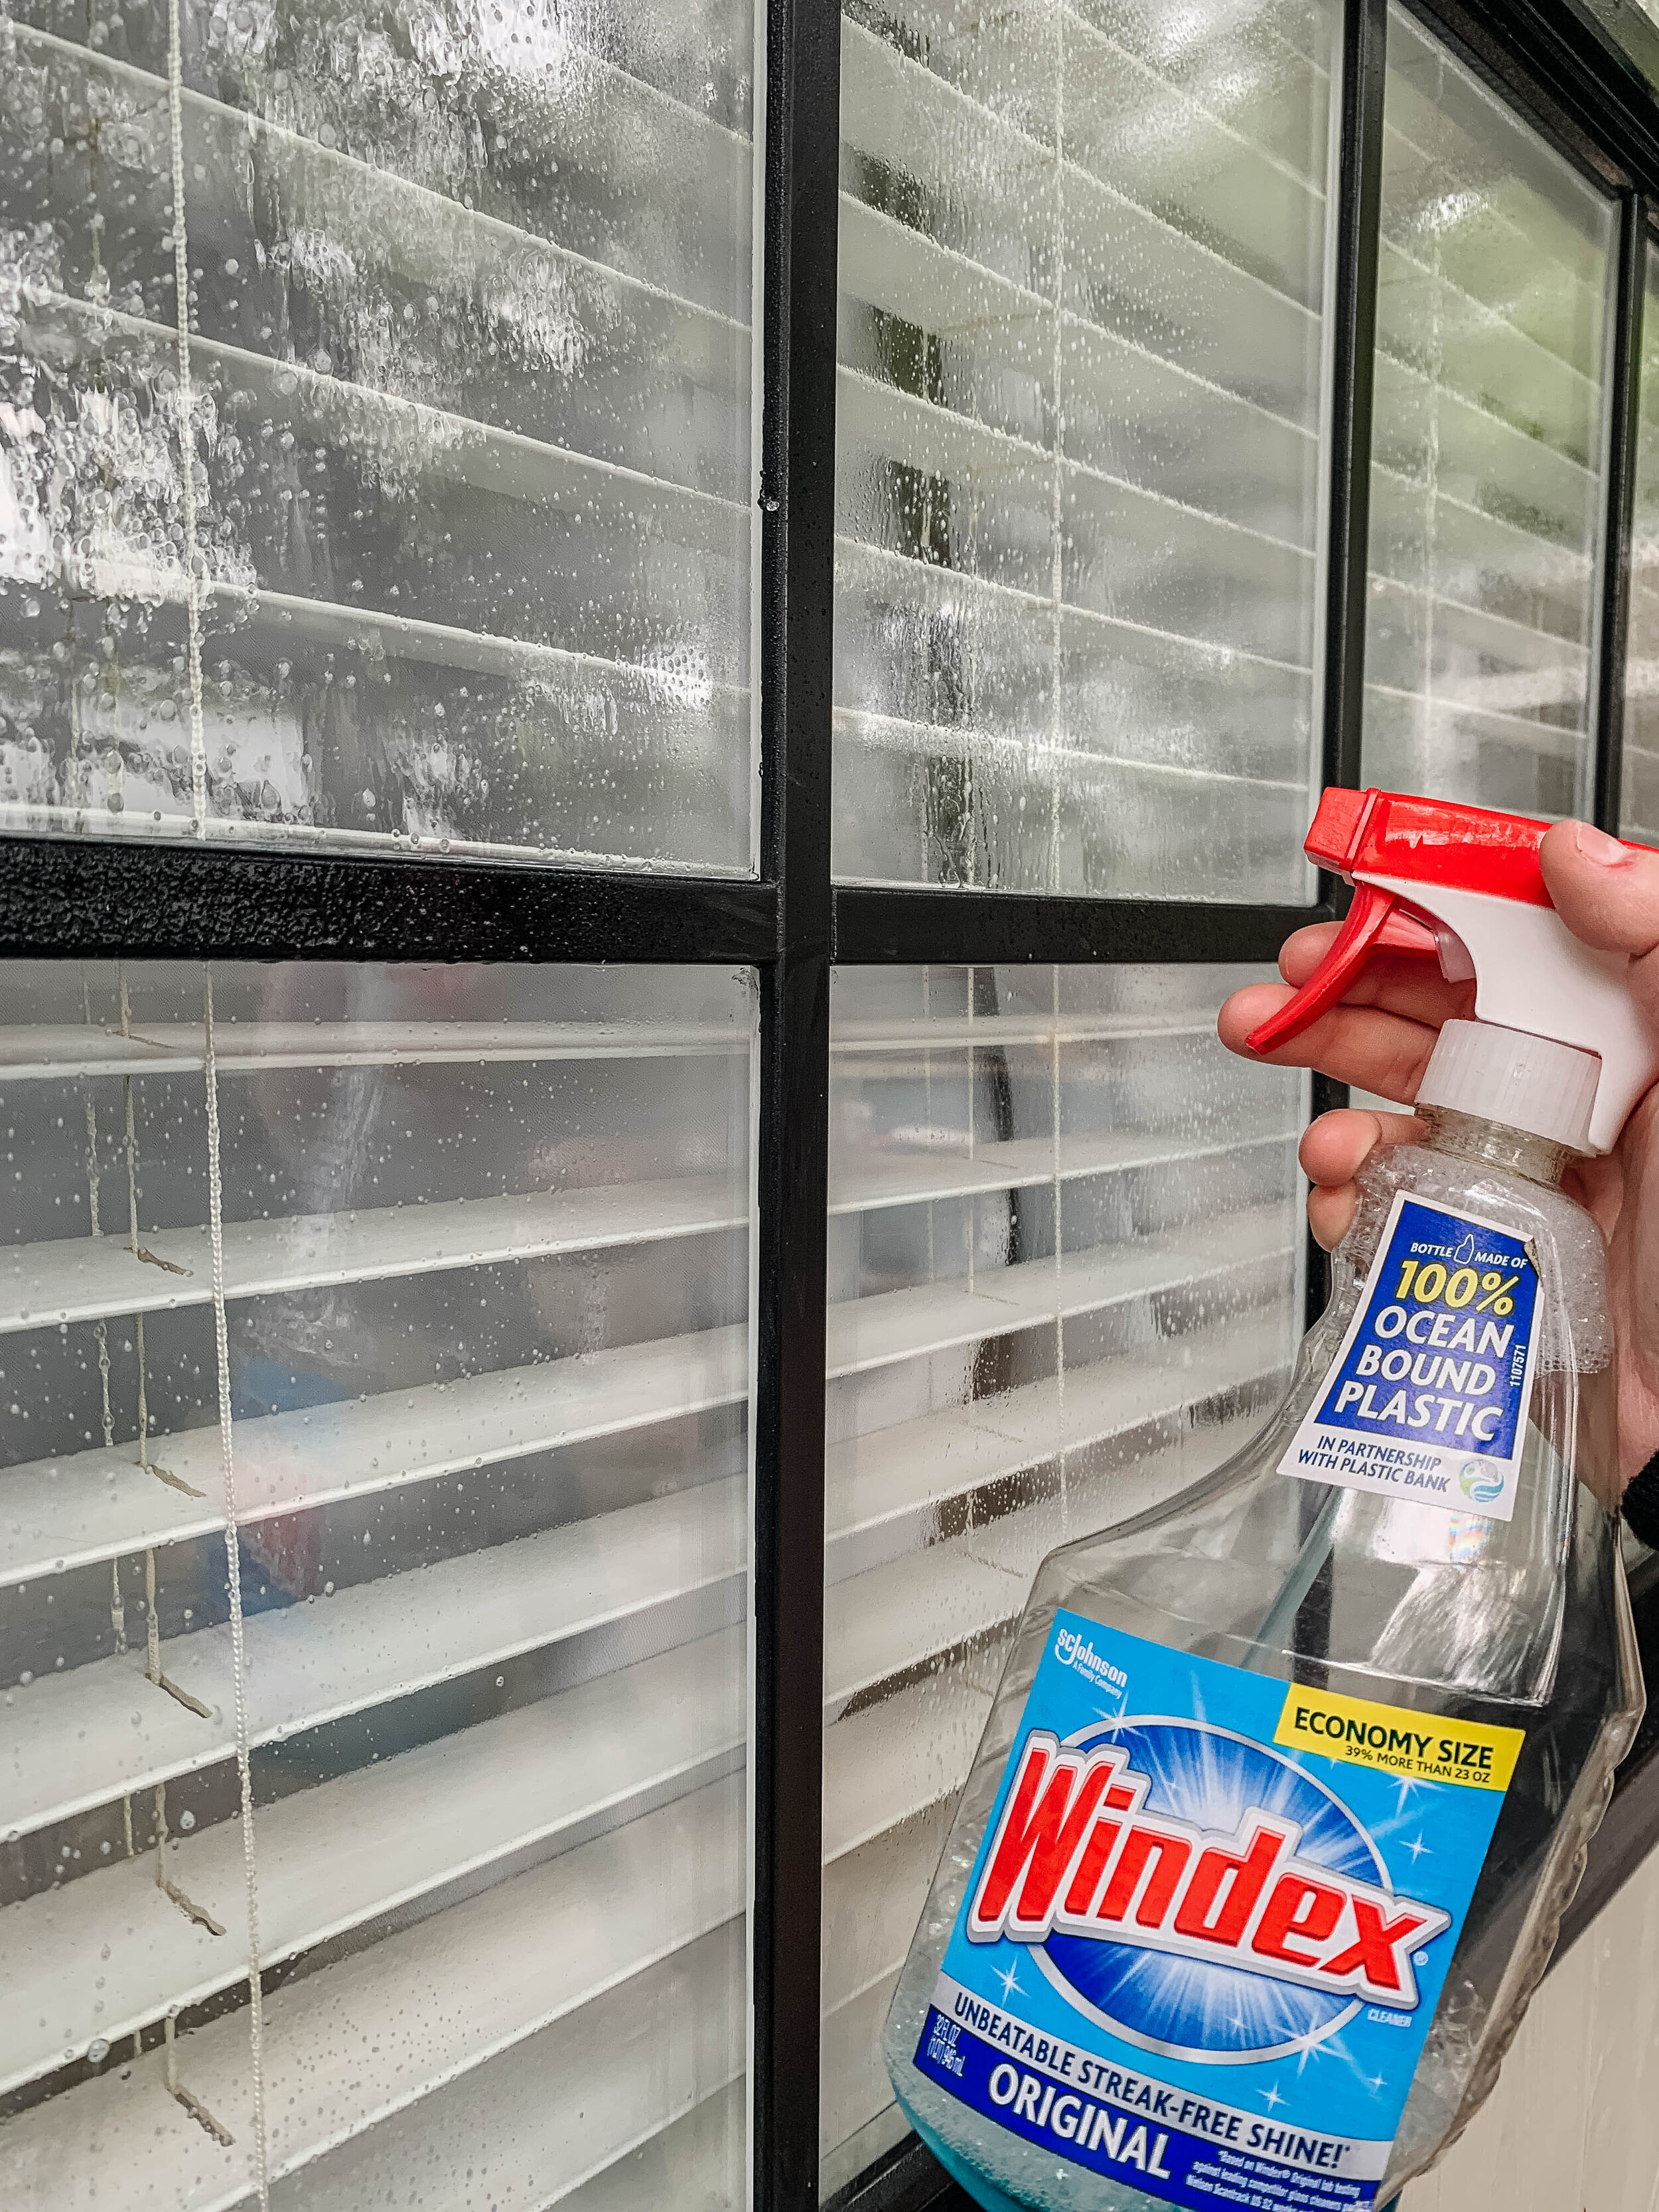
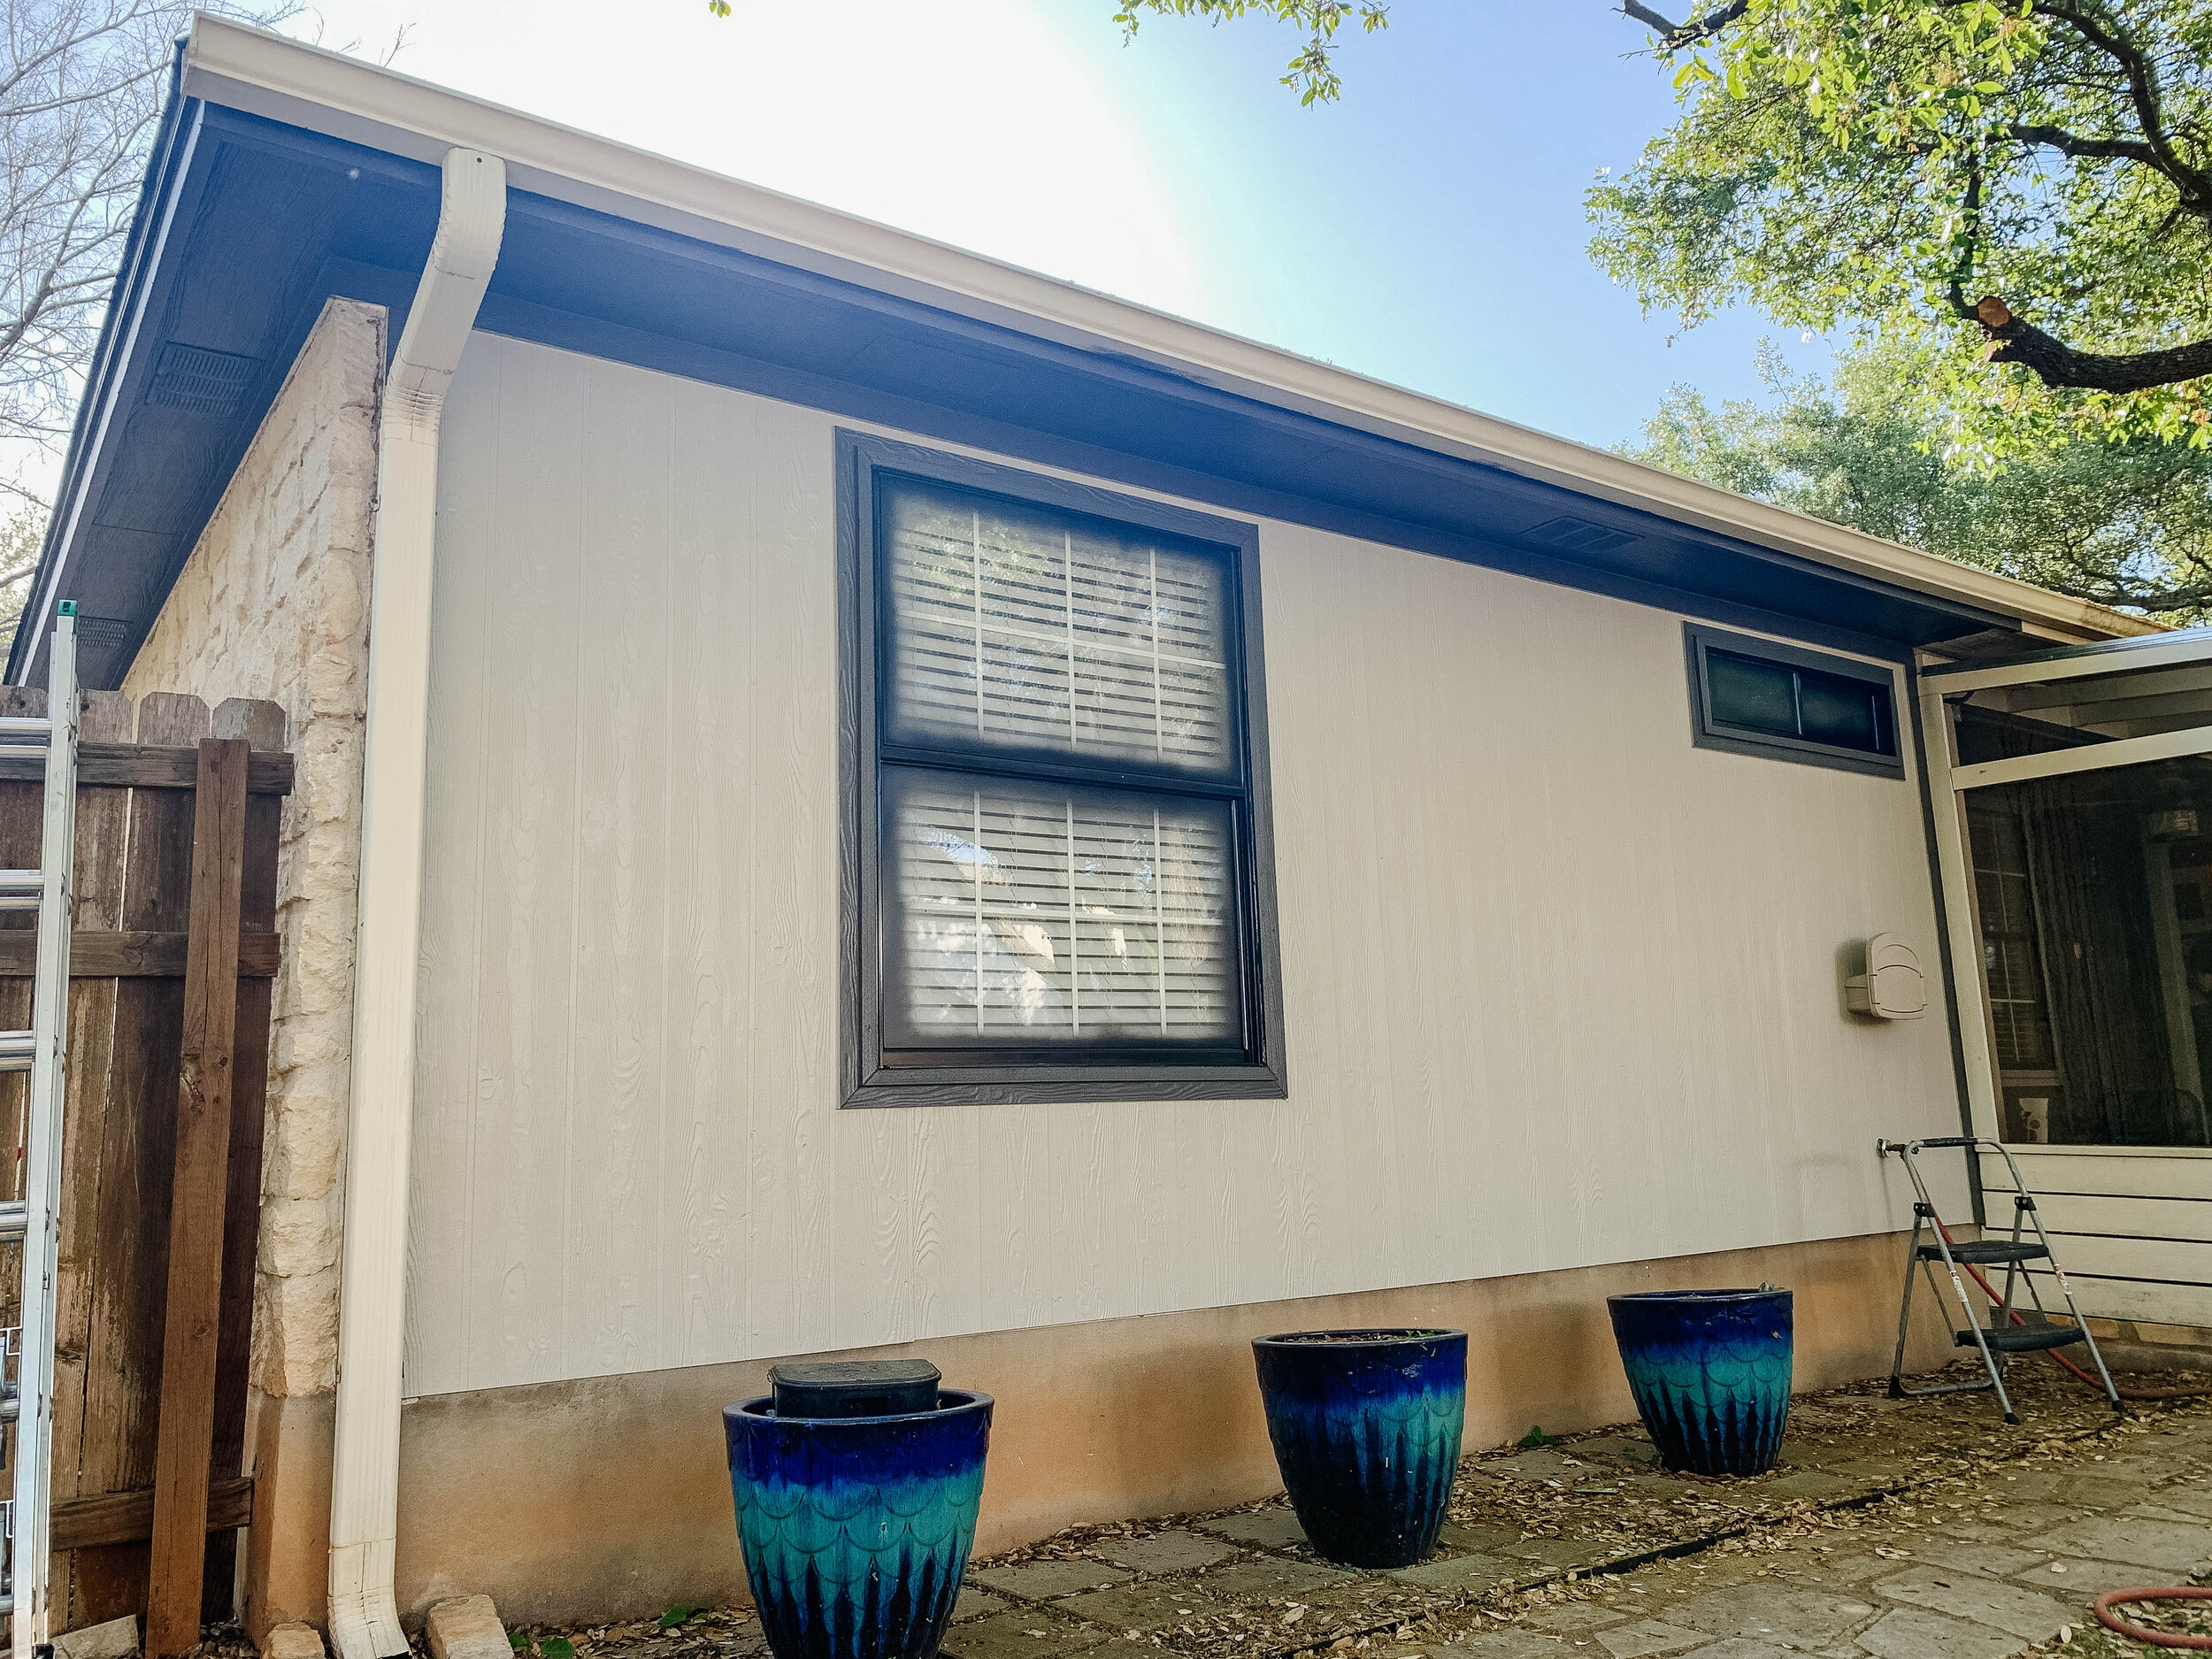
The after
After painting and working for about a week (the weekend, plus a few evenings after work), the back of our house quickly caught up to the front of the house.
The side-by-sides
I love a good comparison, without having to scroll back and forth. Enjoy!
Are you looking to update your home’s exterior with paint? It was so much easier than I thought it would be, especially breaking it up over the course of a week. Definitely DIY-able if you’re looking to make a change!