DIY Marble Window Sills
Do you have dinged up, worn (and maybe even paint-peeling) wooden interior window sills? If so, you’re like a lot of people out there whose sills have seen better days, we’ve come up with a beautiful, durable and surprisingly quick fix:
Marble window sills!
Not only does marble add a classic (and yet, totally modern) look, natural stone is a super durable option for interior window sills that’s great if you have pets like we do that love to stand on them when they take part in the neighborhood watch, or if your sills are prone to gather condensation from the window on cold days, or your pets (or kids, no judgement) have gnawed on them a bit. Not to mention it’s a nice upgrade that adds some wow-factor now and is also a stunning and unique addition to your home that you can brag about later if you ever go to sell your house.
And don’t worry, it only looks a lot harder and fancier than it actually is.
Our marble window sill shopping list
Carrara marble window sills – comes in 56” and 74” lengths. Each piece should be the width of the window + about 3” for the sill to wrap around the window sides, or do what we did and use the existing window sills to get your exact measurements.
Tape measure
Box/utility knife
Putty knife
Hammer
Needle nose pliers
4.5” corded circular saw with steel shoe + wet/dry diamond blade
Sharpie
Stable cutting surface that can get wet and dirty – we used sawhorses + scrap plywood
Water hose
Dremel + rotary tool bit – for finishing
Rags/towels
Paintable caulk – we chose white to help it blend into the marble, but most will be painted over
Painters tape
Wall paint + paint brush – to touch up the existing wall paint
Clear silicone – to invisibly fill the seam between window and marble
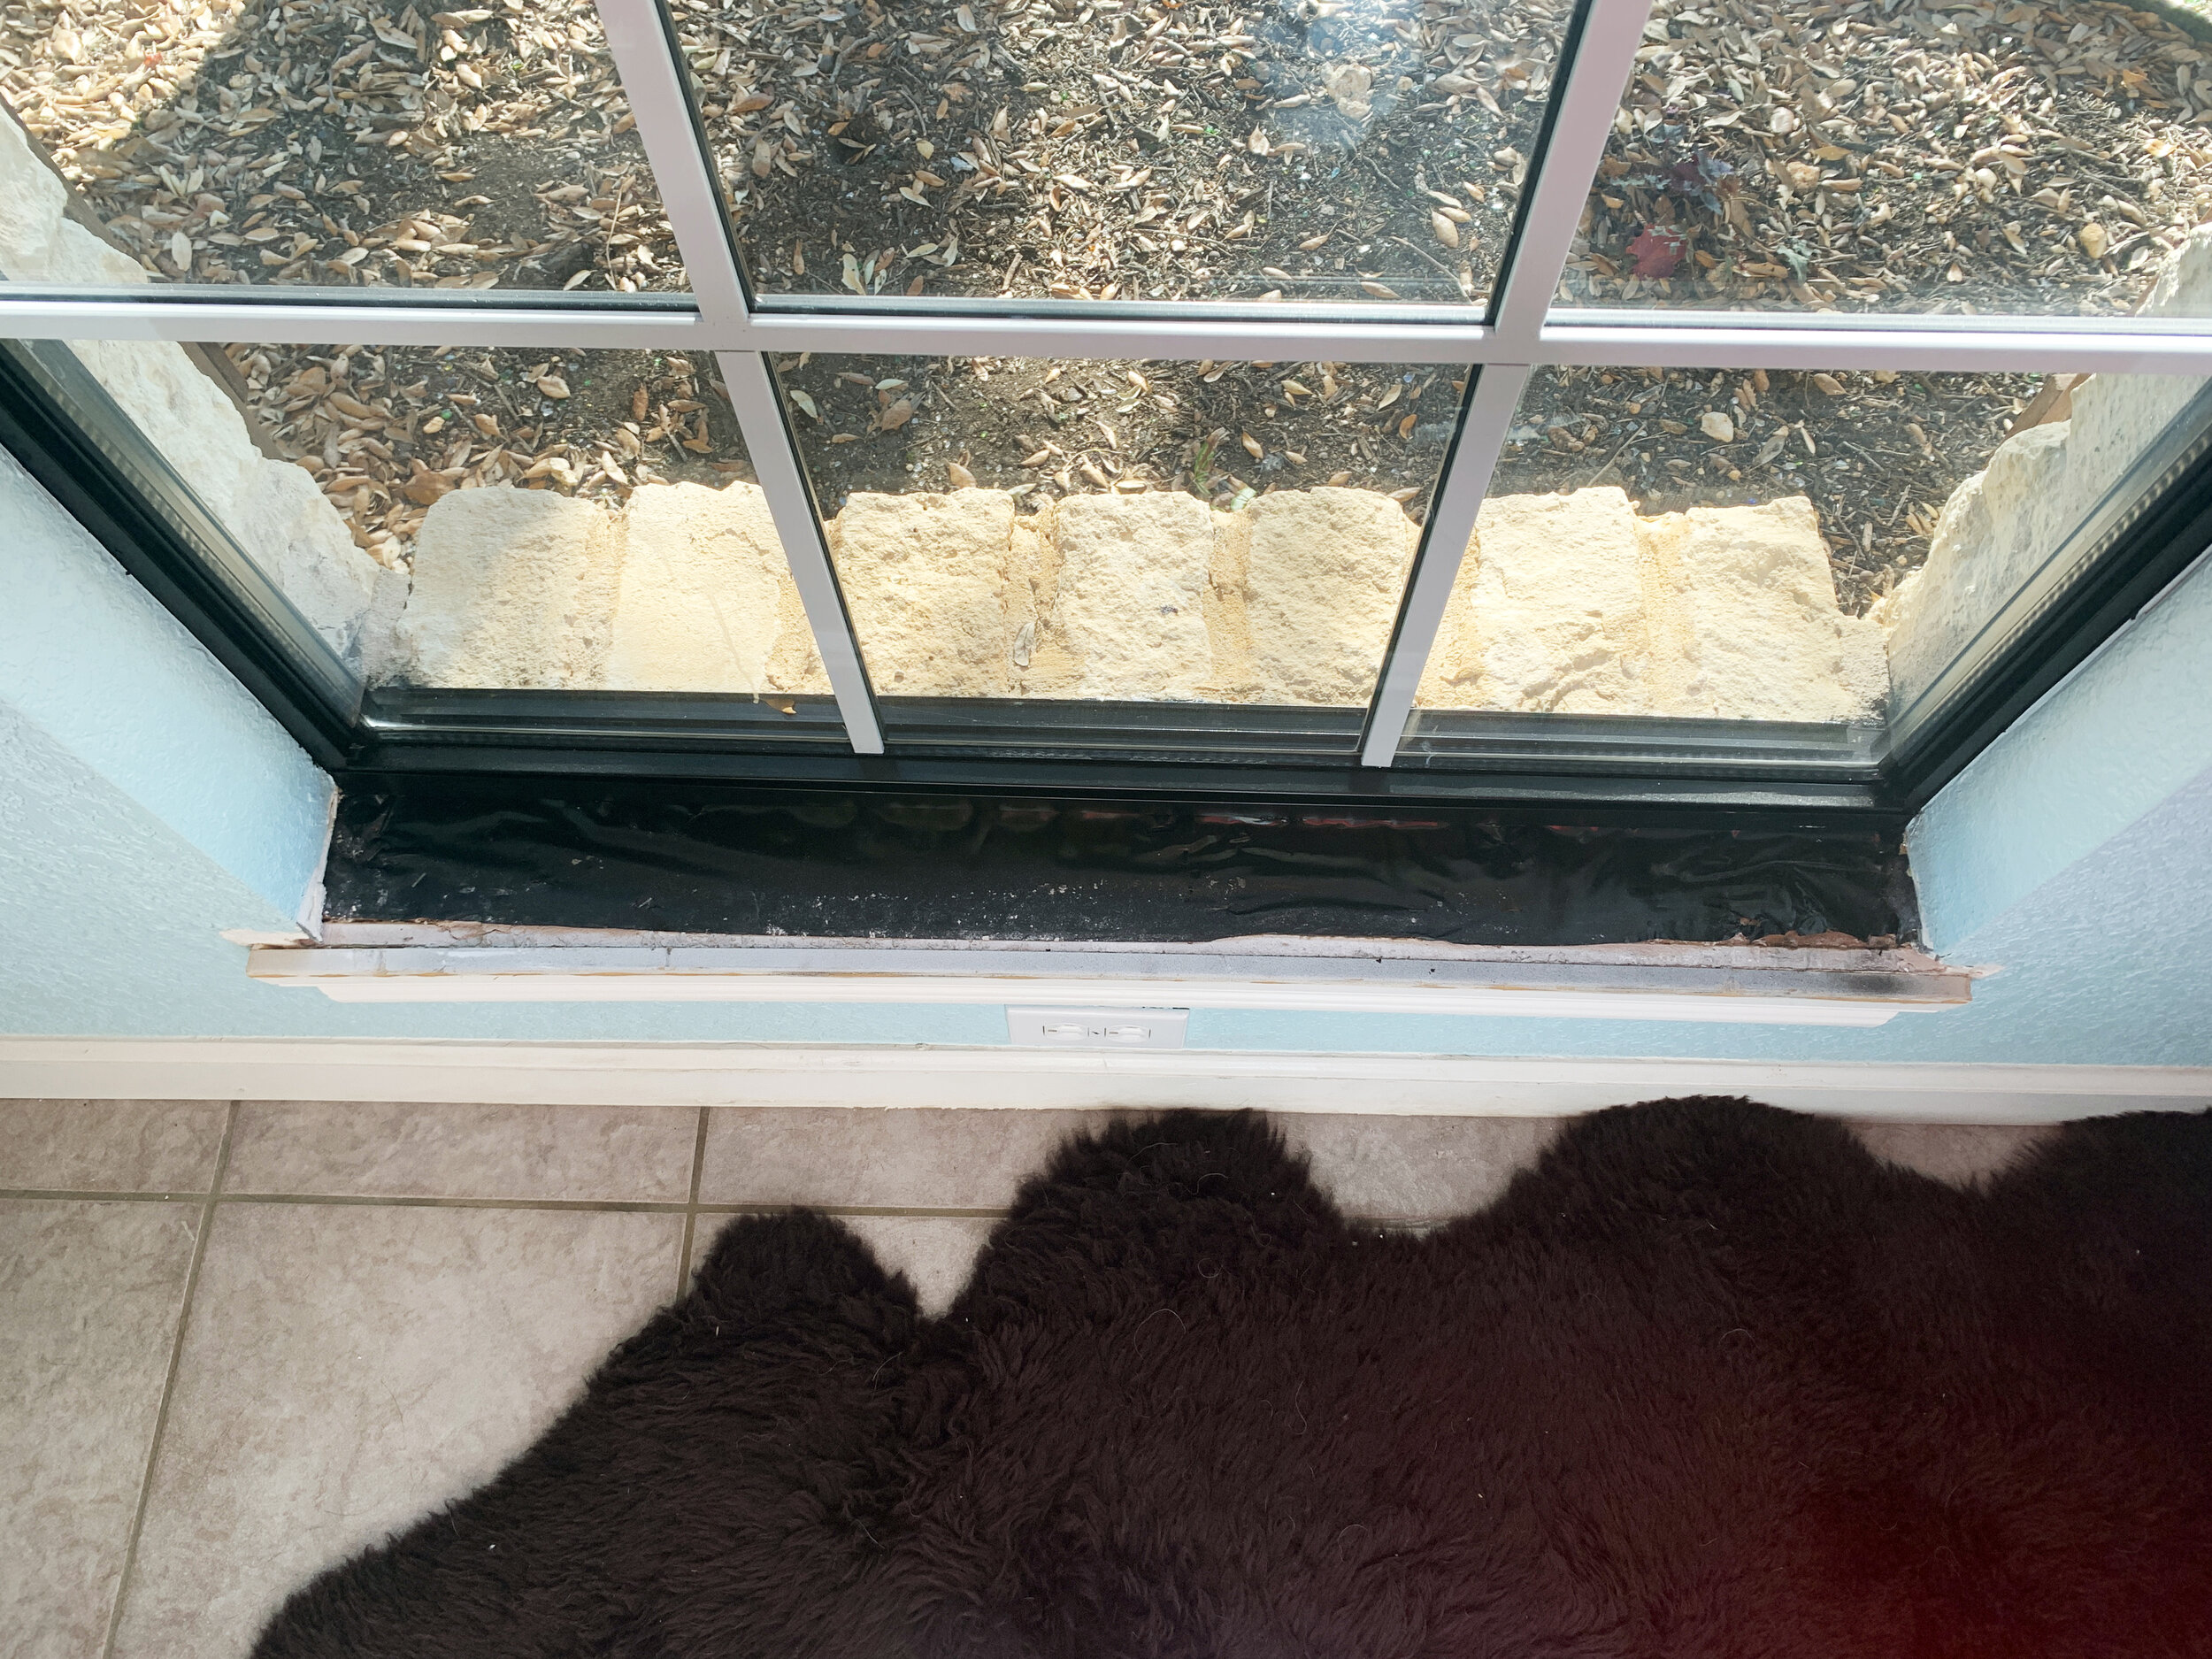
Removing the old window sills
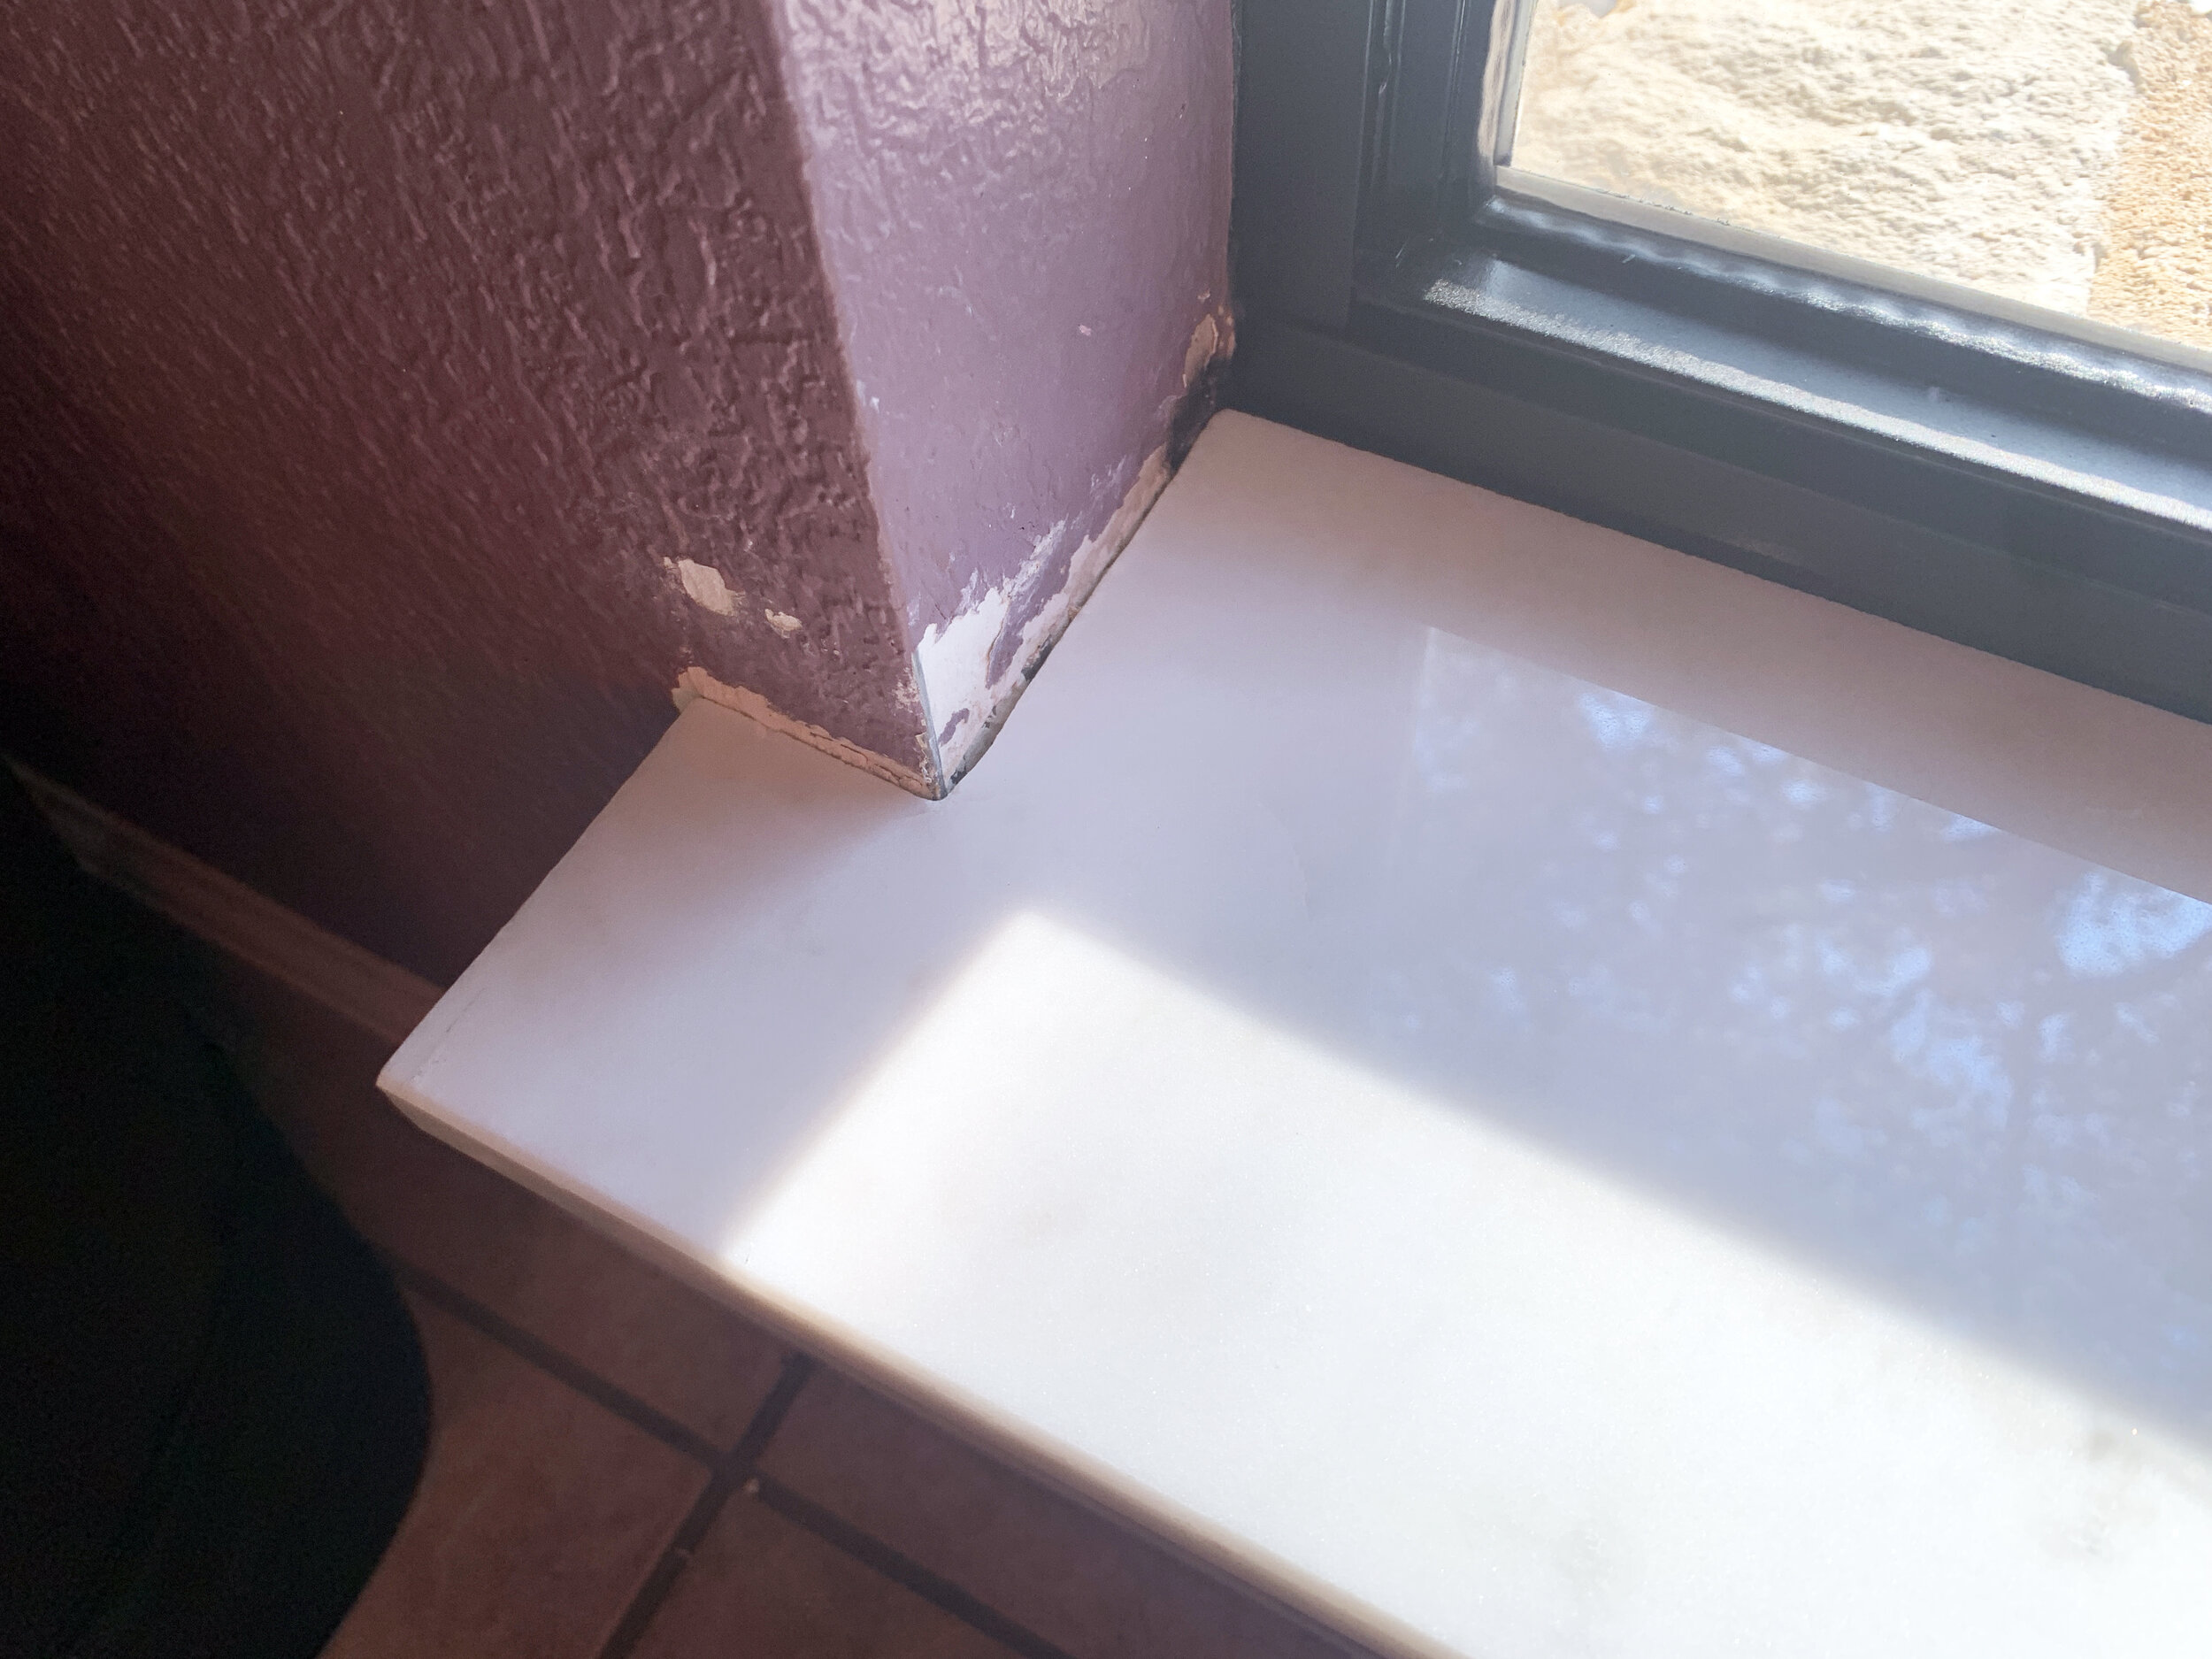
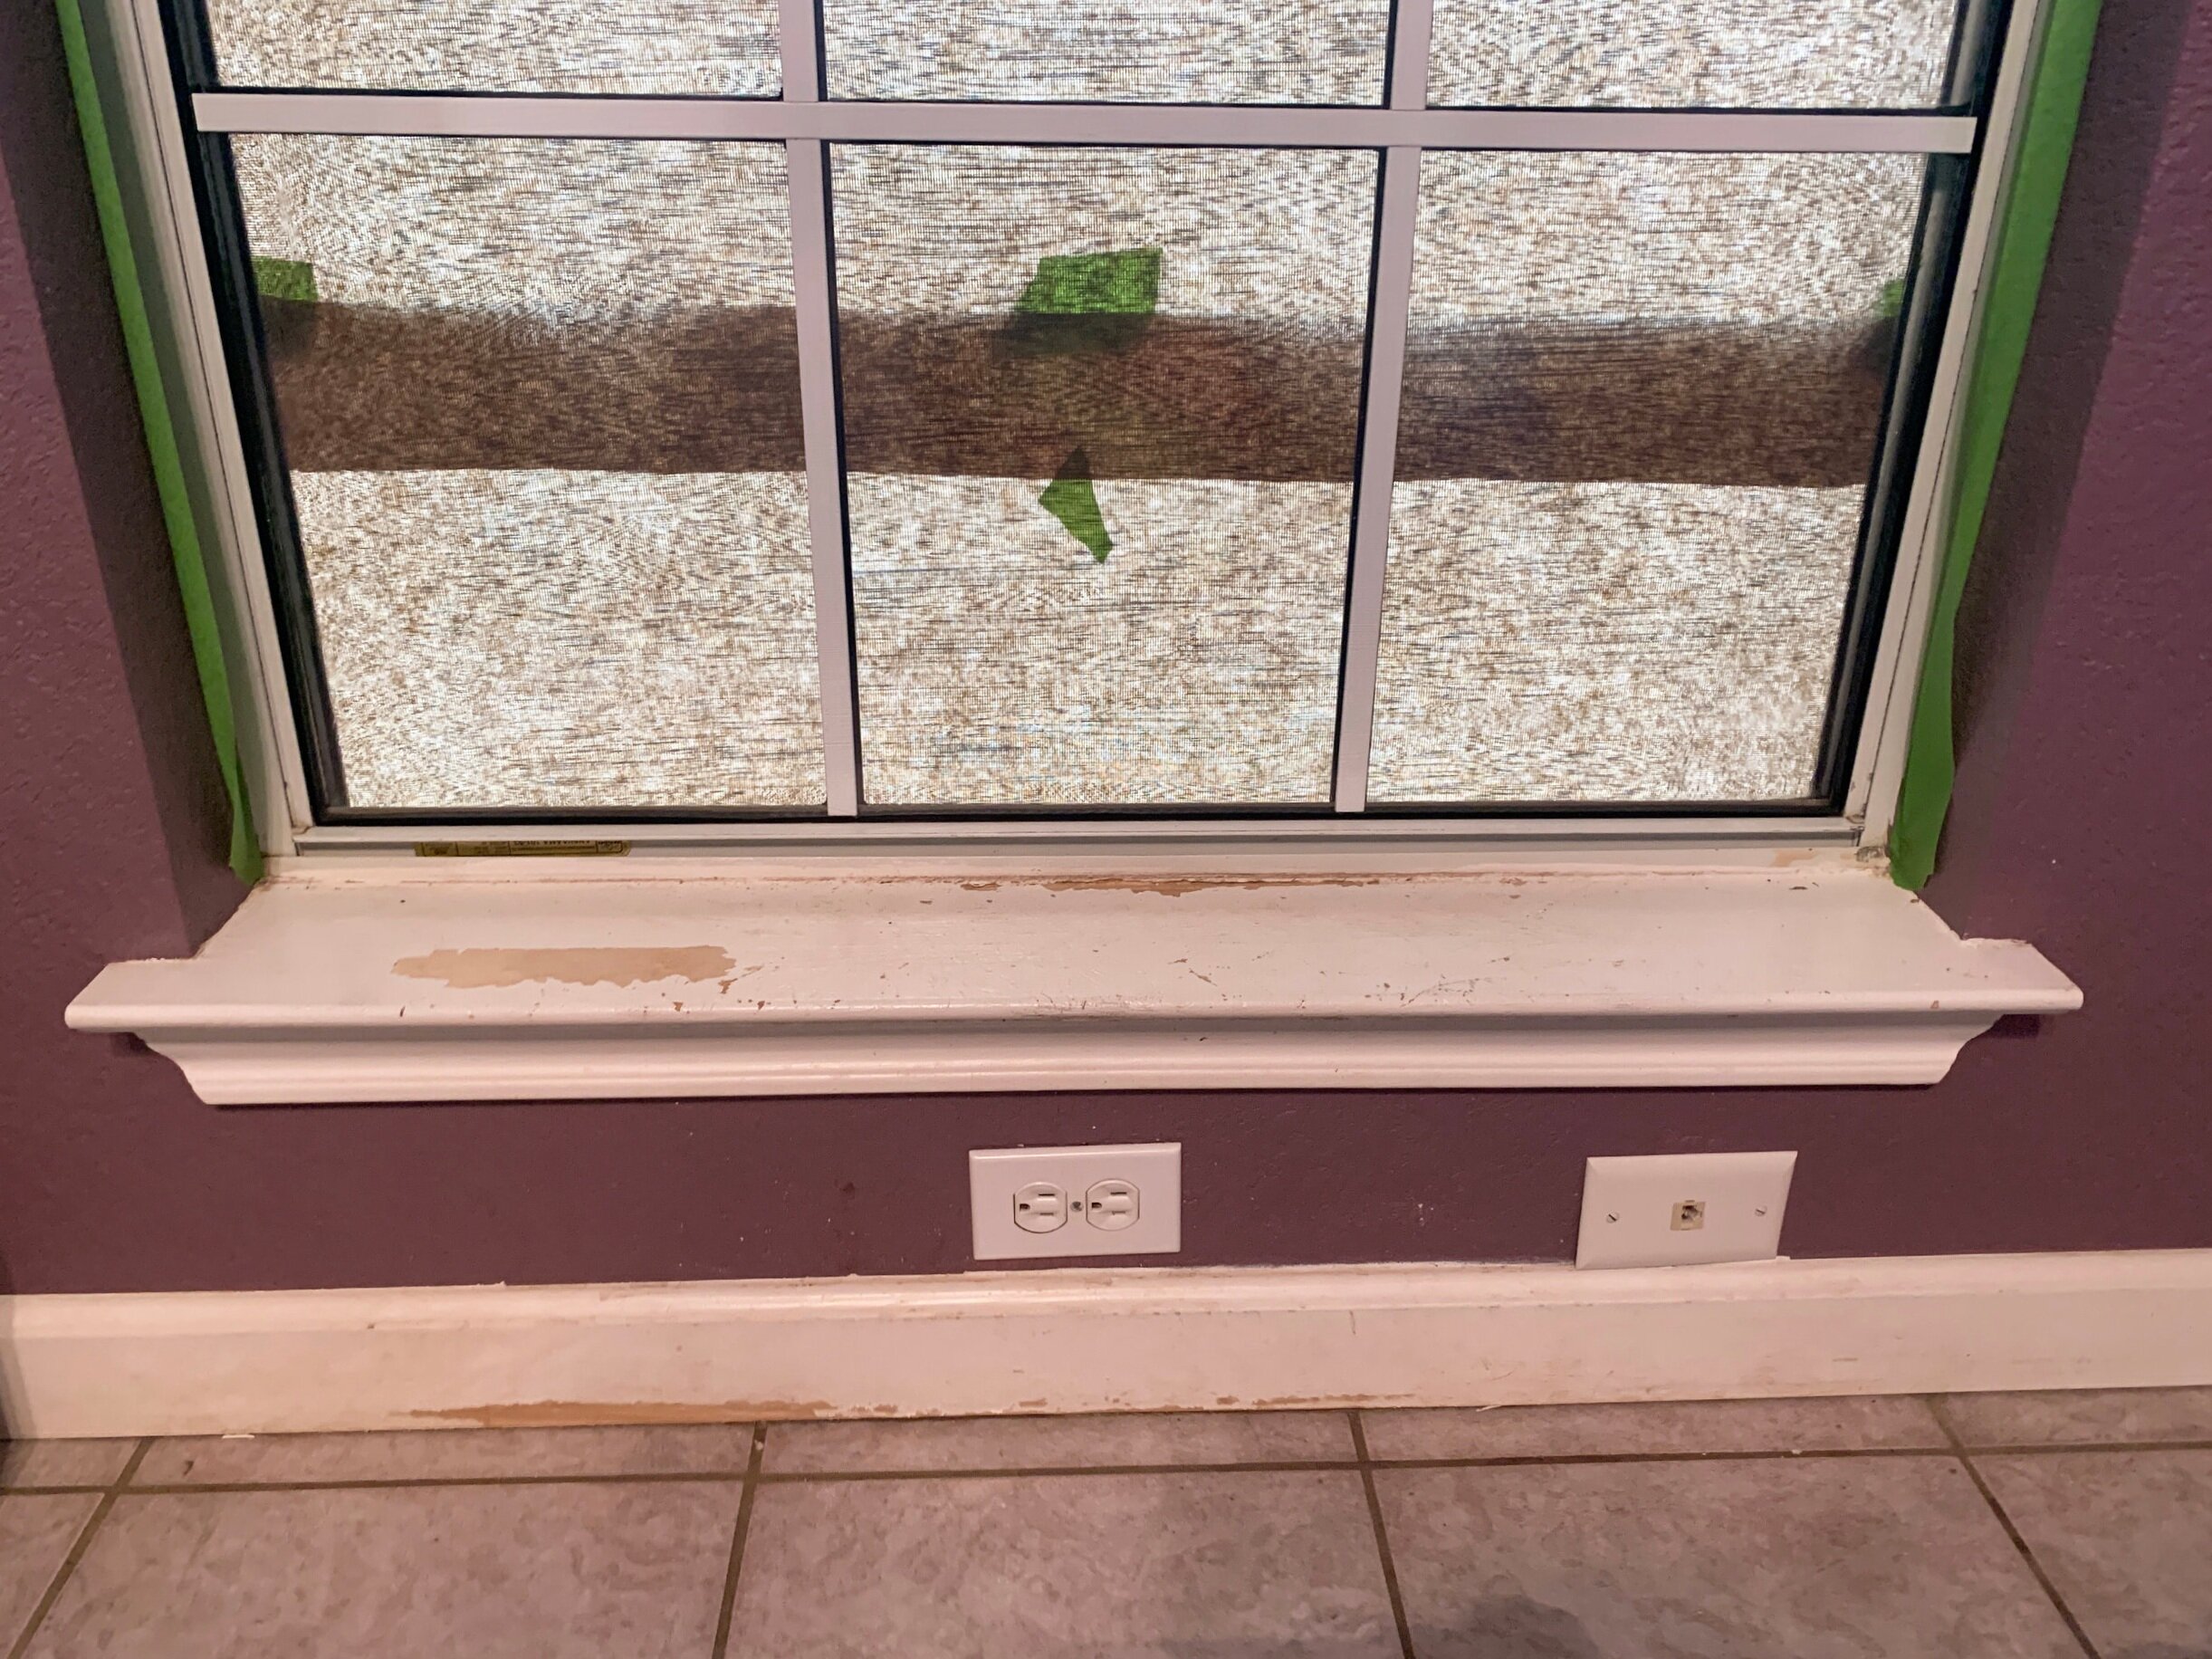
Okay, this is where it’s more than a little cringey and I’m totally embarrassed for you to see just how bad we let one of our wooden window sills get. (This is by far the worst one, from the now-actual office that just recently became formerly known as the dog room … but just gotta rip it off like a bandaid.
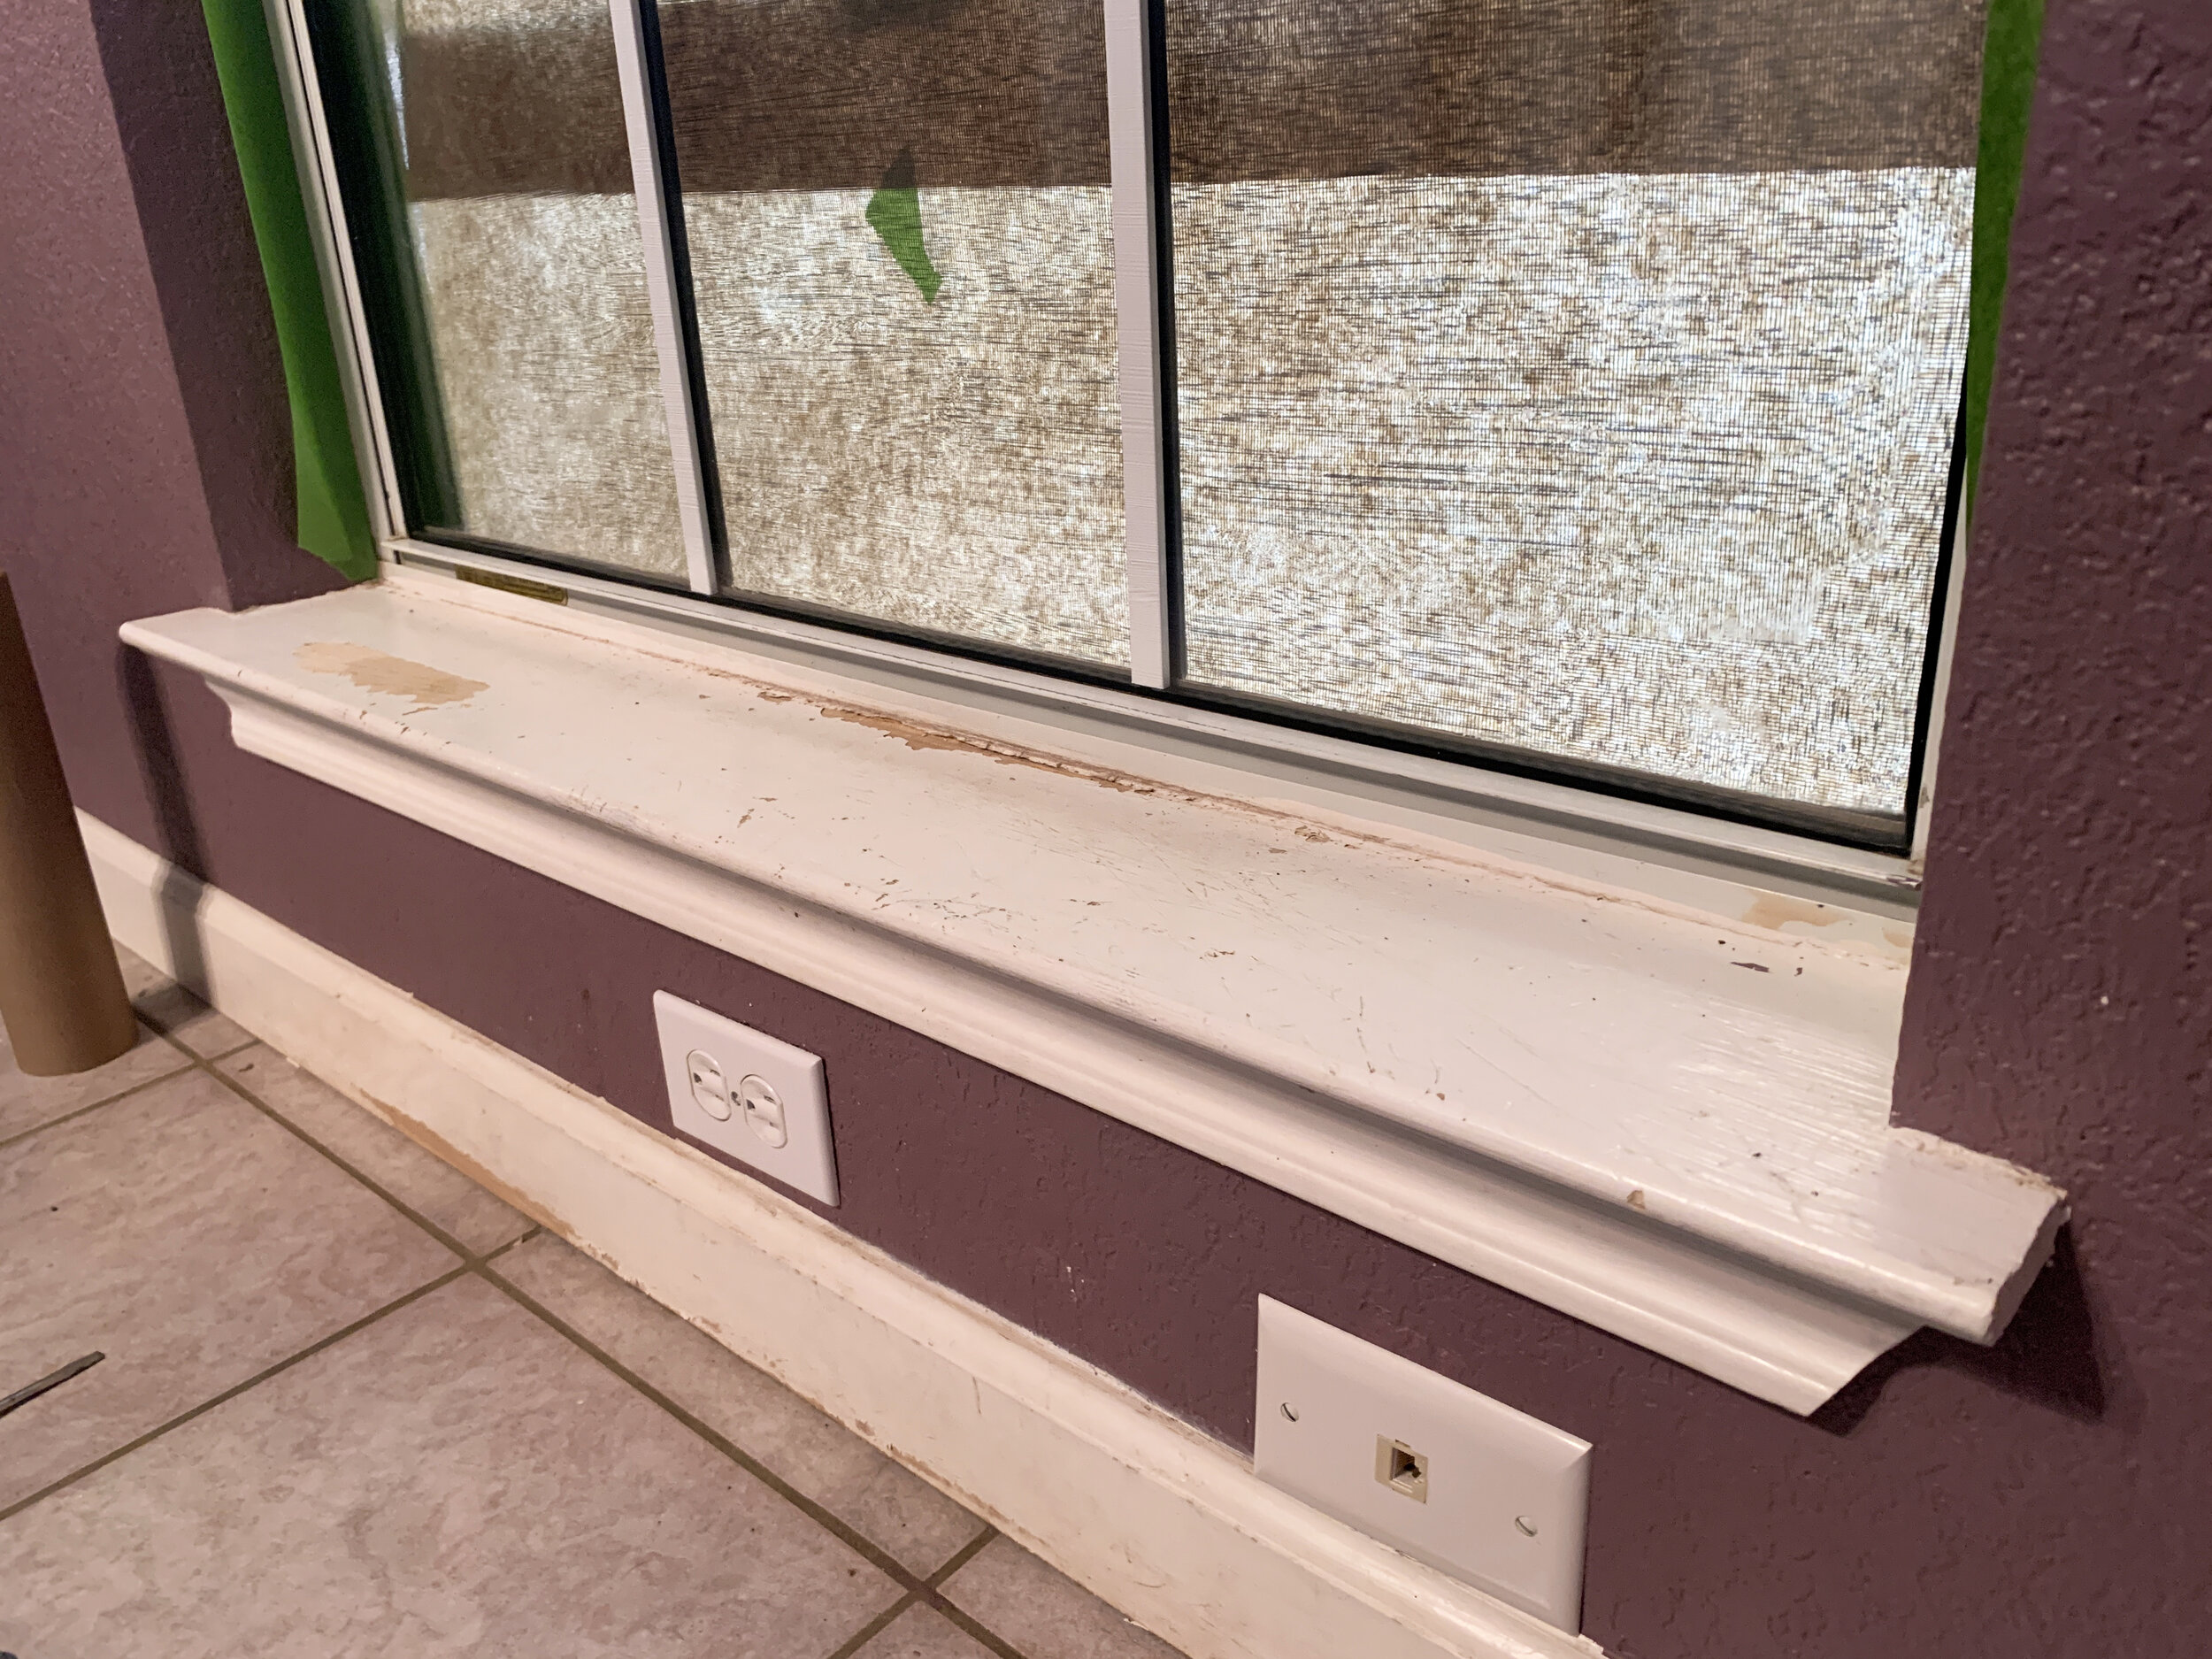
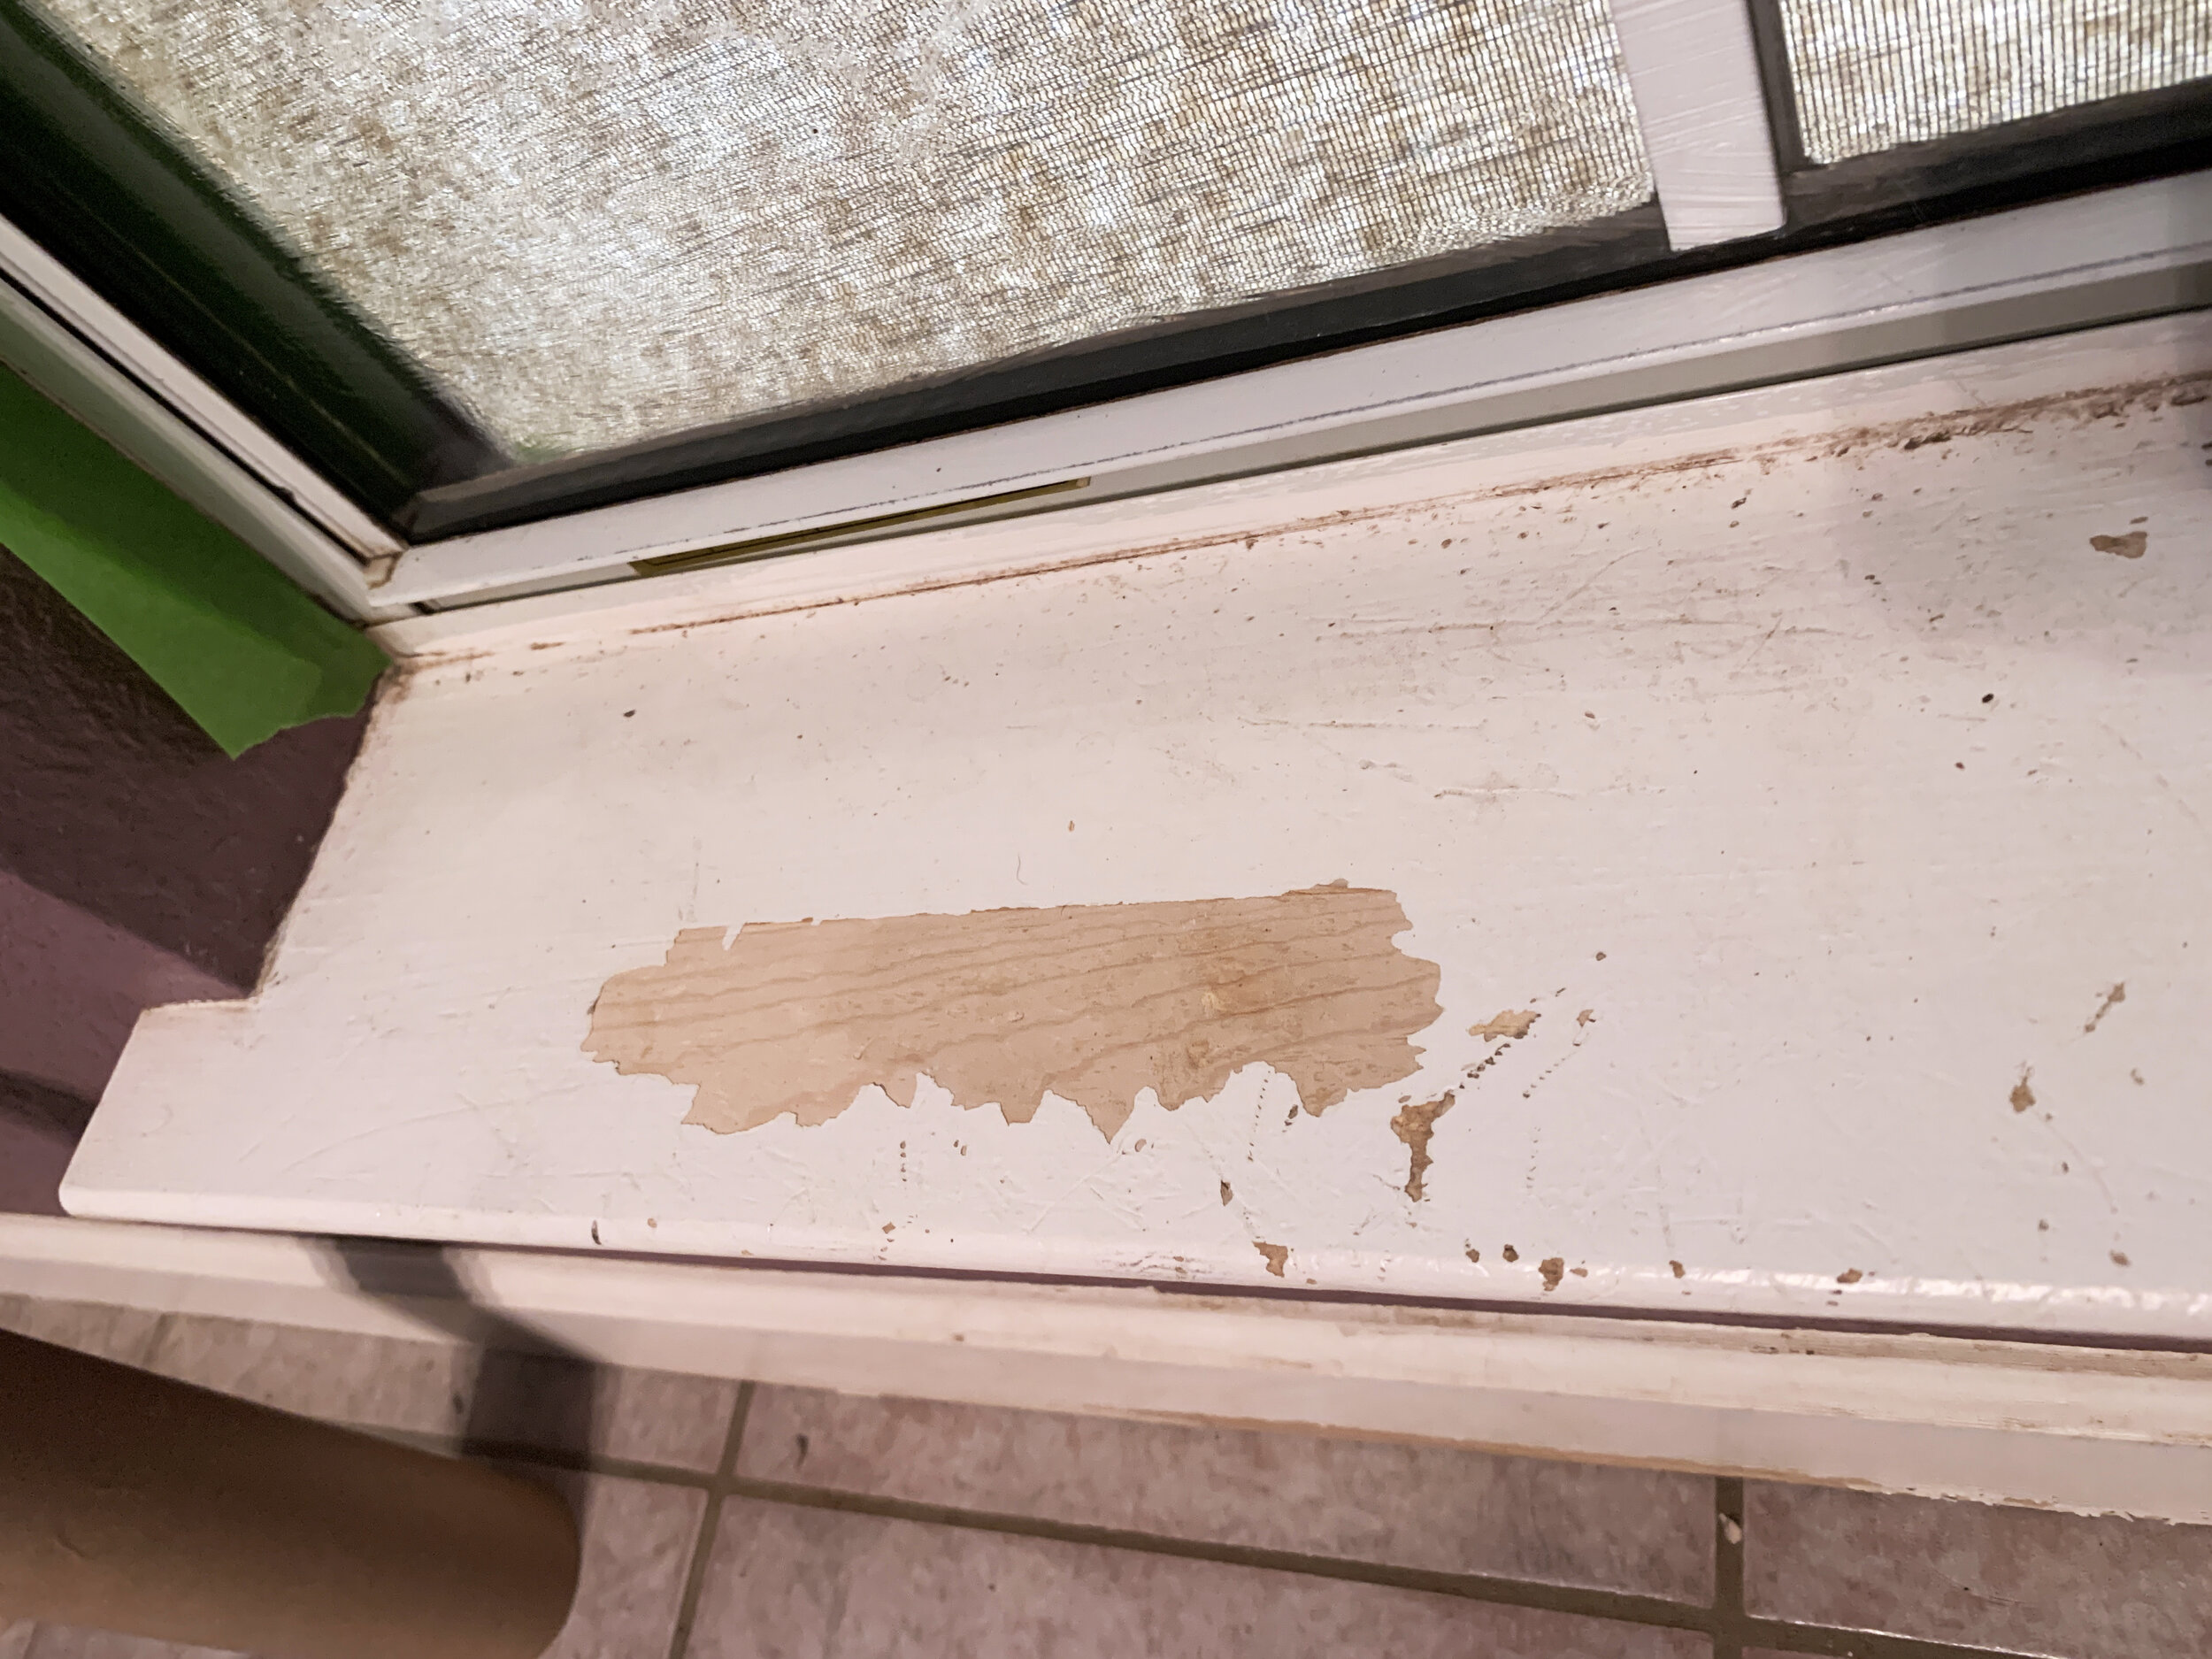
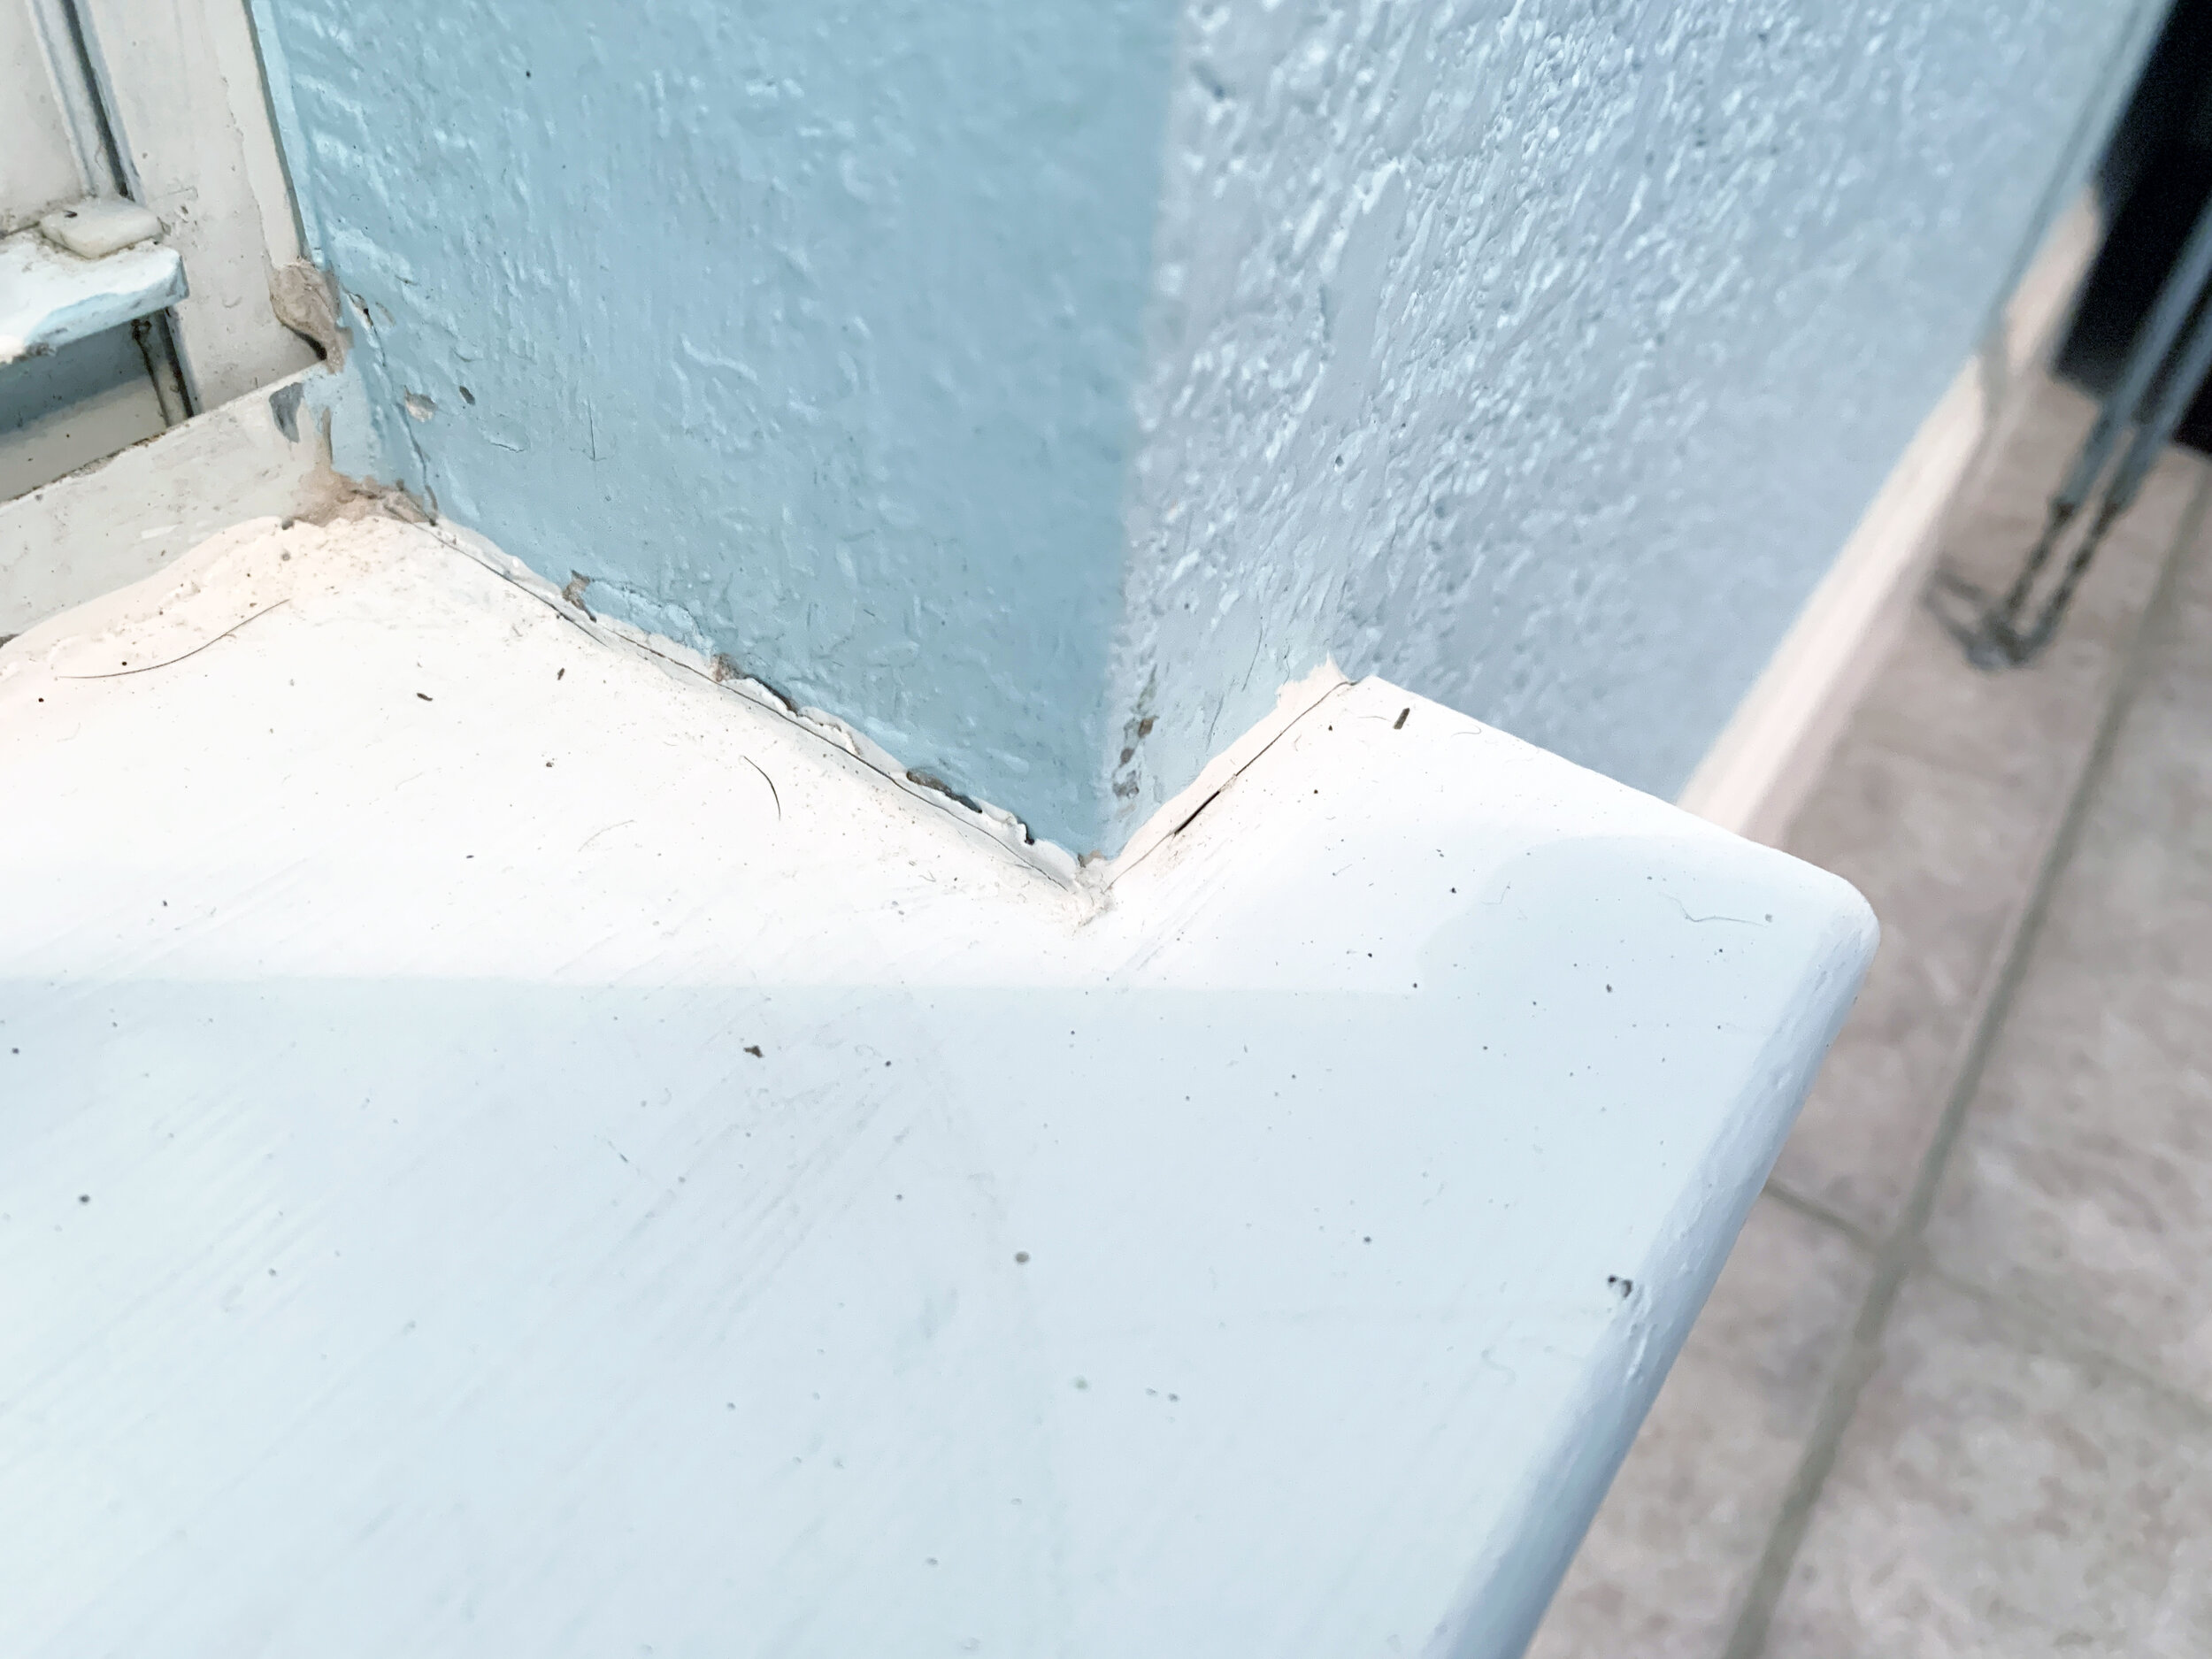
You can see the common problems – peeling paint from moisture, dings and scratches from our security team’s nails…
First, we removed the old wooden sill to use as a template to make the job as easy as possible. (You could measure and cut the marble without a template, but if your sills are like ours, you’ll find nothing is truly square, even if it looks like it.)
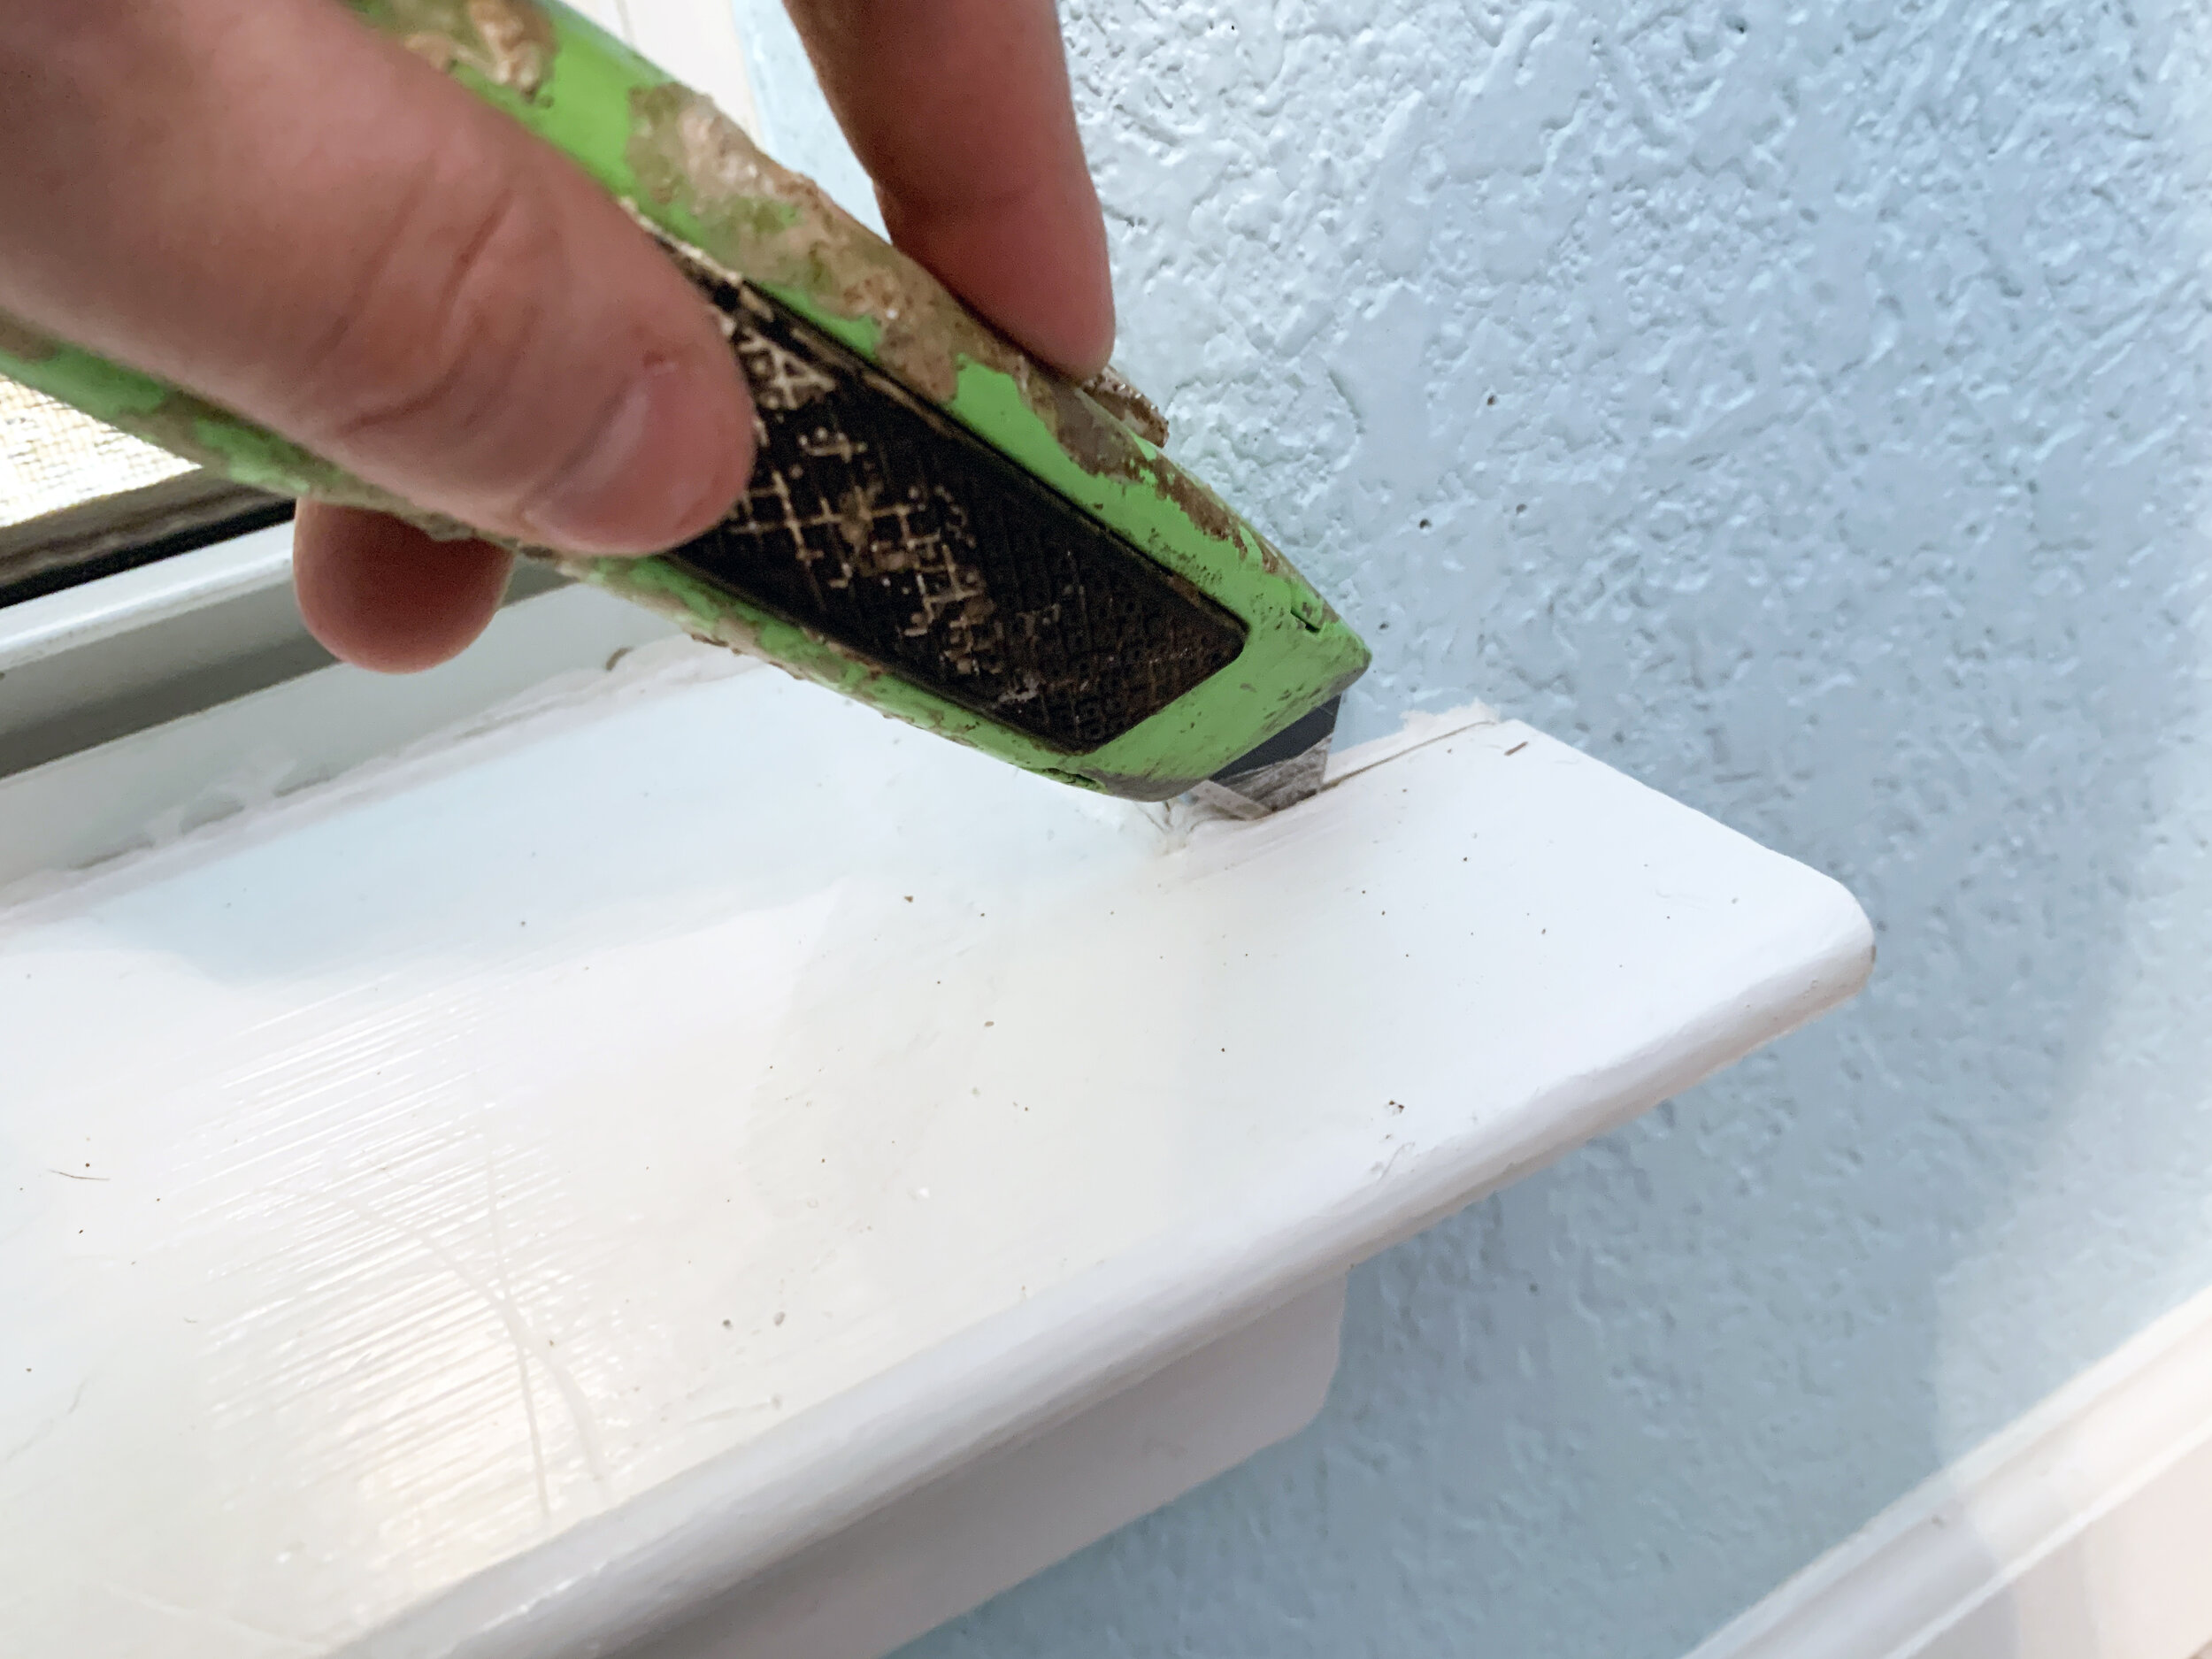
Using a box utility knife, we carefully scored the caulk around the wooden sill where it met the wall and moulding underneath it. Then using a flat head screwdriver, hammer and firm putty knife, we gently pried up and rocked the sill until it was loose. We removed the nails in the wood with needle nose pliers, and vacuumed and deeply cleaned the drywall ledge and window frame area for debris, dust and loose drywall. The cleaner the ledge, the better the marble will stick later.
We labeled each sill as we removed them, which helped keep things really easy later.

Templating the marble
First, we made sure to figure out which side is front edge of the marble sill. Our pre-fab sill pieces of marble have different edges – a slight, polished bevel on the long front edge, and a straight cut with a rougher-looking appearance that sits nice and tight against the back/window-side. (You can even see in the first photo below the bottom cut edge of the marble looks a little chippy and rough; that’s the back that will be installed touching the window.)
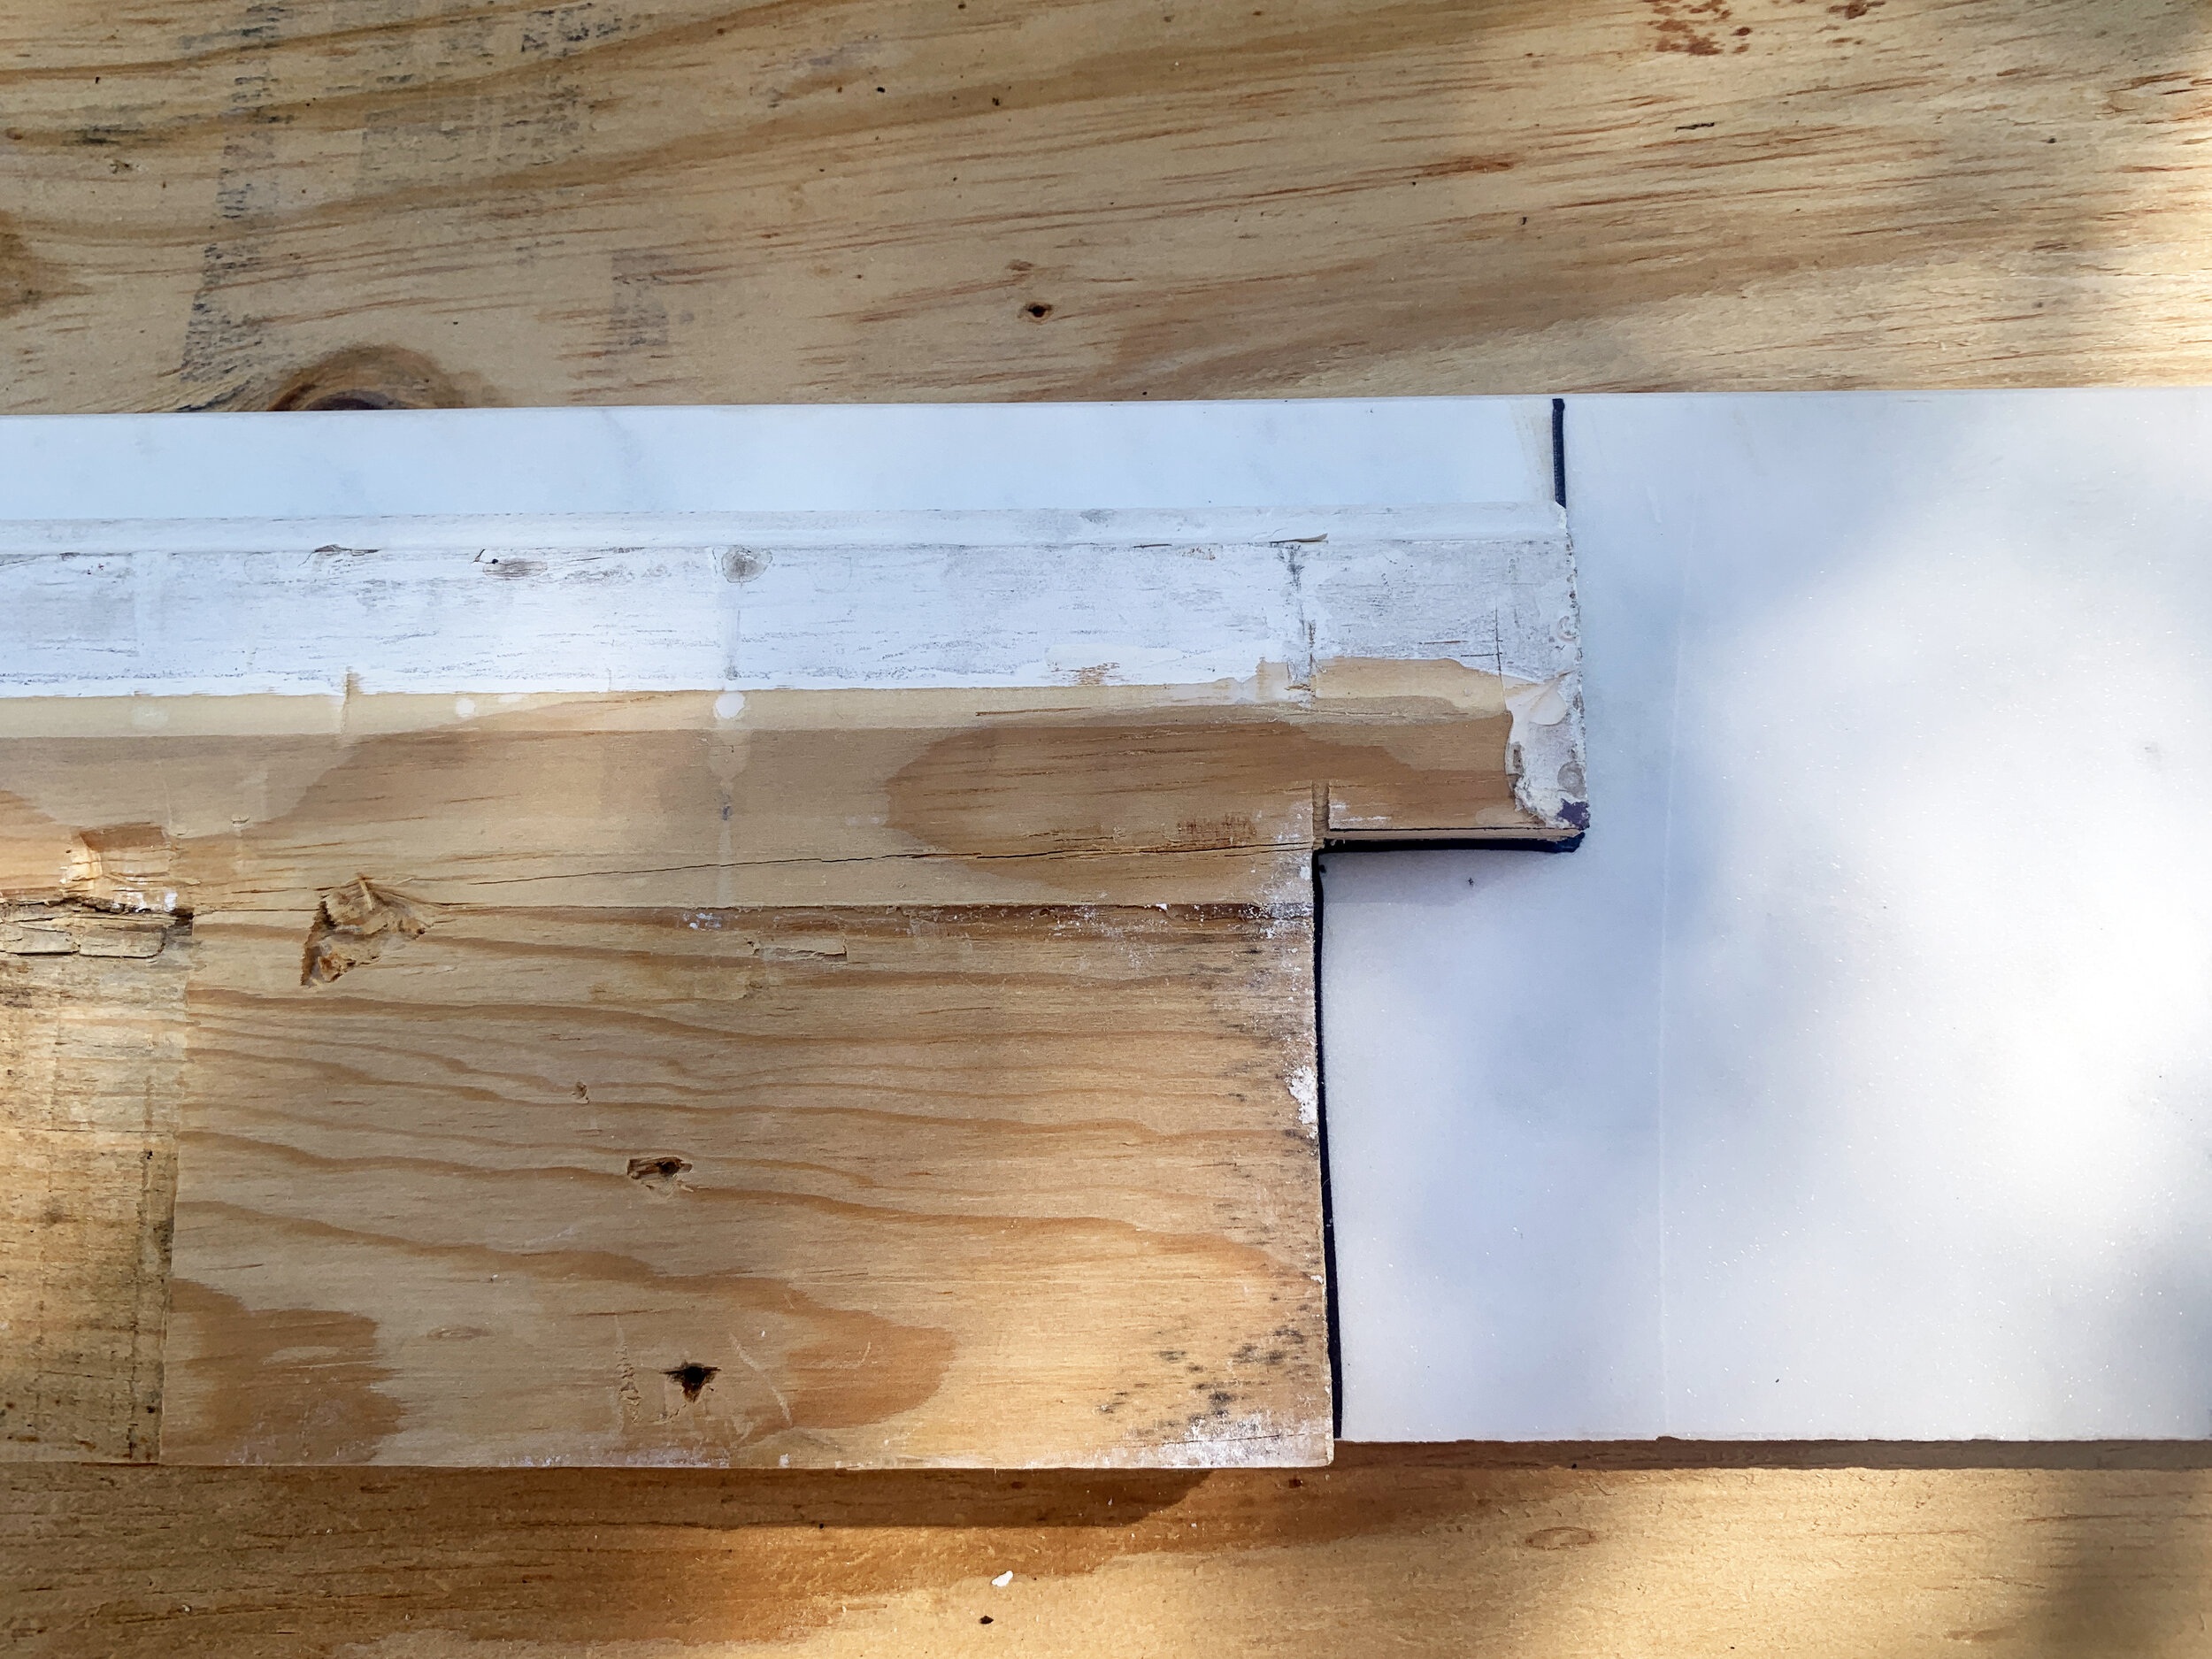
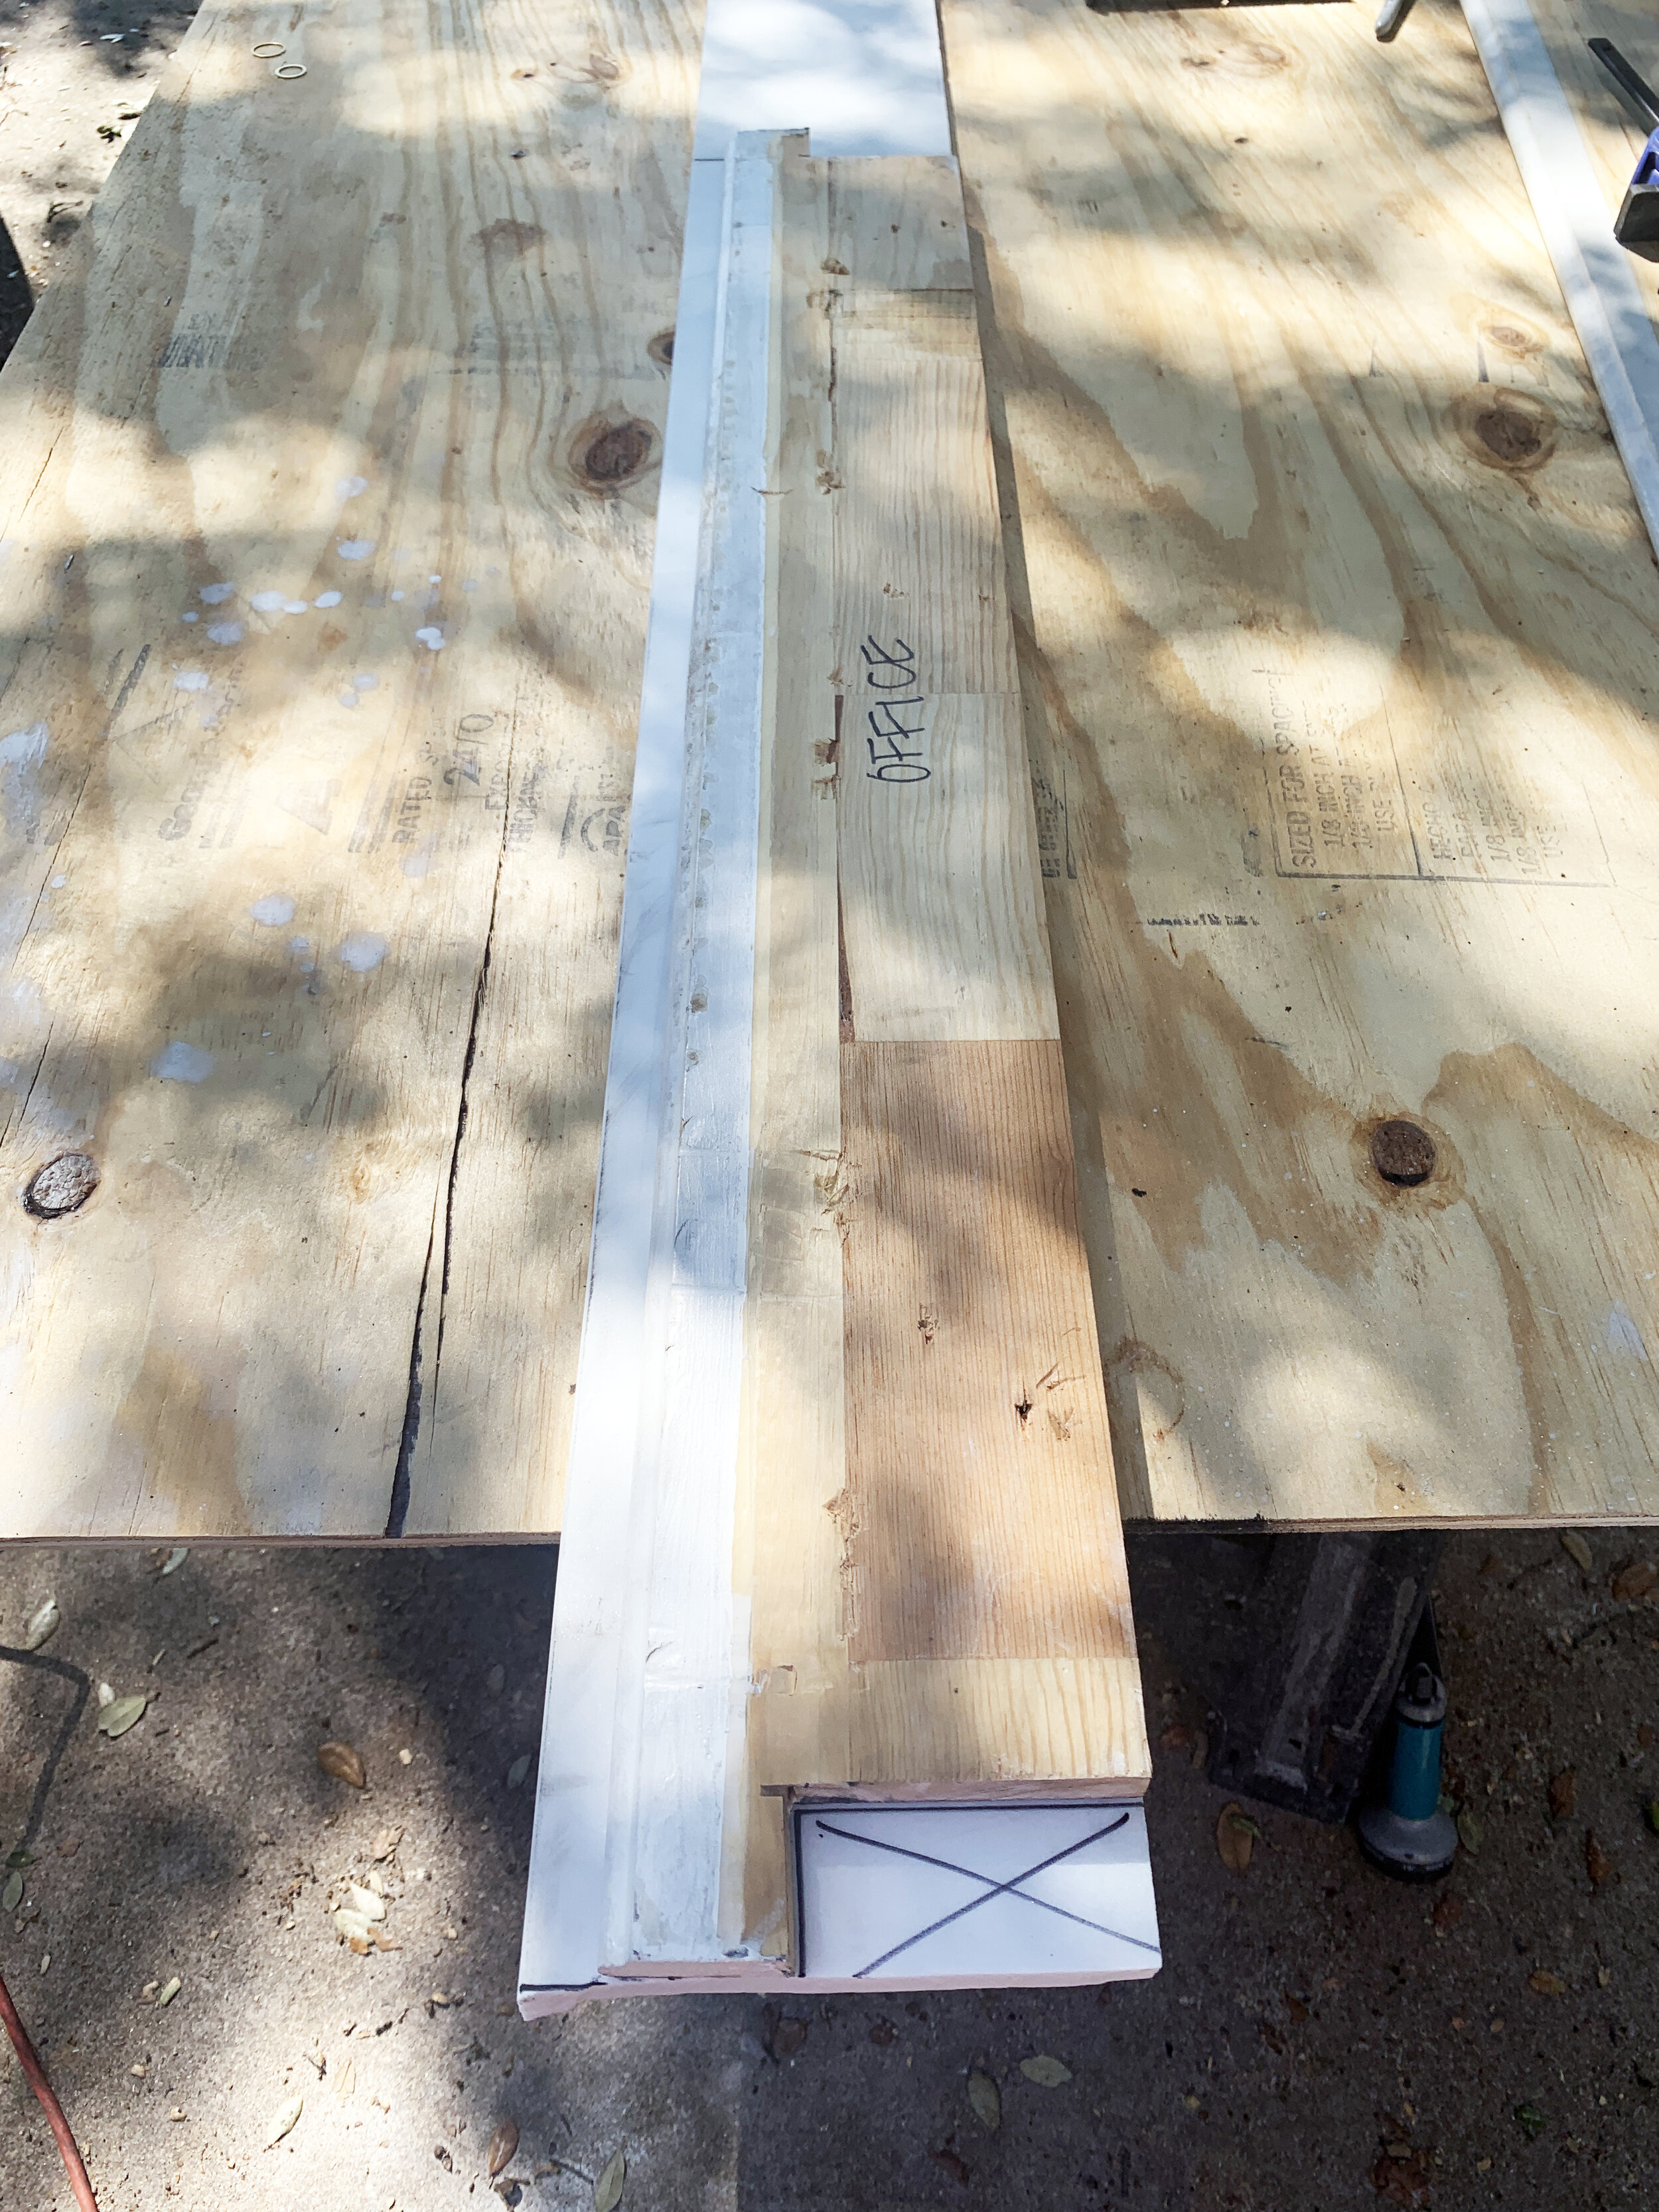
With the old sill upside down on top of the new sill that was also upside down, we marked out sill shape/length on back of marble with Sharpie, making sure to line up the back, window-side part of the old sill to the back of the new sill. Our new sills are deeper (at 6”) than the old sills (at 5.25”), and because the existing window frame depth won’t change and we have no intent to cut our new sills length-wise to make them shallower, our new sills have deeper front/side wraps/tabs than the old sills had (by .75”).
Just to make it extra clear, we marked the scrap piece to be cut out and removed with an “X”.
Cutting the new sills
Making sure our marble sills were well supported through the middle to avoid any sagging or stress as we cut, we used our 4.5” circular saw and a water hose on a very low stream to keep the blade and marble cool and wet as we cut the marble (bottom side facing up) on the lines previously marked out.


Taping off the cuts: what you don’t need to do to get a clean cut.
Tips for getting clean marble cuts
At first we tried cutting on/through painters tape, but it just kind of lost its stick in the water and got caught up in the saw, and didn’t add anything in terms of keeping the cuts cleaner or the marble from breaking.
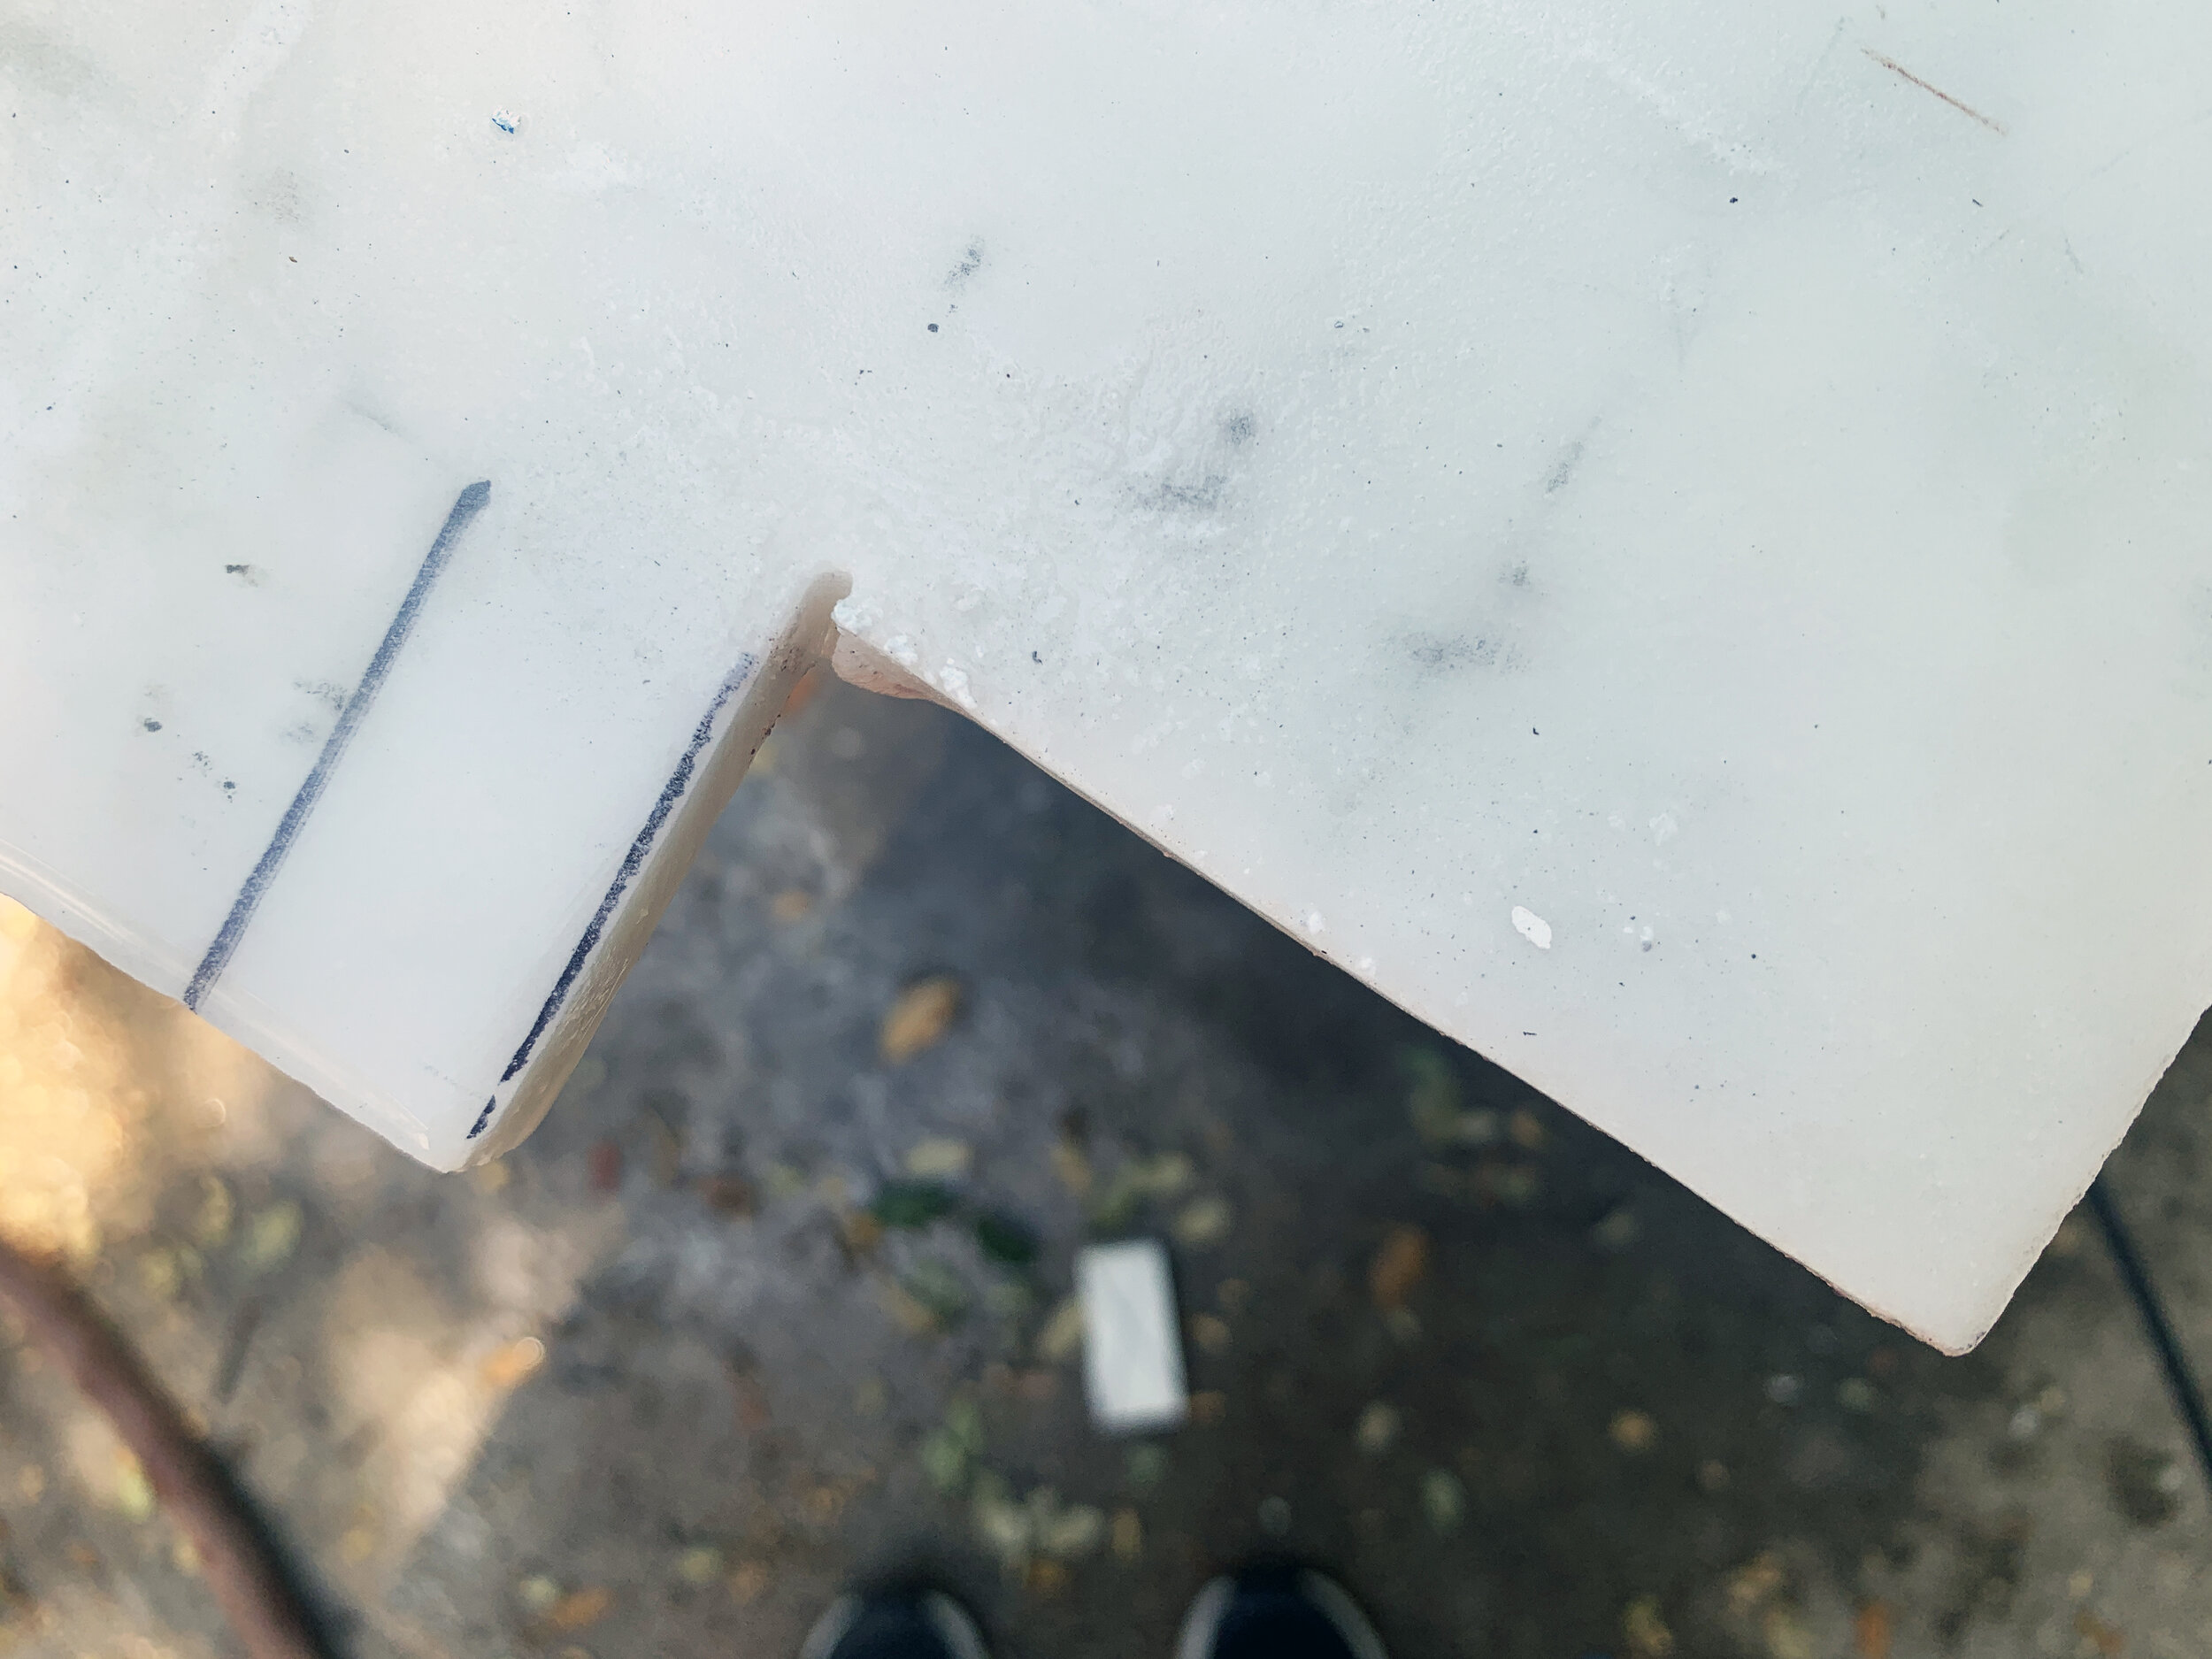
We learned the marble had a tendency to blow out a little on the end of the cut when exiting the marble whenever it got thin enough. Because of this, when cutting the marble to total length before cutting the notches, we cut from the finished front edge through to the back, window-side of the marble so it would blow out in the scrap area.
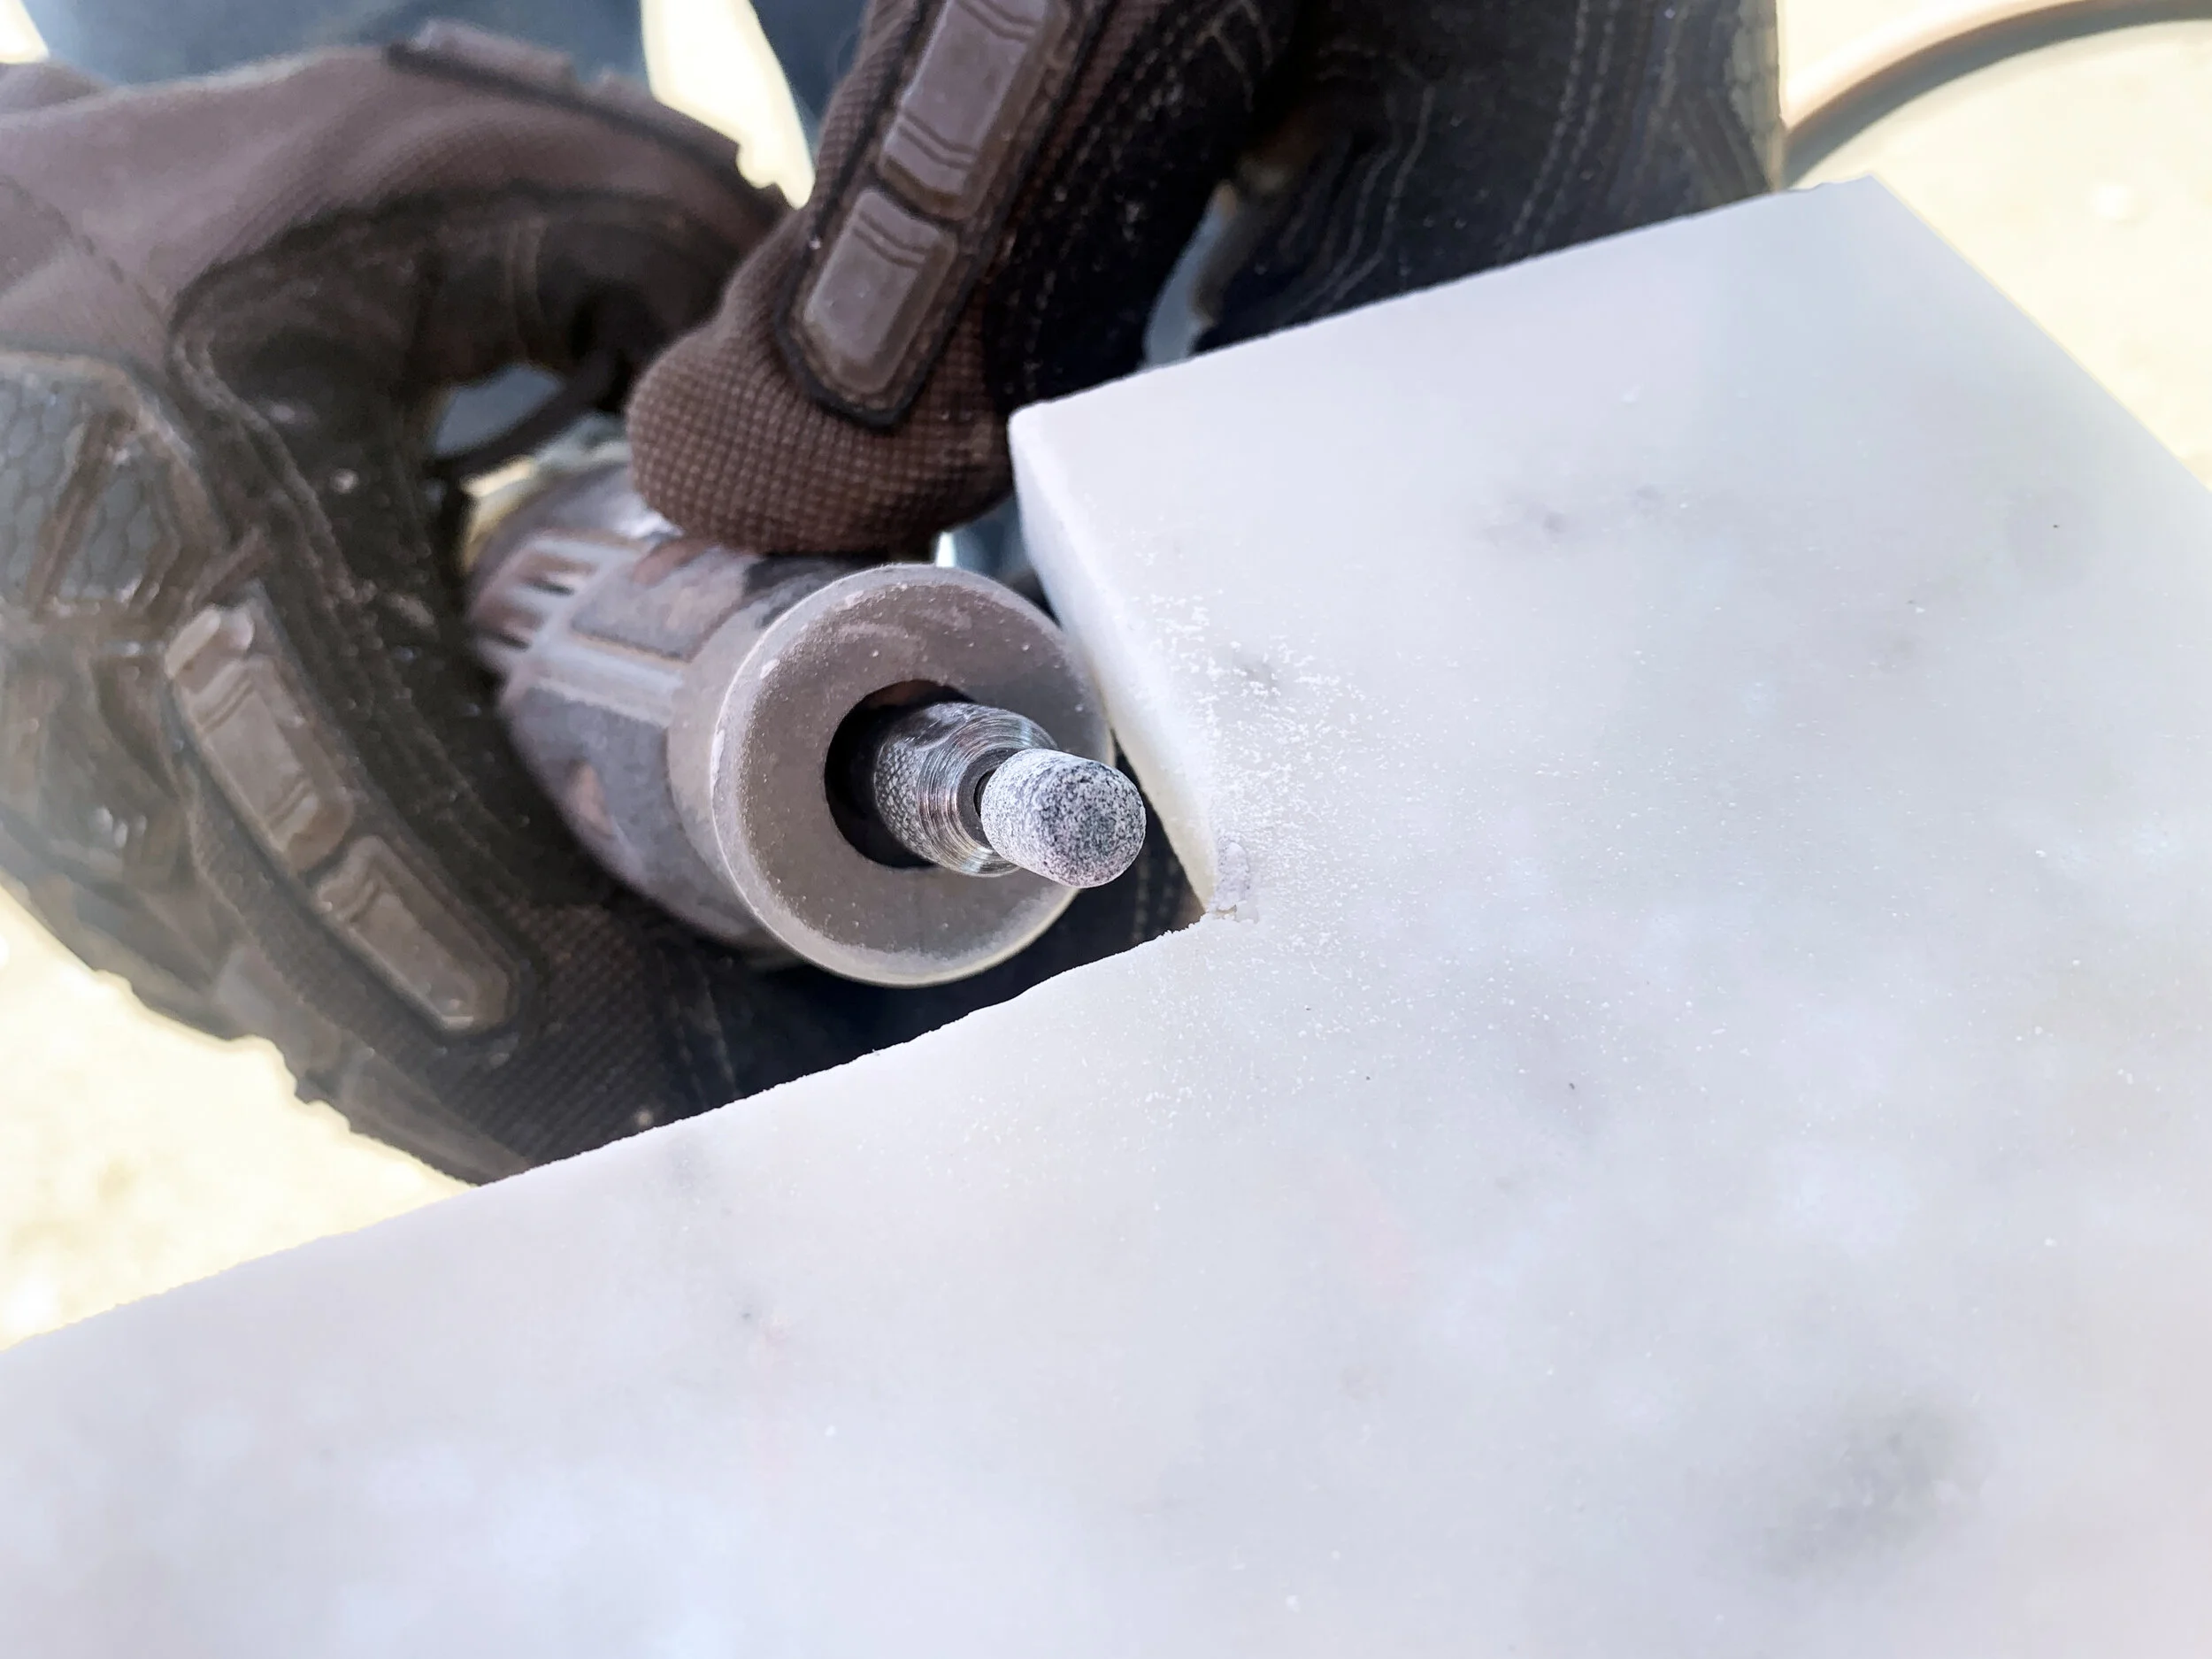
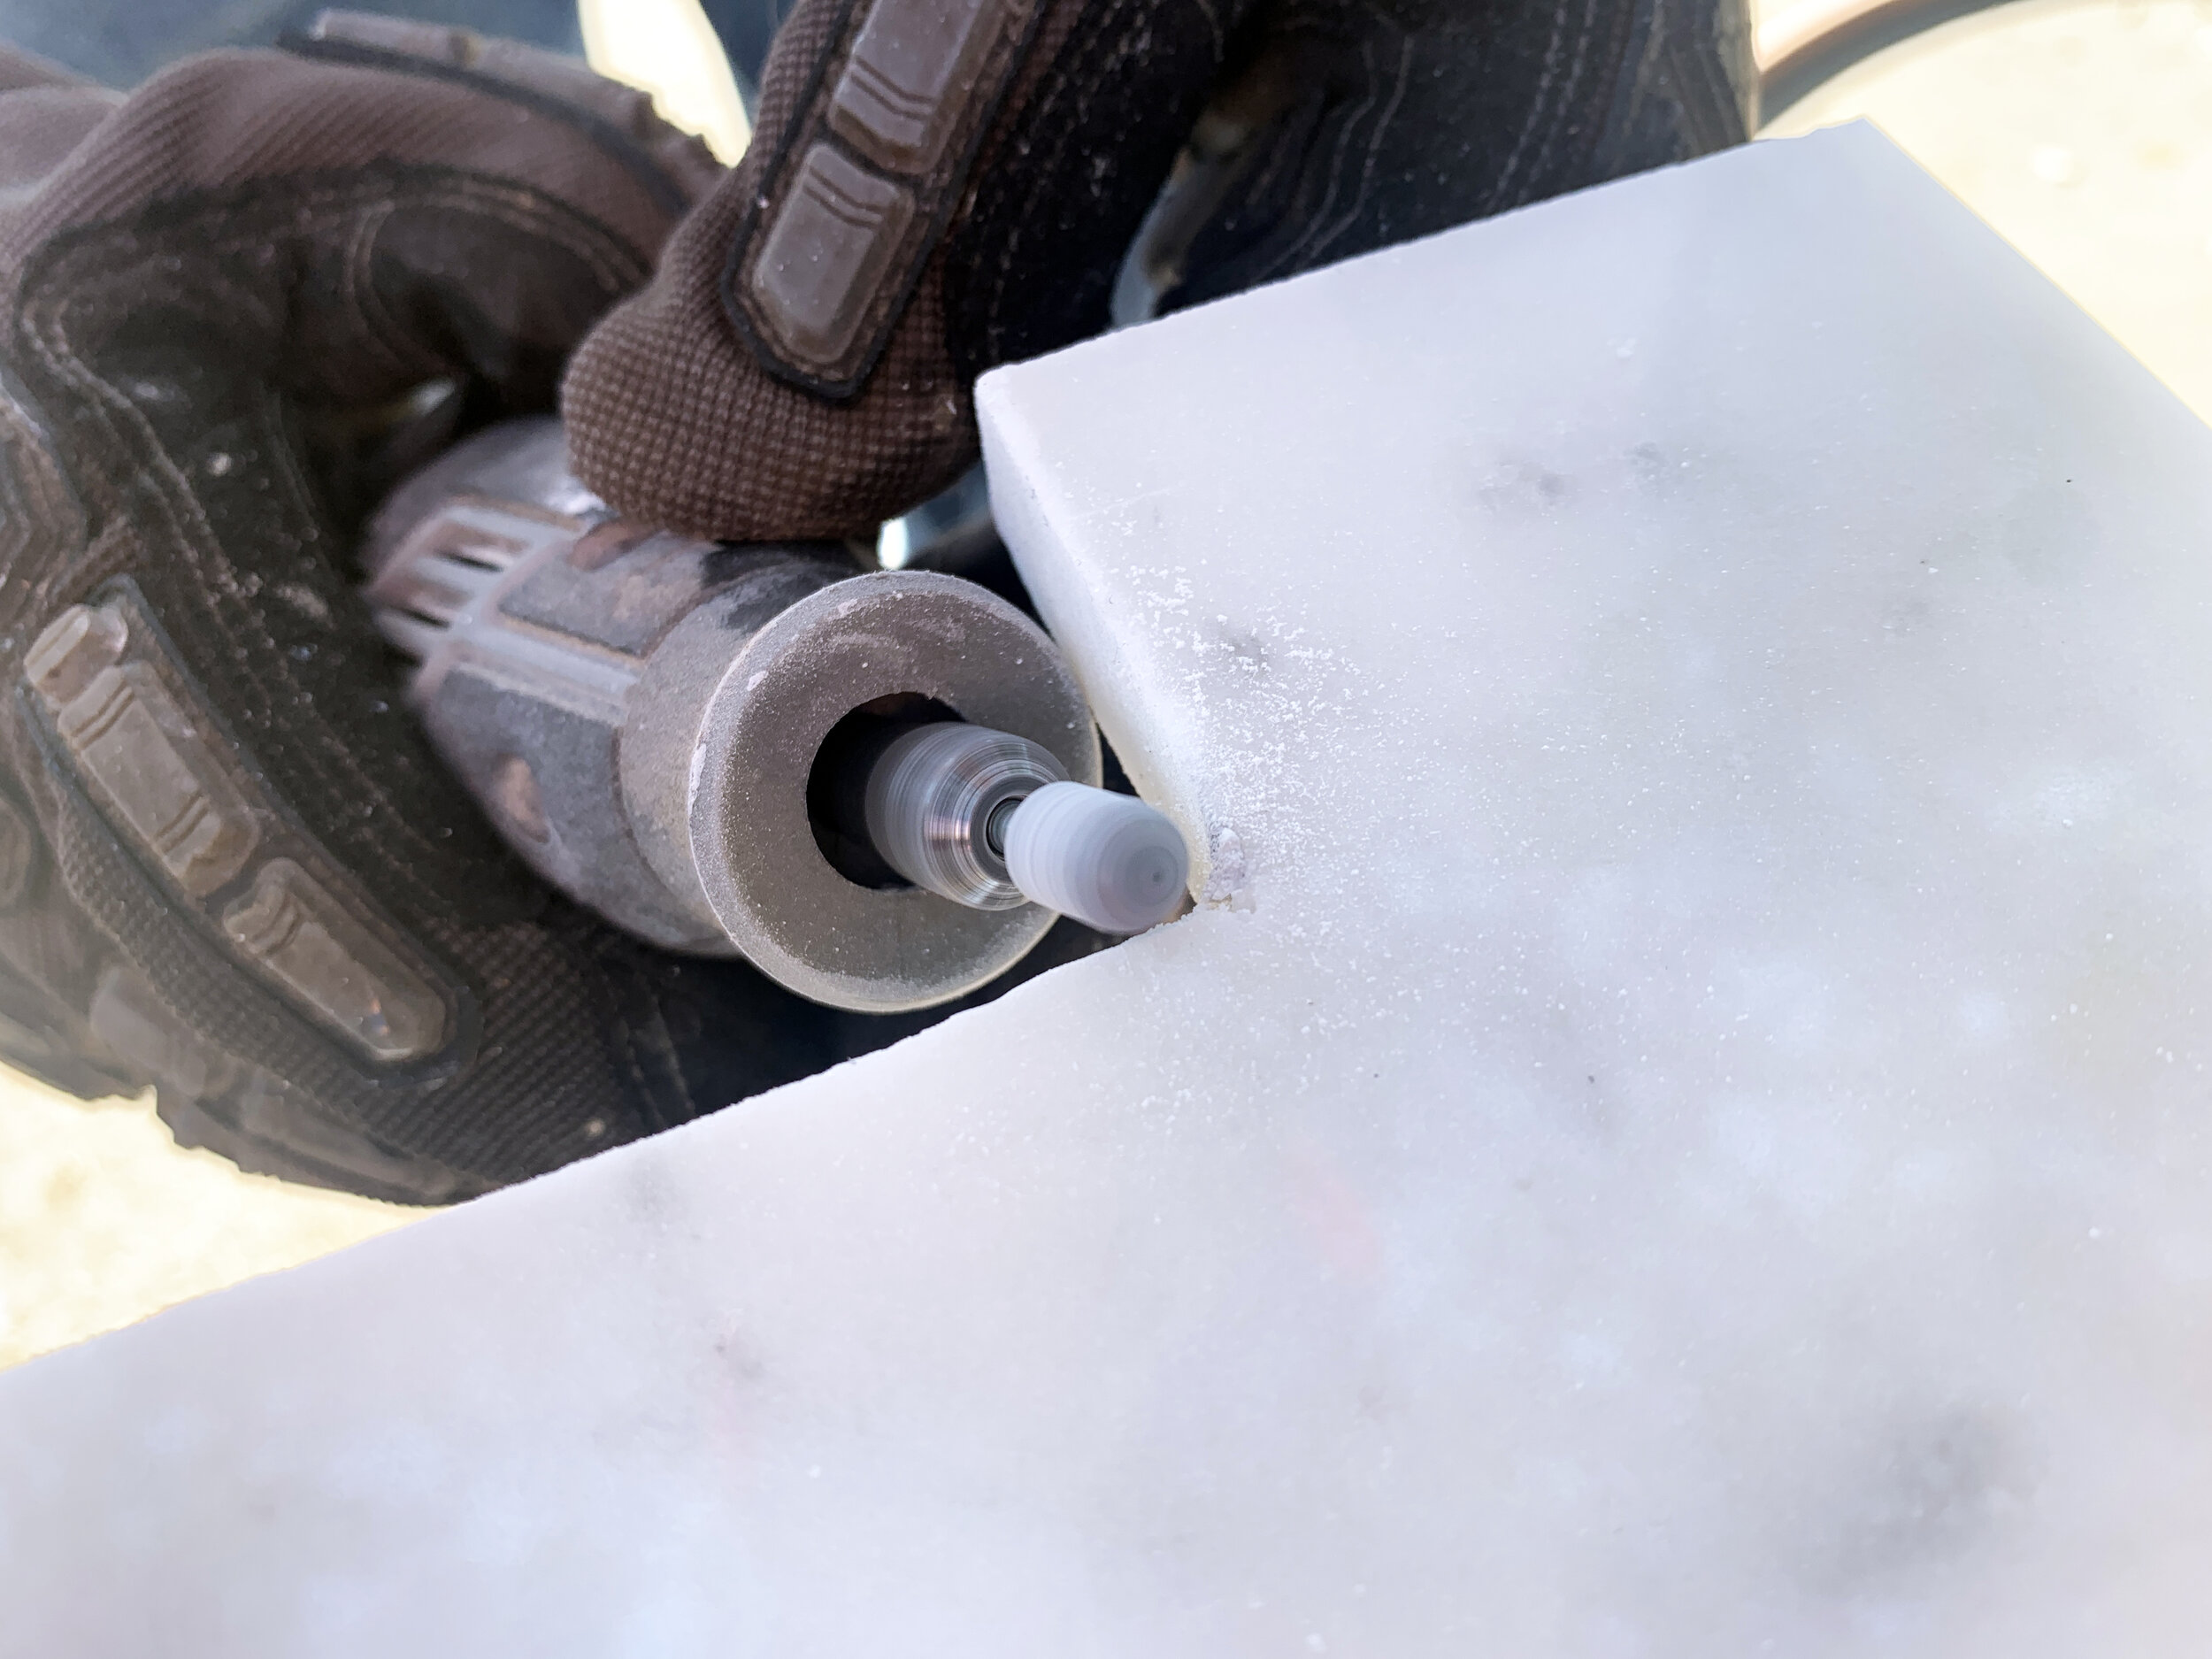
Because we’re using a round blade to cut a straight inside corner cut, if we didn’t go slightly past our template line intersection (on just the back - the round blade means it’s where it needs to be on what will be the top side of the sill), or if the piece broke off before we got that close, we sometimes had a small burr left in the corner when the small marble corner piece came free.
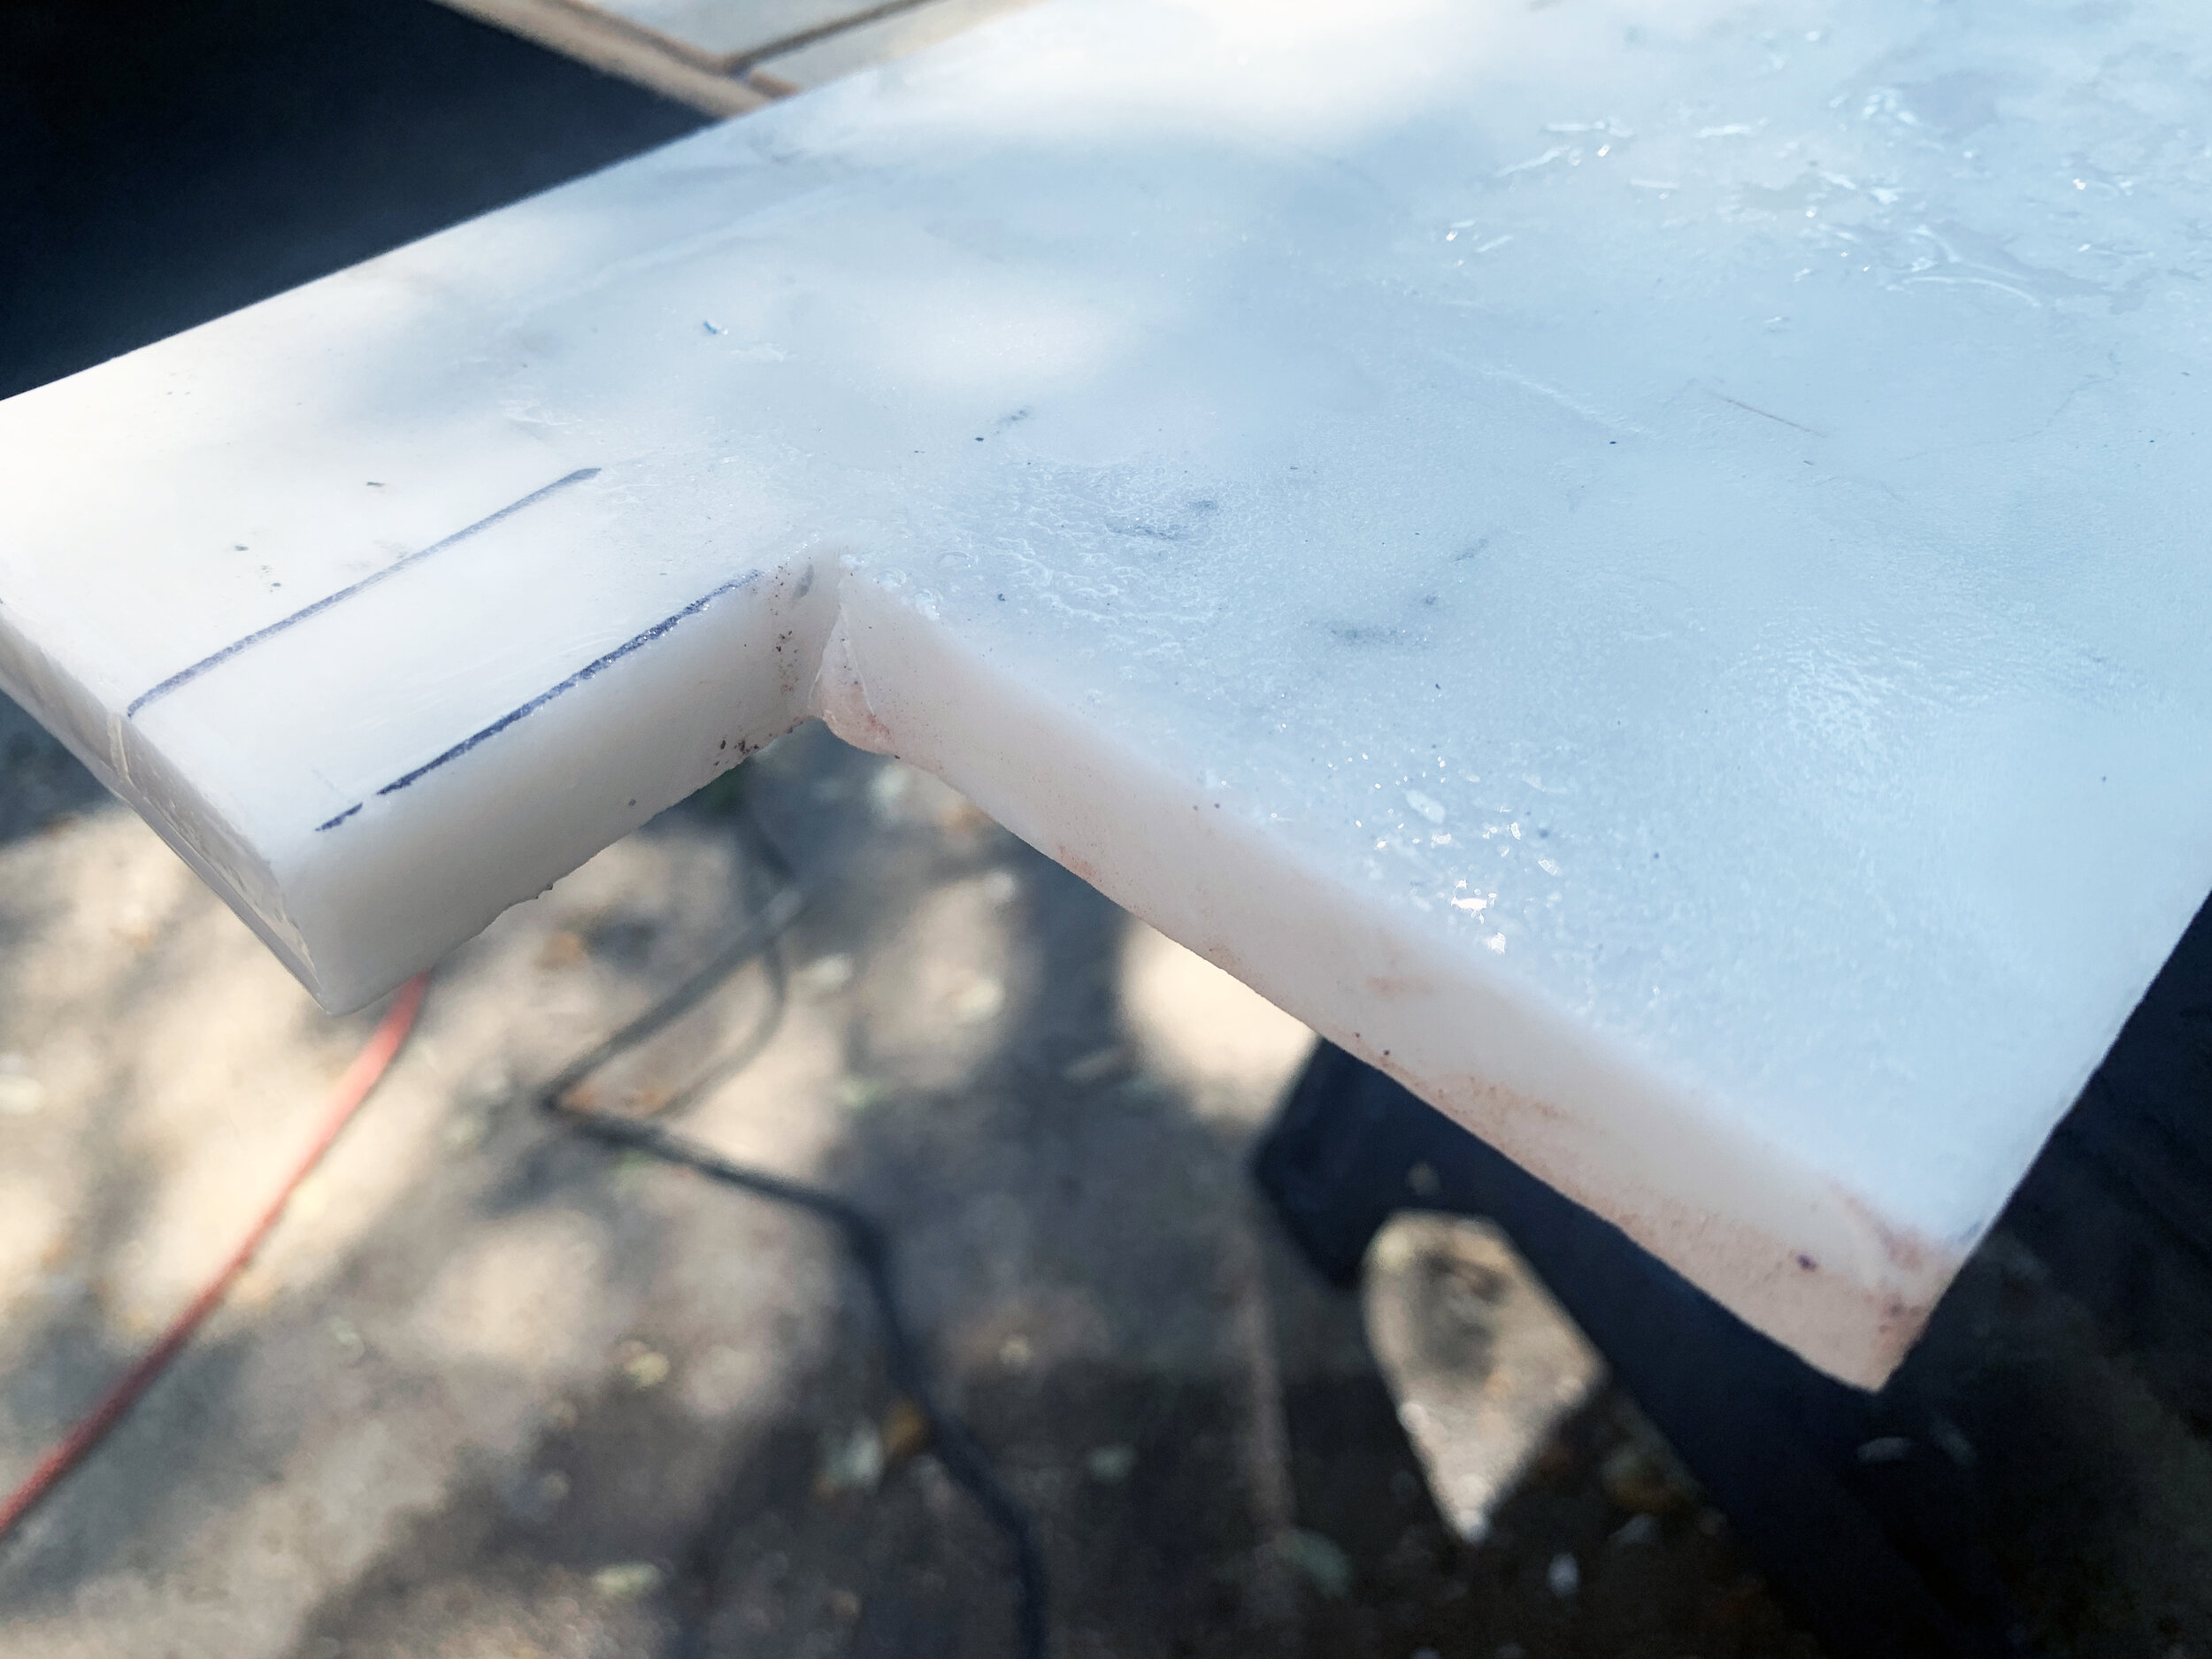
We used the Dremel and a little rotary accessory (dry) to gently clean up the inner corner burr as well as on an angle to soften up the freshly-cut marble edges. Before install, we wiped down the marble with a dry rag, dry fit the marble on the window ledge and used the Dremel to make any slight adjustments needed to make the marble fit tightly, but easily.
Installing the marble
We used a fair amount of marble construction adhesive to carefully glue down the marble onto the window ledge. Then we applied some good pressure to the top of the marble by hand to get good contact. The weight of the marble itself kept it in place, and we kept the dogs off of the sills while the adhesive dried.
Finishing the look
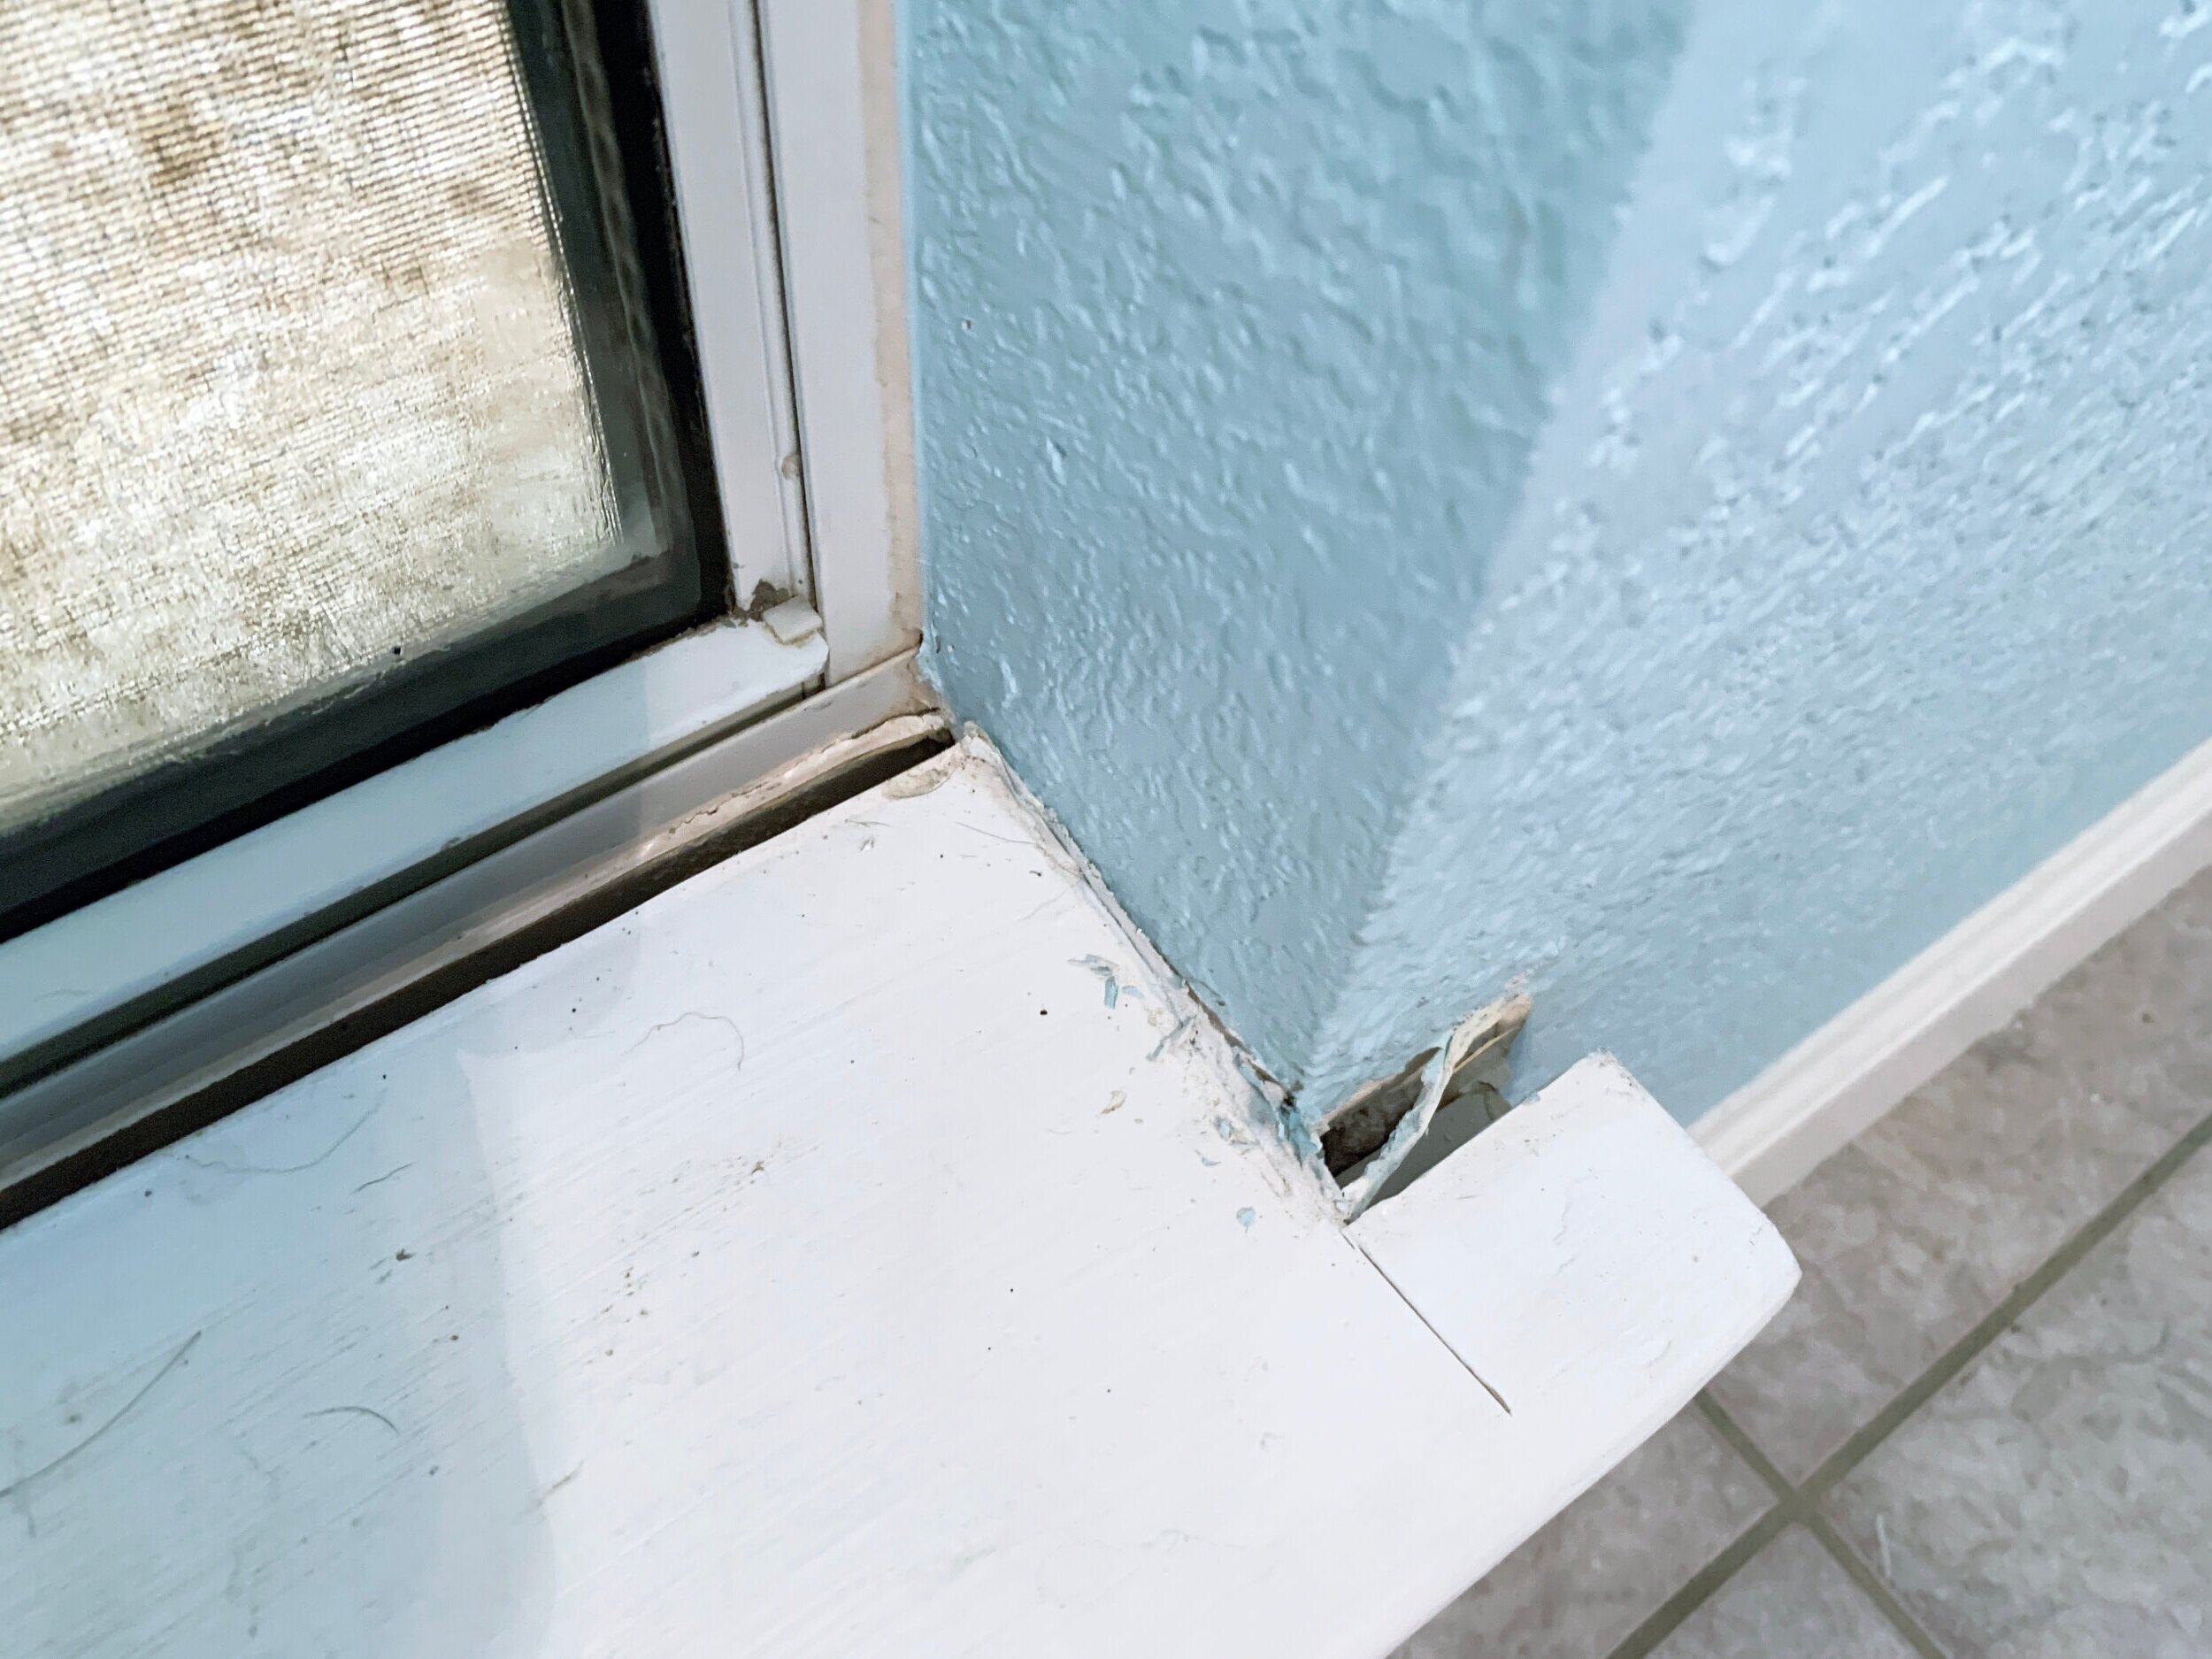
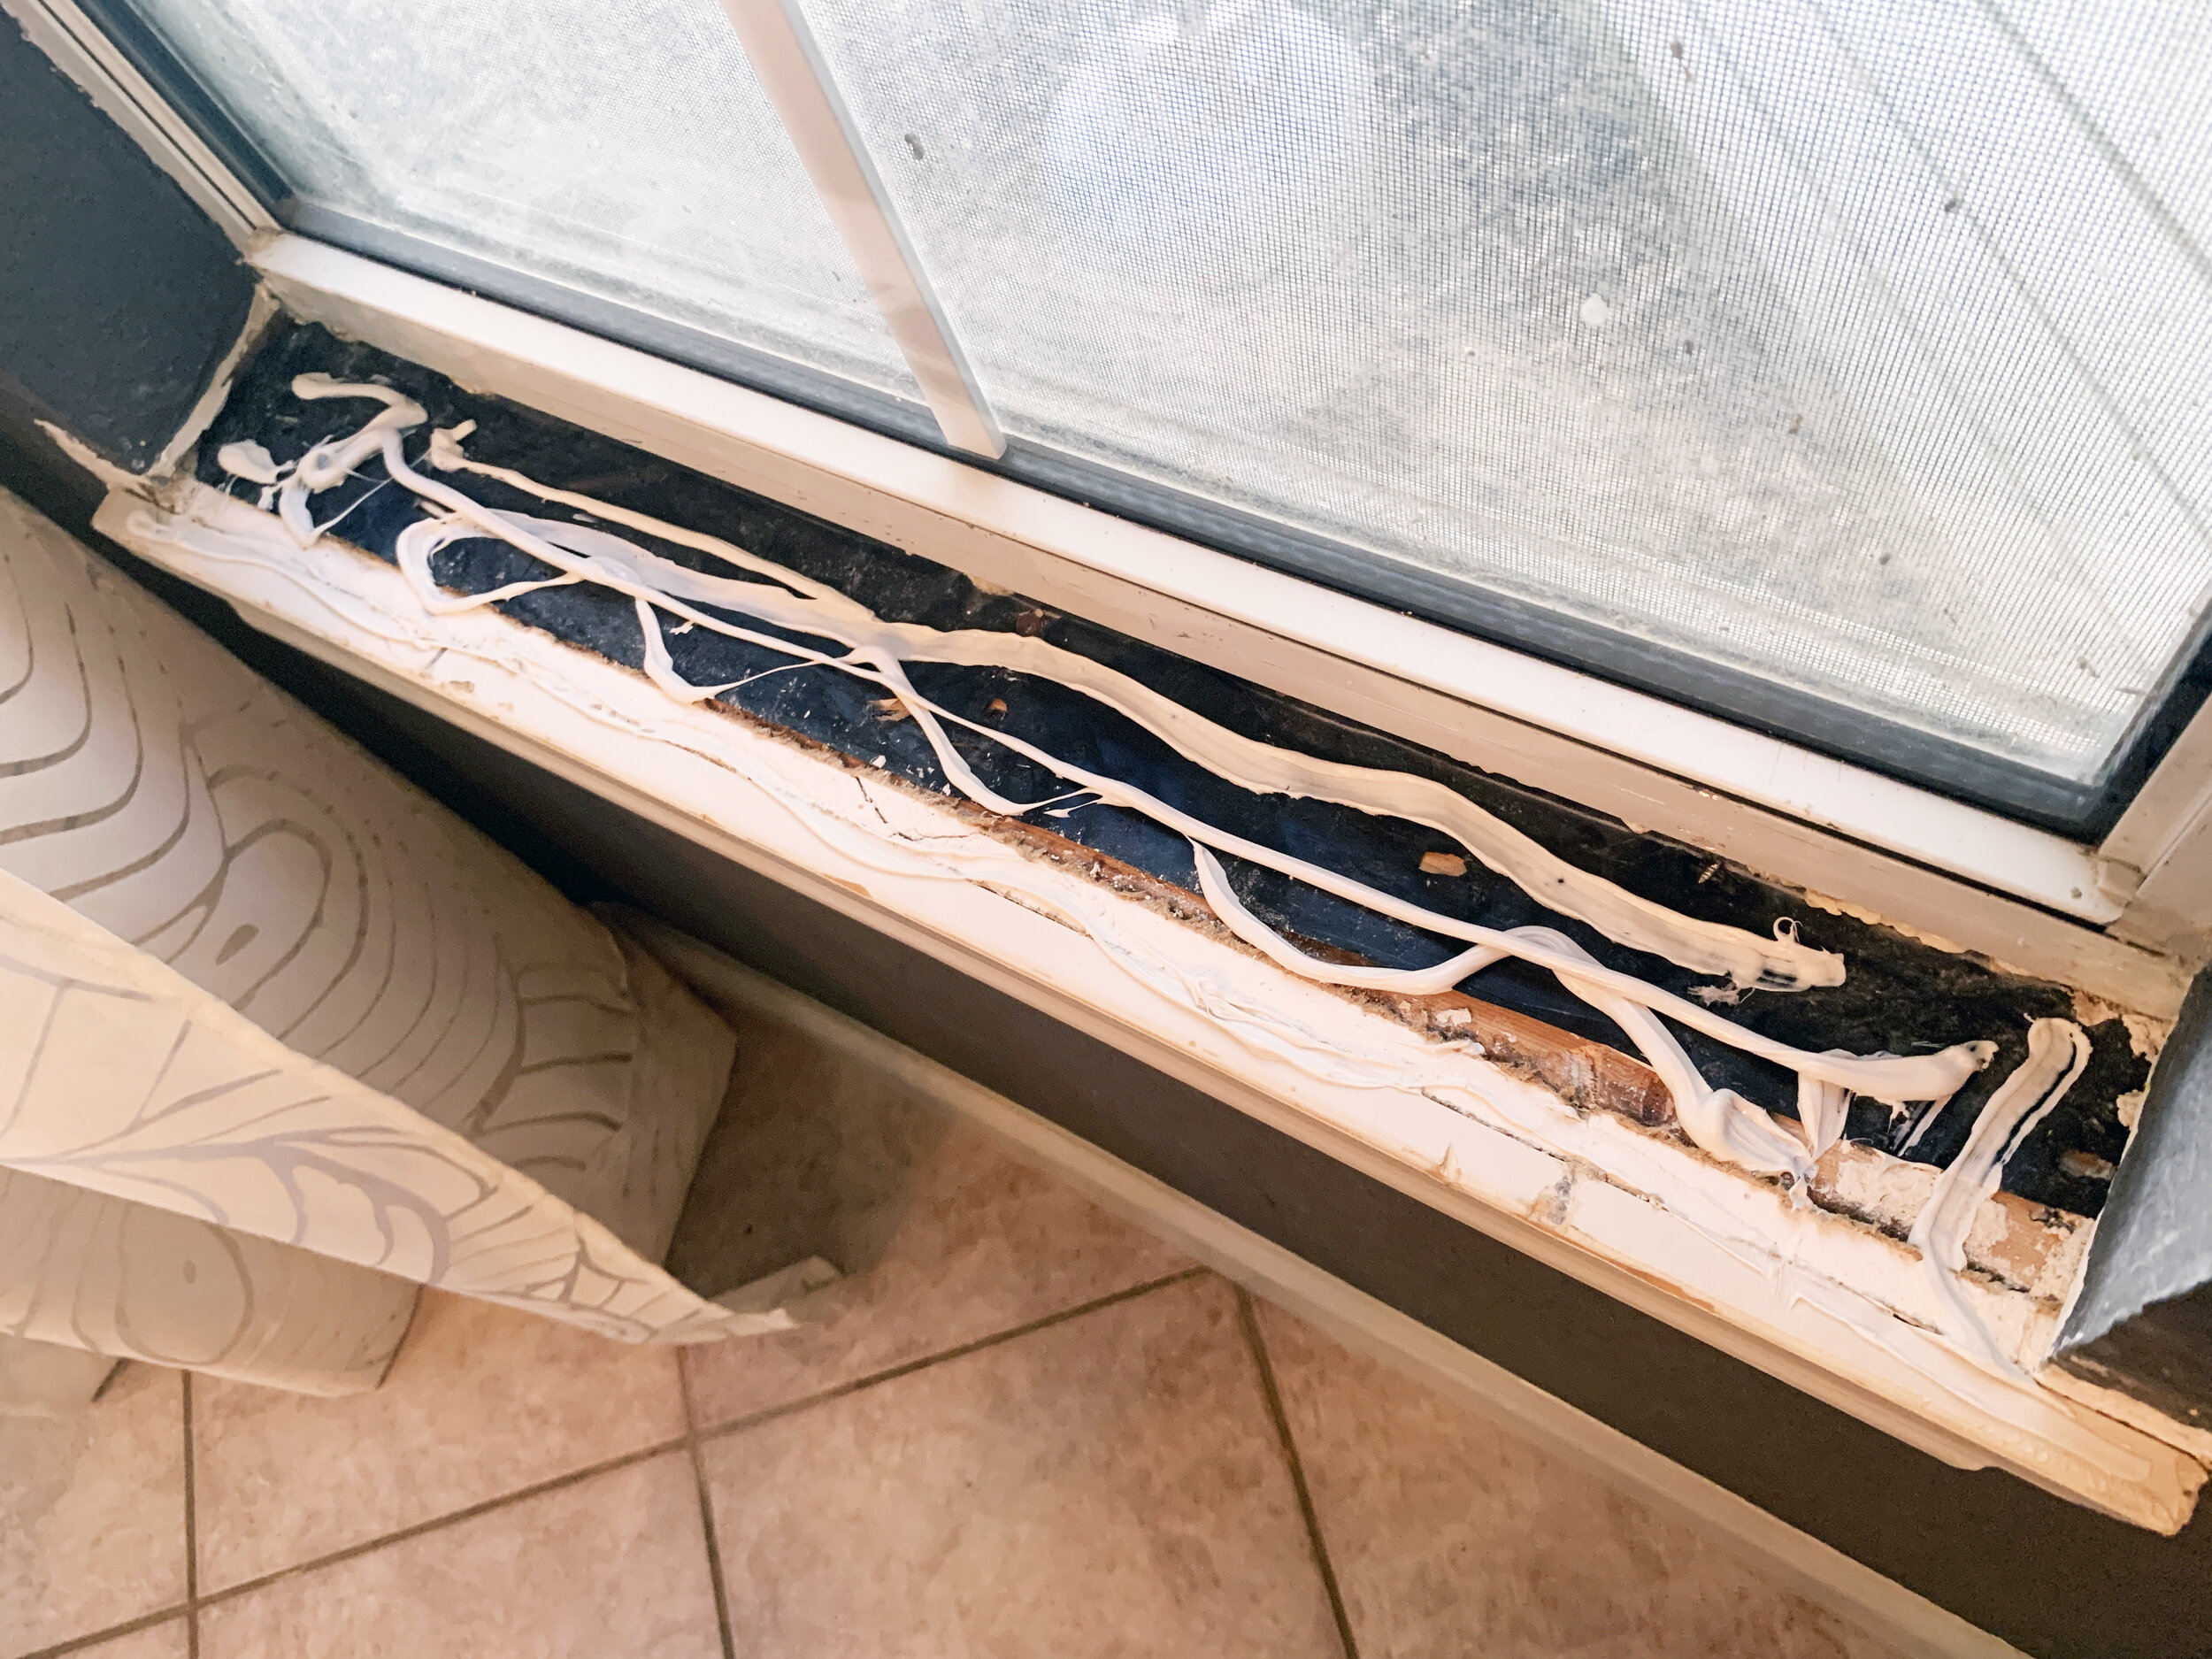
We used paintable caulk to fill the gaps in the drywall and where marble met with the wall and the piece of decorative “support” moulding we have underneath each sill. Don’t worry if you find a larger than ideal space in the drywall.
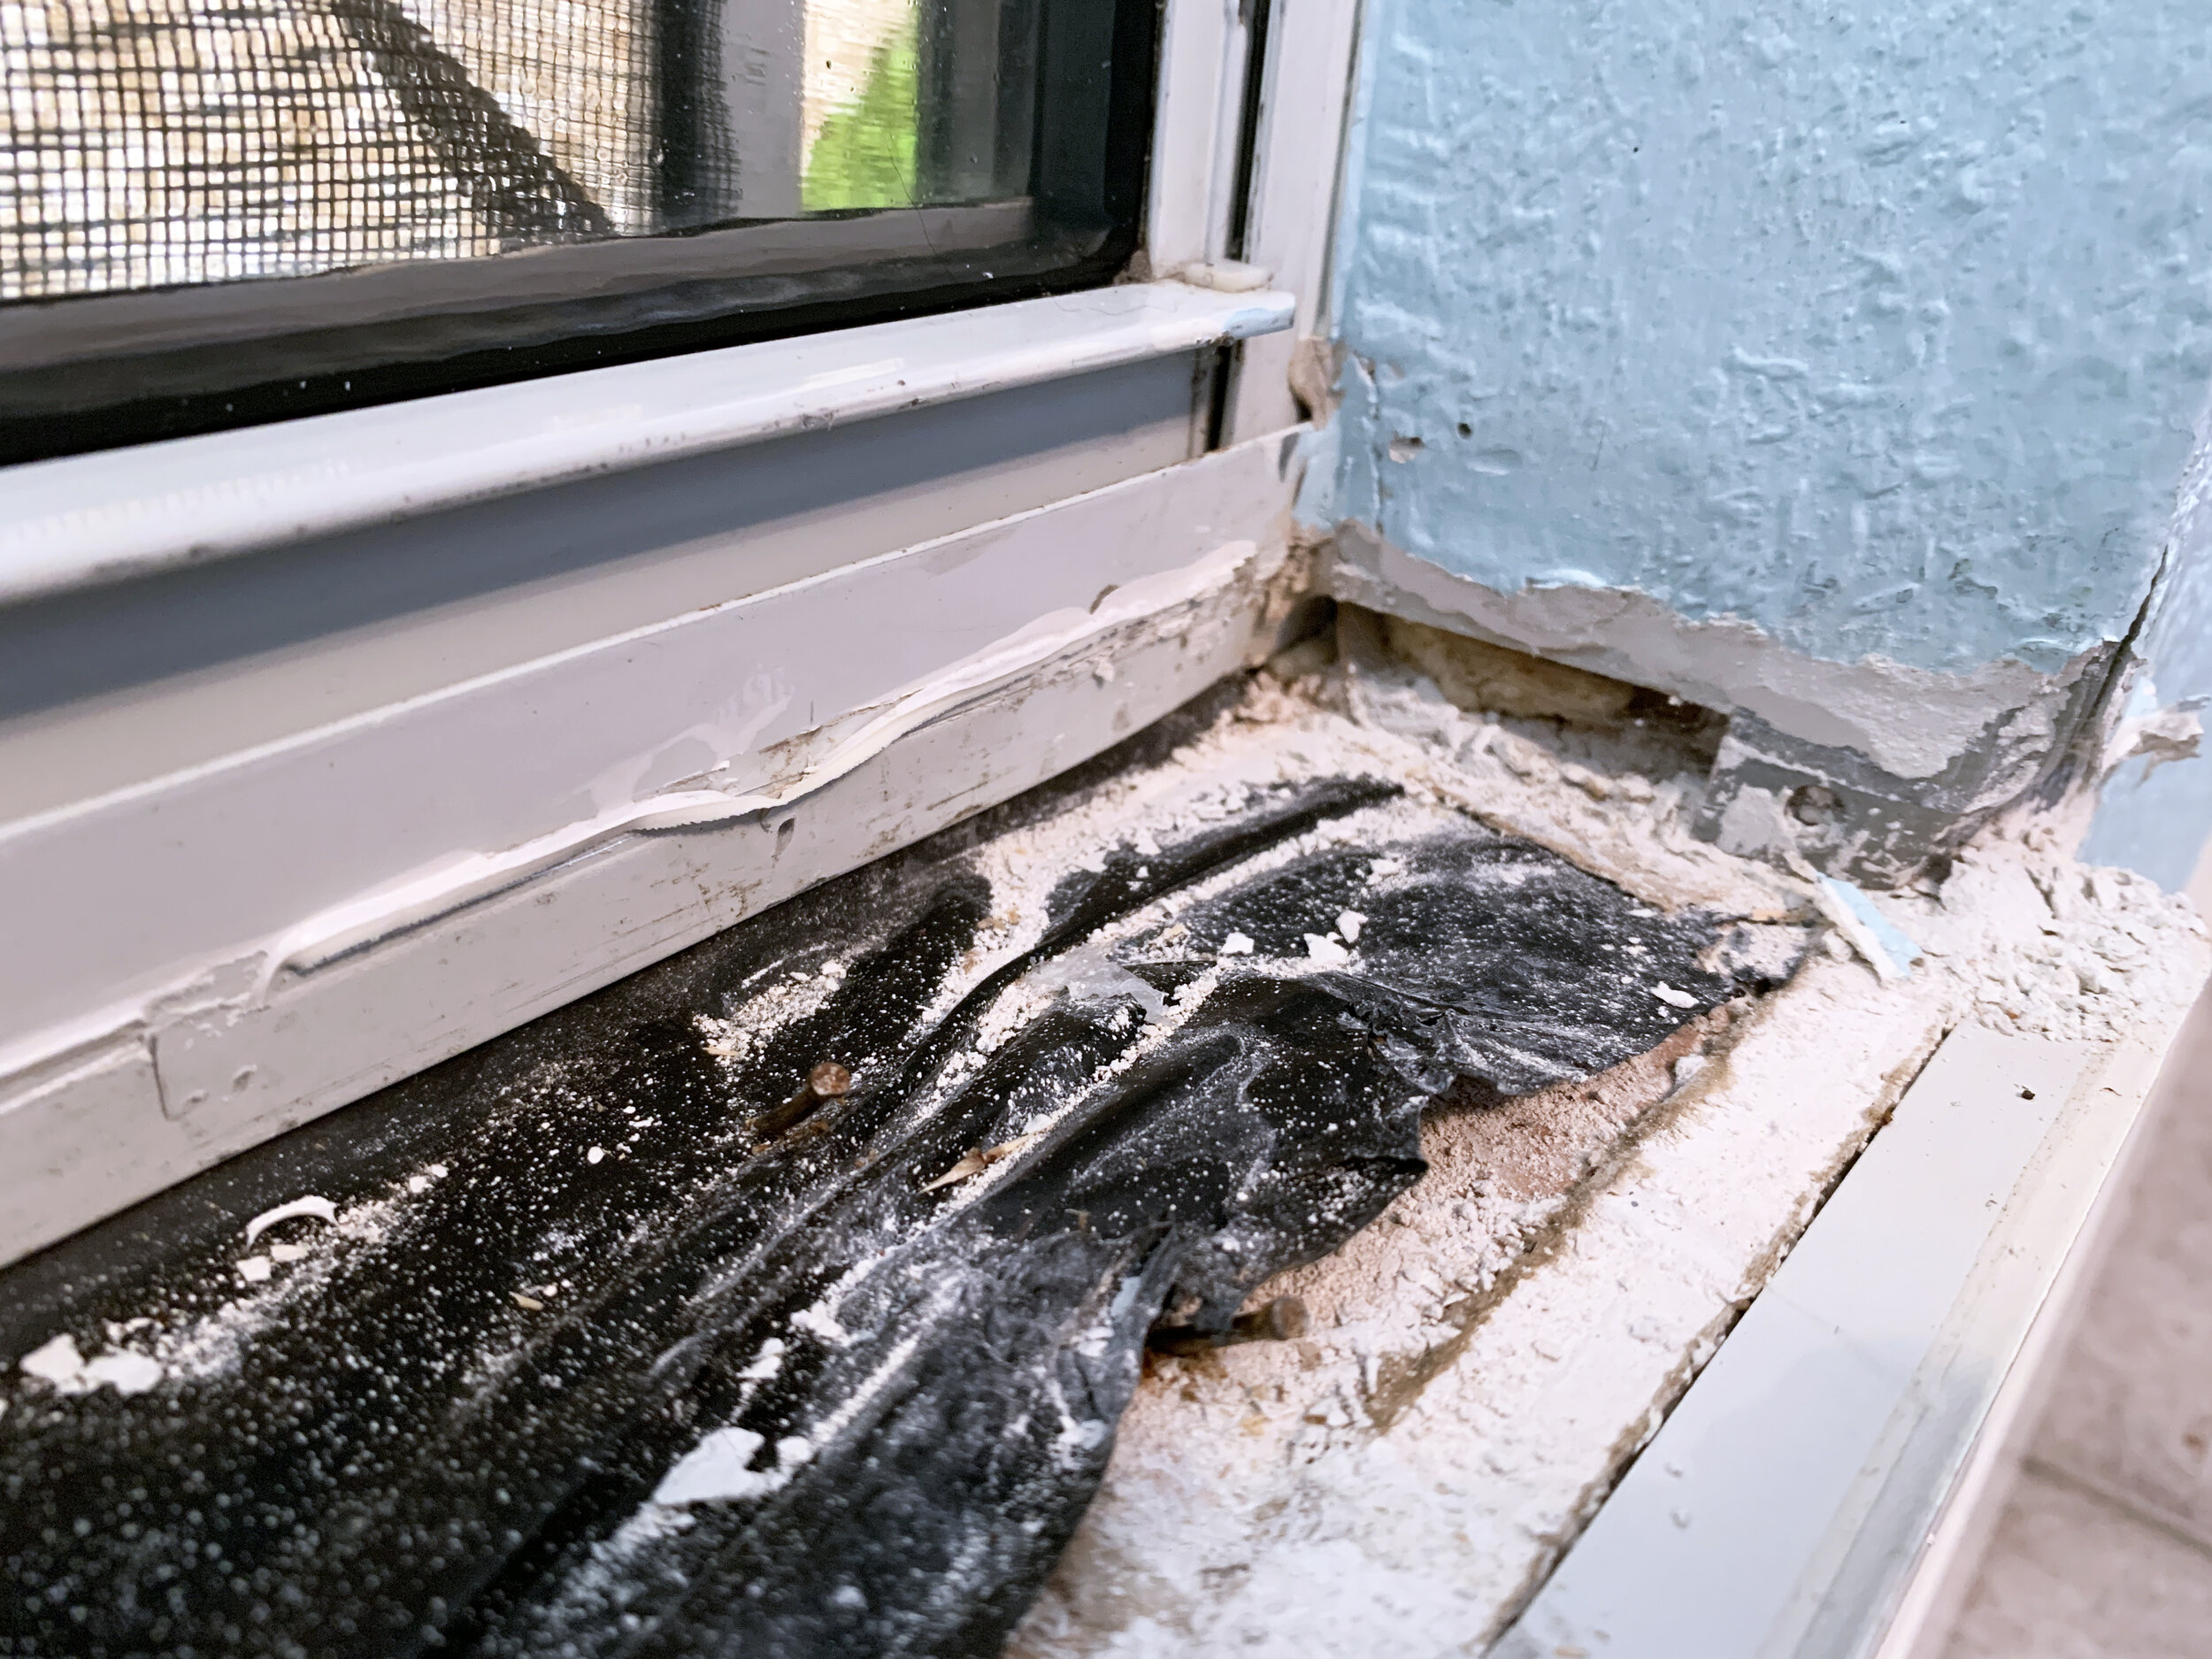
The gap in the photos below was by far the worst, and as we found out when we were cleaning up the window frames the metal corner support, spray texture, “drywall” and “wooden” window sill were non-existent and it was all just filled with caulk!

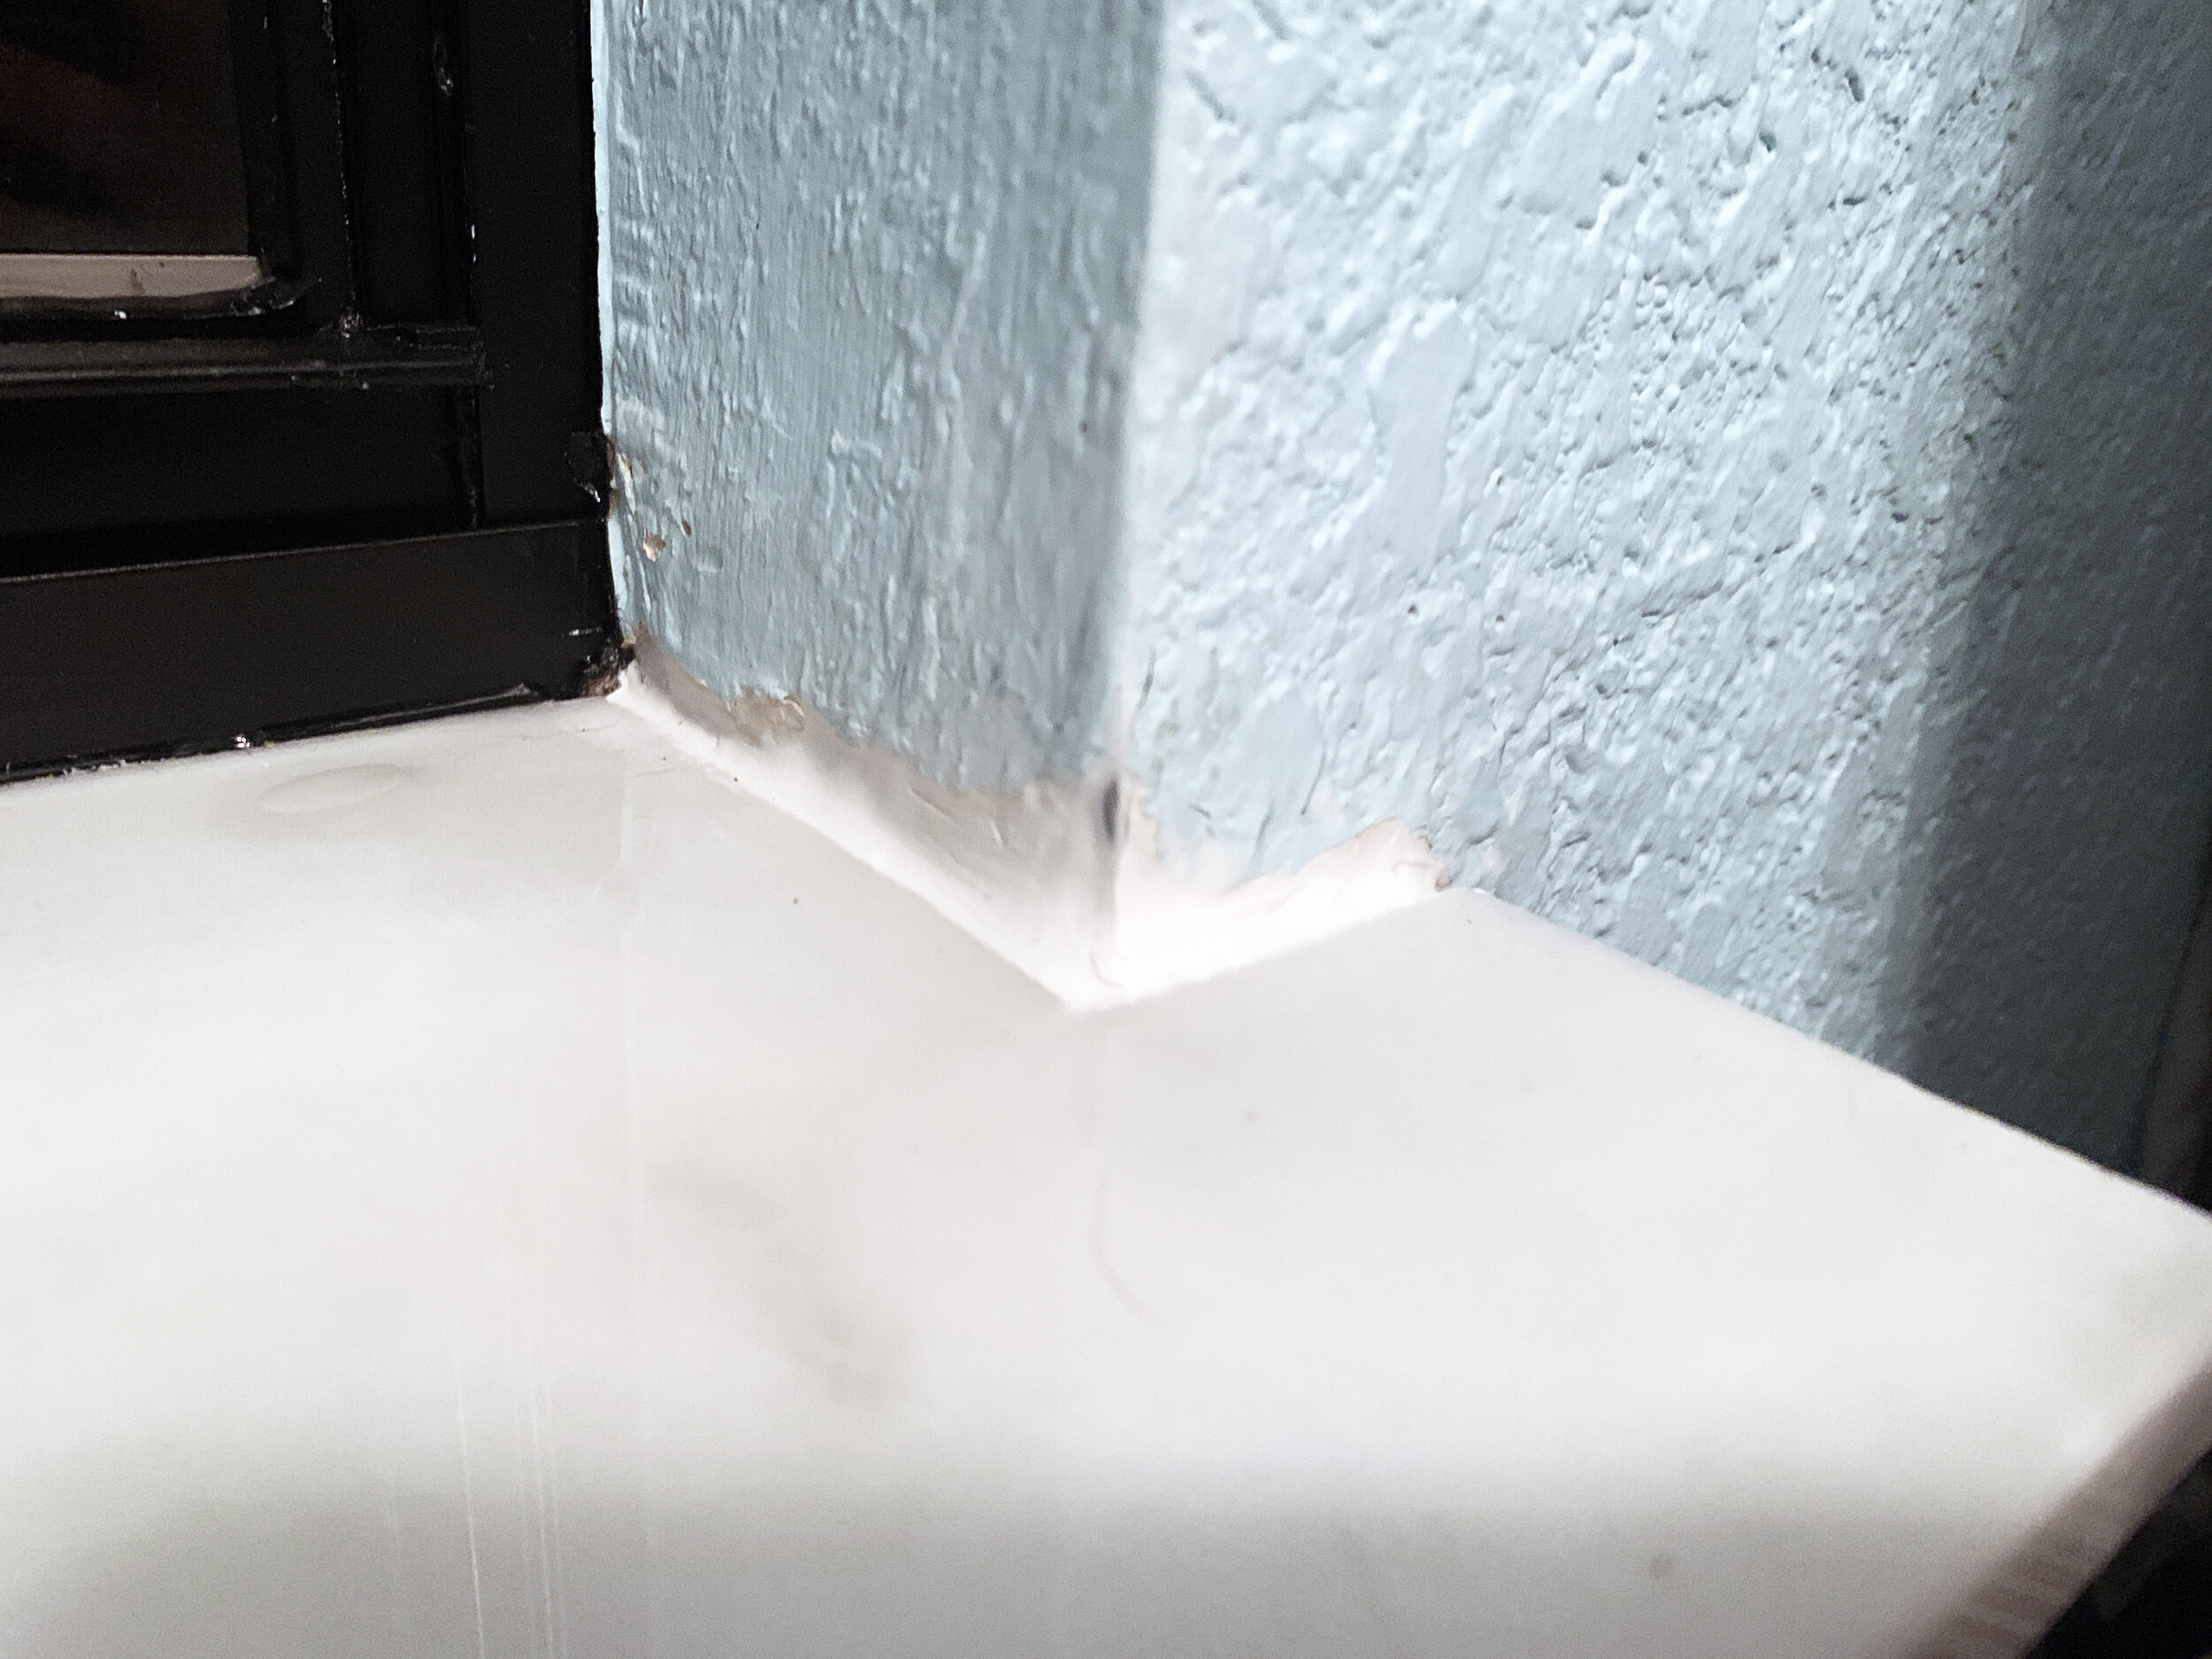
Since we didn’t have a back gap to fill and weren’t going to paint it, we used a very small amount of clear silicone in the seam where the marble meets the actual metal window frame. It’s so thin and clear it’s practically invisible, as you can barely see in the photos below where the black window meets the marble. The white caulk we used to fill the larger gaps around the wall stands out far too much against the softer, gray-white of the Carrara marble, especially now that we have black windows, and we want the beautiful natural marble to be the star of the show.
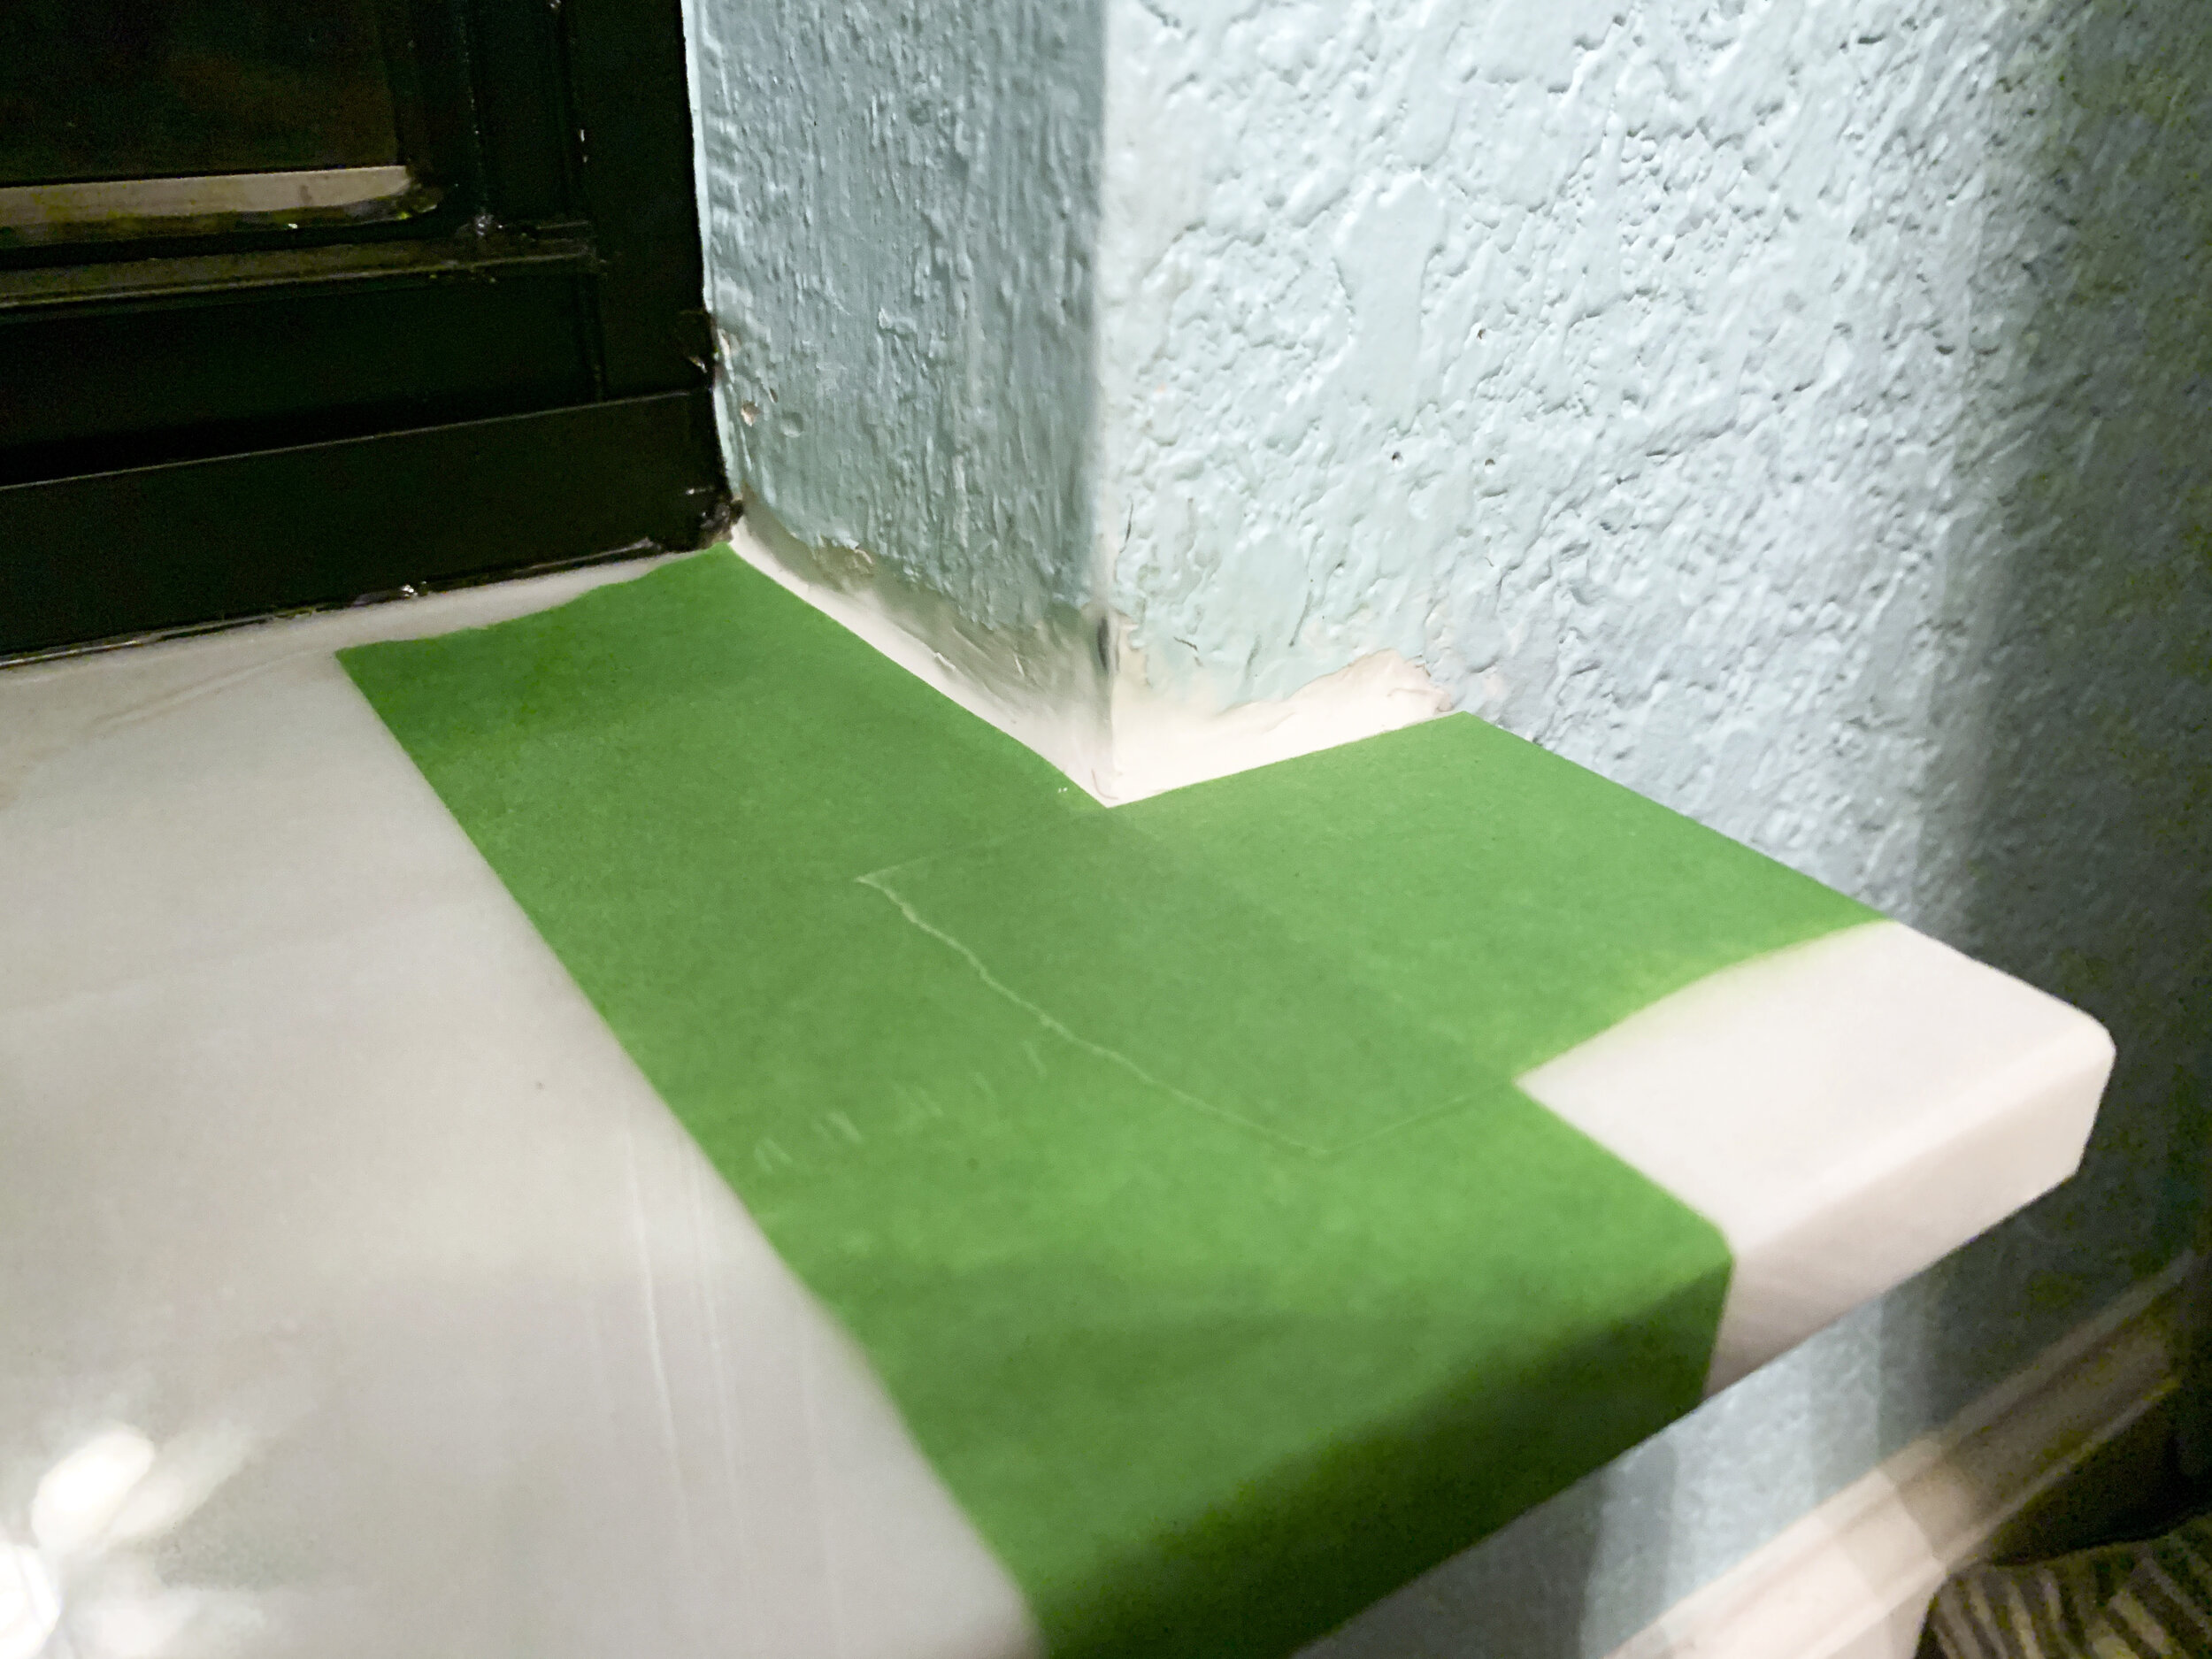
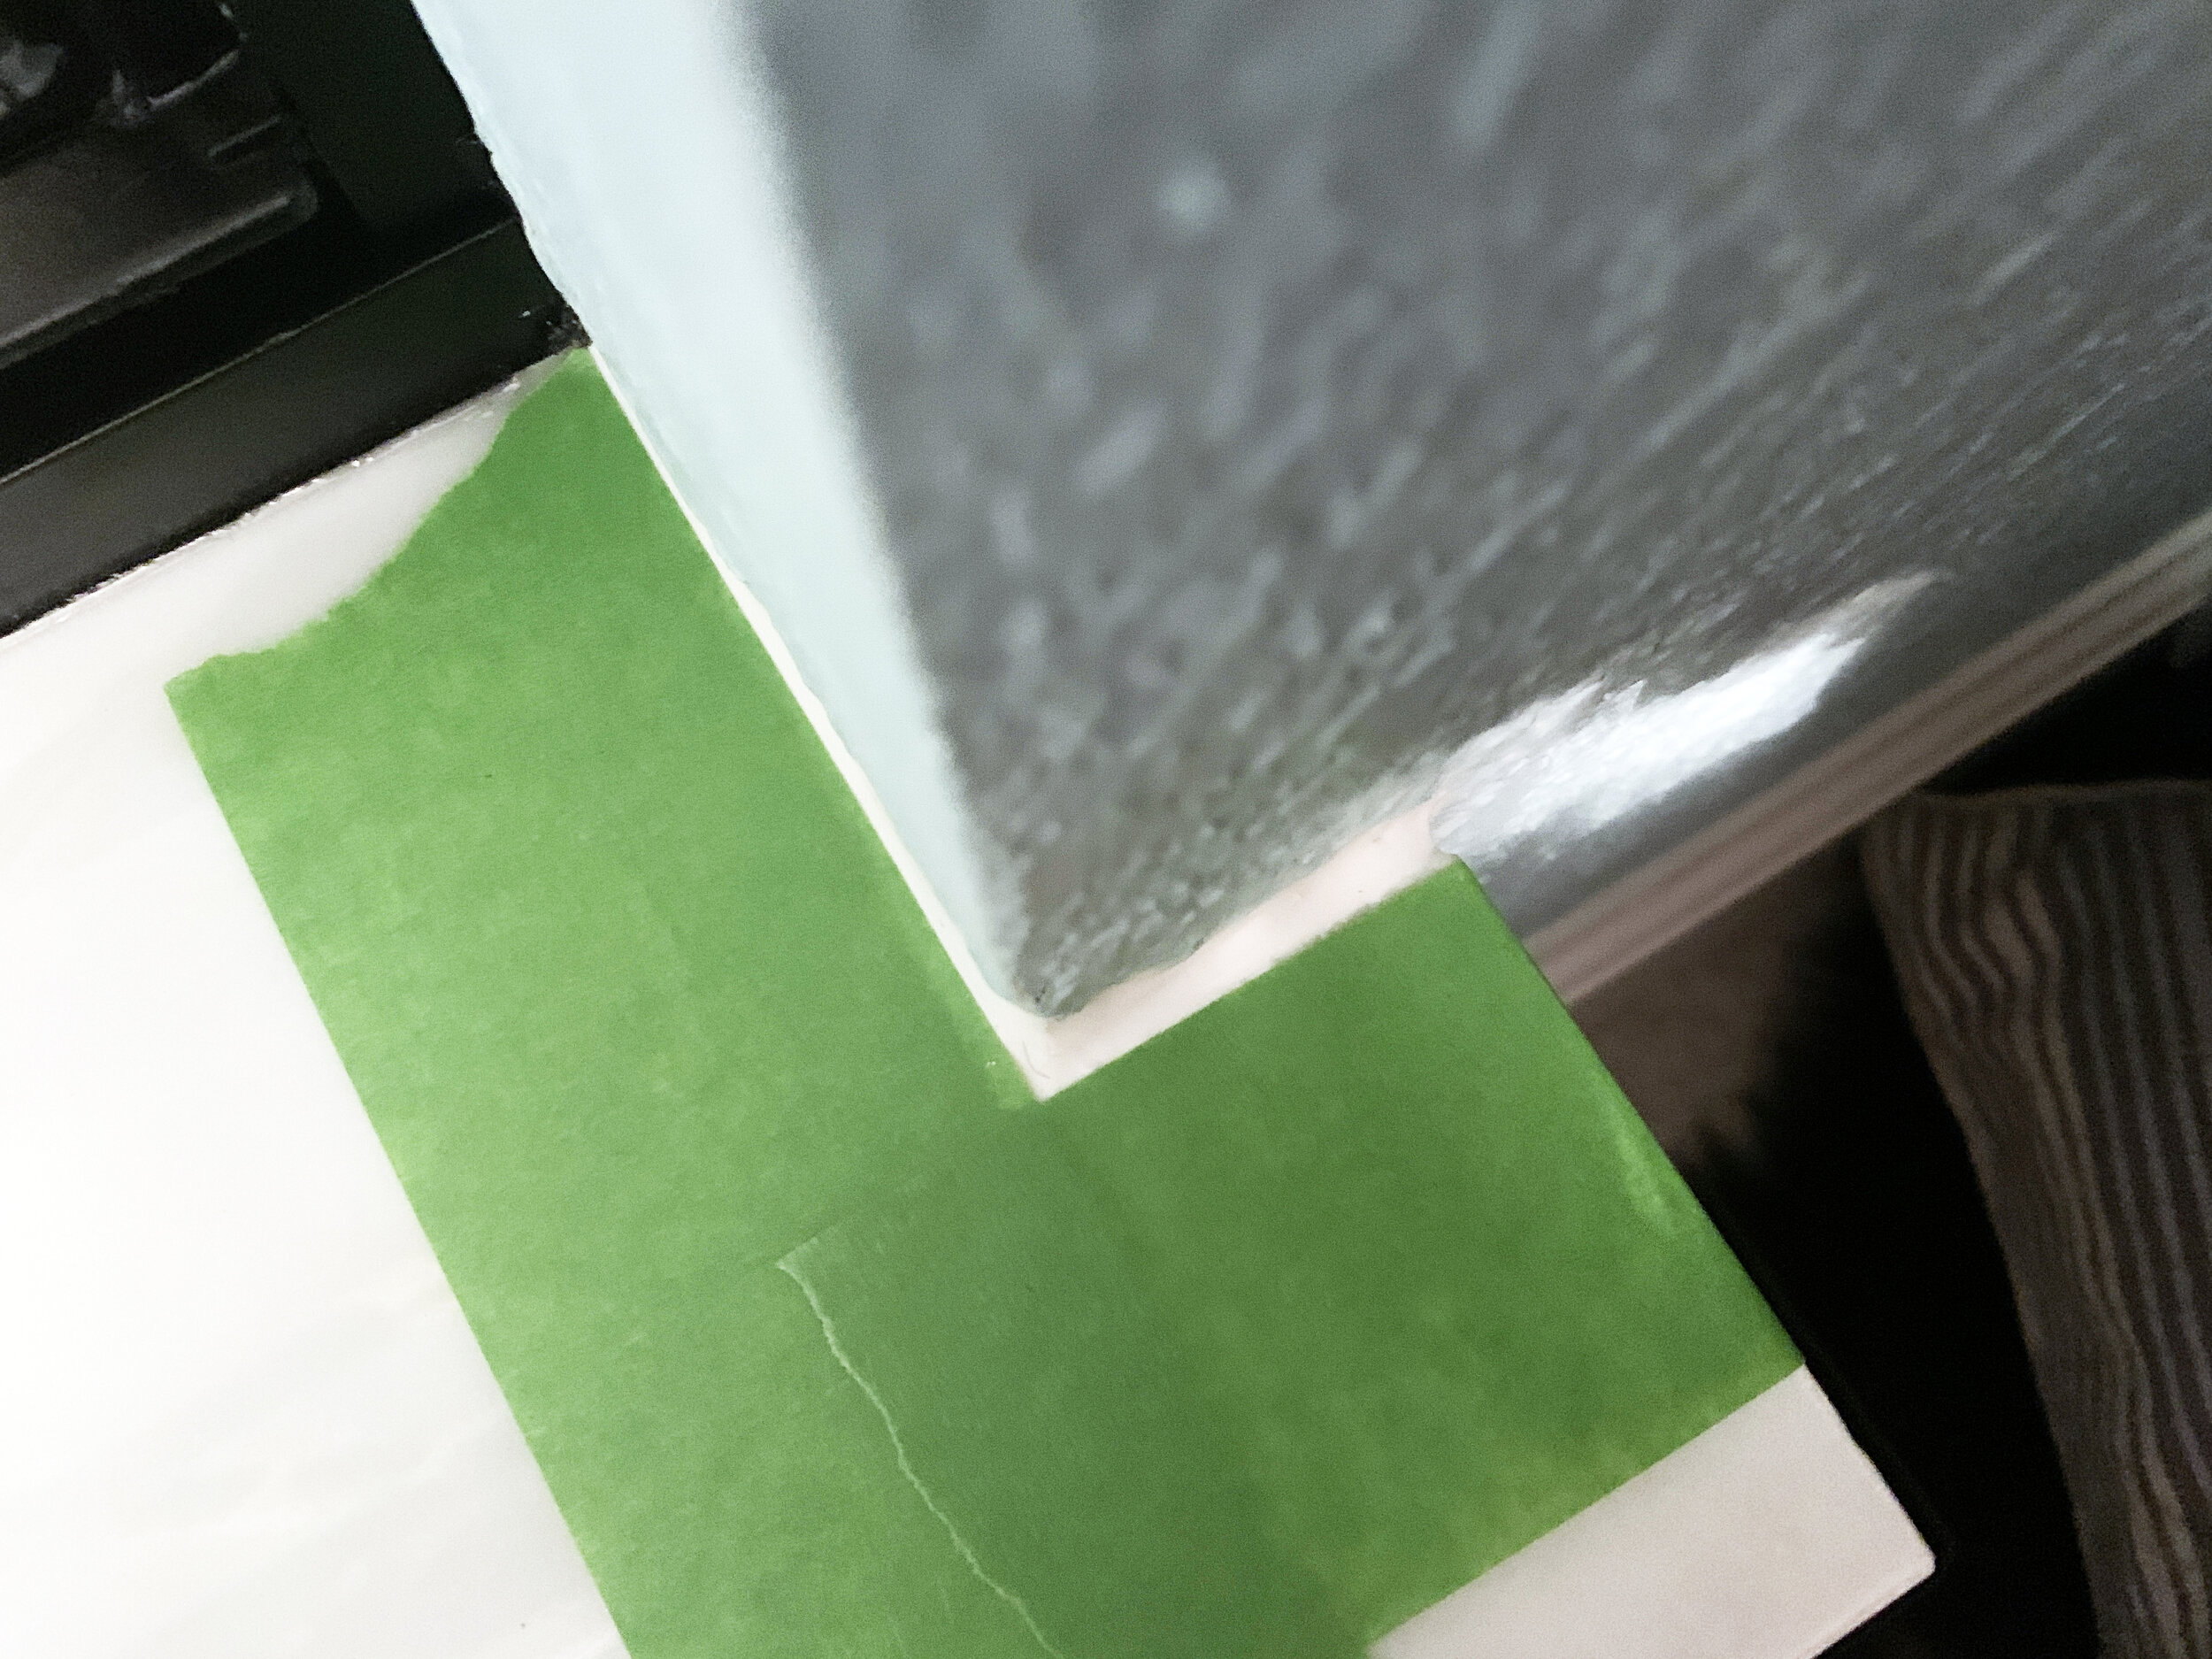
Once the caulk dried, we put down some painters tape to get a clean edge and touched up the wall paint color.

Before + after
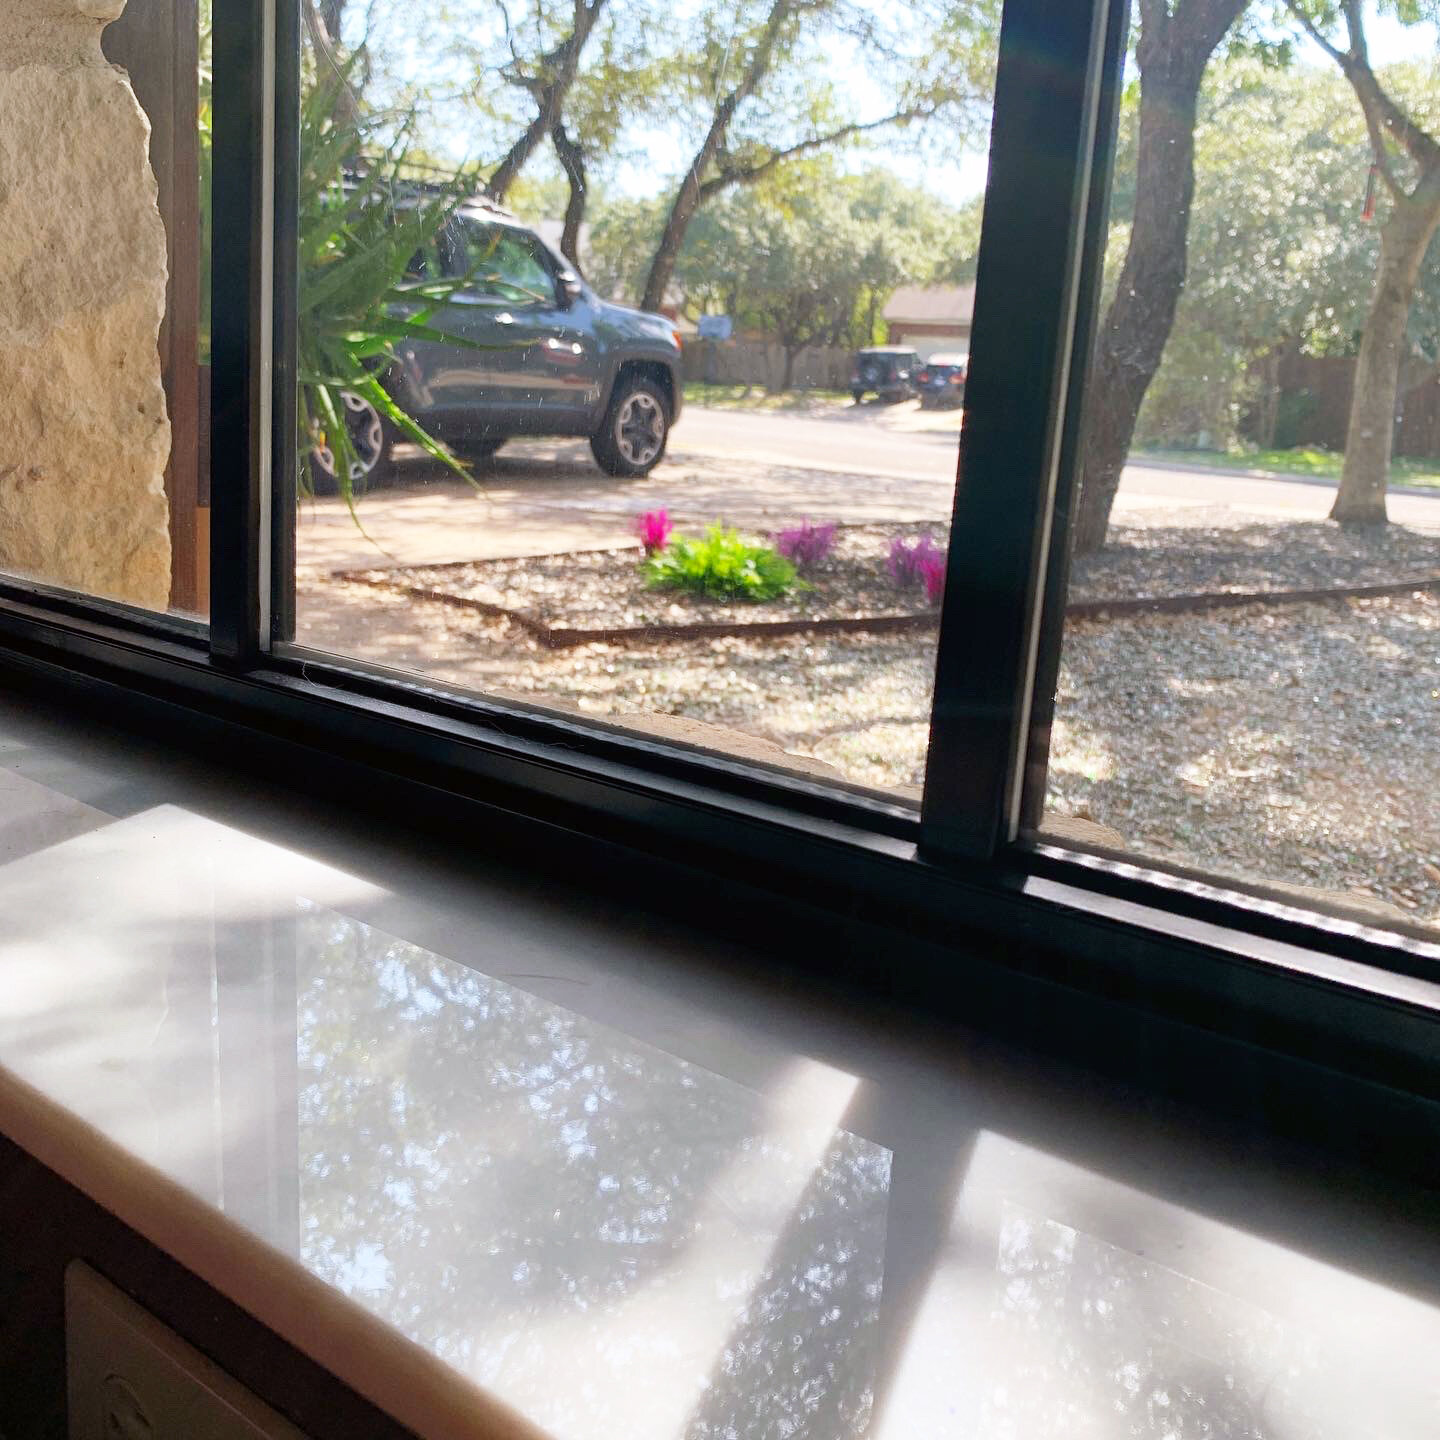
My favorite part – seeing the side-by-side transformation!
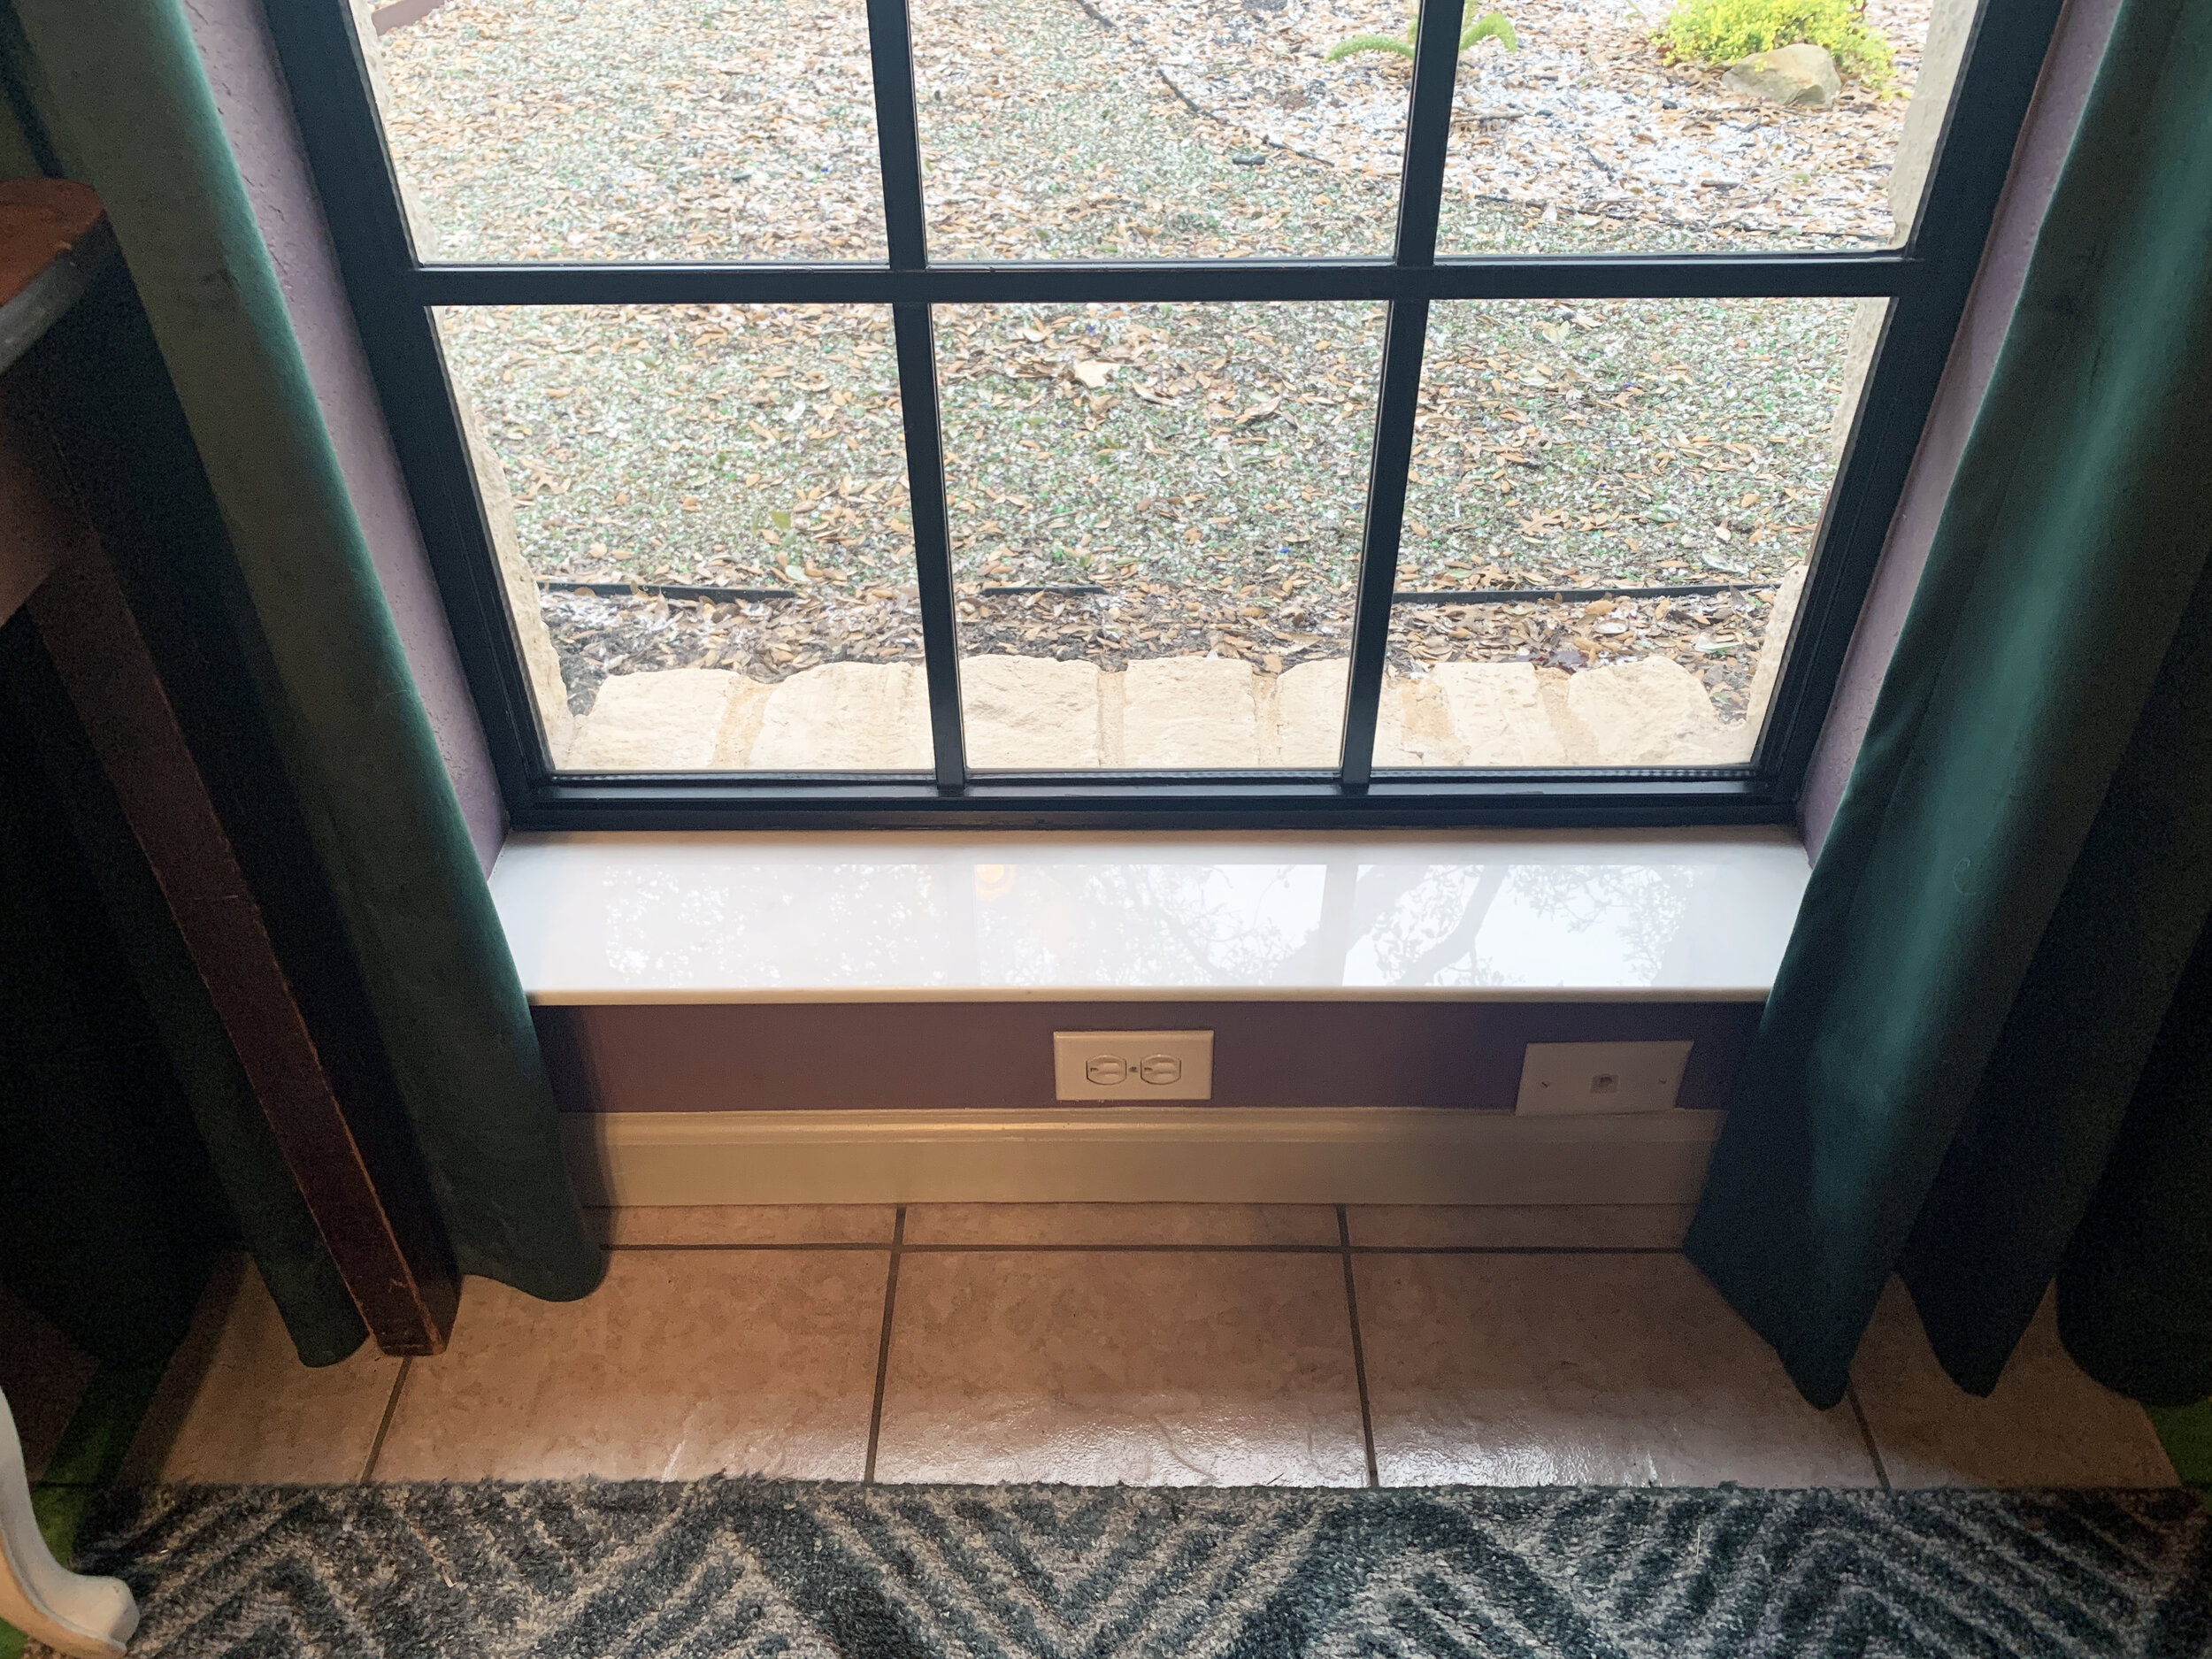

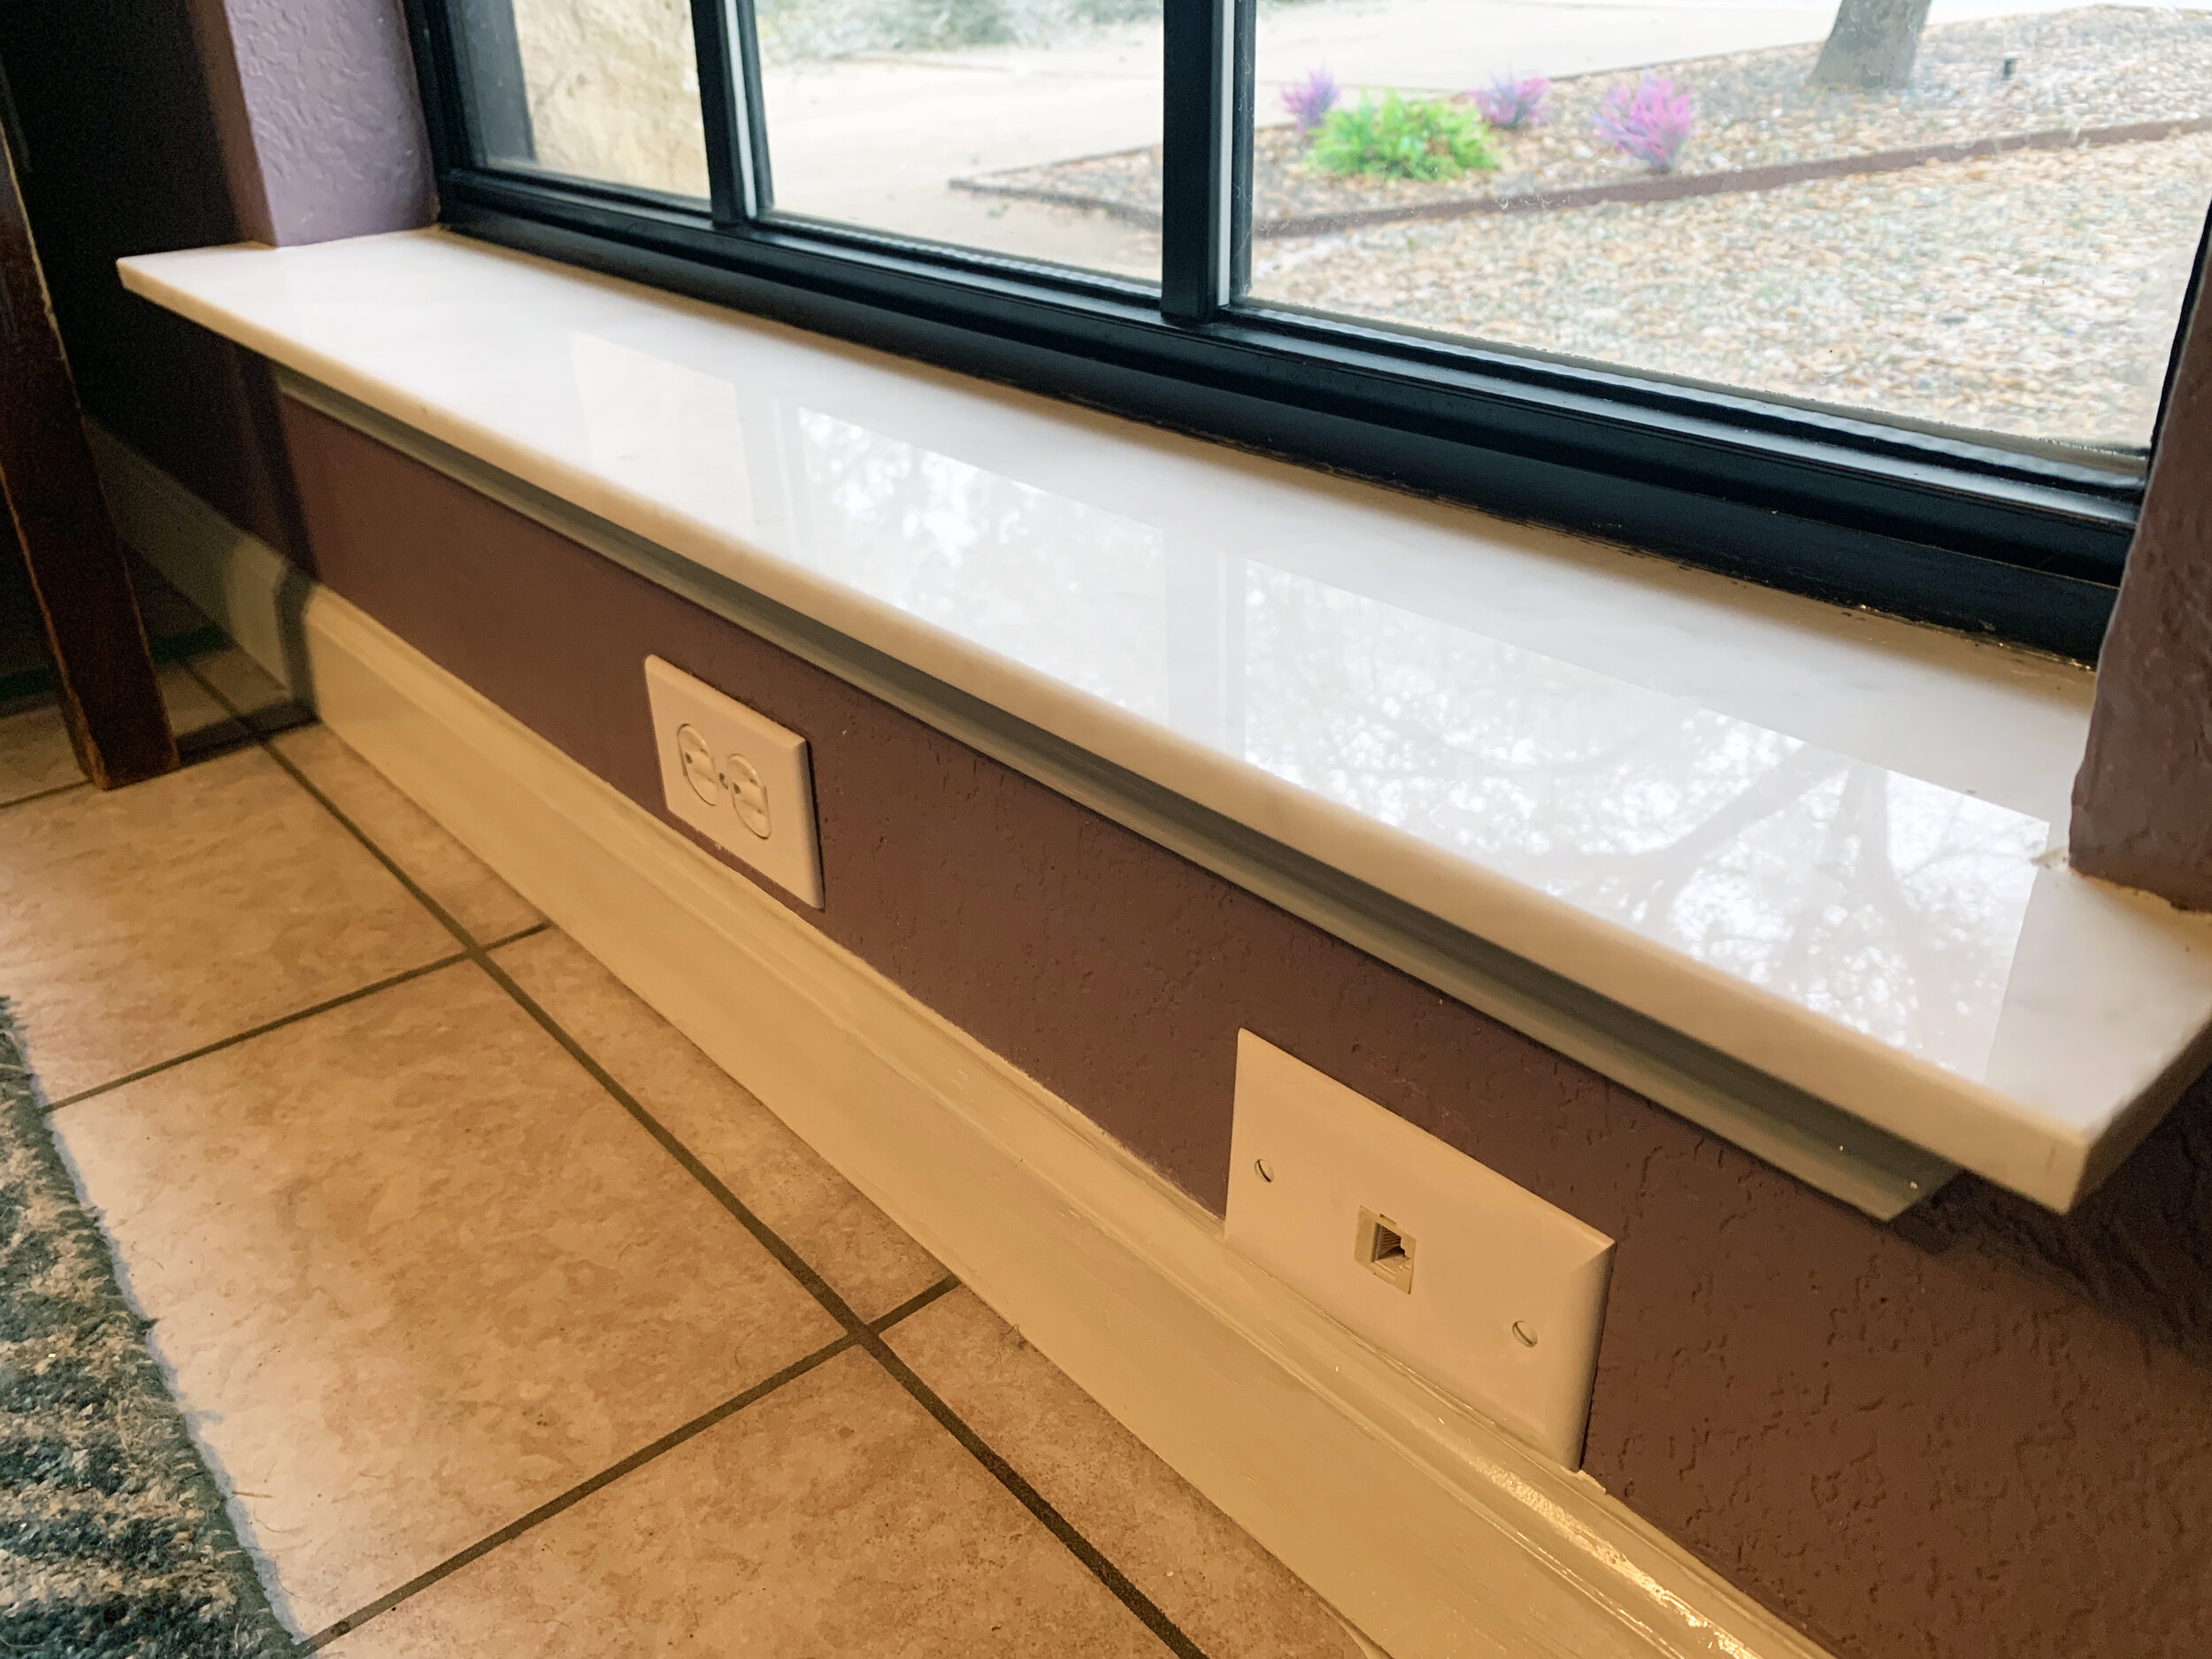
I just love the way our trees reflect in the glossy marble...

And how no two patterns in our natural marble sills are exactly alike.
What do you think? Is this look a hit or miss?
If you’re looking for some more window wow-factor, check out how to get beautiful black windows on the cheap.