DIY Black Painted Windows
Strap in y’all – this post is long, but oh so rewarding (and hopefully oh so helpful if you’re looking to makeover your non-black windows for a fraction of the cost to replace them). Which is why I’m assuming you’re here.

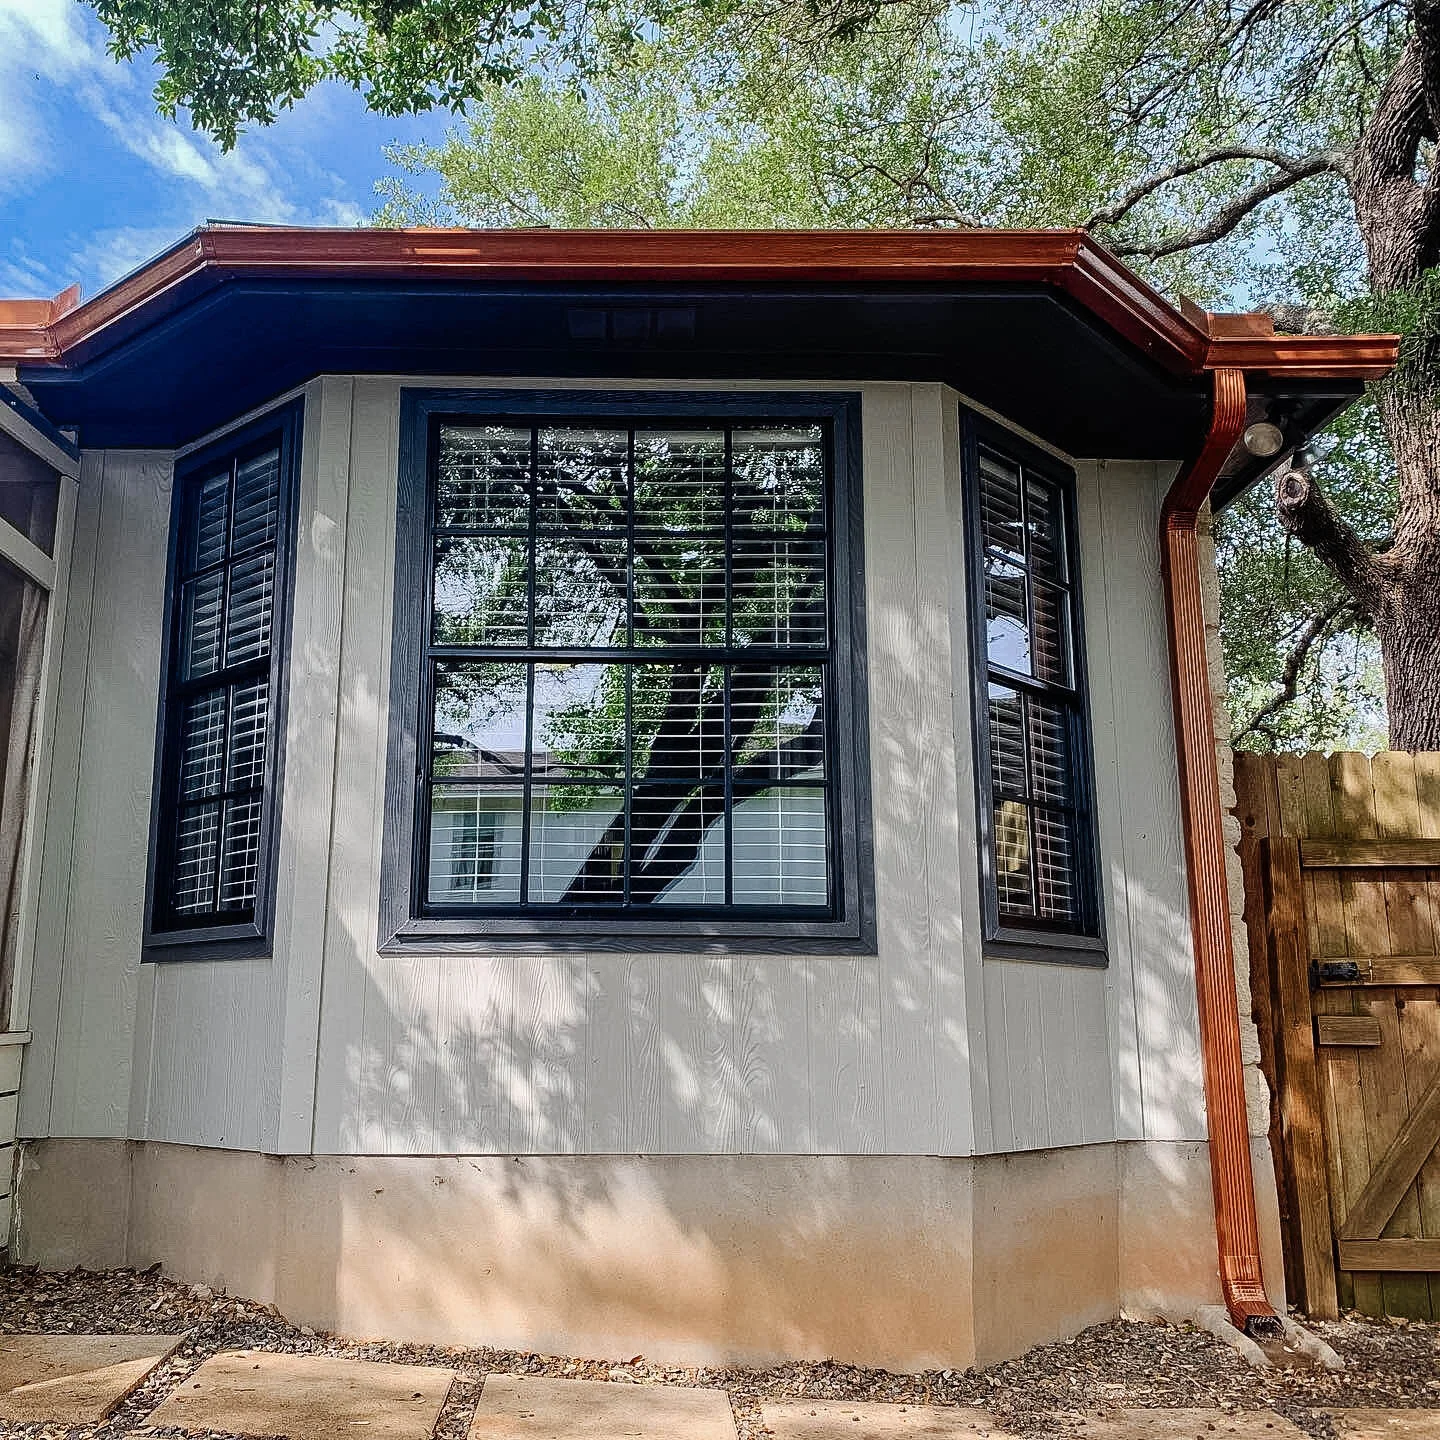
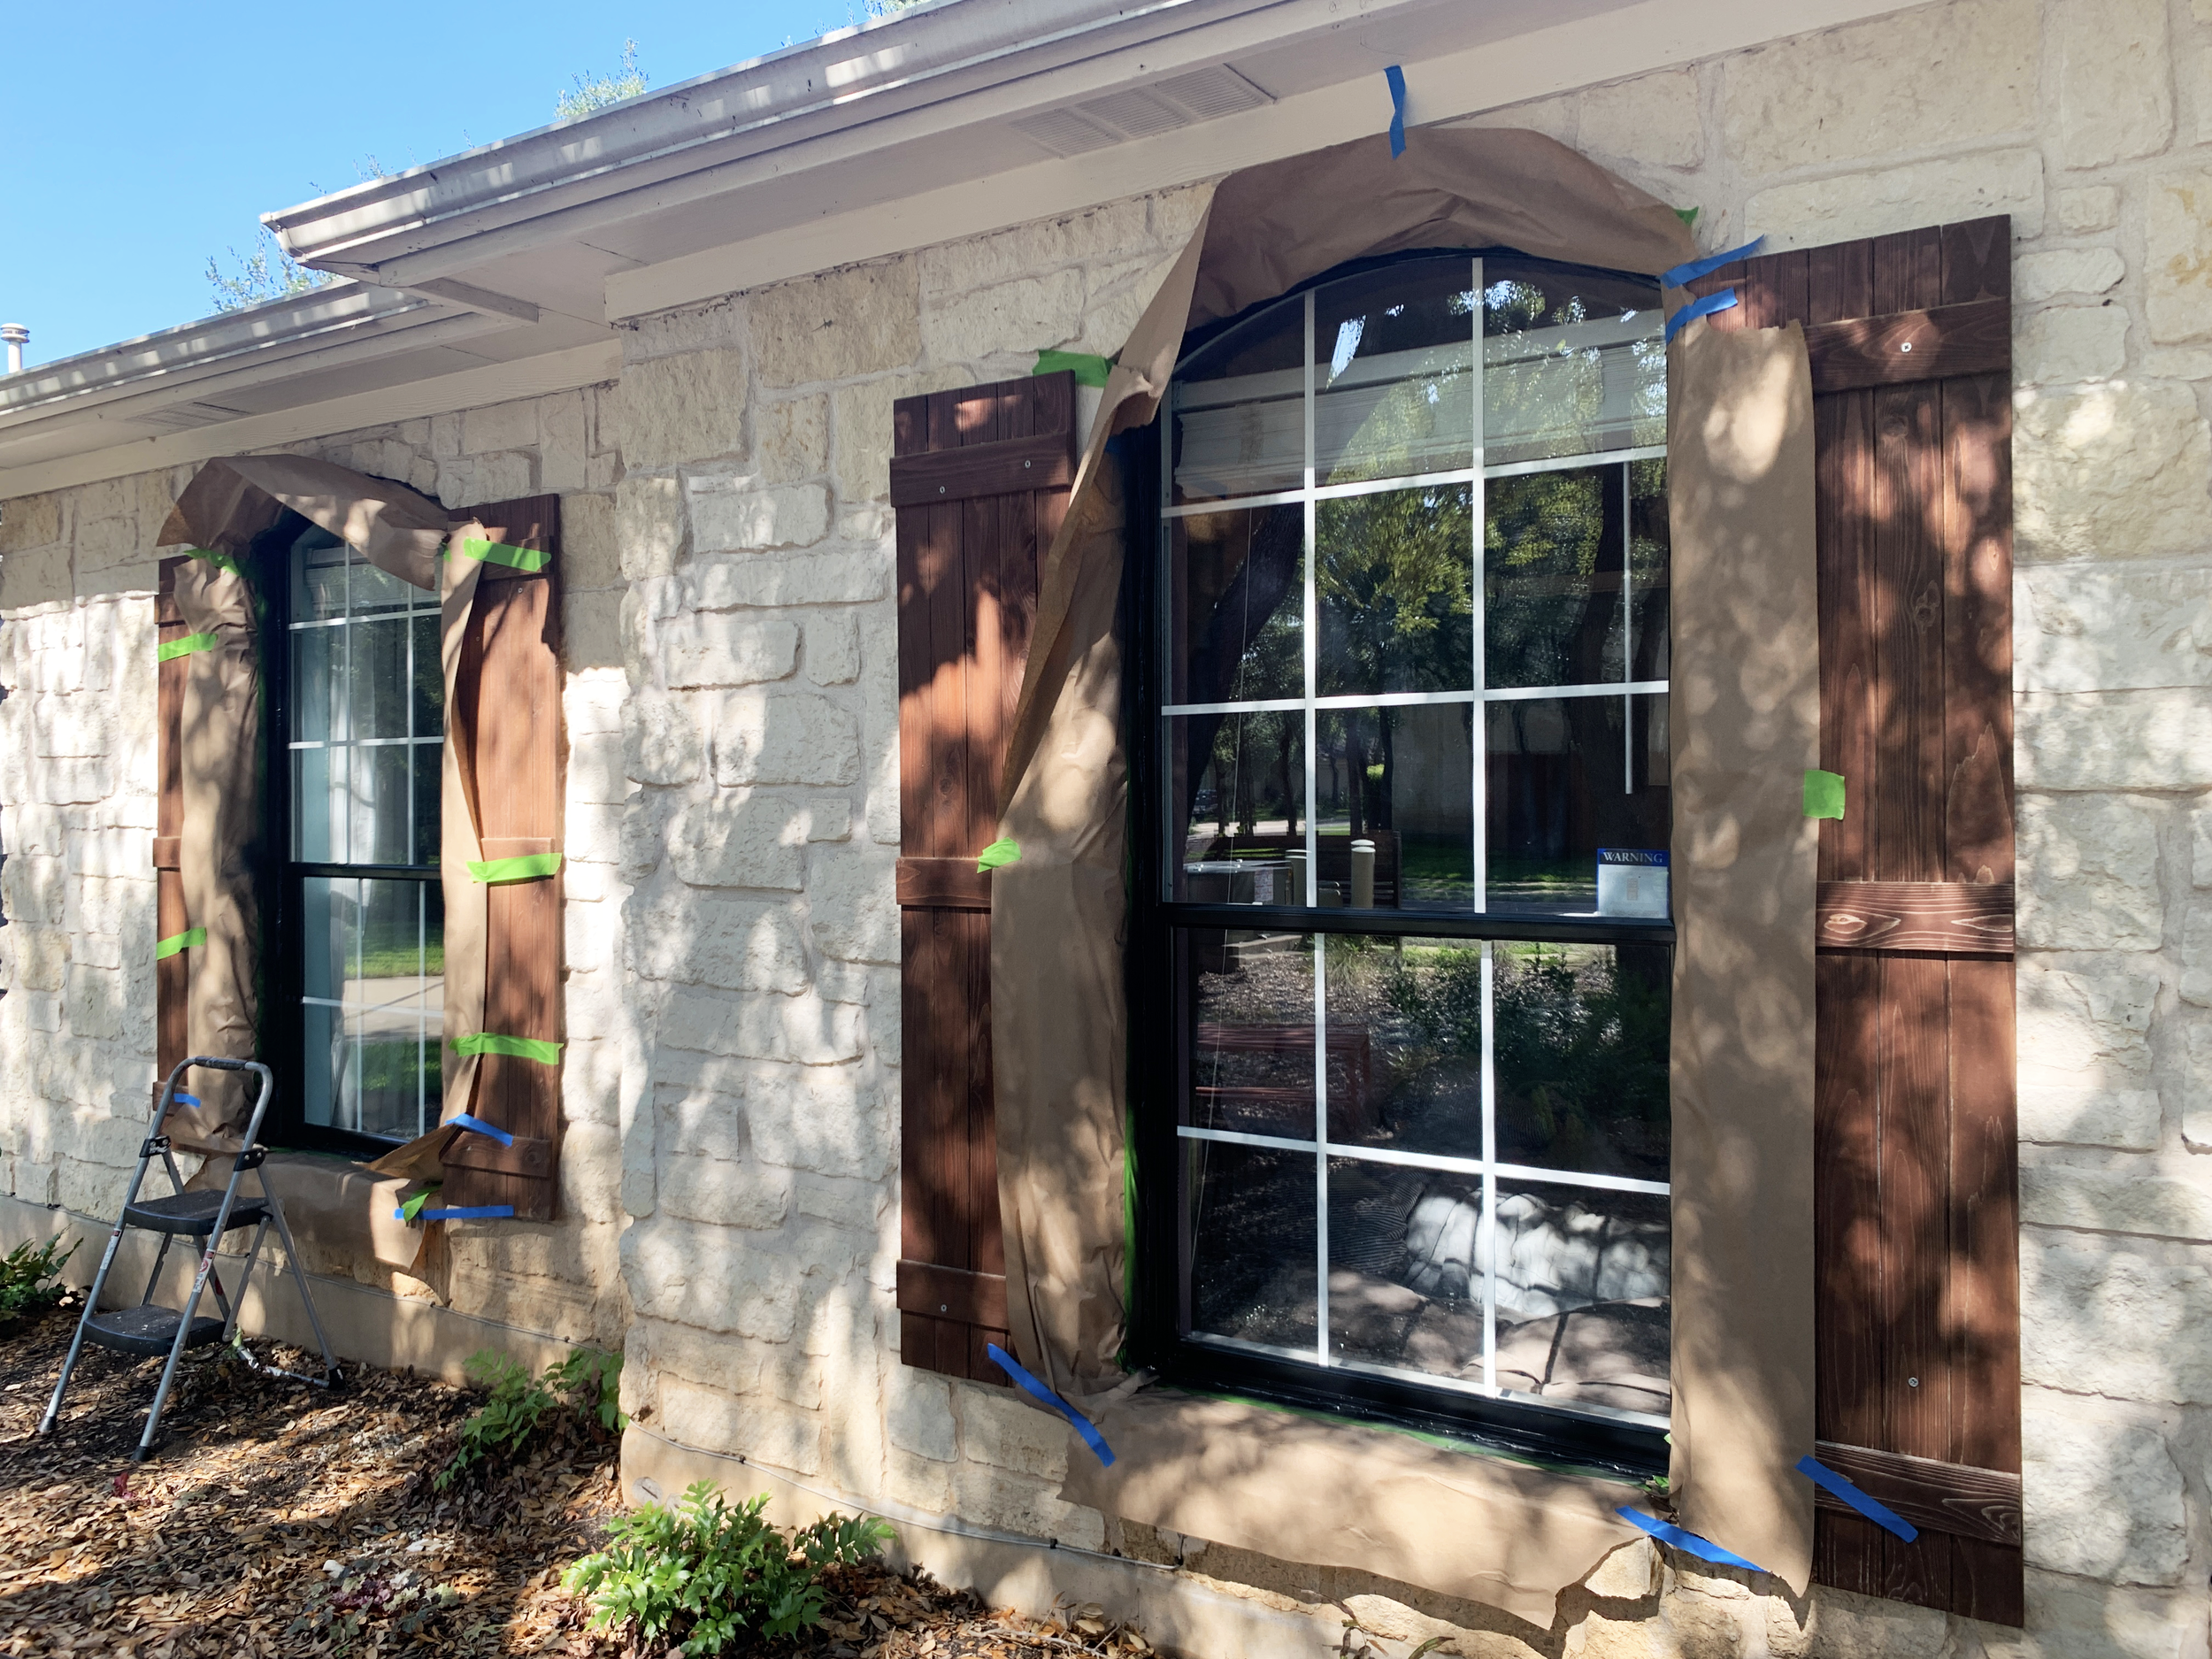
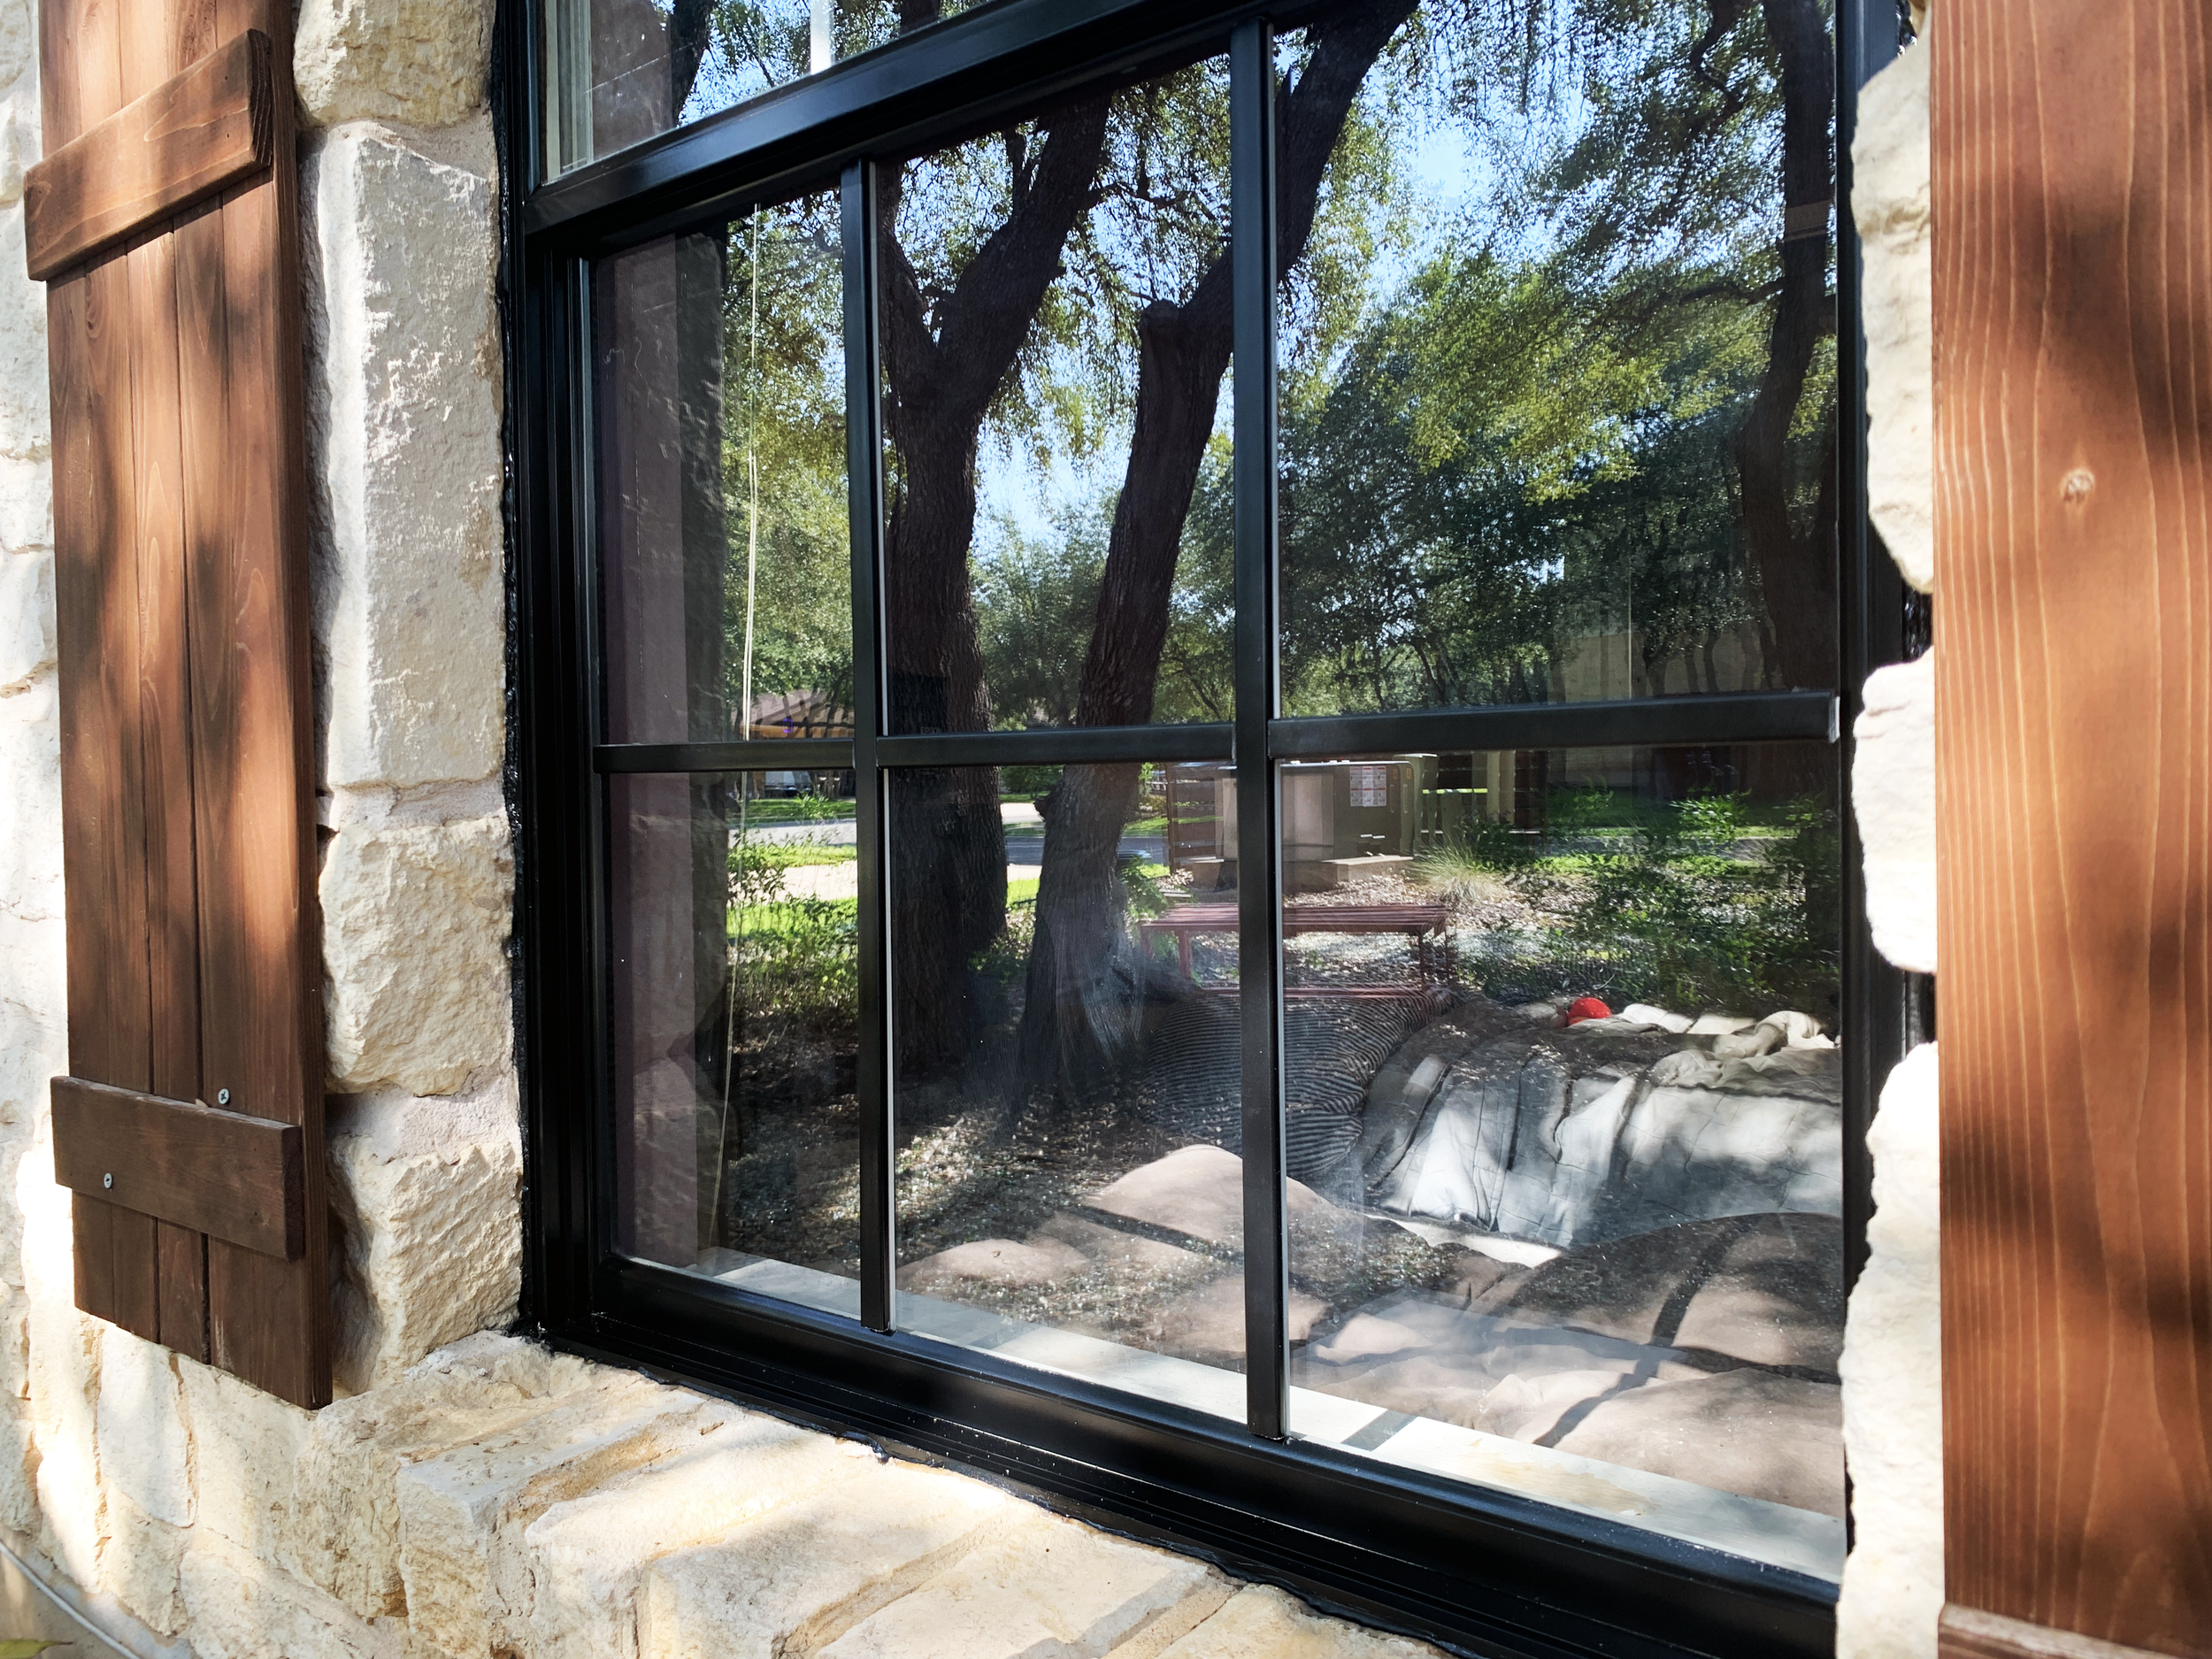
Black windows. I’ve loved them for years and have wanted them in our home since before they were a “thing”. Something about the thought of high contrast black metal against our creamy white Texas limestone exterior just really speaks to me, and after 8 years in our house, I finally figured out how to make the dream a reality without shelling out thousands upon thousands for 10 all-new windows – two of which have beautiful eyebrow arches, so I’m pretty sure they cost even more than just the standard rectangular ones throughout the rest of the house – by making over our current white aluminum windows.
The two eyebrow windows on the front of the house are the ones I tackled first as a test for this makeover and Y’ALL. I am so beyond thrilled with how they turned out that I could not wait to share them with you, even though I still need to do the rest of the house – 8 more exteriors and all 10 window interiors!
Here is a before and after because I just can’t wait any longer to show you the transformation.

Front windows – before
Front windows – after
EEEEK!! (Yes, that was a very high-pitched squeal that came from the place way down in my body that only design stuff brings out. No idea what it’s called – I’ve never named it – but I guess it’s a factory setting I came with.)
The situation
You might be asking yourself: “Self, this seems like a super easy project. Can’t you just paint the non-glass part of the windows and be done?”
Man you’re smart and you know how to ask yourself good questions.
The reason it’s taken so long for me to come up with a quality solution is because of mullions. (Self: “WTH are mullions?”)
Another great question.
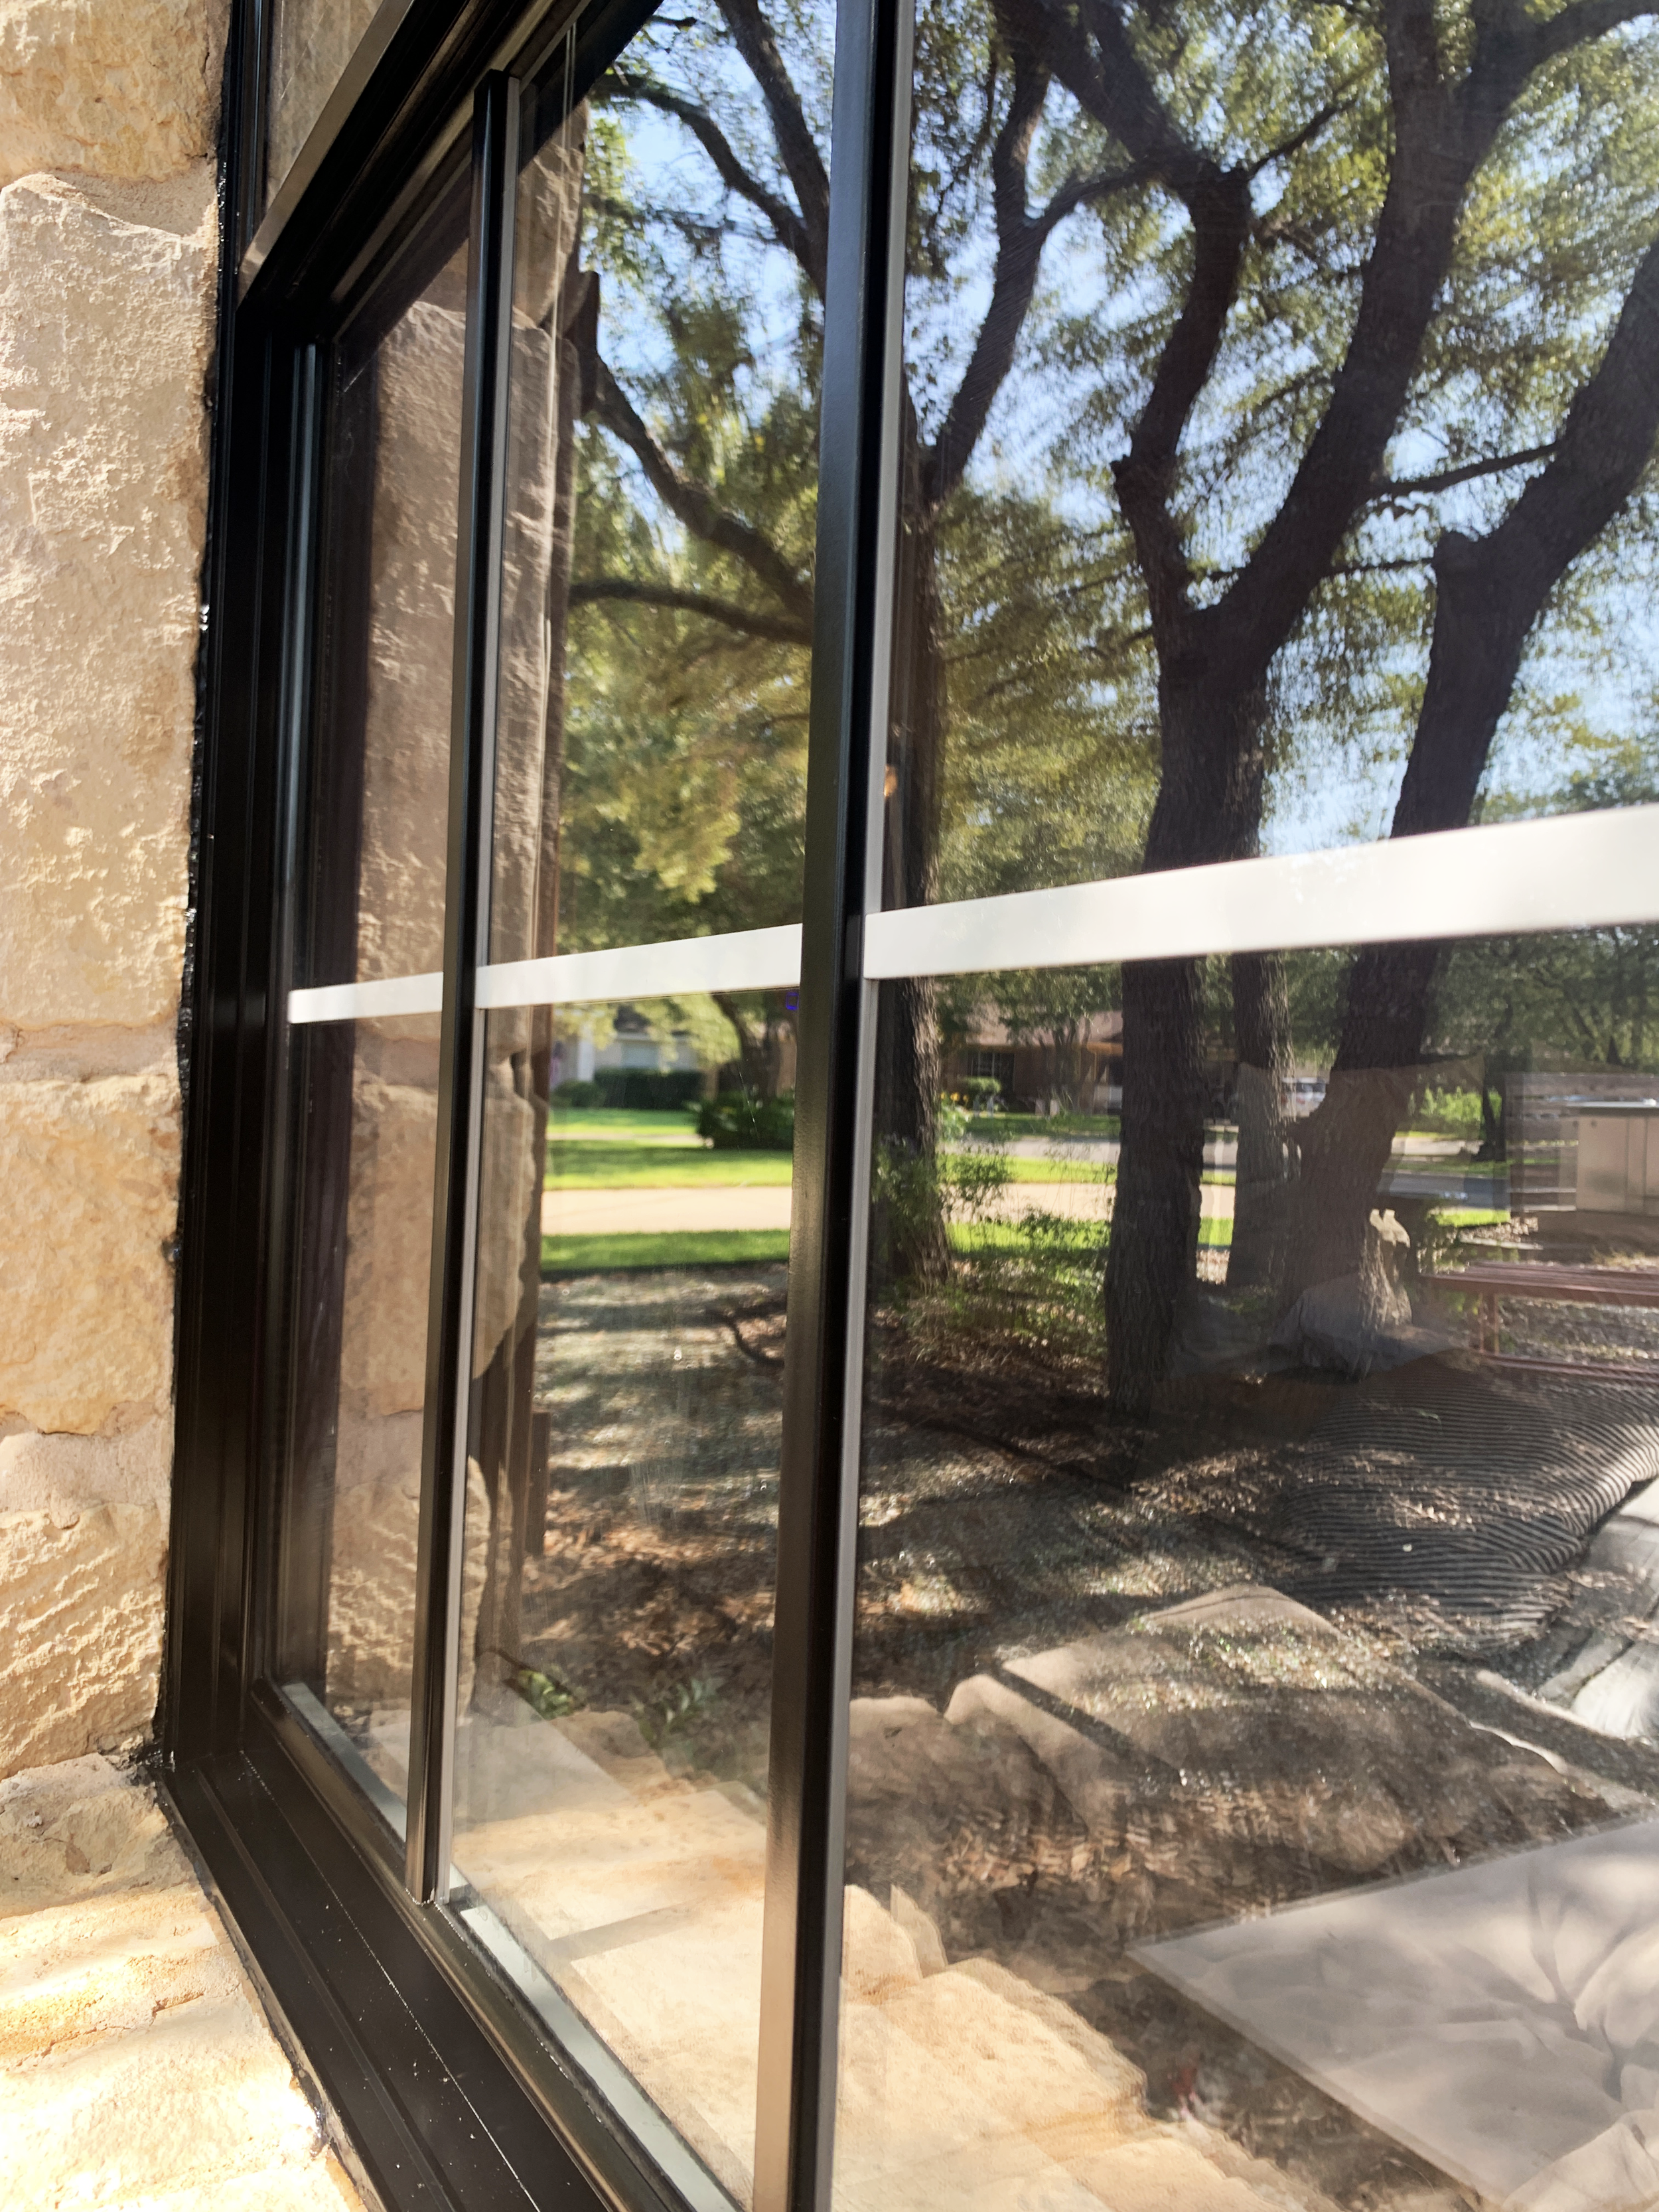
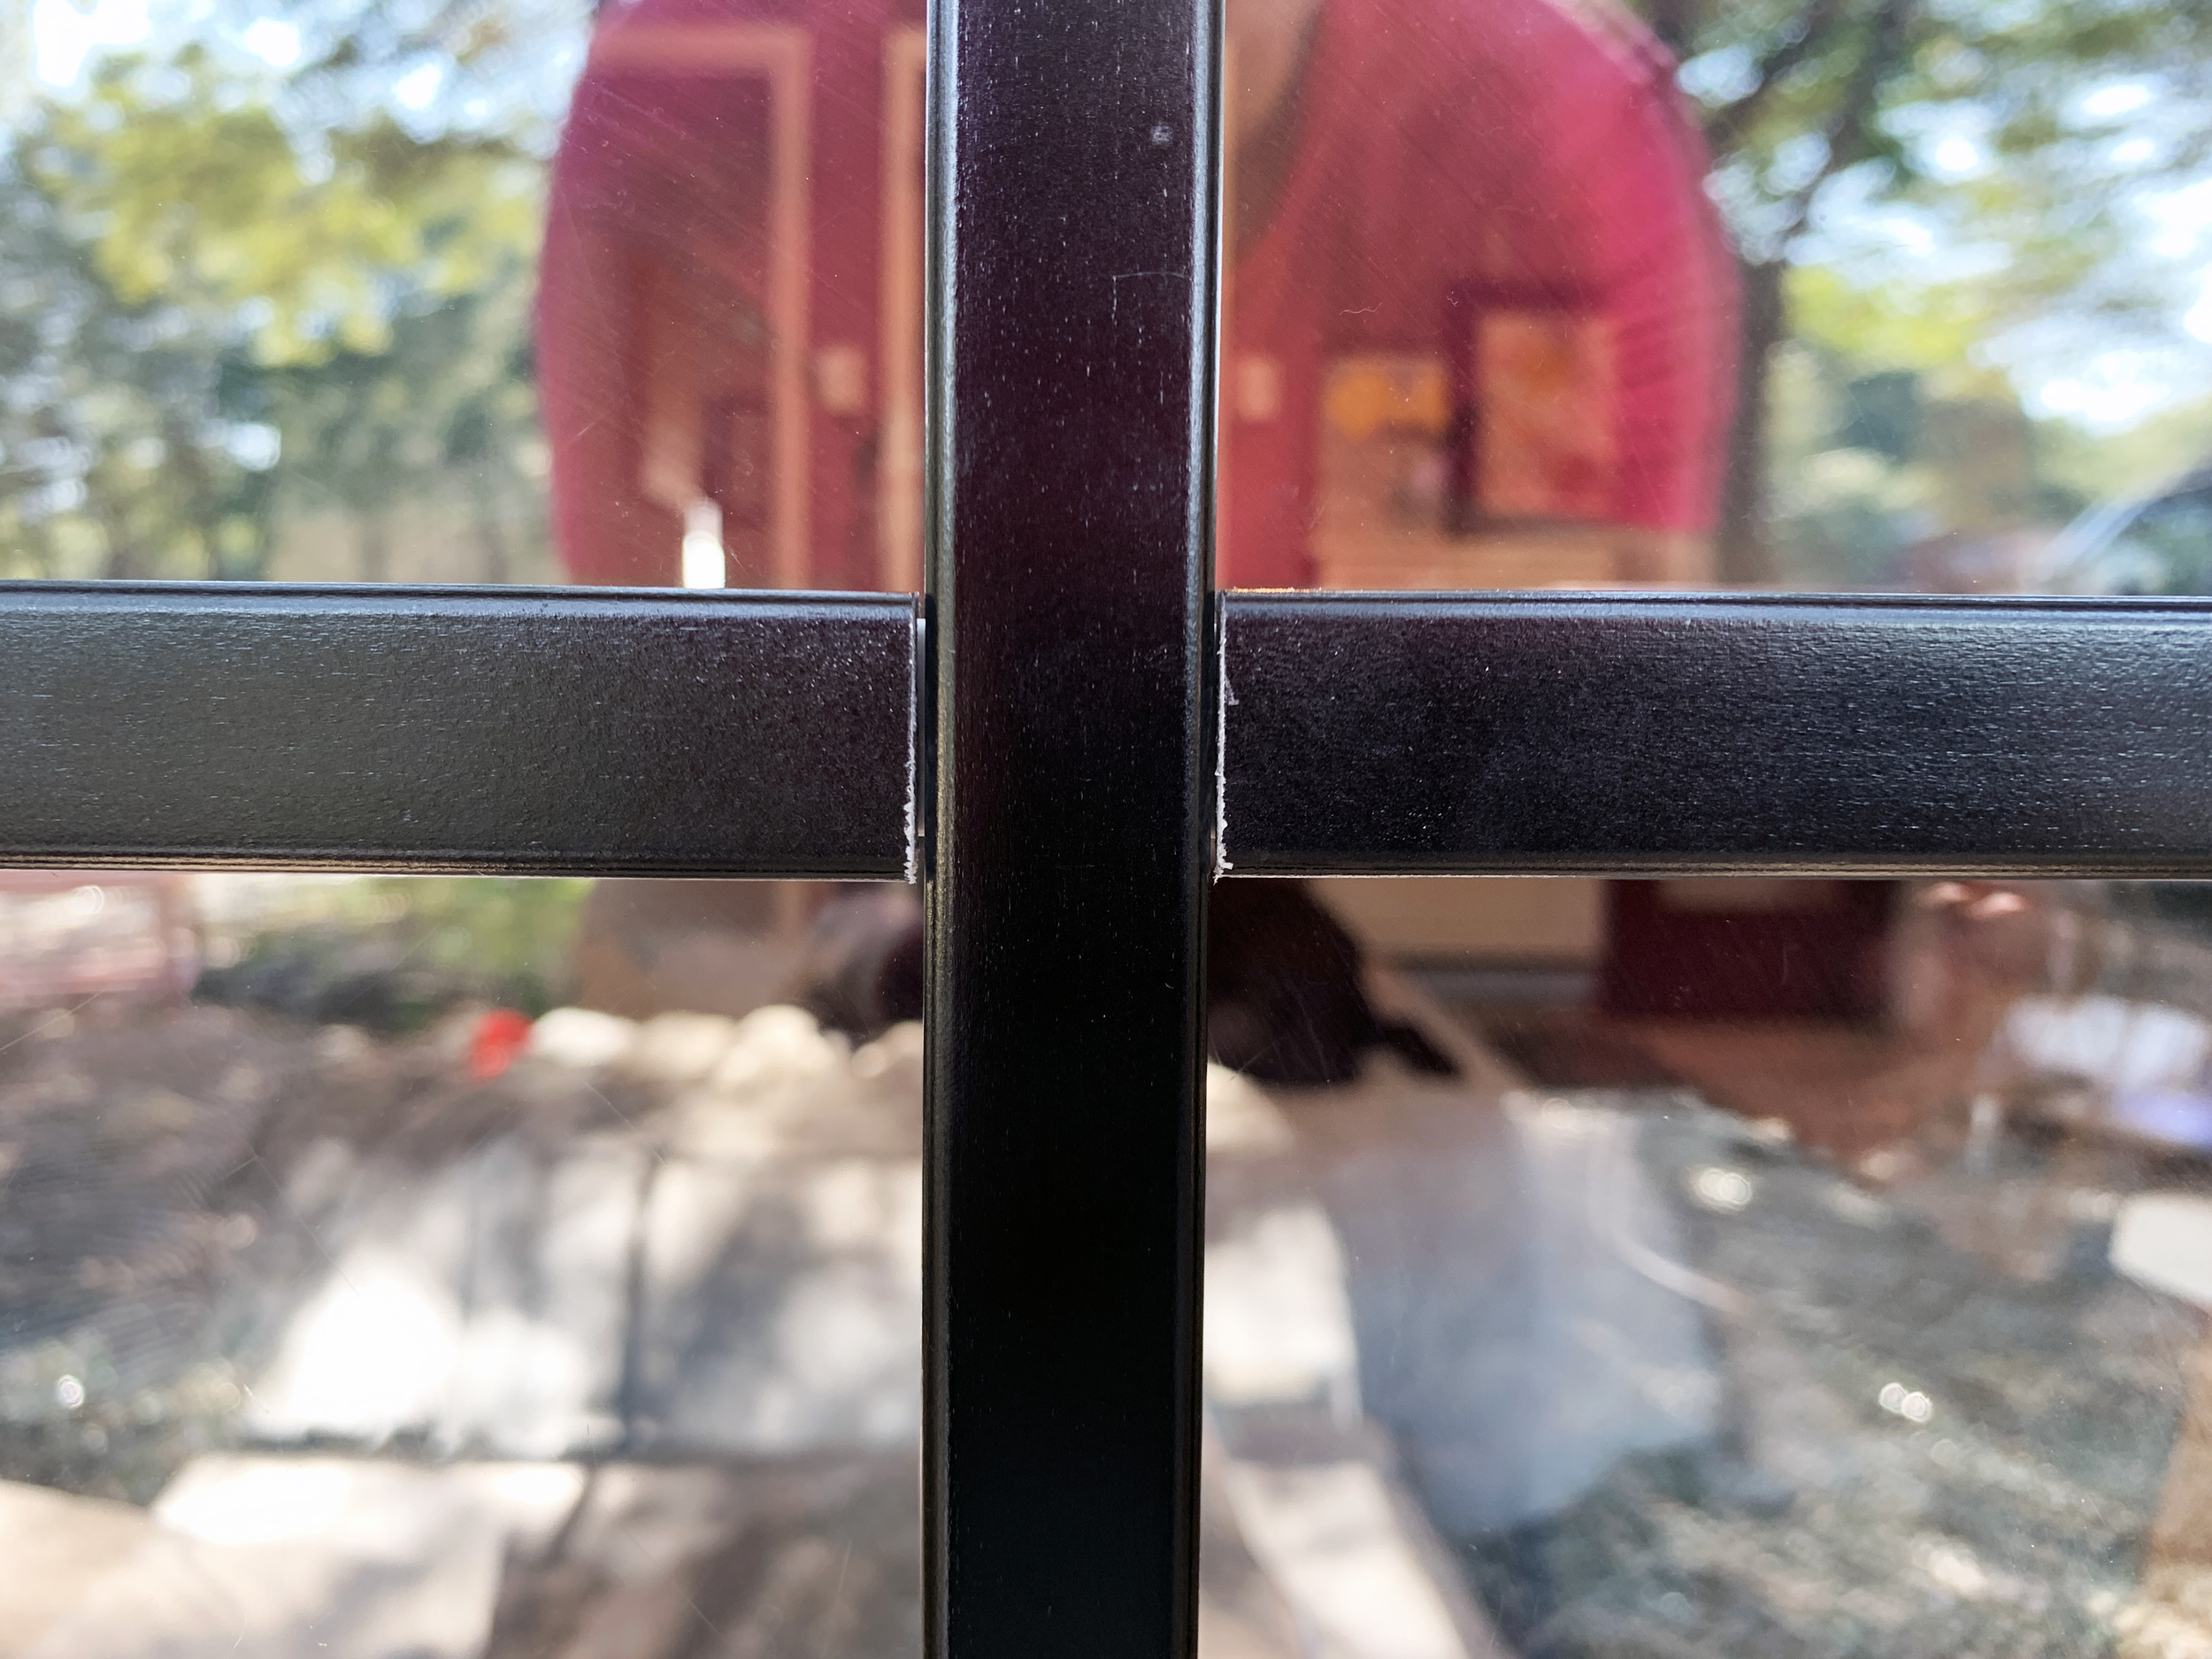
These are mullions:
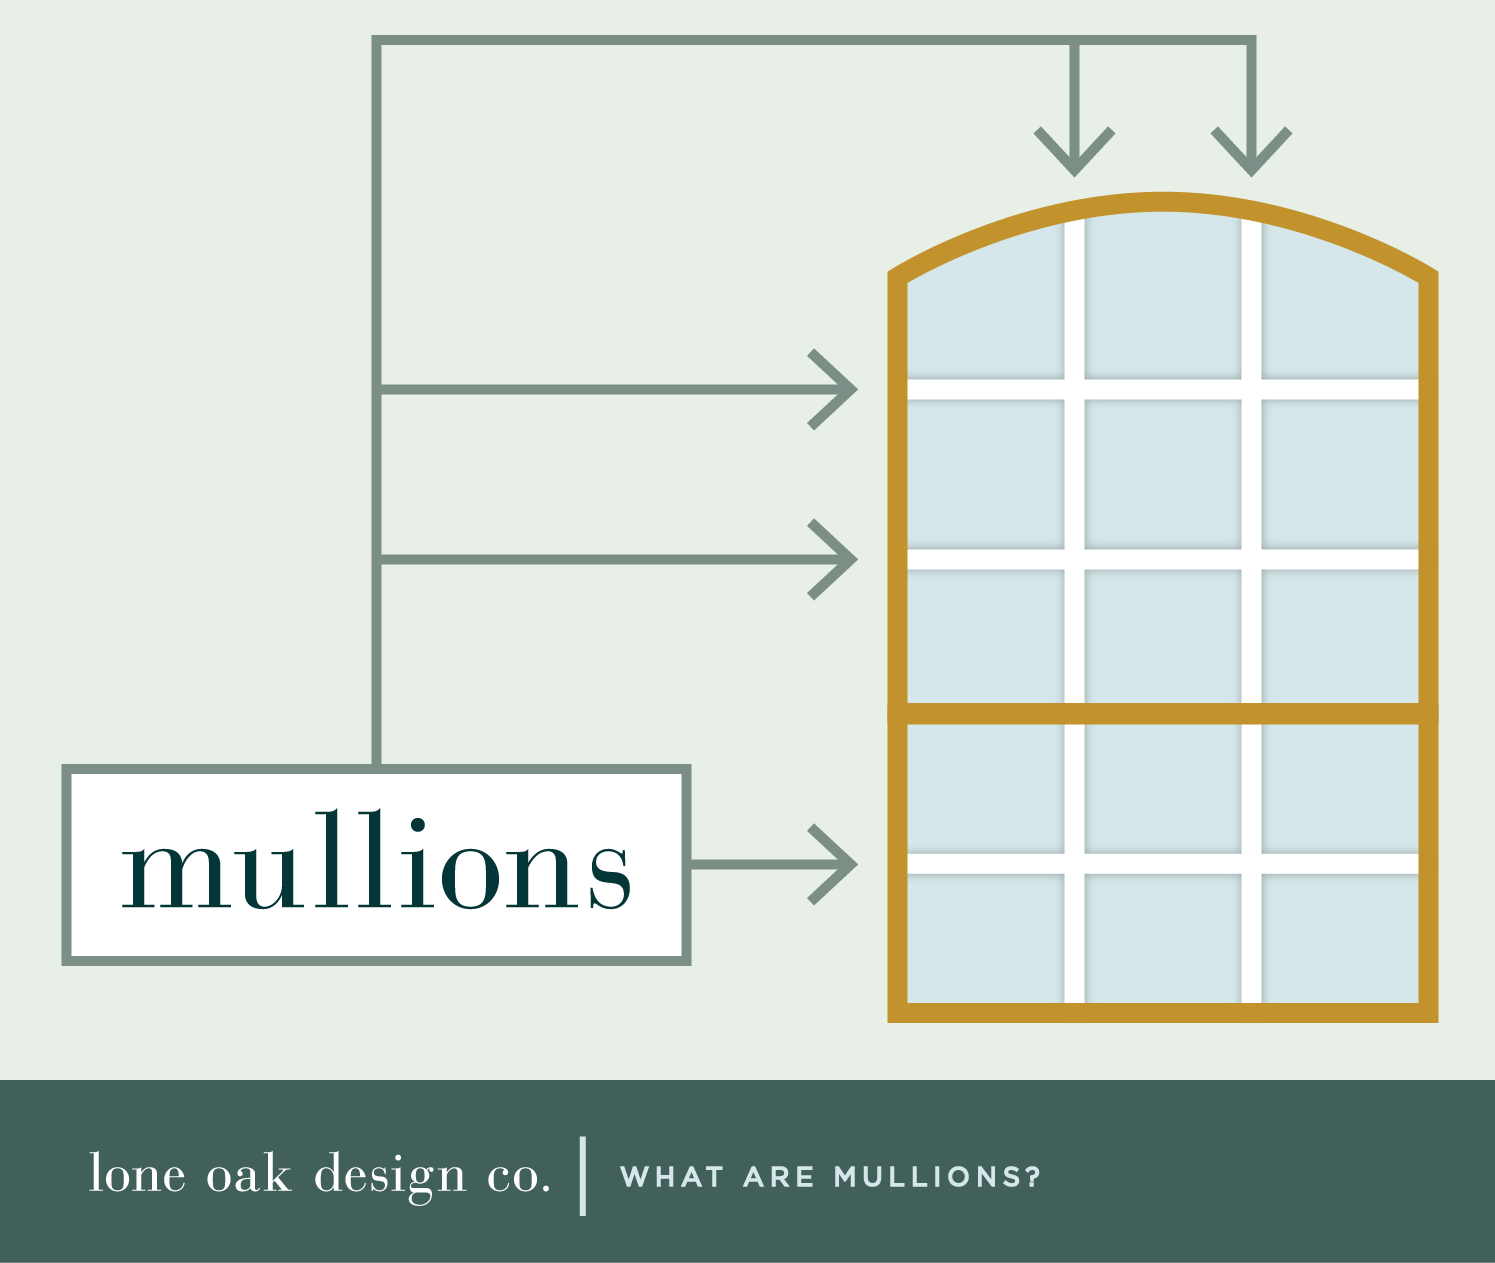
(Or you may know them as a grille, muntins, grids, or windowpane dividers.)
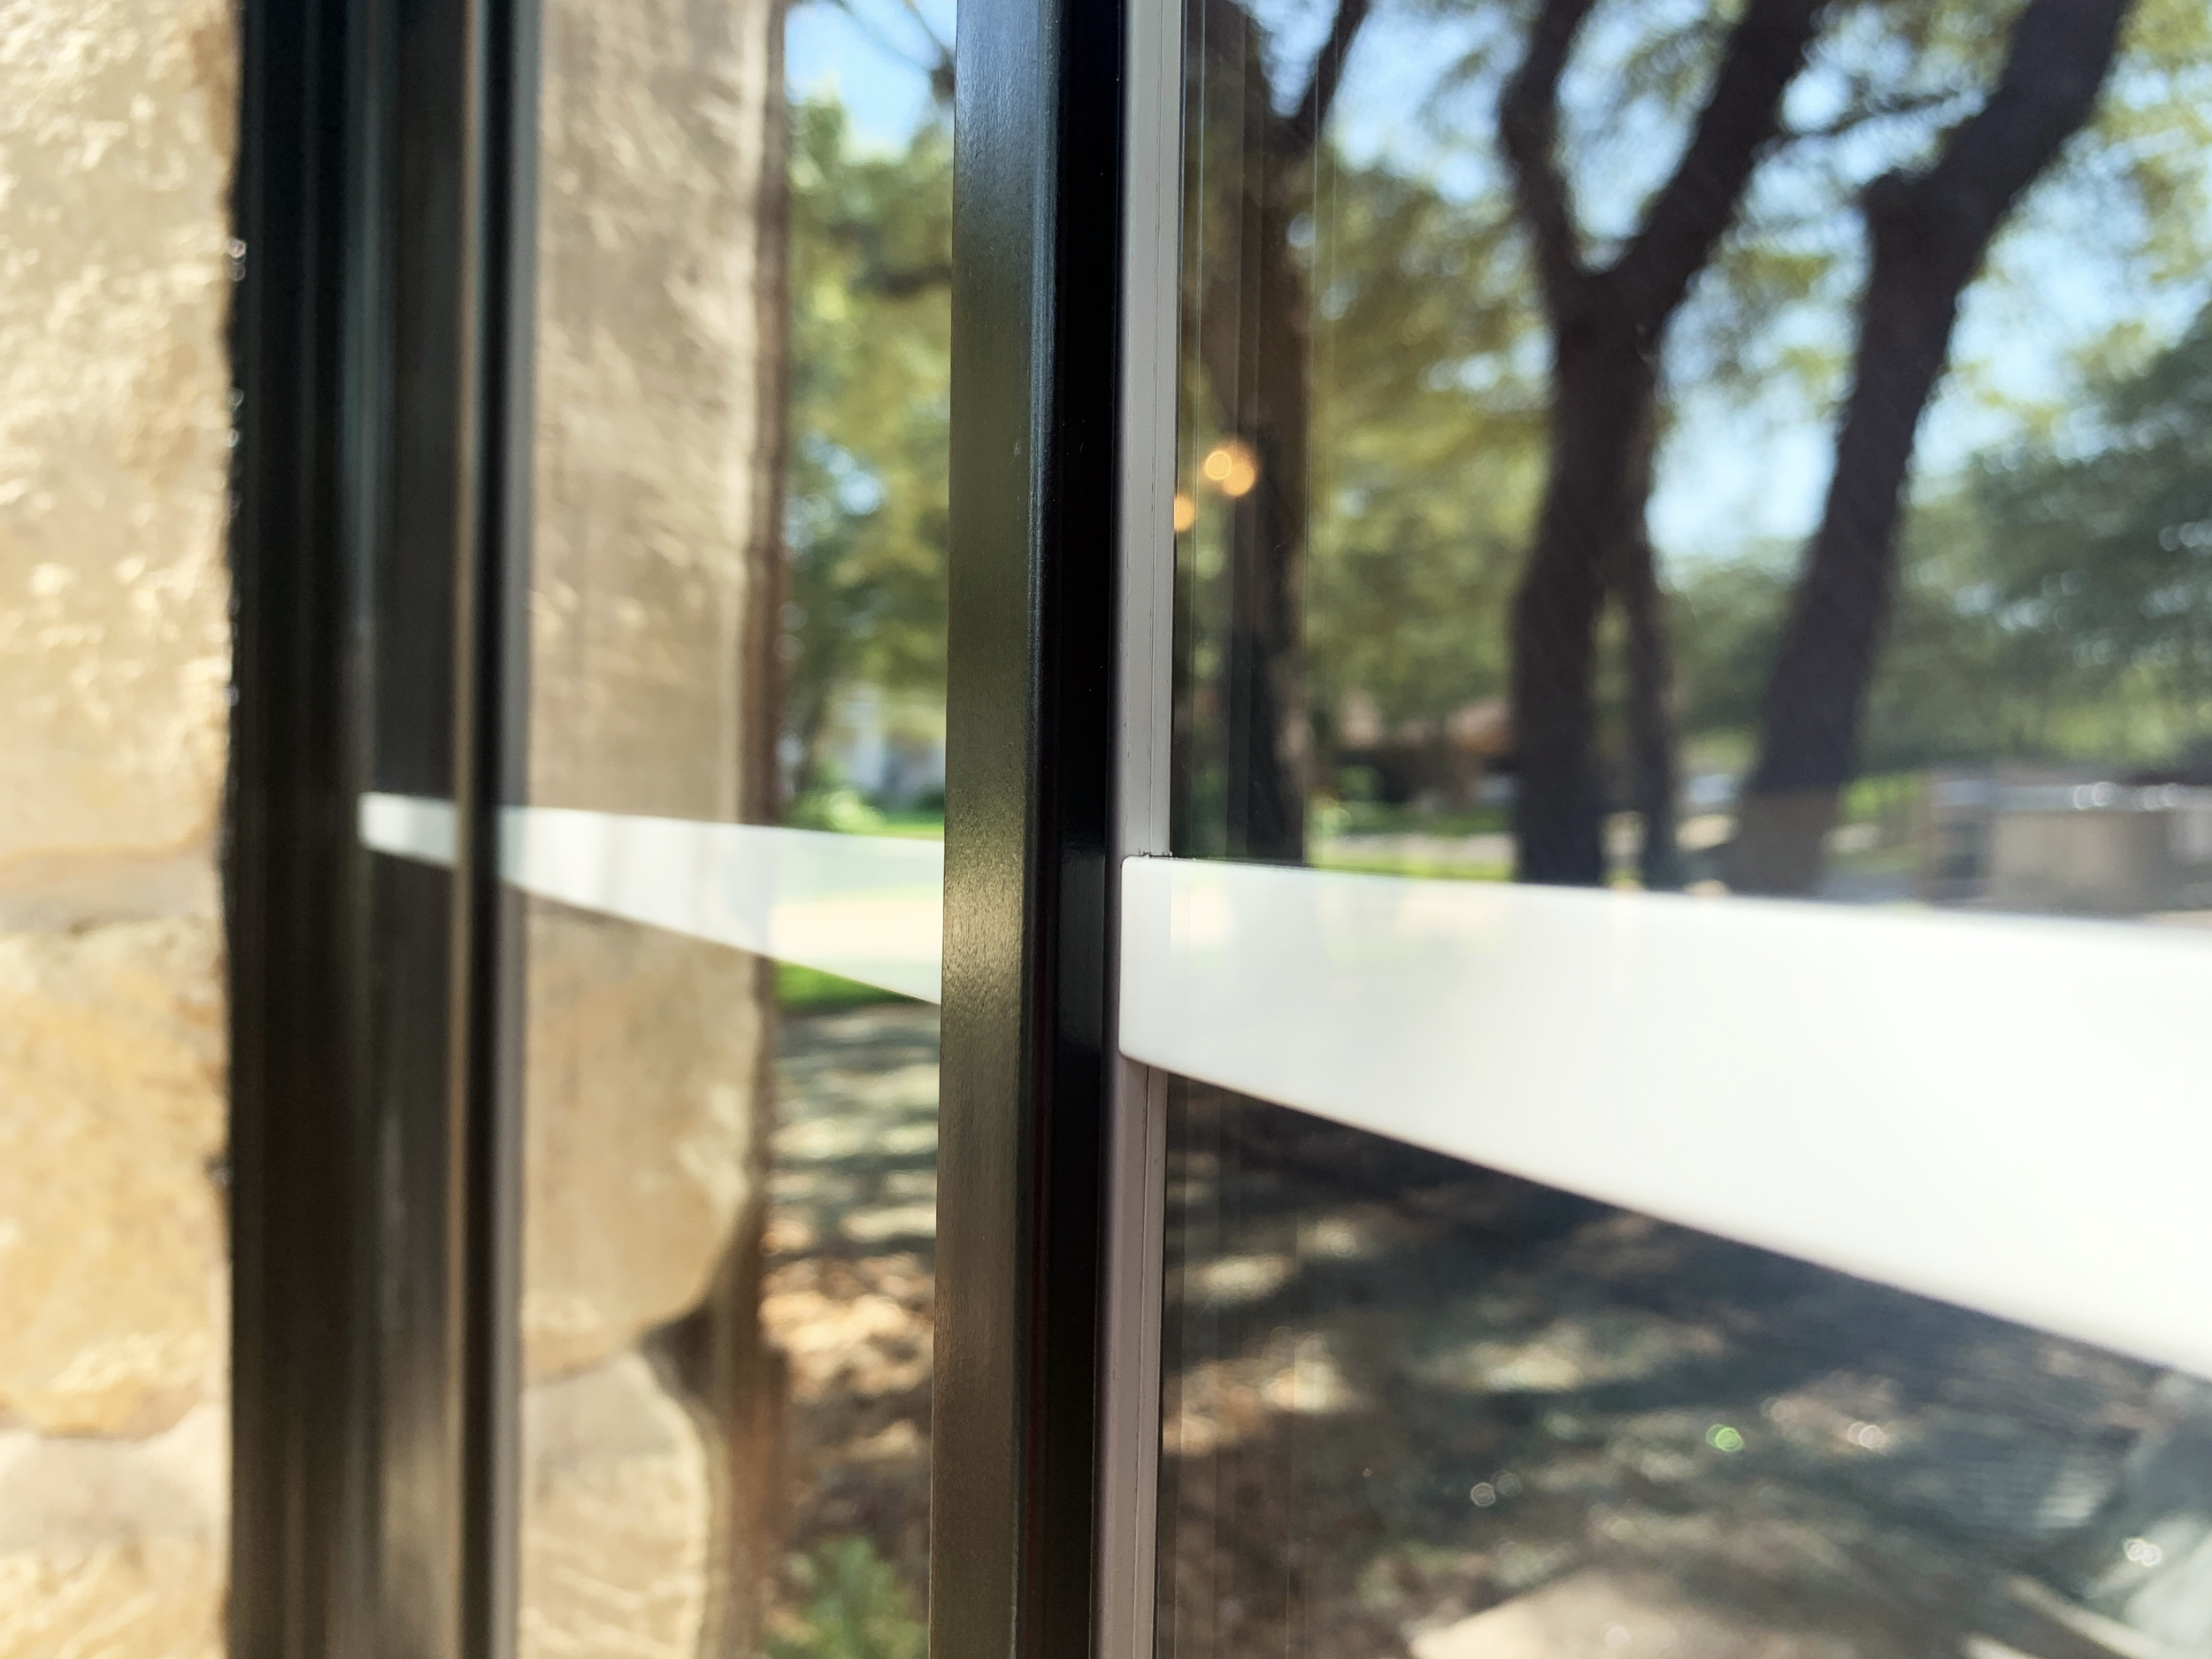
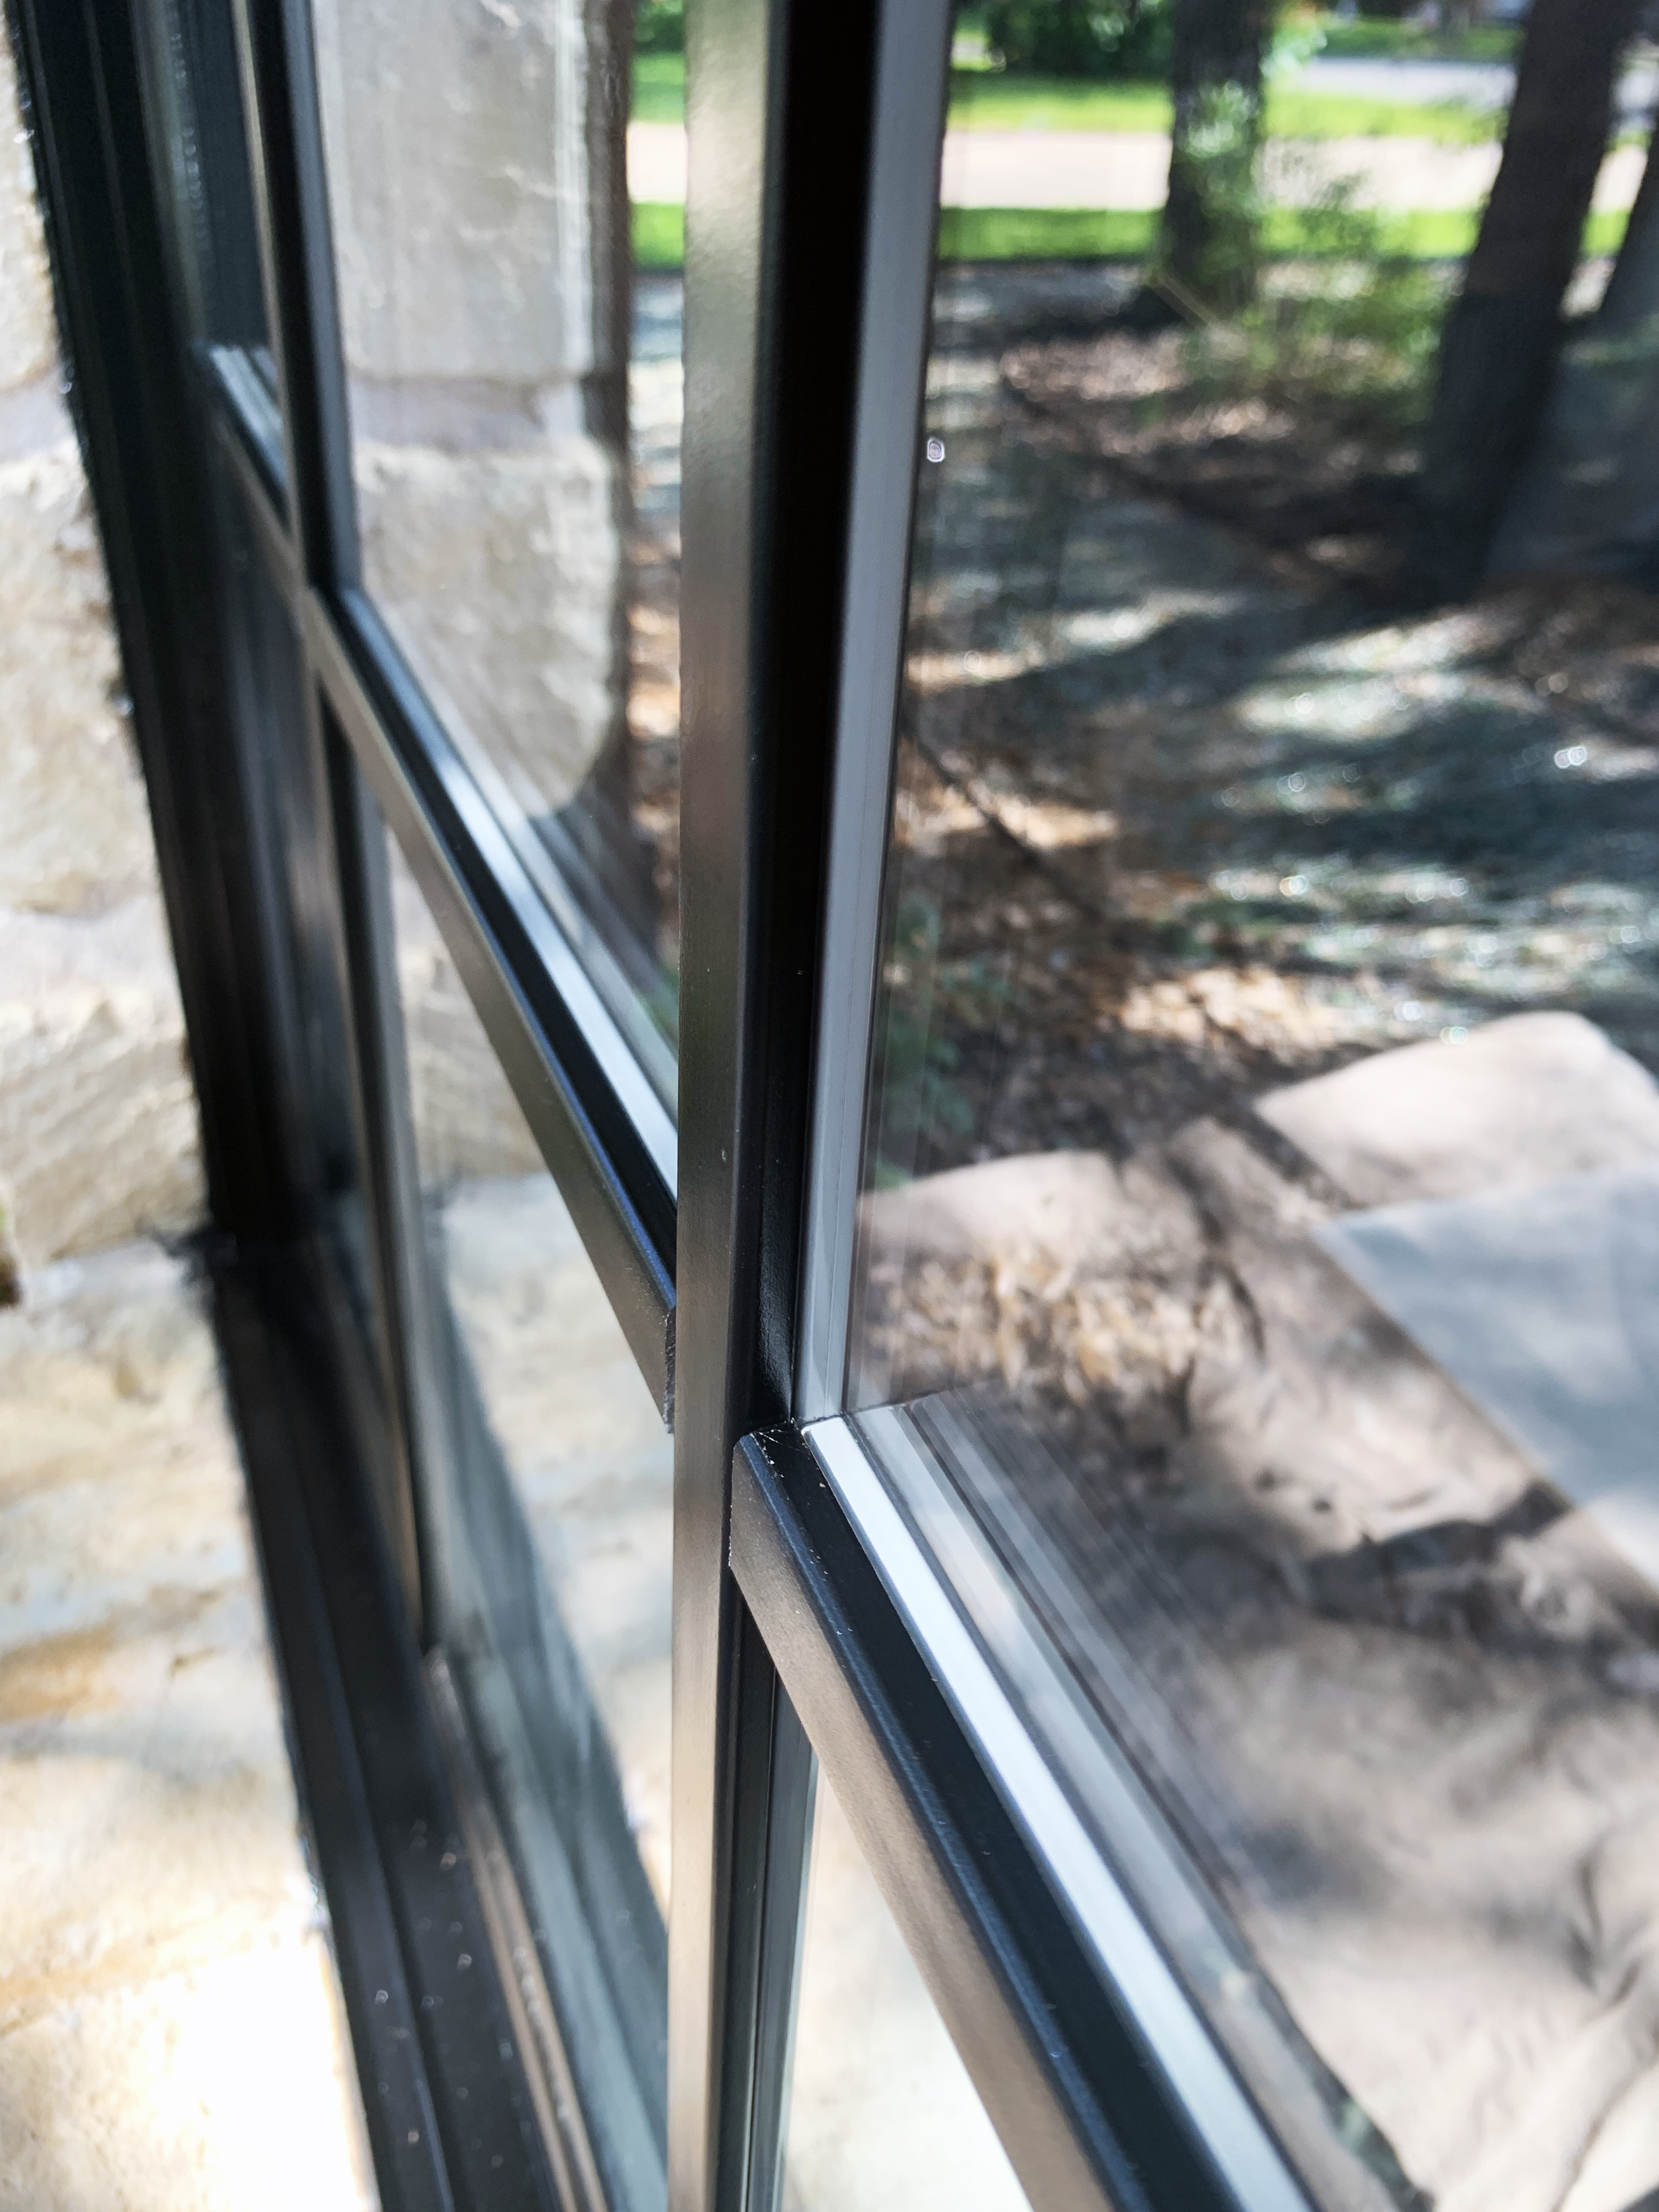
Basically they’re the little pieces of wood/vinyl/metal/etc. that divide the window glass into panes. They used to serve a structural function back in the day and now they’re used purely for aesthetics. They’re beautiful and can add some amazing interest and design to what could otherwise be a blank window (which don’t get me wrong, can be beautiful in their own right, especially if you’ve got a place with a view you don’t want to obstruct). They’re sometimes 3-dimensional and can be felt from the outside of the glass, but in our case these little buggers are sandwiched in between two glass panes.

(And because we’re friends, let’s just agree that this window is super dirty so you can better “see the glass panels” on the outsides with the white mullion trapped inside of it. K, thanks.)
AKA: Our mullions are pesky little untouchable aesthetic white strips, which makes repainting them near impossible. I say near because you could remove the window, delicately hulk rip the two glass pieces apart in both the top and bottom sashes of the window – which would make the special fancy gas trapped inside there for insulation escape, rendering it useless – pull the decorative mullion dividers out, paint them, re-install it all and then rehang the window in the wall, which means insulation and maybe stone work who knows.
Which, if you’re going to do all that and let the fancy energy-efficient gas out, why not just buy new even more energy-efficient windows that are black? (Which we desperately need to do when we have the funds to do it because ours are the original 1997 windows and they’ve seen better days, functionally speaking. But that’s a project and post for a different day.)
Which brings us to…
Our black window solution
Y’all, I’m super pumped we were able to figure out a solution for all of us inner-mullion folks who have been dying for a window makeover
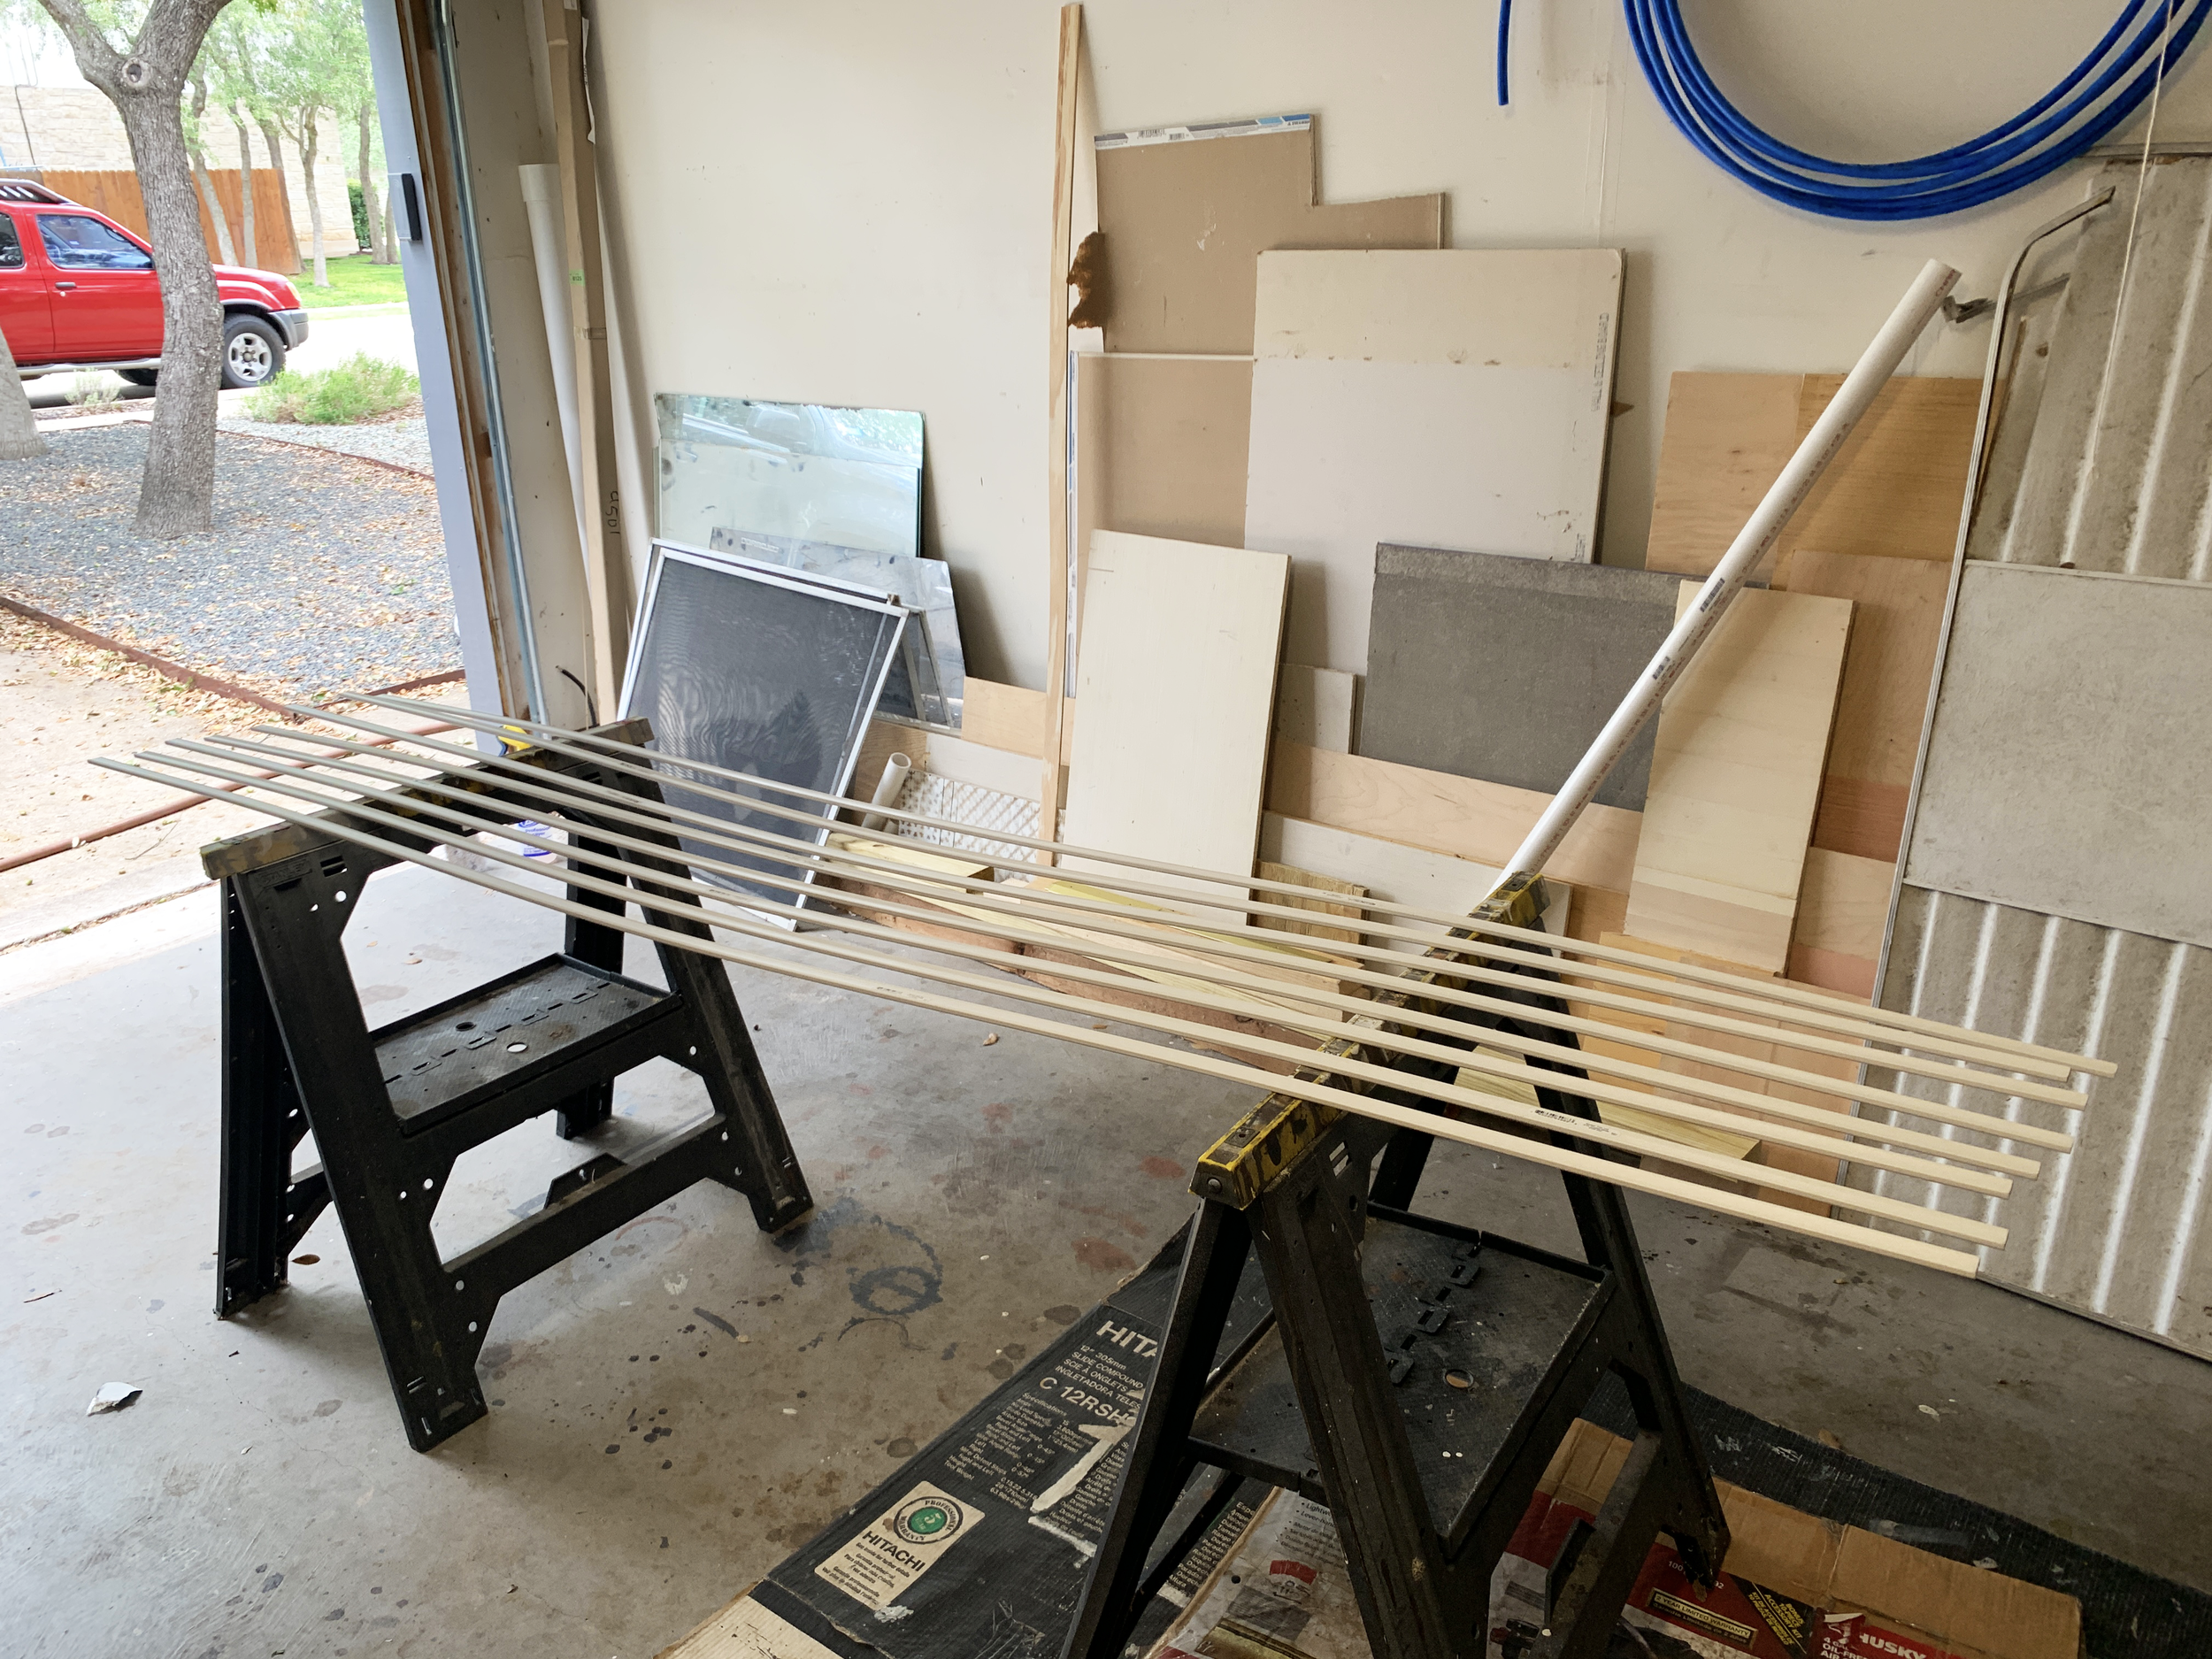
Note: This post/materials list covers TWO 36x70” windows – After finishing these two windows, the only things I need to re-stock to do the remaining 8 are the polystyrene mouldings, spray paint, and painter’s tape. Everything else goes a VERY long way, so you won’t have to multiply the full $50 for every two windows you have, especially if you have smaller windows.
Our shopping list for TWO 36x70” windows:
(6) 3/4”x8’ polystyrene mouldings – $15; these aren’t wood and are made for high-moisture areas
(2 cans) black spray paint – $9
Masking paper – $4; to protect the stone from overspray
Painter’s tape – $10; I used the regular wide green stuff, but if I were to do it again I might try the kind made for masonry for a little bit better stick.
Black caulk – $7
Other materials we already had on hand:
Miter saw
Measuring tape + pencil
Sawhorses – for holding the strips while spray painting. You could use the garage floor if it’s clean – does this exist for normal people?!
Lint-free rags
TSP (or other cleaner that degreases) + scrub brush + water hose + Windex/glass cleaner + microfiber rags + flat razor – for cleaning the windows well beforehand and during various parts of the project.
Lexel clear PAINTABLE solvent caulk – you might not need this, but I took the time to do some preventative/overdue maintenance beforehand and filled some gaps that I saw between the windows and our masonry.
Xacto knife + #11 blade – for making sure you didn’t paint your window shut.
Step 1: Clean + clean some more
If you’re a super with it homeowner, your windows may already be way cleaner than ours, but because we have cleaned them like twice ever, I had some work to do.
Unfortunately I didn’t take photos of this, but just know it’s a lot of scrubbing, after I removed the window screen.


Using a garden hose with the nozzle sprayer on it, a scrub brush and TSP in a spray bottle (diluted to the instructions on the bottle), I scrubbed and scrubbed to remove spiderwebs, dirt and grime, etc. on the outside of the window and the metal window frame. I also noticed some rogue old dried caulk bits in a few spots on the window frames so I used a flat razor to scrape them off here too. The goal is to have a nice dirt-free, bump-free canvas for your paint so prep here can make all the difference in the texture and longevity of the paint.
It’s important to note that you want to be careful when spraying your windows with water, especially if you’re using a power washer. It could break the seal of the windows and cause leaks if you’re too rough.
After the windows were squeaky clean, I let them dry while I moved onto…
Step 2: Spray paint trim pieces
I spaced the trim mouldings out, finish-side-down on our sawhorses to paint the backs and sides of them first. I learned to start by spraying the sides (while the trim is face down) first, because the overspray kind of sprays the back of the trim which means you’ll need less paint applied directly to the tops (backs), which means less wasted paint. (Yay!)
Spray in long sweeping (and slightly overlapping) motions to avoid pooling puddles of spray paint. More thin coats are definitely better than fewer thick drippy ones when it comes to getting a quality finish with spray paint.
Anyone else’s garage a haphazard collection of drywall/plywood/concrete backer board, etc. scraps “just in case” you need them for another project??
I did it this way so if any of the backs of the trim pieces got a little dinged or scratched when I flipped them over to spray the fronts, it wouldn’t be a huge deal since we’re mainly just doing the backsides for color and they won’t really be seen as they’ll be covered from the inside-of-your-house view by the already existing window mullions (and then also when I do basically this same thing to the window interiors later – like a little mullion sandwich).
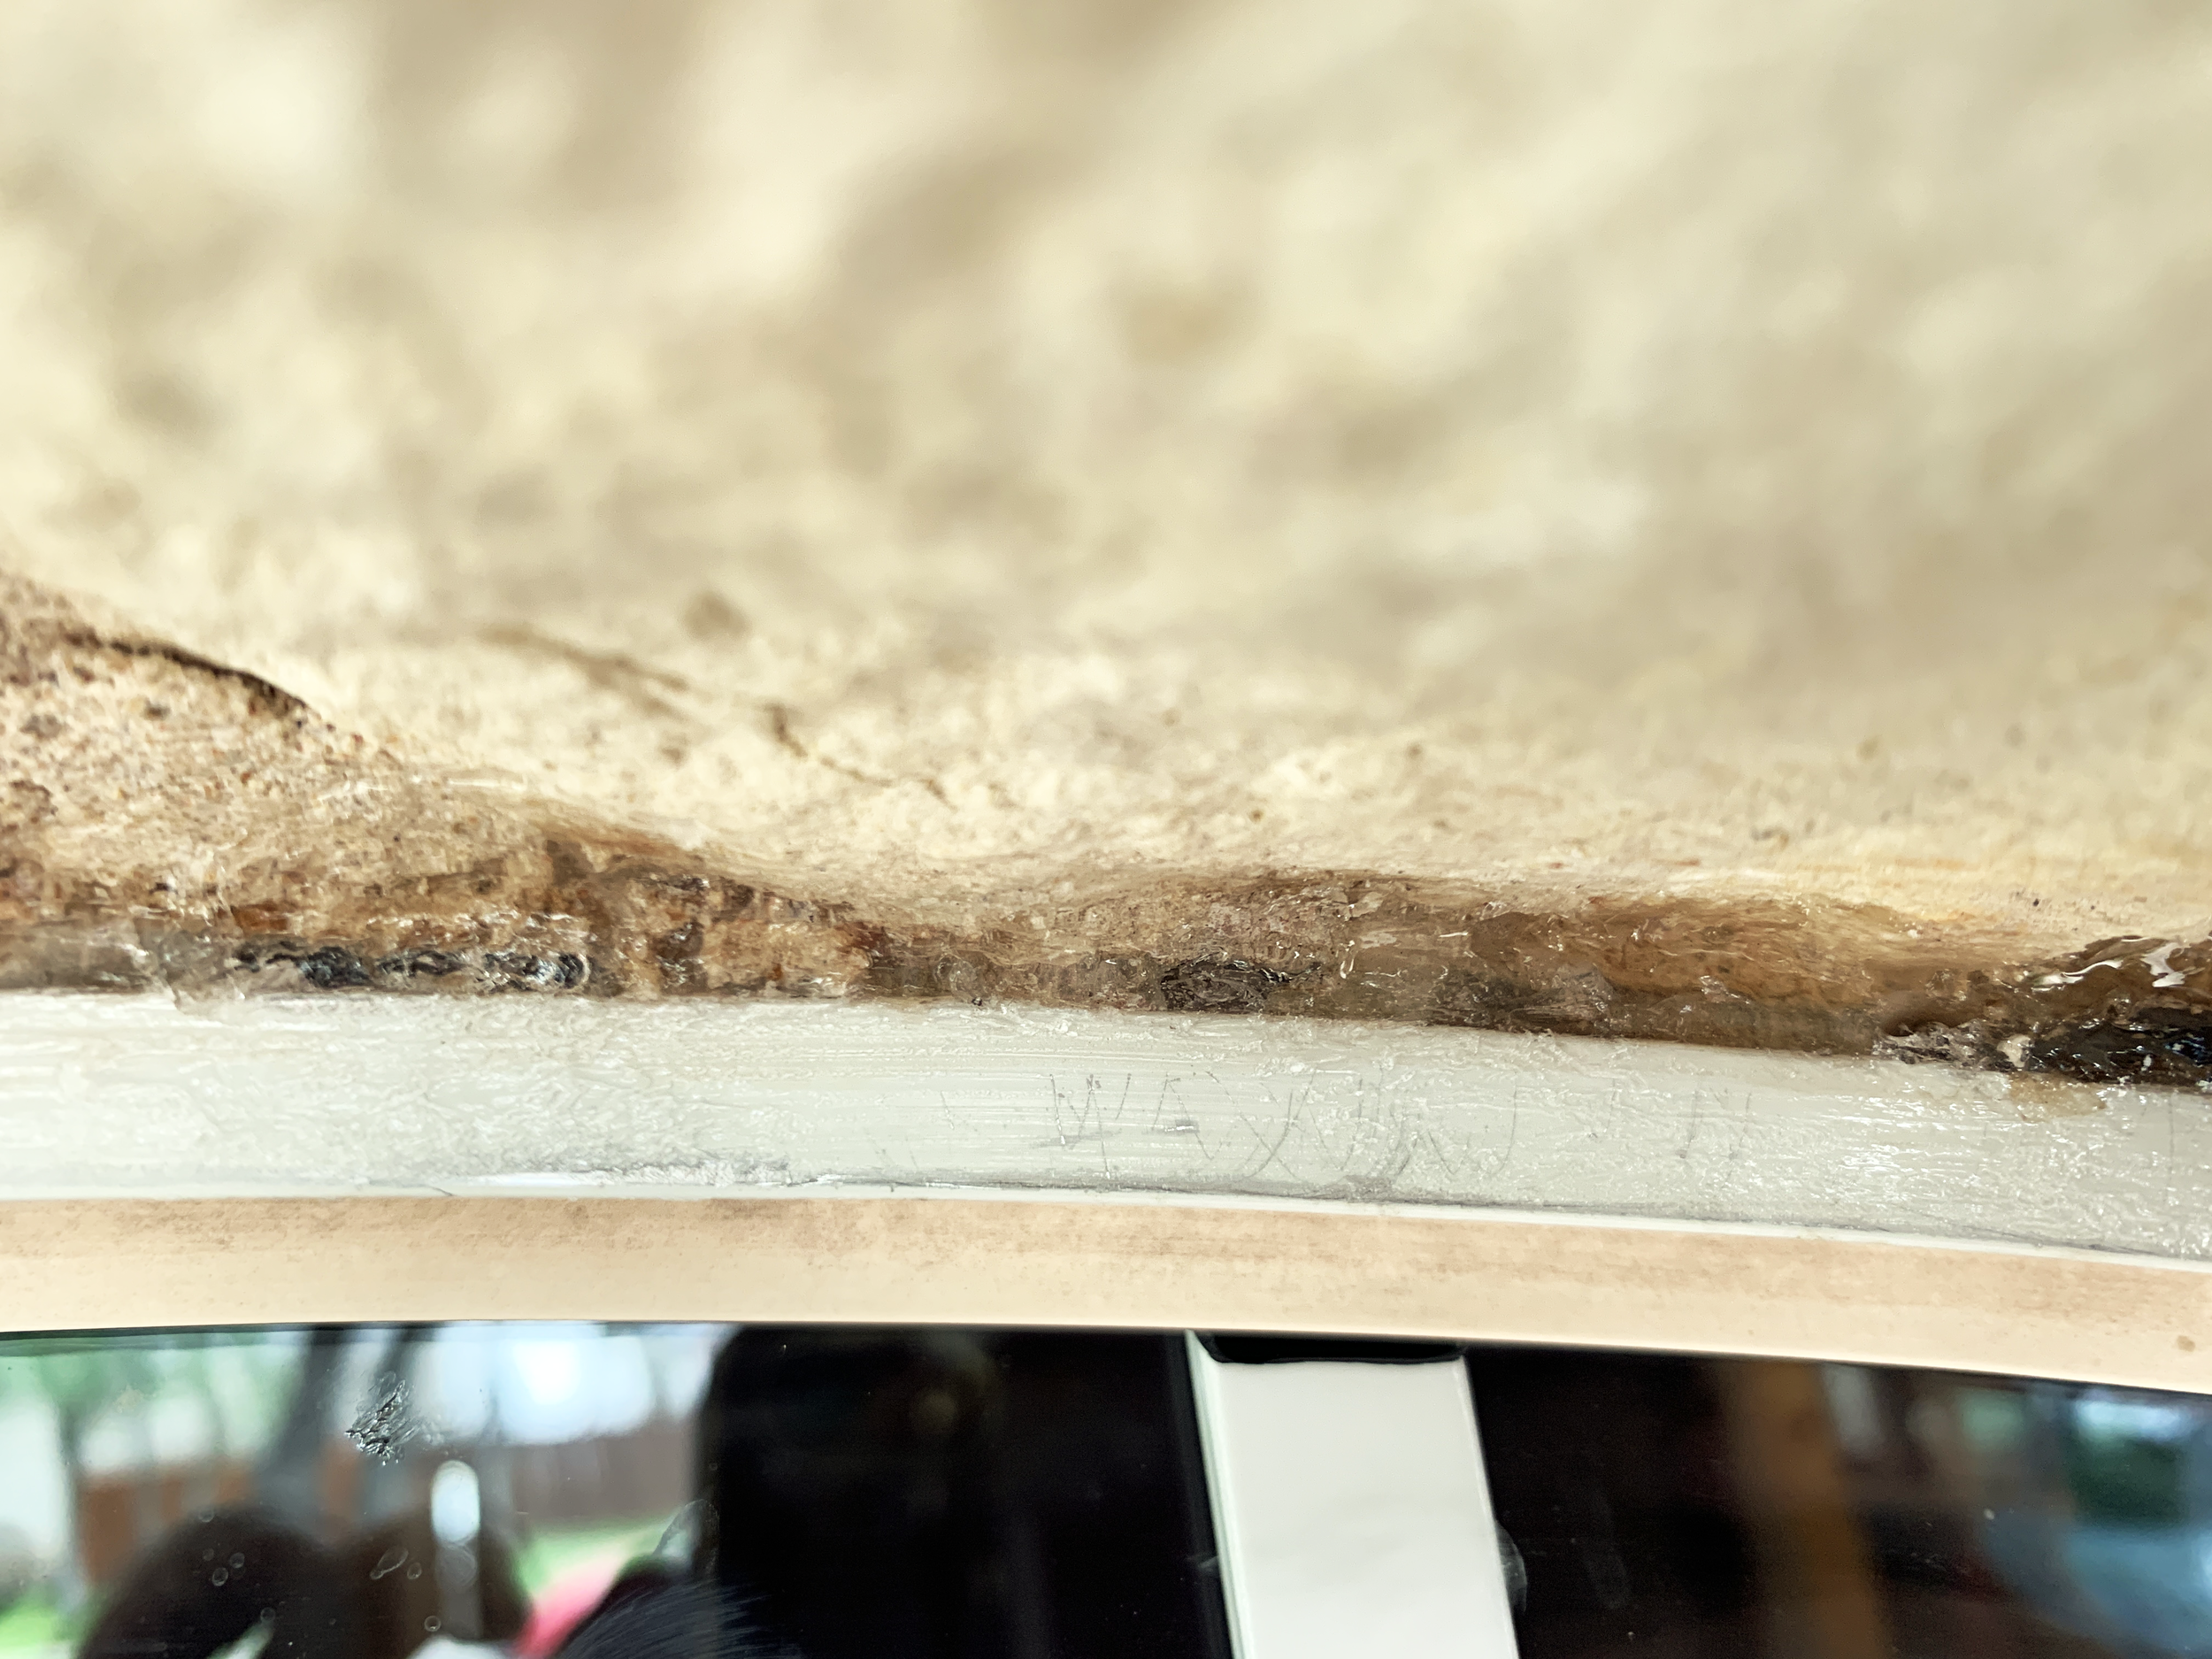
Step 3: Fill any holes in masonry, etc.
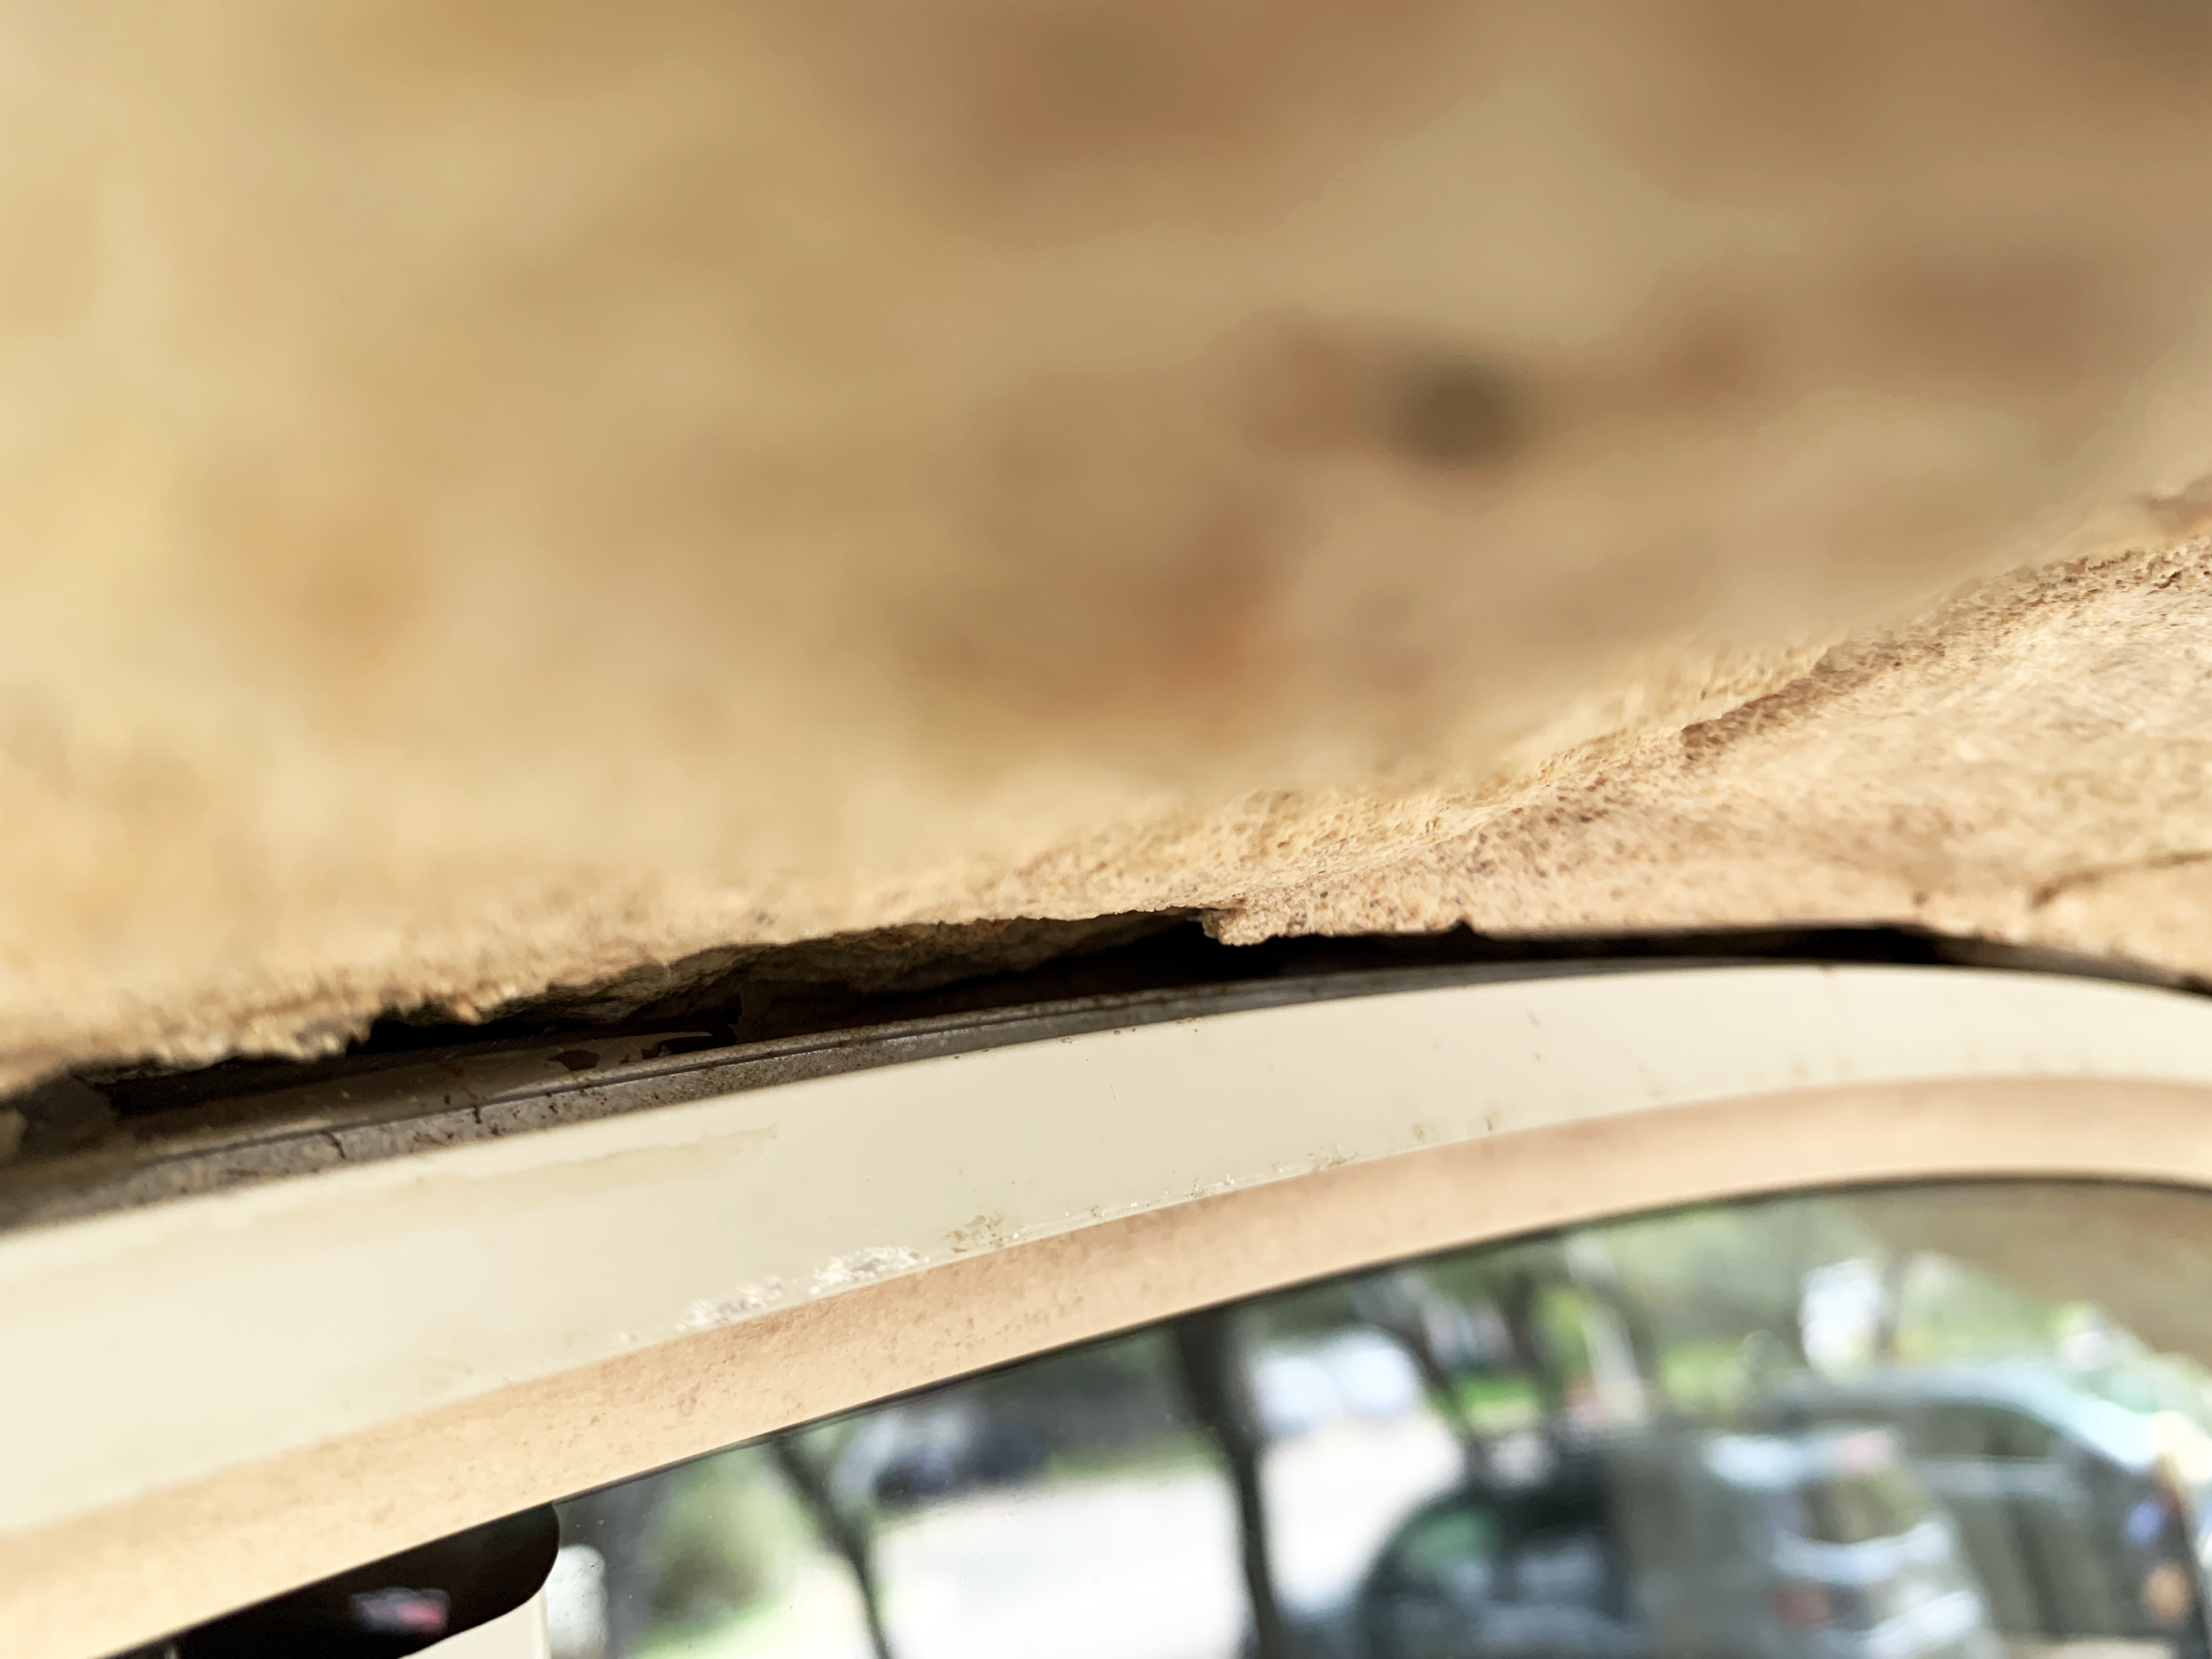
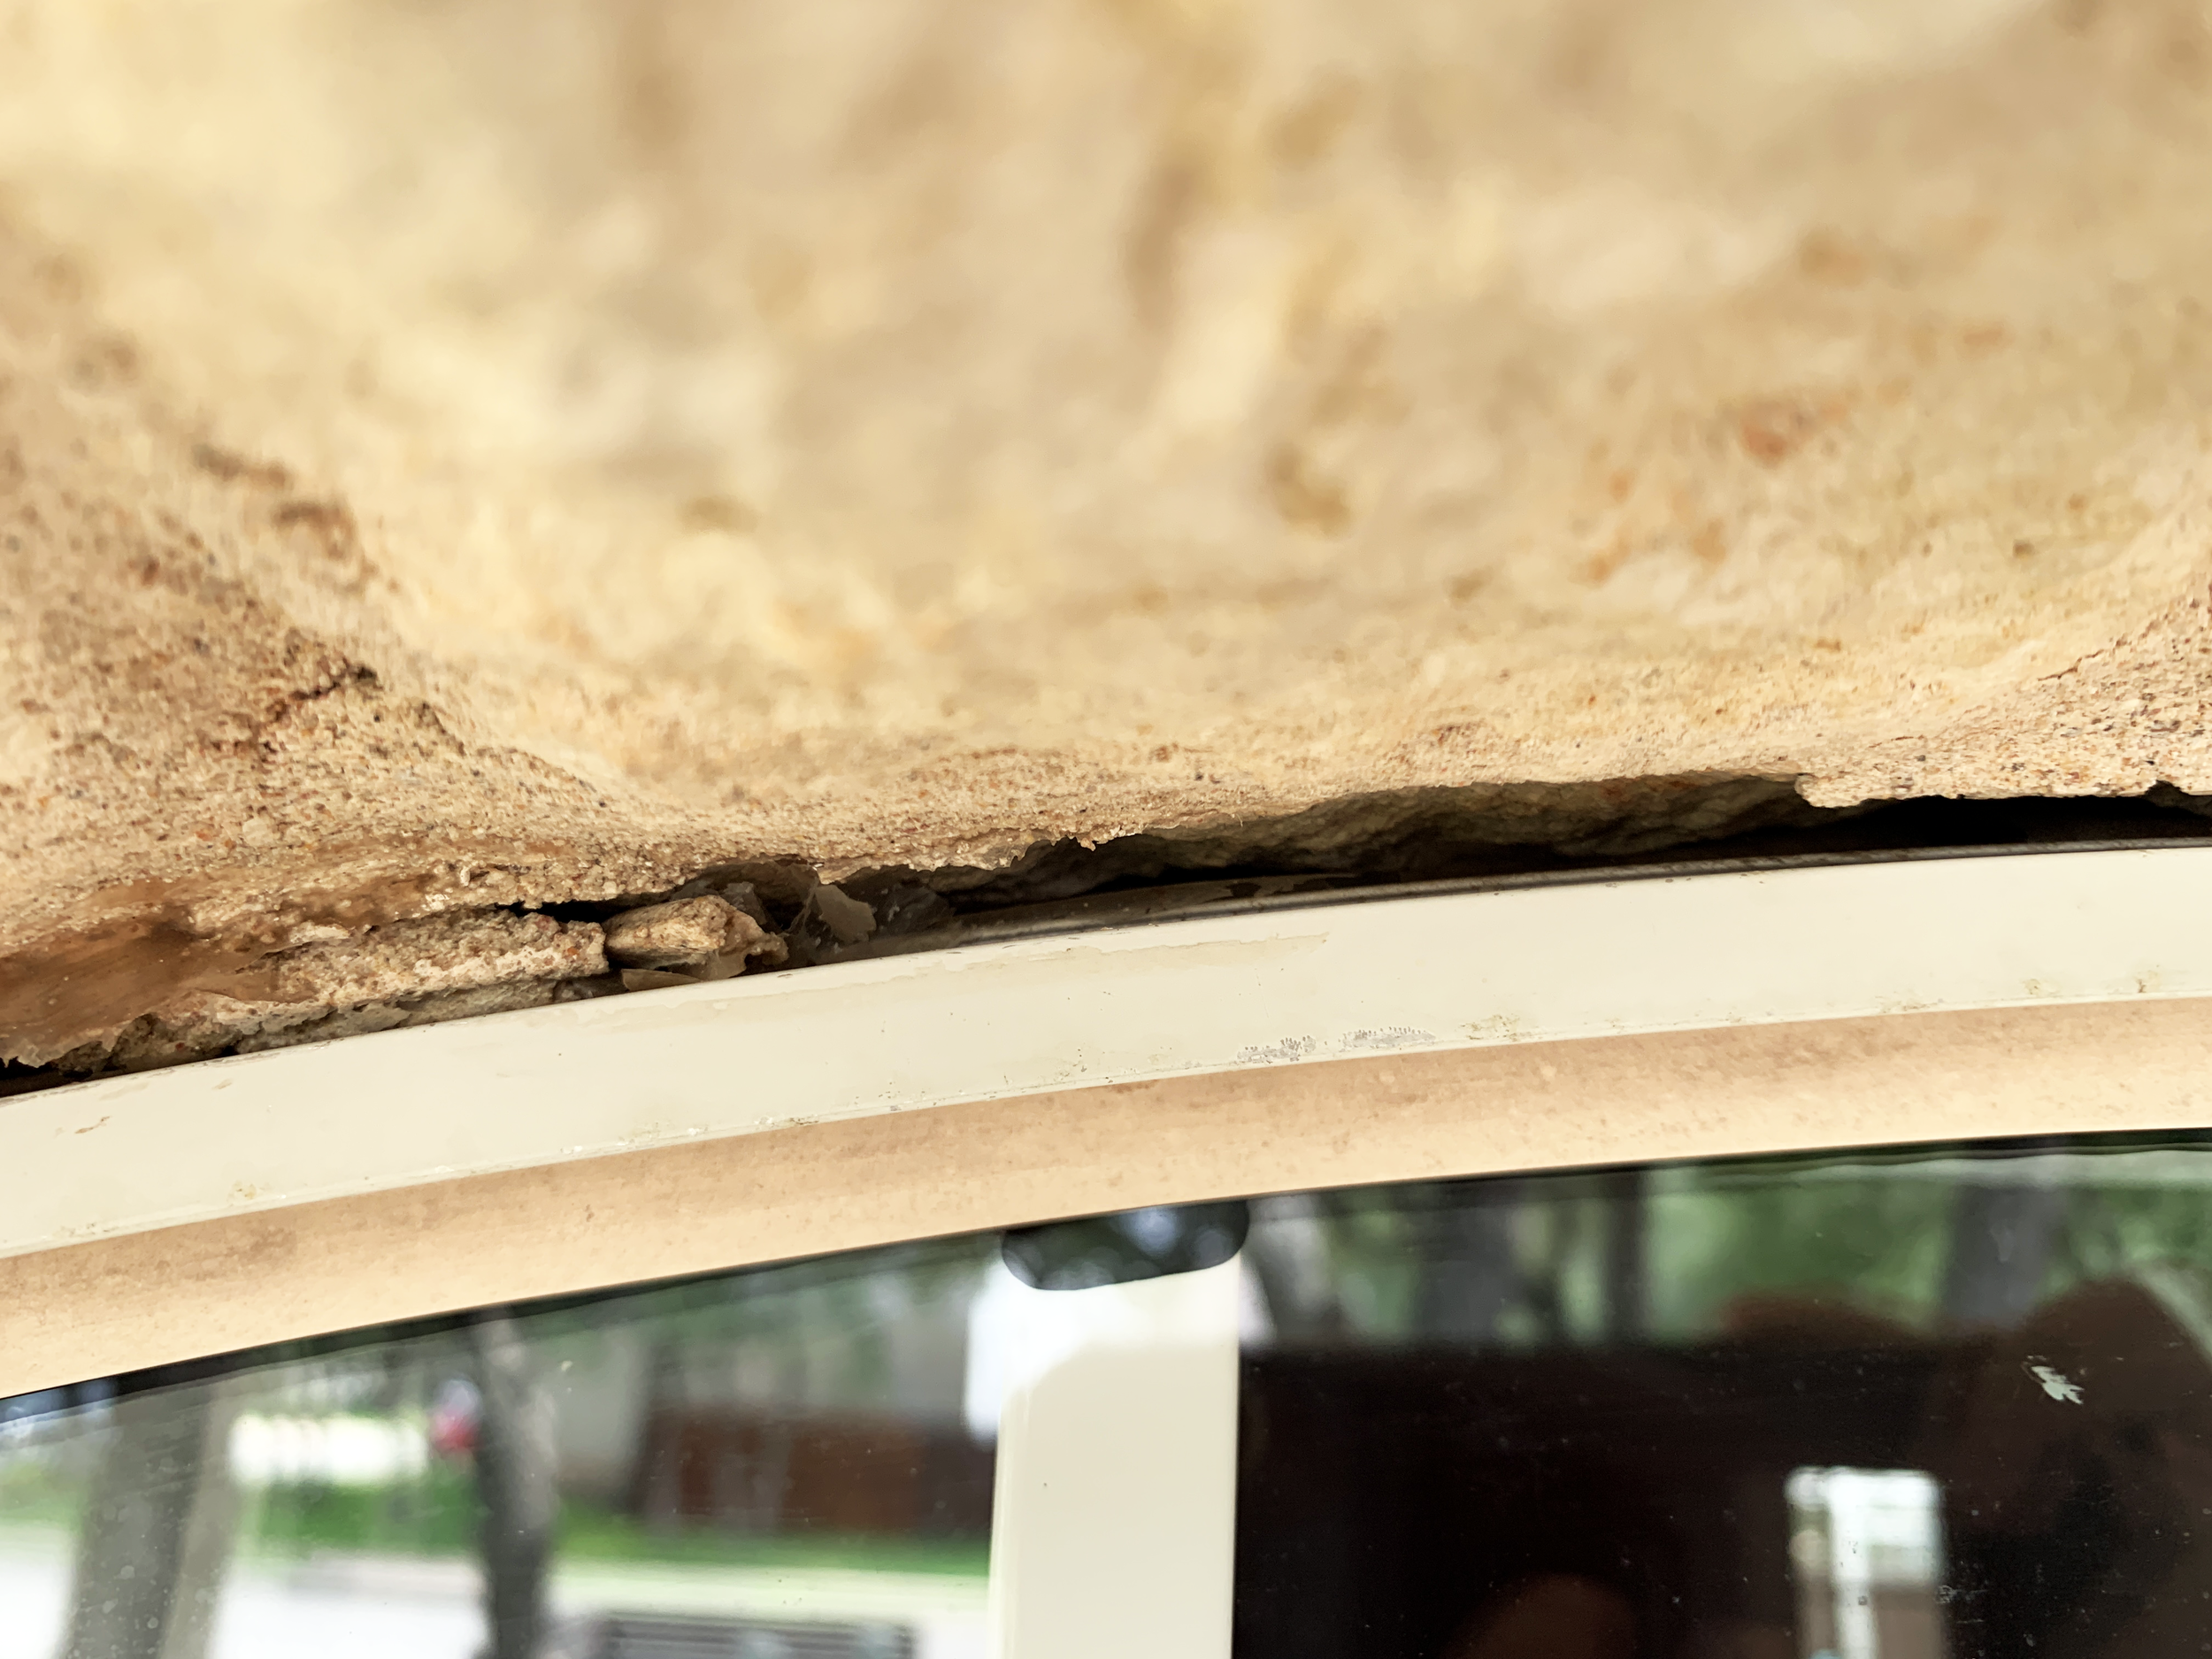
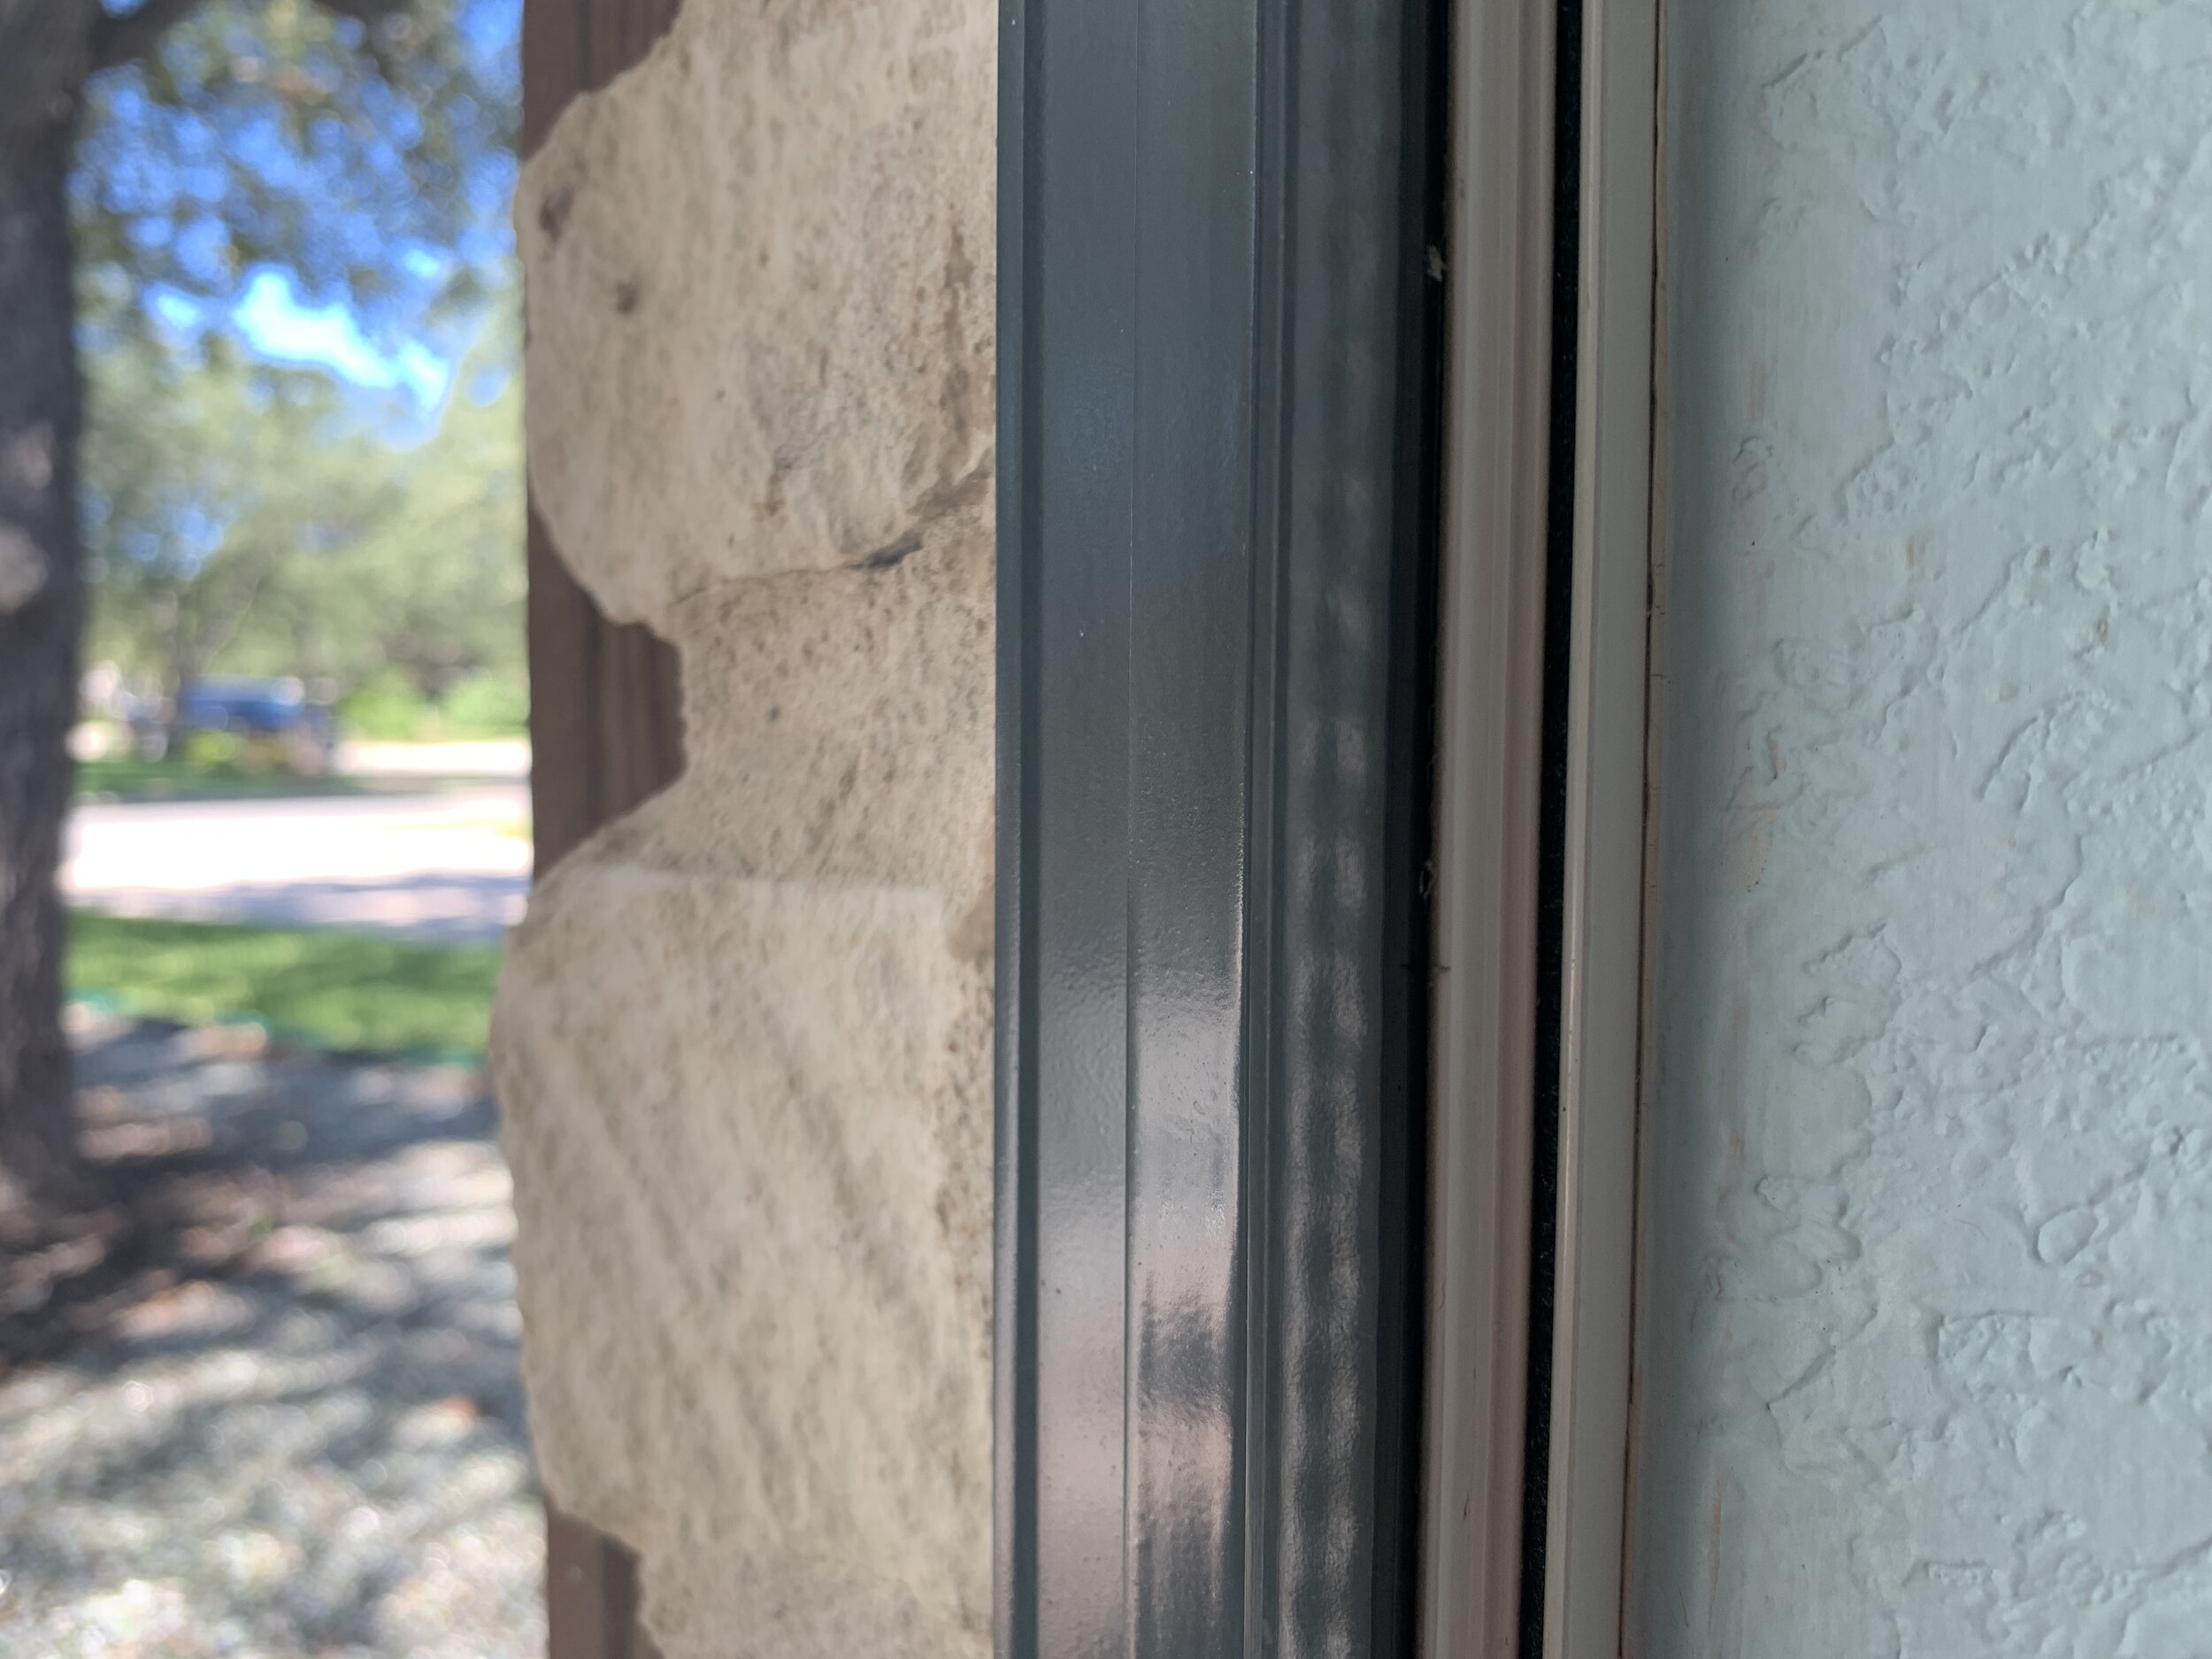
Again, your windows may be in better shape than ours, but I noticed when everything was all gunk-free that we had gaps in between the metal window frame and our limestone in some areas where either the mortar had chipped and fallen out, and/or the caulk originally used to seal the windows had shrunk leaving a little hole. Not a huge deal, but this is the perfect time to fix any of those areas, not just for function of sealing your windows from critters and bugs (important), but also for the aesthetics of giving the black paint something solid to stick to.
Holes in your caulk/mortar = holes in your “new” black window frames.

We also had these weird gaps where our curved trim met the vertical pieces from what looked like bad miter cuts? Not sure if this is normal for some reason, but they bothered me…
So I used my trusty caulk gun and paintable solvent caulk to fill the gaps in the trim and where the mortar met the window frame, and smoothed the seams with a paint thinner-soaked rag.
(If I could put blinking lights around paintable here I would – it is that important. If you use regular non-paintable silicone, things get weird and that means paint won’t stick. I learned this early on in our DIY journey and it has stuck with me ever since.)

The smoother you can wipe the caulk with the paint thinner rag, the easier your life and smoother your window frames will be, and that means a better, more realistic window makeover. (Worst case scenario, you could go back in with a flat razor and scrape up any unsightly globs – just be careful not to make new holes in your fresh caulk, and re-clean it all when you’re done to remove any bits that have fallen on the window!)
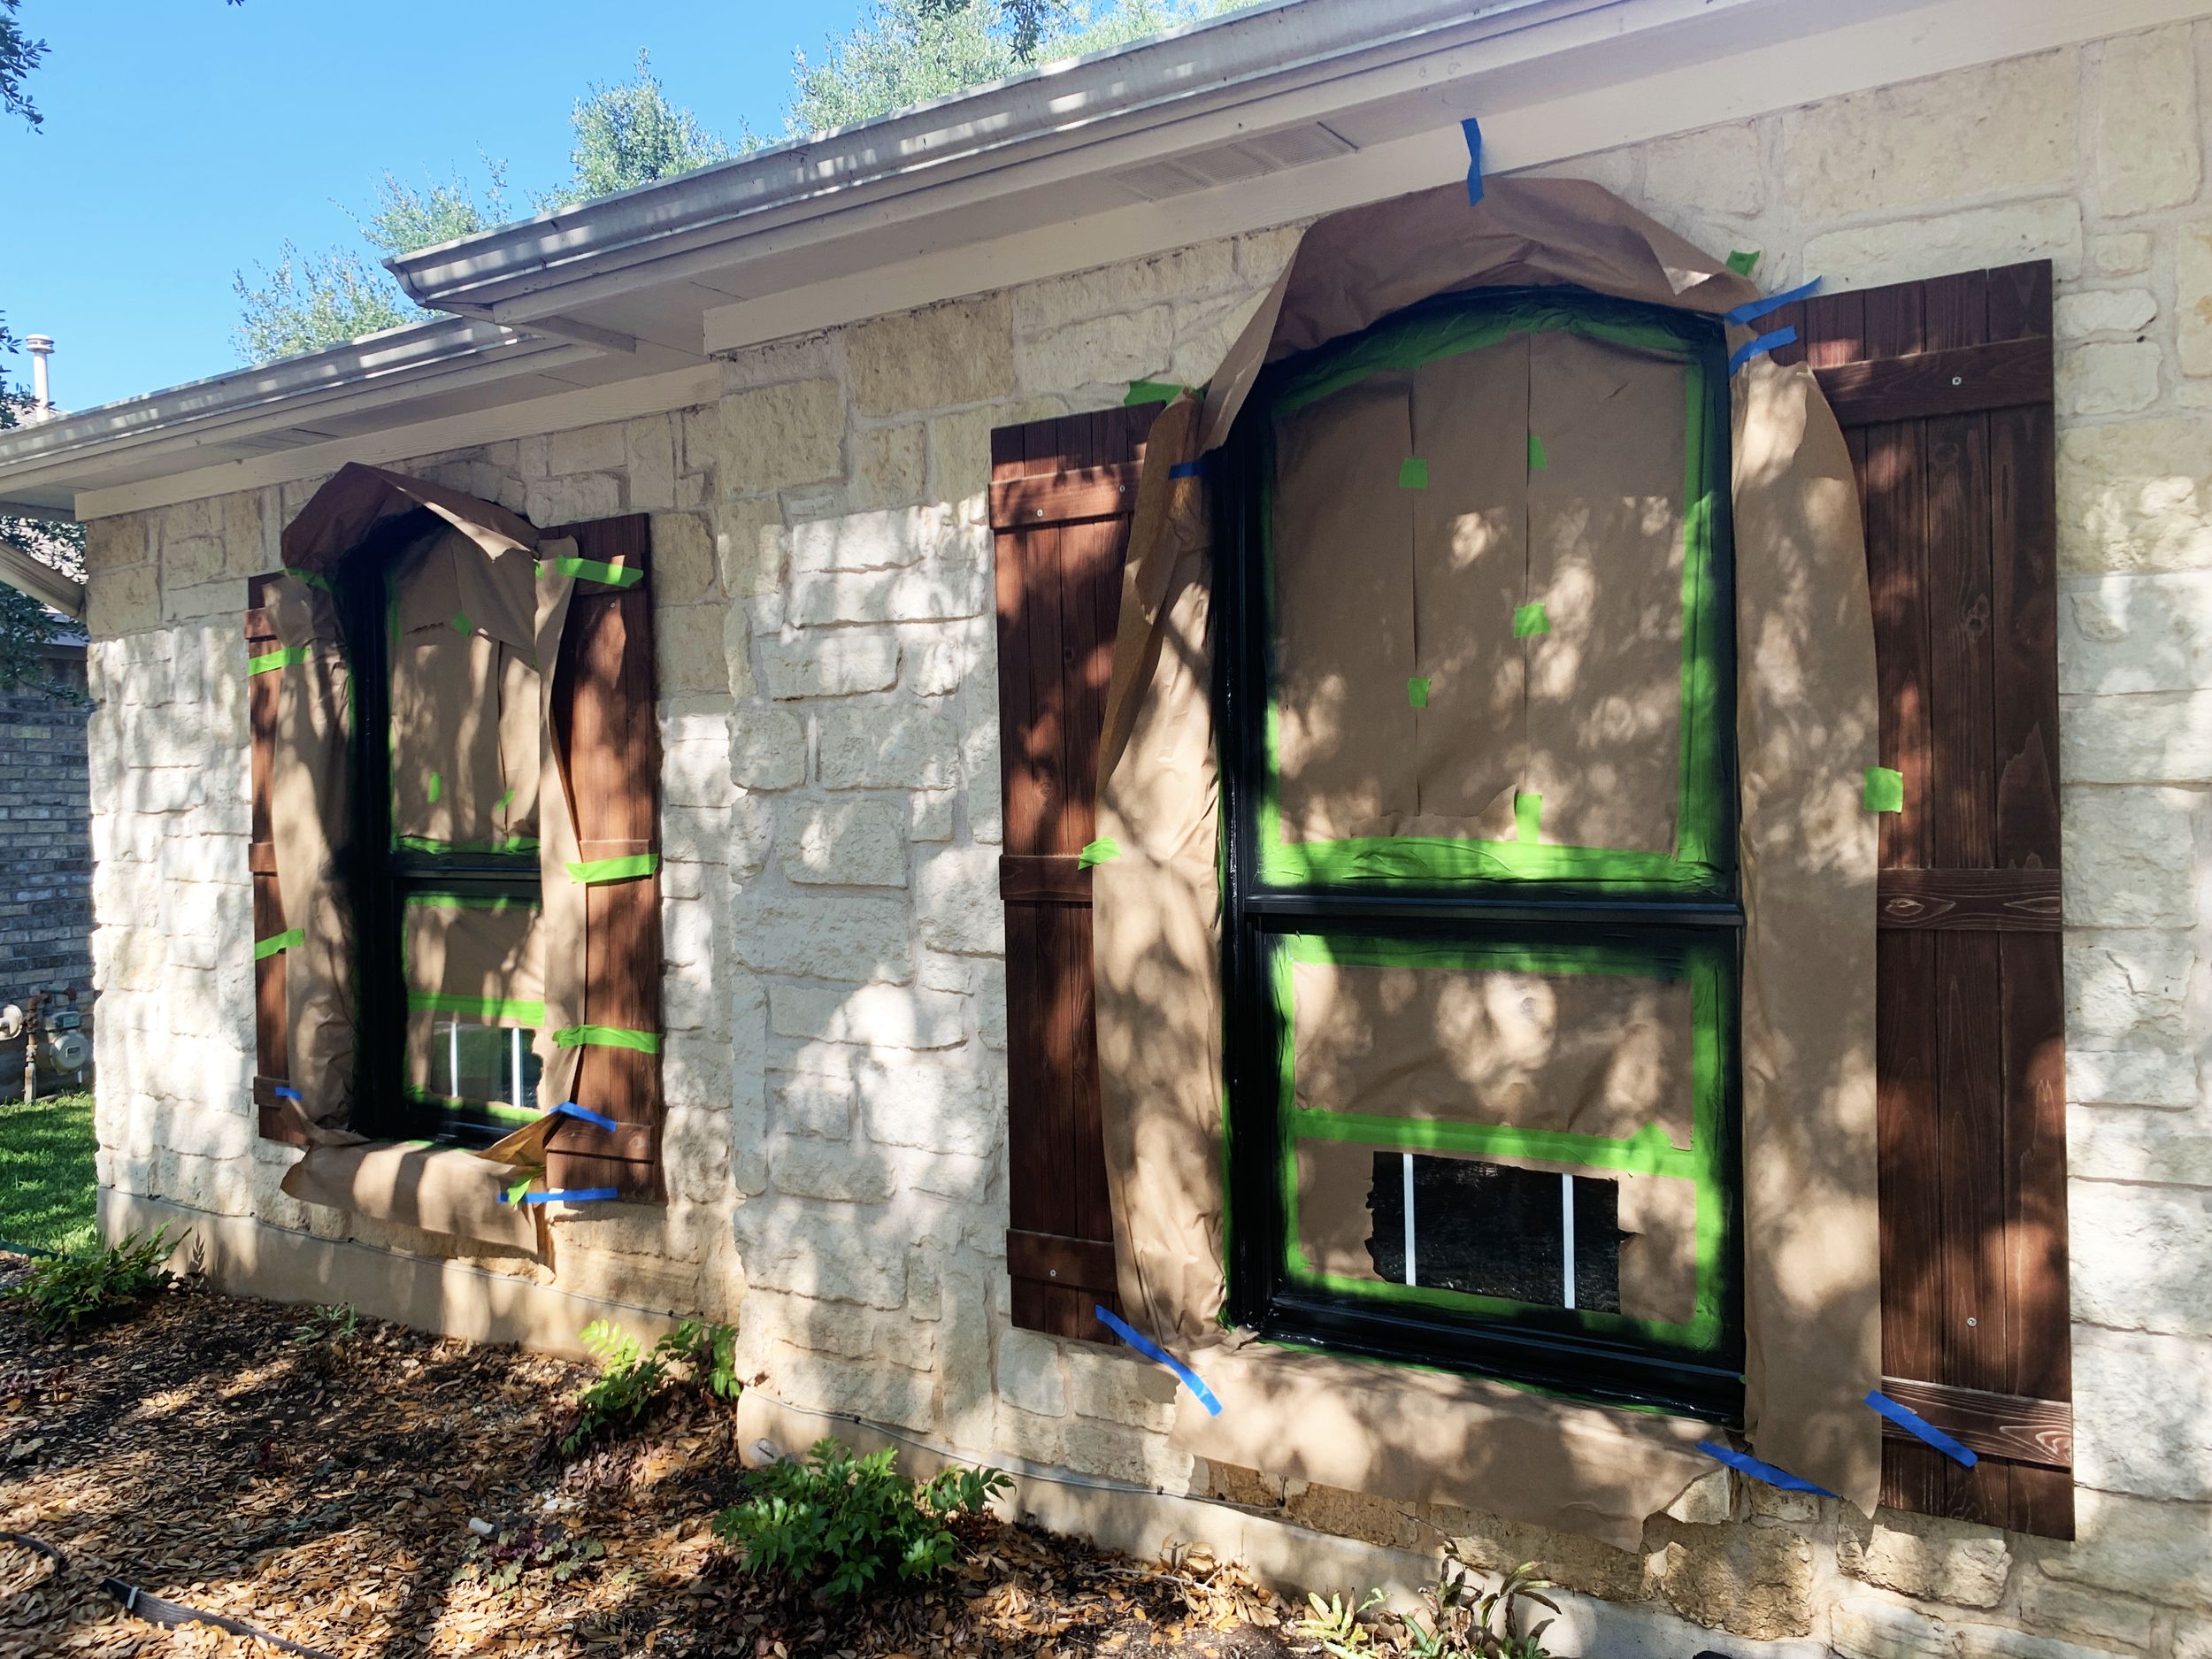
Step 4: Tape off the window
Not gonna lie, this part is time consuming, BUT this is another area that really makes all the difference in the end result. (I mean, who wants black paint overspray on their nice white limestone … or to be scraping paint spray off your newly cleaned windows?!)
First, I did a tape-only layer on the glass following around the window frame.
Leave a very small gap (I’m talking maybe the thickness of a putty knife at most?) where you can see the glass just a hair to make sure you’ve got all of your window frame exposed. If you accidentally tape too close to the window frame, you might have little missed areas of white (or whatever your window color is) which will be a dead giveaway these aren’t new windows.

Then I taped another layer – this time with our masking paper attached to it – to cover the rest of the glass. The second layer of tape should tape the edge of the paper to the tape that’s already been applied to the window.
Then, I did the same thing with the masking paper, but on the outside of the window, so that the tape was sticking to our limestone.
This is where I would recommend using a masonry-specific painter’s tape to make sure you have a great tape seal to protect the stone. We had a couple spots on the stone where the seal wasn’t quite good enough with regular tape.

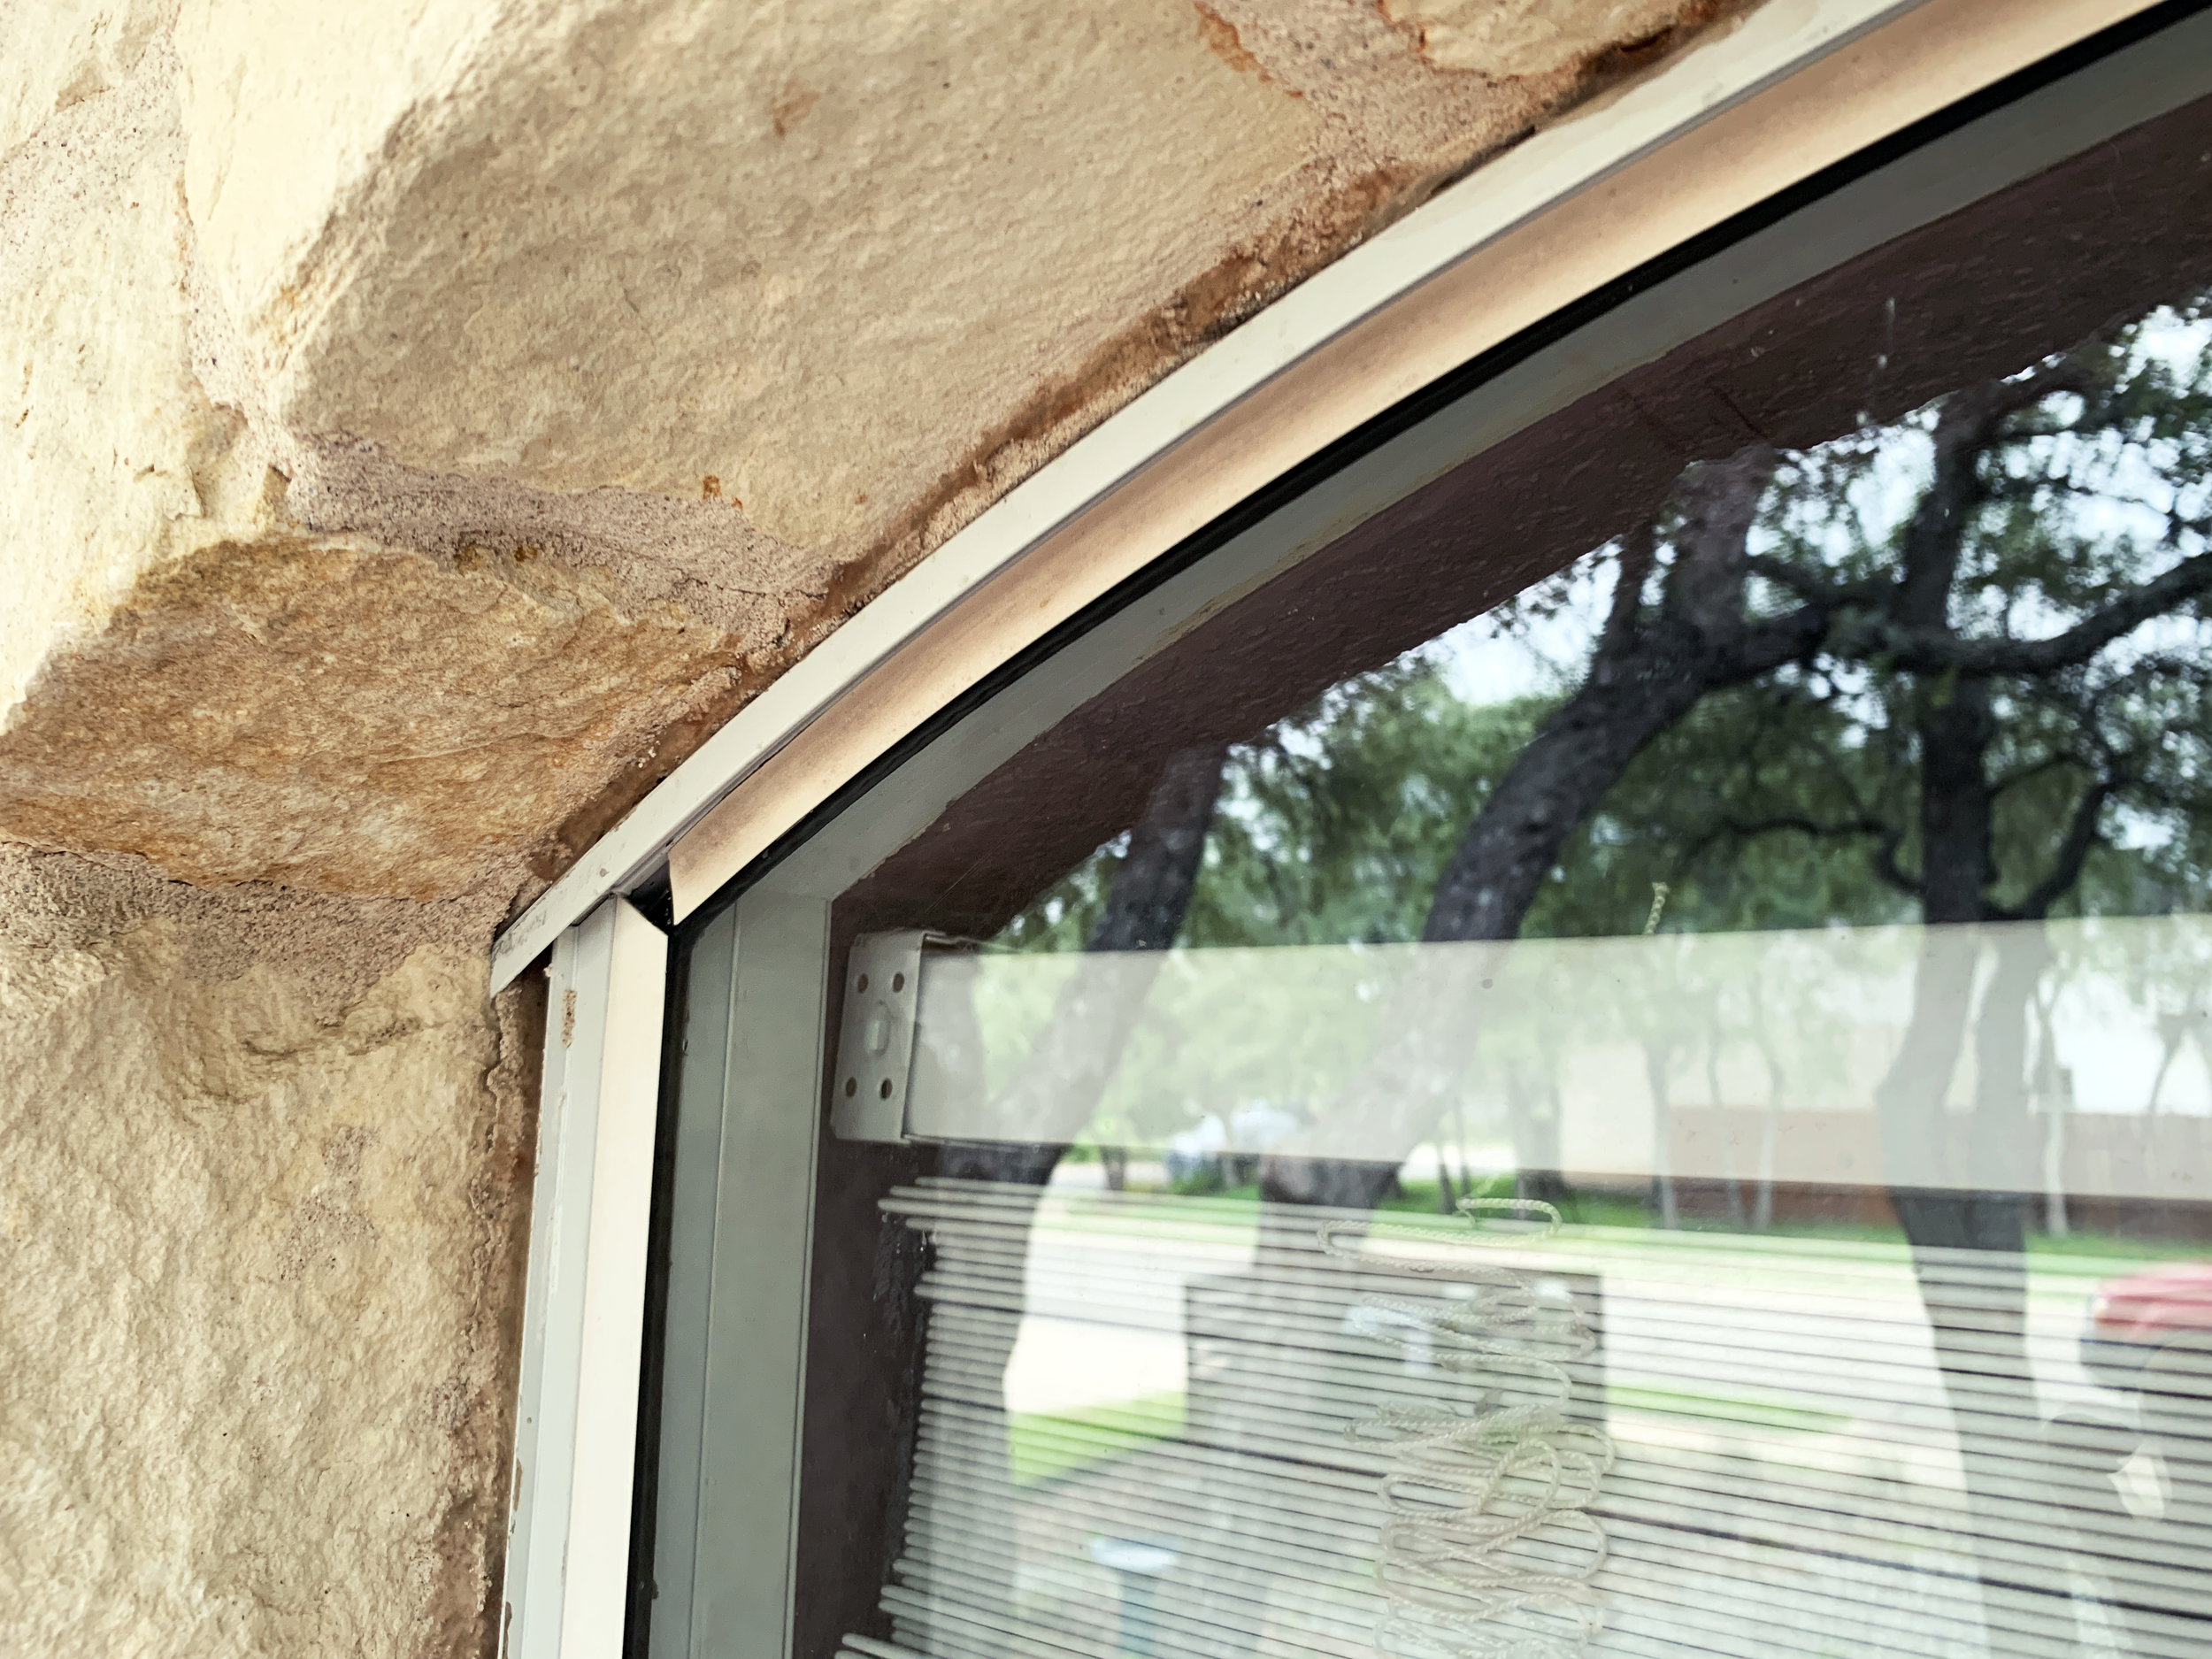
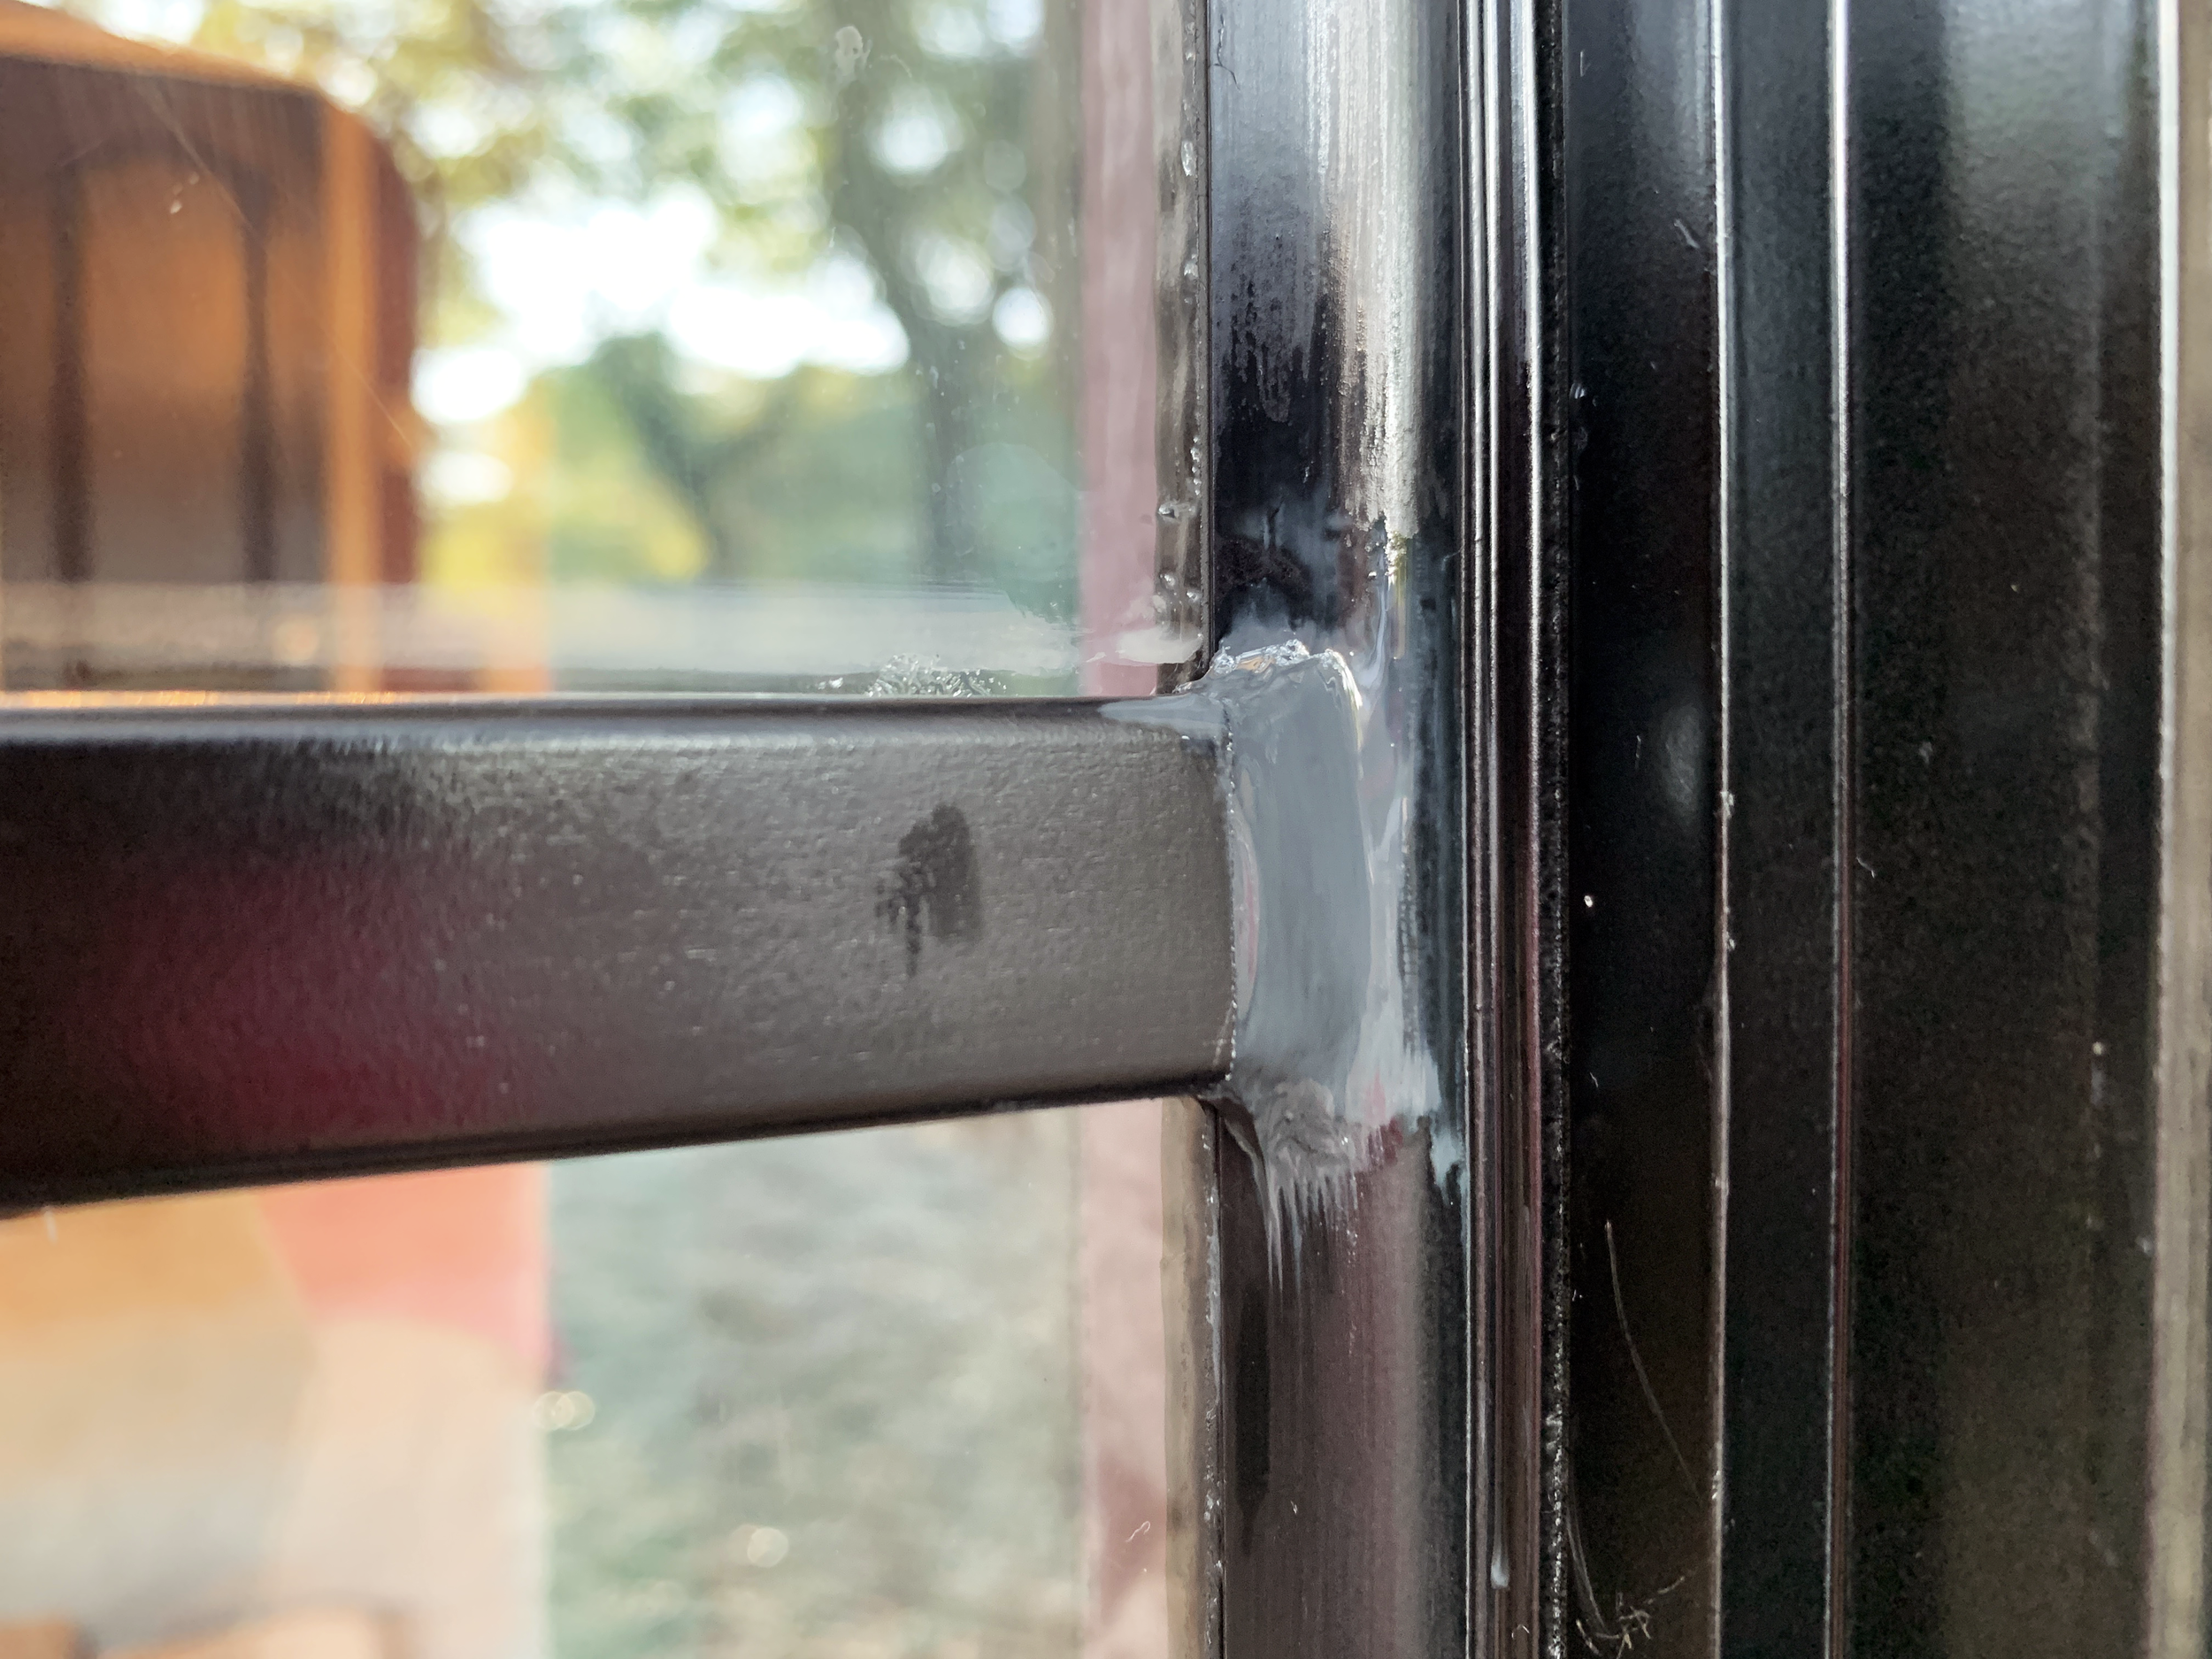
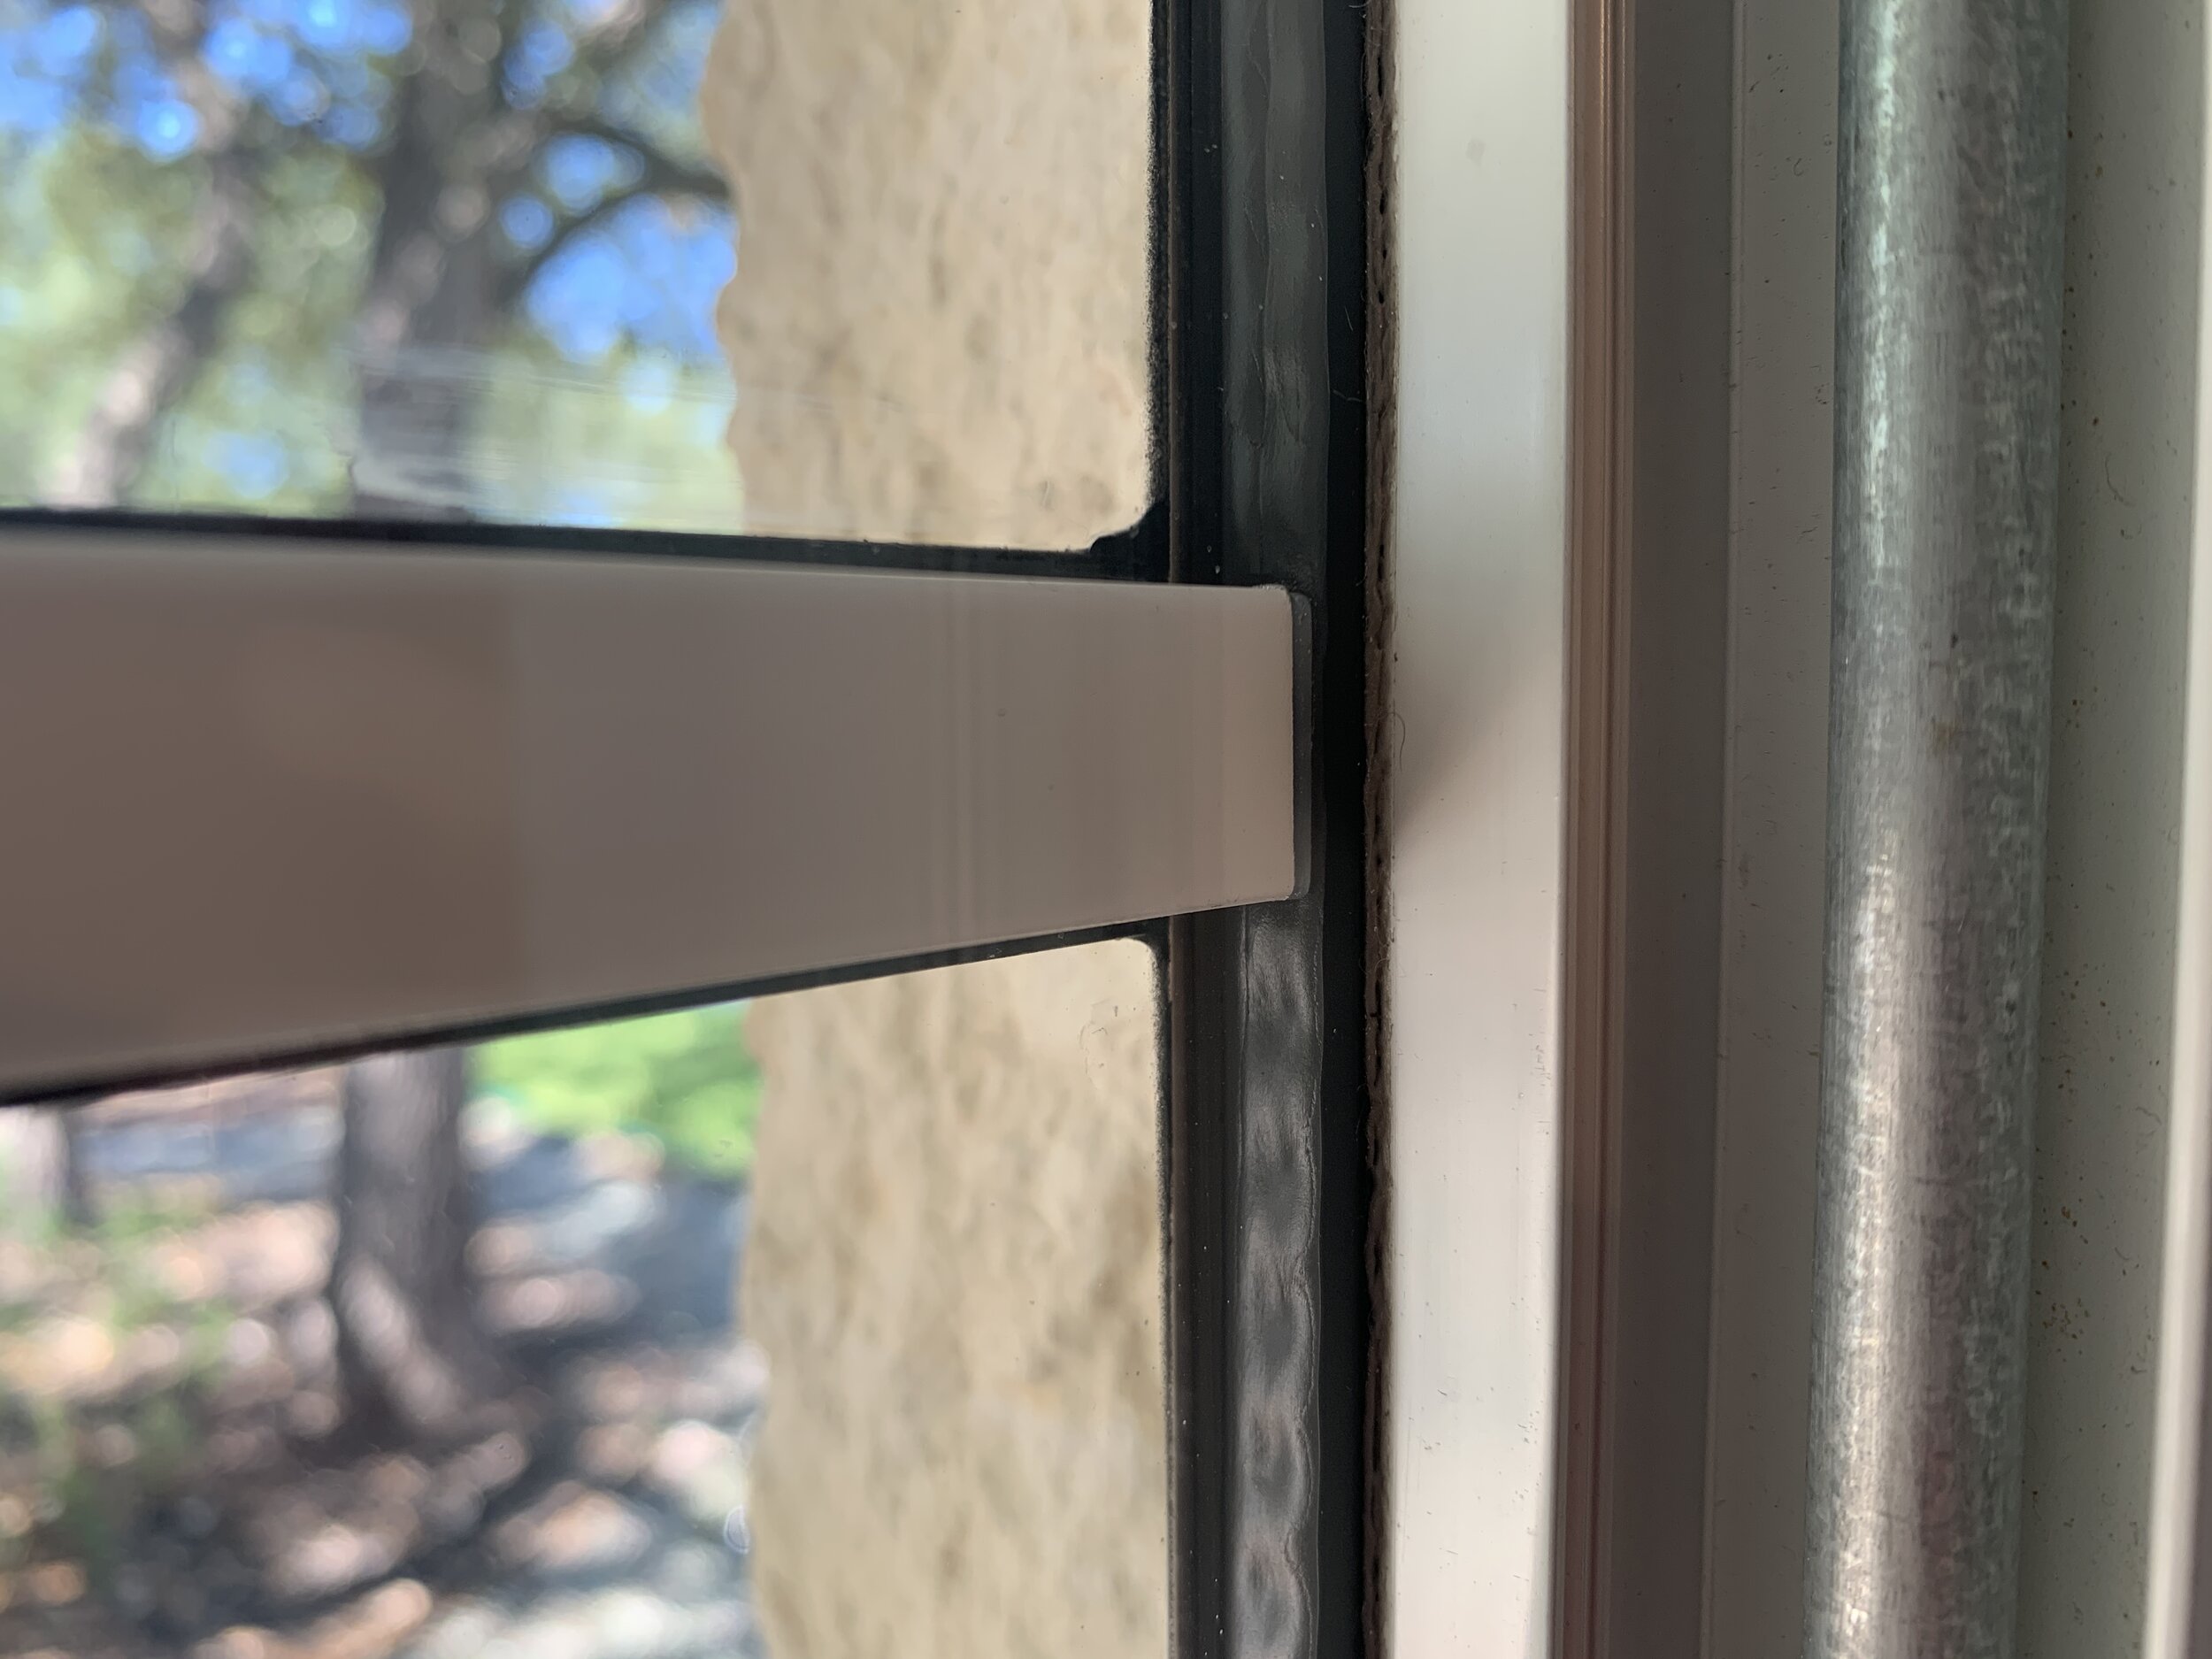
This part takes a little bit of artistry. You’ll have to determine how much outside of the actual window you’ll want to paint. It makes sense to keep to just the metal window itself, but as you can see in the photo below, we had some weird trim alignments and I didn’t want to leave the curved piece that extended passed the vertical frame white, or paint it black and then have a notch in to paint just the vertical window frame below it black. Instead, I chose to create my own line to blend the two together, which meant spray painting some of my mortar.
Note: I did not tape so far away from the window that I would ever spray the limestone. I just stuck with taping on the mortar, since it’s smoother in texture and would allow me to create a straighter, more realistic look. Not to mention, an aluminum window can always be repainted/replaced, as can the caulk and mortar around it if anyone in the future wants to “undo” the black. Painted limestone is not something to be easily/cheaply undone so I made sure to keep it out of the tape/paint path!
When creating my outer edges where the “window” meets the limestone, my goal was to make it so when you look at the window head on, the frame looks like it disappears into/behind the limestones around the edges.
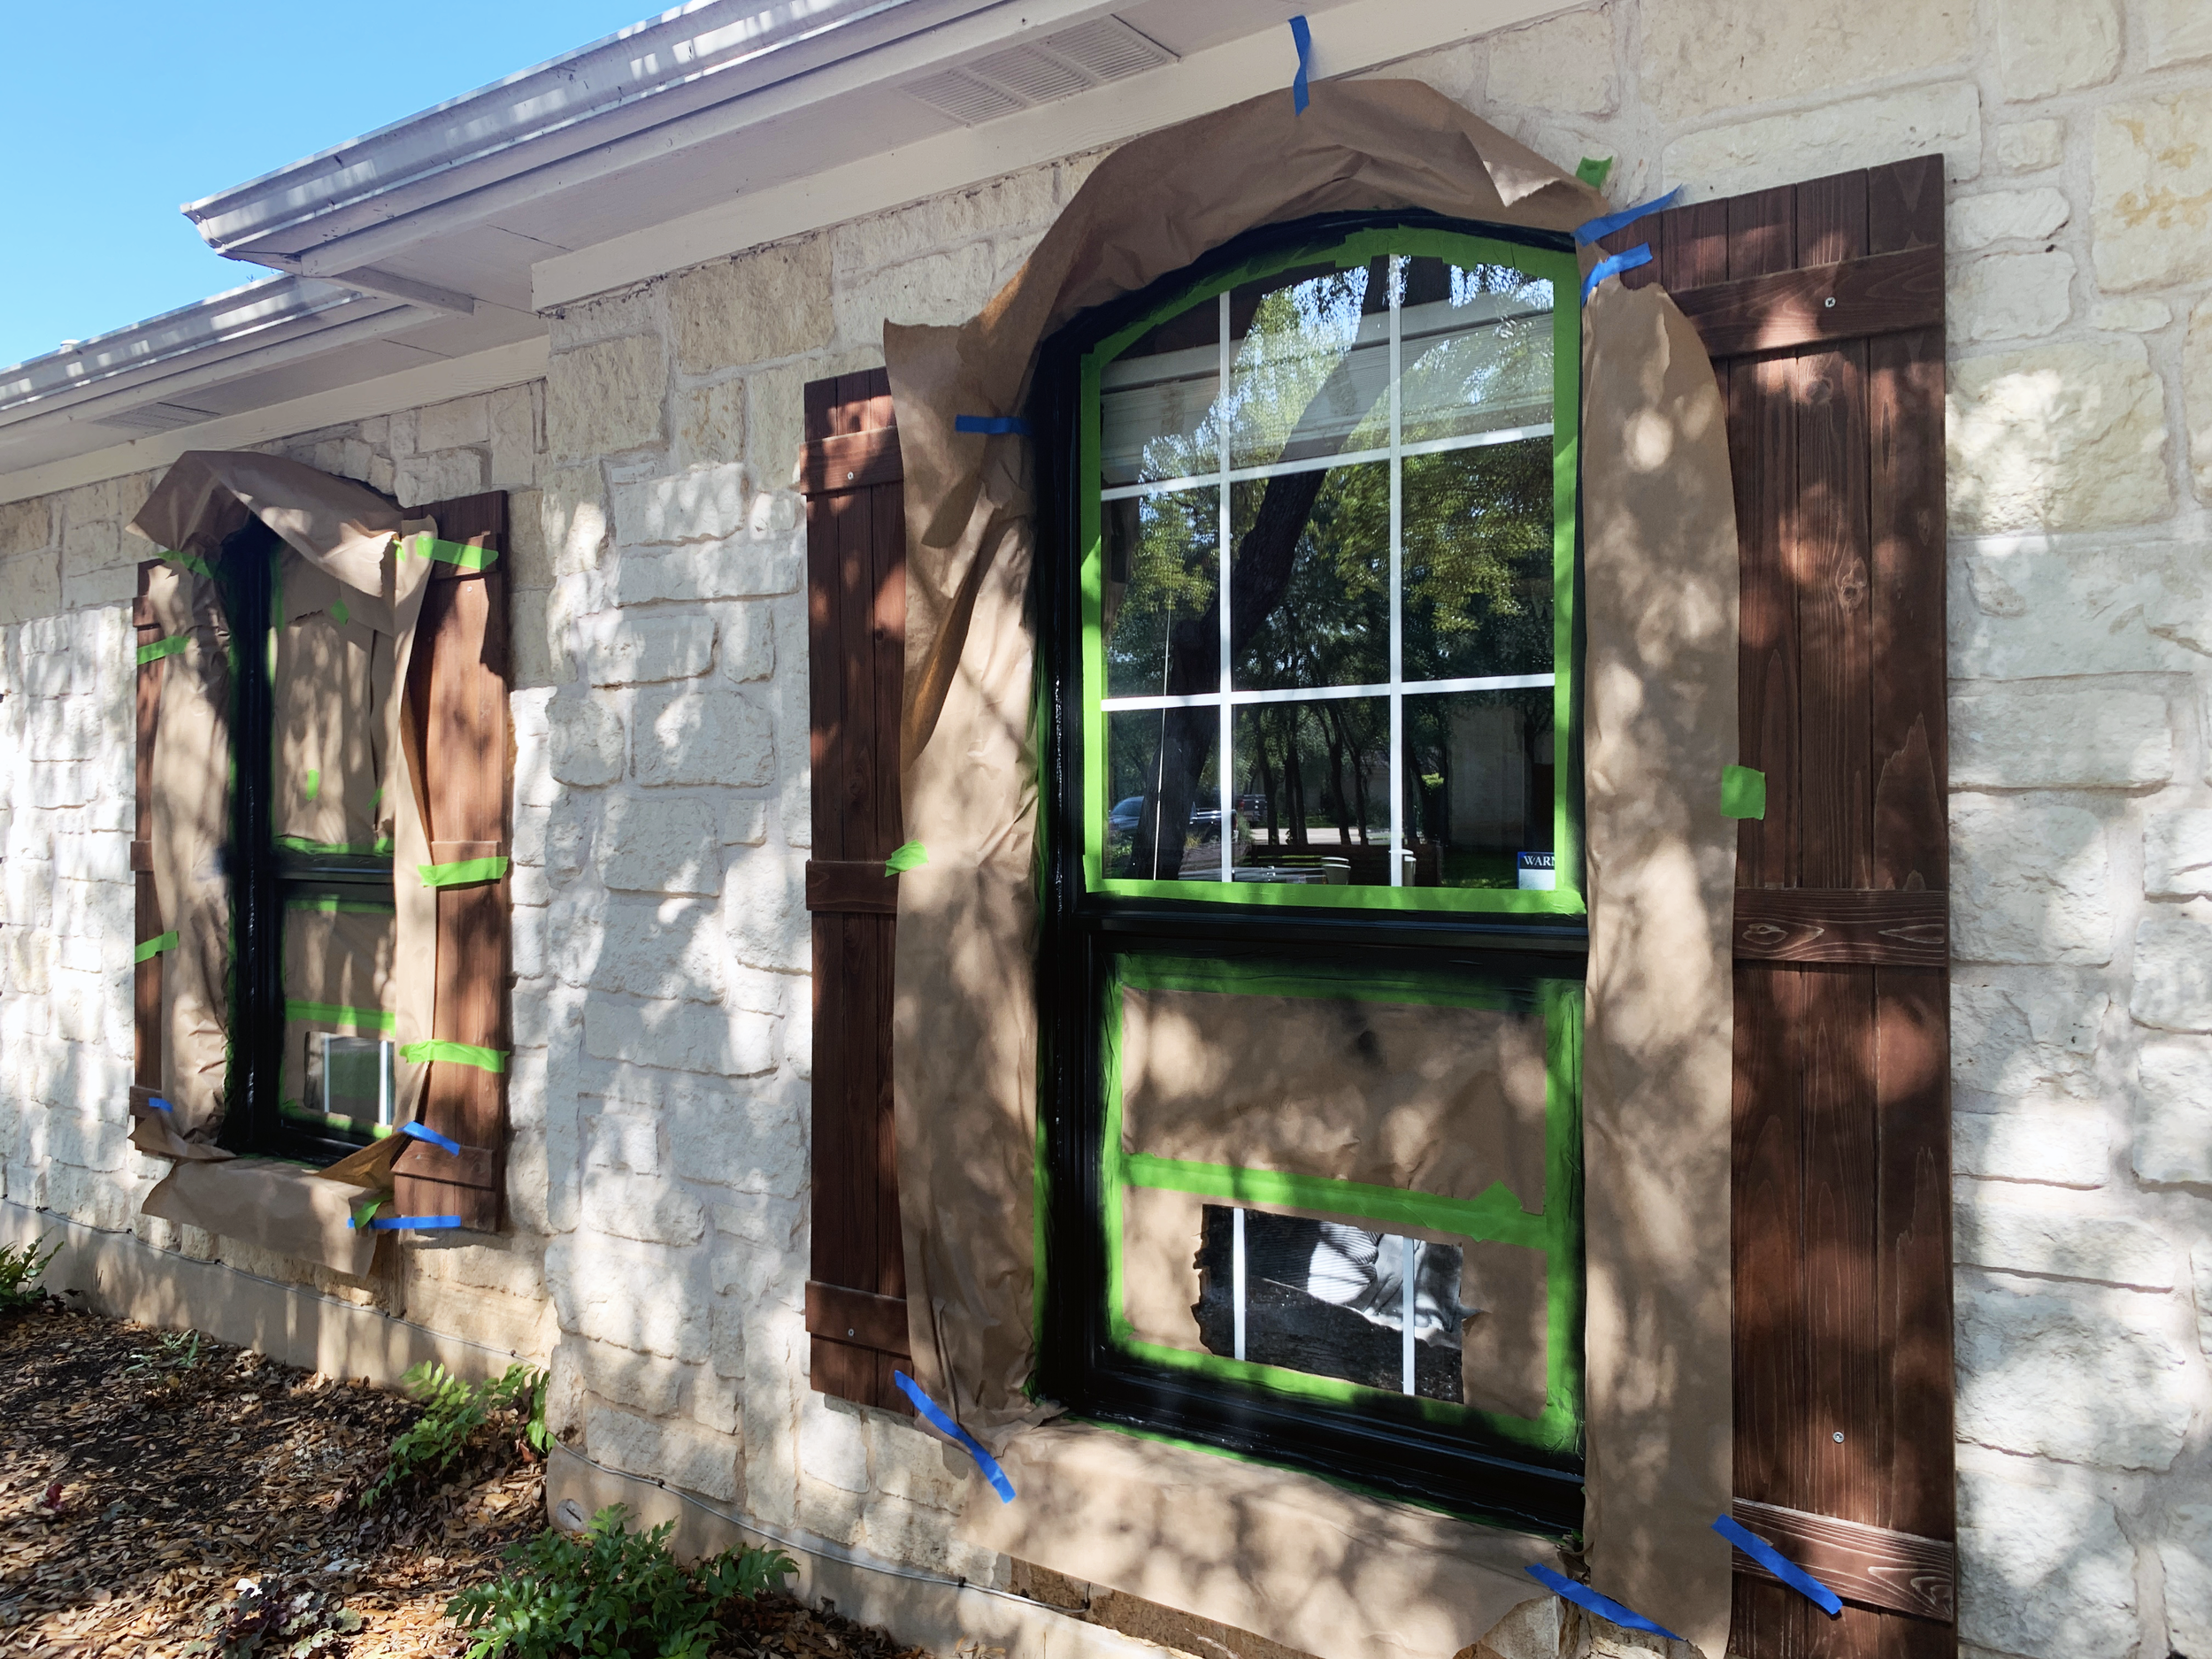
Step 5: Spray paint trim pieces again
When the already painted trim is dry enough to handle, flip the trim pieces over and use the same light overlapping spray technique to get a nice even coat on the fronts. While drying, check on them every now and again to make sure there’s no spots you missed. Leave these undisturbed to dry fully.
Step 6: Spray window frame
With everything taped off, spray the window frames in thin layers using long overlapping strokes.
Remember: Multiple thin coats of paint make for a better finish!
Stop to get excited part way through (!) and then keep going until it’s all covered, but not so saturated with paint that it’s dripping.

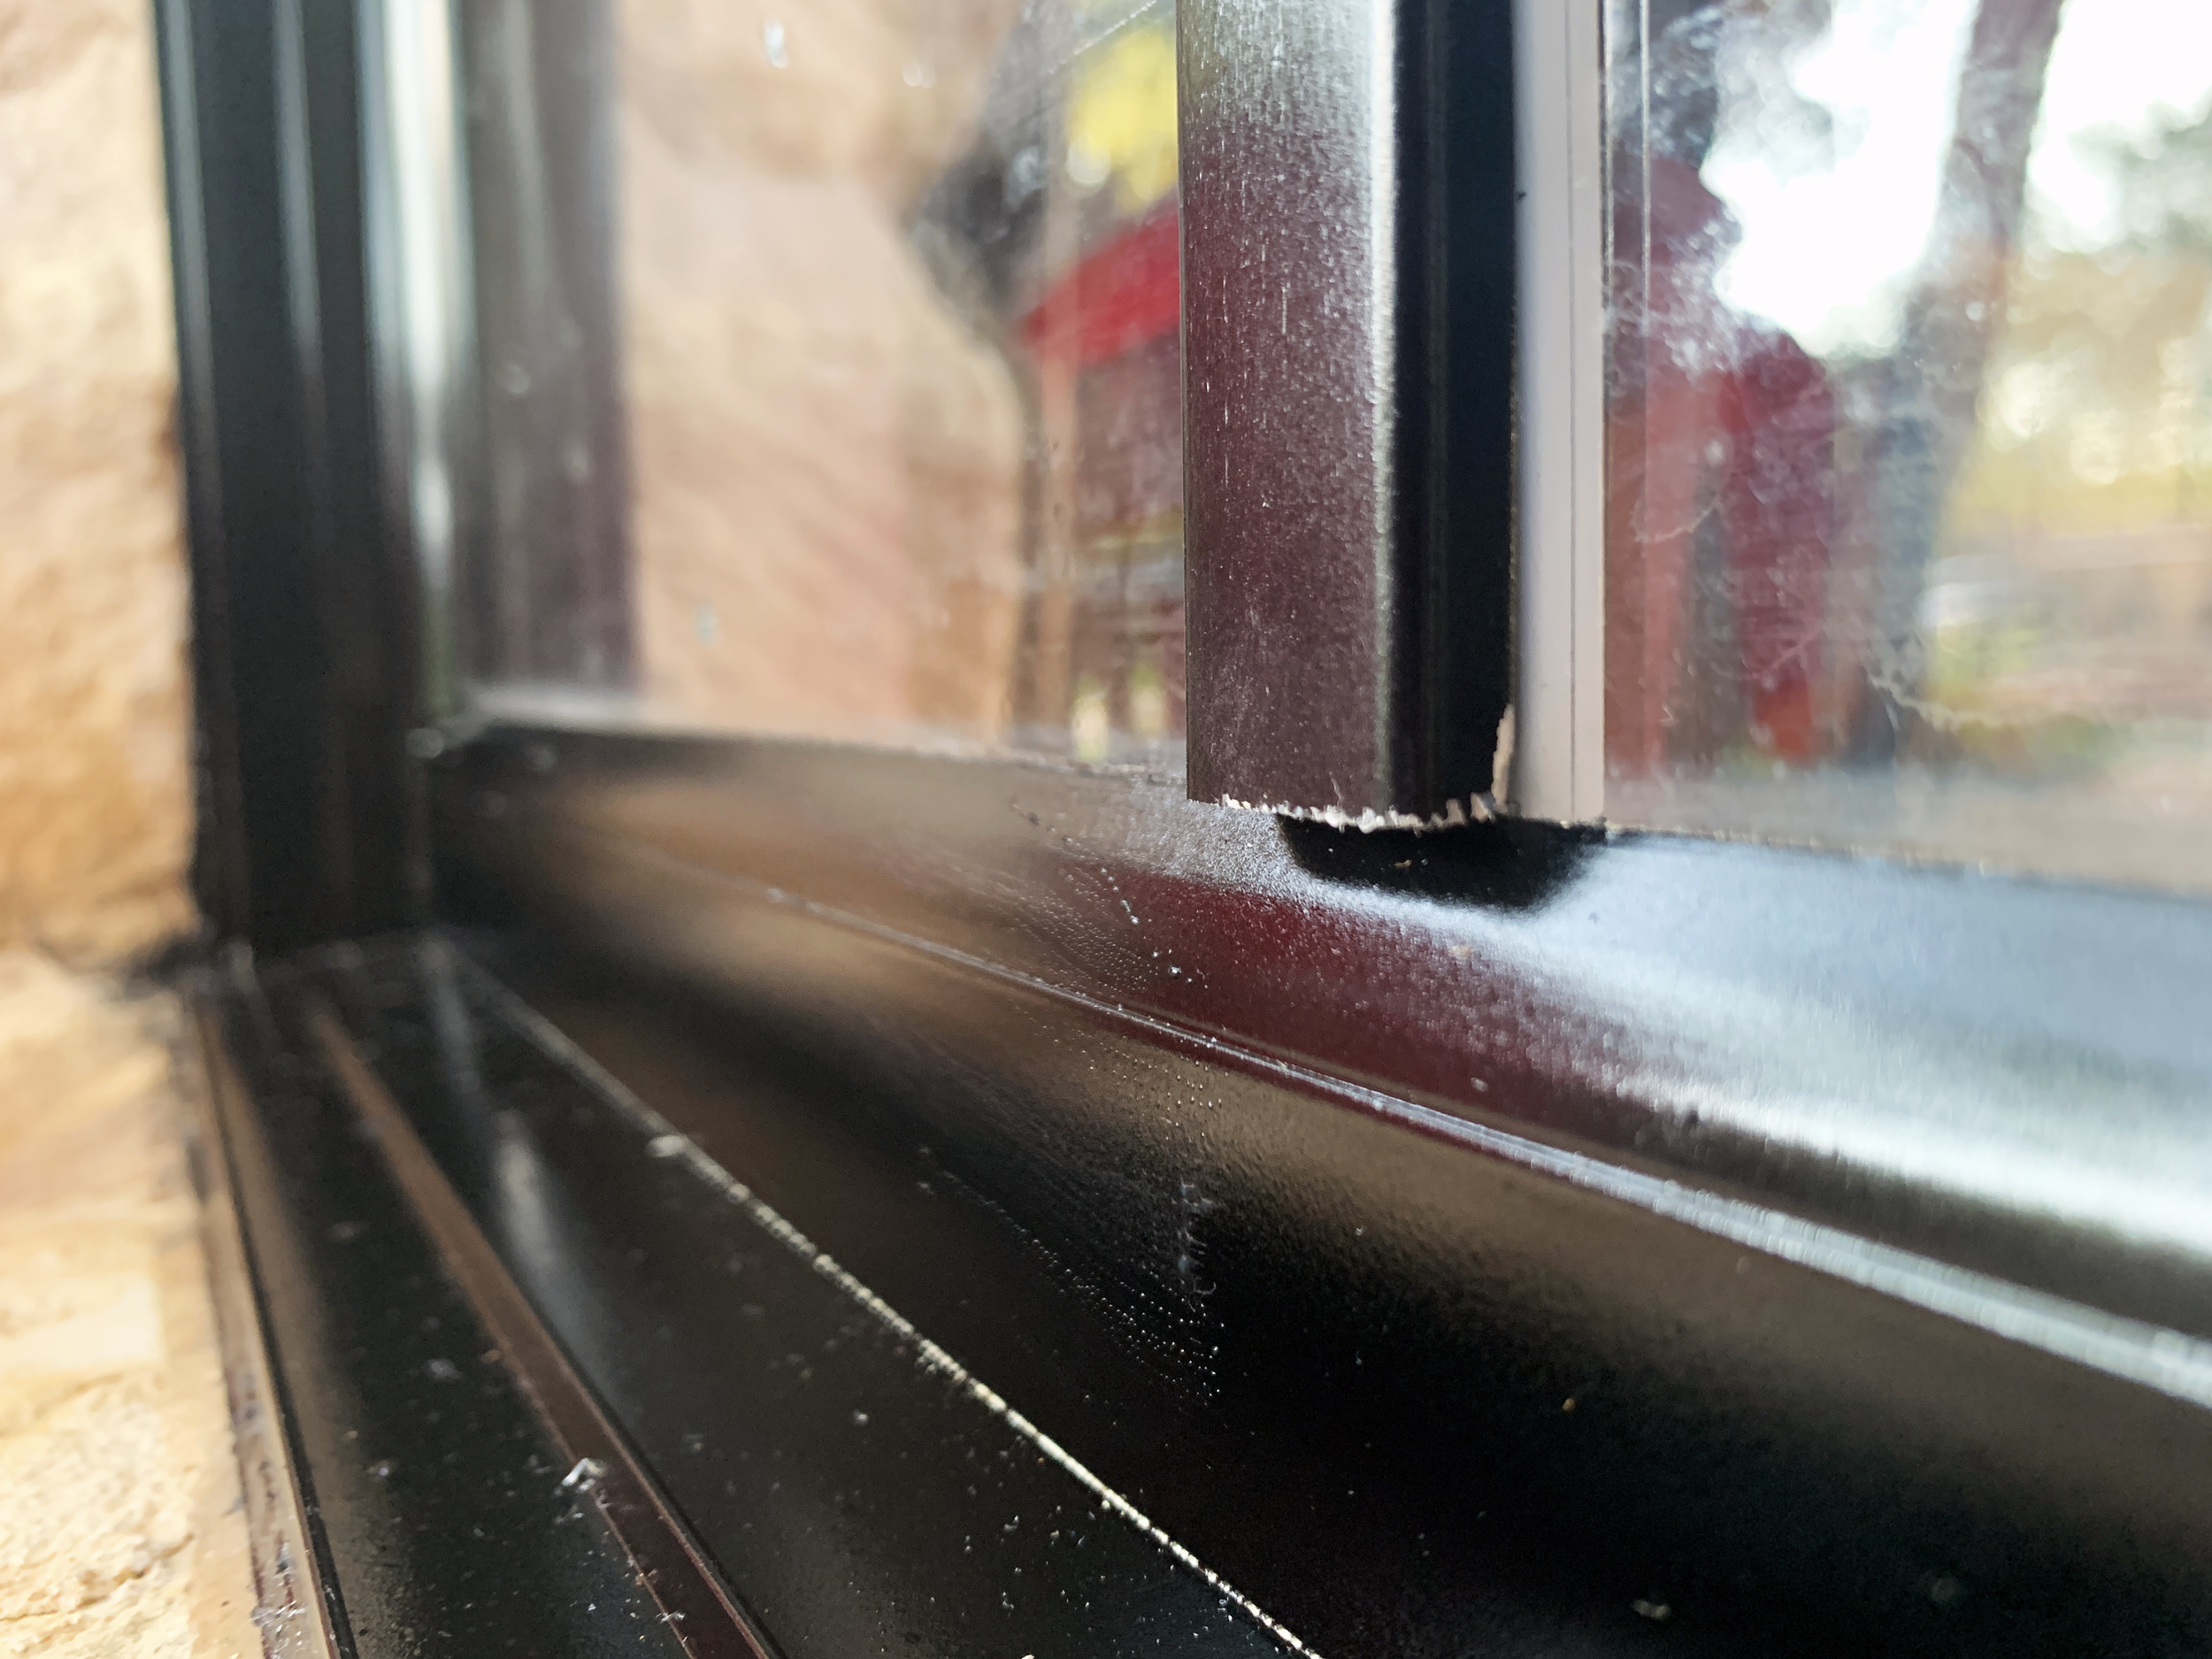
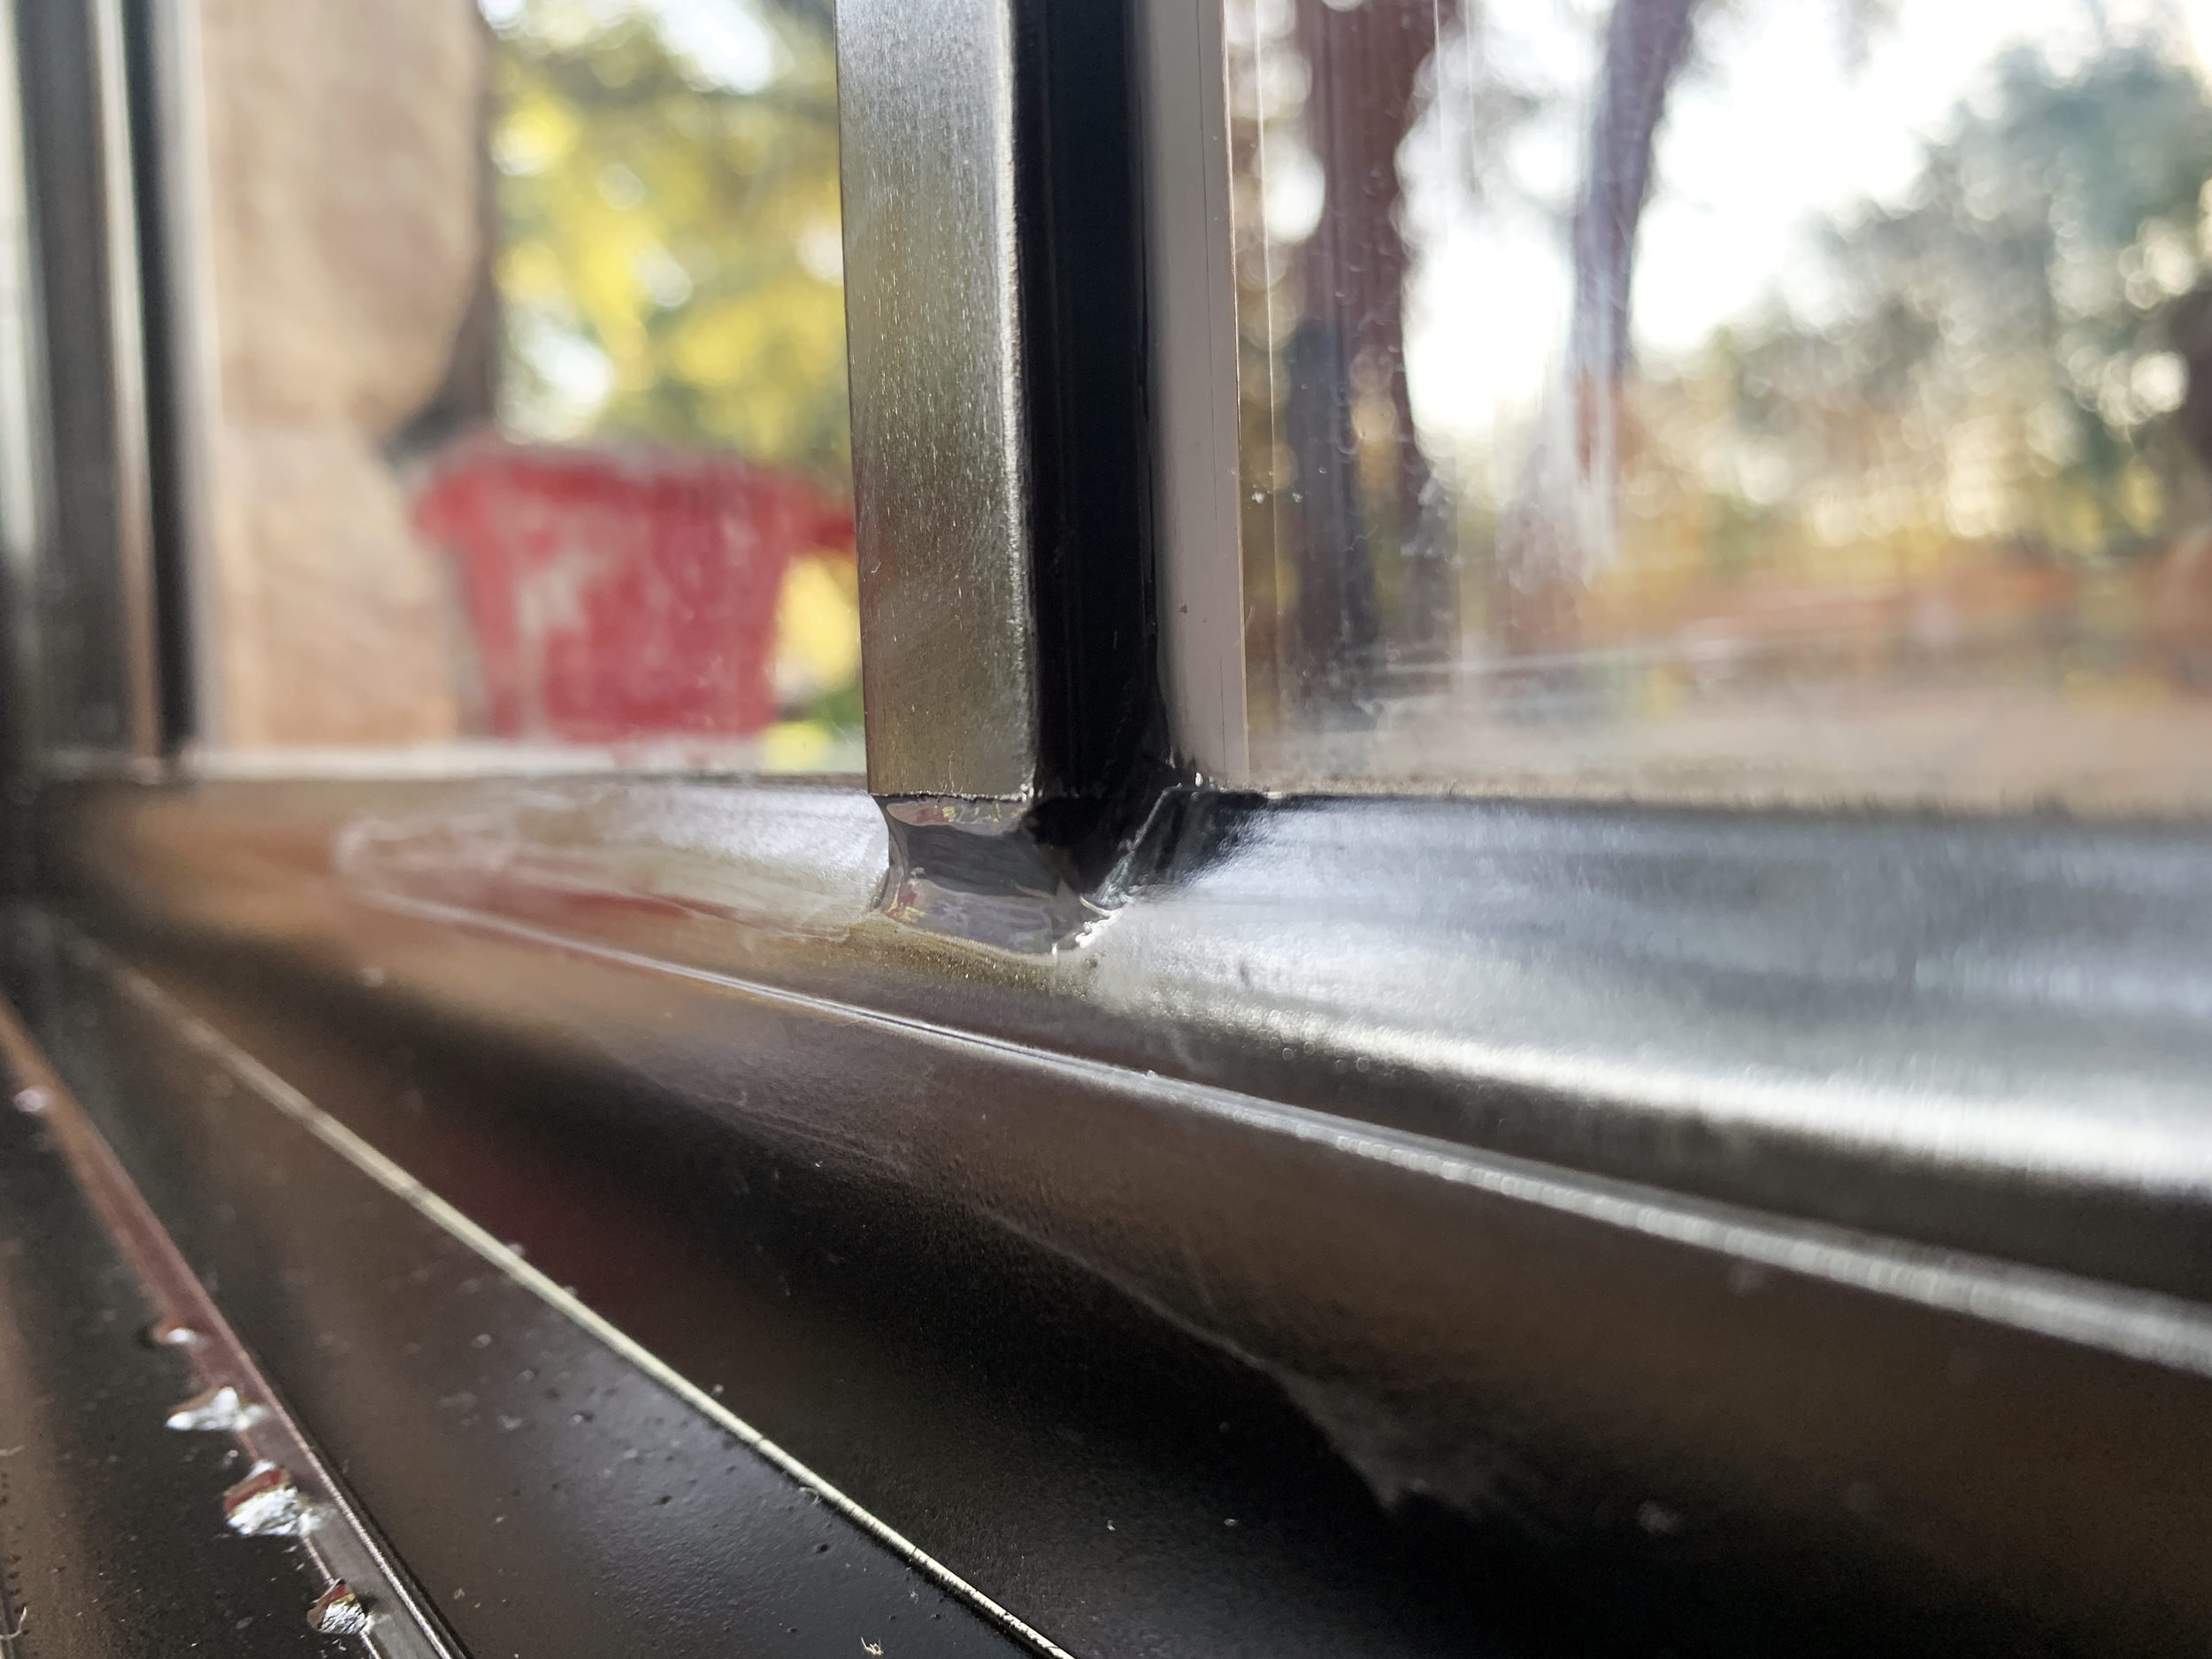
You can see in the photo above the very small strip of off-white mortar that will be painted on the left side of the window frame.
Step 7: Let the windows dry
And maybe have a cocktail, or two, or more (hey, I’m not counting or judging – get down with your bad self.)
My project cocktail of choice: This project, I was enjoying 4 oz. of Simply cranberry juice + juice from a lemon wedge + a shot of vodka + topped with a little pour of Topo Chico/plain sparkling water, mixed and over ice. Delicious.

Also, this is where if you’re like me you’ll want to cut “windows” in the masking paper for two spoiled dogs while the windows are drying.

Step 8: Unveil the paint job!
With windows and trim dry, carefully remove masking paper and painter’s tape from the window. This is the kind of the best part – it’s like Christmas removing each layer!
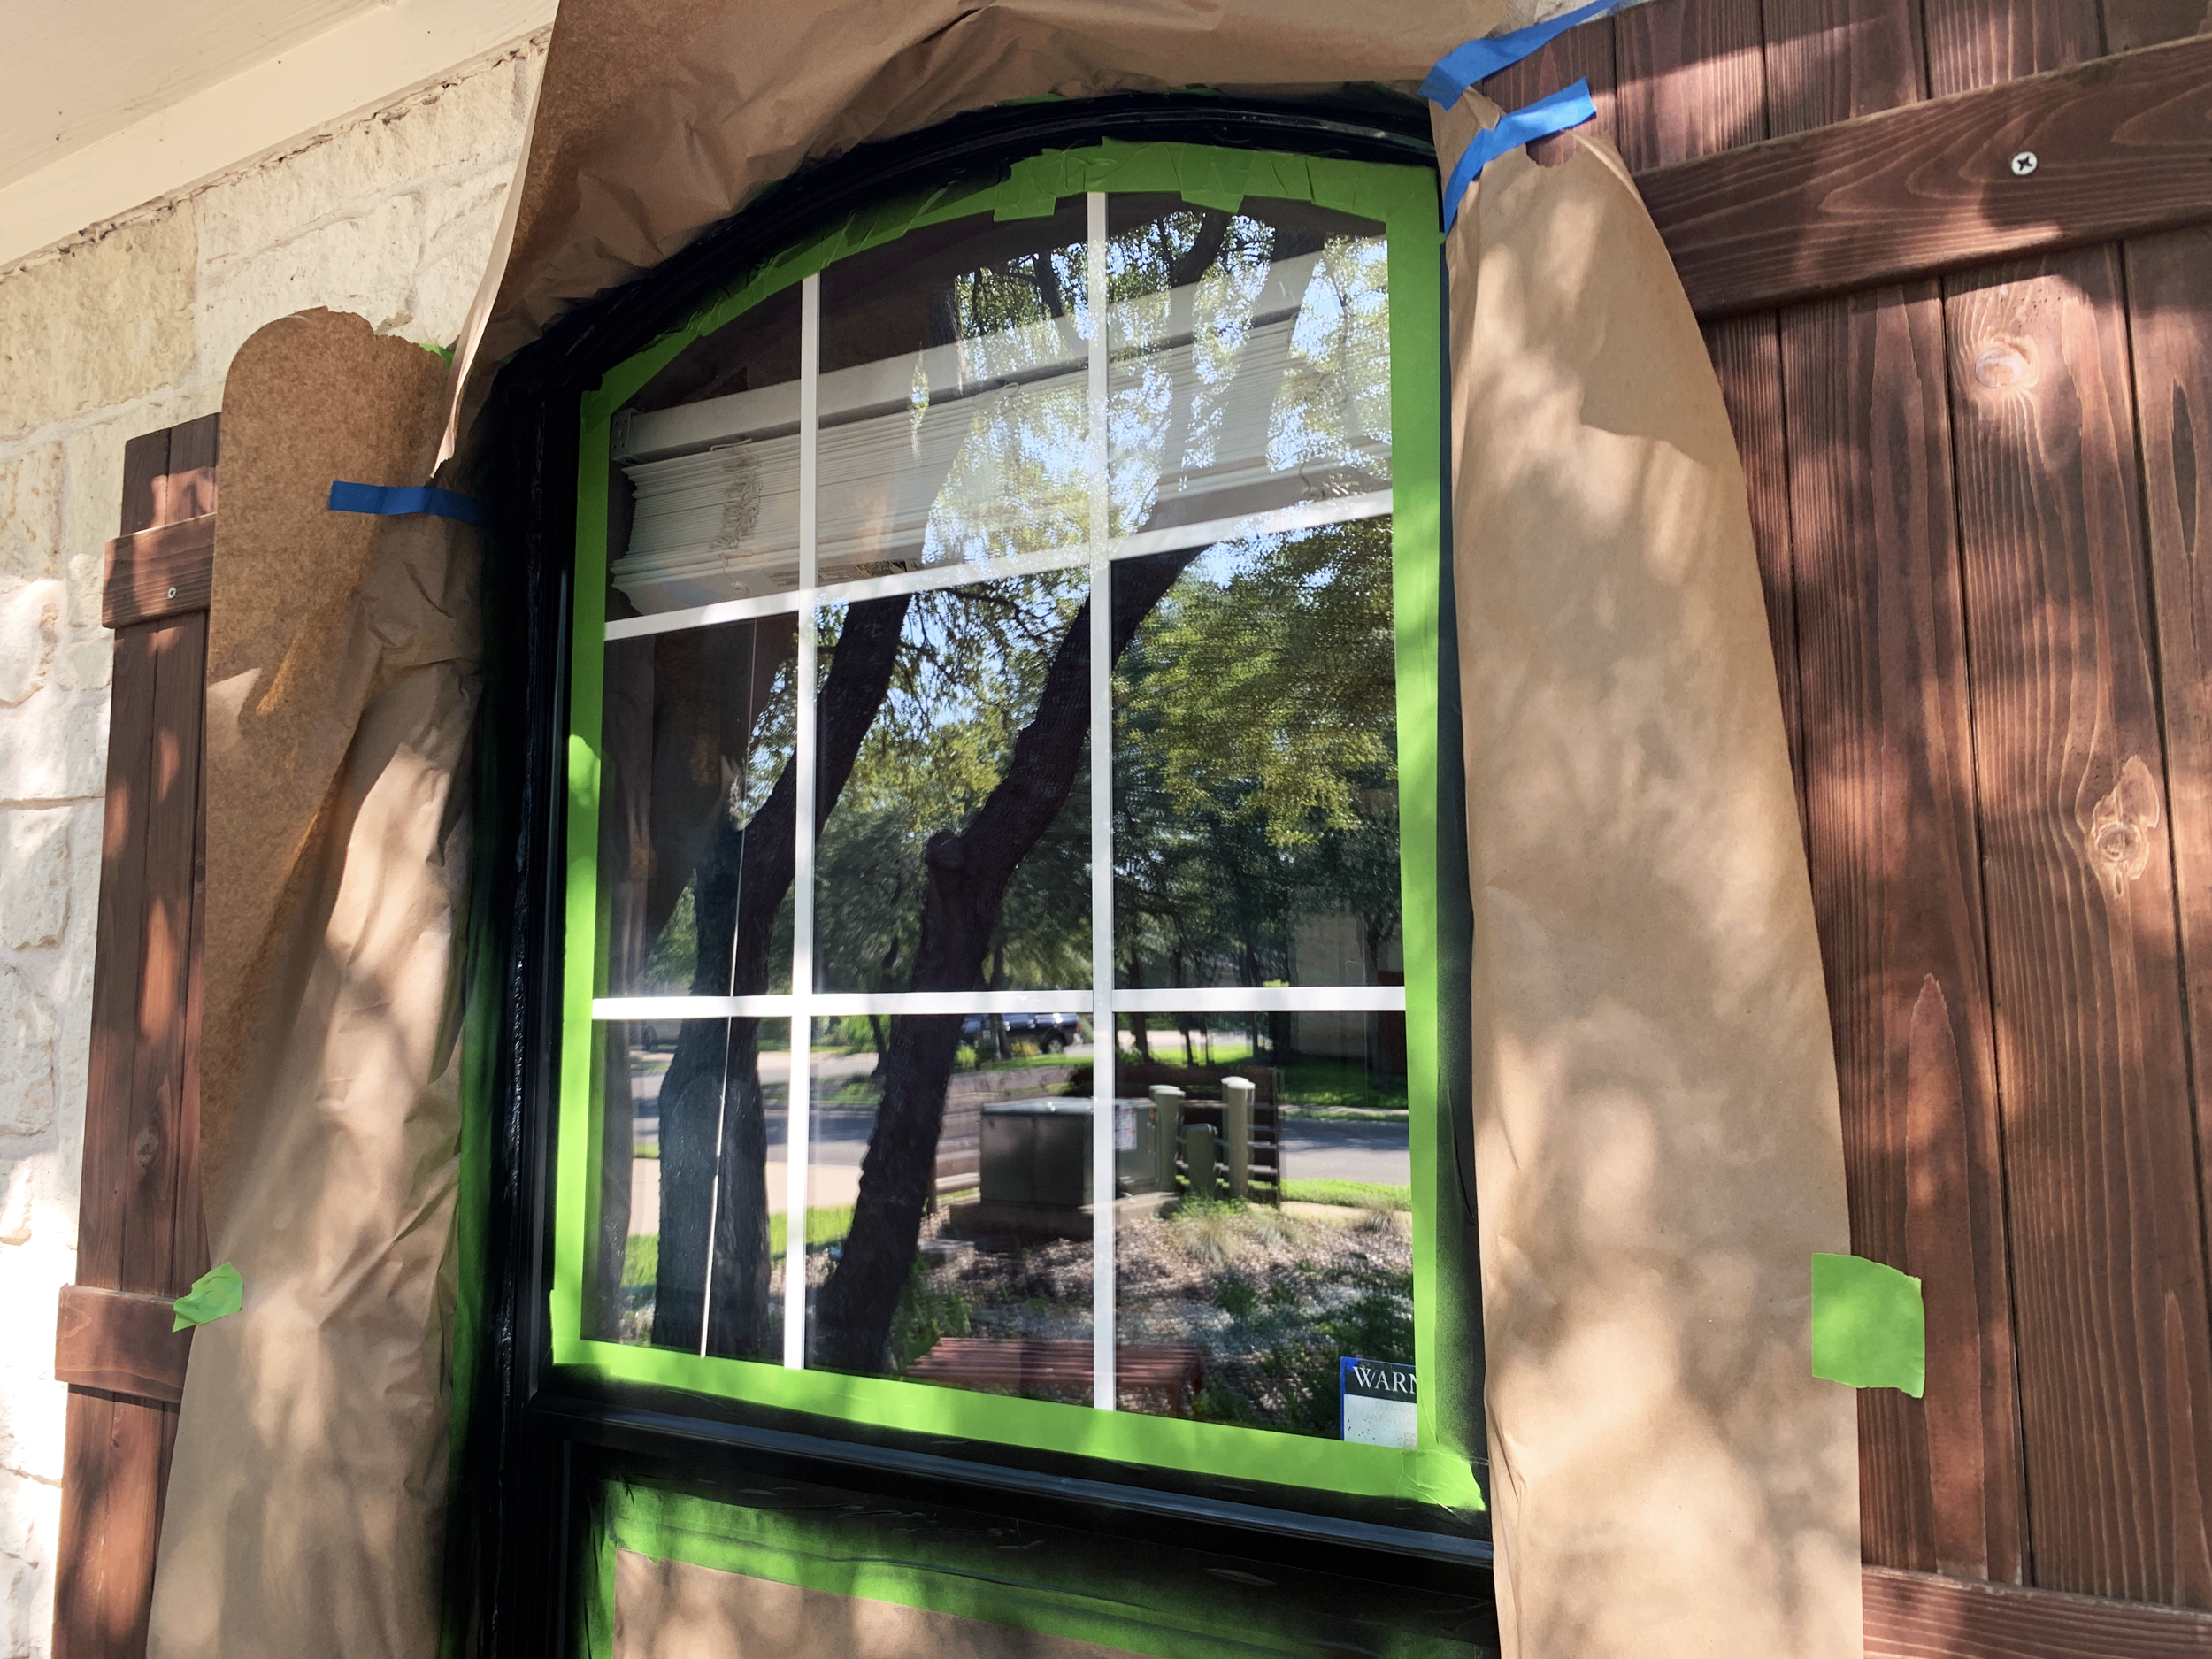
So this is where I’d normally show you the windows with just the outside perimeter painted and the masking paper off.
Except I was SO EXCITED that I didn’t take pictures of this step and the next one is with the first two trim pieces up.
::: FAIL :::
Step 9: Measure + cut trim pieces
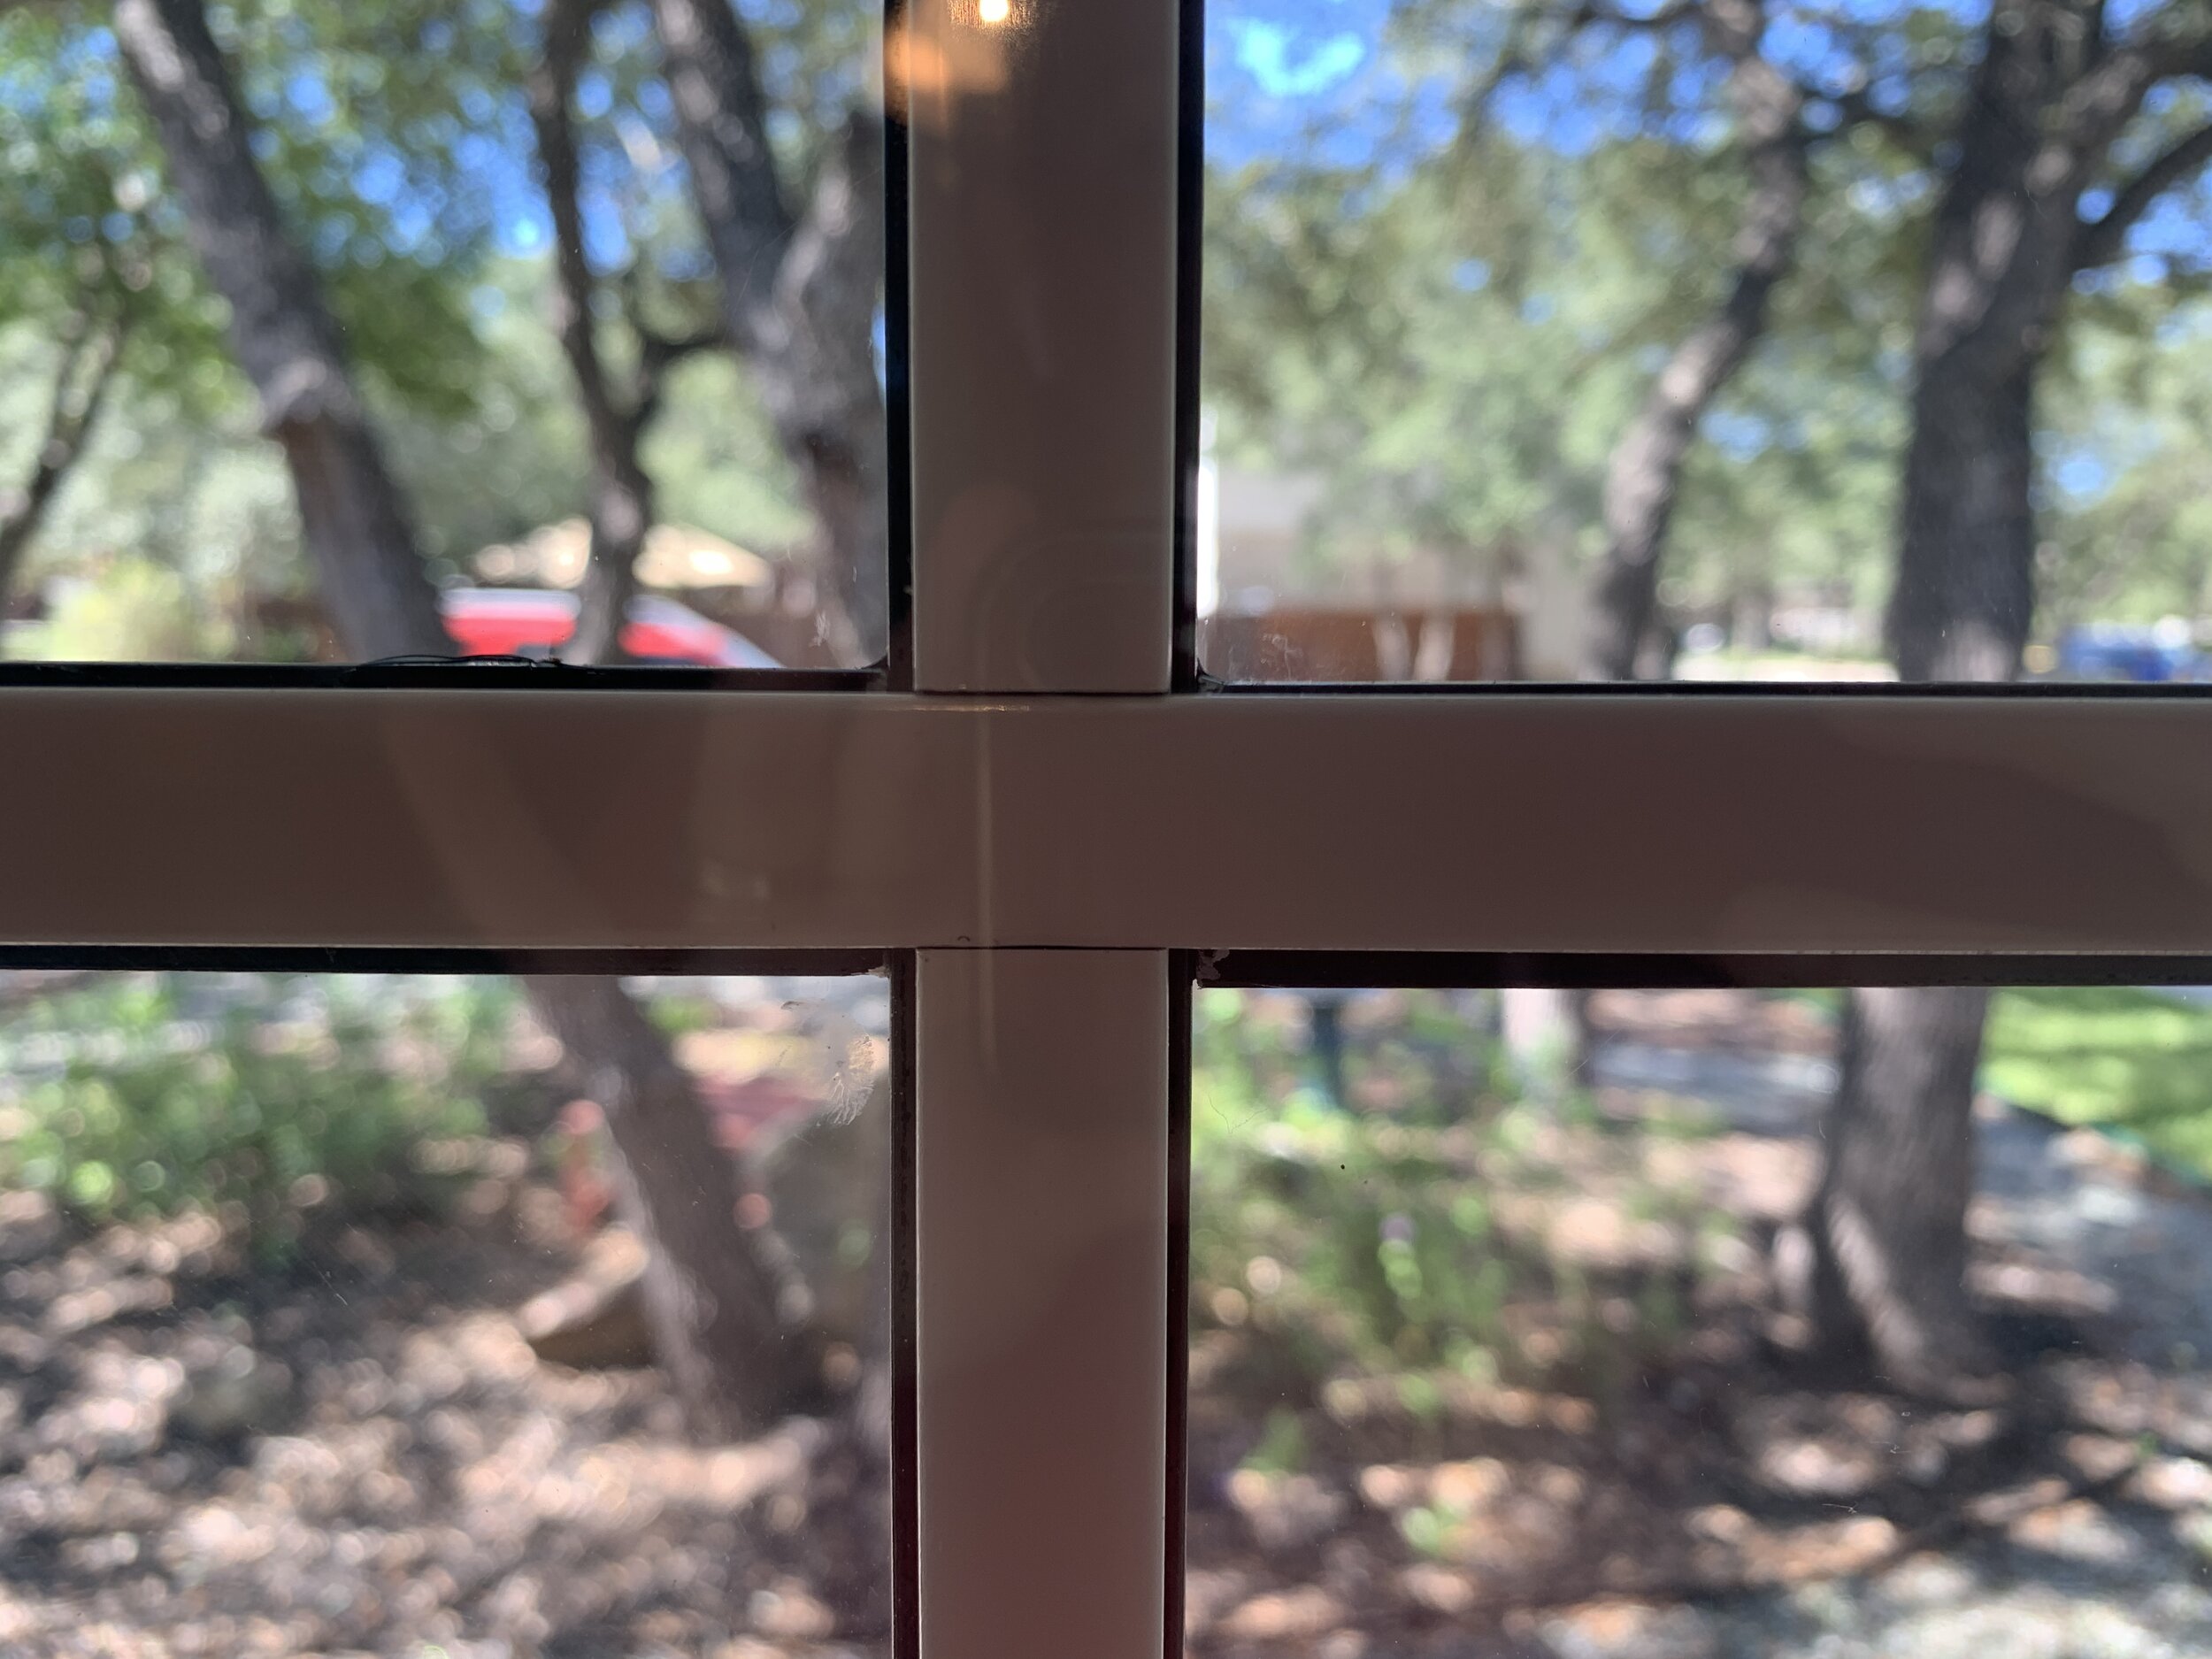
Using the existing mullions as my reference for the “seams”, I started with the vertical pieces first, measuring and cutting them to length.
For most of the cuts, I used a straight cut (that was 90 degrees to the piece of trim).
For the four pieces that went along the top curves of the windows, I angled my miter saw at 10 degrees.
You can see how the blunt, straight cut looks when applied, but don’t worry, the finish out looks better later.
(Though the small piece of vinyl (?) trim that bridges the gap between the glass and aluminum frame are curved on our windows, you could figure out what the exact angle of your window frame pieces are and undercut the trim pieces at a hard angle to overlap it onto this vinyl piece too if you wanted to so you have less to caulk/mold into a shape with caulk.)
Step 10: Dry fit trim
With a couple of pieces cut, I held them in place to find the perfect length for each piece. I trimmed some as needed to get a good fit that didn’t overlap the window frame.
This is a small but important step. Make sure the piece is the right size before any glue is applied!
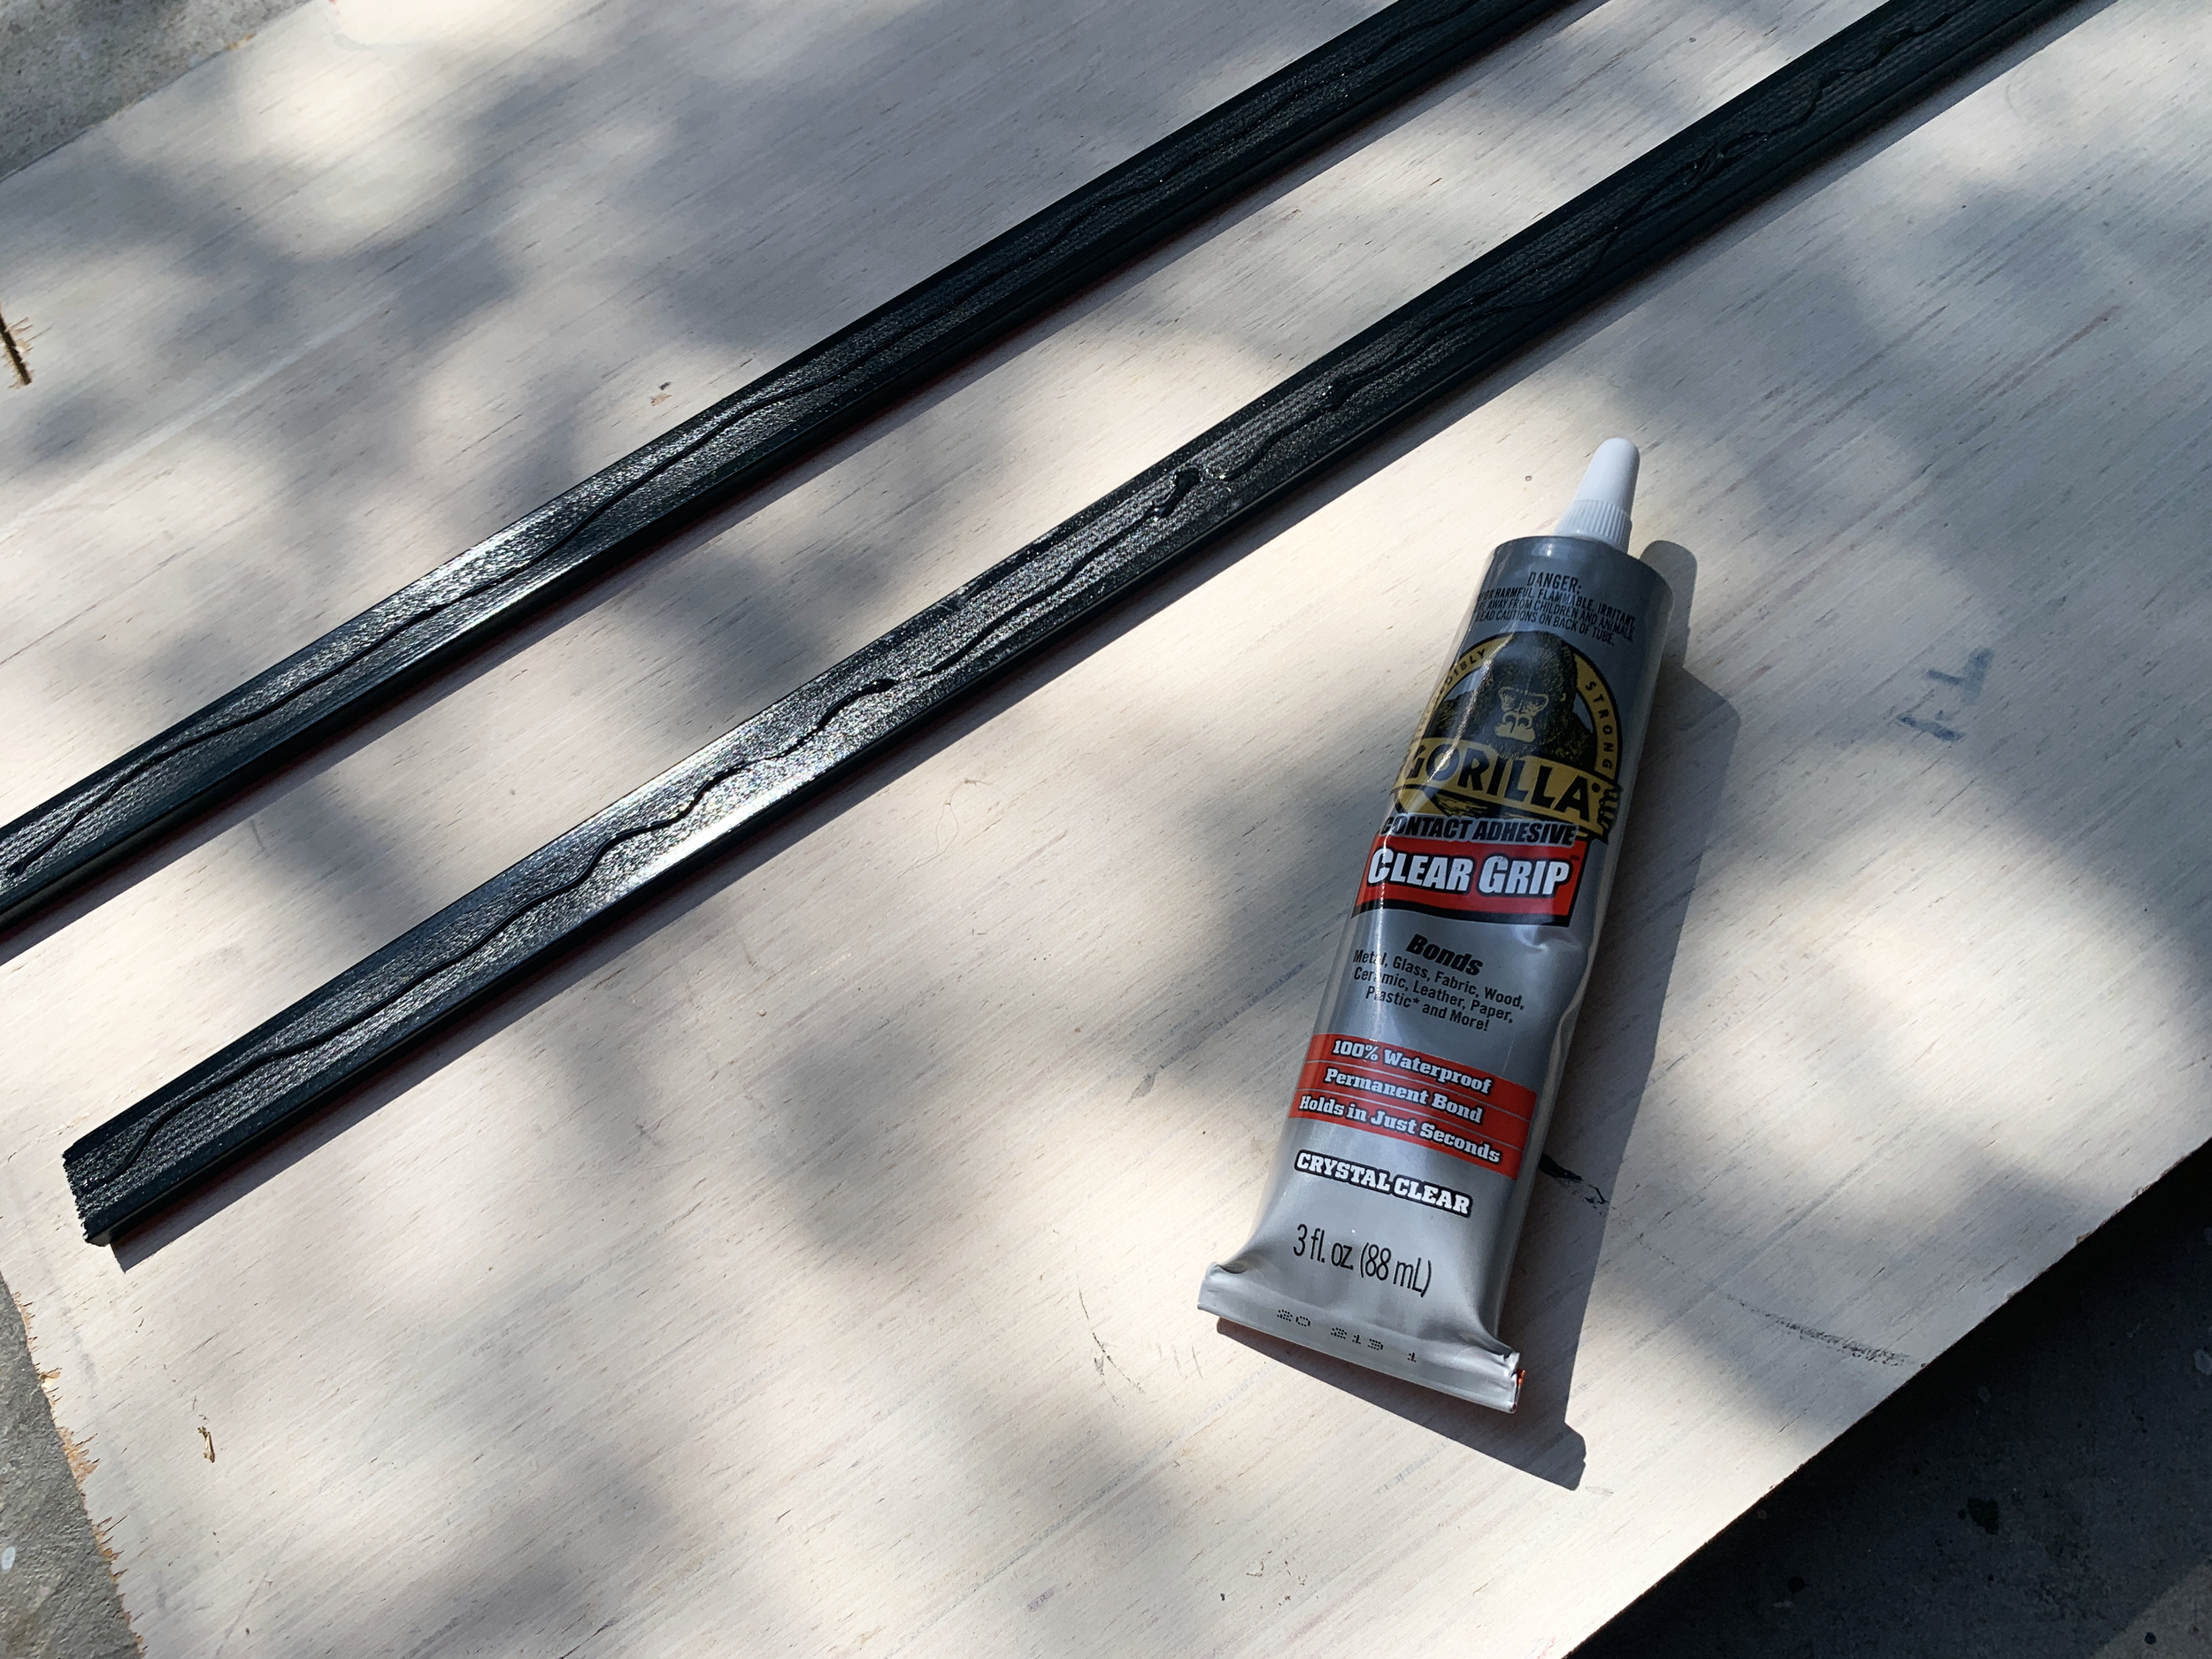
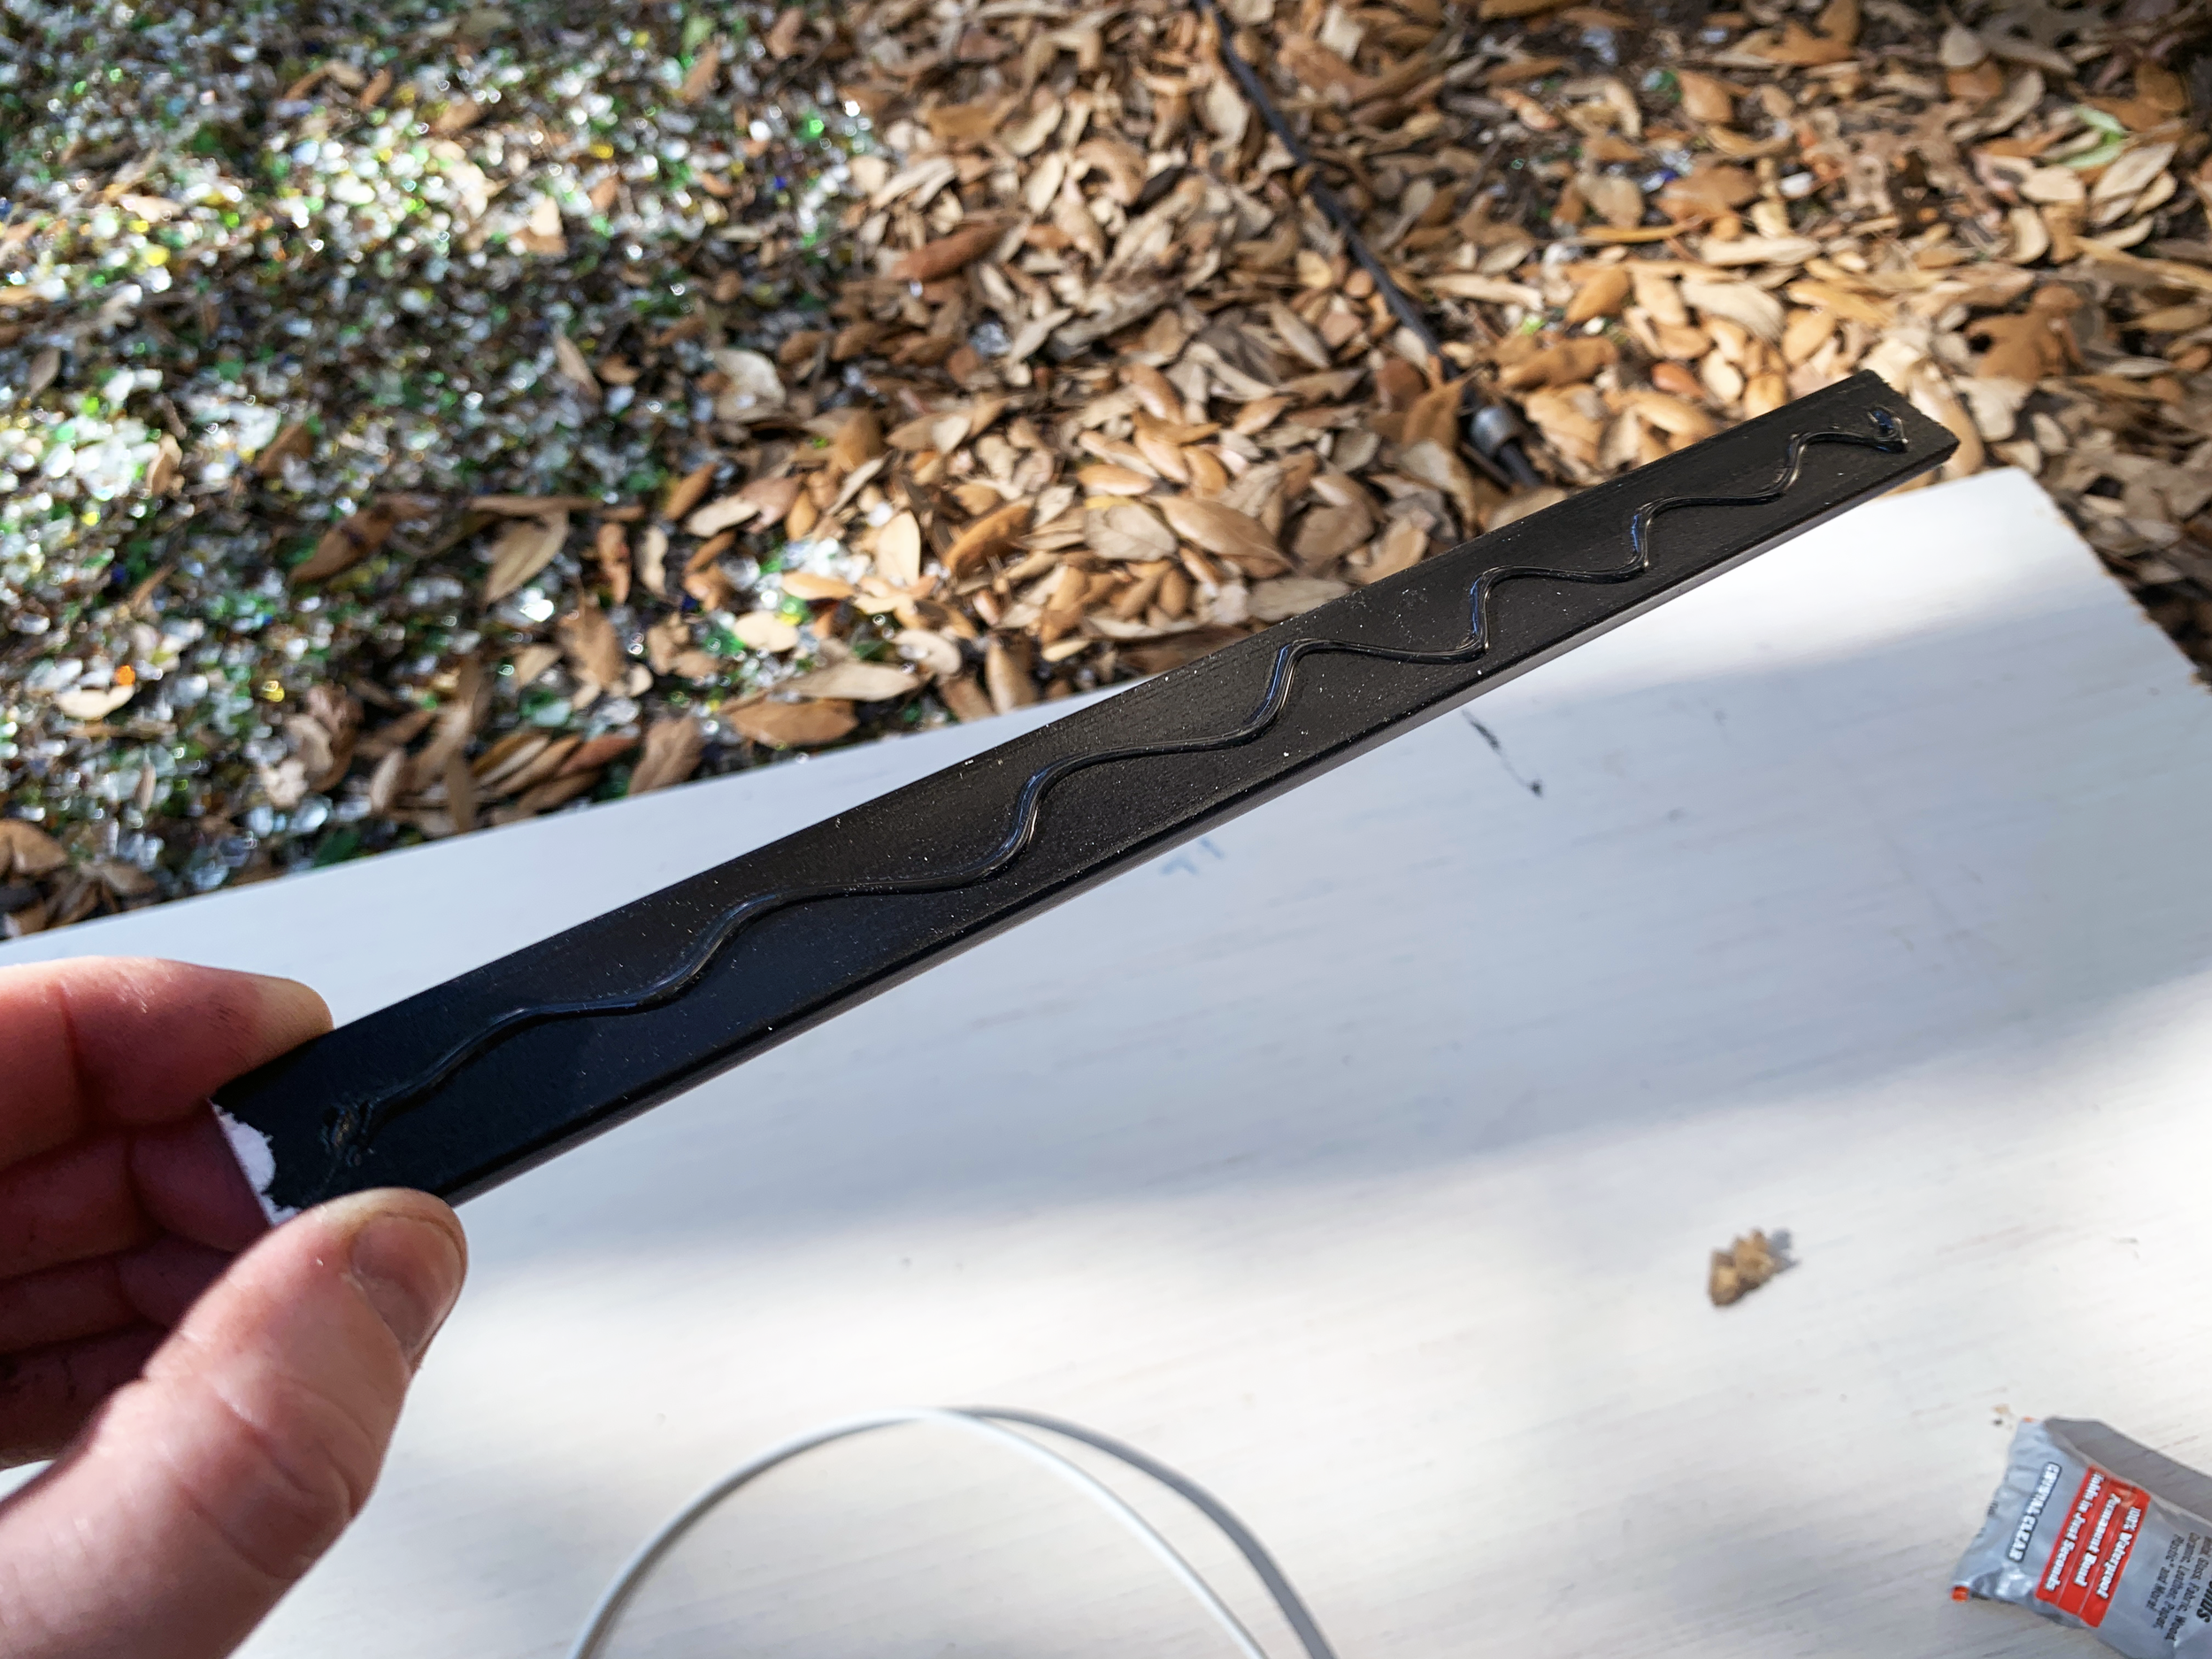
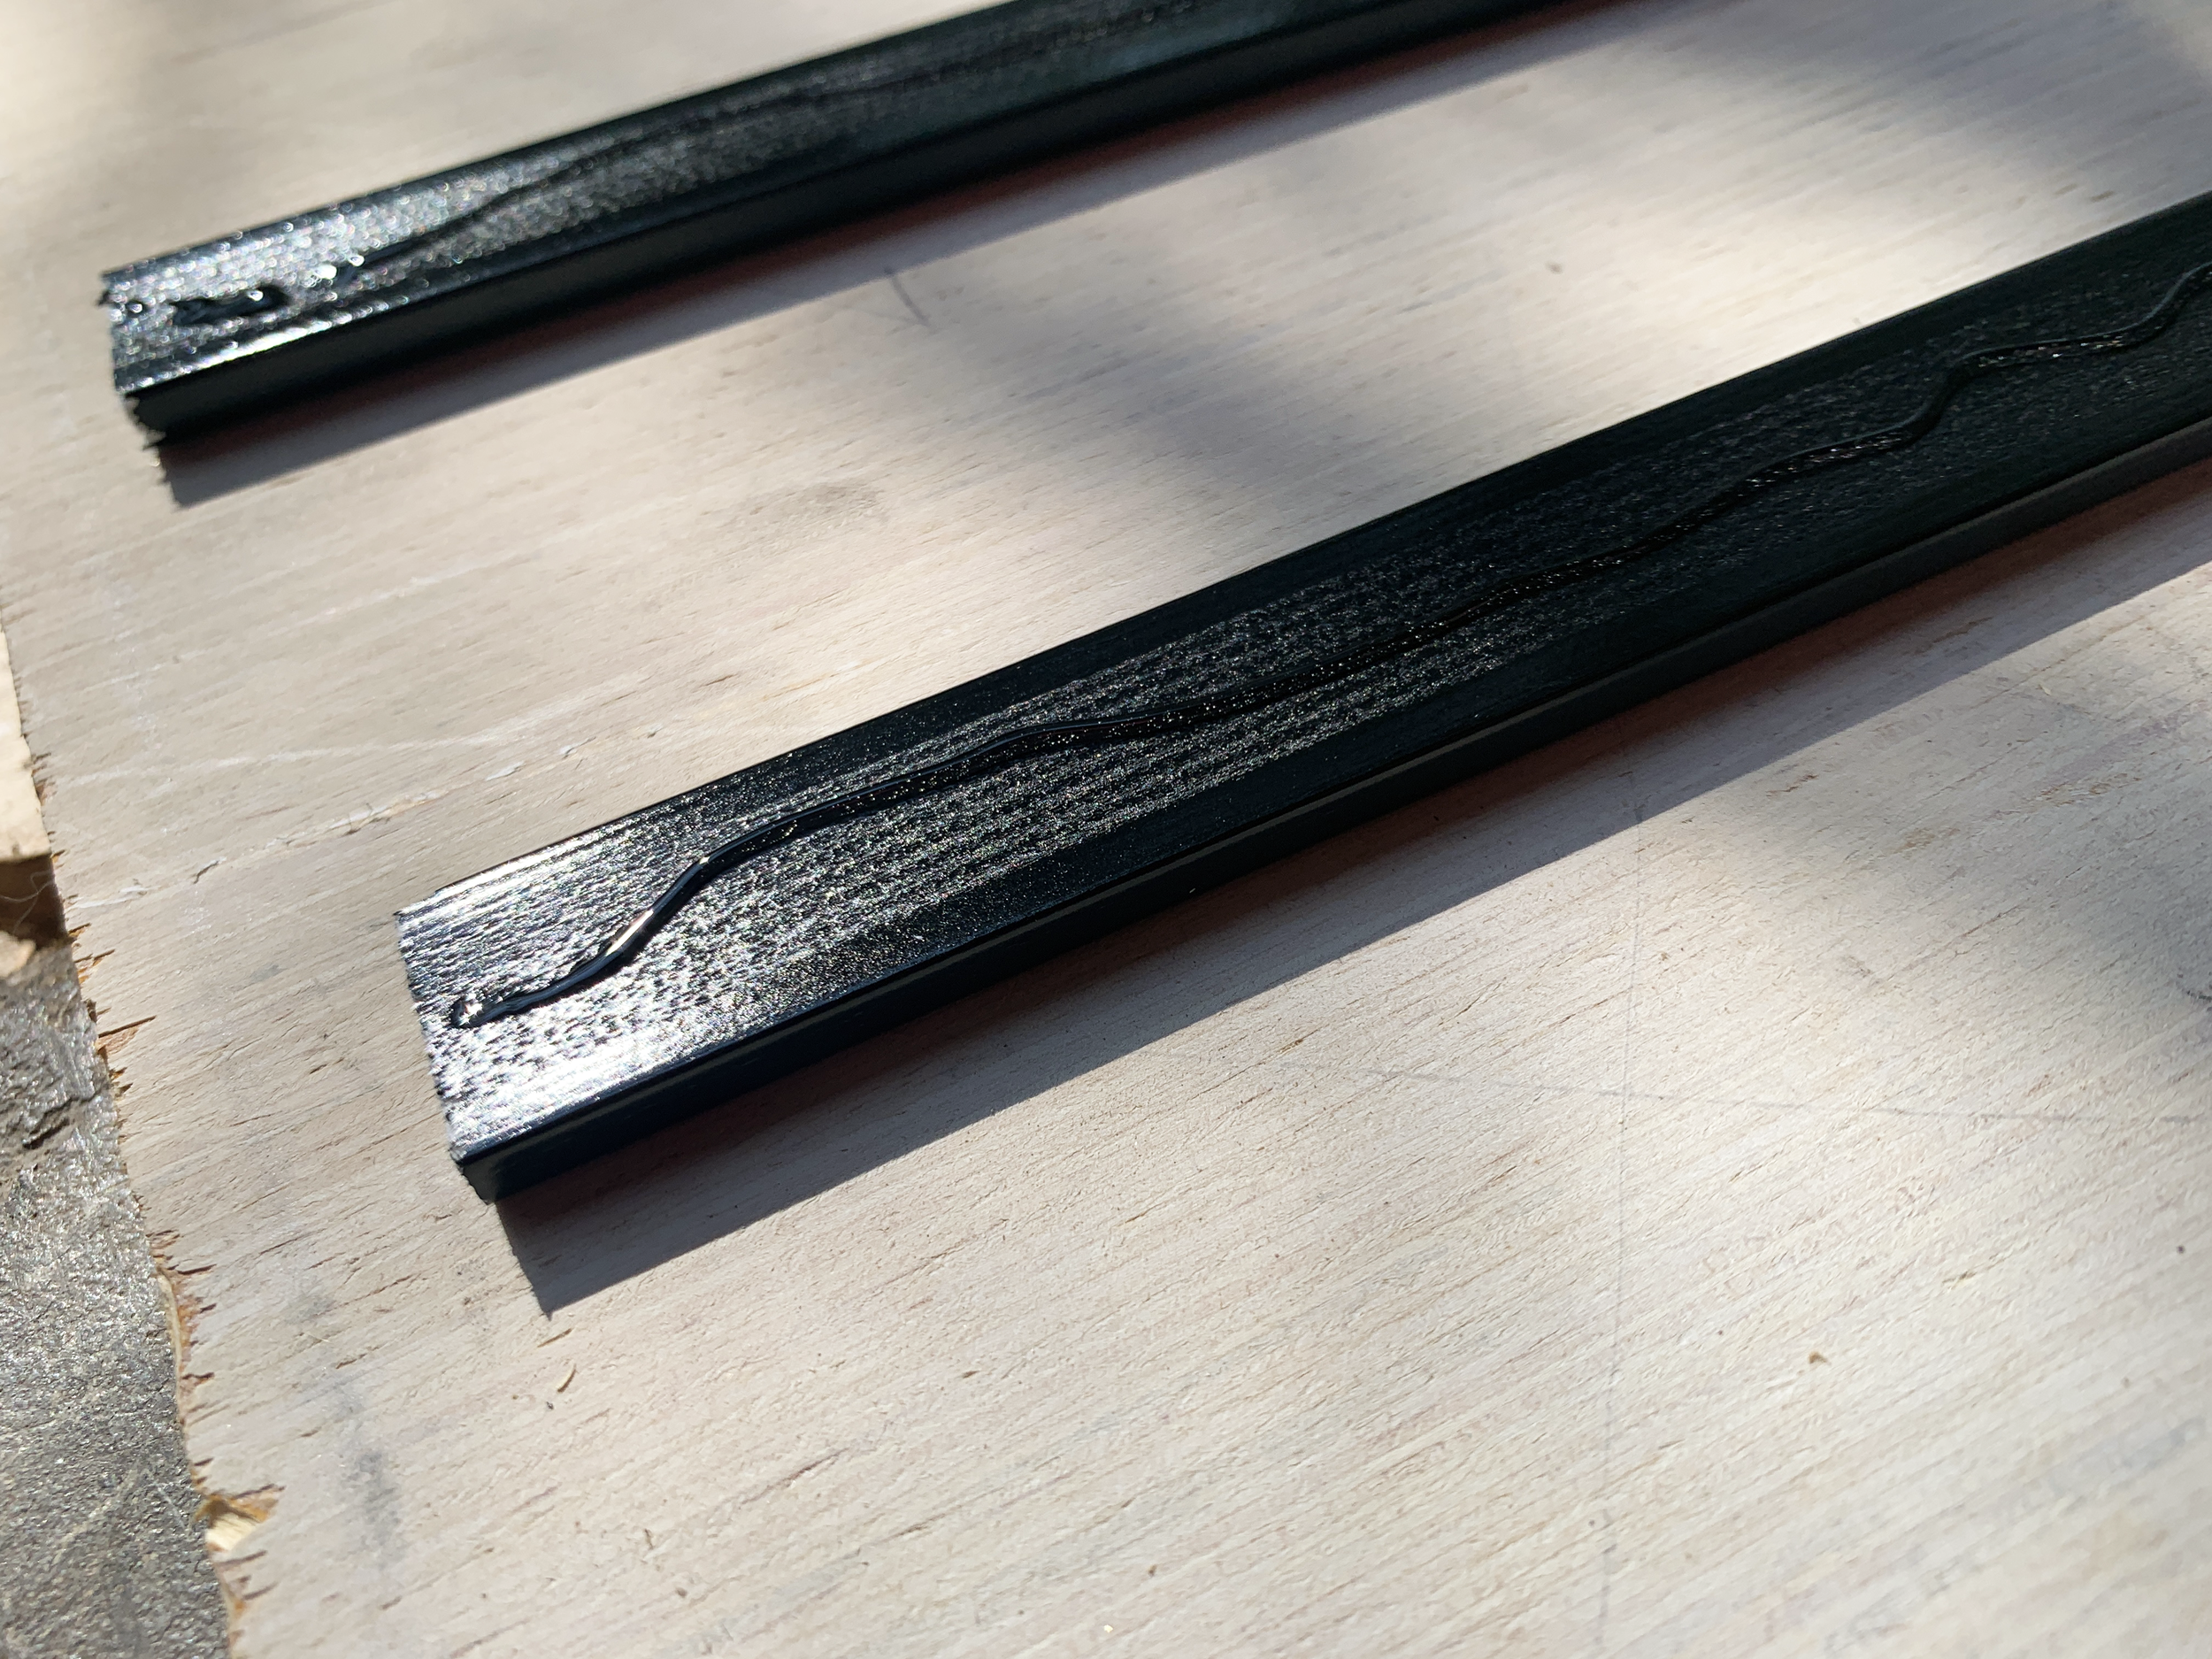
Step 11: Apply glue
I applied a small squiggle of glue to the back of the cut trim pieces and let it sit for 2 minutes (per the instructions on the tube) before applying them to the window. I did these in batches of two or three – two for verticals and three for horizontals.
Be careful not to apply too much glue or it can squeeze out from underneath the trim. (The bottle says it can be scraped off when hard, but not sure I’d want to try it and risk damaging anything.)
Step 12: Apply trim to window
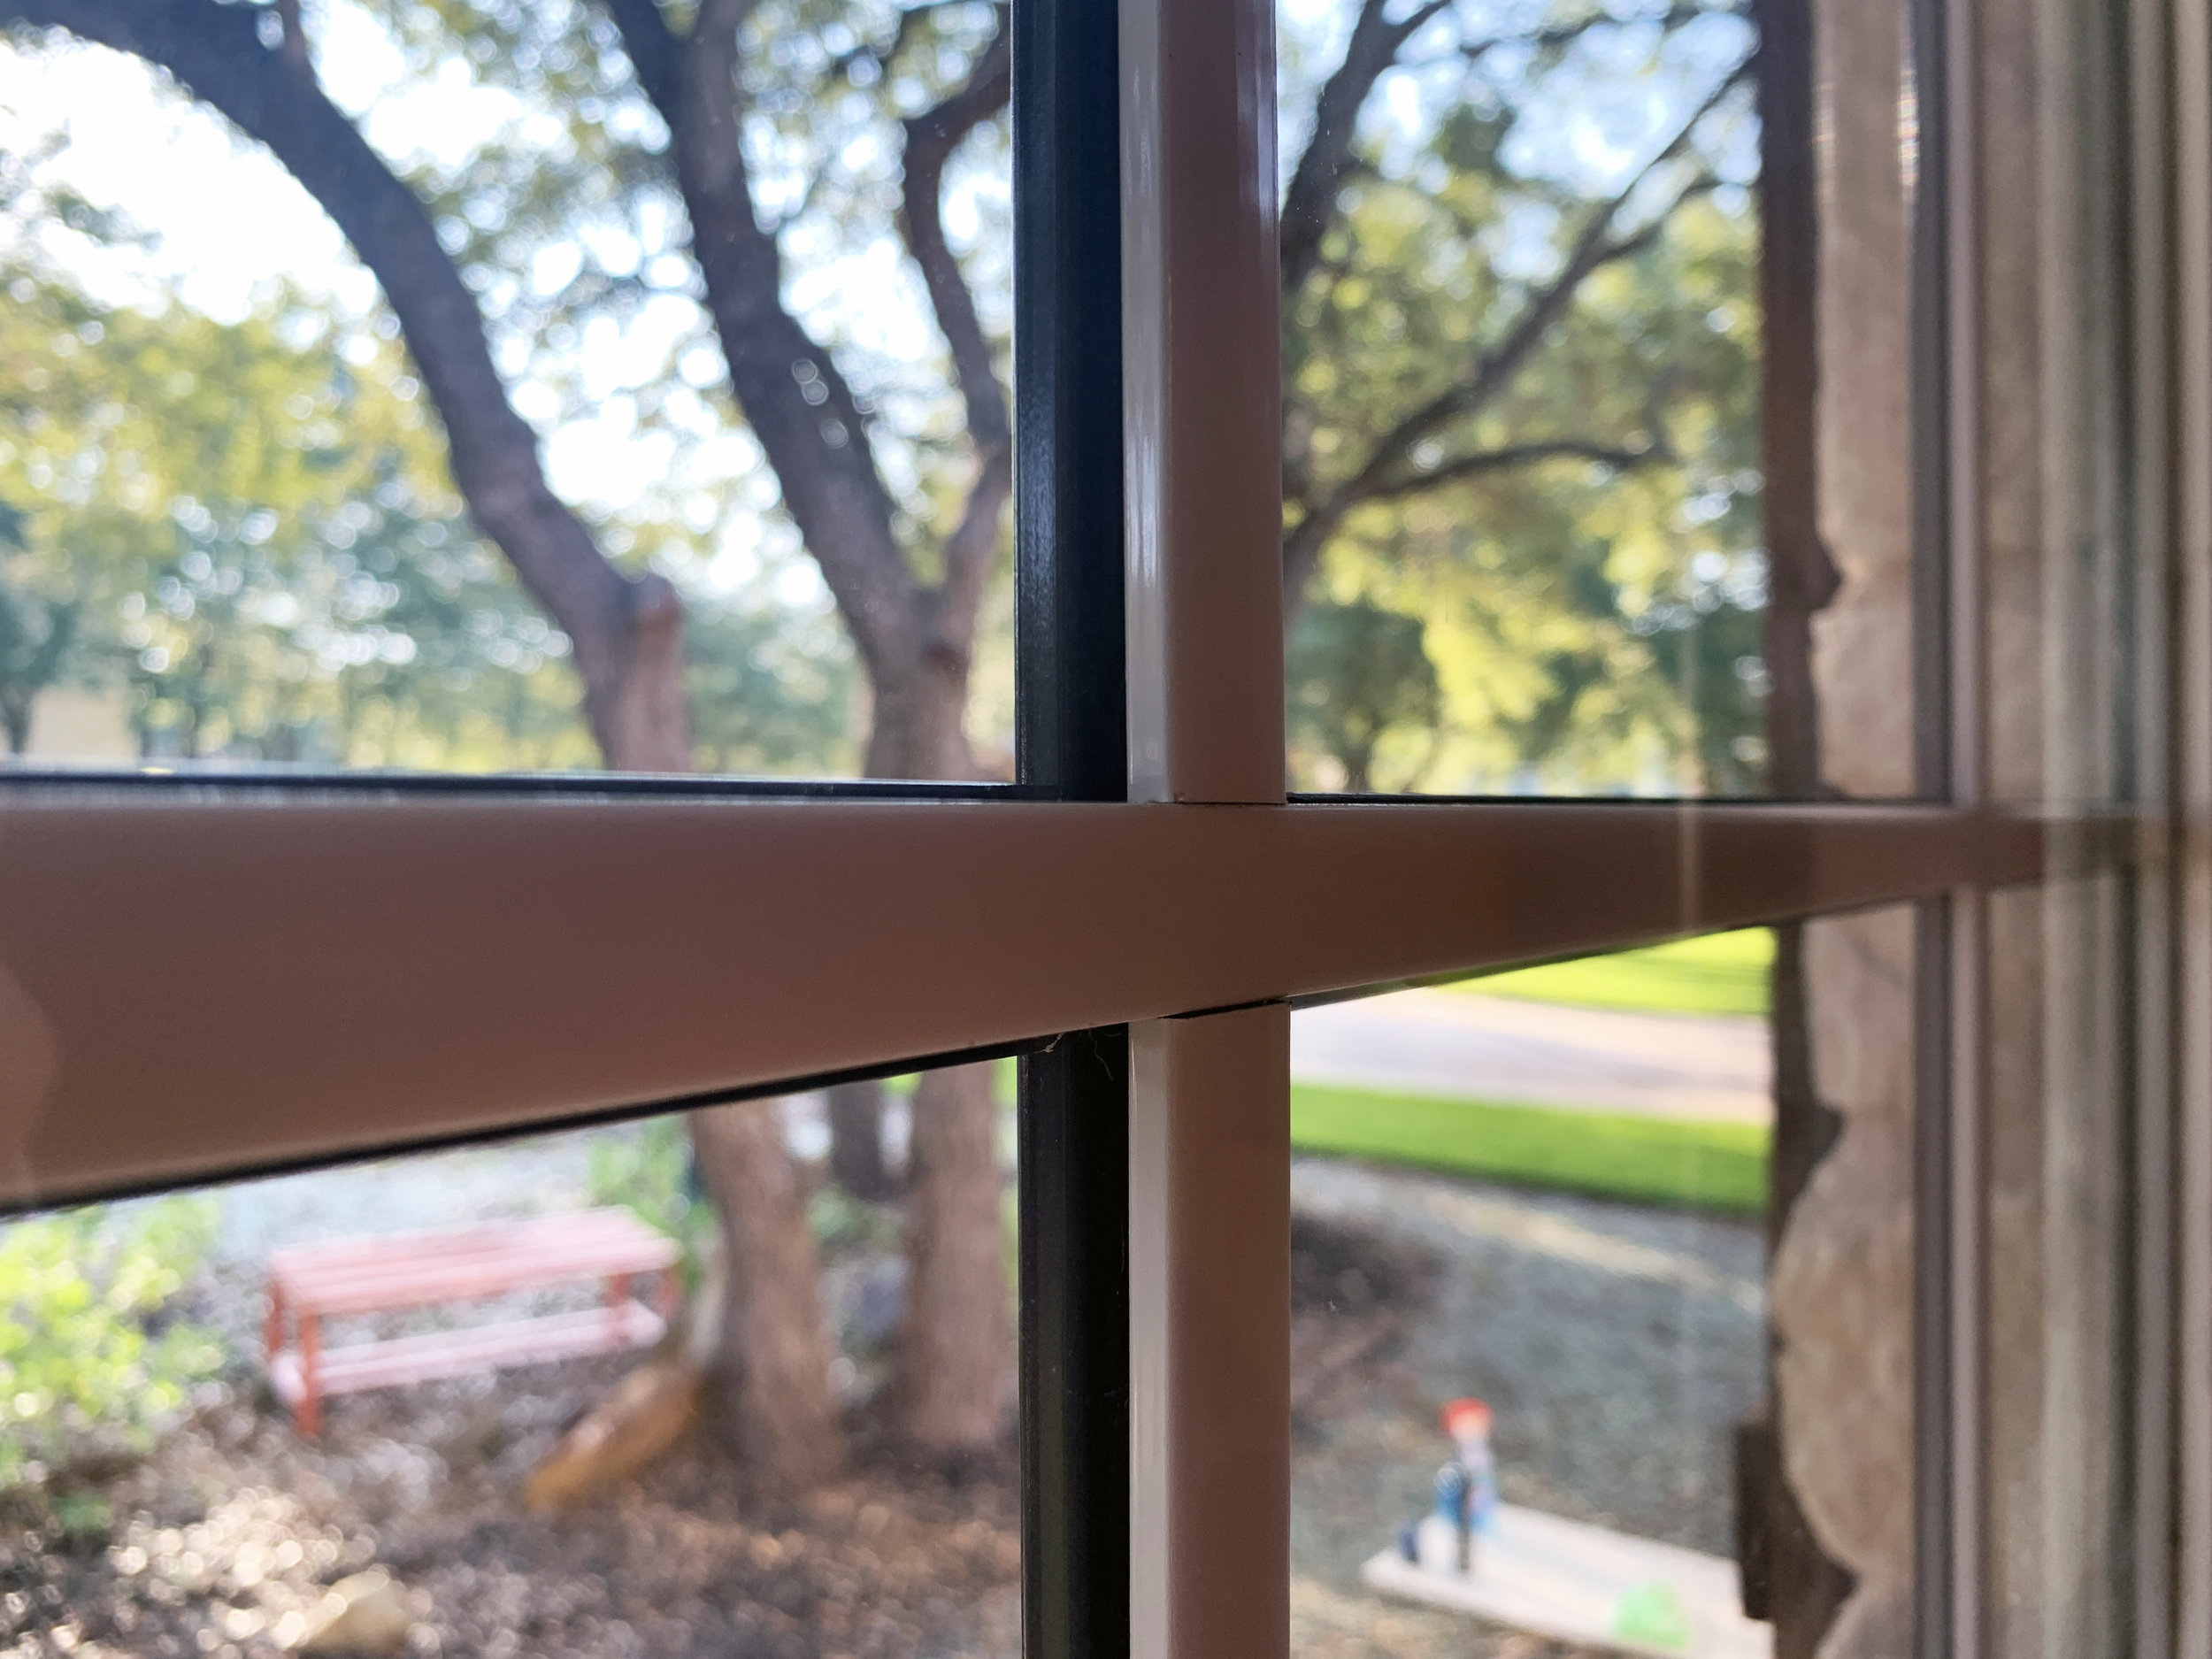
I carefully aligned the moulding using the internal mullion as a guide, and quickly stuck it in place on top of the glass window. I applied pressure by hand down the length of each piece for a few seconds.

We didn’t really have a problem with it until the very last piece, but if you notice any of your trim pieces start to slide or wiggle out of position (especially those horizontal ones), you can use the yellow delicate painter’s tape (so you don’t damage your fresh paint) to help hold it in place until the glue dries.
You can see how it looks on top of the glass with the white mullions inside at very extreme angles. (No joke y’all I’m in the window’s exterior sill to get these photos. If someone sees it at this angle they’re either creepy and call the cops immediately, or maybe they’re just curious neighbors wondering how you pulled this off in a day and you should give them a wave.)
Step 13: Repeat steps 9-12…
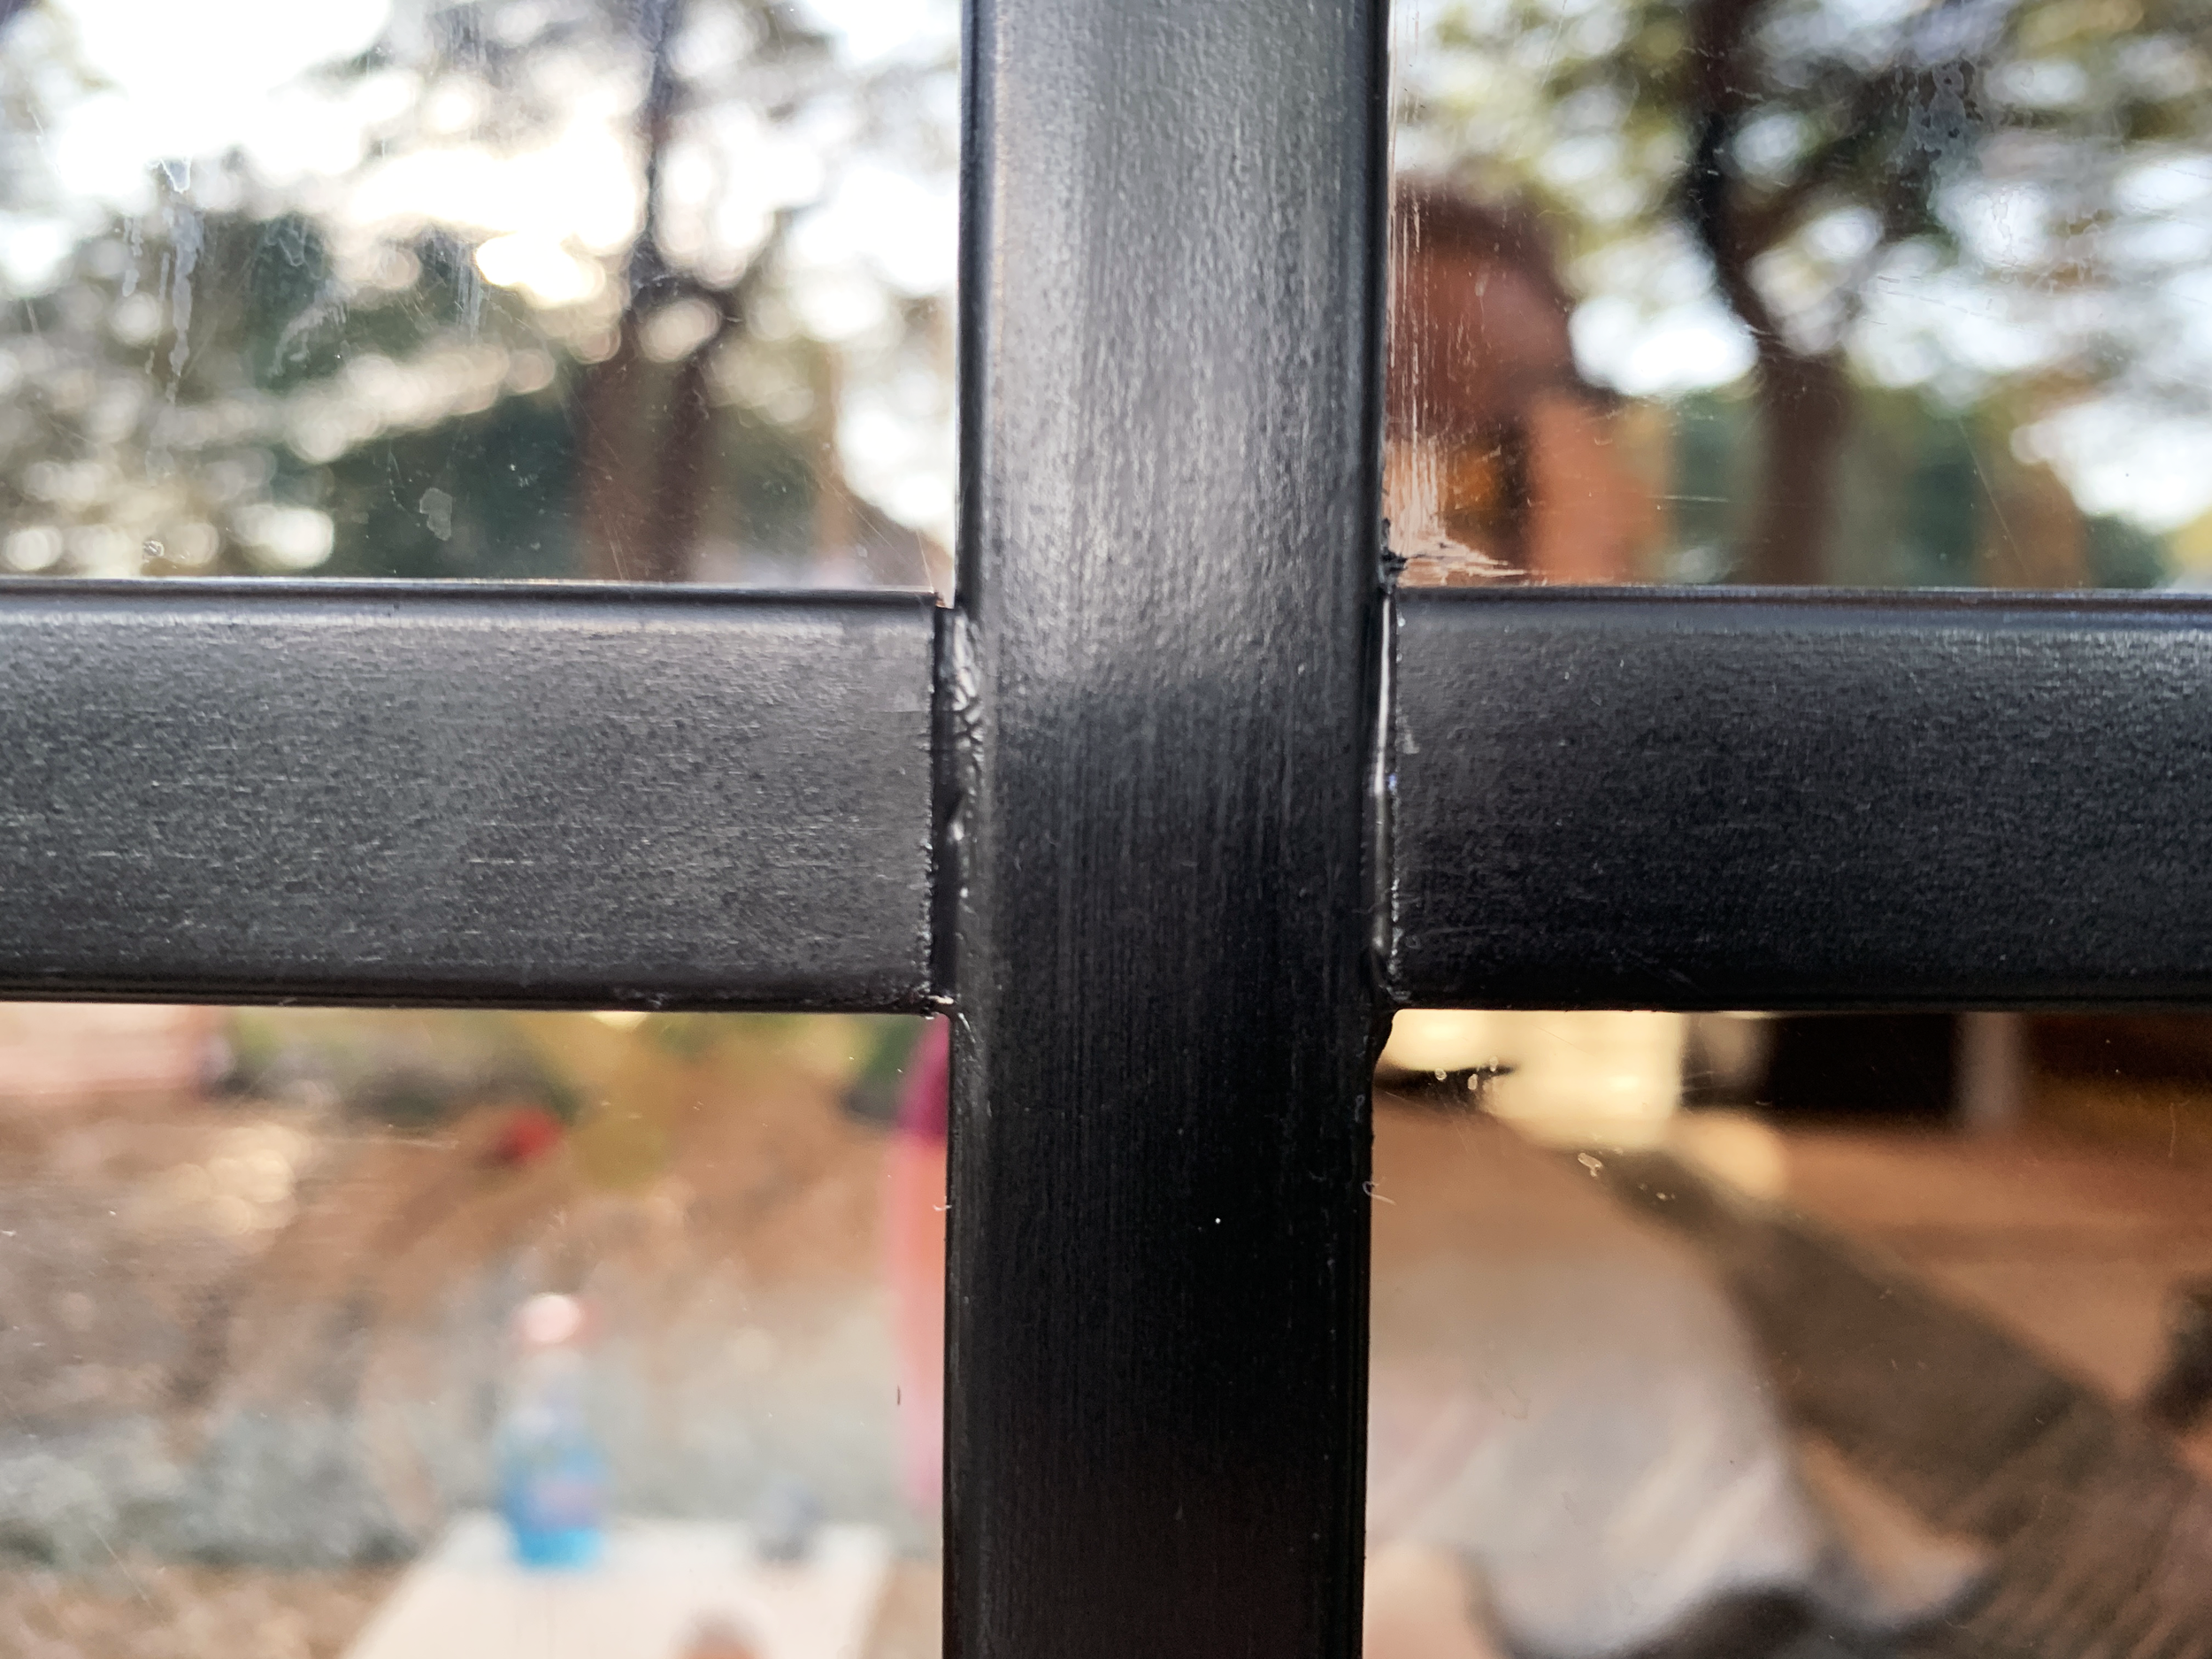
Until all of the painted mullions are glued in place.
Take a step back periodically to make sure none have shifted out of alignment and correct/tape, as needed, to keep that nice square grid!
Step 14: Caulk seams + moulding joints
Initially, I had a plan to caulk every spot that the new mullions touched something – the short ends, where the mullions crossed each other and even all of the long sides where the mullions met the glass. After seeing it all in place, the moulding seems to be making such great contact with the glass that I decided (for now at least) to only caulk the cross seams and where the blunt cut ends meet the edges of the window.
Don’t panic: When first applied, it looks like you’re ruining your striking, dark black painted windows and new mullions with gray caulk. After a mini freak out I learned it kinda-quickly turns black and blends in flawlessly. Whew.
Transitioning the blunt cut ends to the metal trim was another part that was a little bit “artsy”, but with a soft touch and a wet finger/rag it’s not too hard to taper the caulk into a nice smooth little wedge. Working quickly, I used a wet finger and wet rag to smooth and wipe away any caulk that had gotten onto my new mullions.
I let this dry (for me this was overnight).
Step 15: Detail clean
The next morning when the caulk and glue were well dried, I cleaned the windows using Windex glass cleaner and a microfiber rag to remove the little leftover bits of dried caulk. The evening before, I noticed a very slight haze on the trim left by the black caulk (even though I had made sure to remove any and all visible traces of it the evening before) and was worried it would be noticeable at different angles and in different lights. Thankfully I found a very quick and easy fix:
Hazy caulk film on your new black mullions? Windex and a microfiber cloth cleans it off nicely the next day!
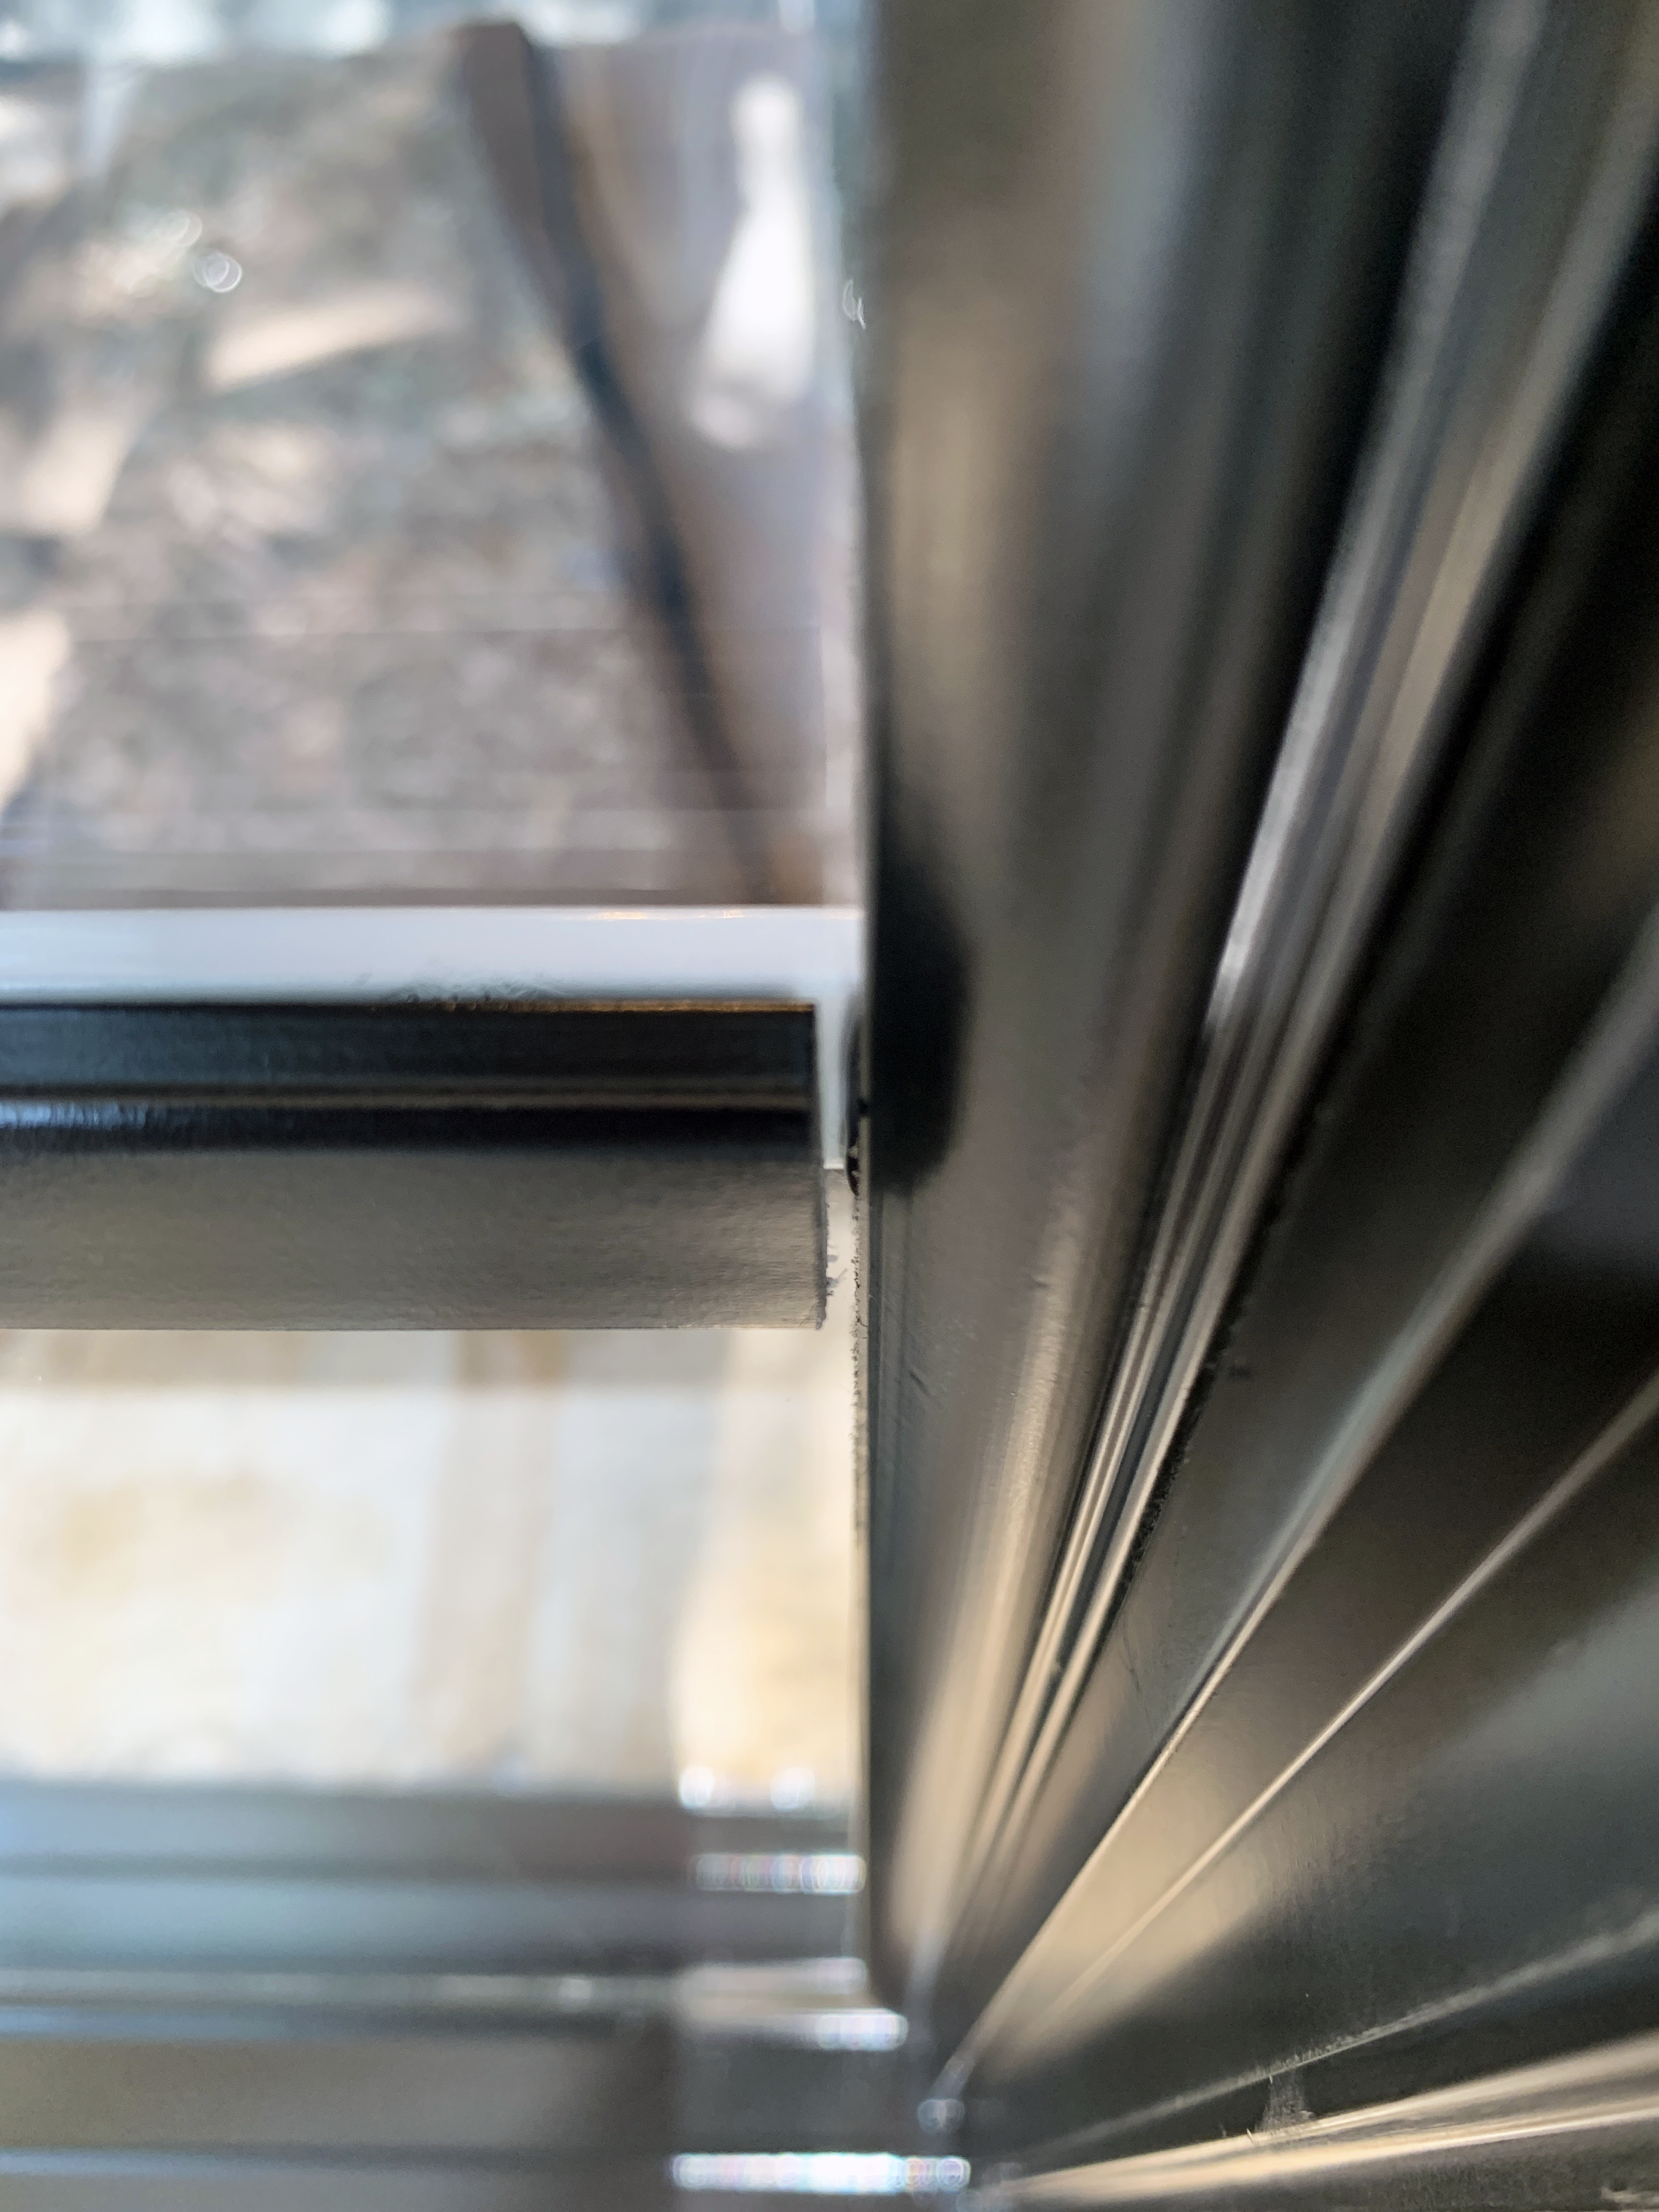
Step 16: Open the window
After a quick and careful swipe with an Xacto knife (where the bottom window sash meets the exterior window frame), I opened the window to make sure it all worked right – the new mullions weren’t too deep, I didn’t accidentally seal the window shut, and no paint peeled/needed touching up after I opened it up.
Step 17: admire your work…
And be prepared for compliments by neighbors, because you will definitely get them!

Final result
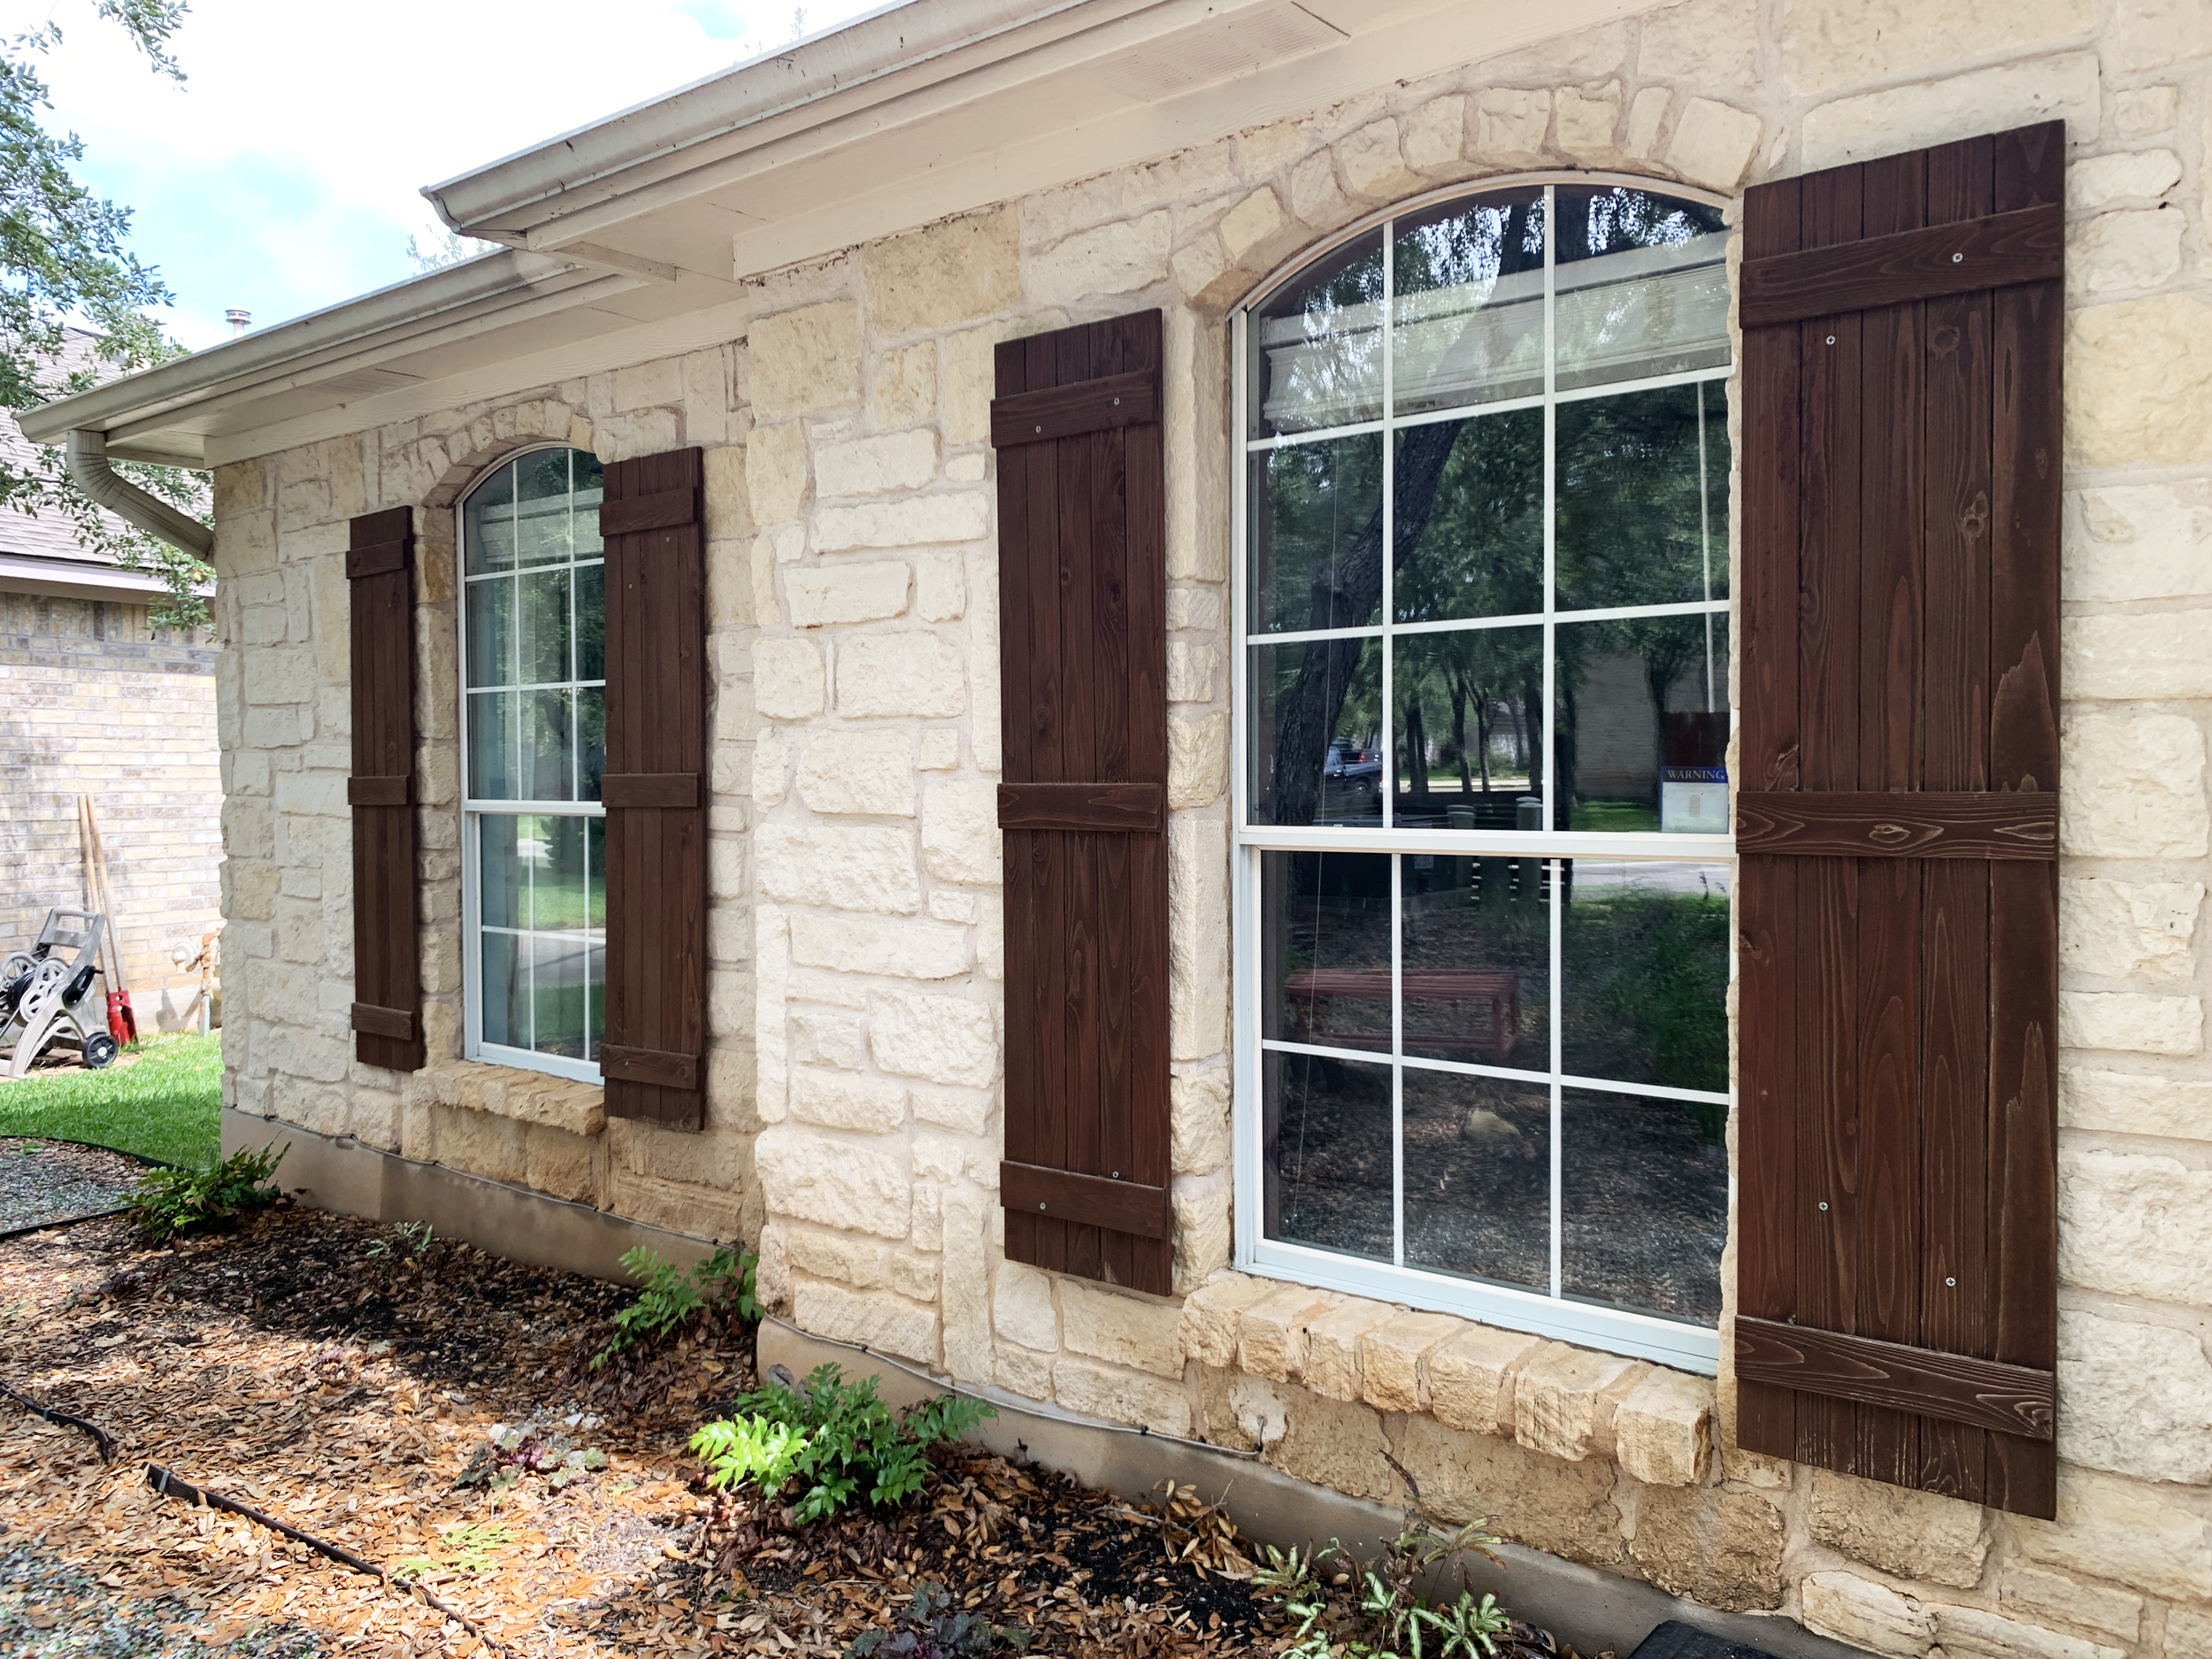


Listing photo of our house from years ago

The current design situation – as of early Oct. 2020
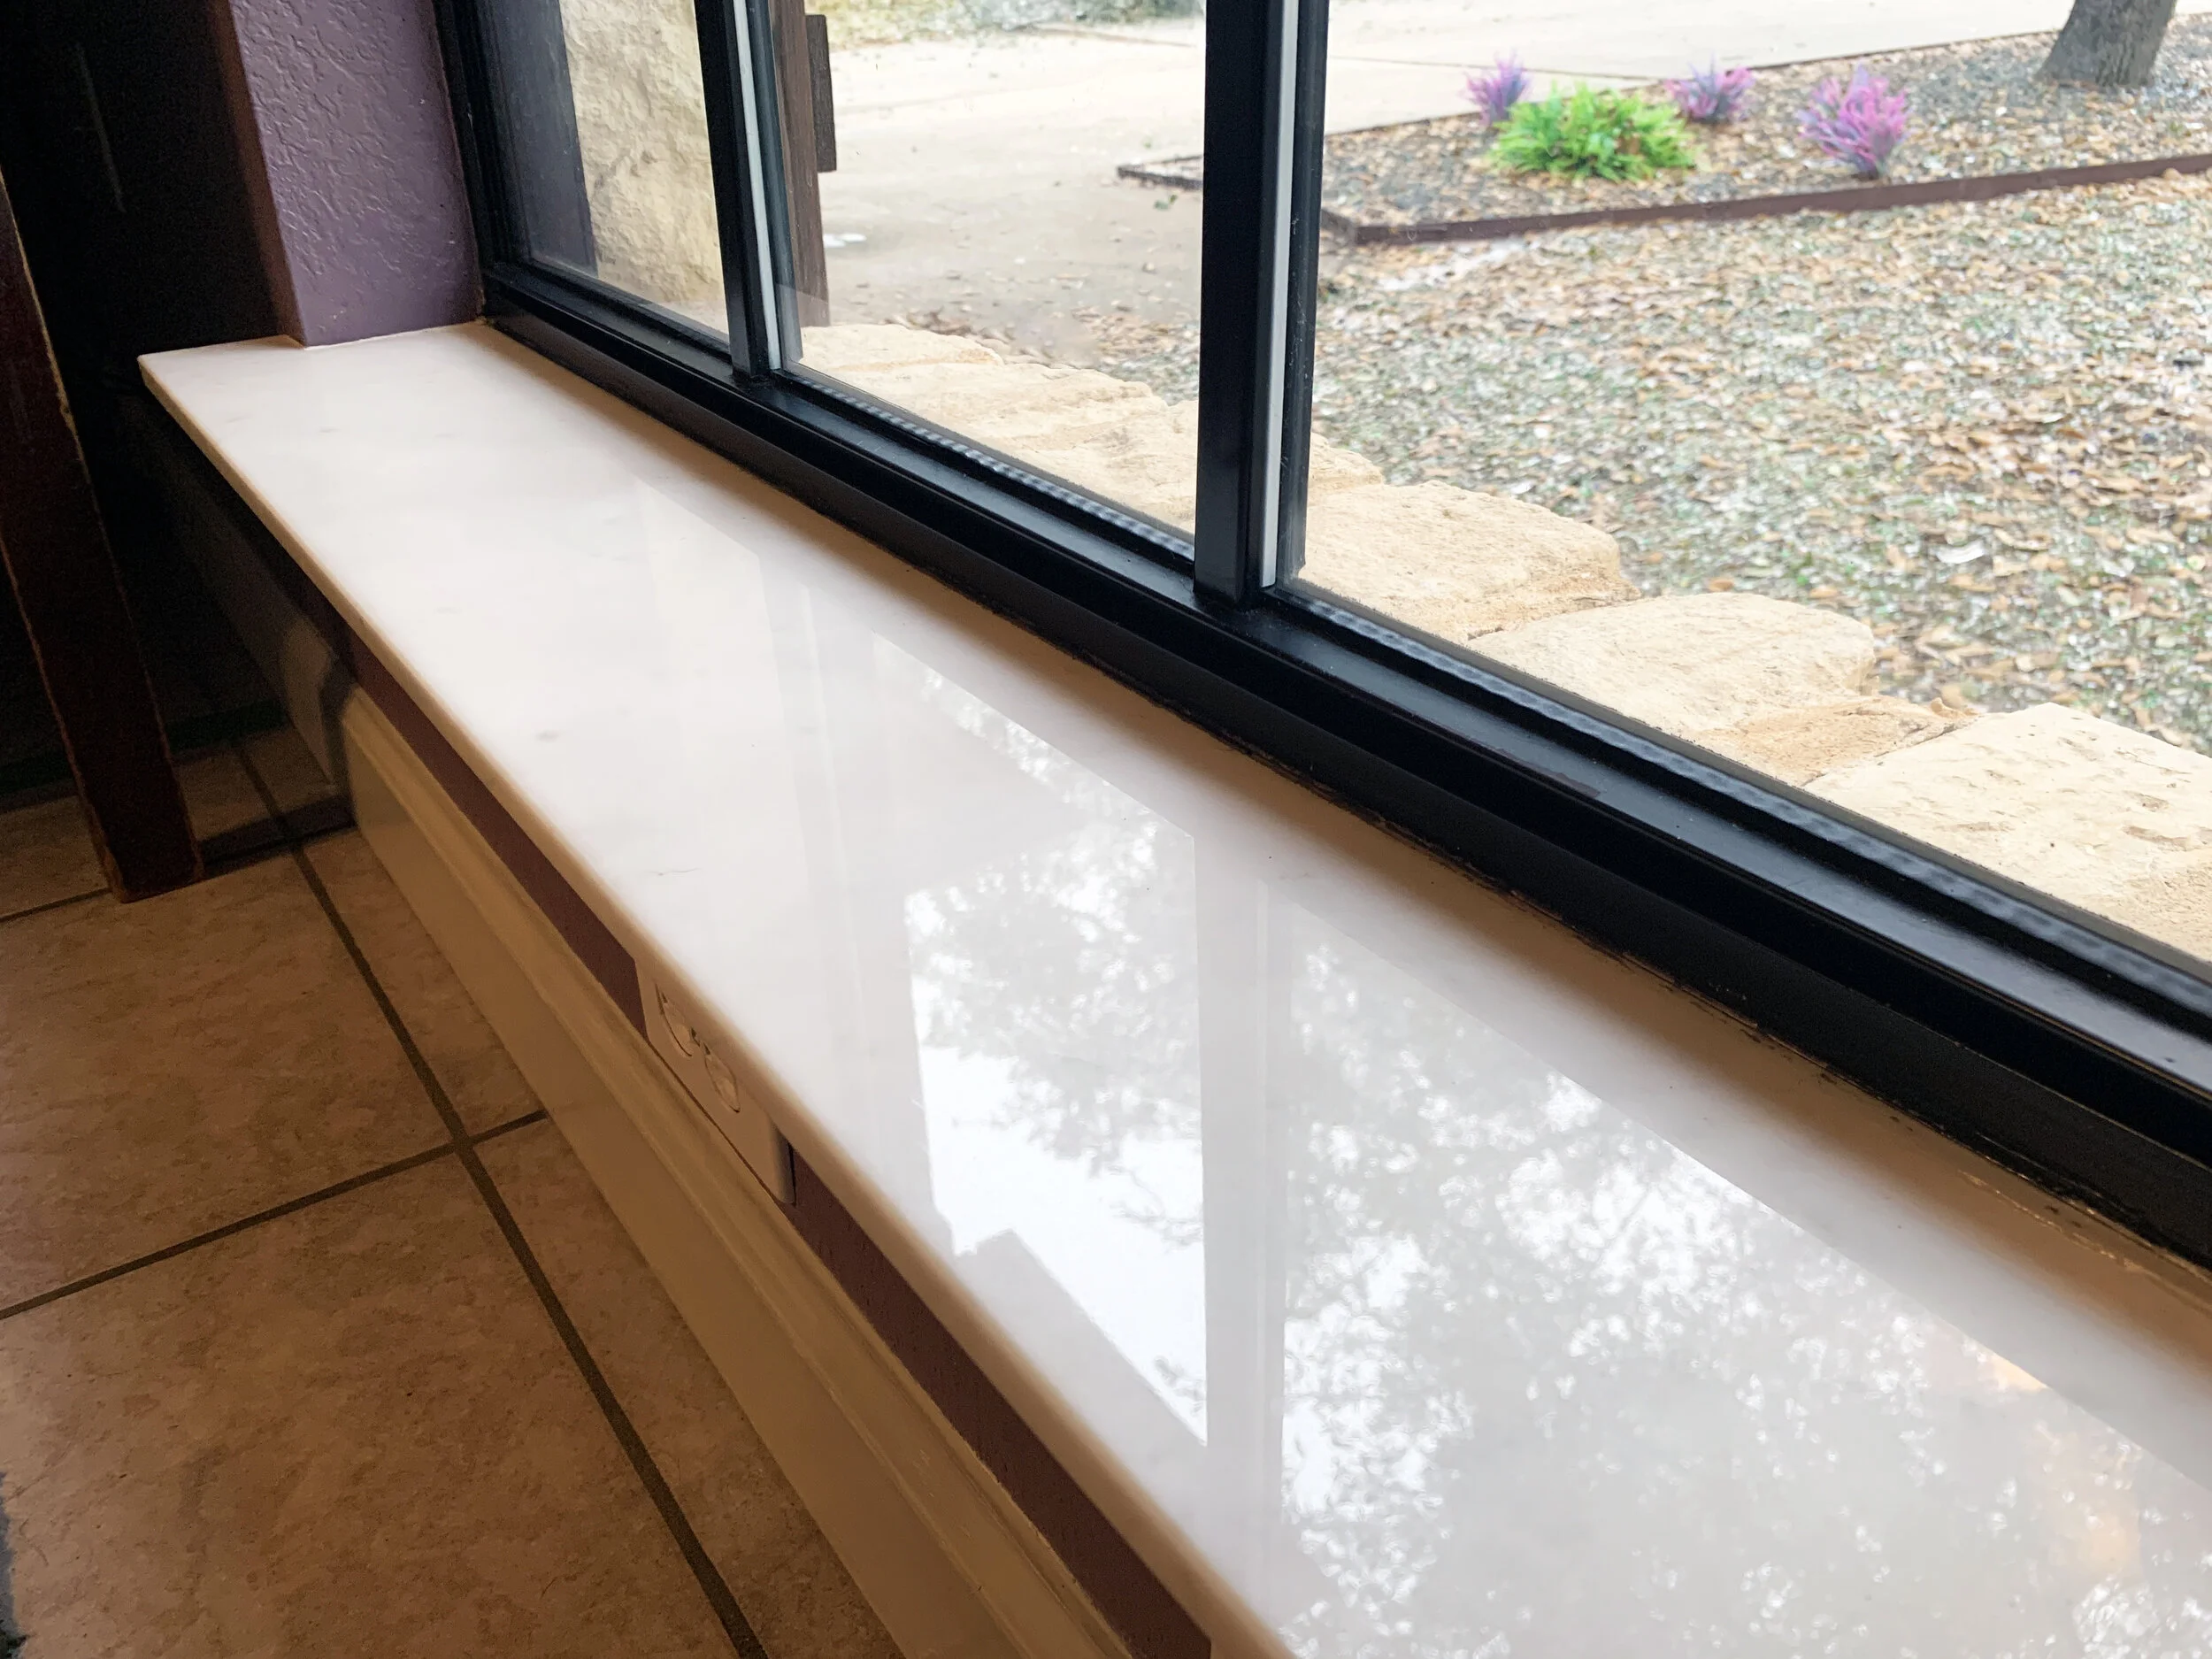
So what’s it look like from the inside?
It’s actually not too bad even though the new exterior mullion trim is slightly wider than the white interior ones and could probably be kept as-is since I got them pretty well centered on the white mullions, but I have an all-black window dream. As in, exterior and interior, so that’s on my short to-do list. And you can bet your sweet little bippy I’ll share that transformation, a full how-to and any tips we learn with you when we get there!
Now the only problem is I want to spruce up so many other things on our exterior! (Make black window bug screens, touch up the stain on our shutters, paint exterior trim and gutters, overhaul our landscaping…) AND do the insides black, plus more.
Scope creep is real y’all.
What do you think of our “new” windows? Is this something you would try yourself? We want to hear about it below!
May 2021 update:
These windows have gone through some extreme temperature changes – so far a record-breaking winter storm with single-digit temperatures and 90-degree days – since being done and they still look and are functioning the same as they did on day one. No breakage or noticeable shrinkage! Since the original posting we’ve done all of the window exteriors around the house and most of the interiors.
So far, we’d definitely recommend this makeover if you’re looking to update your existing windows!