The Cameo Camper Renovation: Exterior Electrical Install

I’ve thought and thought and put off writing this post because I wasn’t really sure how to share this with you. So I’m just gonna rip off the Bandaid because I think that’s the kind of honest relationship we have.
We failed. We failed at this real good.
But the good news is, we learned from our mistakes and ultimately were able to get our exterior electrical complete… by taking it to a local place that specializes in trailers of all kinds. Bless them for their electrical knowledge.
What I mean when I say “exterior electrical” is:
Upgrading/installing/replacing all of the trailer’s existing running lights to make her street legal:
14 clearance lights (7 red + 7 yellow)
2 tail lights (the style we chose also includes turn signals and brake lights)
4 reflectors (which require no electricity at all but look like lights and this makes as much sense as any post to share this random bit)
Adding some new upgrades The Cameo didn’t originally have:
A license plate holder with light
Wireless backup camera
New porch light
I should clarify. Maybe it’s because I’m in denial or just a glass-half-full kinda gal, or maybe because this all happened so long ago (January/February) and we’ve had some happy wins since then and I’m (kind of) finally passed my failure feels. We only partially failed. We successfully installed each of our pieces – they’re waterproof and look good and we’re happy with our choices so far. We just had problems with the wiring portion after install, but thankfully there are people you can (and we did) pay for that. Plus, we were already planning on taking her to them to swap the original surge brakes for a spankin’ new electrical brake system and have some other work done.
“
I guess what it boils down to is know your limits.
Sometimes you can’t do it all yourself.
And that’s ok.
”
Let’s start with what we got right – our shopping list
Tail lights – 2
More butyl putty tape for waterproofing each of the items above
Reflectors – 2 red + 2 amber (they come with a sticky foam back for waterproofing so no additional adhesive is needed)
Lexel clear paintable solvent caulk – to fill the hole drilled through the metal wall for the wire
Notes:
We initially bought these tail lights, but when we went to install them we found they were just a little too tall to complement the curvature of our camper – still a great quality light and would recommend if you’re looking for one in this style.
We were hoping to get these starburst style lights since they’re the exact design of the original Cameo clearance lights, but the reproduction wasn’t ready. (Maybe one day we’ll swap them out…)
Similar to how we installed the windows and roof vent, each light (except the license plate light/holder) was installed using butyl putty tape for waterproofing.
Updating existing exterior electrical
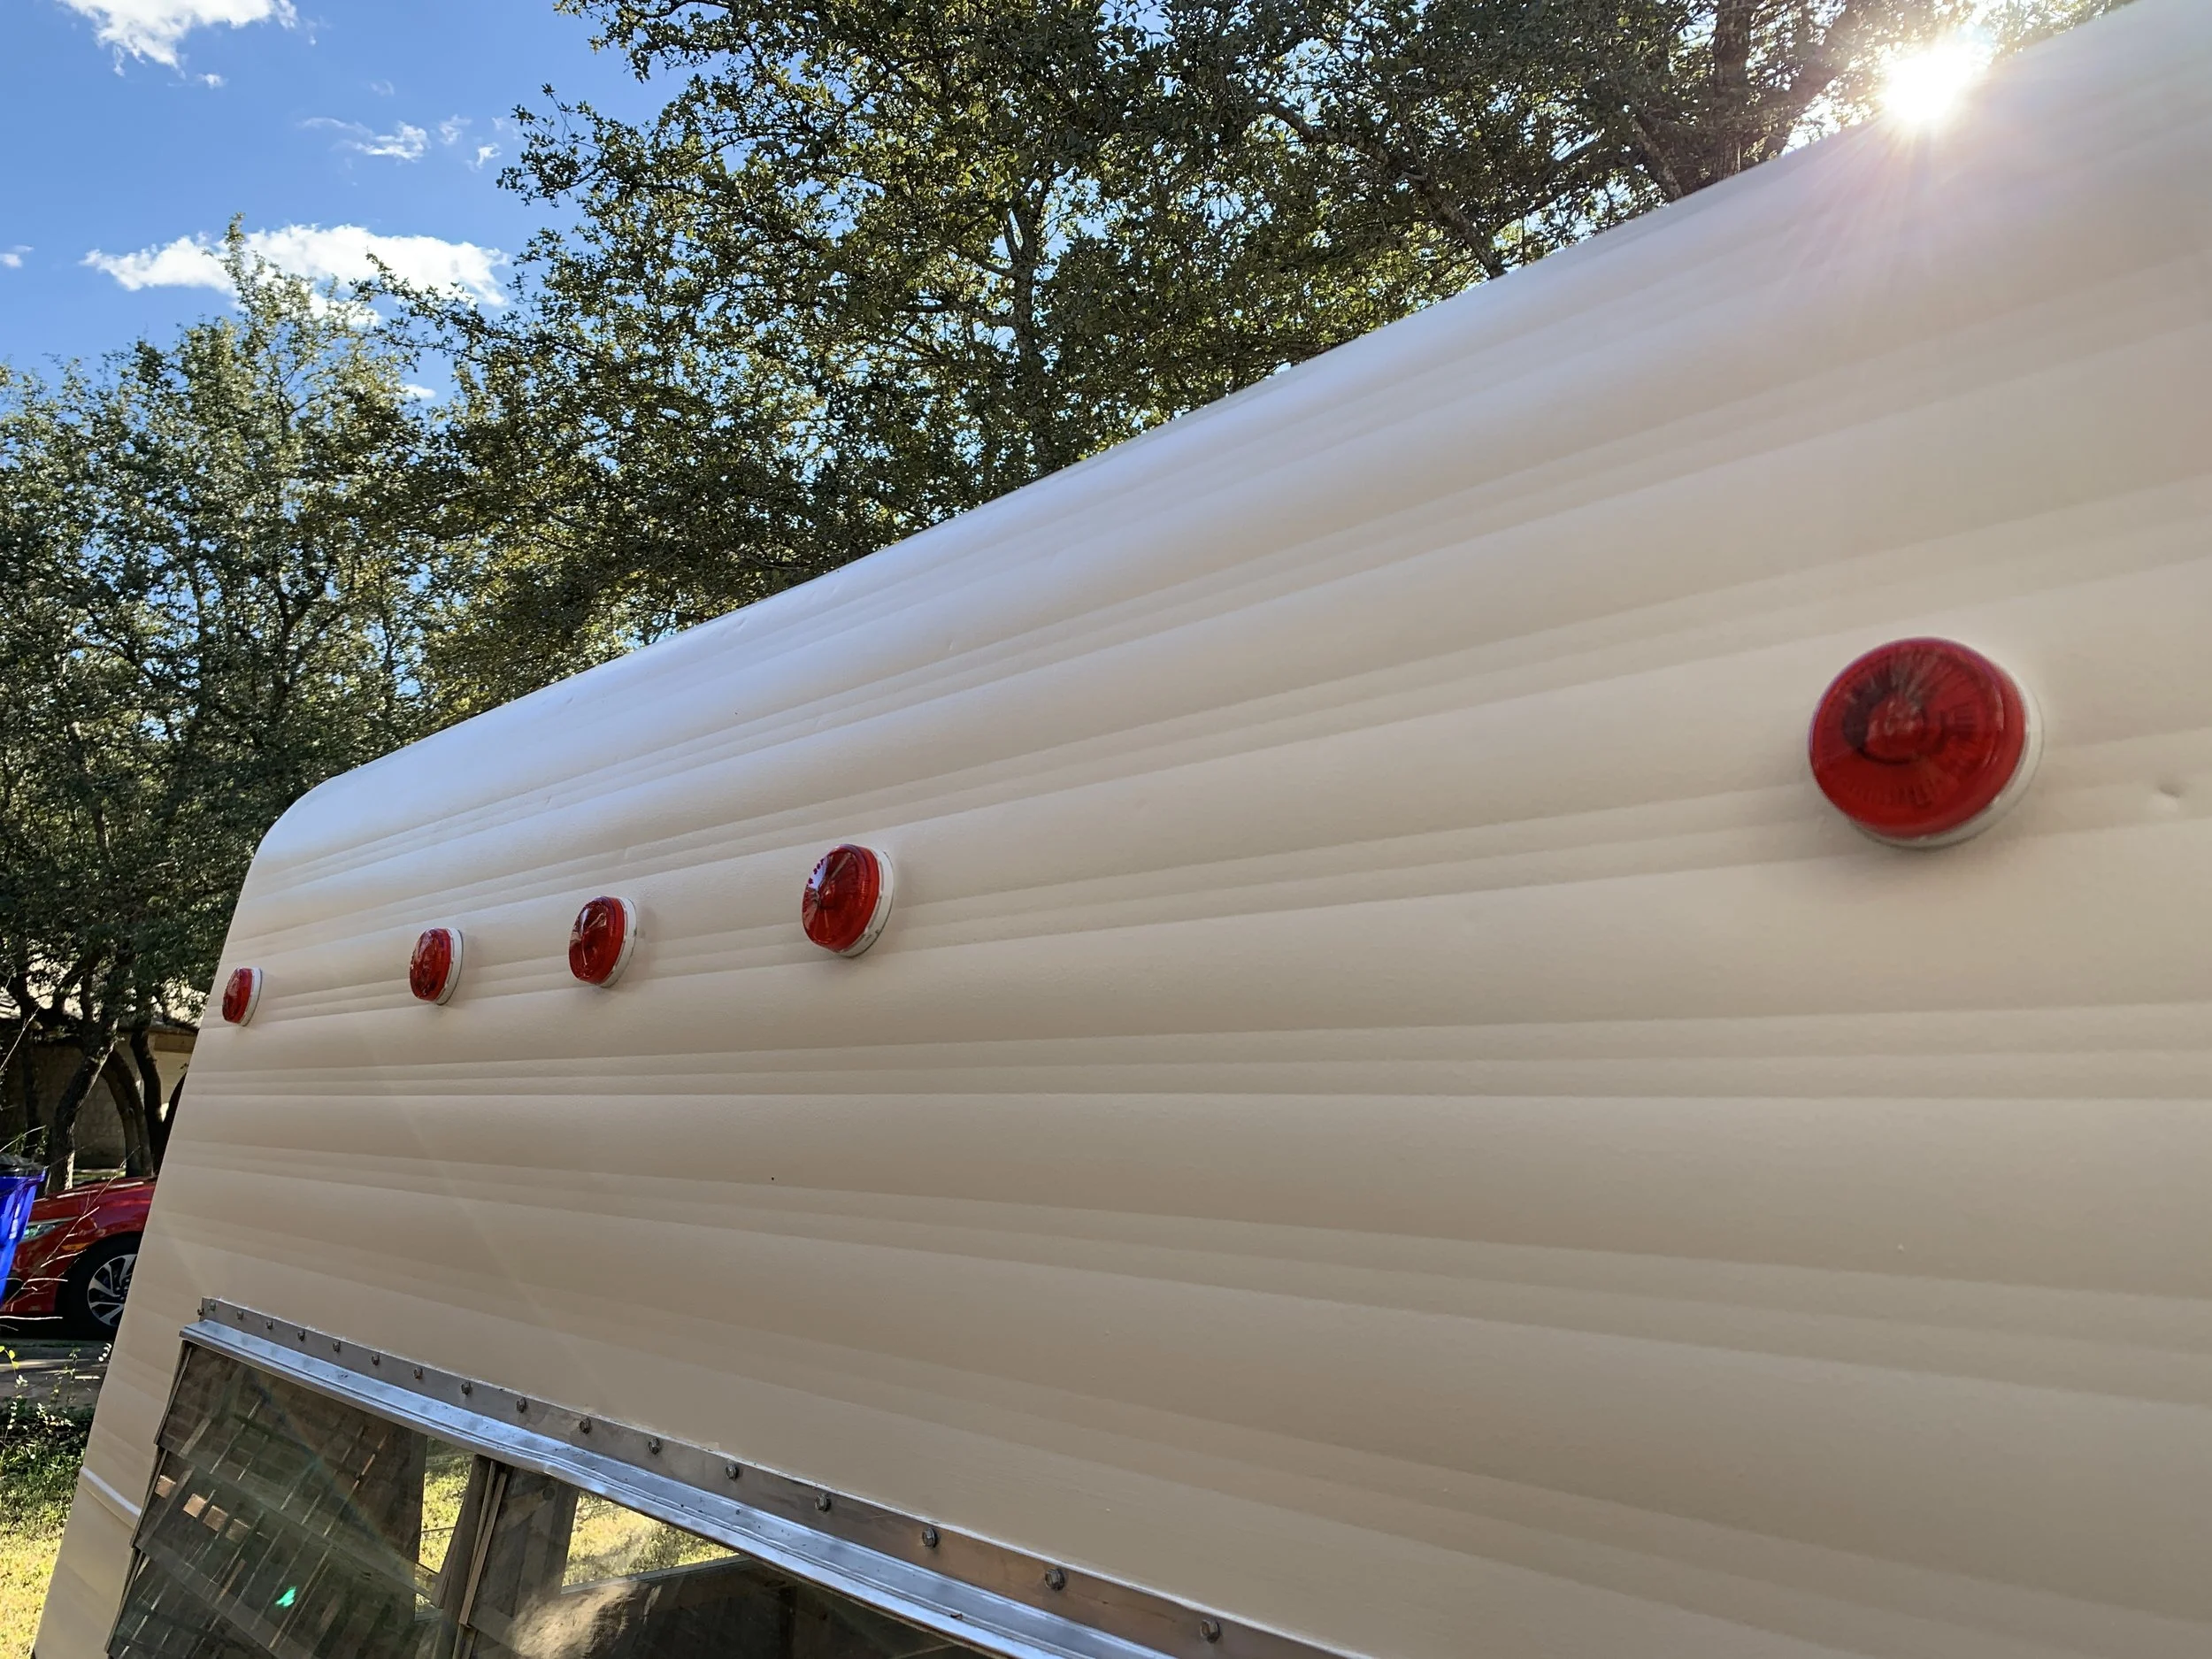
Clearance lights
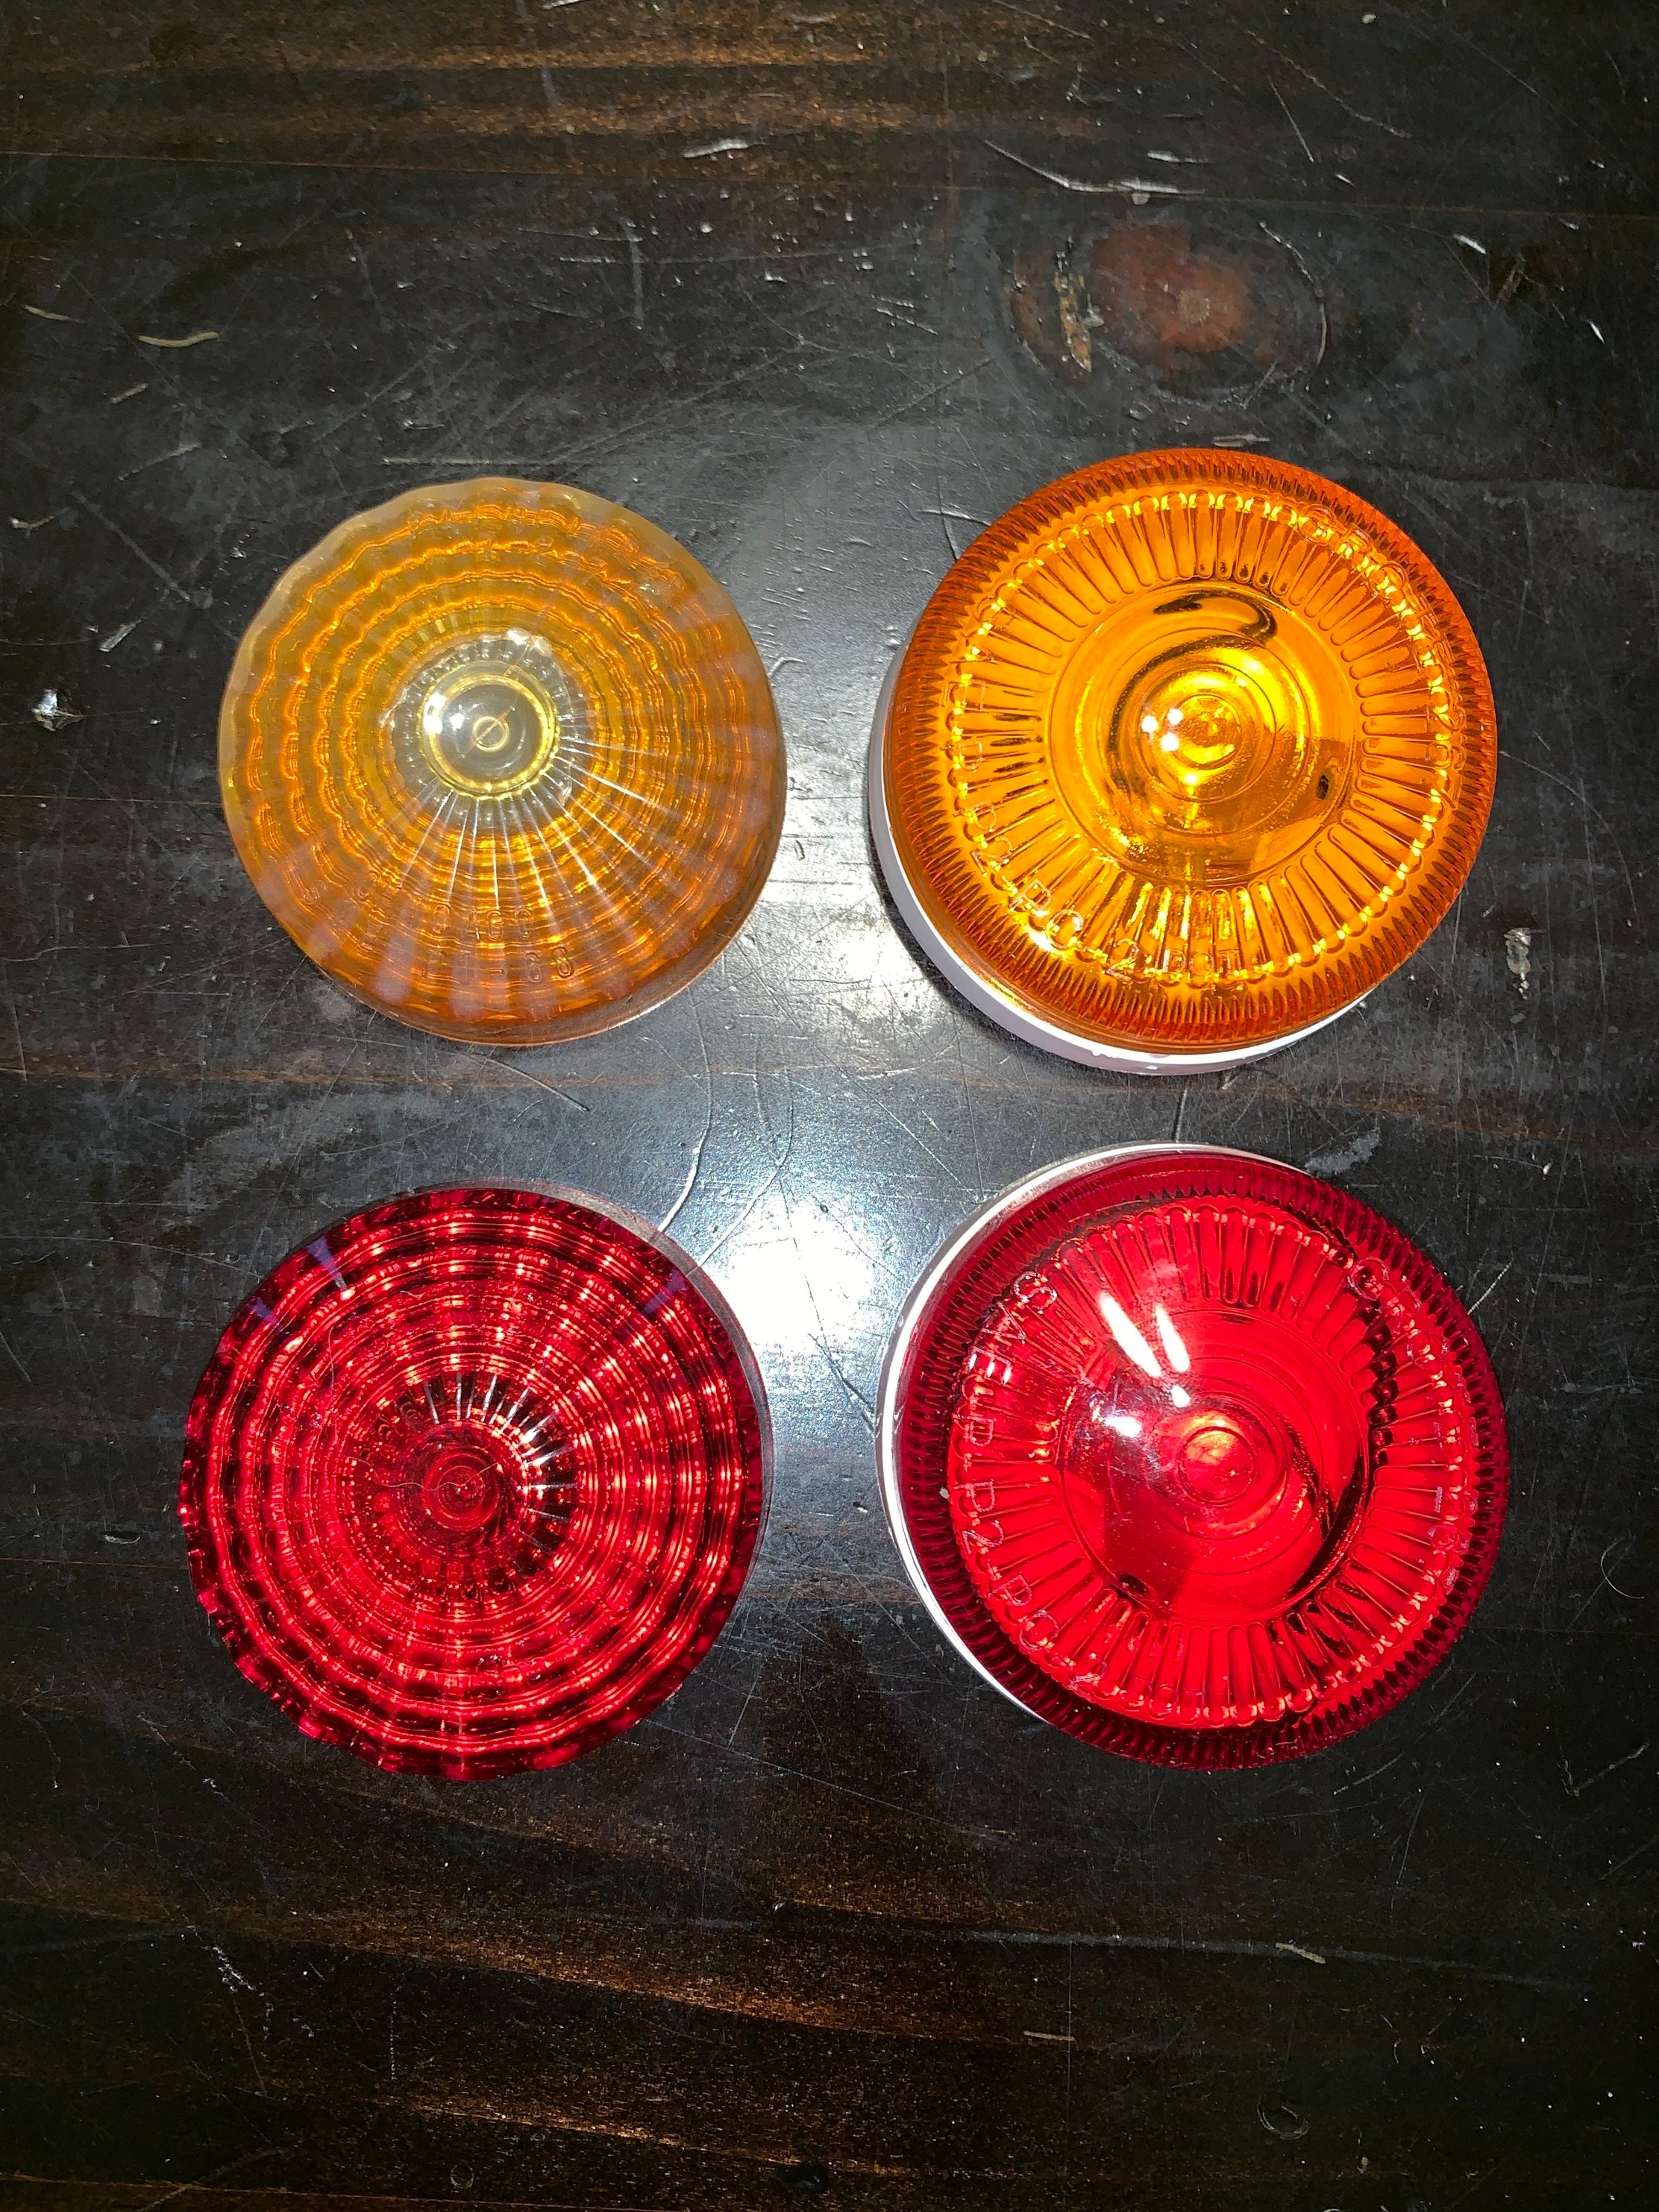
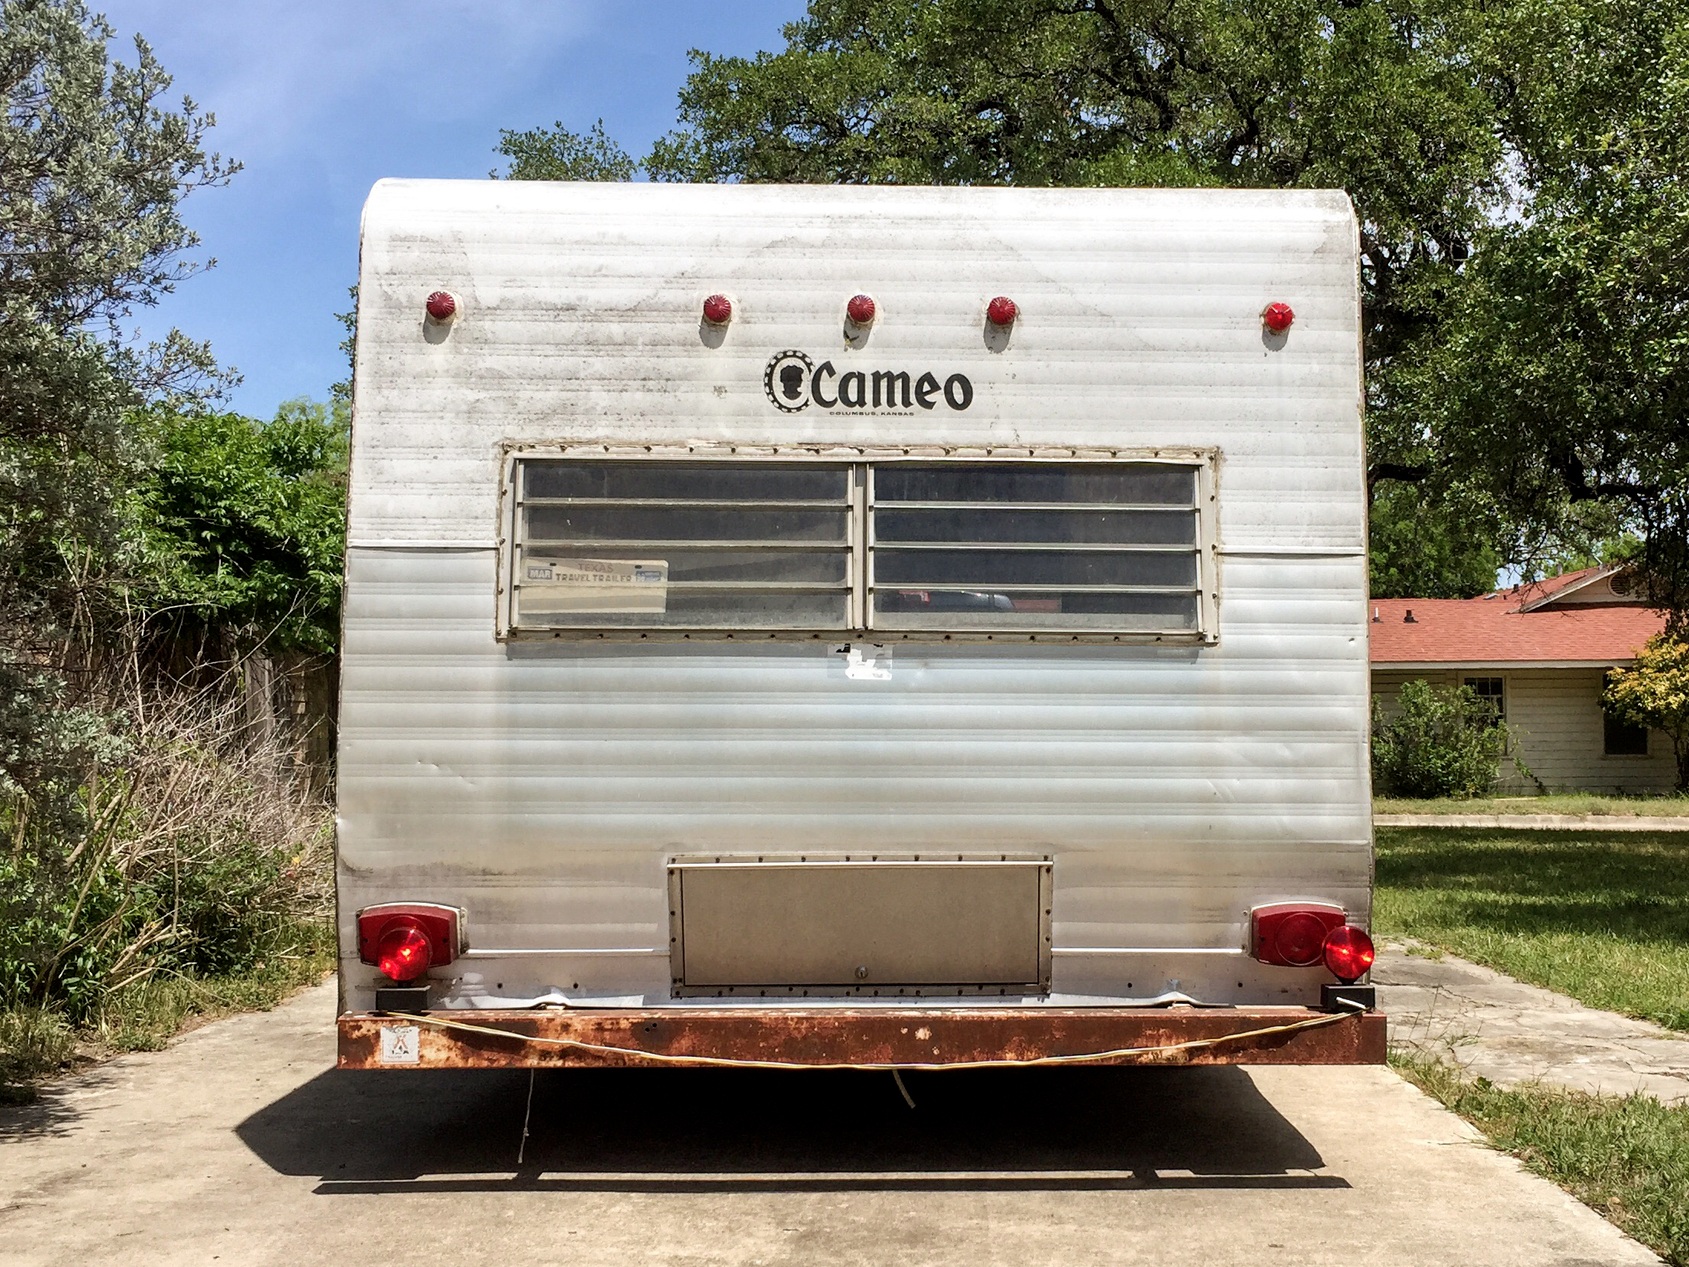
I loved the original starburst lights The Cameo came with (left lights in the first/left photo below) and hated to replace them since they had so much character, but between the cracked and bleached lenses and corroded interior metal and questionable* rusty wiring, we decided it would be safest to update them.
(*To top it off, the wiring didn’t have any caps or anything protecting the “hot” wires – not even electrical tape – as you can see in the second photo on the right.)

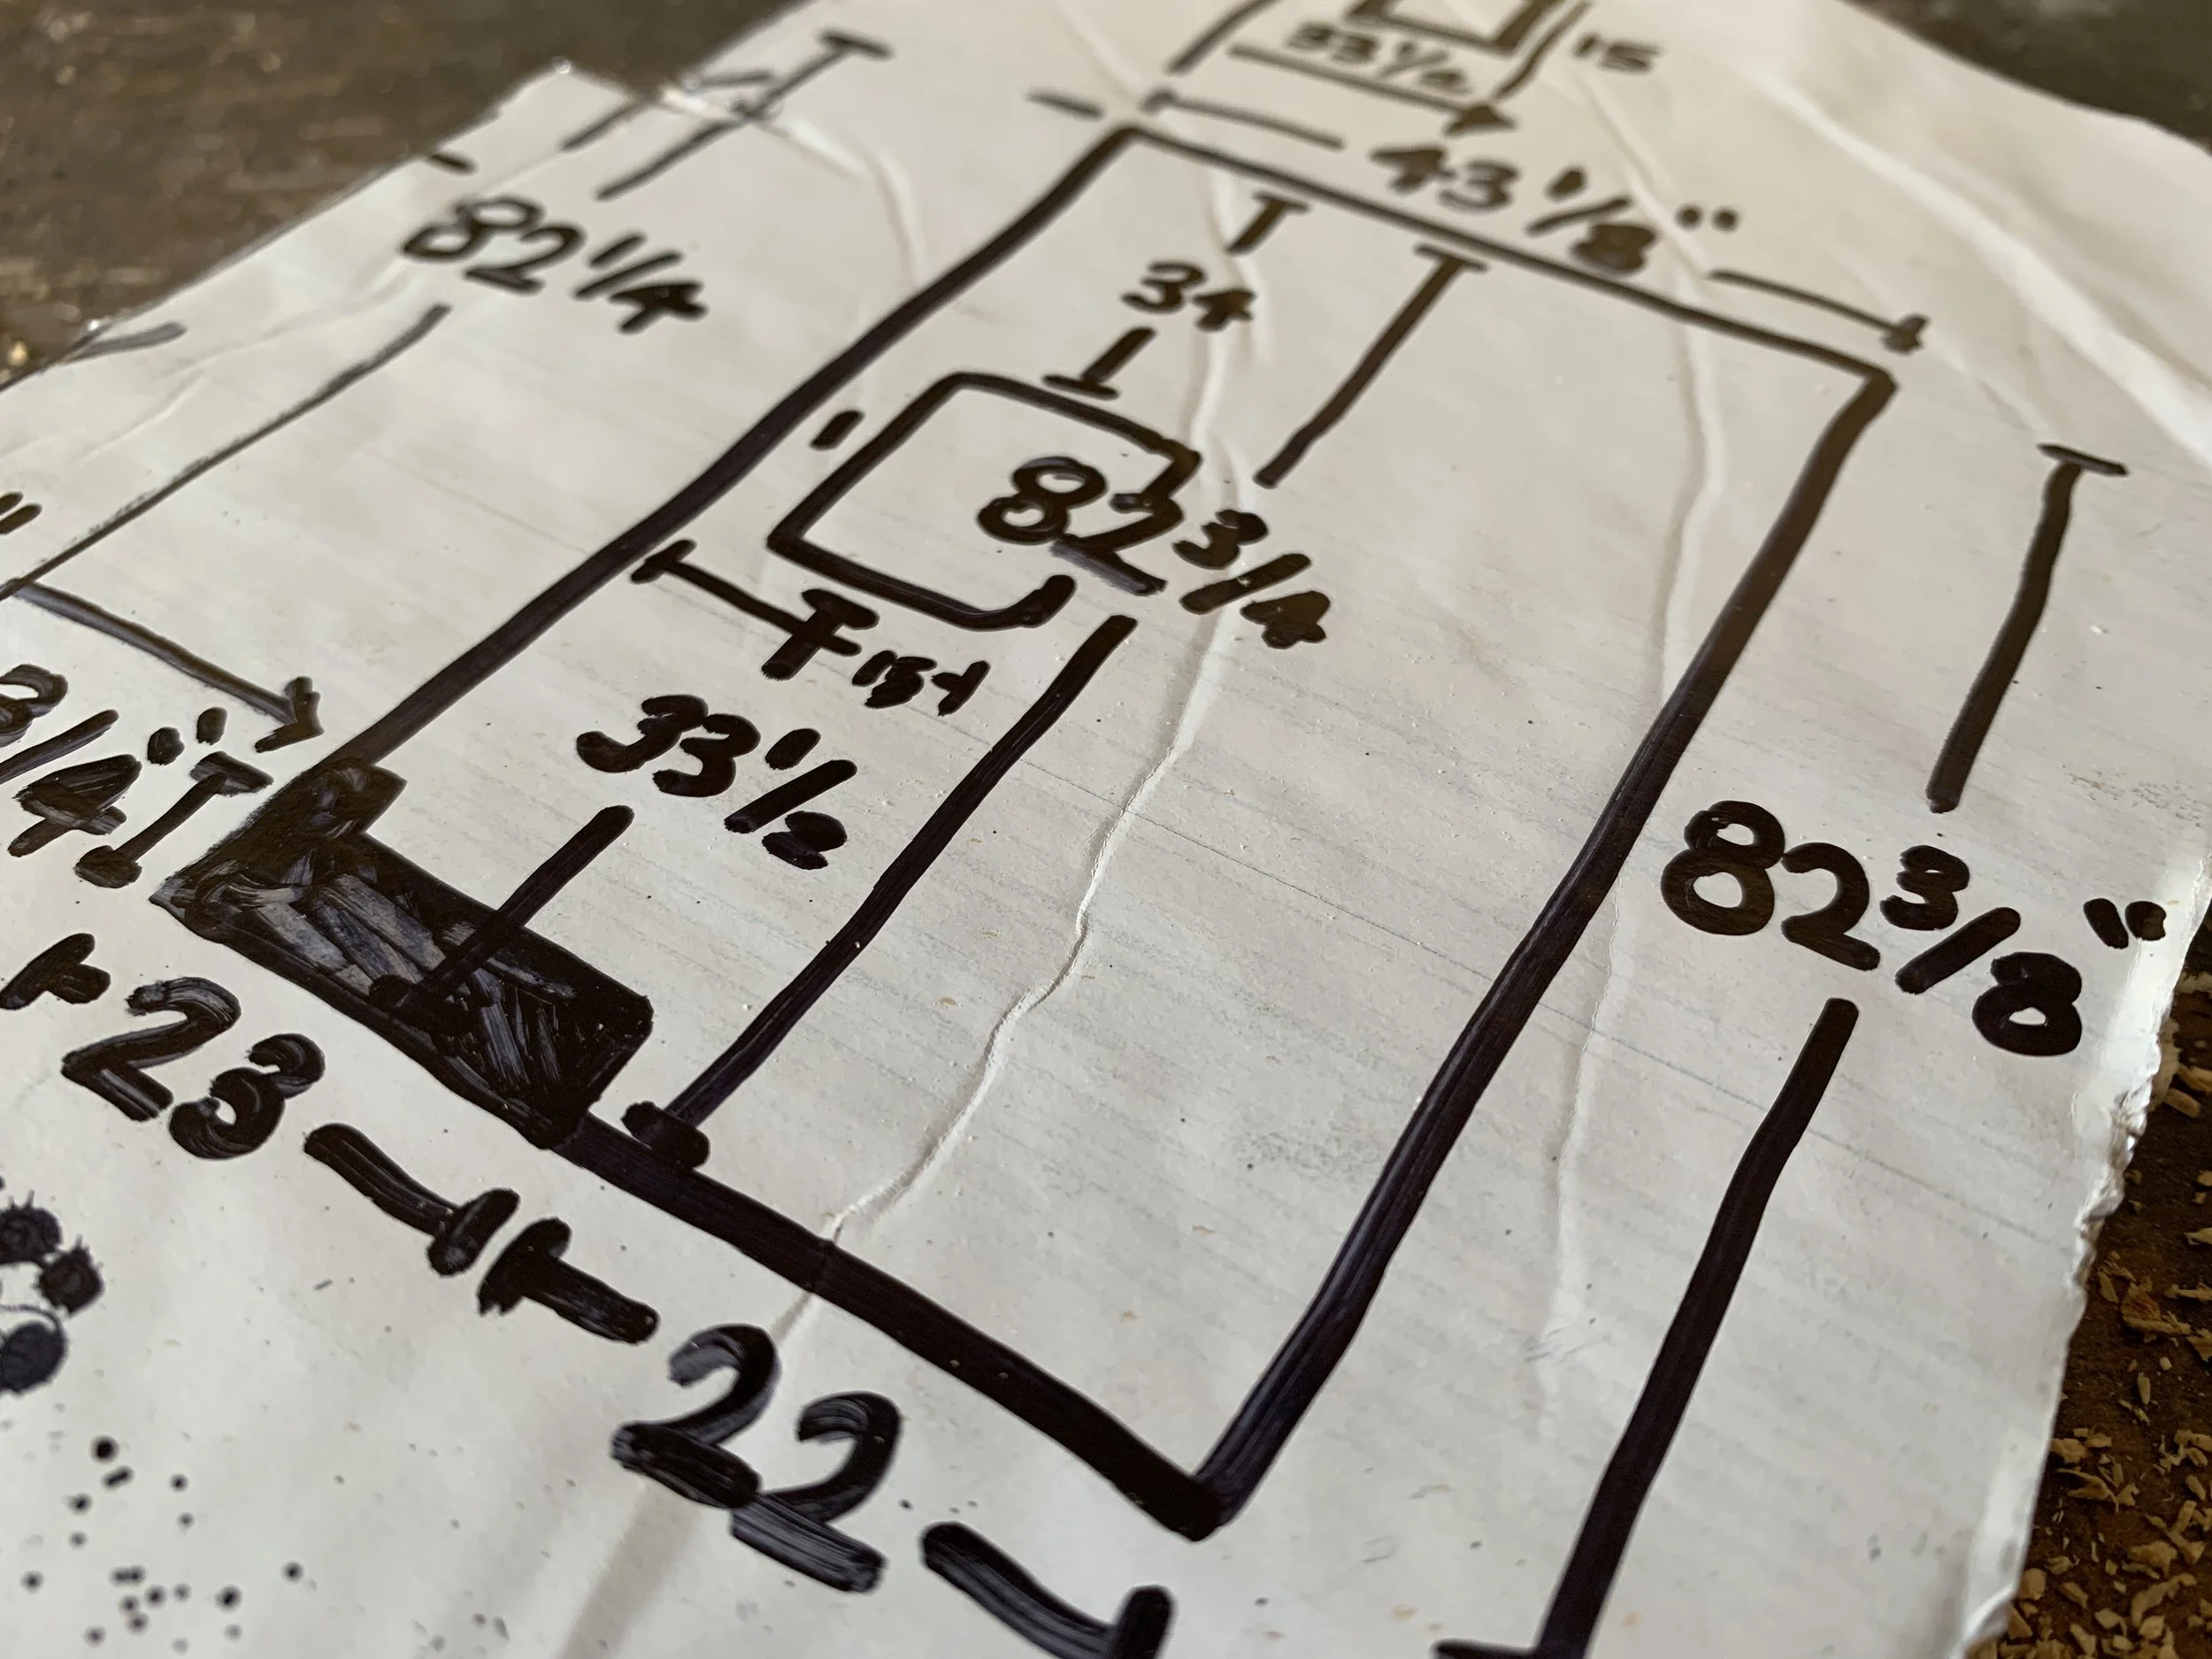
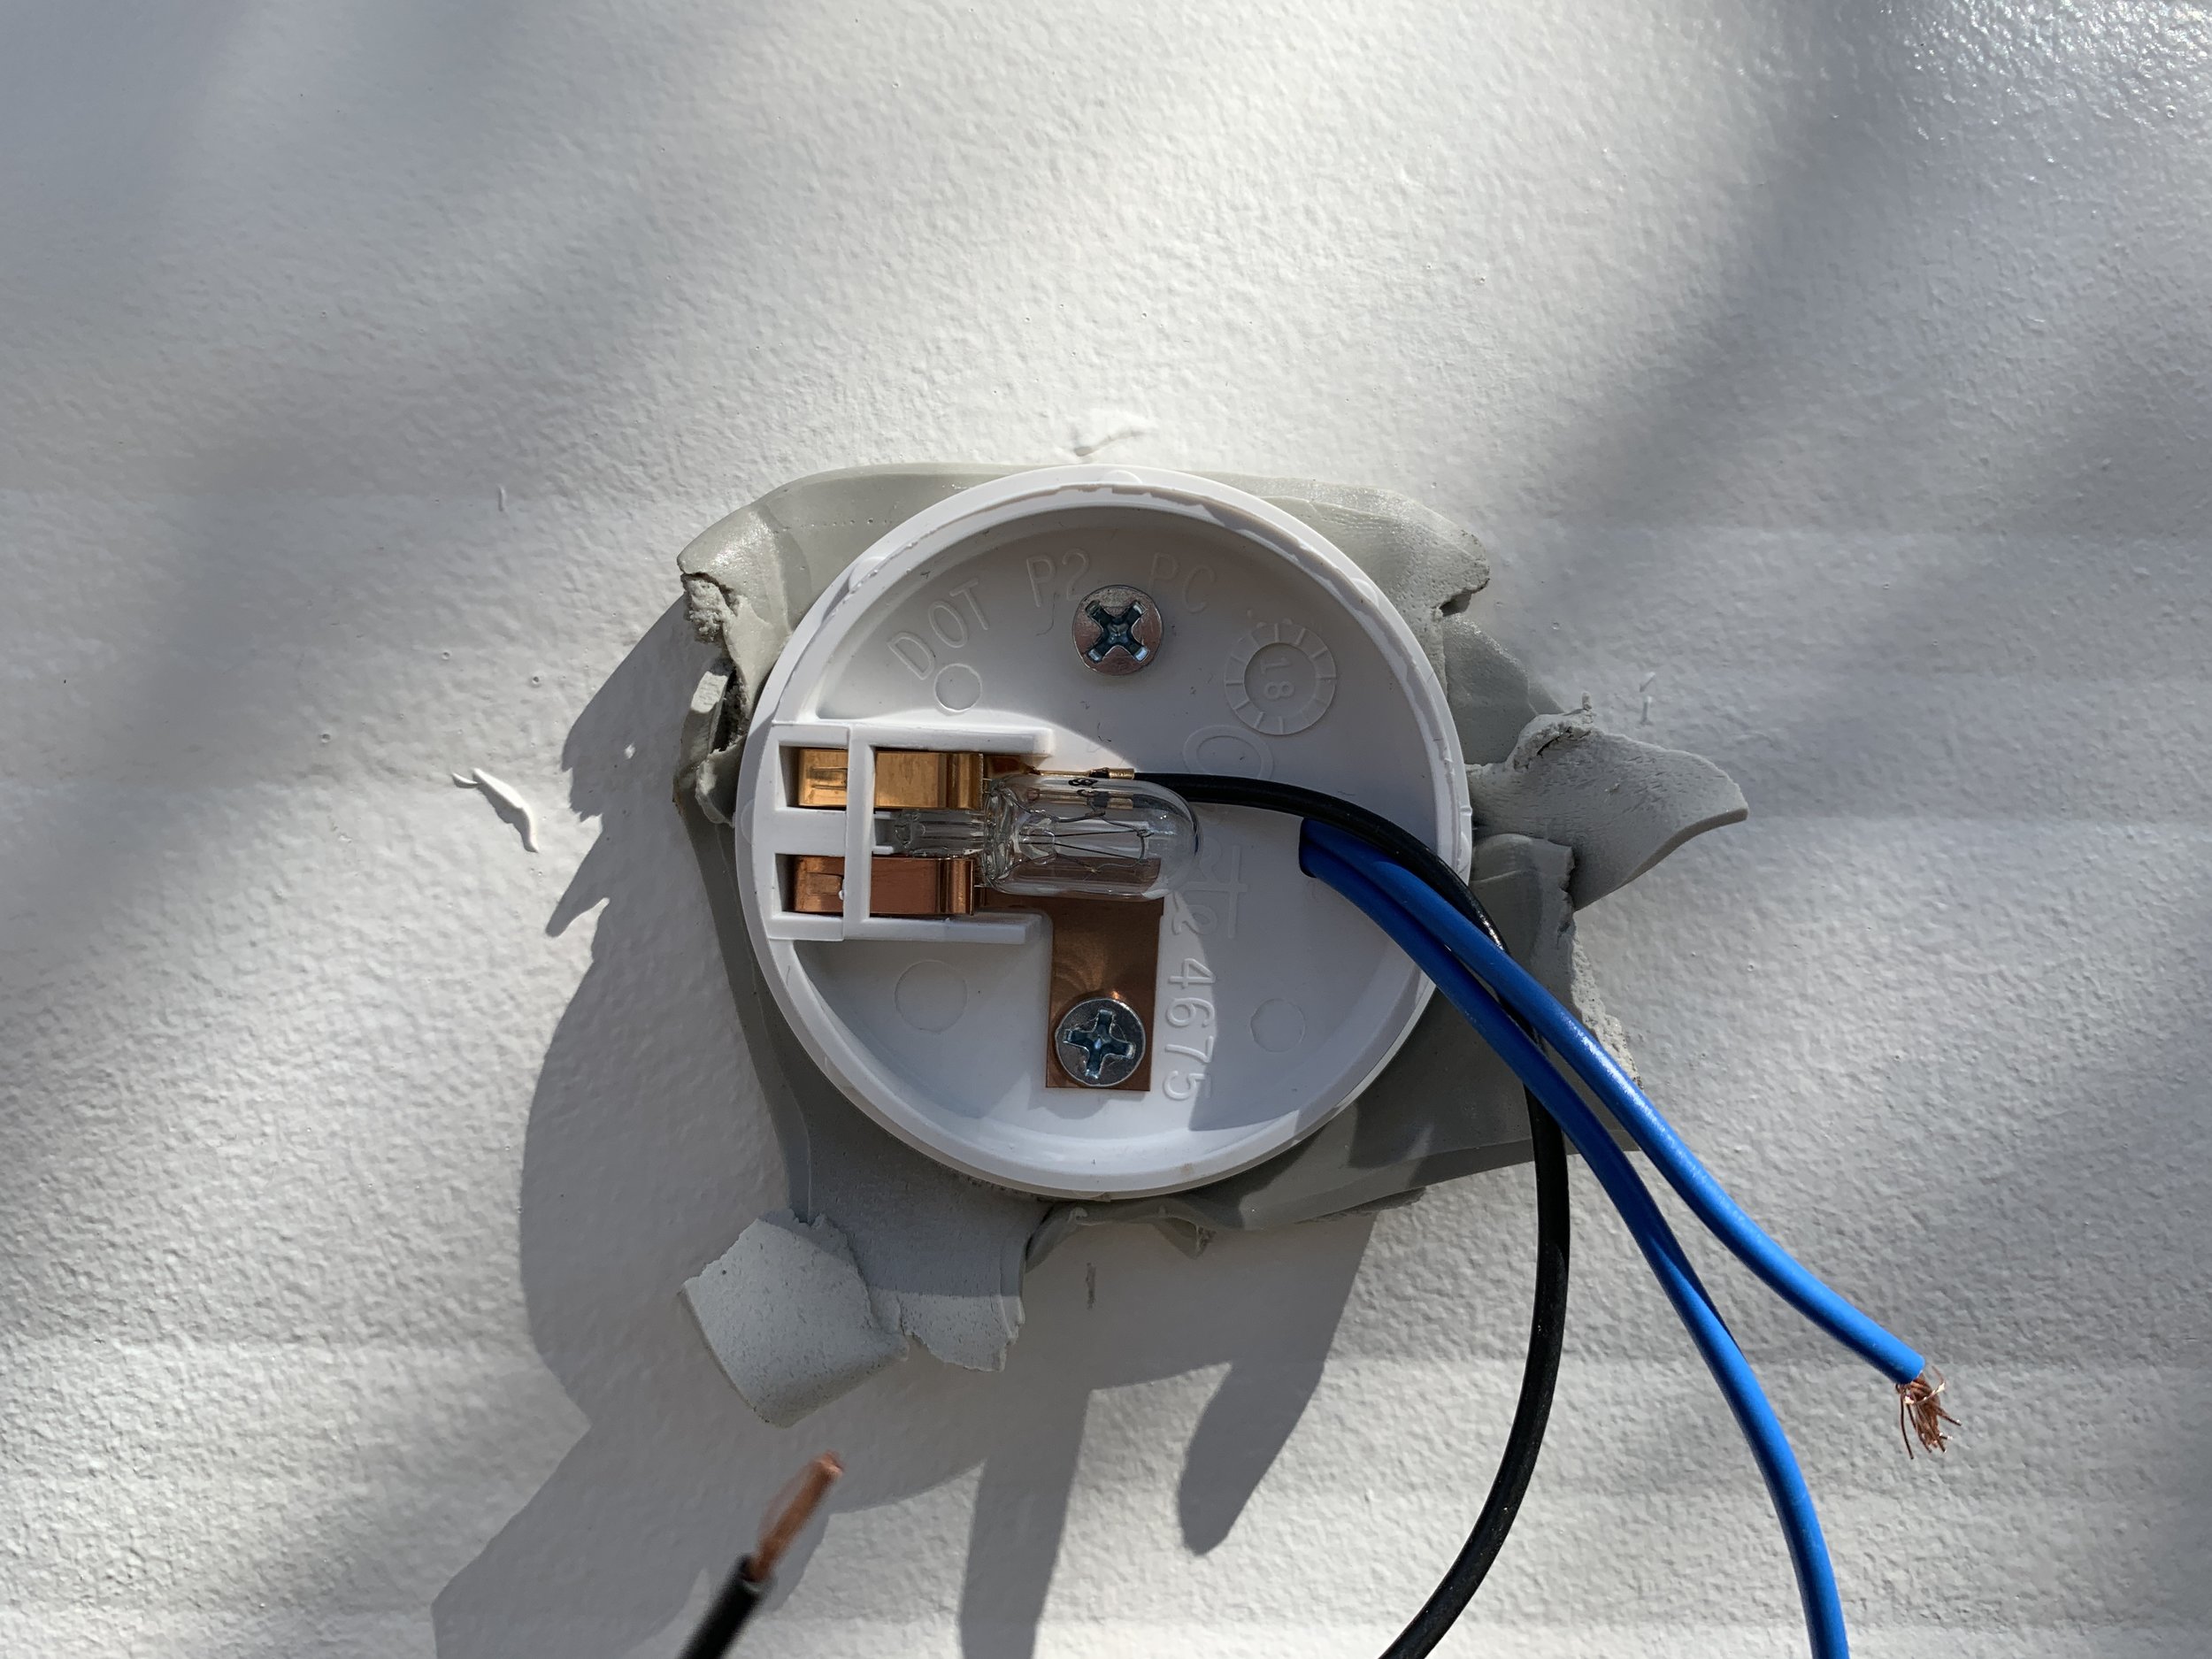
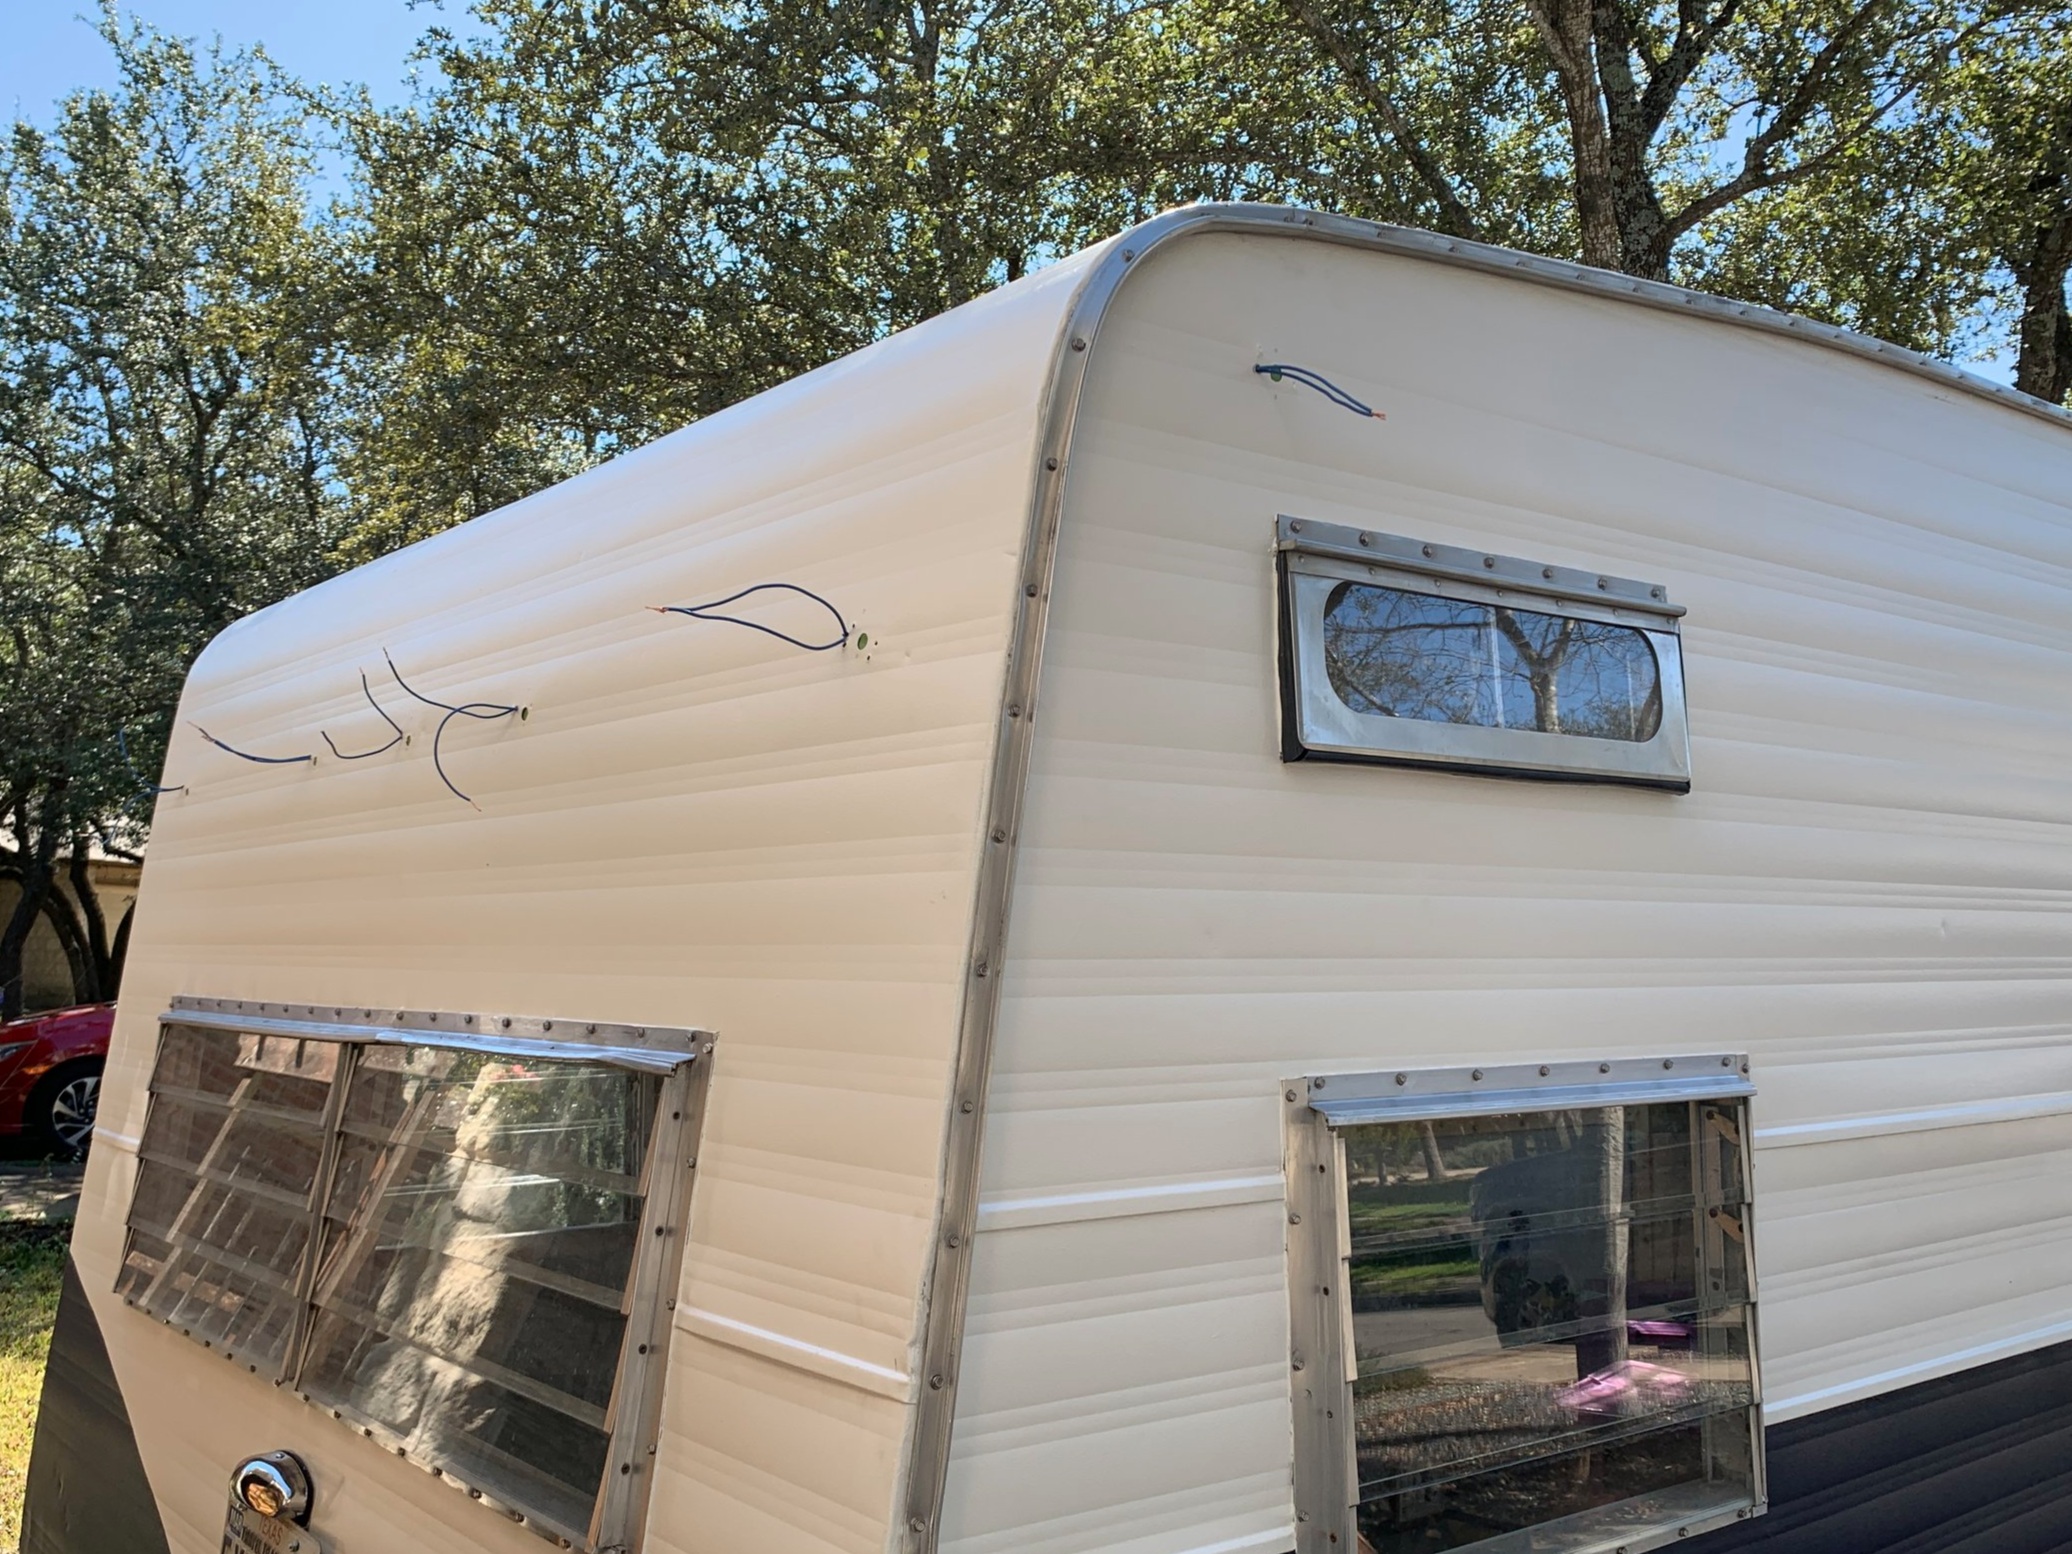
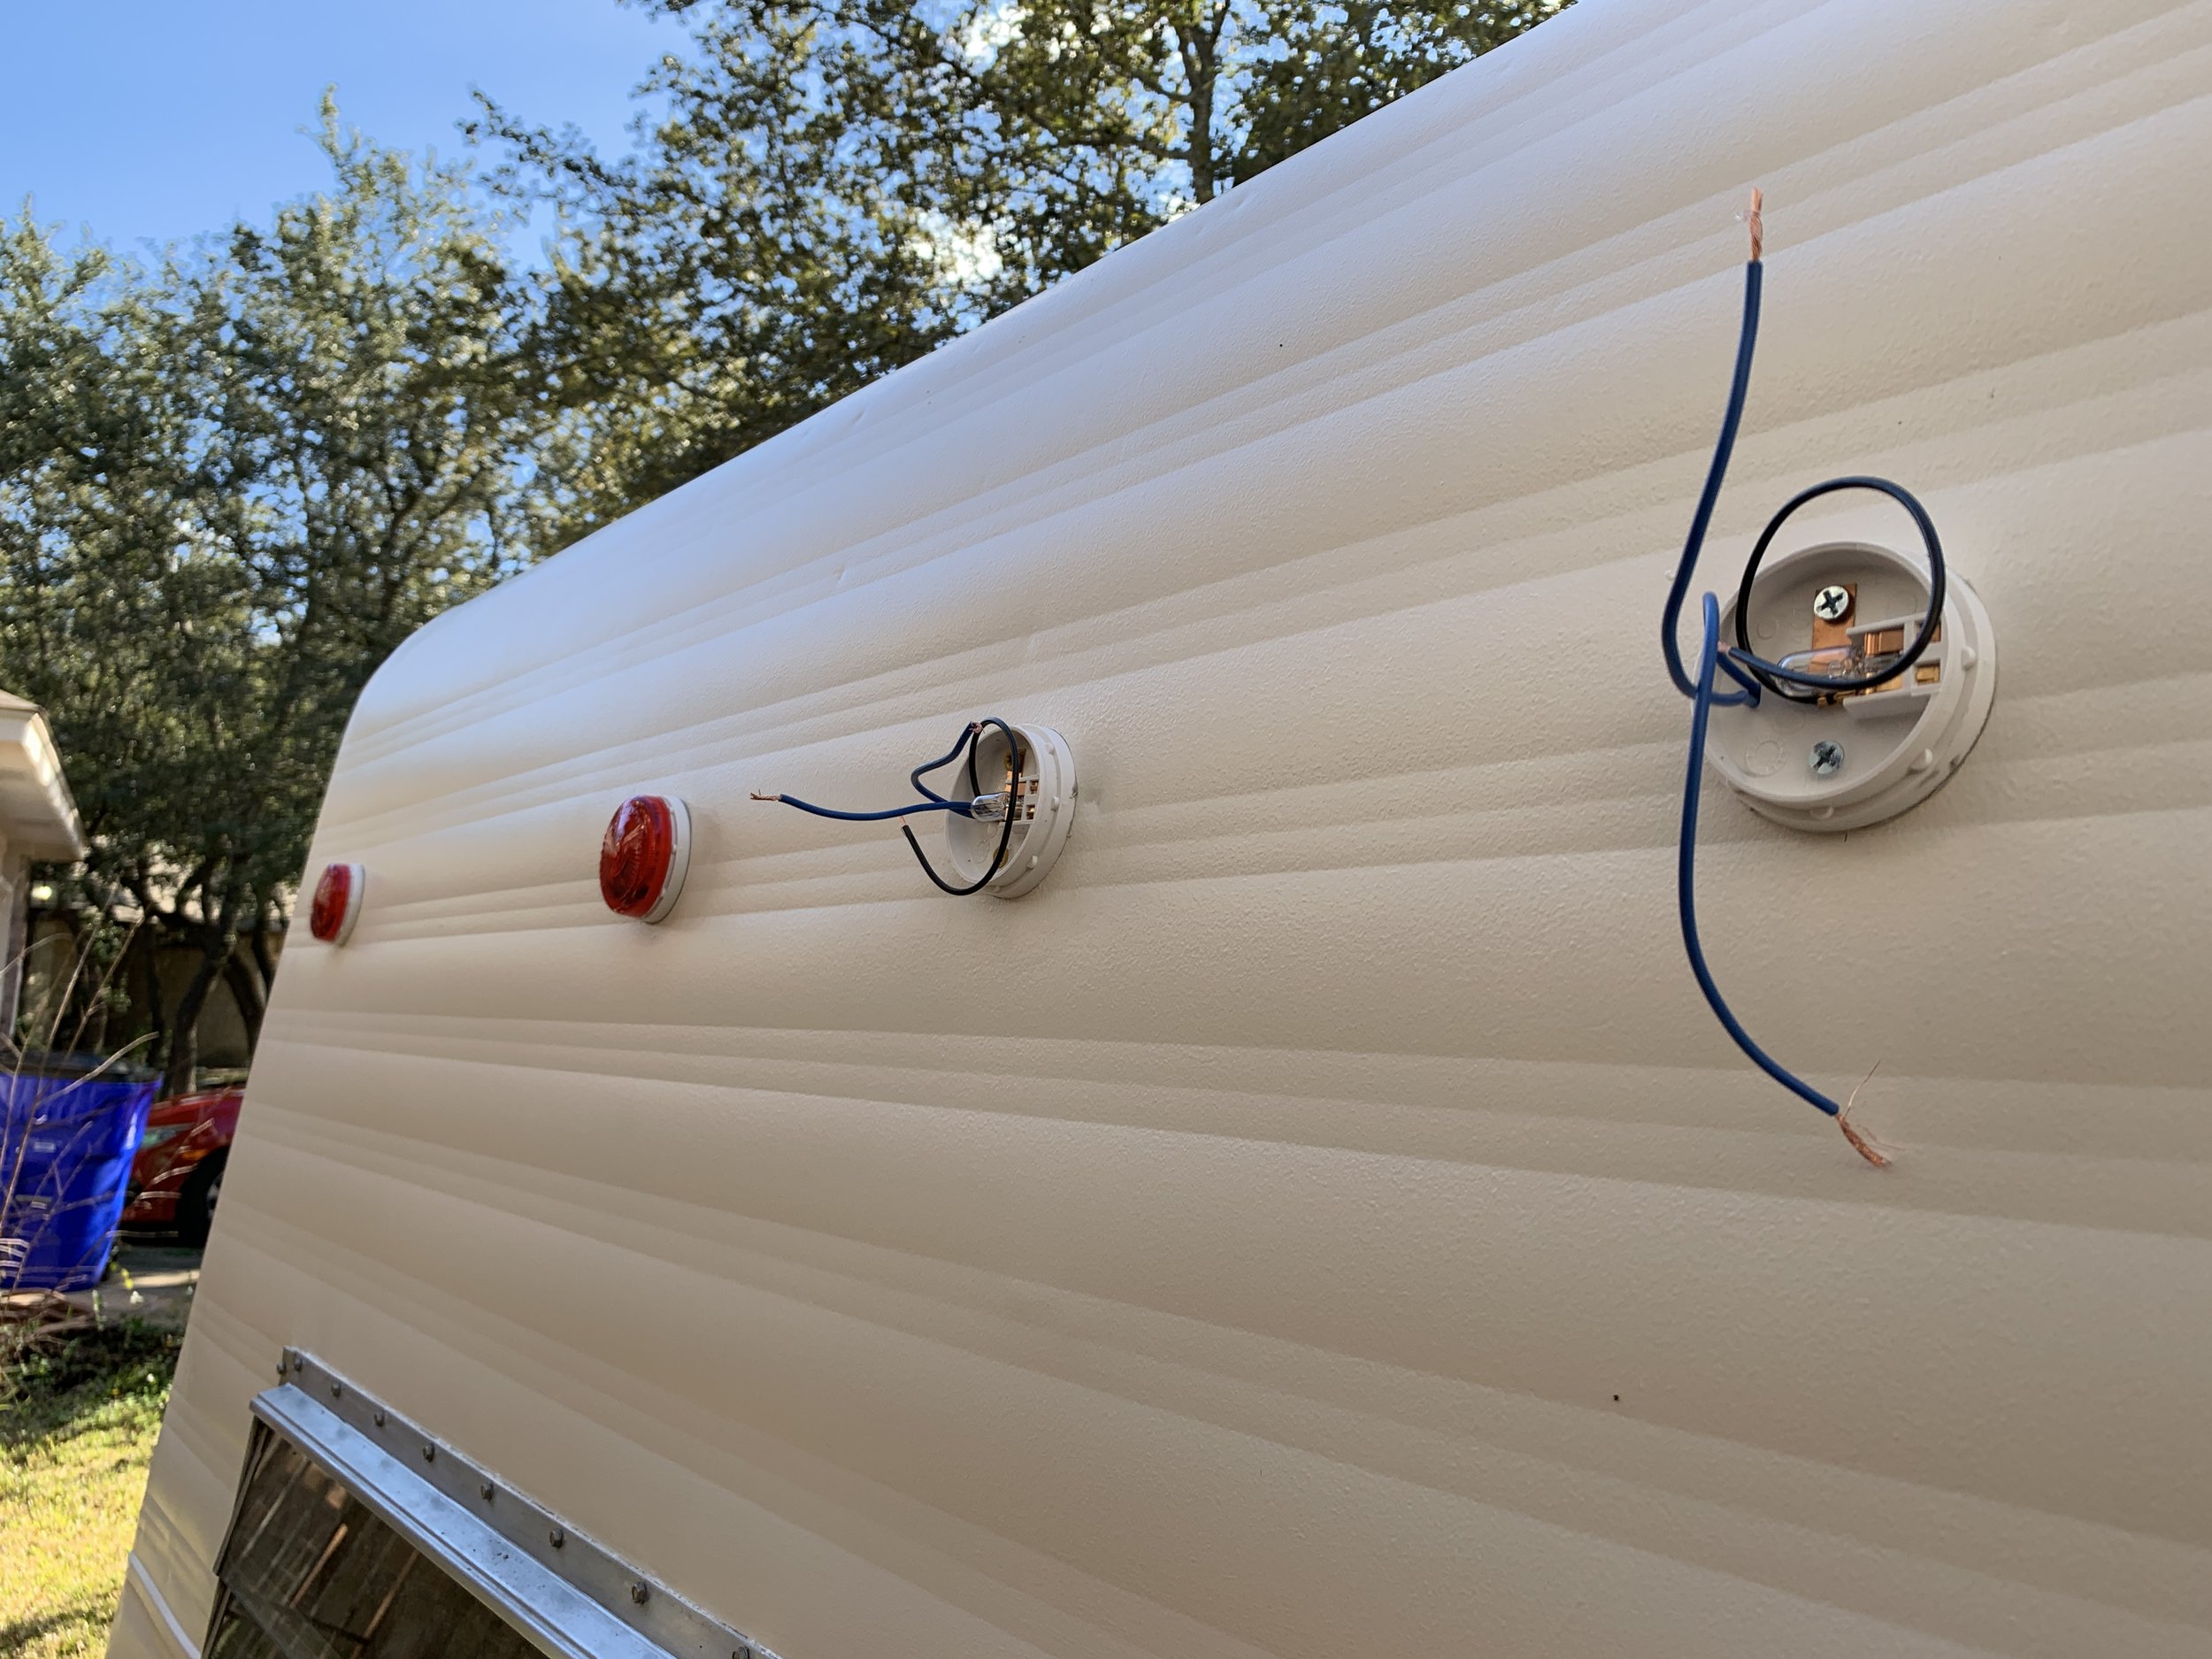
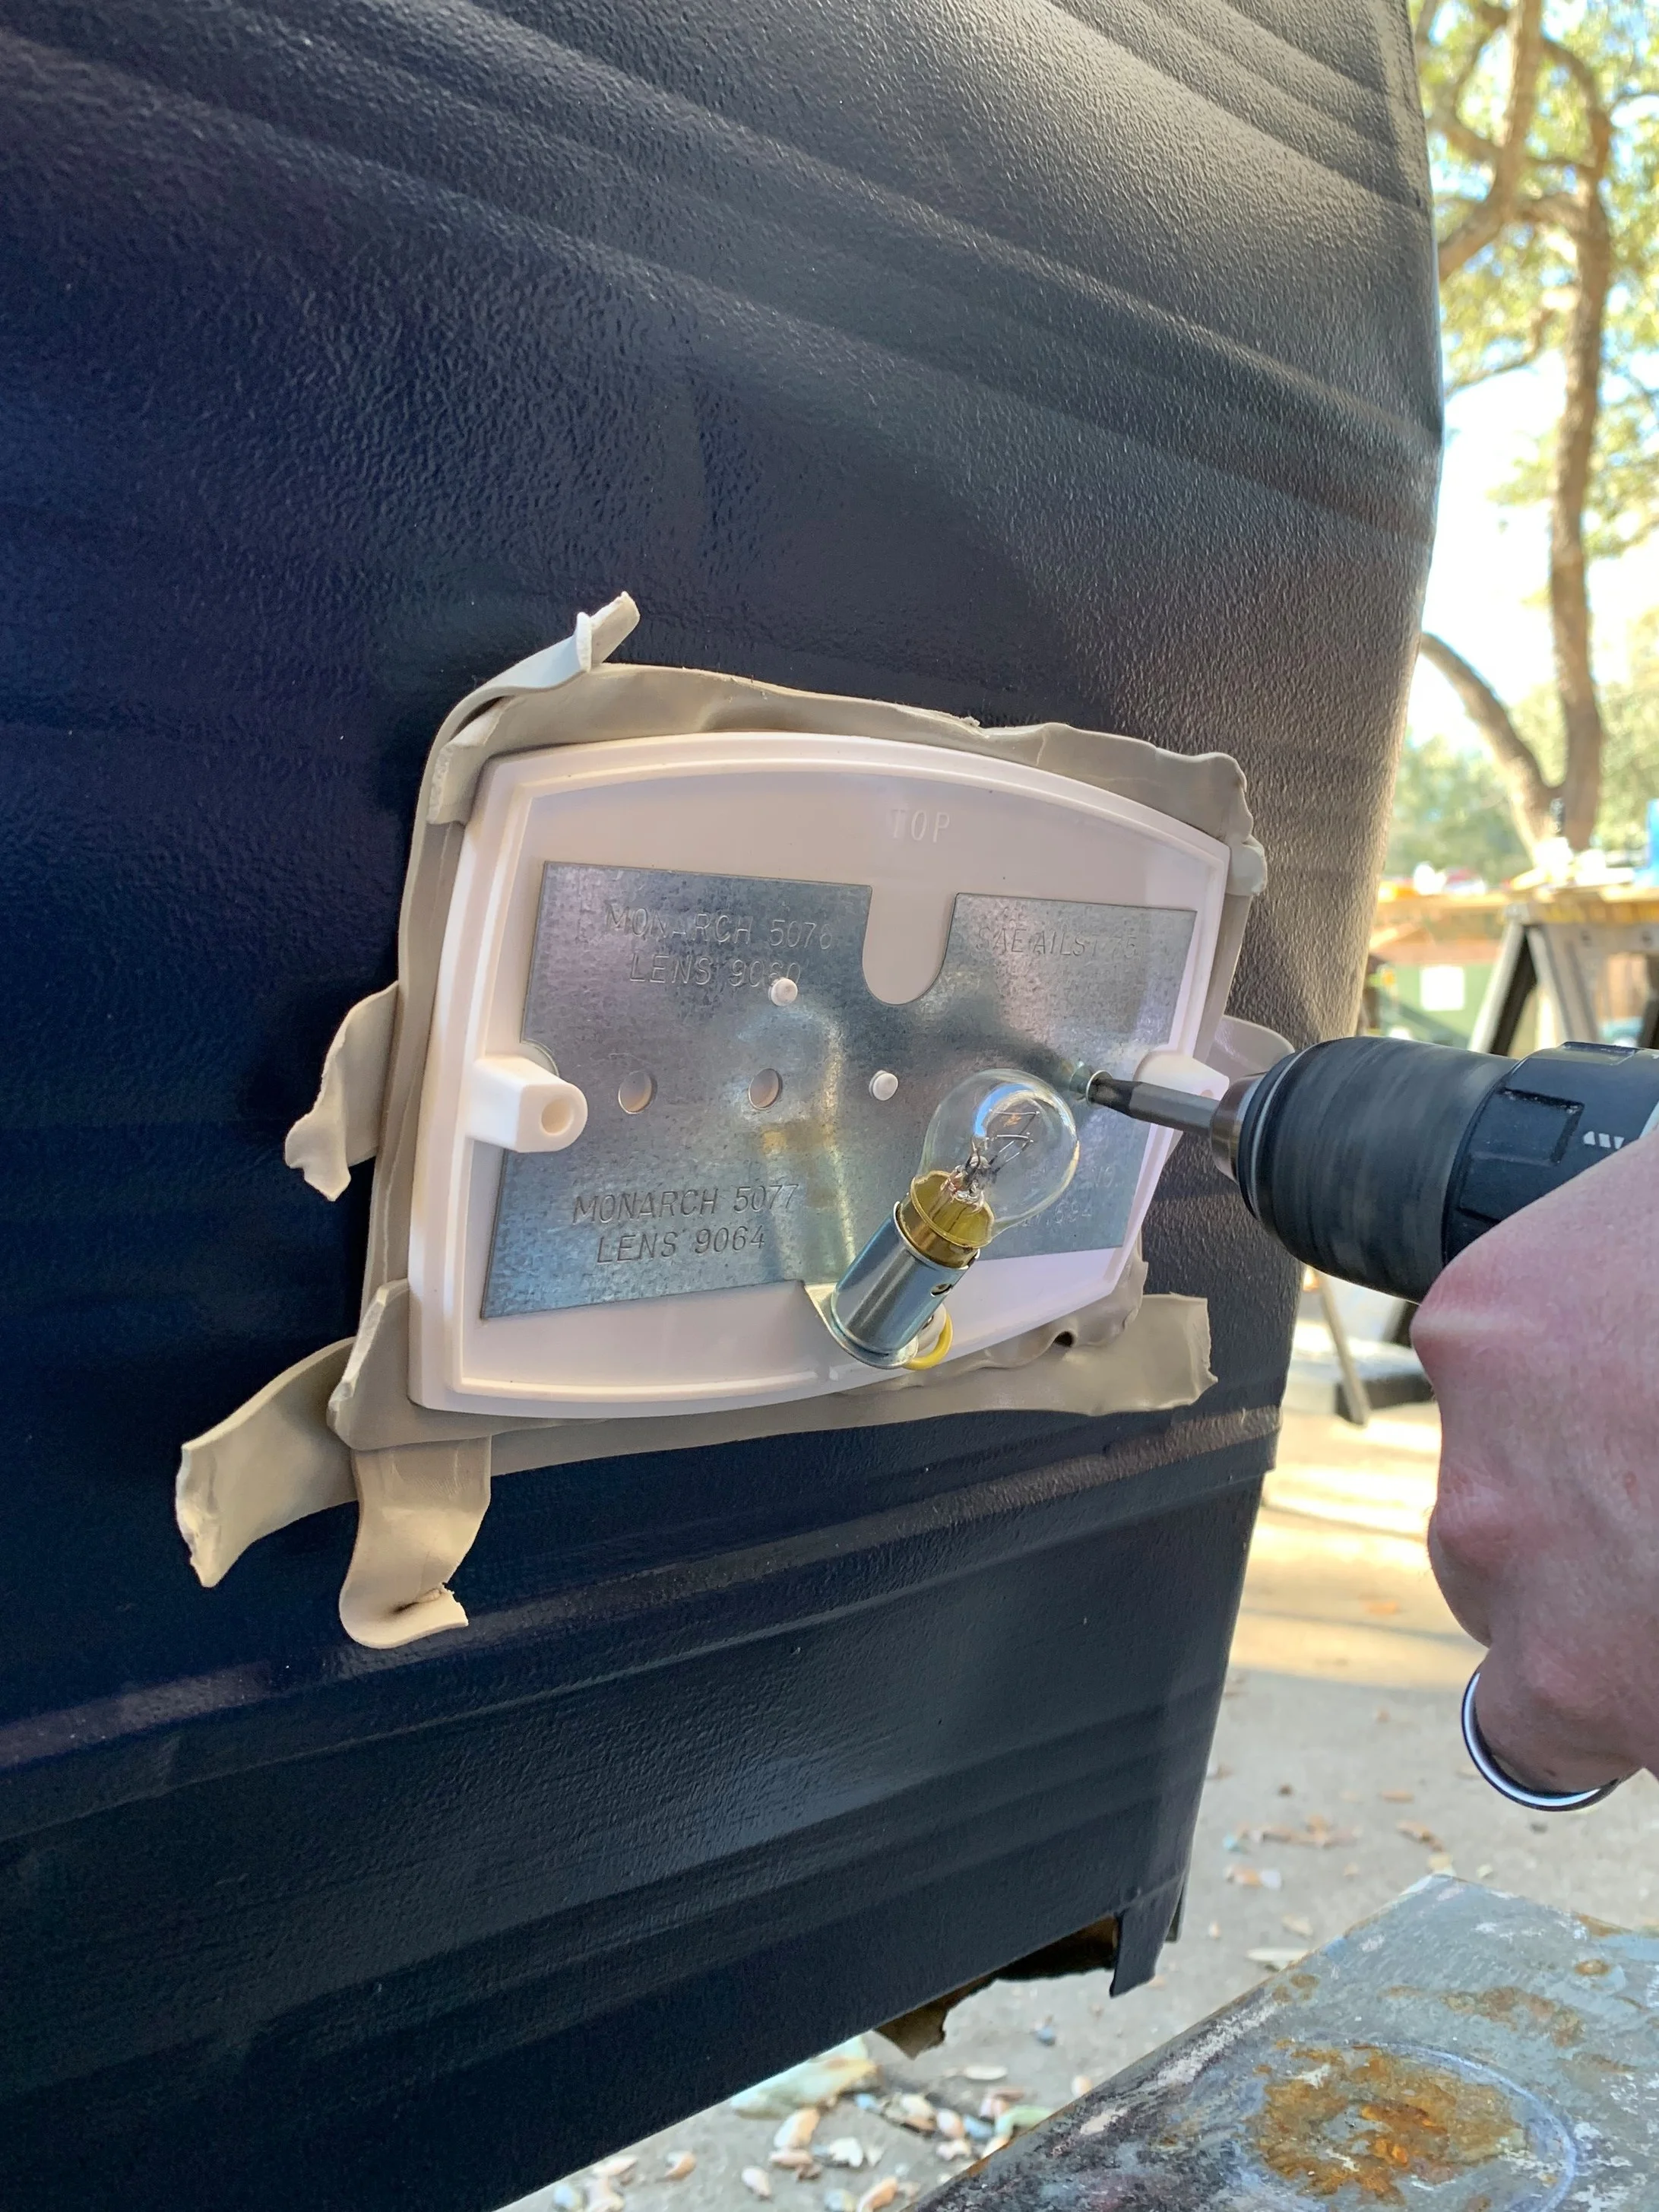
After deciding we were doing a straight swap for the location of our lights, we measured and marked out our lights to make sure they were all in line and equally spaced, using the white plastic back as a template for where our mounting screws would go. (We used the existing holes the old lights used to pass our wiring through, but you could easily drill new holes. If you do this, we recommend installing a wood block behind where you want your light to go first, so you drill into the metal and wood at the same time. This should help get a cleaner hole in the metal and help prevent tearing.) Then, we covered the back of the white base with butyl putty tape and screwed it into the camper and interior wood support studs. We used standard twist caps to connect our camper wiring (the two blue wires) to the positive/hot black wire in the light. These lights are always hot and just connect to each other in sequence (this is why we have three wires pictured below in each light). To protect the red/amber light lenses, we trimmed the putty tape with a razor before popping them on. The Cameo had 7 amber/yellow lights toward the front of the camper and 7 red toward the rear and we decided to keep it that way when we updated them.


Tail lights
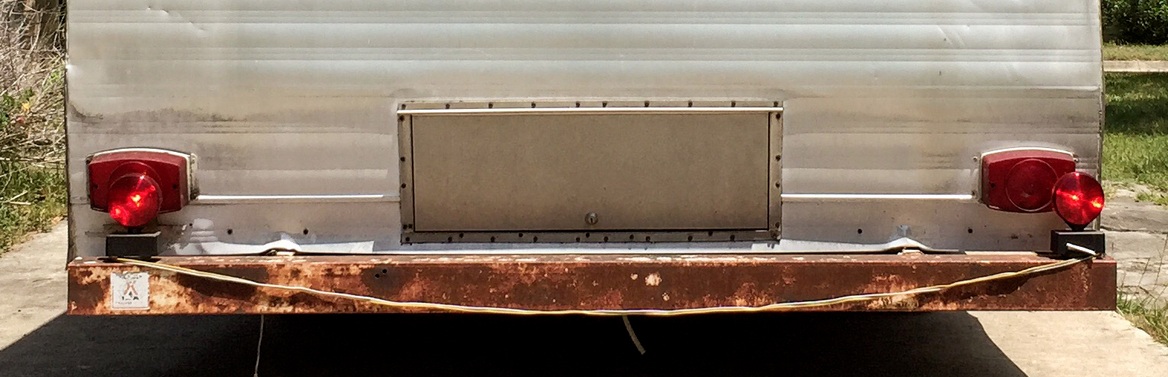
Tail lights the day we picked up The Cameo (ignore the round temporary lights on the bumper)
We found the closest style lights we could to replace the busted, brittle tail lights, above. We installed the tail lights using putty tape and screwed into wood the same way we did the clearance lights. Being all red, these lights don’t have white reverse lights, but the one light bulb inside works as the steady running light, blinker and brake light.

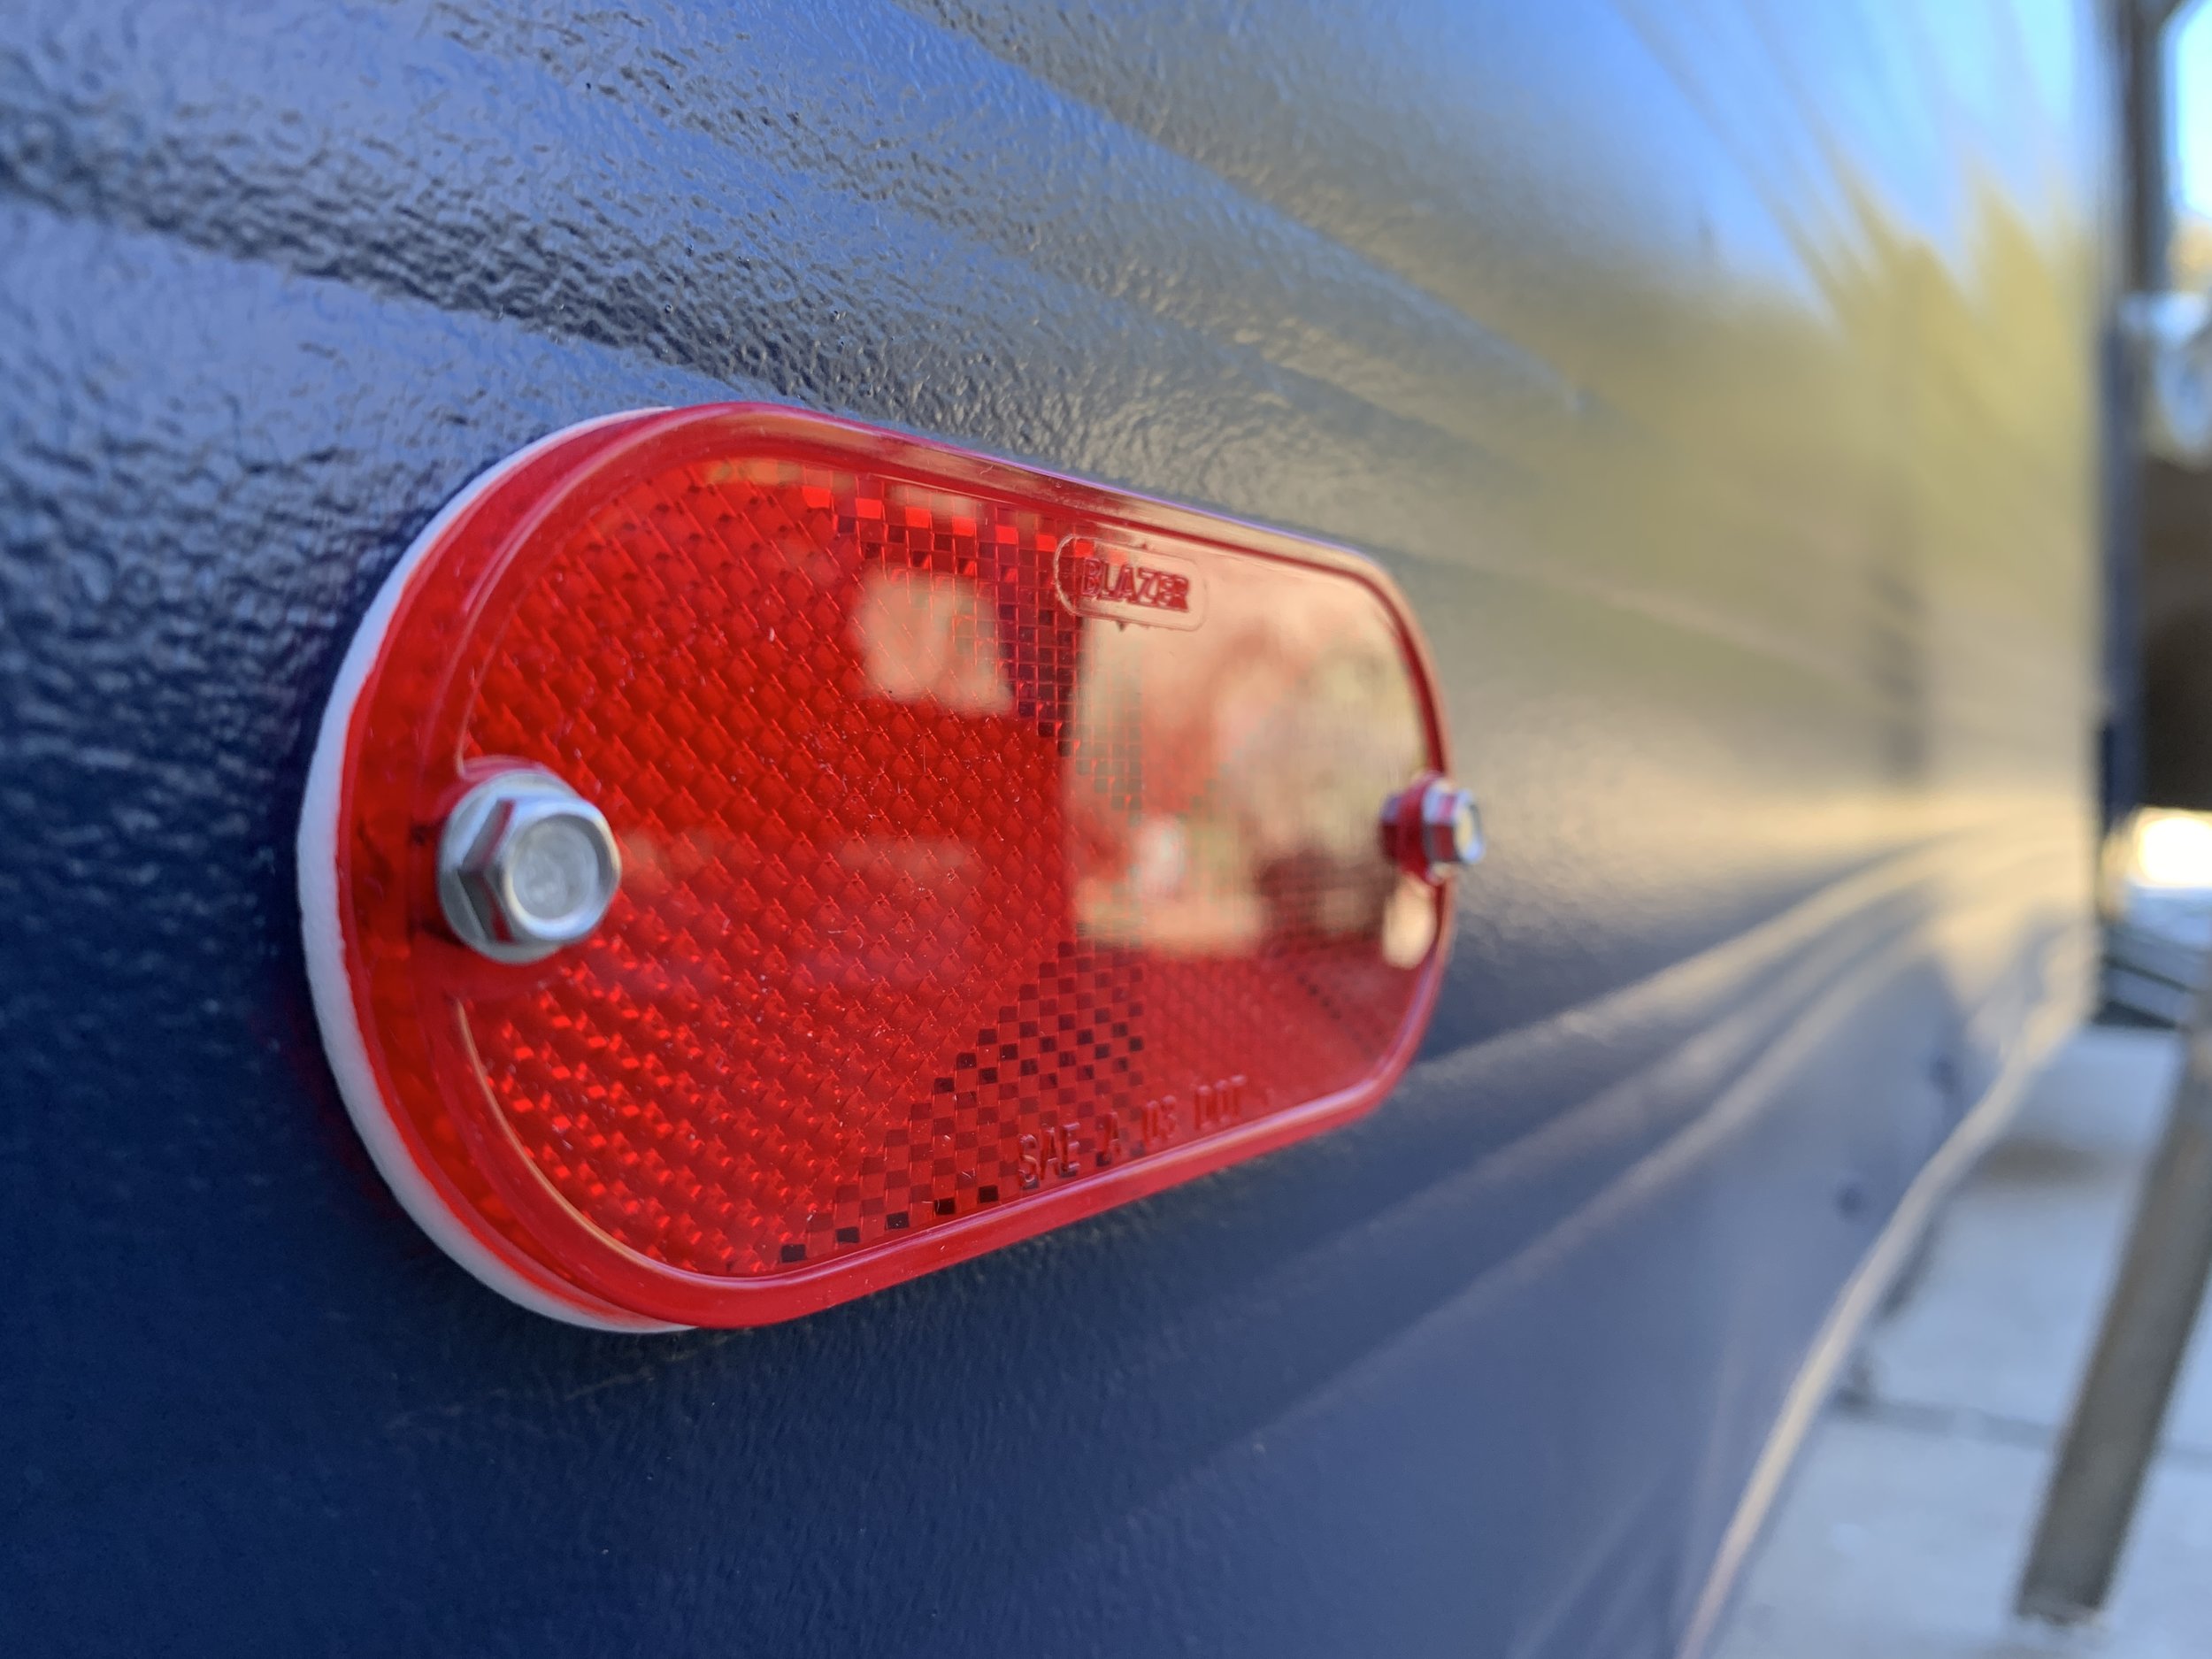
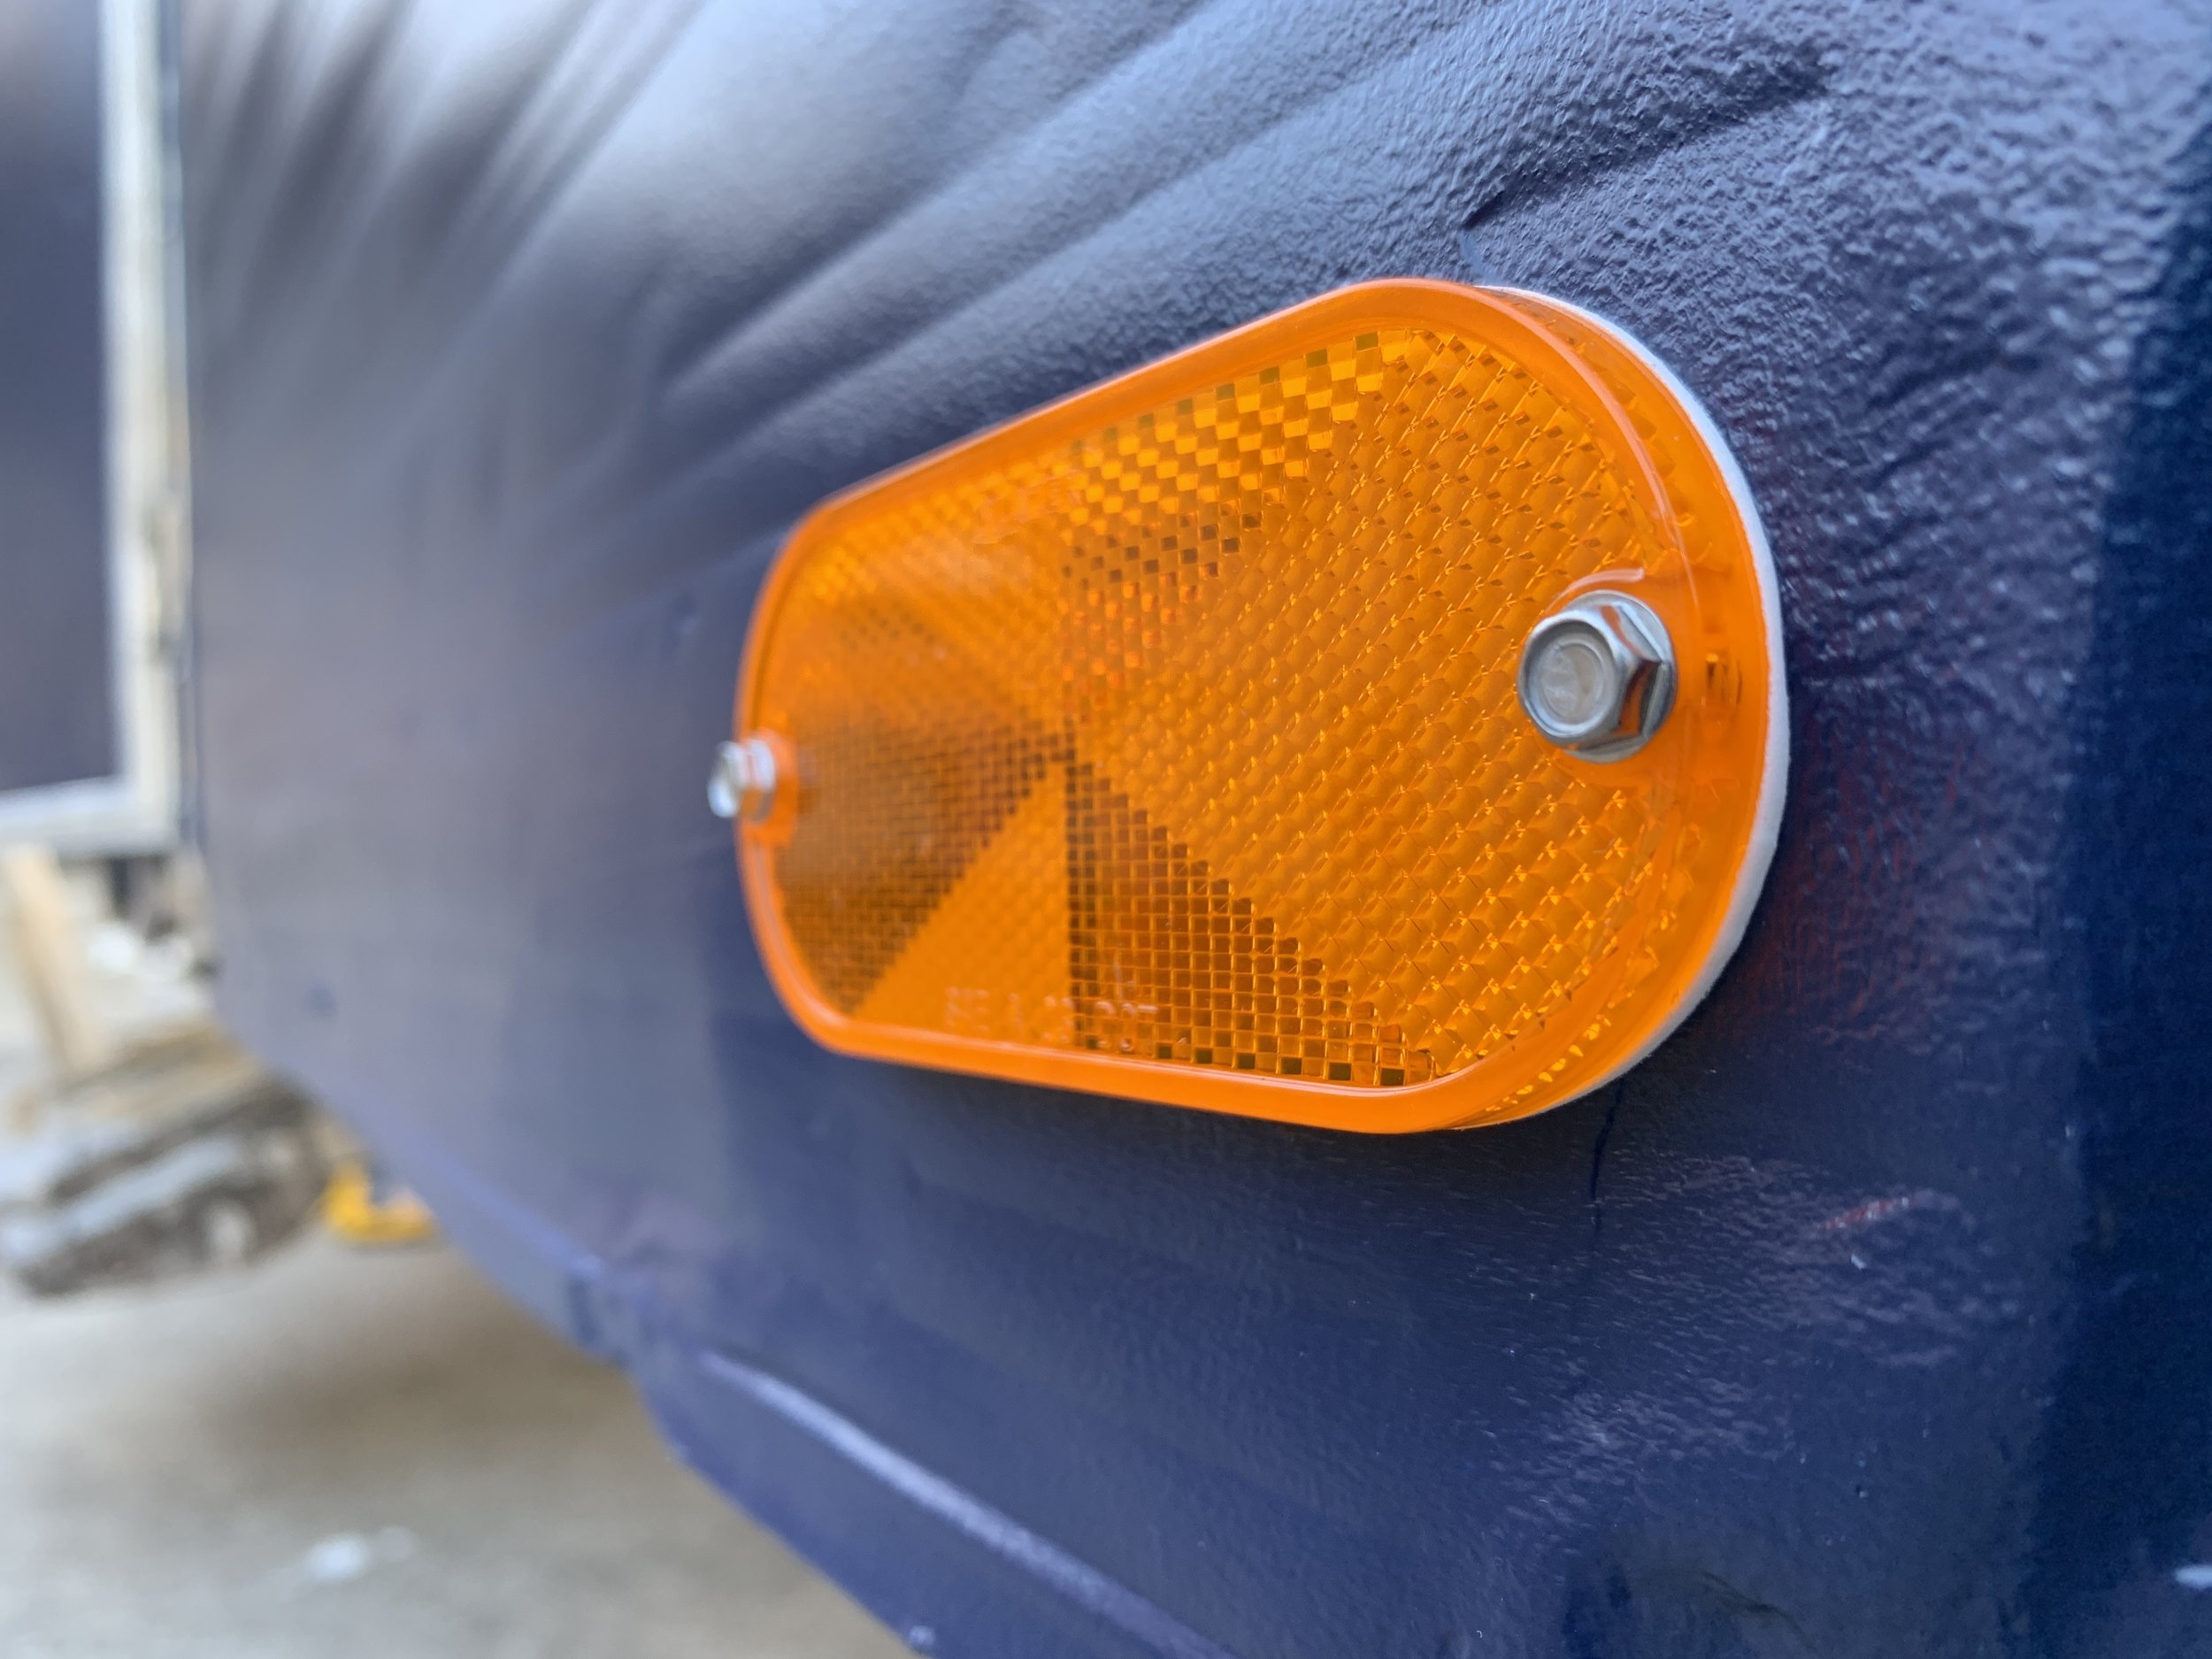
Reflectors
These were the easiest of the bunch to install and took less than five minutes. Our reflectors came with foam on the back to help seal the screw holes from water and the back is adhesive so they stick on, which helped hold them in place while we screwed them in. The biggest thing to keep in mind with these is there should be wood on the inside of the wall to screw into (as with all of your exterior lights). And that’s it. We have two of each color – and like the clearance lights, the yellows are toward the front and reds toward the back of the camper.
Pro tip: Don’t screw the reflector in too tightly, it could break the plastic.
Adding exterior electrical upgrades
The day we picked up The Cameo — the license plate had no place and looked out of place tacked up in the window.
License plate light
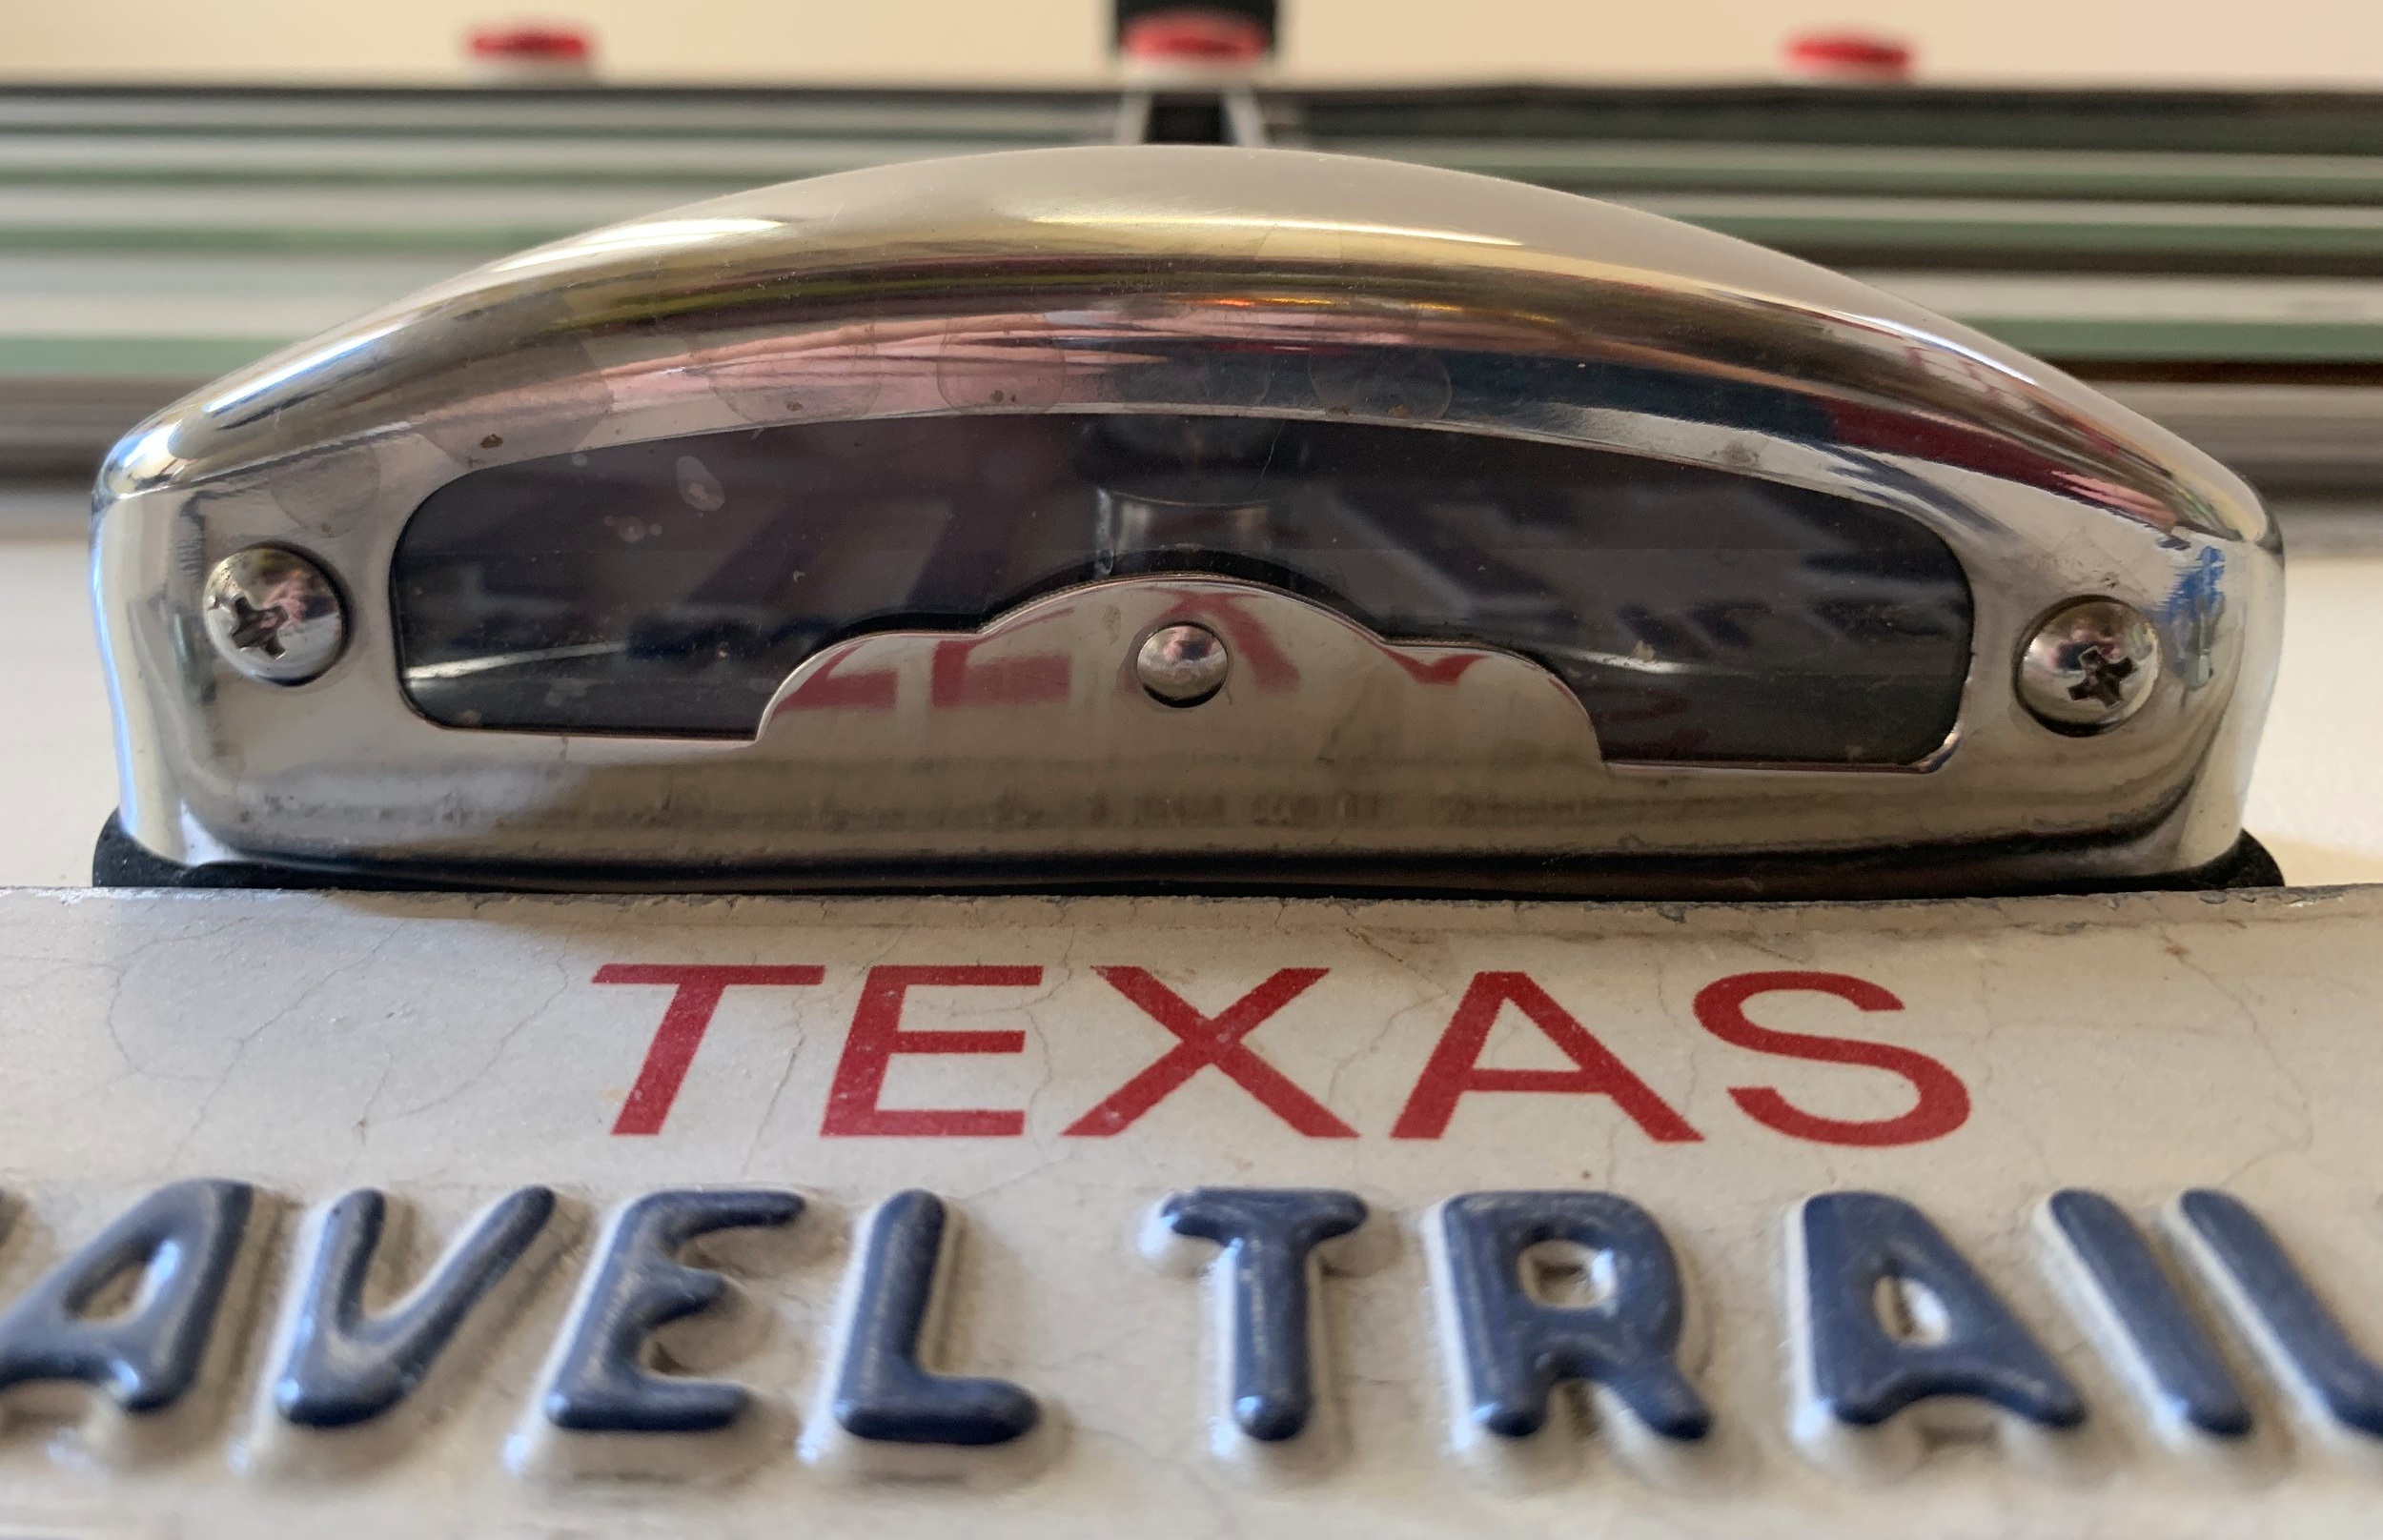
When we first bought The Cameo, the license plate was just casually leaning against one of the back windows. I know it’s not original to our camper, but it just looked so unfinished to us and like a sloppy afterthought that we just had to do something more “official” with it. And I’m so glad we did. Not only was this mount super easy to install (mounting into a piece of wood just like the other lights), but it looks so much cleaner, and with the addition of a light it’s a lot more functional since it can be seen day or night.

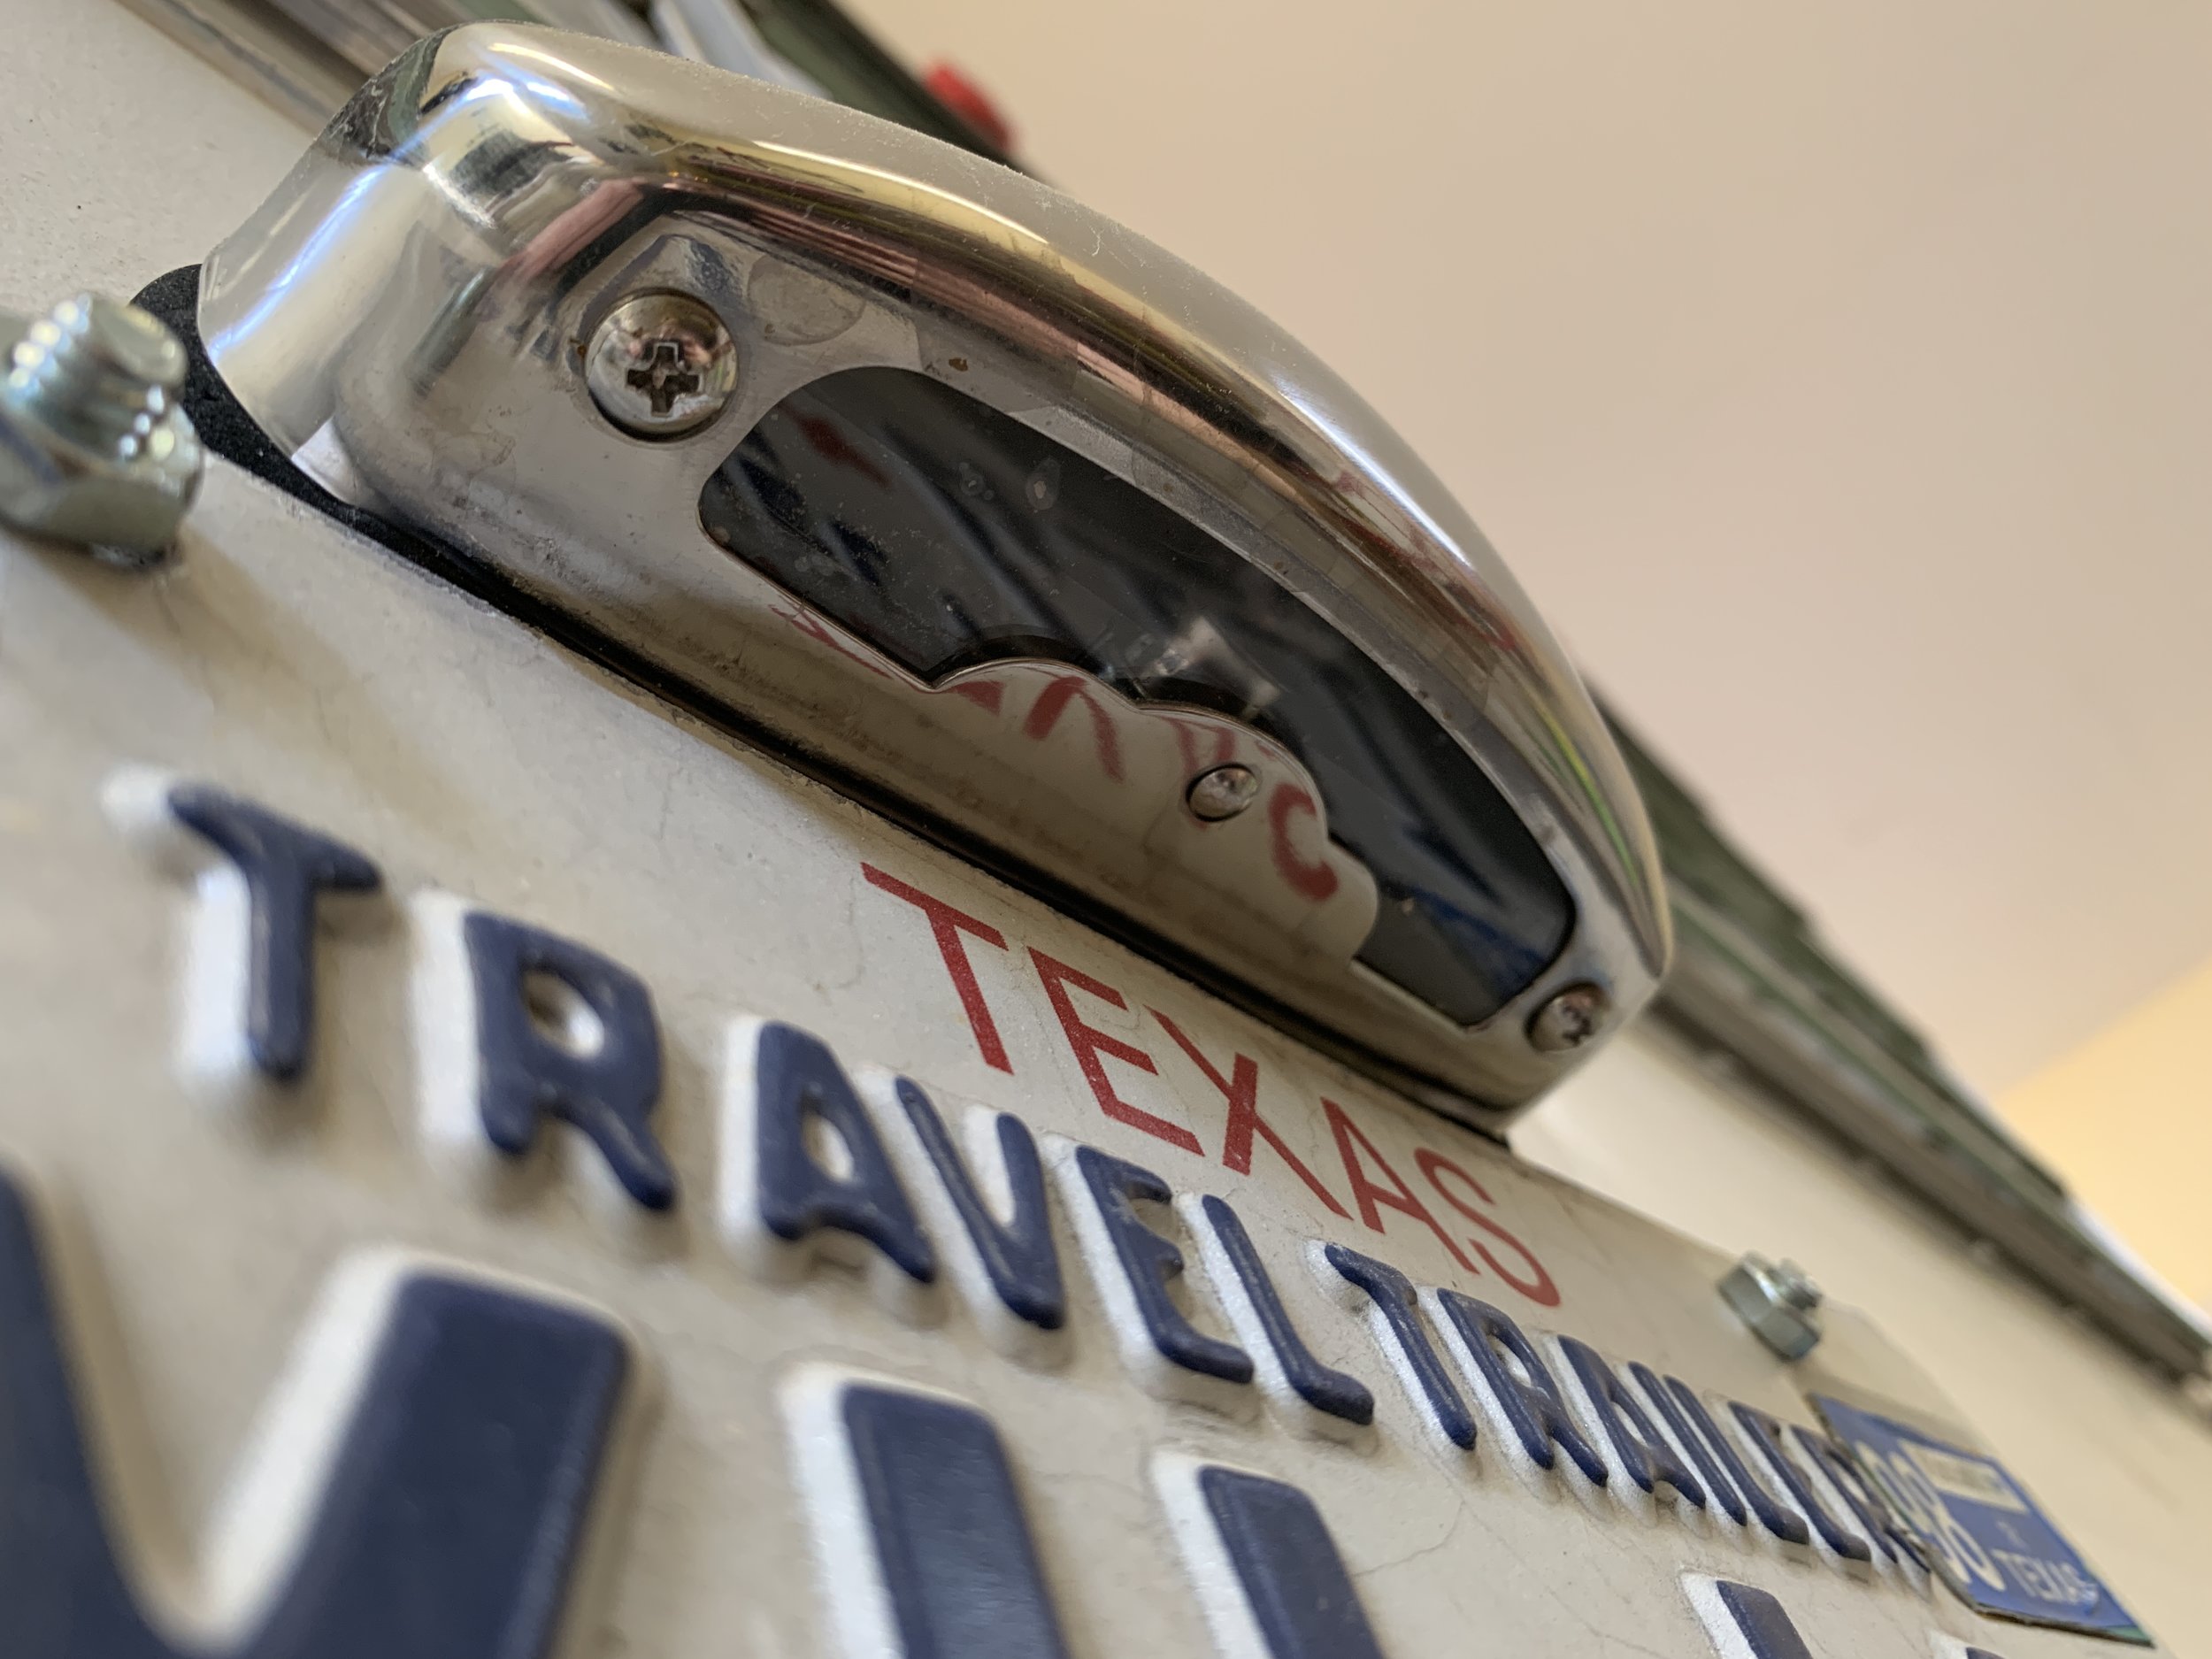
This particular light came with a foam gasket for waterproofing, so we didn’t need to use additional adhesive or butyl putty tape.
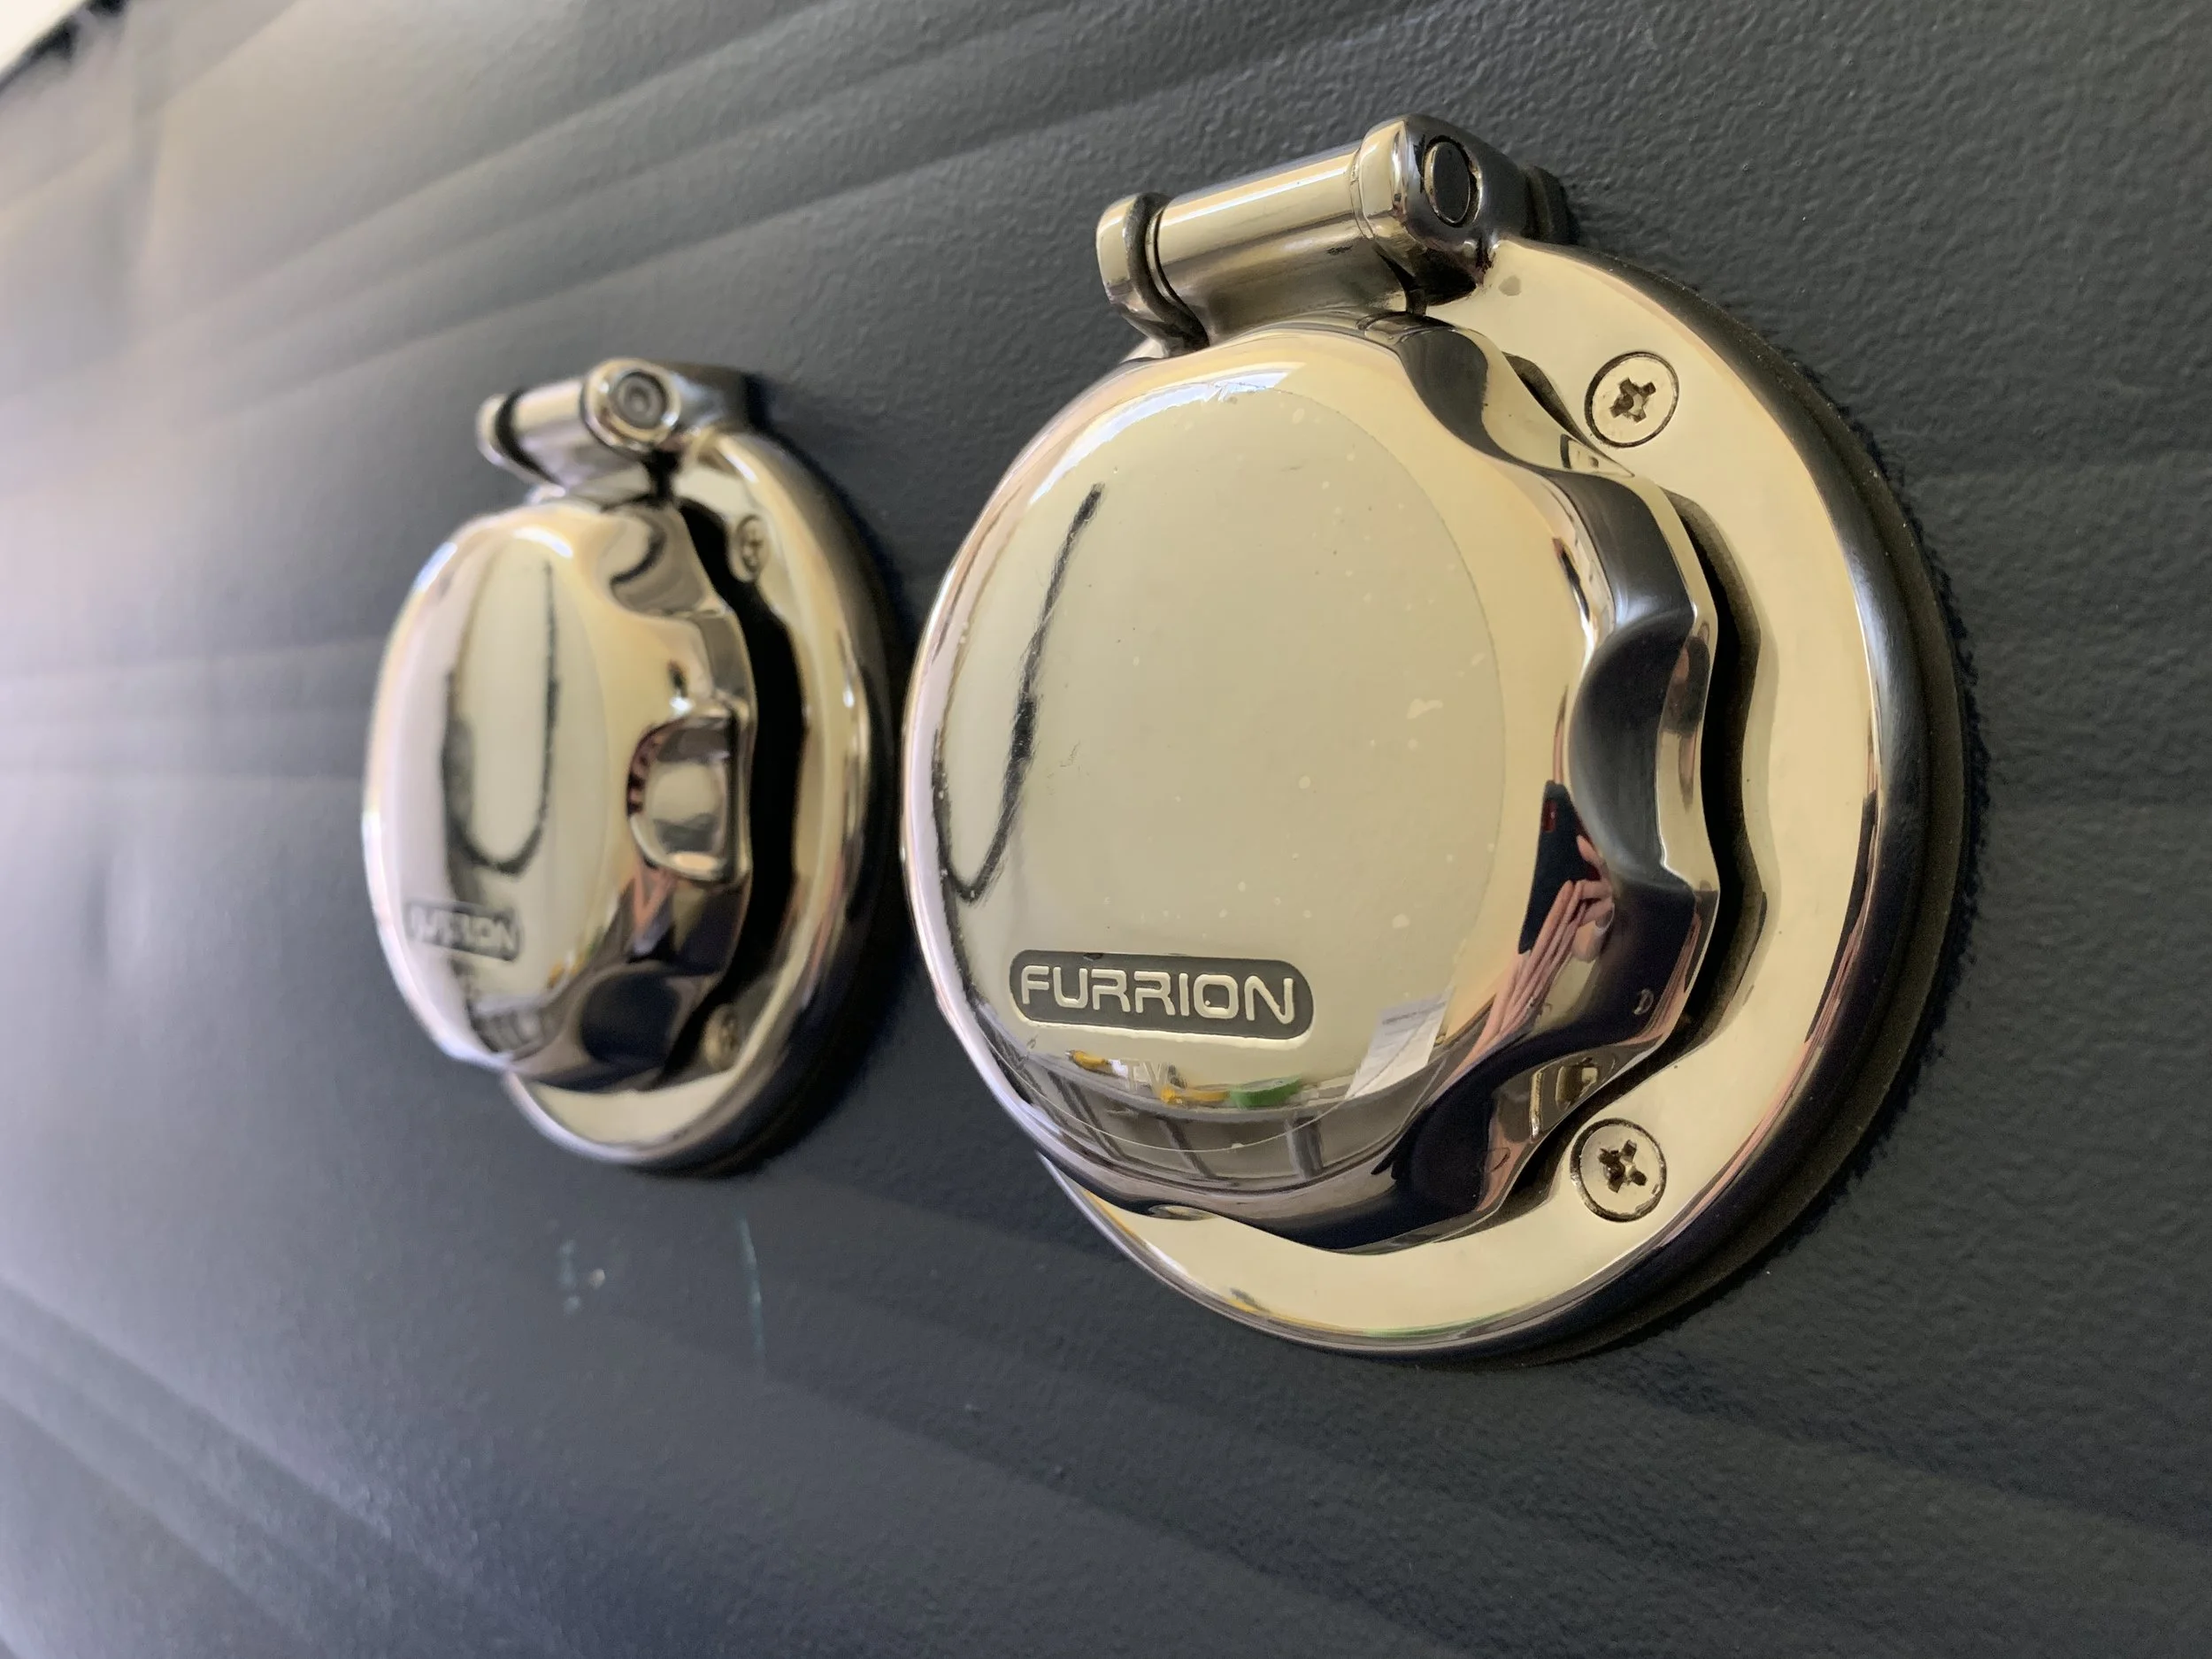
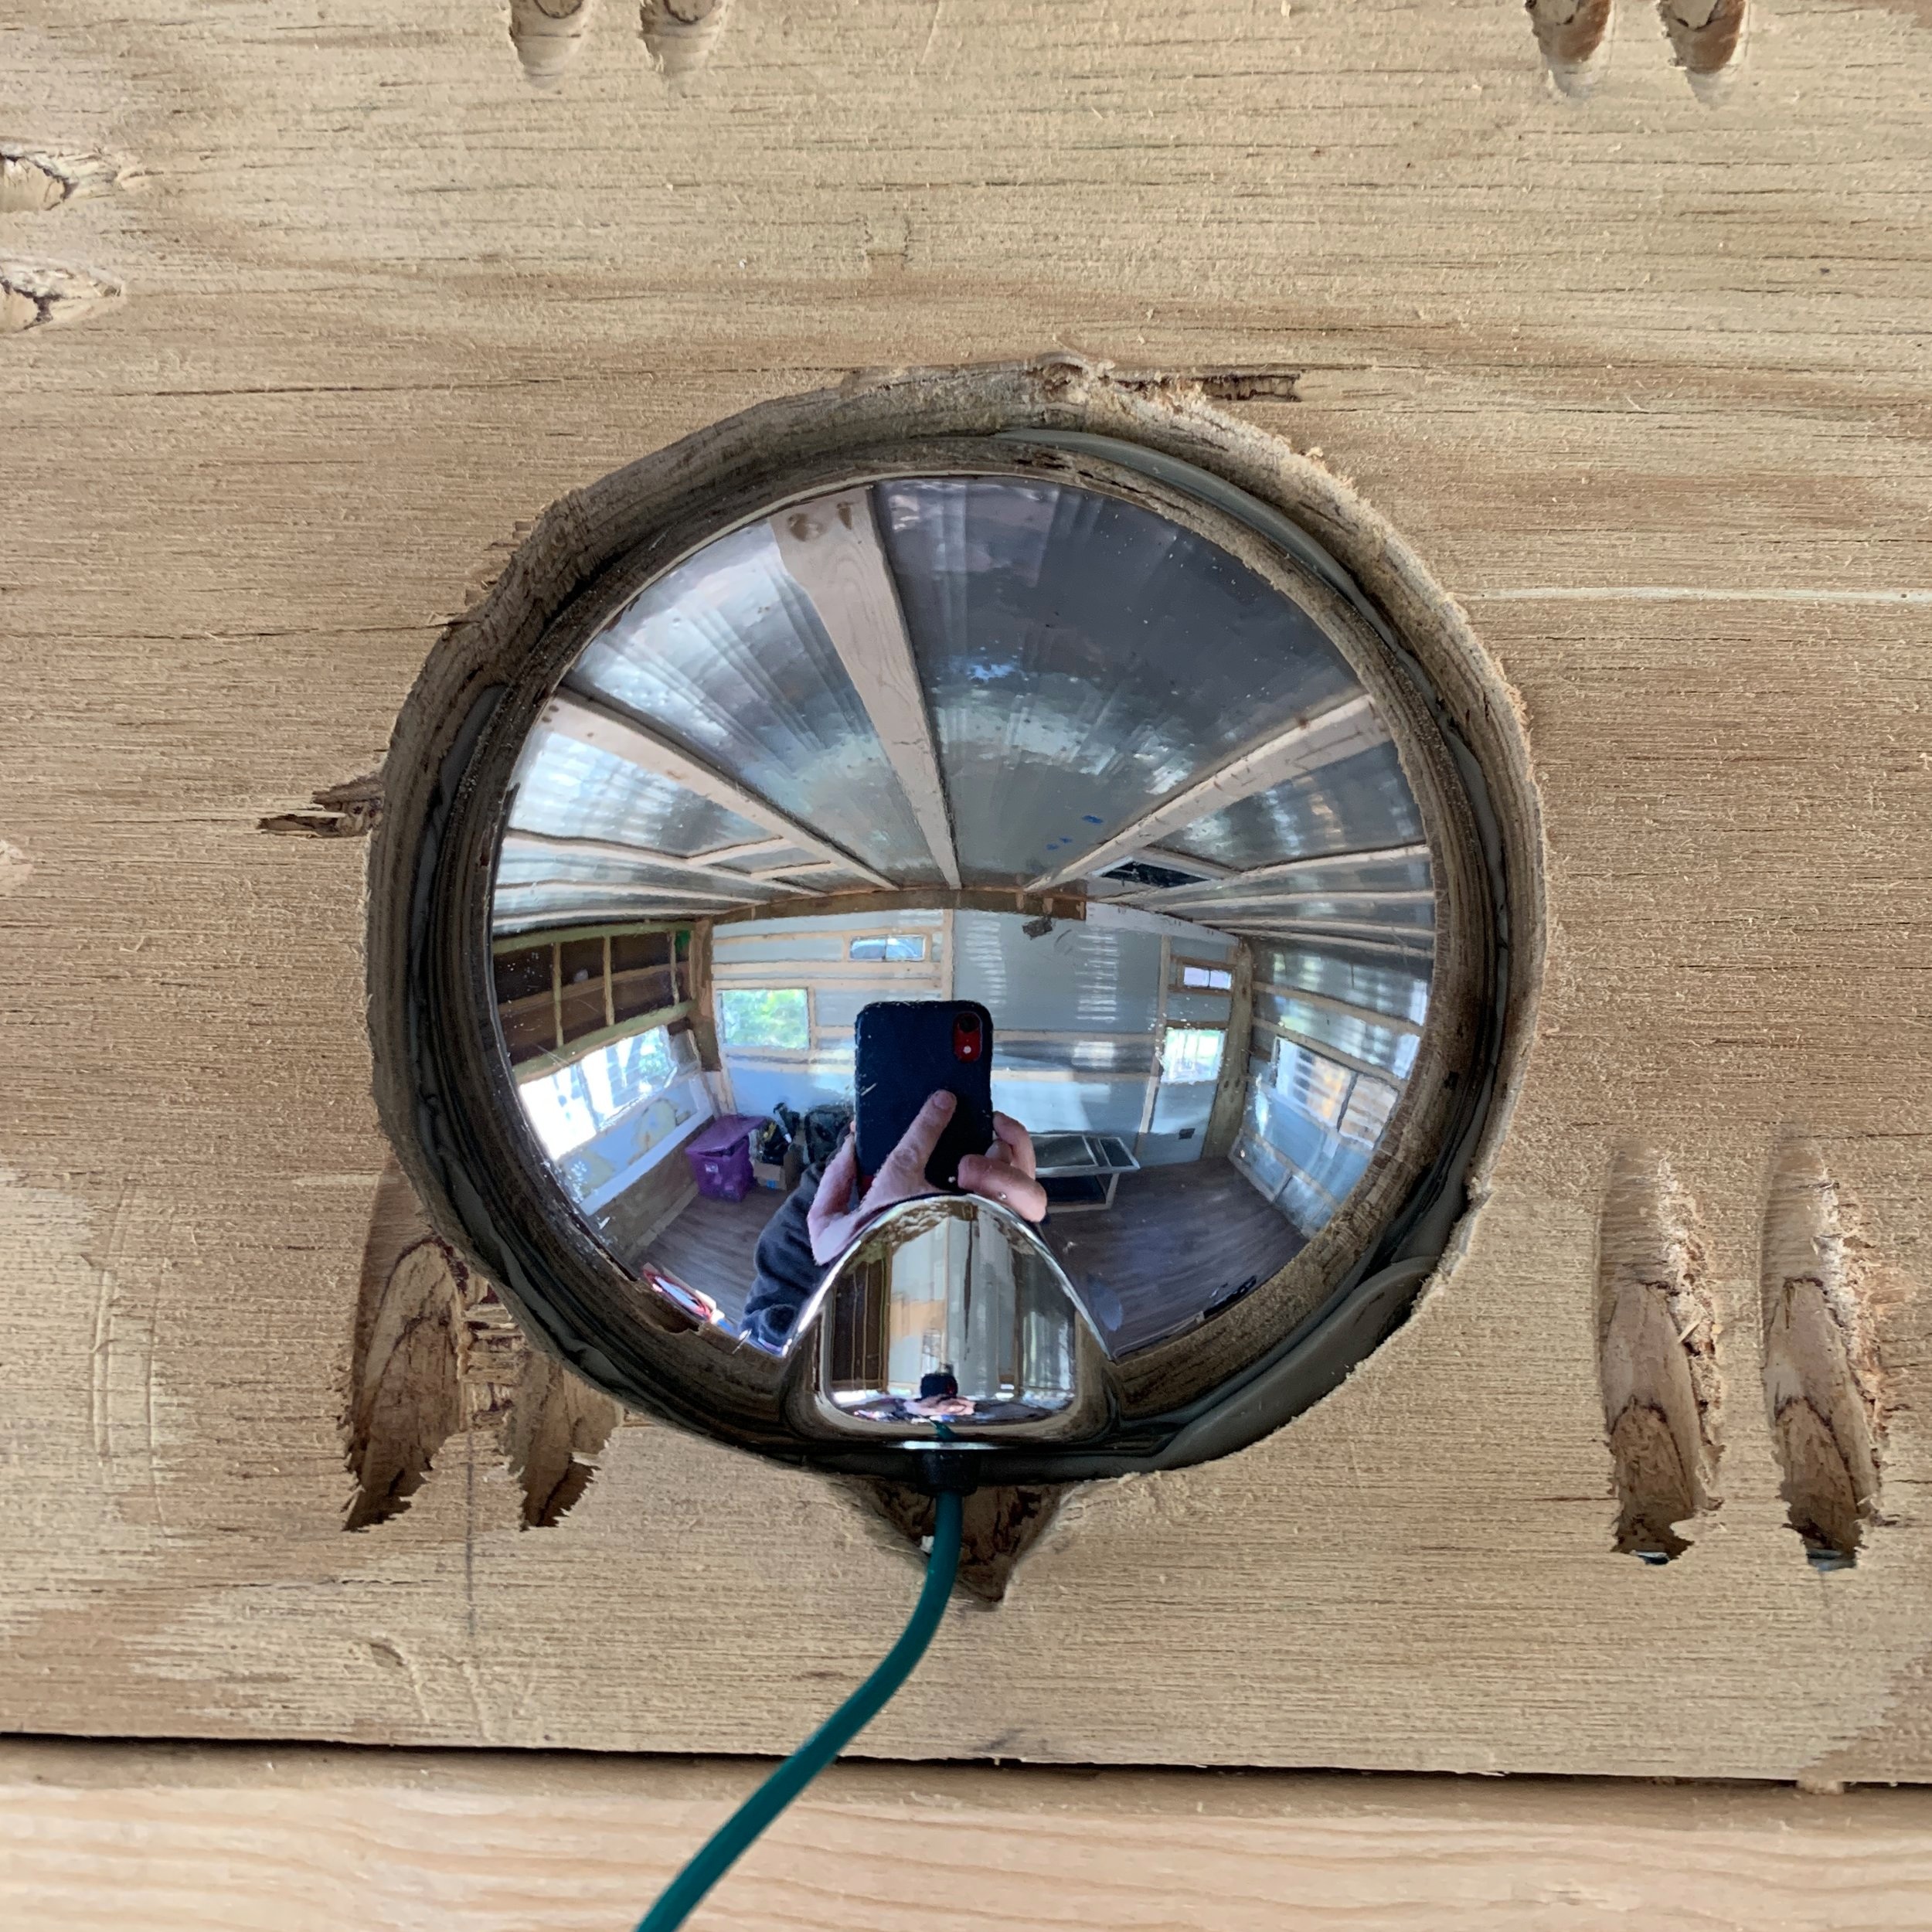
Wireless backup camera
Okay, so definitely not original, or vintage, or even a replica, but with the inside gutted we decided now would be the best time to add a backup camera to the rear of The Cameo as an added safety precaution. Not that this is a big rig that’s especially hard to maneuver, but we’re always open to anything we can do to make our travels safer.
It was a pretty quick project that we installed after work one night.
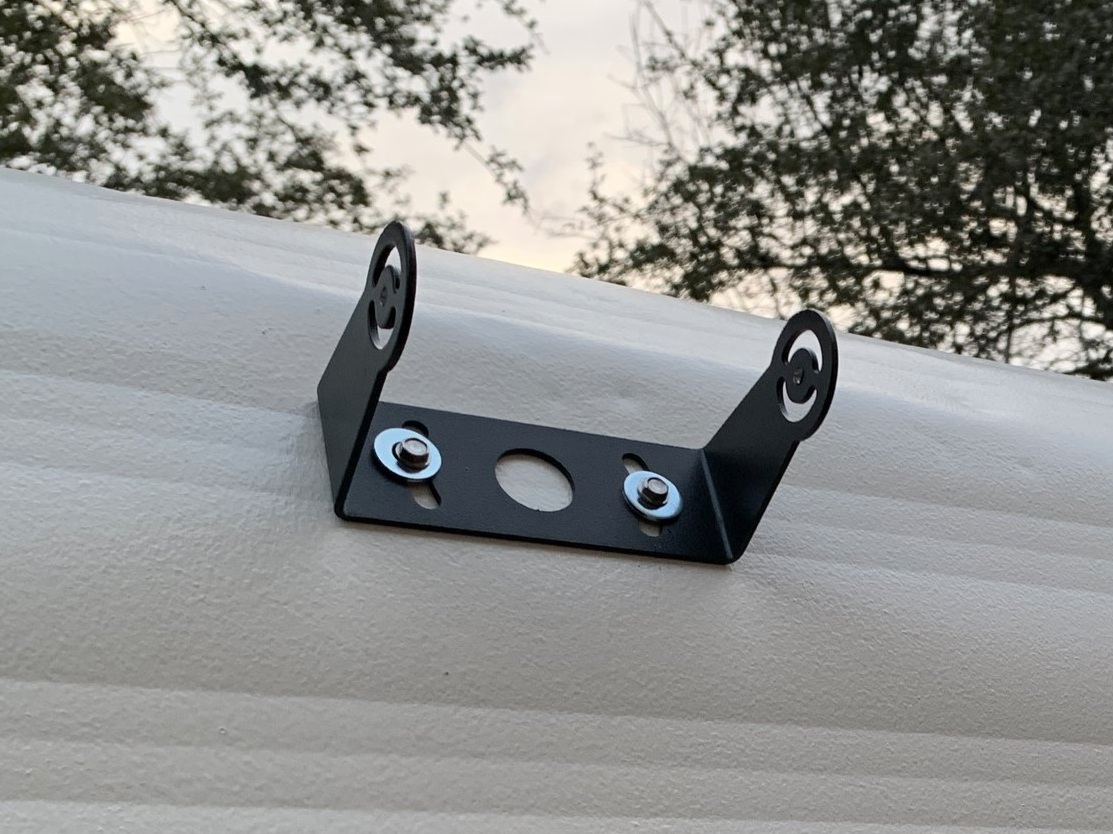

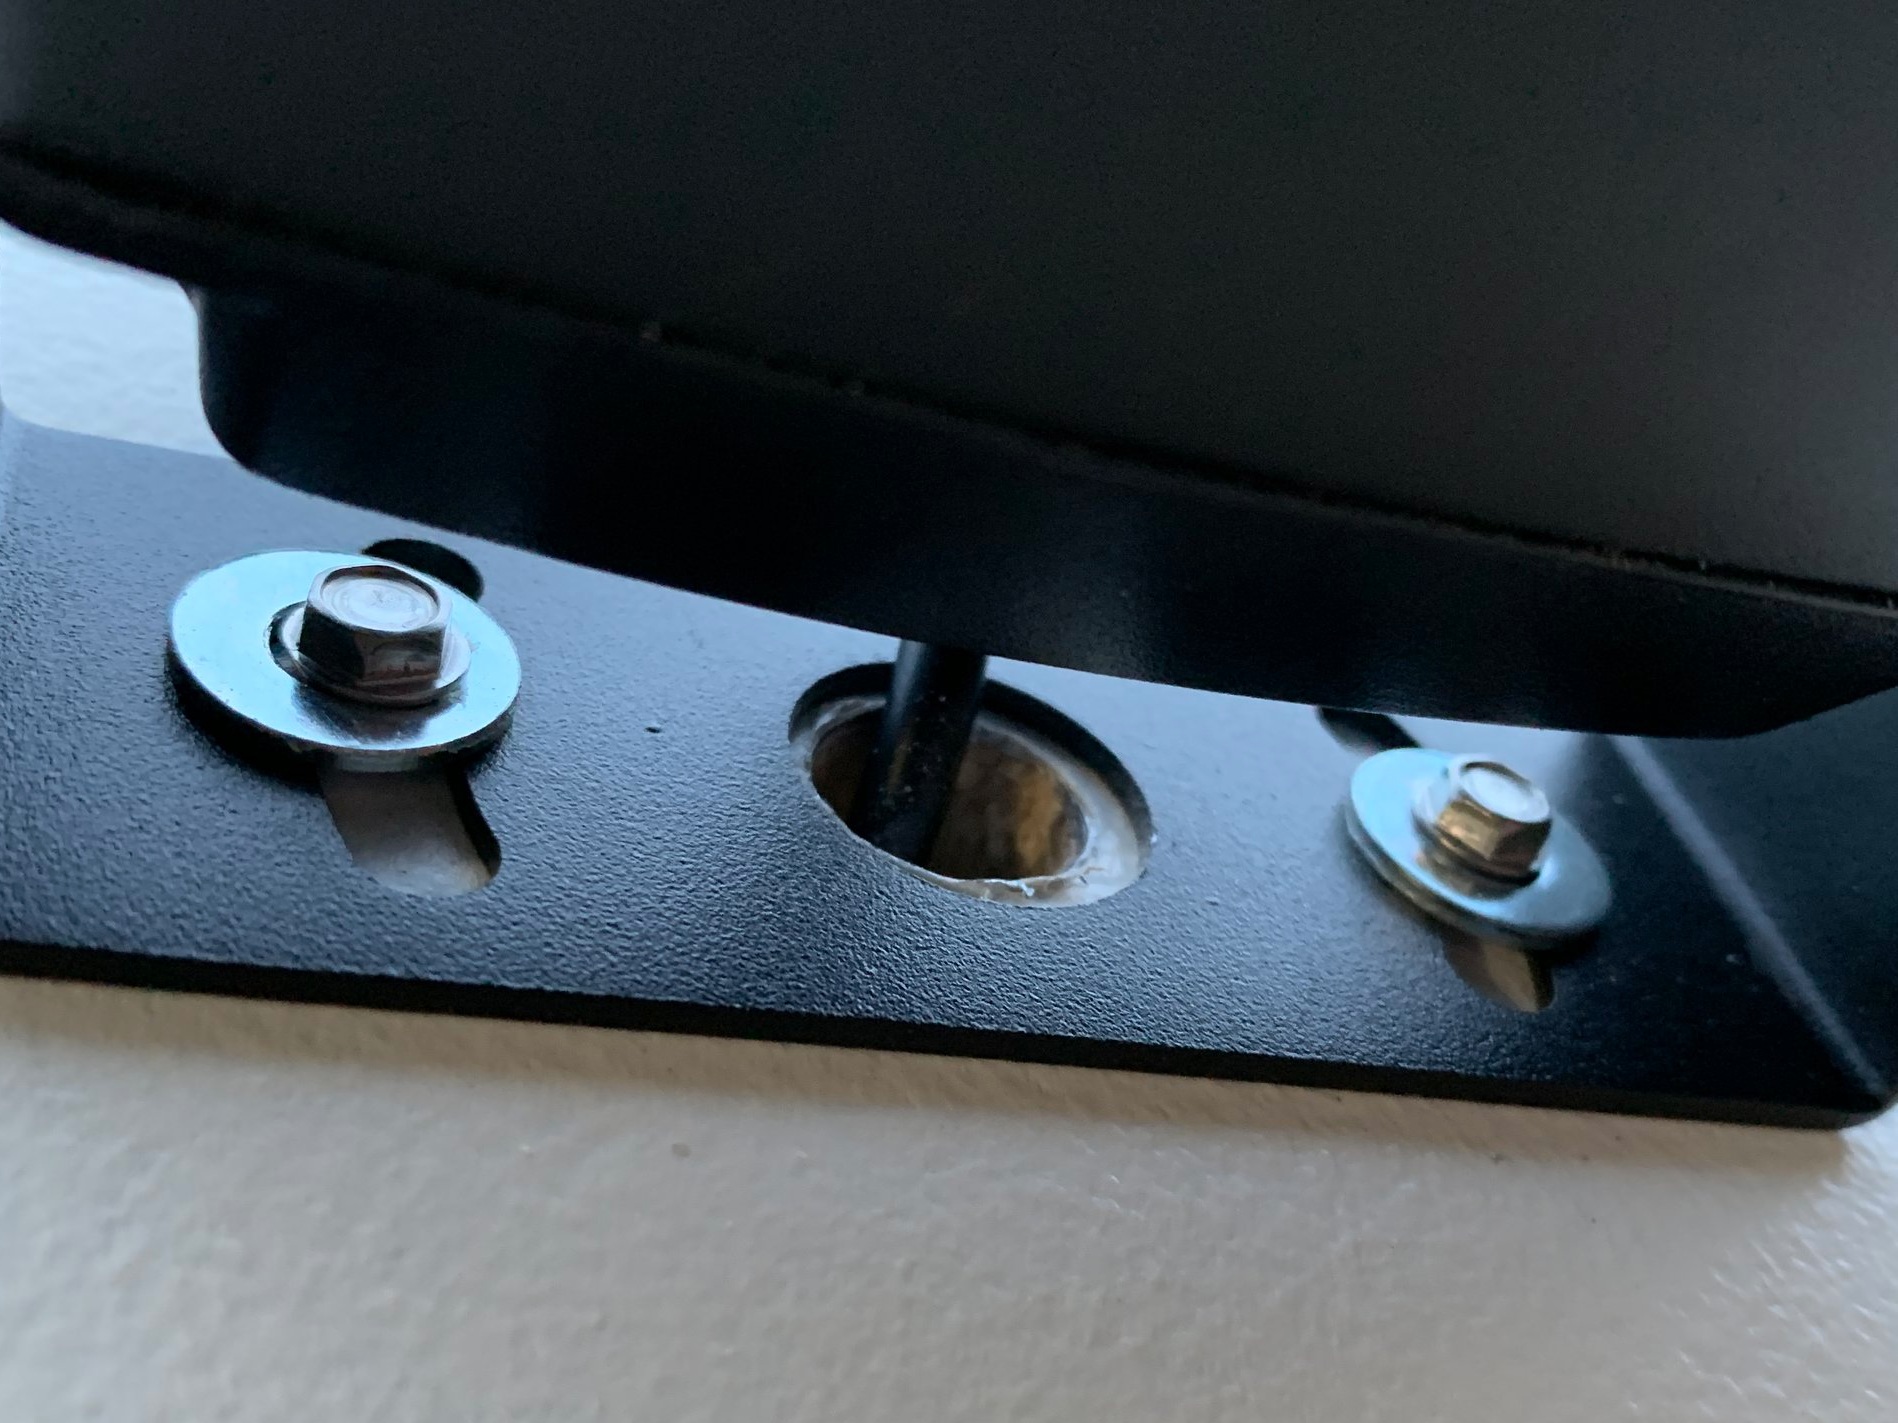

After we used the provided mounting hardware to secure the bracket through the metal and into a wooden support stud, we used a spade bit to drill a hole through the metal and wood layers for the camera’s cord and mounted the camera into the swiveling mount. We had to drill a hole much larger than the cord itself to accommodate the size of the plugs on the end (and ultimately wound up having to drill the hole larger than shown in the photos above, so that it matched the size of the hole in the metal mounting bracket – again, to accommodate the plugs on the end). To make it watertight, we plugged the hole with a thick black rubber washer we thankfully had laying around in our garage, since nothing was provided in the kit and there were no directions. Using a box knife, we carefully cut a slit in the side of the washer to wrap it around the cord (since the plugs prevented us from threading it through the hole). After getting the cord inside the rubber washer, we plugged it into the hole from the inside of the camper and covered the seams in and around the washer and cord with the same clear Lexel solvent caulk we’ve used in other places (again, from the inside). The mounted camera works via a wireless receiver that displays on a screen in the truck.
Porch light

Finished porch light
This porch light. Originally made for Airstreams, we love the vintage look and so far (even though we’ve not yet wired it so we’re just hoping it will work) we’re glad we decided to put one in. The install wound up being a long-ish process, mostly because we decided to save some money and use our tin snips (large dull scissors, essentially) instead of buying a huge (read: expensive) hole saw. If you have one it would likely go much faster than it did for us. But tin snips worked just fine for a fraction of the cost – especially since we already owned them – and gave me a little forearm/hand workout.


Using a piece of cardboard, I made a donut-like template so we knew exactly how big of a hole we needed for the recessed mount light’s housing to sink into the wall, but making sure it wasn’t too big so the mounting hole areas/screws still had some wall to screw into. The inner circle of the cardboard donut in the first photo above is the diameter of the 3-D part of the light that actually sinks down into the wall, and the outer ring of the donut is the outer edge of the front of the light. The mounting screws go inside the thin cardboard circle part of the template. Just like the other lights, we used our trusty butyl putty tape to waterproof the light from the outside.
One thing you may notice about this light is it has only one electrical wire, which means it’s always “hot” and grounds through the metal of the walls, and in our case down to the chassis of the camper (since we have painted aluminum that gives an inconsistent ground). (Don’t worry: it’s completely safe and a pretty normal thing for vintage camper lights to just have one hot wire like this.) Since there’s no switch on the light itself, we’ll be installing a separate light switch that we can operate from inside the camper.
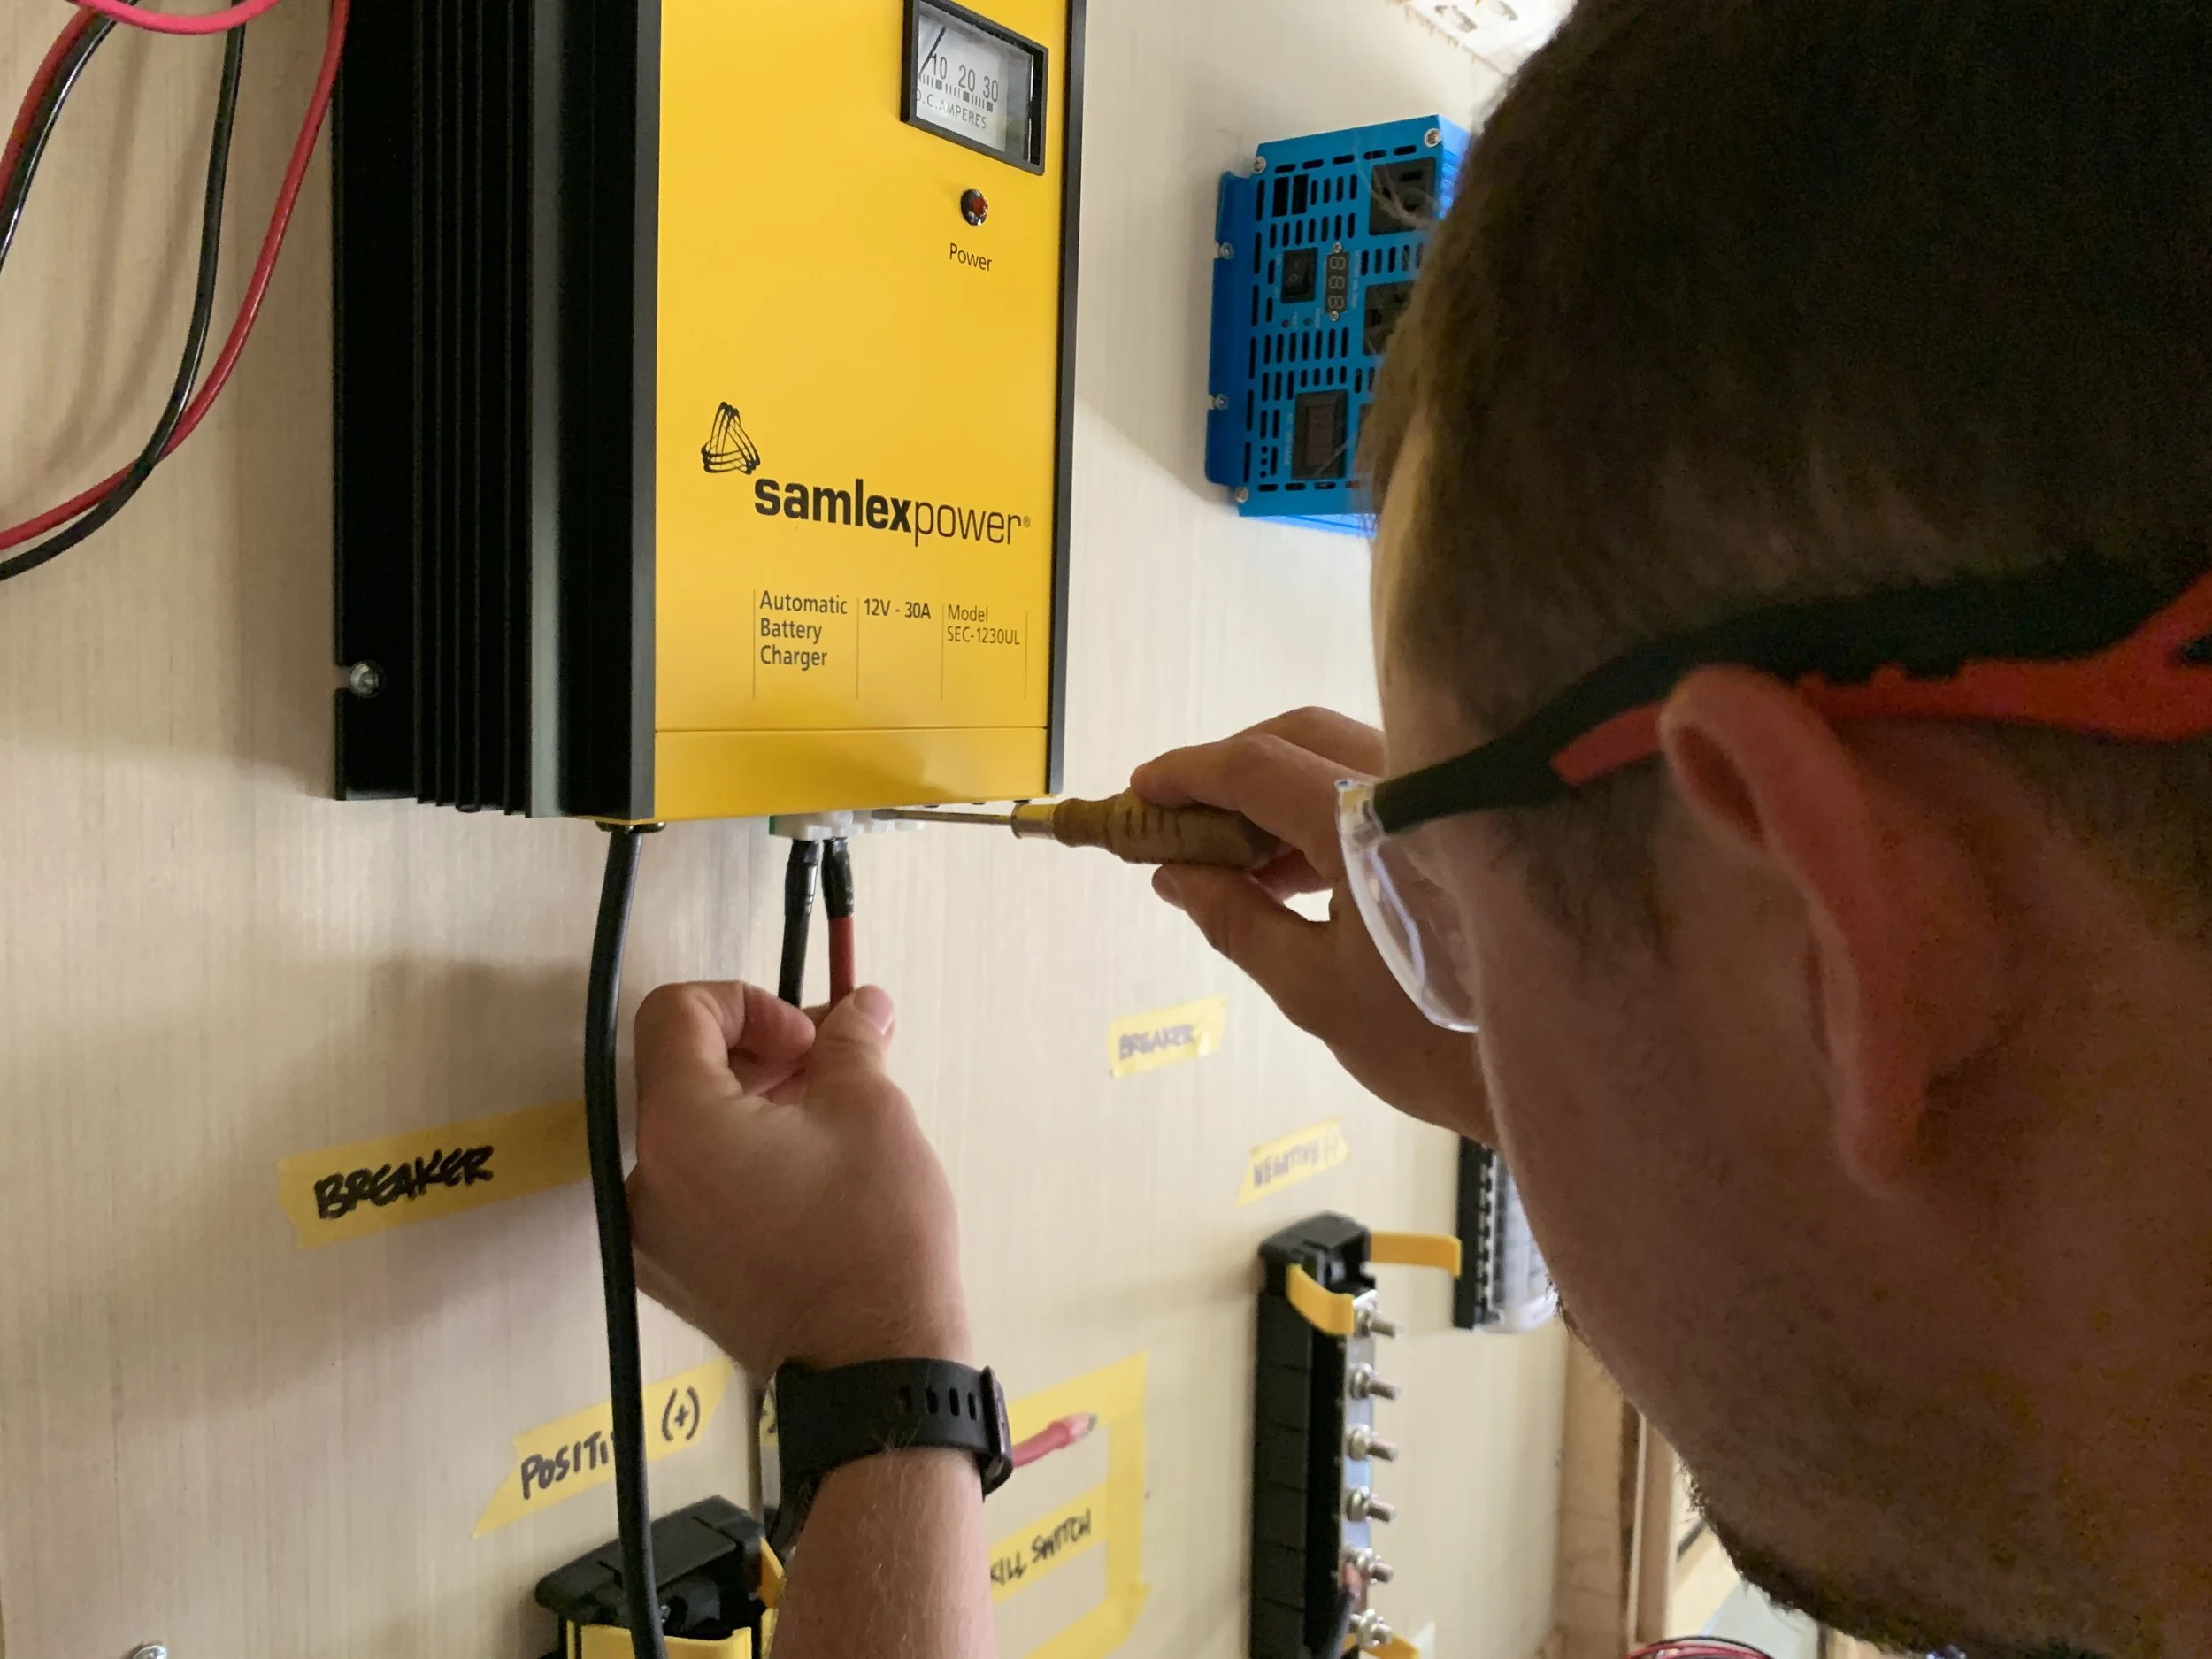
Learn from our failures
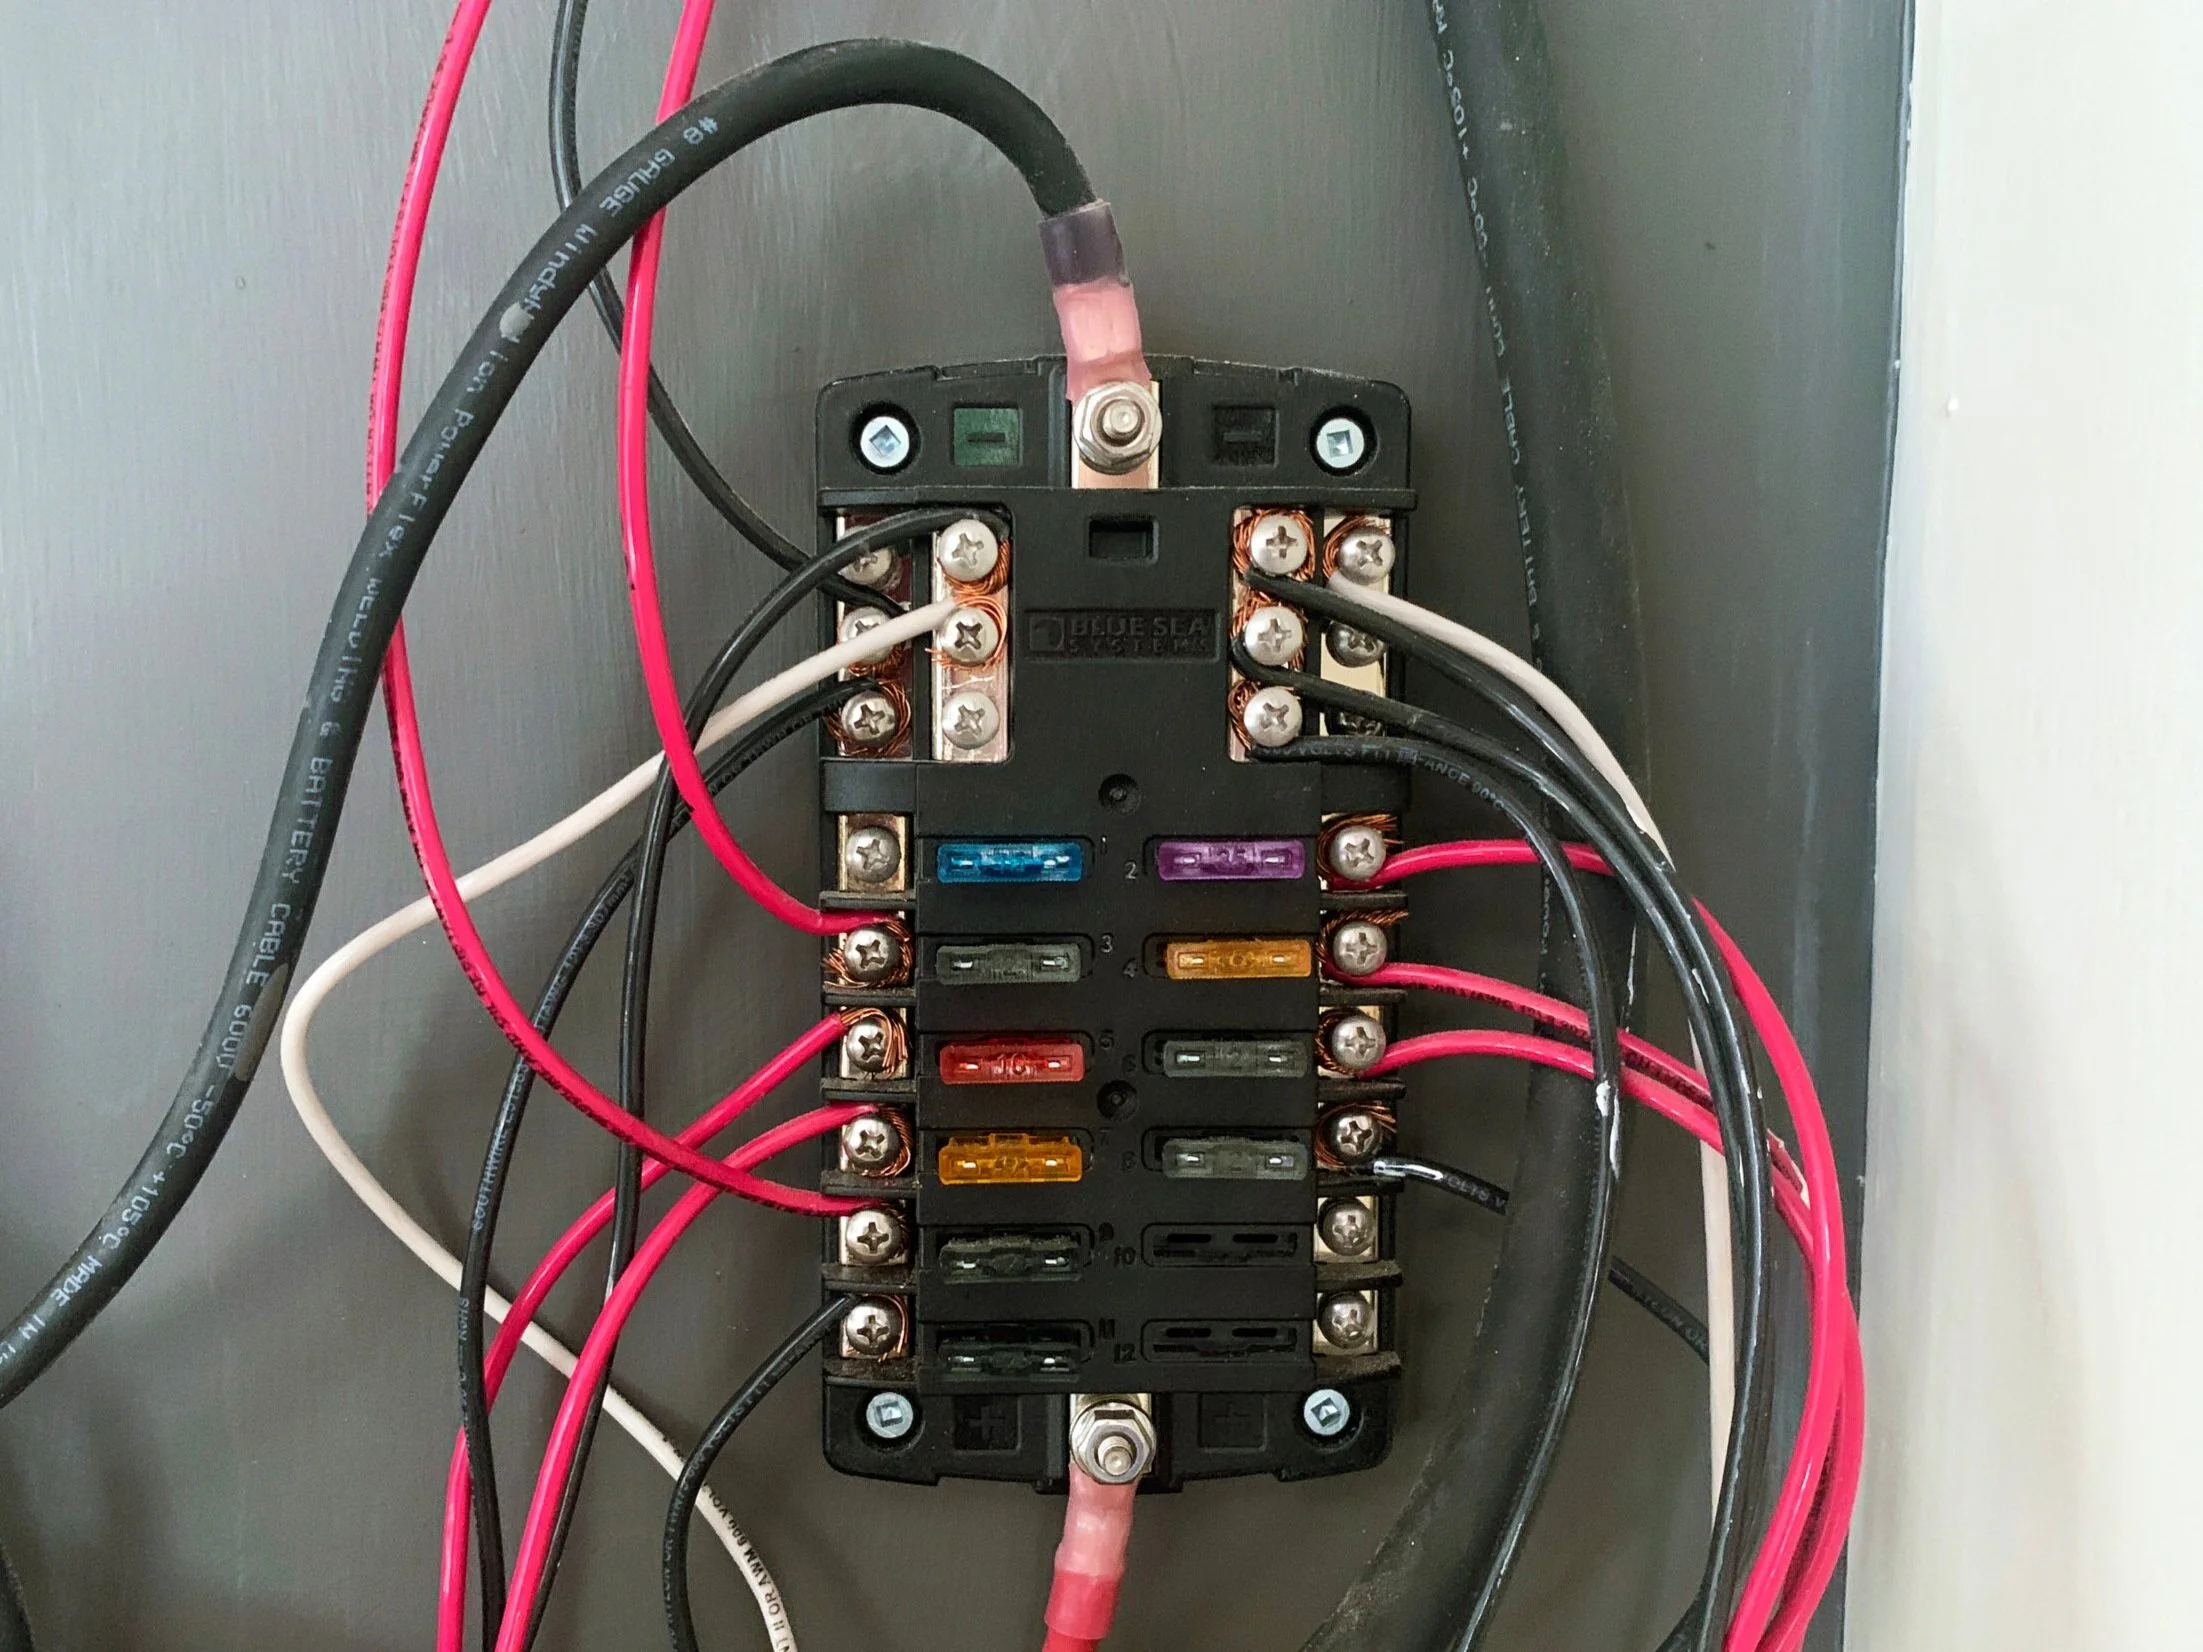
After we got The Cameo back from the trailer place, we found out our exterior electrical/running lights weren’t working because during testing we had accidentally (and unknowingly) blown the right trailer blinker/stoplight fuse housed in a fuse box under the hood of our truck – all due to a bad ground. Which makes sense why we kept getting the lights to only partially and intermittently work. If you’re working on your own wiring and run into issues, I recommend checking your fuses and making sure you’ve got the whole thing properly grounded to the trailer chassis to start with. Hopefully our experience and days of wasted troubleshooting can help at least one of you should you run into the same issue.
What do you think about our replacements and upgrades? Any questions (about anything)? Is there anything you’d like to see us highlight in future posts?