The Cameo Camper Renovation: Overhead Cabinet Build
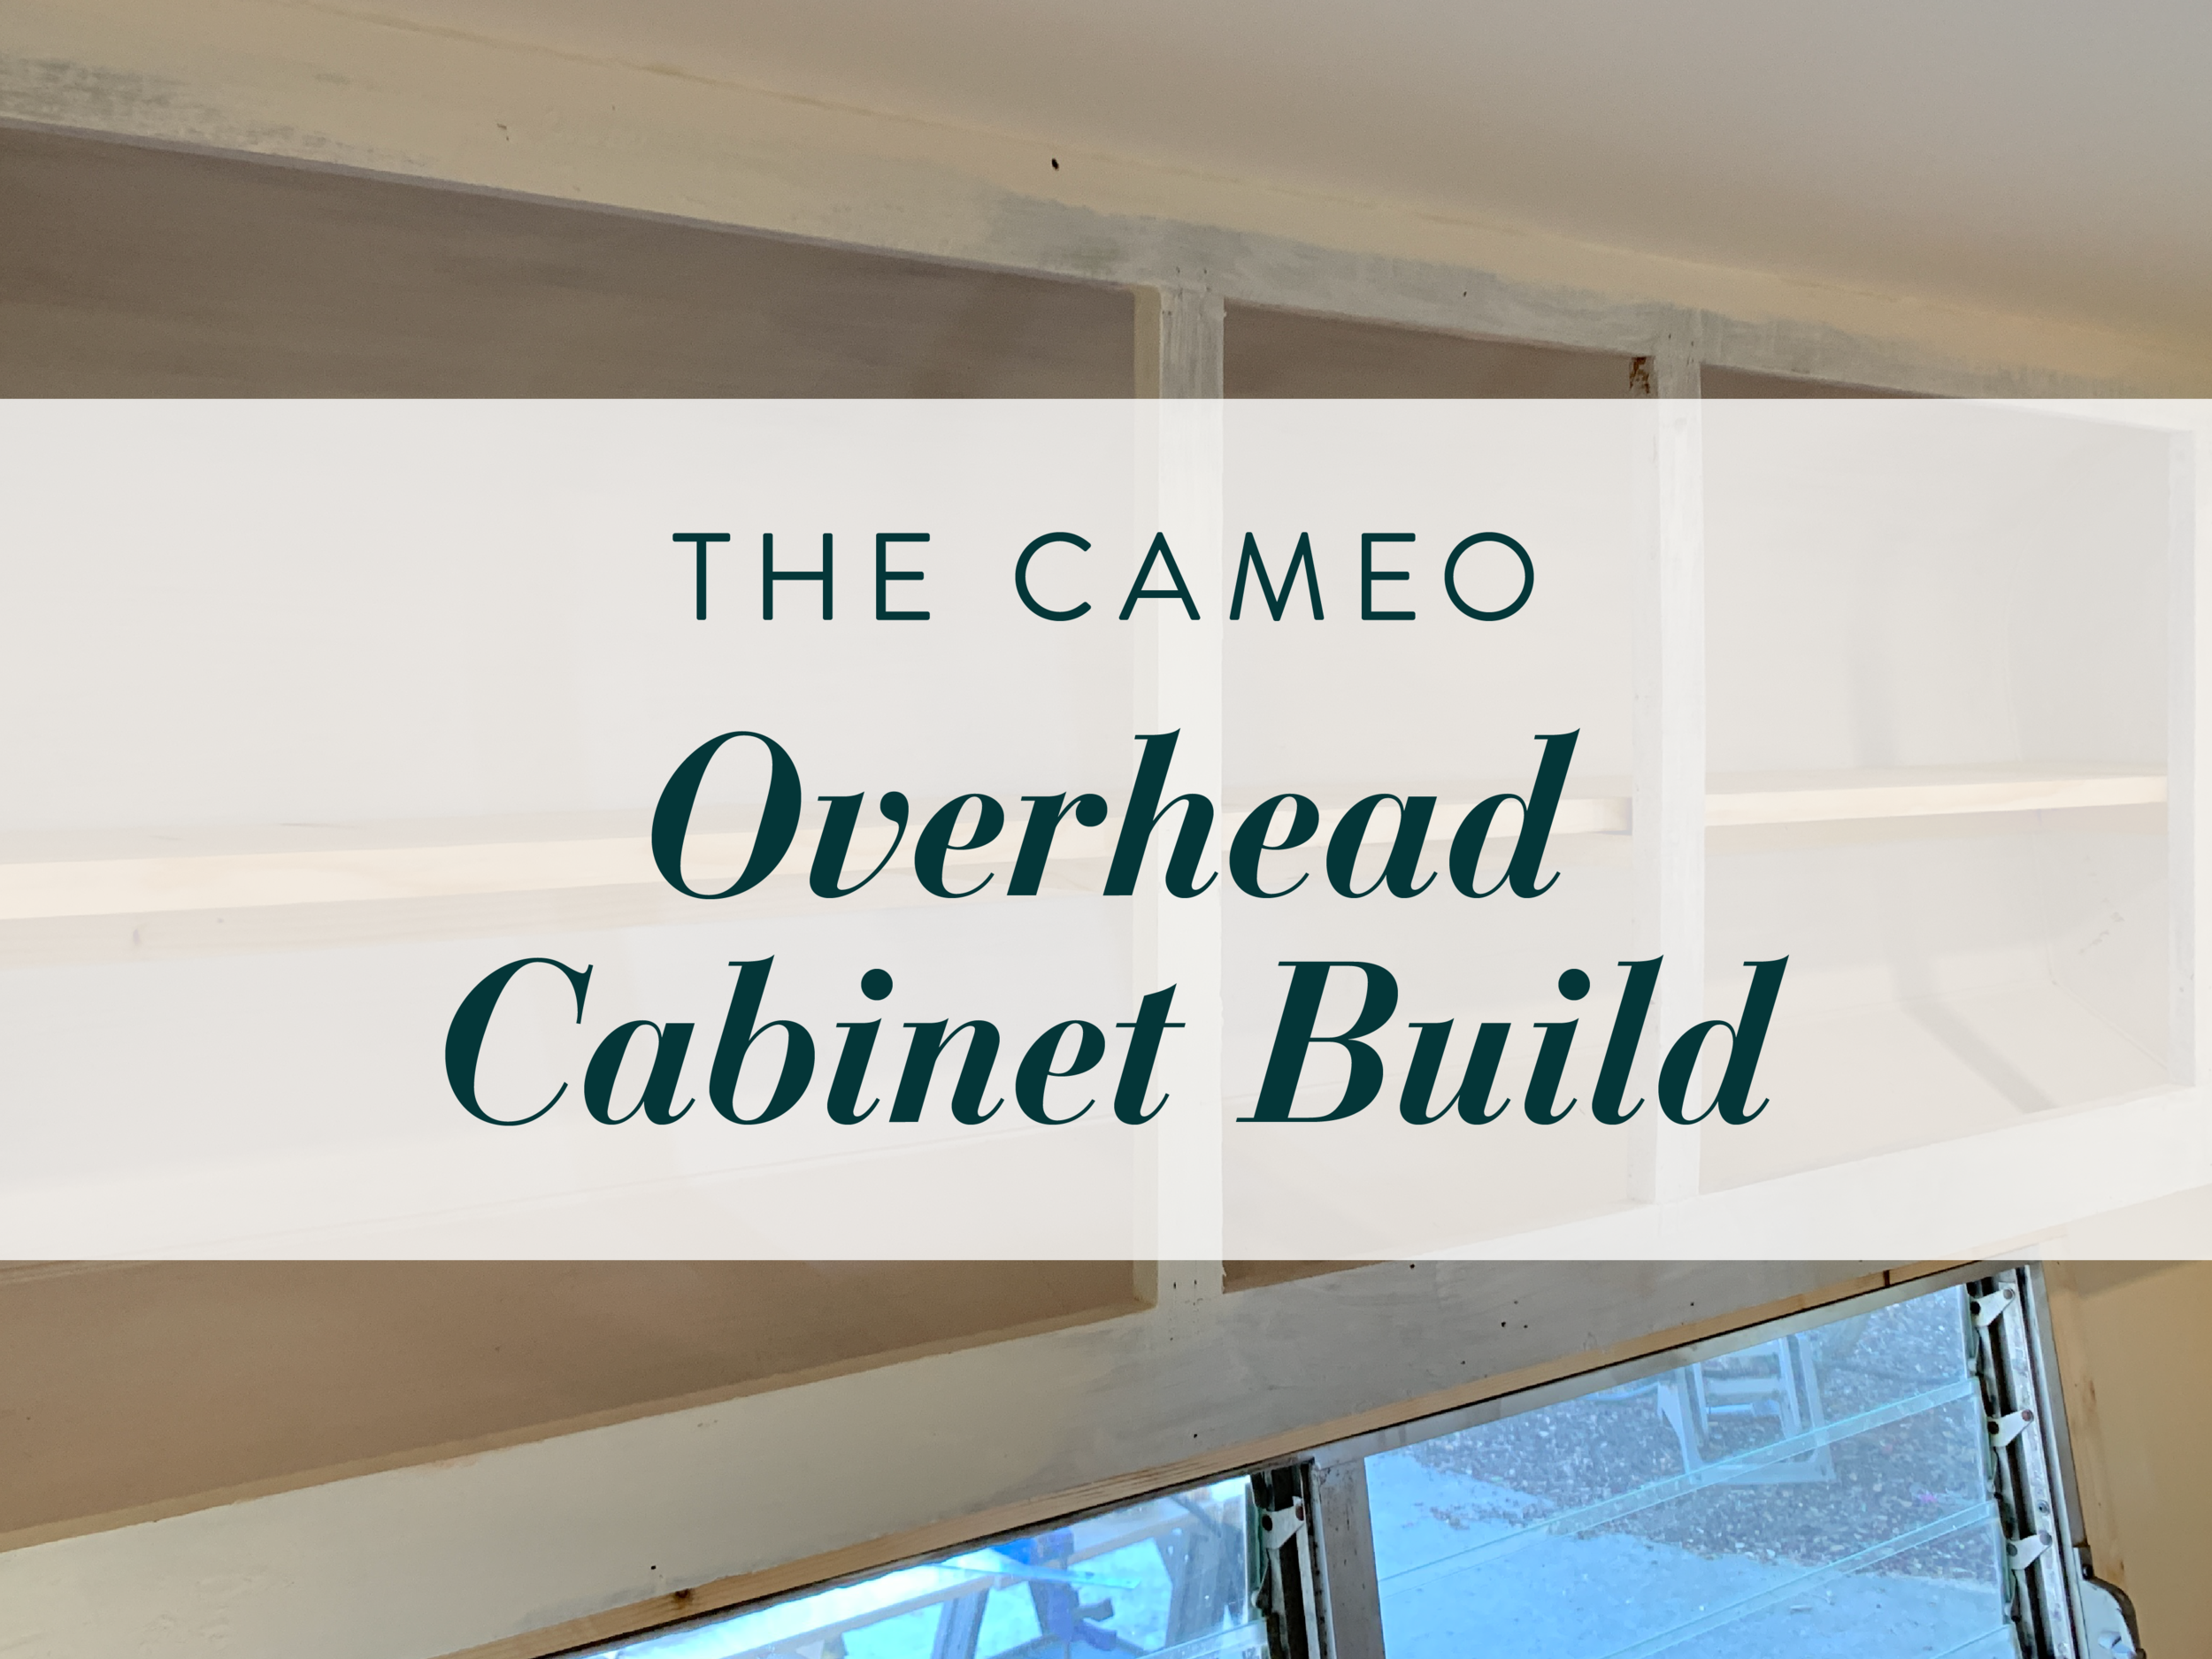
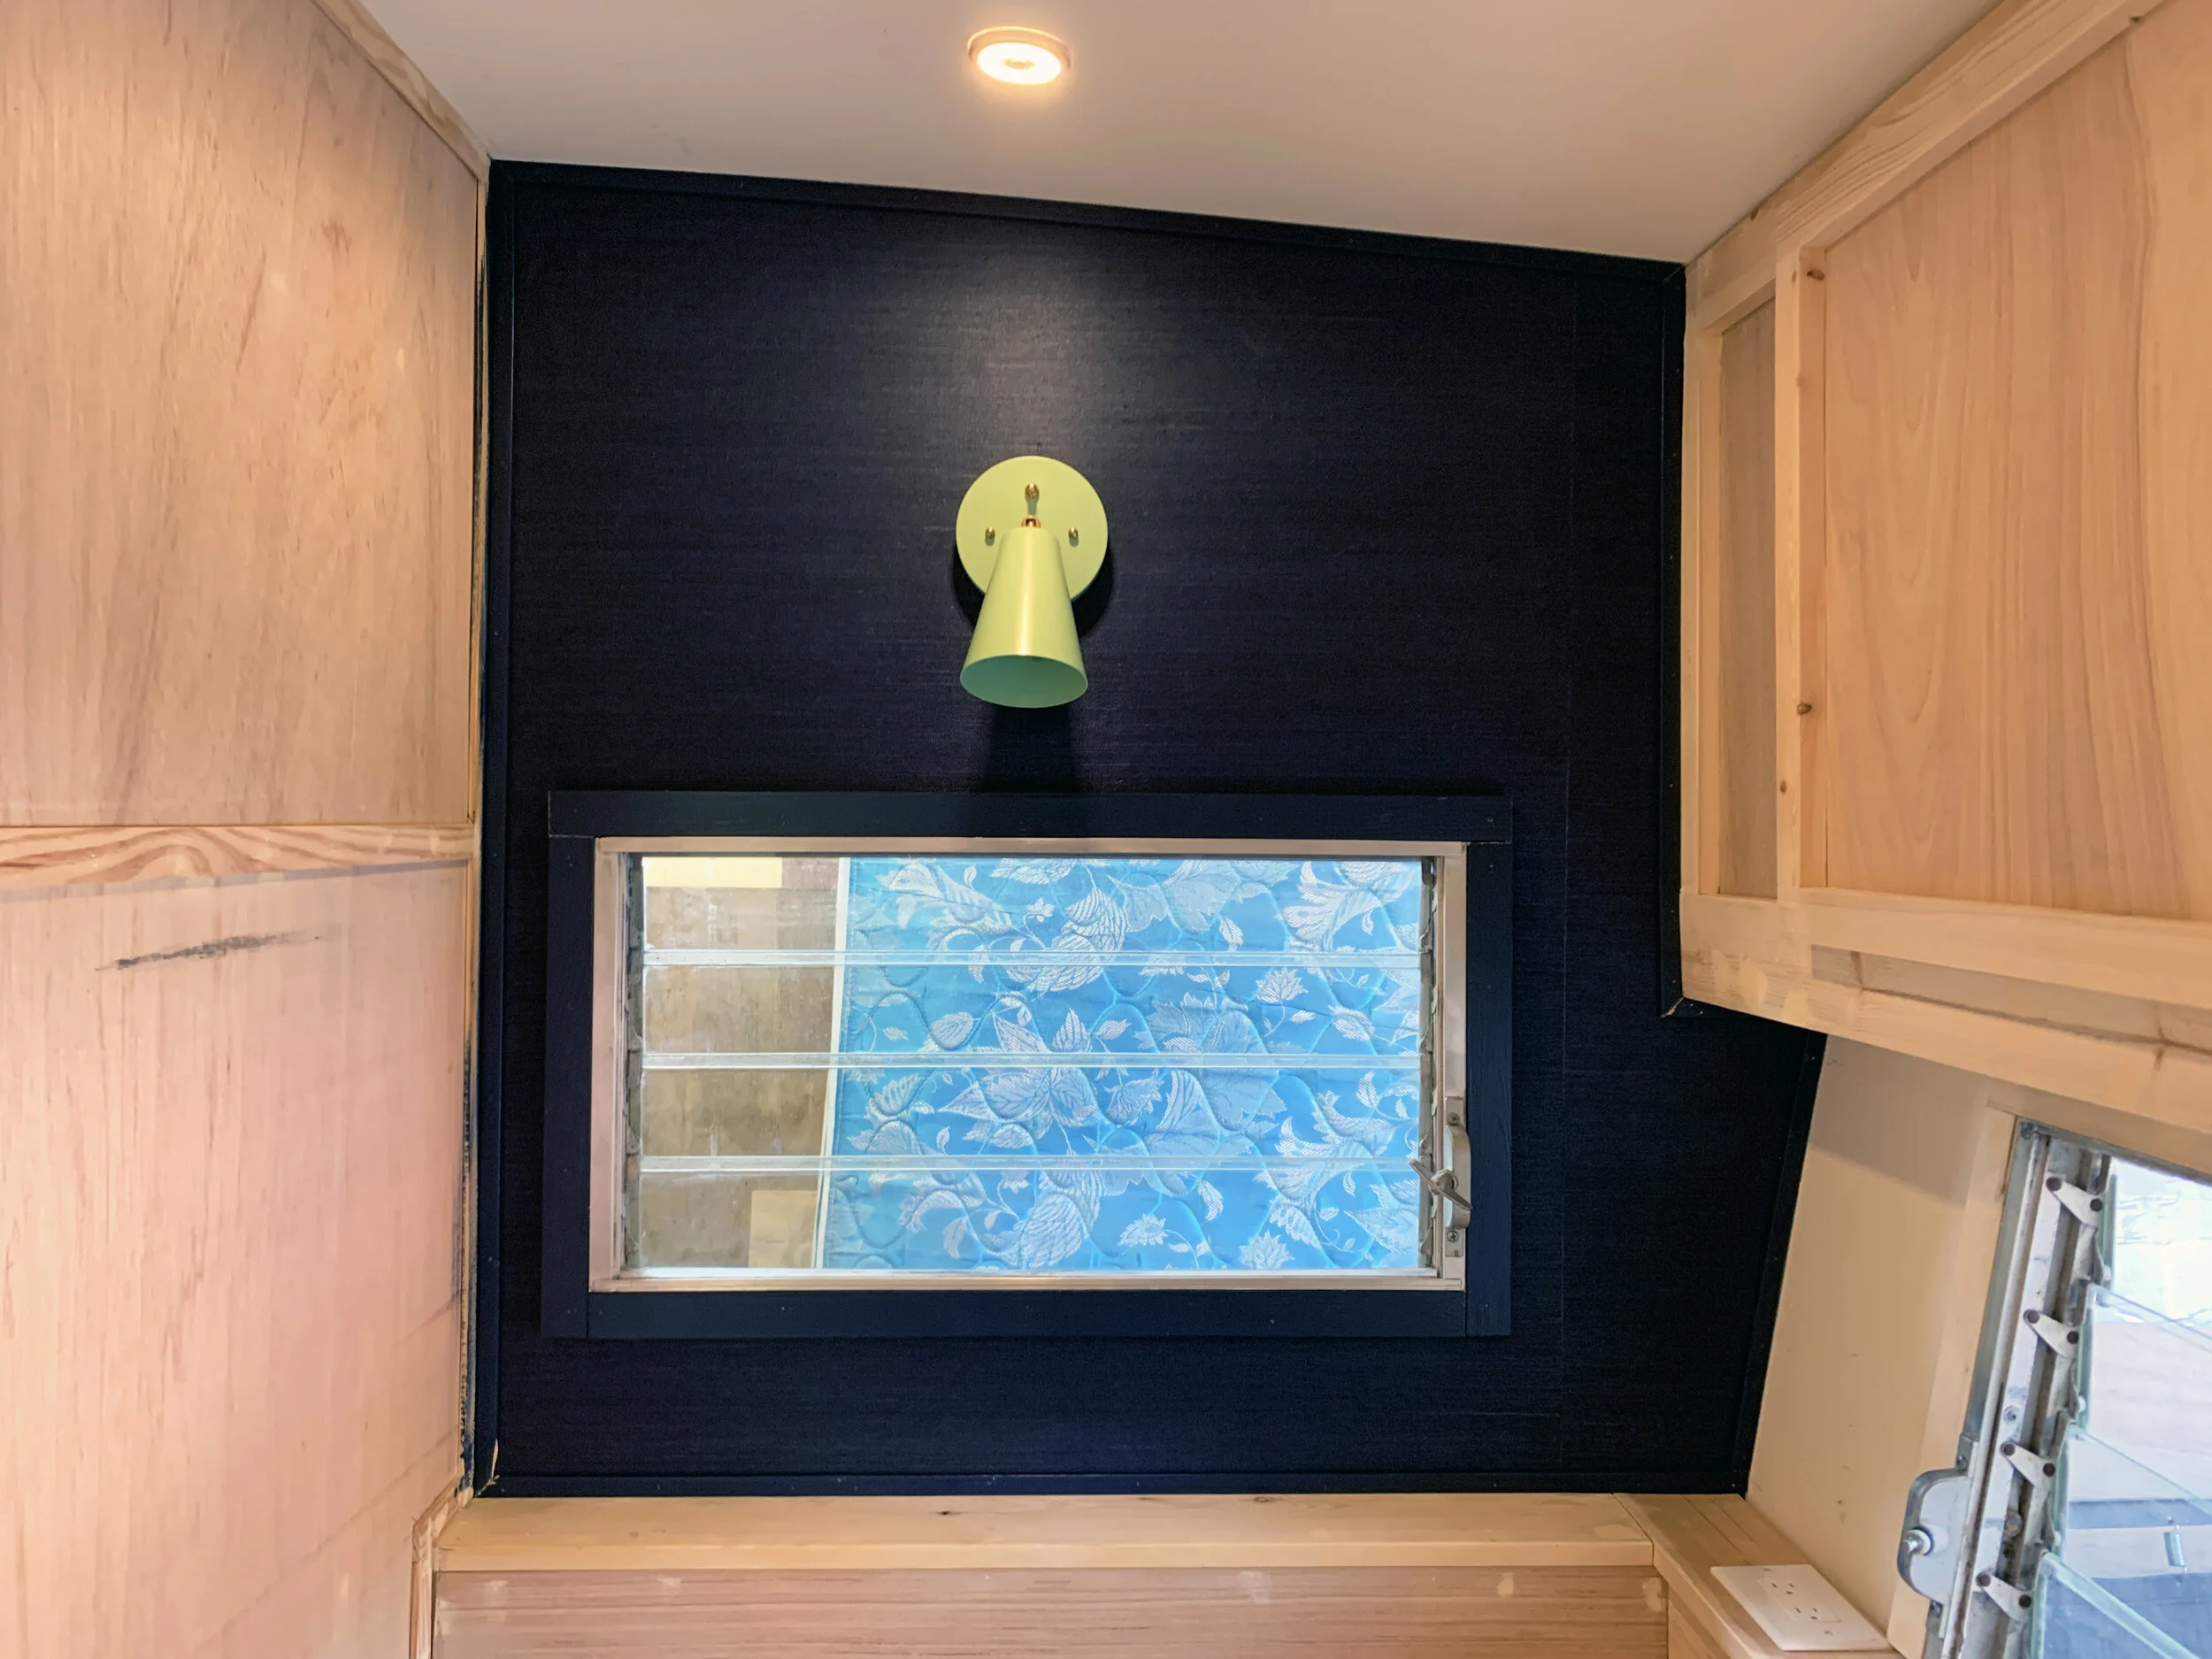
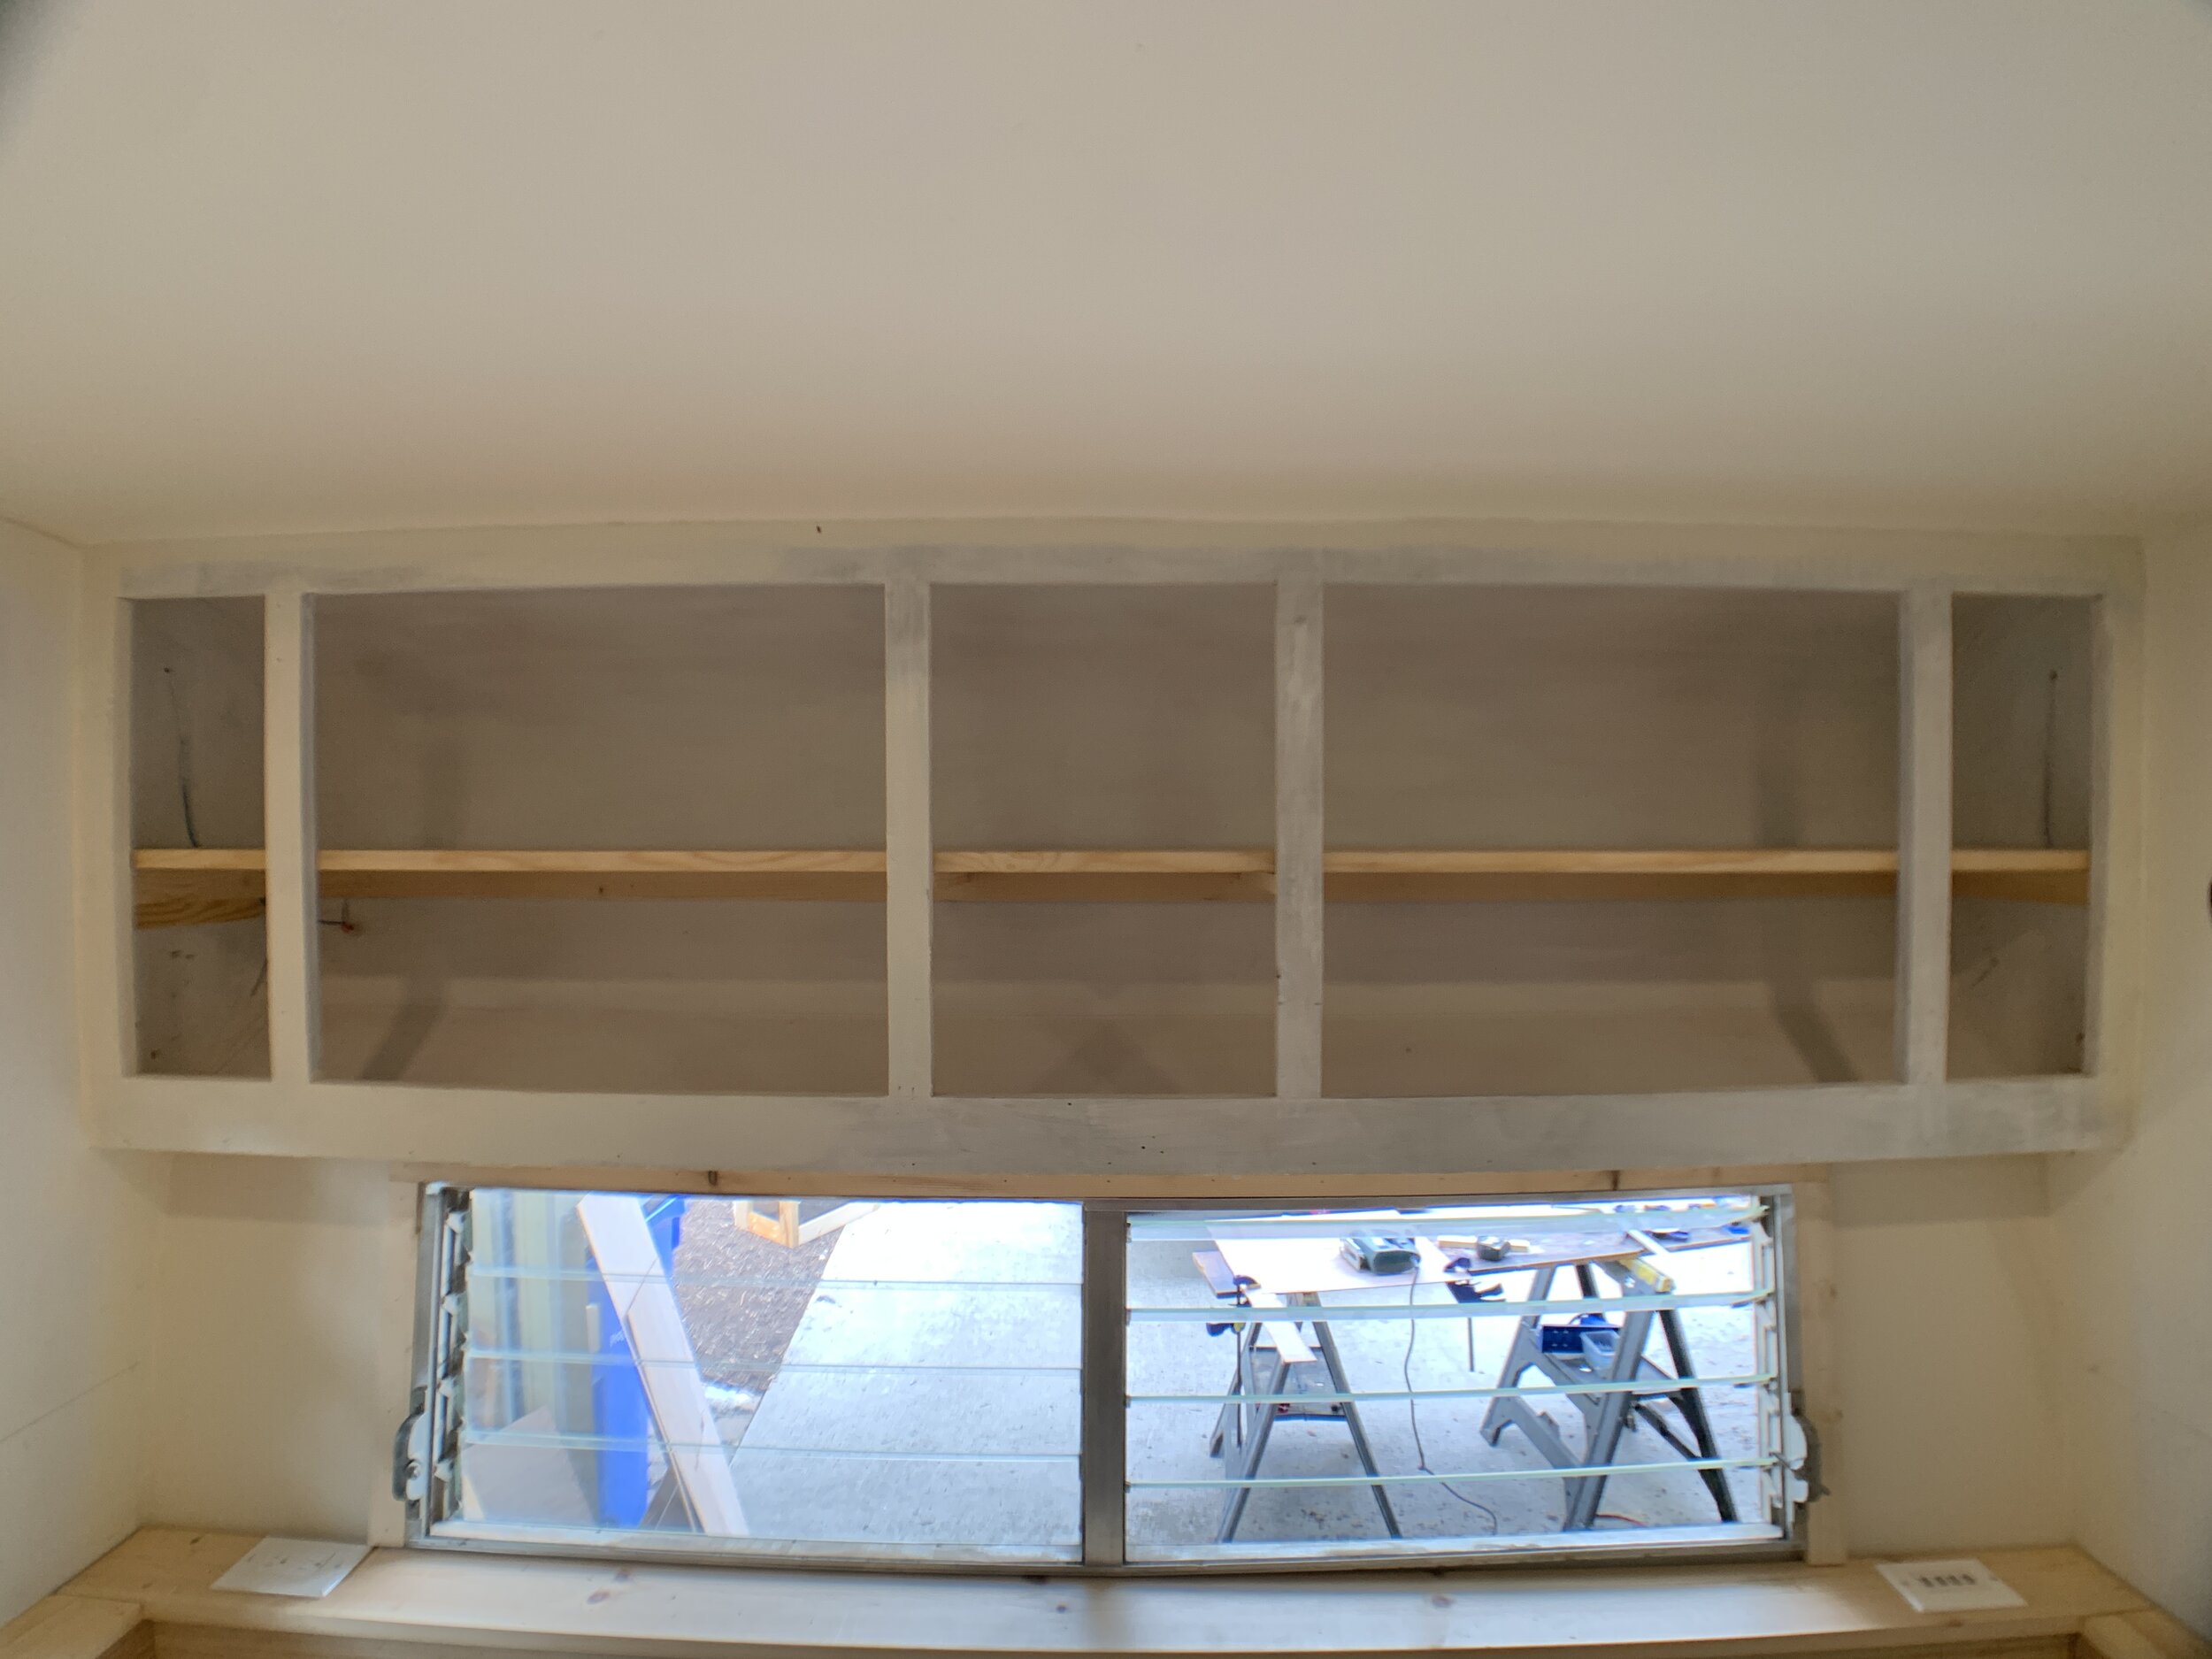
Heyo! Even though we took a little break from tutorials and builds for our recent Frequently Asked Friday post, we’re still playing catch up here on the blog and today we’re gonna talk about our bookshelf build. (Not that we plan on really storing books in it or having a traveling library, but what else would you call it – an overhead cabinet, maybe?) Whatever you want to call it, we’re talking about this thing in the front of the camper:
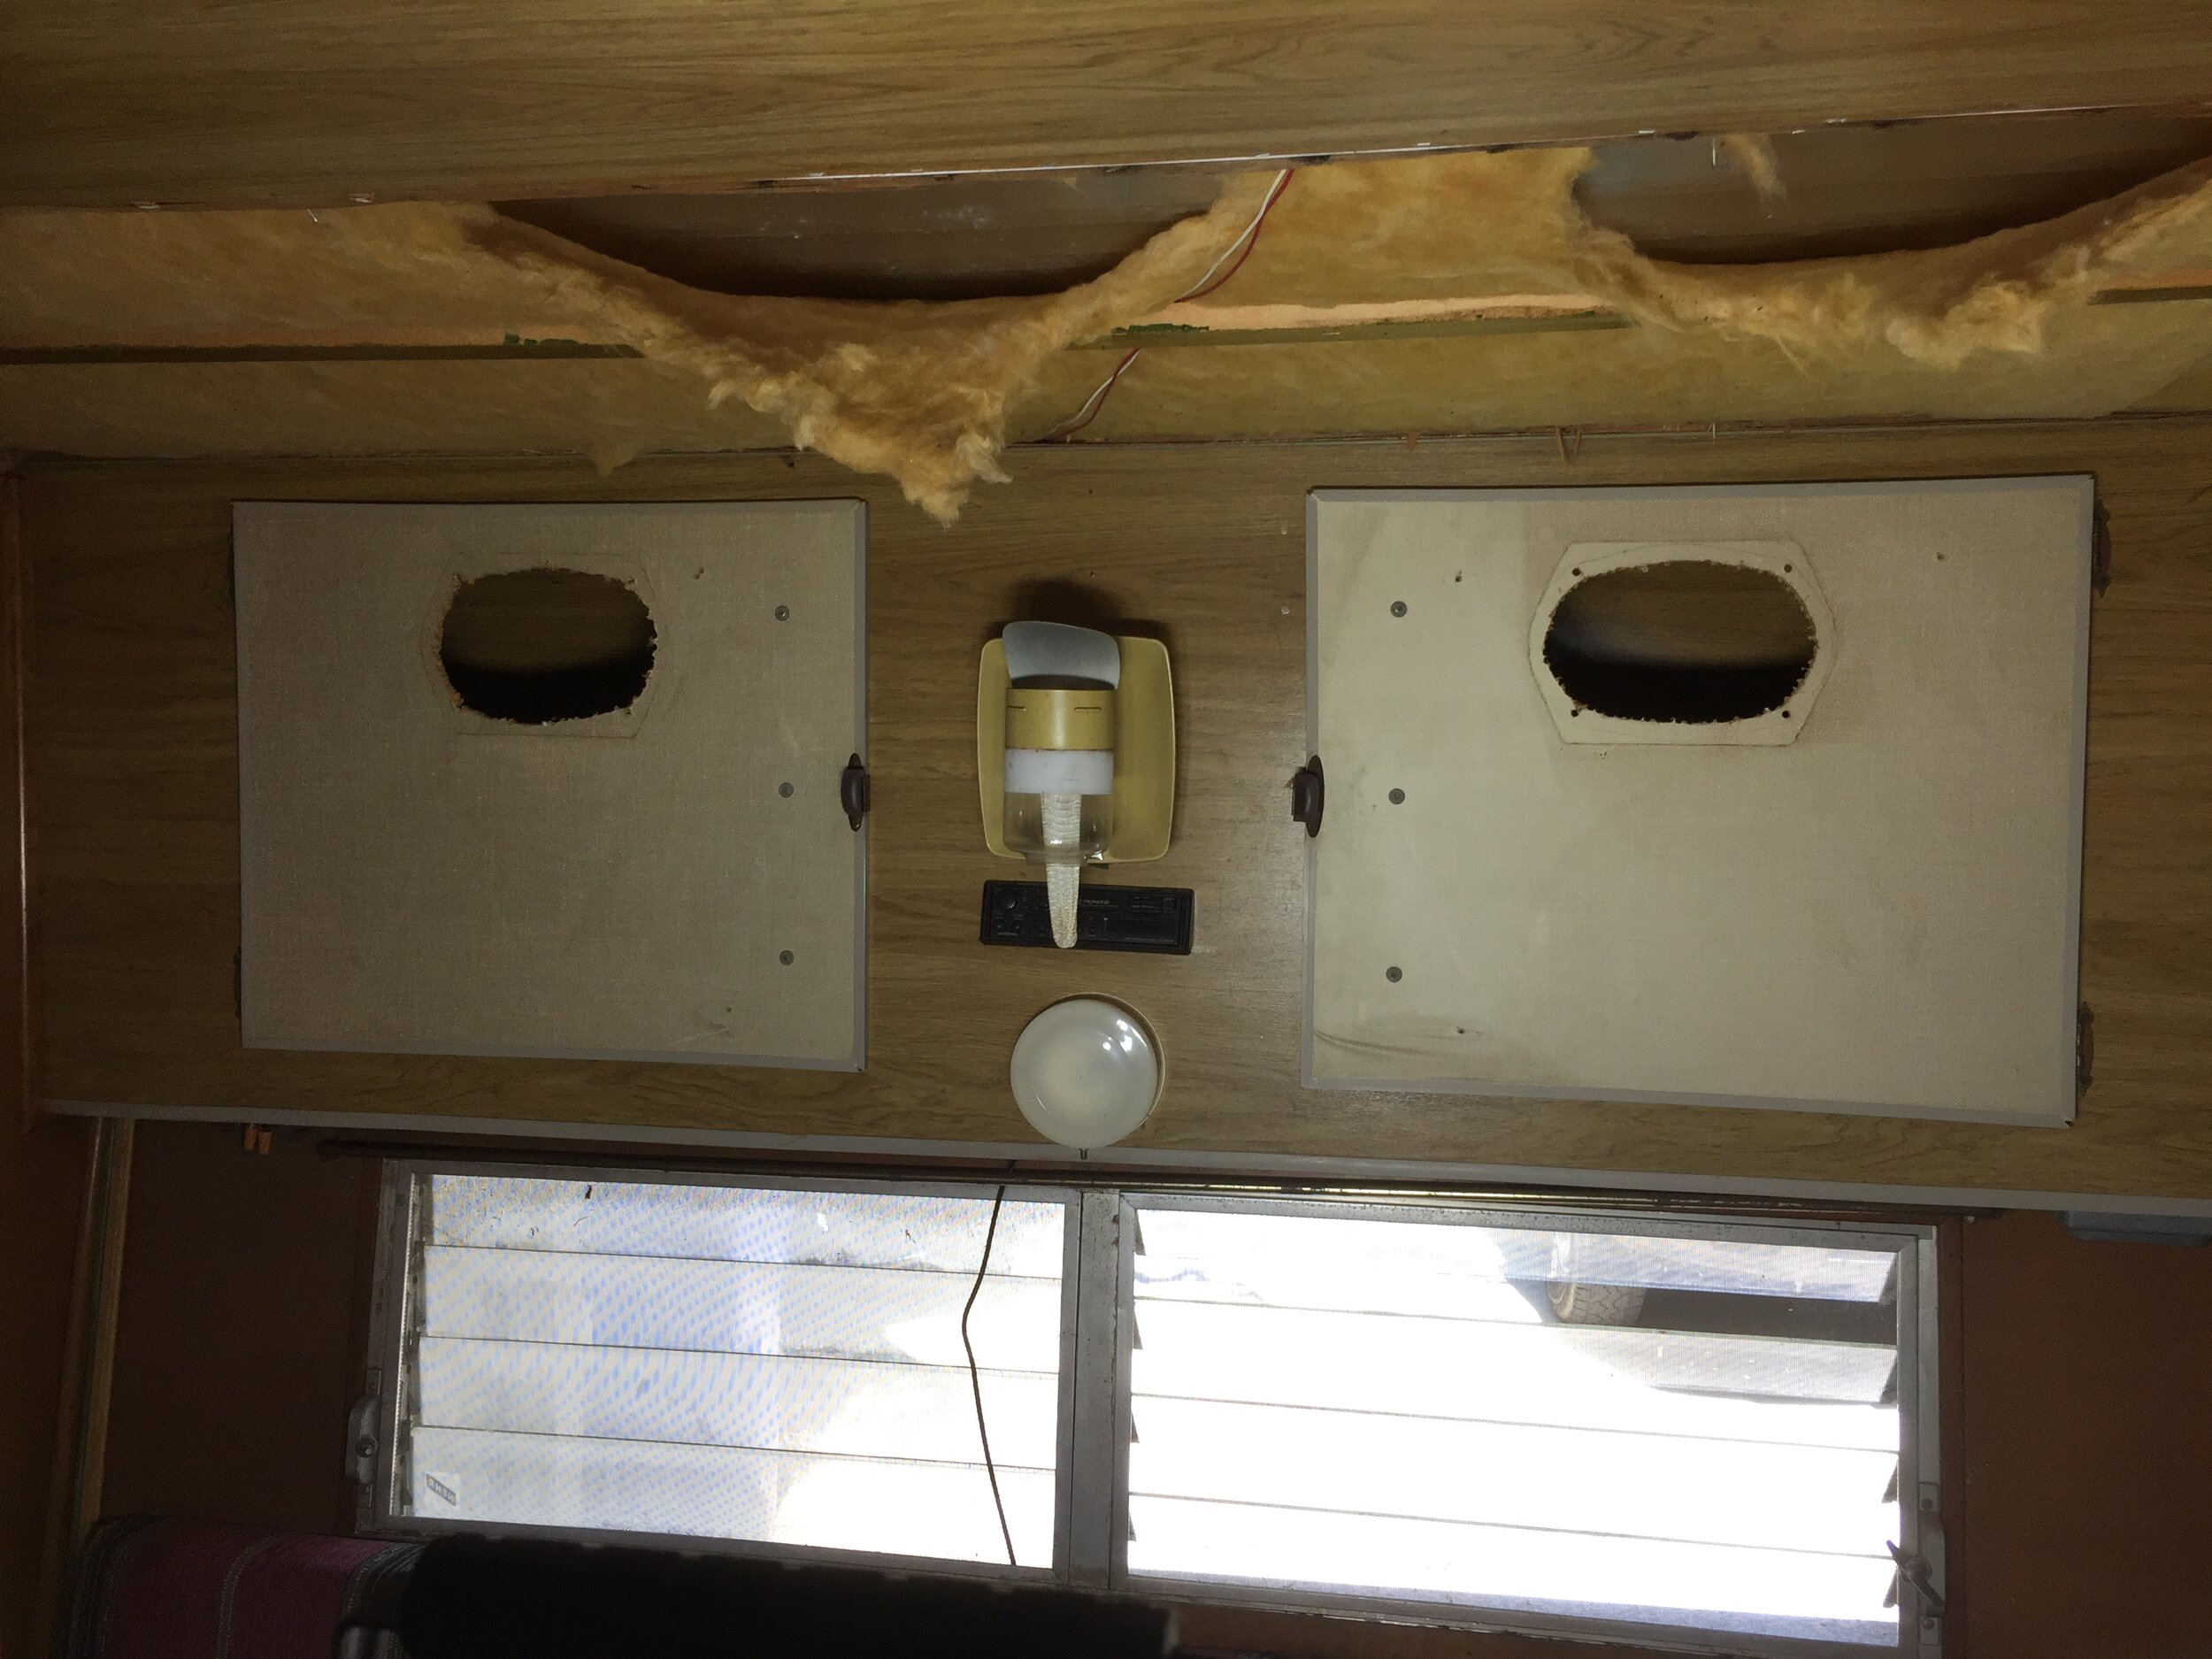
Eek! A little bit uggo and lotta bit holey, at least, to start. Now it’s attractive, sturdy and hole-free.
This is one of the few things that is more or less still original in our 1969 Cameo Travel Trailer. Along with the metal walls (that we had to make extensive repairs to), the trailer itself (that we had updated and retrofitted with electric brakes by trailer professionals), and the adorable louvered jalousie windows (that we polished and restored), we kept the design of this cabinet area in the front of the camper basically as-is, with some aesthetic and functional improvements.
If you remember from way back when first picked the ol' gal up (or if you just checked out the photo above), this bookshelf/cabinet area had HUGE holes in the doors from speakers (we assume, since we removed a radio face), and the center portion had that weird propane light with the saggy fire sock that we decided to remove on day 1 of demo. We thought about removing the entire thing – innards and all – but after removing the doors and thin particleboard-like cabinet face, the frame was surprisingly sturdy and it would’ve been a total pain and (we imagine) über-difficult to rebuild the inside/back of the cabinet to match the very tight curve of the front bump out of the camper.
So we opted to reface it instead of a going with a total rebuild since the inside still looked pretty good.
Removing the old cabinet
After we removed the cabinet doors and particleboard cabinet face on demo day 1, we removed the bottom of the cabinet (a thin particleboard-like piece held on by staples) and then the shelf inside because they weren’t very solid. If you pushed on them they flexed considerably and were already kind of saggy looking without anything resting or pushing on them – probably from a combo of too thin a material with too few supports for too long a time. It doesn’t look it from the photo below, but the shelf inside the cabinet had a little particleboard lip nailed to the front edge, which kind of hid the wonky shelf.
This is where I’m a bad, bad blogger. I don’t have photos of this part because it was a project I took on by myself while Nick was out of town or something, and since I didn’t have an extra set of hands, it was all I could do to wrestle the beast out of the cabinet with my arm skin intact. What I can tell you is it included a lot of sweating, and arm scraping, and maybe some (lady-like, of course) language during the process.

First I removed the cabinet bottom so I could come up through the bottom space with a hammer to bang upward on the underside of the shelf to loosen the like 3 baby nails that were holding it to the supports. Even though there were only a few nails/staples, they put up quite a fight when combined with such a tight, confined and rough (read: scratchy) space. After ashamedly much difficulty, I pulled out the single long shelf from the bottom of the cabinet. (The cabinet face and tight walls on either side kept me from pulling it out of the front directly or easily sliding it out toward the sides at an angle.) Lastly, I carefully removed the support pieces of wood around the sides and back of the cabinet with the backend of the hammer so I didn’t puncture the interior walls we were wanting to keep and removed nails/staples with needle nose pliers.

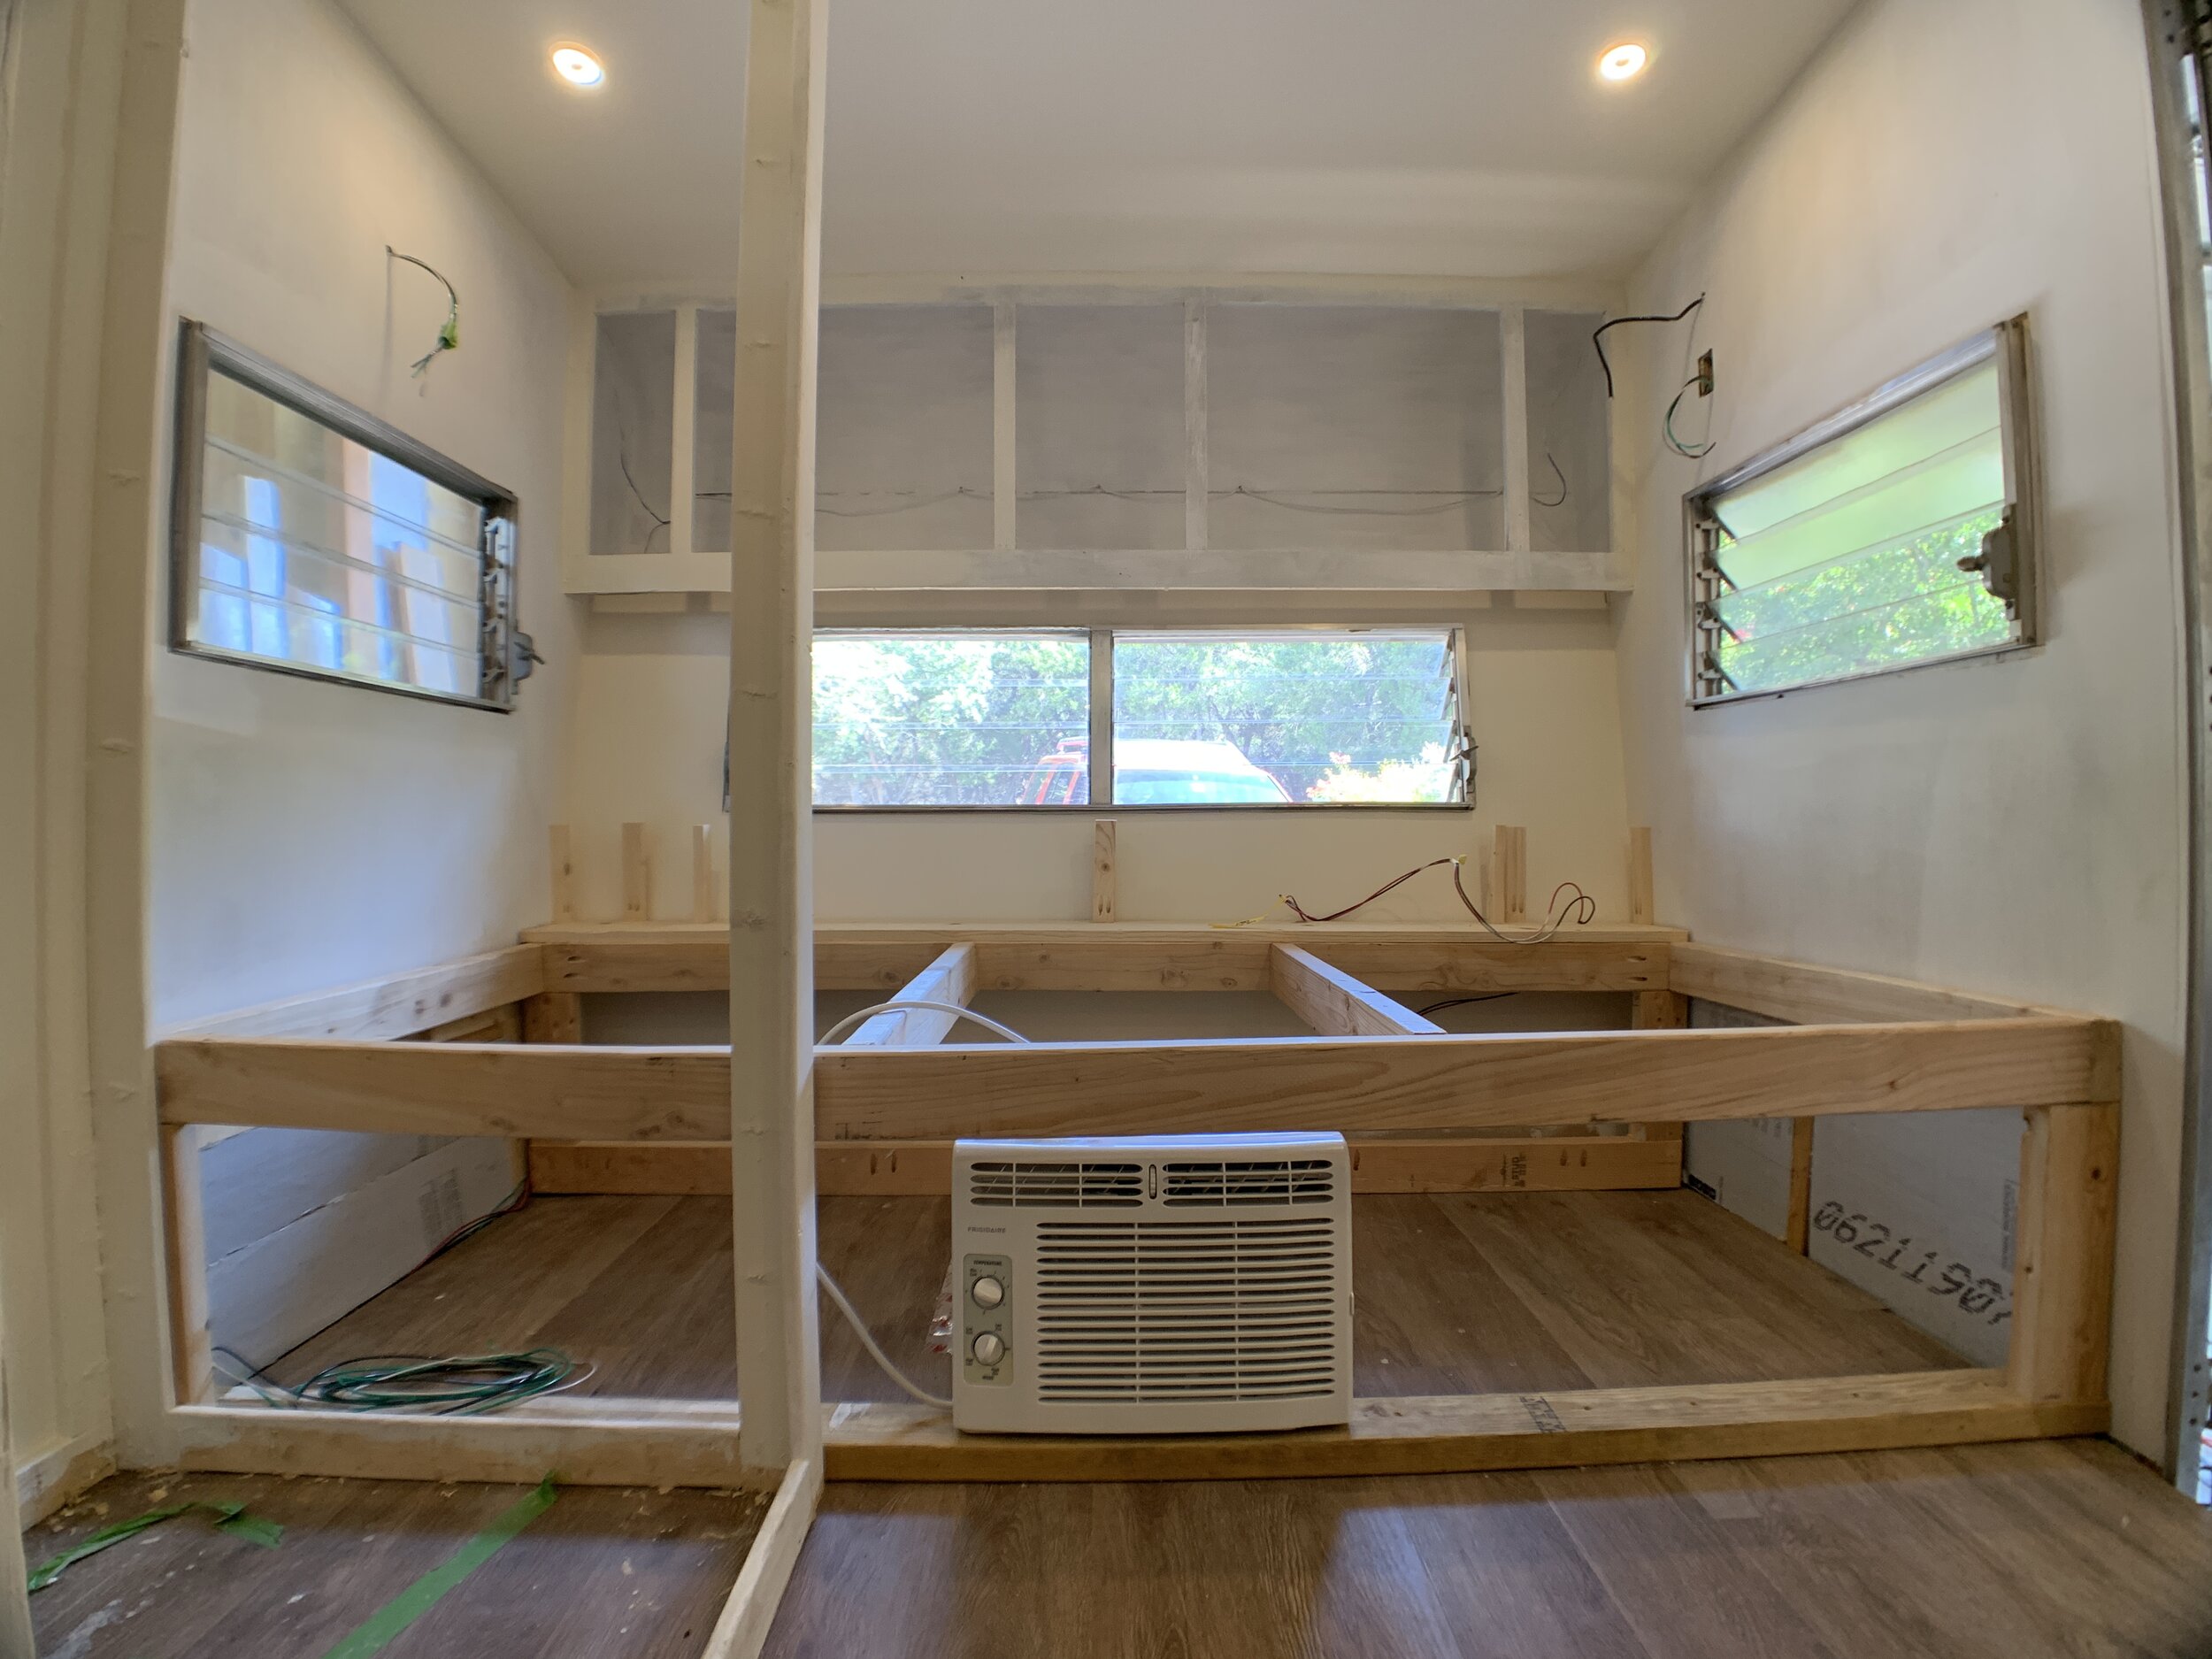
Once the inner shelf and cabinet front were completely removed, we began our plan to rebuild the cabinet with sturdier wood.
Rebuilding the cabinet
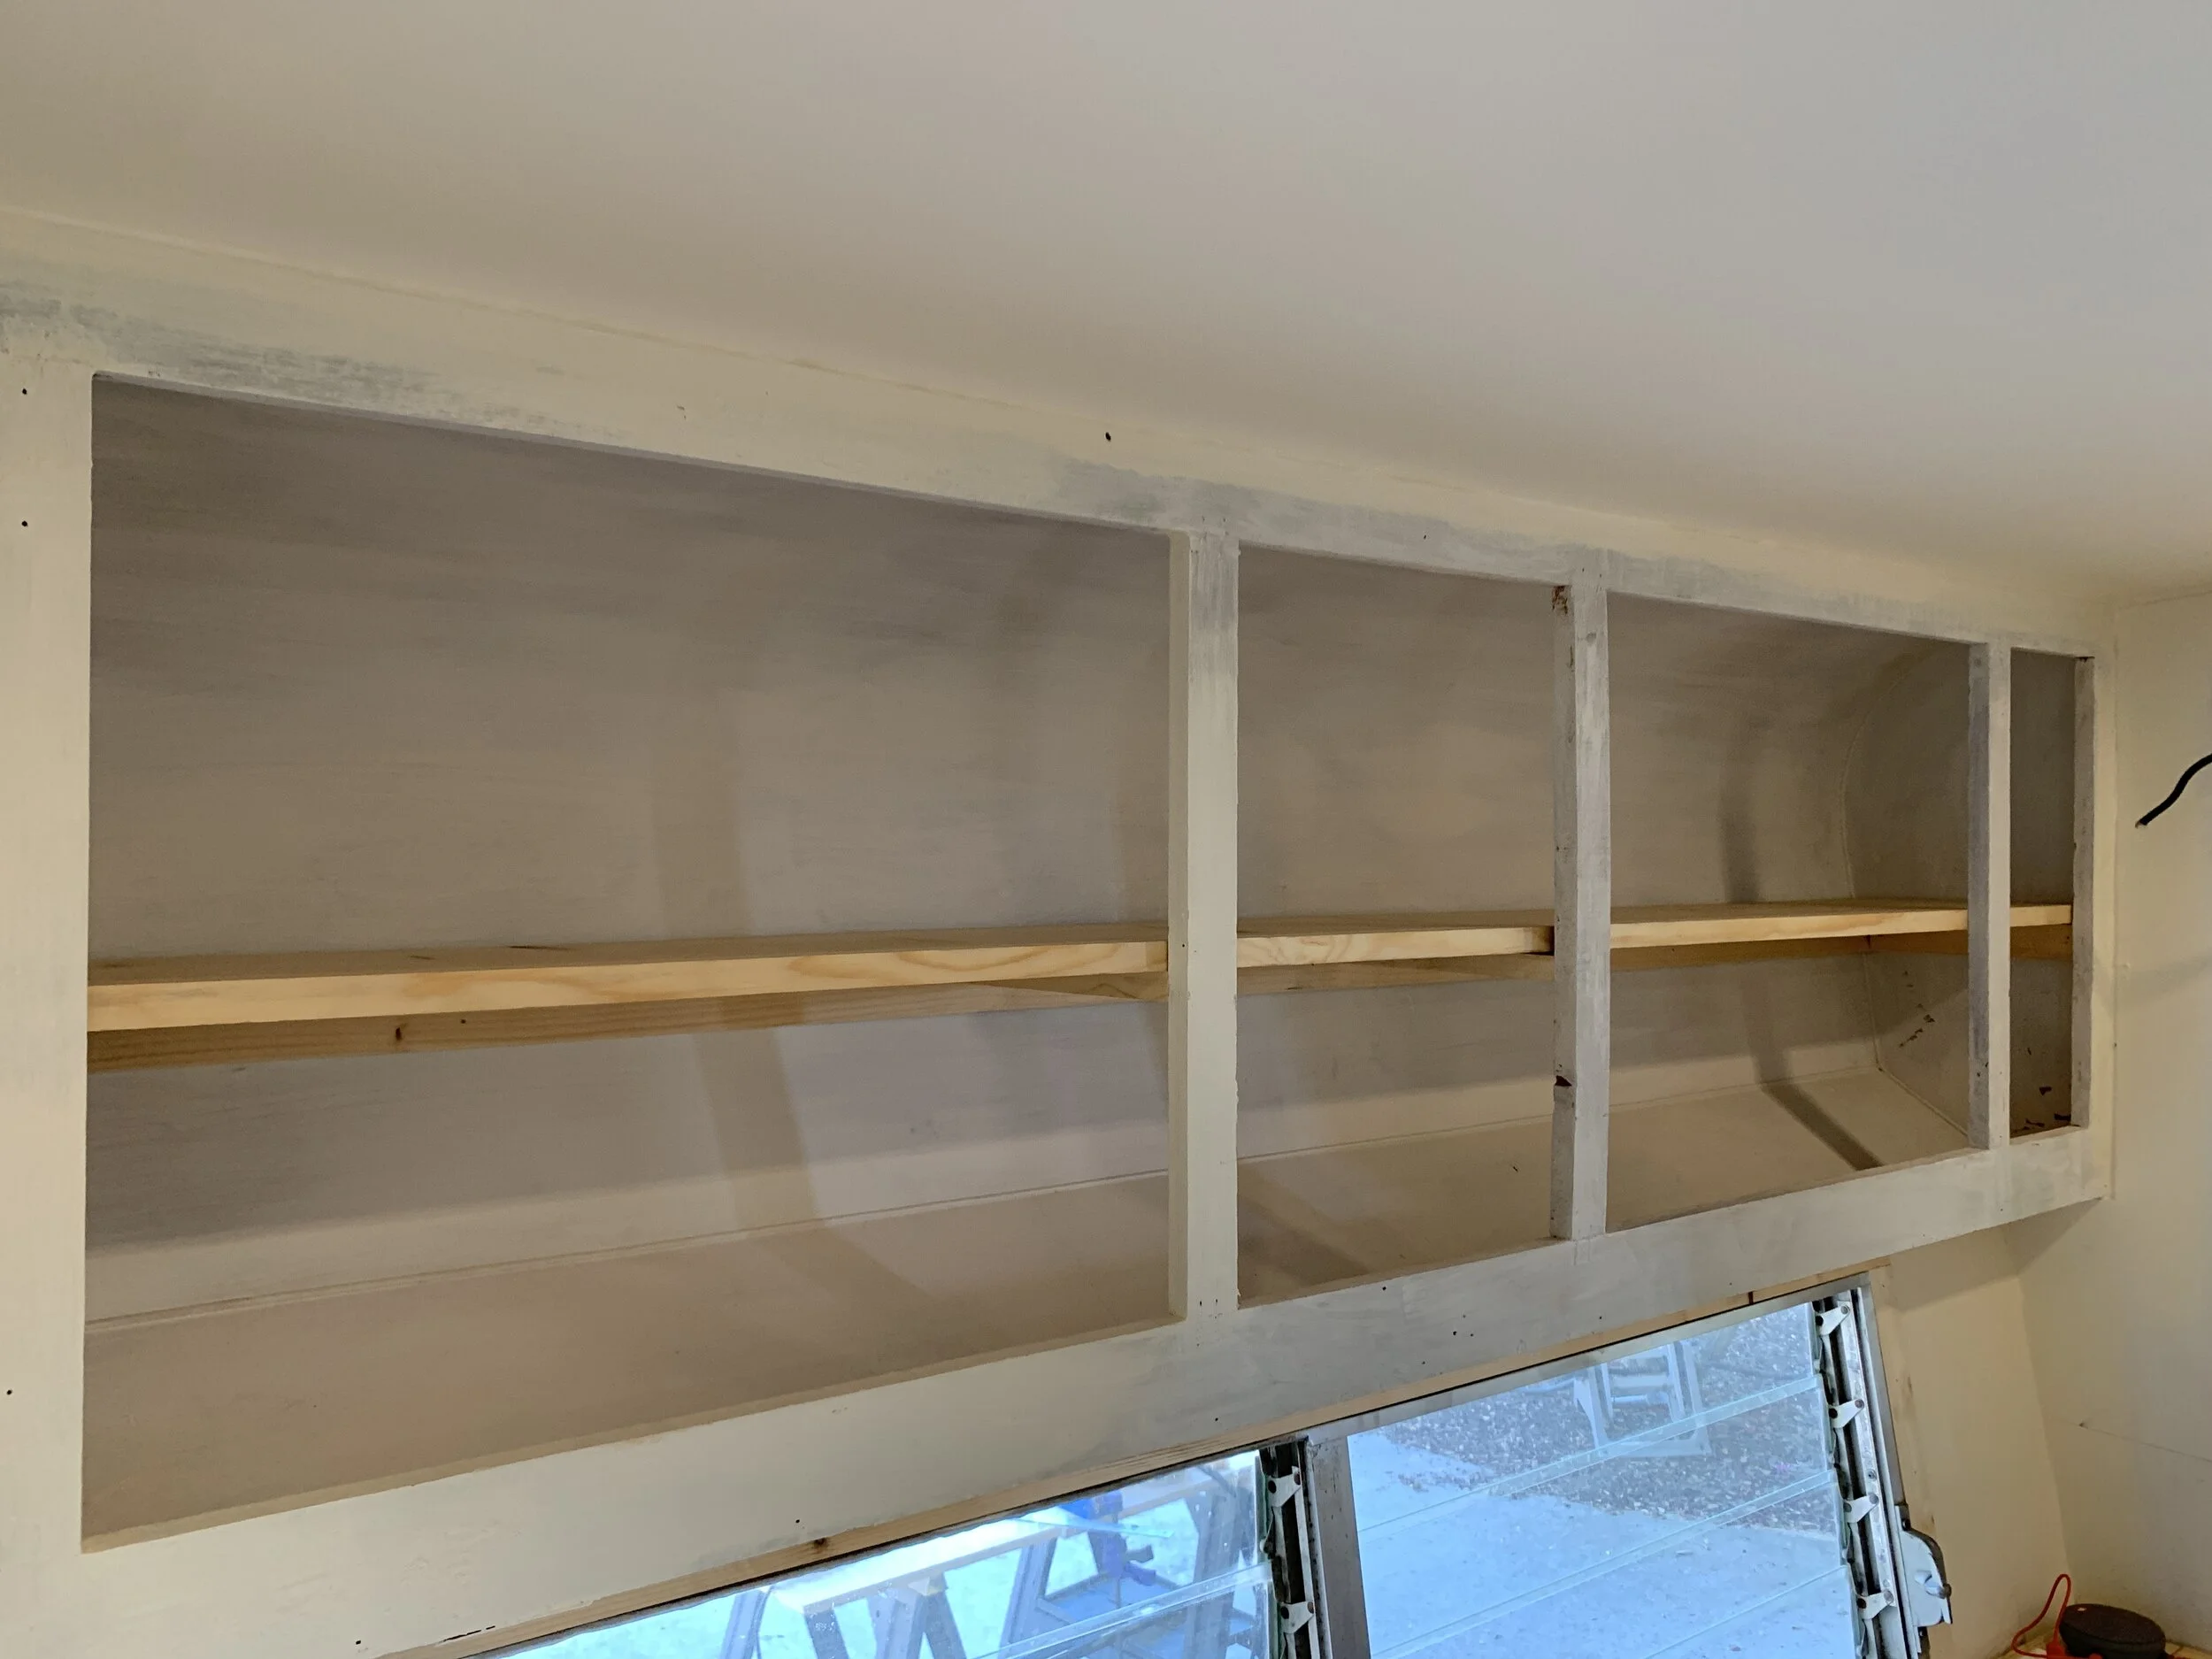
After we removed the bottom and shelf – leaving the interior sides, back and top of the cabinet – we took measurements for our new shelf, shelf supports and cabinet bottom.
Quick note: Before we installed our shelf, we primed inside the cabinet while we had the easiest access. This is totally optional of course.
Our cabinet shopping list
Hammer – to remove the existing shelf and cabinet front
Needle nose pliers – to remove staples
Tape measure
1x2s – enough to cover the back and sides, plus any additional supports needed for shelf support
Level – to make sure your shelf is straight
(1) 1x12x8” piece of finish lumber (or thinner/thicker and shorter/longer, depending on your space) – for the shelf
Miter saw – we have a Hitachi with a laser guide that we love
Kreg jig + pocket hole screws – we used 1.25” screws because we used 1x lumber, which is really 3/4” thick. We use this handy chart from Kreg to check what length pocket hole screw we need for our projects
Finish nail gun + nails – we used 1” nails since our shelf is 3/4” thick
(1) 1x4x8” piece of finish lumber – for the bottom of our cabinet
1/4” plywood – for cabinet doors + cabinet face
1x2 finish lumber – for cabinet door frames + cabinet face trim (vertical side pieces)
1x3 finish lumber – for cabinet face trim (horizontal top piece)
1x4 finish lumber – for cabinet face trim (horizontal bottom piece)
(4) hinges – 2 per cabinet door
Drill + drill bits – for hinge install
Magnetic cabinet latches – 1 per cabinet door, to keep the cabinet doors closed when driving
Interior shelf

We used 1x2s cut to length for our shelf support pieces. Using our finish nail gun, we secured the 1x2” pieces to the sides and back of the cabinet area so that they were perfectly horizontally level and flush on top and bottom, careful not to shoot through the wiring for our clearance lights, which we ultimately hid (after nailing) by tucking on top of the shelf support, behind the where the shelf met the walls.
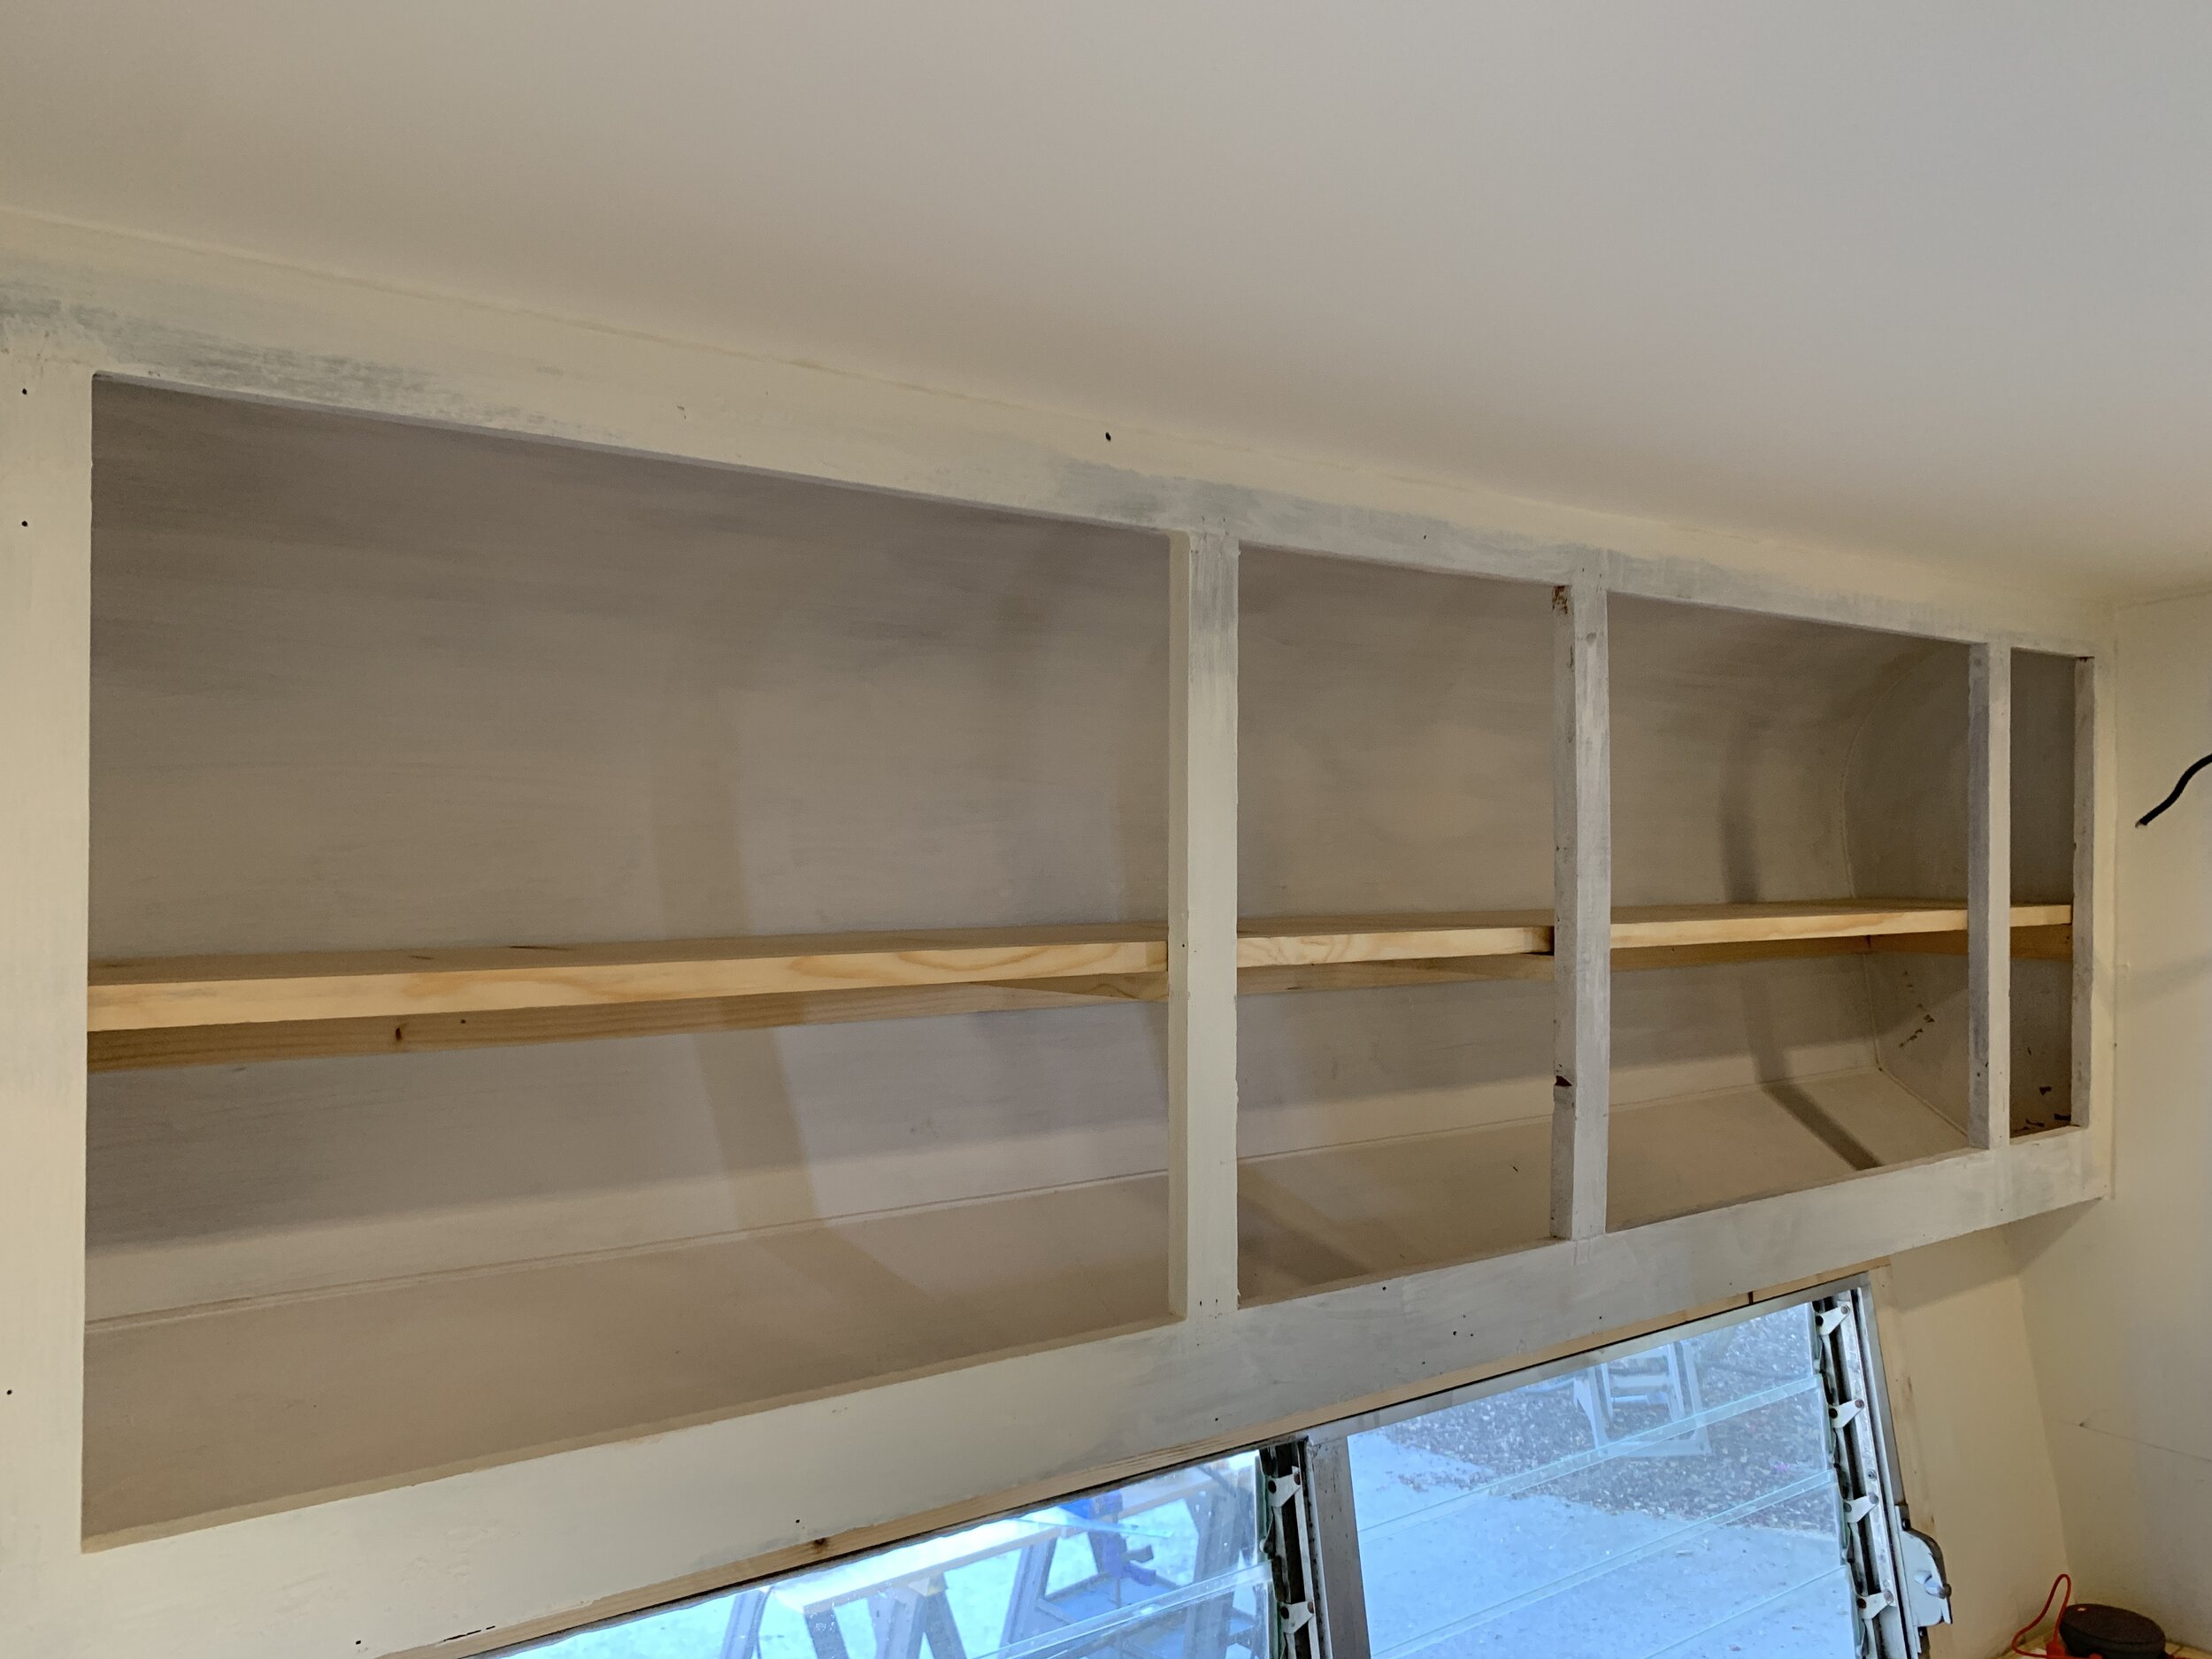
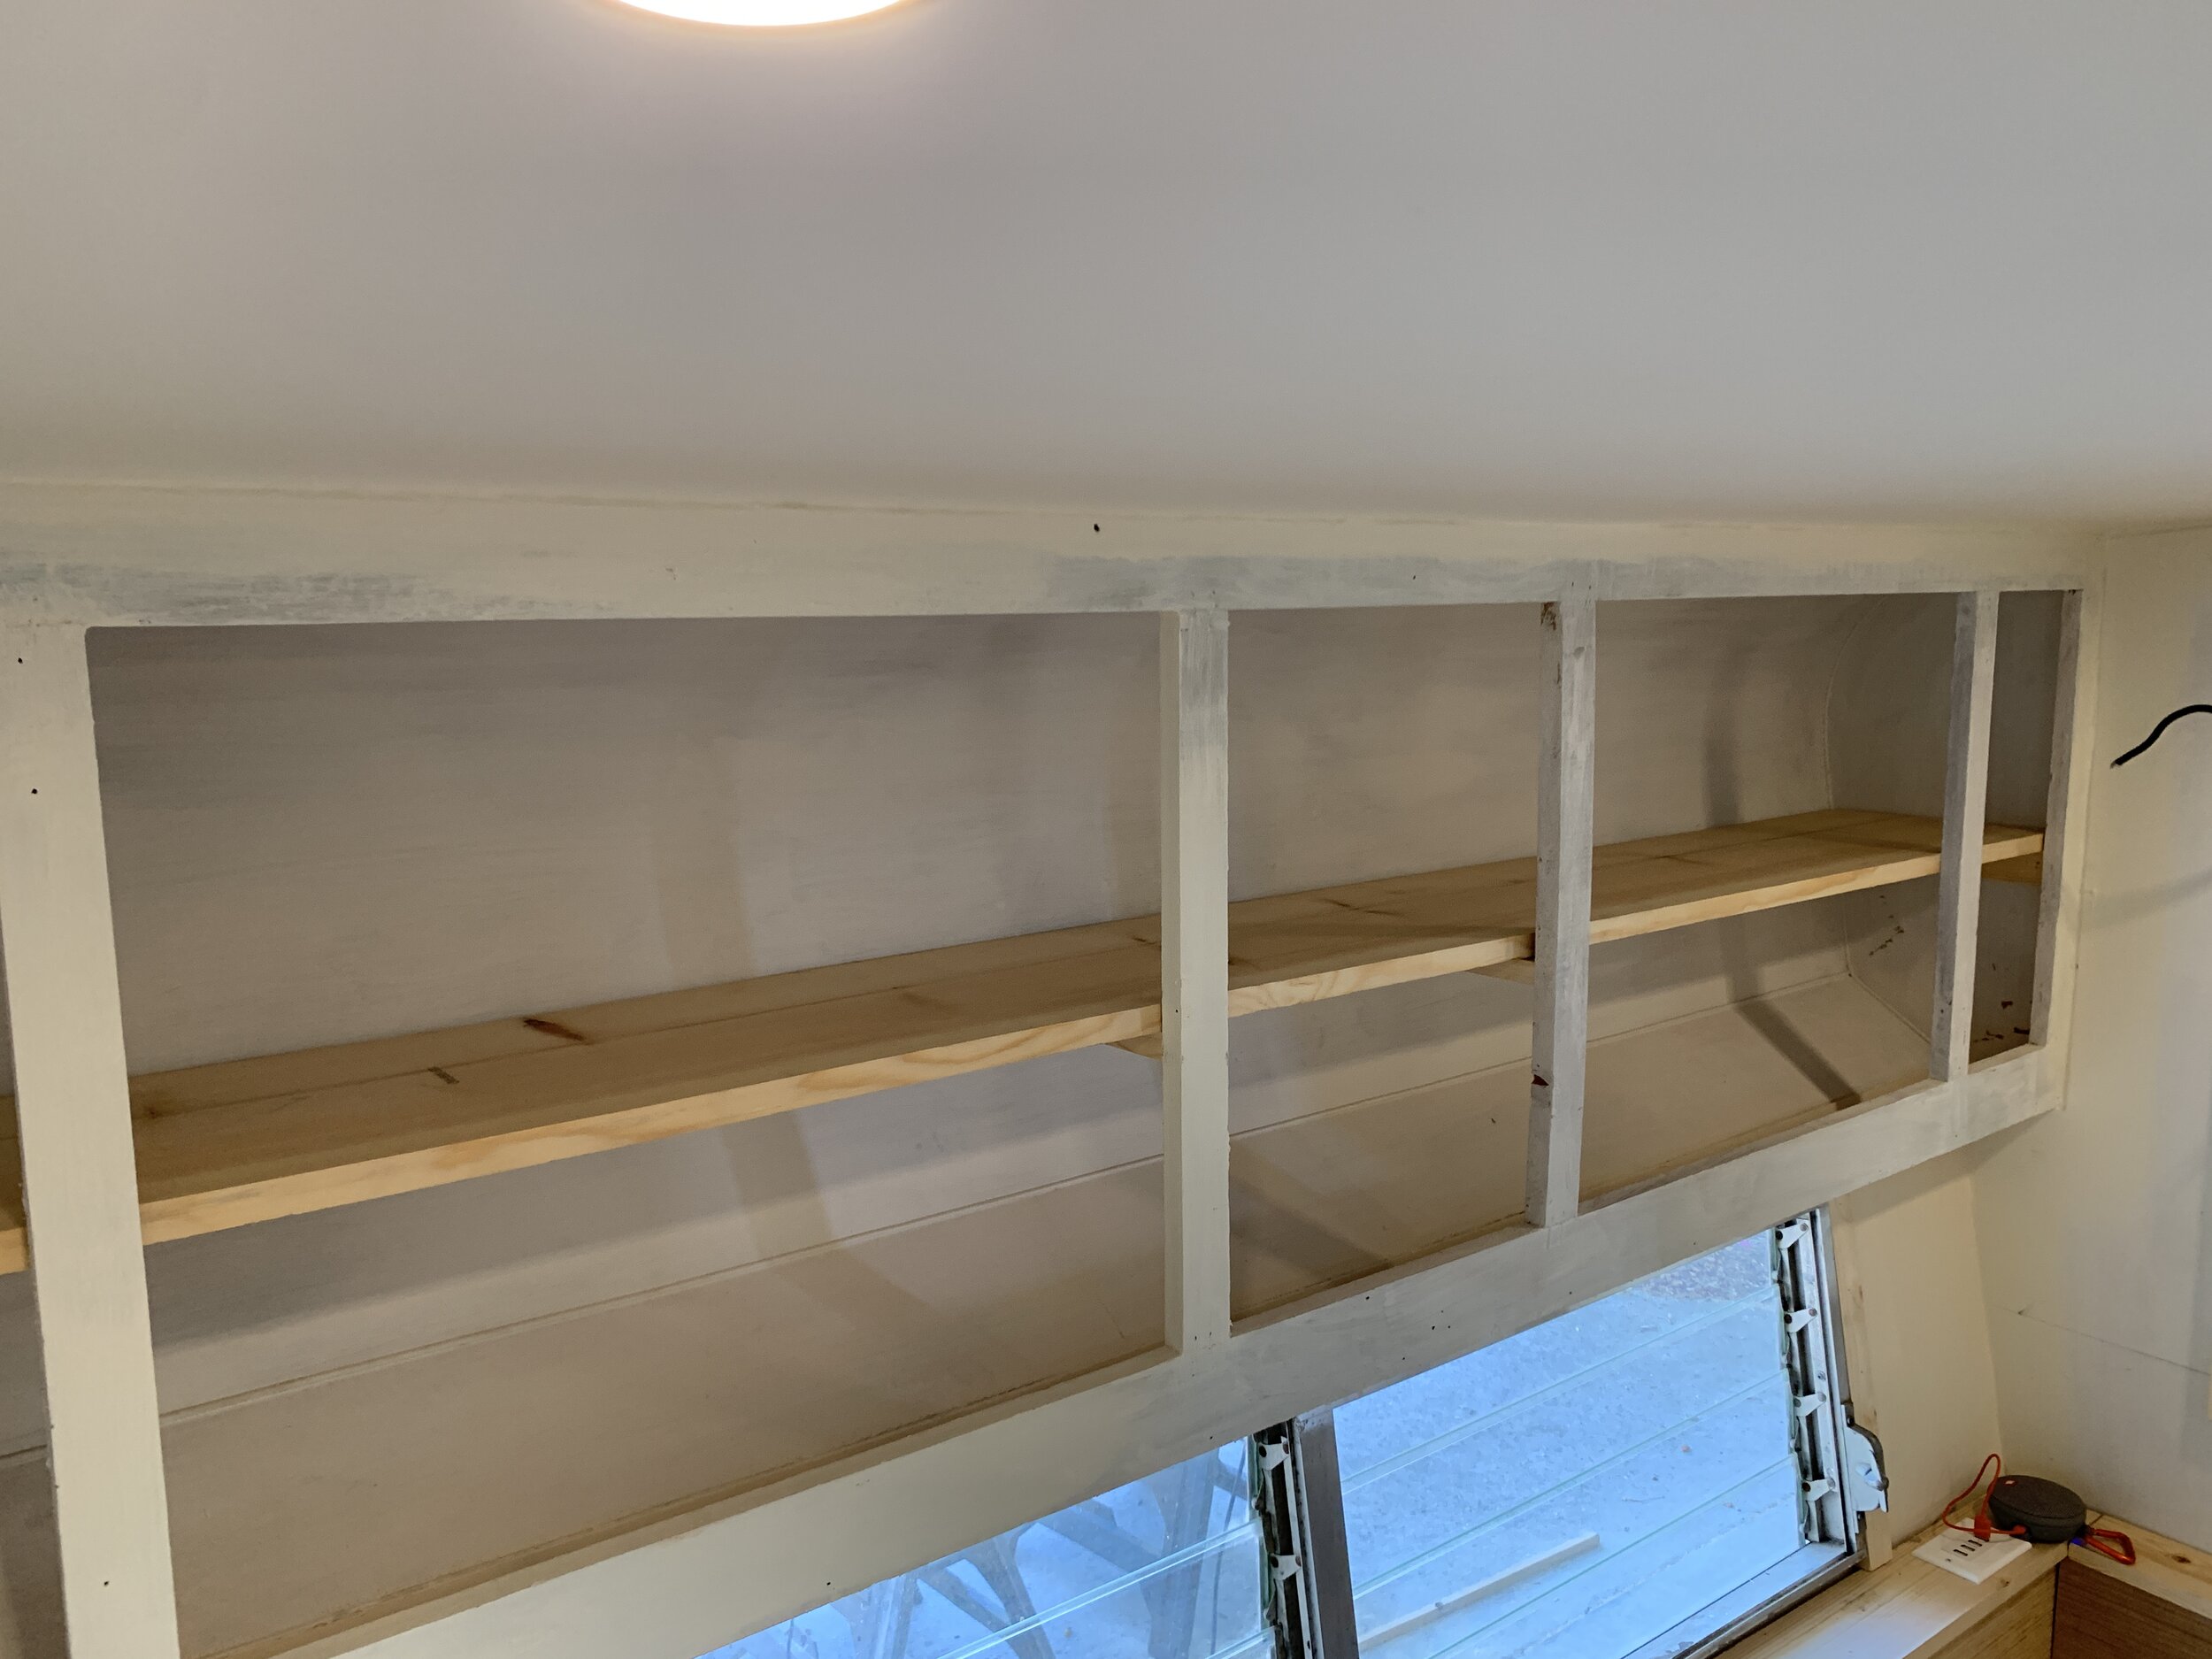
We went with a 1x12x8” piece of lumber for the shelf (as deep as we could make it with a standard piece of lumber) and used our miter saw to cut it to length (about 83”). After sanding the newly-cut edge smooth, we put the 1x12 on top of our 1x2 ledge, threading it up through the space in the bottom of the cabinet. Once in place on top of our ledge, we cut an additional two 1x2s to match the depth of our shelf, used our Kreg jig to make pocket holes into each end, held them up tightly to the underside of the shelf, and secured them into the front of the long, width-wise 1x2 in the back of the cabinet and the other end into the backside of the vertical front cabinet supports. The two additional 1x2s running front to back are to help support the front shelf edge without adding a width-wise support which would add extra height (and therefore cut down storage space) to the front of the shelf and still keep it from sagging like the original one.

With all of our supports in place, we used our nail gun and nails from the top of the shelf down into each support to keep it from shifting in transit.
Cabinet bottom
After we had our inner shelf finished, we started on the bottom of the cabinet. We used a 1x4 cut to length (about 83”) to fill the gap on the bottom between the back of the cabinet and the backside of the cabinet face (vs. stapling it to the bottom of the cabinet like the original). We held it in place so that it was even with the bottom of the front cabinet frame and perpendicular to the cabinet/parallel to the floor. We Kregged it into the cabinet walls/frame from the inside to help hide the pocket holes from view when laying in the bed below.
Sorry y’all… unfortunately I don’t have any photos of this joinery, and we’ve already filled the pocket holes and caulked the seams in this area so today it just looks like a solid bottom. Good for us and the cabinet, bad for a tutorial.
Cabinet front
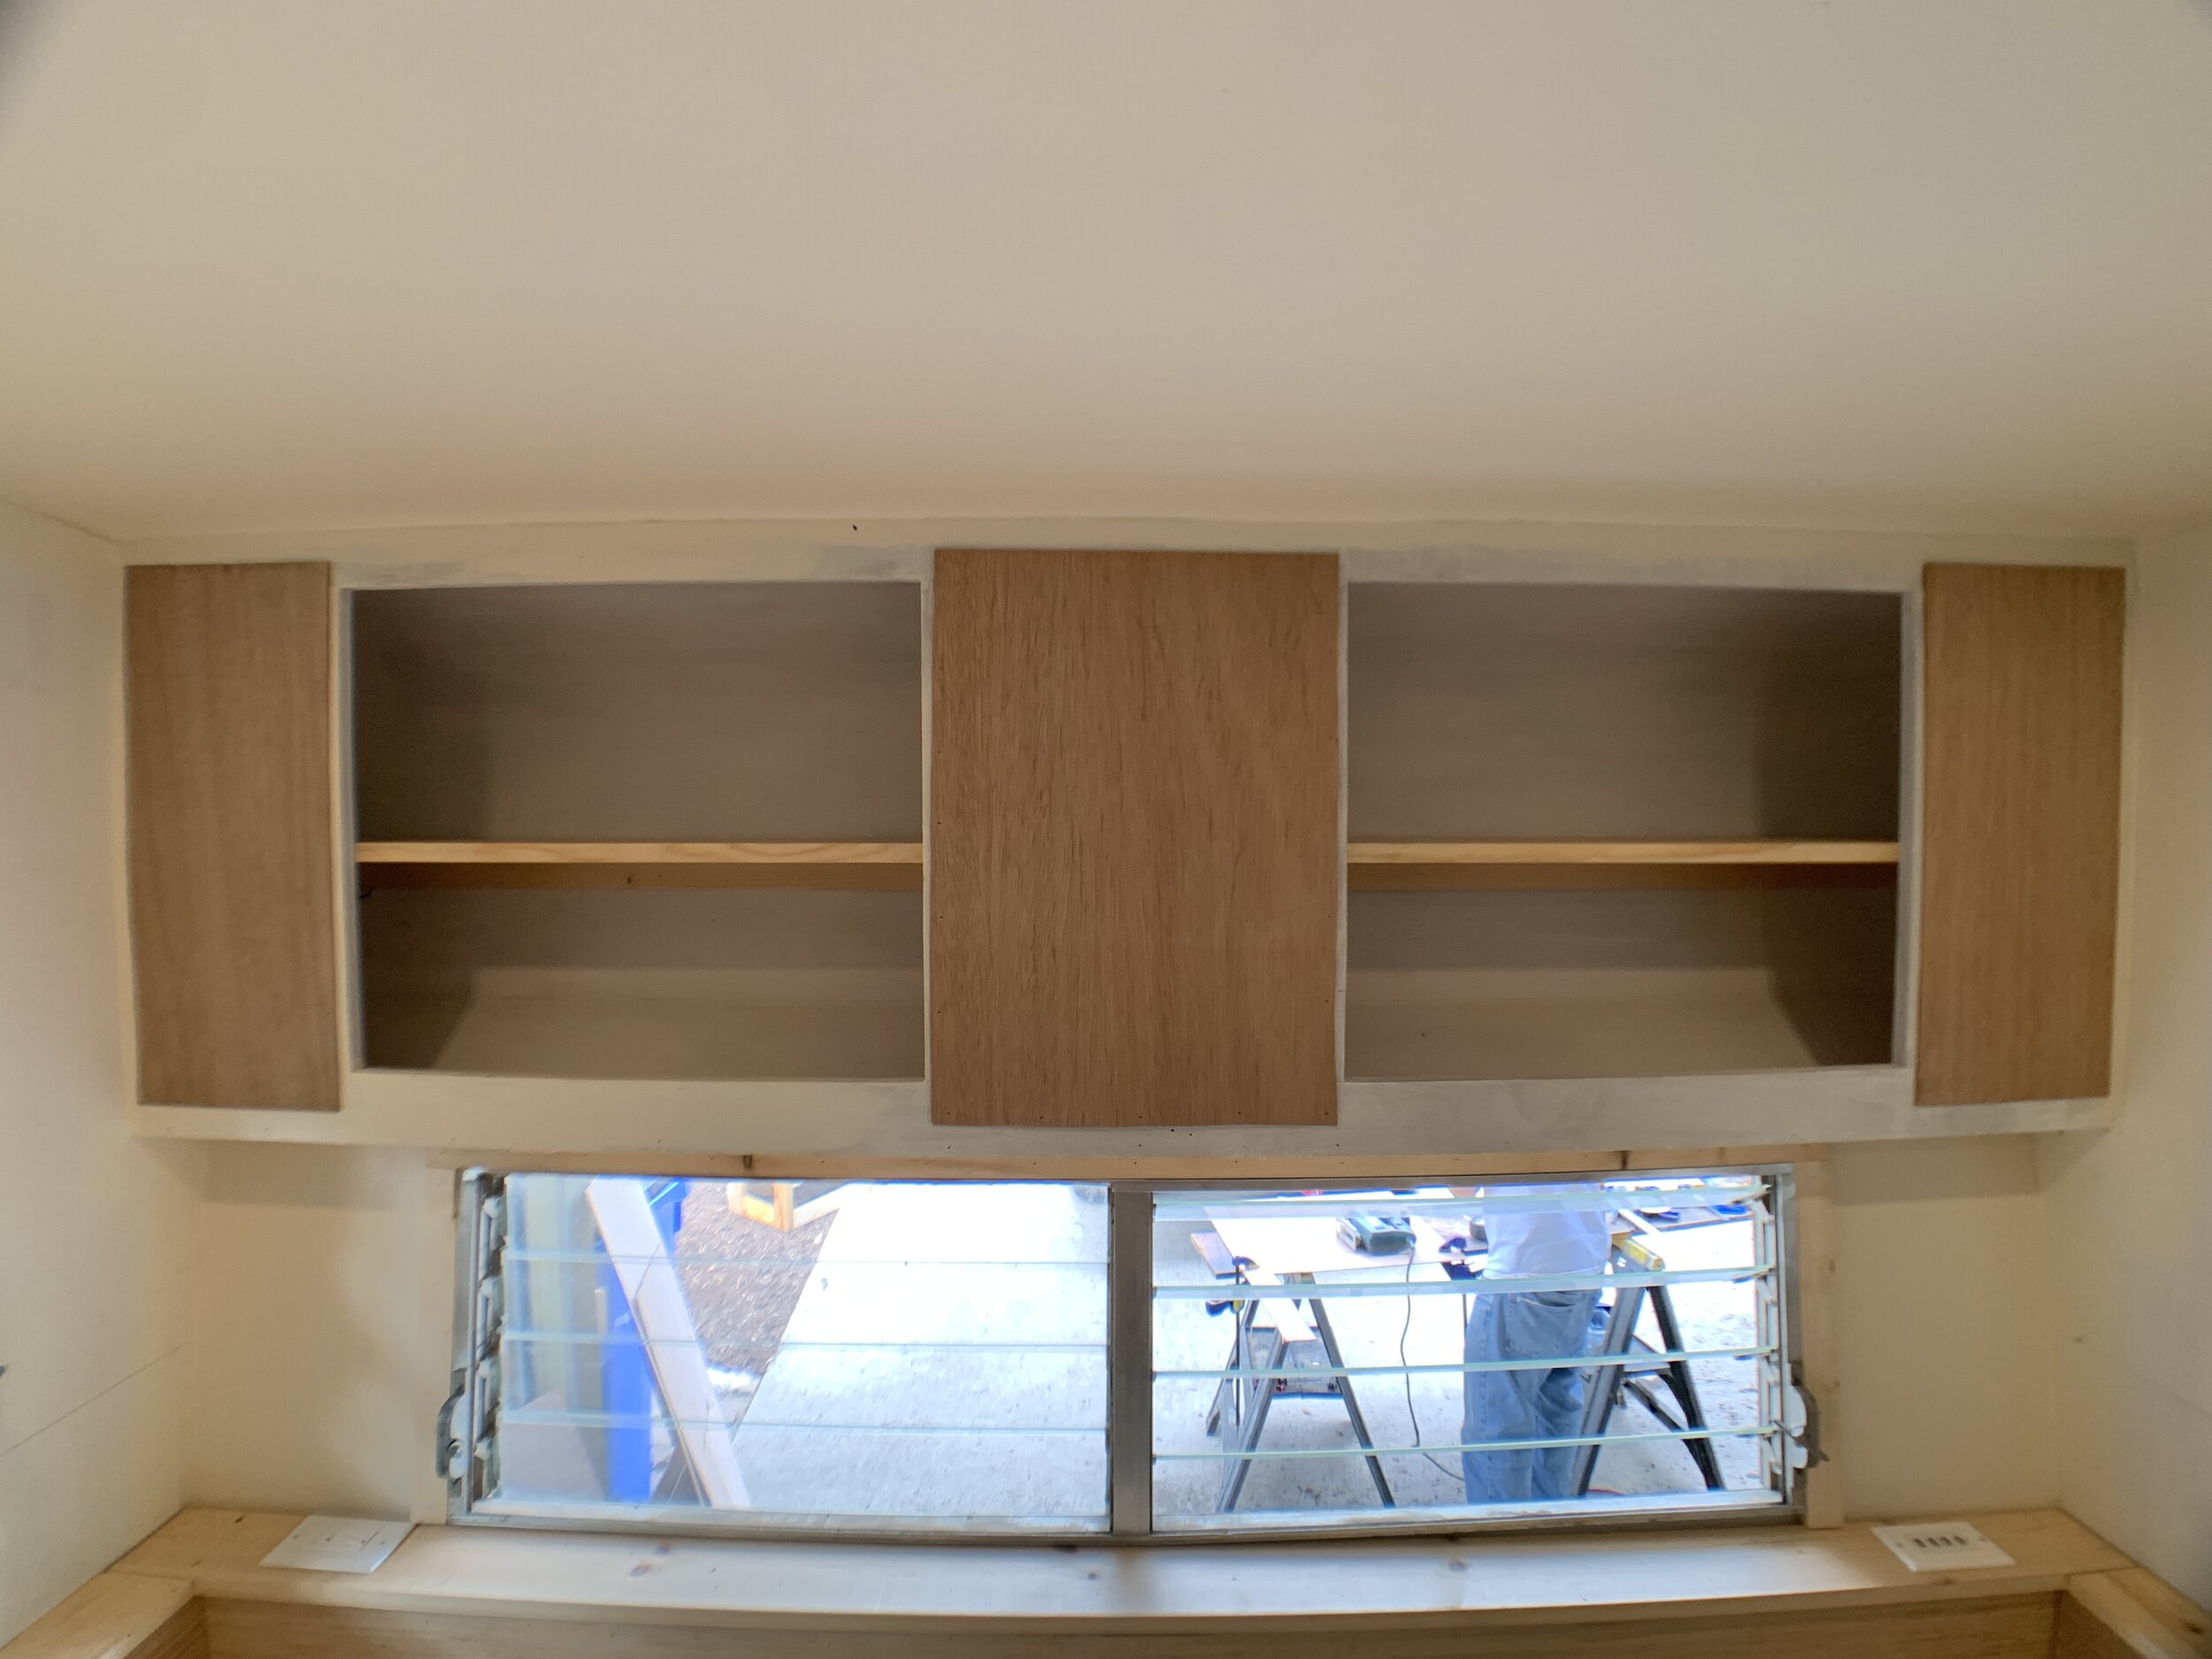
Instead of having five different (and kind of awkwardly-sized) cabinet doors, we decided to fill in three of the five spaces to be solid, non-door fronts.
Getting to use cut-to-size scrap pieces of 1/4” plywood (the same we’ve used for our cabinet sides and doors) we filled in the gaps of the cabinet face where we didn’t plan to have cabinet doors. For us this meant one in the middle, and one on each side. Then, we took our 1x3 cut to length (about 83”) and nailed it to the top front of the cabinet along the ceiling. We used our 1x4, cut to 83”, and nailed it in place flush with the bottom of the cabinet. We then took measurements for our vertical 1x2 pieces and nailed them into place.
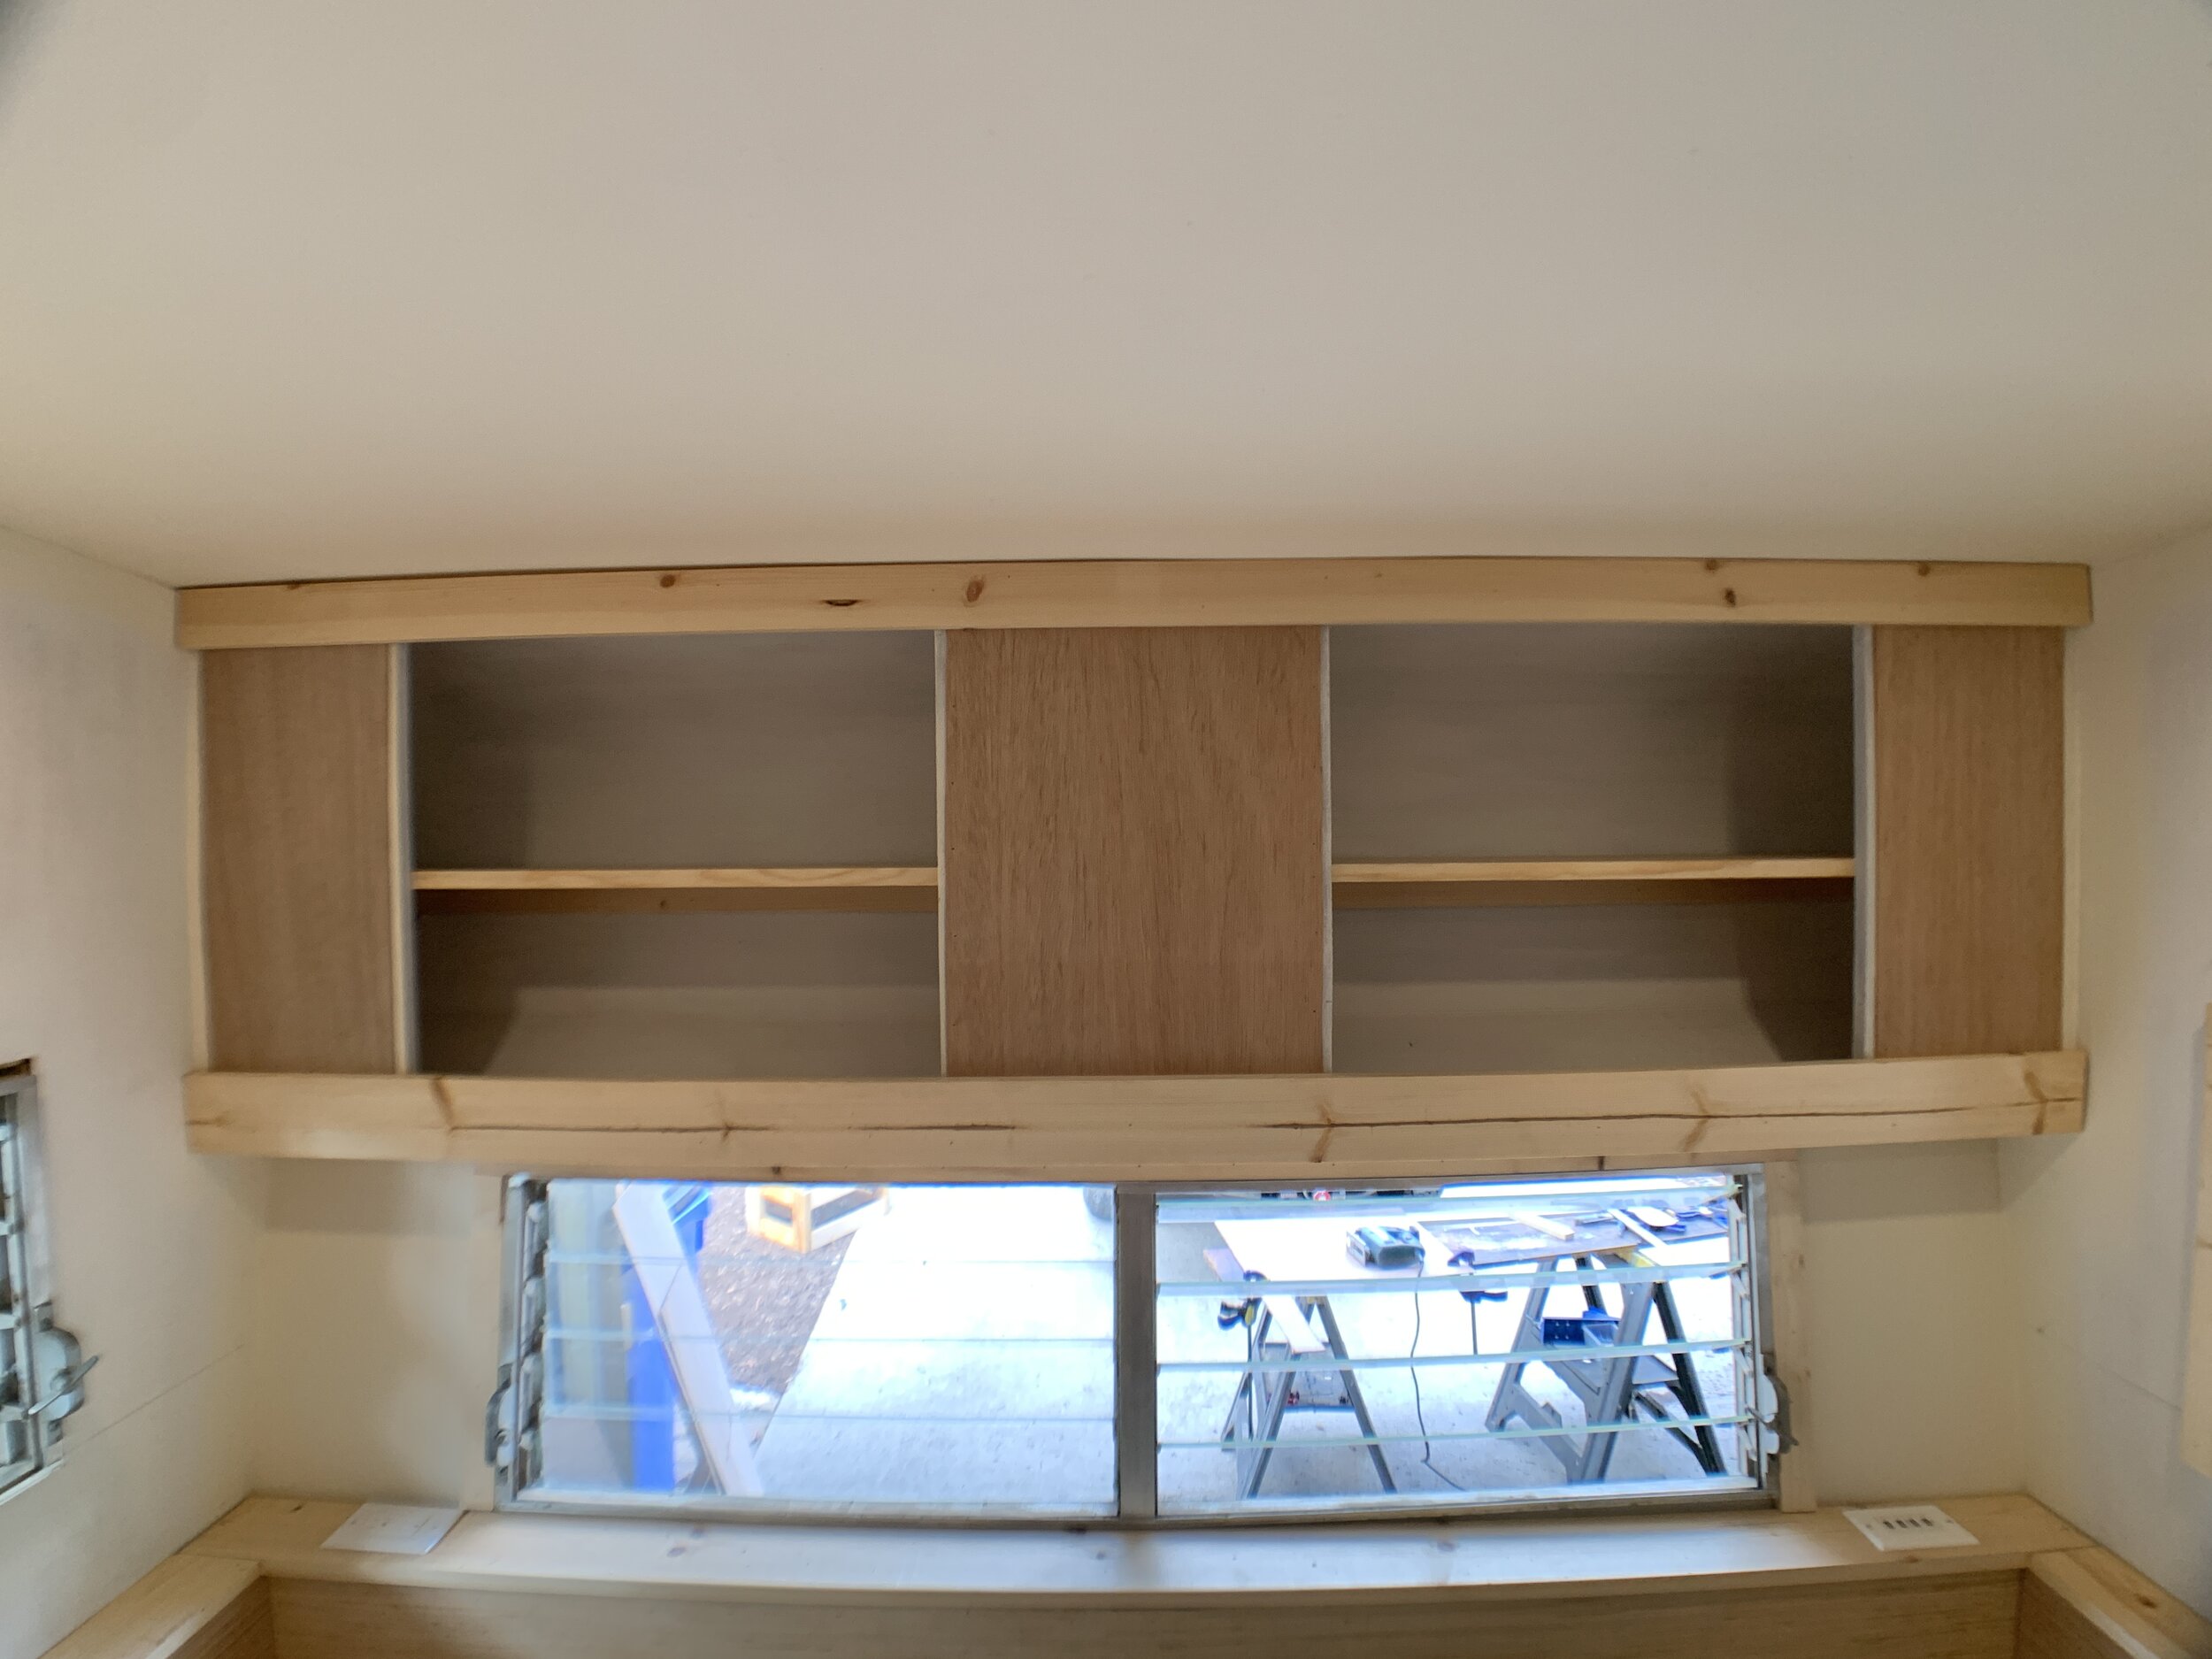

You might be asking how we chose a combo of 1x2s, a 1x3 and a 1x4 for the cabinet face. These were the closest standard size lumber dimensions to the existing frame we were covering. Each of these pieces is roughly the size of the rougher corresponding frame size (now underneath) that it’s nailed into.
Building the cabinet doors
We built the two cabinet doors for the overhead cabinet just how we built the doors for our lower cabinets. From keeping the cabinet front open to maybe having four or five doors, we initially thought about changing the original design, but ultimately decided to go with a two-door option for build simplicity and long-term functionality. While we generally like the look of open cabinetry and wanted to keep the camper interior open and airy to make it feel as large as possible, we didn’t want to be limited to only storing attractive things in this cabinet or have to deal with things shifting and possibly falling out in travel more than if there were doors on the cabinet.

The two cabinet doors open toward the middle. (So, the left door has the hinges on the left, and the right door has hinges on the right.)
So, what’s next?
We’re currently in the process of priming and painting it all out now. (In fact, my left pointer and middle fingertips are still recovering from extensive caulking and caulk smoothing last weekend... not a couple of days ago last weekend, but the one before the most recent one… as in 9 days ago.) It’s a long and tedious process, but done right really does make all the difference in a great finished product. We’re filling all of the seams, gaps and pocket holes with paintable caulk and then priming and painting it all out.
Can you guess what paint color we’re leaning toward for the upper cabinet? We can’t wait to finish it and show you (the paint, plus the gorgeous hardware!) once it’s all done.