The Cameo Camper Renovation: Building Cabinets
Hey y’all – it has been a rough few weeks, to put it mildly. It’s safe to say between migraines (5 in one week!) and then getting hit right after by the flu, followed by Thanksgiving, my brain has been in more of a mashed-potato-type state than an able-to-make-words-flow-real-good blogging type of headspace. But after a month we’re back and this time we’re talking about how we built our solid, wood base cabinets. If you’ve missed how we decided to swap our layout around – which might come in handy as we show photos so you can imagine the space a little better – you can find it here.

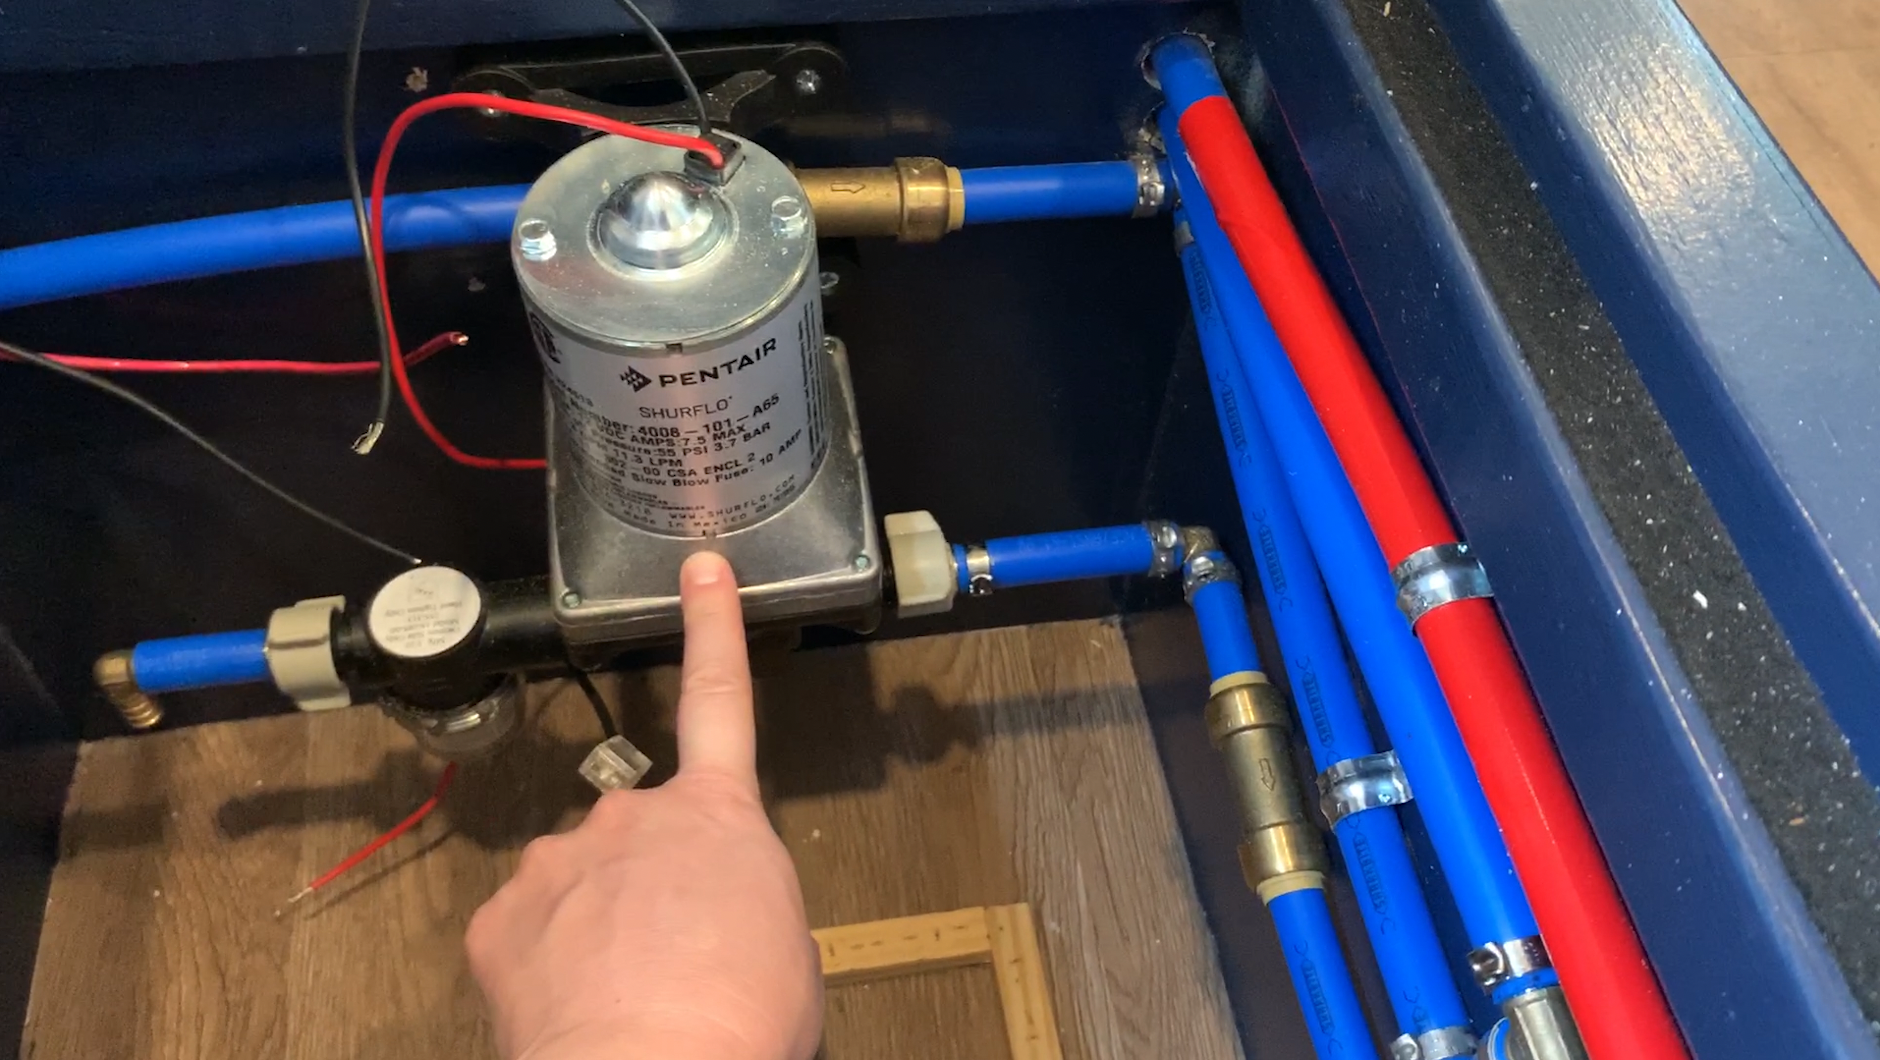
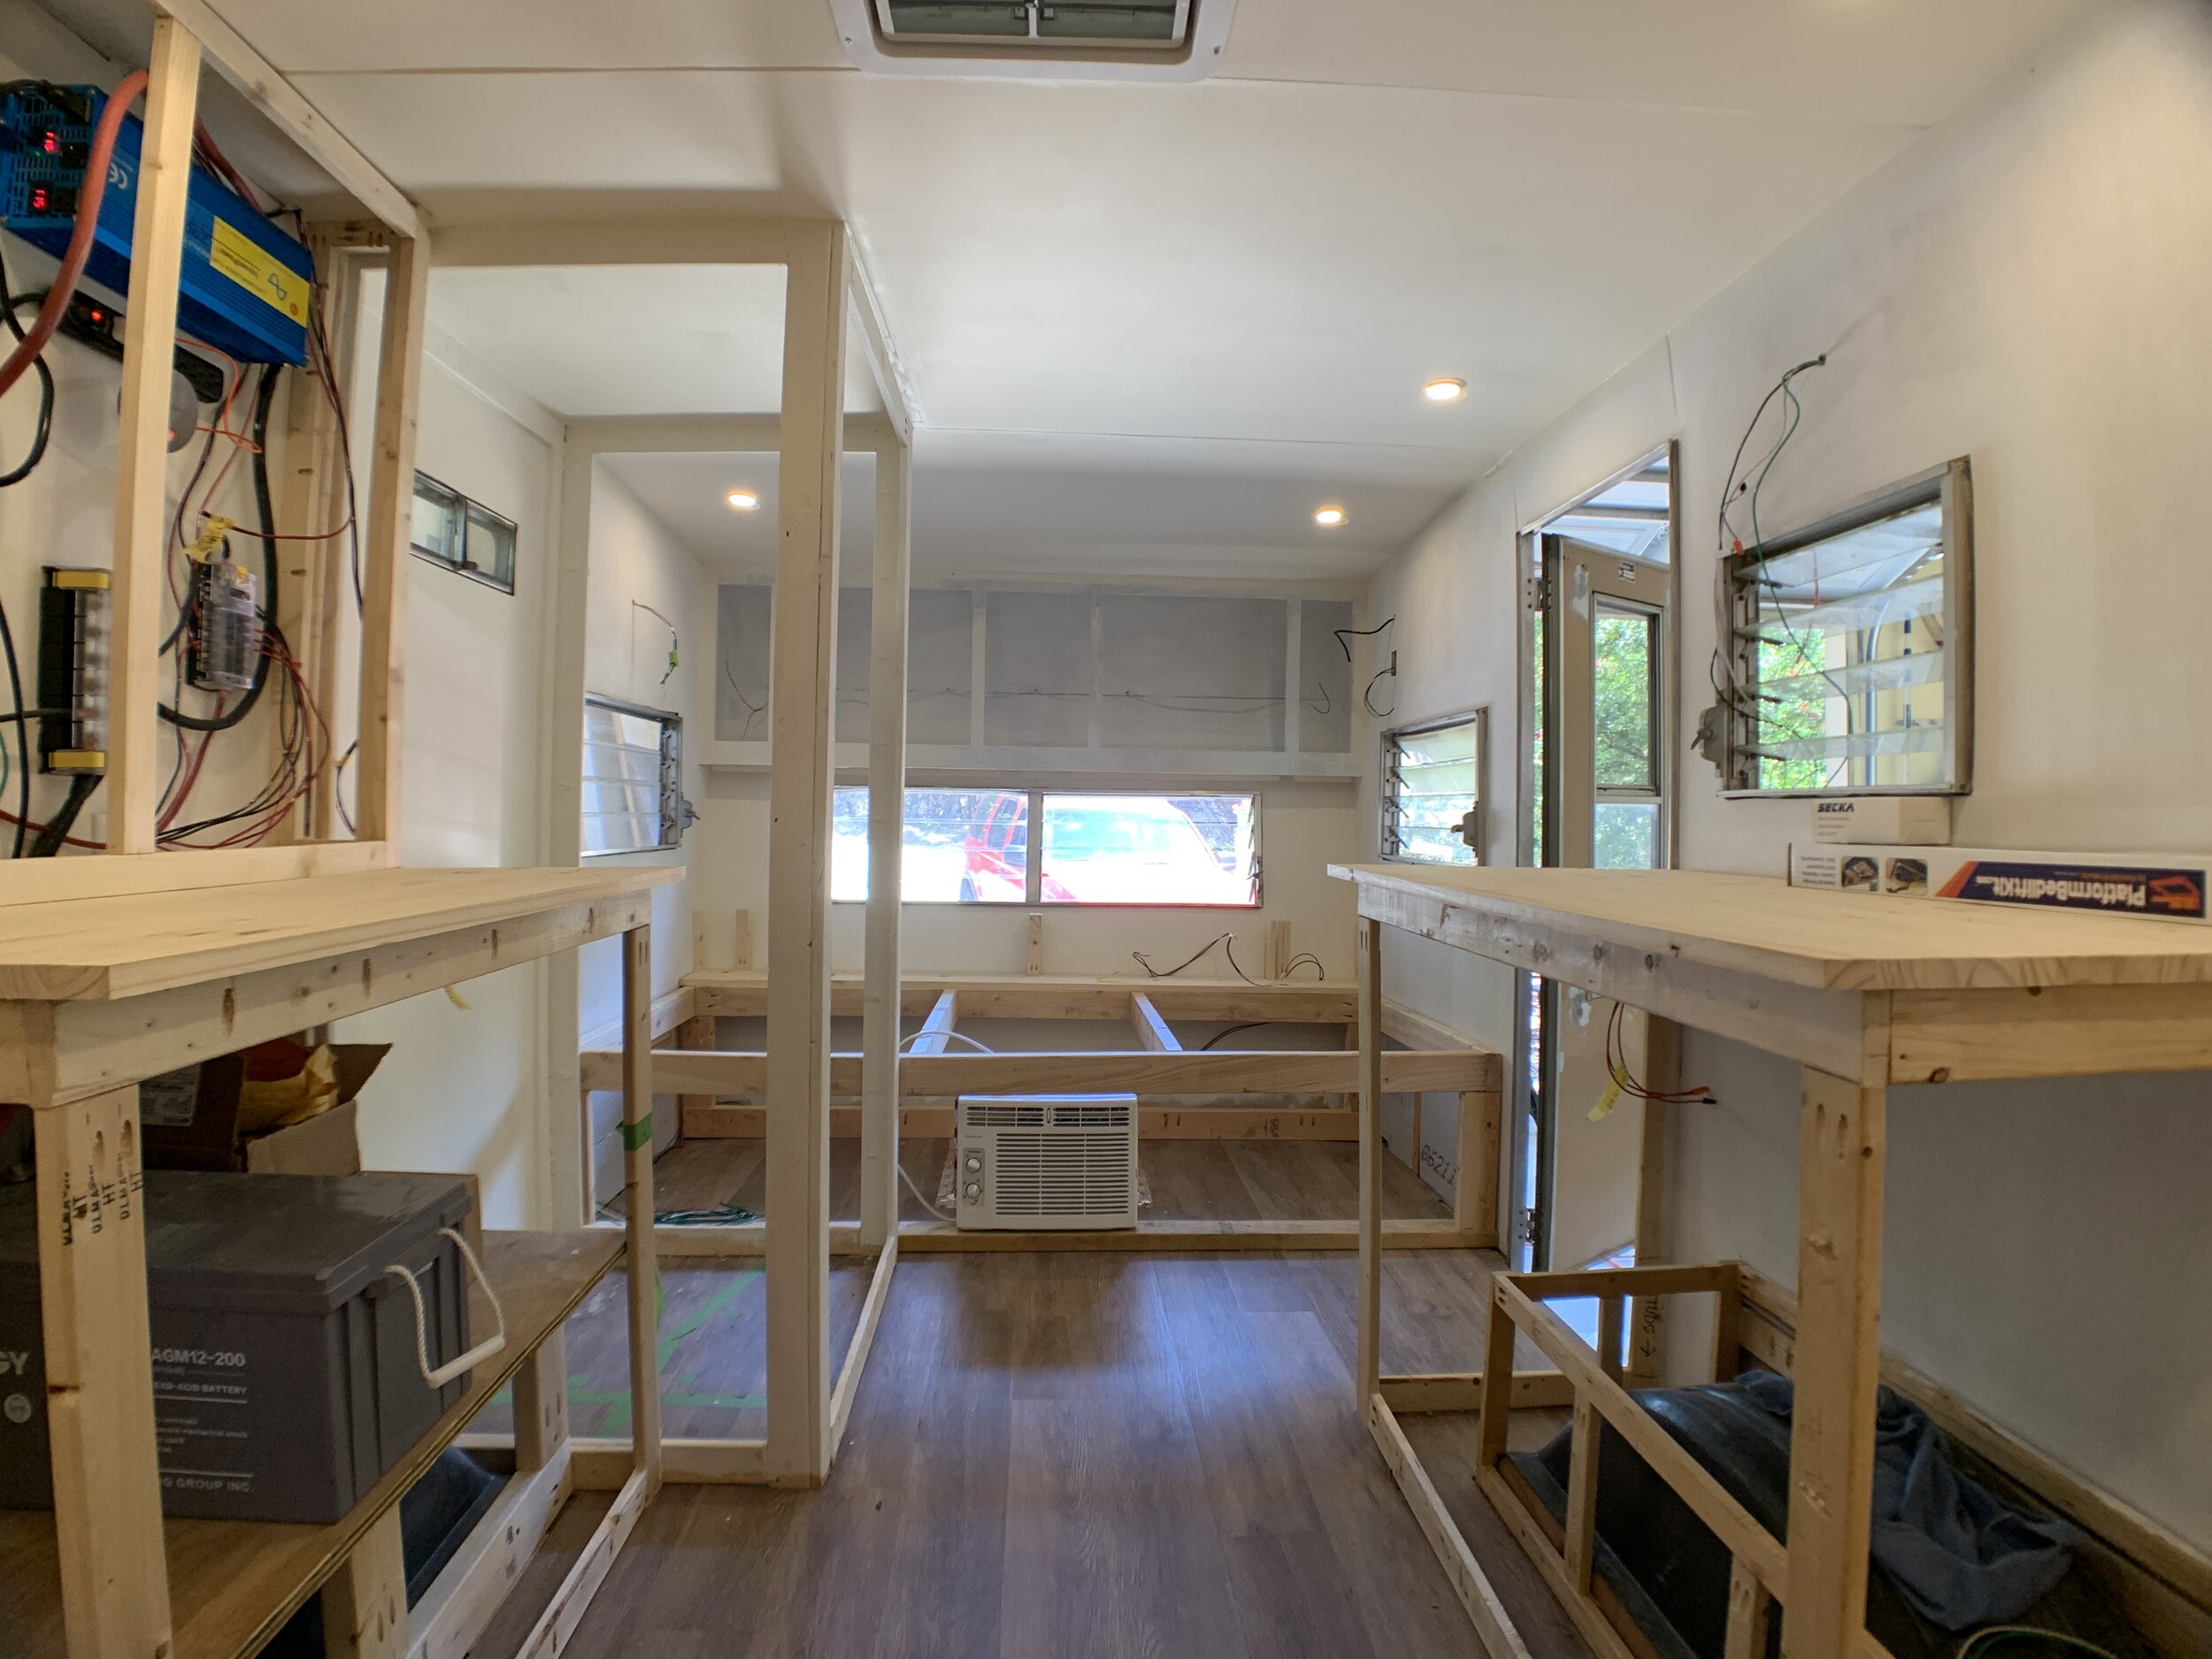
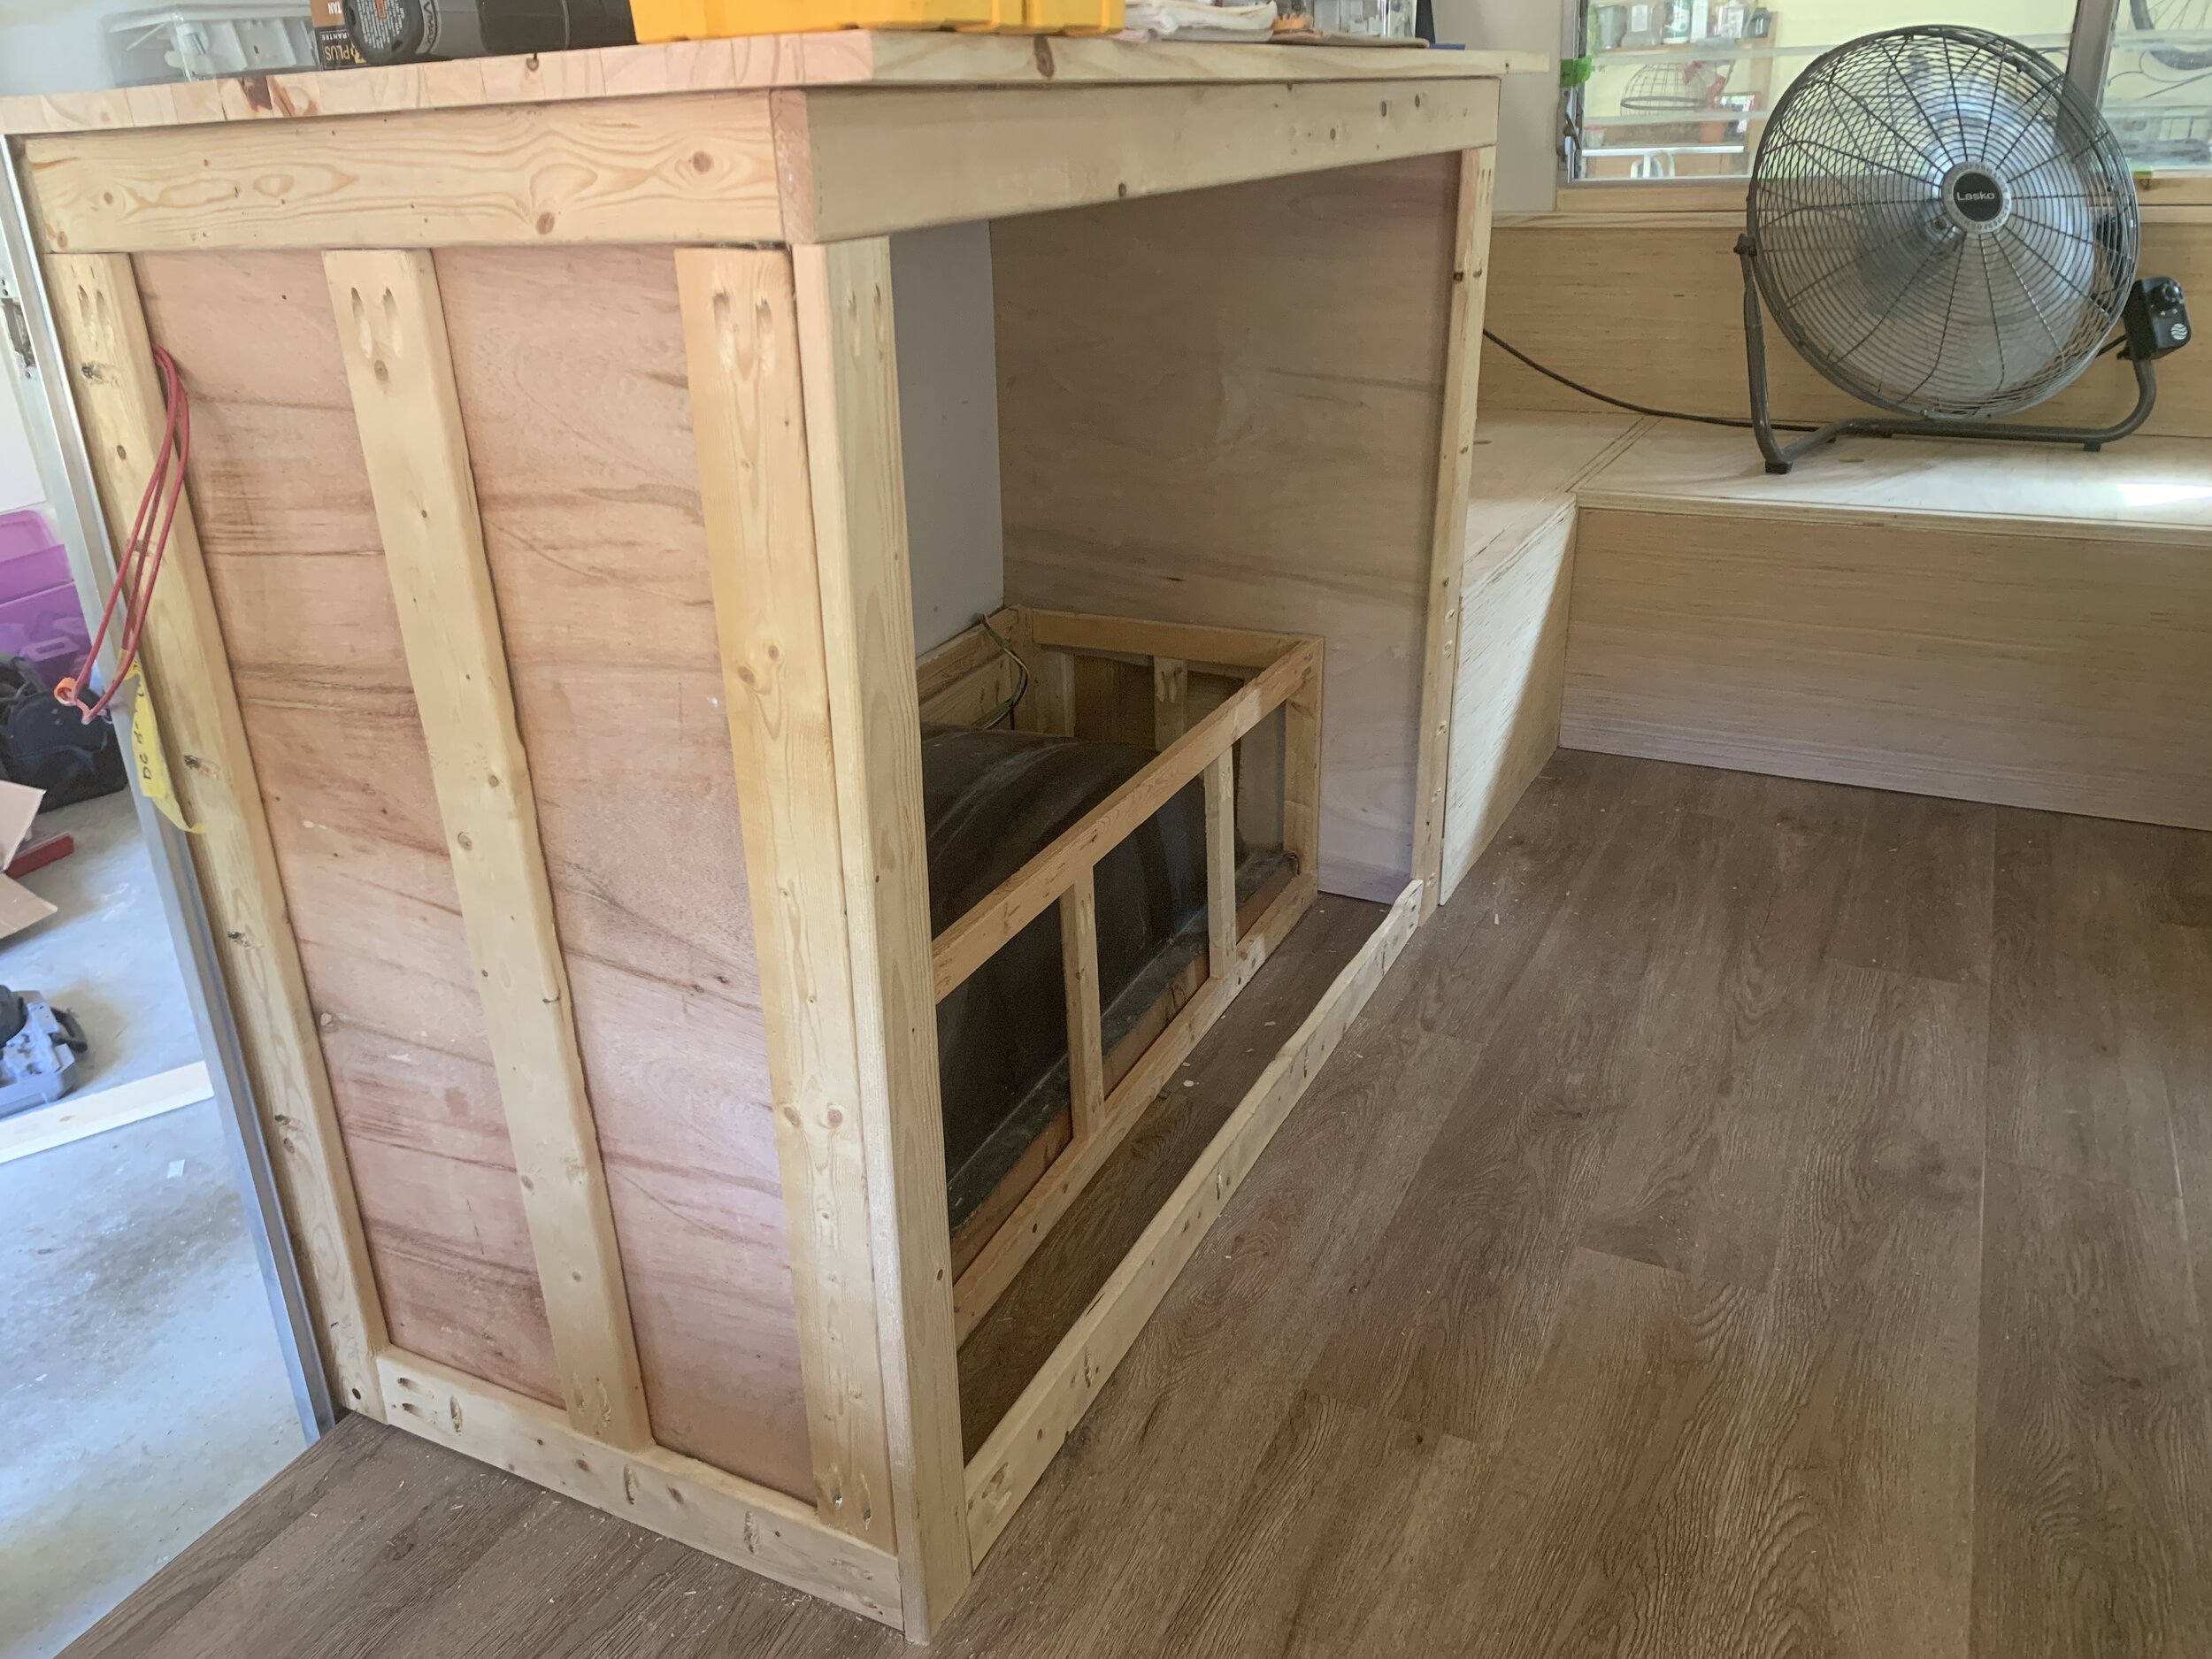
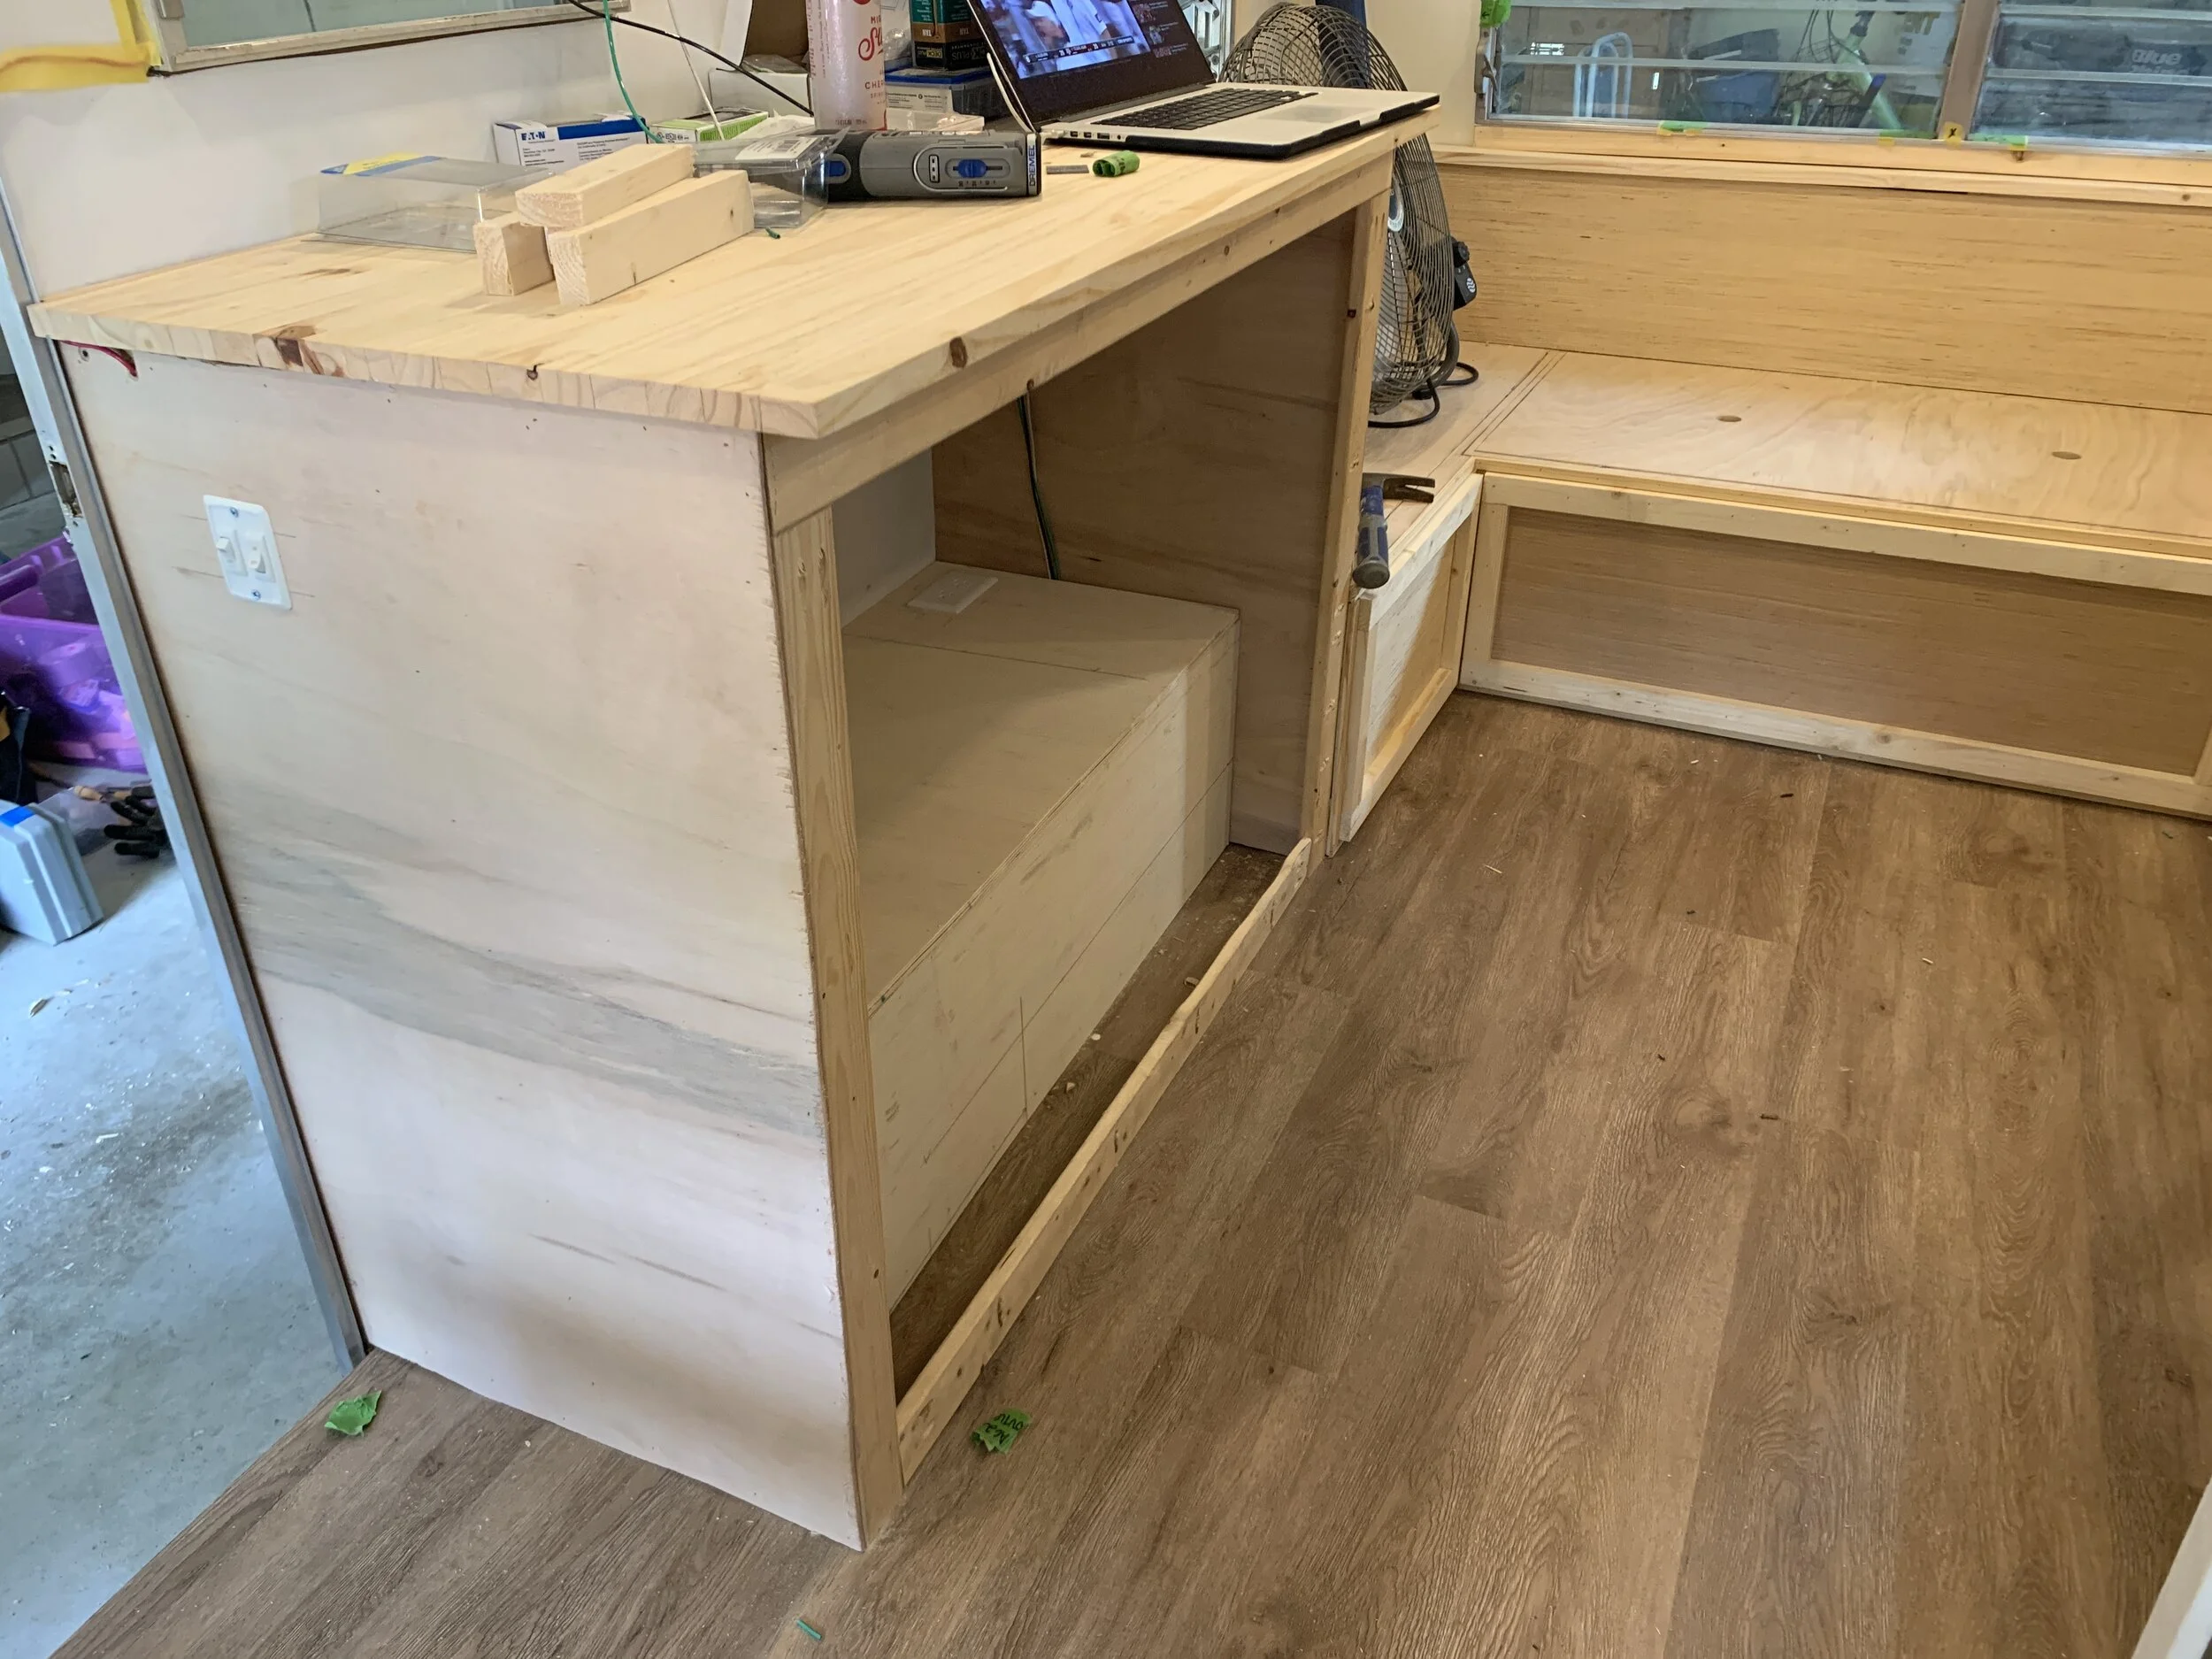
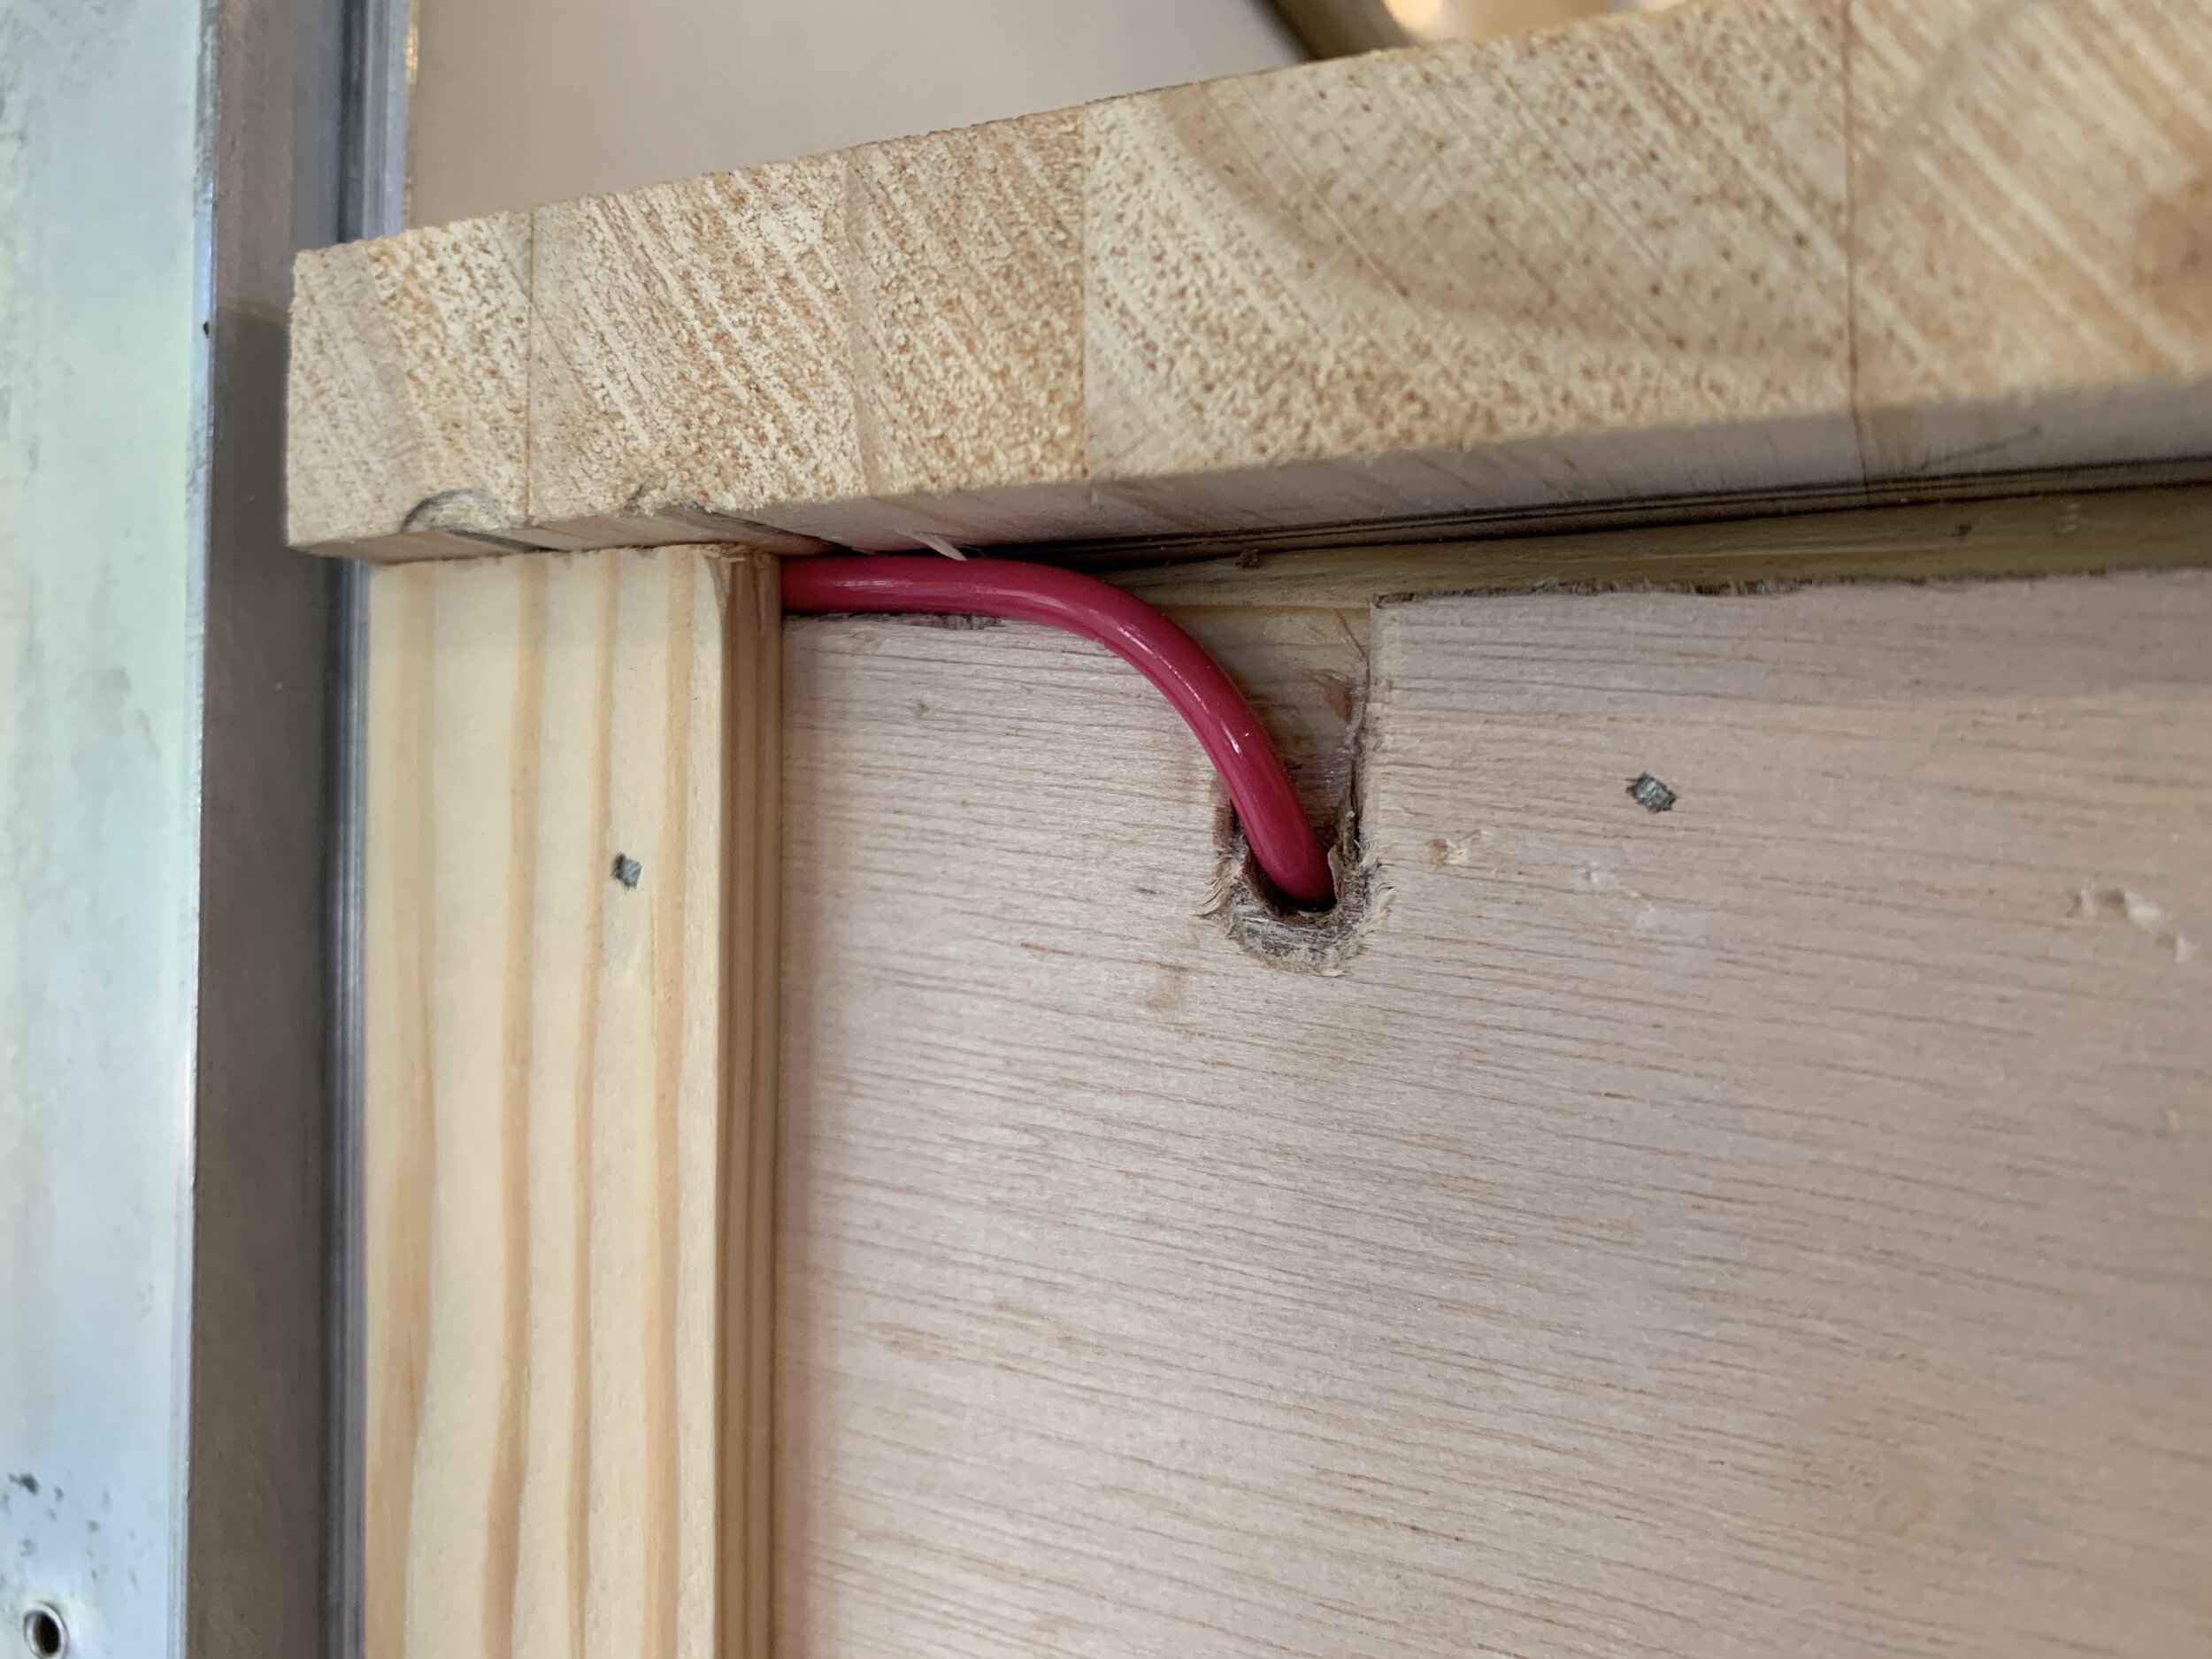
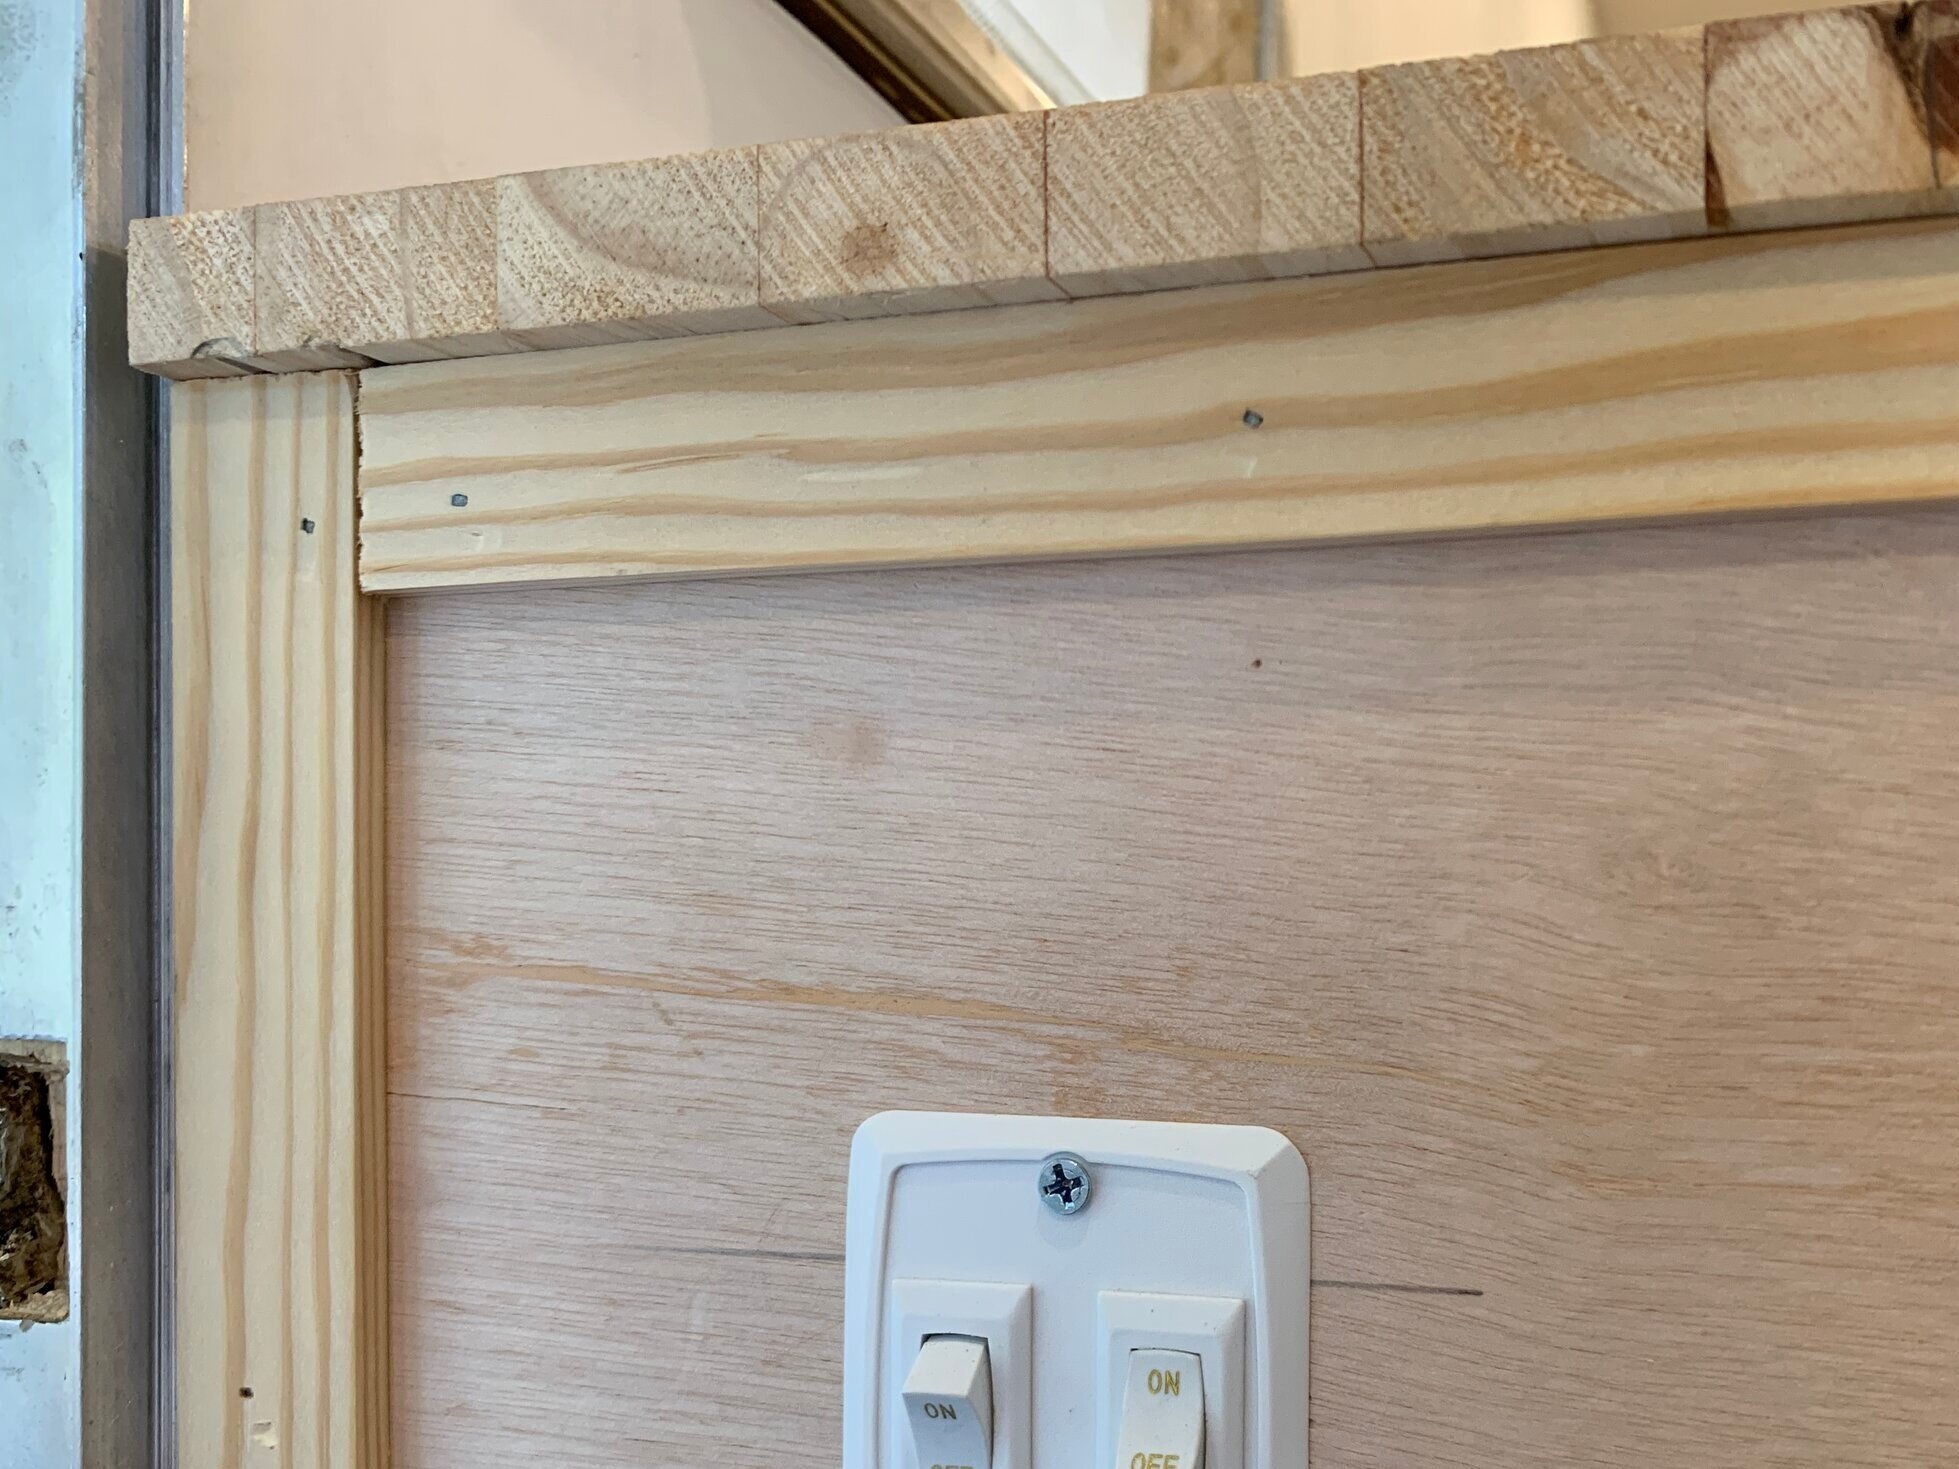
We’ve had the lower cabinets very roughly framed out for a long while now – mostly because they helped us plan and get a feel for the amount of space we had for the wet bath and the front daybed as well as the dinette area in the back of the camper. Looking back on it now, we might recommend using nicer, square-edge finish wood for this base framing from the beginning to save some material and extra weight, though the way we did it allowed us to hide electrical wiring inside the cabinet walls. If you want to see how we wired the 12V light switch in the side of the cabinet in the photo above, you can find it here. The base cabinets can be made different ways, but we’re going to share exactly how we built ours.
Our cabinet shopping list
1x3s
1x2s
Miter saw
Circular saw
1/4” plywood
Kreg jig
Kreg screws
Finish nail gun + nails
Framing out base cabinets
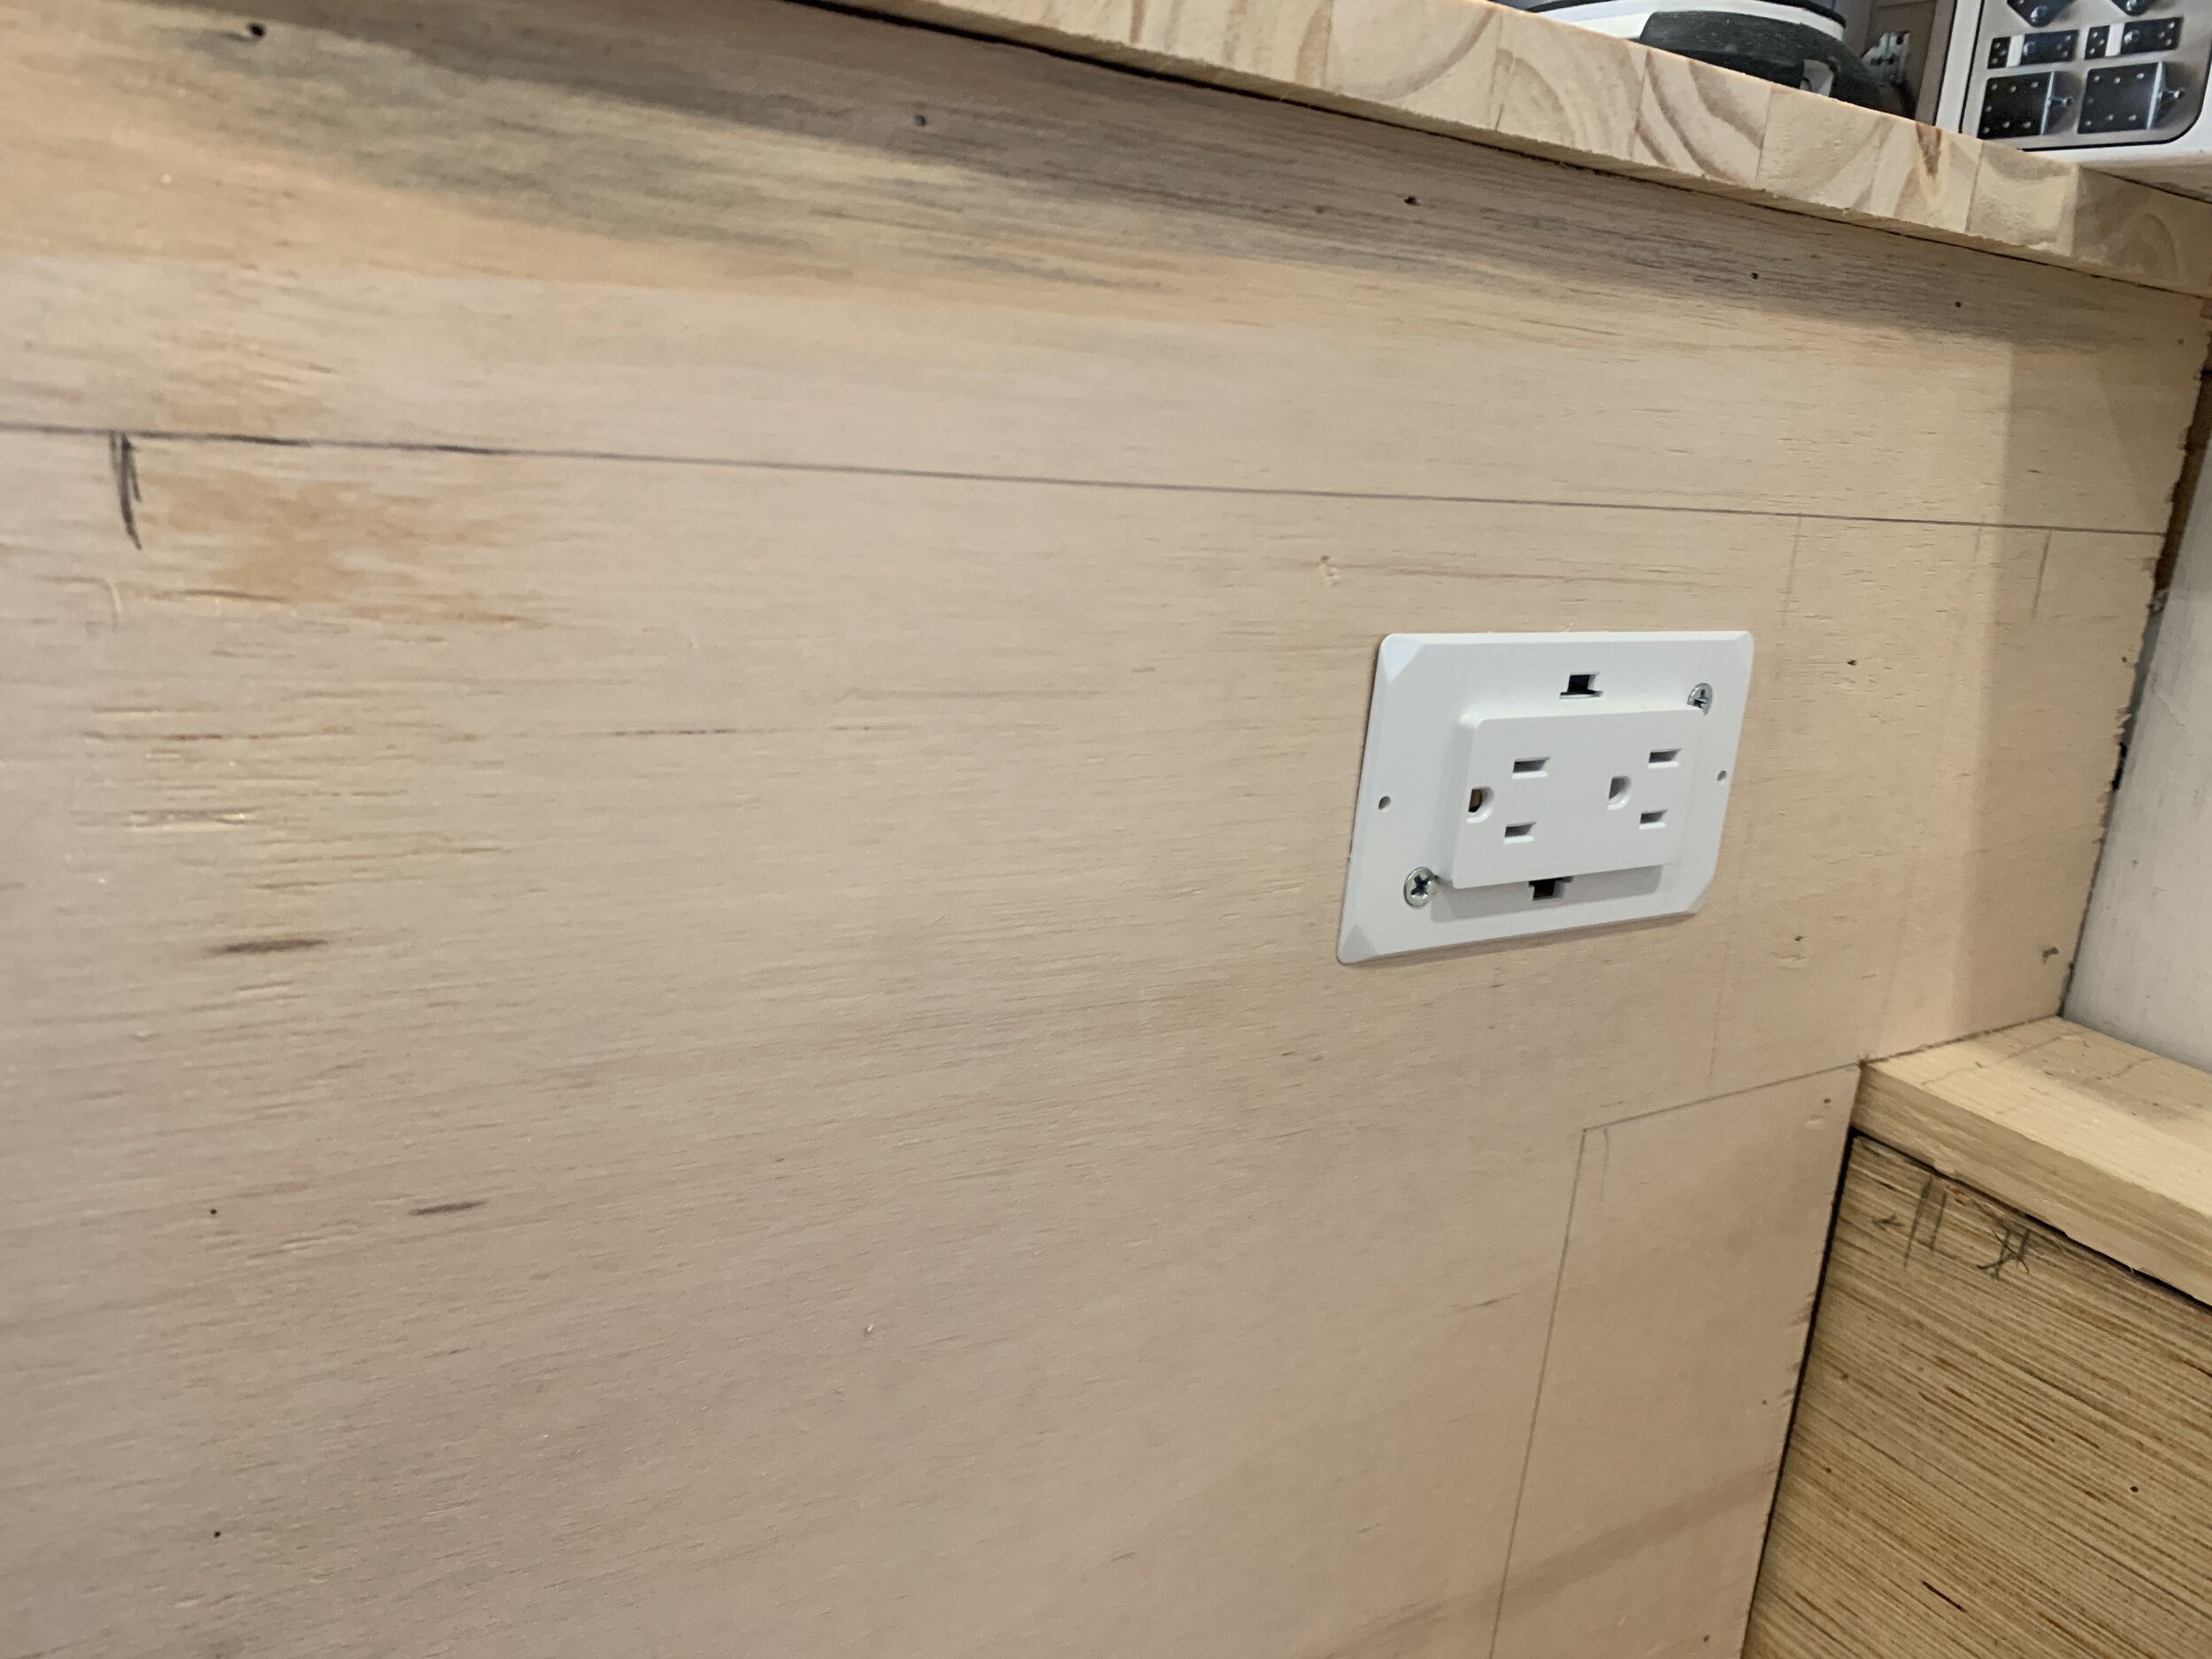
We used 1x3” pine wood lumber to build our base frames, using our trusty Kreg jig to make pocket hole joints to connect all the framing together and secure the horizontal base pieces into the floor for added stability. We also Kregged in internal 1x3” supports through the middles of the sides of the cabinets where we knew we wanted to place our light switch and electrical outlet (so we had something to screw the junction boxes into, and to make the hollow cabinet sides even stronger through the middle to protect against any bumps from elbows, etc. that are very likely to happen in such a small space).
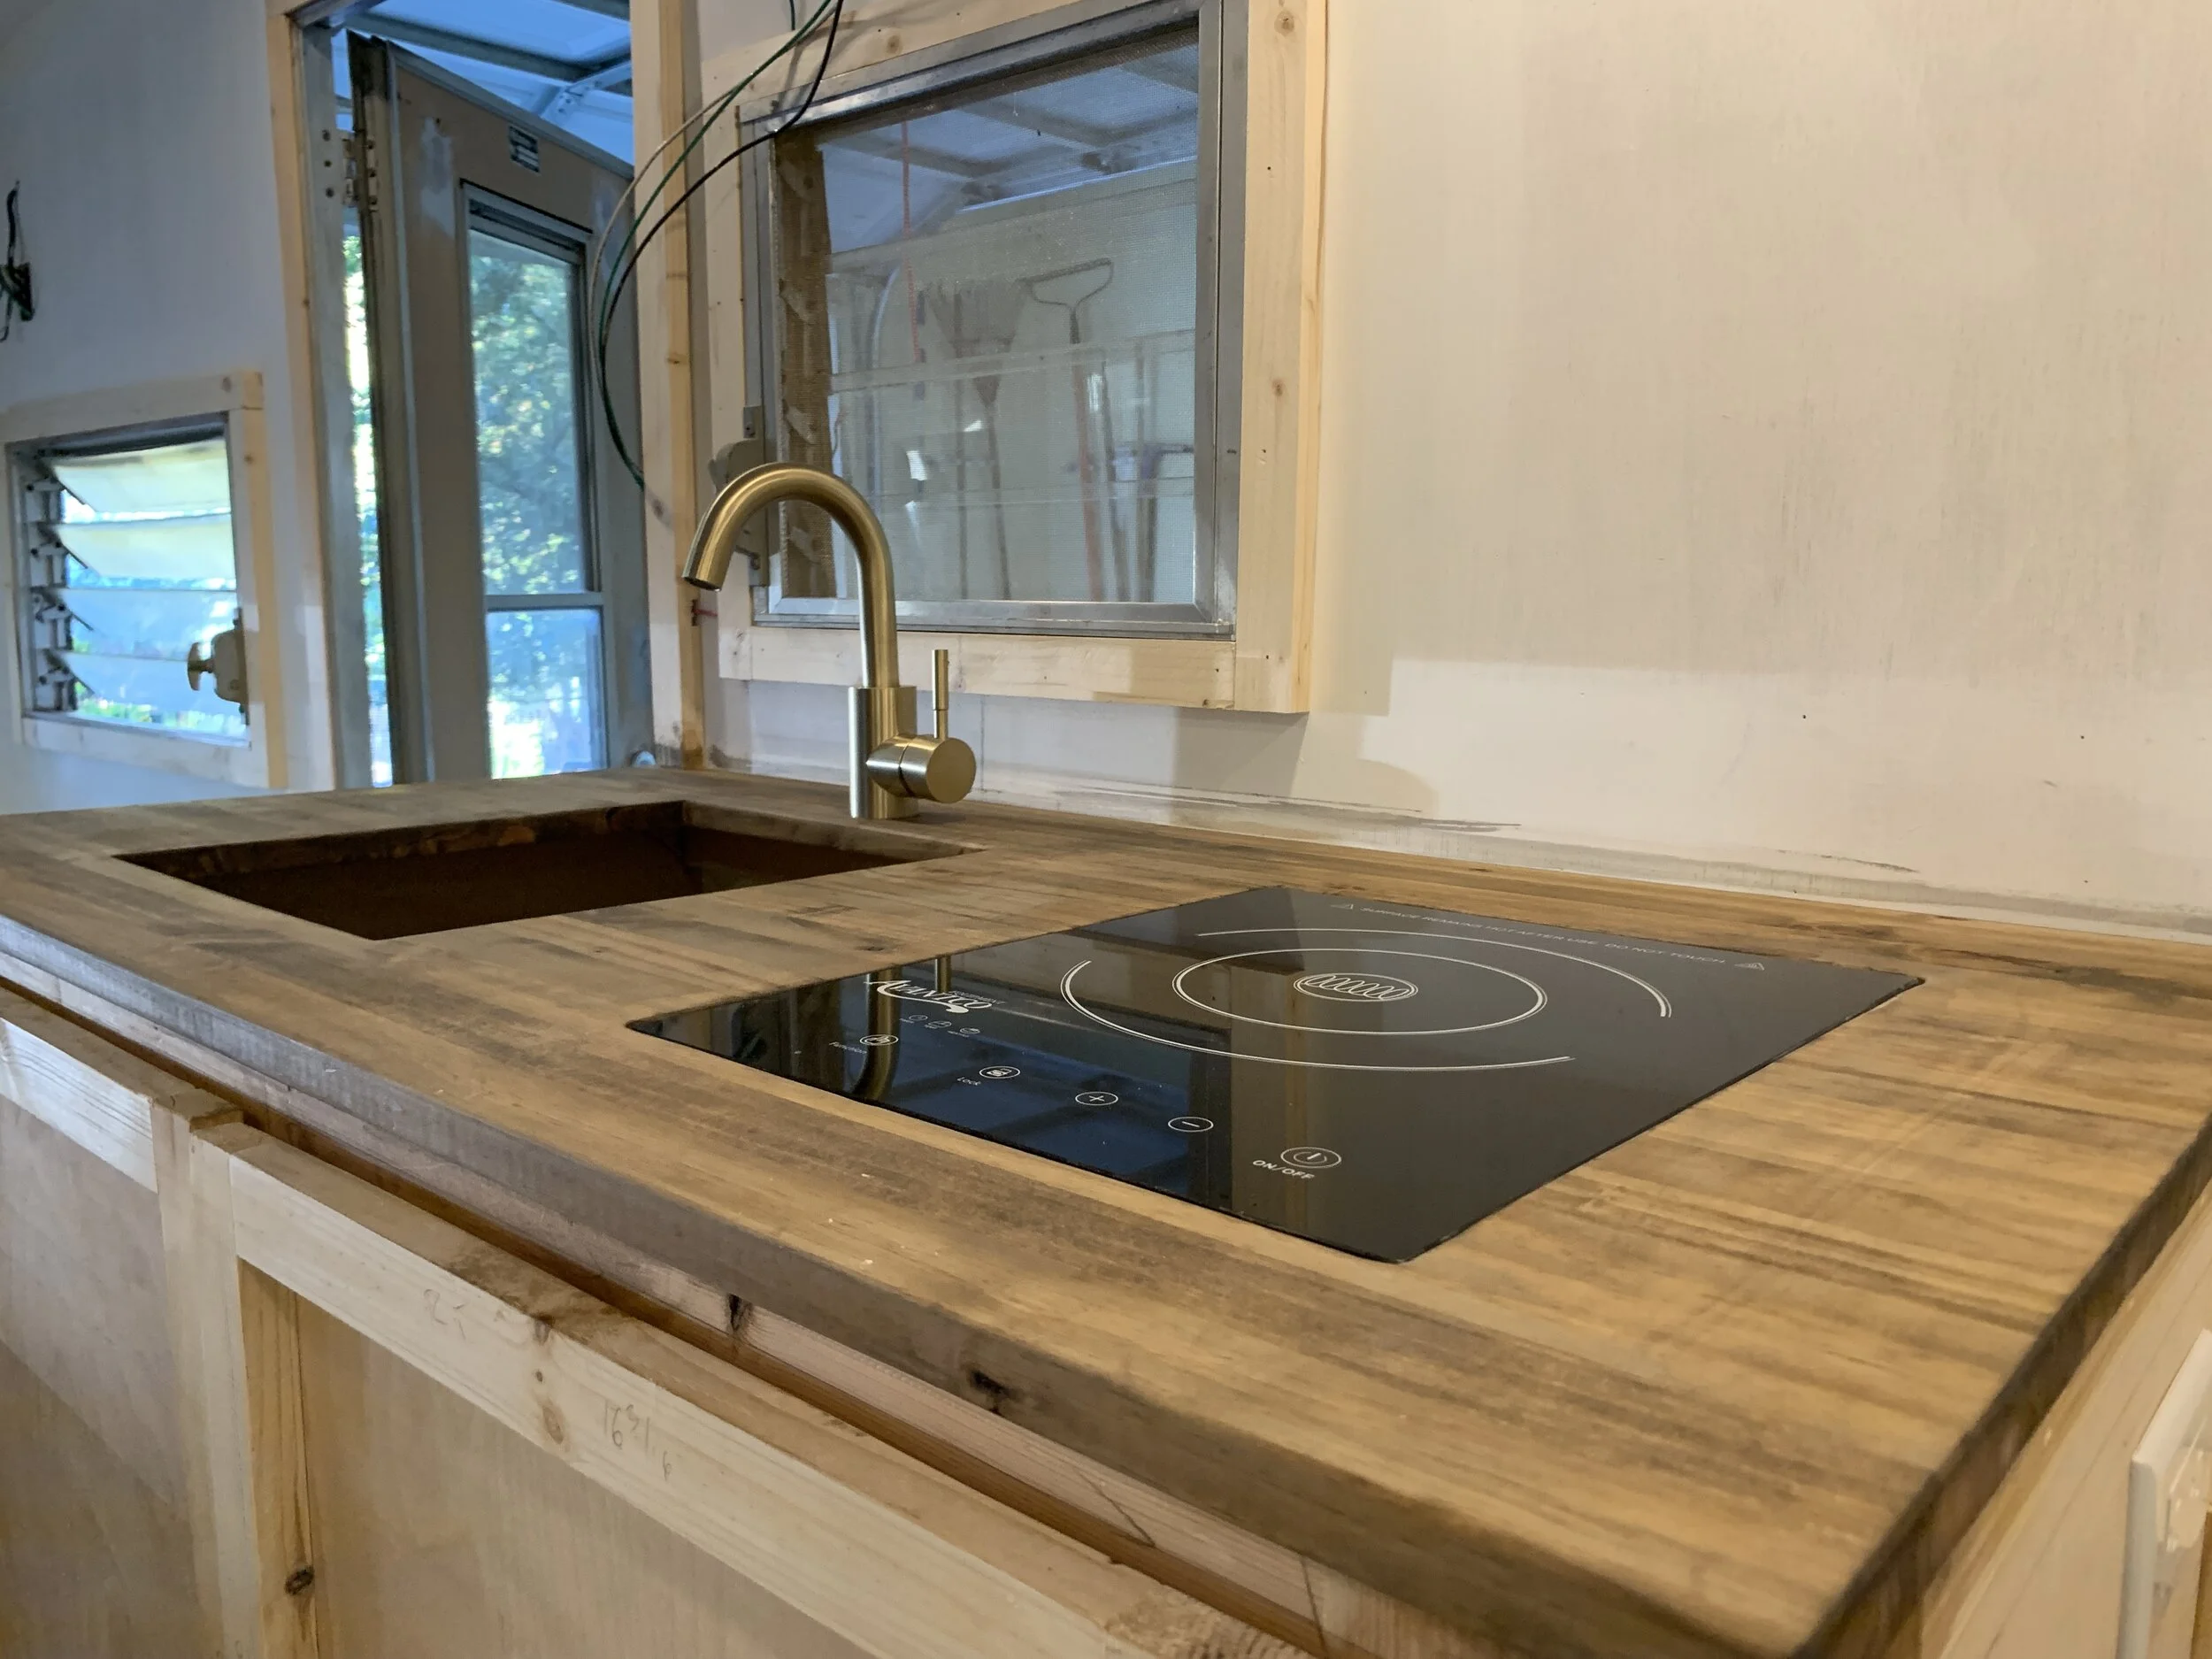
Our cabinets are 100% custom for our space and we built them thinner than and the same height as standard cabinets in our house because it’s such a tight area, but we still needed to be comfortable using them. At 20” deep and 36” tall, we based ours on what would be comfortable for us once finished, taking into account the counter overhang and 3/4” thickness, plus the sink we planned to use in the kitchen and bench depth we wanted for the back area of the camper. (We are about 5’6” tall, so depending on your height and space you might want to adjust measurements accordingly.)
Pro tip: Level your camper before you build cabinets – it will help you keep everything level and plumb when building inside.
Closing in the cabinets
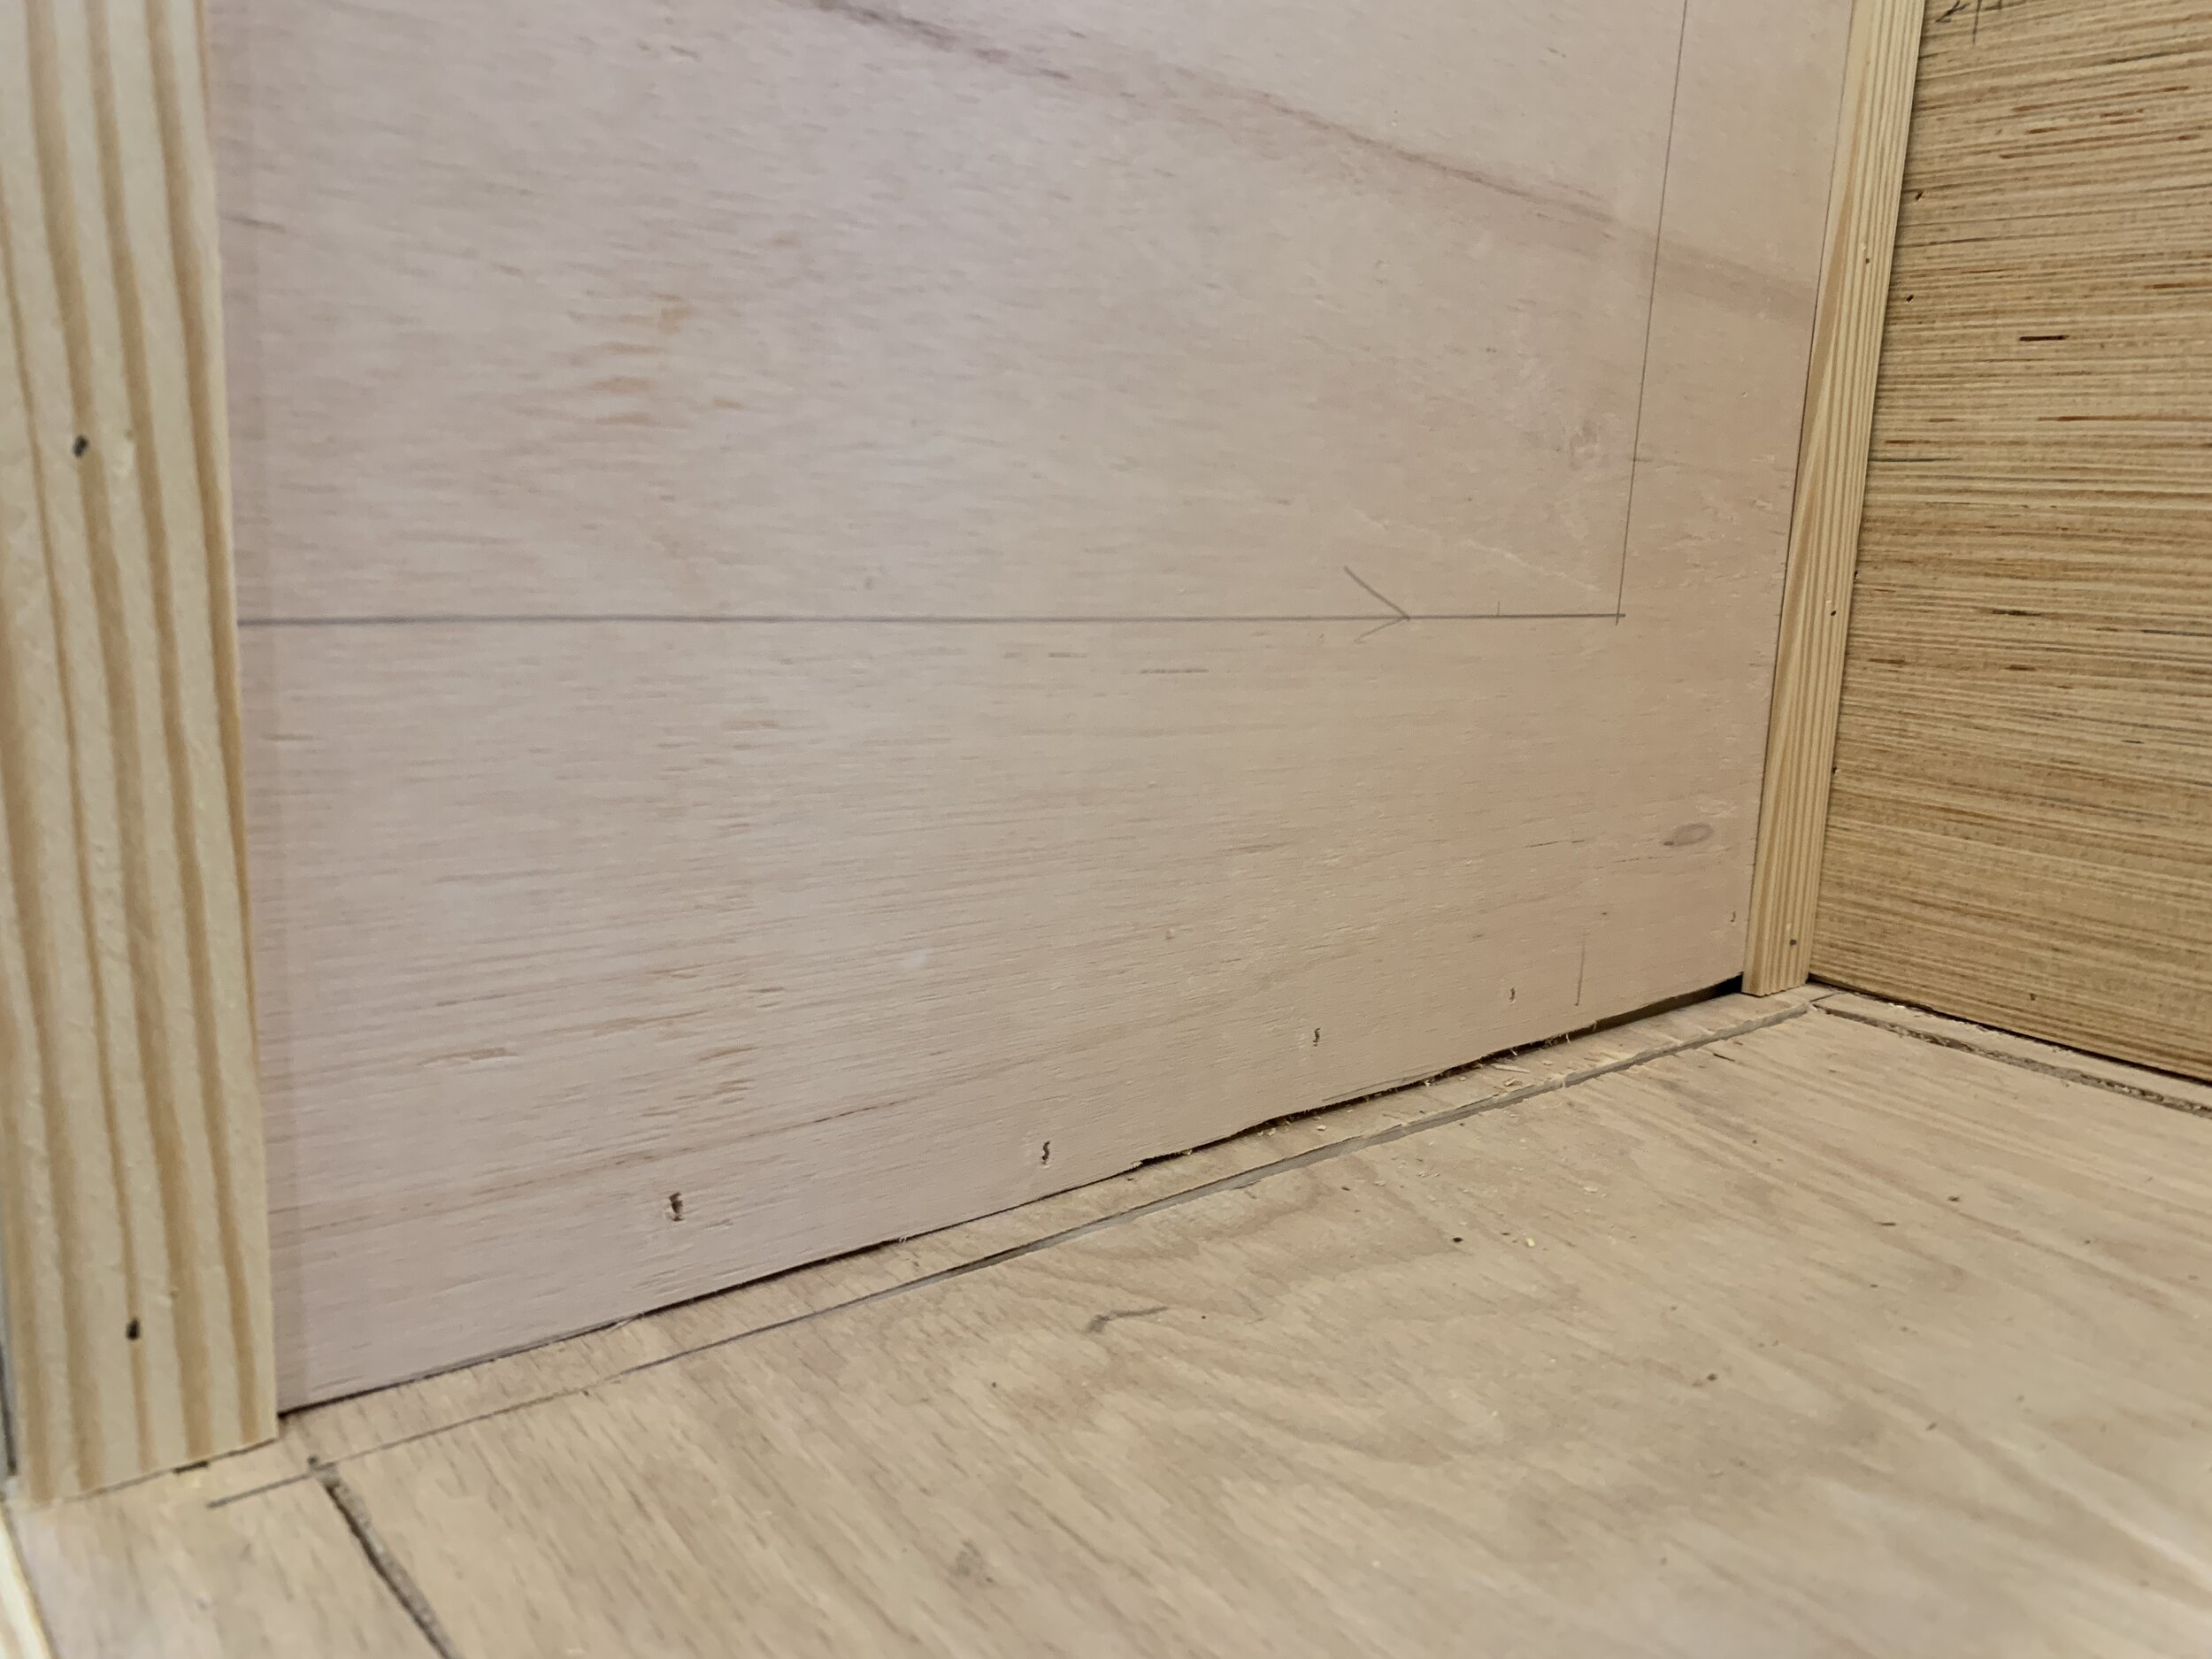
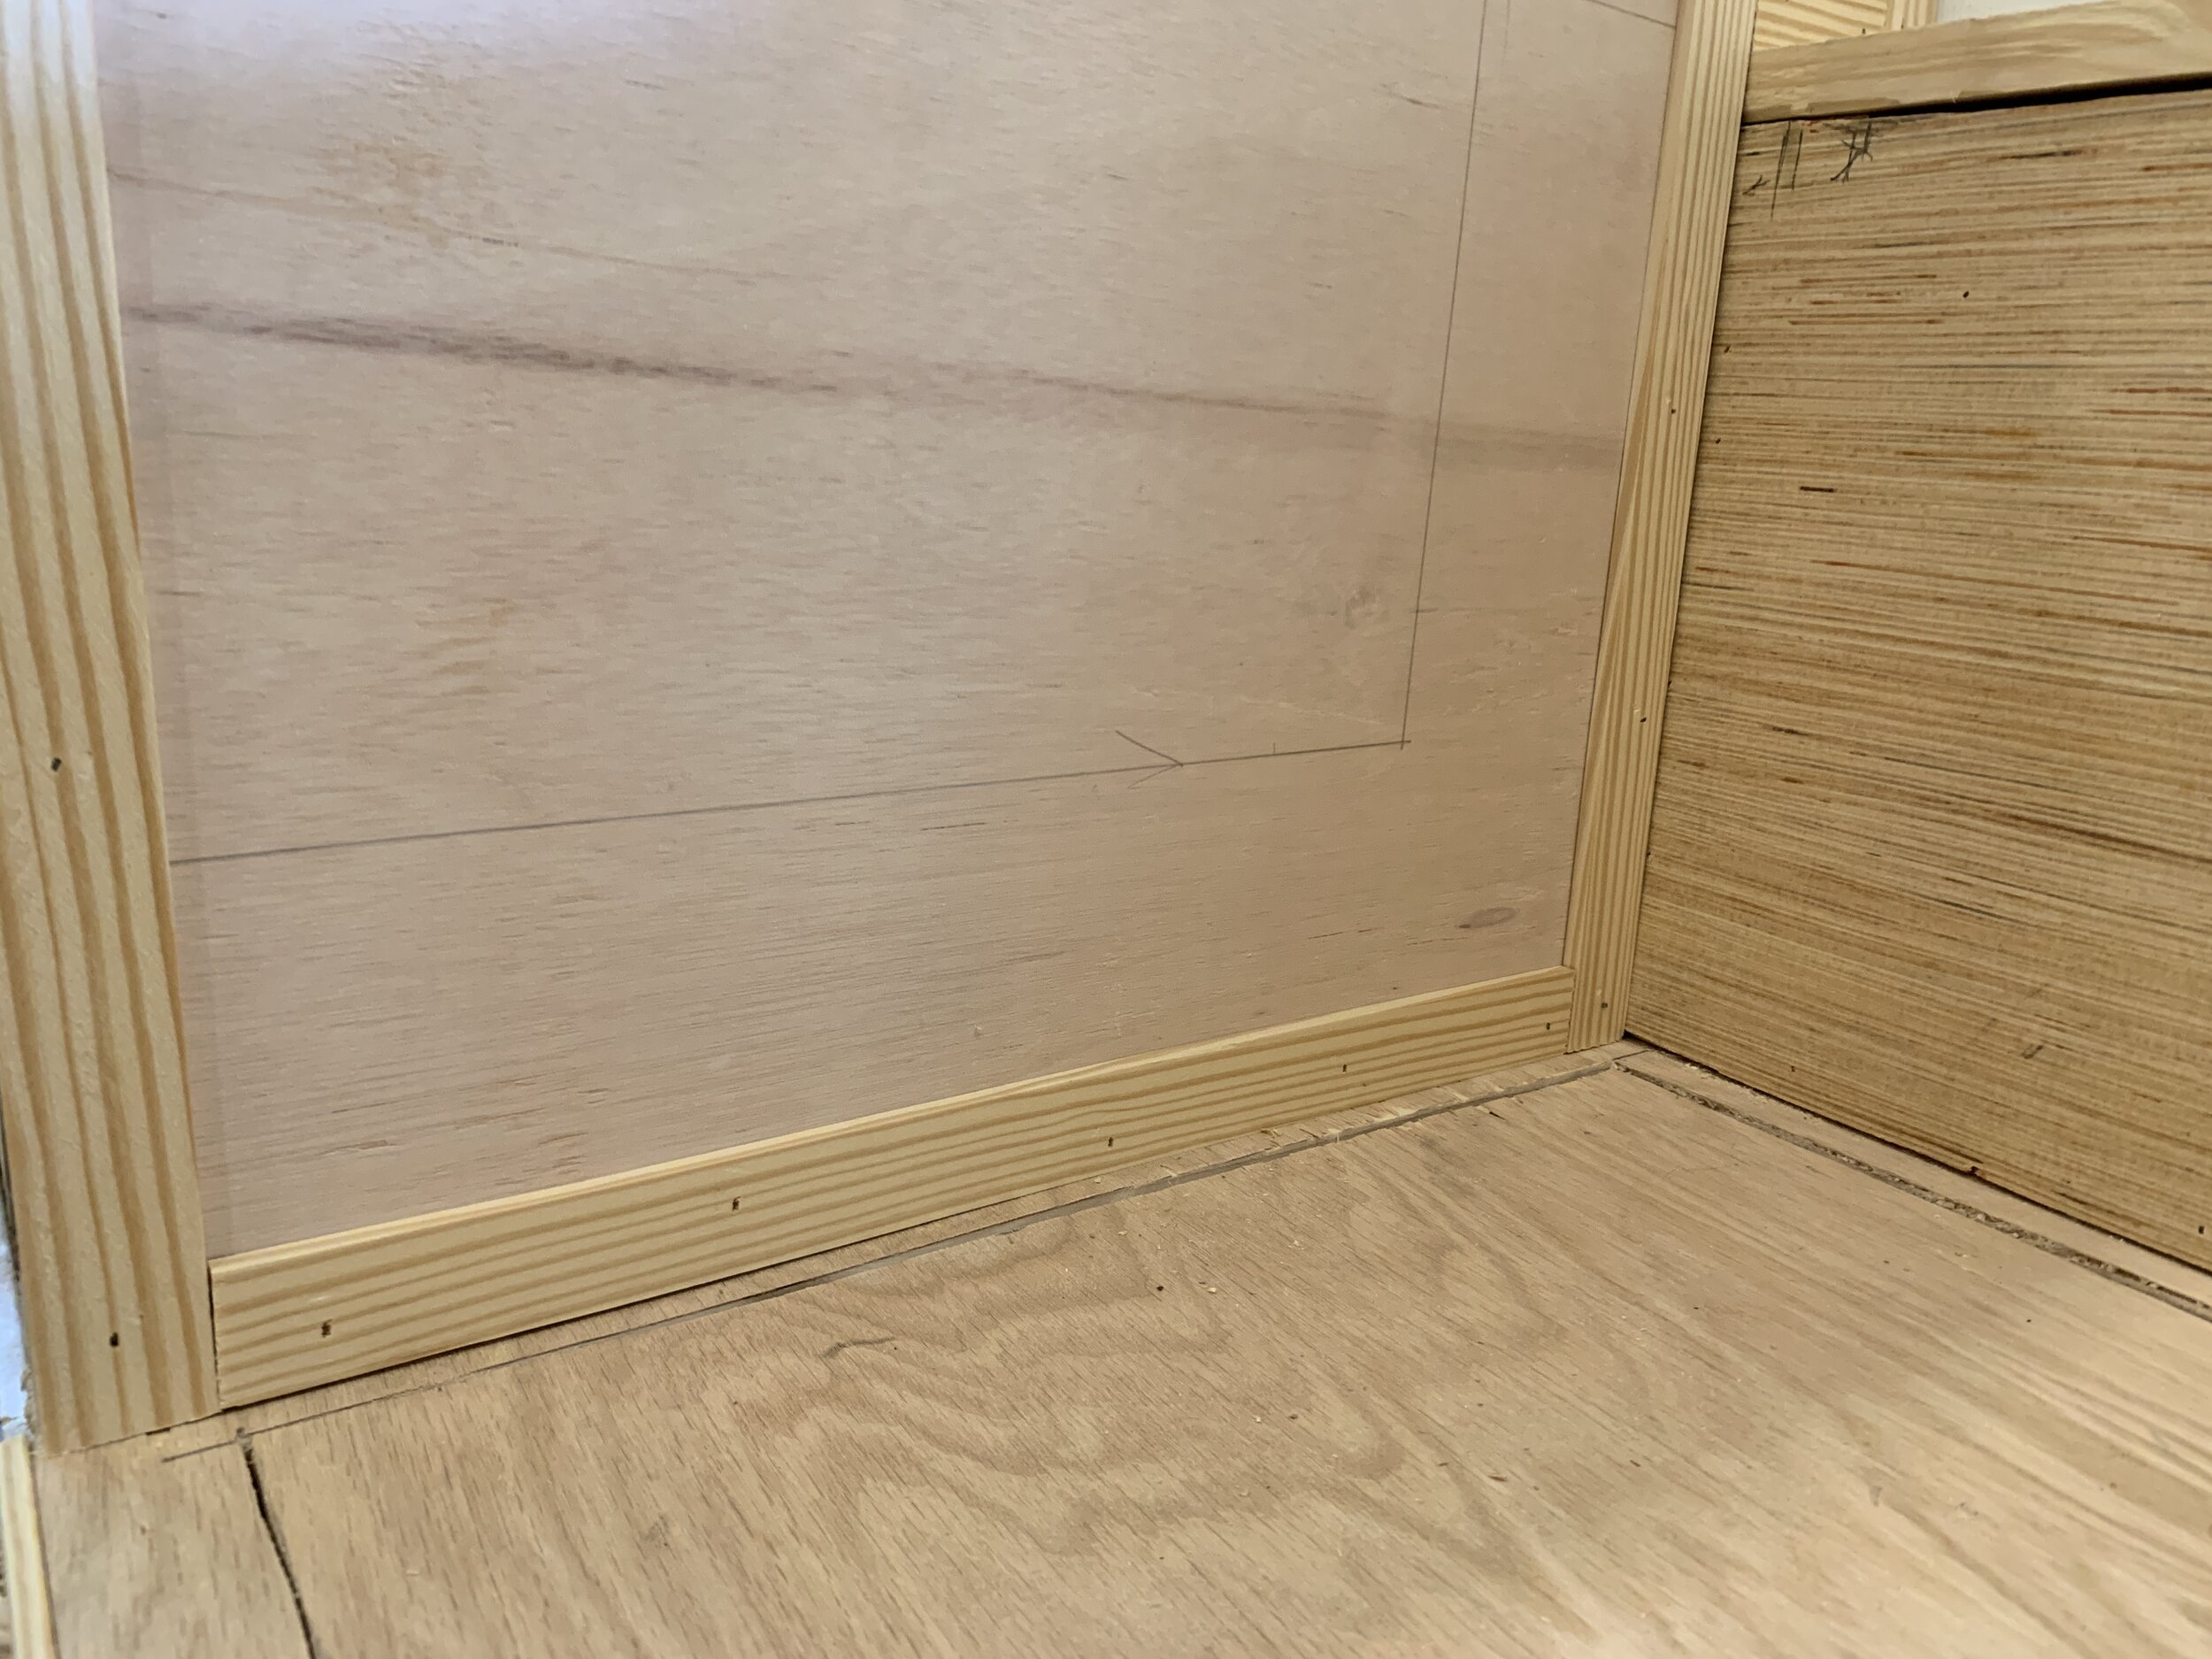
After we had our main base structures framed out, we used 1/4” plywood trimmed to size and our Dewalt finish nail gun to secure it to the framing. We added the plywood on both the outside and inside of the cabinets, sandwiching the “ugly” framing in between. (This is where, had we used nicer lumber for the initial framing, we could’ve maybe only nailed in plywood from the inside or outside. If we had done that, we wouldn’t have had to trim out our ugly plywood edges and seams with attractive wood in varying widths/thicknesses on the outsides of the cabinets. It really just depends on the look you’re going for and your level of craftsmanship, I suppose.)

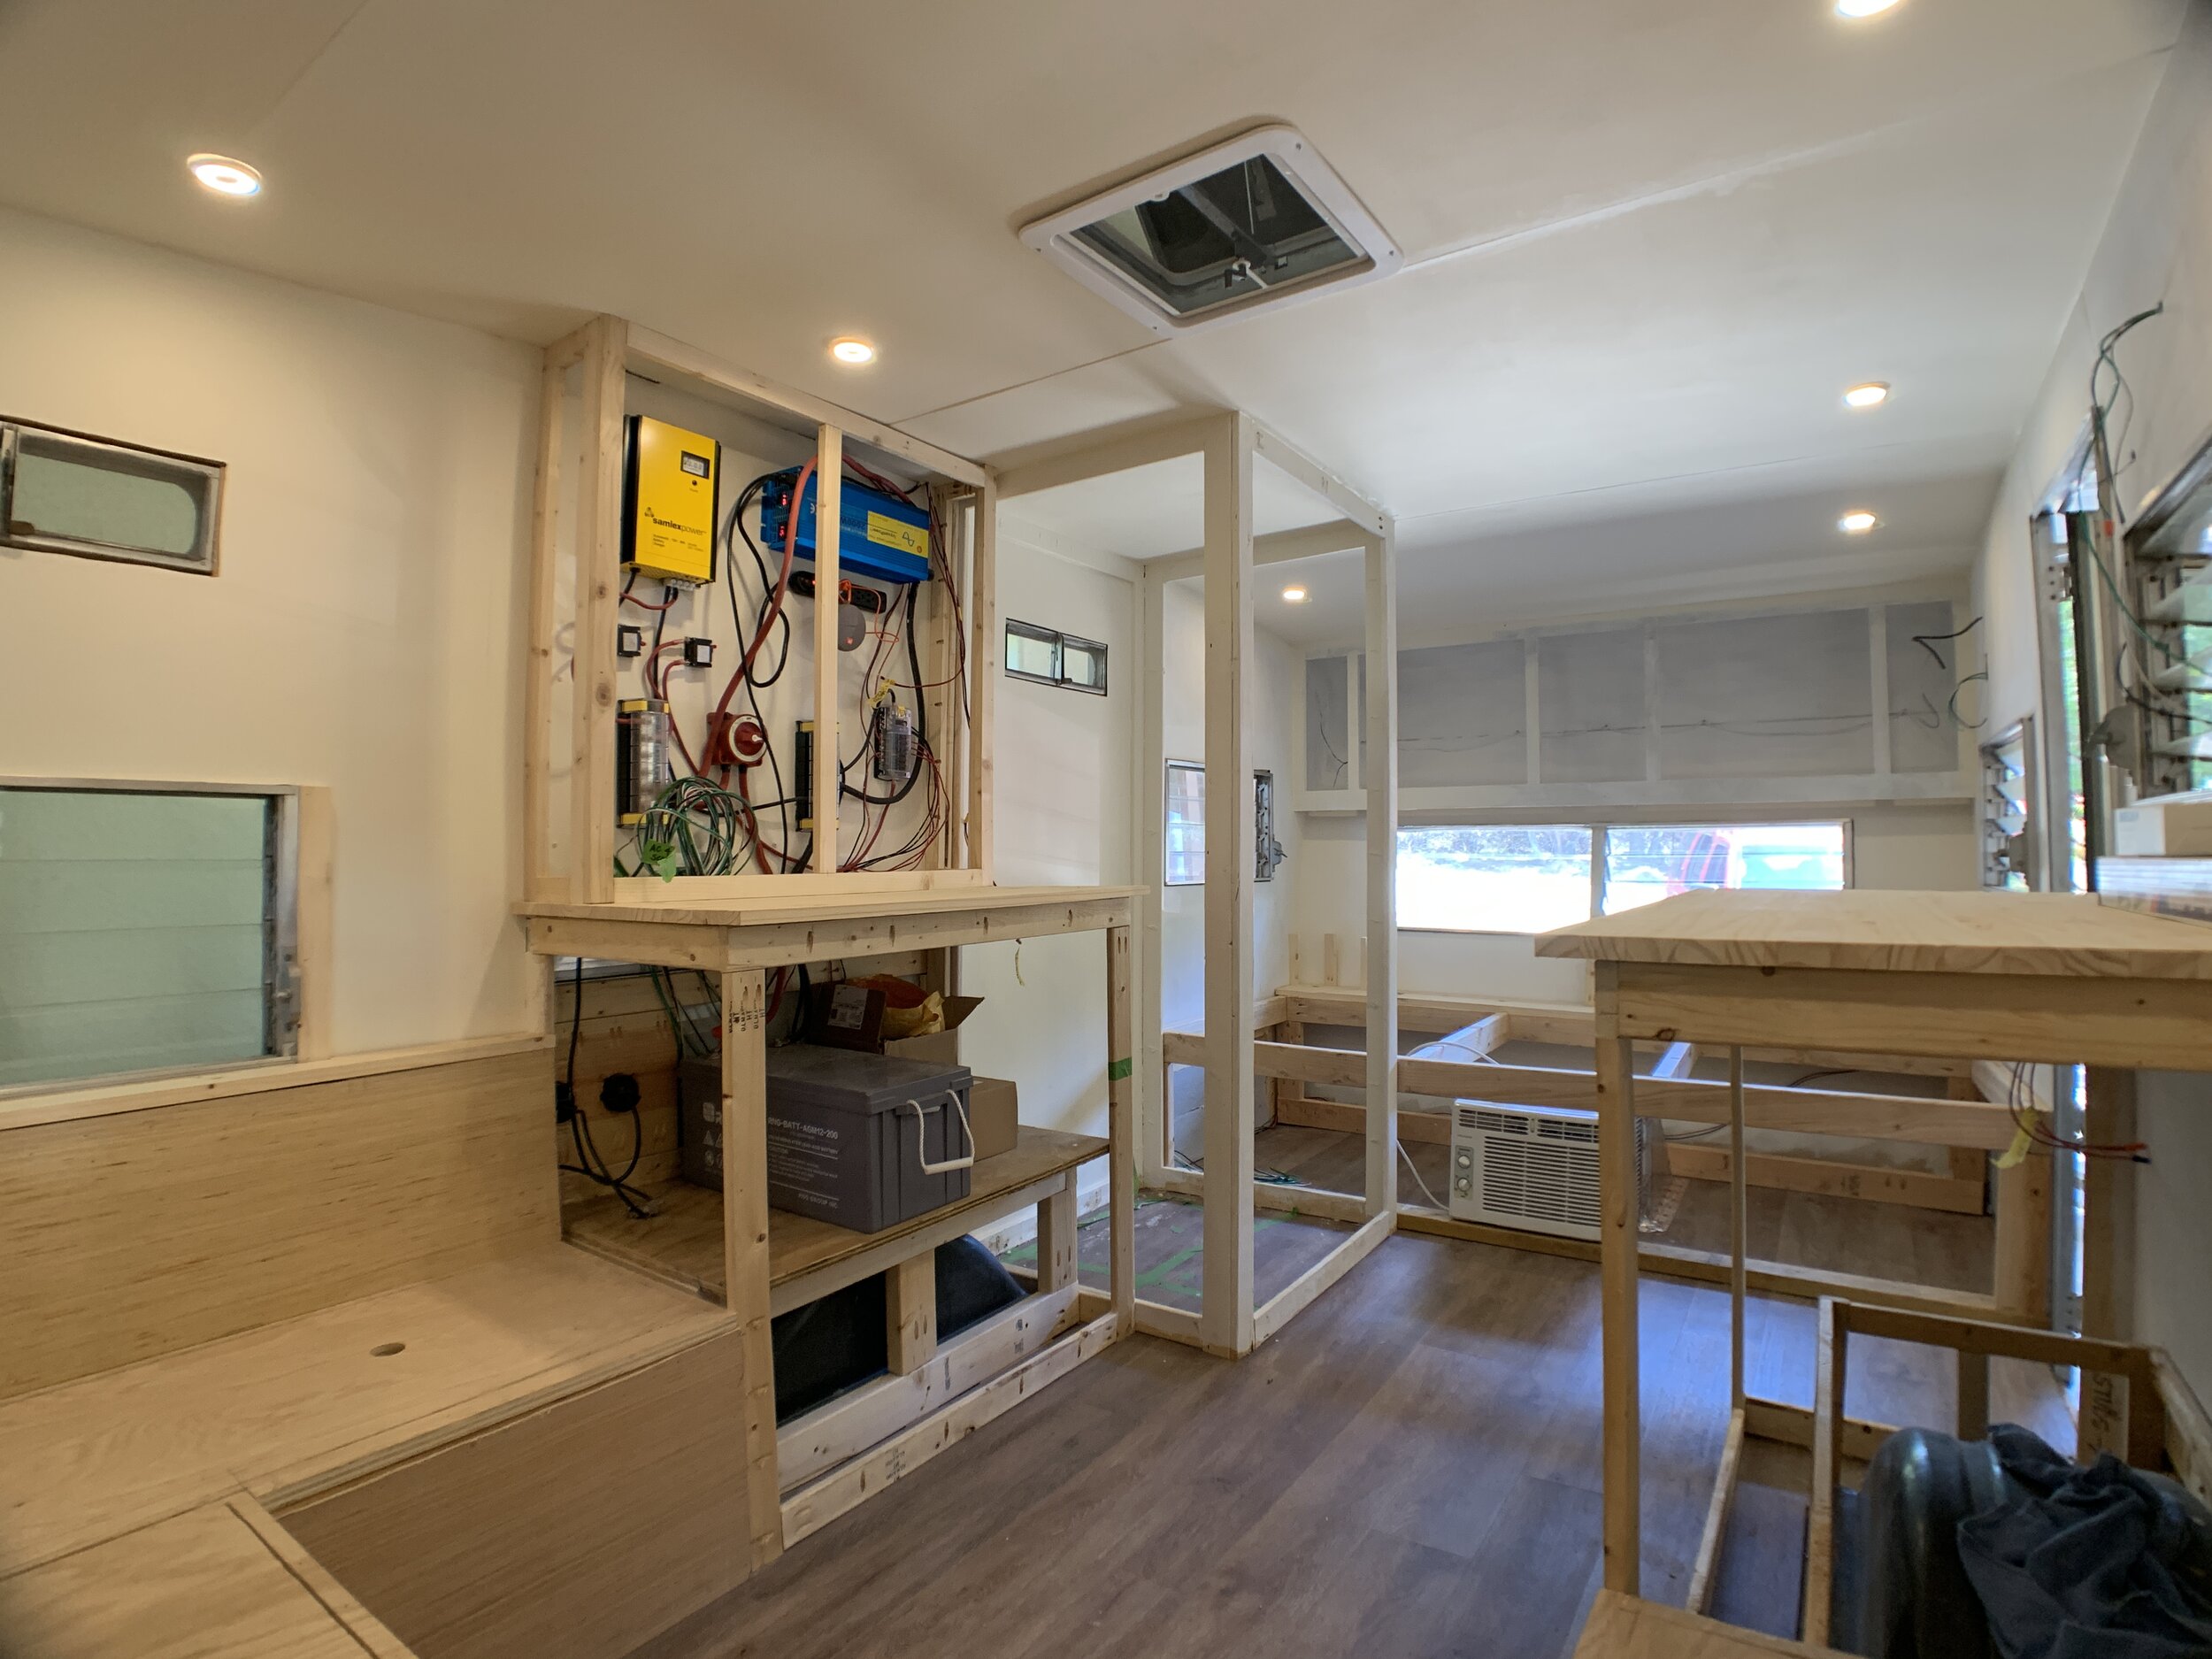
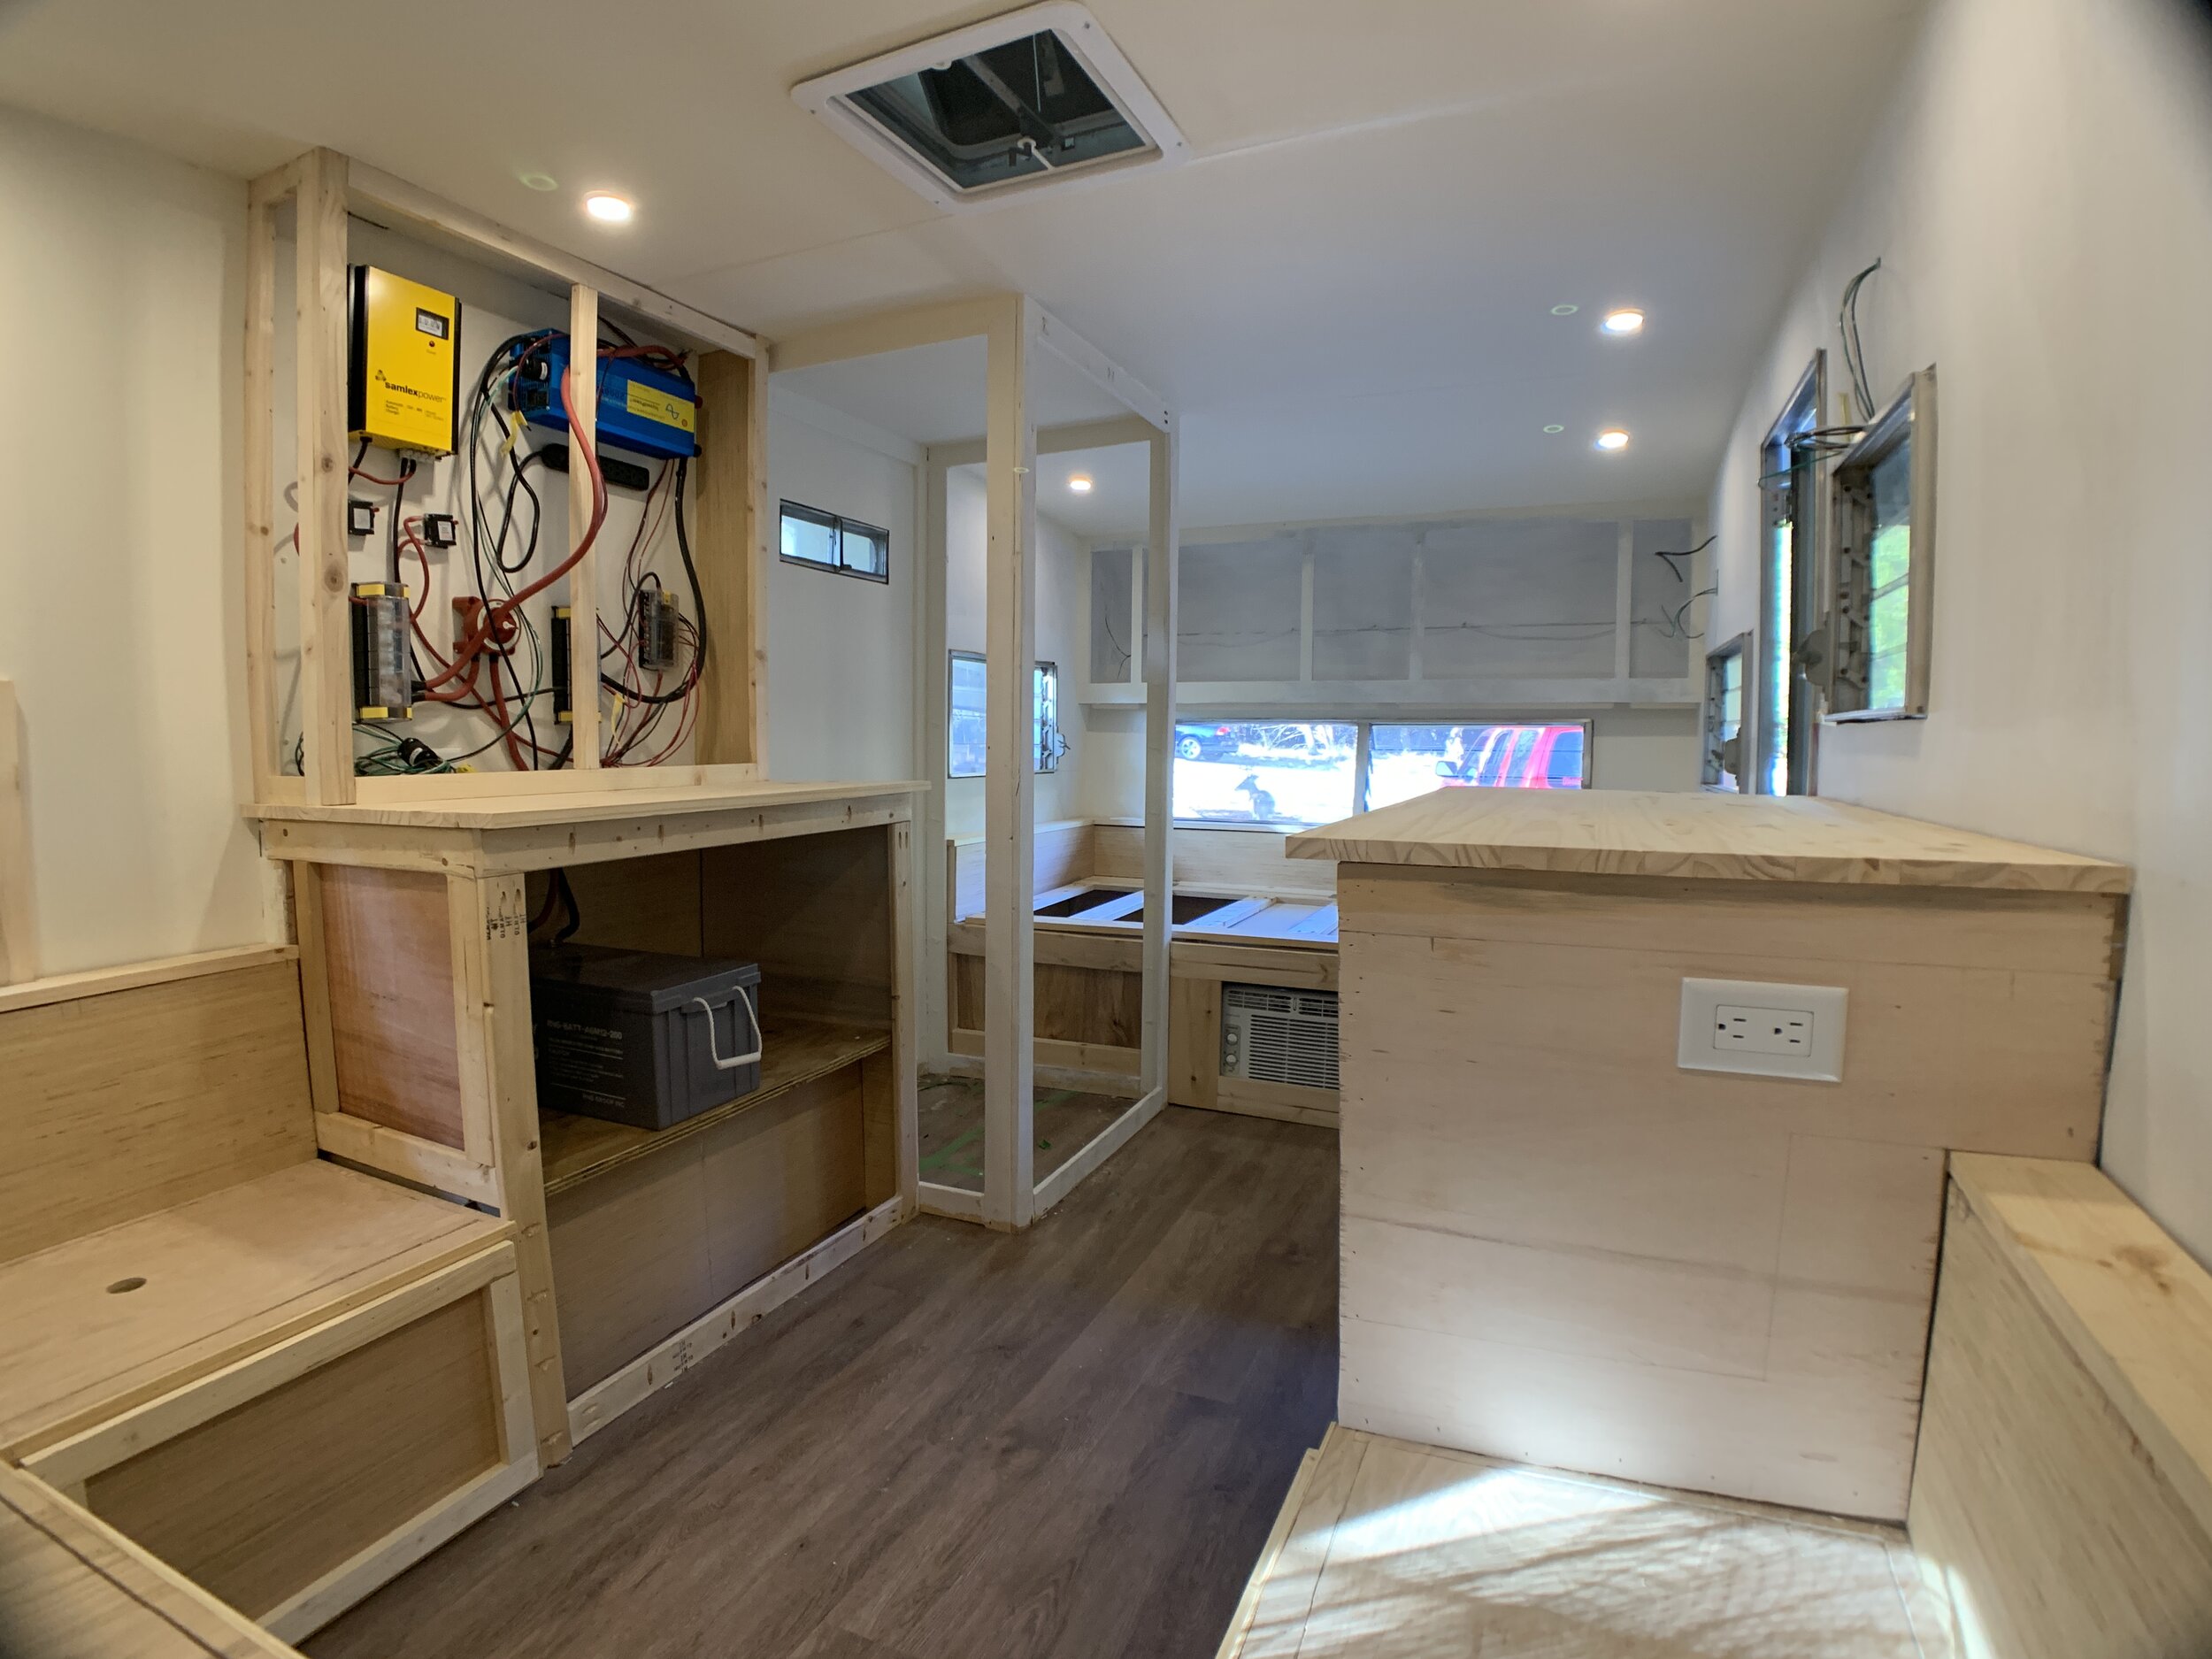
Because of the way we chose to build our cabinets, we used thin strips of lattice on the exterior sides of the cabinets to trim out along edges where the cabinets met the walls, dinette bench and countertop (that we actually installed after framing and before closing in with plywood – we’ll cover that part in the next post). Then we used a combination of nice, square-edged, cabinet-worthy lumber in both 1x3” and 1x4” sizes to make nice fronts for our cabinet bases. We used the nail gun to secure the nicer front pieces into/on top of our ugly base framing. We also used the Kreg jig to secure a nice square-edge 1x2” piece of finish lumber as the center support for the cabinet base (where the cabinet doors meet in the middle).

Building solid cabinet doors
Then we moved onto the cabinet doors. For our two base cabinets, we wanted solid doors to help hide the stuff inside from view. After deciding how tall and wide we wanted our cabinet doors to be, we used the Kreg jig and a couple different types of clamps to make the door frames out of 1x2” square-edge finish lumber. It’s really just a personal preference thing, but we opted to make our frames using straight 90-degree butt joints instead of 45-degree miter joints for ease of the build and because we were building square, shaker-style cabinets that we knew would be painted. (If we were using a more ornate type of trim with curves, I would recommend mitering the corners for seamless joints.)
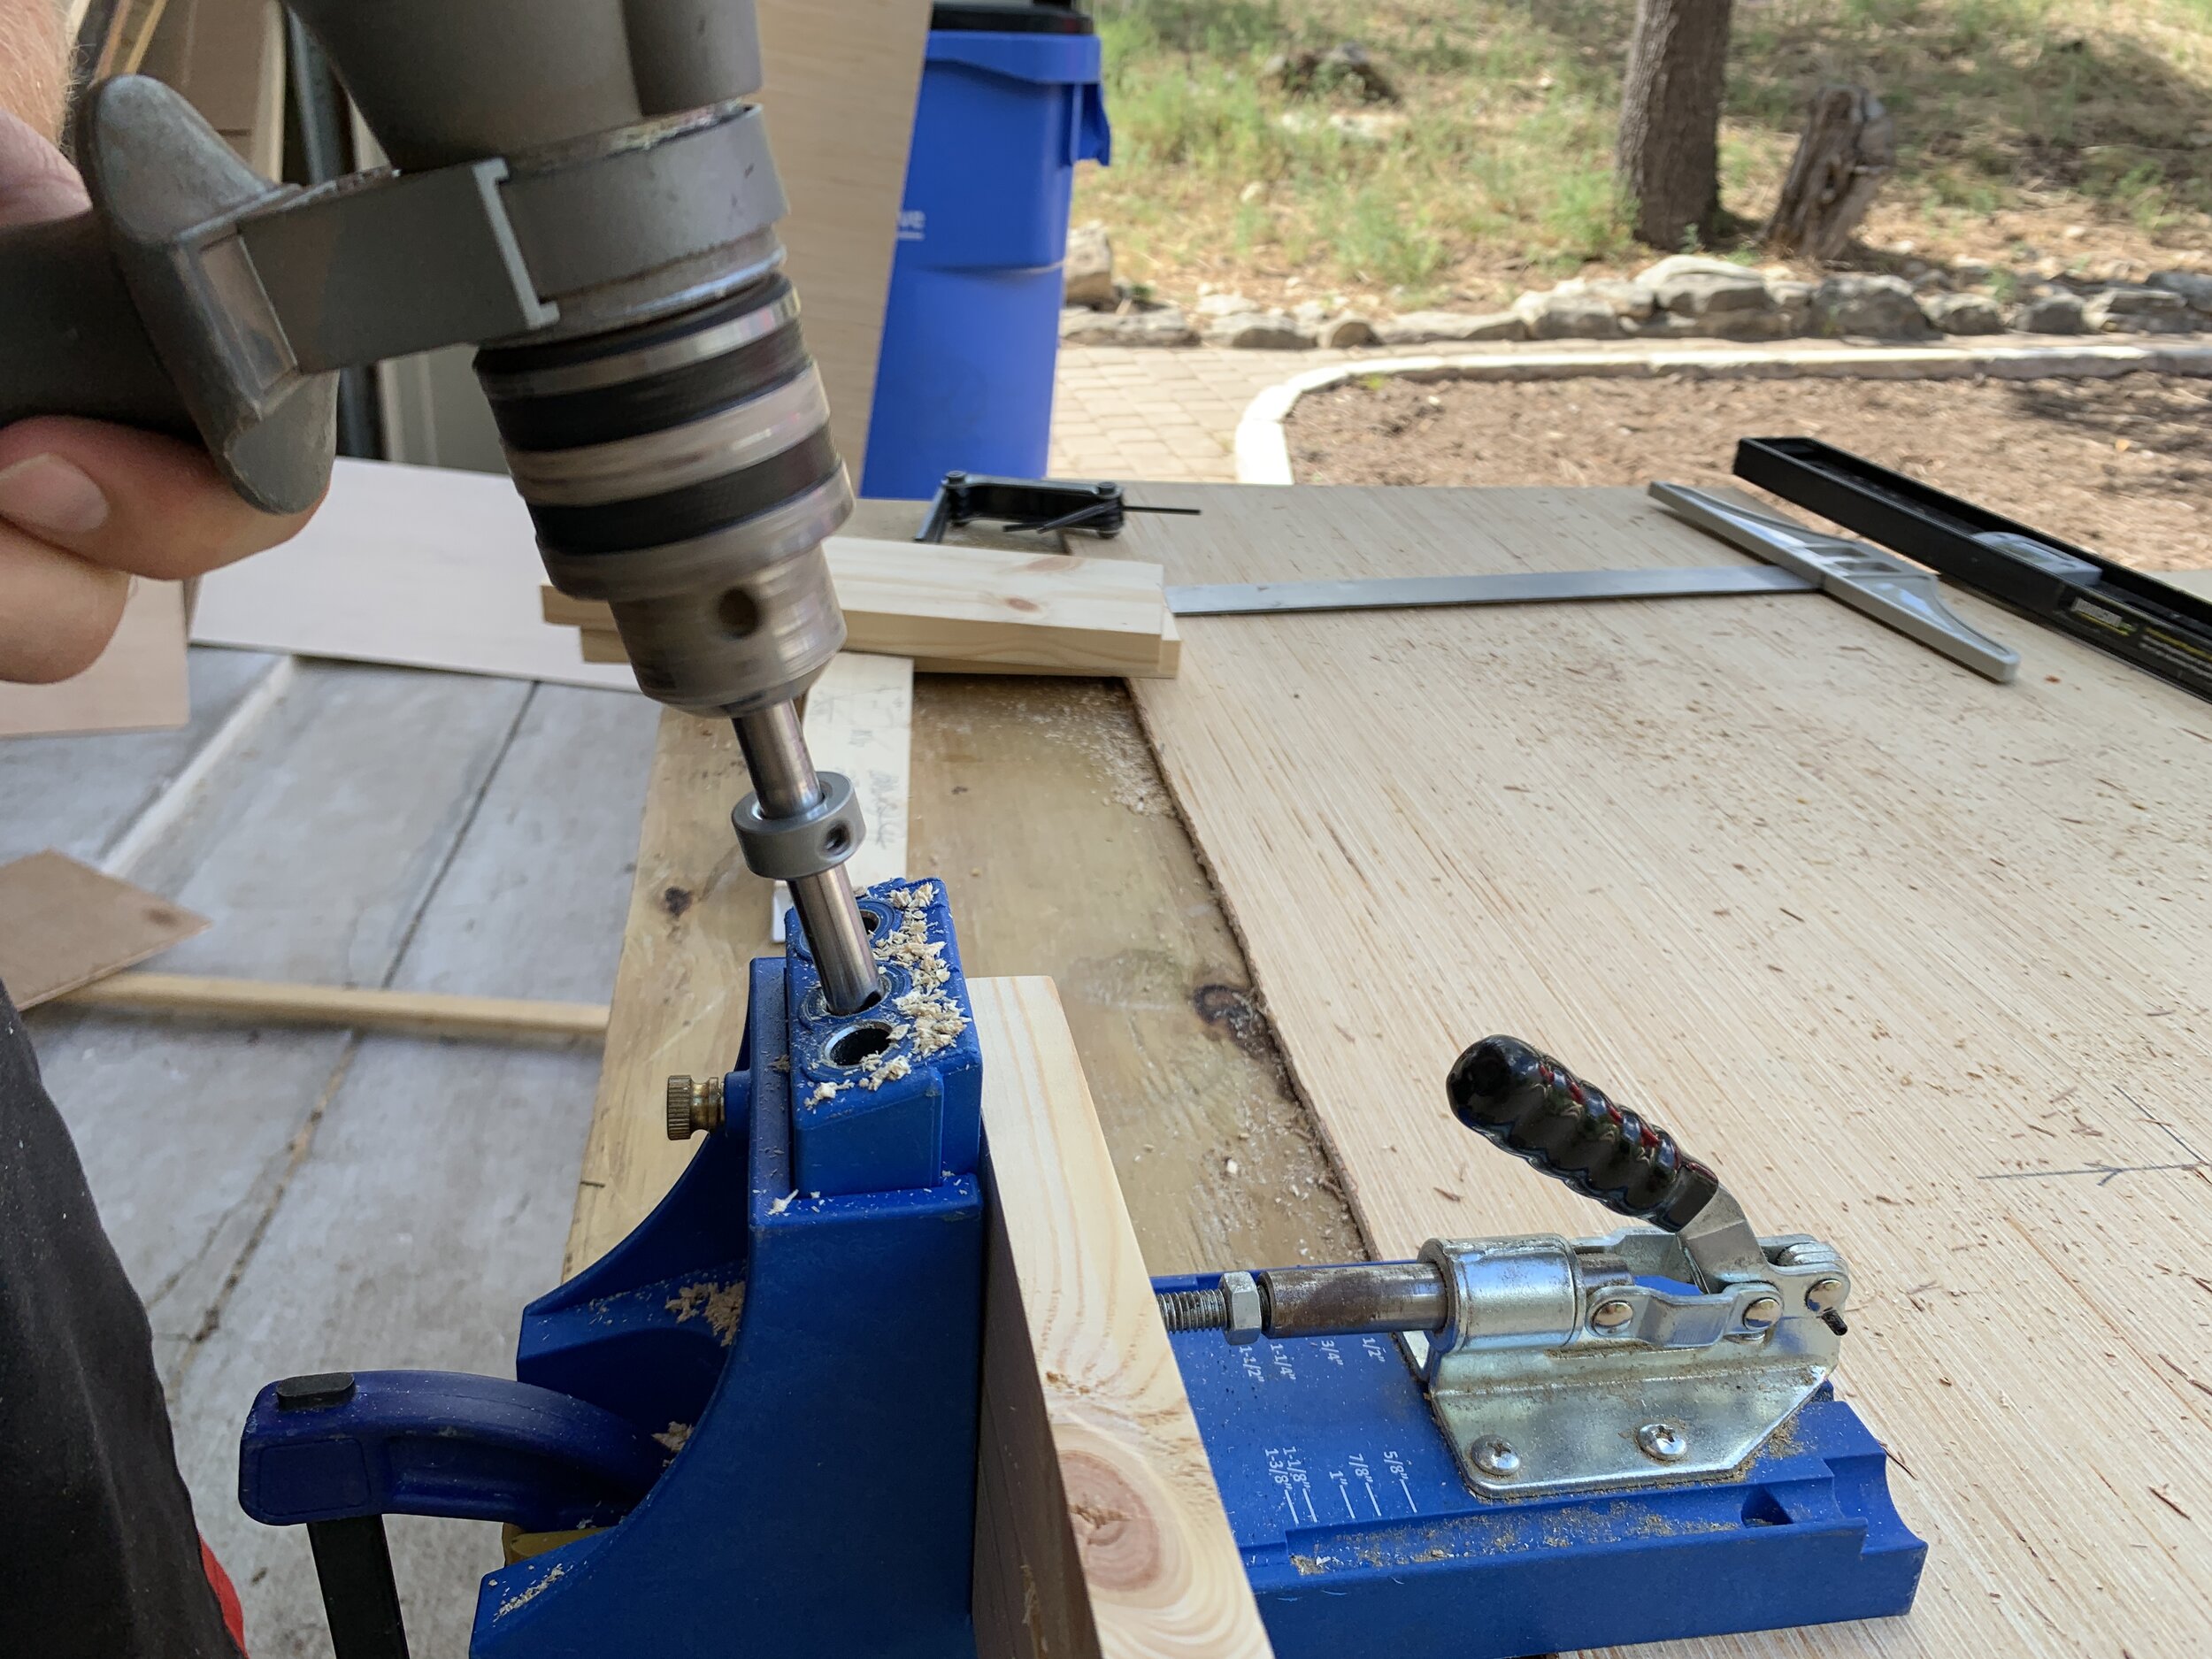
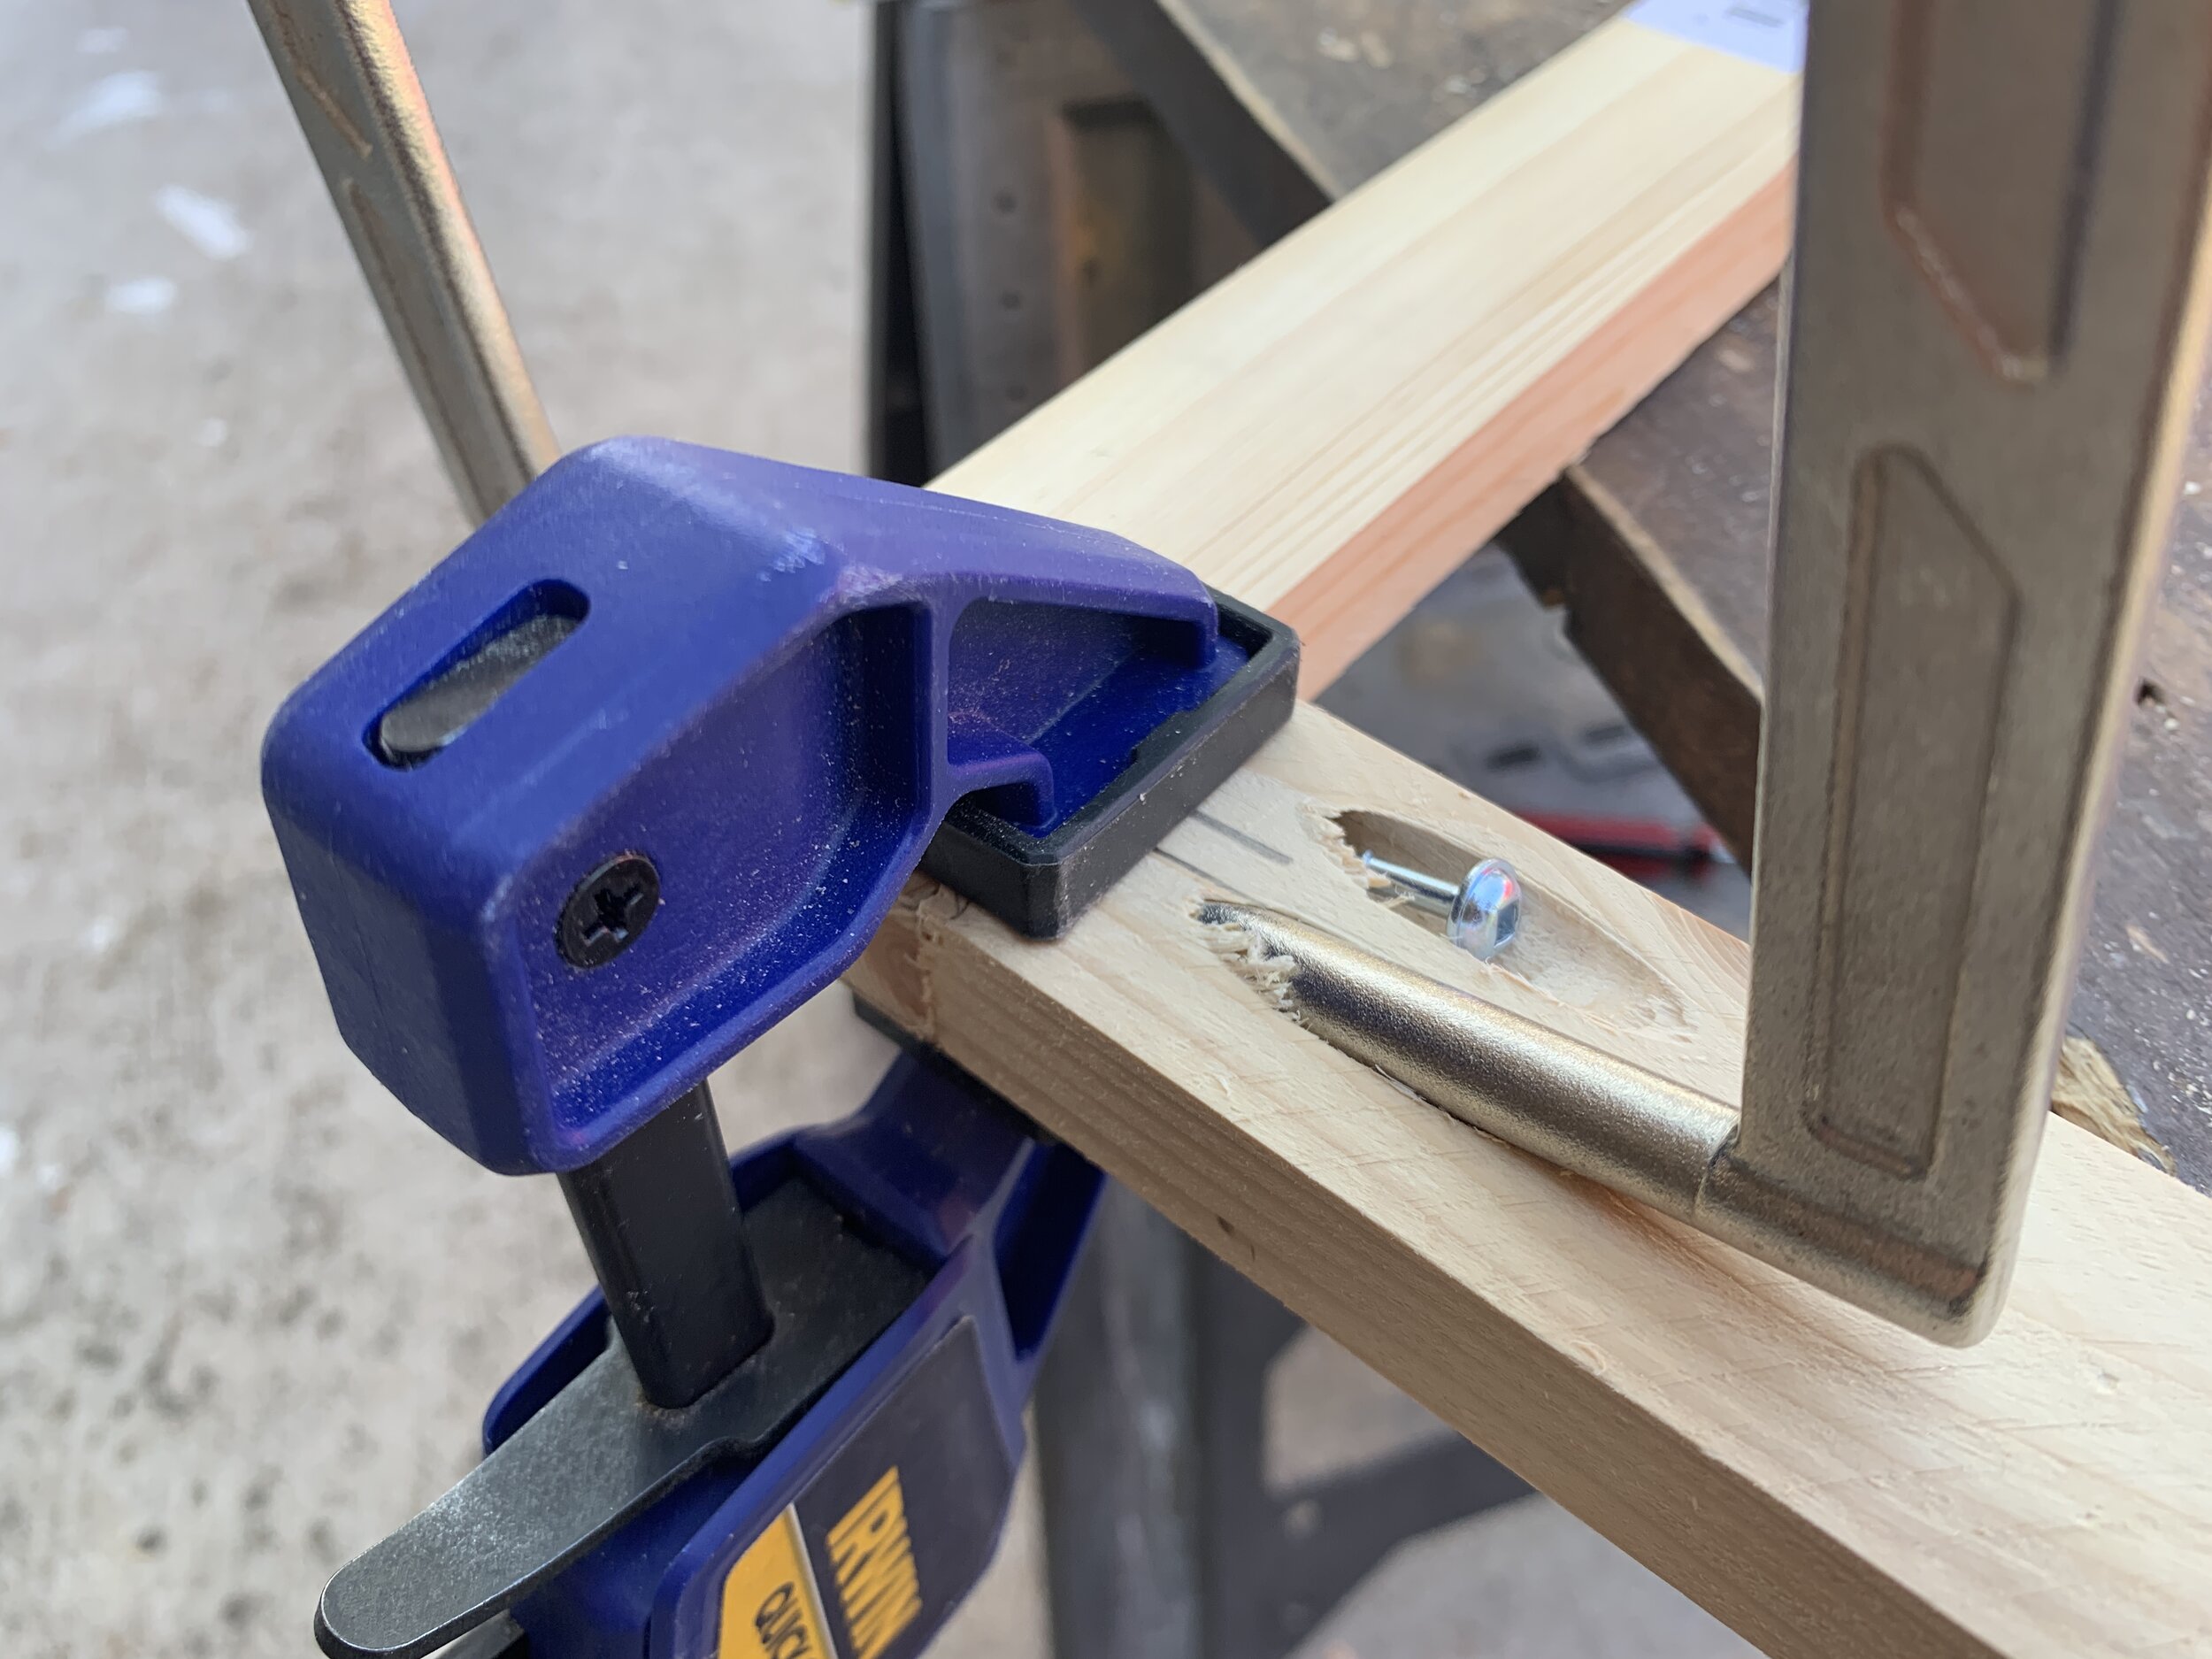
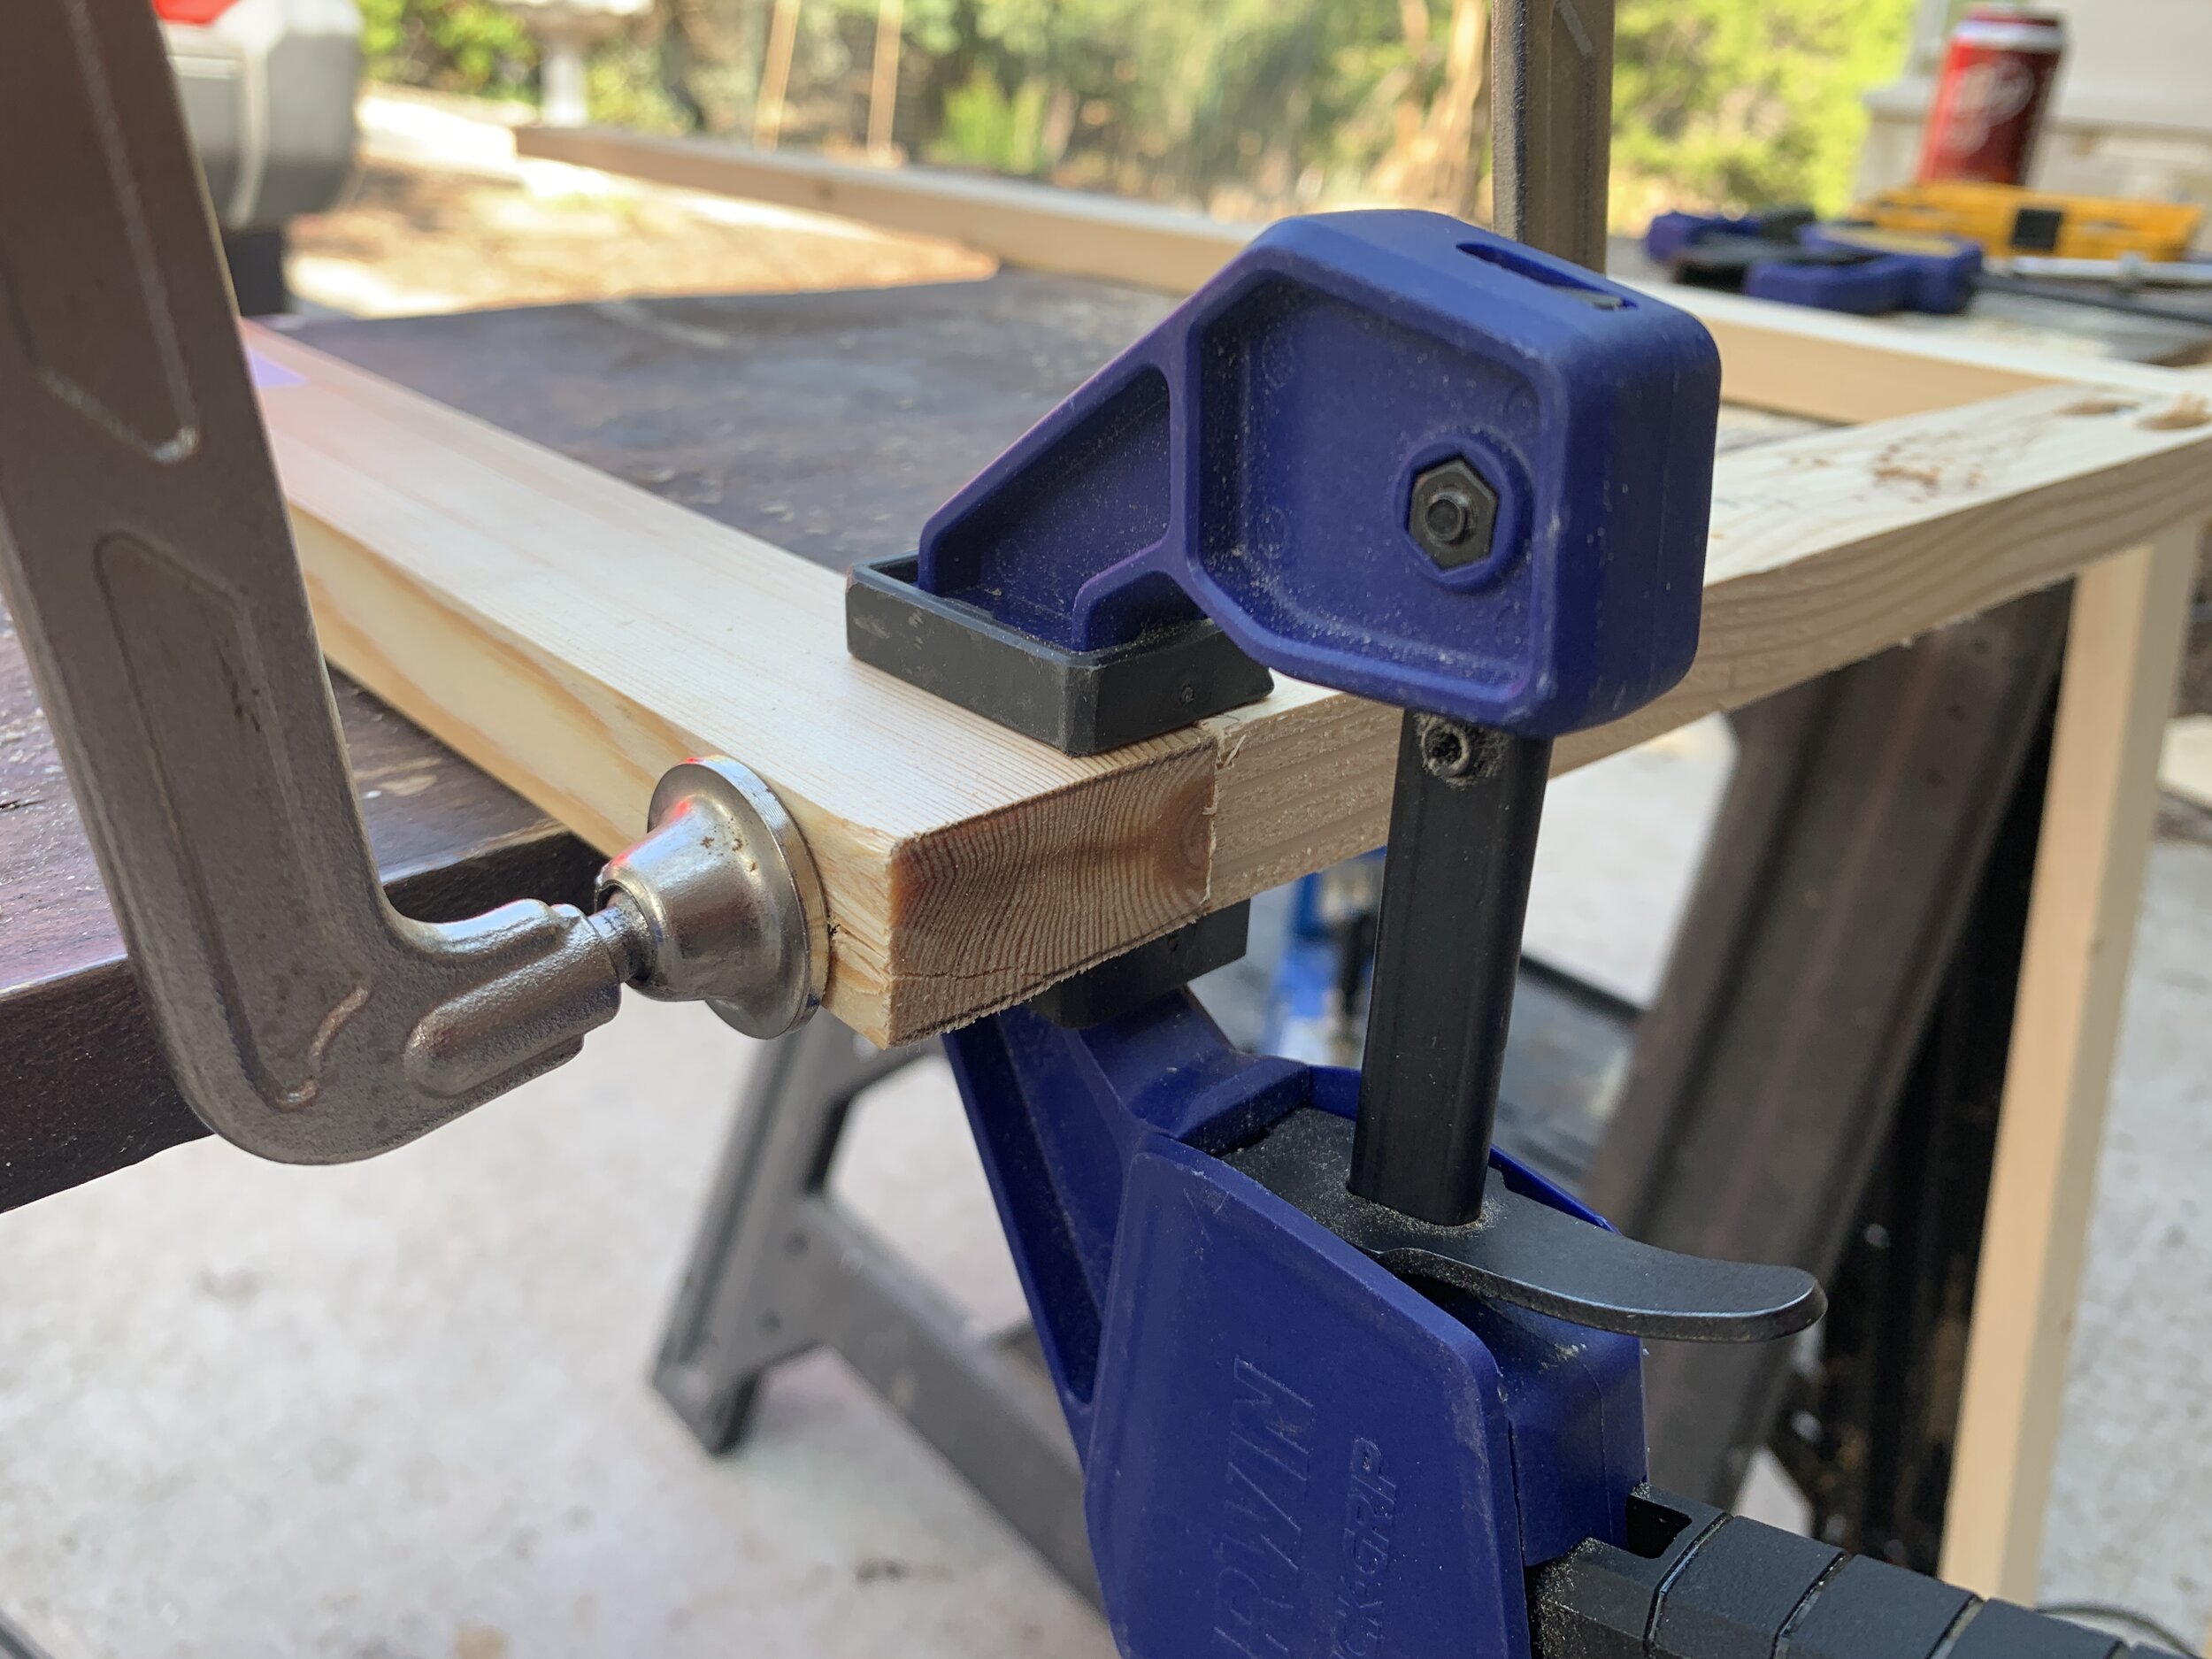
It’s important to make sure when assembling the doors that the frame pieces stay flat, in line and square when securing them together with the Kreg screws so the doors don’t end up all twisty. (Obviously the official, technical term.) We found it worked best to clamp the blue and yellow Irwin clamp first, then the right angle Kreg clamp before screwing in the first pocket screw into the joint. After we had the first screw in, we’d move the Kreg clamp into the other pocket hole (now with a screw in it) and adjust the other clamp, if needed, before securing the second pocket hole screw.
Once each door frame was made, we cut 1/4” plywood to the size of the door frame and nailed them into the 1x2” door frame pieces from the back.*
*Optionally (and perhaps, more traditionally/professionally) you could use a router on the inside edge of the back of the door frame to make a track for the plywood to sit in, or cut channels into the inside edge of each piece, providing a more finished look from the sides/back of the cabinet door.
We filled in nail holes and imperfections in the wood with wood filler and sanded for a smooth polished look. Other seams where the wood meets each other will get filled with caulk for a flawless finish when painted.
Hanging cabinet doors

We decided to place our hinges 5” from the top and bottom edges of each cabinet door and attached them to the cabinet bases so that the gap in between each doors would be about 1/8”. We kind of played with the exact placement of the doors until they were level with the underside of the countertops, lined up with our markings on the center divider and lined up nicely on top and bottom with each other and then secured the other side of the hinges to the base cabinets. We then added magnetic cabinet latches to help keep the doors shut during travel.
What now?

Today, the cabinets are entirely functional (and we even took The Cameo camping a couple weeks ago!) but as of now, we still need to complete the finish work on the cabinets – caulk, prime and paint – and finish installing our hardware. (Spoiler alert: it’s beautiful, and if you haven’t seen what we have in mind, you can check it and our first camping trip out on Instagram. * SWOON *
Next on the blog we’ll cover our countertop install, vented electrical cabinet build and how we installed the sink and glass induction stovetop so we have one seamless countertop space to use when not in use.