The Cameo Camper Renovation: Electrical System Check-In
Today is a check-in post and we’re sharing our lessons learned since we installed our whole electrical system. One could also call it the “wow that’s really obvious, ya dummies” post. But I figure if we ran across it, there’s at least one other person we might be able to help by sharing our fails, no matter how obvious they are (now, in hindsight).
While we haven’t officially taken the Cameo on the road just yet, we’ve already learned some things just using the camper’s electricity for lights, A/C, fan, etc. while we work.
Electrical Pro Tip 1:

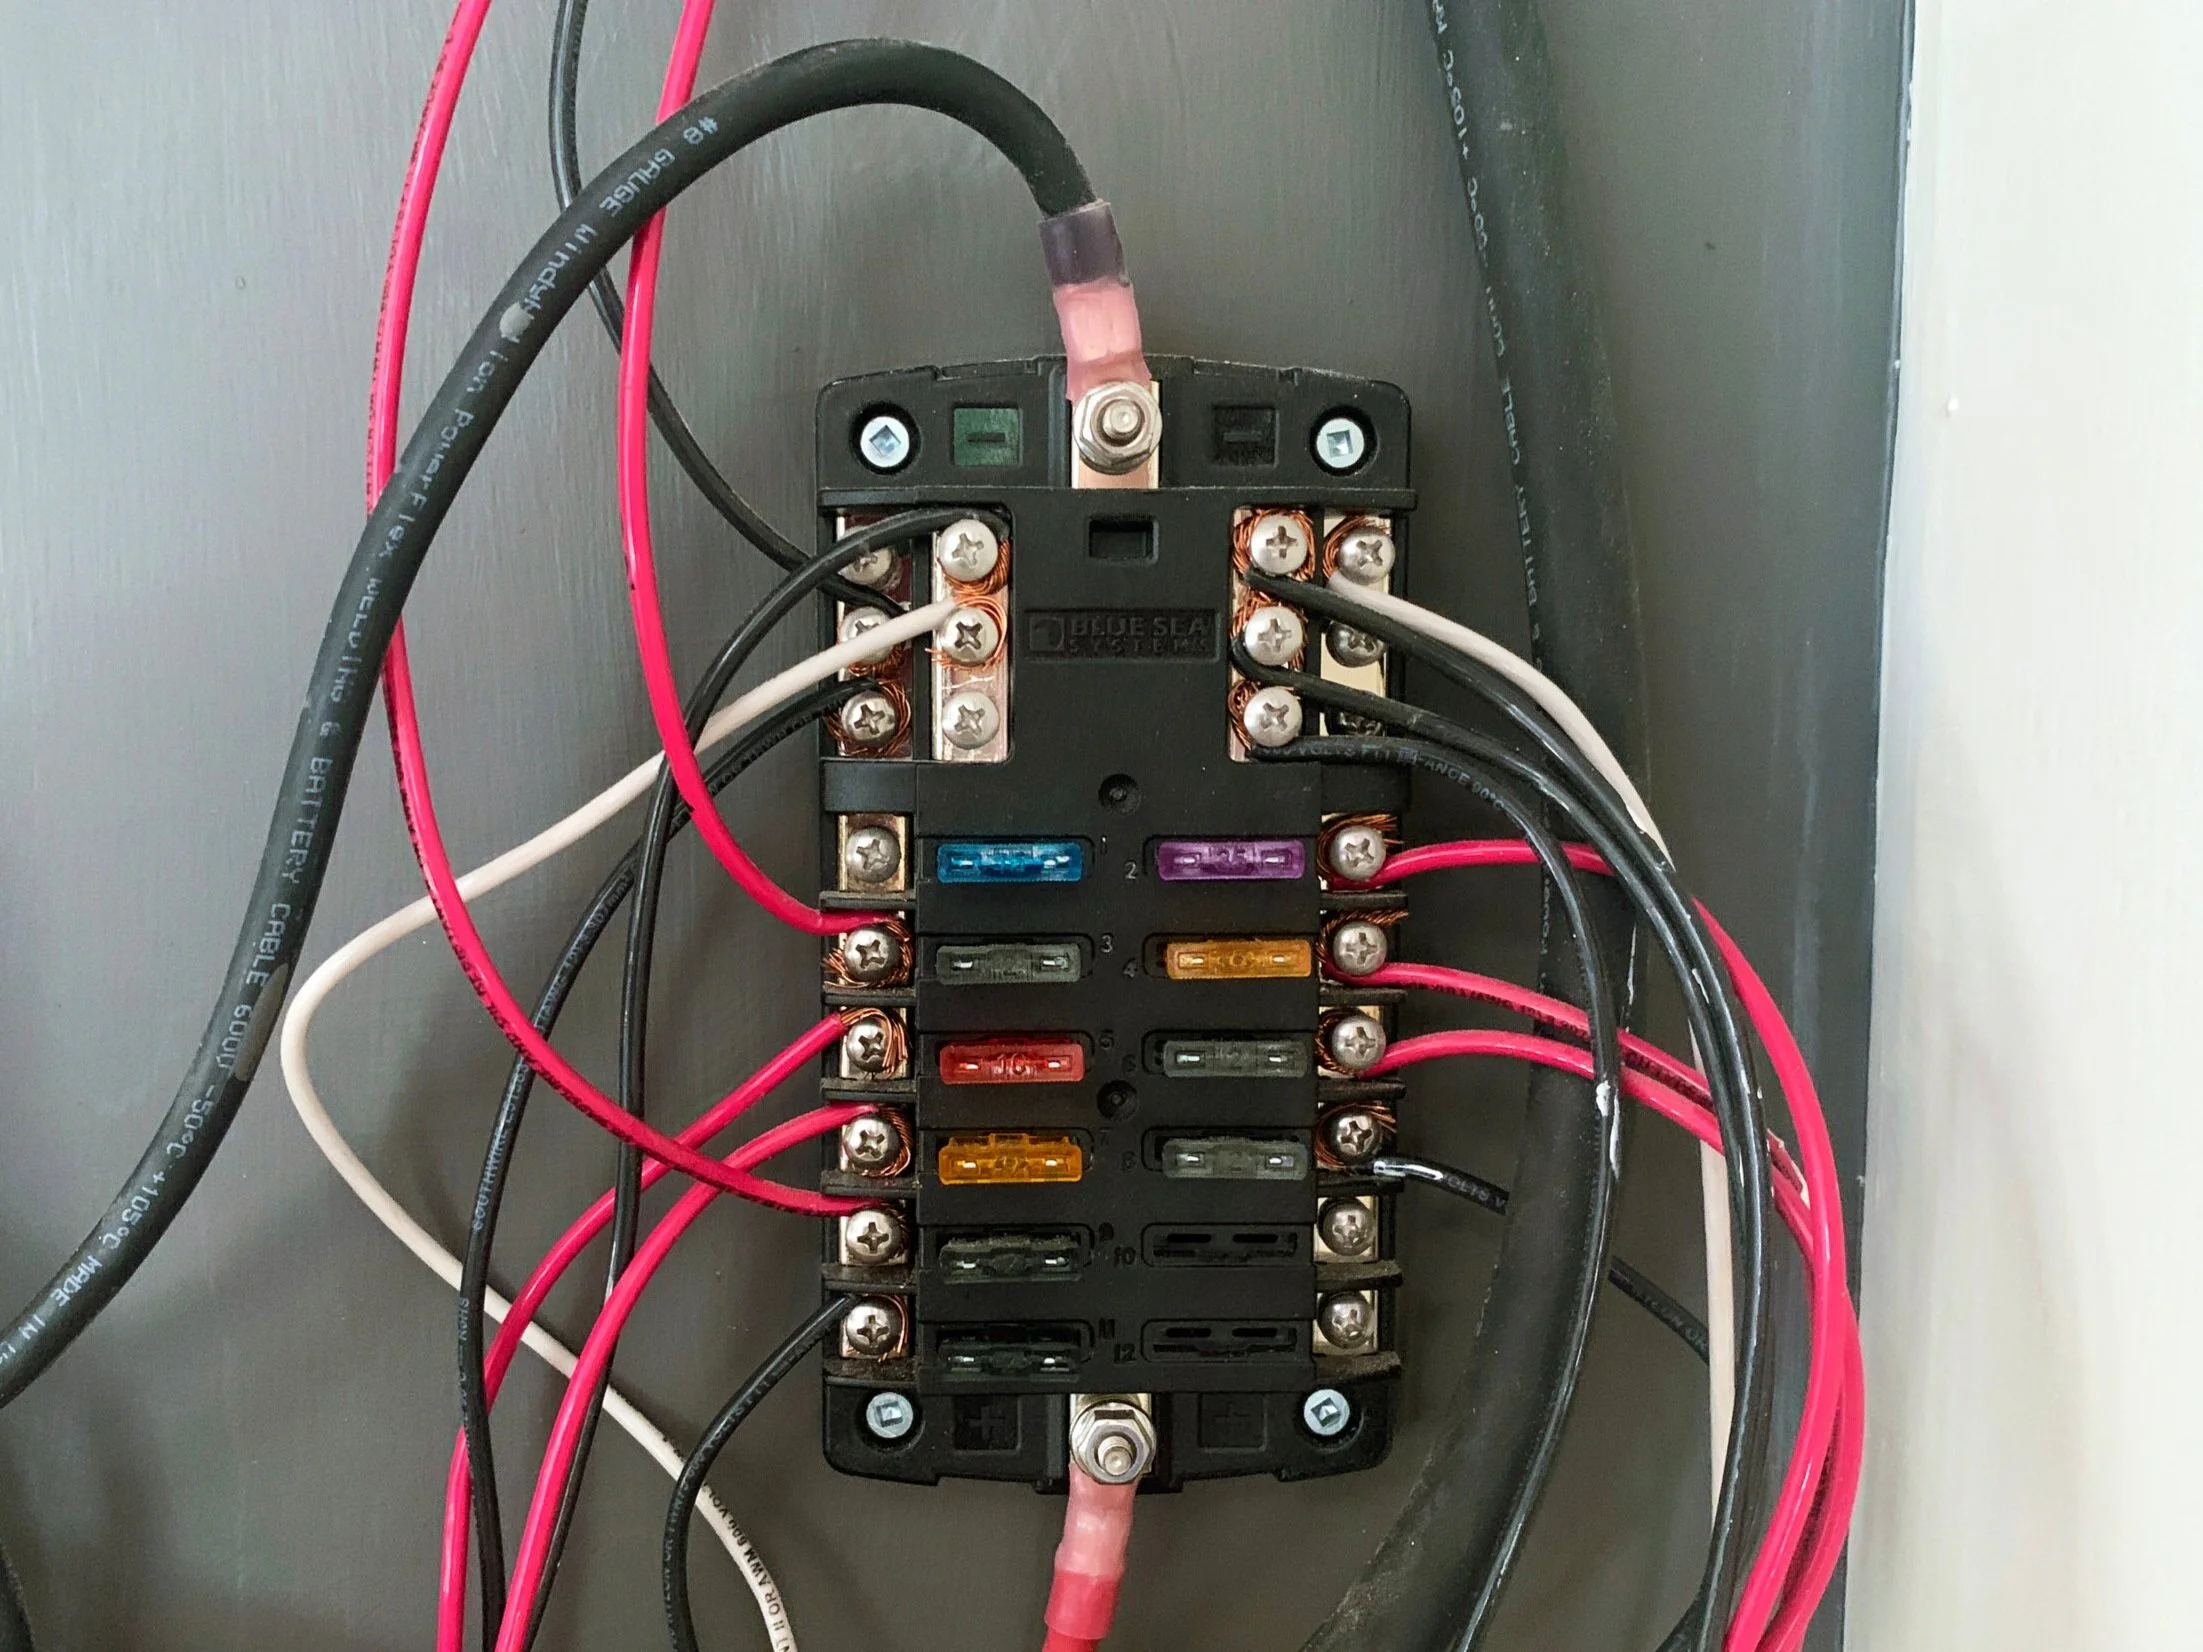
Make sure you tighten down all of your electrical connections really well. We think a loose connection (and maybe some over-heating/shrinking in the first place..? so don’t do that either) caused one of our heat shrink connectors on one of our two breaker switches to get hot, shrink too much and split. It’s not pretty and while it still functions, needs to be redone. (Just add it to the punch list.)
Electrical Pro Tip 2:

But don’t over-tighten your electrical connections. After the connector mentioned in tip 1 split, we – okay, I – tightened all of our connections with the corresponding tool for each (socket wrench, screwdriver, etc.). In doing so I guess I hulked out for a second and broke one of our little breaker switches. (The other switch.) So we got that part replaced as soon as we could say Amazon because without that one little item, we had no lights to work.
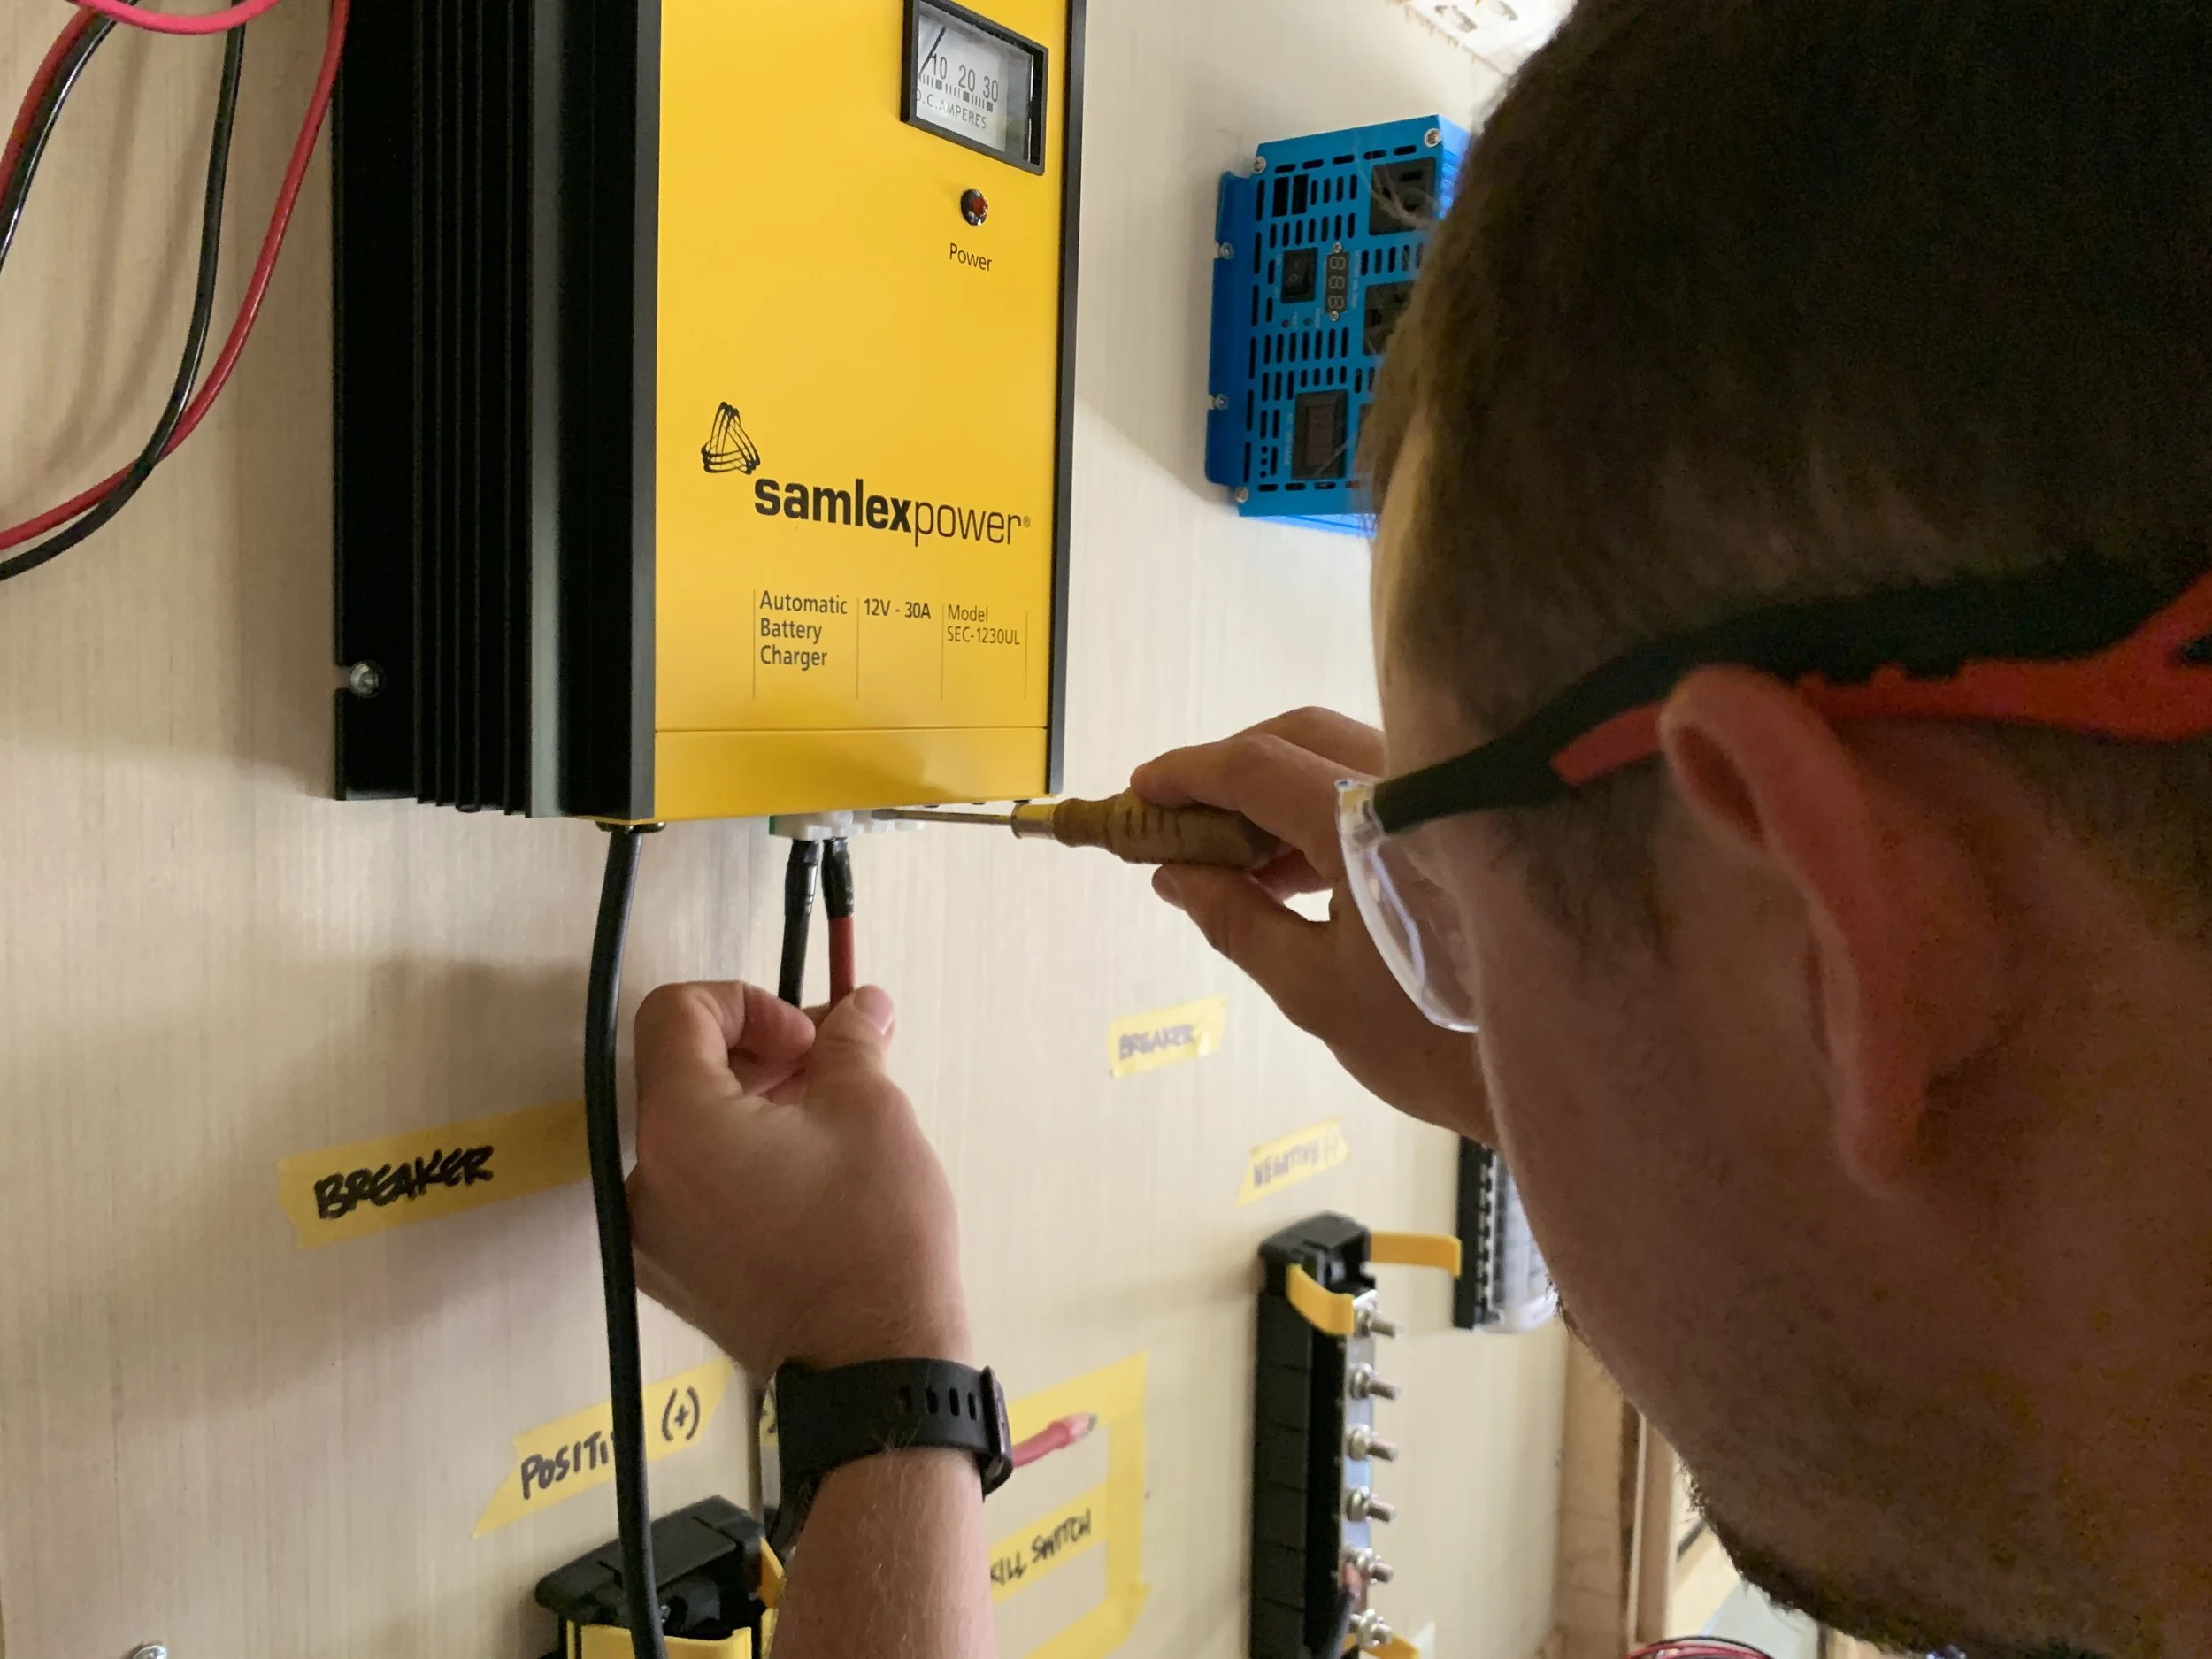
Electrical Pro Tip 3:

Kinda messy, but the switches we need to leave on to charge our battery is the little breaker switch on the left underneath the yellow converter/charger and the red square kill switch that has the white circle on it toward the bottom middle. This is the “hot” path connecting our shore power inlet (from the house) to our 12V battery housed underneath the countertop in this photo.
As obvious as it may sound, to charge the battery, make sure you leave the big red kill switch and the first breaker switch (the one closest to the yellow converter/charger) in the on position. We kept thinking we had done something to fry our system because we were plugging it into the house and then would come back the next day to find the battery had no juice. With safety and energy savings in mind, we were always turning everything off to not pull energy when we weren’t needing it/weren’t there. But as we finally realized, if those 2 items in the system aren’t “on”, no power can be pulled from the convert/charger to the actual battery no matter how long it’s plugged into the house. (Duh!)
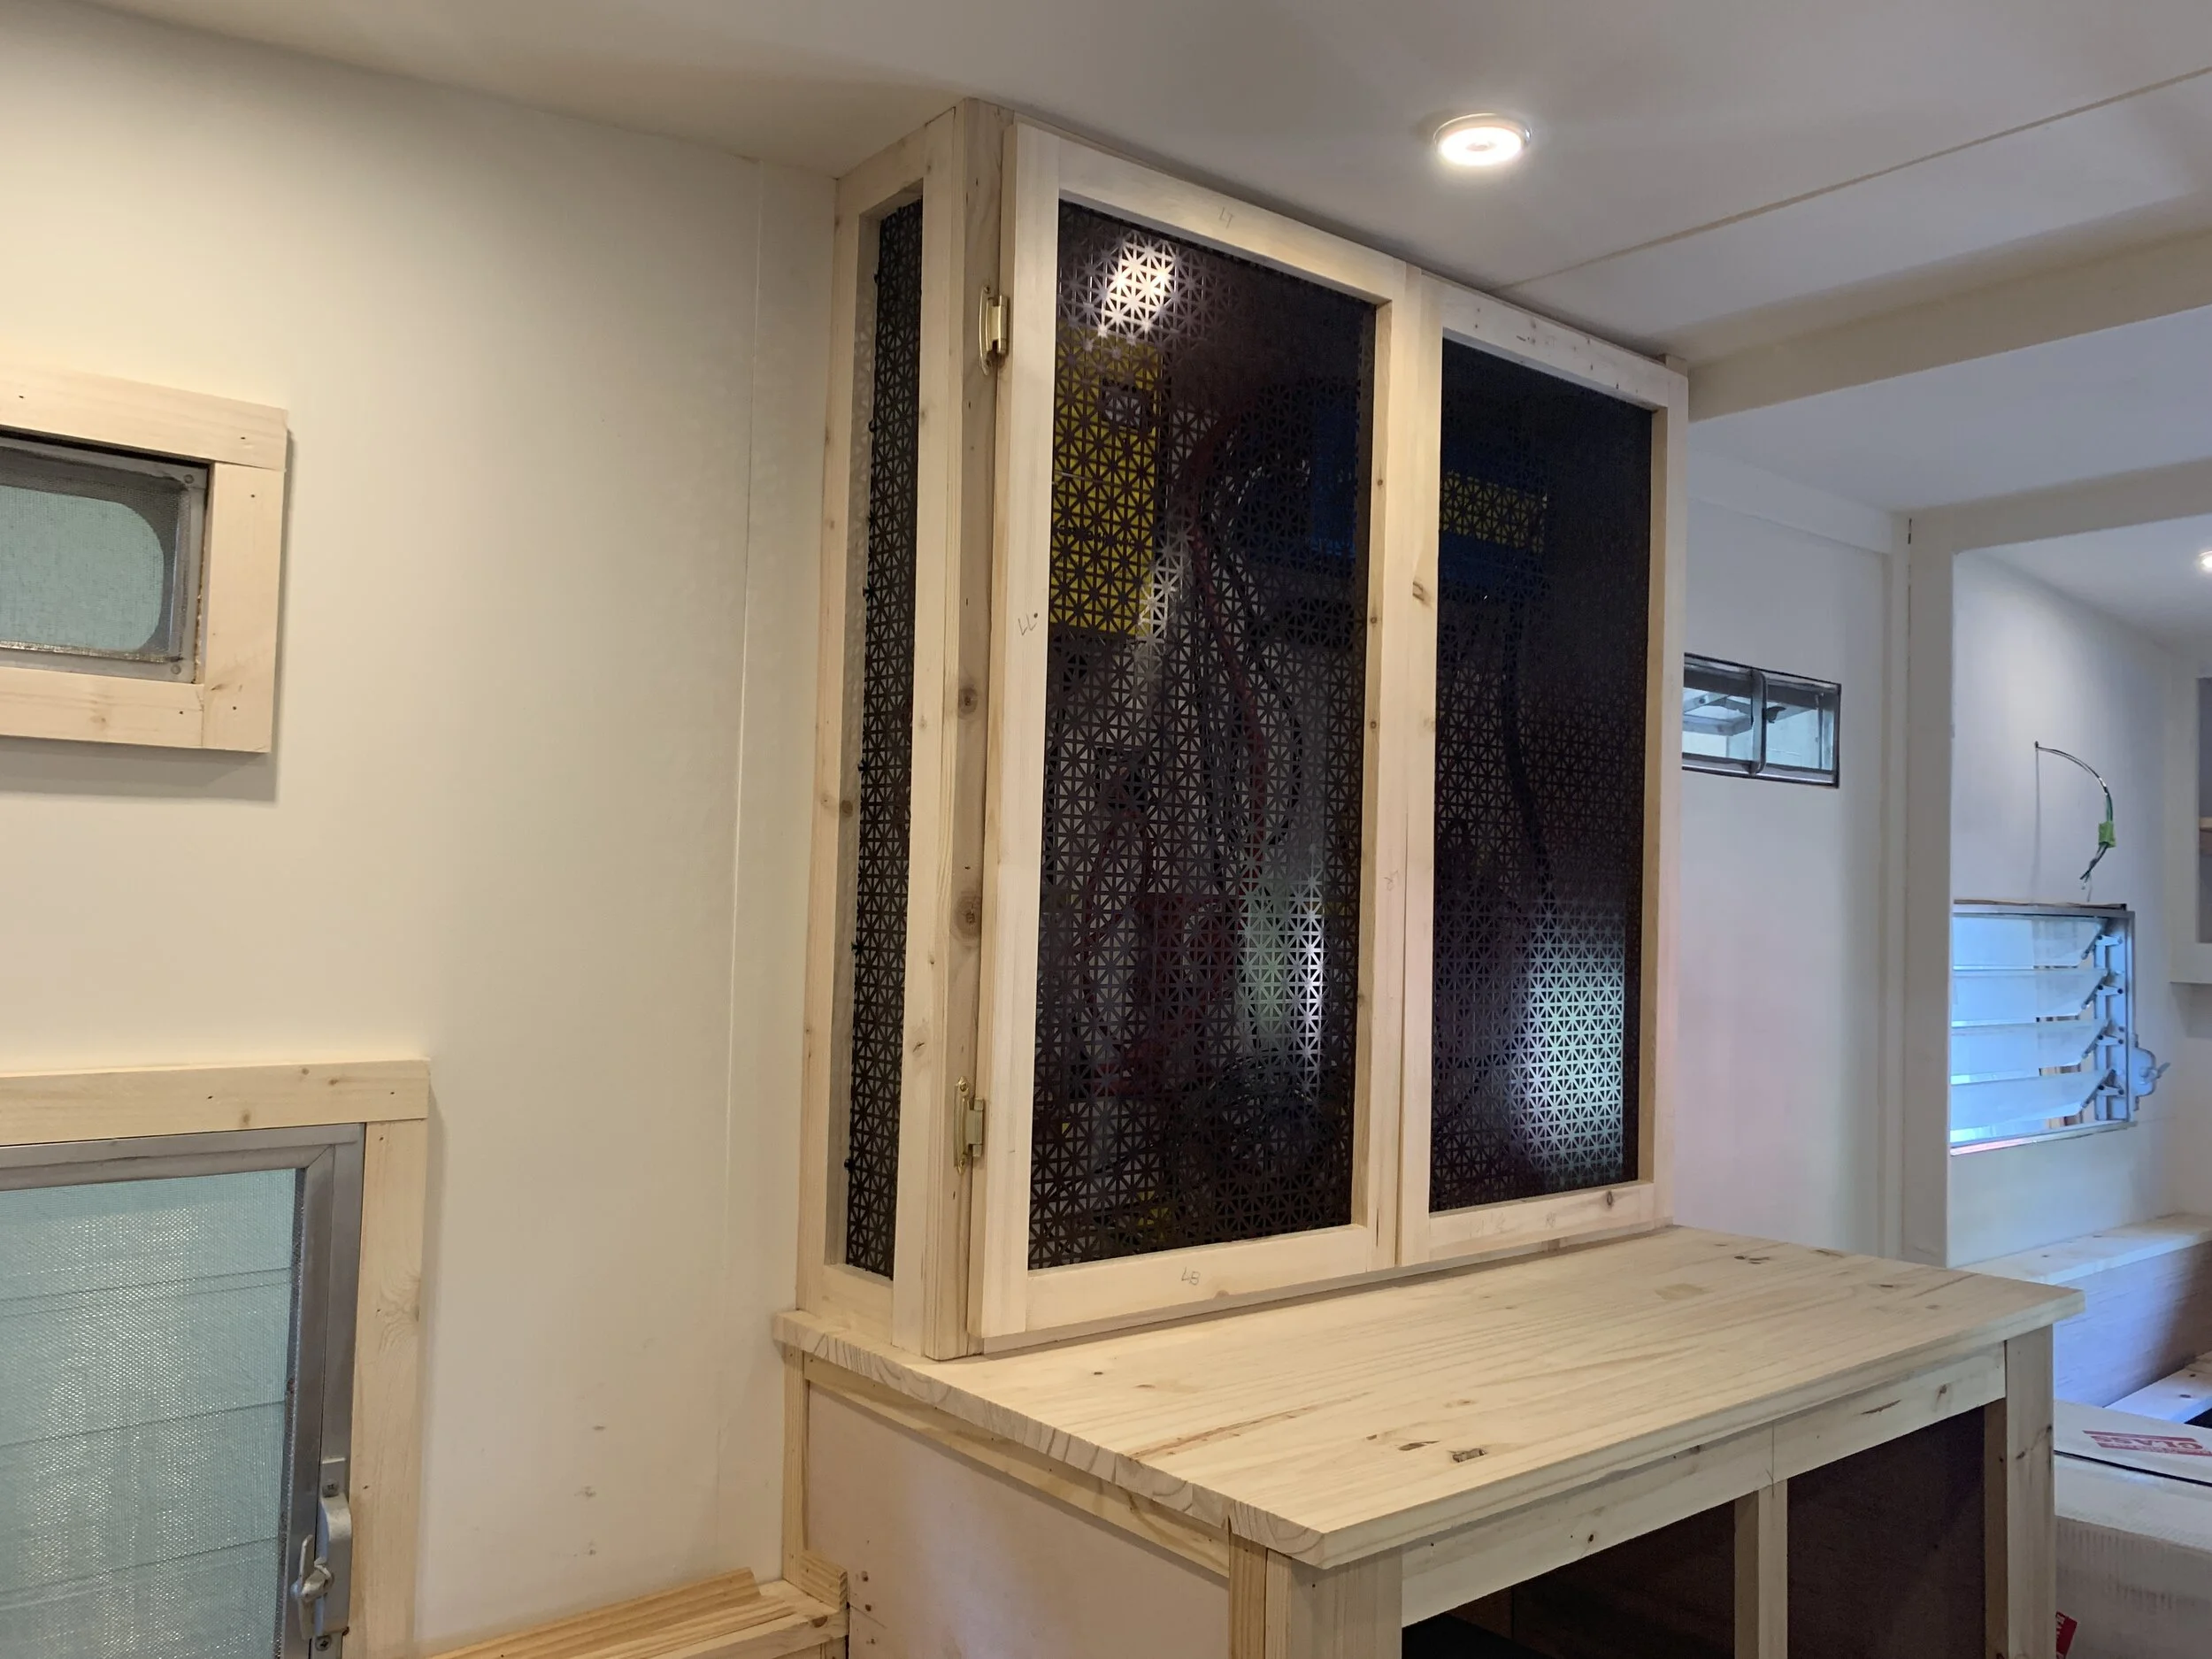
So what do y’all think? Pretty obvious (dumb) stuff, huh? Anything we’ve covered you want us to follow up on? Anything you want us to cover sooner rather than later? Did you notice the sneak peek of our vented electrical cabinet? We’ll share a full tutorial on that one too (complete with lots of photos)!