The Cameo Camper Renovation: Our 3-Step Guide to Waterproofing a Vintage Camper
We get asked and see a lot of questions out there about how to waterproof a vintage travel trailer. To be honest, it was one of the areas of the renovation we had a lot of questions about too and was definitely one of the biggest problems our camper faced. If you remember back to when we first got The Cameo – or if you’re renovating your own – there’s a good chance you know about or have had to deal with water damage and can agree it’s pretty much the worst thing for a camper and is something to avoid at all costs.
Why water is the worst (for campers)
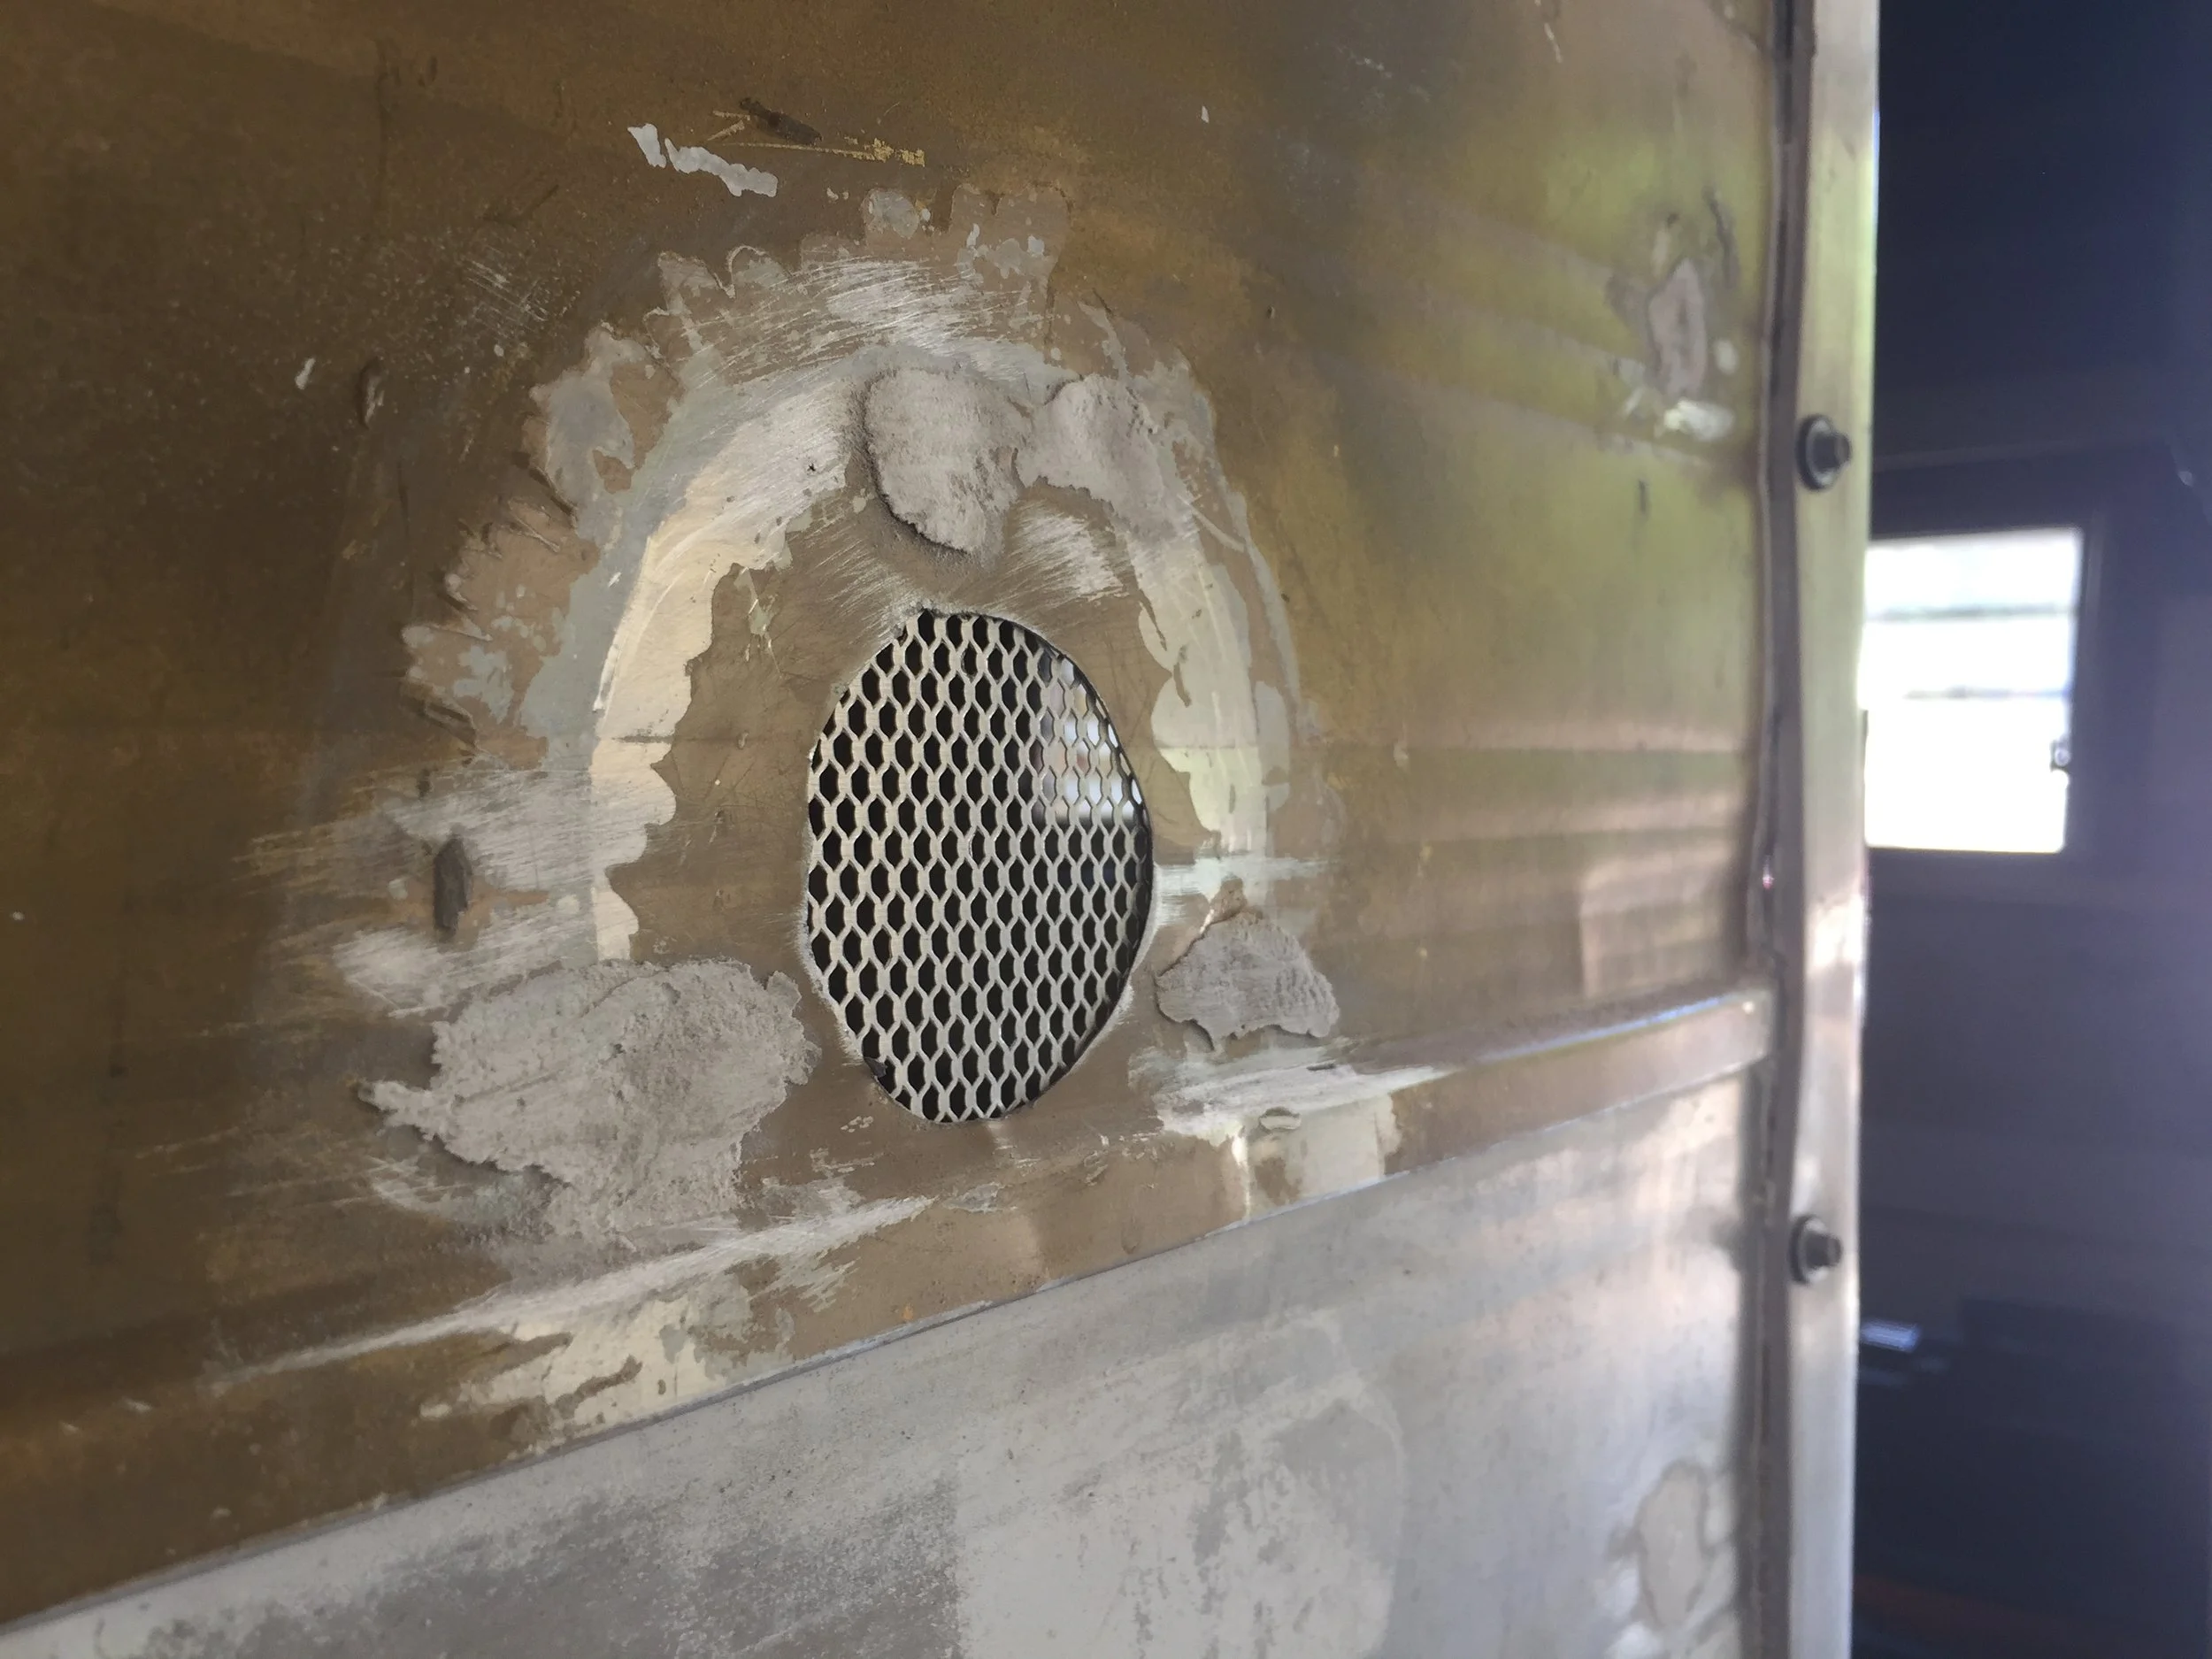
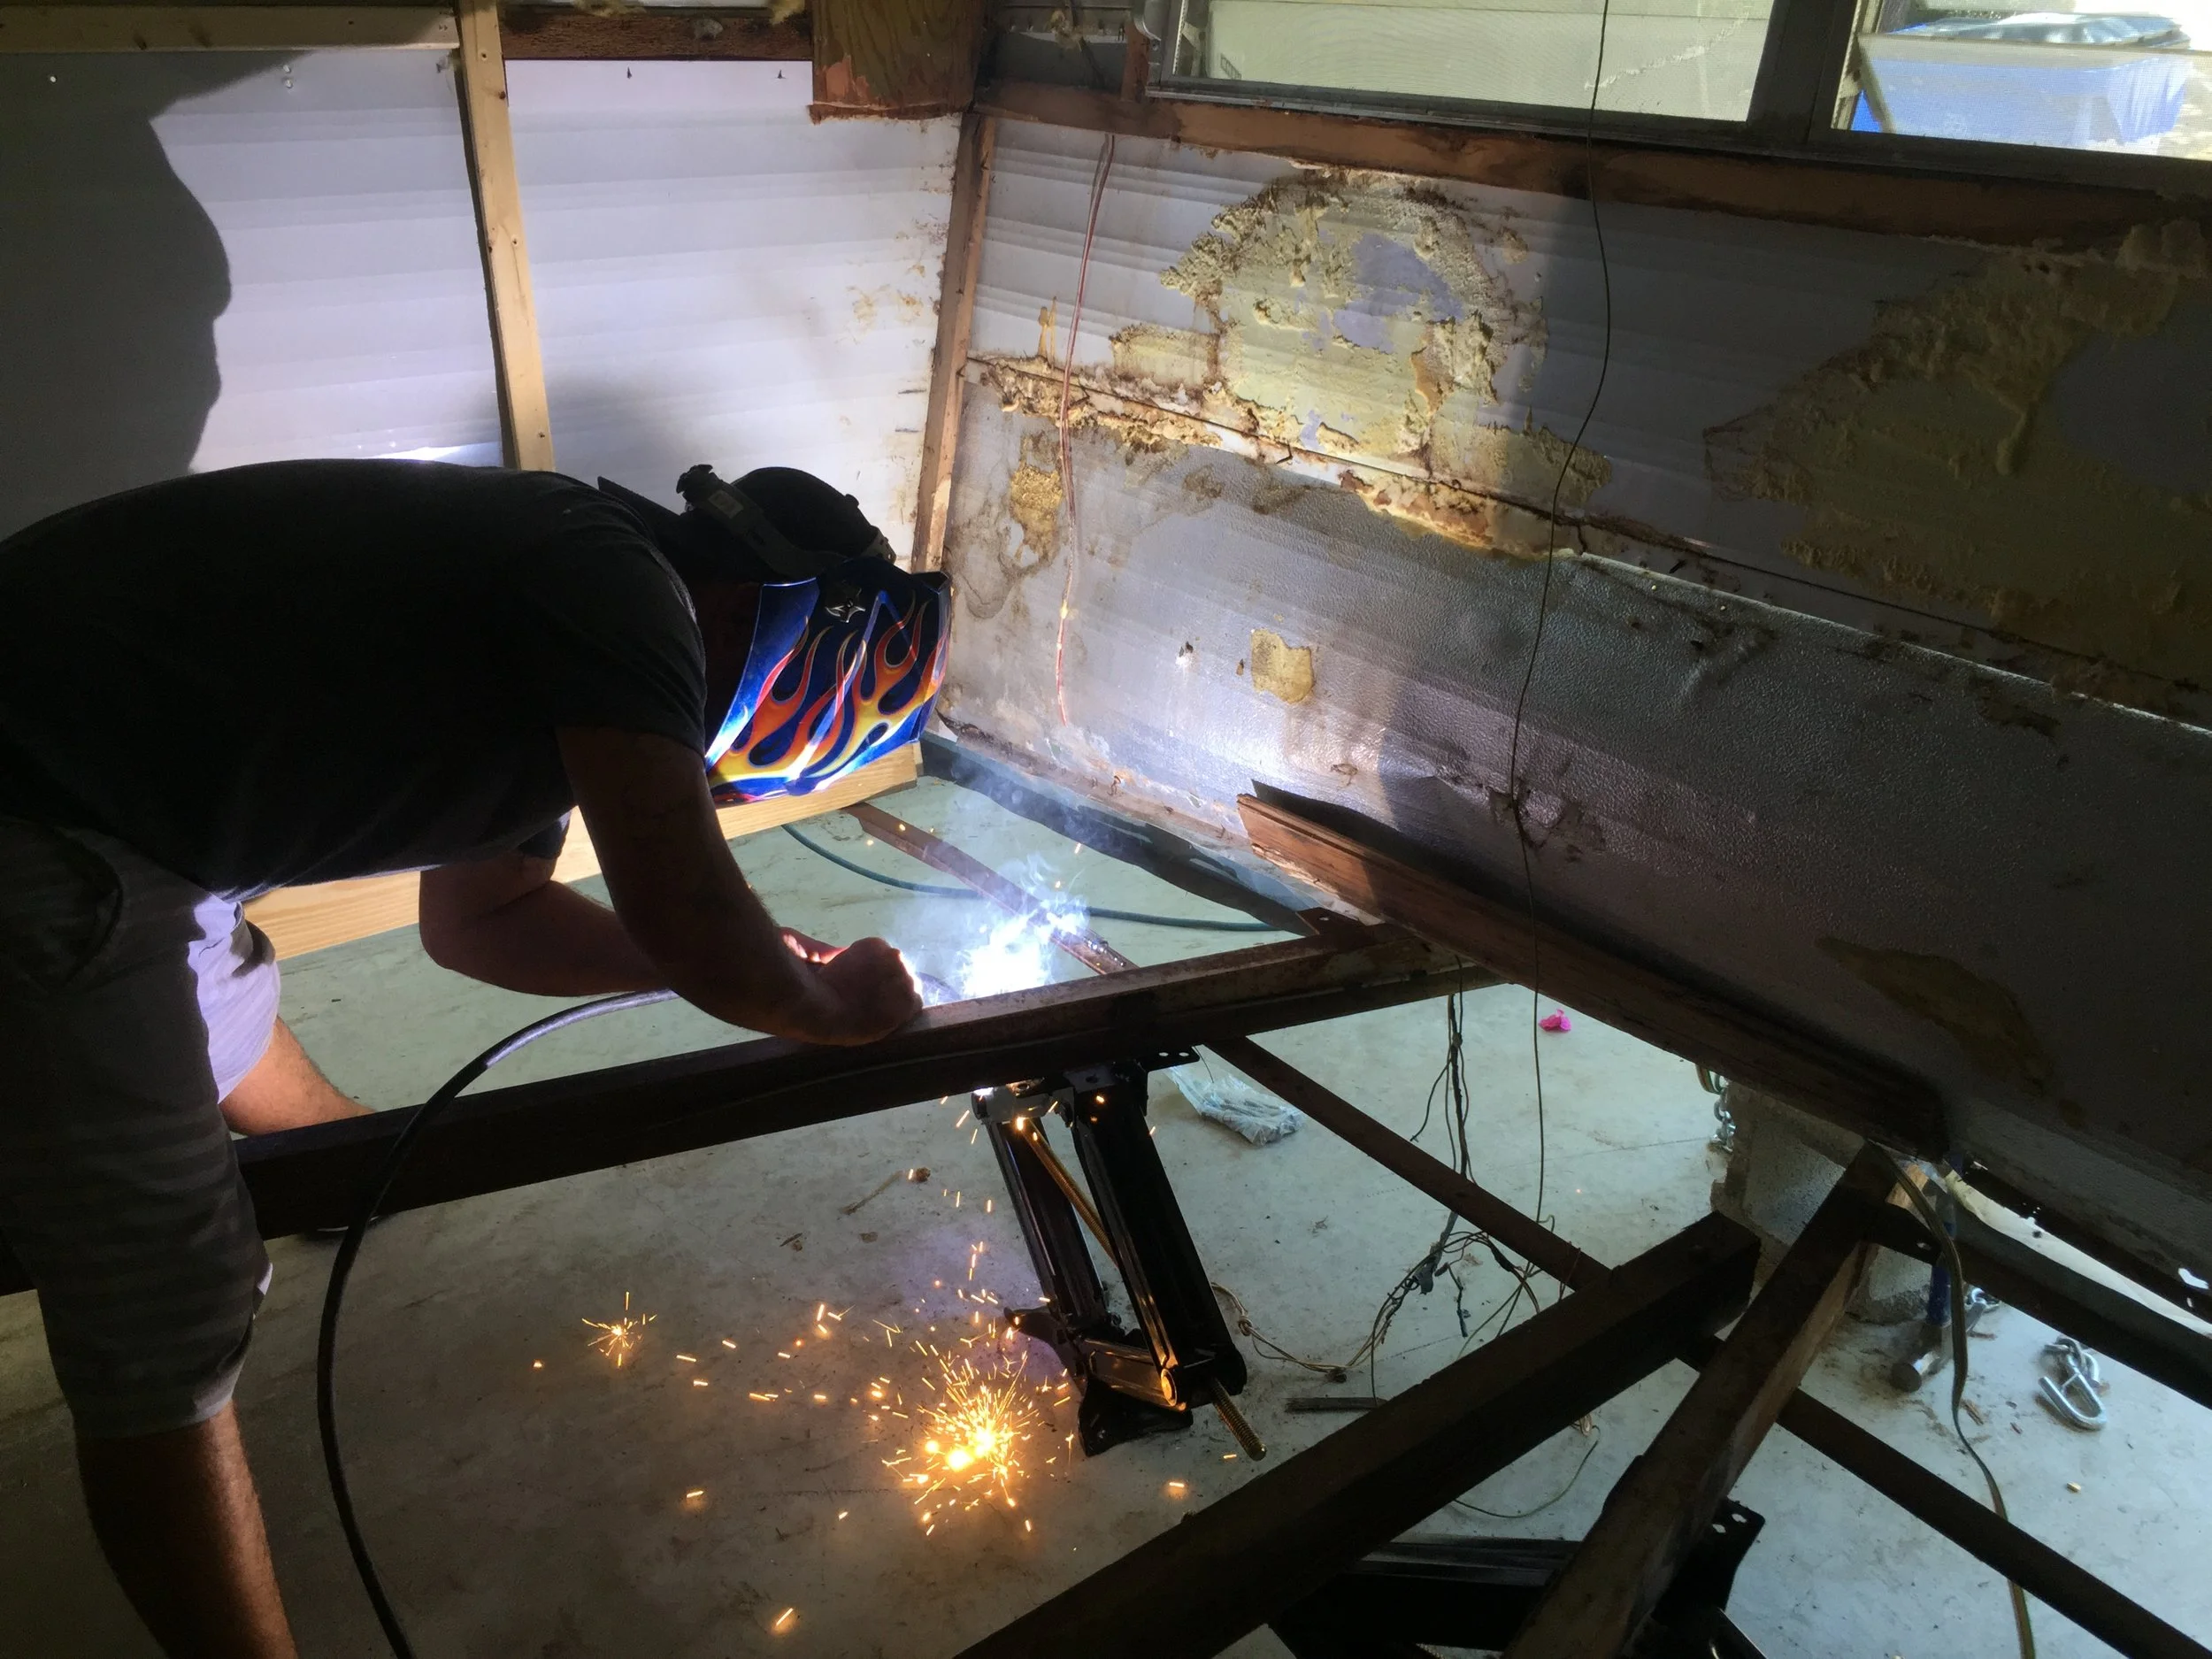
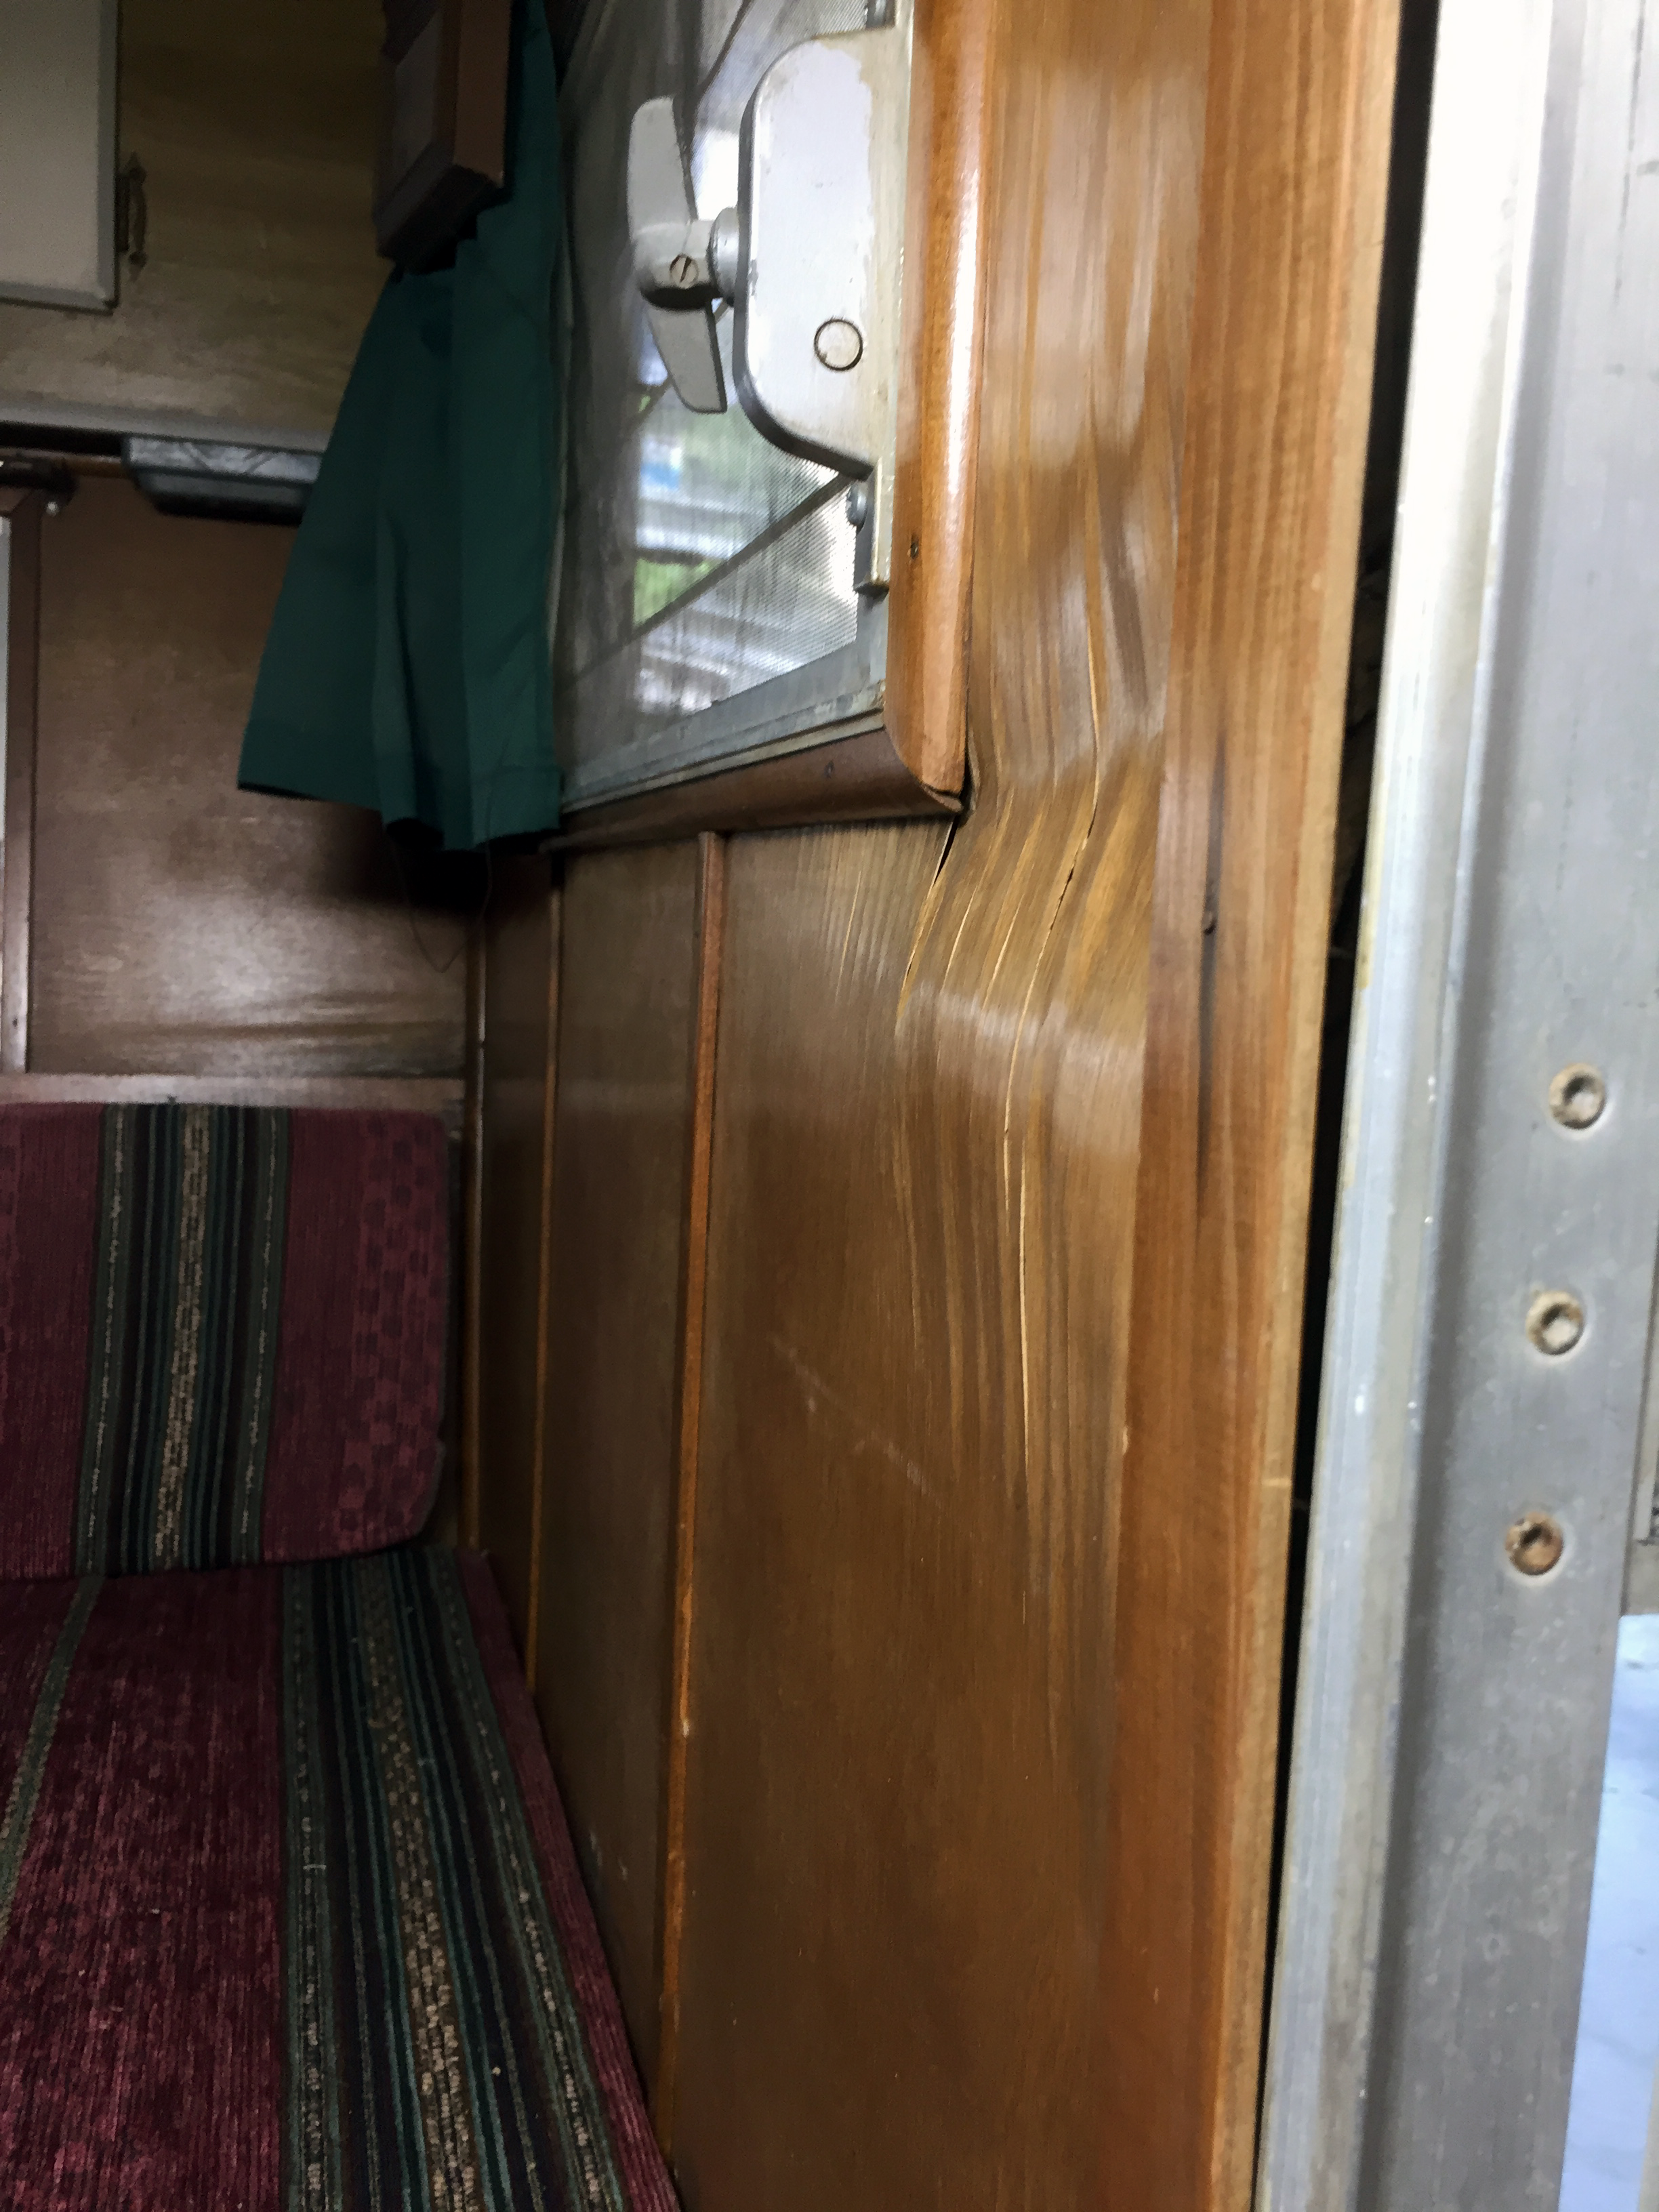
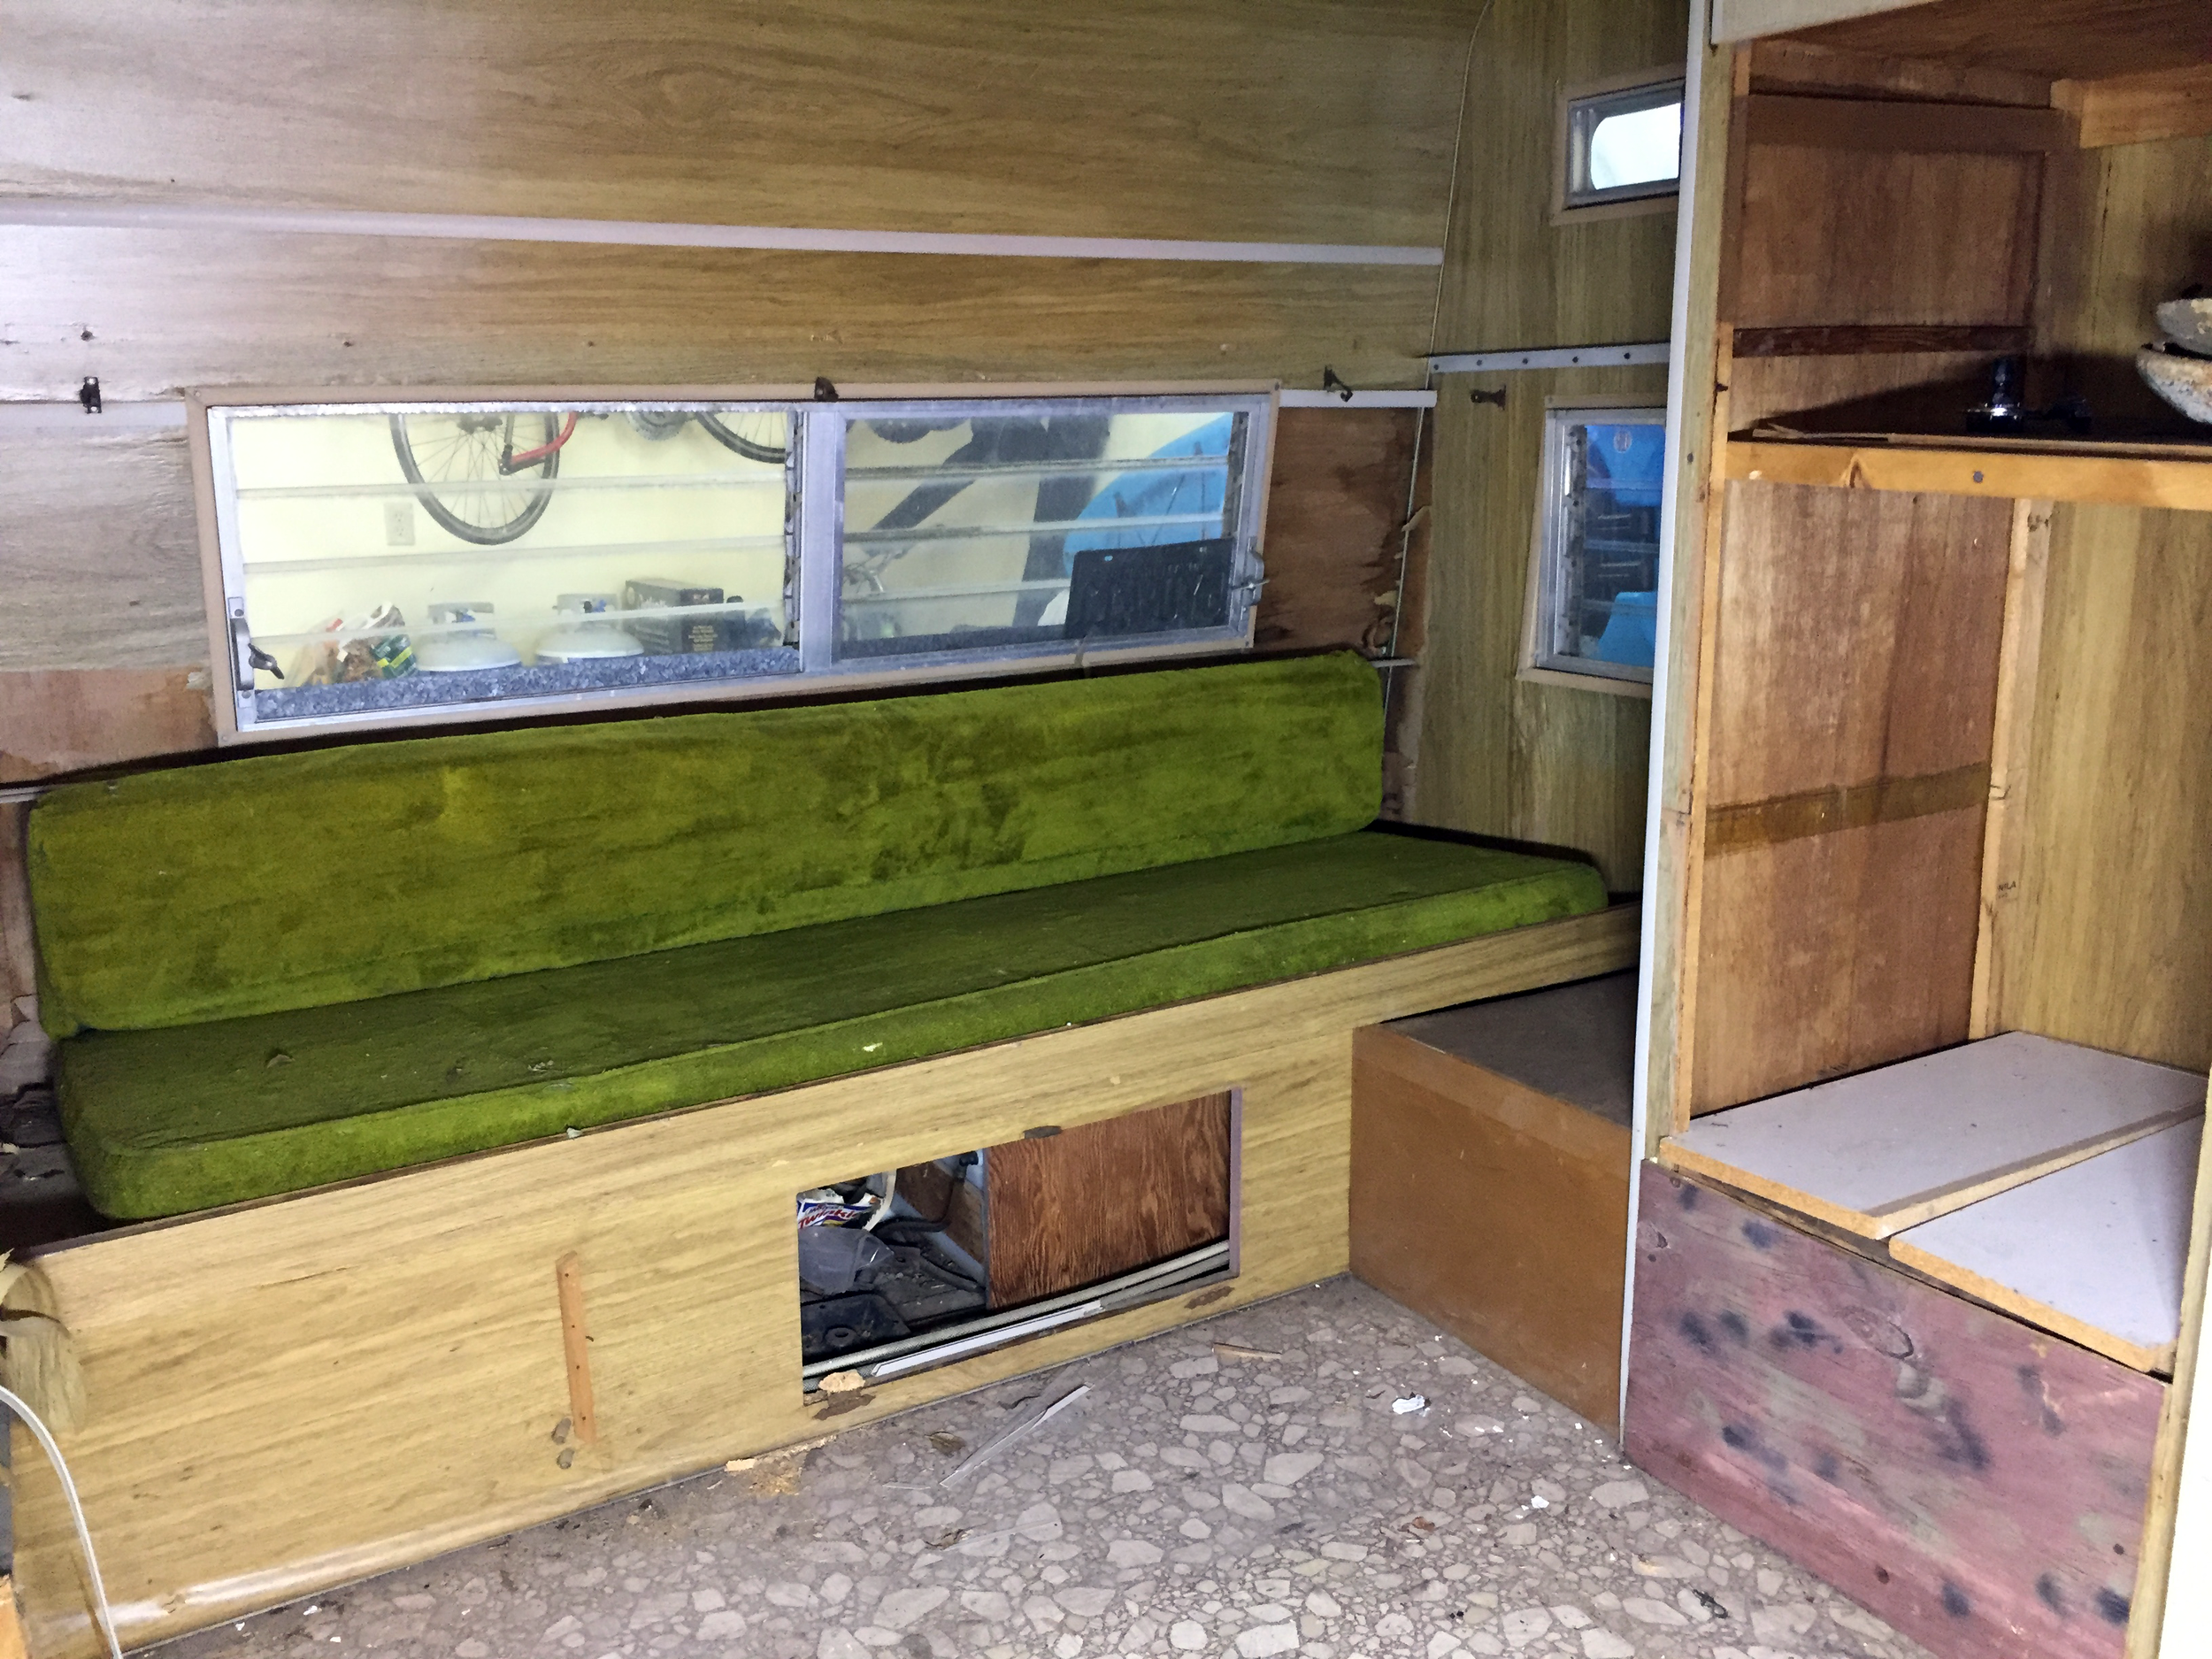
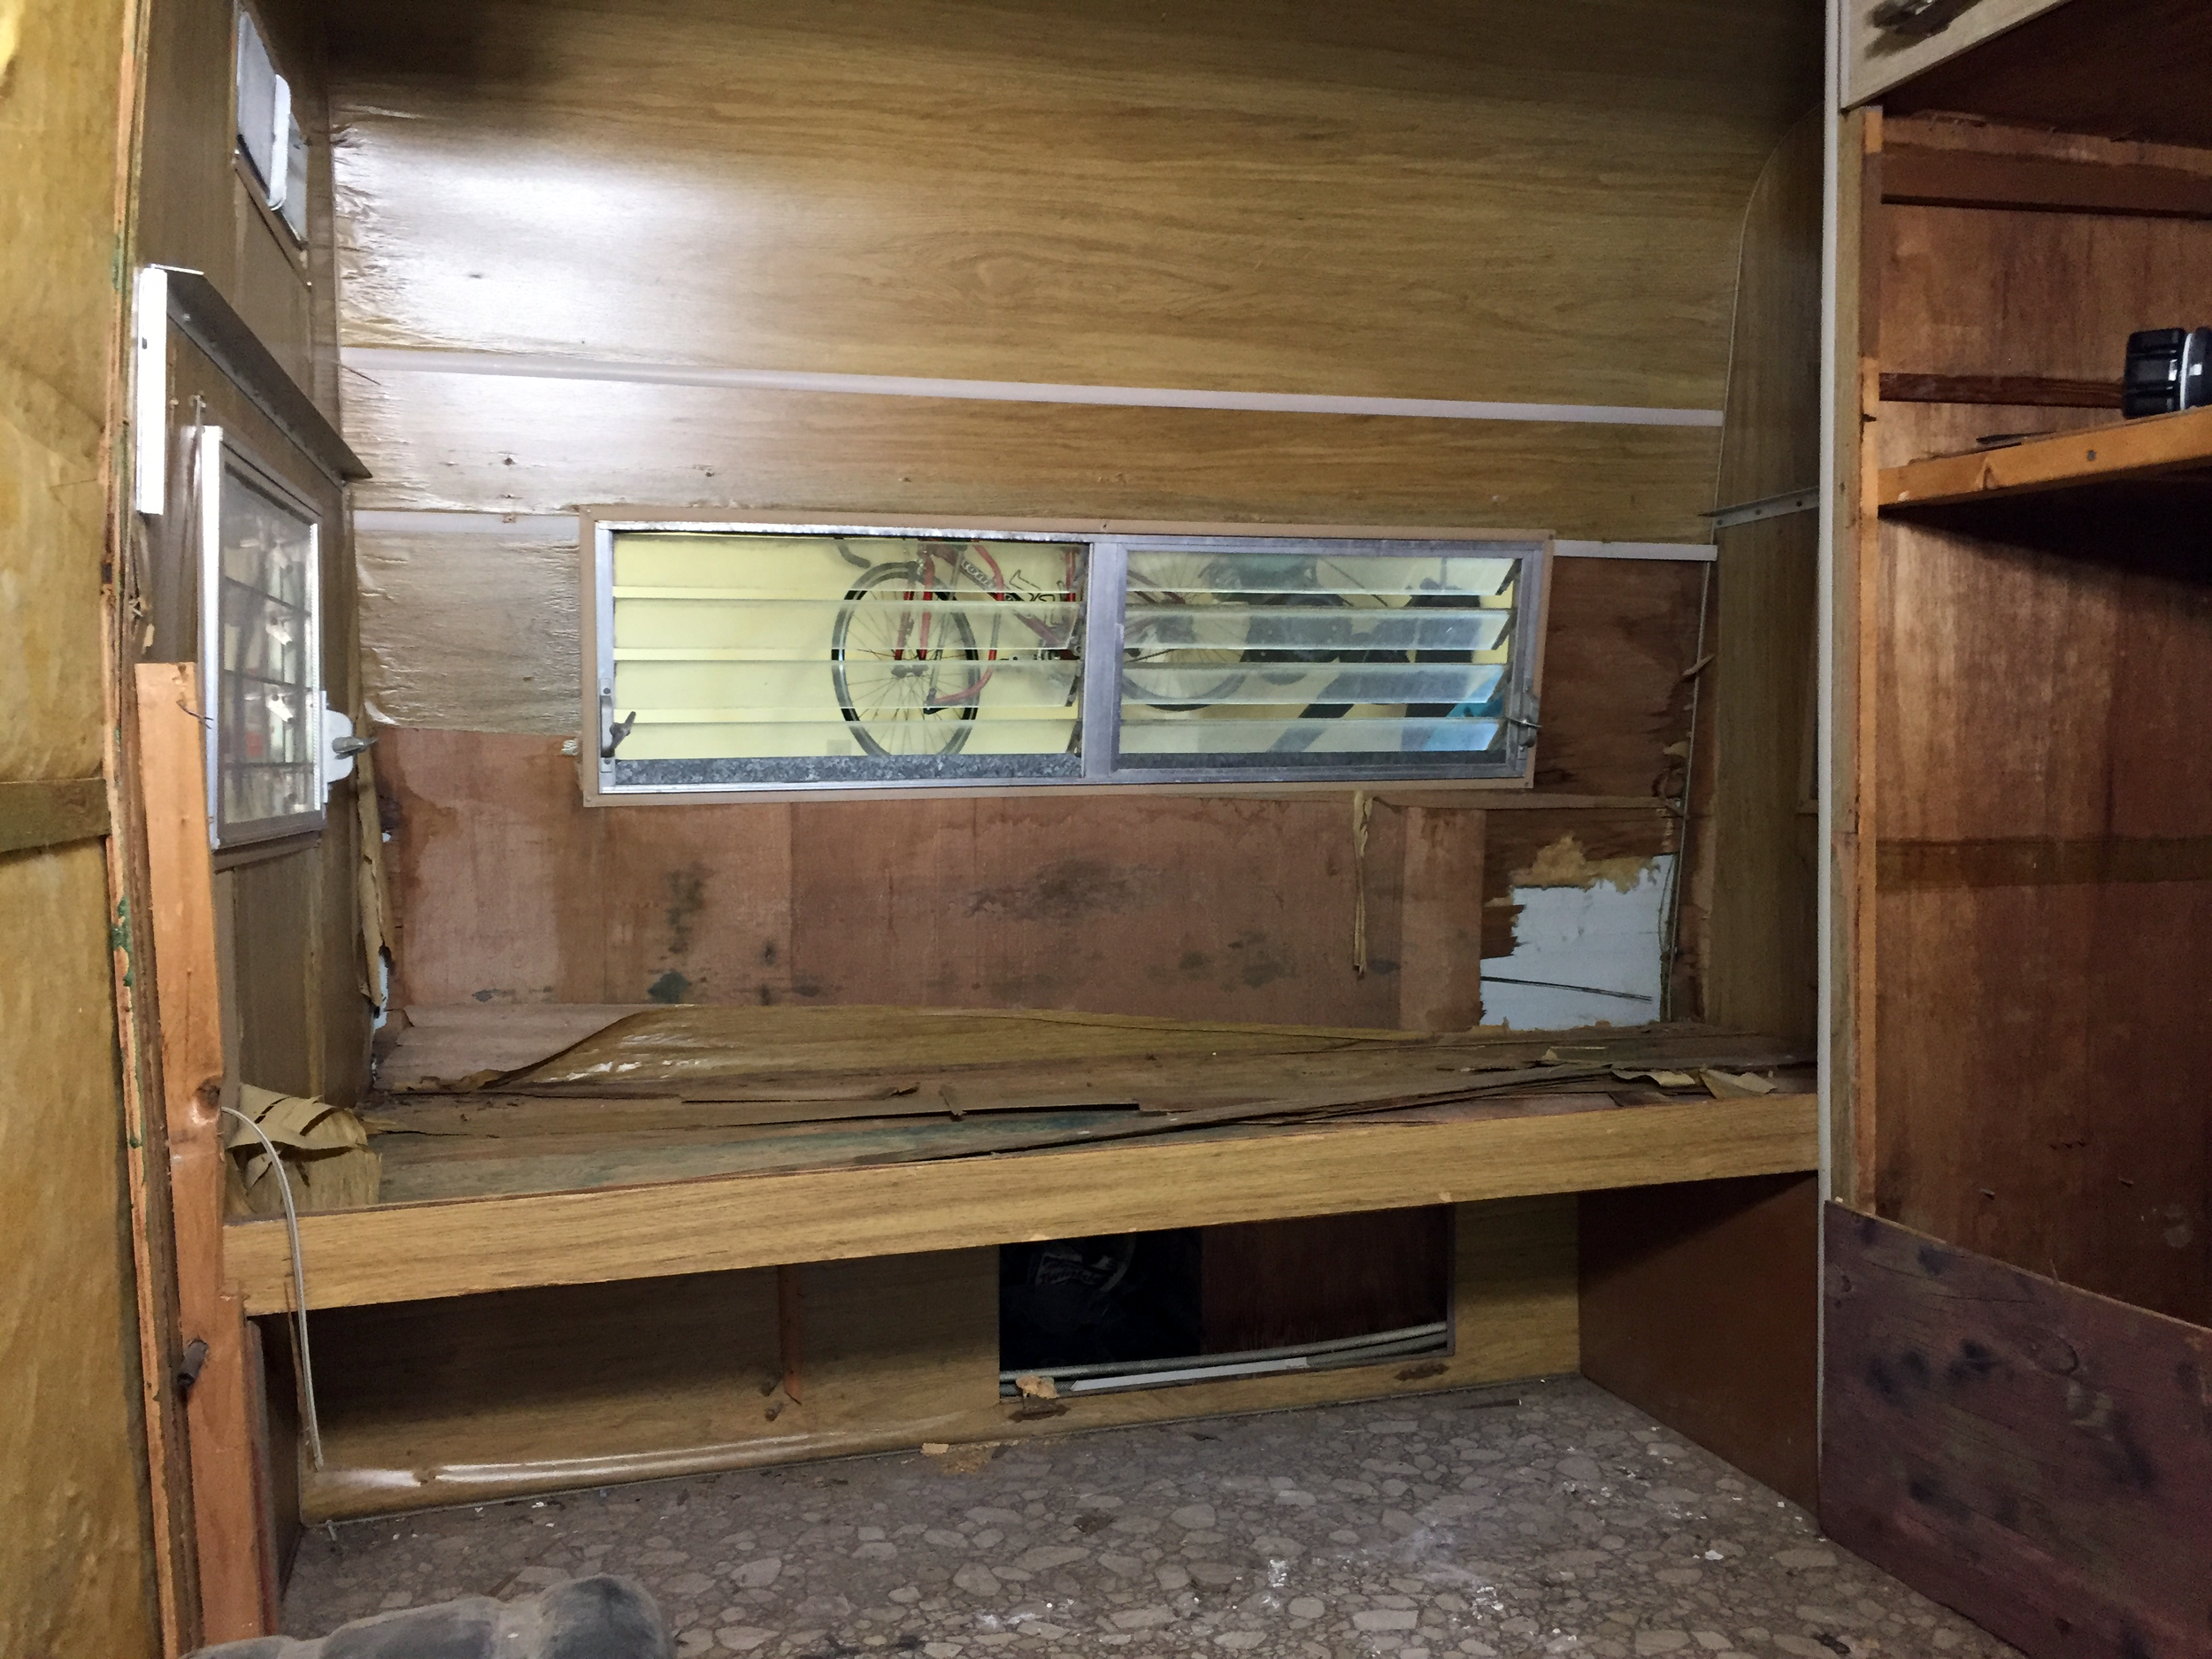
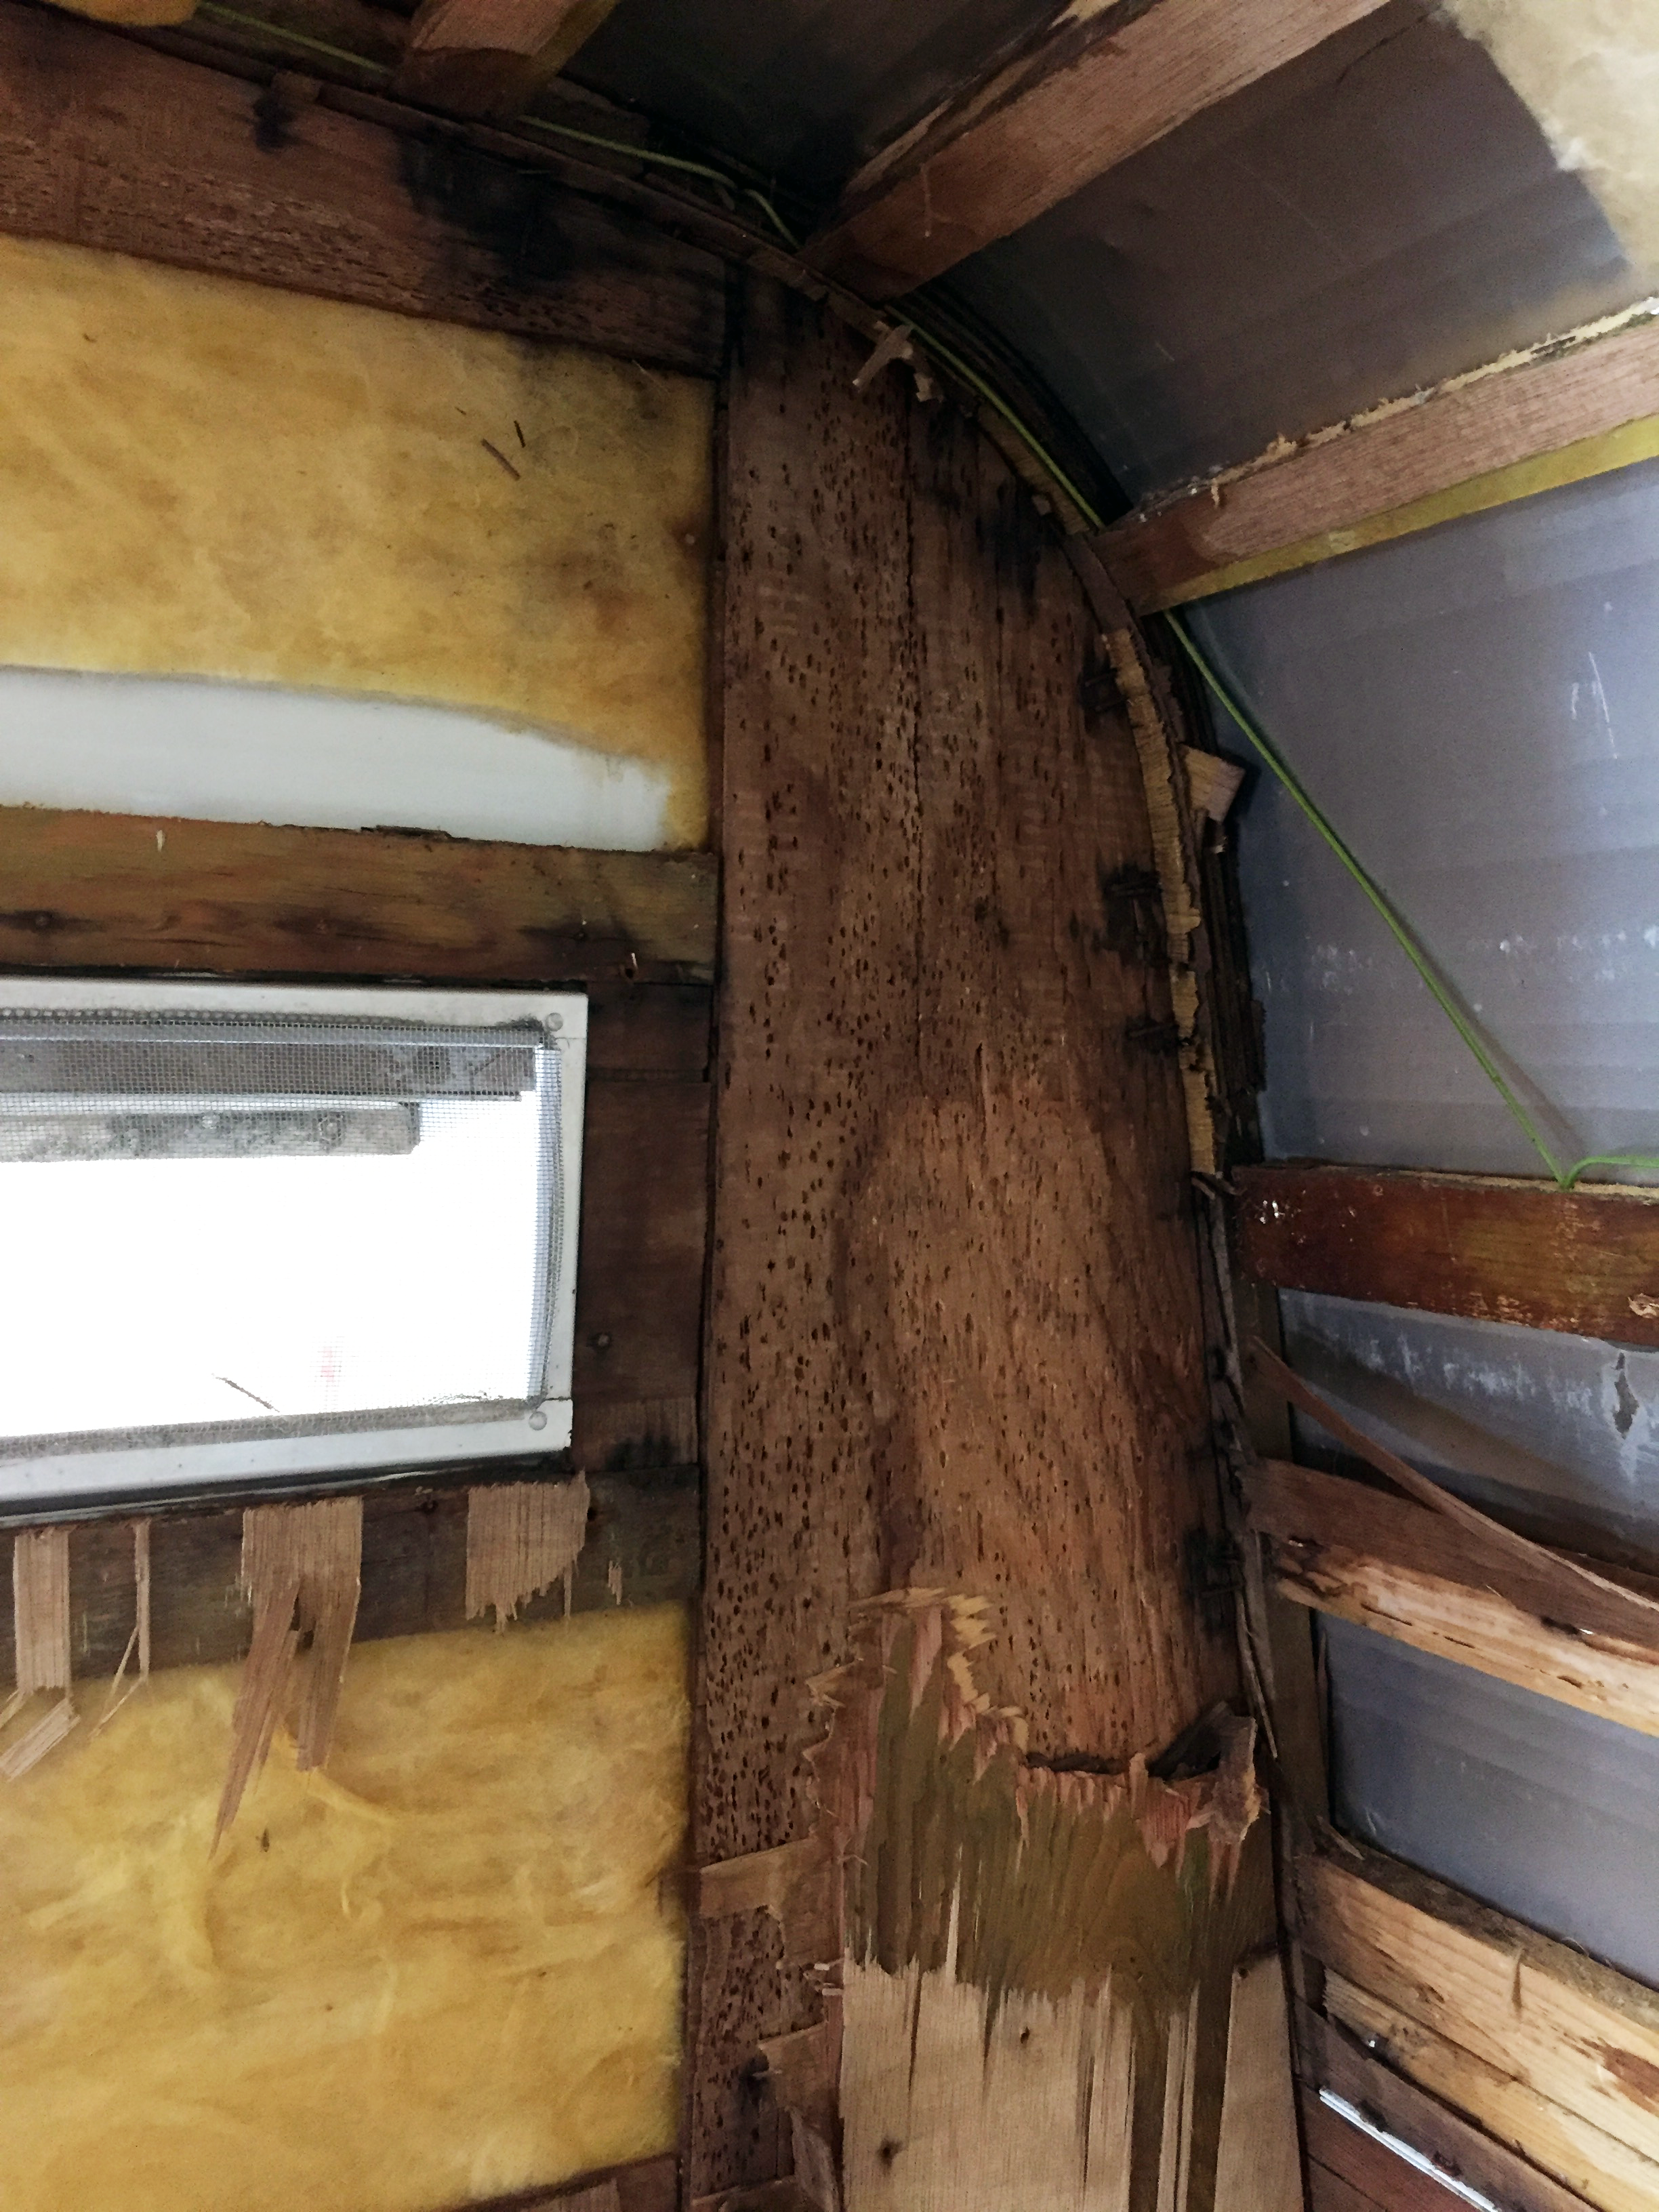
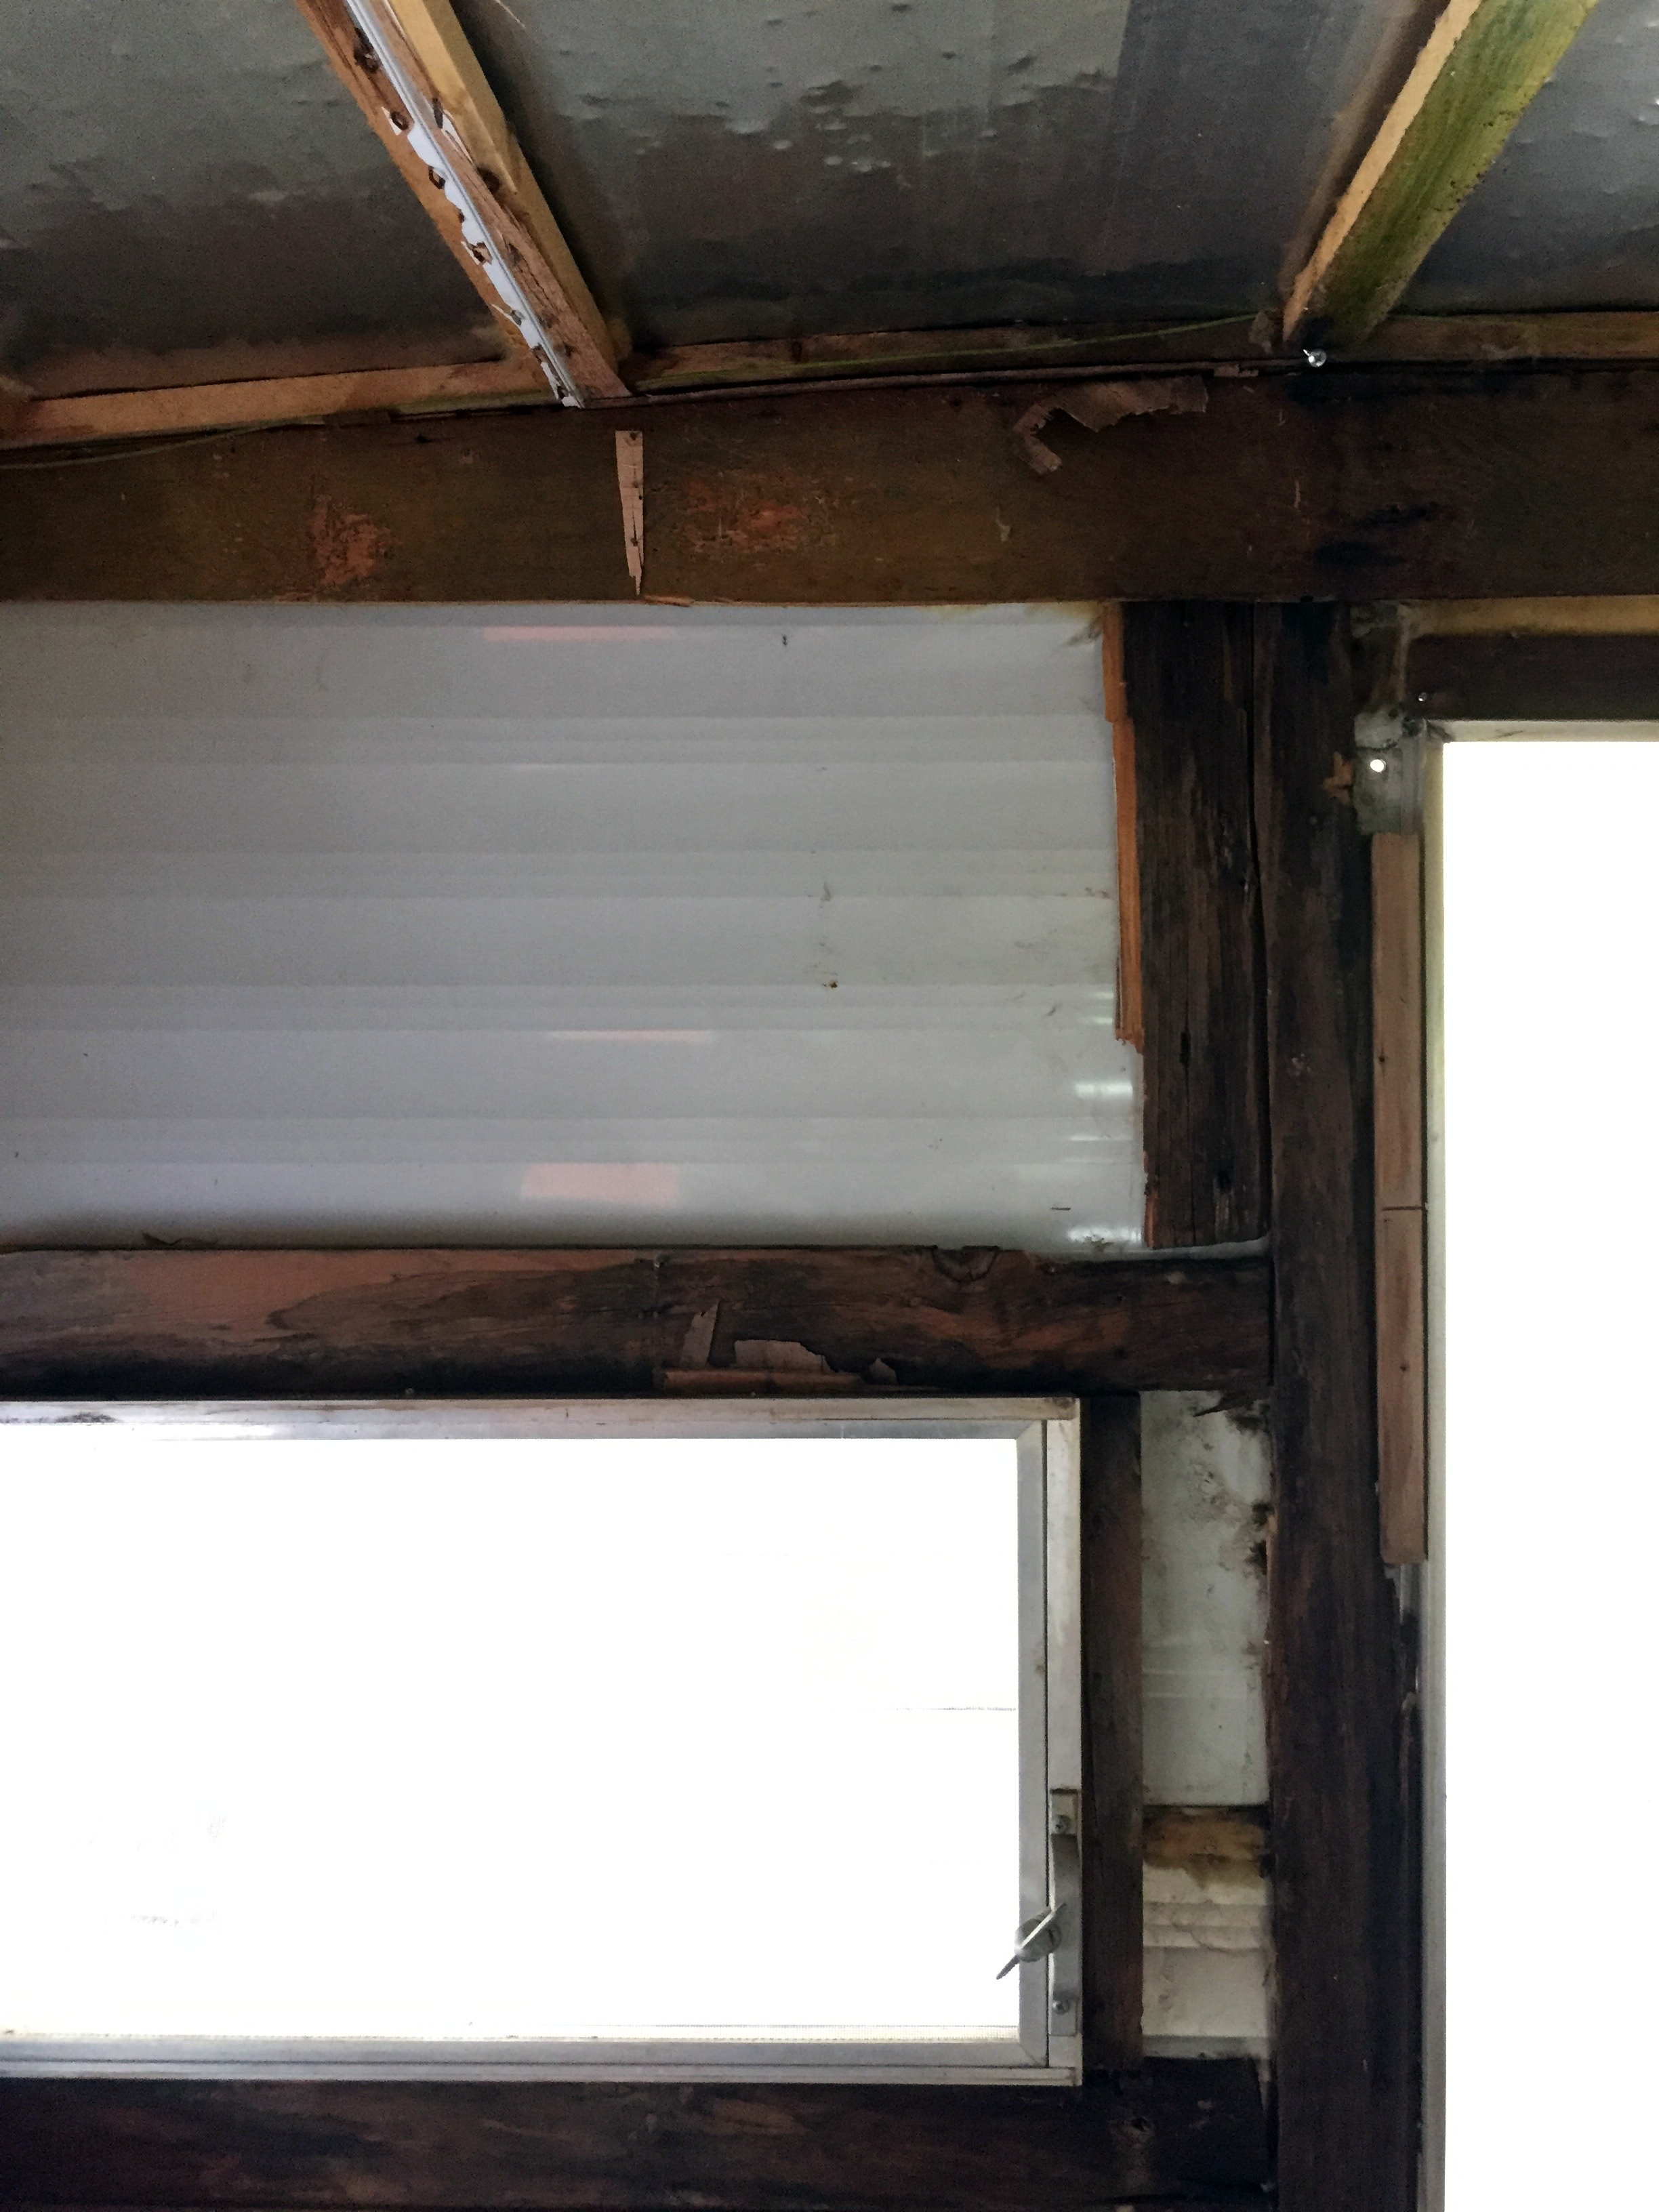
Just in case you don’t remember, take a gander at what was left after we played “followed the water damage” during demo a couple of years ago to see what all we had to work with as we began our renovation:

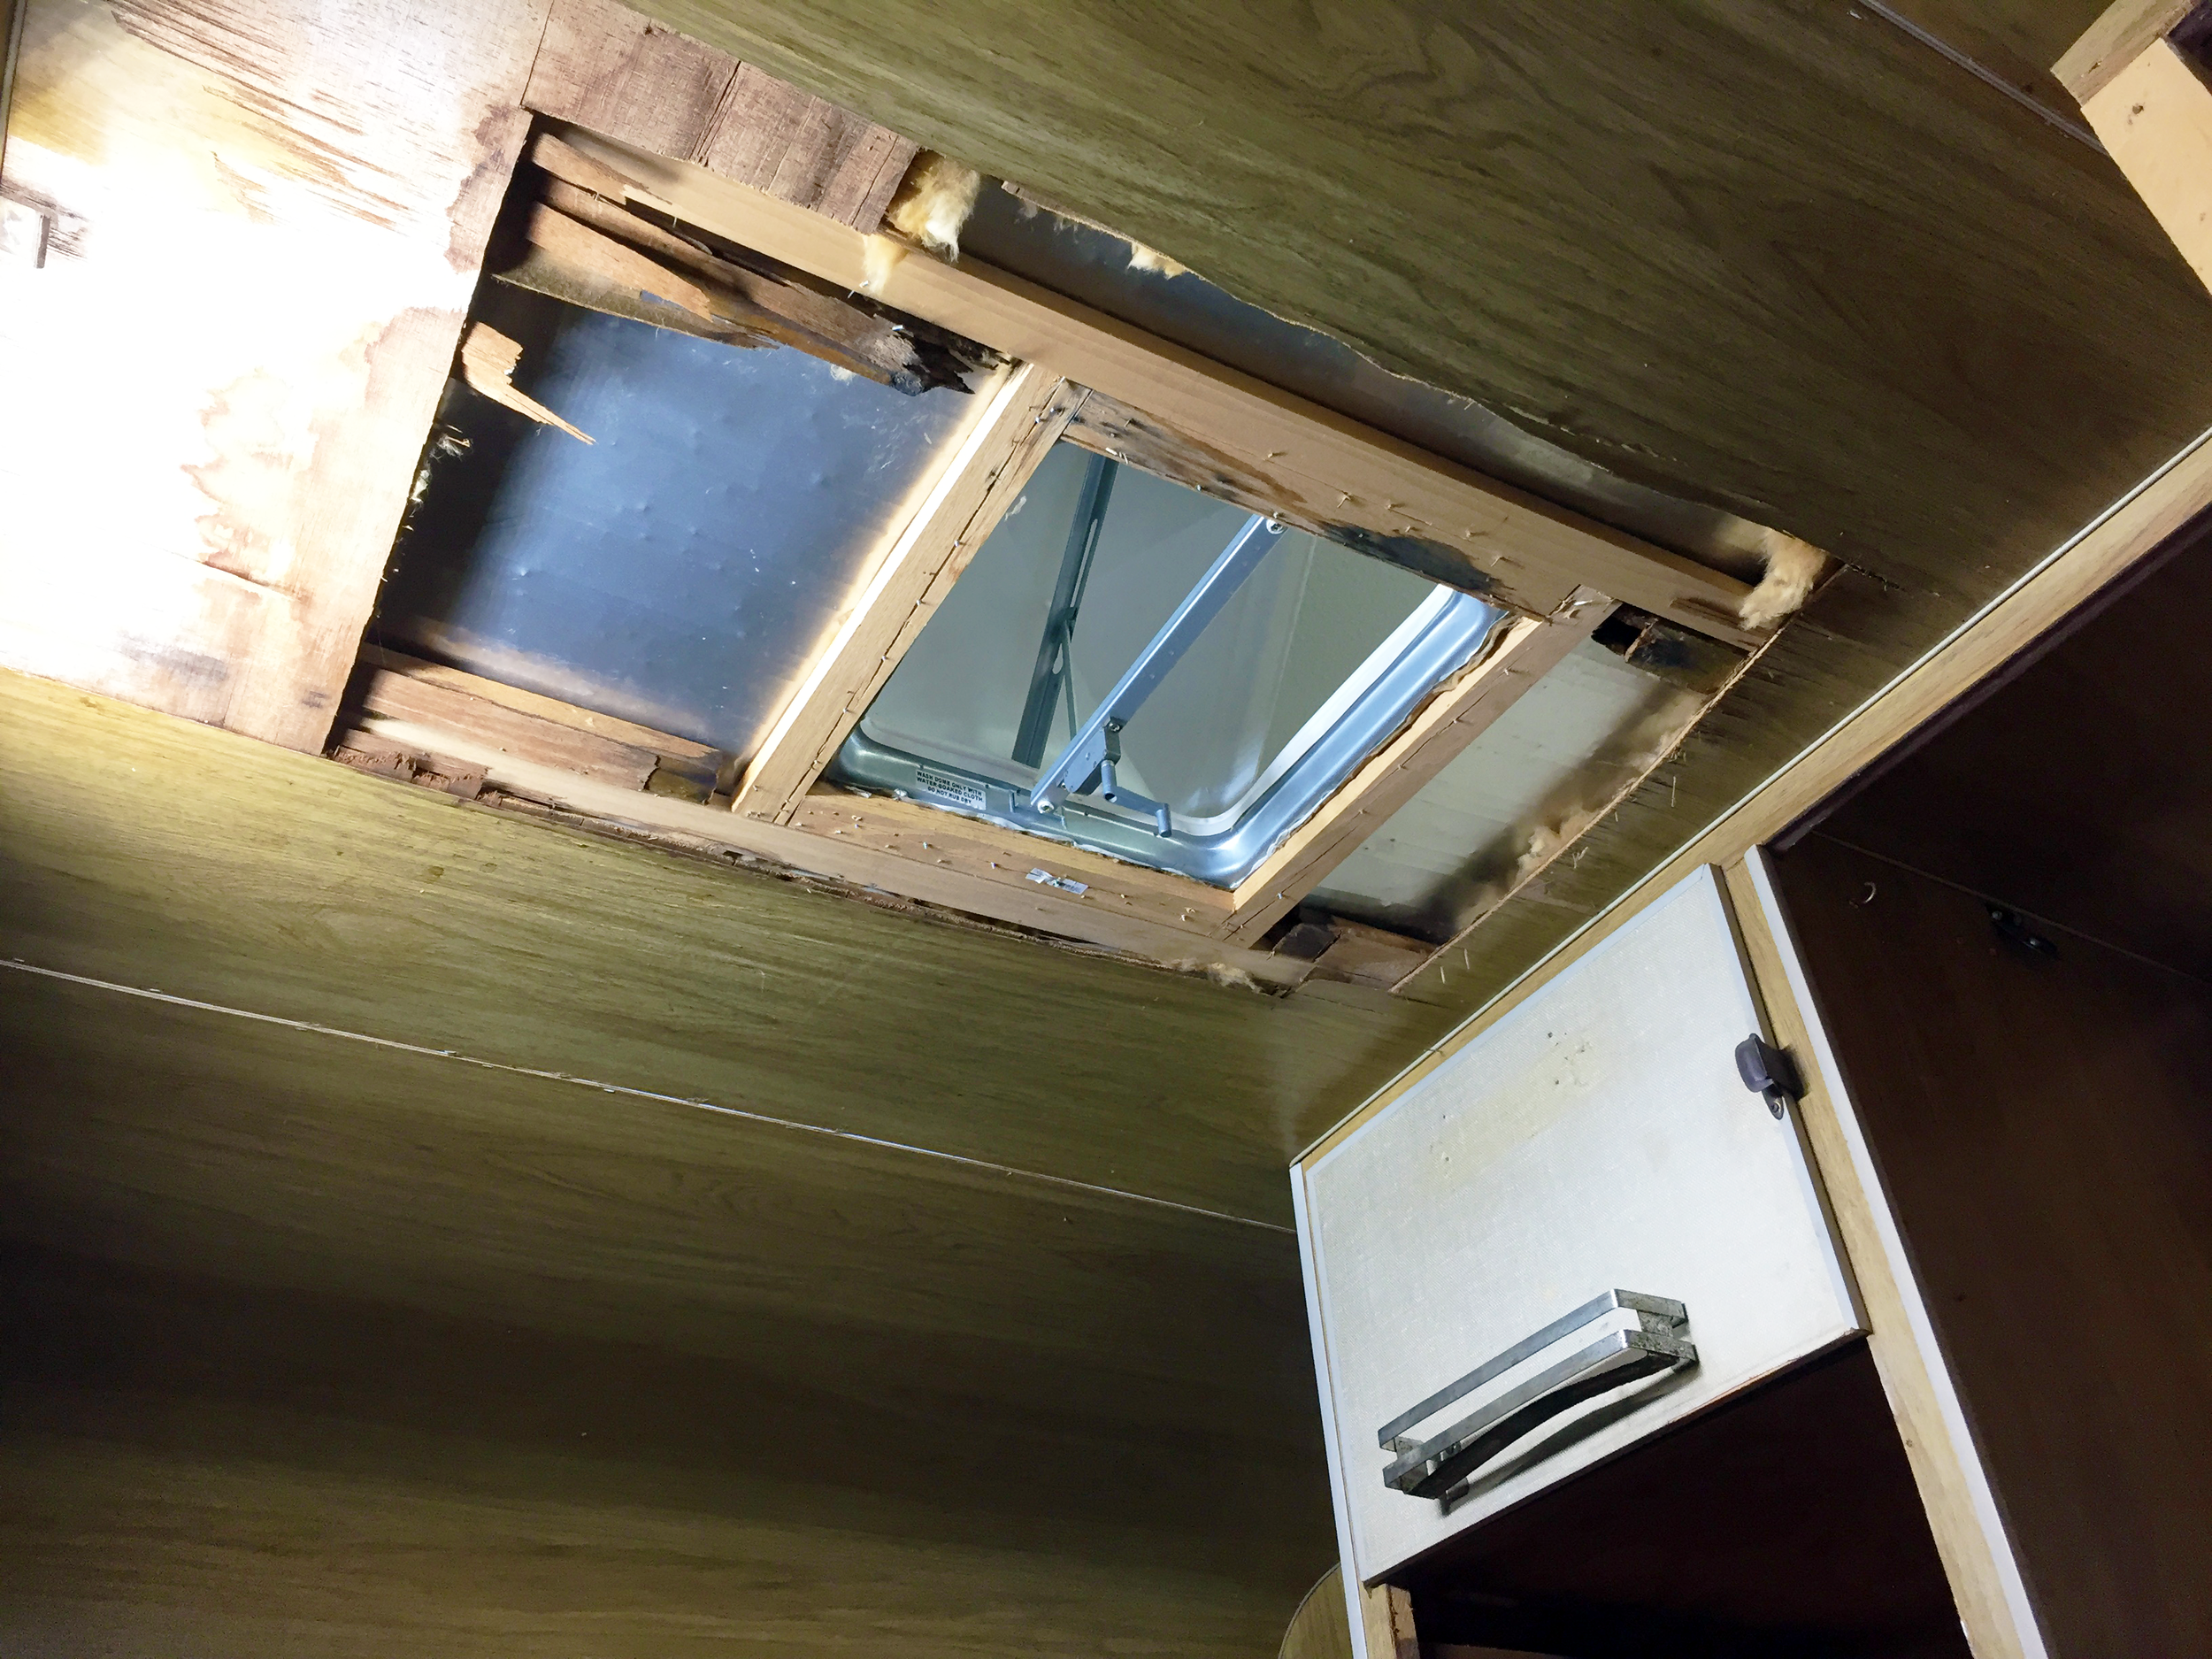
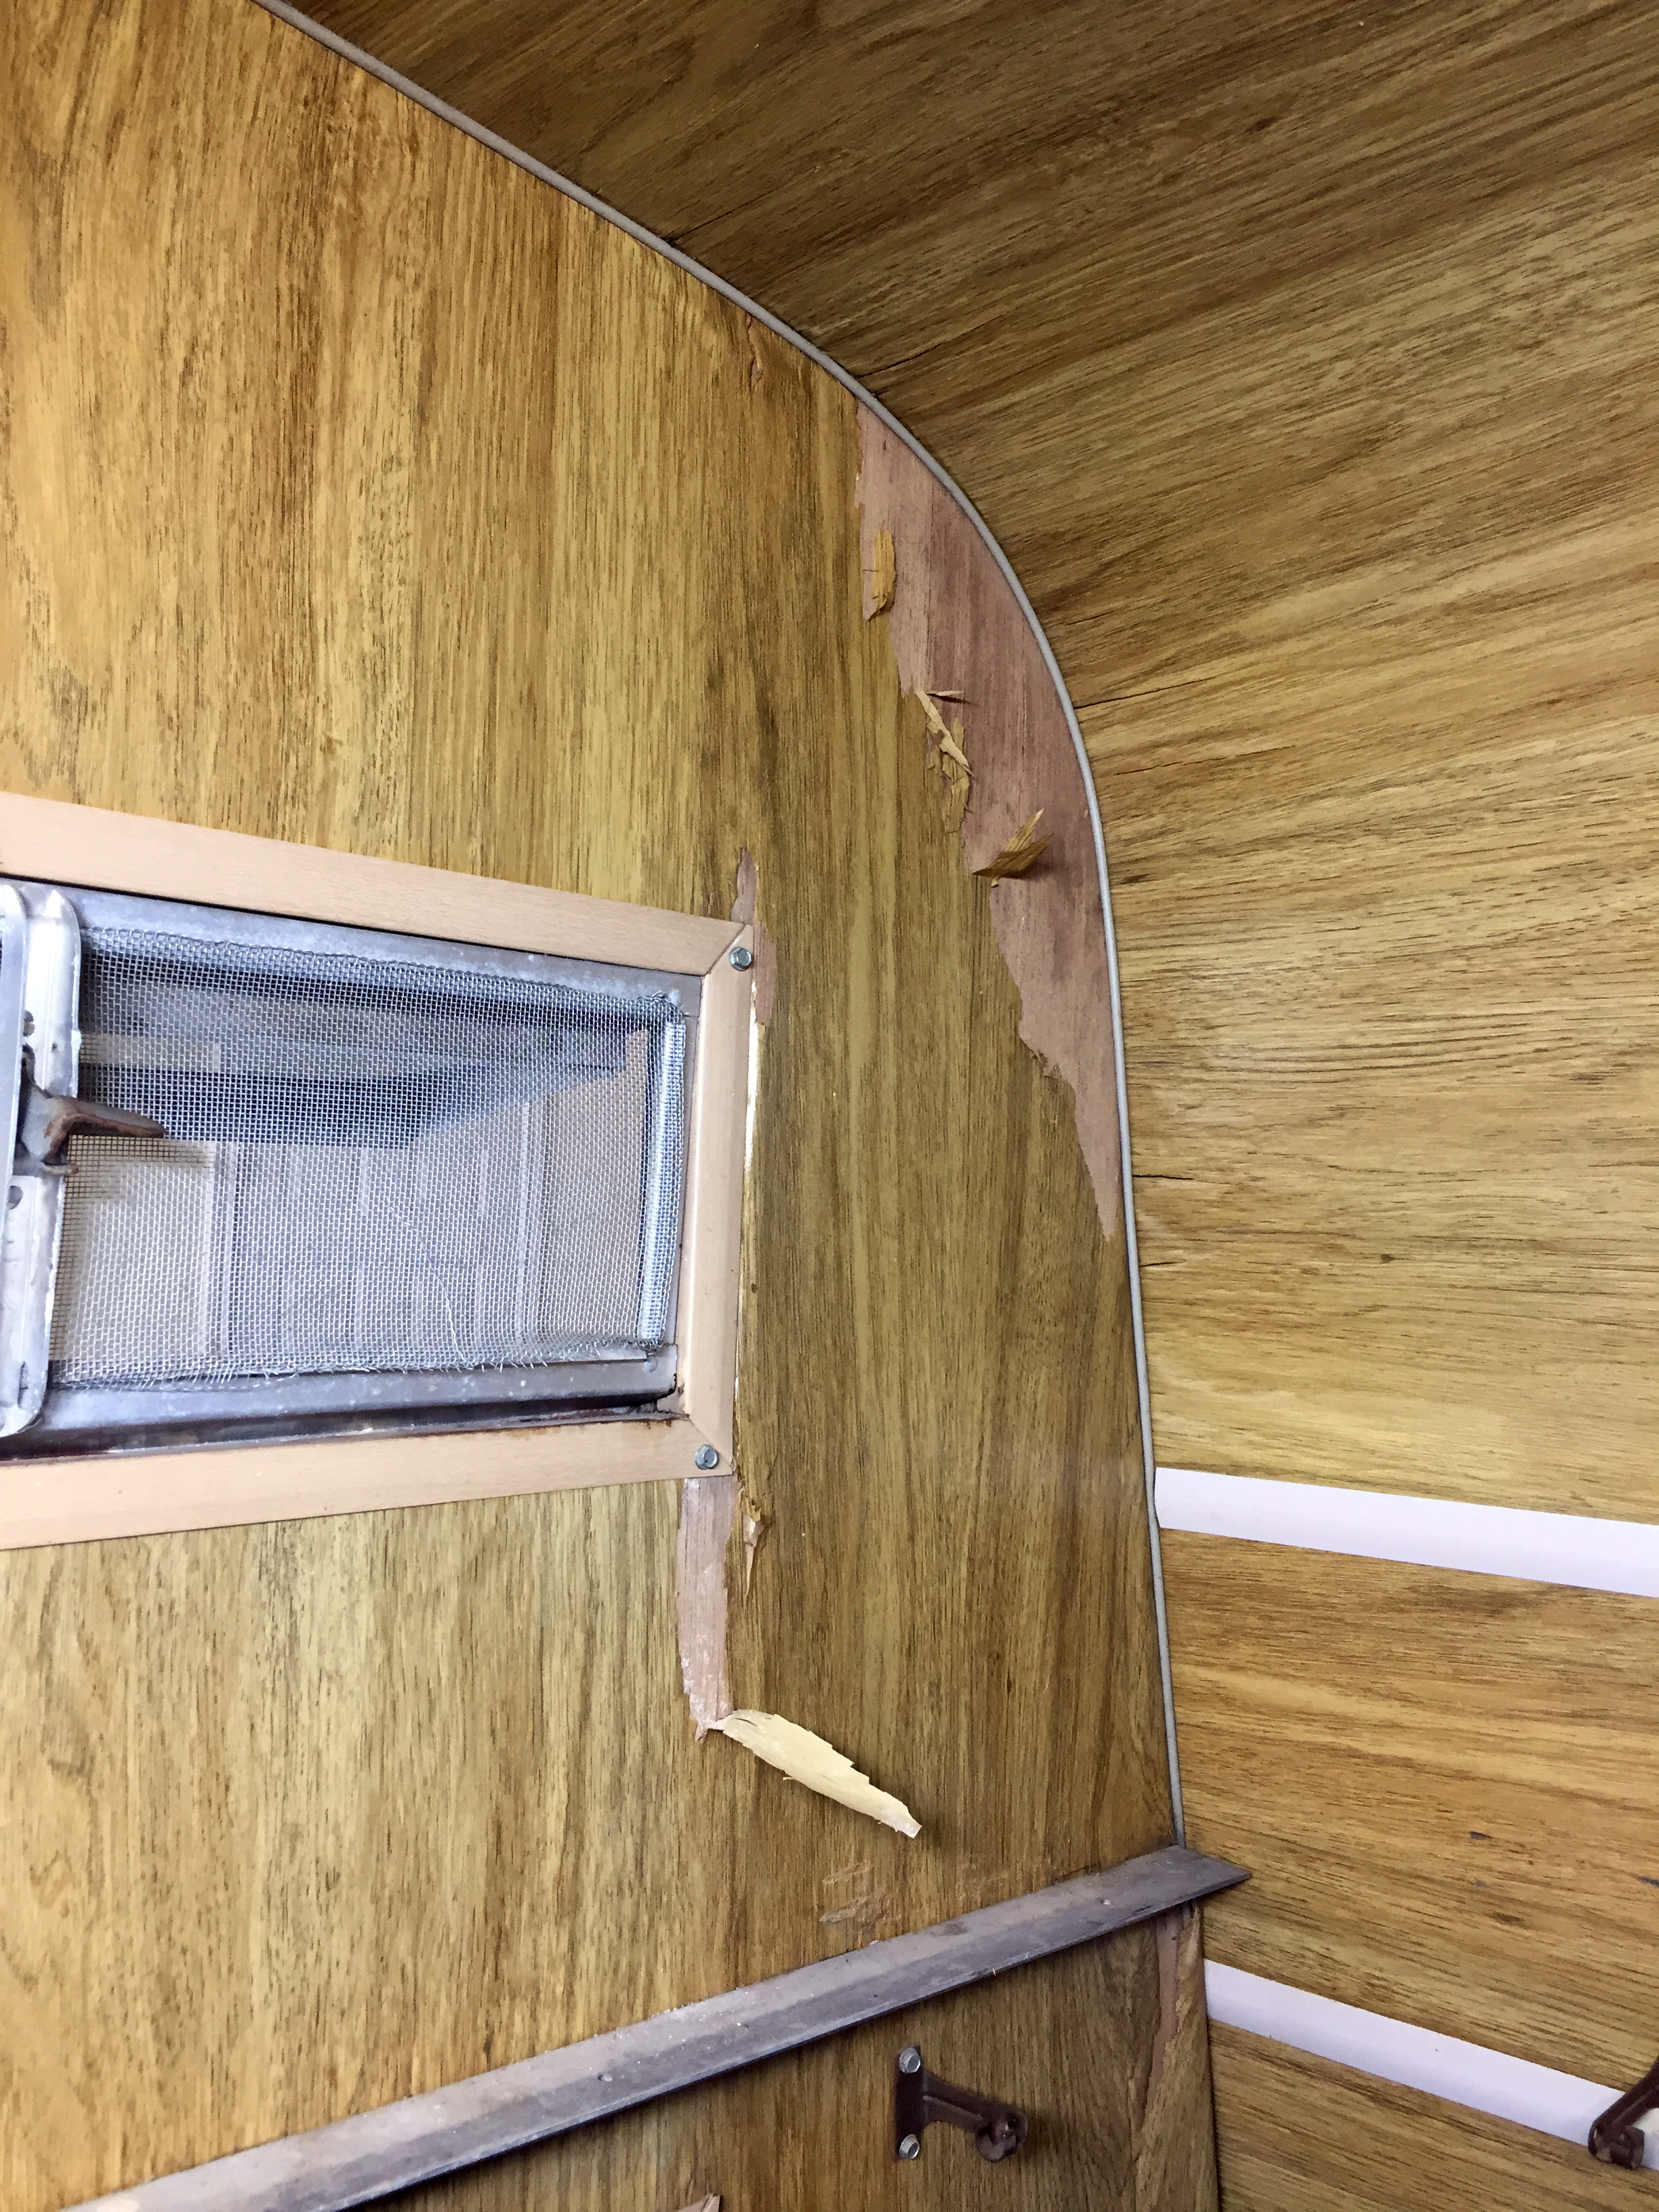
It started out so optimistic, with signs of what we thought – well, hoped – was more of a superficial water damage that could be fixed relatively easily. Carefully peeling back the layers, we found more and more dark, rotten and squishy wood as we demo’d the interior…
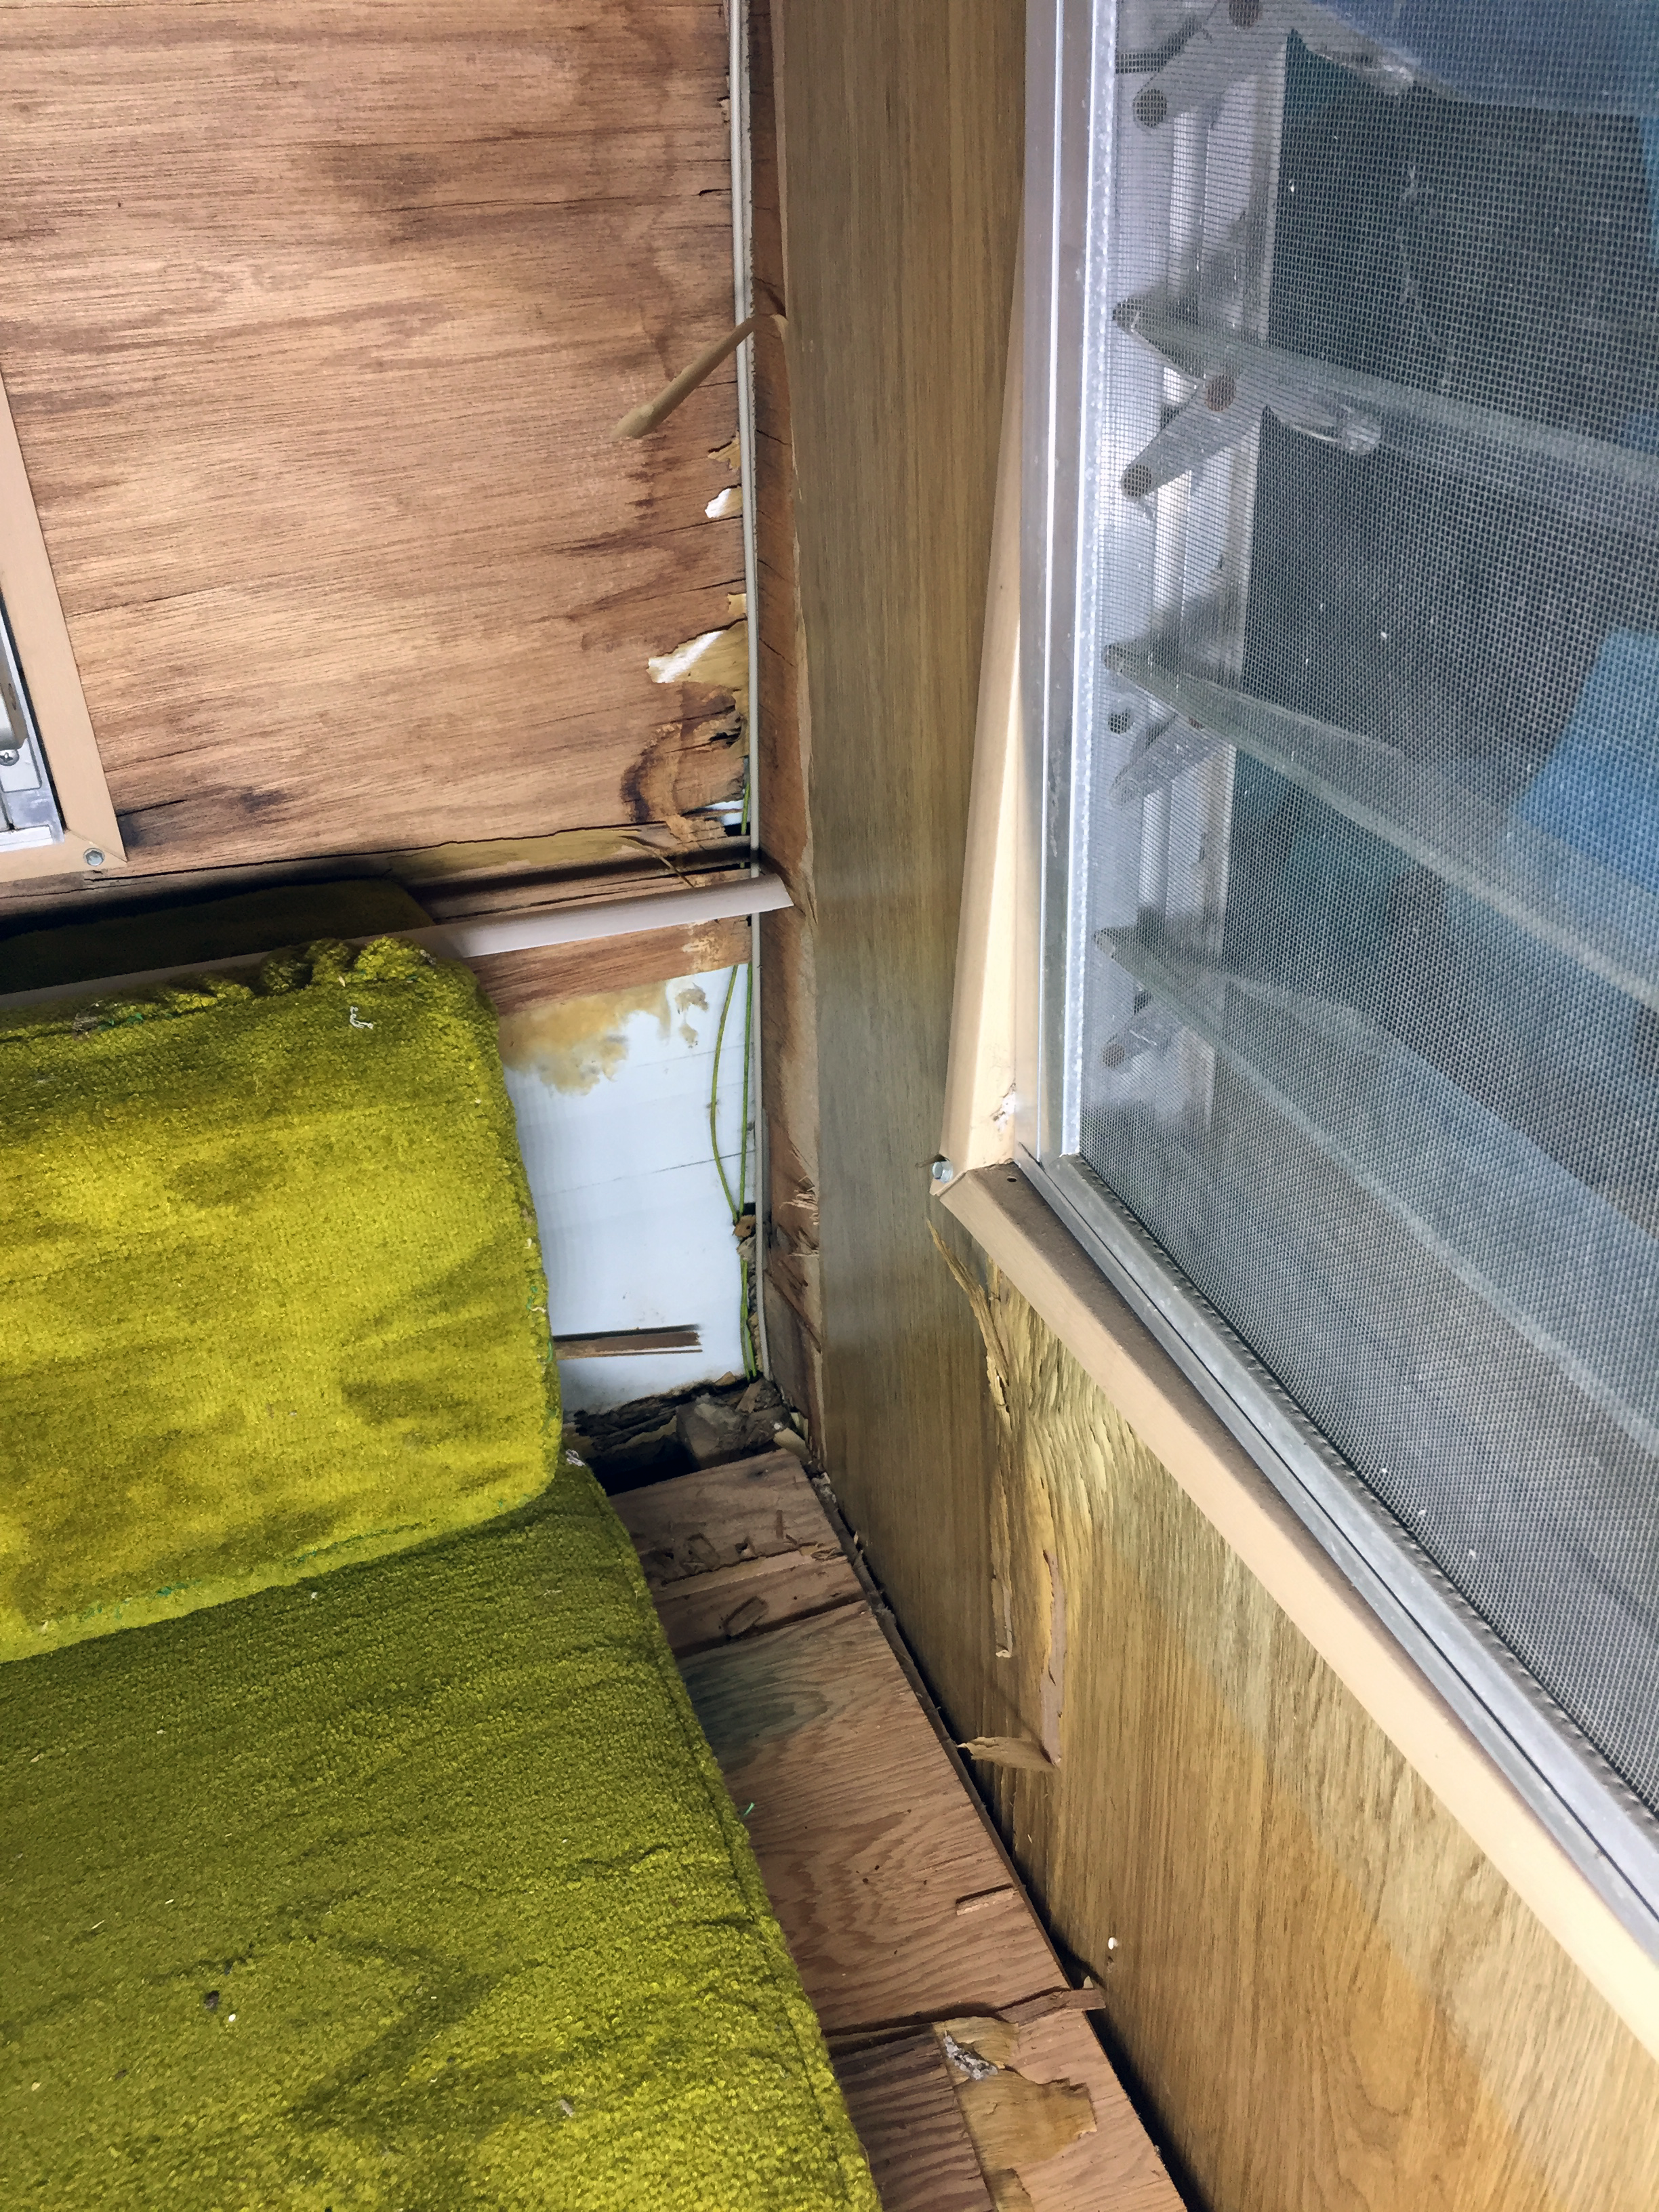
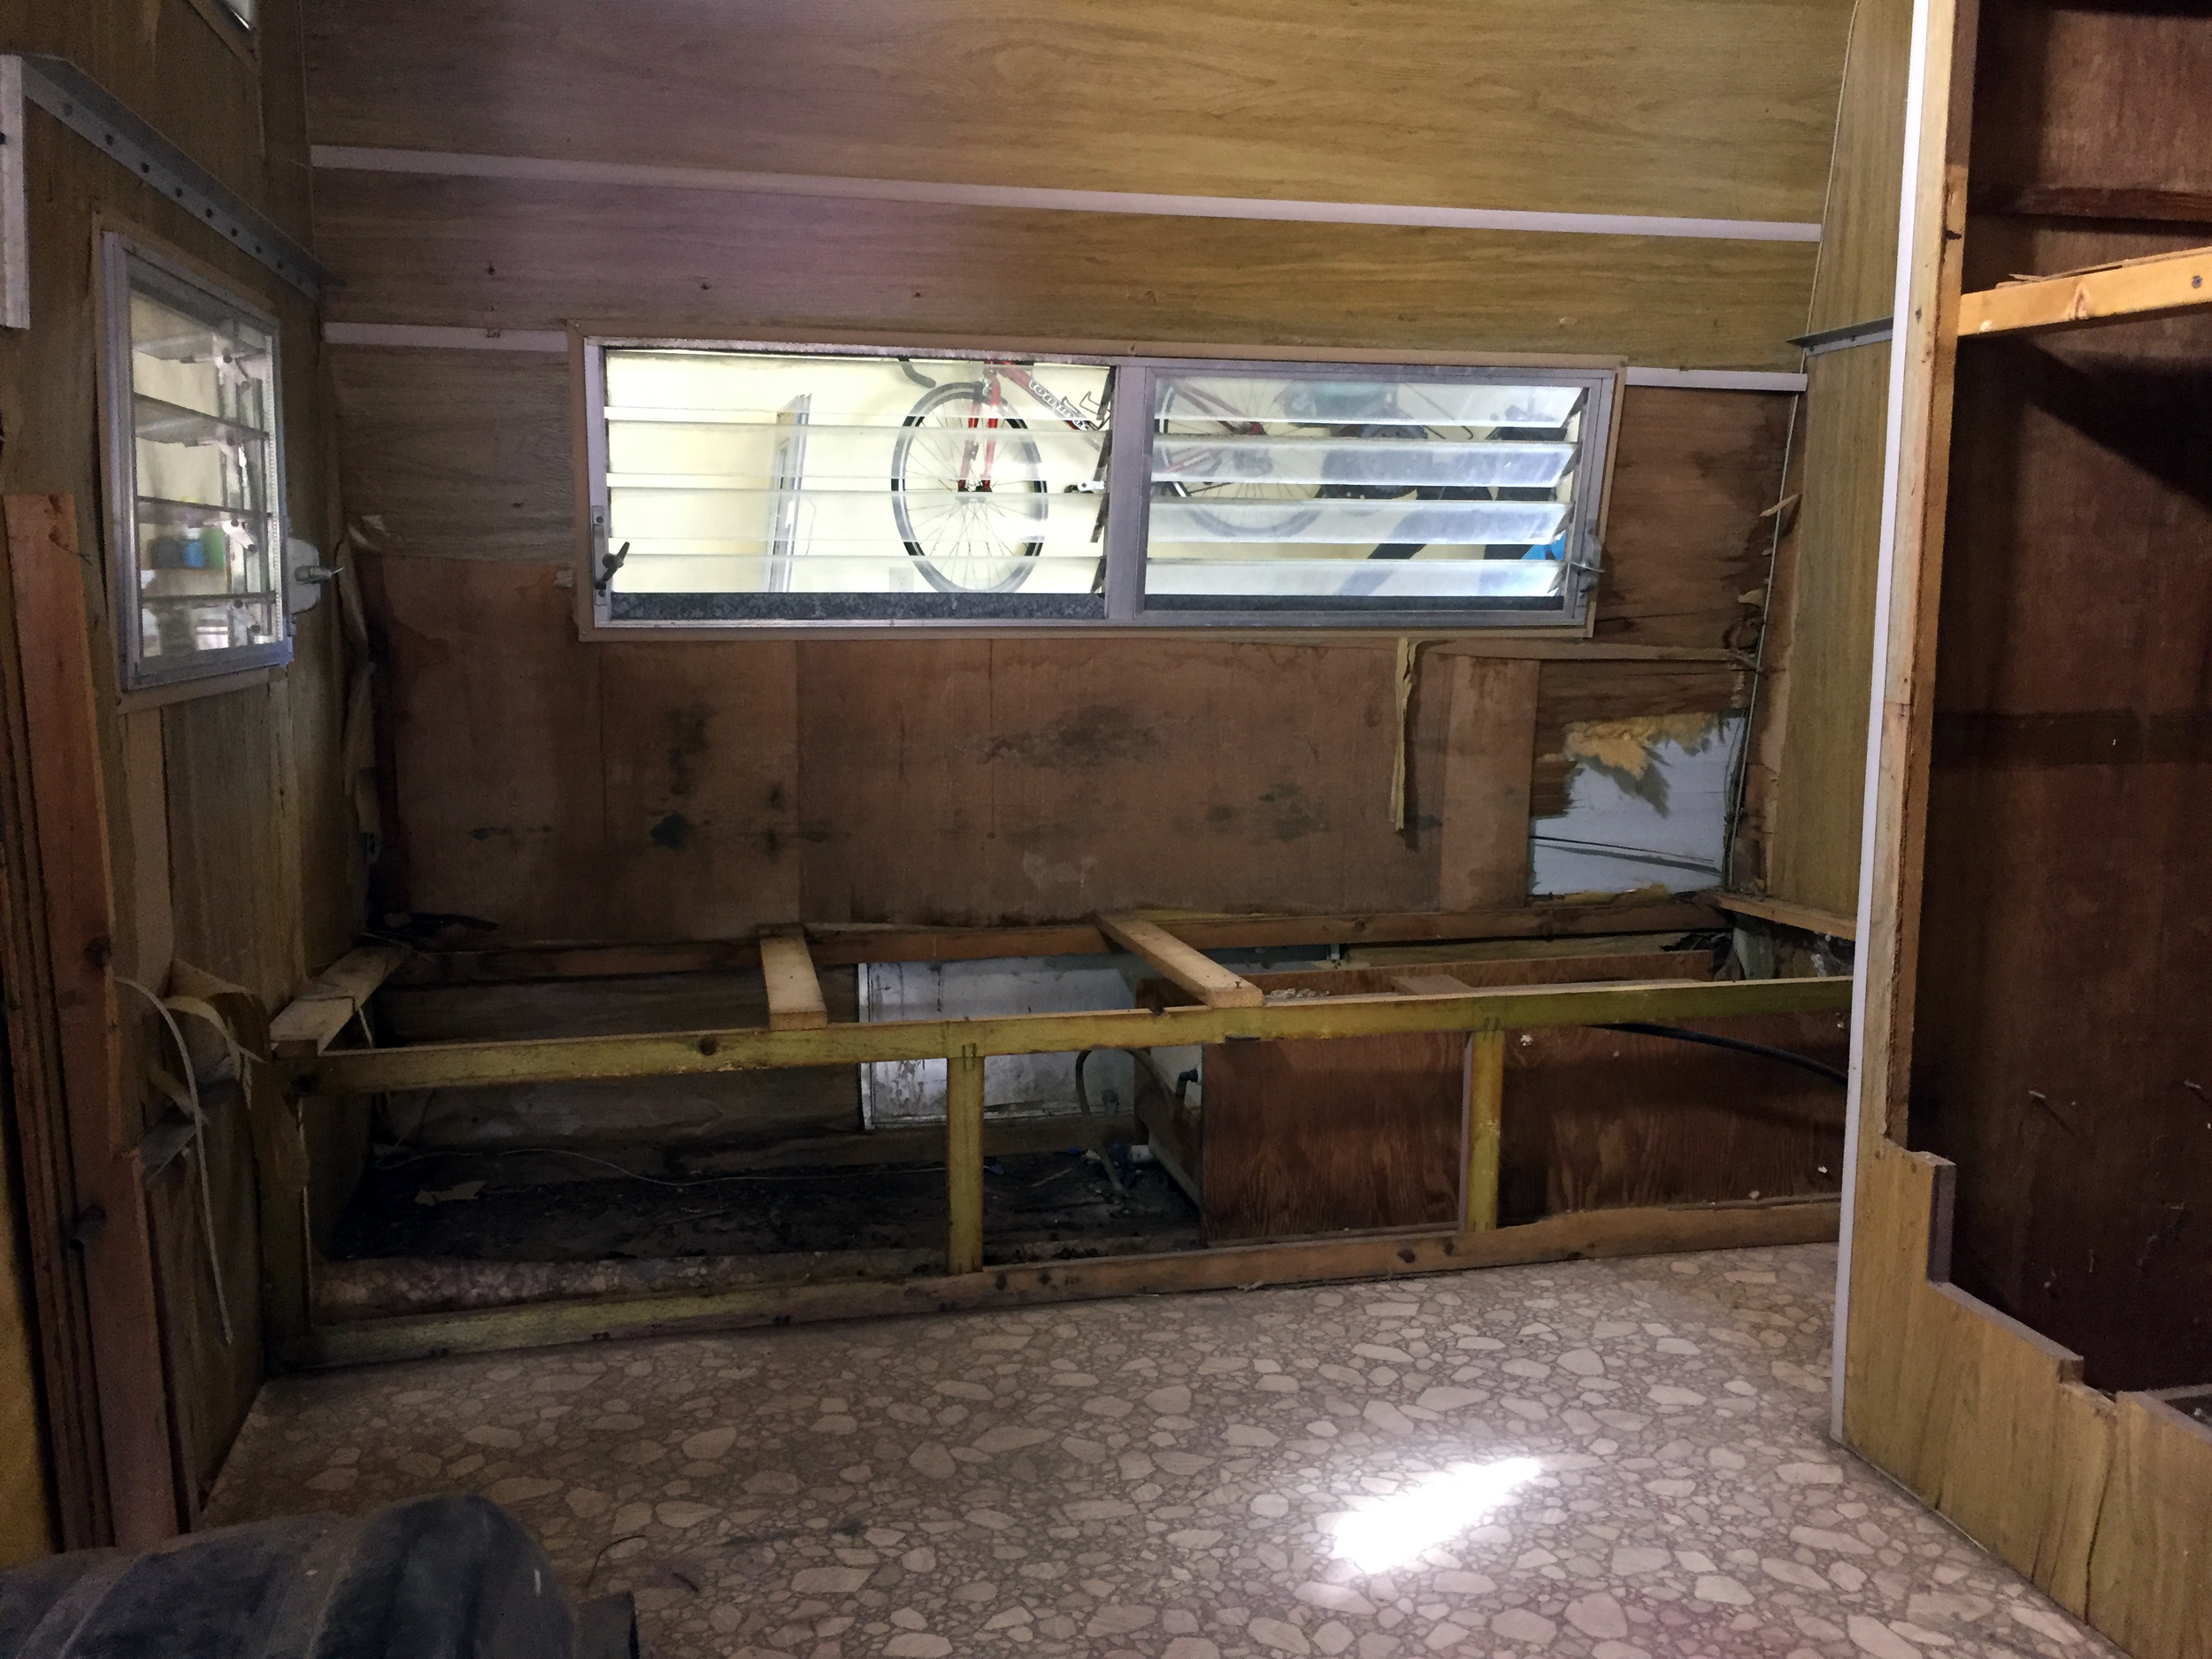
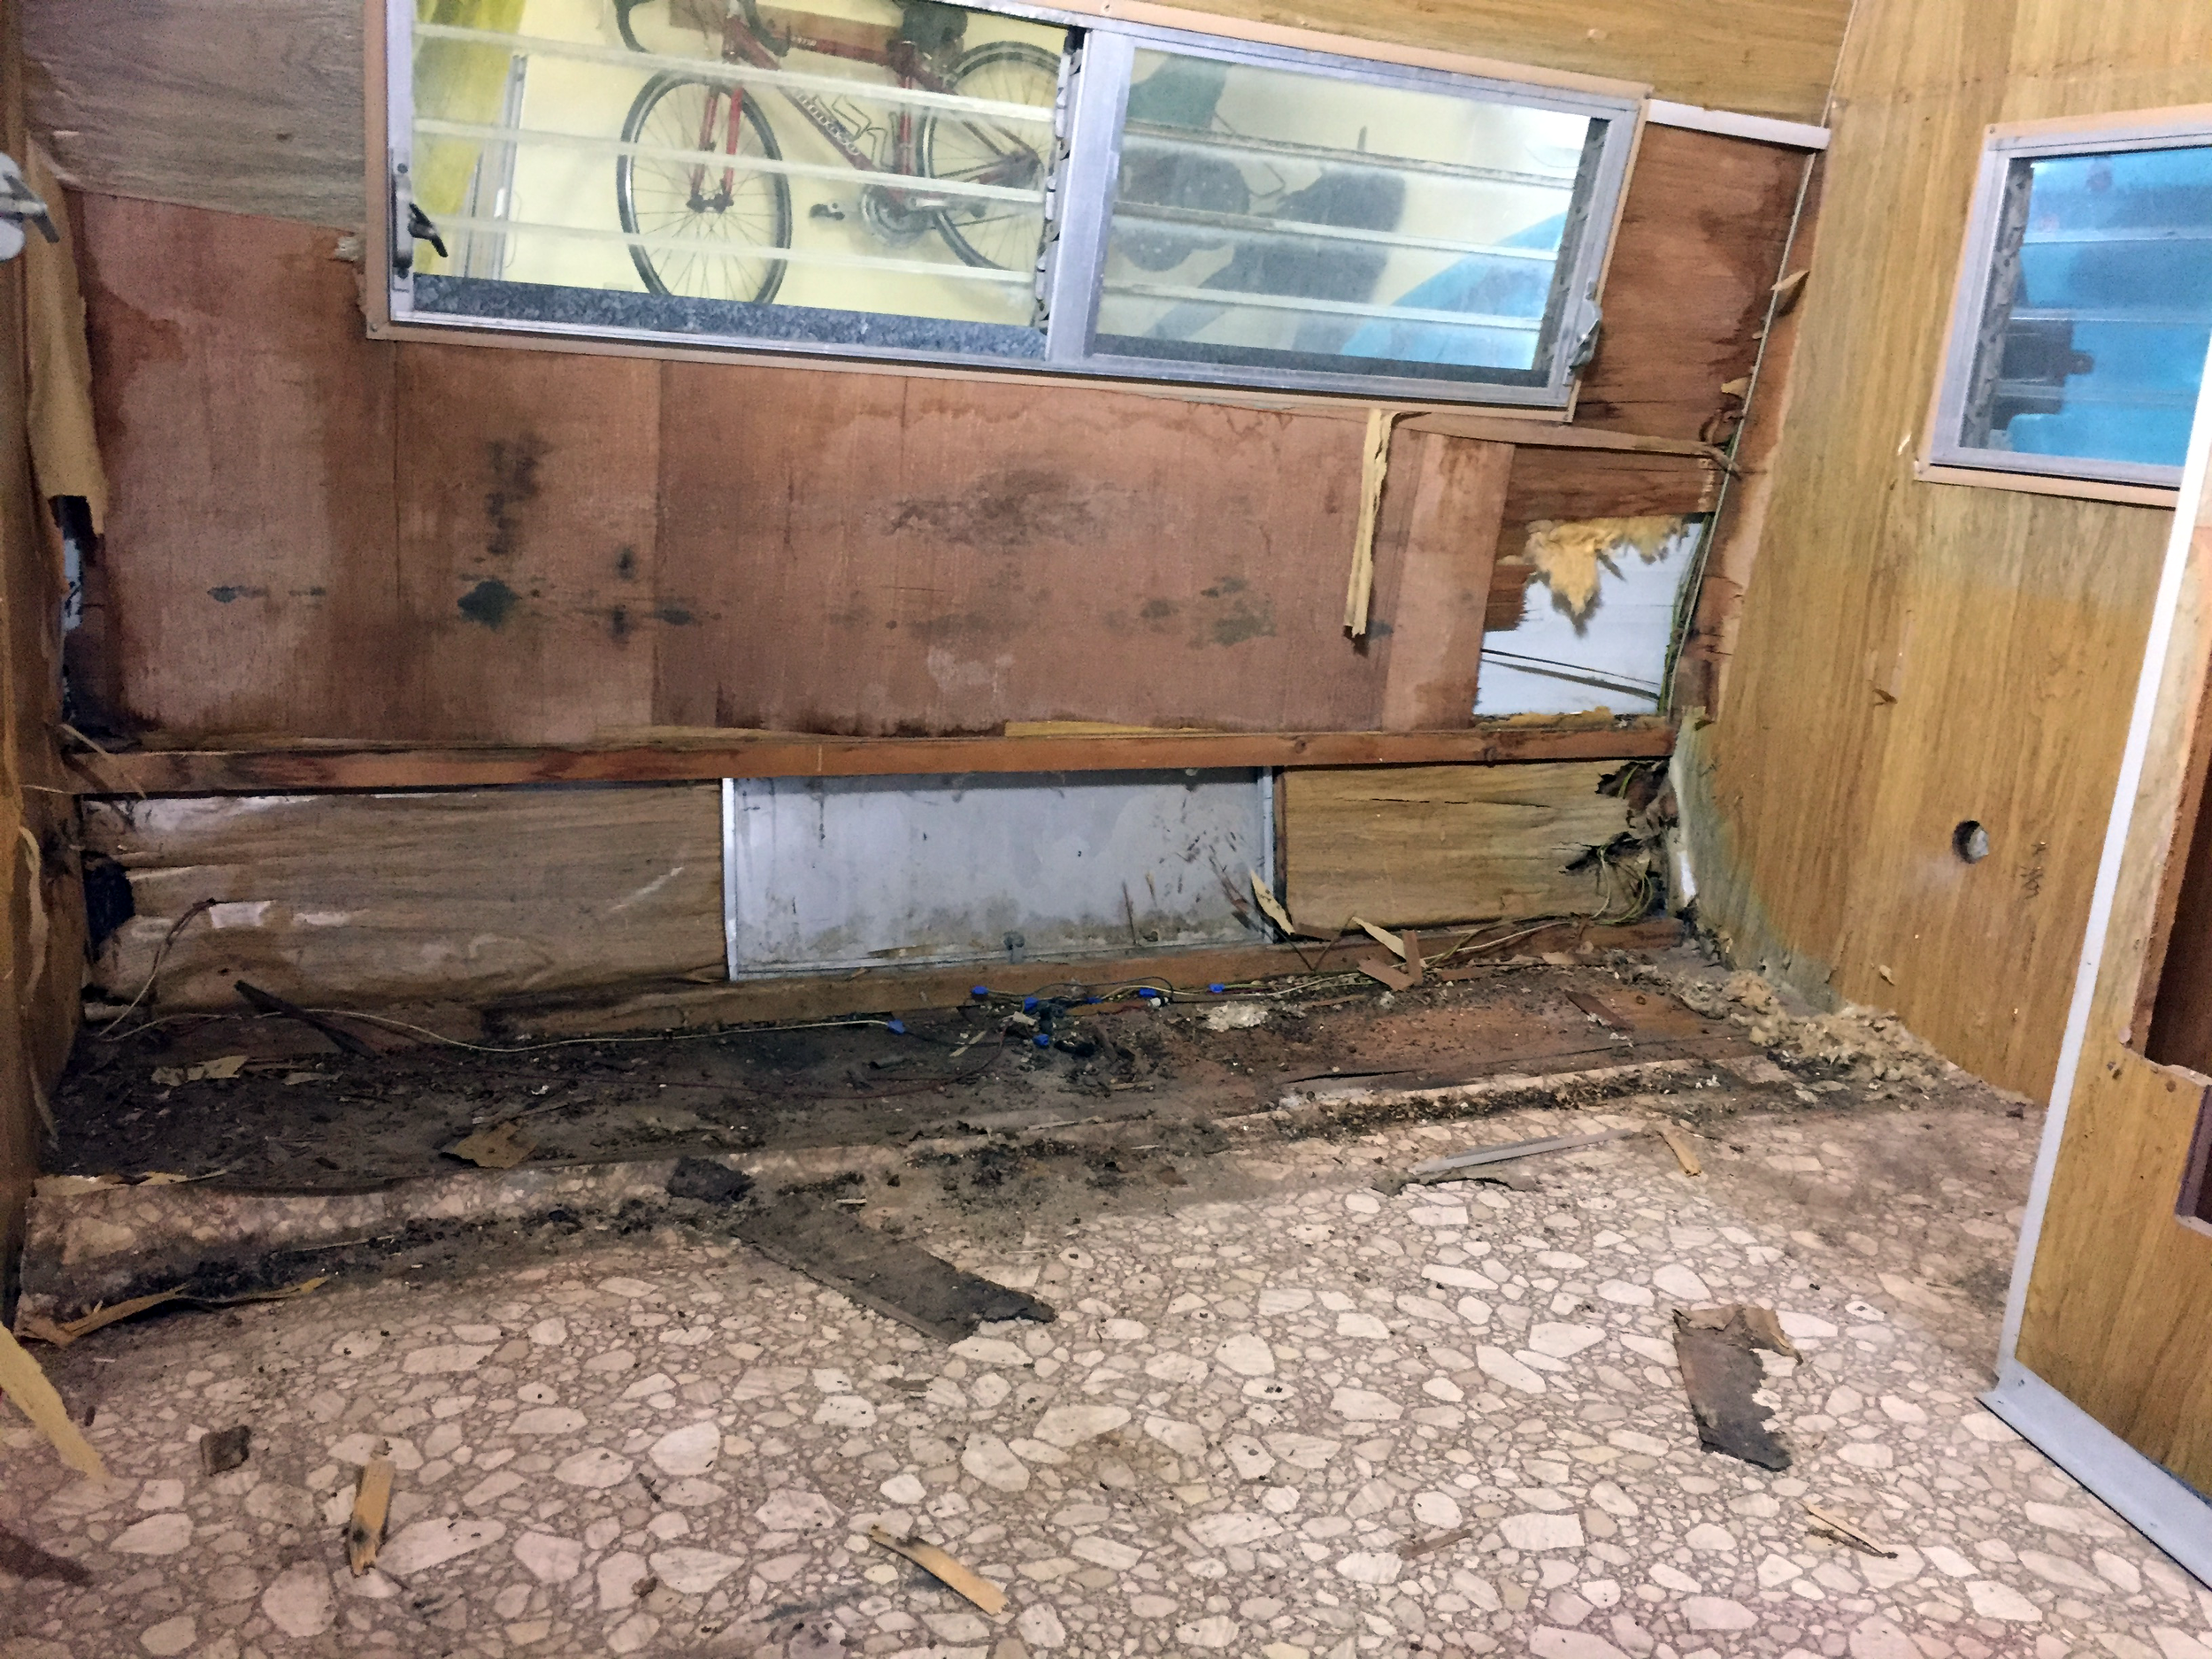
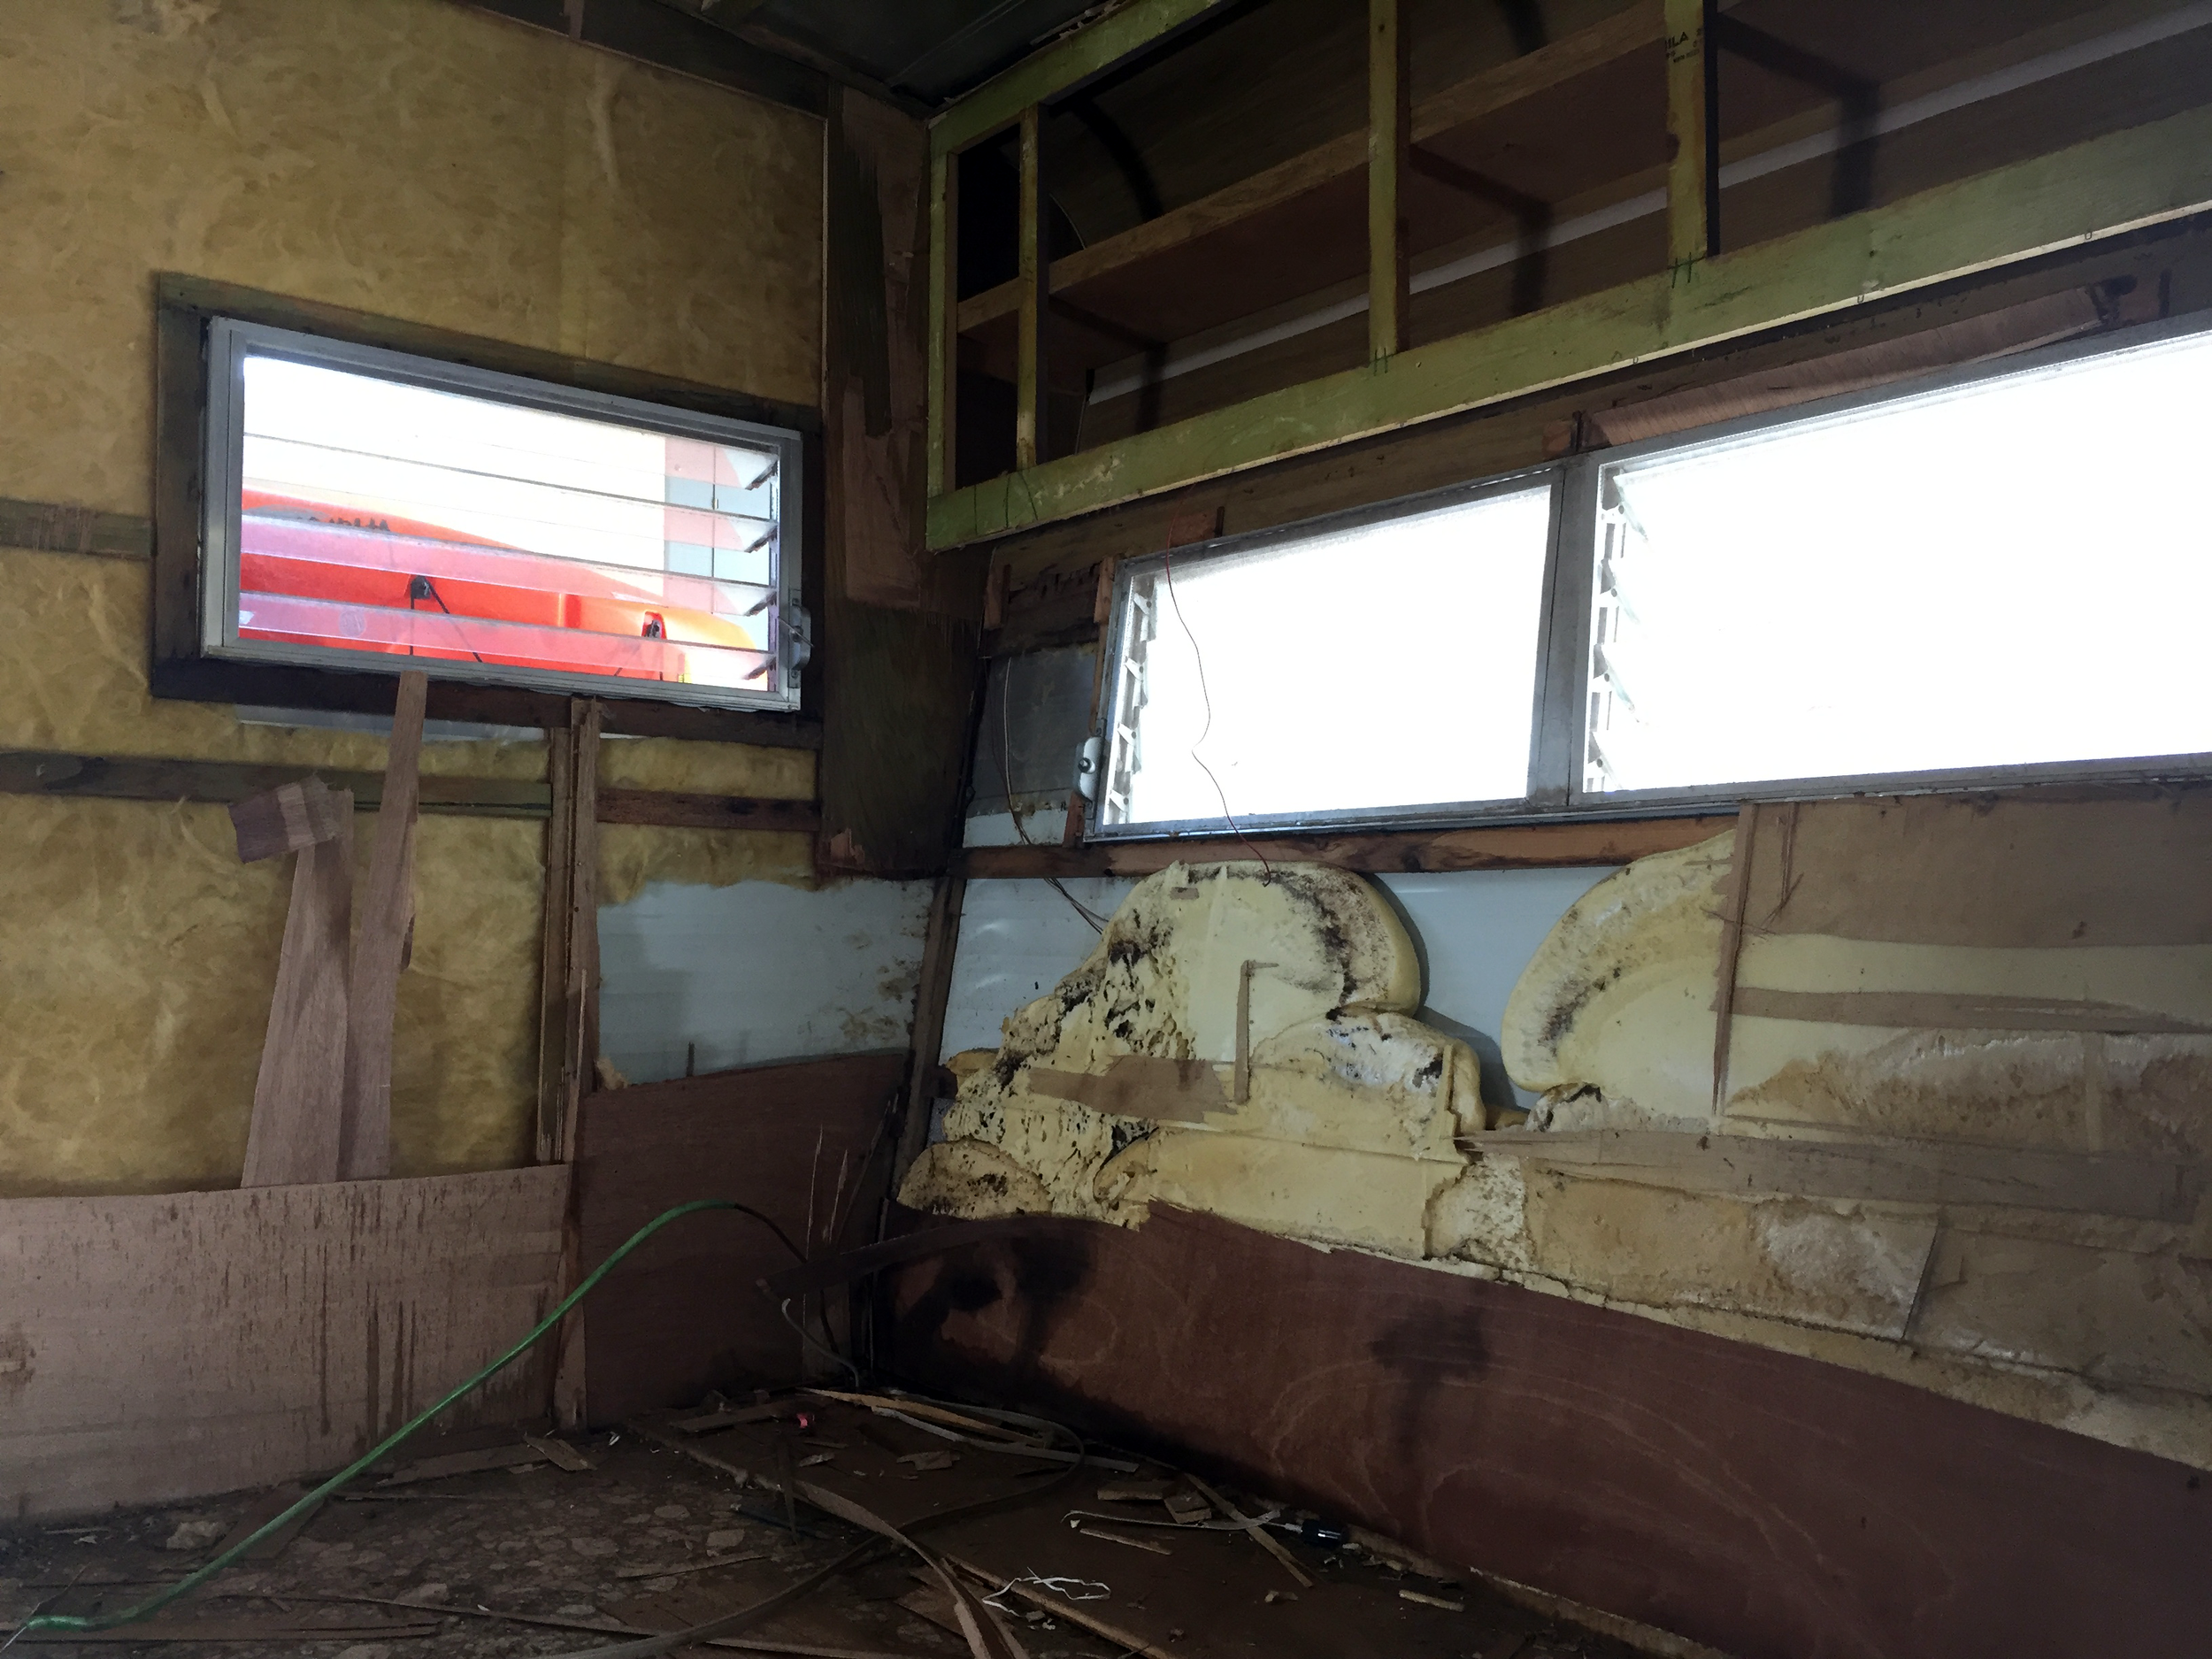

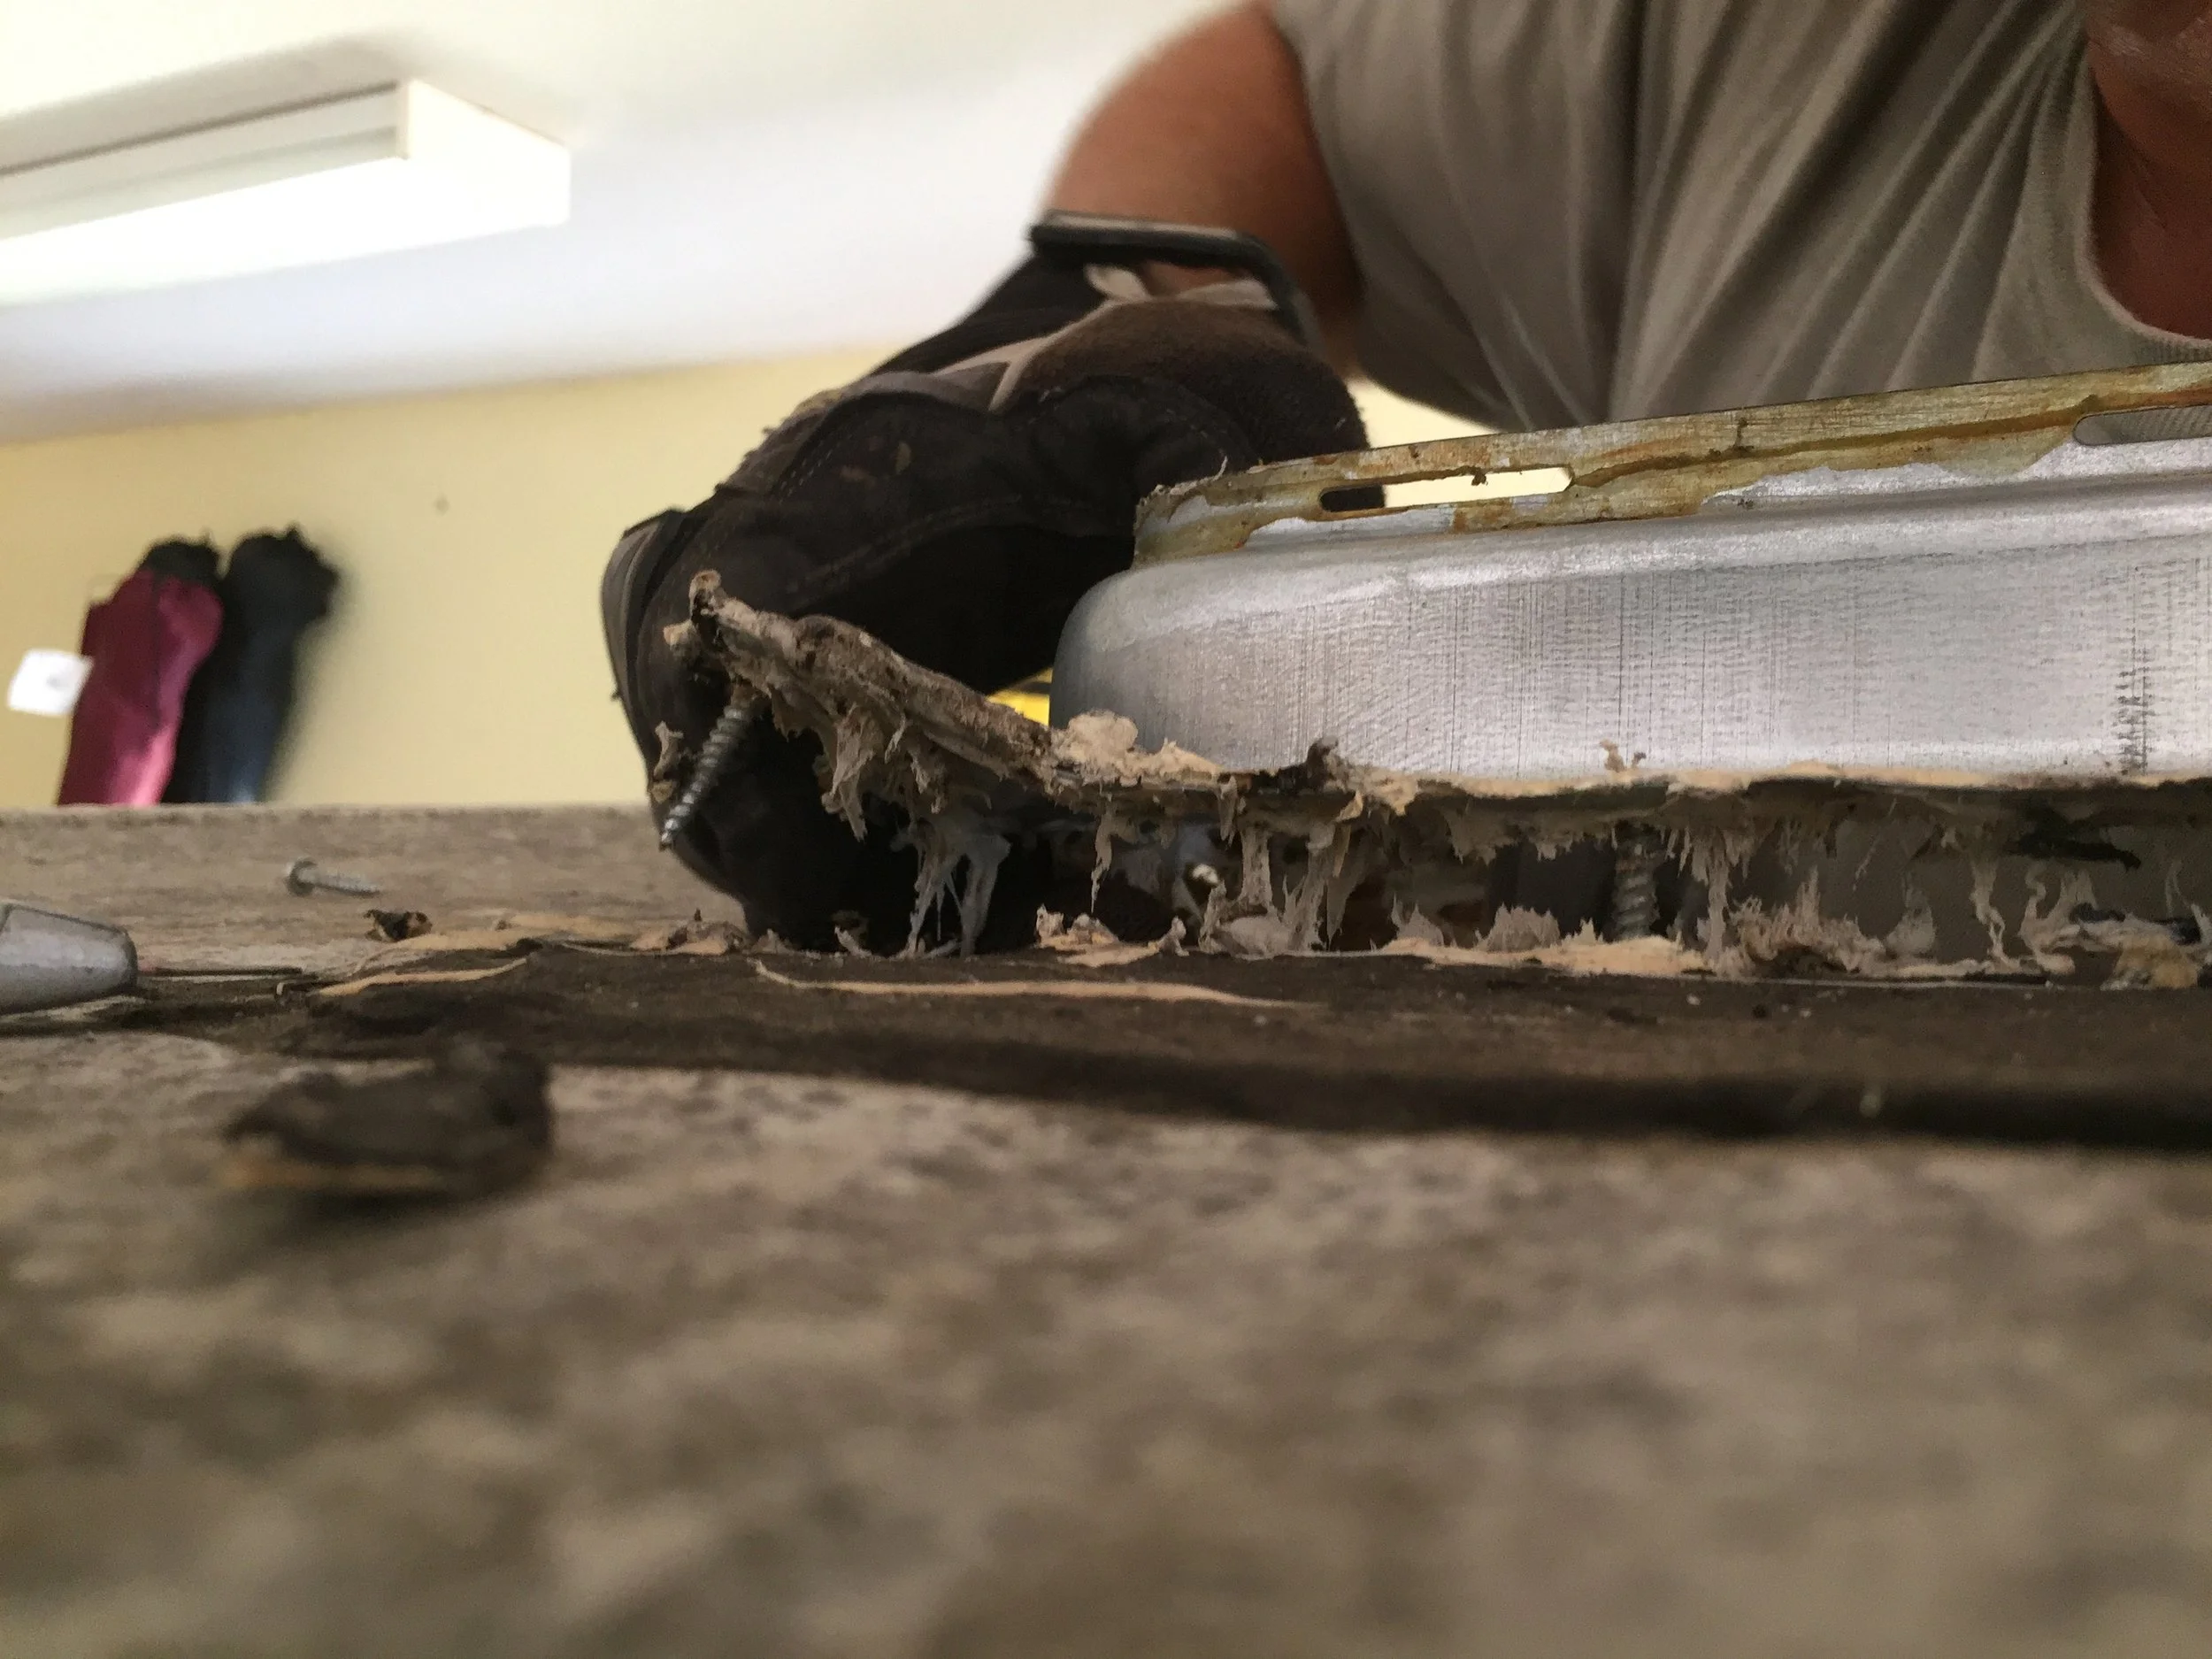
In addition to all of that carnage, the subfloor in the front of the camper (under the original dinette area across from the door) was in the worst shape – we could even see the ground through it after we pulled up the original linoleum and the scrap of wood a previous owner had installed to “fix” the problem.
So I guess you could say we had some water damage … most of which appeared to have come in at the corners/wall and ceiling seams/along the edges, which is why we are happy to share with you our three-step approach to making sure none of that happens again on our watch!
Our camper waterproofing shopping list:
Grinder/sander/putty knife – for removing old debris
TSP or other degreaser – for cleaning/prepping surfaces
White lint-free rags – for degreasing, wiping Captain Tolley’s and mineral spirits
Mineral spirits – for smoothing the Lexel; SUPER important to a near-invisible application
How to waterproof a camper in 3 steps
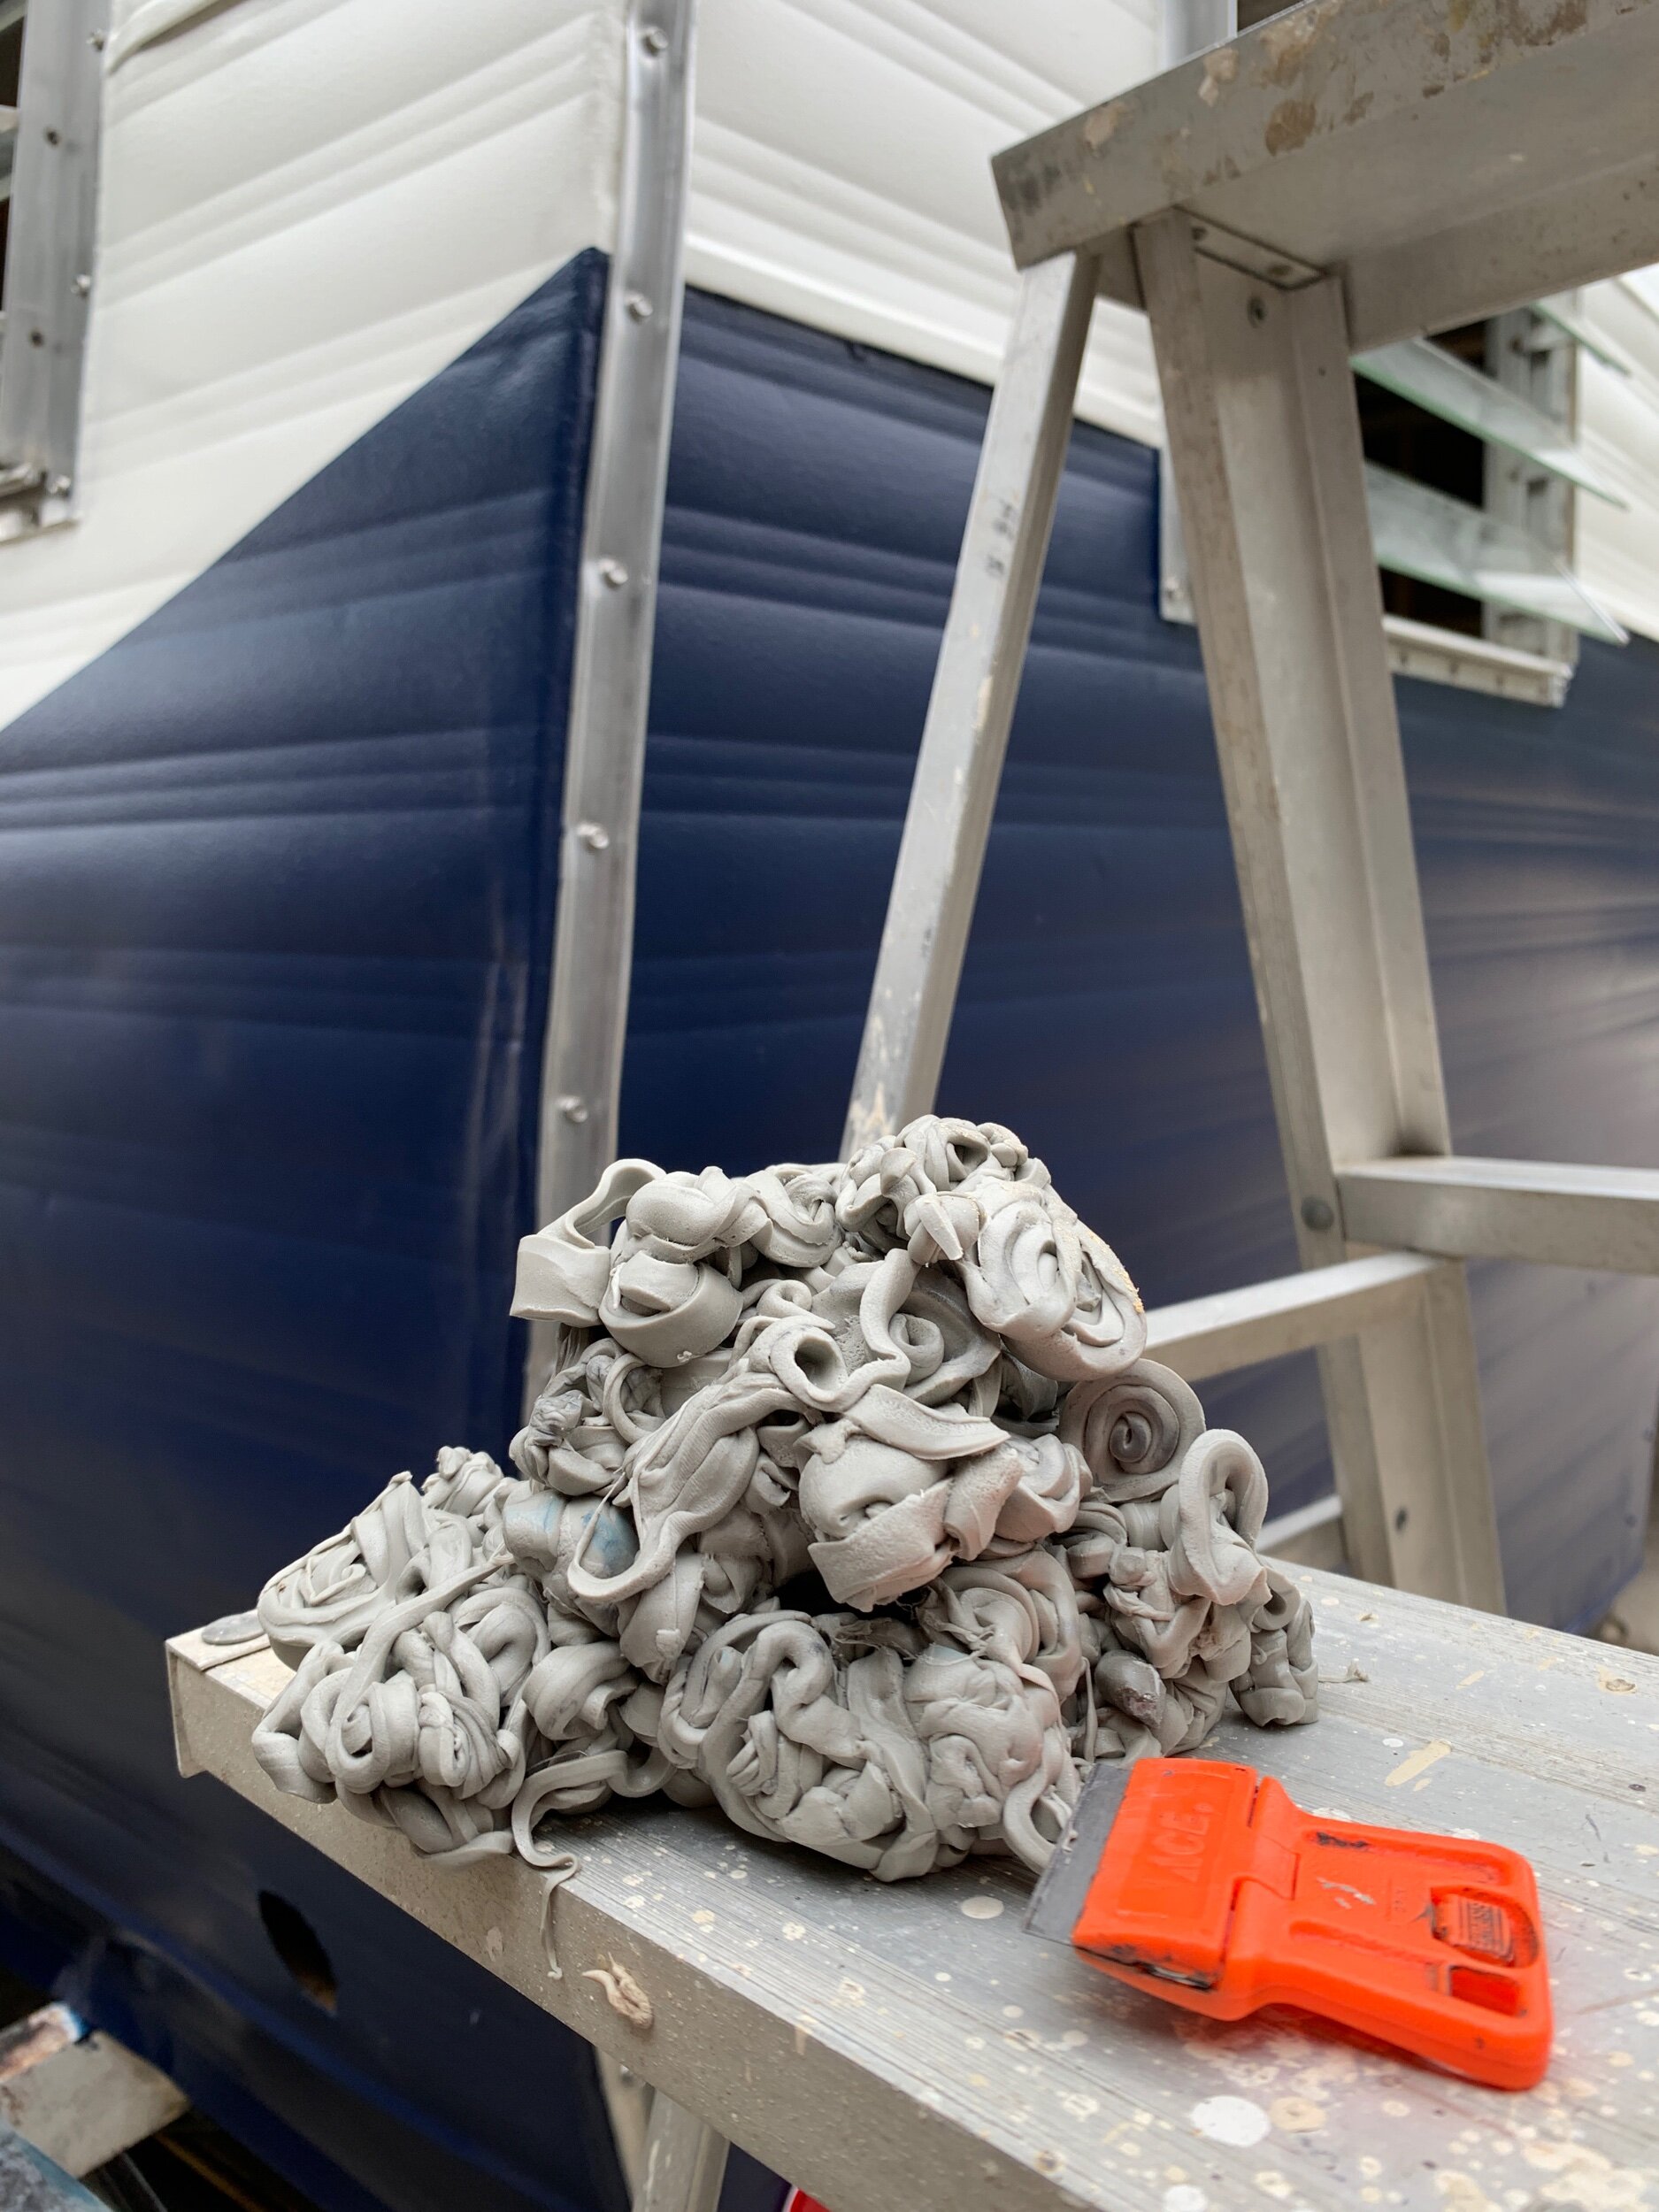

1. Butyl Putty Tape
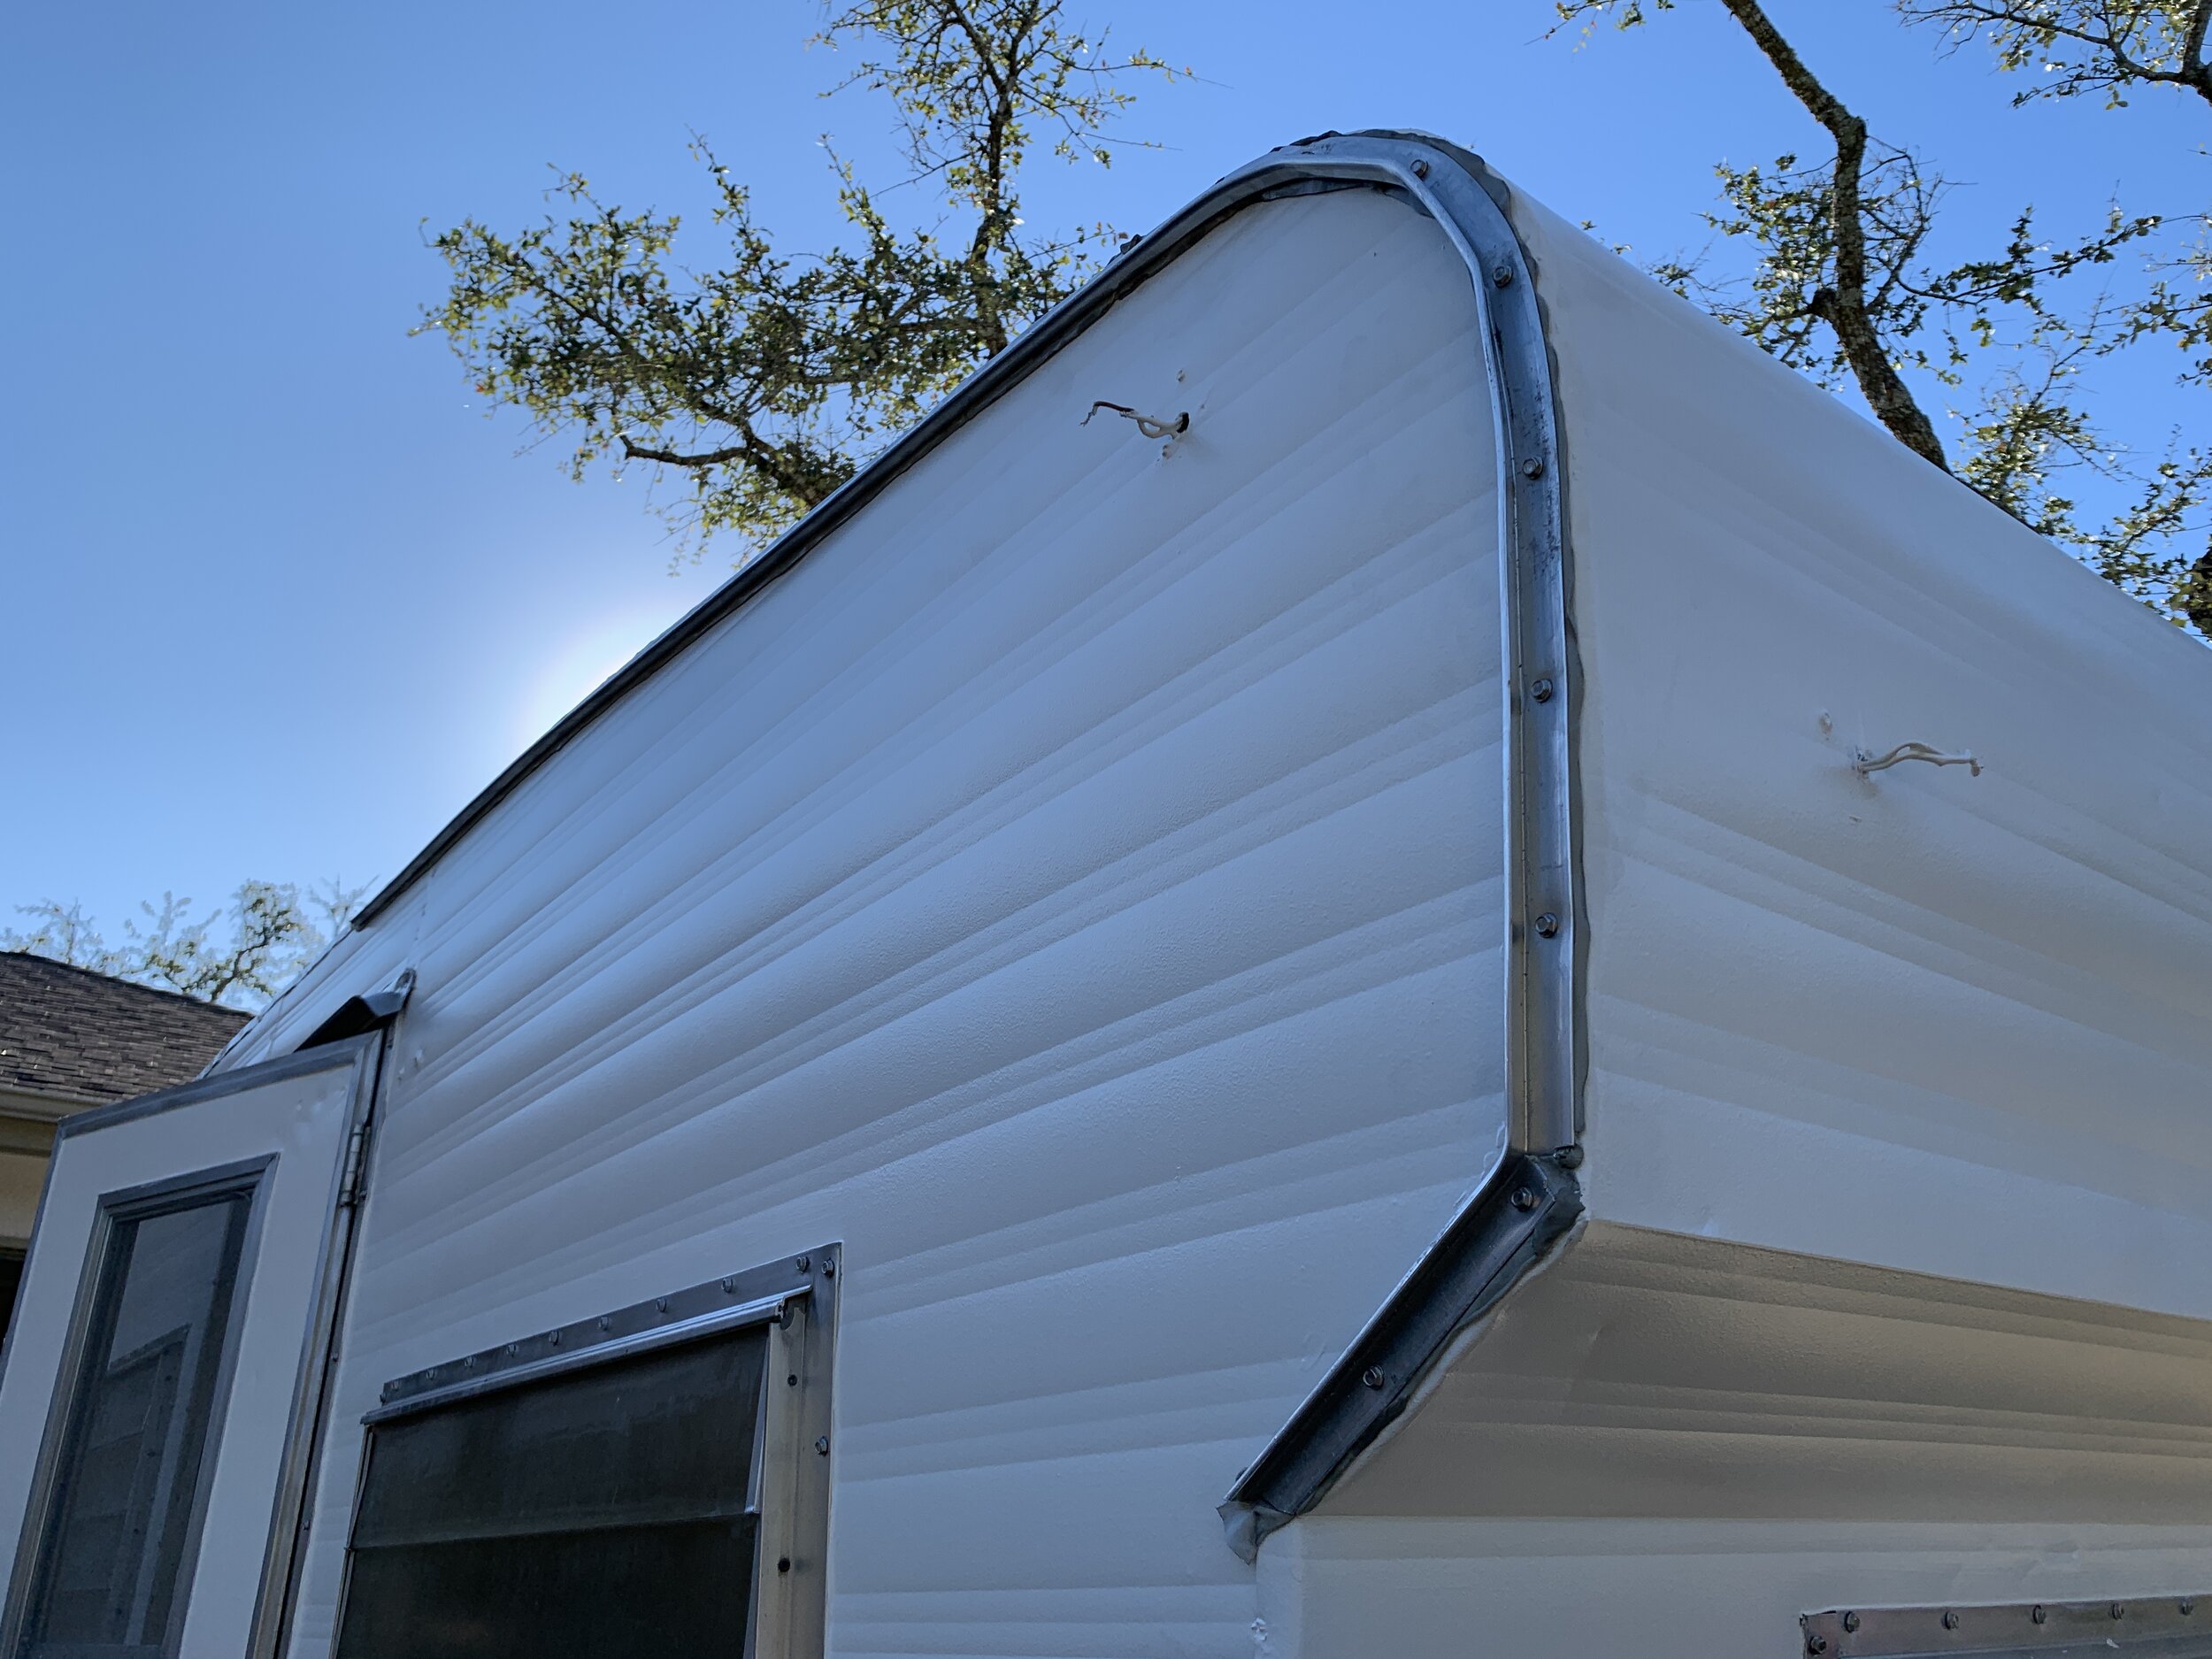
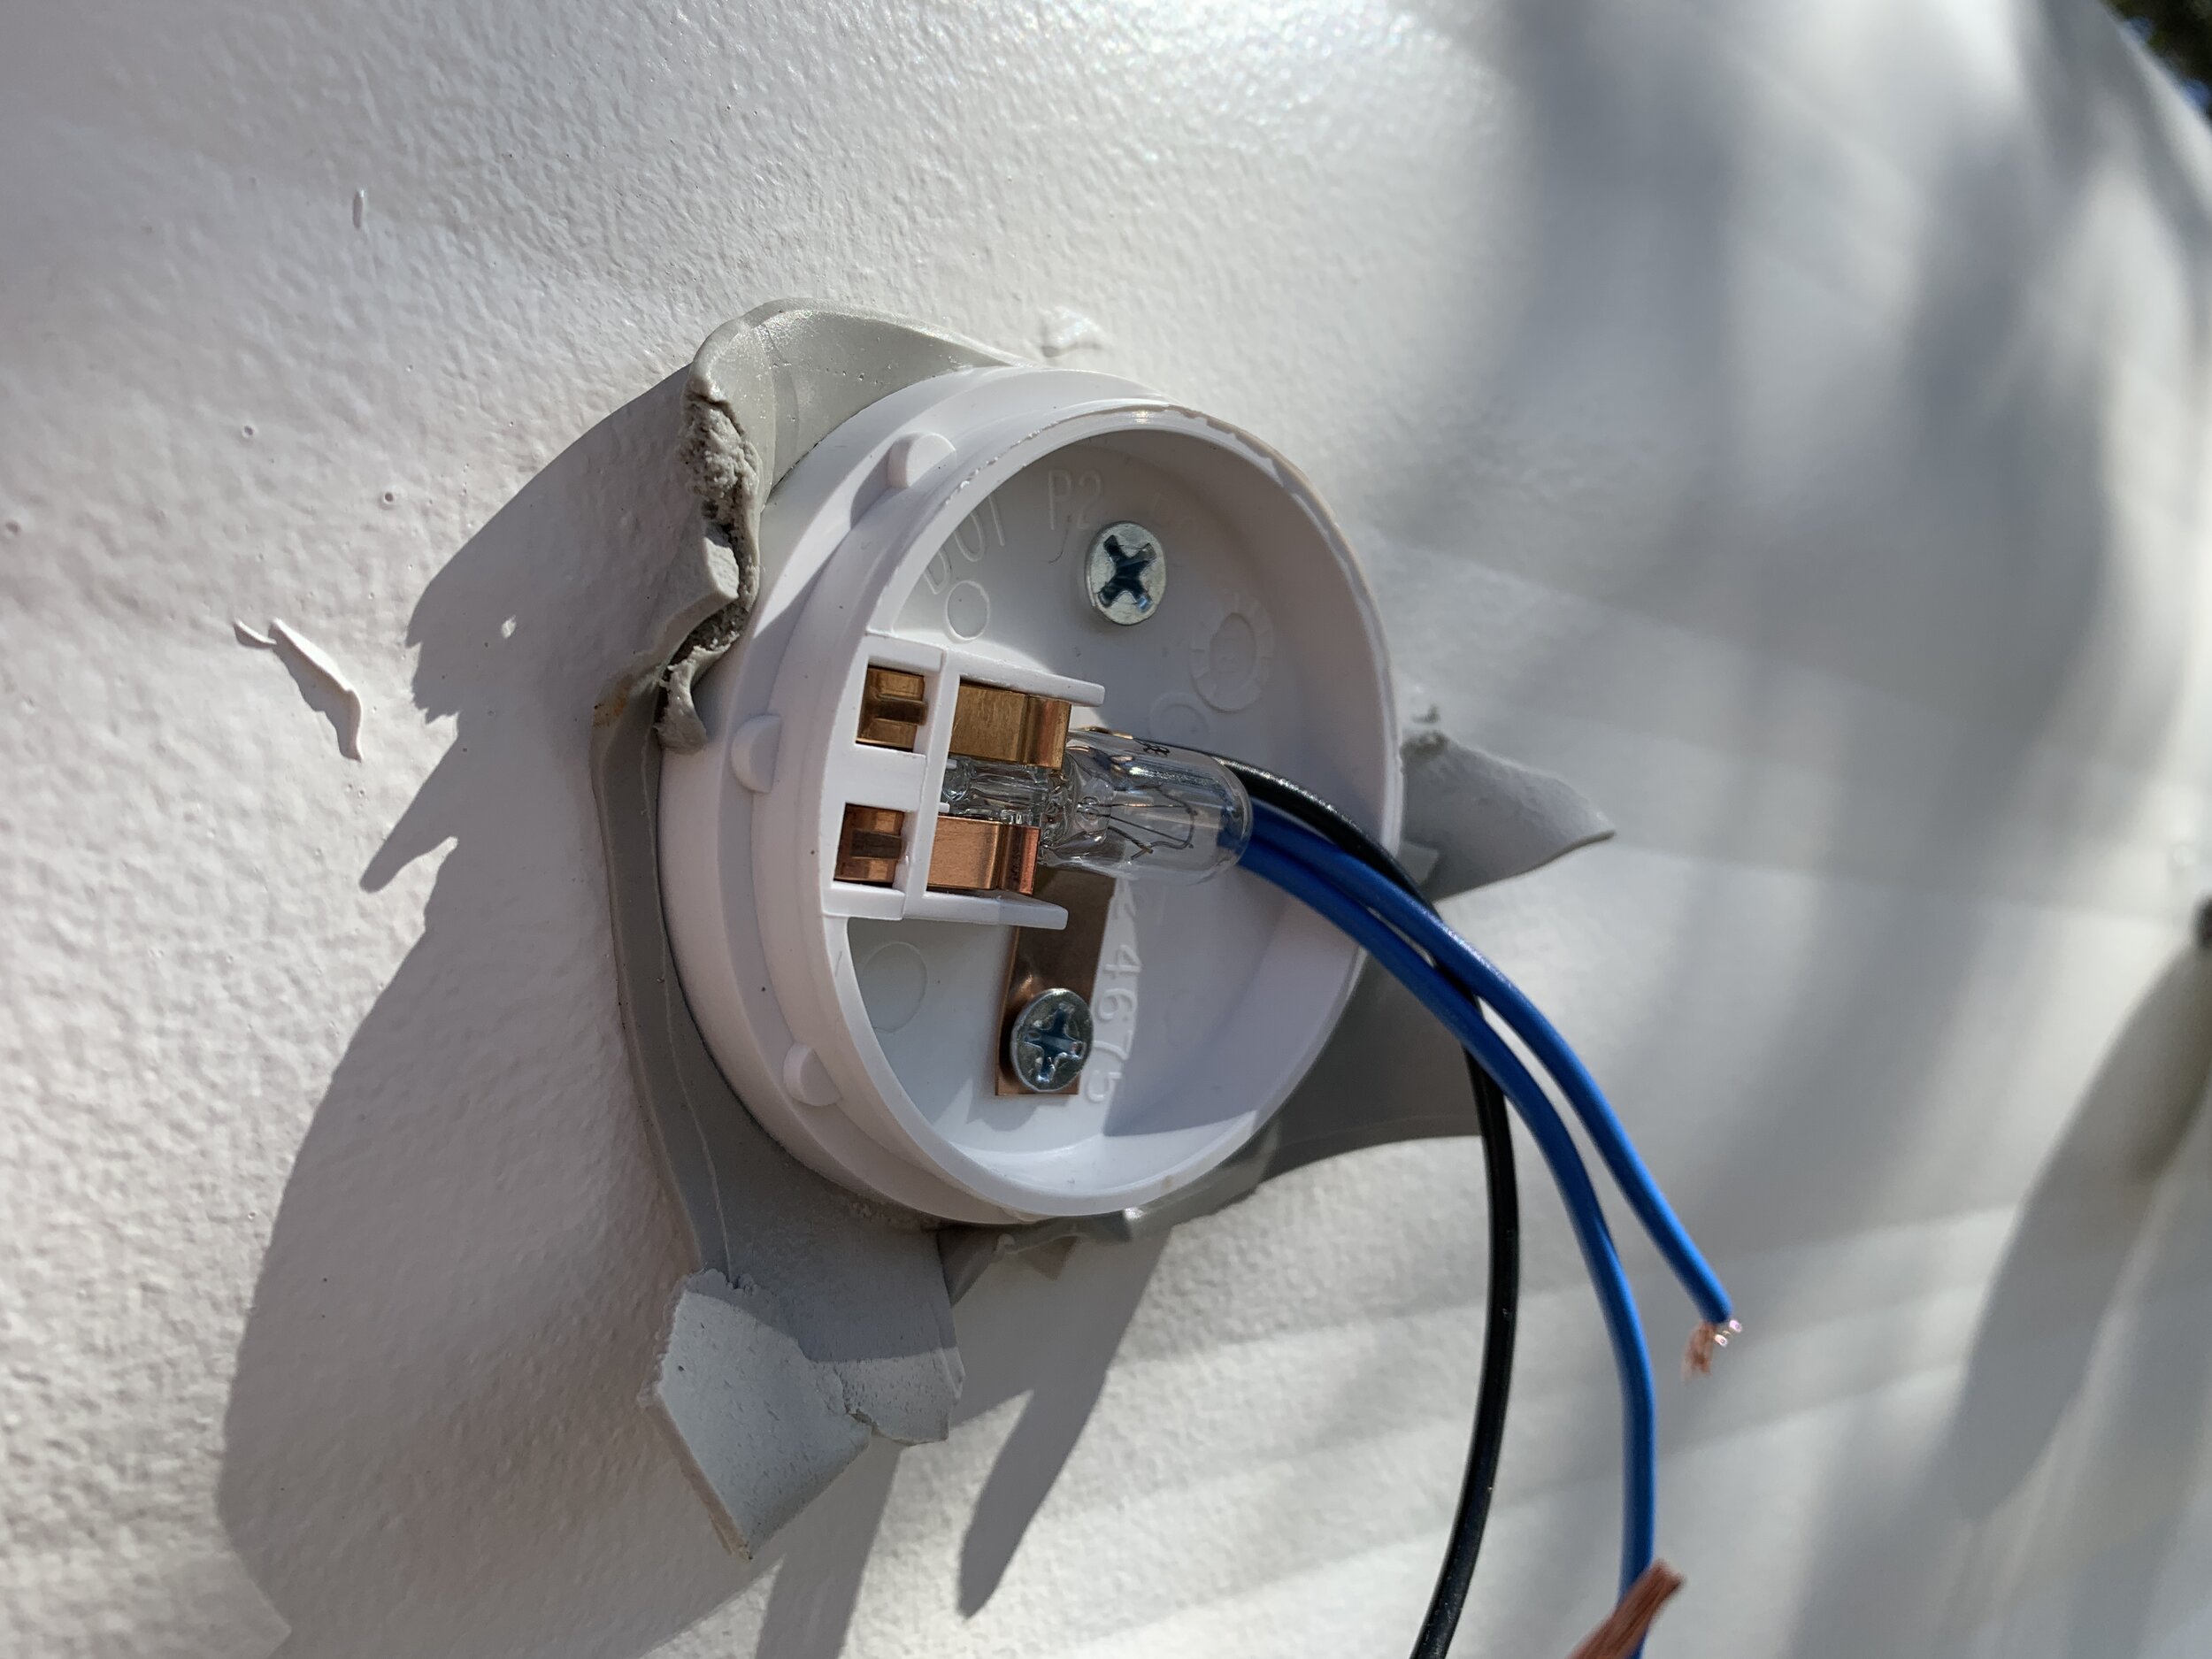
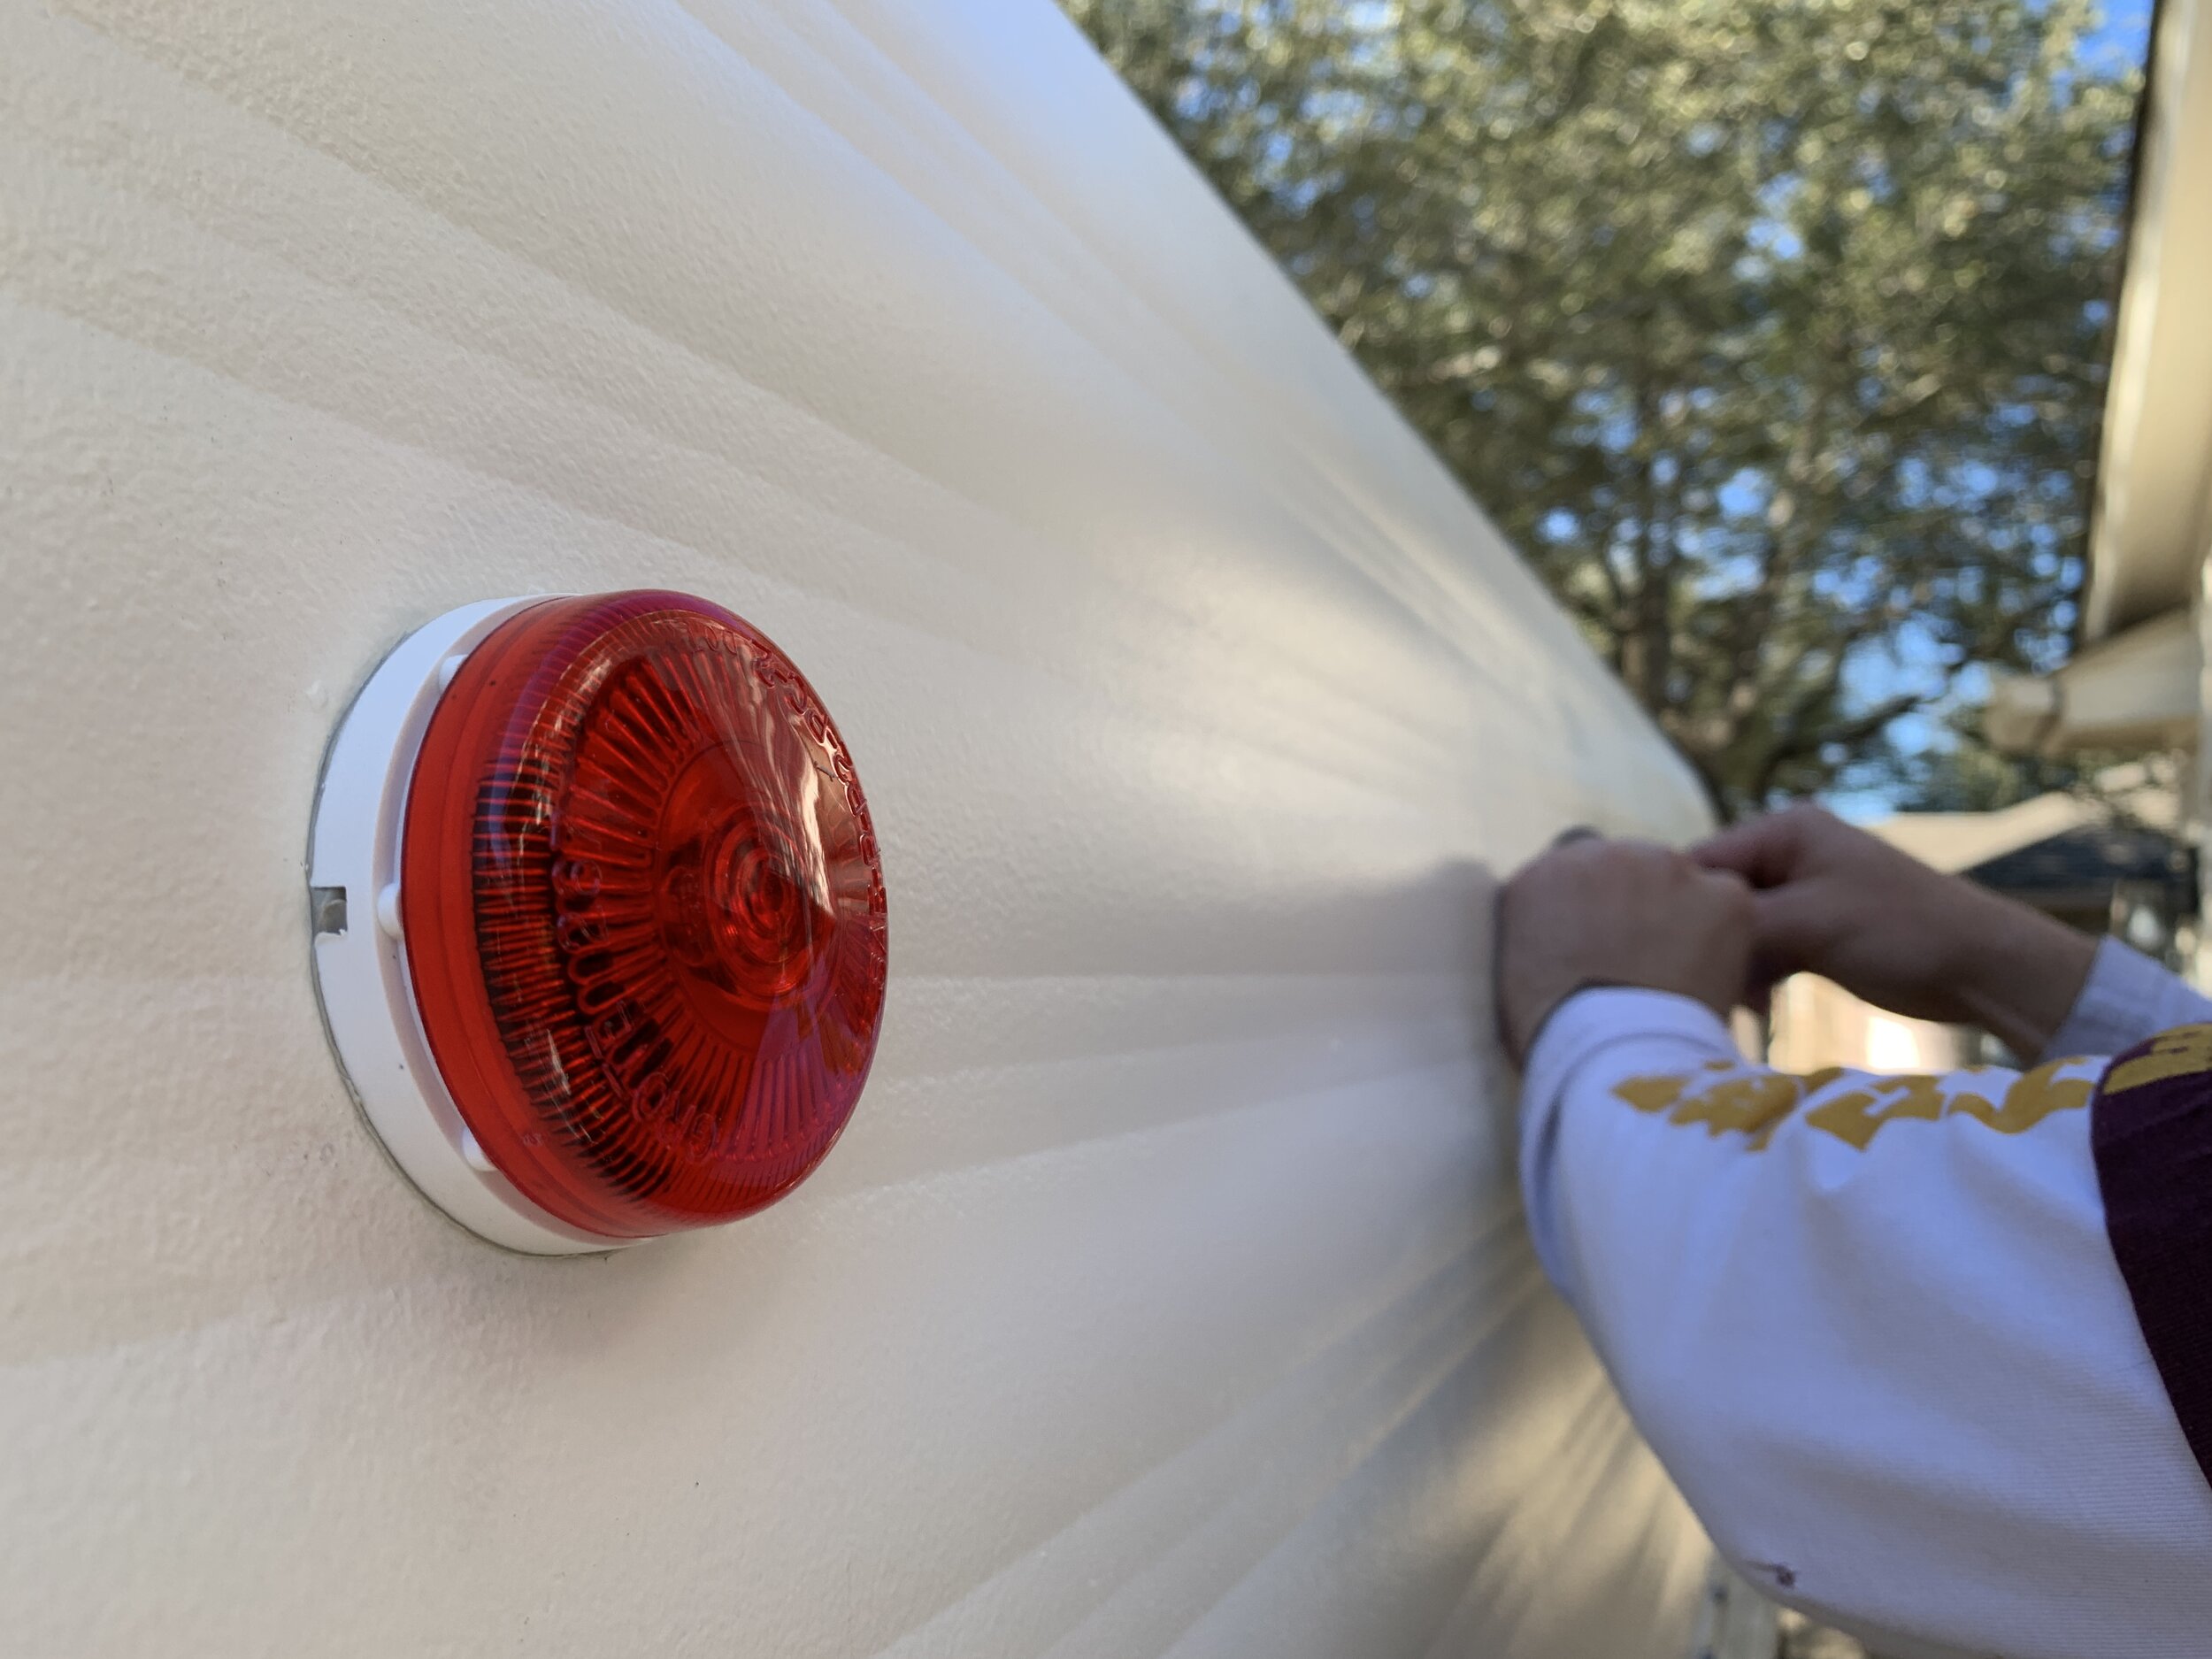
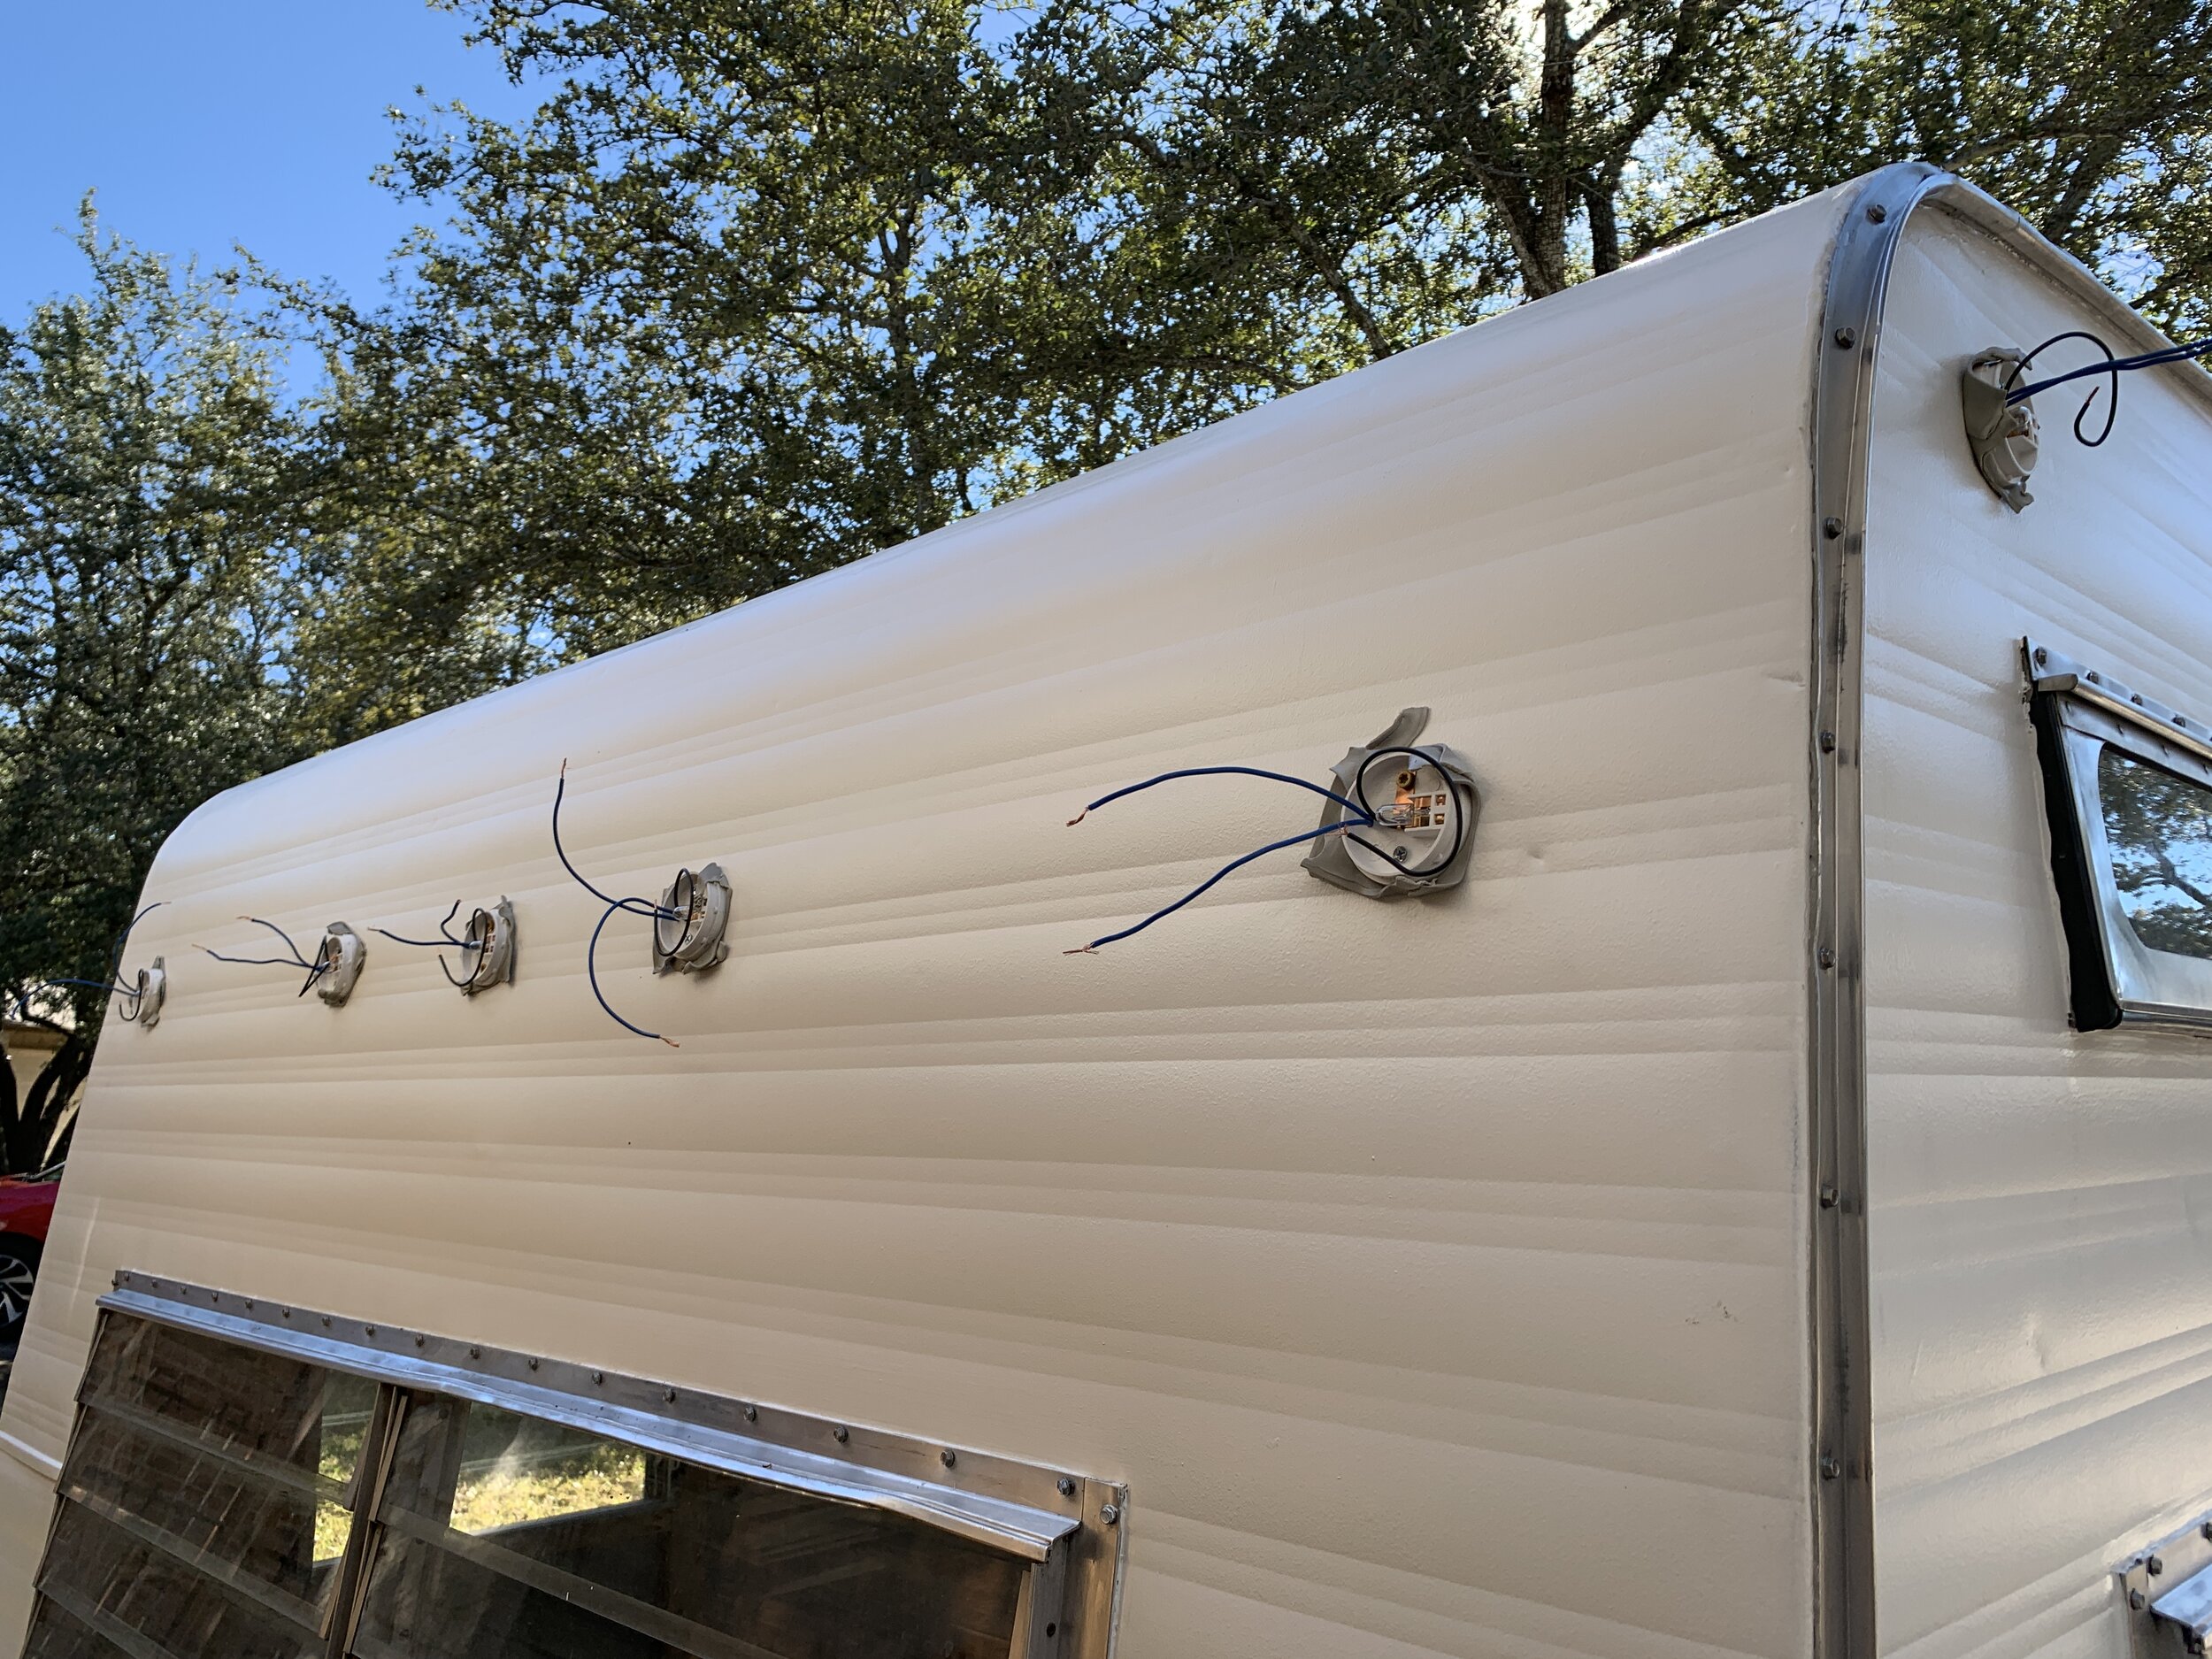
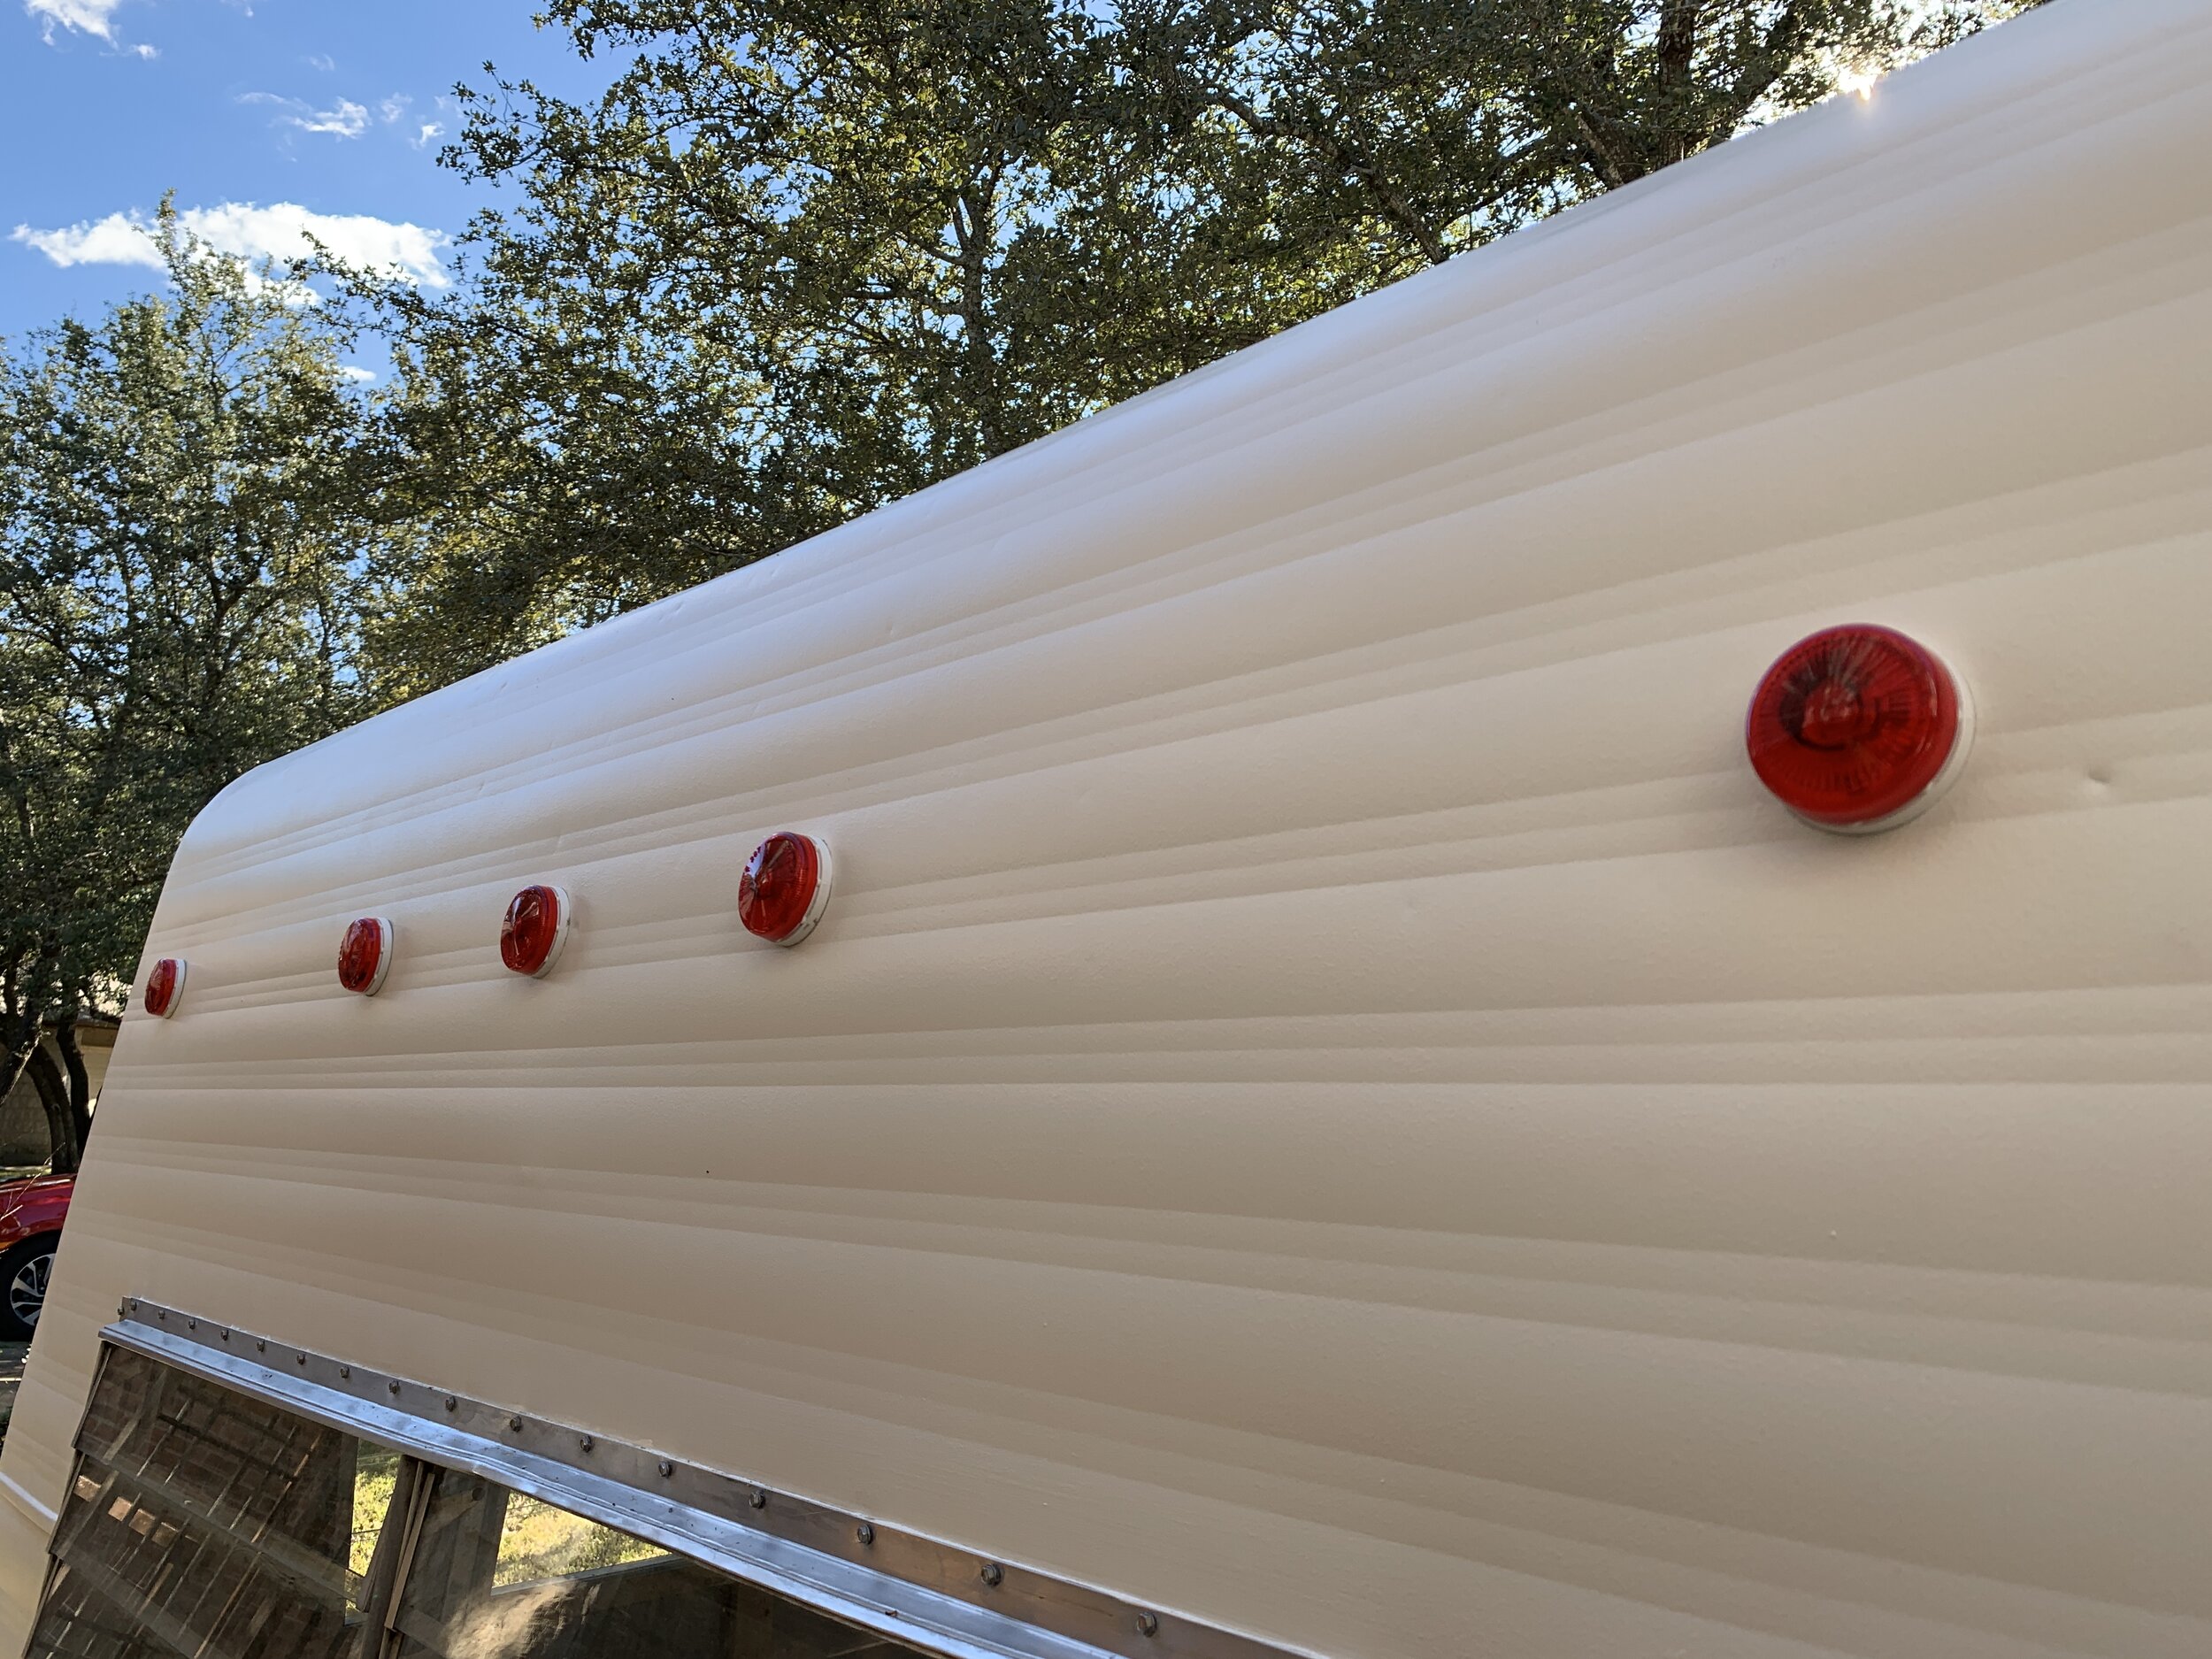
For any pieces that attach to the camper skins – the roof vent, windows, exterior lights, j-rail, etc. – butyl putty tape should be used to create a watertight seal. Think of it kind of like a heavy-duty waterproof double-sided tape, if it were made out of gray bubble gum.
Tape tip:
This stuff is a total mess to deal with when it’s at all warm. We learned to store the rolls in the fridge until the last second you need it, tear off/use what you need and put the rest back in the fridge the second you don’t. Just trust me on this.

Getting a proper tape seal
Start with solid framing – It’s super important to have strong framing that you’re screwing into. The seal is really only as good as the base it’s all attached to. If your screws don’t lock in (i.e. your wood framing is stripped out), it’s best to replace the wood for something that will give them a good grip.
Prep the surface – It’s important to make sure wherever you’re attaching the tape, that the surface is clean and dry for proper adhesion. Grinding/sanding off debris and cleaning the surface with something like TSP should do the trick to remove any grease or oils.
Make good contact – peel off one side of the tape backing, little by little, until your whole tape strip is down. With the top layer of tape backing still on, run your finger up and down the tape strip to push the putty onto your camper. Once it’s stuck down well, peel off the top backing and stick on the piece you’re affixing to the camper.
Don’t be afraid to double up – For some areas, like during the install of J-trim, you might need to stack two layers of tape on each other for the two pieces you’re attaching to make good contact. For instance, we noticed on tight curves that the J-trim flares out a bit and would do well to have two layers of putty tape under it.
Use the buddy system – We’ve yet to see any pieces that just glue on with tape only; all of ours also require screws. (We personally like these screws, and used the 3/4” long ones.) Make sure the screws you’re using to attach your pieces go through the putty tape to make a good seal around the screw. Screw the screws down firmly, but don’t over-tighten. Go back the next day and tighten the screws down to make the tape squish out from underneath, then trim the putty tape.
Normally, after using butyl putty tape it should be all you need to create a watertight seal. Because we saw firsthand the extensive damage that can be done to a camper from leaks, we tripled down and took some extra steps to really make sure no water was getting in this bad boy.
Looking for other posts with more specific applications of butyl butty tape?
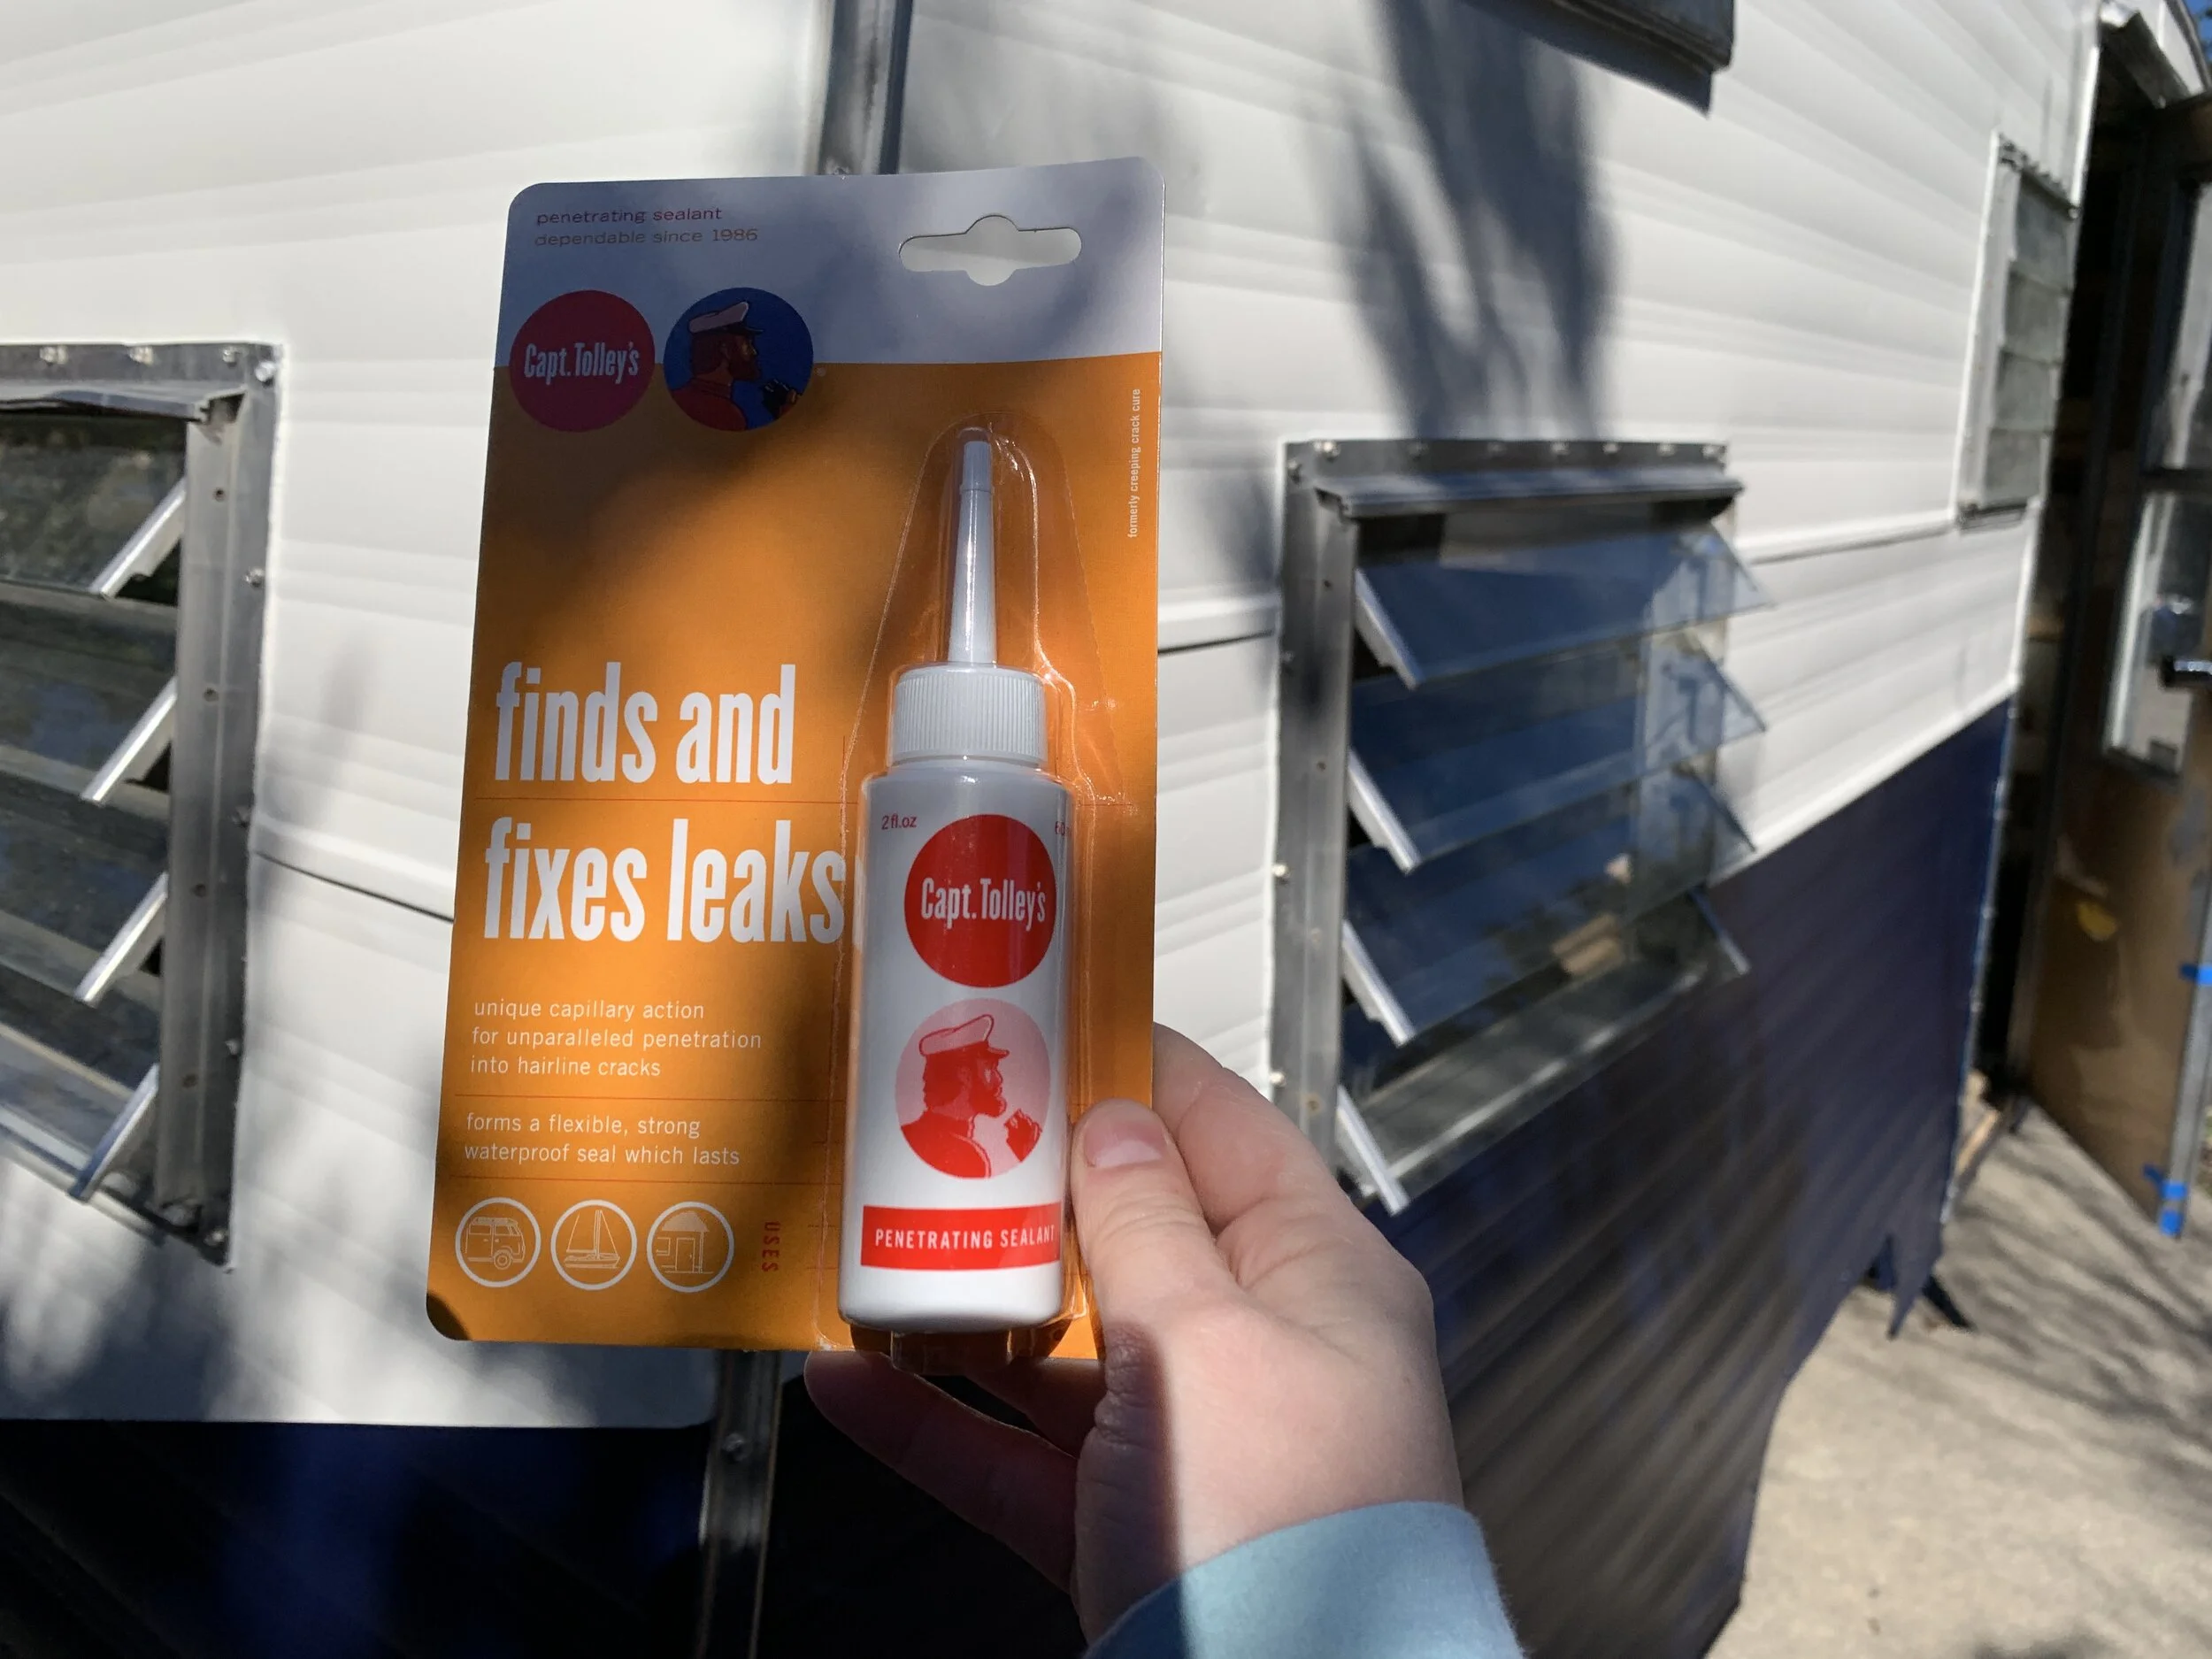
2. Captain Tolley’s Creeping Crack Cure
This is some pretty amazing stuff. It’s a milky-looking one-part water-based acrylic co-polymer penetrating liquid sealant that dries clear, is thinner than water and is made for finding and filling invisible micro cracks. It hardens to a clear flexible seal and works wonders. Most of our use of it has been preventative, but we can attest it does actually work for existing leaks.
In fact, we had a small leak into the camper from one of the rivets in our roof vent cover. Funnily enough, it was one of the only things that we didn’t make or screw in ourselves. After a small ring of Captain Tolley’s around each rivet head, we no longer had a leak.
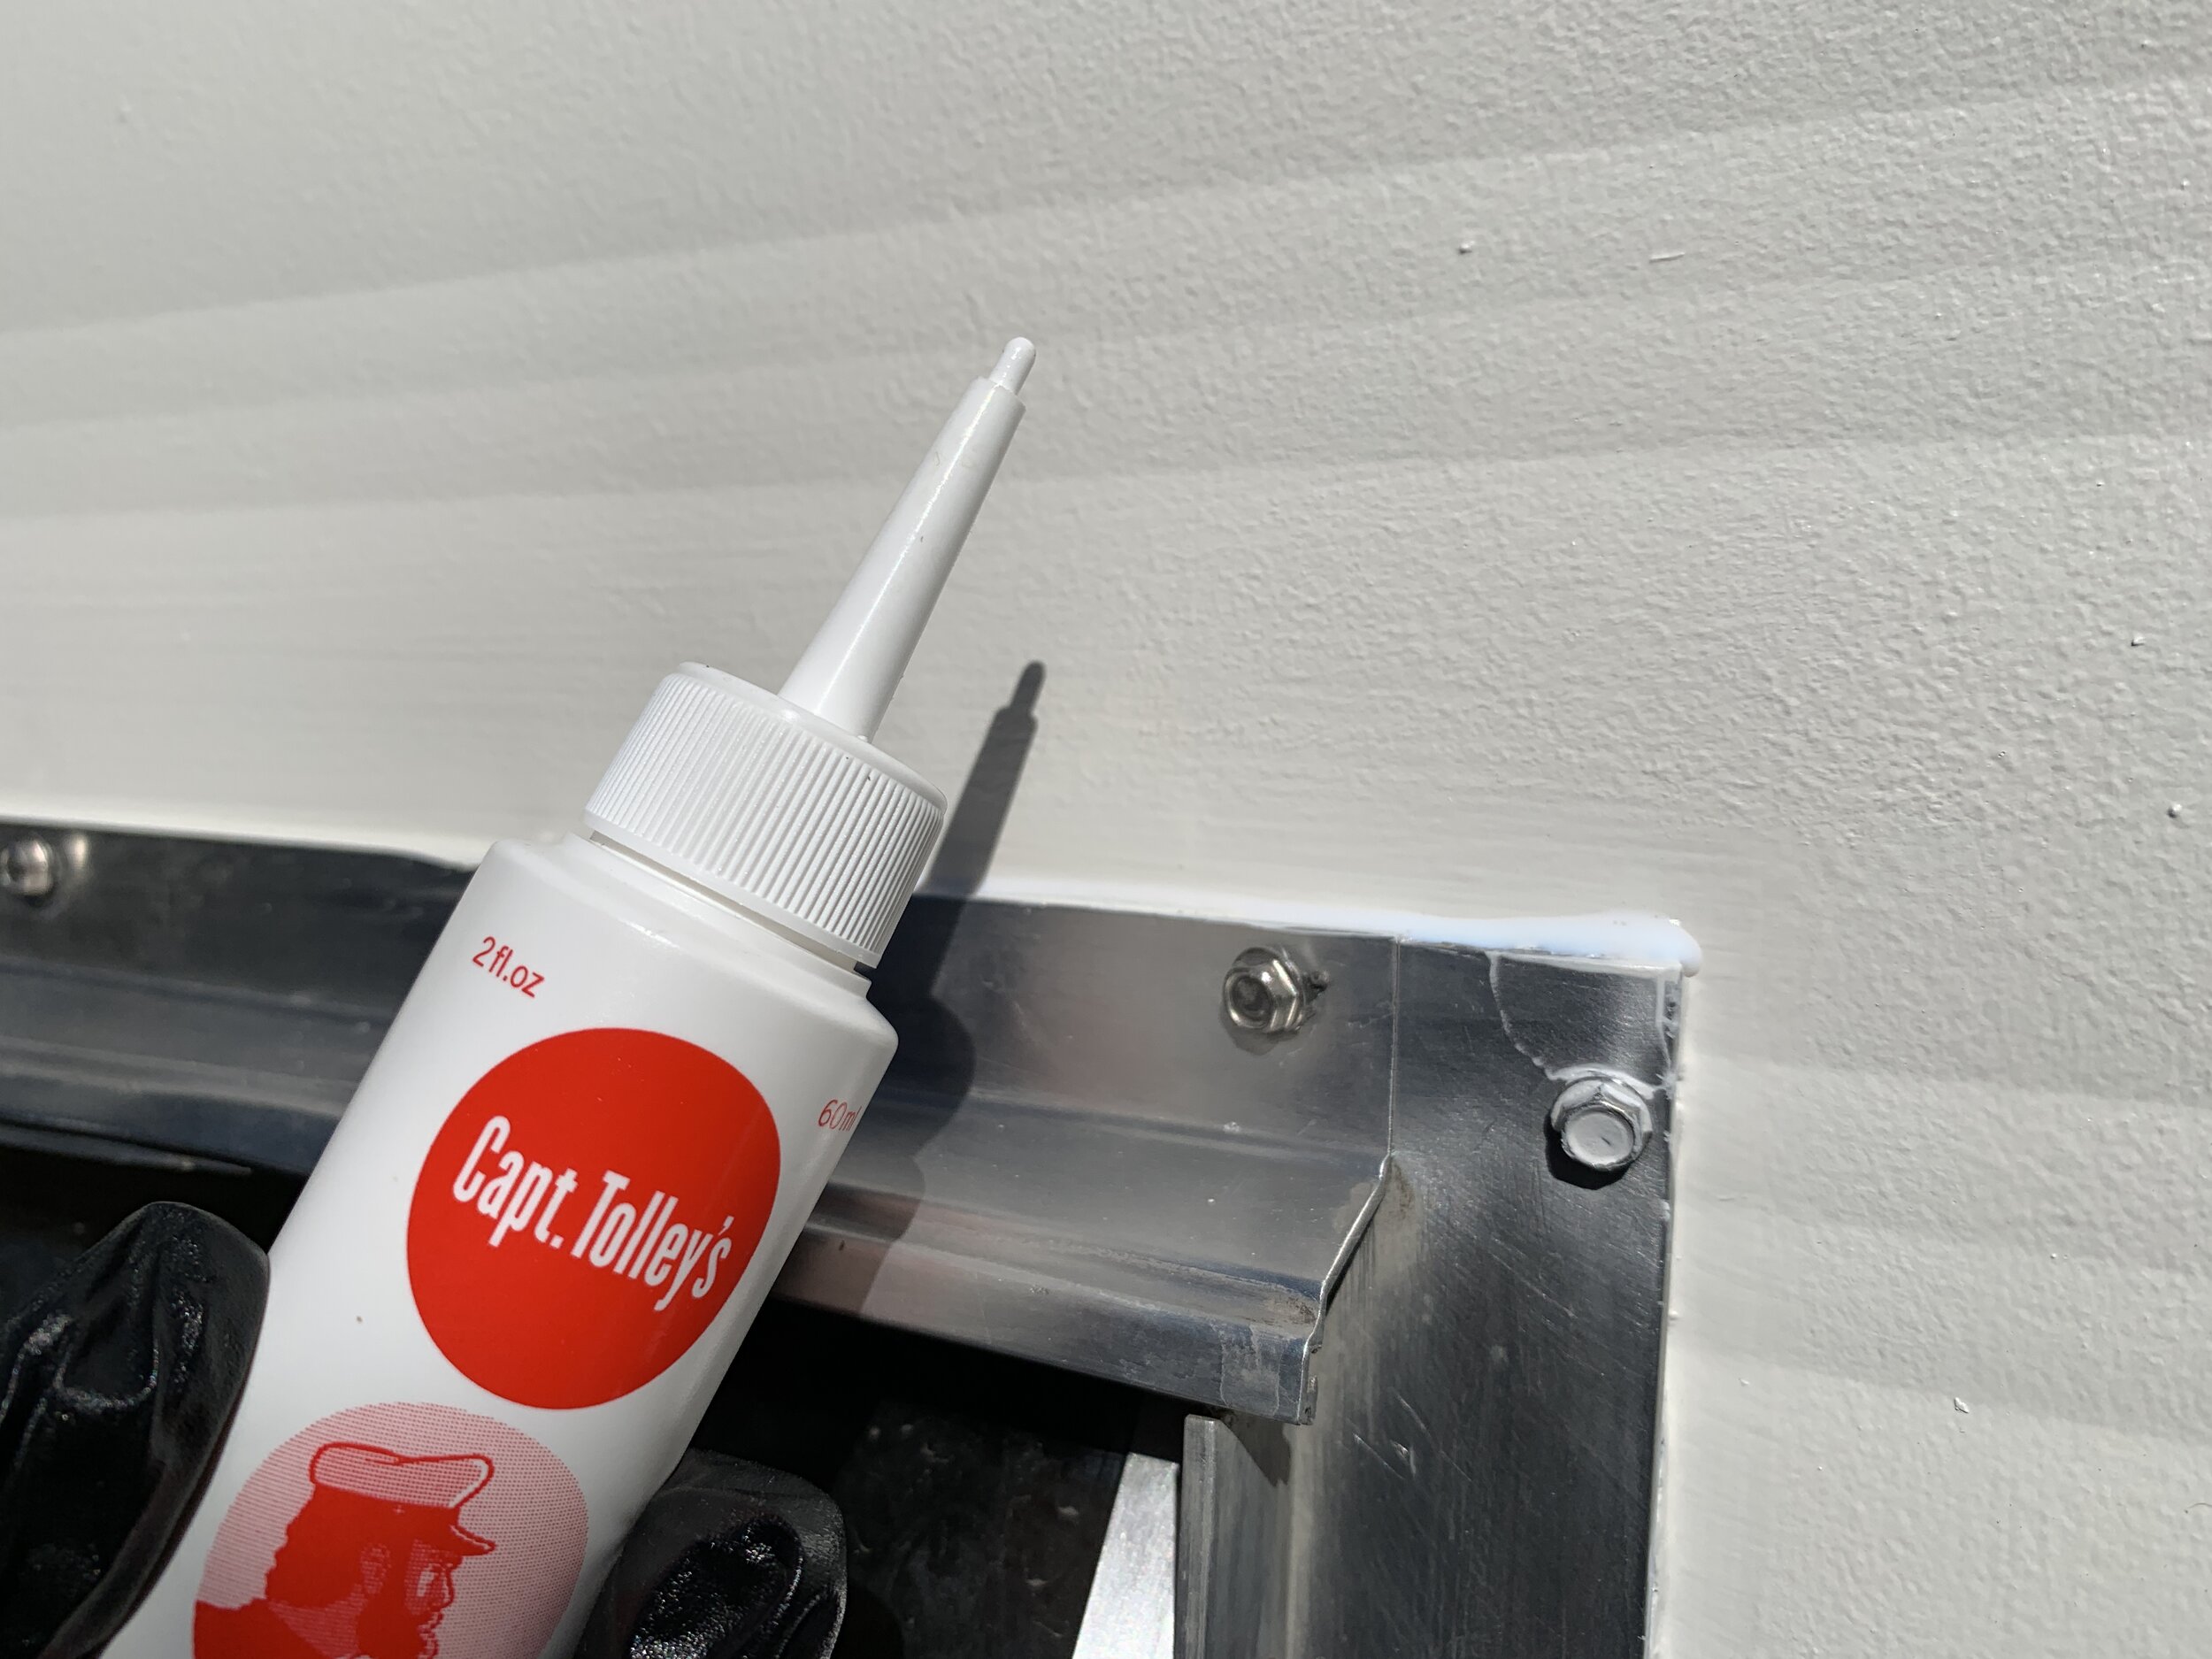
For leak prevention, after we trimmed our butyl putty tape excess we ran a small amount of Captain Tolley’s along our taped seams and quickly wiped off any drips with a white lint-free rag.
cAPTAIN tOLLEY’S tip:
The faster the liquid goes into a seam/disappears into an area, the larger a “crack” you have. In other words, if it beads up and rolls off, it likely means you have a good seal in that area. Keep in mind, Captain Tolley’s will only work for hairline cracks less than 1 mm wide.
You can see in the video below how thin it is and how fast it moves. For our vertical surfaces I would apply a small amount and just let it do it’s thing as it ran down the seam, quickly wiping off excess as it went to avoid staining. Though it goes on white, it dries clear.
How to properly use Captain tOLLEY’s Creeping Crack Cure
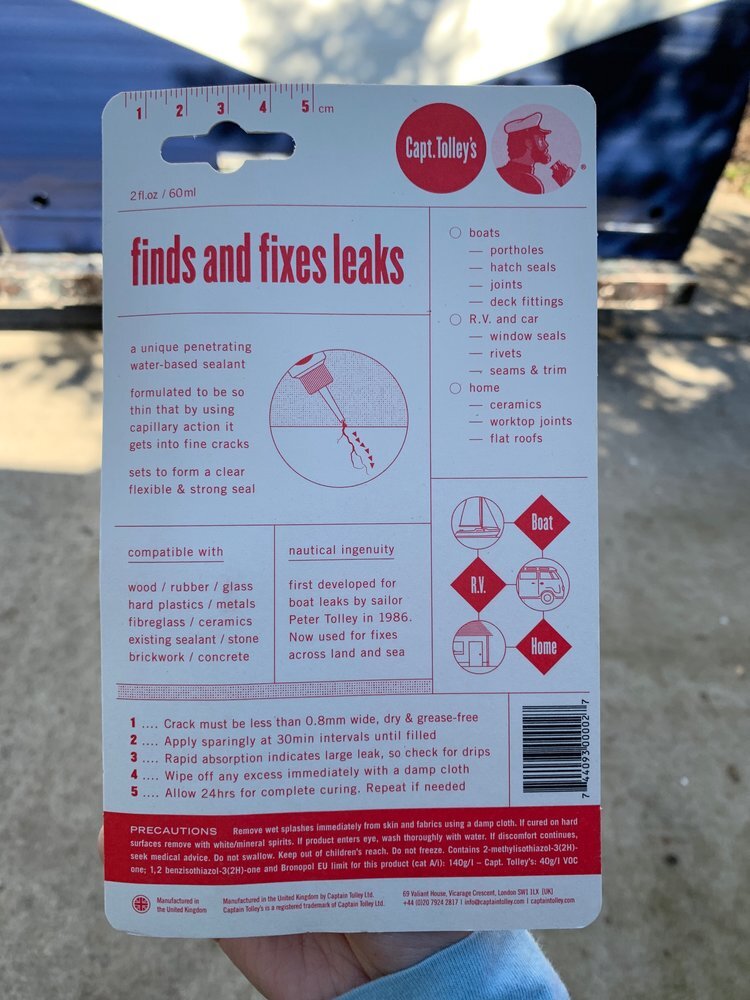
Prep the area – Make sure the crack is hairline (i.e. less than 1mm wide) and as dry as possible. If it’s an outdoor repair the conditions must be frost- and rain-free
Apply – Apply sparingly from the bottle in 30 minute intervals until the crack is filled. Rapid absorption of the product into a crack indicates a large leak so check the product isn’t flowing through and dripping out of the other side!
Wait 24 hours for the sealant to fully cure. Check if the leak has been repaired. If needed, apply more sealant to finish.
Useful Tips from Captain Tolley’s
Use a hypodermic syringe for extra-accurate application.
Remove any spills with white/methylated spirits.
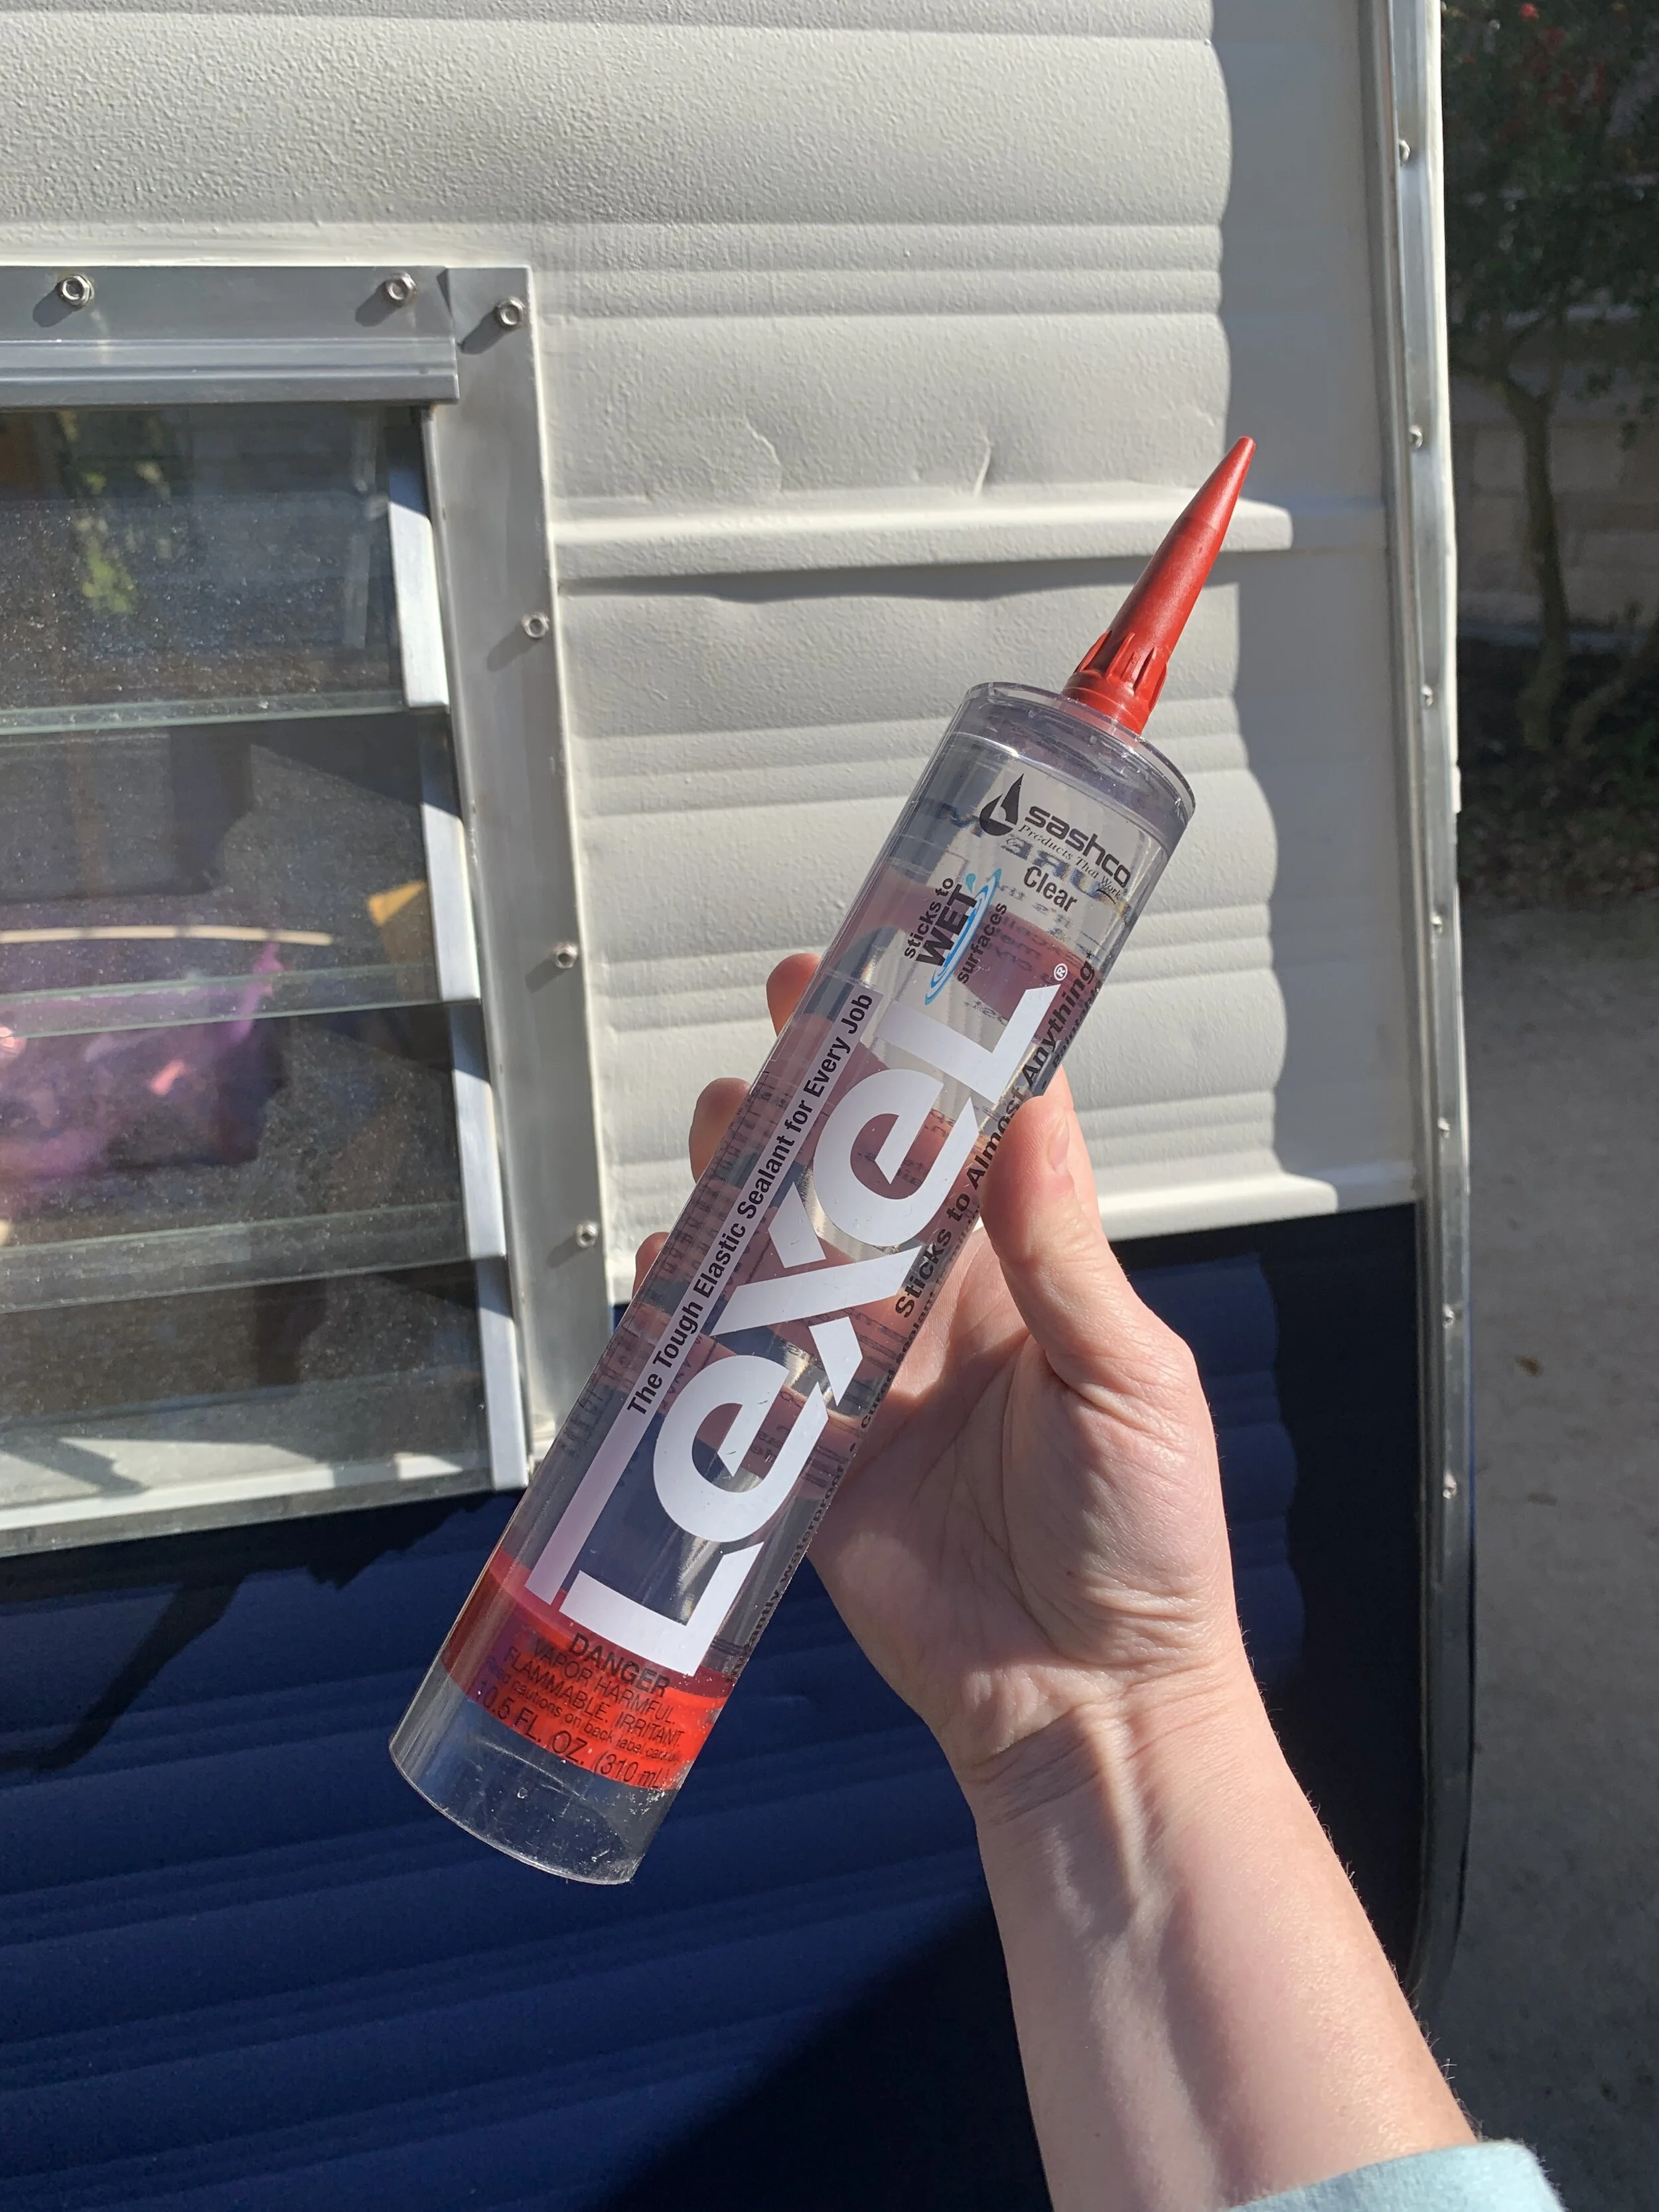
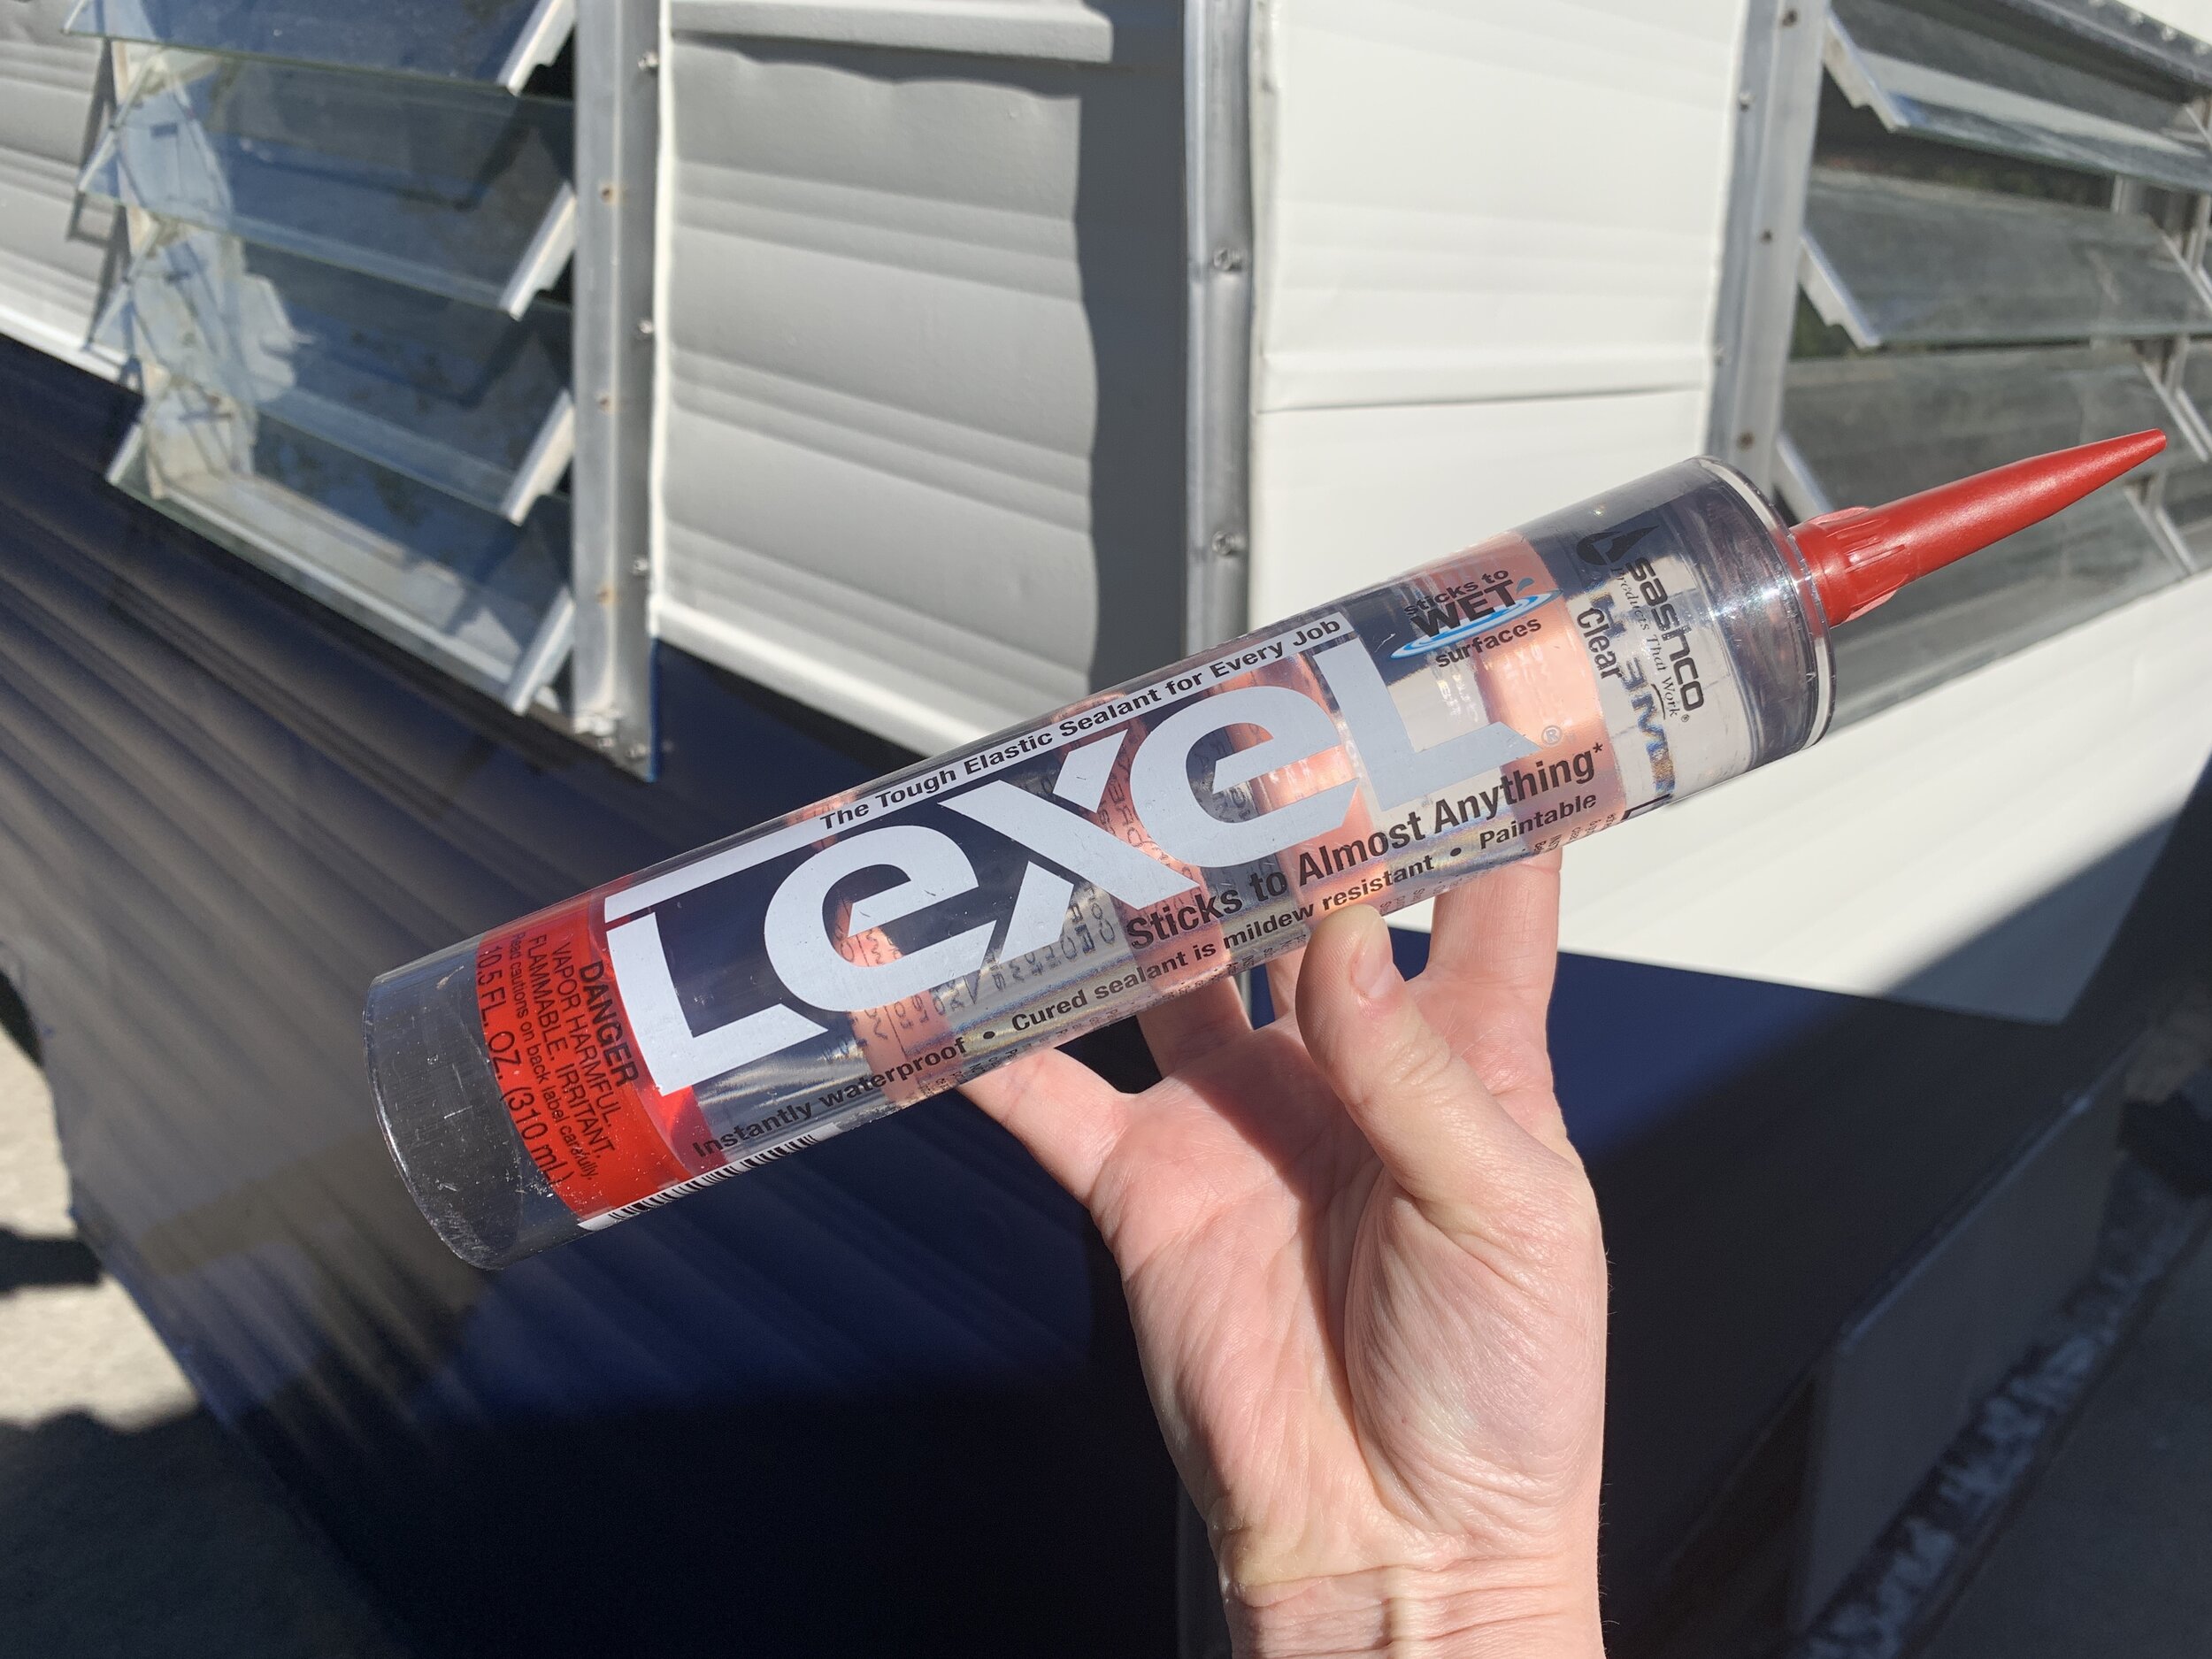
3. Lexel Clear Paintable Solvent Caulk
Now, I never thought after scraping miscellaneous caulks and silicones (and even hot glues we think) for what felt like an eternity that I’d ever be recommending putting anything like it back on. Technically in the vintage camper world, from my understanding at least, what I’m suggesting is basically a mortal sin.
Hear me out.
This product – and maybe as importantly the proper application of it – is definitely not this hot mess (what we had to deal with over two years ago):

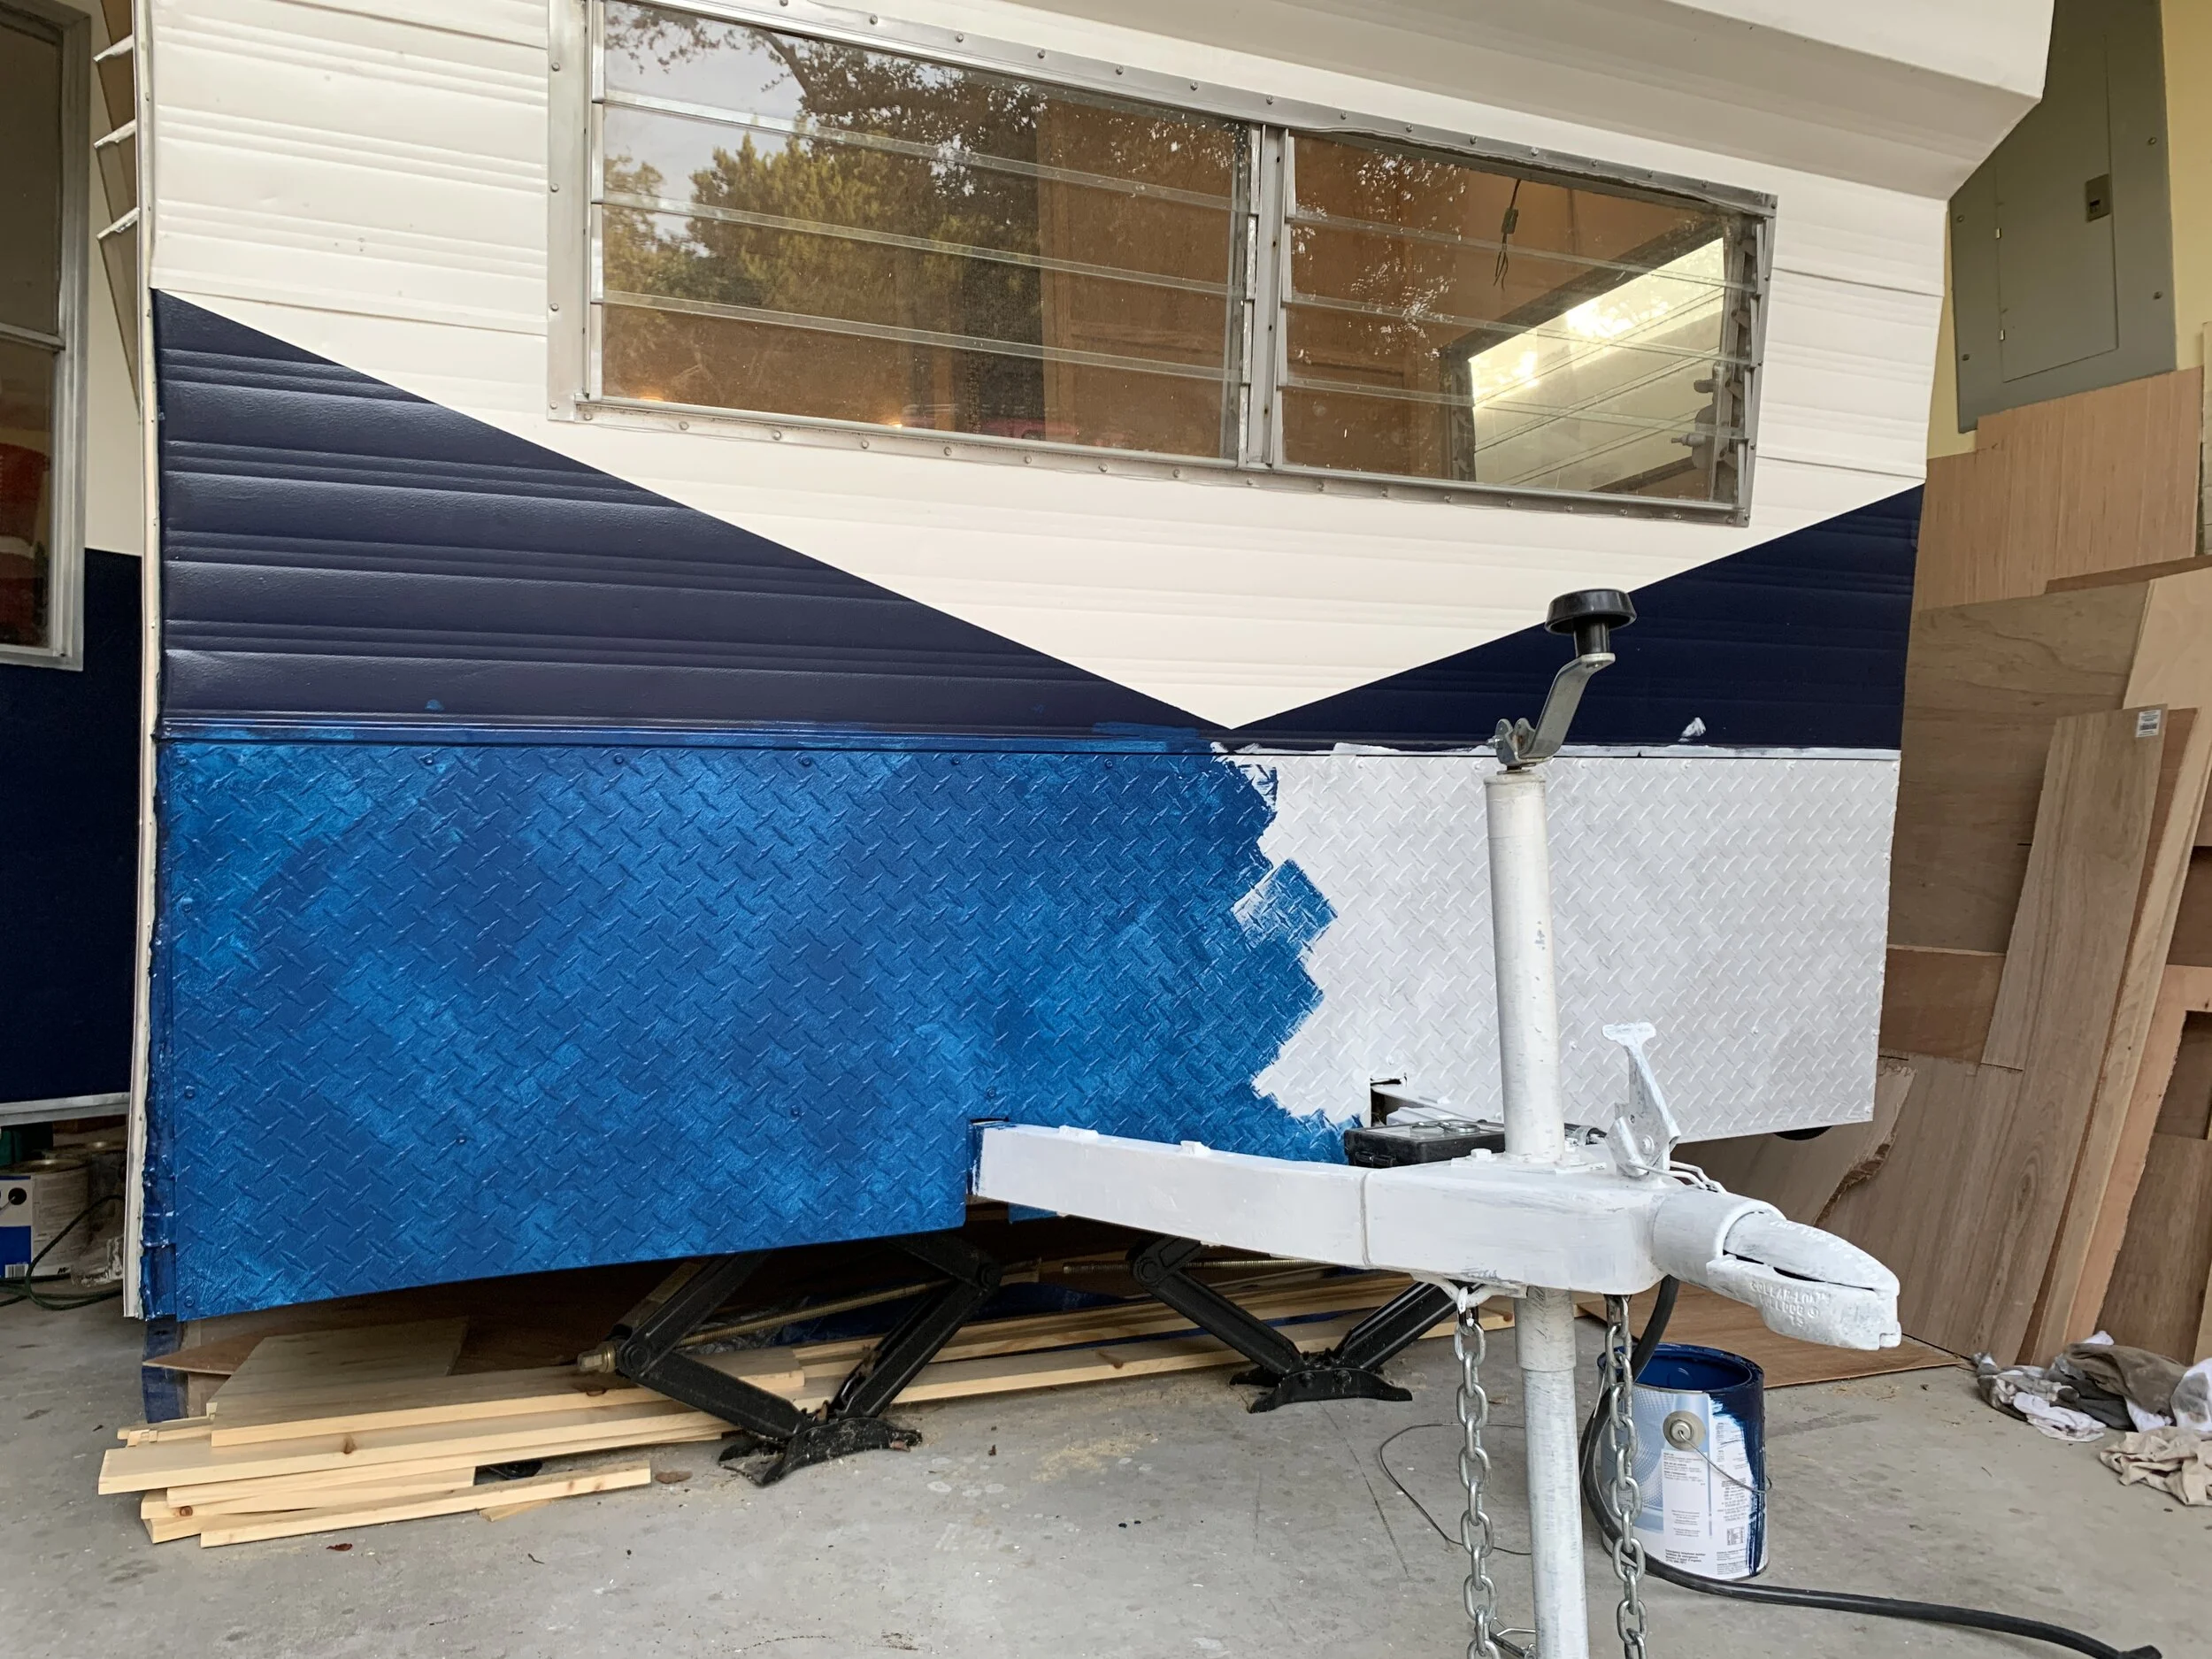
To start, Lexel Clear Paintable Solvent Caulk is clear – 19 times clearer than silicone in fact – and goes on practically invisible, if applied right. It’s kind of like silicone, but it’s paintable. It’s super stretchy (so it won’t crack), hella waterproof and withstands extreme heat and freezing temps – which sounds perfect for Texas weather. Once this stuff is on it is so hard to see it. There’s just a slight sheen when viewed in just the right light.
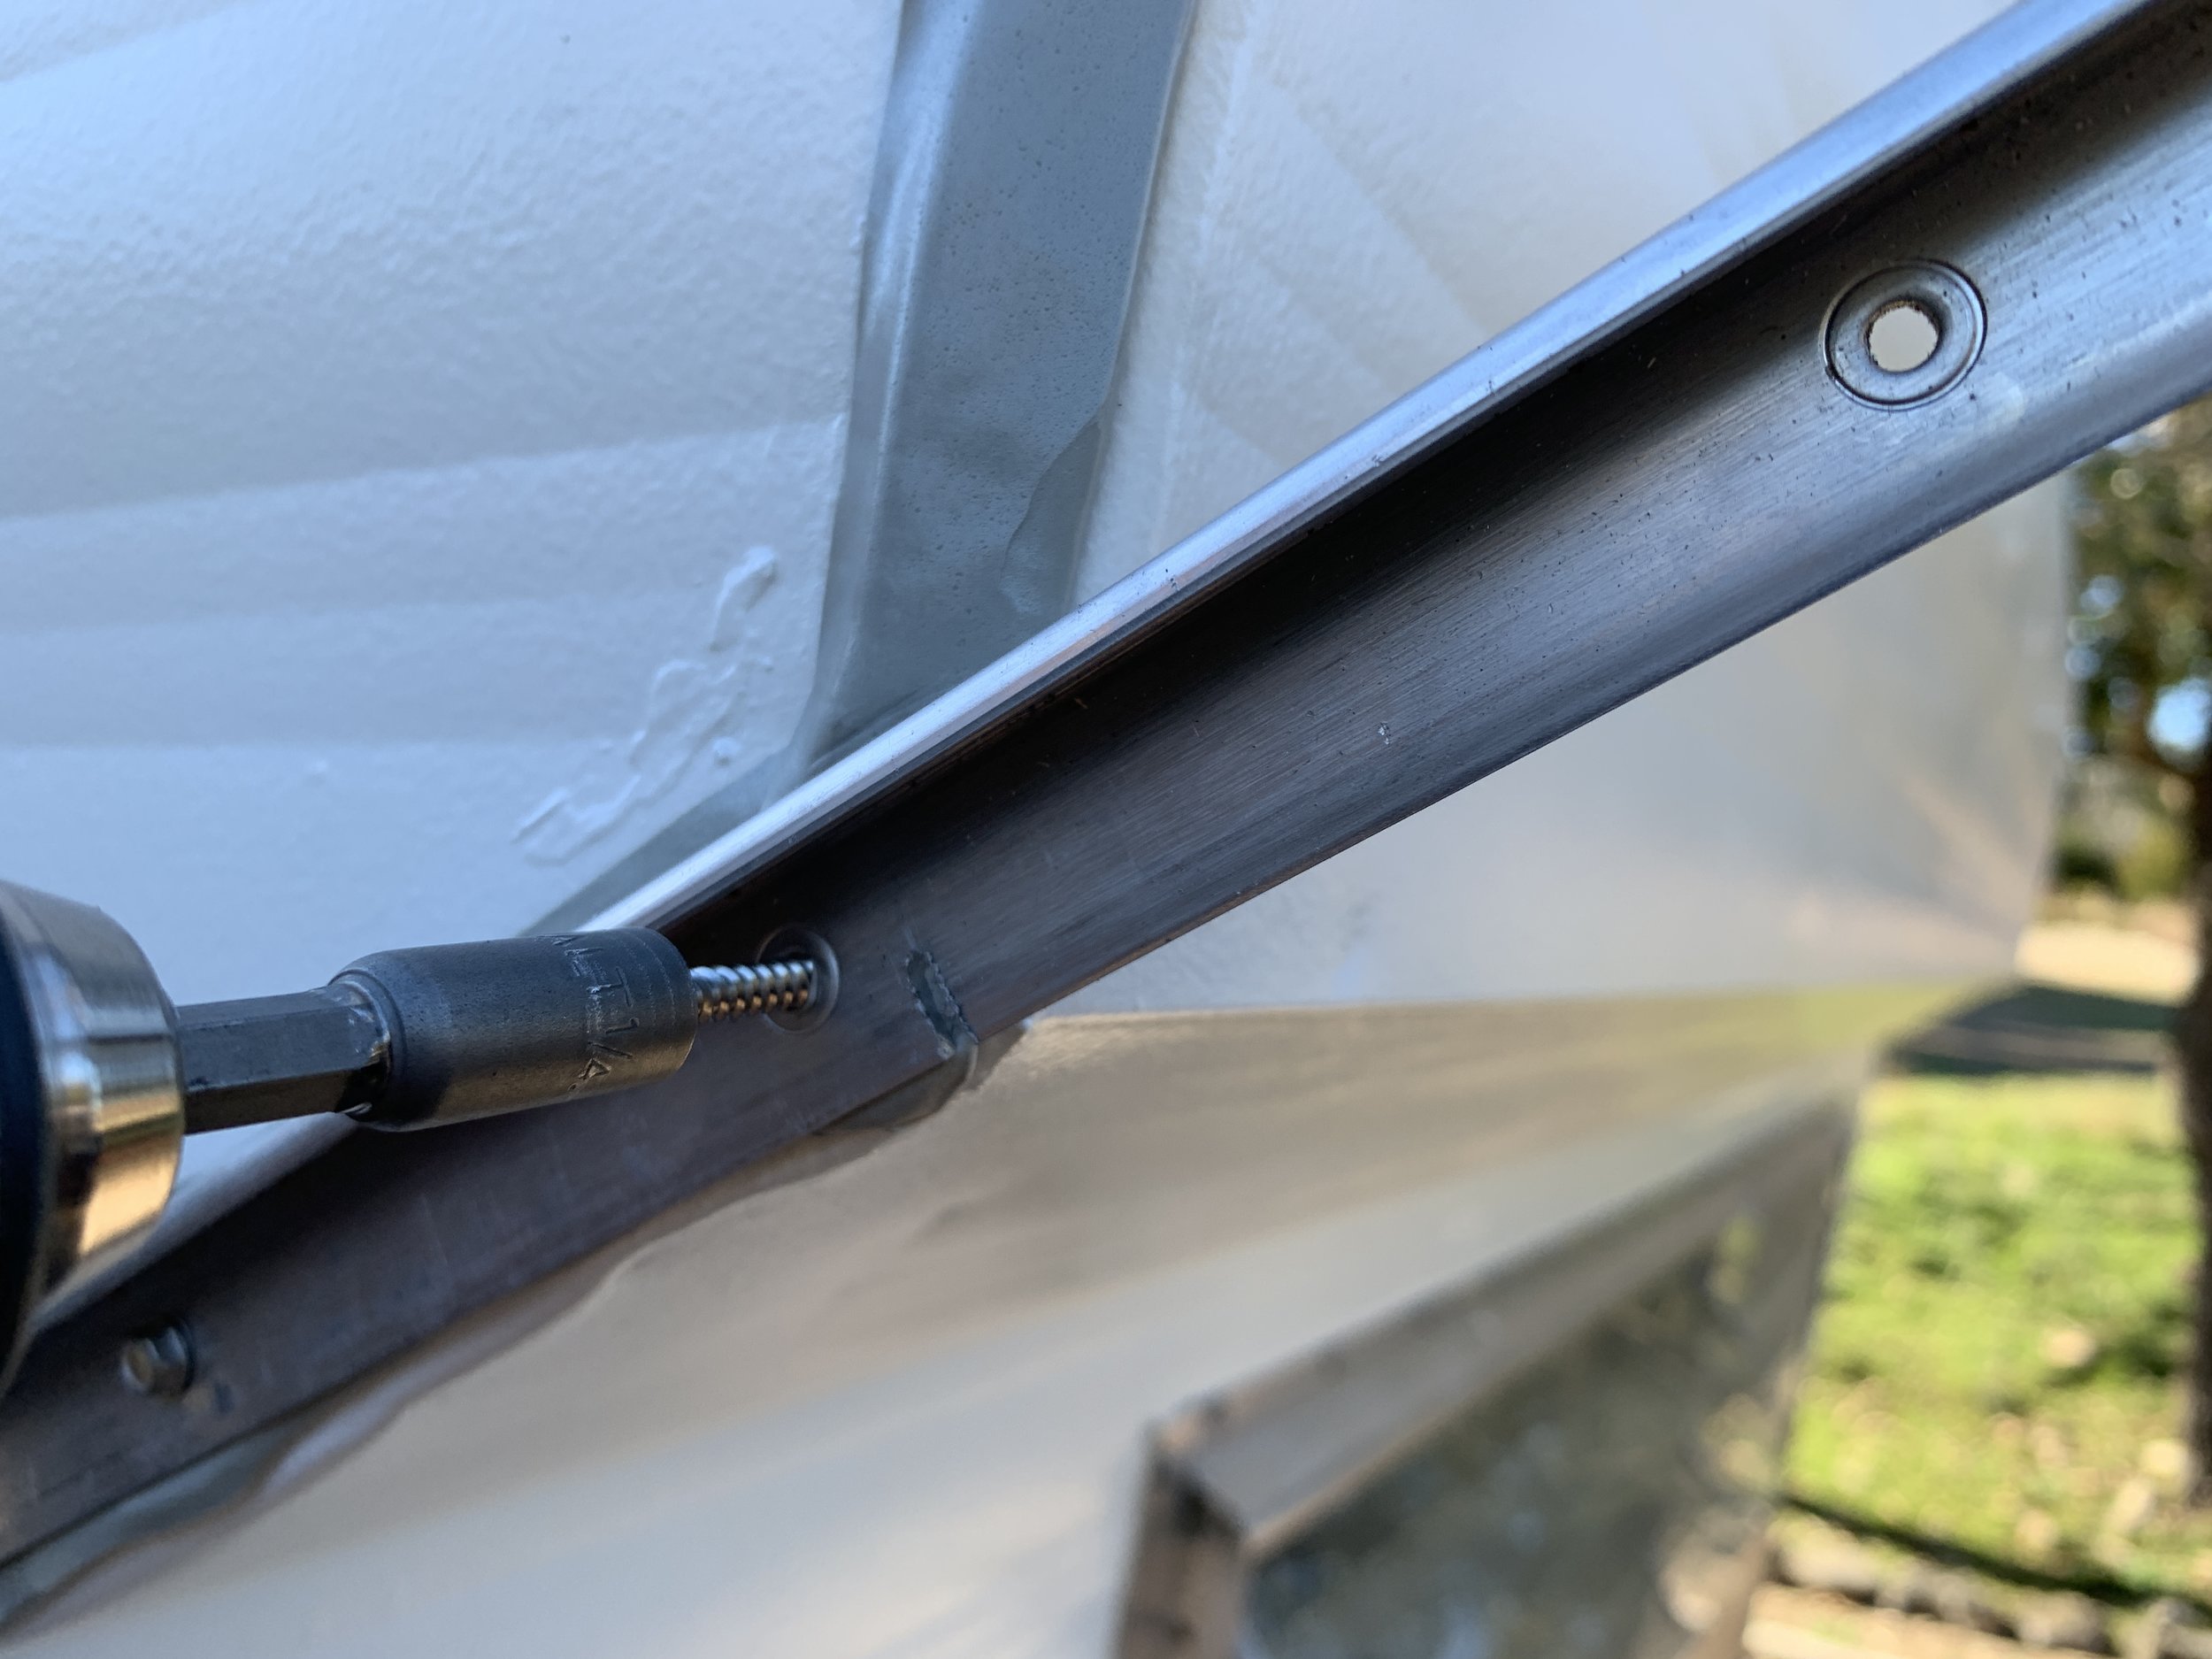
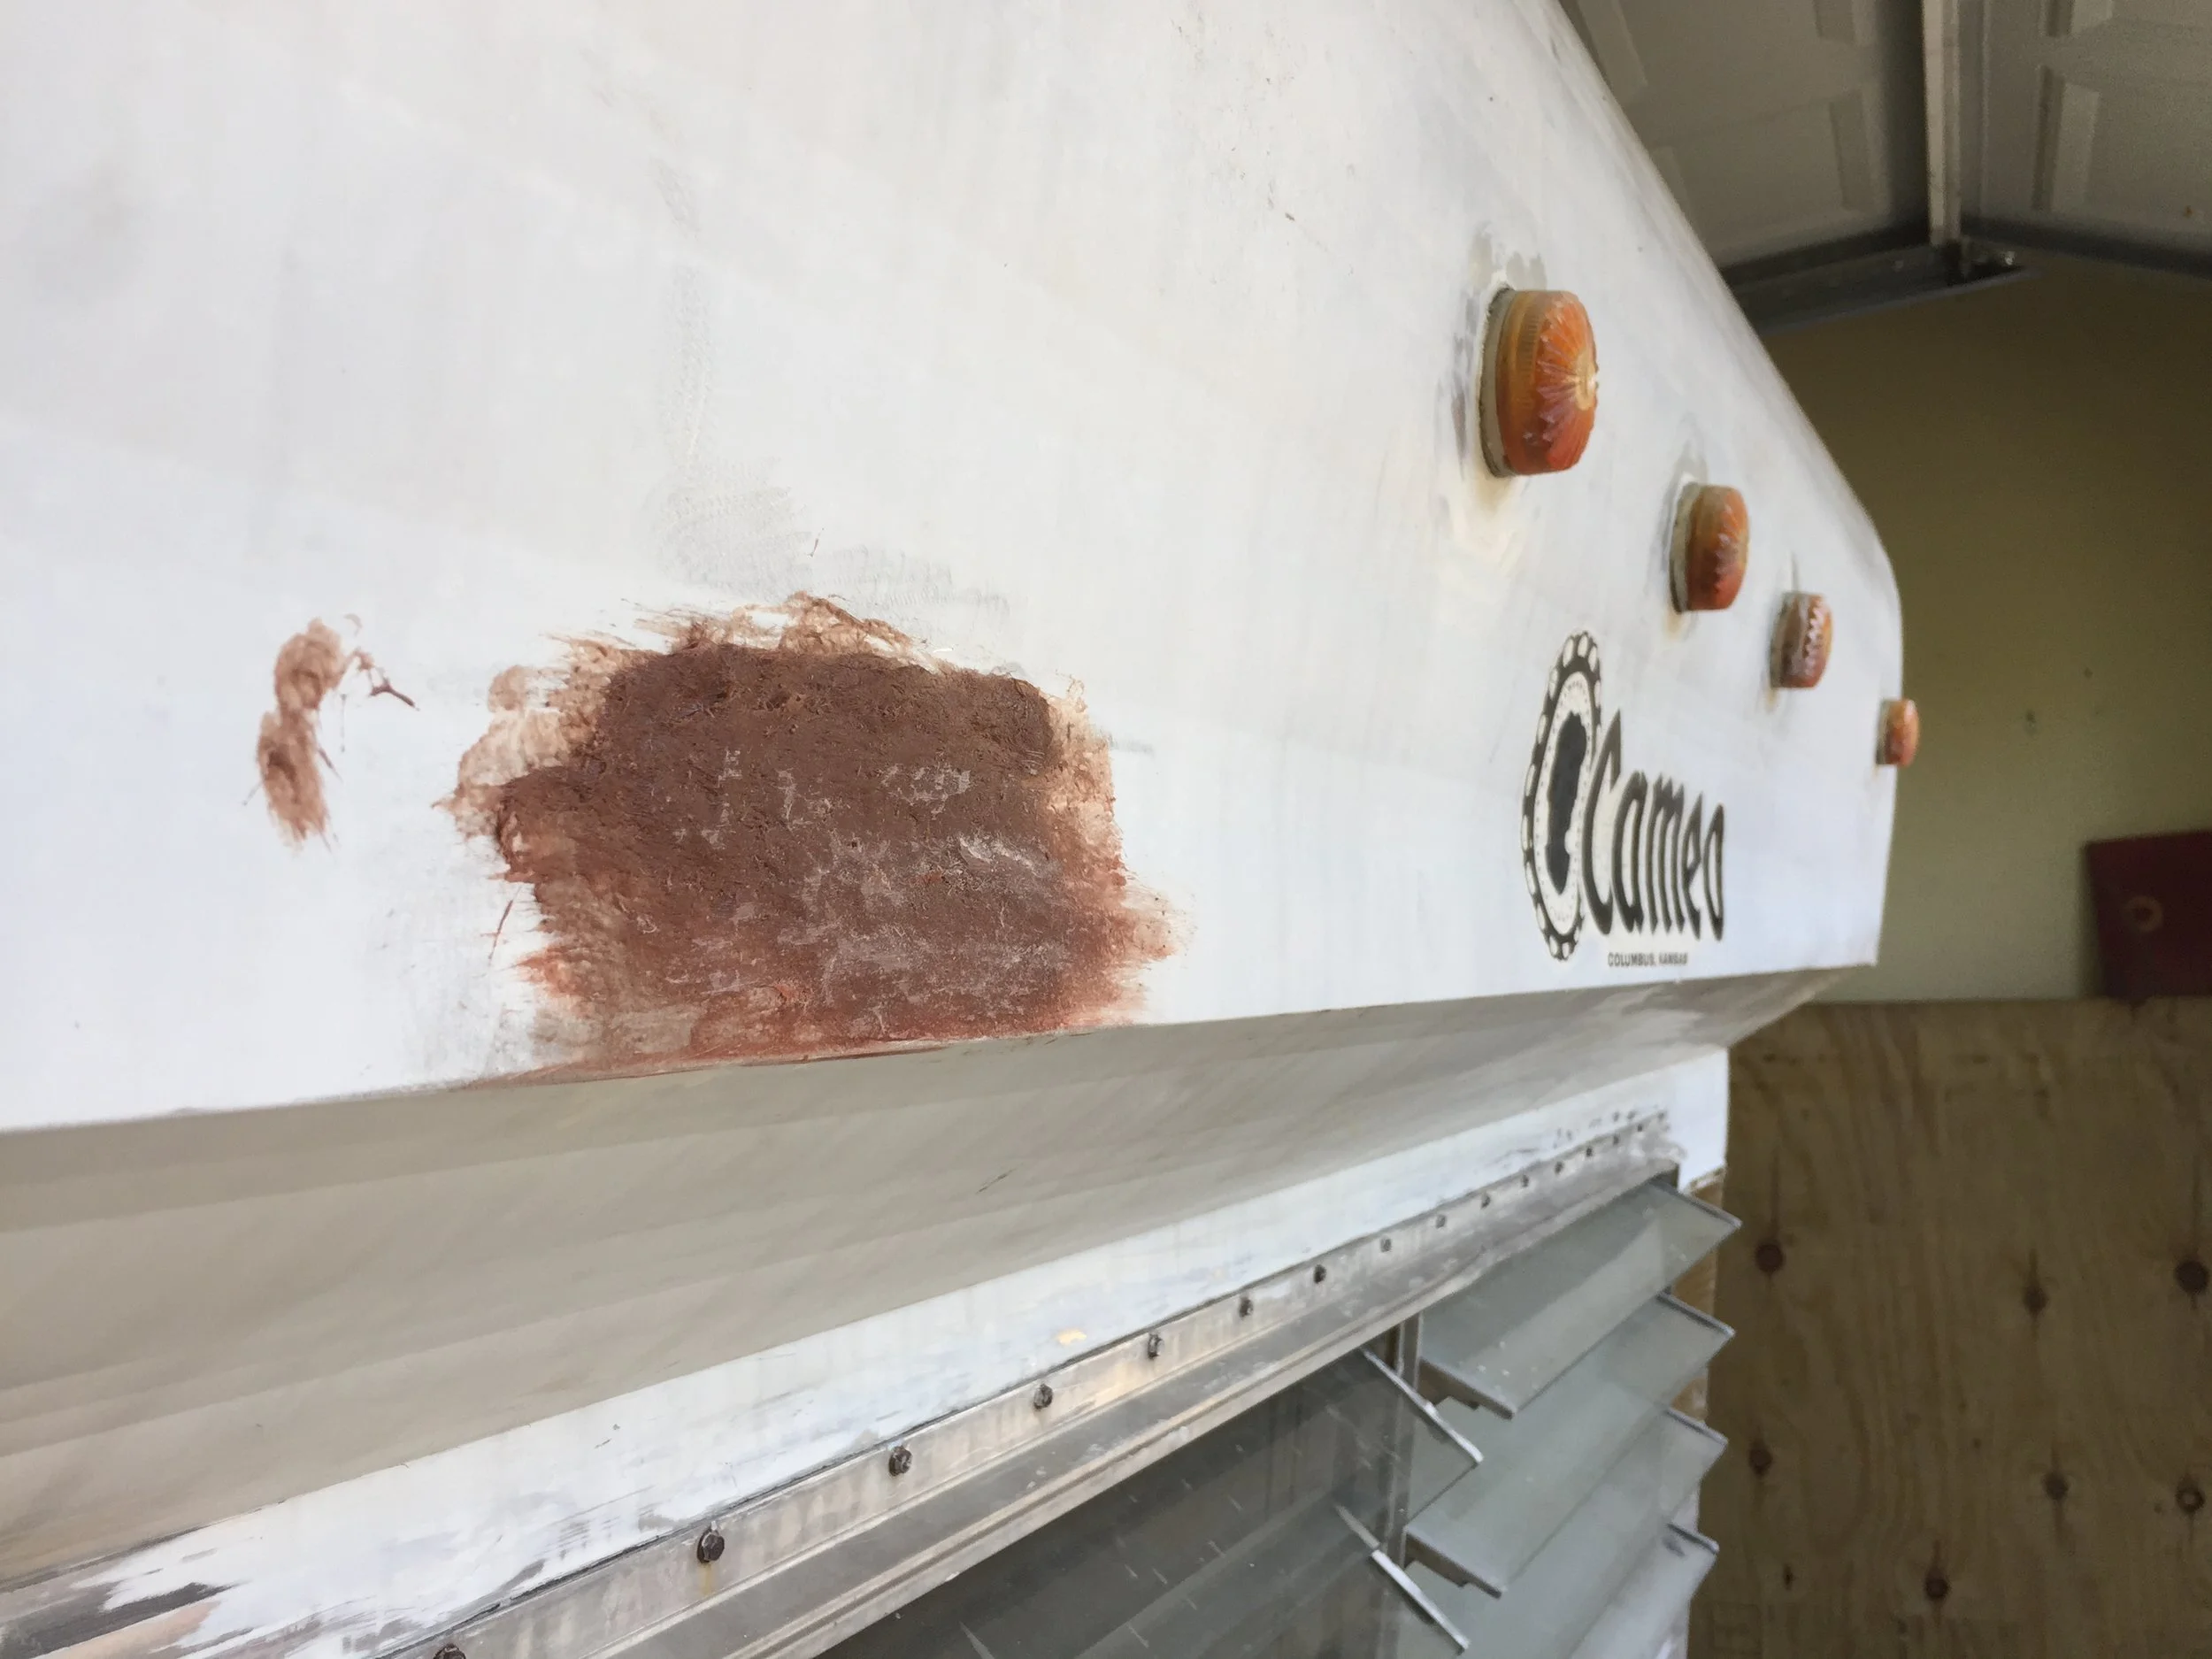
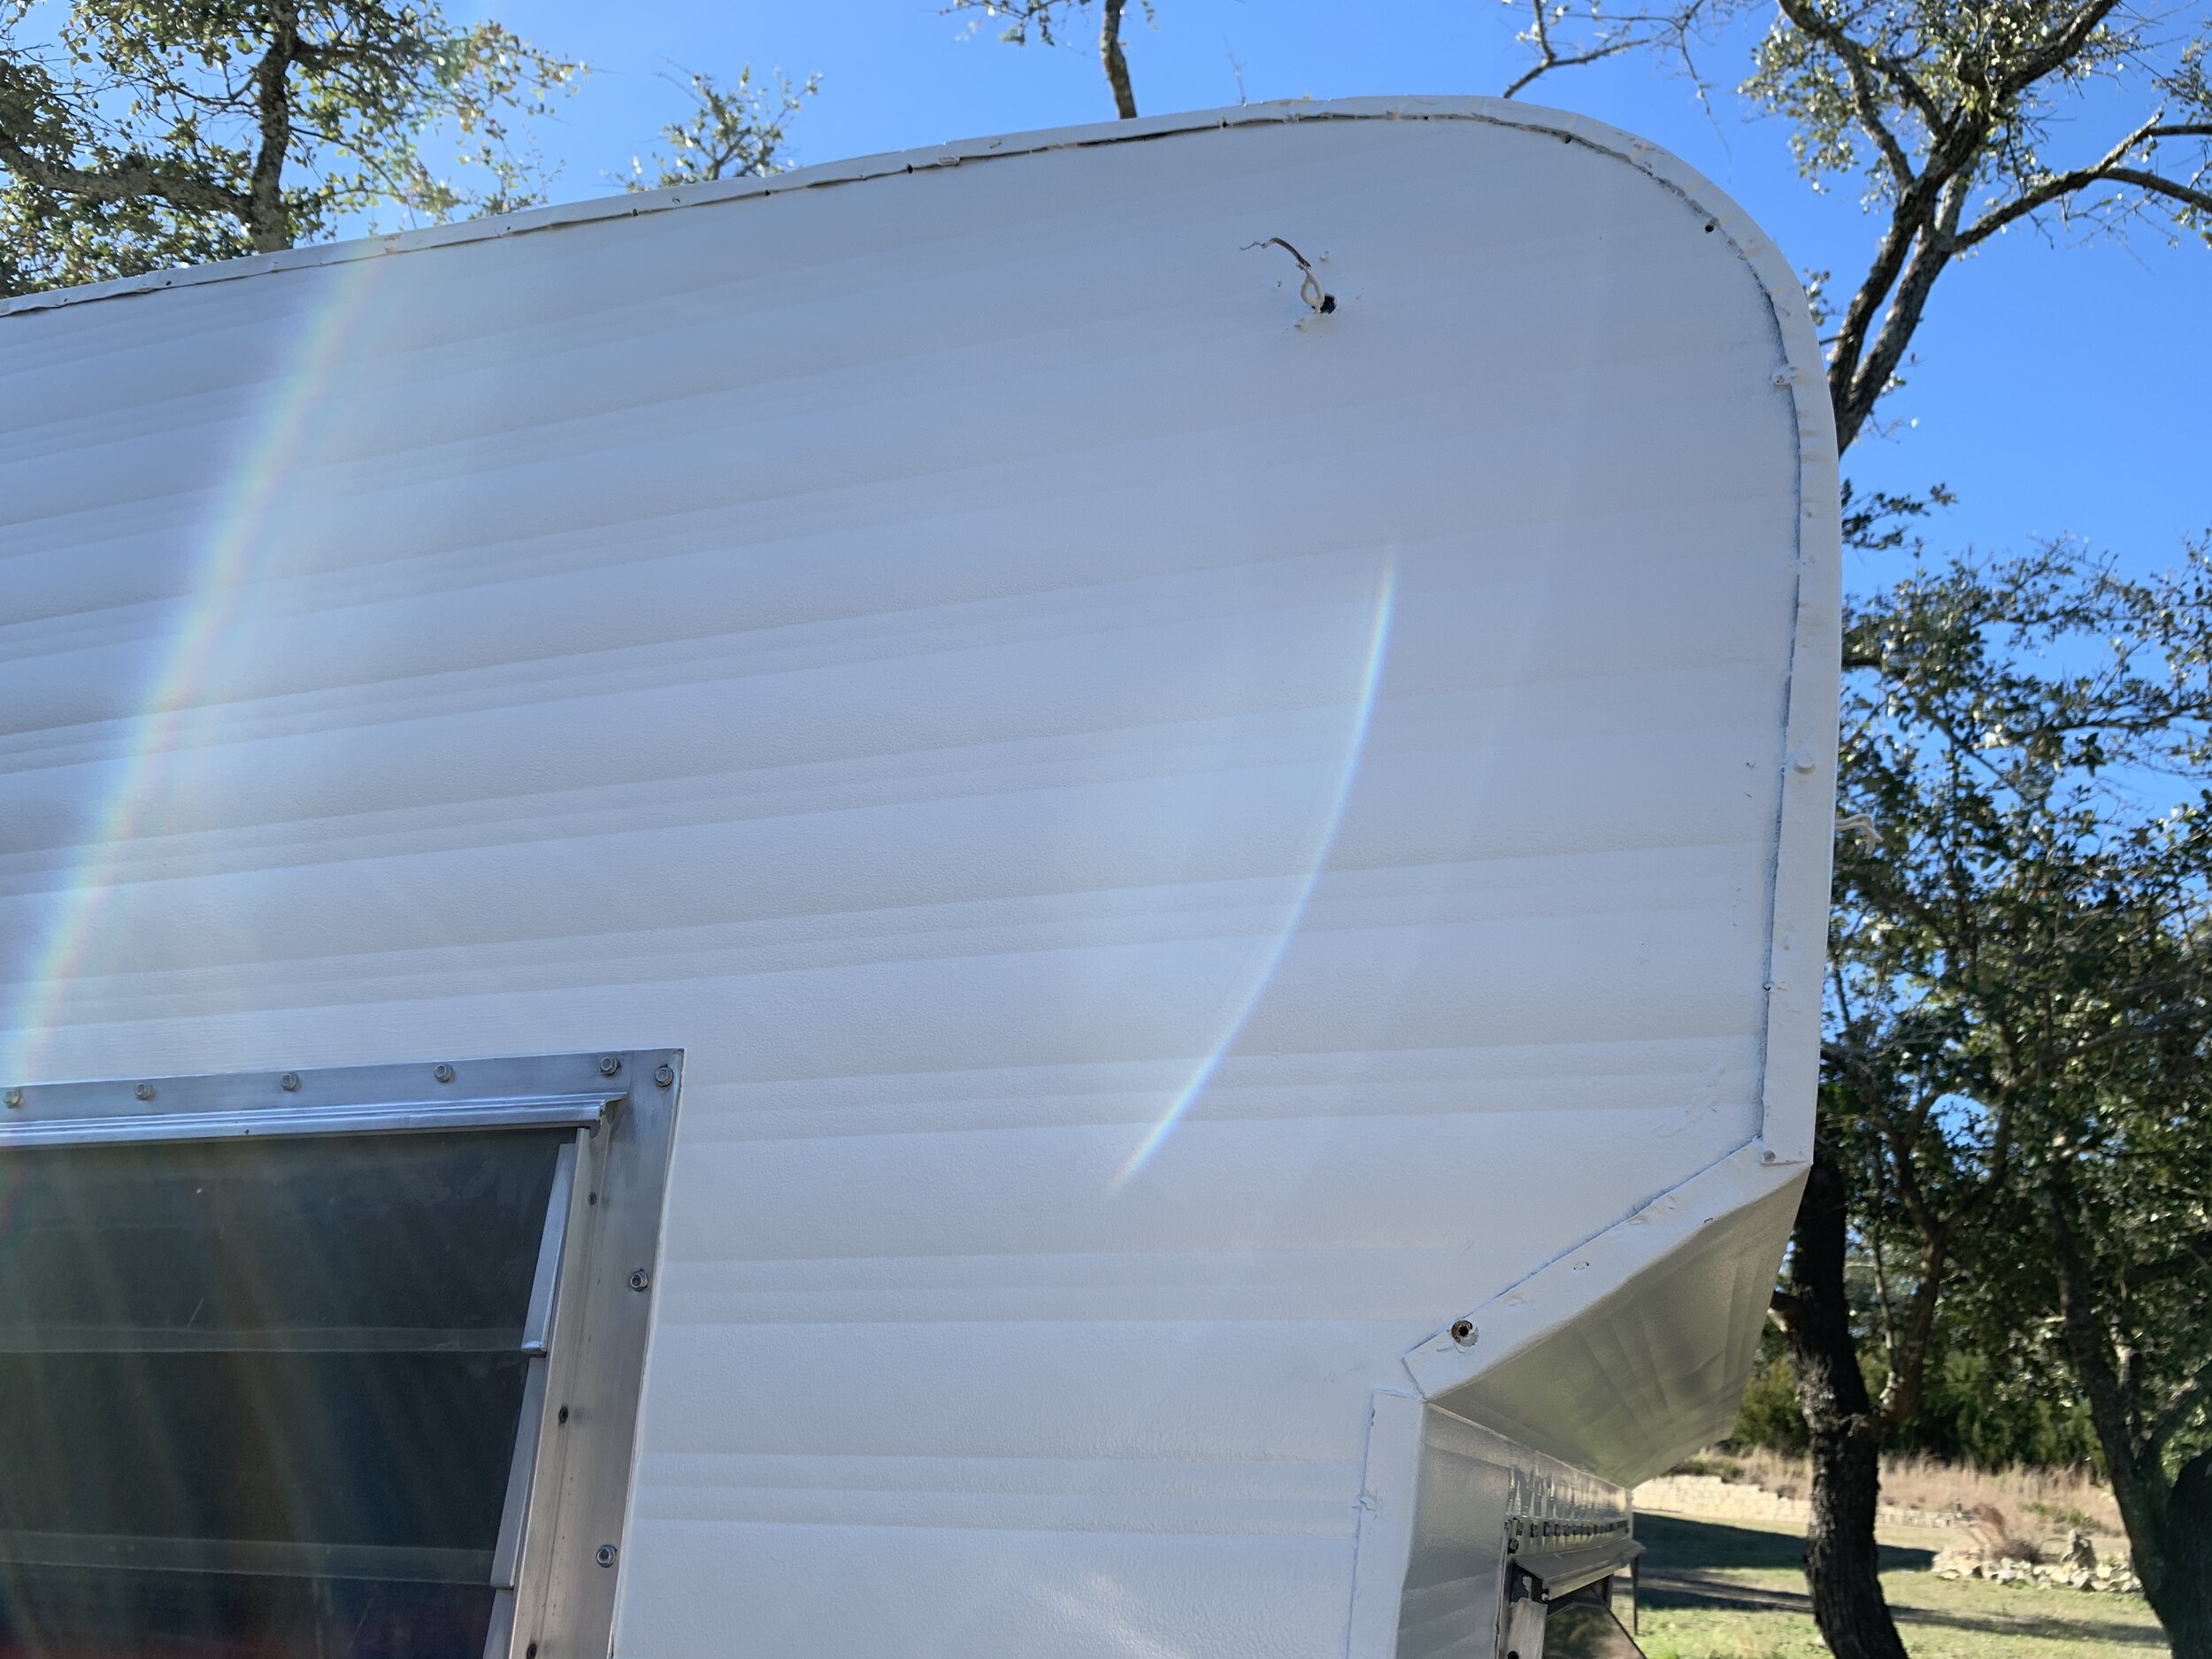
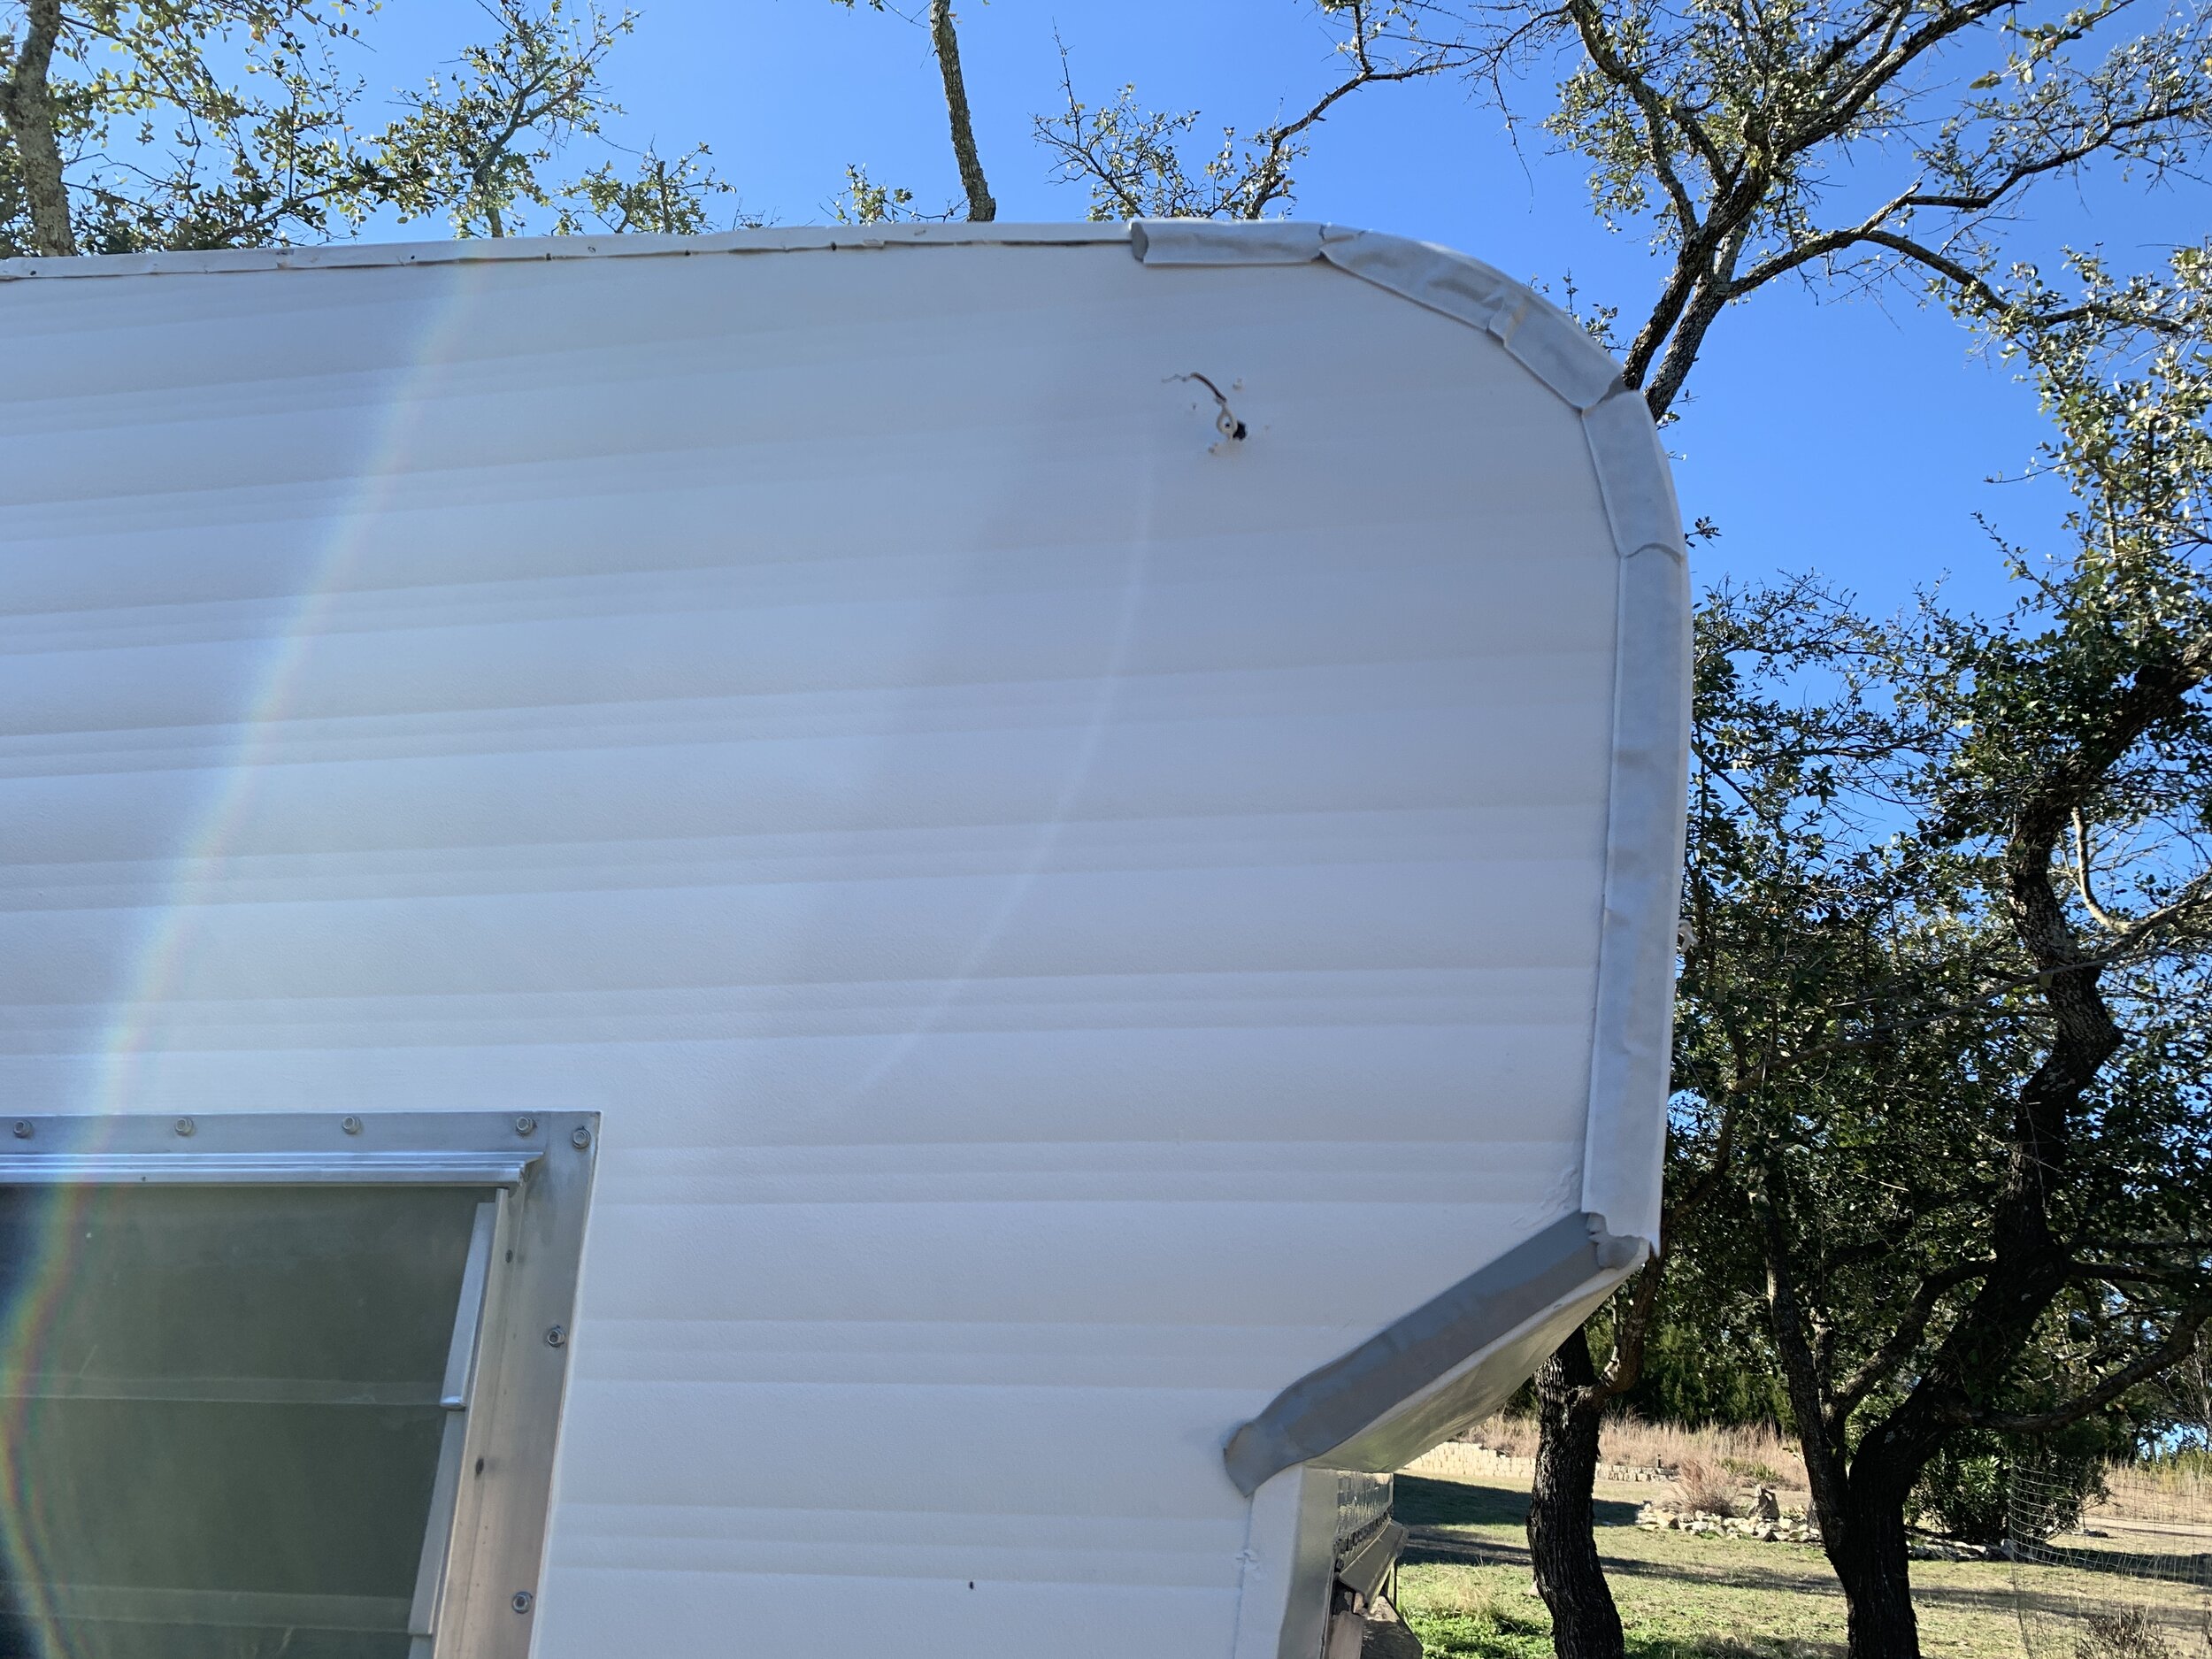
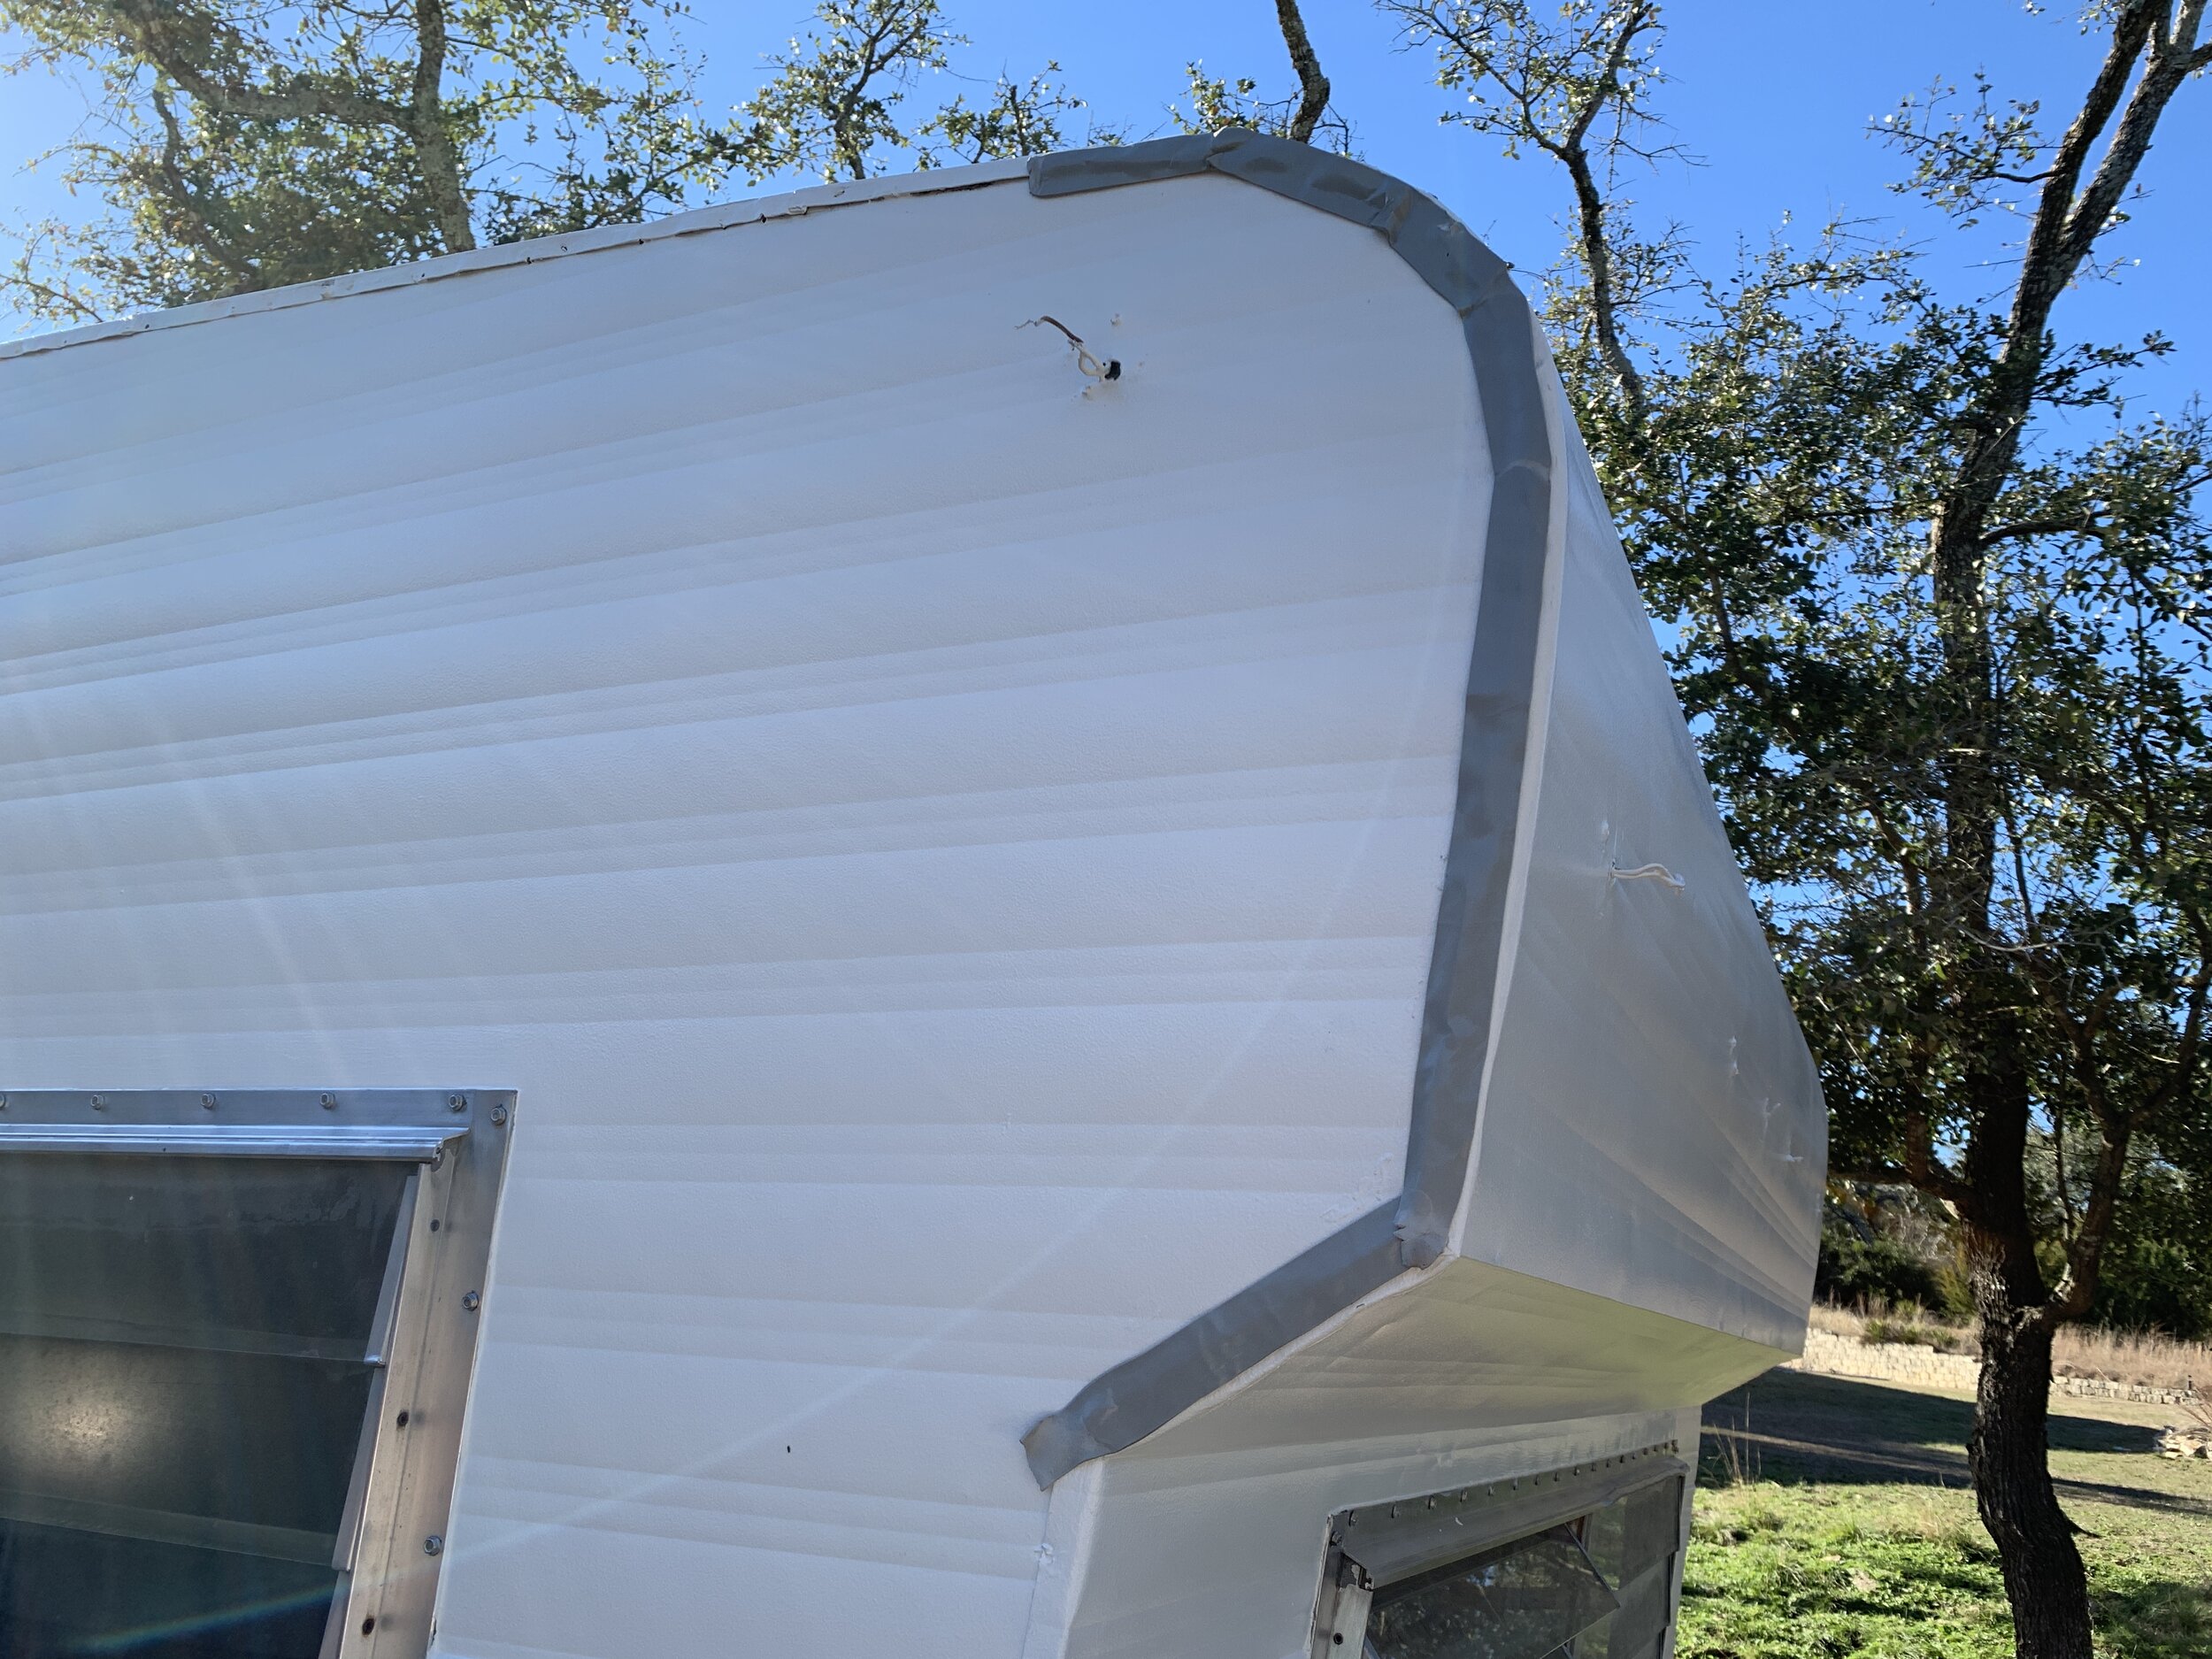
Here’s how it looks above our rear window:

This photo was taken right after a real gully washer of a rain storm so it was a true test for our waterproofing technique. You can barely see a thin clear line on the off white paint along the top of the metal window frame. Though Lexel can be painted over, we haven’t. It is so hard to see, we’ve just applied it on top of the paint and not felt the need to cover it with anymore paint.
Lexel Solvent Caulk tip:
The trick to getting a near-invisible application is to apply a small bead right on the seam and then, using a white lint-free rag wet with paint thinner, quickly smooth the bead of caulk with your fingertip. If any of the Lexel gets on surrounding areas, quickly wipe it off with a clean paint thinner-soaked rag.
While it may not be period-correct to use a sealant like this, we would definitely not call The Cameo a restoration by any stretch. Instead, much with the aesthetics of our project, I like to be careful to call what we’re doing a renovation, since though we love and appreciate the vintage camper aesthetic, we want to take advantage of modern technologies and would prefer to avoid future water damage as much as possible.
Have you learned any tips or tricks to attractively waterproof a vintage camper? We’d love to hear about it in the comments below.
don’t forget to check out our other posts related to waterproofing a camper:
Installing J-trim “gutters” | Installing windows | Installing a roof vent | Installing exterior lights | Filling holes and gashes in exterior aluminum wall skins