DIY Built-In Bar Storage: The Plan
Introducing our next house project – much-needed kitchen/dining room storage! Plus how I recommend you start any project to save yourself time, money and sanity.
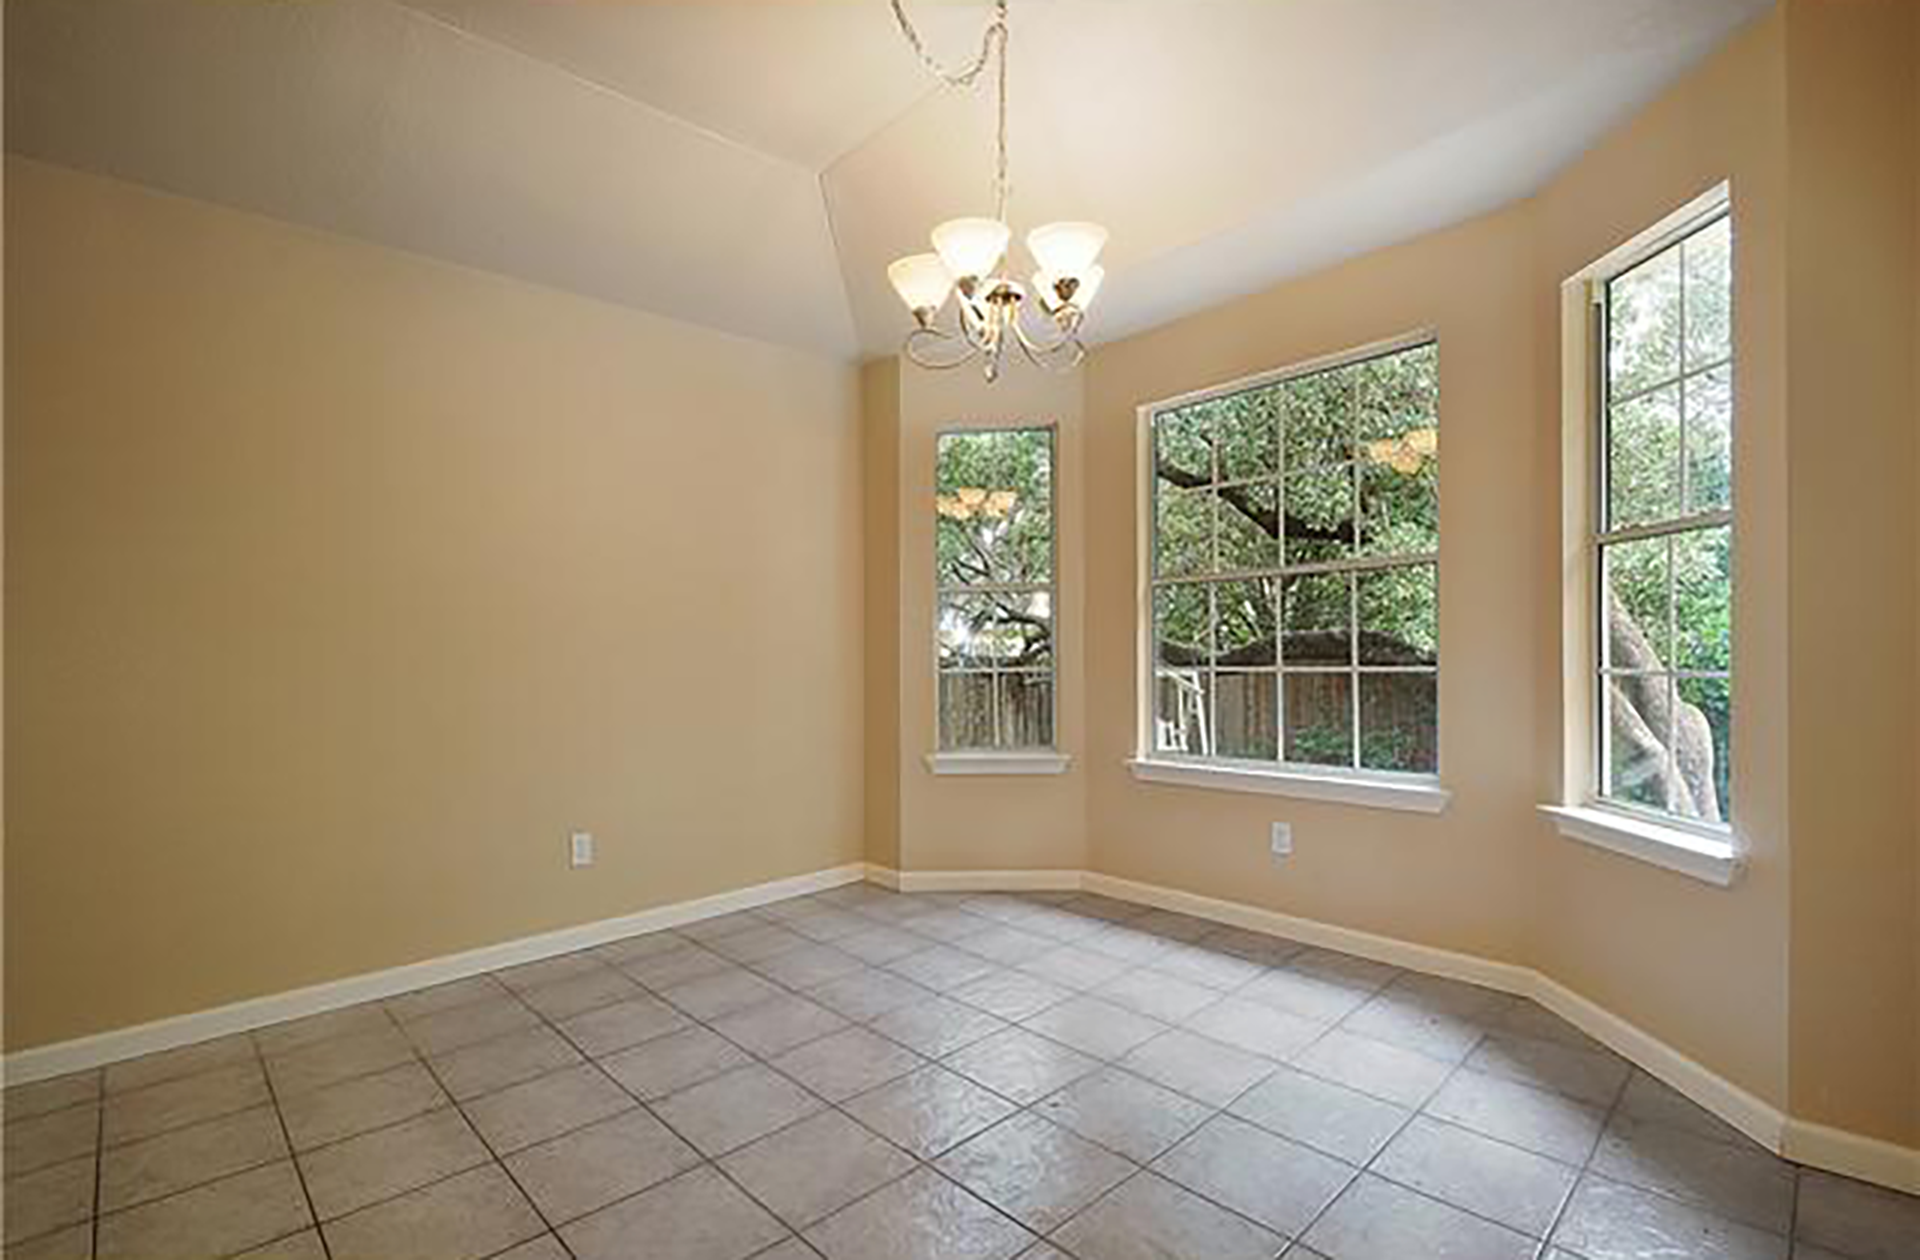
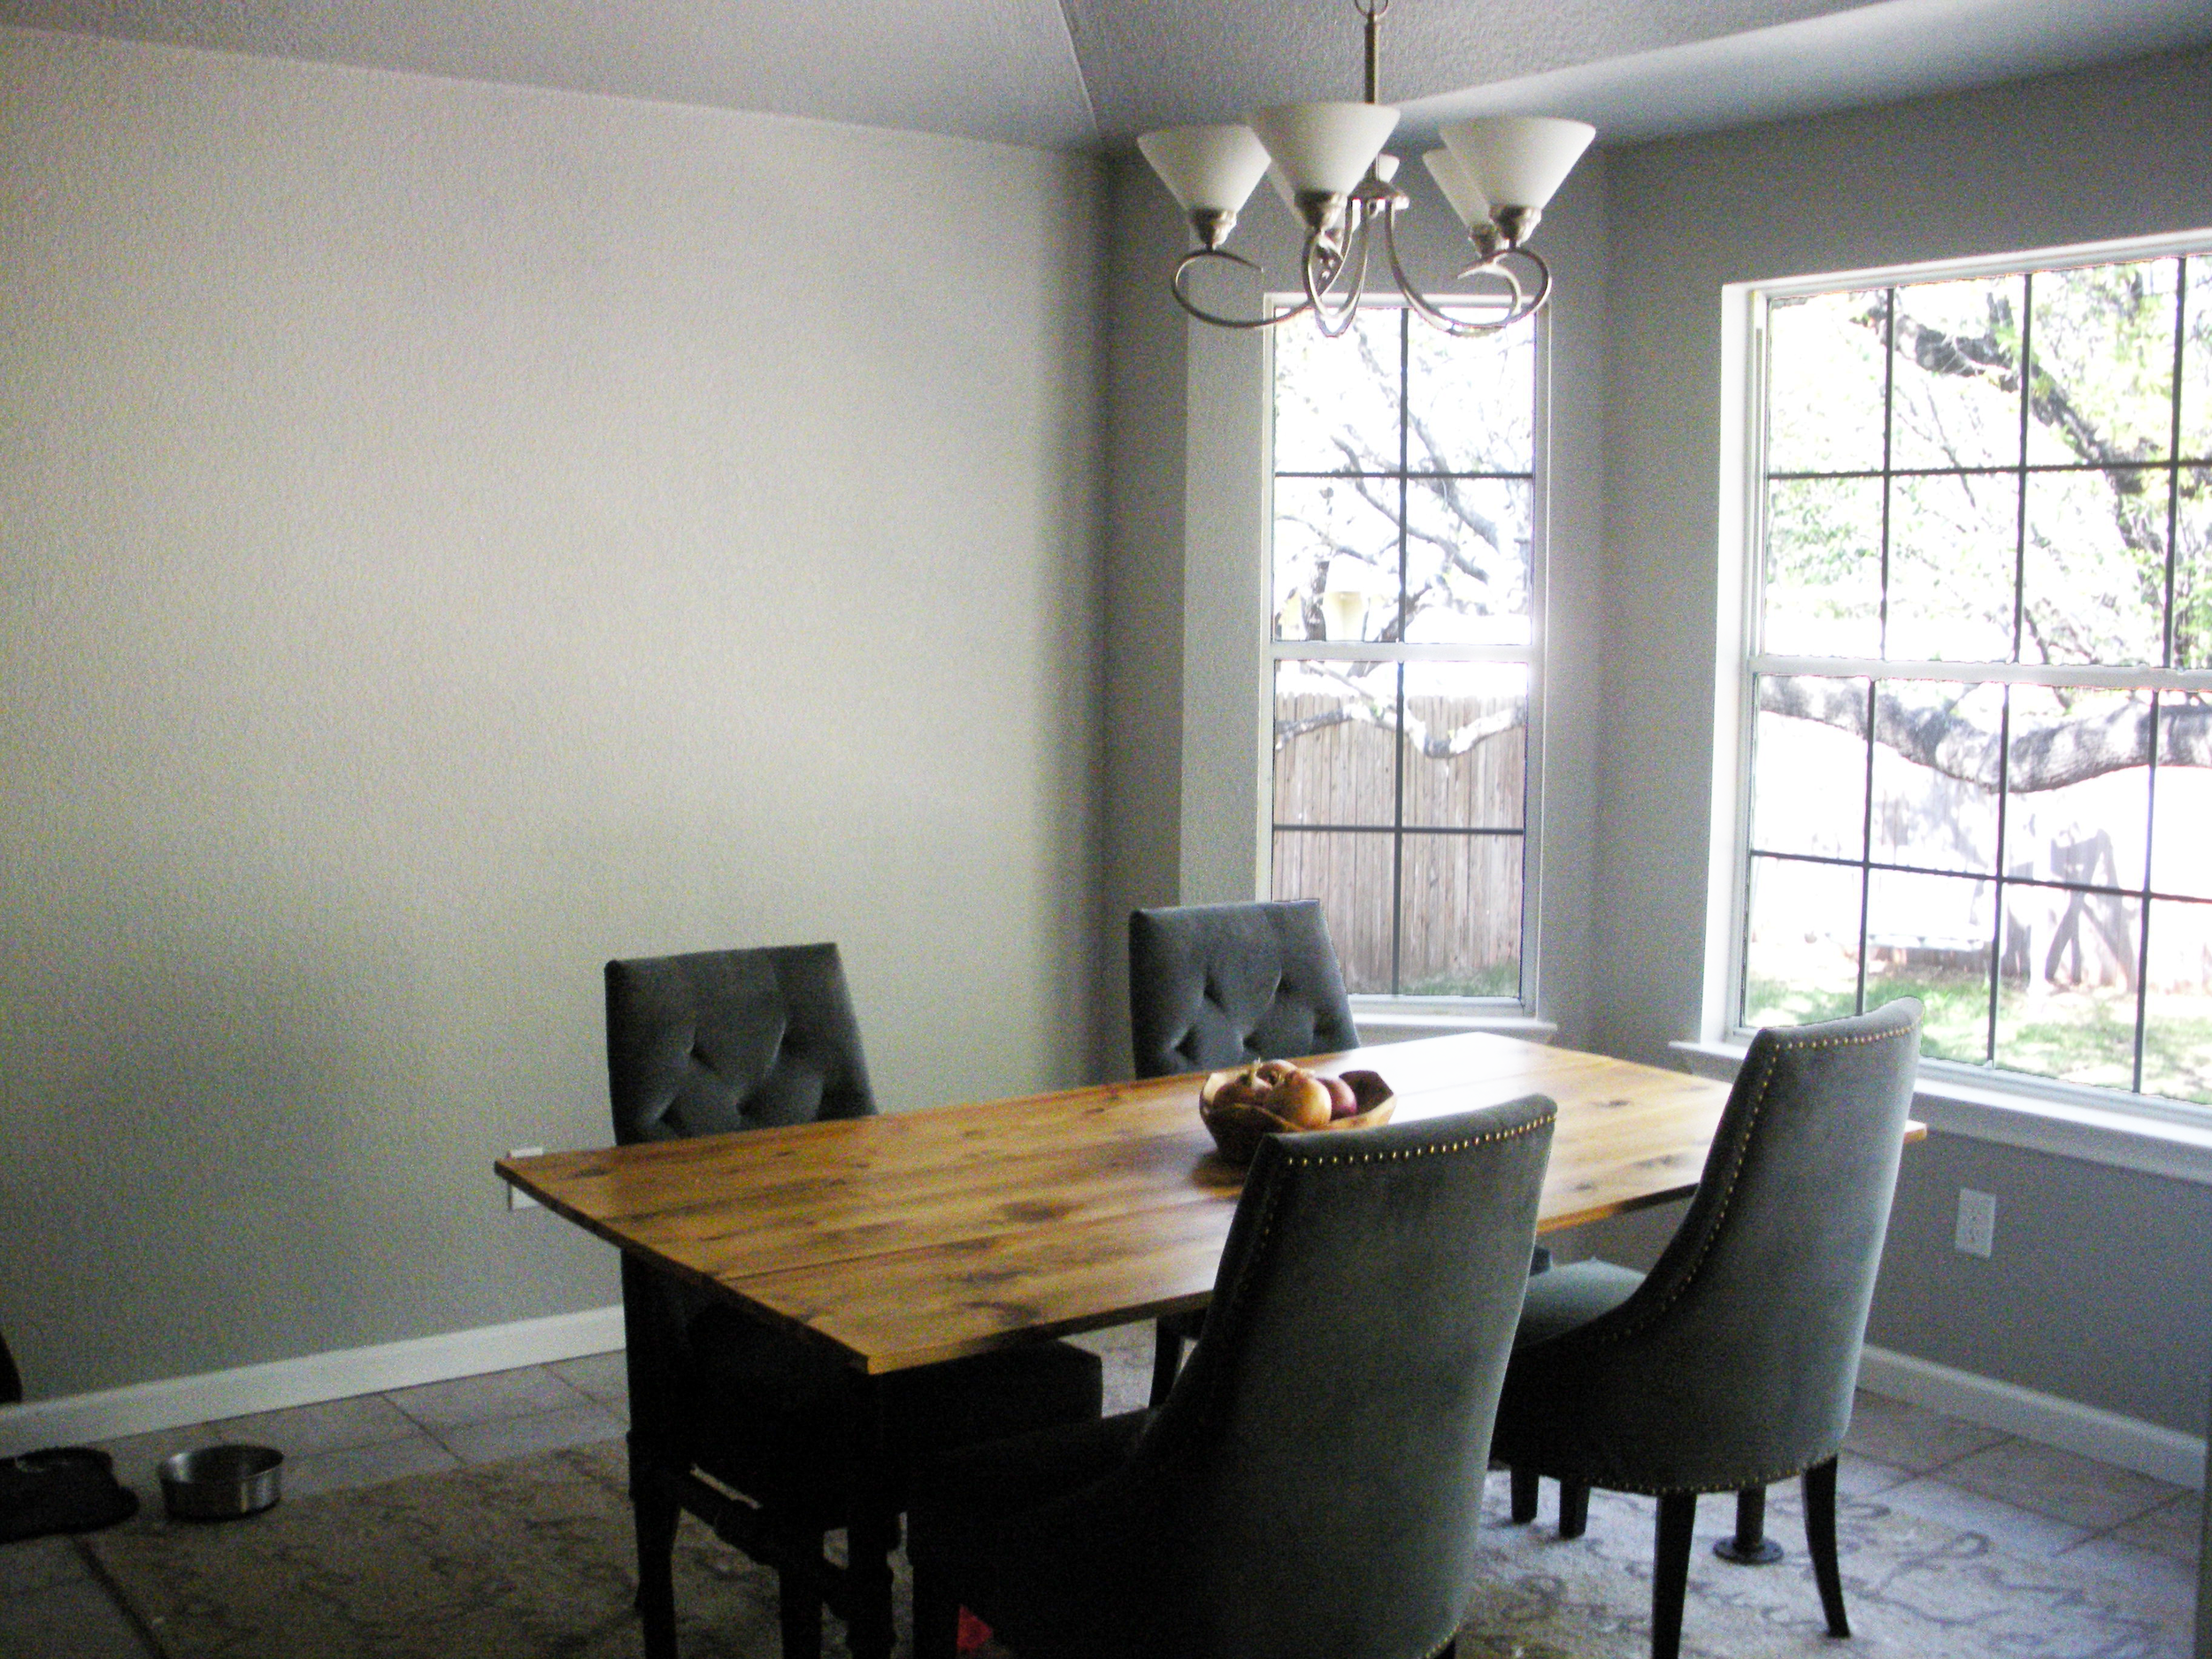
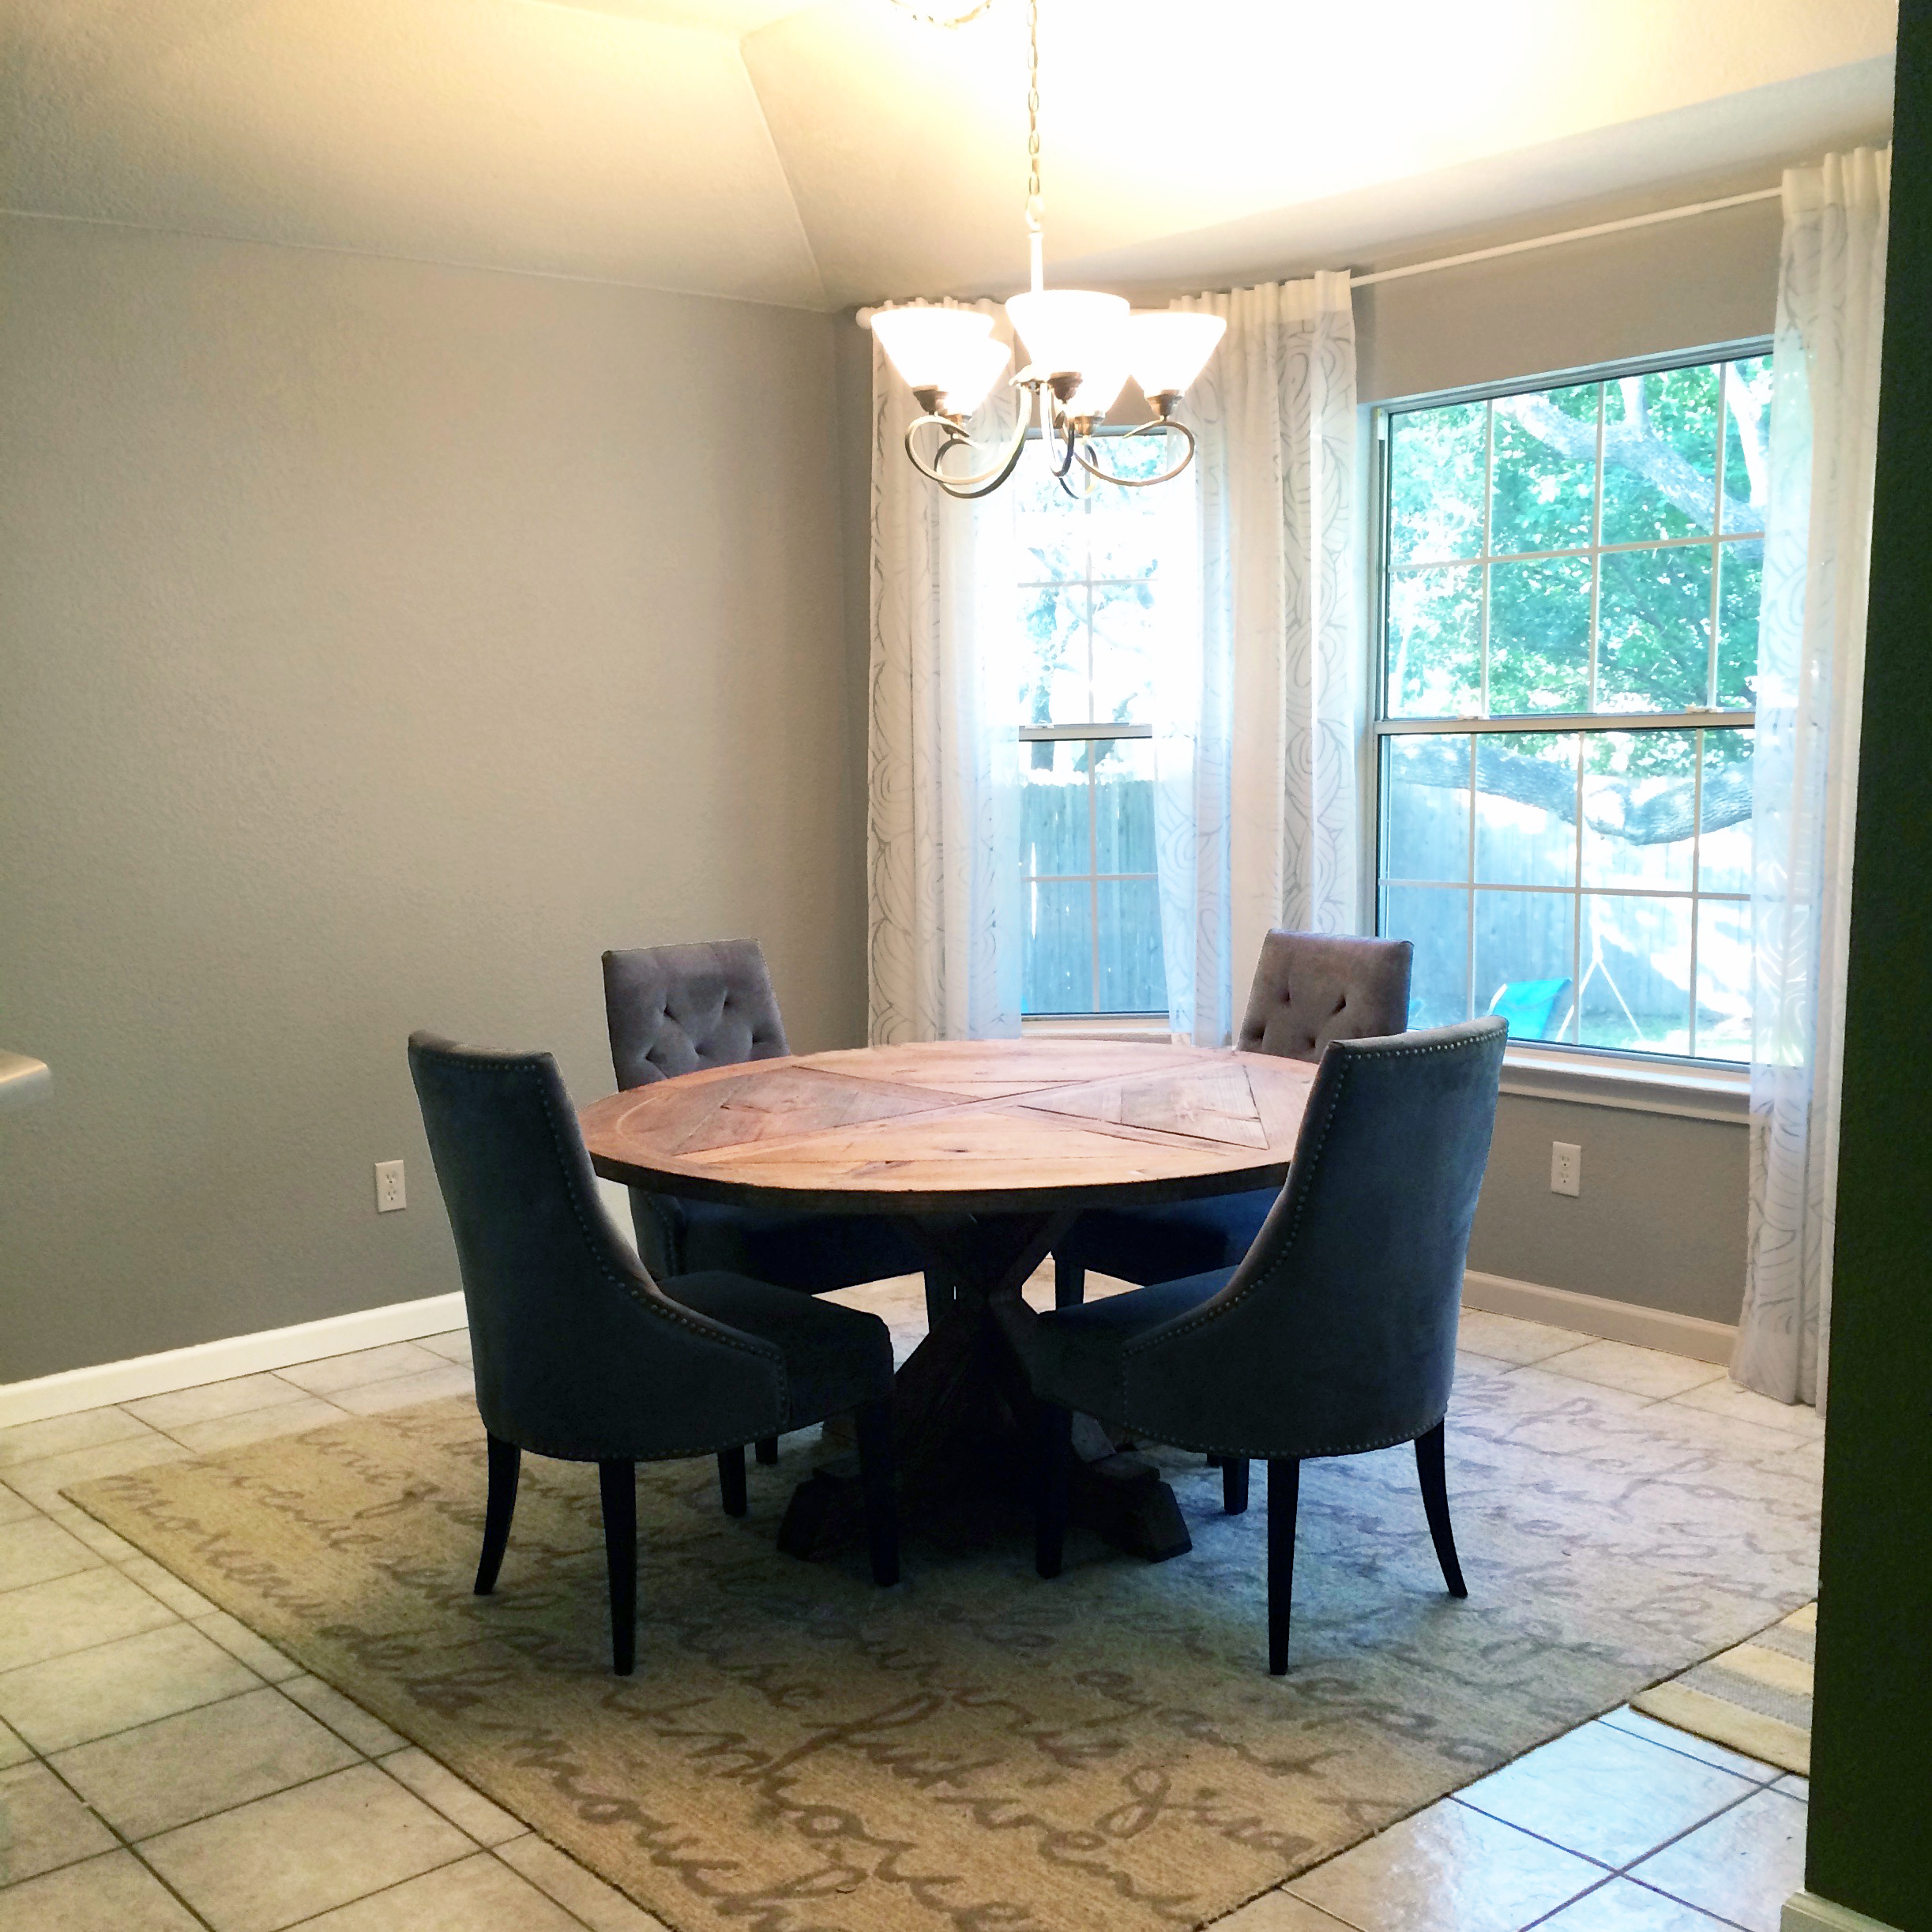
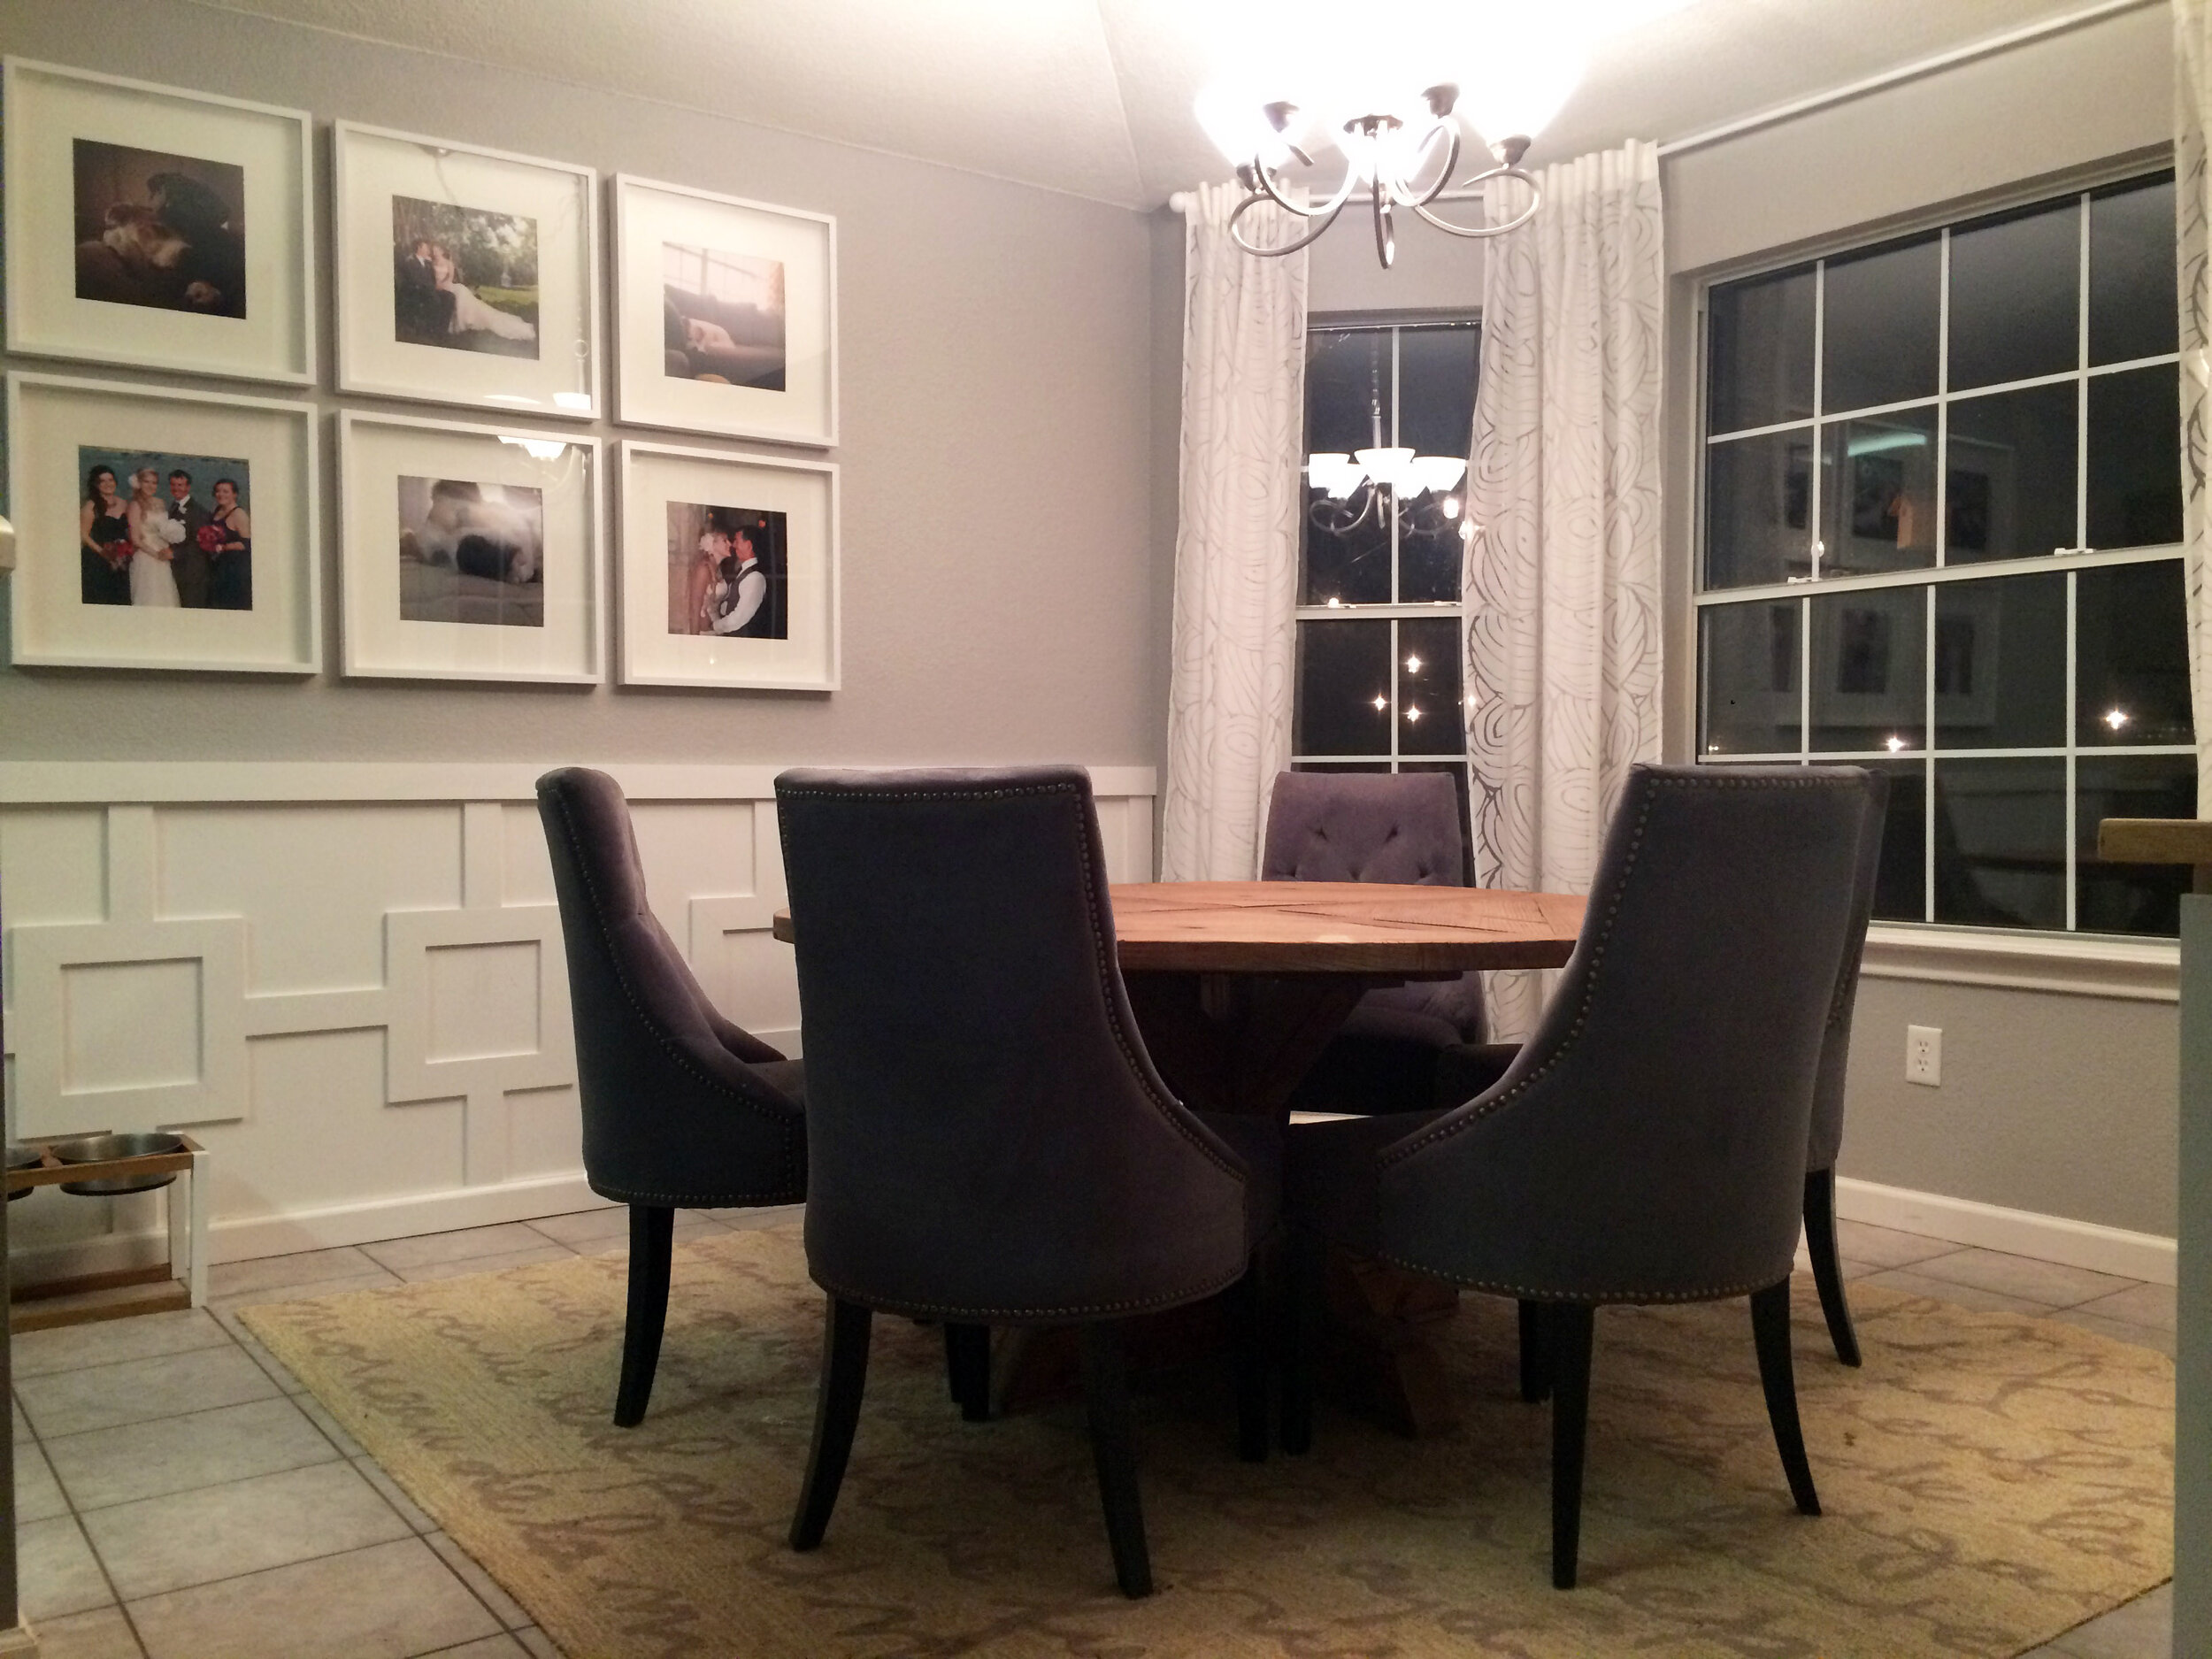
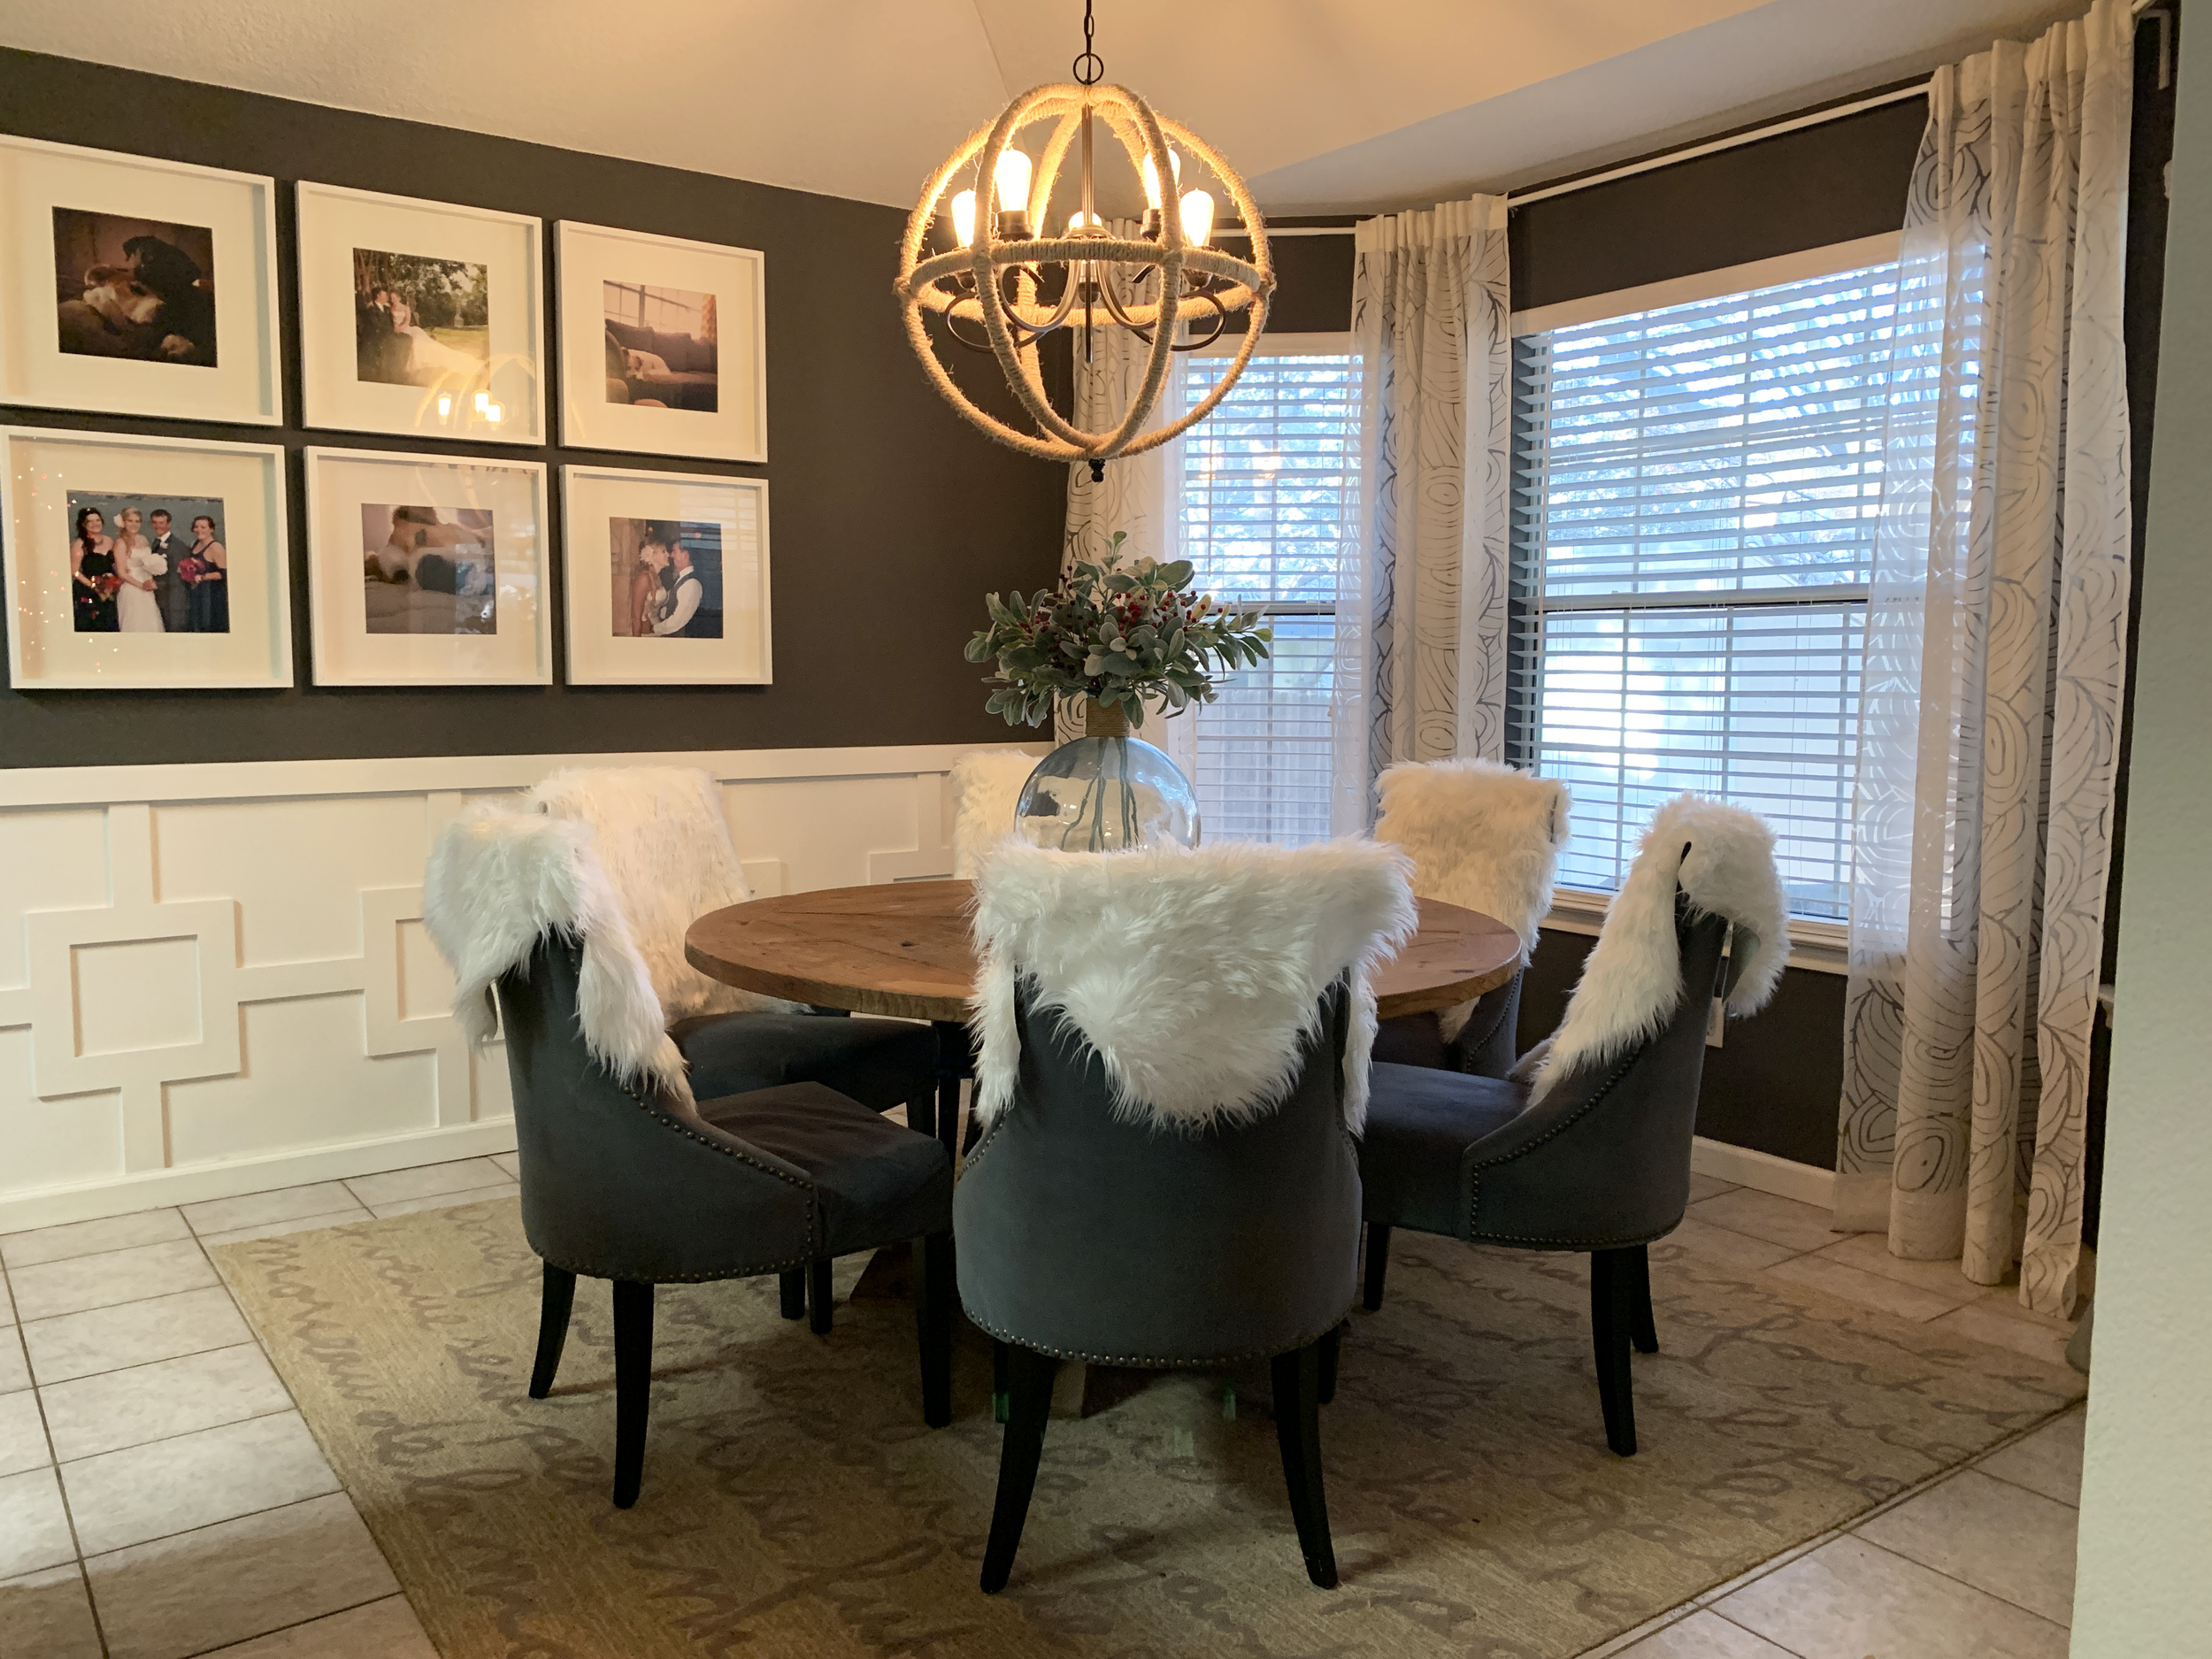
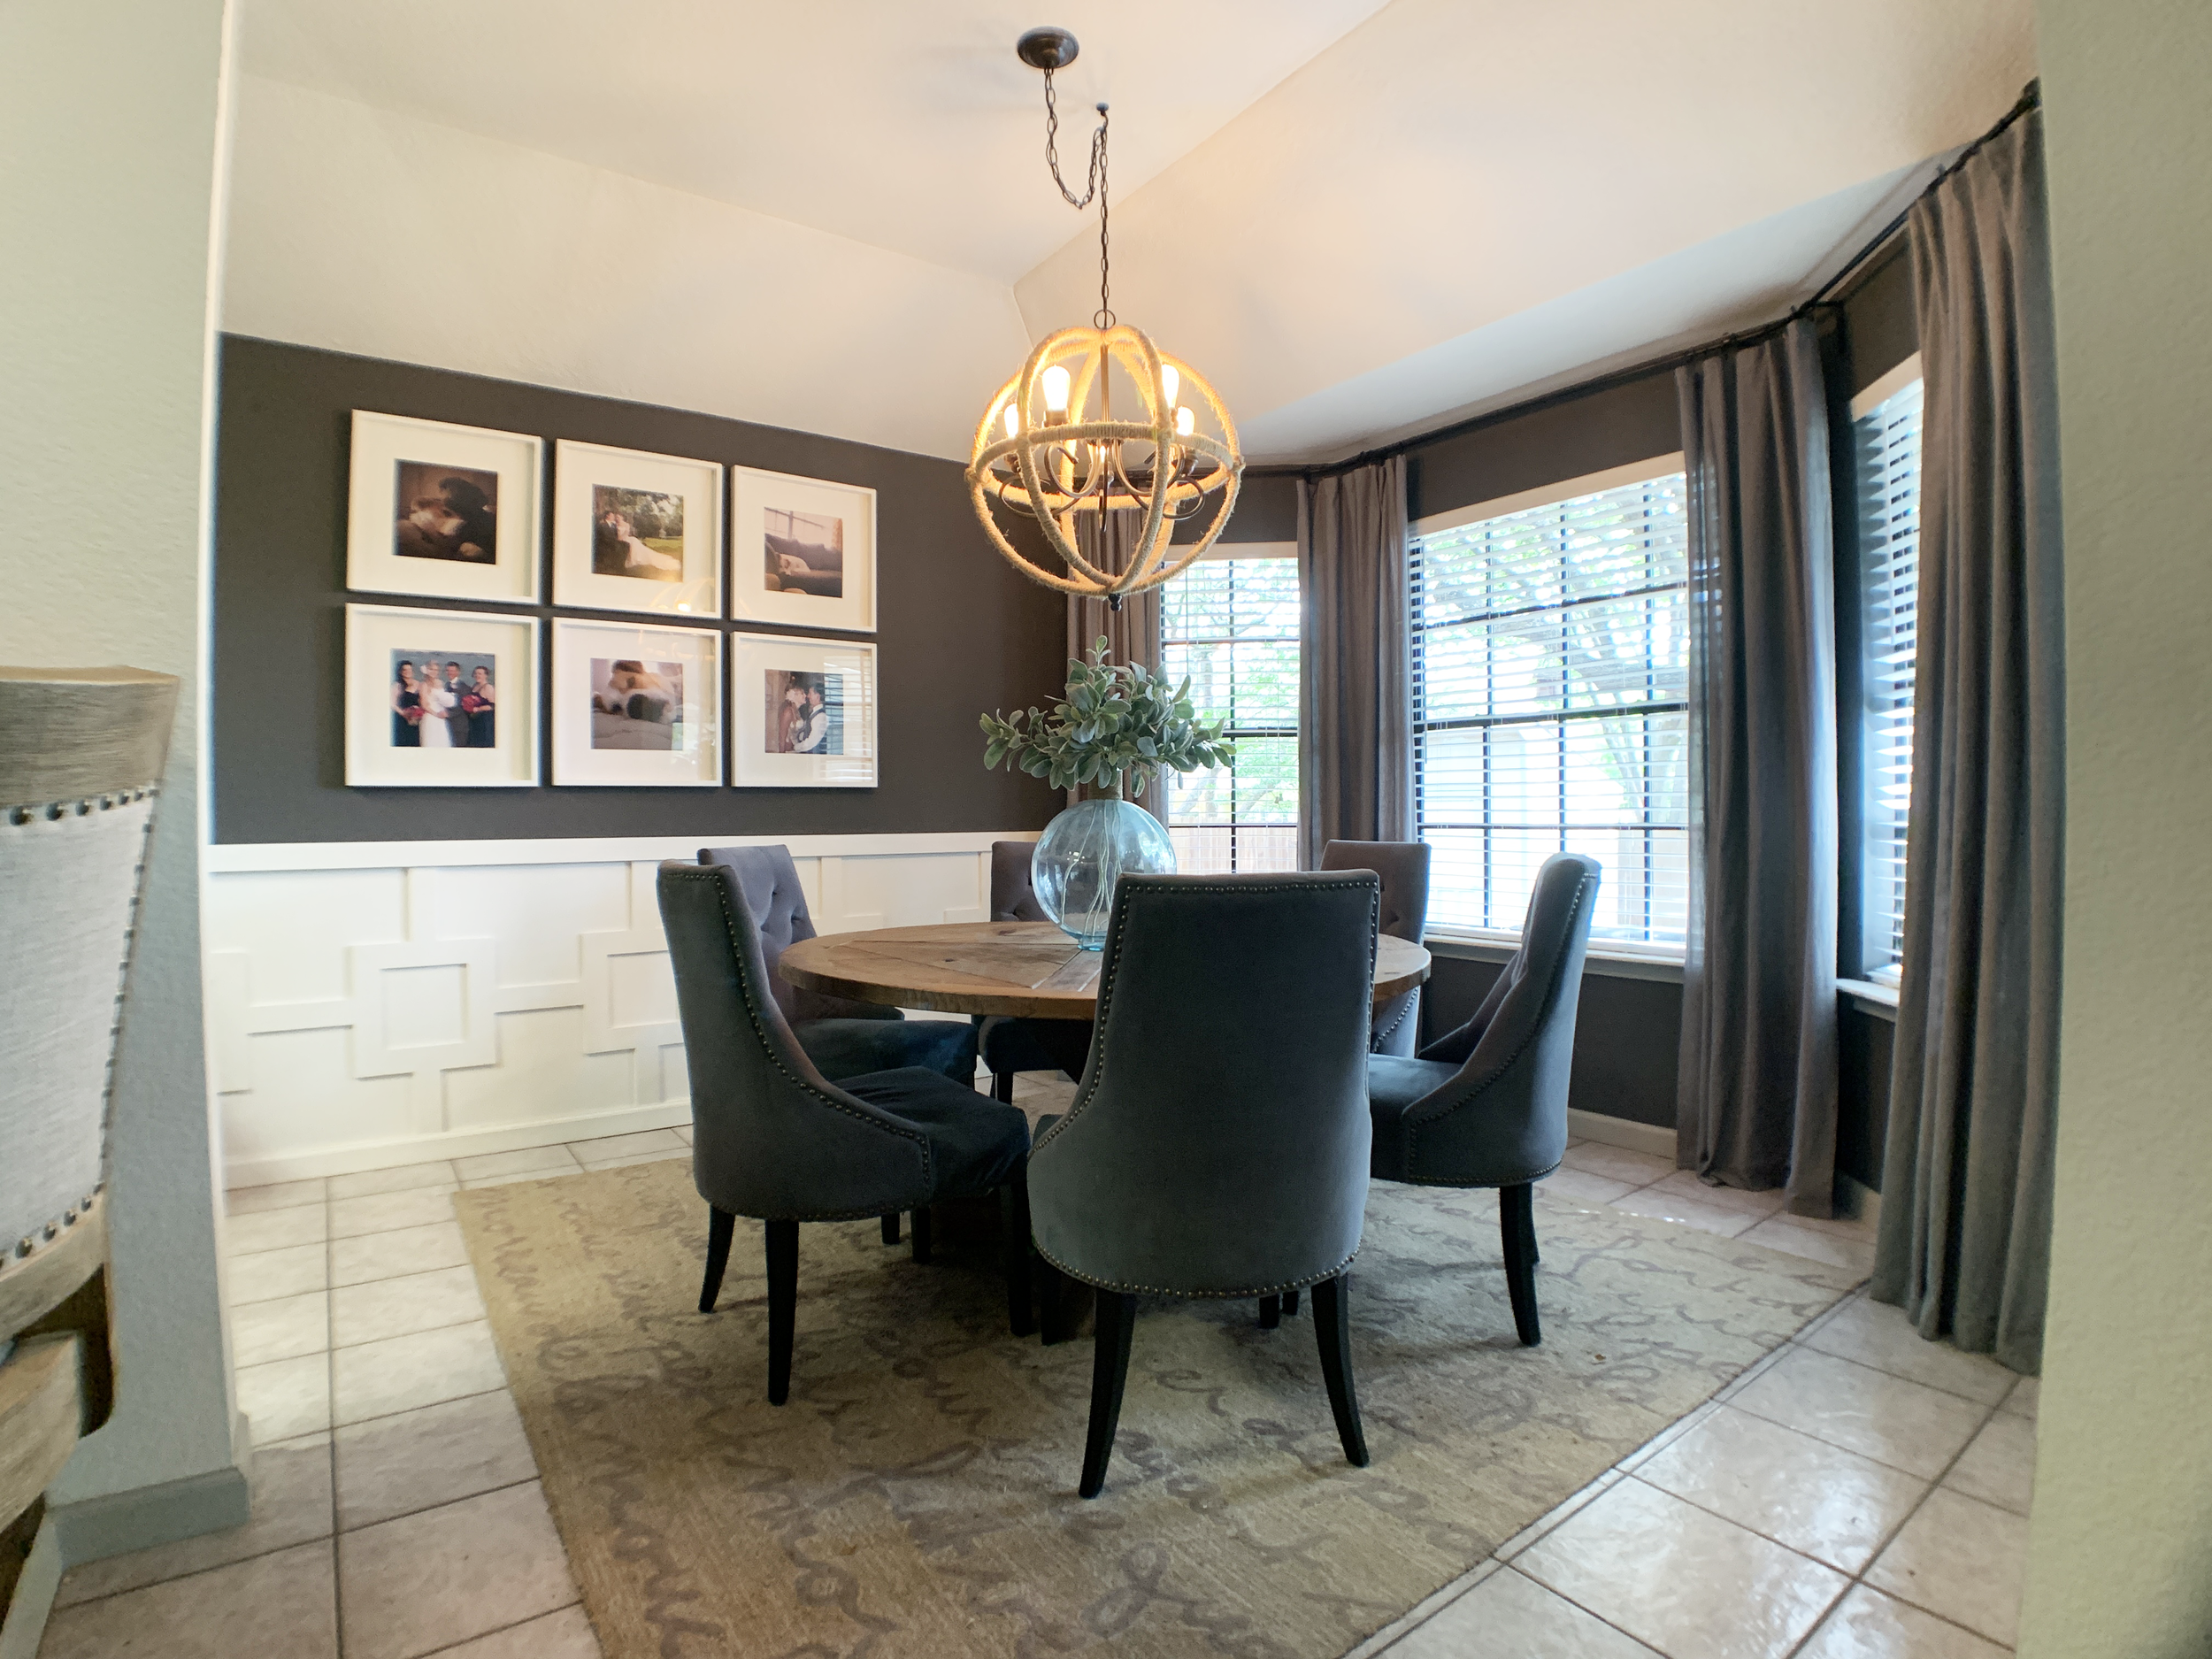
From different paint colors, to wall moulding to tables to lighting to curtains, this room has seen many changes over the last nine years – but it hasn’t seen anything quite this big.
The problem
More proof that necessity really is the mother of invention…
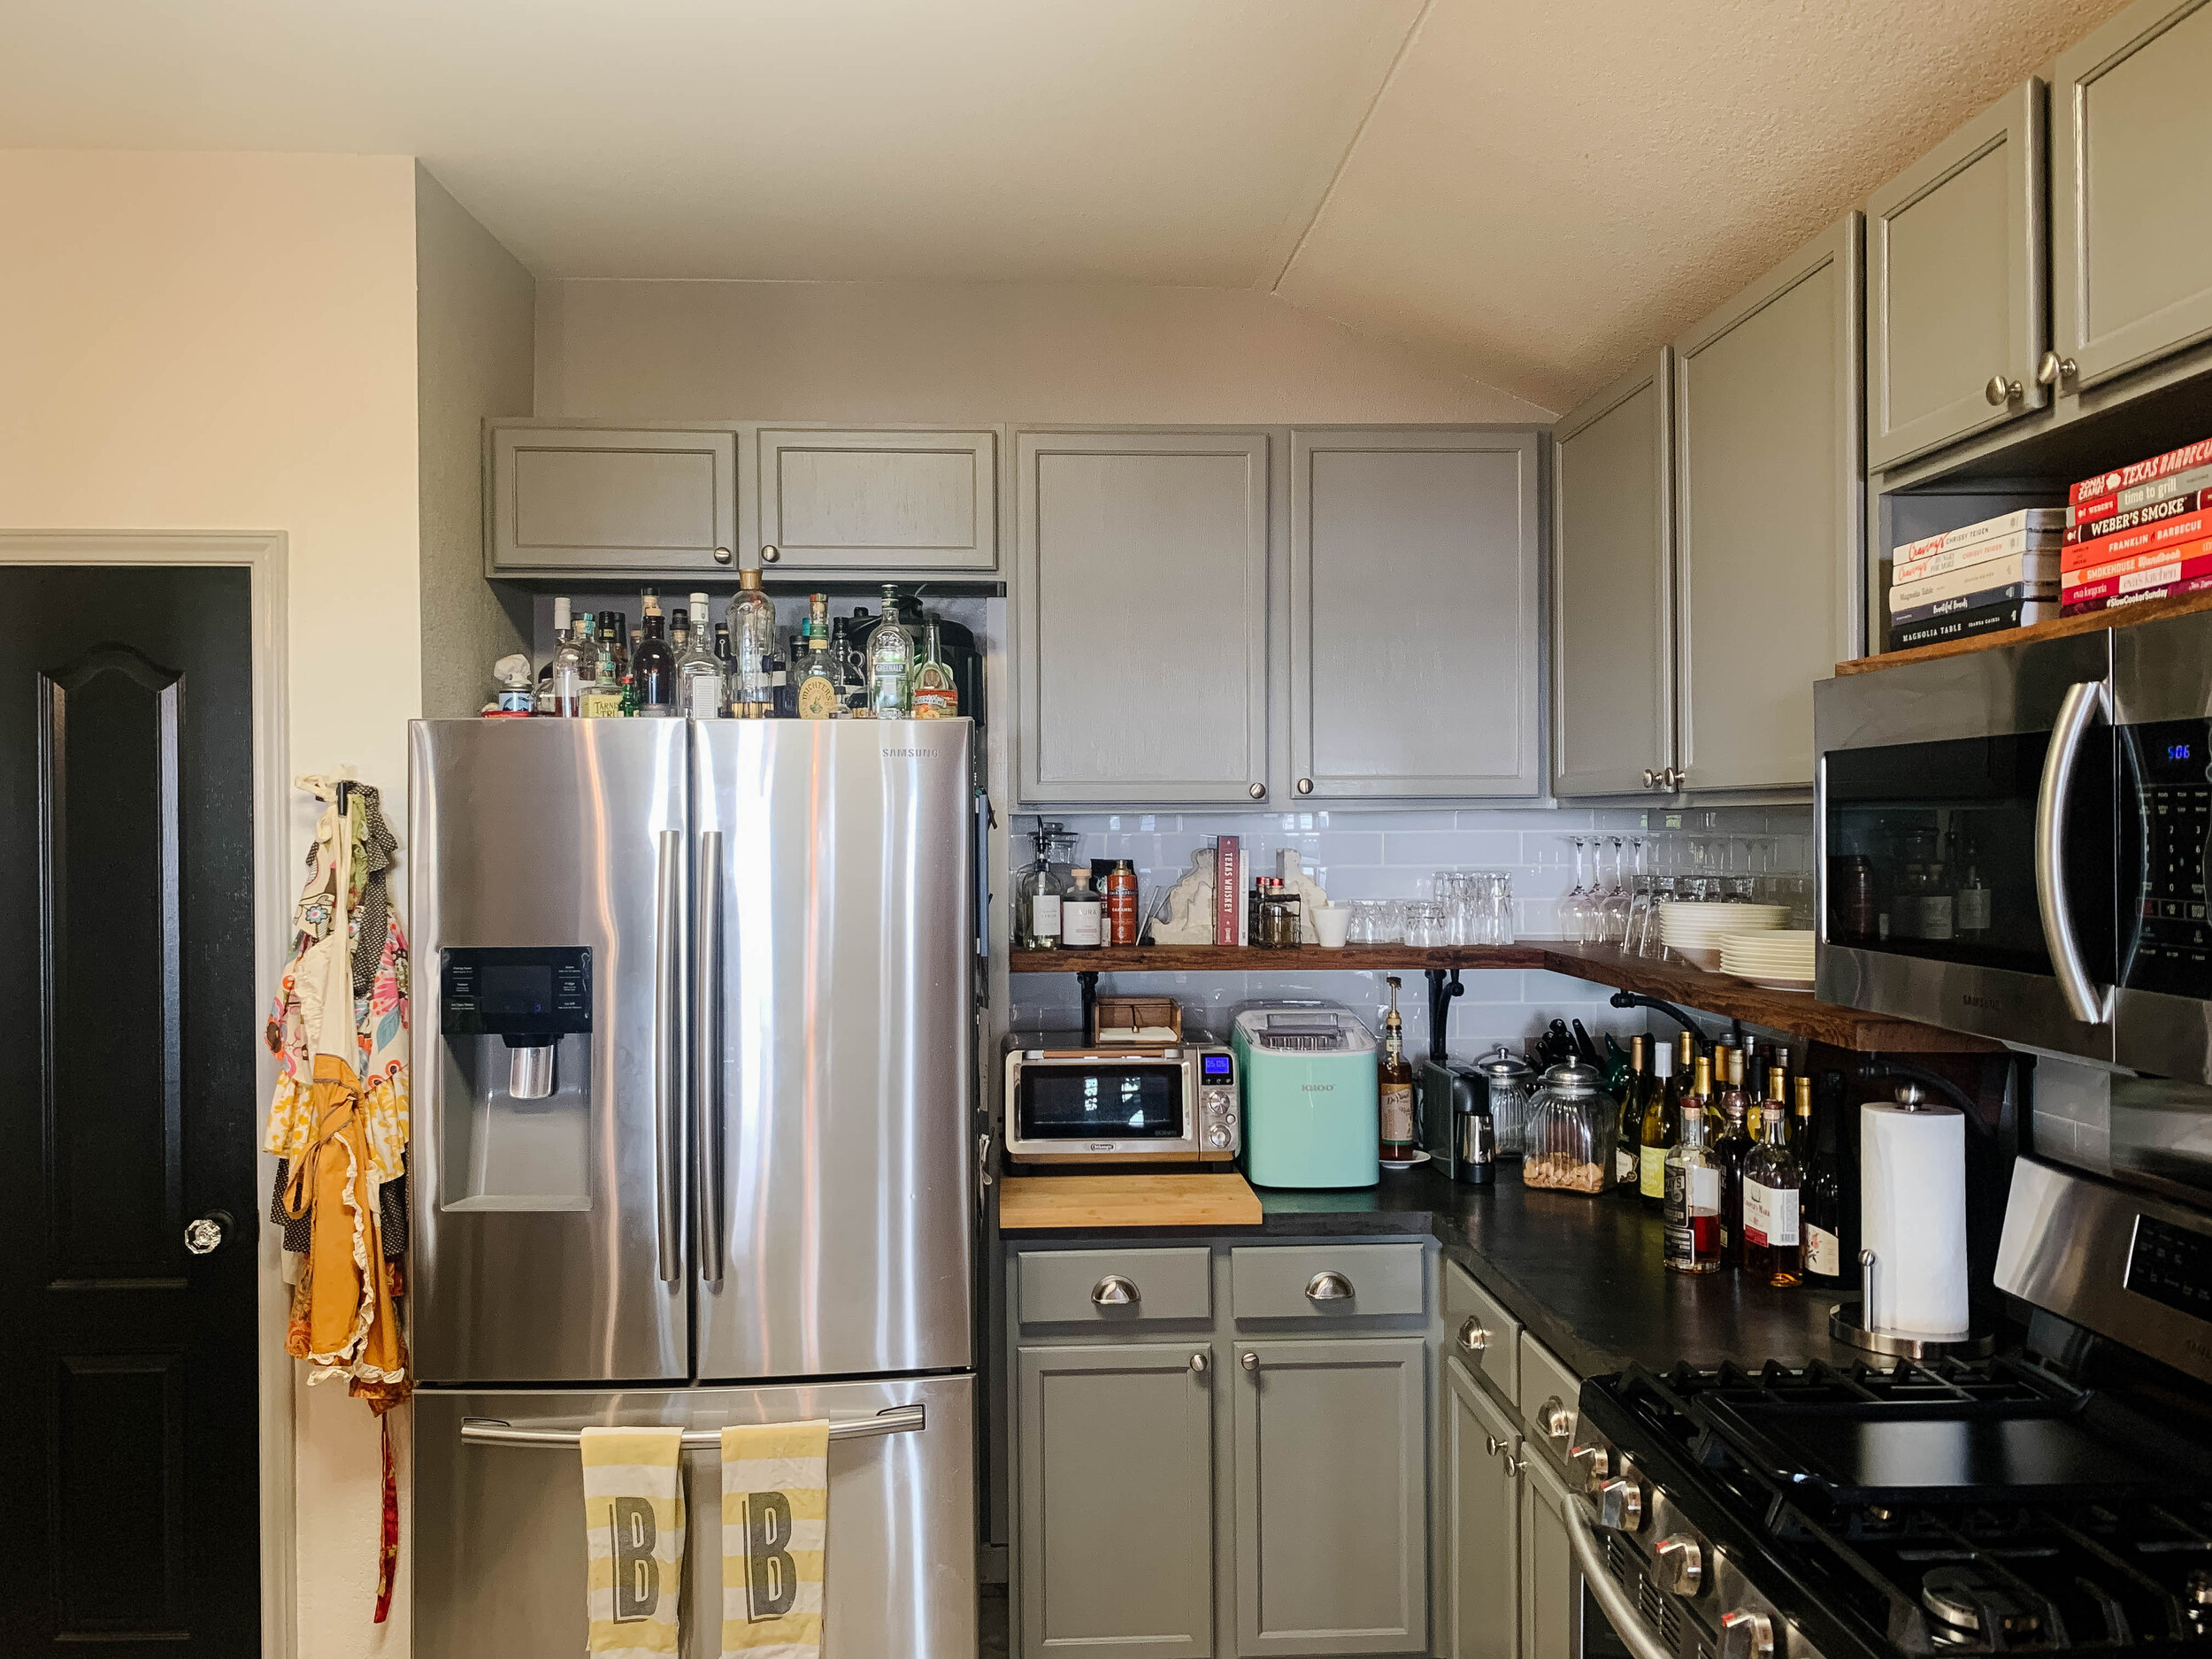
Between trying to keep a well-stocked adult bar, my new-found monthly wine subscription and Nick’s new-found hobby collecting whiskeys – paired with our already-tight kitchen for how much we like to cook – we were quickly running out of storage and counter space.

For many months now we looked at trying to get or make a small cabinet for the short wall behind the couch that kind of delineates the living from the kitchen/dining areas, however we quickly learned it 1) wouldn’t really be enough storage space to actually solve our problem, 2) would probably make the walk space/transition area look and feel tight and cluttered, and 3) we would have to move the pups’ food and water bowl somewhere else in the house … and that space doesn’t really exist in any area that makes sense.
The solution
A built-in storage cabinet/bar in our dining room right off the kitchen to store bottles, glassware, etc.
Planning tools
Notebook / paper for sketching, taking measurements and making shopping list
Tape measure
Pencil
Painters tape – (if, like me, you really like to visualize the space – I highly recommend this!)
The plan
How I always start my (and recommend you start your) project planning
Separate the knowns from the variables. Meaning, to make it easiest on yourself, use what you already have in your space that you know will not change to play off of when planning a new project.
Oftentimes projects like these can feel overwhelming because there’s too much choice – or at least the illusion of choice. If you start out with the things you know won’t be changing – like how one side of your project area has a wall shallower than the other, how tall your neighboring cabinetry is, how thick the neighboring counters are, etc. – you can quickly see how the mountain of options you once thought you had becomes a smaller hill that’s infinitely easier and more enjoyable to climb. Letting these items create the outline for you on the front end (like a short wall determining your maximum cabinet depth and repeating cabinet heights and counter thicknesses of a neighboring area to help make the spaces feel cohesive) takes away unnecessary decision making later and gives you more of a preset plan where you can then fill in the blanks within the outline you’ve already set.
Our “knowns” for this project:
The shallow wall depth dictated by our bay window – just about 10 inches of cabinet depth, taking the baseboard thickness into account
The area butts up to a dining table and chairs that need to be able to be pulled in and out and sat at comfortably
The width between the window and kitchen cabinet – 11 feet 5.5 inches, or 137.5 inches
Our new cabinet area hits the side of a standard base cabinet, standard depth upper cabinet and open-sided shelf under the upper cabinet on the left side
Our ceiling on this wall is at an angle, and has a double-angle on the right by the window; 94.5 inches tall at the wall and estimating 99.5 inches tall at the front of the cabinet front depth
The tallest part of our ceiling is more than 96 inches tall, so we know we’ll need to hide a plywood seam on the columns
We have an outlet on this wall that will be inside of the cabinet

With the info above already decided for us, we went in knowing we needed a shallow, wide cabinet with a solution to transition the kitchen and dining room areas in a purposeful way that wouldn’t also require we replace all of the counters in the kitchen – another “known” that we set for ourselves early; though this could also be a variable if, for instance, you know you want to redo all of your counters. We decided columns flanking the new dining room cabinet would help semi-divide the two areas so we wouldn’t need to redo all of our cabinets to avoid a seam or feel obligated to continue the upper cabinetry and shelving identically, and thought they would frame the dining room wall nicely – something we like about the current wall’s moulding situation – without blocking it off making them feel like two completely unrelated spaces.
Taping it out
Over the years I’d thought about building a buffet cabinet on this wall but always shrugged it off thinking there’s no way it would work without making the room feel too tight. This time all of the “stuff” constantly on the kitchen counters finally pushed me enough to take it a step further – and I’m glad it did because even at only 10 inches deep, we were able to make it work (AND the even weirder thing is, the room actually feels bigger now with the cabinet in here, which I’ll admit I was definitely not expecting.)

Even though we’d envisioned a cabinet here and after much discussion thought it could work – because this is such a tight little space – I wanted to make sure building right next to the dining table wouldn’t make actually using the dining table impossible or uncomfortable. Taping it out is the best solution for this and something I highly recommend when space planning any project. It is practically free and lets you sort of live in the planned space with no commitment to keep it that way if you find it doesn’t work out like you thought. Using the window wall as the limit for how deep the cabinet could be, I taped out the depth on the floor to get a feel for it next to our dining chairs, keeping in mind in addition to needing to be able to pull out and sit in the chairs, we’d also need room for cabinet doors to be able to open so we could actually use the cabinet once it was built. We also wanted to give ourselves space to walk between the cabinet and table.

As far as the columns went, we eyeballed the width trying to make them look proportionate to the depth restrictions we were dealing with, as well coordinate them somewhat with the scale of the two columns that are flanking our island. To really help us decide if columns would look right next to the open-sided shelf, we taped up some paper to fake what the side of the column would look like from the kitchen-view


To make it all look intentional and bring the adjoining spaces together, we used the existing kitchen cabinets and counter height for the new cabinet height and counter thickness.

We also decided to go with 10 skinny cabinet doors at this stage in the process so we could easily open the doors without hitting the dining table/chairs.
Making the materials/cut list
After we lived with the tape zone for a bit and confirmed we were happy with the scale of everything, I translated the dimensions* to paper and began making our hardware store shopping list. *Knowing of course nothing is truly square in homes and we’ll be remeasuring everything when we go to actually cut the materials during the build.
At this point in the project I typically draw out the area and begin assigning lumber sizes/types to each part of my drawings. Then from there, I make a written material list, labeling what each is for. (I didn’t used to label what material was for what part of the build, but sometimes when we go to the store they’re out of something so we have to pivot in the aisle and find a replacement. Usually it’s just buying the same thing in a different length, so it helps to have it broken out like this if you need to rework any math on the fly.)
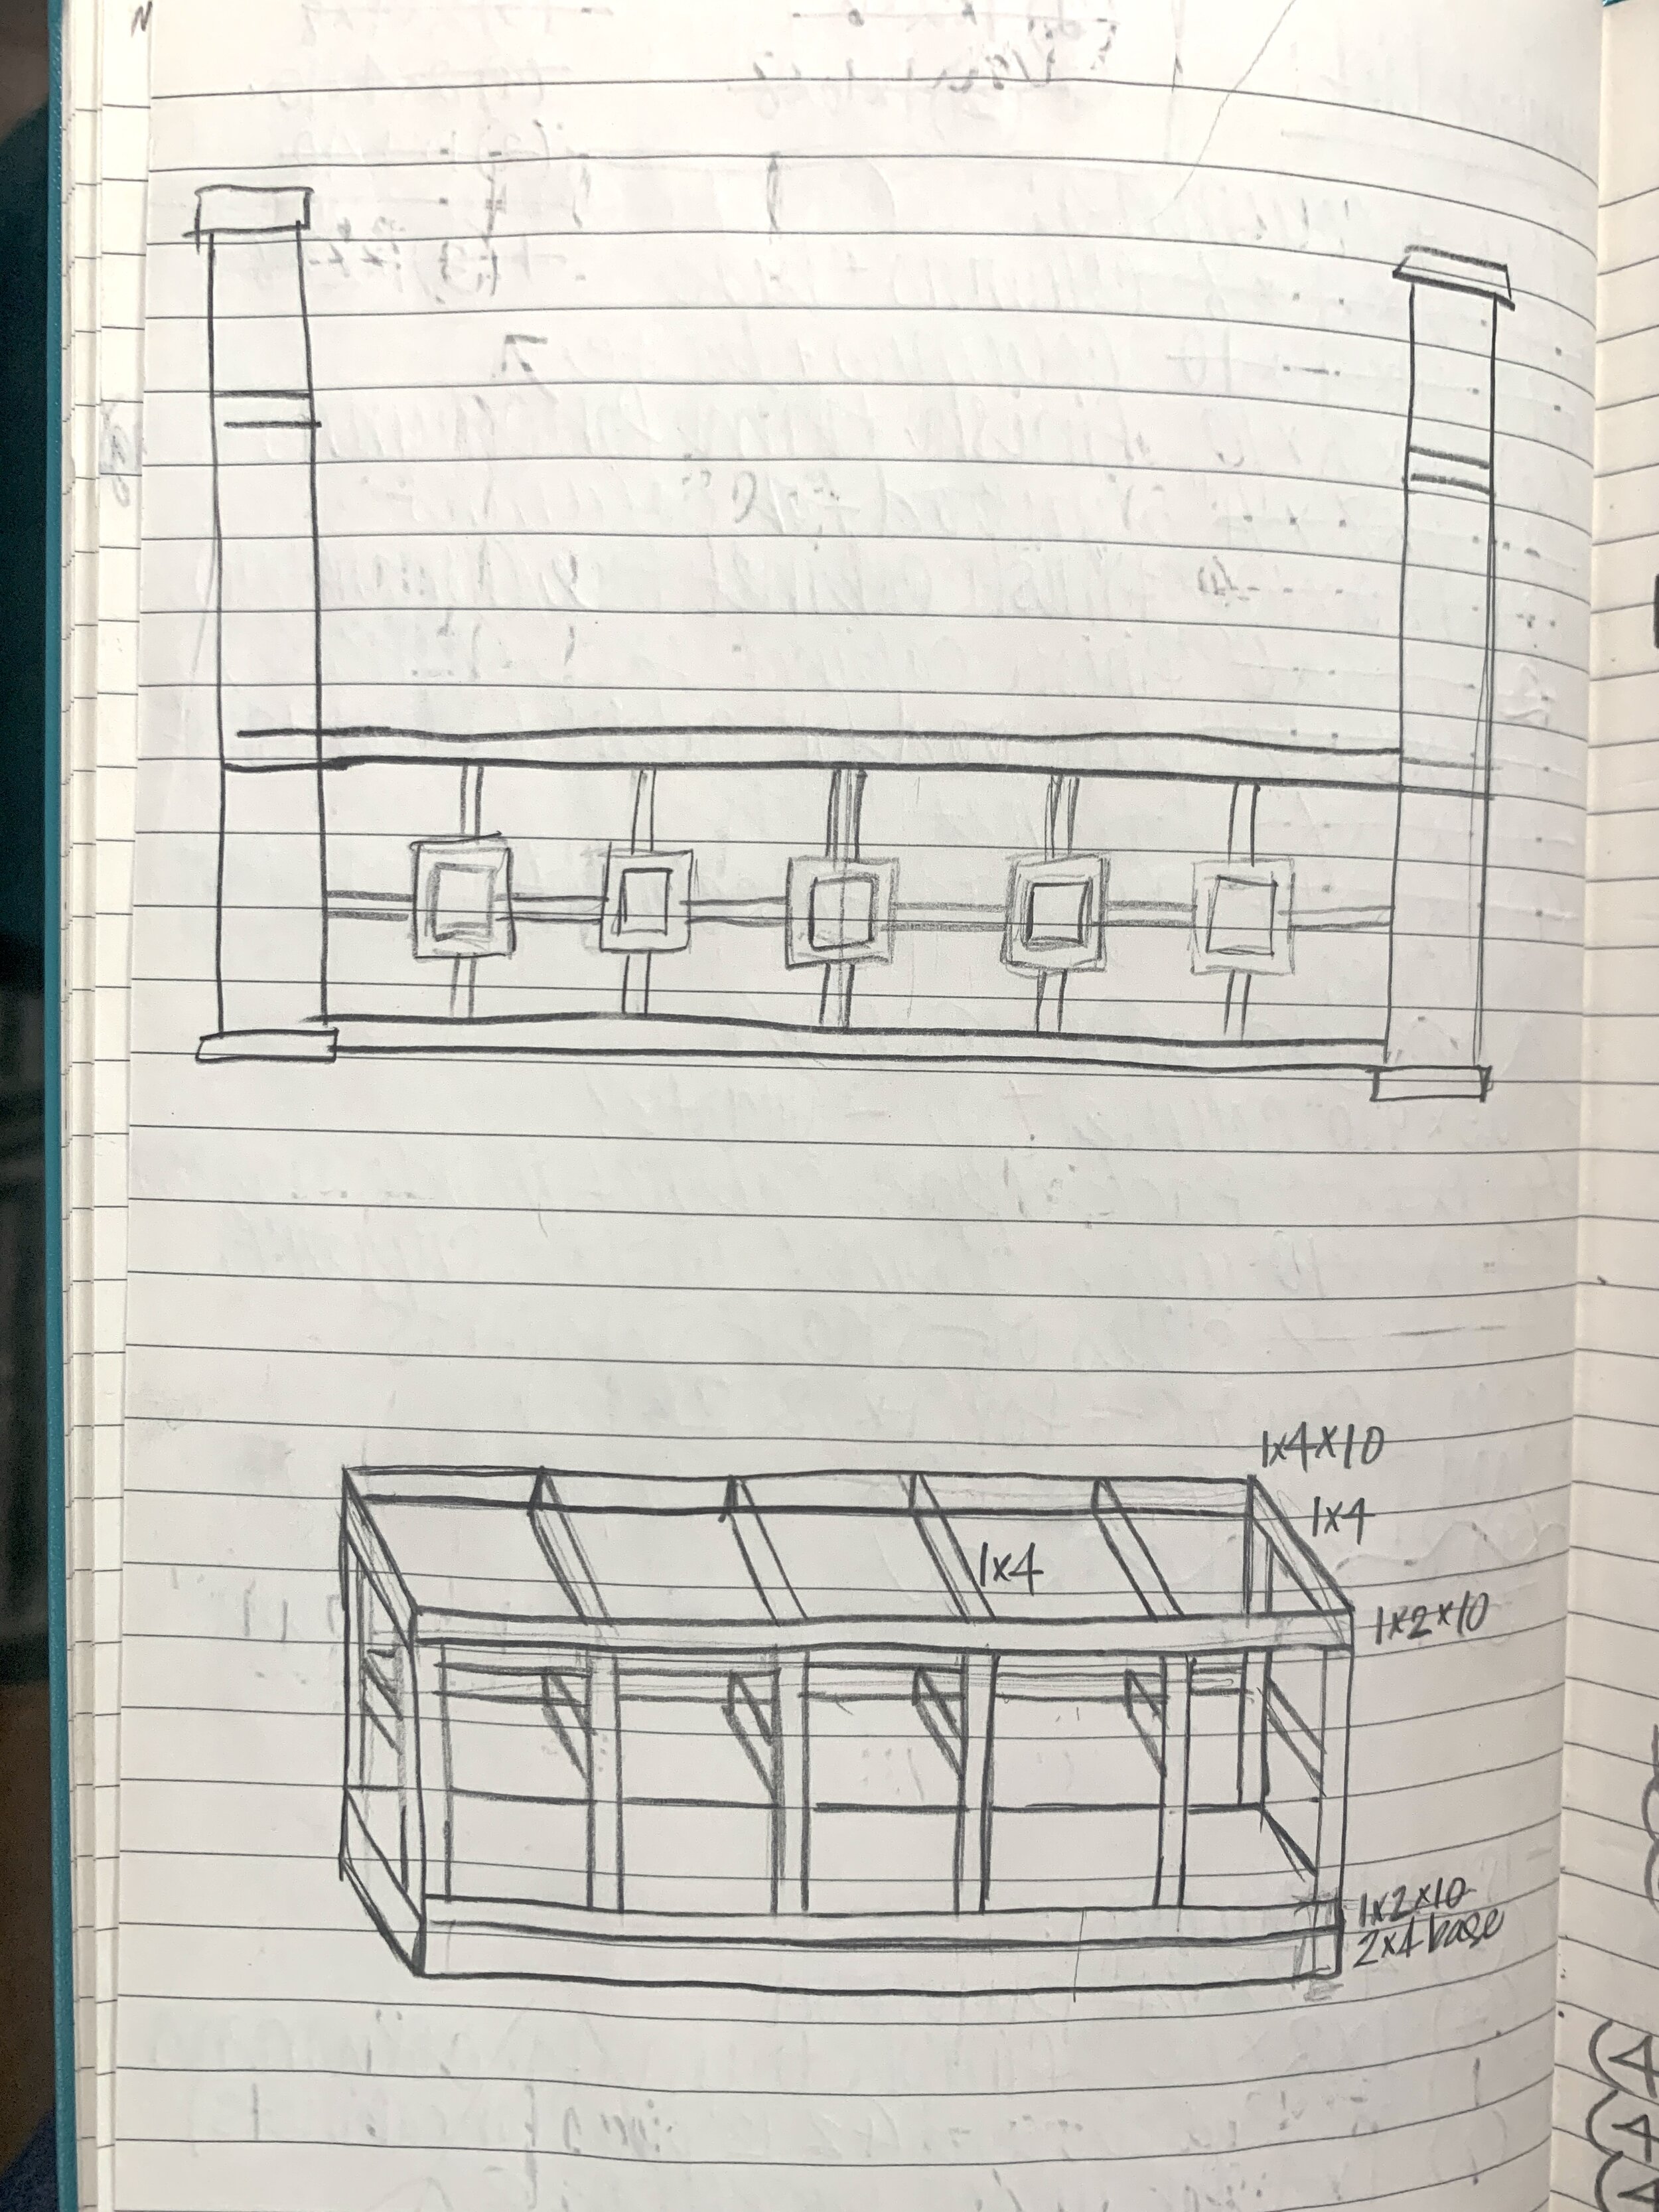
Drawing the internal structure for the main cabinet (bottom) and an unused sketch when I briefly considered trying to repeat the square pattern from our current decorative wall moulding on the front of the new bar cabinet (top).

Drawing out the outside of the bar and columns (top left) and the internal structural supports for the cabinet base and columns (bottom left). Then I use my drawings to come up with a “cut list”, which helps me figure out a materials/shopping list (right).
The fun(ner) stuff
Color and material-wise we’re wanting a deep, moody green for the cabinets, with brass metal accents to keep it feeling warm, bright and add nice texture and dimension. And then to go with the current kitchen charcoal gray concrete counters (but not be too matchy-matchy) we’ll be doing a white concrete countertop. We’re planning on changing the wall color (currently Peppercorn by Sherwin Williams) to something much lighter, but haven’t decided yet if it will be paint or wallpaper or some other type of wall treatment.
So what do you think of the plan? How do you plan for your projects?
Coming up, we’ll of course be sharing the finished product and in separate posts, break down exactly how we built it all step-by-step so you can build a storage cabinet of your own!