The Cameo Camper Renovation: Brass Shower Fixtures
Hey y’all. Can you believe we finally have our backlit walls series complete and are now focusing on putting the finishing touches on the bathroom?! It feels like it’s been such a long road, and we’ve recently been sharing more about our first flip house and home projects here on the blog, but we’re so close to sharing how we got a completed, working wet bath.
To see how we got here, check out our backlit bathroom walls series:
Today we’re continuing our bathroom build with how we installed the beautiful matte brass shower fixtures – the diverter, drop ell, slider bar and handheld shower wand – that essentially turn this cozy room from a weird glowing closet to a functioning shower!
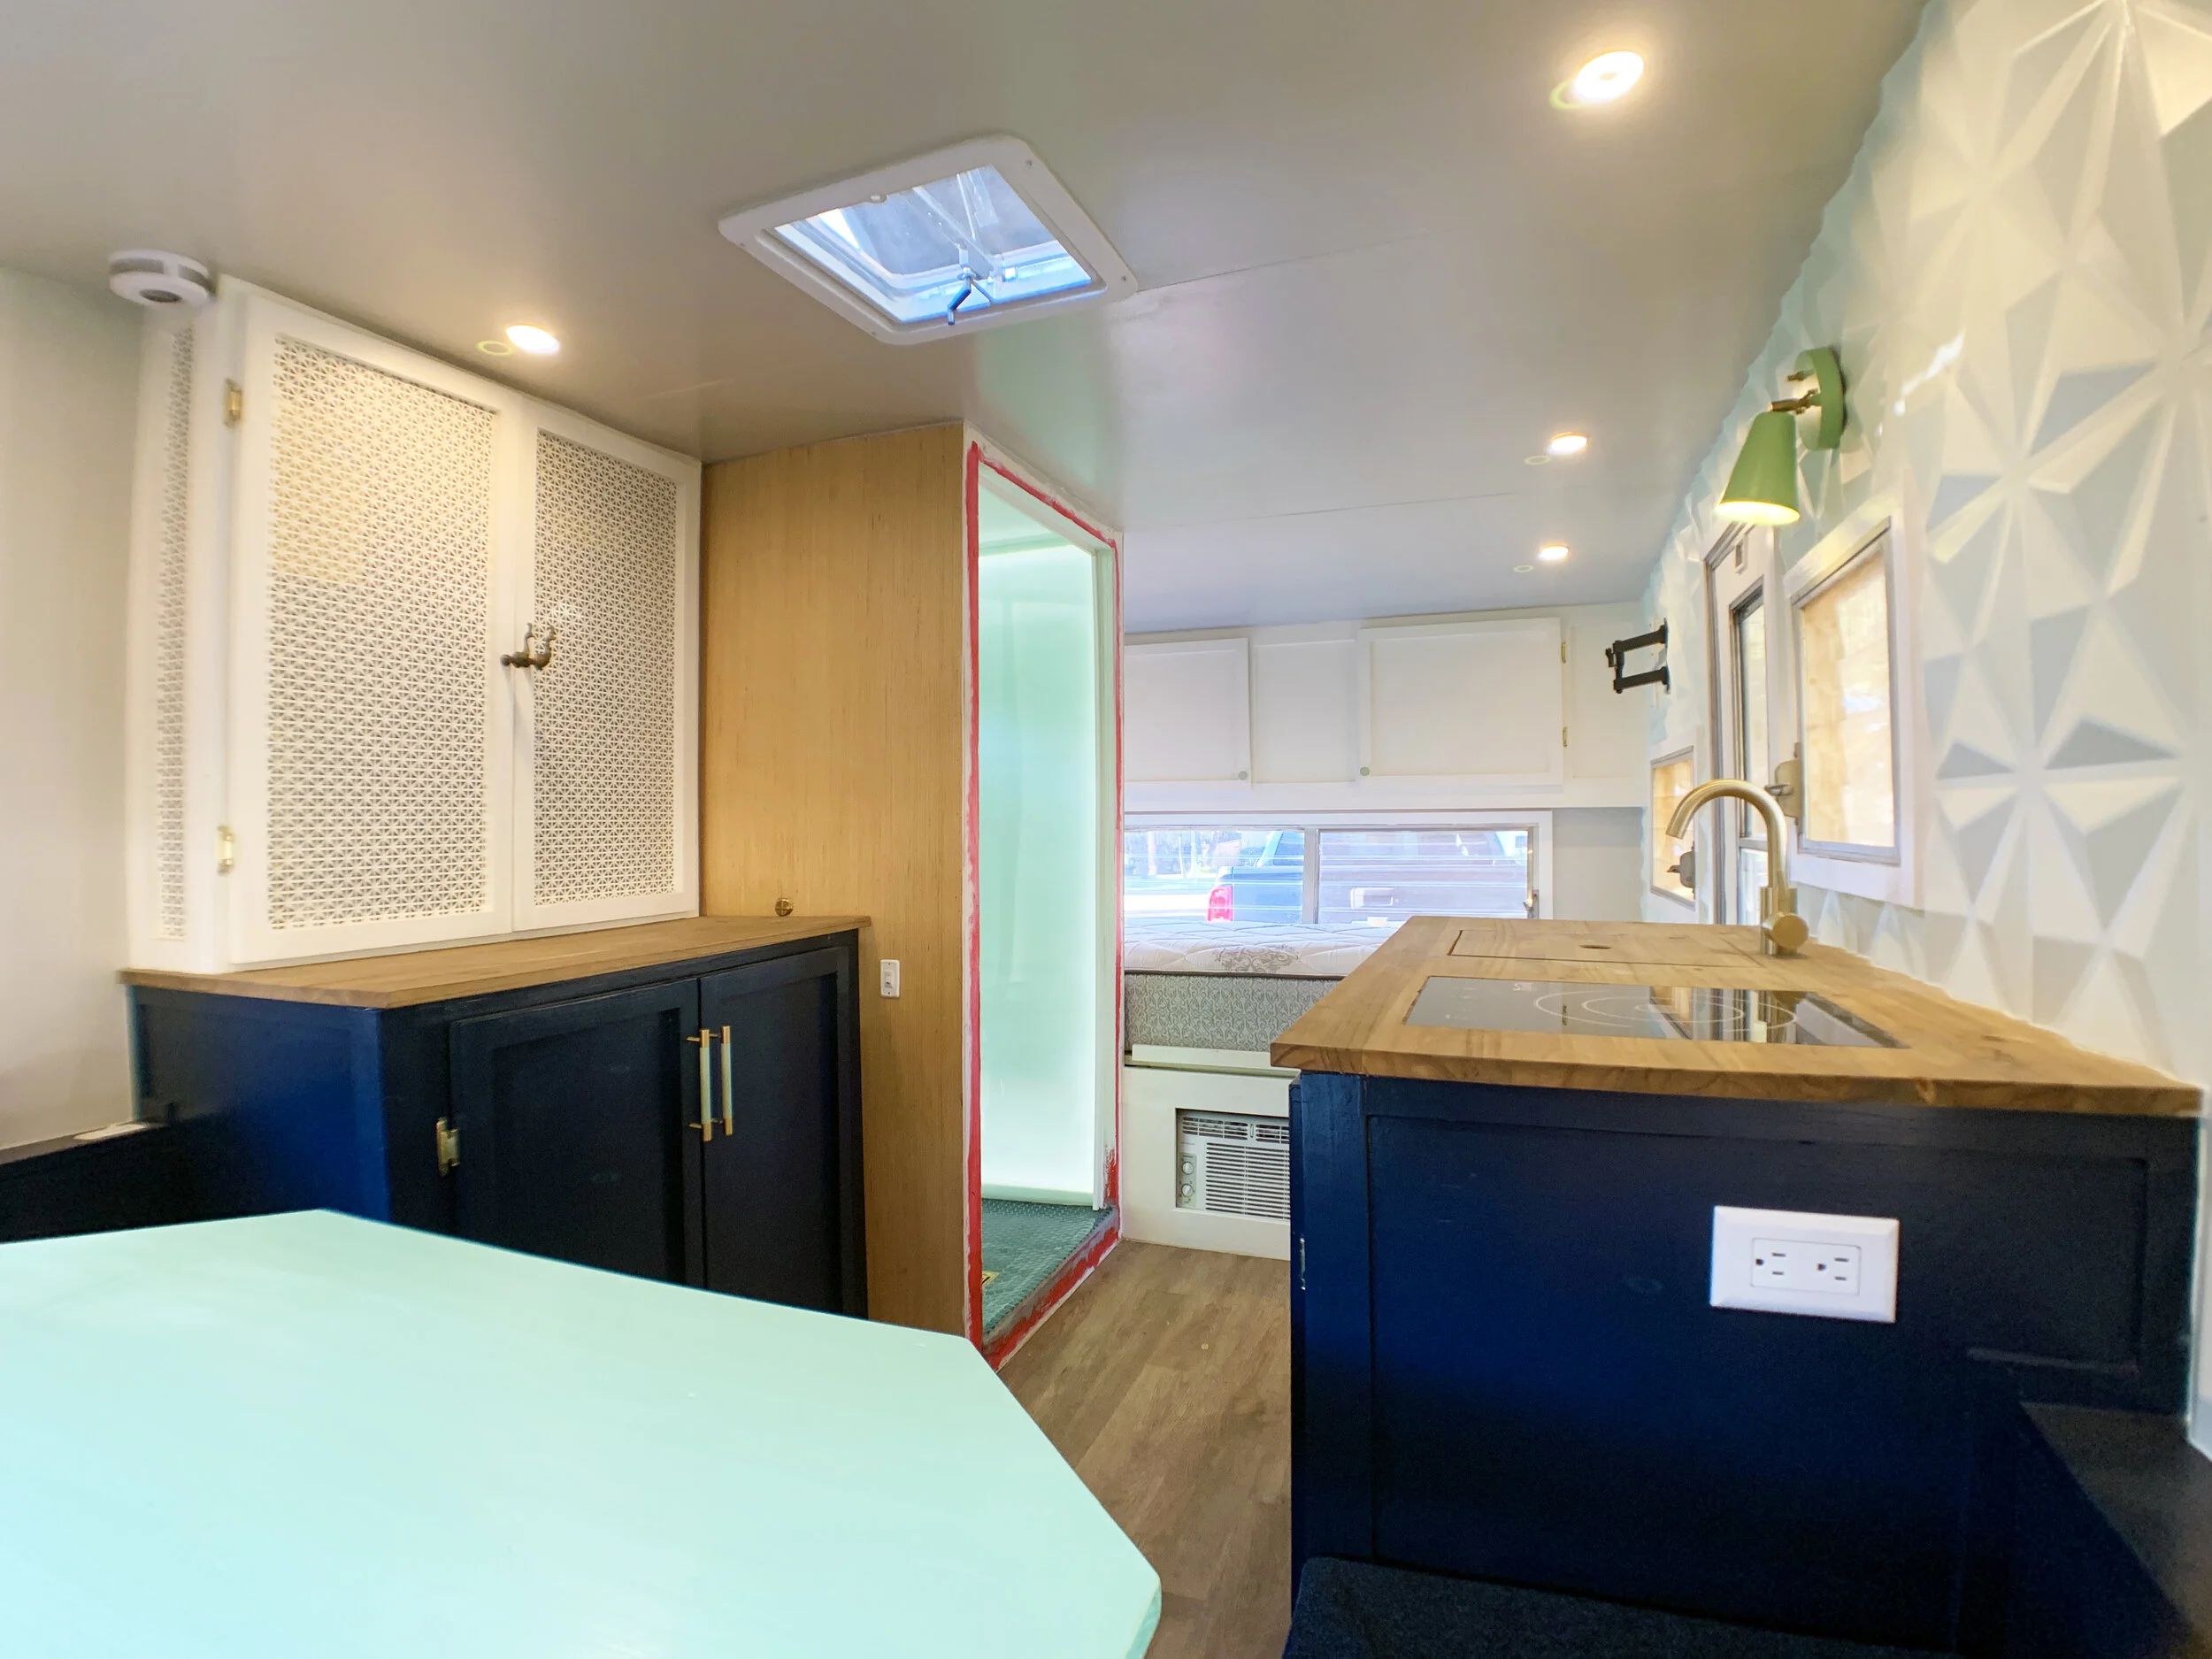
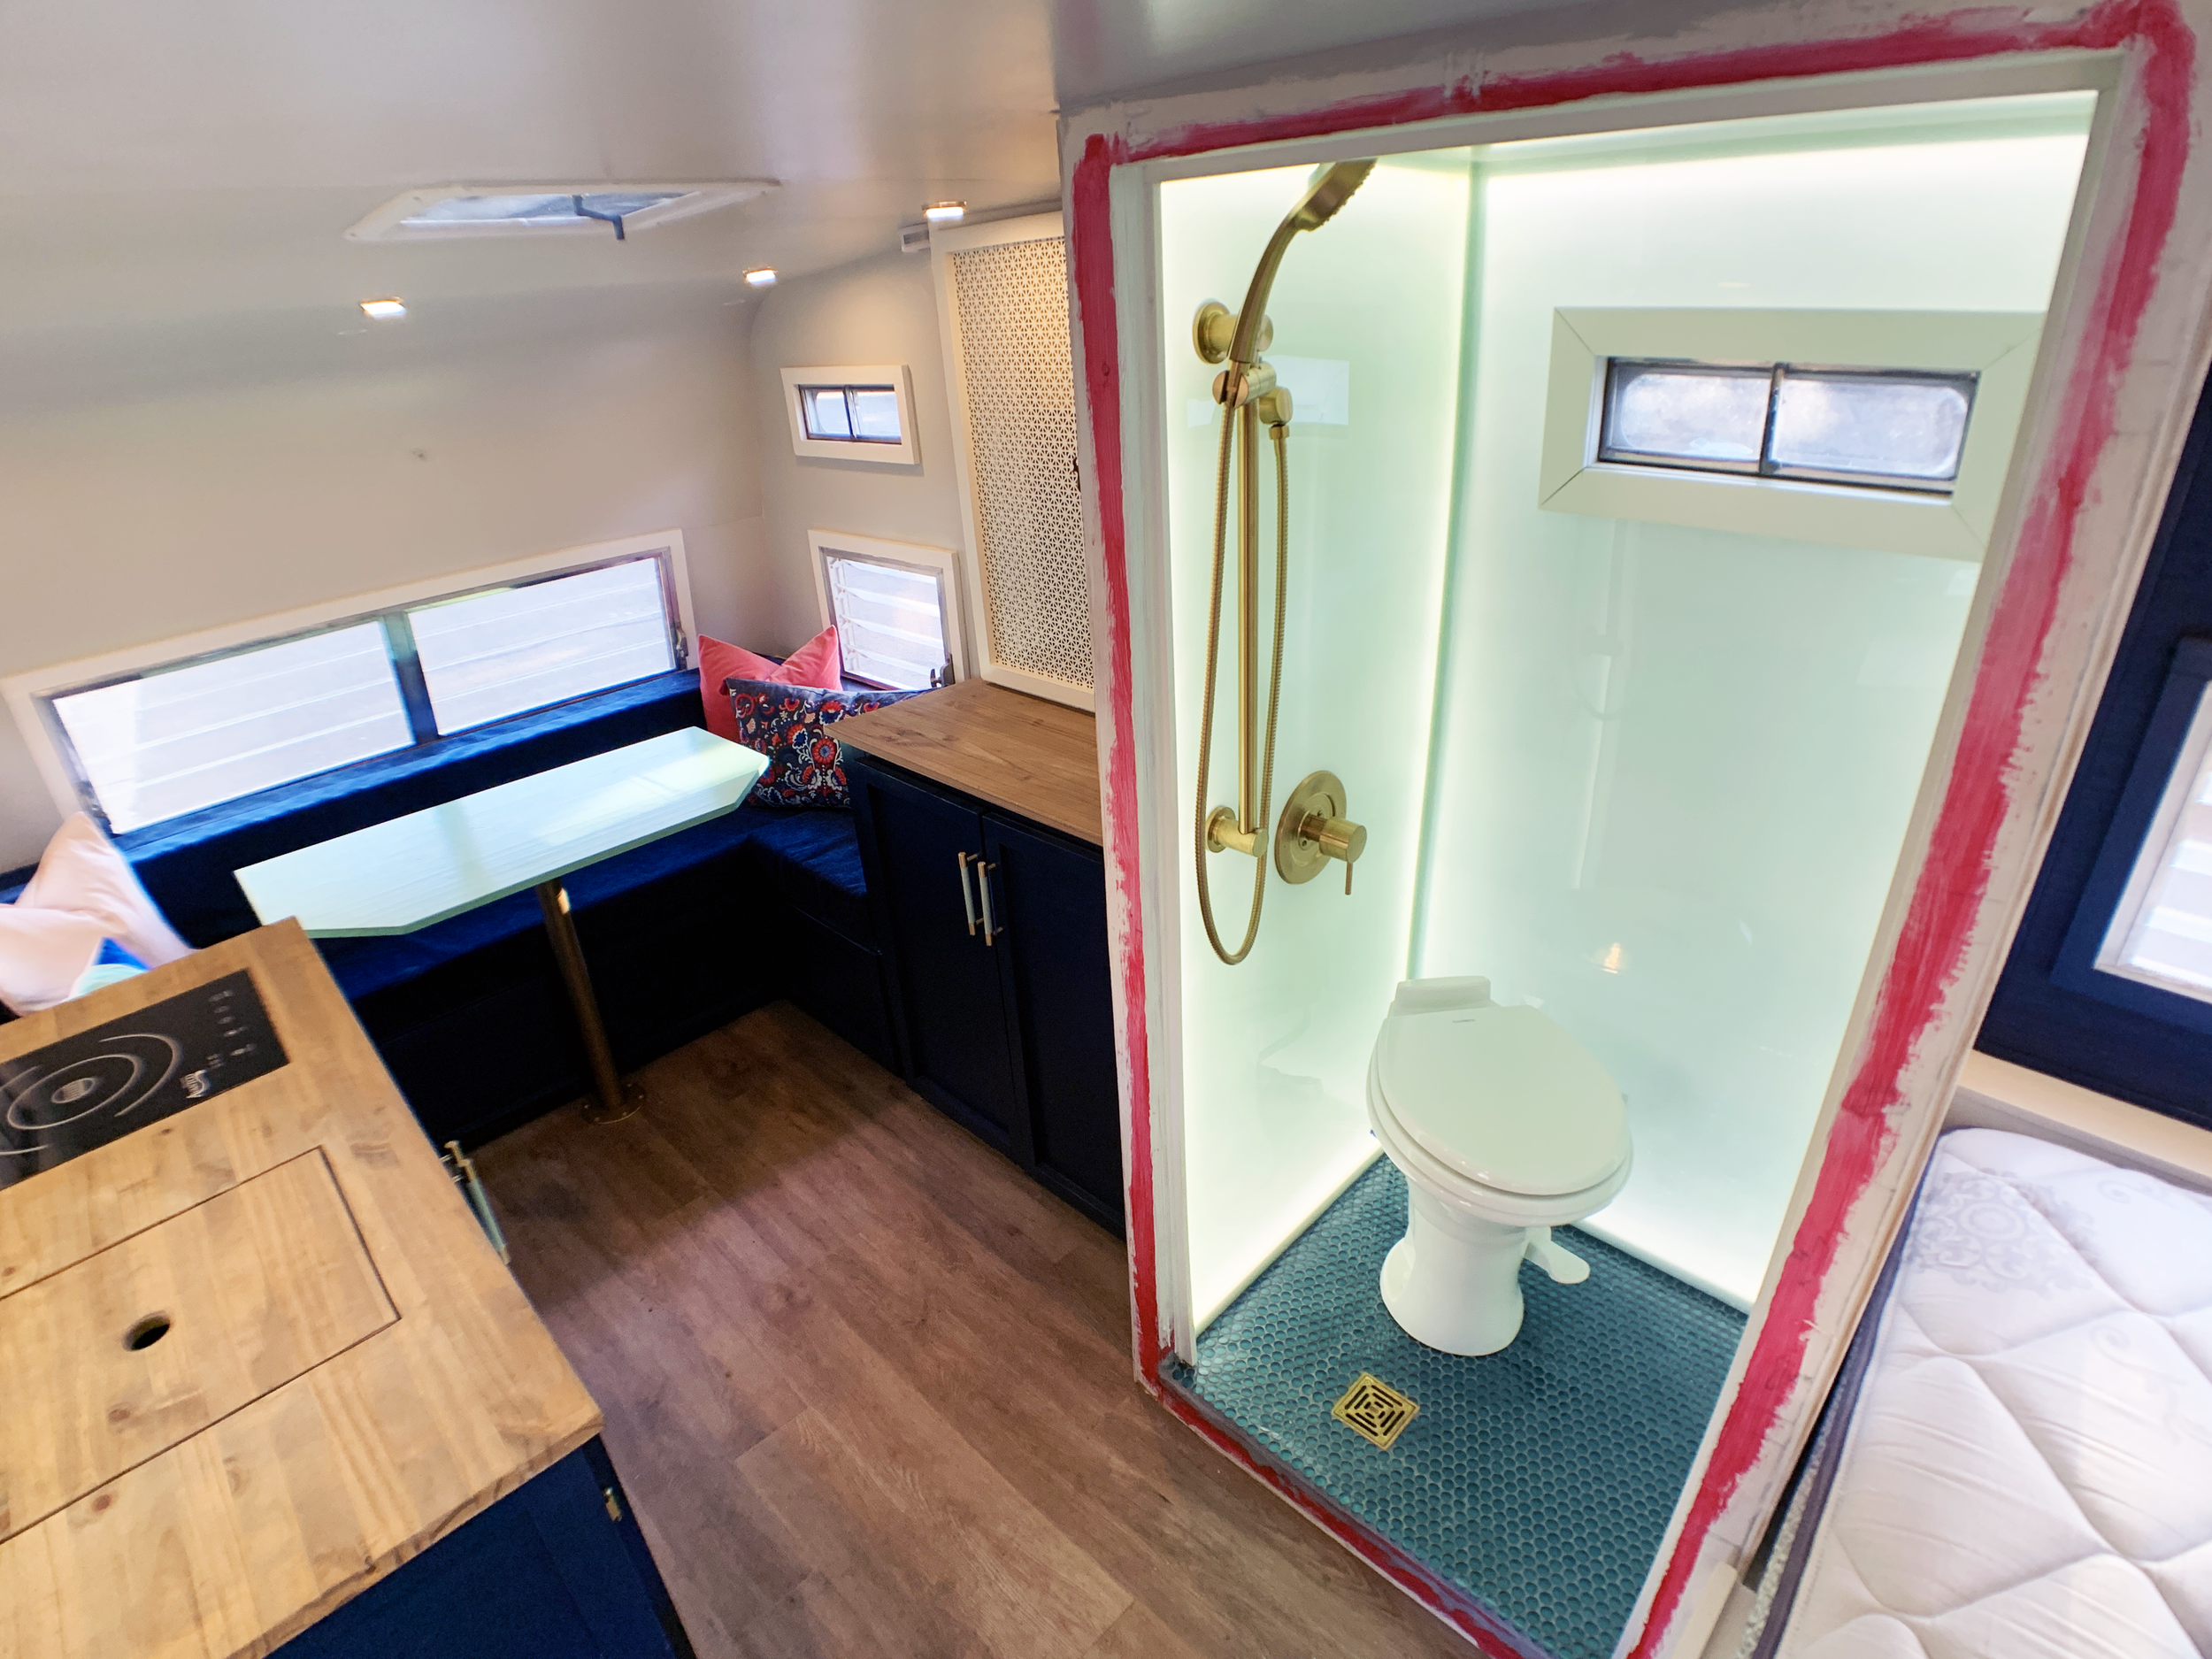
After we installed our acrylic walls panels our bathroom looked like this:

OUR shower fixtures SHOPPING LIST
Trim kit – AKA the attractive shower handle
Handheld shower head + slide bar – our multifunctional, space-saving solution
Drop ell – the port that gets water to the handheld shower head
Drill + bits
First, we removed the protective film from the left wall before carefully screwed on the drop ell (the little brass piece where the water actually comes out of the wall and into the hose) using plumbing tape around the threads first to make a watertight seal.
The important thing for this and when mounting all of the brass fixtures is to tighten it just enough without pushing and/or putting too much pressure on the acrylic so it doesn’t crack.
If you remember from before, we’ve already pre-drilled holes in our acrylic panel and installed our internal supports that are now hidden behind the acrylic wall. Using the holes already in the acrylic as our guide, we carefully pre-drilled pilot holes into the internal wood supports so our screws have a clearly defined path to go into, which helps keep the pieces exactly where we want them (resulting in a more finished look) and help protect the acrylic from a squiffy screw.

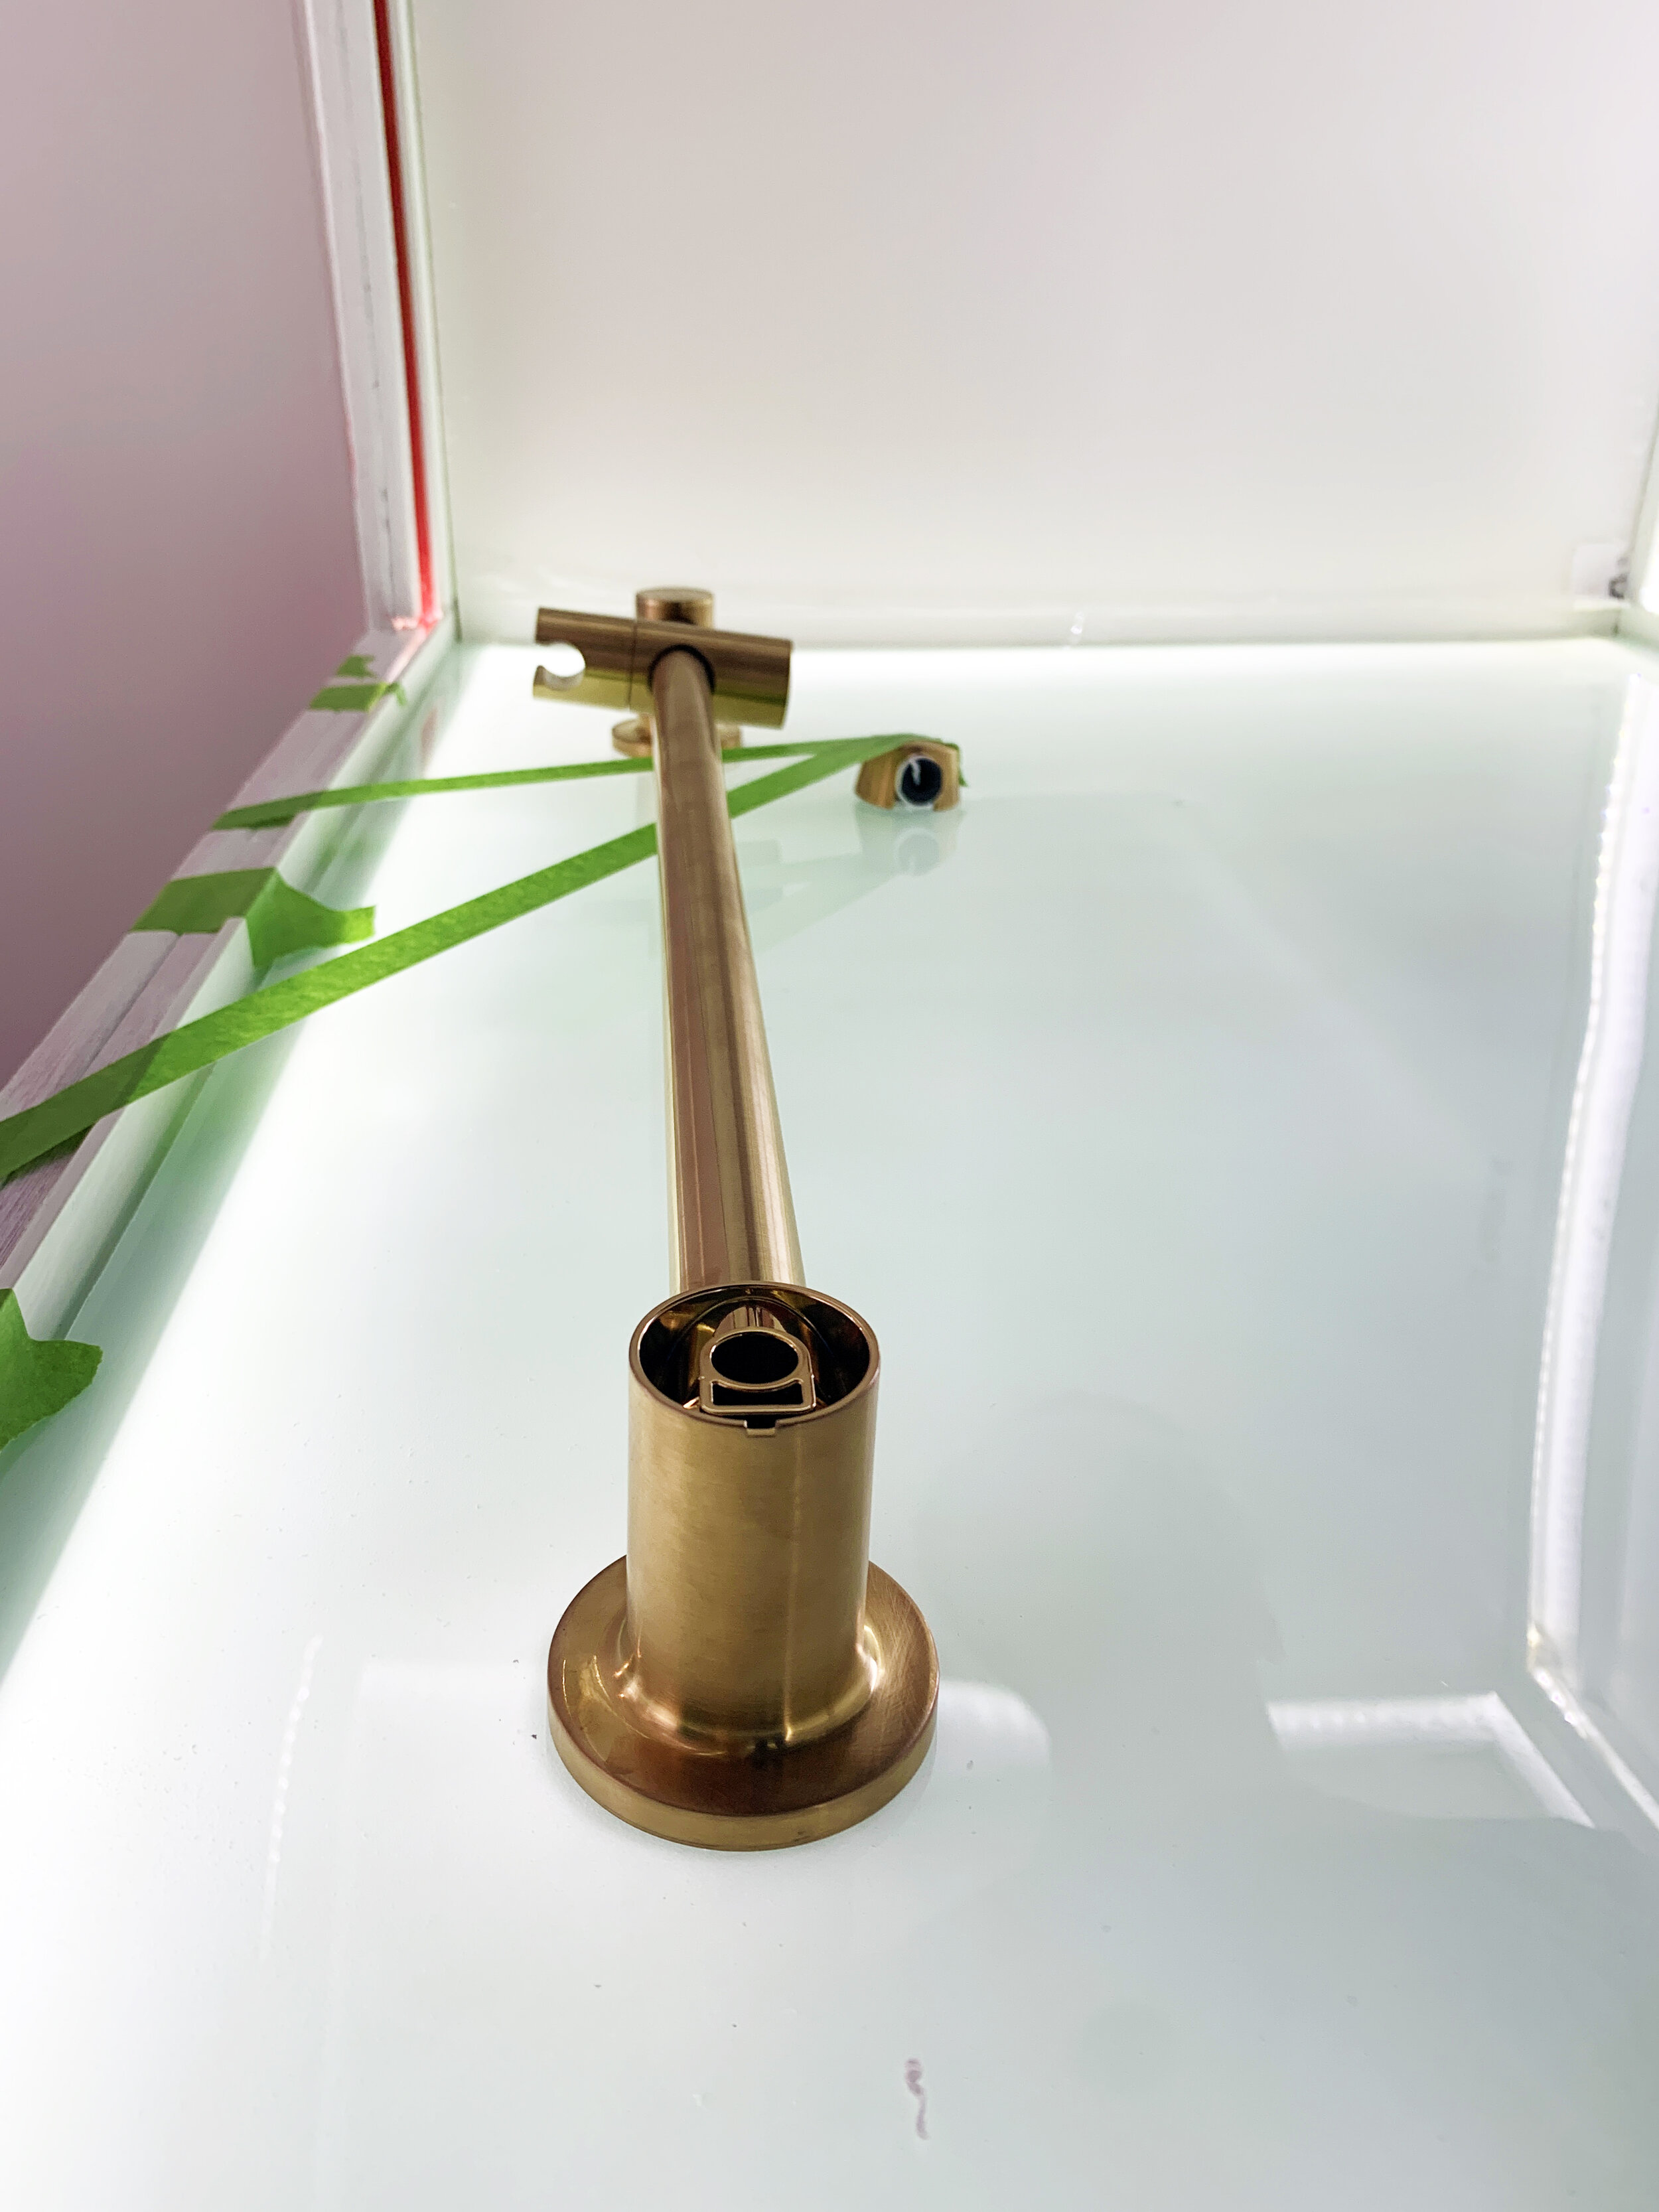
Then, using the mounting screws that came with the brass slide bar and our drill on a low setting (so we didn’t over-tighten it and crack the acrylic), we attached the bar mounts to the wall supports so that the bar was vertical and parallel to the side of the wall. They screw through the front of the round mounting bracket, and once secure a brass finish cap pops on top to hide the inside.


After the drop ell and slider bar were firmly mounted to the wall, we moved onto the trim kit (handle), following the provided instructions, again being careful not to over-tighten and crack the acrylic. (Remember, we already installed the internal bits following the shallow wall option back in part four of our shower series.)

With the three mounted pieces tightly attached to the wall, we attached the shower head to the hose, the hose to the drop ell, and put the handheld shower wand in the slide bar’s rotating, sliding holster.

And just like that, our tiny glowing closet turned into a {miniature} luxe spa shower!

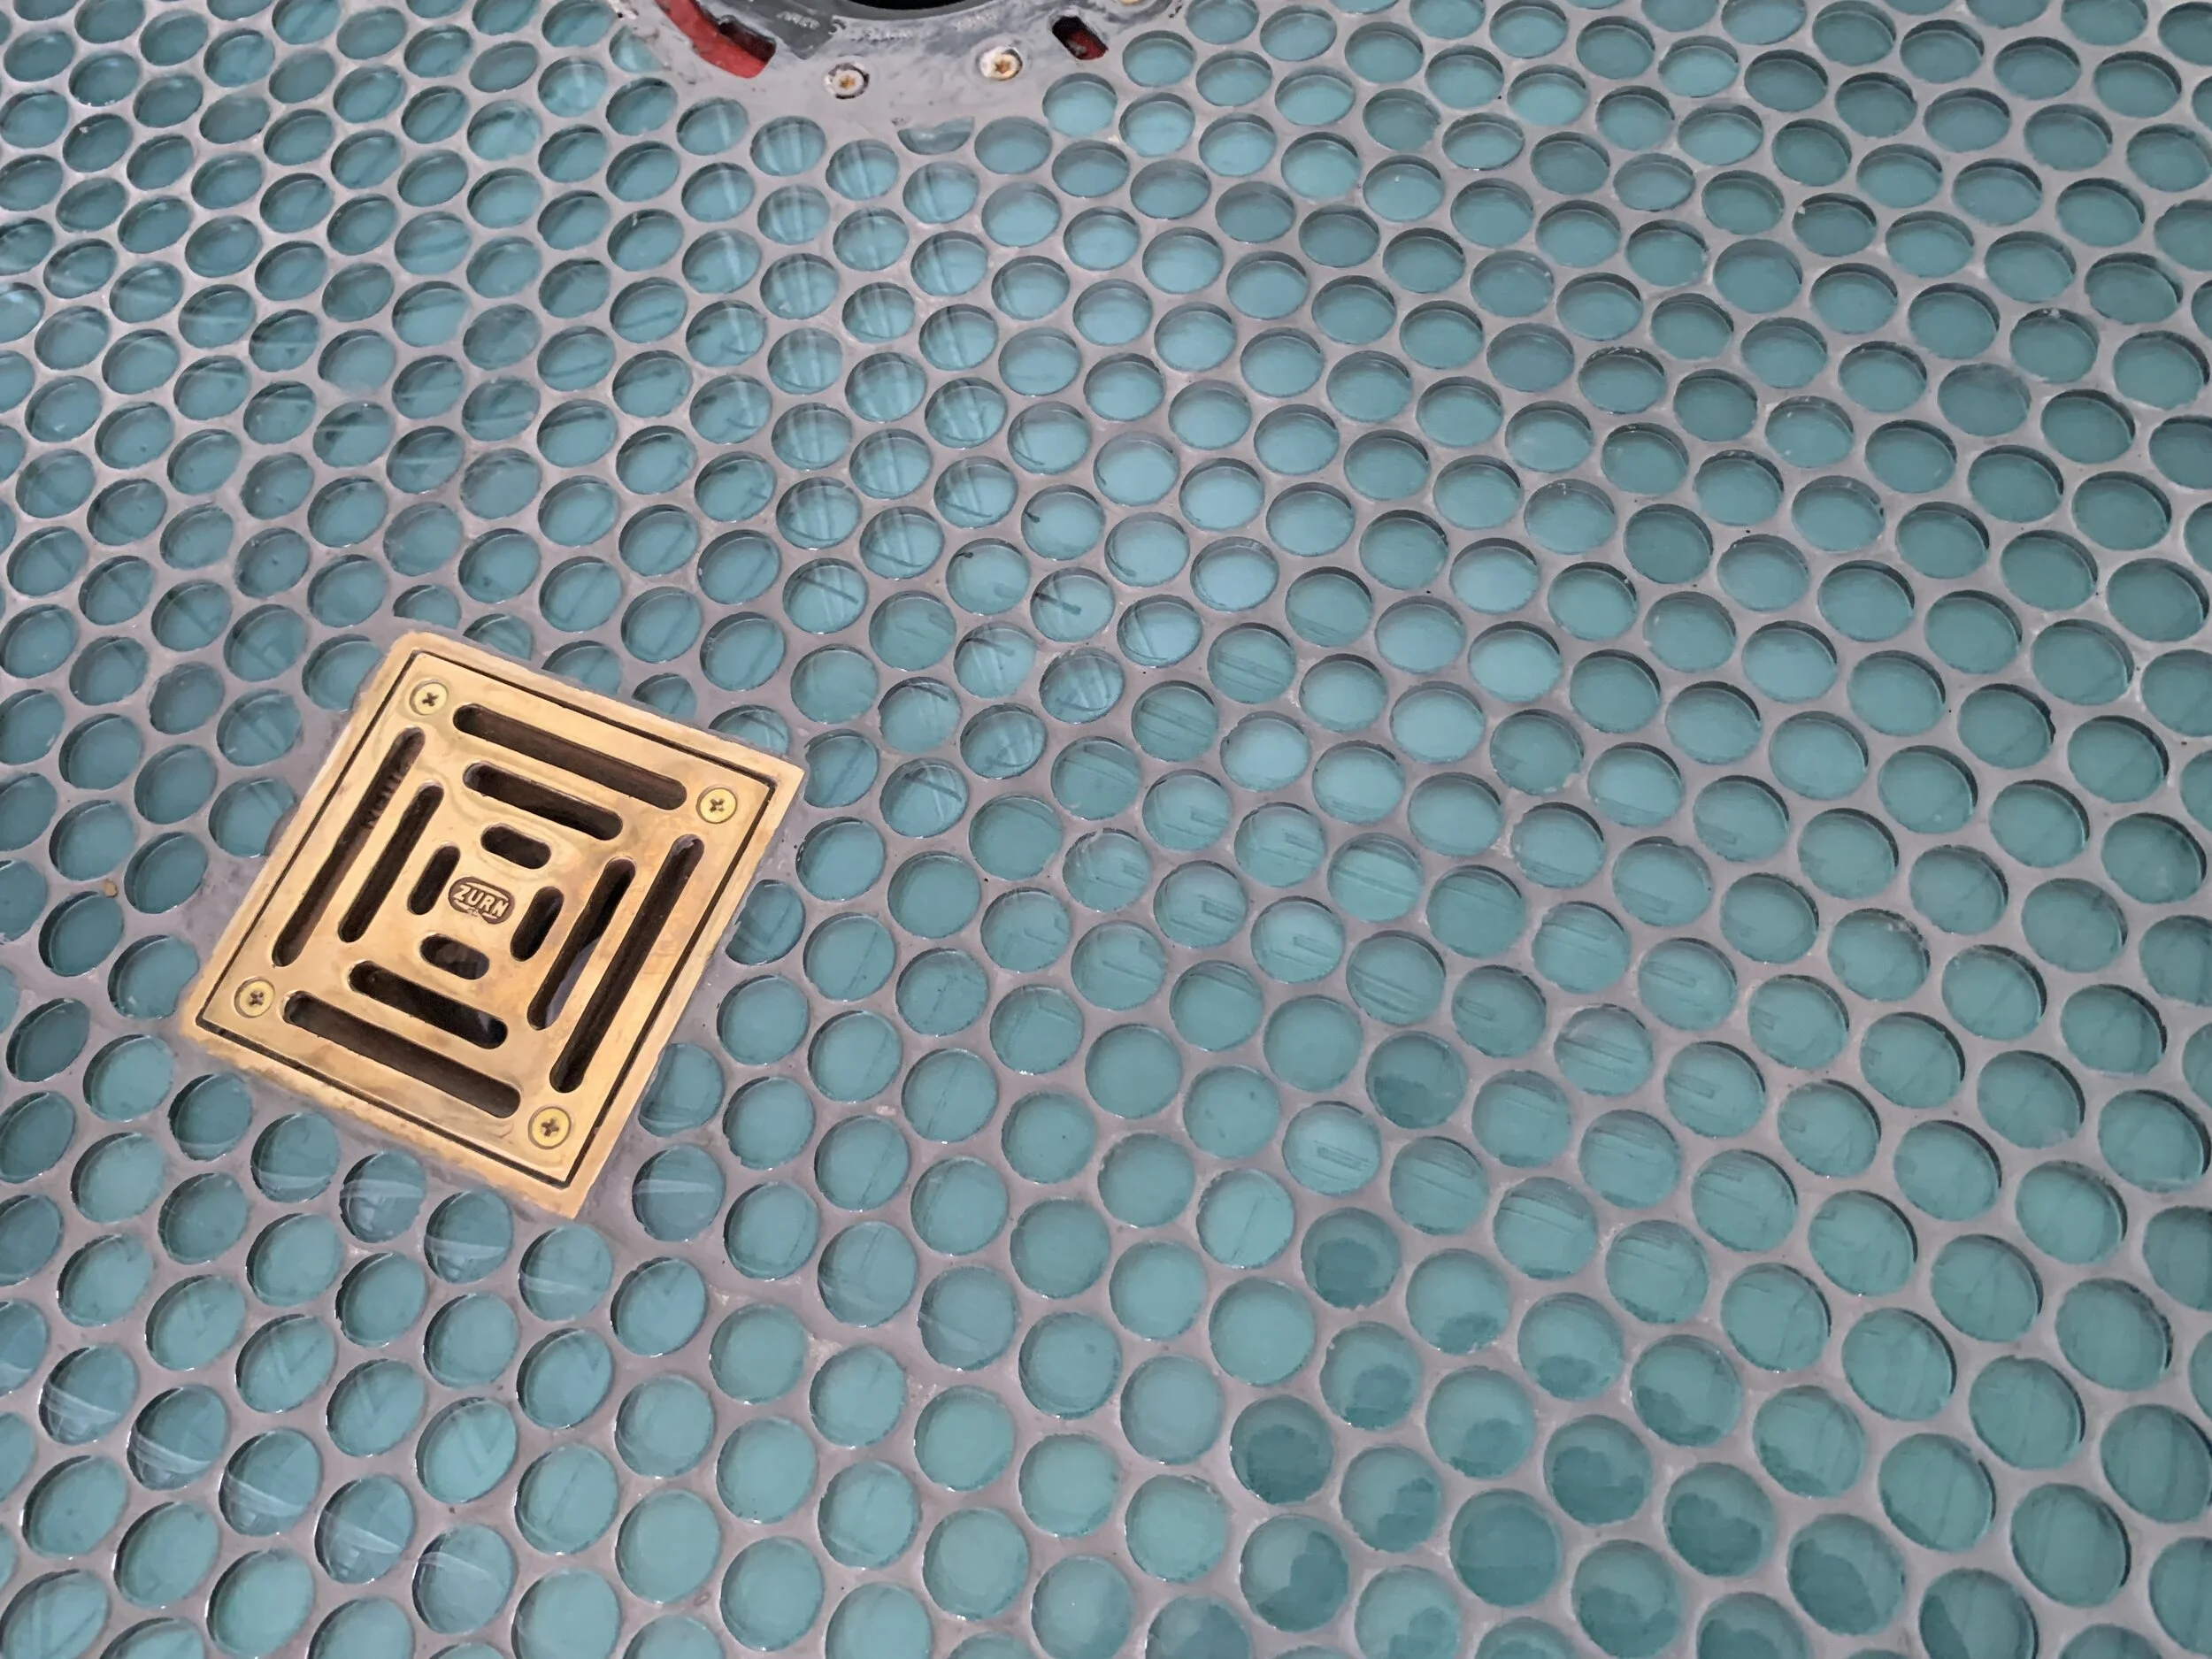
I just love how the warm, matte brass looks against the glossy mint walls and dark teal penny tile floor.
Next in our camper wet bath series, we’ll be sharing how we installed the plumbed toilet, built the custom shower door with the most beautiful door knob ever, finished out the window, and how we added our compact functional finishing touches to the inside of this cozy bathroom.