One Room Challenge: Guest Bathroom – Week 6

Hey y’all – I can’t believe we’re already in Week 6 of the One Room Challenge!
(If you’re unfamiliar, here’s a brief background: Each Wednesday we’re sharing our guest bathroom renovation progress with the final week 8 reveal just around the corner on May 25th. EEK!)
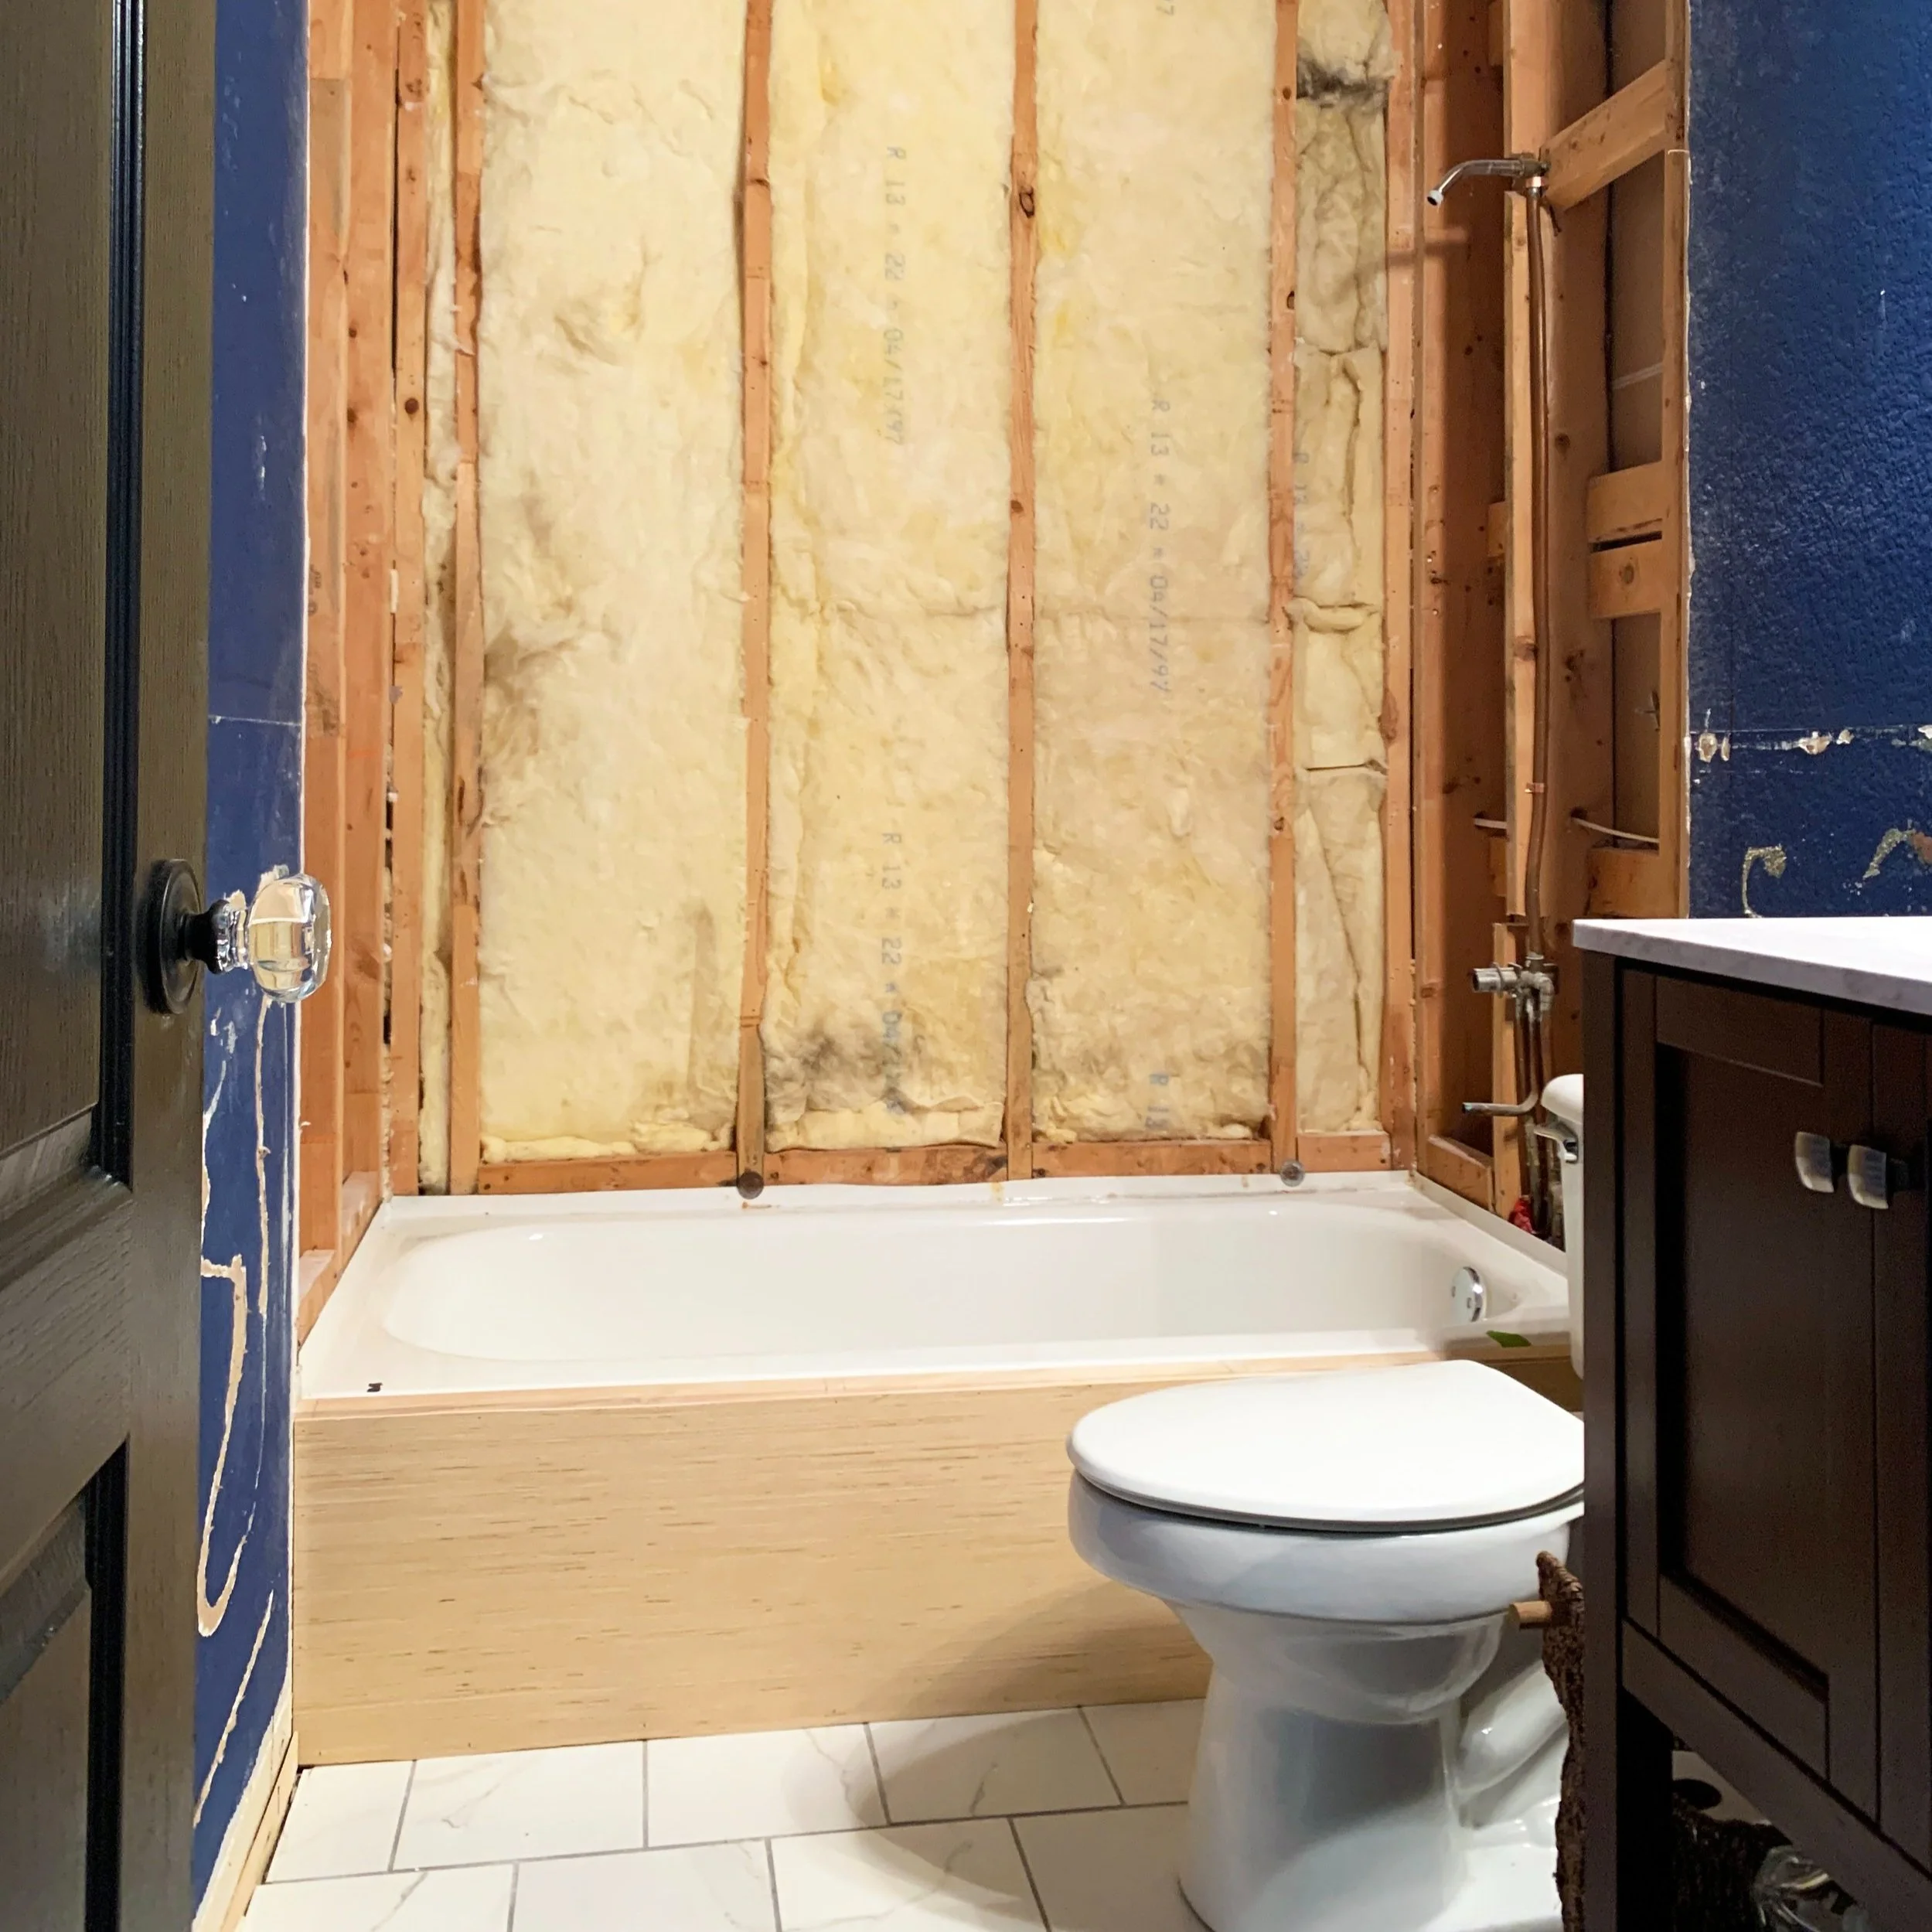
Last week we really rounded the corner and the bathroom is starting to really look different. This week we’re keeping it going and can see the end in sight.
Vanity makeover (continued)
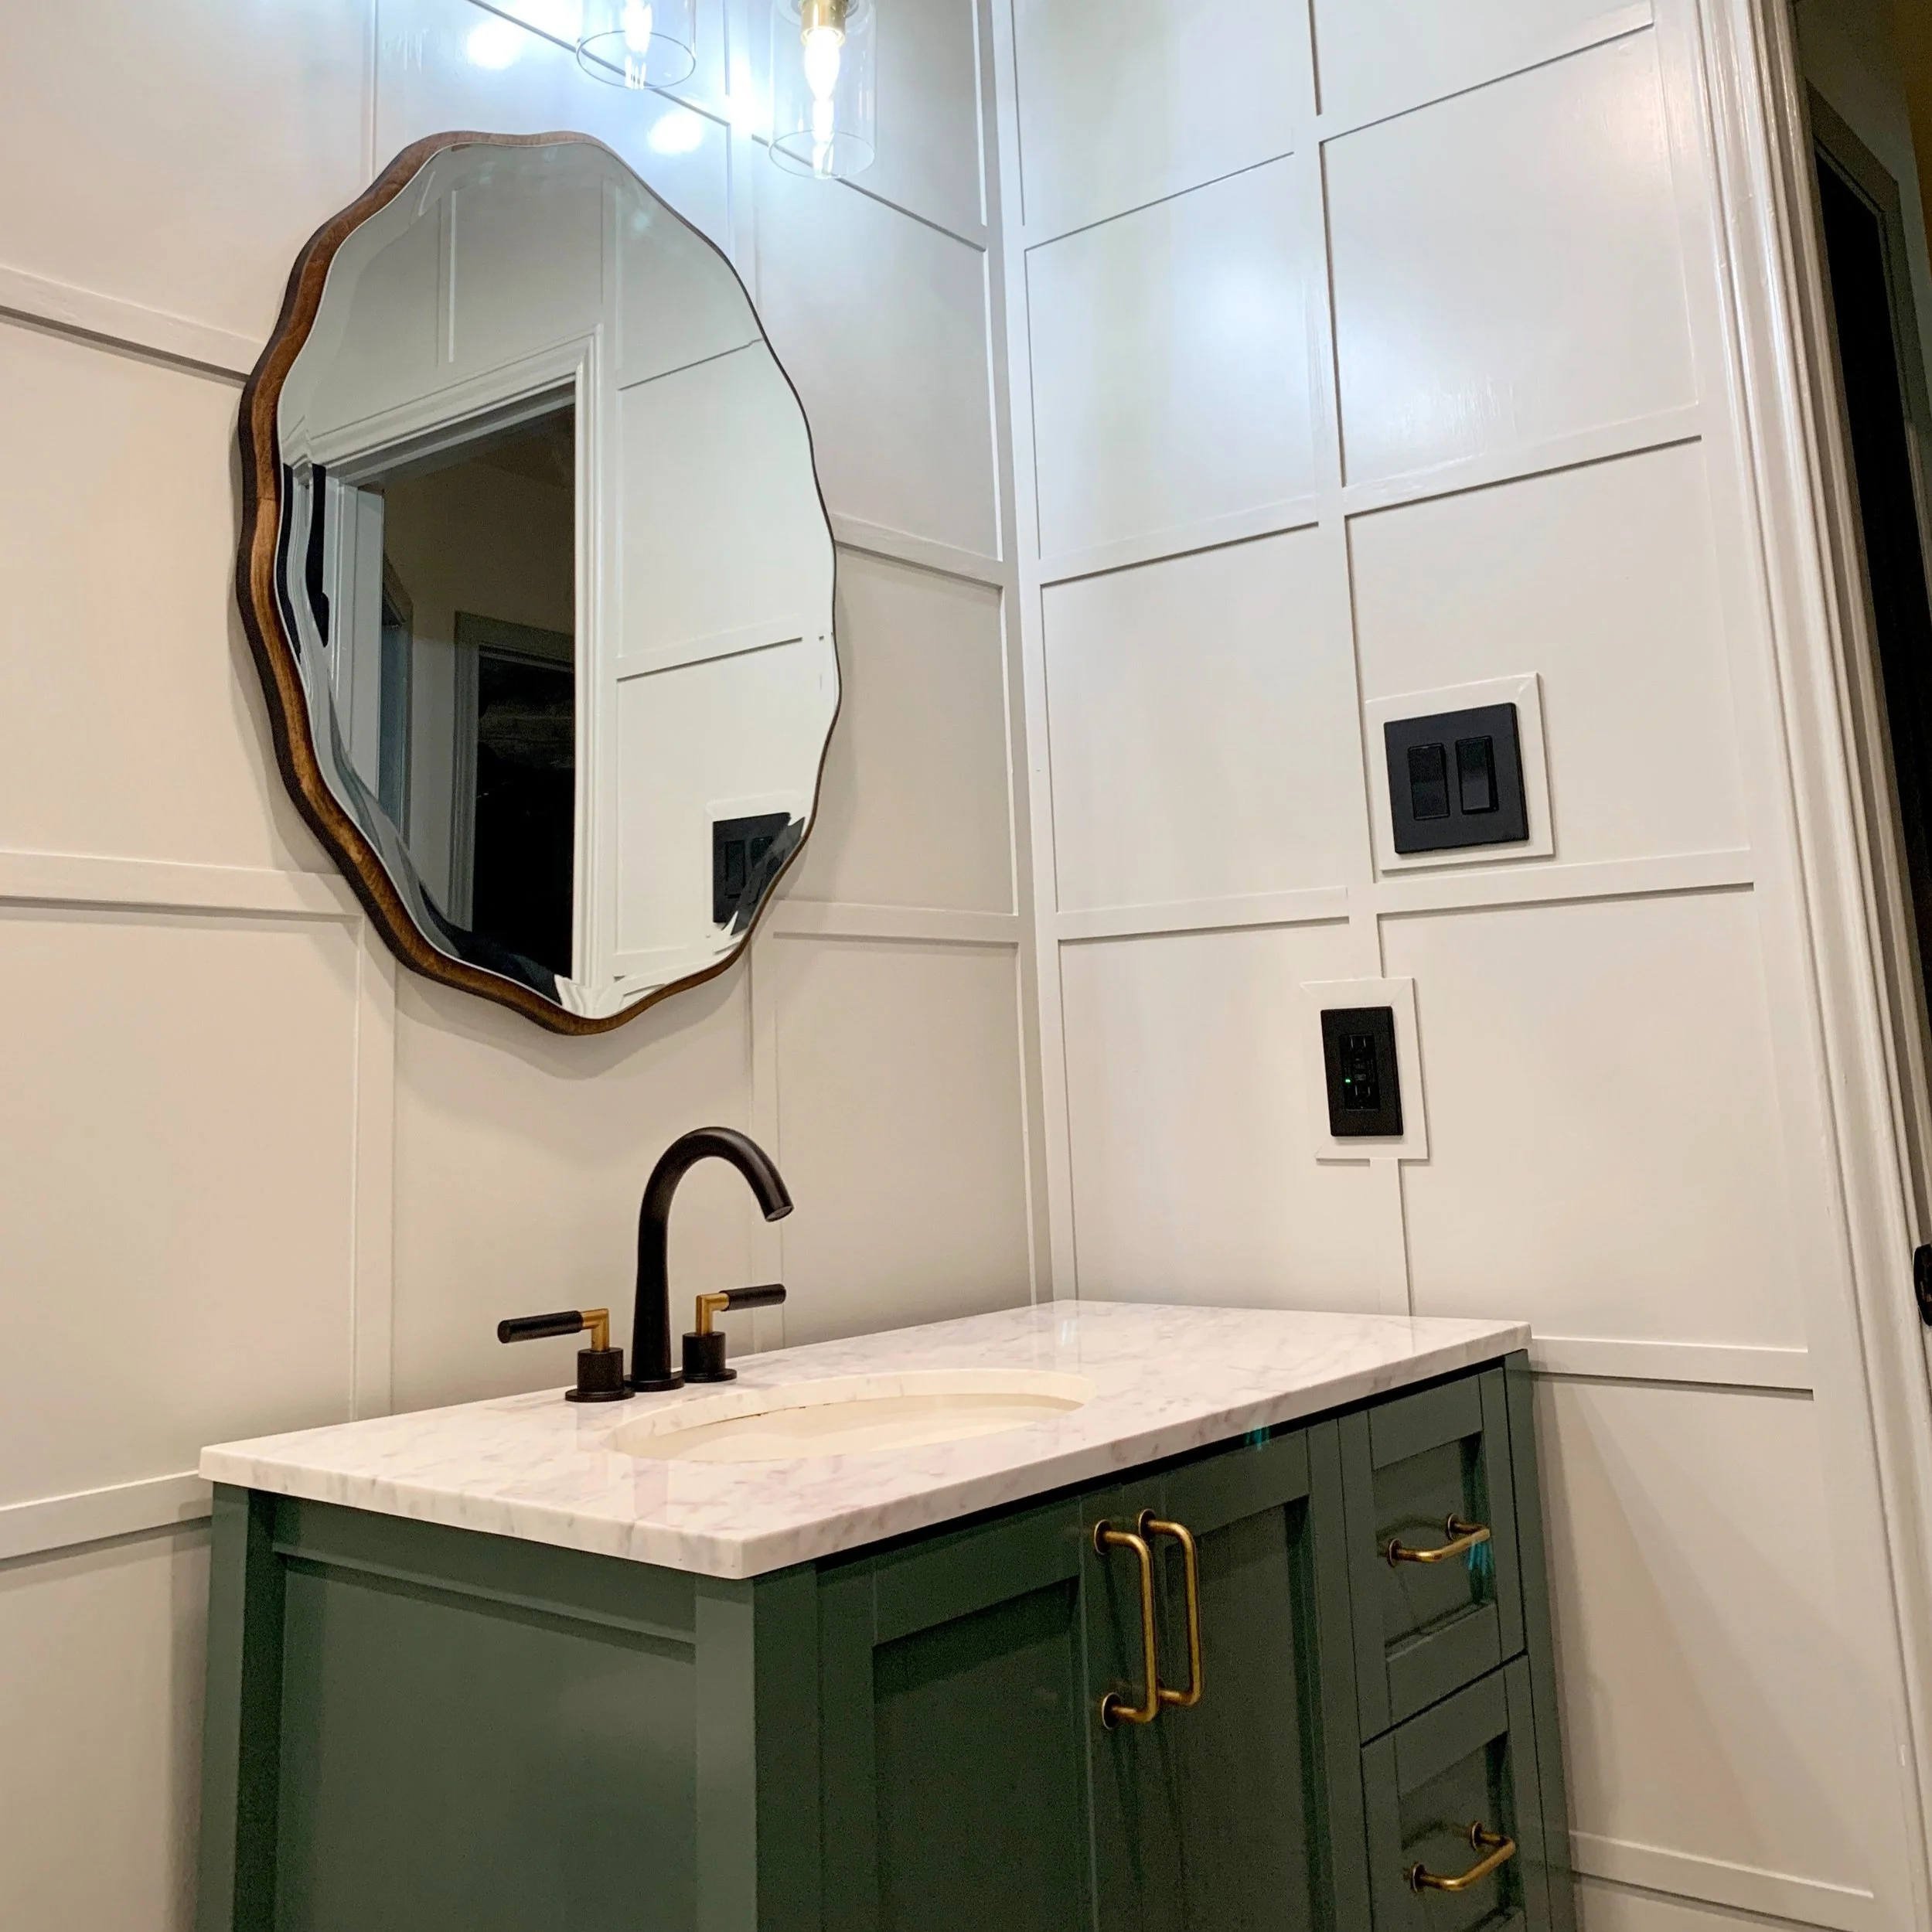
Last week I successfully primed and painted the vanity a gray/blue-tinged green (Succulent by Sherwin Williams). This week I added all-new hardware and installed the new faucet. And got the vanity installed back into the bathroom! I also added a relatively small project to the list, that’s not a huge element in the room but really adds some impact – I think it’s all those little details that really help push any design over the edge.

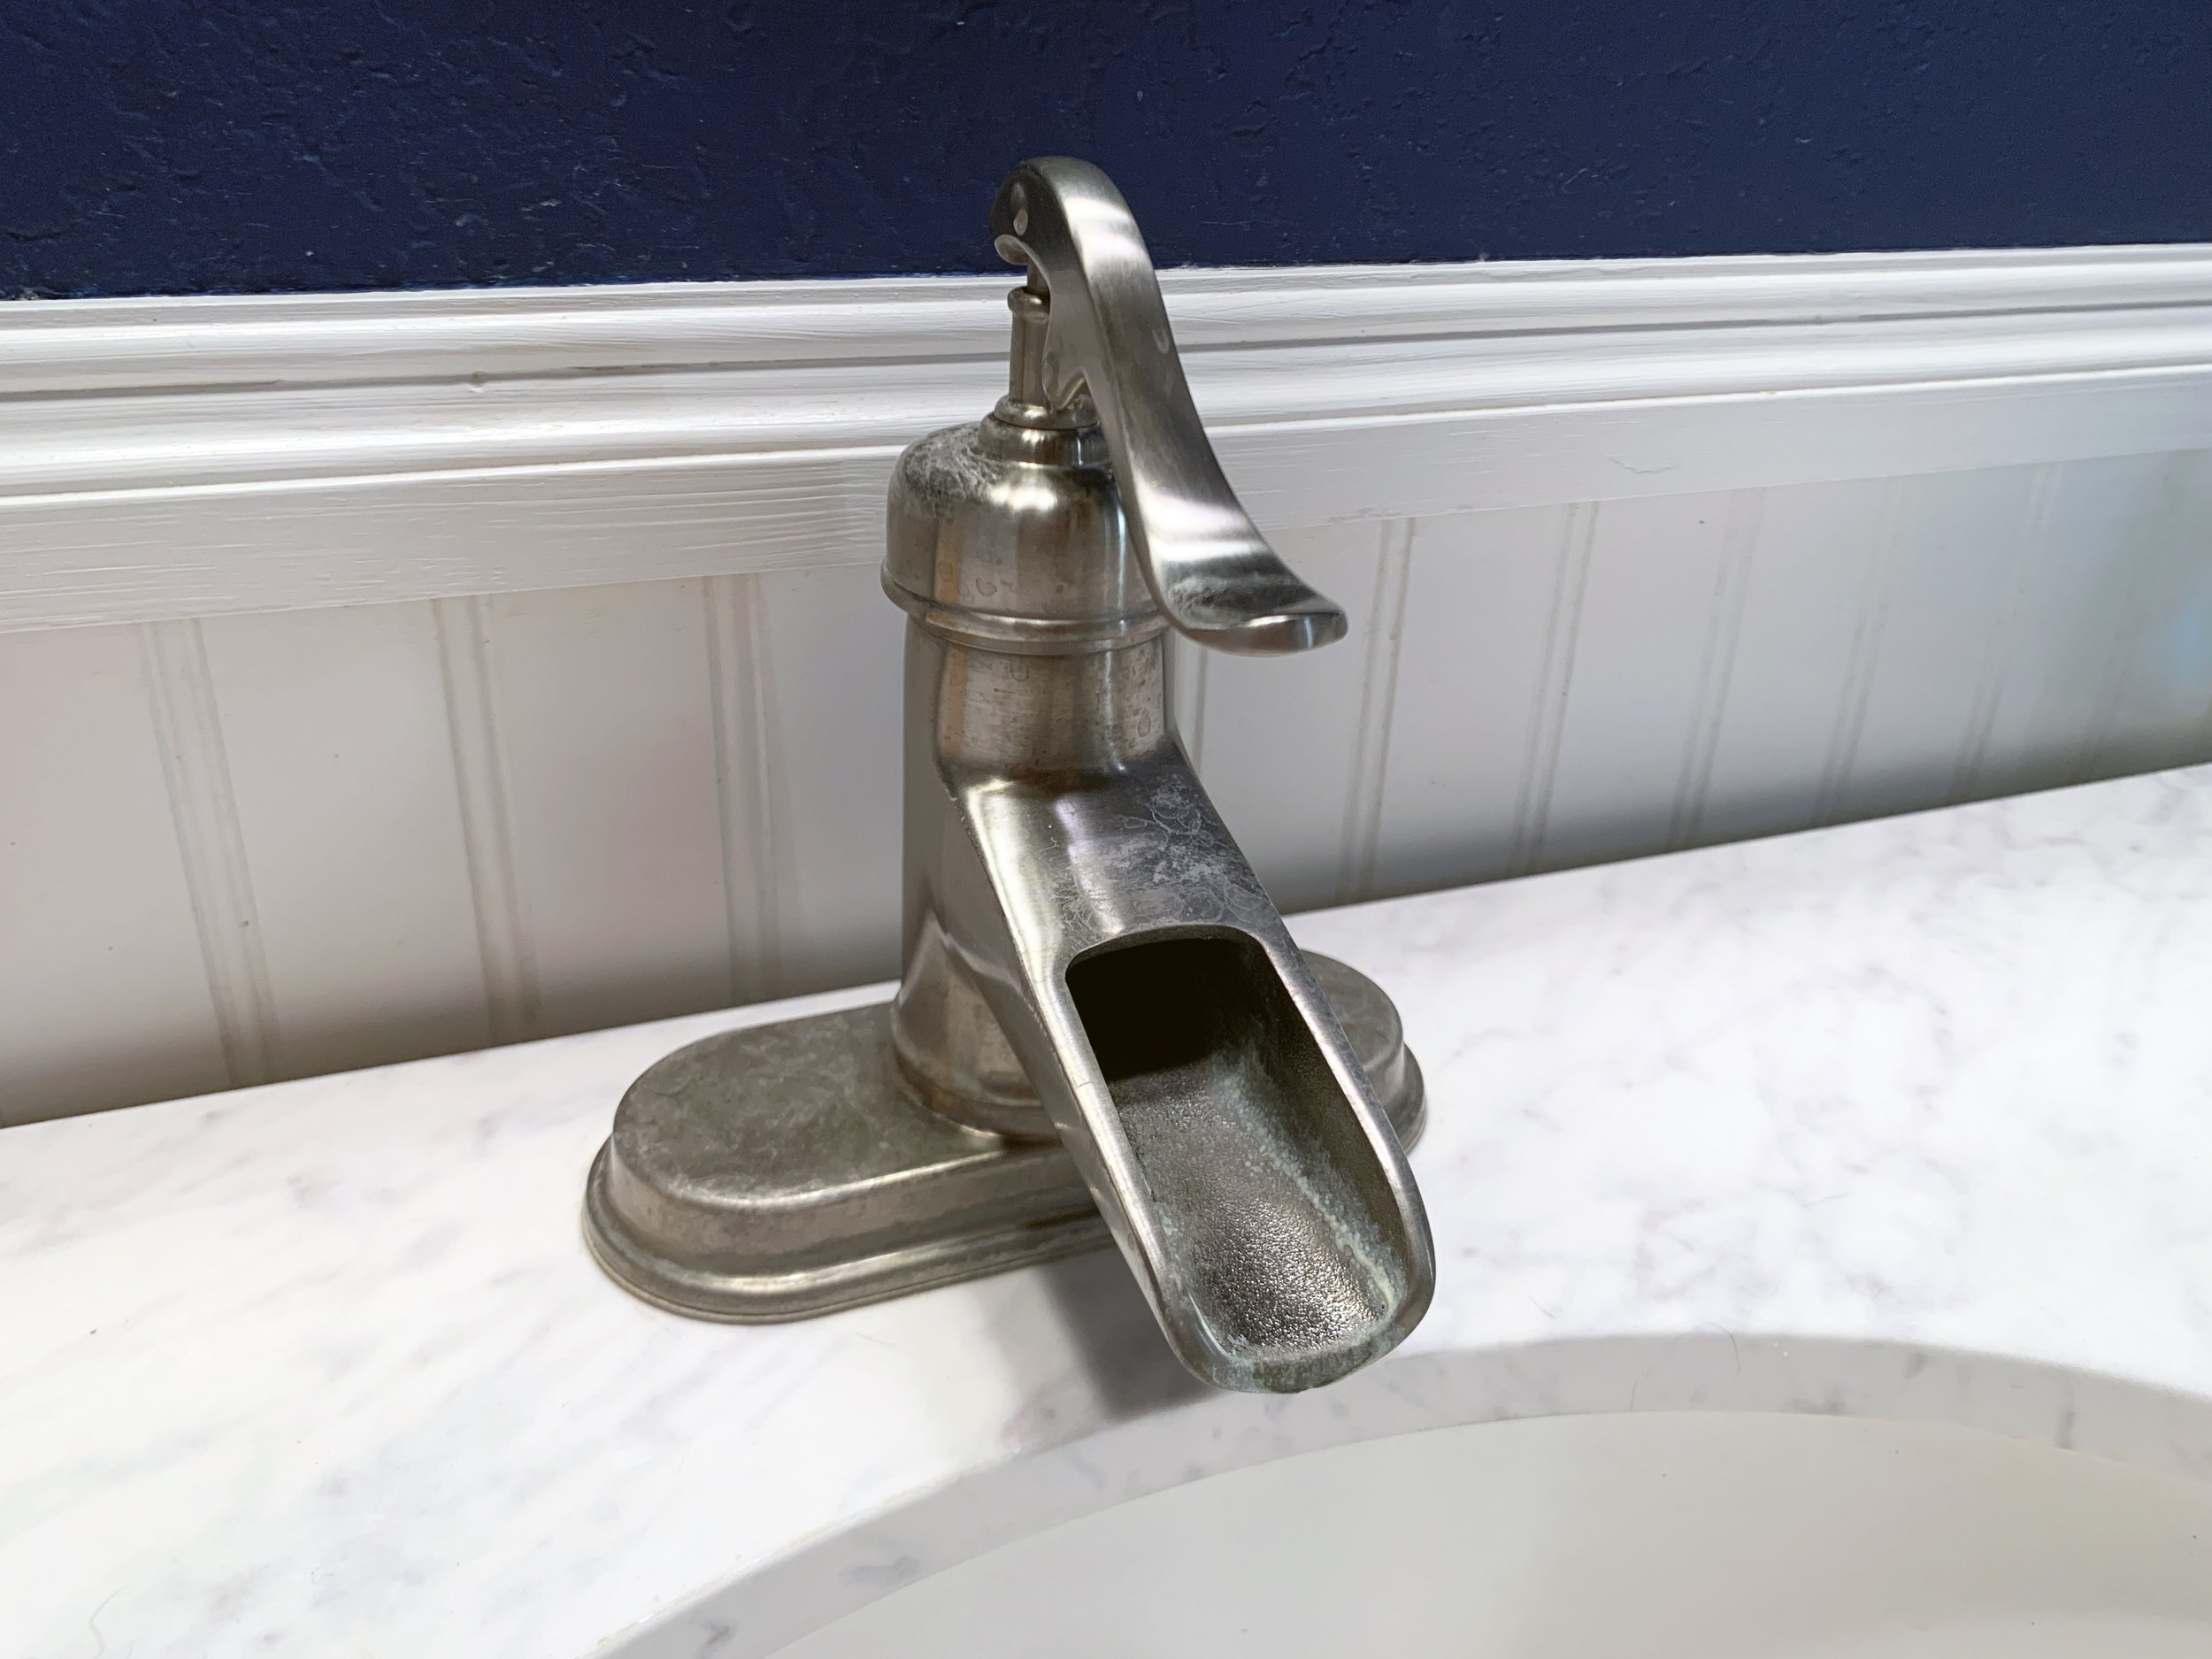
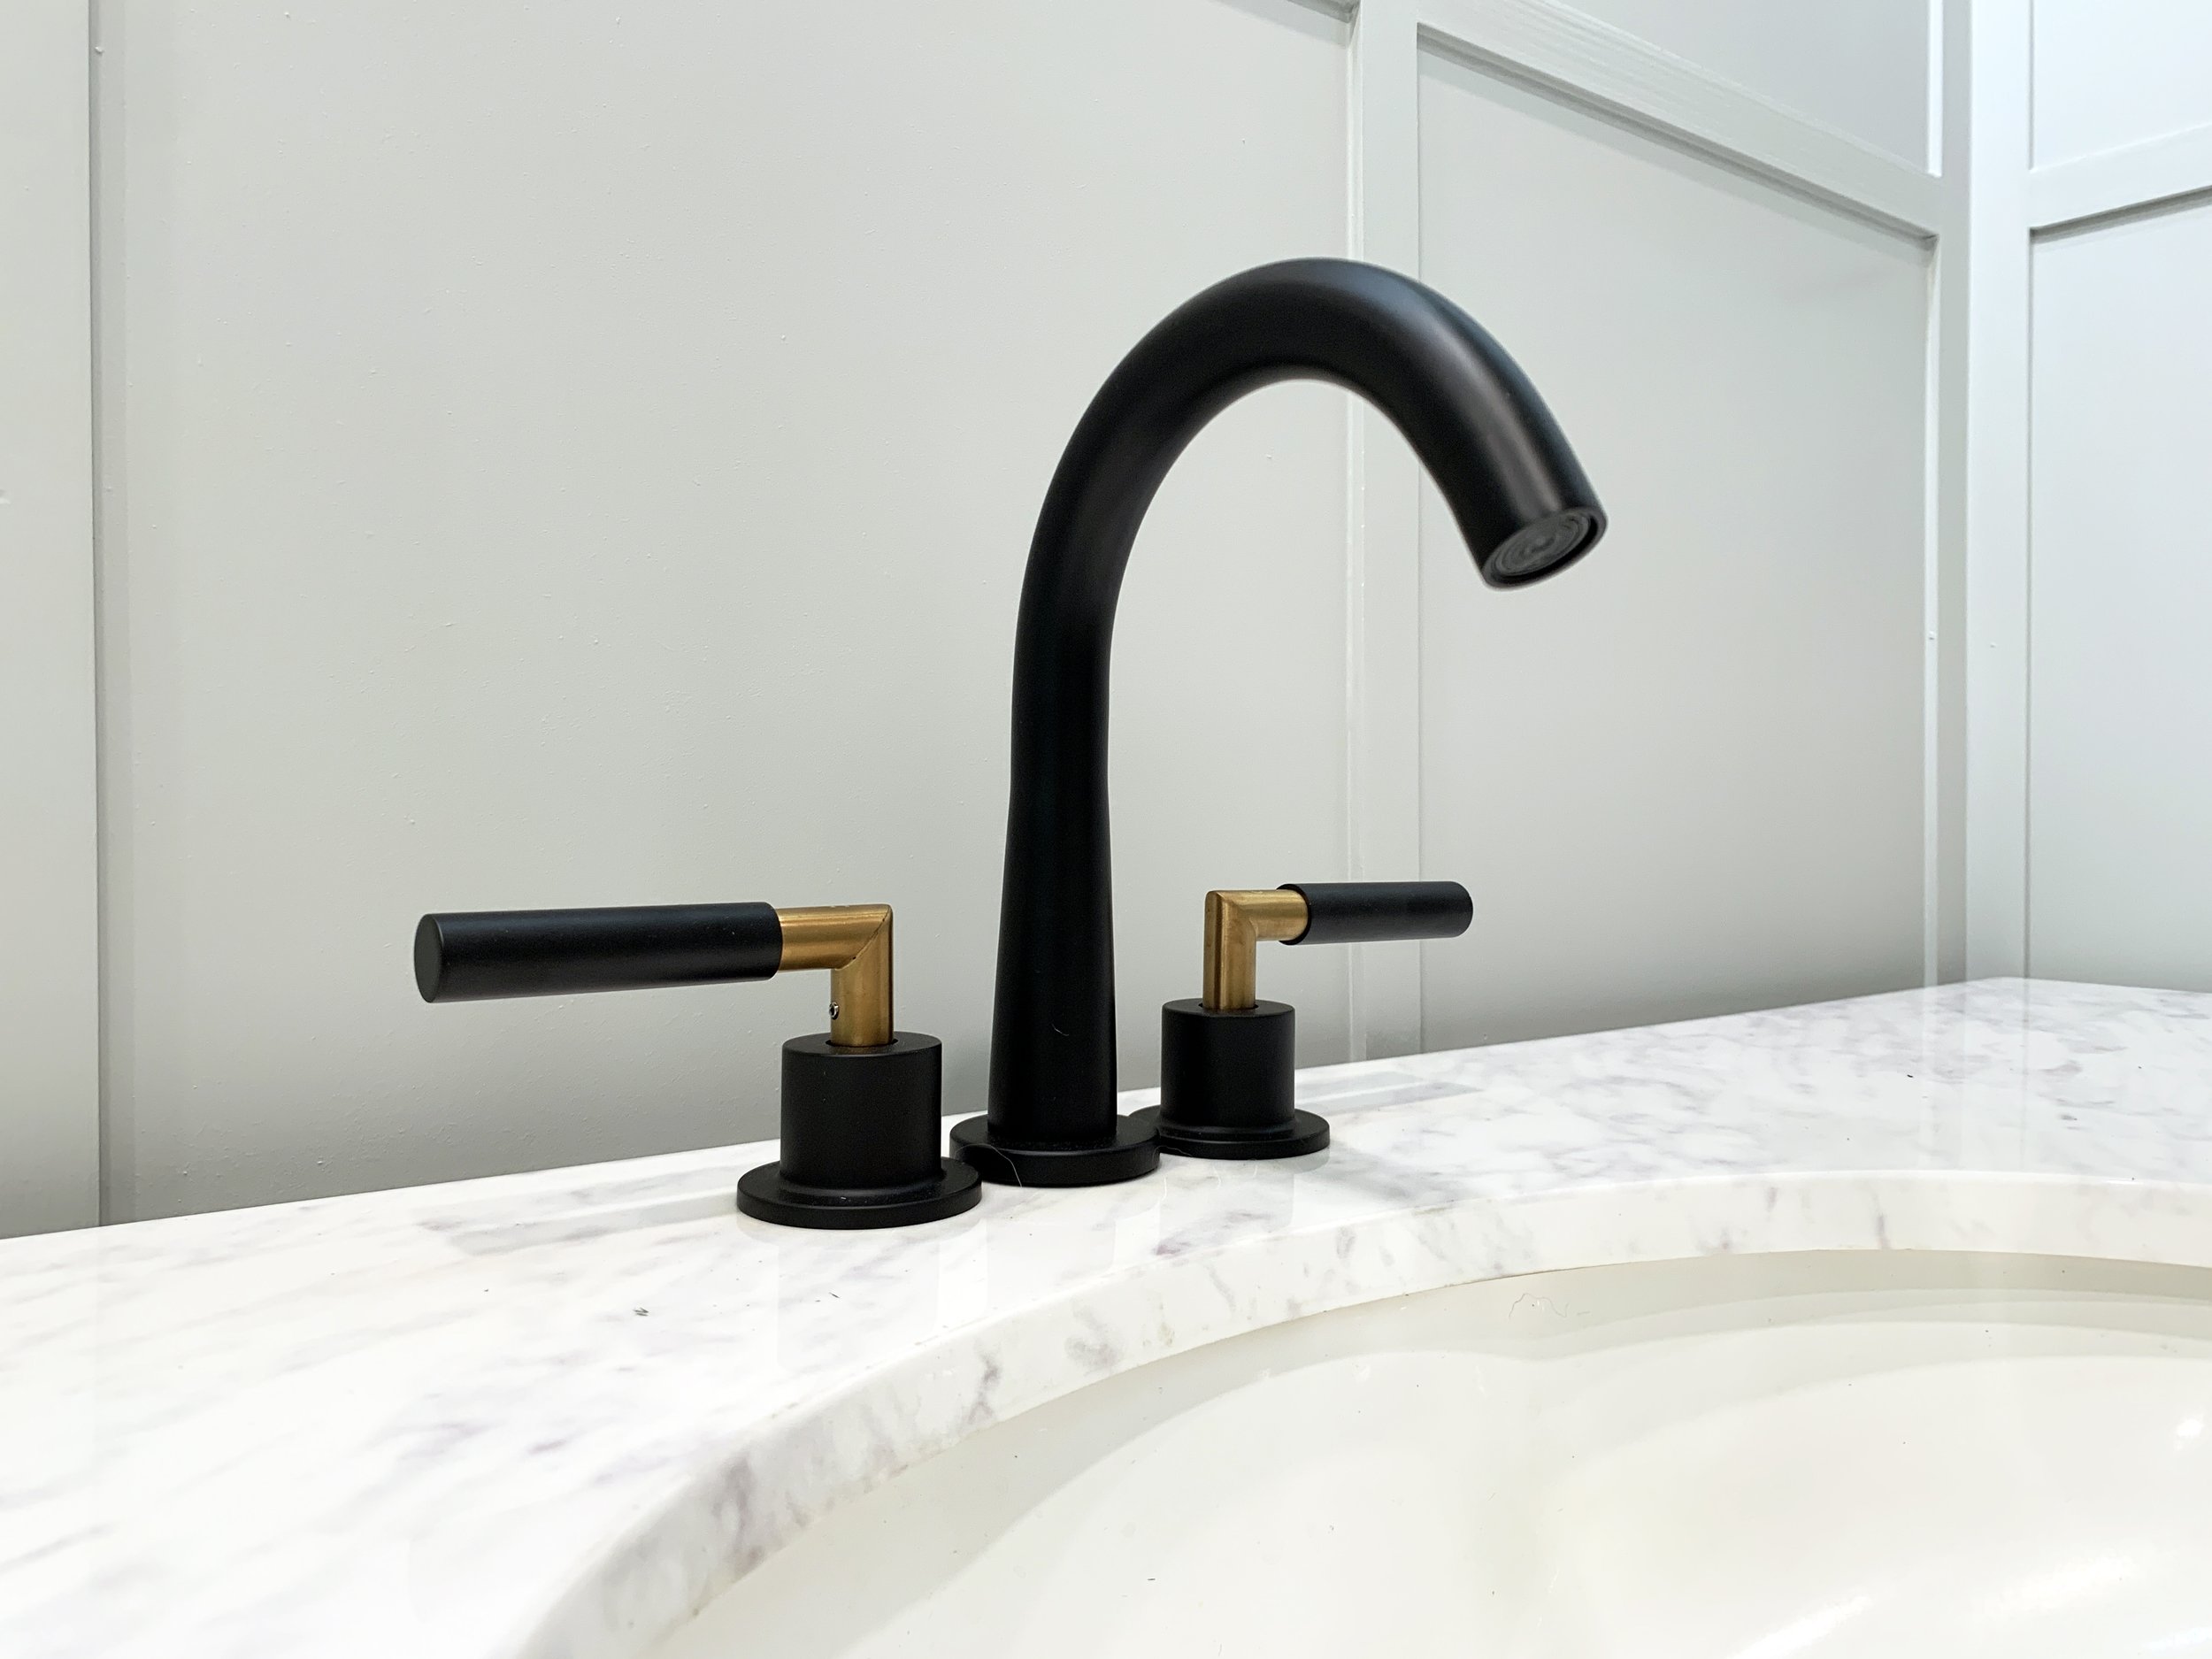
After the paint cured, I swapped out the old water-pitted satin nickel faucet for a sleek matte black + brass one and replaced the square satin nickel knobs with aged brass pulls.
I also updated the P-trap plumbing under the sink with a new metal one I painted black with a few coats of black spray paint (and matte black wall paint for the little bit of PVC pipe coming out of the wall) that we had lying around from old projects.

First I tried to paint the existing white PVC one with gold metallic paint, but it didn’t turn out quite as I’d pictured and just stayed kind of sticky which was weird…
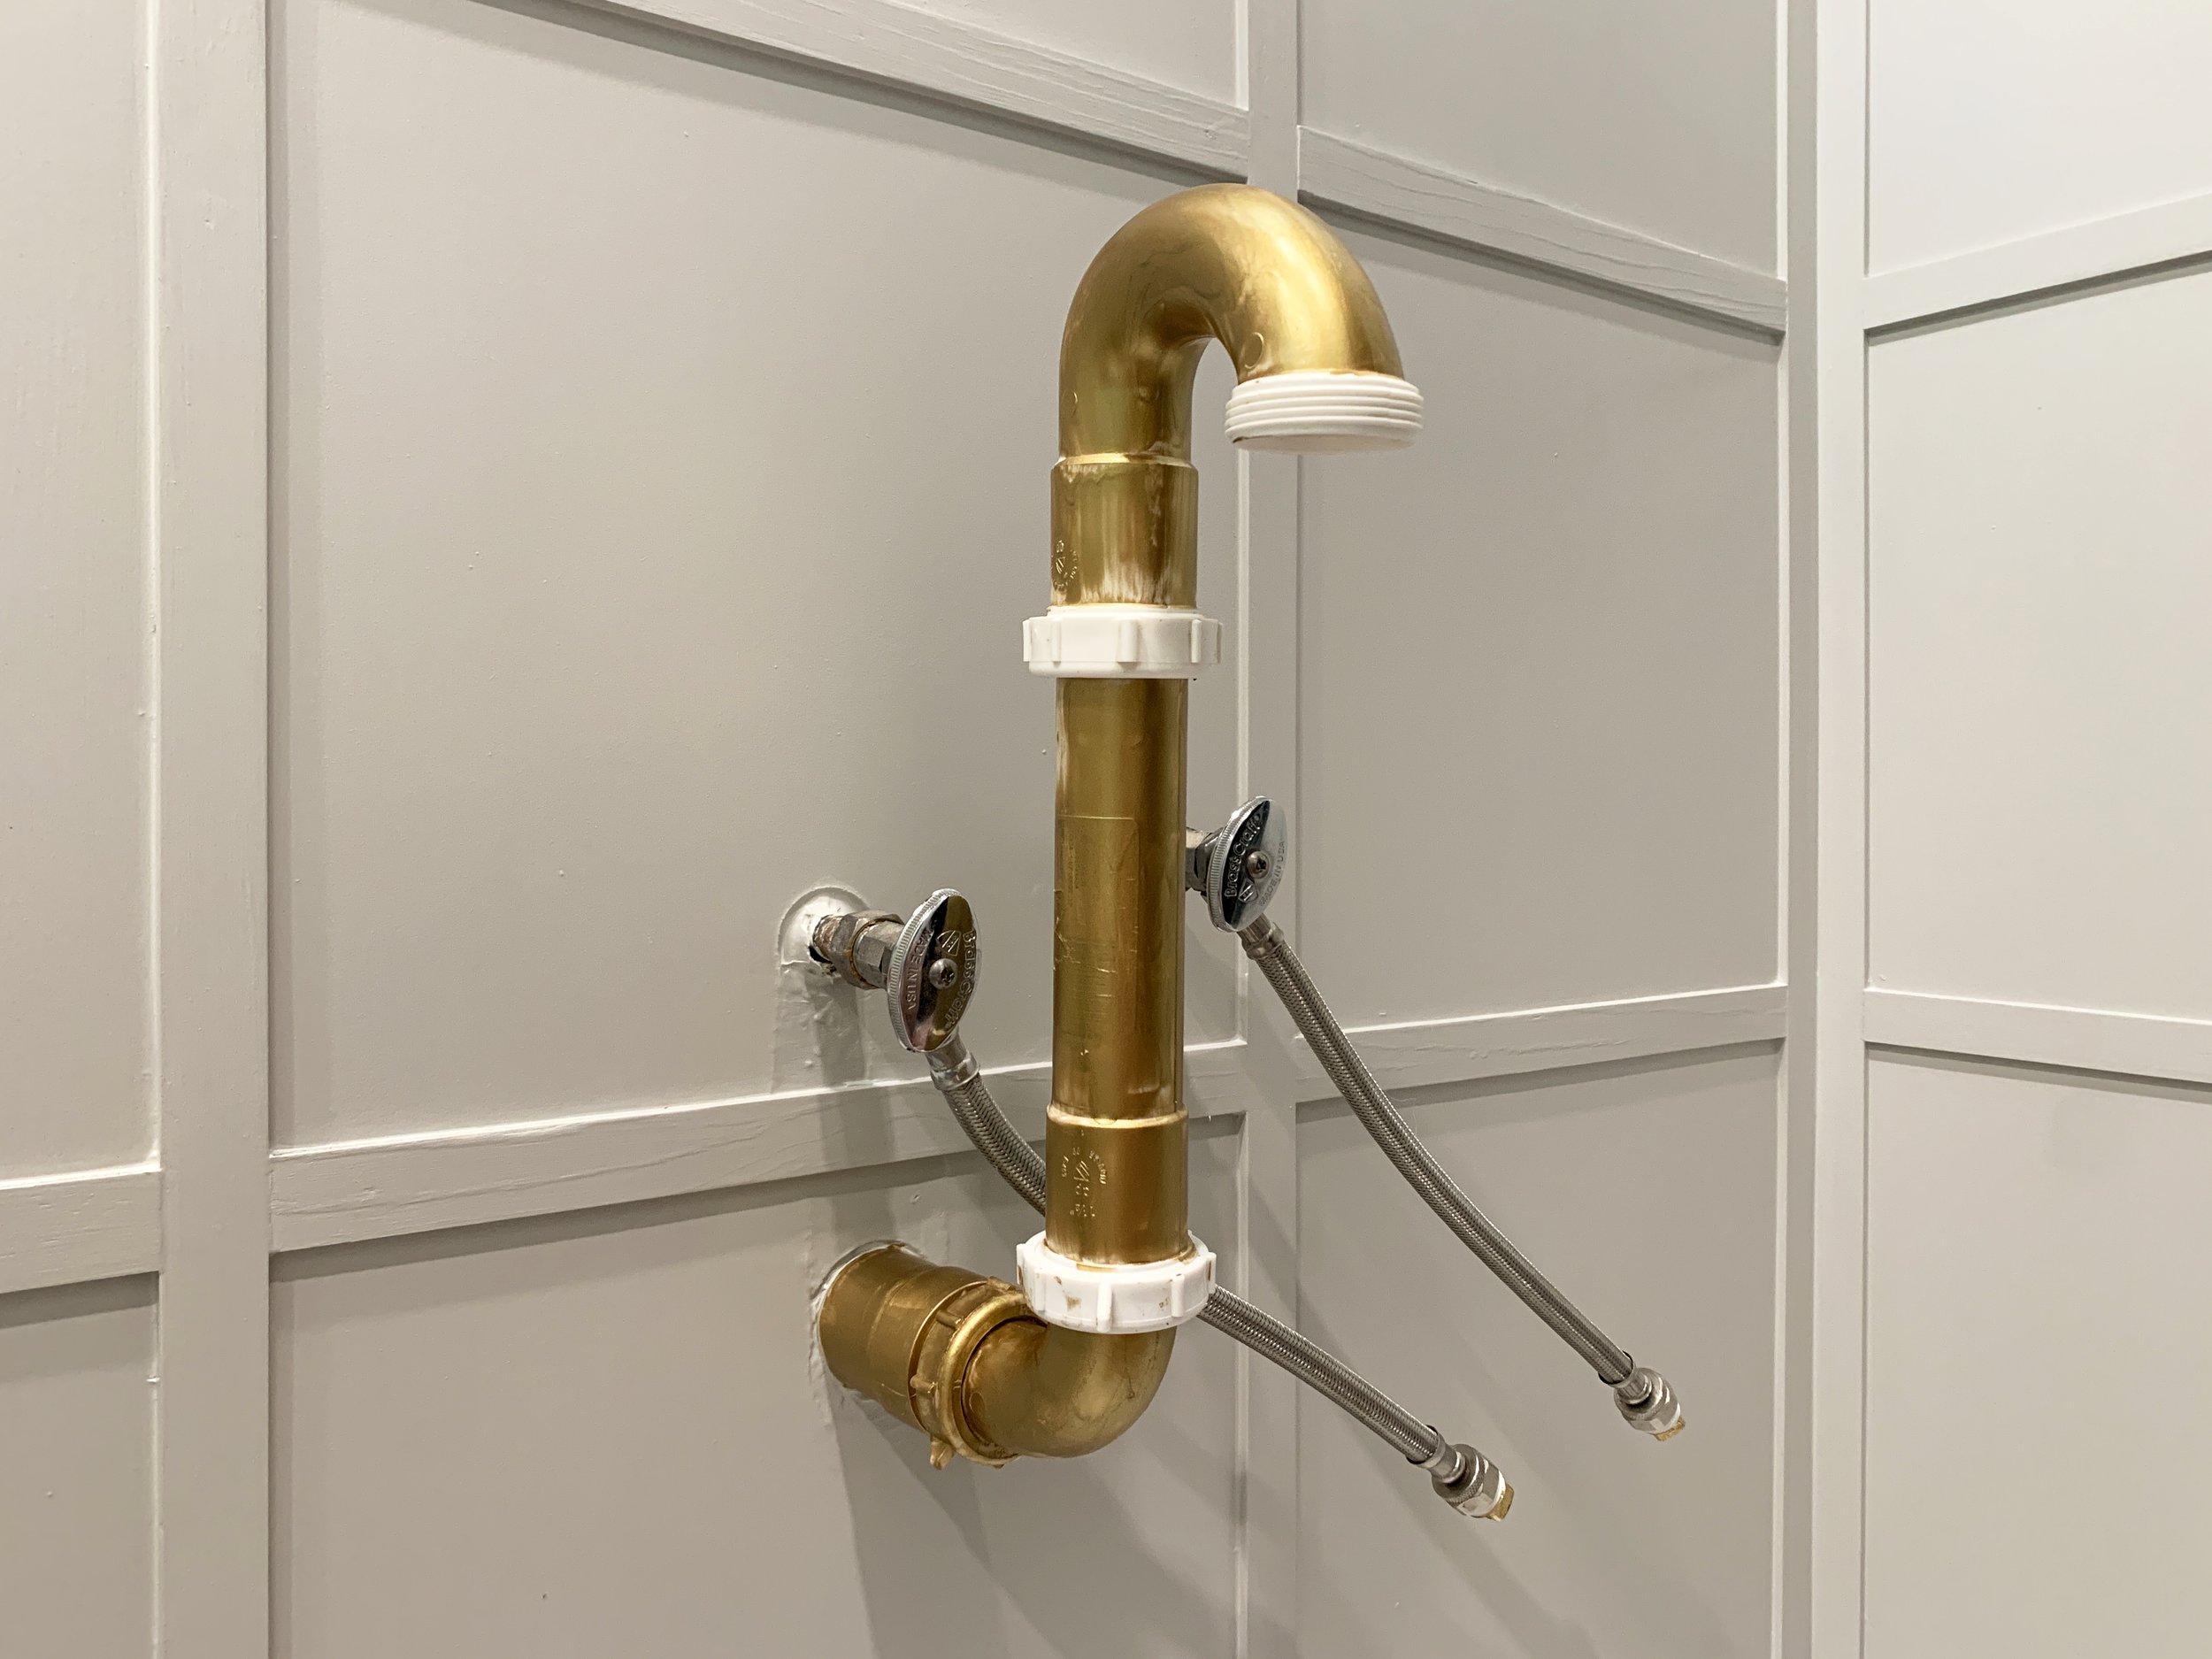
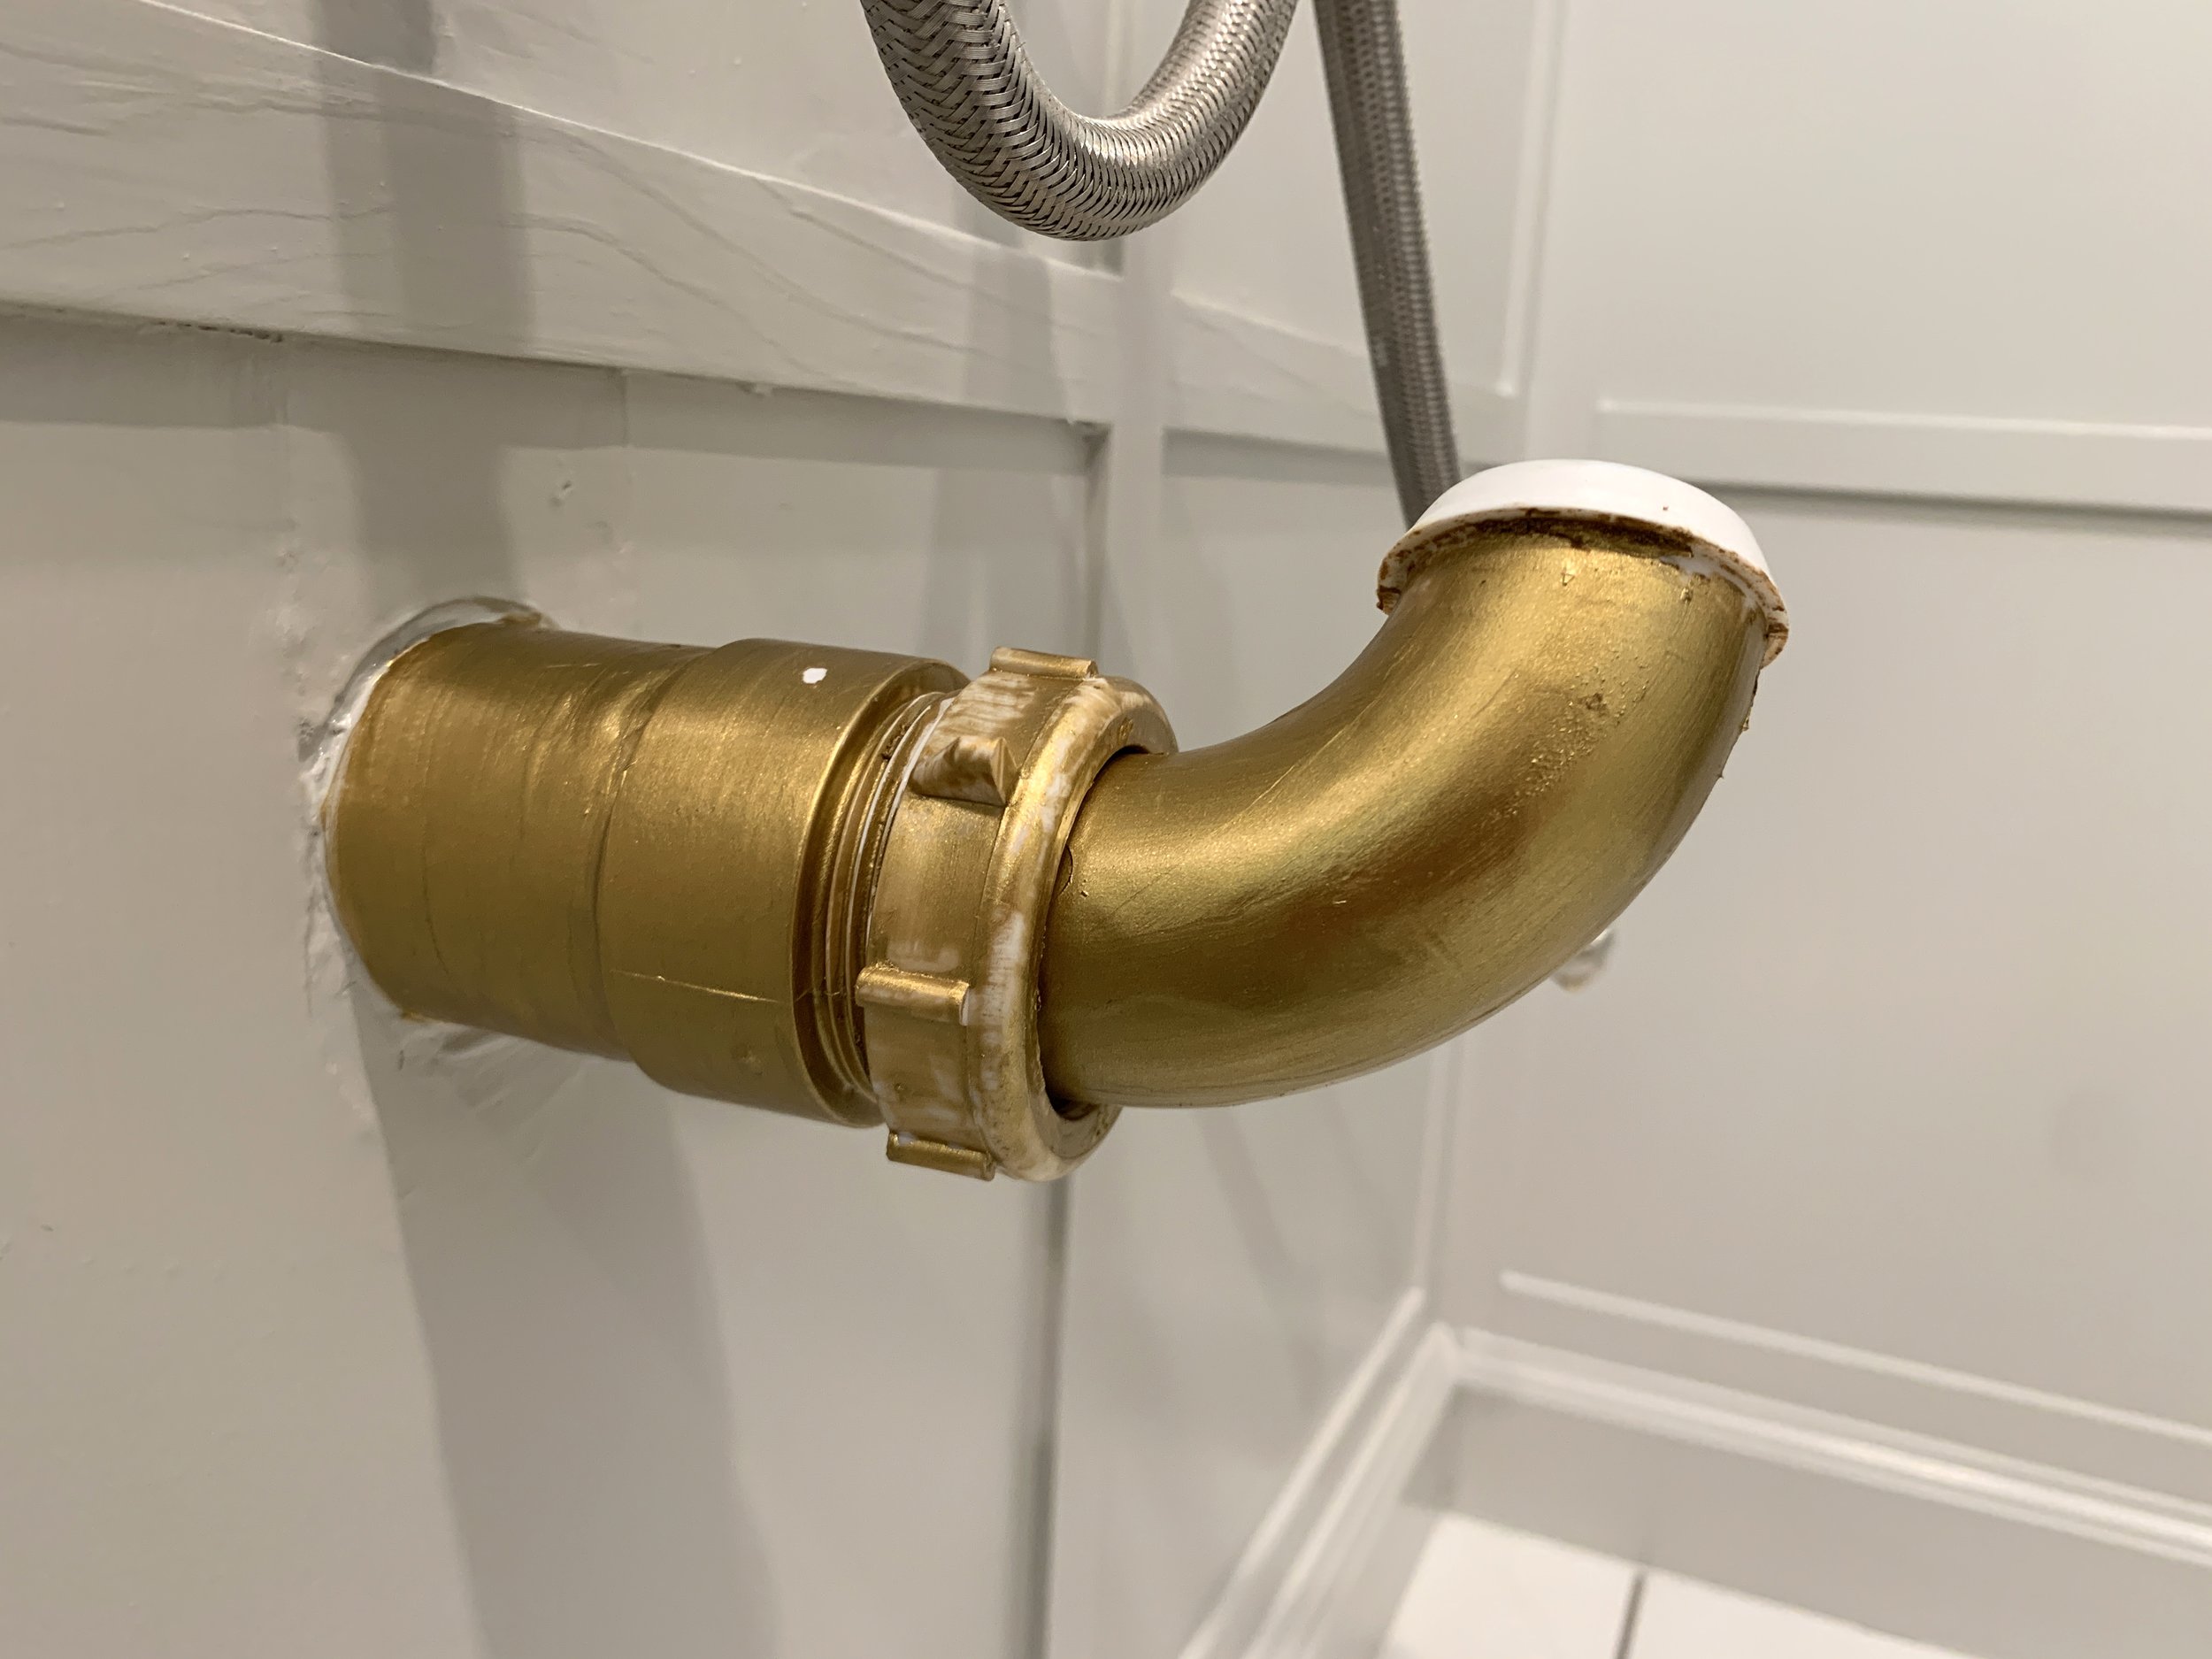
Hot mess express.
Unfortunate but a happy accident that it failed since I’m loving the black plumbing so much better! (I got the idea to go black after I saw the drain pipe for our faucet was black.)

To really finish this out I still need to install the round metal cover plates (called escutcheon plates) that go around the pipes where they enter the wall for a super polished look.
Wall moulding (continued)
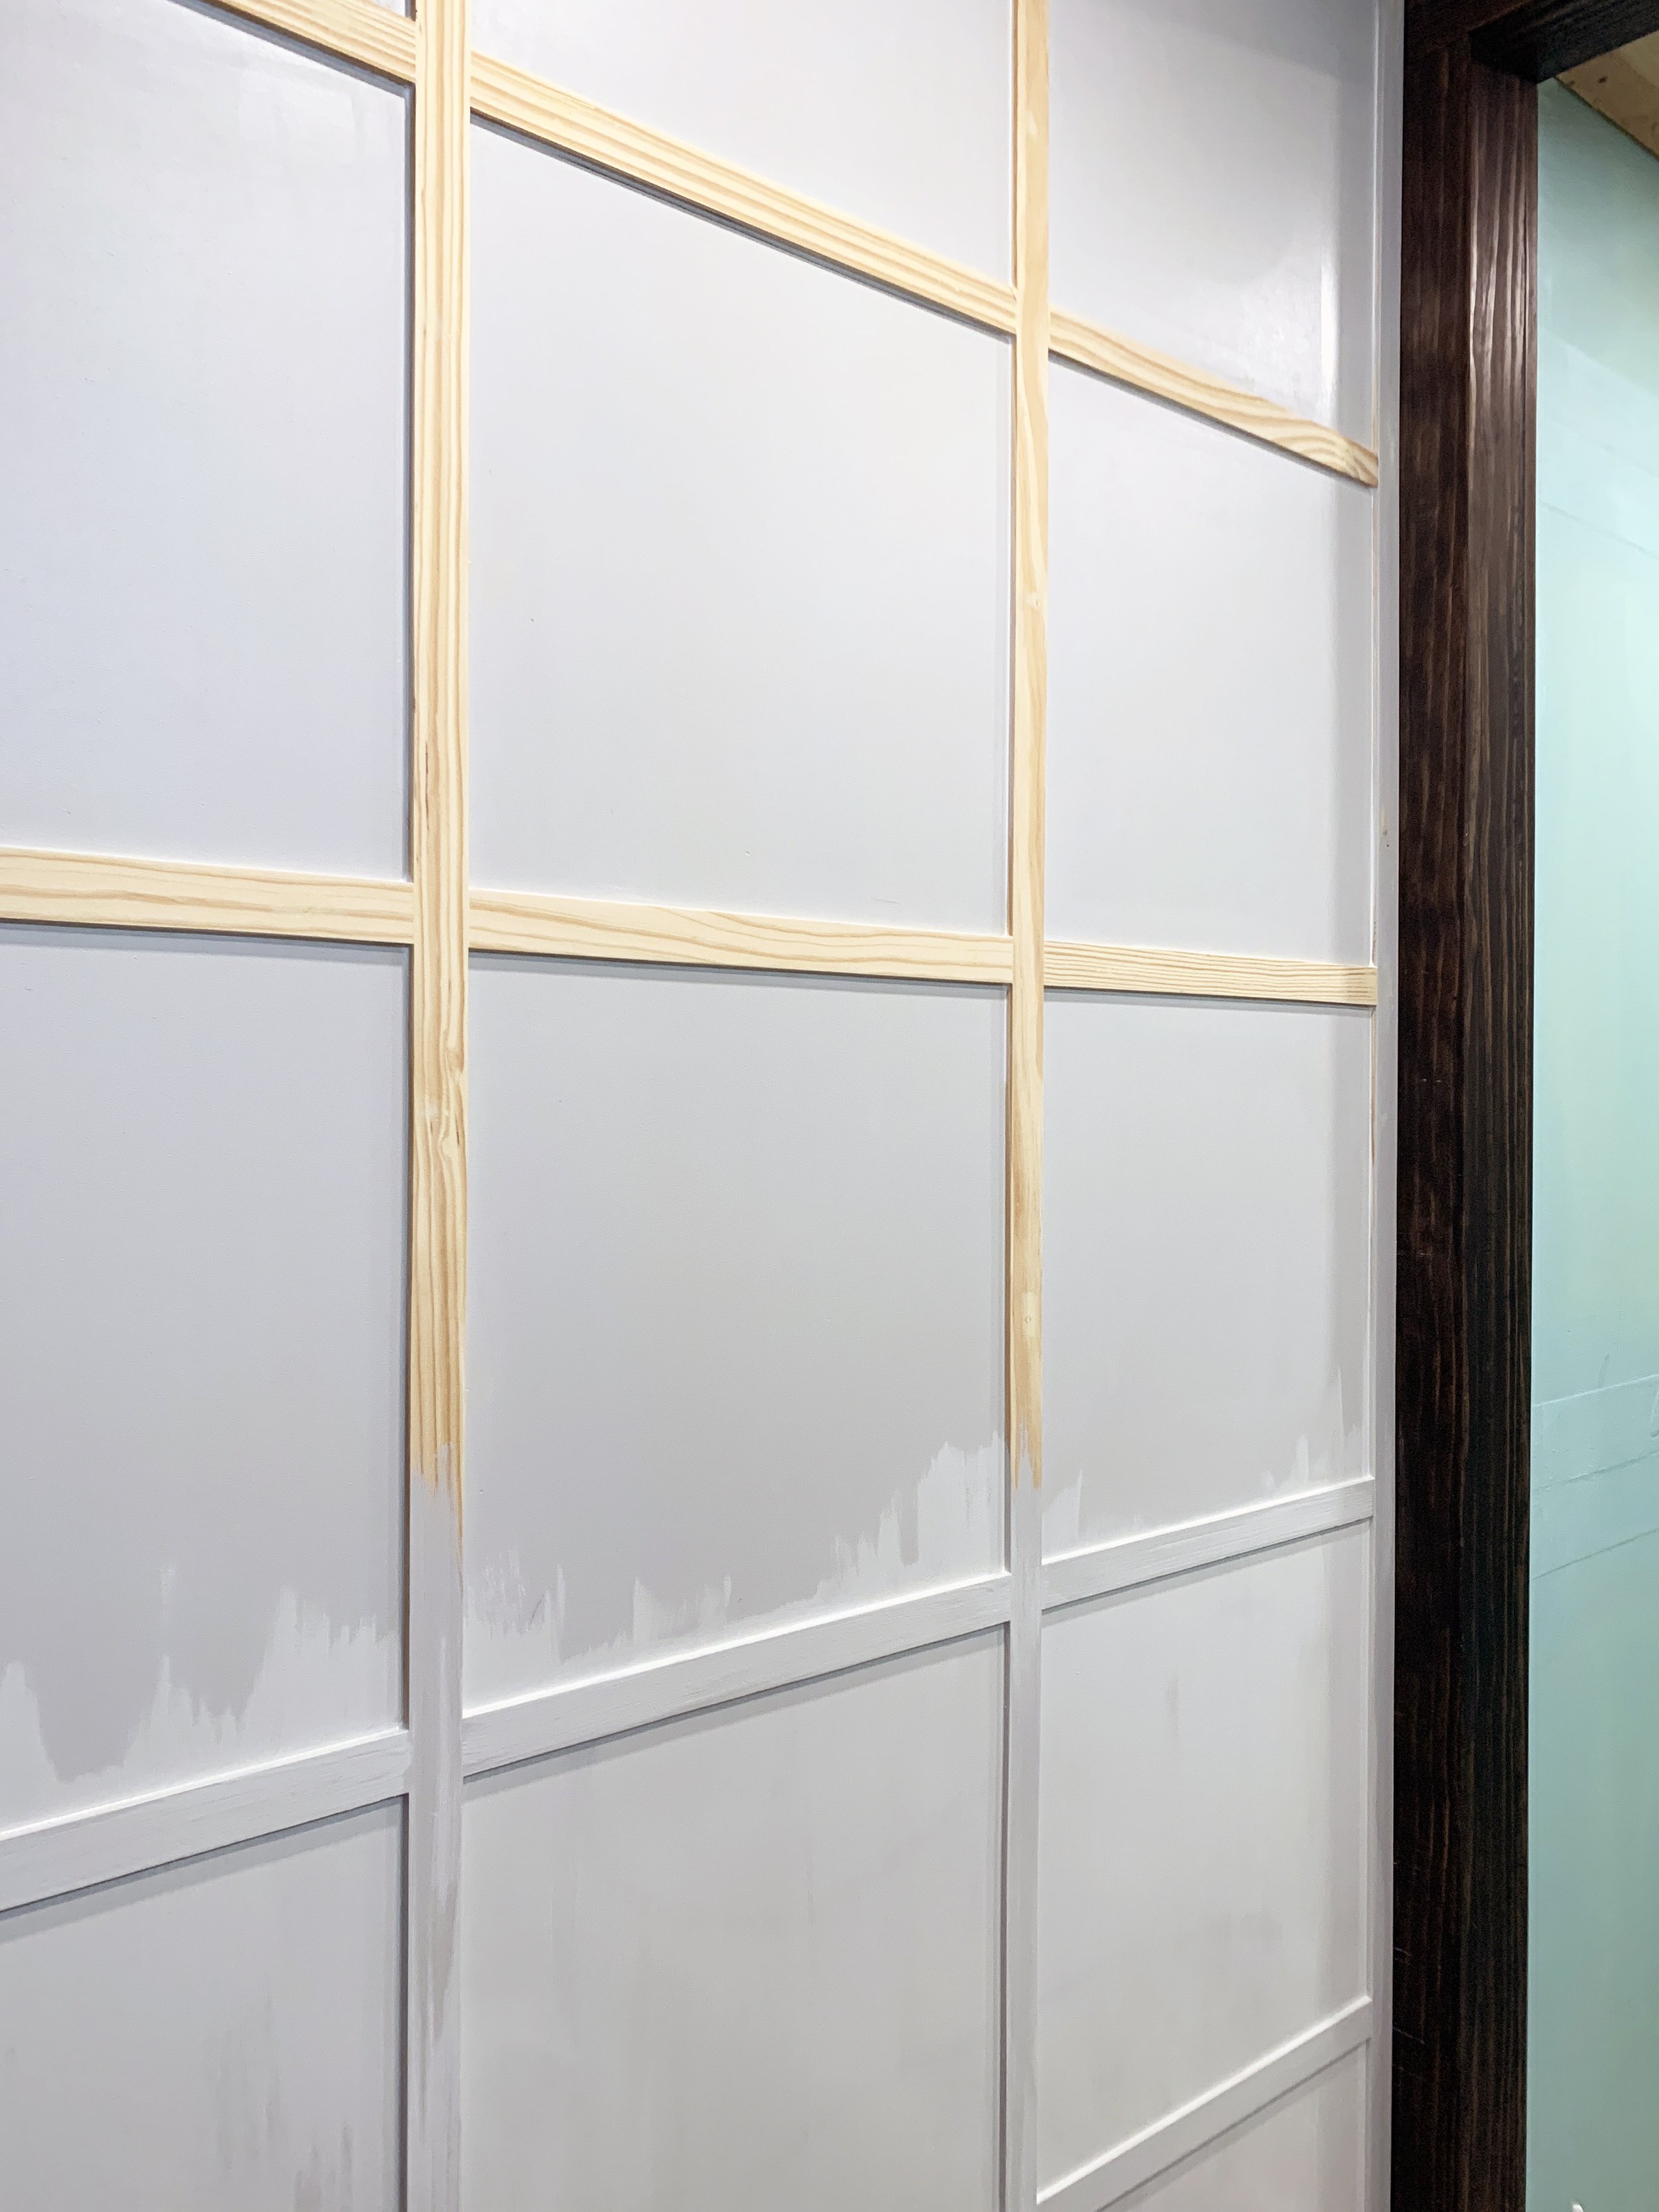
I also finished the wall moulding throughout the whole bathroom! Much to the detriment of my pointer fingernail… which is not happy after using it to smooth caulk in every. single. seam. for hours… It is basically worn through and sadly I am not exaggerating at all. 0/10 do not recommend.

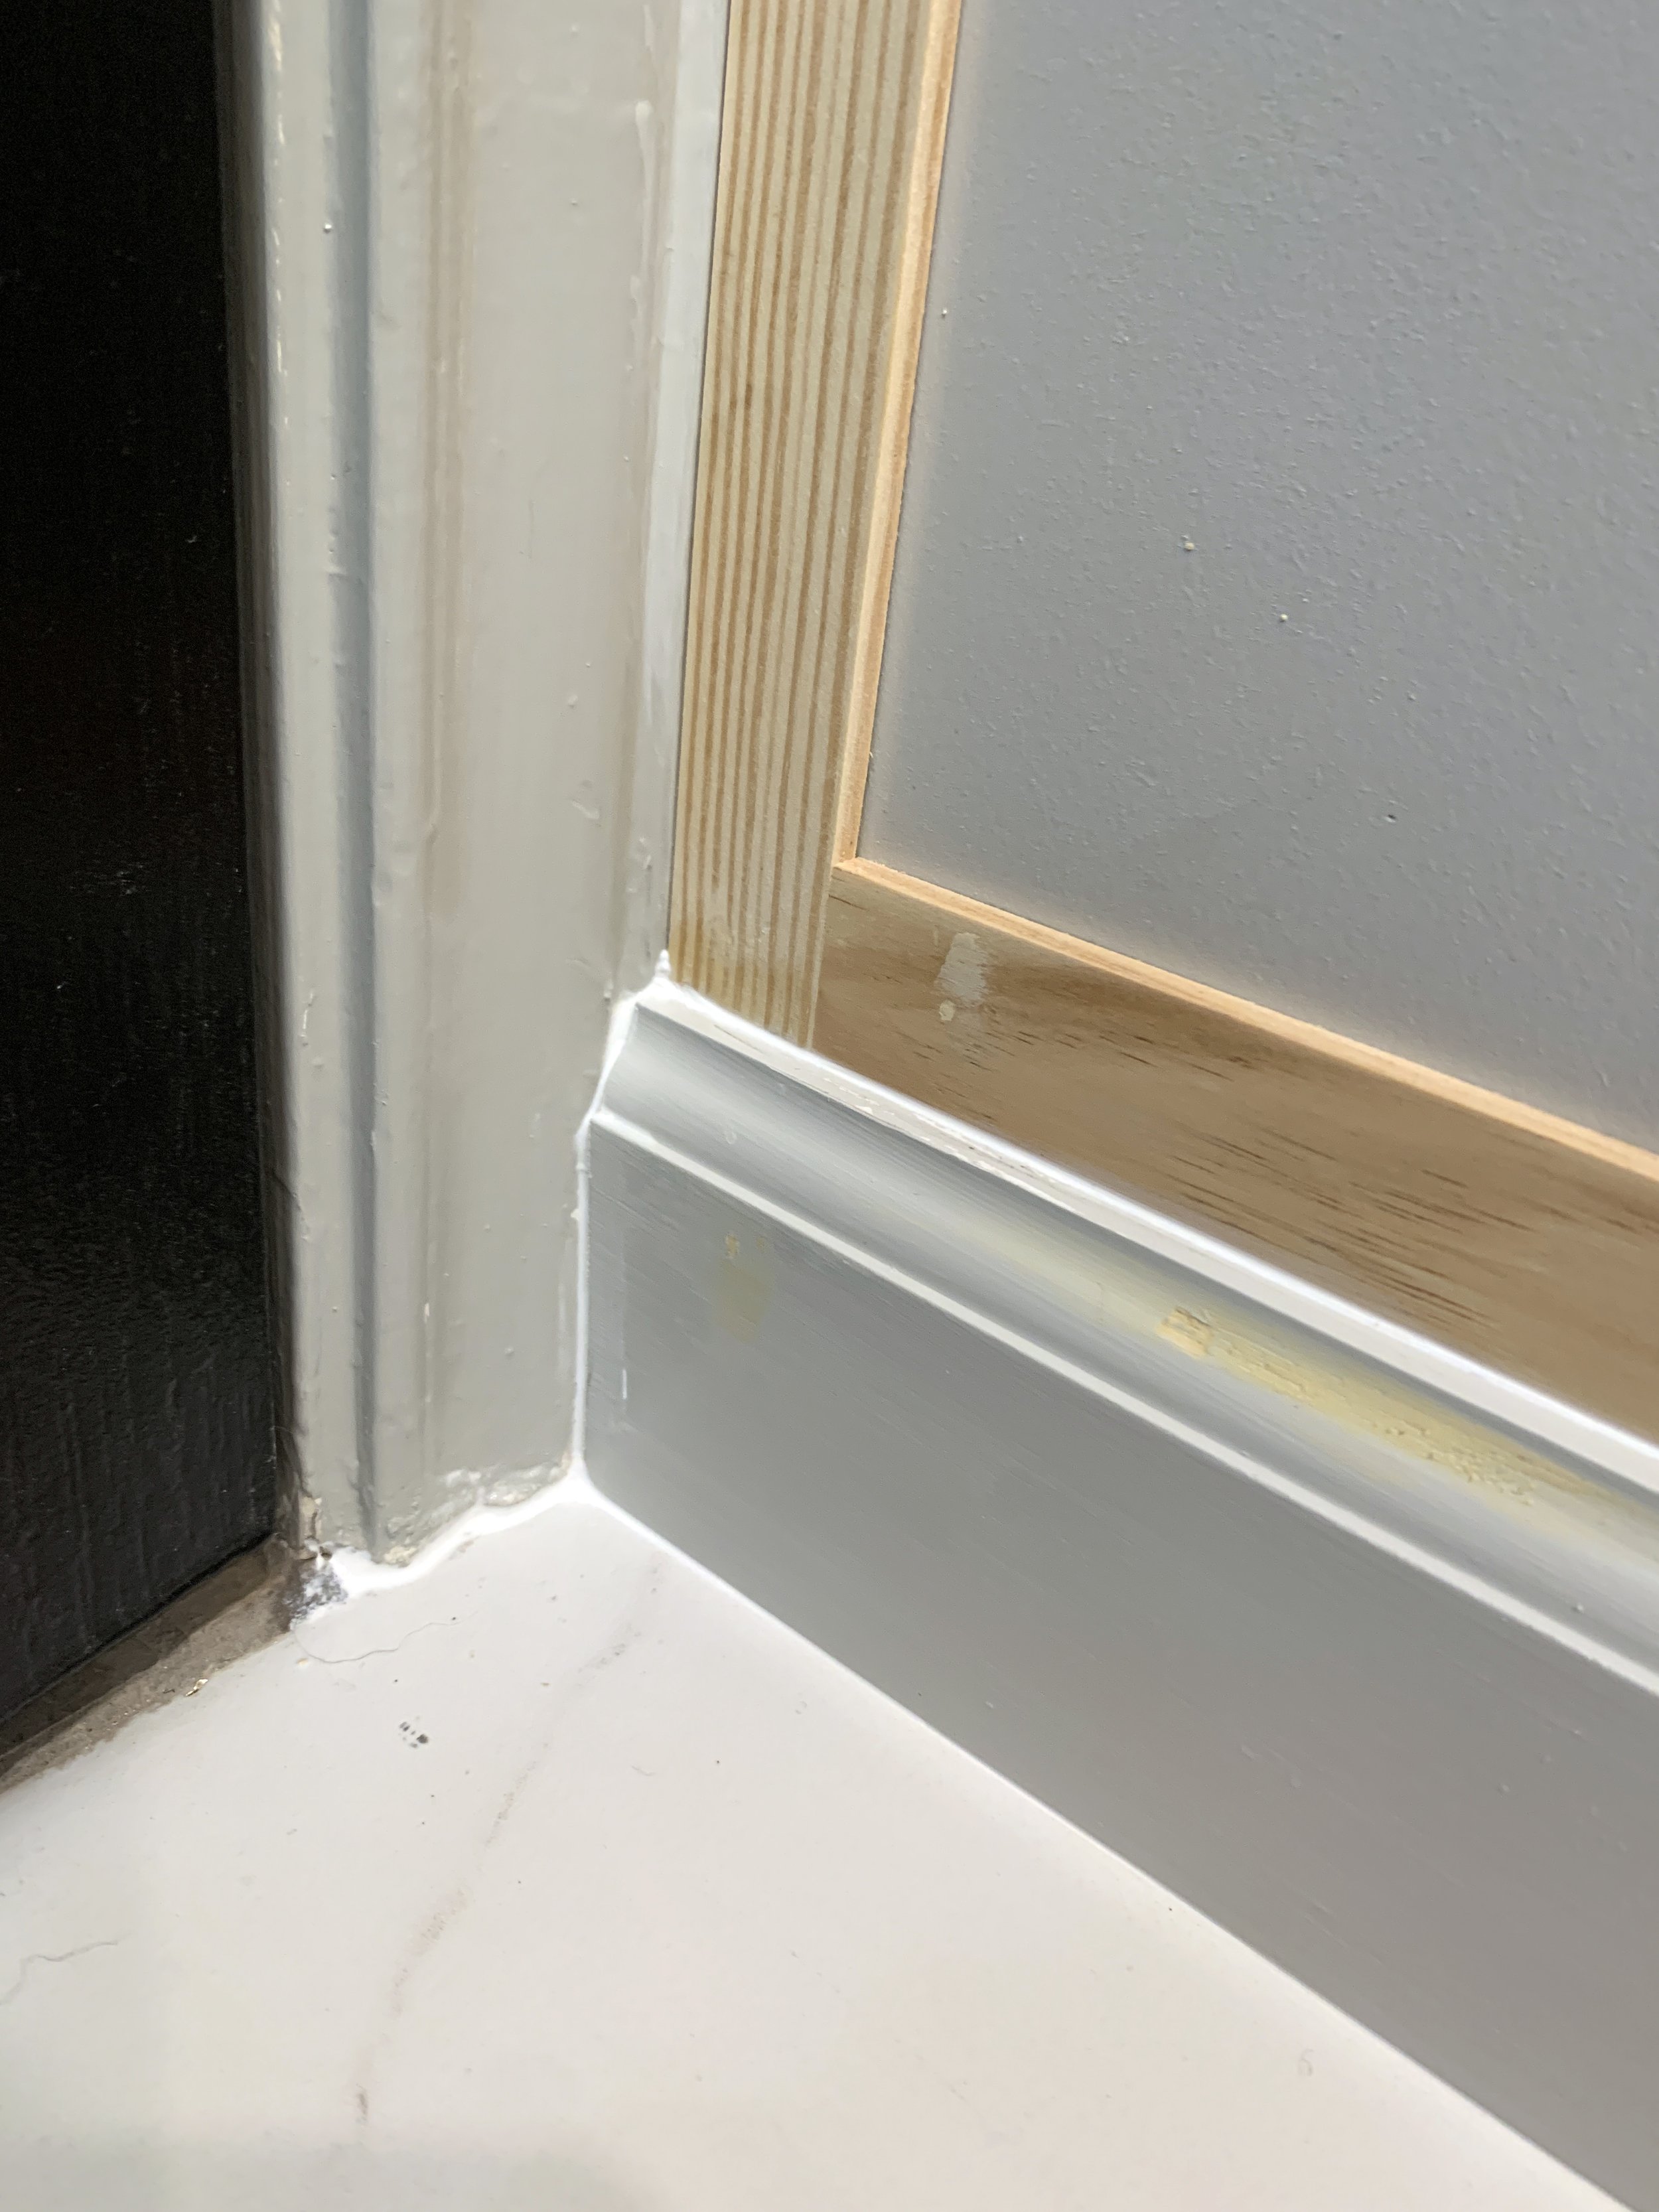
BUT caulk really does make all the difference when it comes to flawless looking painted mouldings.
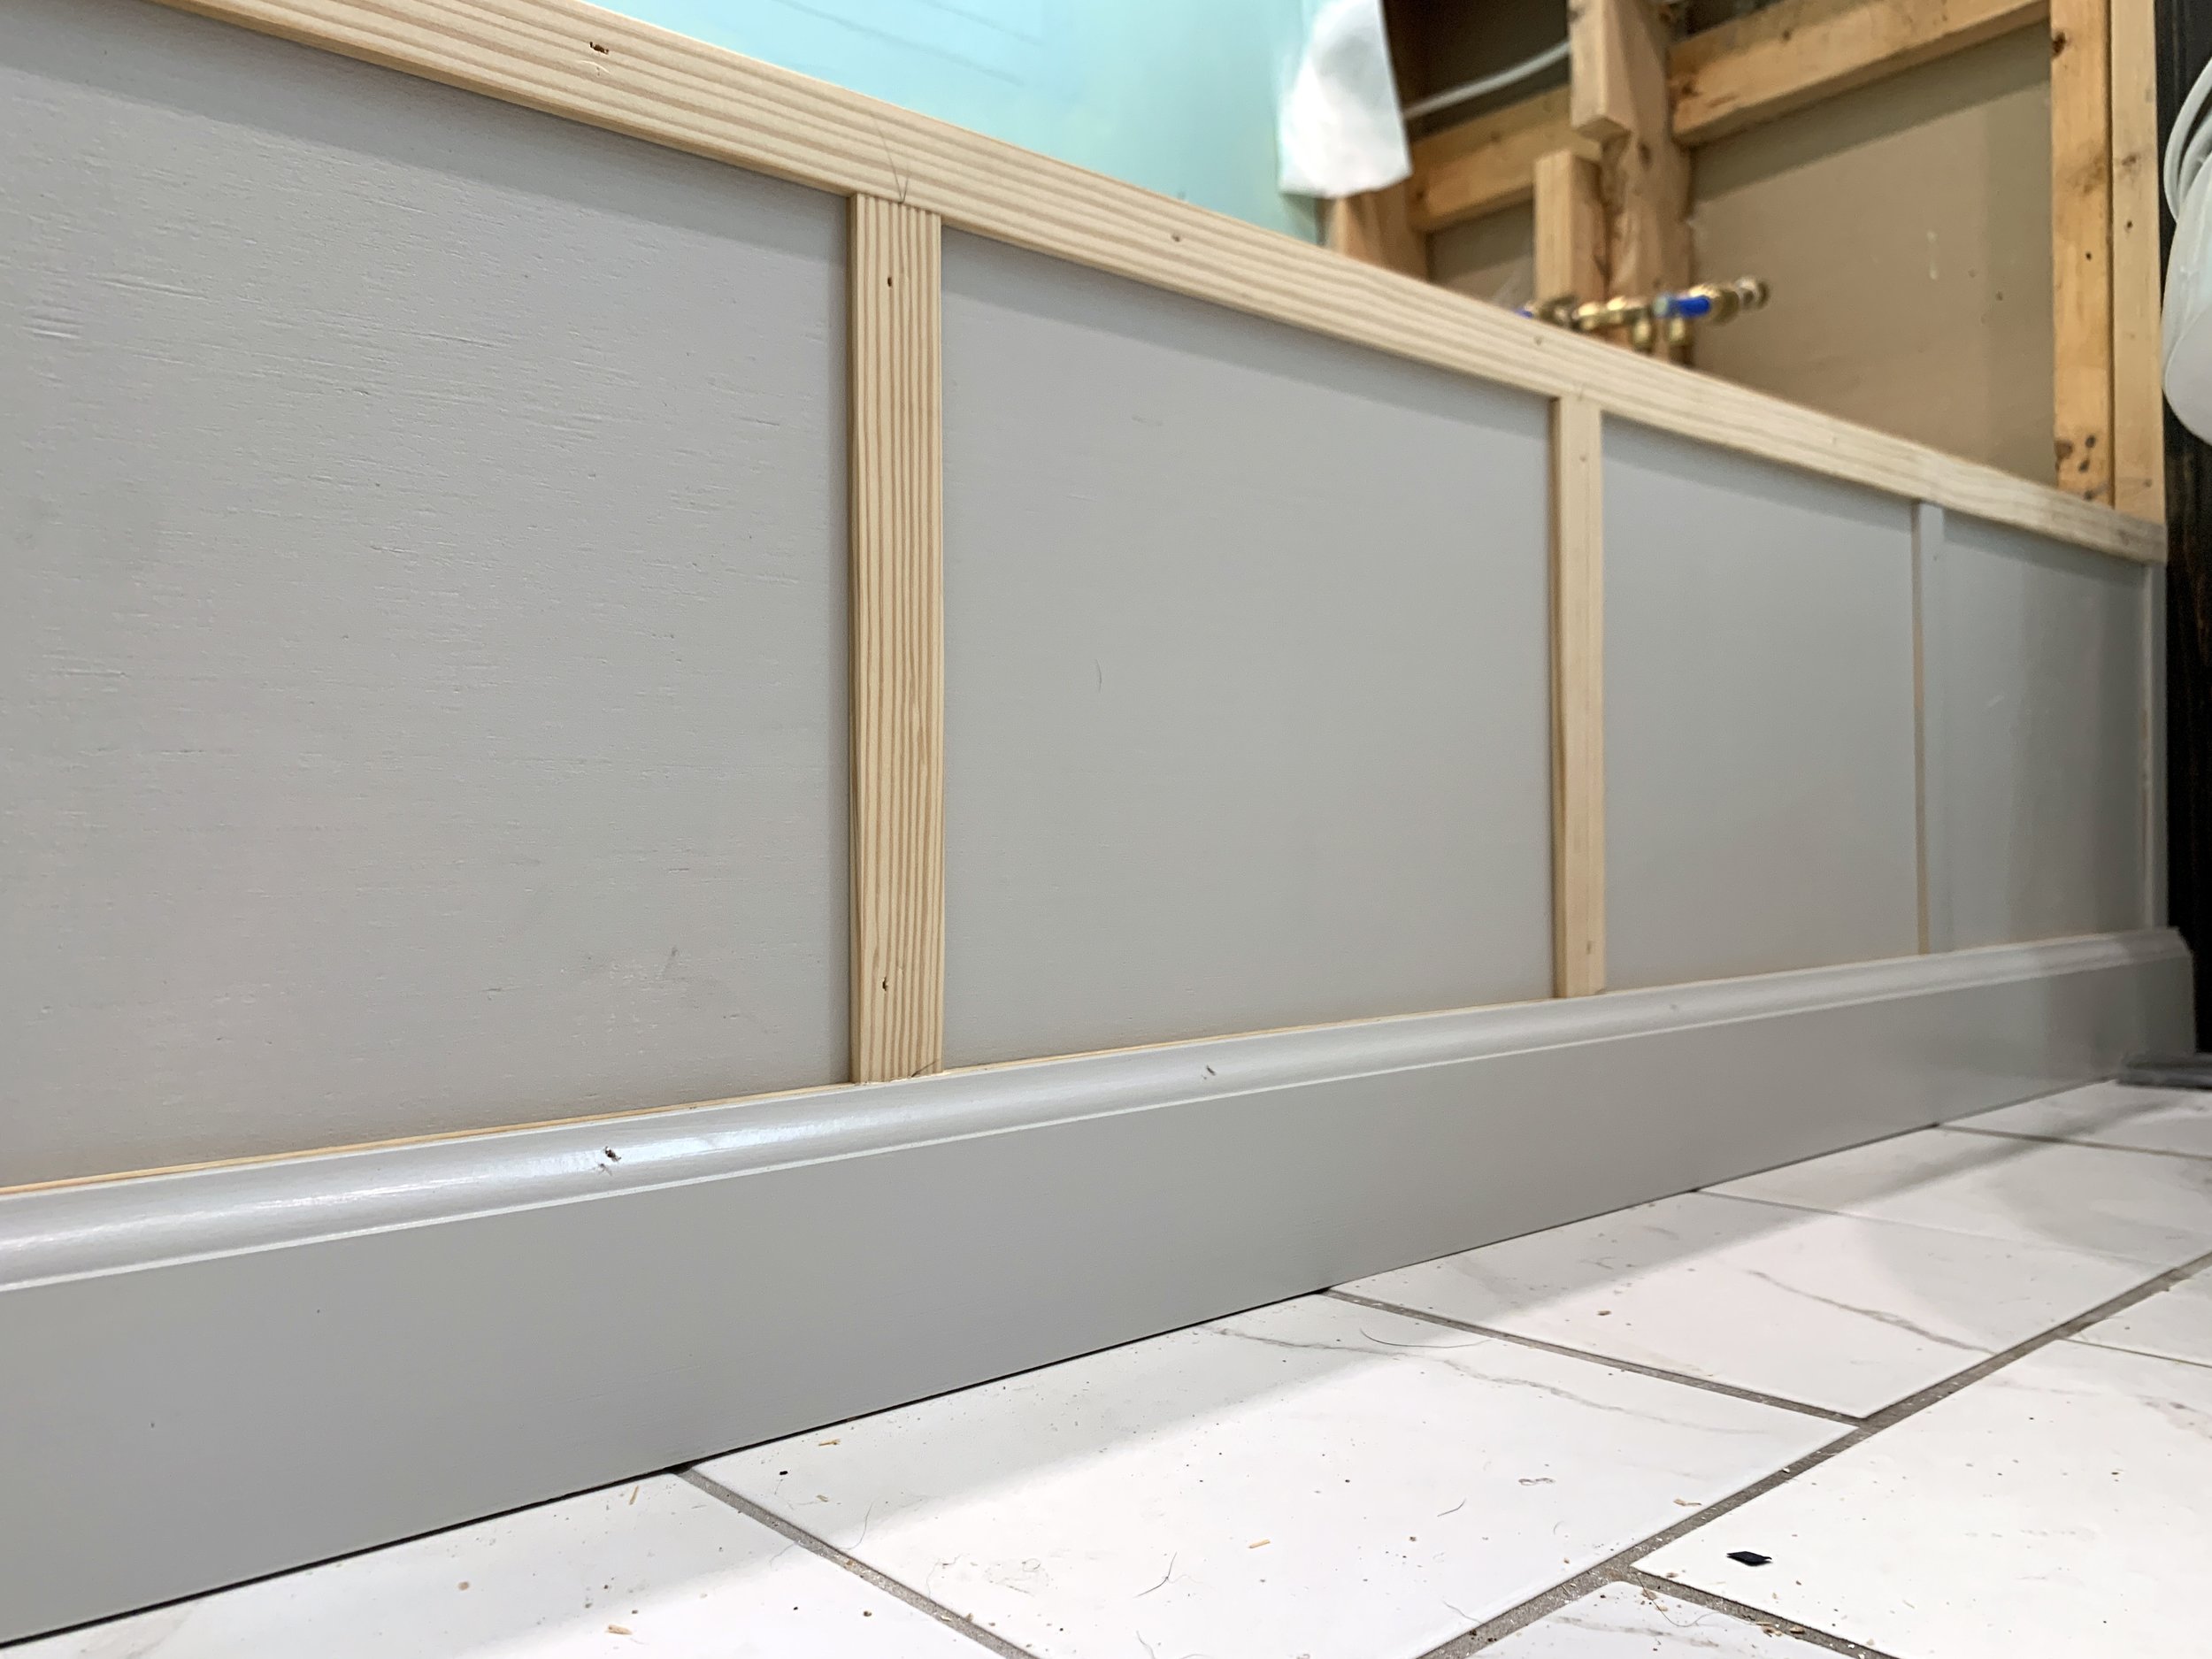
That also includes the front of the bathtub skirt which I did to match the rest of the walls in the bathroom – everything got wood filled, caulked and painted.

The shower
Plumbing Update
We finally fixed the tiny slow leak at our shower plumbing this week! Nick had the great idea to reconfigure the one line that was leaking (the hot line, on the left) with different parts and it worked!
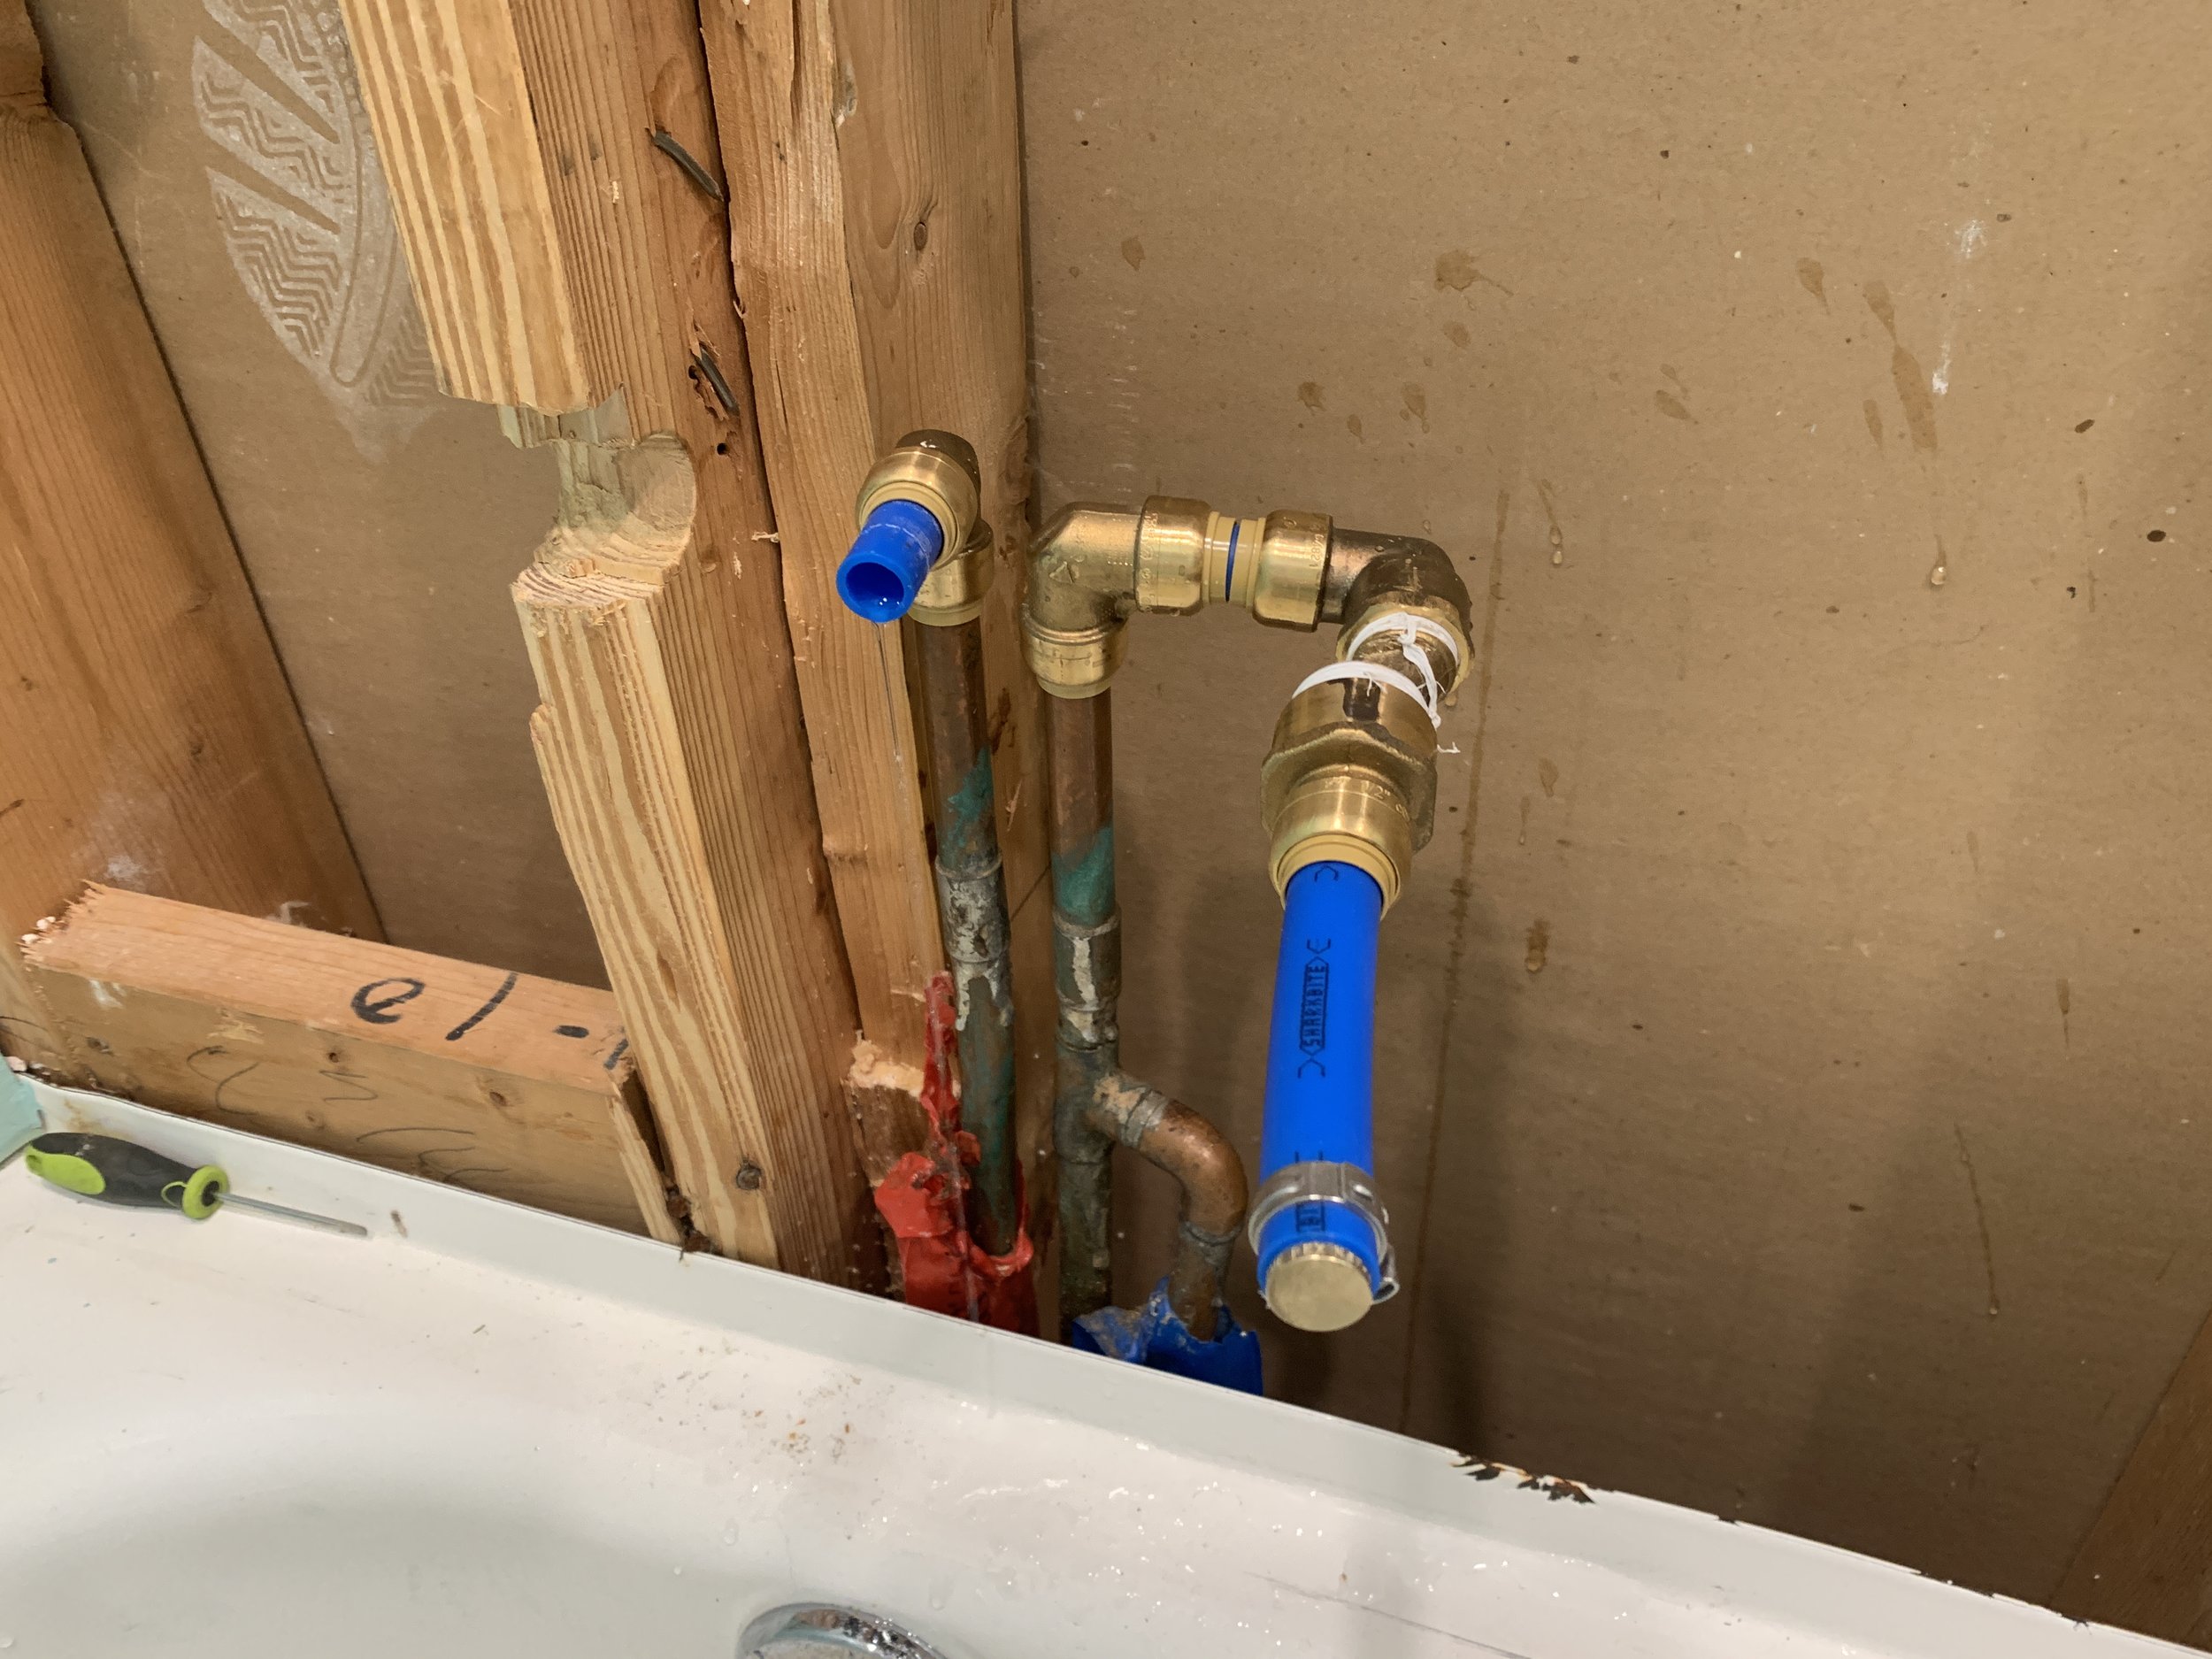
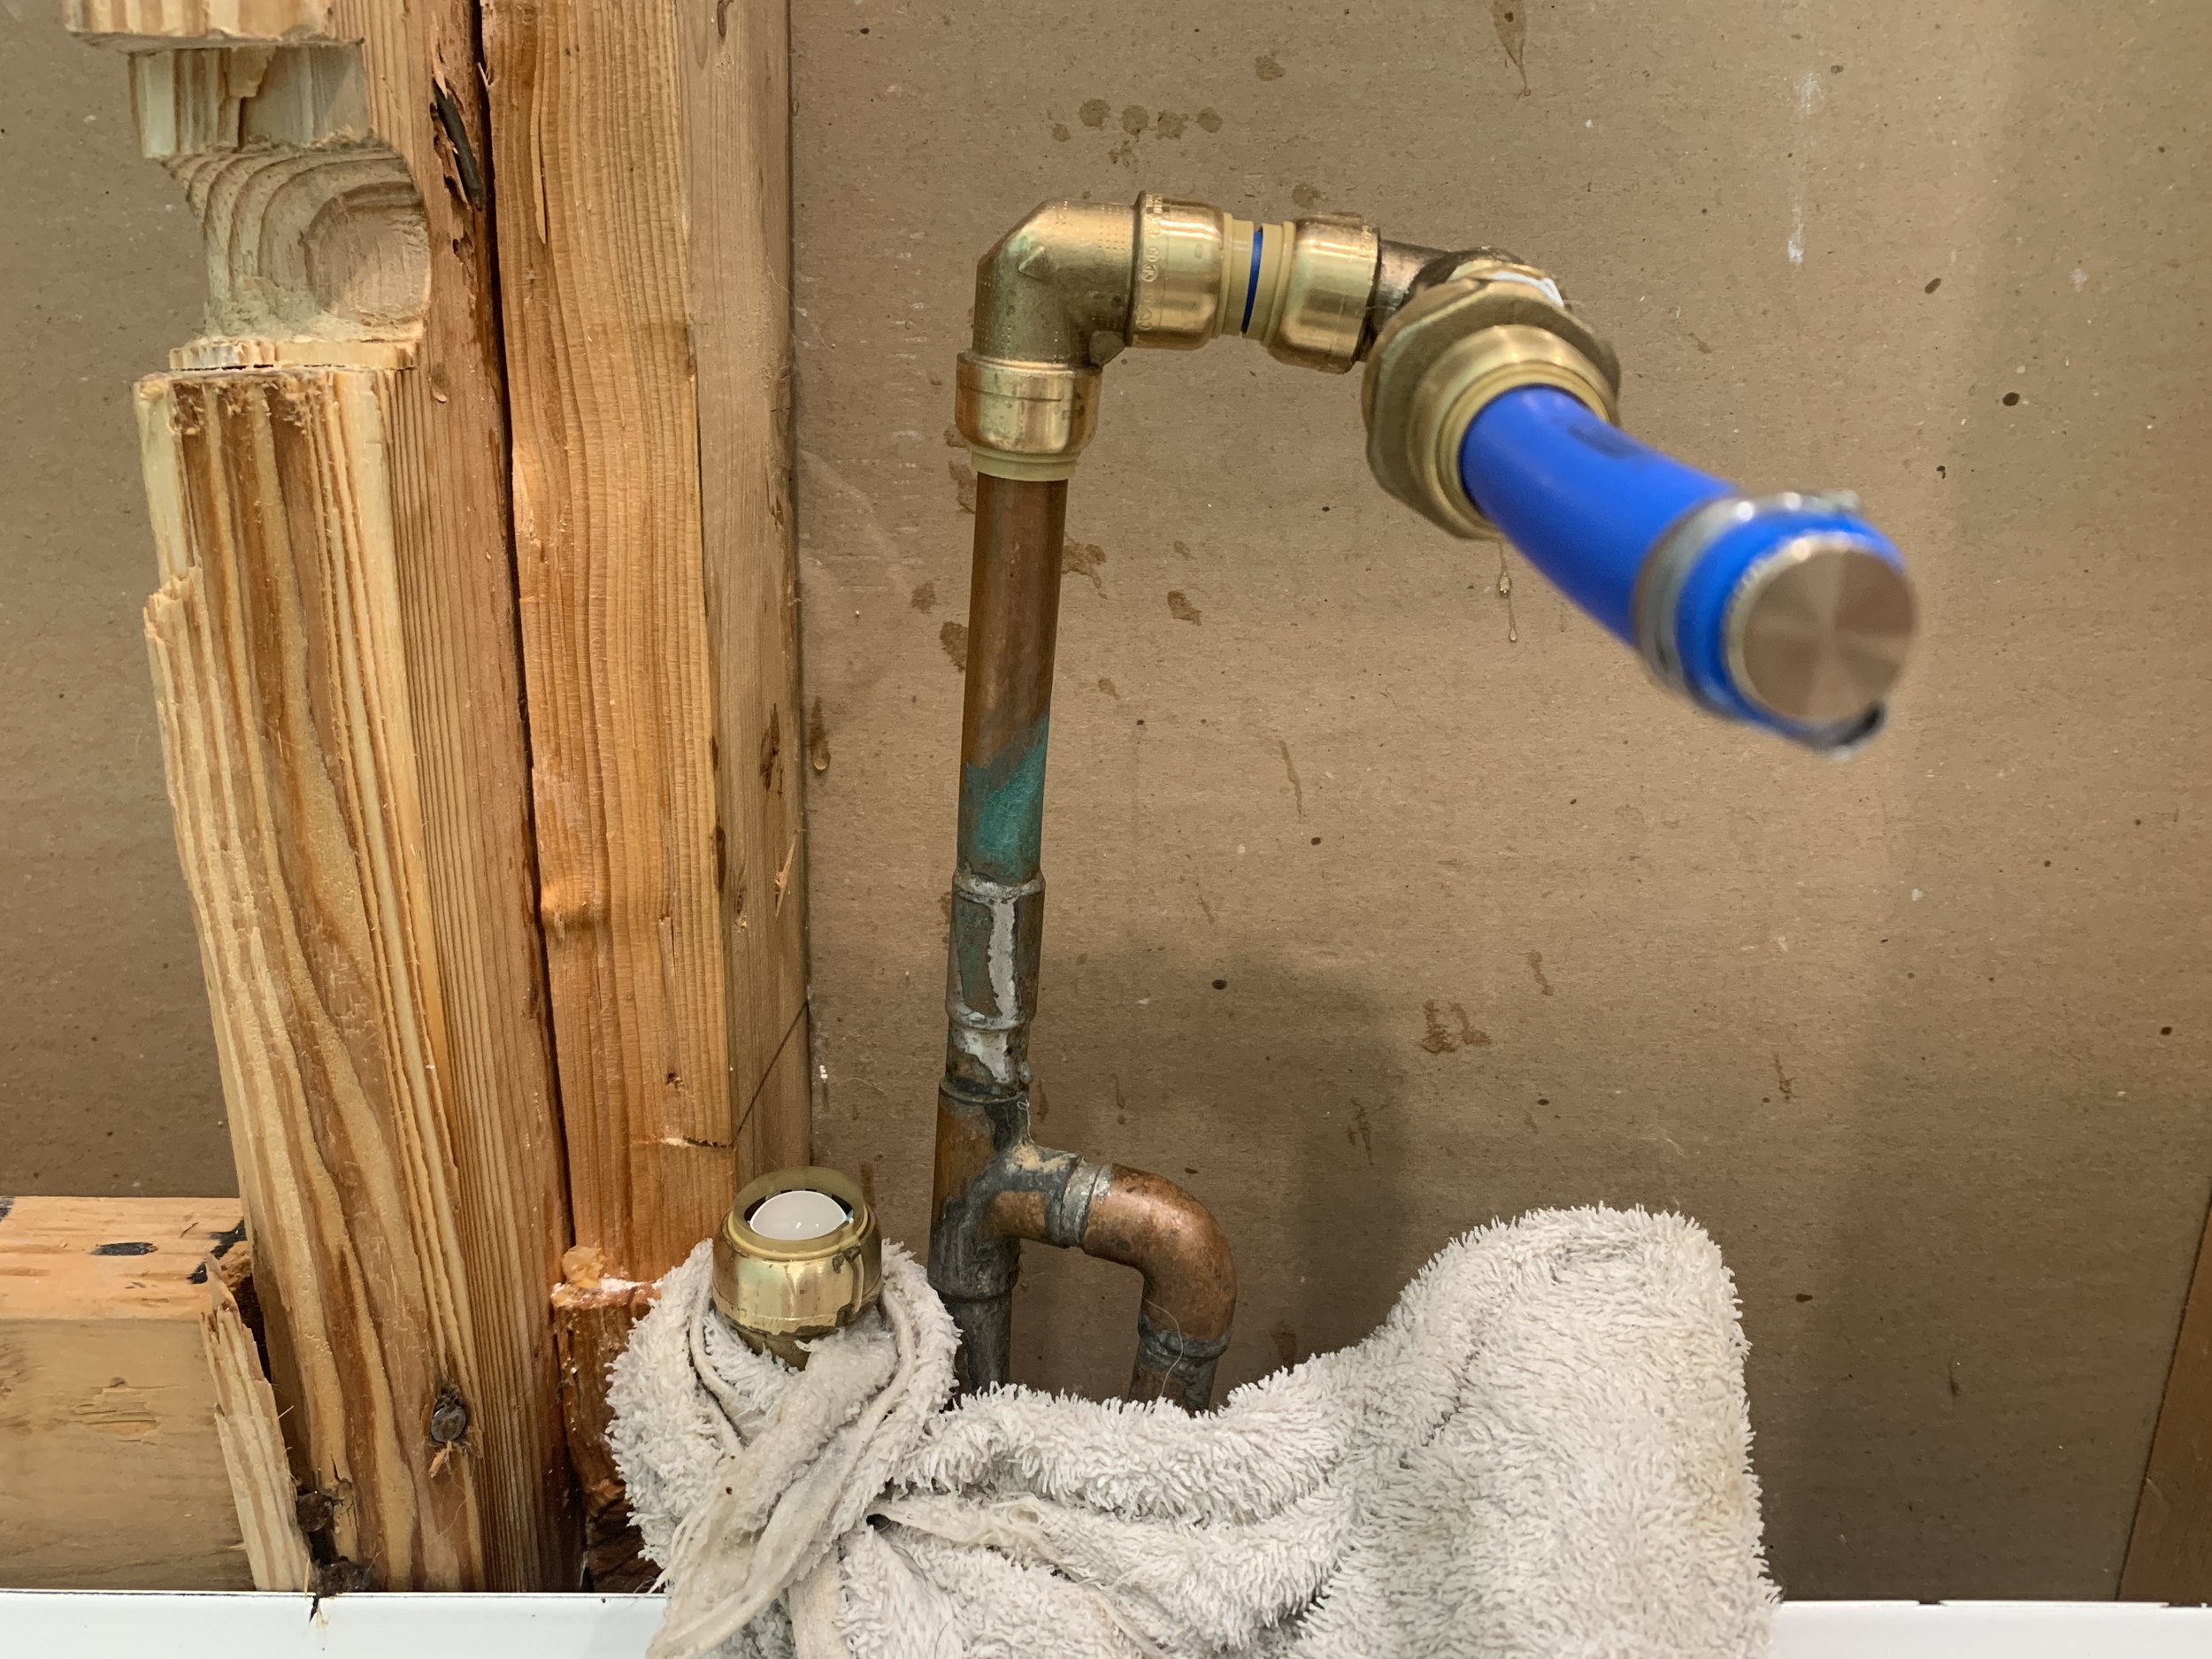
Of course we also had to notch out the board next to the hot line (more than it already was before we started this project) which is why Nick has a Dremel in the photo below.

While the two lines aren’t identical inside the wall (which kind of bothers the little OCD nugget inside me) they both are functioning and that is what matters. Also I know they’re both blue PEX lines, but the one on the left is our hot water so that’s why I have an H and C written on these lines.
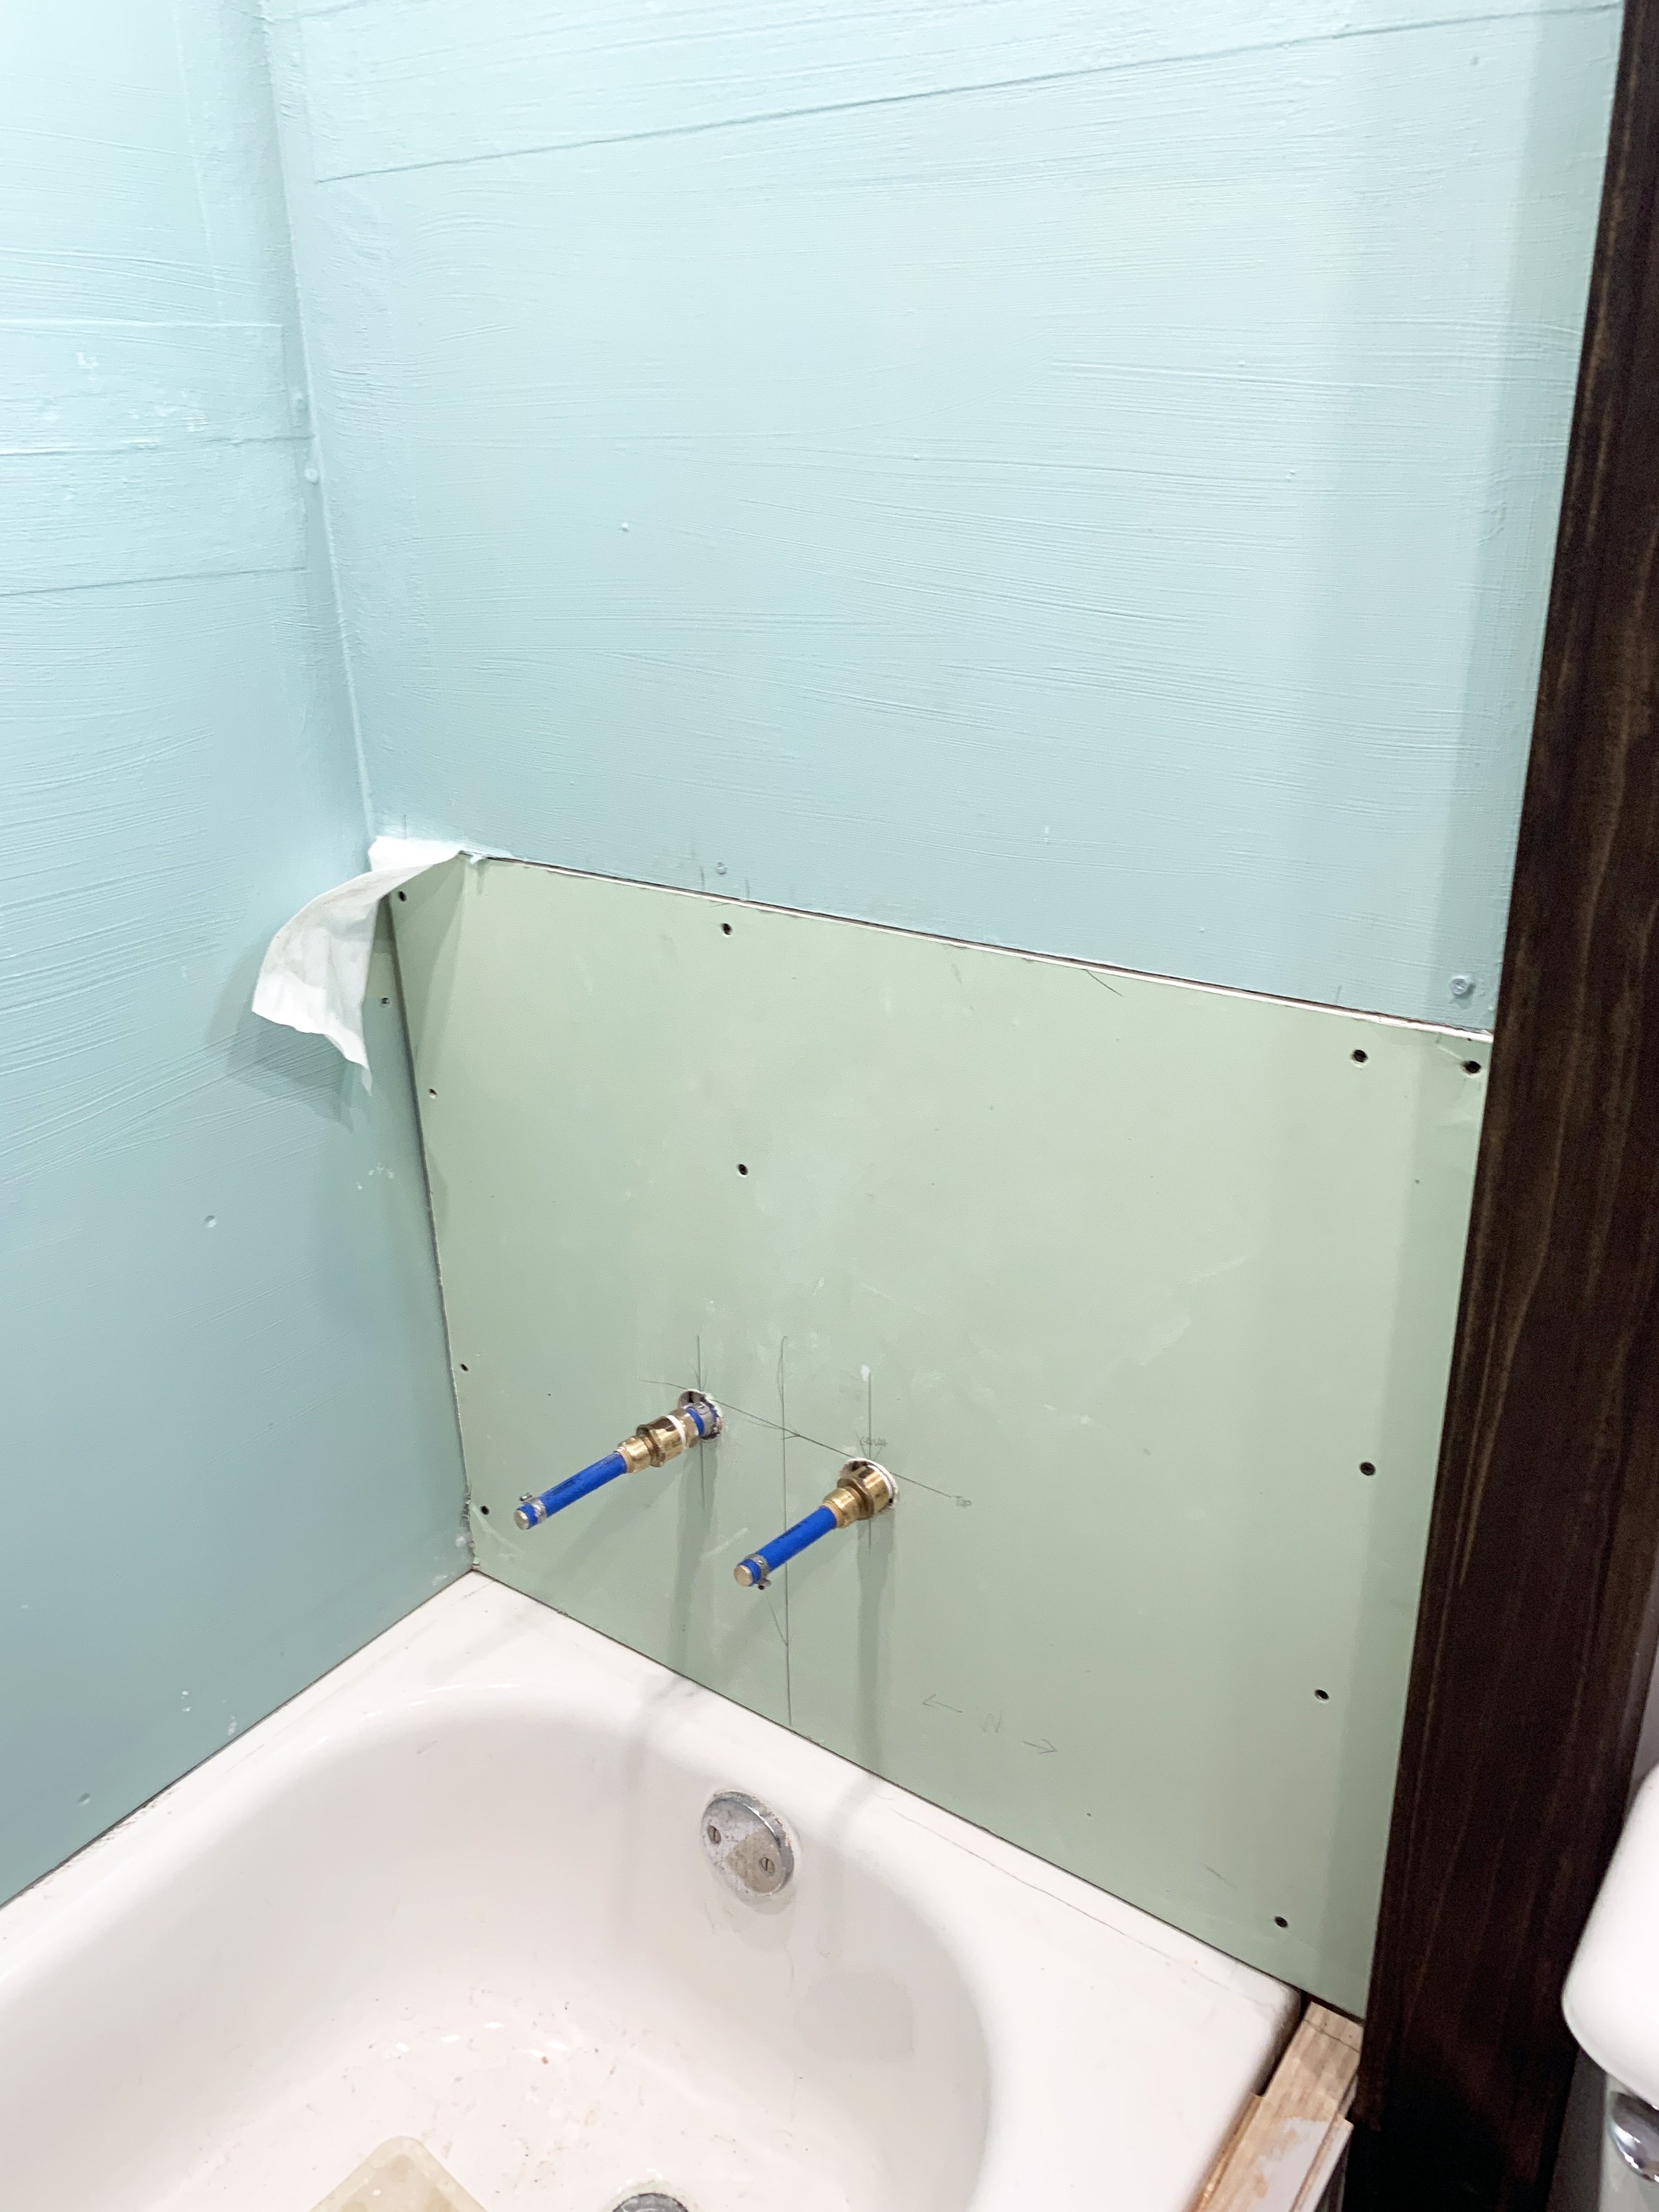
Drywalling + Waterproofing
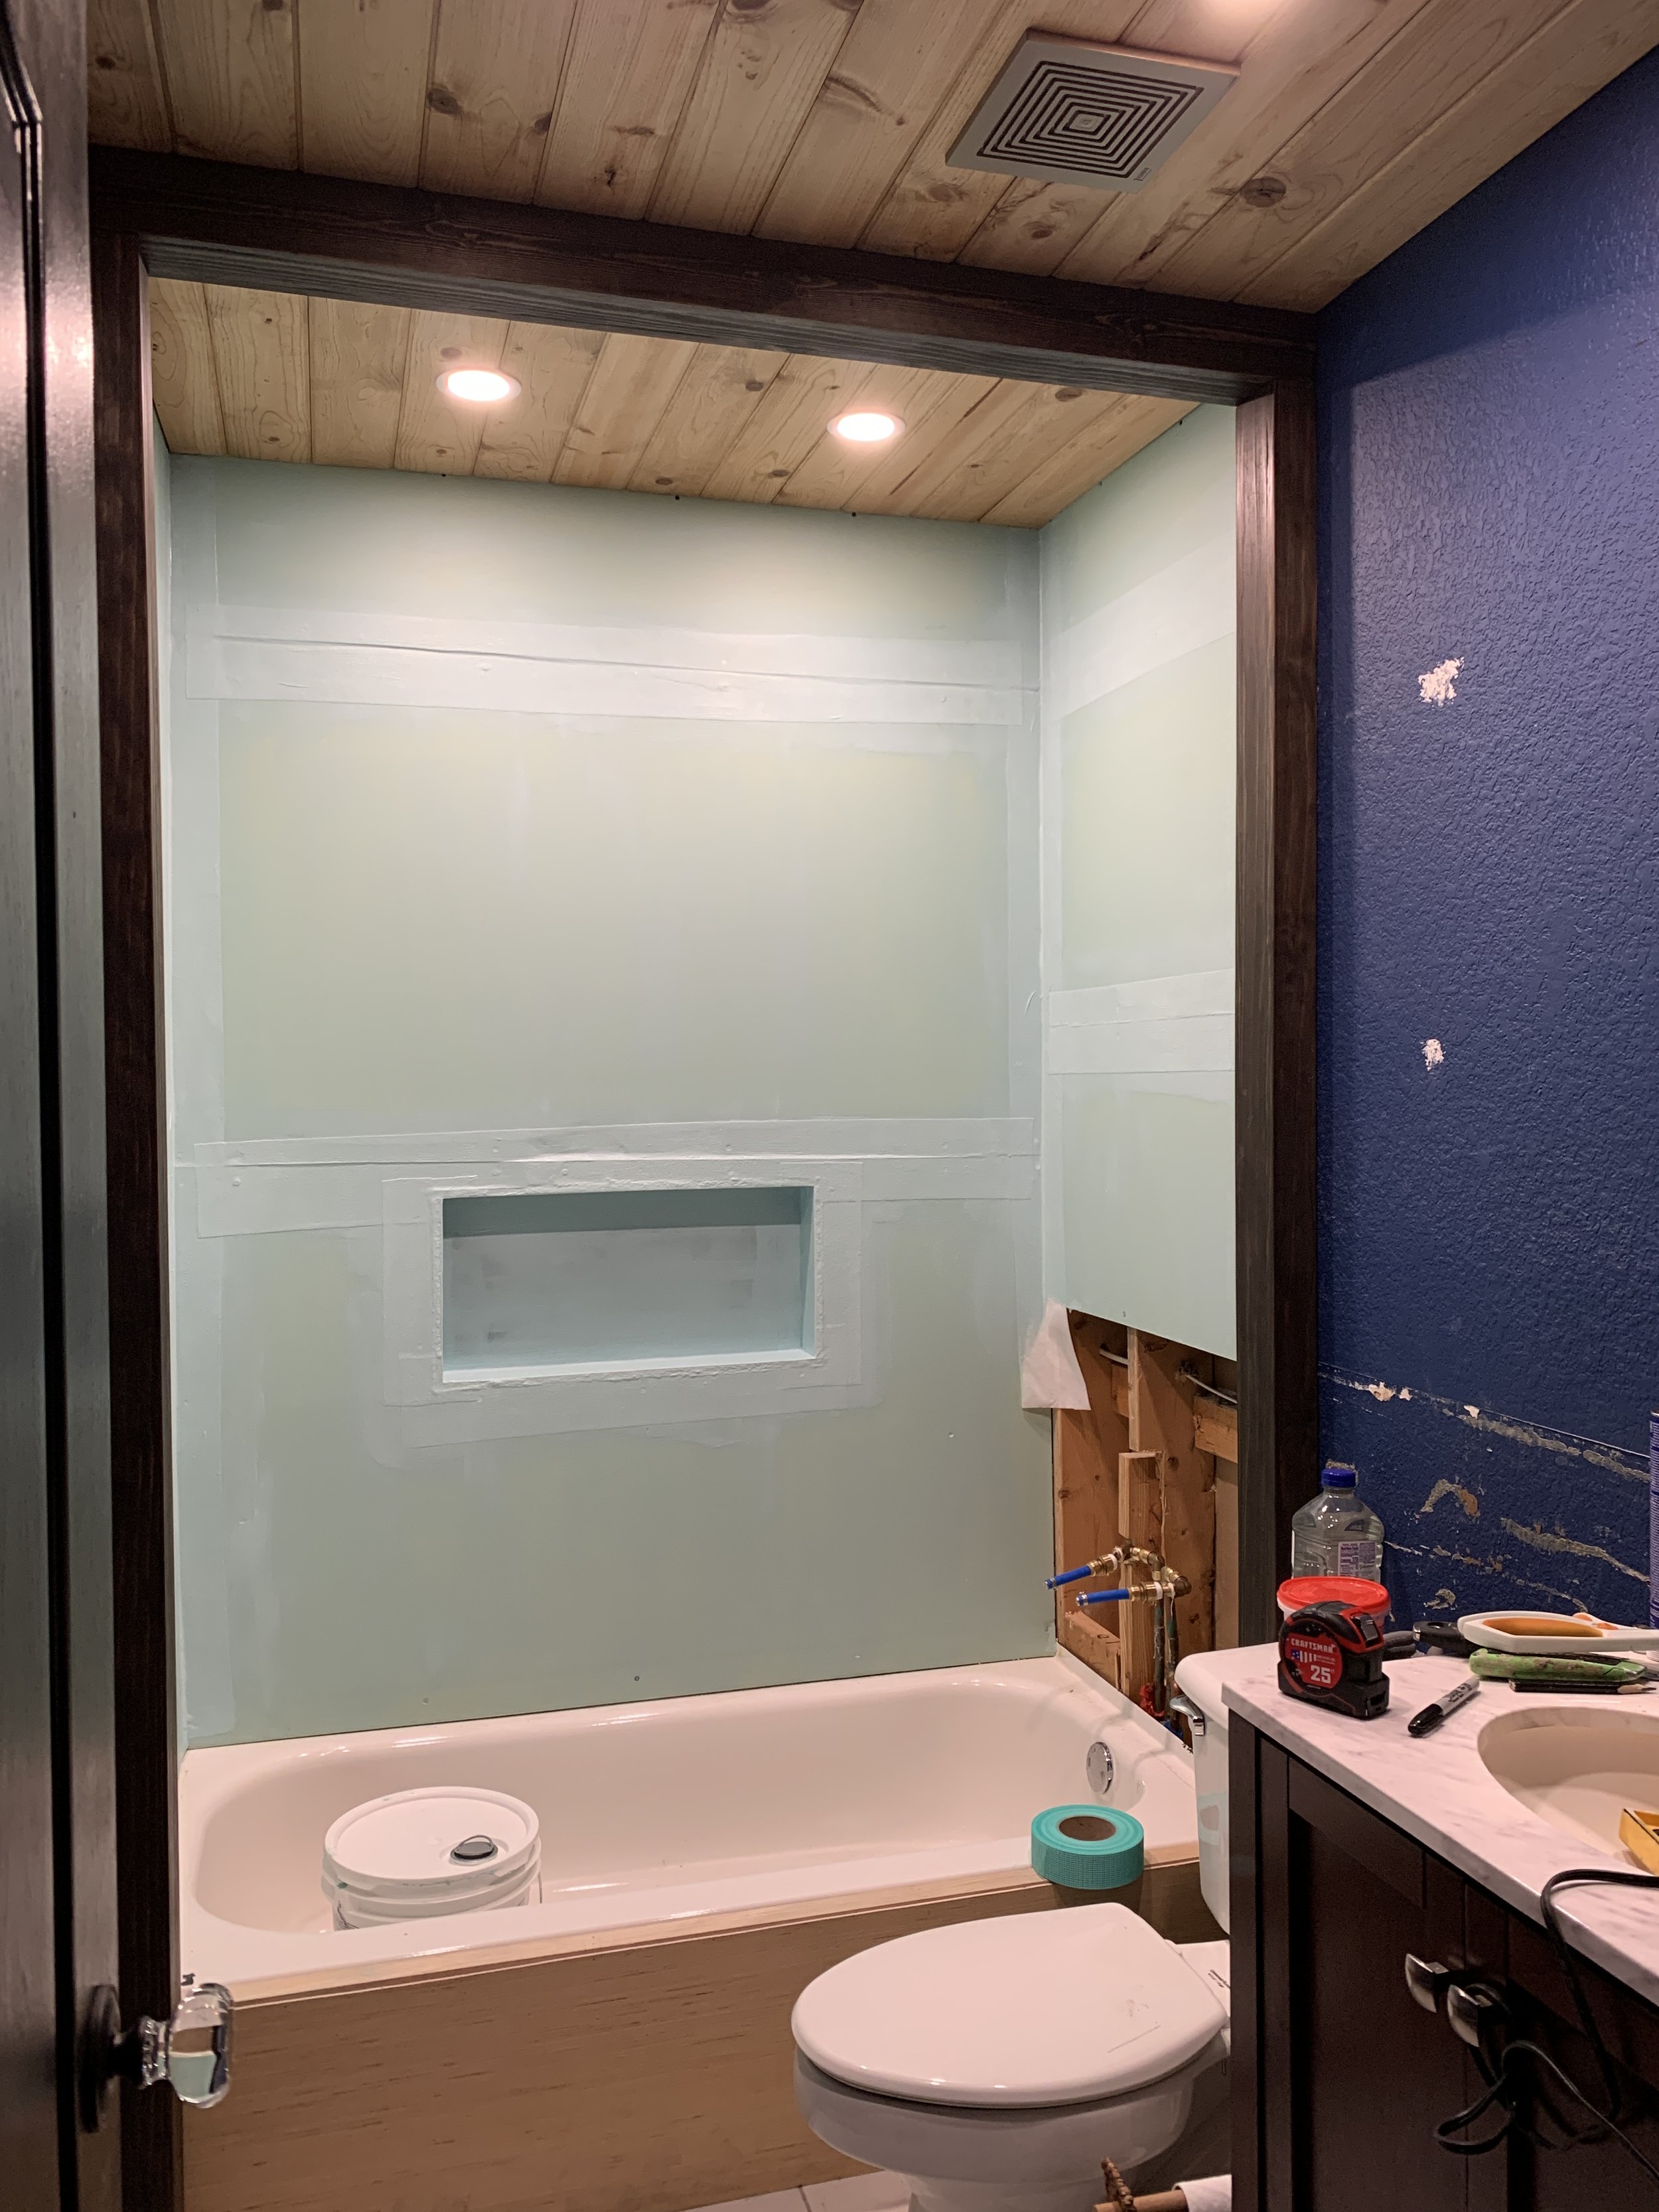
With the plumbing finally cooperating with us, I was able to drywall the remaining hole in the shower wall and got some more layers of liquid waterproofing brushed on in the shower, bringing our current total up to 4 coats.

Shower Niche Sill
Also this week, Nick helped me cut our Carrara marble sill for the shower niche.
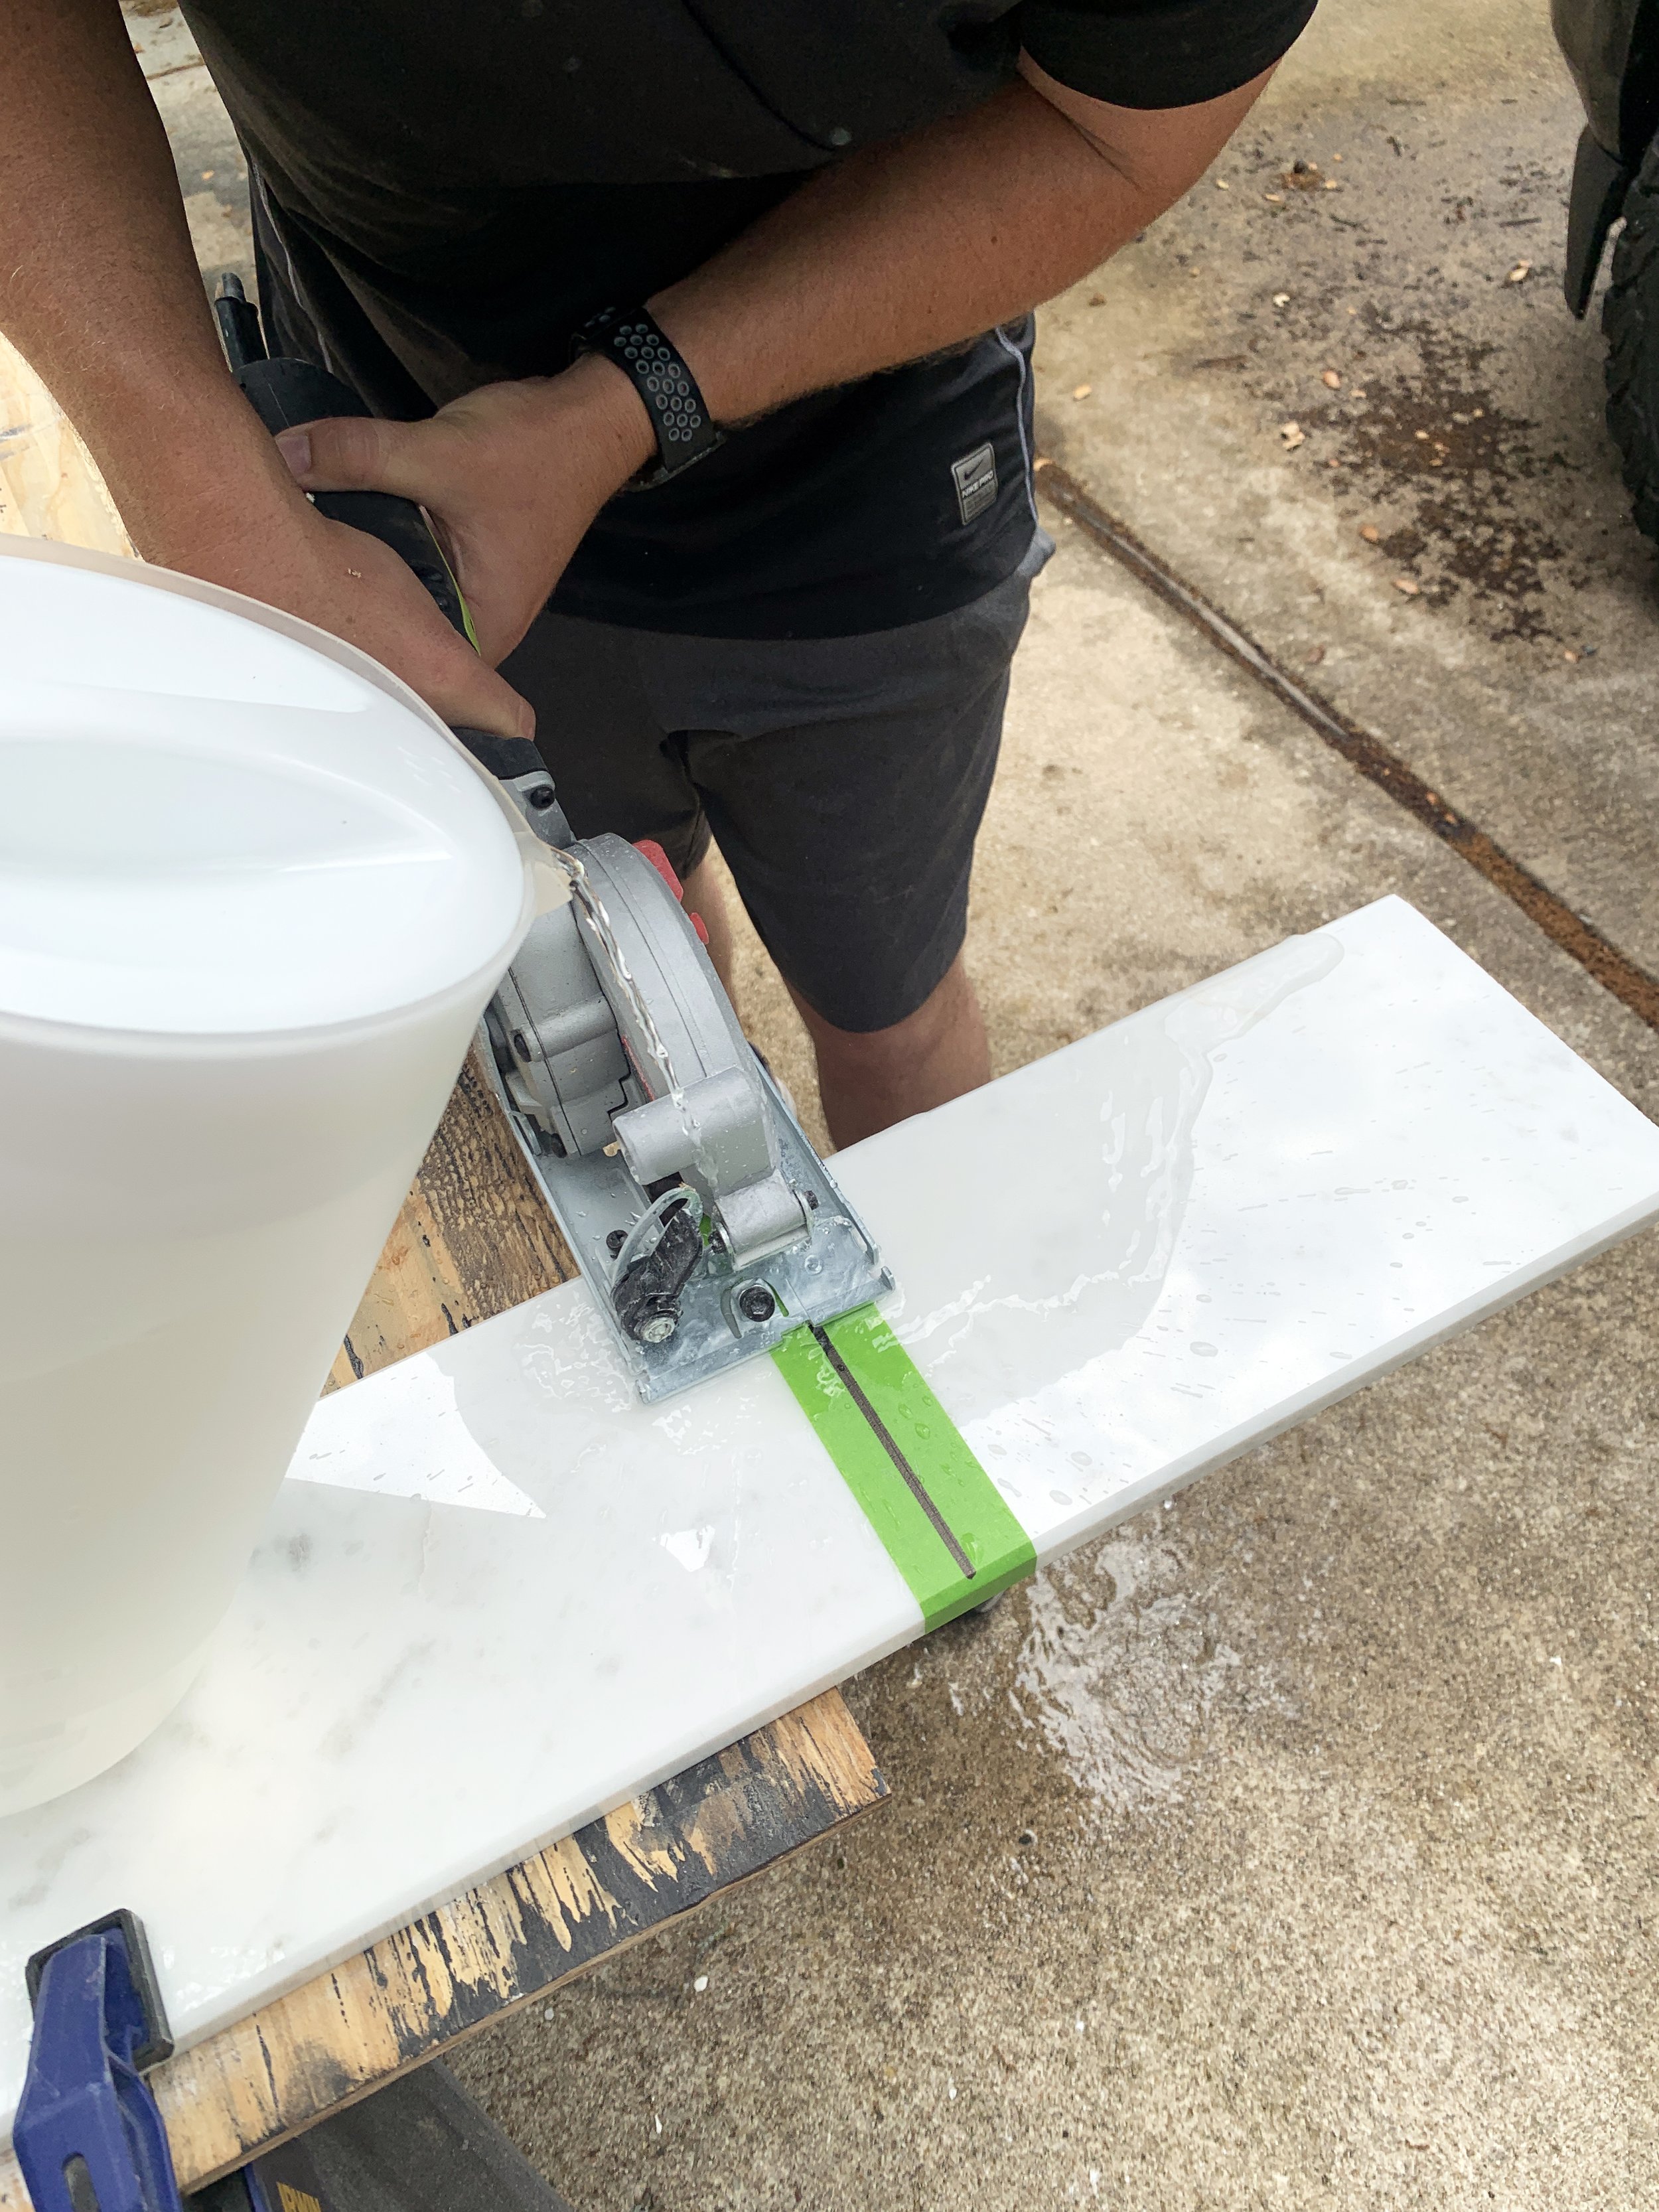
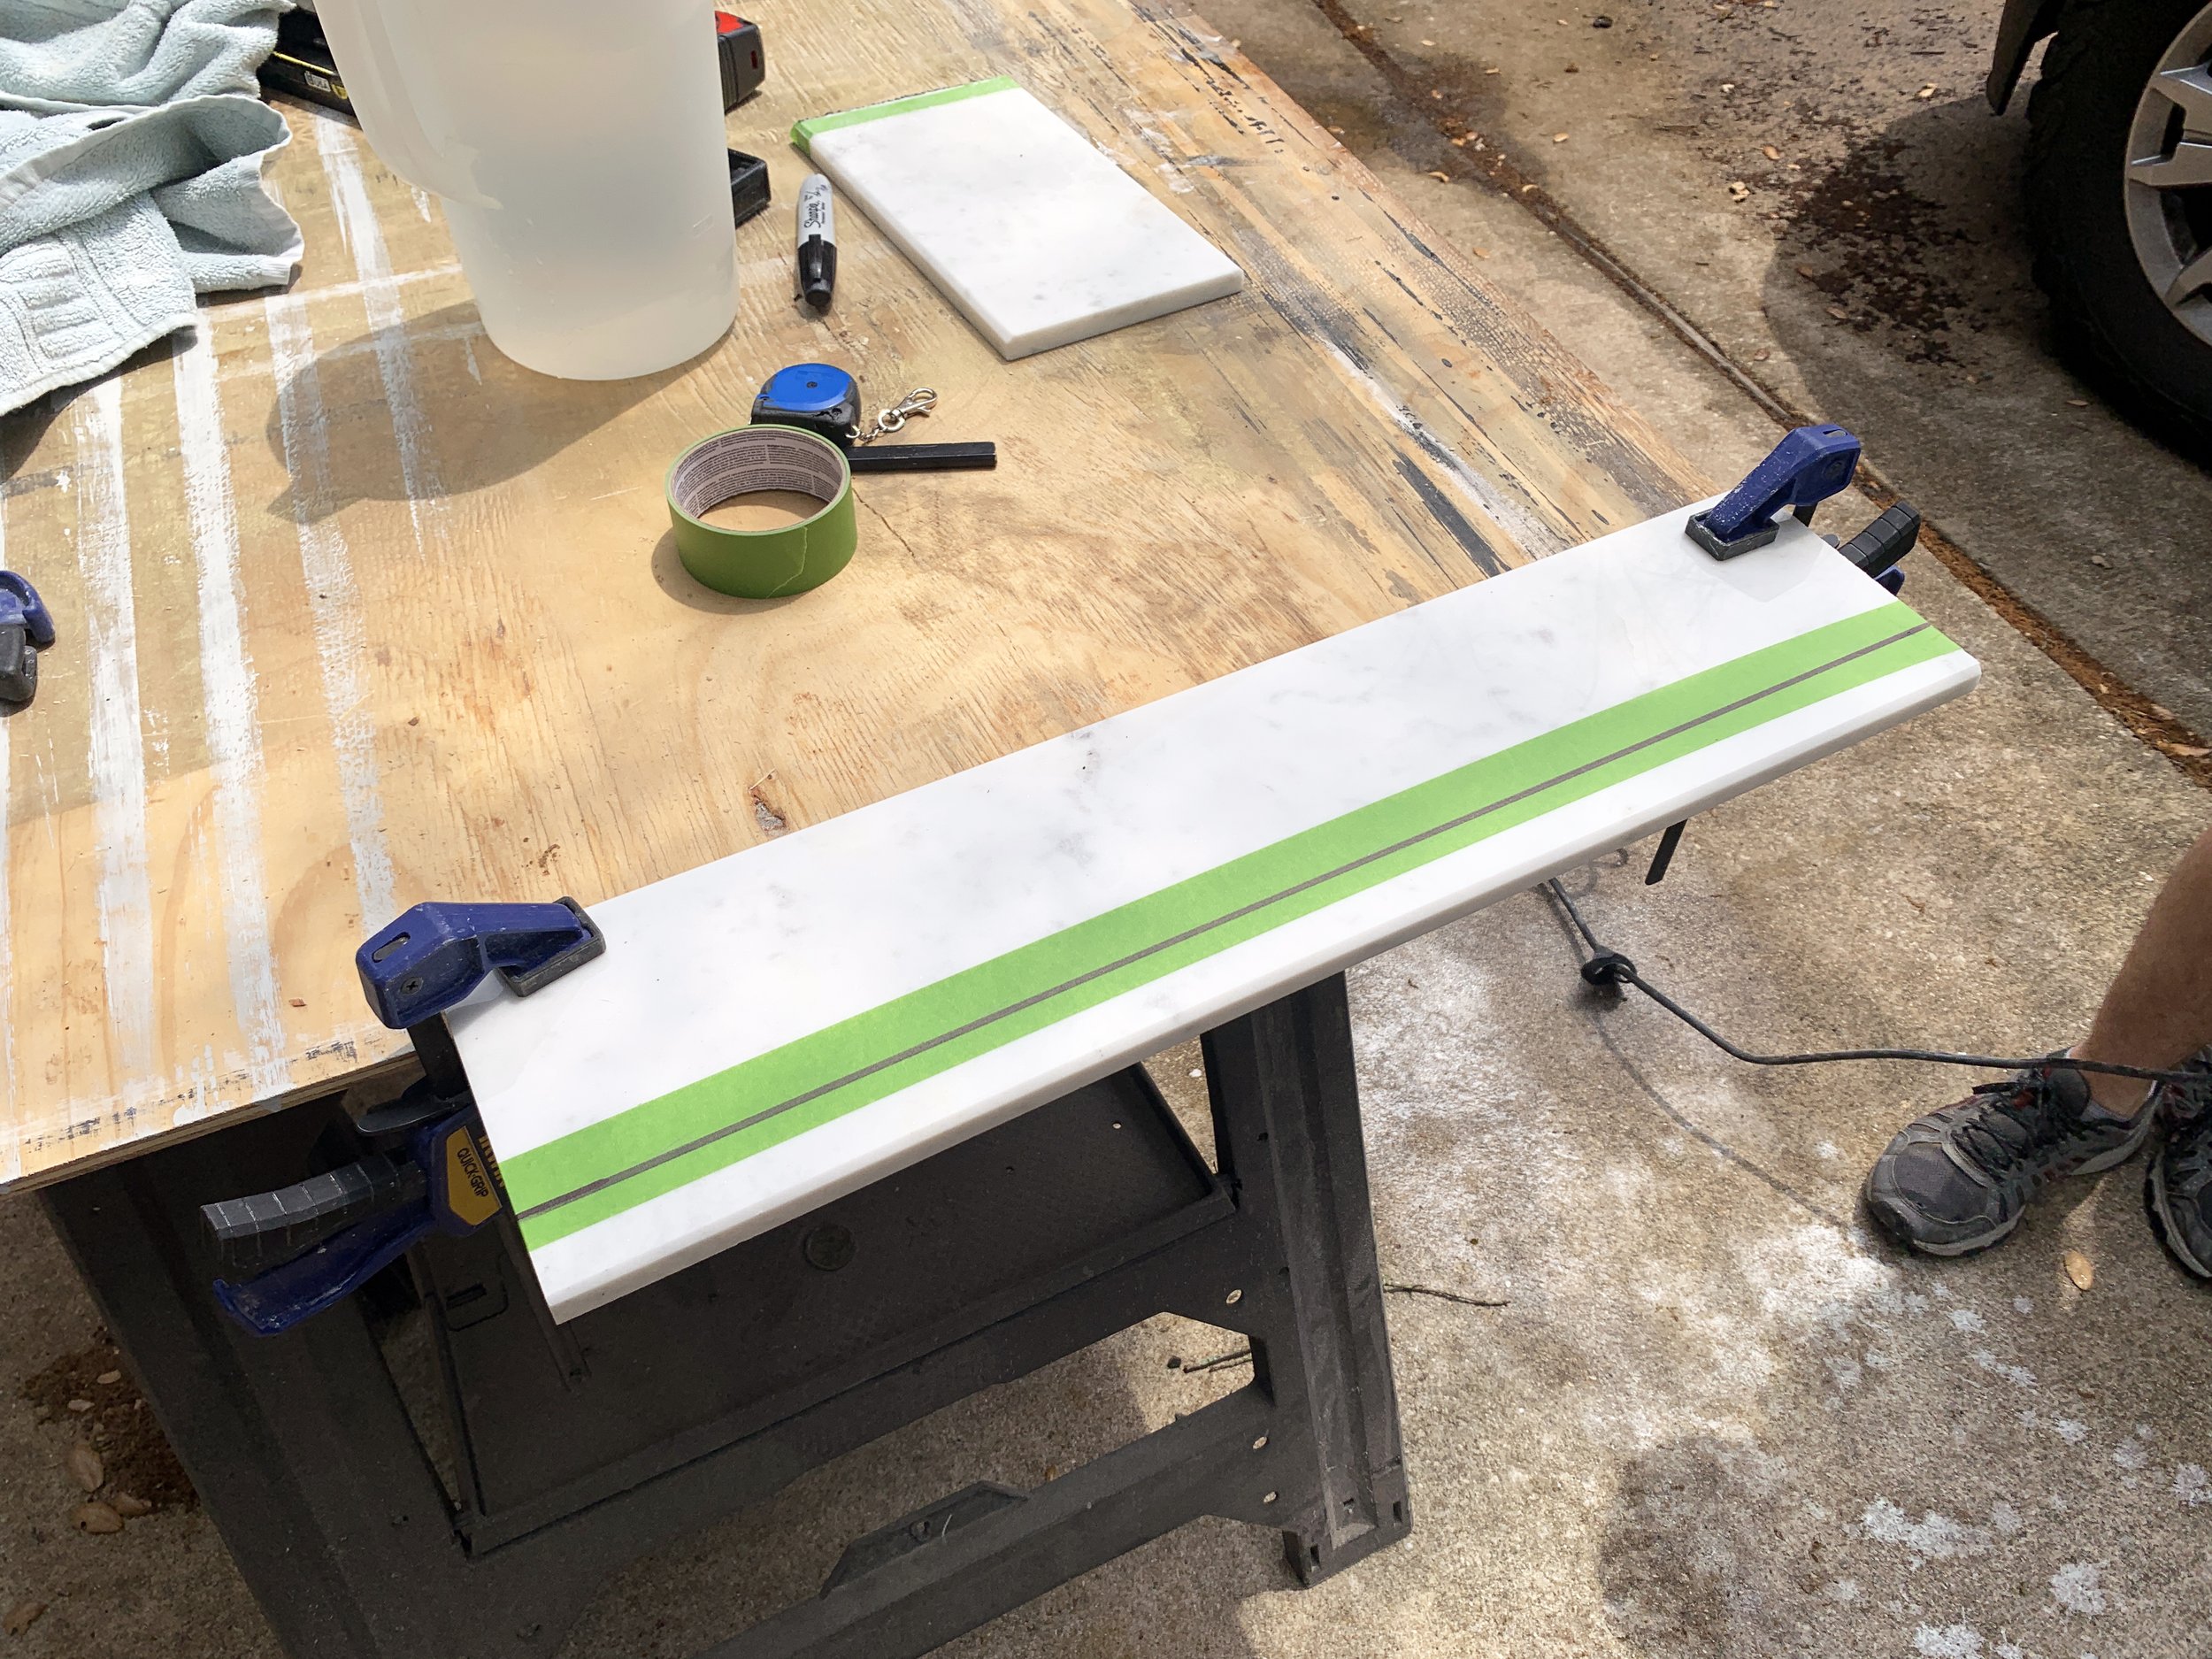
We had to cut the depth and the length to get it to fit perfectly, and used our small saw and pitchers of water to cut it with a makeshift “wet saw”.

It fits perfectly inside the niche.
Tile Update
ALSO, in super exciting news – our two boxes of extra tiles came in! AND they’re flawless with no breaks or chips!!! Now I finally can get started on tiling the shower this next week. I couldn’t help but give myself a little sneak peek of our new tiles in the niche.

I’m uber excited, with just a healthy dose of concern it could all go terribly wrong at any moment. :::awkward laugh:::
The Finer Details
This week I also started working on some of the smaller finer details that will help finish the bathroom. While we have already received our hand towel holder and towel bar (the latter I installed this week), there are some pieces I’m DIYing.
Shelves
I got our two shelves made this week, bringing some more marble and brass detail to the room.

I love the classic look of a brass gallery rail and am happy with how much more polished it makes the marble slabs look.
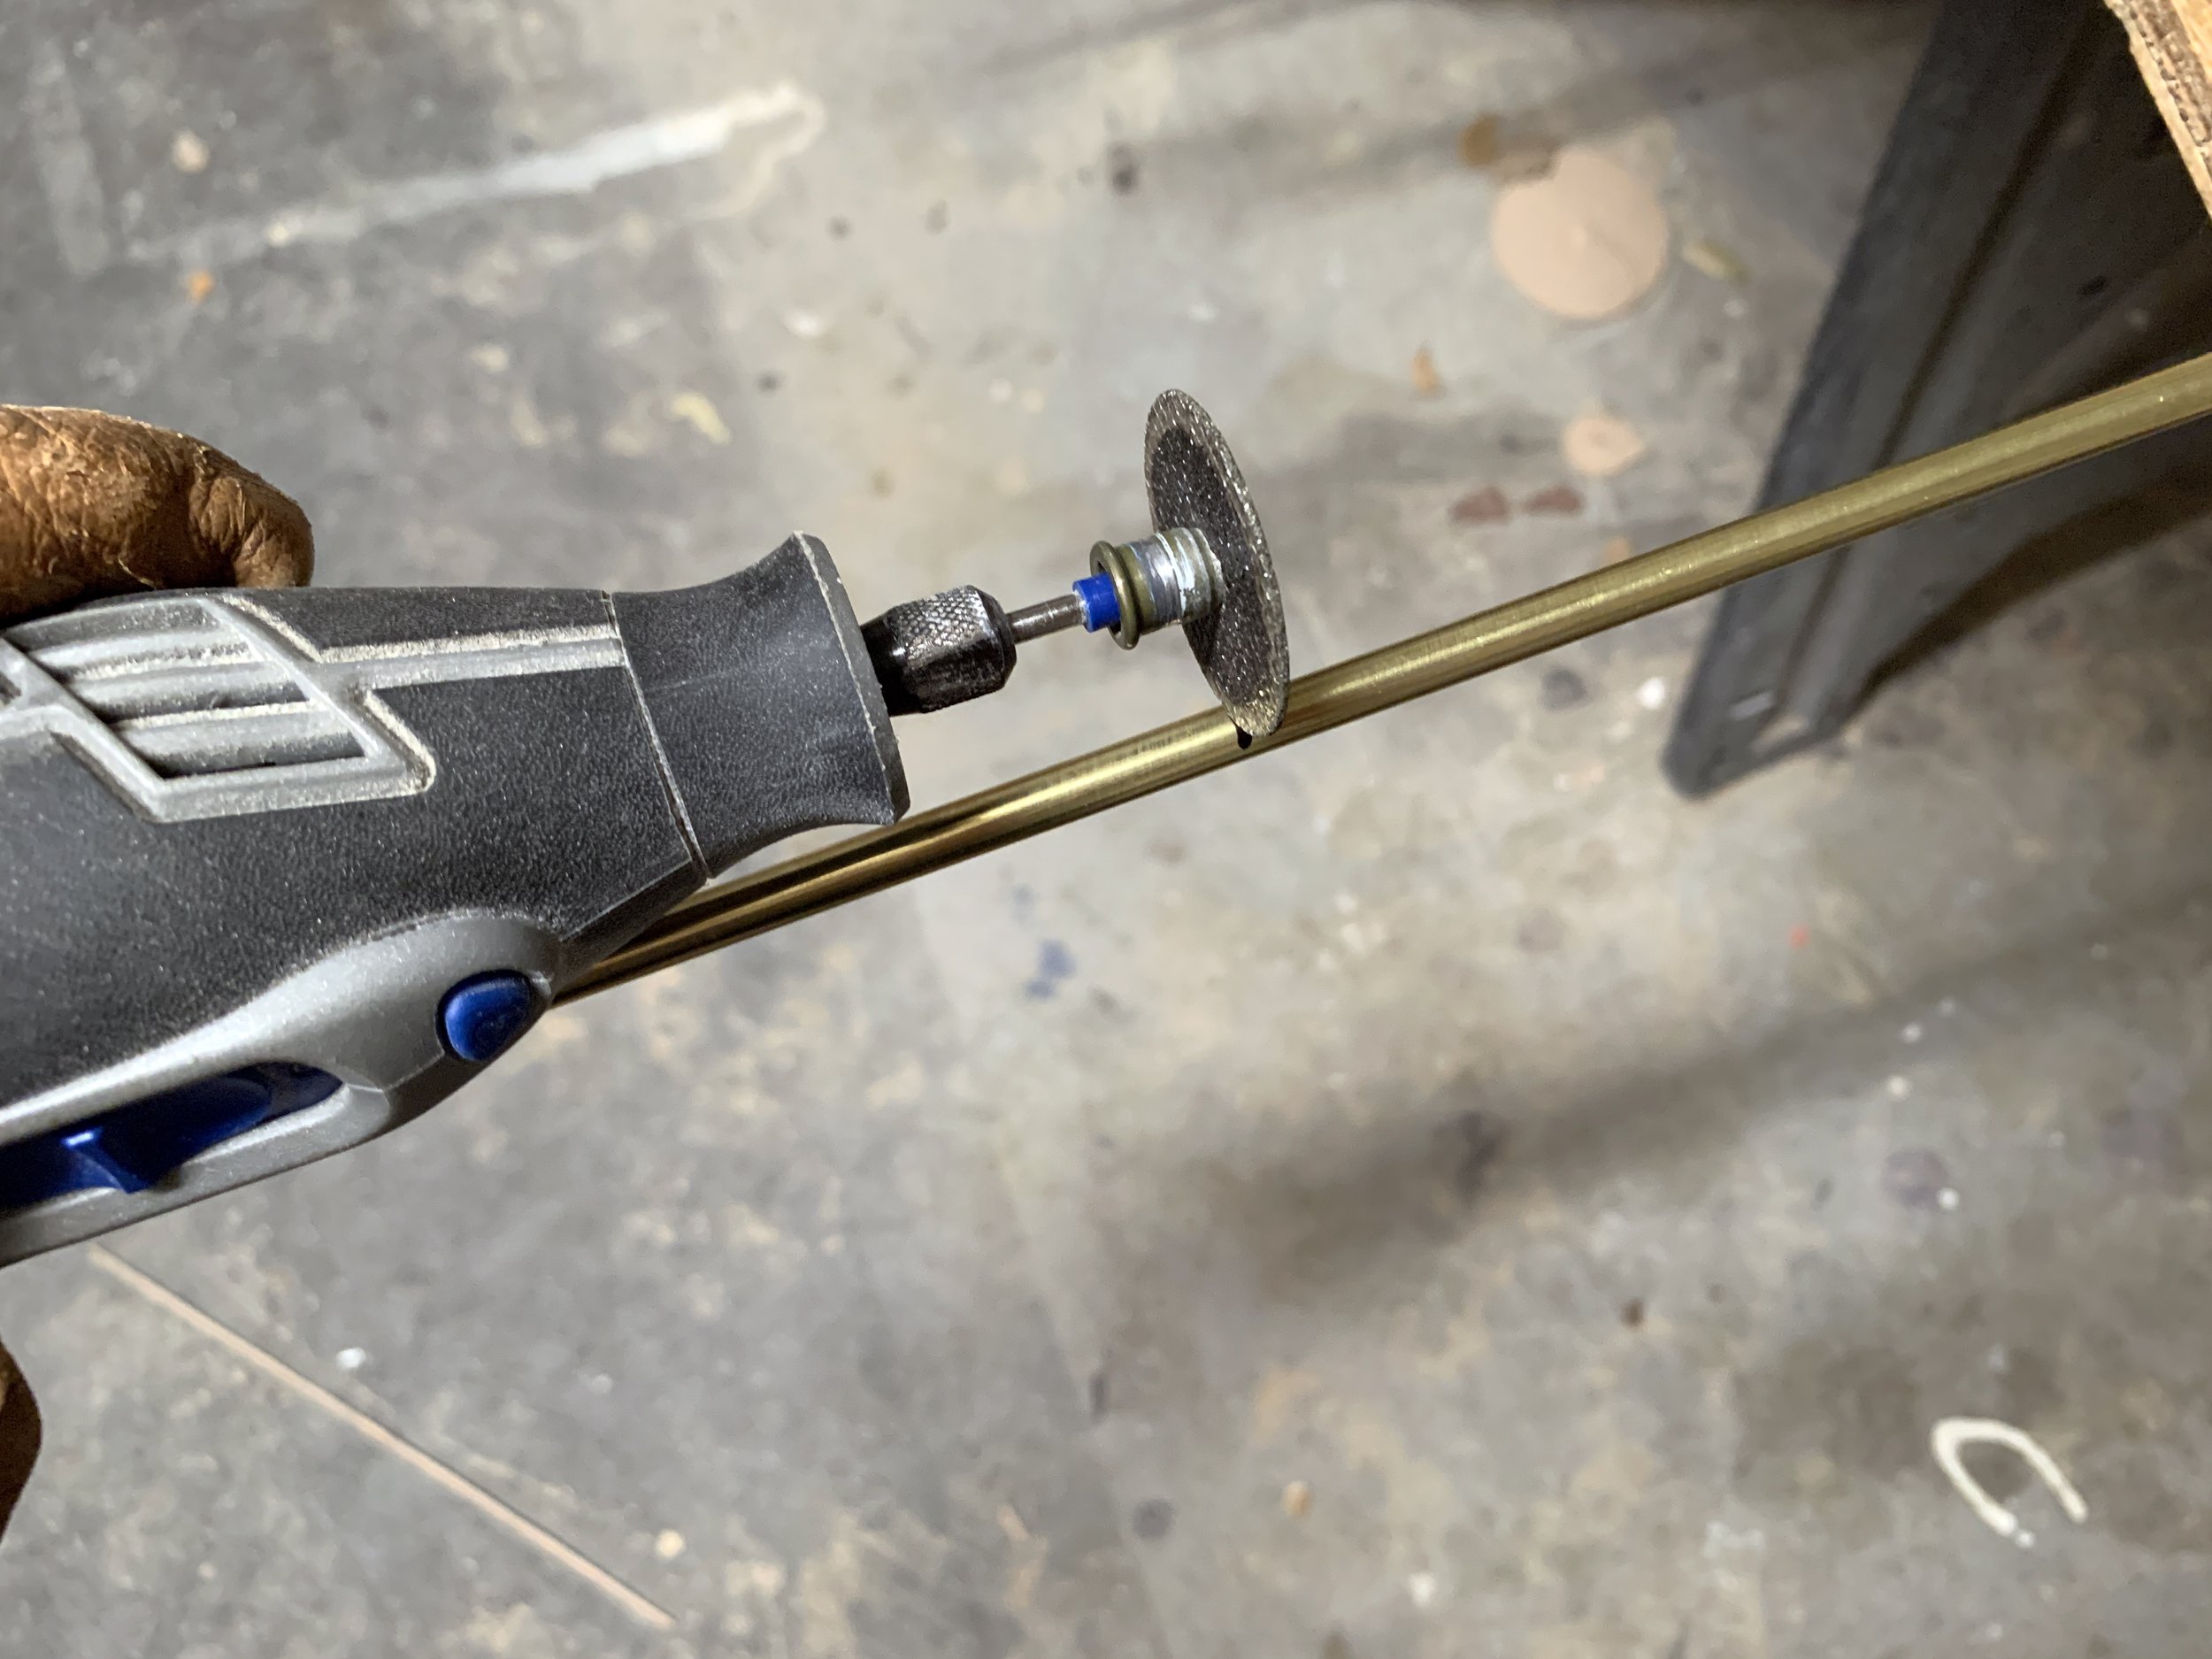
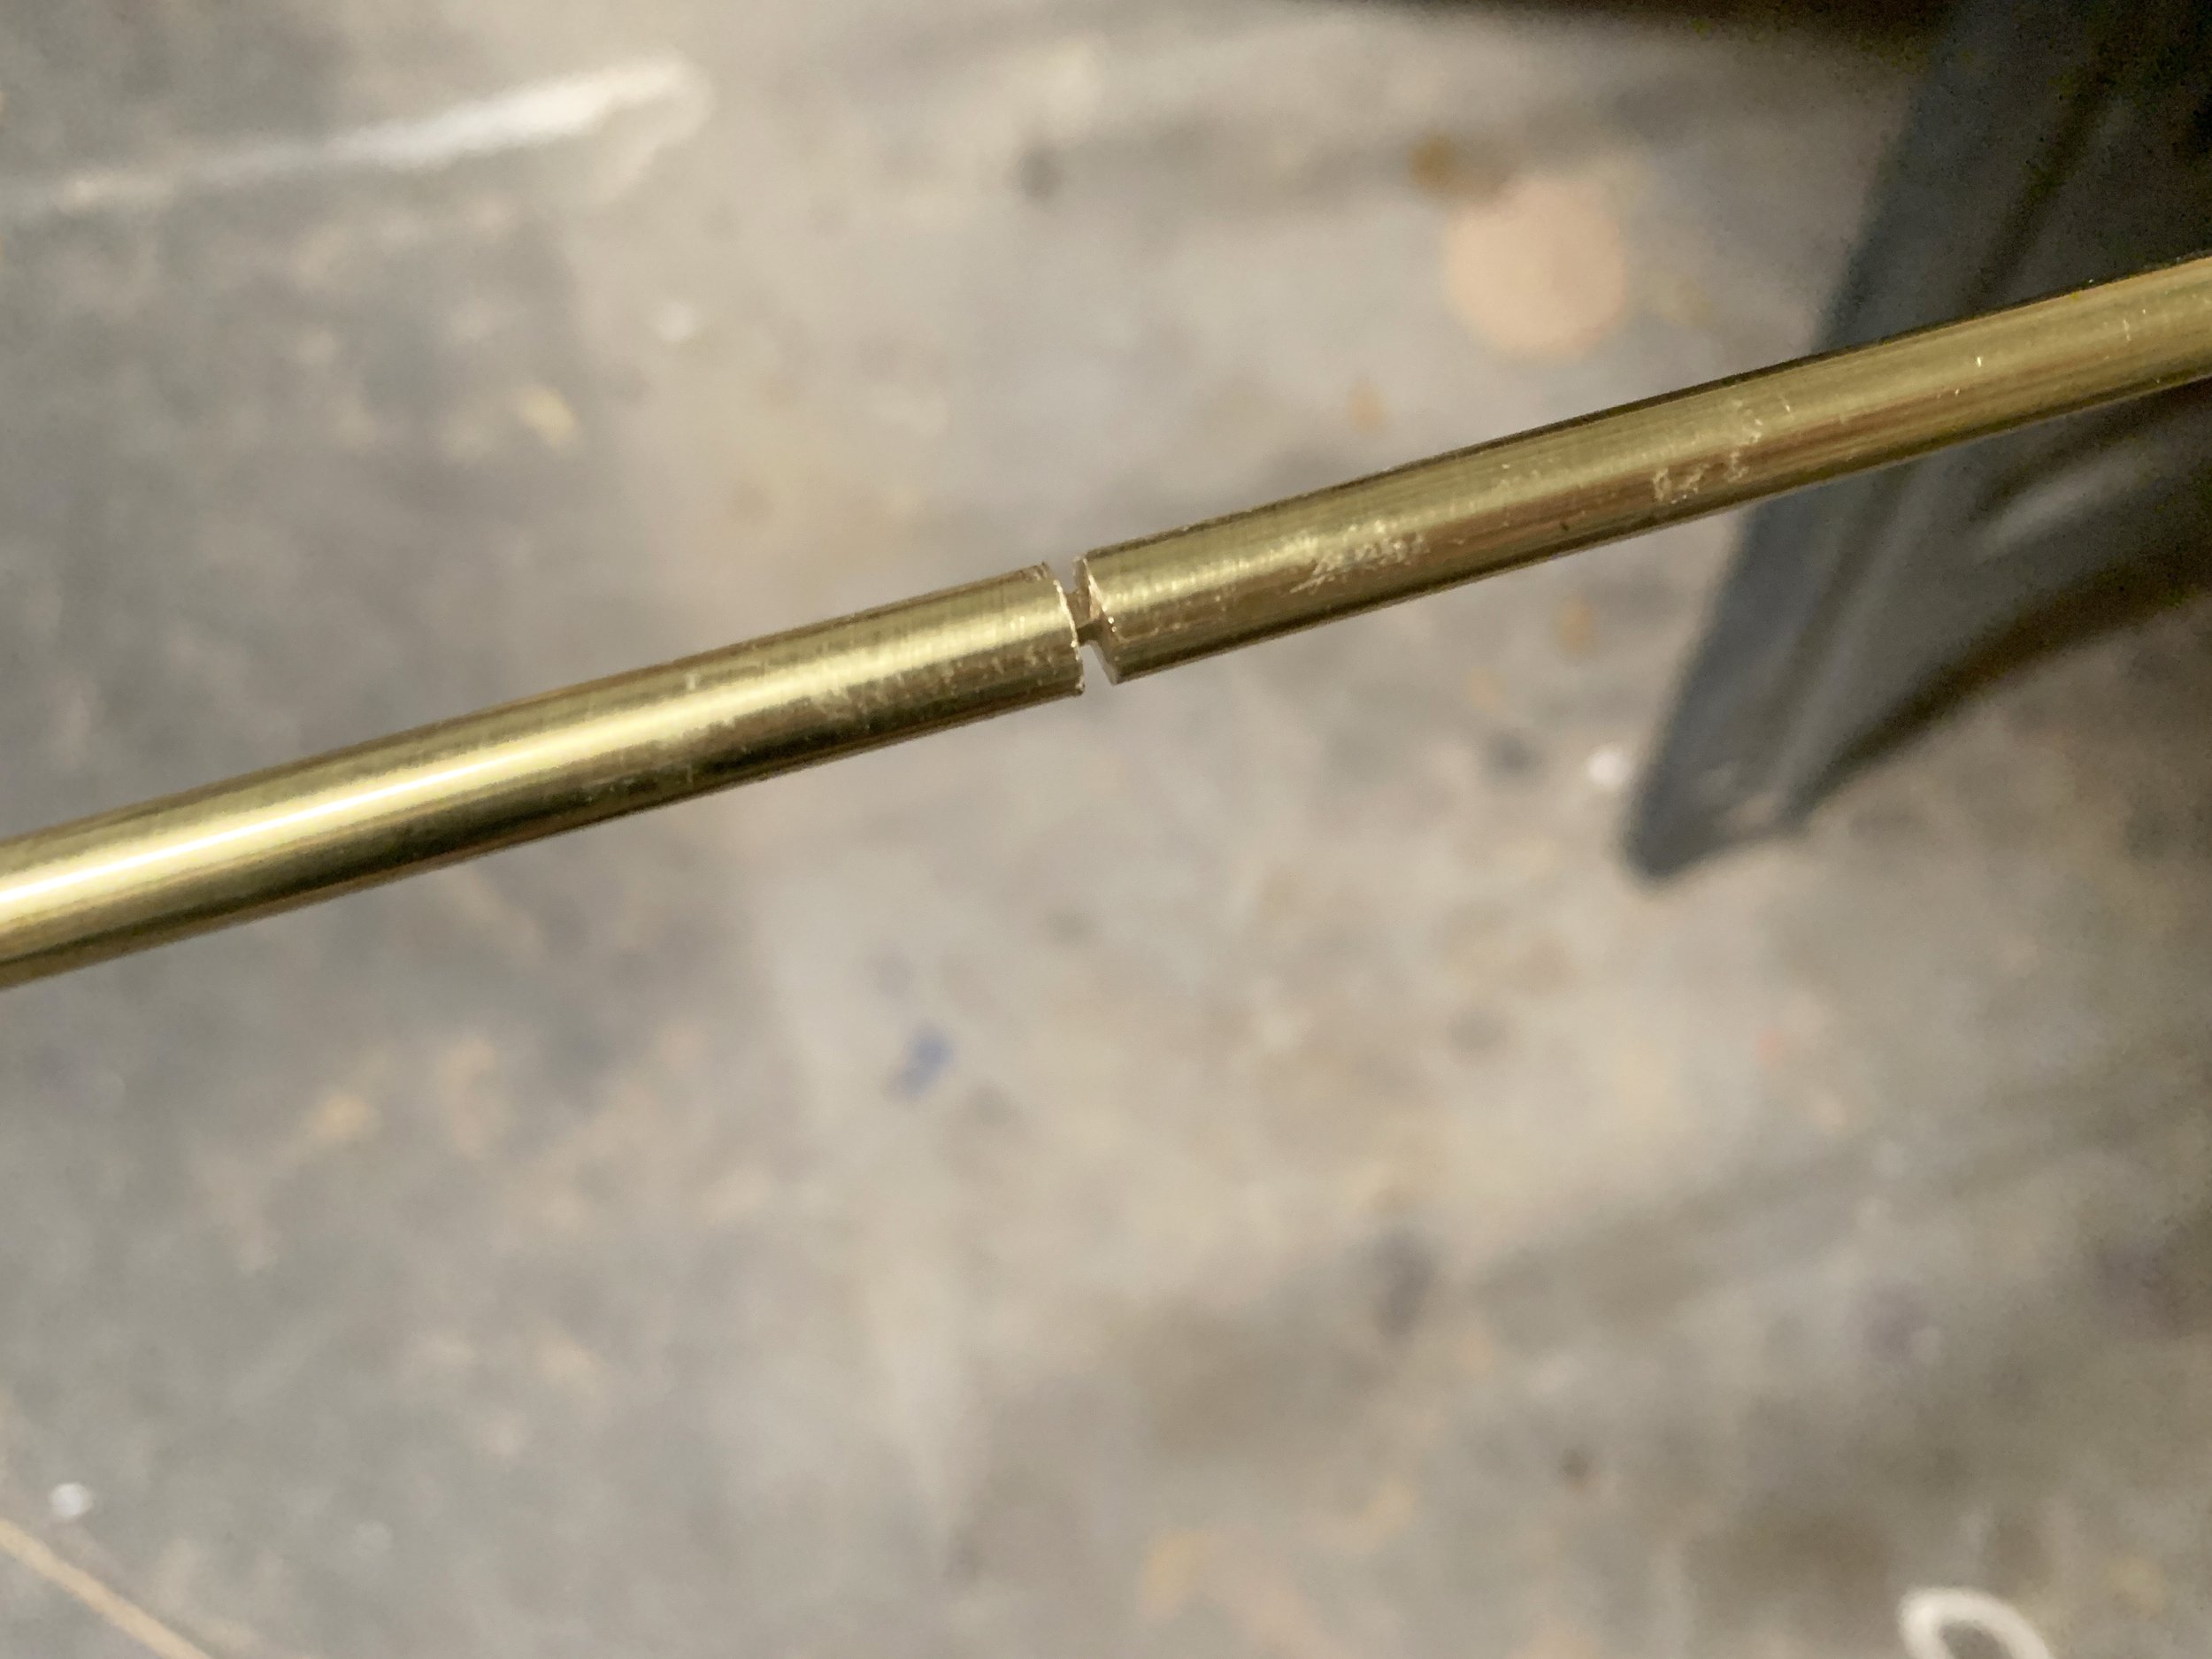
I used the Dremel to cut the brass gallery rail, glued the posts on the marble and used Rub ‘n Buff on the brackets to help them better match the tone of brass hardware already going in the room.

I still need to install them (they’ll go over the toilet), but they’re ready and waiting for us for when we get there!

Mirror
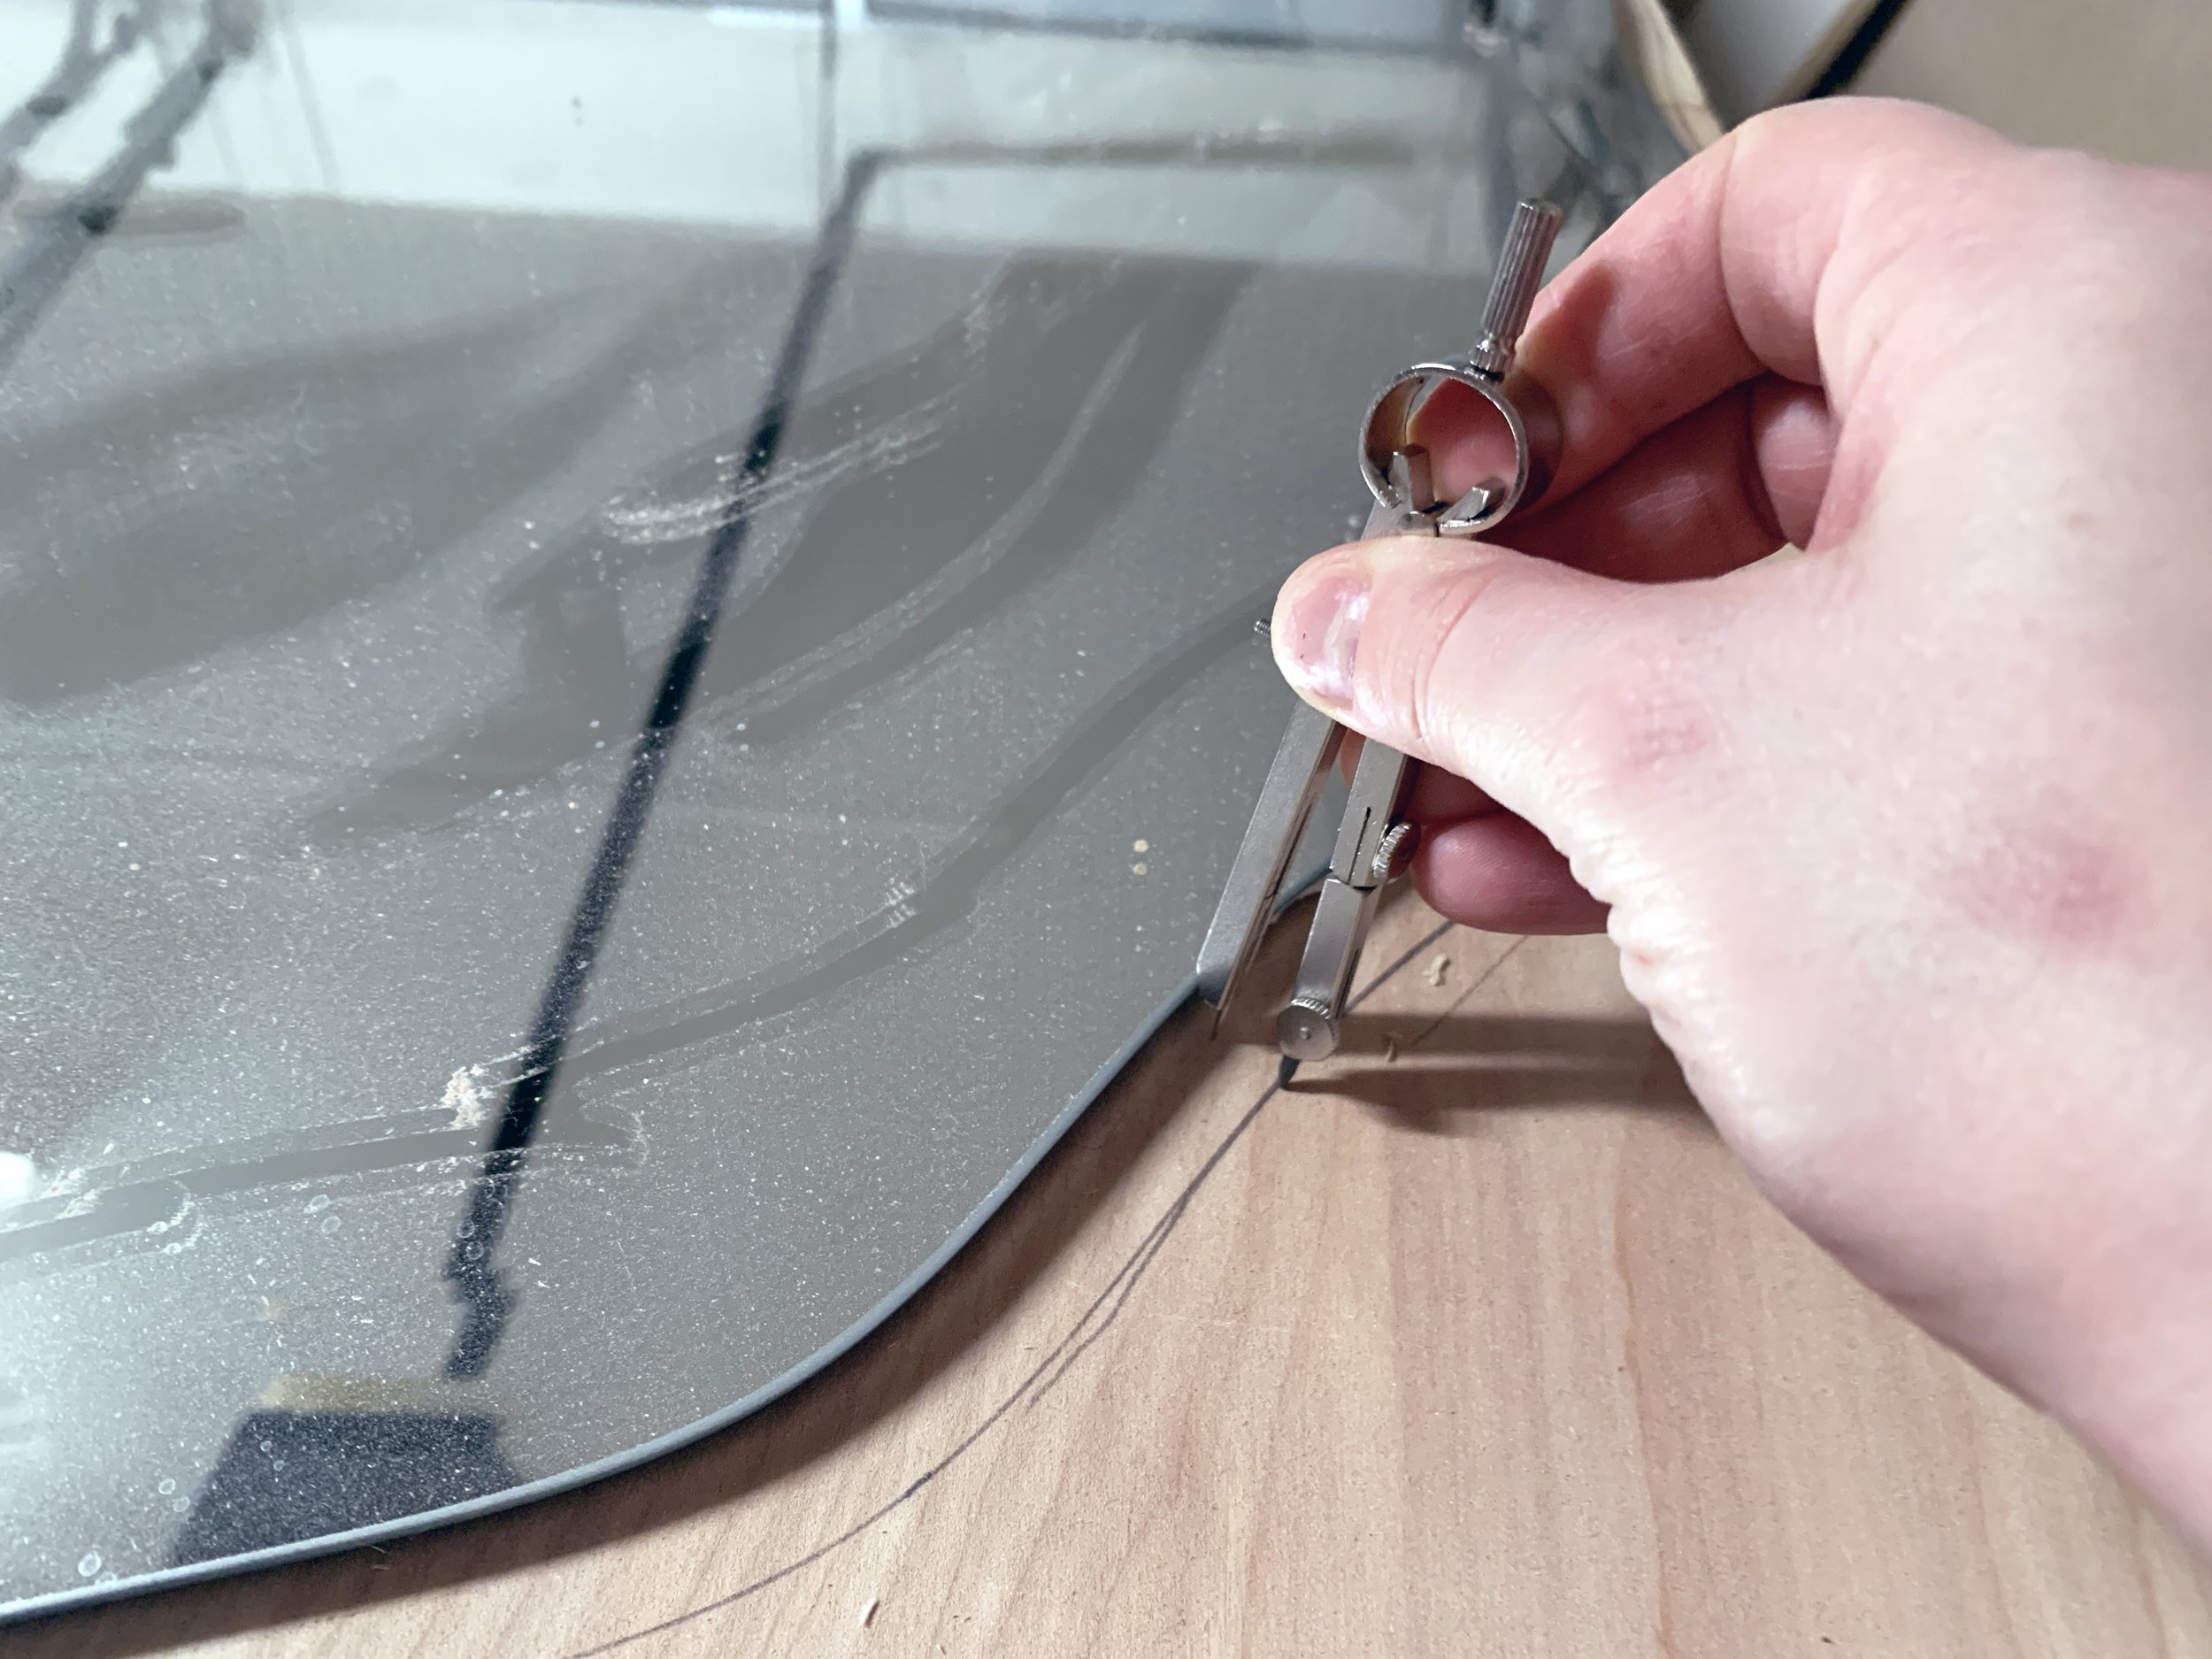
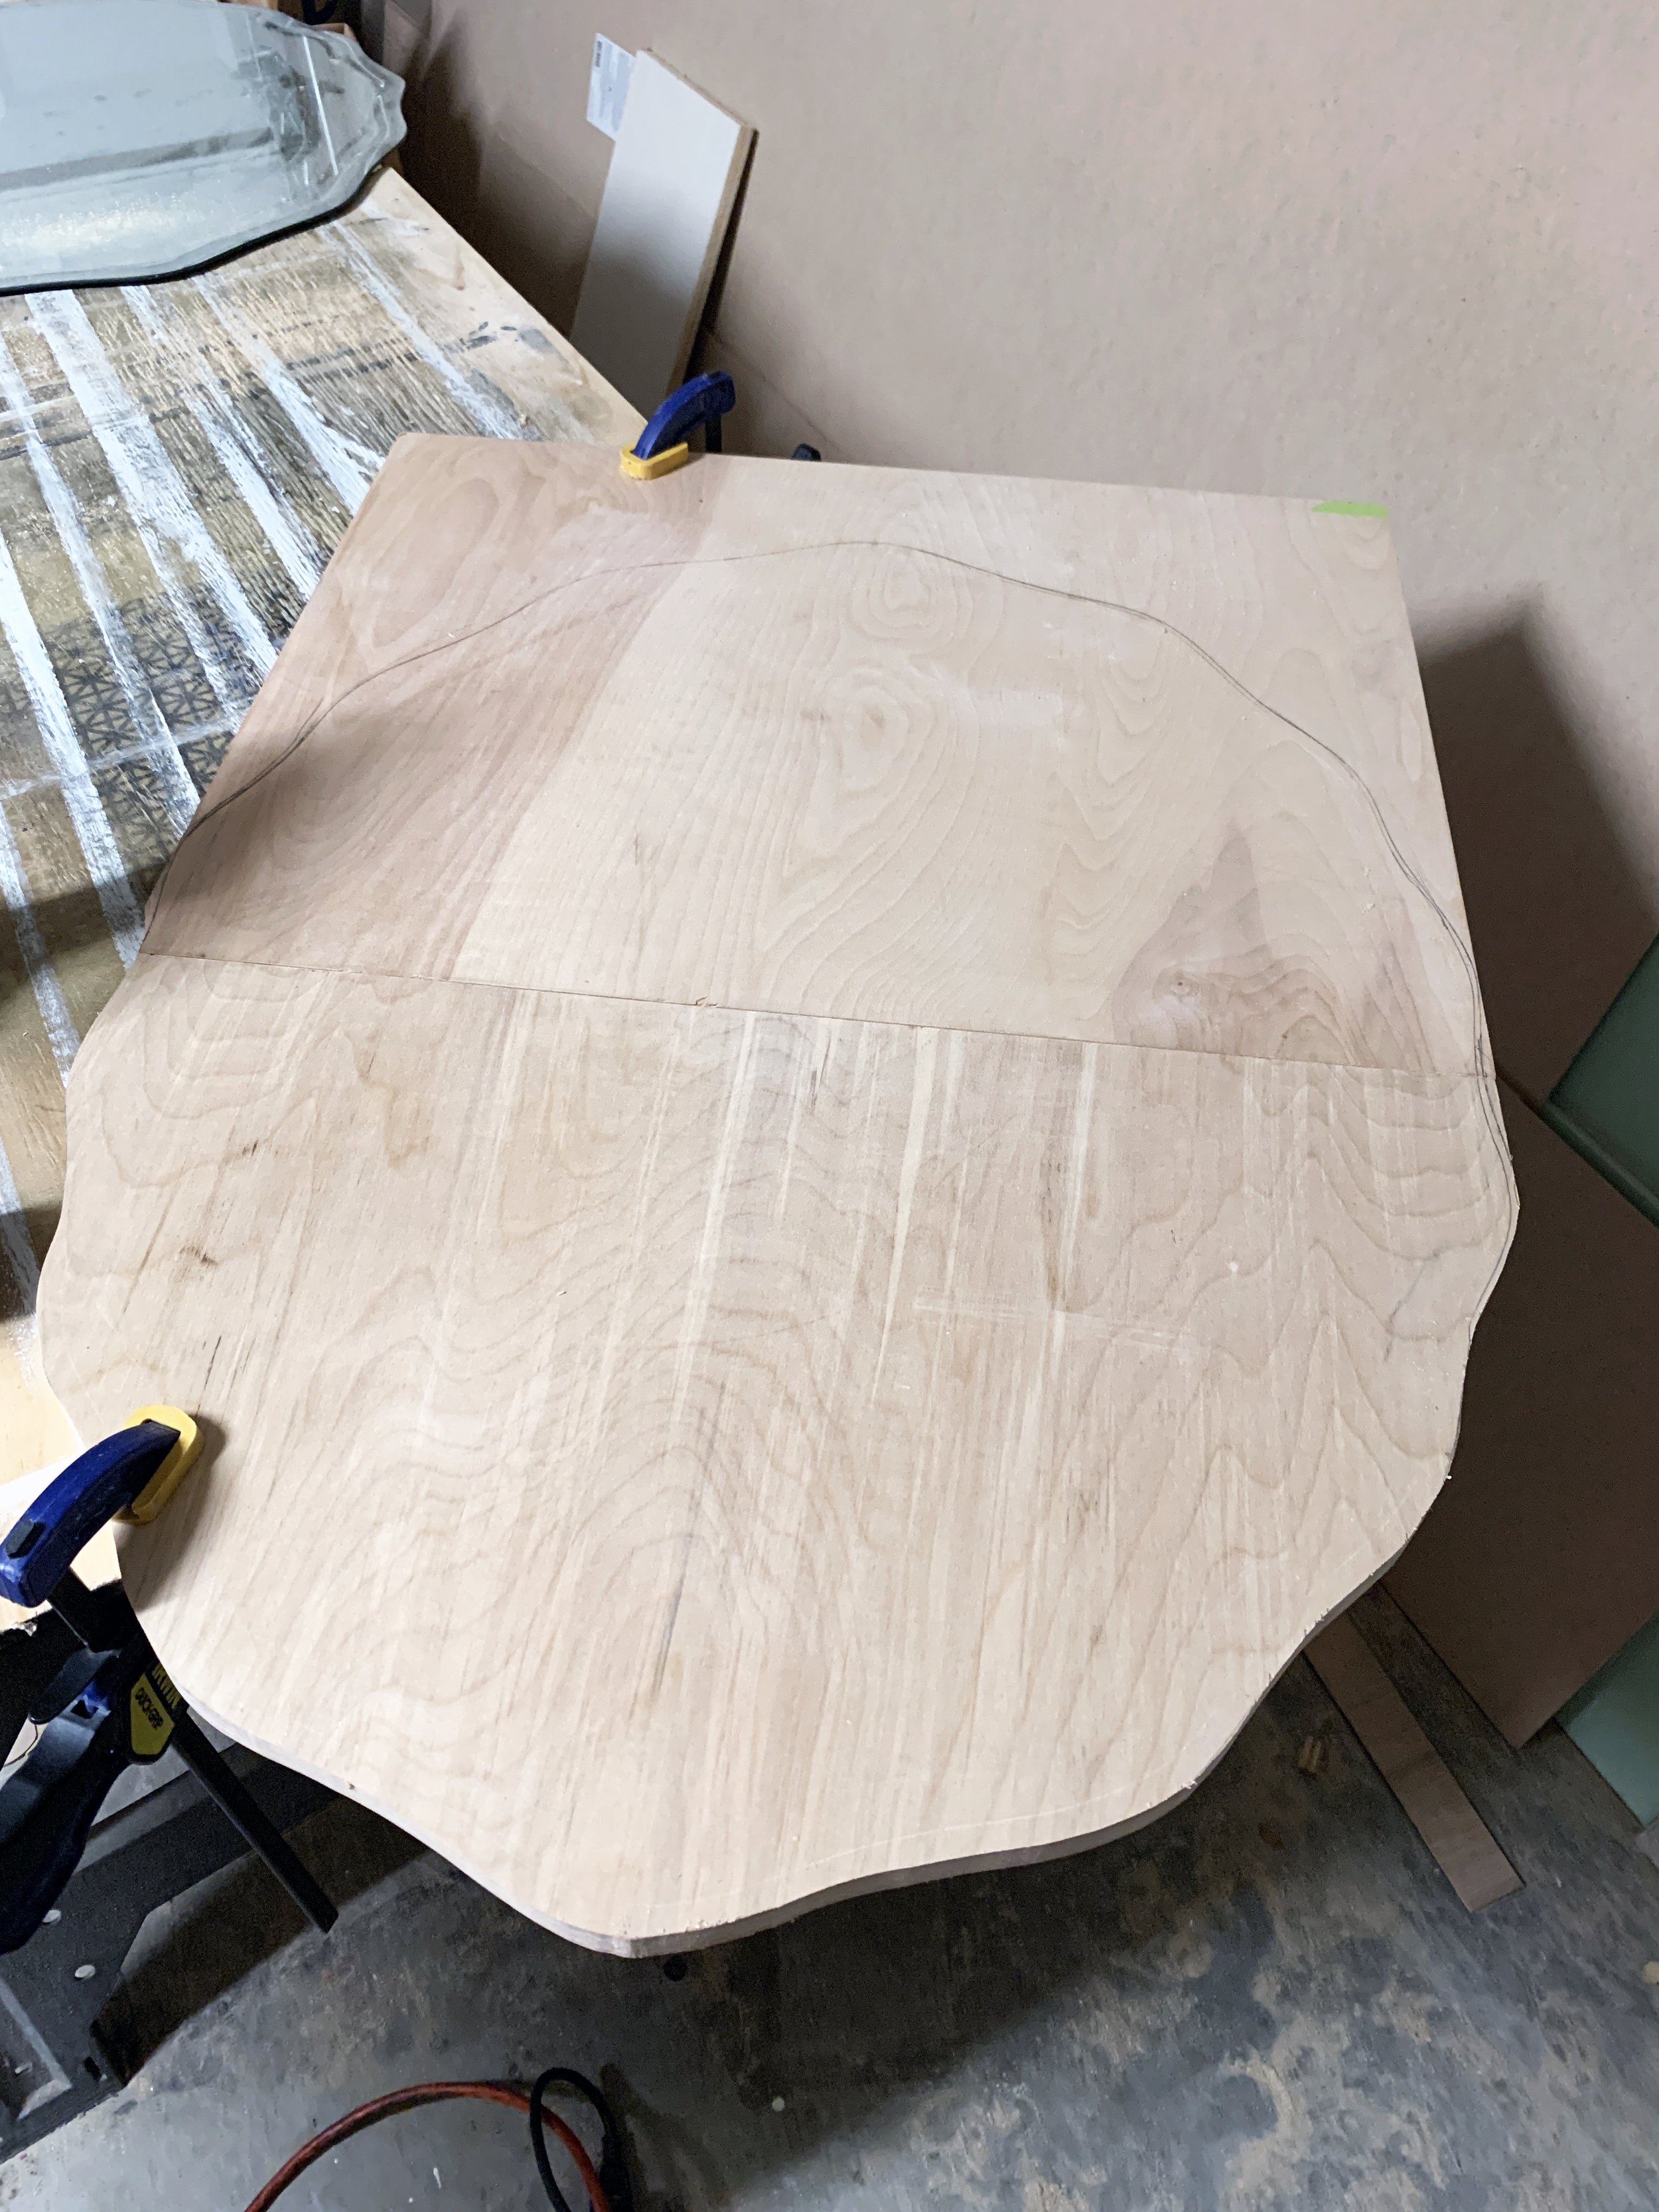
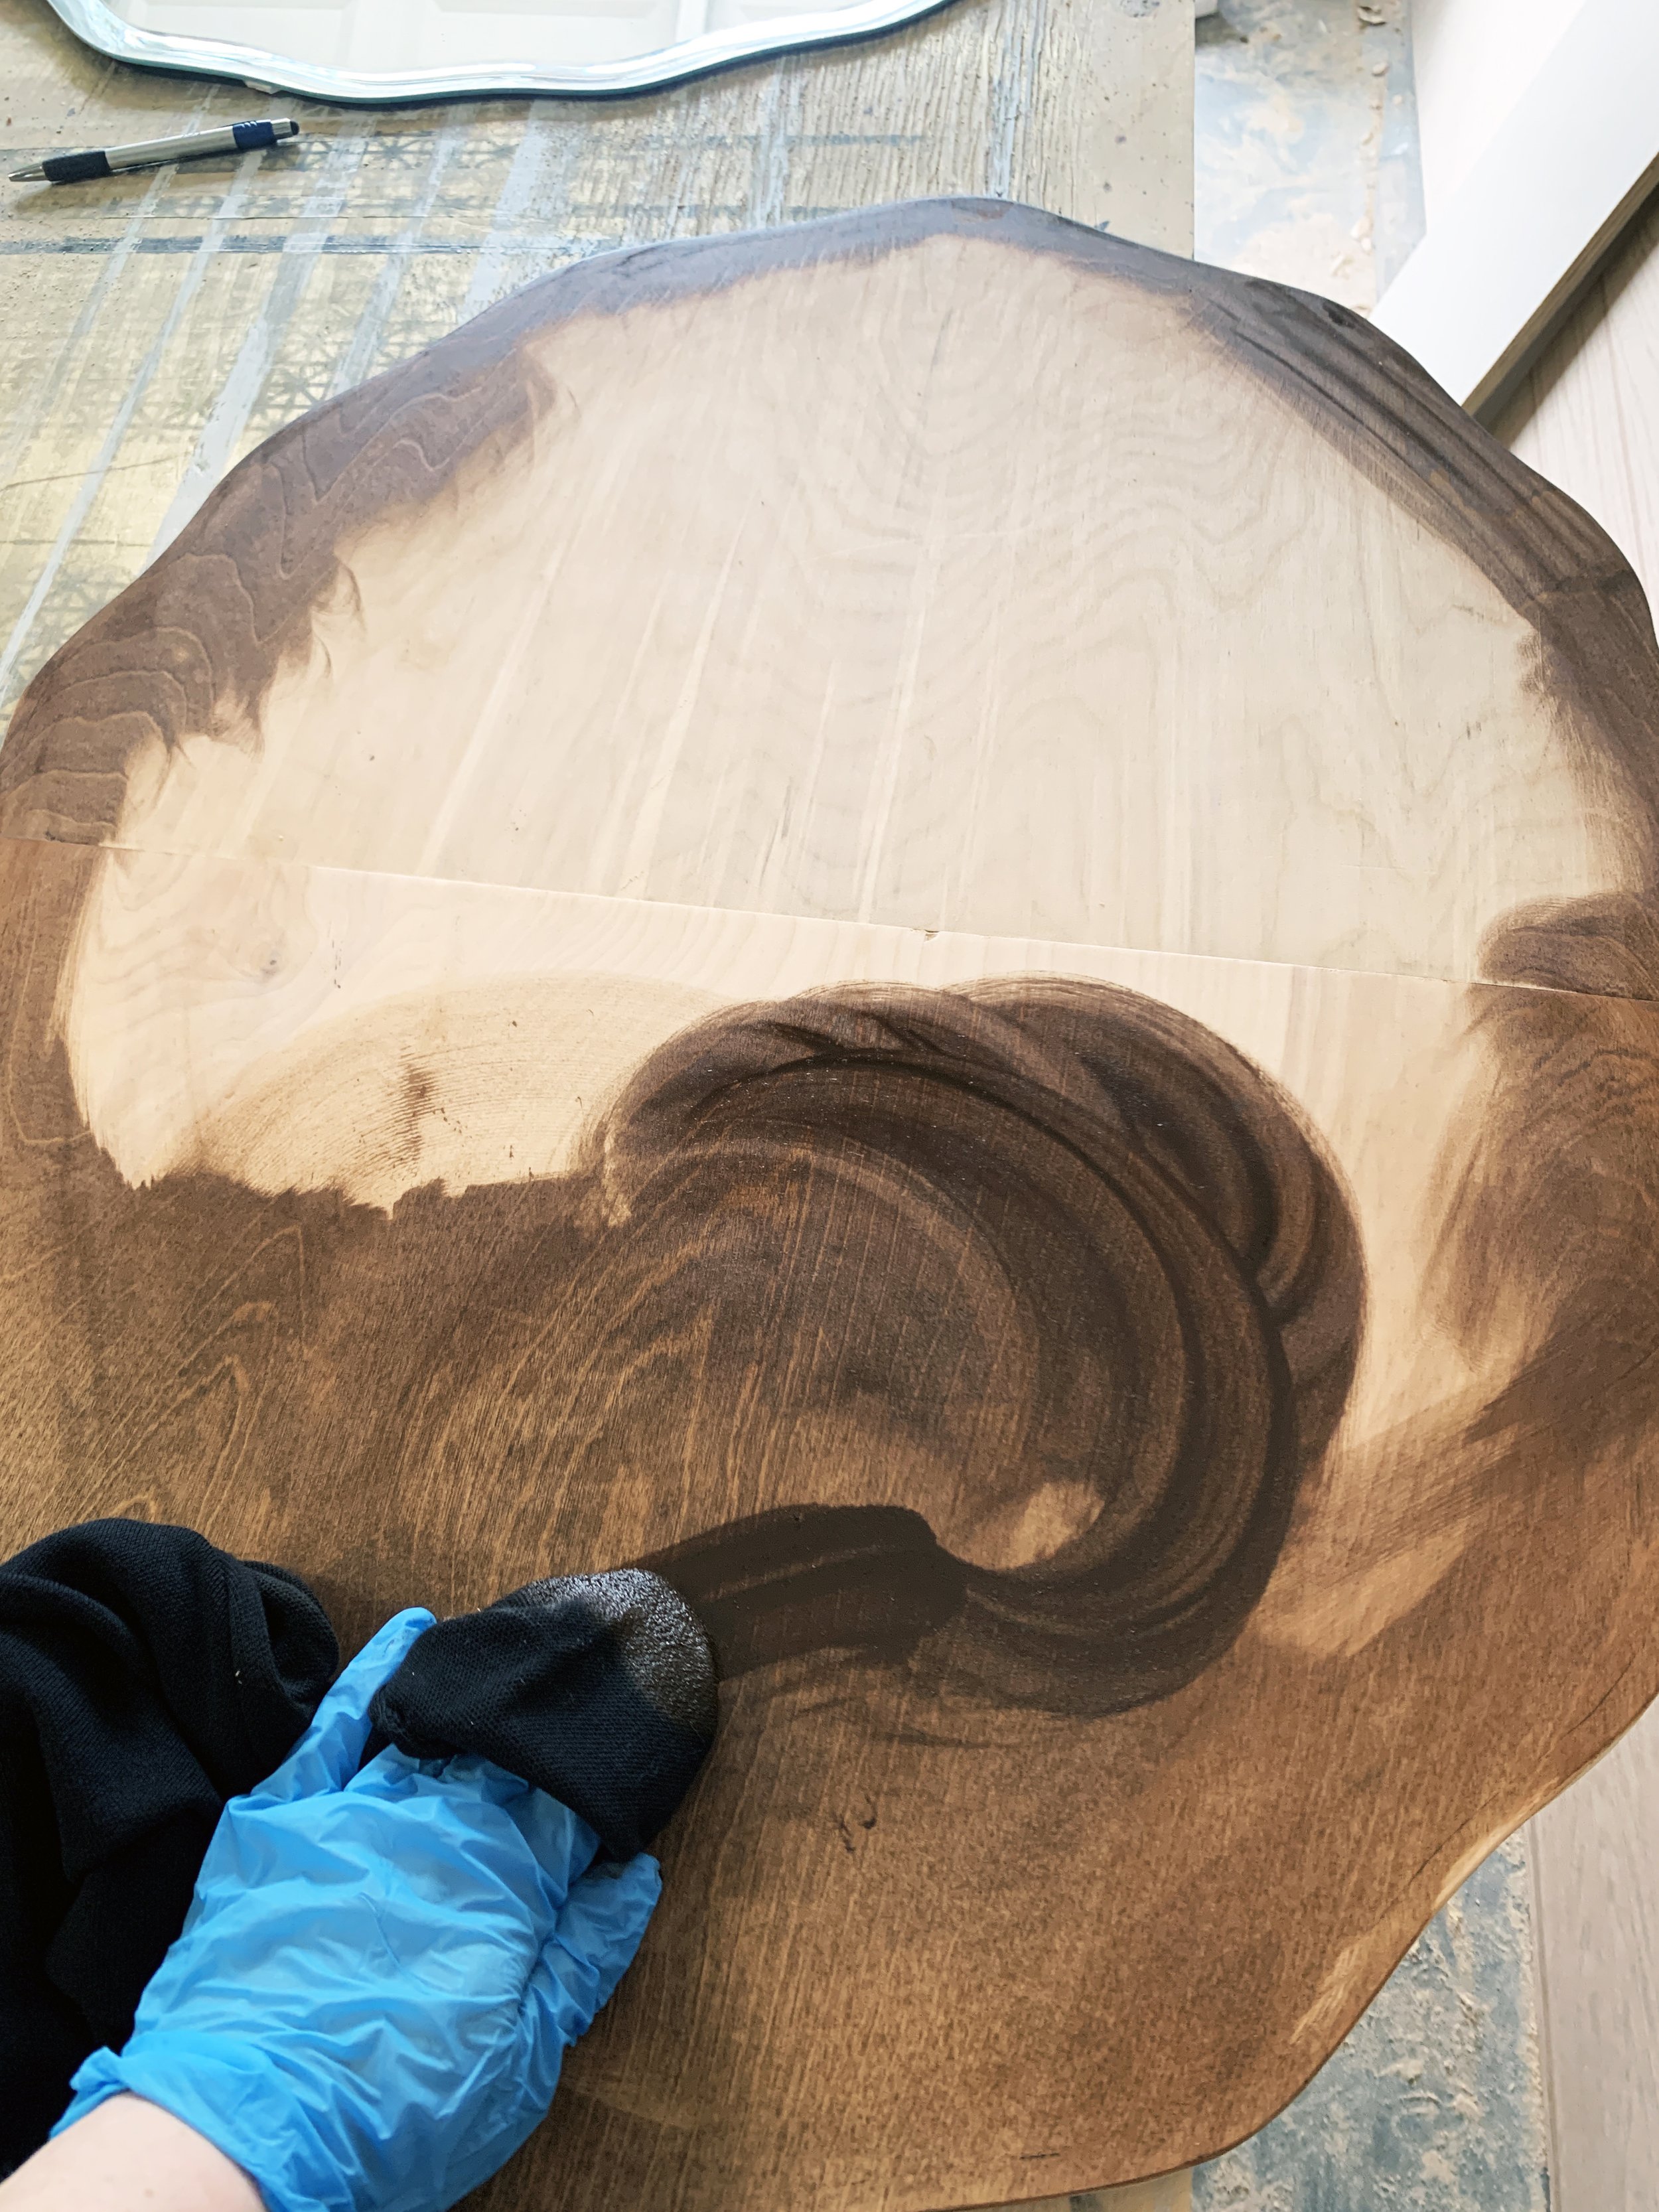
I also decided after the start of the project to see what I could do to enhance our existing frameless oval mirror. Using scrap 3/4” plywood, I made a back for the mirror (cut slightly larger than the mirror itself).
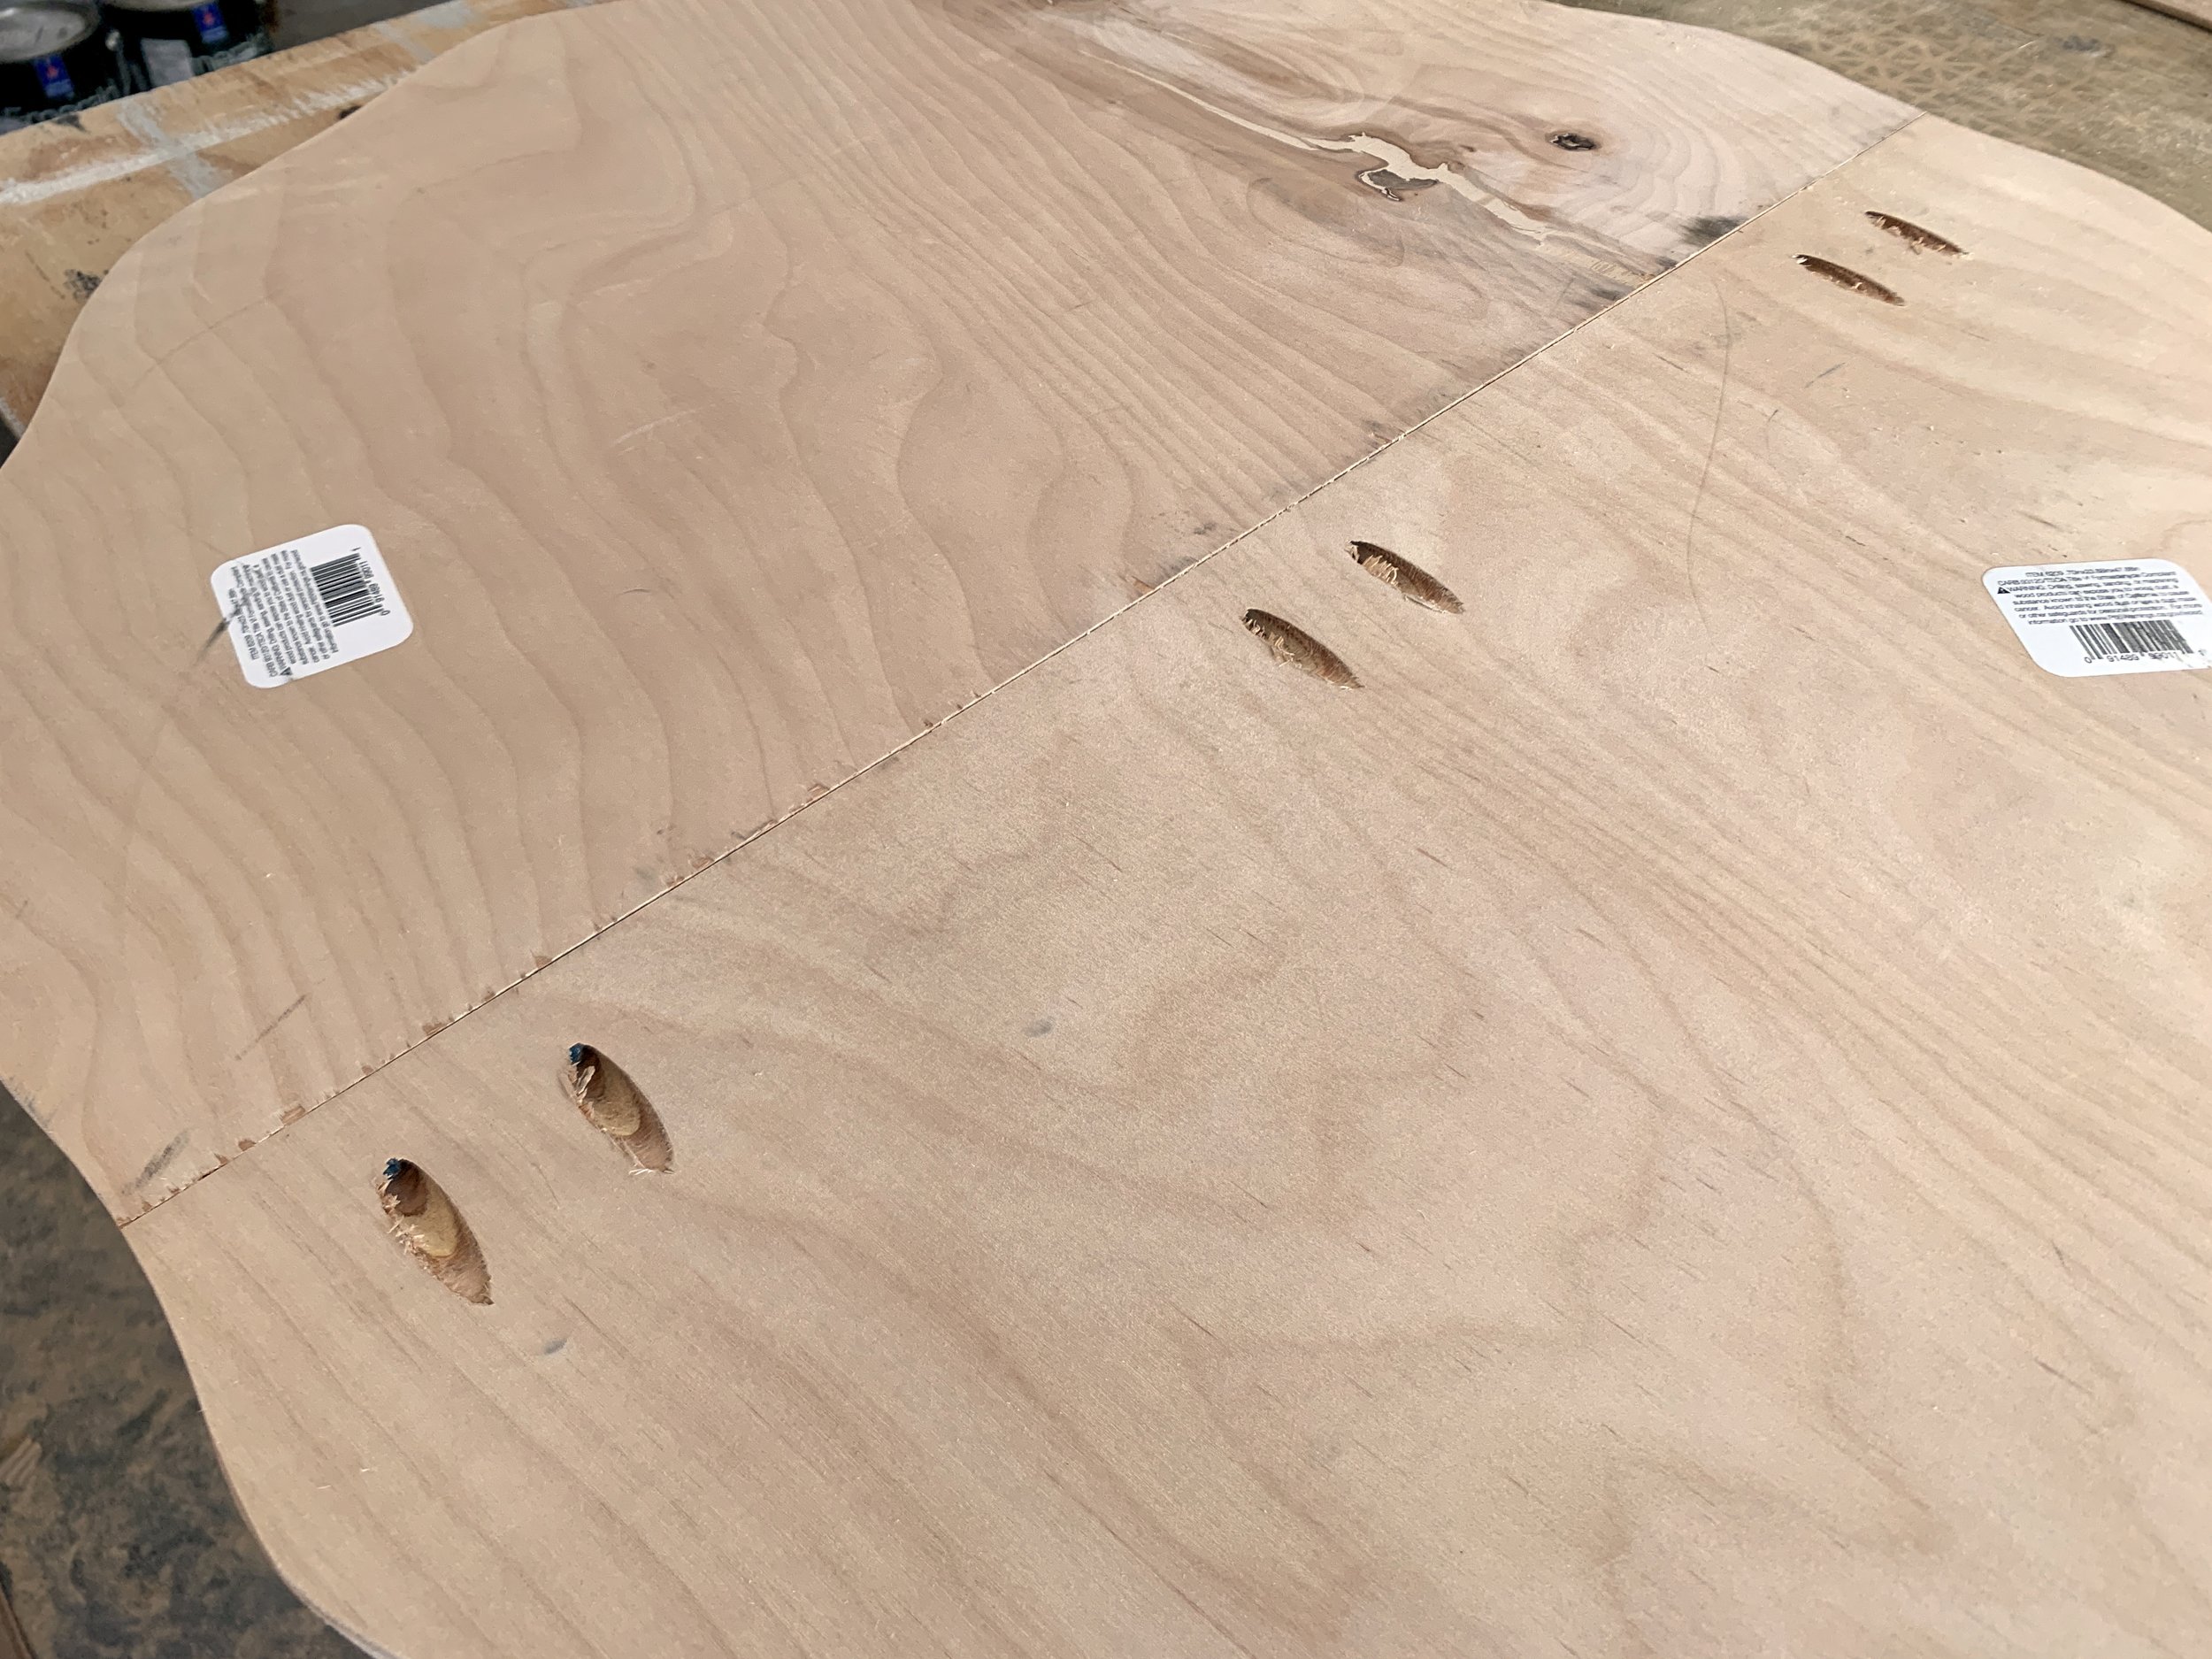
I used our Kreg jig to attach my two scrap pieces together to make one board, then used a compass to scribe out the shape of our mirror, making it as wide as my wood scrap would allow (about 1/2” bigger than my mirror on all sides).
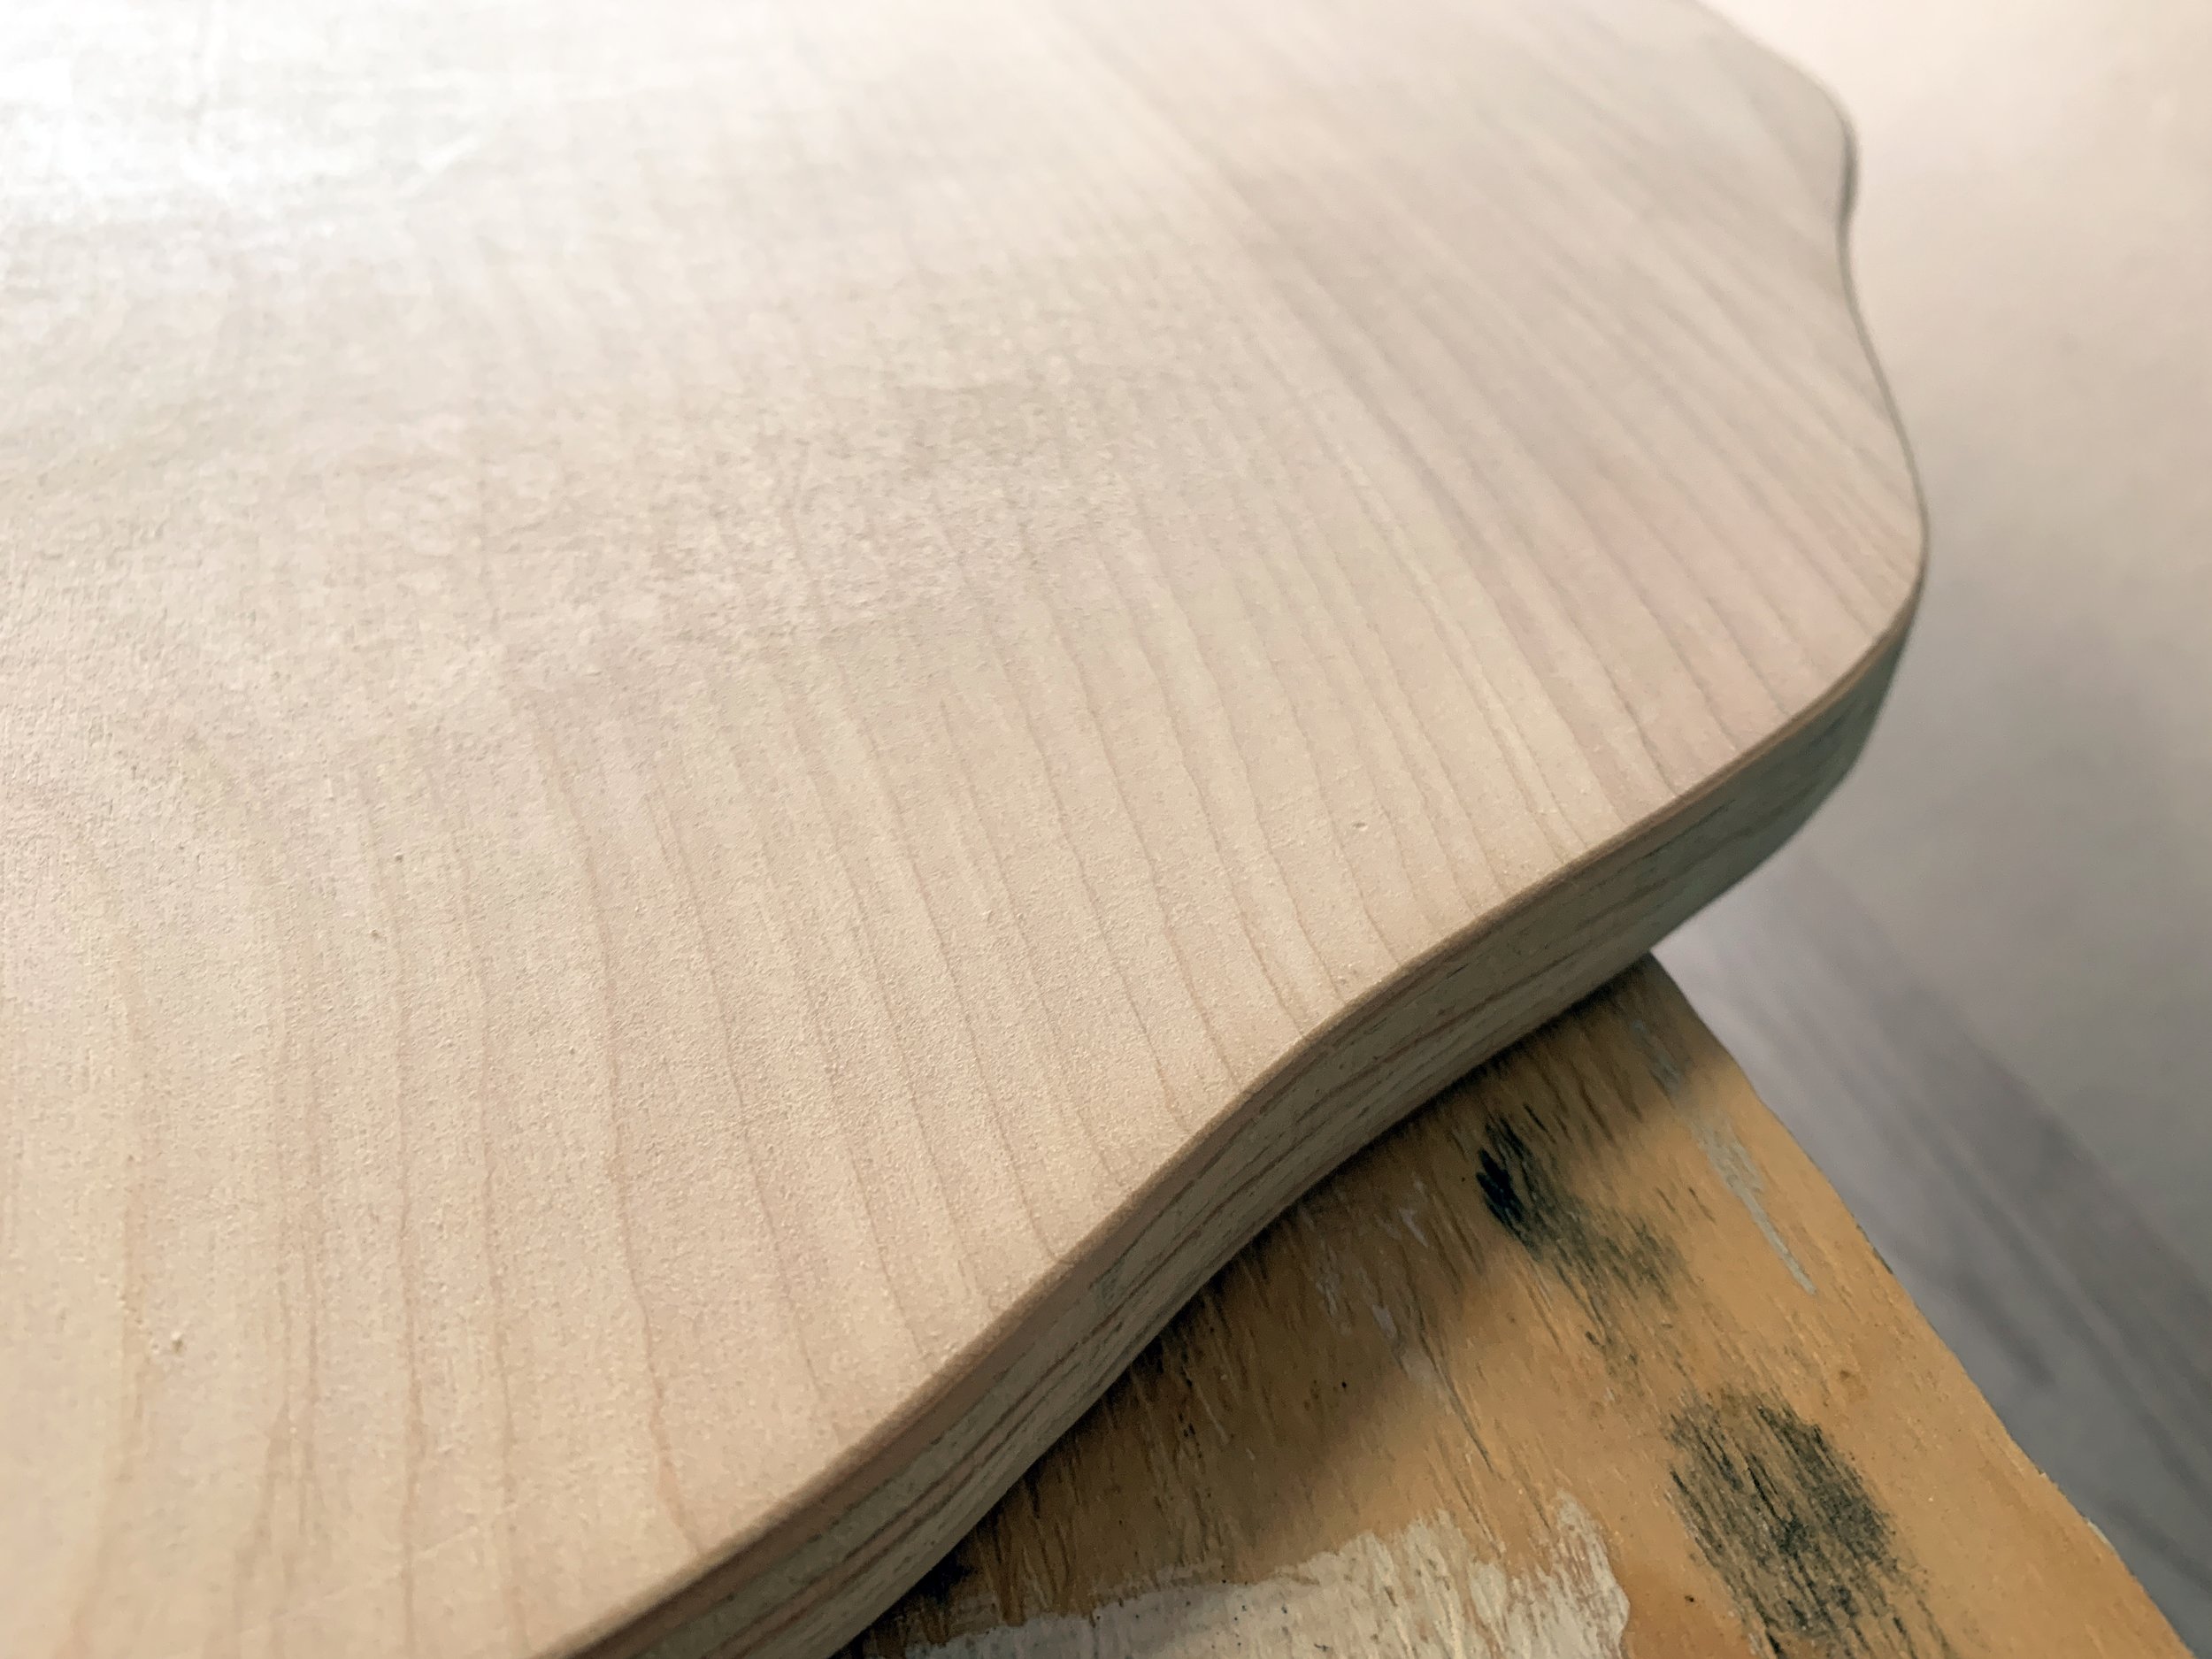
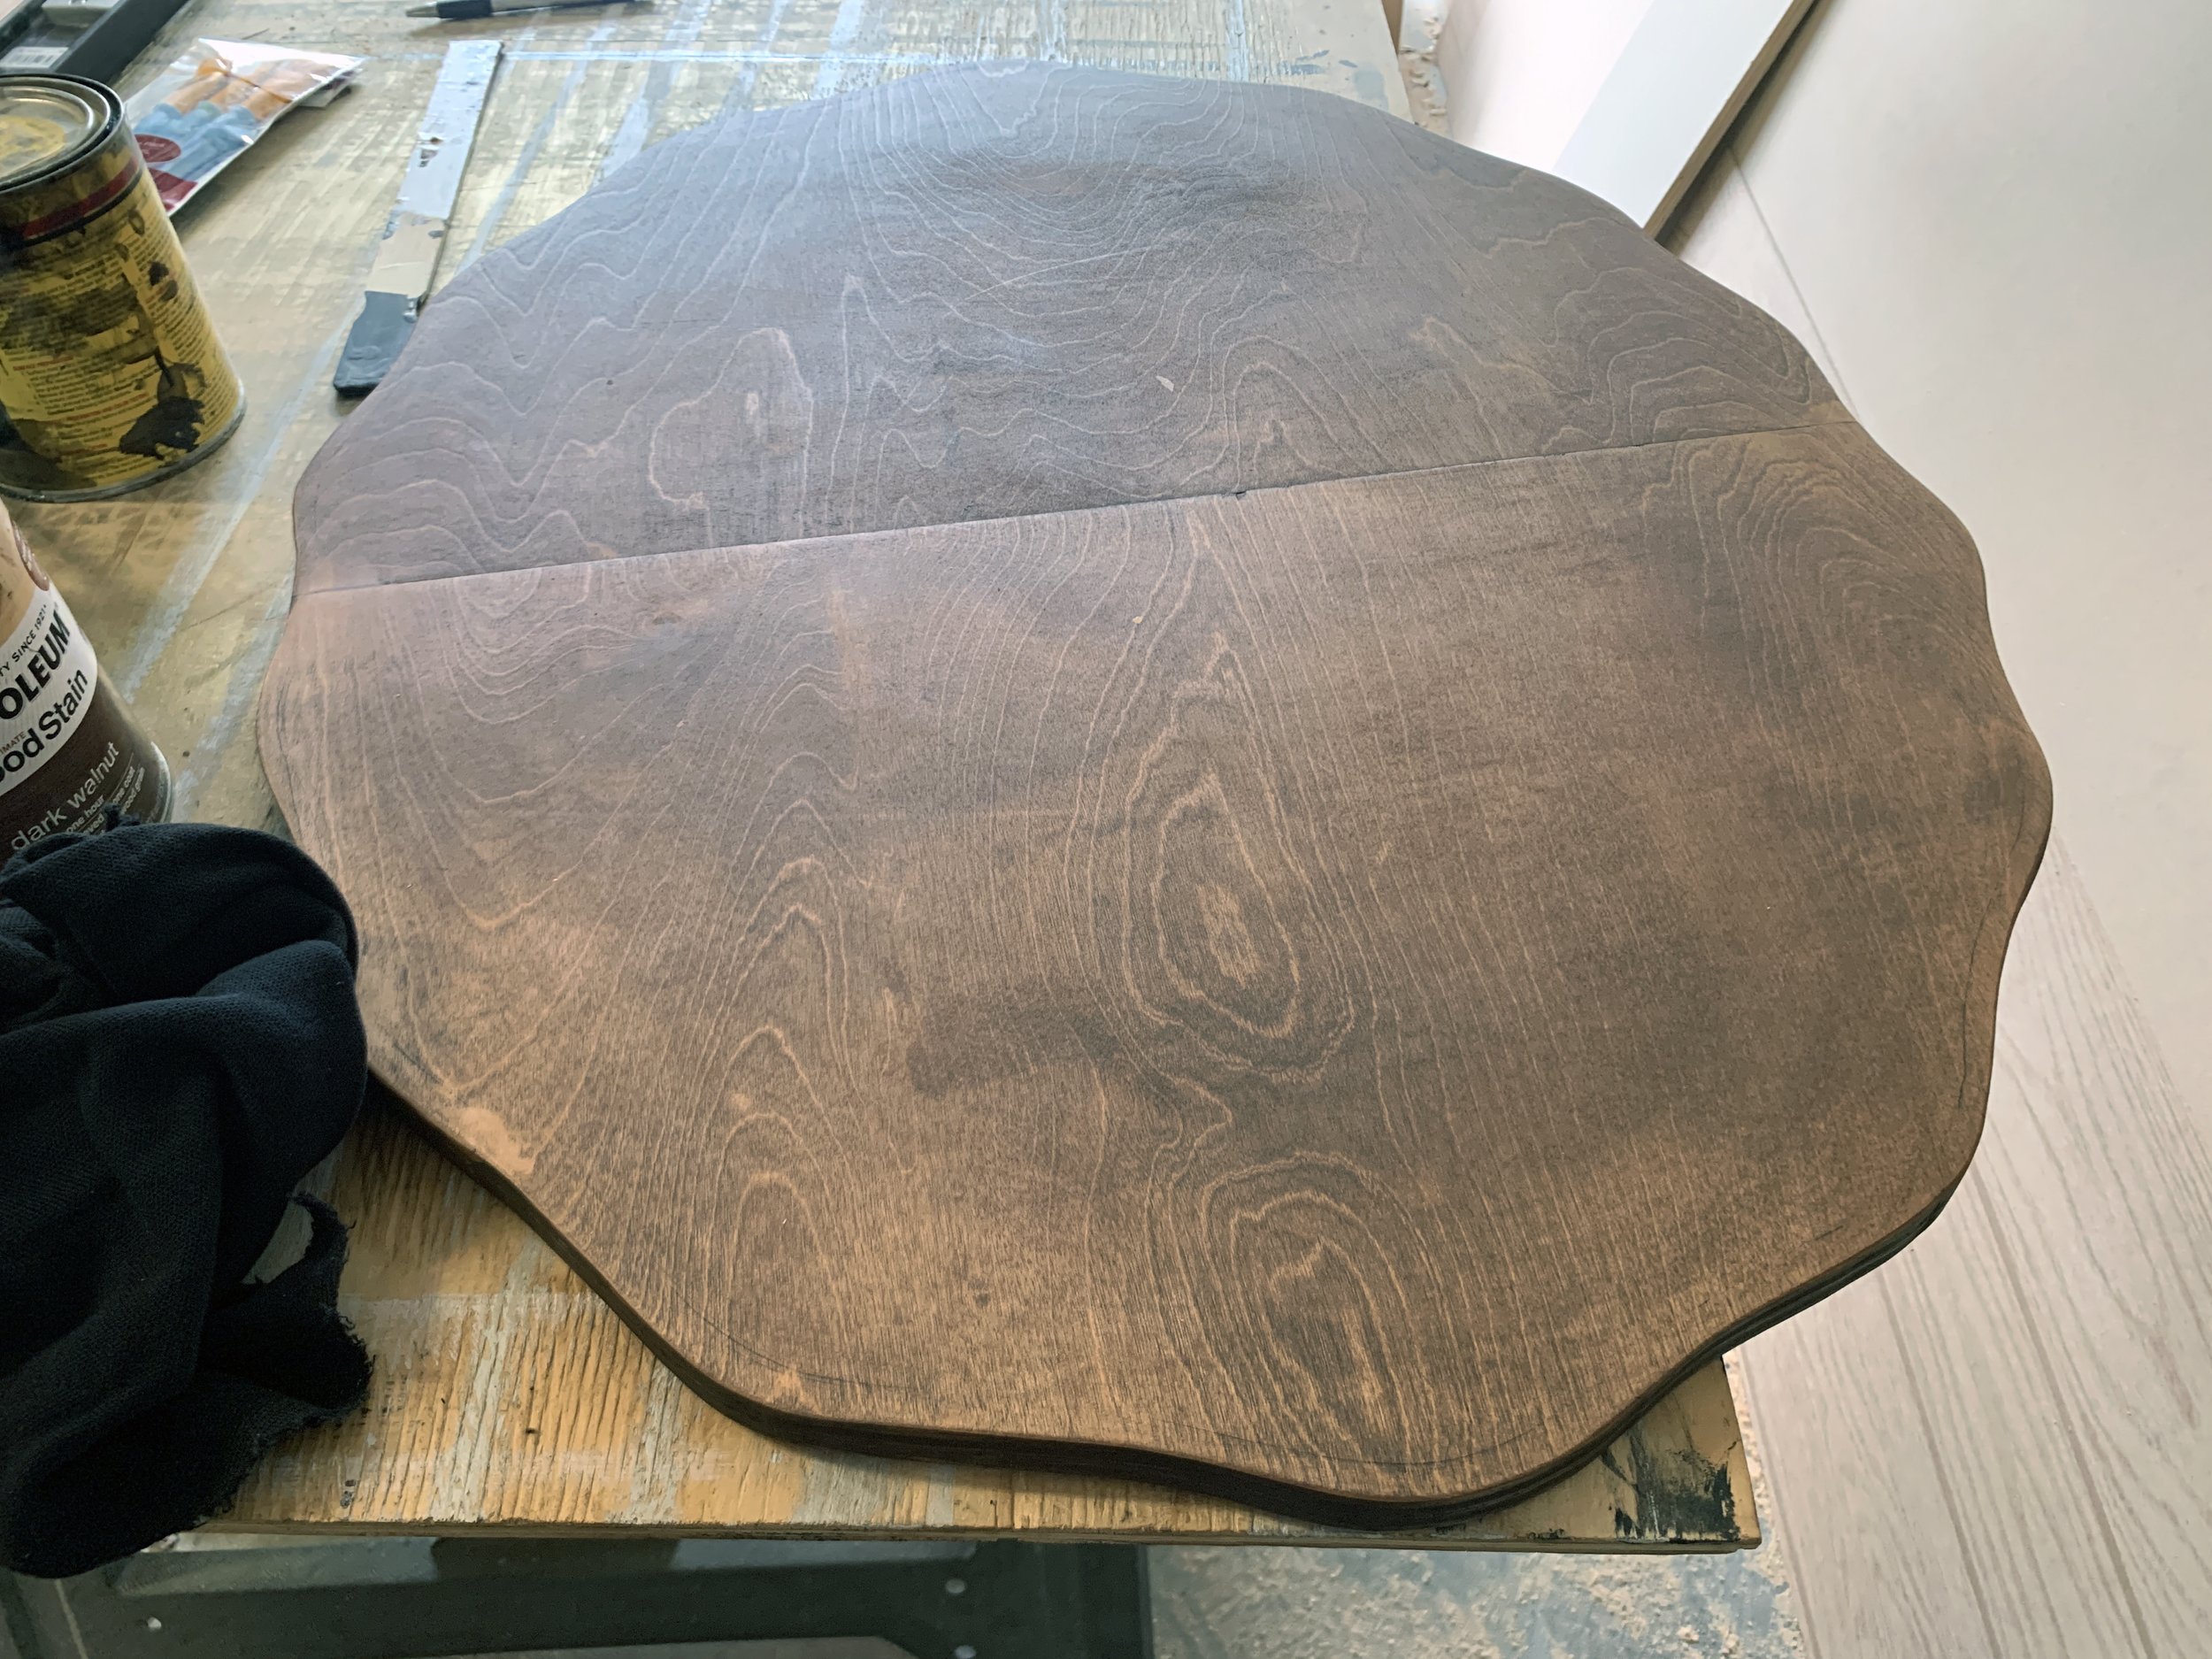
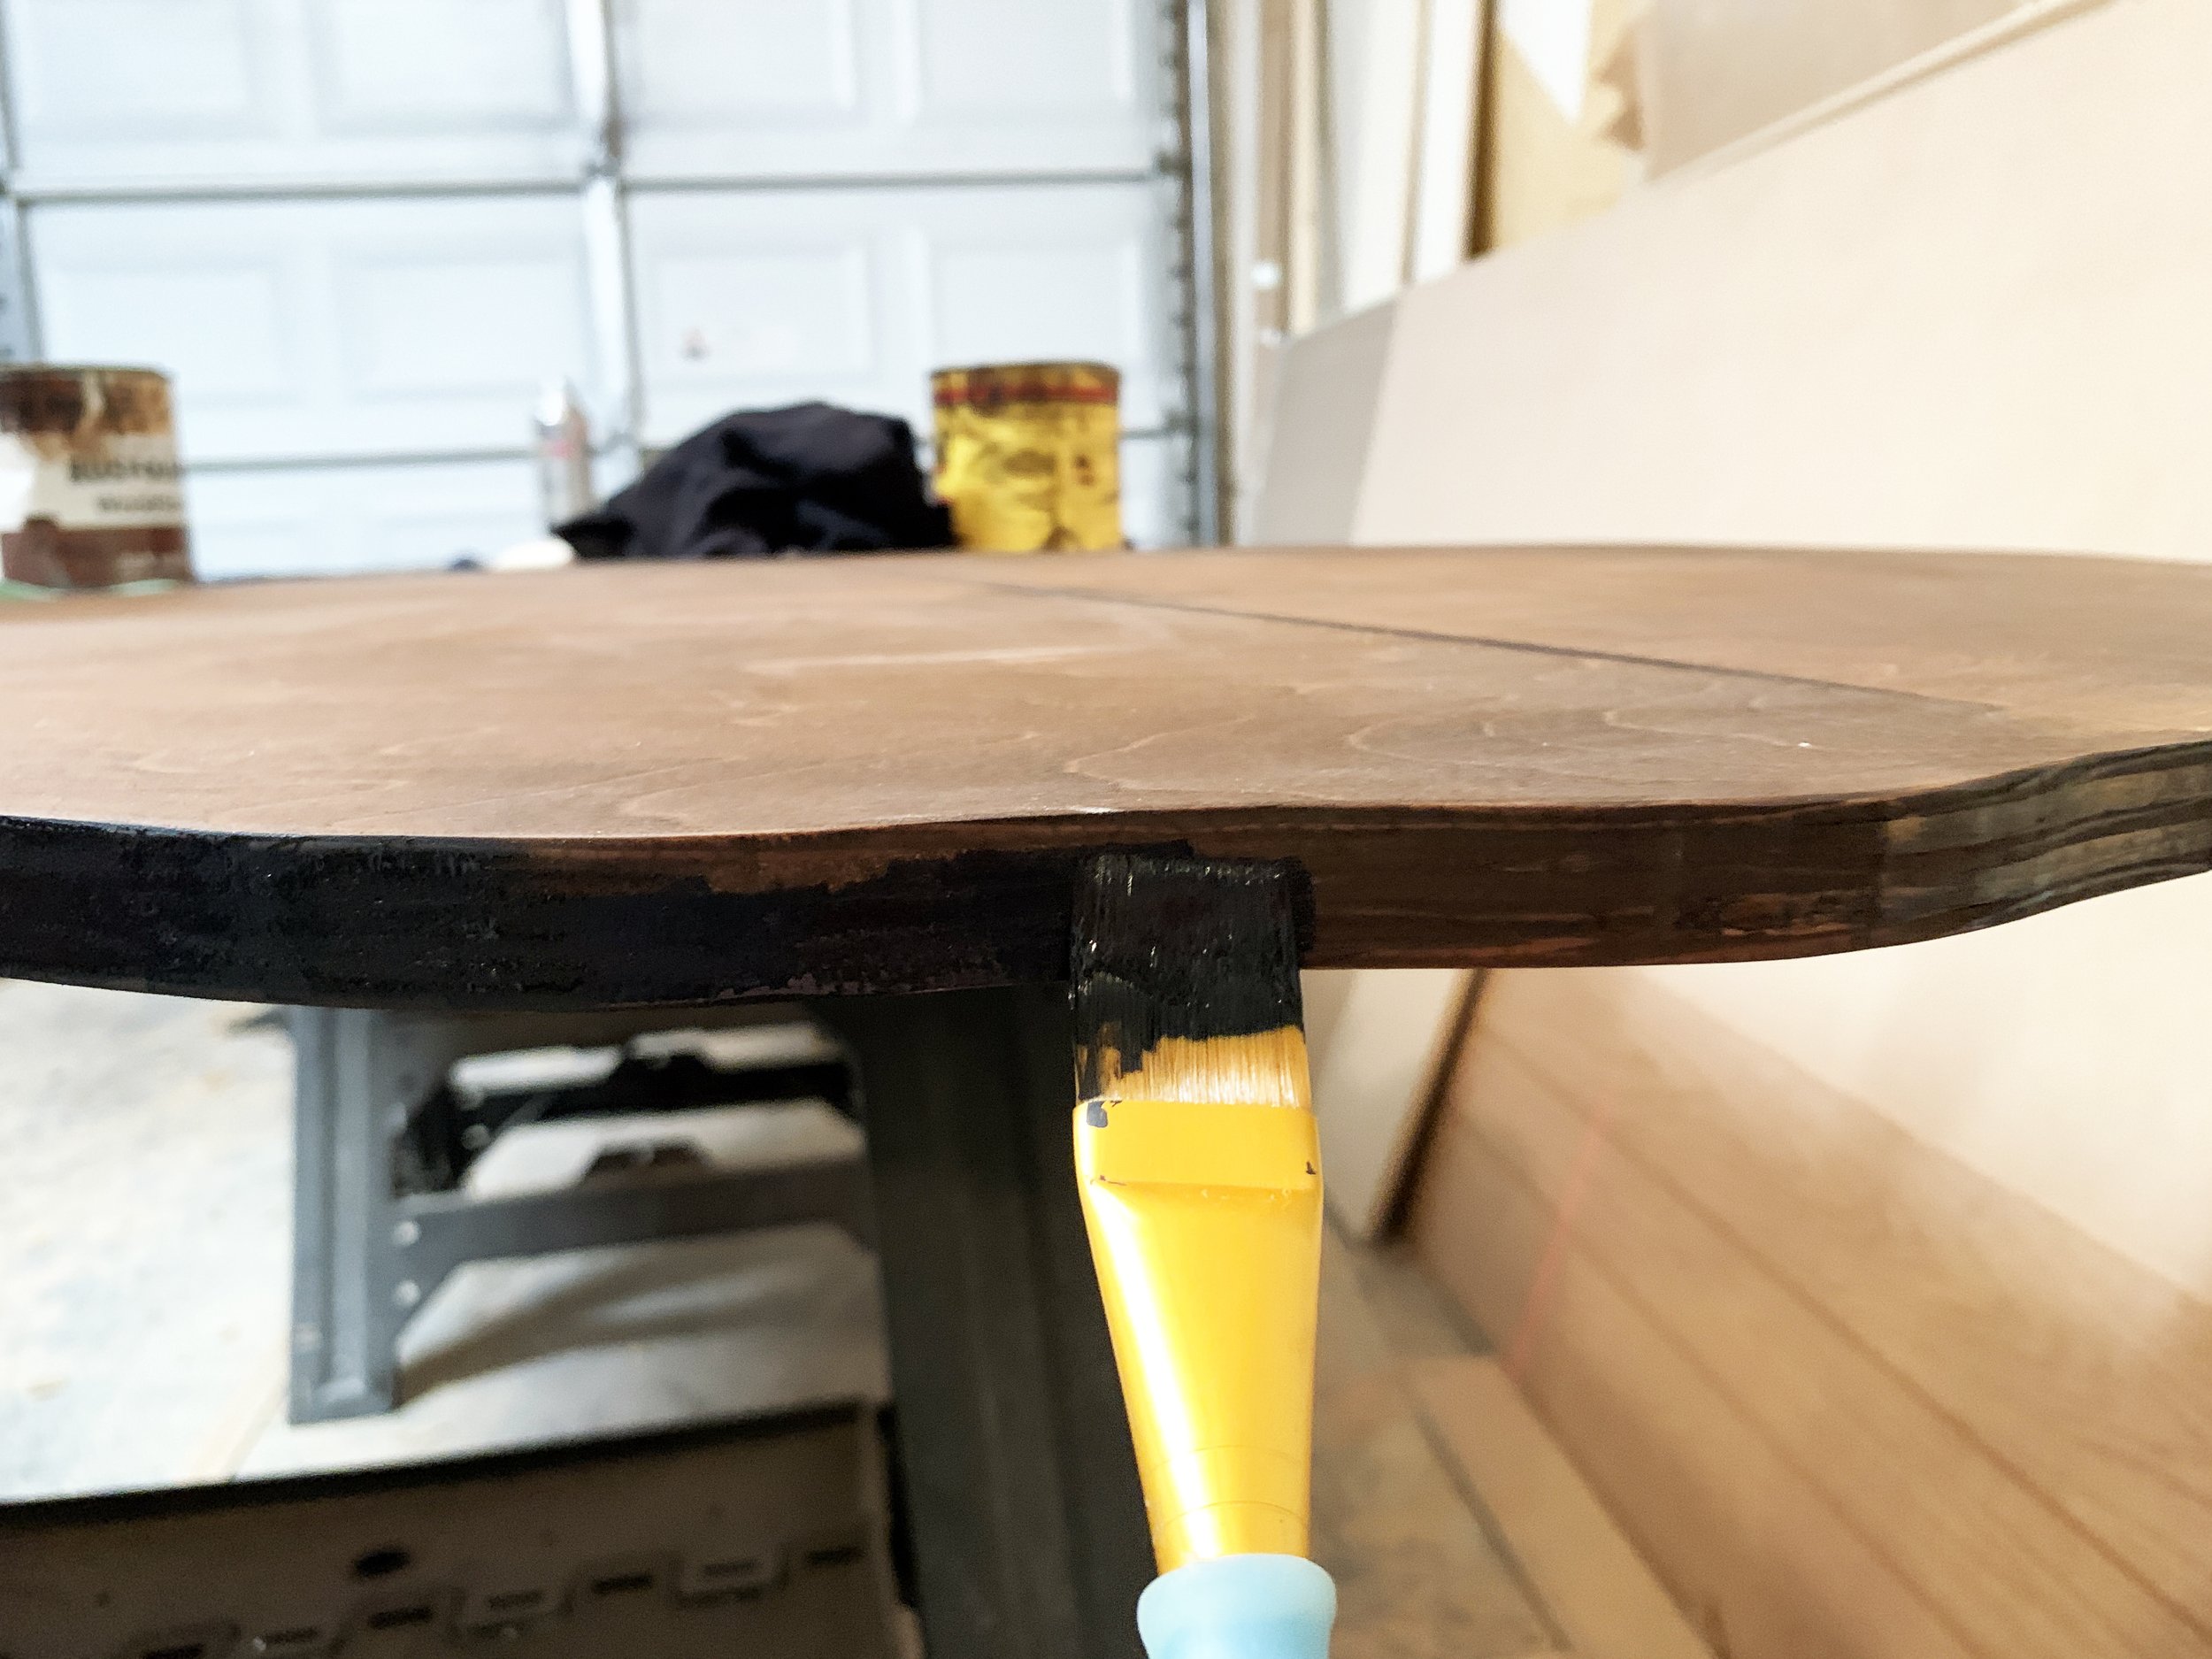
After sanding the plywood edges and seem smooth, I stained it dark (Minwax’s Jacobean) to match the faux columns and beam already in the bathroom and painted the edge matte black (Sherwin Williams’ Tricorn Black) with paint we had on-hand.
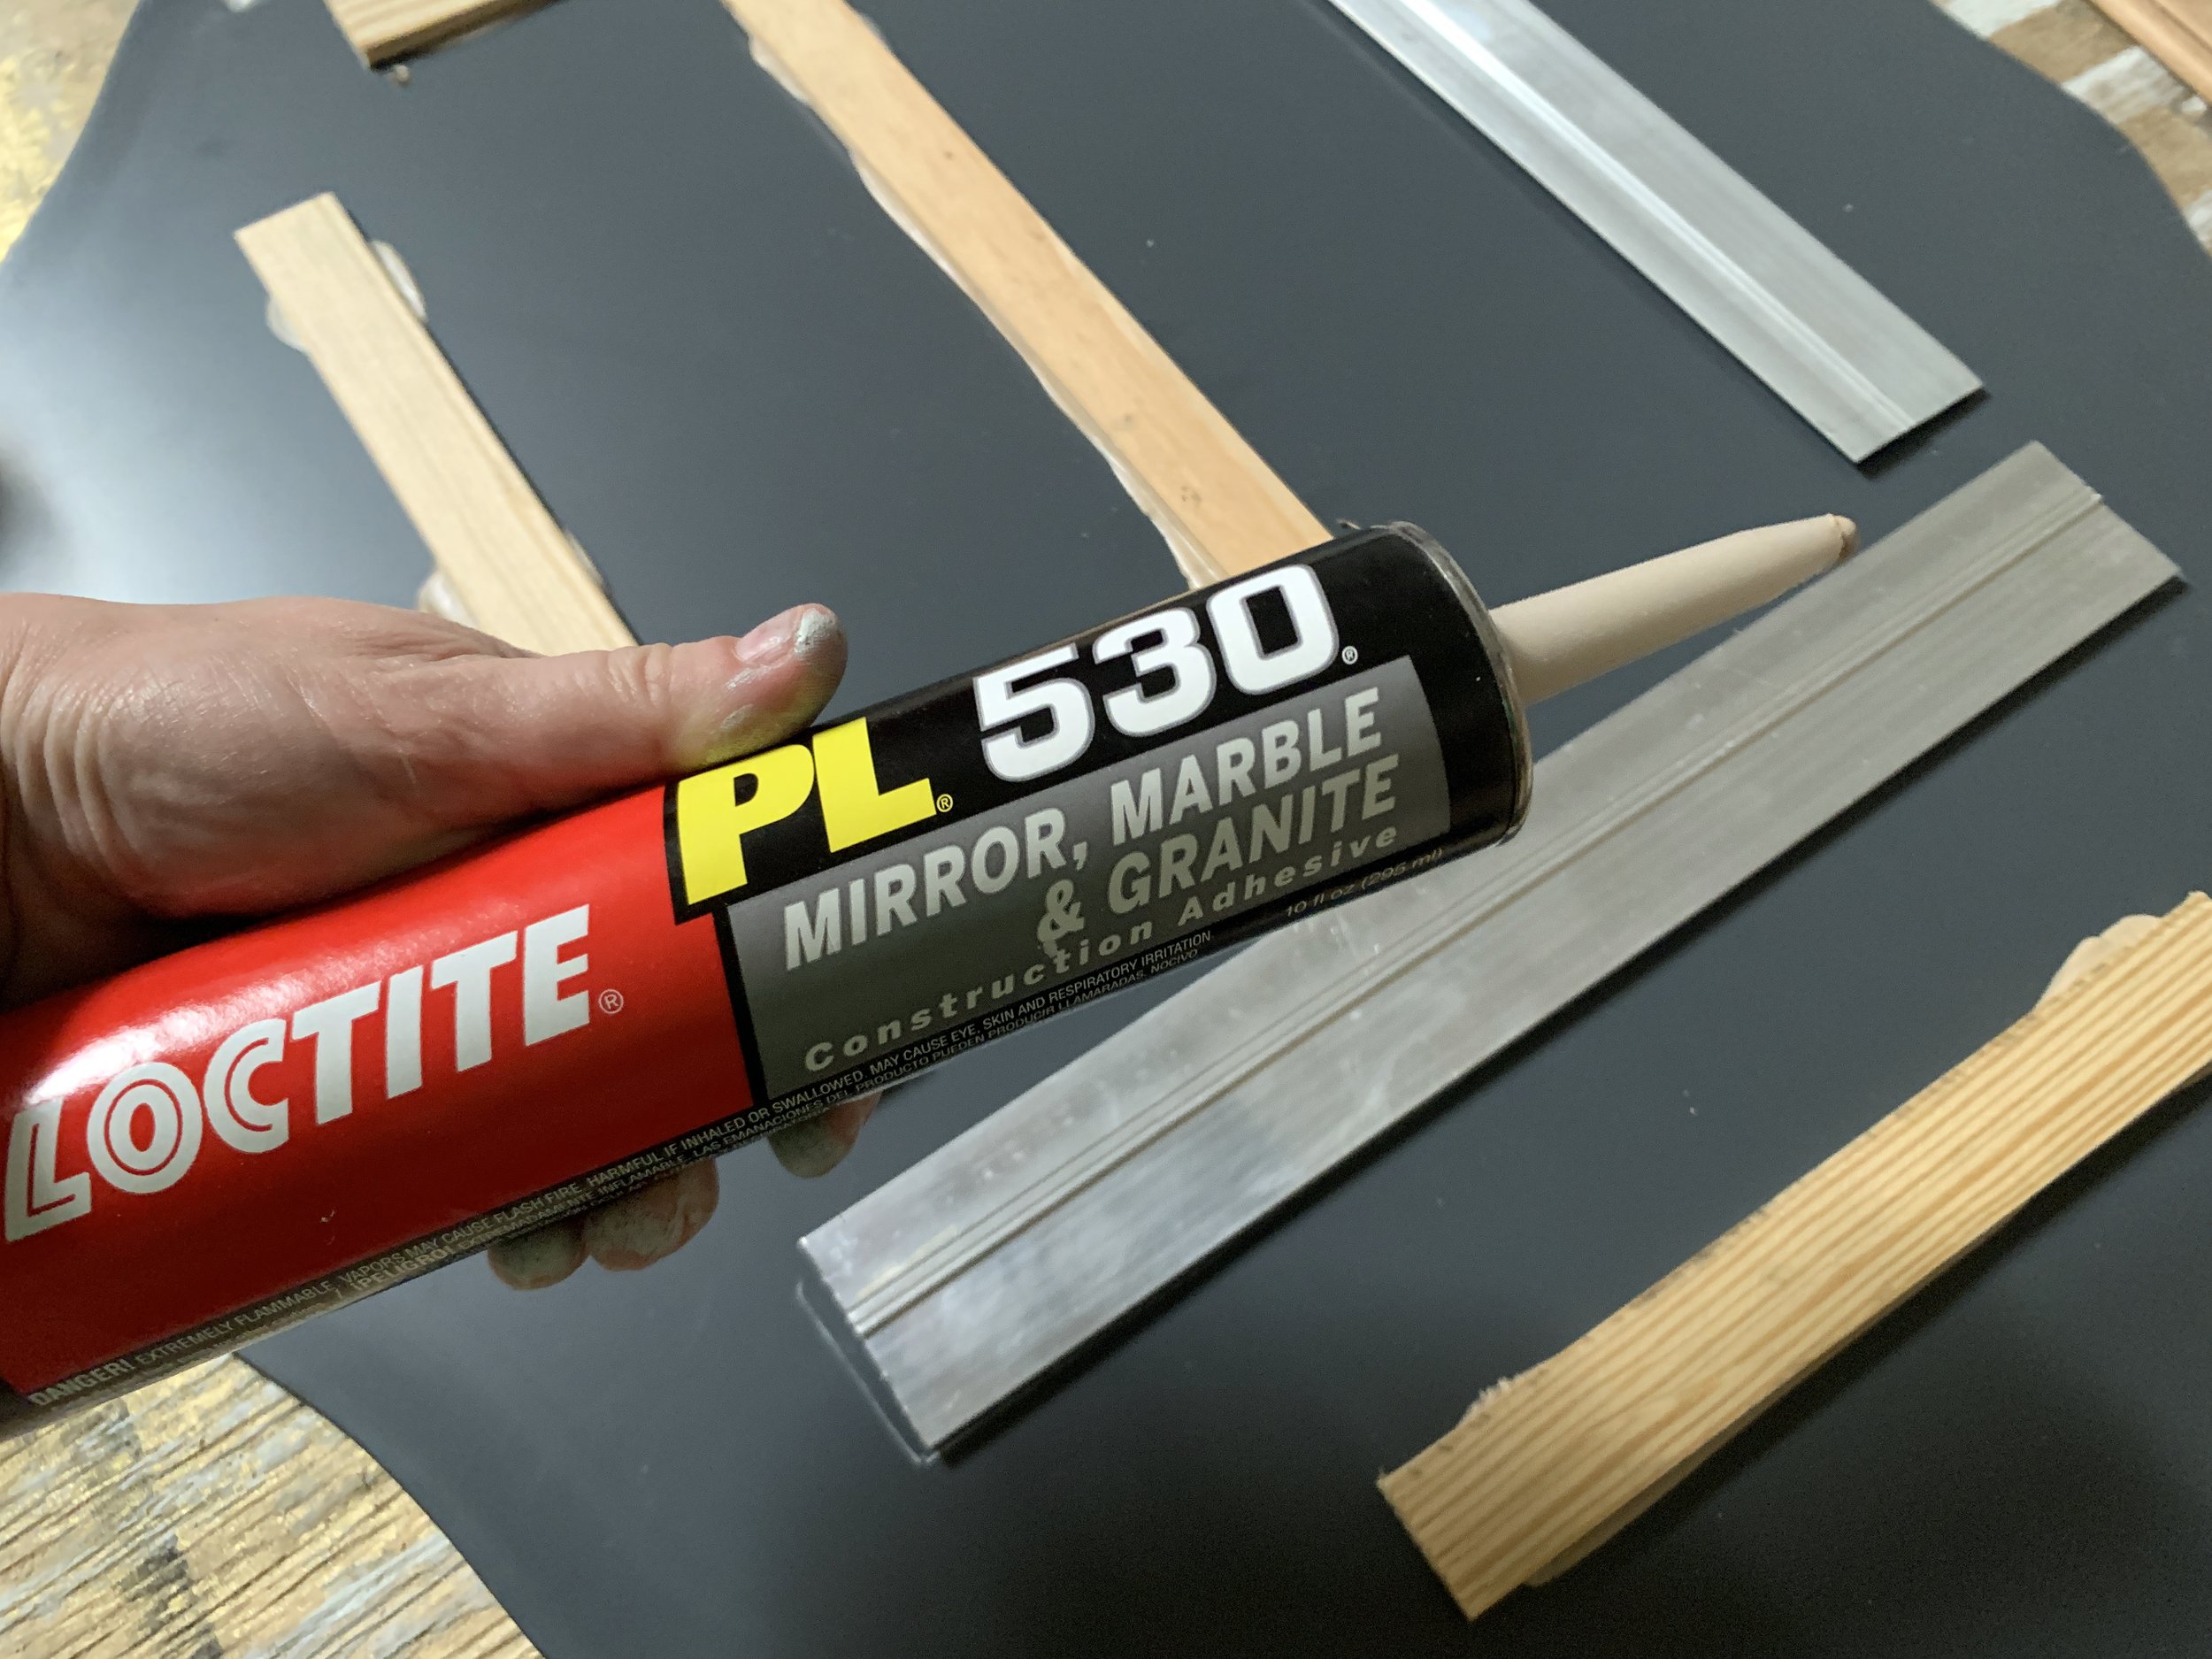
With the back piece made, stained and painted, I affixed the mirror to it using mirror adhesive. I used scrap lattice strips glued to the back of the mirror to help bump out and match the depth of the permanently mounted metal cleats already on the back of the mirror. After they dried, I used the same mirror adhesive to glue the mirror to the back piece and weighted it down for a couple days with paint cans.

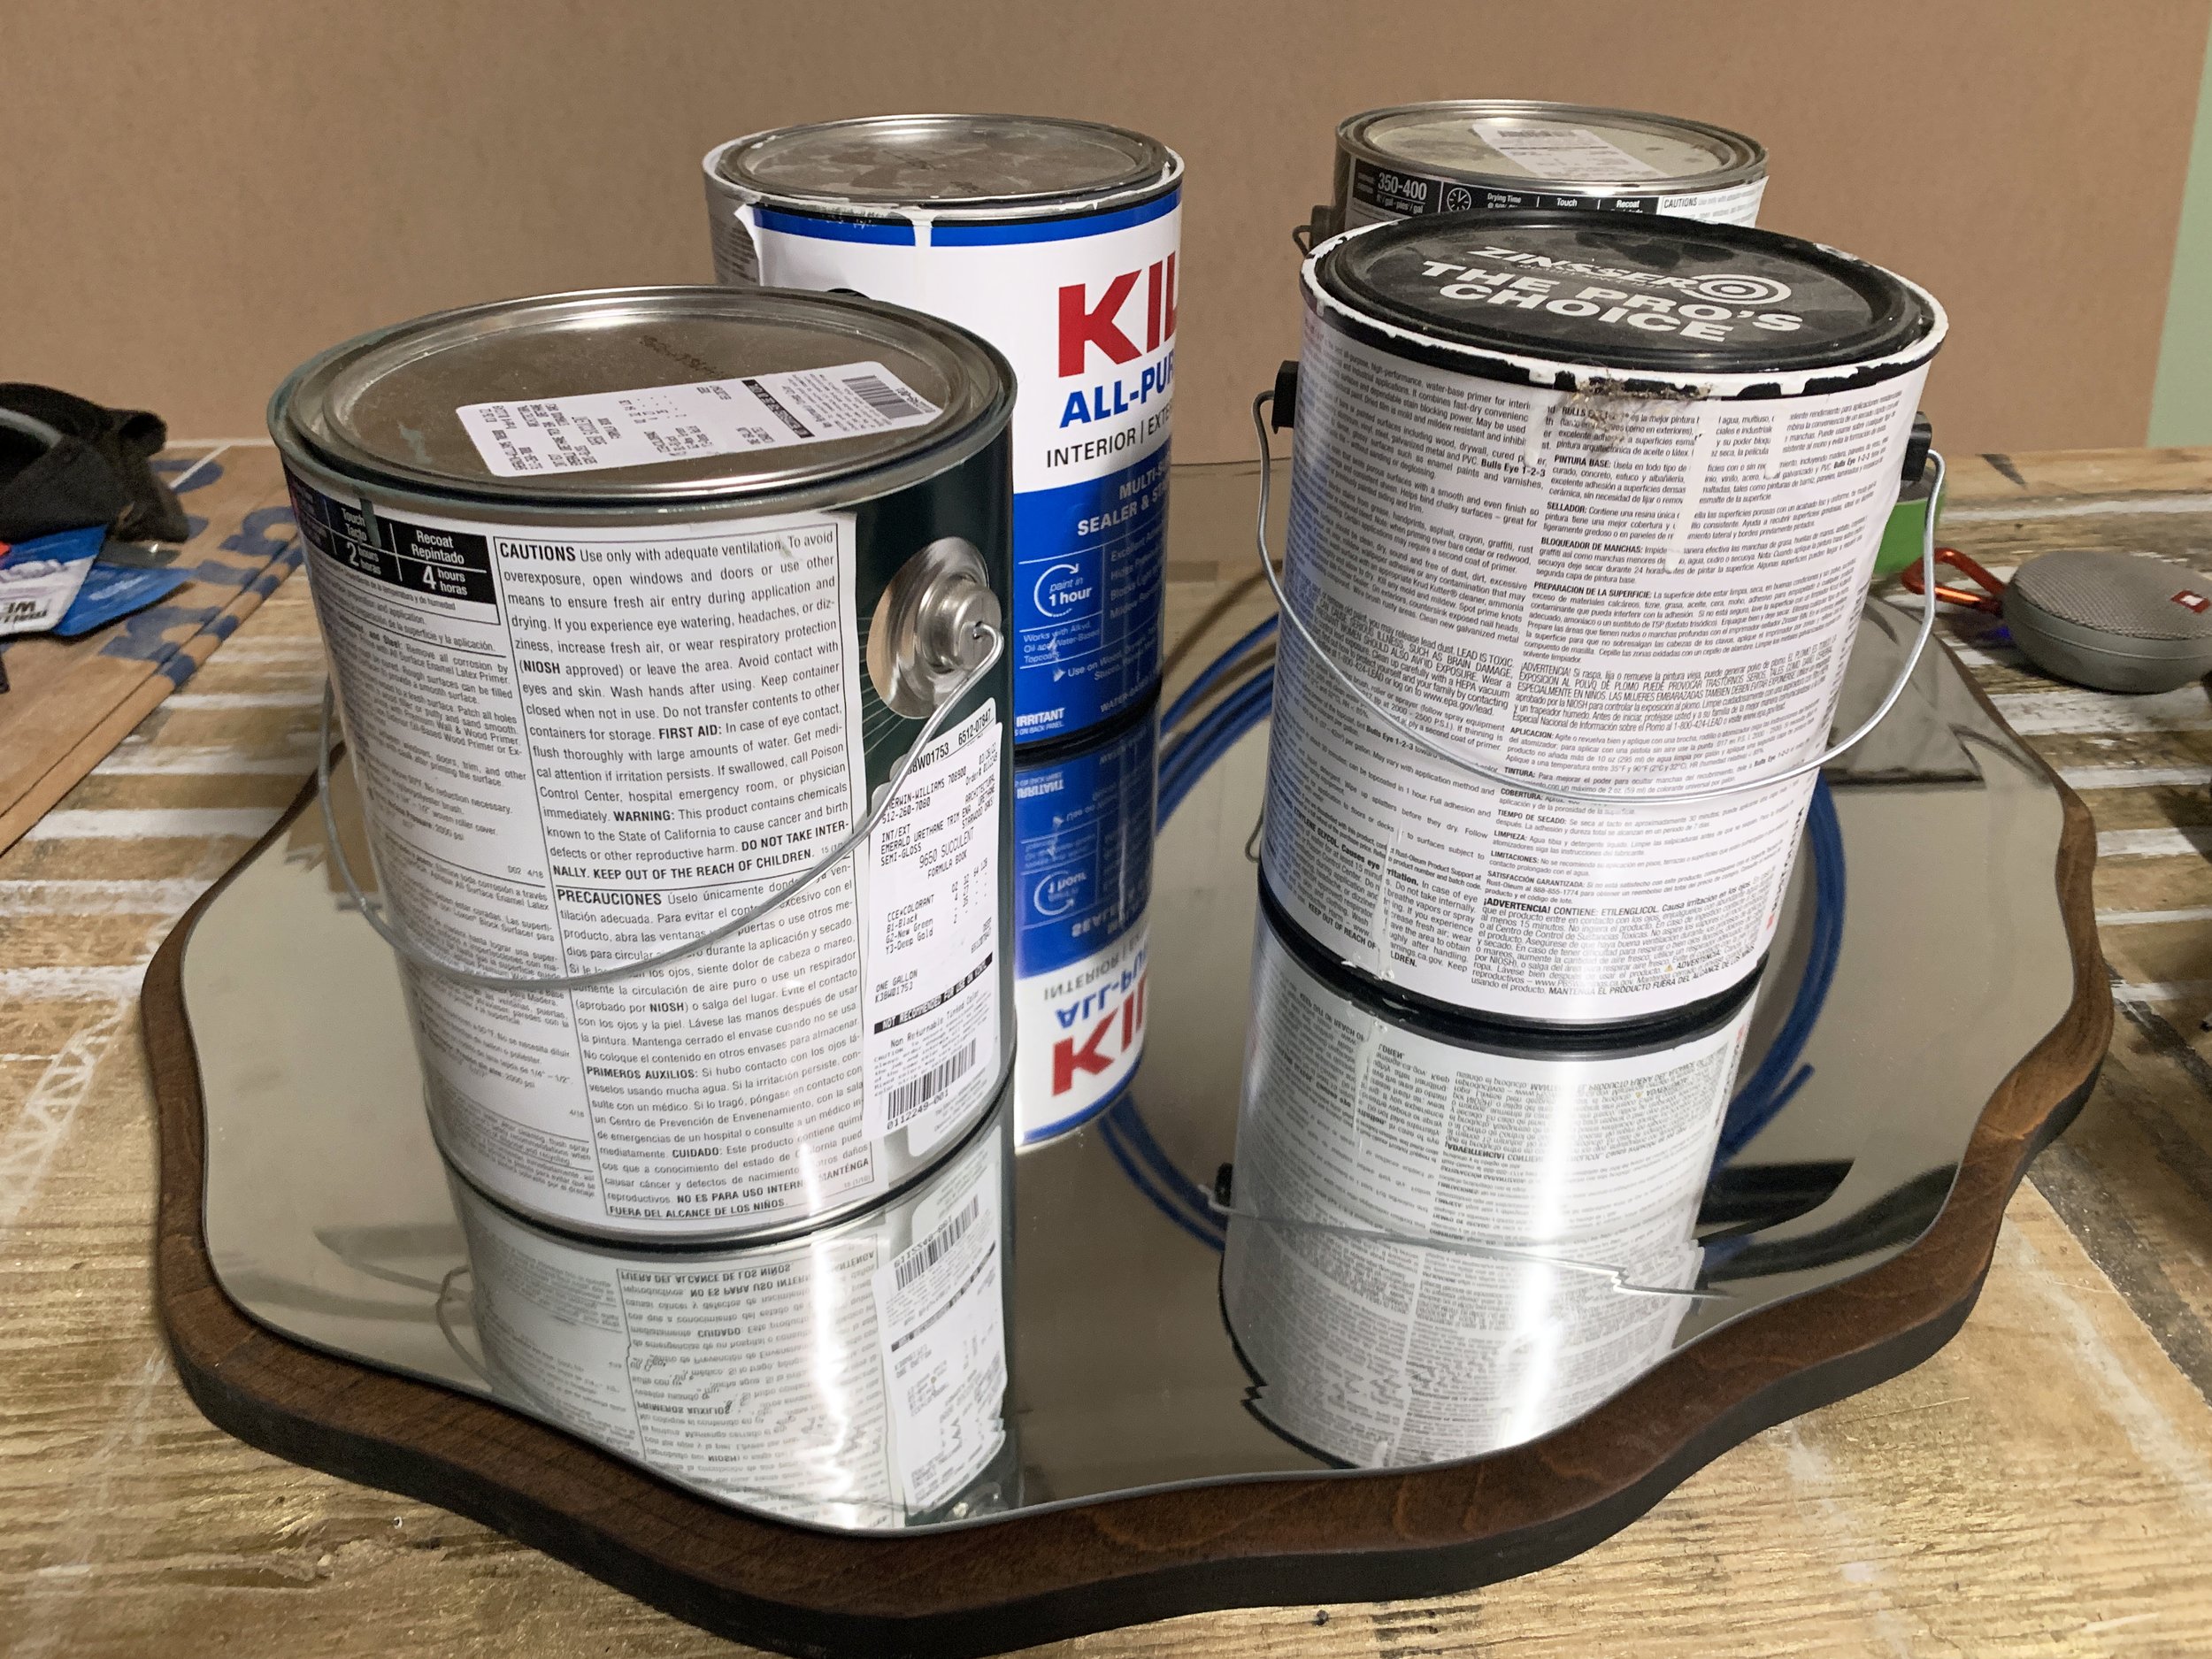
I love a good cheap (or in this case, free) DIY.
The current design situation
It’s nice to finally not have a hole in the shower wall anymore!

It almost looks done … if you squint and cover up half the room. Or just look at it from this angle instead:

Take a 3D look around in the video below!
Coming up in our final weeks before the full reveal on May 25th, I’ll be mostly focusing on the shower/tub area – tiling the shower, installing the shower fixture, epoxying the tub, finishing the tub ledge/skirt – plus installing the remaining detail pieces and styling the room.
Wish us luck that it all goes smoothly!!
In addition to posting challenge updates here every Wednesday, we’ll be sharing our progress on Instagram, so make sure to follow along over there if you aren’t already.
(And don’t forget to check out all of the other talented One Room Challengers tackling their spaces this season.)