One Room Challenge: Guest Bathroom – Week 7
OMG Y’ALL. It’s week 7 of the One Room Challenge … and I’m kind of freaking out that there’s only one week left to get everything done. I know I’ve been counting down for what feels like a long time now, but it feels like the last week or two have just completely flew by in the blink of an eye.
(If you’re unfamiliar with the ORC, here’s a brief background: Each Wednesday we’re sharing our guest bathroom renovation progress with the final week 8 reveal NEXT Wednesday May 25th. AGH!)
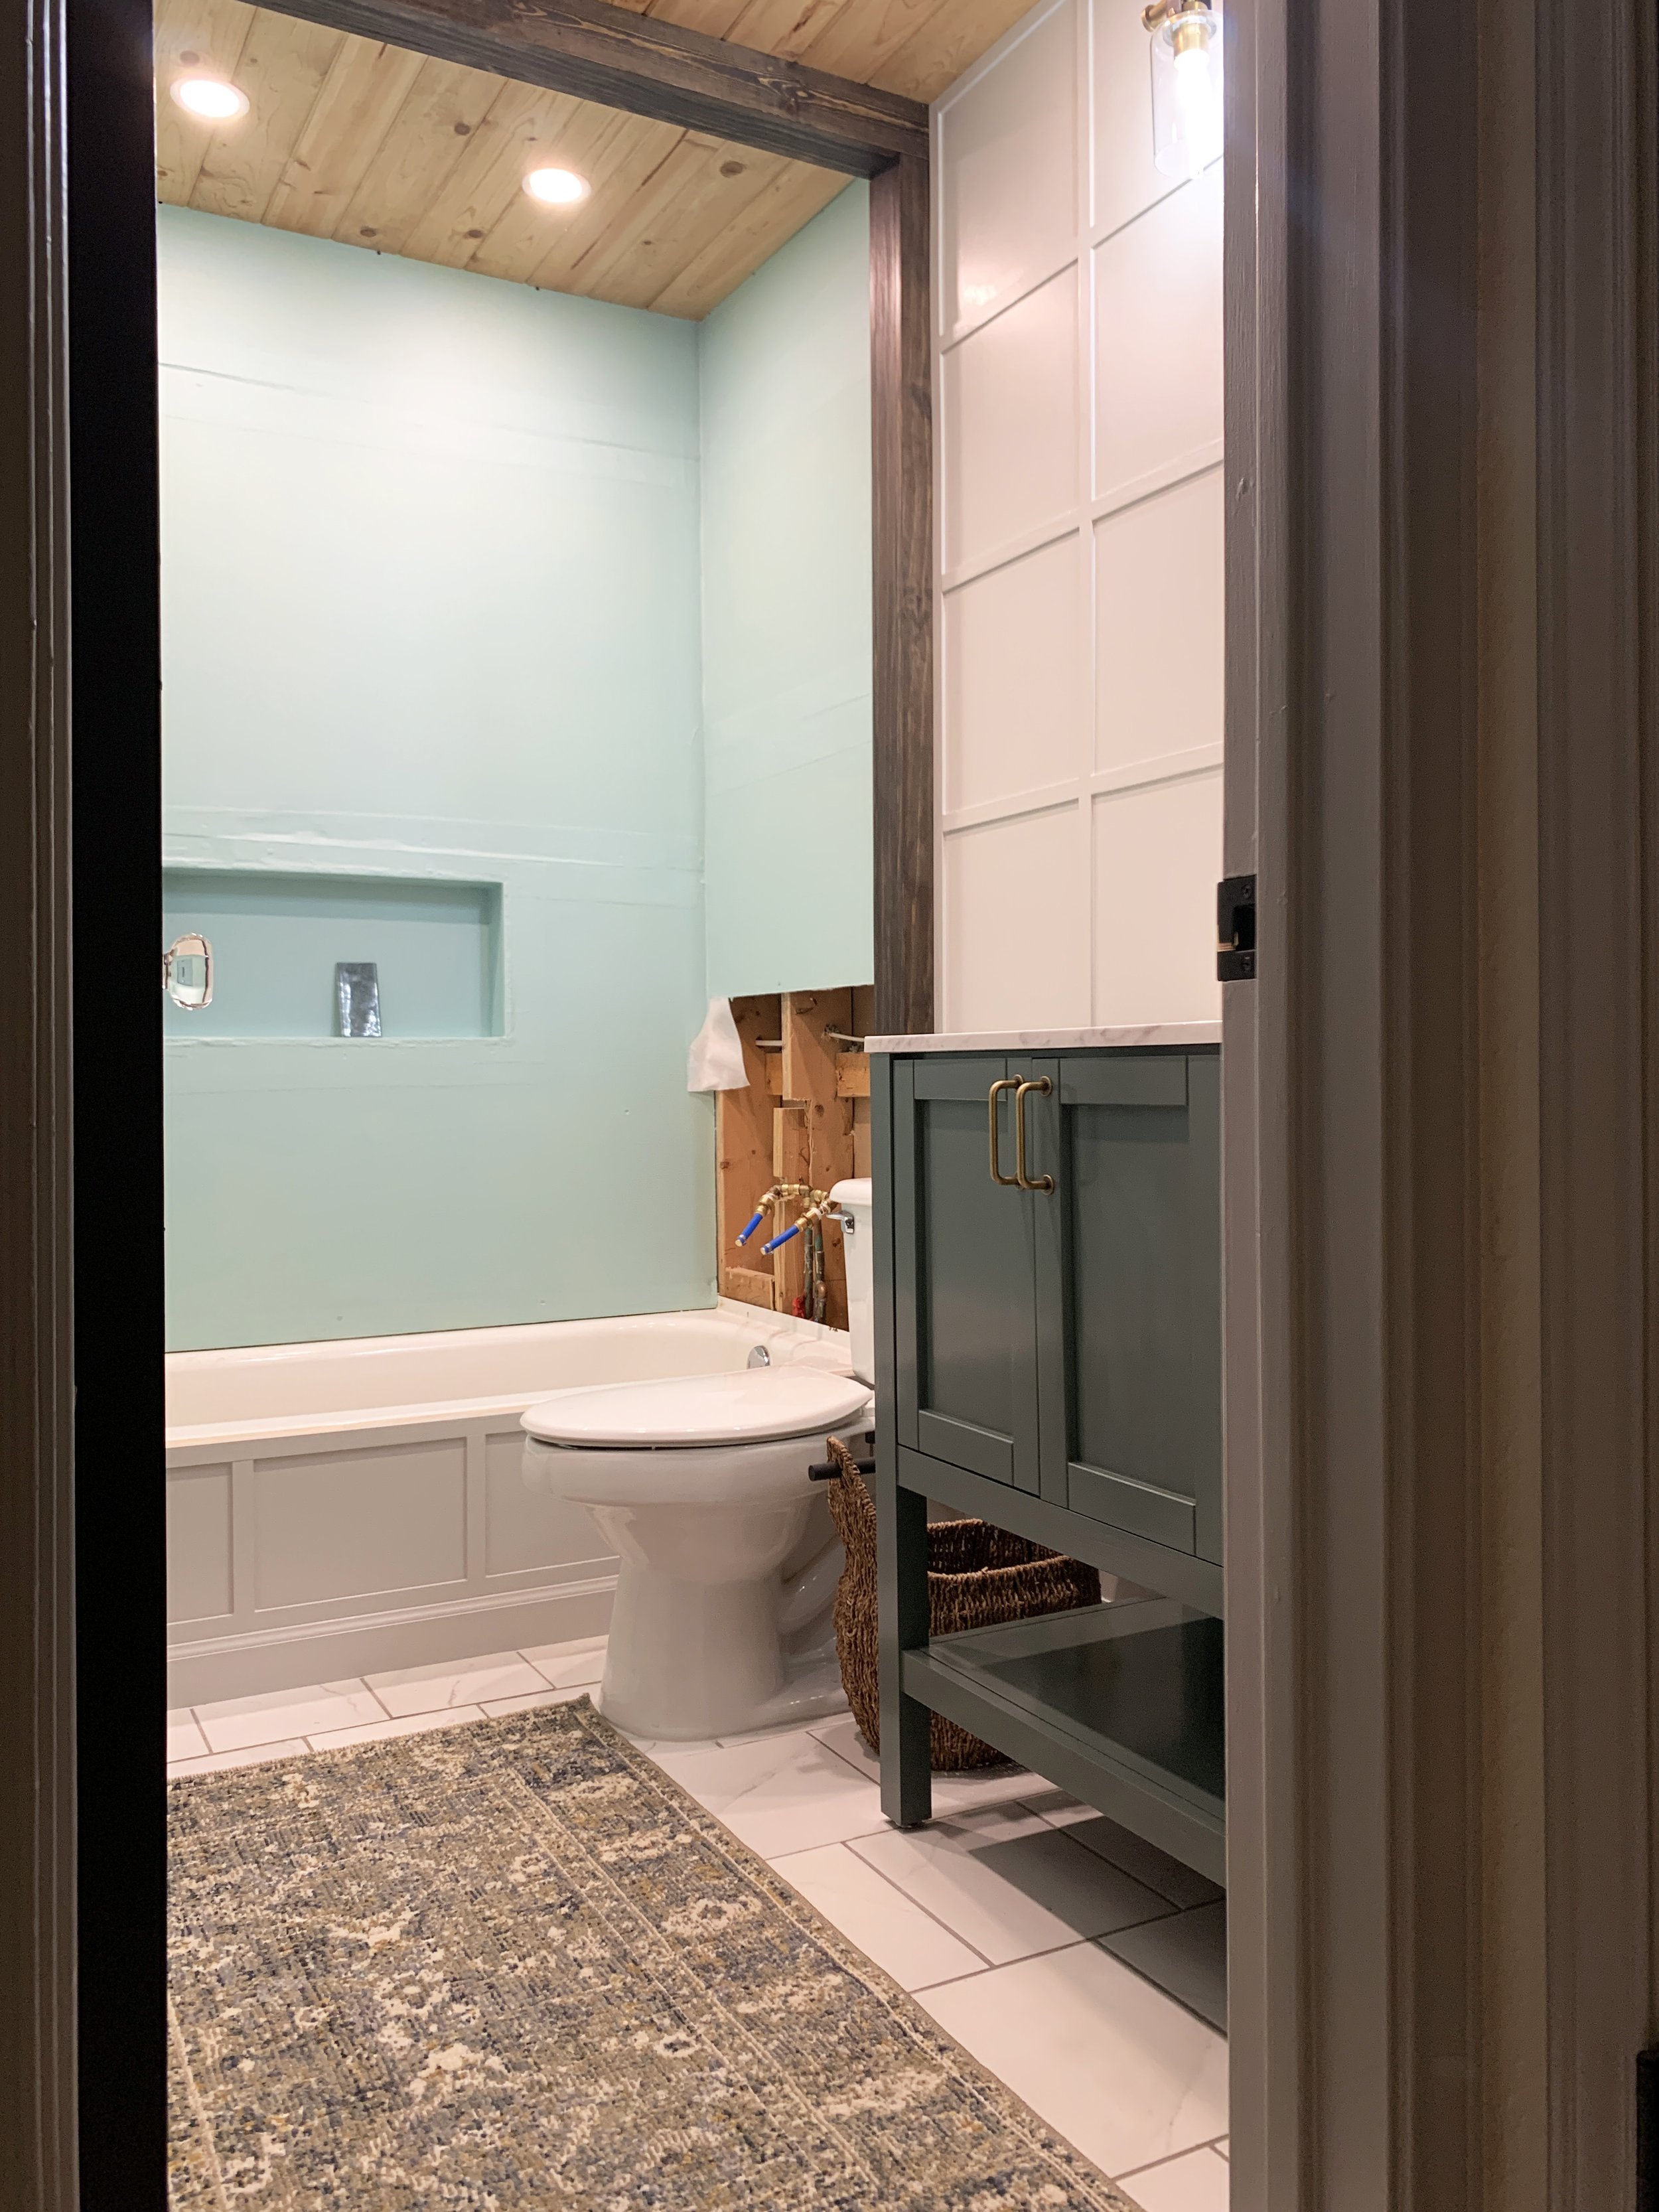
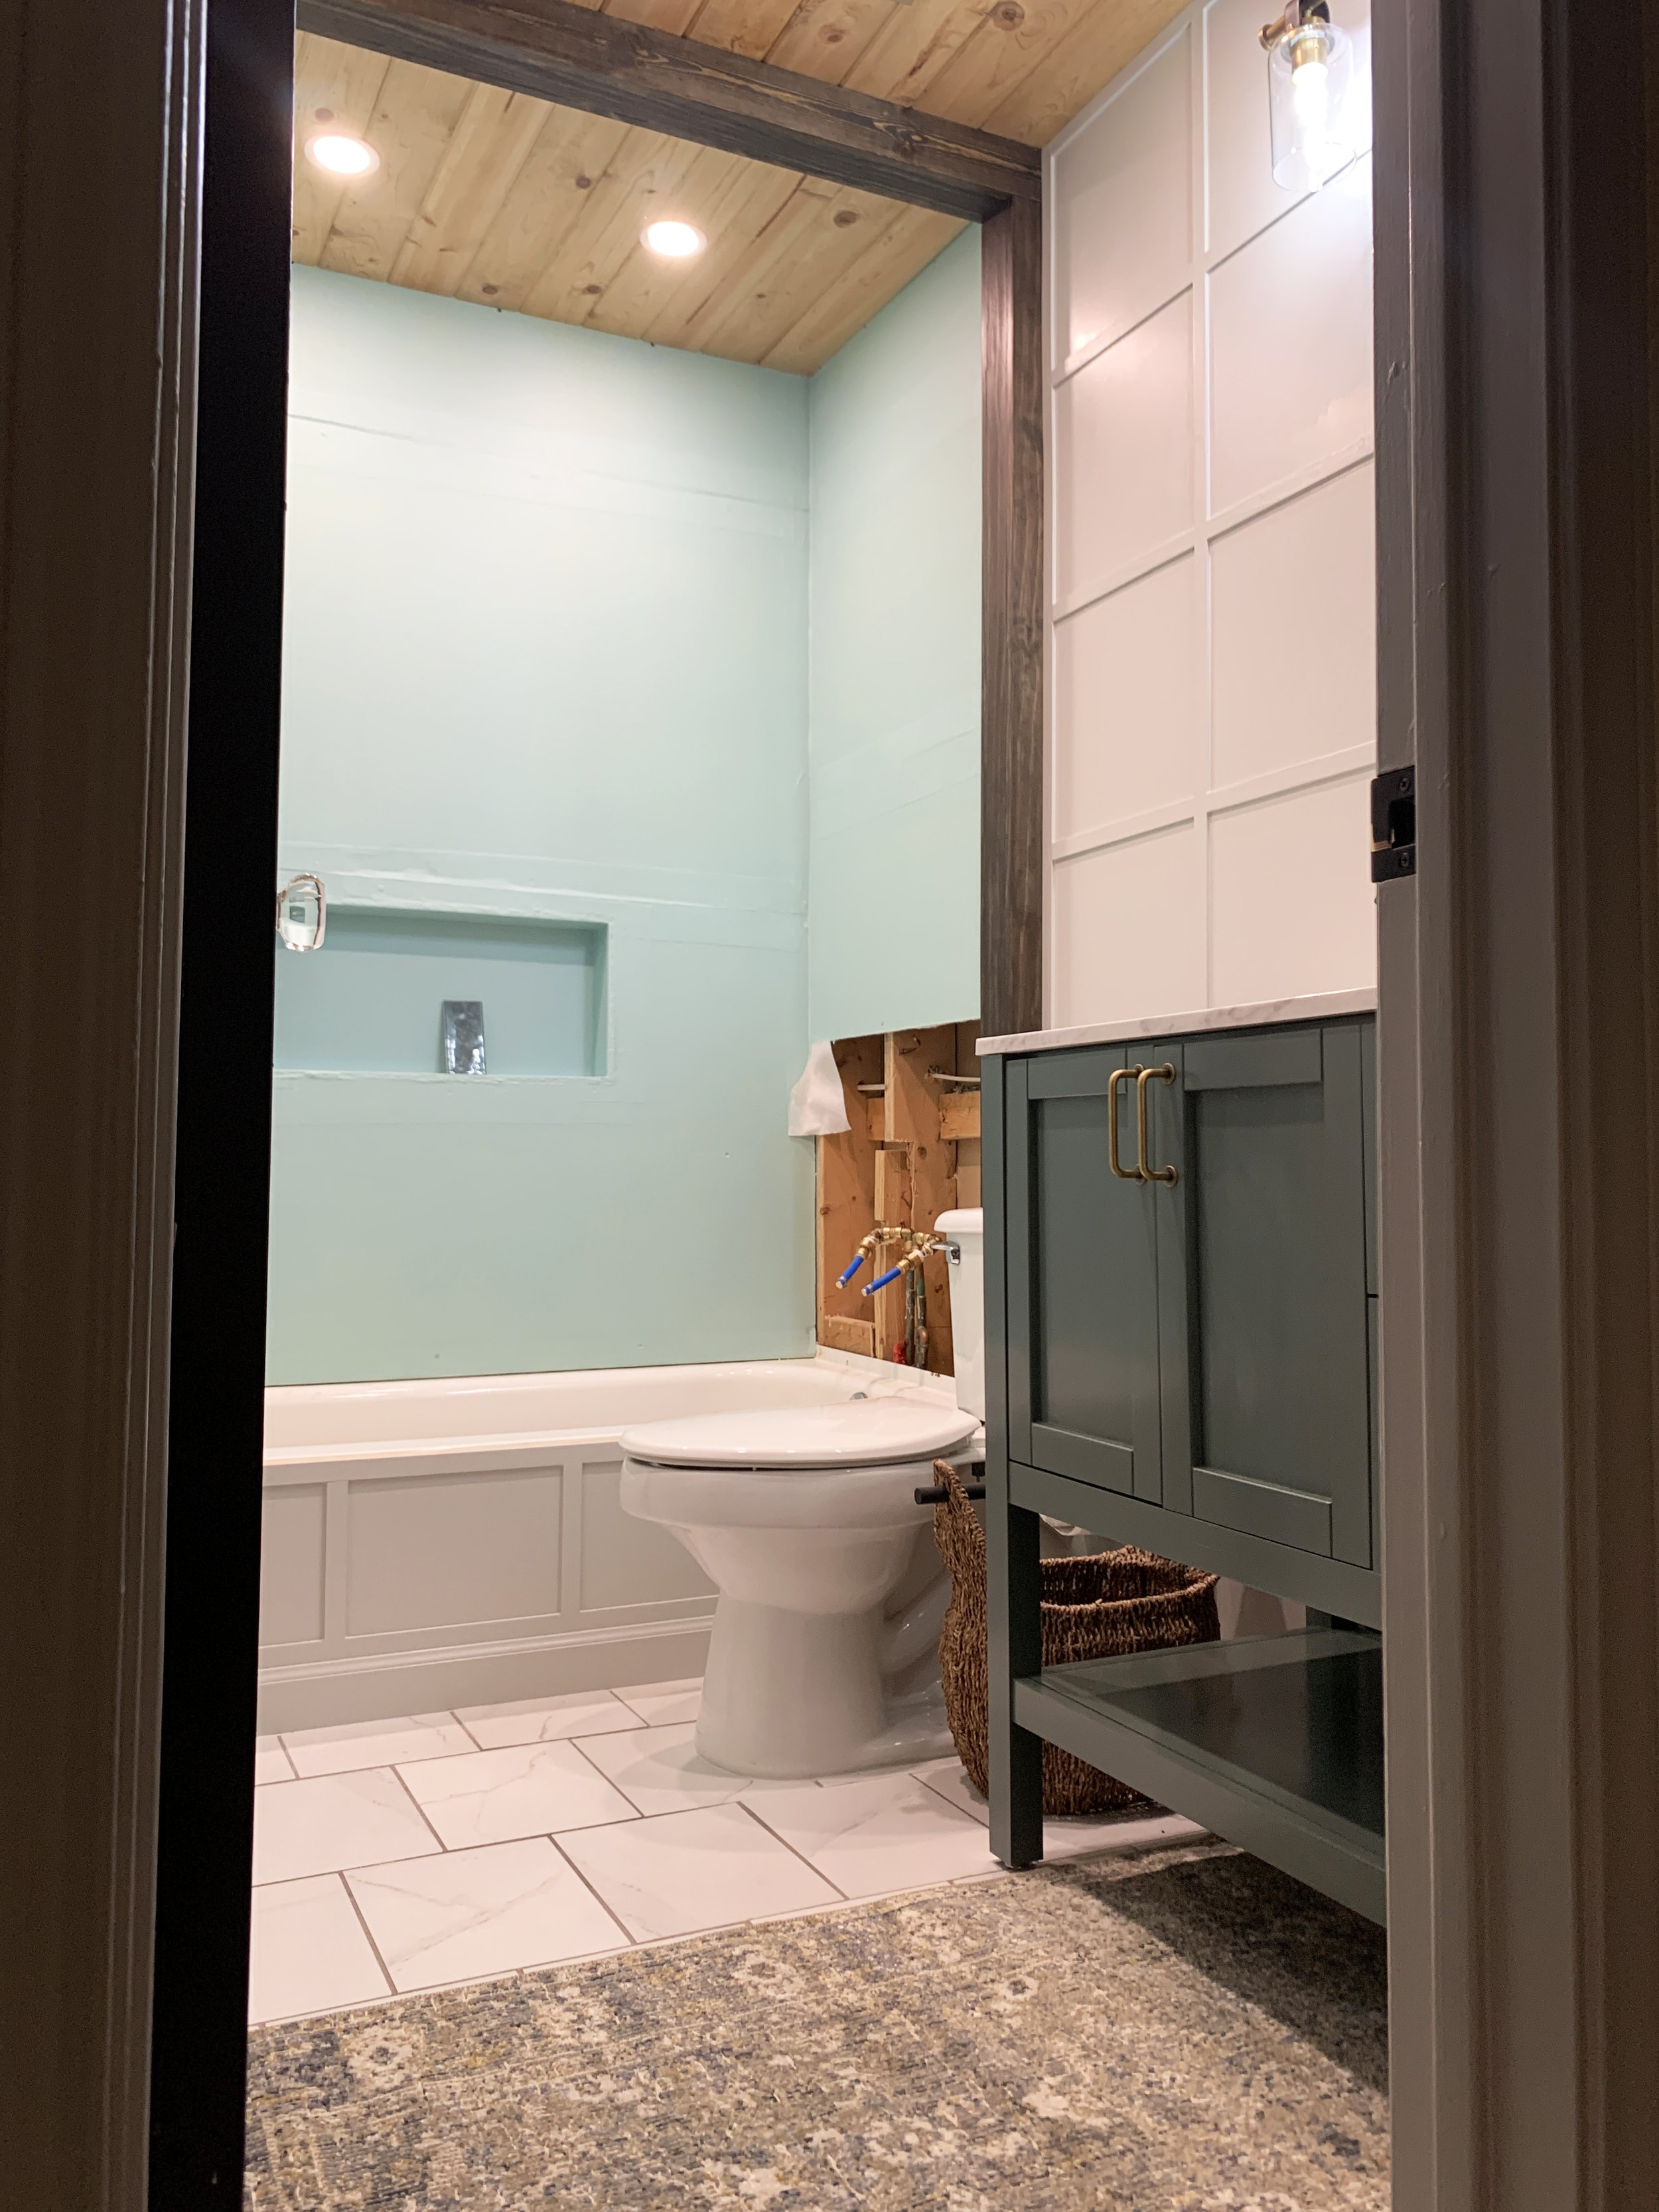
This past week I finally started tiling the shower and it’s looking seriously gorgeous (and also seriously unfinished) right now. I’ve also been working on lots of details for the room, so there definitely is visible progress being made this week.
The shower
Okay, so this is one of those less-than-fun parts of the DIY process where we get real and I share a failure turned success. Which is why the shower tile isn’t done yet.
The Niche
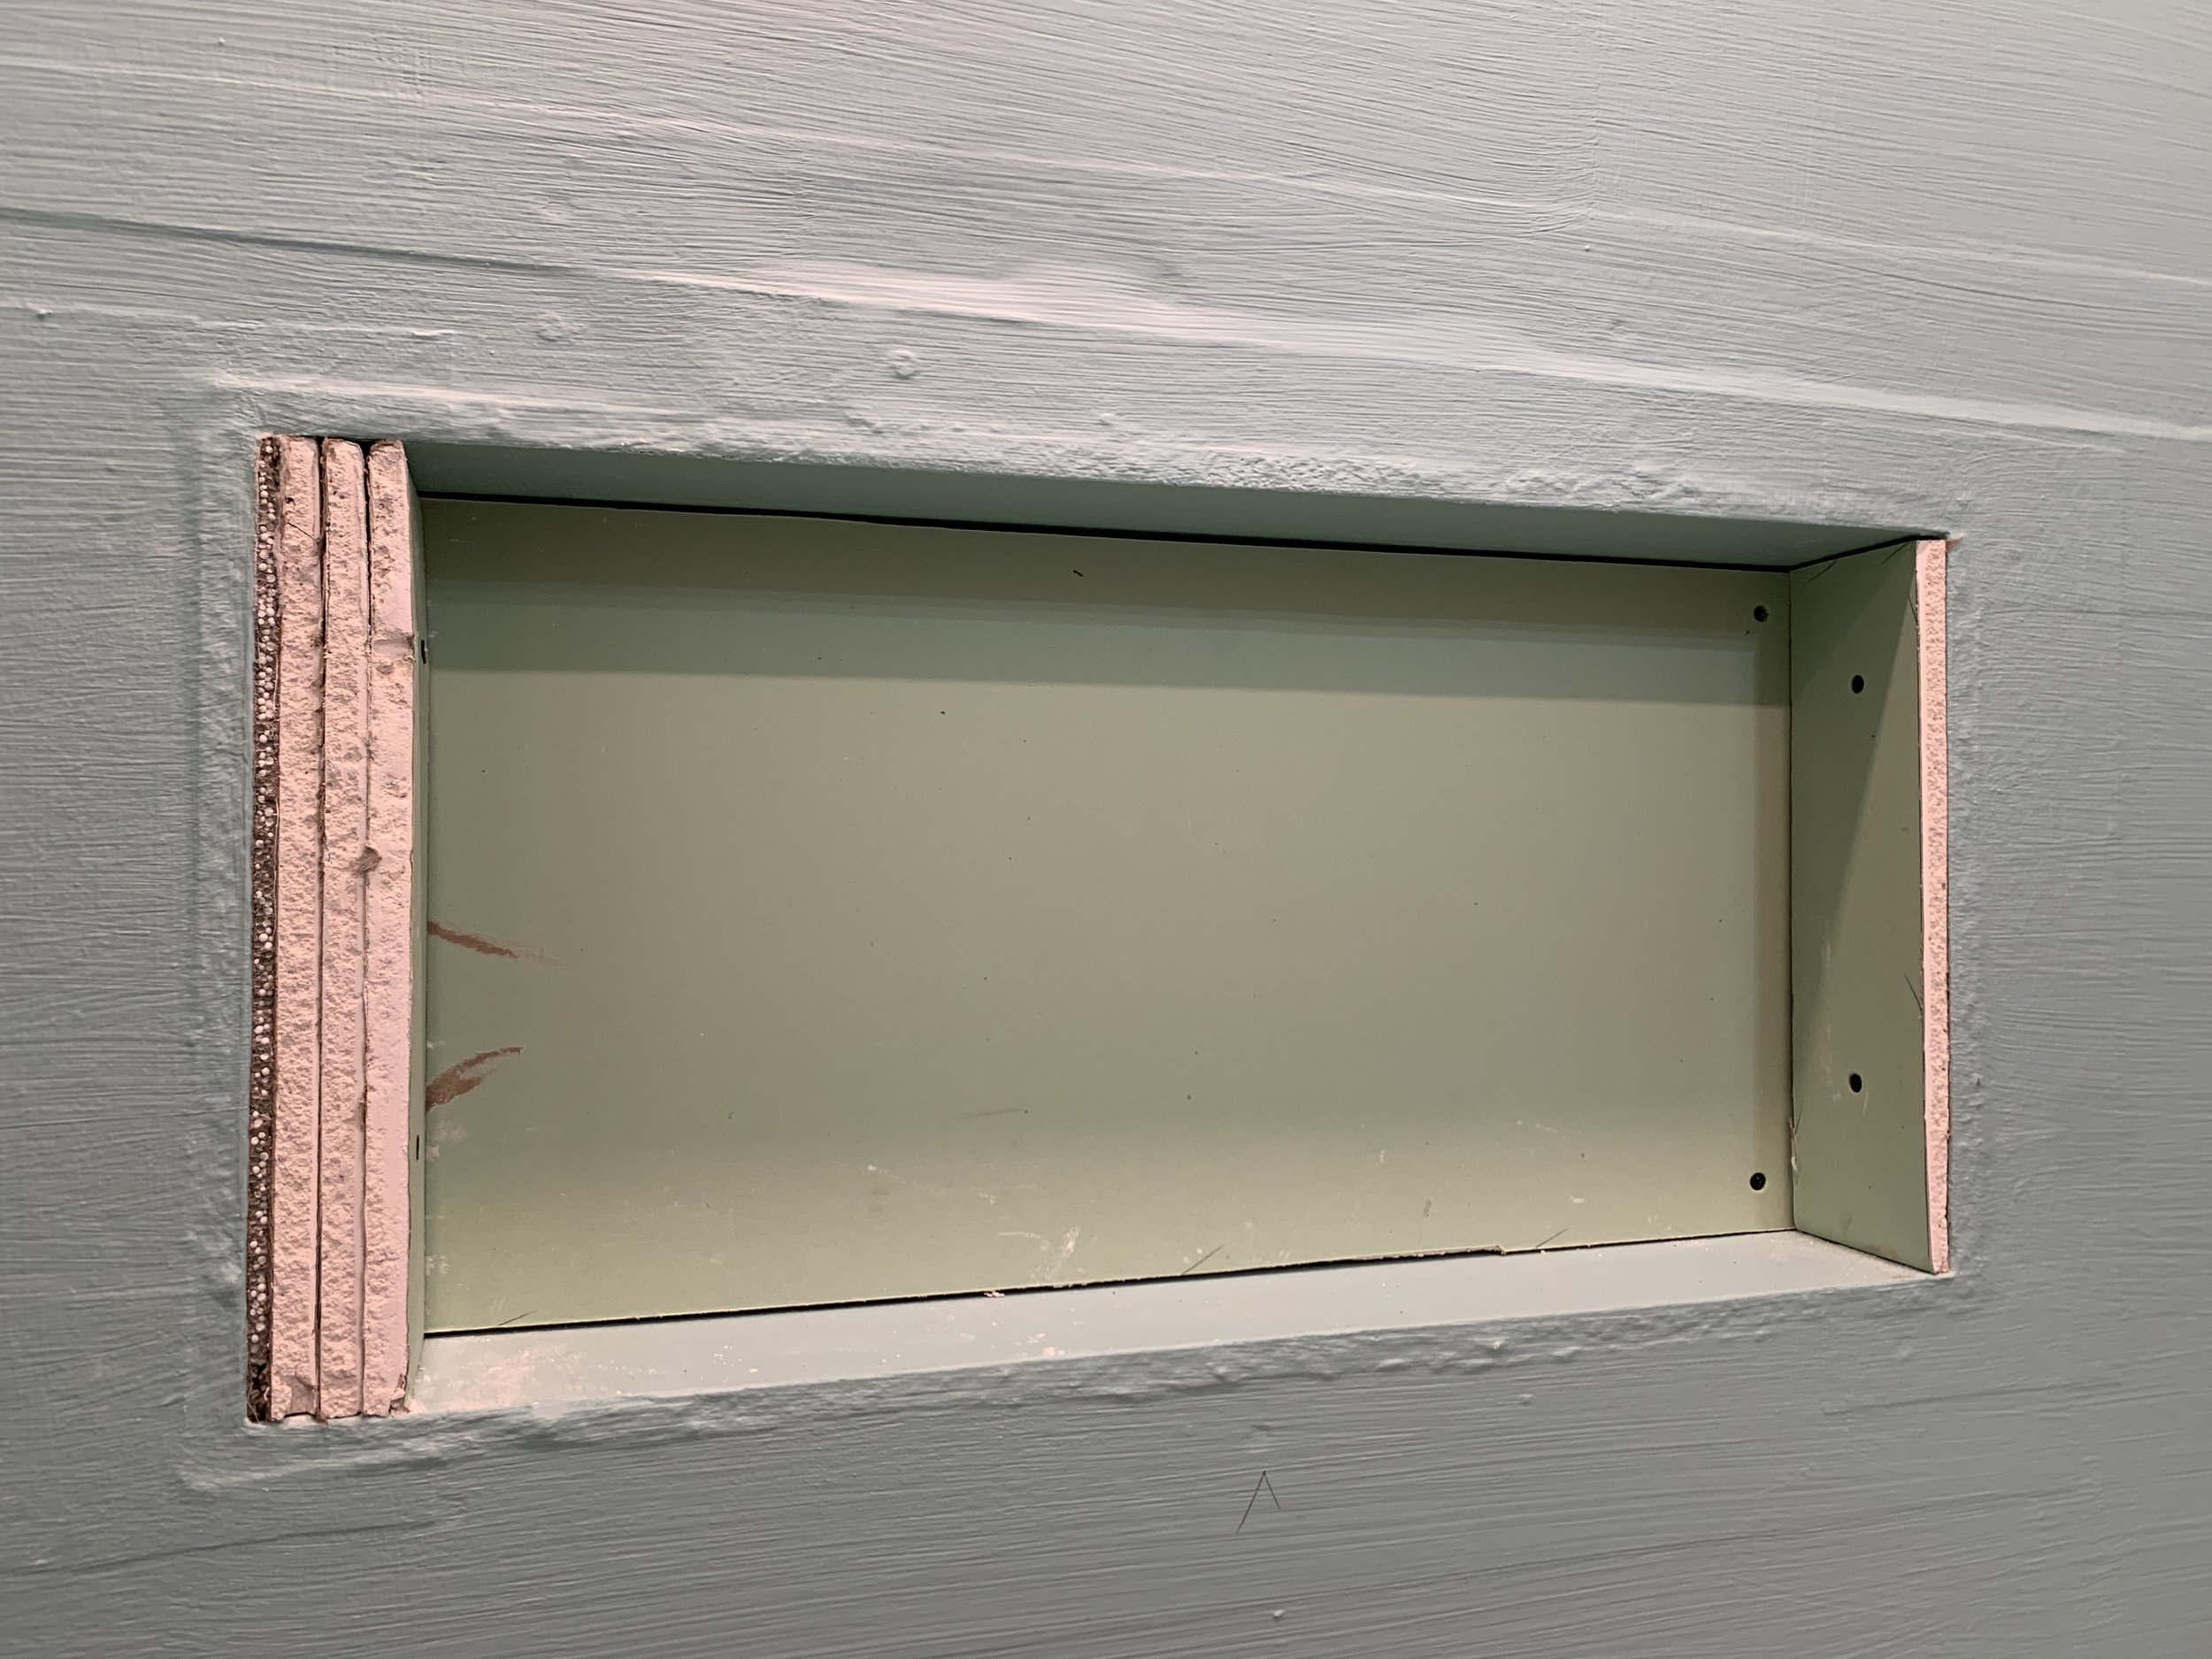
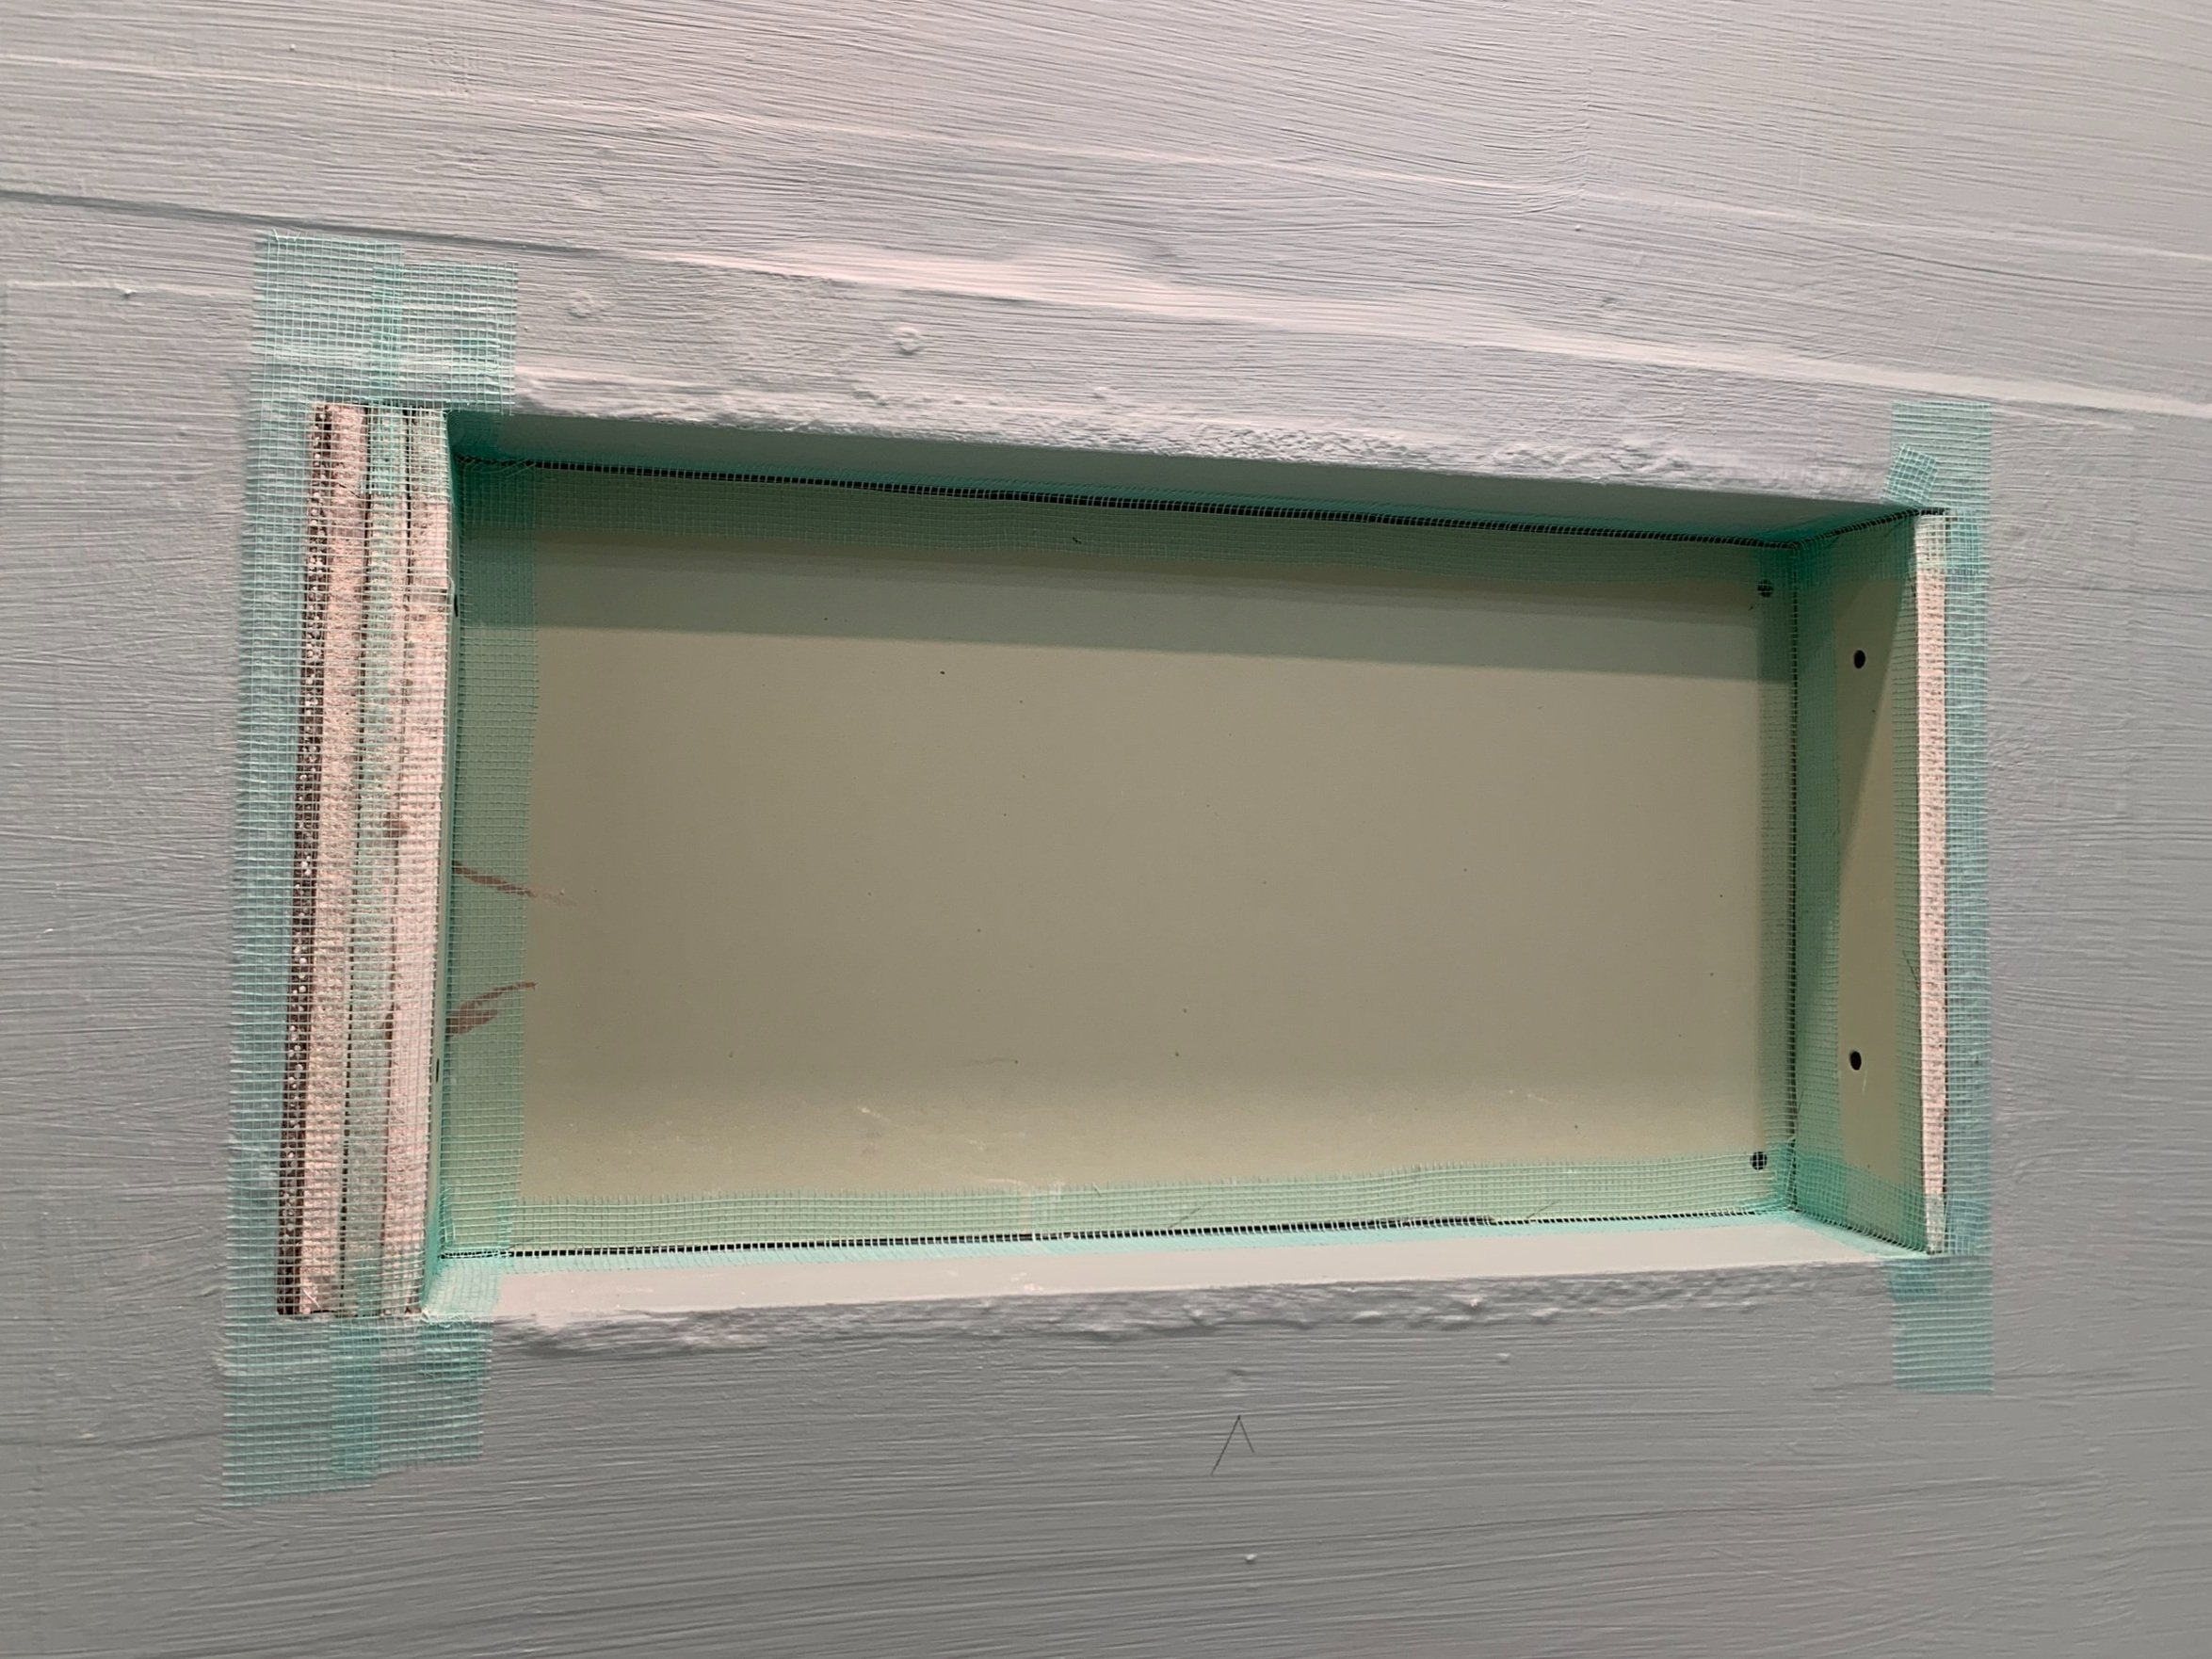
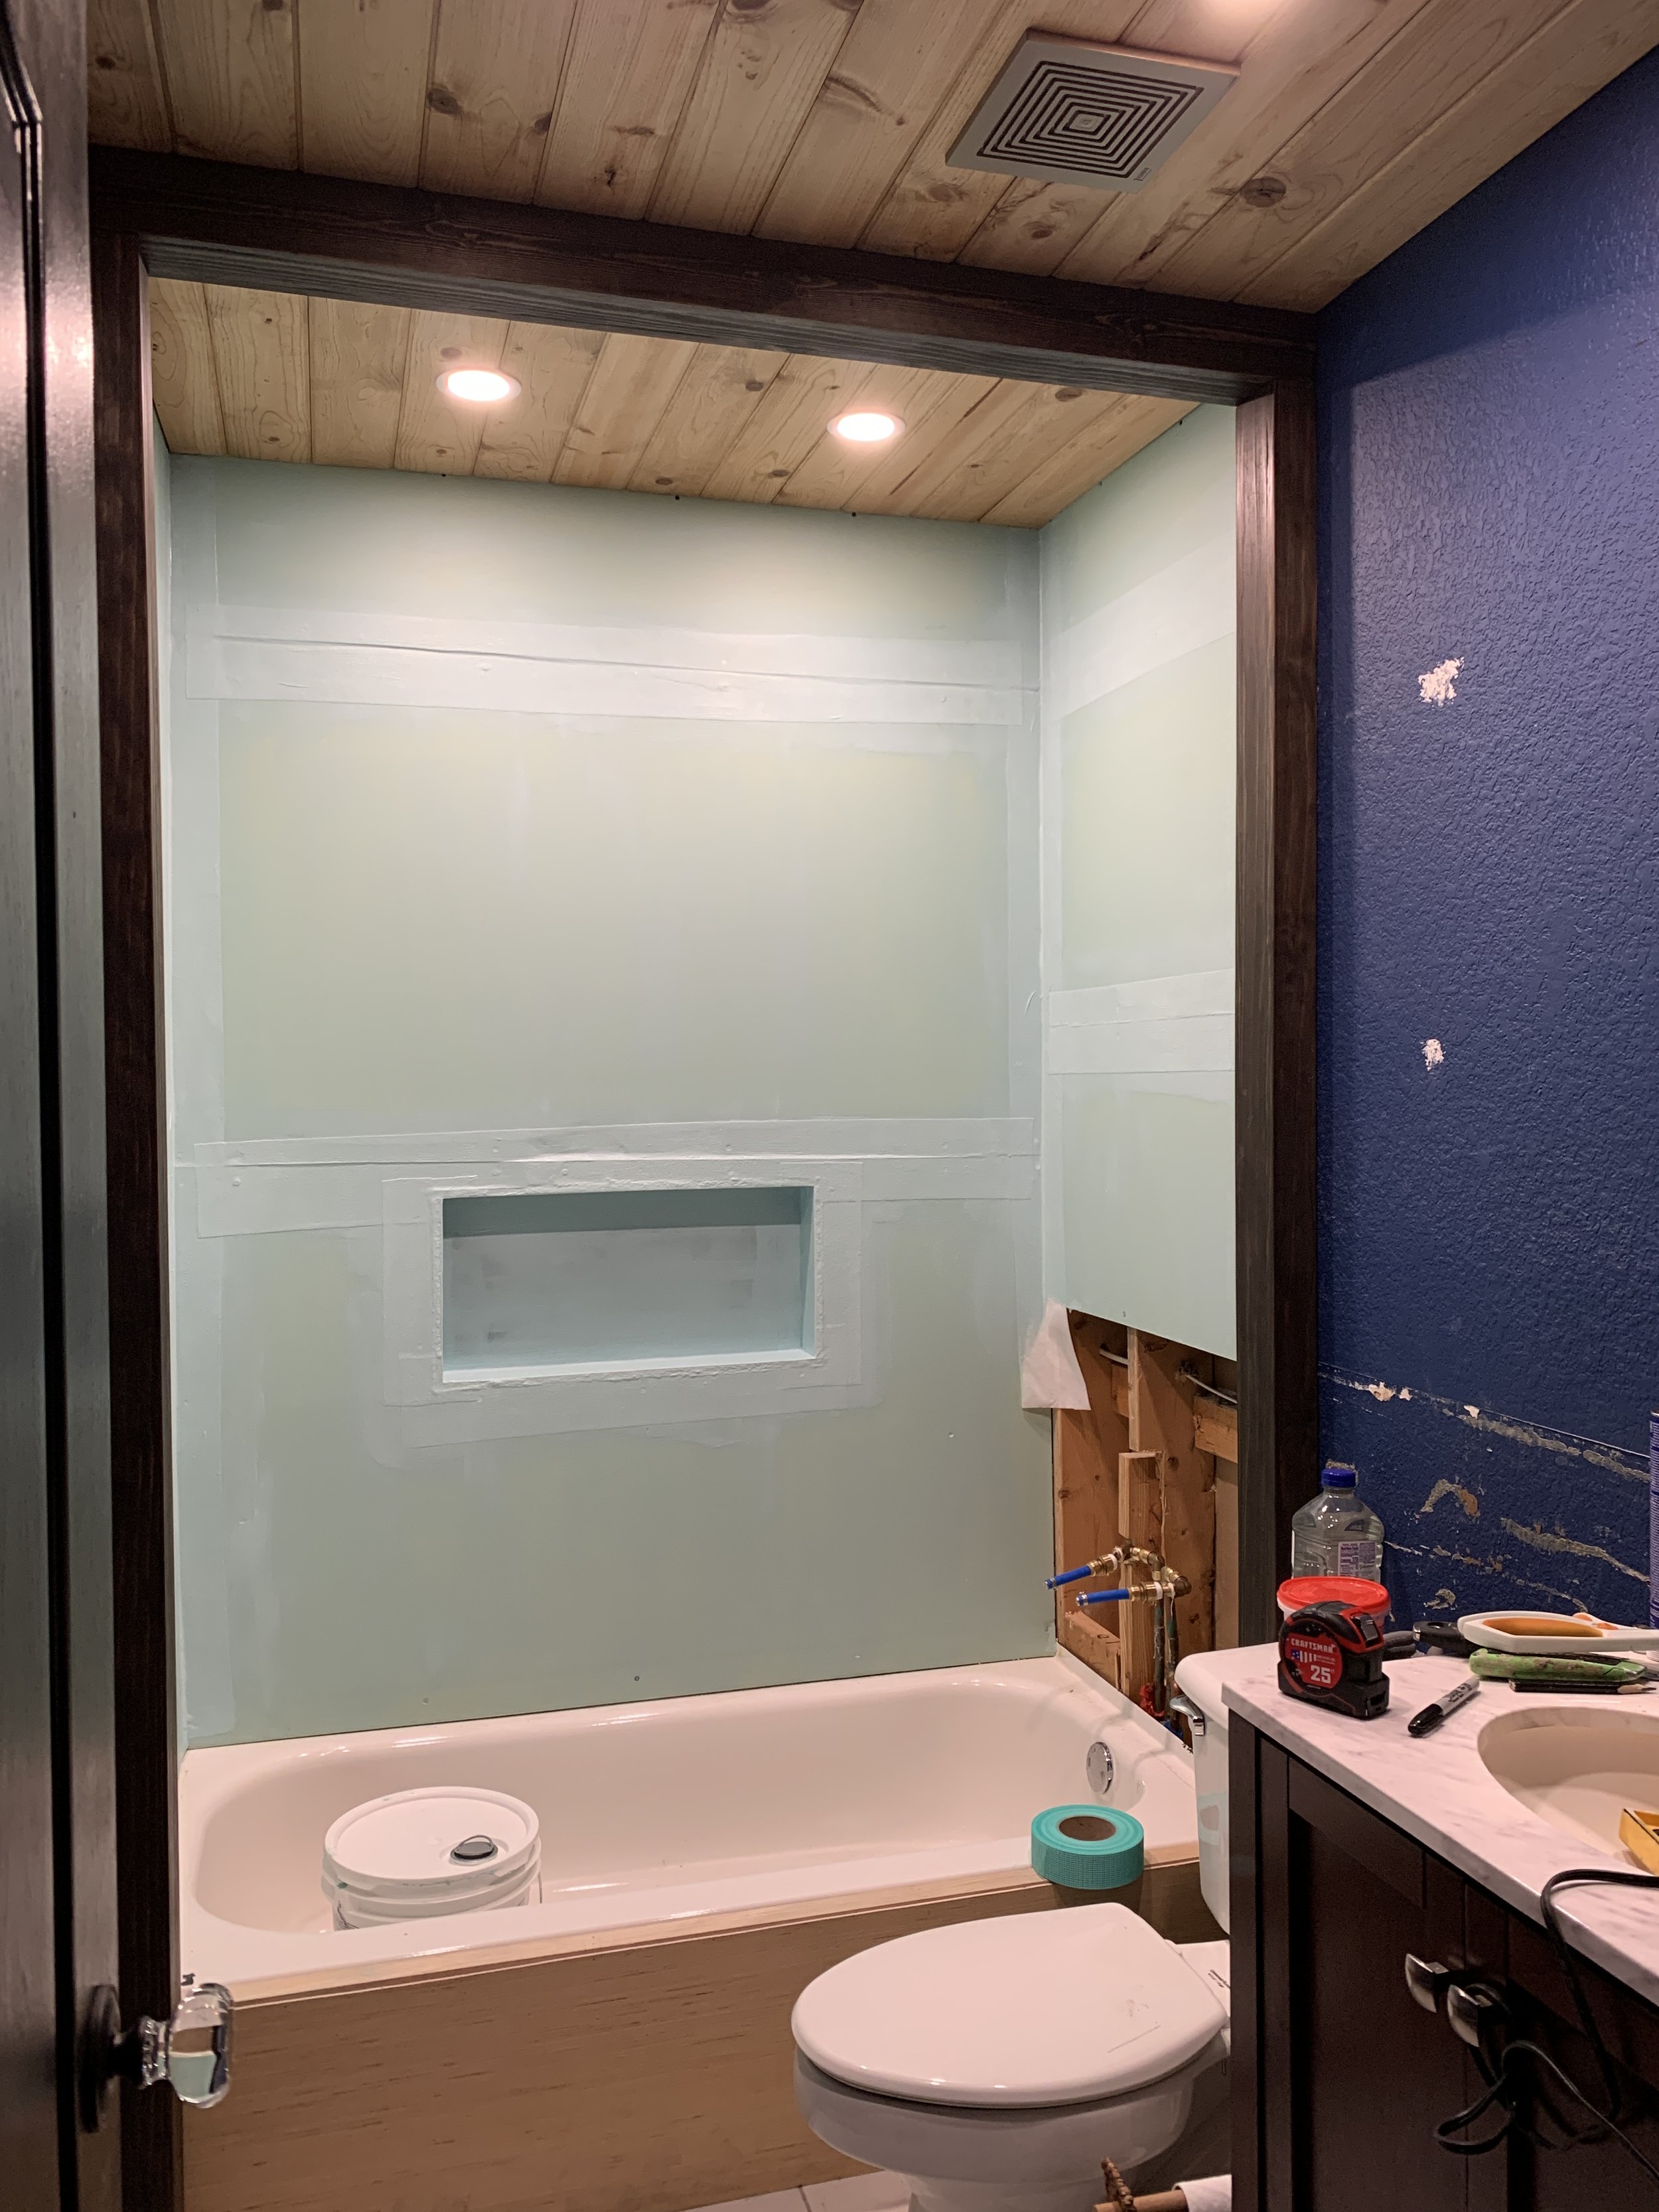
So … I went to tile, was marking out my placement on the main wall and realized I somehow framed the niche off center (too far to the left) and it was also one tile larger than my plan … I have no idea how, and remember at this point I’ve already drywalled and applied 4 layers of liquid waterproofing membrane. After having a mild freakout and bombarding Nick with a bunch of thinking out loud backup plan A/B/C/D/E/F/G texts while he was working (sorry, Nick!) I finally came up with a solution – just resize the niche by layering drywall (unevenly) to help push it to the right and narrow it in by one tile width. I also decided to make it a 1/2” shallower to make the depth of the sides perfectly one tile wide, (And I re-waterproofed it with 4 new layers of liquid waterproofing membrane.)
I set some tiles in to get a double check on my spacing and re-math skills.
Problem solved!
It did push my tiling back by a week which is super unfortunate, but now the tile is lining up perfectly, and with 7 tiles as originally planned!!!
Oh, and this also means we had to cut down the marble niche sill we cut already… Again, less than ideal (especially since I had to bother Nick for more help) but well worth it for a better end product.
One new-to-us thing I did was used ledger boards made from scrap lumber to get the first row of tiles perfectly level for the first time and it went well! 10/10: highly recommend.
Once the first row of tile was up and the mastic was dry, I removed the ledger boards and waterproofed the screw holes. I was nervous I’d accidentally break the tiles removing them – and it was a touch scary hearing the popping crunchy sound of the now-dried mastic that had dripped behind the boards kind of gluing them to the wall as I gently hulked the wood off of it – but it all worked out great.
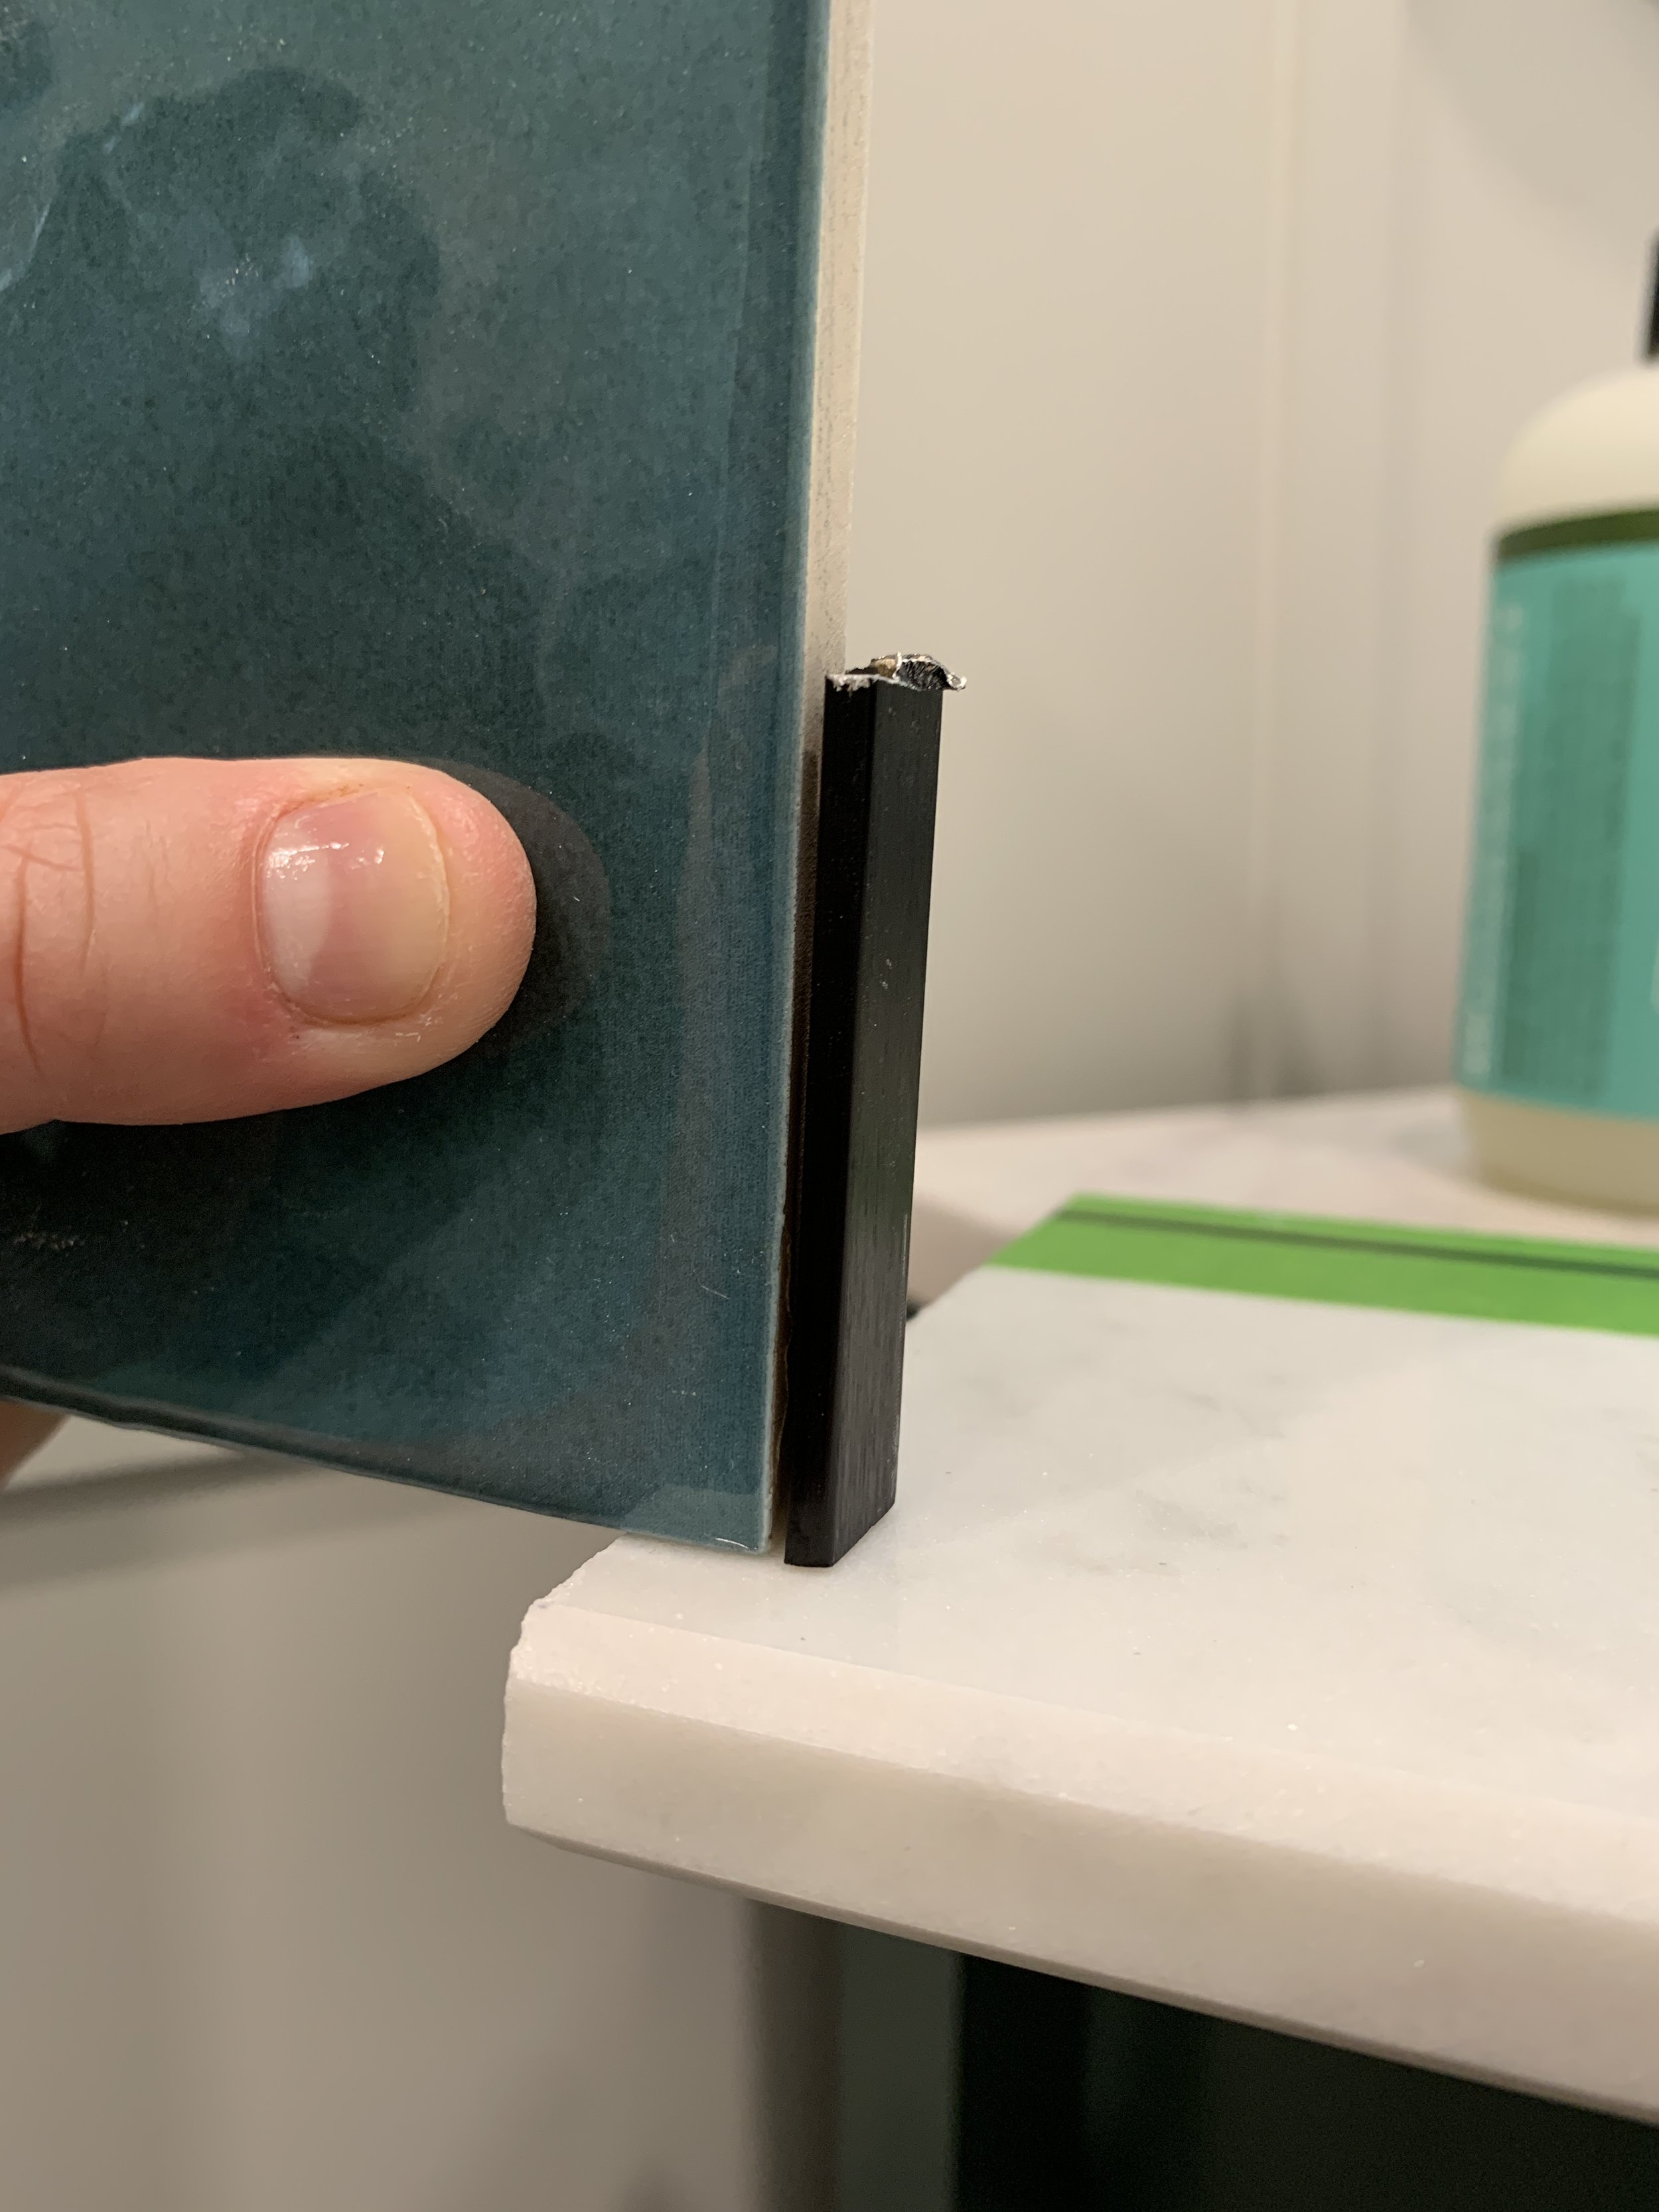
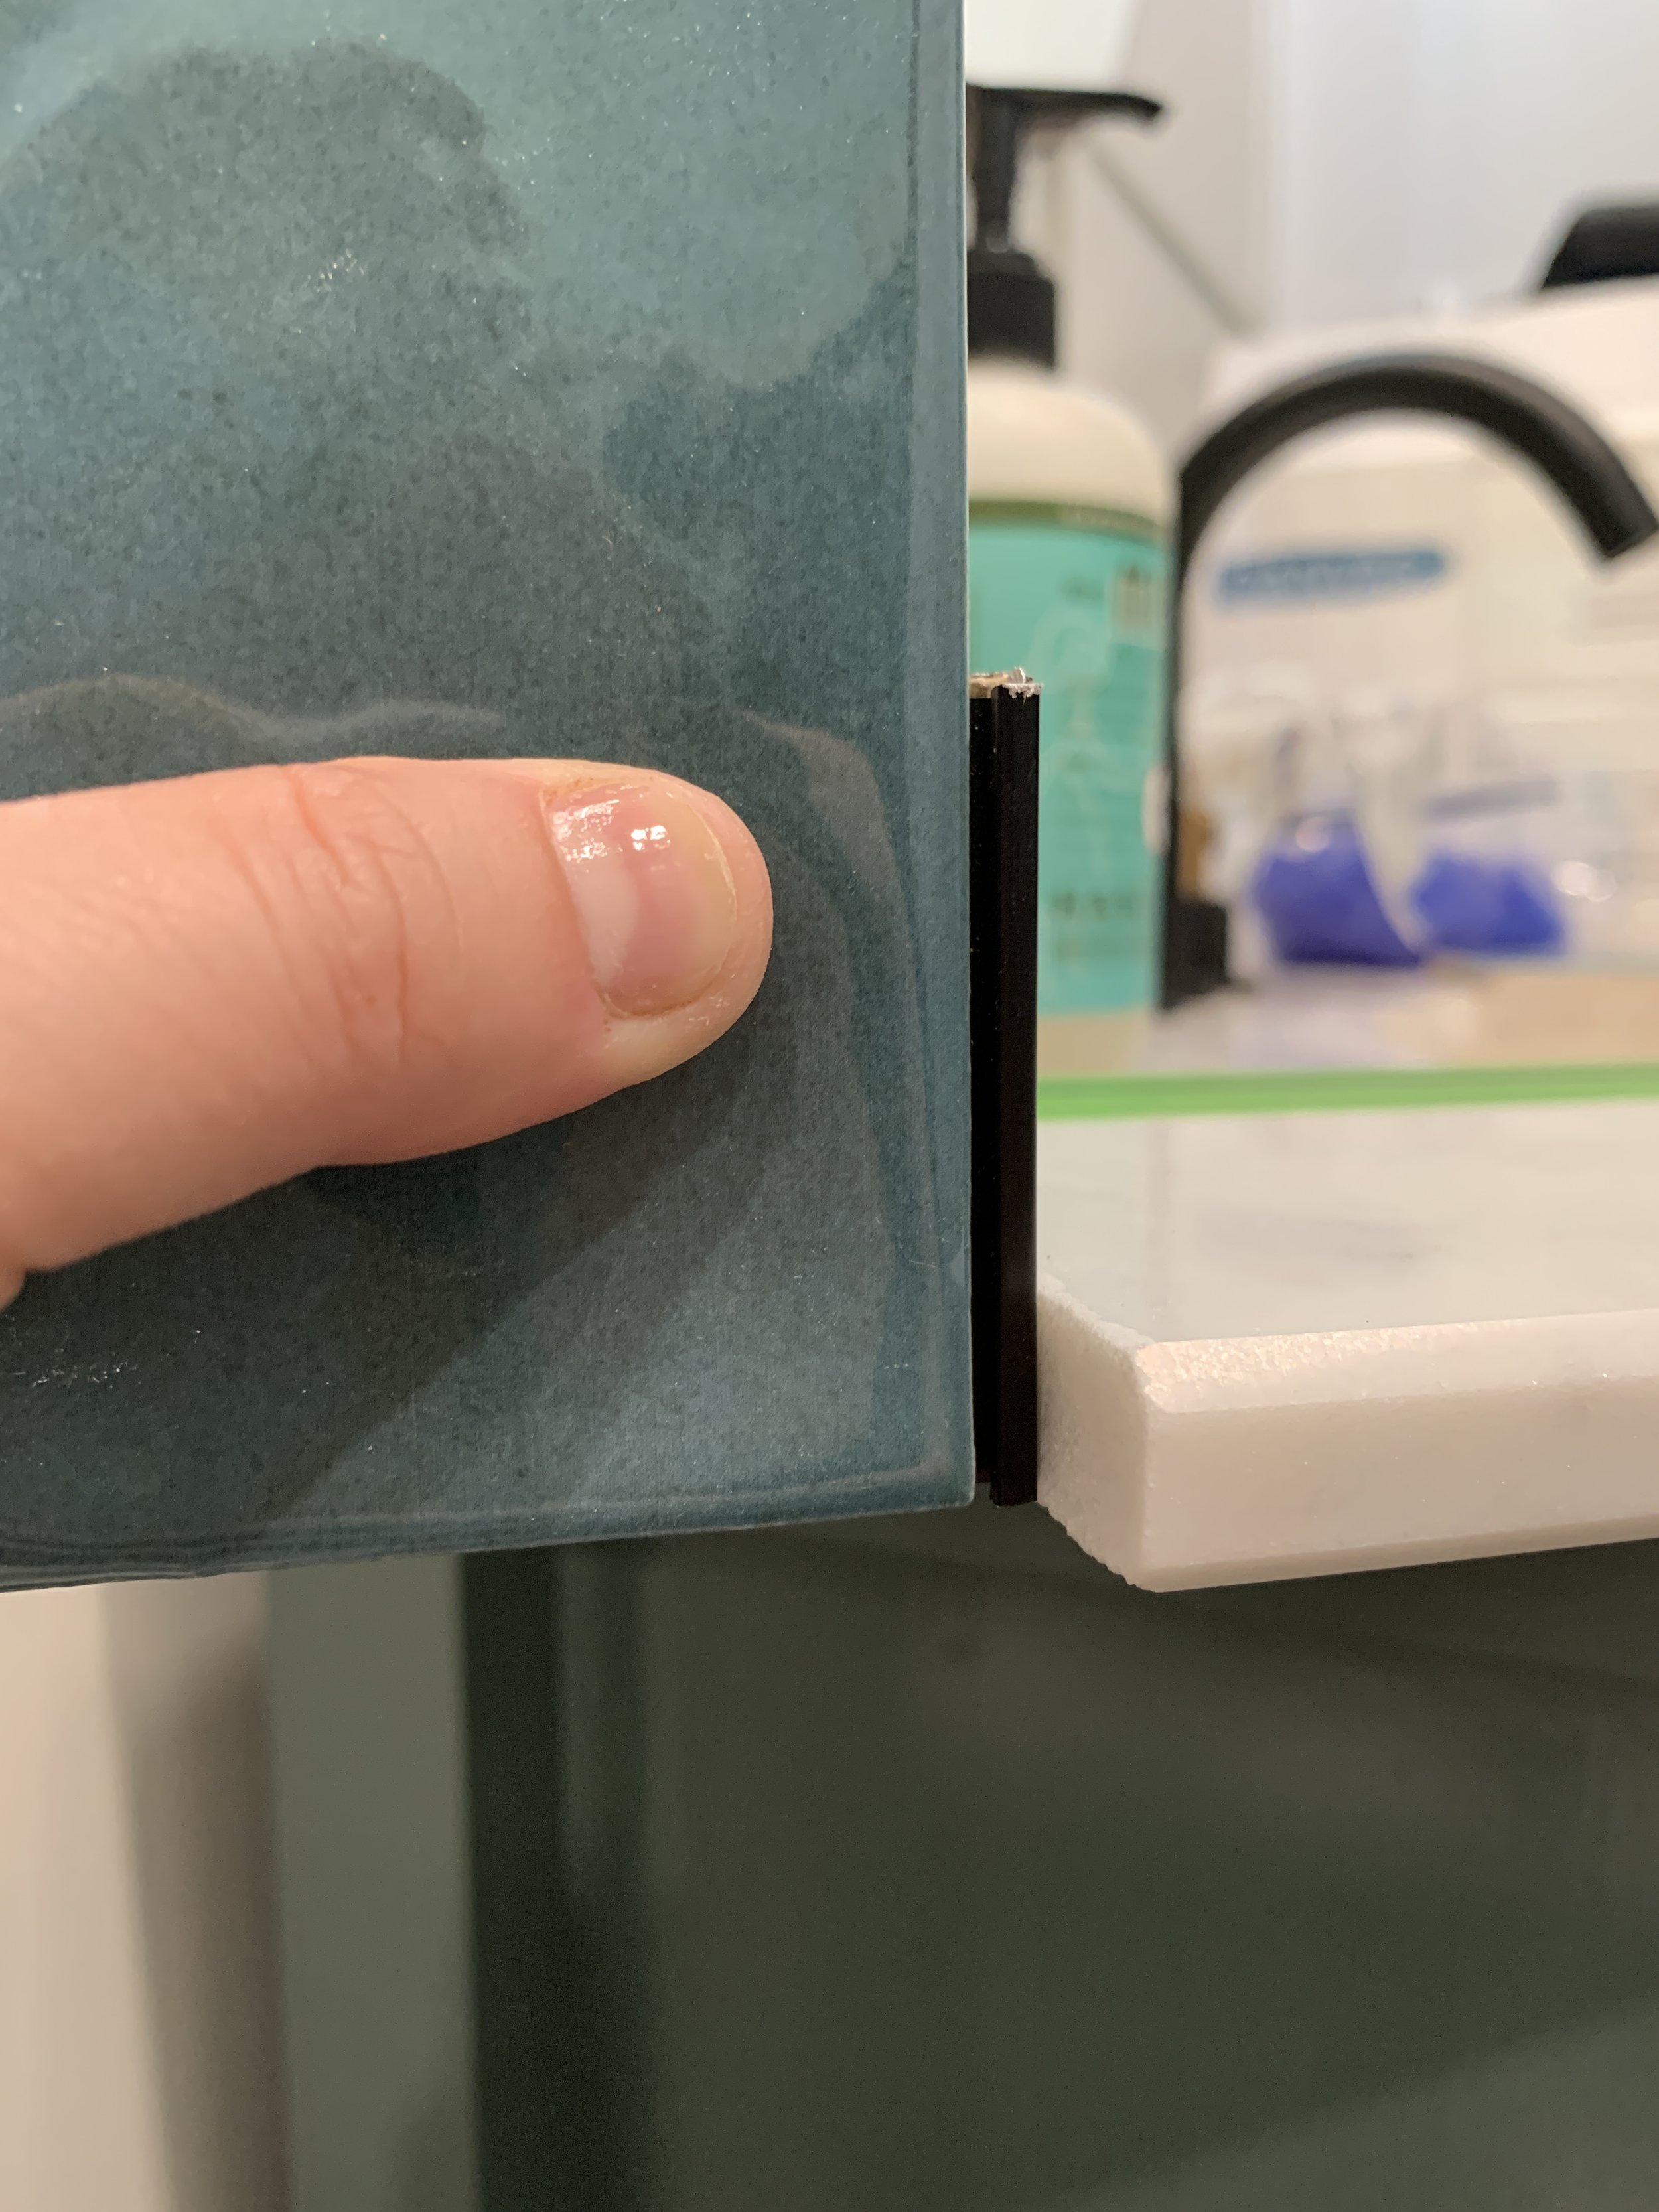
Another accomplishment this week was my first (and dare I say successful) use of metal Schluter edging in our shower niche. It took a little figuring out to get it just how I wanted it to look, but it looks like it’s going to turn out well!
While I’d love to show you how the shower looks today, you’re just going to have to wait for the full reveal next week!
For now I will leave you with this little tease:
Details
Toiletry bottles
Also this week I’ve been working on some more of the details for the bathroom, including some nice coordinating pump bottles for soap, lotion, shampoo, conditioner and body wash so all of our products complement each other and we don’t have a hodgepodge of stuff all over the room anymore.
The bottles come blank with sheets of labels and you just put the labels on that you need.
Some of these are glass, and some are plastic – can you tell which is which?
Take a look at the photo below and guess first, then scroll down to see if you’re right.
.
.
.
No cheating!
.
.
.
The hand soap and hand lotion bottles are glass, and the shampoo, conditioner and body wash bottles are plastic. If you got that right, give yourself a pat on the back.
Nick had the great idea to not put glass bottles in the shower for safety – just in case they ever fell no one will get cut up in the shower. So happy I was able to find nearly identical duplicates of our glass bottles!
Area rugs
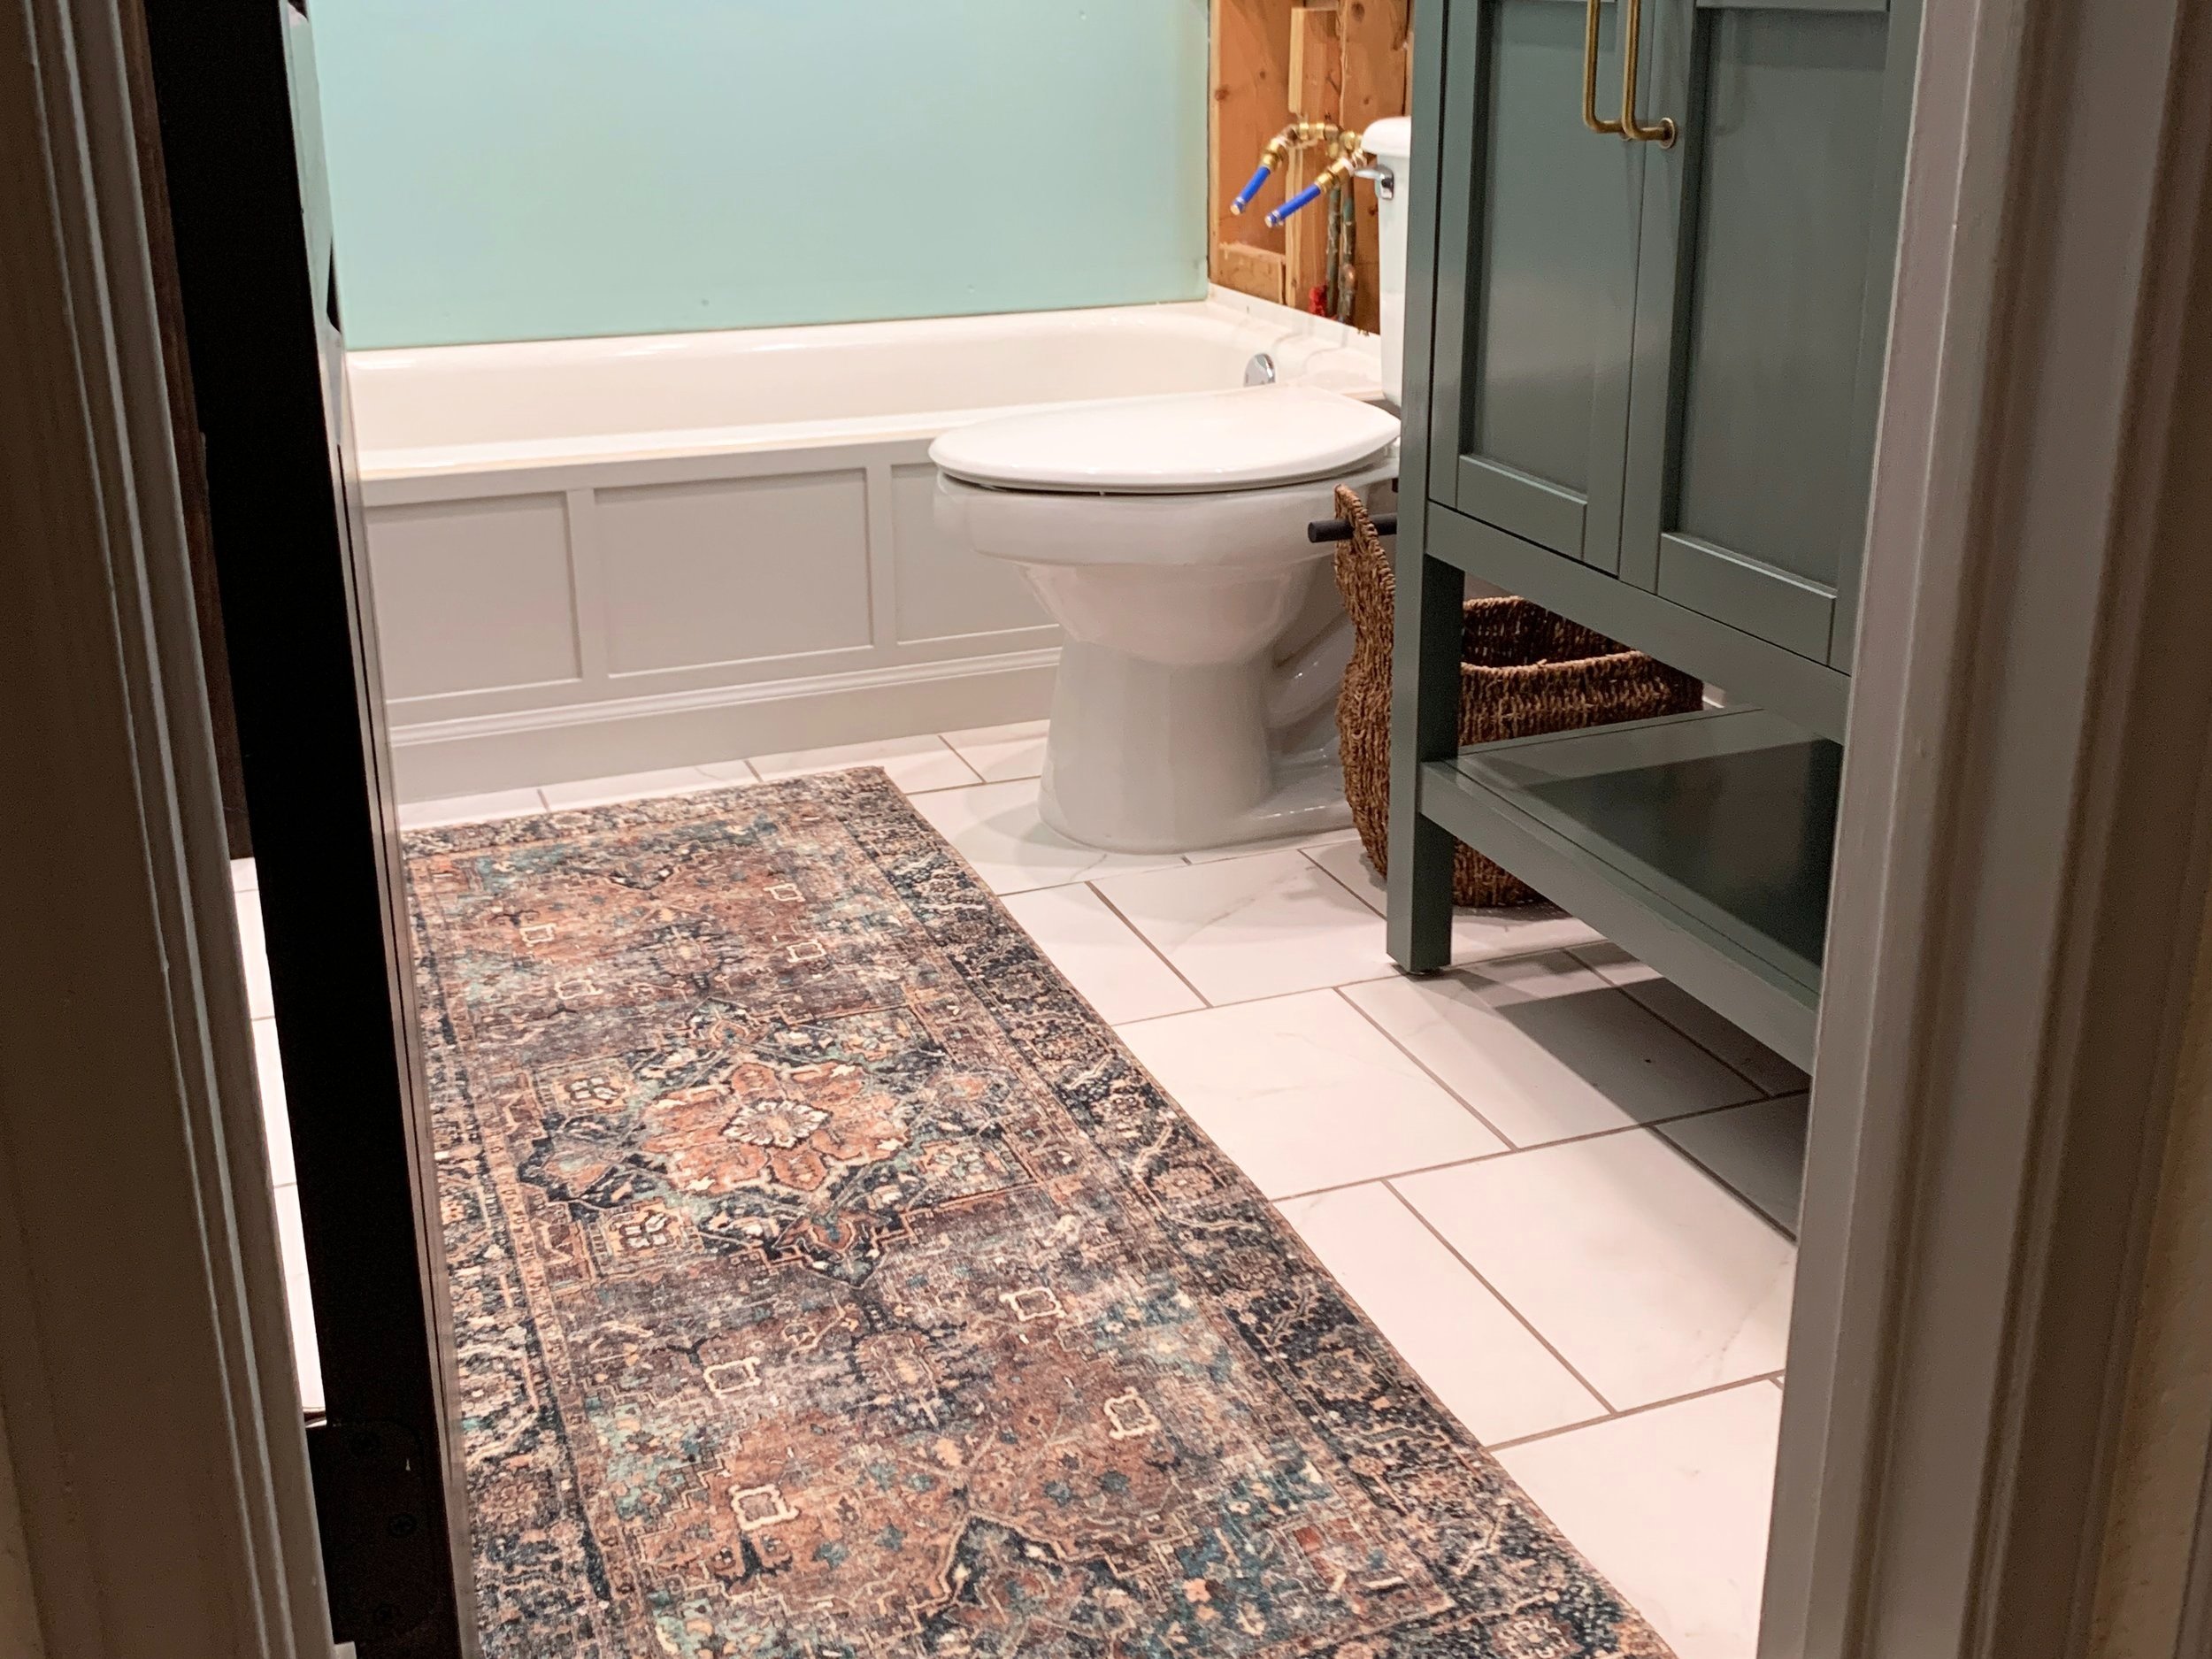
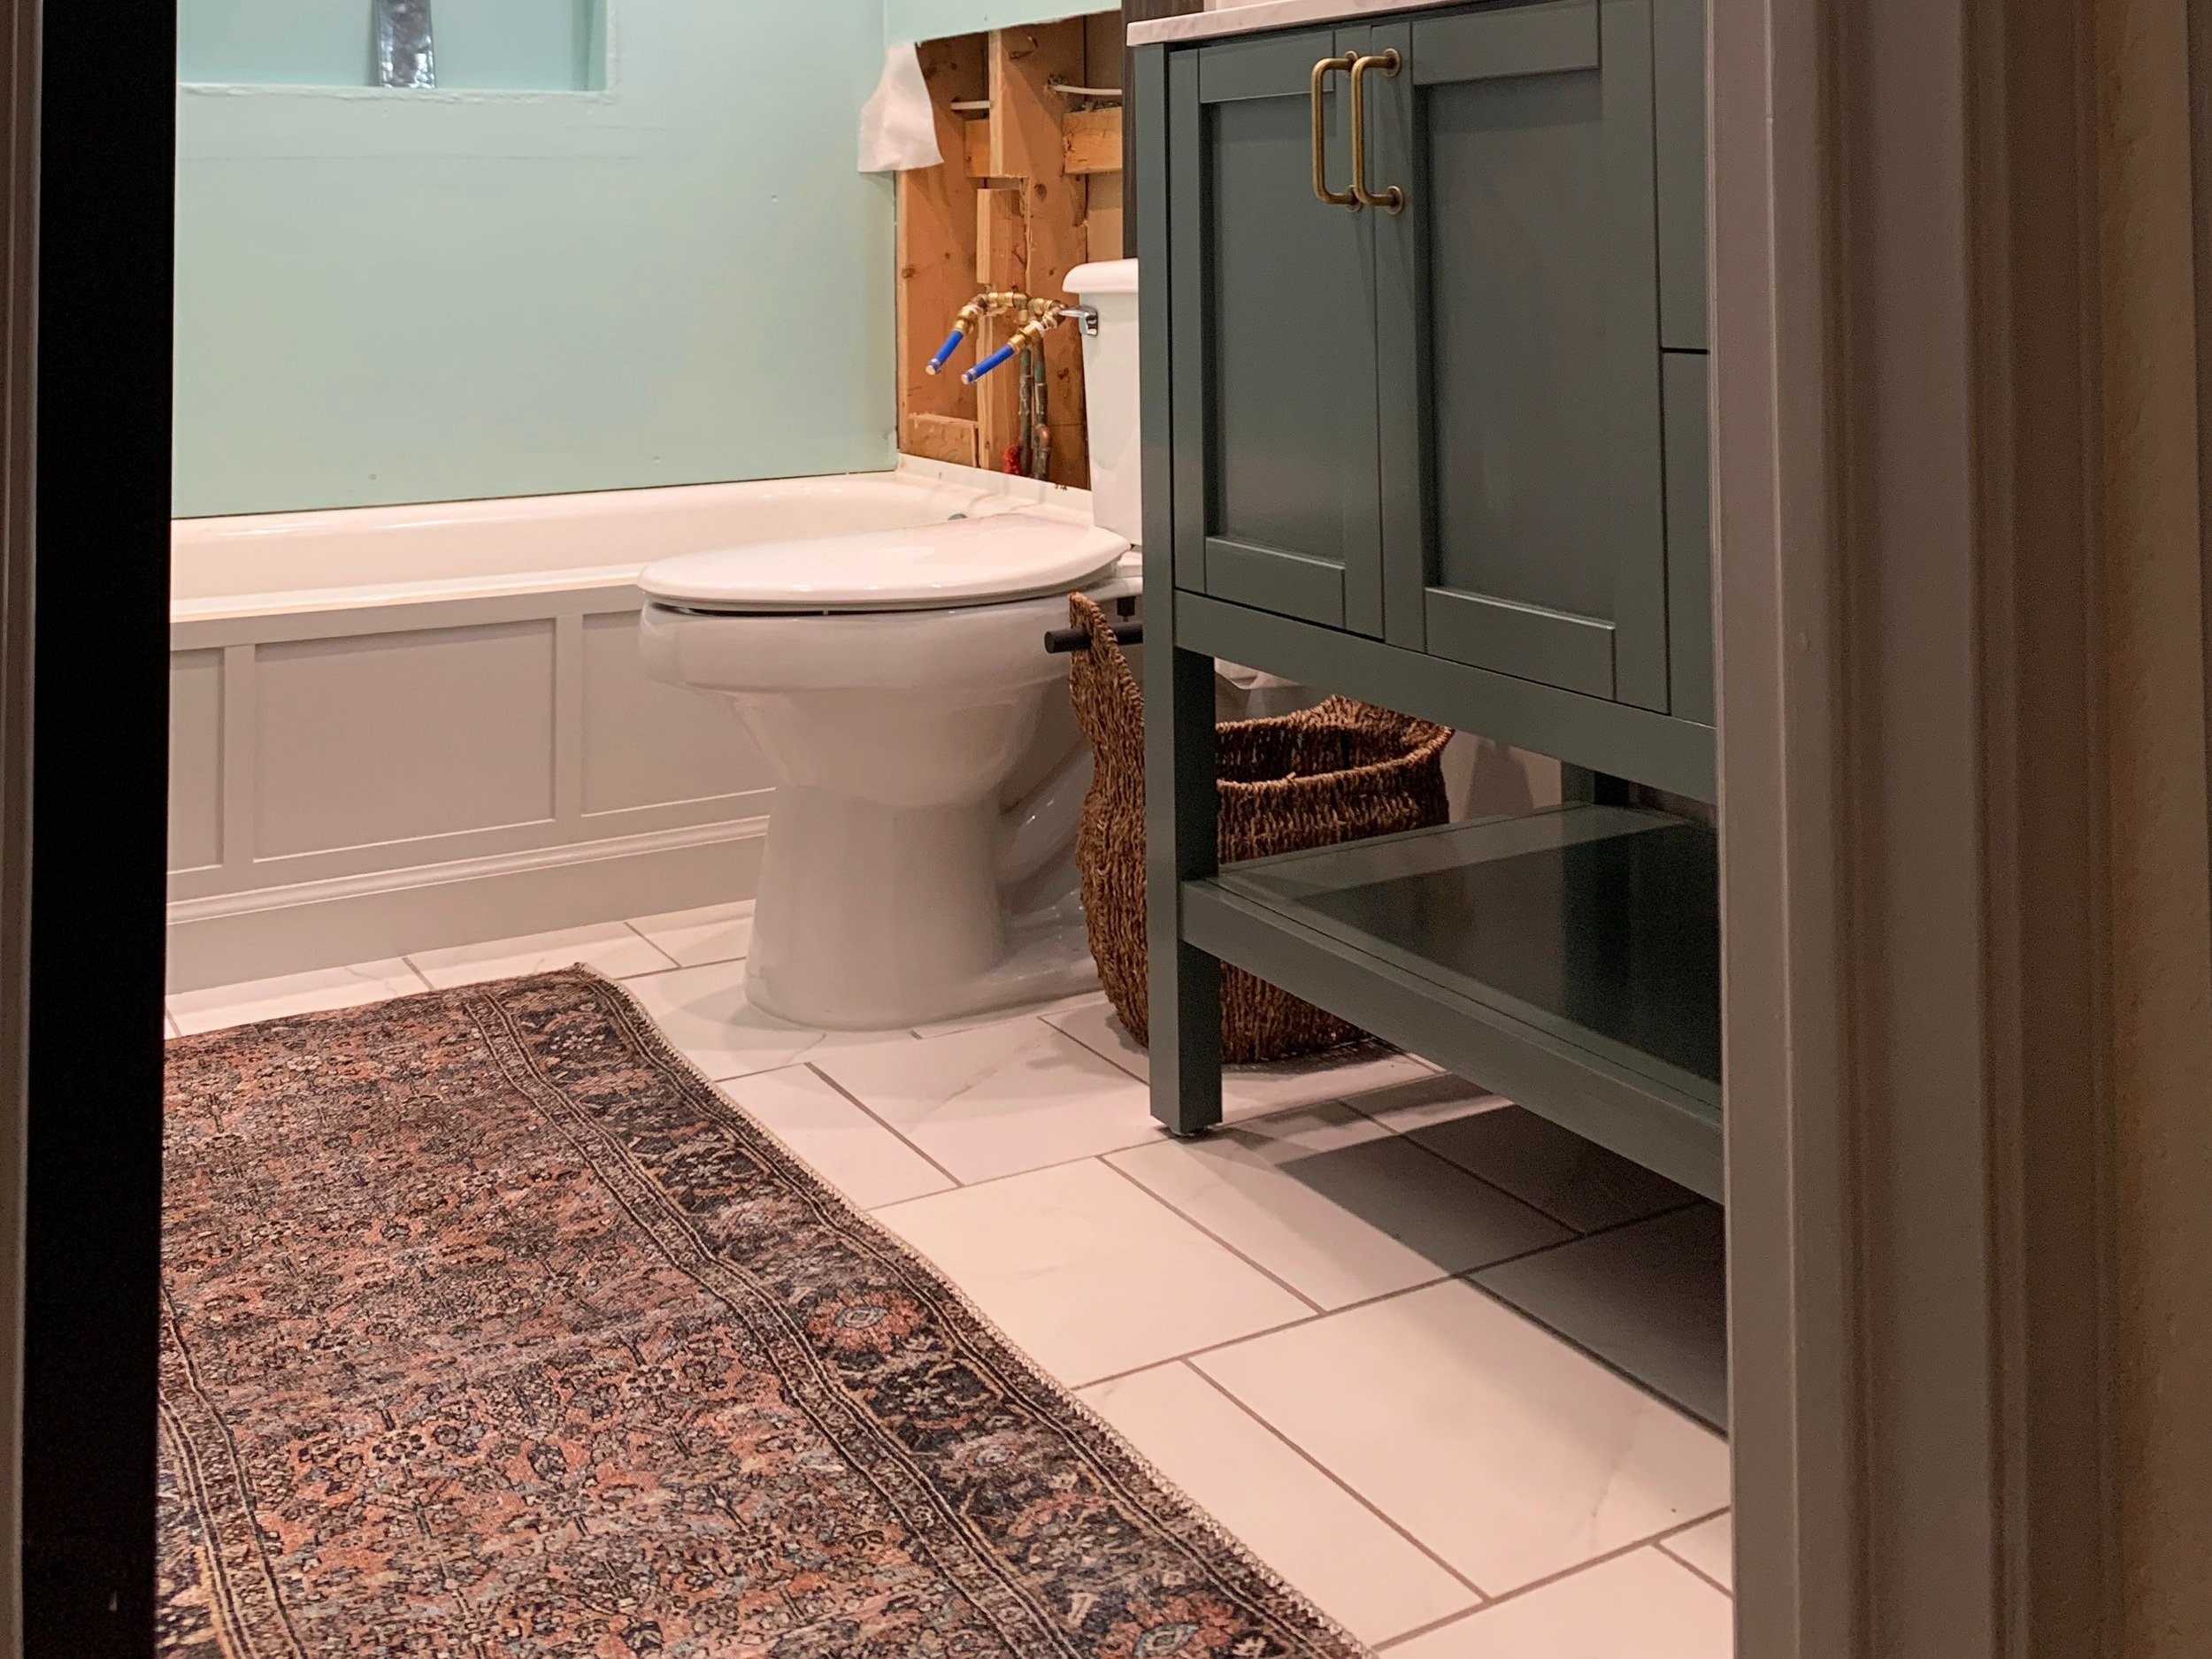
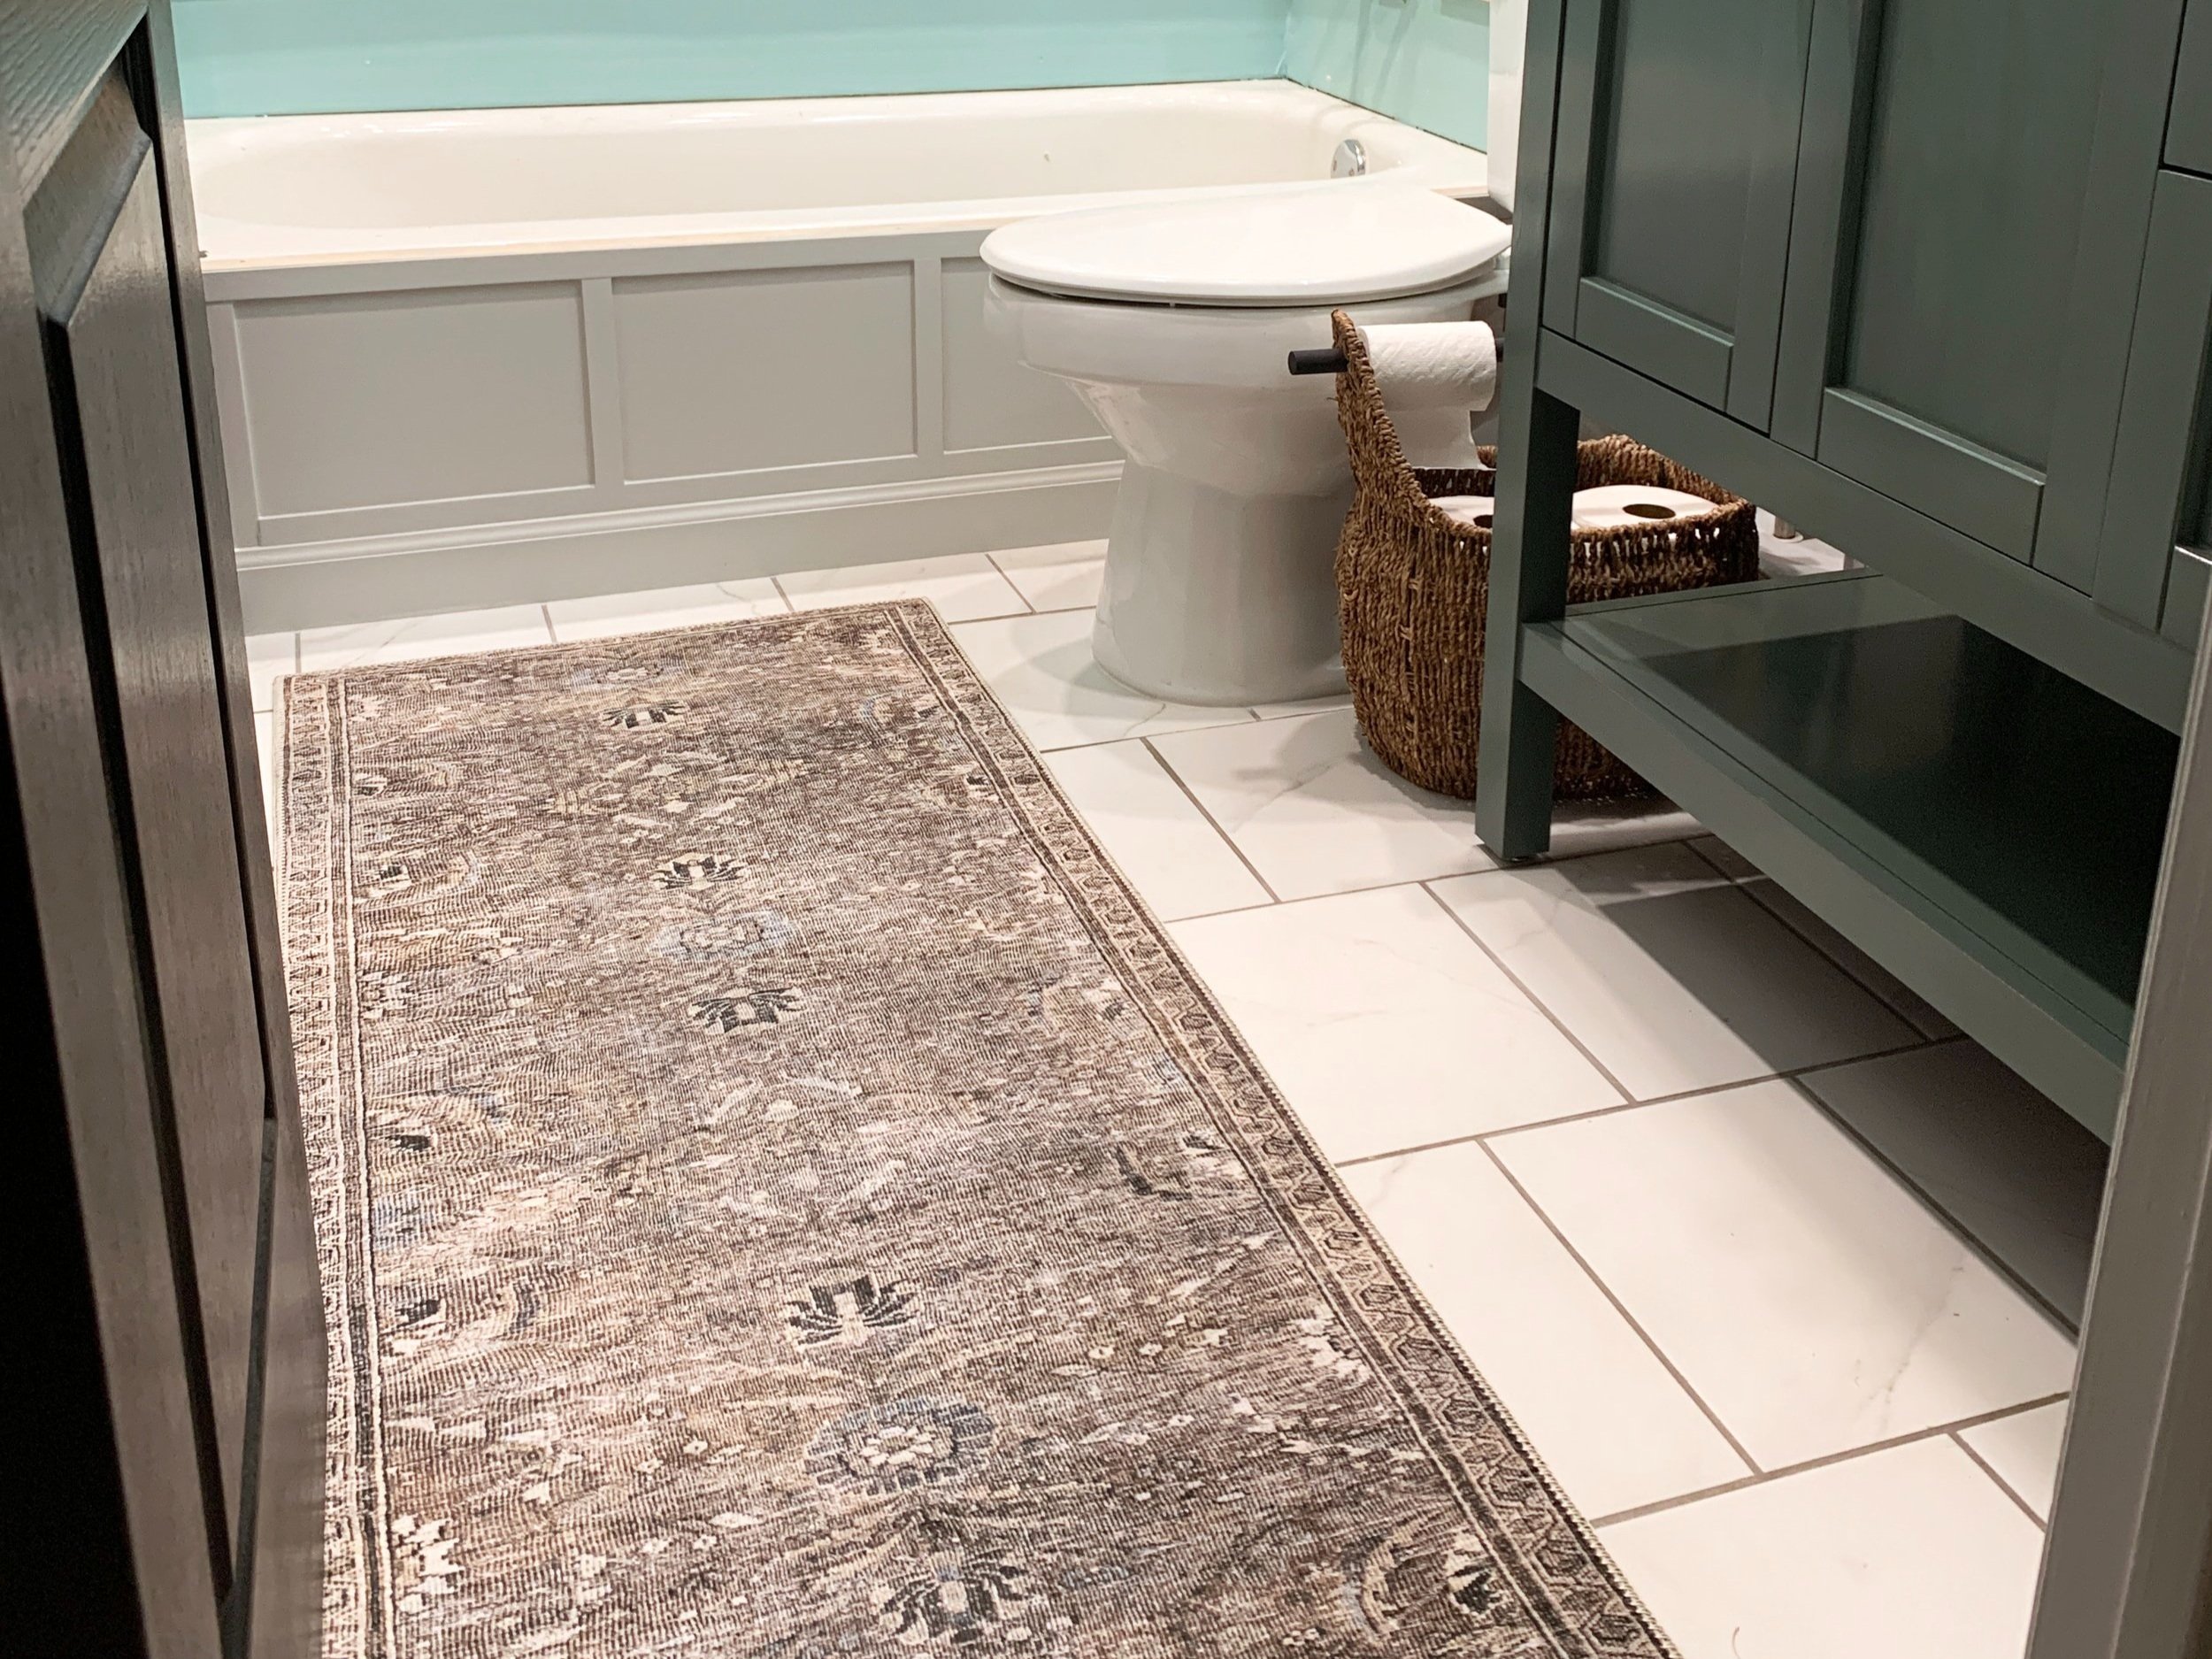
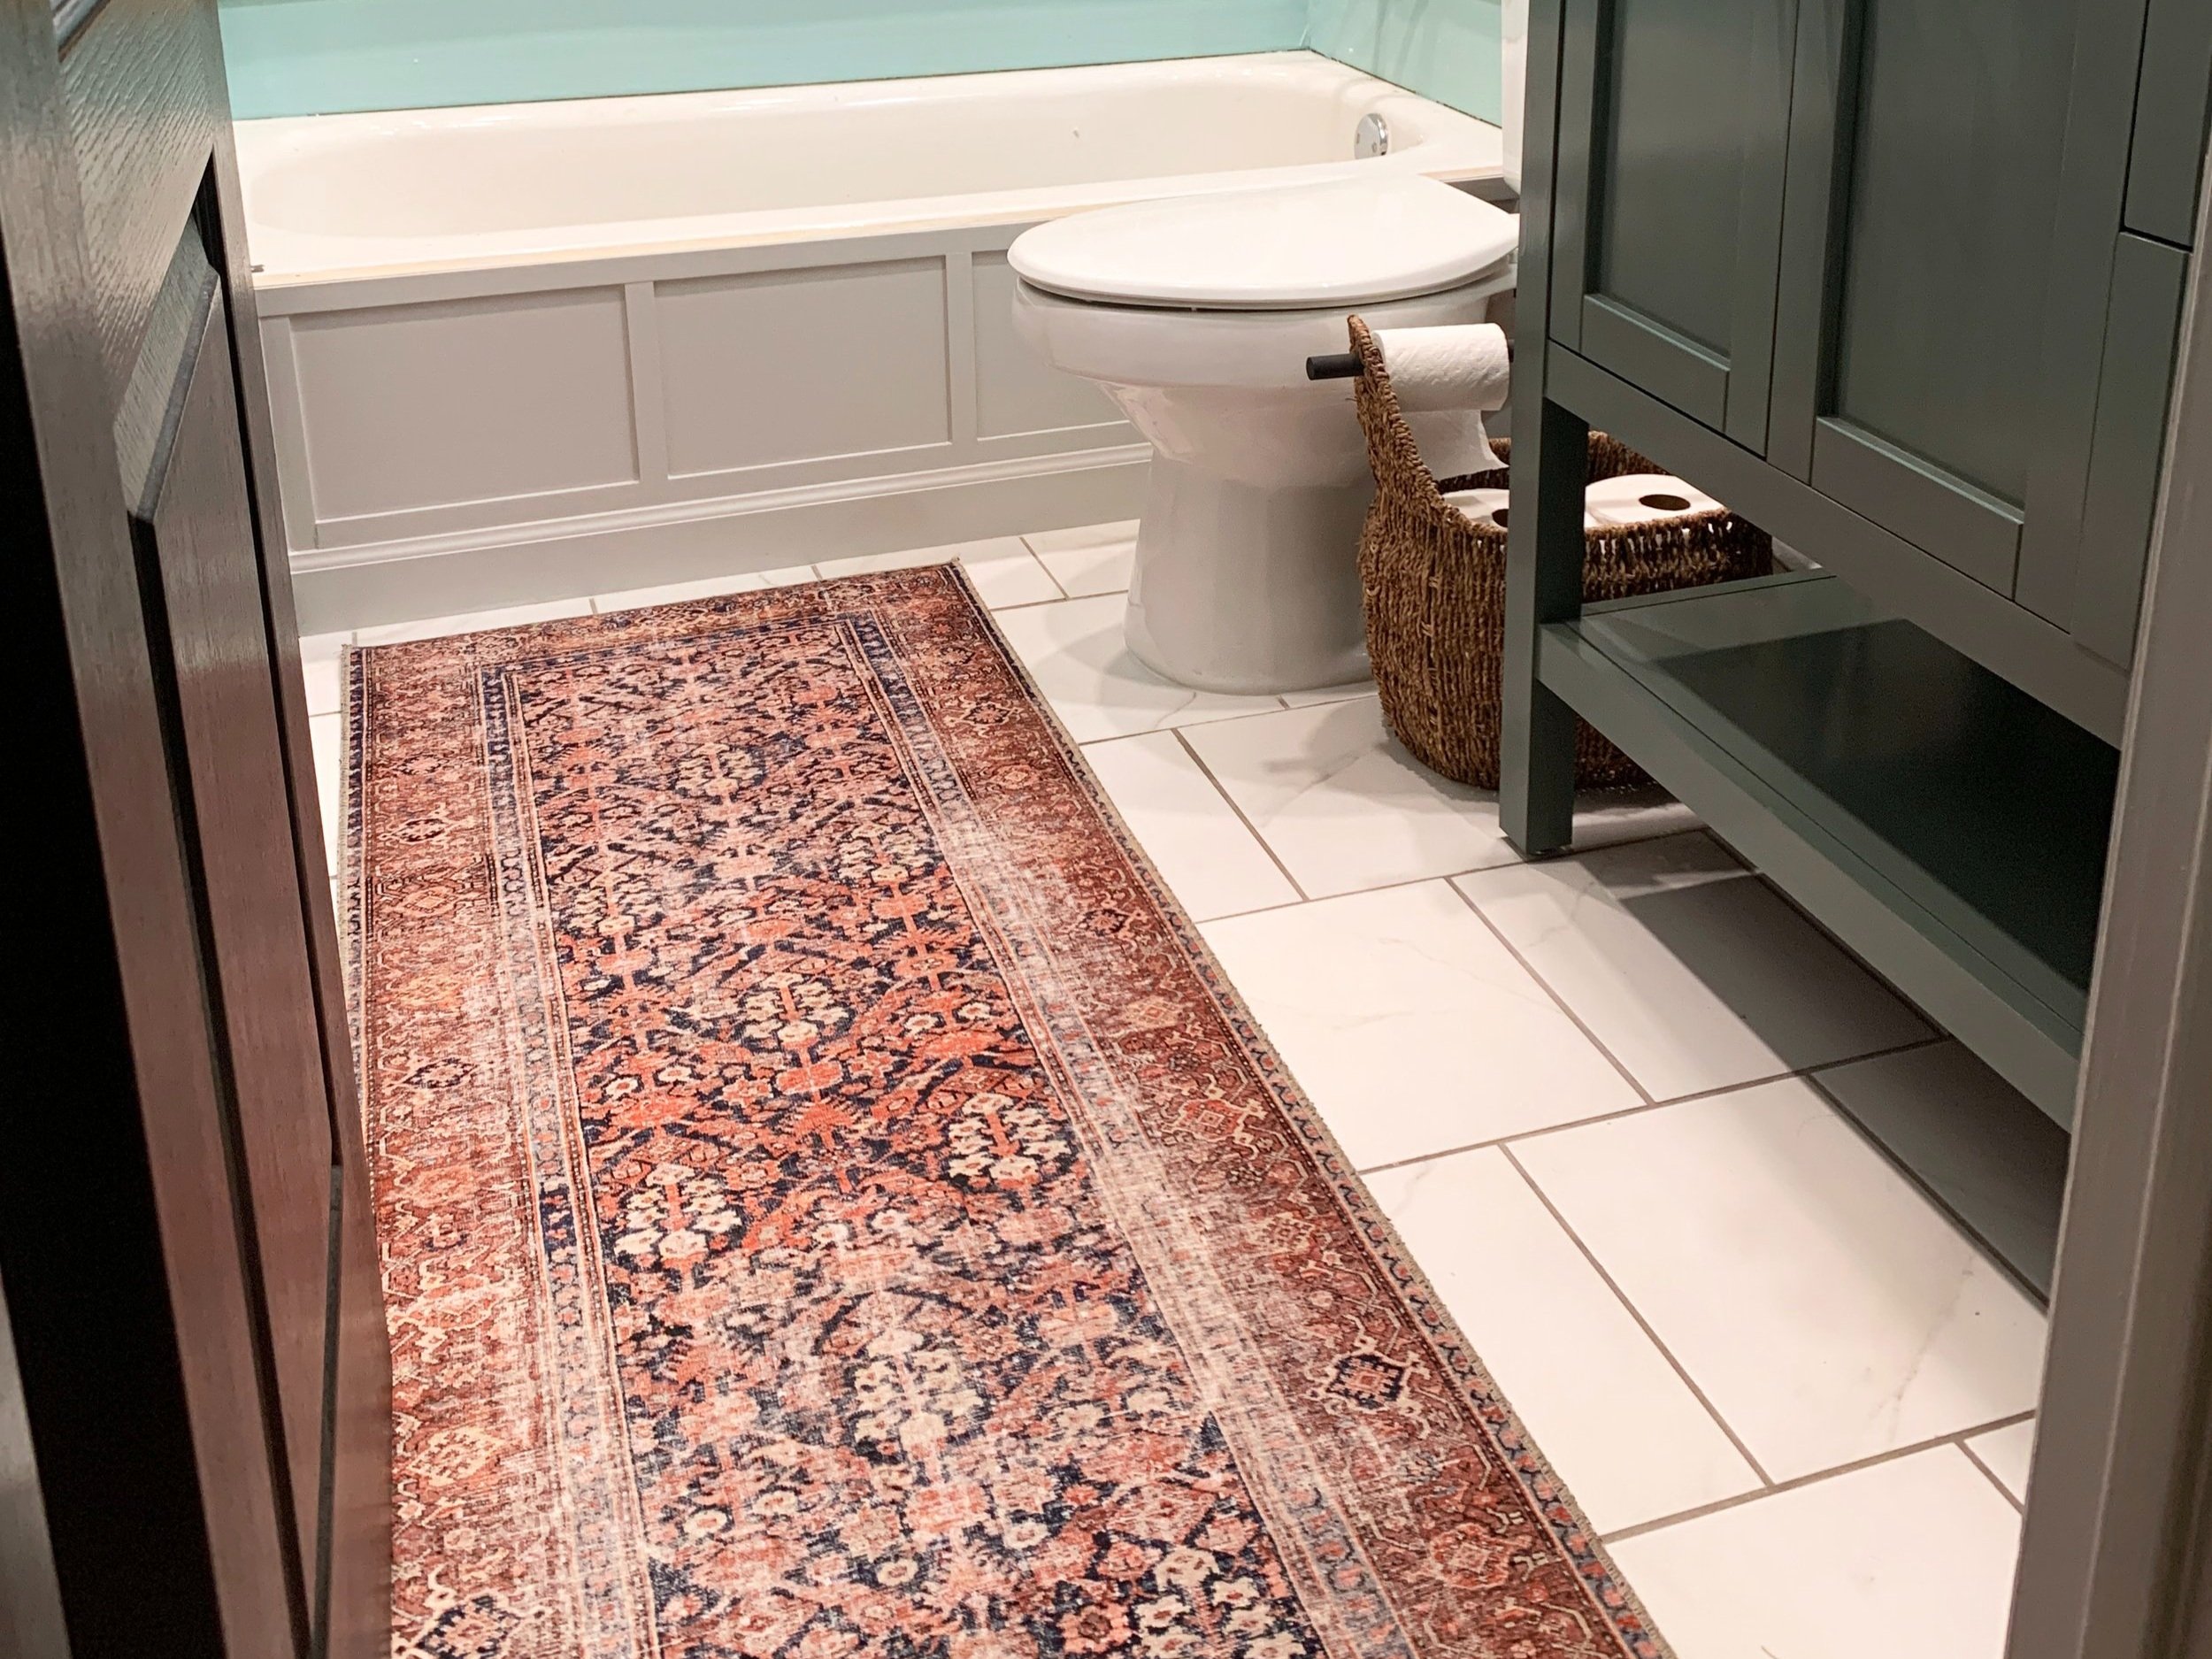
I’ve also been buying and returning rugs like a mad woman for WEEKS. (I think I’m up to 8 now?! Though it’s hard to keep track these days and I know I don’t have a photo of all of them because some were such a hard no I didn’t even bother…) Who knew it was so hard to find a 2’ x 5’ rug that I liked? Well, I did because I’ve had this problem for seriously 10 years. Not to mention now I’ve been looking for one that goes well with our new color palette, plus one that also helps pull in some other colors as well to help the room feel more well-rounded, add some more dimension, and give us some flexibility for decorating the space year-round.
A unicorn rug. I’m basically looking for a magical unicorn rug that does everything but solve world hunger. Okay, maybe it doesn’t need to do all of that, but it has still been a bear to find nonetheless.
The issue I’ve mainly been having is the size – the front of the base of the toilet makes the room way more narrow than does the depth of the vanity, and I’ve been waffling on if I should work around the toilet going long and narrow with it or do a shorter wider rug that doesn’t bother the toilet at all and is more fitting for the wider vanity space by the door.
Out of the first batch of rugs our favorite was the rug below, but it was shorter and fatter than the others and we didn’t think it looked right whether it was long-ways (so wide it was touching both the toilet and the entire wall across from it) or sideways under just the vanity area (where it was running under the door touching the wall and running so far under the vanity you couldn’t see any tile on the left and right sides and it really made the tile/space feel oddly segmented).
Neither option is ideal, but I think the longer, skinnier option a la the toilet-dictated dimension is the way to go here to elongate the floor, make the room look bigger and unify it as one cohesive space.
… But this does mean I’m going to hope for the best and go all kinds of Edward Scissorhands on the beautiful rug above this week, because I fell in love with it and it’s just barely too wide and many many feet too long. (I think this rug is something 30” wide x like 9’ long…)
Still left to do
With just one week (and more importantly only one weekend, where I get most of the work done) left I’ve got what feels like a mountain of work left. Most is a bunch of small stuff, but some is pretty hefty. Plus we all should know by now everything takes 3x longer to finish than expected:
Finish tiling the shower – only 30 tiles left to go!
Grout the shower
Deep clean + epoxy the tub
Cut + install tub skirt sill
Replace the tub hardware
Install the shower + tub fixture
Mount the shower rod + hang curtain
Hang shelves
Install hand towel ring
Swap out door hook
Paint + install doorstop (if I can find it … half of it seems to have walked off over the last 7 weeks)
Paint + install 4 escutcheons (the little cover plates that go around pipes where they enter the wall)
Wall art project (including building custom framing)
Modify an area rug (i.e., chop it down to size, sew it back together and hope it doesn’t unravel)
Style + clean everything!
So, just a few things left to knock out in … T-minus 7 days.
Gulp.
Wish us luck that we’ll get it all done in time!!!
Remember, the full reveal is NEXT WEDNESDAY, May 25th, so make sure to come back and see how we’ve completely transformed this bathroom in just 8 weeks.
You can also see our progress and look back on some things not shown here on Instagram, so make sure to follow us over there if you aren’t already.
And don’t forget to check out all of the other talented One Room Challengers tackling their spaces this season. The most exciting week is coming and you don’t want to miss out on all the amazing transformations!


