One Room Challenge: Guest Bathroom – Week 5

Welcome to Week 5 of the One Room Challenge! Even though this is our first-ever ORC, we’re solidly into the thick of it now, and though I feel like we’ve been making good progress, I’m kind of starting to worry about all that’s still left now that we’re all of a sudden on the downhill side of the challenge!
If you’re new, here’s a brief background: Each Wednesday we’re sharing our guest bathroom renovation progress with the final week 8 reveal just three weeks away on May 25th. Mark your calendar now!
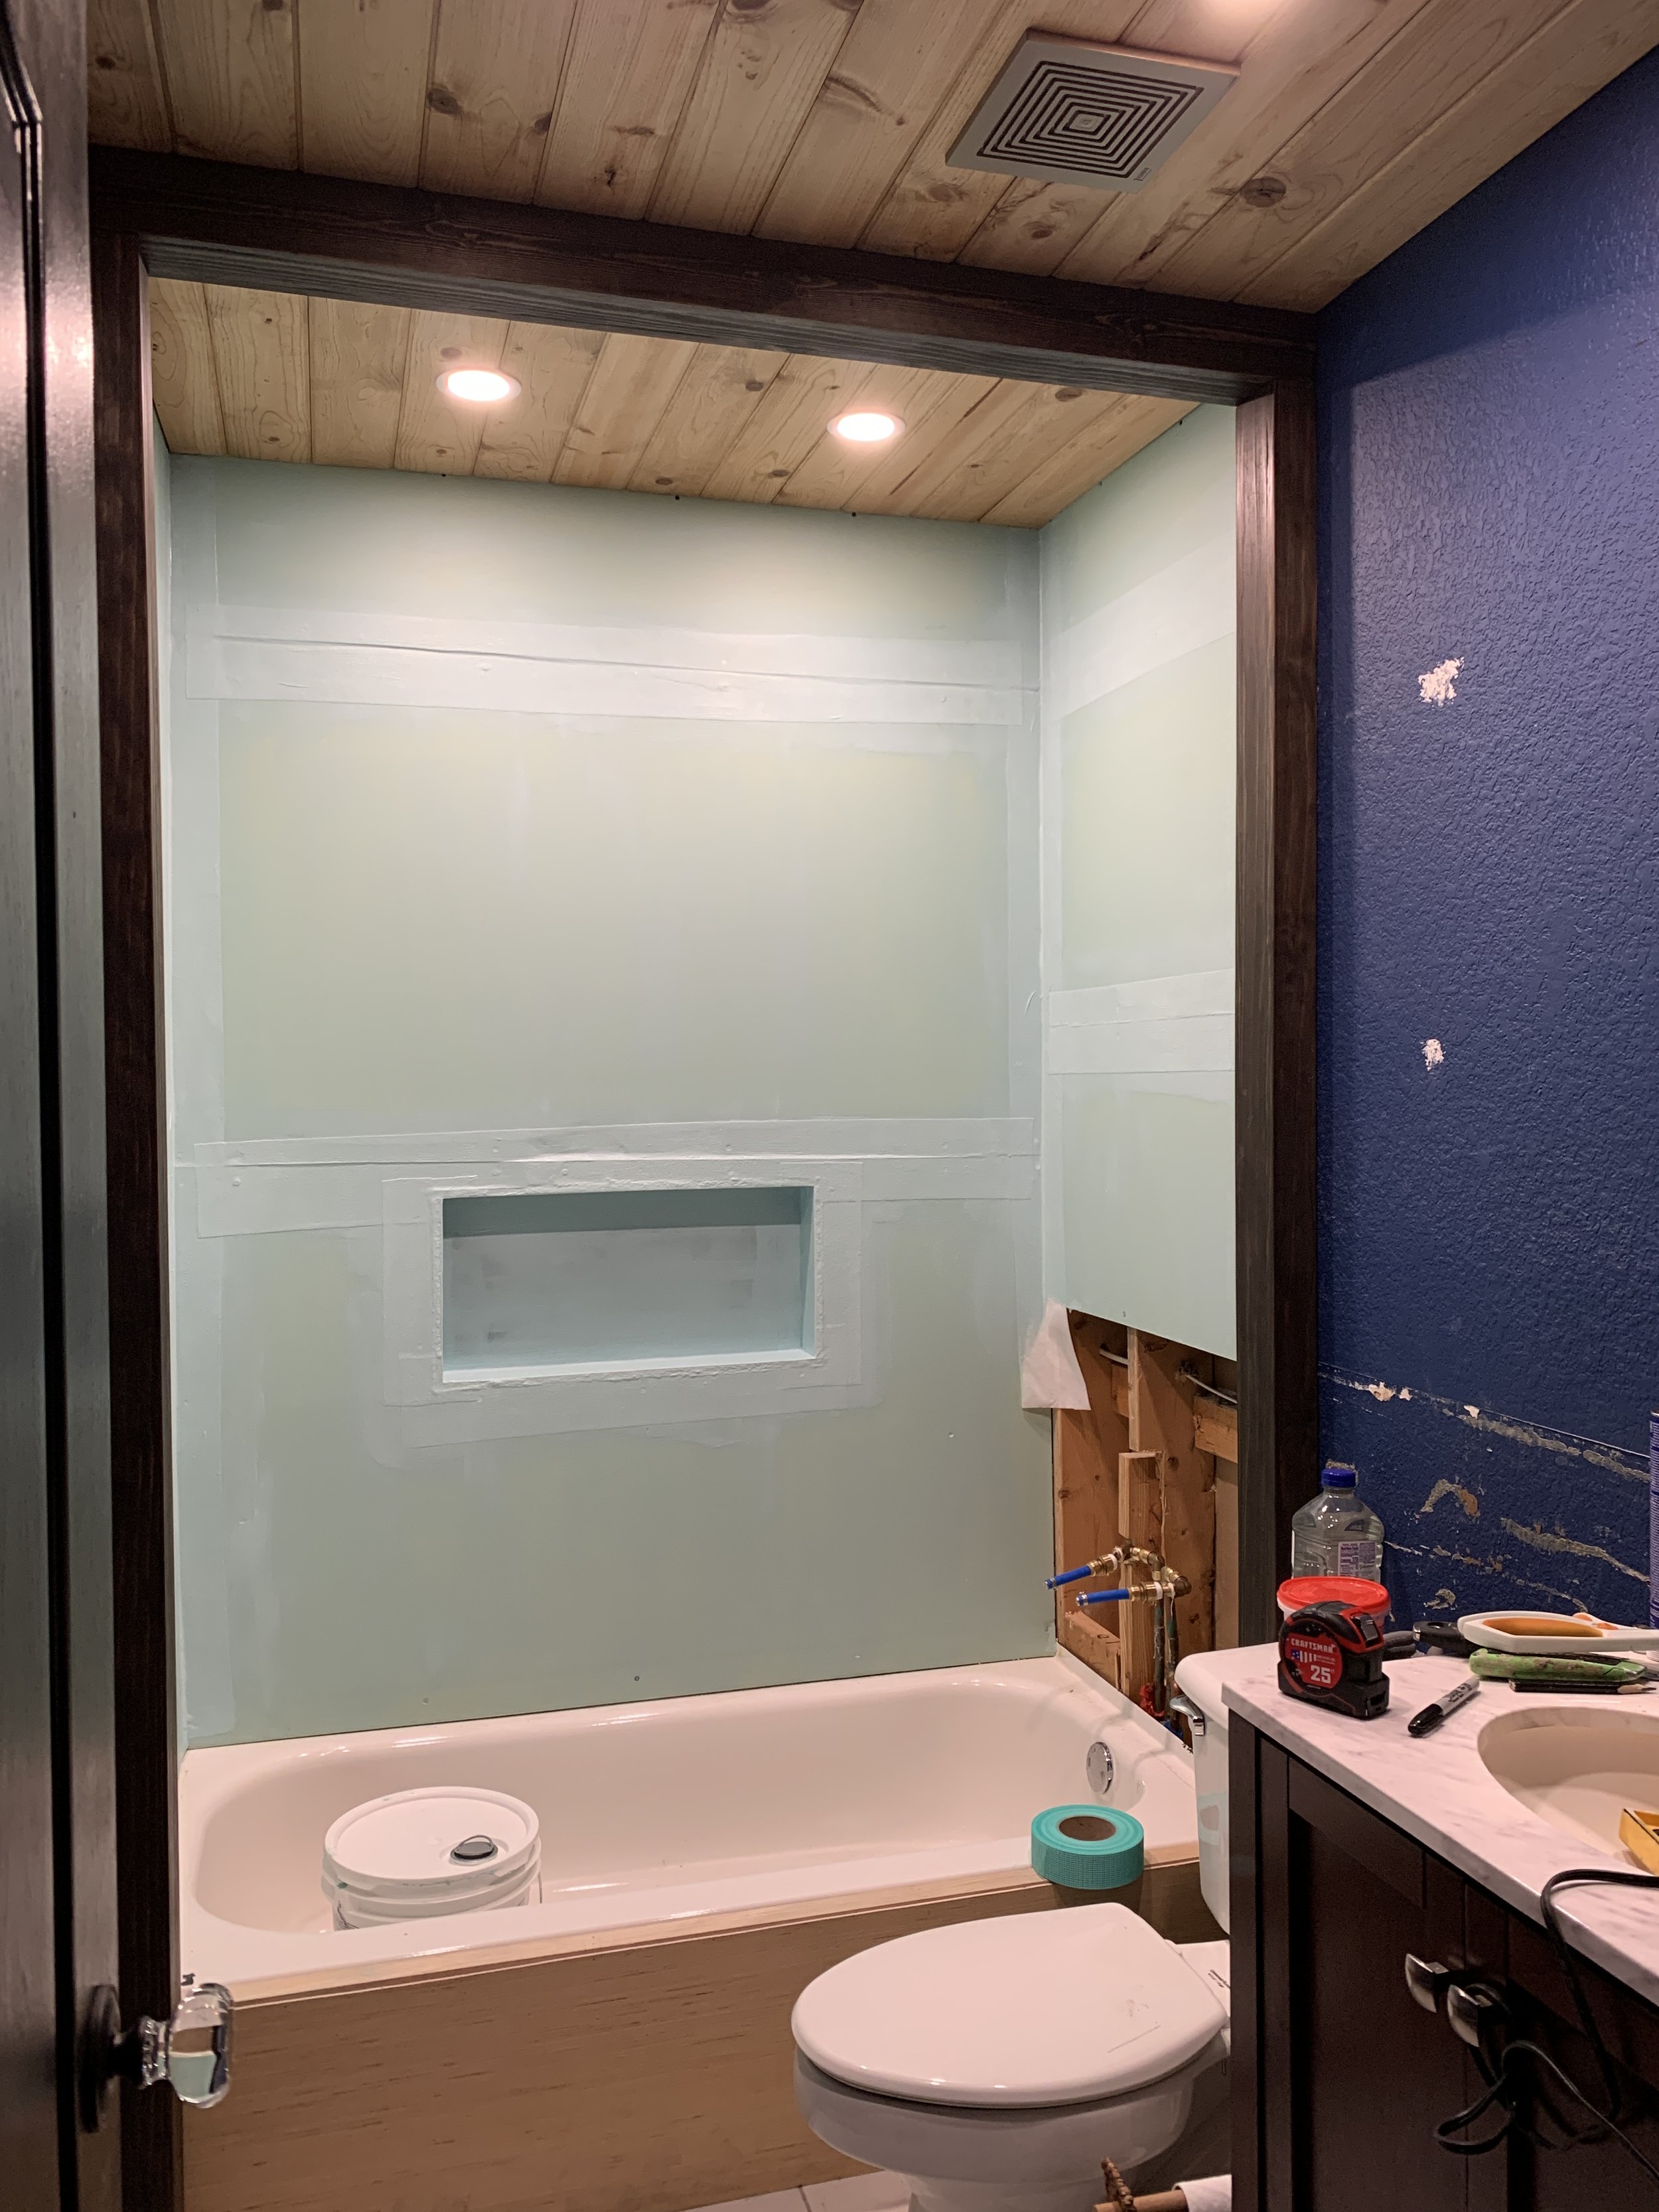
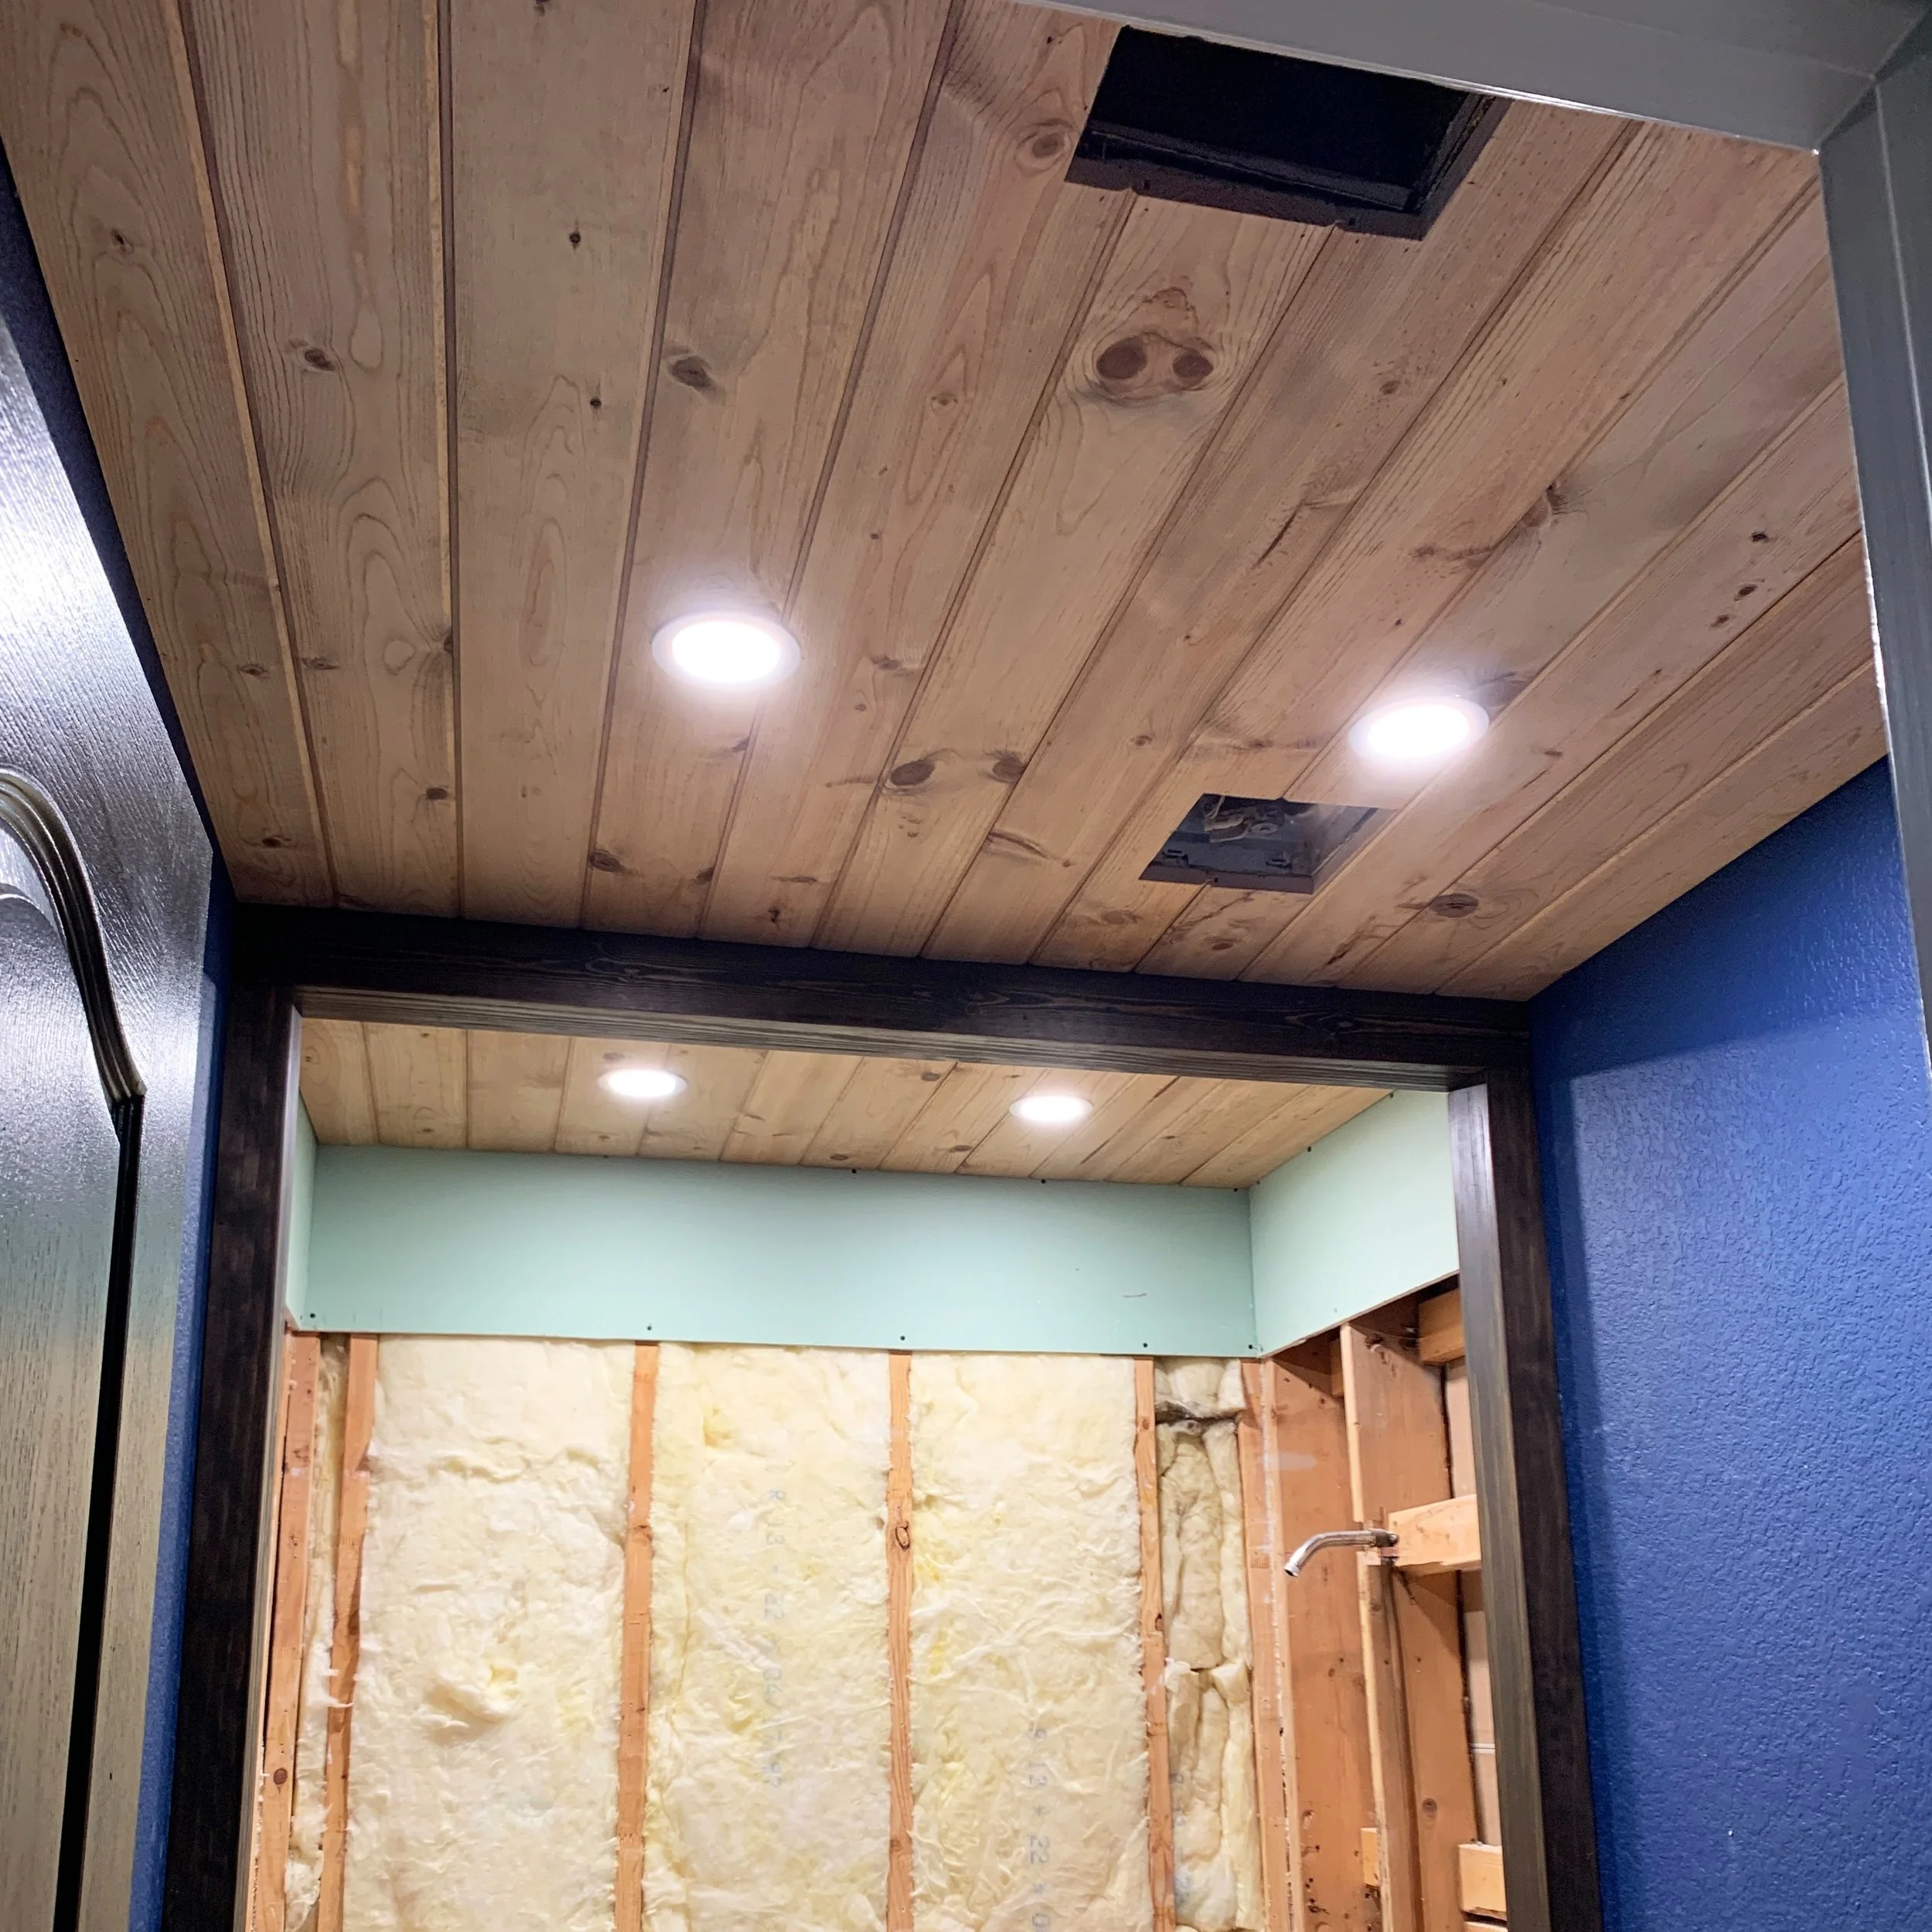
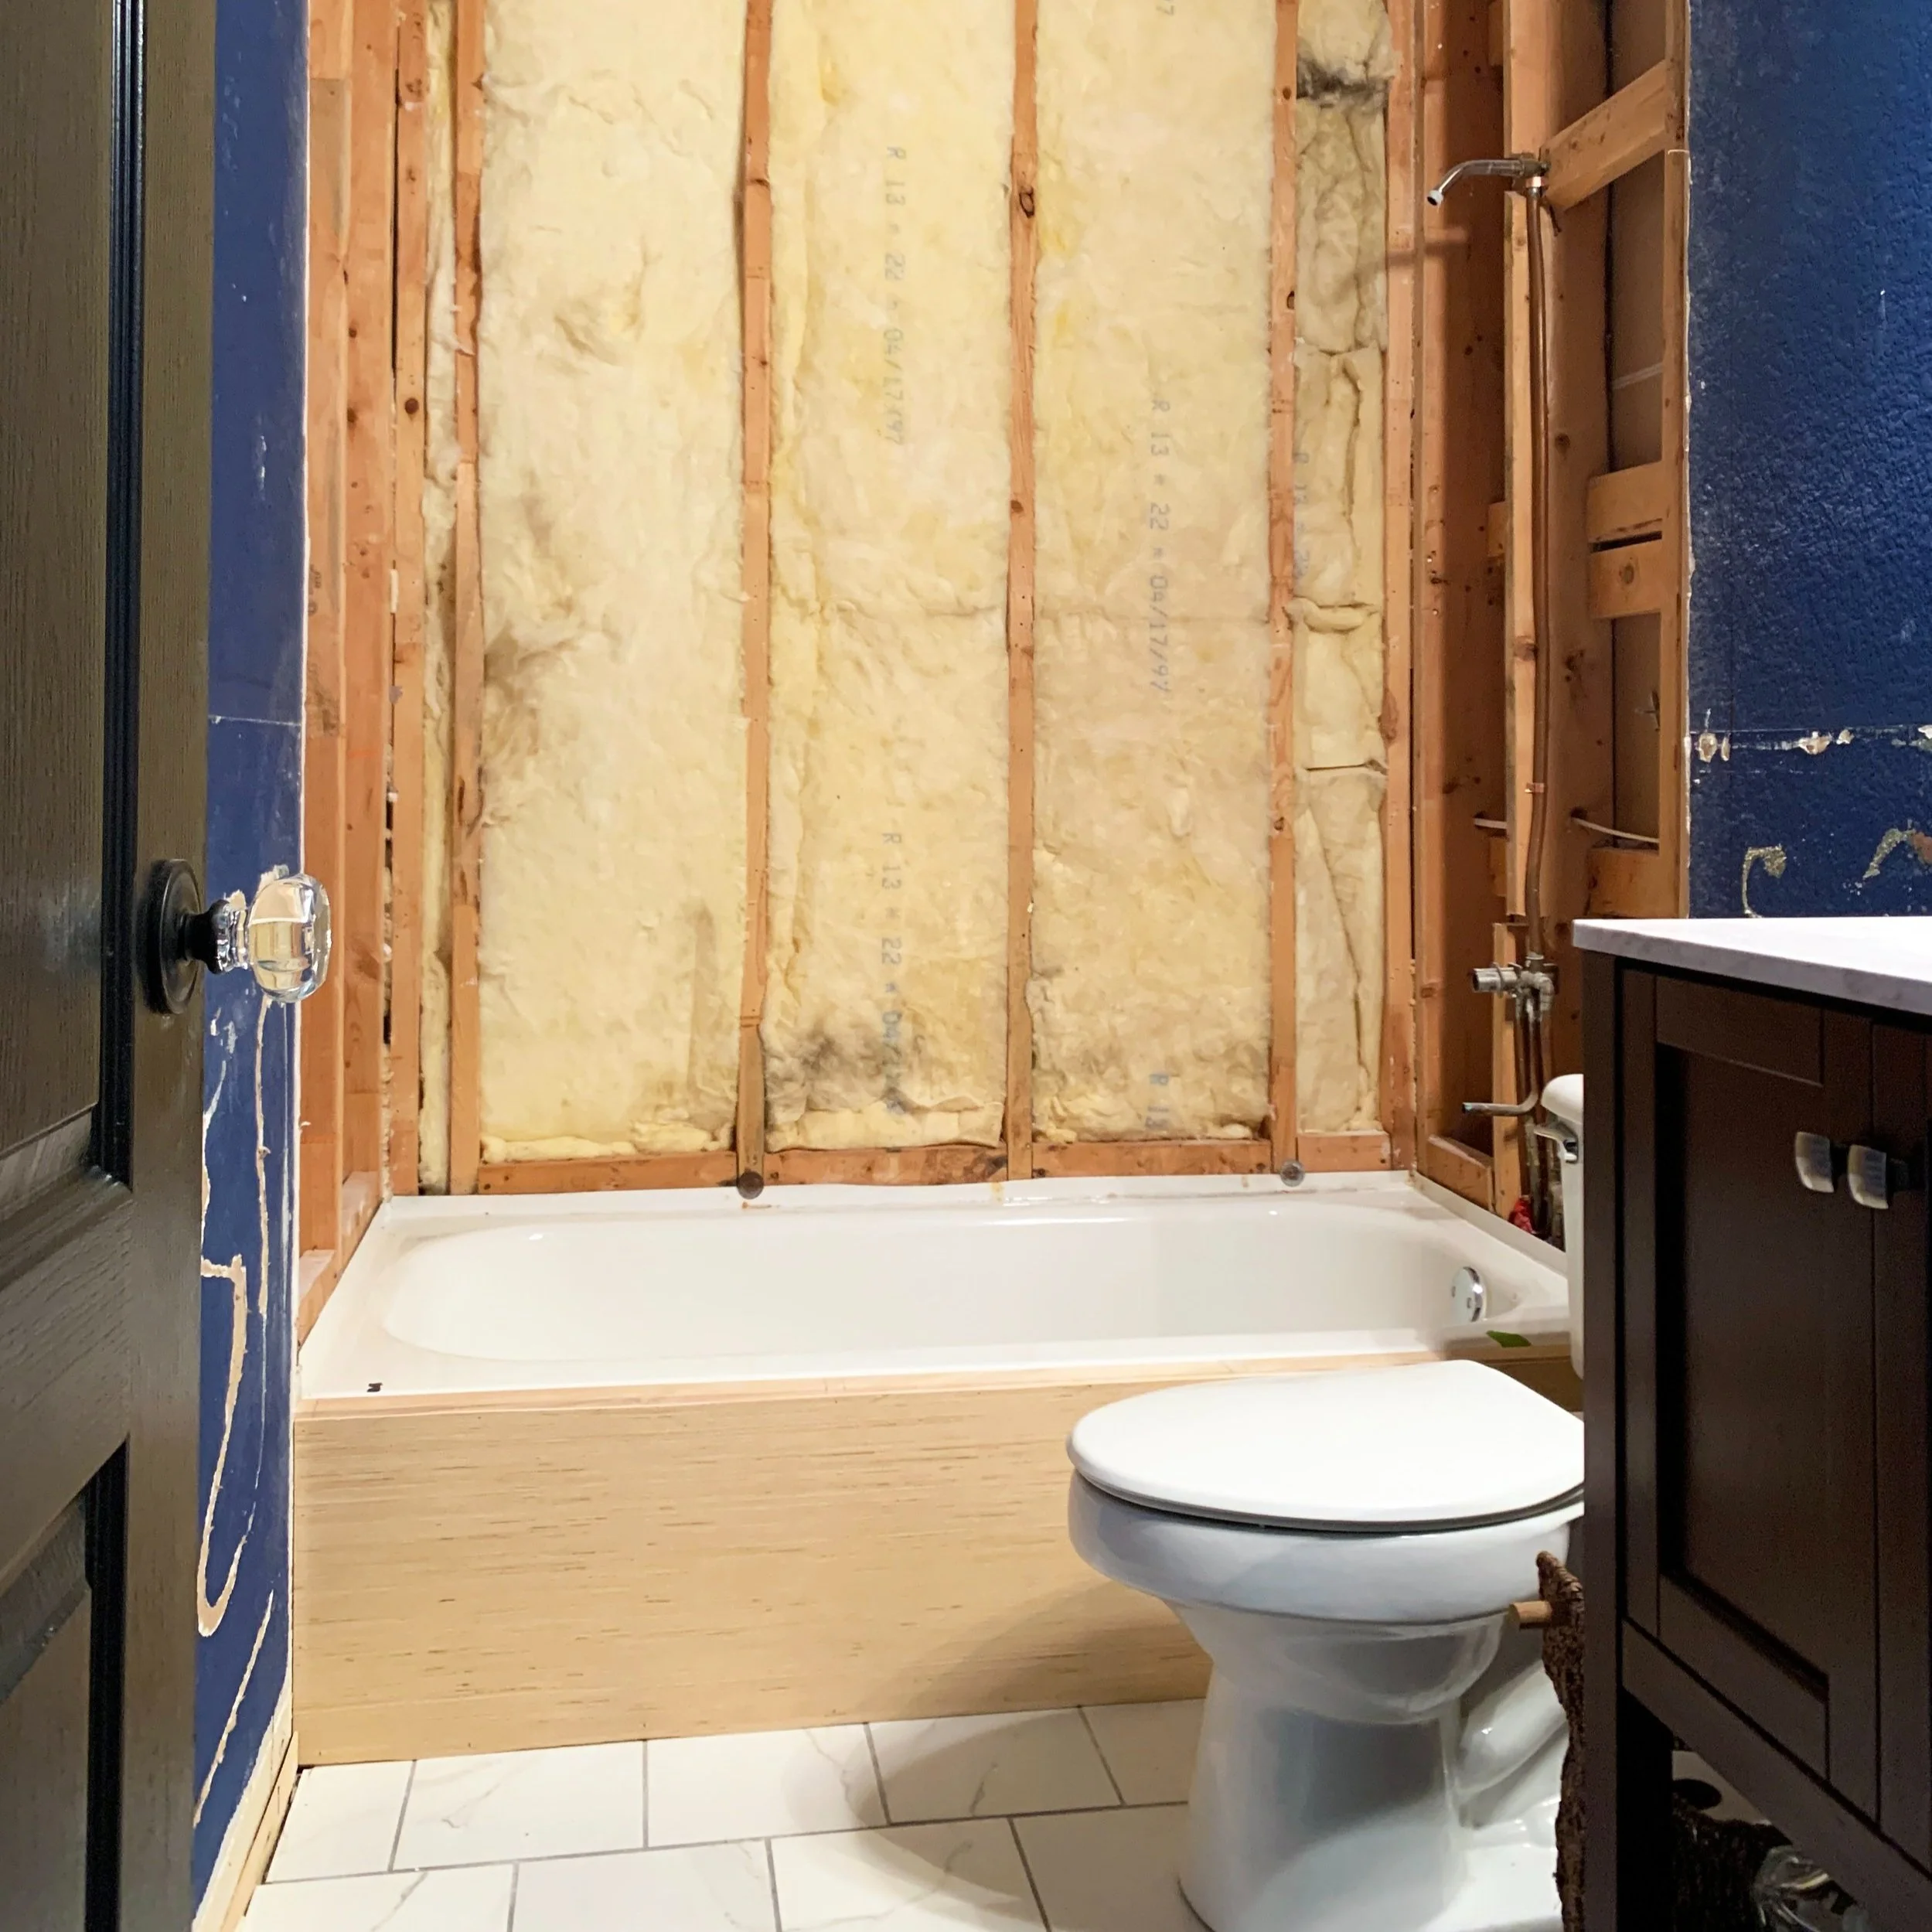
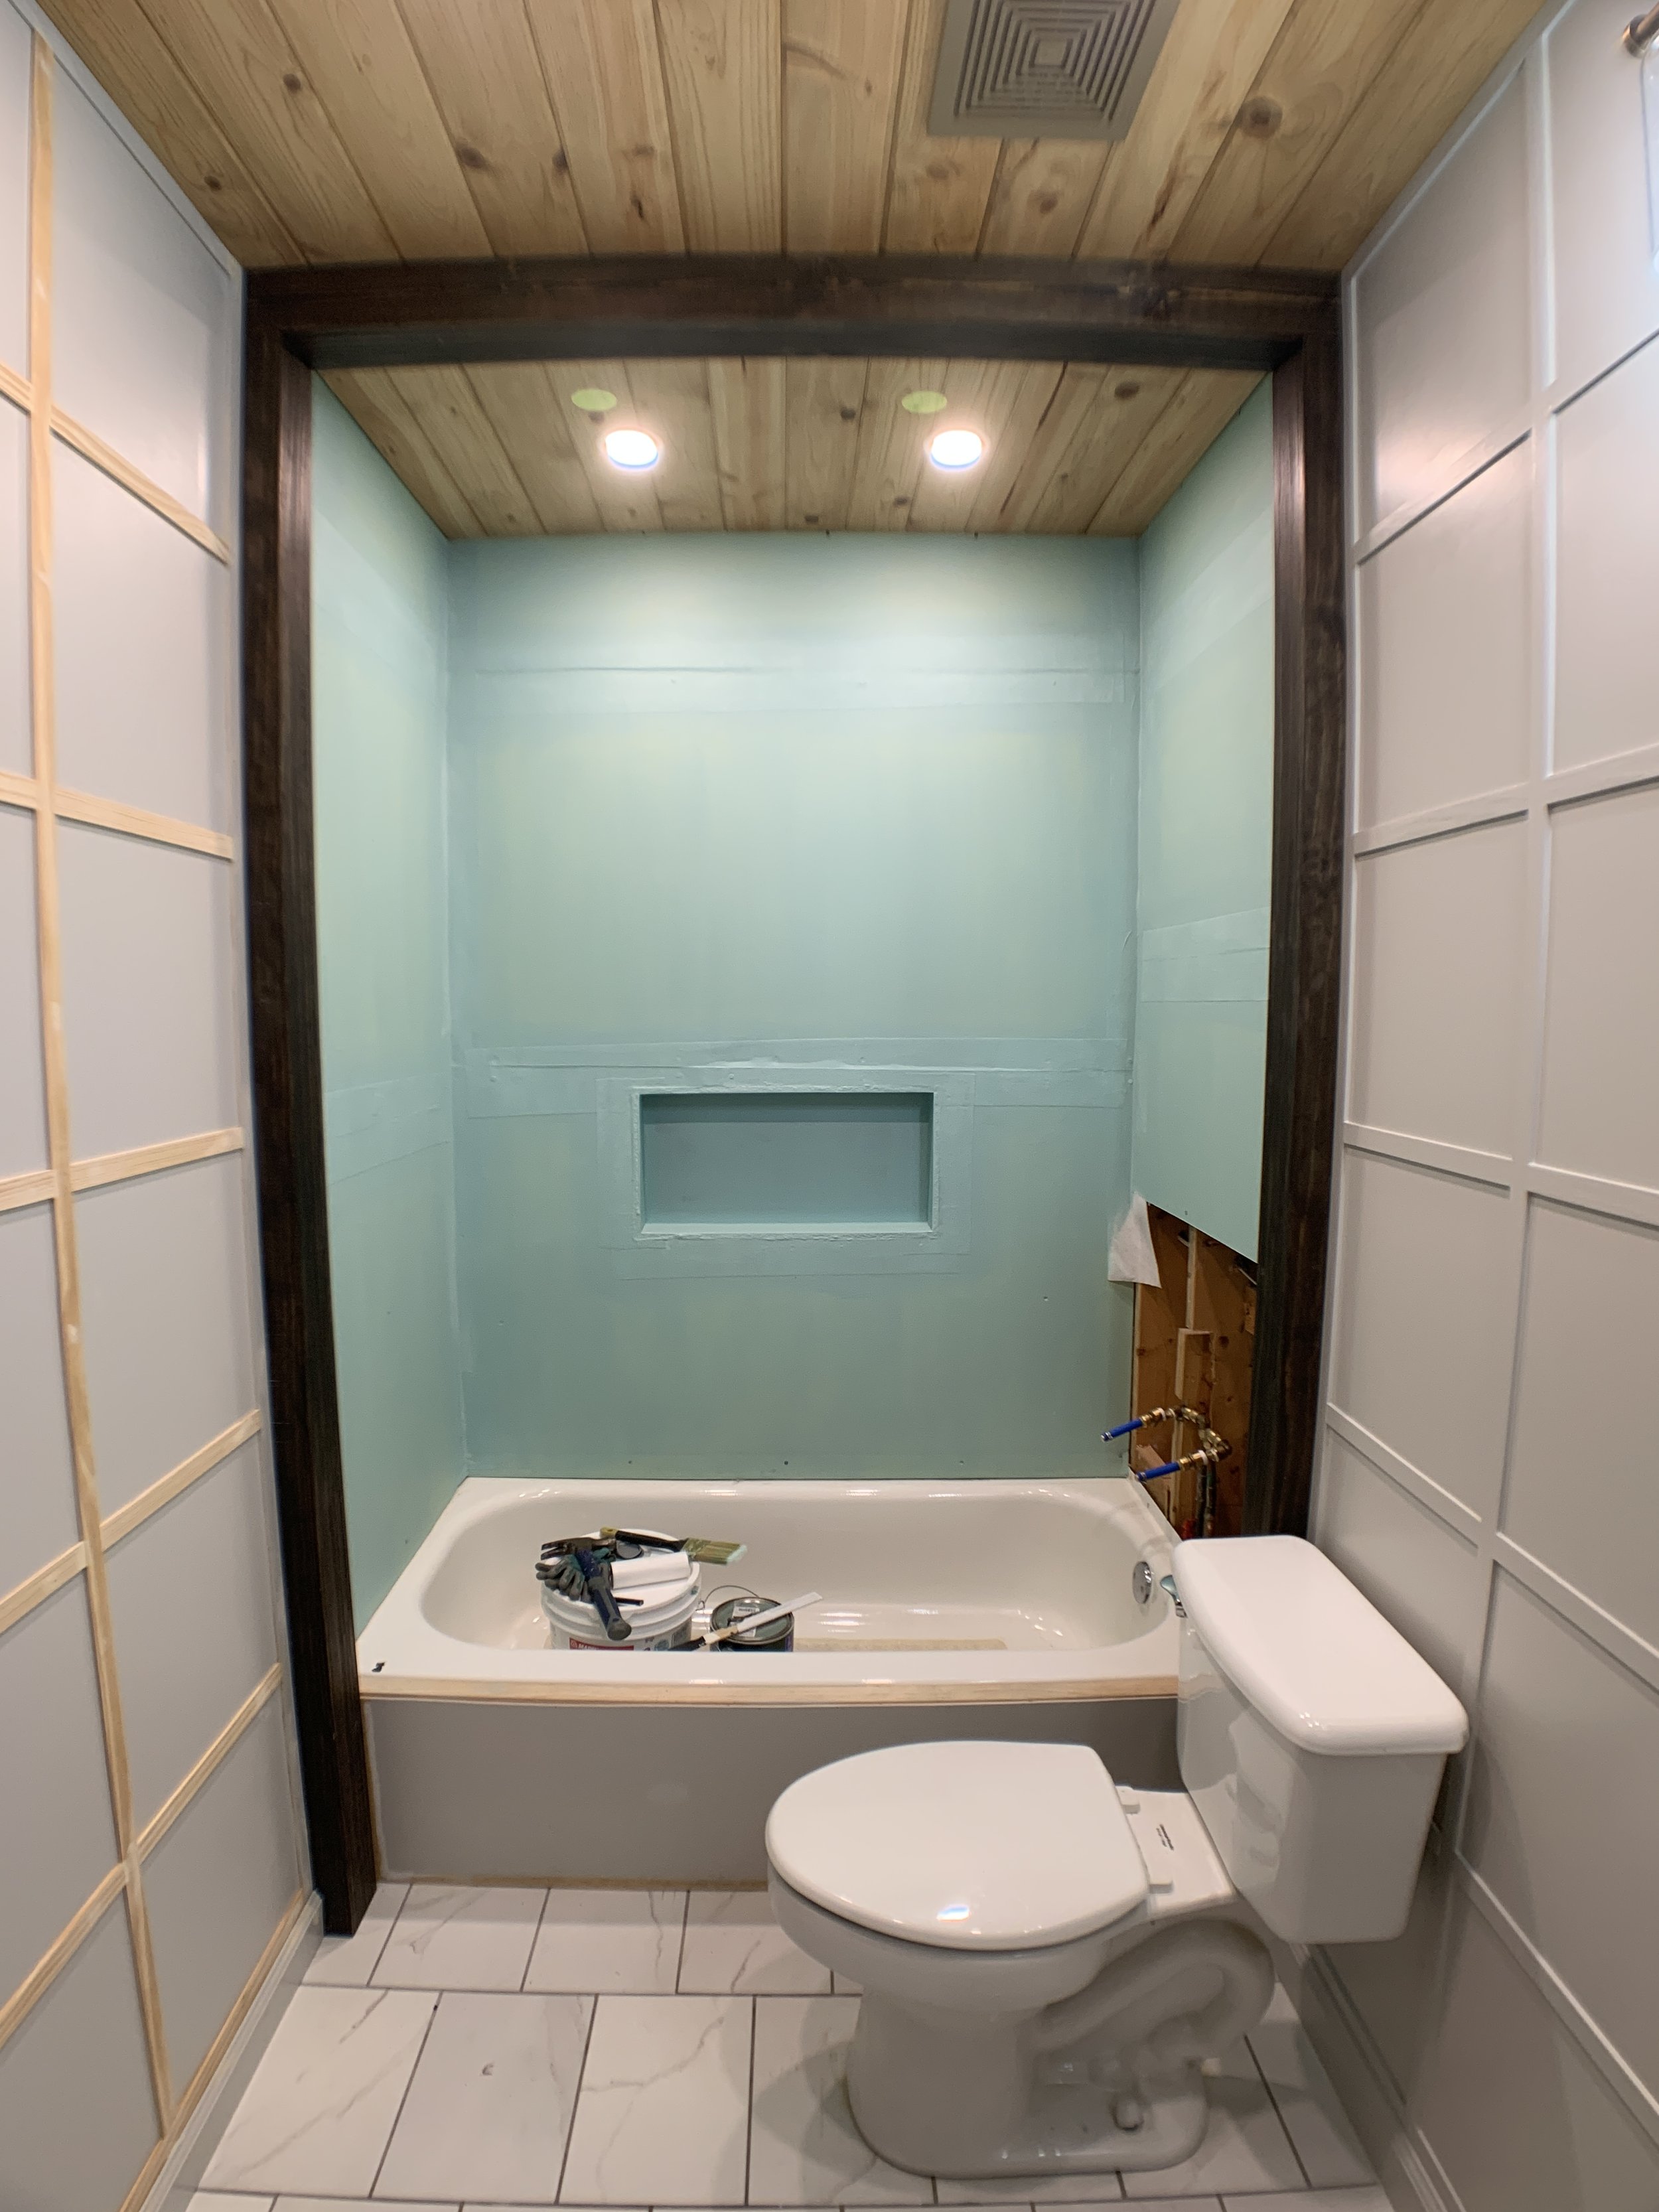
As of now we’re continuing to tighten our slightly leaking shower plumbing … not a bad leak by any stretch (it’s not even enough to really drip, it just feels barely wet when you touch one threaded fitting) but any leak in a wall is too much leak in a wall.
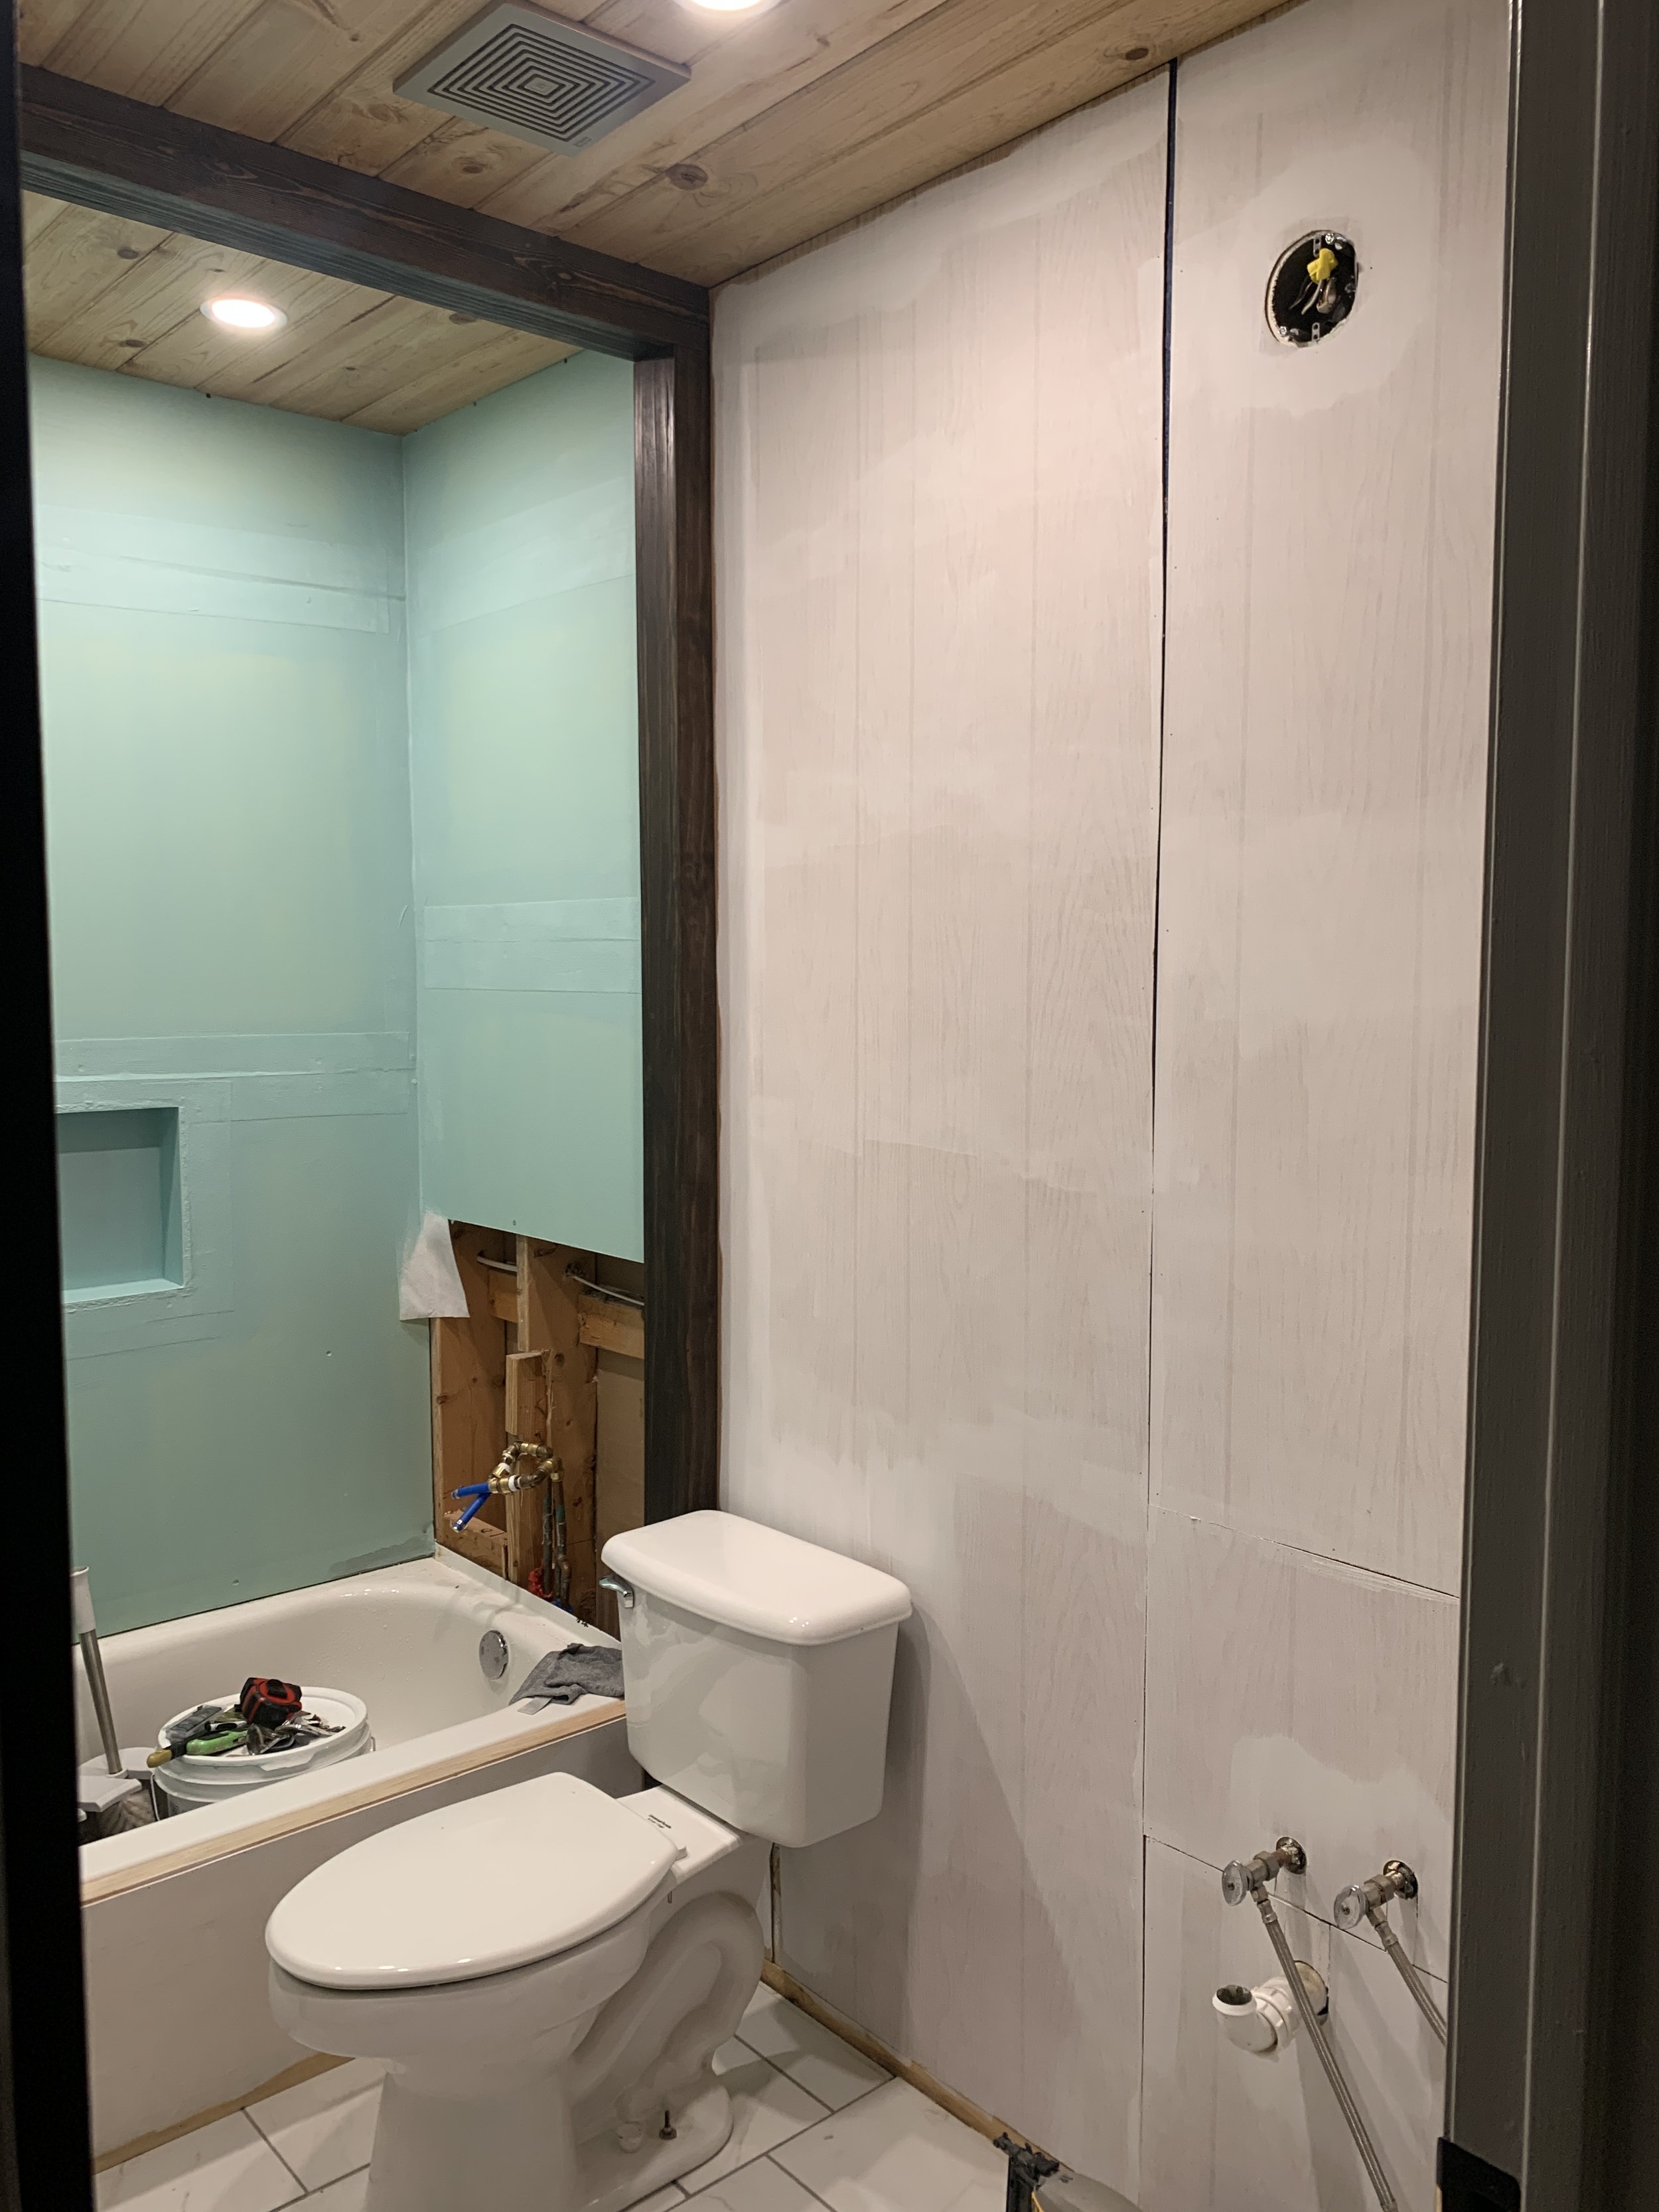
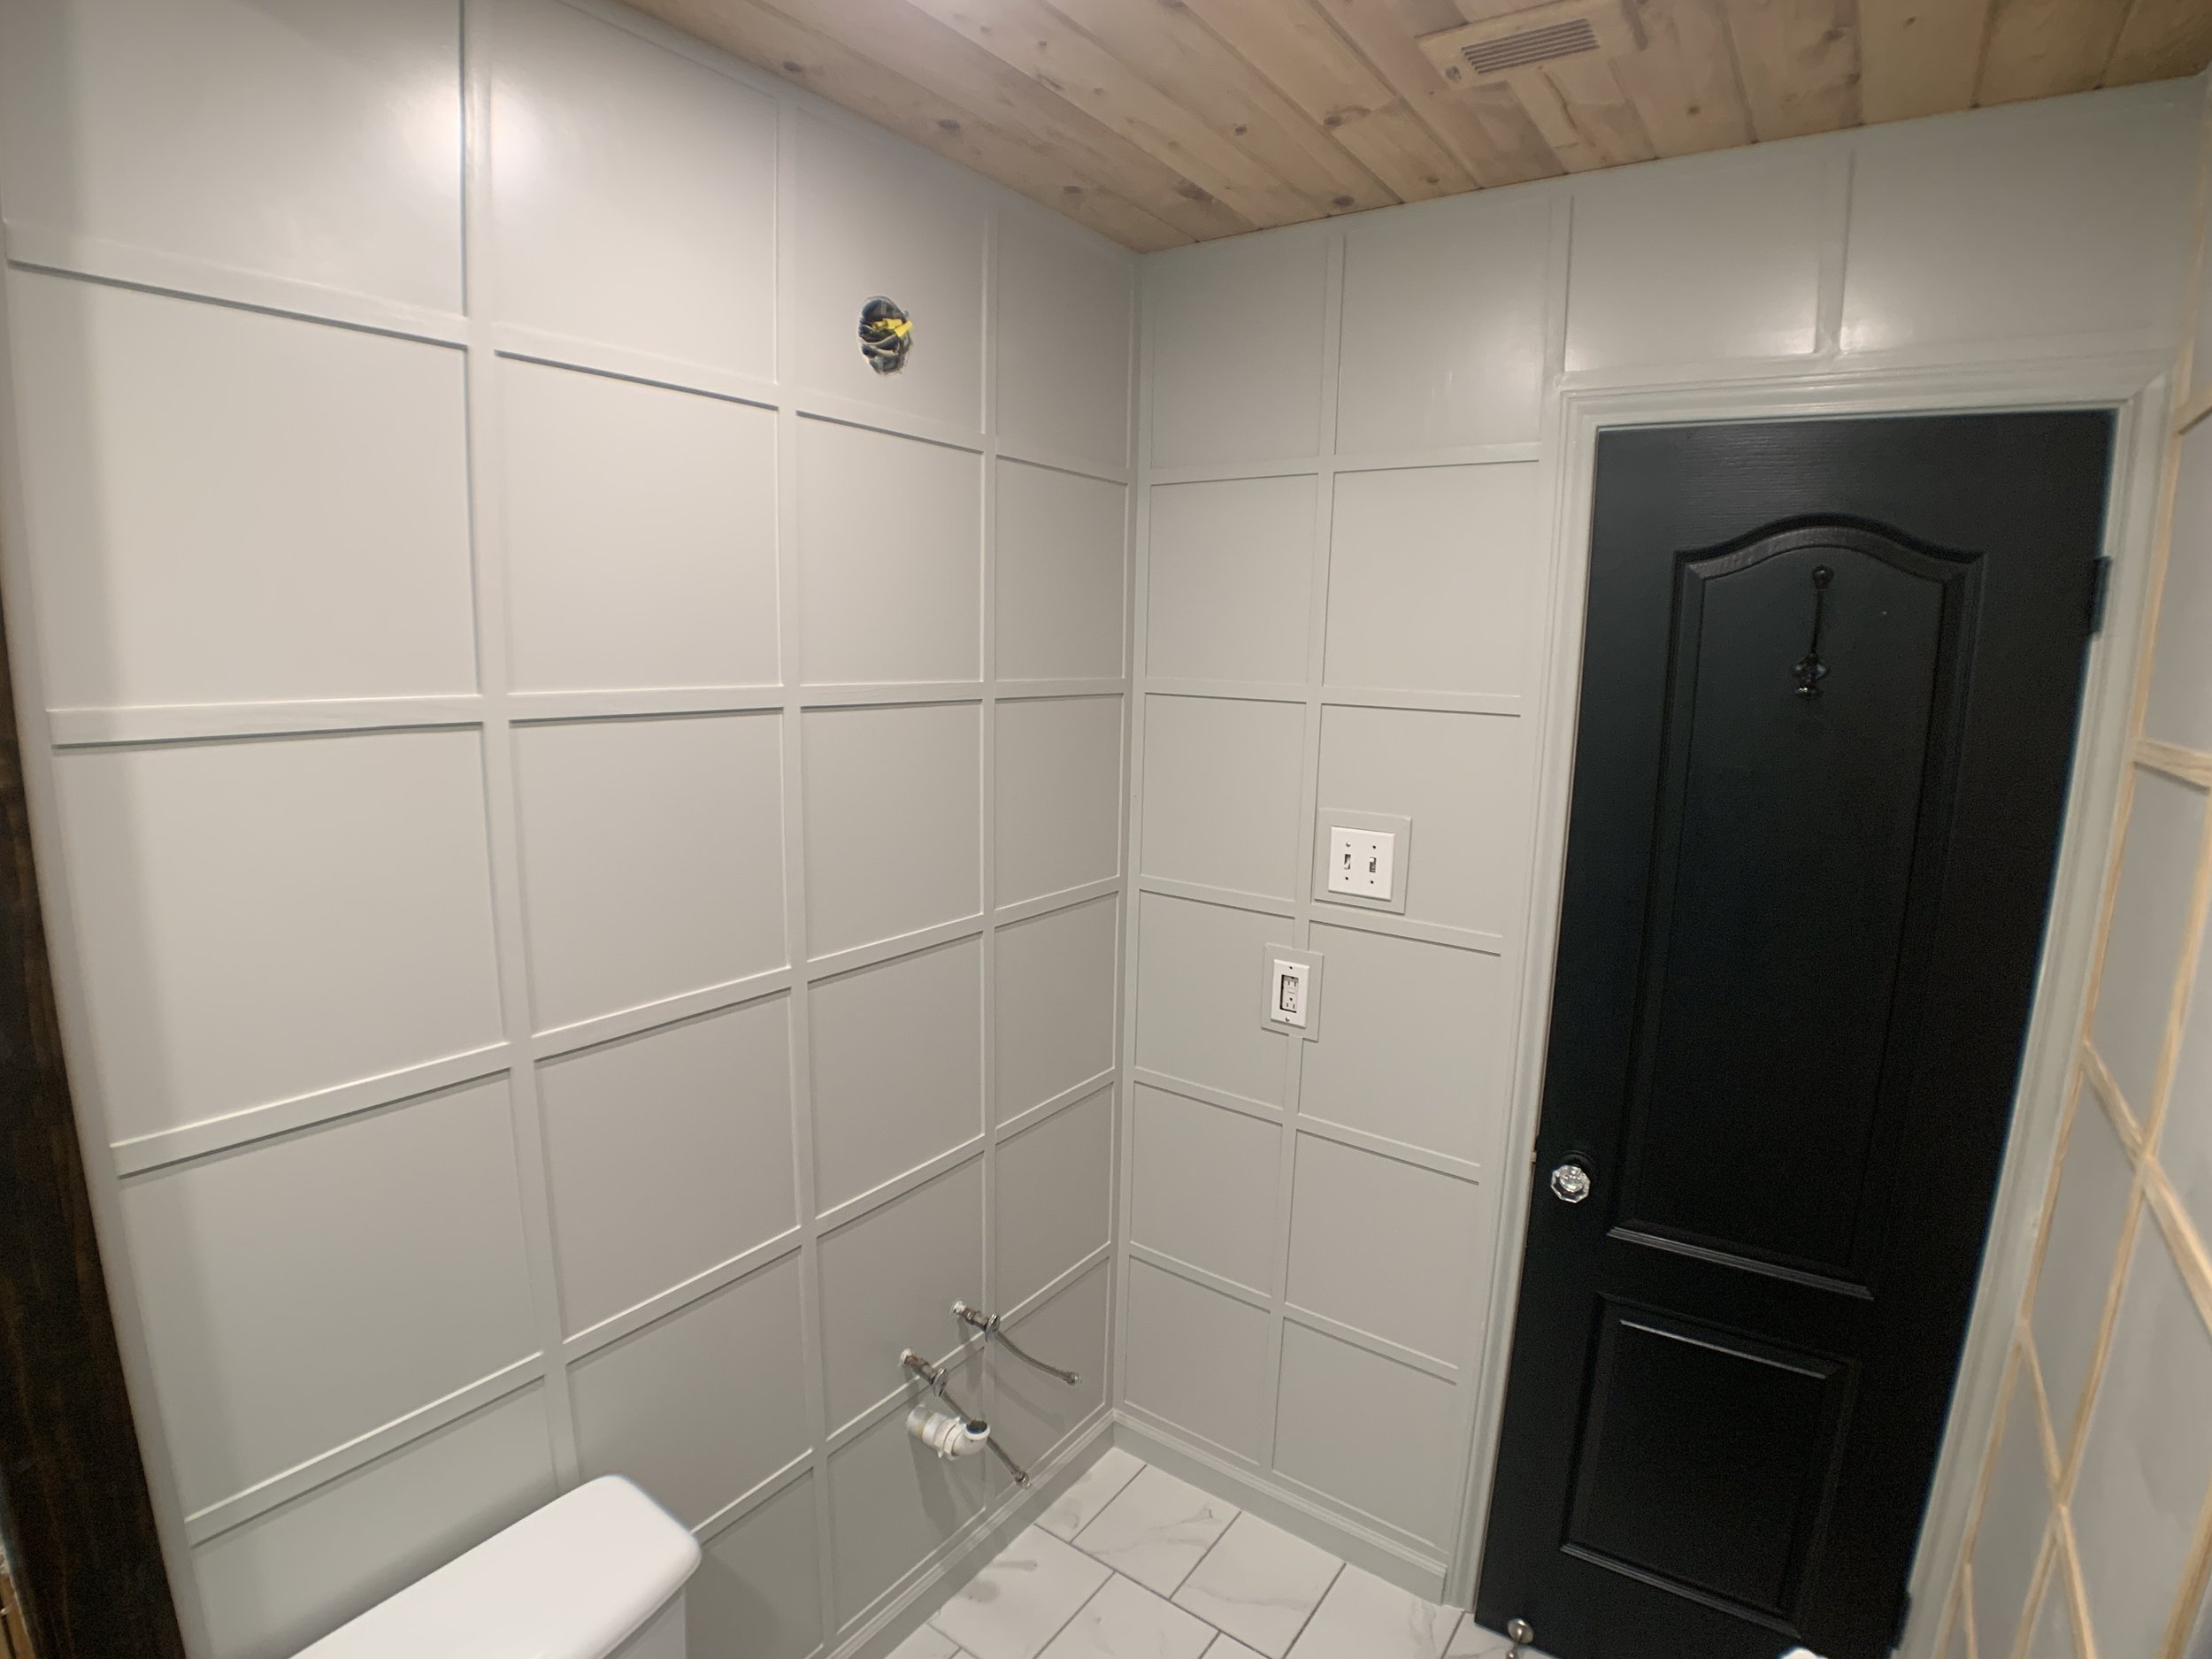
In better news, this week we made some really good progress in the rest of the bathroom, which to me is kind of funny seeing it look almost finished juxtaposed with a hole in the wall in the shower. But hey, sometimes that’s DIY for ya. It is really encouraging to see such a visual change in such a relatively short amount of time!
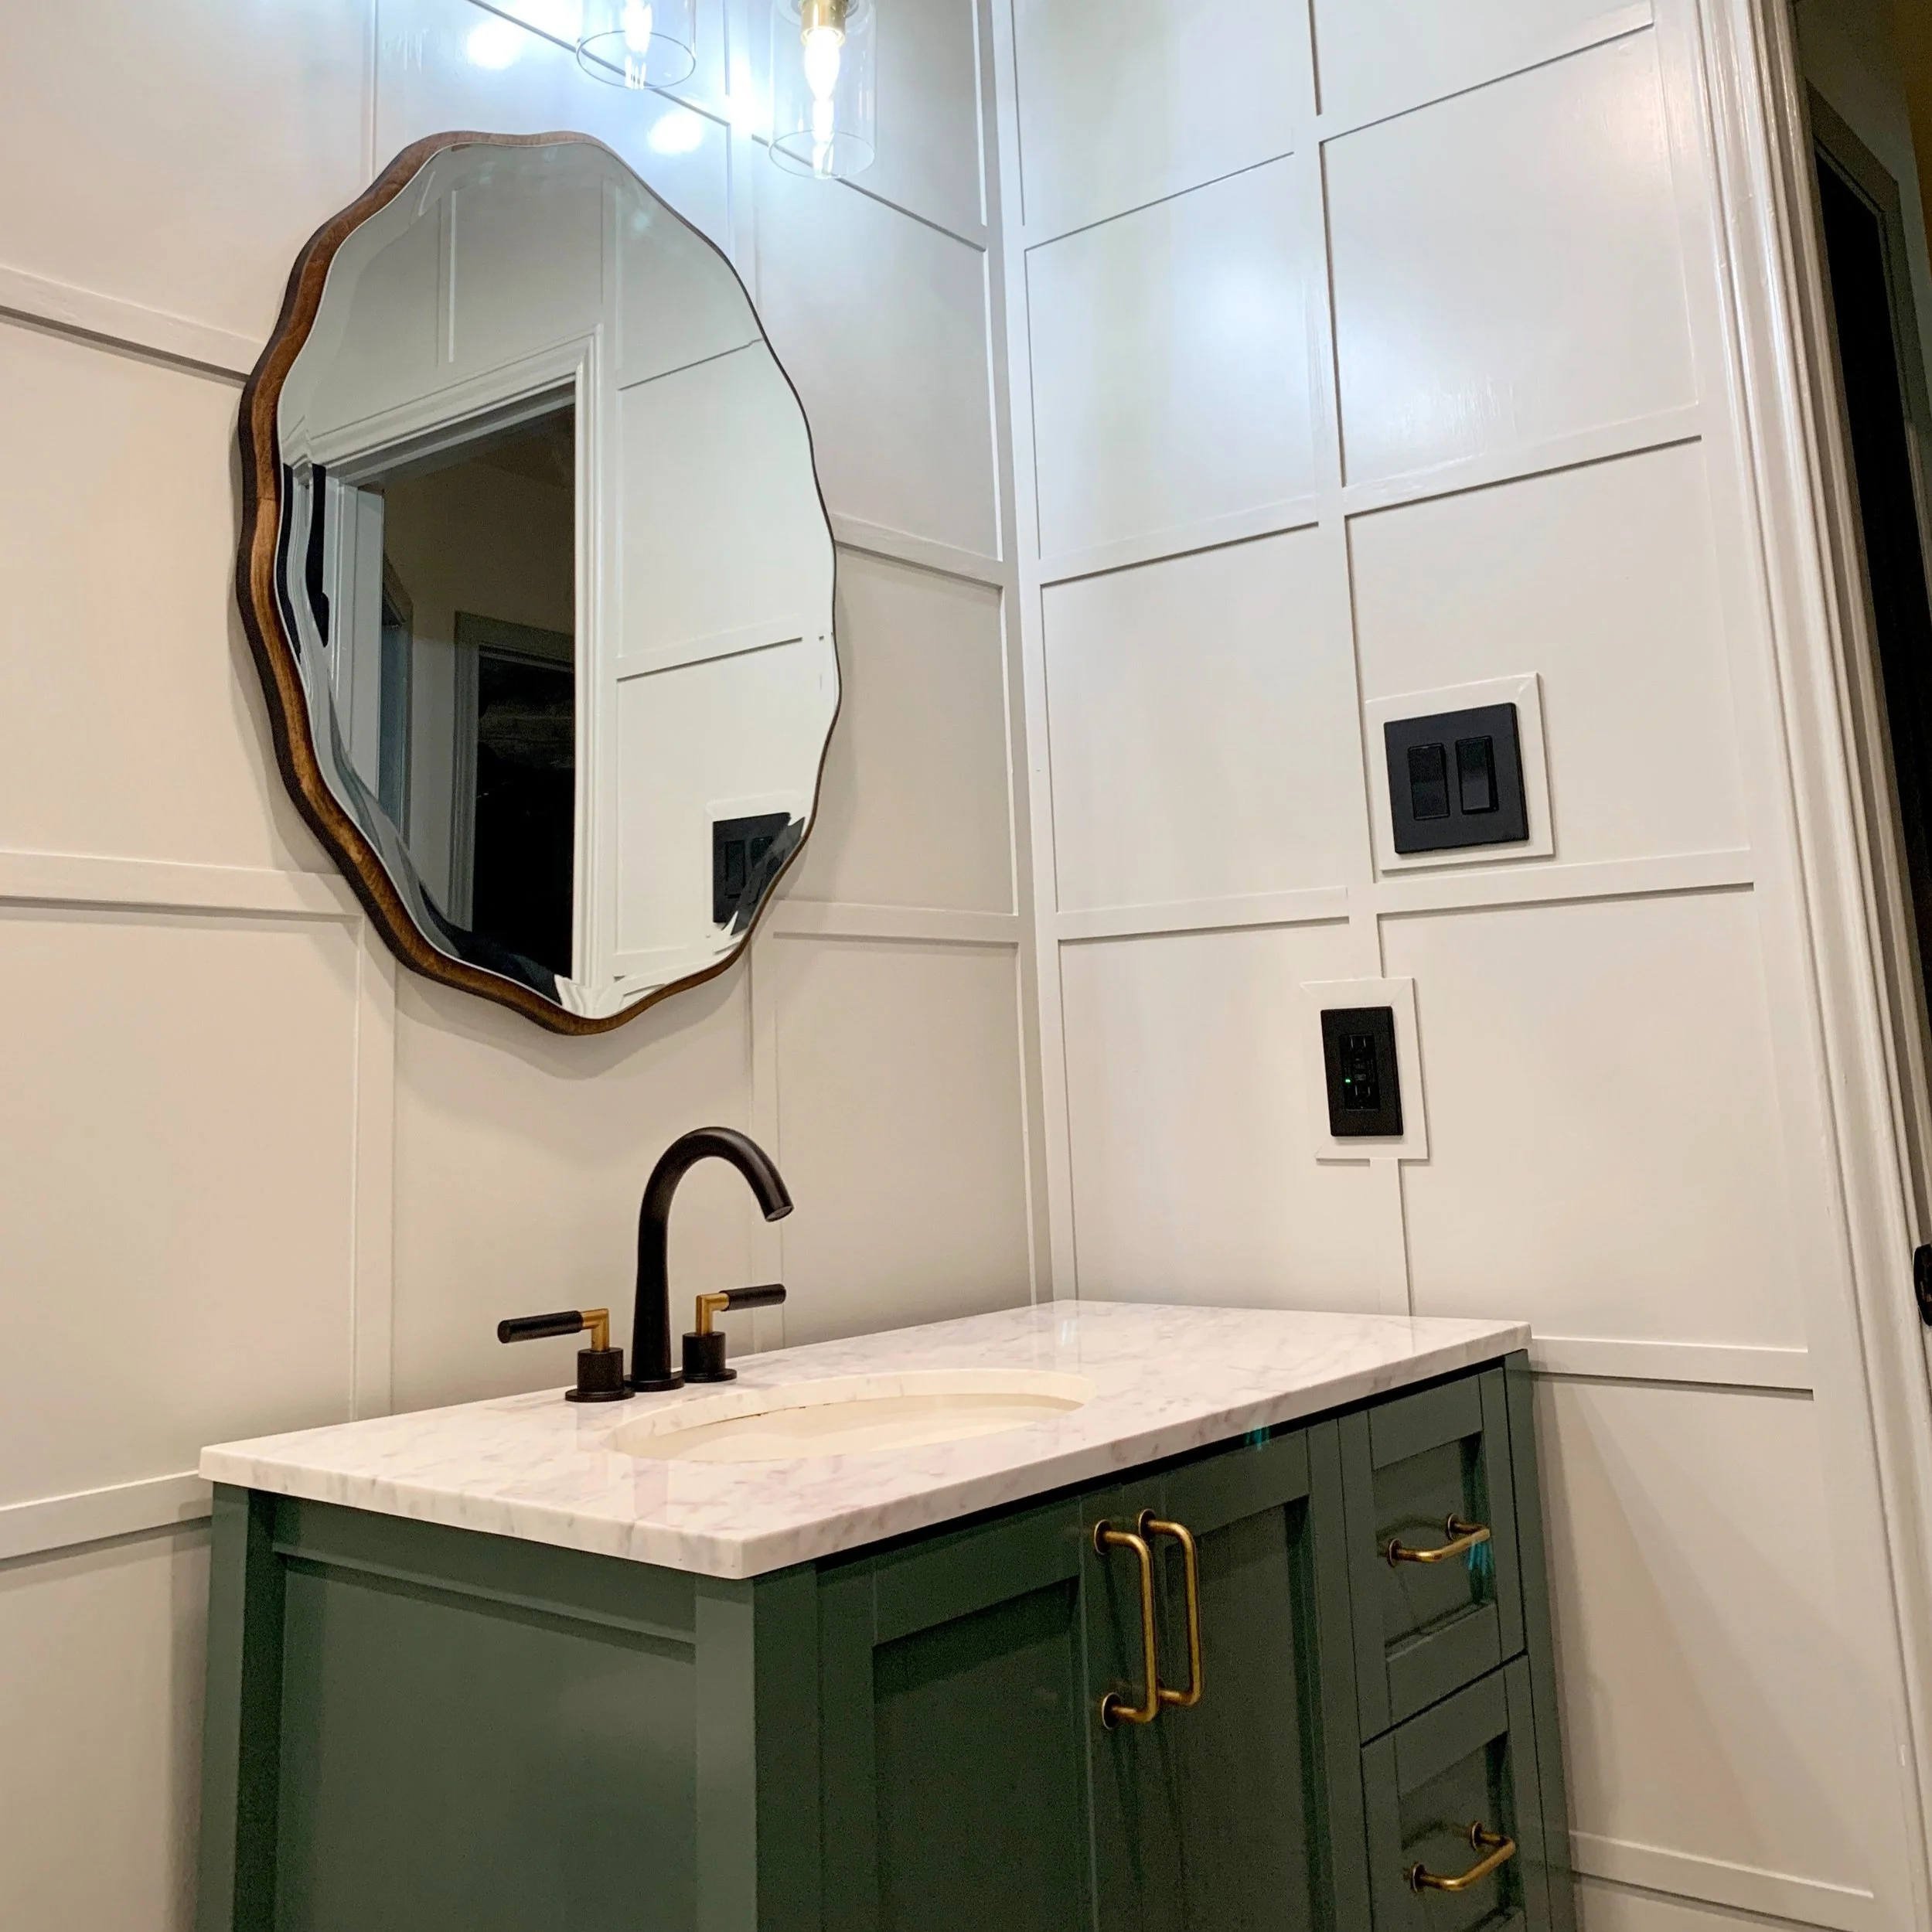
Vanity makeover
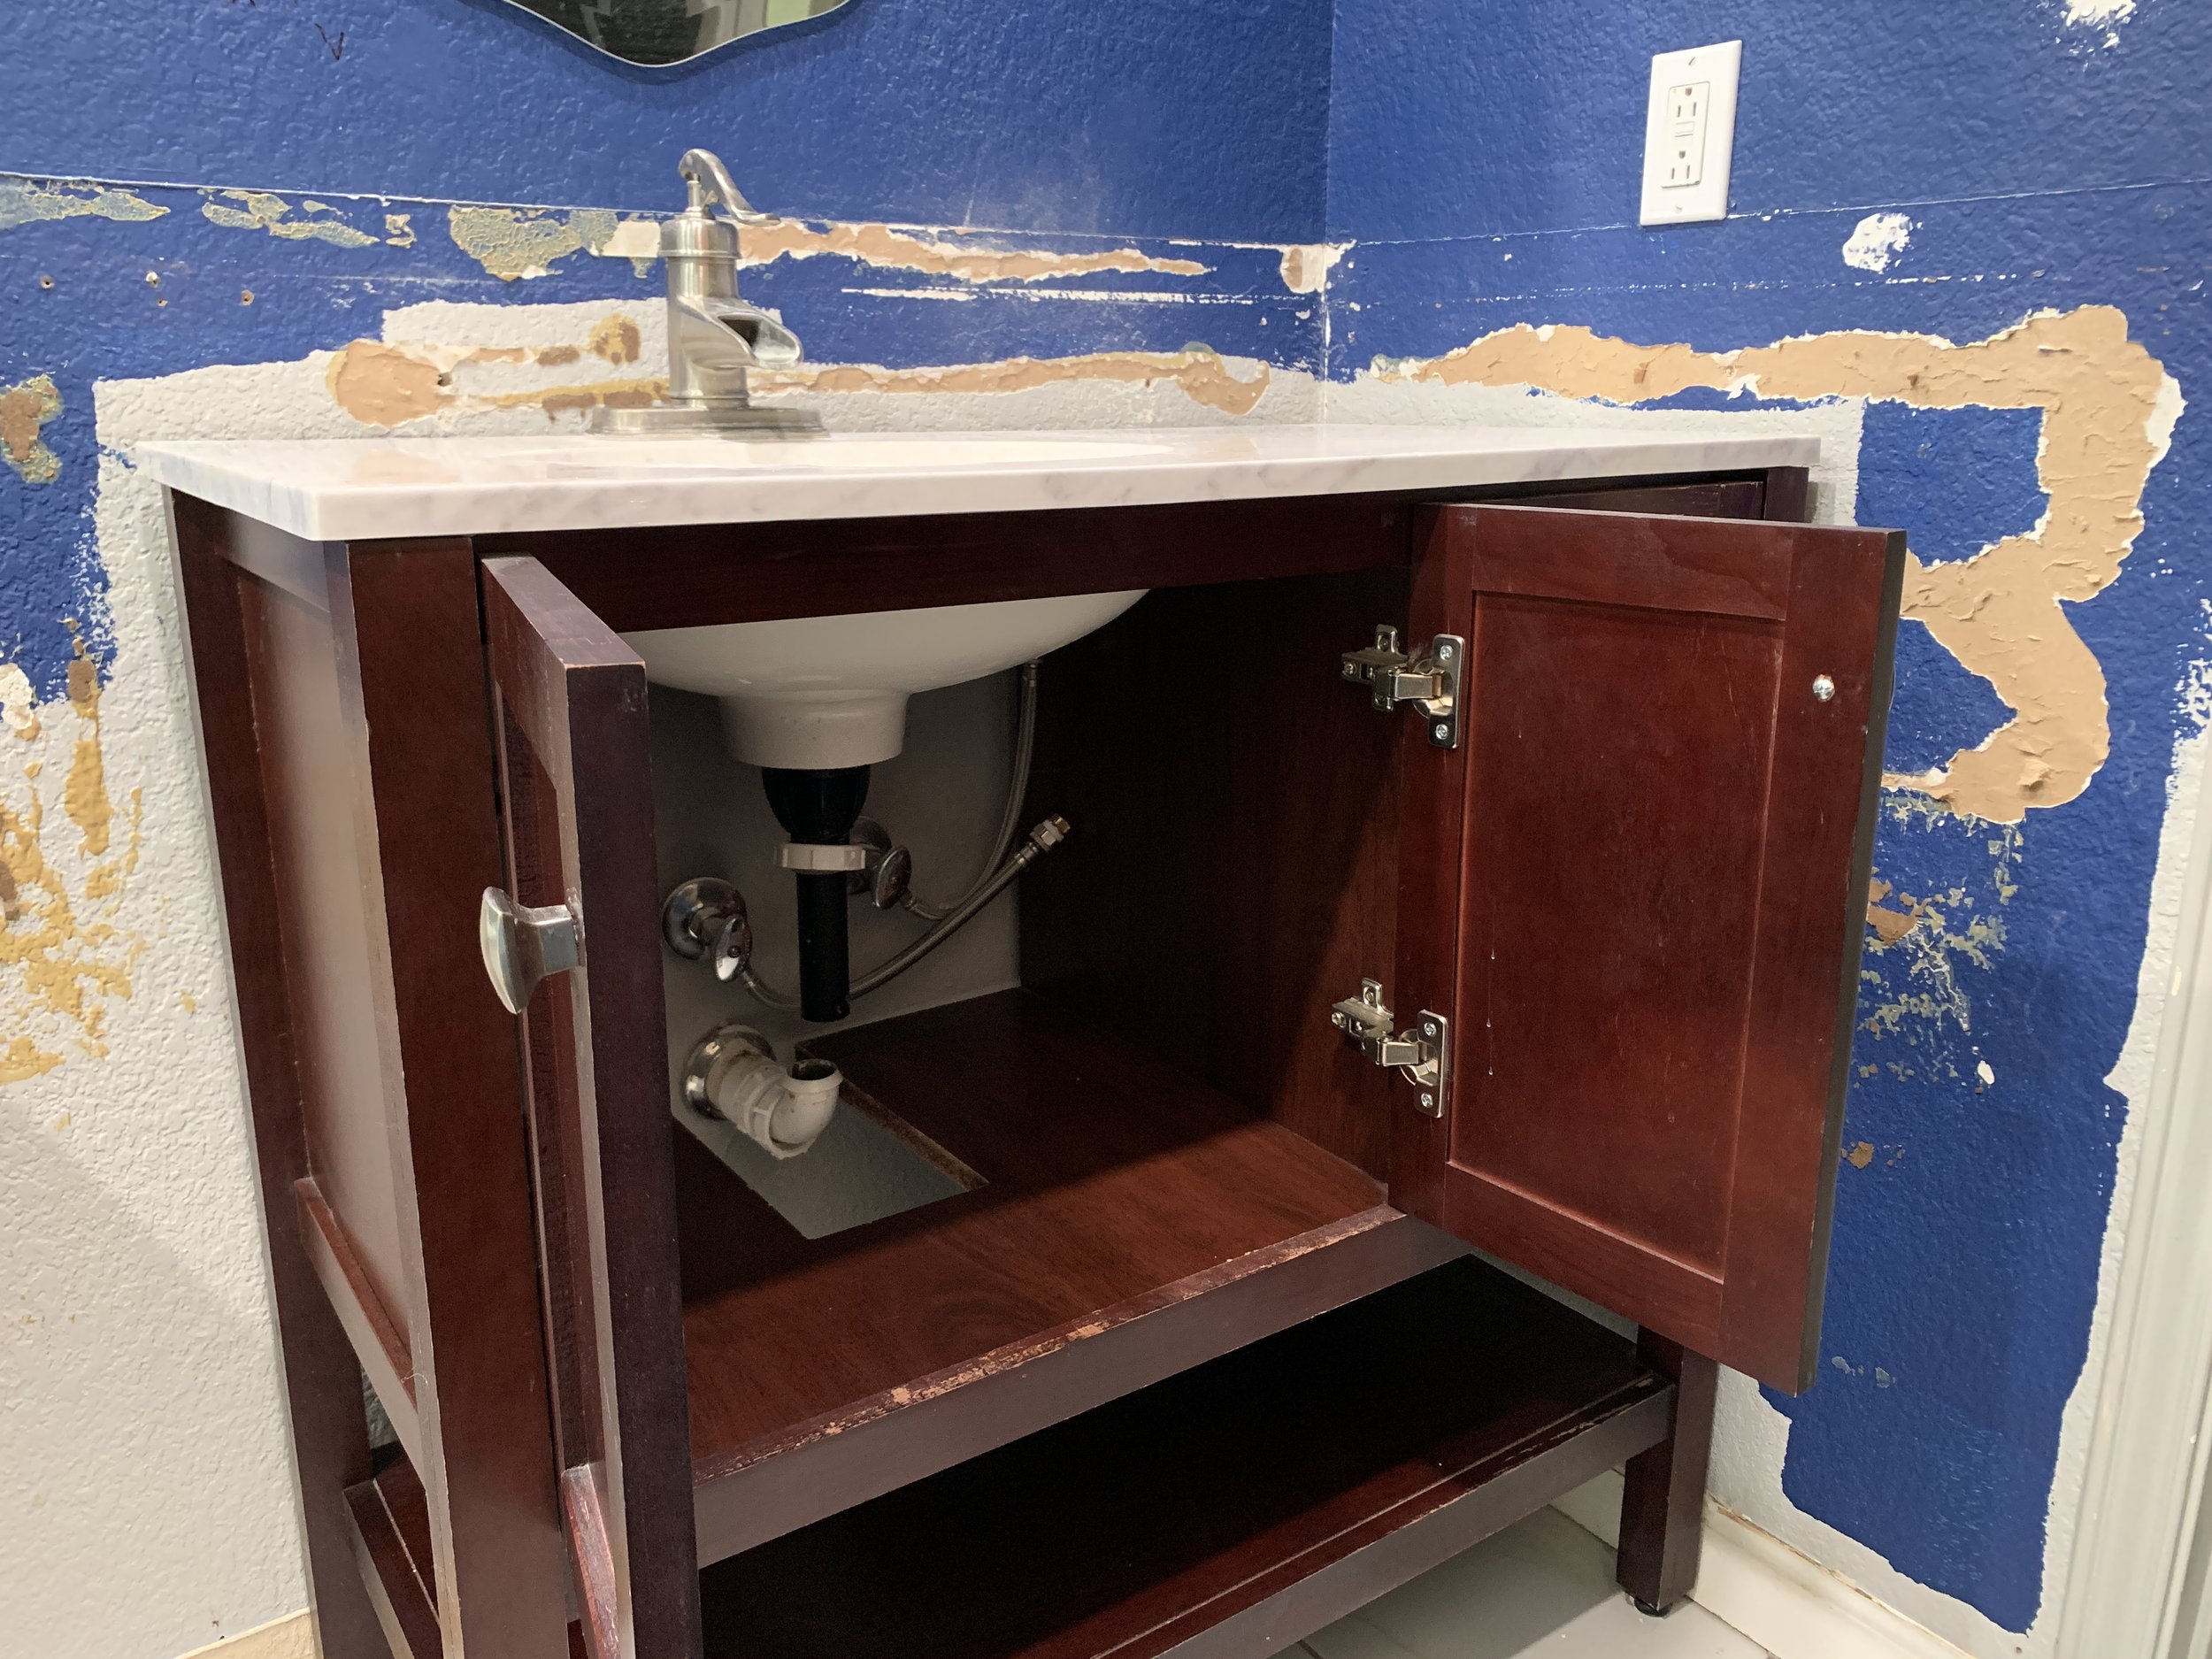
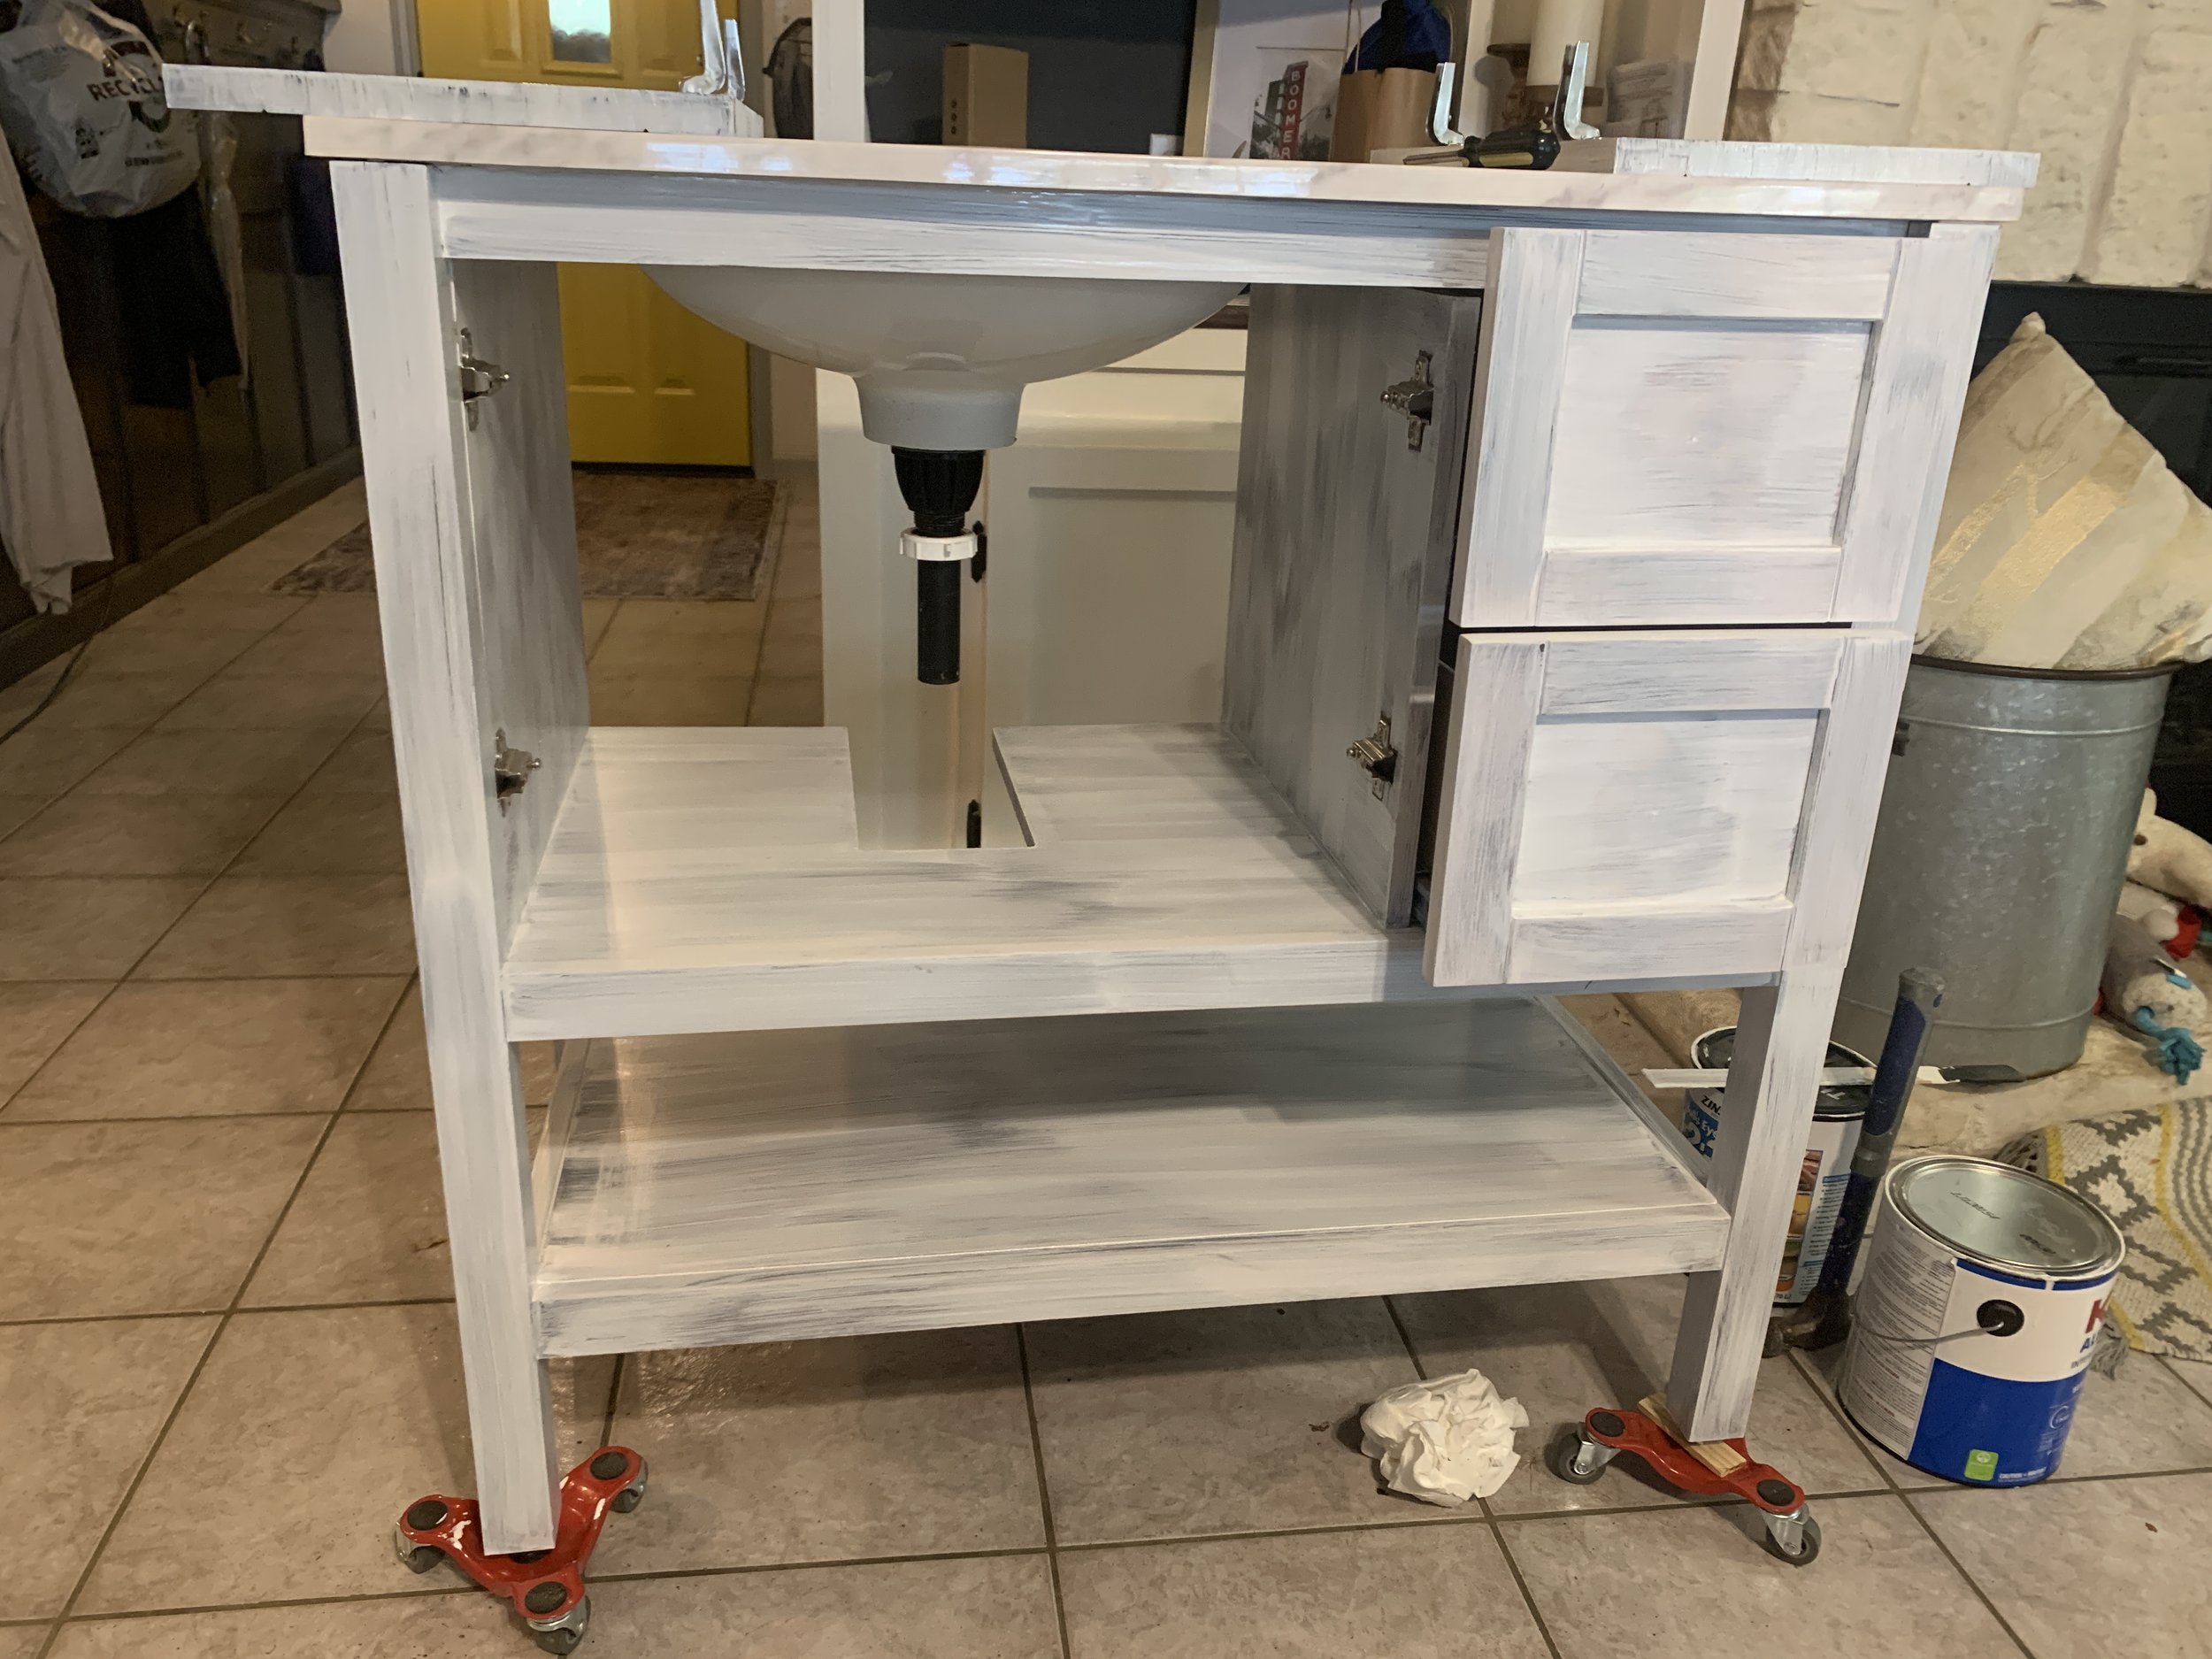
This week I started by removing the vanity so I could work on the walls behind it, but also so I could start working on the vanity itself in 360-degree space – AKA not in the bathroom. Throughout this whole process I’m trying to keep our guest bathroom as functional as possible while we work, so I really focused my attention on finishing up this corner area and the vanity to get it back in as quick as possible, and then will play catch up in the rest of the bathroom once the vanity is back in place and useable.
The stain had been chipping off it some spots – namely along the edge of the lower shelf, the front of the drawers, and where the doors were rubbing the inside floor of the cabinet.
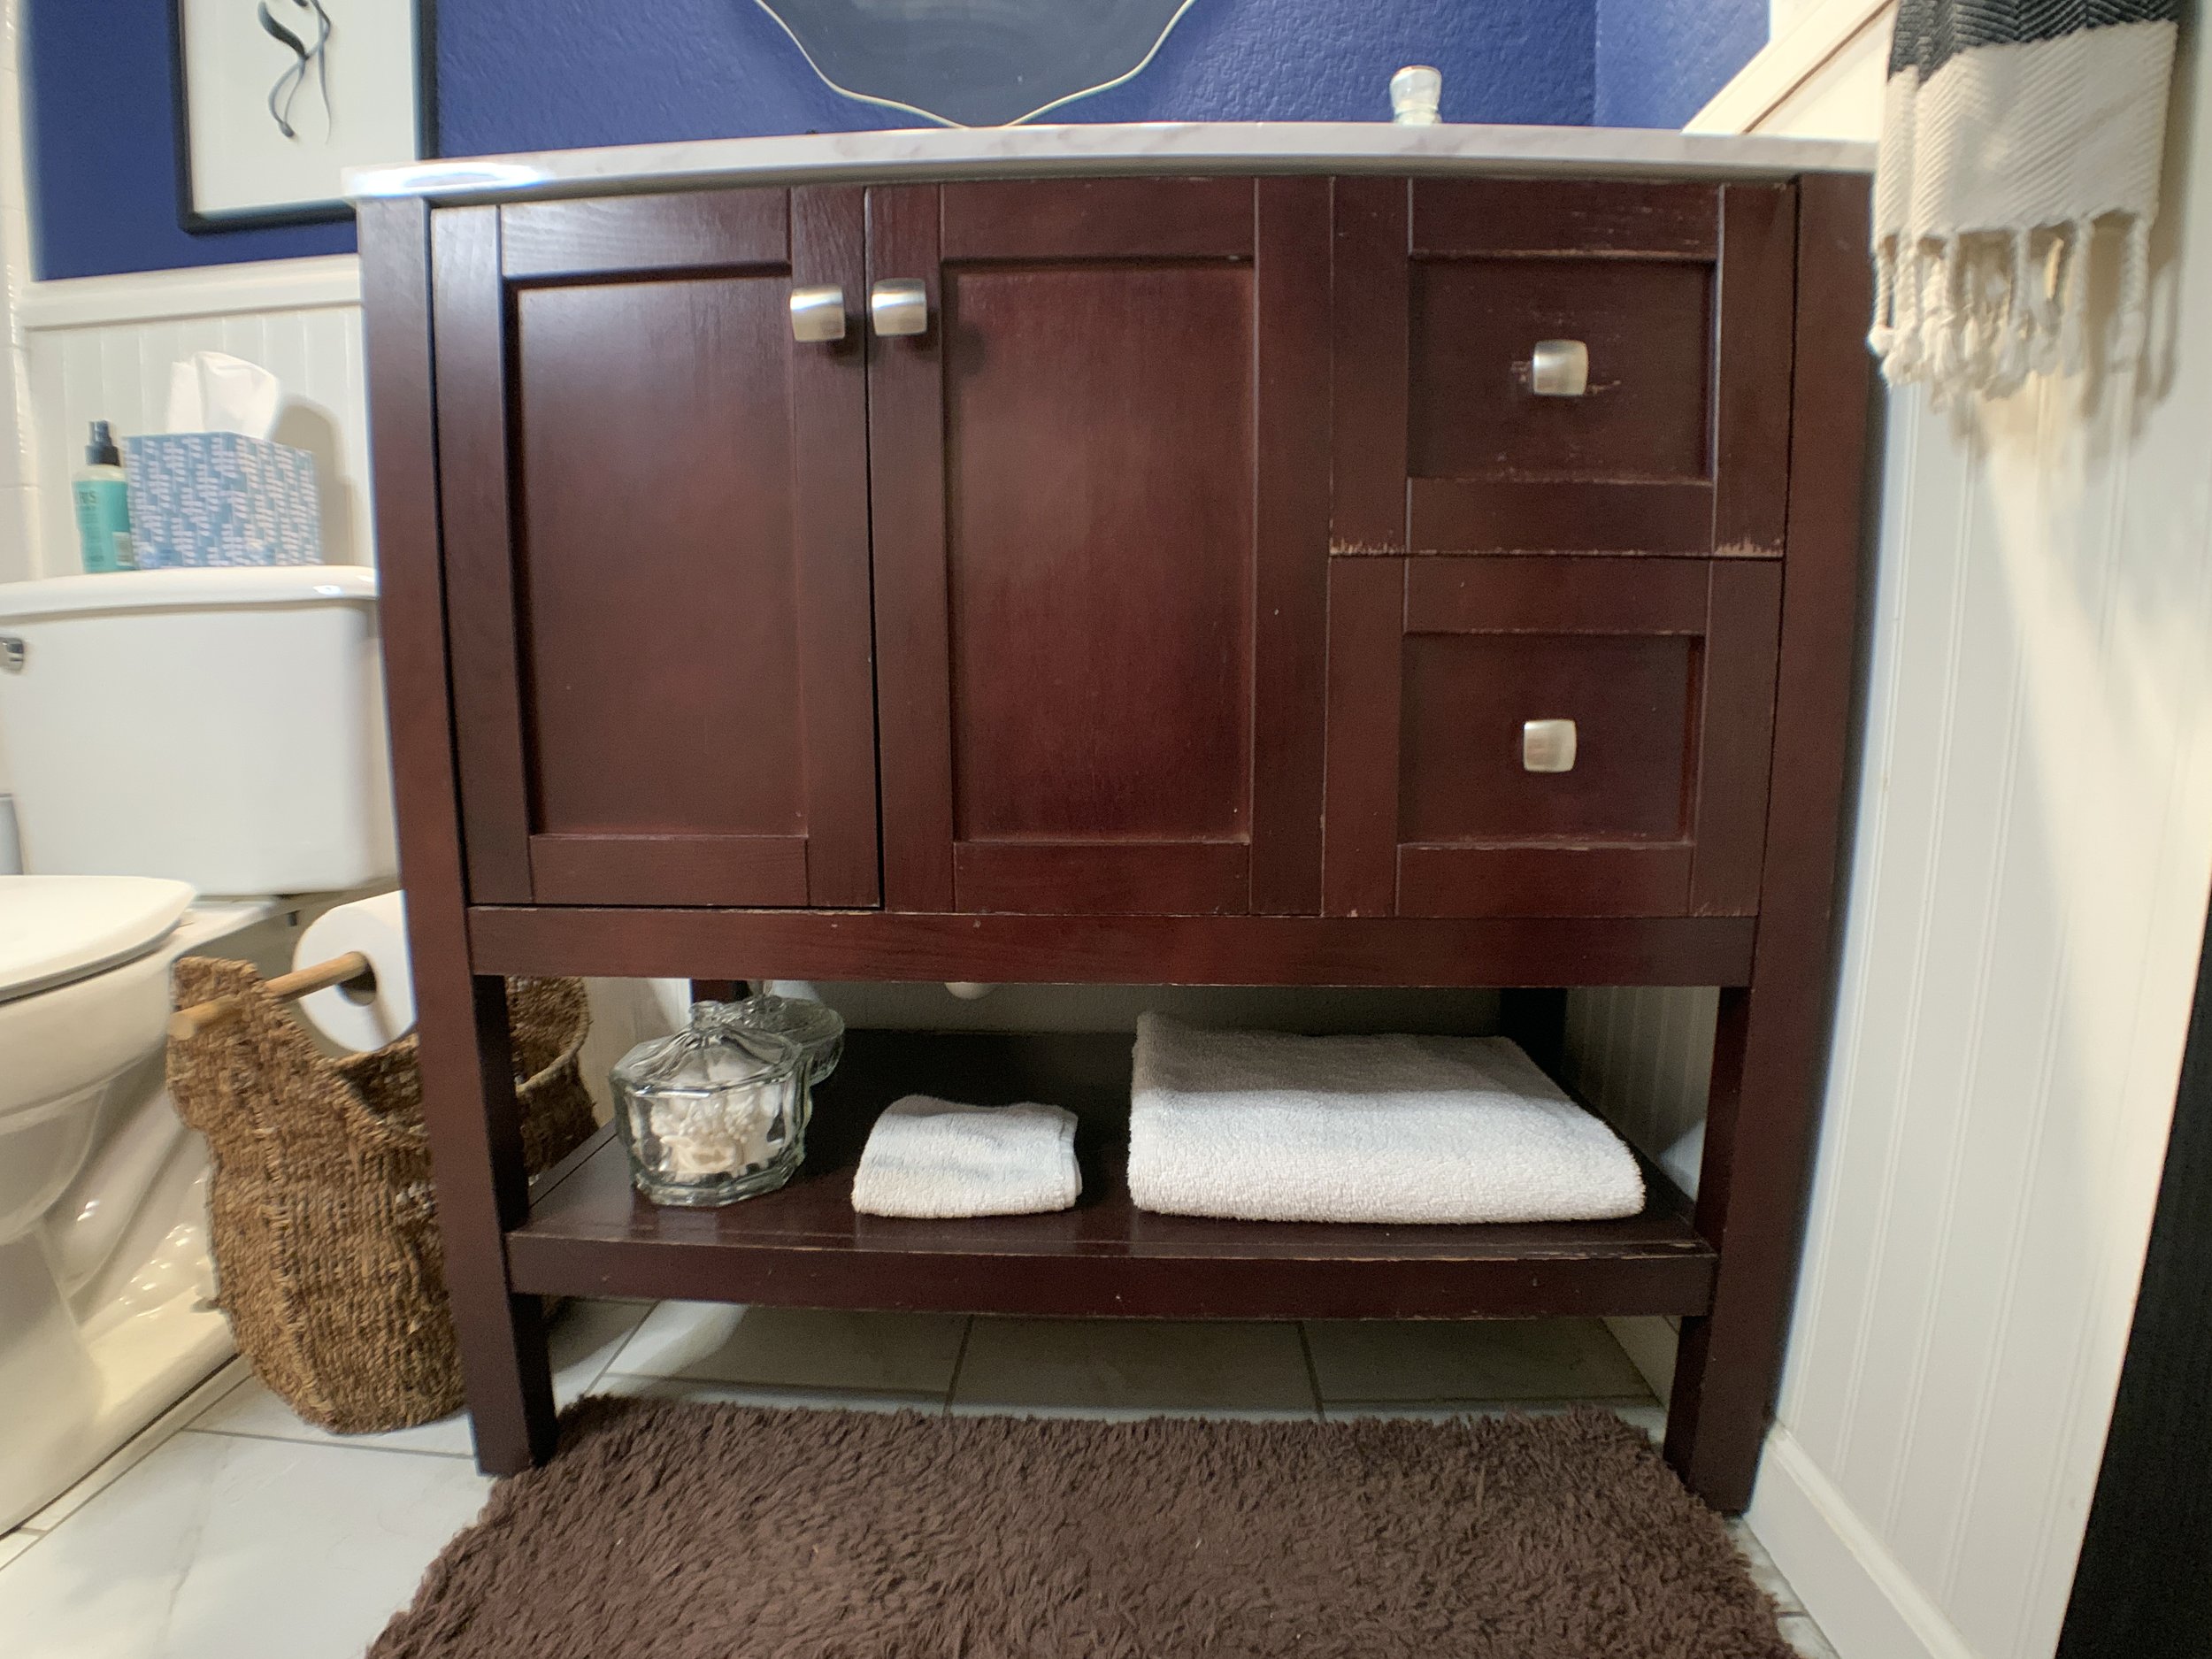
First I sanded off the chipping stain and any areas that looked a little worse for wear. On the whole the vanity is great shape and just needed flakes removed. I also wood-filled the hardware holes in preparation for some new ones.
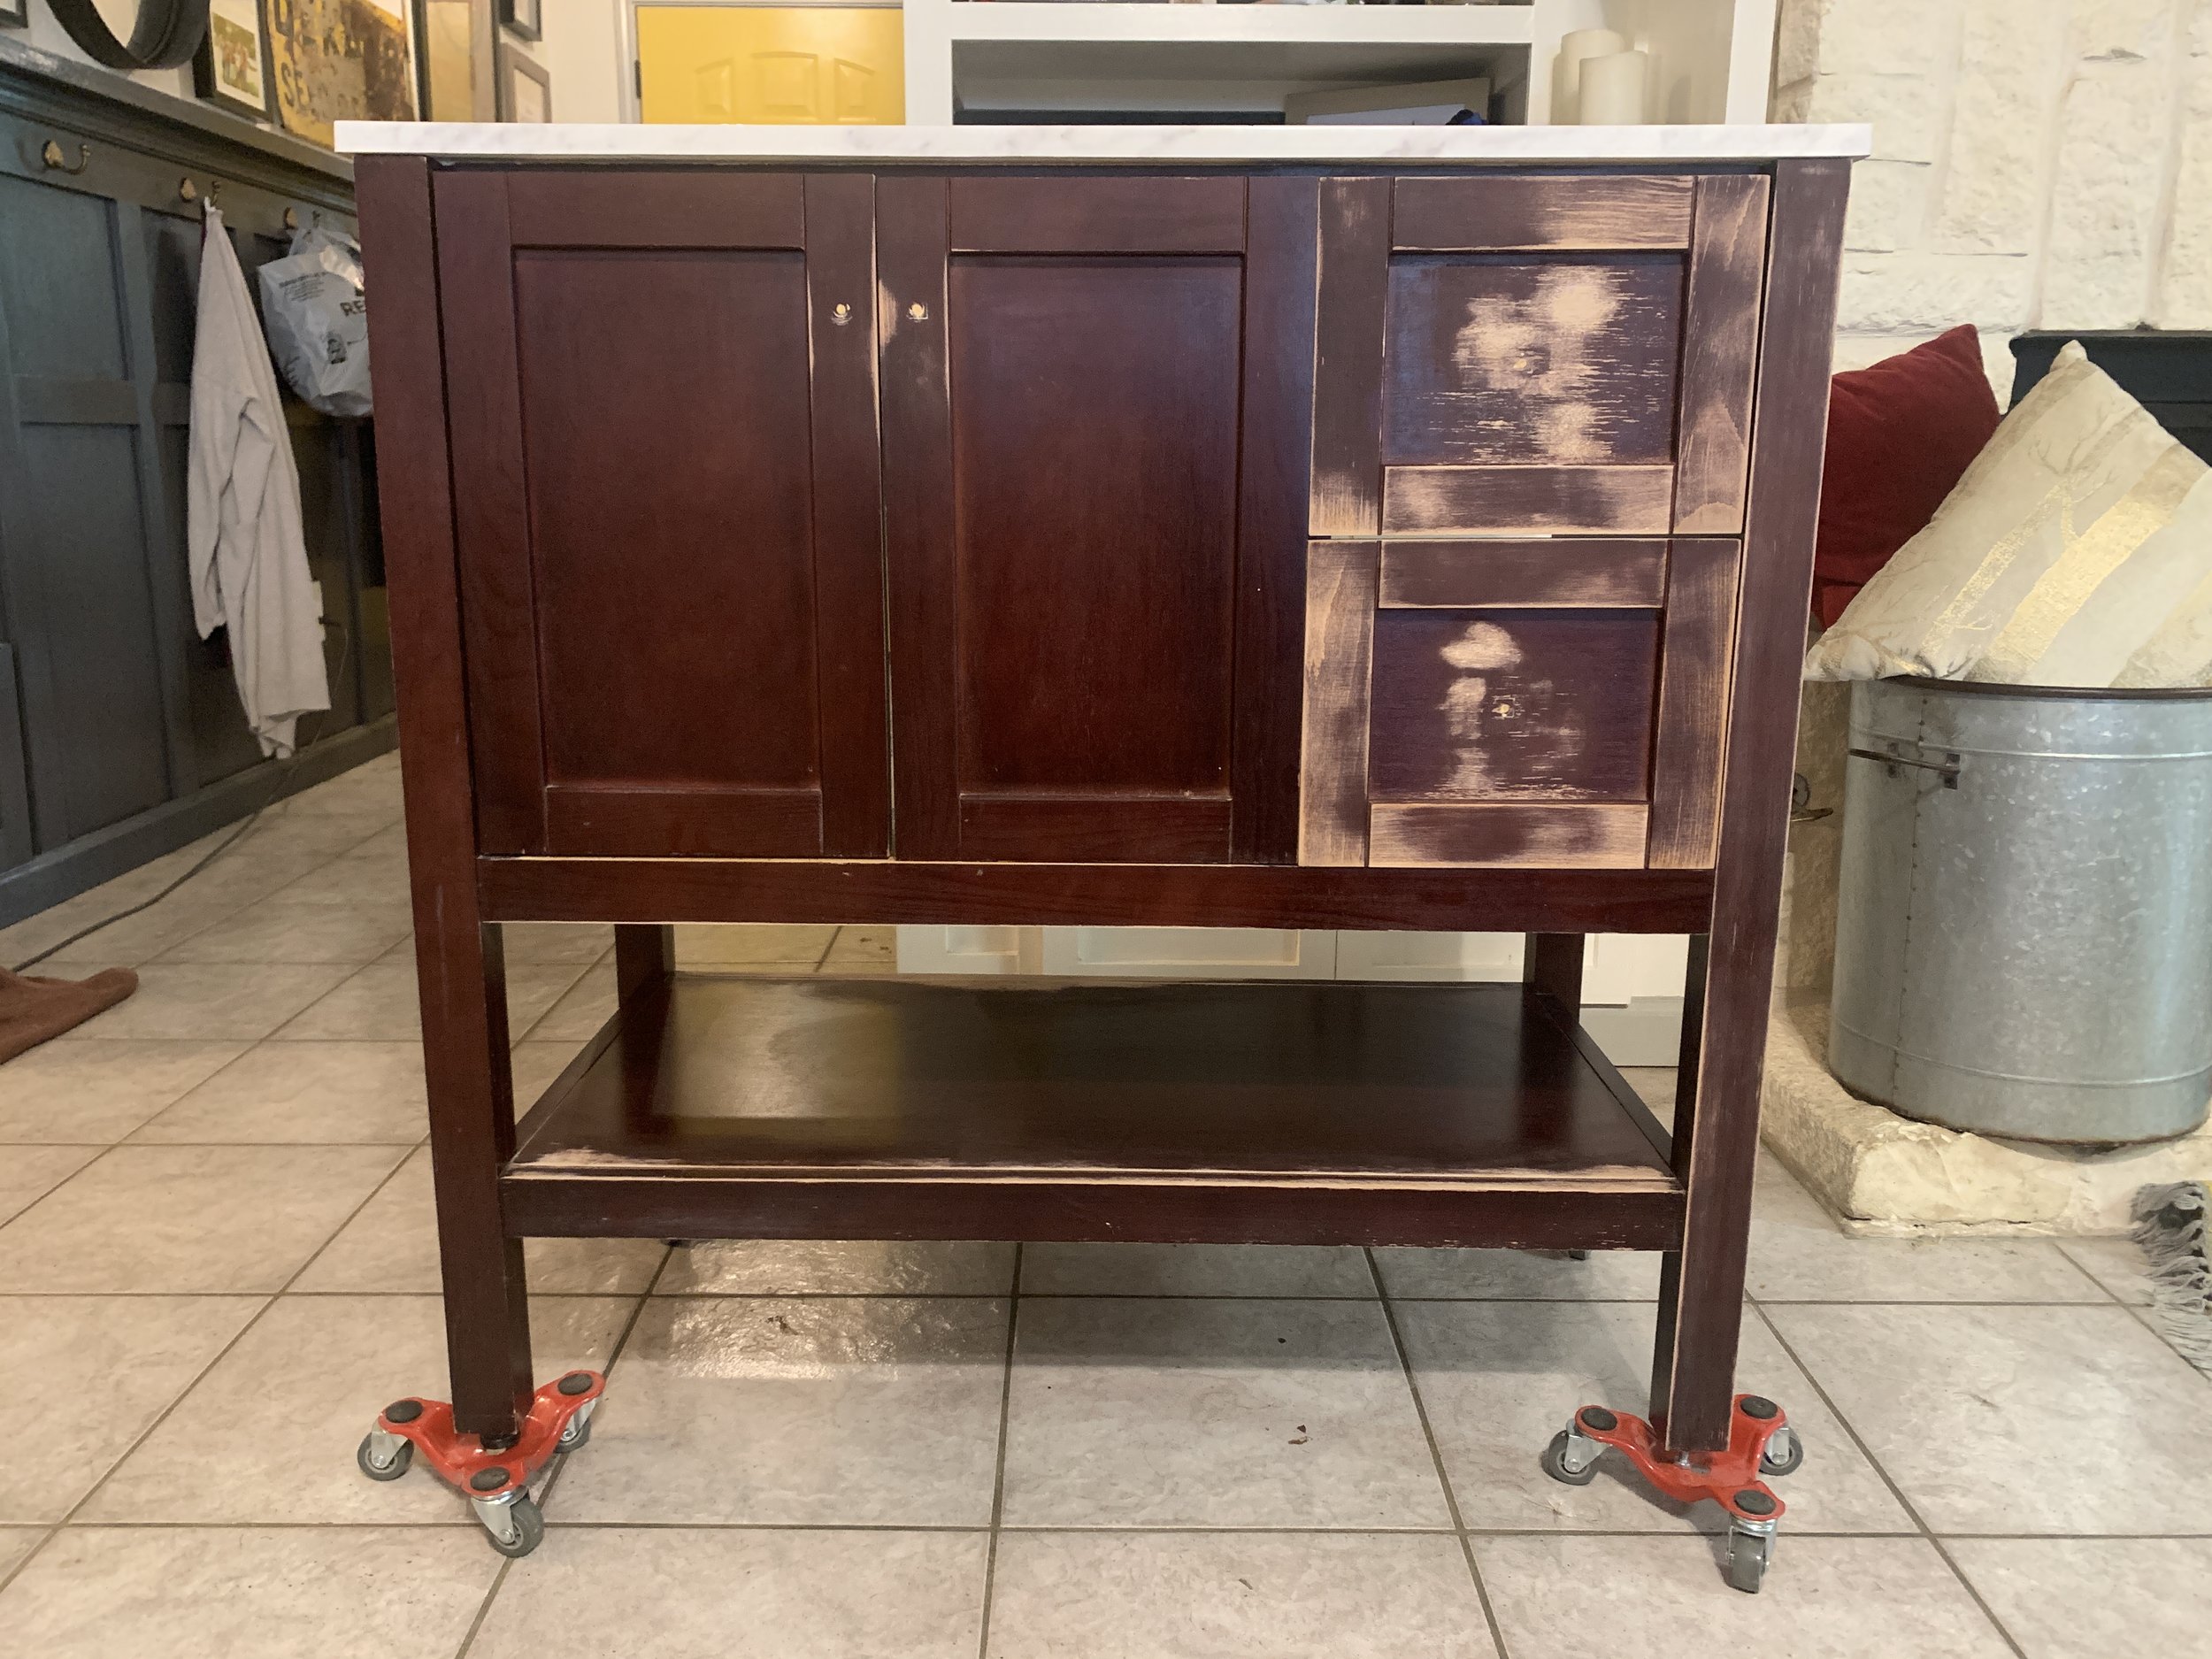
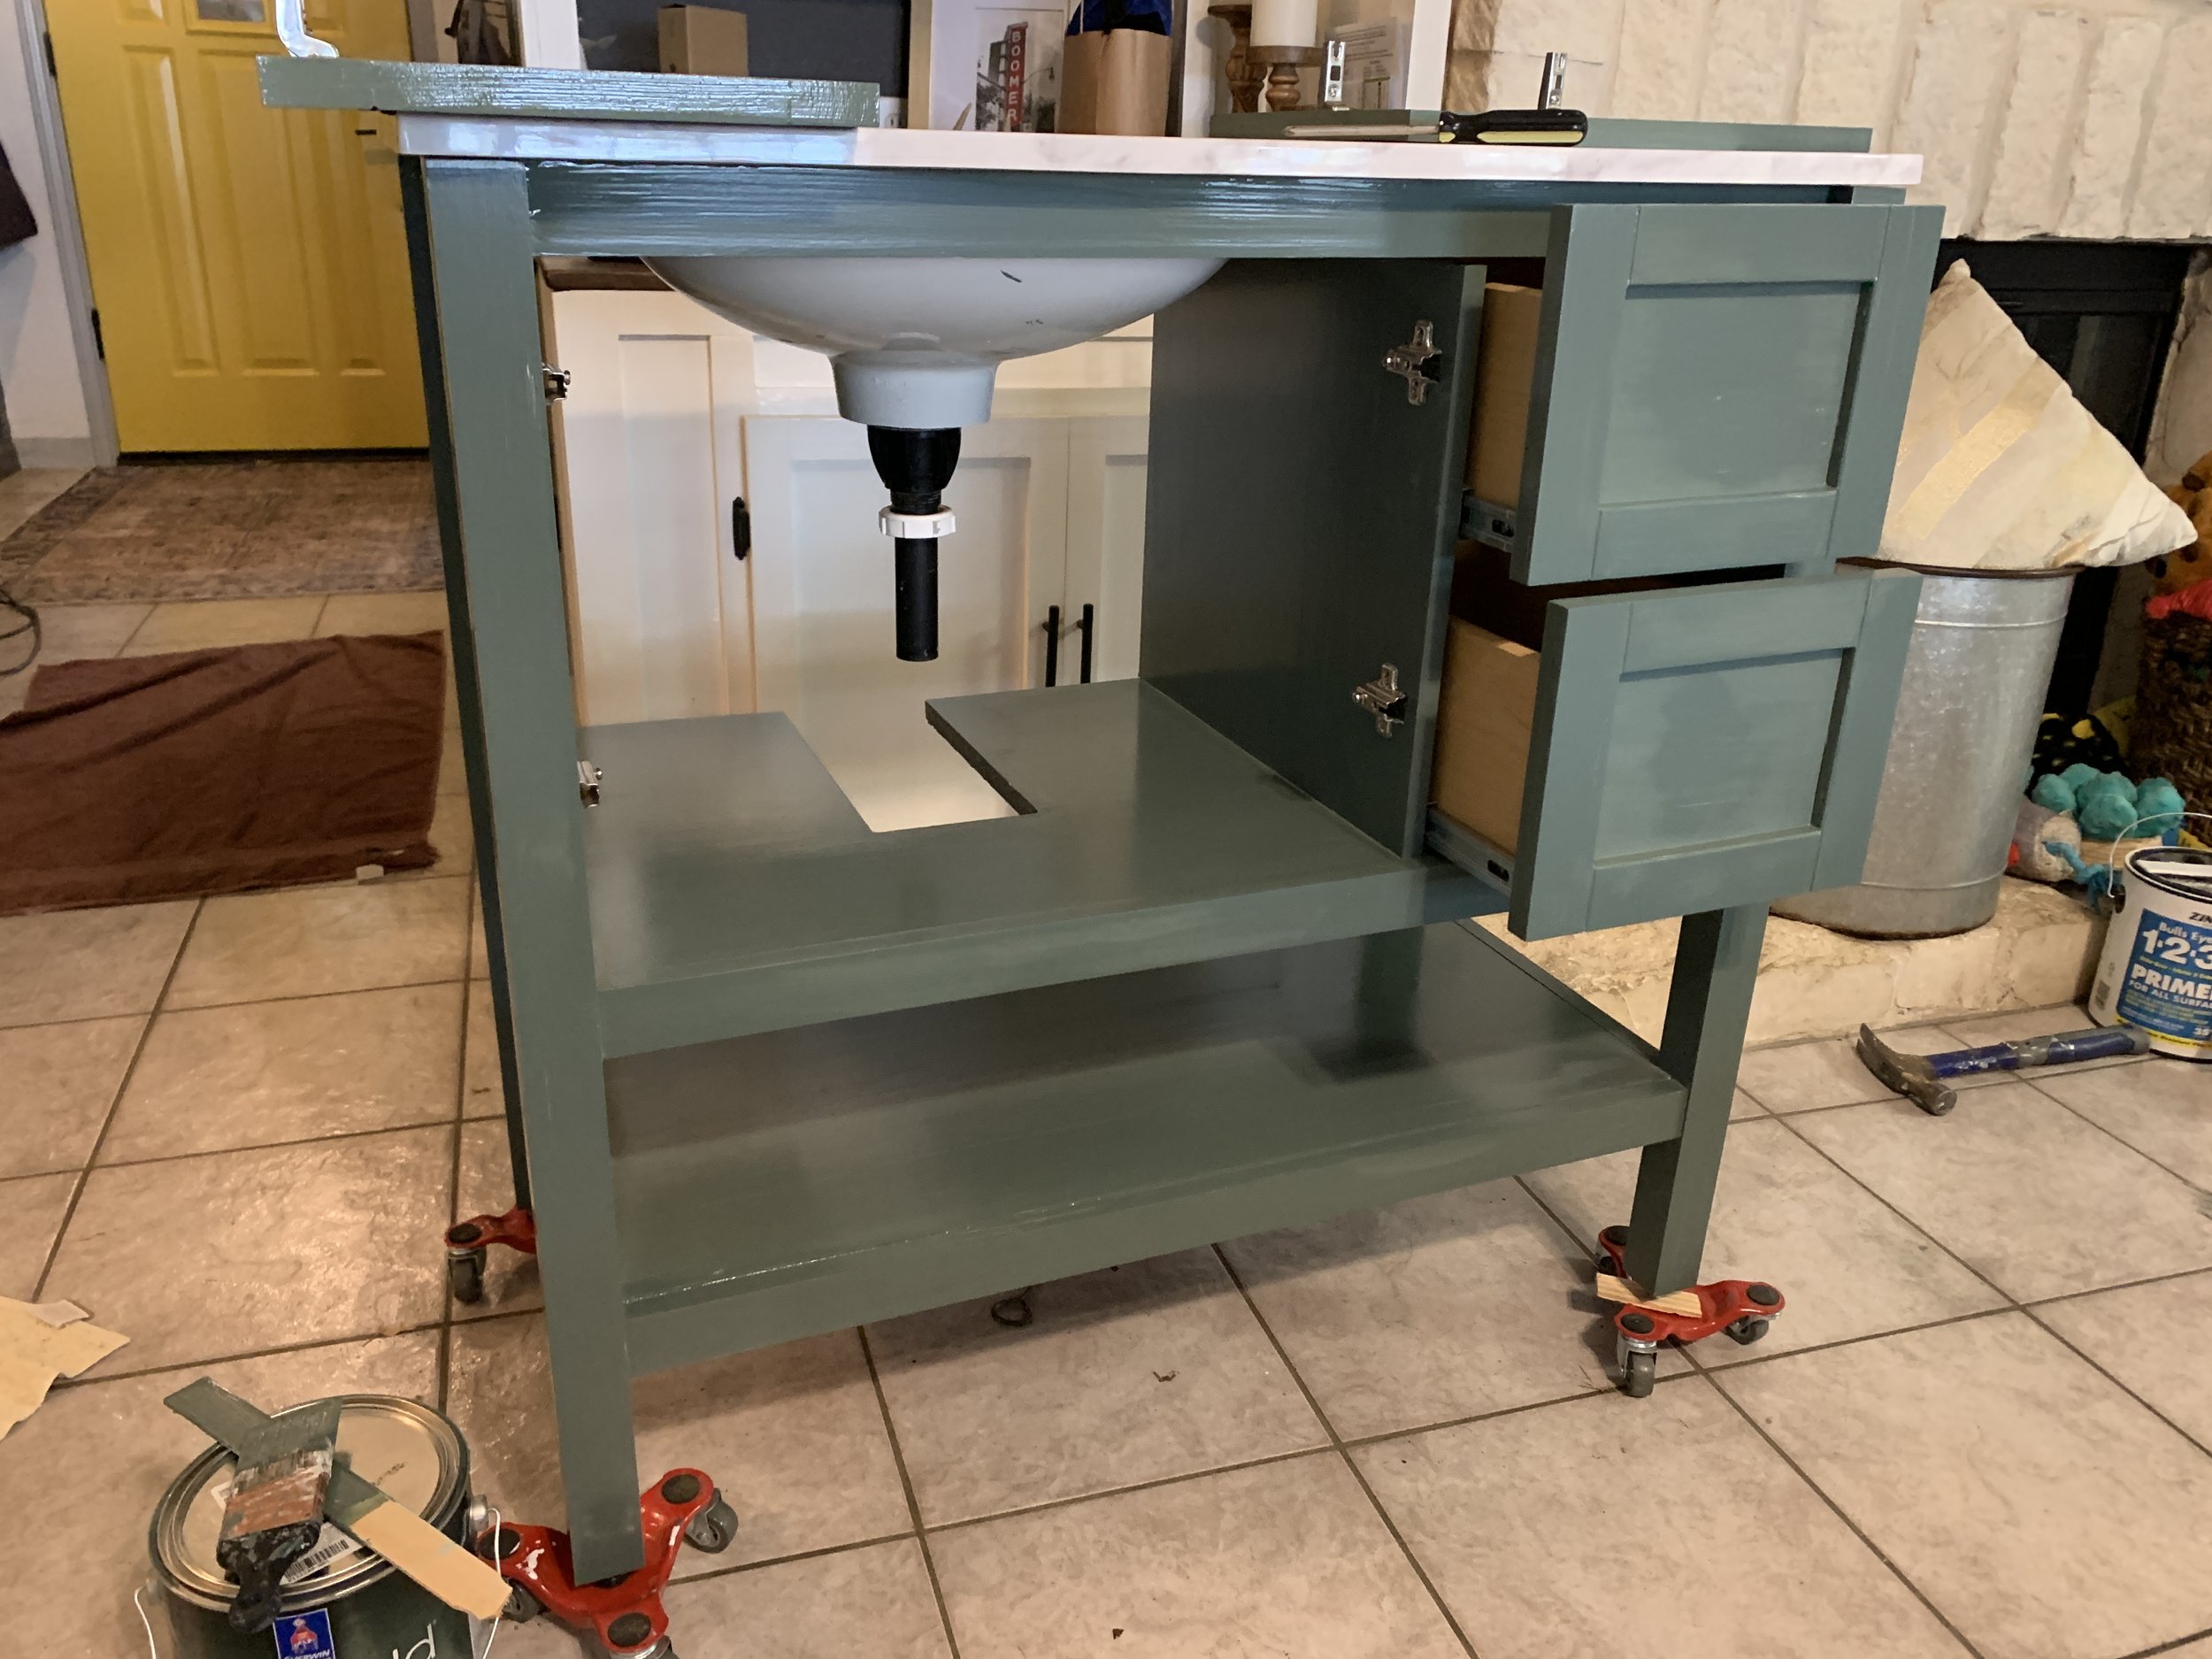
Then I brushed on a thin layer of primer, followed by two layers of paint. We chose Sherwin Williams Emerald Urethane Trim Enamel (Semi-Gloss) in the color Succulent. I LOVE the way this slightly gray, natural green looks with the “marble” countertop.
(Also, please ignore all of the random towels all over the floors in these photos … our dog, Maximus (the fluffy white one), is going through a phase right now where he thinks just some parts of our tile floors are lava, so we have to make towel paths for him to be able to walk around the house...)
After it was “done” I noticed in a few tiny, hardly noticeable spots where the primer and paint were missing, which was … weird.

Just a couple of quick touch ups with another layer of primer and two paint layers fixed these little bald spots no problem.
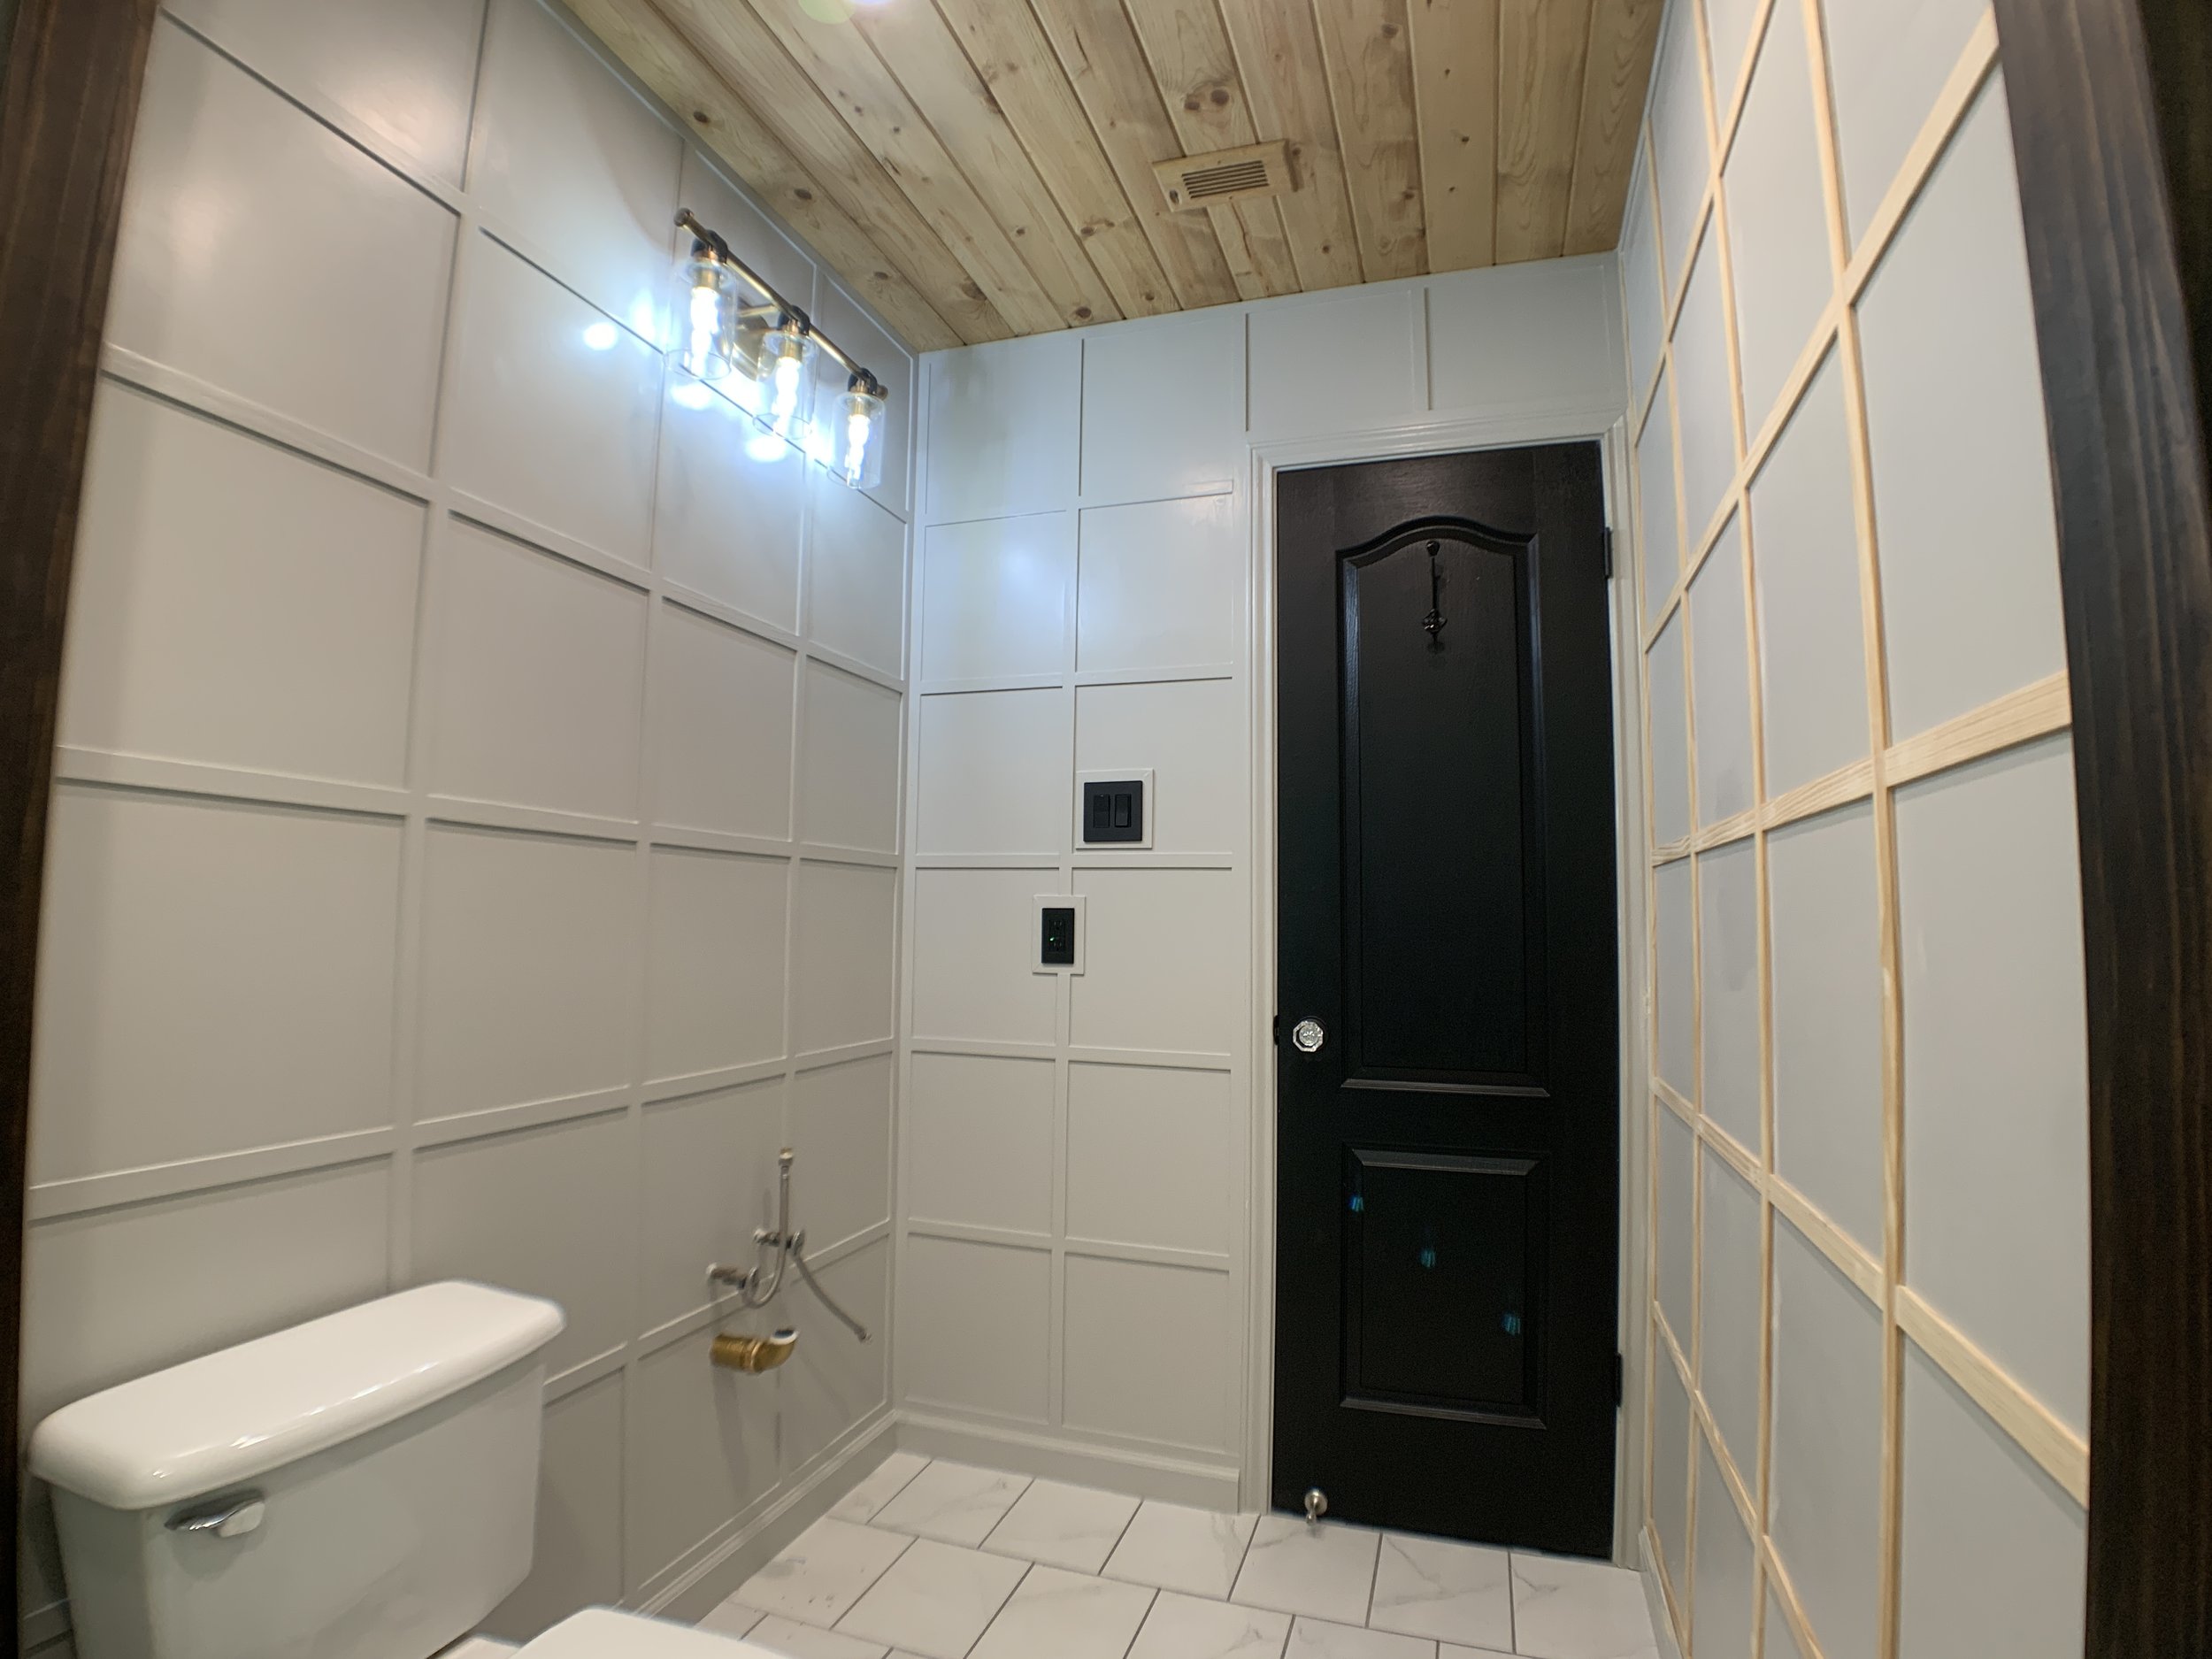
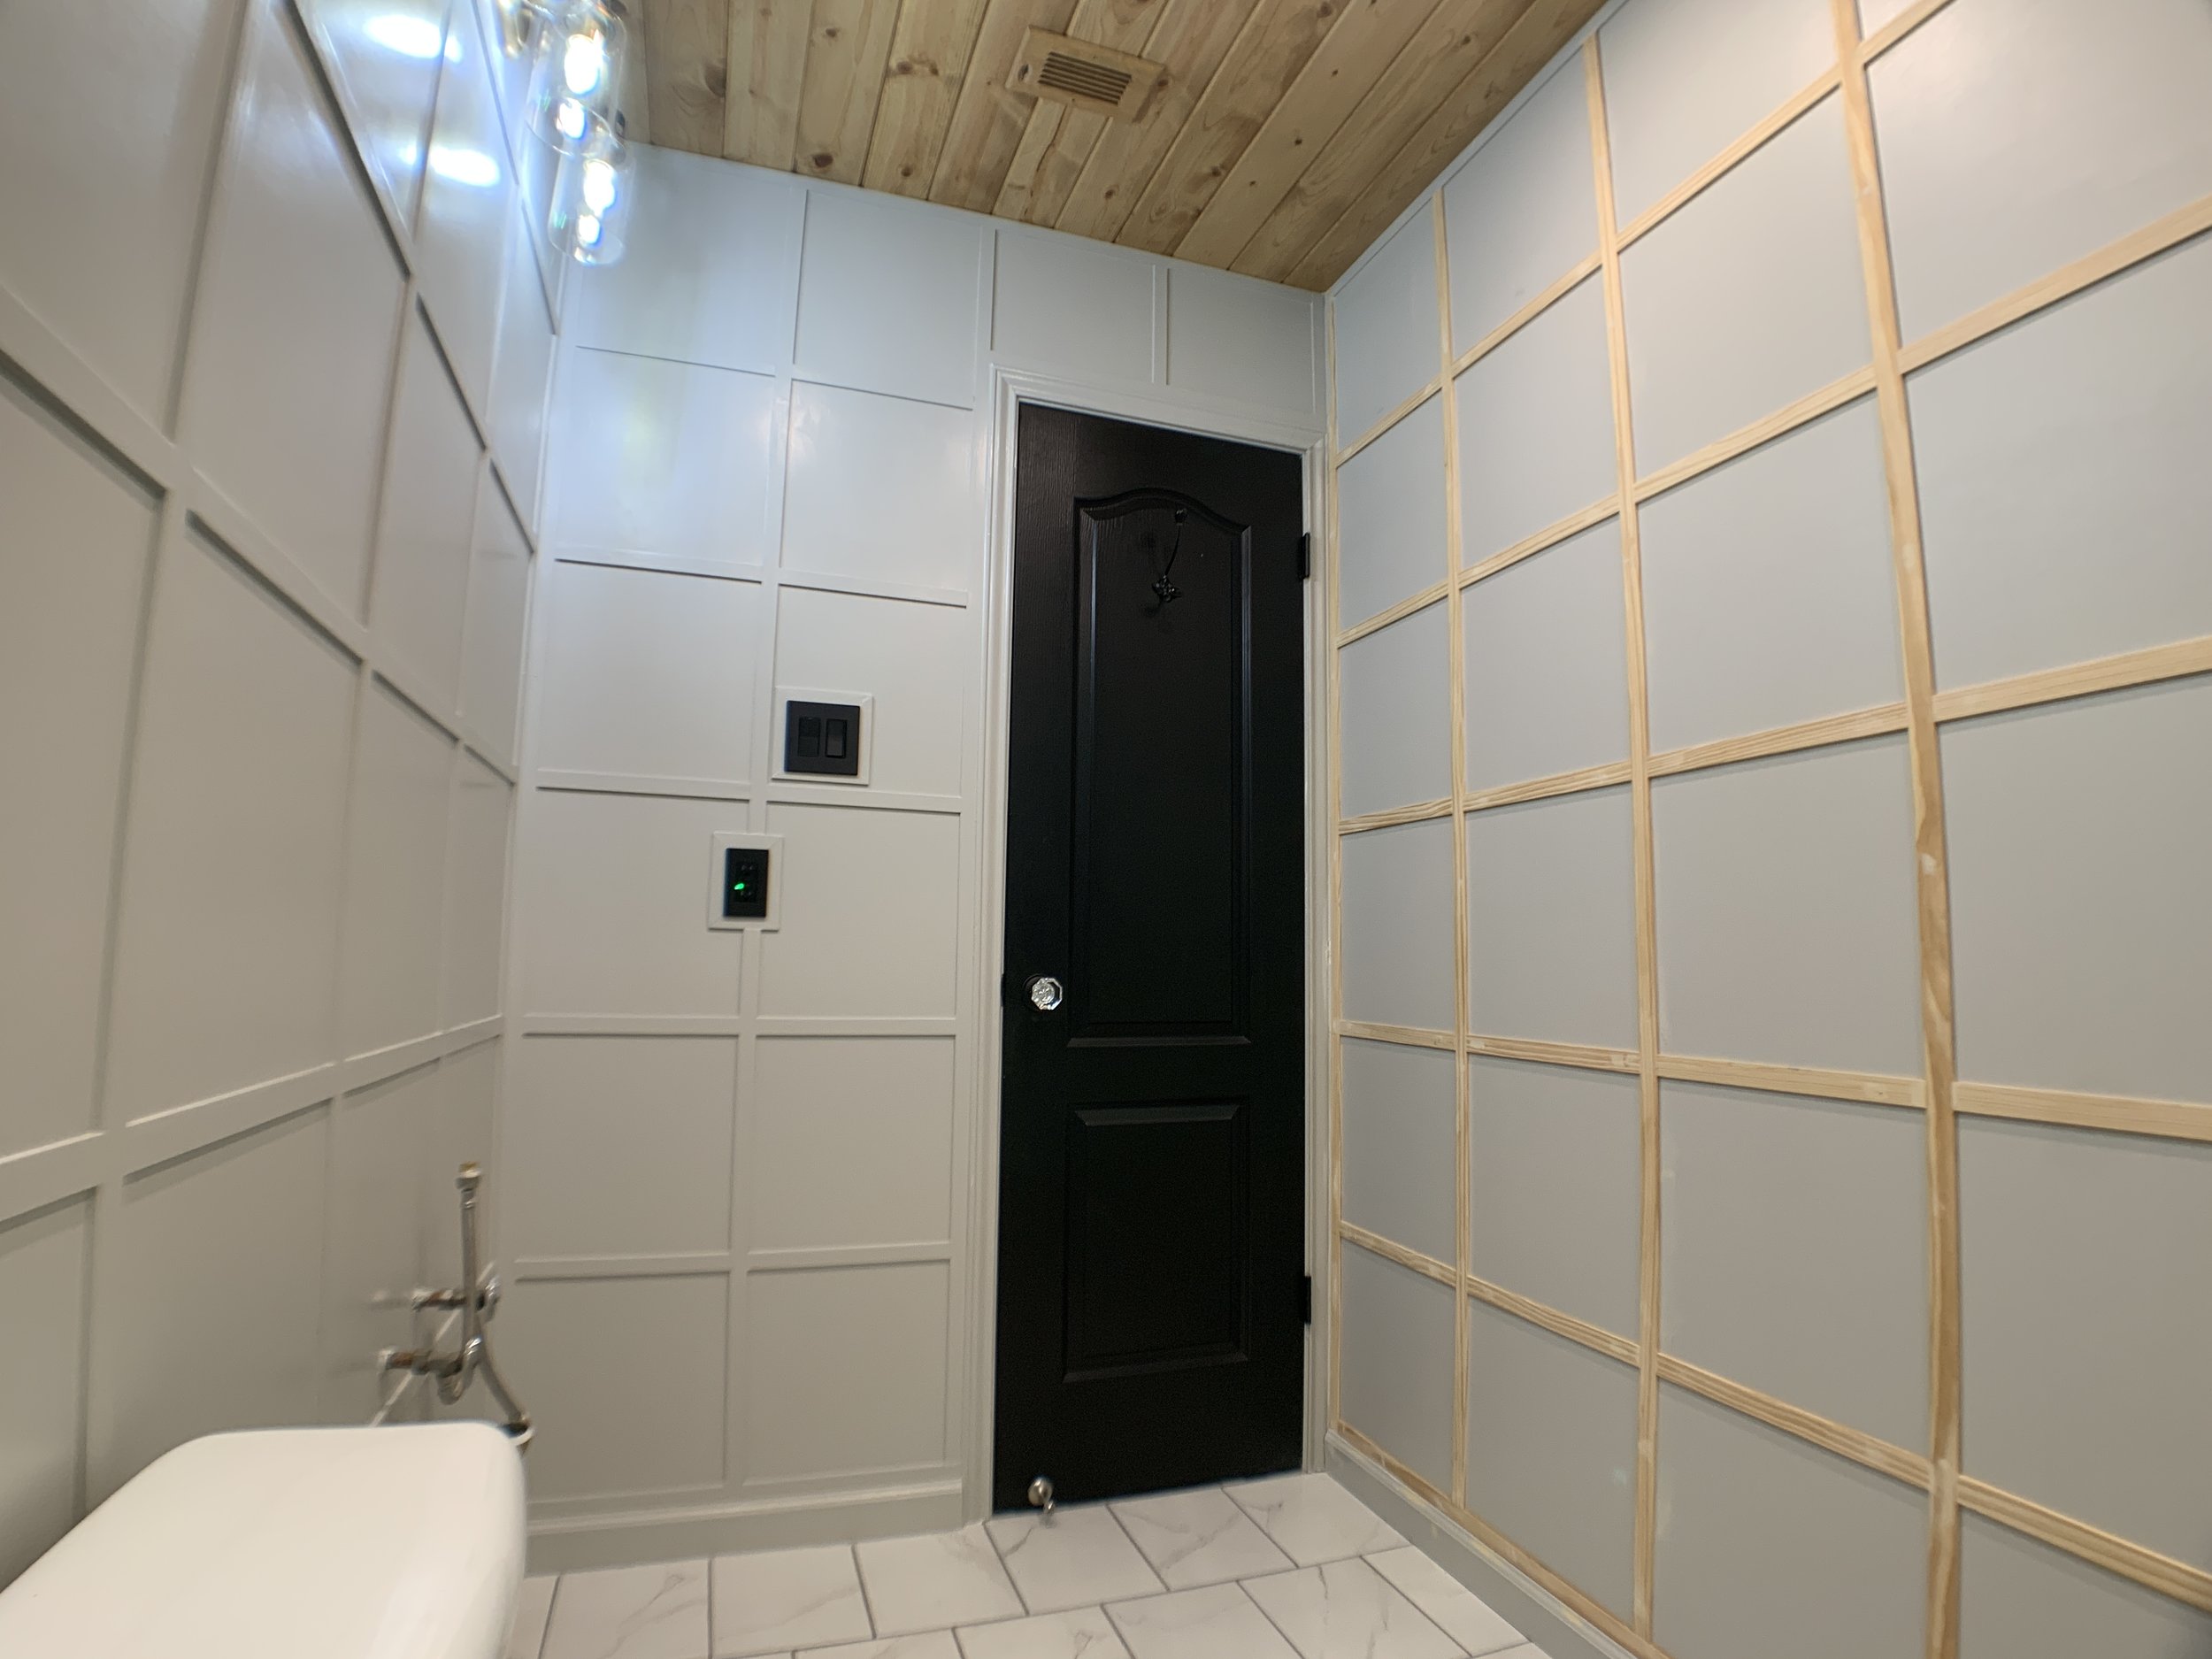
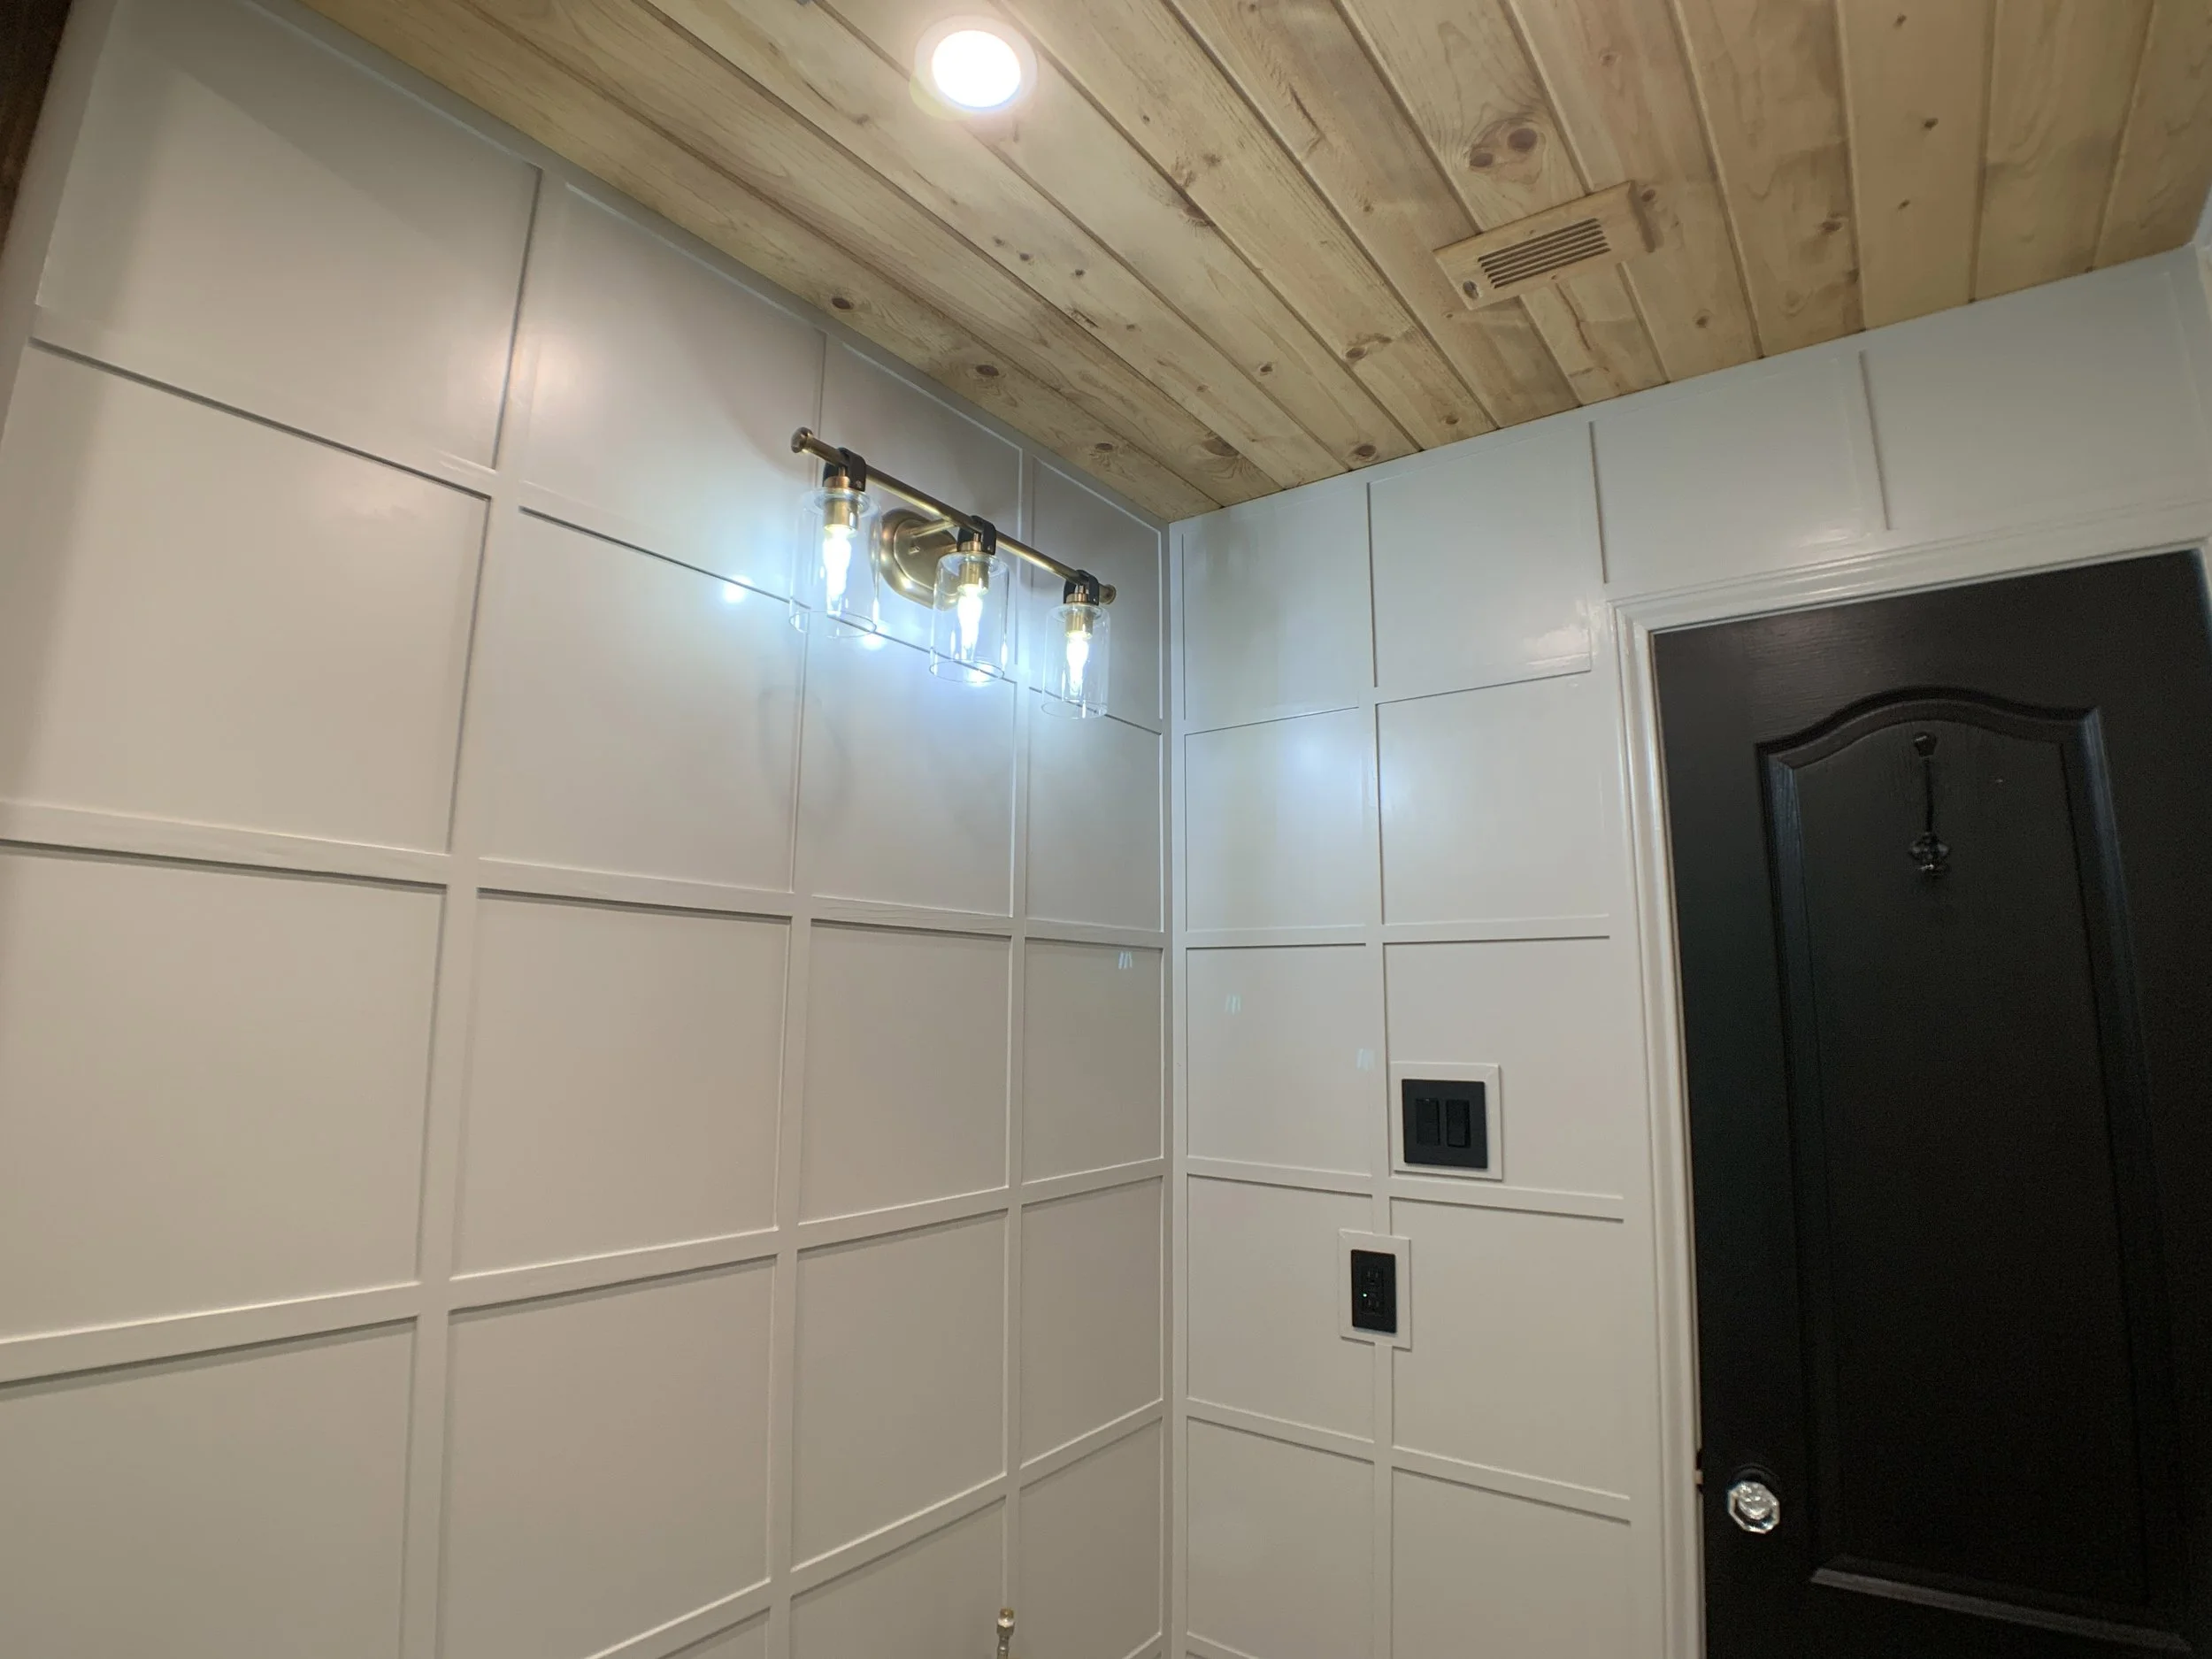
Wall moulding
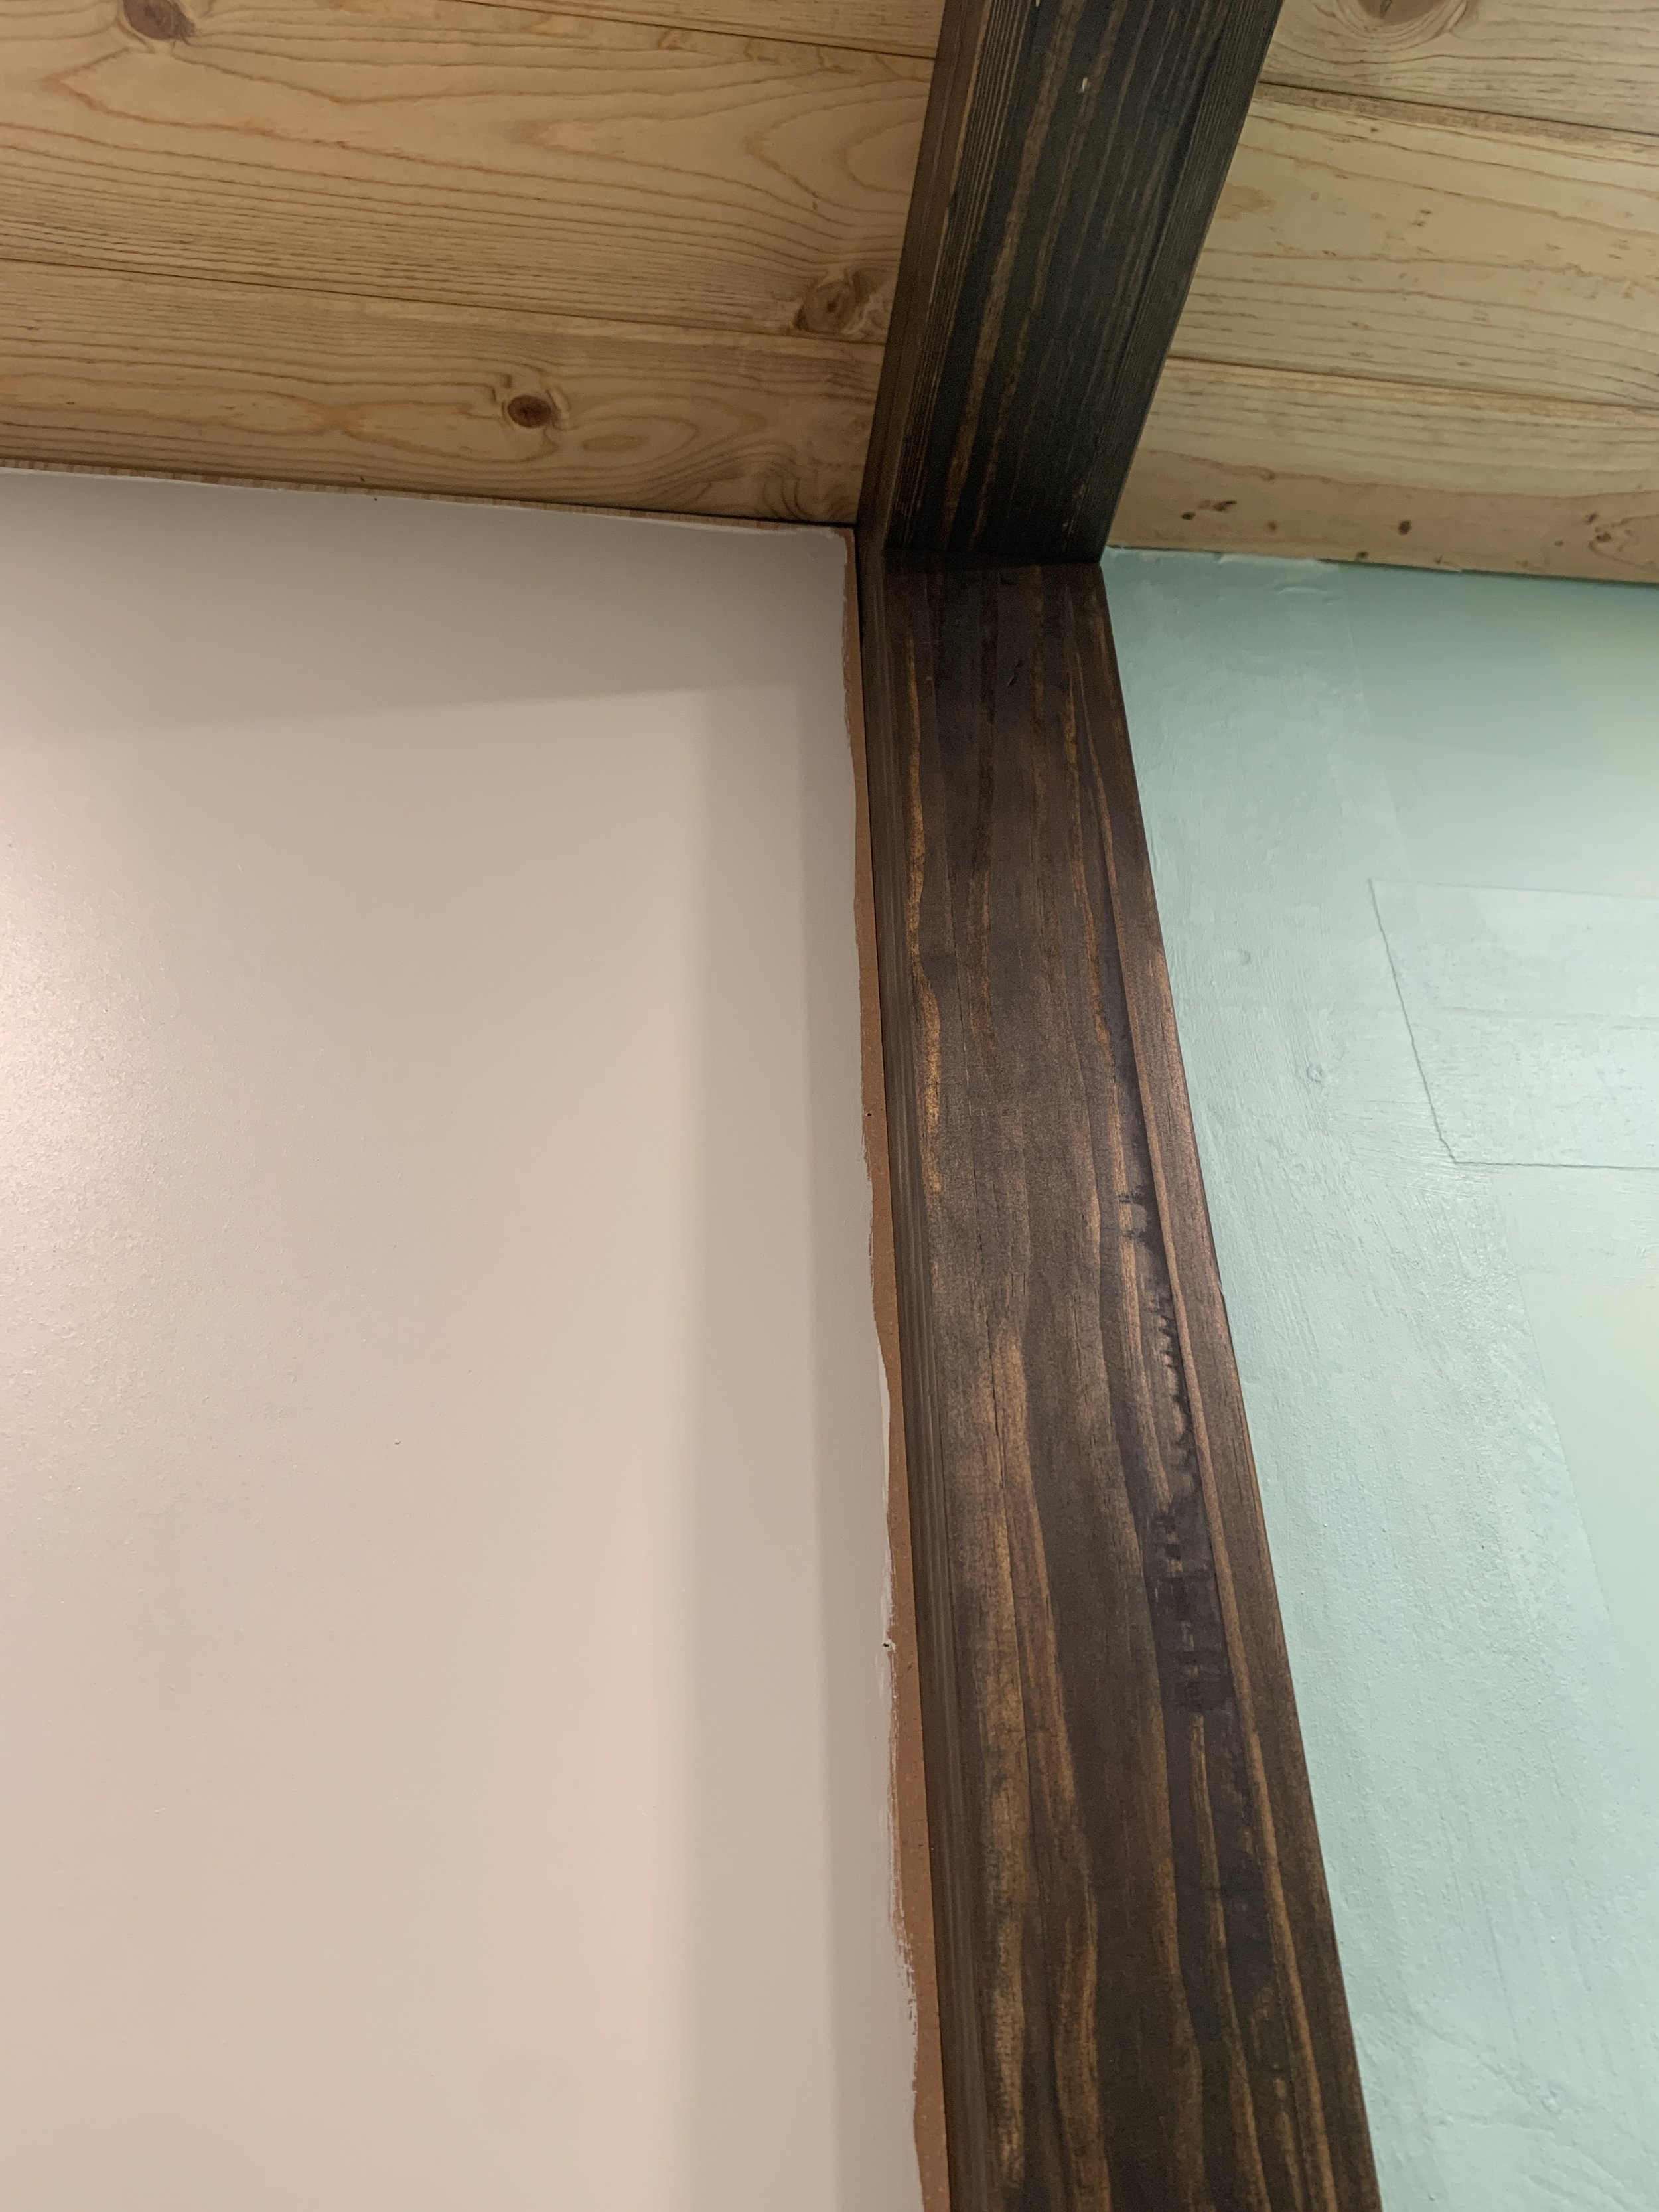
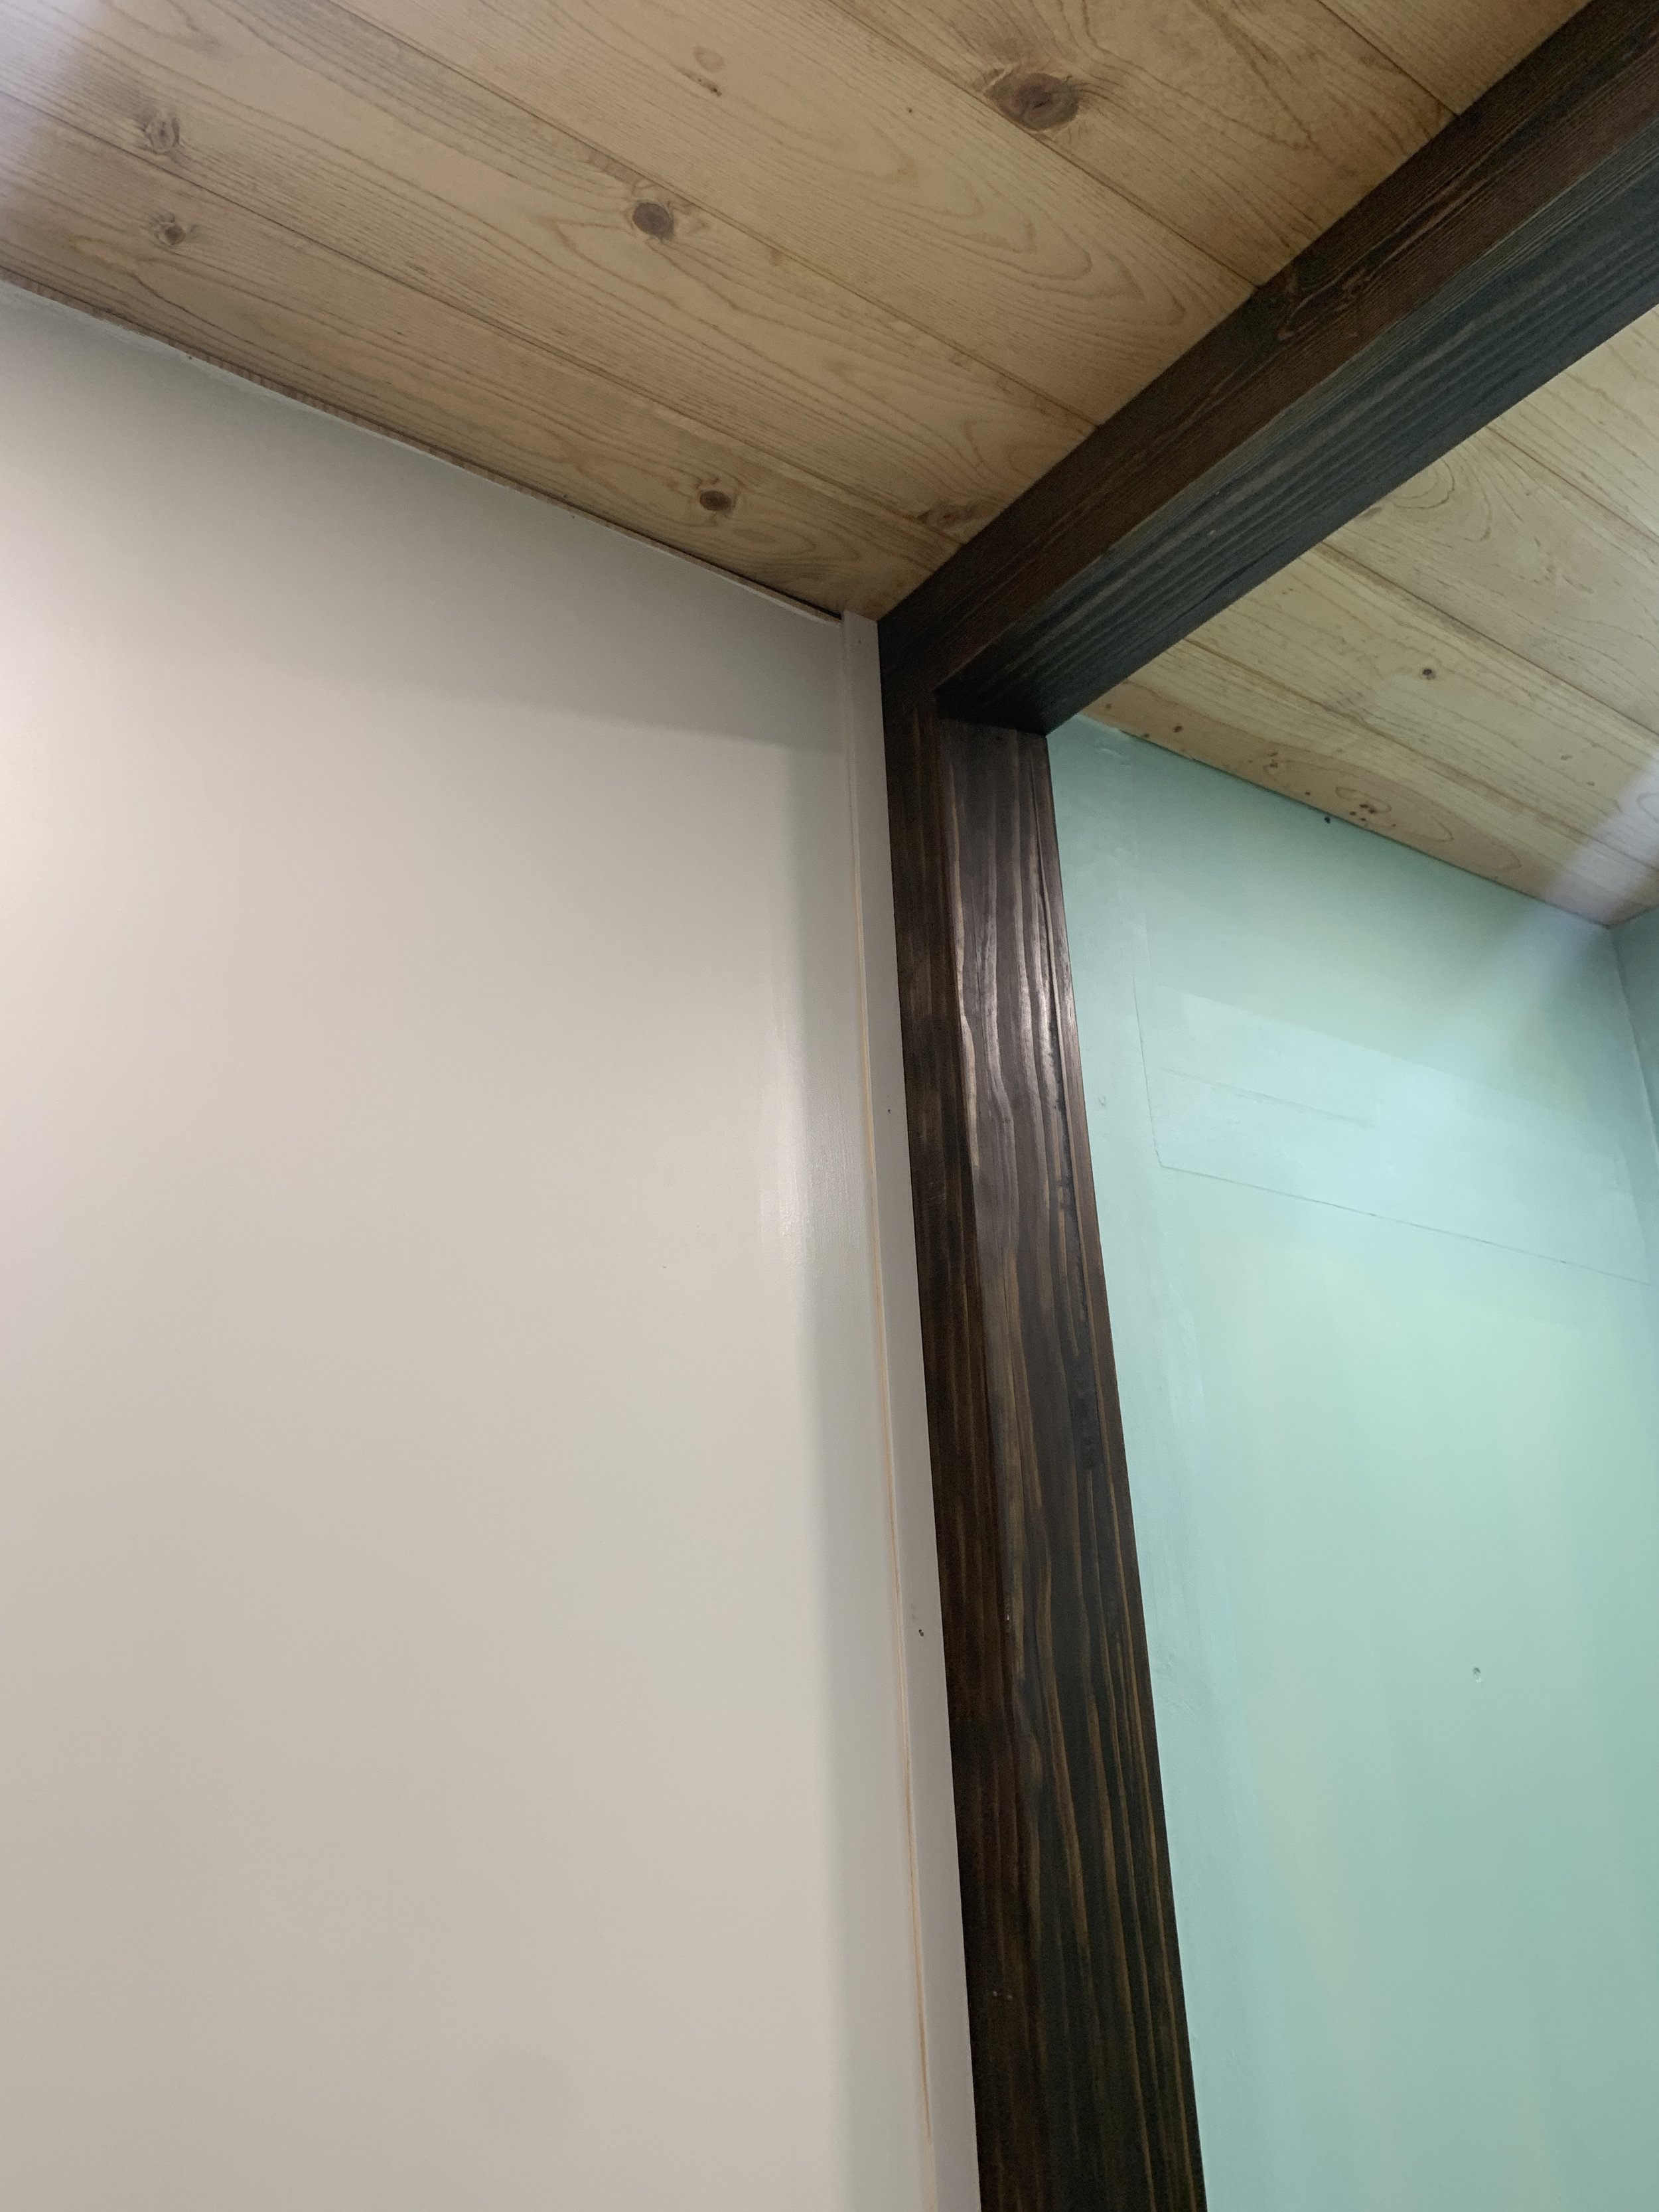
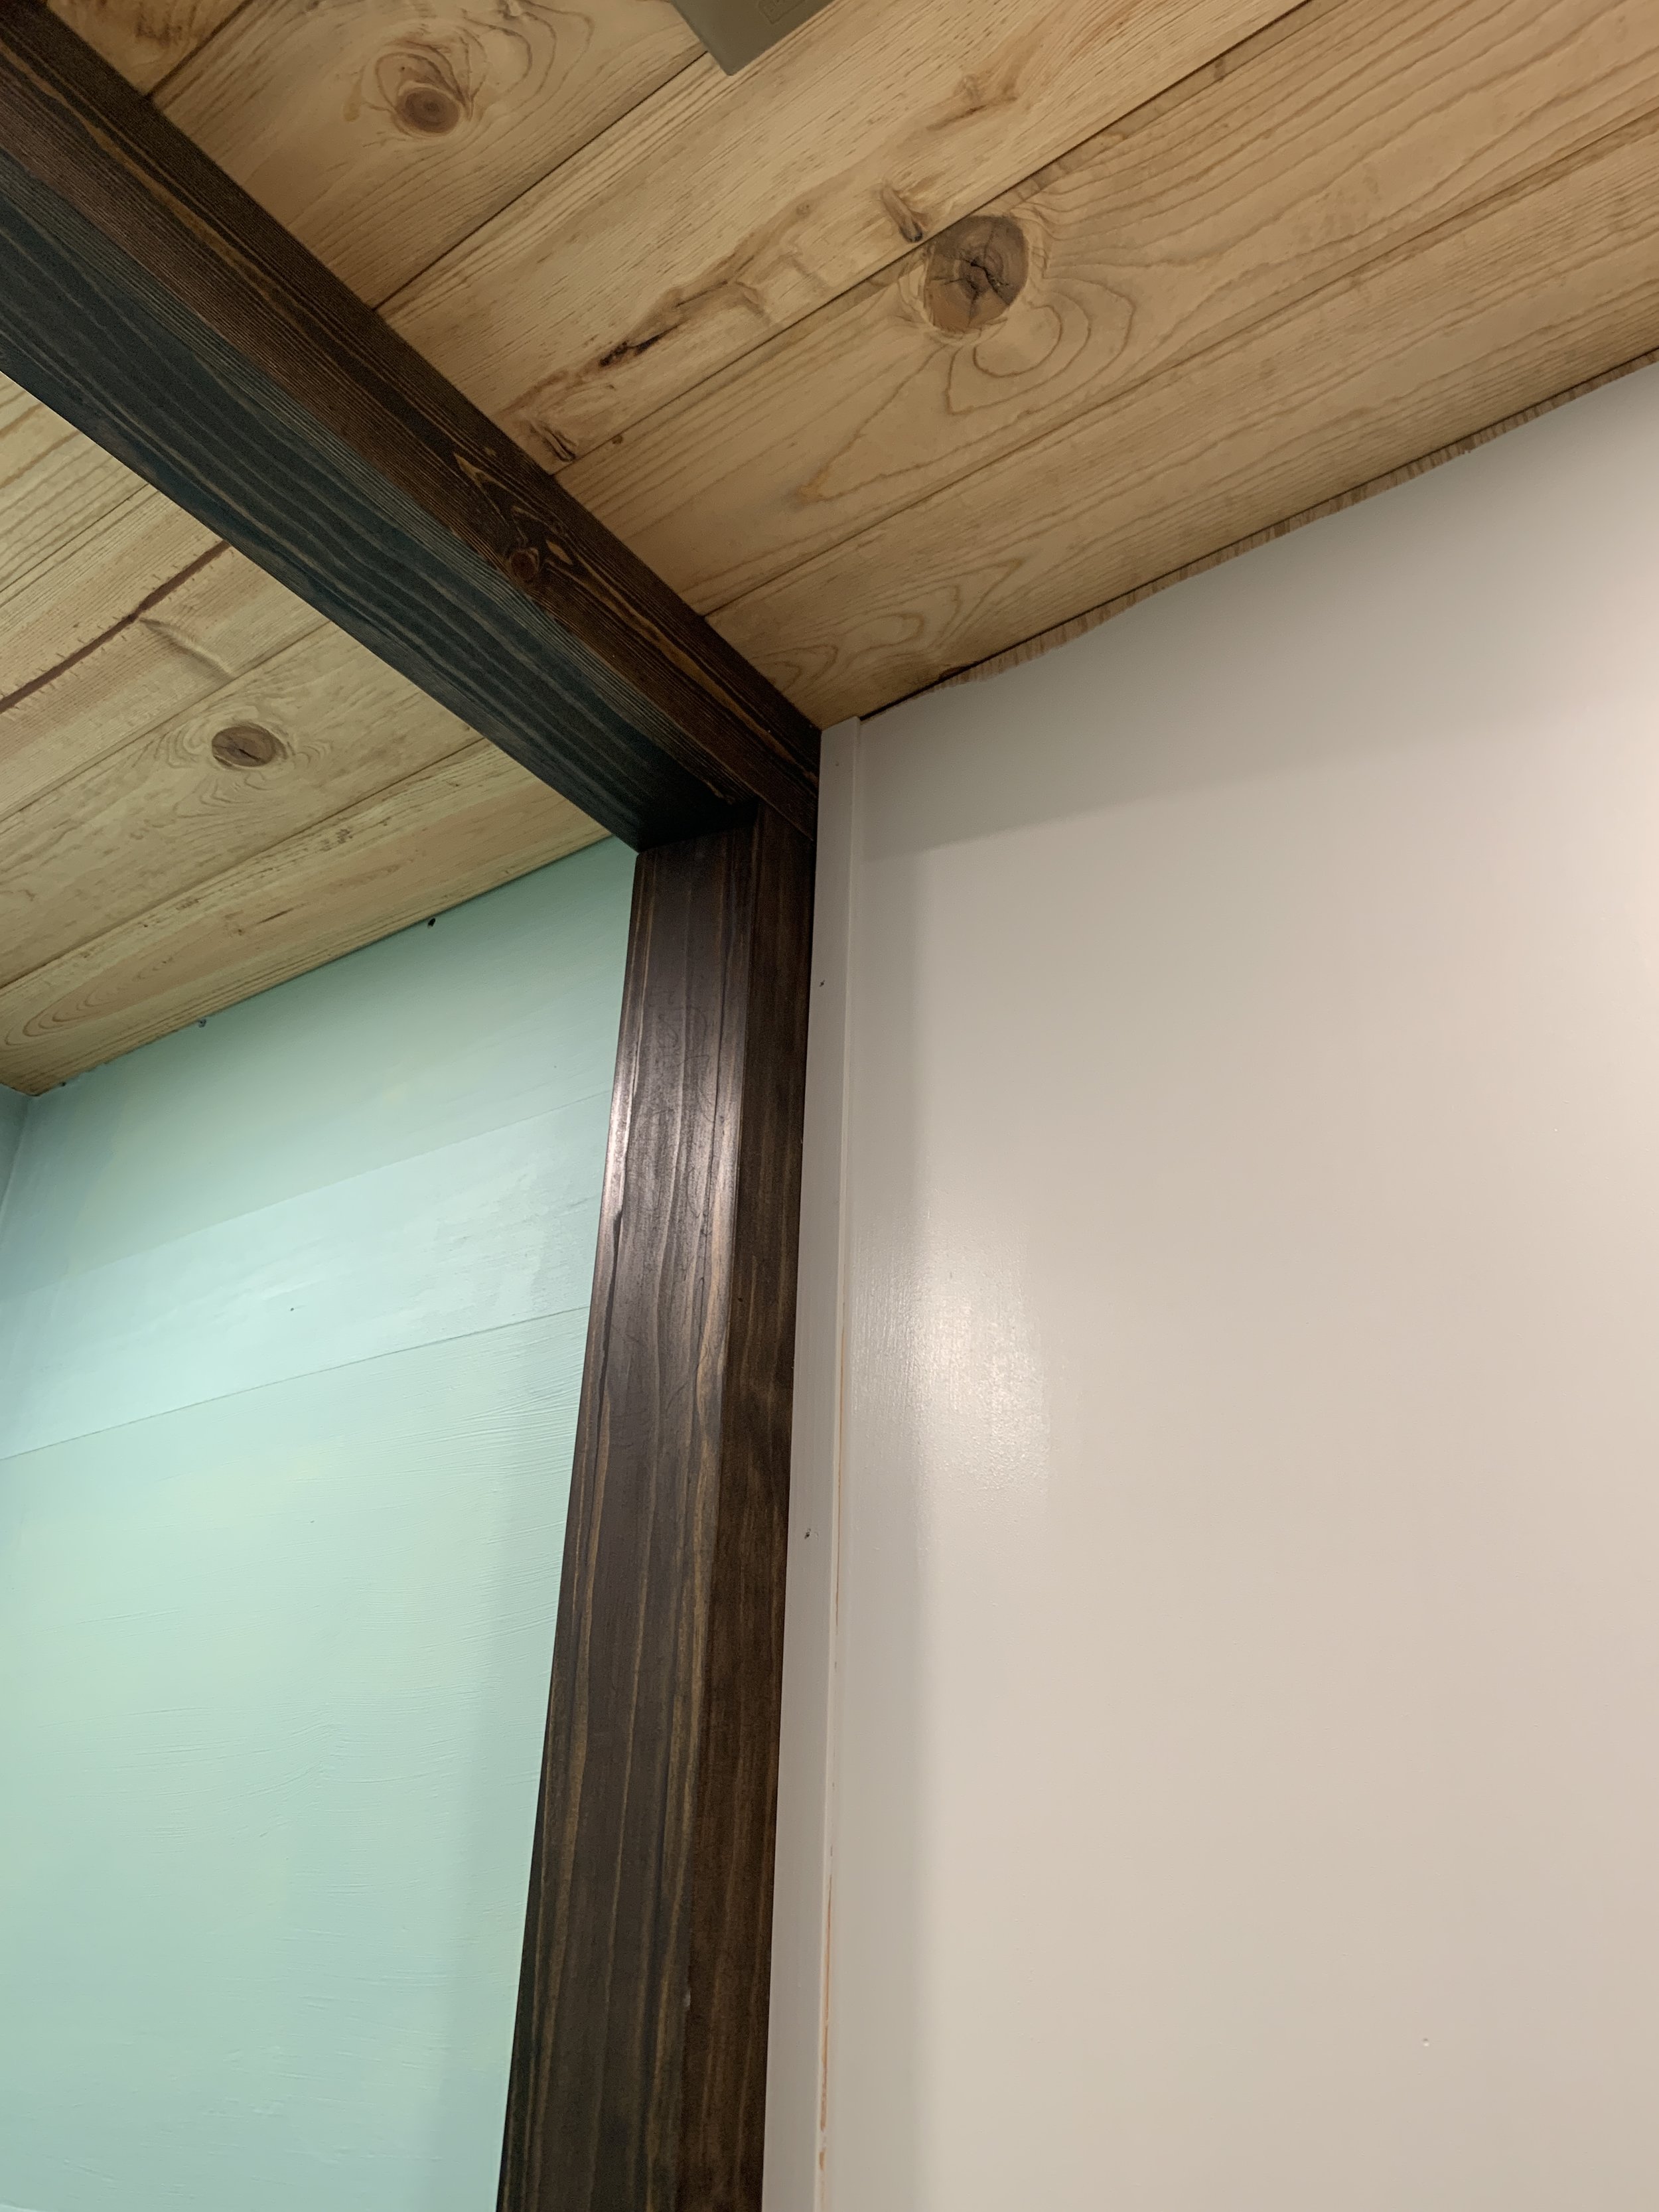
If you remember back to our initial plan, I laid out a design for a modern gridded moulding in the non-shower part of the bathroom. The plan allows for me to cover up the heavily and irregularly textured drywall I loathe so much, while also adding some modern depth and interest using strips of 1-1/8” wide wood lattice.
Paneling layer
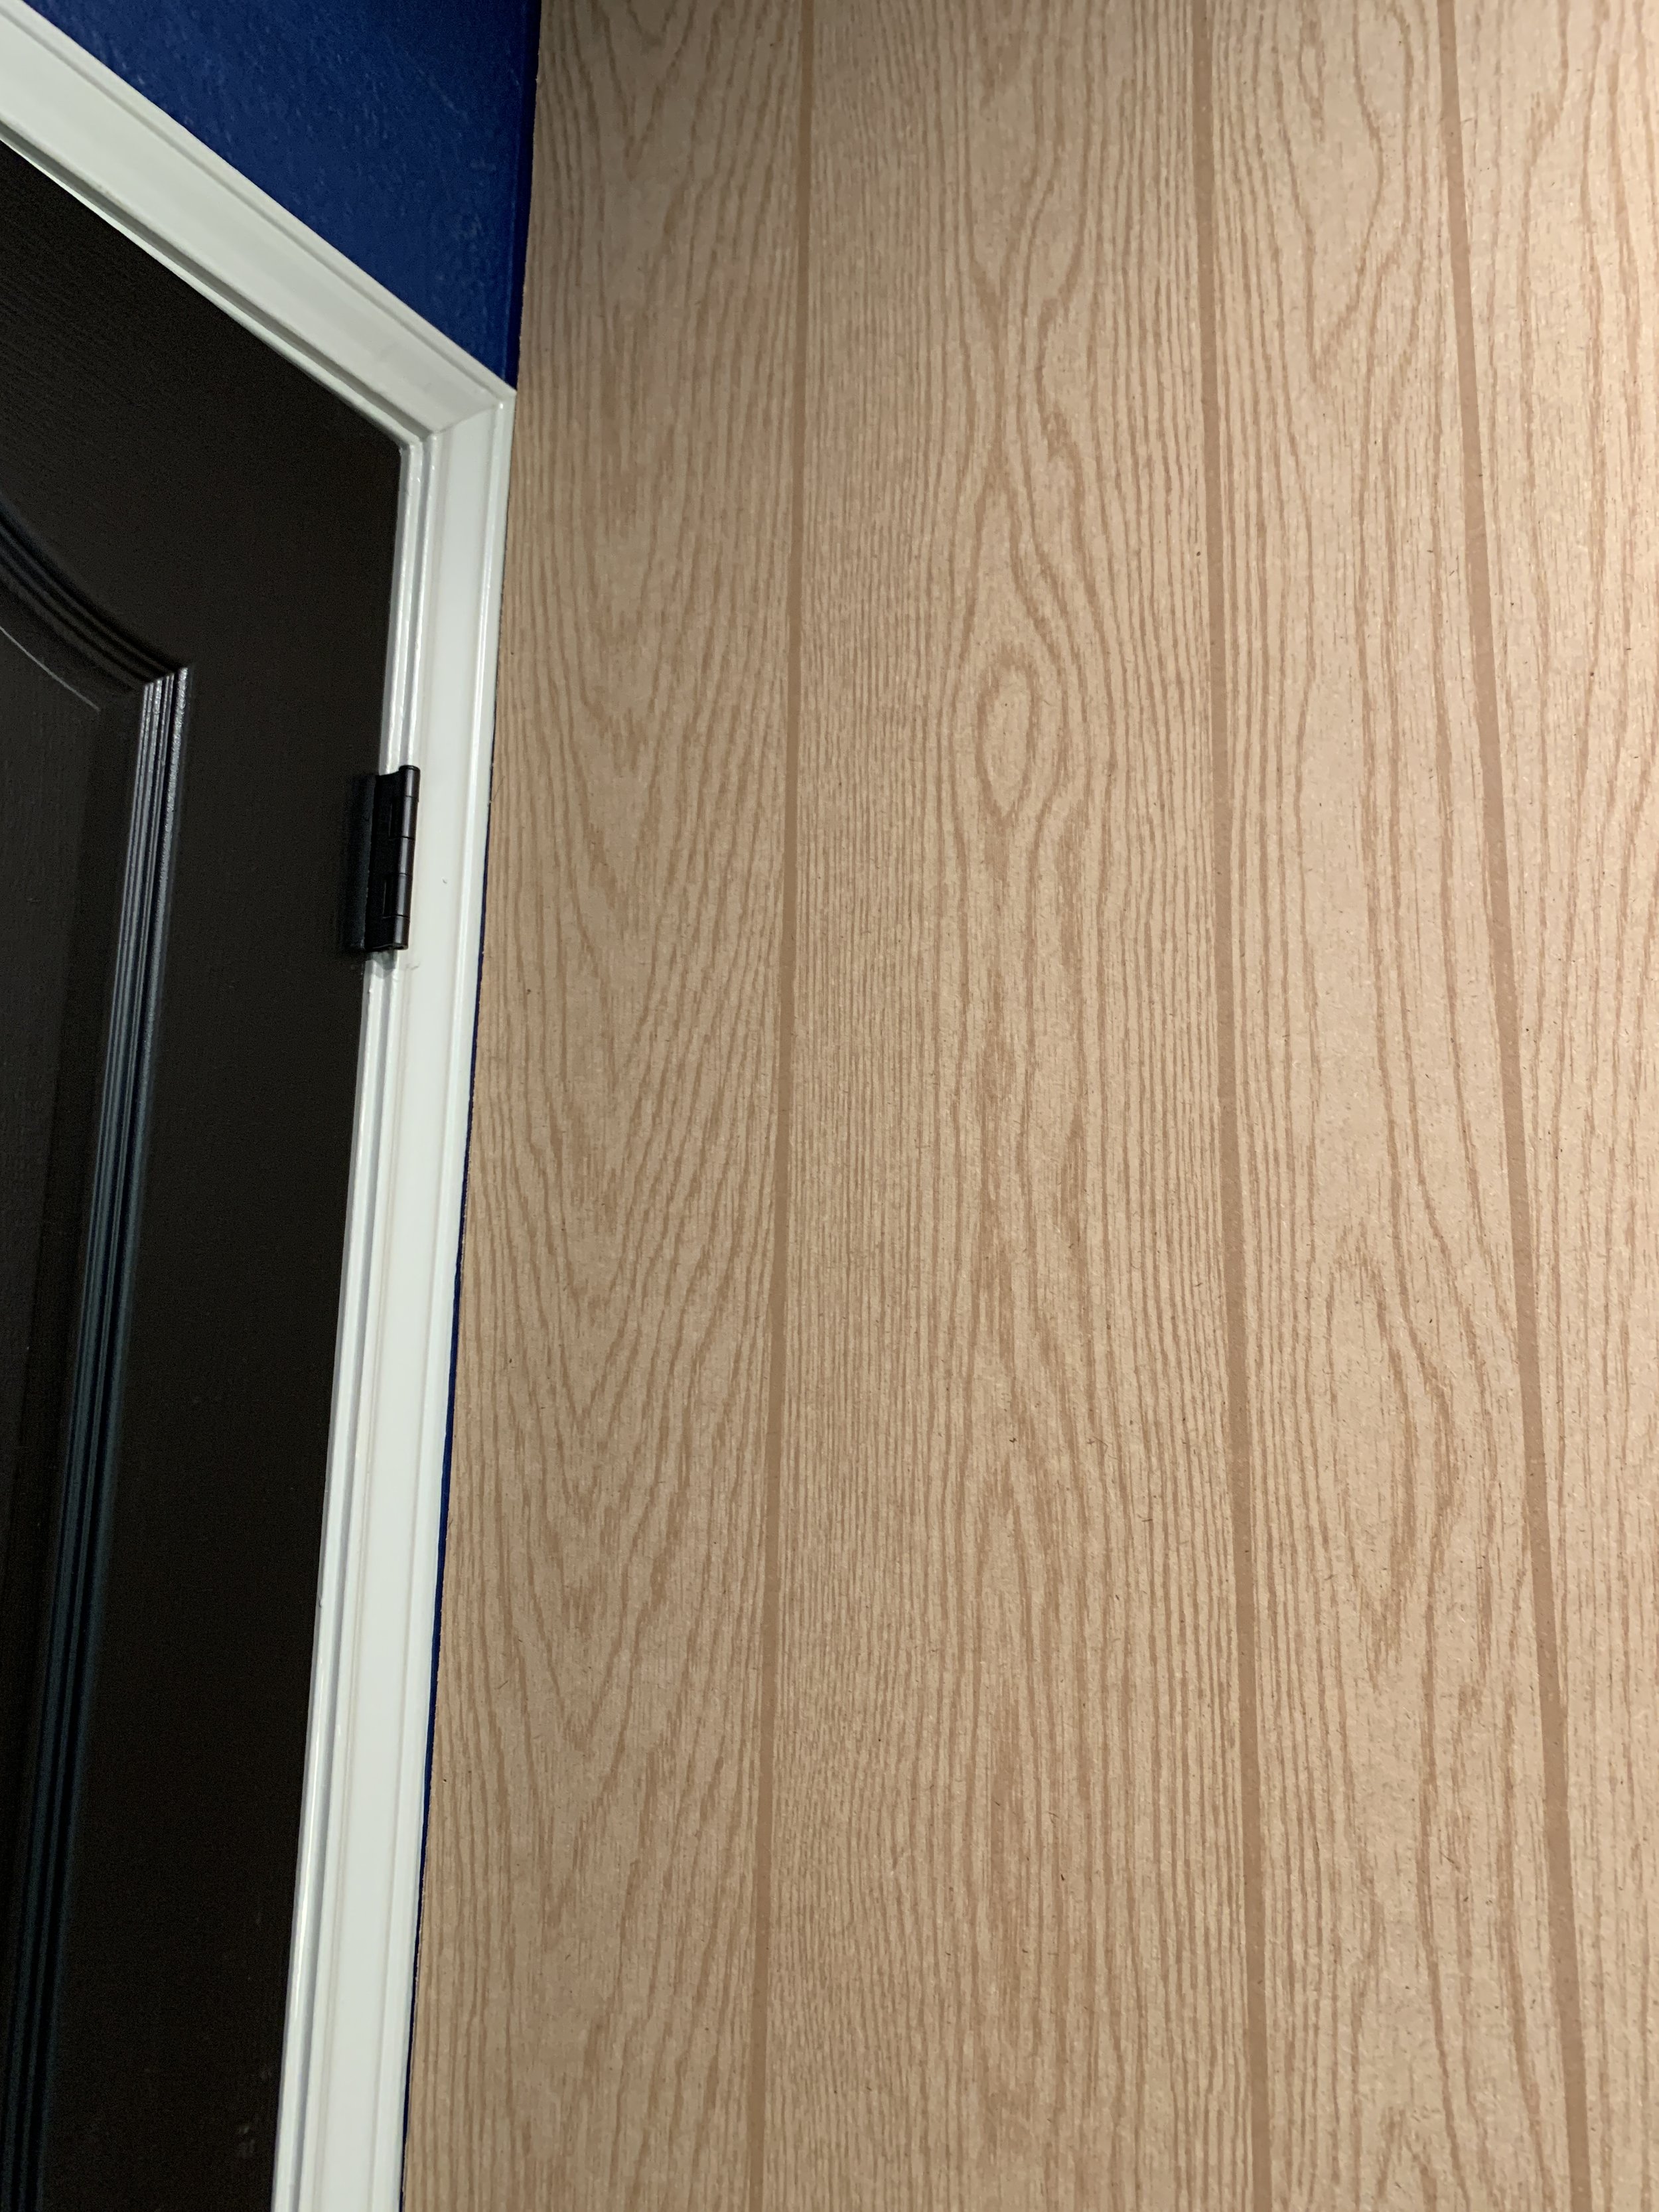
Initially I was planning on using 1/8” plywood as a first layer to cover up our textured drywall, but when we got to the store we learned they were out of stock and our next closest store didn’t have the 5 we needed. So we pivoted and found a super beautiful alternative.

This here is a 1/8" MDF sheet of paneling that has a wood grain printed on it. (If you can’t tell, I’m being sarcastic about its beauty.) While it wasn’t really what we were looking for and had me wondering if we should try it, it had a few things going for it: 1) it was smooth, 2) it cost less than our original plan (saving us $6), and most importantly, 3) it was available now. So we took the 5 sheets home and hoped for the best.

After doing a quick roll of water-based primer + our wall paint to test on a corner of one of the MDF panels, we decided to move forward with installing it one sheet at a time (using construction adhesive and finishing nails to secure it to the walls), making sure the seams and nails were placed where I’d be adding my lattice pieces.
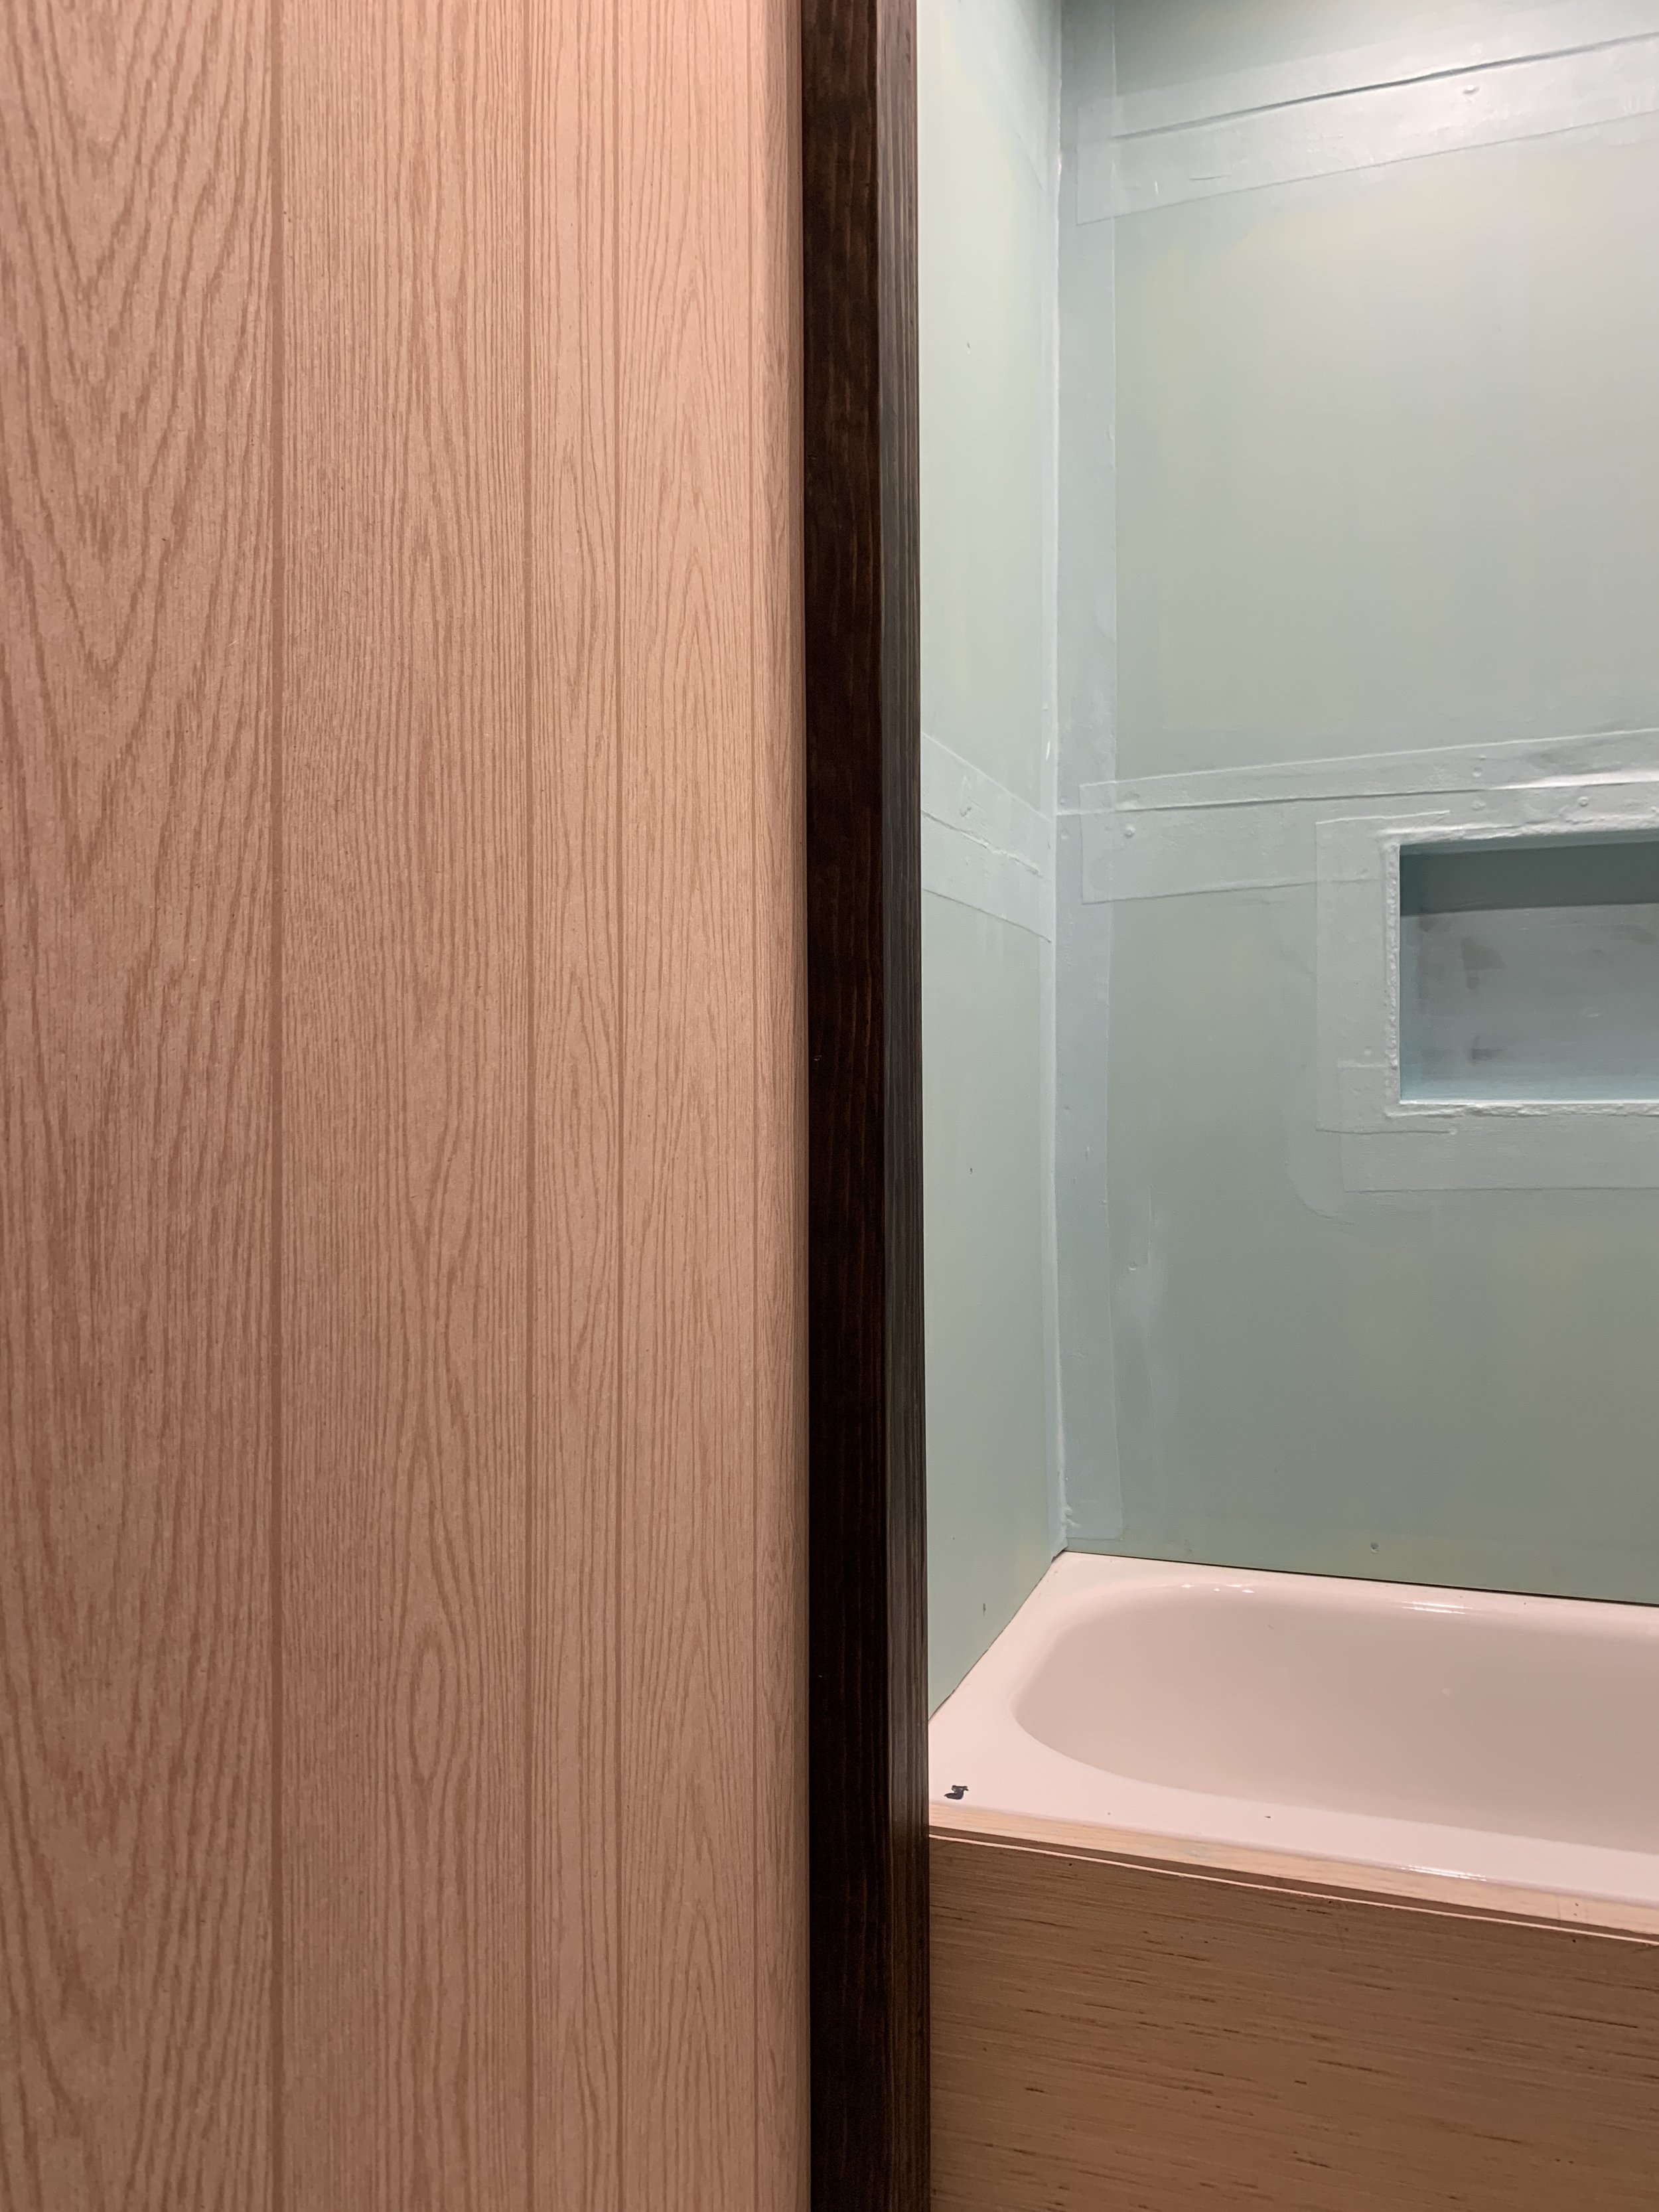
It’s really a lewk. It’s around this time in my install that I kept having to remind myself the wood print pattern was going to be painted over soon and no one would ever know. I mean, except for the two of us and all of you.
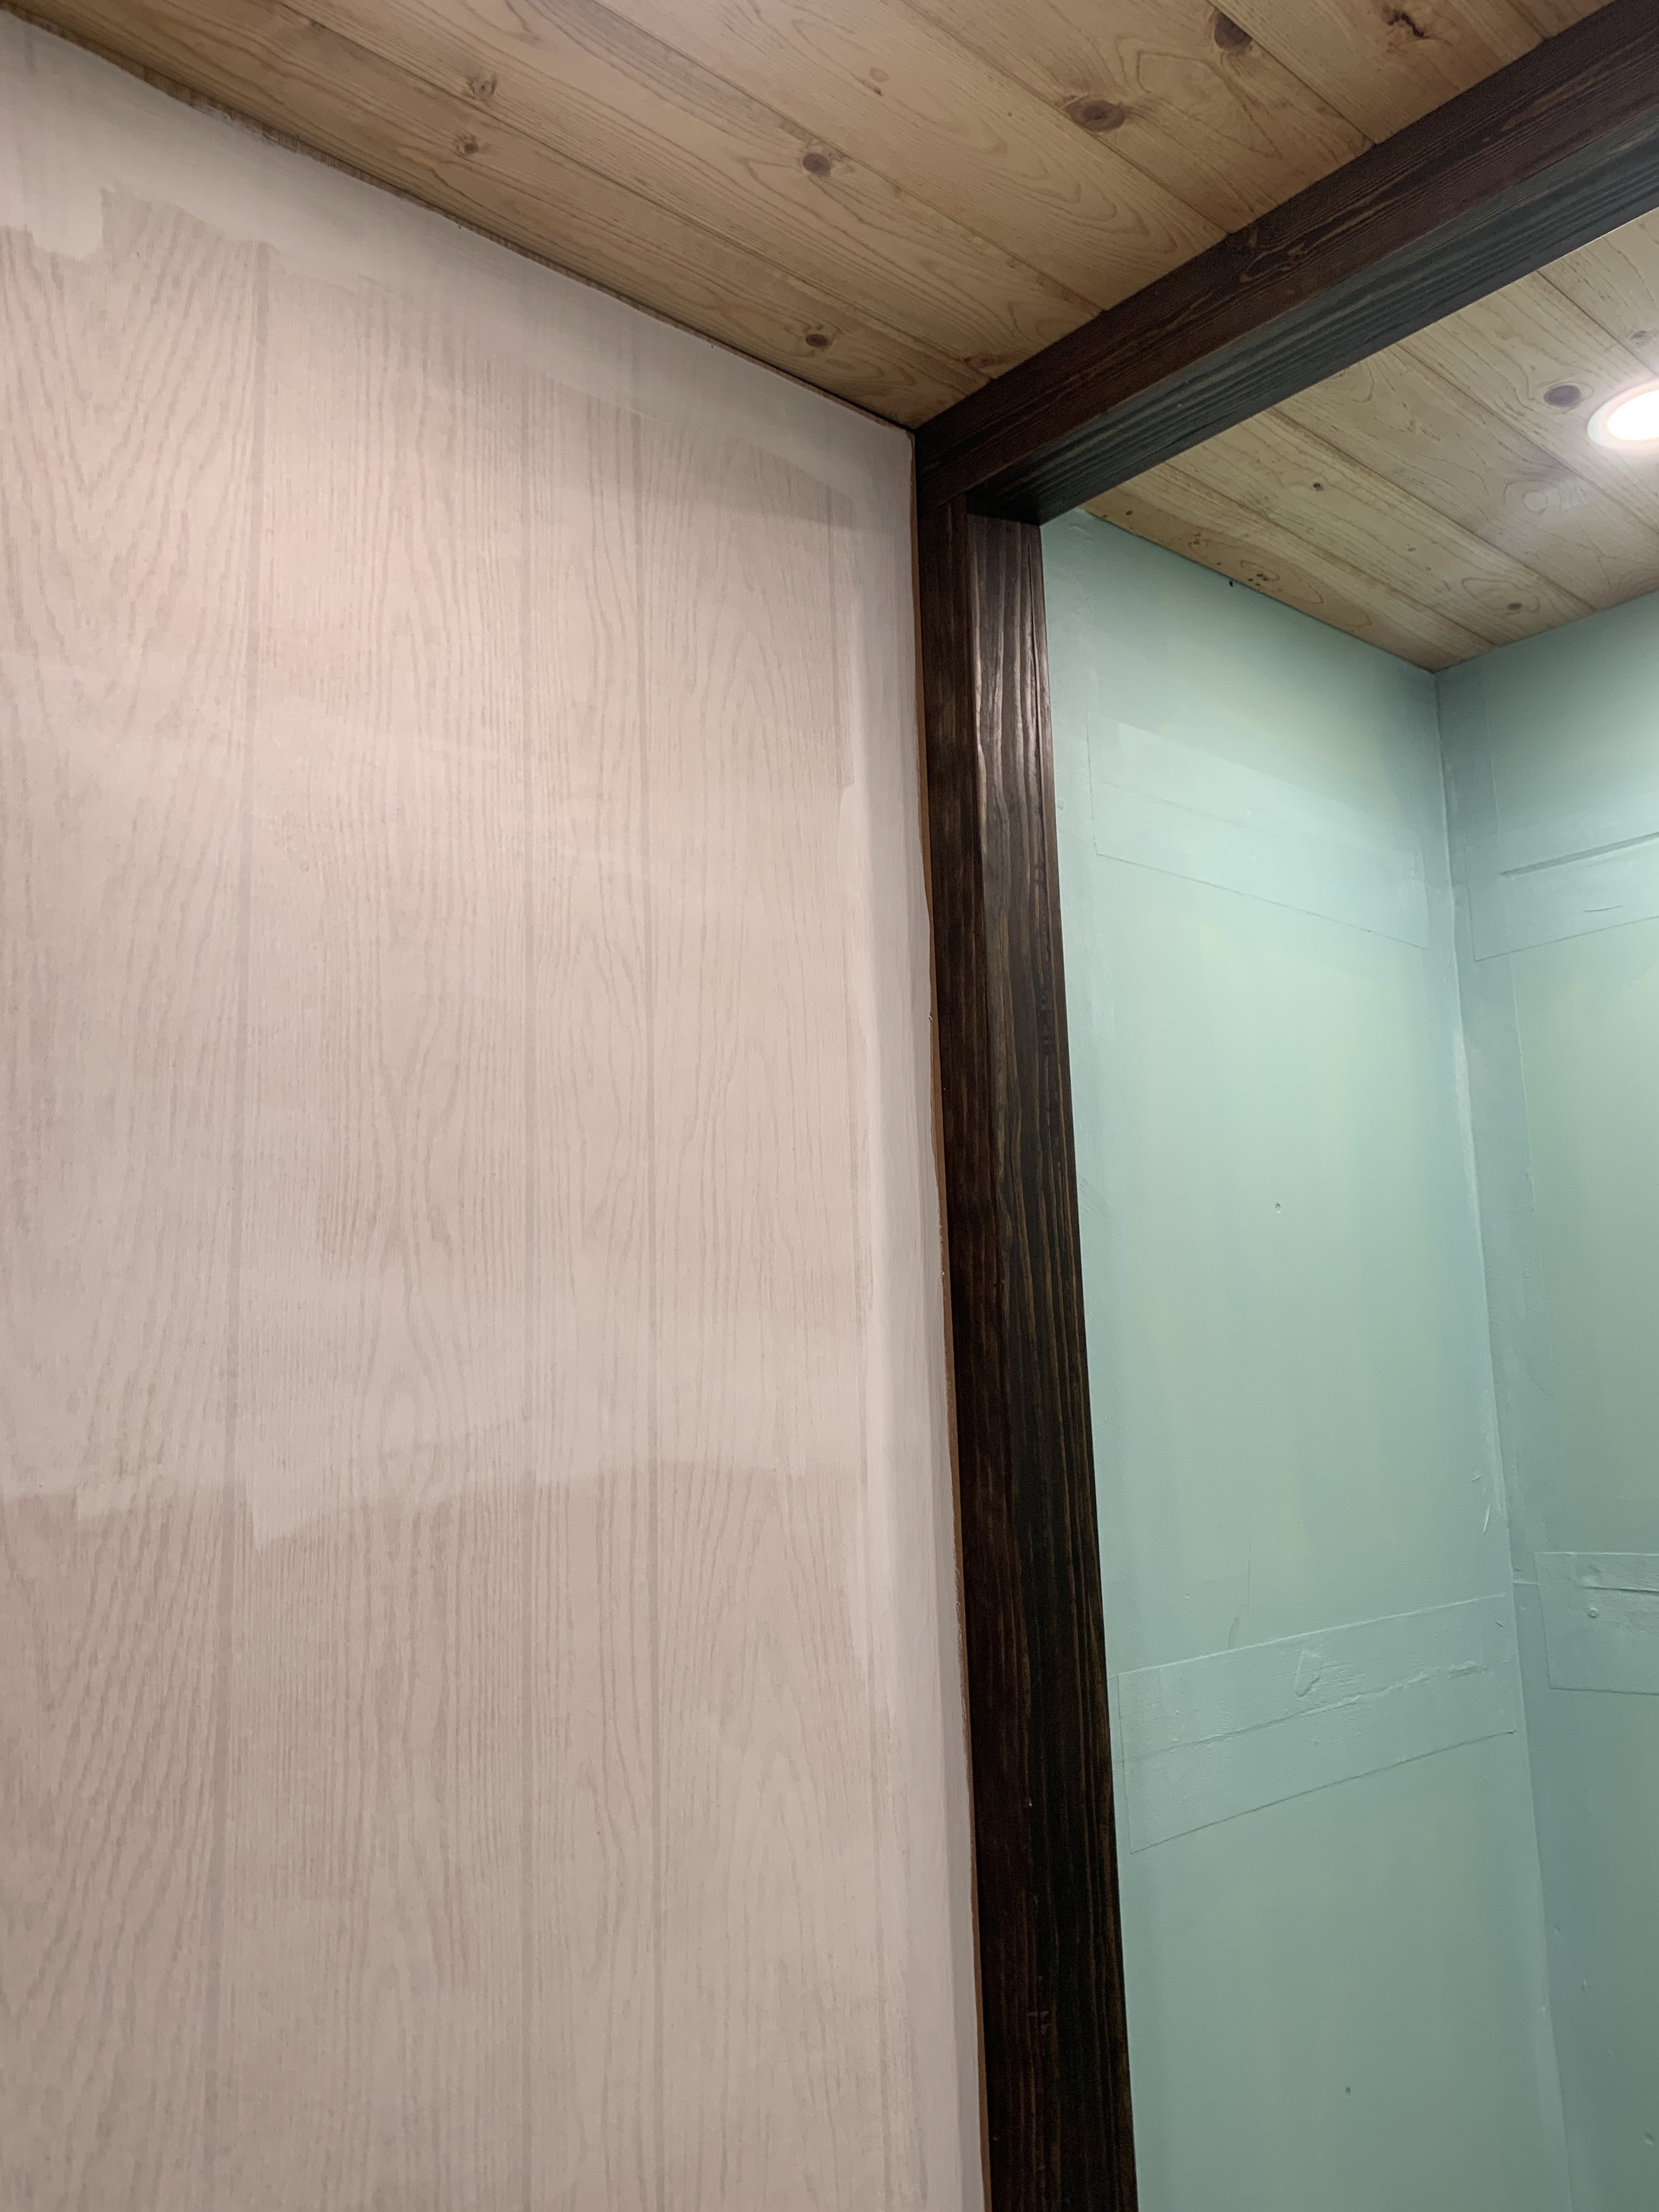
Partly because of it’s unmatched beauty and partly because I was trying to be strategic to avoid paint drips and what not, I primed and painted the panels before I added any moulding (carefully doing the edges with a brush first so I didn’t have to get too scarily close to the stained wood with a roller later).
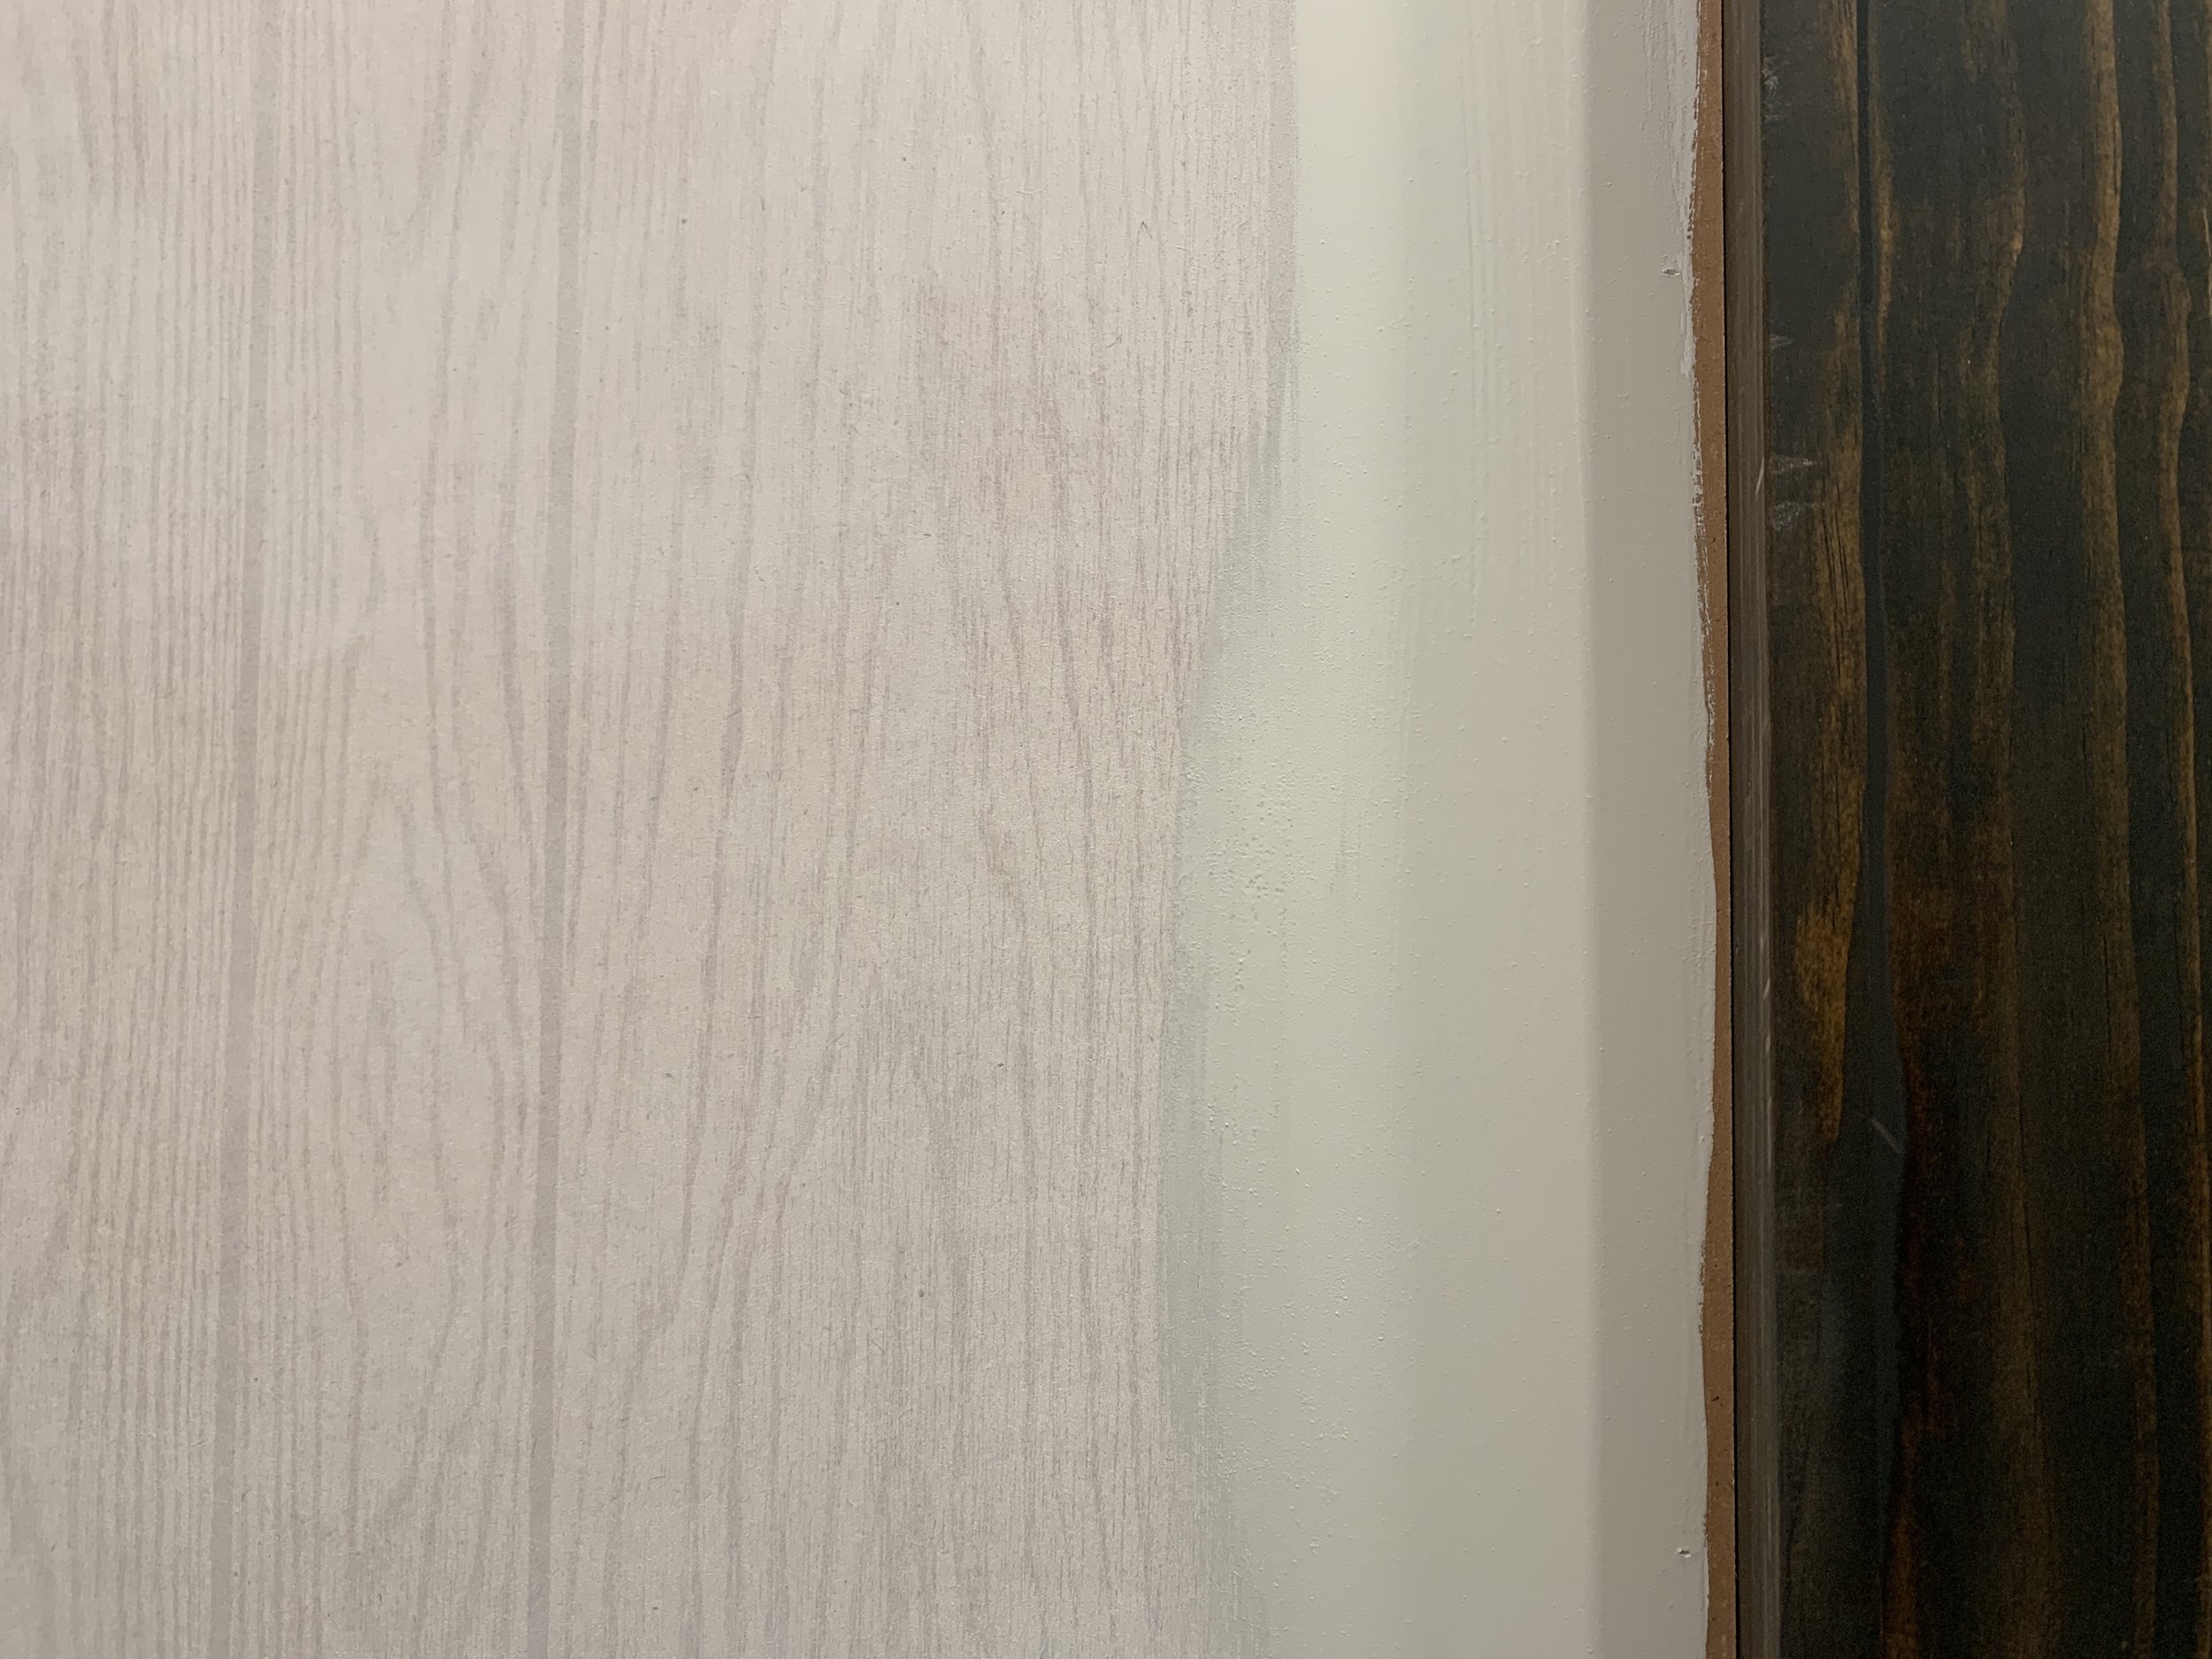
Just one coat of paint was enough to cover up the wood grain print. (Don’t worry, I painted a second coat later, after the moulding was done.)
Lattice grid
With the paneling painted, I slowly started building my moulding grid on top of the walls (after first sanding all them down to get a smooth, paint-ready finish).
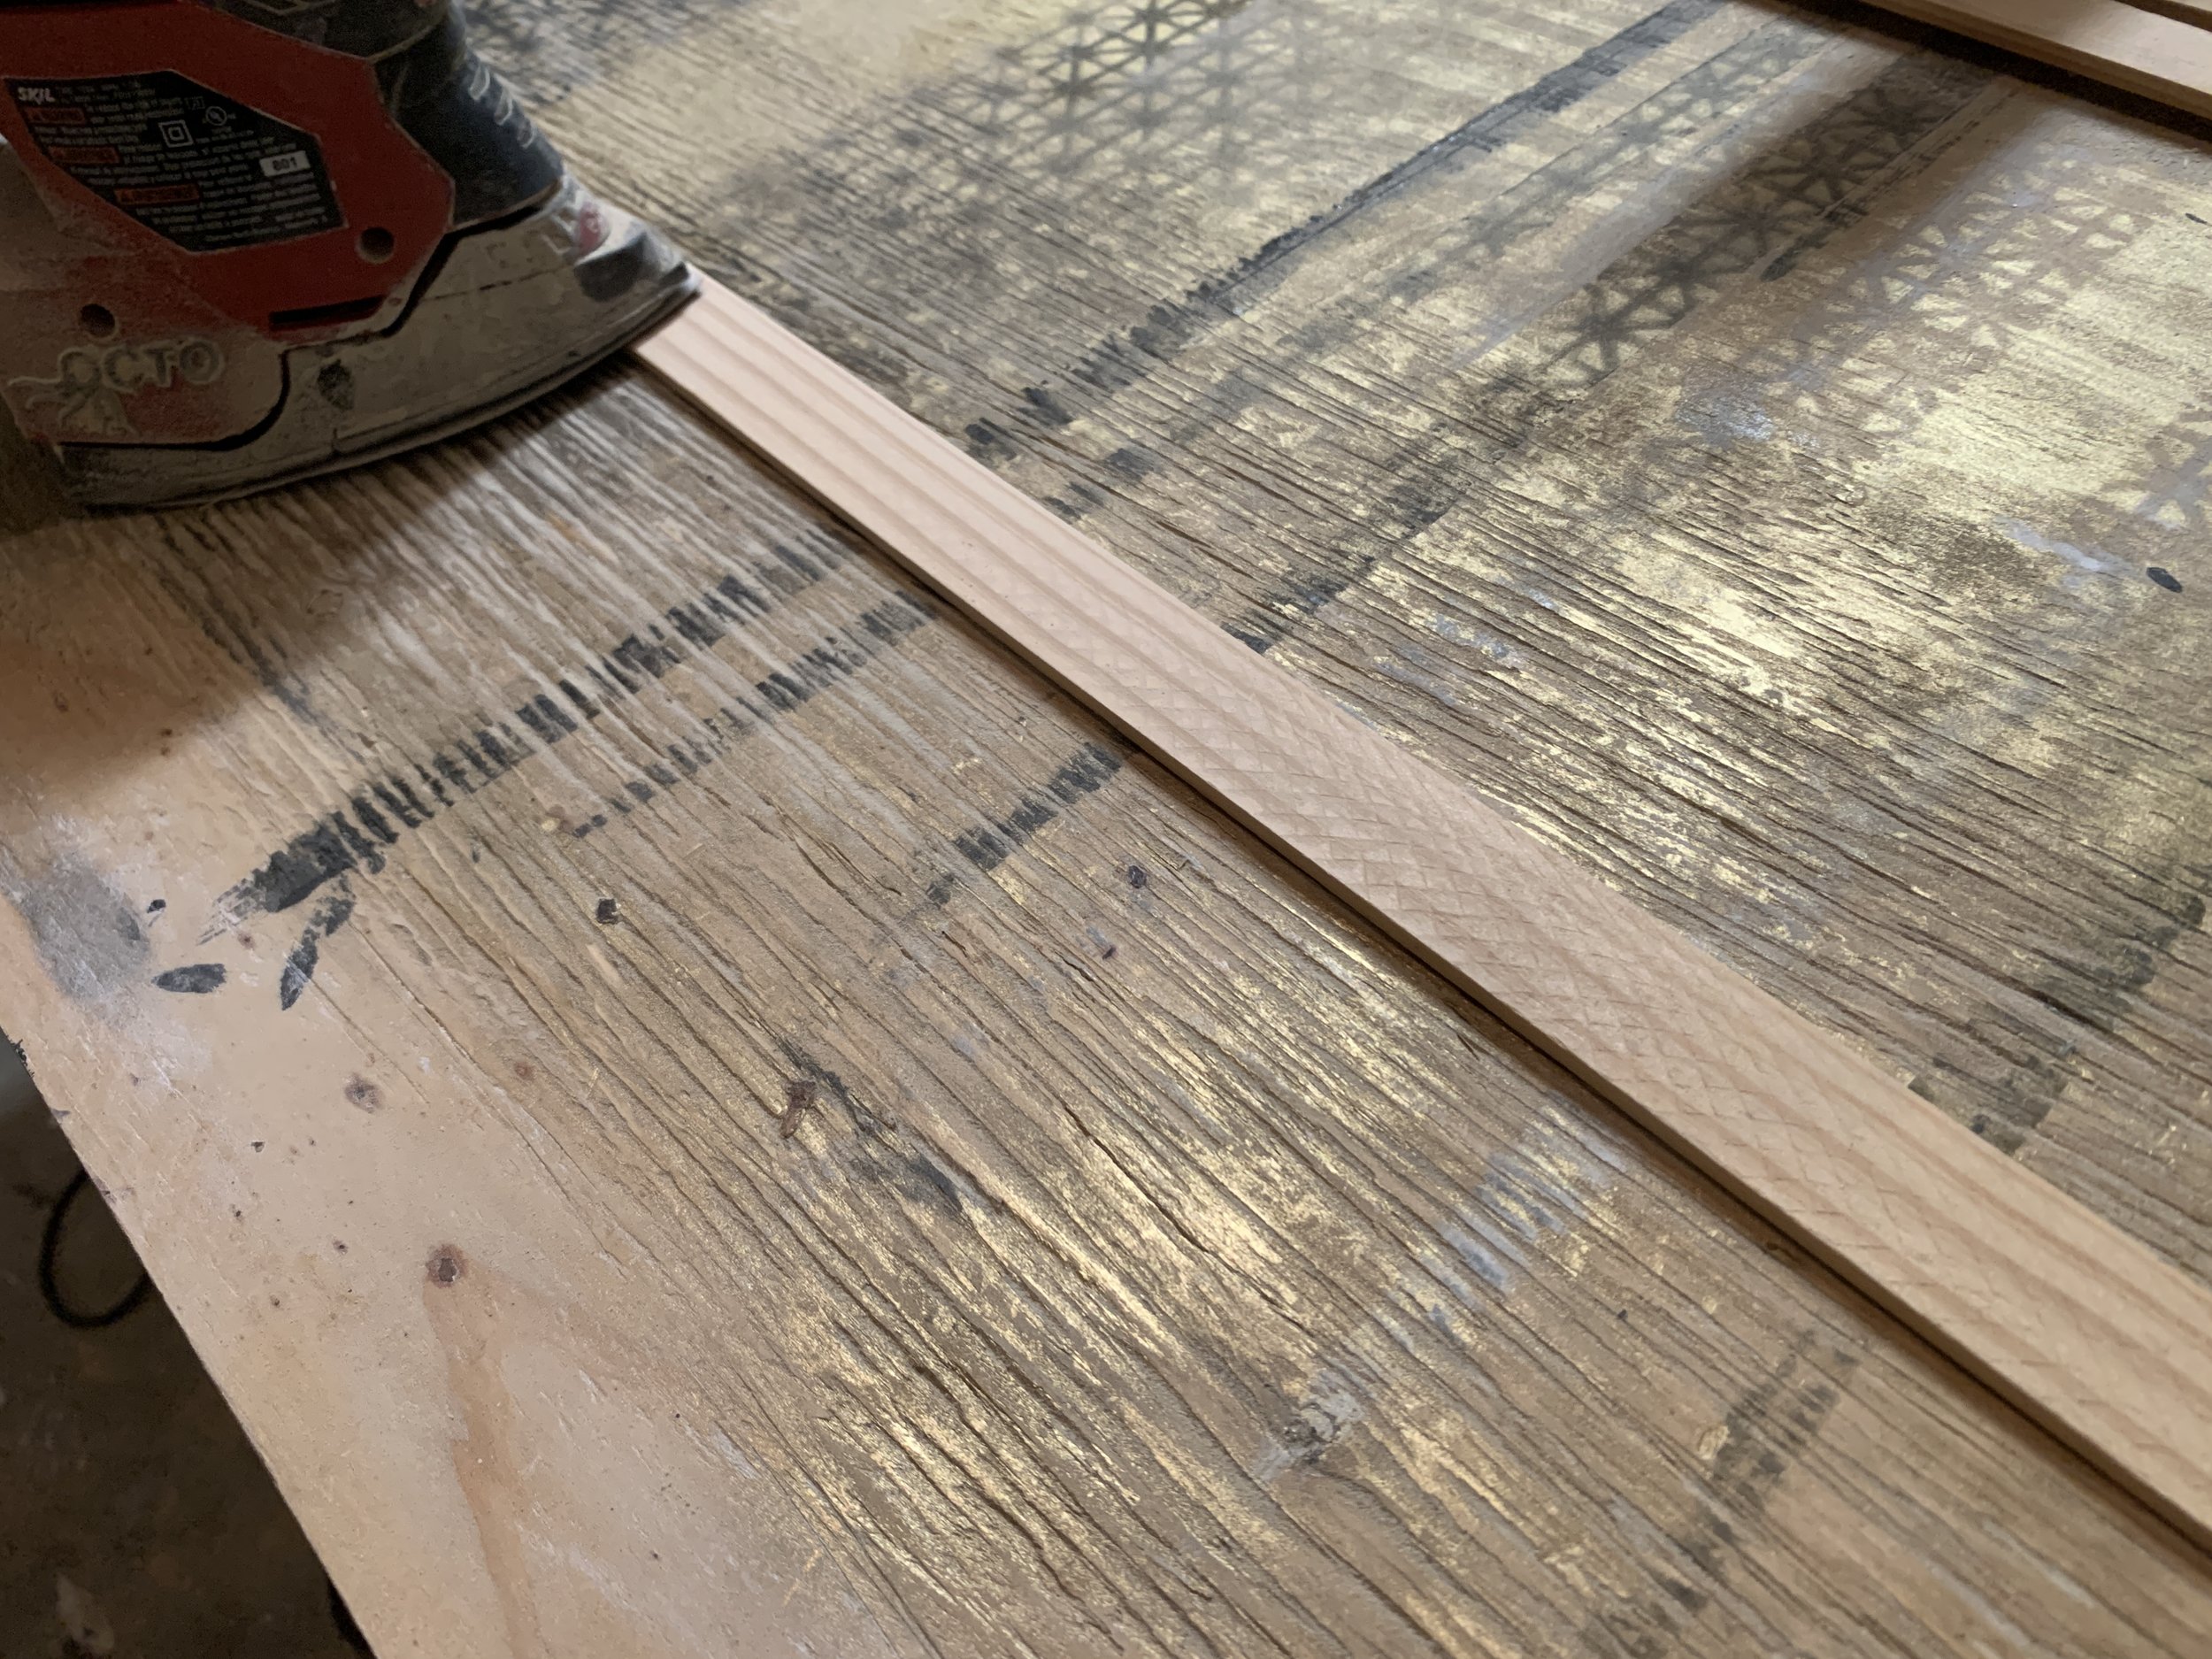
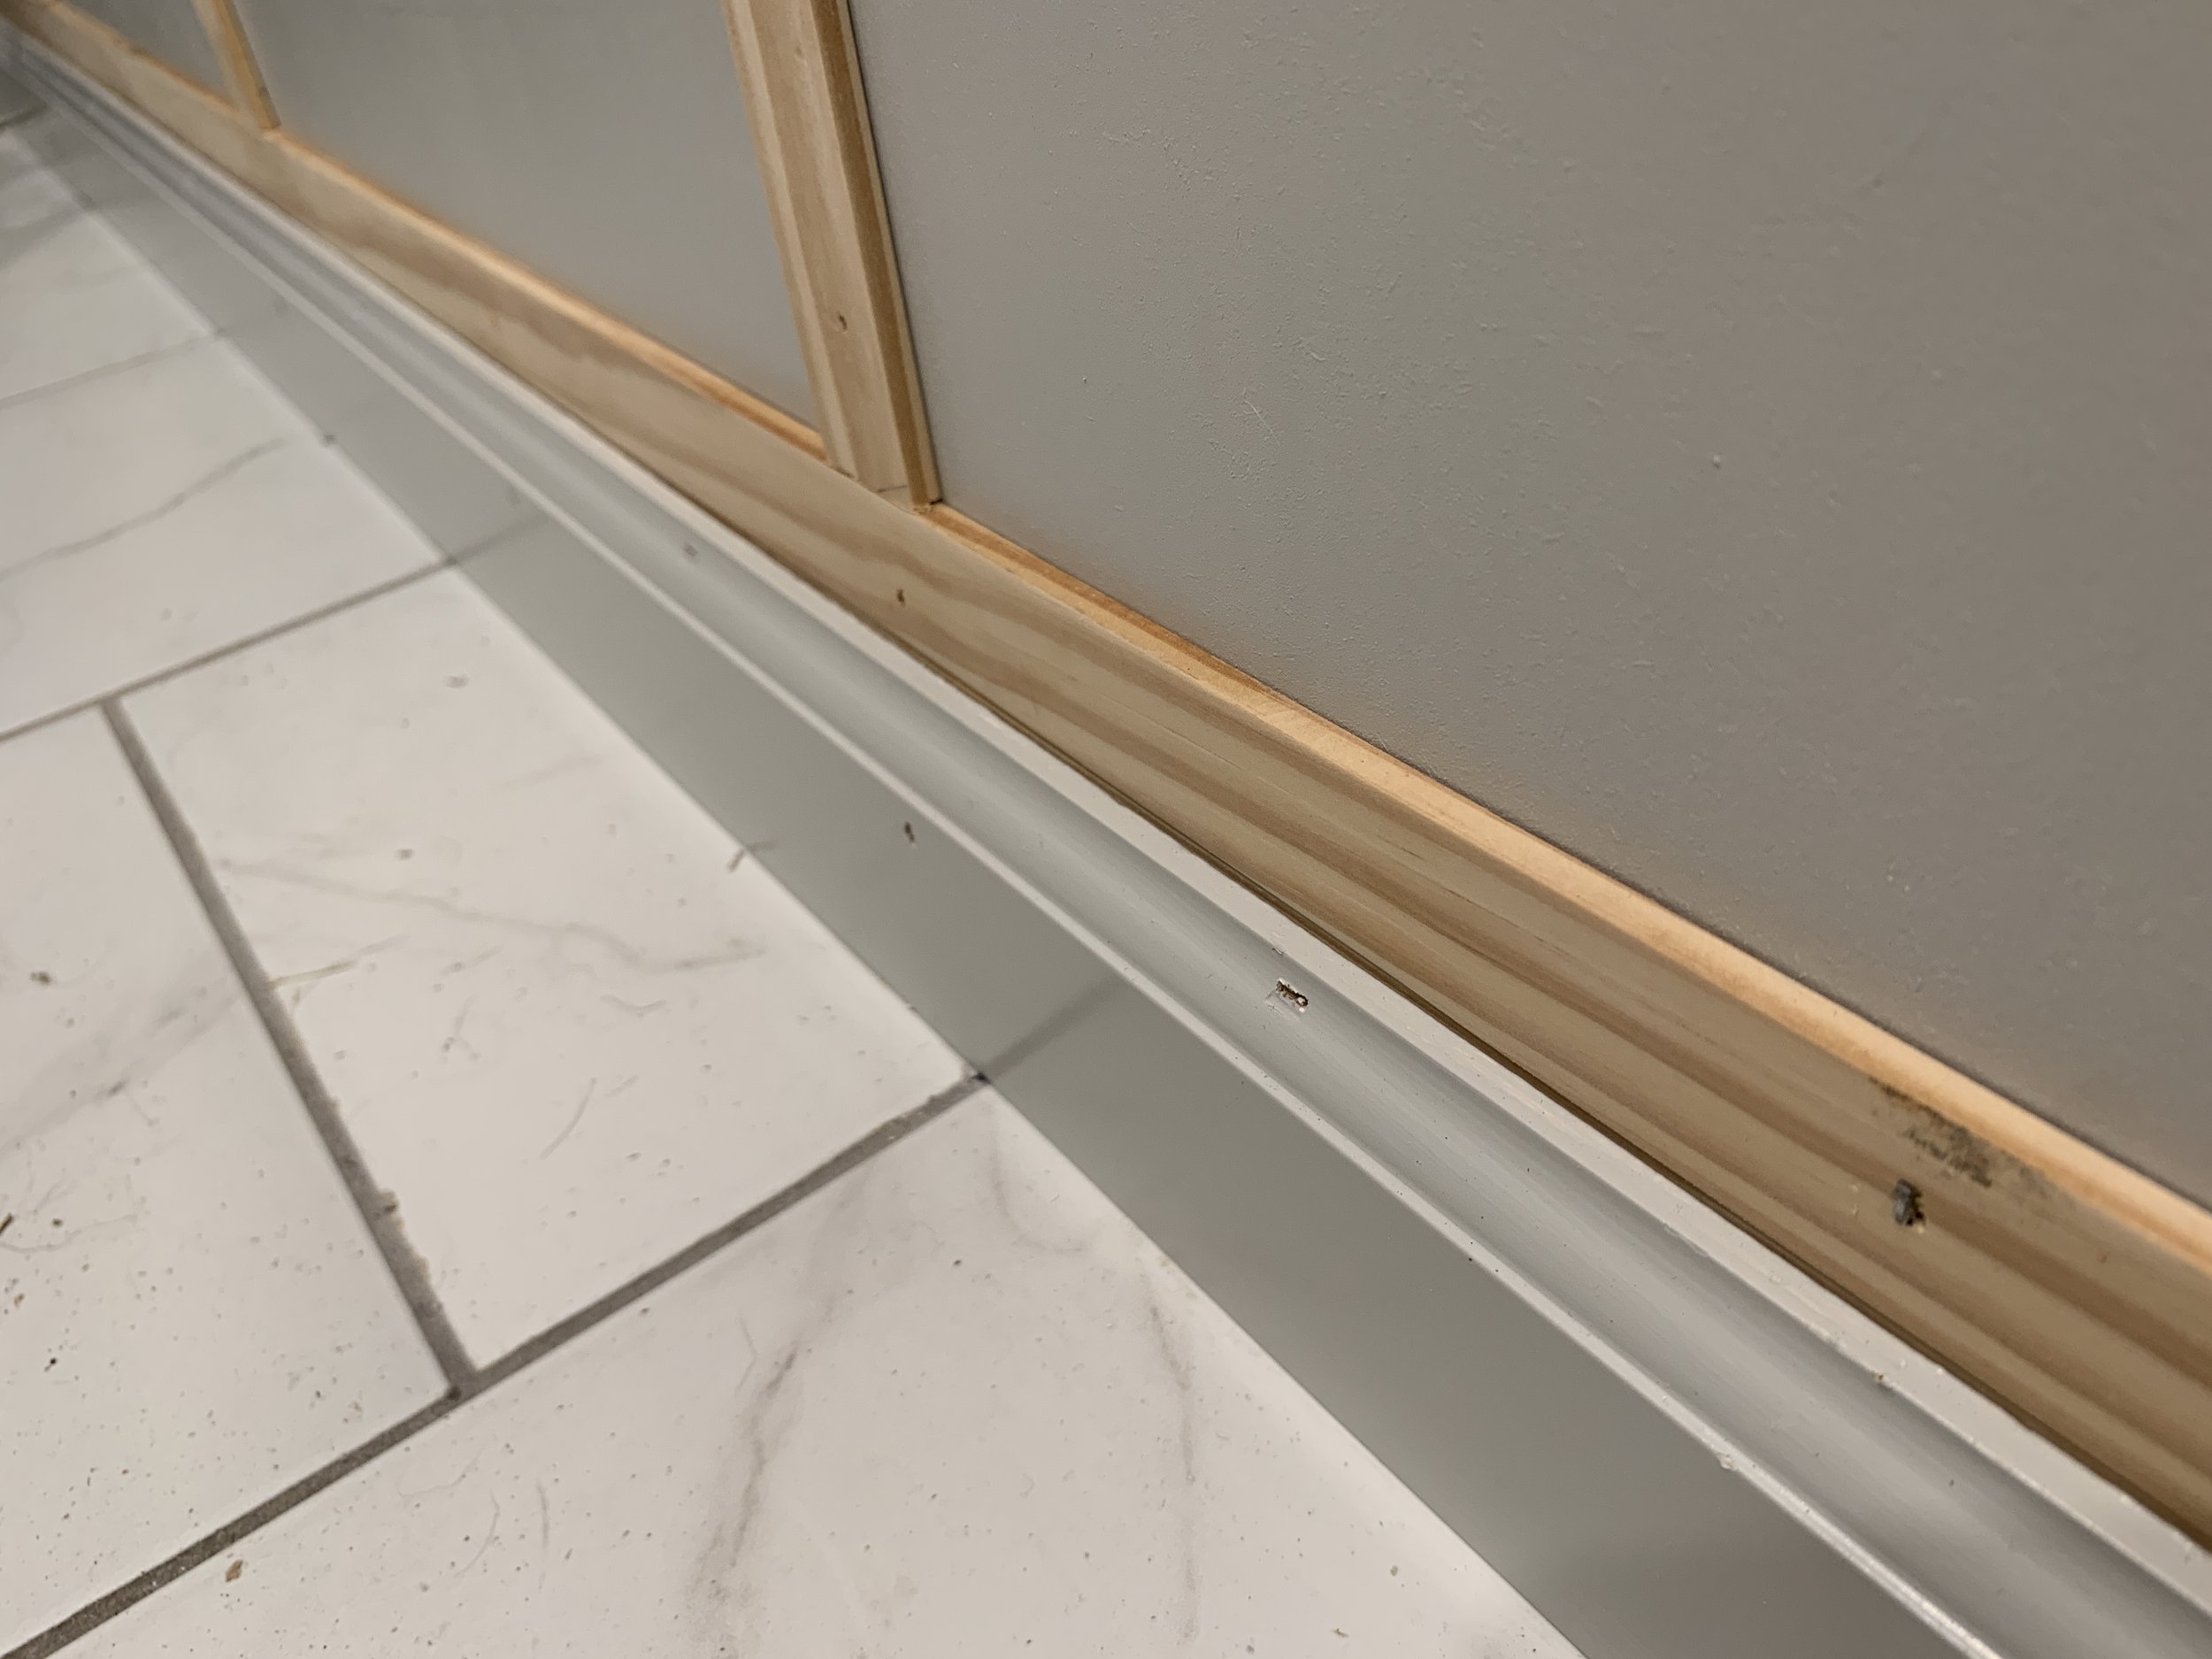
I started with the baseboards first to set my lattice height, adding a piece of lattice underneath the baseboard to bump it out to match the depth of my to-be-installed mouldings. I lined it up so the piece of lattice was in line with the top of the baseboard. (I later added a second piece of horizontal lattice, this time sitting on top of the baseboard that my interior vertical lattice pieces sat on top off.)
After my lattice + baseboard stack I moved to the edge pieces – having first painted the lattice pieces that were to run along the ceiling and down each column so I didn’t have to cut in paint on these stained wood areas.
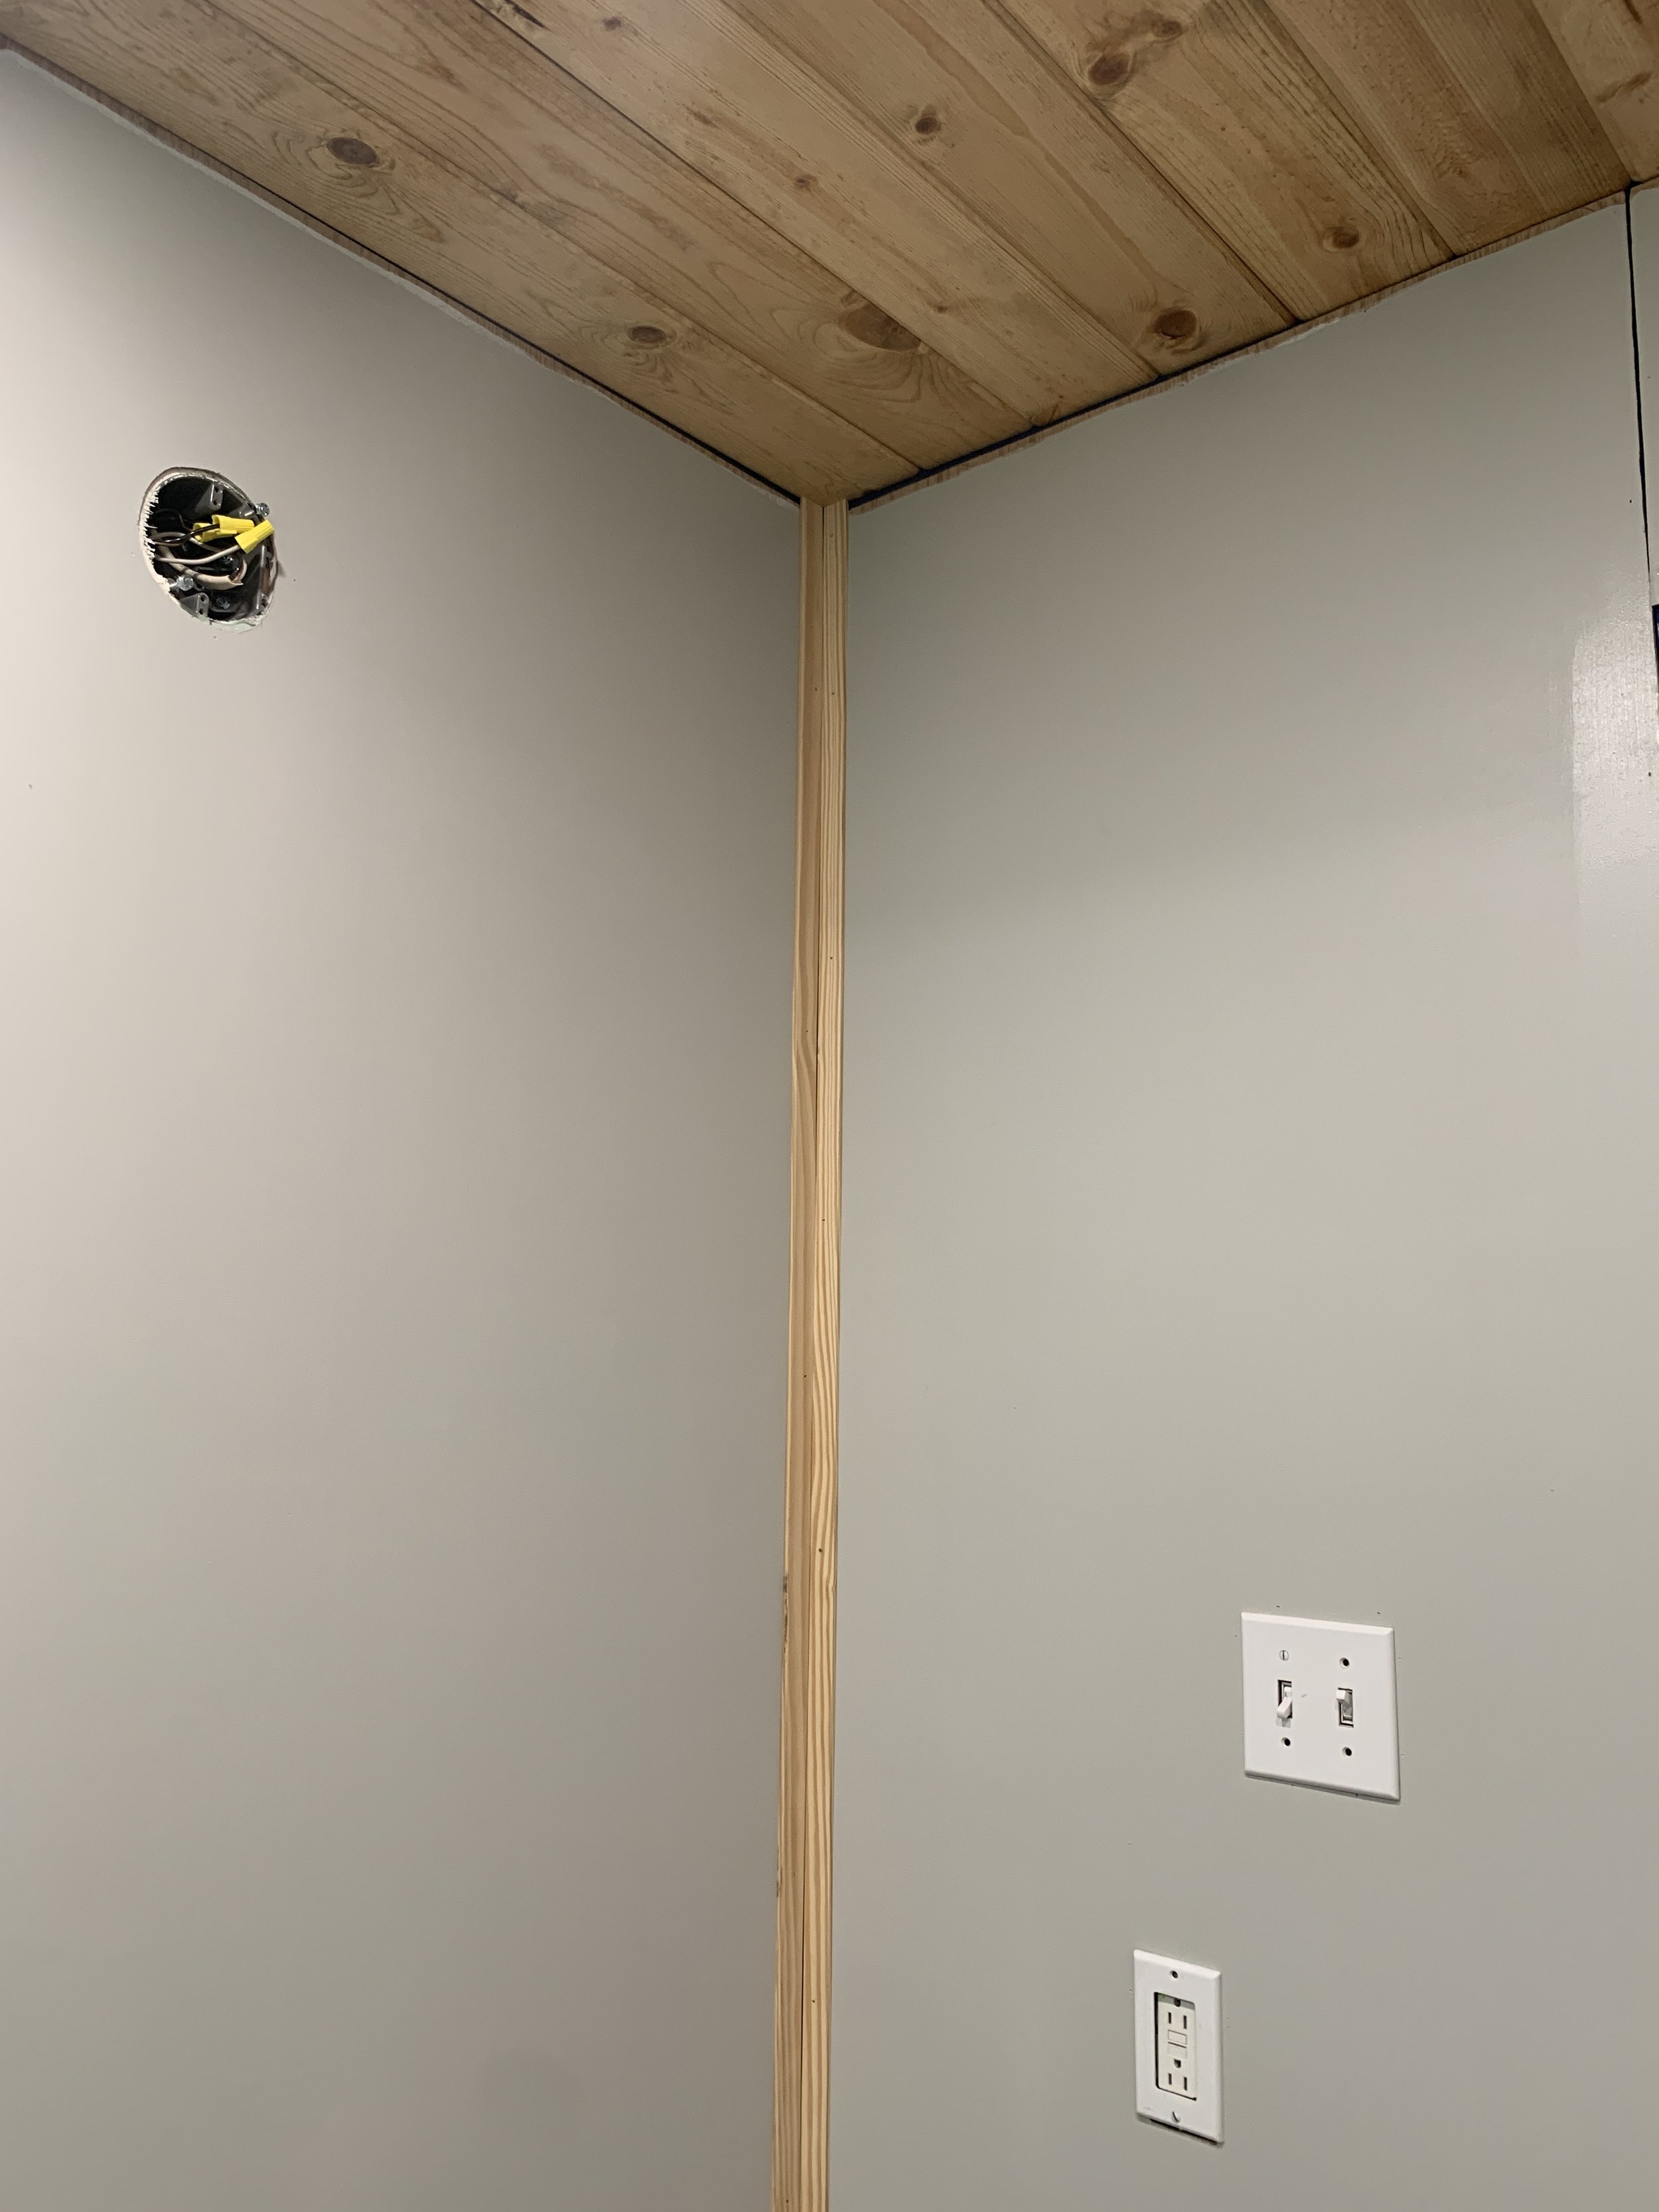
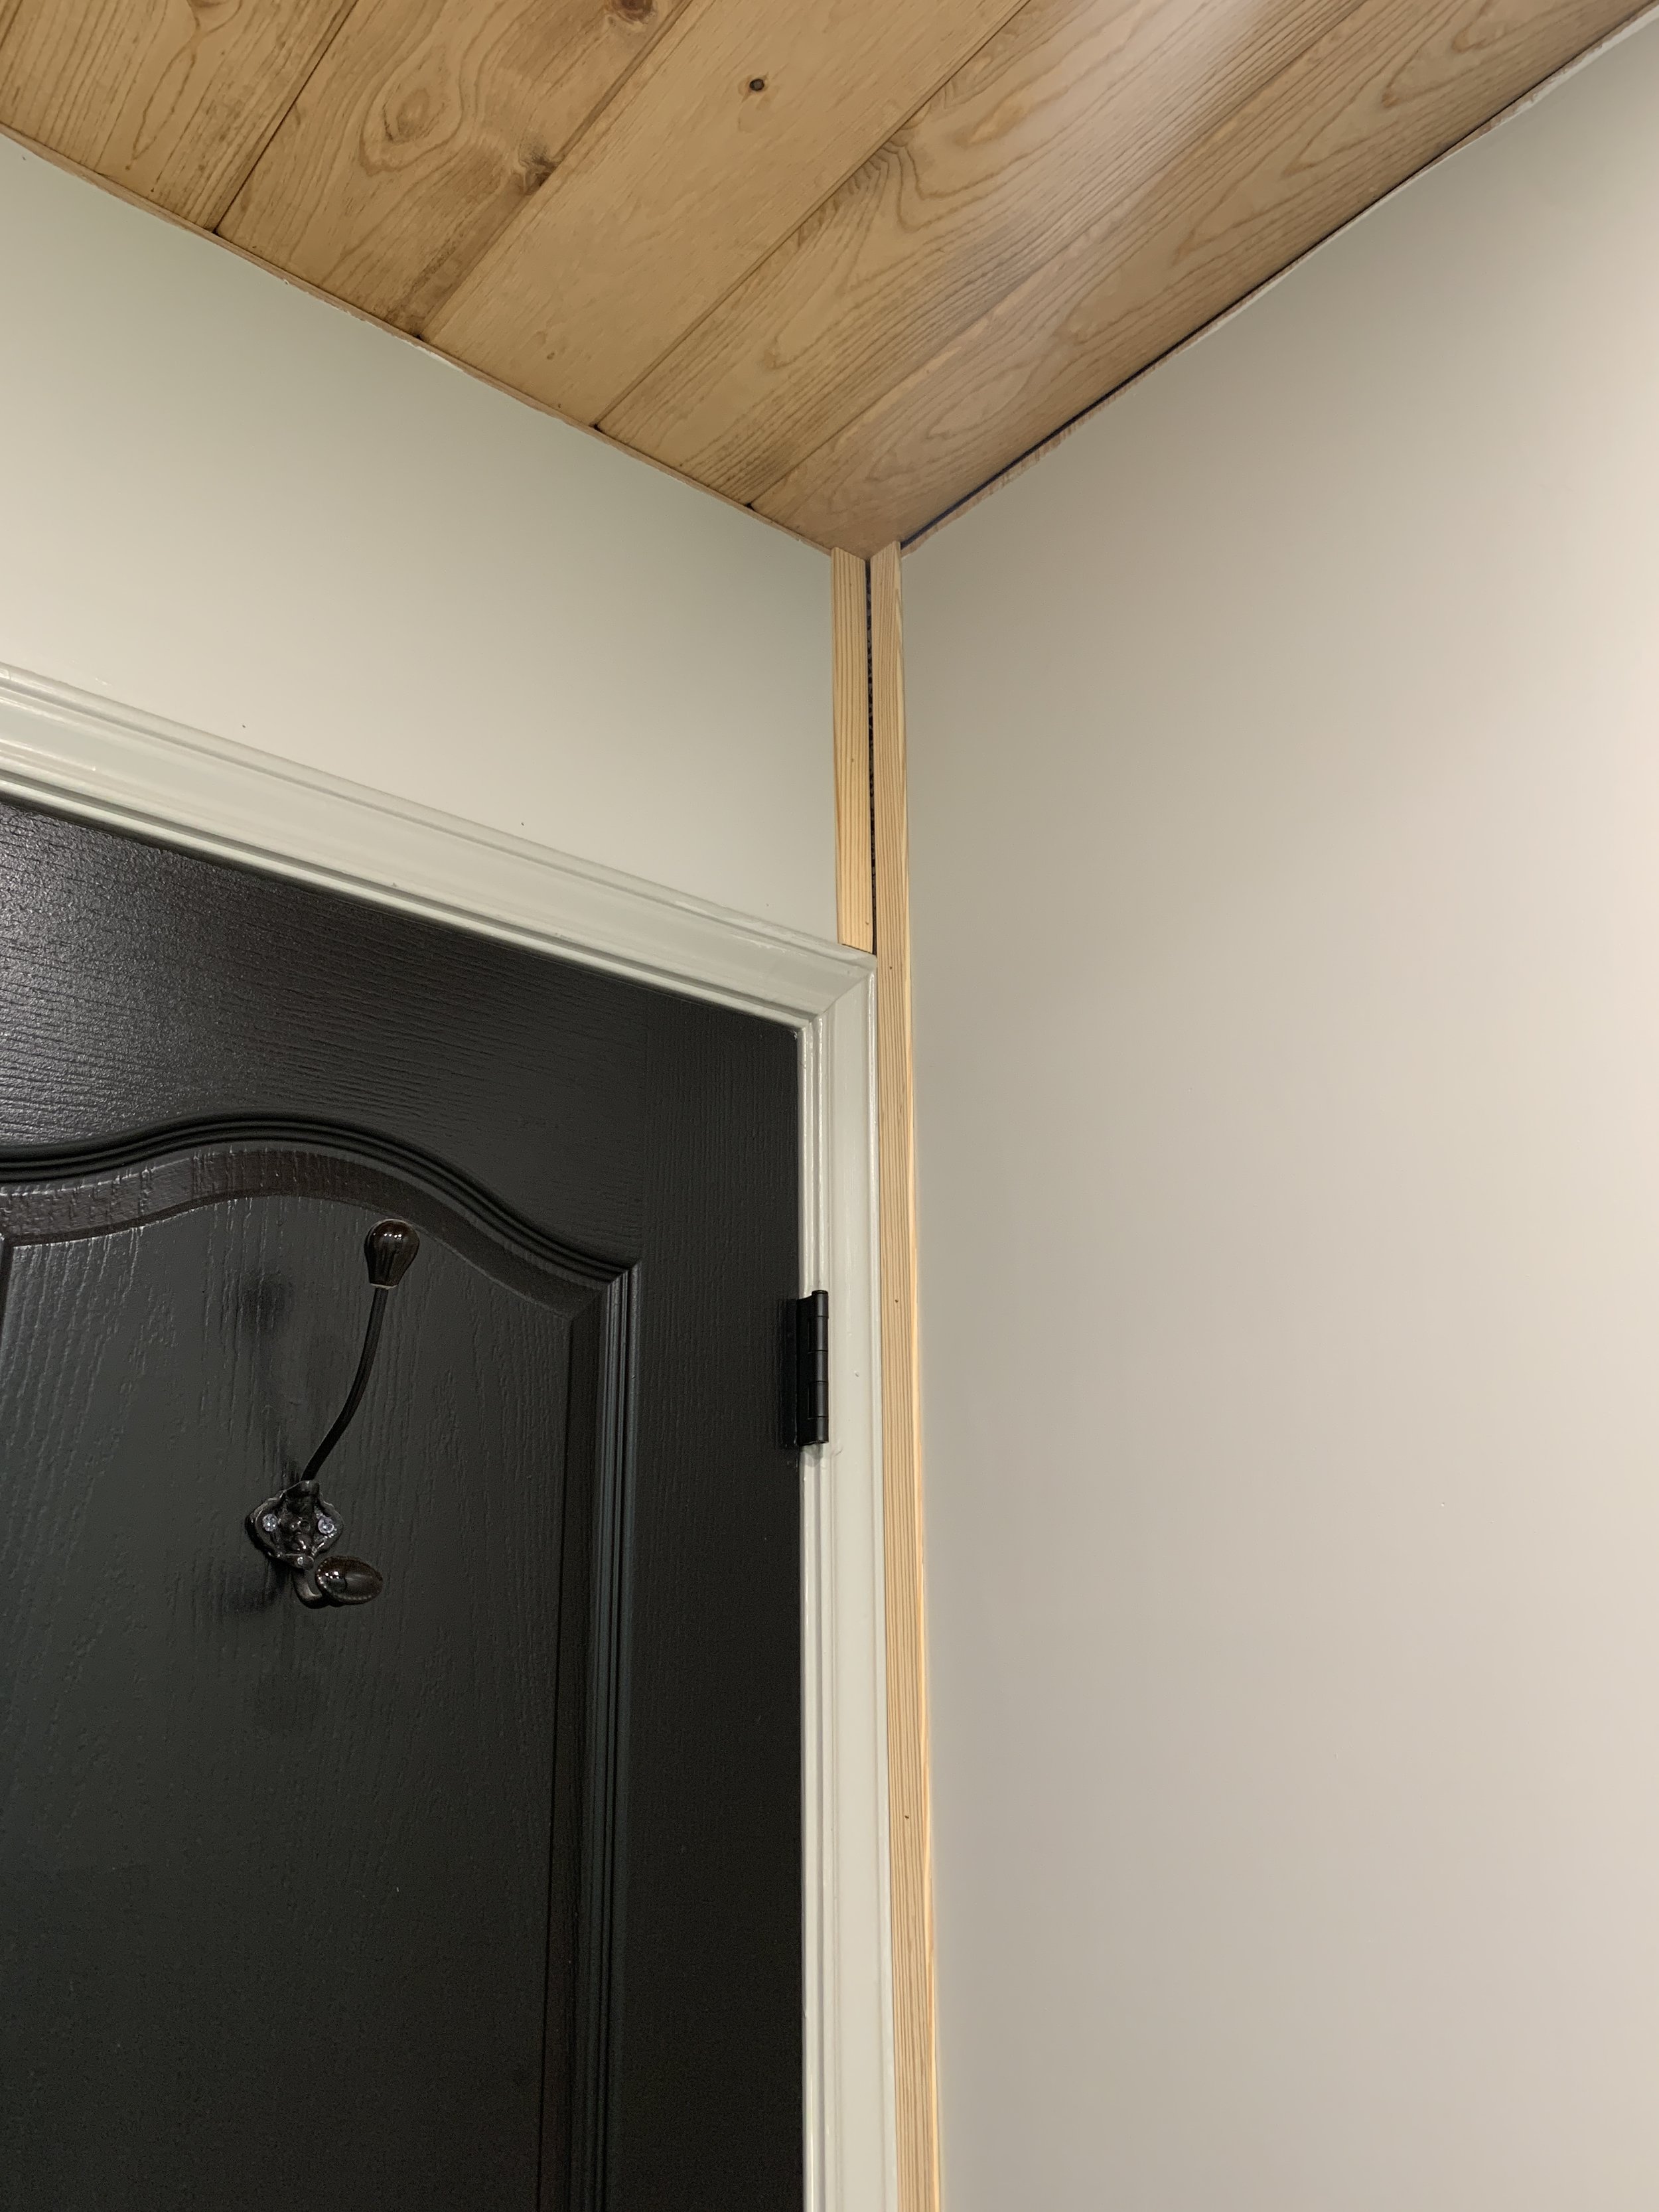
With my room perimeter done, I ran all of my verticals so they were evenly spaced on each wall, then continued in the same way with all of the smaller, horizontal pieces.
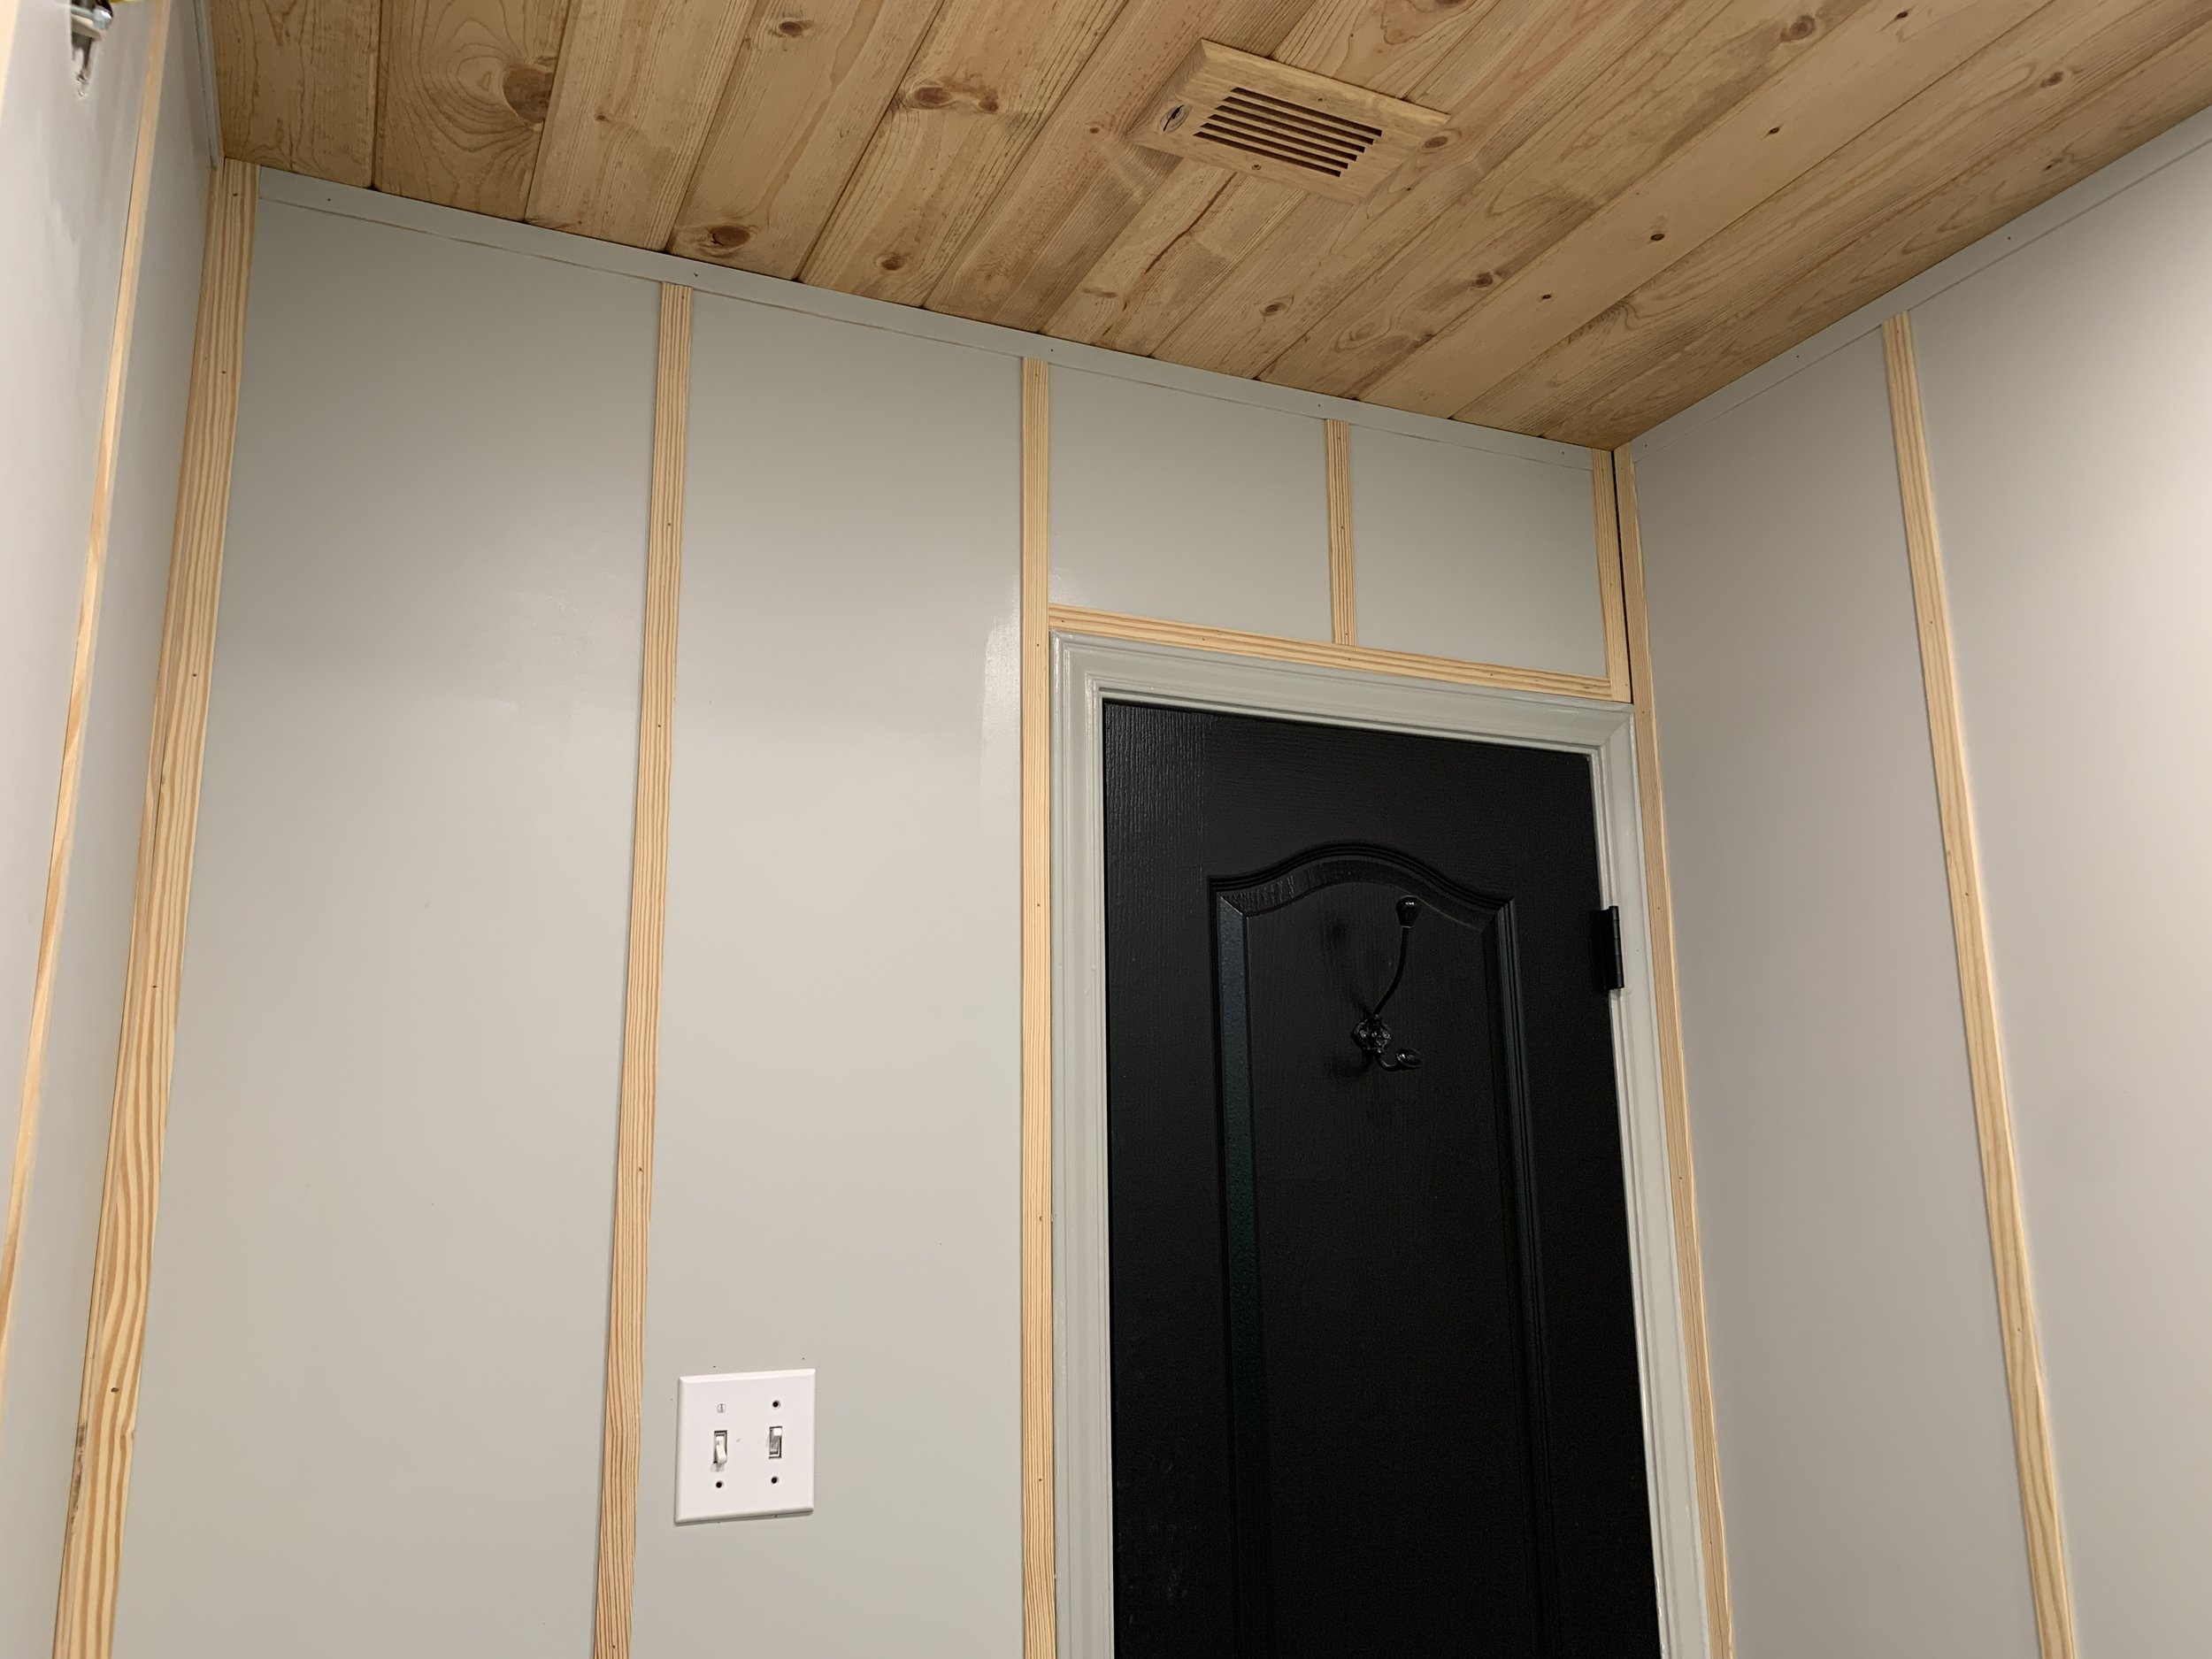
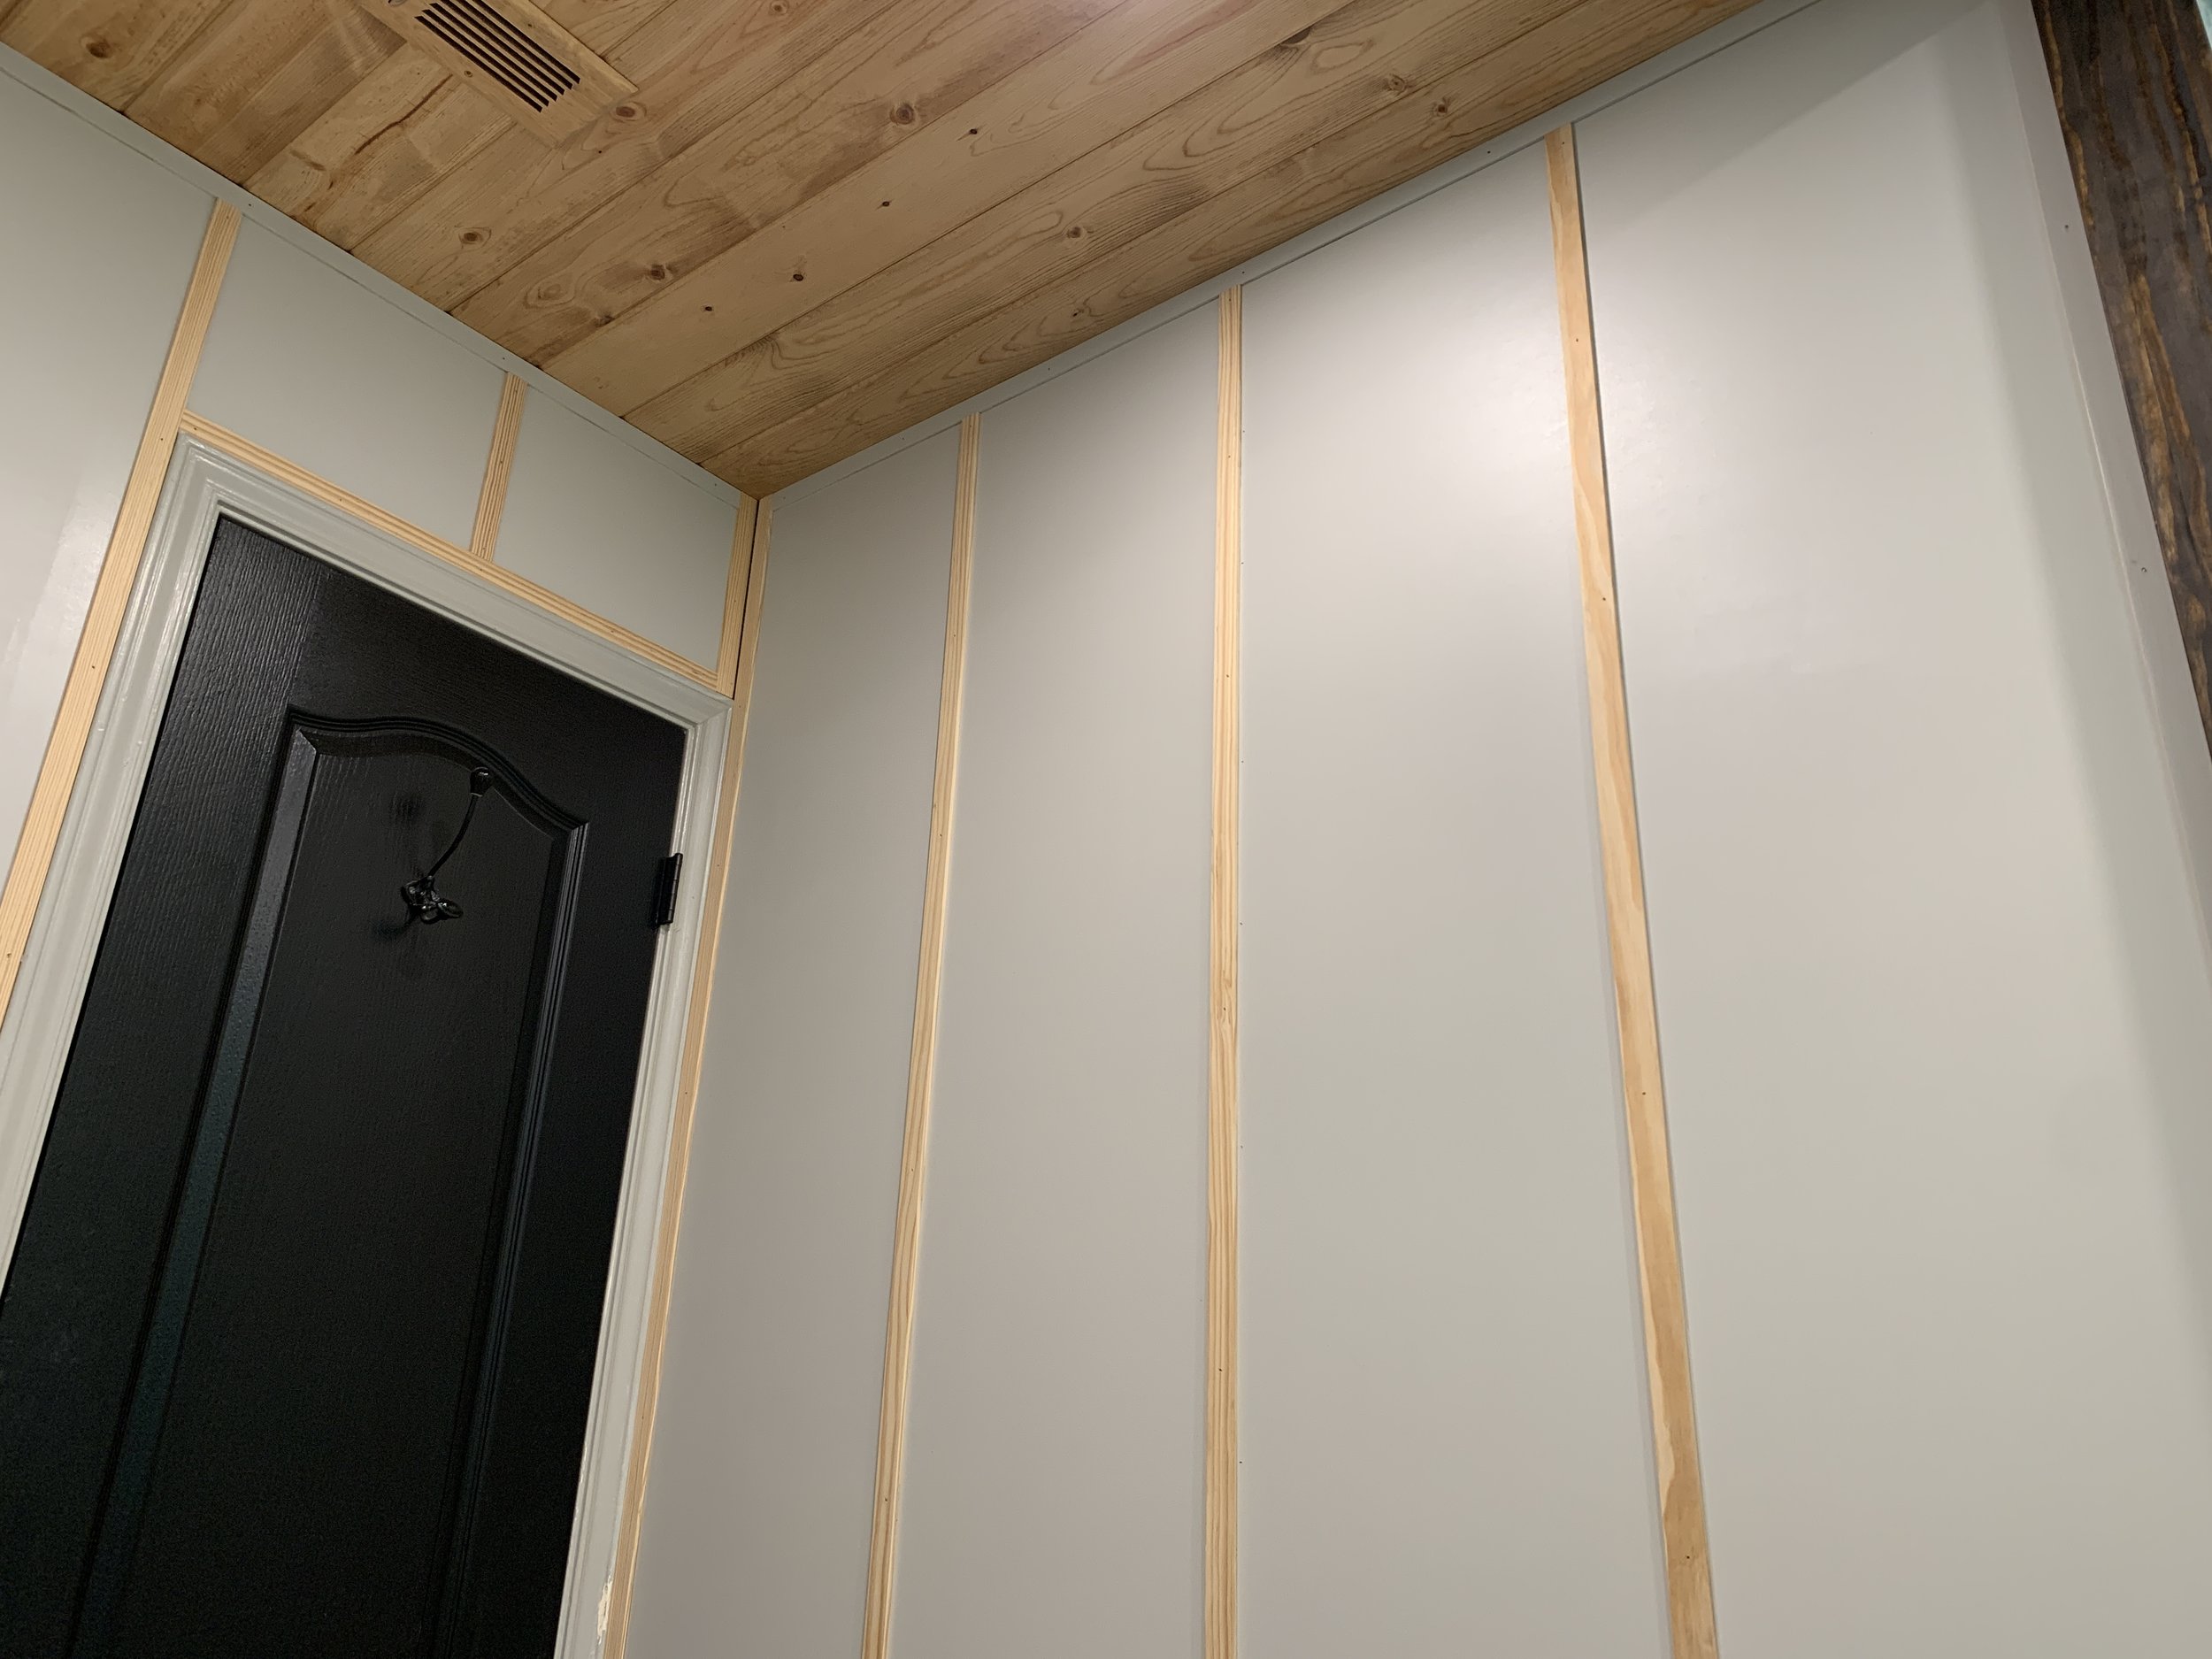
I started with the wall behind the vanity.

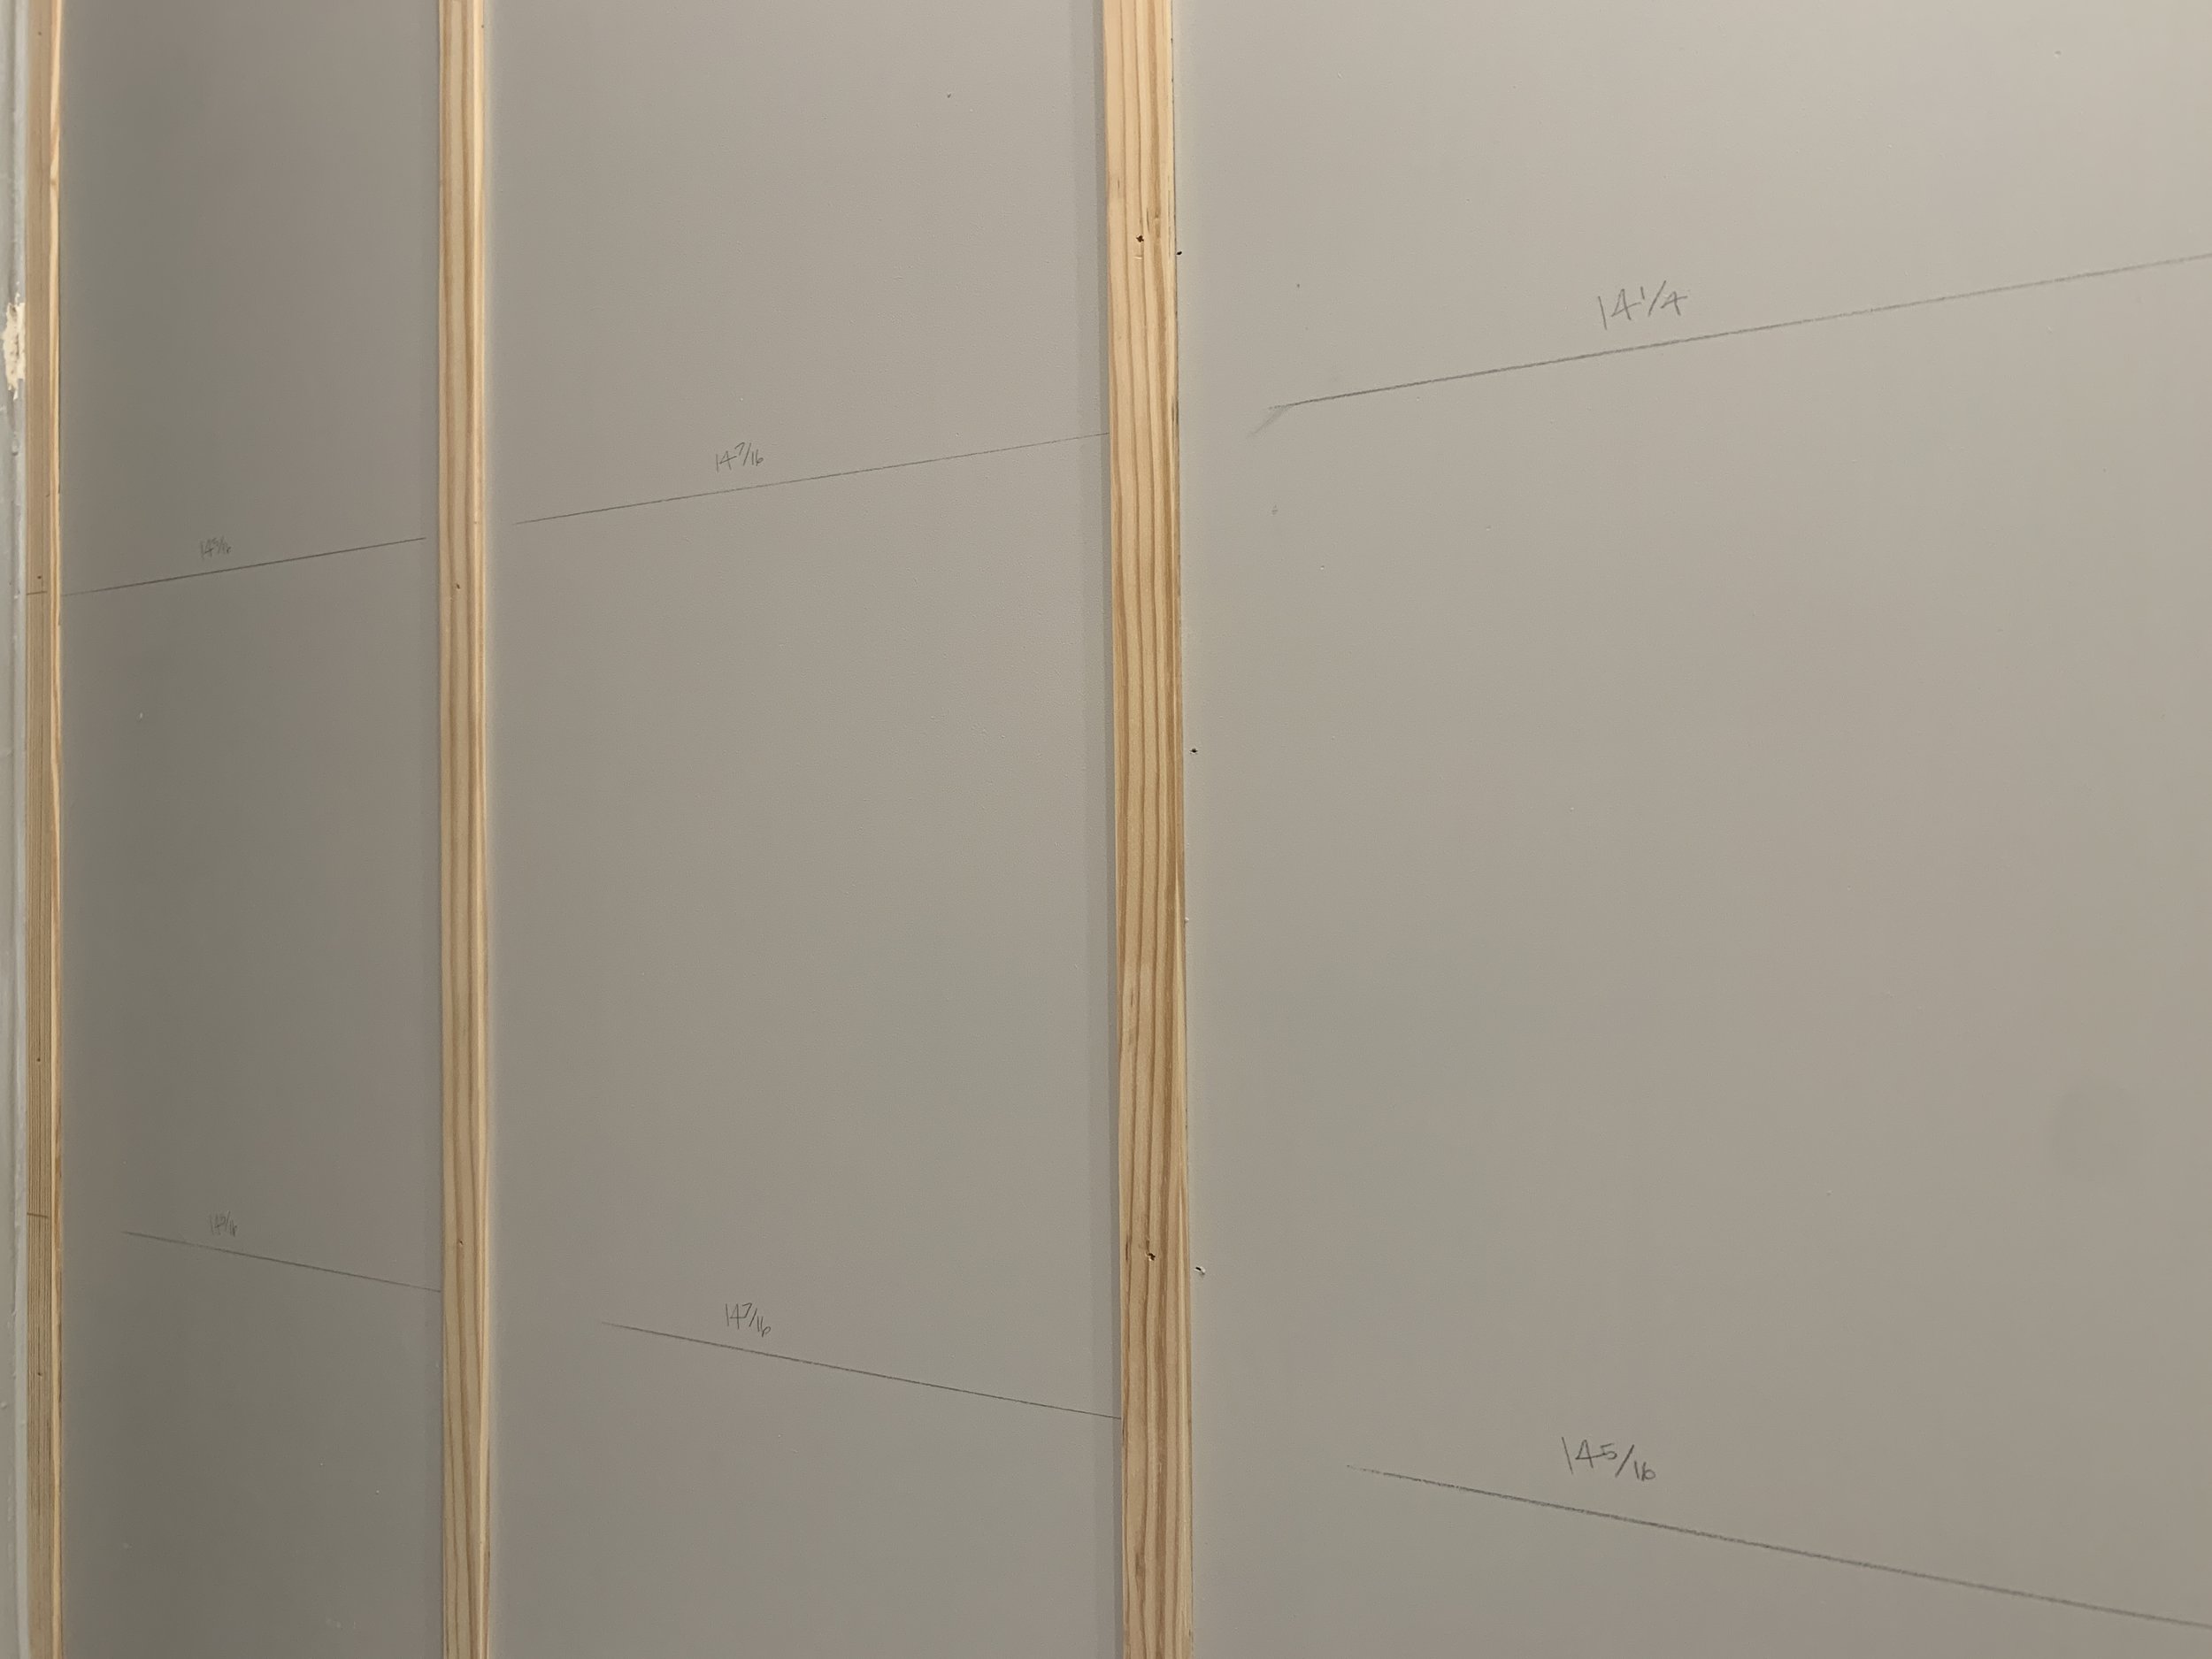
Initially I was measuring and cutting one horizontal piece at a time, but then quickly moved into batch measuring and cutting.
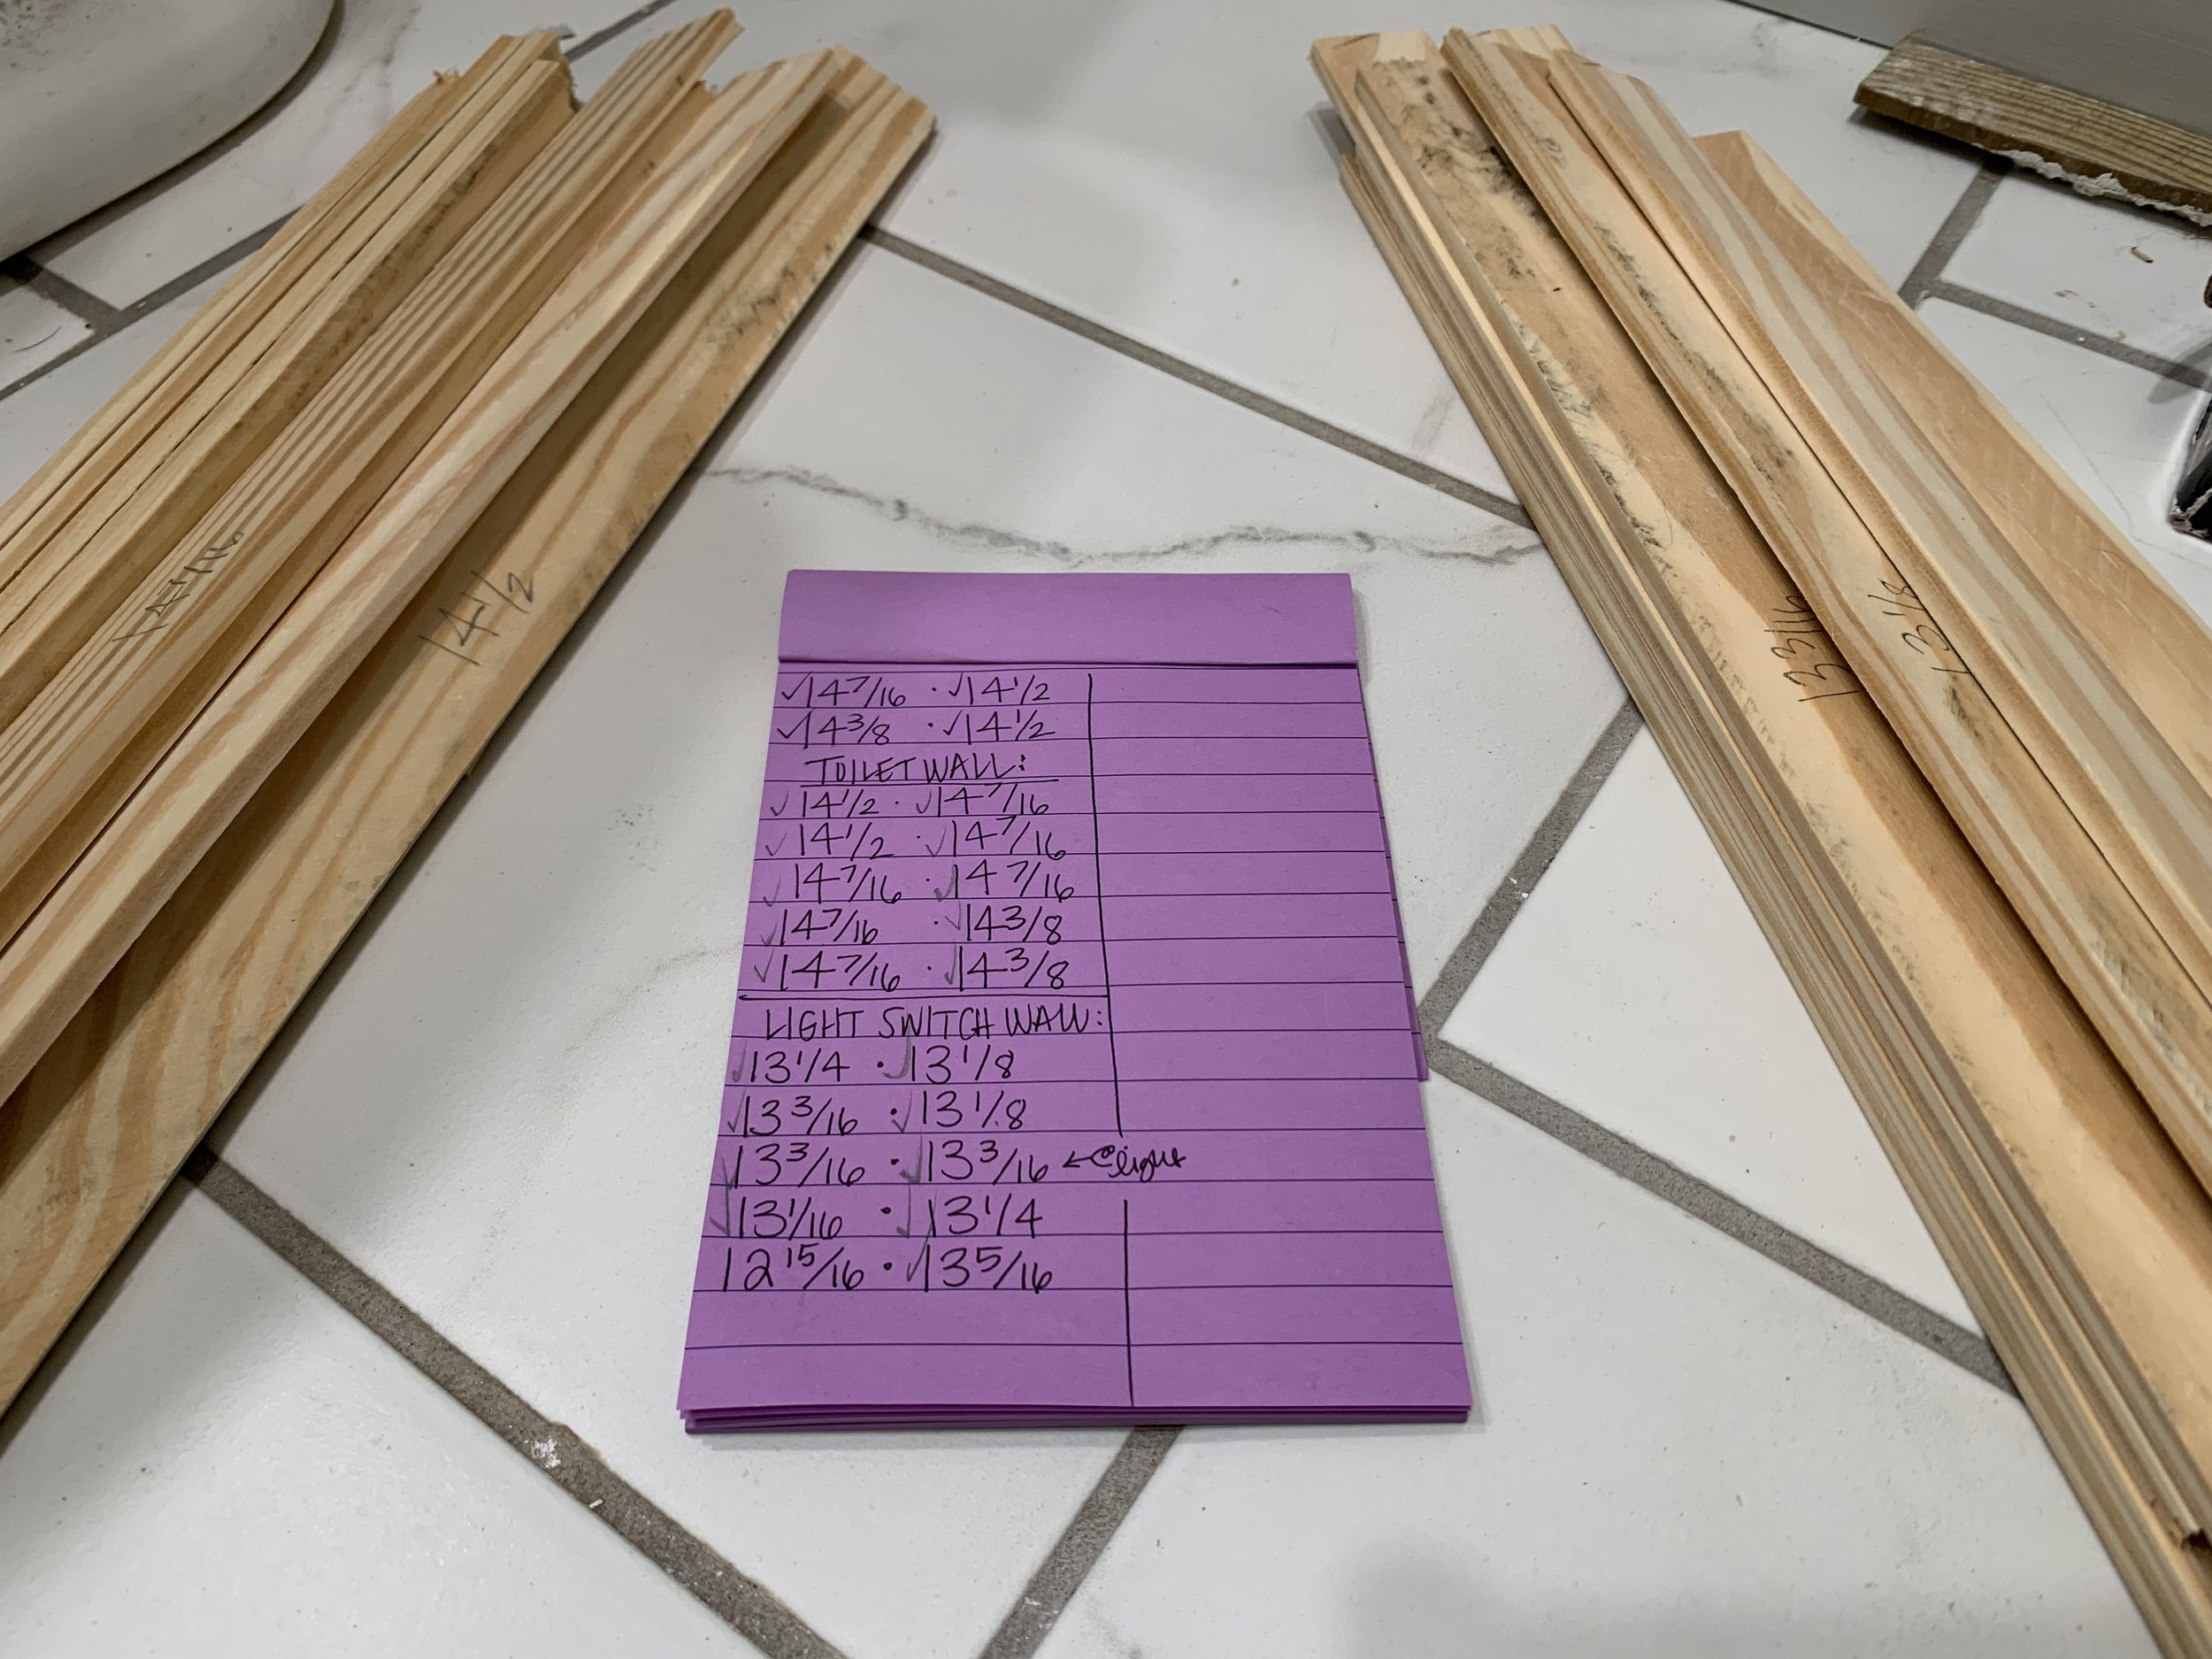
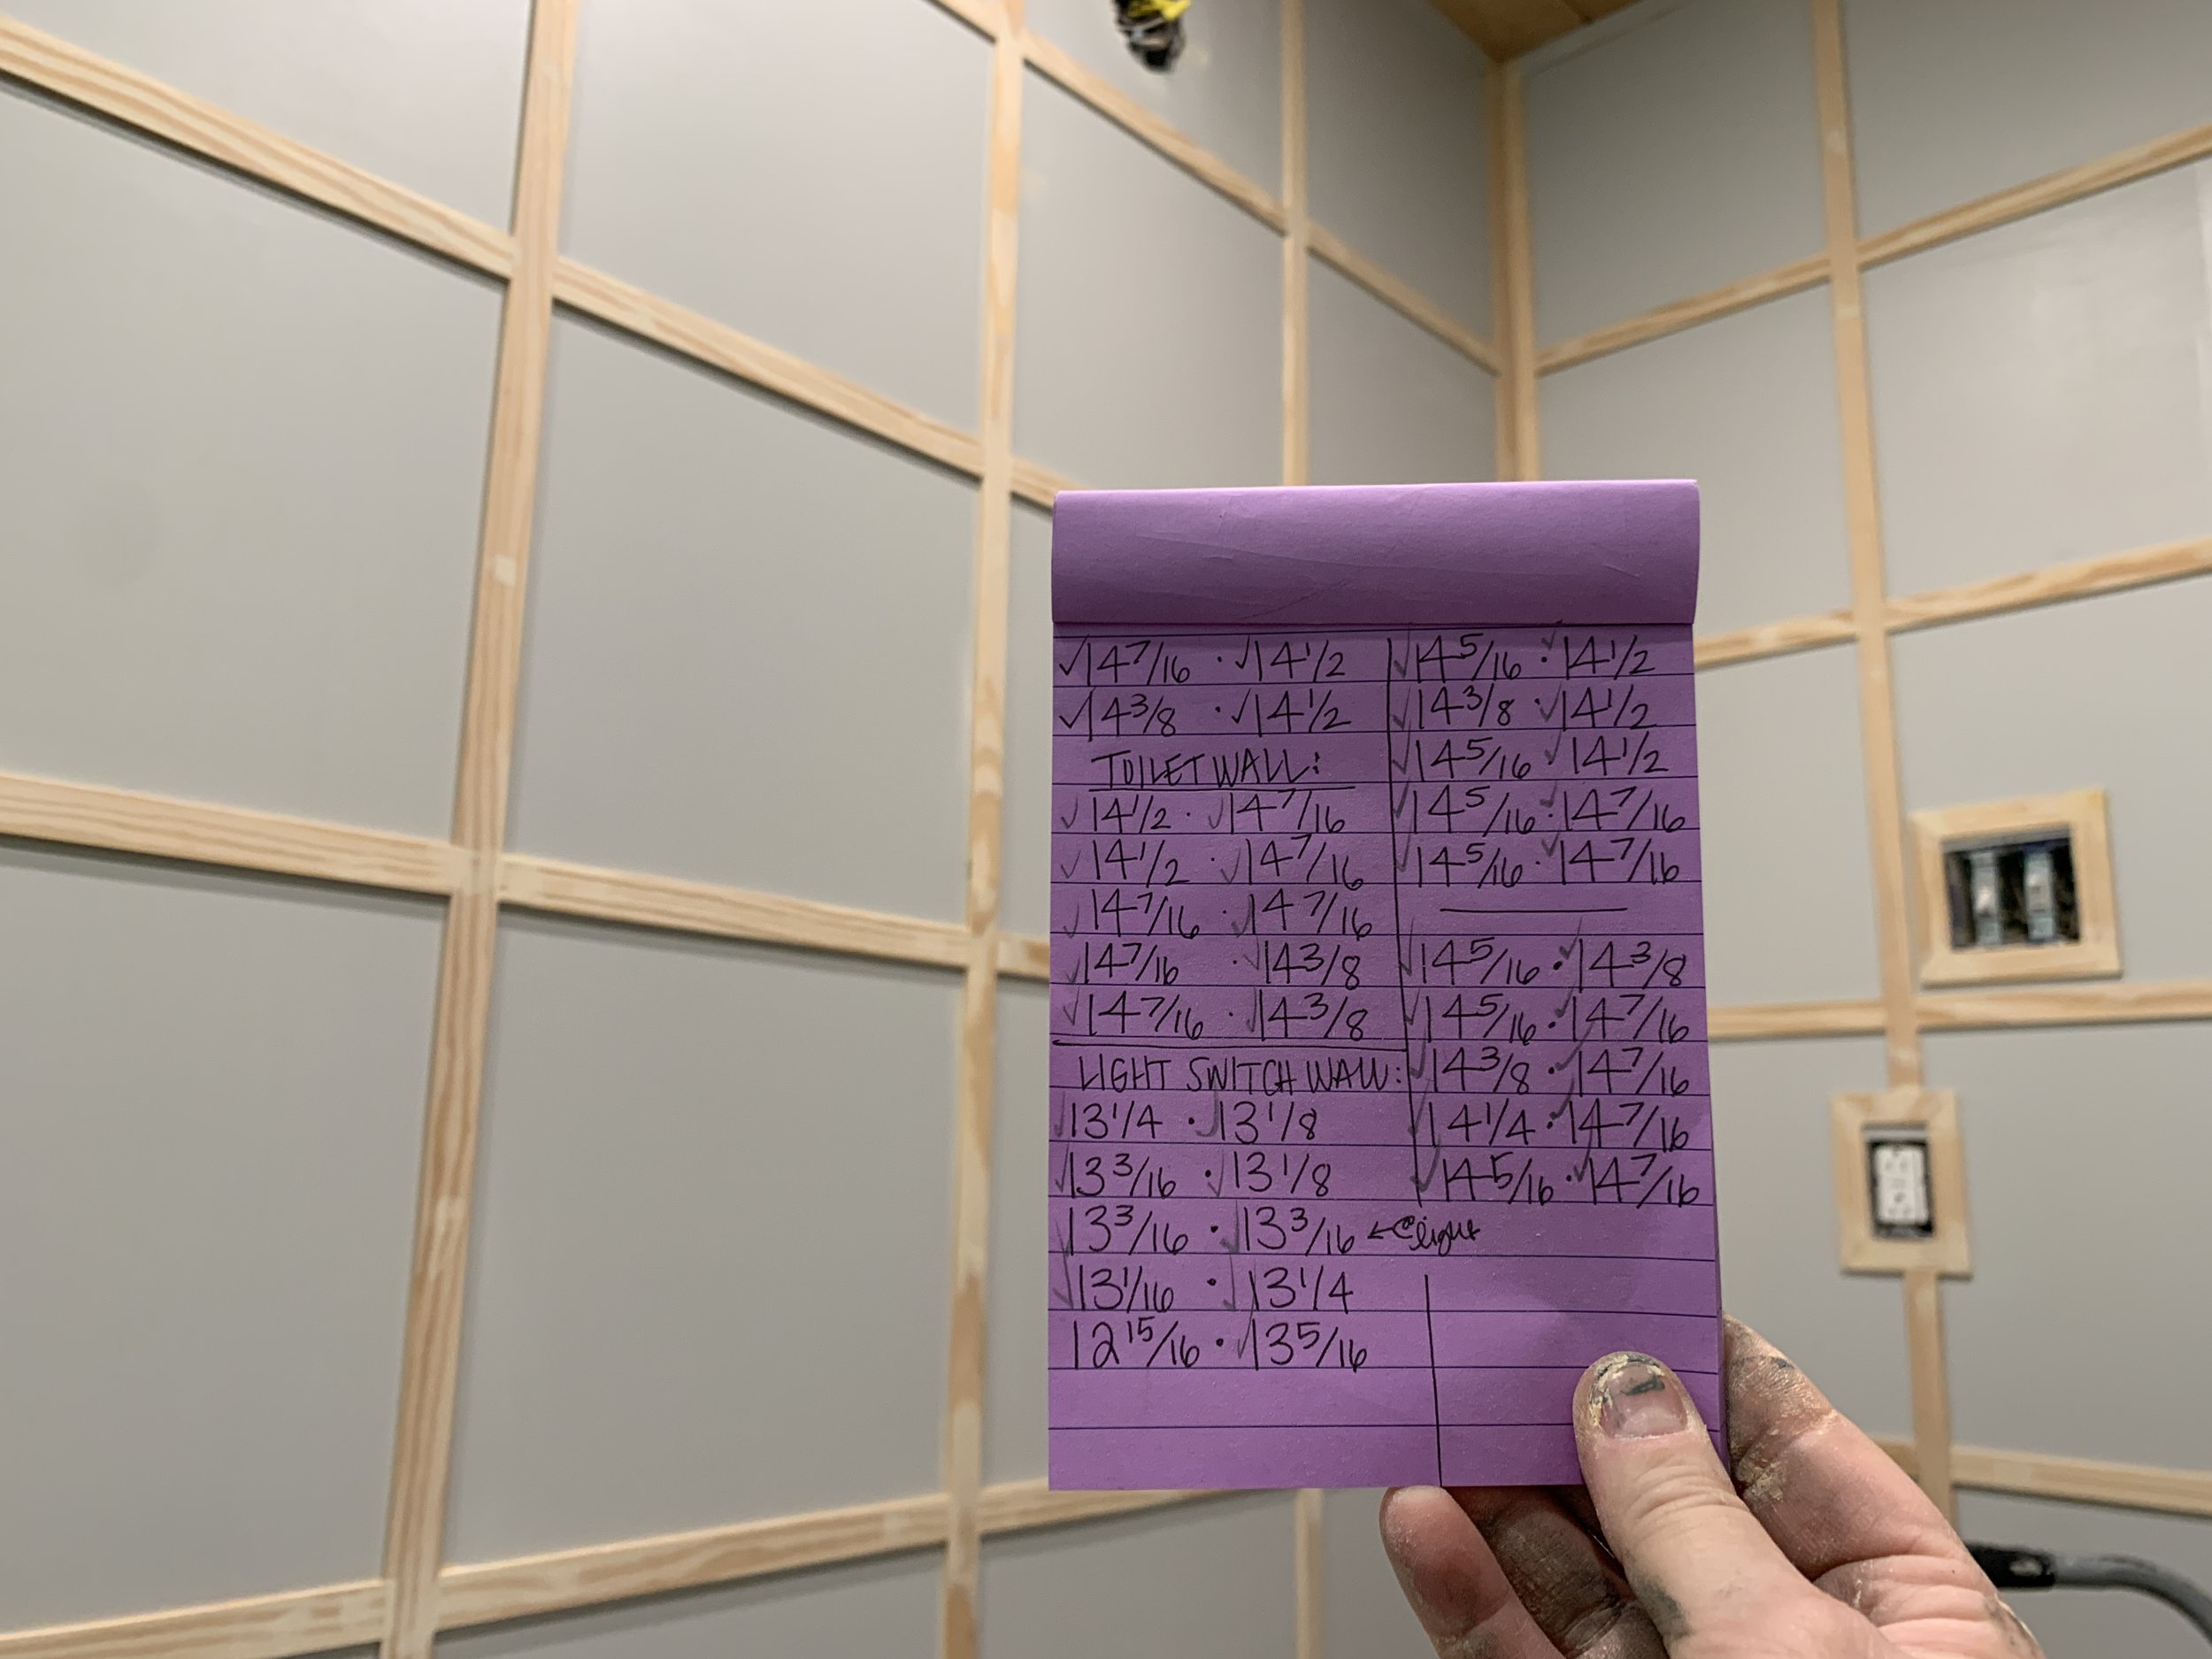
Before I nailed in each piece of lattice I used a small level to make sure each were perfectly straight. (I did the same for all of the vertical pieces, too!)

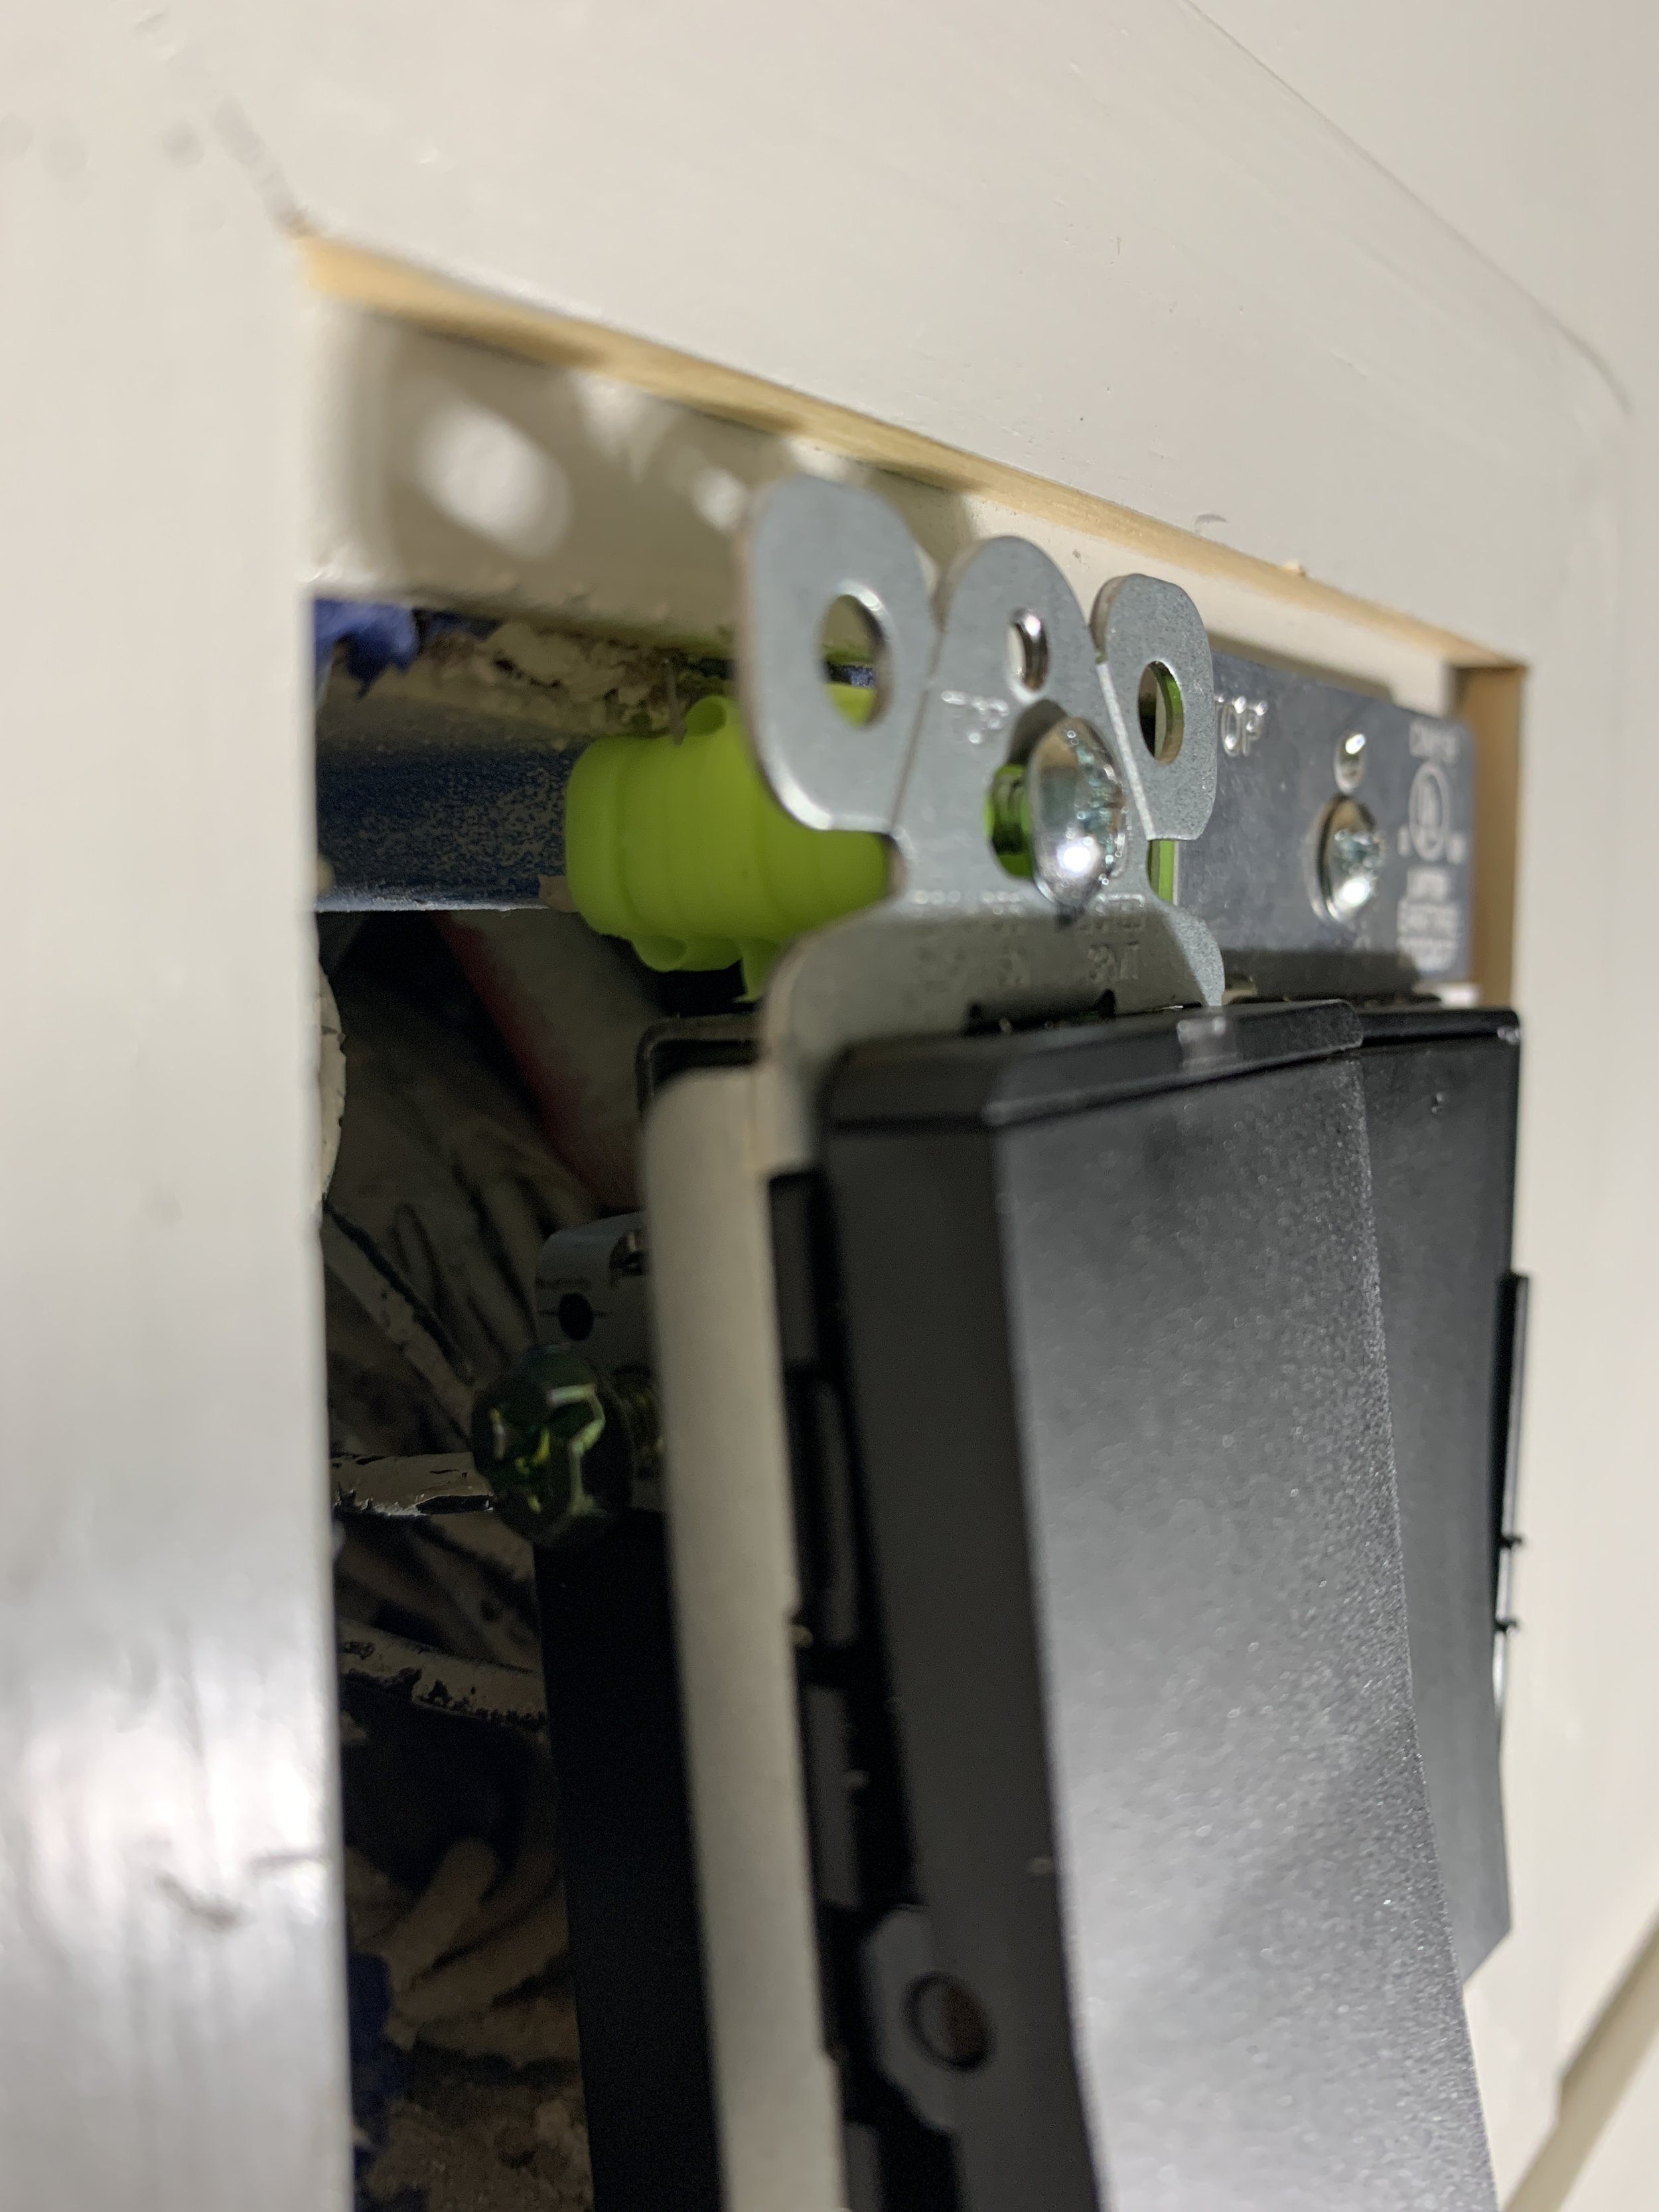
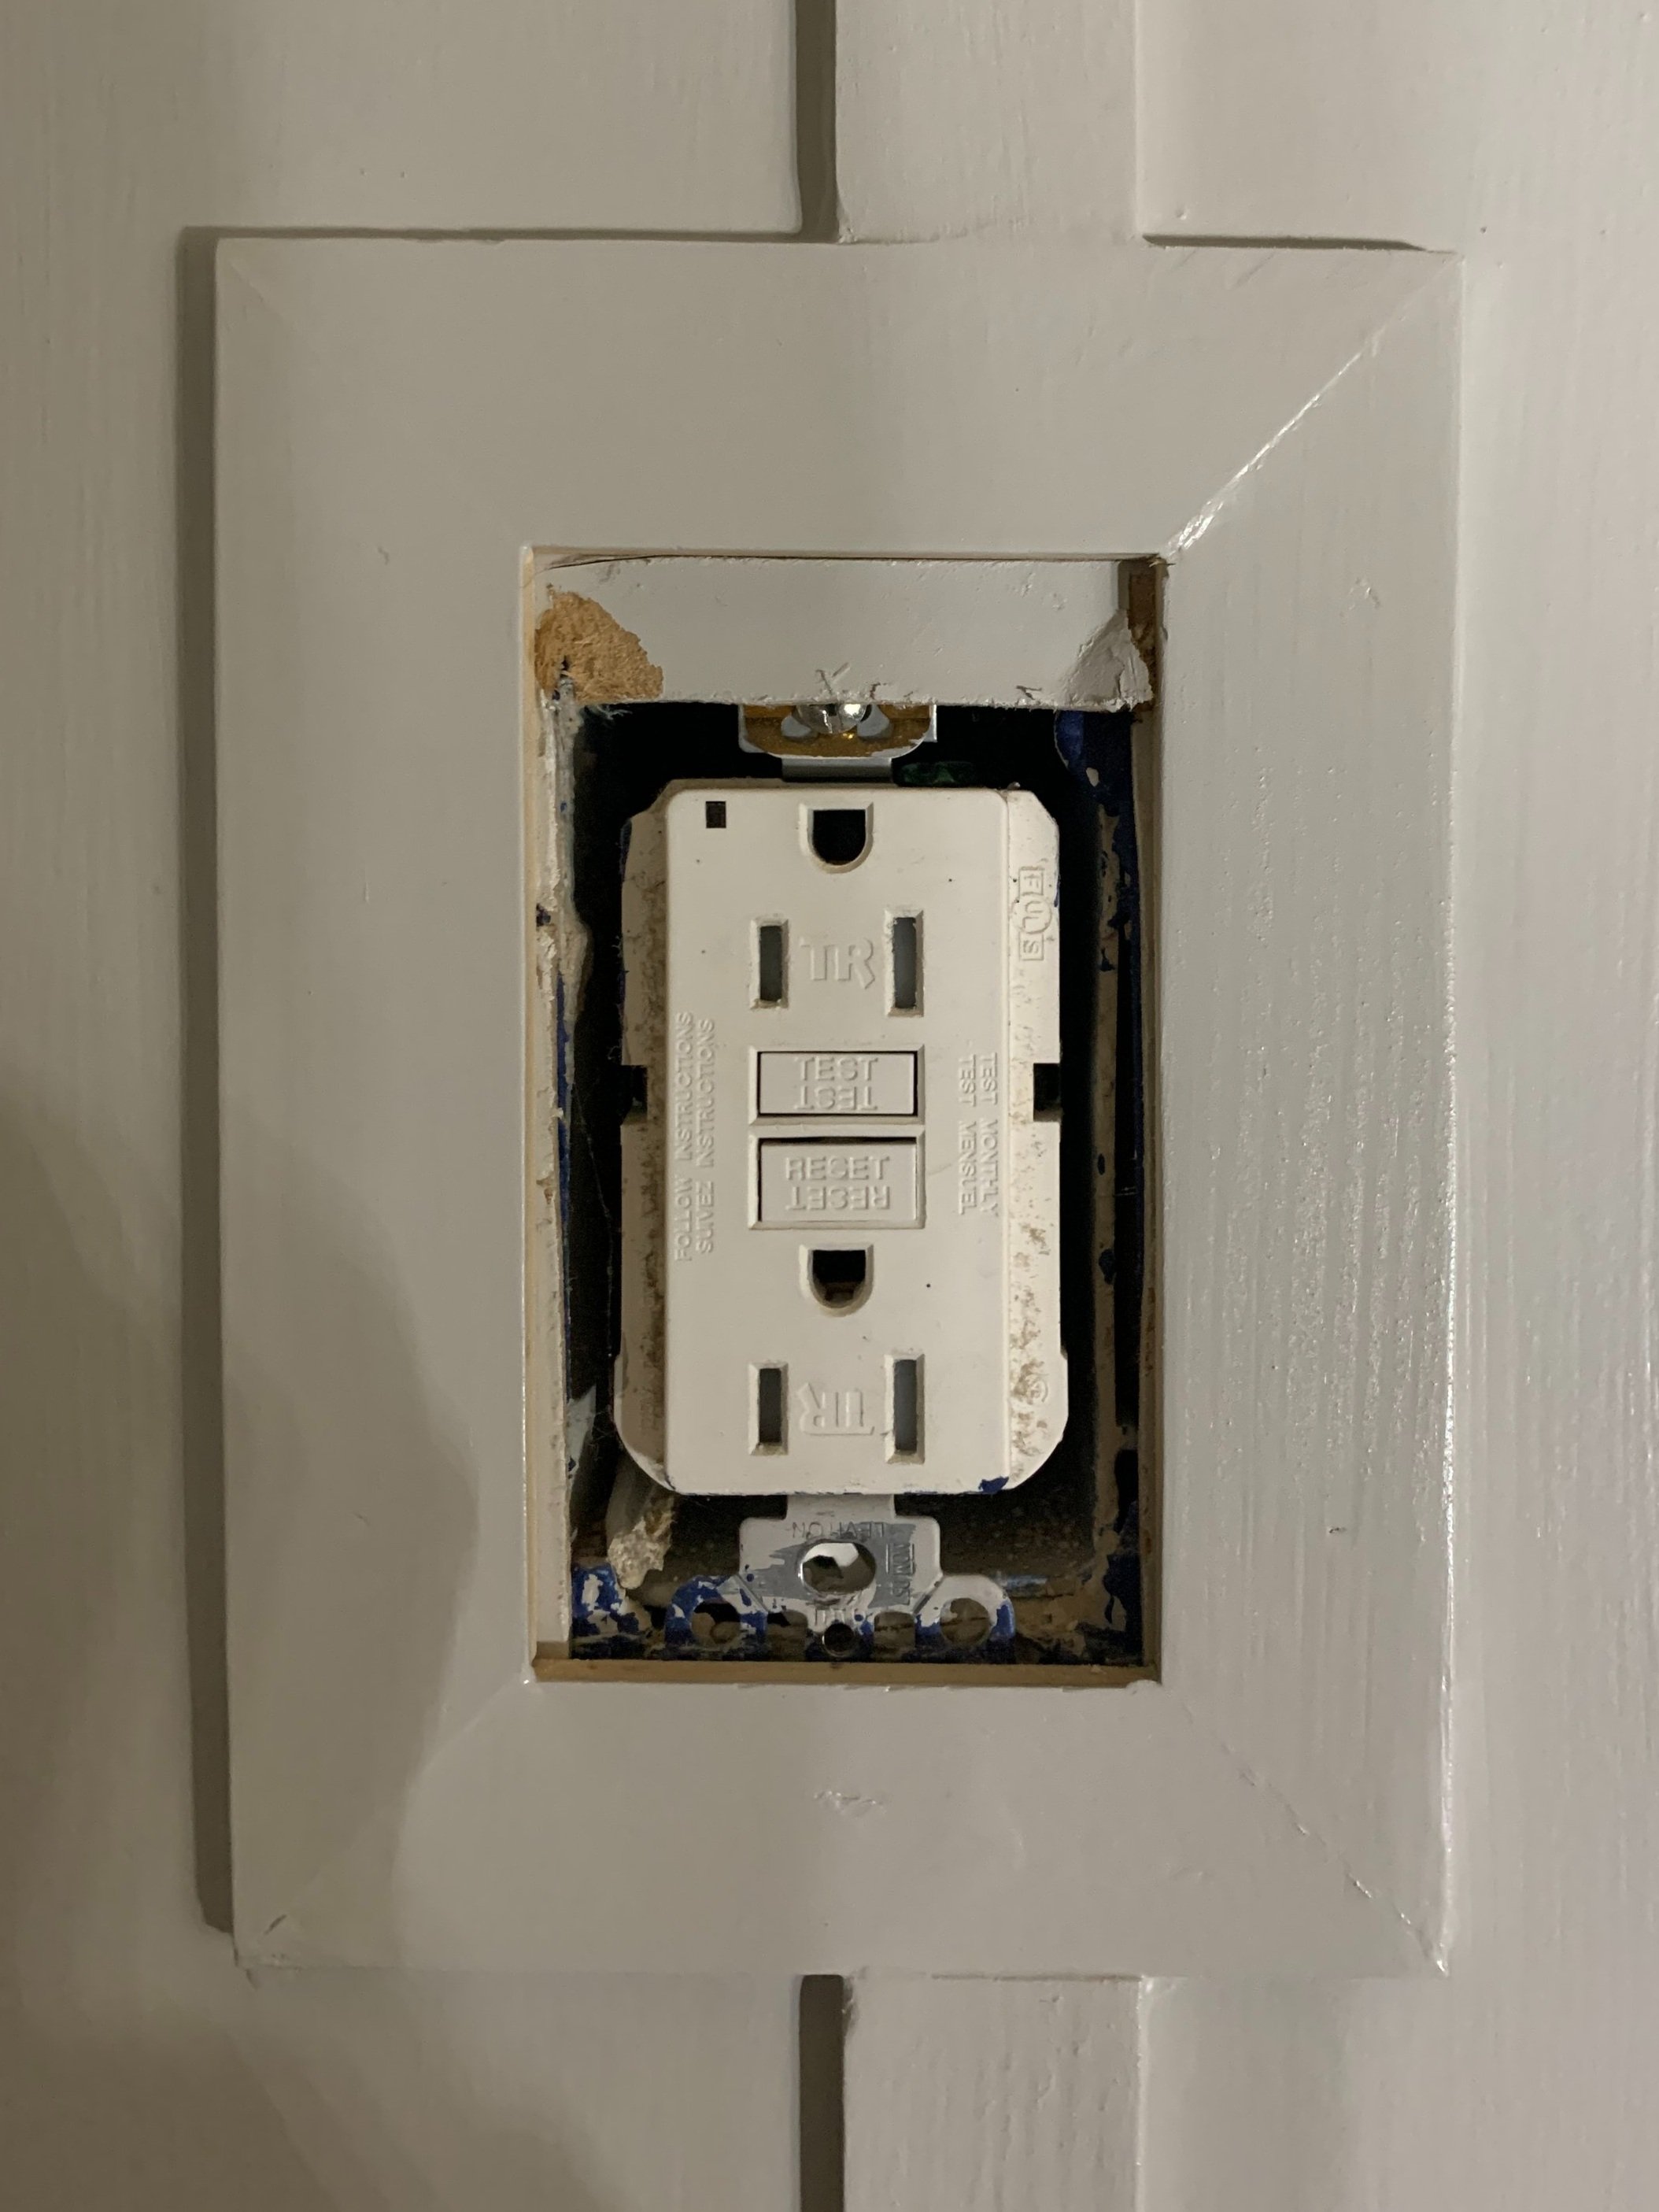
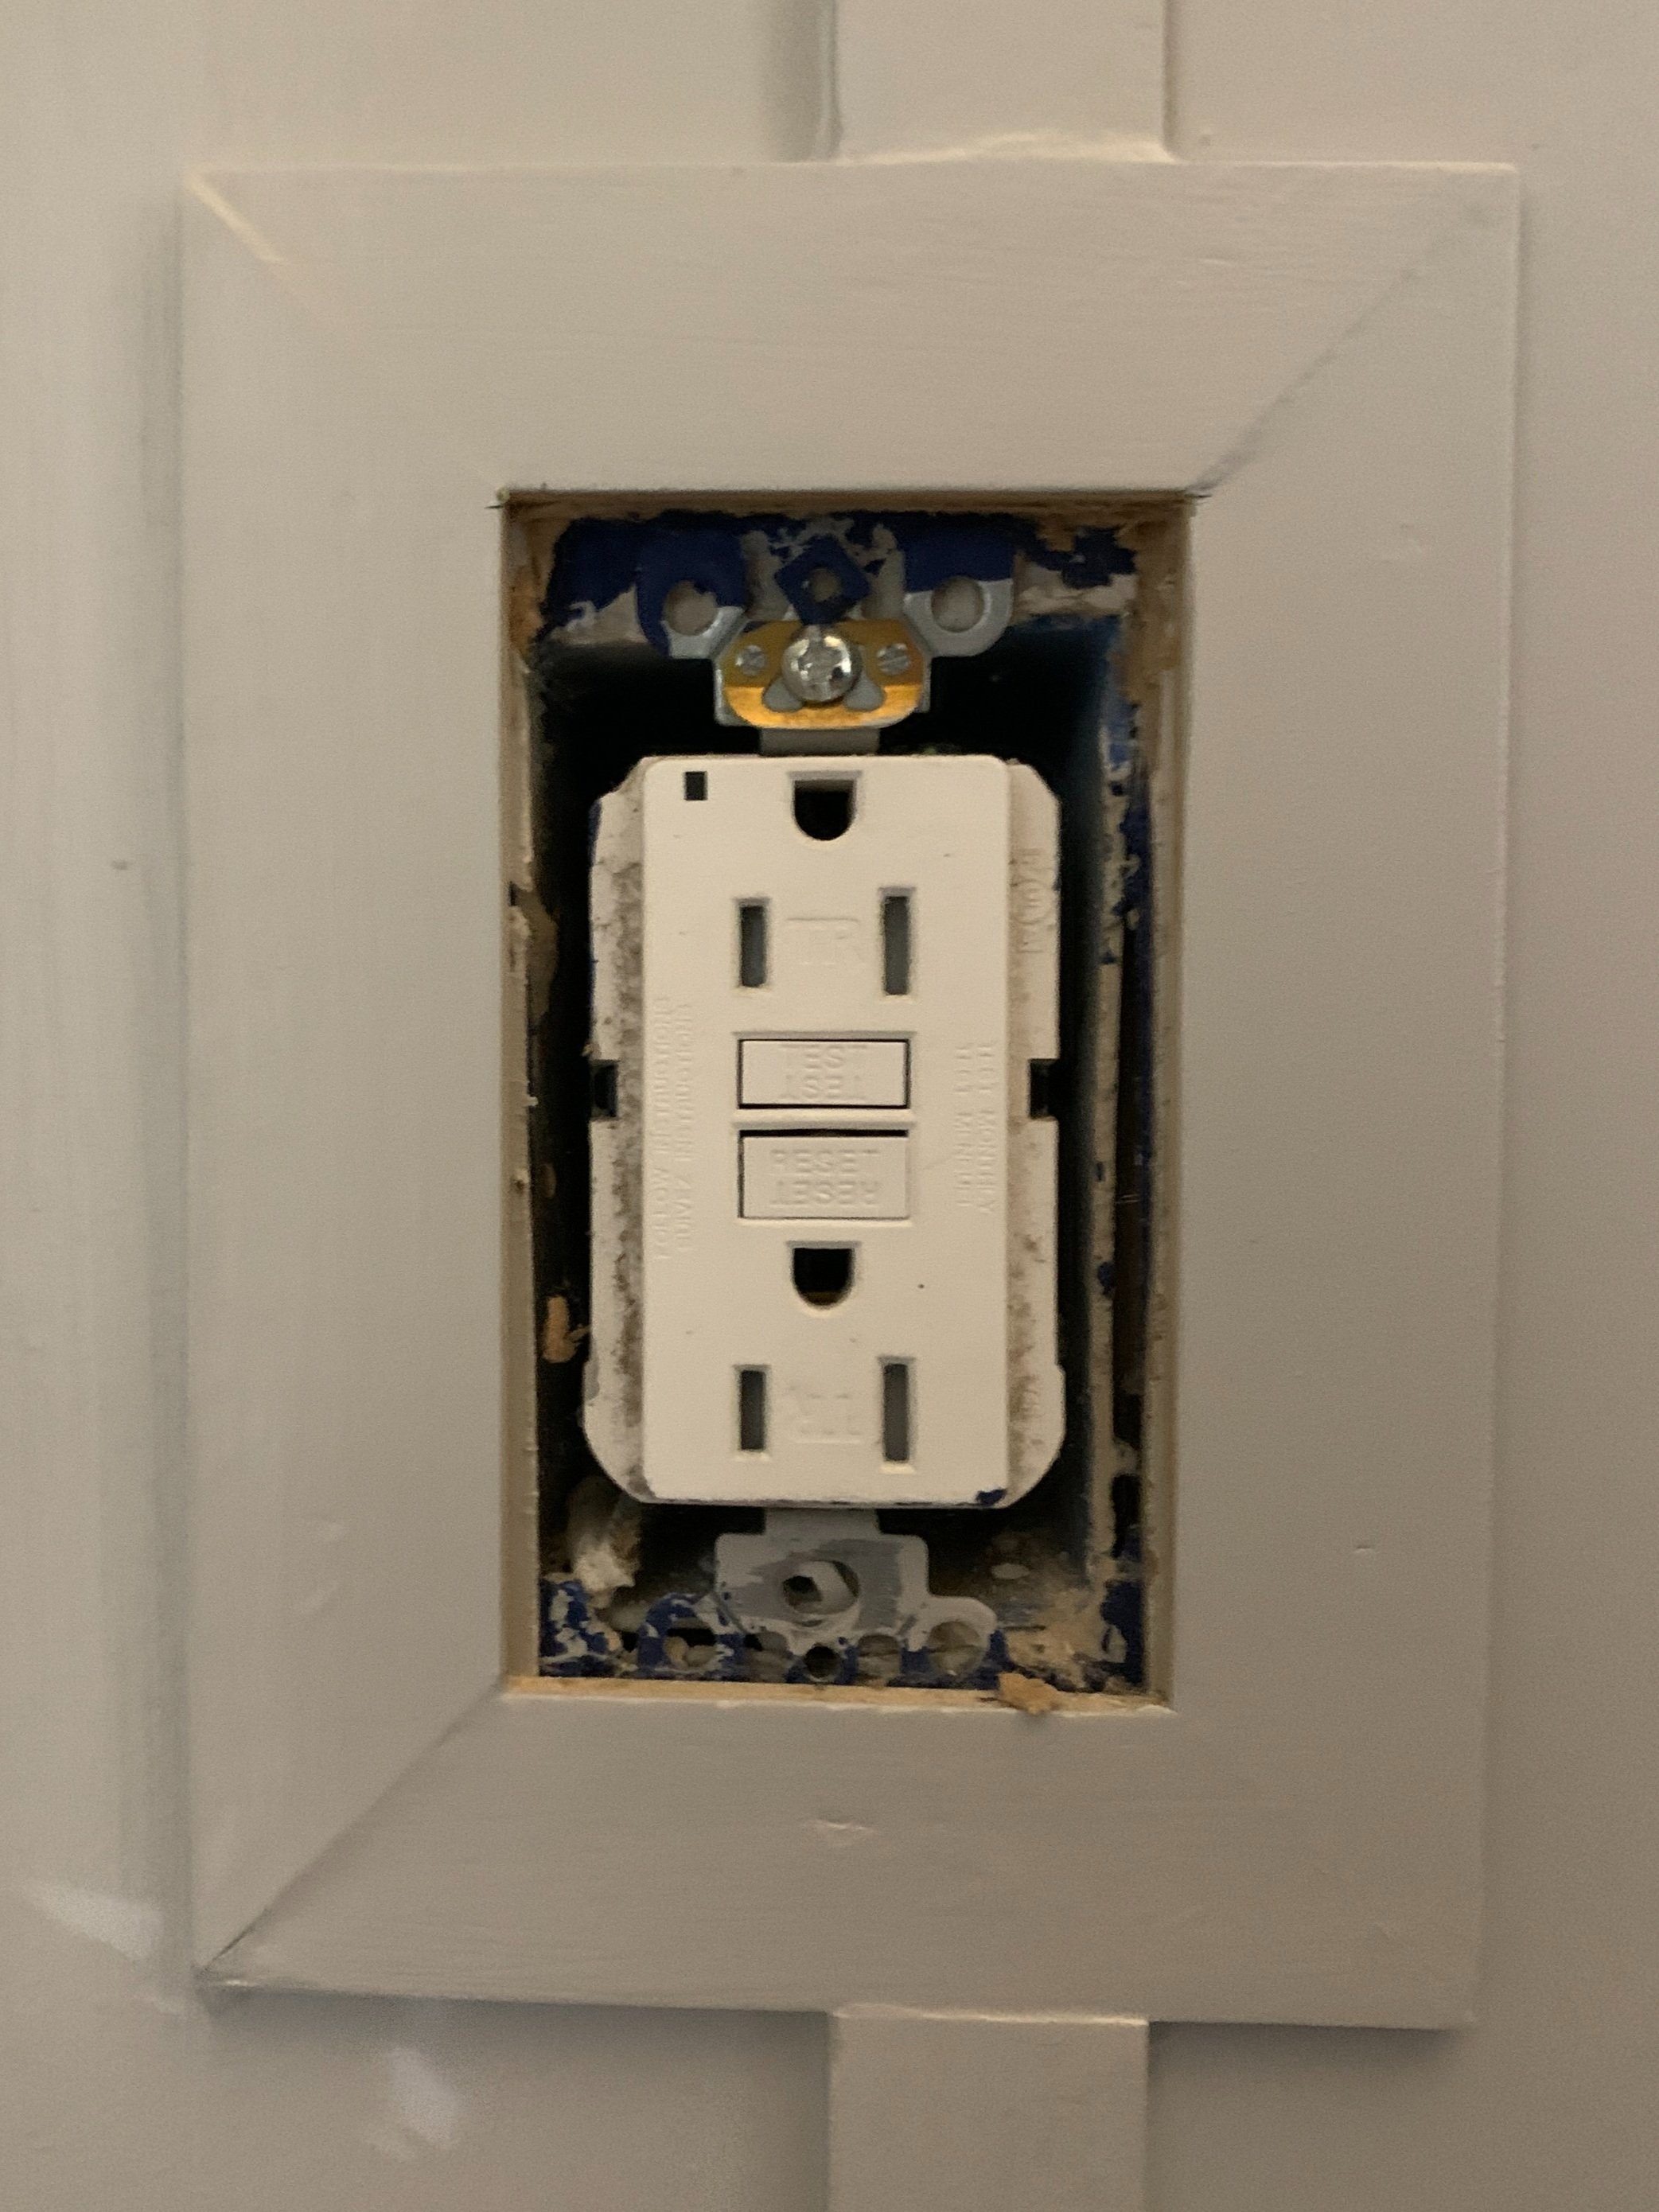
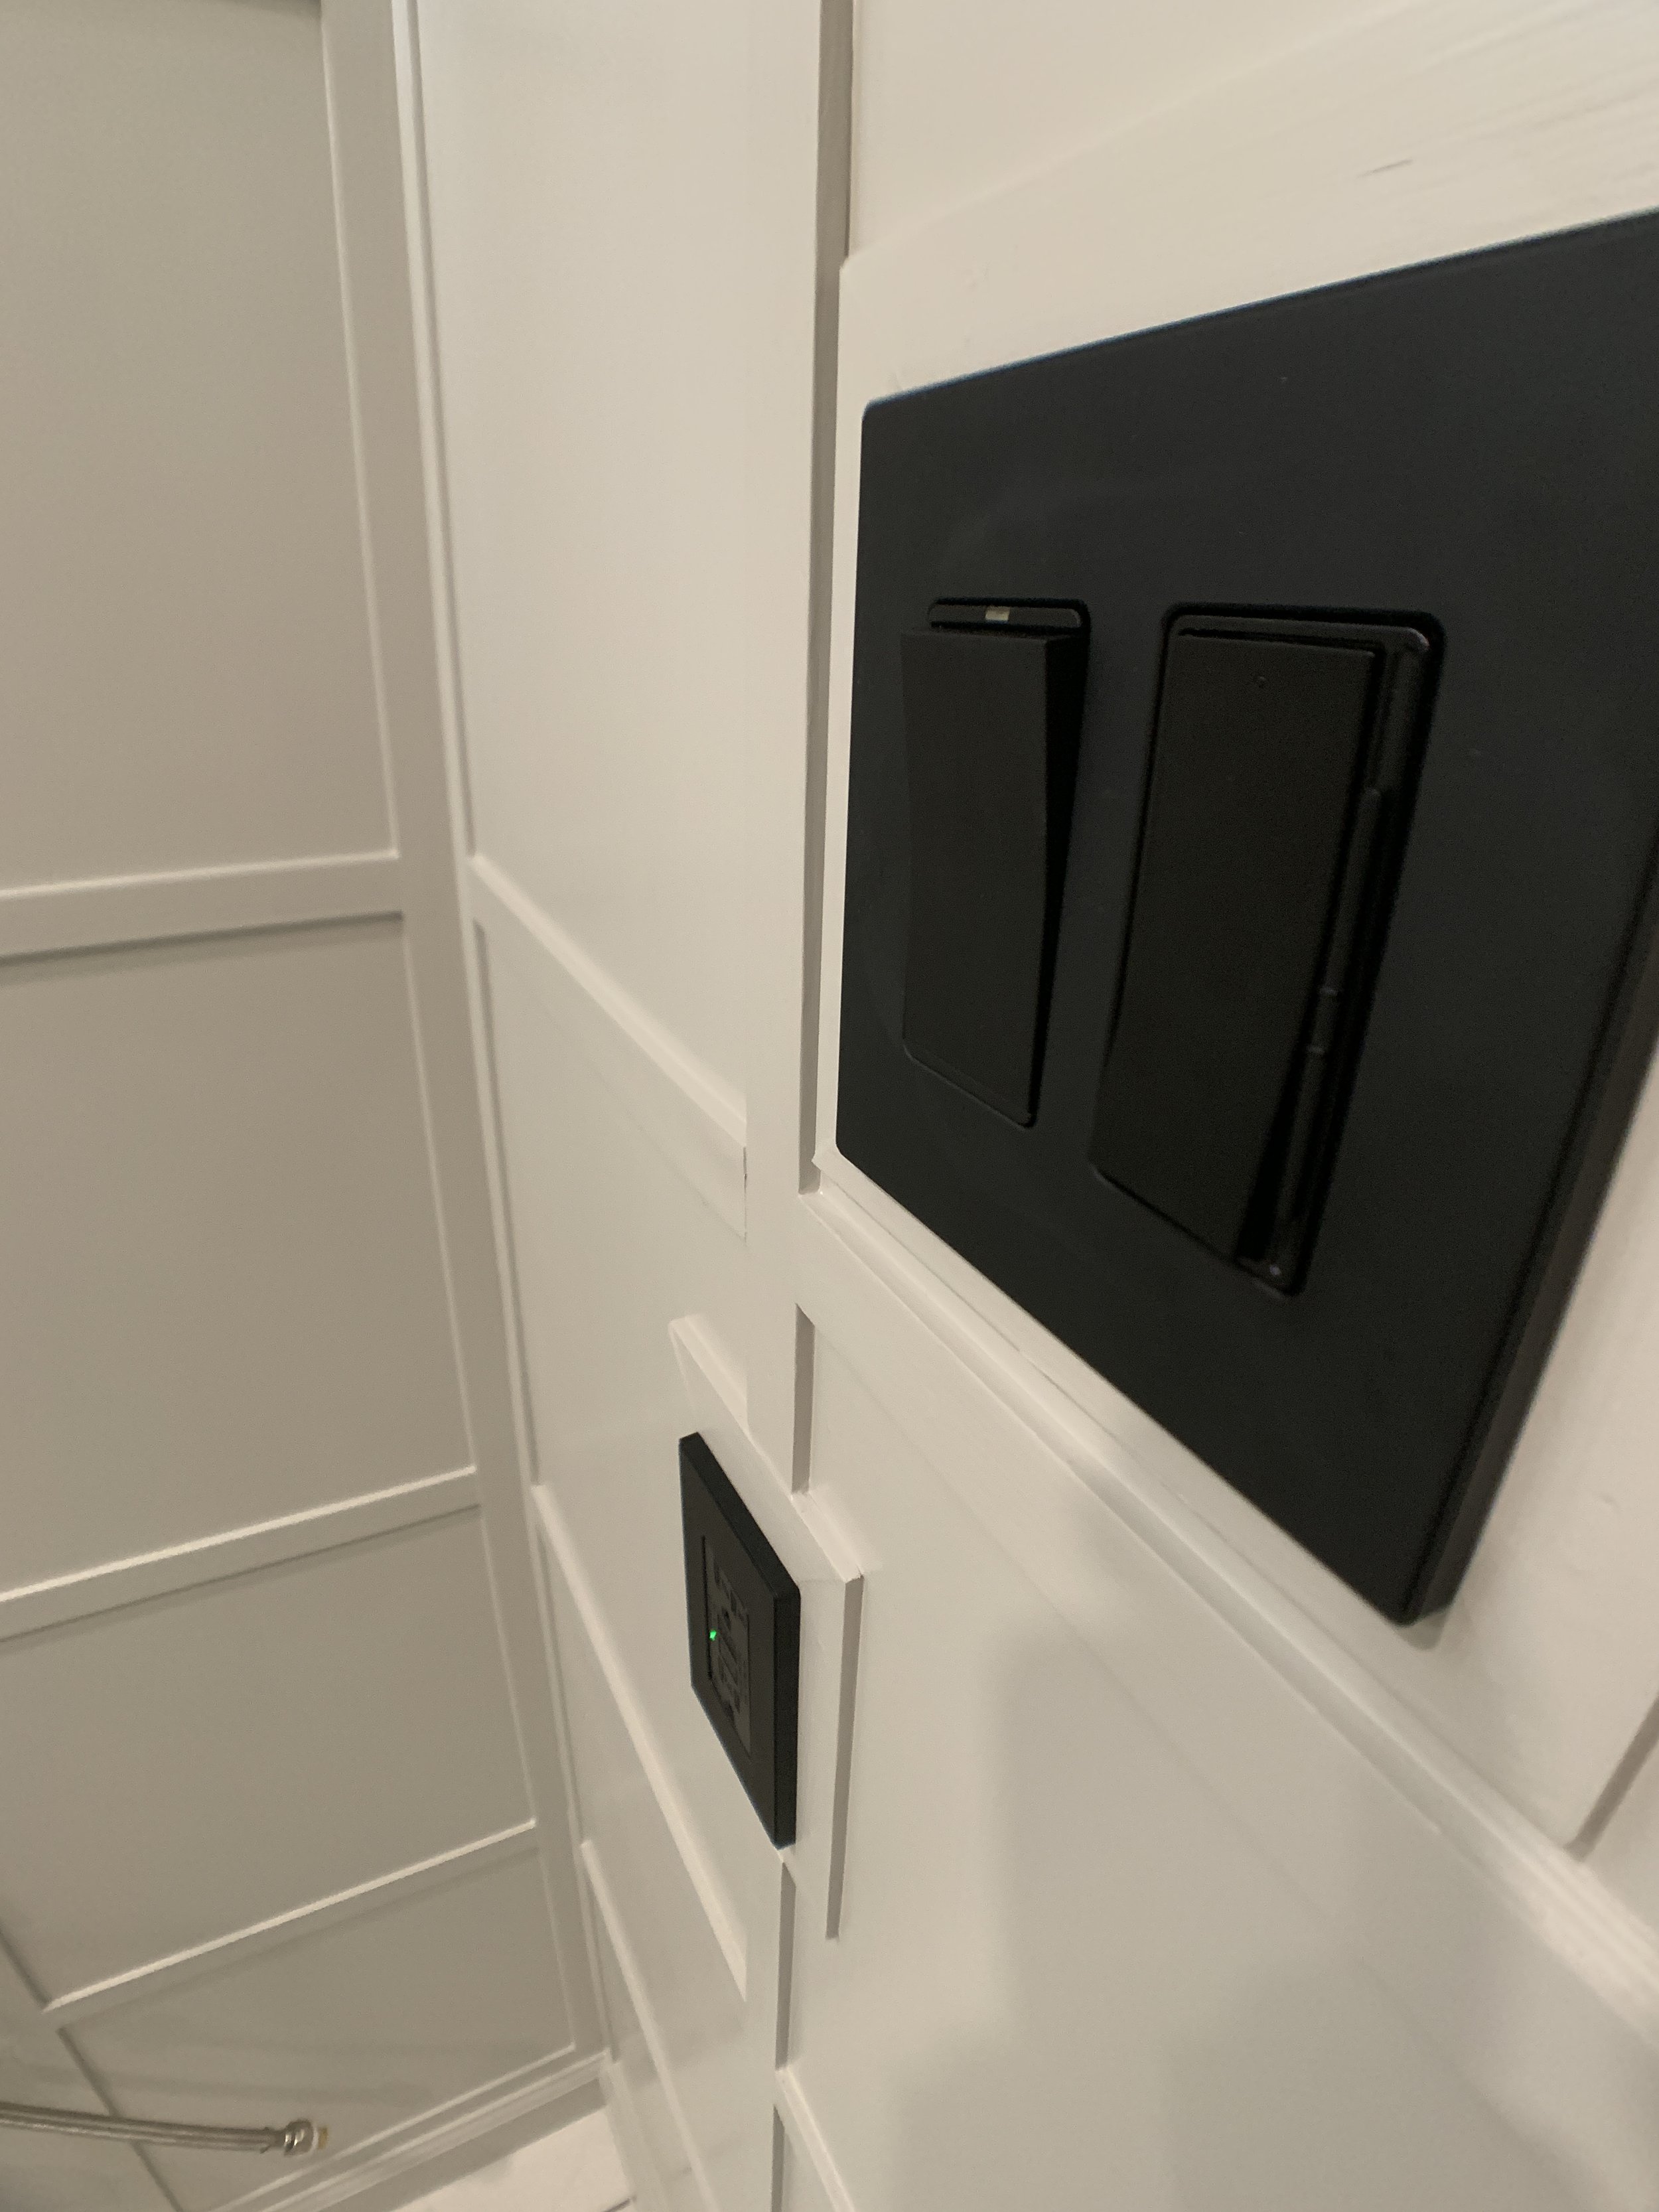
Since one of our gridlines intersects an outlet, I framed it out with lattice and did the light switch to match.

I forgot to get an extra piece of baseboard, so I wasn’t able to do the front of the tub skirt. After another trip to Lowes I got one and plan to paint and install it this coming week to match the walls.
Finishing
Still focusing on the area behind the vanity (and toilet because of easier access while the vanity is out) I wood-filled every nail hole and caulked every seam. Yes, every seam.
Then I painted it all out (in Sherwin Williams Repose Gray). Because I don’t want to remove the toilet and am convinced I can work around it, I came up with a little hack that let me paint the top of the horizontal trim piece that runs behind the toilet.

Honestly no one will really probably see this tiny strip of raw wood hidden behind the toilet. But I’ll know. And now just in case any of our guests decides to squish their face onto our wall behind the toilet it will look perfect. So what is this hack, you ask?

Yes, this is a paint brush taped onto a paint stir stick. Pretty low rent, but in a matter of minutes the job is done.
And yes, don’t worry I went back and got the two little bald spots on the vertical lattice pieces seen at the and of the video too.

Because we’re still using this bathroom and want to get it back to being more functional as quickly as possible and focusing on the vanity corner, I still need to caulk and paint the other long wall of the bathroom.
I also made sure to put the old electrical covers back on the wall just for safety so we didn’t accidentally shock ourselves when I wasn’t in there working. Which leads me to…
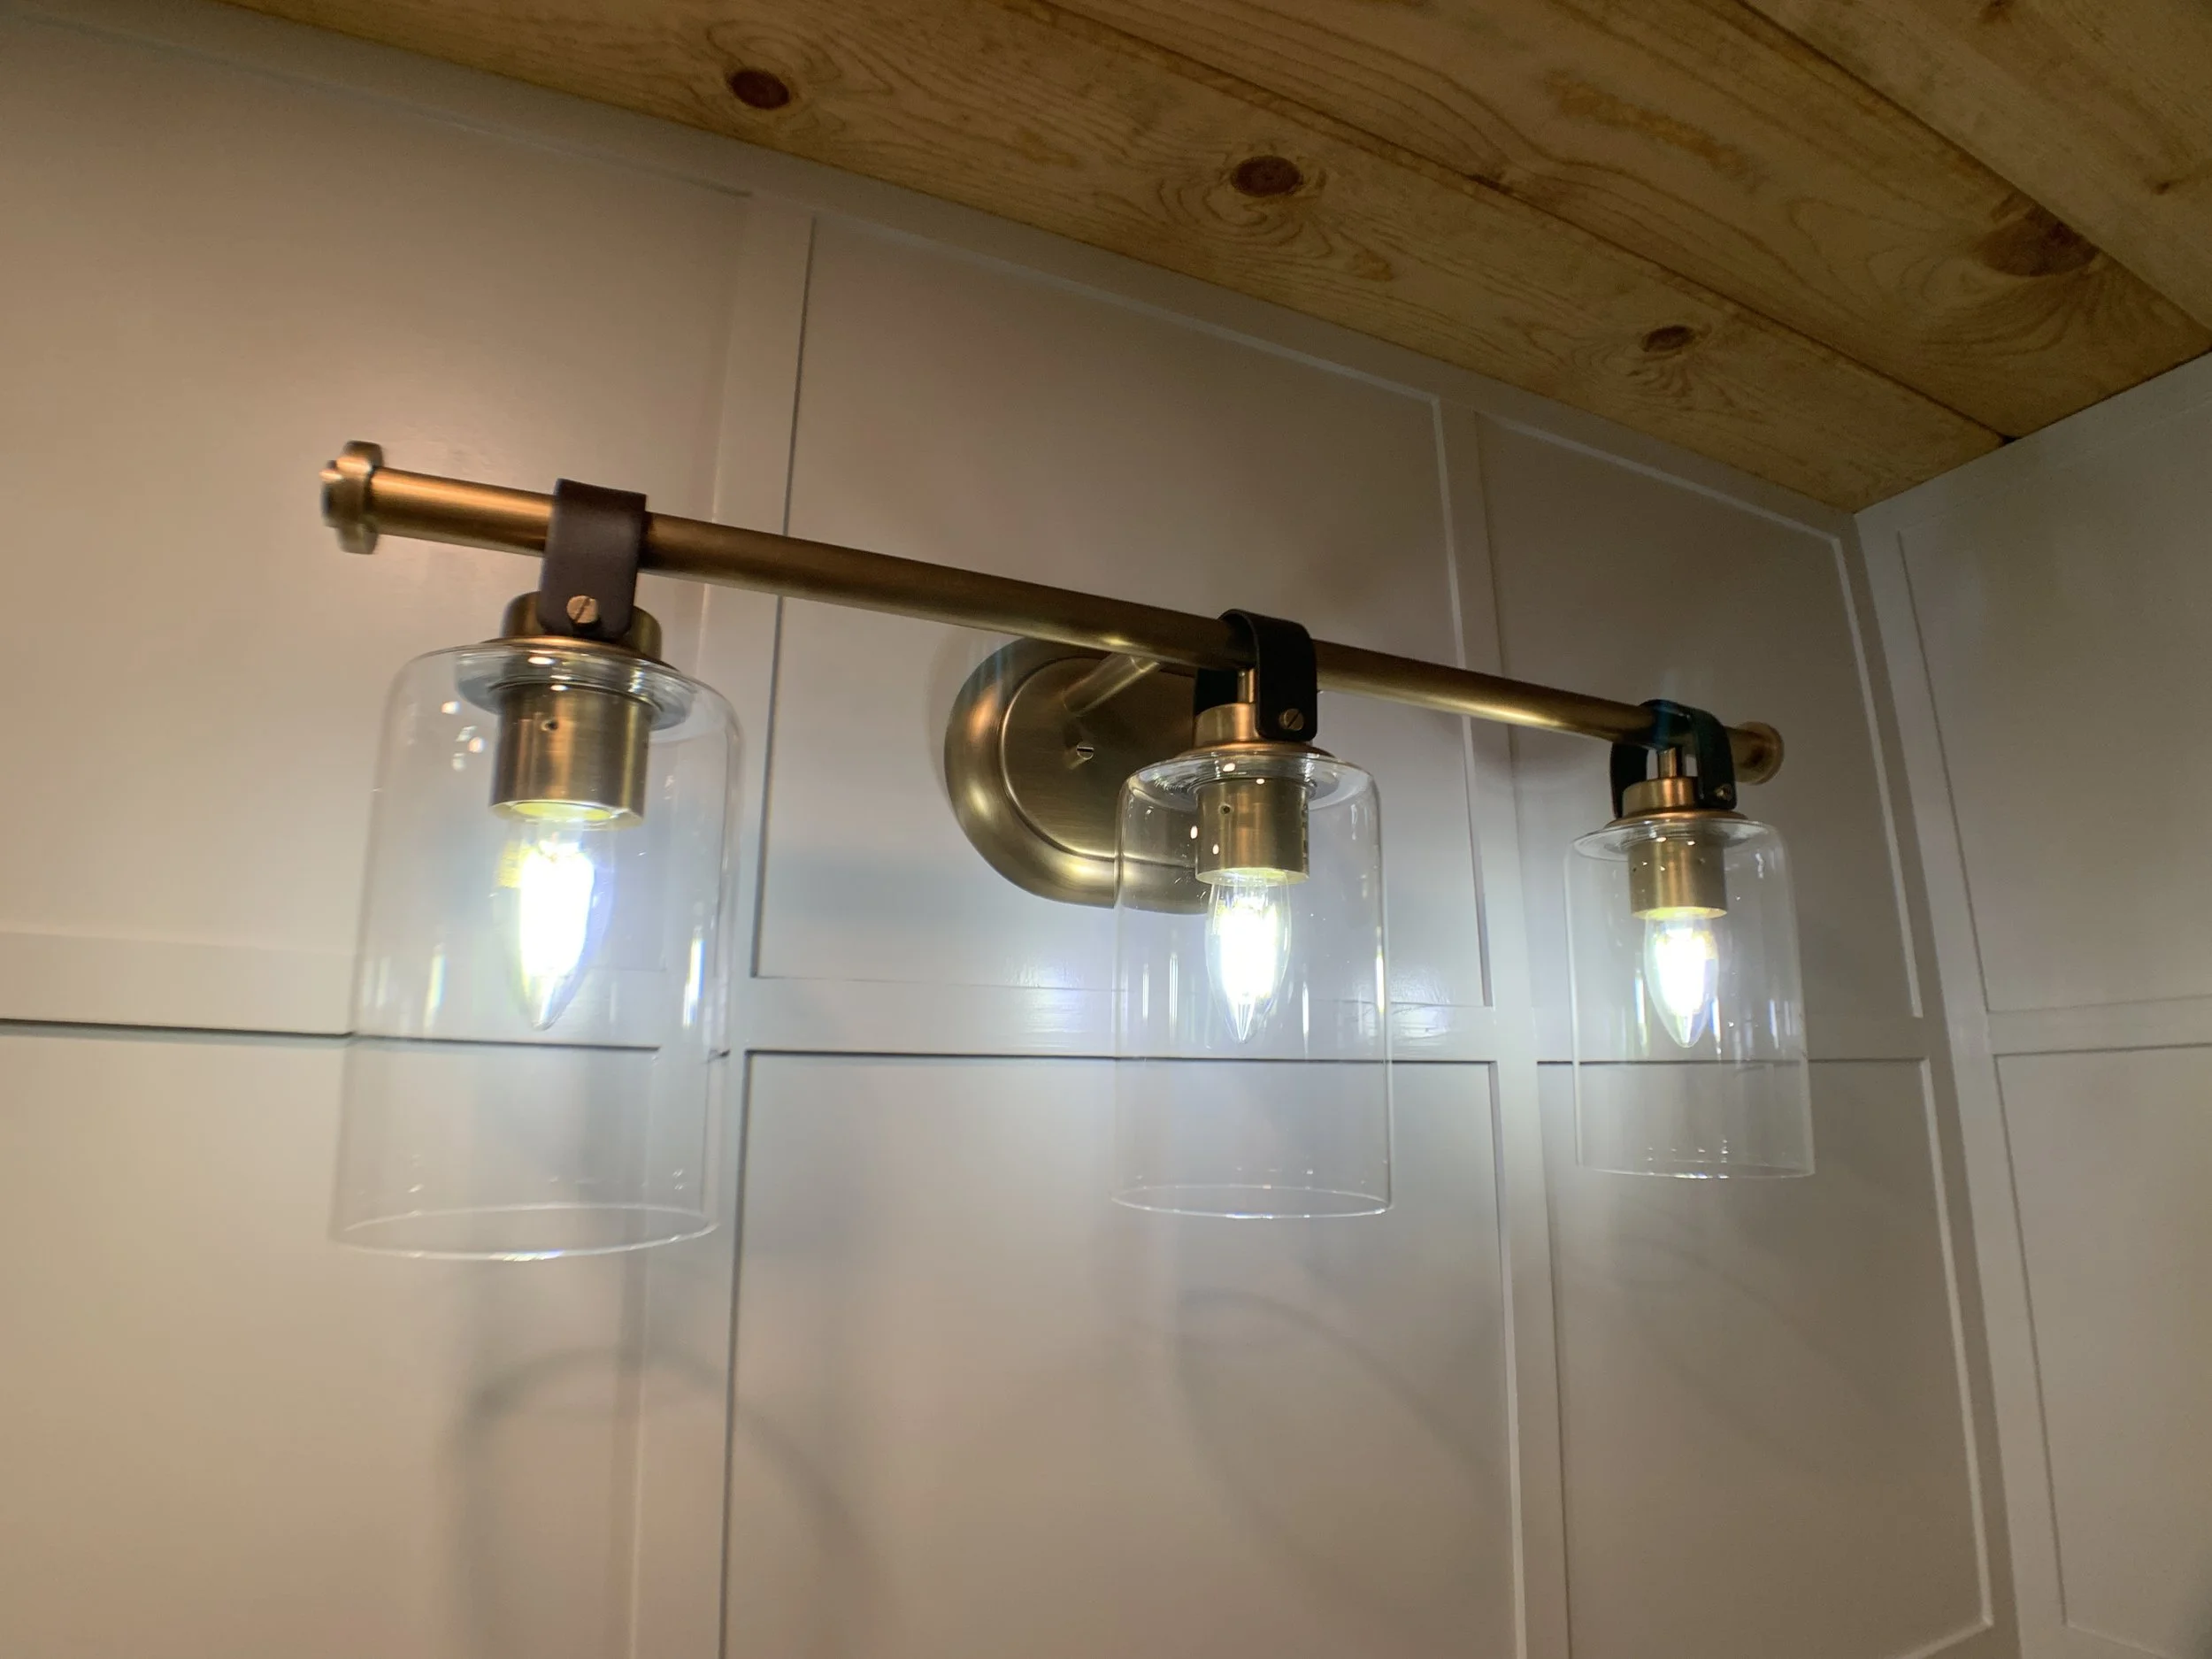
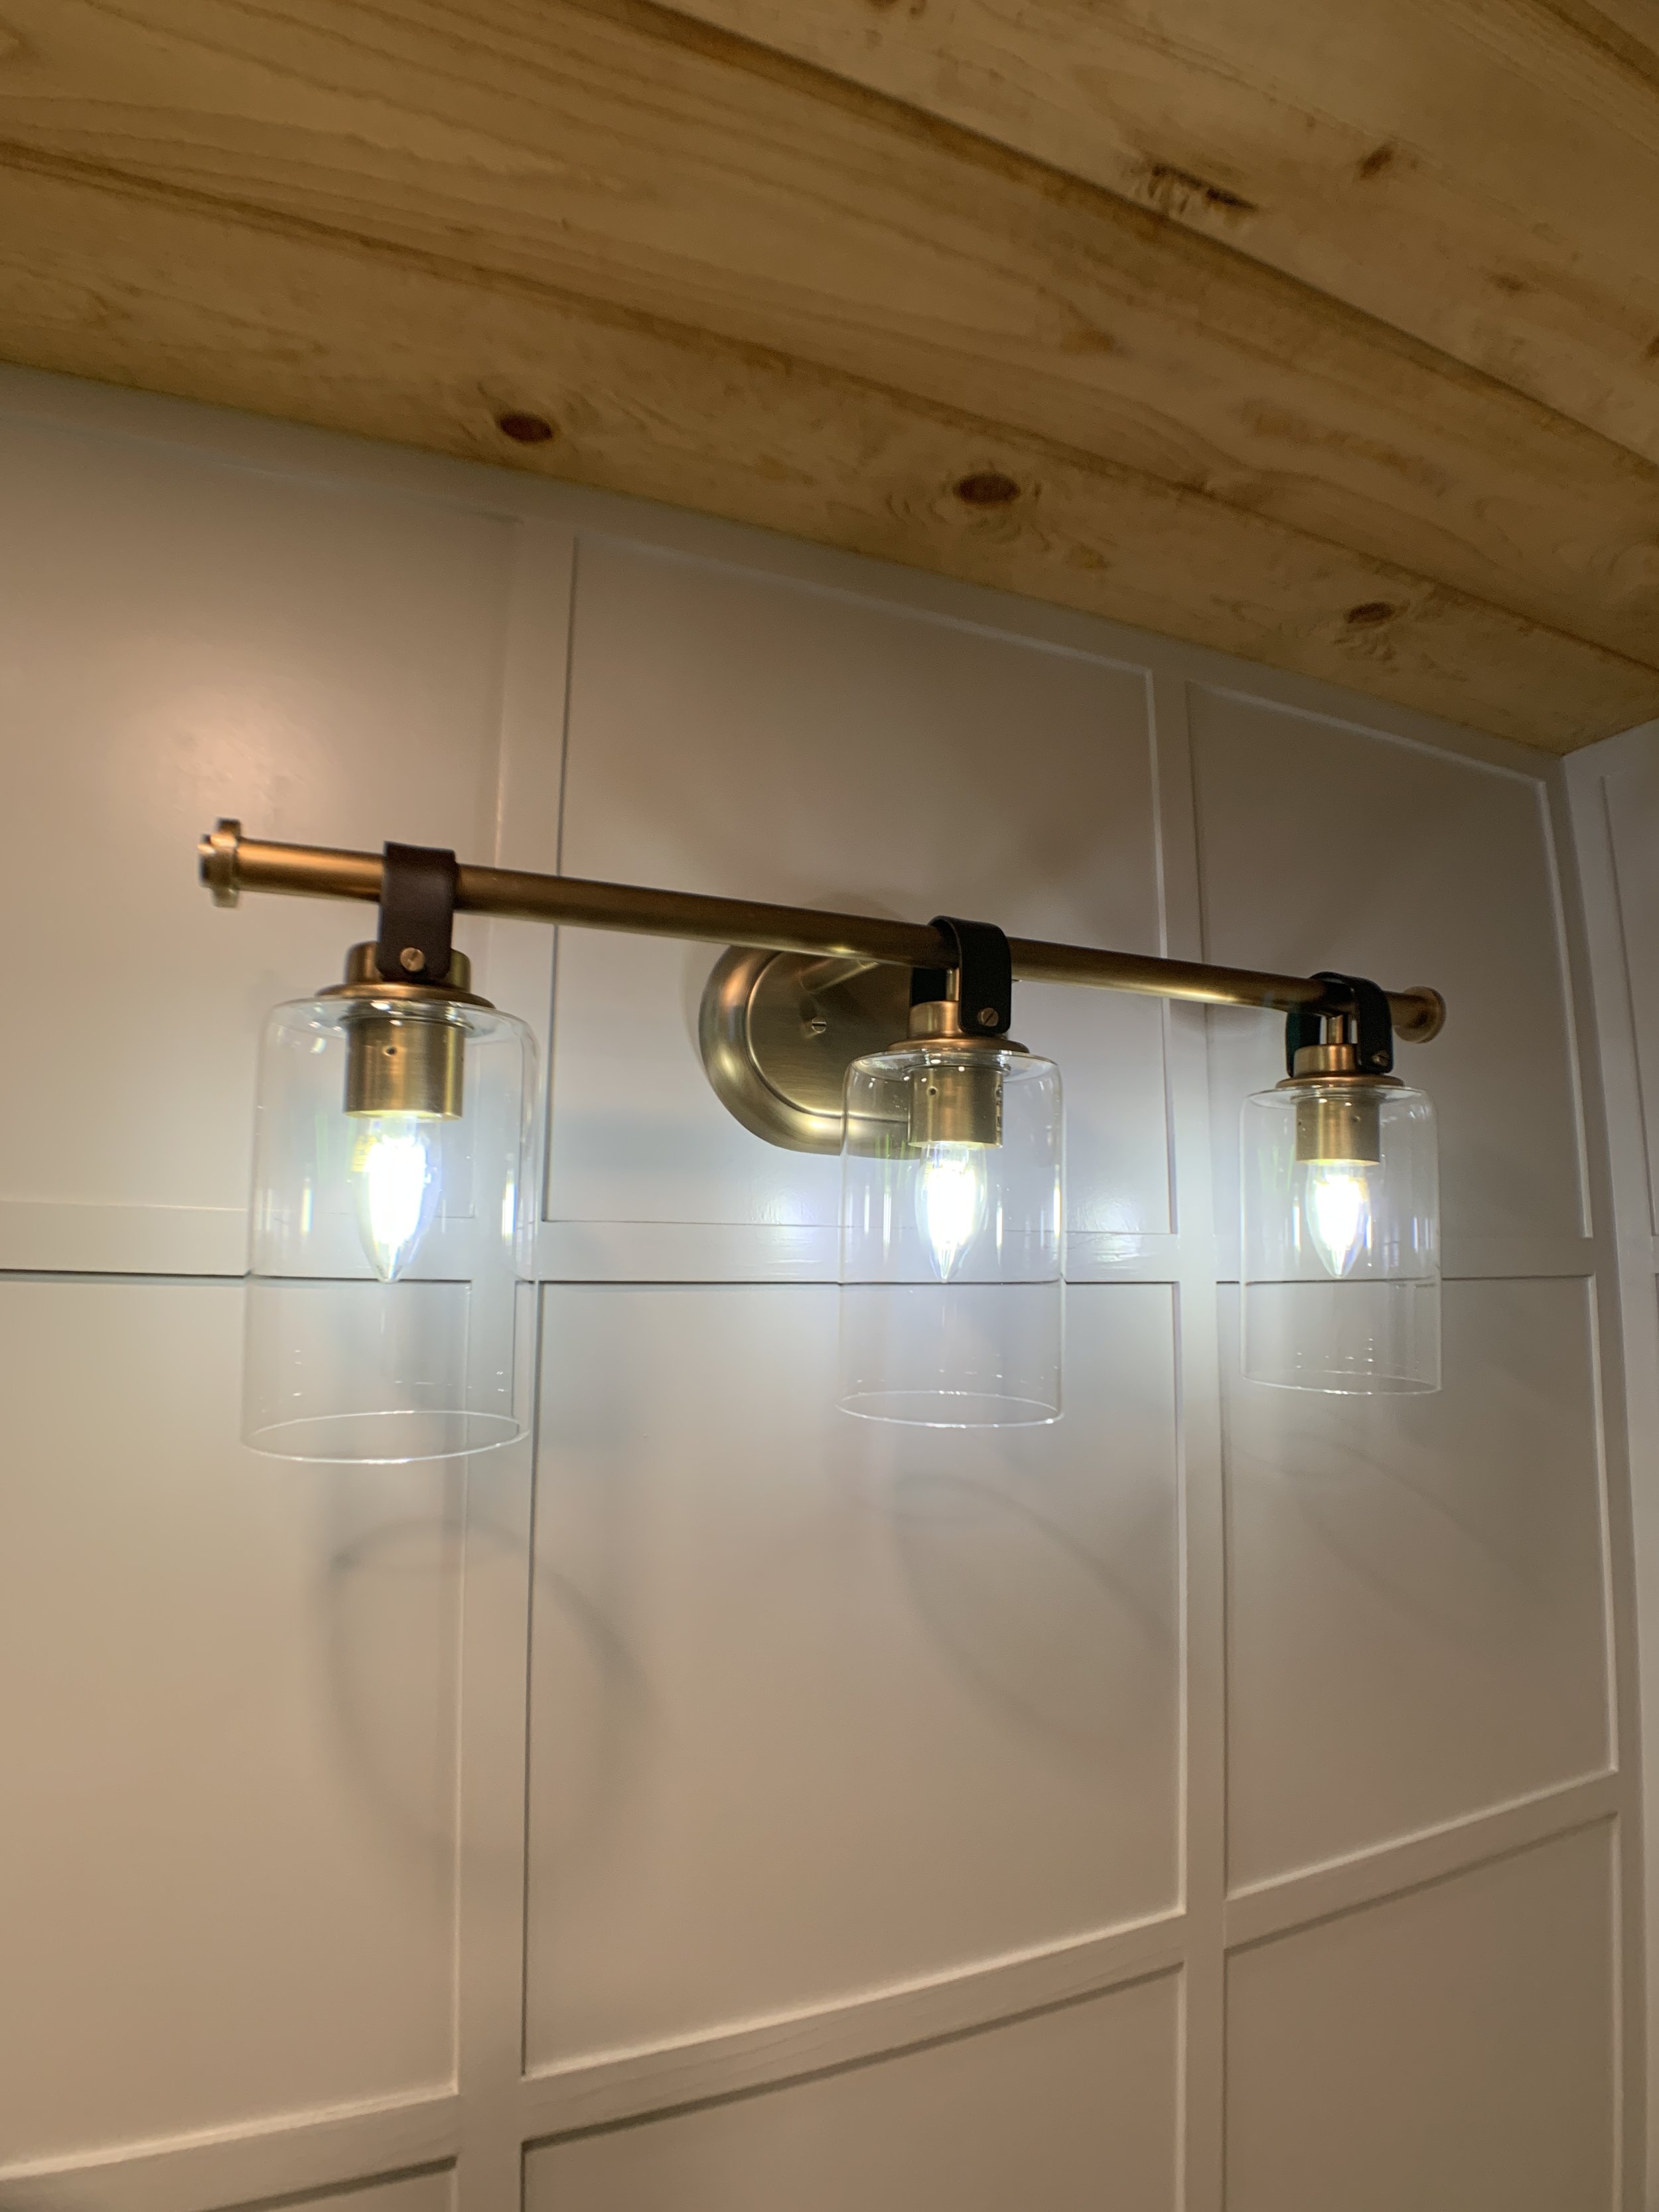
New vanity light install + electrical update
With the vanity light/electrical outlet/light switch wall area mouldings complete, we worked on wiring up our new vanity light and swapping out the switch + outlet.

We installed a new GFCI outlet, a switch for our fan and swapped the light switch for a dimming light switch.
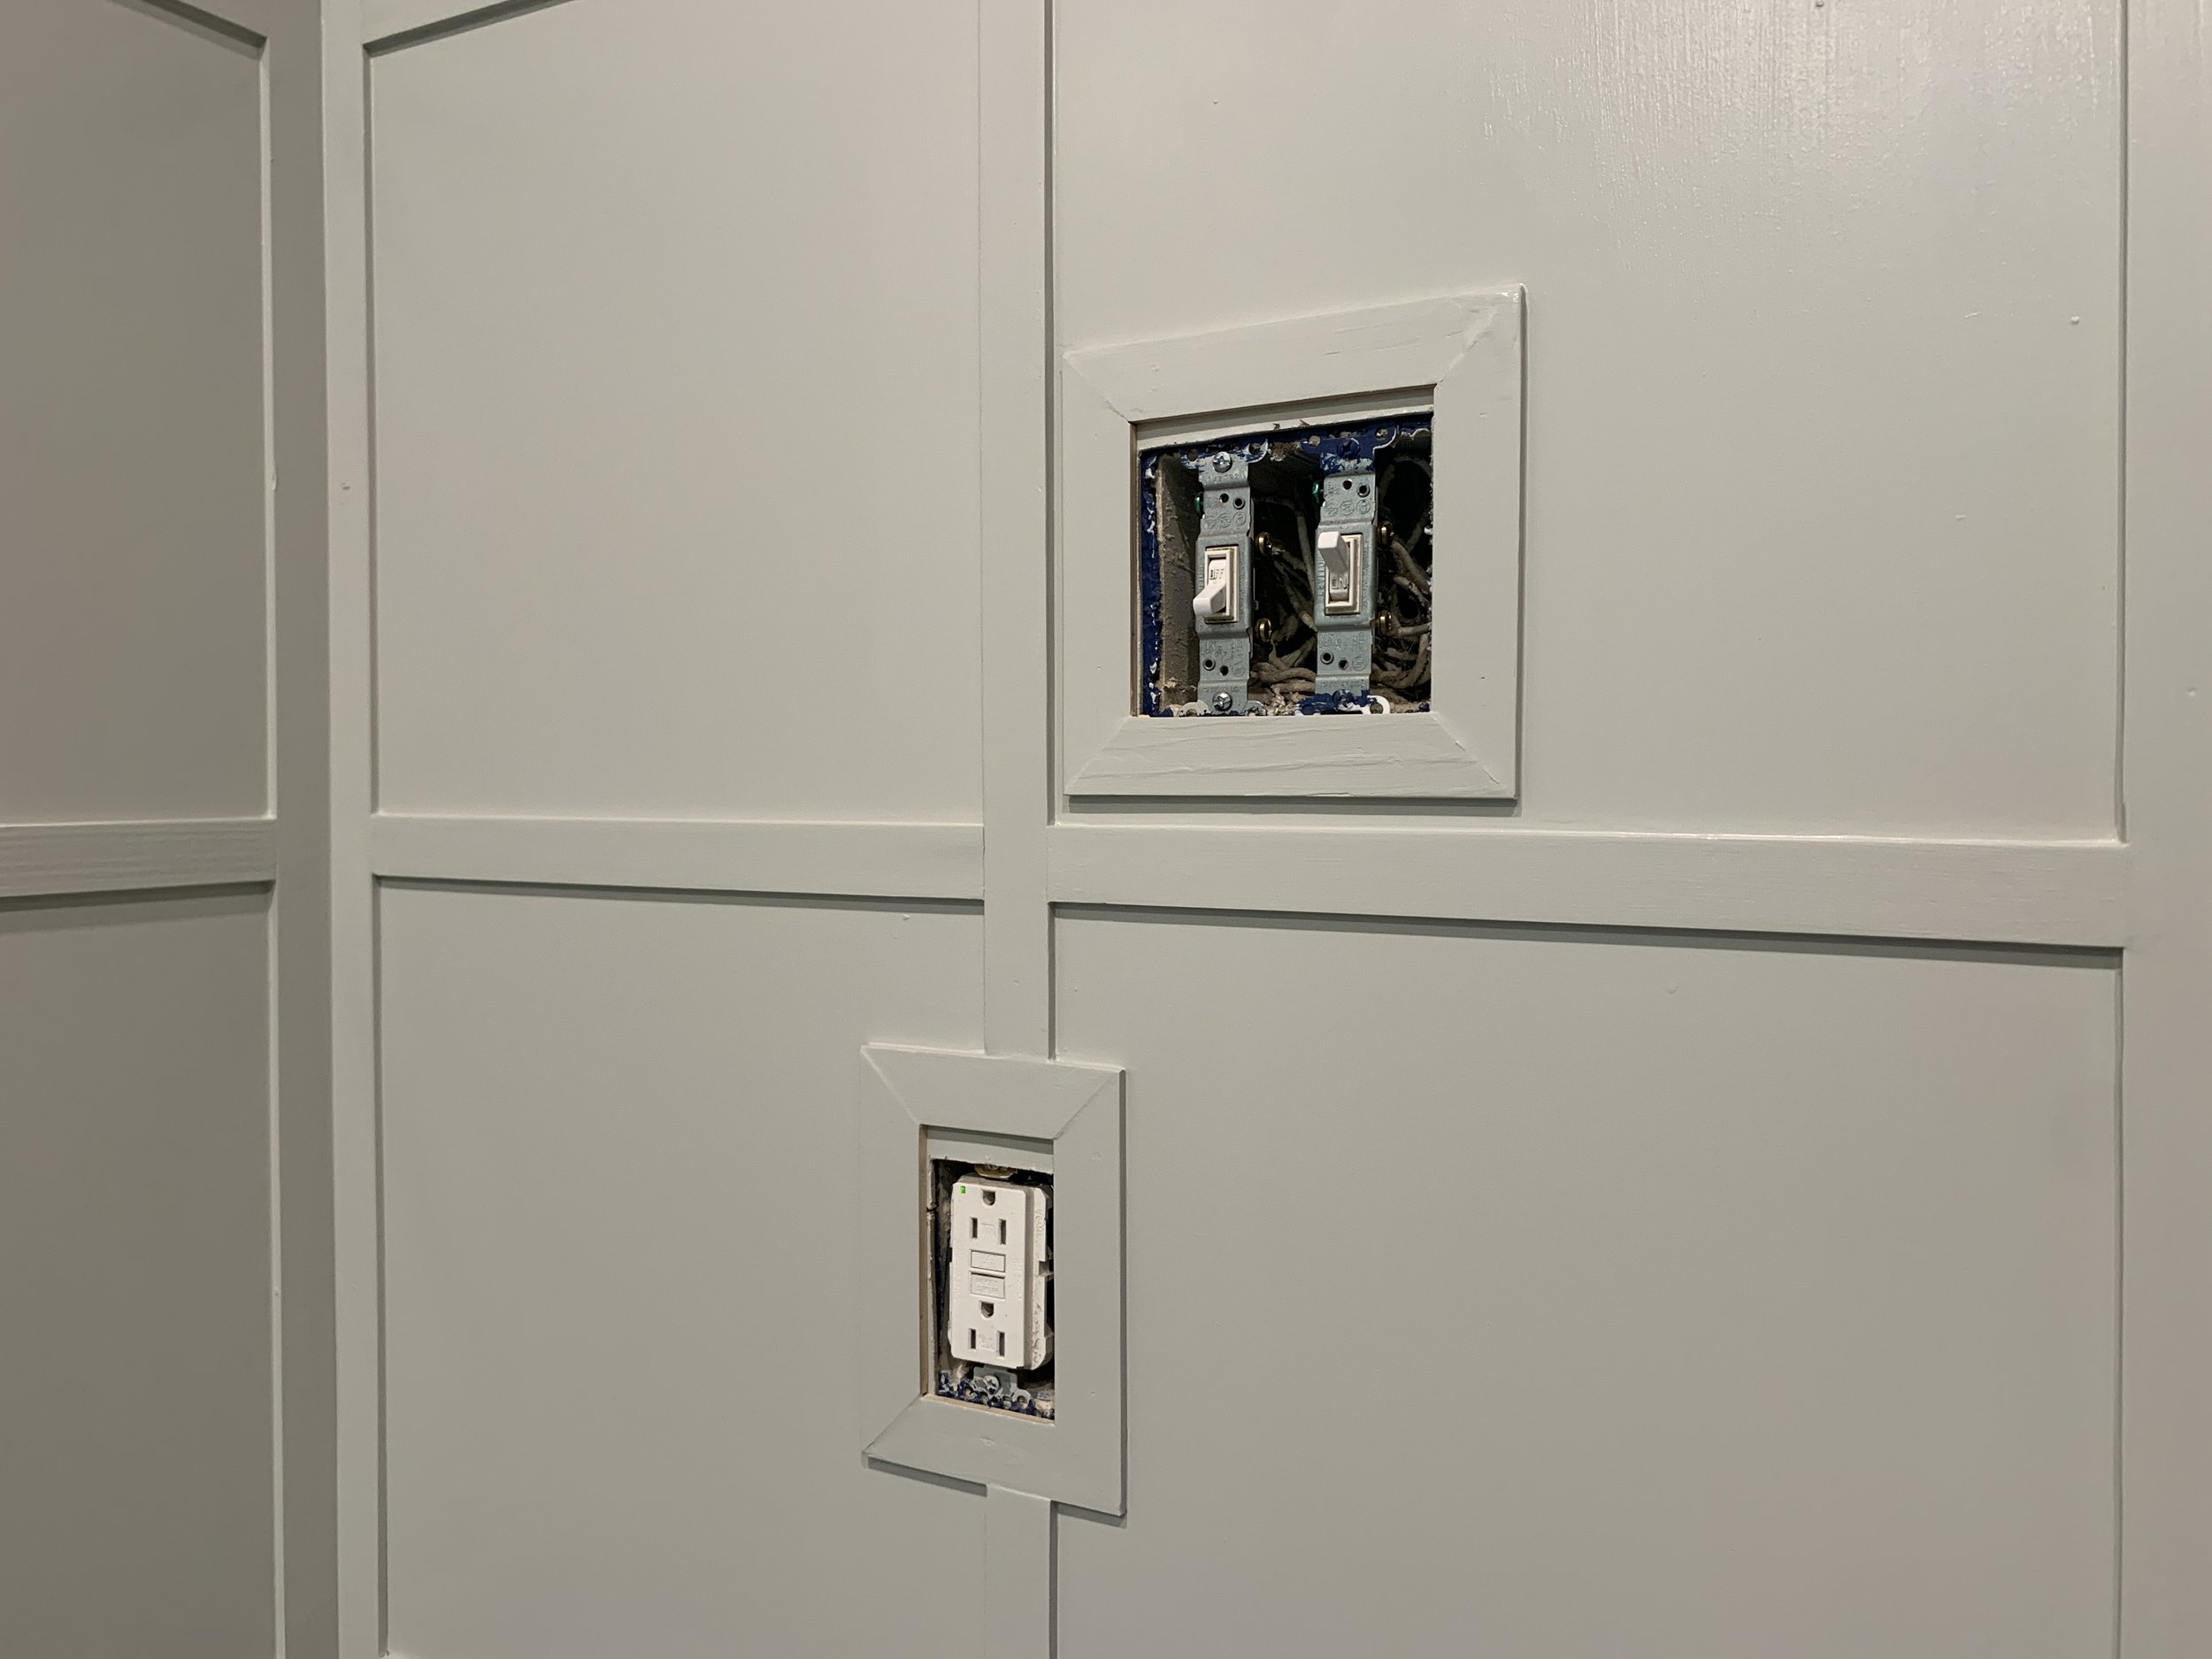
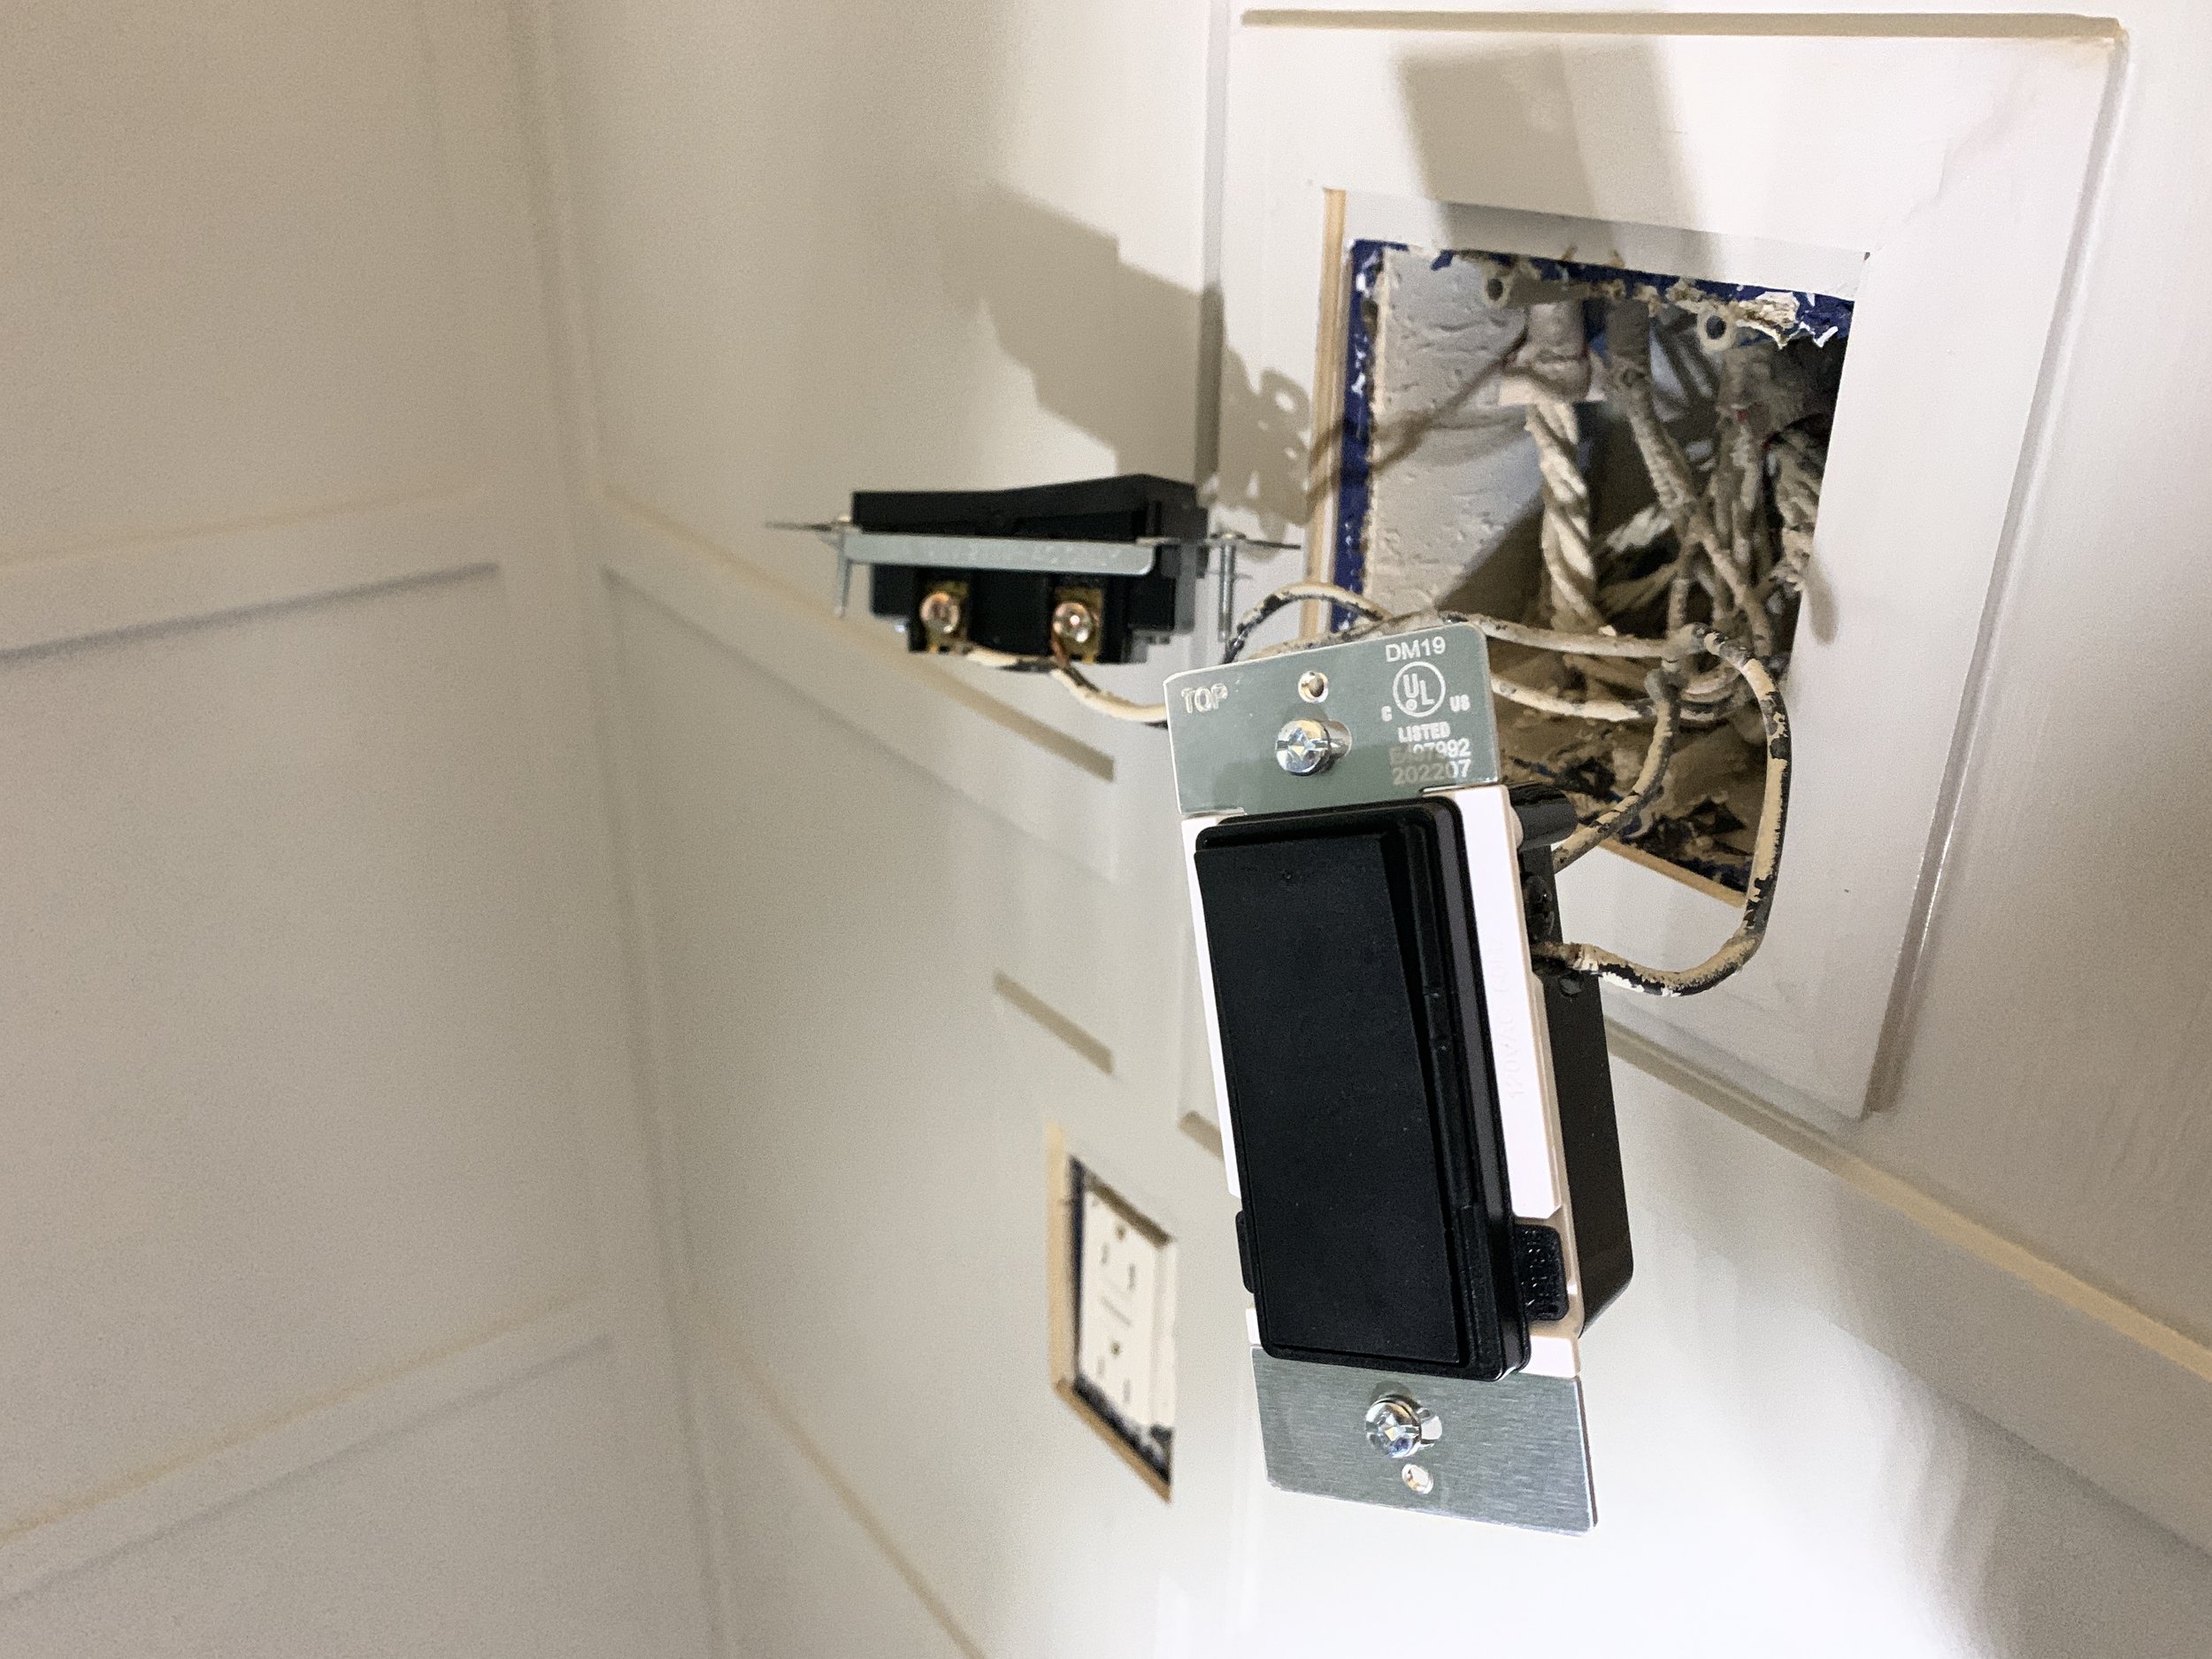
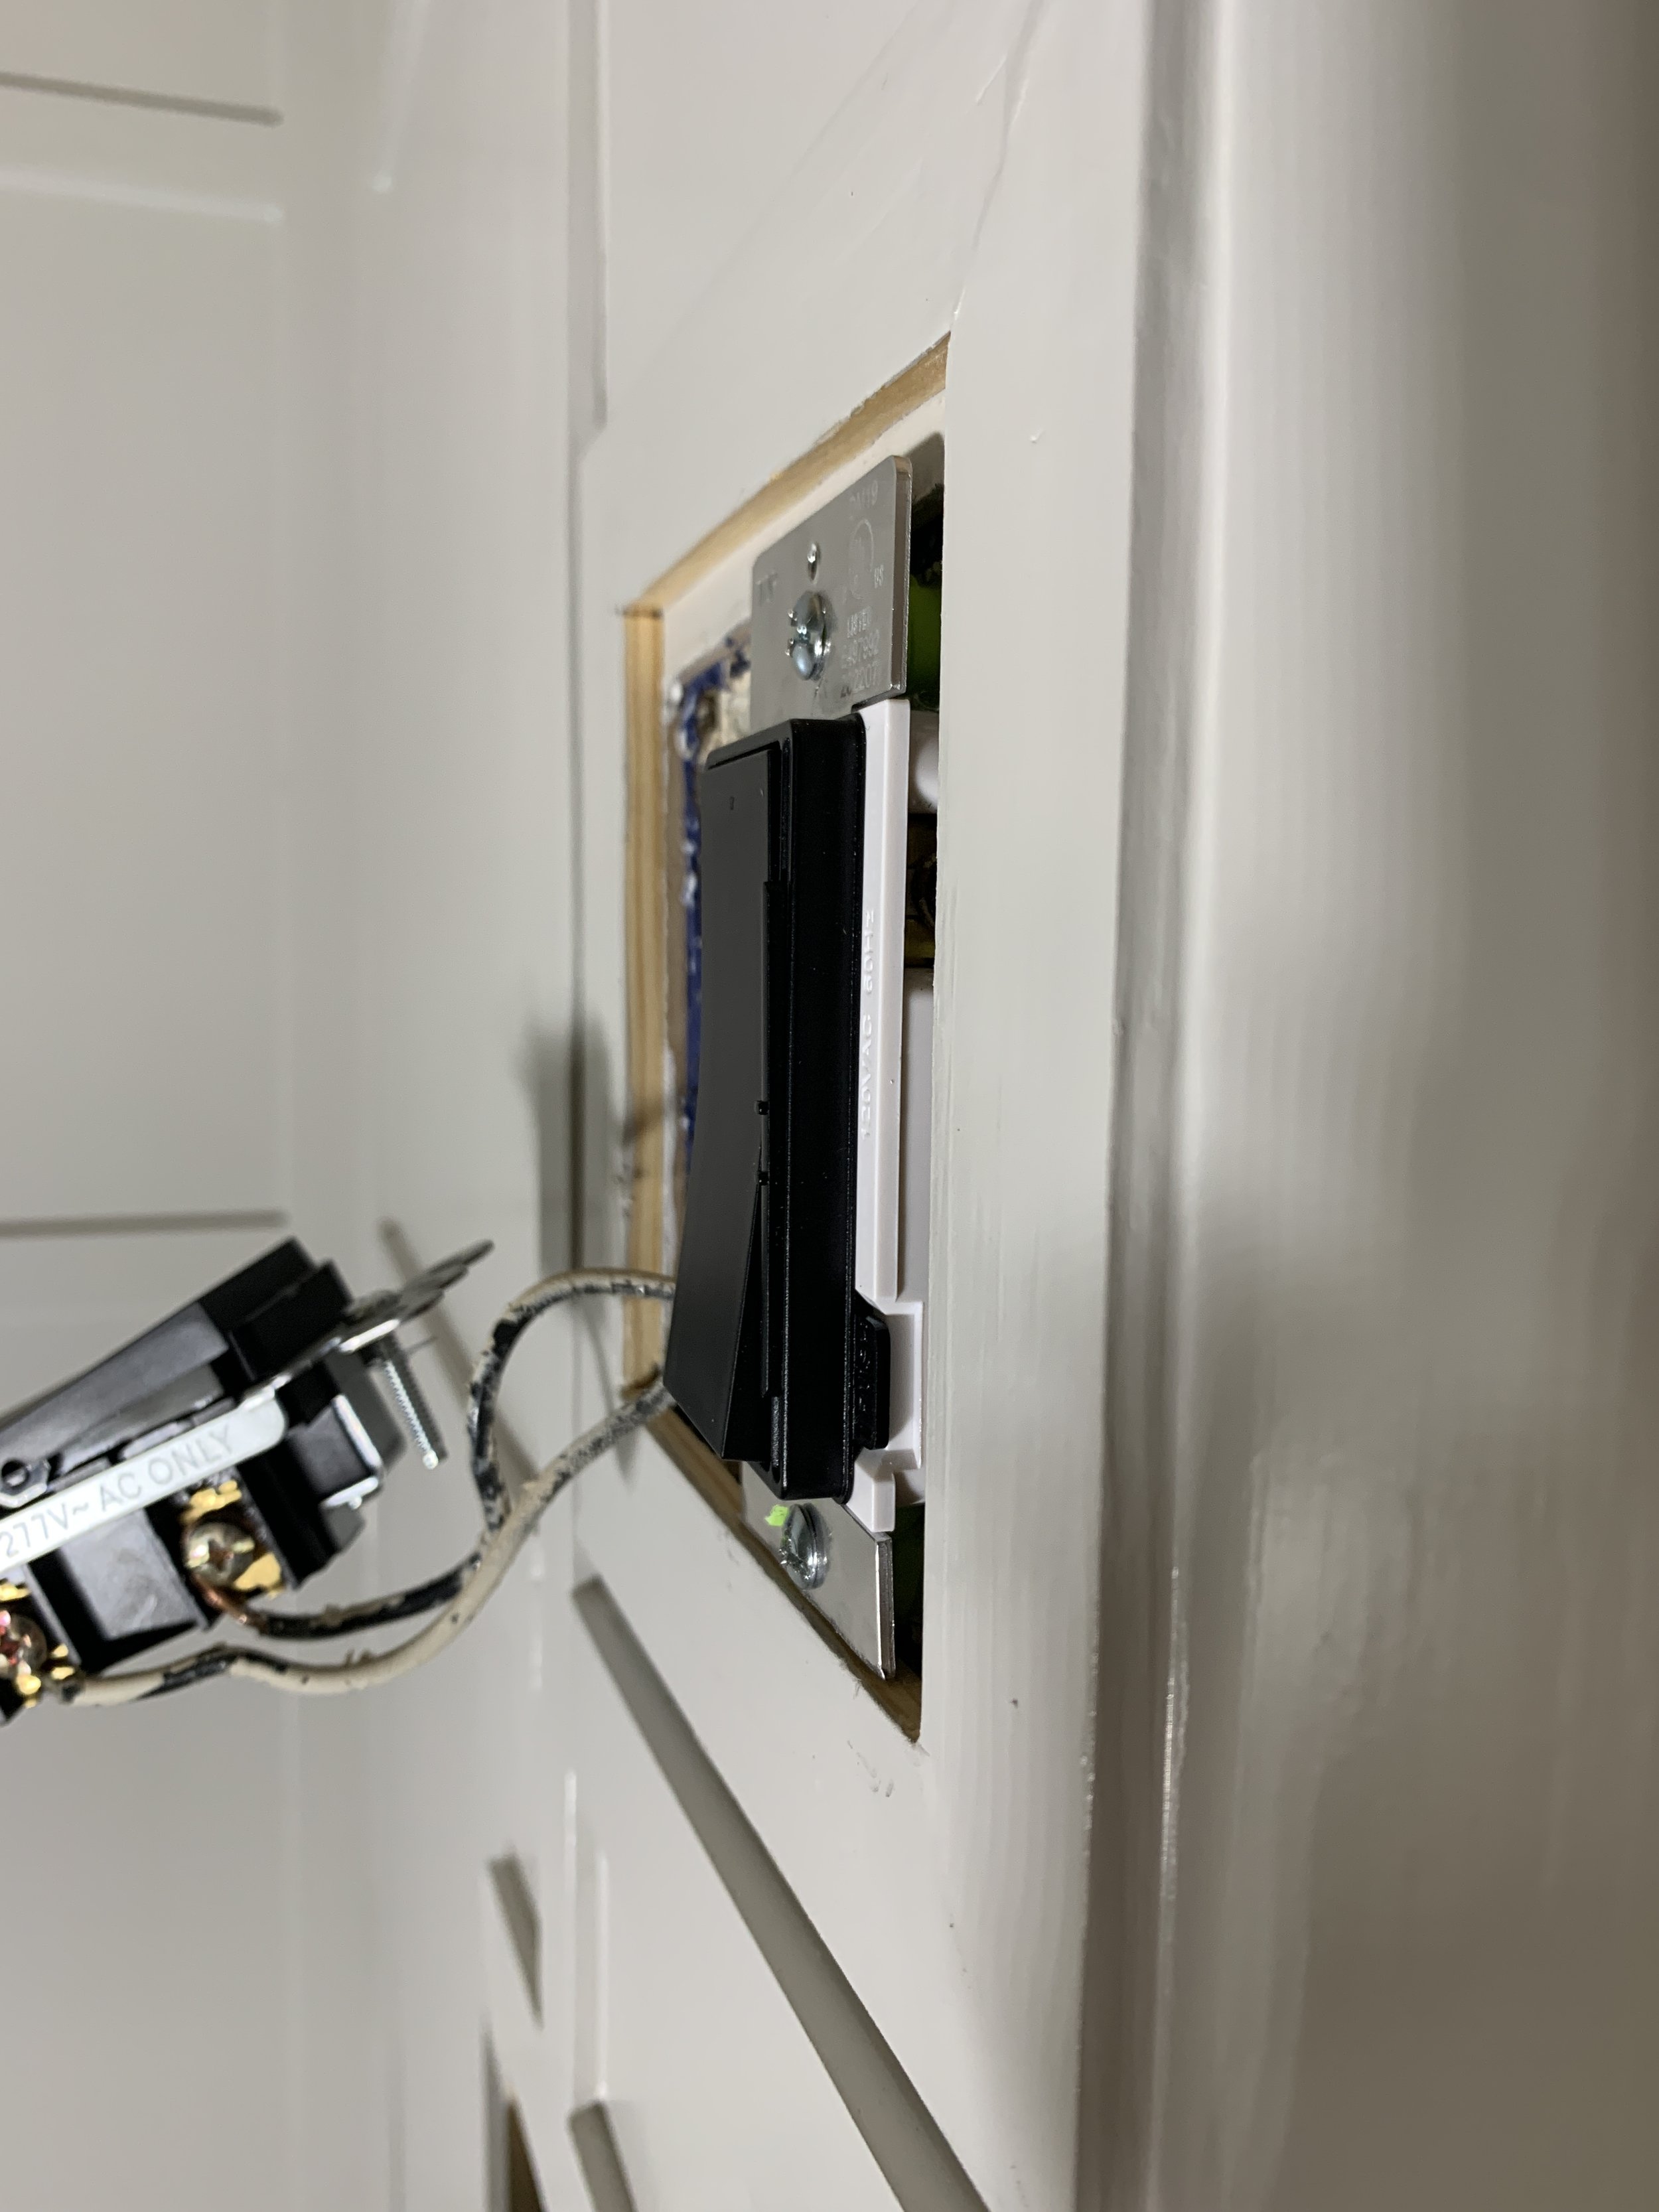
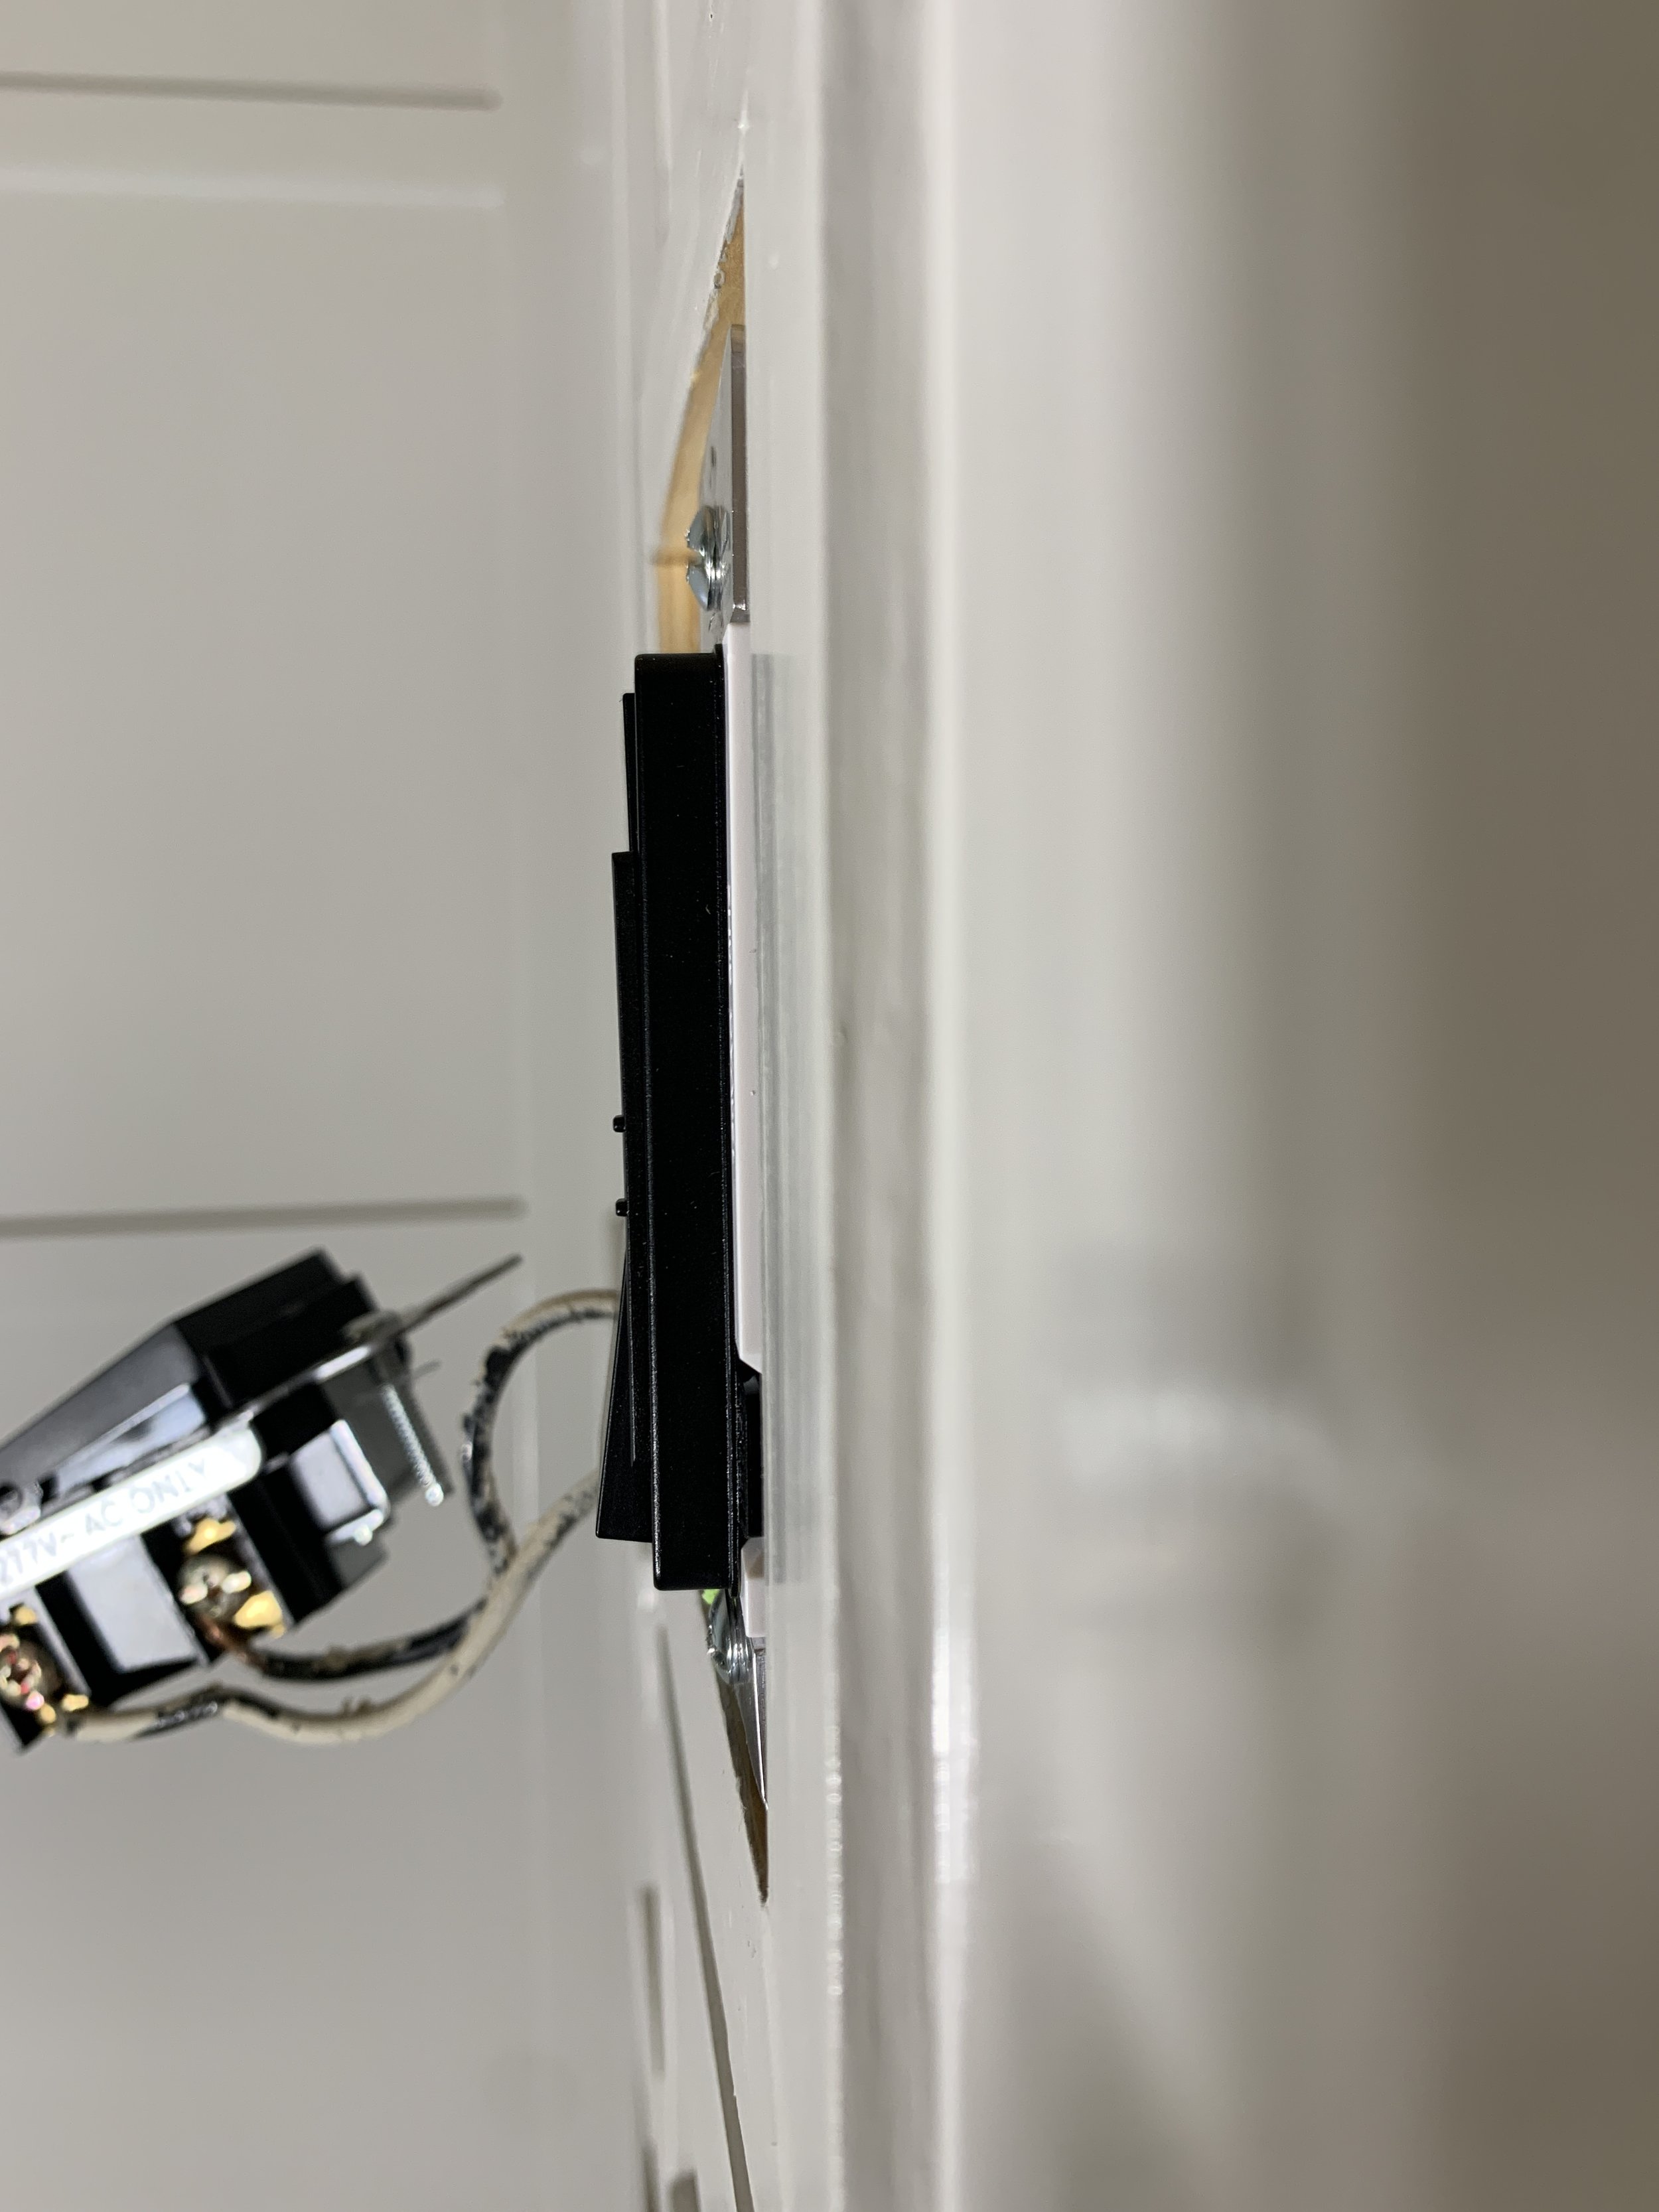
With the added wall trim we bumped out each piece so that they are even with the lattice trim using these buildable plastic bumpers that slip over the screws and stack between the junction box and the back of the switch. They push together to use as few or as many as you need and work almost like Legos, if they were attached like an accordion.
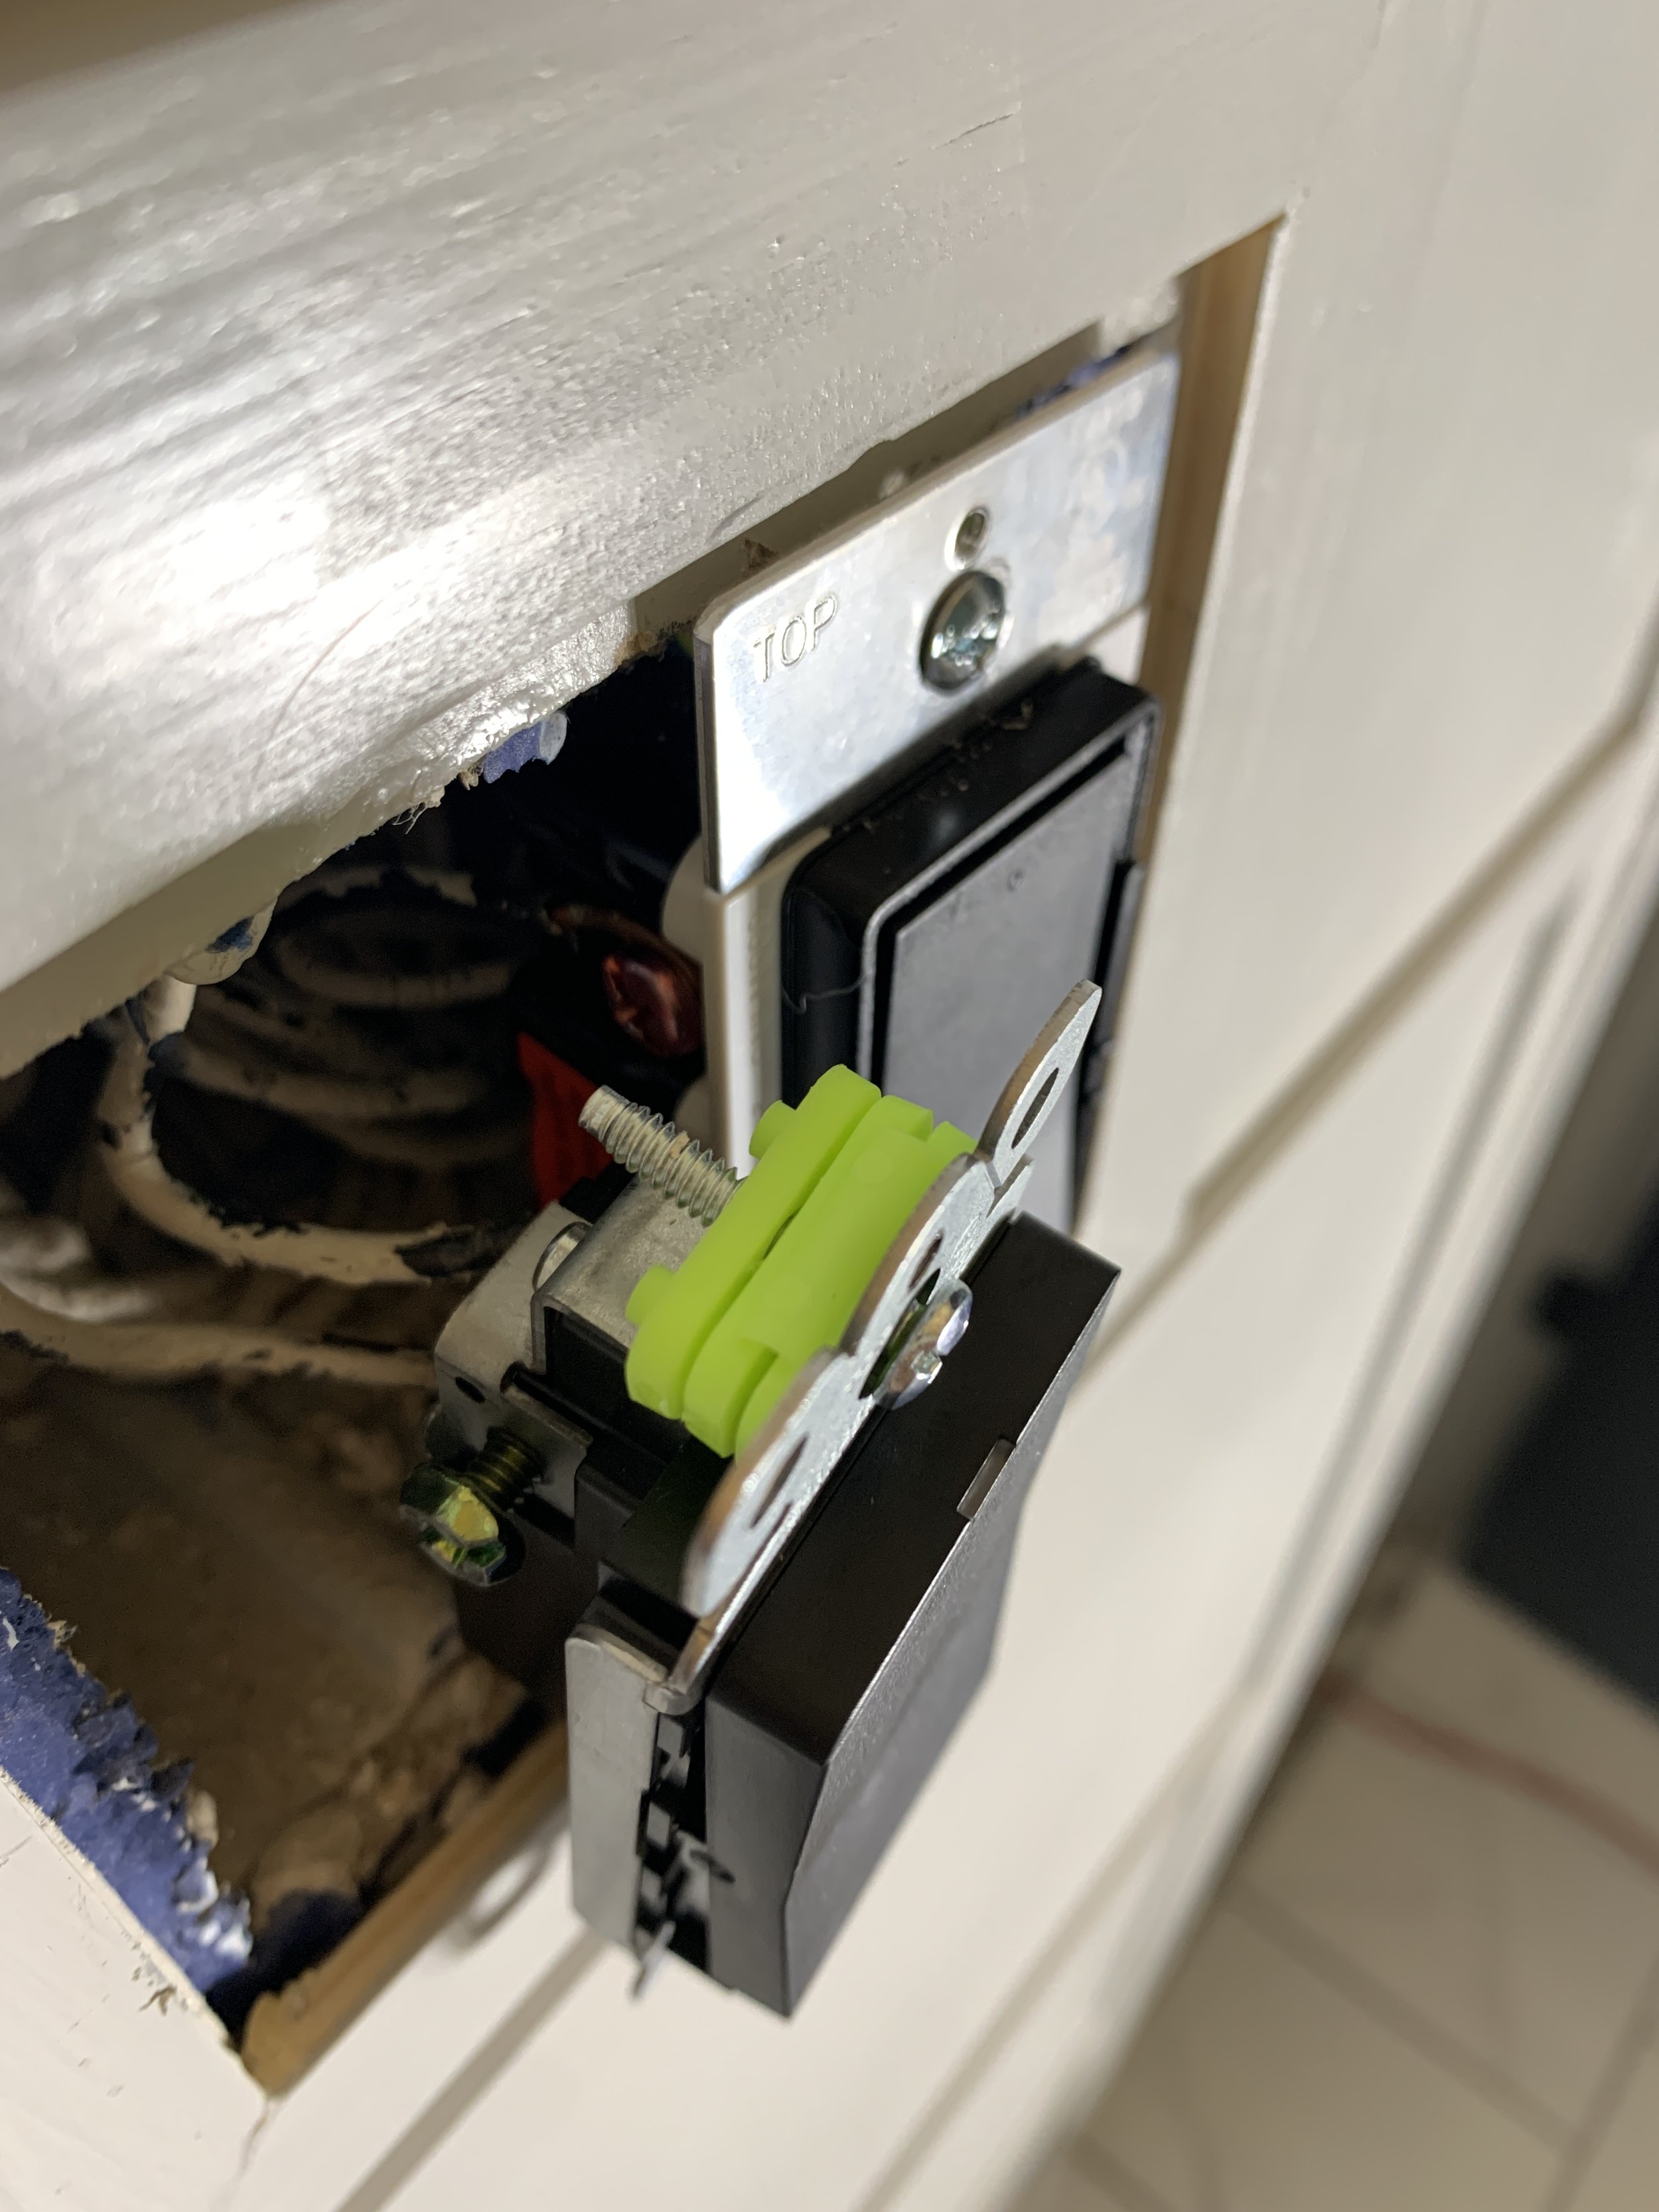
I also had to give our MDF paneling a little haircut around the outlet – nothing a little snip with scissors and a box knife didn’t quickly fix (with the power off, of course!).
With the switches + outlet in place we moved to the vanity light.

Other than two screws in the junction box that were longer than we needed, the light itself was super simple to install.

Nick used the Dremel to cut off some extra rod length from the junction box, then we just wired it up and used the included hardware to attach it to the new junction box.

The current design situation
So exciting to see a good chunk of the bathroom looking more polished!
… And funny to turnaround and see how rough the other half still is.
Take a 3D look around in the video below:
Even though we’re making slower progress in the shower area, I love the details that are complete so far!
Coming up we’re planning on shifting our focus from the main bathroom area to the shower (our weekend work), and beginning working on some of the finer details and accessories for the room that don’t require as much time (on weeknights).
In addition to posting challenge updates here every Wednesday, we’ll be sharing our progress on Instagram, so make sure to follow along over there if you aren’t already.
(And don’t forget to check out all of the other talented One Room Challengers tackling their spaces this season.)