One Room Challenge: Guest Bathroom – Week 3

Welcome to Week 3 of our guest bathroom renovation! This head-to-toe renovation is being done for the One Room Challenge, where each Wednesday we’re sharing our progress (no matter how productive or successful), with the final week 8 reveal on May 25th.
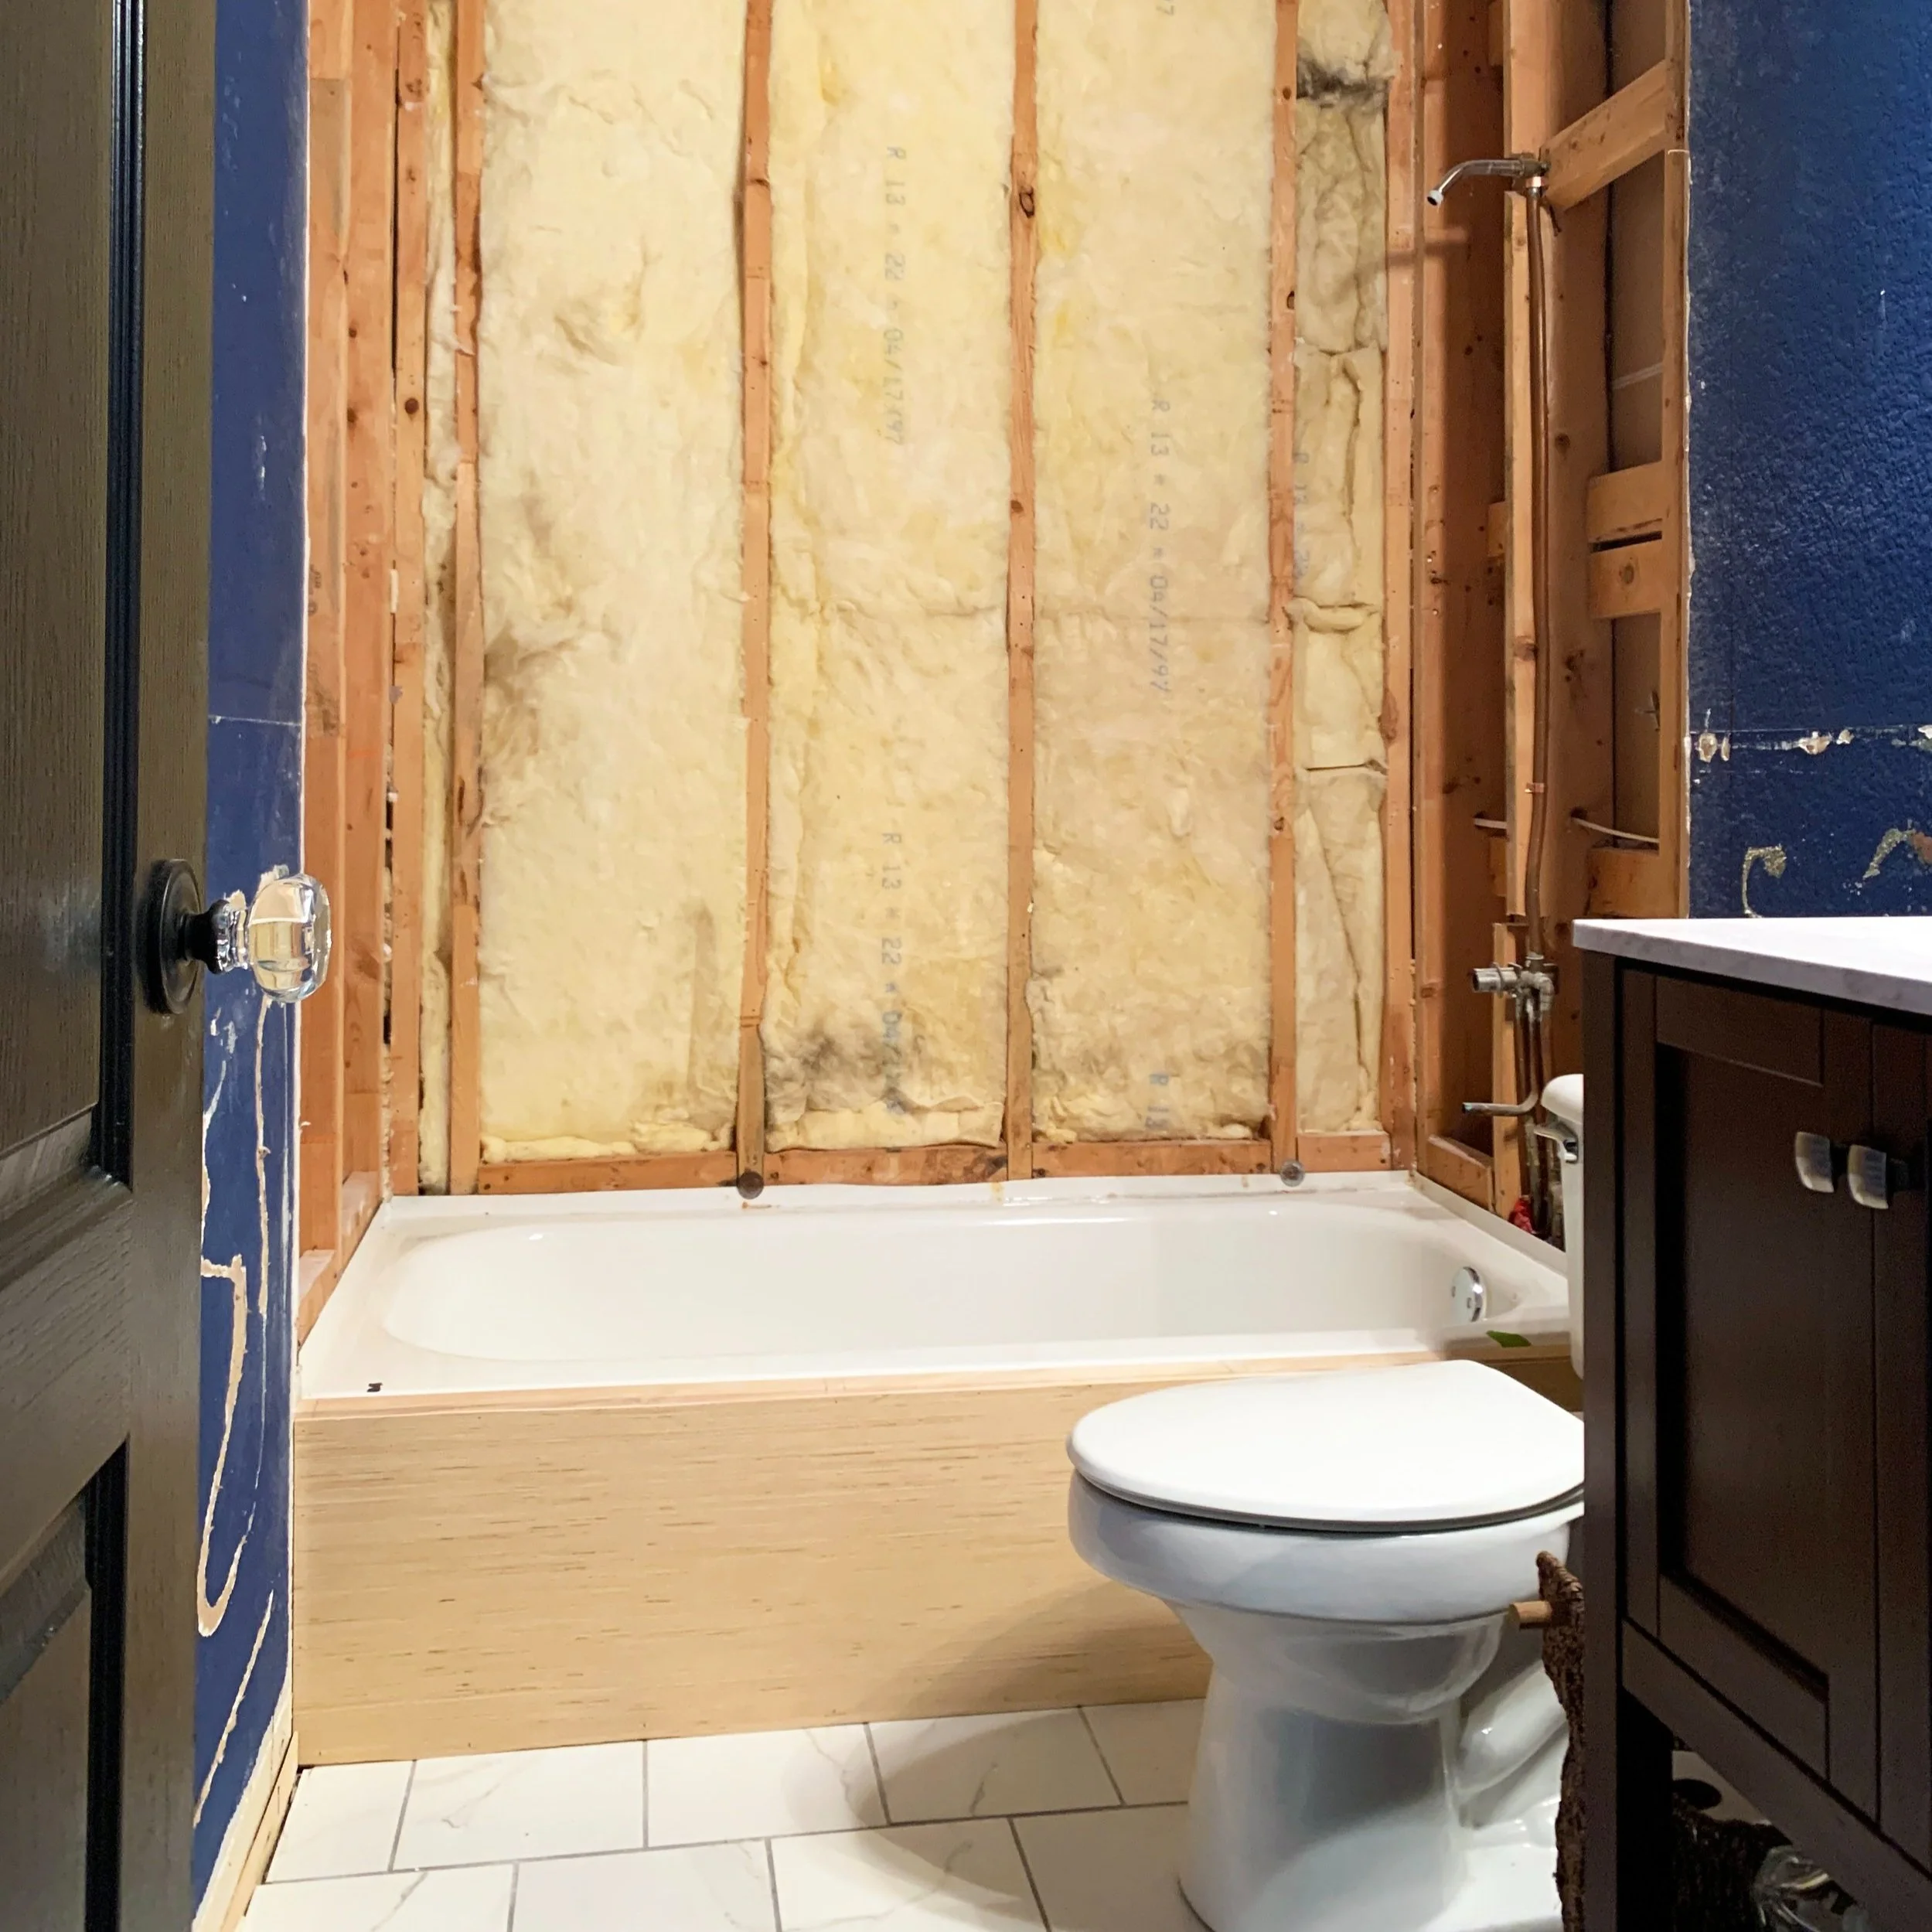
Last week I demo’d the bathroom (finding some mold under the shower tile), built the wooden skirt for the front of the tub, stained the wood for the ceiling, and built and stained our faux beam and faux columns. I also installed a strip of new waterproof drywall in the shower along the ceiling to prepare for this week.
This past week we focused our attention on the ceiling, including installing our already-stained wood planks, running new electrical for recessed LED lighting and framing out the shower area with a faux beam and columns.
Recessed lighting
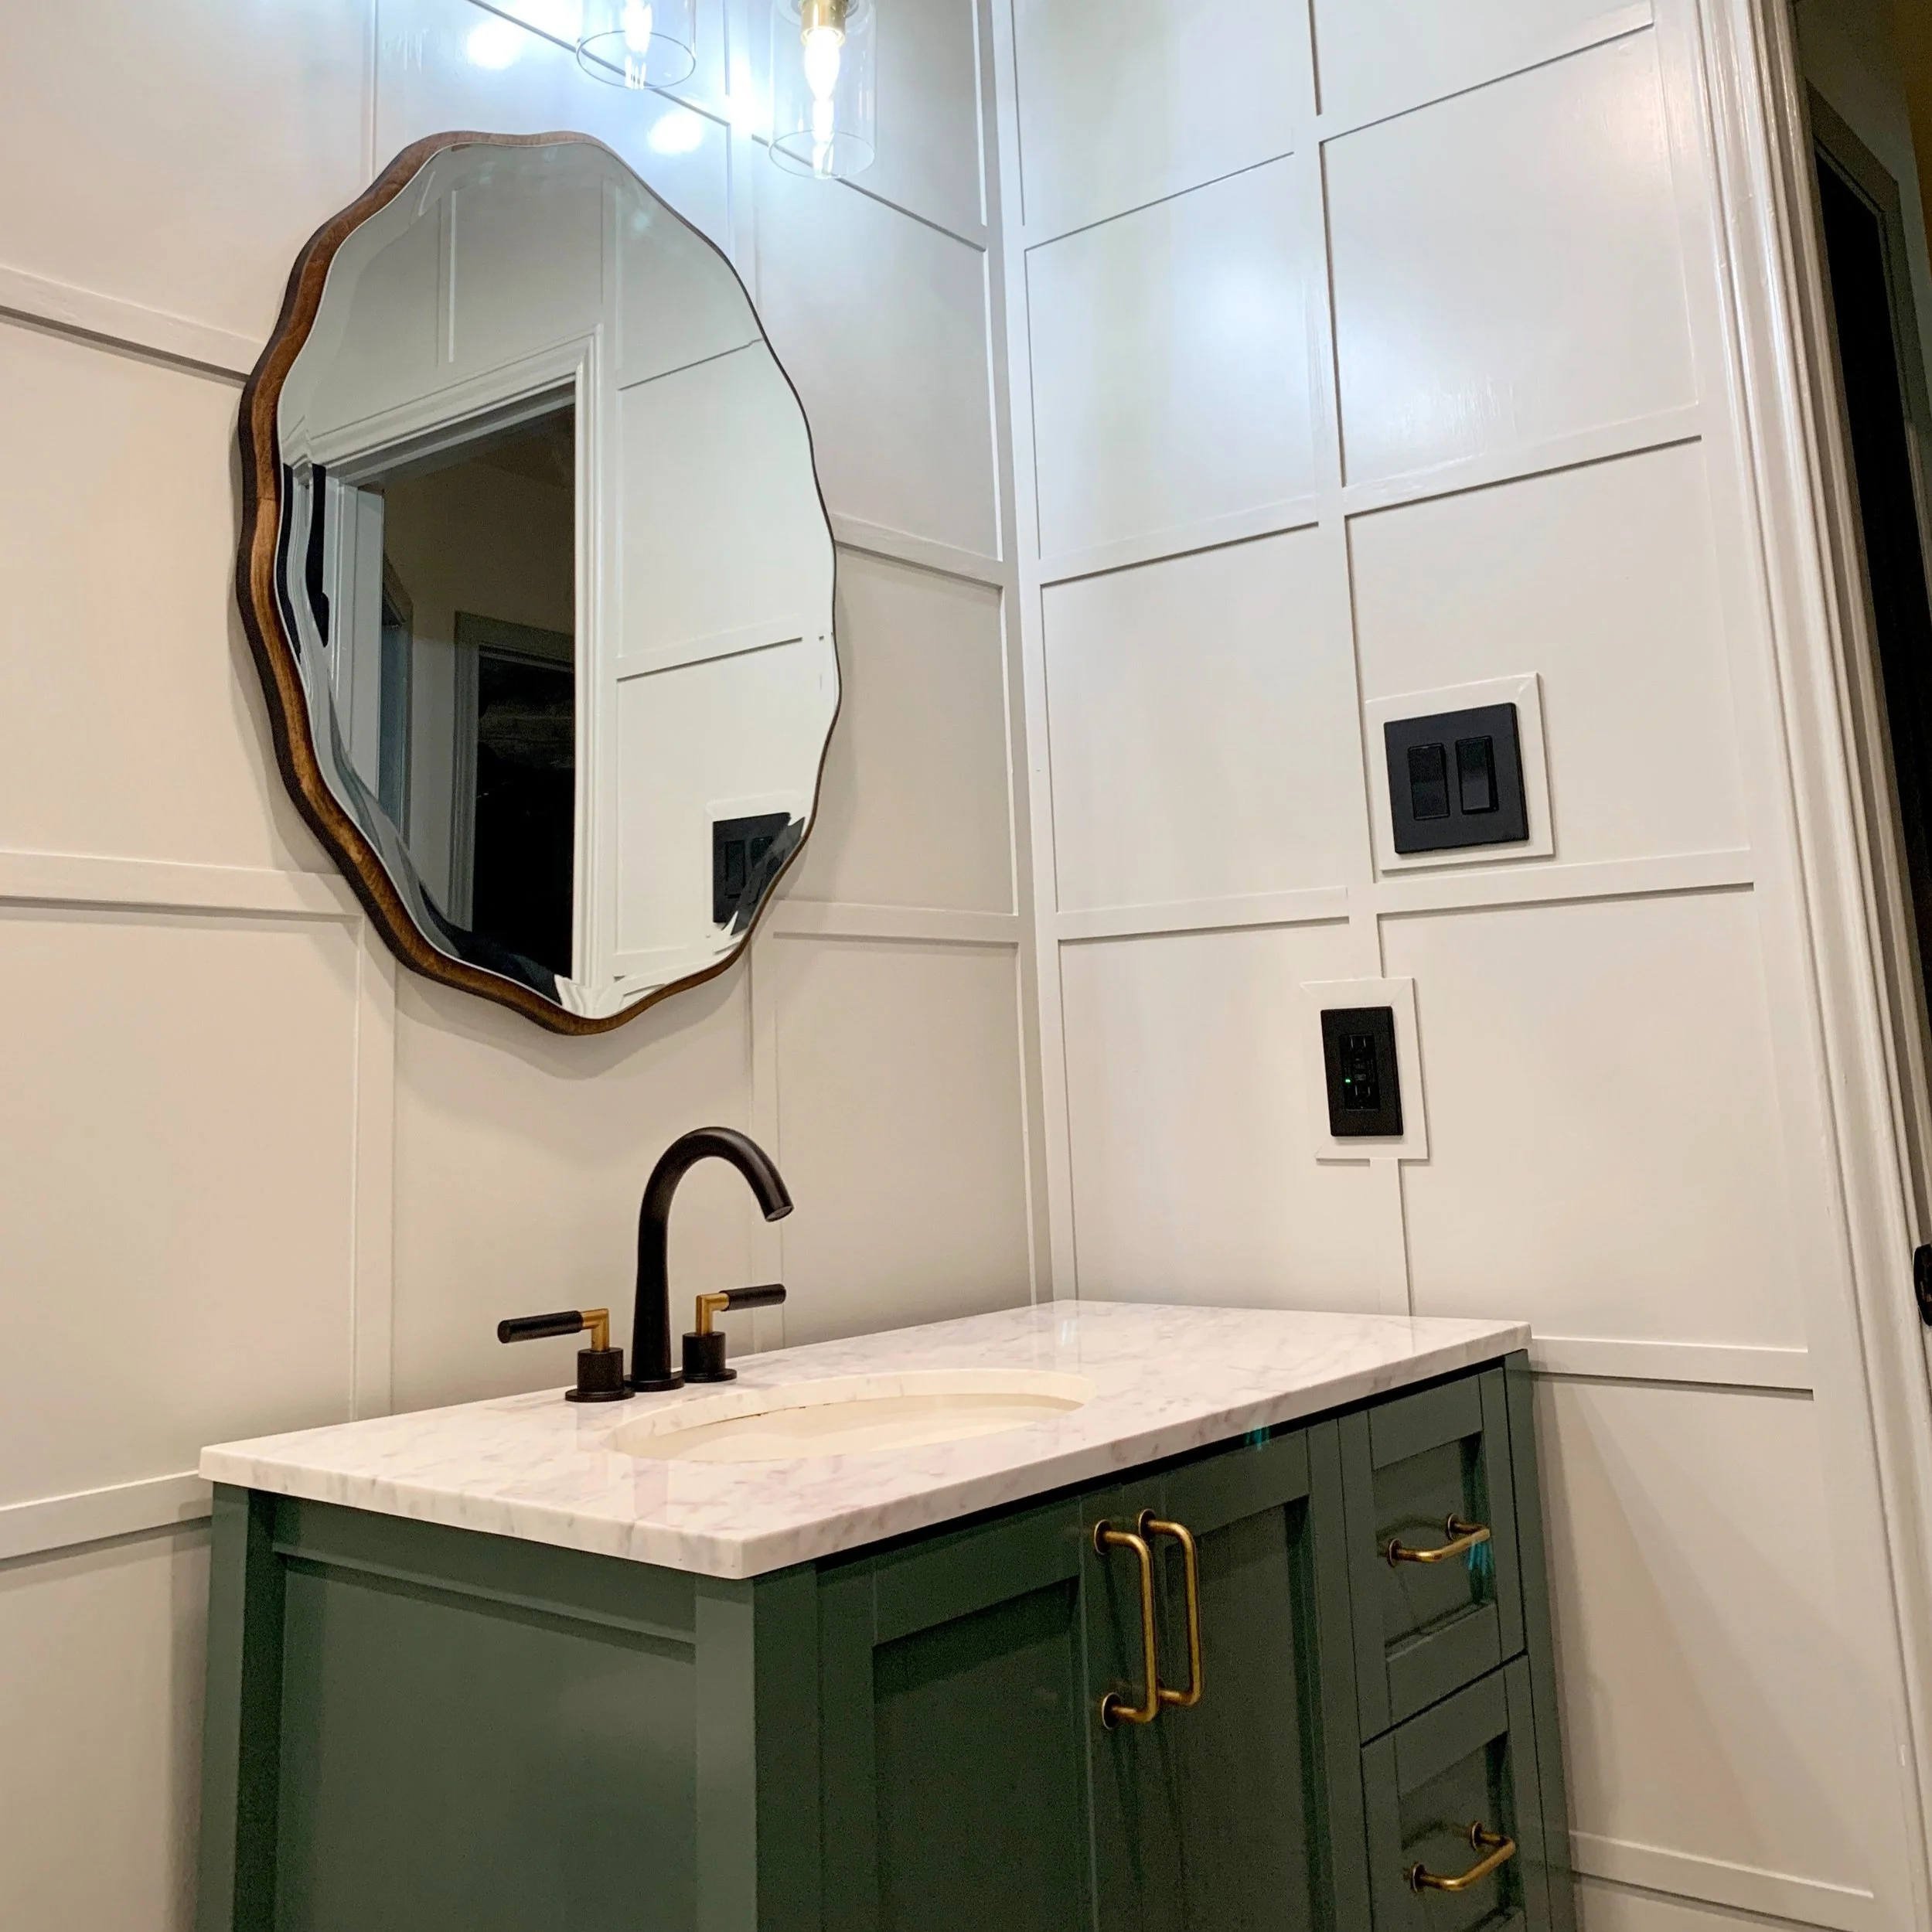
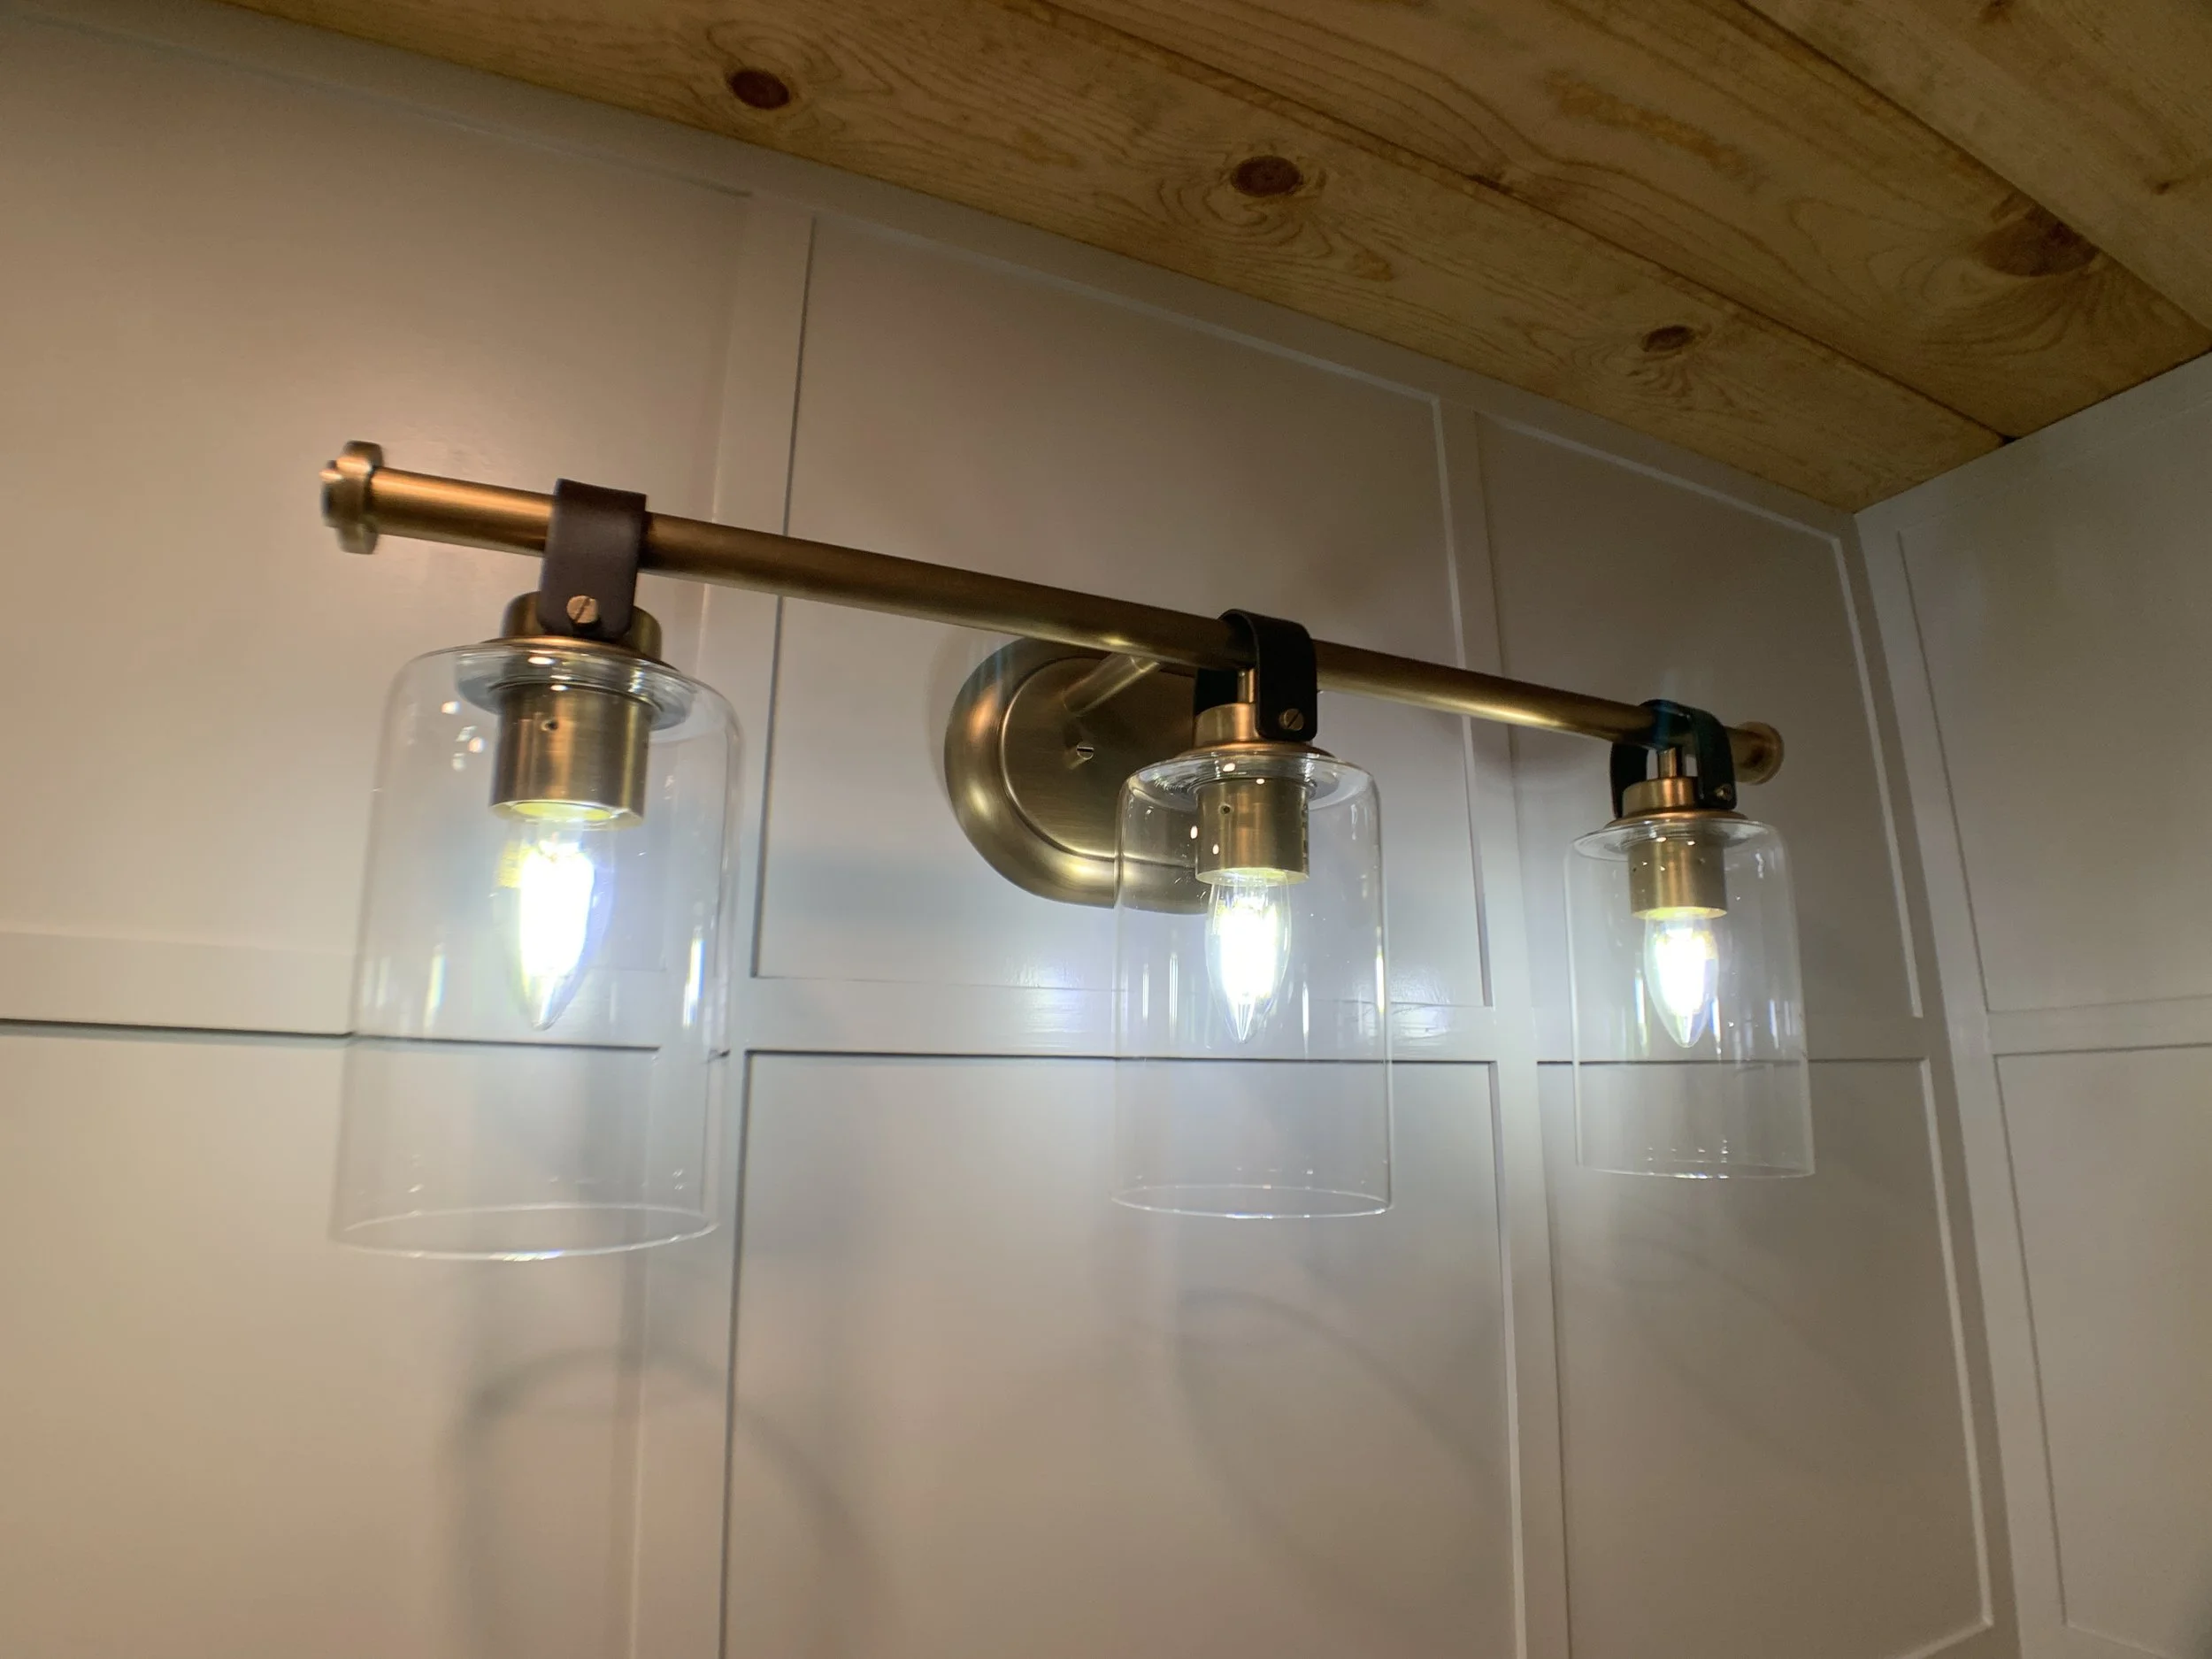
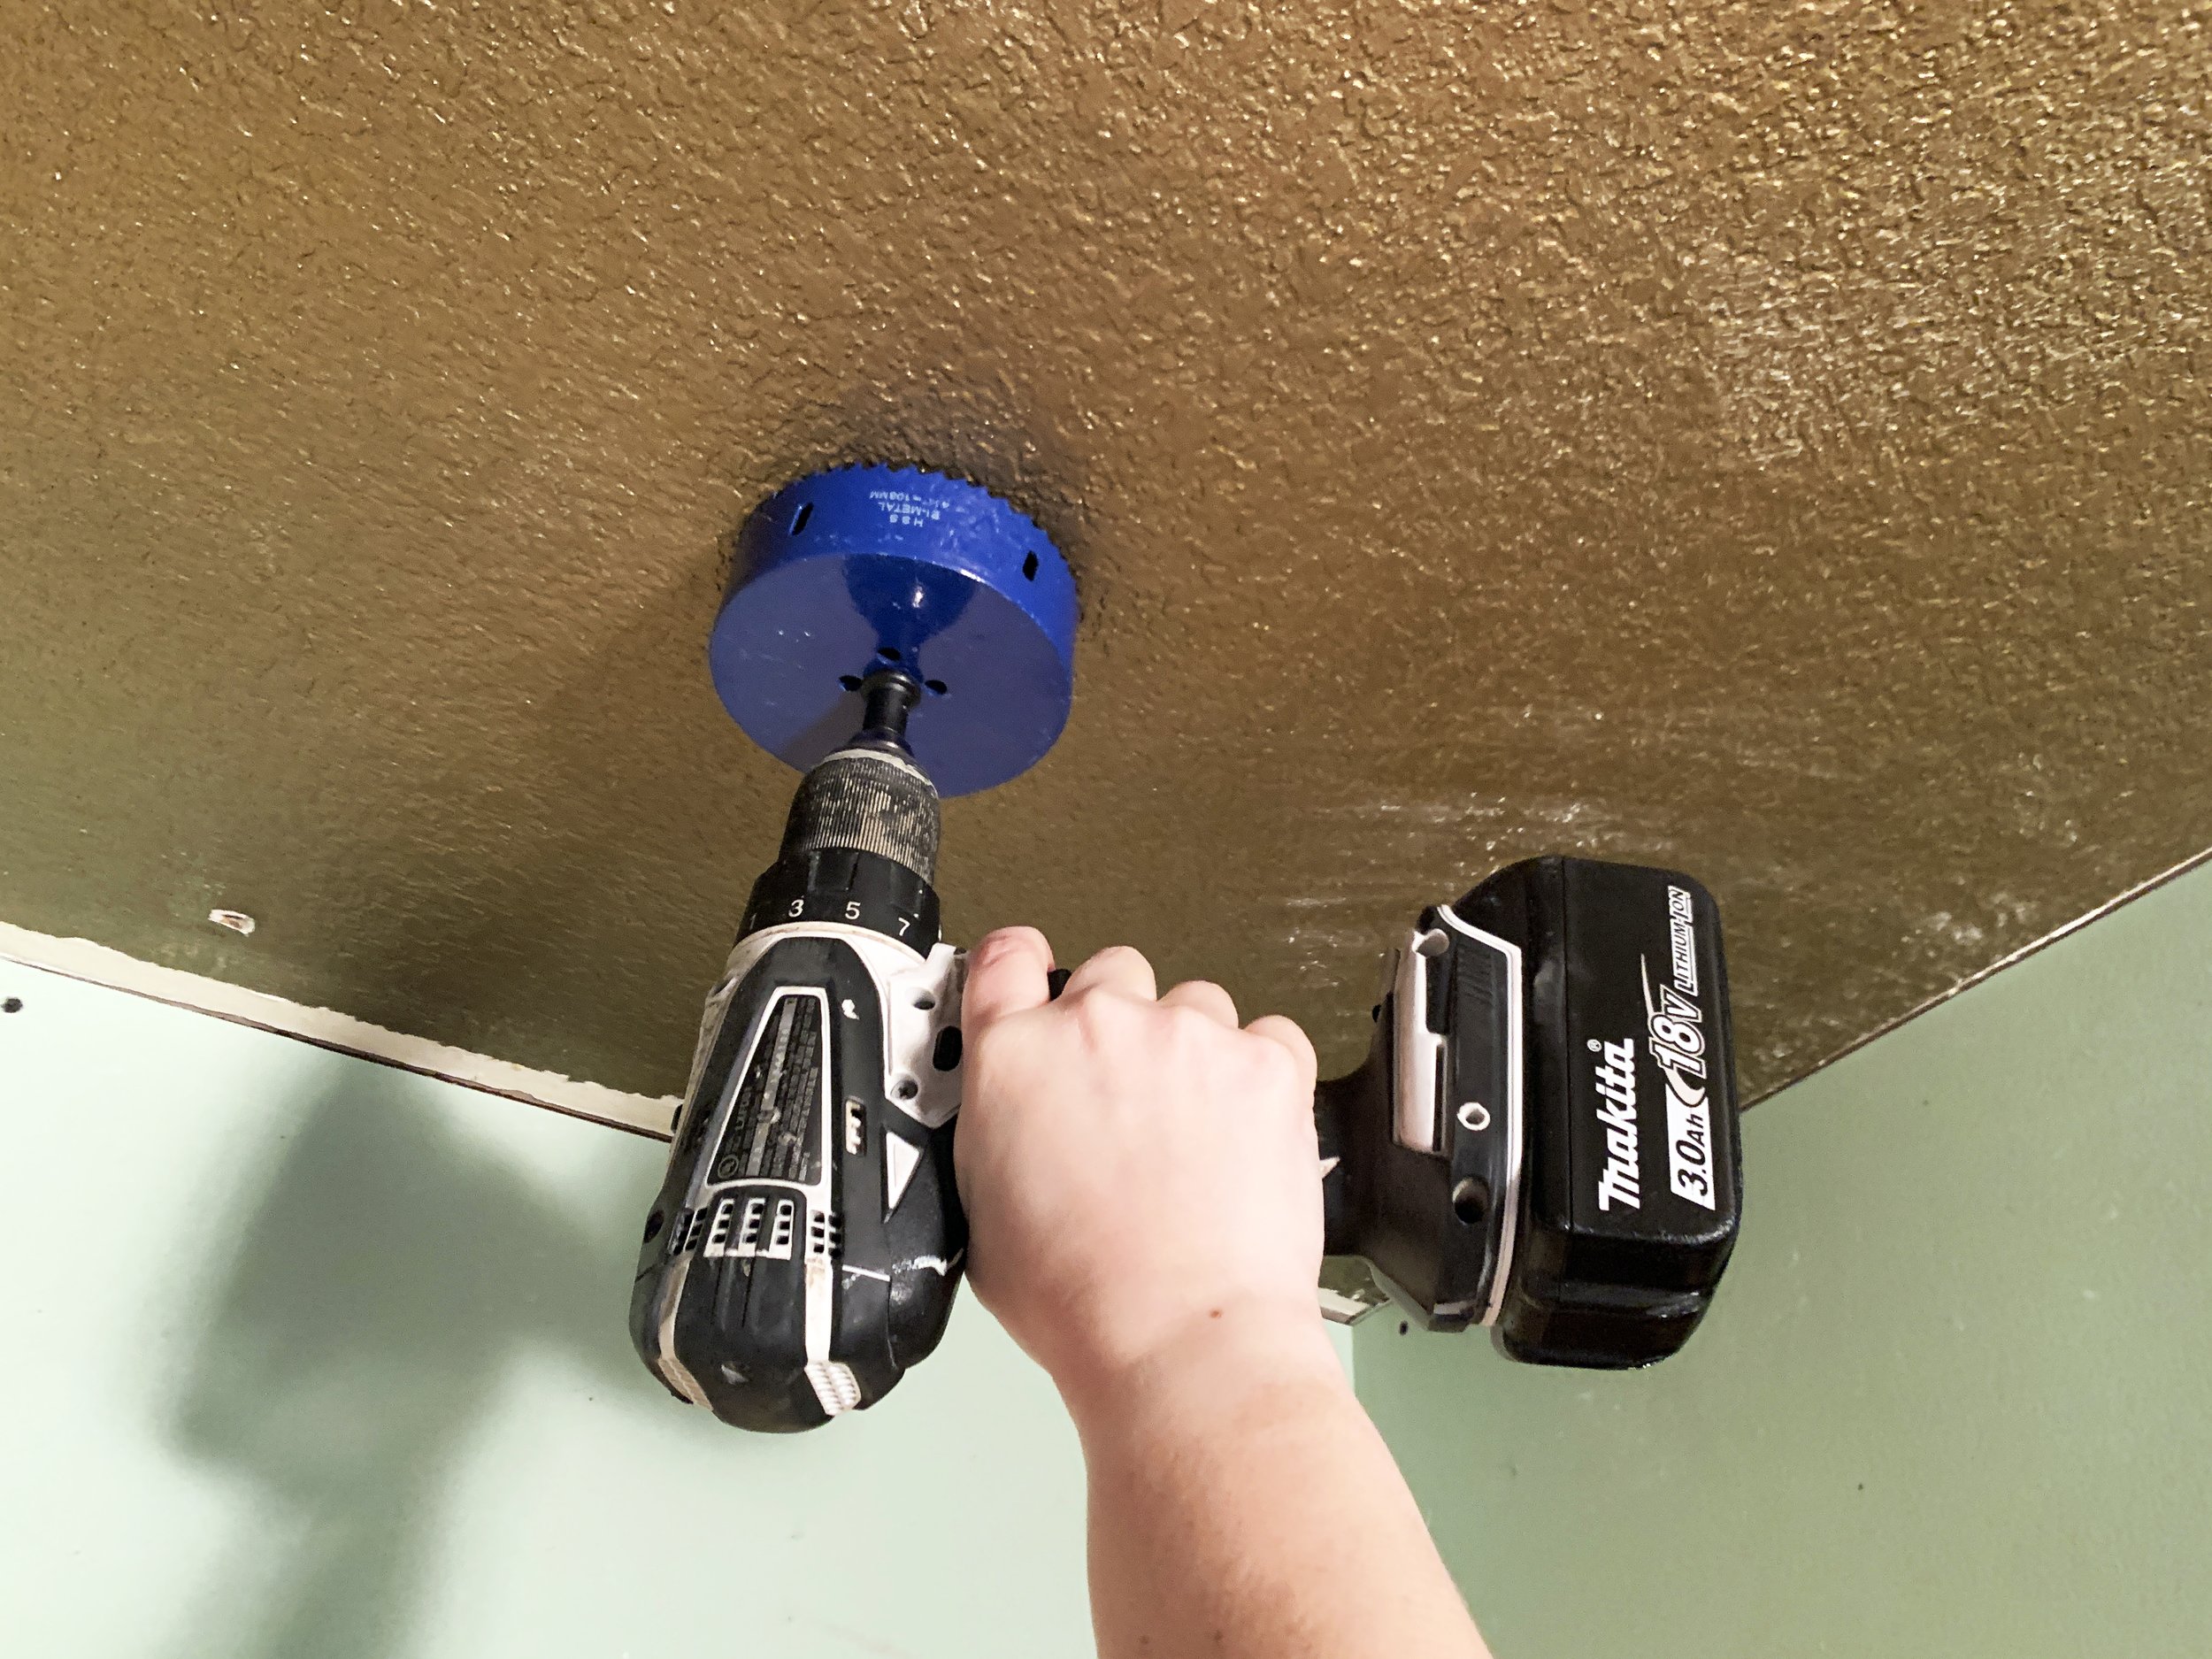
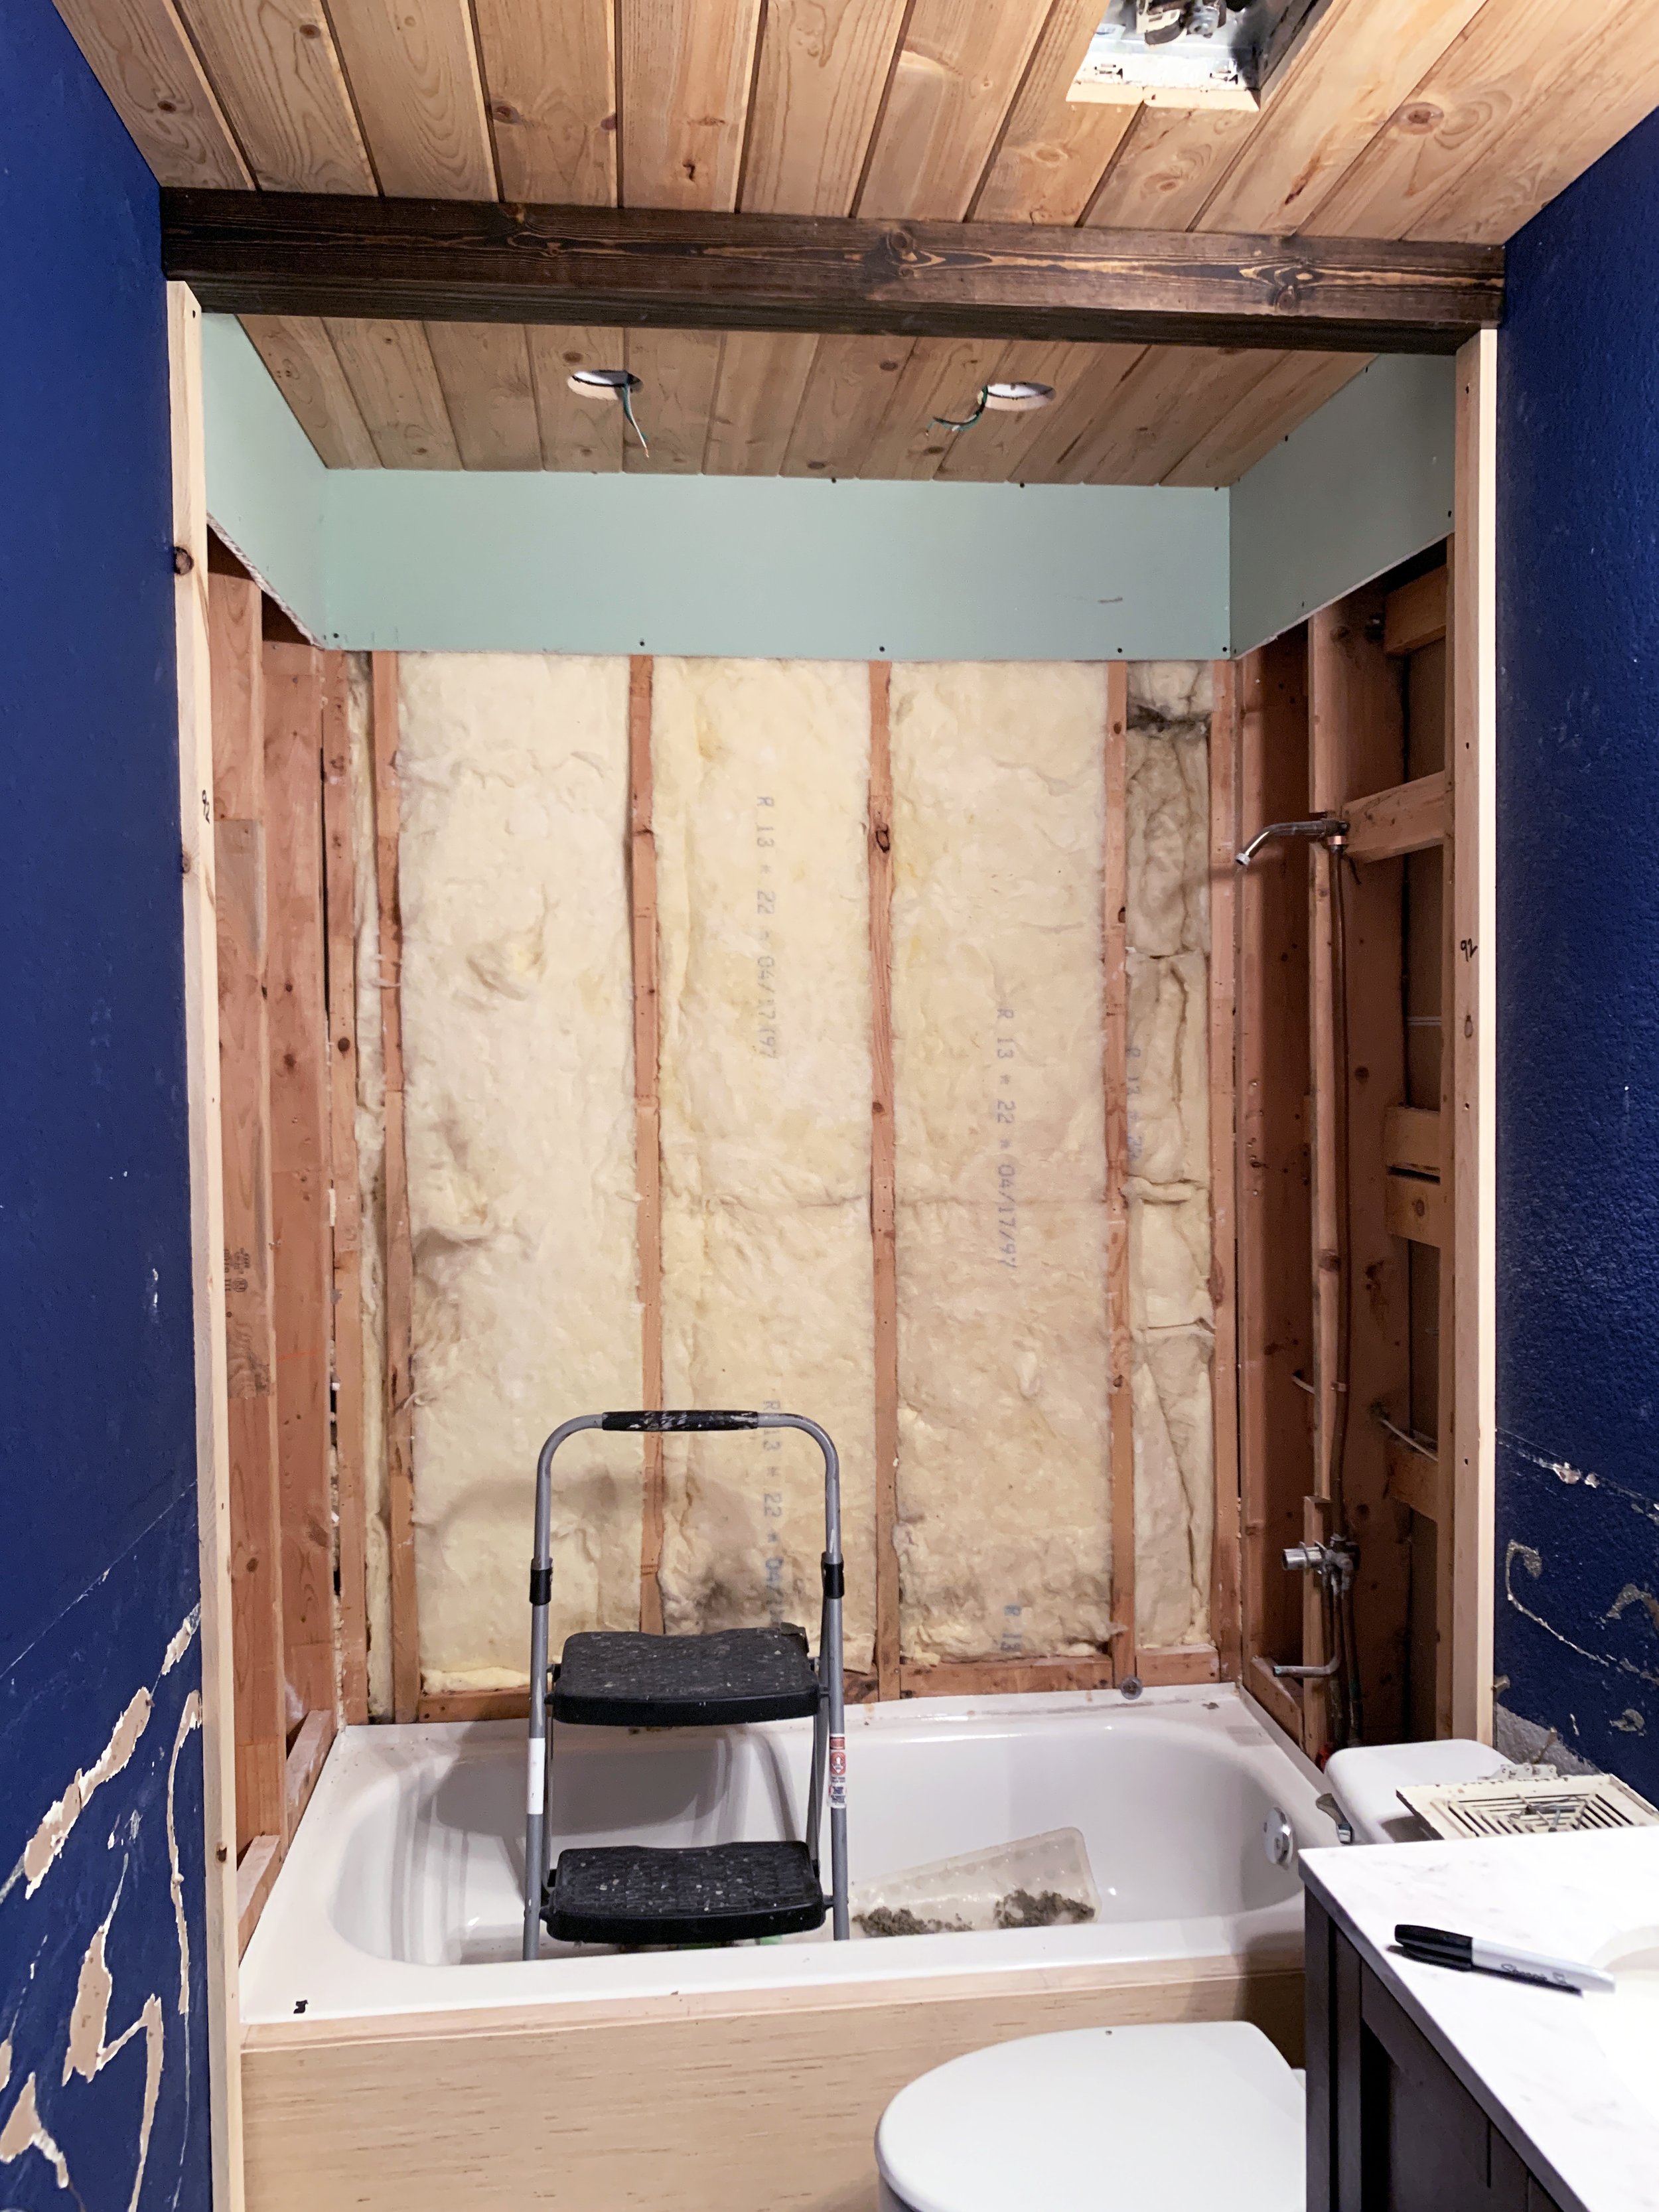
First, I marked out and drilled holes in the ceiling for four new 4” airtight wet area-rated recessed lights (using a 4-1/4” hole saw) – two are above the bathtub and two are in the main bathroom area. (We’ll also be swapping out the vanity light above the sink later.)
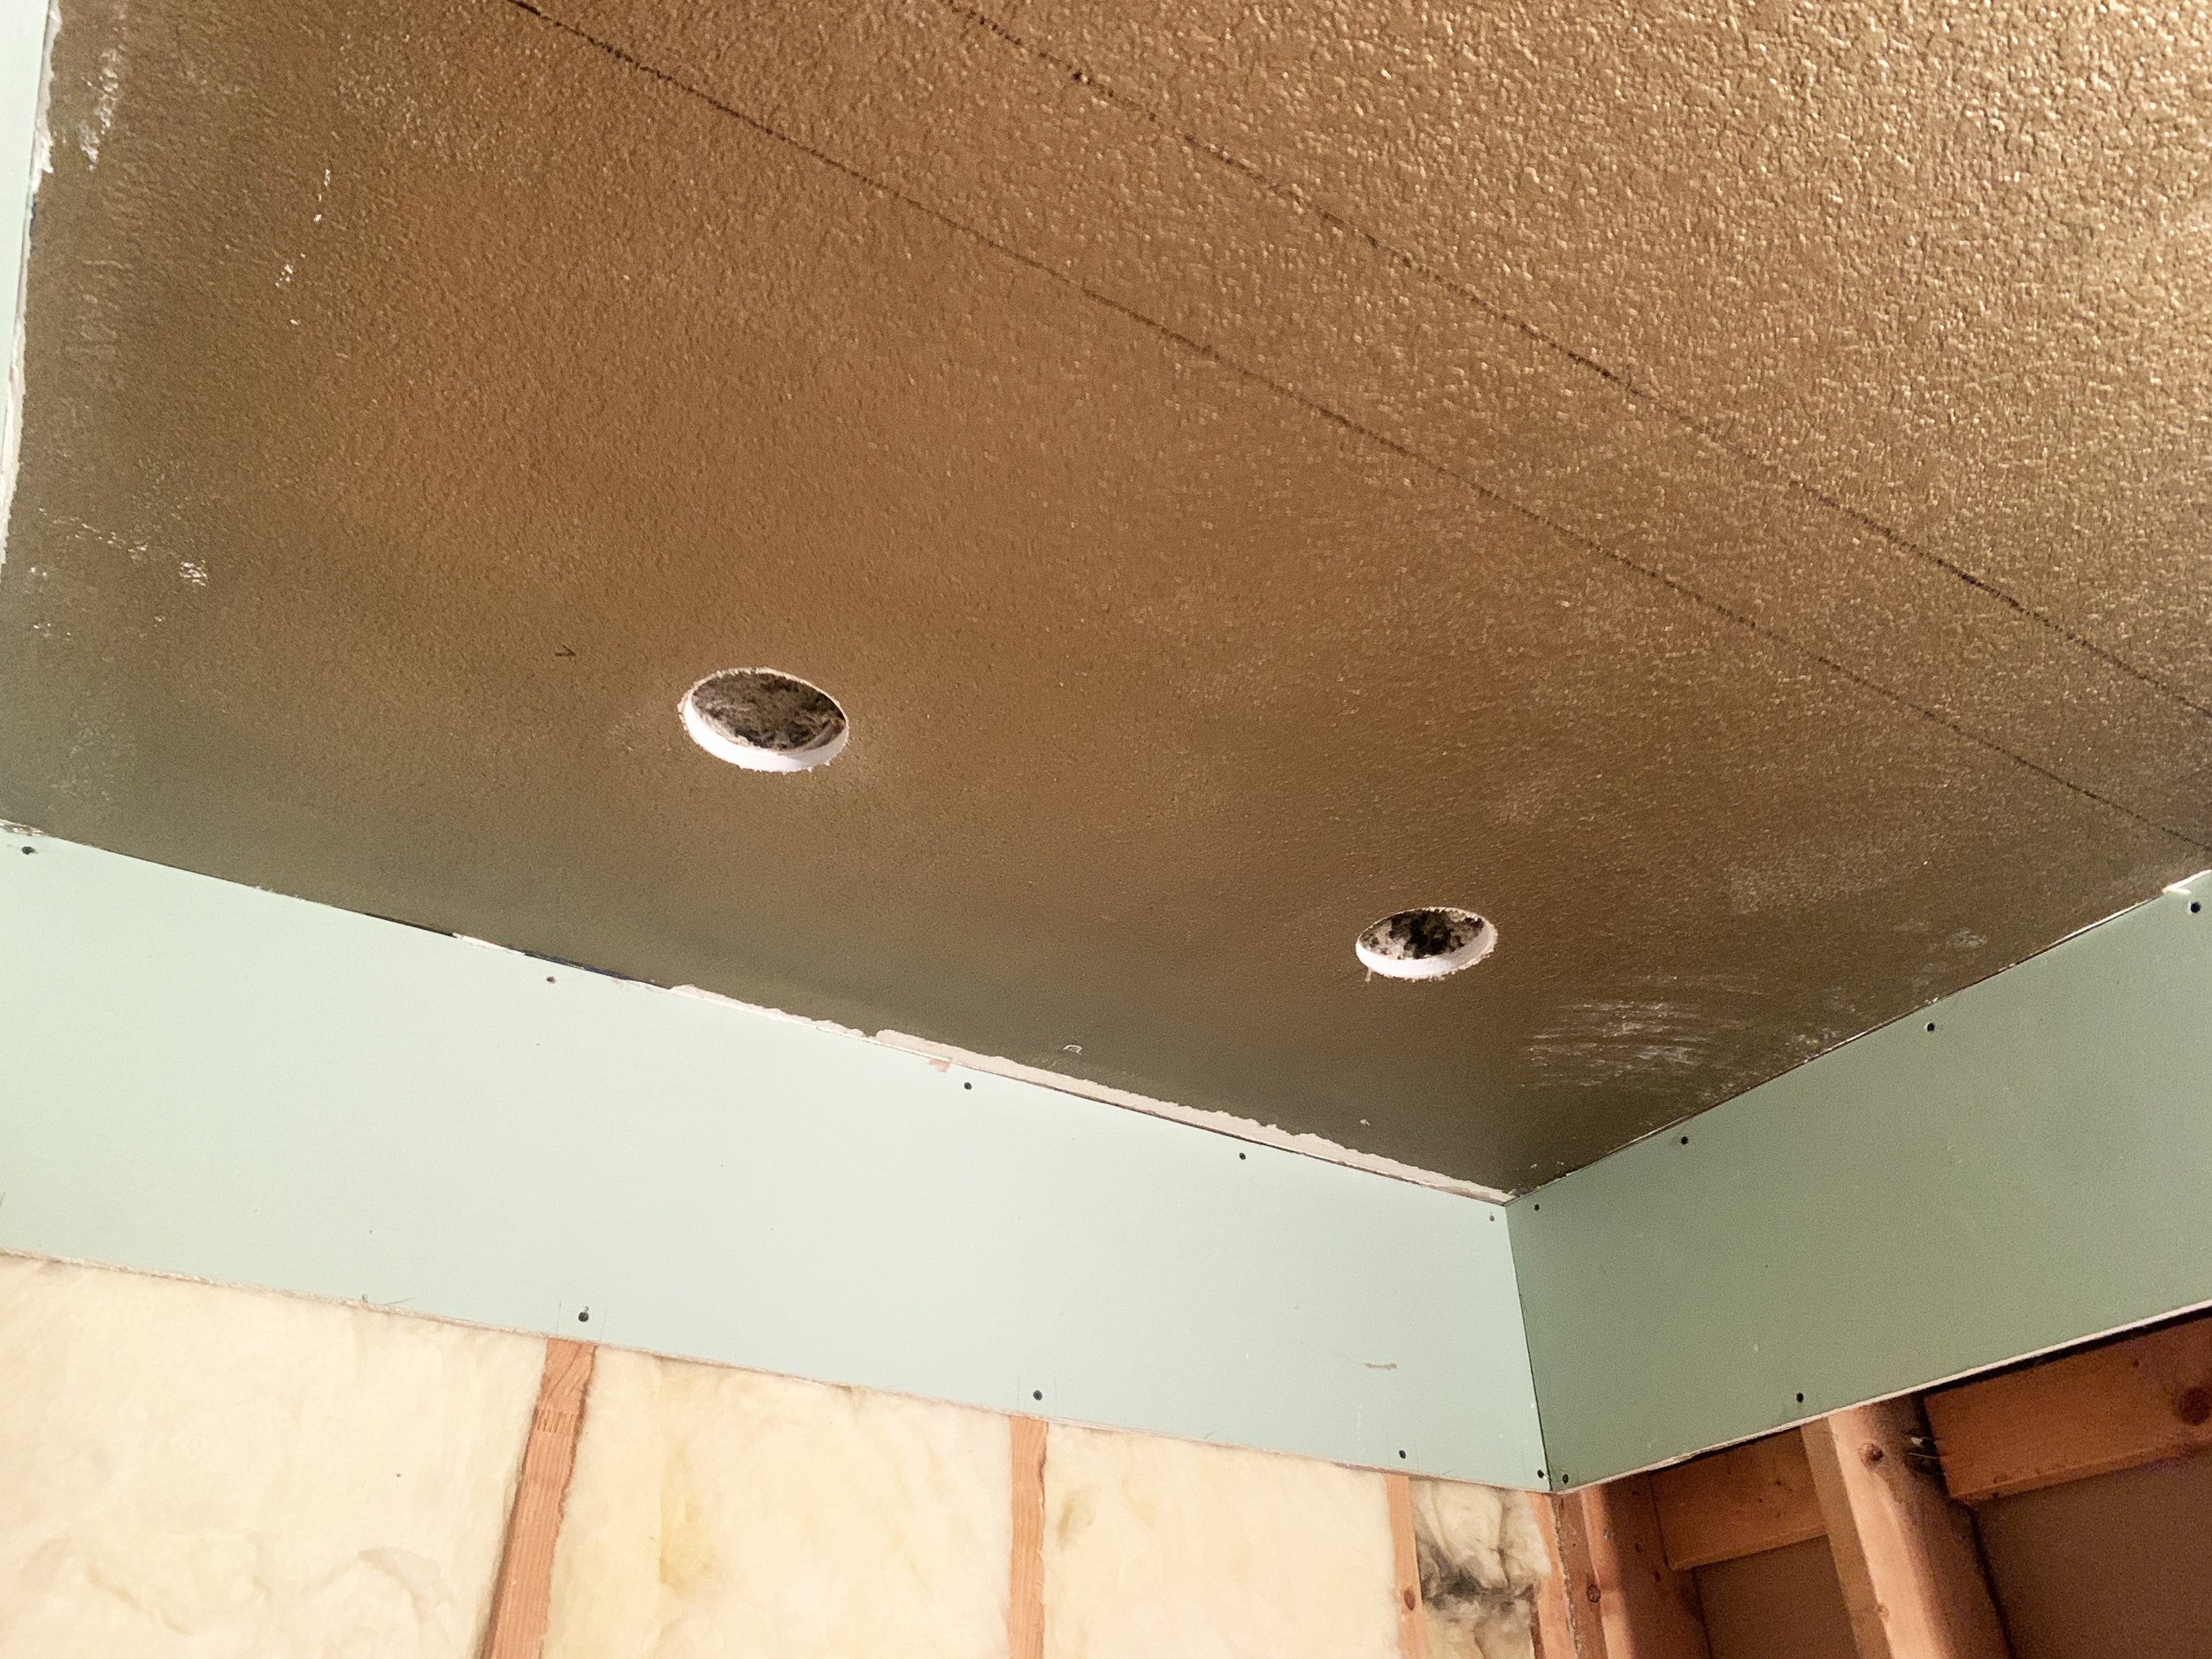
They are all in-line with one another to form a grid. (Ignore the small holes inside the Xs in the photo below – we initially were going to put the lights there and after drilling small pilot holes to test the location in the attic, we moved them down a bit so they didn’t interfere with any ceiling joists, etc.)

Wood plank ceiling
With the holes for the ceiling lights drilled, I began working on the ceiling planks, first marking out the placement of the faux beam (using the front of the tub skirt to mark out the columns, which we then used to mark out the beam) and then tracing out a line on the ceiling to set a marker for where to attach the first plank so the ceiling would stay straight and square to the room.

For the first board, I used our circular saw to remove just the tongue off of the full length of the board (that’s the skinny bit that sticks out of one of the long sides), then nailed it in place over the tub with the groove side facing the room. I installed the first set of boards over the tub cut at a length so the seam is inside my ceiling beam markings, so it will be hidden by the faux beam later.

I put a healthy amount of construction adhesive on the back of each plank before nailing them in place. To minimize the appearance of nails, I placed them along the wall and in the space that will be hidden by the faux beam, as well as just around the holes cut for the recessed lights where they will be covered by the lighting covers.

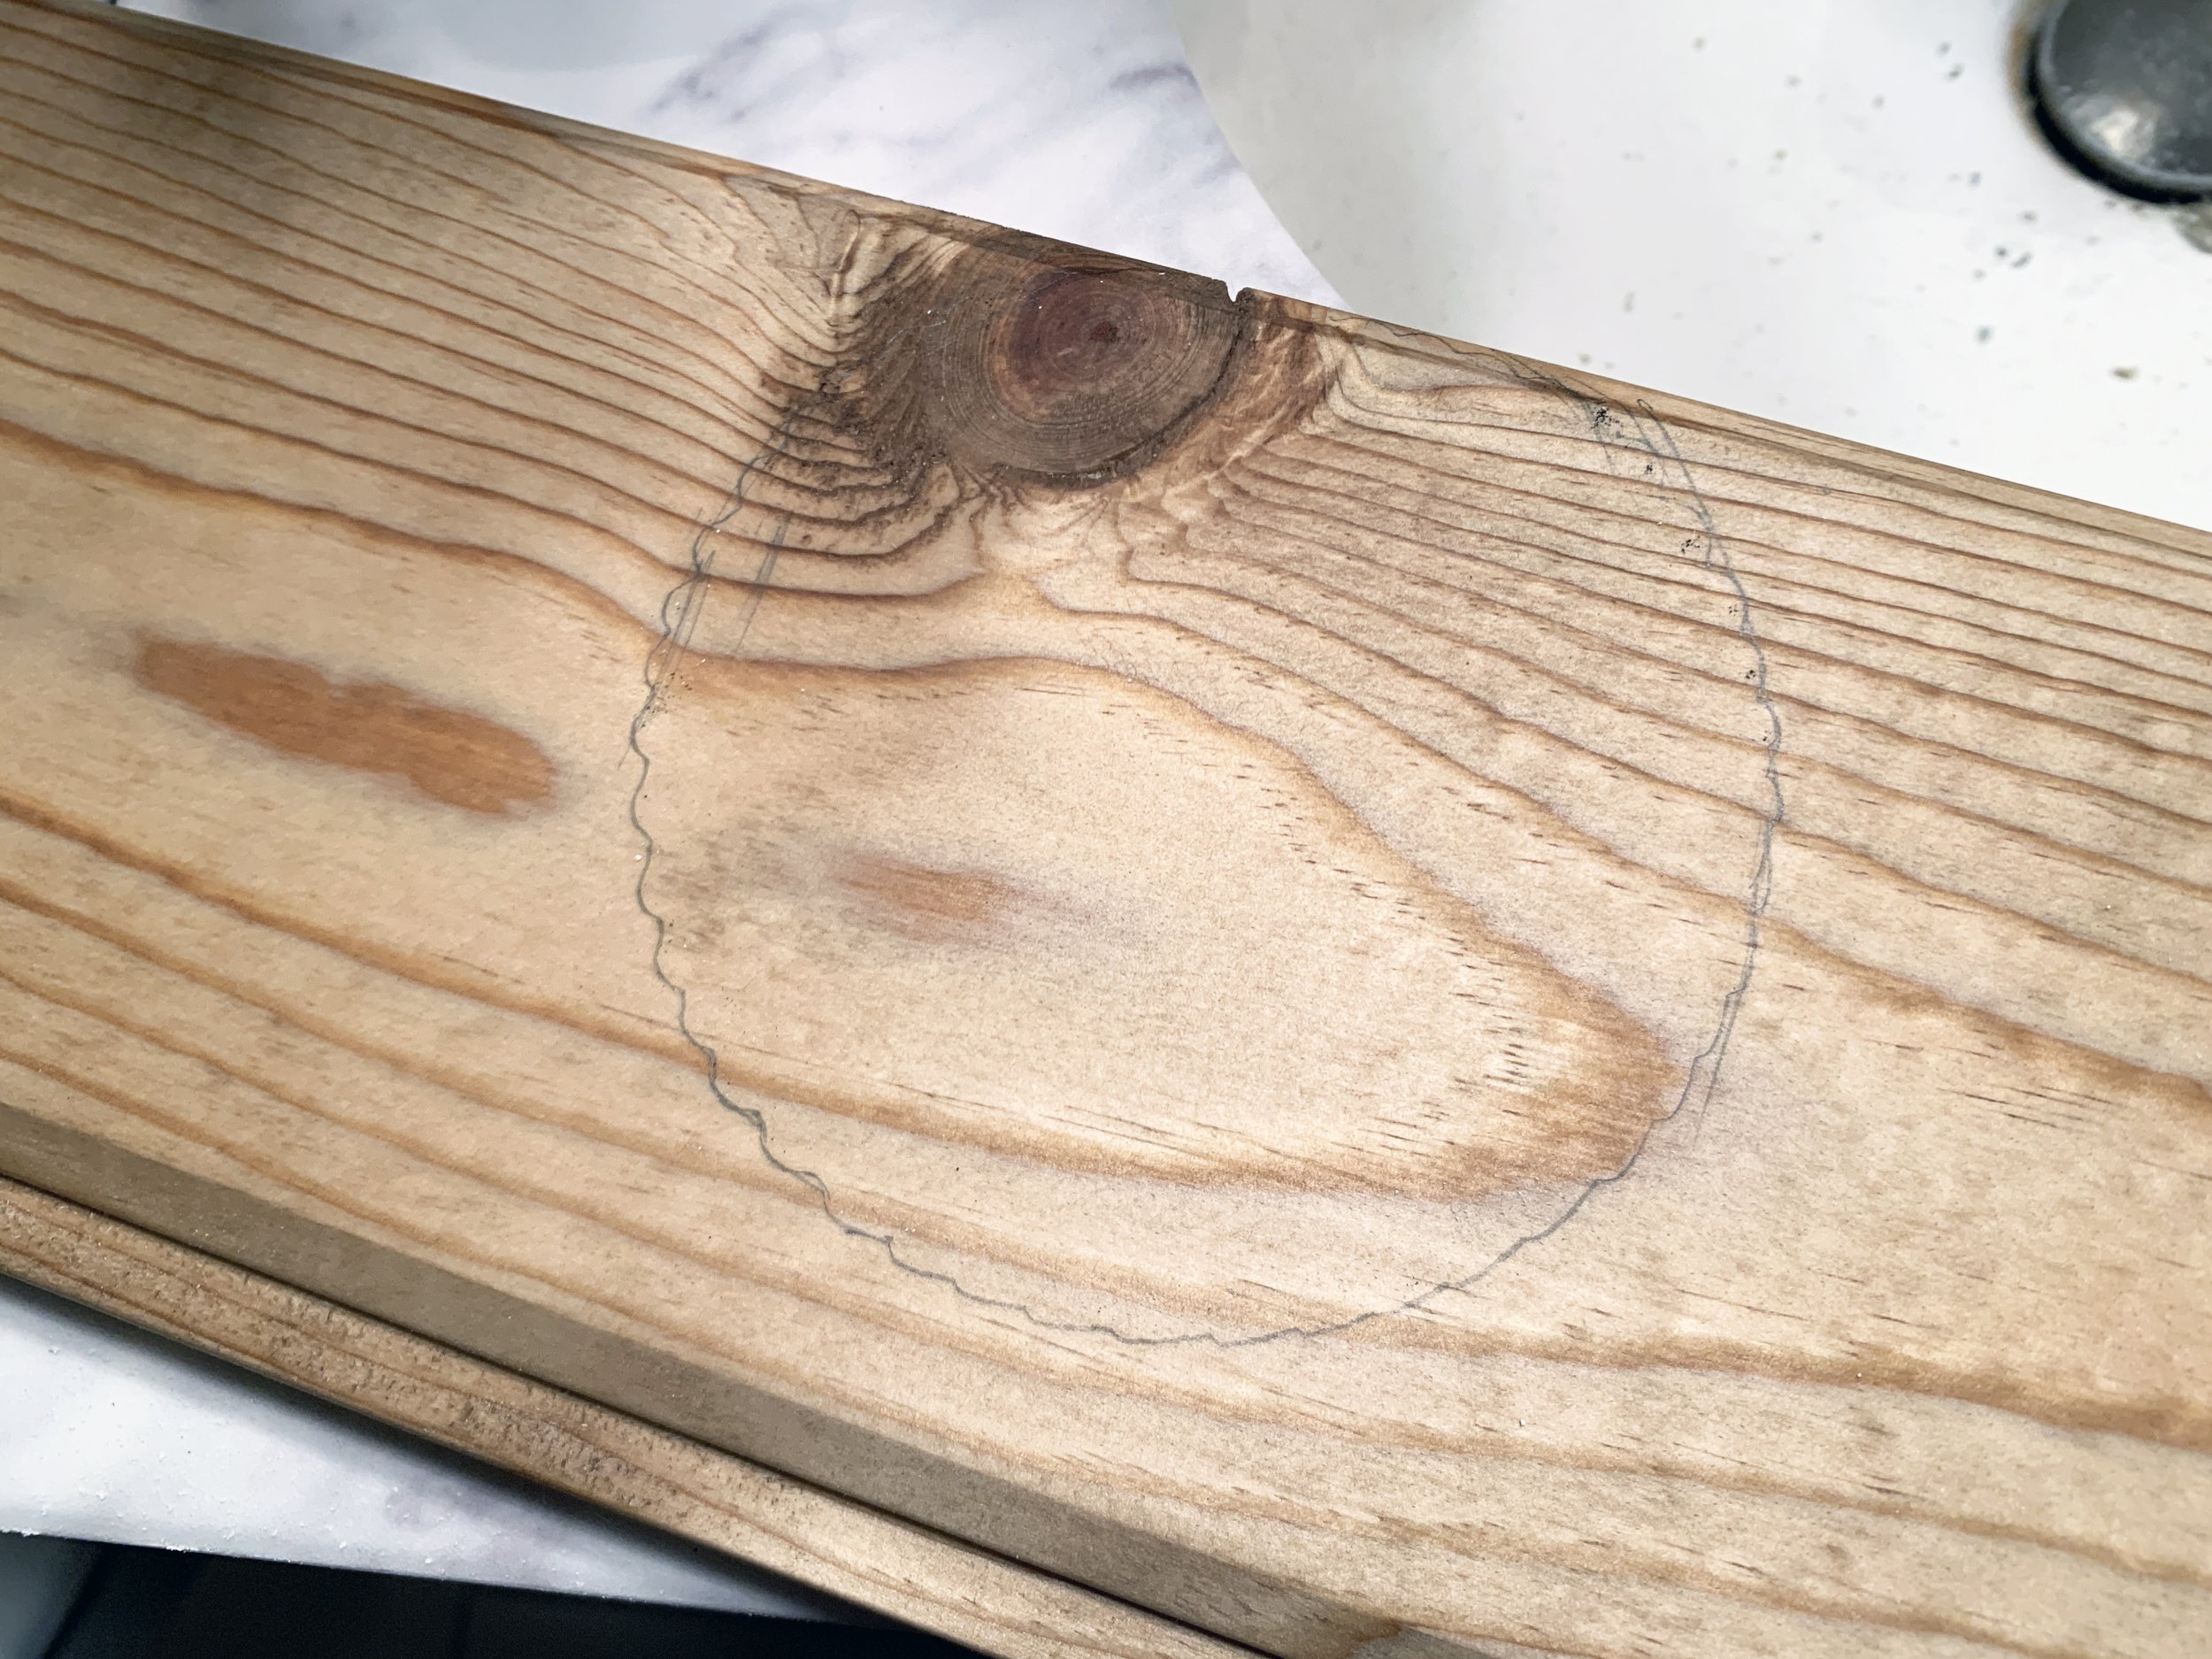
To cut the holes for the lights, I would hold a plank in place to mark the placement, then trace the hole saw to make a cut line that I later used to cut along with a jigsaw.

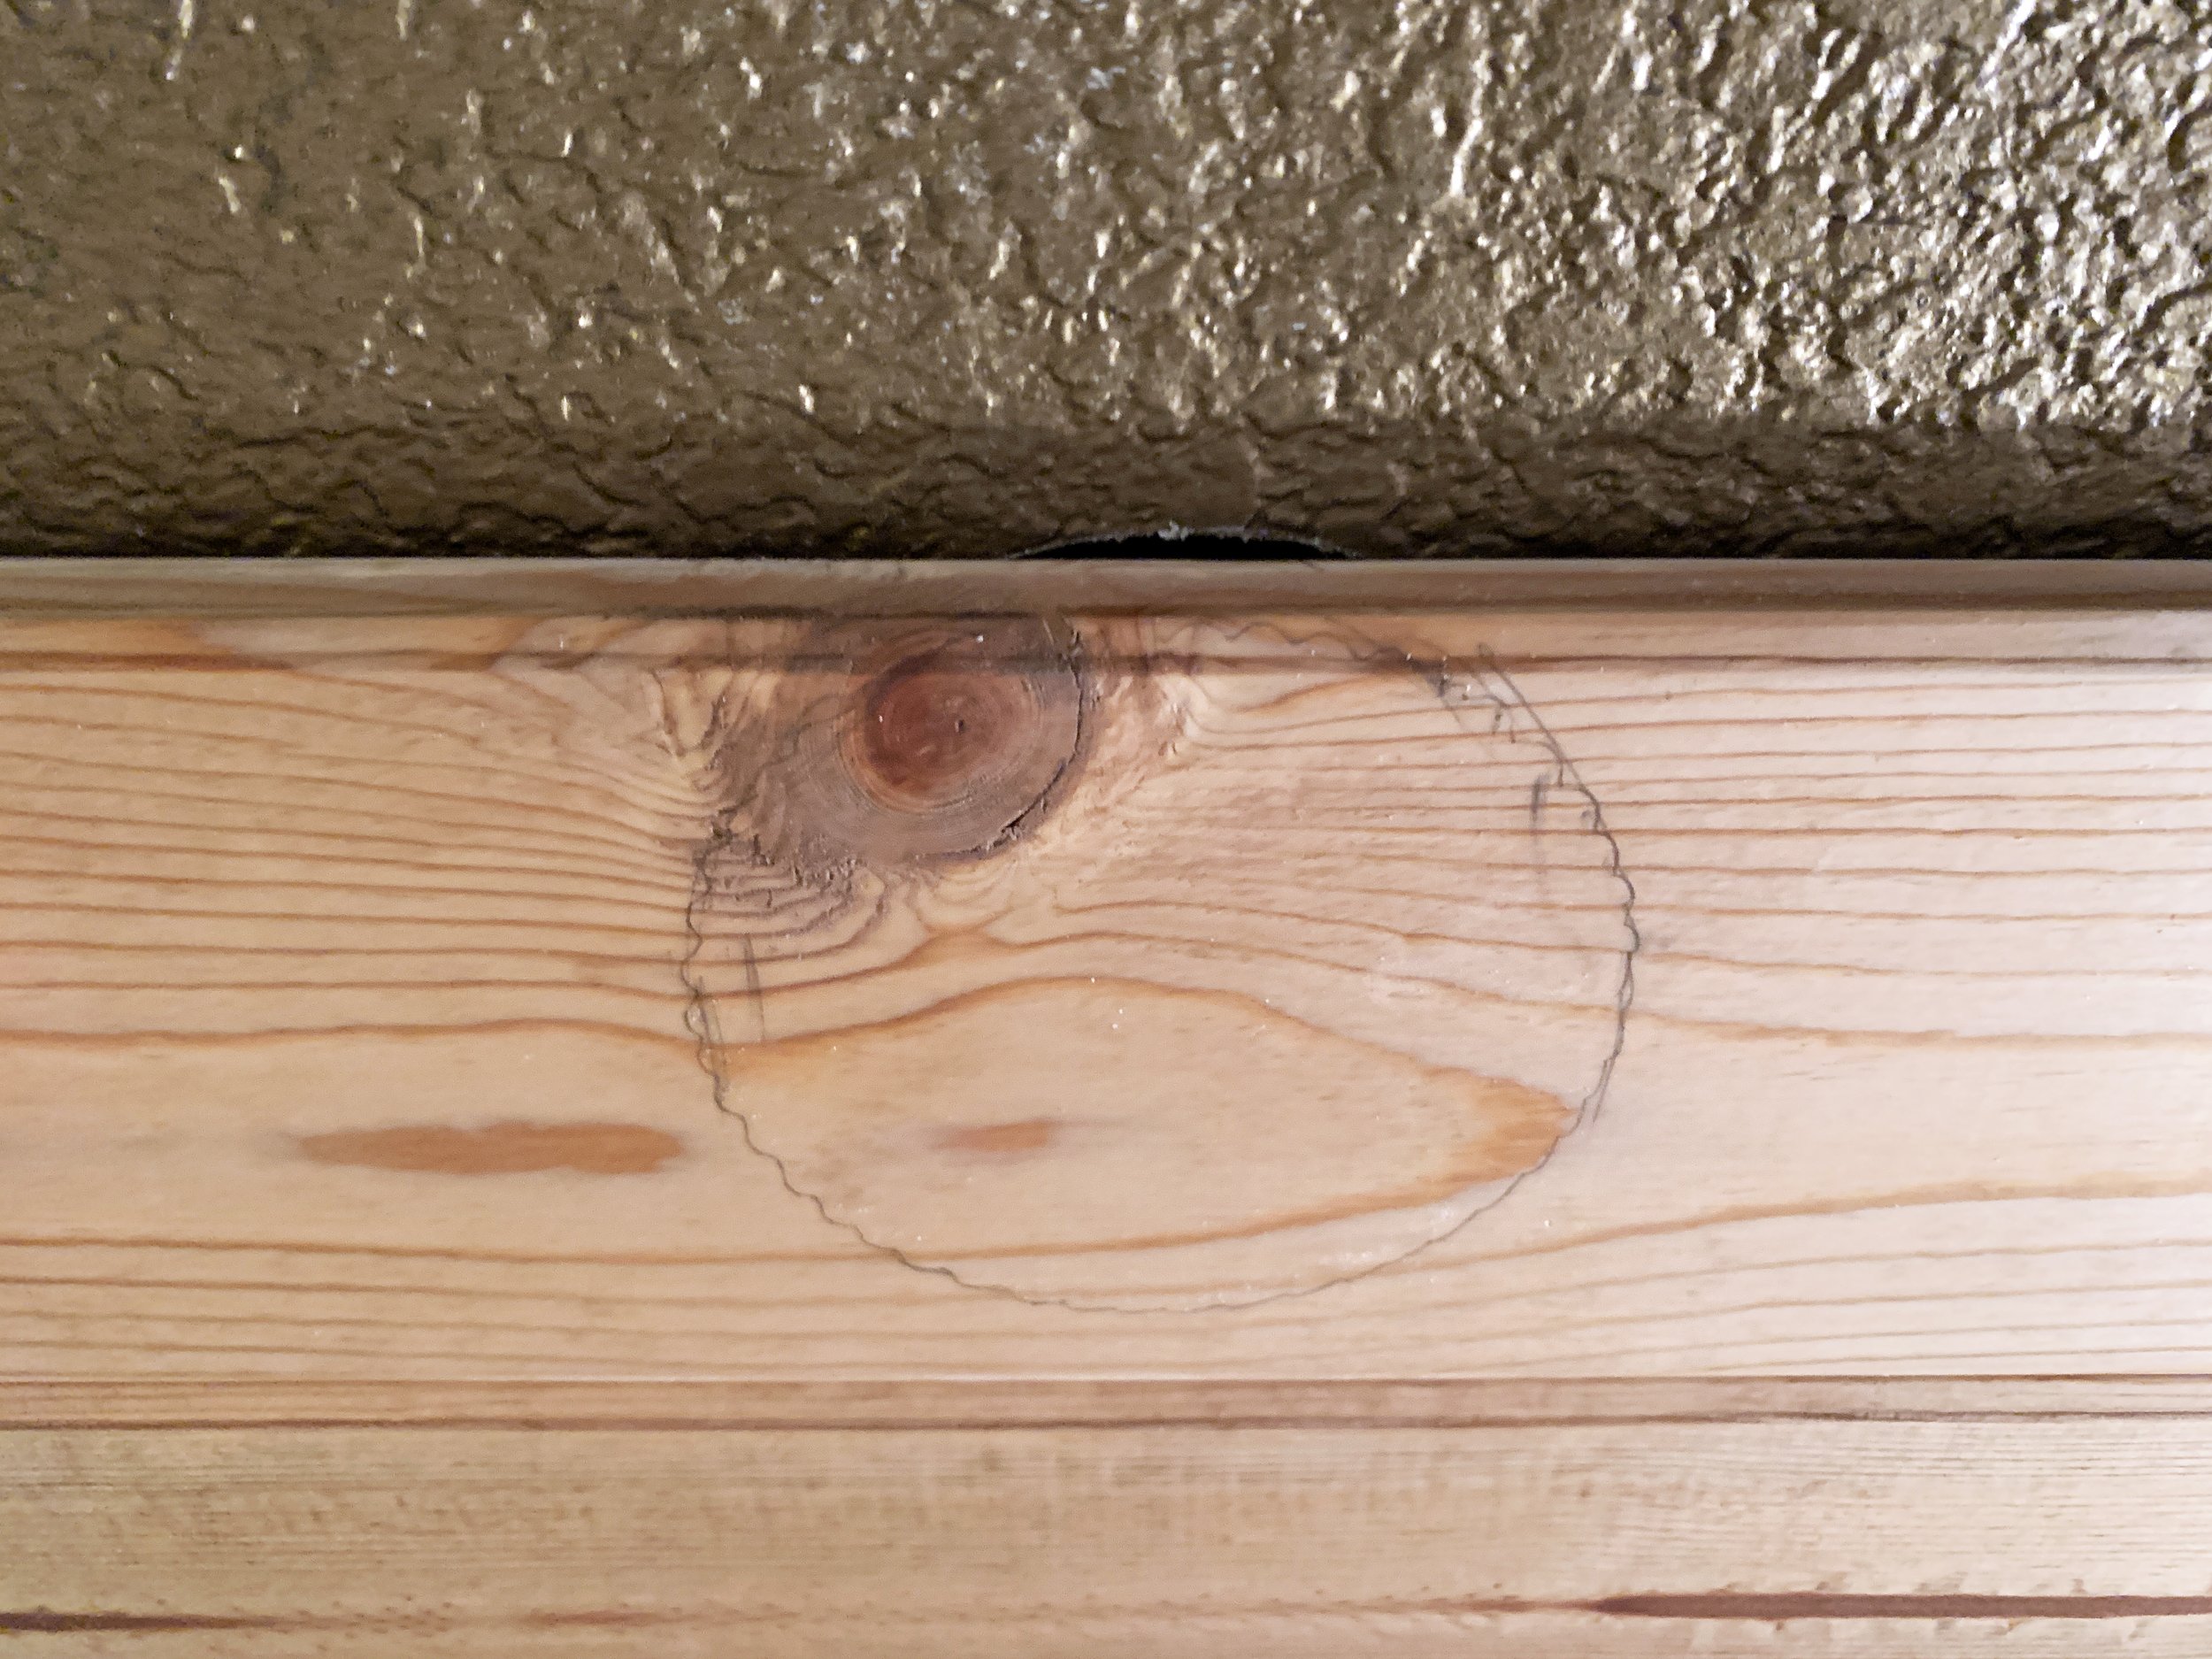

In instances where the light was across two planks, I was able to use my hole cut in the previous board to trace out the remaining cut needed for the next board.

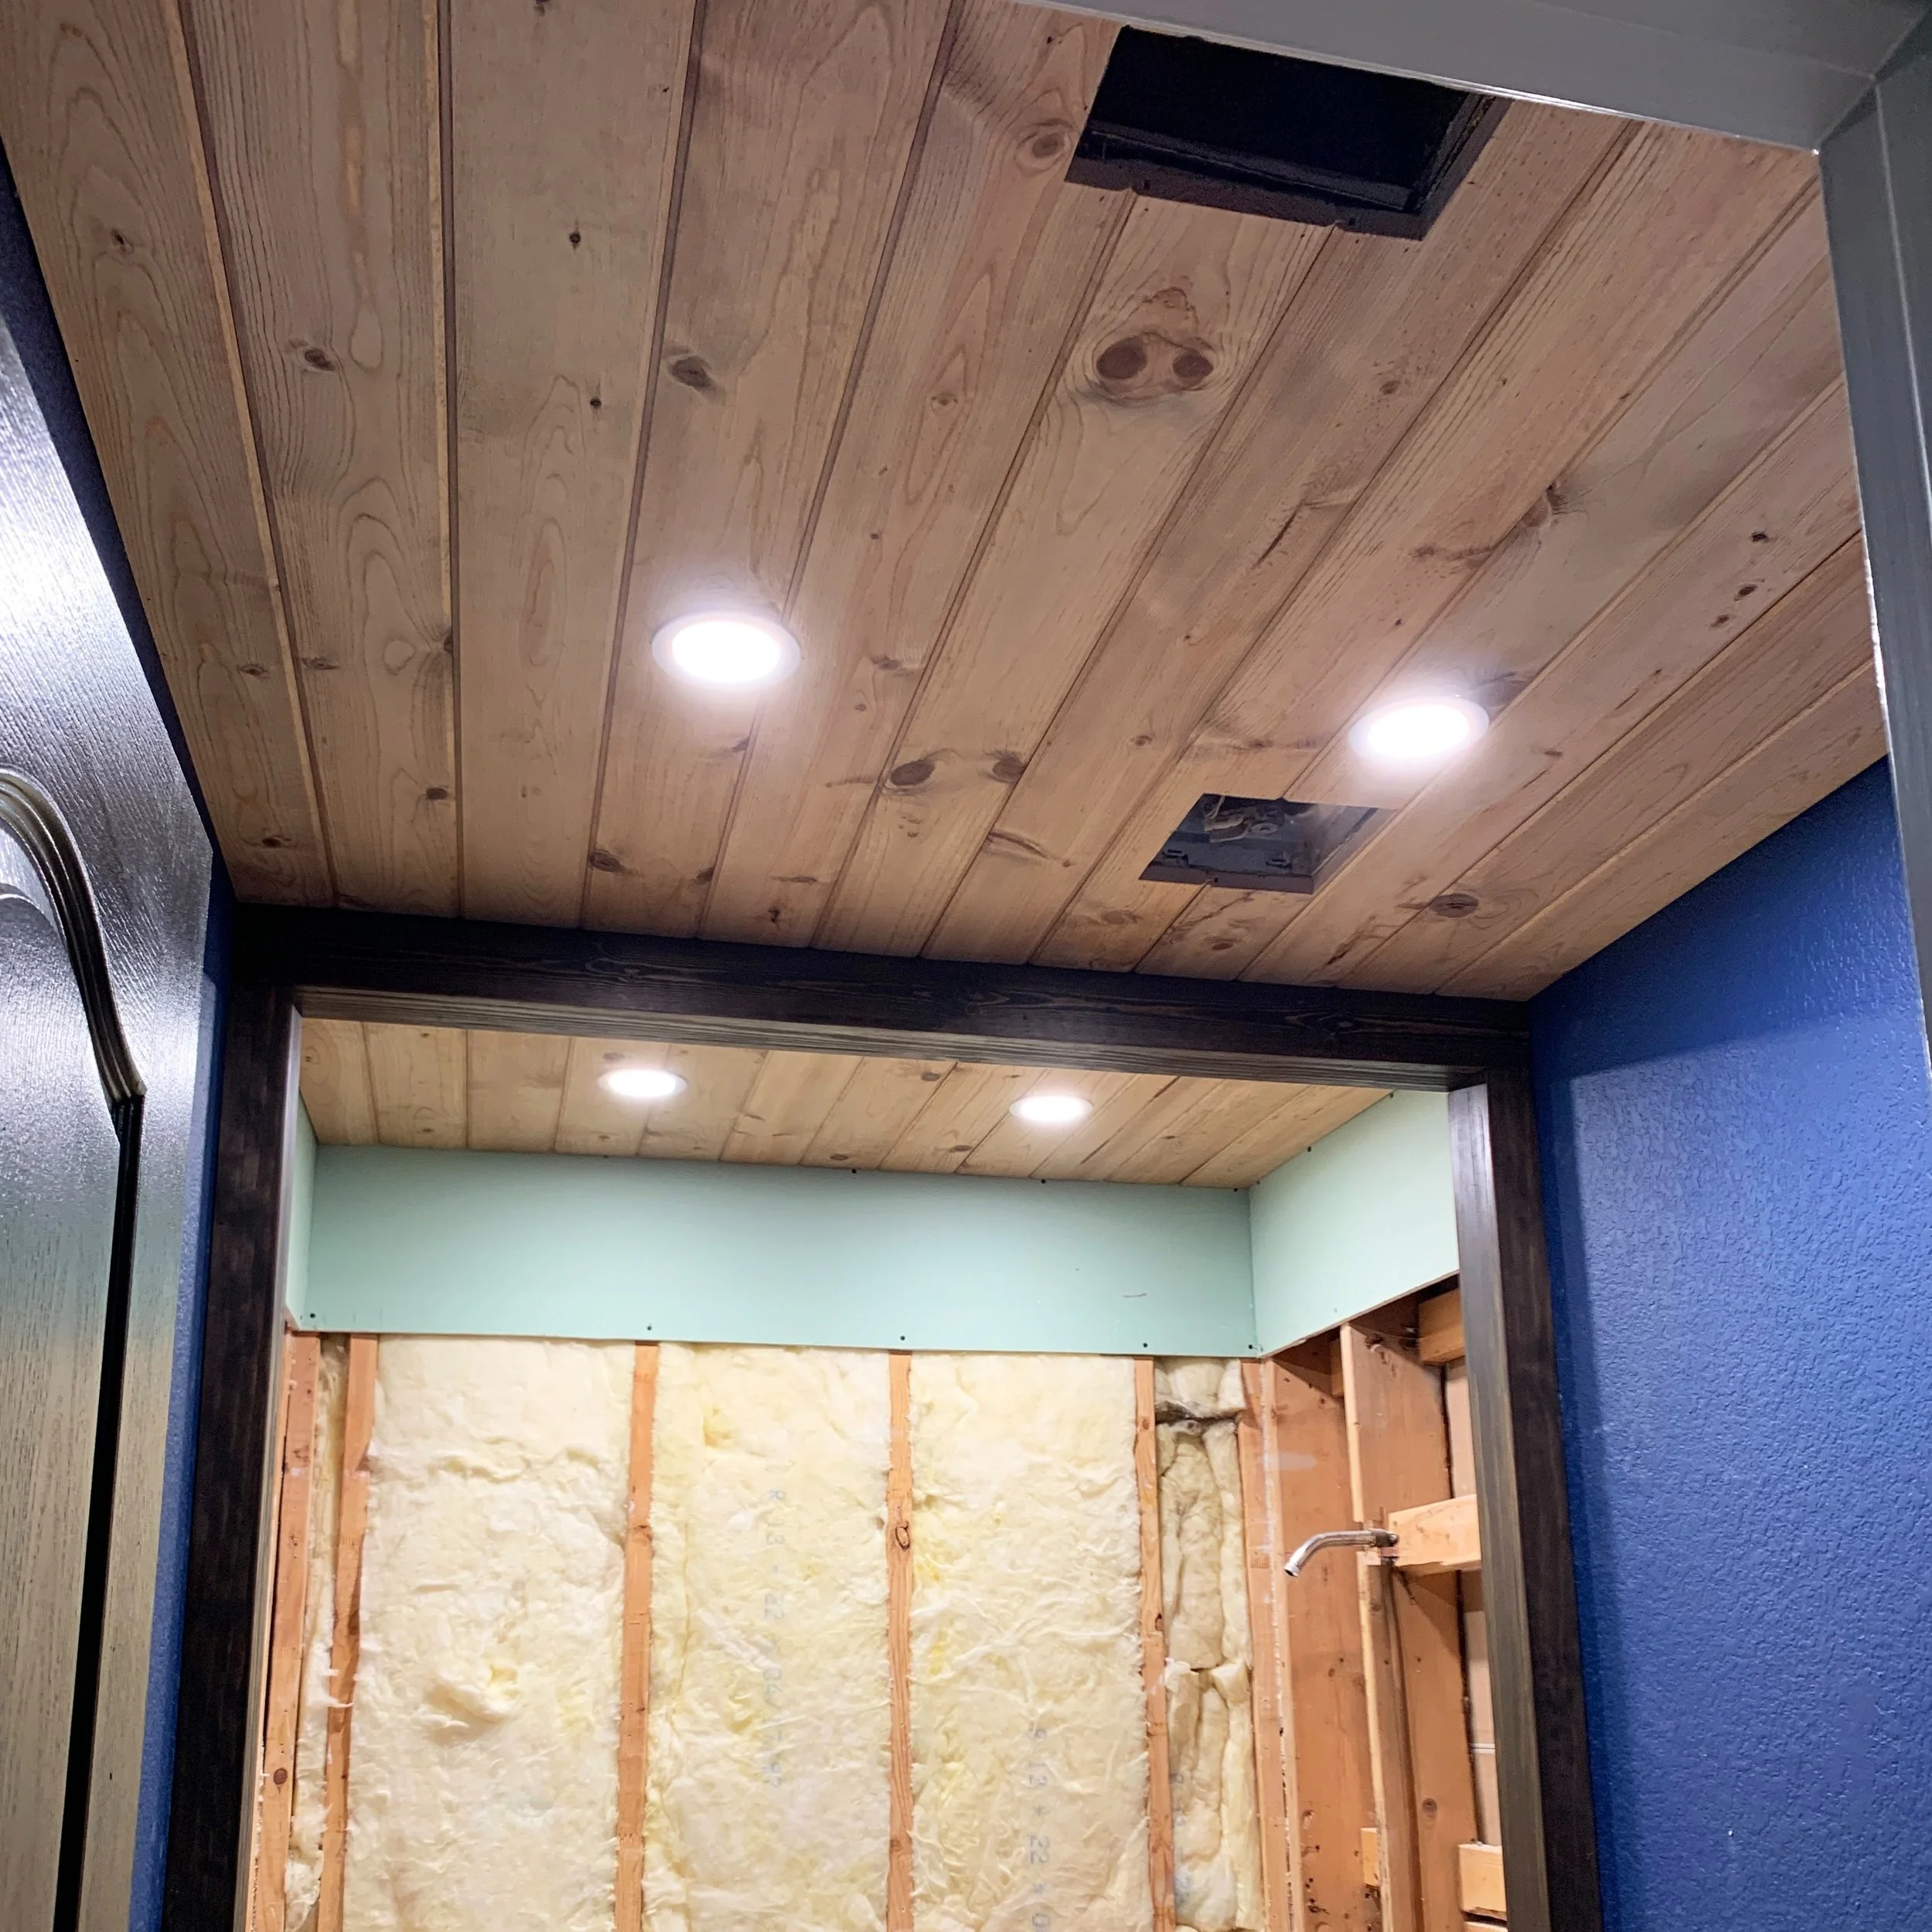
I continued with the other part of the bathroom in the same way, making sure the planks ended in the area to be covered by the beam. (I also taped the round drywall scraps into the holes cut for the lights since working on the ceiling kept making fiberglass insulation from the attic fall into the bathroom/on me.)

I cut the last plank of each ceiling section to width with the circular saw.


The finished planks! (Also, anyone else seeing a silly little robot face in this photo? I’ve seen it once, and can’t unsee it now.)
FAUX CEILING BEAM + columns
Installing the beam
To install the faux beam I built and stained last week, I first used wood screws to secure a 1x3 to the ceiling as a cleat for the beam, covering the seam of the wood planks.

After cutting the already-made beam to the full width of the bathroom with our miter saw so that it would be tight, I used a rubber mallet to gently tap it into place around the 1x3 cleat, and then nailed the beam along the ceiling to the sides of the 1x3 cleat with a nail gun.

Installing the columns
With the faux beam securely in place, I took the measurements from the bottom of the beam to the floor and cut each column I built last week to length, again making sure they were a tight fit.

Then, like with the ceiling, I screwed a 1x3 to each wall making sure each was level and centered on each side with the beam above.
I used the rubber mallet to gently tap the columns in place around each cleat, aligning the sides with the beam edges above.
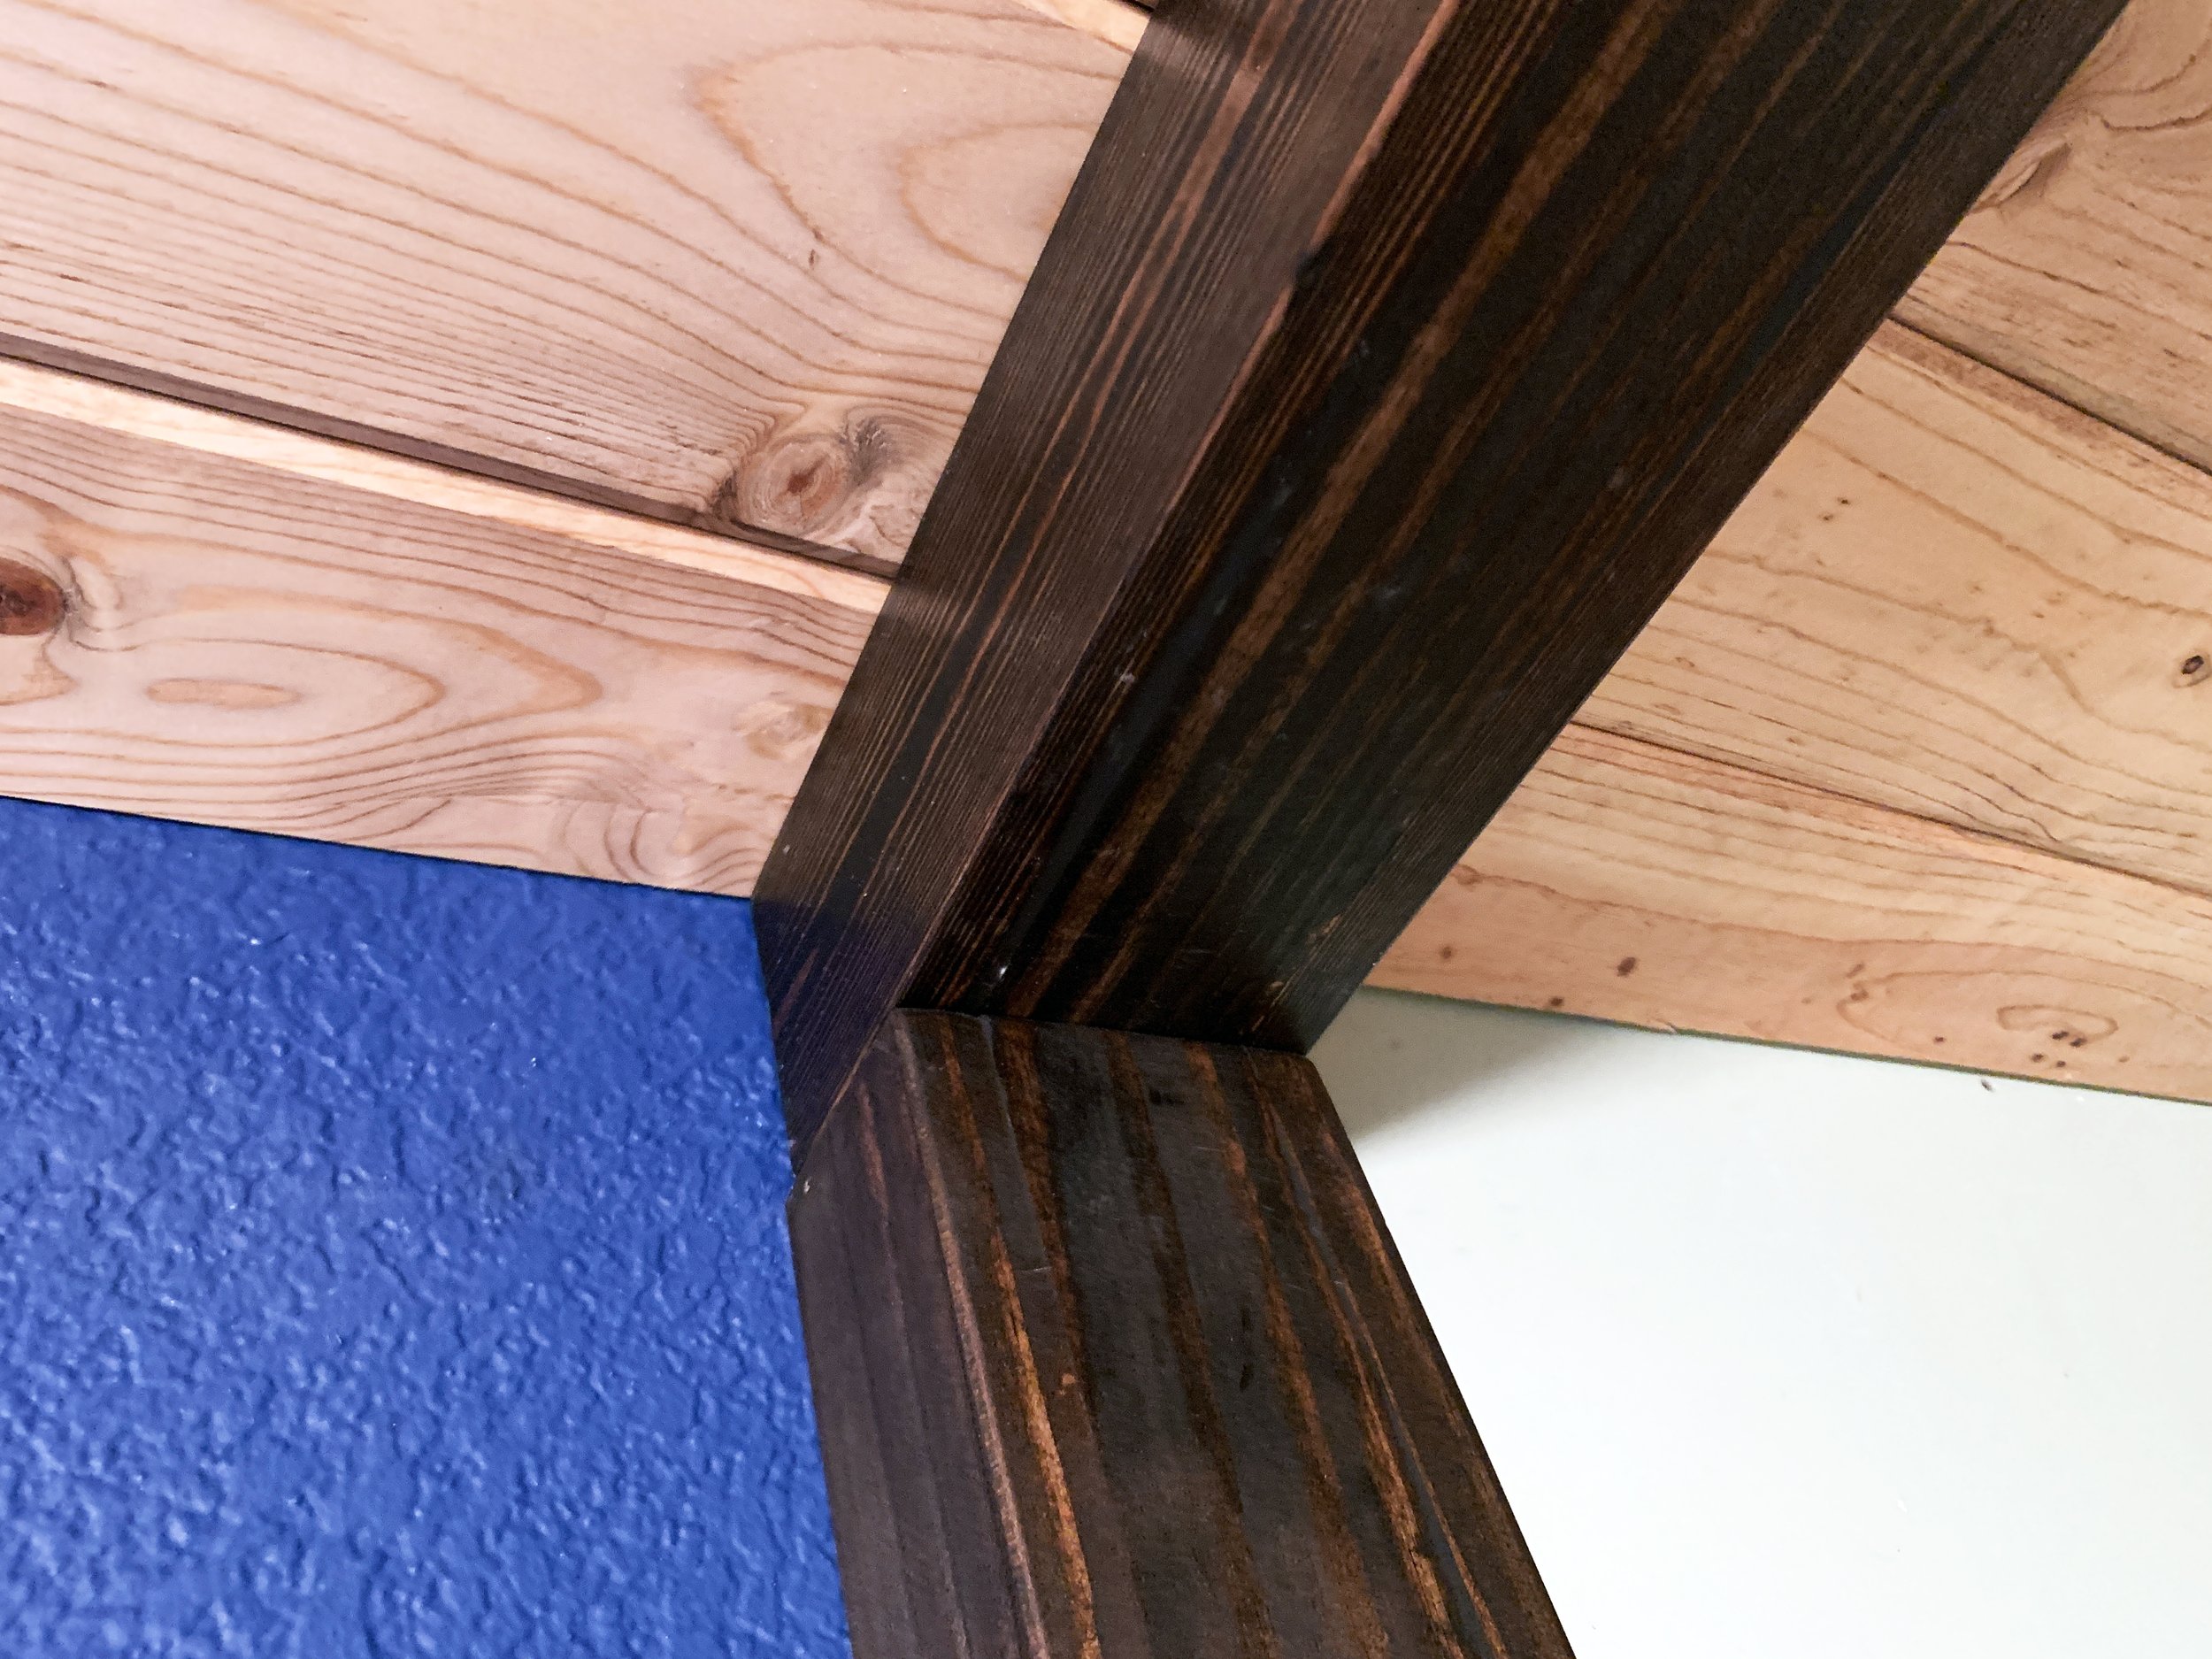
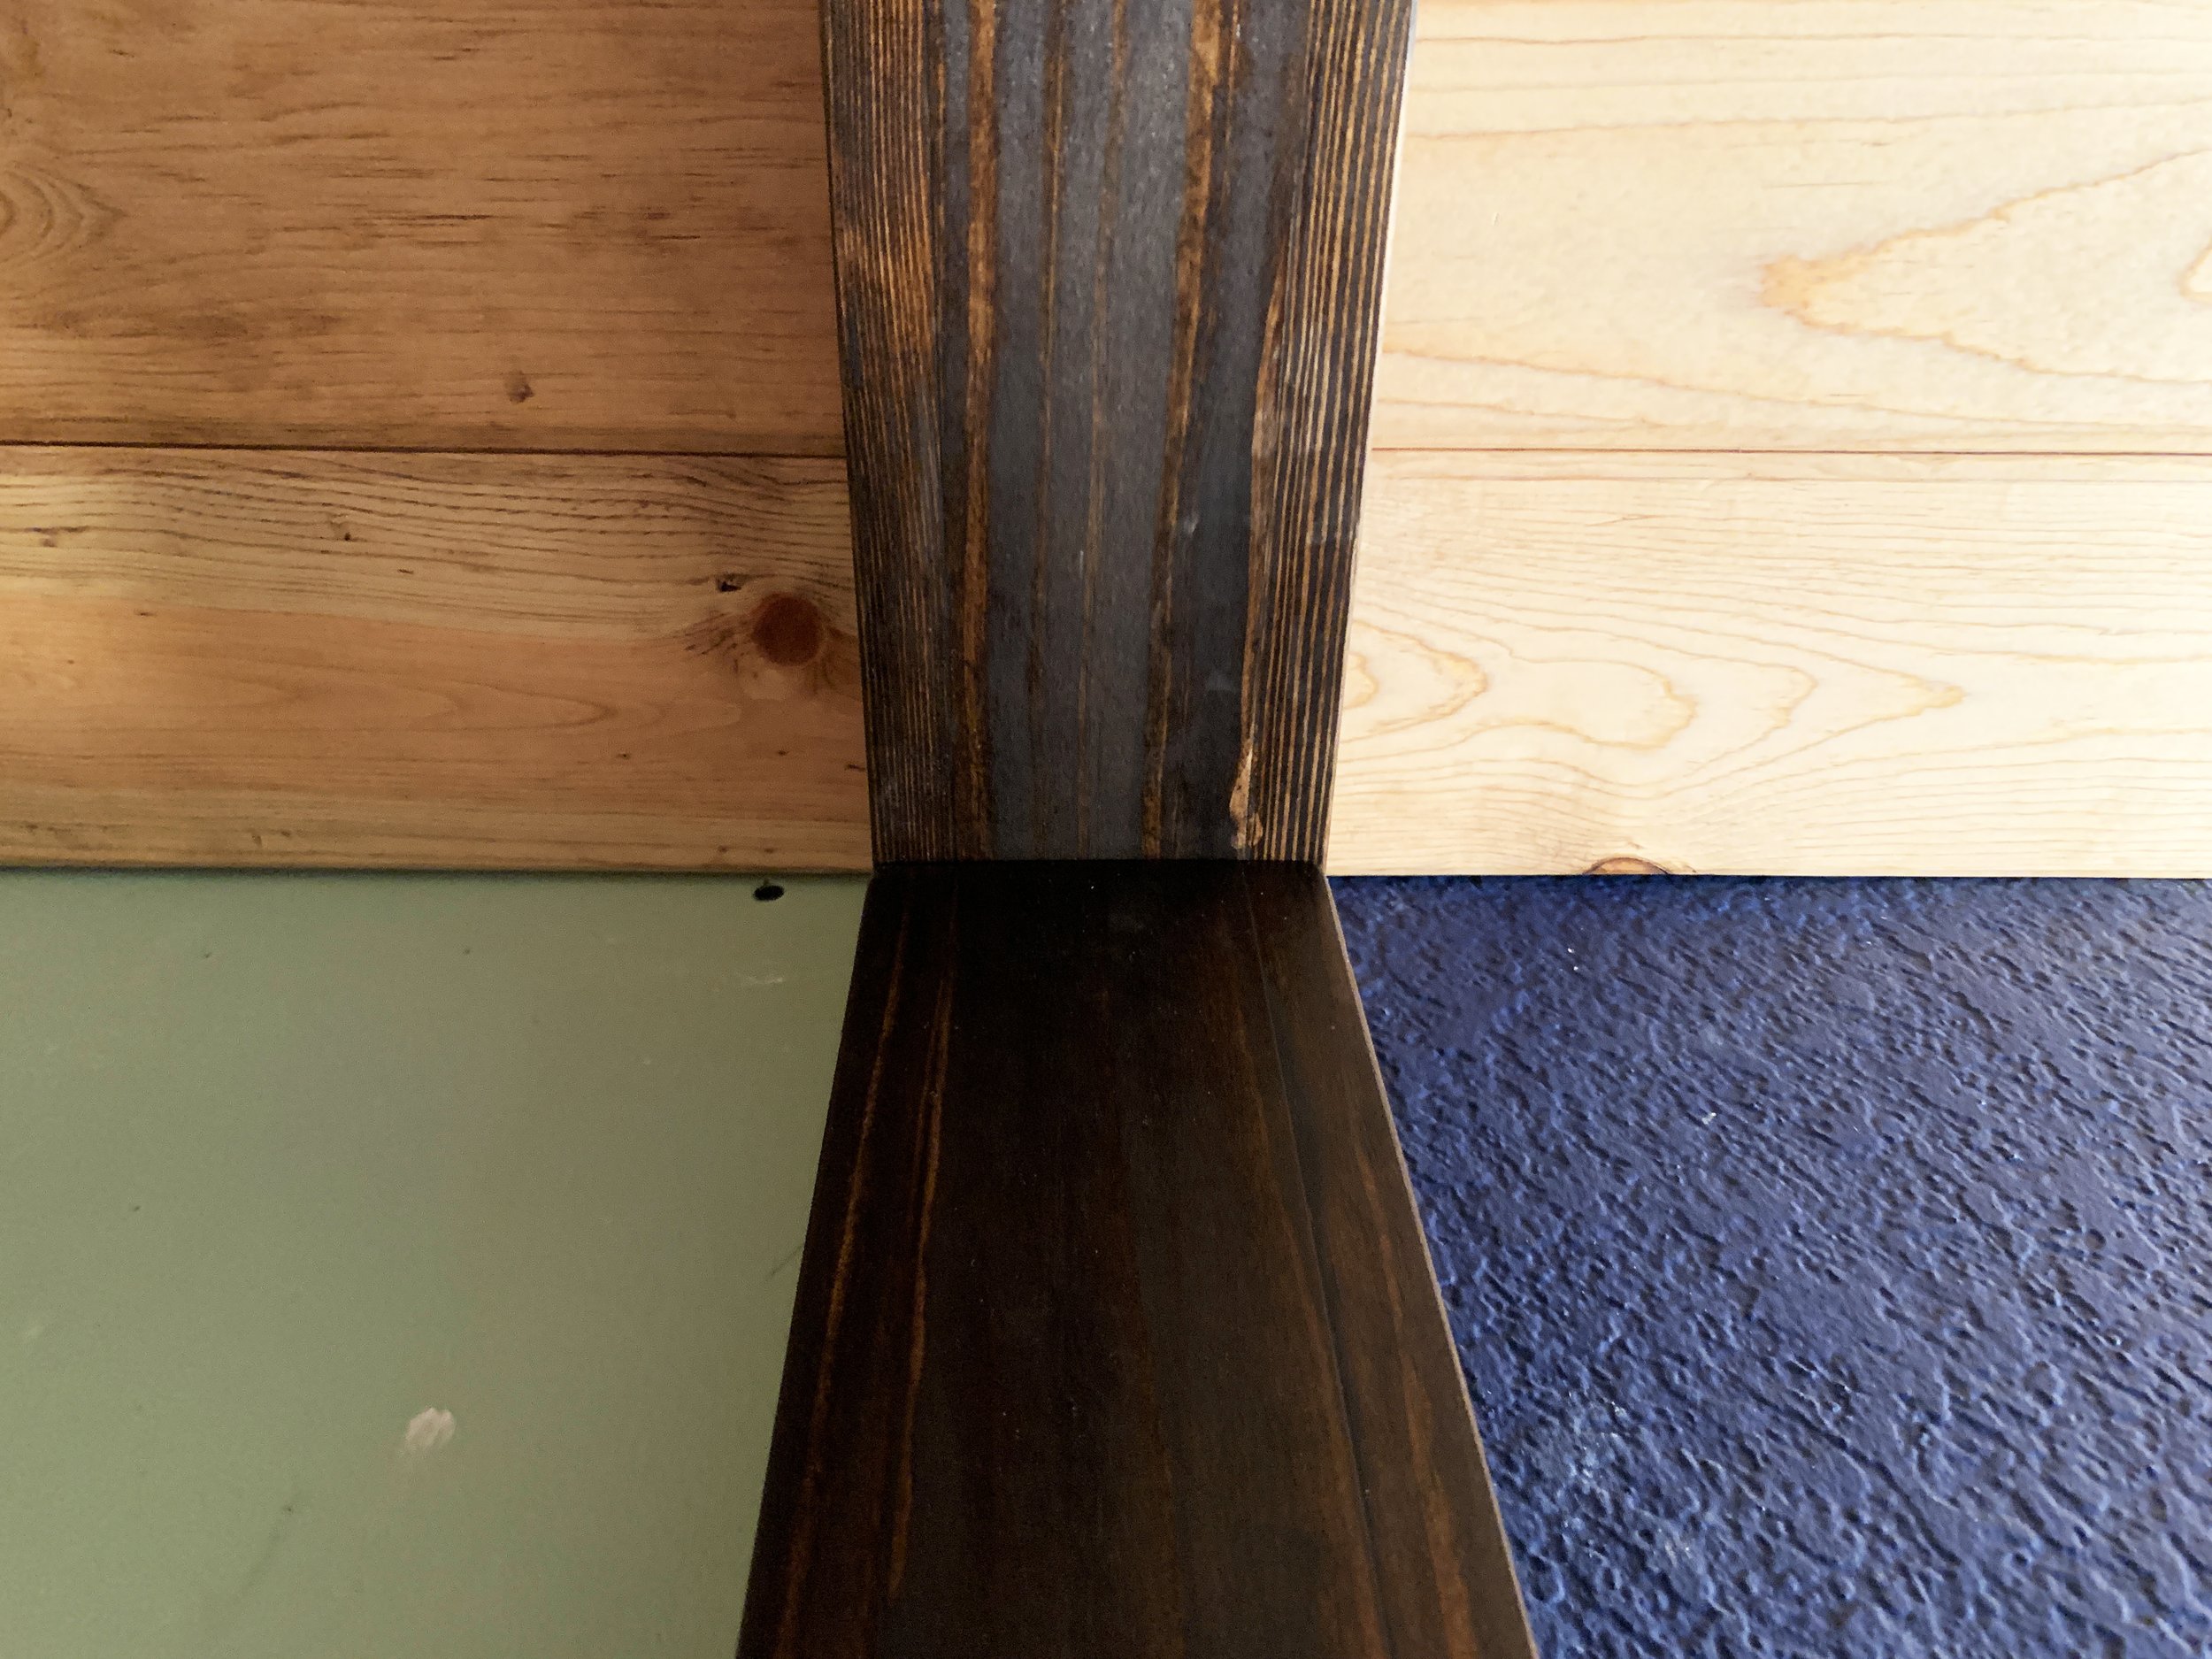
Then I nailed them to the 1x3 wall cleats with the nail gun.
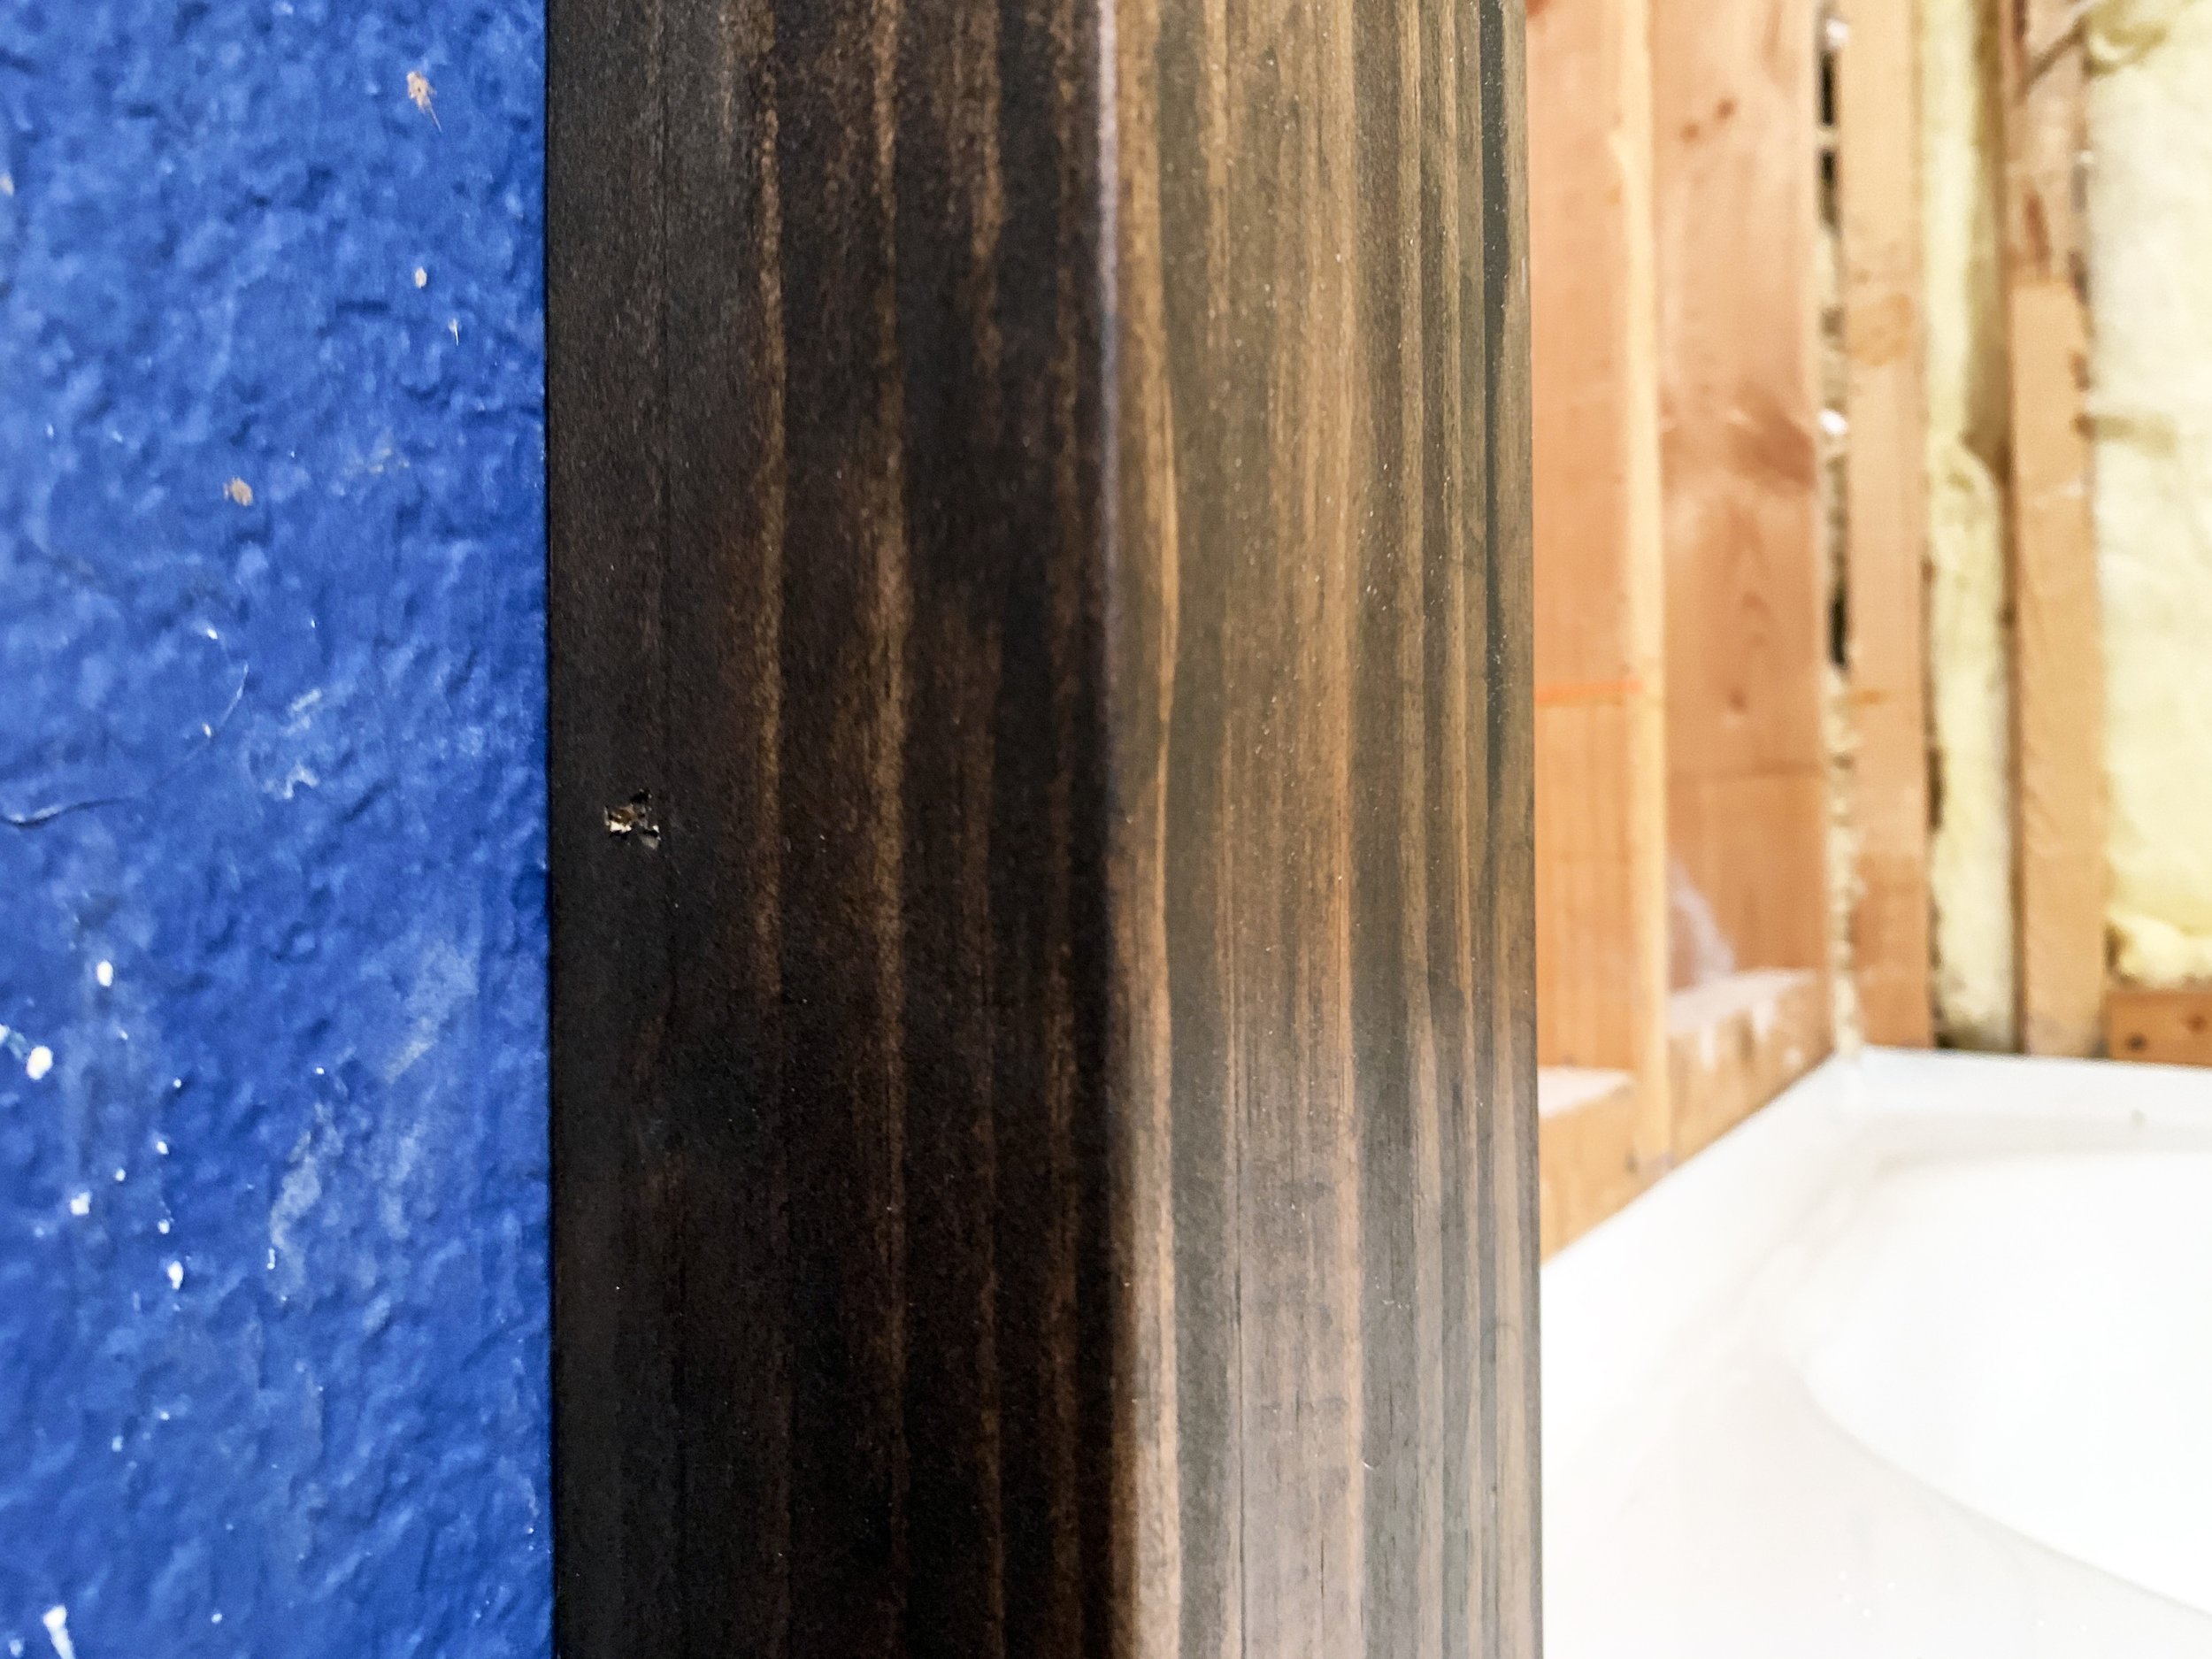
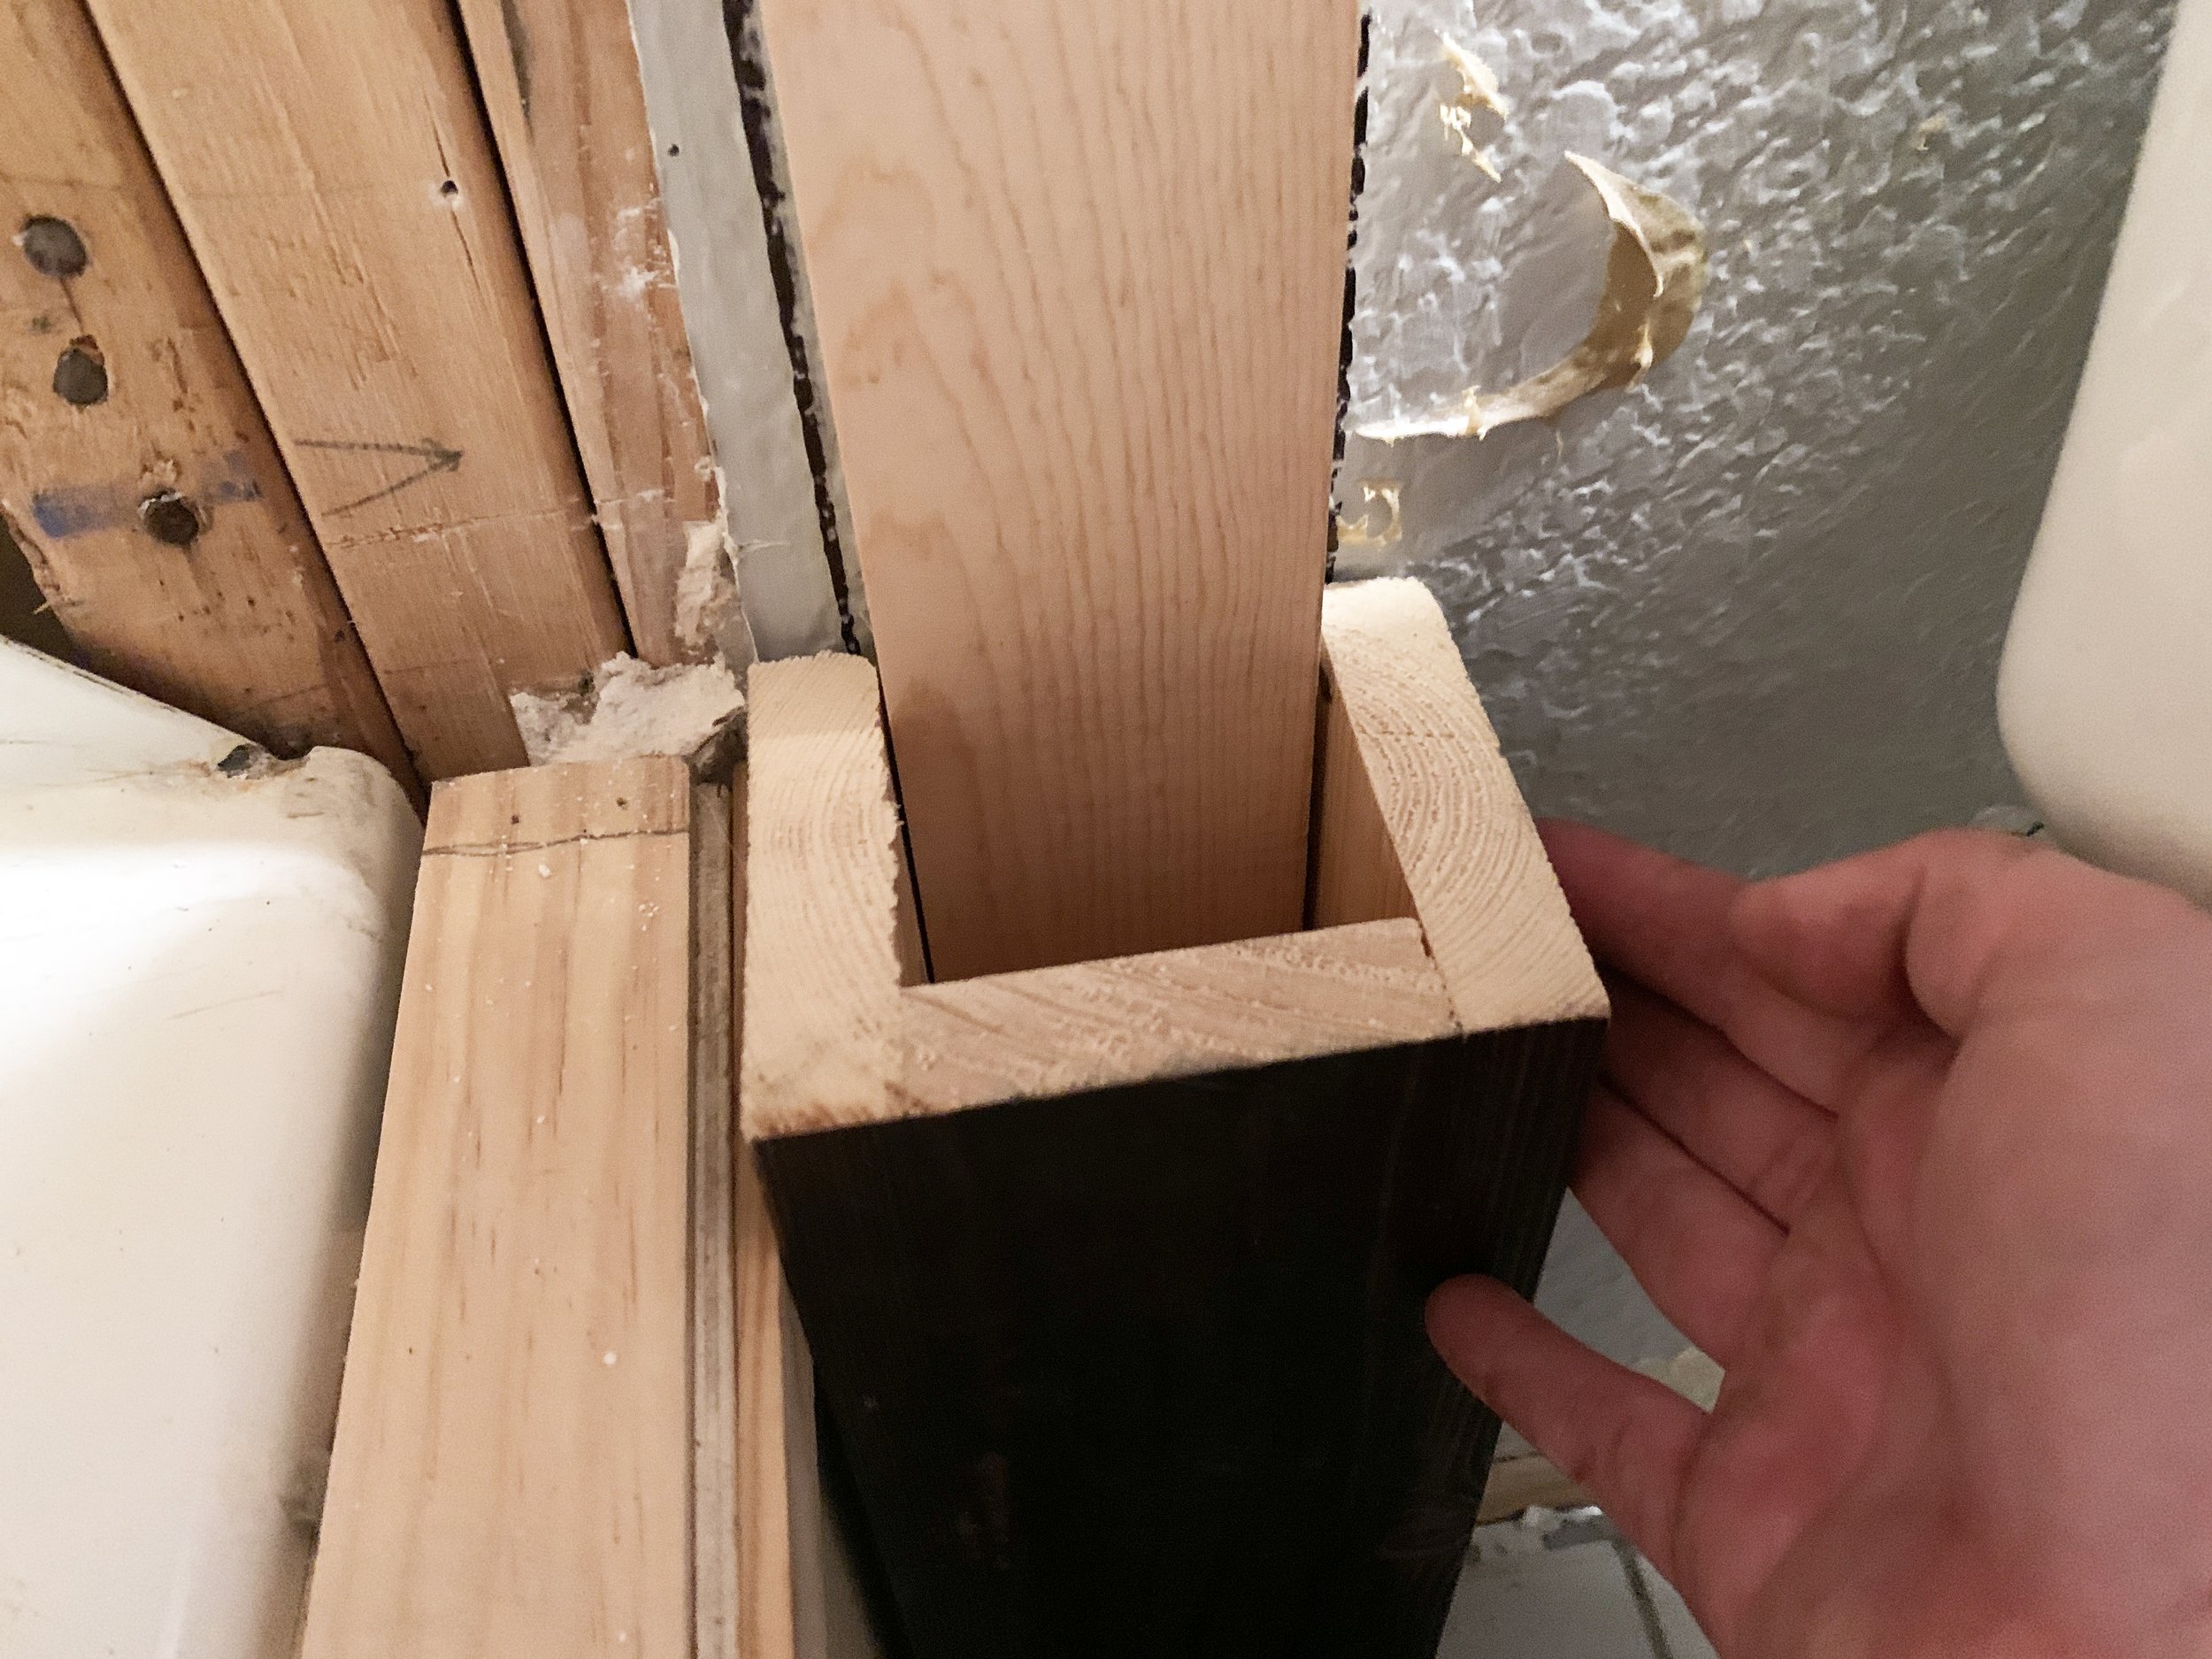
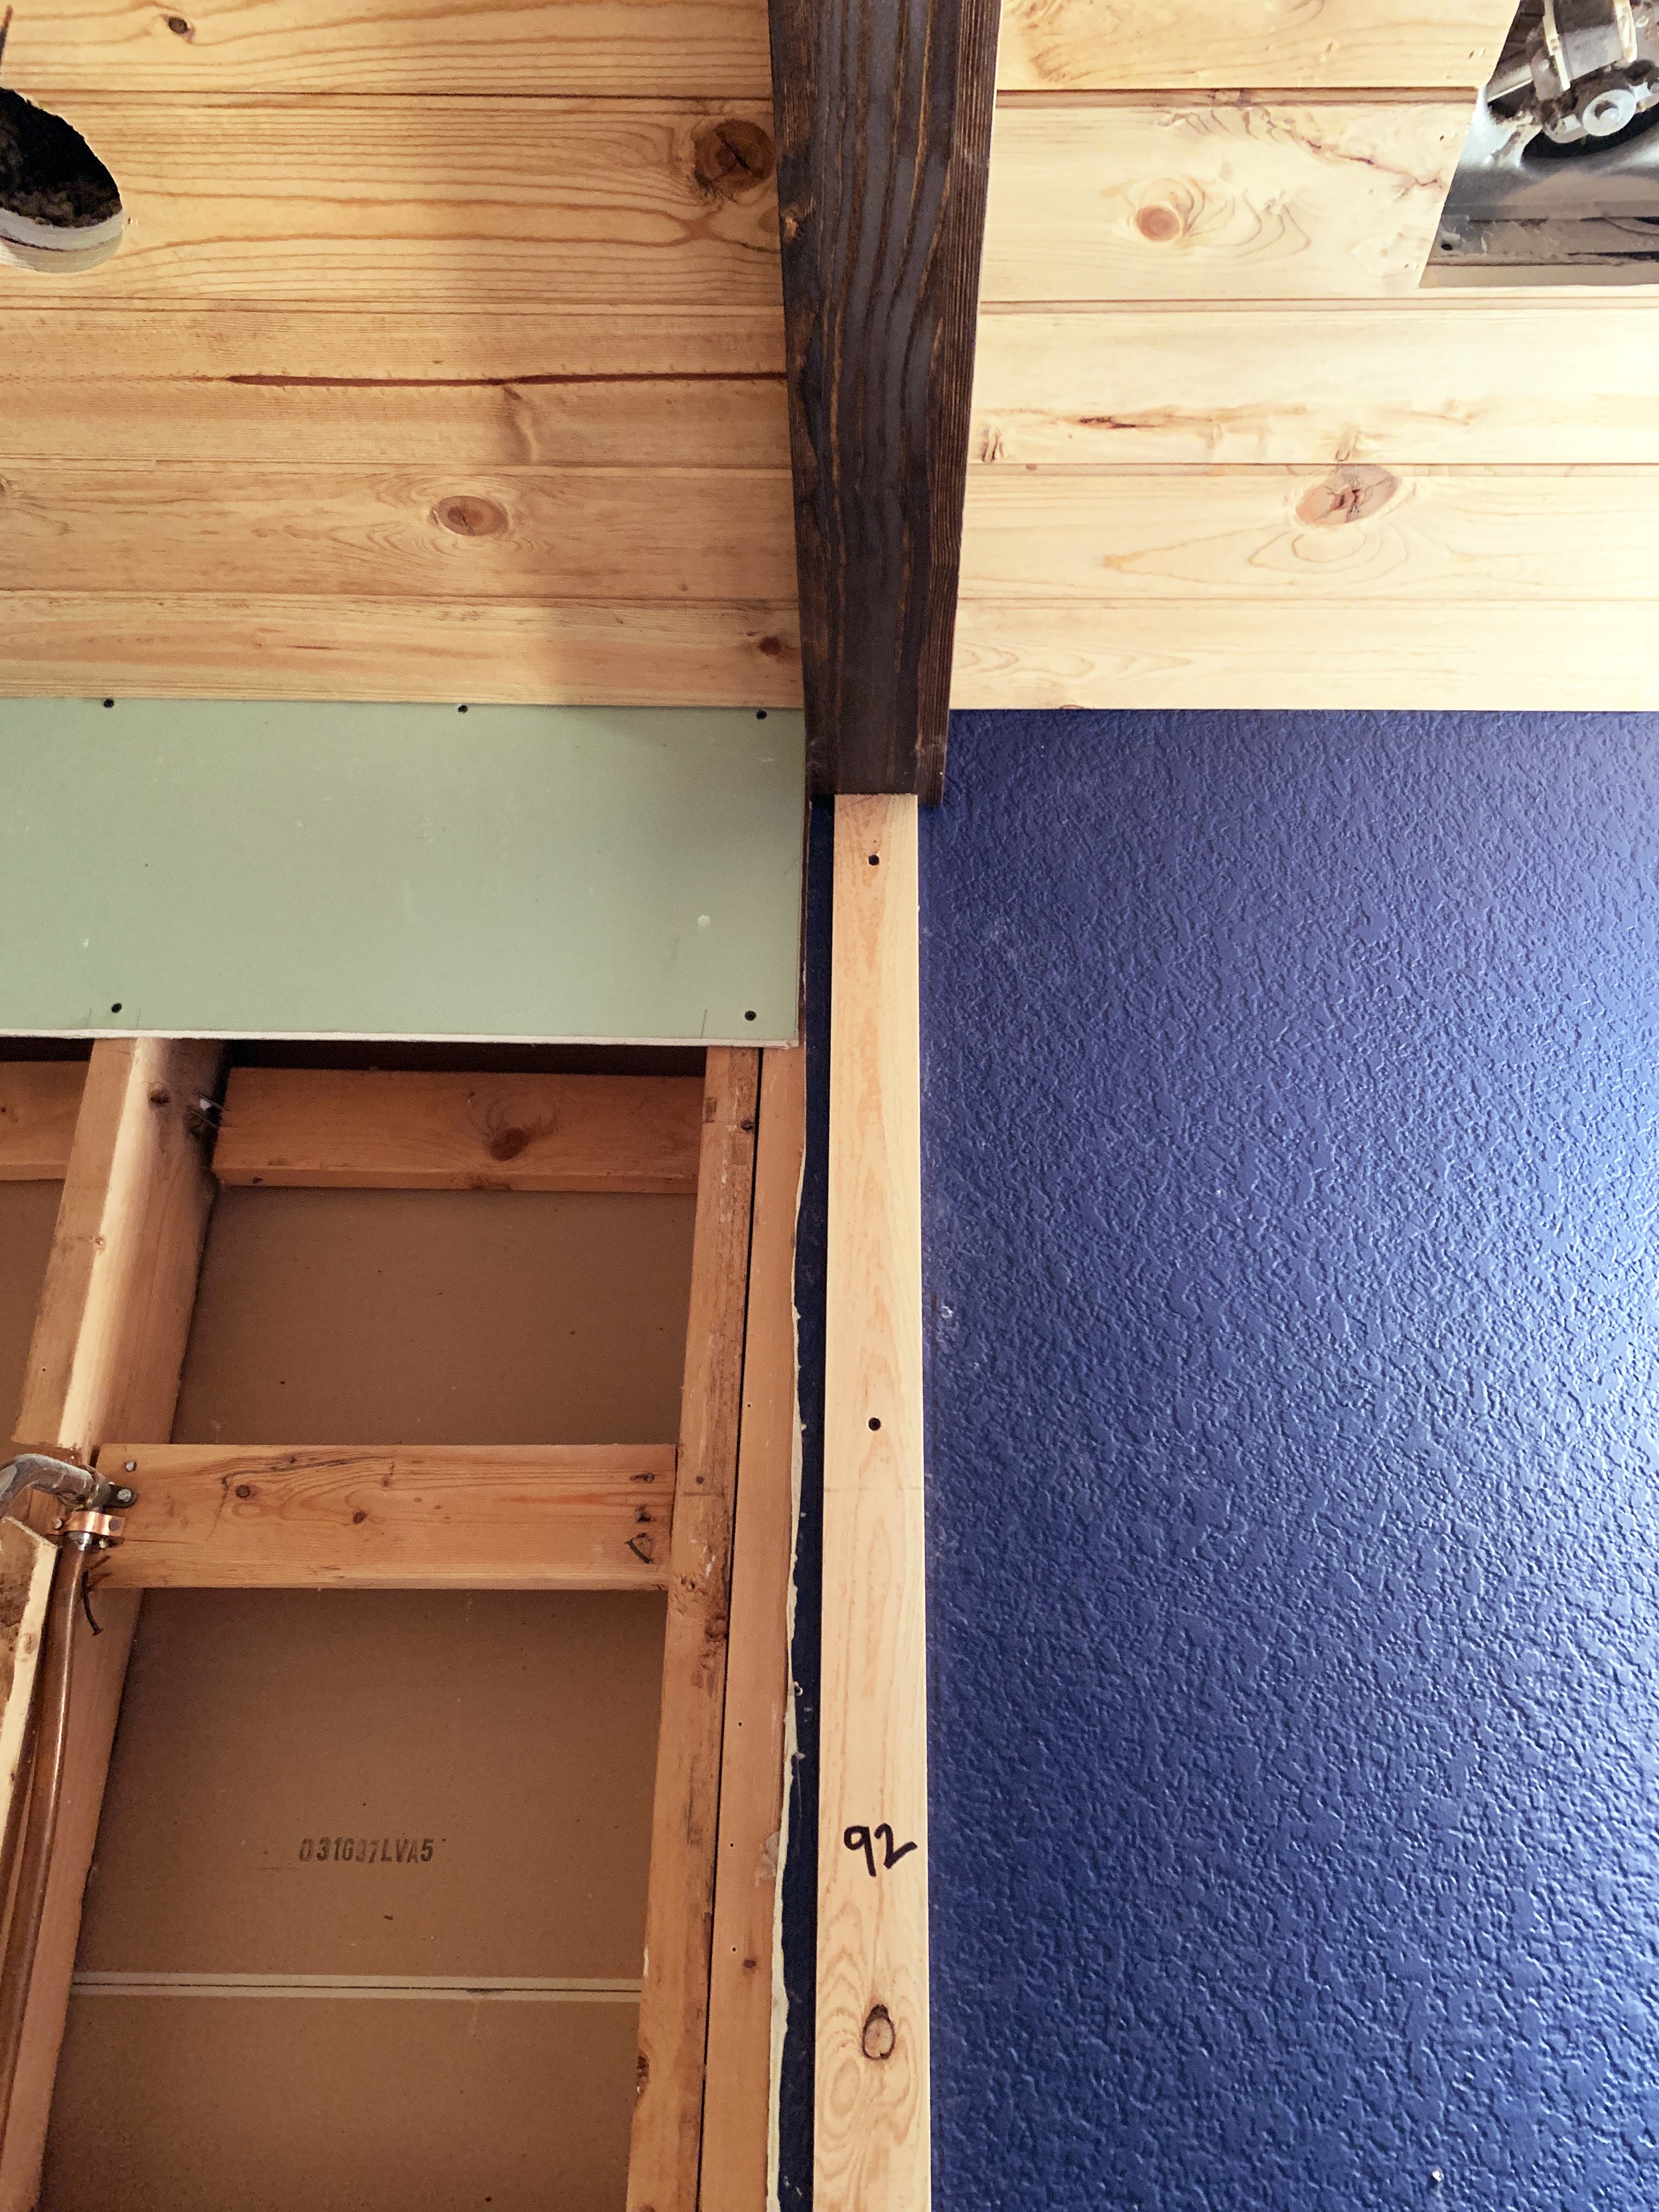
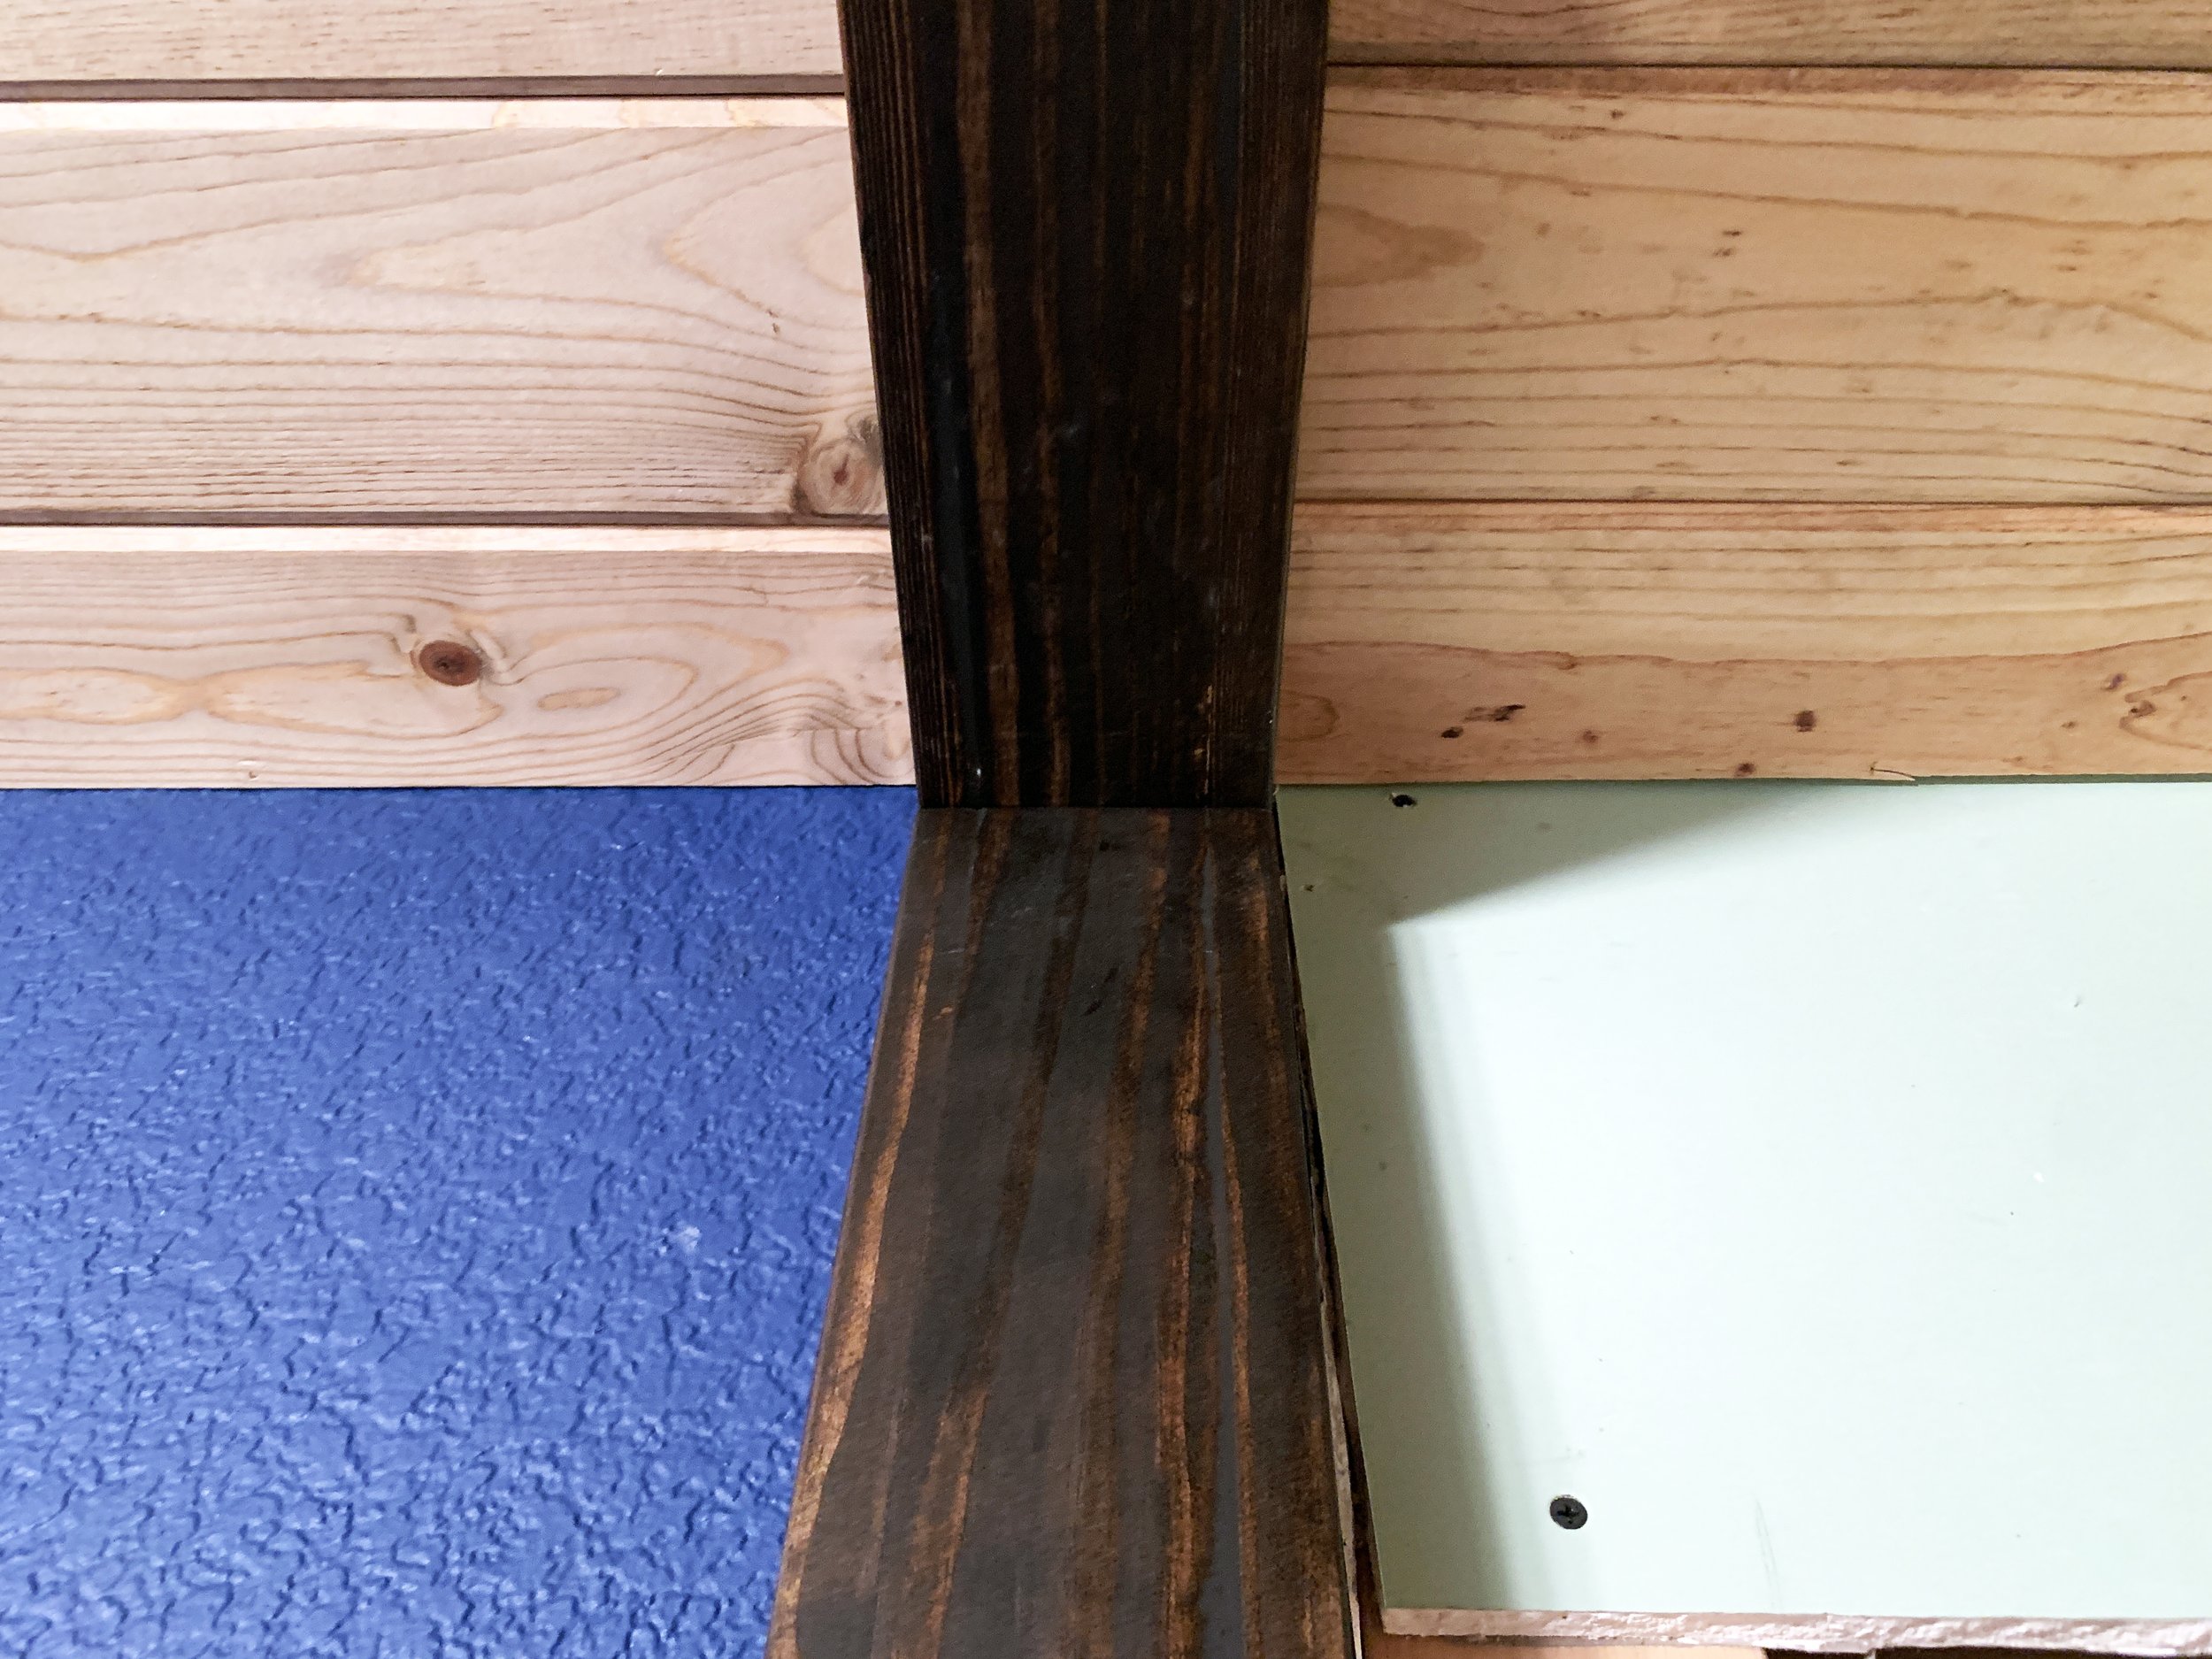
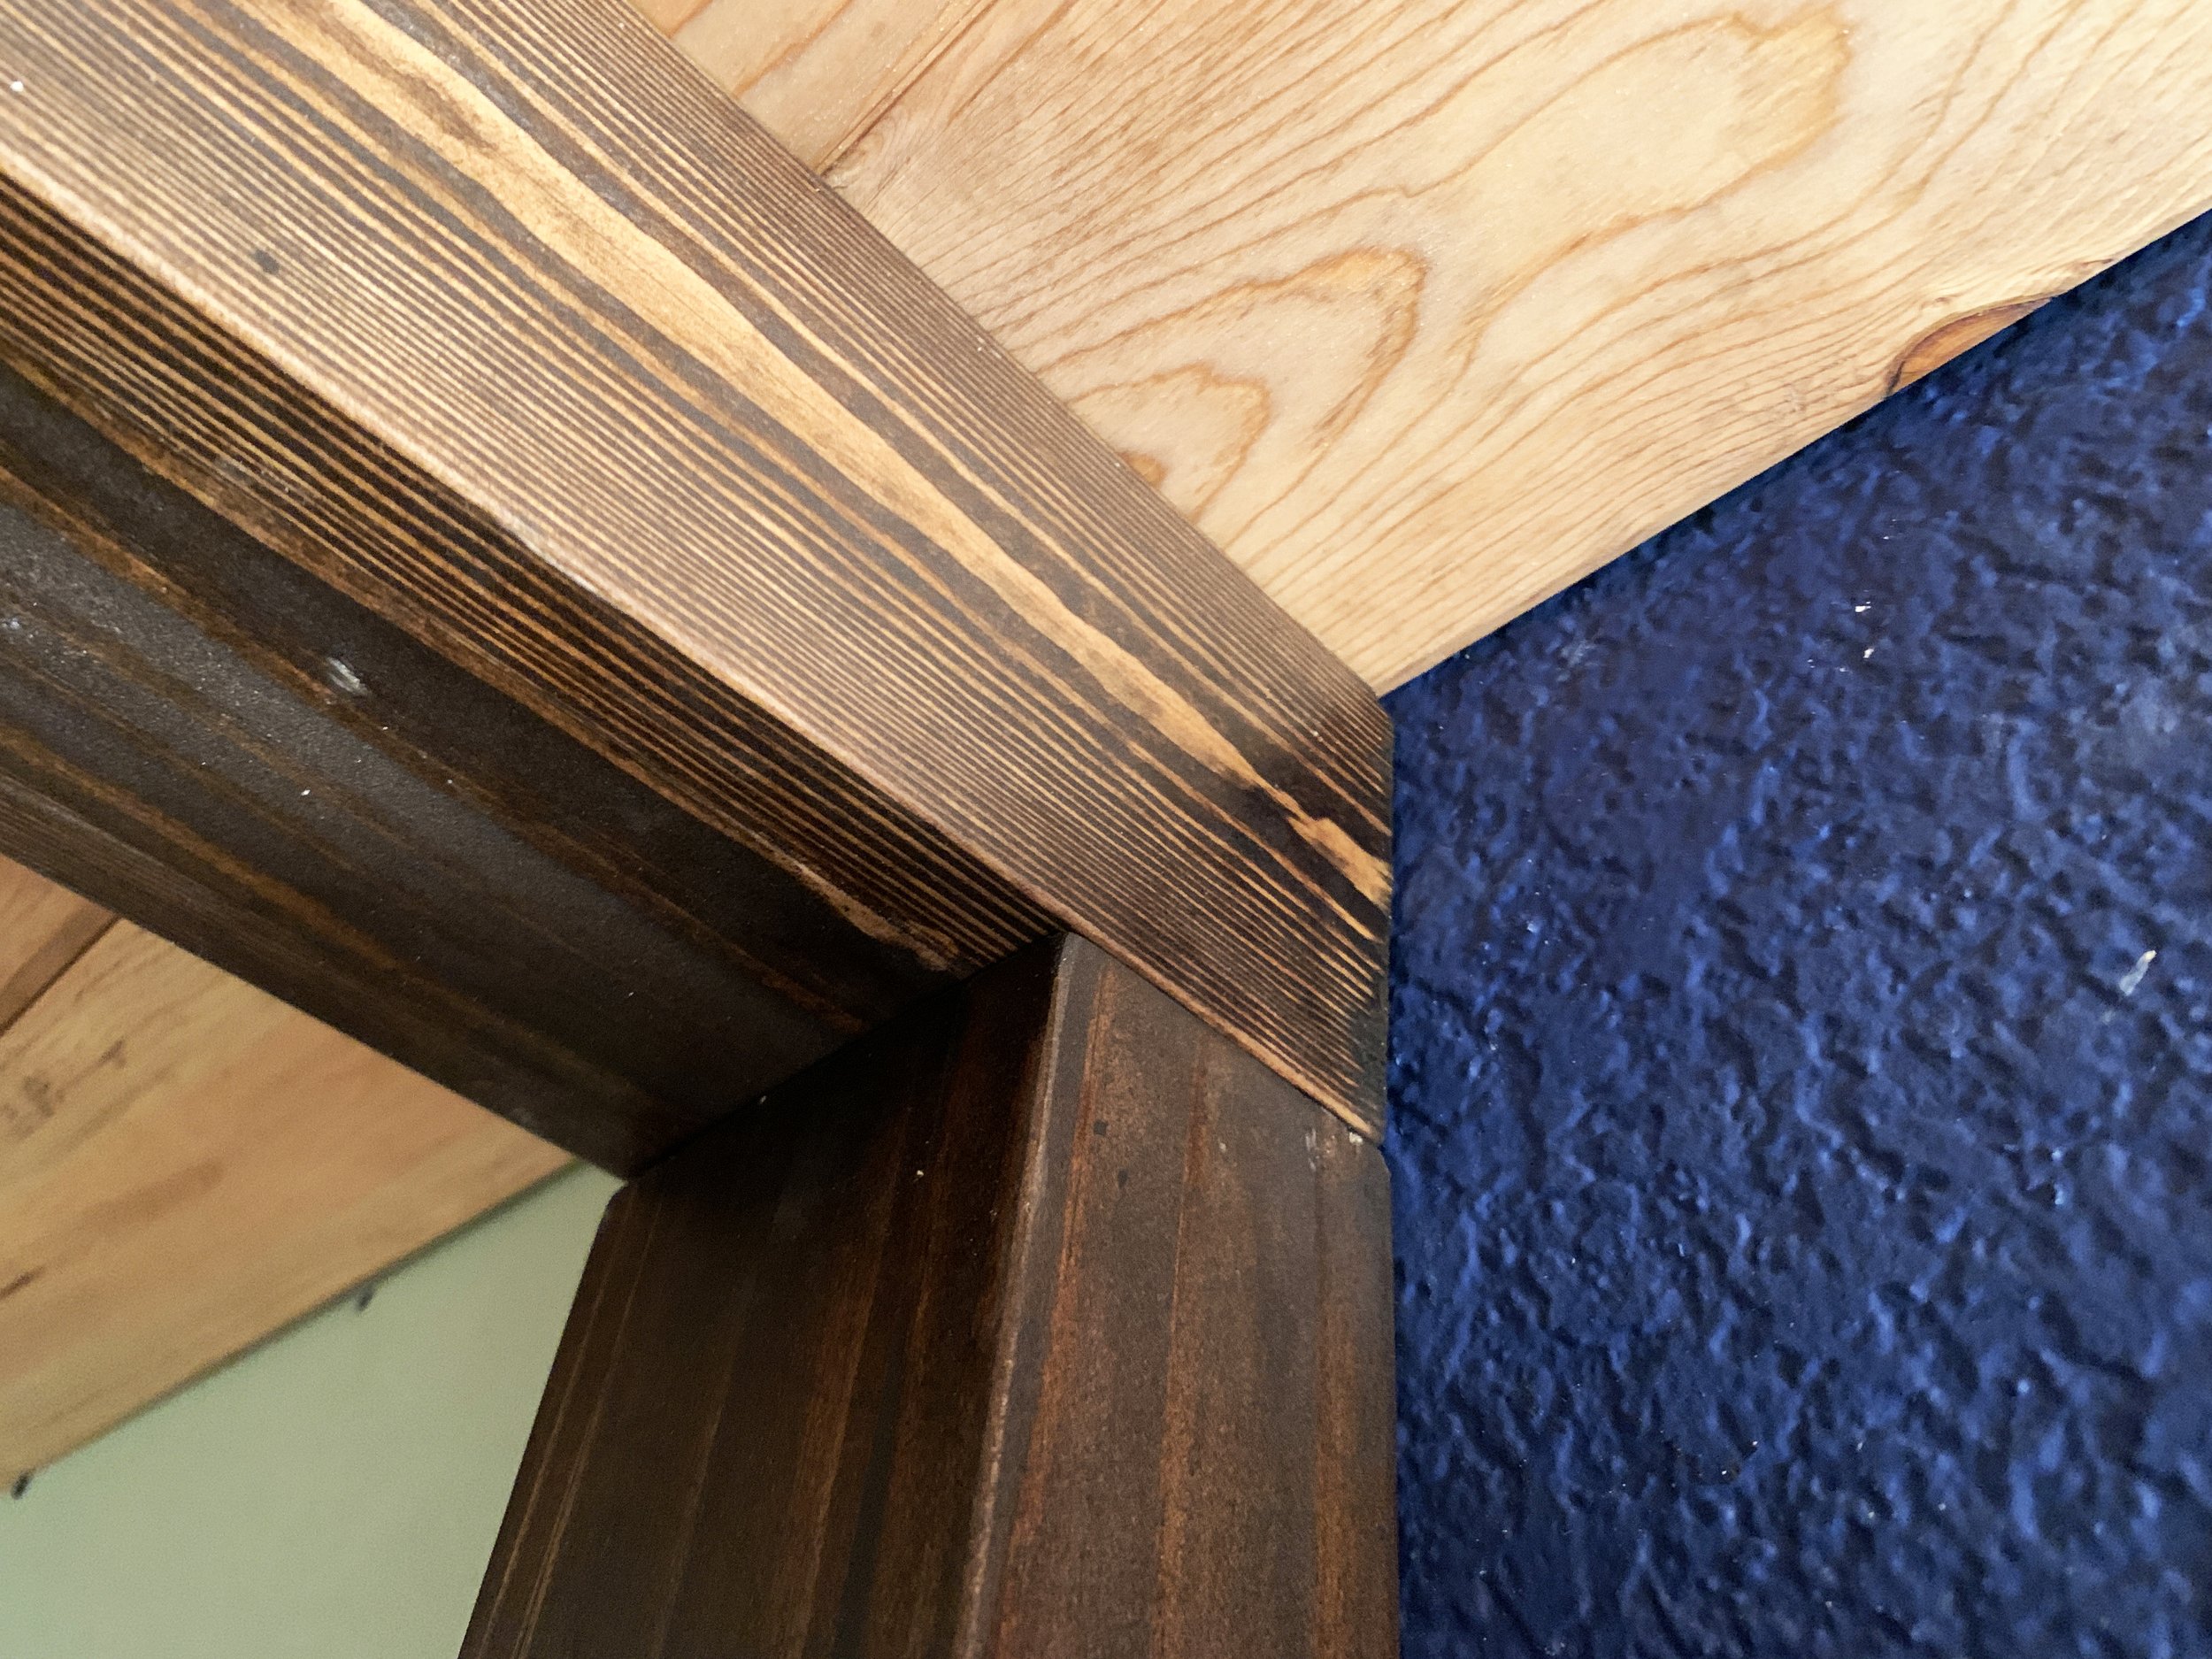
It leaves a tiny little hole that’s hardly noticeable in real life. Also above you can also see how (using a scrap) the beam and columns wrap around the hidden 1x3 cleat inside, and though they look solid from the outside are pretty hollow.

Installing the columns early on in the remodel gives me a hard line on either side to tile to in the shower and for the wall moulding in the rest of the bathroom coming up.
Recessed lighting
Electrical
After the ceiling was planked we began working on the electrical, stringing white, black and white wire from each hole and connecting them to each light’s set of connectors.
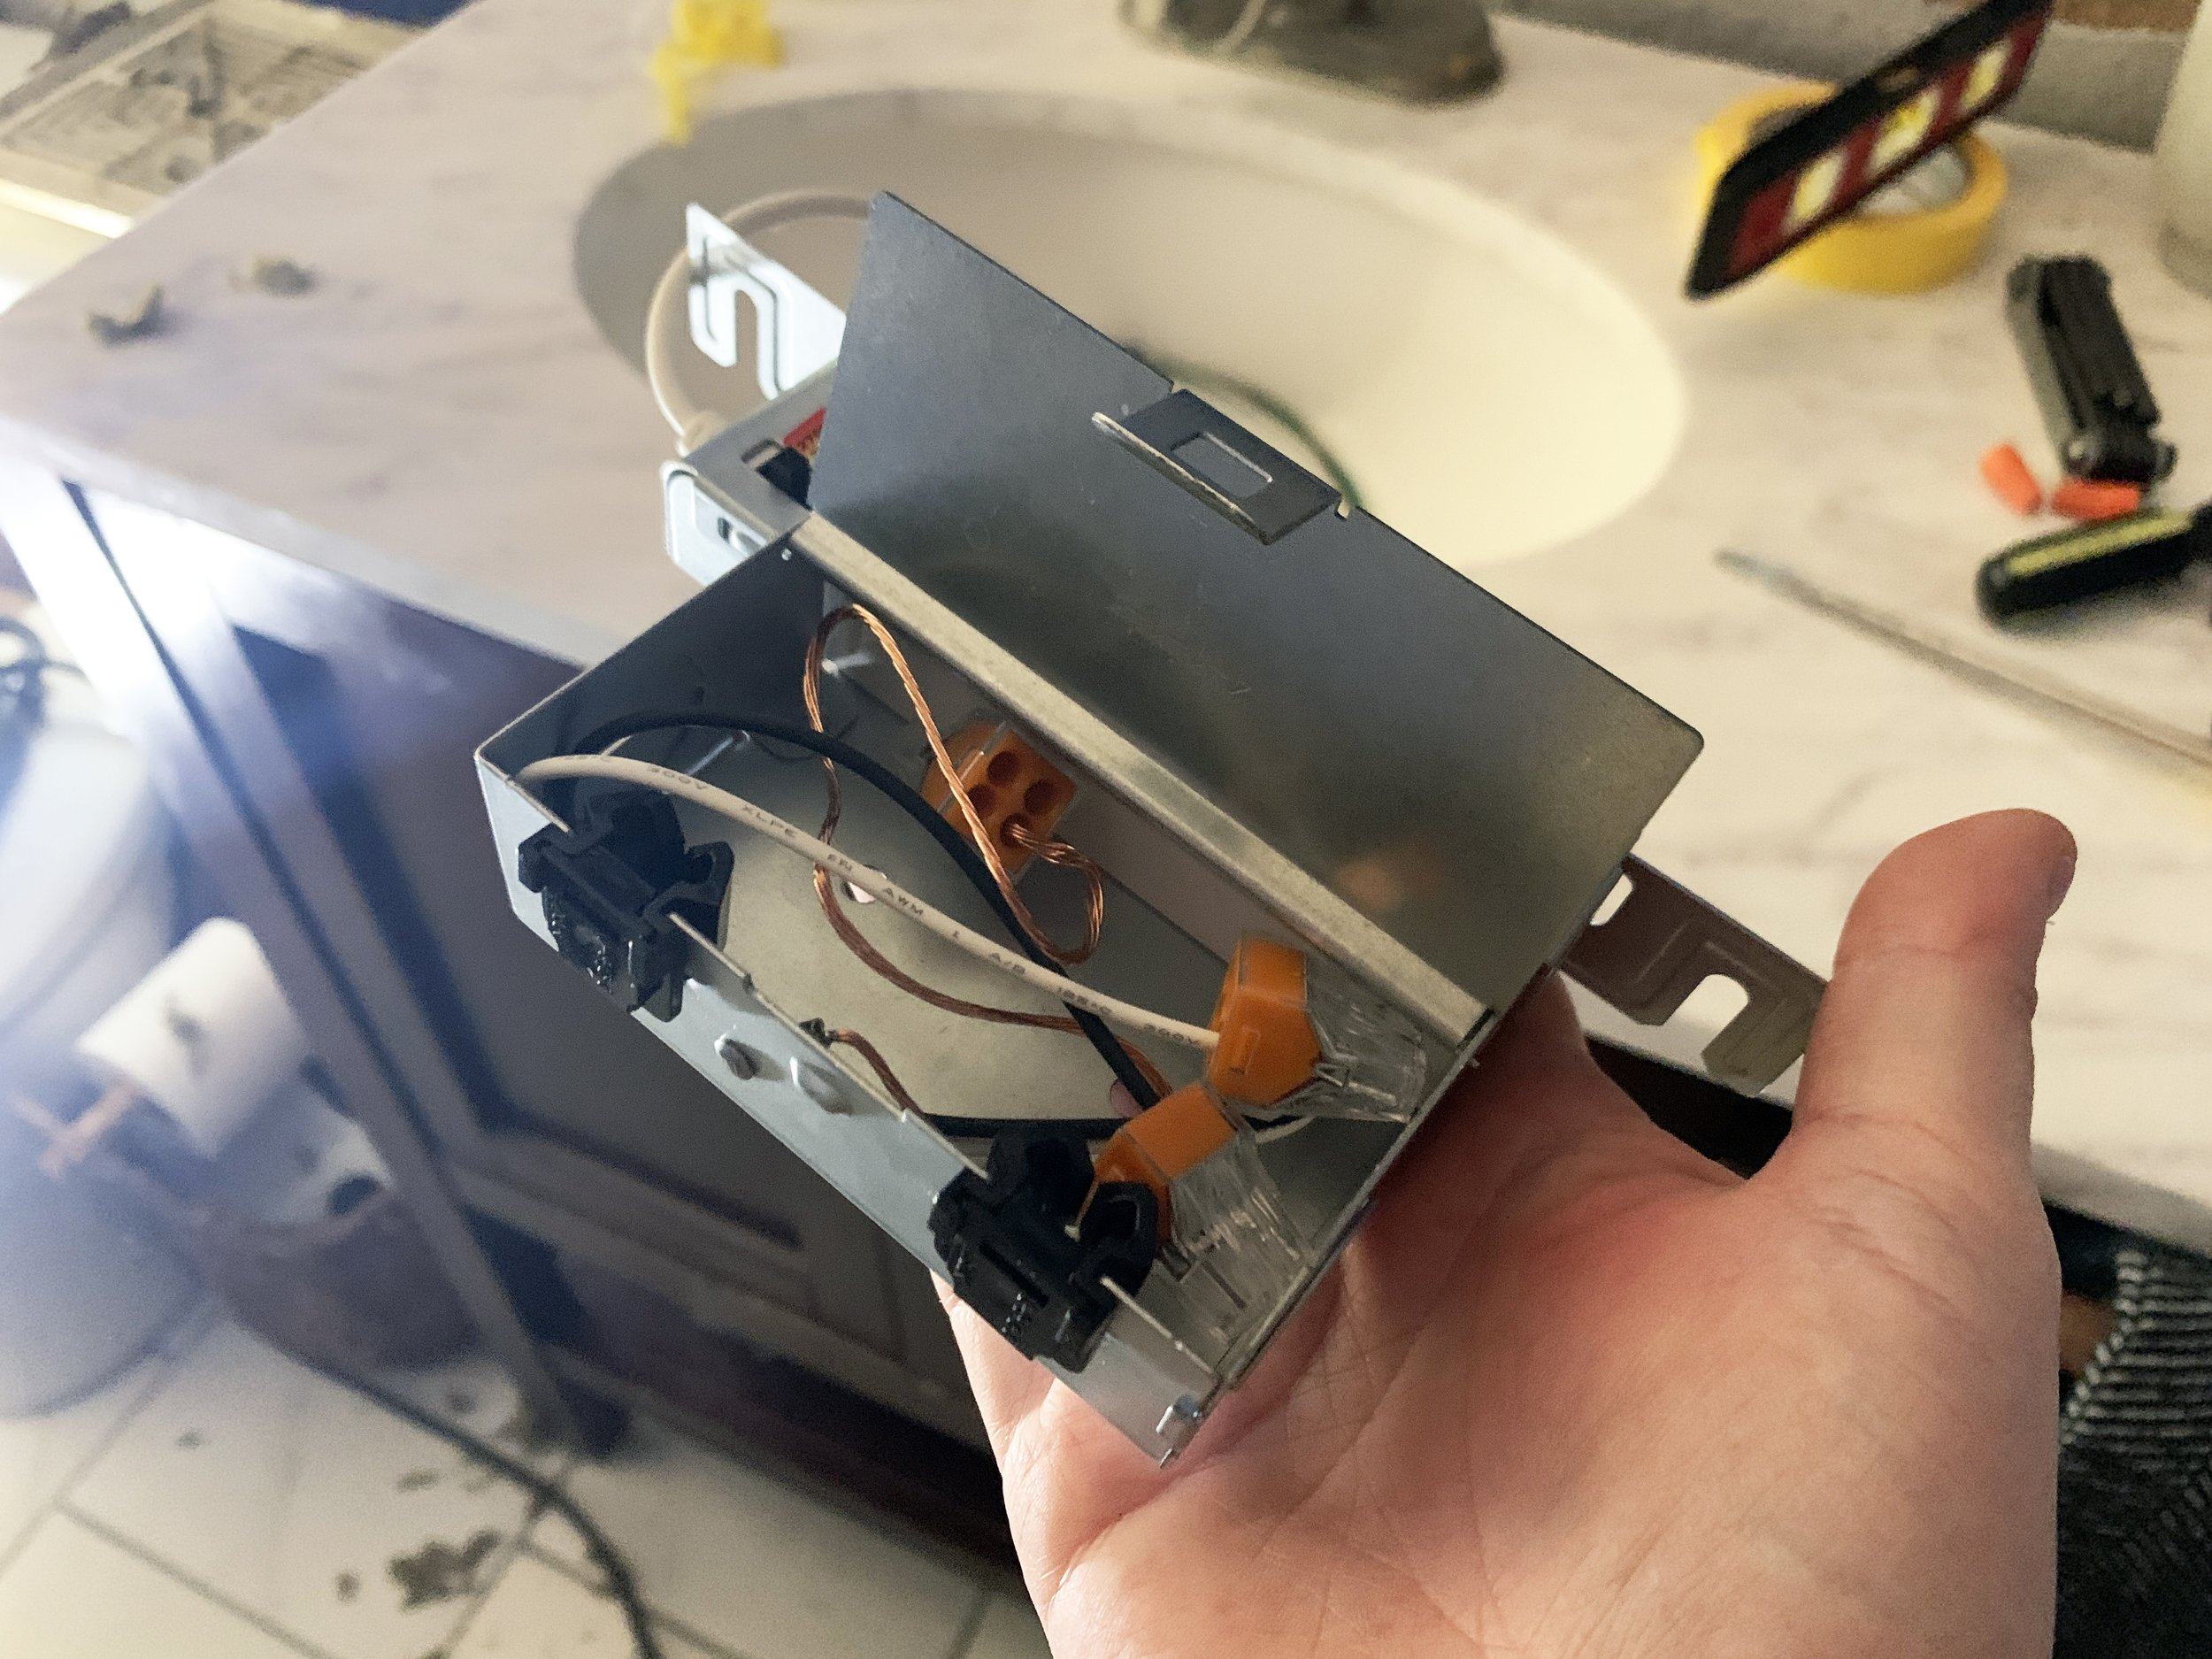
We wired the lights in sequence, not in parallel, and (after turning off the power to the house) connected the first light to our existing bathroom wiring by splicing it in.

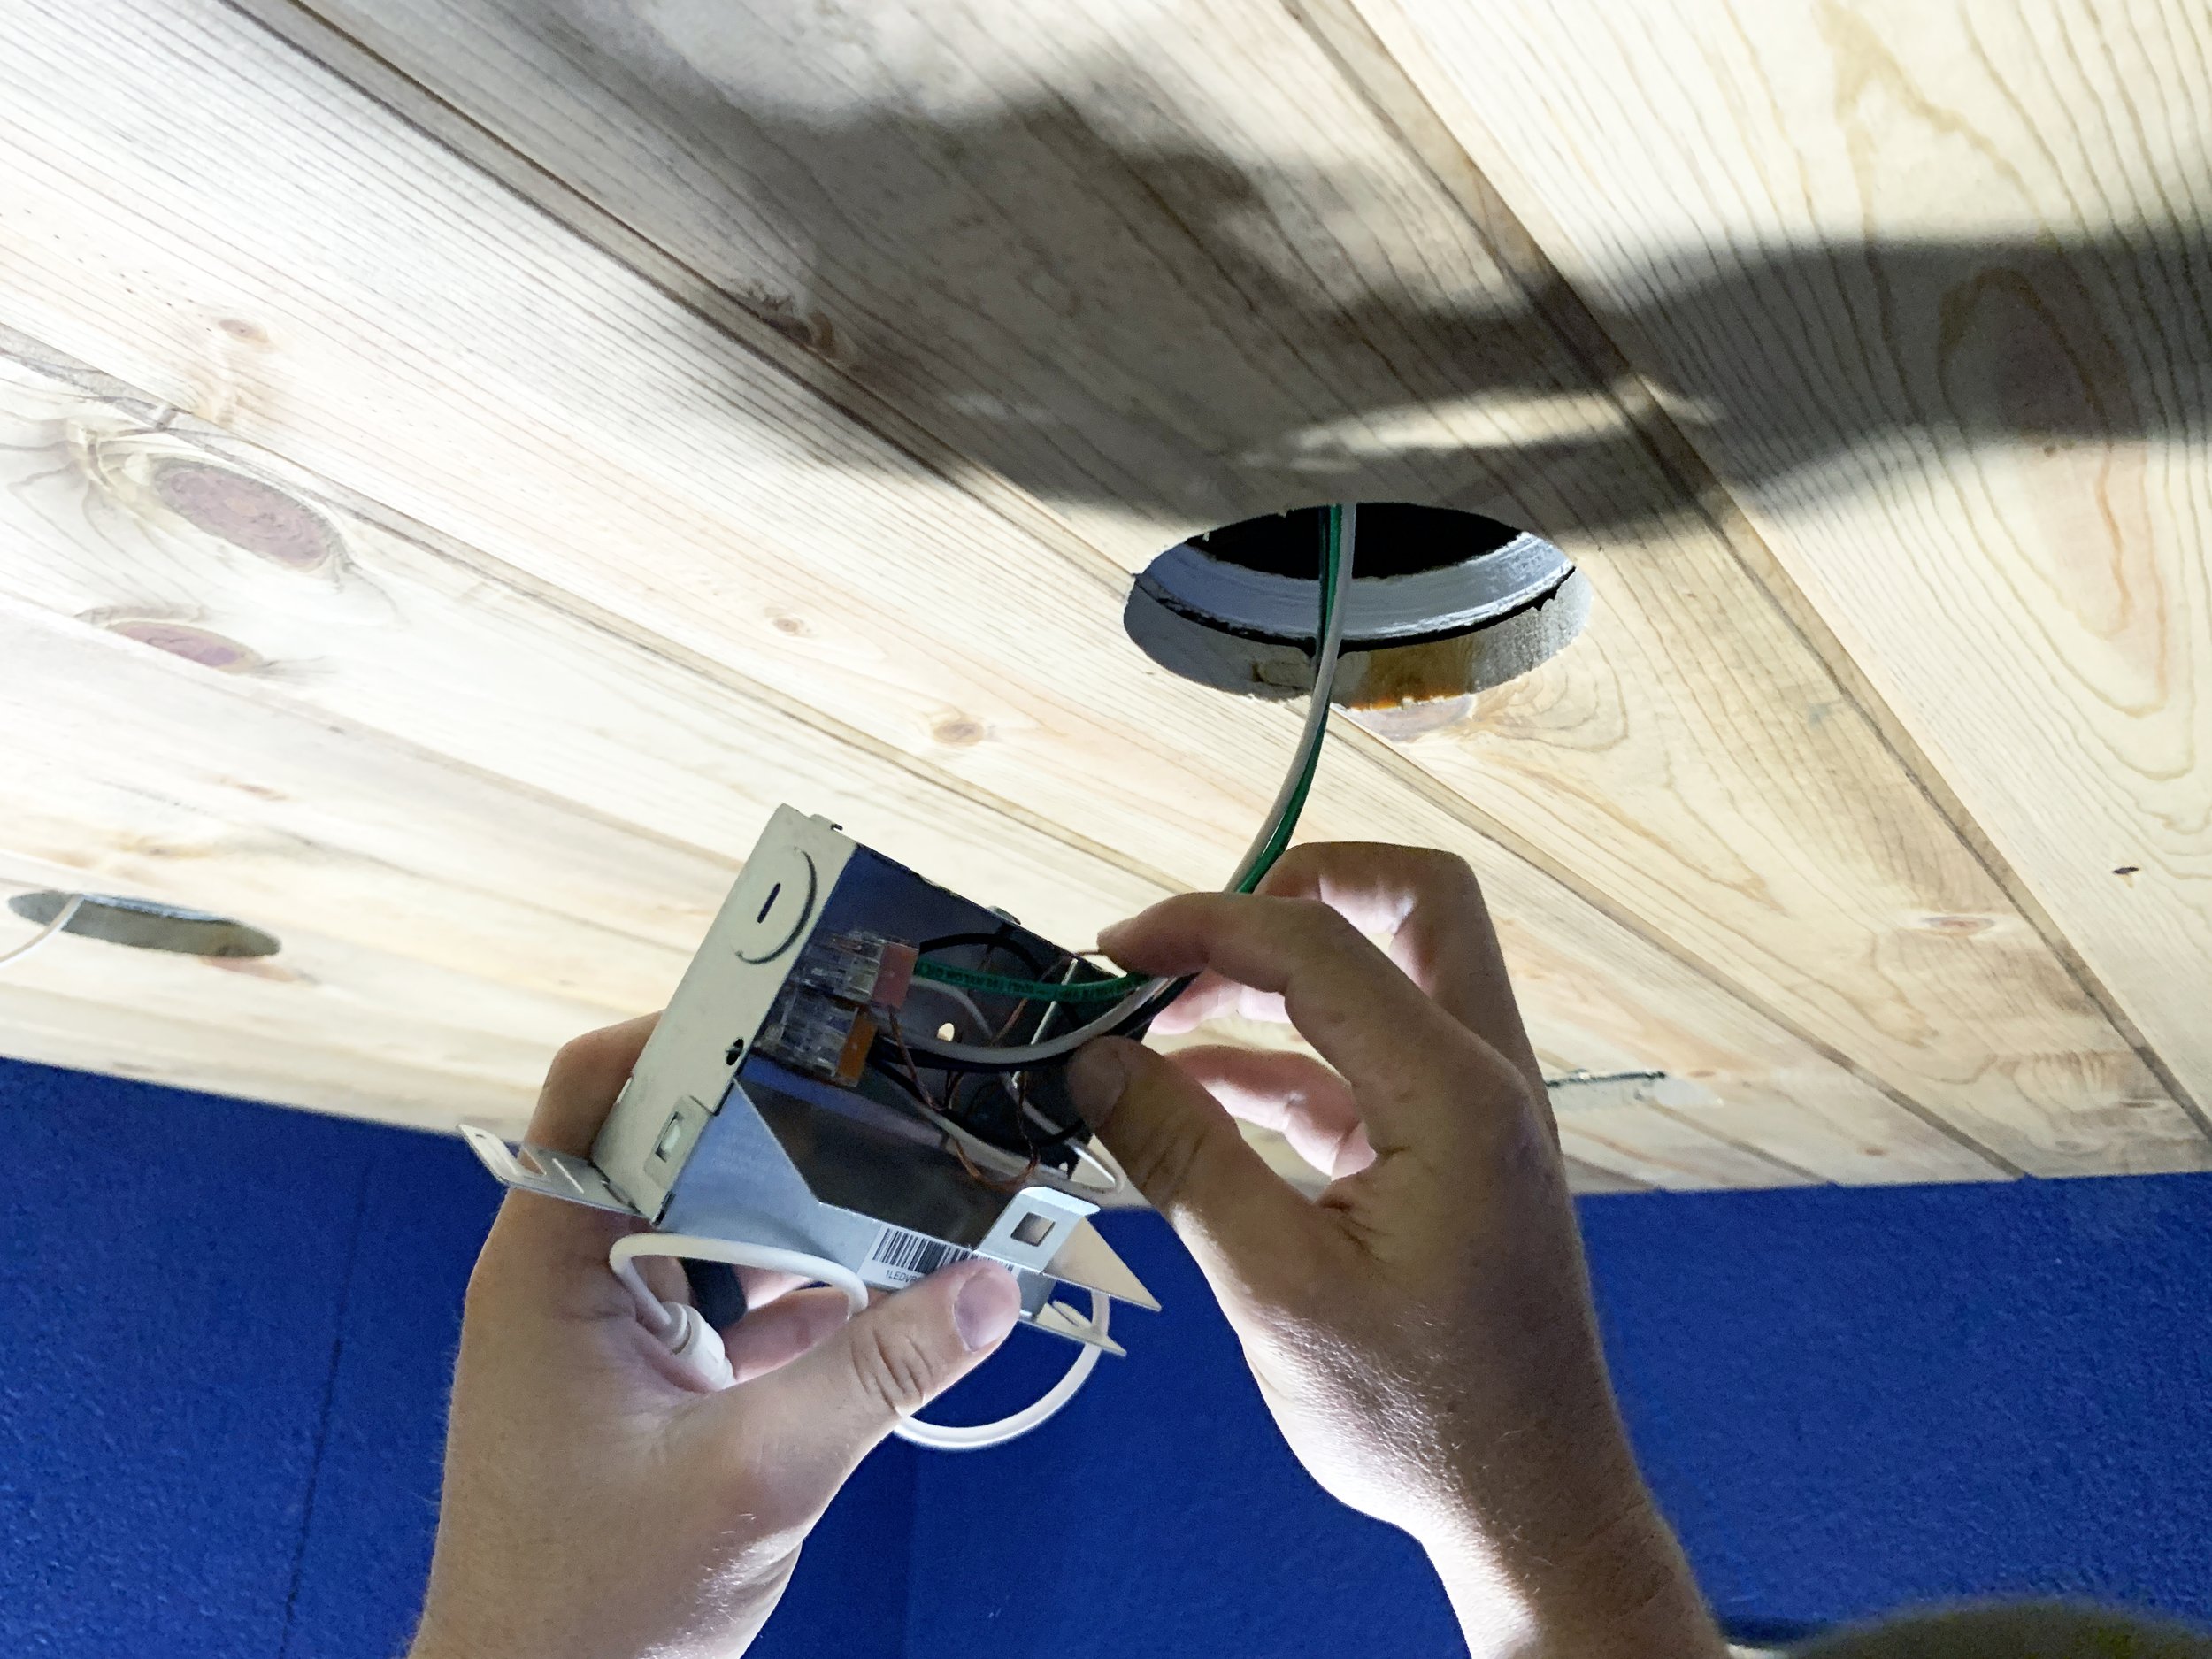
Nick did the less-than-pleasant attic work, while I worked down in the bathroom and running in and out of the house turning the breaker off and on as needed, occasionally taking sneaky photos of Nick working through the holes in the ceiling.

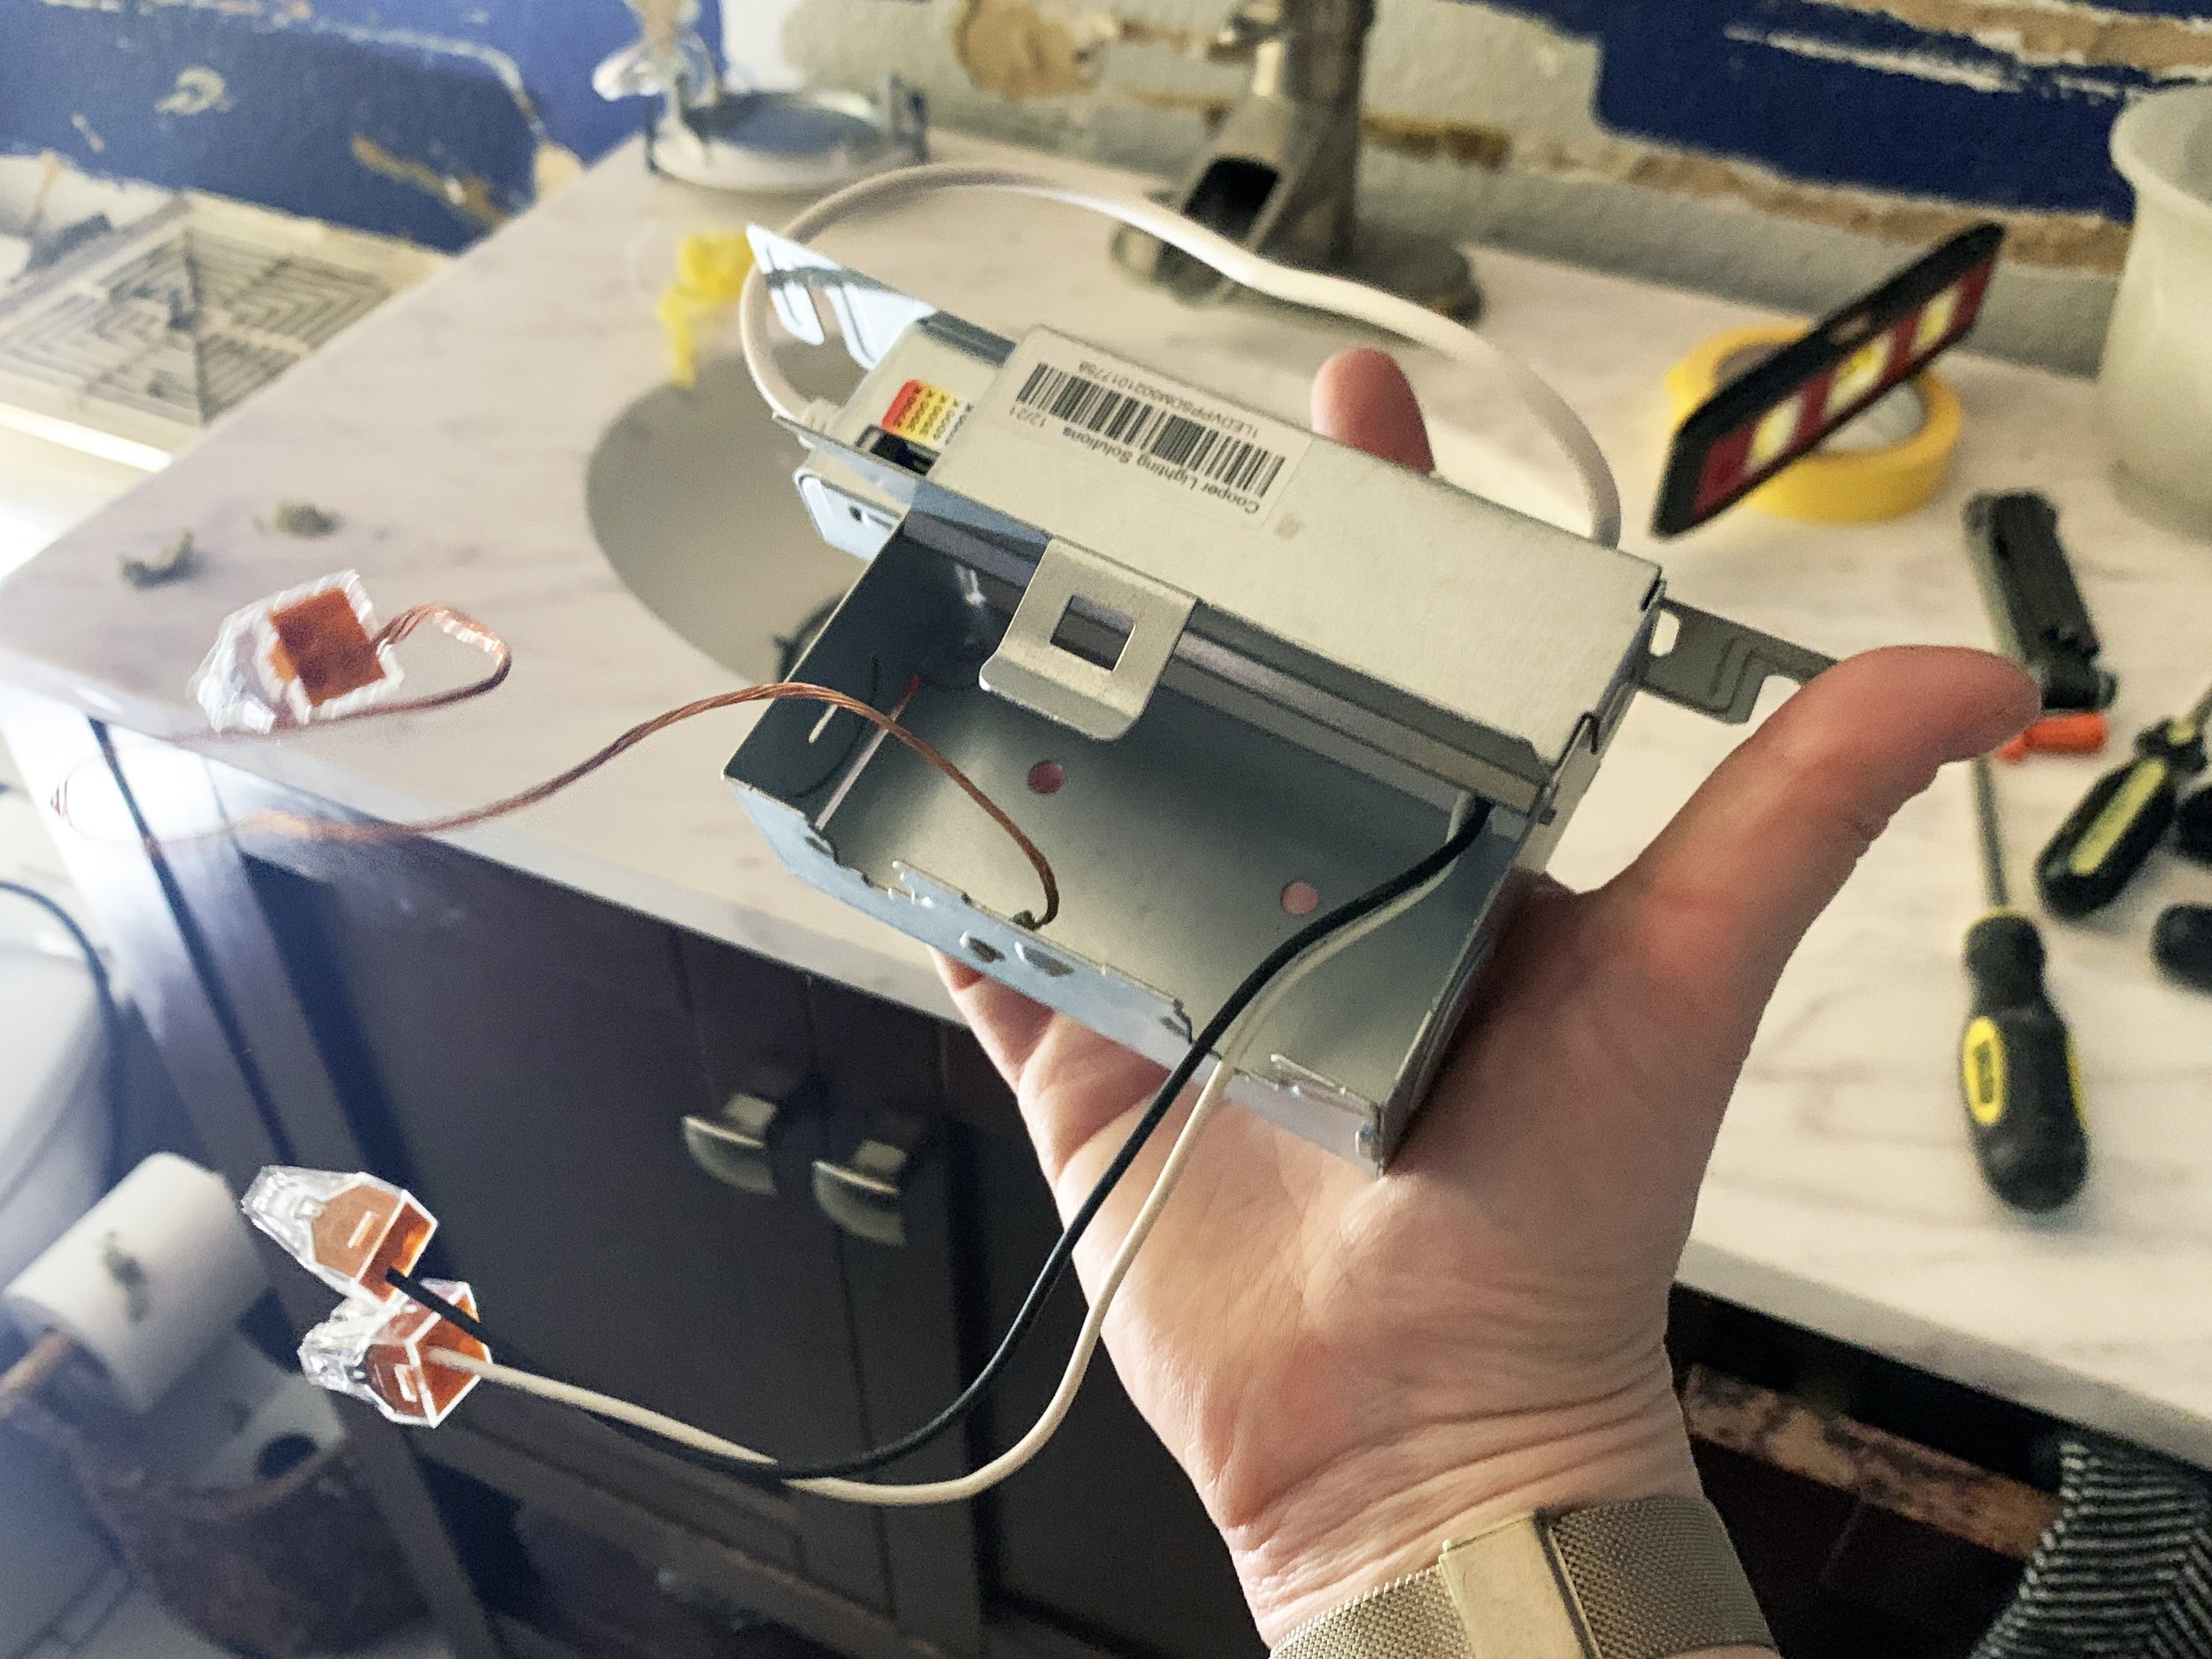
The connections are tucked inside the protective box for each light.
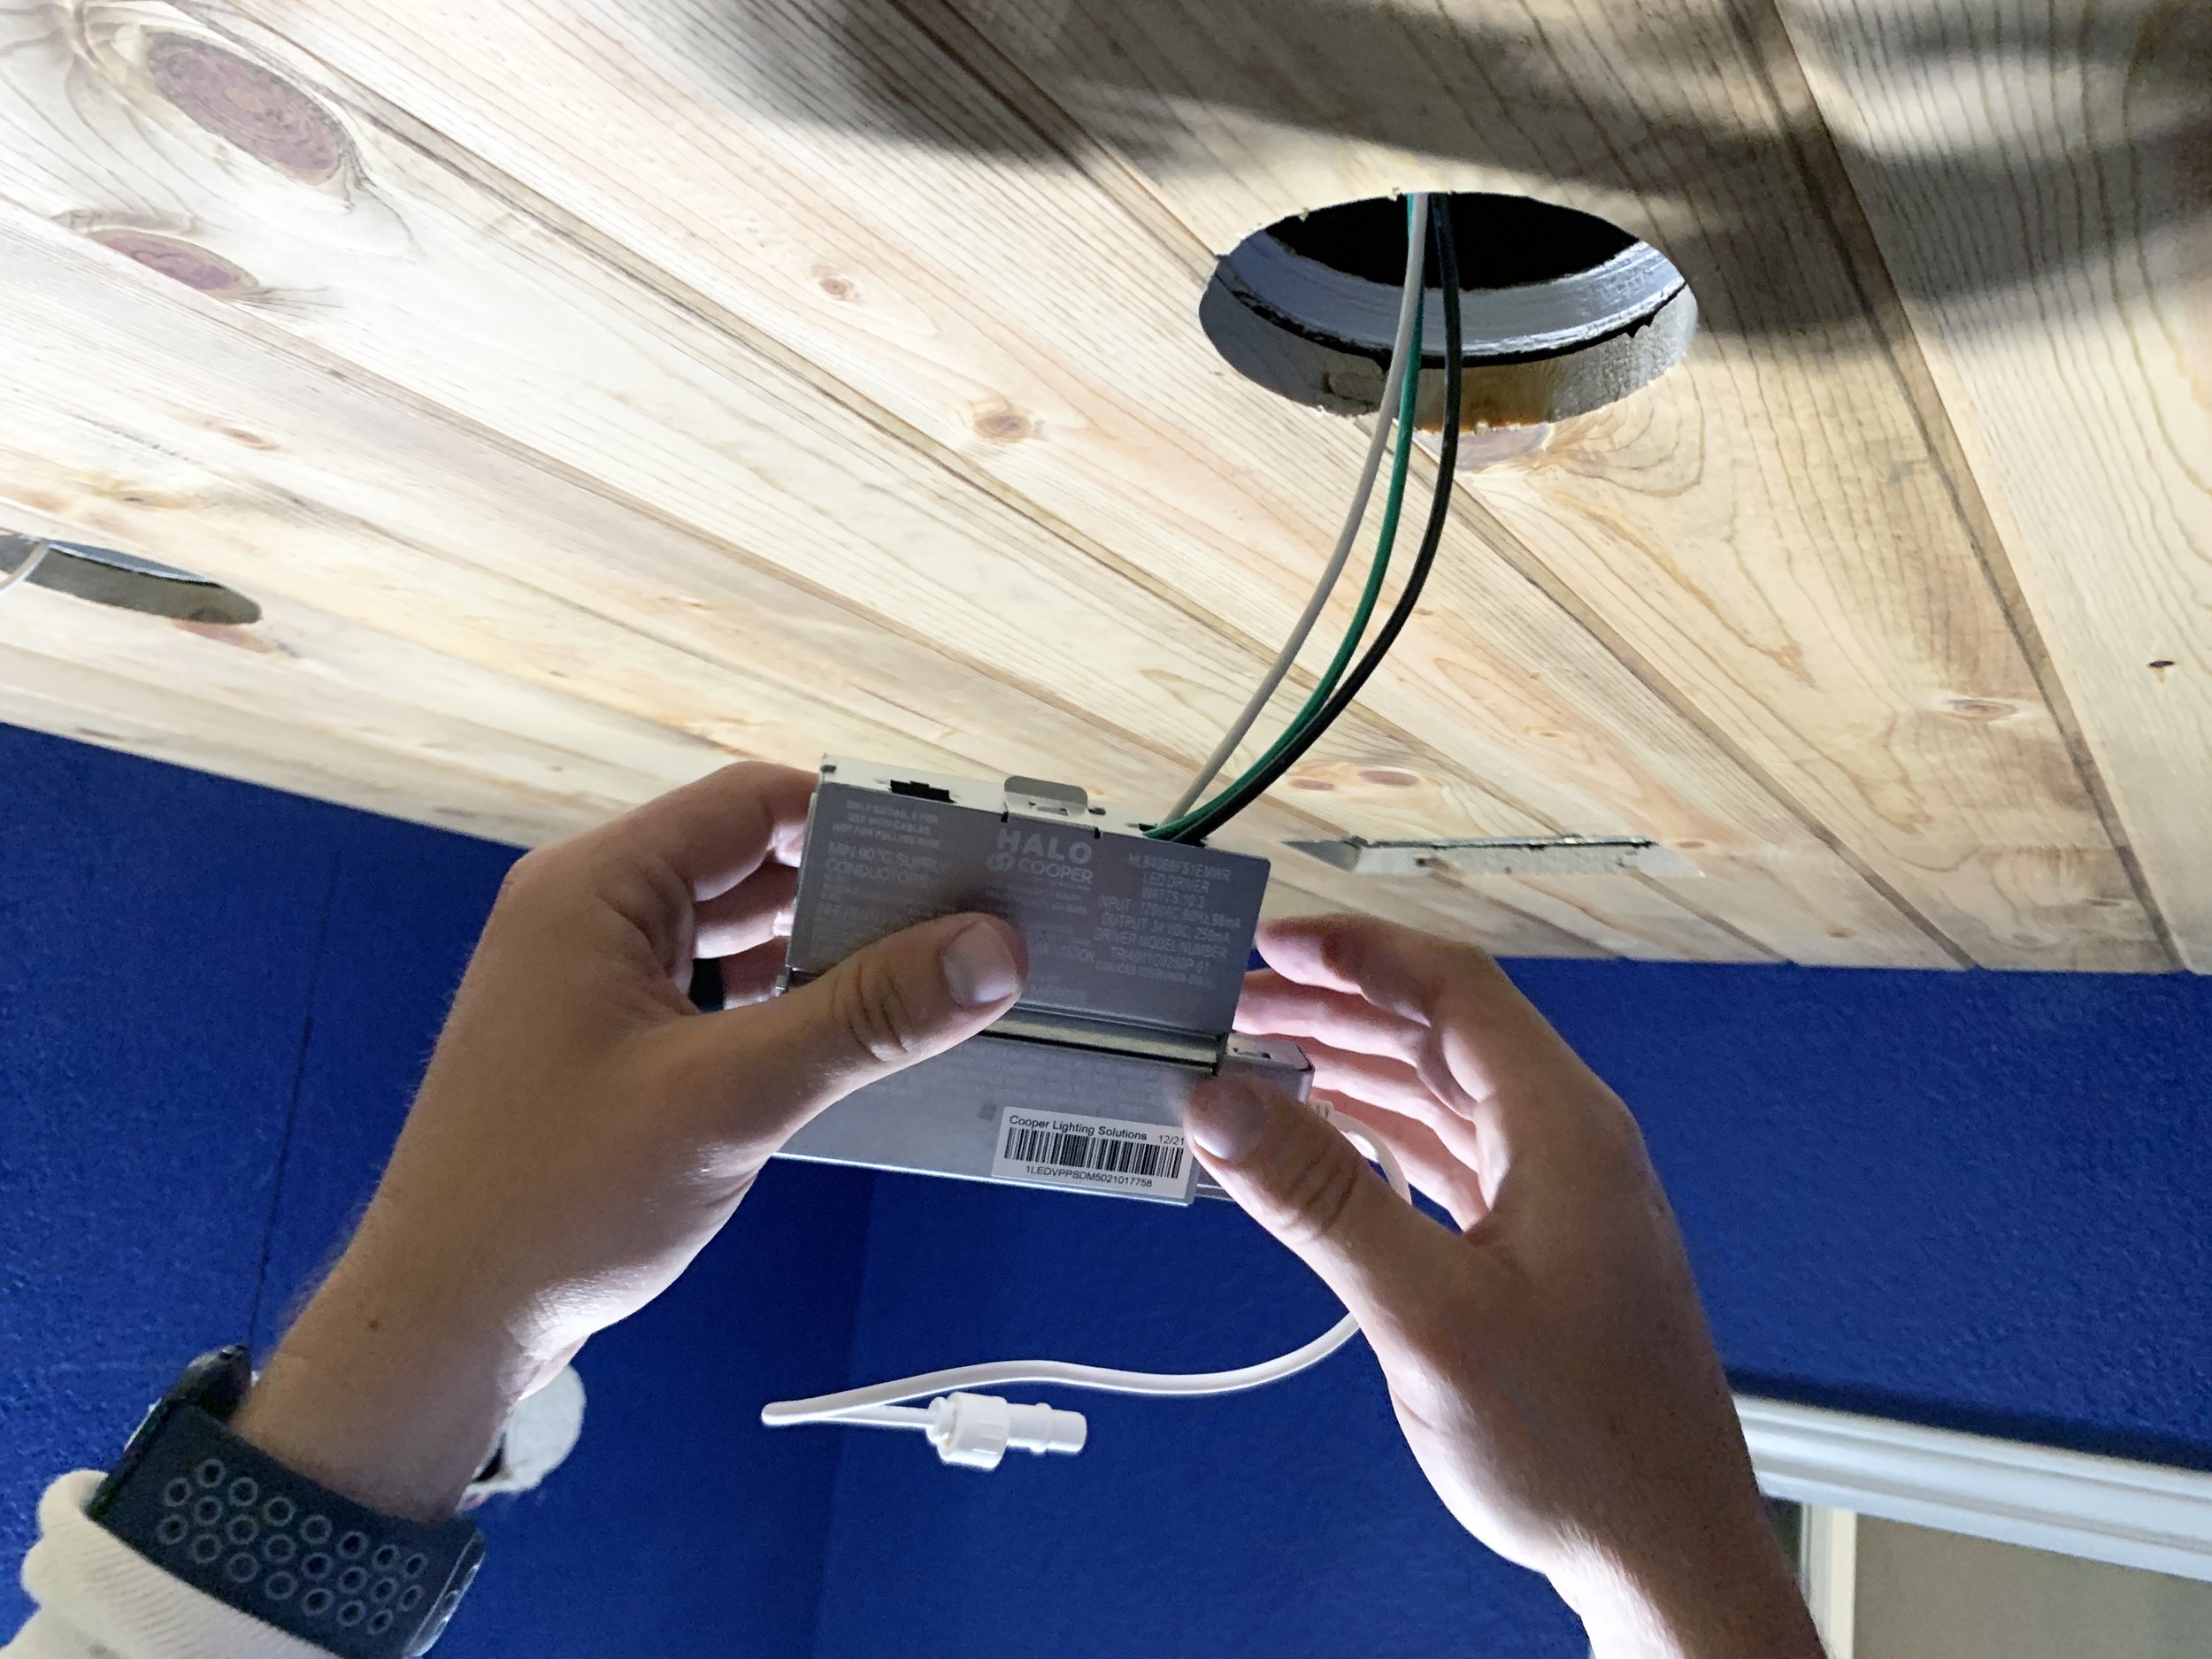
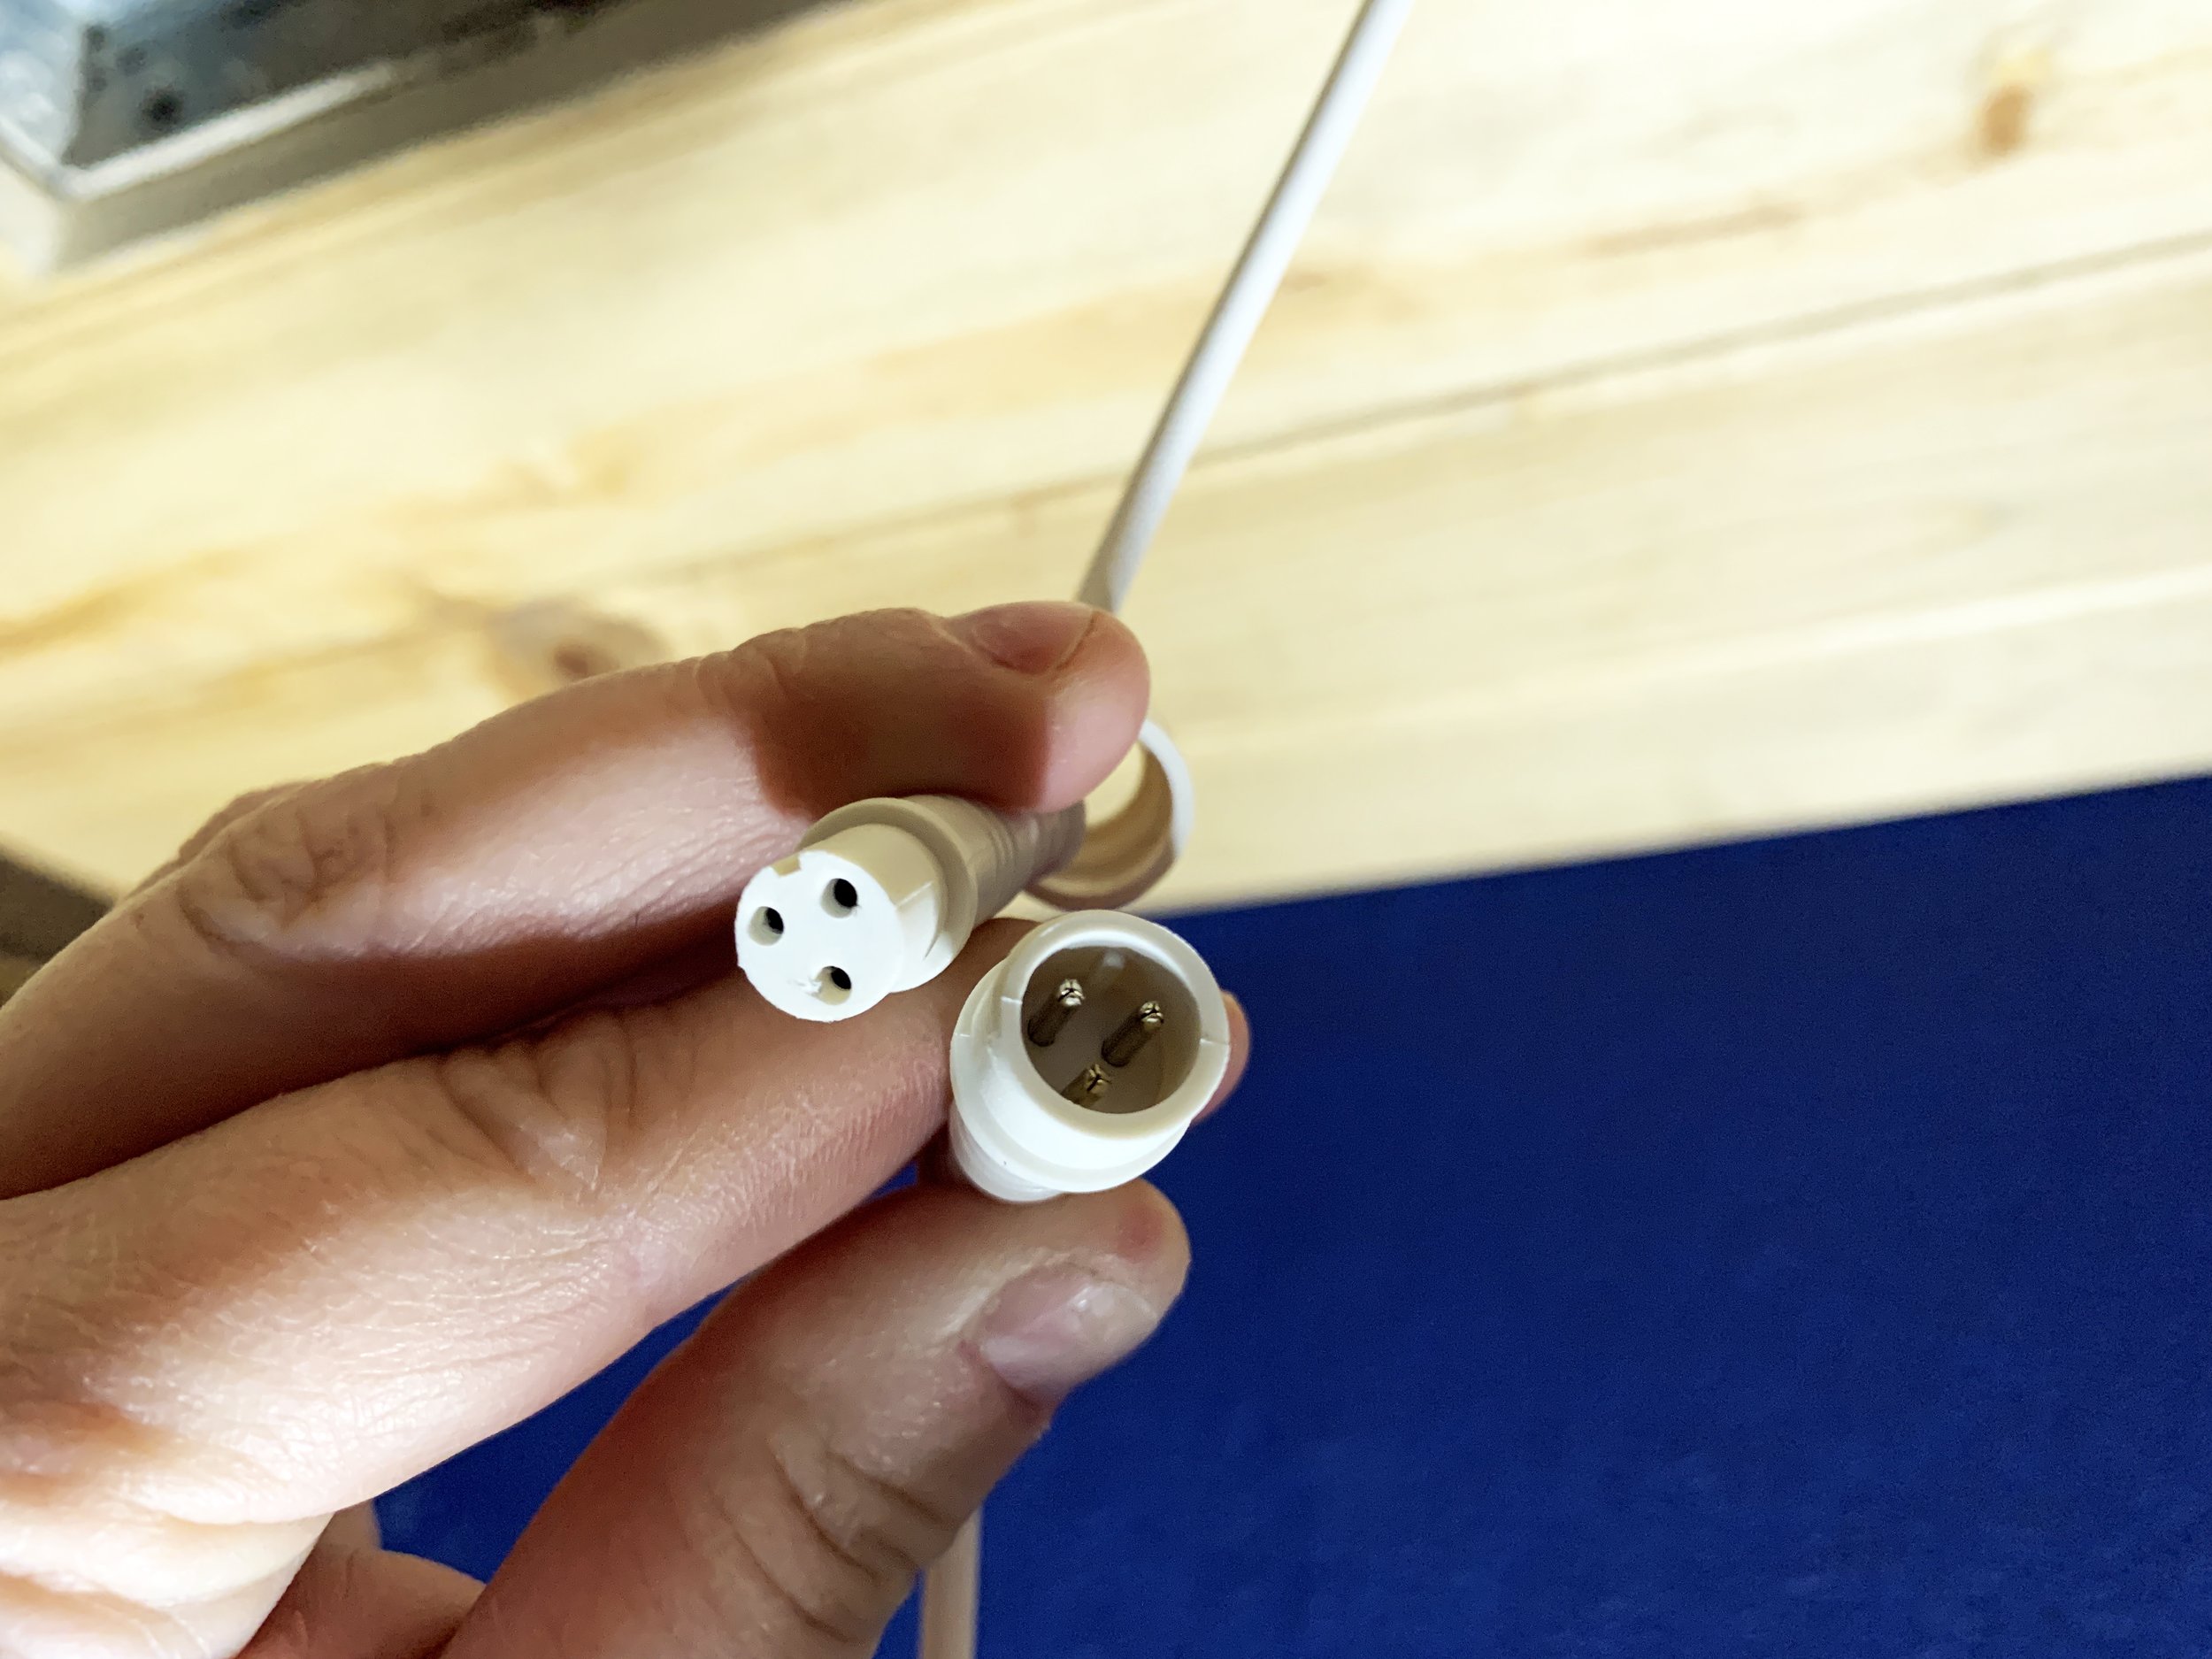
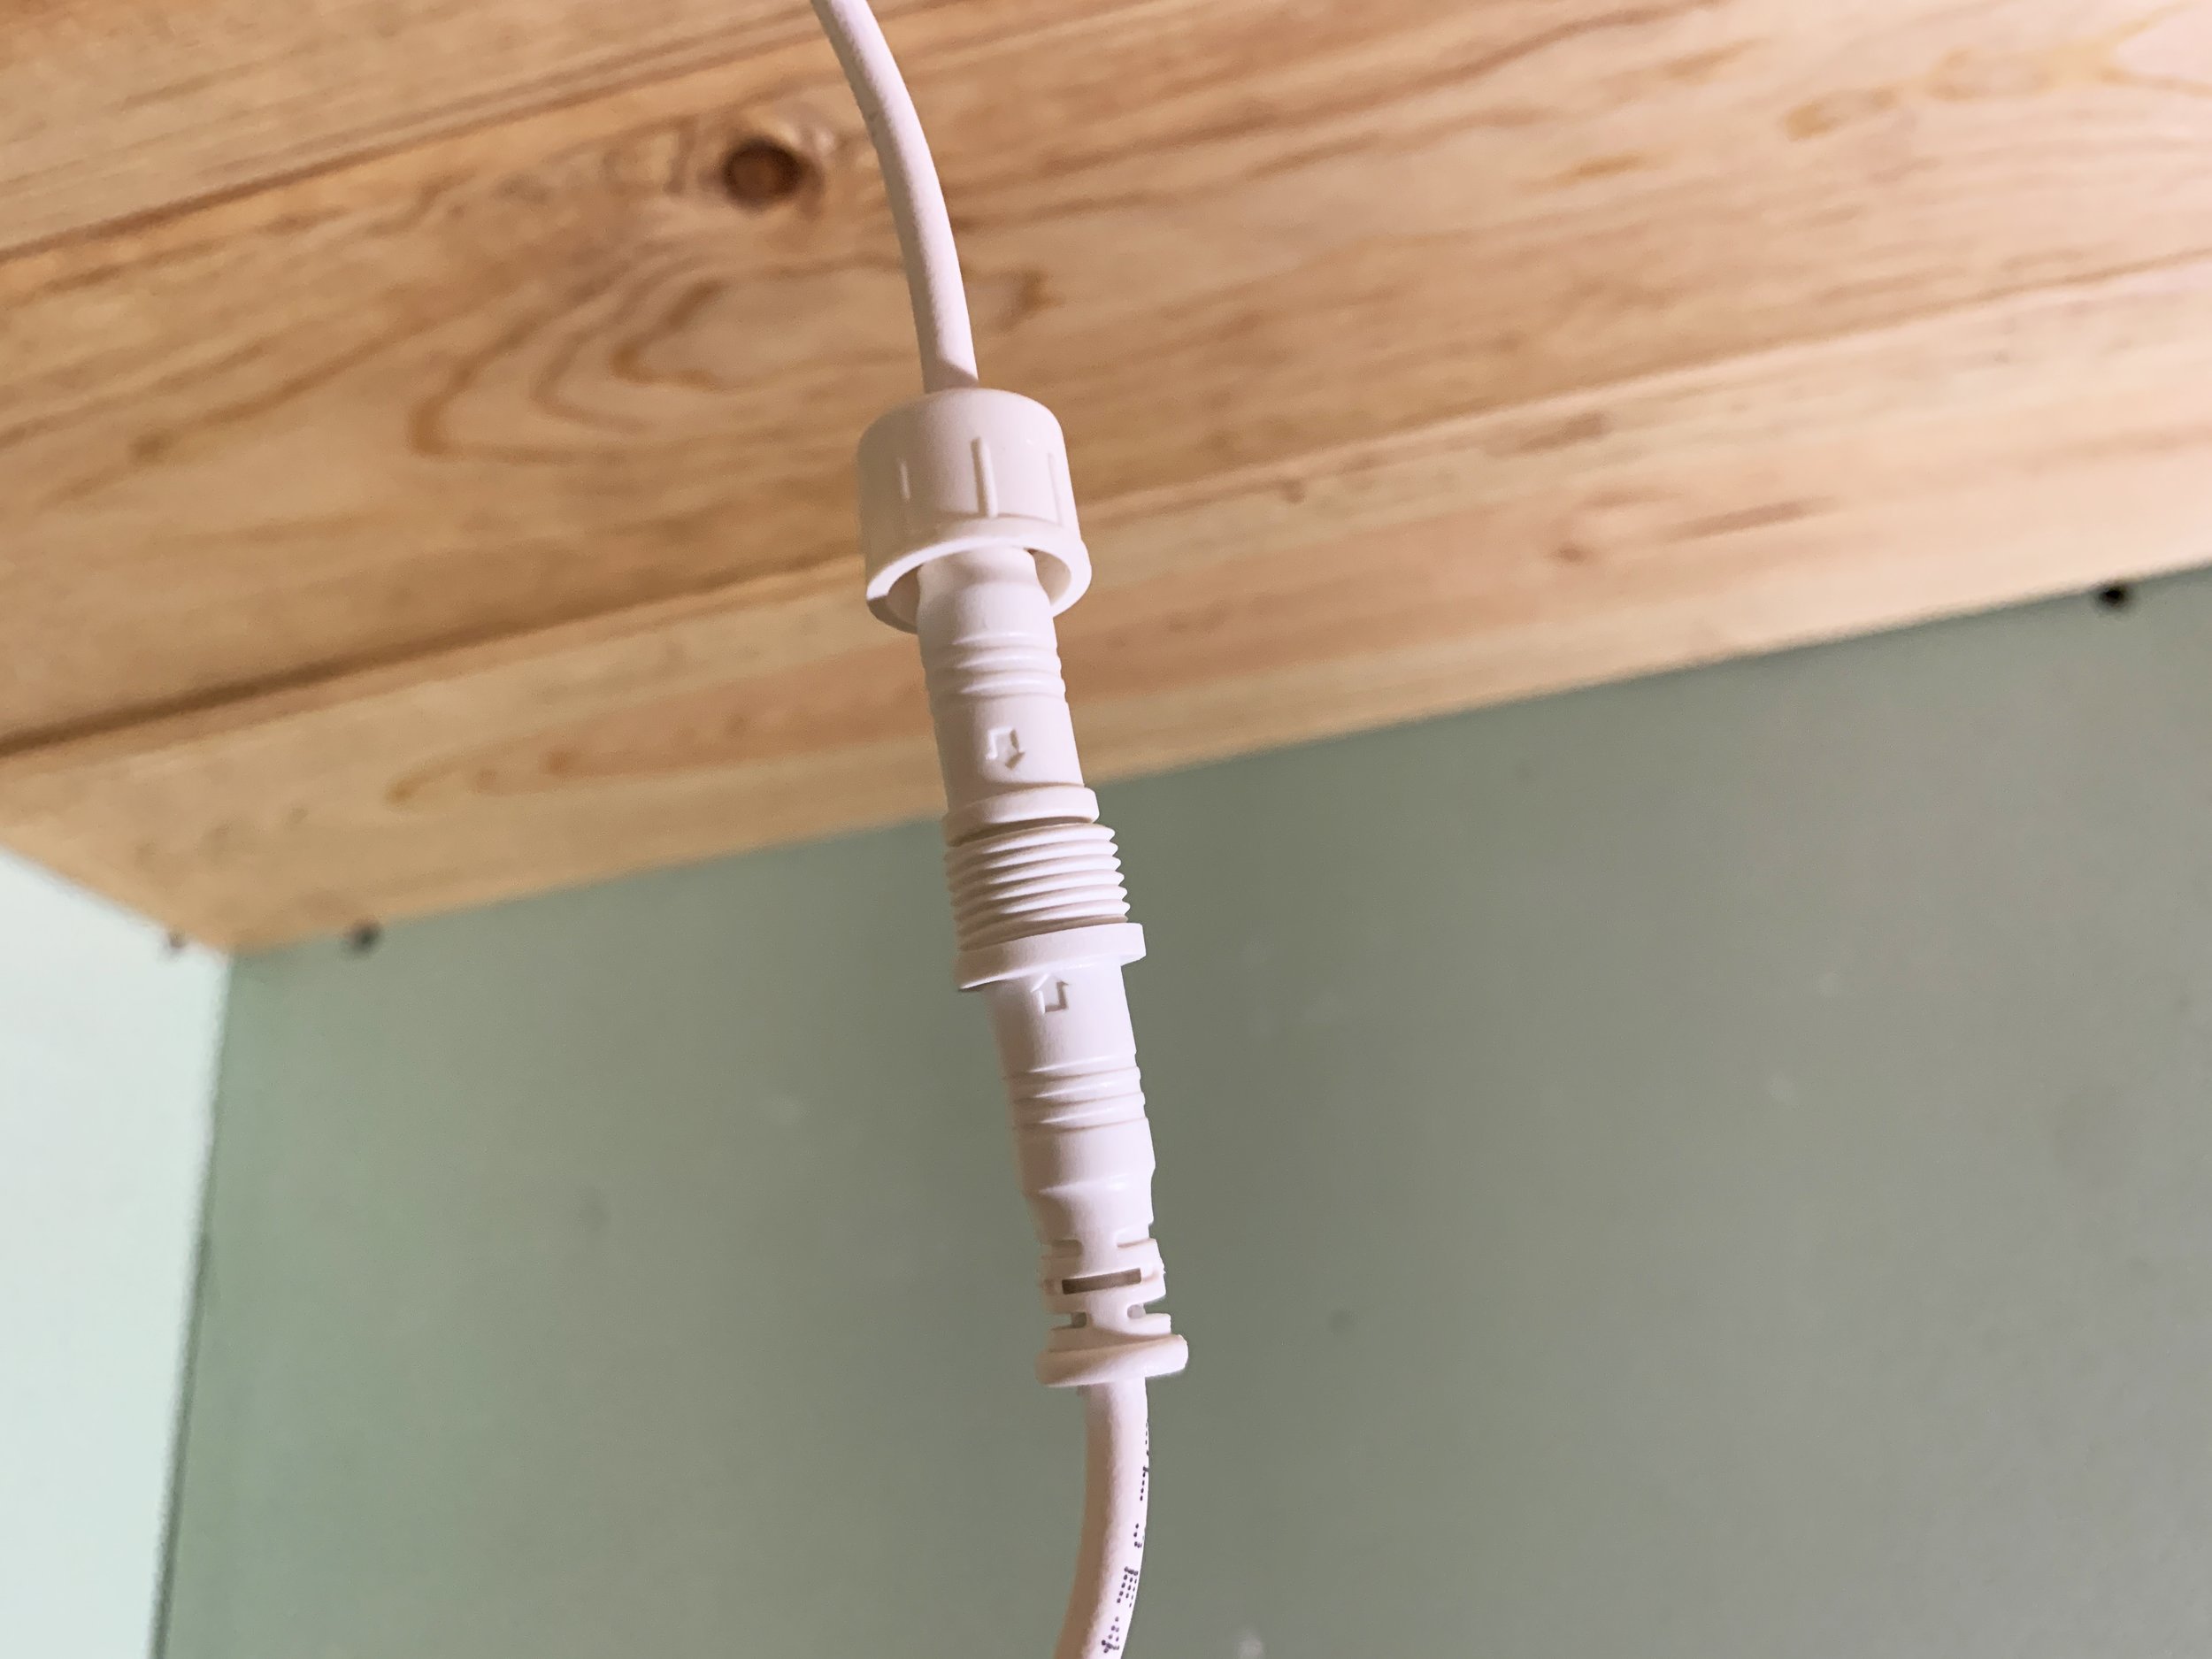
With the wiring for each light connected, we plugged the LED light to the box, lining up the arrows.

Installation
The lights themselves are super easy to install, with blue flaps on springs that clamp down to fit the thickness of the ceiling.

Ceiling vents
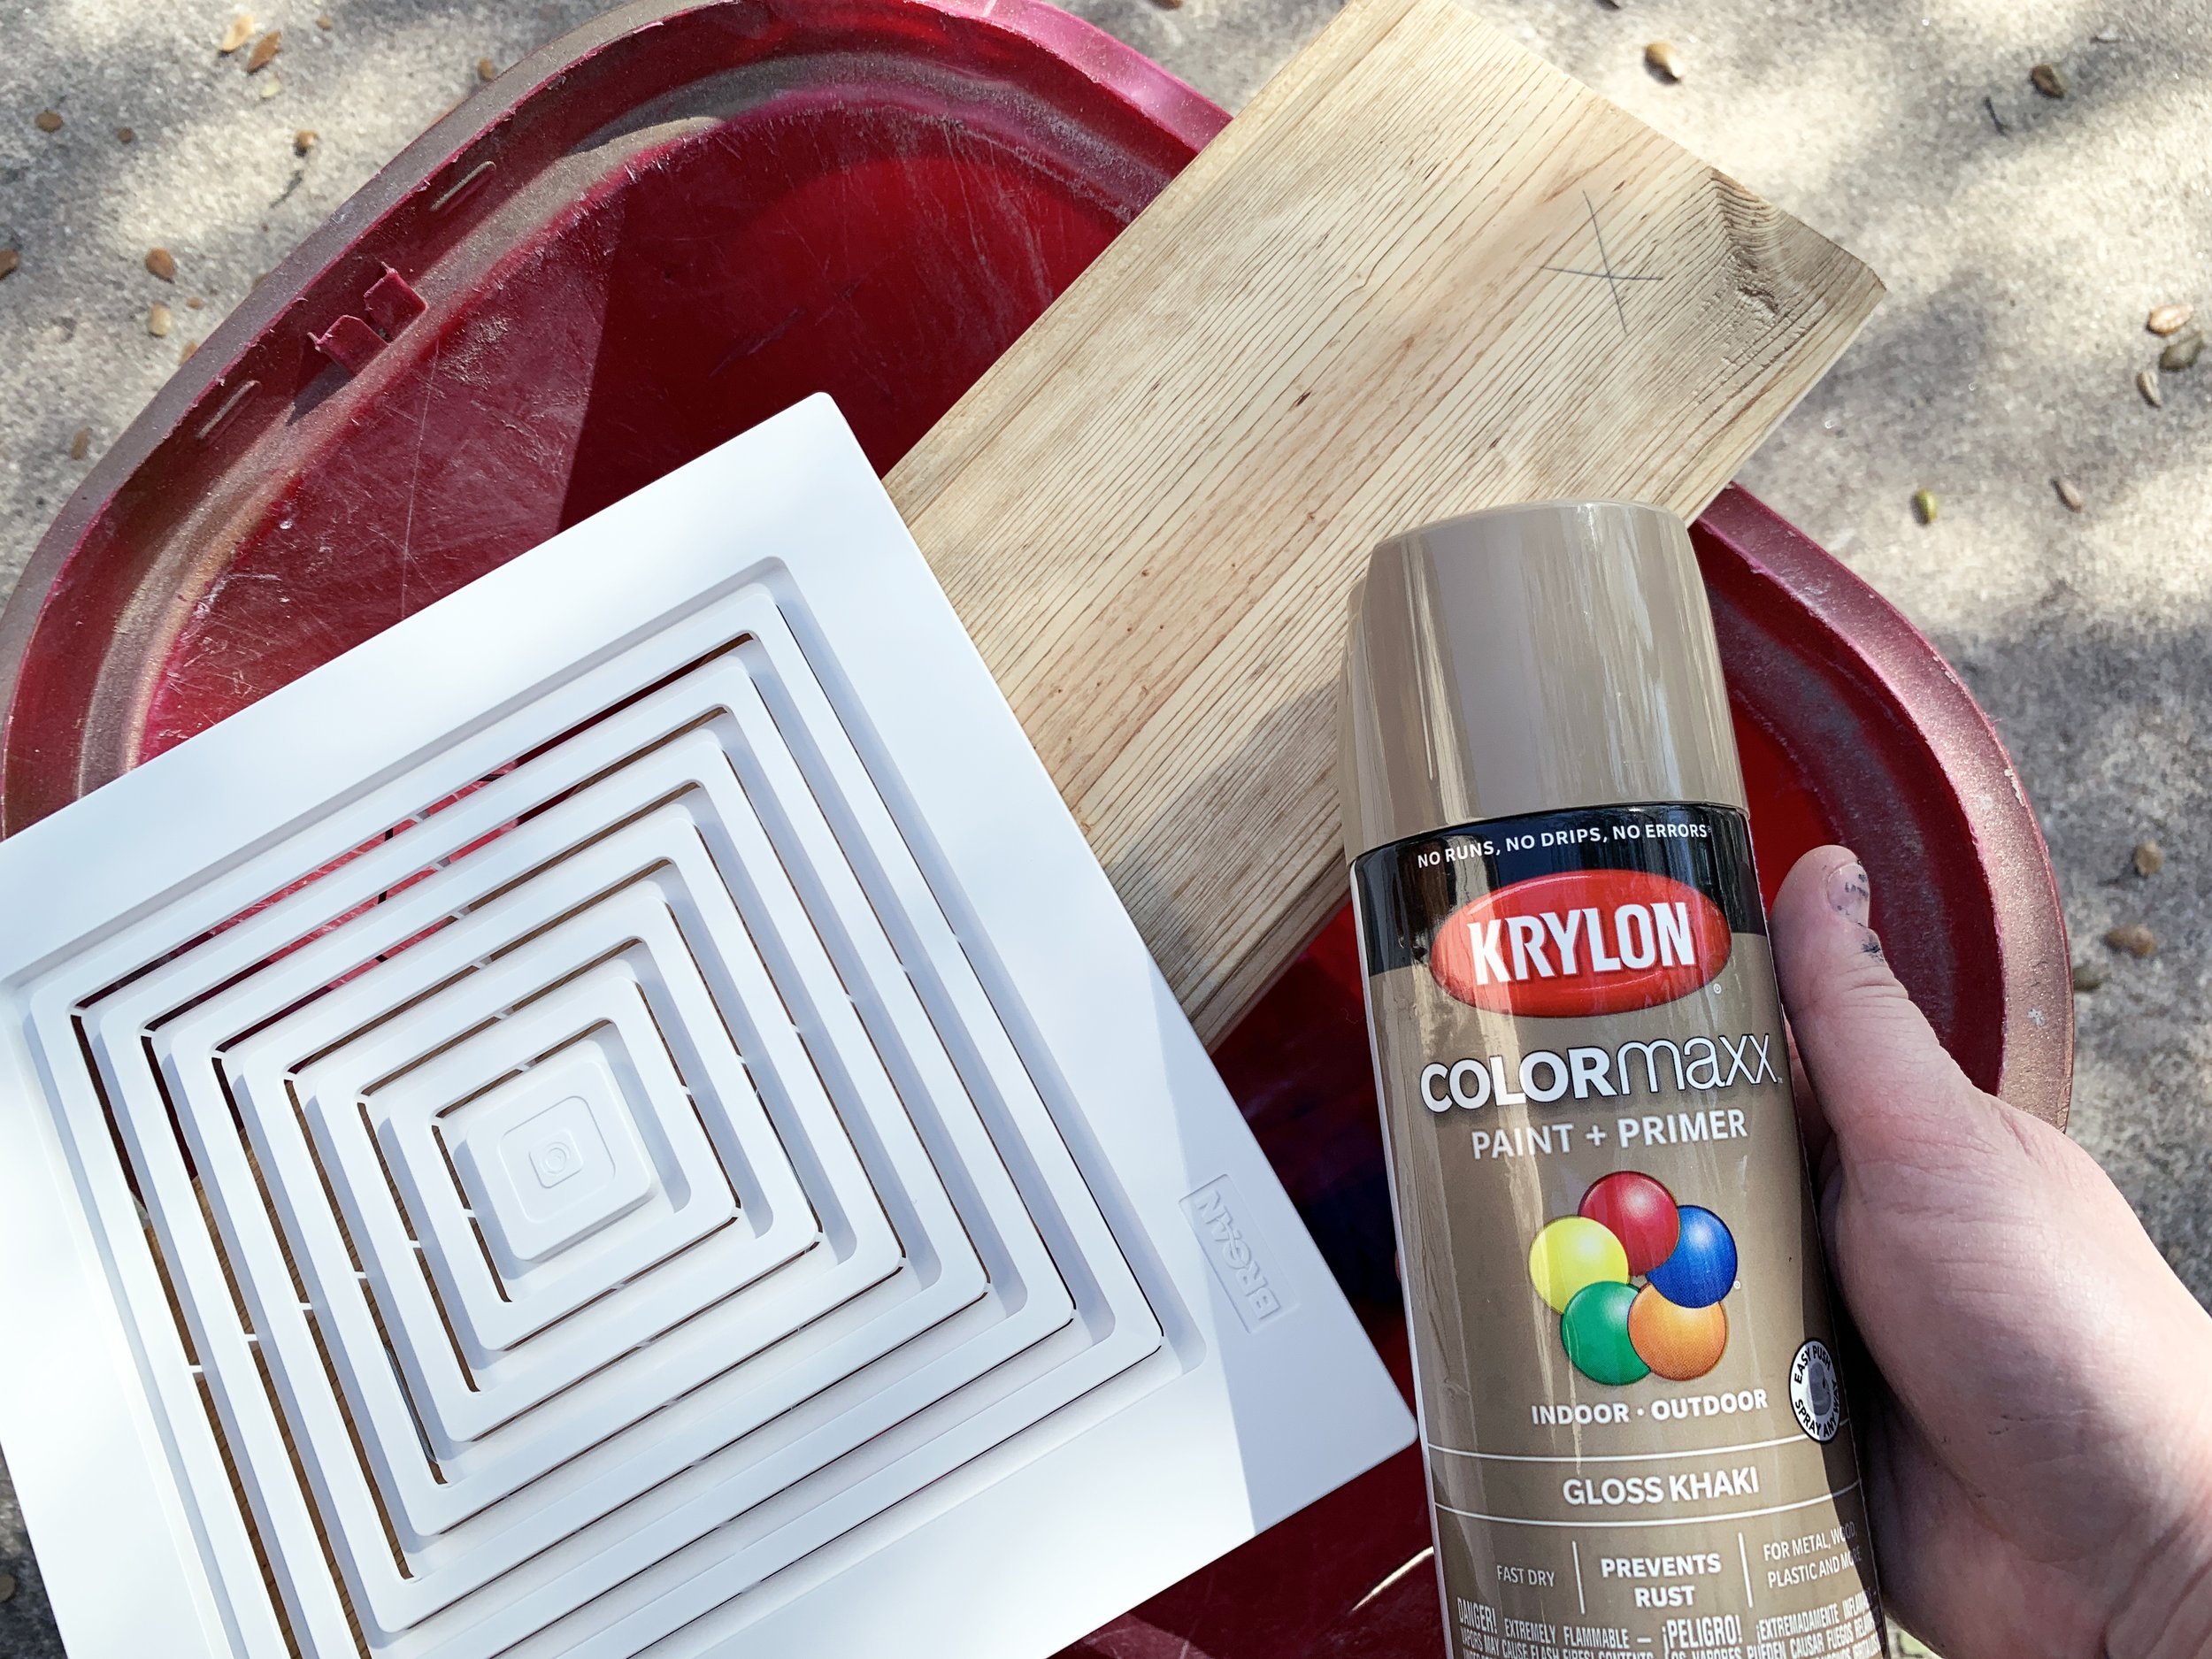
We wanted to downplay the two ceiling vents so they don’t distract from the rest of the attractive parts of the ceiling. Thankfully I was able to find a slatted wood air vent made of pine (like our ceiling) to stain to match and then (because I couldn’t find a wooden one) got a new white exhaust vent cover and spray painted it to help it blend in.
Air vent
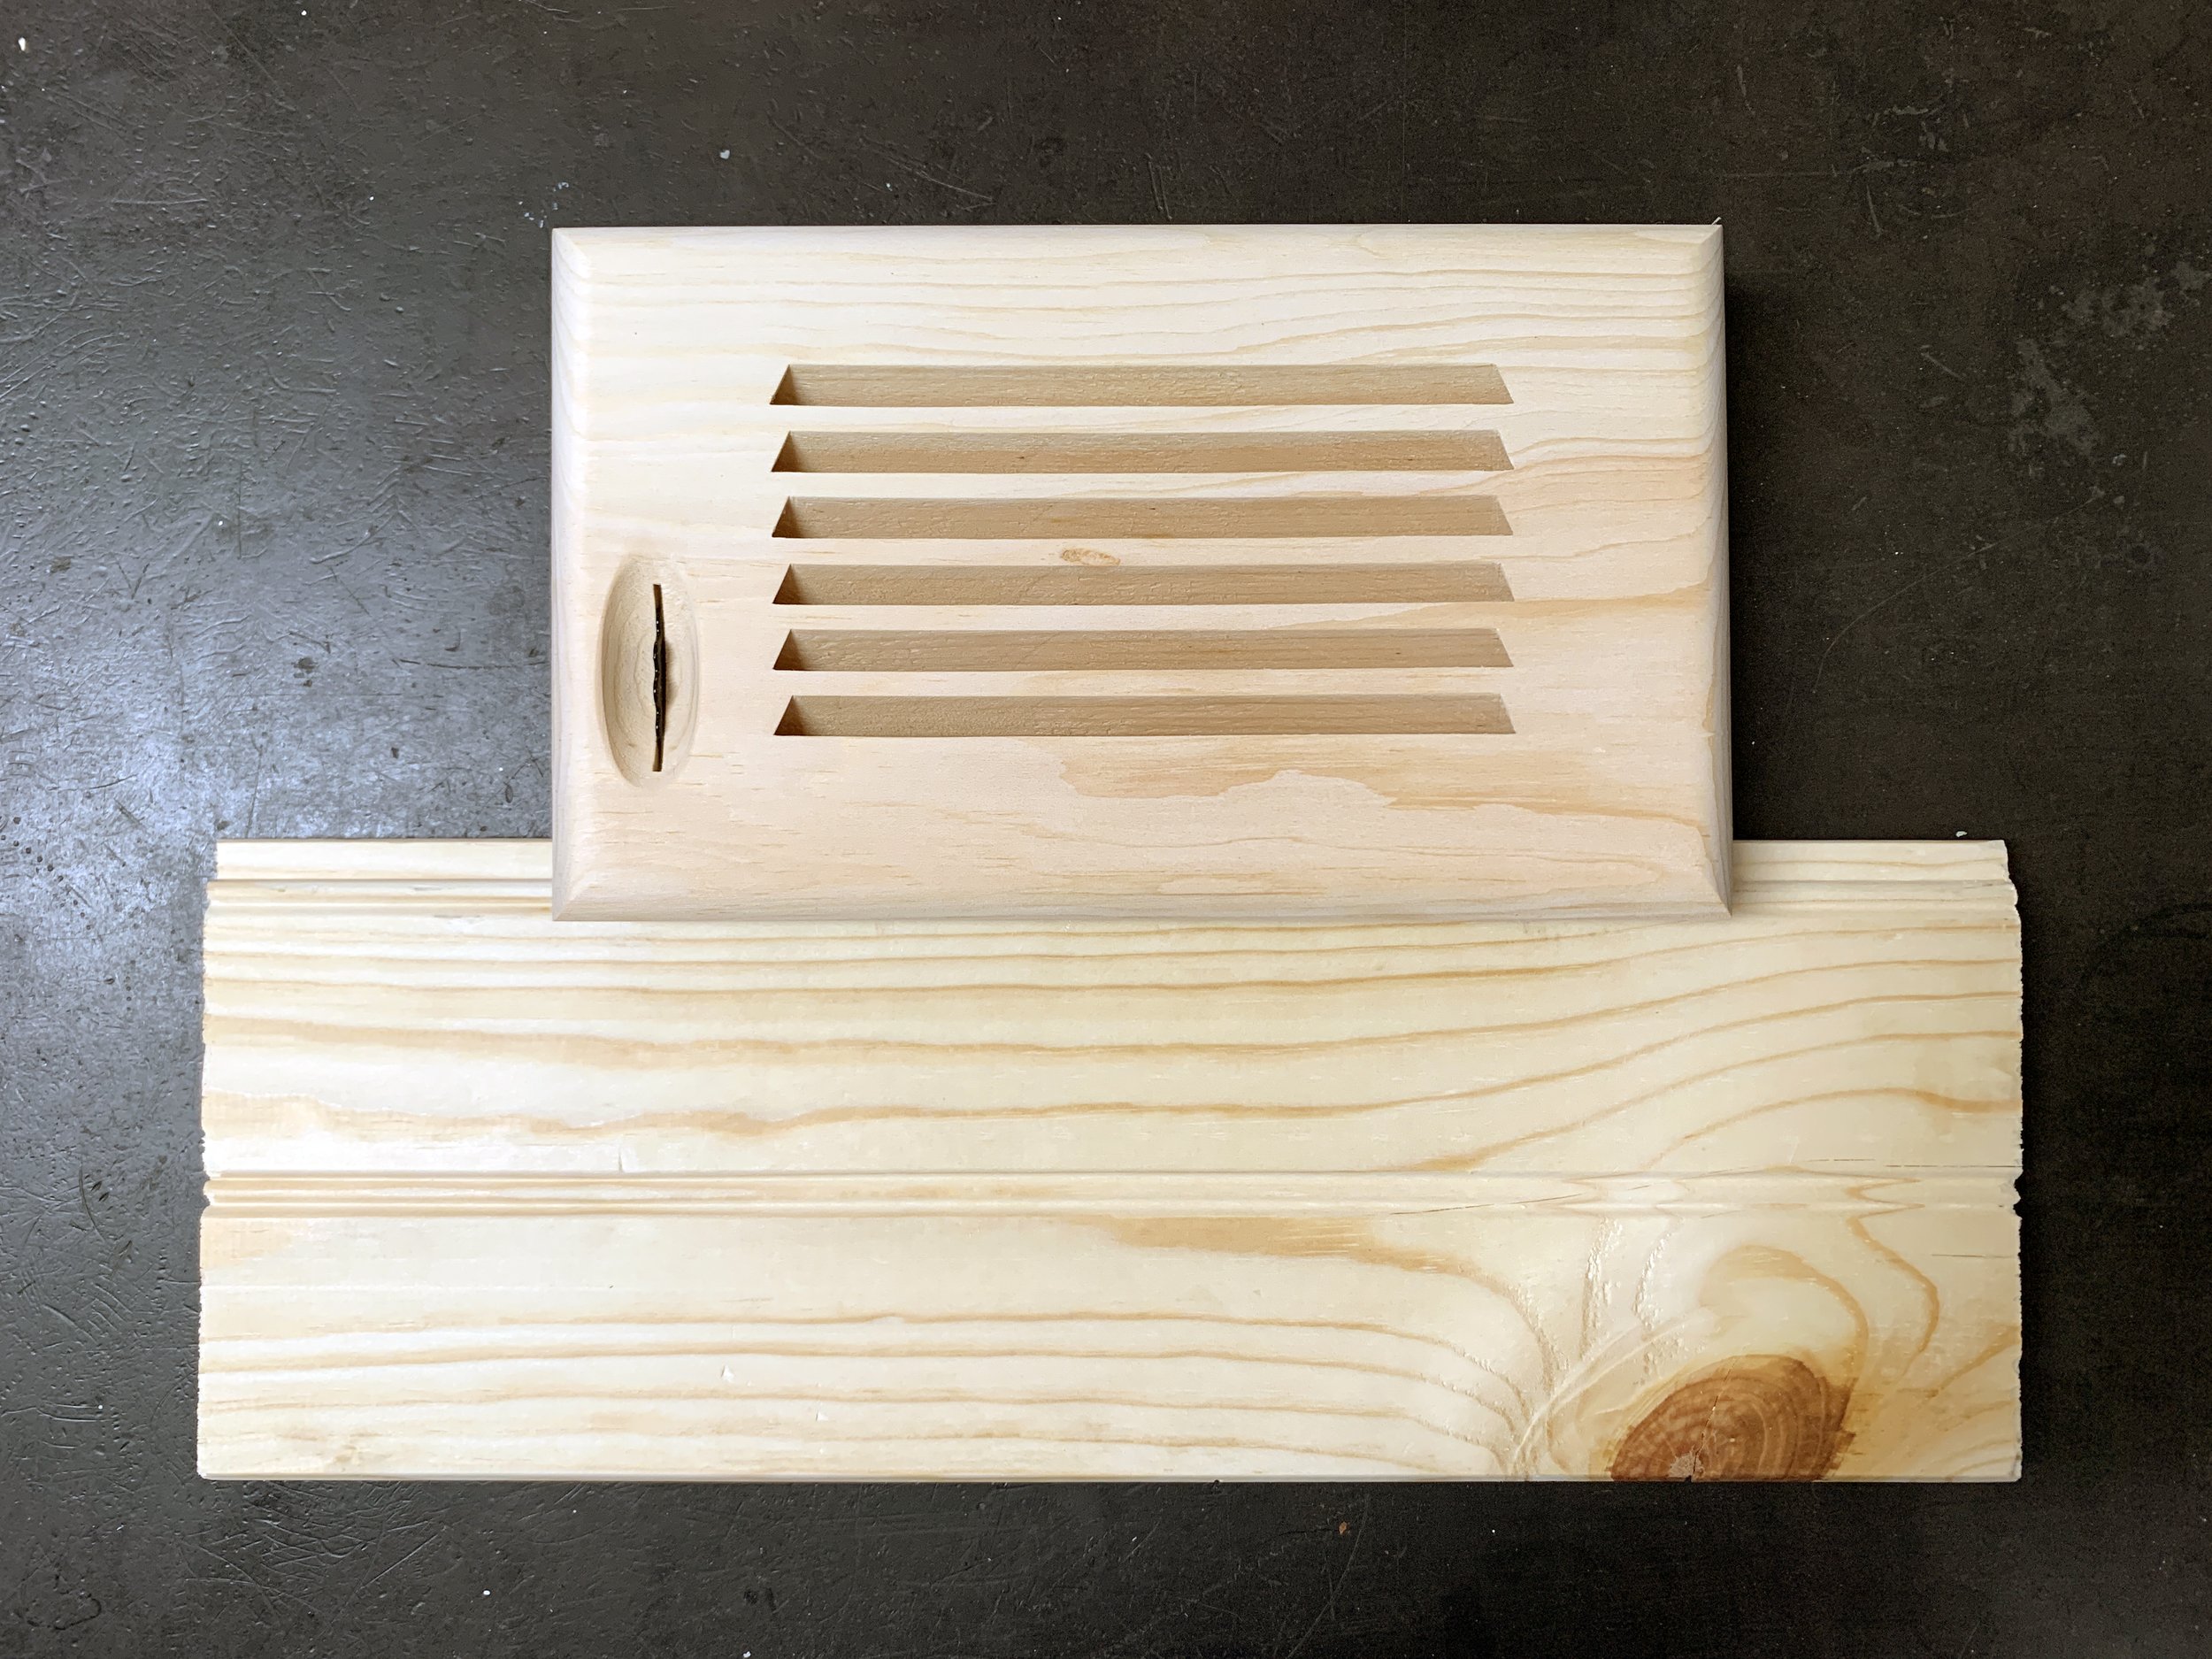
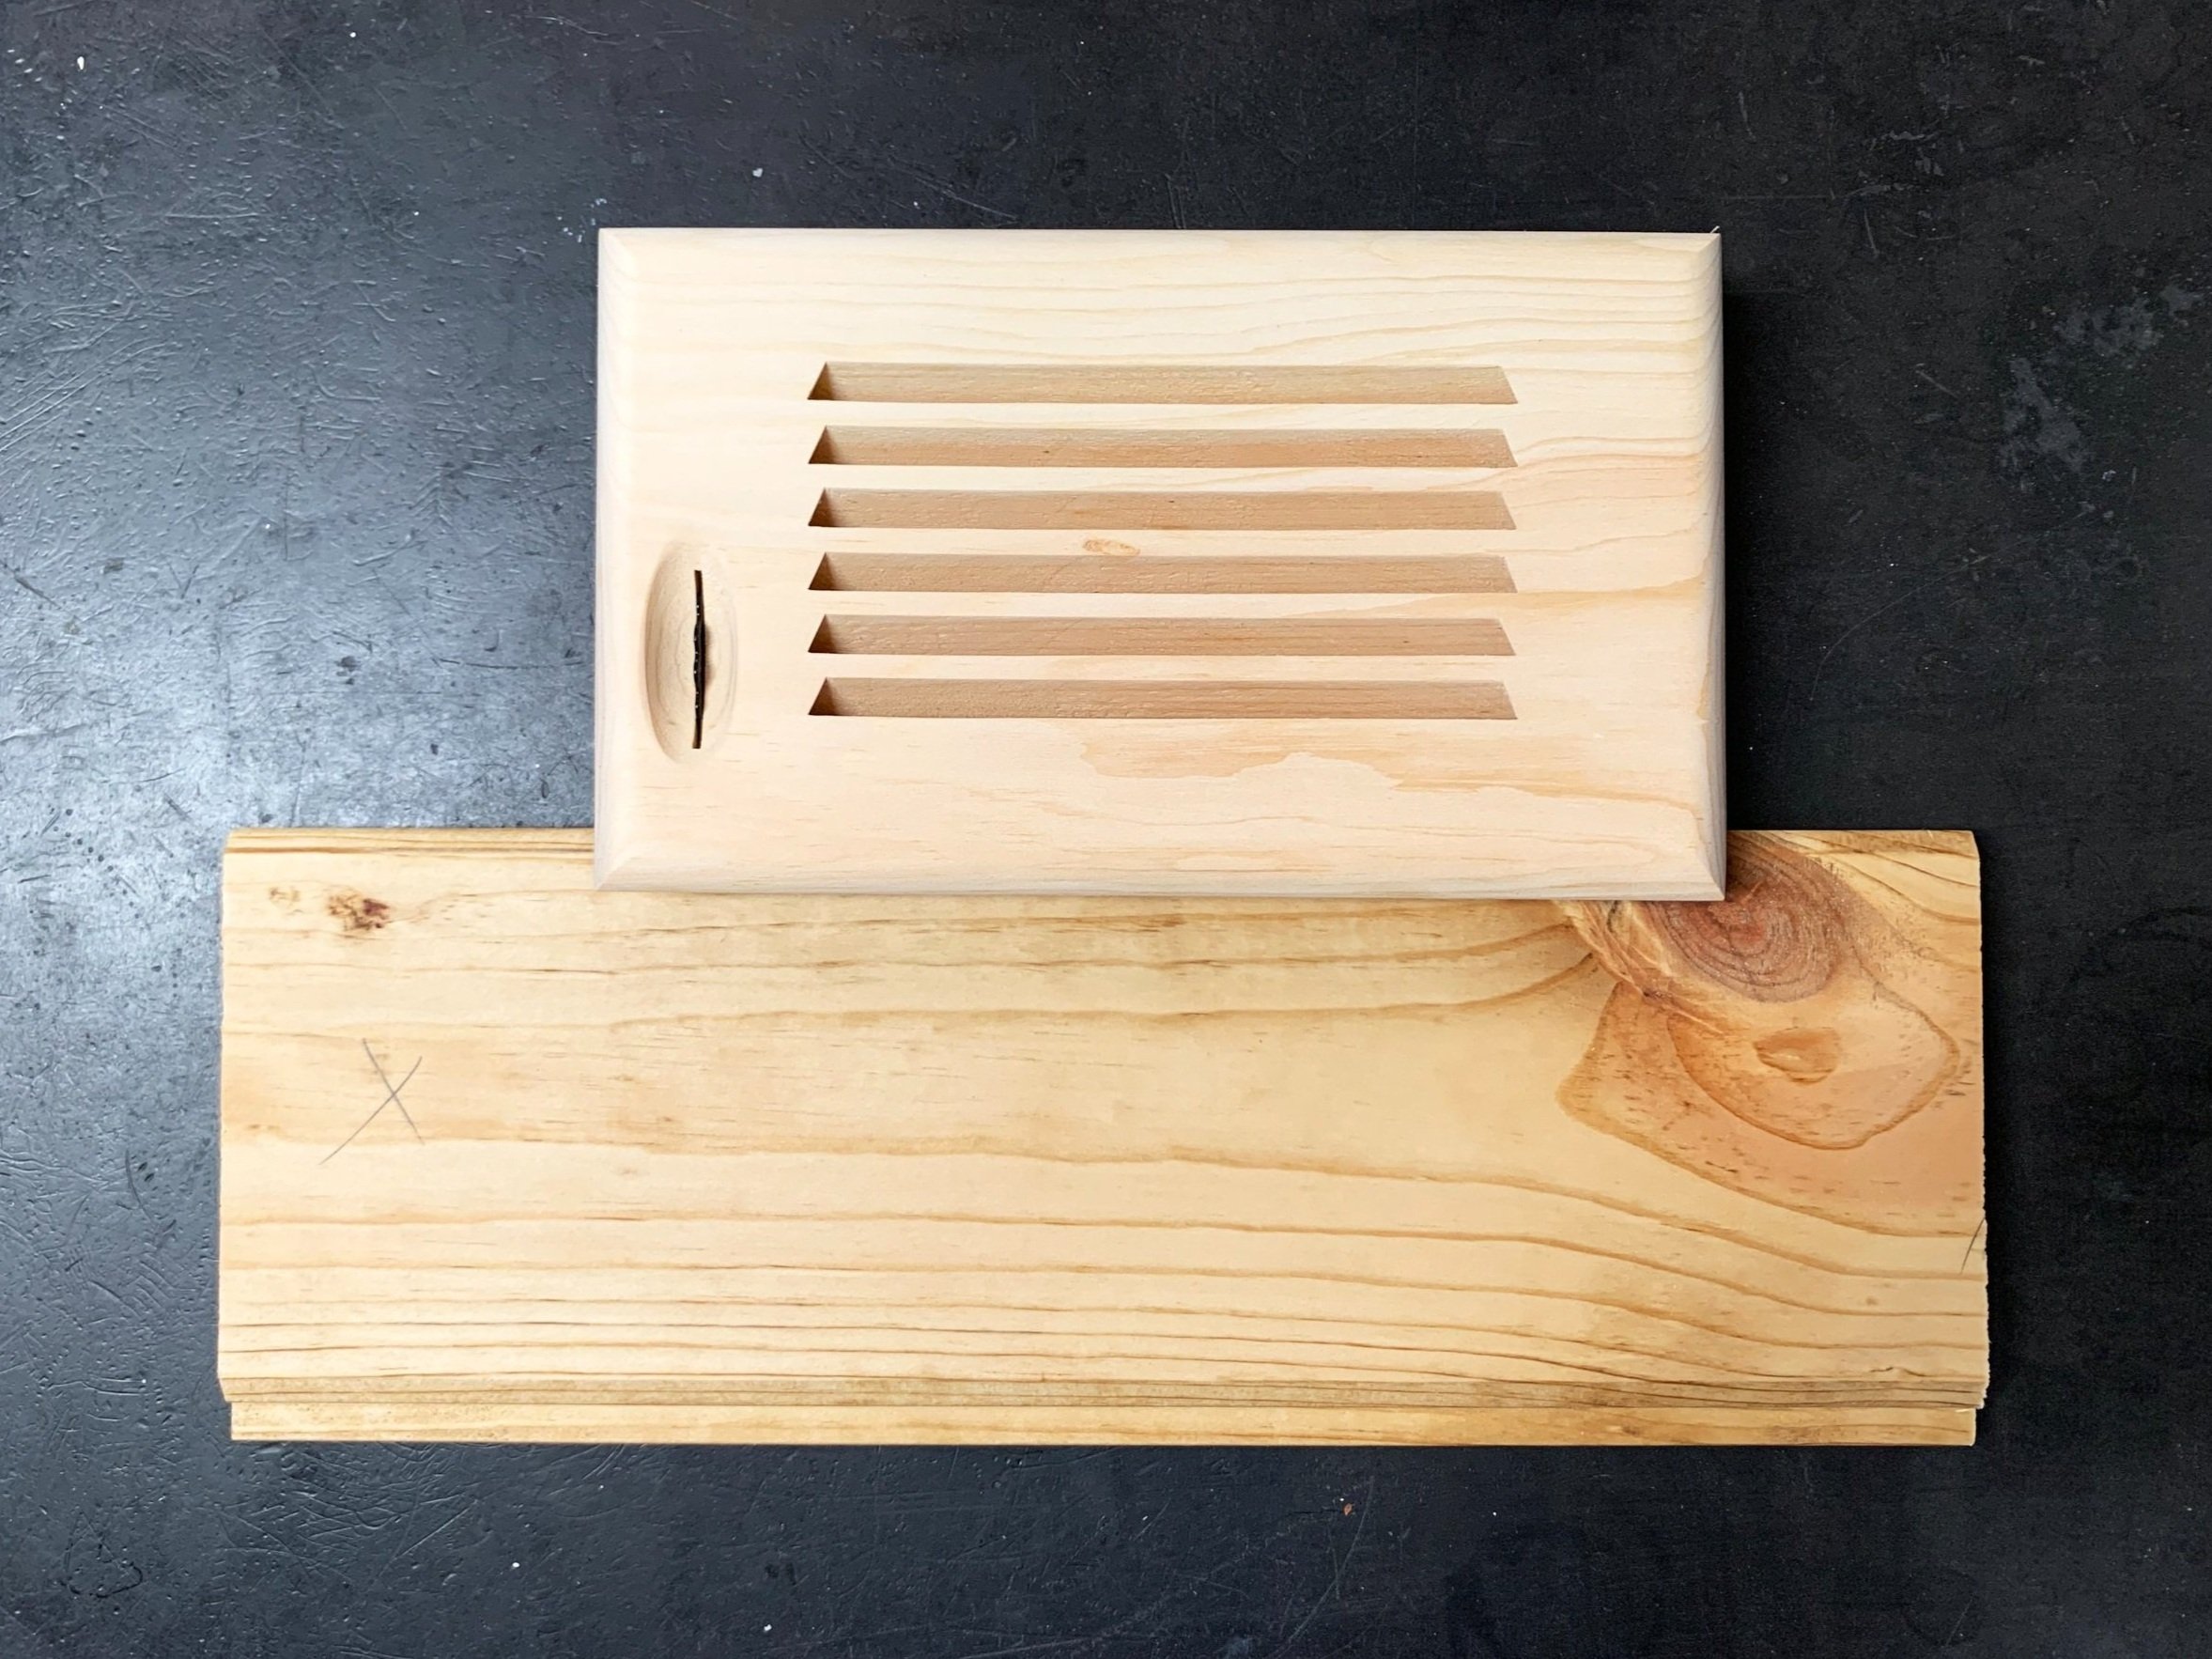
The pine wood vent was slightly more red than the unstained pine ceiling planks (above left). Above right you can see how the unstained vent looks compared to a scrap of stained ceiling plank.
Just like with the ceiling wood, I stained the vent with one coat of Medium Walnut Danish Oil and one coat of Dark Walnut Danish Oil, using a rag for most of it and Q-tips to get in between the slats.

It blends in pretty well once installed!
Exhaust vent
I took a scrap piece of stained ceiling plank to the hardware store, found the closest spray paint color, and painted a few coats.
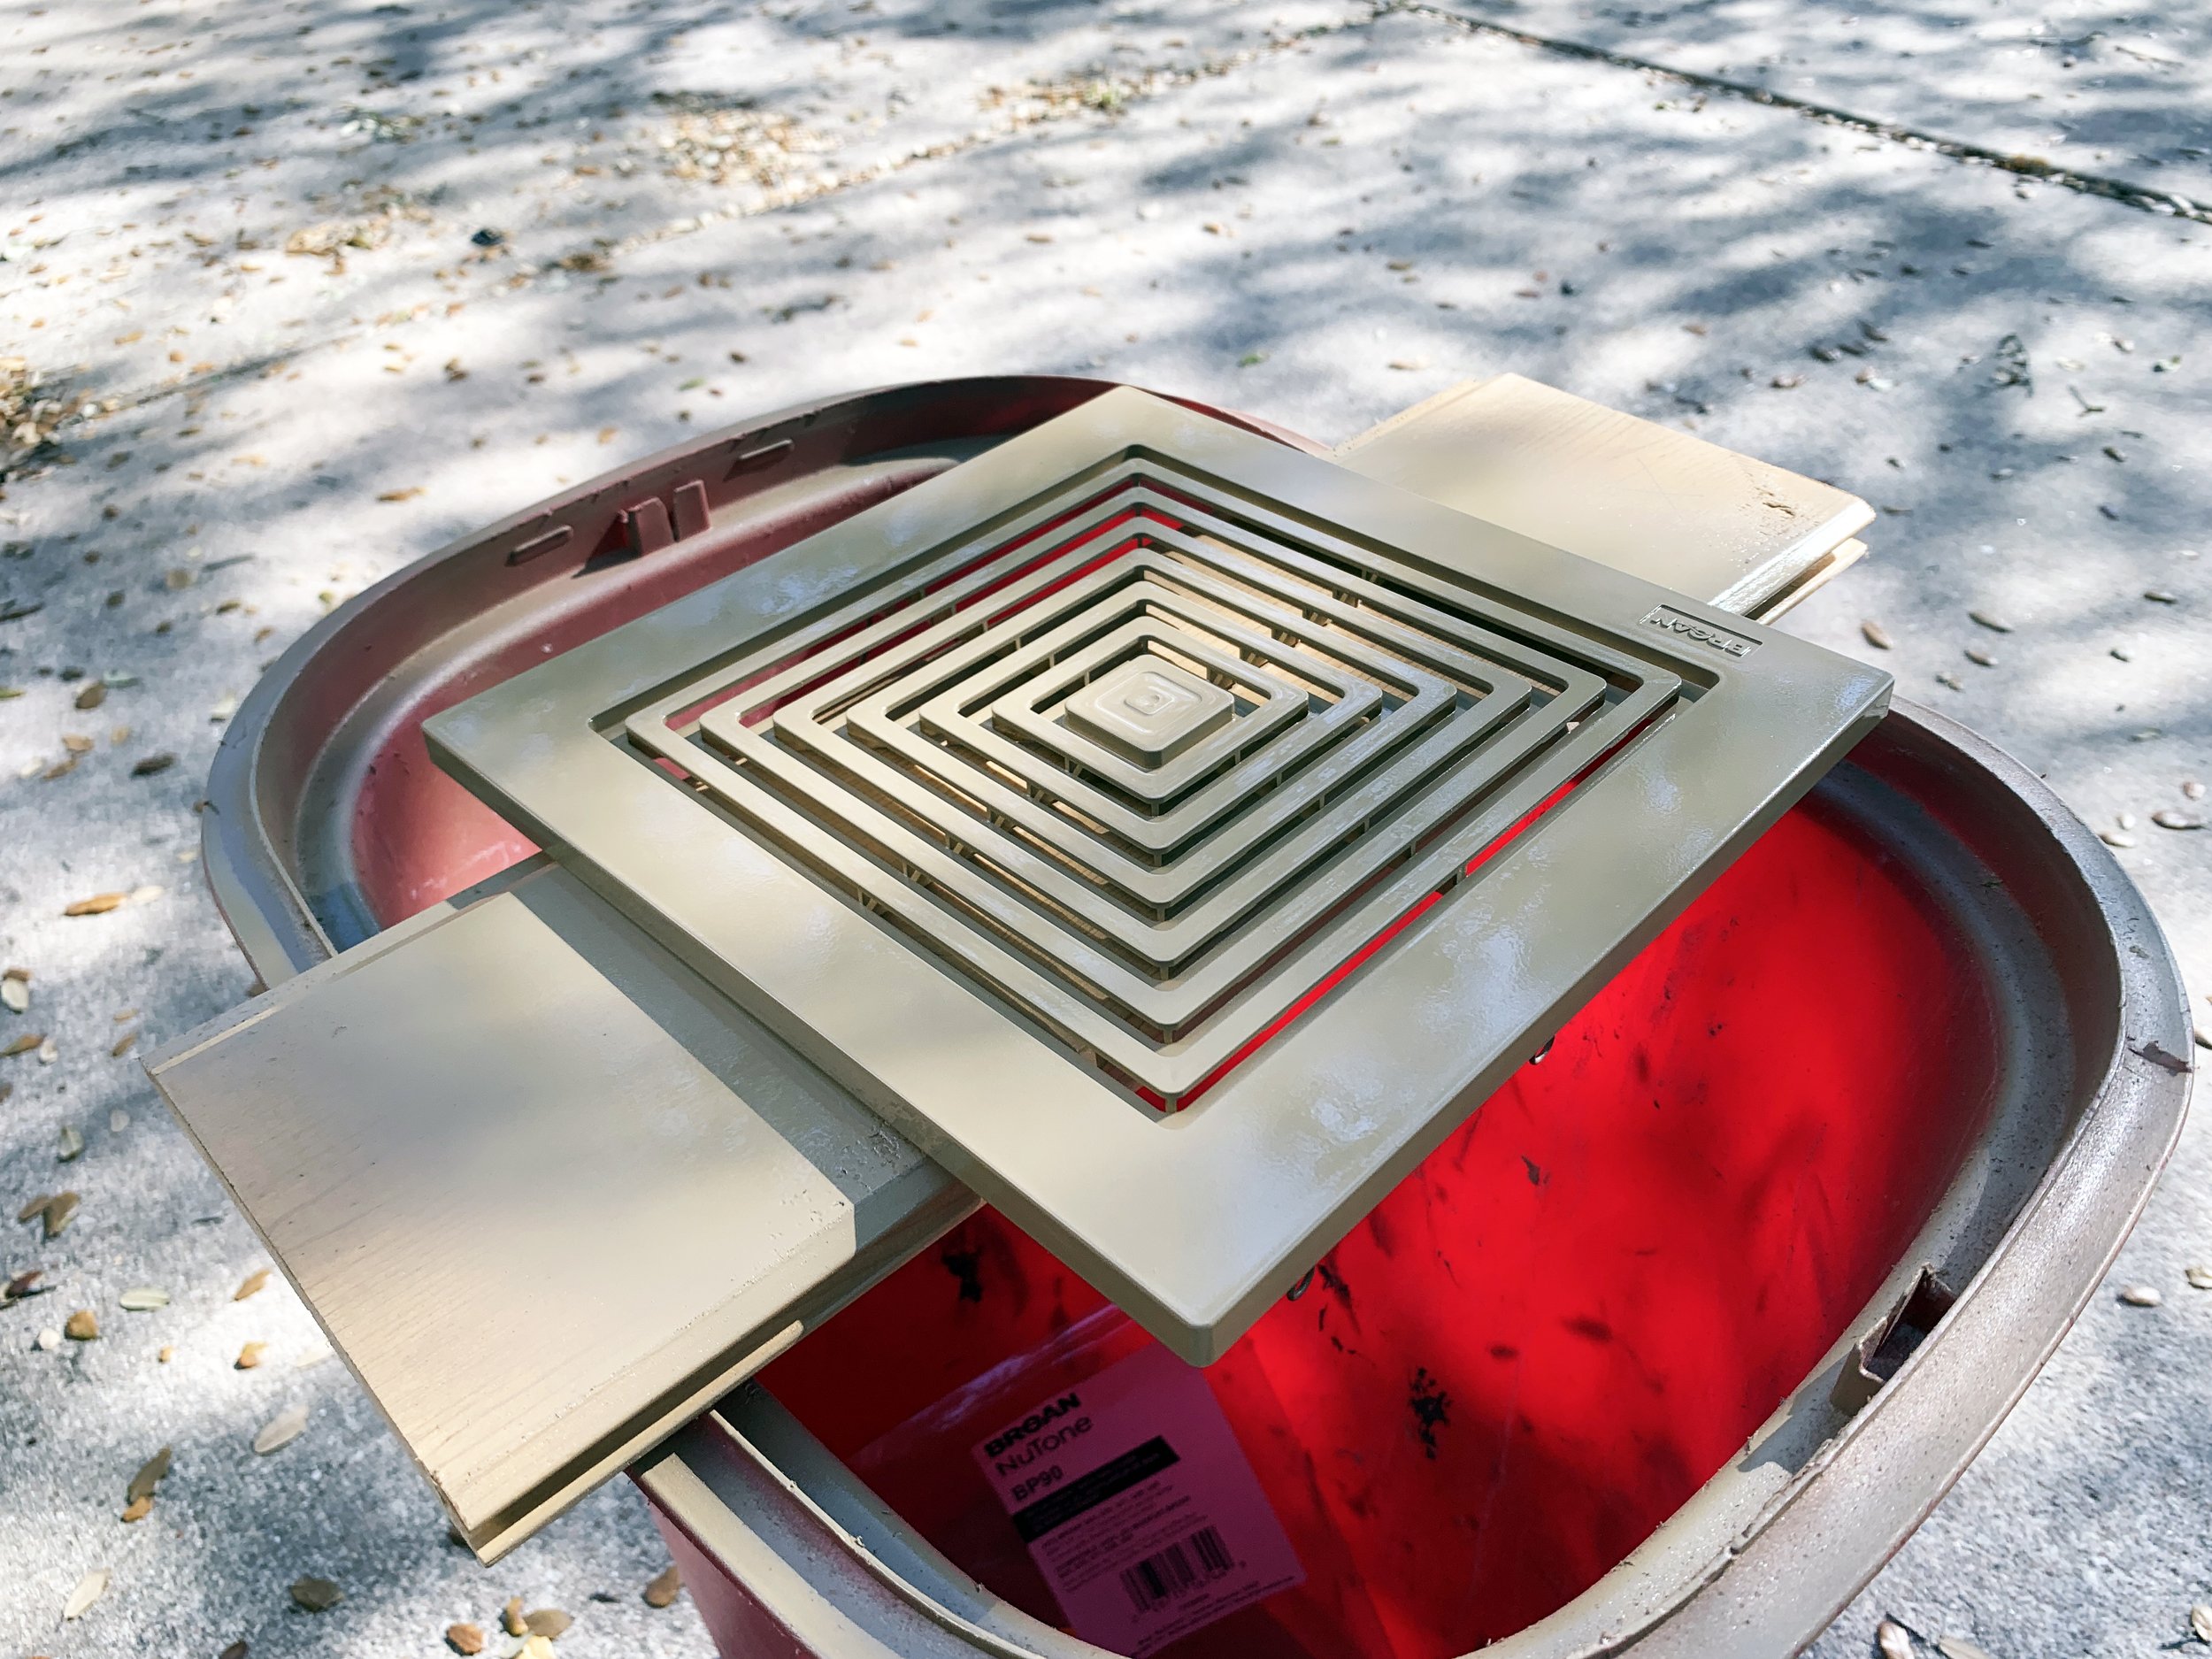

Once dry, it popped right in using the attached wire clips.

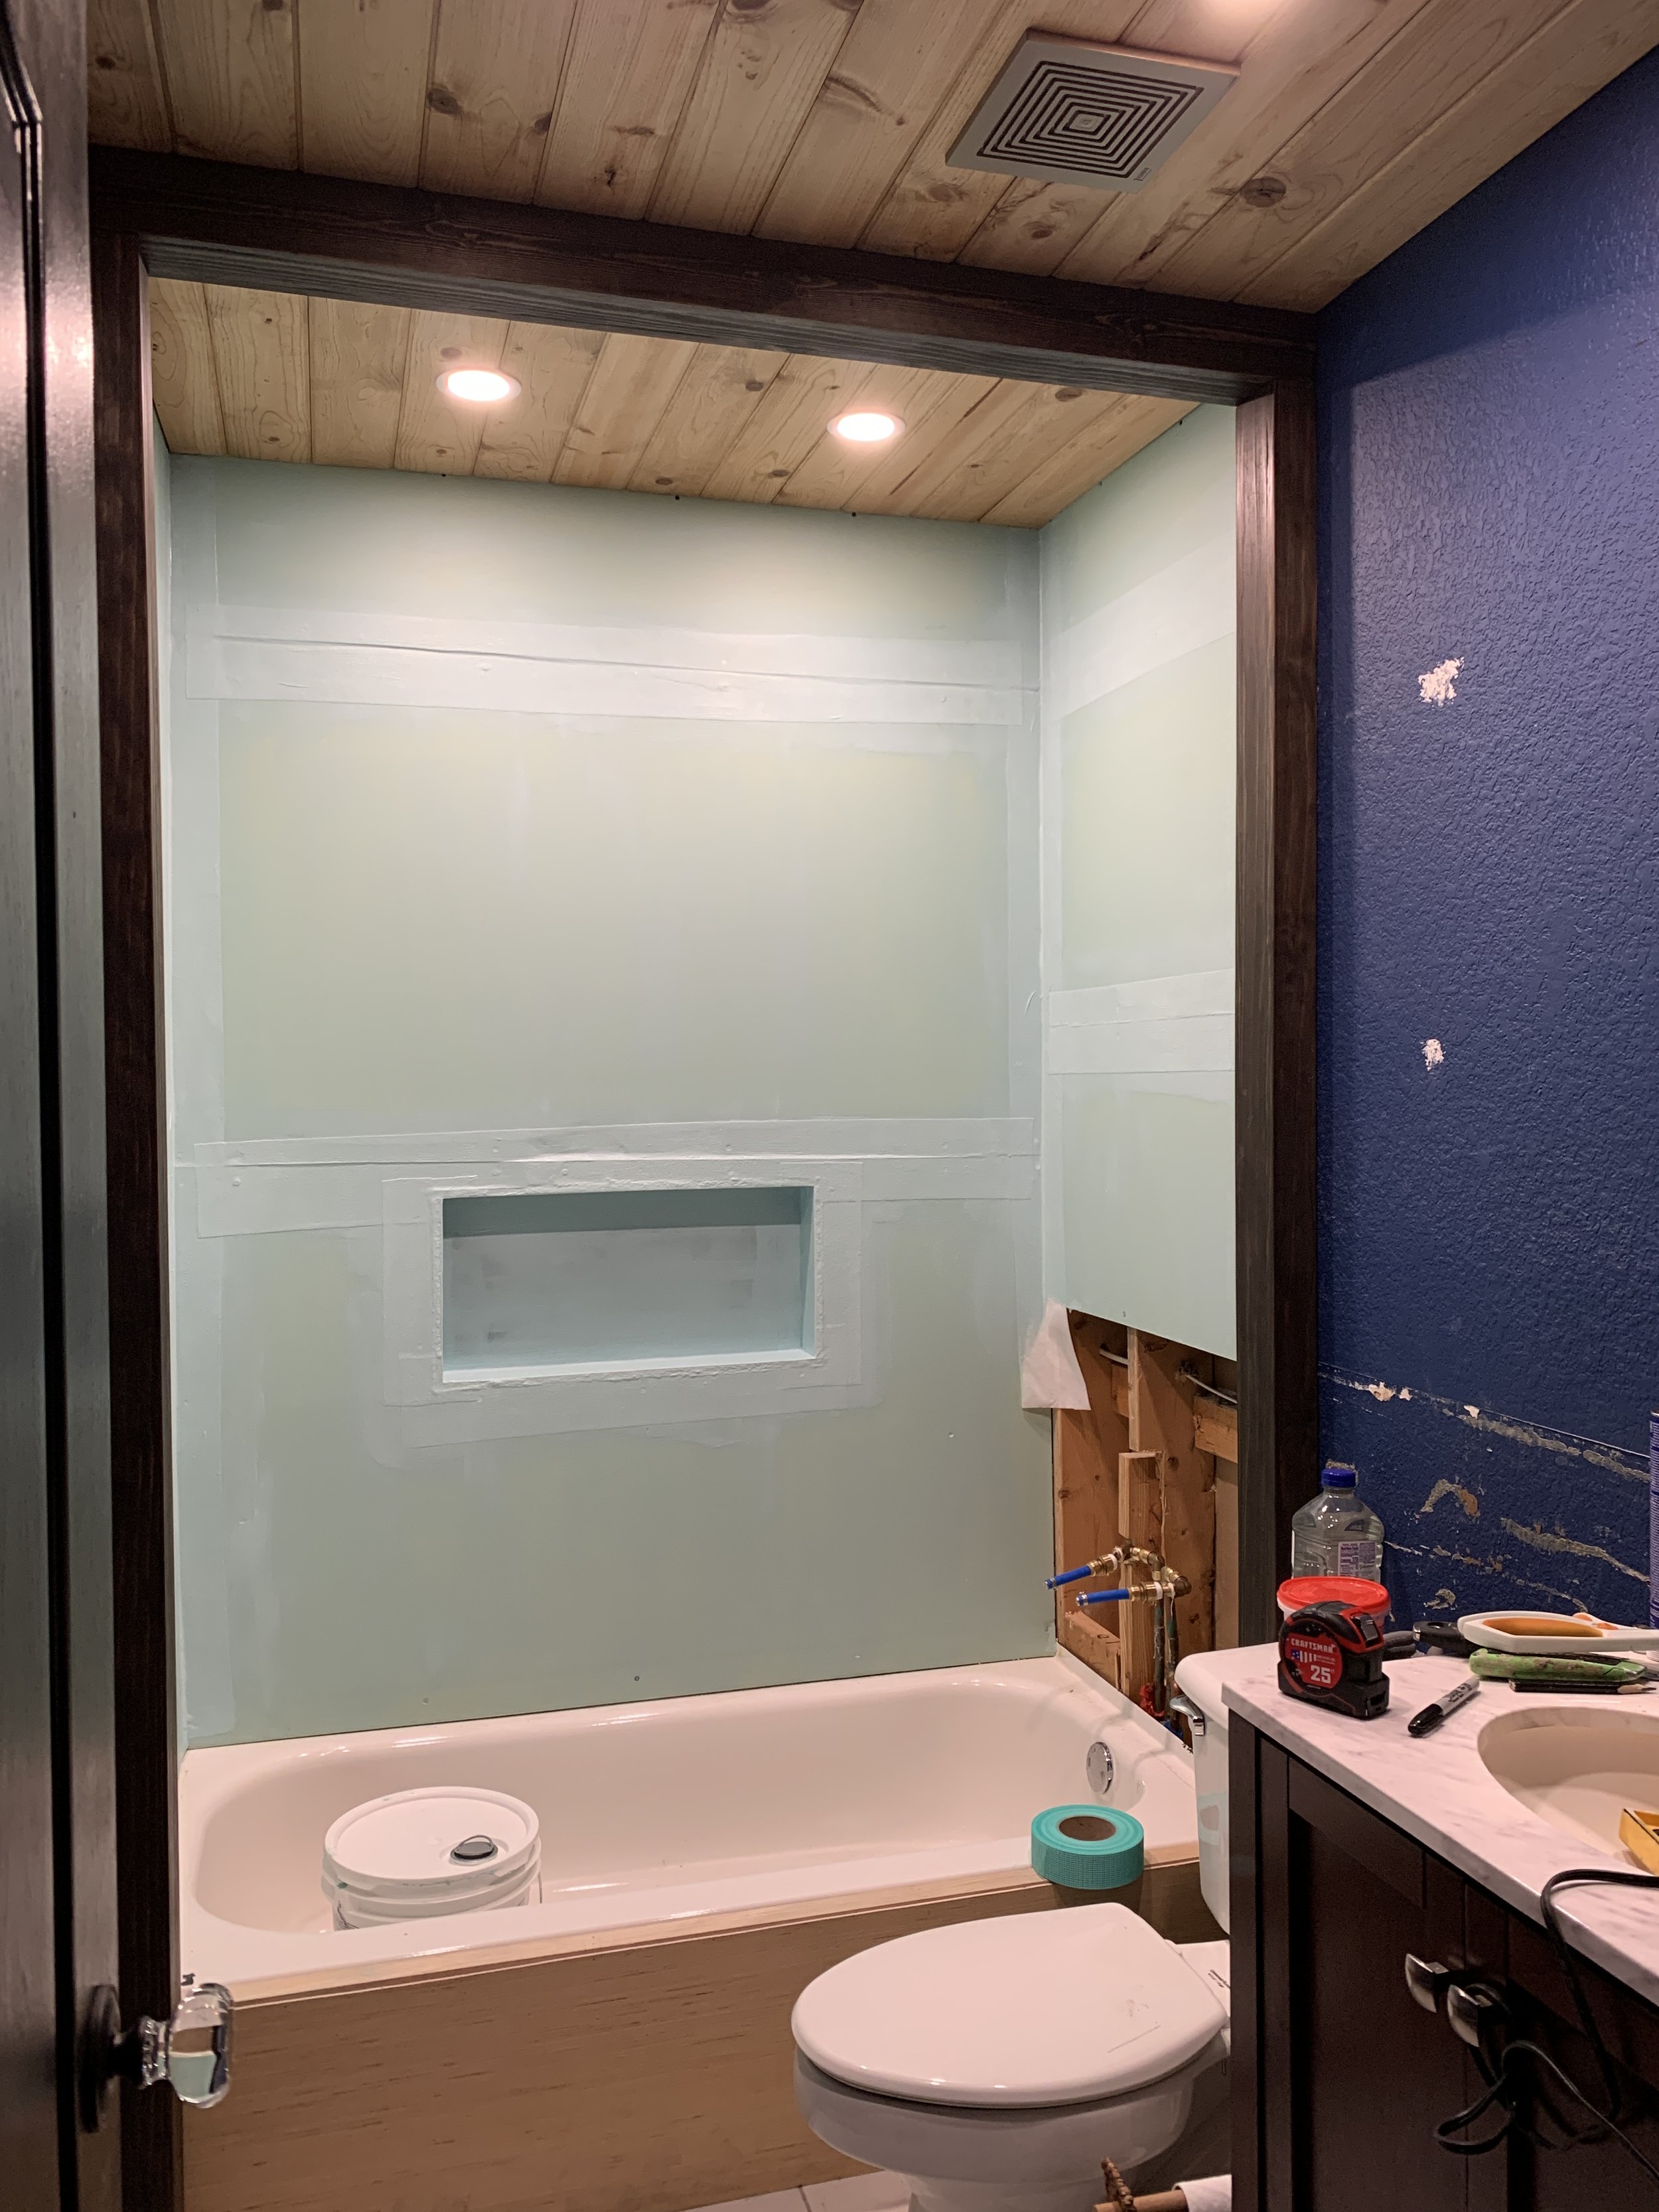
Even with the shower wall still open and rest of the bathroom walls looking rough, it already looks so much more polished (and brighter!) in here.
Eek! I’m so thrilled with how this bit turned out. So far I’m feeling super accomplished and hope the rest of the renovation goes this smoothly and on time! What do you think of it so far?
My plans for next week include working on the shower – hopefully cutting in and framing a new custom niche, reworking the plumbing, finishing the drywall and waterproofing. Wish me luck!
In addition to posting challenge updates here every Wednesday, we’ll be sharing our progress on Instagram, so make sure to follow along over there if you aren’t already. (And don’t forget to check out all of the other talented One Room Challengers tackling their spaces this season.)