Exterior Trim + Gutters Update
Hey y’all! It’s officially Spring, which means if you’re anything like me you want to be outside, especially with being cooped up with all the COVID business and the crazy Texas icepocalypse weather we’ve had recently! (And around here it also means you have a short window to enjoy the outdoors before The Pollening – or, the time in Central Texas where the oak trees drop their stringy pollen bits and everything is coated in a thick layer of fine yellow-green powder.) Just in this past week, some of our previously-frozen, now brown and mega-crispy plants are showing signs of life … while some of them might just sadly be goners.
While we wait for our plants to sort themselves out, I’ve got my sights set on something less green that still allows me to get outside and add some pizazz to the front of the house before The Pollening begins in a couple of weeks:
The exterior trim + gutters
Since we bought our house back in 2012, I’ve often looked up at the vanilla-colored trim and gutters and thought, “this could look better”. Well folks I’m so excited that I finally have had enough imagining the possibilities in my head and gave our exterior a dramatic makeover and all it took was some paint.
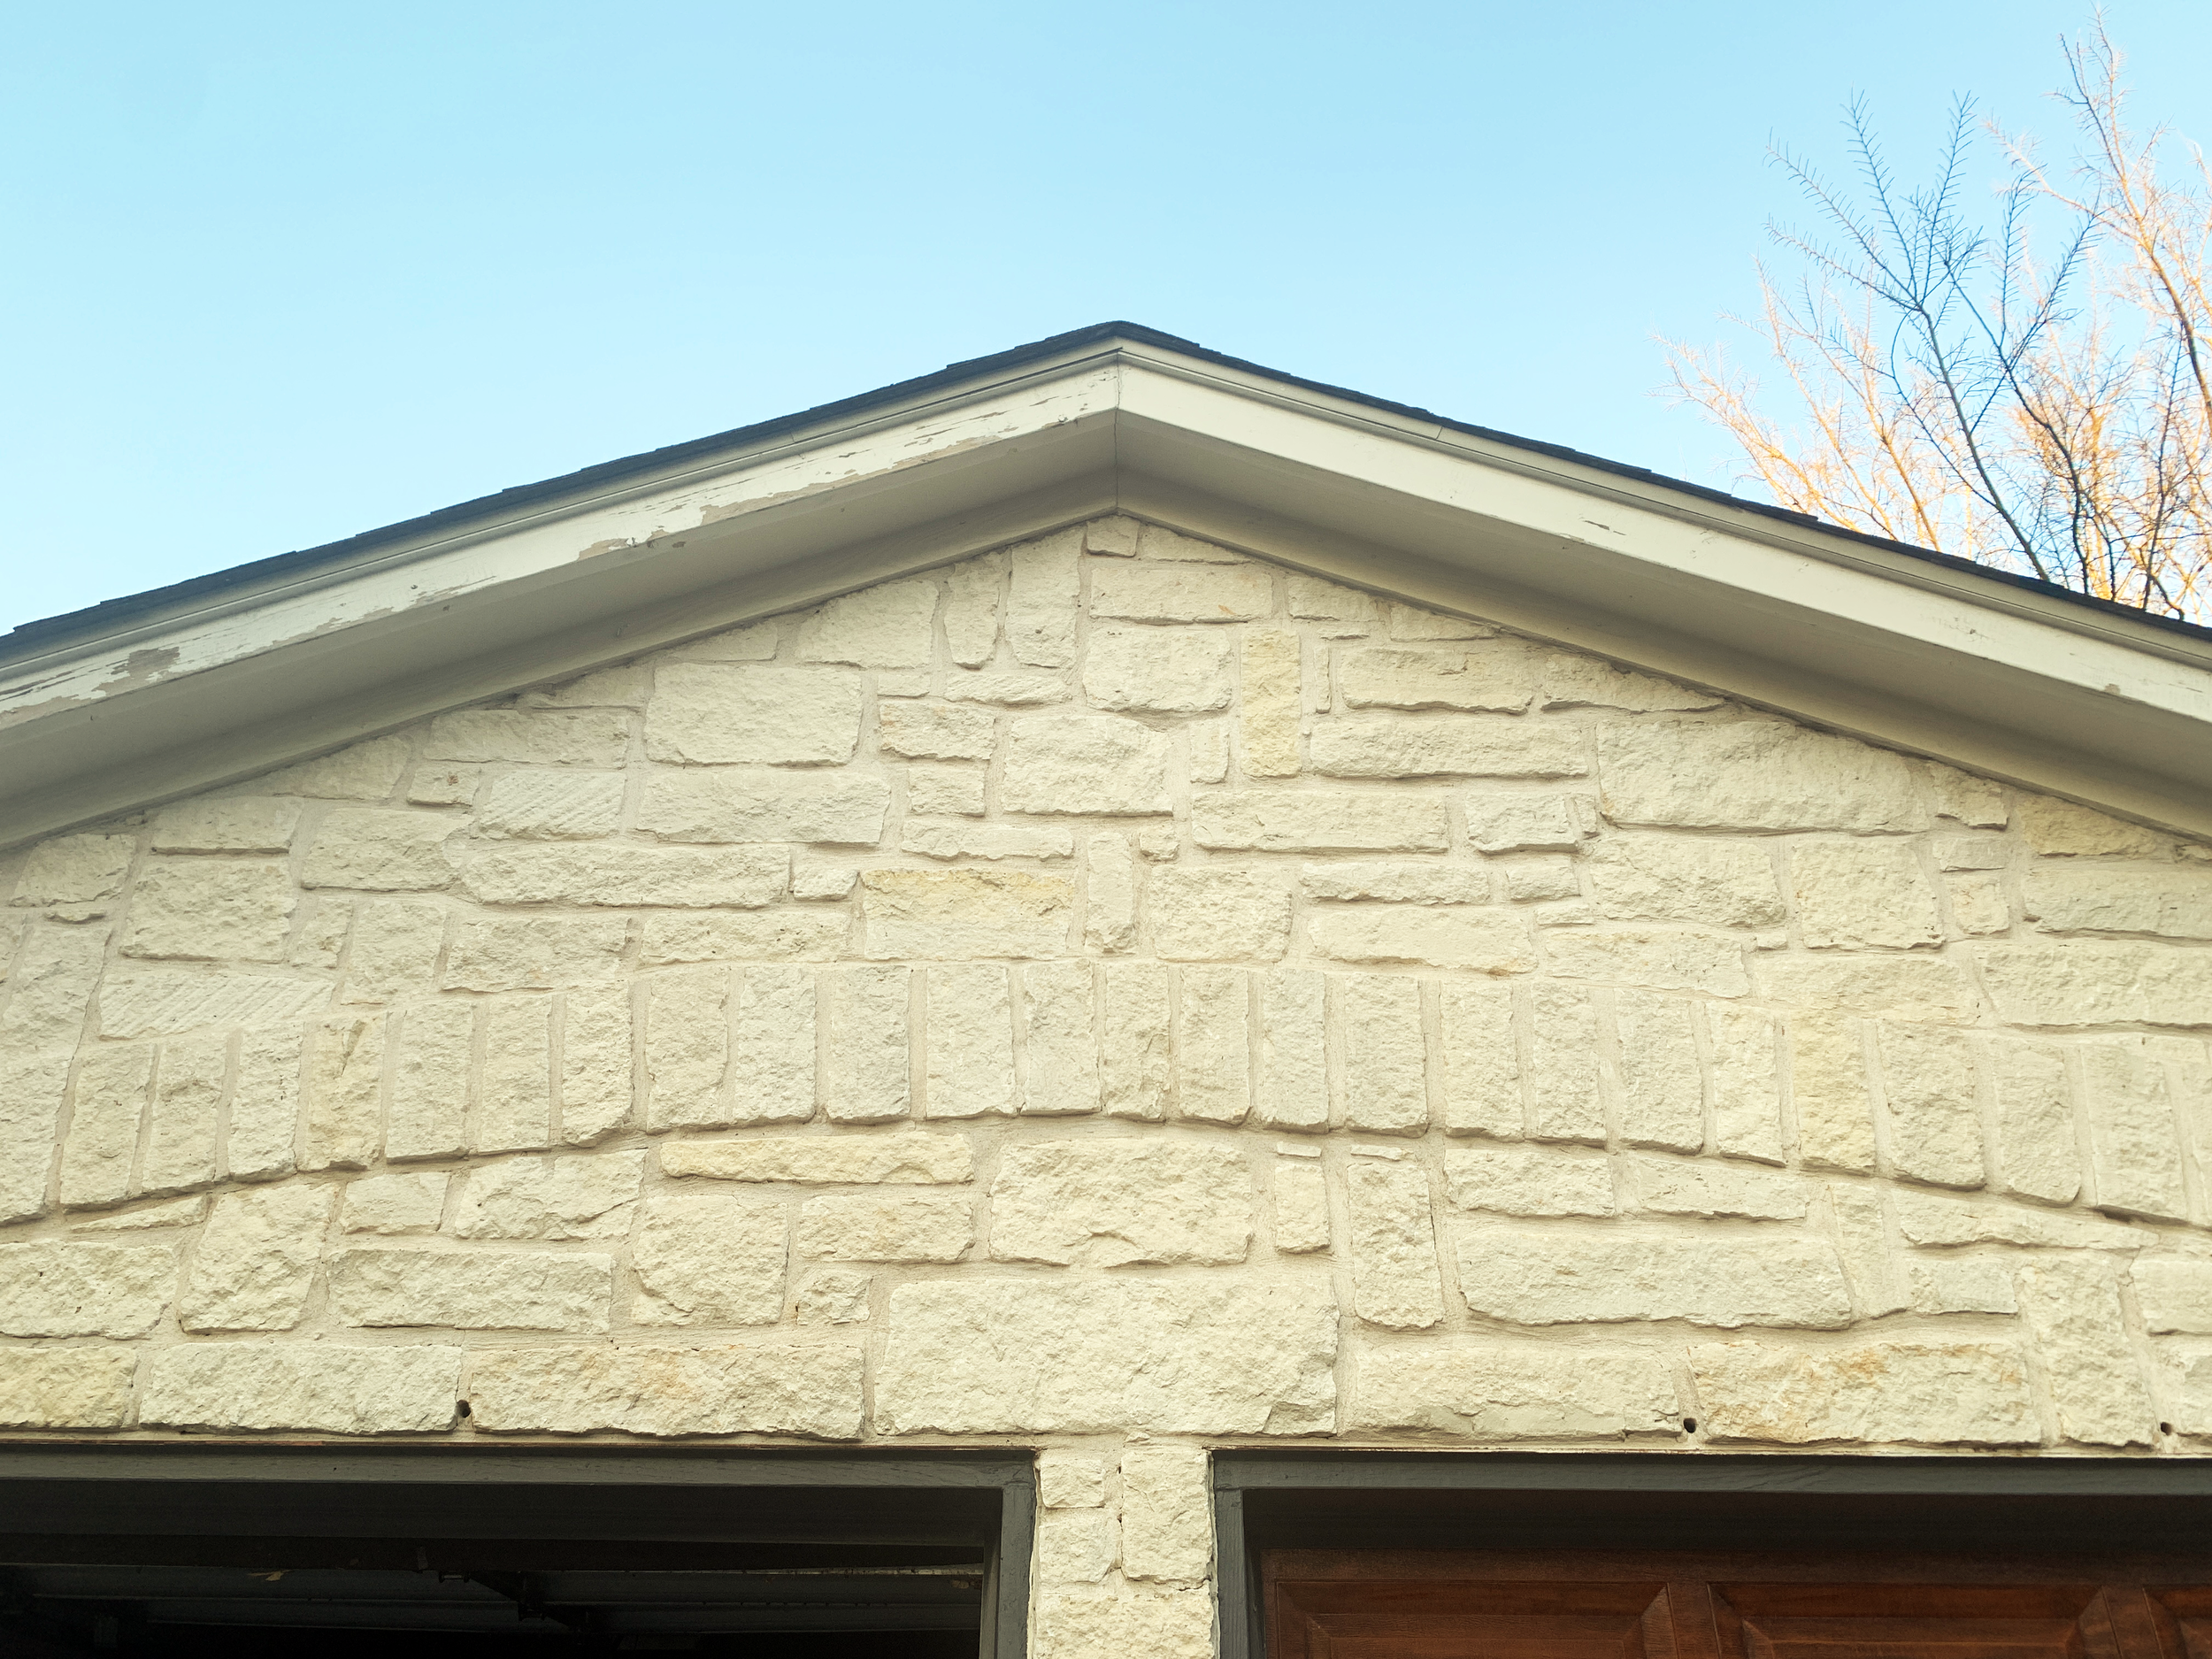
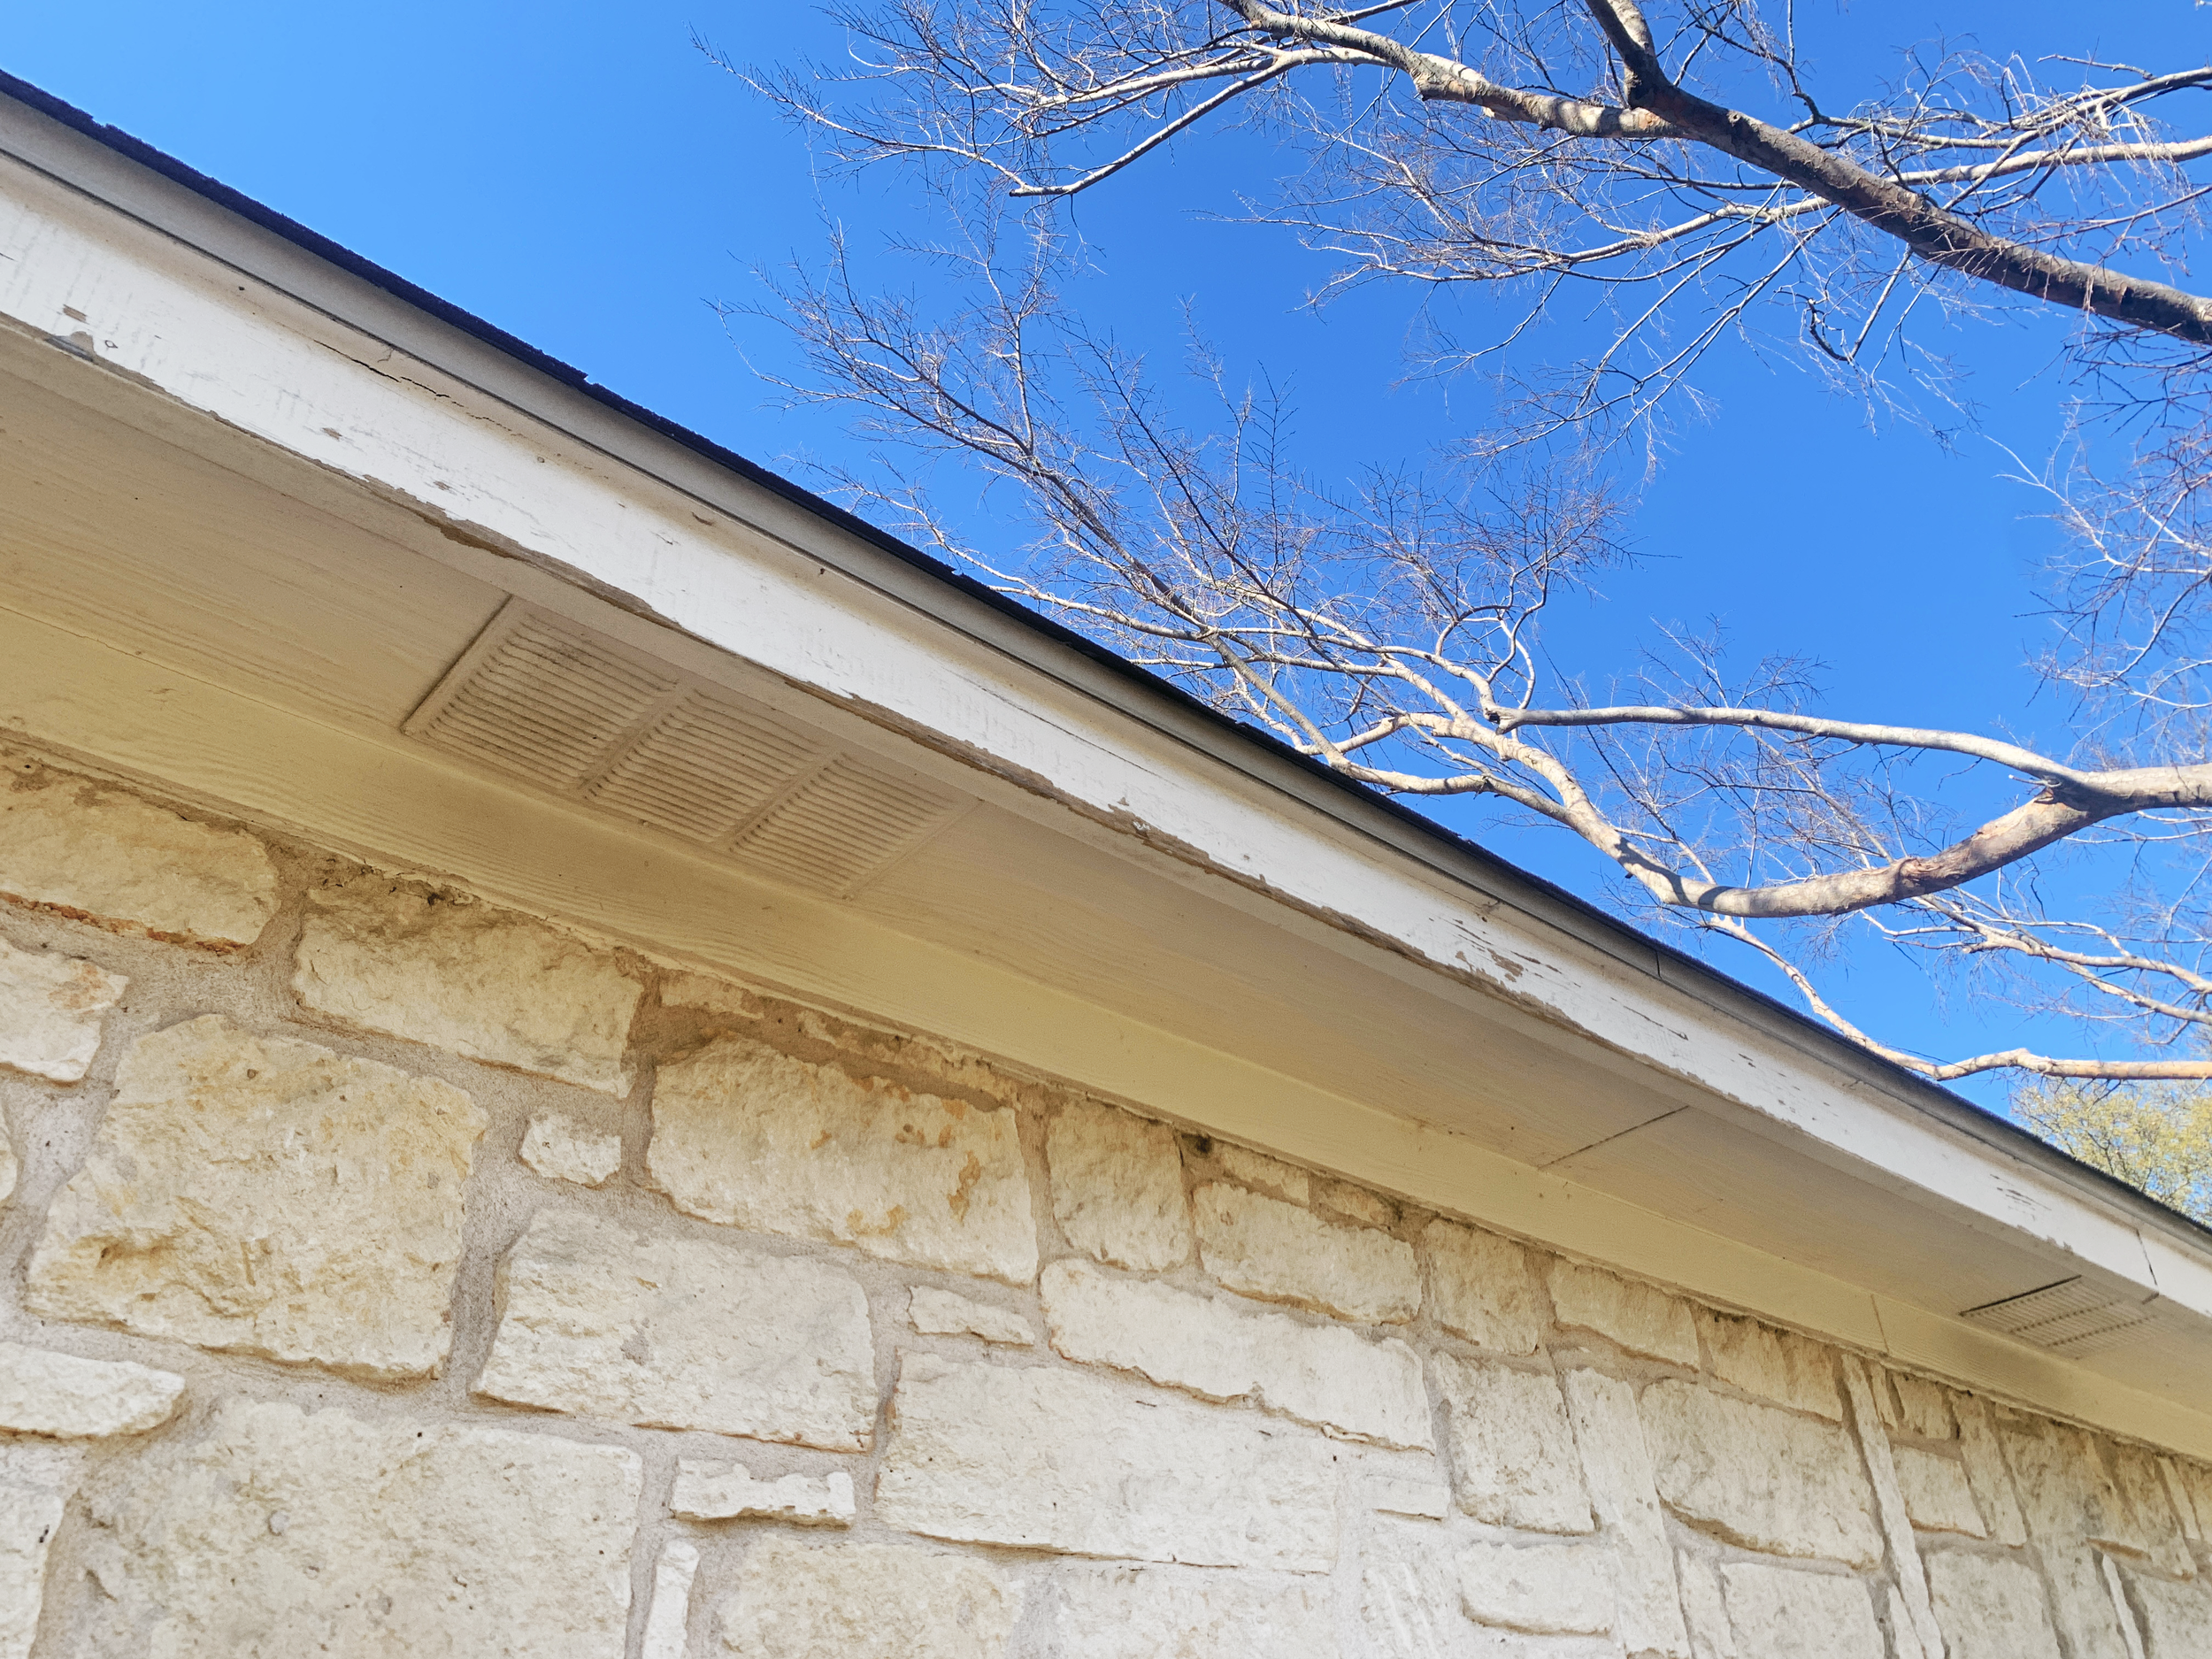
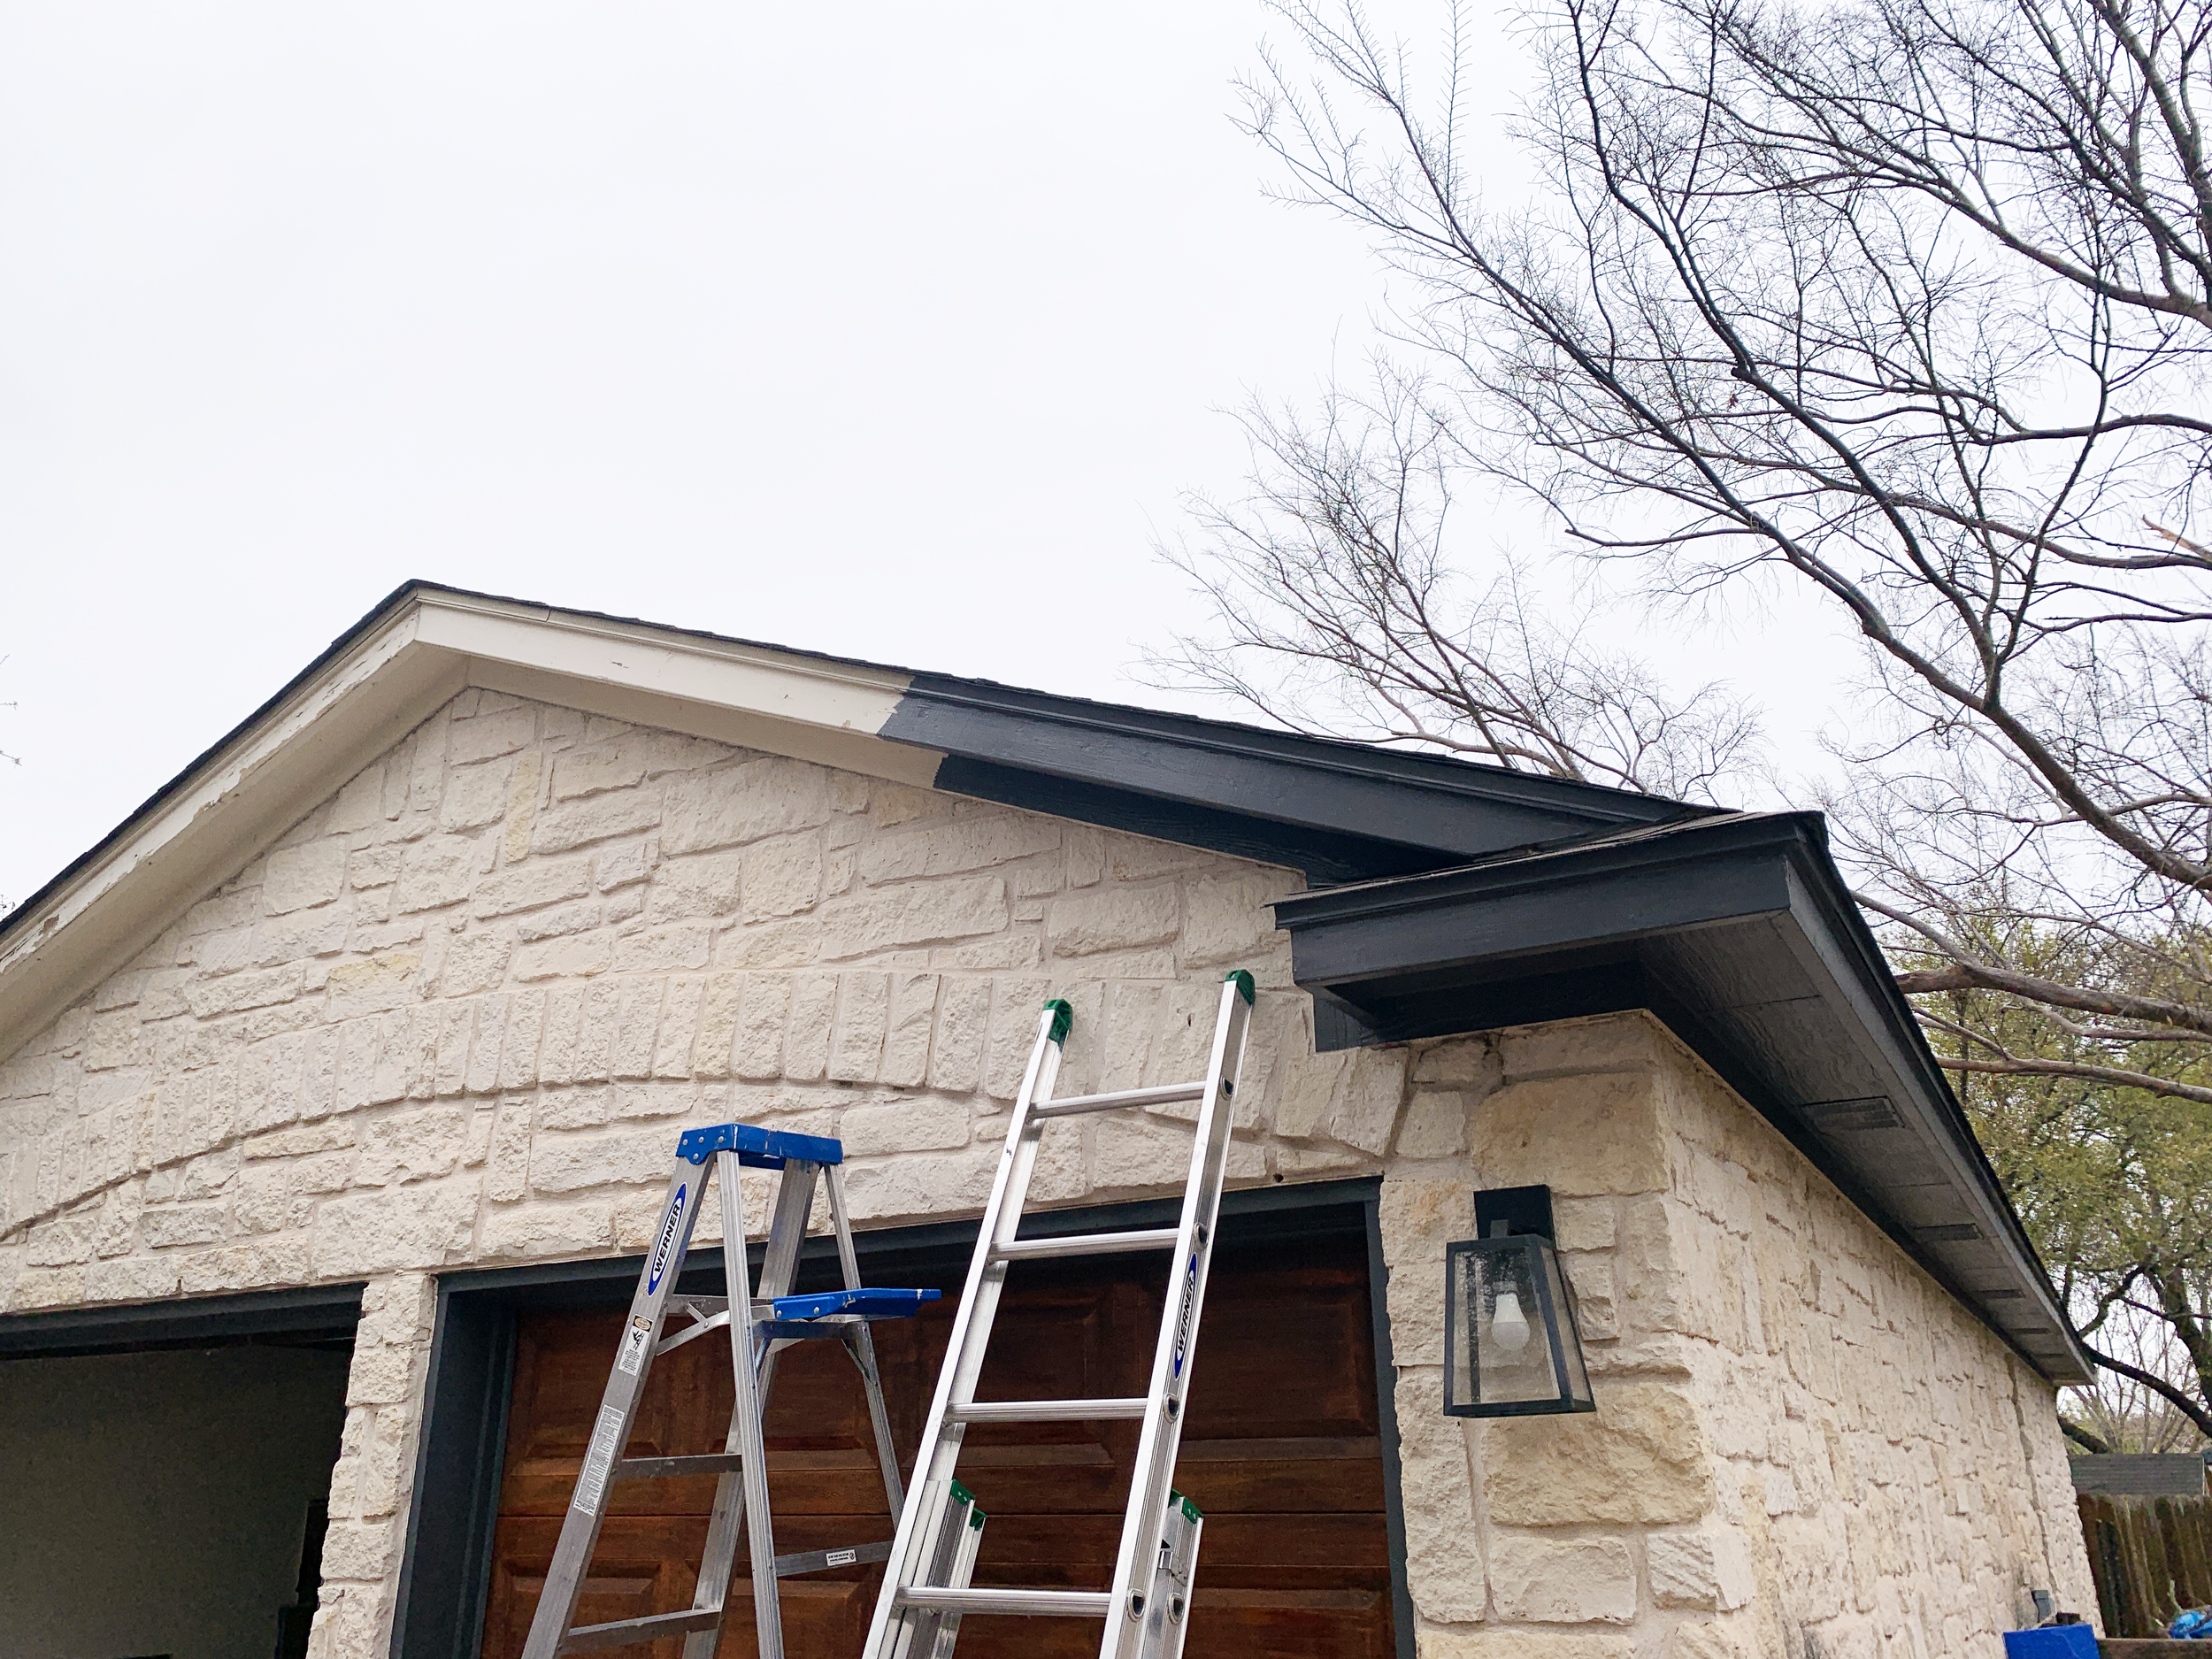
A week ago the outside of the house looked like this:

(If you’re wondering, I’d already painted the trim around the garage doors and front door as a color test of sorts.)
Not bad, and a very far cry from where we started…

But not finished either.
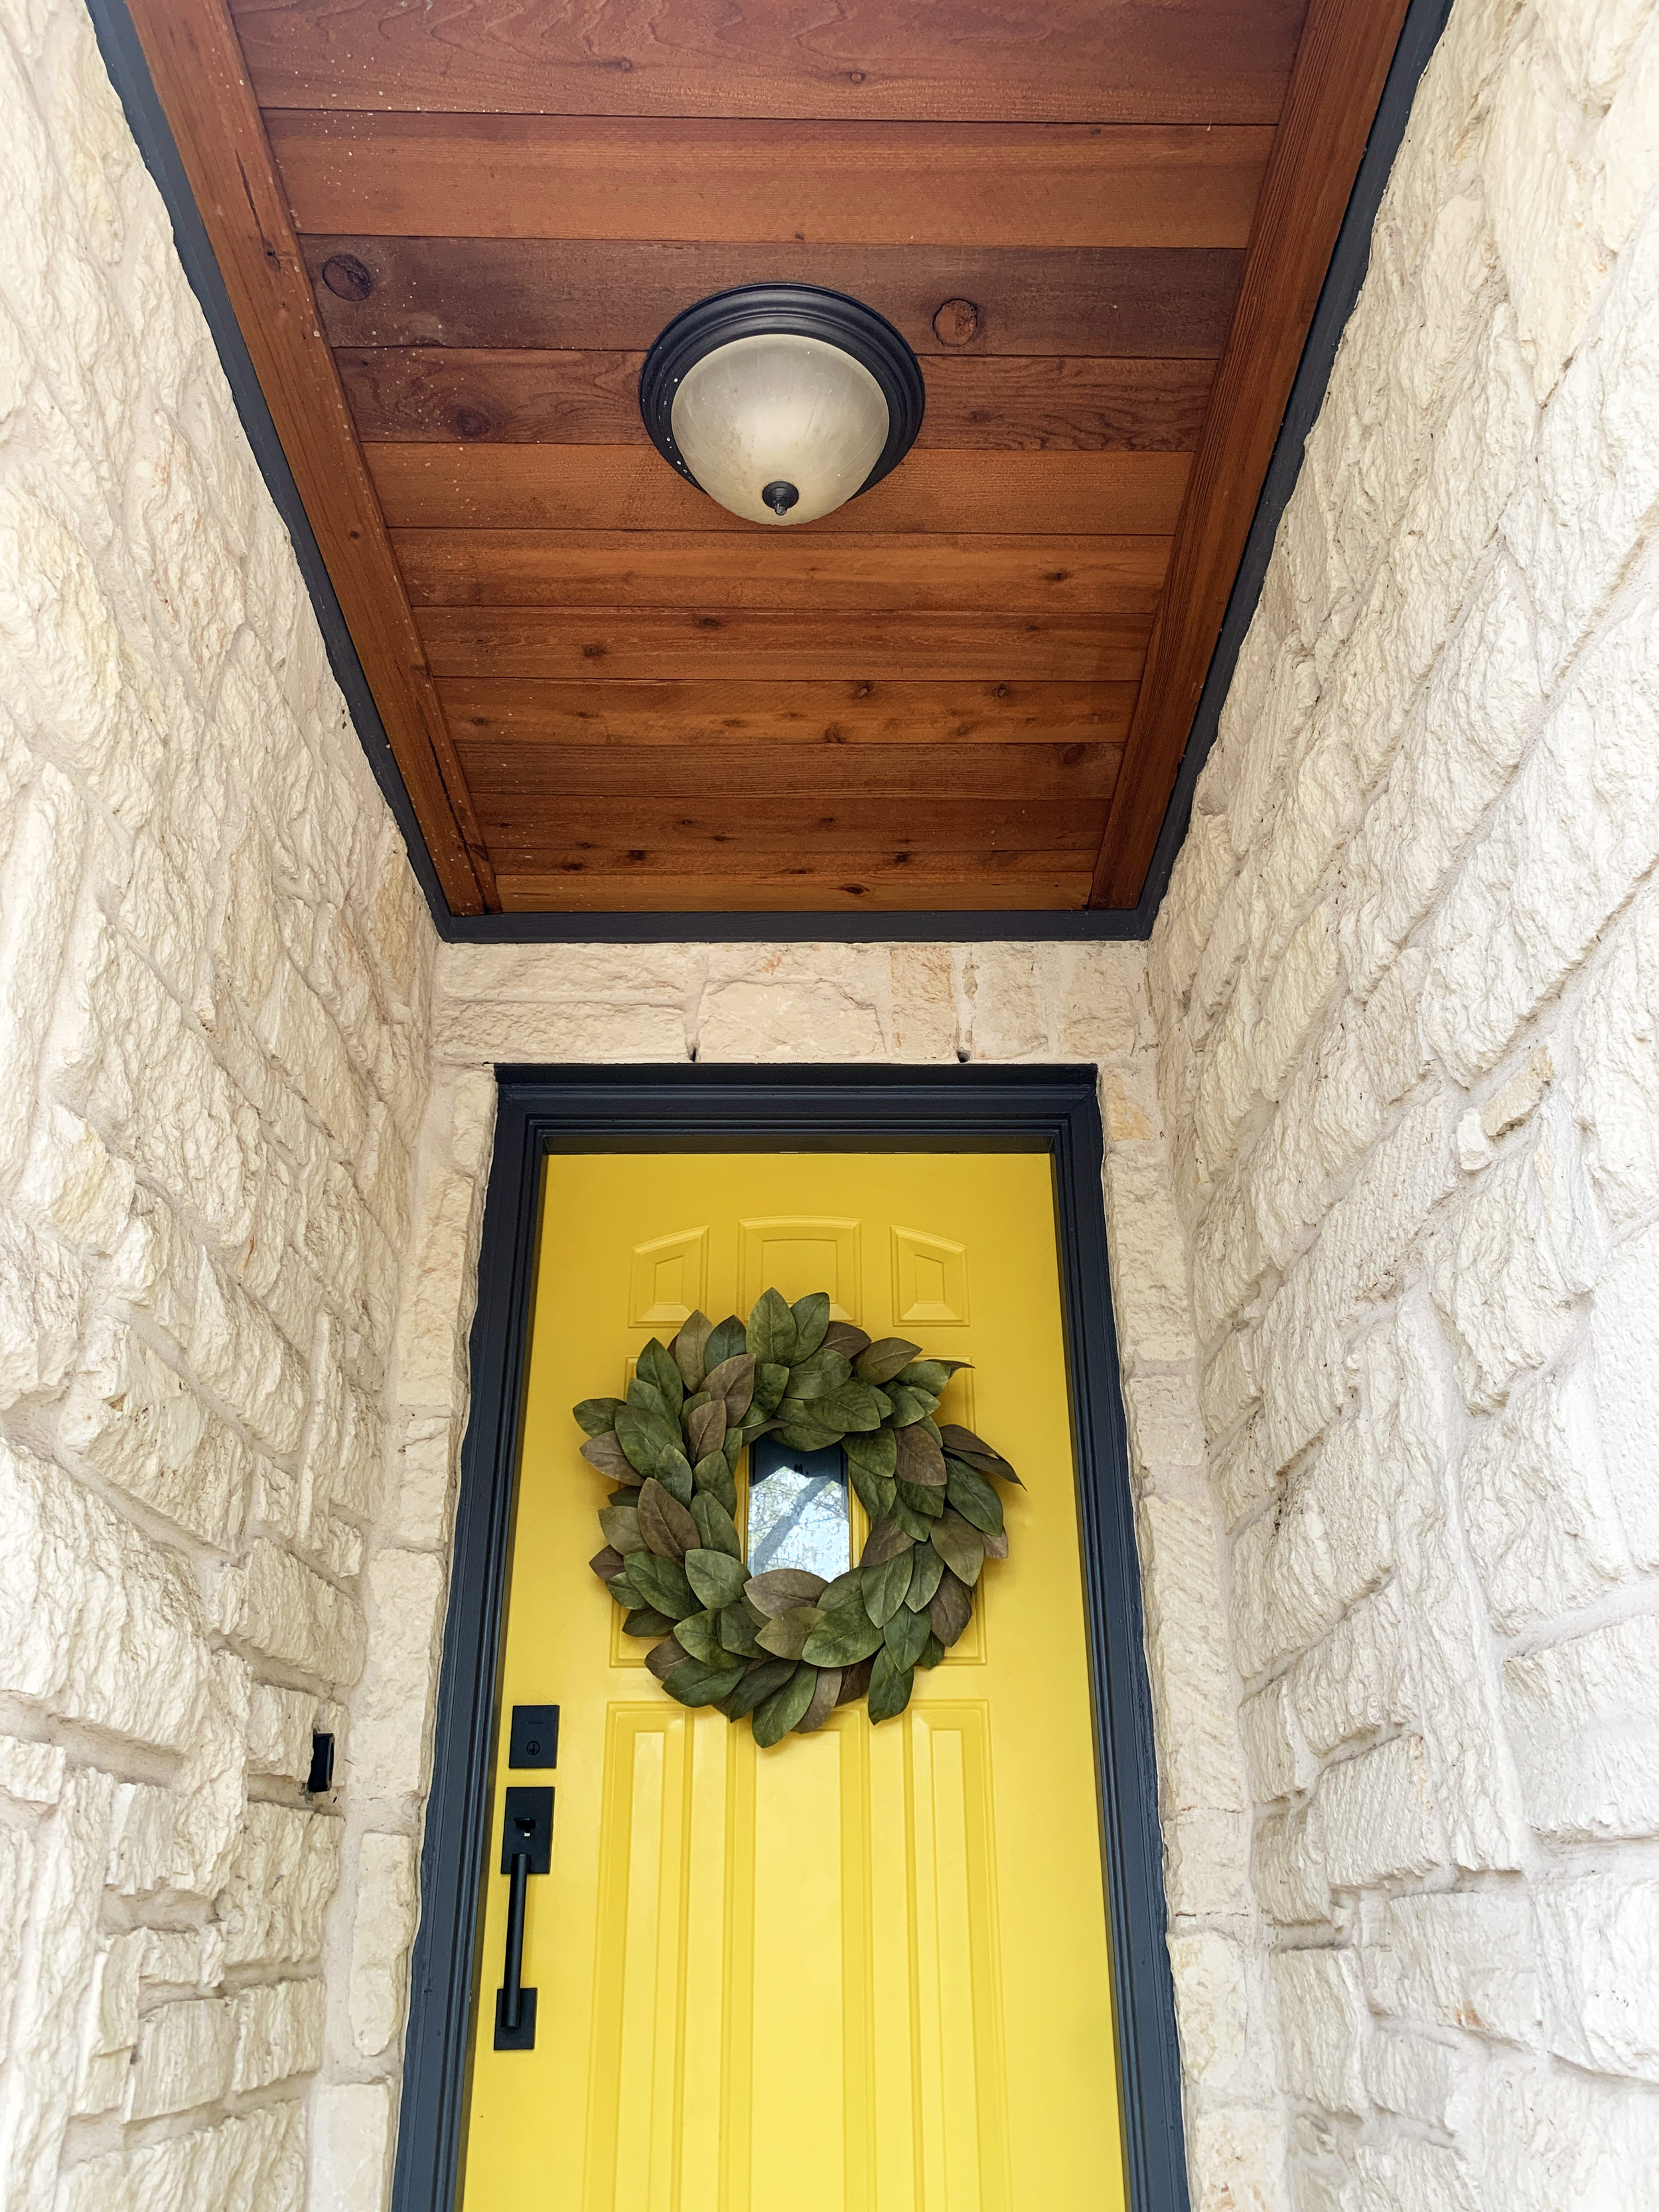
While we’ve already done a ton to the front since we first bought the house – like creating totally fabulous (and totally faux) wooden garage doors, hanging shutters, painting the front door a cheery yellow, updating the door hardware, swapping out our accent lights, planking the porch ceiling and installing uplighting on the house and in the trees, to name a few – we still have more we could do to really make the whole exterior pop and yard look more polished year-round.
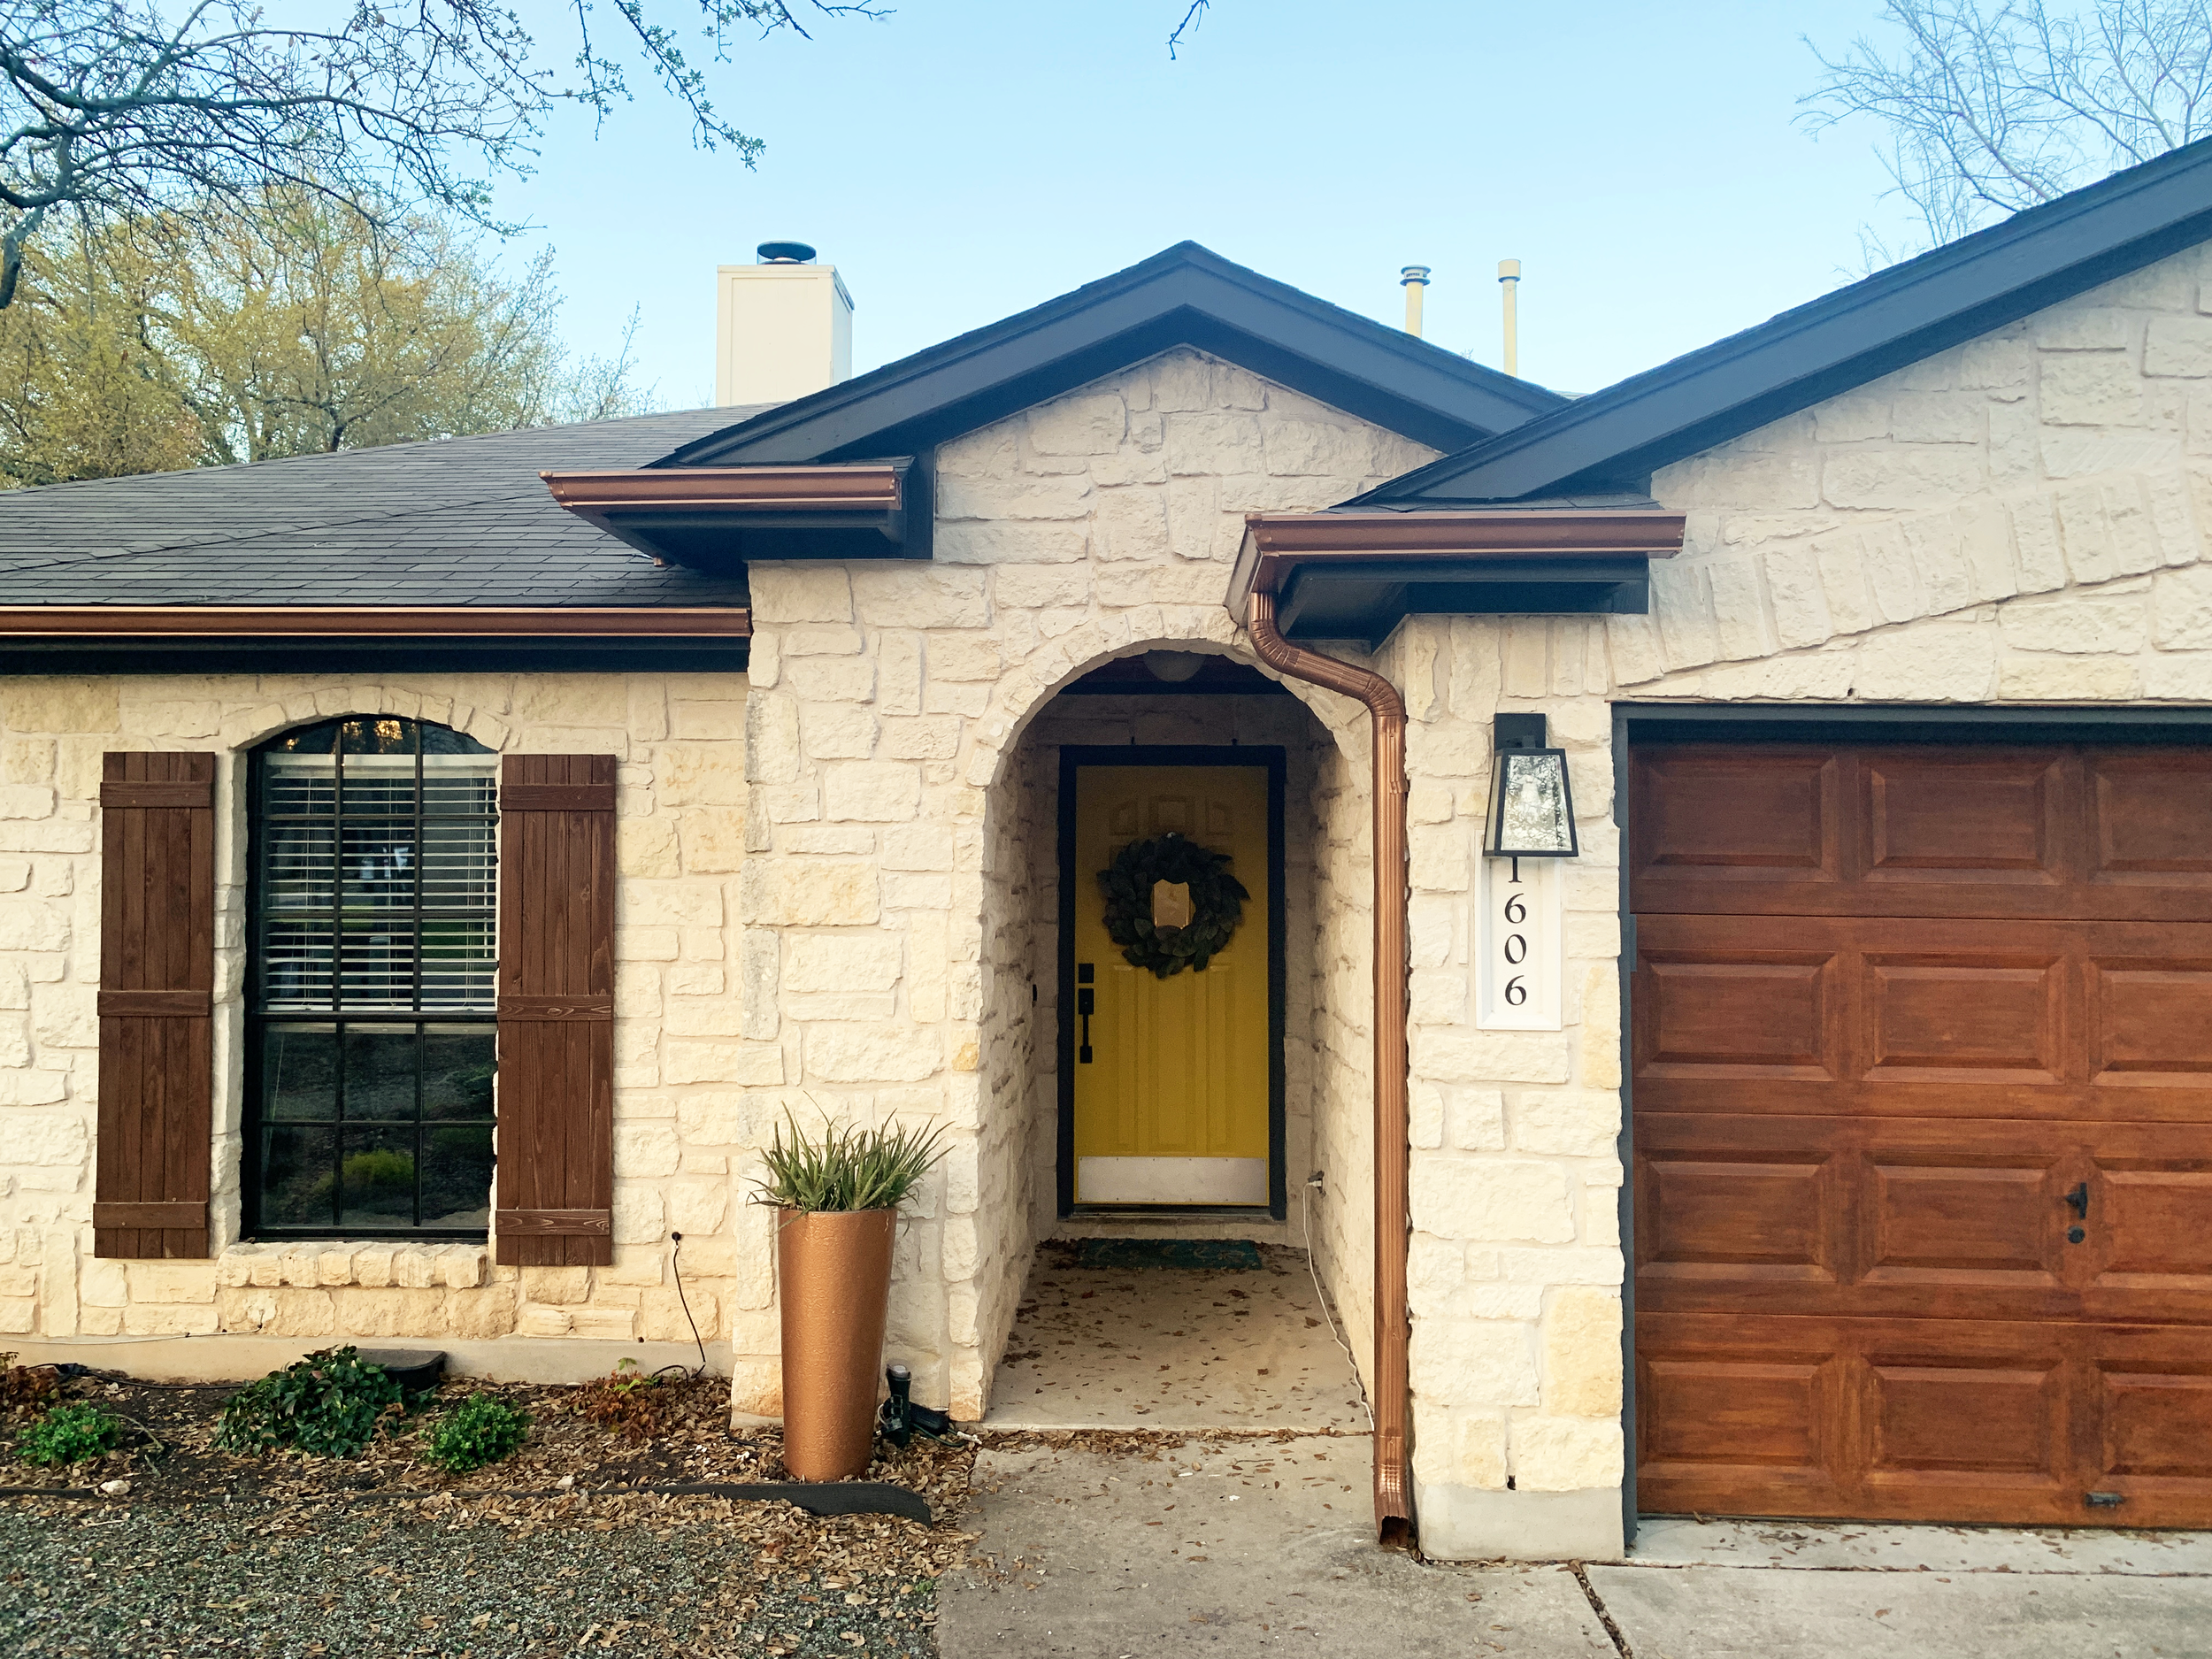
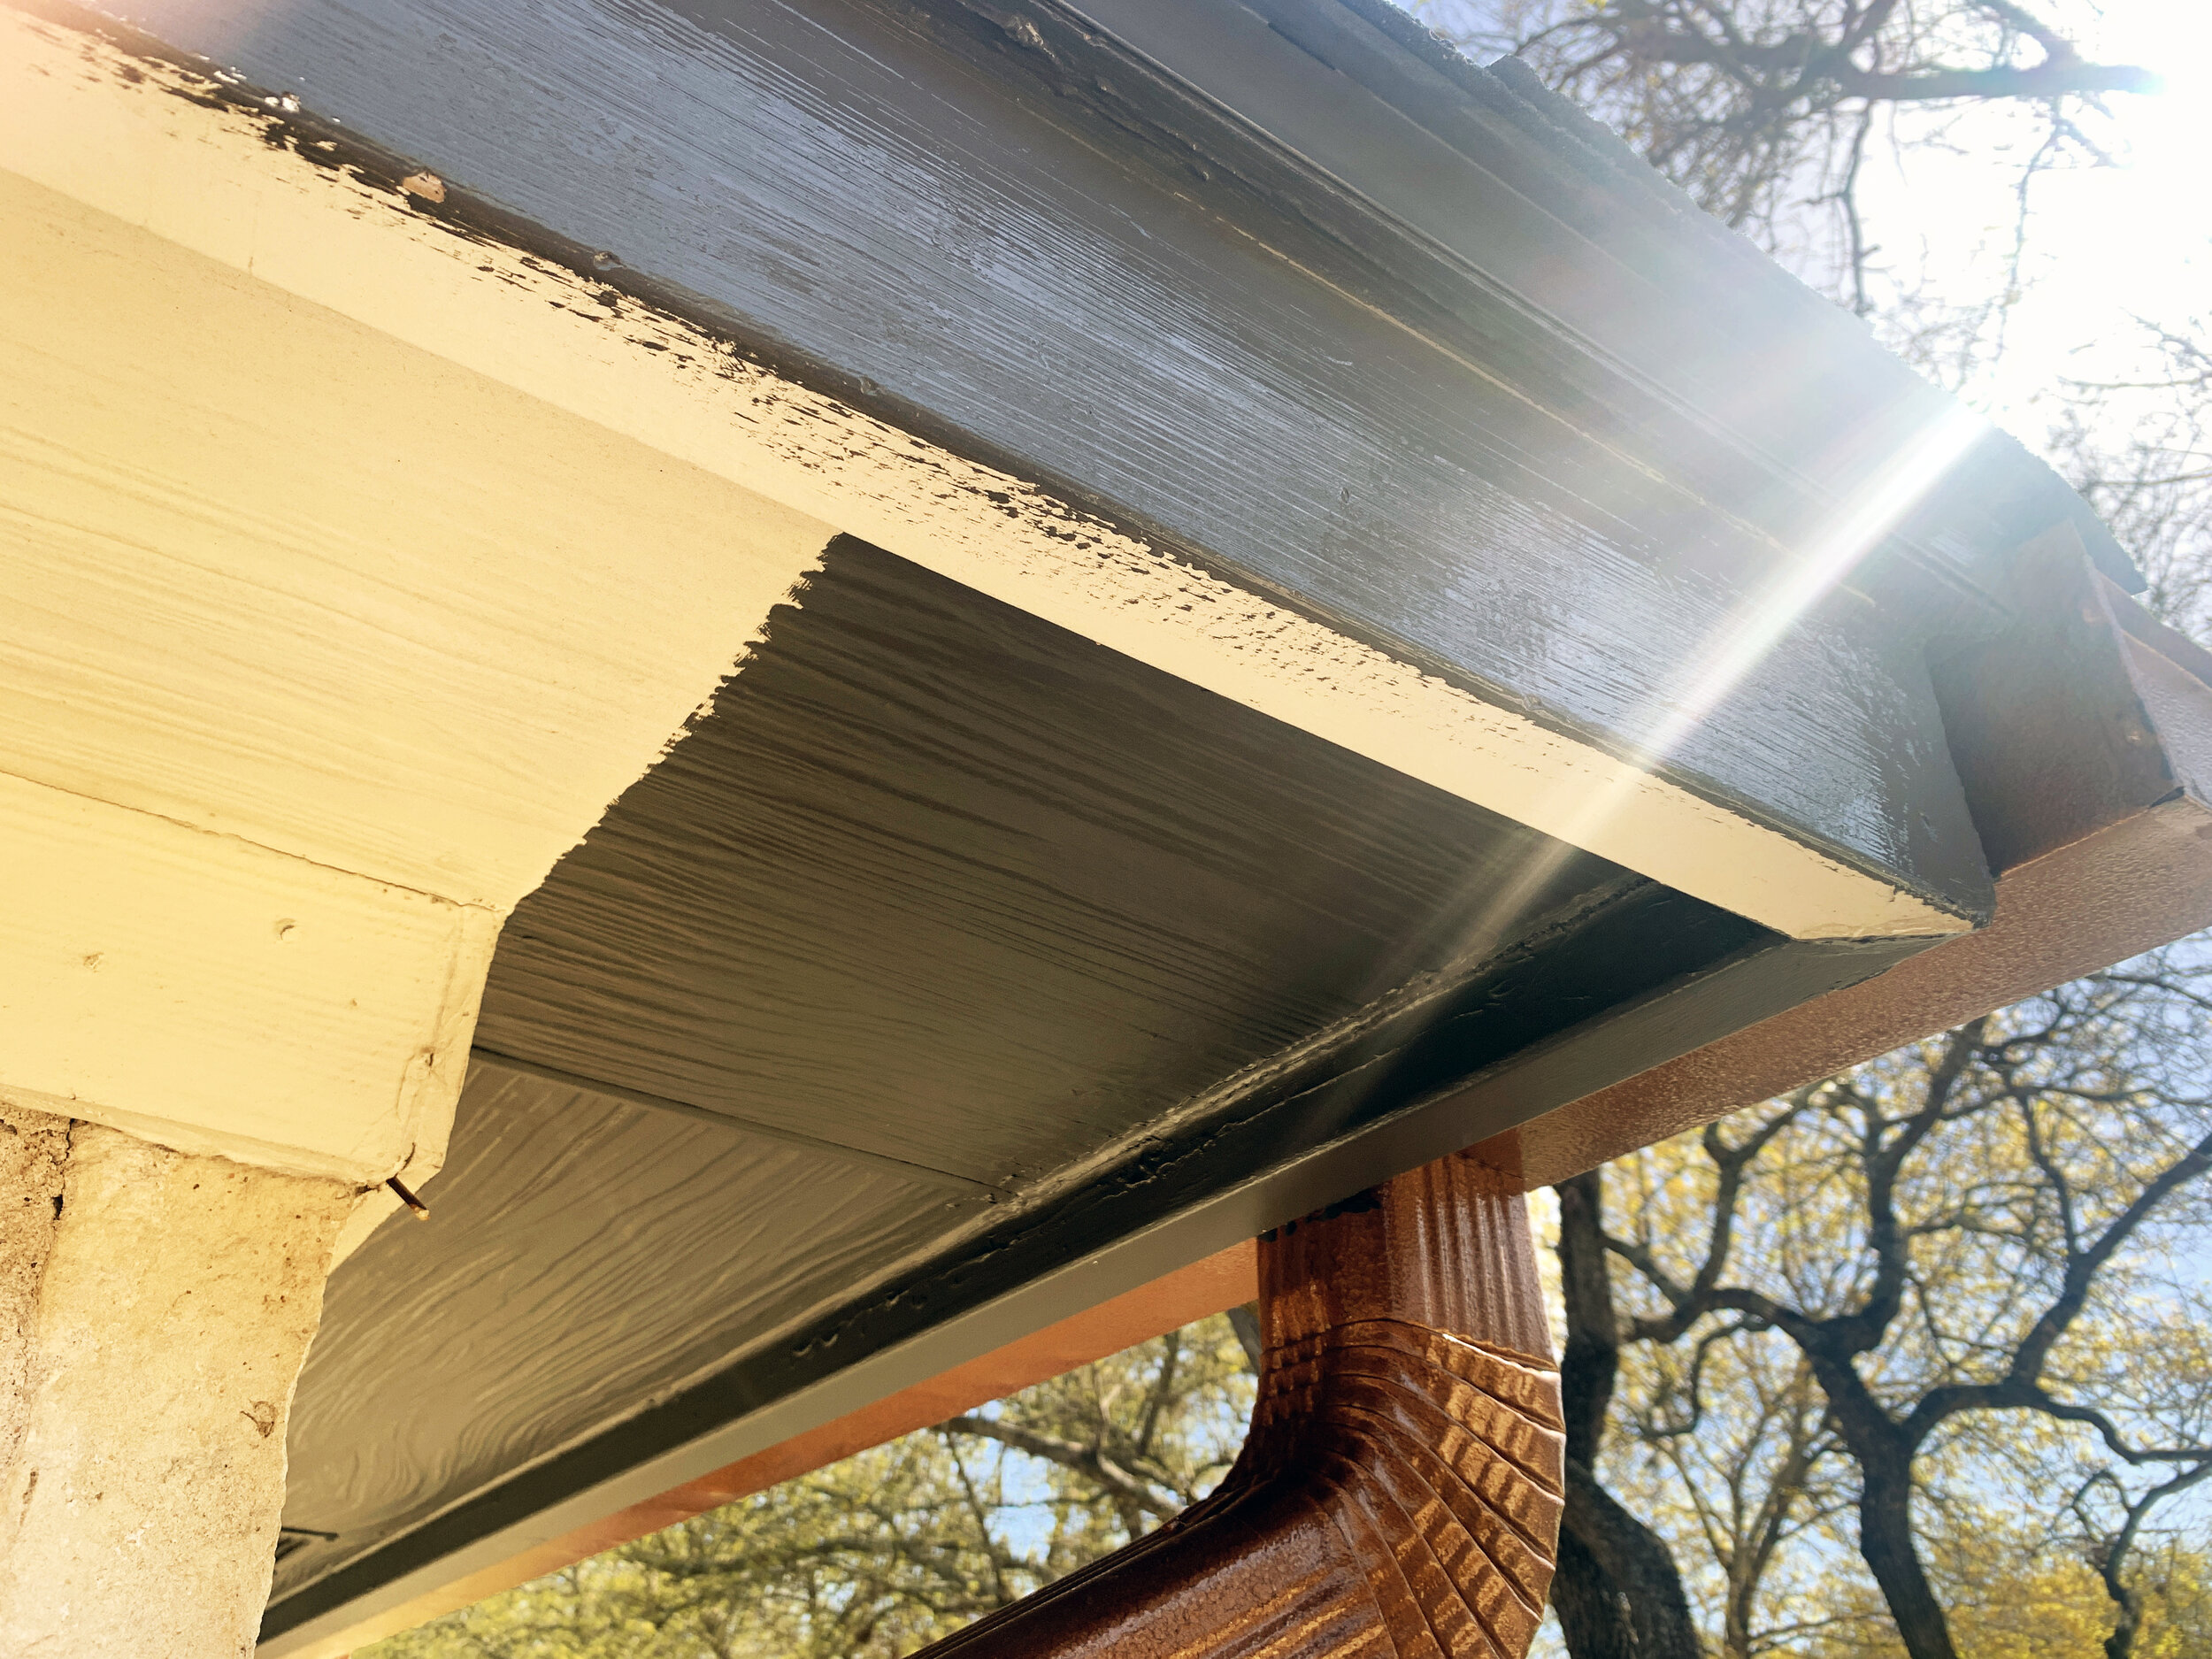
Now, after about a week of prep and painting, our house looks like this:

BAM. So much better, right?
The charcoal trim and copper gutters really help give our roofline some added dimension and lets the soft, off-white native Texas limestone shine. Not to mention the warm tone of the metal gutters ties into the warm wood tones happening on the garage and shutters and the cool blue-gray trim pulls in the newly-painted black windows, black accent lighting and “black star” basalt gravel – which is actually a dark gray when it’s not covered in oak leaves – along the driveway.
Get the look
Trim: Sherwin Williams Peppercorn
We LOVE their line of Emerald paint. It’s so high-quality, paints on super smooth and has phenomenal coverage. Here we used their Emerald Exterior Acrylic Latex in satin.
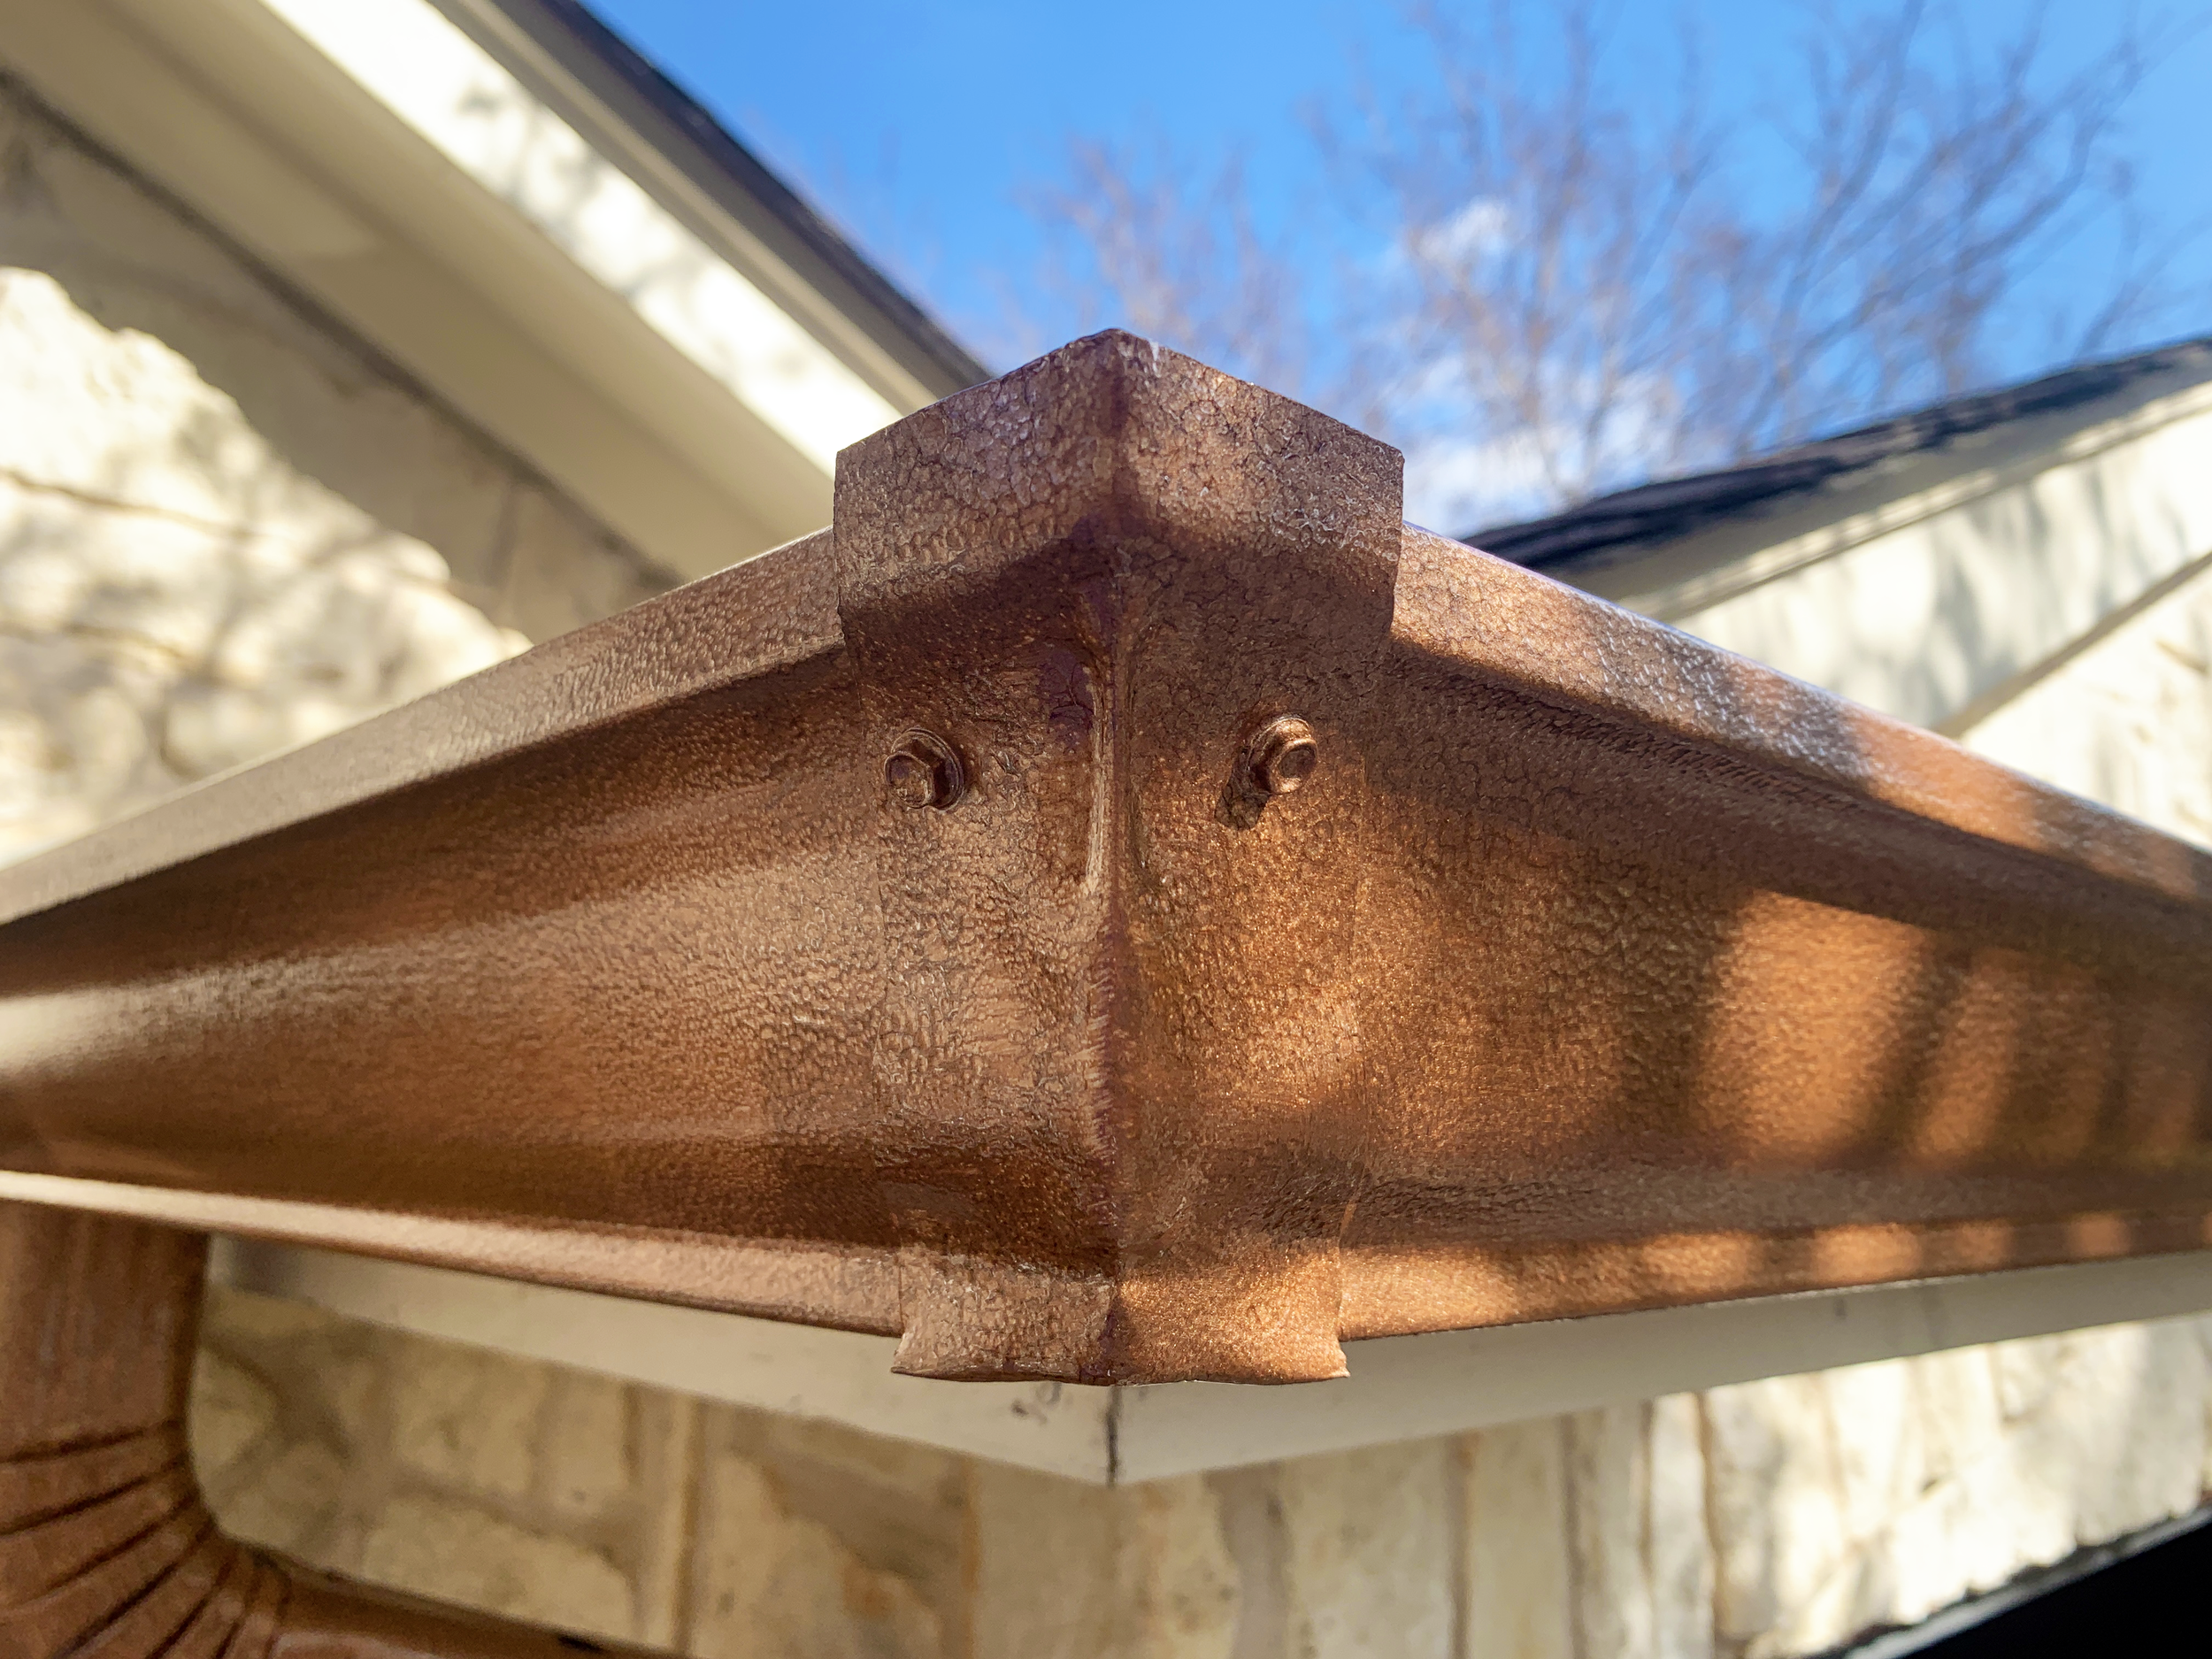
Gutters: Rust-Oleum Hammered Copper oil-based paint
It paints on easily and pretty quickly it transforms from brush stroke-y to a hammered texture that only gets better after the second coat.
They also sell this in a spray paint, but since this is going outside I recommend the brush-on kind for added durability, no masking off and less waste.
Don’t have limestone? Paint your siding (or if you’re brave, your brick) a soft off-white color, like Sherwin Williams Greek Villa or Behr Swiss Coffee.
Looking for a third paint color? Try Sherwin Williams Mindful Gray. It’s a great mid-tone neutral that provides nice contrast with both the charcoal and limestone/off-white.
Accent it with warm wood and black metal hardware + fixtures.

The buddy system
When I’m designing my spaces I like to try and make sure everyone at the party has a buddy, or two.
What that means is if you have, say, a wooden element (for example, our stained garage doors), add at least one, or even better two, other elements that are a similar color in another area. It doesn’t have to all be matching wood, just something in the same general color family.
Here, our garage doors are buddies with the shutters, porch ceiling, and now the copper gutters. Yes three out of four are wood, but the warmth in the copper visually pairs with the warm tones in the wooden elements we have. And don’t forget about accessories – it doesn’t all have to be big, or expensive, or part of your actual house. (We also have a fifth little buddy at our front yard party – a planter filled will aloe vera that I found on clearance and spray painted copper!)
The same goes for our black windows, black accent lighting, black door hardware (silver kick plate update in the works) and dark gray trim, which are all in the same general color range and are peppered across the front of the house in different areas to provide balance and continuity to the exterior.
A note on color:
While we could’ve gone for a darker, truer black (like Sherwin Williams Tricorn Black, which is beautiful) I wanted something a little lighter (but still dramatic) to help keep our not-super dark, brown-ish roof from looking old and faded by comparison. Softening up the trim color a bit helps bridge the color gap between the roof and black accent elements.
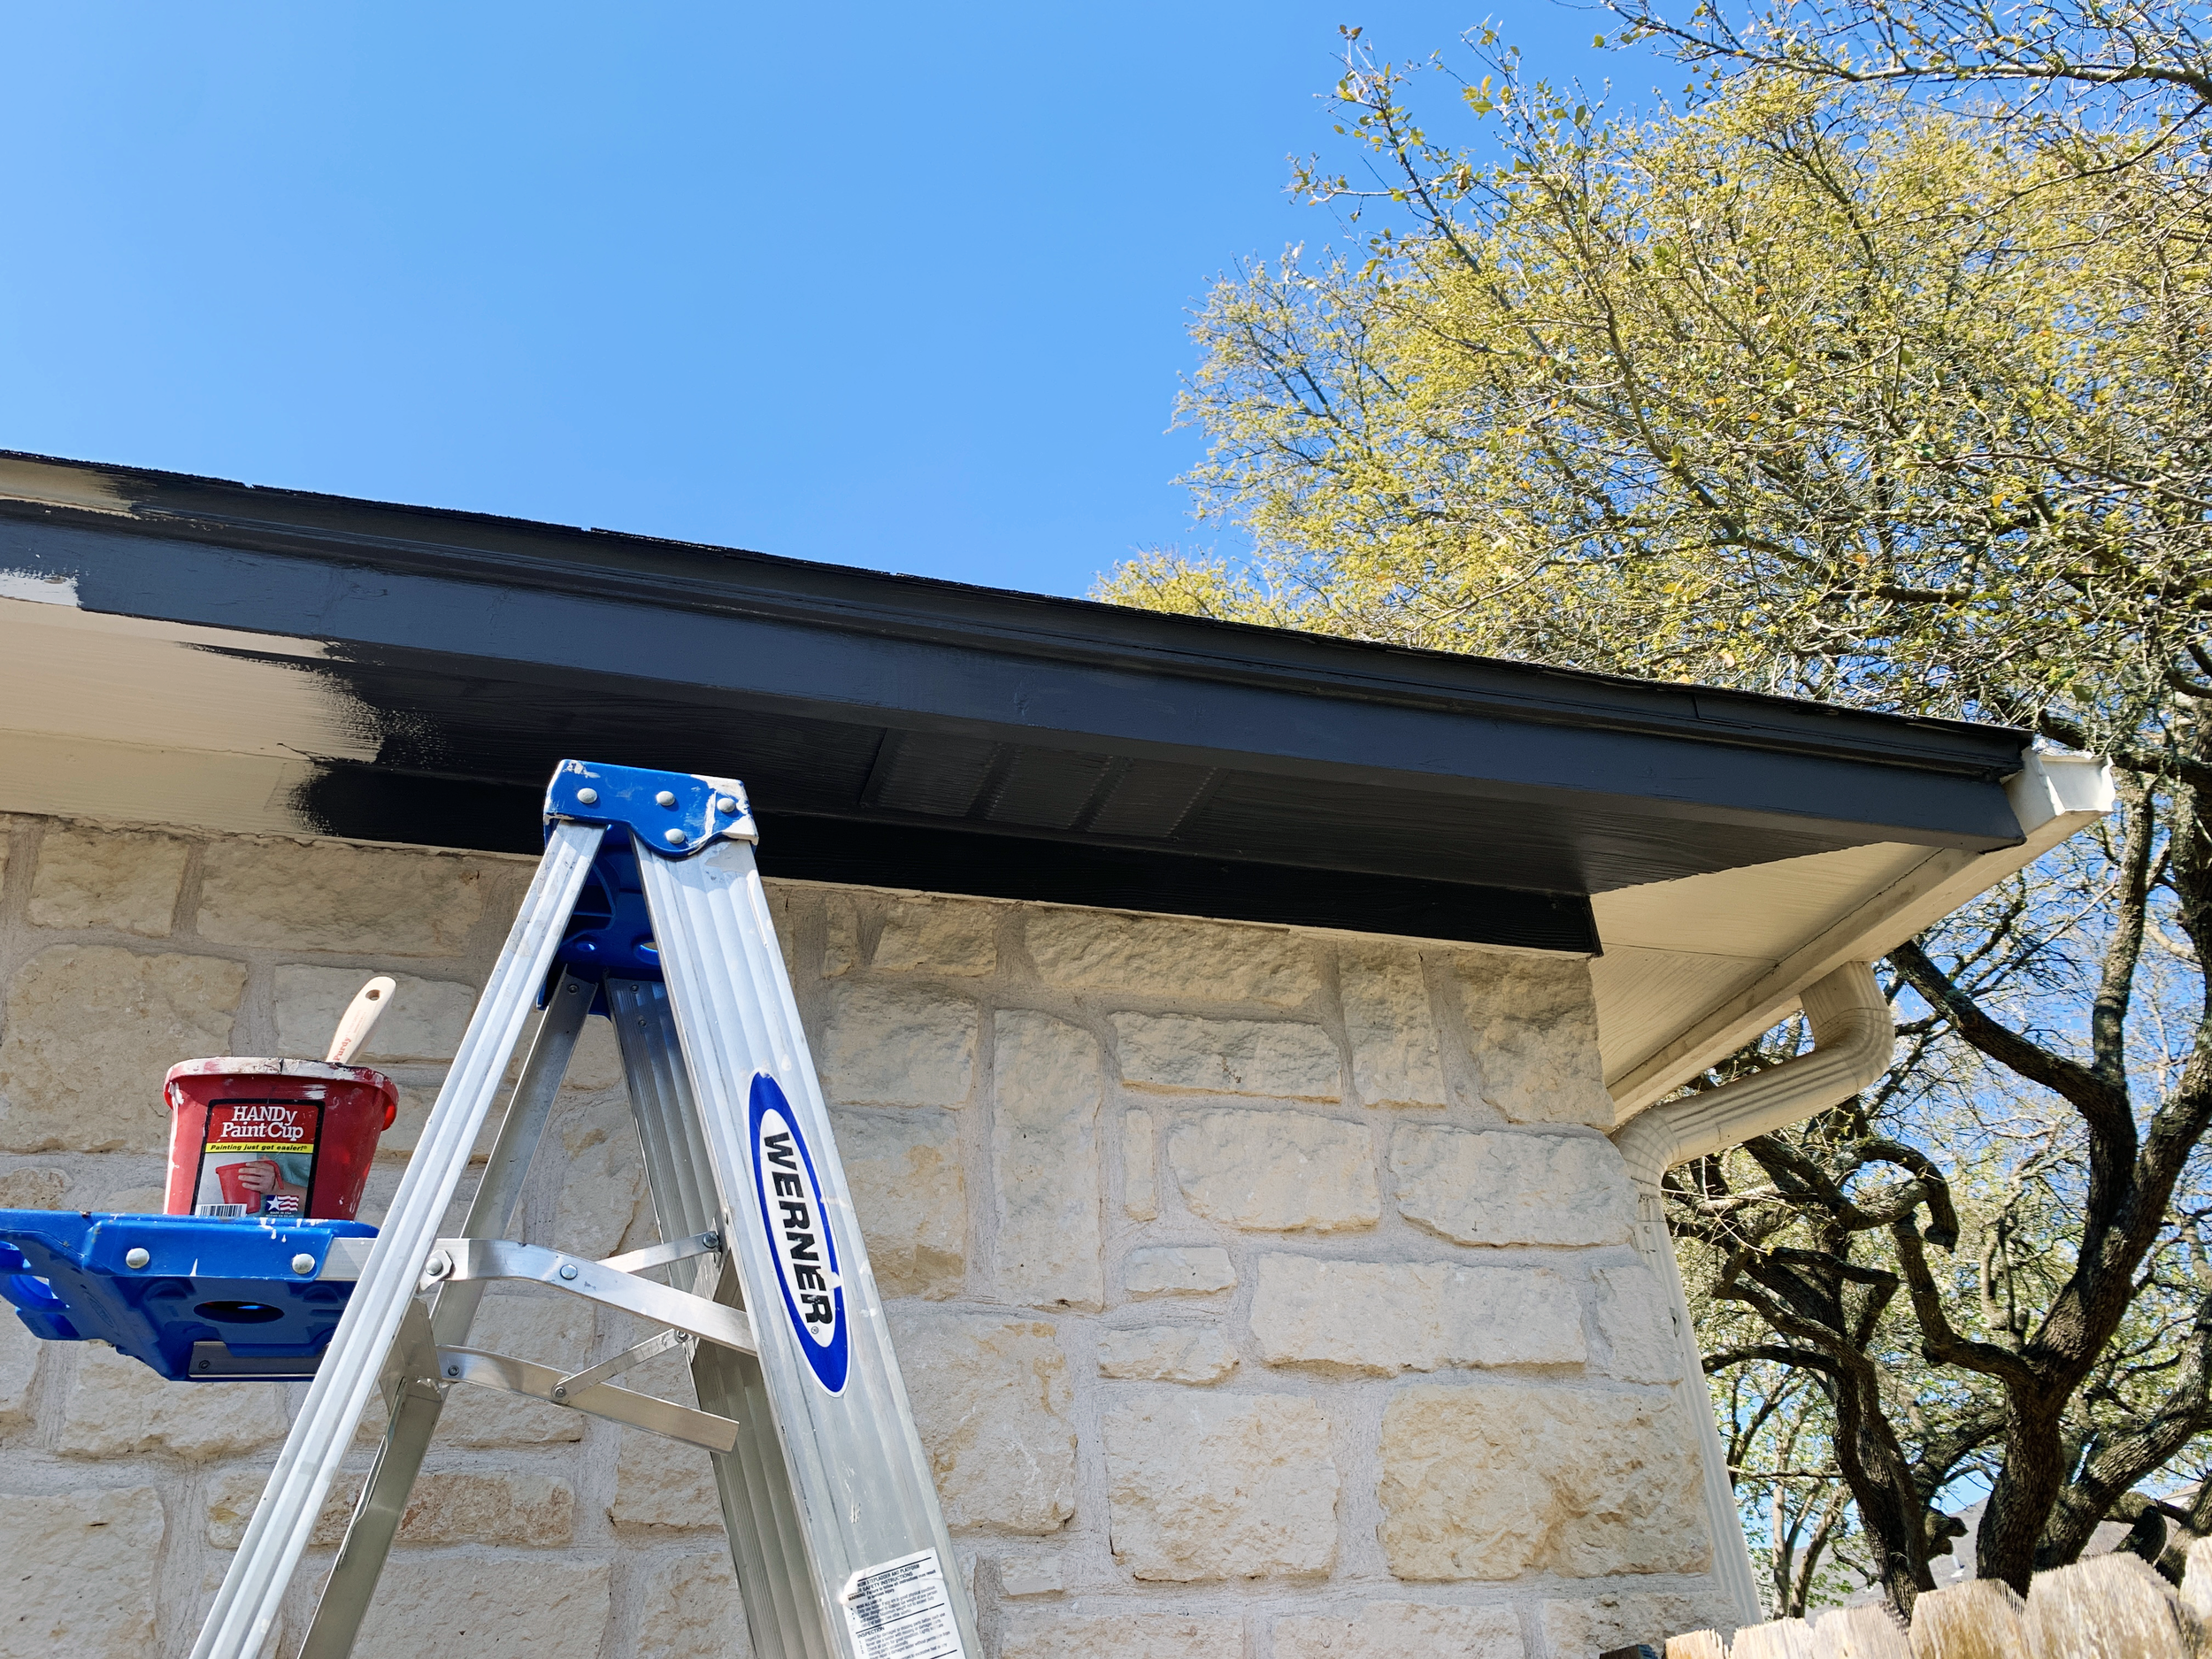
How to makeover your trim + gutters
1. Get a ladder, or ladders, depending on your roof height. (But remember, safety first!!)
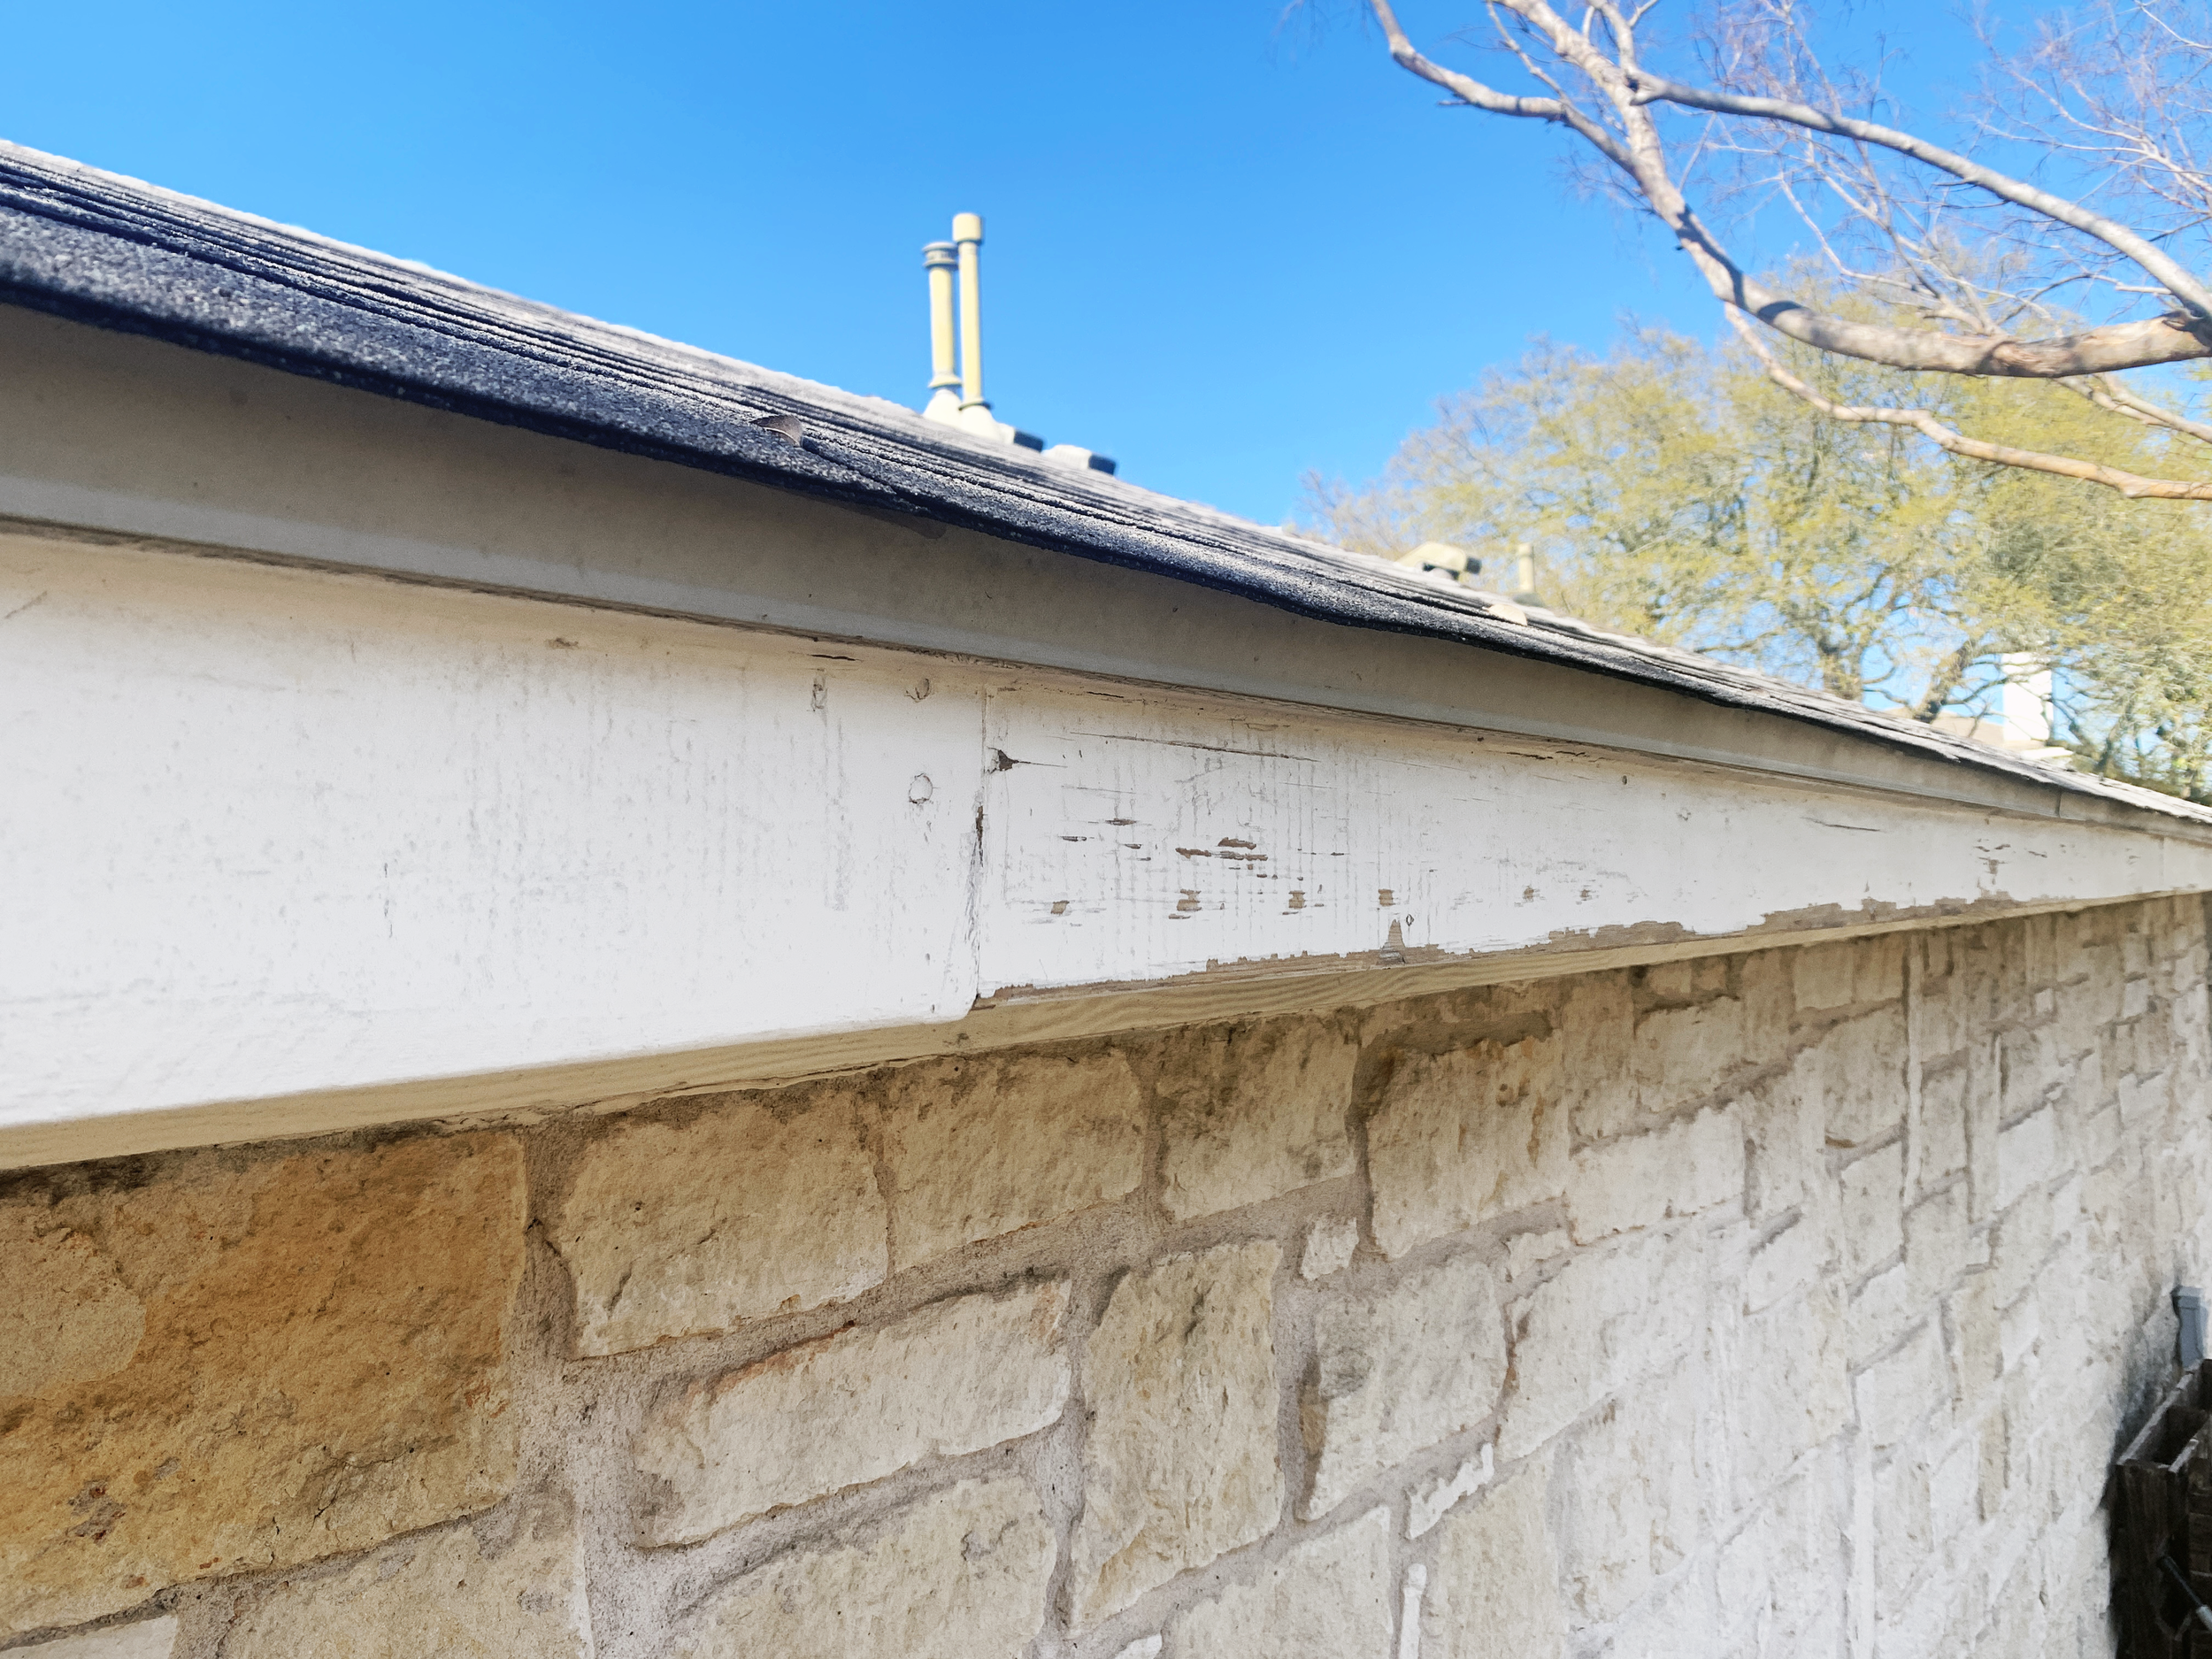
2. Clean your gutters and trim with a scrub brush and cleaner, like TSP, to remove any dirt, spiderwebs, algae, you name it, and rinse with a hose sprayer to remove residue. Let it dry.

3. Use a paint scraper to remove any chipping or loose paint and fill any gaps, cracks and knot holes in the trim with paintable exterior caulk. This prep work is what gives a nice smooth finish!
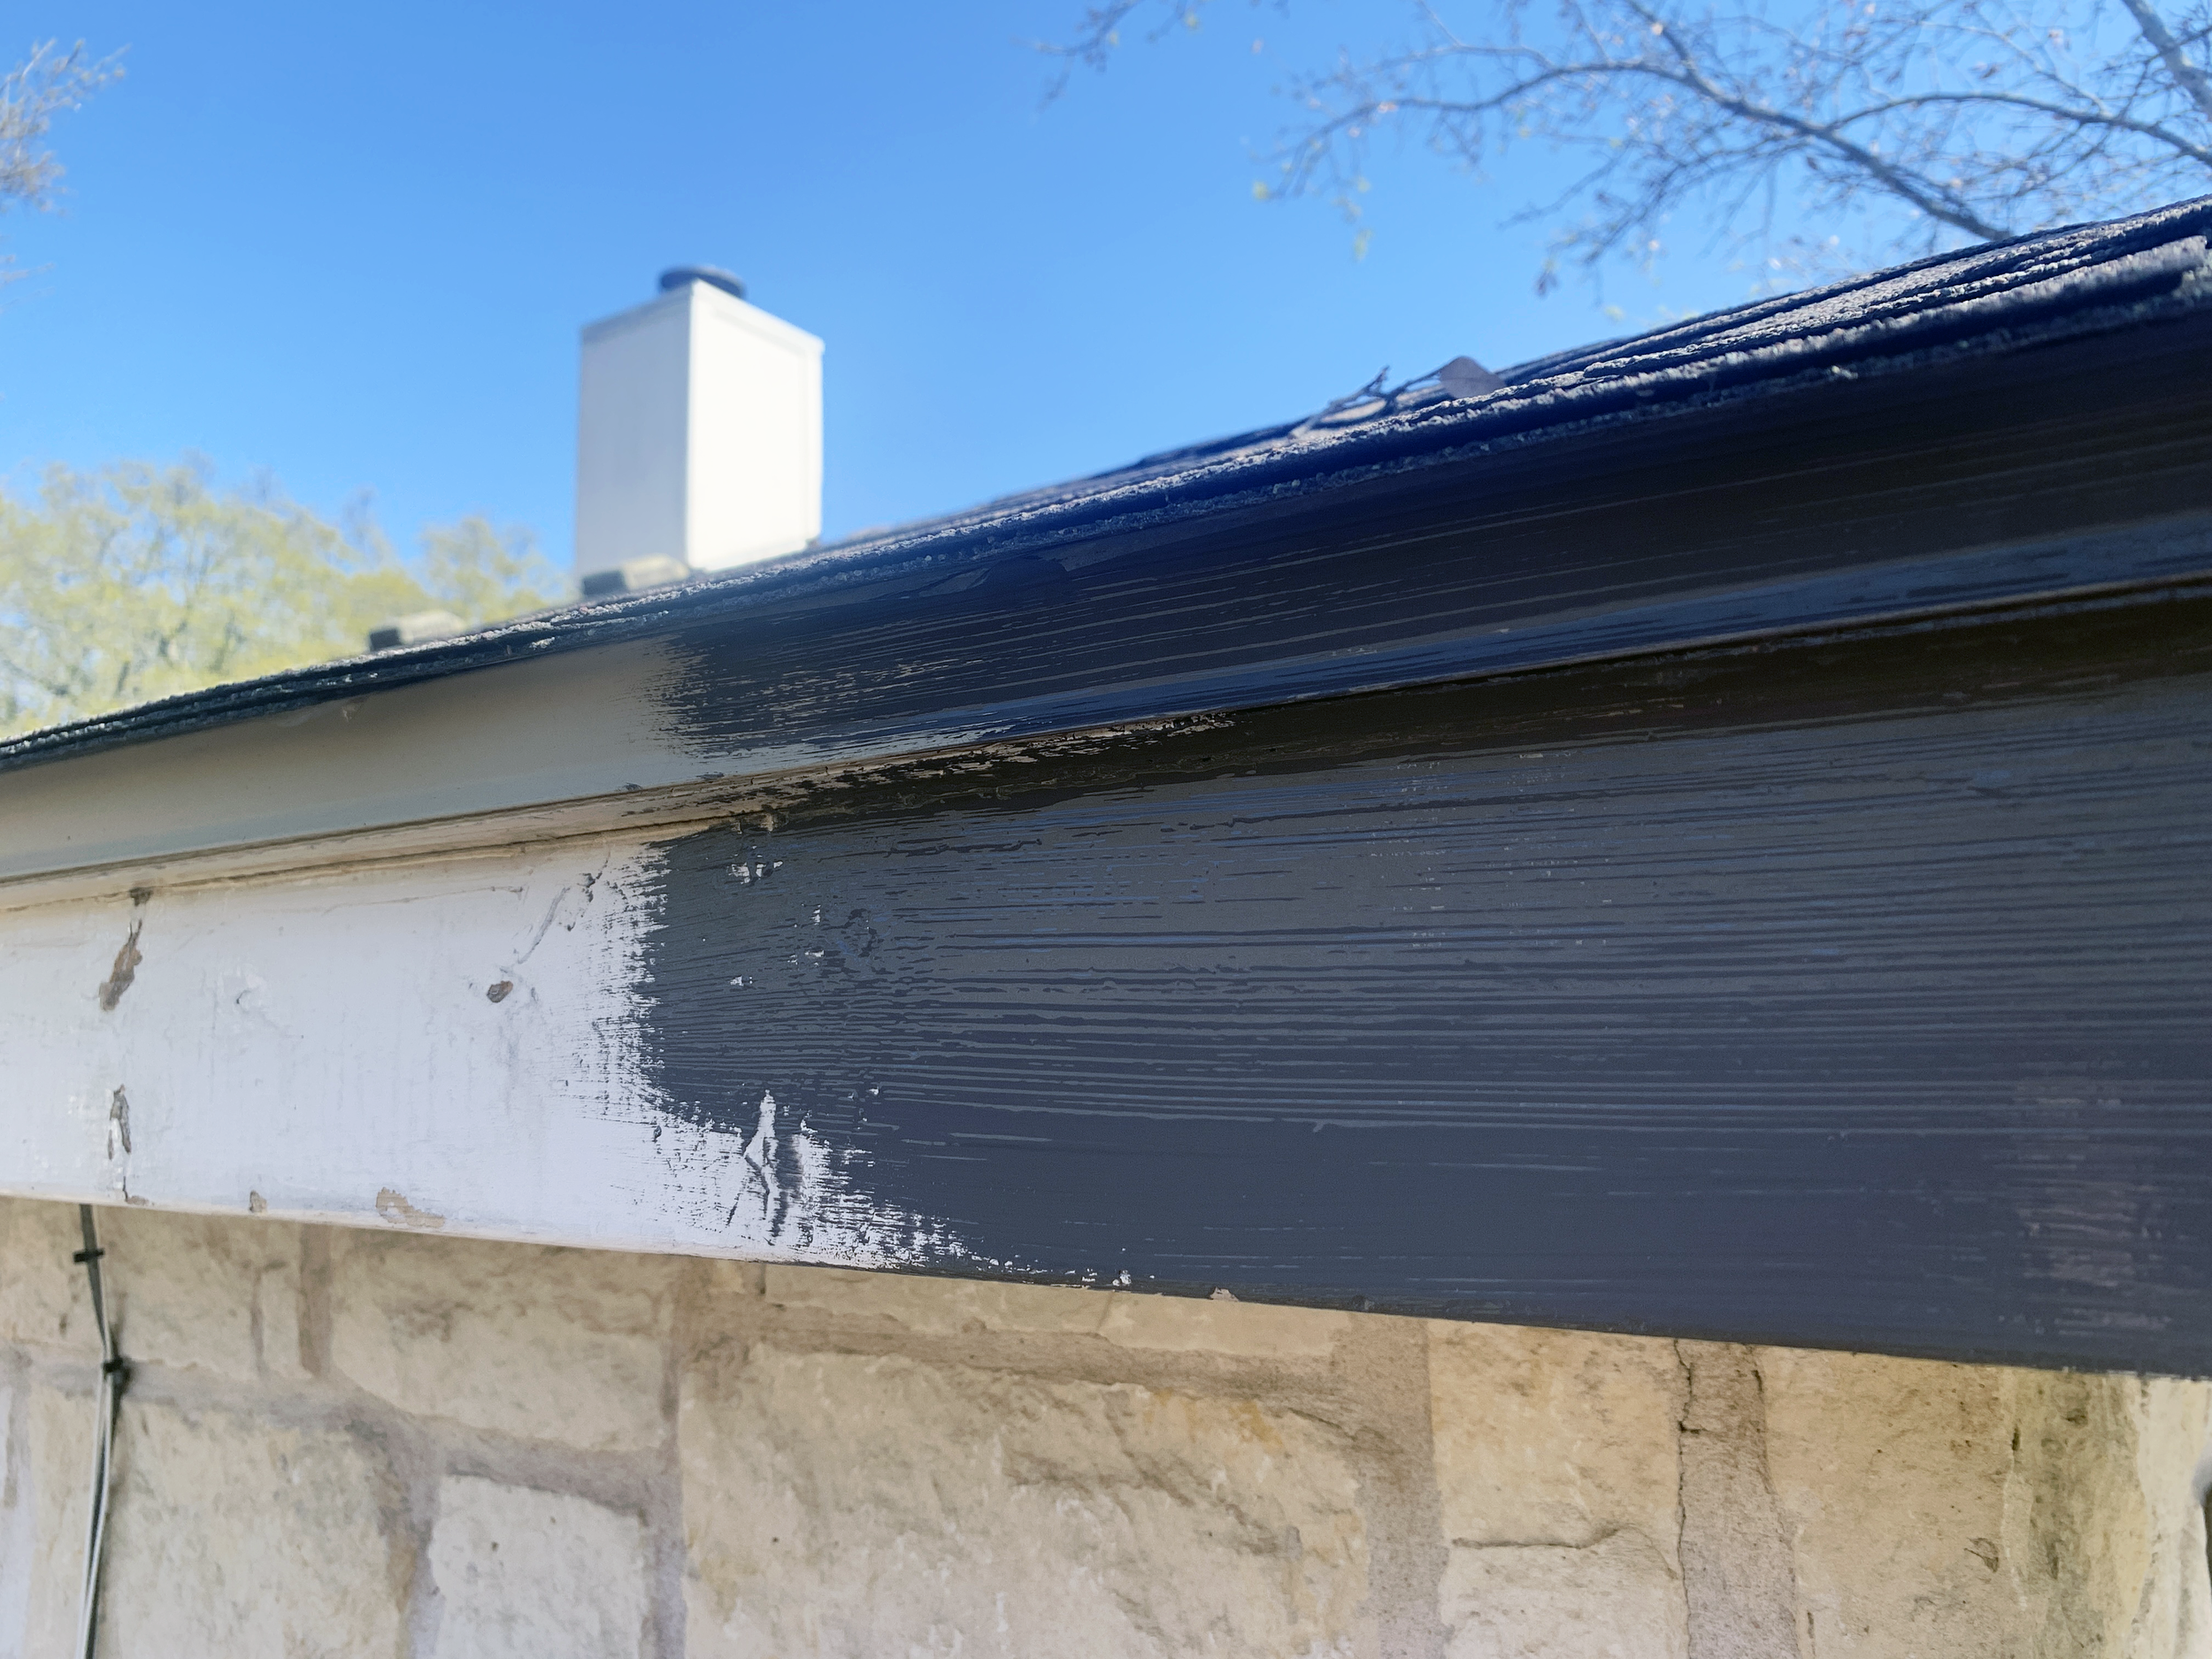
4. Use a 2” angled paint brush to carefully paint the trim and gutters (separately, after the first dries). Two coats on each.
Full disclosure: I painted the gutters first (about a month before doing the trim as sort of a mini project), though I can definitely see how it might be easier if you paint the trim first, then gutters so you can easily paint over any trim paint splotches that get on your gutters accidentally.


That’s it. It’s really not many steps, it’s just kind of repetitive and takes some time with lots of trips up and down the ladder, which brings me to…
My not so pro, but very helpful tip:
Wear shinguards while you work. Like, the kind made for soccer. If you’re anything like me, by the end of day two your shins will be feeling like squishy little bruised peaches as many times as you bang them on the ladder rungs all day for days on end. What started out as a joke with my sister-in-law to wear my old shinguards (that yes, I still have in my closet over a decade later like I’m going to go play a pickup game or something…) actually became a great idea. Your shins will thank you.
Plus the look is sexy AF.
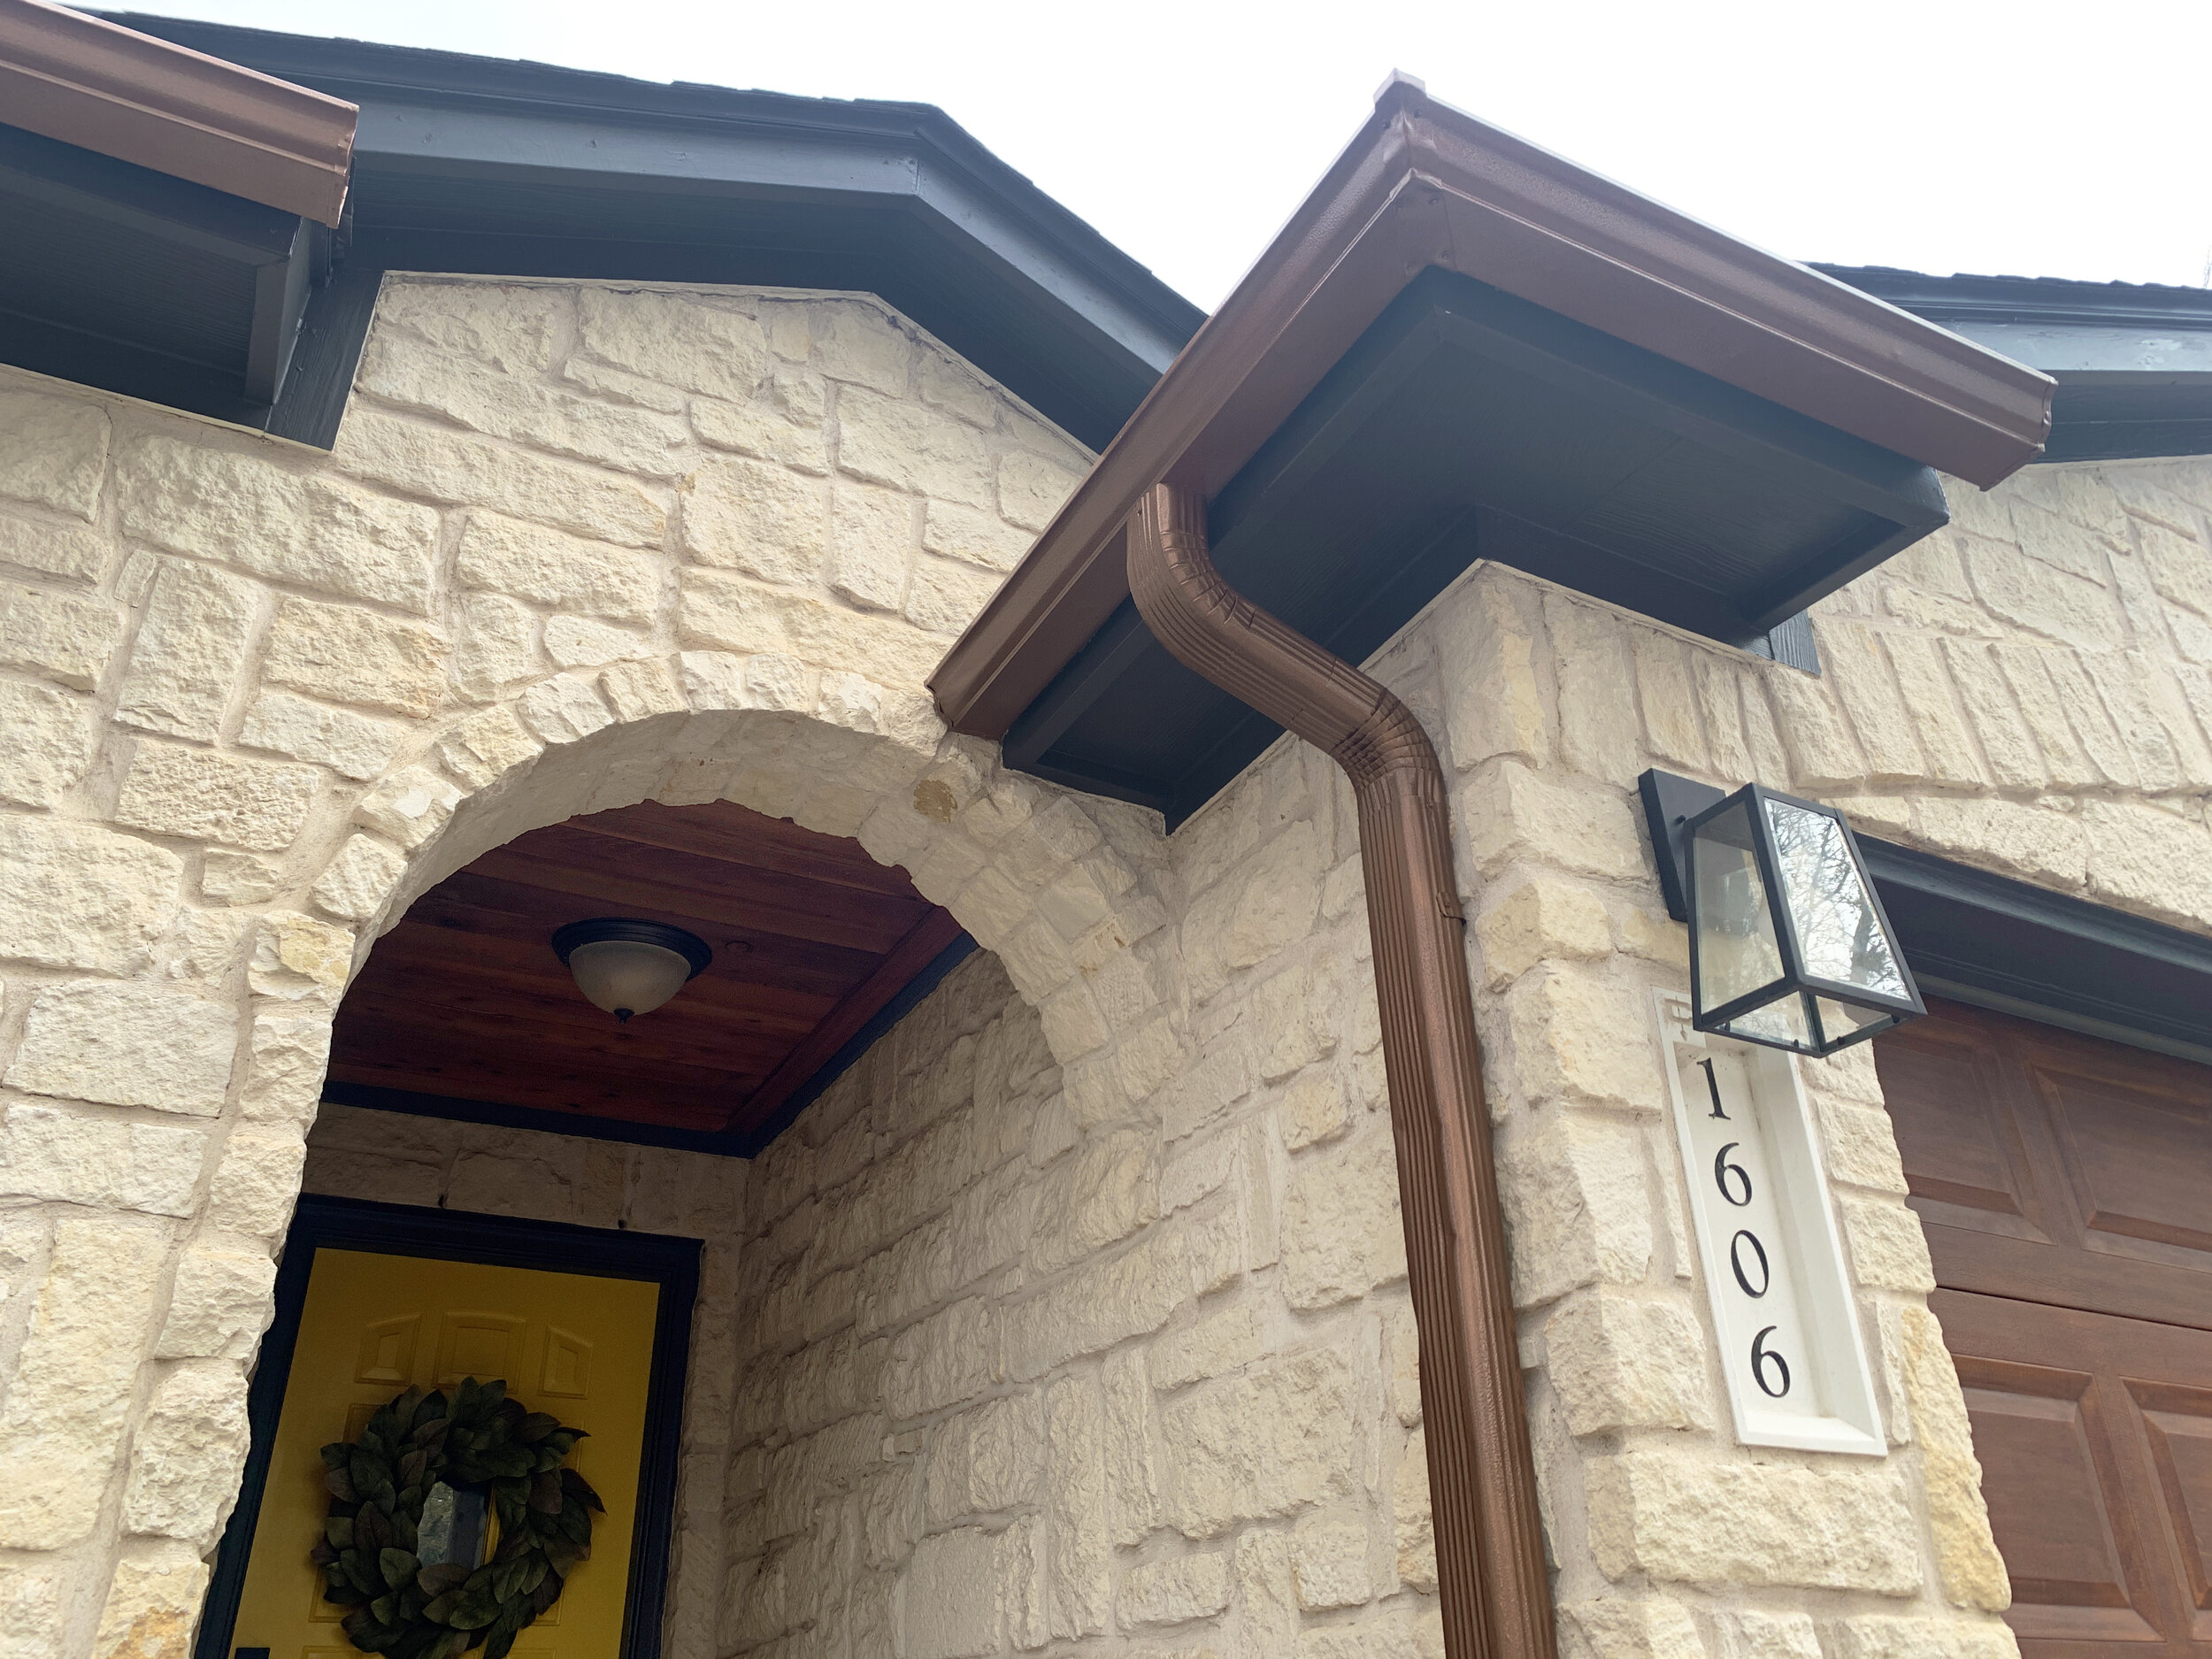
Because I can’t help myself, here are some more photos so you can see how it all ties together!


Coming up on my ever-growing exterior improvement to-do list is 1) wishing our plants back to life, 2) painting the chimney, roof vents and back of the house which is HardiPlank siding 3) finding a way to add some much-needed height, dimension and texture to our flat, shady yard.