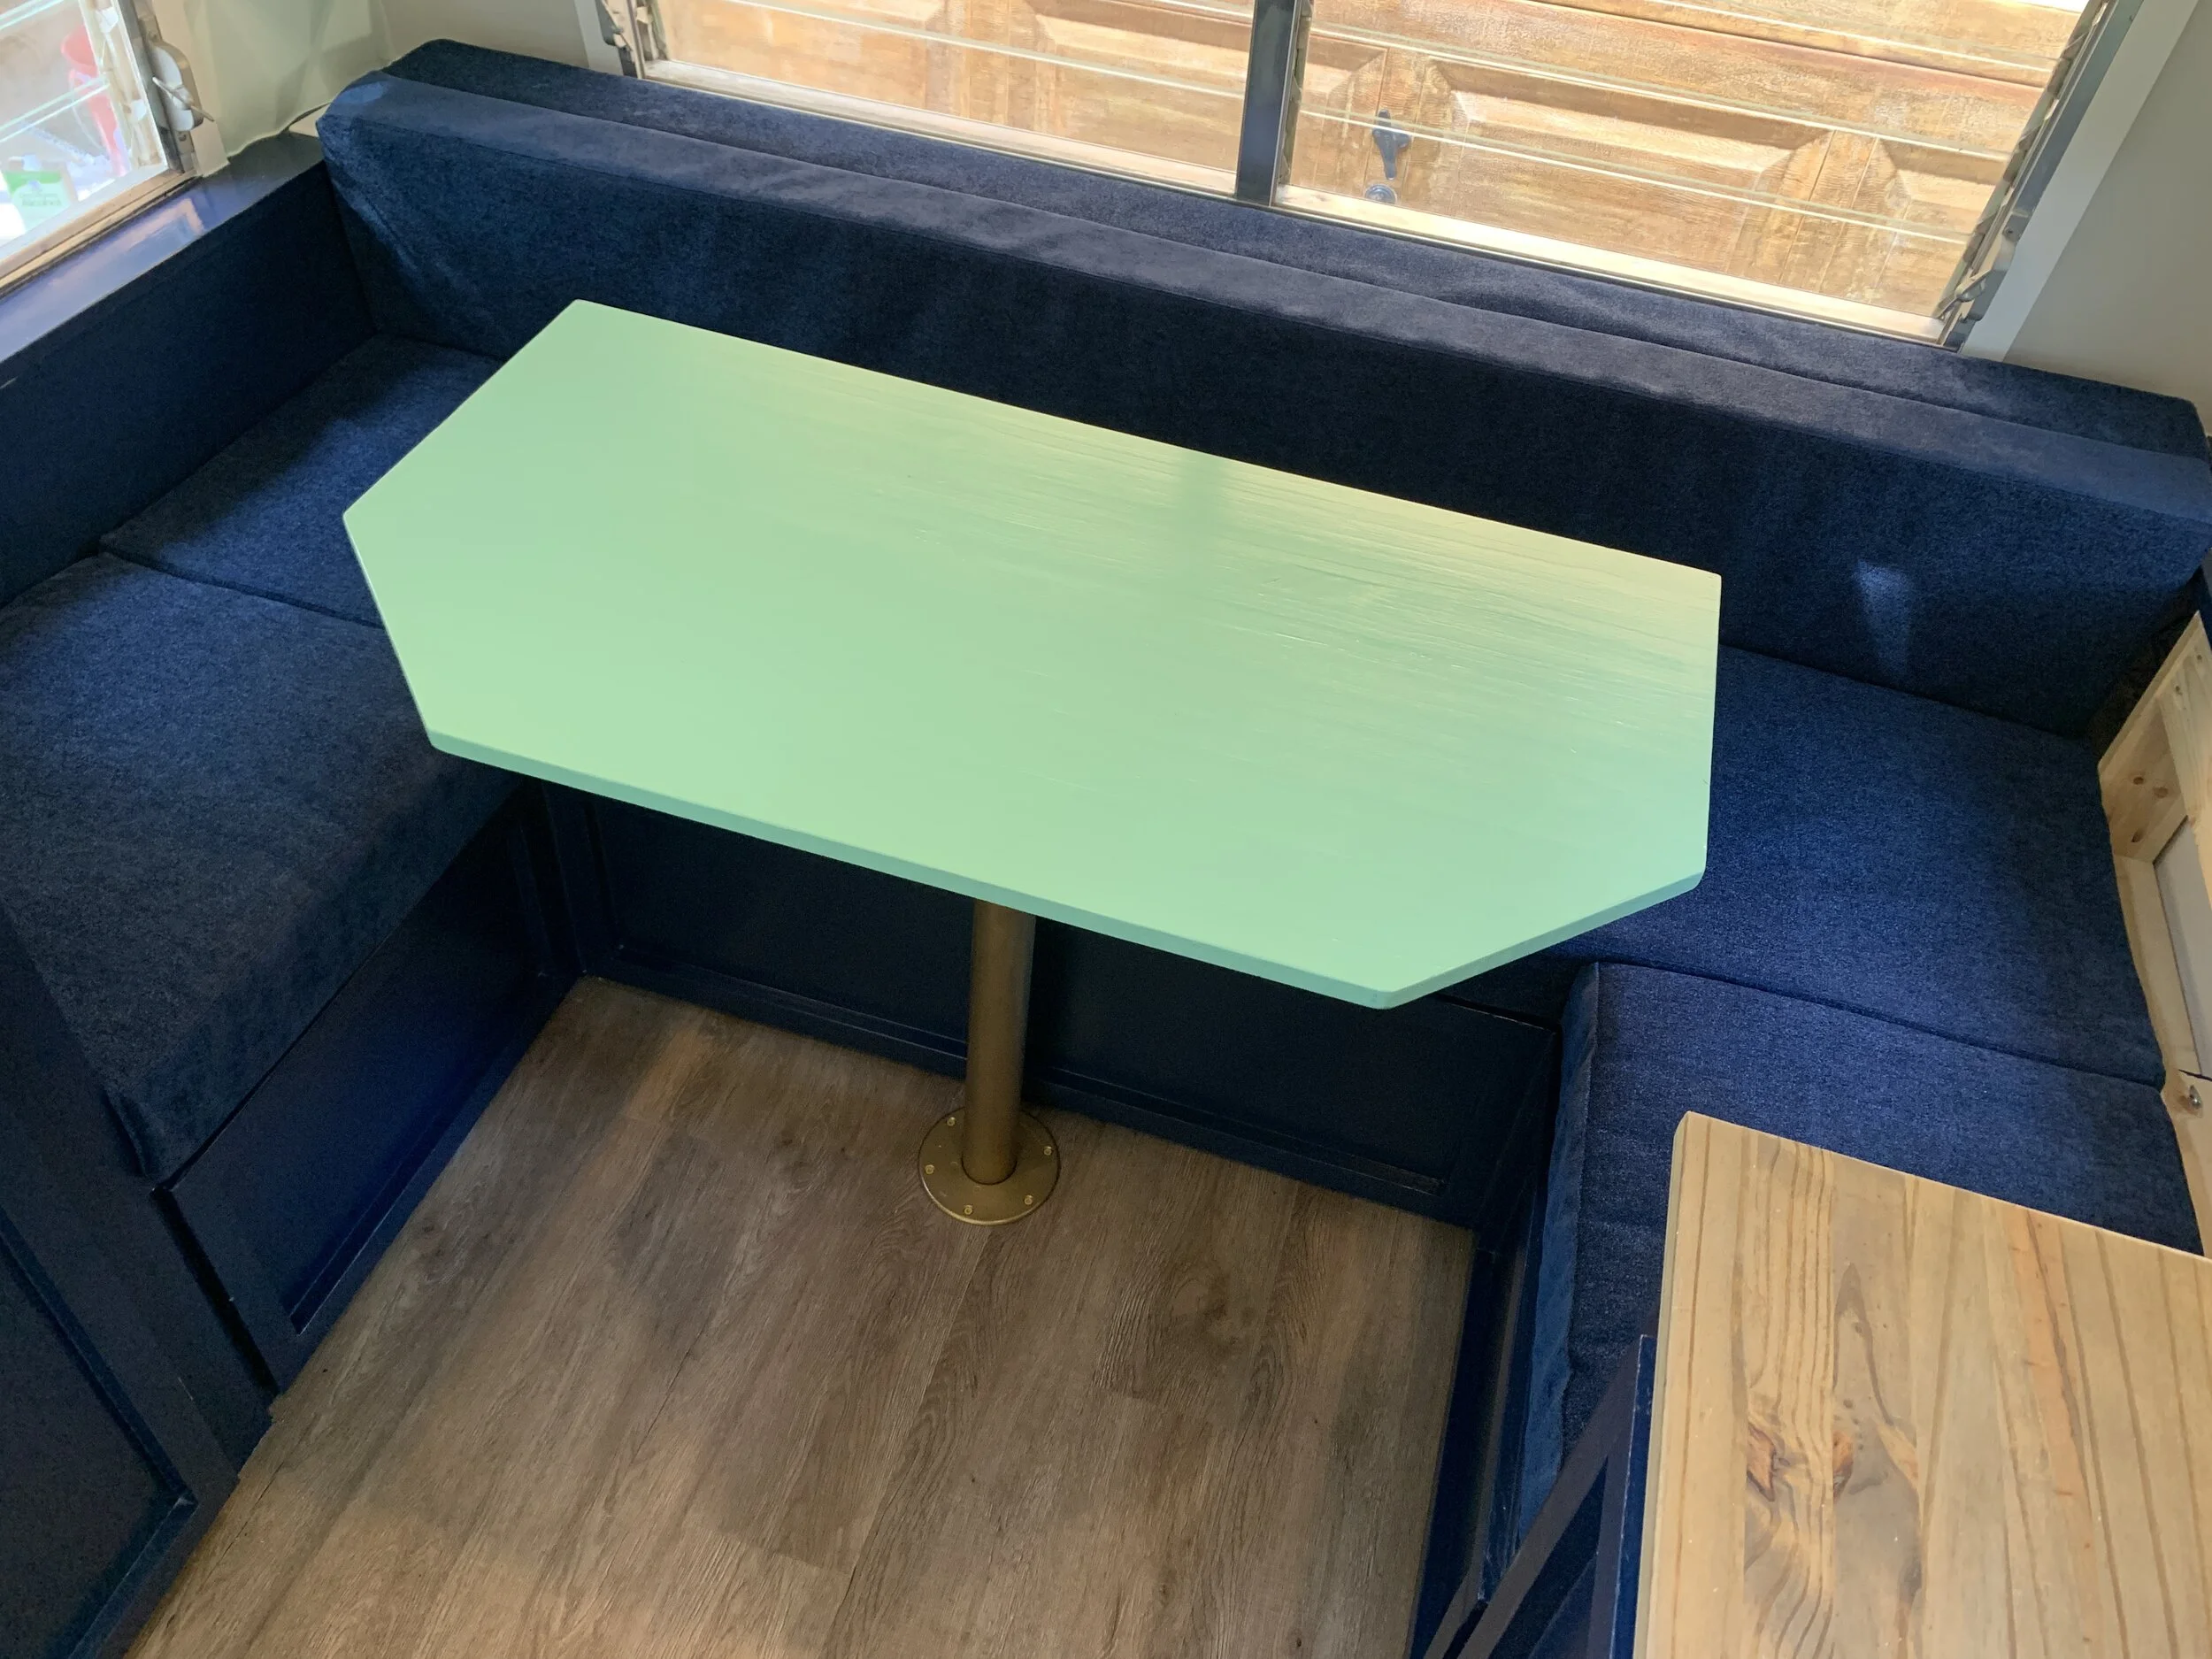
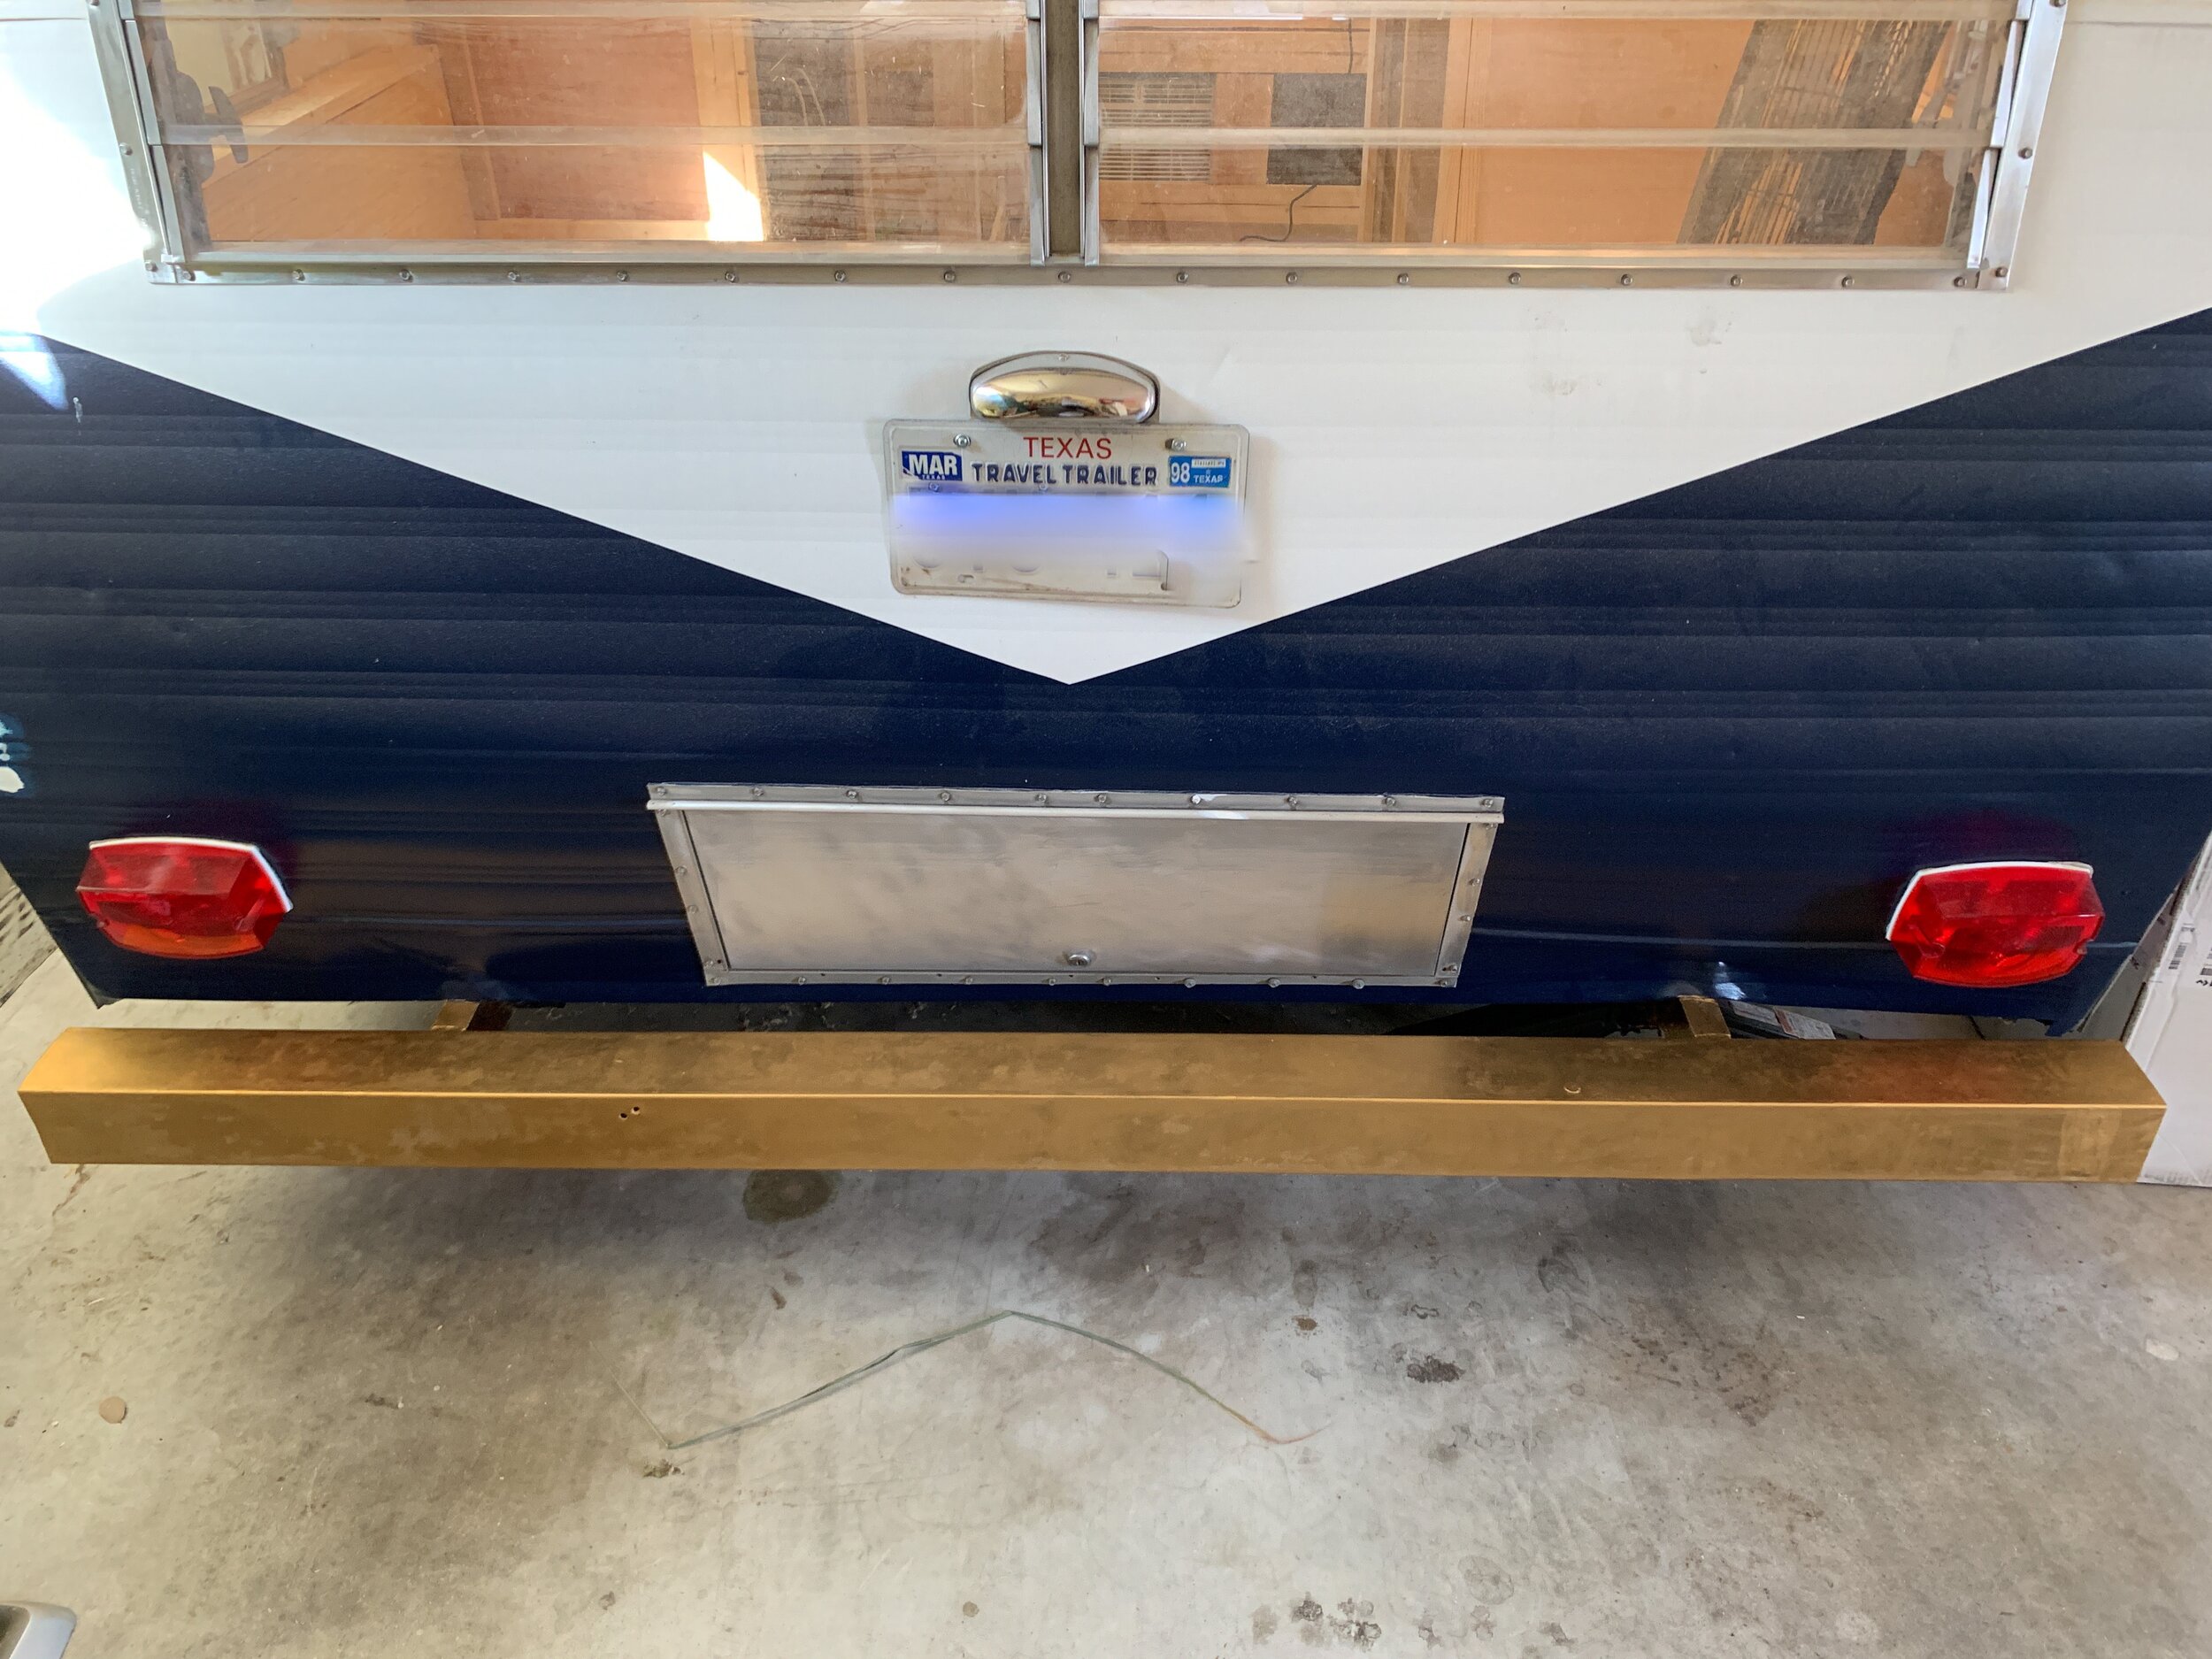
The Cameo Camper Renovation: Gold Bumper Makeover
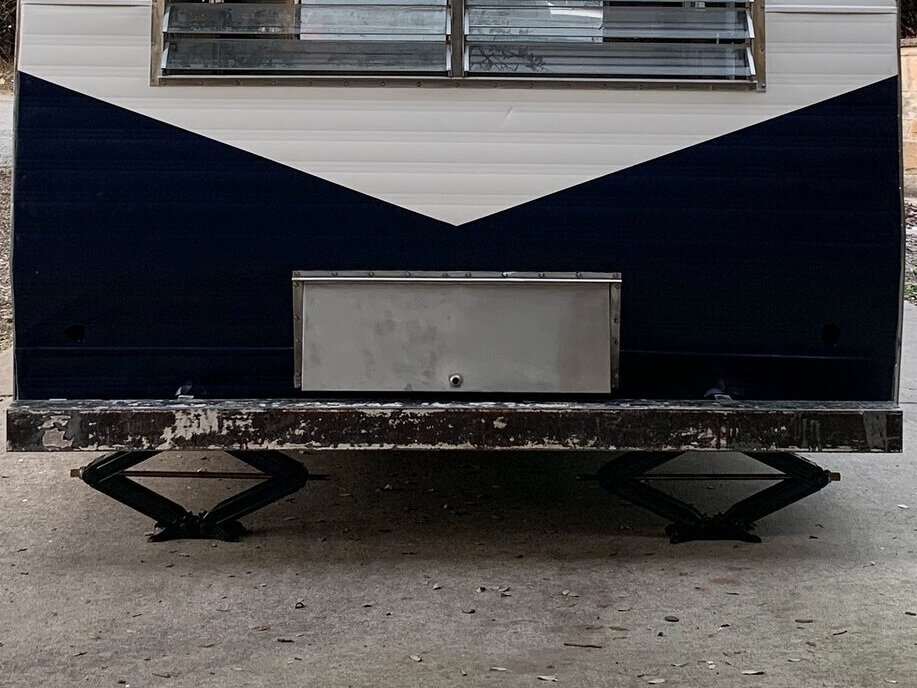
We are SO EXCITED for this makeover. It checks all the boxes – quick and cheap and so easy, plus it gave an instant boost to The Cameo’s caboose. And in a renovation that seems to just hemorrhage cash, a 20-minute, $20 makeover is a welcome project any day. We’ve been covering a lot of interior projects on the blog lately, but we’ve still got a short punch list for the outside (like painting the trailer tongue and doing a paint touch up where I accidentally drilled into the metal wall… oops). Ever since we painted the exterior about 10 months ago, we’ve been looking for a solution to our ugly bumper problem. We had a hard time finding exterior gold metallic paint, until one day I had an epiphany...

Rub ‘n Buff
This stuff is in a word, AMAZING. It goes on by hand (we apply it with a rag) and it transforms just about any surface in a matter of seconds. One could use spray paint, but I find it often lacks a realistic metallic sheen and looks, well, painted. Rub ‘n Buff maintains that metallic luster that we were looking for and since it’s made from a Carnauba wax base (with fine metallic powders and select pigments mixed in), it only makes sense it would work for an exterior metal “vehicle” like this. We’ve even used it on the metal threshold of our front door (to transform it from 90s brass to silver) and it’s held up great even after being walked on multiple times a day for over 7 years. The best part about it is it can be removed with paint thinner if needed, and it can be layered on top of itself to build the exact look and color you’re going for.

Our gilded Bumper Shopping List
(3) tubes Rub ‘n Buff in Gold Leaf color – this quantity might vary based on the surface area of your bumper. Three tubes coated the front, top, bottom, back and as far as I could reach into the insides of the bumper, as well as the visible parts of the trailer that connect to the bumper.
Lint-free rag
Disposable gloves – do as I say, not as I do, unless you want to look like the Tin Man’s fancier cousin.
How to get a gold bumper
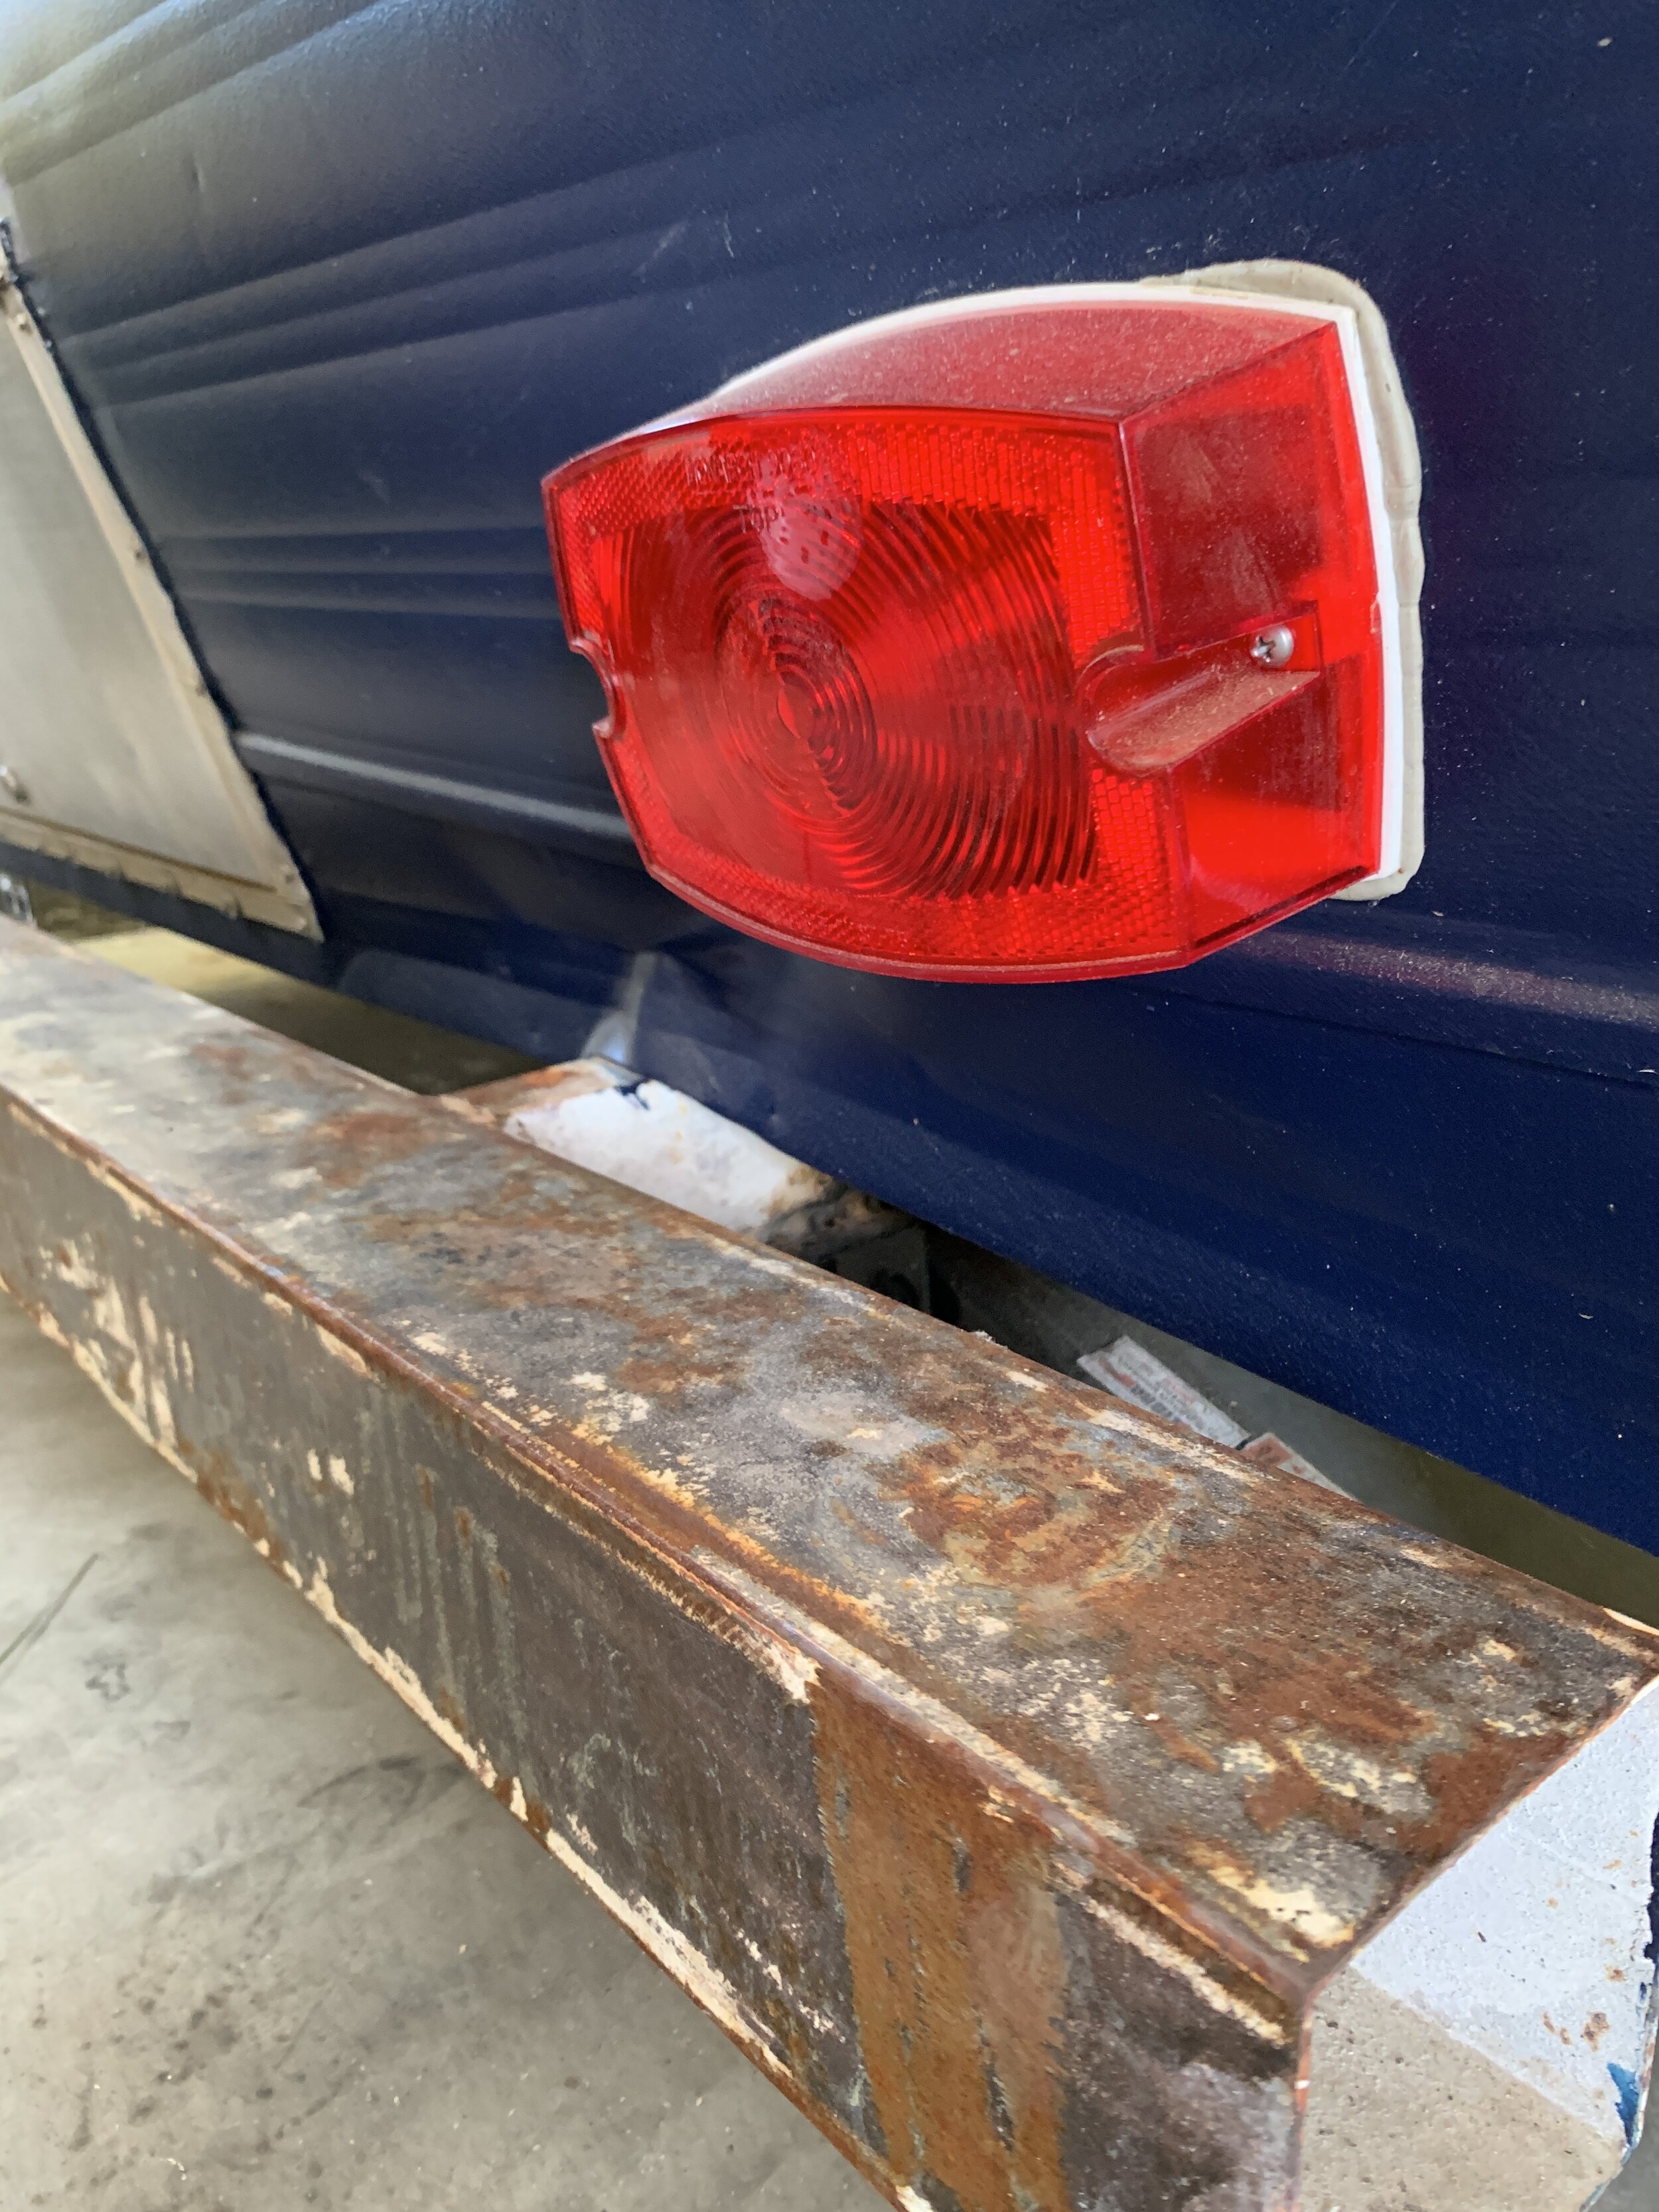
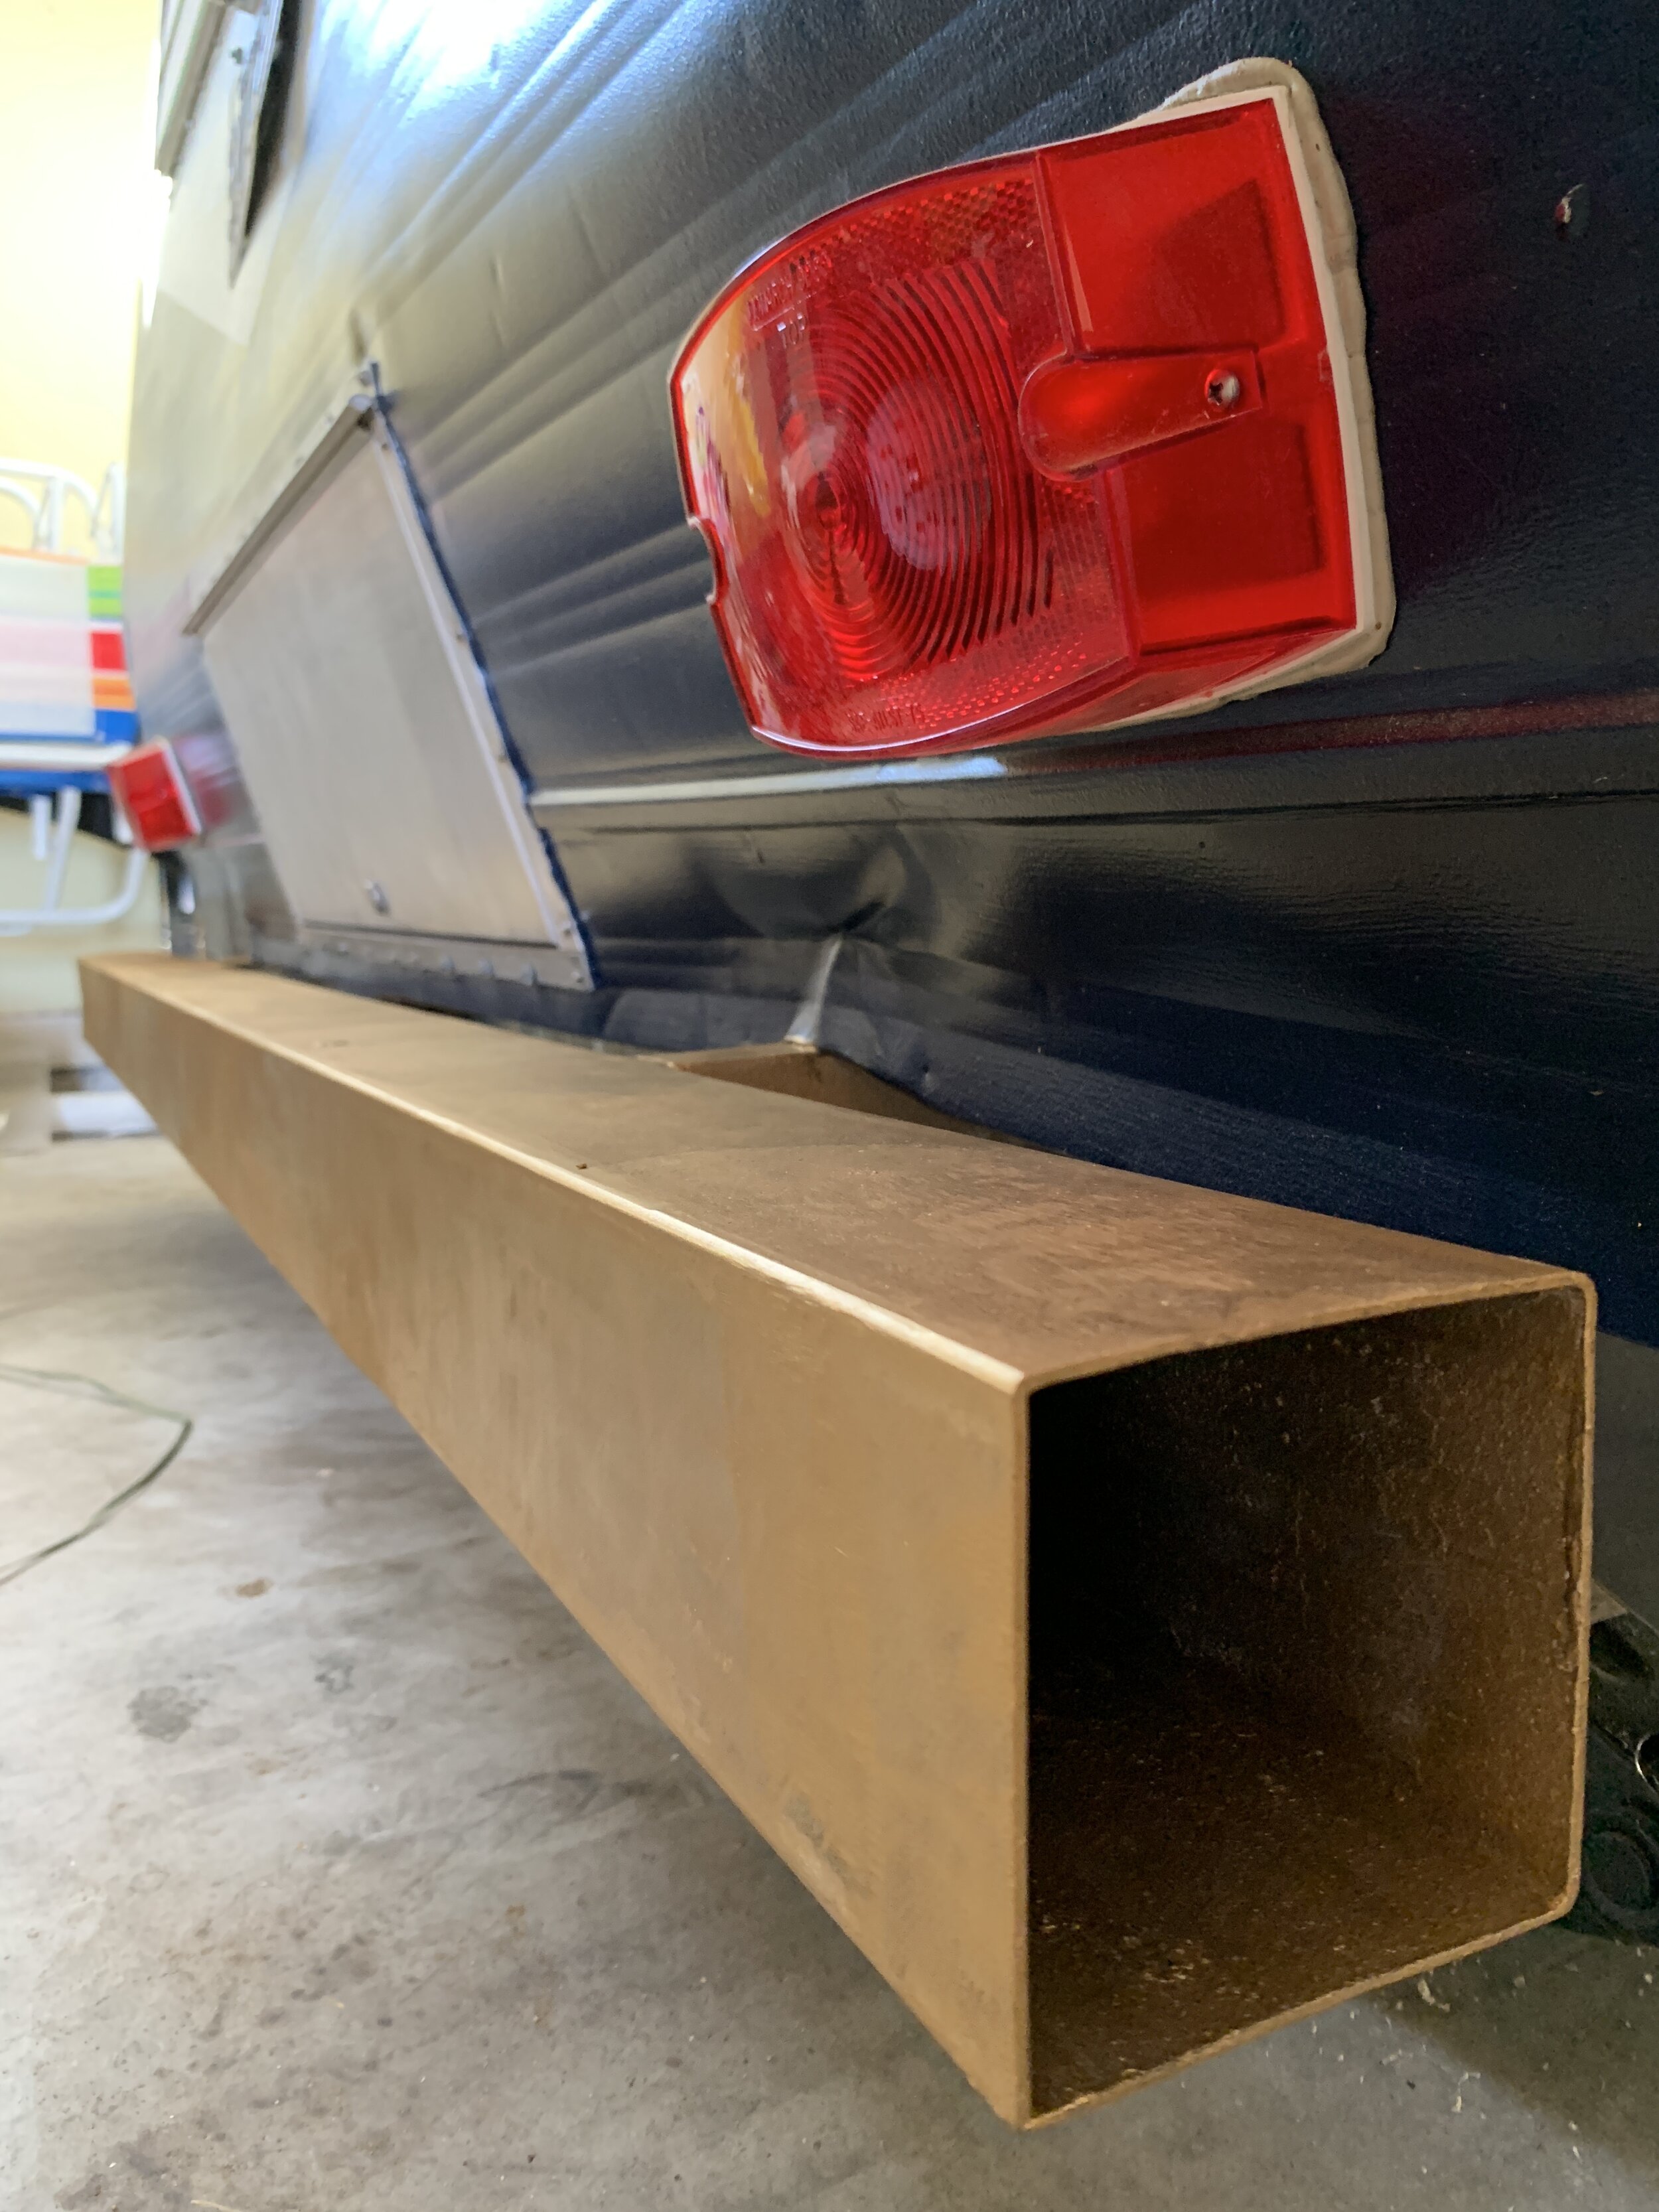
Months and months ago, Nick used the grinder to remove loose paint flakes and rusty bits from the metal. You can tell in the before photos below there’s still some inconsistent coloring to the bare metal and how they translated in the after. There are some little inconsistencies in the gold bumper, but I kind of love the real overlapped gold leaf texture it has and character it gives it. The main thing to keep in mind is the metal is smooth and free of flakes. This color of Rub ‘n Buff covers pretty well color-wise. You can see in the video below how easily it’s applied and buffs in. Just layer until you’re happy with your coverage. Also, I recommend you wear gloves.
(P.S. Apologies for my squirrelly video commentary, haha)
Before + After
So, what’s next?
We’re planning on using the inside of the bumper for storage and closing in the ends with caps. (And in case your eagle eyes were wondering, we’ll be trimming the excess butyl putty tape that’s oozed out from behind the taillights since the original install.)
So what do you think? Improvement? Questions? We always love hearing from you – here, Facebook, Instagram, you name it.