The Cameo Camper Renovation: Installing an RV Water Heater
Hey y’all! After a special request, today we’re covering a quick little guy related to our plumbing: how we installed our water heater tank. Tank, as in a cute little (super heavy) kettle that sits in our cabinet and heats a set amount of water. (Versus the tankless kind which is usually slim and heats water on-demand, more or less microwaving the water the second you need it – which is awesome, but also takes a lot of power to run.)
This is in no way a component that is needed to have running water in your camper; however, it does make it much more enjoyable when the water is warm (especially when it’s freezing outside).
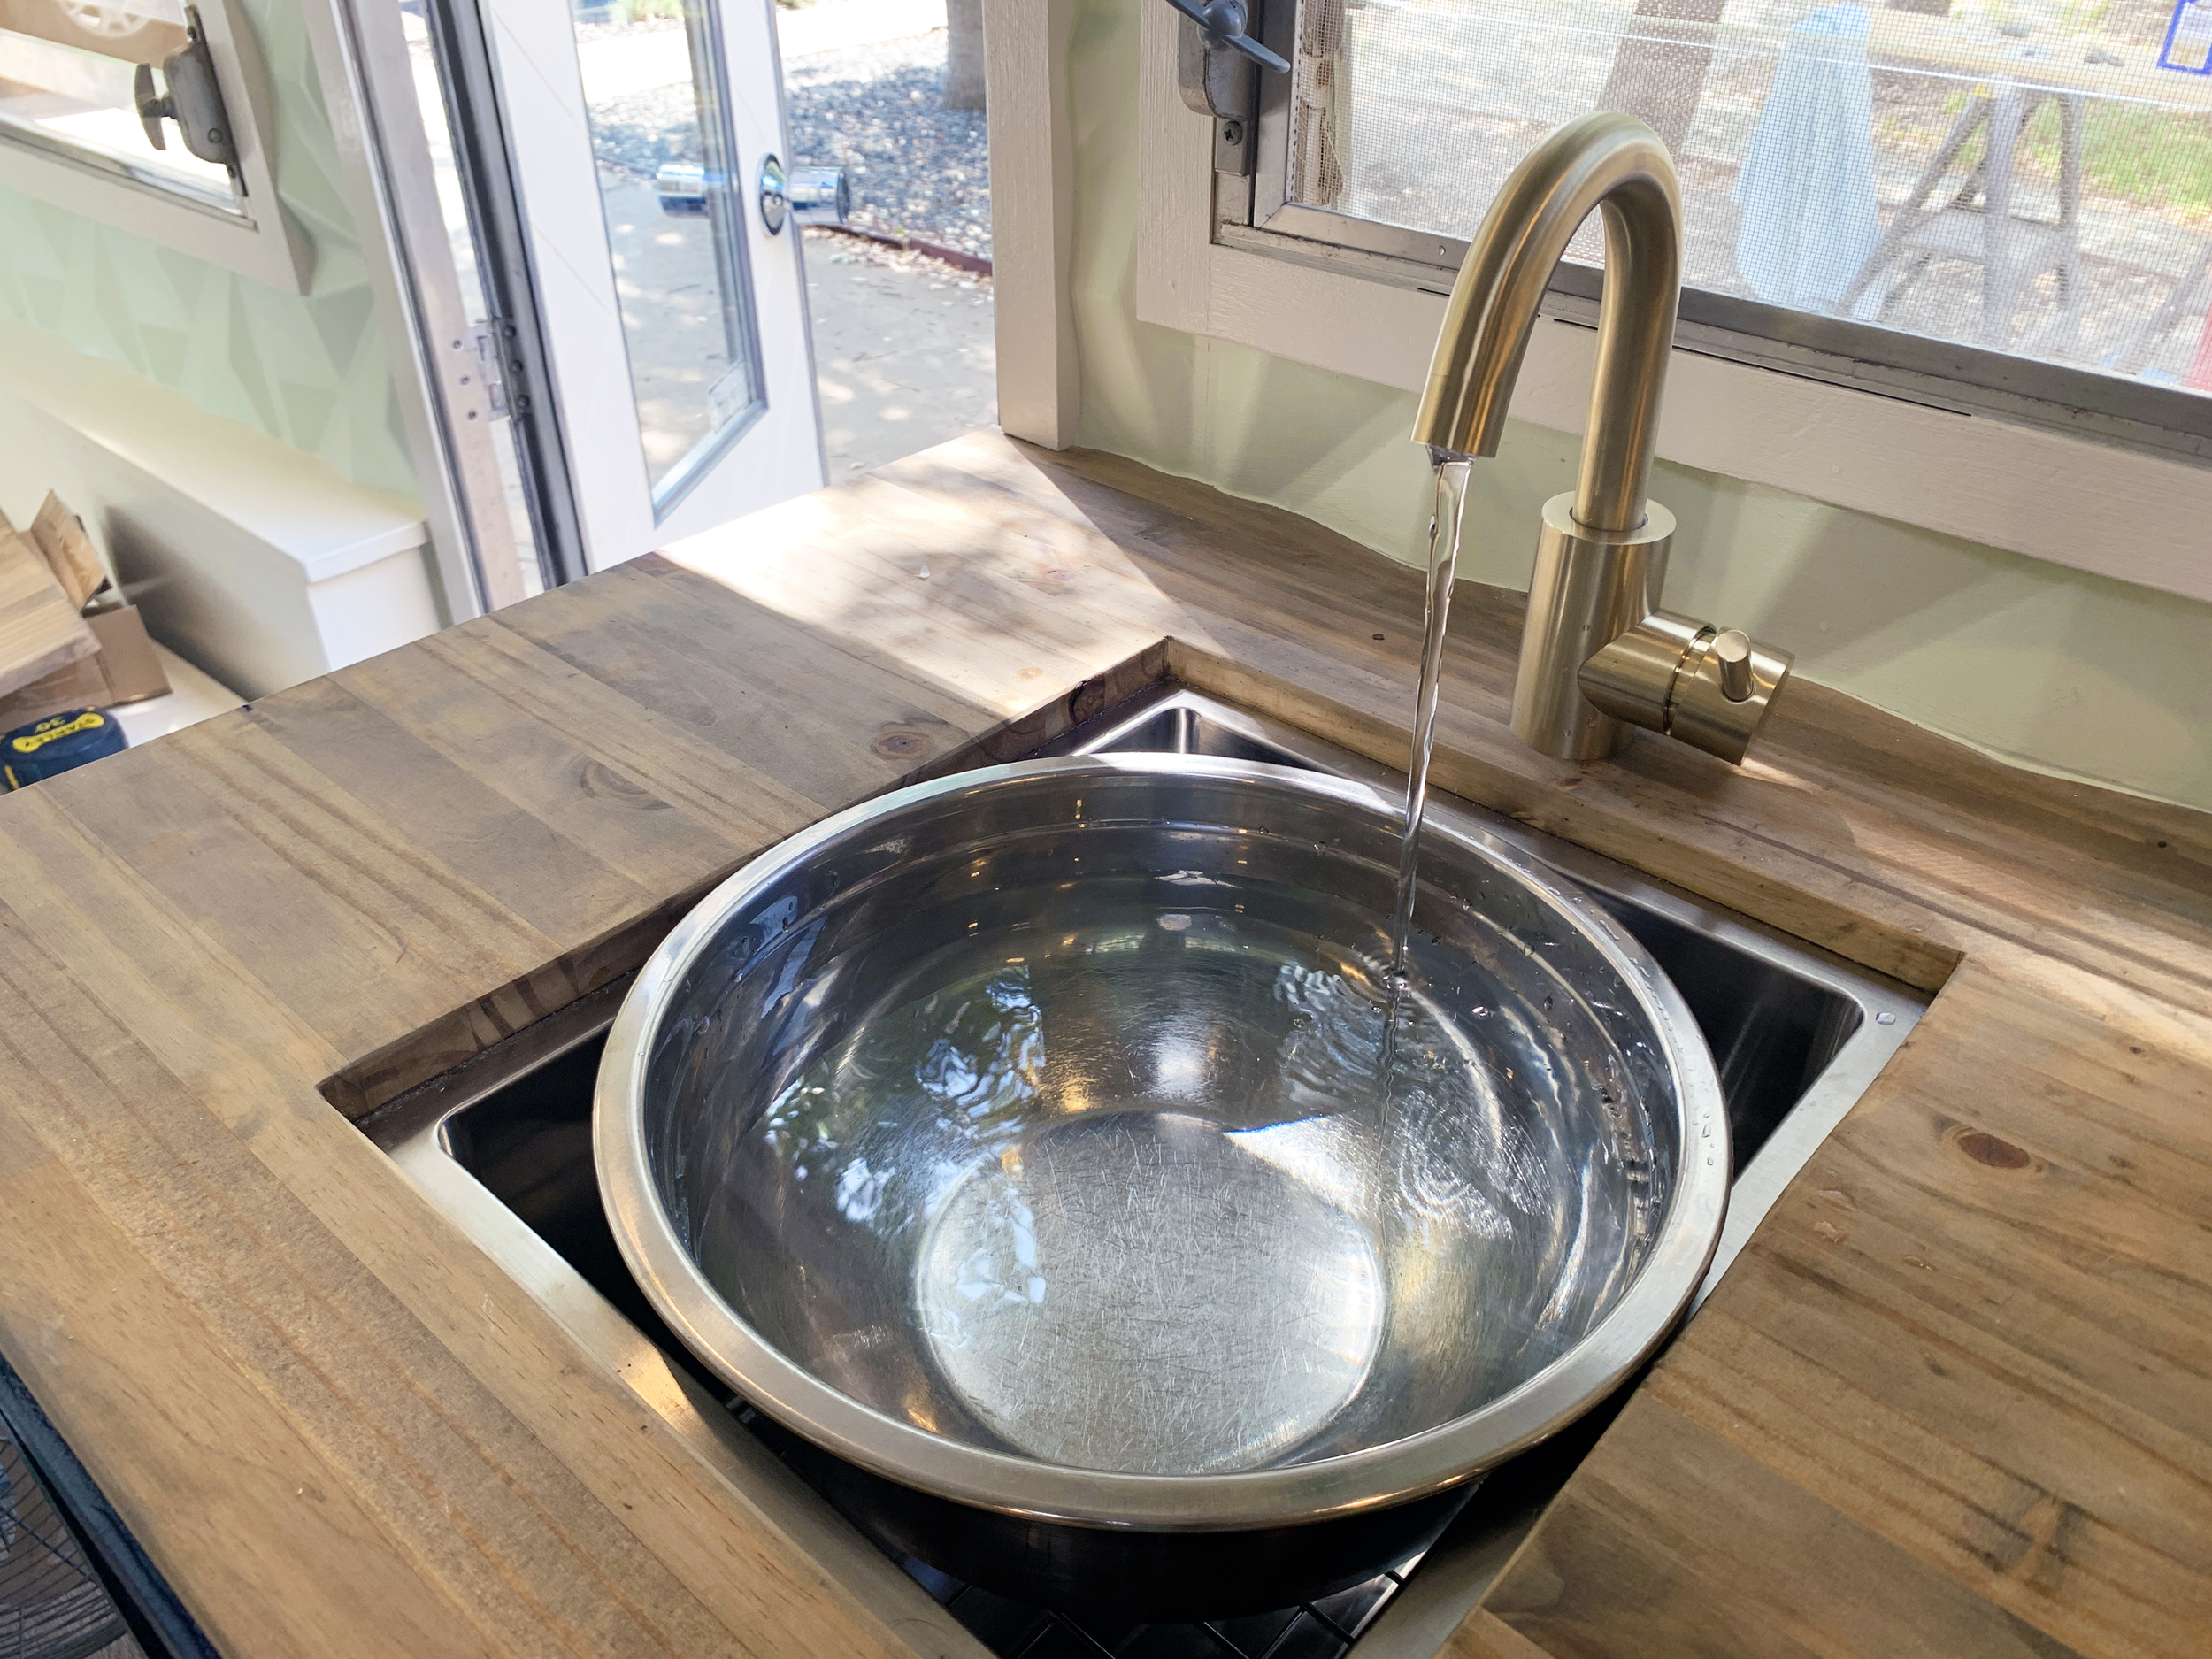
In fact, originally we were planning on just having hot water in our shower, but ultimately decided to run it to the kitchen sink “just in case”. After camping over the recent Christmas week when it was literally freezing outside, my hands and I are so happy we ran heat to the sink. As I’ve said a lot during this renovation: just because it’s there doesn’t mean you have to use it, but you can’t use it if it’s not.
If you missed our beefy post that covers how we plumbed The Cameo, and more generally, how a camper water system works, you can find it here.
Our water heater shopping list
Bosch Tronic 3000T mini tank water heater – we chose the 2.5 gallon, mostly for size. At 13.75” wide x 13.75” tall x 10.75” deep it’s sized perfectly to fit on the shelf in the electrical cabinet next to our battery.
PEX-to-threaded ABS fitting adapters – to connect the PEX to the threaded tank cold water inlet and hot water outlet ports
(2) 1/2” x 1/2” FNPT elbow female swivel adapters – part #UC532LFZ – (we used two – one for our cold water in and one for our hot water out)
1/2” x 1/2” FNPT female adapter swivel – part #UC526LFZ – (we didn’t use these for our water heater, but this straight adapter can be used interchangeably with the adapter above depending on specific setup)
Teflon plumbing tape – to wrap around the metal threads of the water heater ports
1/2” PEX tubing – the amount will vary depending on the size of your camper, distances the lines need to run, etc. It also comes in different colors (red, white/clear and blue). Because we needed more than 10-foot runs for the whole camper and not more than one roll, we opted to just go with blue (the majority of our lines are cold/neutral temperature) and just tape our hot lines with red duct tape (mostly for educational purposes to show you what is cold and what is hot in our photos/videos).
PEX cutter tool – for 1/2” PEX
Measuring Tape
Sharpie
PEX clamp rings – to connect to the water heater tank you’ll need two (one for the cold water inlet and another for the hot water outlet), plus any others to complete connections in between the water heater and your water uses. We pretty much needed one ring for each cut made in our PEX, so one length of PEX will generally need two clamps.
3-handle 3/8”-1” PEX clamp tool – for crimping the above rings around connectors
1/2” PEX connectors
1/2” x 1/2”elbows – part #UC248LFZ for the single or part #UC248LFA10 for the 10-pack – (we used nine just inside this cabinet)
1/2” x 1/2” x 1/2” tees – part #UC362LFZ – (we used one to split our hot line to our shower and sink)
U-shaped metal straps – to help secure PEX lines to our cabinets
You could also use these for support, which are specifically made for PEX:
Plastic PEX bend supports – to support any curves in the PEX
1/2-in x 3/4-in x 8-ft Raw Pine Square Lattice Moulding – to create a lip to keep the tank from sliding around
Drill
Wood screws + drill bit that matches screw head – for attaching metal support clamps and lip
3/4” drill bit – for drilling through cabinets. In our case, it needed to be large enough for 1/2” PEX + the crimp ring, but you might be able to use a smaller, 1/2” bit.
Where the water heater fits in
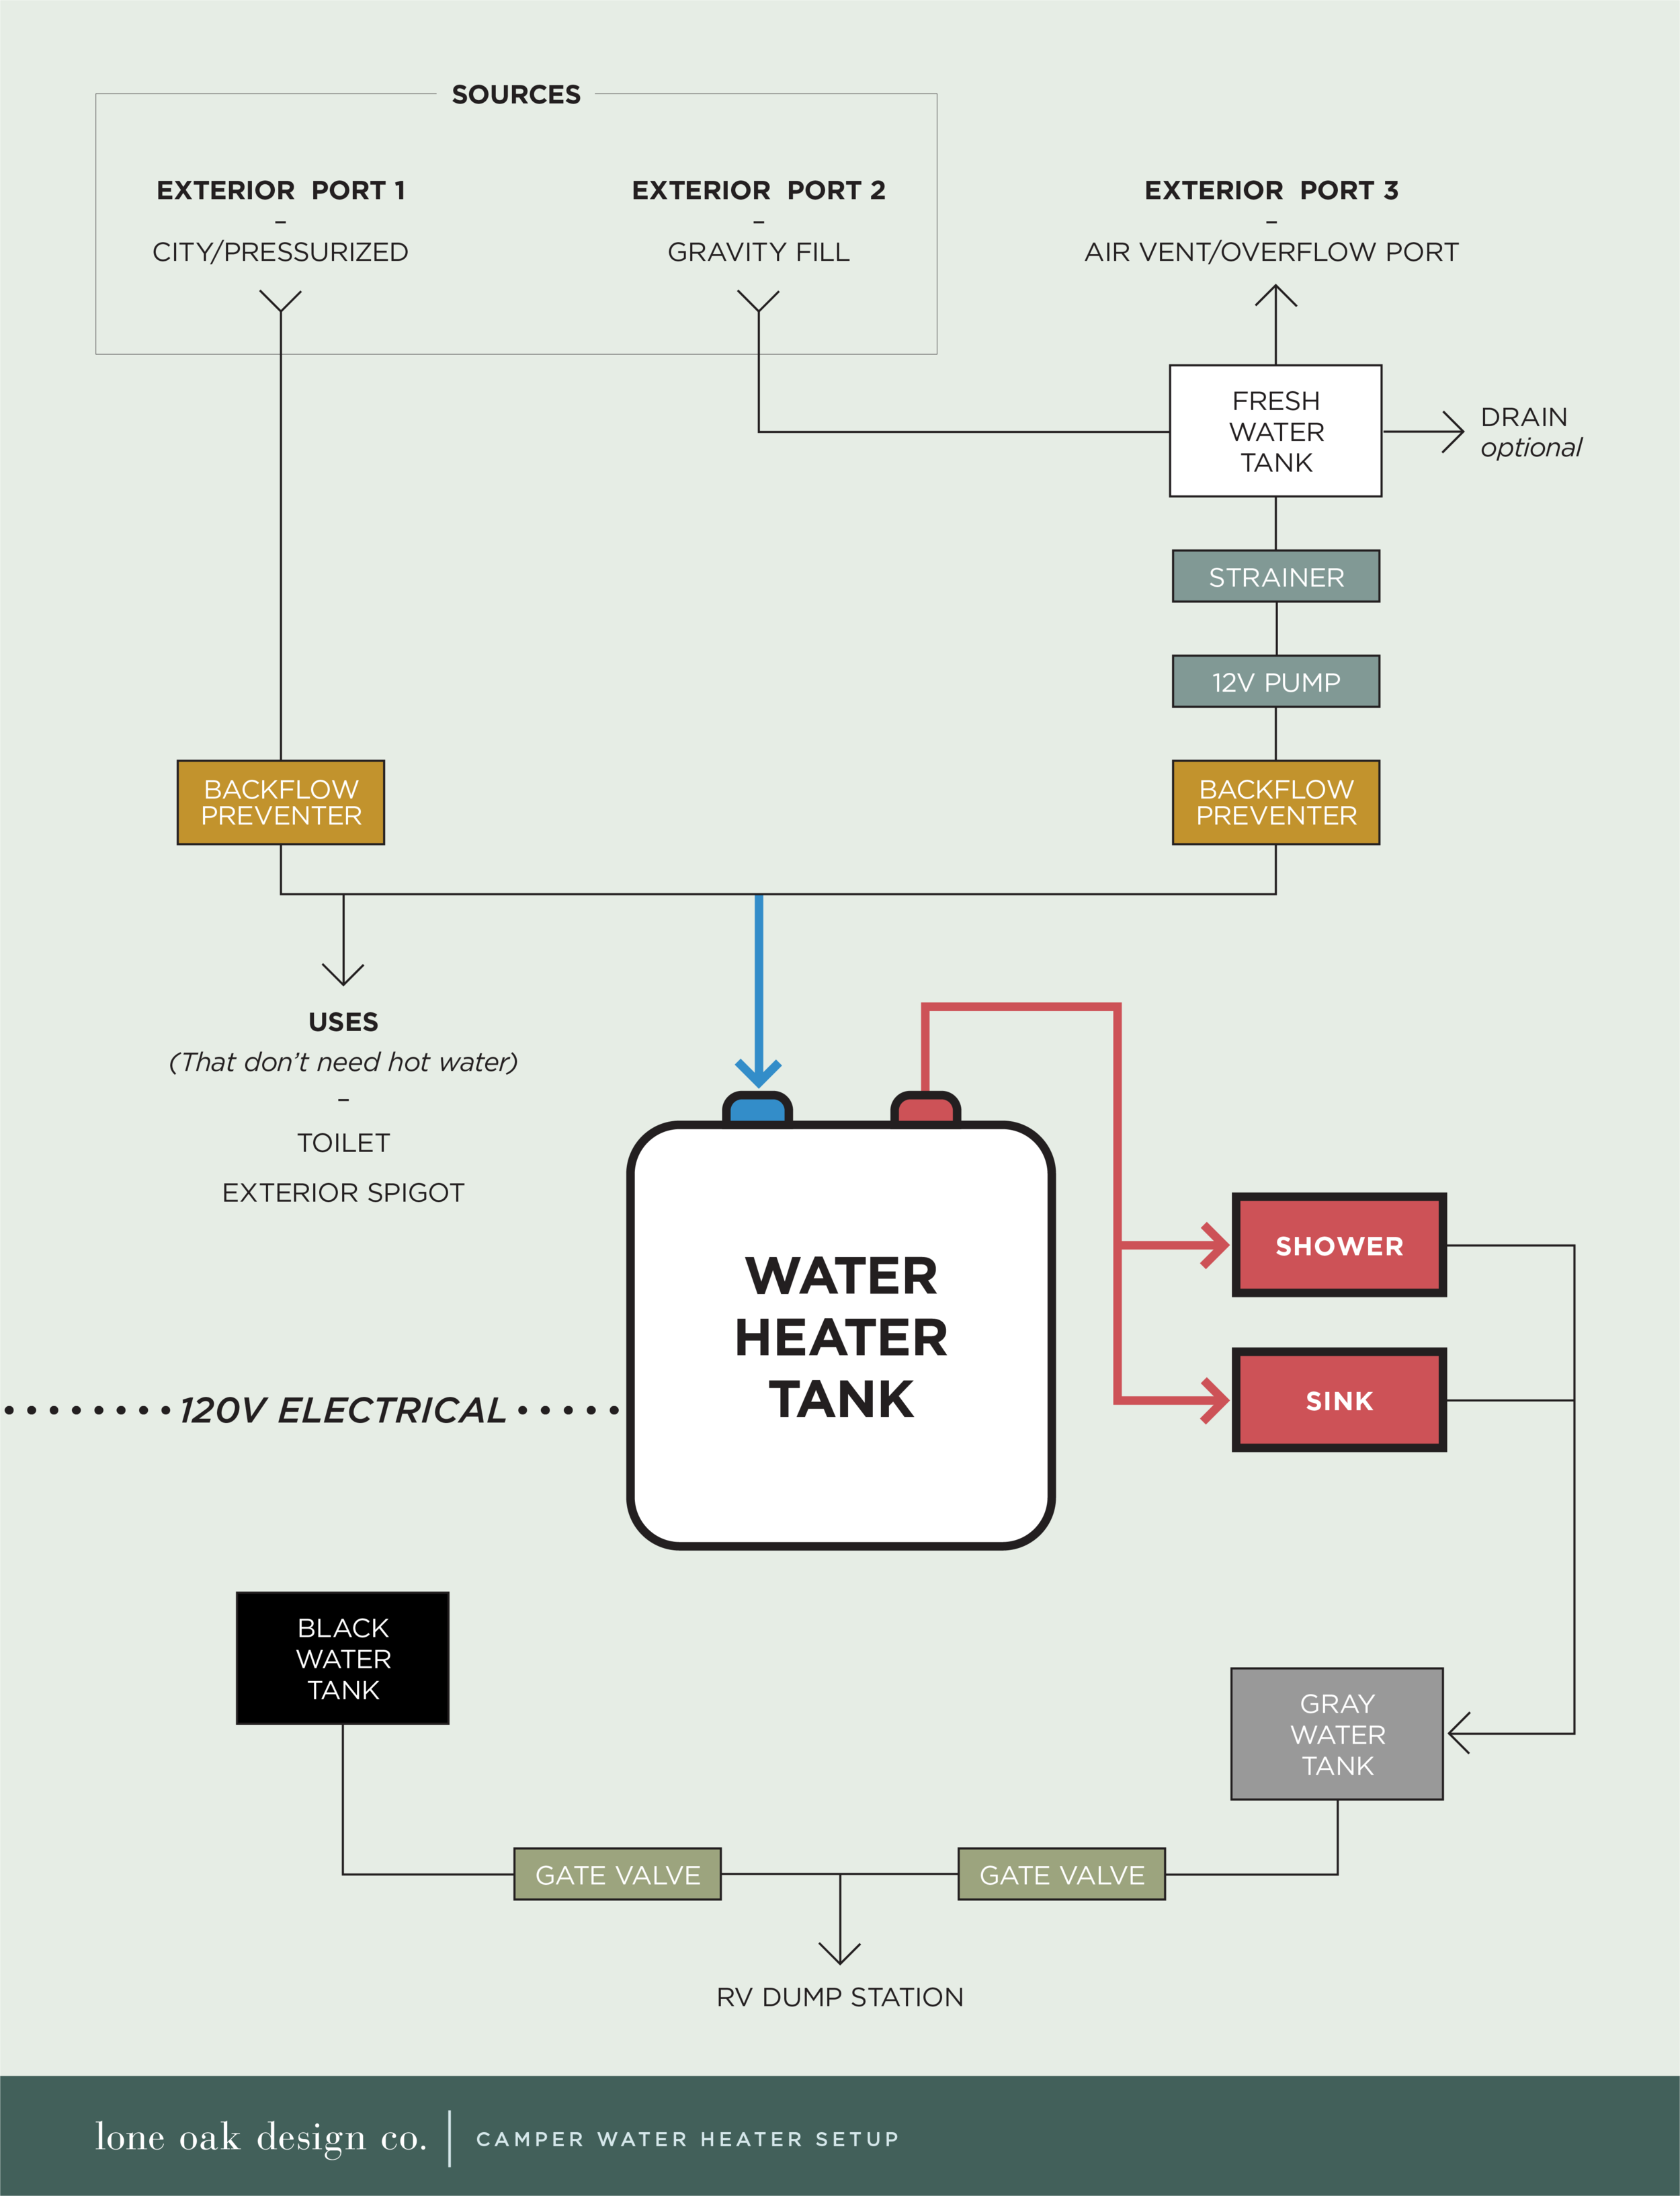
Our water heater – not shown in the diagram we’ve previously shared since it’s not necessary to the system’s overall function is just an added luxury – acts as an intermediate step between the backflow preventers coming from the water source and the shower + sink.
You can see in the new diagram below our setup requires a blue/cold supply line (coming in from the single water supply line shown after the backflow preventers) and a red/hot line coming out of the red water heater port, with a T-connector that splits off to the shower and the sink (and any other uses you have where you want hot water).
Installing the water heater
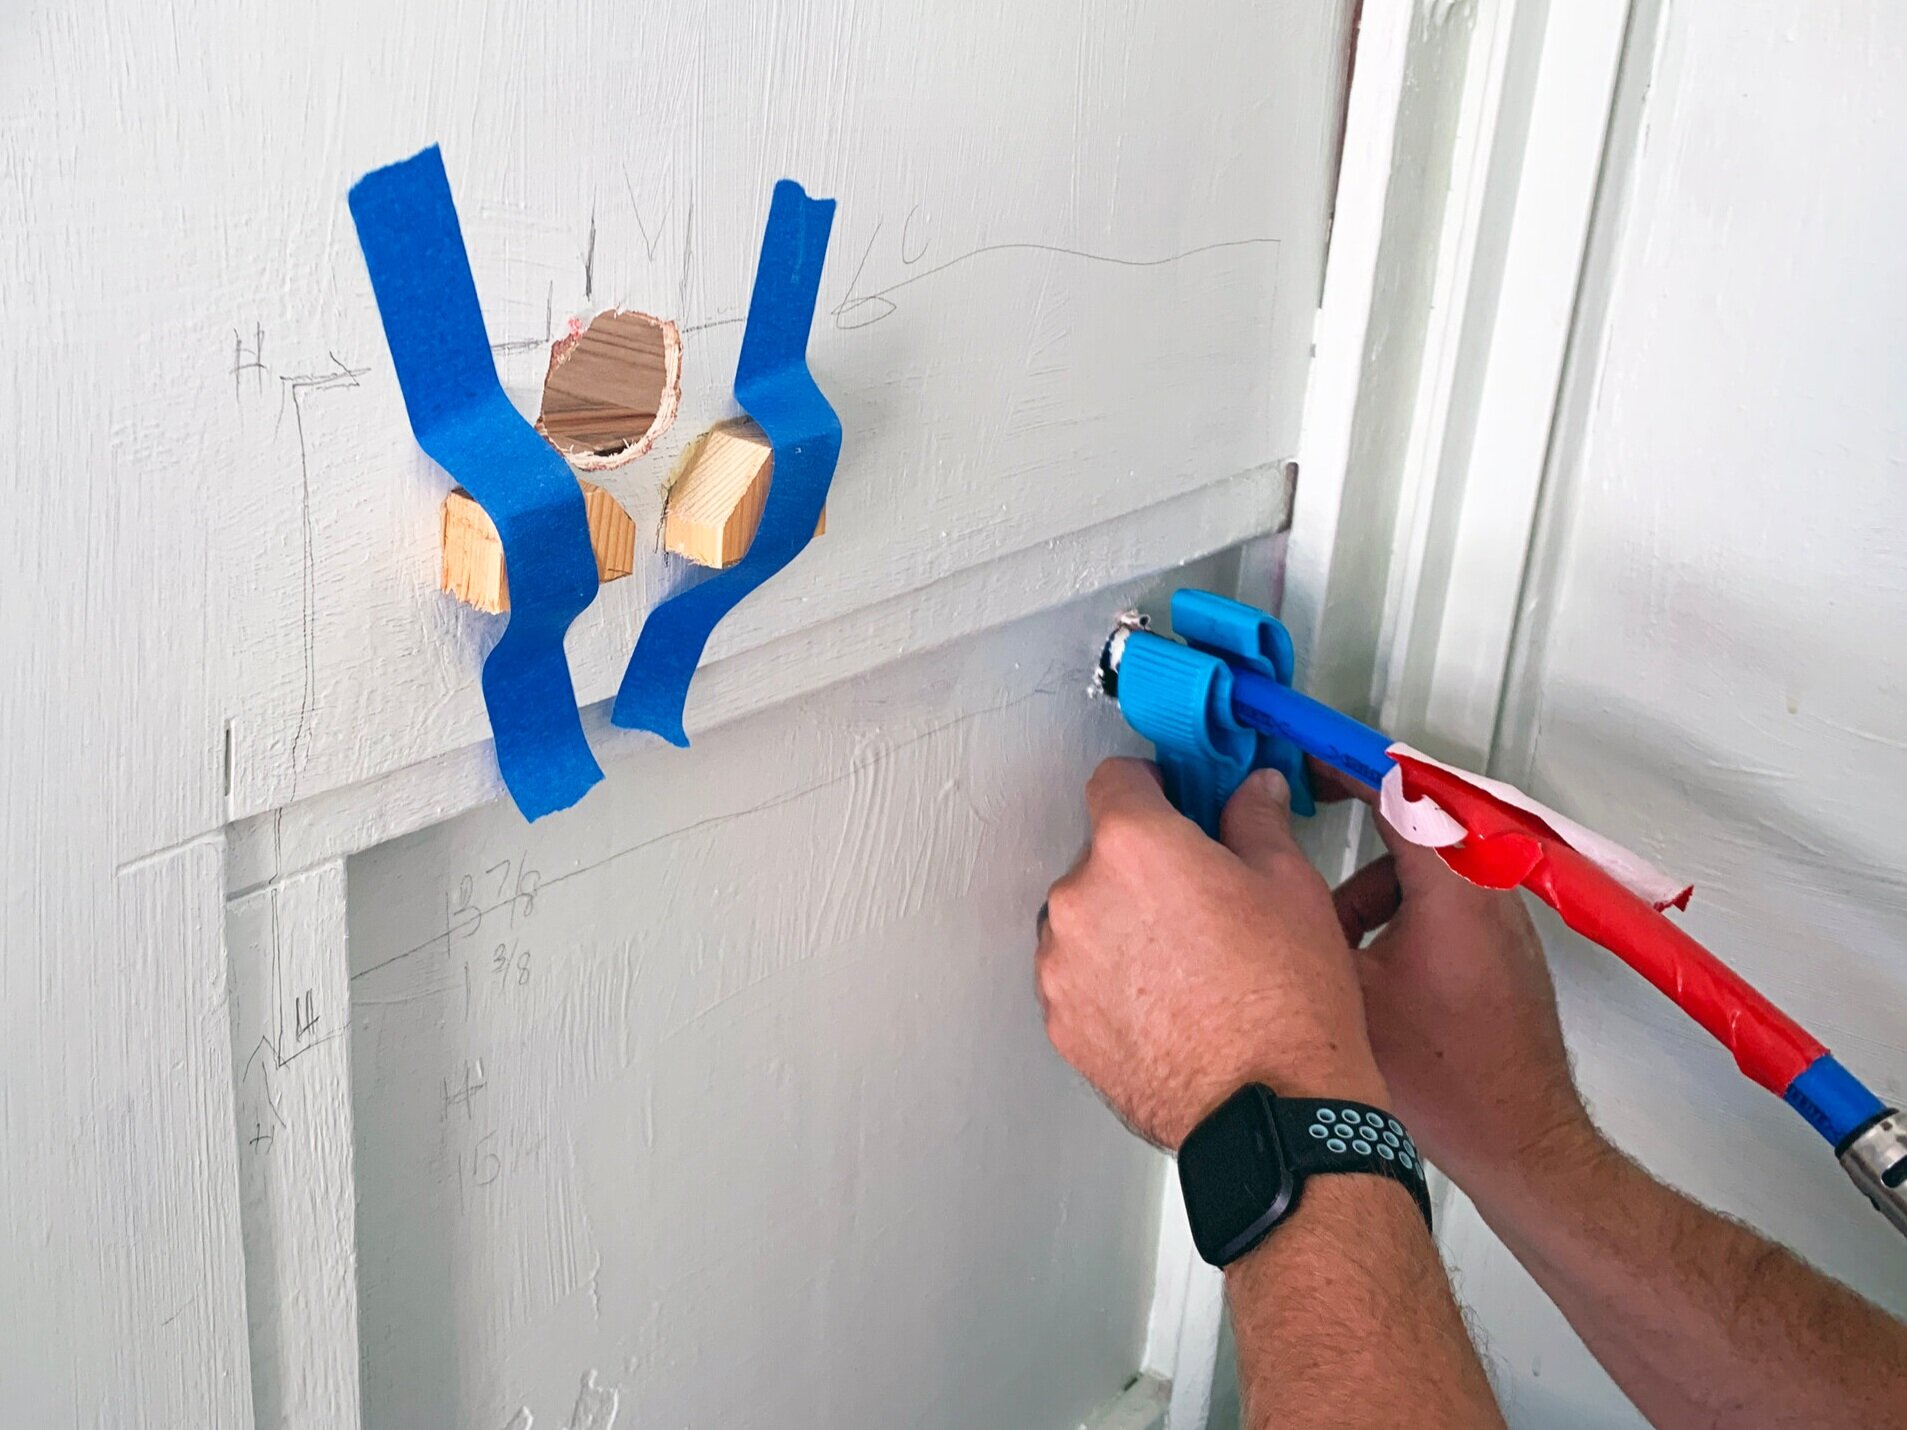
Thankfully, this one is a relatively easy install as it just needs to sit on top of a sturdy surface that can support its weight (36.325 pounds total; 15.5 pounds for the empty tank + 20.825 pounds for the 2.5 gallons of water weight when full), and have enough room up top for the plumbing lines to go where you need them to go, which for us meant drilling a PEX-size hole in the side of our cabinet to supply hot water to the shower.
Way back when, we built our wheel well out of 2x4s so it’s strong enough to hold a rhino, or in our case, more than tough enough to hold a heavy battery and water heater tank.
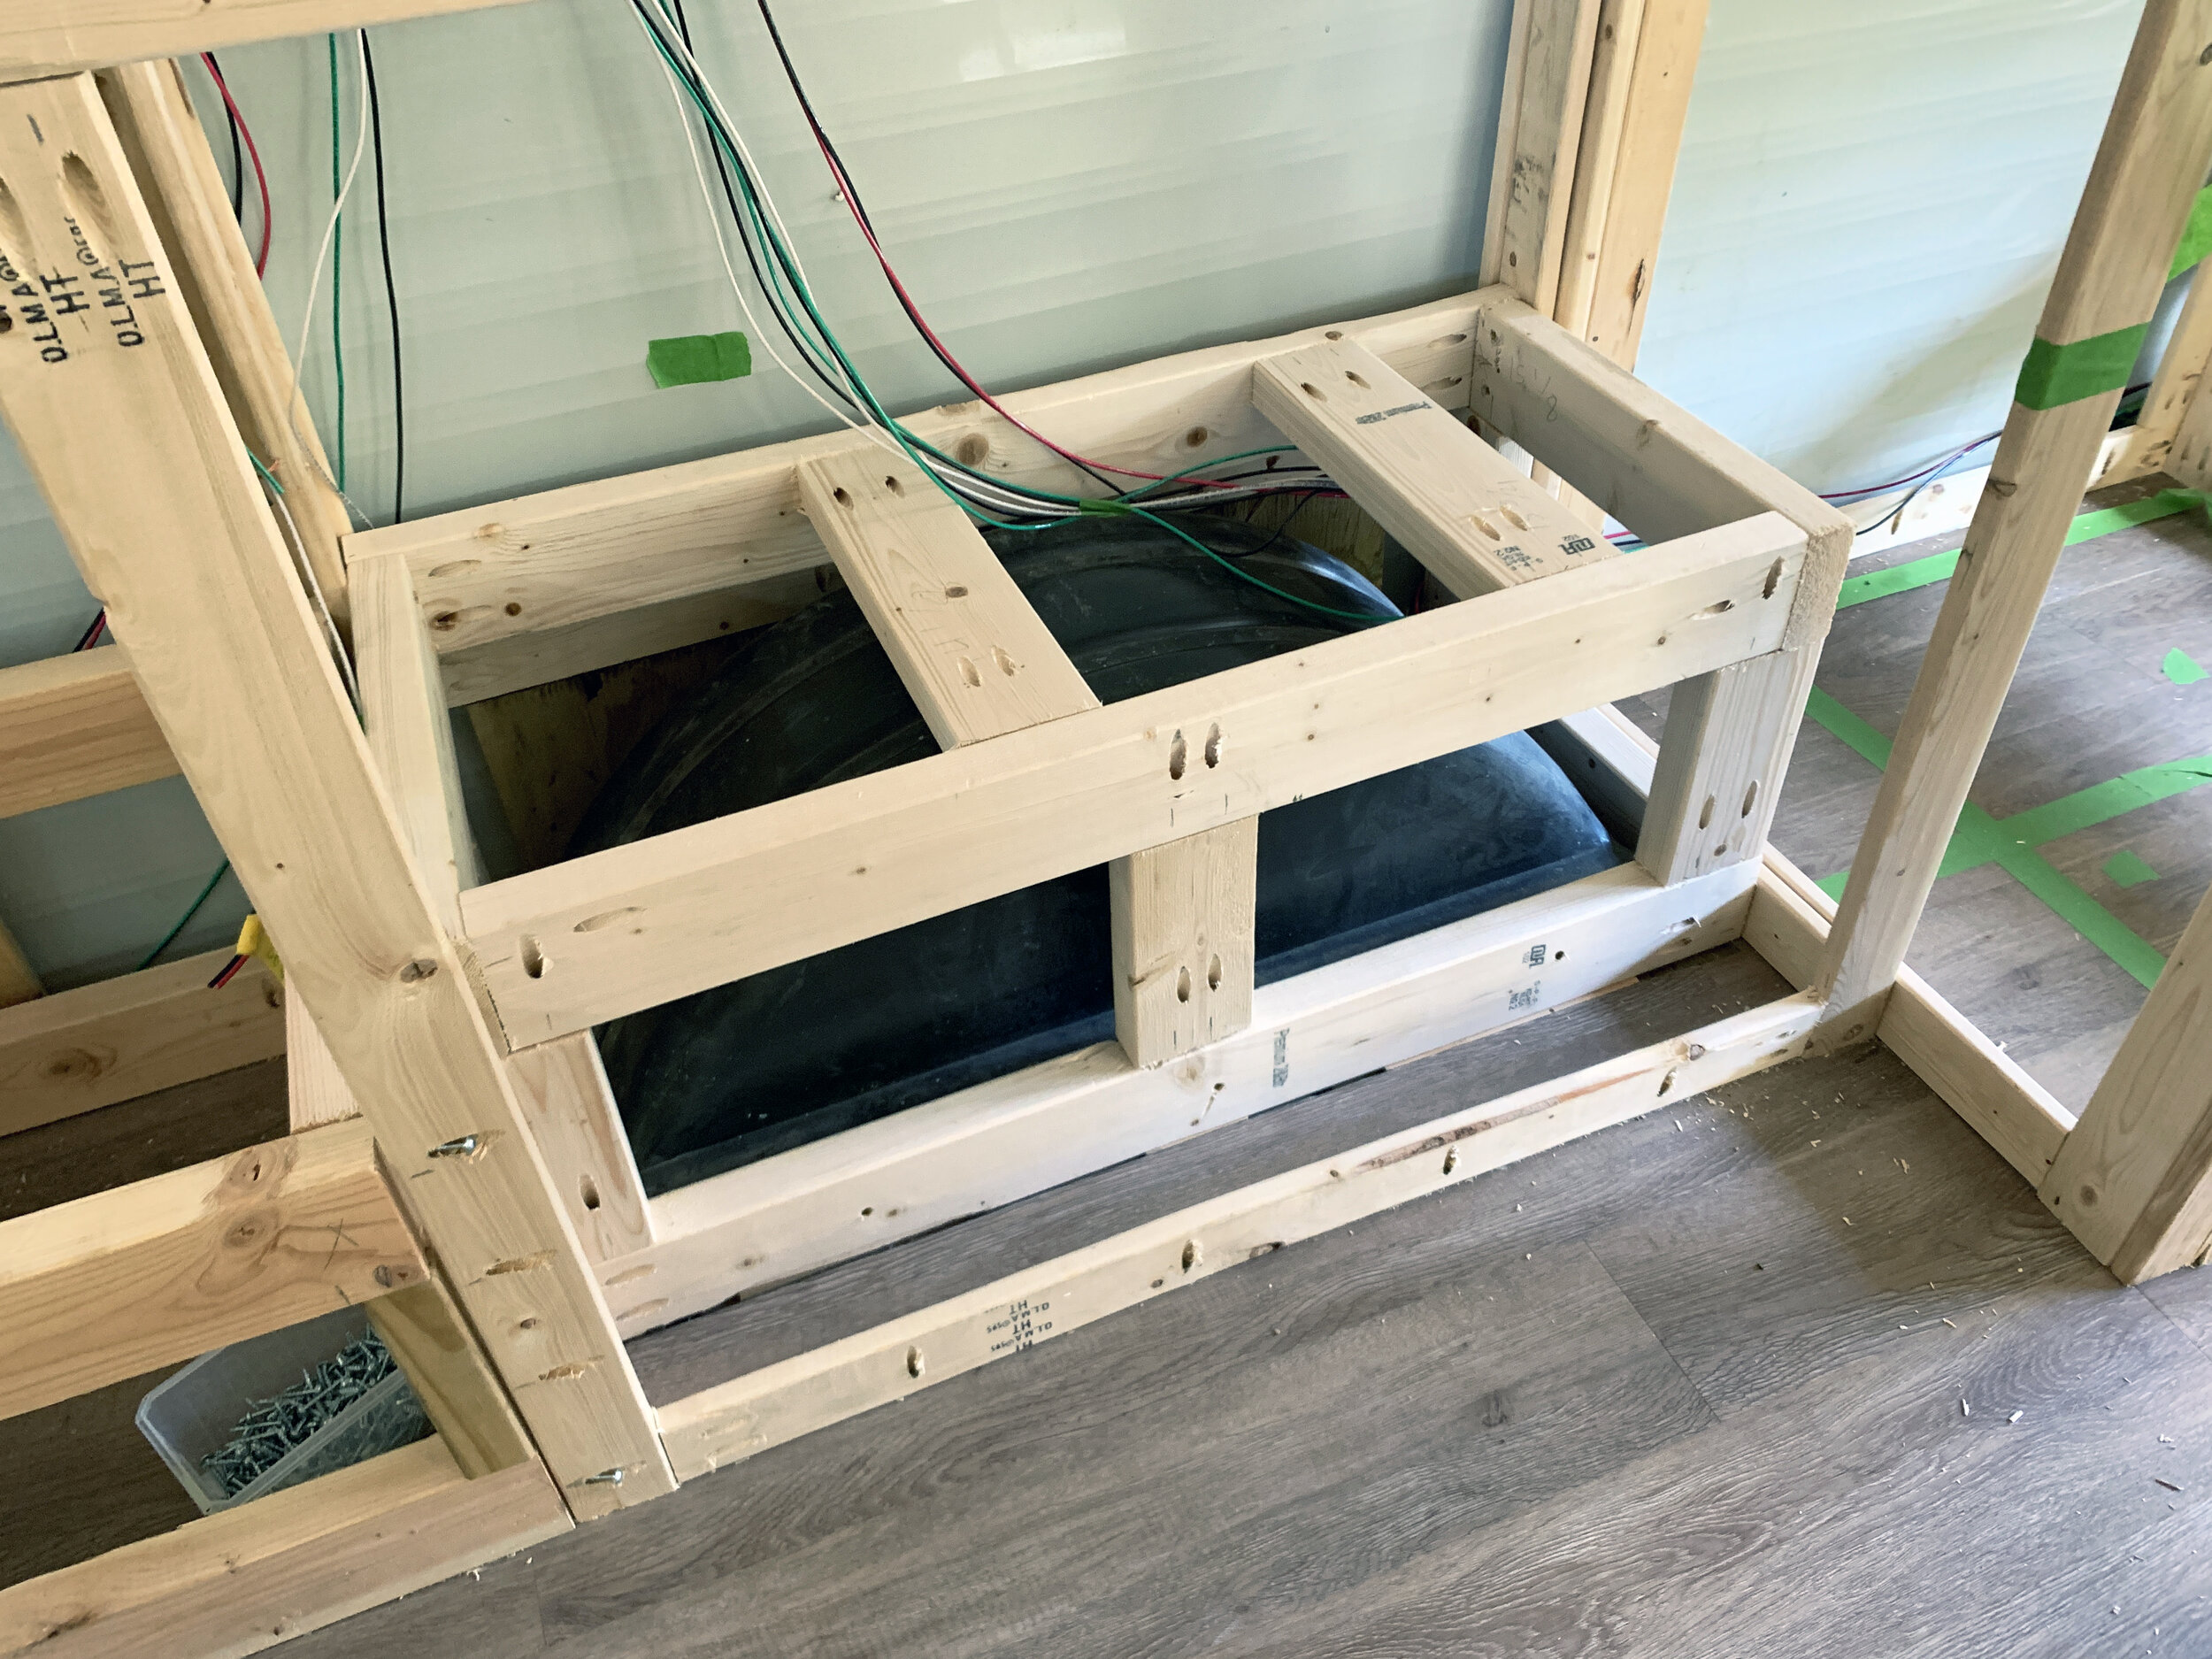
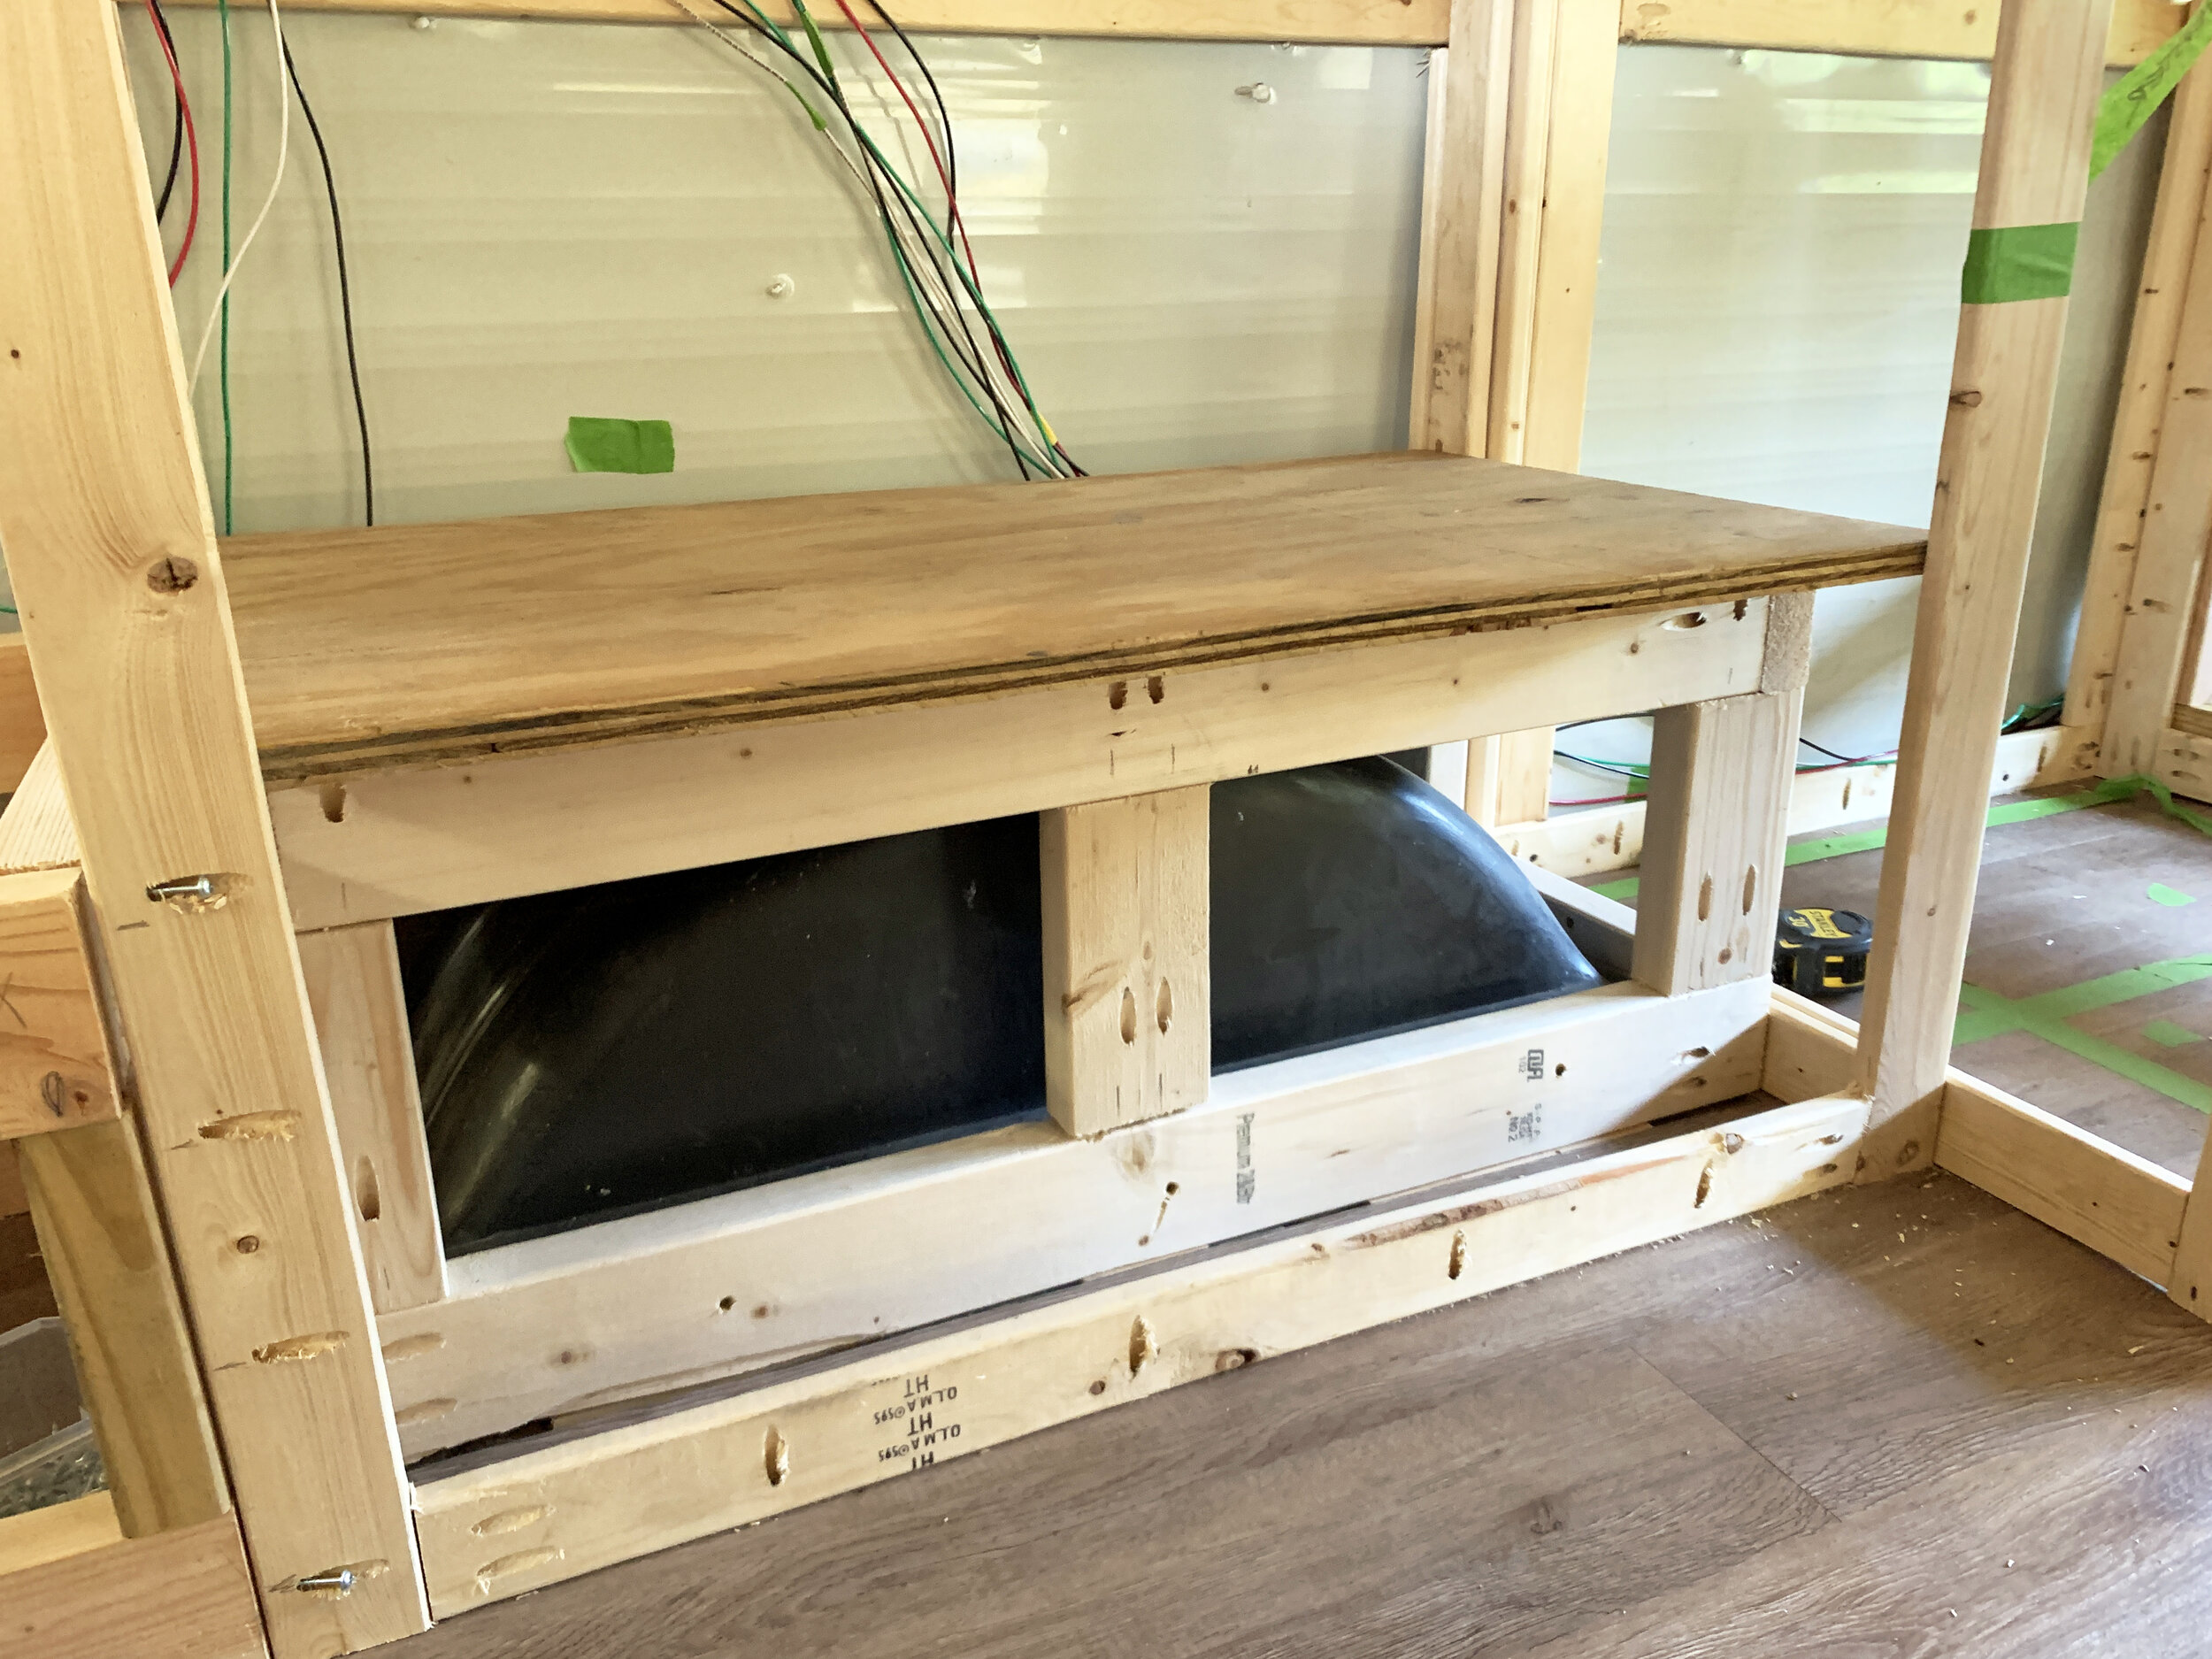
Our particular water heater unit can be wall-mounted with an included bracket, or floor-mounted (AKA, sit on the ground), and comes with an installation guide. We went with the floor-mount option and, like we did with the battery, we decided to add a little lip of wood around the bottom to help keep the tank from sliding around inside the cabinet while driving.

Water heater plumbing
Depending on where your water heater is relative to your plumbing source (where the water is coming in) and your uses (where you’ll be using the hot water) you may choose to use straight swivel adapter or 90° elbow adapter connectors. Because our tank is up higher and not sitting on the floor where we would need to go up in height to meet our other plumbing lines, we chose to use the elbow adapters to connect our PEX water lines to the top of the water heater tank to take the PEX immediately horizontal.
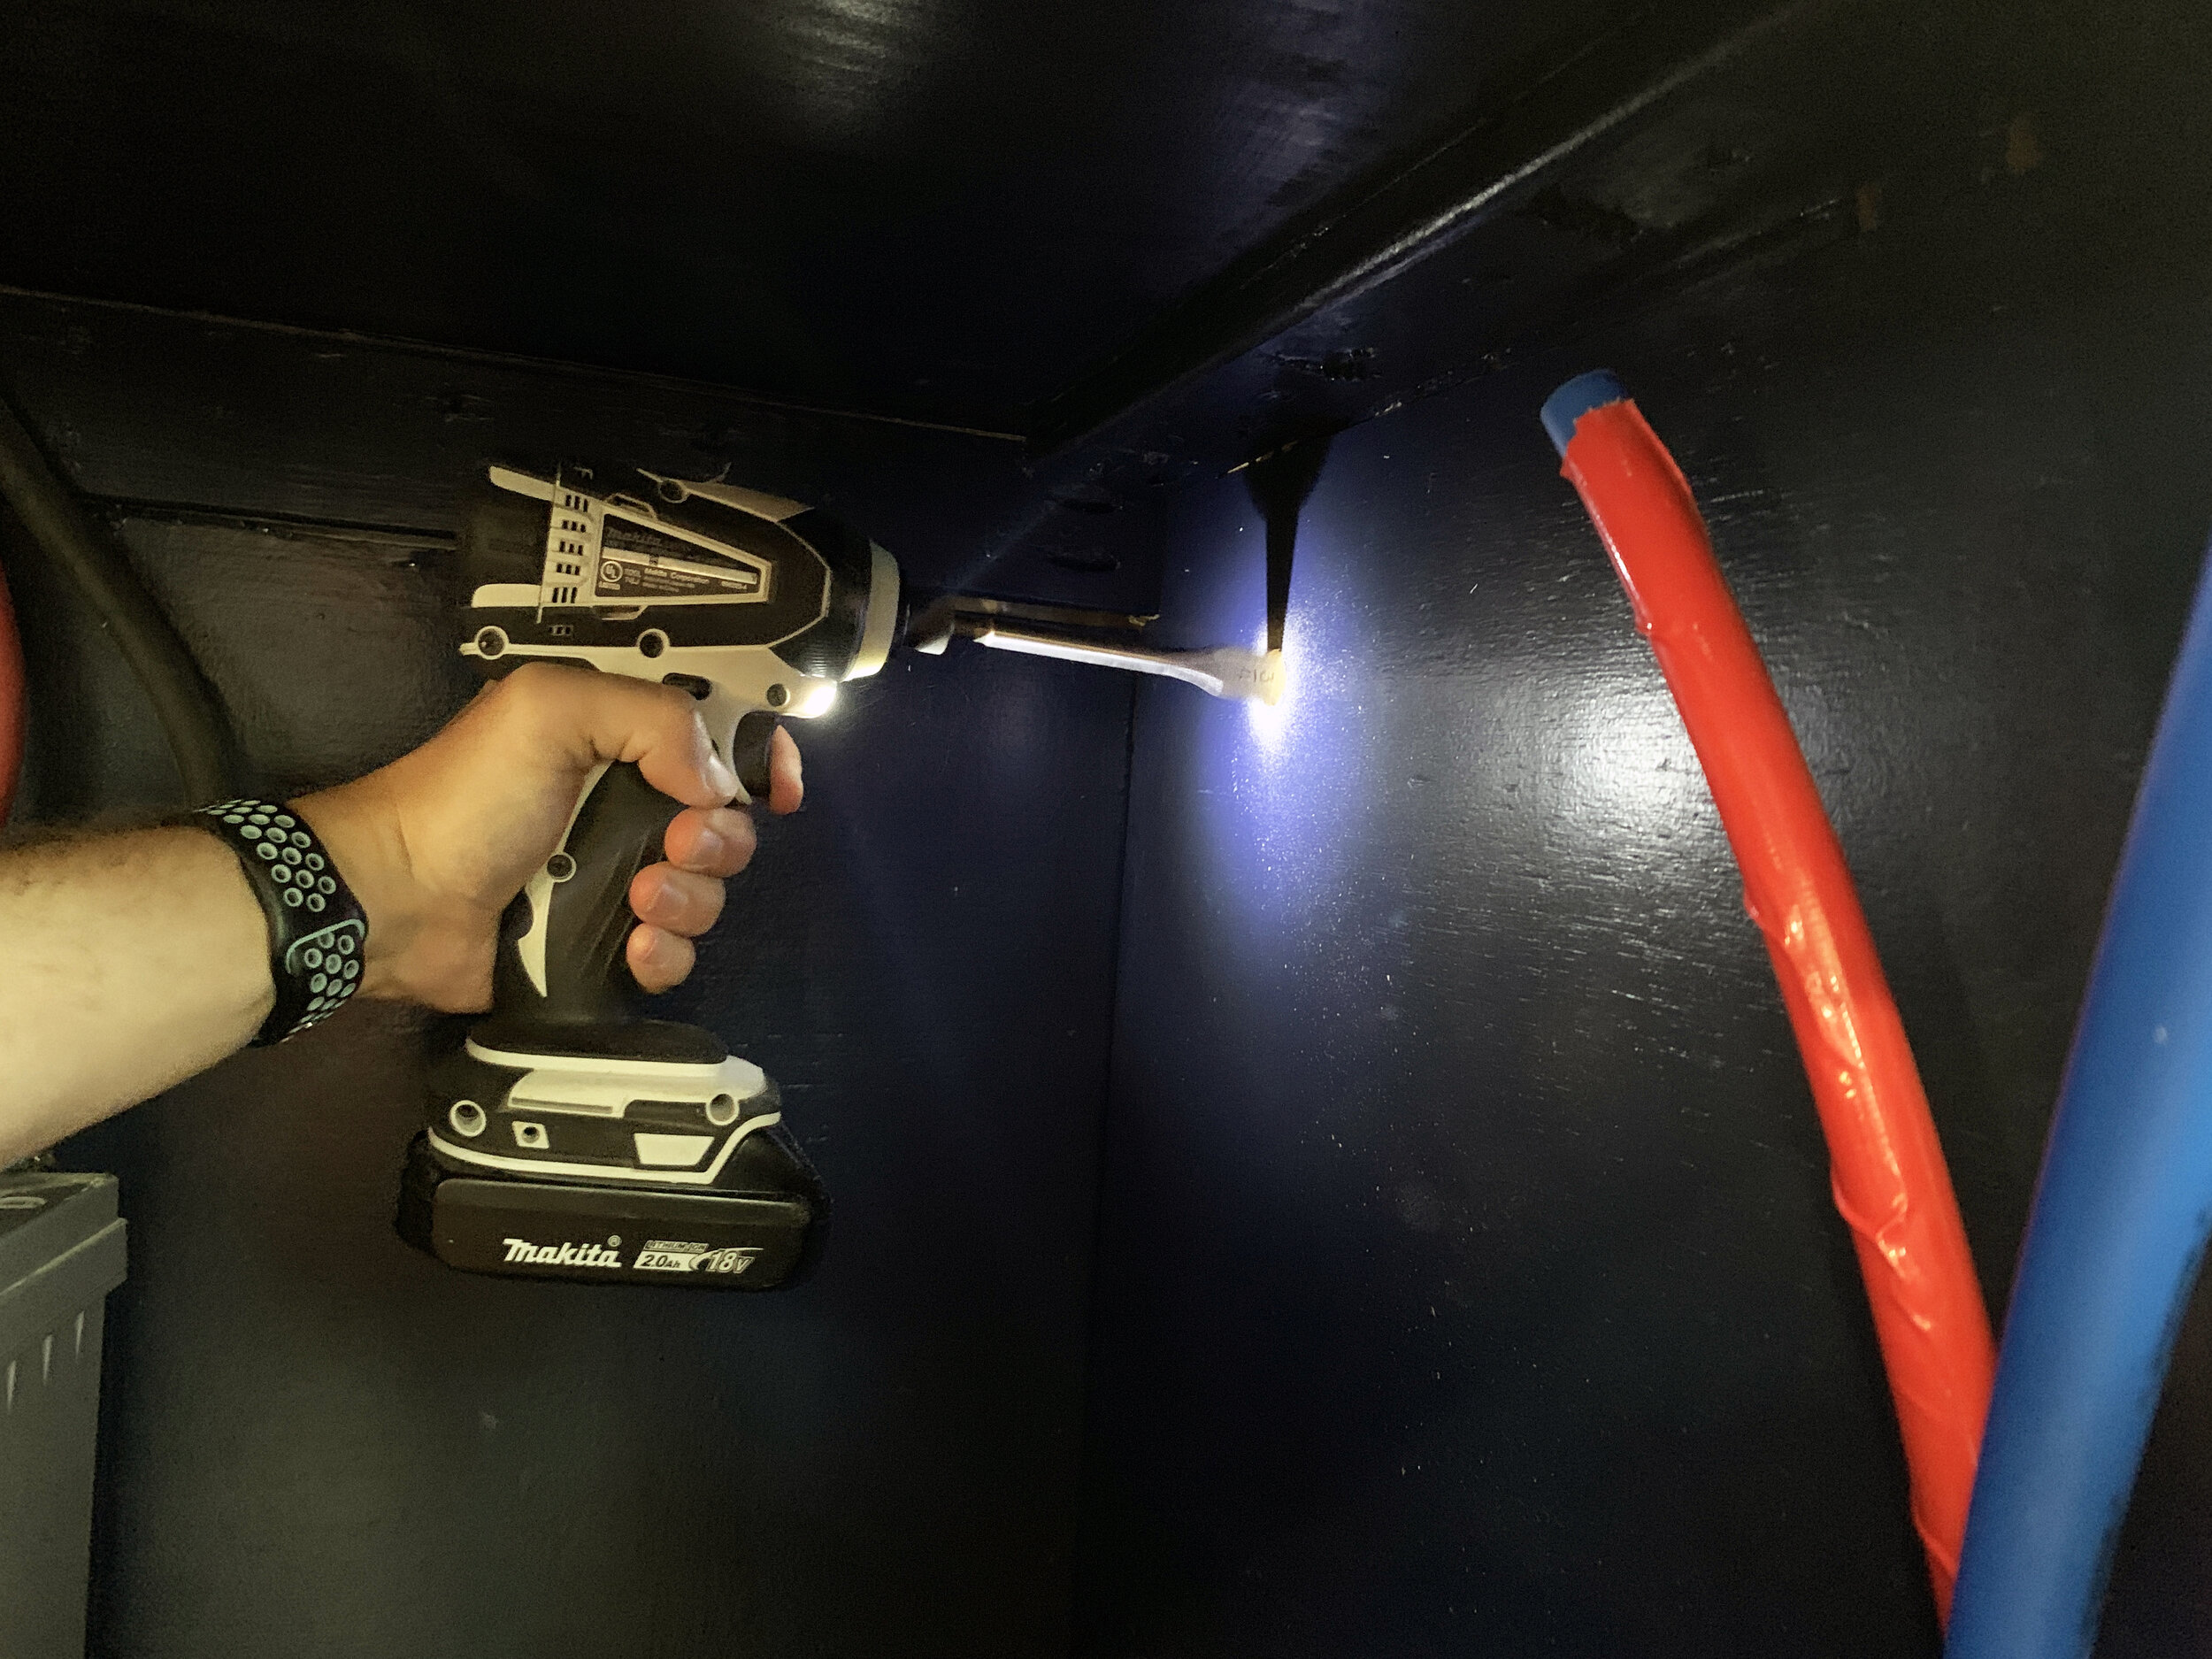
Really the most difficult parts of the install is getting the lengths of the PEX tubing correct so you don’t put strain on the connections, and strategically making the crimp ring connections so that you aren’t stuck at the end in a space where the crimping tool doesn’t fit.

To get our measurements right, we made sure to dry fit everything together in place before crimping the rings, then when ready, crimped almost all of the rings outside of the cabinet where we had more room to work. With the whole unit in the photo above crimped together outside of the cabinet, we screwed the elbow adapter fitting to the tank and made the final crimp on a connection toward the front of the cabinet where we had room to use the crimping tool.
Threaded screw-on connections
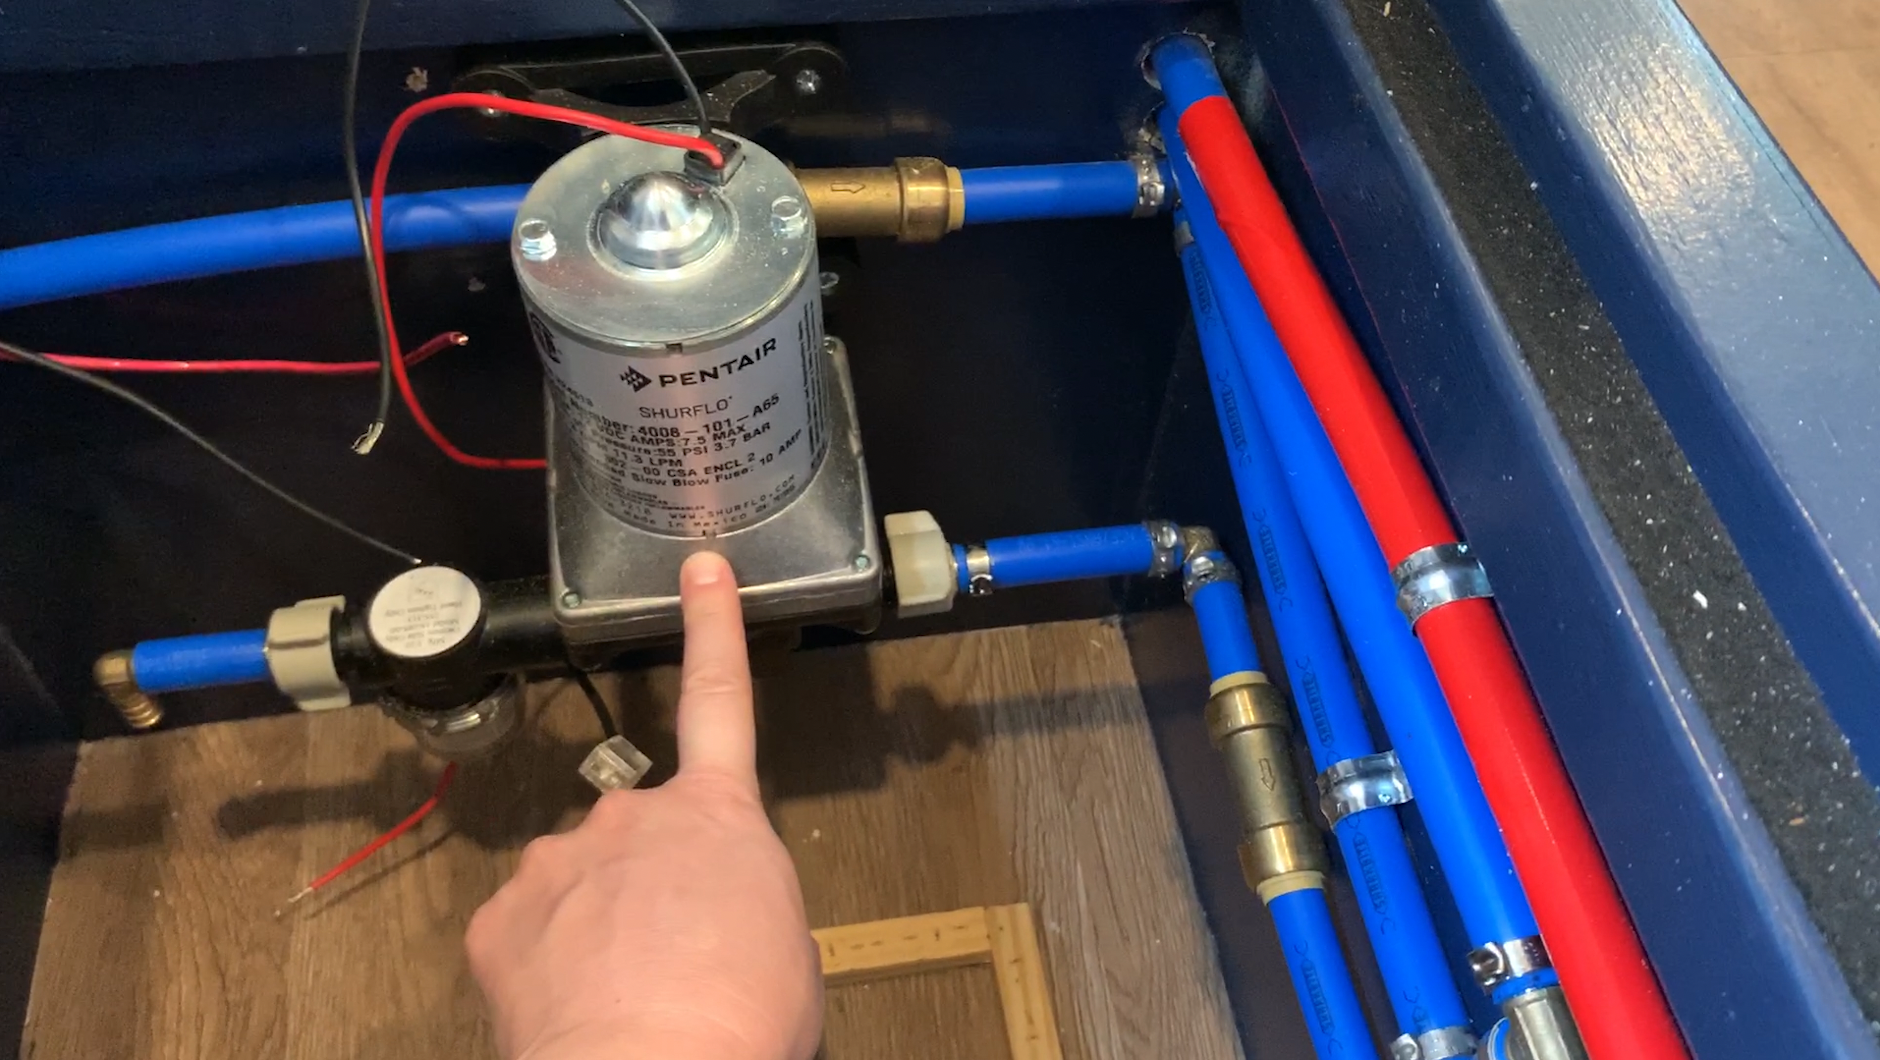
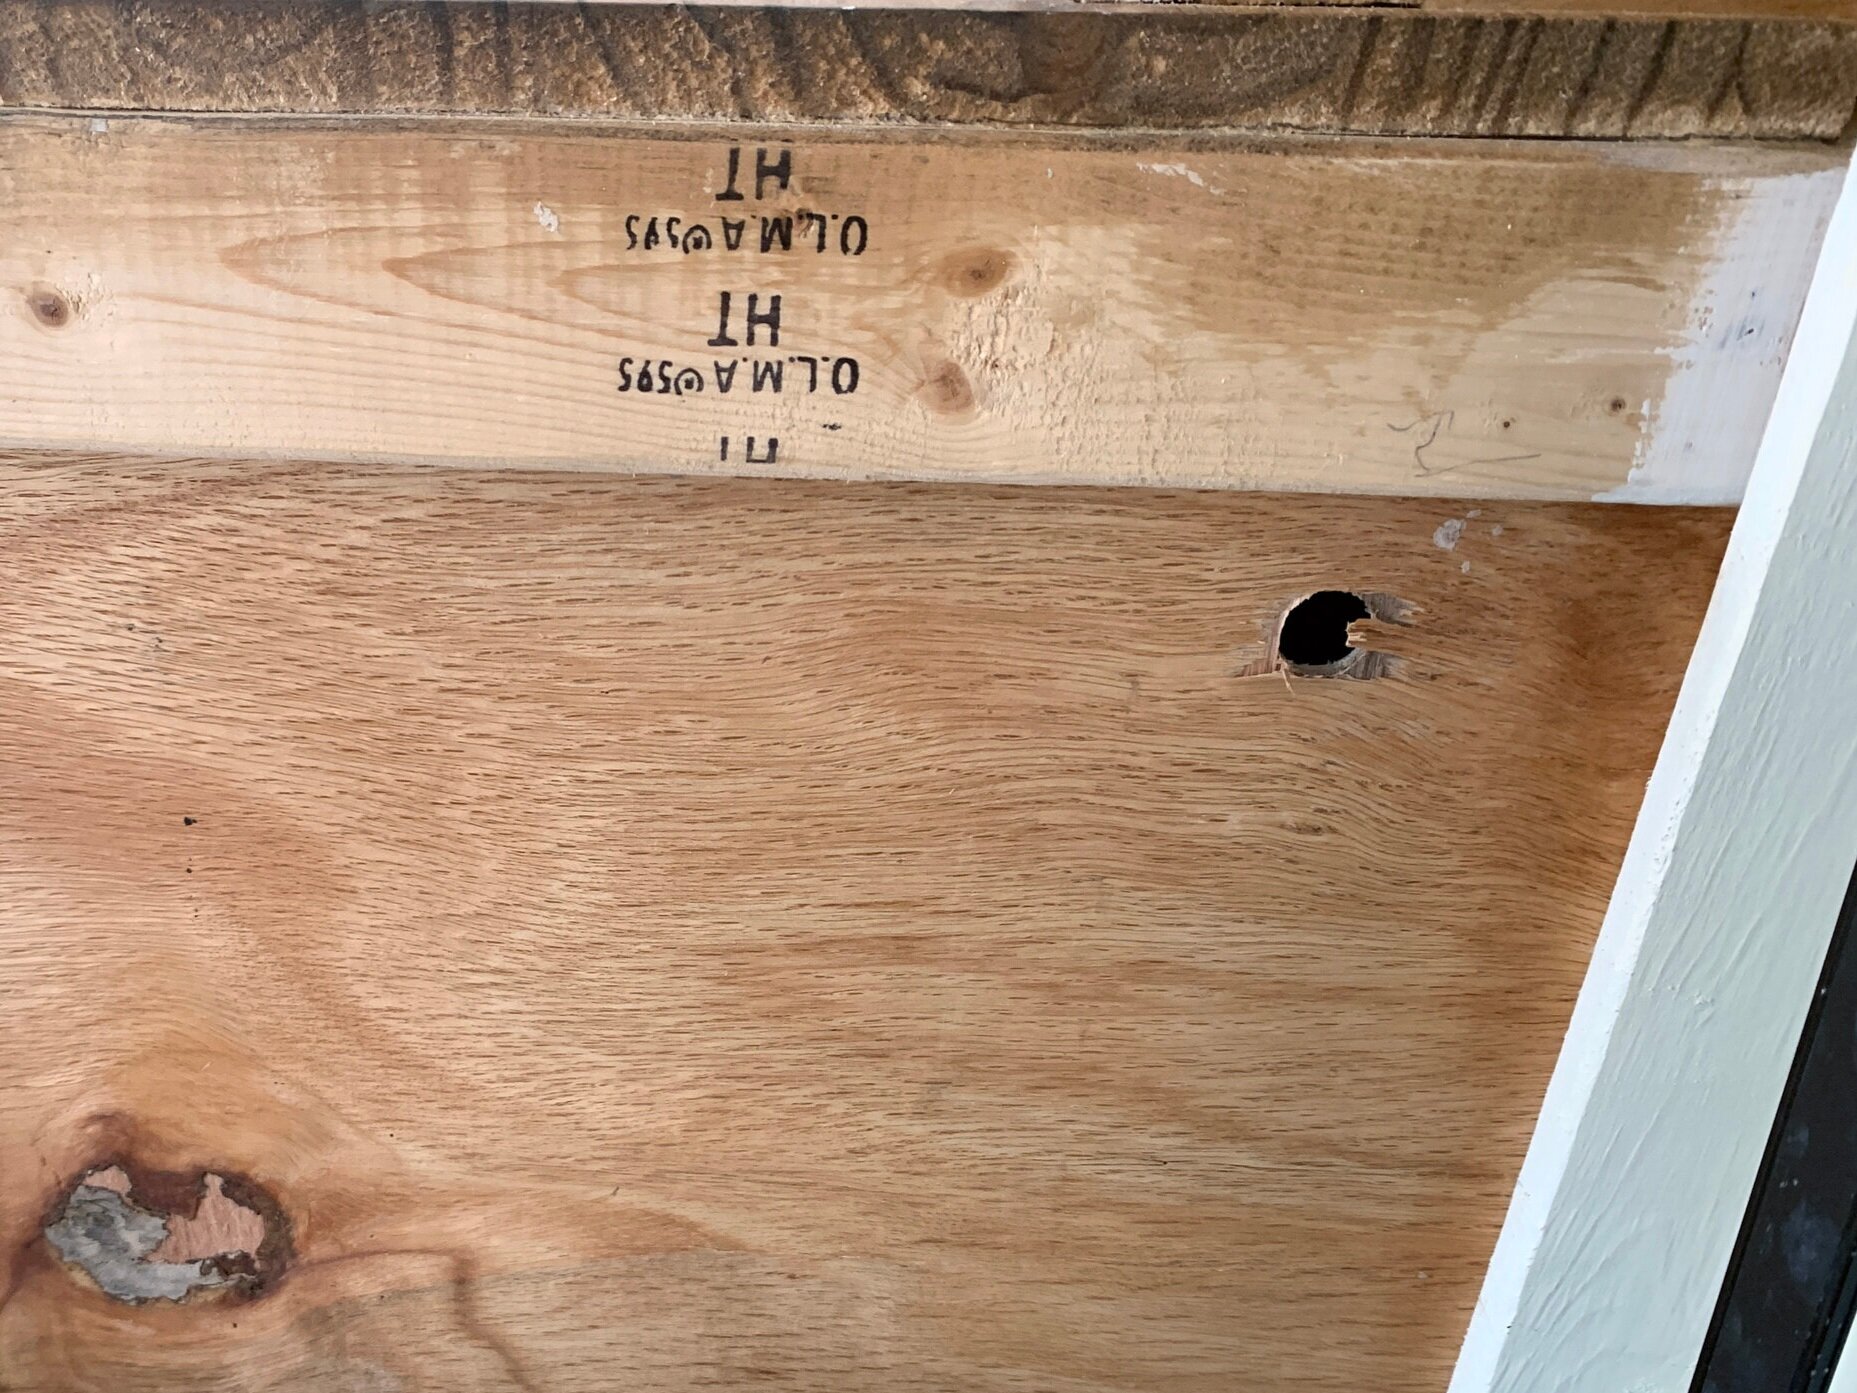
When connecting threaded metal components – like the water heater tank inlet and outlet – you want to use teflon plumbing tape to get a nice tight, waterproof seal. You can see in the photo below, how the connections look with the white tape (blue line) and without the white tape (red line). The blue connection with the tape is the correct one that will help you get a nice, leak-free connection.
Teflon tape tip
It works best to wrap the tape around the male side (the one that goes into the other one) of the threaded fitting in the direction you will be screwing – clockwise – so that you’re not accidentally unwrapping the tape as you turn the female fitting clockwise.
Remember: righty-tighty, lefty-loosey.

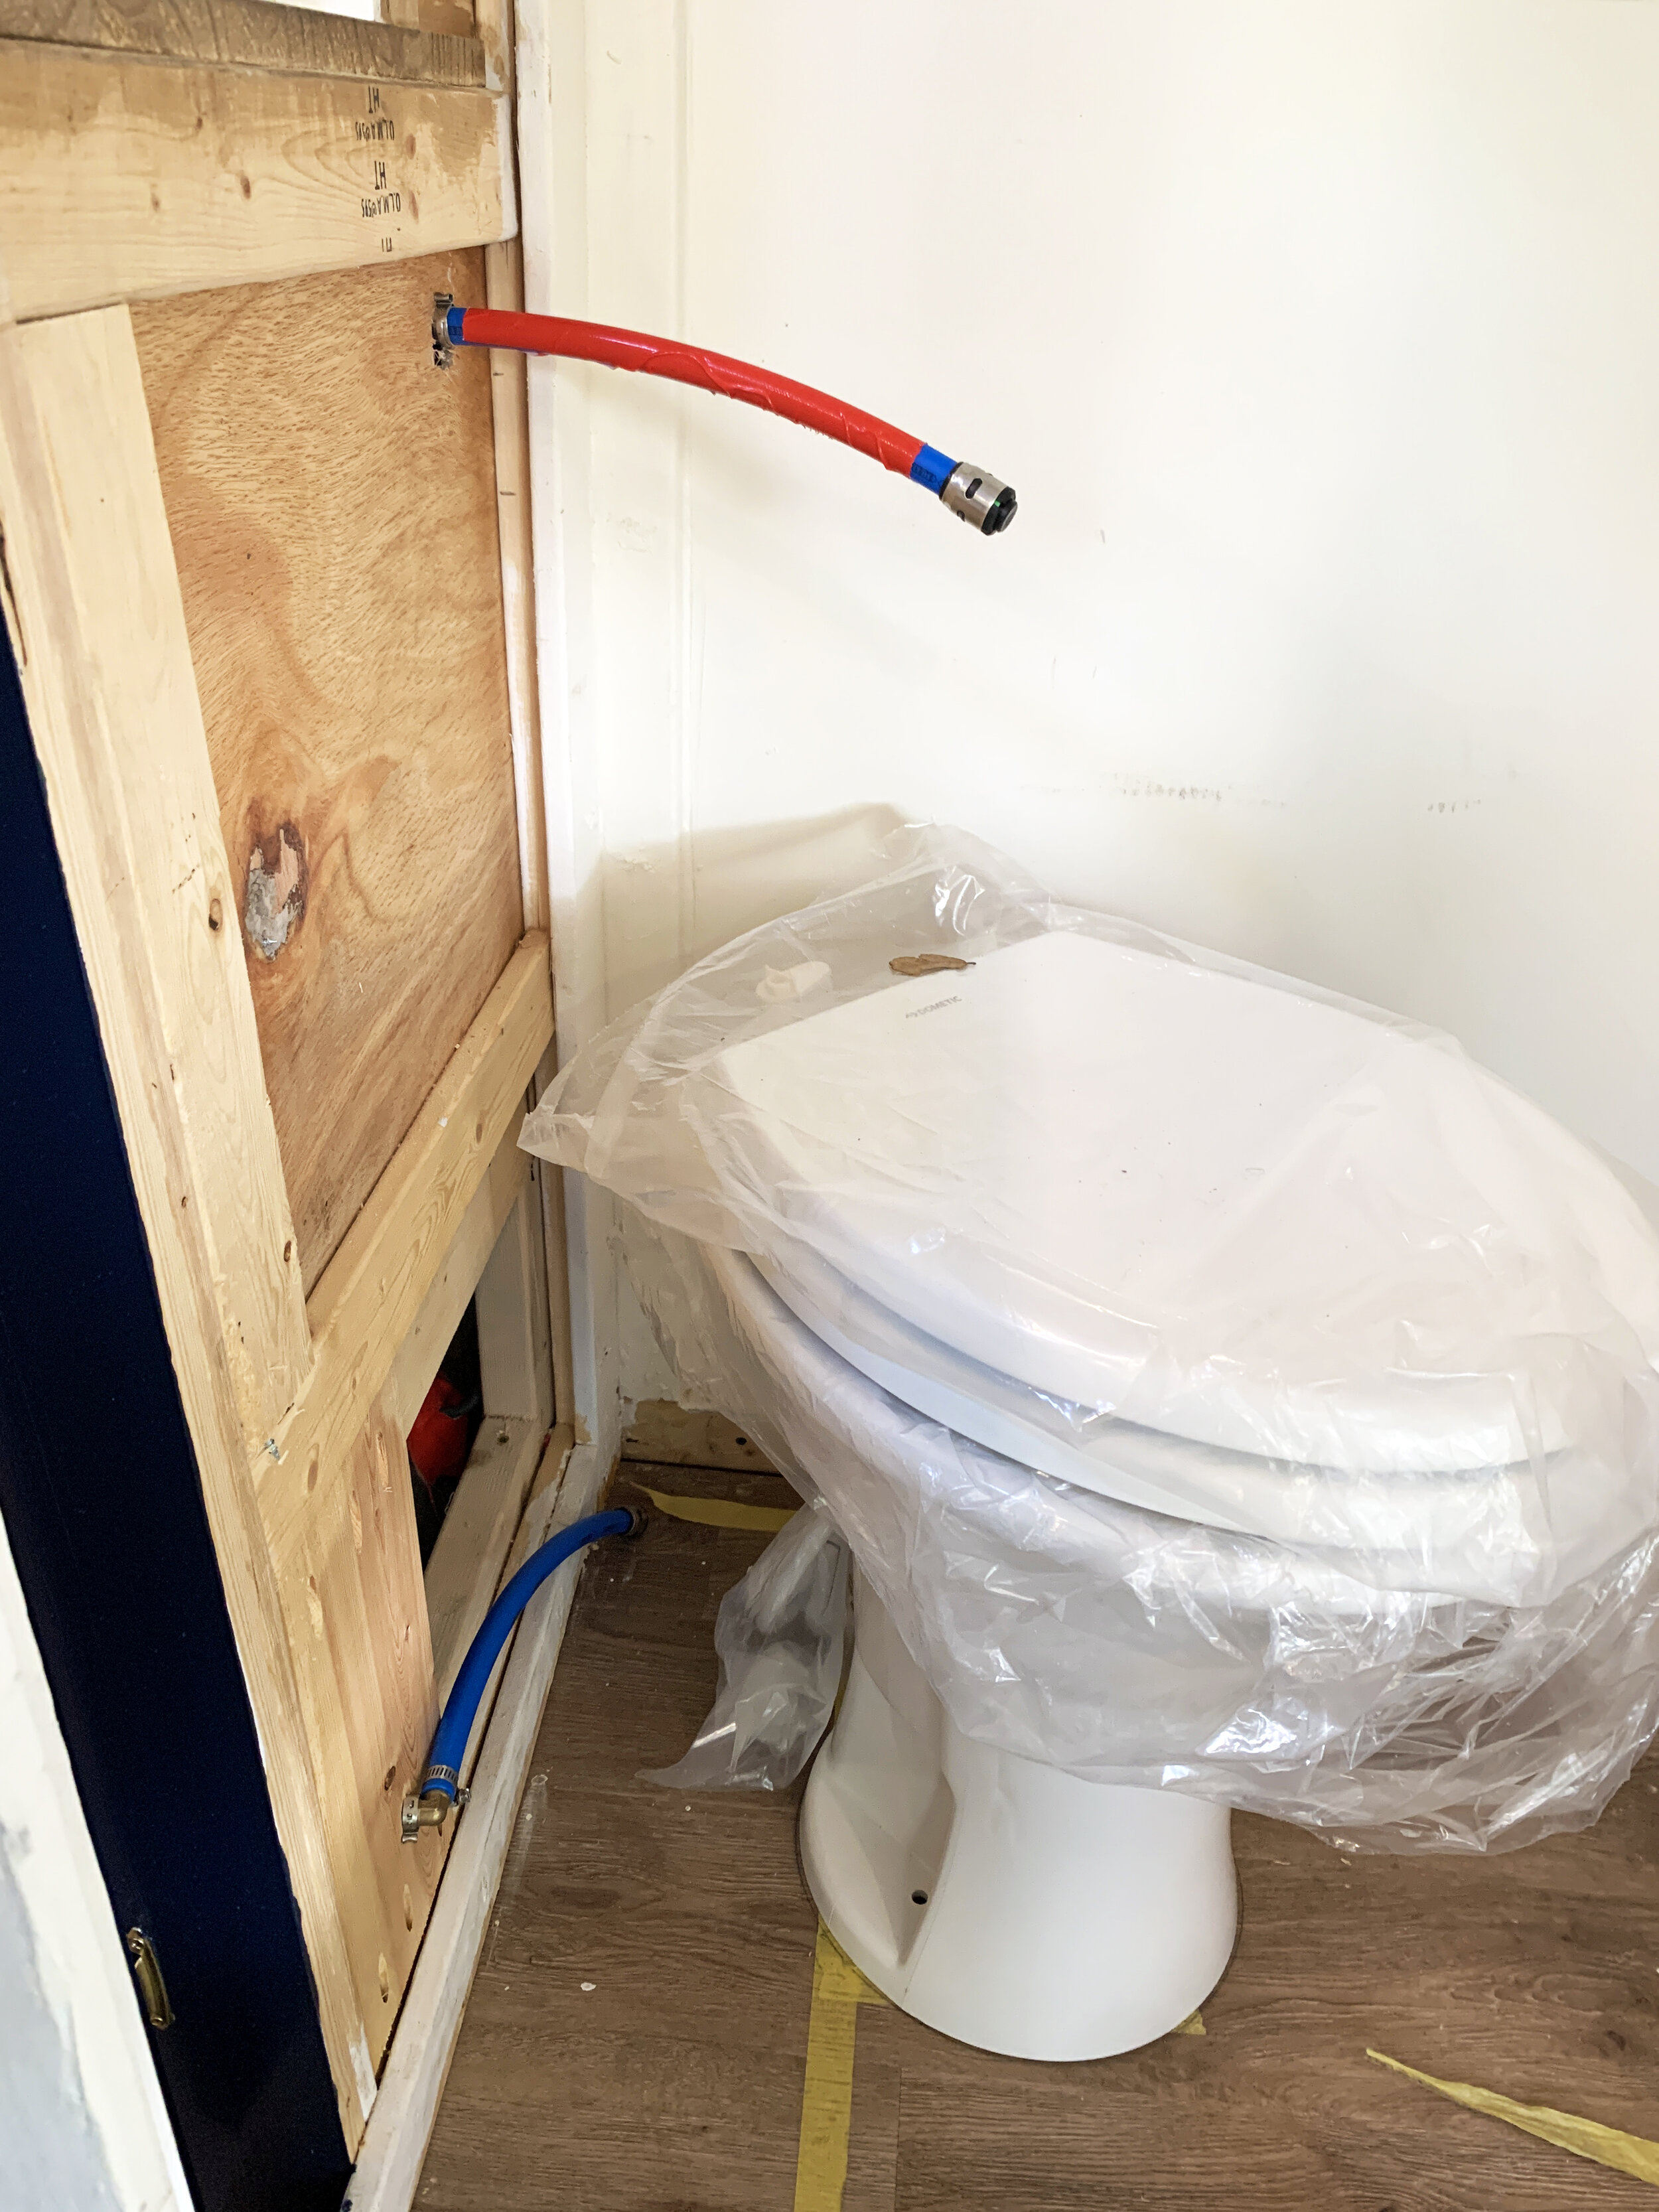
The water supply sending water to the water heater tank is the blue PEX line on the right, and the water that has been heated in the tank and is coming out from the water heater tank to our shower and sink is the red PEX line on the left. (The red PEX going through the cabinet is for the shower supply , and the red PEX line exiting the right side of the photo is the hot water supply for the kitchen sink.)
The one red PEX line from this out port on the water heater tank can go to as few or as many places as you need; you would just need to add various connectors somewhere in this red water line to have hot water going to each of your uses. For us, that means we have one T connector that splits our heated water line to the back of our shower (through the cabinet the water heater tank is in) and to our kitchen sink (doubling back through the electrical cabinet, through the U-shaped dinette bench and into the kitchen cabinet).
Water heater electrical
After plumbing, the included 36” electrical cord just needs to be plugged into a standard 120V outlet.

When plugged in and with the pressurized water source attached/fresh tank filled and with the pump on, the tank will fill and heat the water inside.
Making adjustments
Thankfully we didn’t need to do anything else on our tank after the above install, though if you do, there is a thermostat dial on the front to adjust the temperature setting.

We do still have some aesthetic things to do in this cabinet – painting the wooden tray trim (if we don’t reinstall them completely using nails instead of screws for a cleaner look…) and securing the electrical cord so it’s not saggy underneath the shelf lip – but that’s really it for the install. It just sits right next to our battery underneath the counter, ready and waiting for us to use it.
So far, we’ve used it for one freezing three-day camping trip and it worked great!
More plumbing stuff to come
Since there are so many (related, but different) parts to plumbing a vintage camper from scratch we’ll cover it all in upcoming broken out posts, like:
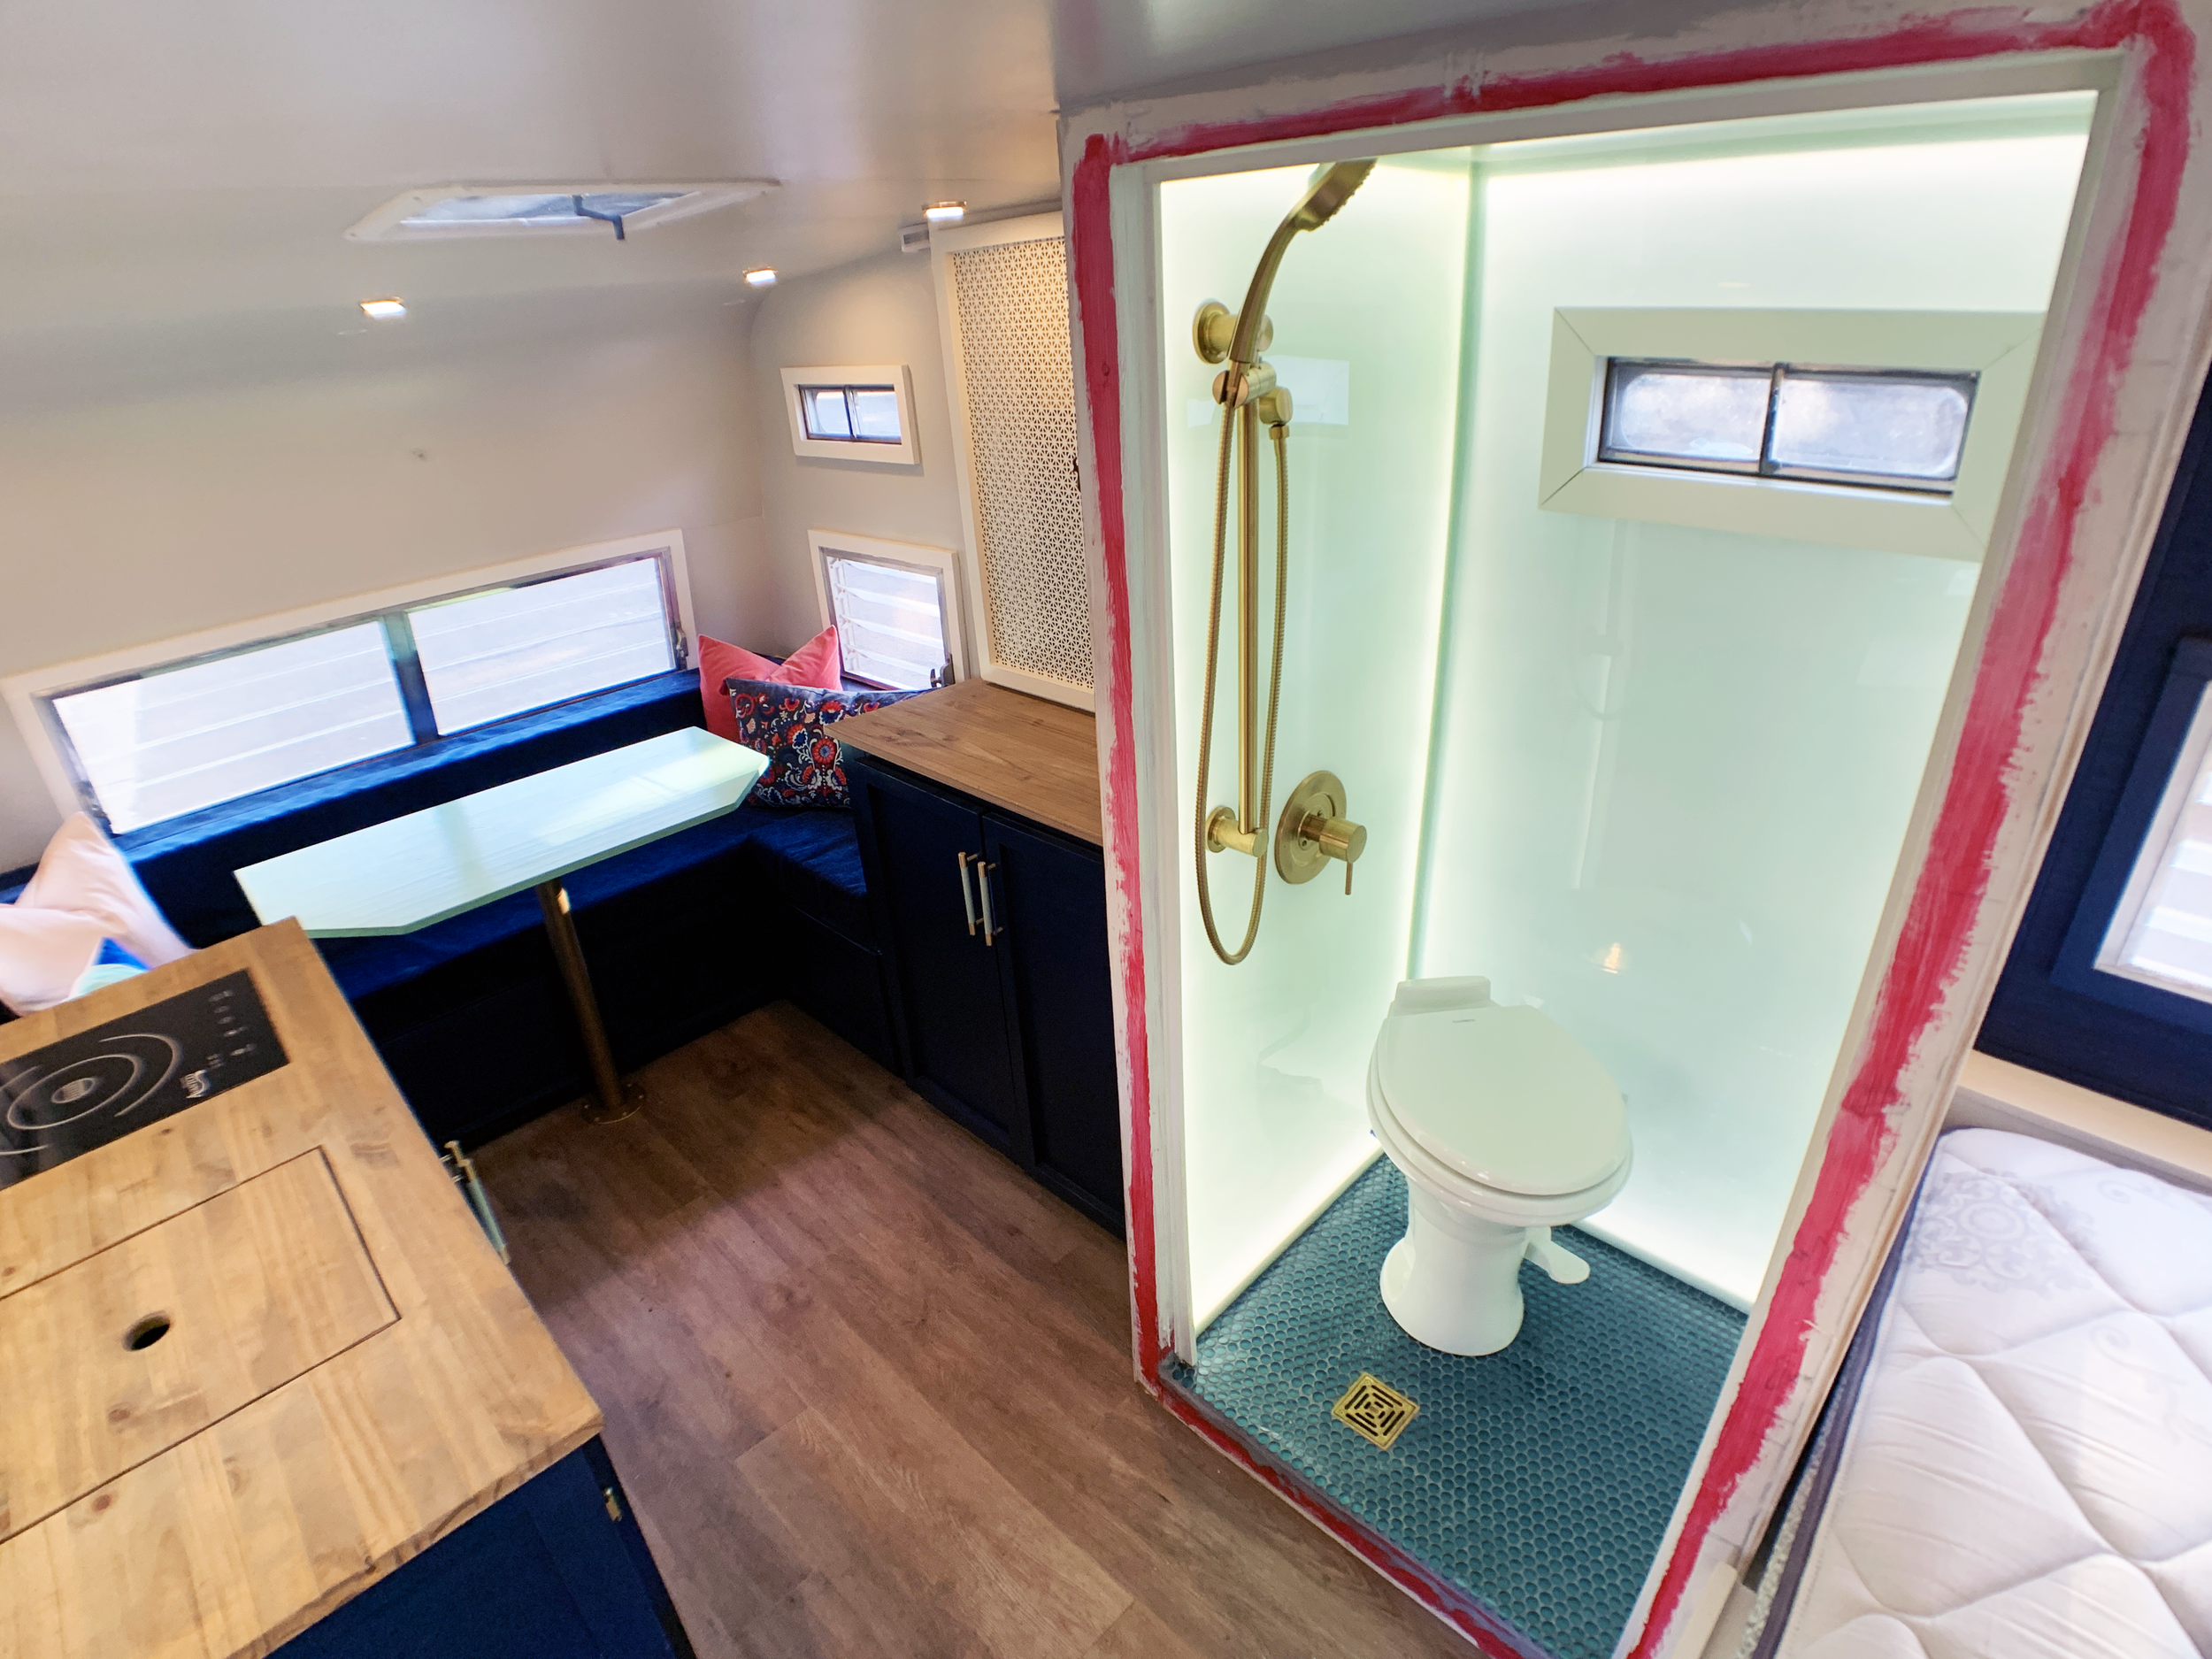
Building our wet bath from scratch – which includes making a custom shower pan/bathroom floor that can be used in a flexible moving space, waterproofing the interior, lighting the space and plumbing the toilet and shower drains to go to the black waste and gray water tanks housed underneath the floor.
A how-to on plumbing connections – PEX fittings, flex tubing and the tools and tricks we learned during our installs
Powering and protecting the 12V water pump
Plumbing our kitchen sink
How we attached our own watertight tank fittings – complete with two fails and what definitely not to do
Plumbing the toilet
Plumbing the shower
Installing a hidden exterior water spigot