The Cameo Camper Renovation: Sink + Stove Install
Hey y’all! We’re back for part four in our camper cabinet series which will cover how we installed our under-mount sink – complete with lid – and our glass-top induction stove so it can make one long stretch of smooth uninterrupted countertop when they’re not in use. Parts 1-3 can be found here:

Please forgive the back and forth in these photos. If you remember (or just checked out the series above) this is what the counters looked like when we started planning for the sink/stove install. We decided to cut our holes, then stain the counters so we could stain the top and our cut edges all at the same time, helping eliminate any weird overlap if we got any wet stain on top of already dried stain while trying to stain just the cuts later. (Boy, can we say stain any more?)
Even though you’ve already seen what the counter looks like with holes for both the sink and stove in the previous post, we’re going to share how we planned, cut and finished them in this post.

Installing the under-mount Sink
Our sink shopping list
This 13x15” stainless steel sink — we love it so much. It’s reasonably priced, especially for being such amazing quality, and it comes with a metal gridded rack for the inside, a drain stopper, strainer, rag to clean it, a caddy, and clips and a template for installation. Be still my heart.
1” wood screws
Silicone
Tape measure + level/ruler + pencil – for marking placement
Circular saw
Jigsaw
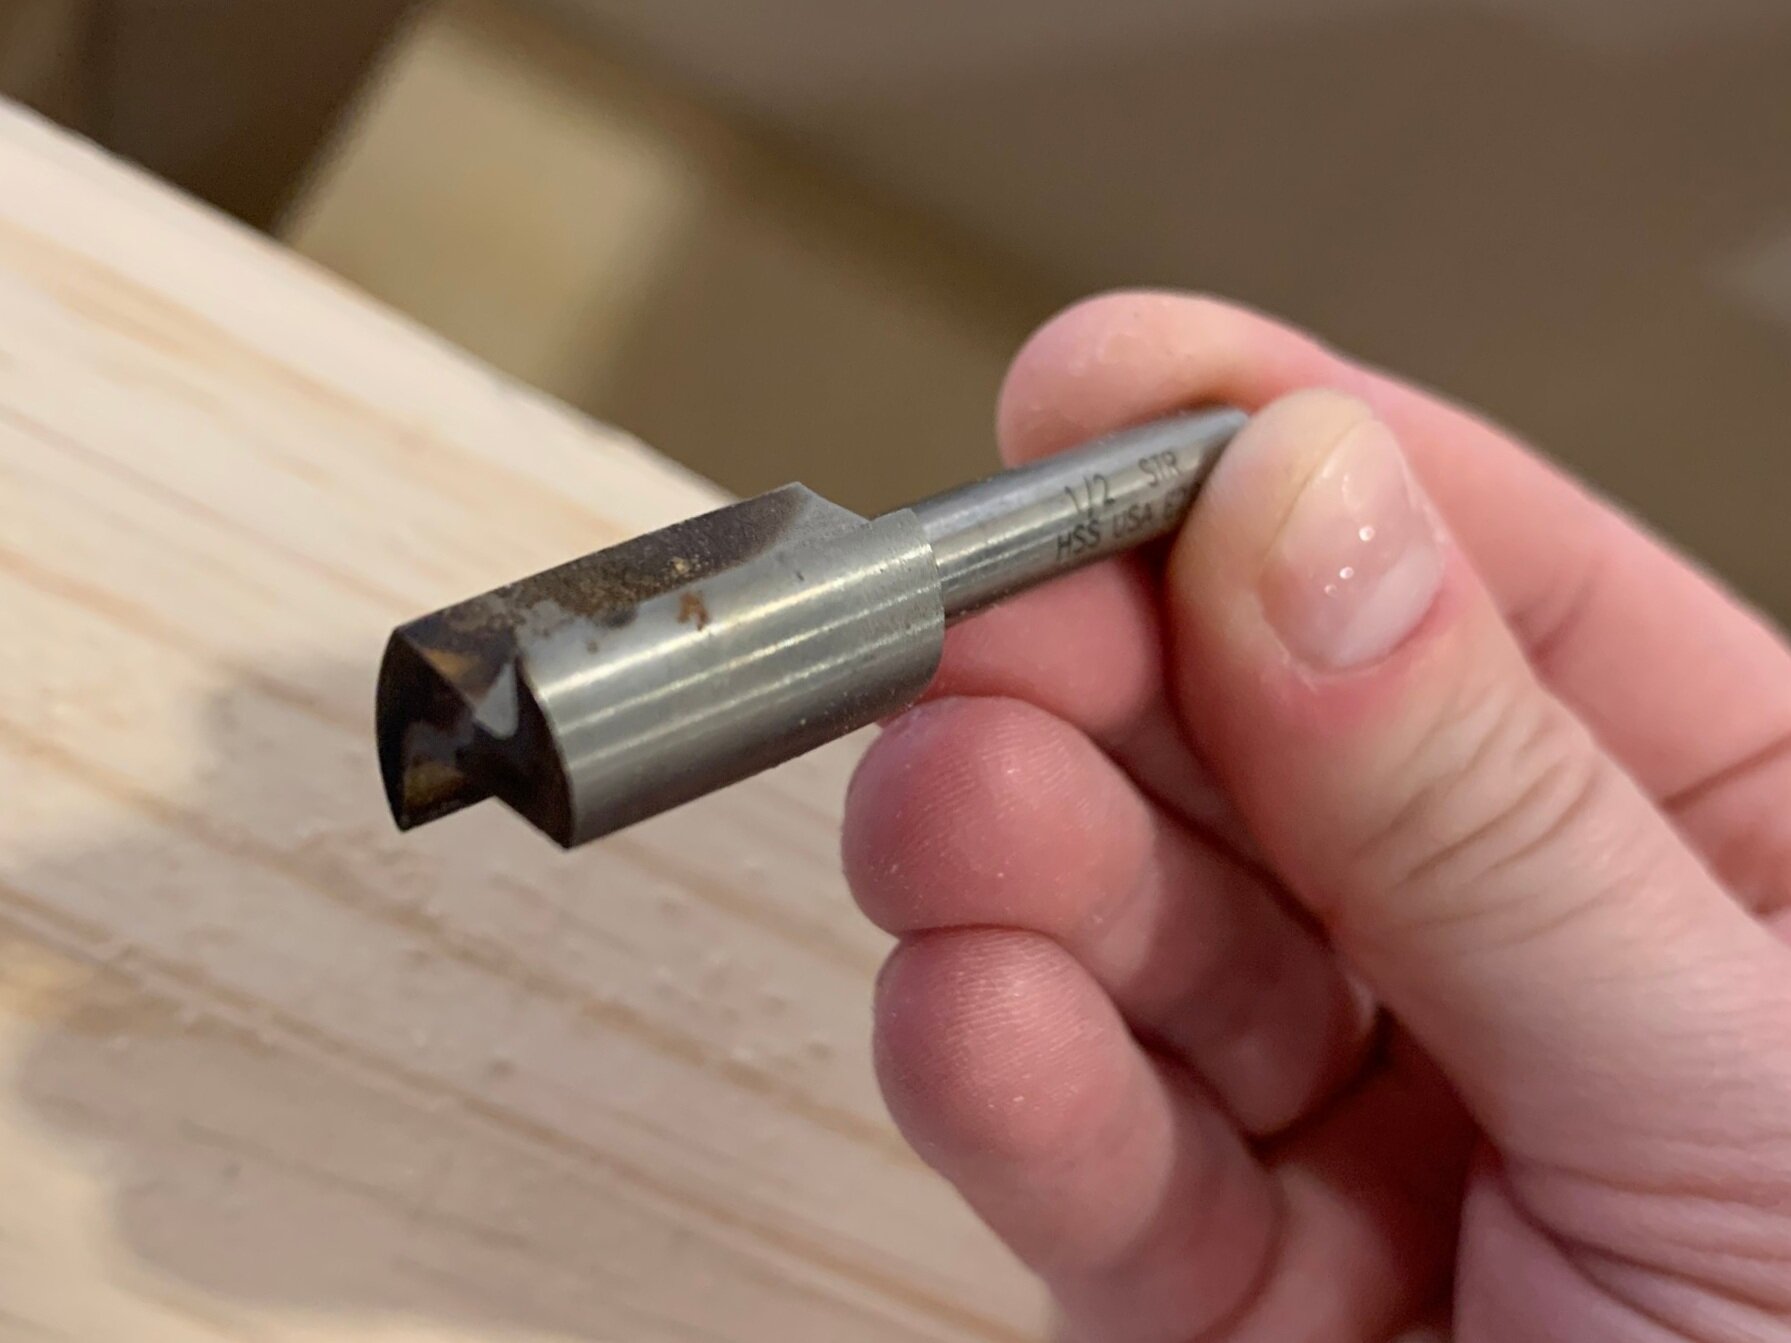
Drill + 1.25” hole saw drill bit – to make the finger hole in the lid
Sander + sandpaper
Stain
Paint thinner/mineral spirits + putty knife + rags – to clean up silicone
Finding sink placement
First we found our left to right placement, using the provided sink template and our window as a guide. We marked the center of window and carried it down (lightly) to the counter top. We measured and marked center on our template, then lined it up with our centered window line.
Before we officially taped down our sink template, we used our faucet handle to determine the front to back placement of the sink. We needed the handle to be able to go all the way back without hitting the wall so we’d have full range of hot and cold water. Then we measured and marked the minimum distance from the front counter edge so we wouldn’t accidentally drill into cabinet face, making sure to leave enough distance from the cabinet front for the sink clips too.
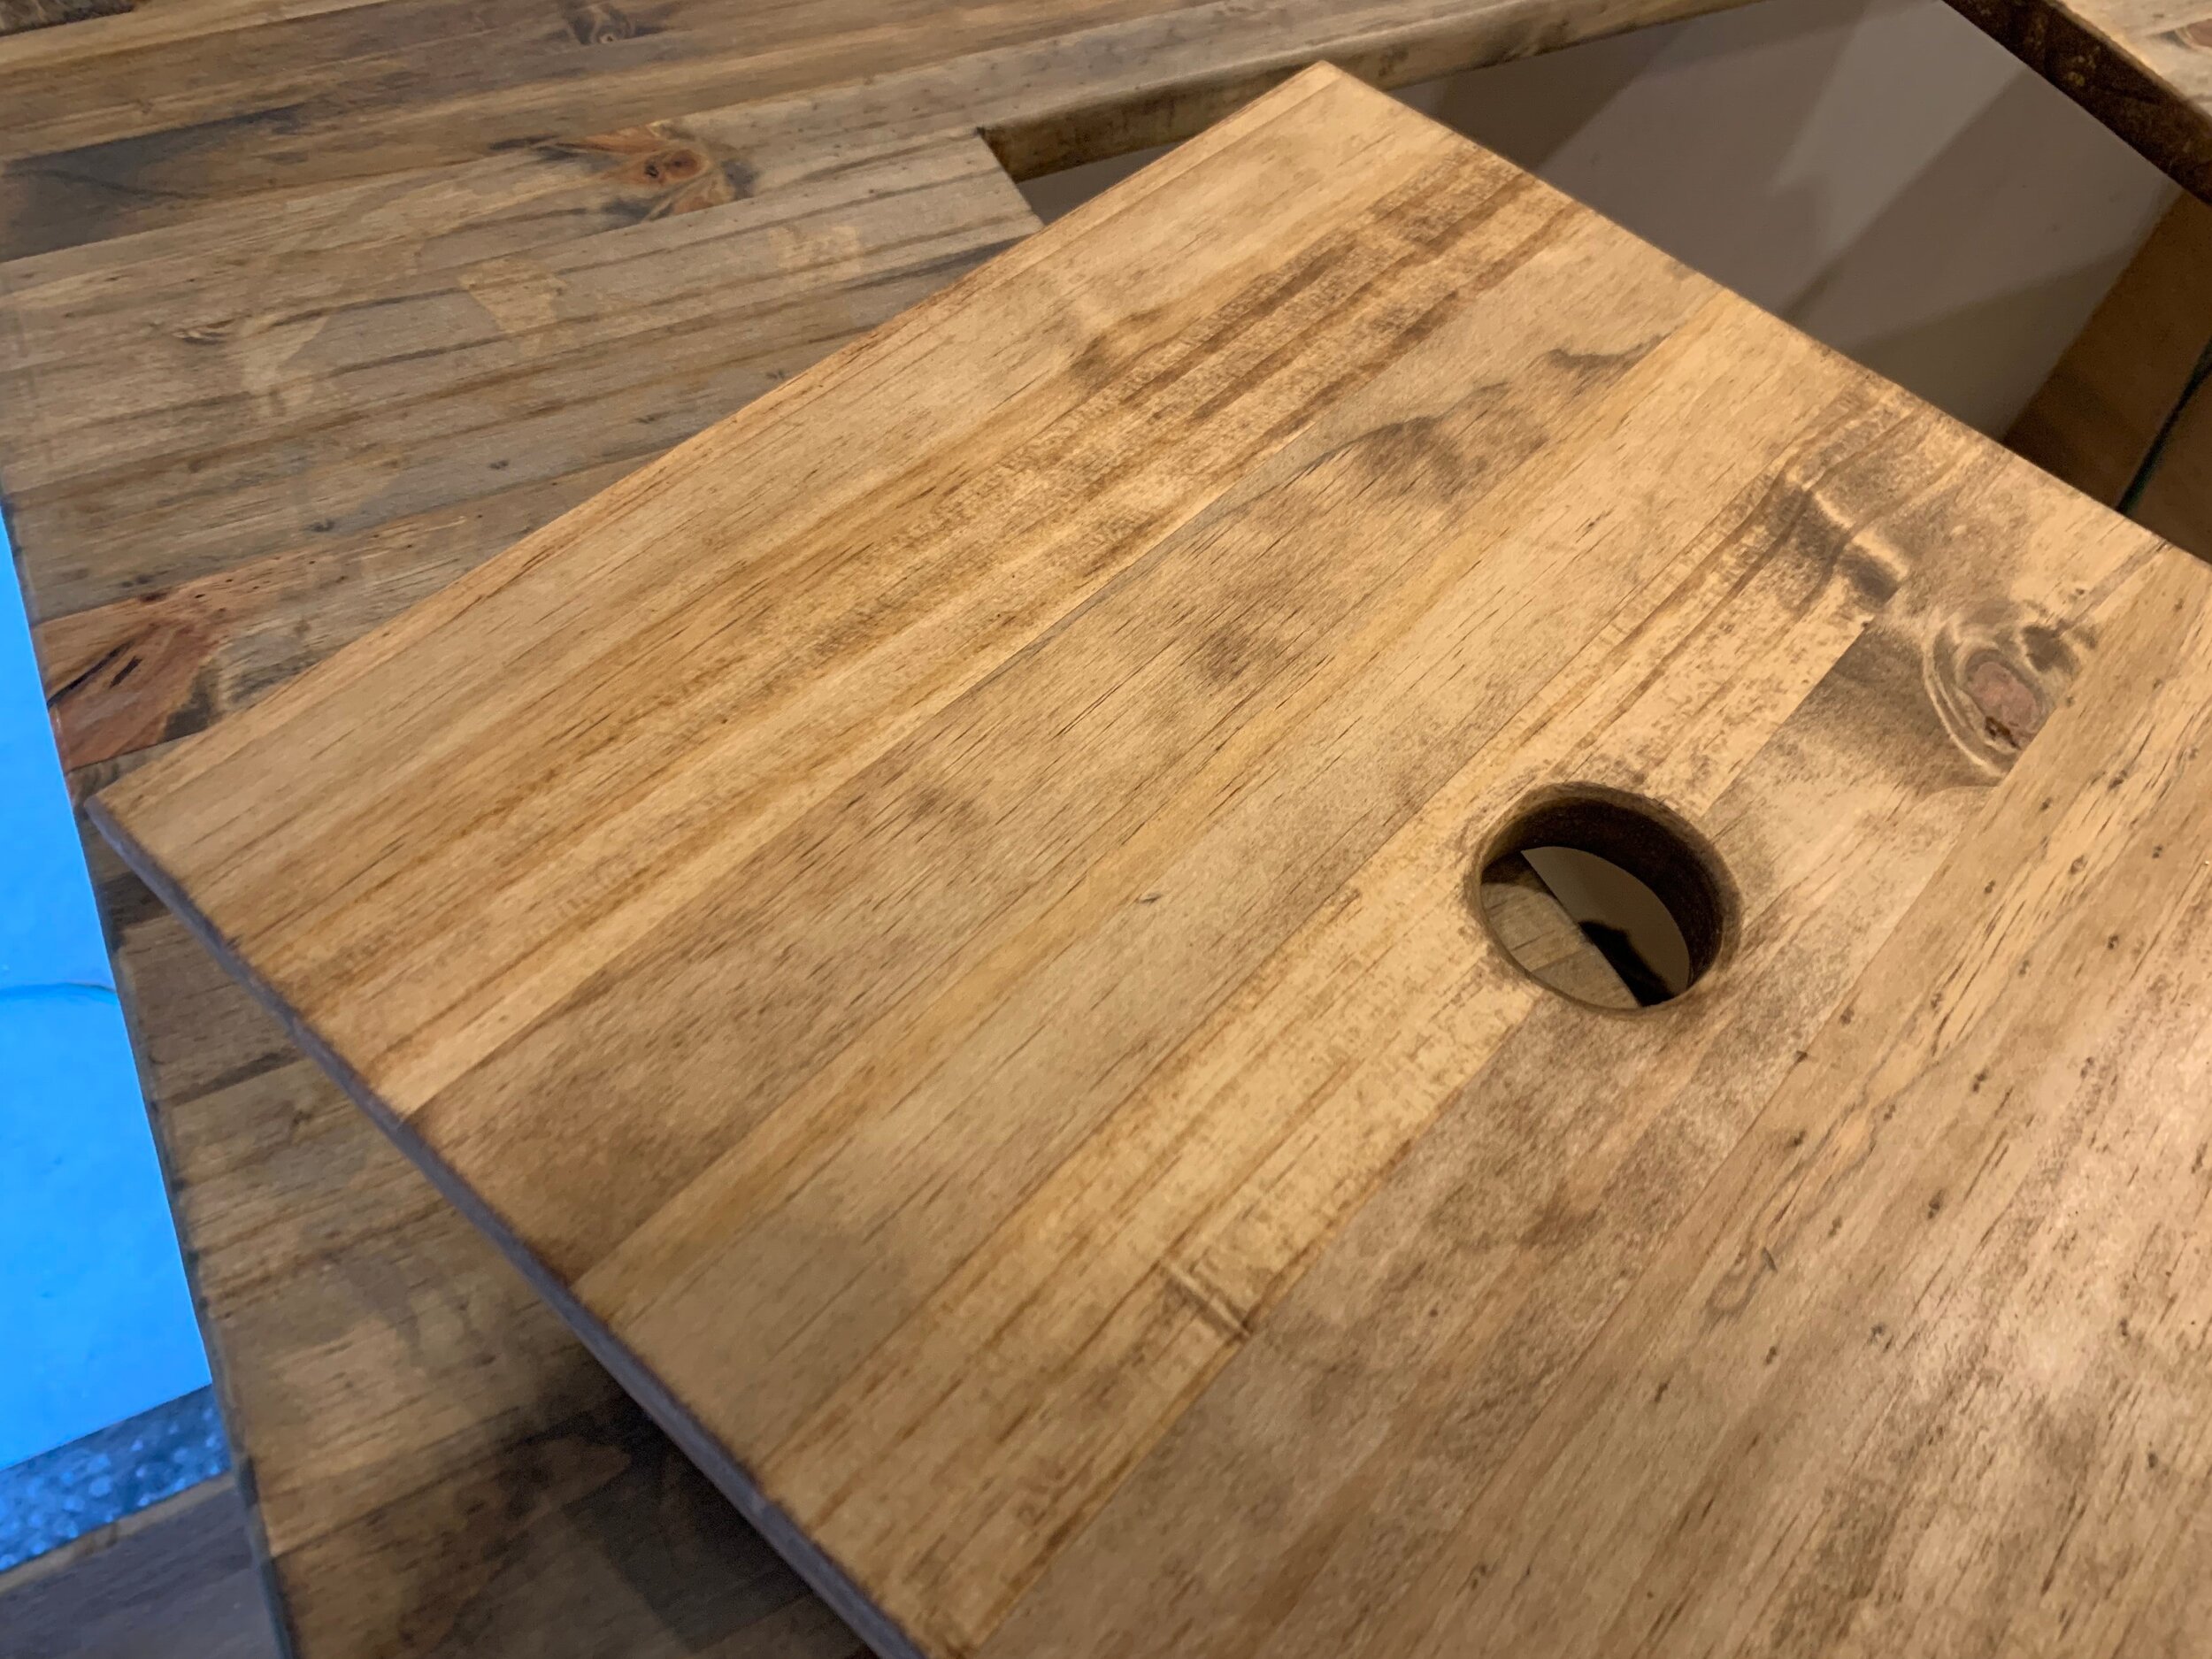
Because our sink was designed to be under-mounted so that the inside walls of the sink are in line with the cut edge of the countertop, we had to make some adjustments to the template. As we traced out the template, we added 1/2” (half the width of the flange size) to each side, making the hole 1” bigger in both width and length than our template, so we’d be able to use the exposed portion of the sink flange to hold the lid.

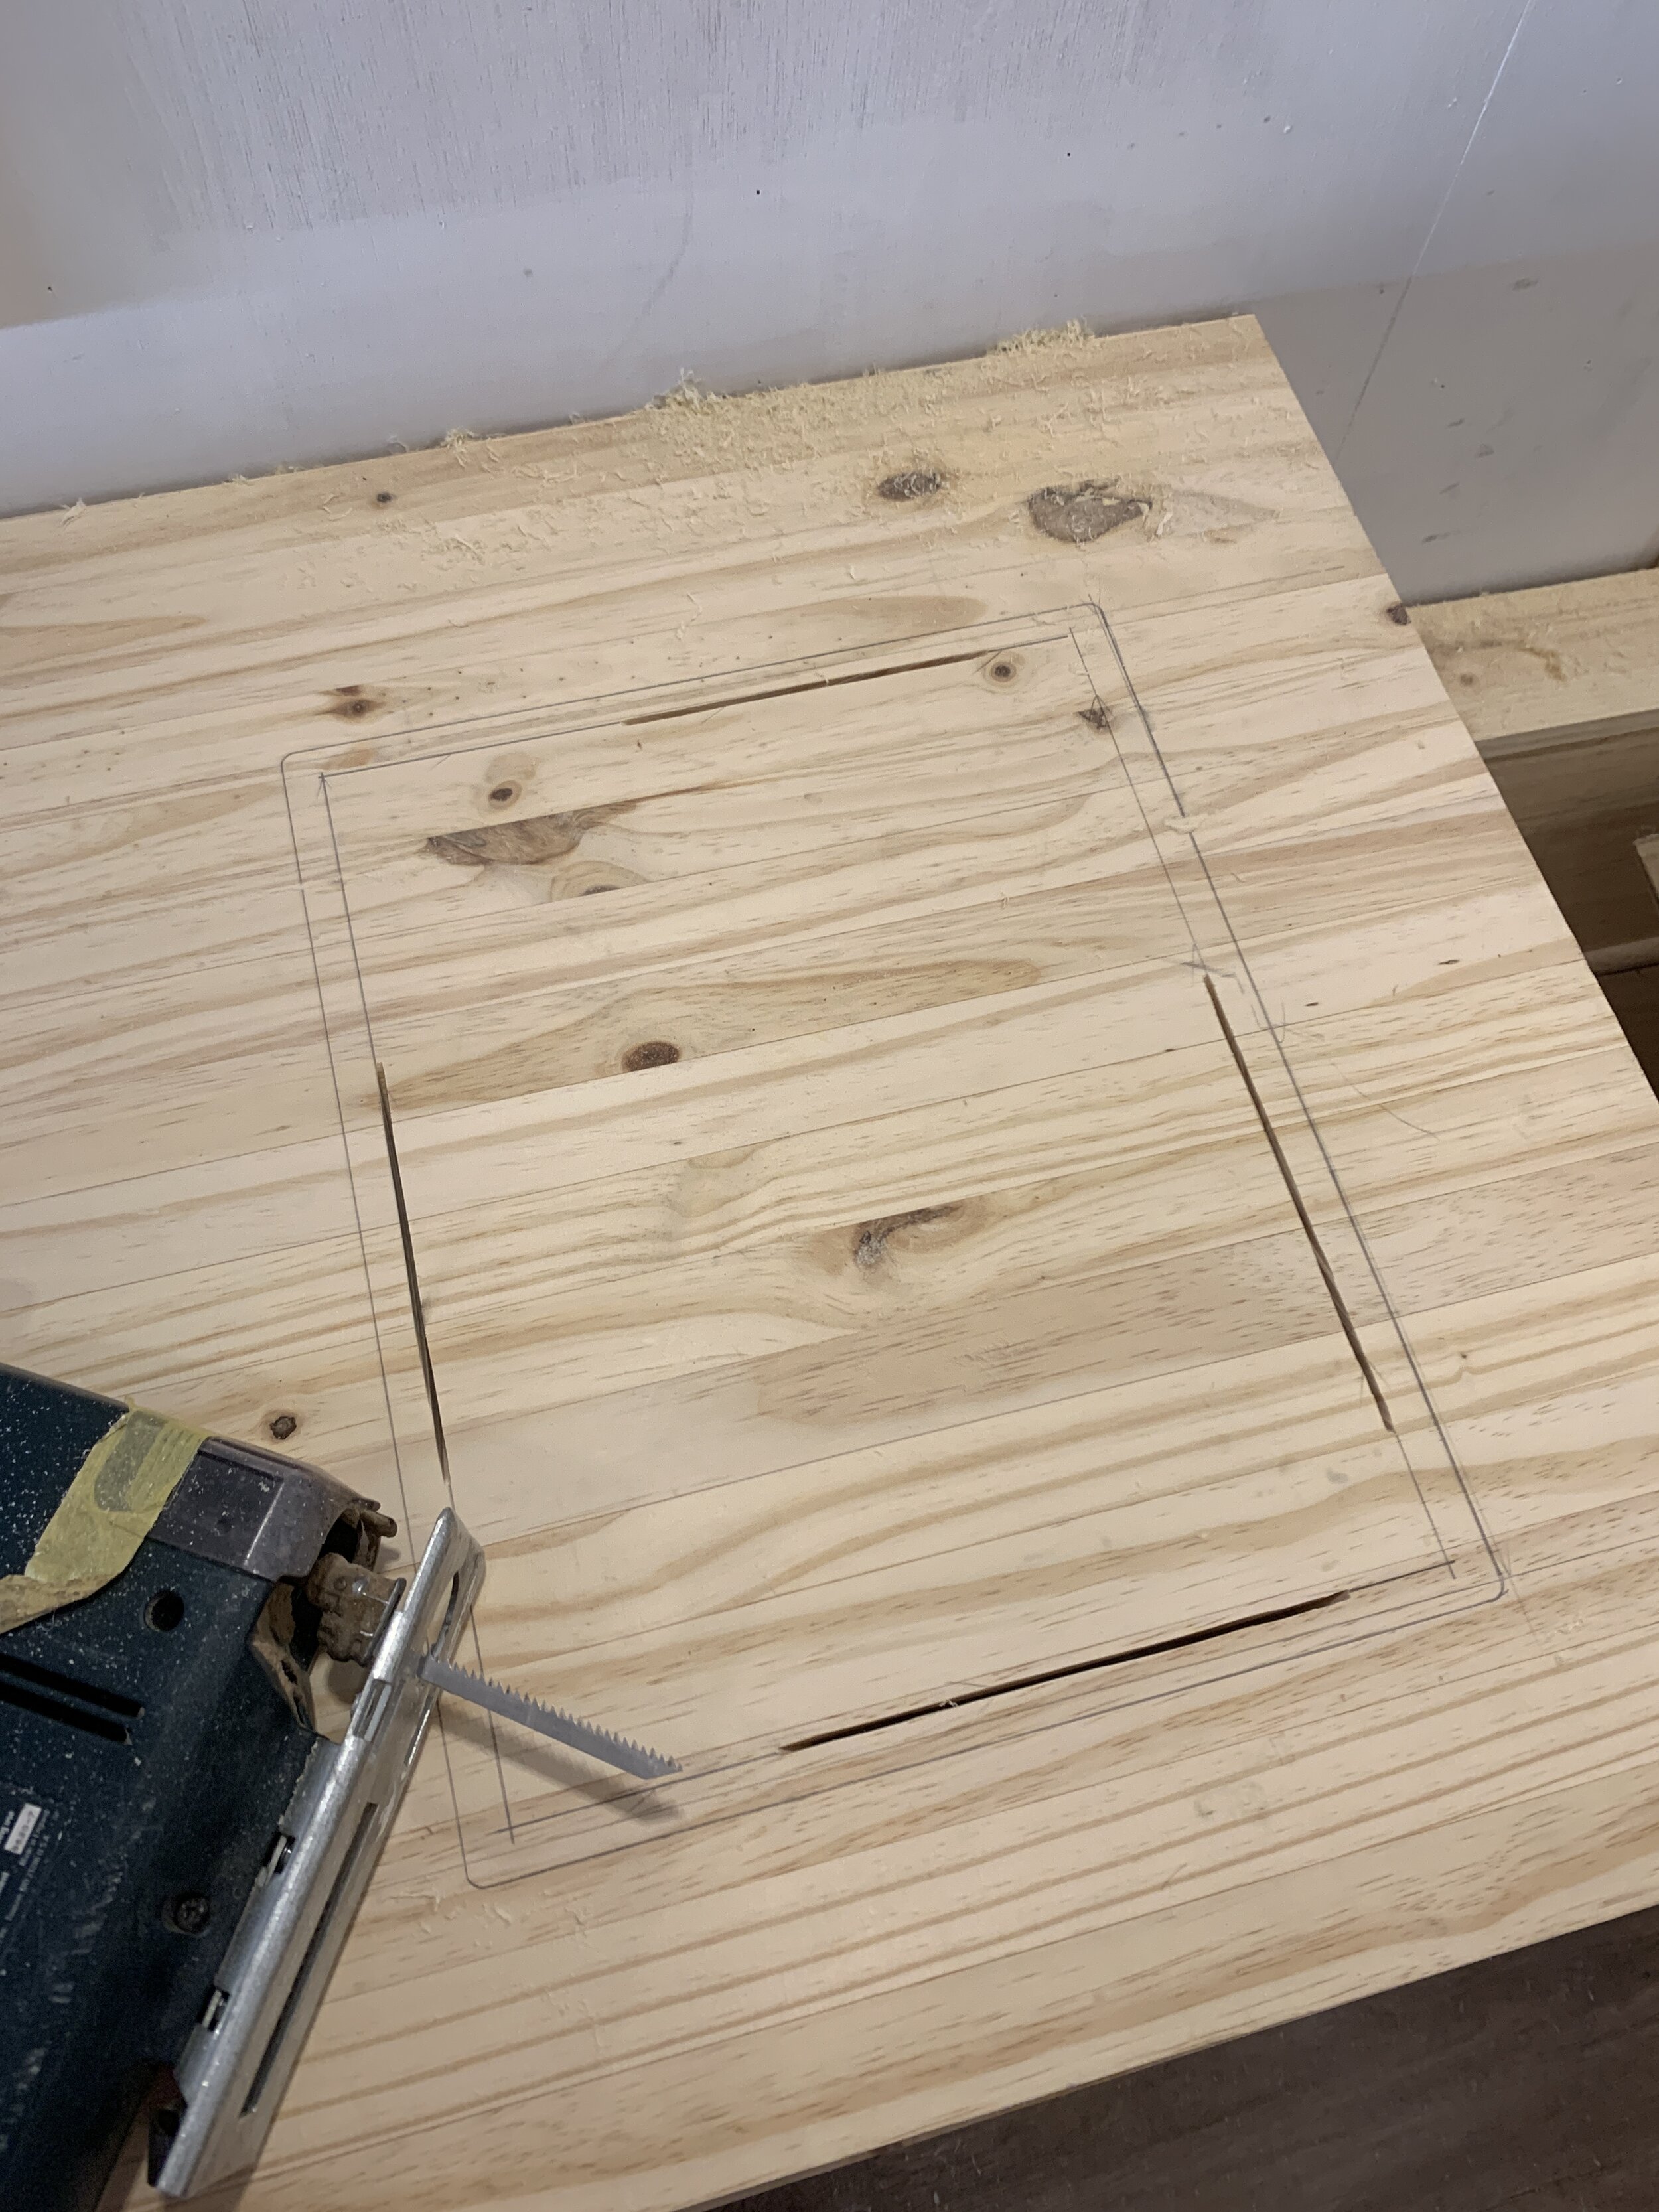
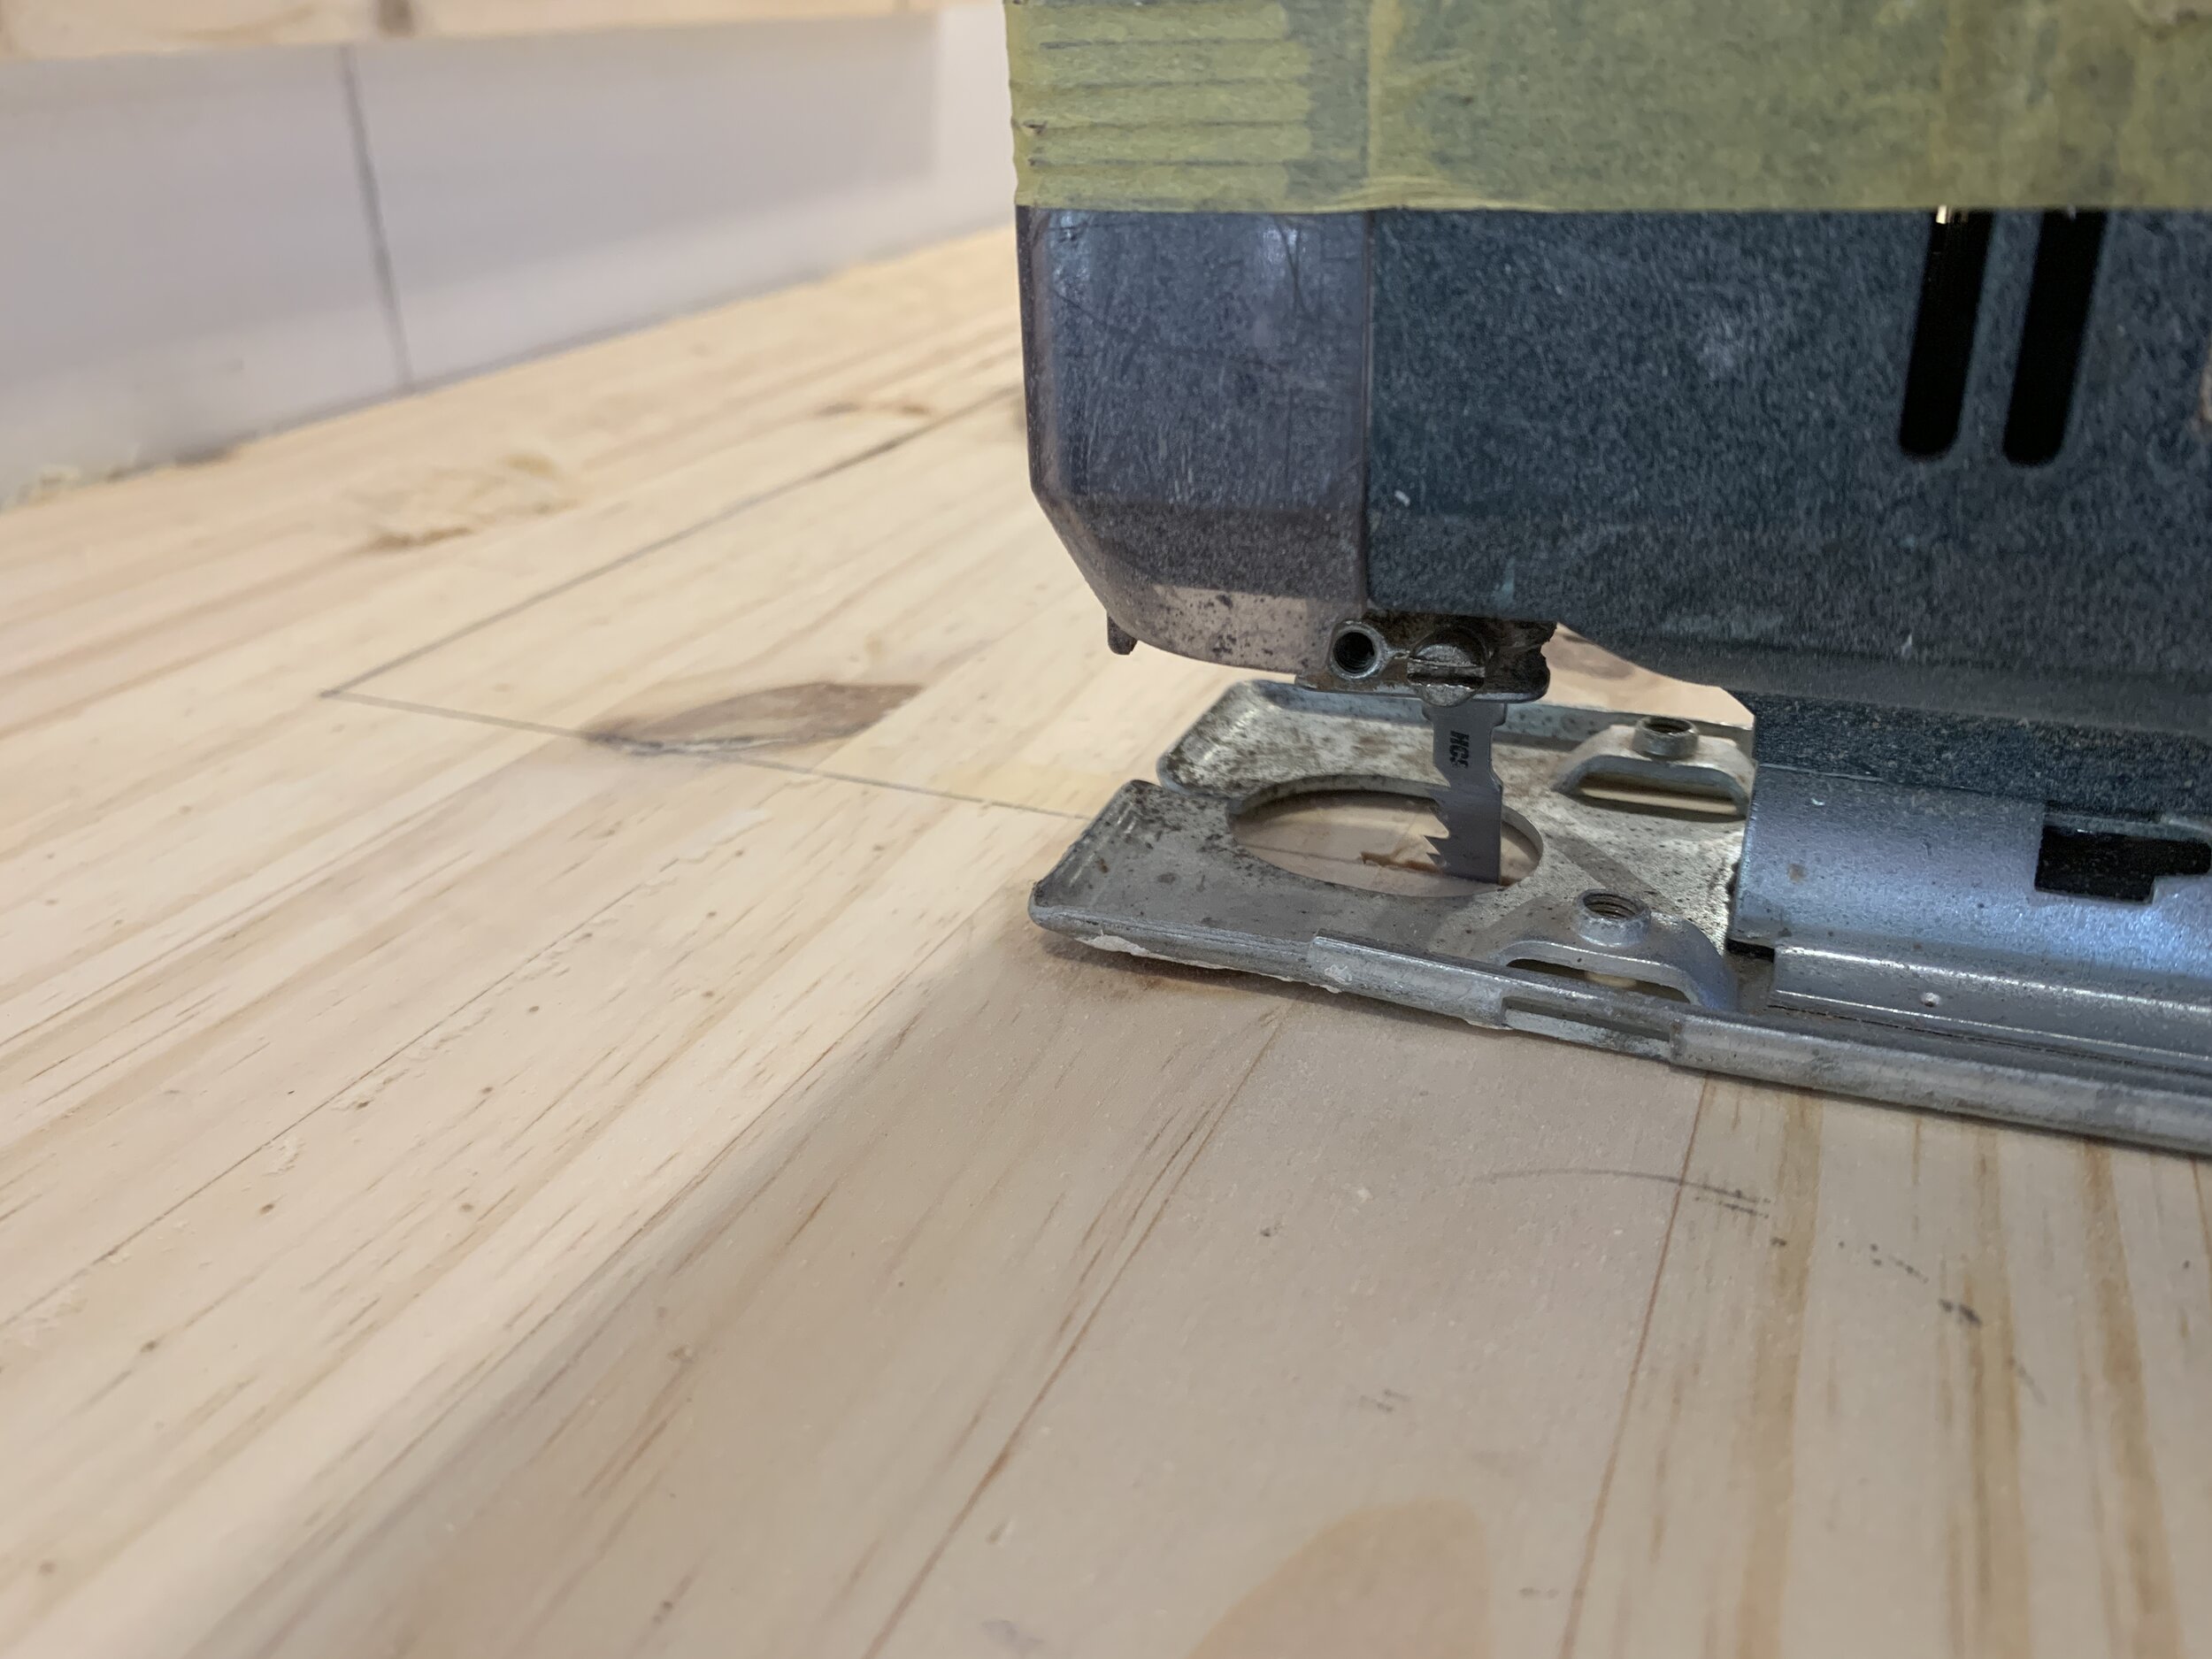
Cutting the sink hole + making the lid
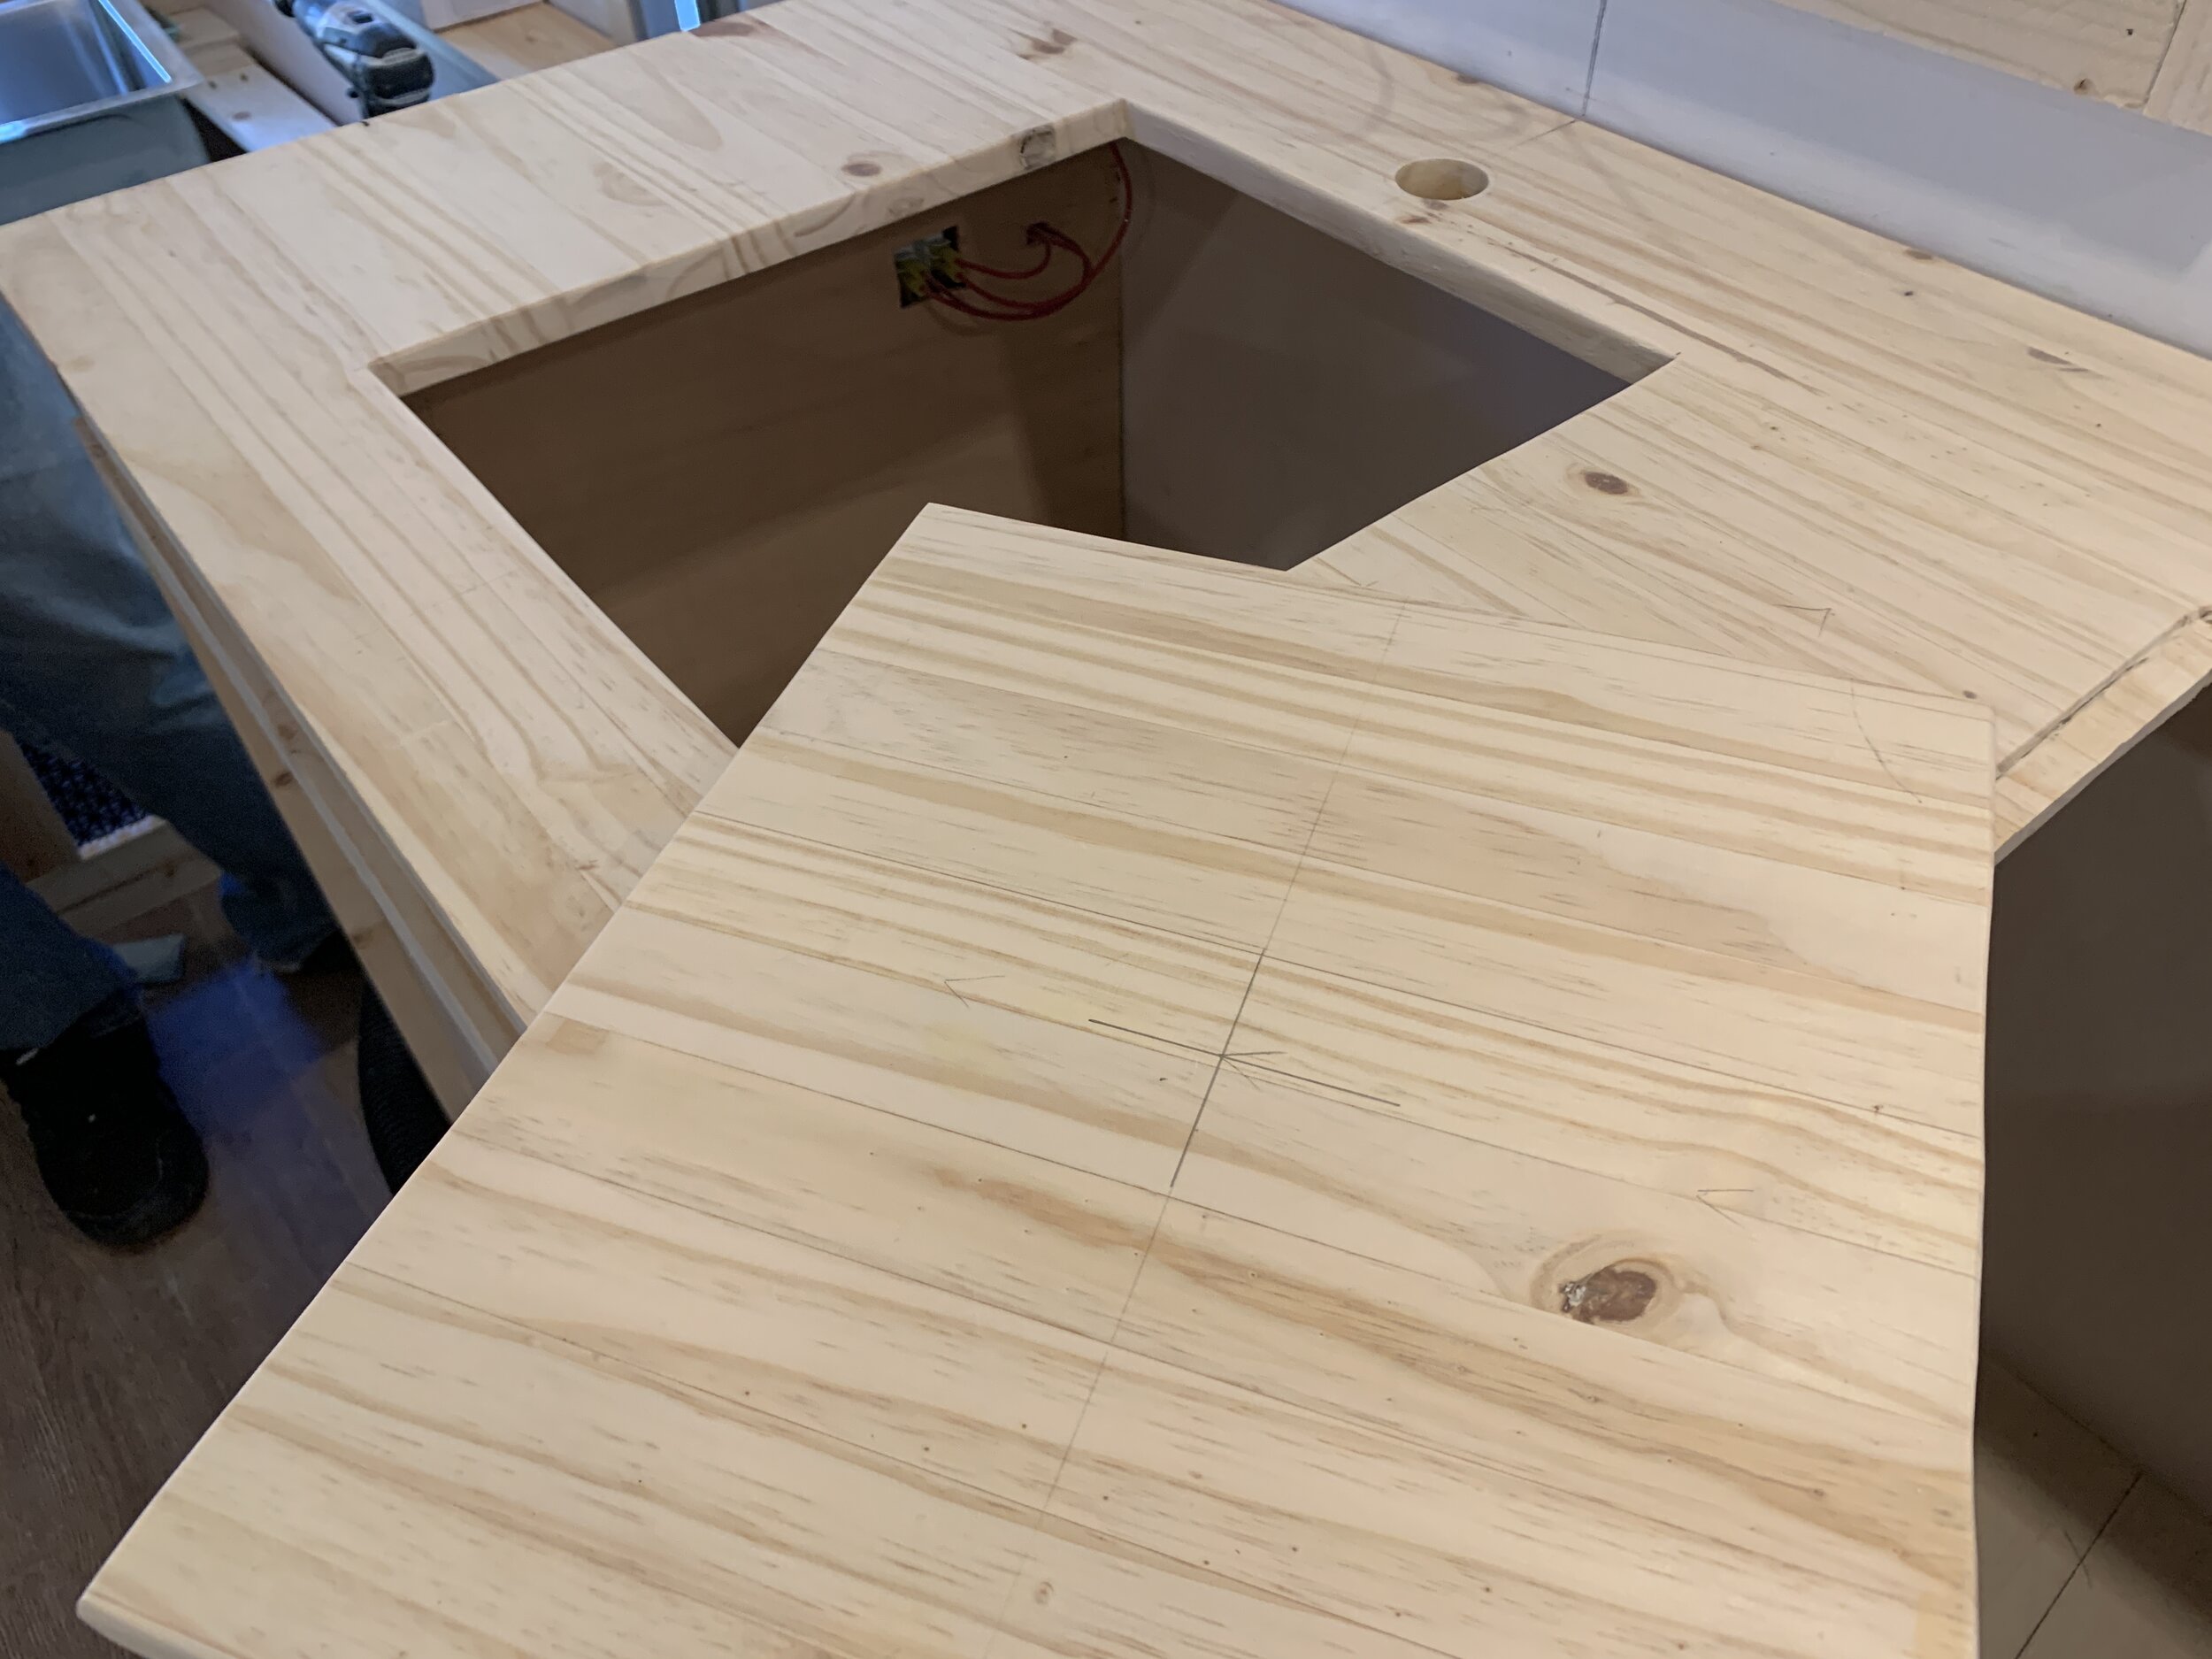
Once we were happy with the placement, we (Nick) used our circular saw to plunge cut the hole for the sink and then I played connect the cuts, finishing off the shape with the jigsaw. Much to our delight (and surprise), we got it cut perfectly on our first try! (Whew!)
After the scrap – soon-to-be-lid – was cut free, we drilled a finger hole in the center using our 1.25” hole saw and then sanded all of the cut edges smooth using our orbital sander.
Staining the counter
It’s at this point in the sink (and stove) install where we used the method and color mix we shared at the end of the last post to stain our counter and sink lid.
Under-mounting the sink
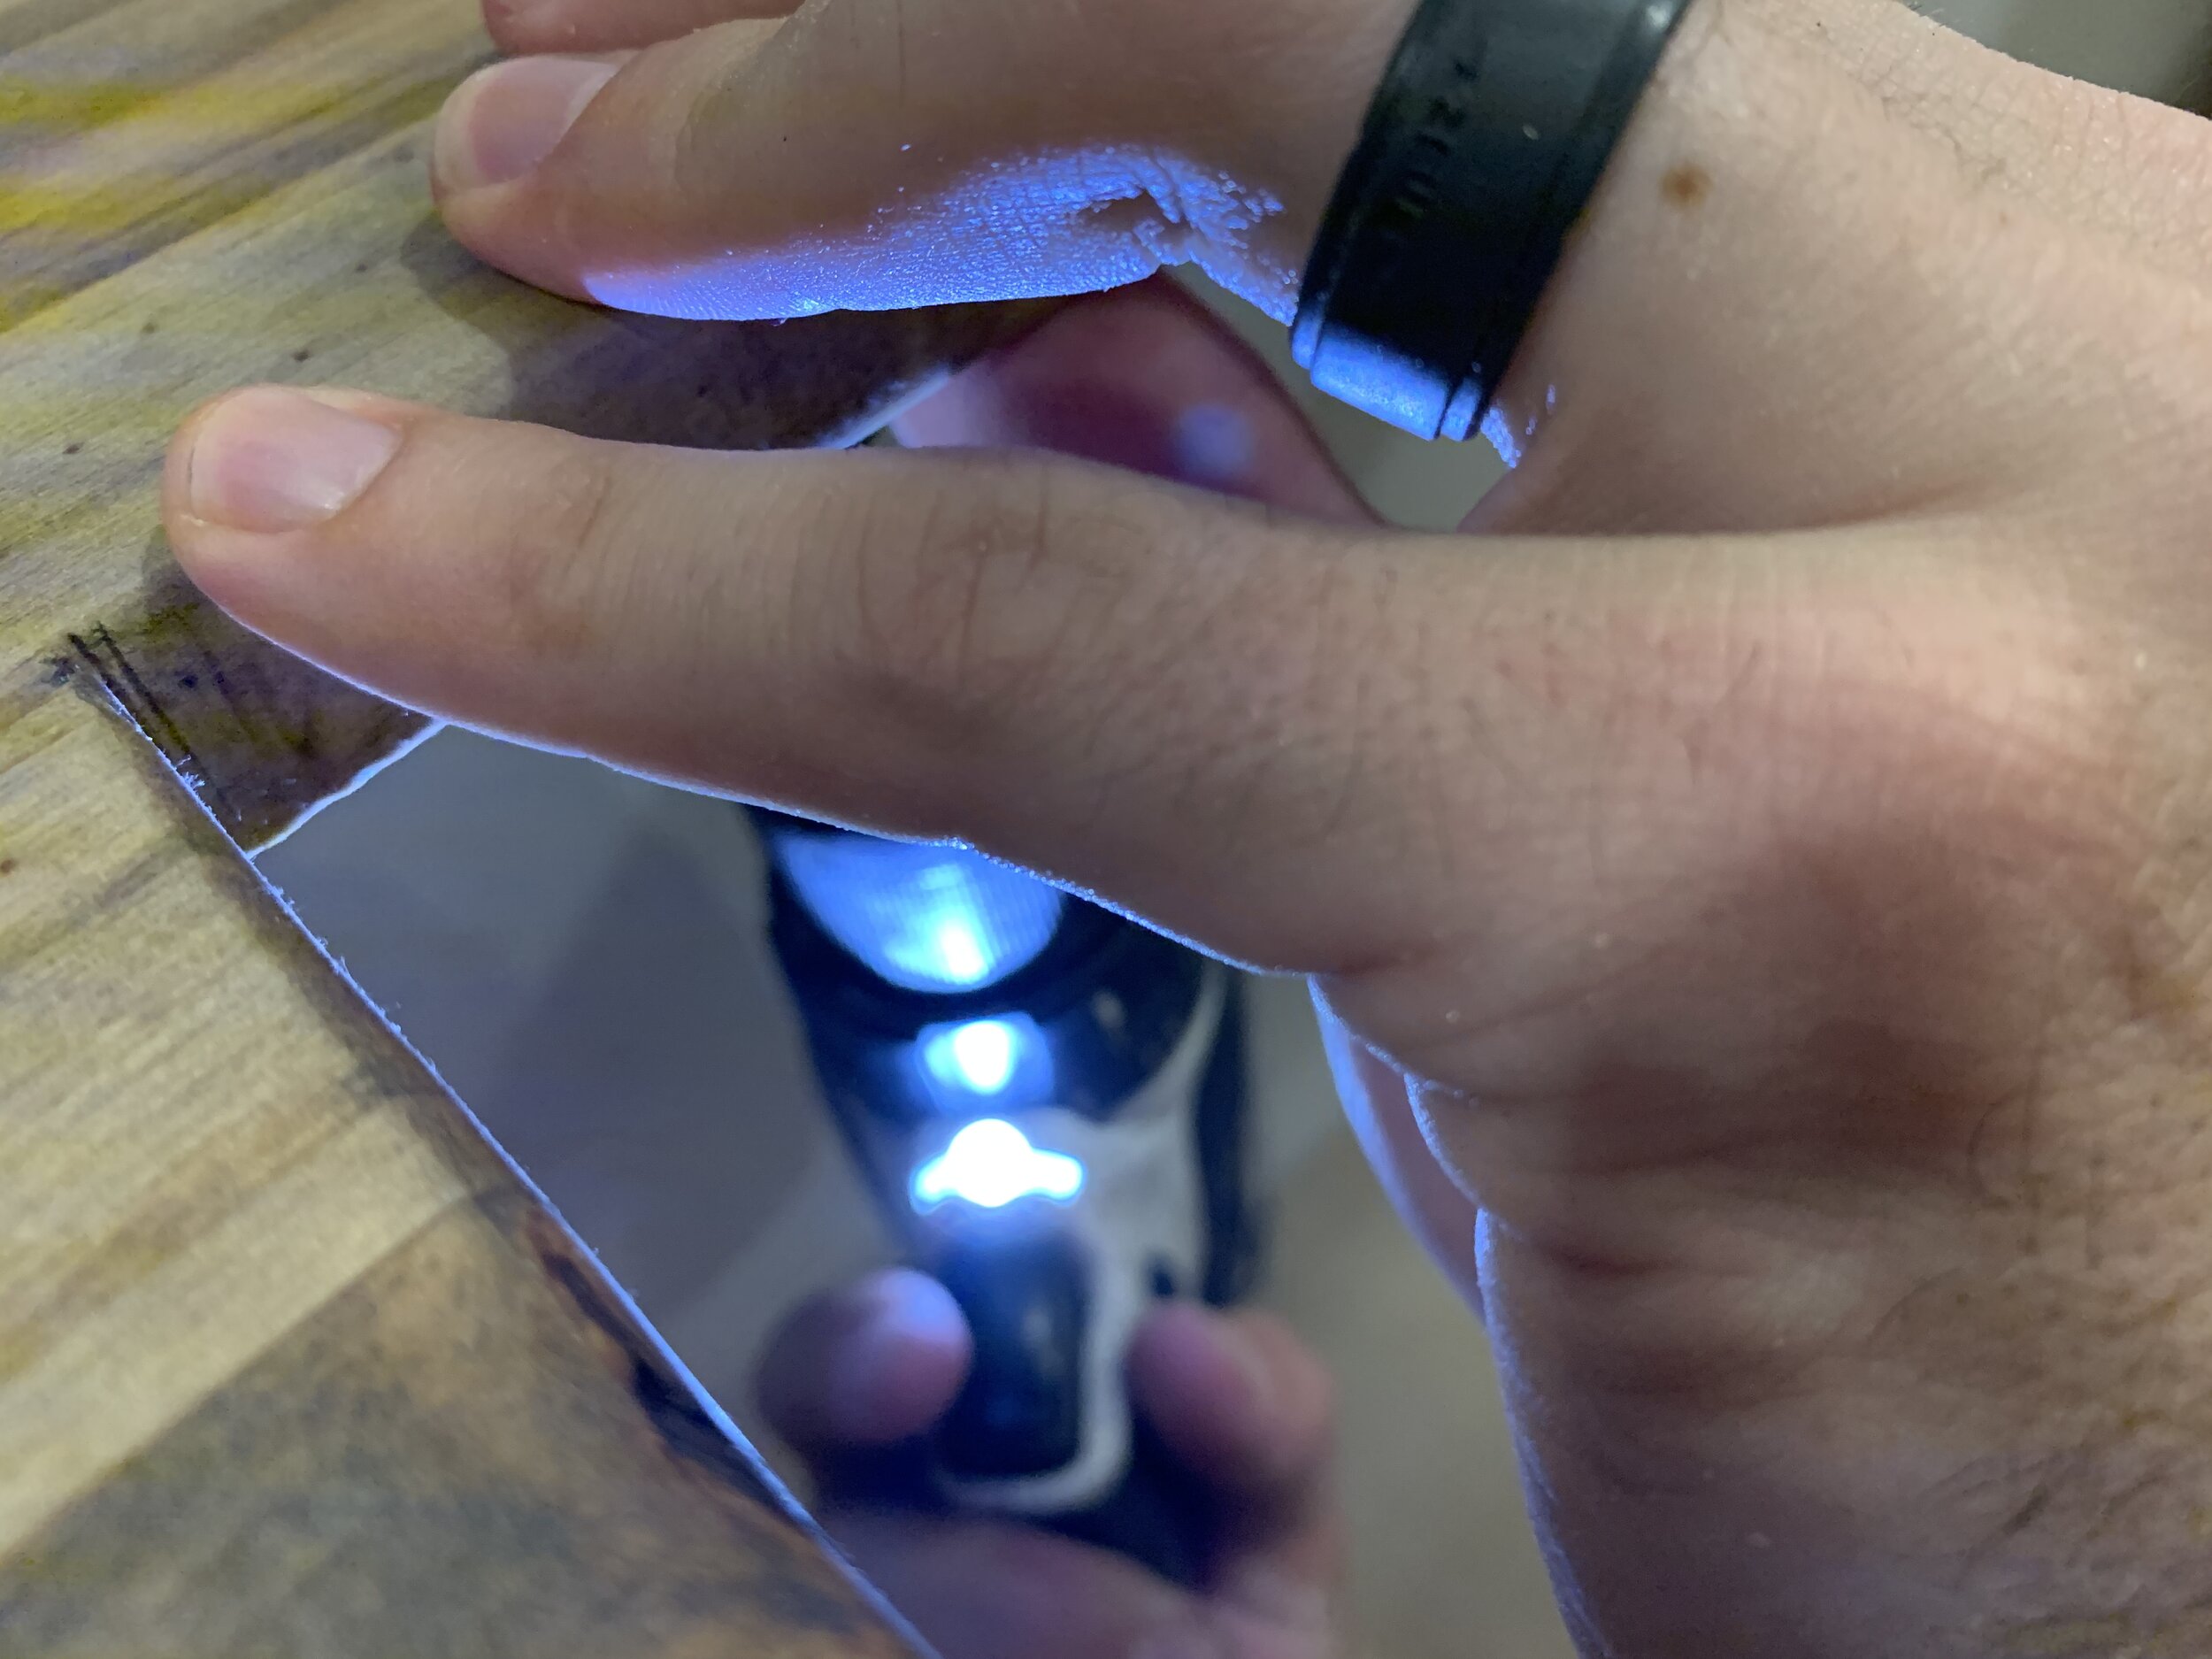
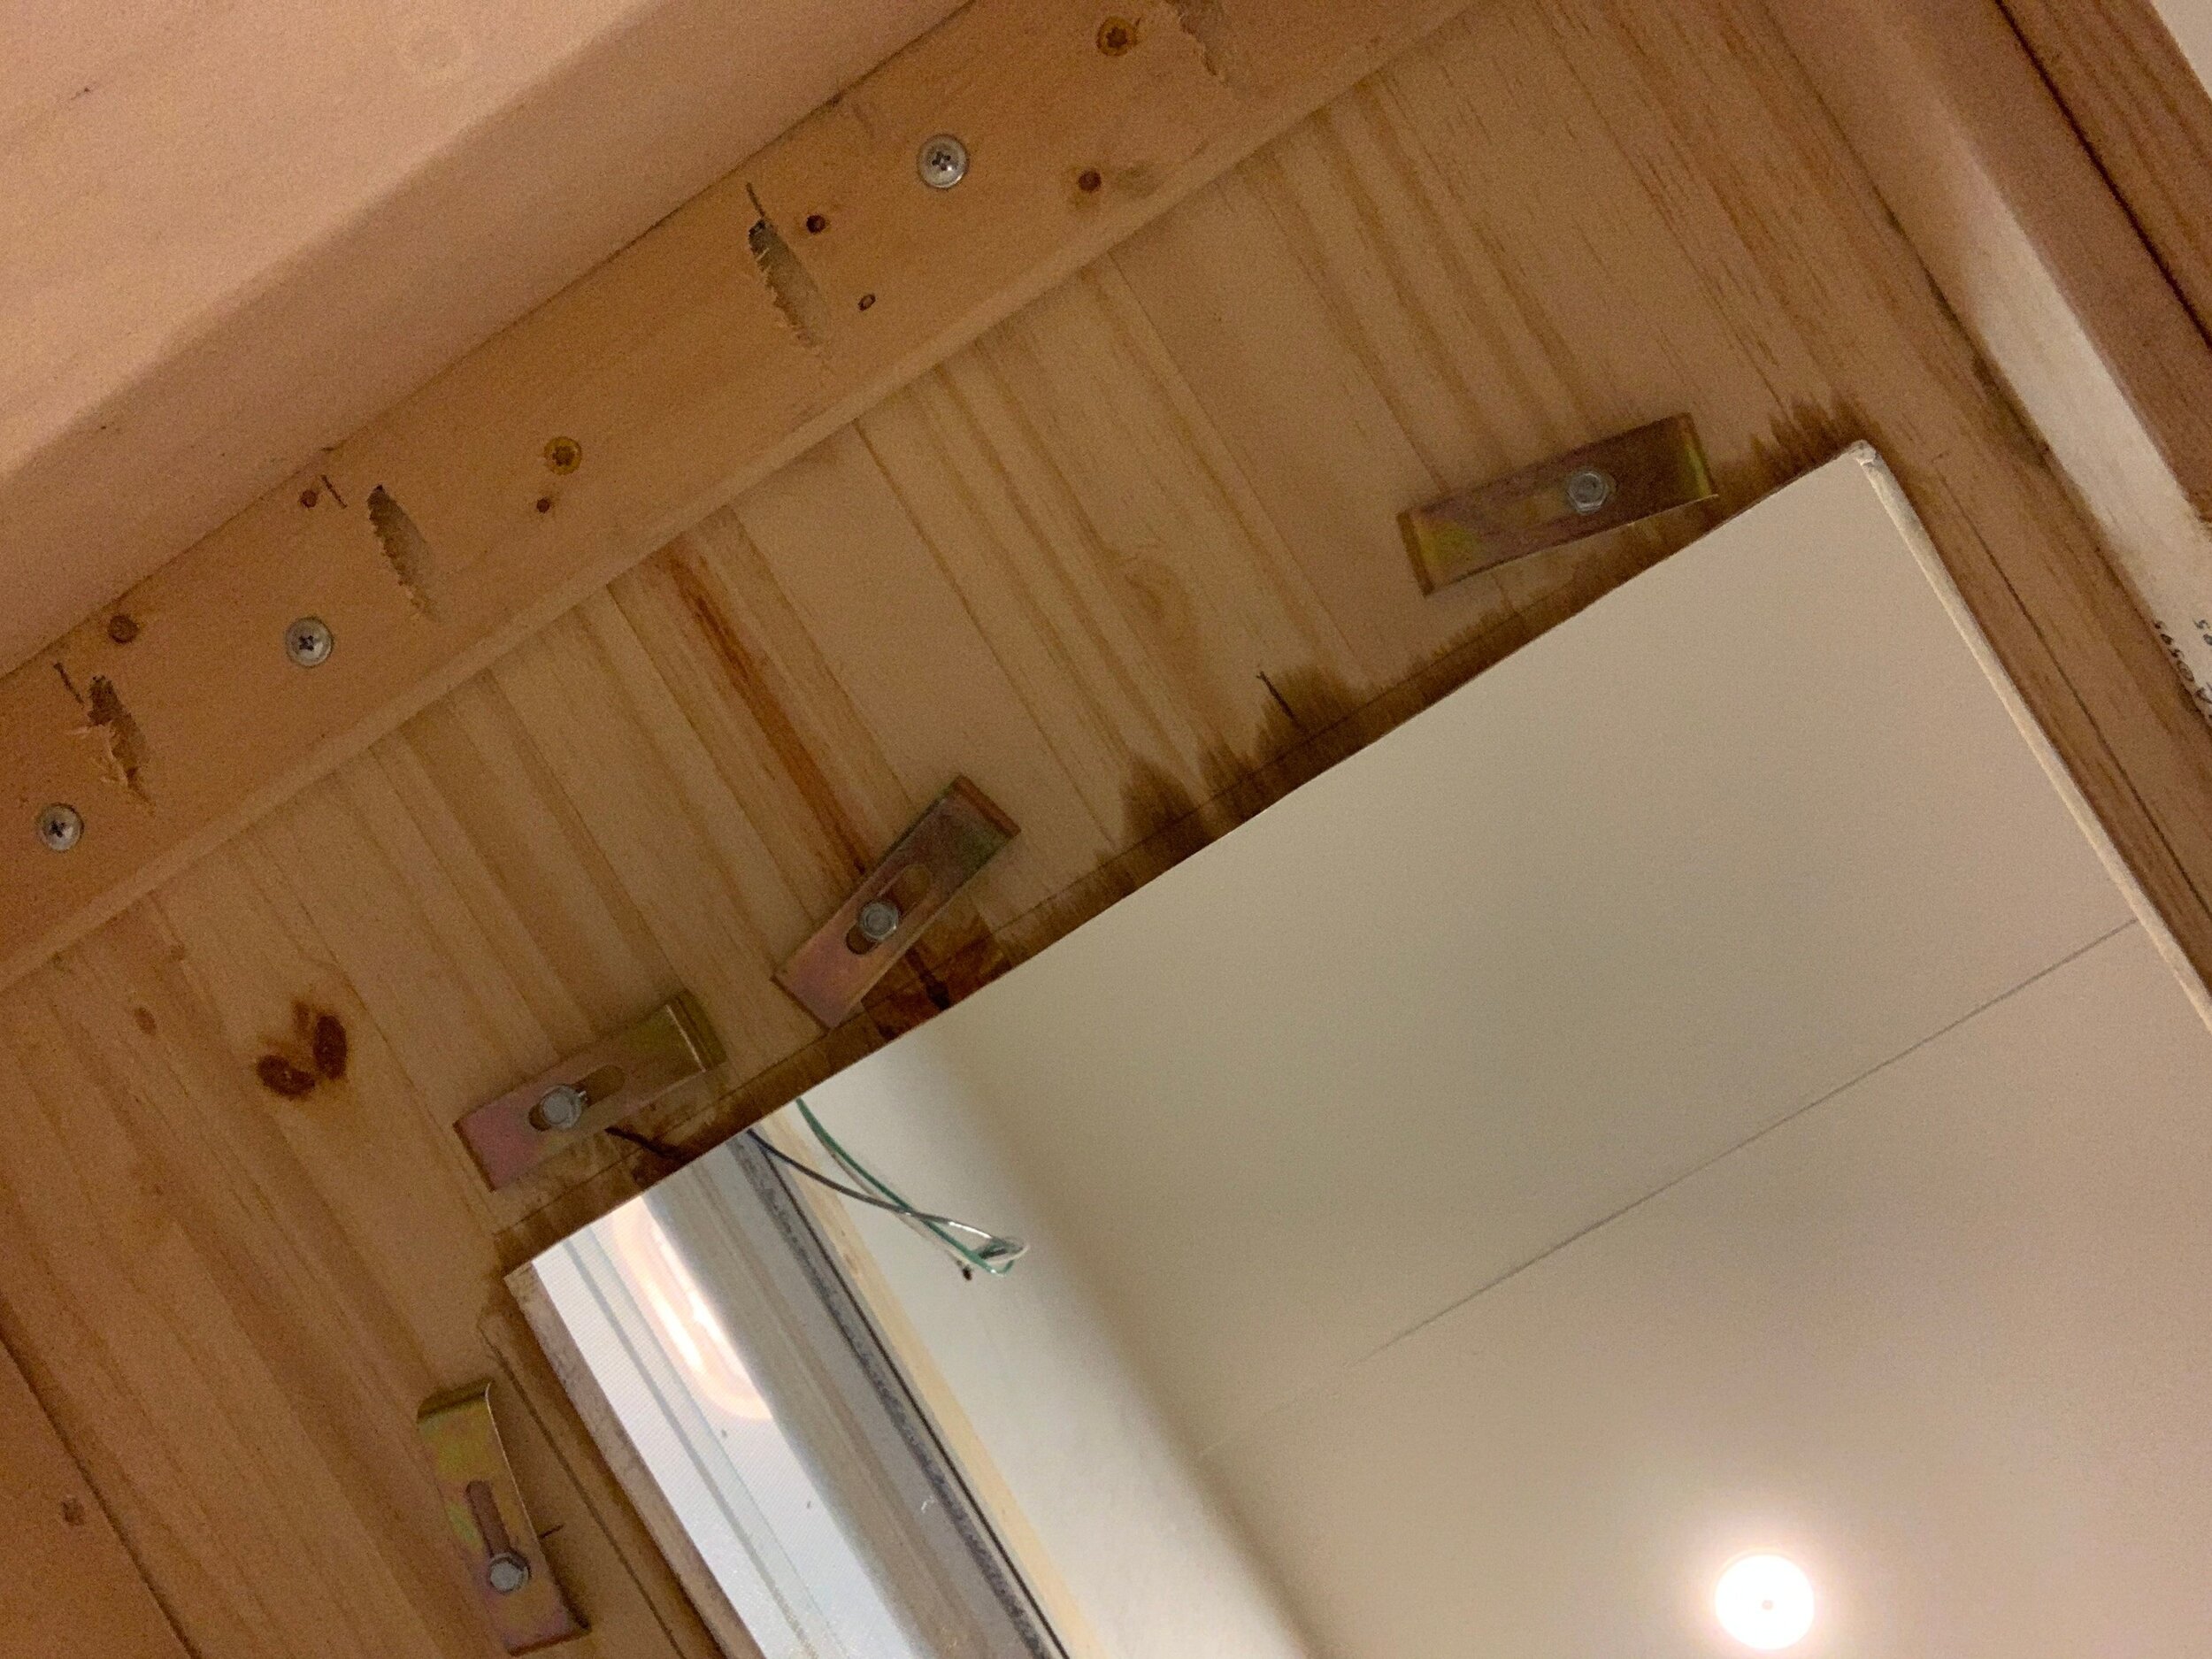
Even though it “just metal”, this sink is heavy. Which is great overall, but not great for your arms when you’re holding it overhead while in a small, awkward space. It’s got some soundproofing panels hidden on the sides of it that while I’m sure will be nice later, made it tiring to install. To work smart and not harder, as they say, we got creative and used one of the old threaded-style trailer jacks that came along with the camper to help hold and center sink in place while we penciled out the correct placement and clip/screw locations. Once we had the clips marked out where we wanted them, we removed the sink for easier access and lightly screwed the clips into place on the underside of the counter. Following the directions, we rotated them so the long sides of the clips were parallel to the side of the sink cutout in preparation to secure the sink for real.
With all of the clips in place and properly rotated out of the way, we added a small bead of silicone to outer top edge of the sink flange, making sure to not get too close to the center of the lip to avoid seepage into the visible area of the sink.
Once we had the sink siliconed, I held it in place from above using the drain hole while Nick rotated the clips and secured the sink from the underside using 1” wood screws. *Note: Because we have wood counters, we did not use the screws that came with the sink. They had female threaded pieces that had to be pre-drilled and nested into the underside of the counter – probably best for surfaces like granite, etc. where other options – like wood screws – would crack the counter.
Even though we were careful with our silicone, some squished out, visible on top of the exposed sink flange. To clean it up, while Nick was permanently screwing the clips in, I used a bunch of lint-free shop rags (basically t-shirts) and mineral spirits to immediately clean all of the silicone that could be seen from the top of the sink while it was still wet.
Apologies for no photos during this portion of the install – it was all hands on deck!
Our tips + tricks for the sink install
Use something to help you hold up the sink. It’s heavy and the silicone helps it slide around easily making it hard to keep in perfect place, no matter how still you hold it. We used a stack of scrap lumber + an old threaded-style jack that came with the camper + a scrap board on top of the jack (because we needed something wider than the drain hole in the bottom of the sink to hold it up).
Use a putty knife wrapped with a mineral spirits-soaked rag to get silicone out of the cracks/90-degree edges if you have any seepage. Be patient and take your time to clean it off while it’s still wet. You’ll thank us later.
Installing the flush-mount glass cooktop
Note: Even though we covered the full sink install from start to finish above, we installed the sink and stove at the same time so they follow the same timeline on marking out, cutting and installing. I thought that would be less confusing than popping back and forth between the two installs during this post.
Our stovetop shopping list
Induction cooktop – be careful to check what your electrical system can safely run
Tape measure + long level + pencil
Circular saw
Jigsaw
Router + 1/2” straight router bit
Irwin clamps
Sander + sandpaper
Stain
Painters tape
Silicone
Finding stove placement
Similarly to how we started the sink install, we centered the glass cooktop front to back, only instead of using the window we used the already marked out sink. Slightly less precise, we eyeballed what we liked the look of from left to right so we had enough, but not too much counter “meat” on each side of the stove.

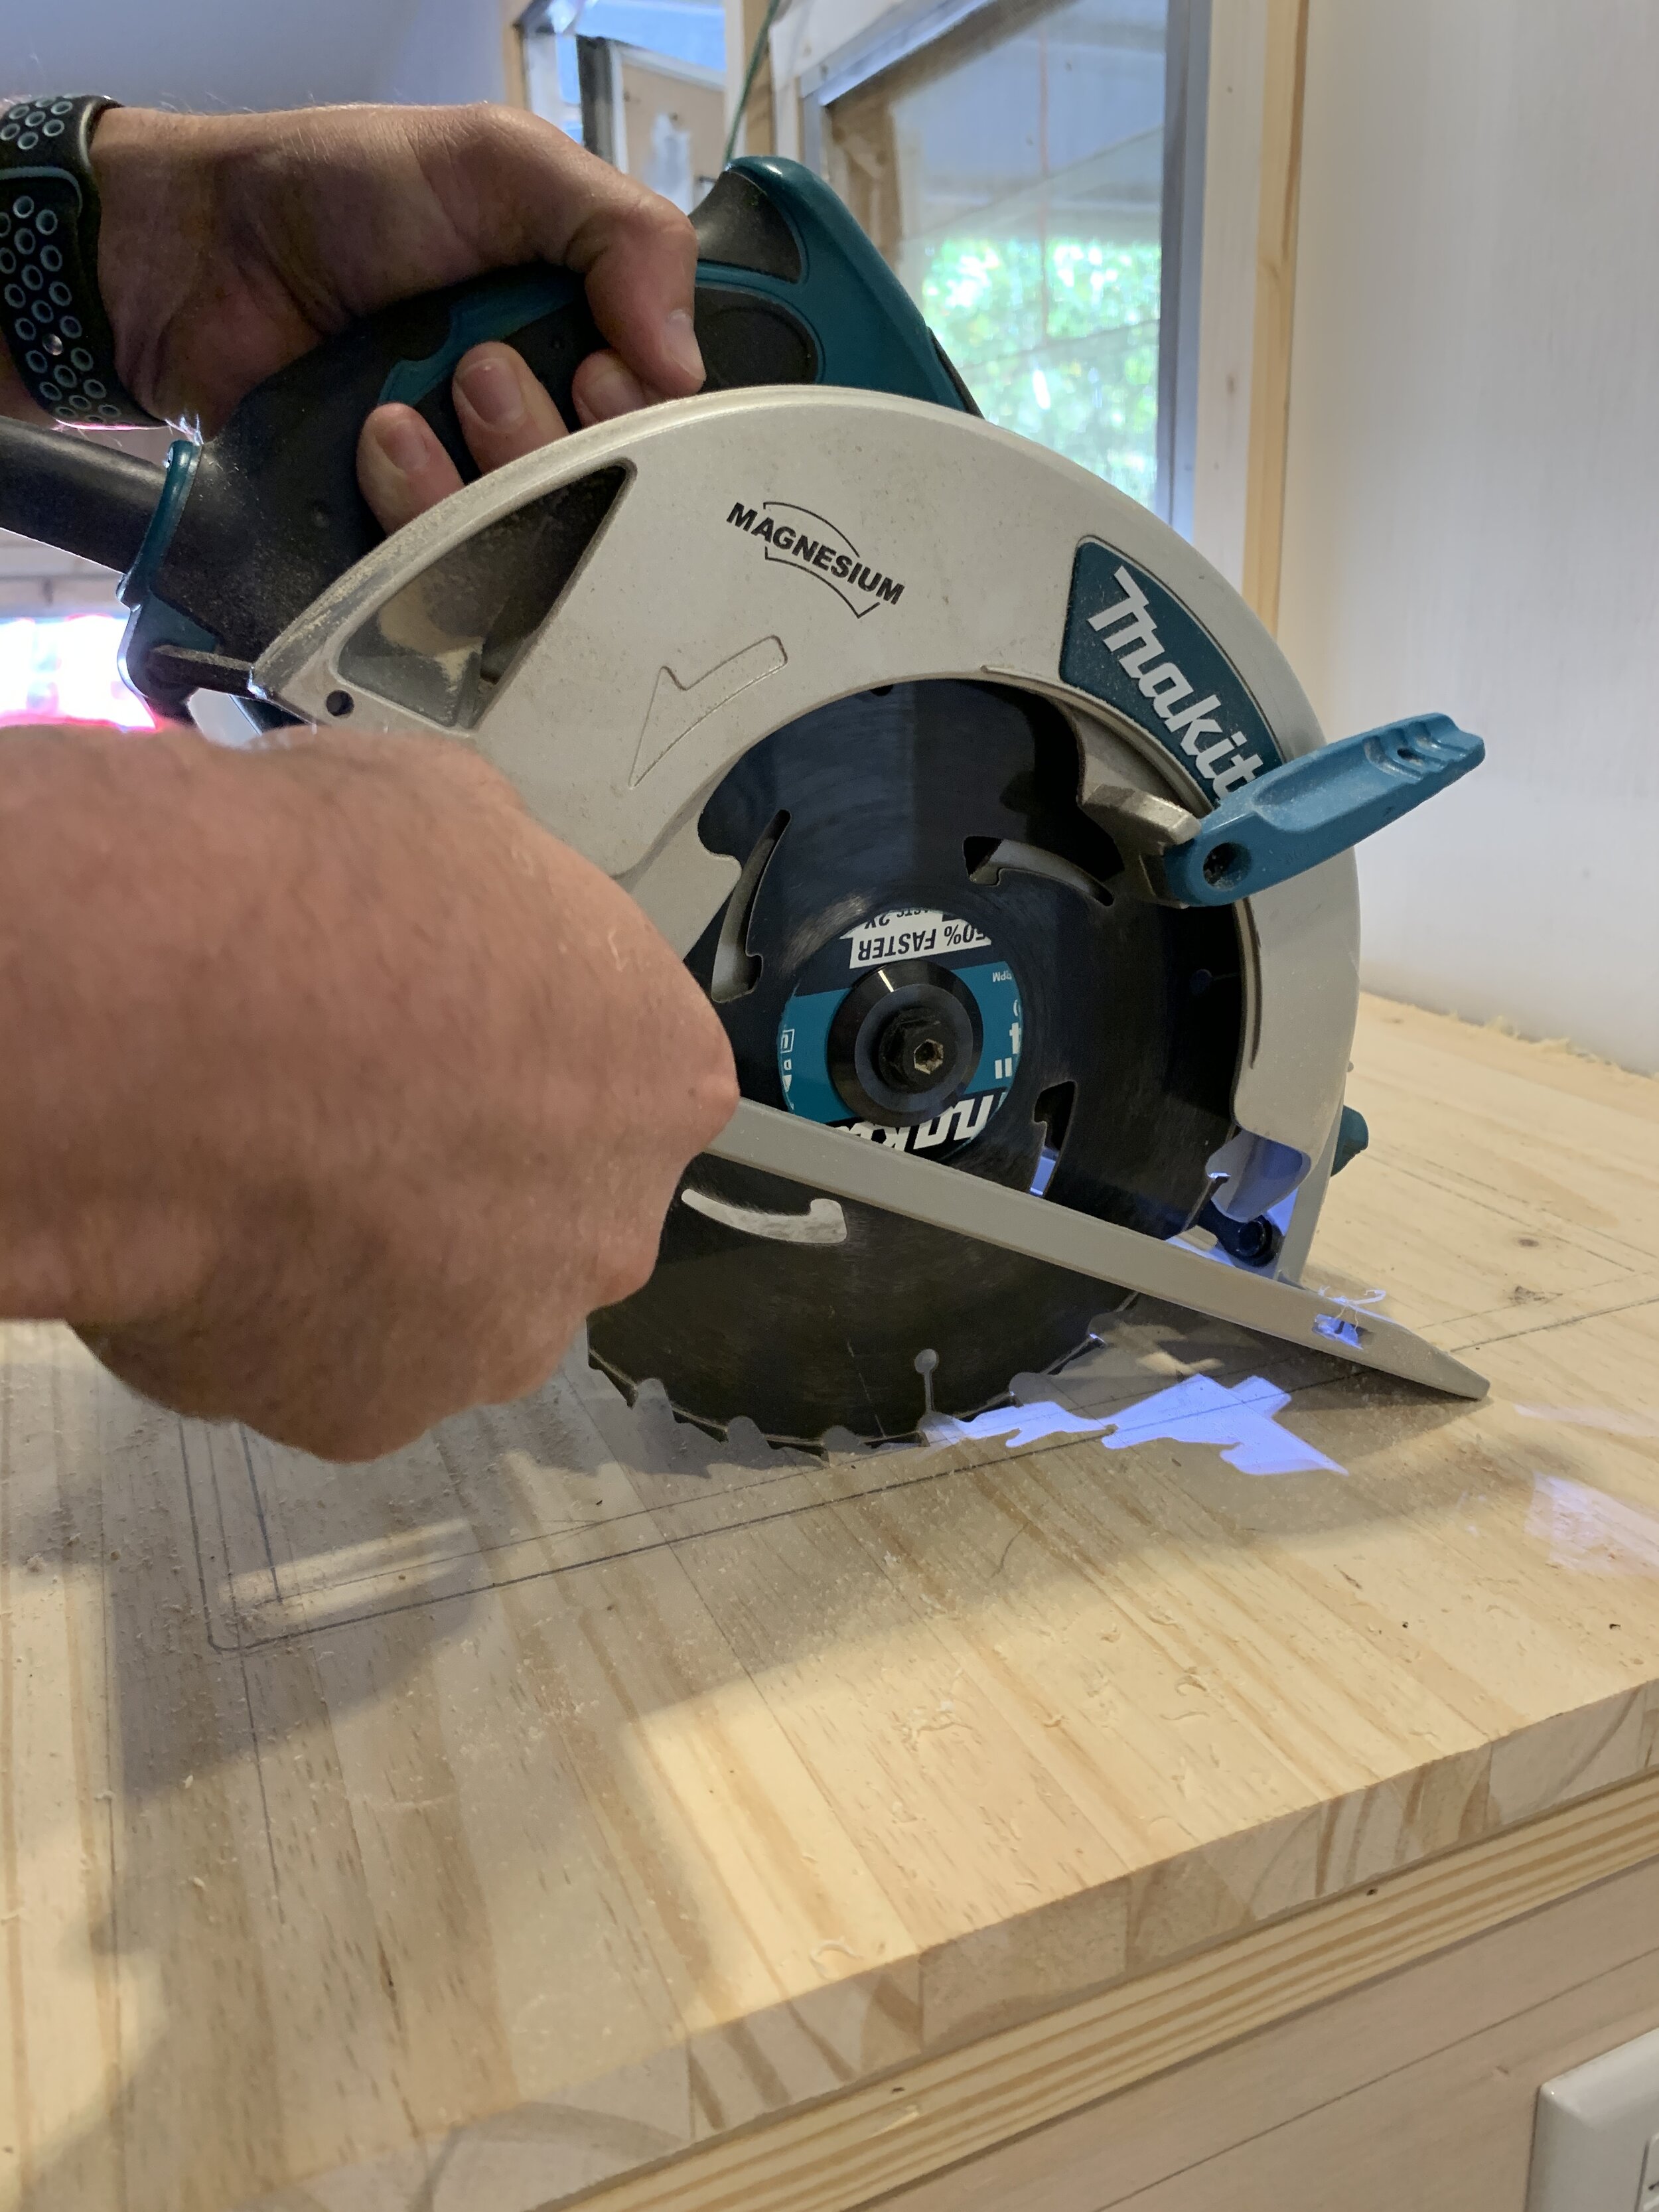
Because of the shape and build of the cooktop, we flipped it over so we could trace out the glass top to get our outermost line on the stove marking you see in the photo below (right). The inner line is what we cut with the circular saw – we got this by measuring the amount of glass lip on the stovetop and measured inward from our first traced line.

Cutting the stove hole
We followed the same plunge cut + jigsaw technique we used for the sink install. This time we discarded the scrap piece since the stove would be filling the hole, and instead of sanding the cut edge to a smooth finish, we used a router to create a lip for the glass cooktop to set onto.
Insetting the stove
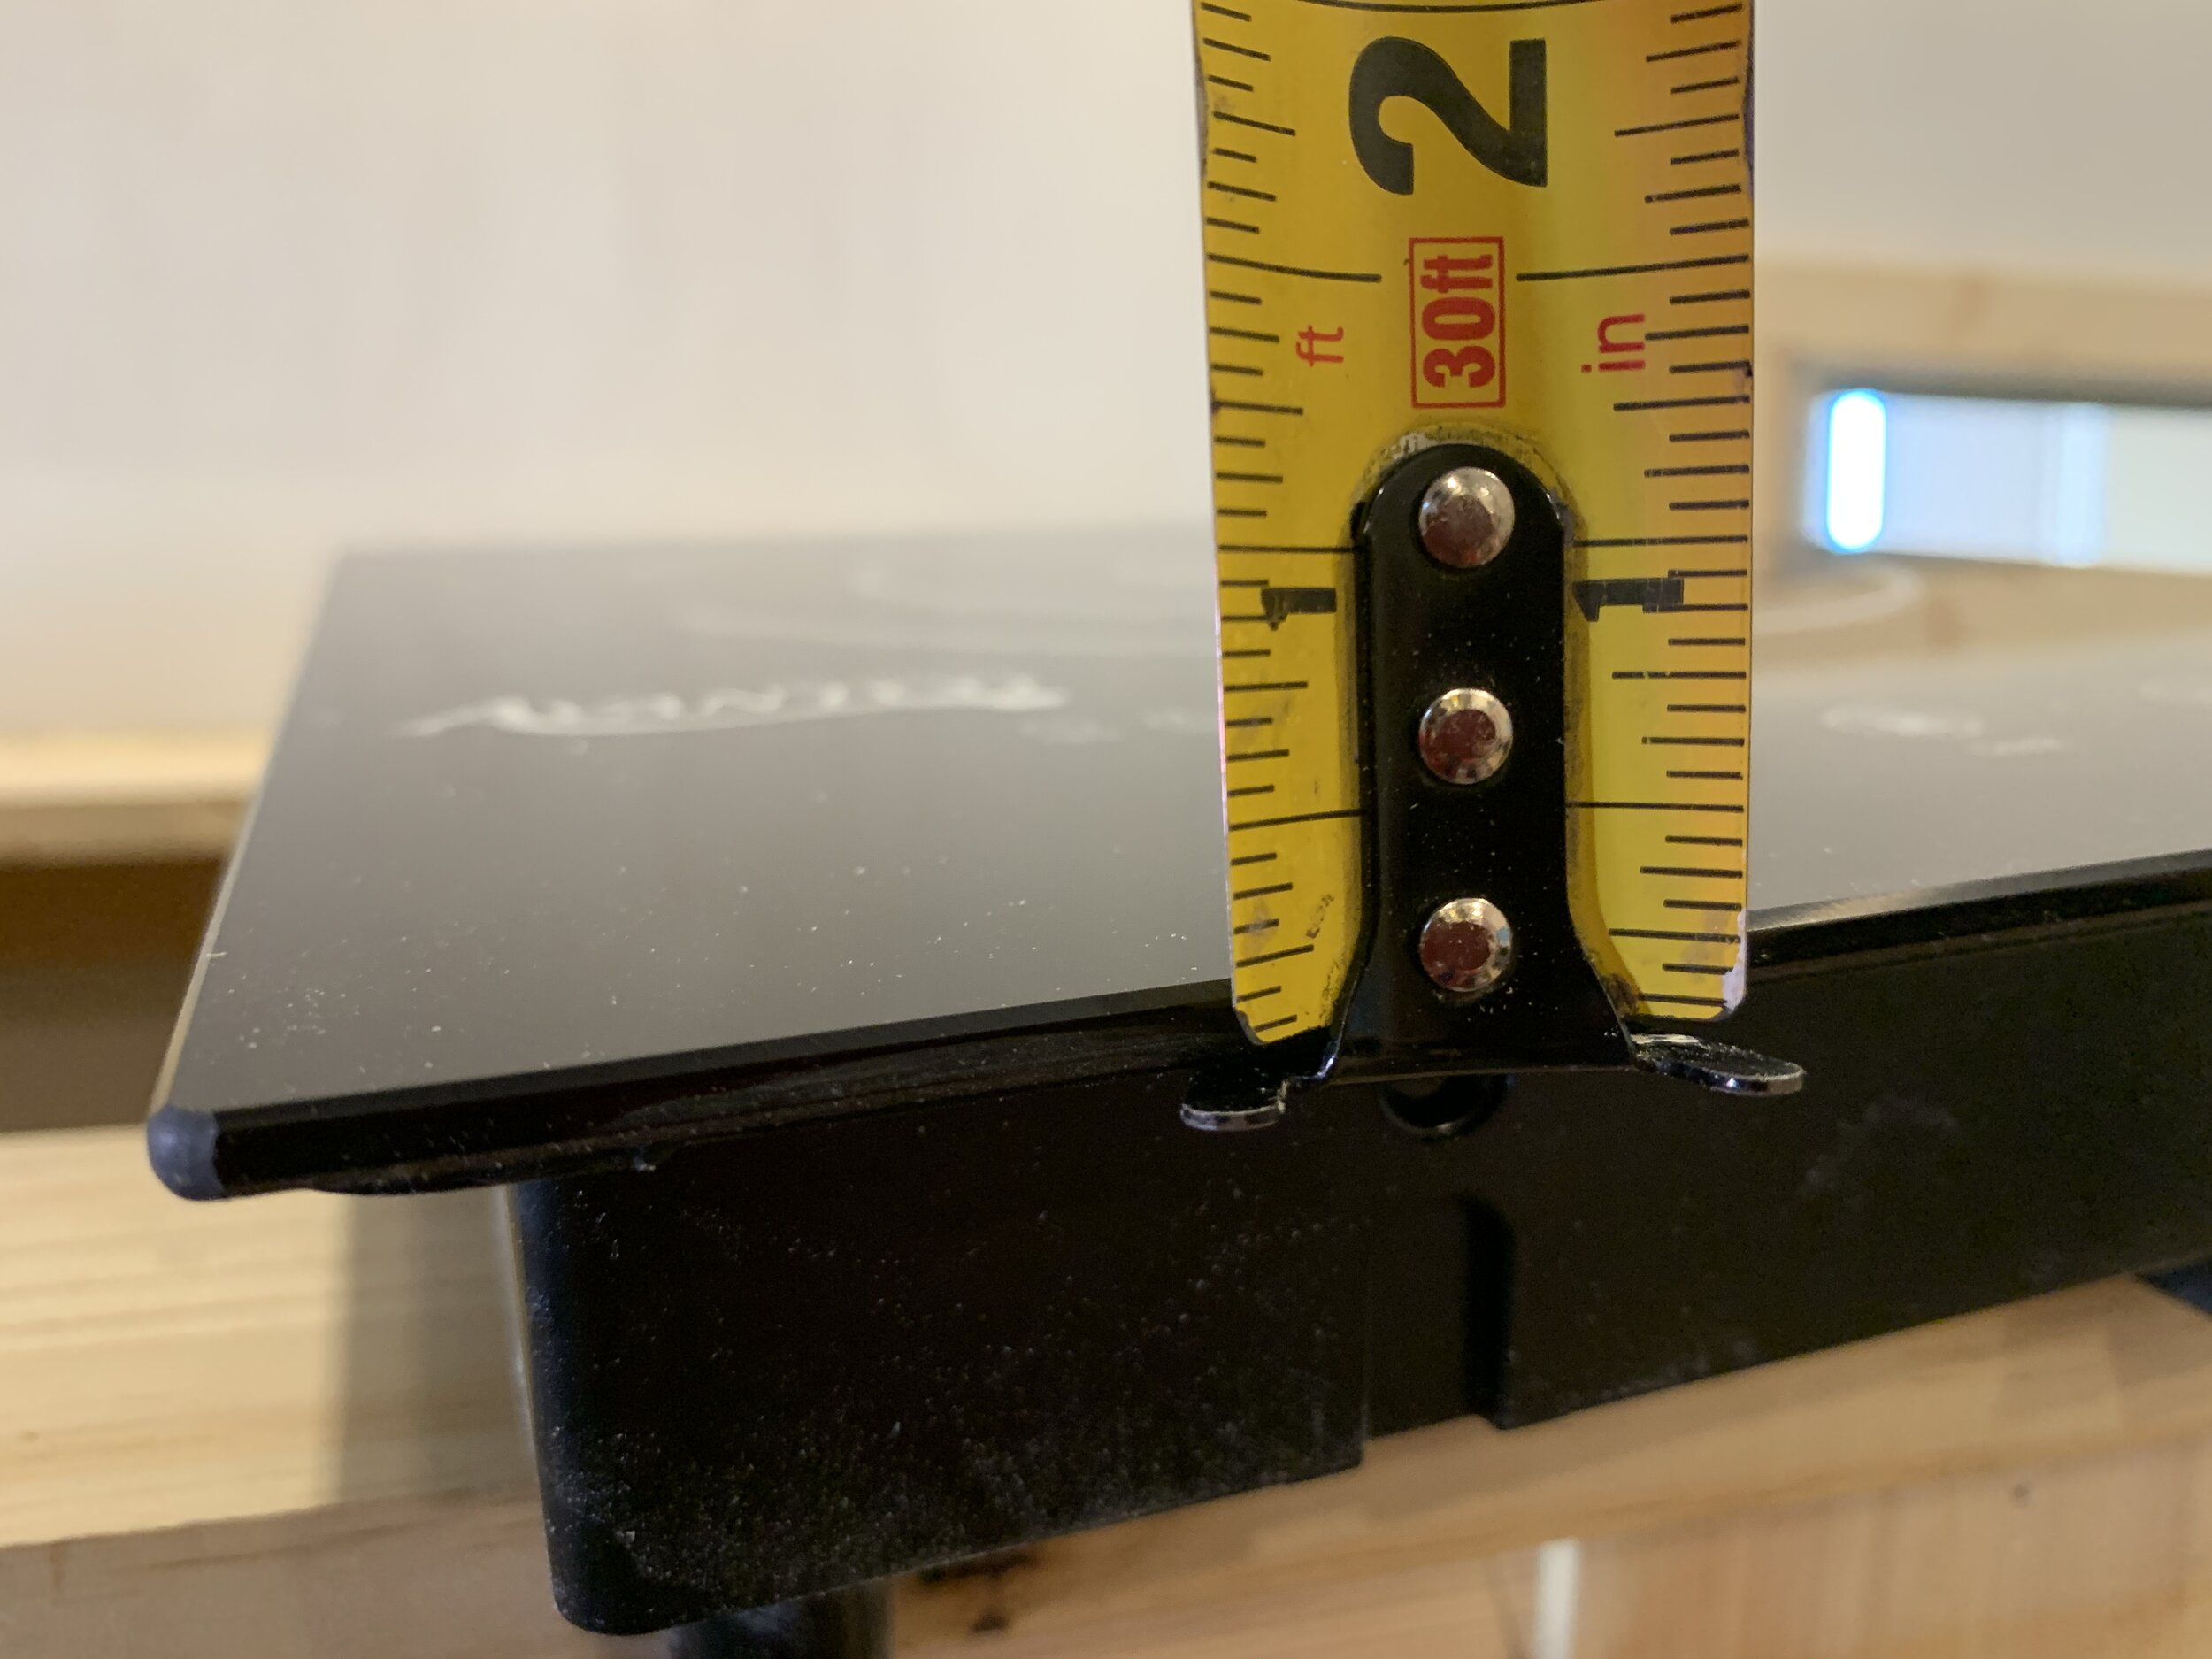
With the stove hole cut out on the inside line, we used the outer line (the one that we got by tracing the glass top) to router out our channel. For our particular cooktop, we used a 1/2” wide straight/square router bit set to a depth of 1/4” (the depth of the glass cooktop) to get the top of the glass perfectly even with the wood counter.
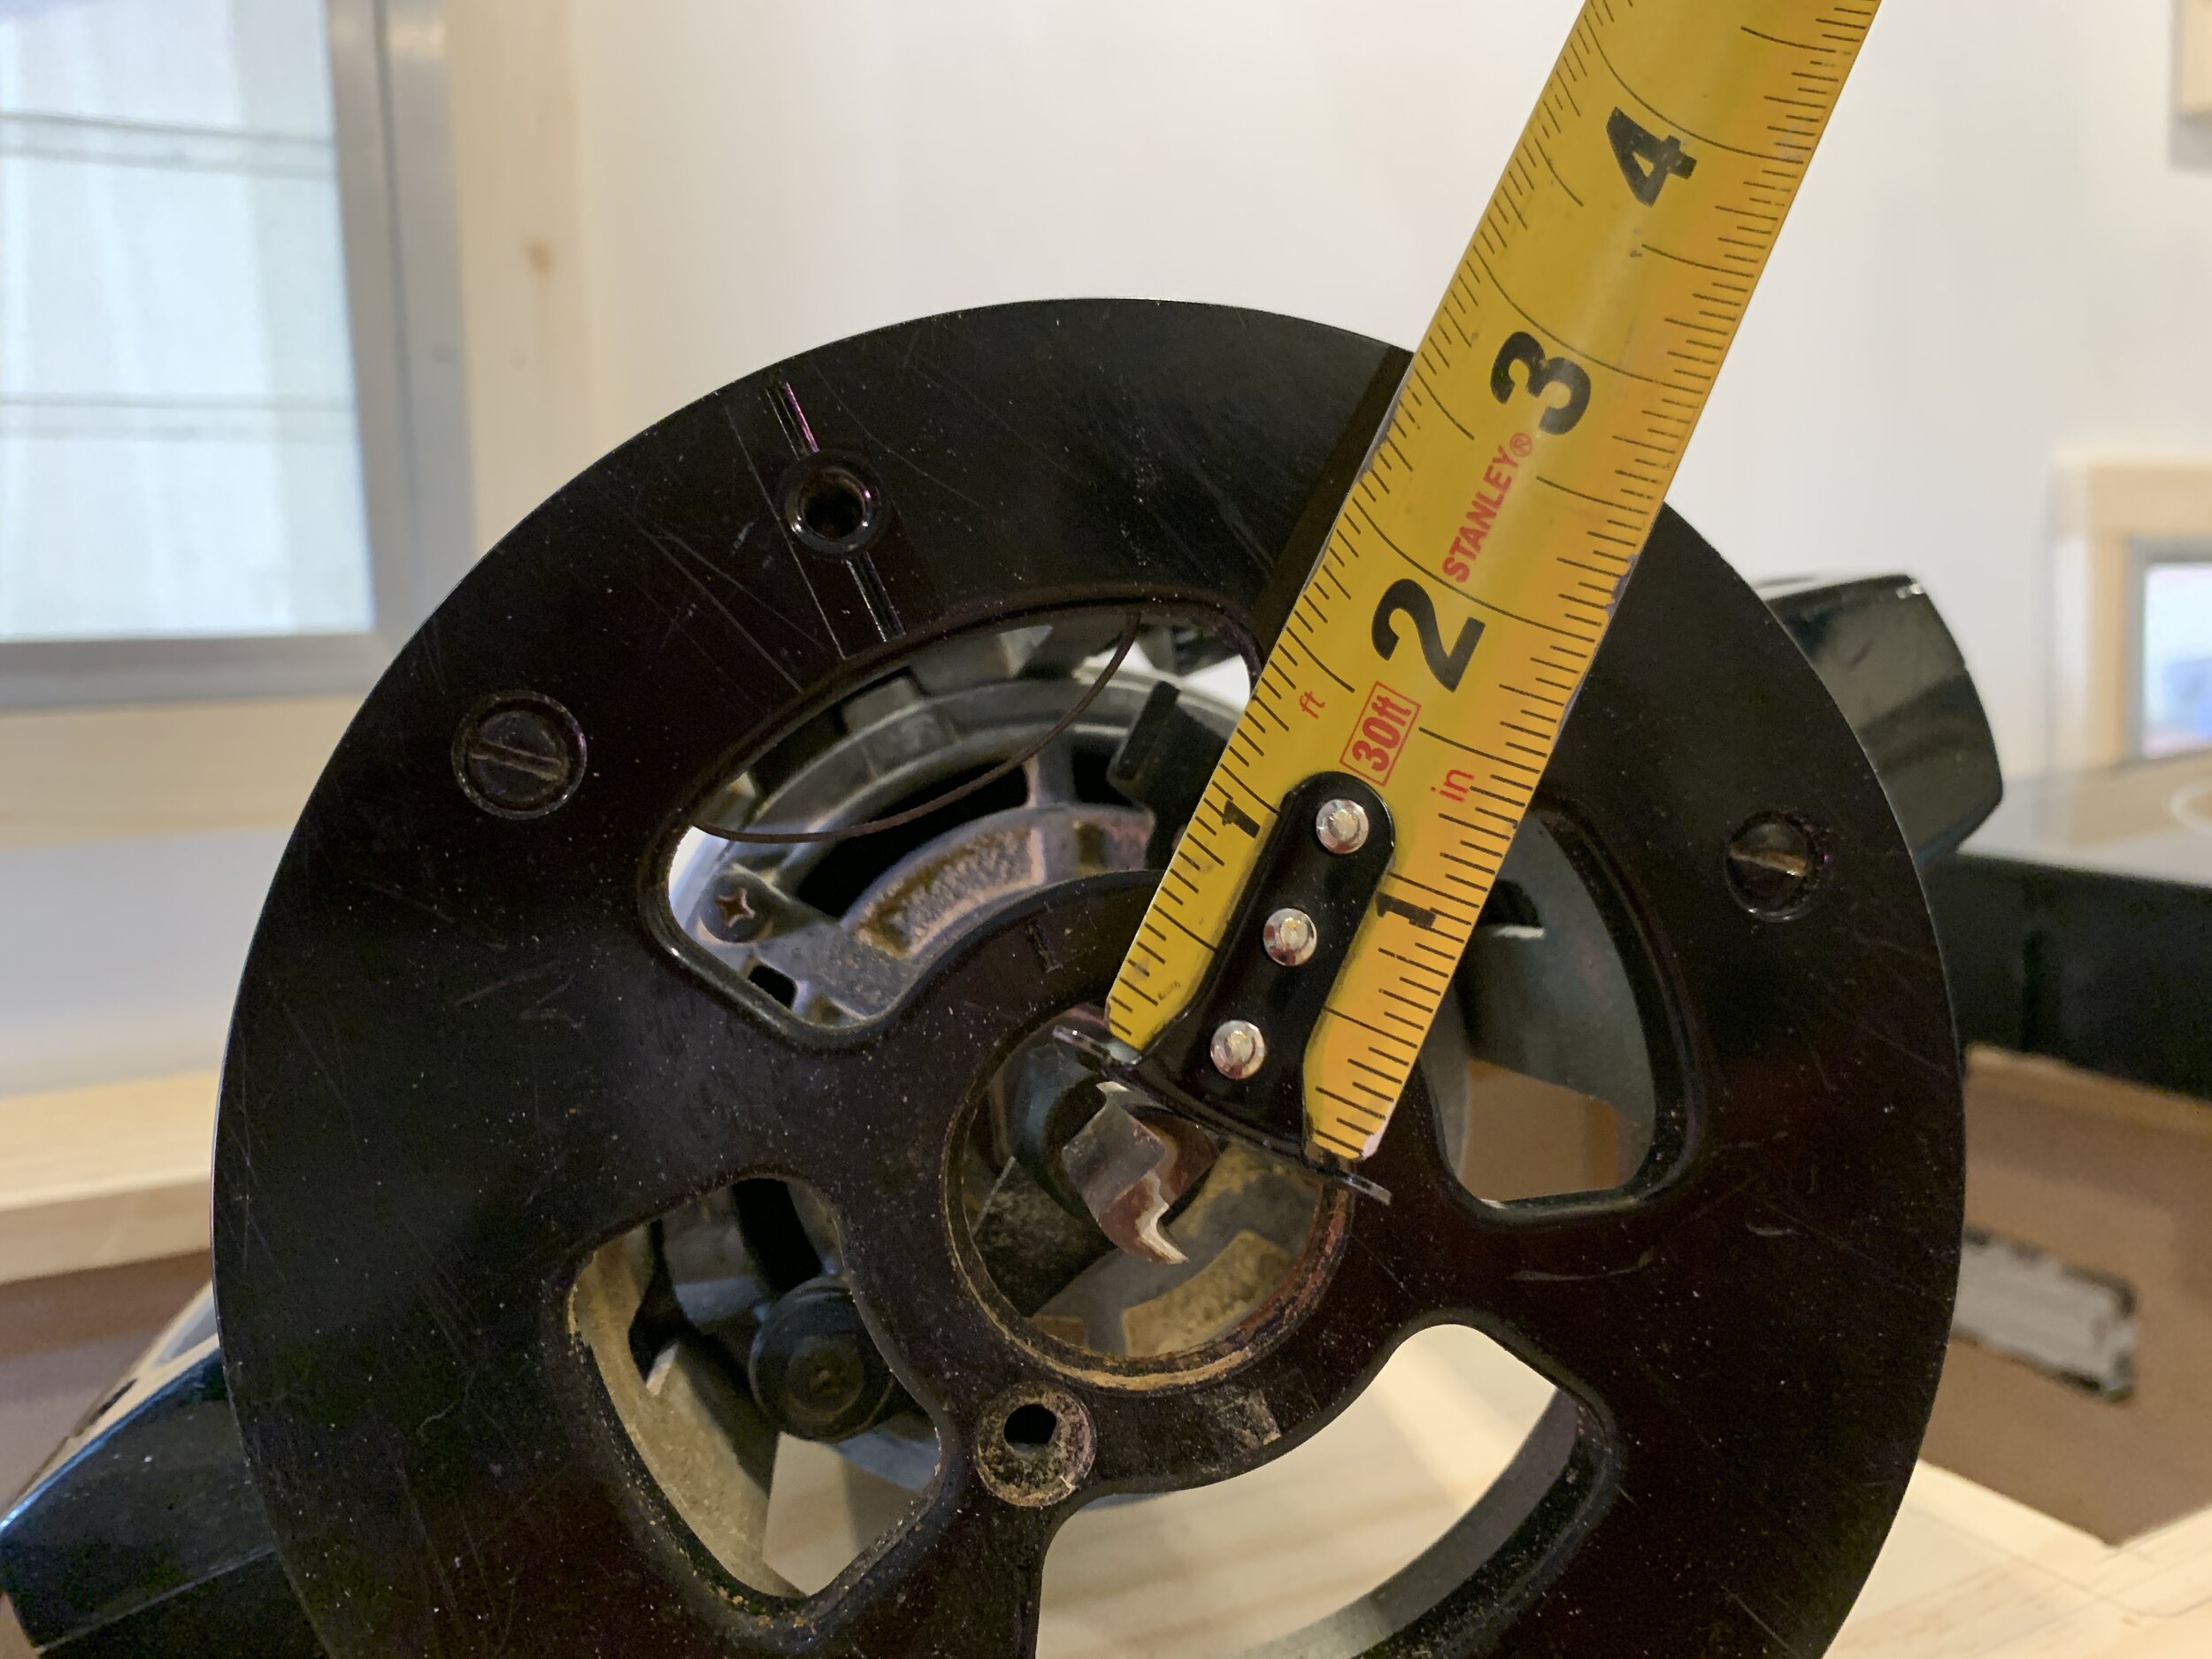
Because it would be seen around the perimeter of the glass edge when looking down on the counter, we wanted to make sure the routered counter cuts were clean, smooth and square to the wall, counter edge and stovetop. To do this, we used our long 4’ level and our Irwin clamps to make guide rails for the router to run along. To get the right placement, we measured from the widest edge of the router bit to the edge of the router base and added 1/2” (the width we wanted our routered channel, based on the size of the stovetop’s lip/flange) to determine where we needed to clamp our guides. It took some math and measuring (and re-measuring) but it was well worth it because it ensured a nice straight edge.
Here you can get a good idea of the depth of the inset channel we routered for the stove, and how it looked before and after we made the channel.

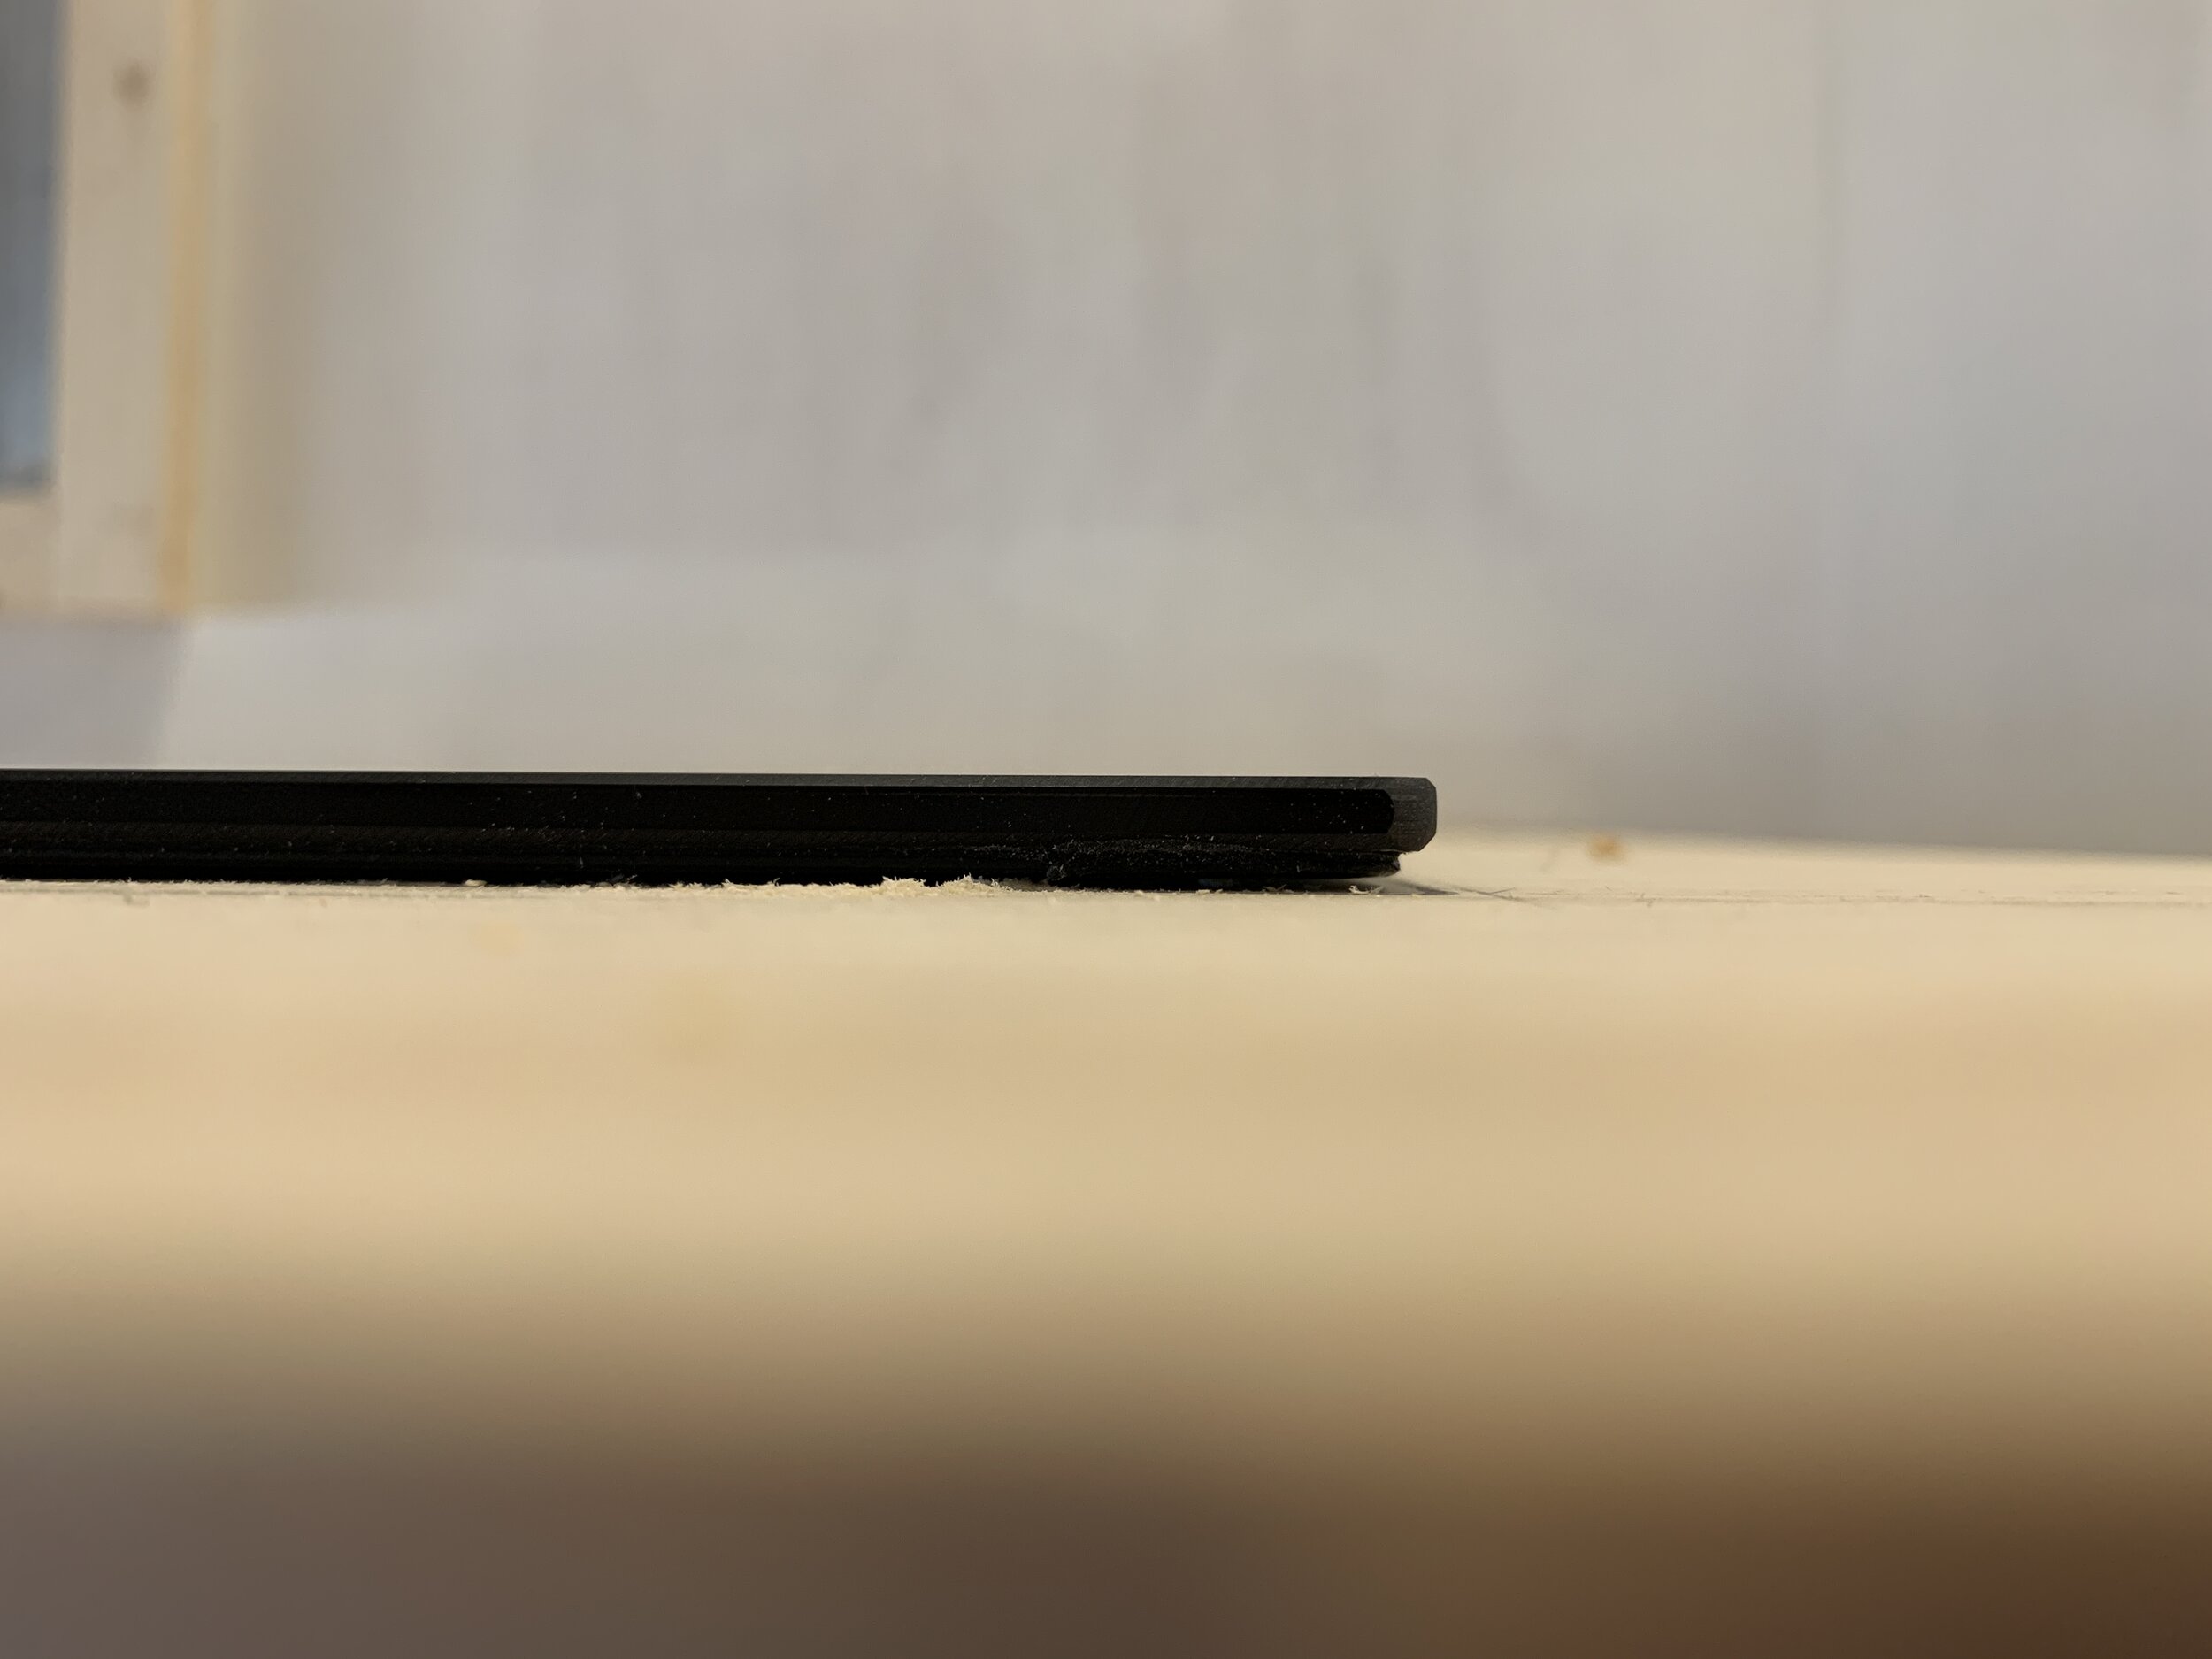
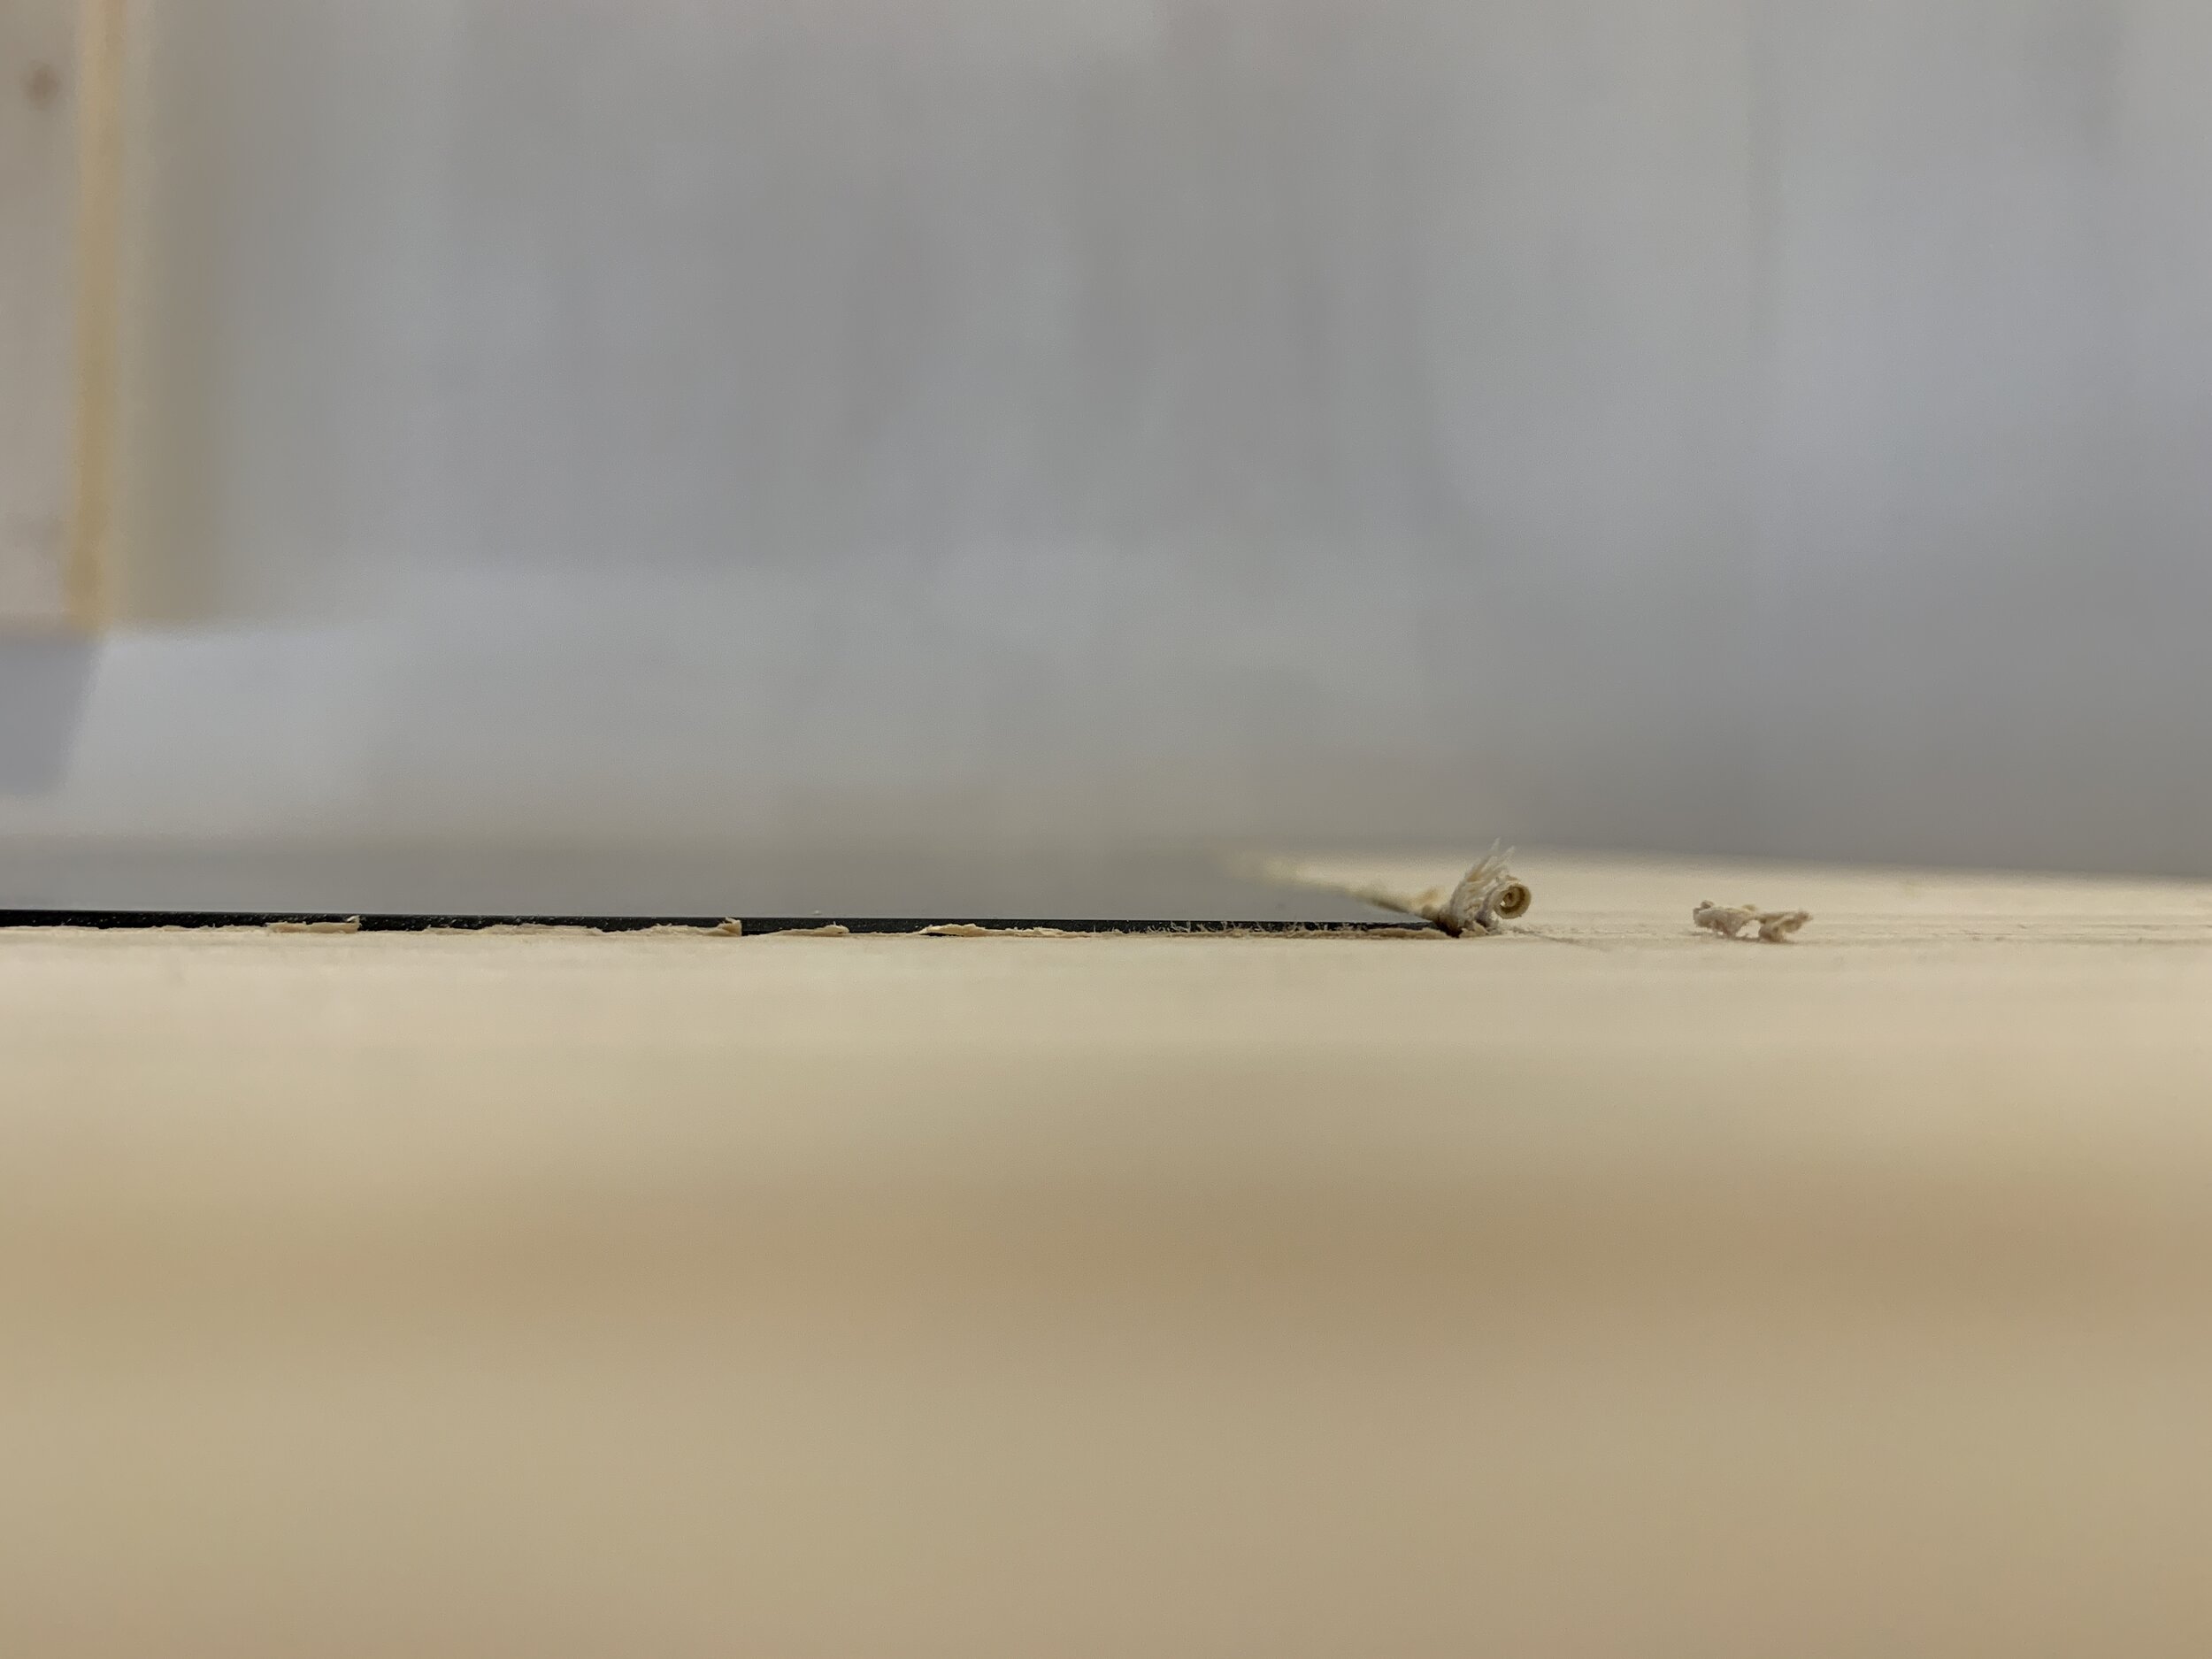
What a difference 1/4” can make! (The photo on the right is obviously before we sanded the routered edge.)
Permanently installing the stove
After we stained the counter, we put a small bead of silicone into the routered channel and dropped the cooktop in, adjusting it to be square within the hole. We waited a day to make sure it was dry and locked in place, then taped the counter using painters tape and siliconed the the small gap from the top. We carefully pulled the painters tape before the silicone dried so it did'n’t accidentally get glued to the counter permanently.

Our tips + tricks for the stove install
Take the time to set up your router guide rails and firmly clamp them down. This saved us a ton of time and got a really clean router line.
Measure, measure, measure. All of the things.

Next steps
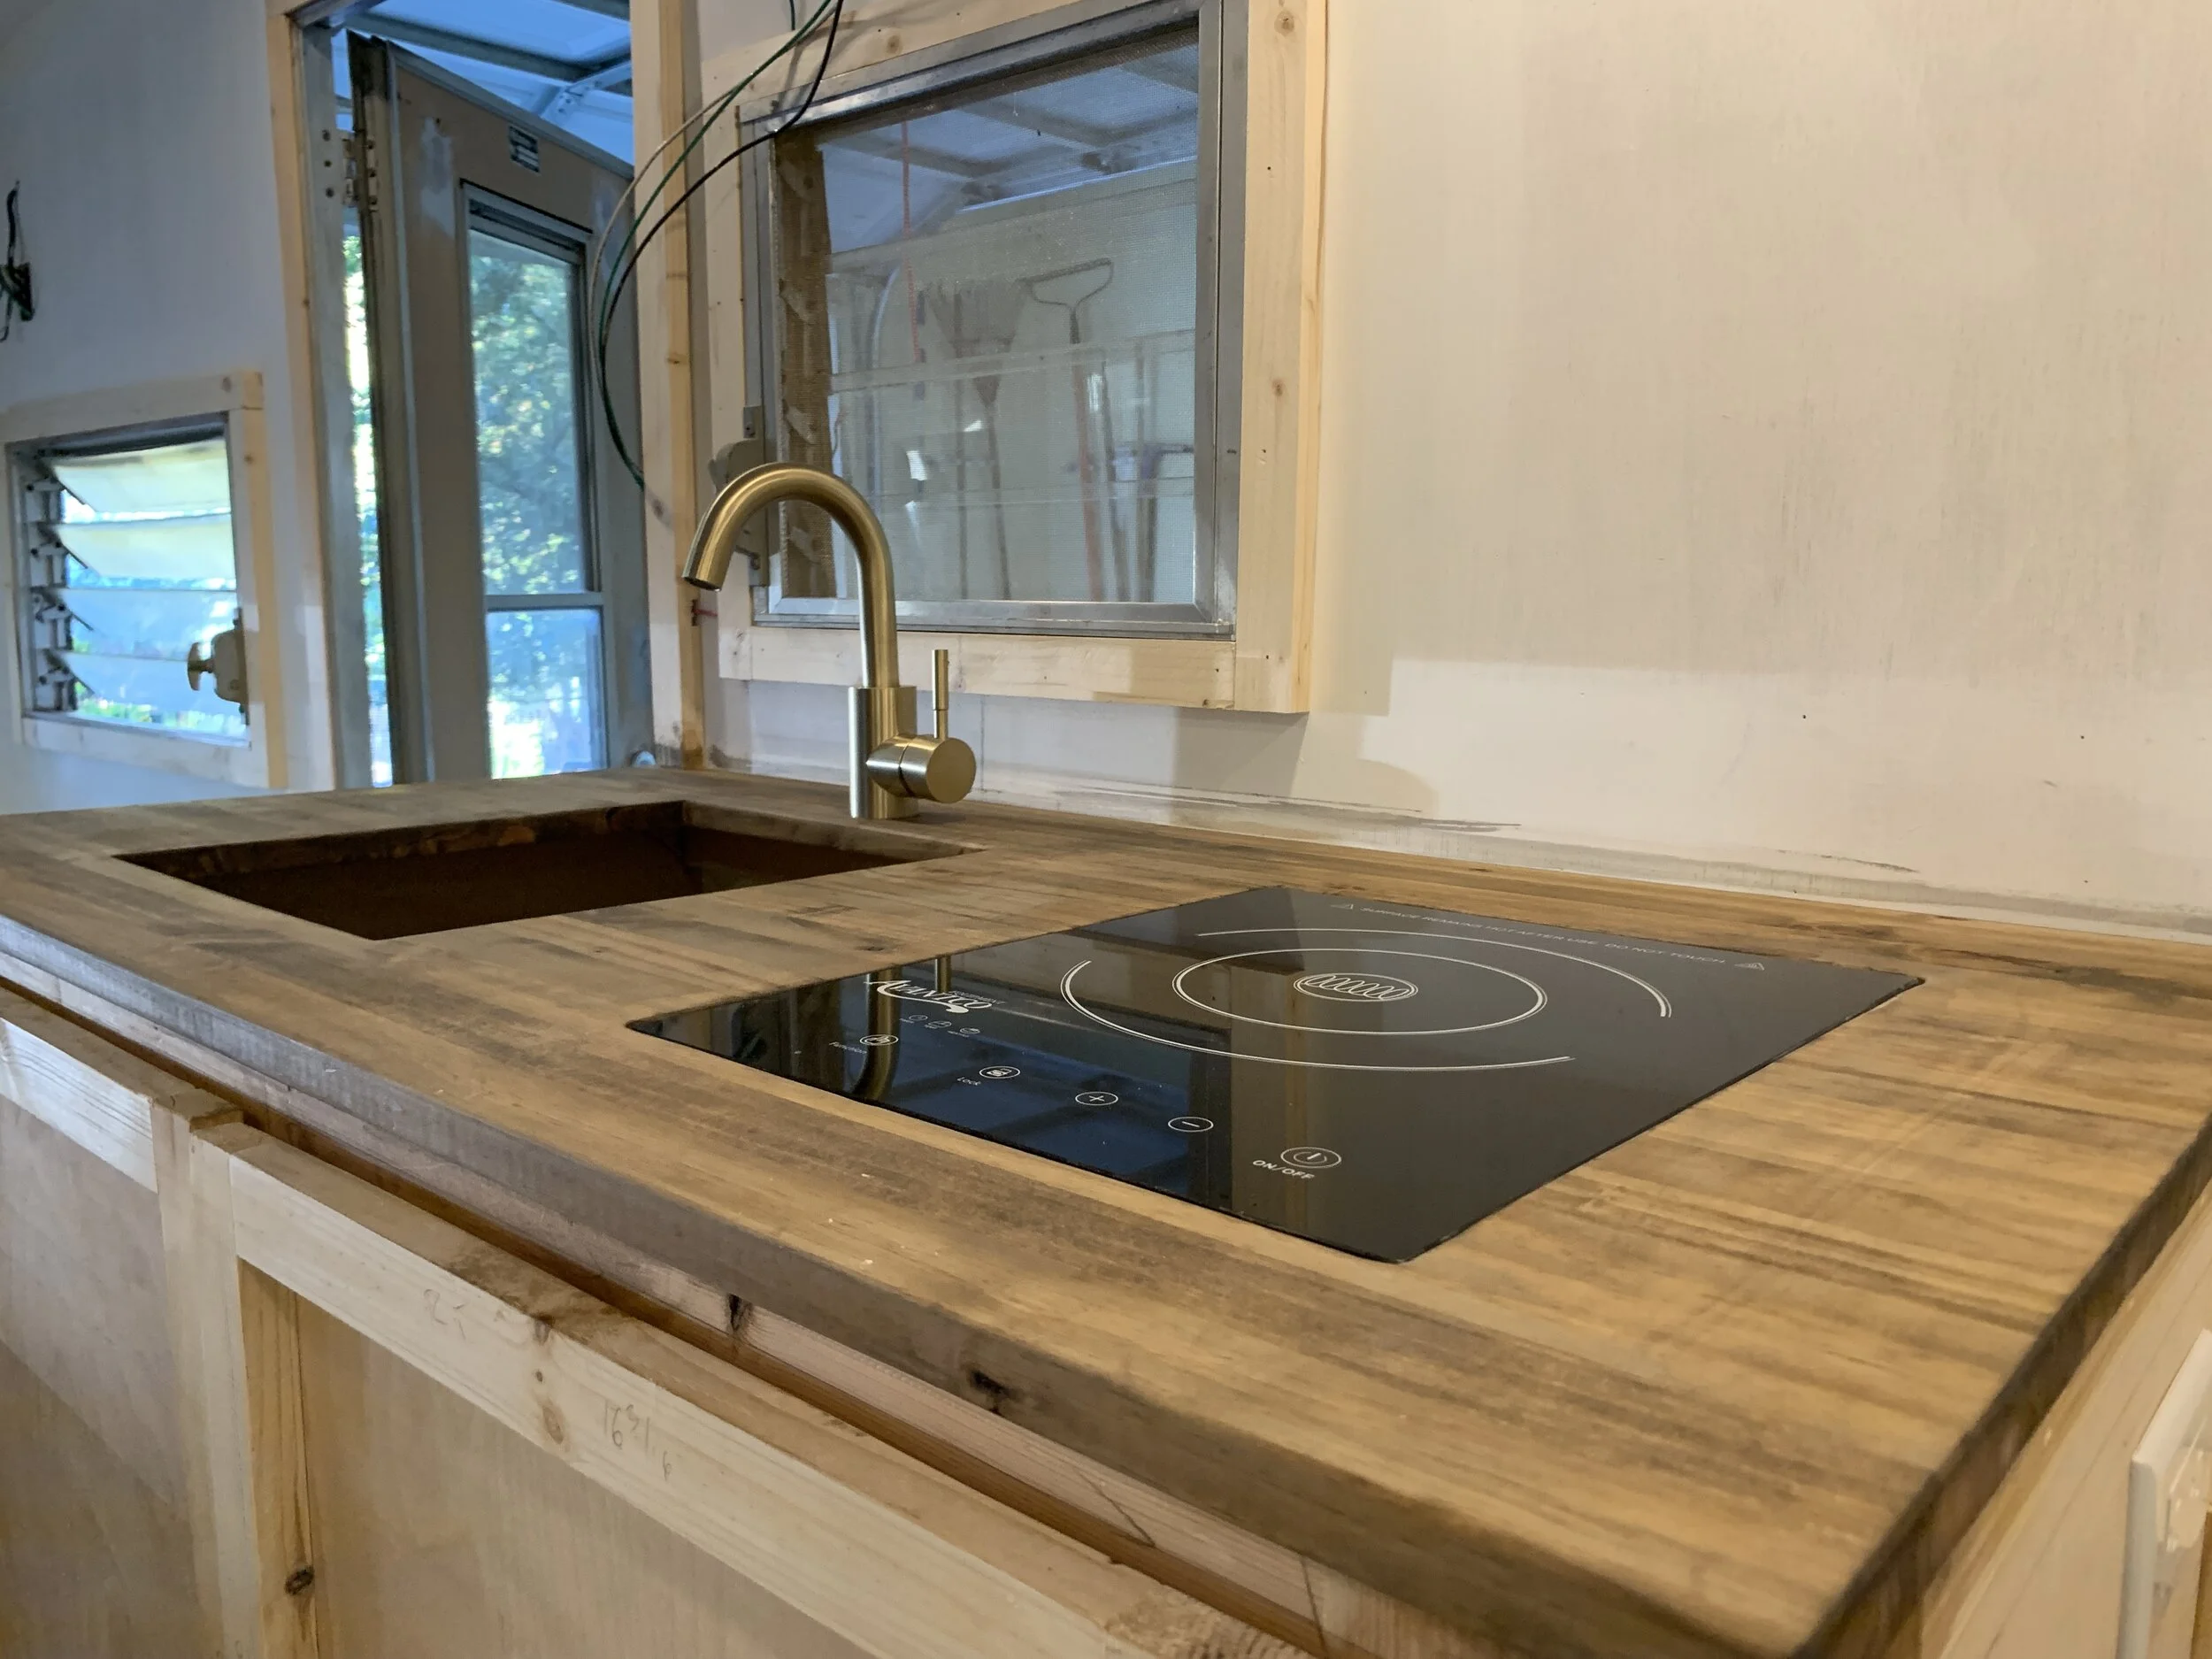
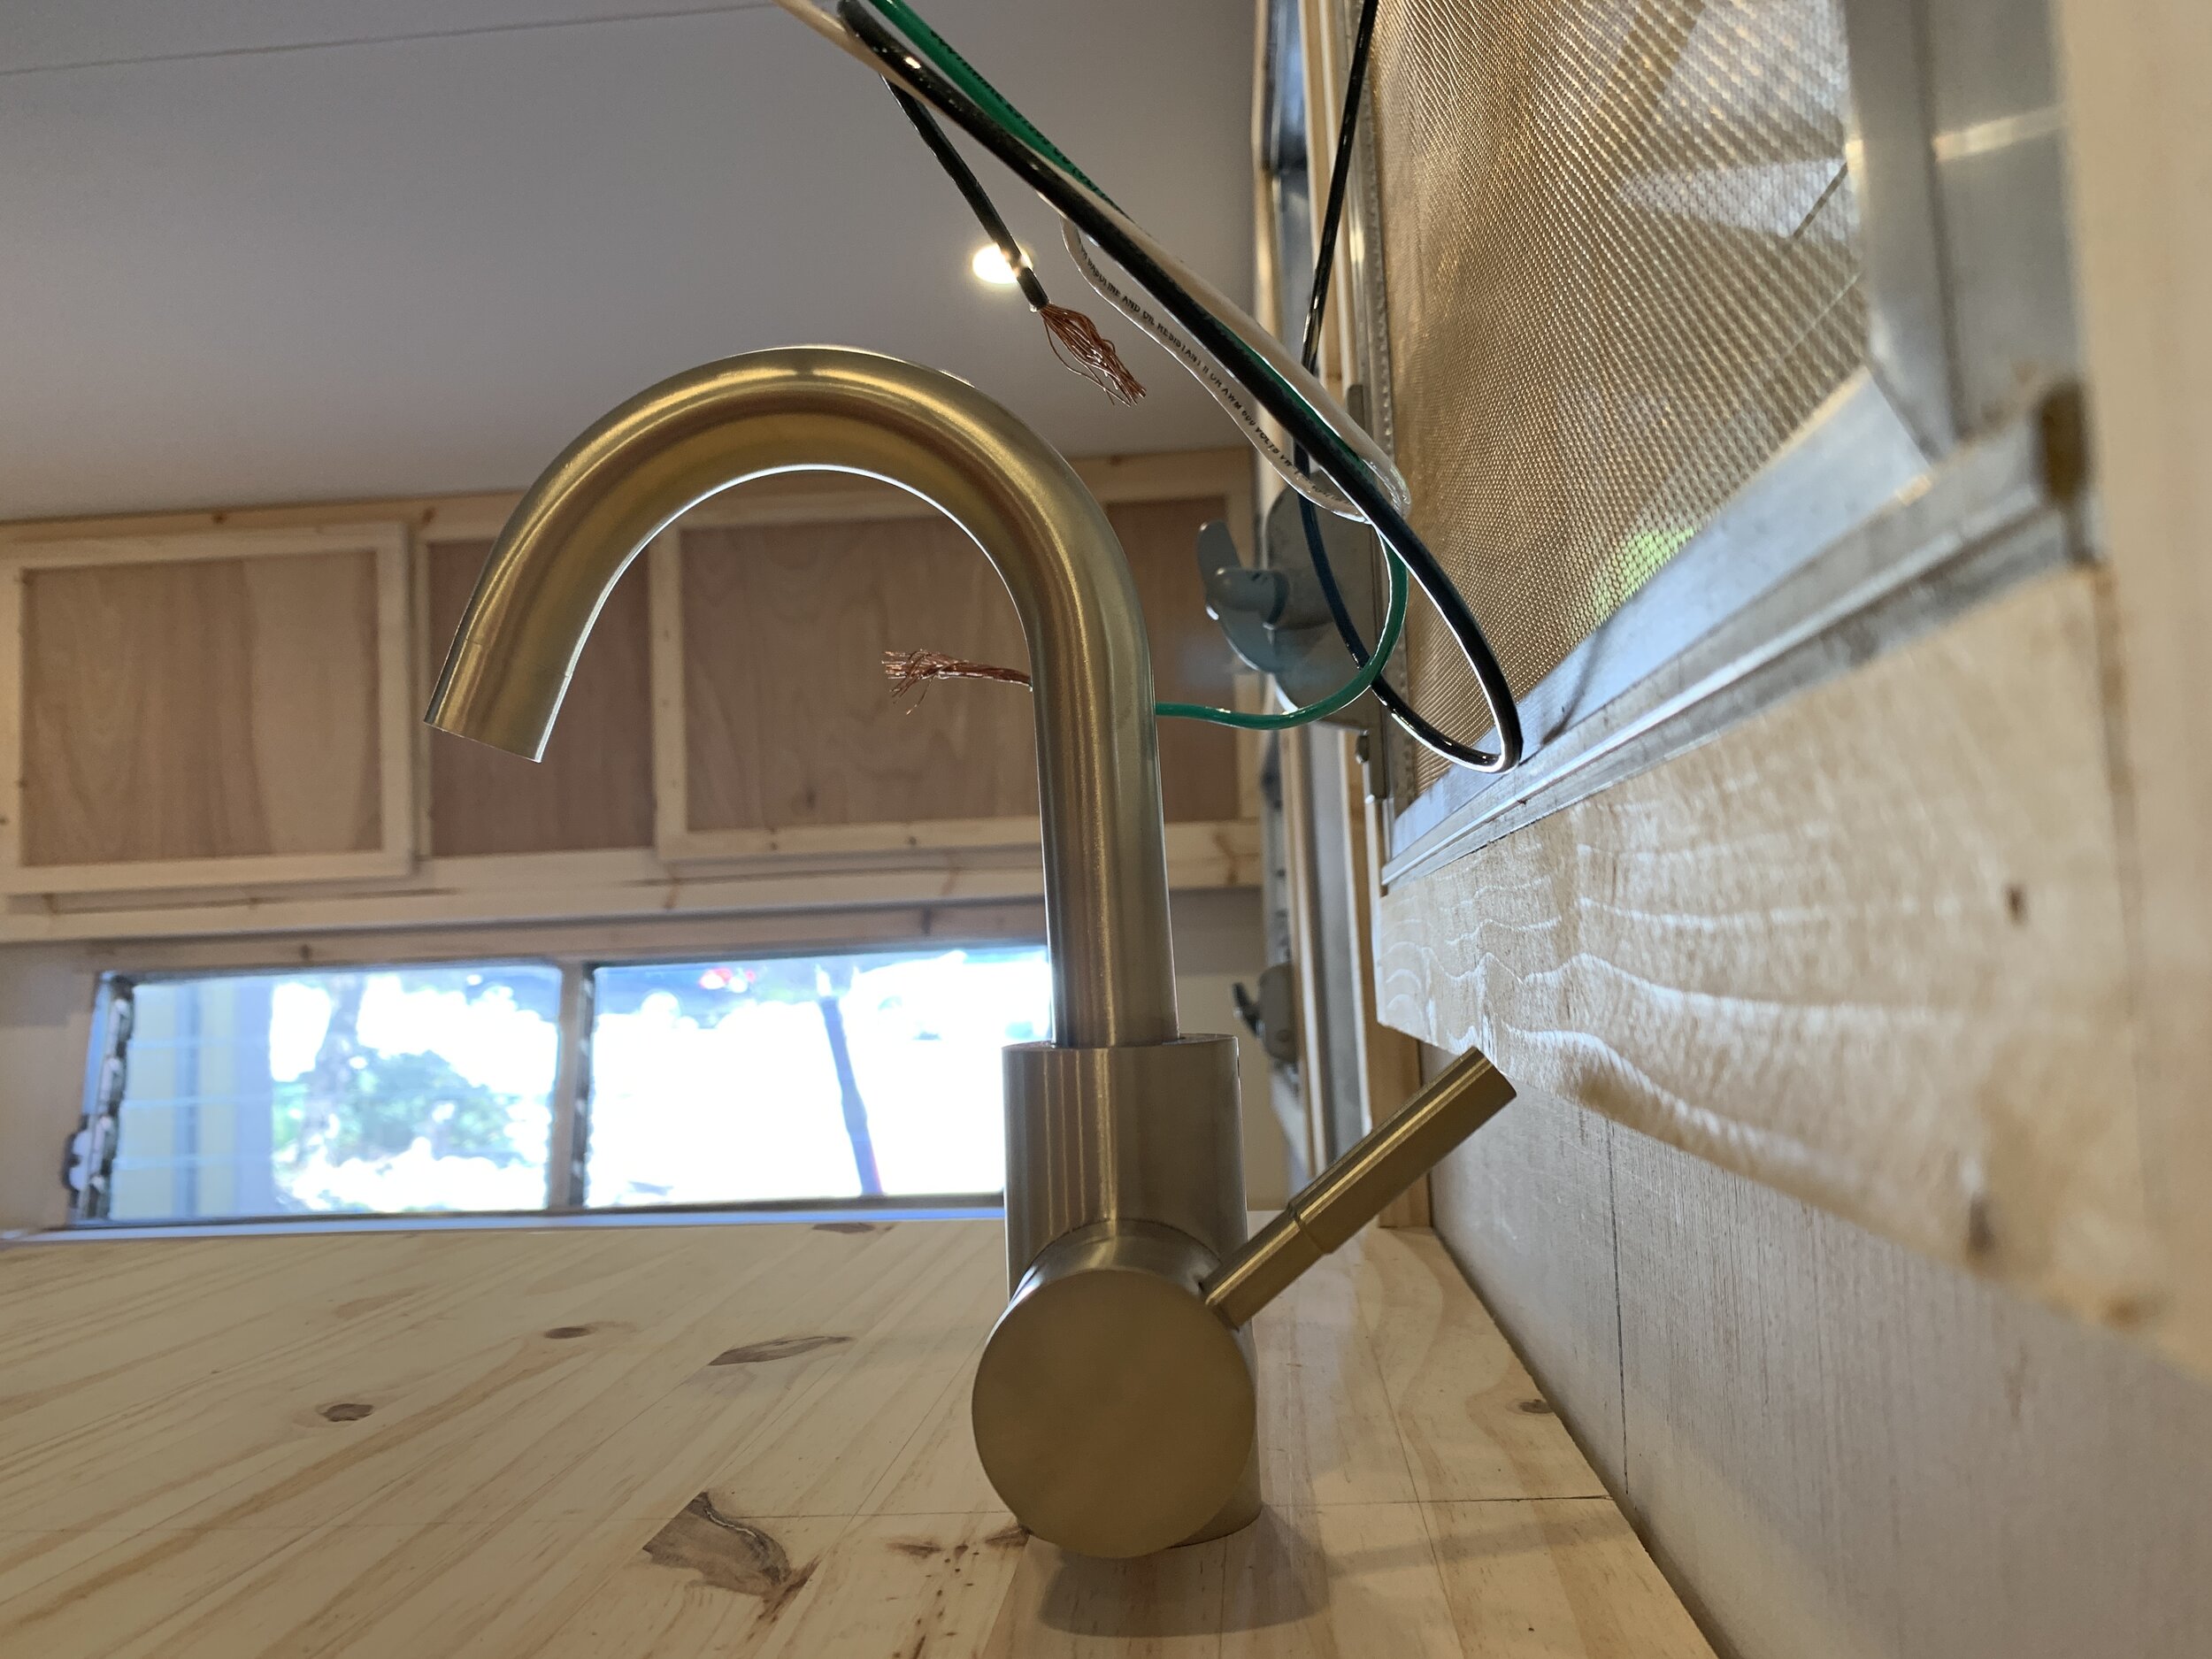
You probably noticed the beautiful brass faucet in some of the photos in this post. We haven’t installed it yet – we only used it for show to help with our placement and because I couldn’t help but get a sneak peek of what it would look like once we get all the plumbing done. While we’d love to have it installed, we have plans for the wall and the faucet will only get in the way.
What do you think? We are absolutely in love with how we were able to put both a sink and stove in, without losing any counter space when they’re not in use. Do you love it as much as we do? We’d love to hear your thoughts in the comments!