The Cameo Camper Renovation: Countertop Install
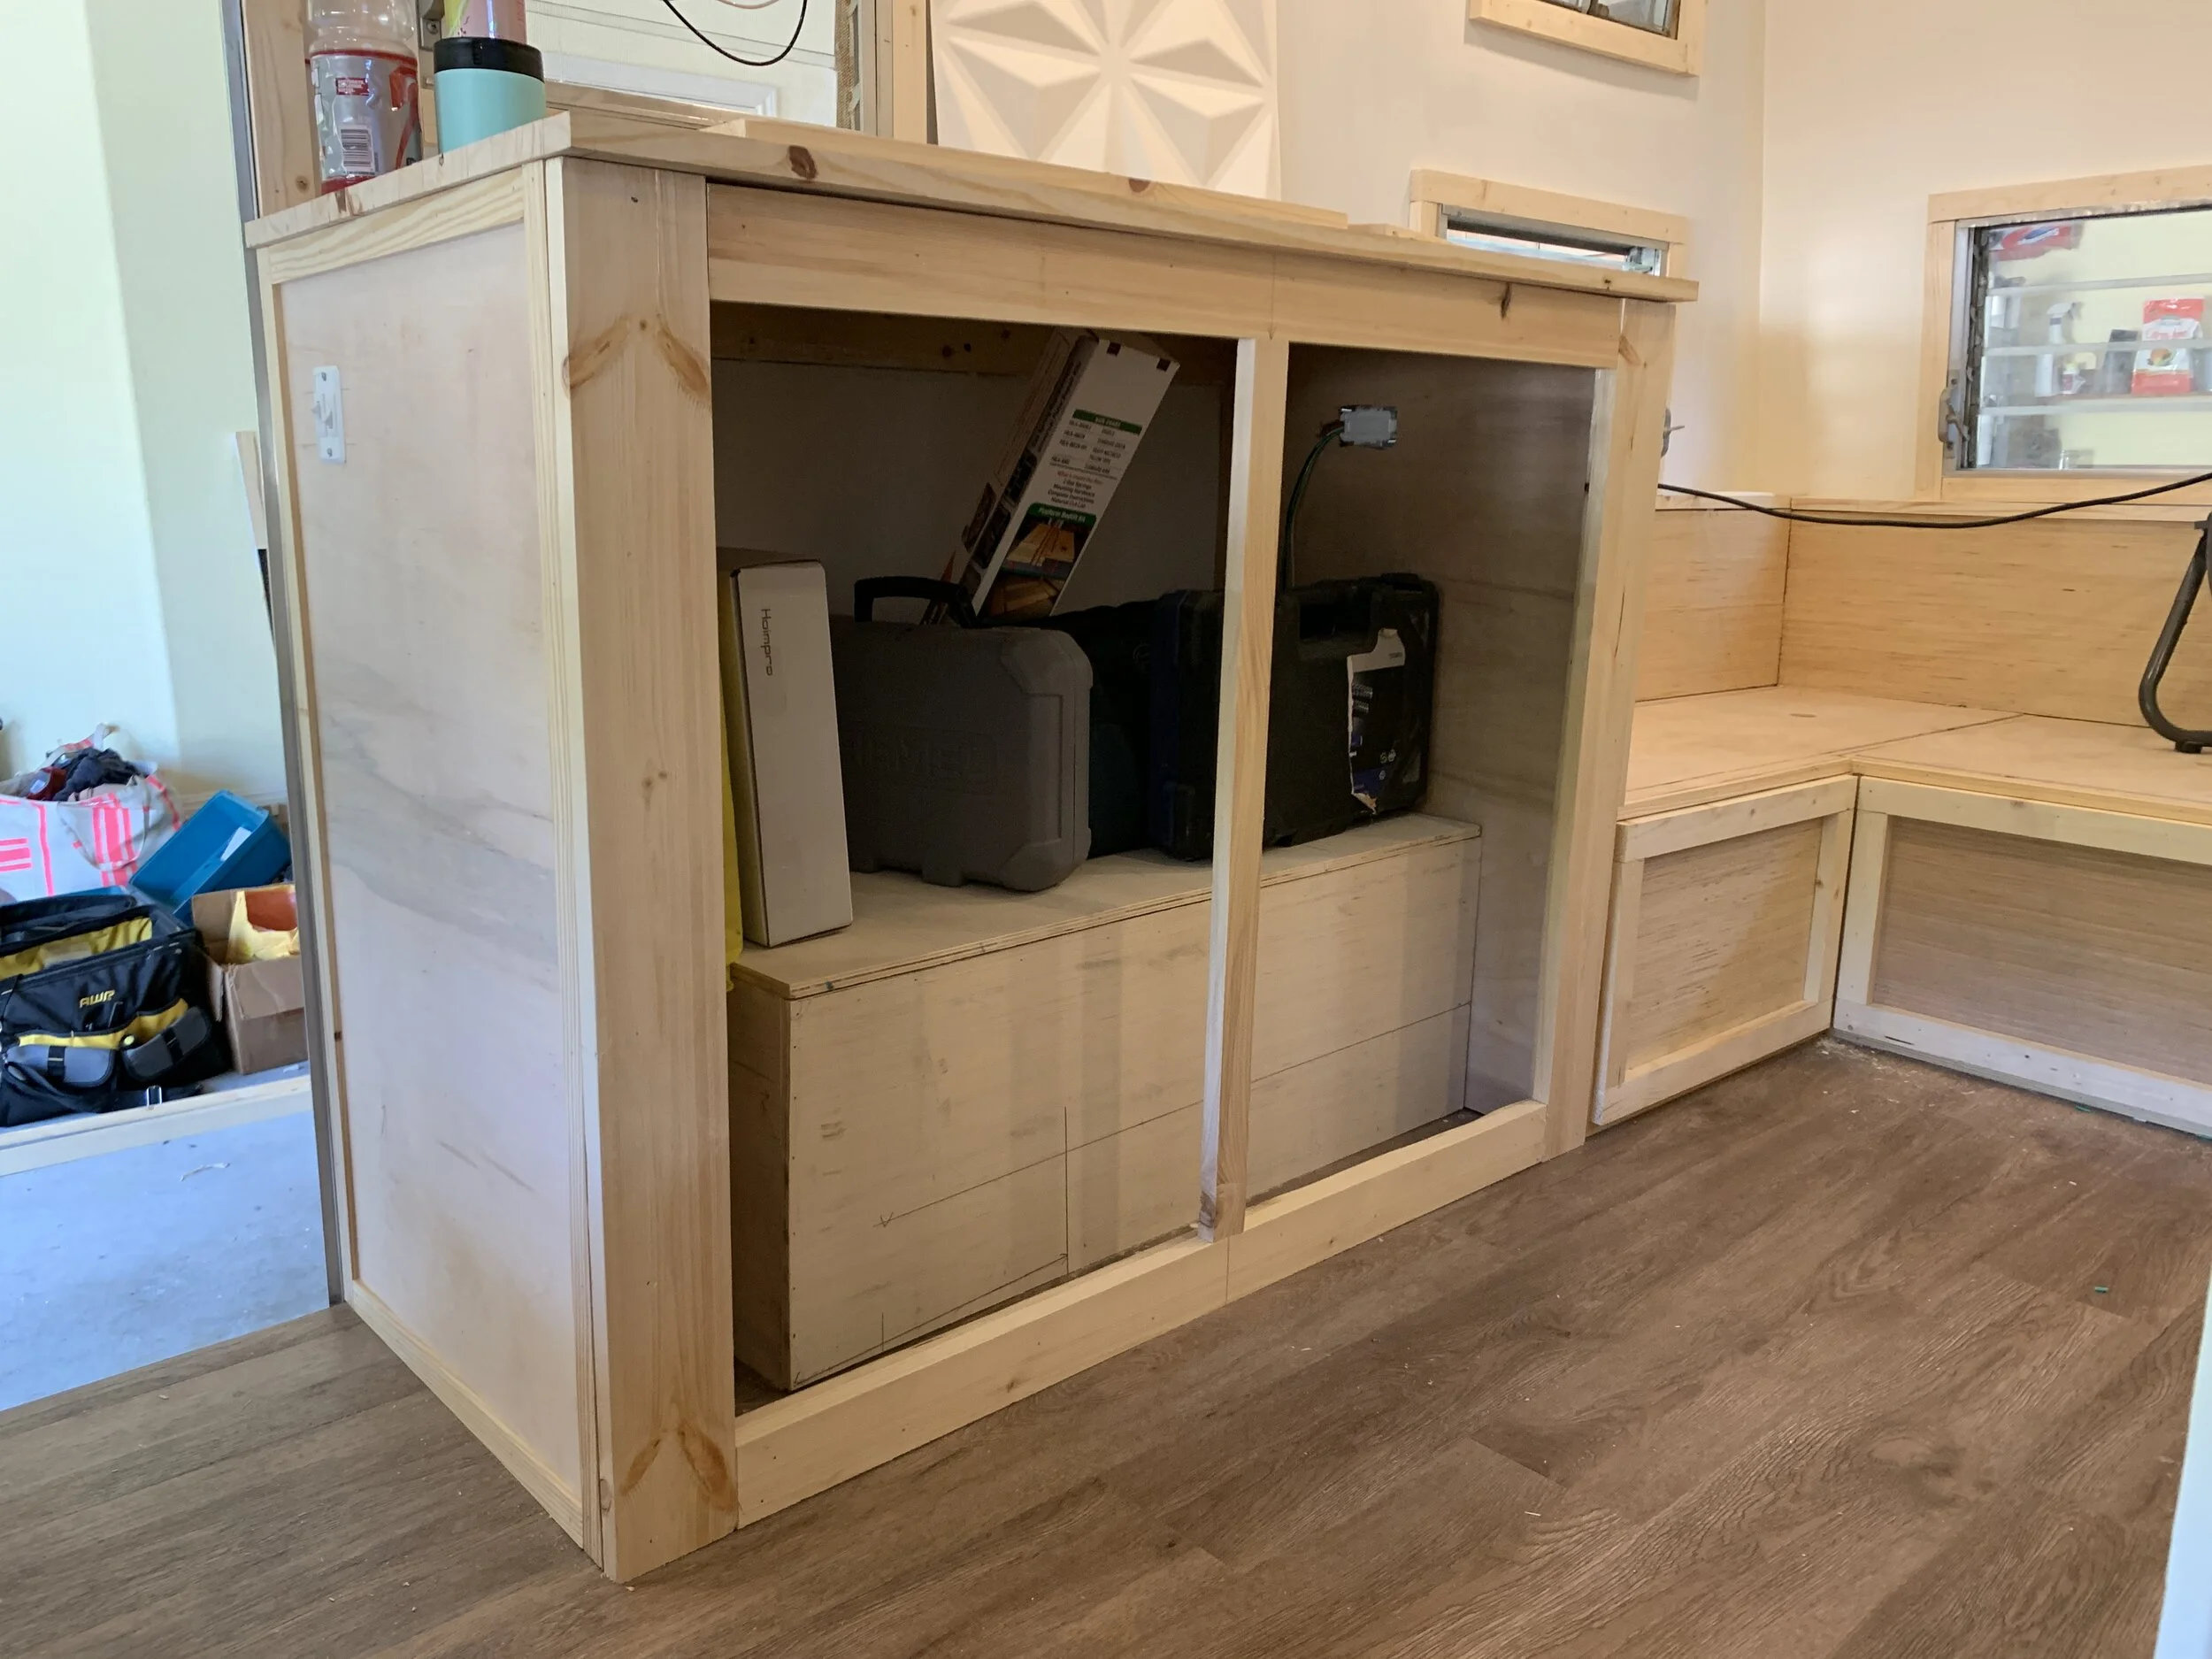
Hello again. (Emphatically waves like Forrest Gump on the shrimp boat.) If you missed our most recent post about how we built our base cabinets, you can catch it here. After we built the initial cabinet base frames (but before we closed them in), we installed our countertops, which is the topic of today’s post.

Our countertop shopping list
Solid wood panel(s) – we bought 2, in sizes just deep and long enough to cover the counter areas we had to minimize costs and waste when we cut them to size
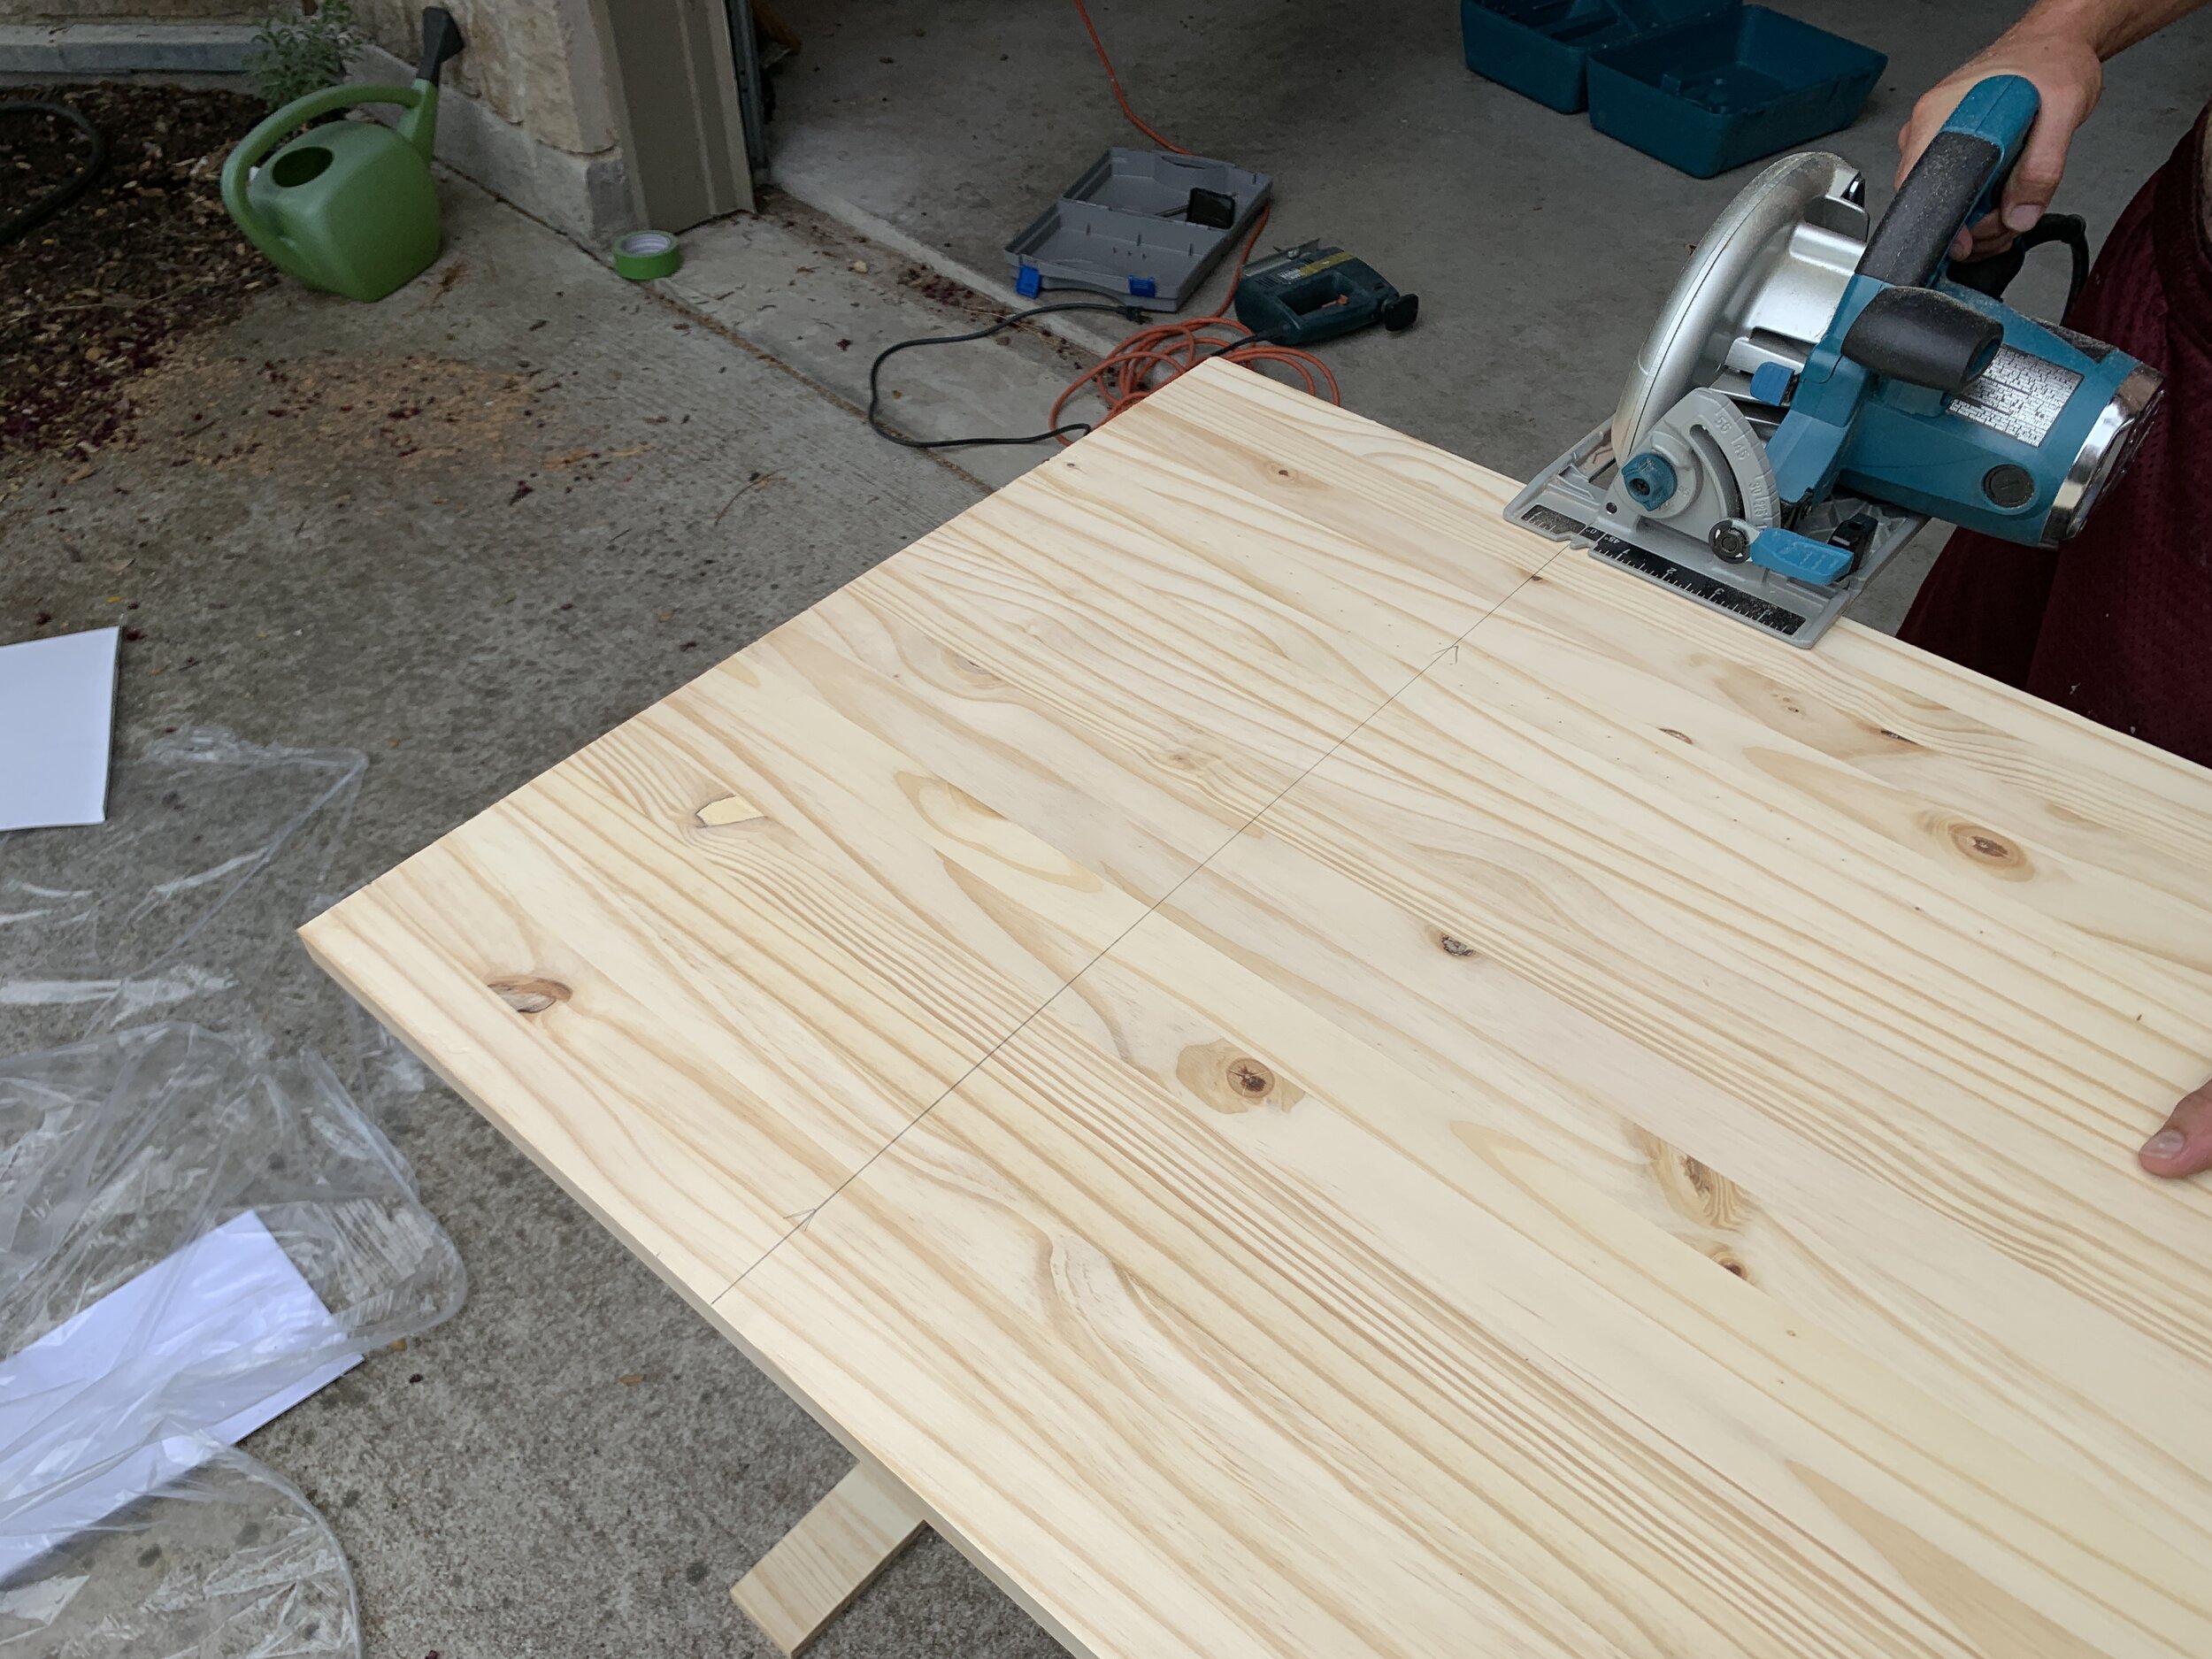
Circular saw – for making cut for length and depth. (We love our Makita corded saw, but not sure the specific one off hand.) Could also use a table saw for this, but 1) we don’t have one, which makes using one kind of hard, and 2) our depth-cuts are slightly off of square (to follow along the walls) so they were easy to make with circular saw.
Jigsaw – for making notches (in our case around door framing)
Speed square + long level (ours is 4’) + measuring tape + pencil – for getting your measurements and mark notches for the perfect fit
Construction adhesive + caulk gun
Irwin clamps – we love these things and use them almost daily it seems. One of the tools we really recommend for your toolkit.
Stain, in your choice of color(s) – we didn’t want the counters to be too gray or orange or dark or light, so after lots of test swatches on unused scraps of countertop, we chose a combo of Danish Oil in Dark Walnut + Minwax Satin Interior Stain in Classic Grey, which coordinates well with our vinyl plank flooring (which we LOVE!!)
Lint-free rags for staining
Solid wood counters on a budget

After thinking through our options, we decided to go with wood for our counters. The pieces we went with are made of pieces of pine, spruce and fir that have been edge-glued together to make one smooth panel, are stain-grade and are available in different thicknesses, lengths and depths. Perfect for budget countertops. They’re relatively lightweight (compared to stone and concrete), are pretty easy to work with and install, and we love that they’re solid wood (not composite/particle board with wood veneer) which is important since we’d be cutting the edges to our custom-sized cabinets.
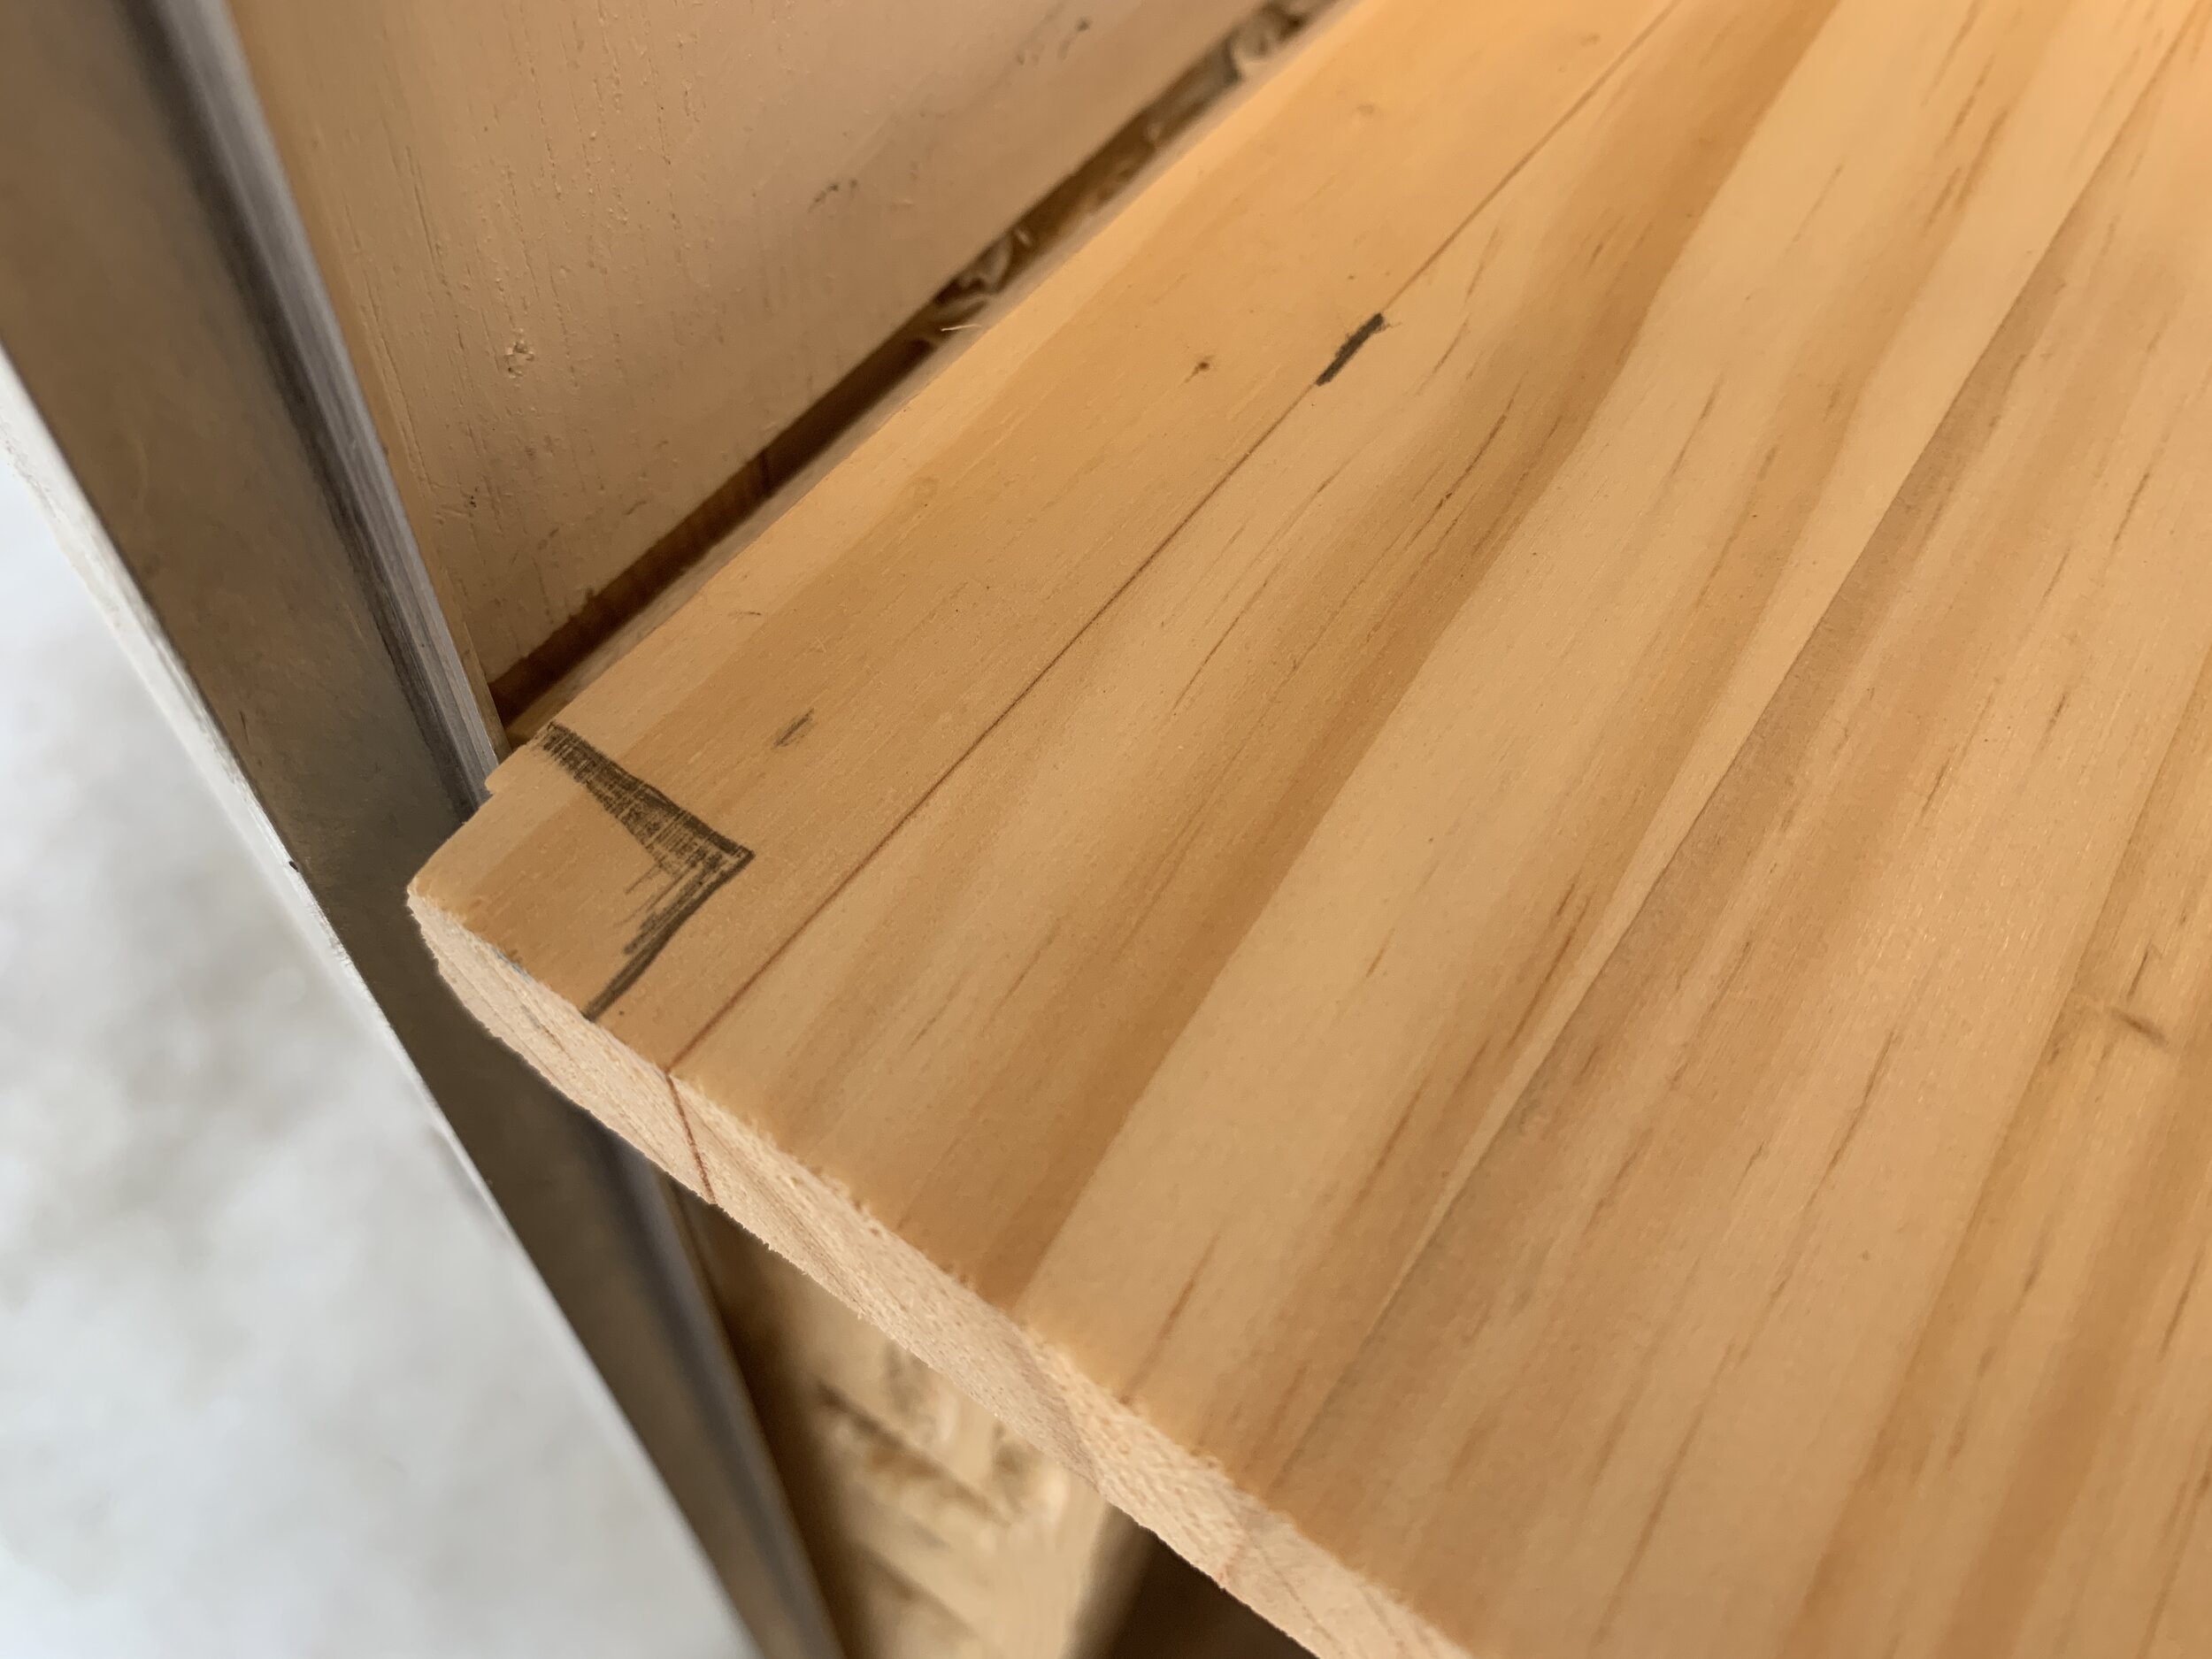
Cutting wood counters to fit
As we’ve shared previously, nothing is truly square in this camper and after marking our cuts out, we used the circular saw and jigsaw to cut and notch the wood panels for a perfectly snug fit.
How we got a snug fit (without wasting any panels!)
We determined the amount of overhang we wanted on the sides (not much because we didn’t want them to impede the doorway or jab the person next to them in the dinette nook) and marked out the cut line.
We cut our pieces to length using the circular saw
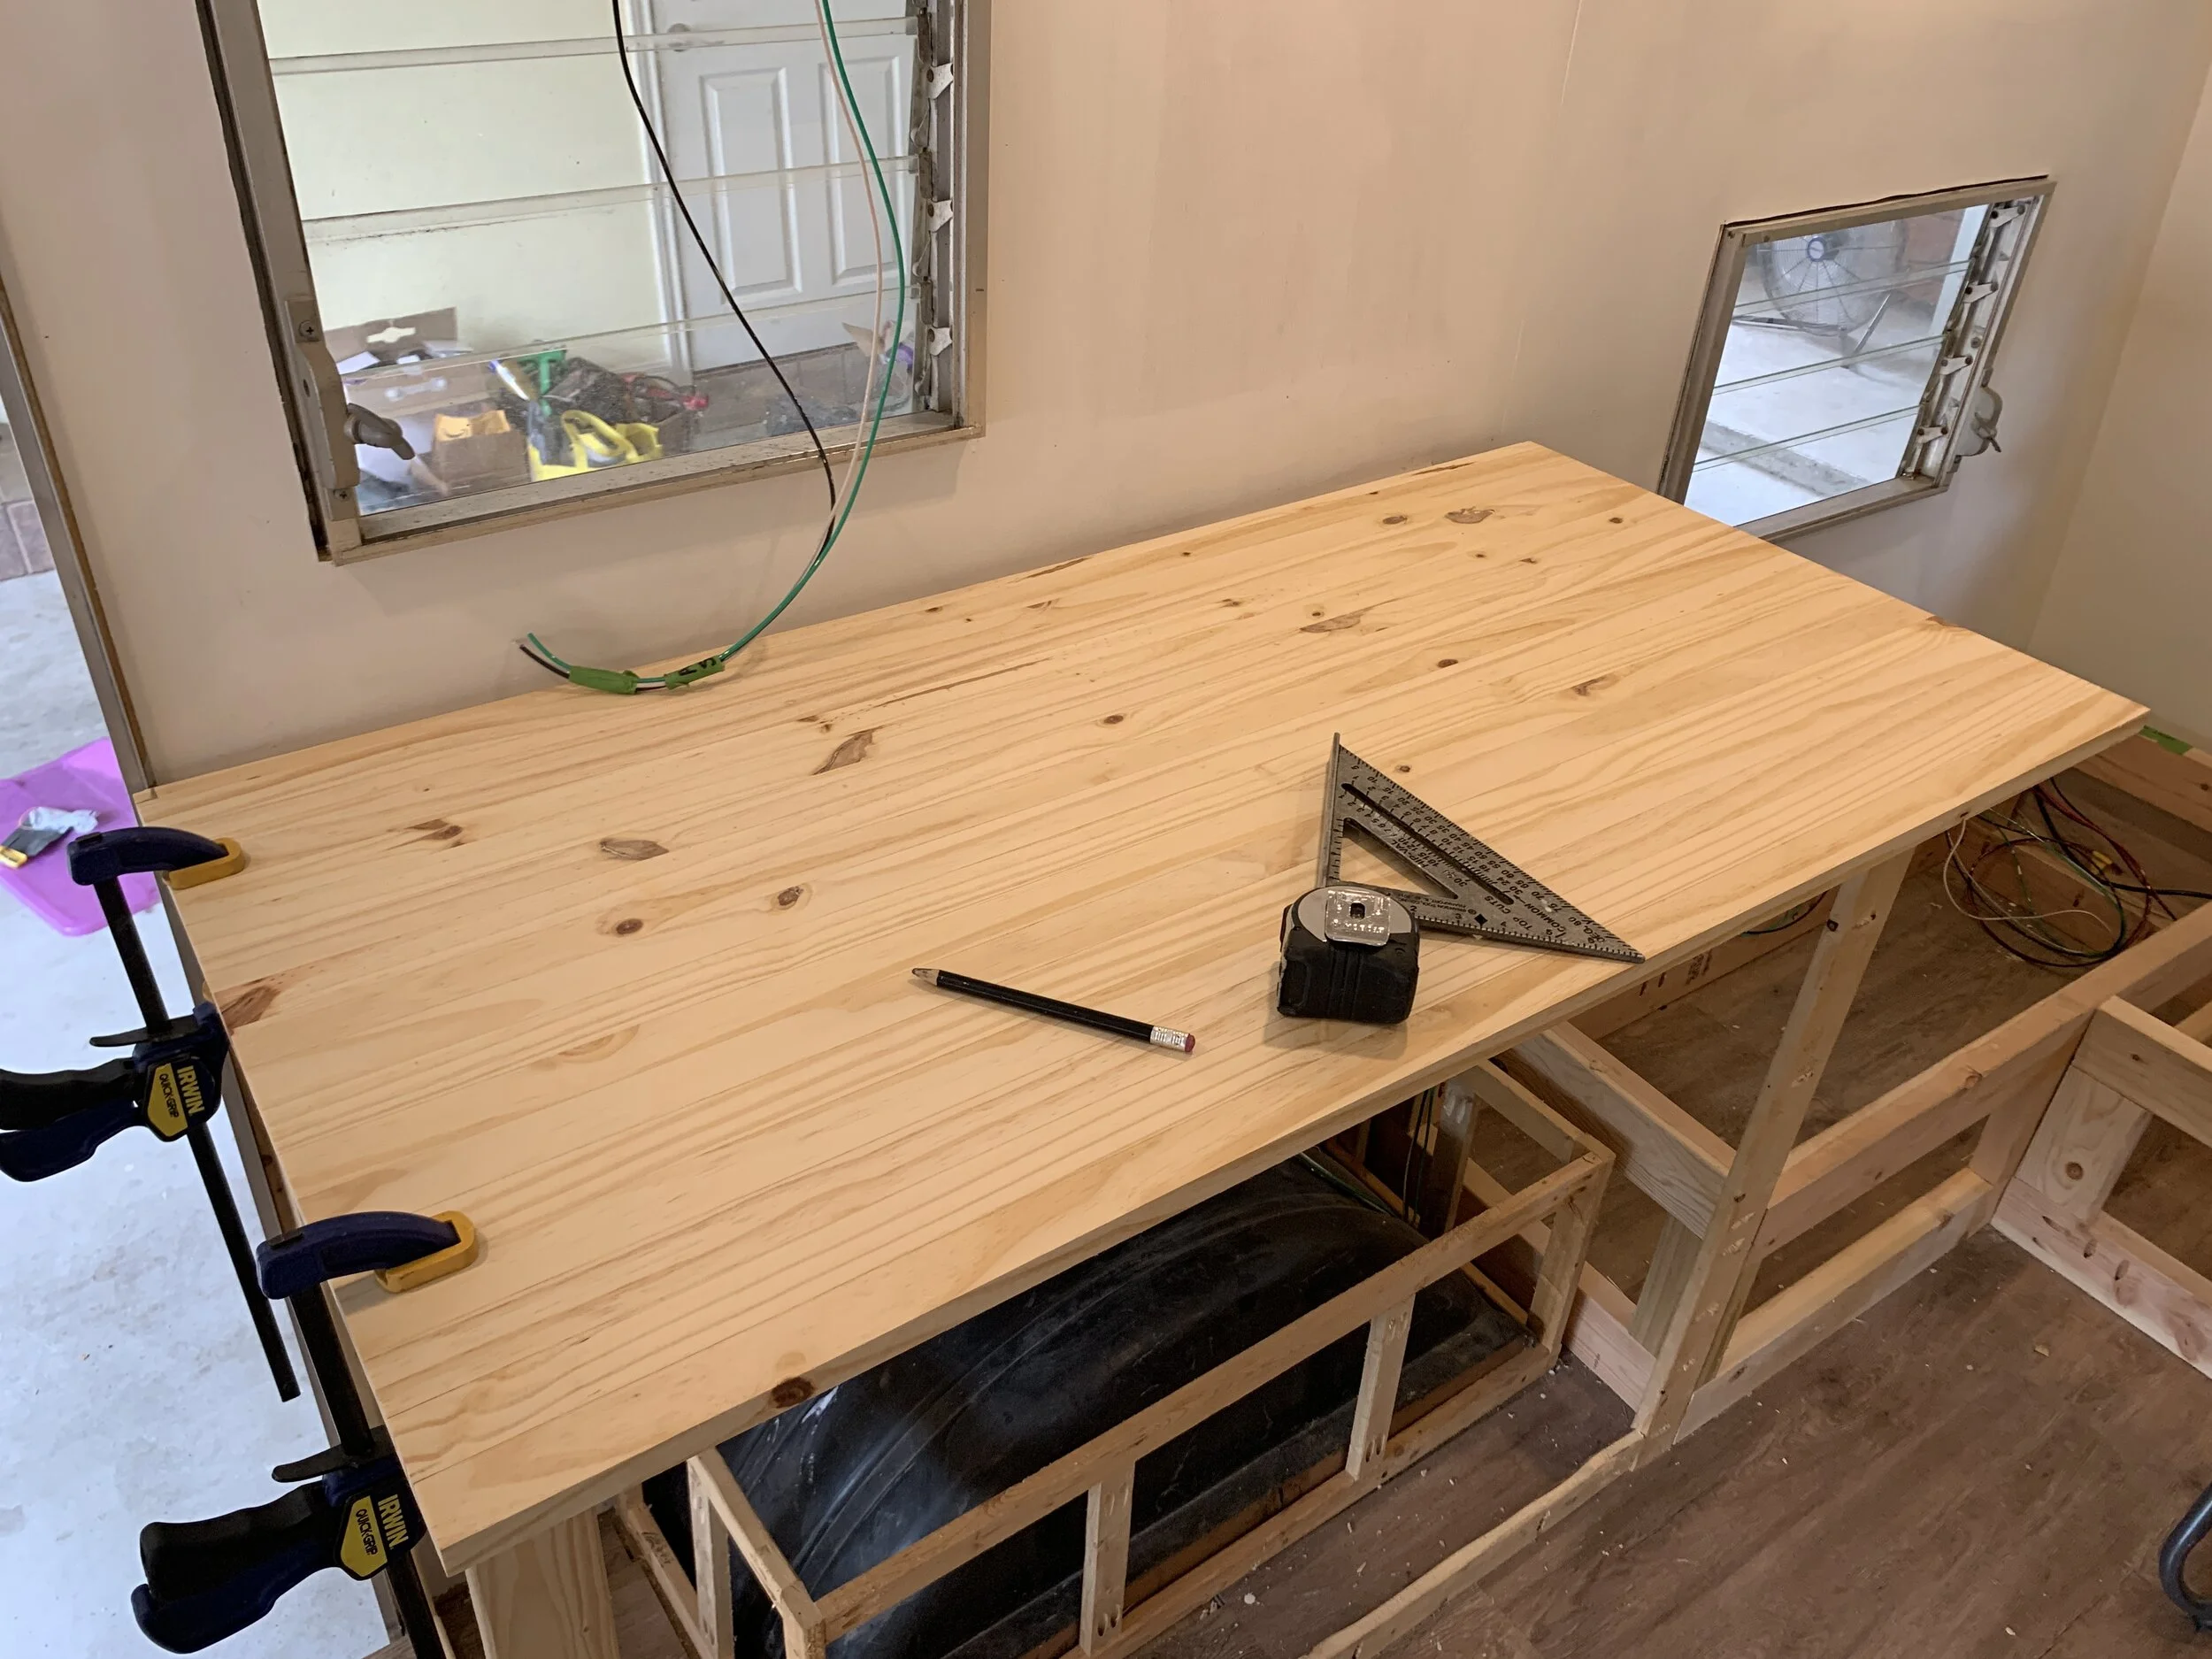
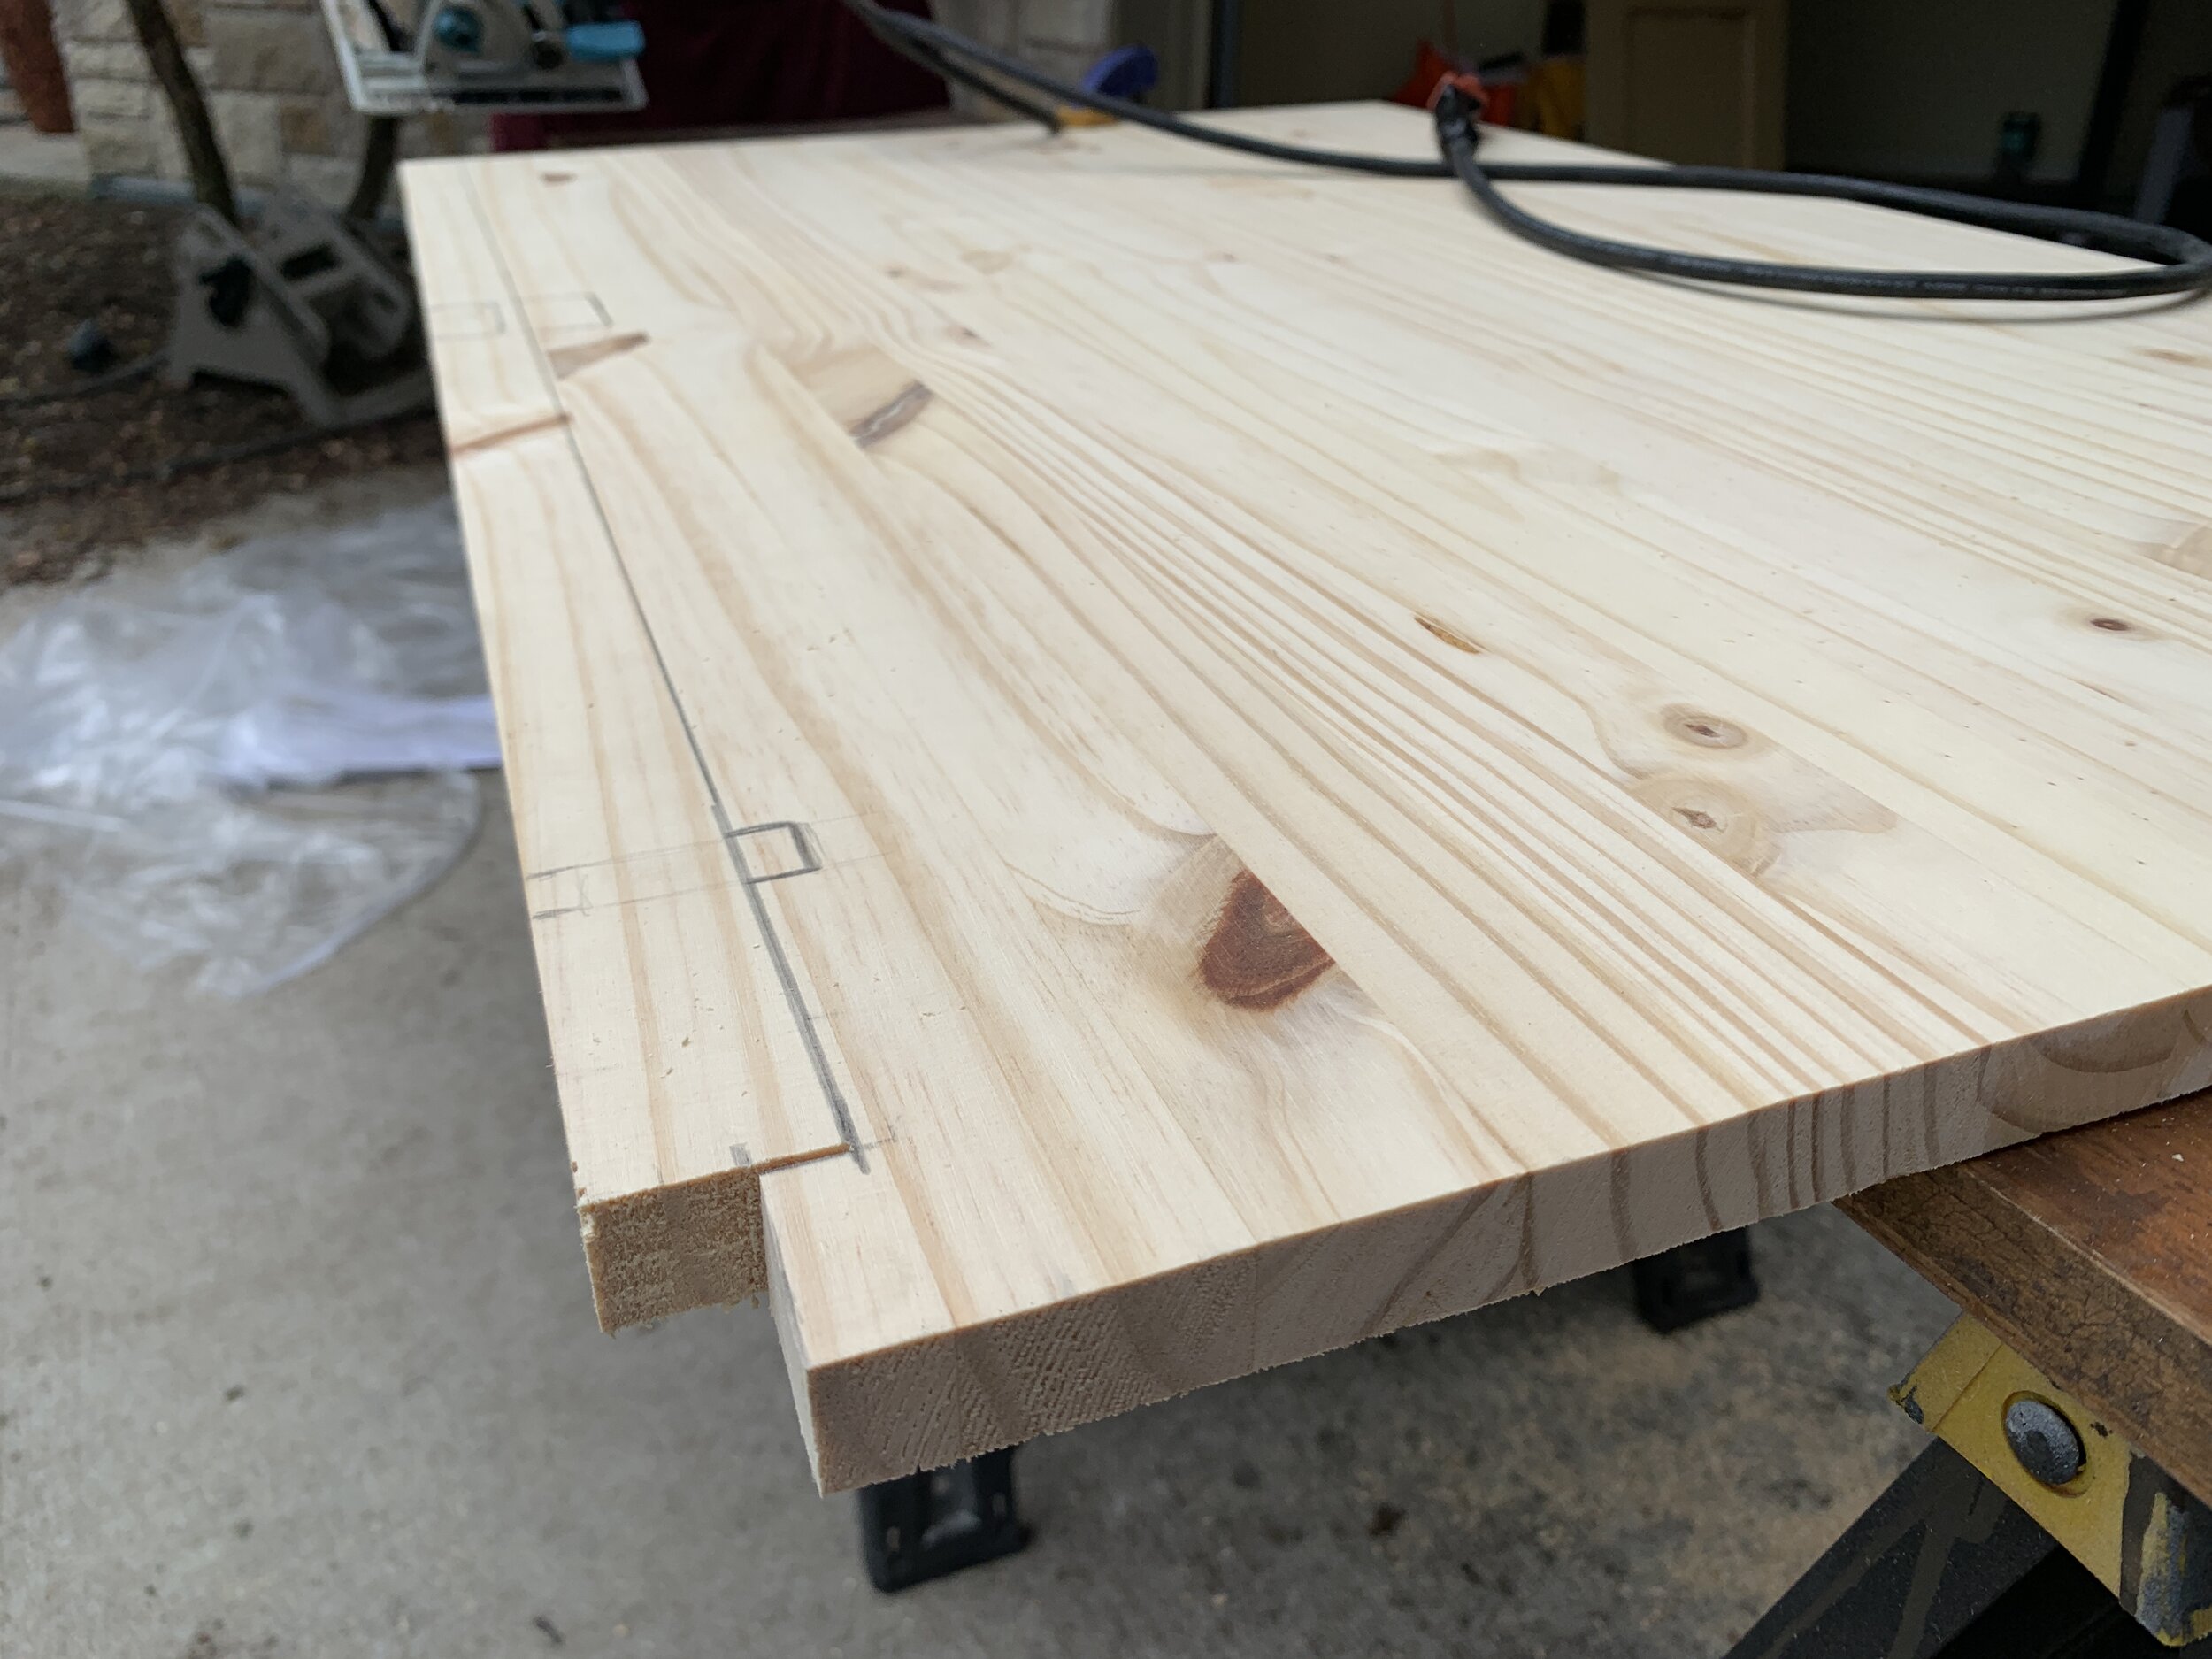
We centered the counter panel left to right on the cabinet base, making sure it was square to the cabinet front and clamped in place before marking the underside of the counter for reference later.
We determined the amount of overhang we wanted on the front of the cabinet/counters and measured the amount of wood we’d need to chop off to make that happen.
We took the amount we determined we needed to cut off to get our ideal counter depth and measured and marked it from the wall-side edge of the counter panel. This is super important, because it allowed us to keep the clean, finished factory edge on the front of the counter that everyone would see and allowed us to hide the un-square, and potentially uglier, cut in the back where it would be hidden.
After we marked it all out in step 5, we used the circular saw to chop off the excess depth.
Using the lines we marked in step 3, we put the panel back in place on the cabinet base and clamped it down to mark the notches around any existing millwork, etc., again from the wall-side of the counter.
We used the jigsaw to cut our notches and tested cut depths and placement as we went to make sure we weren’t making any errant cuts.
Lastly we dry-fit the counters one last time, clamping them in place and doing the eye test on all the sides and overhangs. We made additional dark under-counter pencil markings around the whole cabinet perimeter to guide our final placement.

Installing the counters
Once we had our markings drawn out on the underside of the counter, we piped out a small bead of construction adhesive to the top of the cabinet base and used our trusty Irwin clamps to secure the panel to the cabinet base frame, making sure it was making good and even contact around the whole perimeter. We let this dry for a week (because we did this on a Sunday and only work weekends since we’re not working on this renovation at our house), but overnight should suffice.

Staining wood countertops in place
After testing tons of stains and stain combinations on unused scraps of countertop, we chose a combo of Danish Oil in Dark Walnut + Minwax Satin Interior Stain in Classic Grey, which coordinates well with our flooring.

Countertop sample next to our vinyl floors.
Instead of mixing the two together, we use a lint-free rag (like an old t-shirt) to wipe on a layer of the Danish Oil and let it sit for a bit before wiping it off with a clean rag. Then using the same method we followed with a layer of the grey stain, which we wiped off almost immediately so it didn’t get too grey. We just wanted to knock down some of the orange tones in the wood, which it did nicely. You can kind of see in the photo below how the counter below has a little less orange to it than the square of wood on top of it. That’s because the counter has both the Dark Walnut and the Classic Grey on it, while the smaller piece of wood on top only has the Dark Walnut Danish Oil layer on it.

We haven’t sealed it yet, but you could (and we probably will) decide to seal it with a food-safe clear sealant in a natural, non-glossy finish to help protect it from water and general wear and tear.
What’s next for the counters?

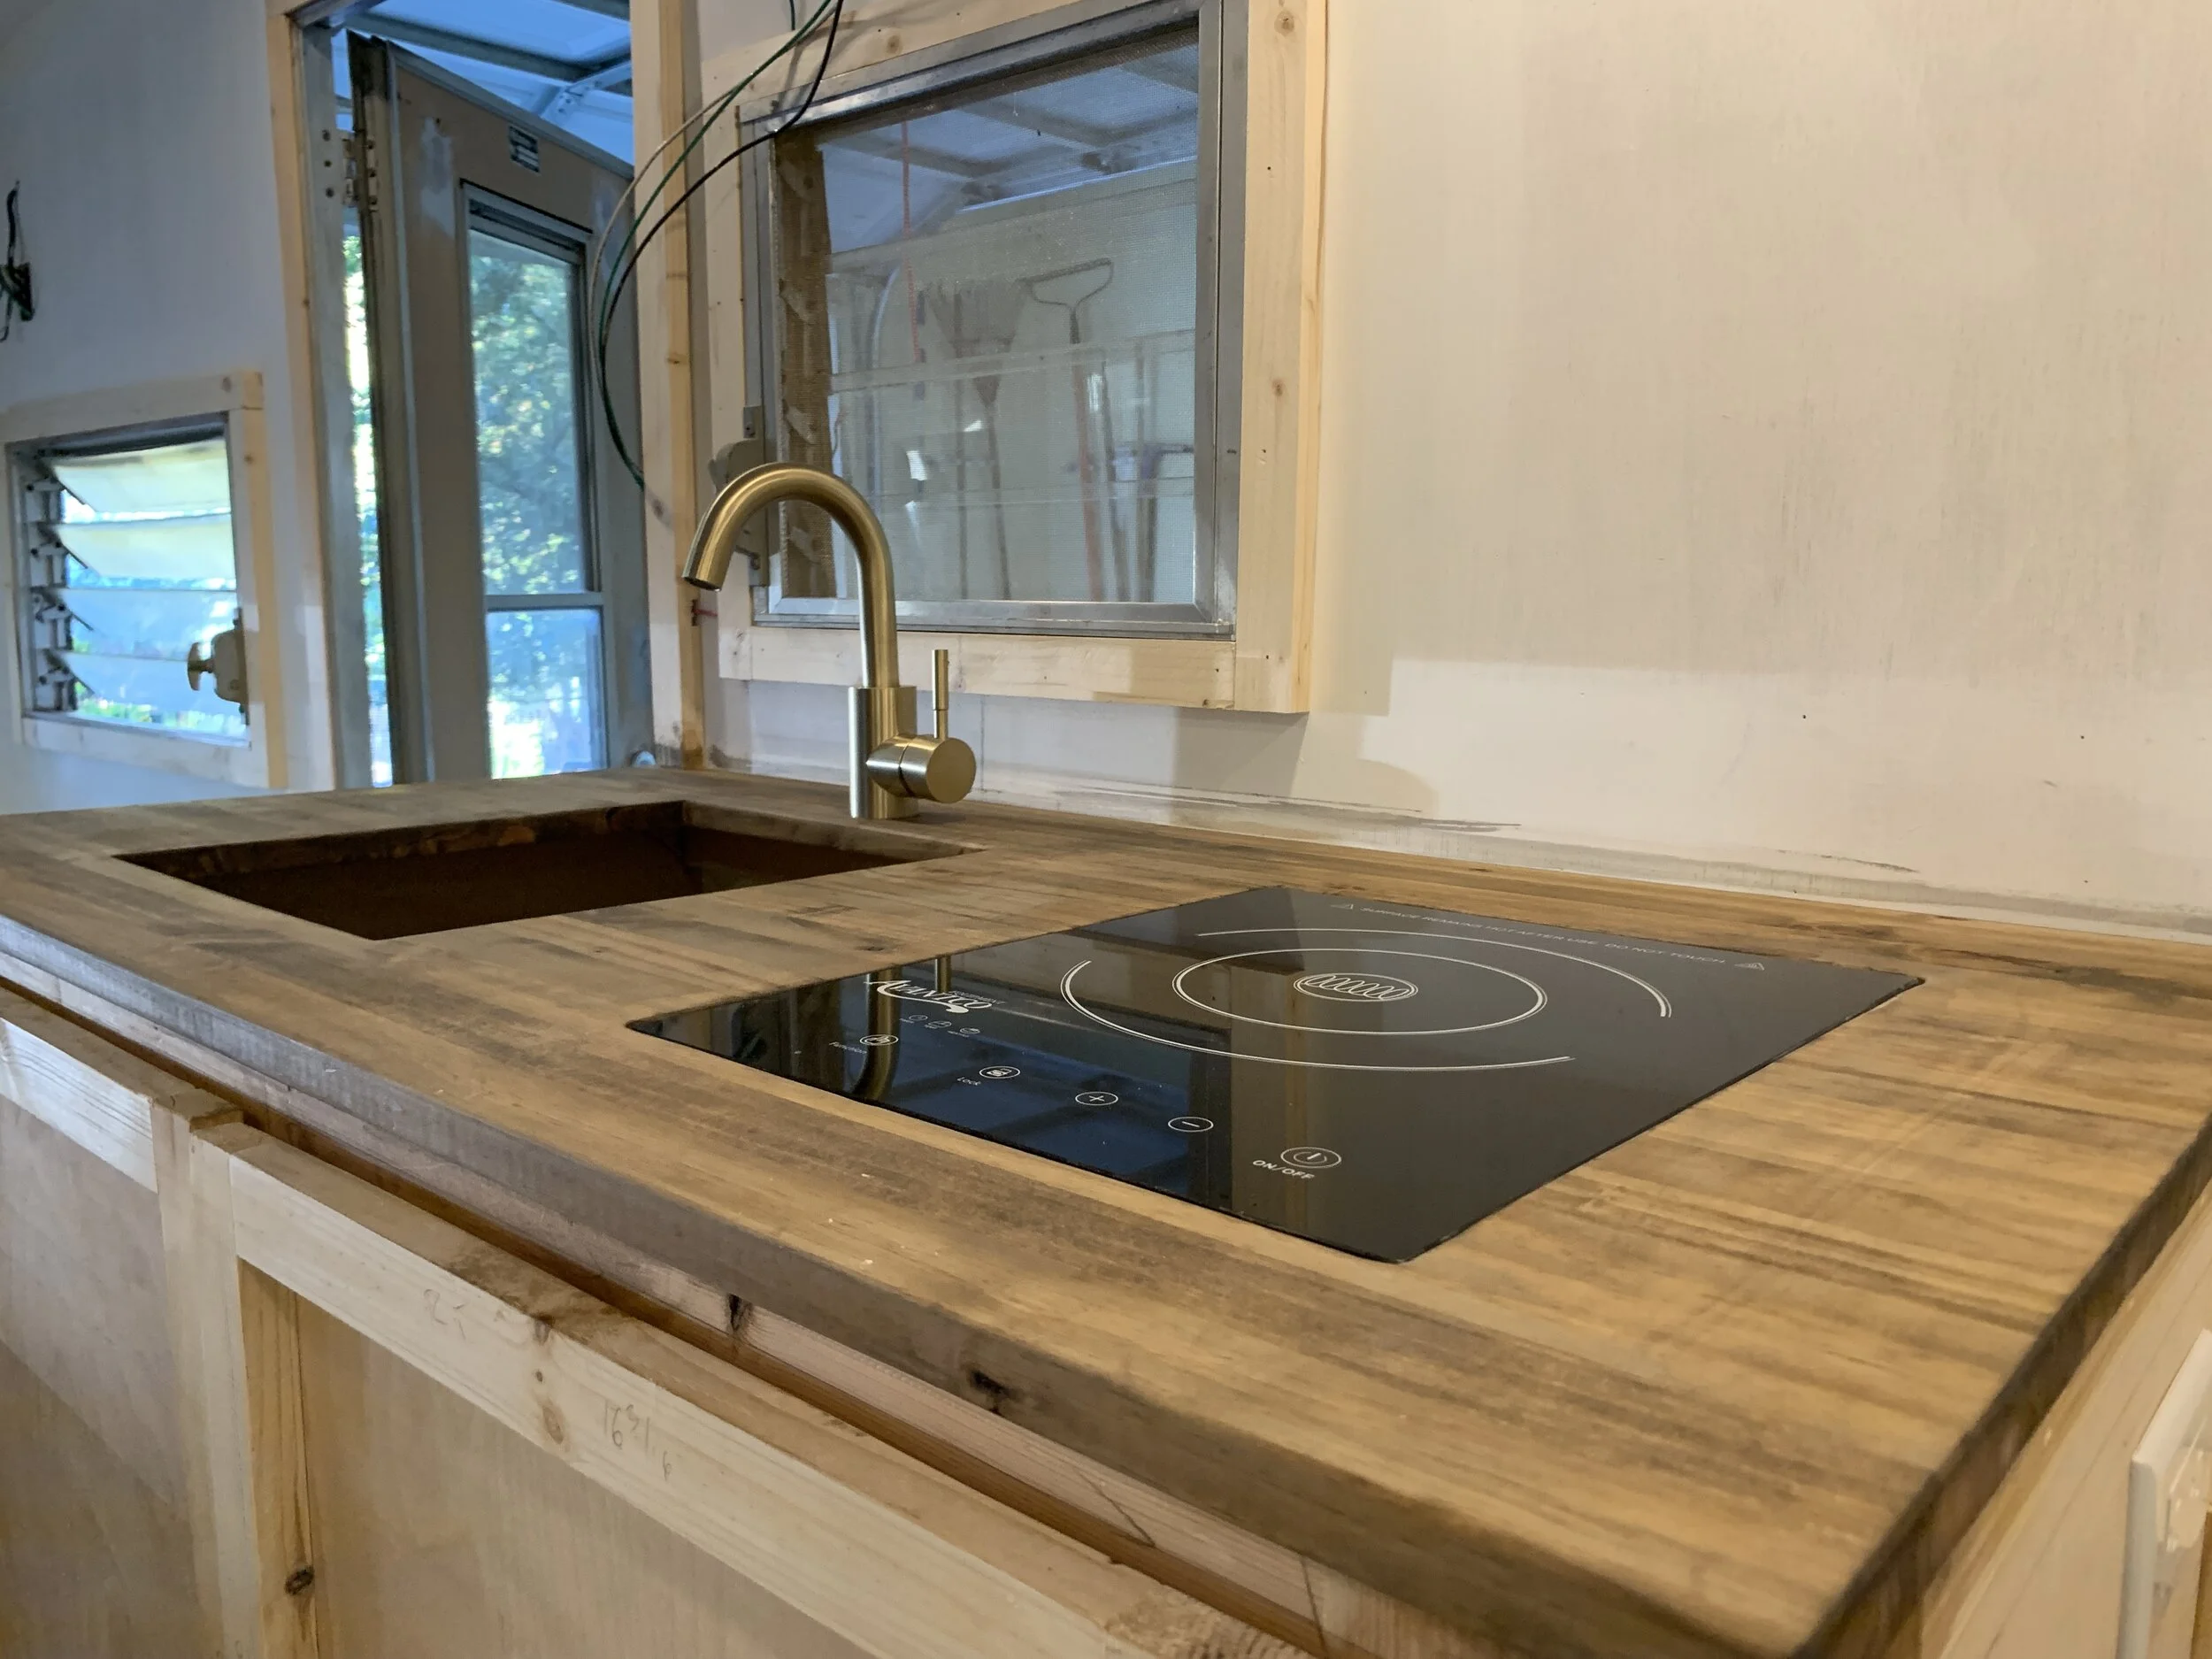
You might be thinking, “Wow, cool. But what are those huge holes you’ve cut into an otherwise useable solid counter?” Good question. Since the install and staining, we’ve put in an under-mount sink (left) and a glass induction stovetop (right). Since each of those are fairly involved, we’ll be covering them in a separate post soon.
In the meantime, any questions for us?