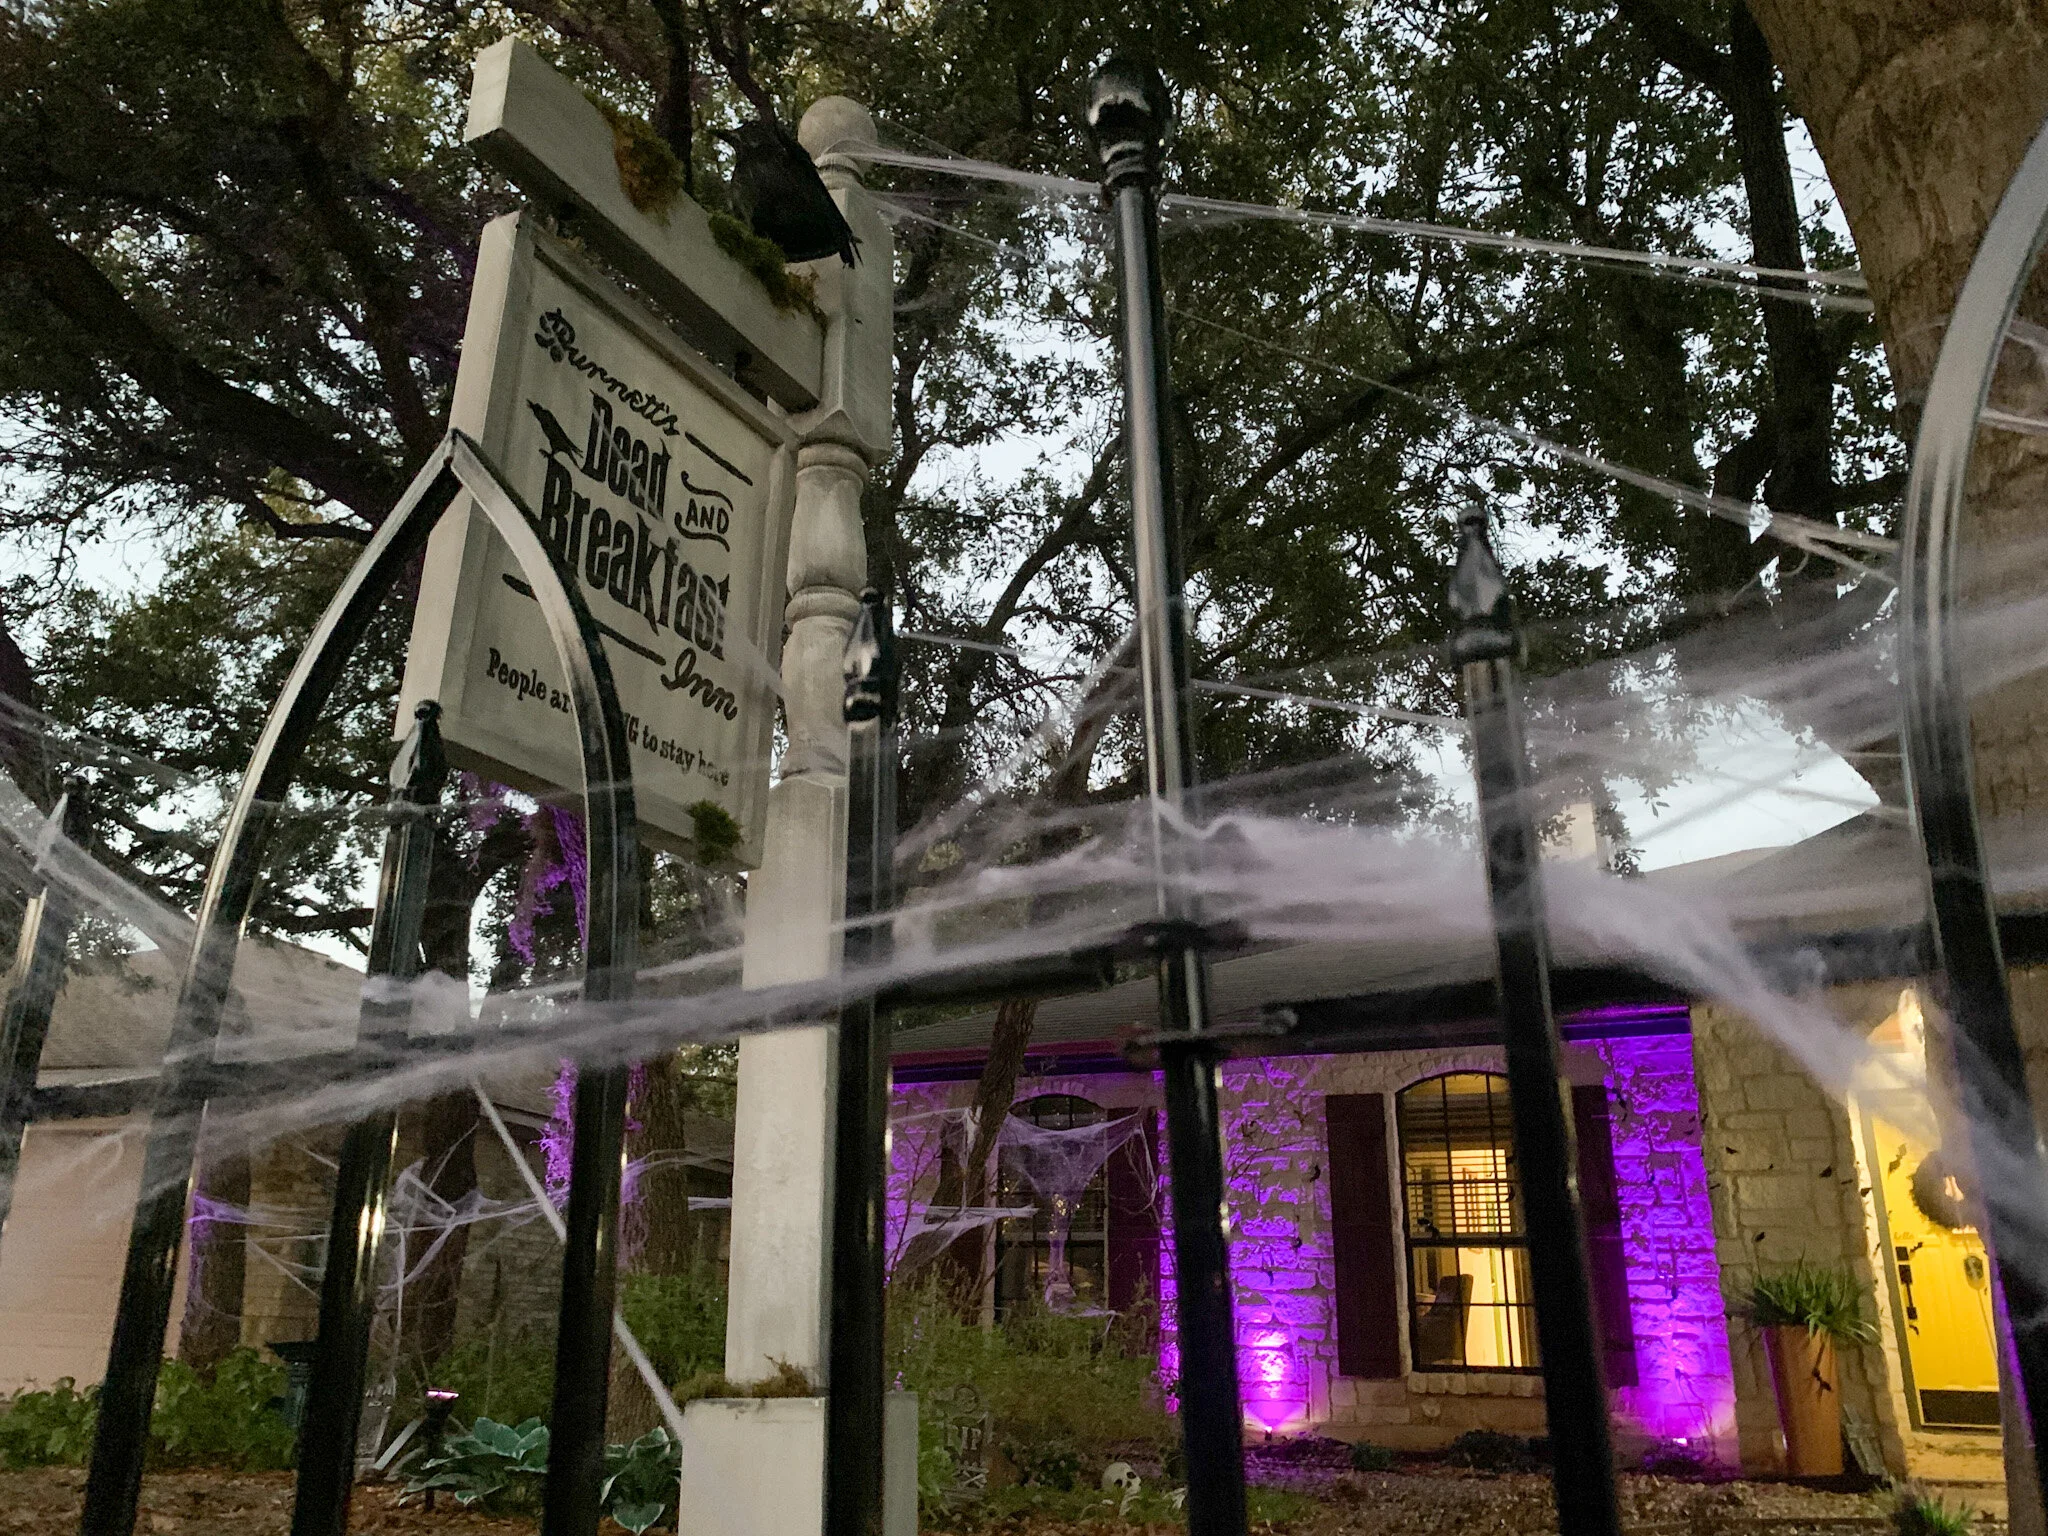
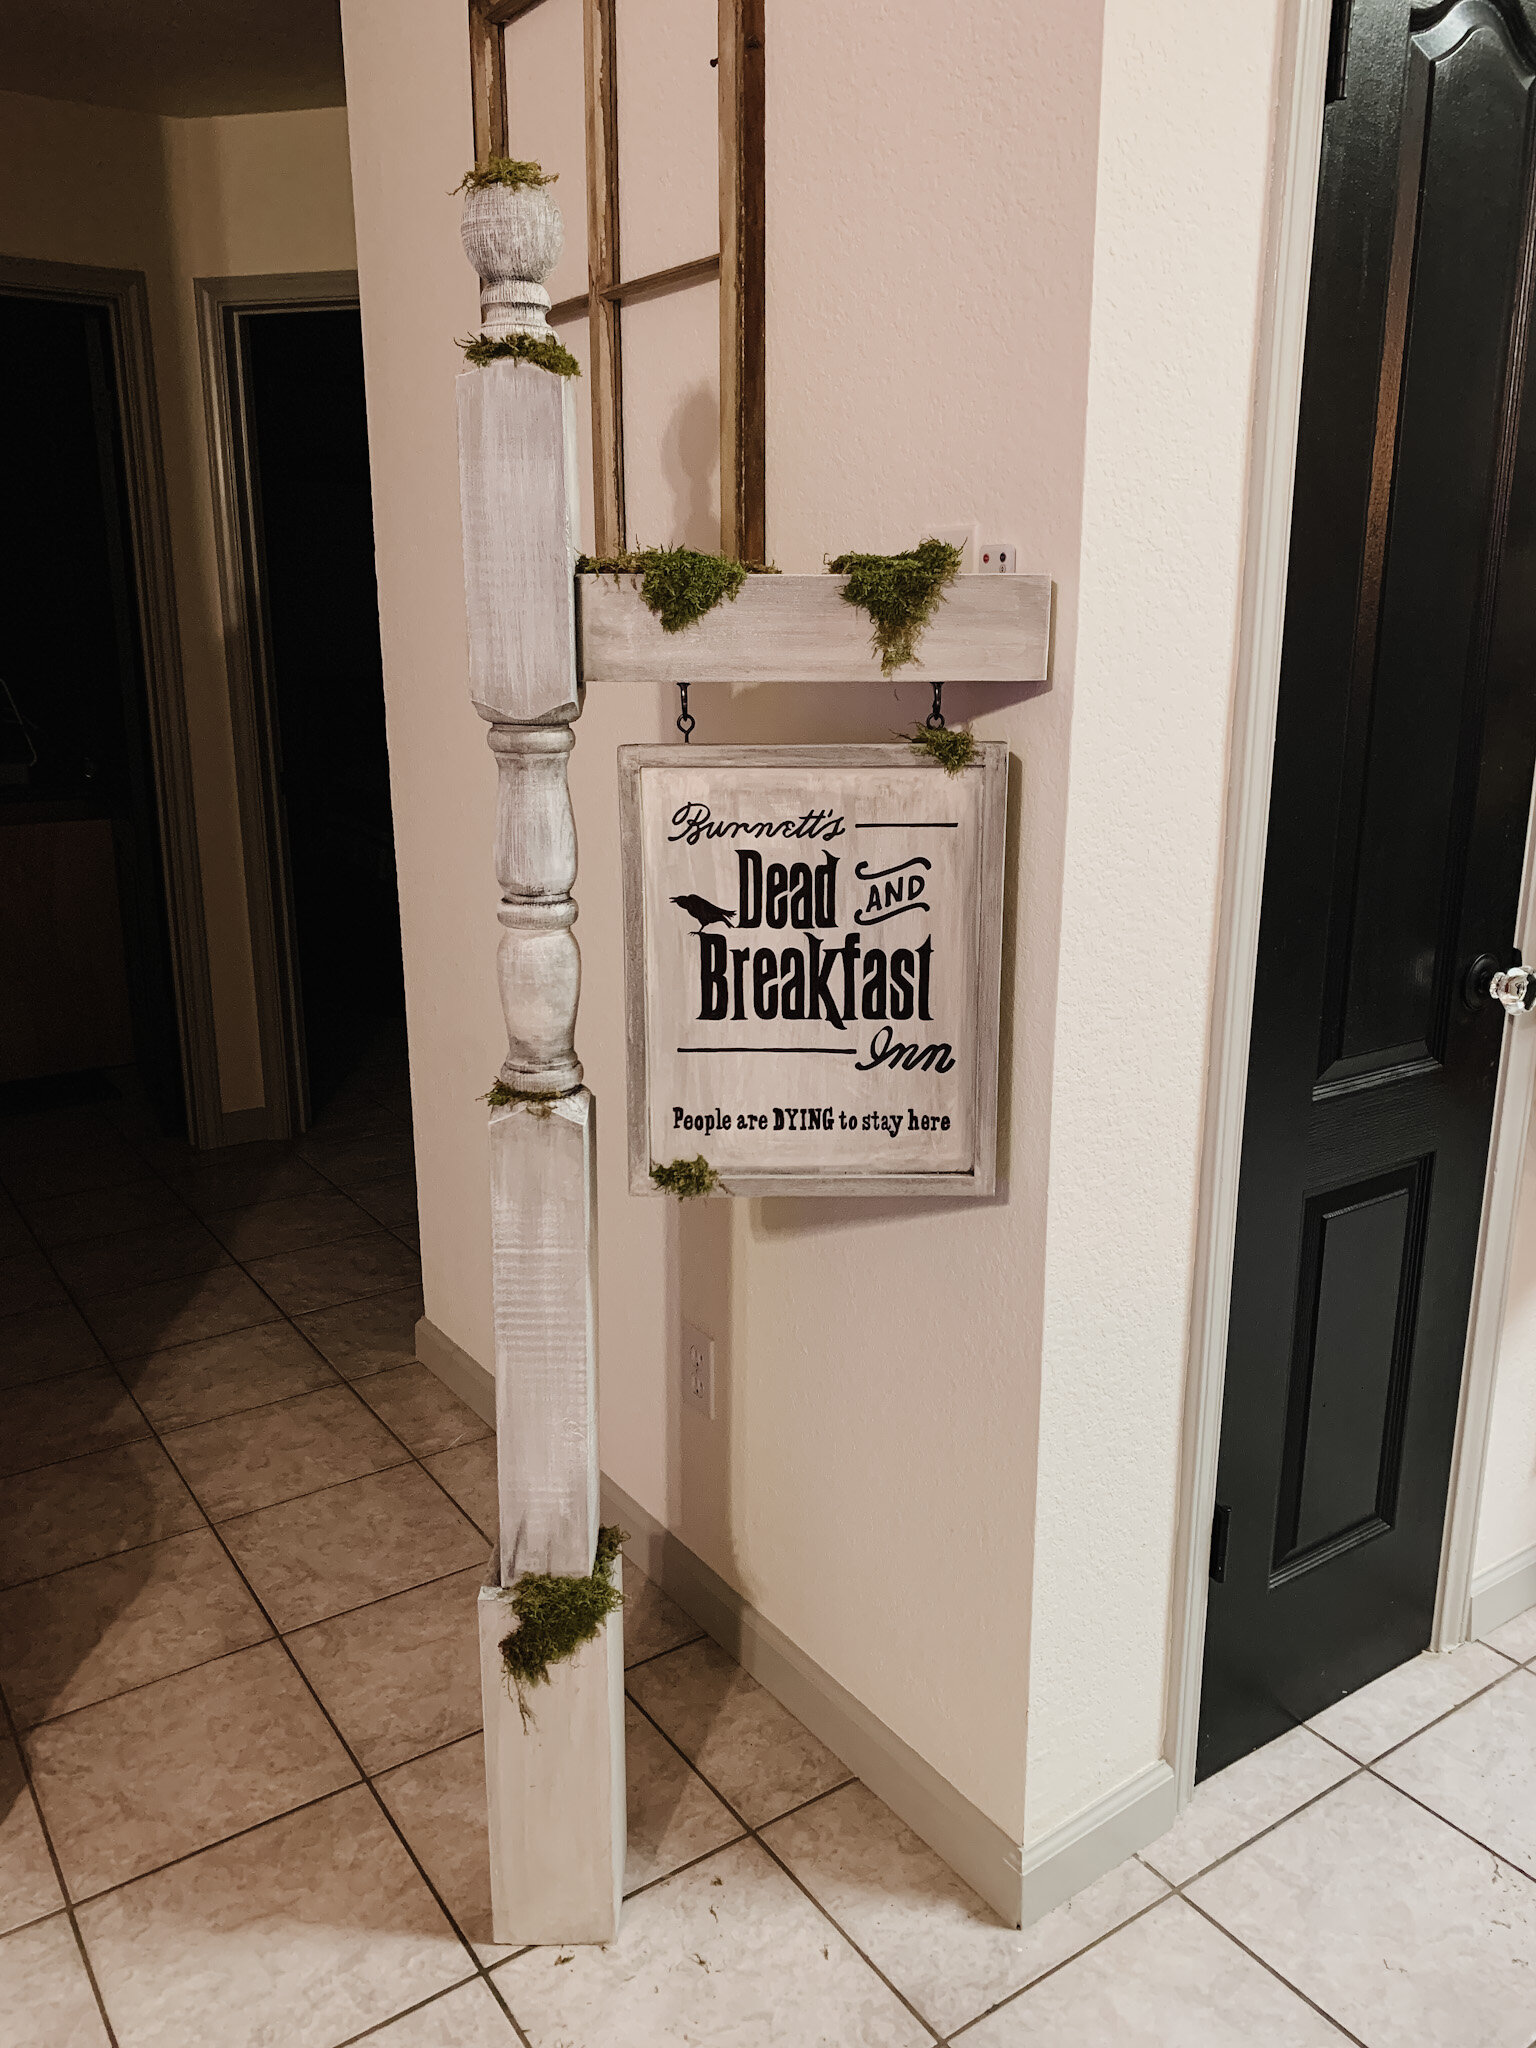
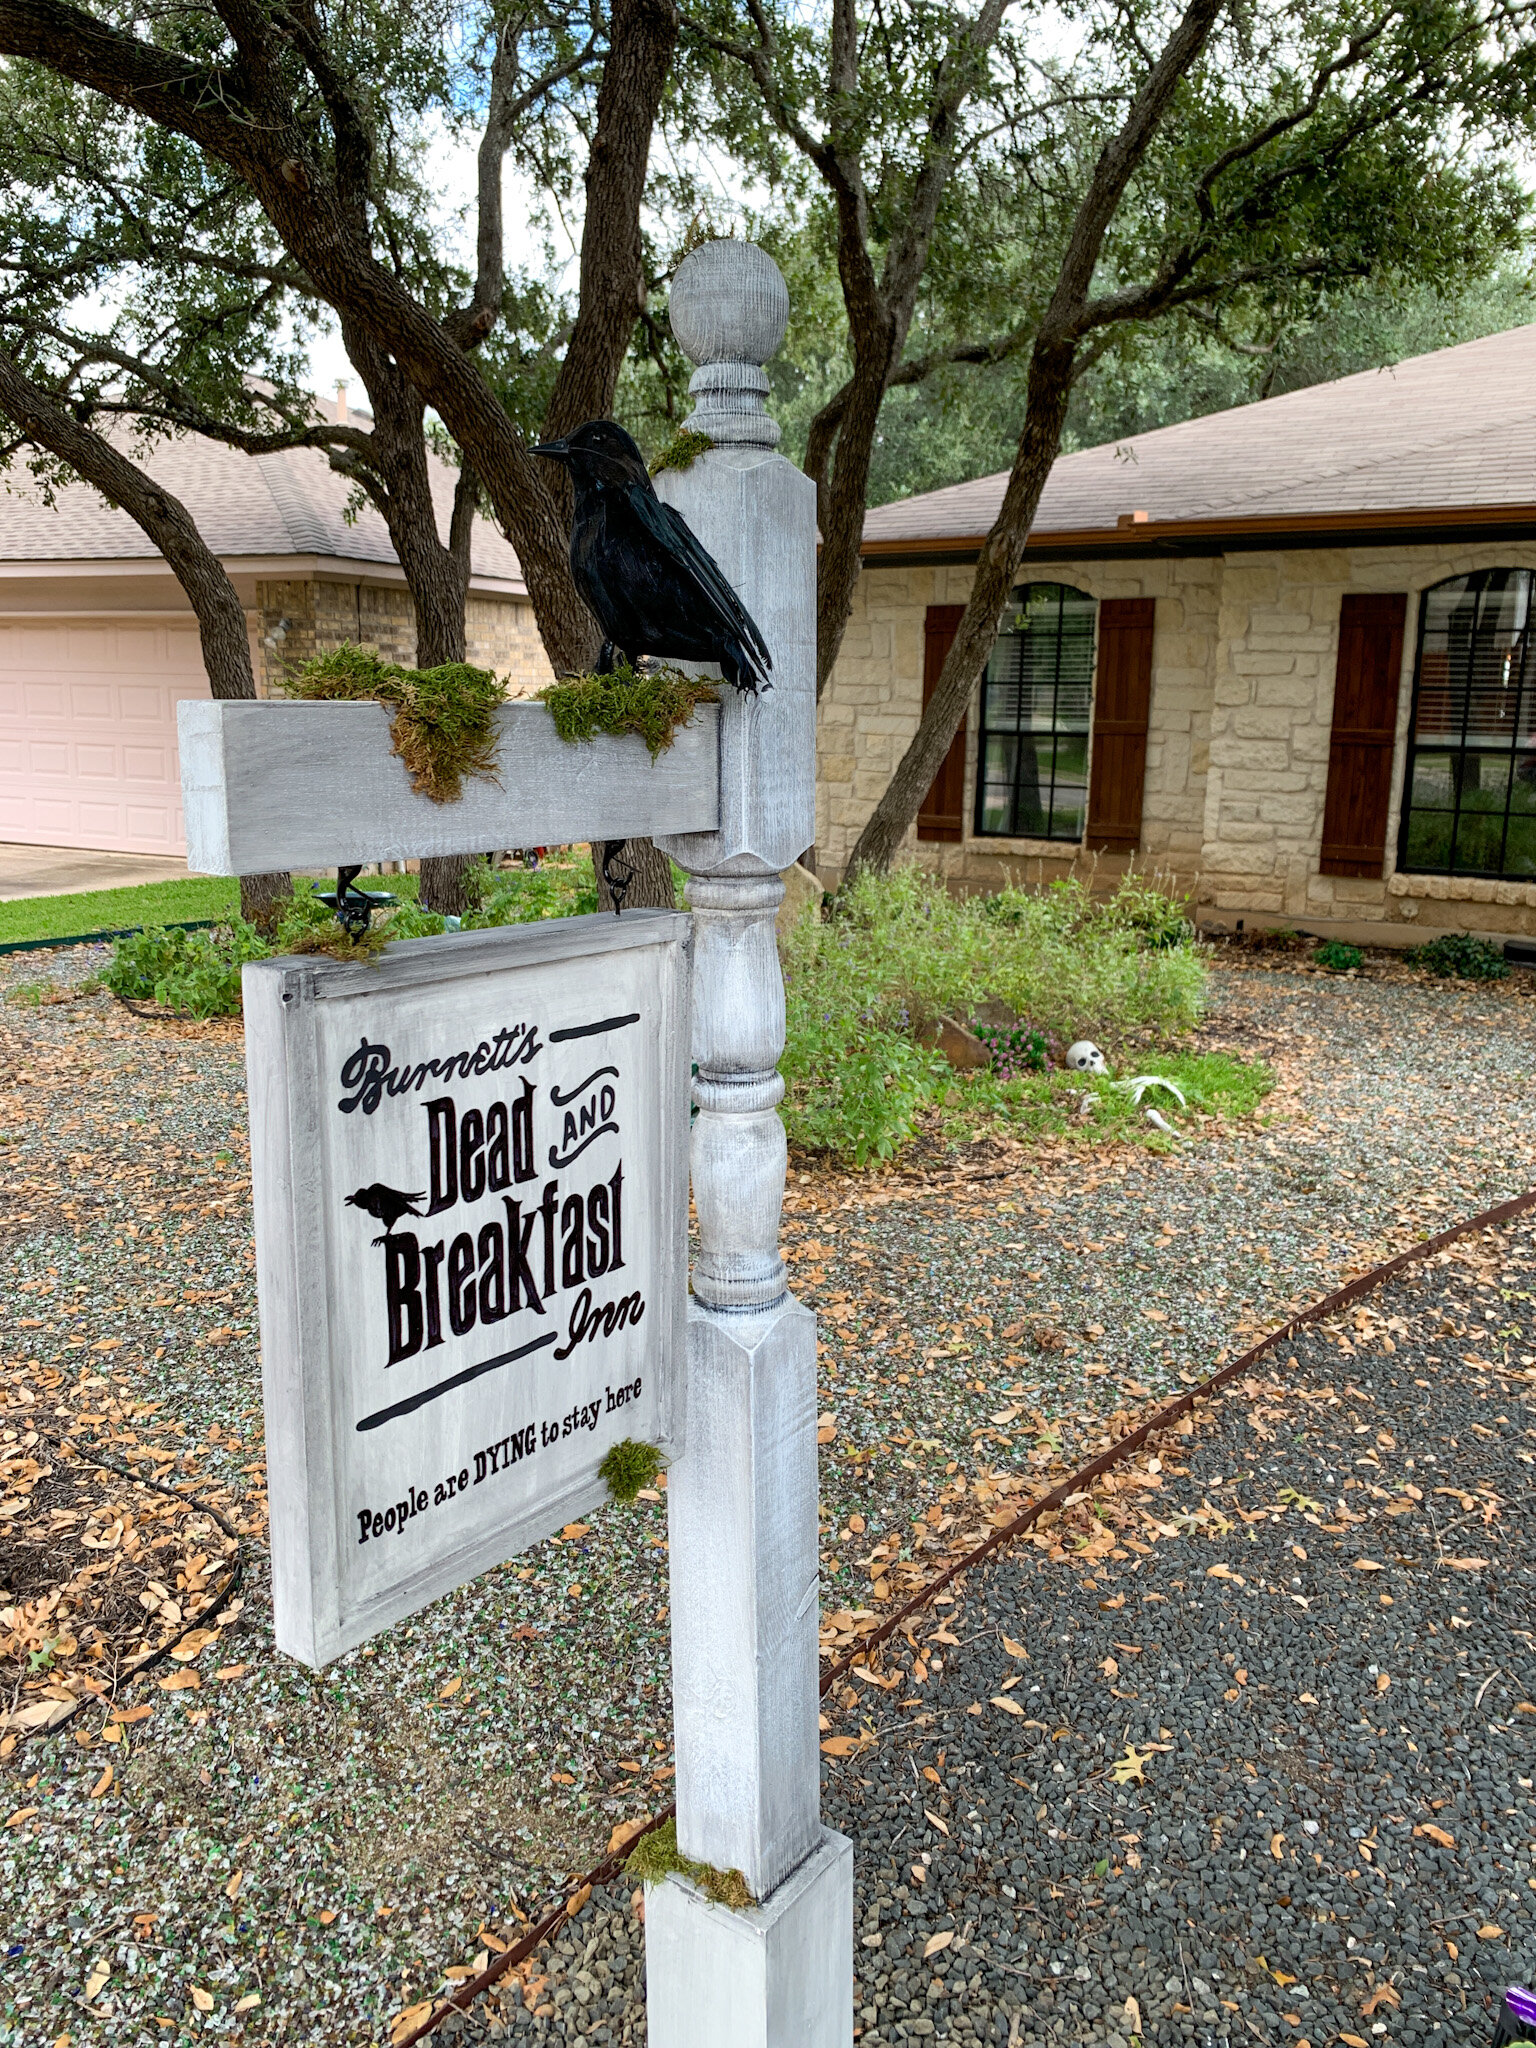
DIY Dead and Breakfast Halloween Sign How-To
This is an excellent project to use all that scrap wood leftover from other projects. I was able to create this in a day using mostly scrap material and things we had on hand, only buying a short wood post (for just $13!), two eye hooks and two safety hooks. Everything else we already had, and to be honest you could make the post entirely from scrap if you wanted to.

Building the post + sign
Making a taller post
Because I didn’t want to buy a tall or plain-ish post, I needed to find a way to extend it. Thankfully my solution also made installing it pretty easy and cut down a little on the overall weight.
Tip when shopping for a post
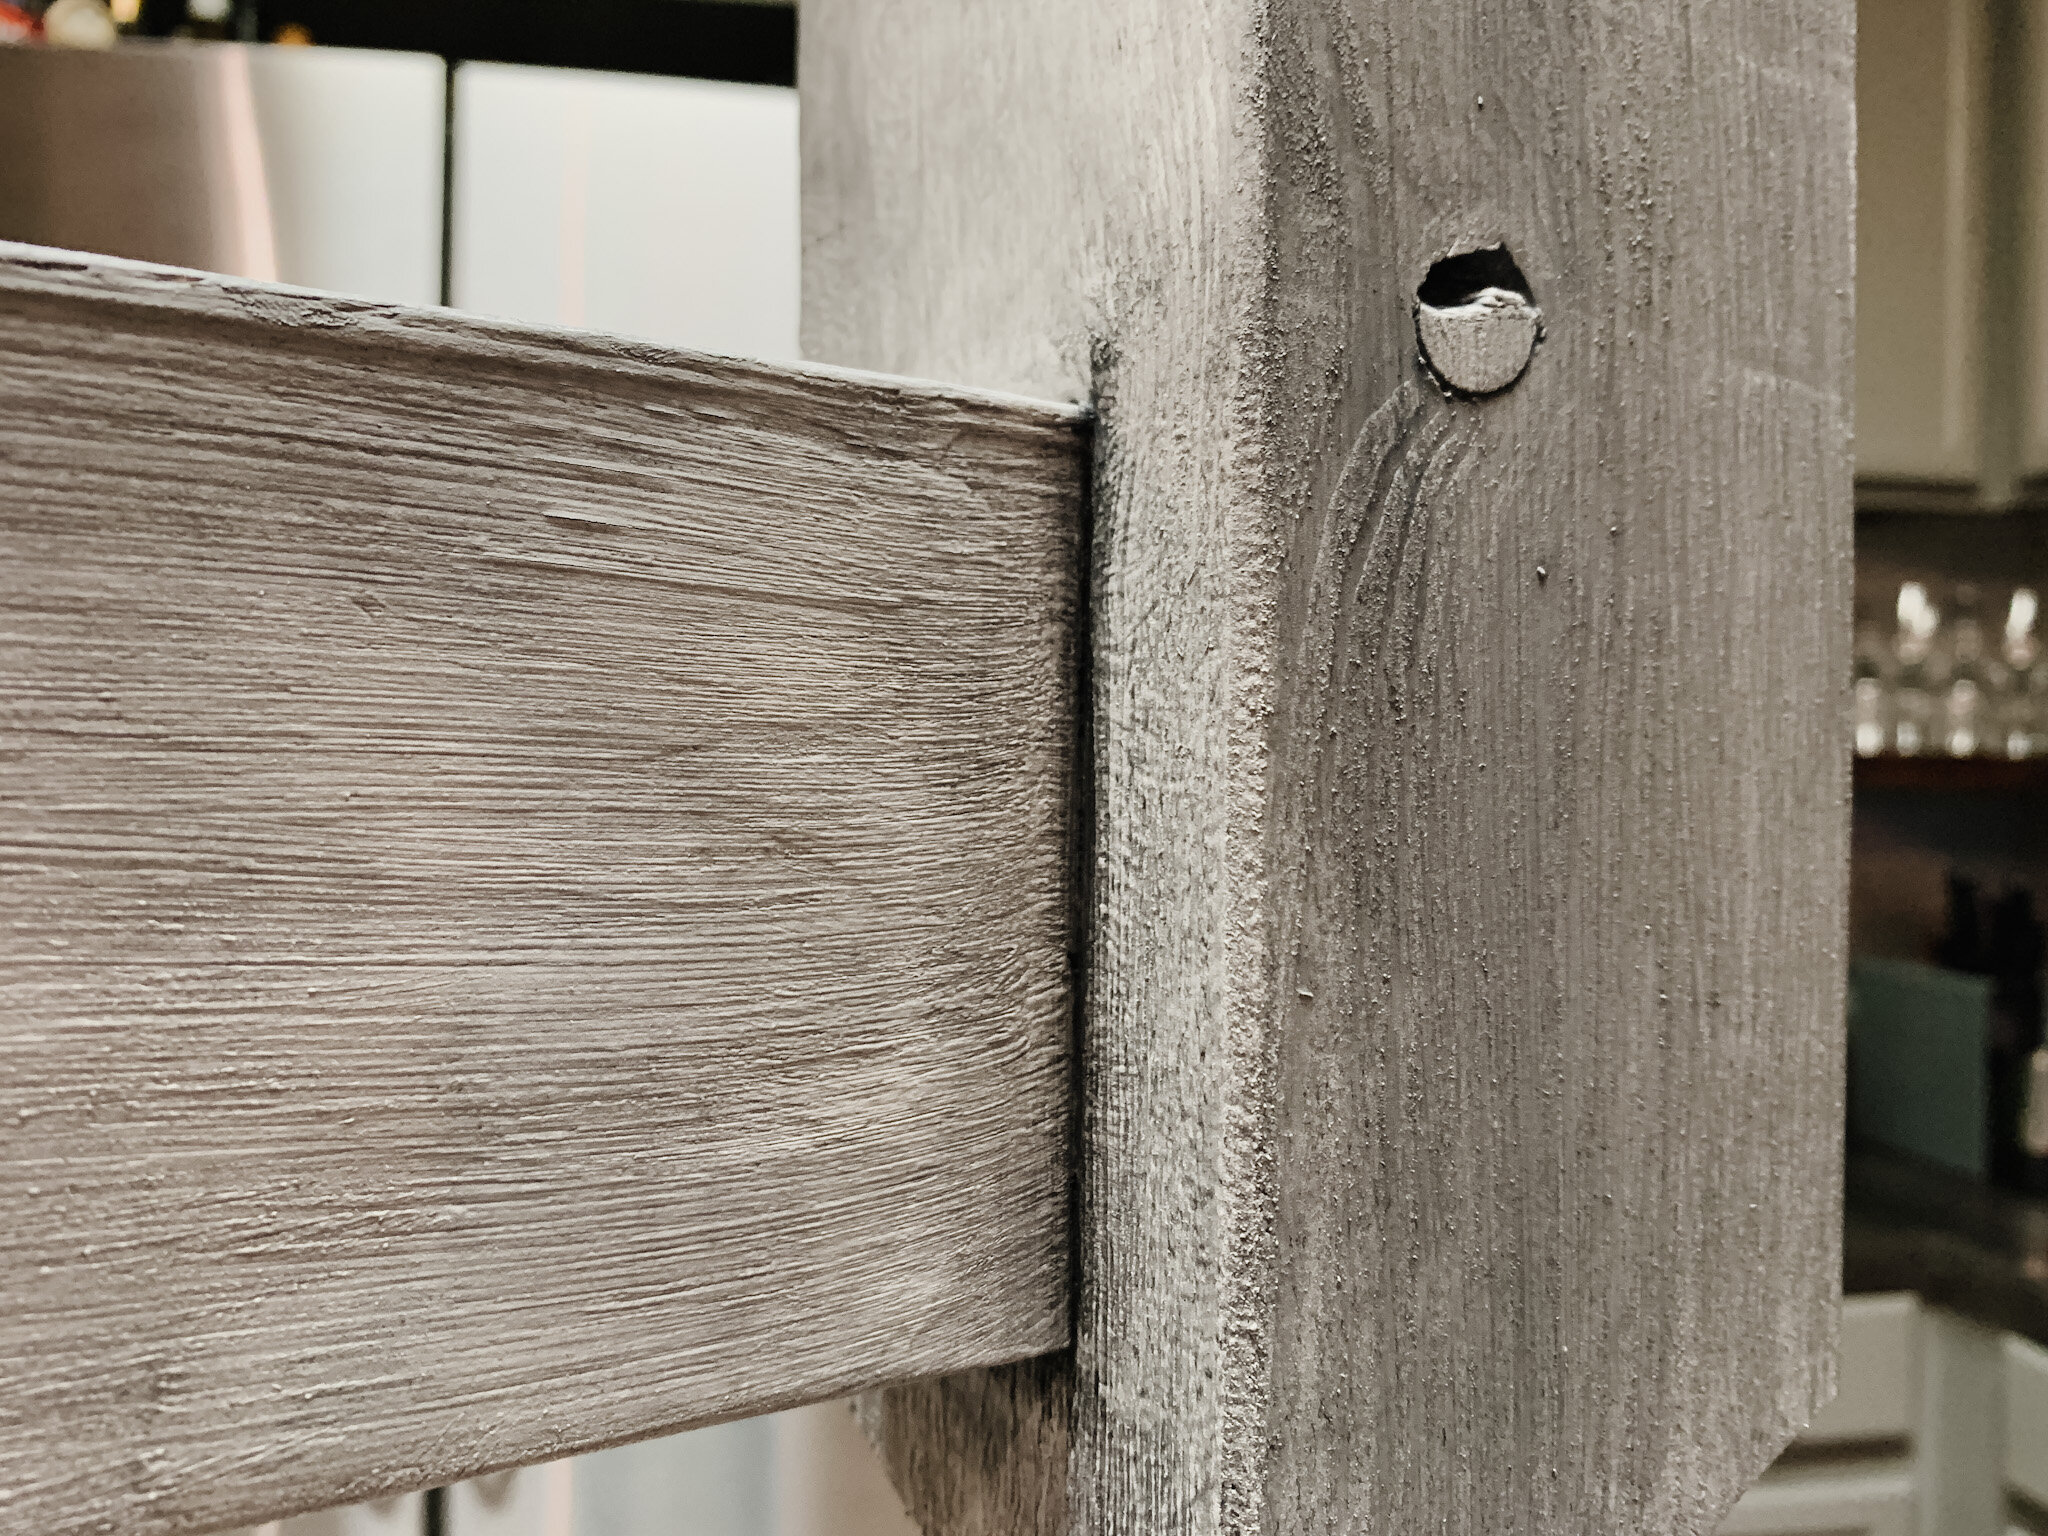
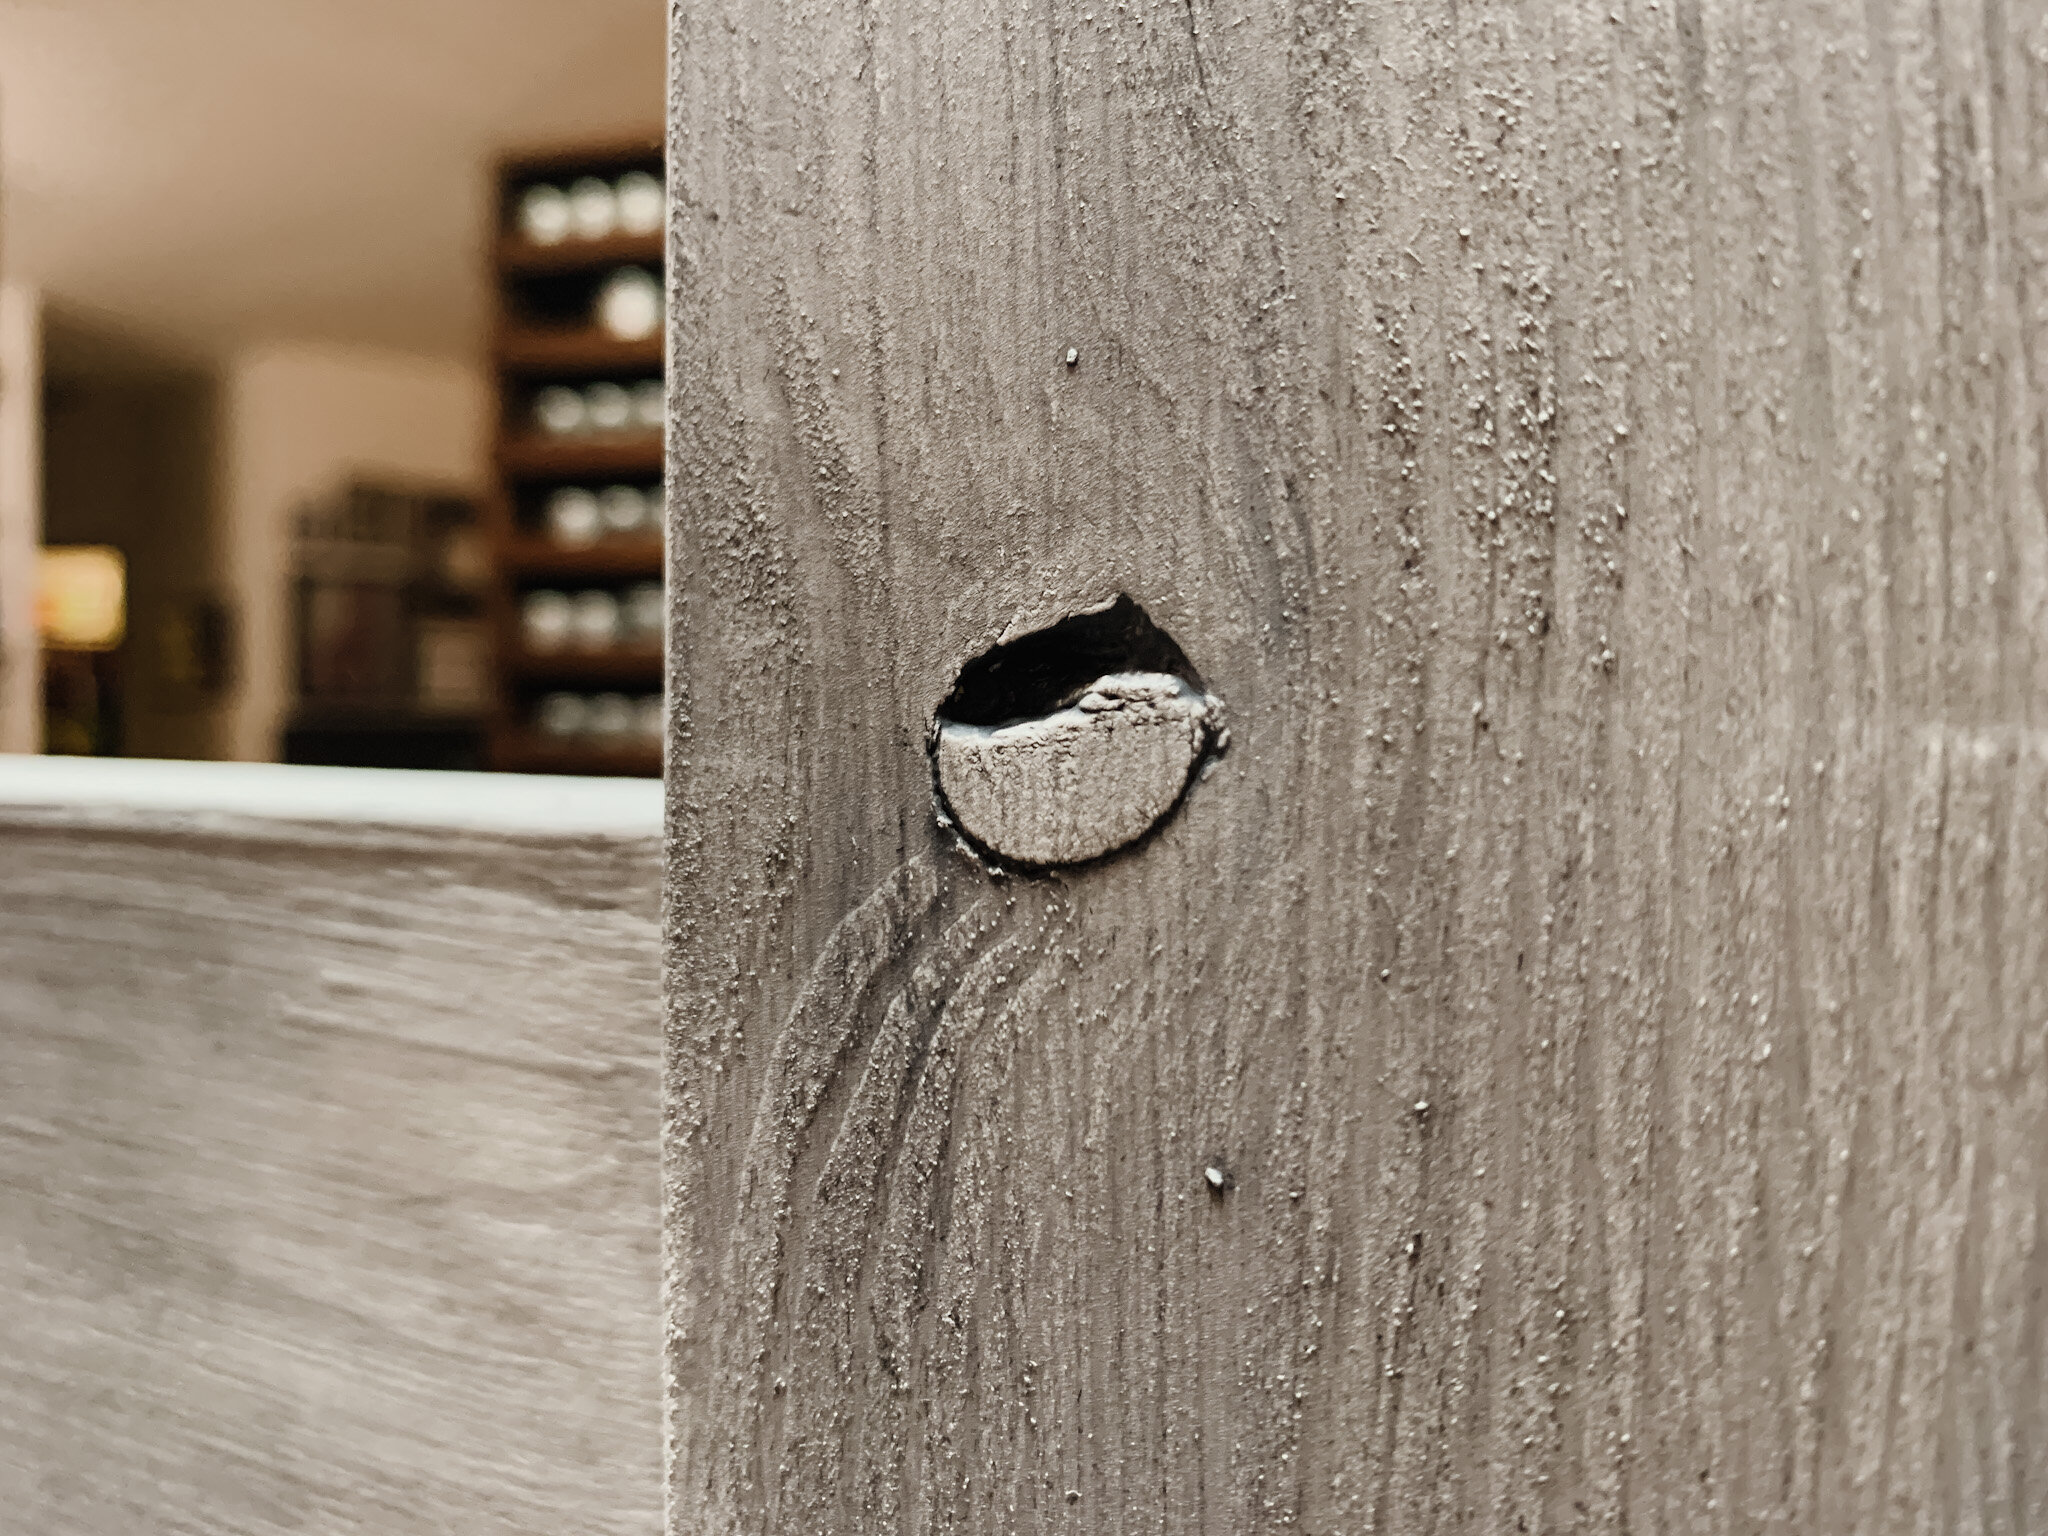
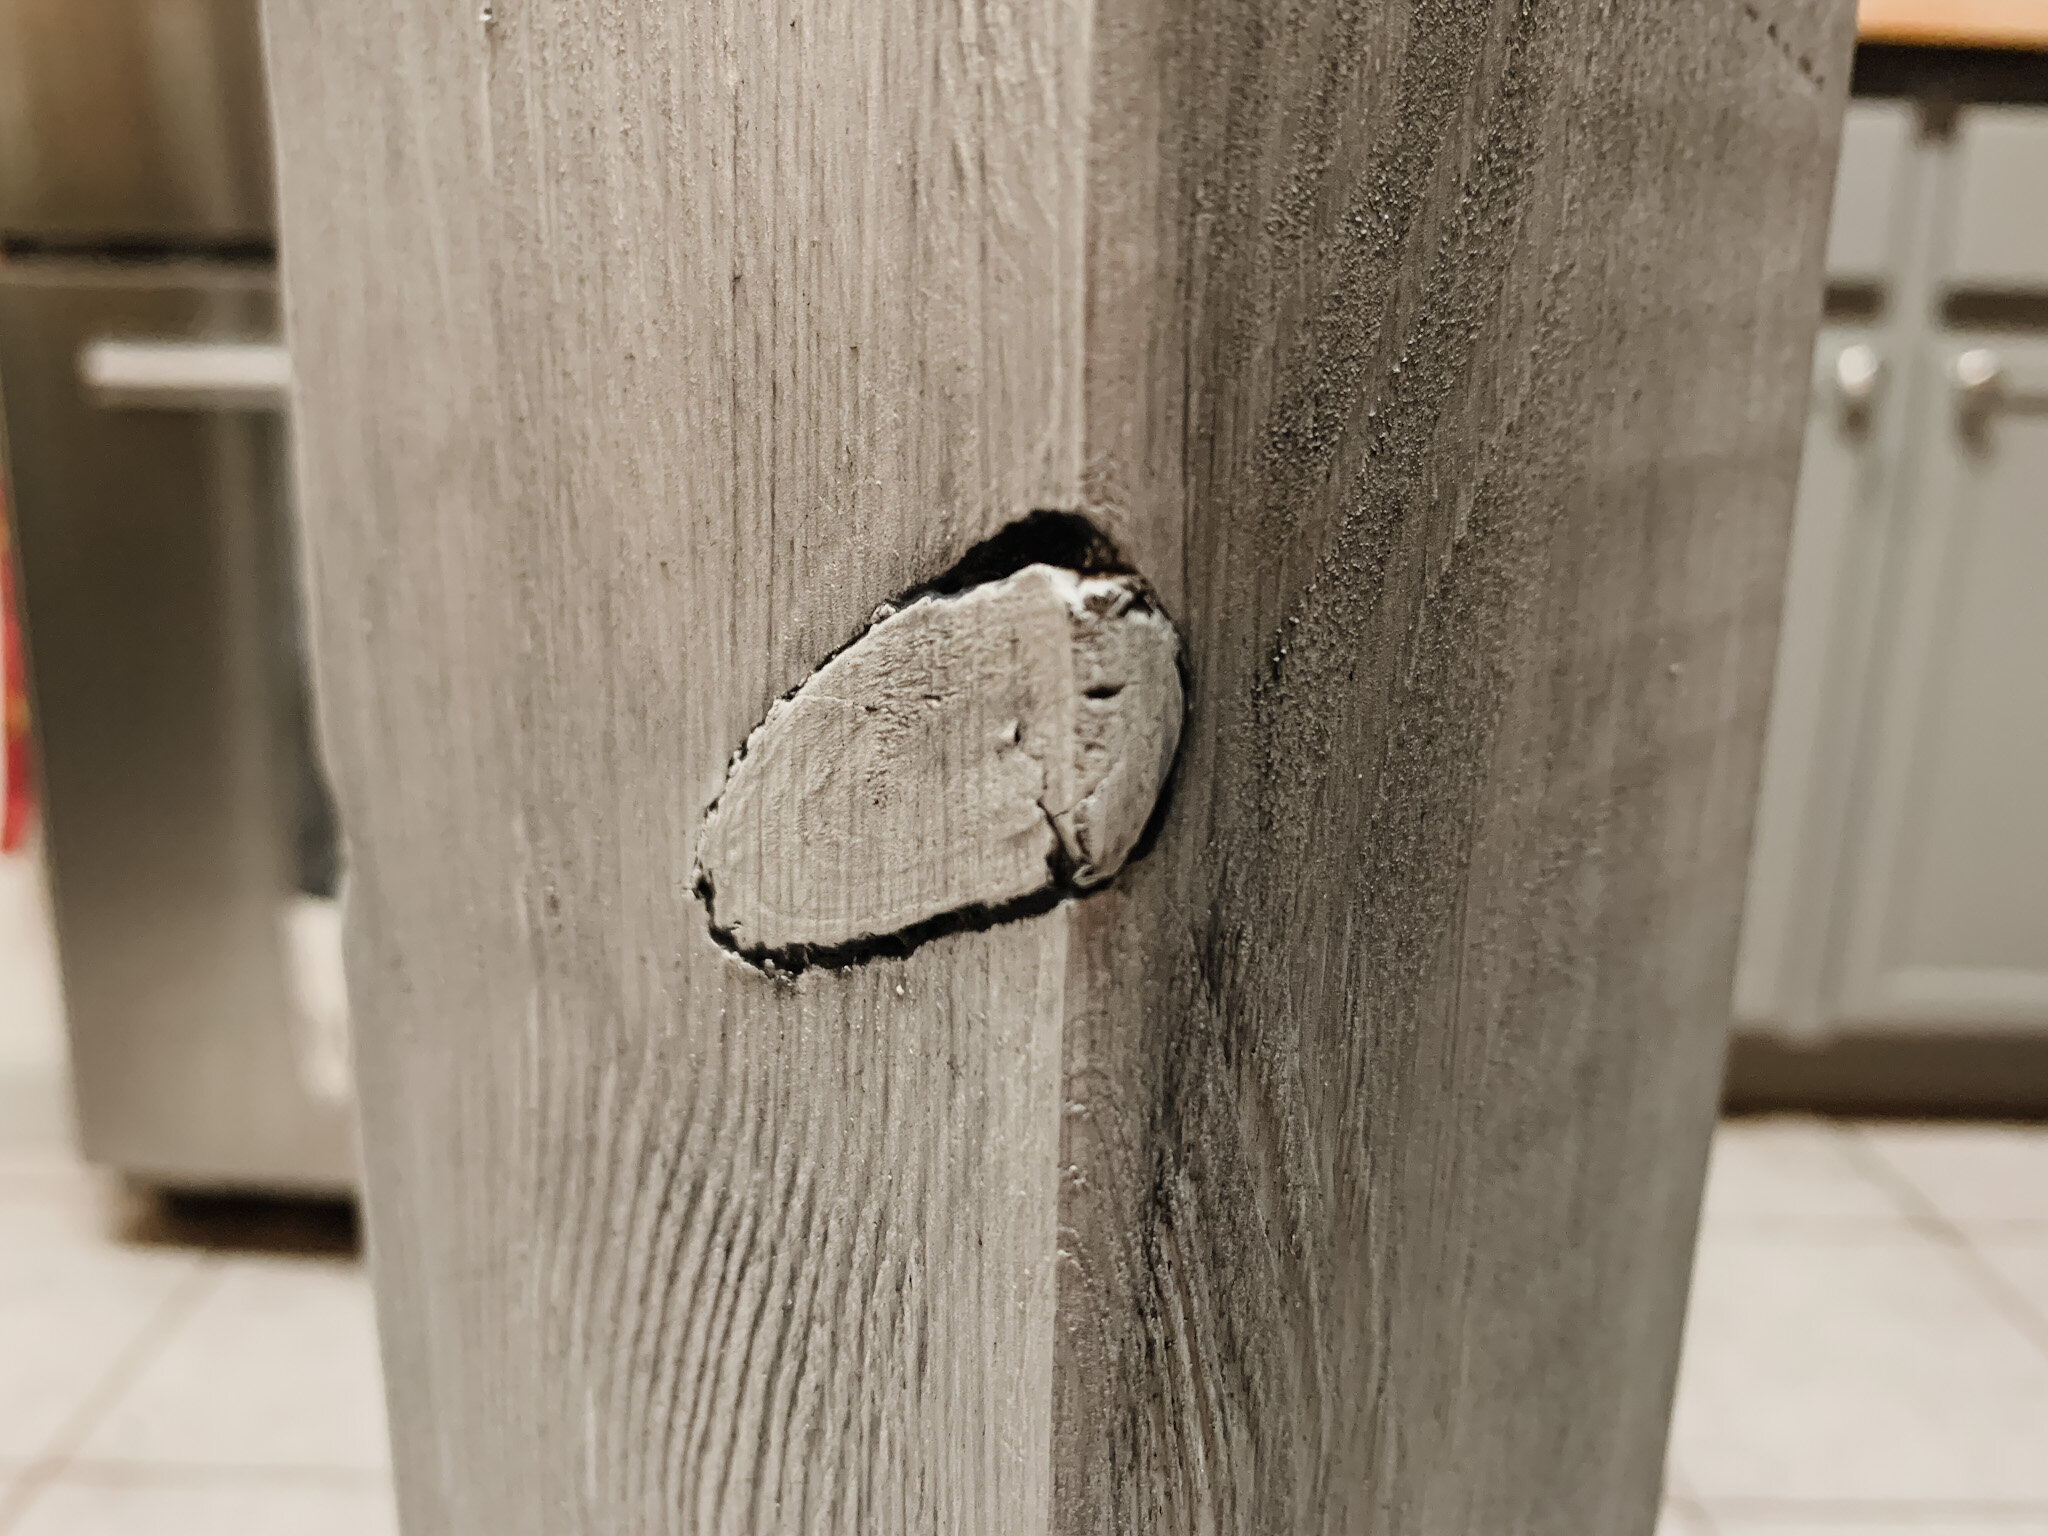
Choose the one with the most knot holes and rough texture – for this project, the uglier the better. As long as it’s straight and not so cracked that it would compromise its strength, the character will make it look even more authentic.
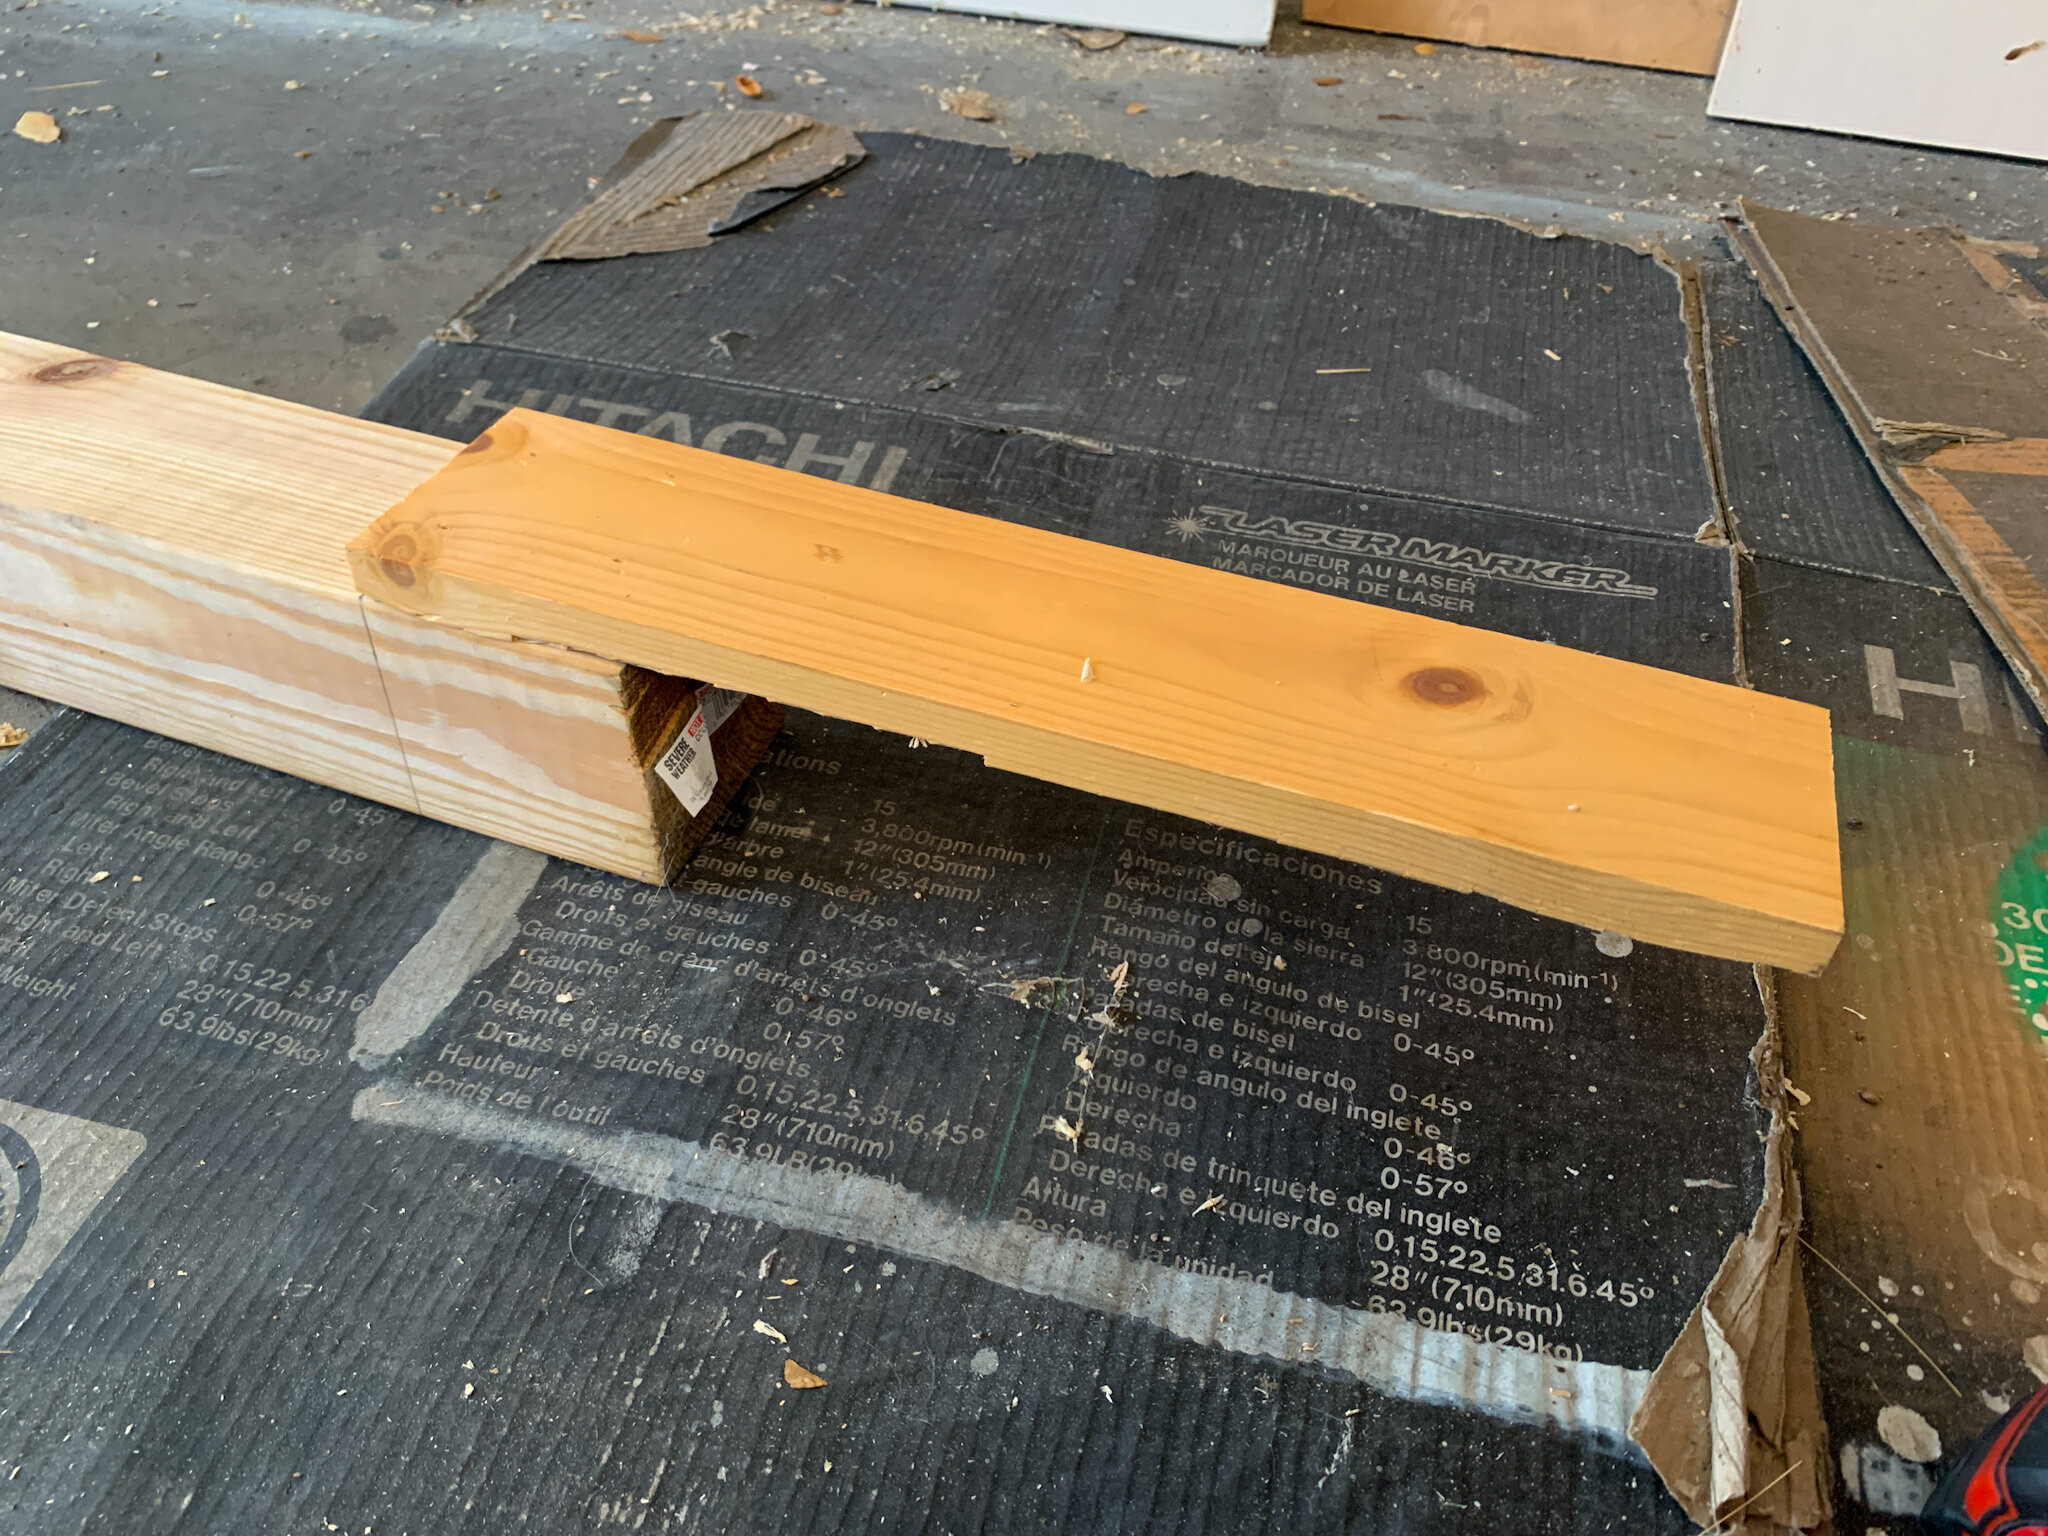
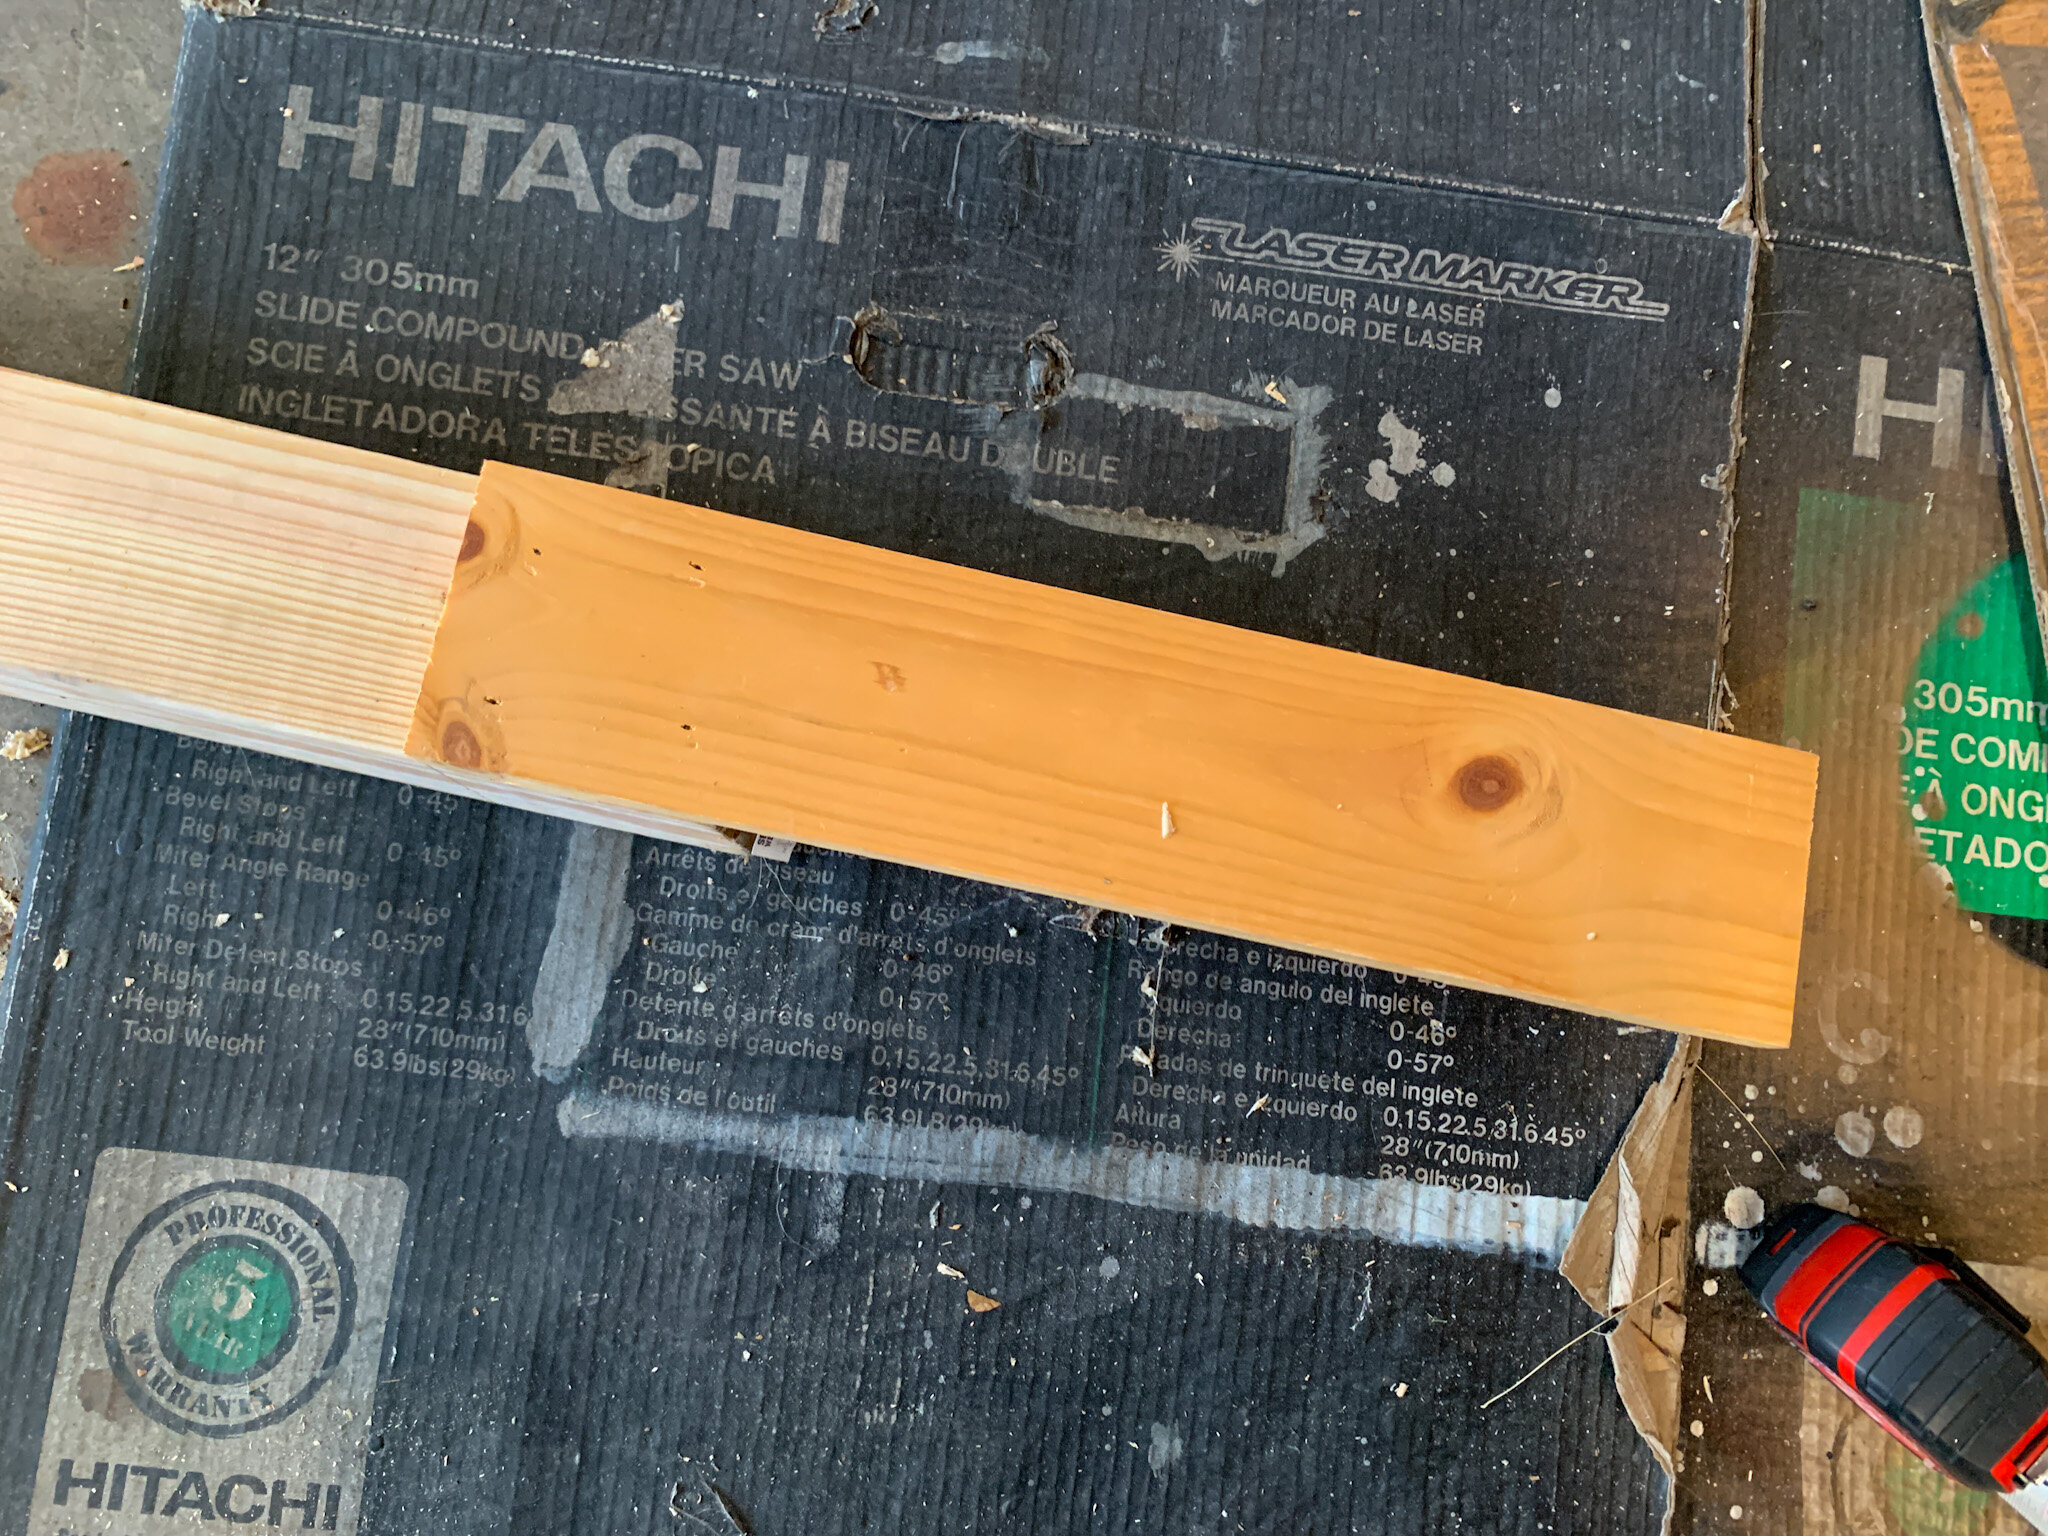
First I cut two 16” lengths of 1x4 board and two 16” lengths of 1x6 board. Then I cut the two 1x6 pieces lengthwise so they were only 5” wide (instead of 5-1/2”, which is the actual width of a 1x6). (You could also use 3/4” plywood pieces cut to the same size here.) You want each of these four boards to be nailed tight against the 4x4 post (which is really only 3-1/2 x 3-1/2”) and be flush on the corners around the outside. (3-1/2” + 3/4” + 3/4” = 5”).
Starting with the 1x4s I used my nail gun to nail each piece to the bottom of the solid post, overlapping them up the post by about 4”. I repeated the process with the re-sized 1x6s, lining up the edges of the boards with each other, and nailed them together to form a sturdy clean-edged rectangle.

Building the top support
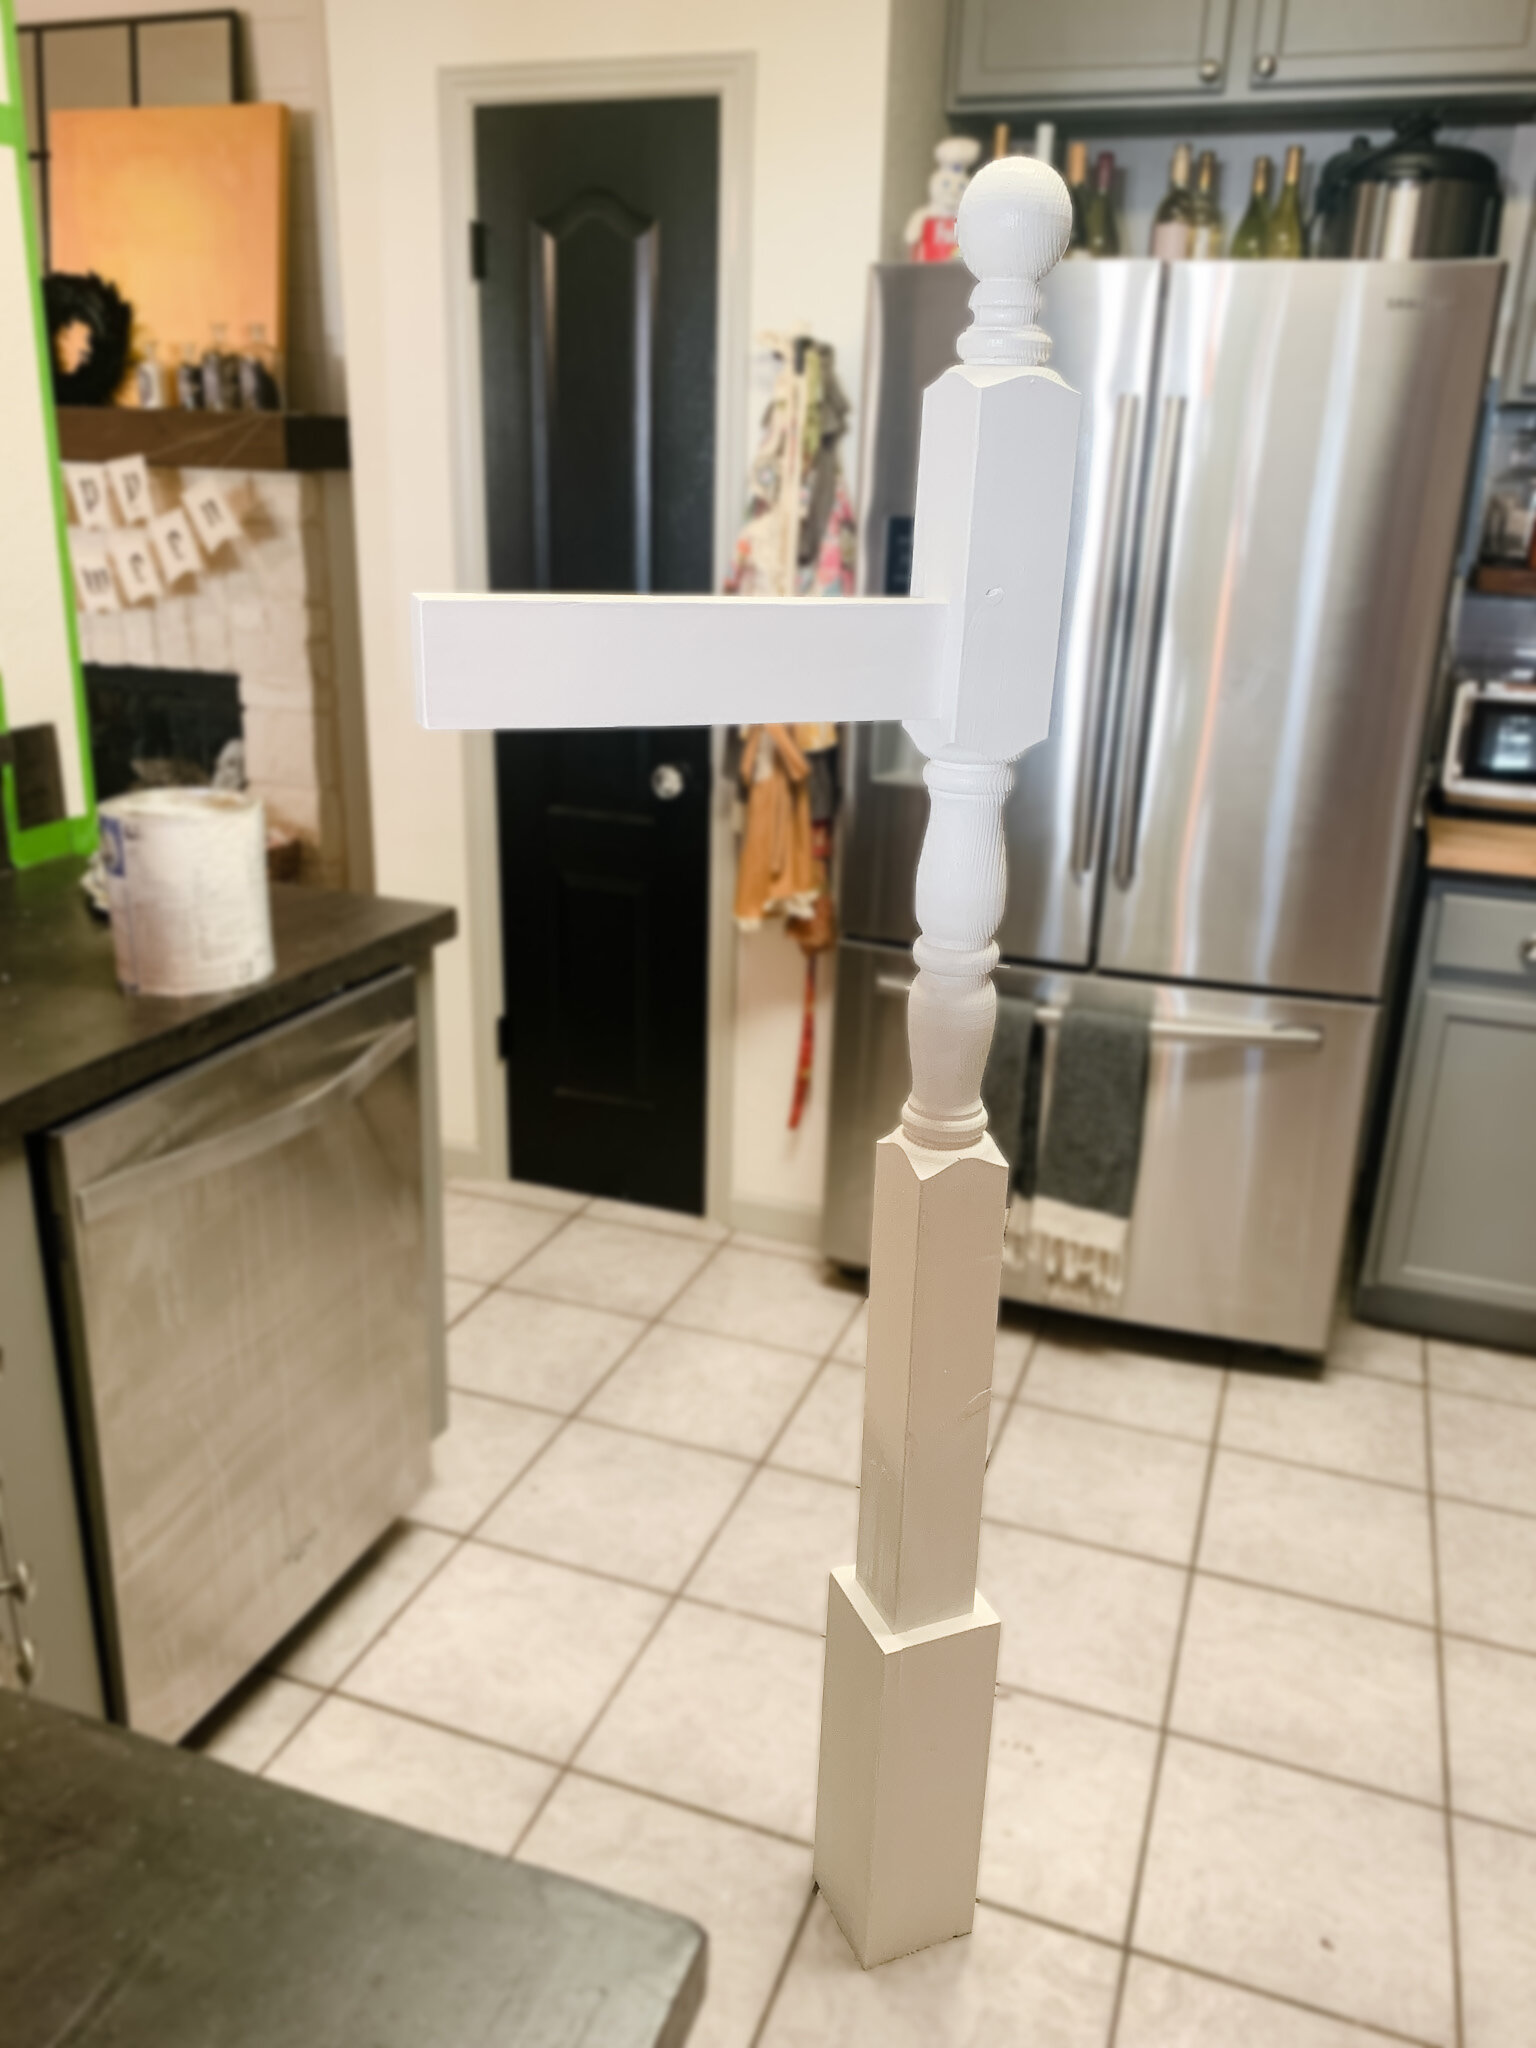
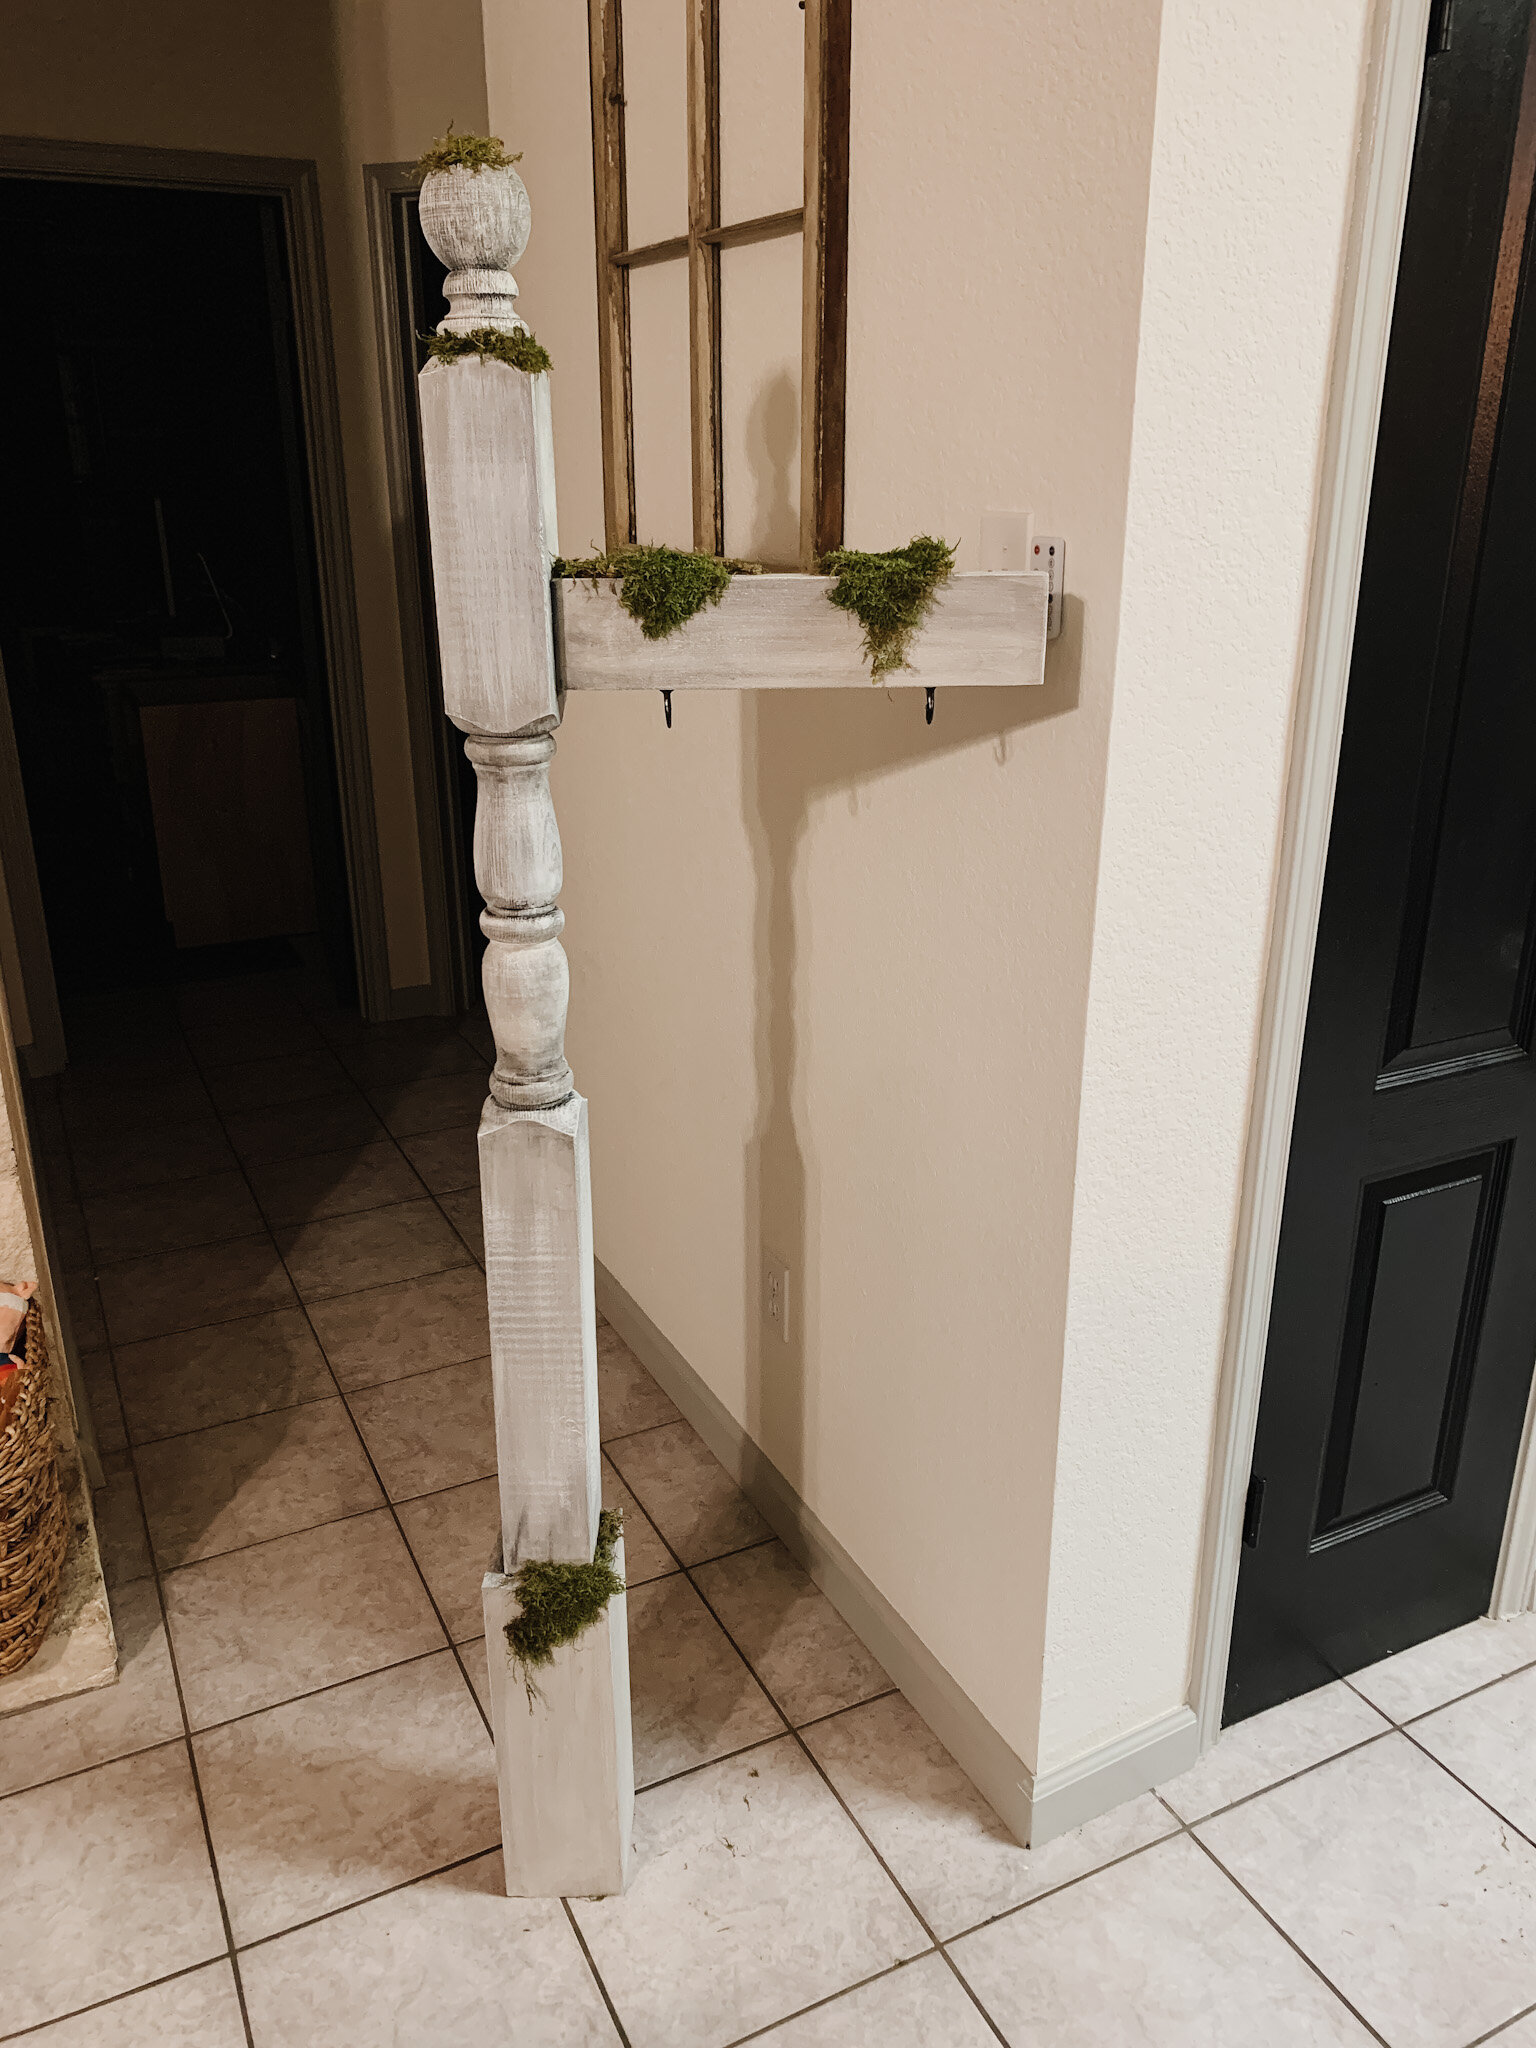
To make the top horizontal support that the sign hangs from, I first cut two 1x4s to 16” long and nailed them together to make one thick board. (You could use one 16” 2x4 here instead if you have it for less work.) With the two boards nailed together so they were flush on all the edges, I used the Kreg jig to make two pocket holes each on what would be the front and backsides of one end of the board. Then I used pocket hole screws to secure them into the side of the vertical 4x4 post. I dropped mine down so that the top of the horizontal sign support board is 12” from the top of the post. Unfortunately I didn’t take any close-up pictures of this part, but you can see in the photo below where the two pocket holes are (on the left side of the horizontal board). There are two more in the exact same place on the back side of that horizontal piece as well.

Building the sign
I used a random 12” wide scrap piece of 3/4” plywood we had in the garage and cut it to 15” tall. Then I nailed a 12” long 1x2 to the top and another to the bottom of the sign (so the pieces are short and wide, not tall and thin to have them stick out from the front and back of the main plywood part of the sign), and an 18” long 1x2 to each side so that the top and bottom are even with the horizontal 1x2s.
Prepping for paint
I used wood filler and a putty knife to fill the cracks, seams and the four pocket holes. (This is the part that really helps make your cobbling together of various scrap woods look solid!) I used 150(ish) grit sandpaper to sand the wood filler smooth(ish) once it was dry. I used a rag and mineral spirits to wipe off the dust.
Painting
The base coat
With the two pieces built, I used a brush to paint a coat of off white flat house paint onto the sign and post.

Why yes, I did do everything (except the building and minimal spray painting) in my living room/kitchen. It was game day, and a girl can’t miss OU/Texas.
While the paint dried, I spray painted my four hardware pieces matte black so it was dry by the time I needed to touch it. (I used the same quick-ish drying paint I used for our threshold when we did our front door makeover!)
Faux aging the post + sign with paint
Technically I “aged” the sign and post after I drew the graphic, but it would work to age it all first and then draw your sign too. Using watered down black house paint and an old t-shirt rag, I rubbed on hints of color to add age and character to the wood sign and post, drying it off as I went with the dry part of the rag. I kept layering this black paint wash until I was happy with the look.

I paid special attention to add heavier coverage (and even solid, non-diluted black paint at one point) into the knot holes and cracks to increase the aged look, quickly wiping off the excess to avoid unwanted staining in the surrounding areas.
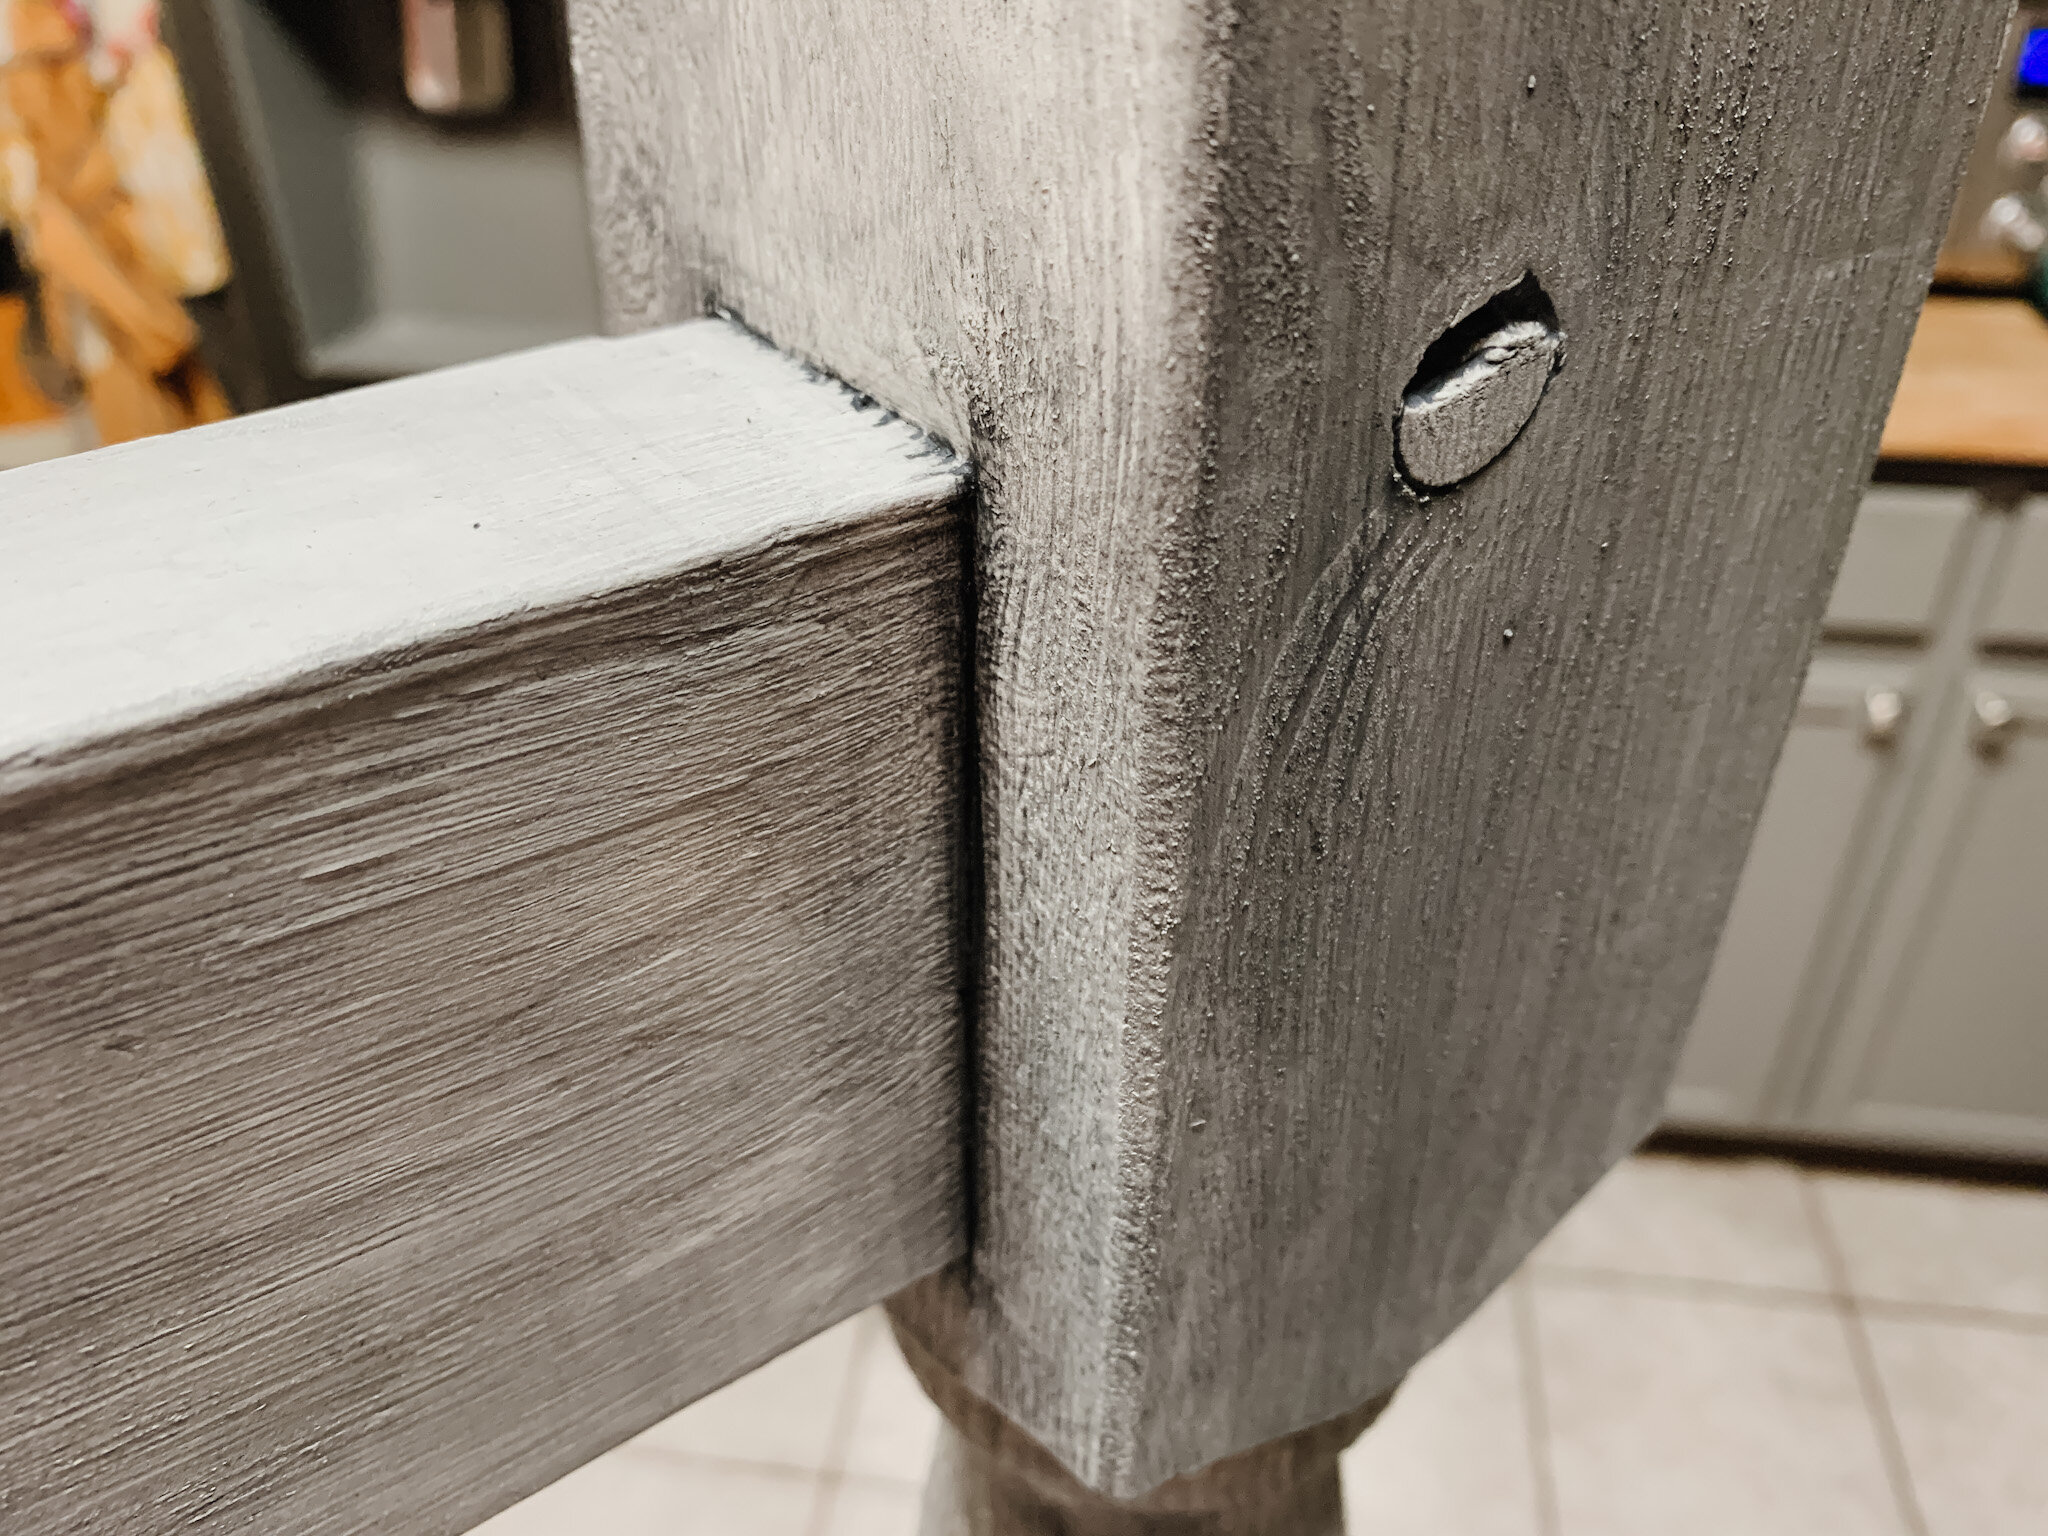
Before cleaning out my brush for the night, I used only what was left on it to lightly dry brush more off white paint on top of some areas of my post and sign to add a little more depth and dimension to the wood. Barely using any paint here worked great to only really catch the high ridges of the wood grain.
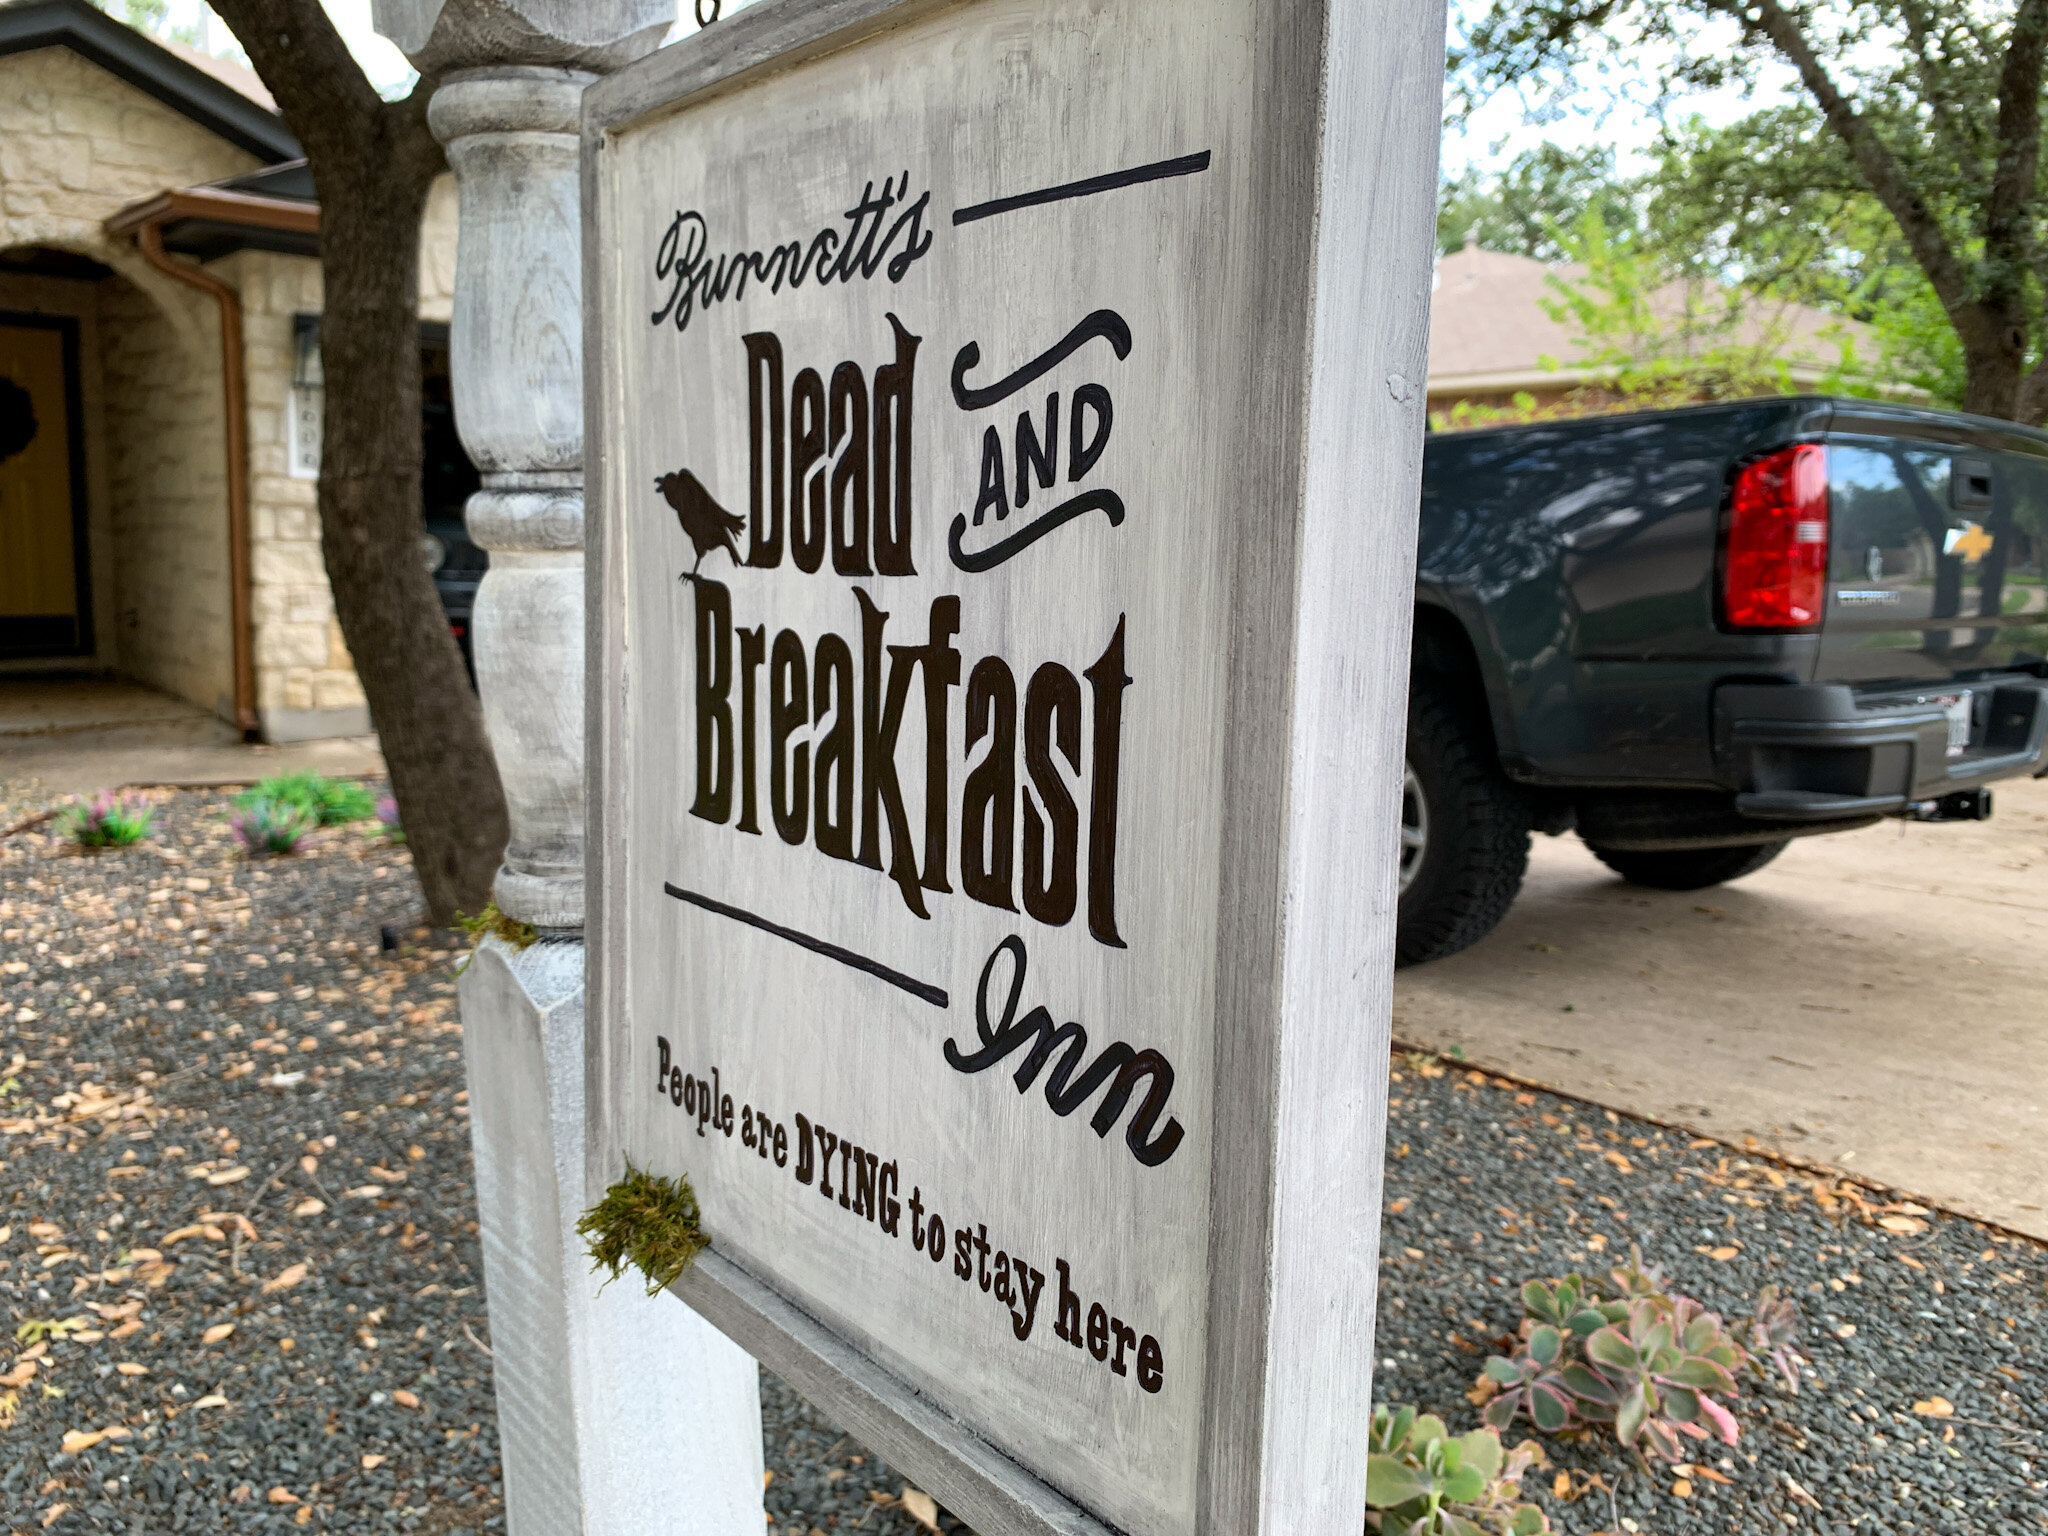
The sign graphic
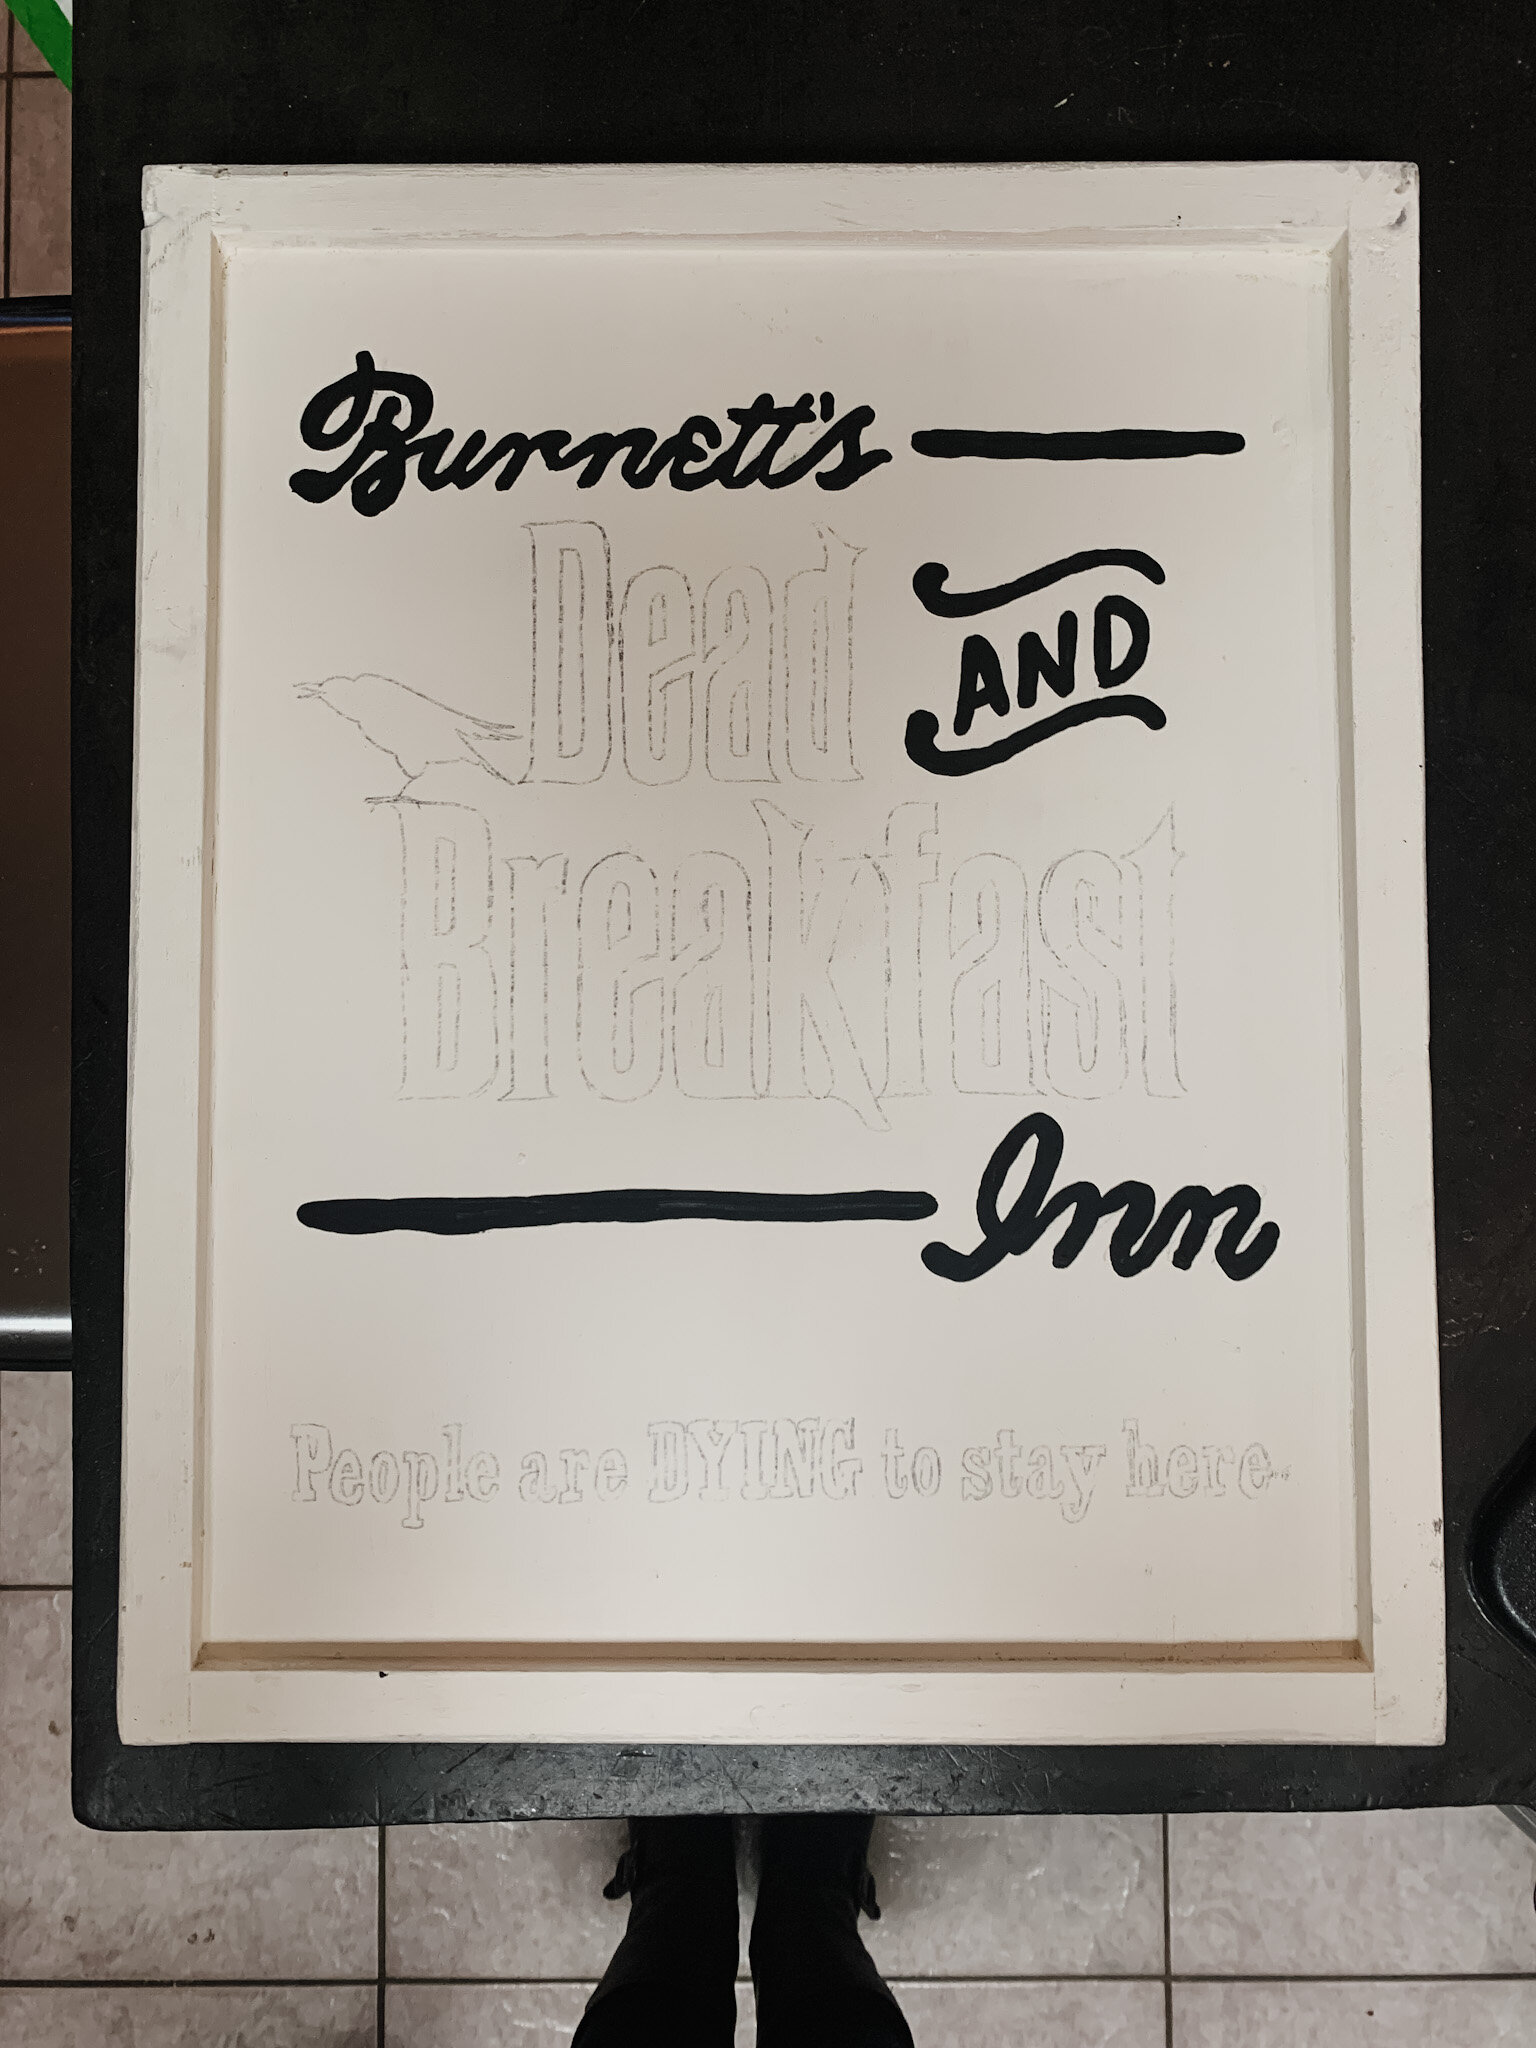
After laying out and printing off the design (free download at the end of the post) I transferred the sign design onto each side of the plywood sign. First I rubbed pencil on the back of the printed out sign template – I had to print it on two separate sheets of paper and just taped them together to make one full template. After centering it by eye, I drew on top of the printed side (pencil rubbing side down) to transfer the letters onto the wooden sign.
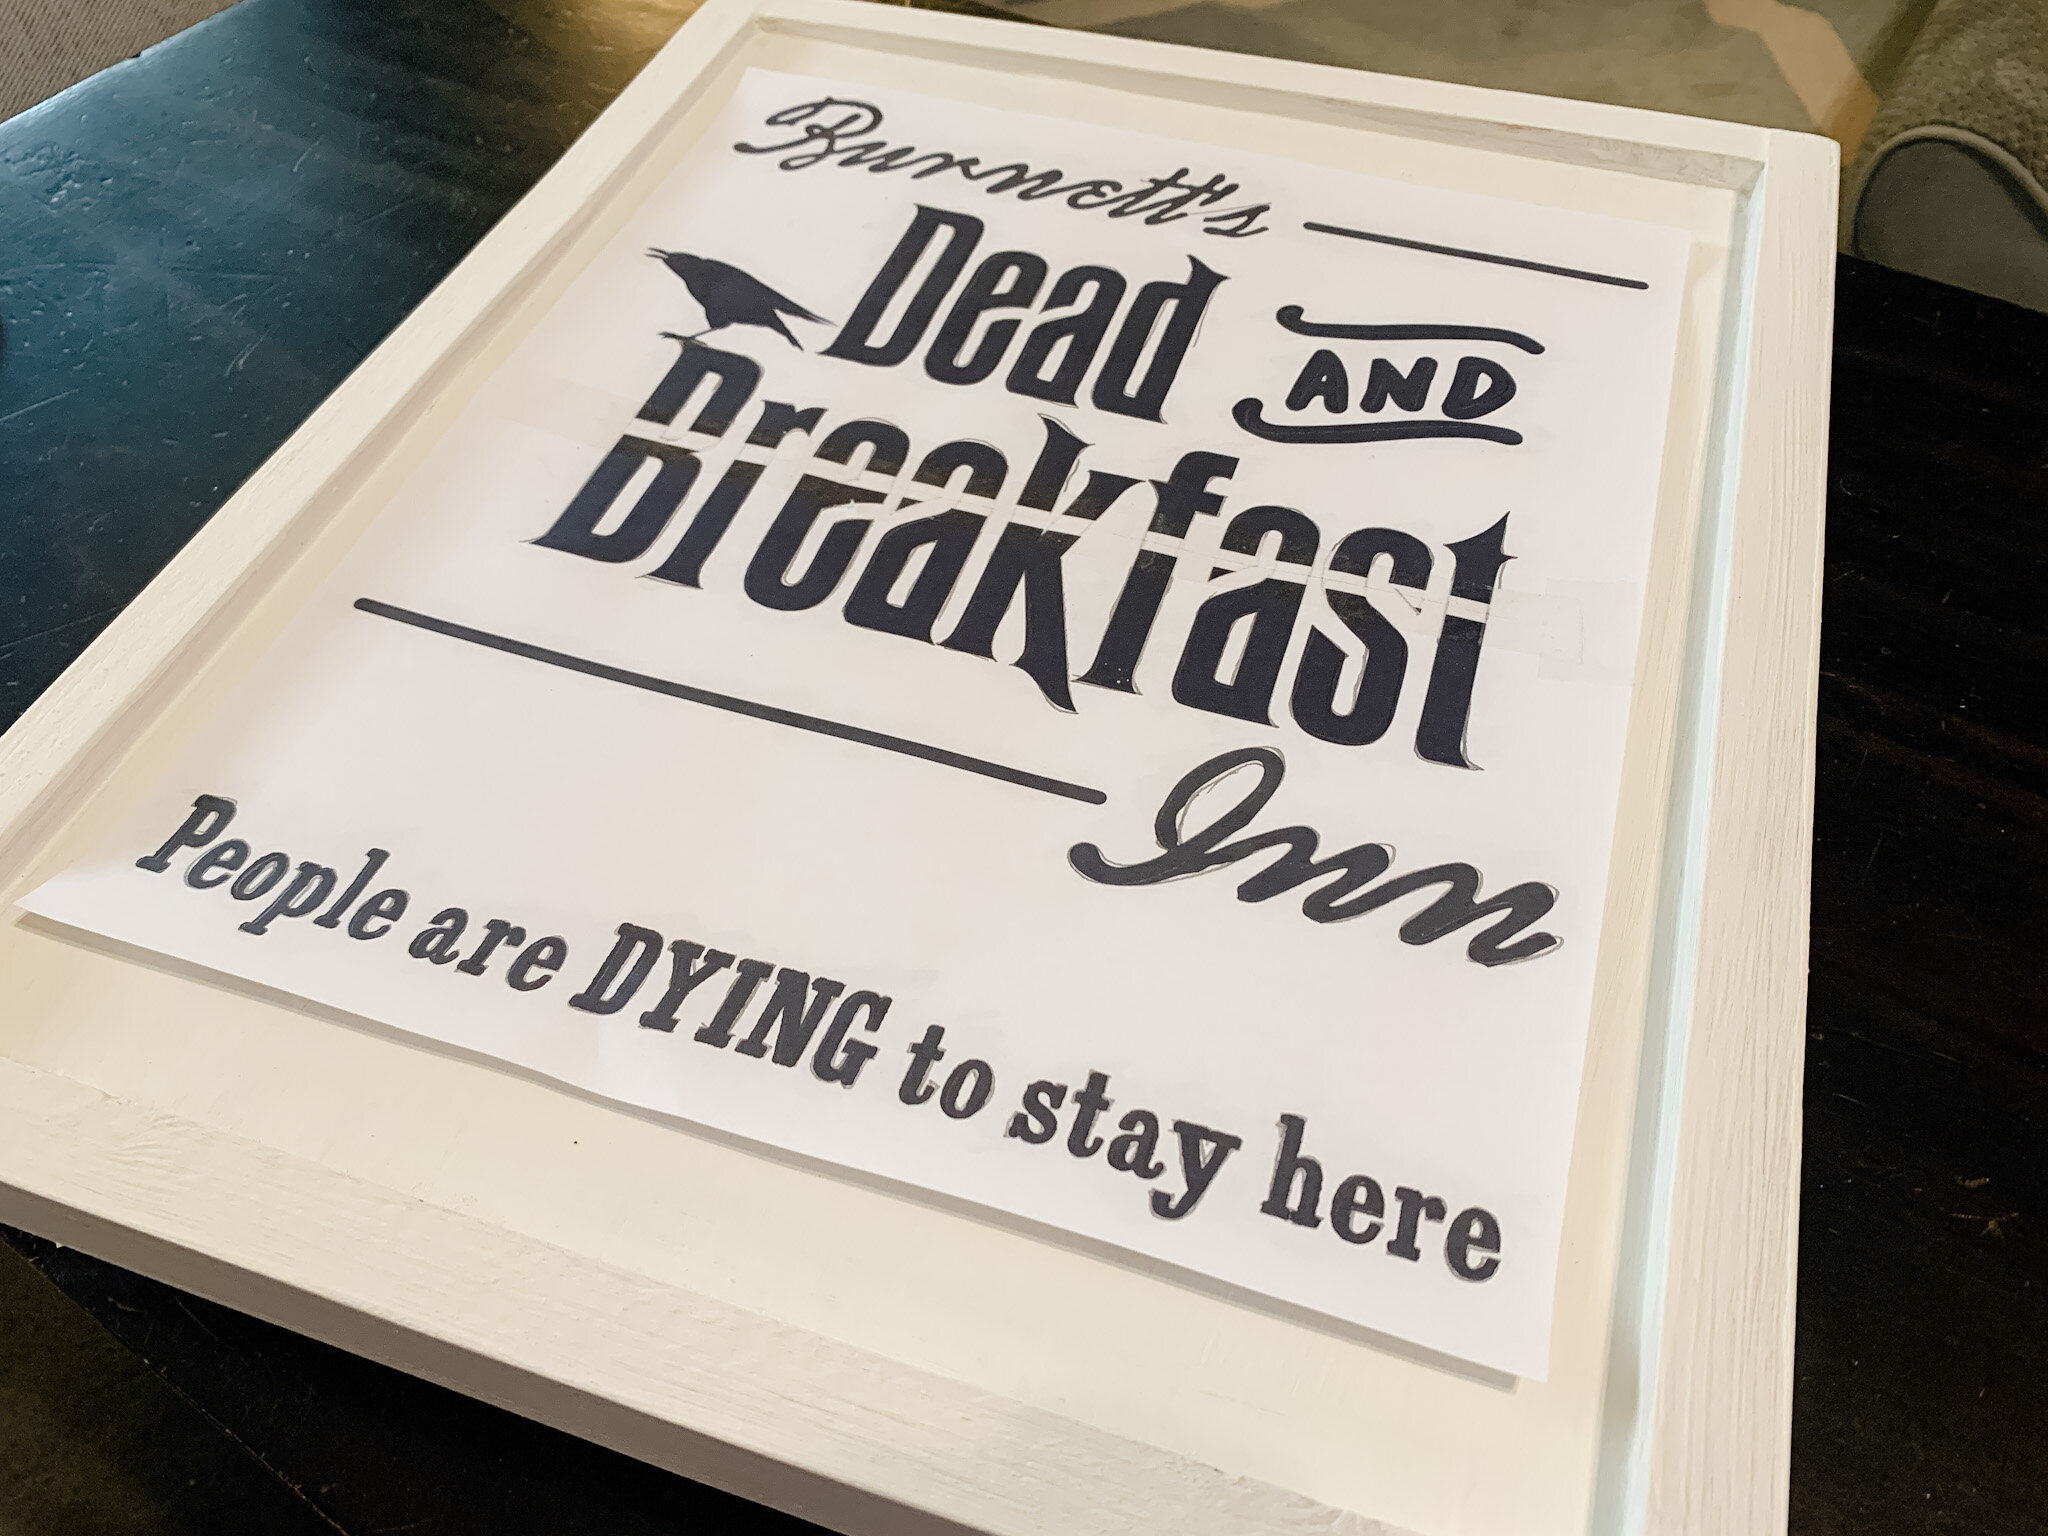
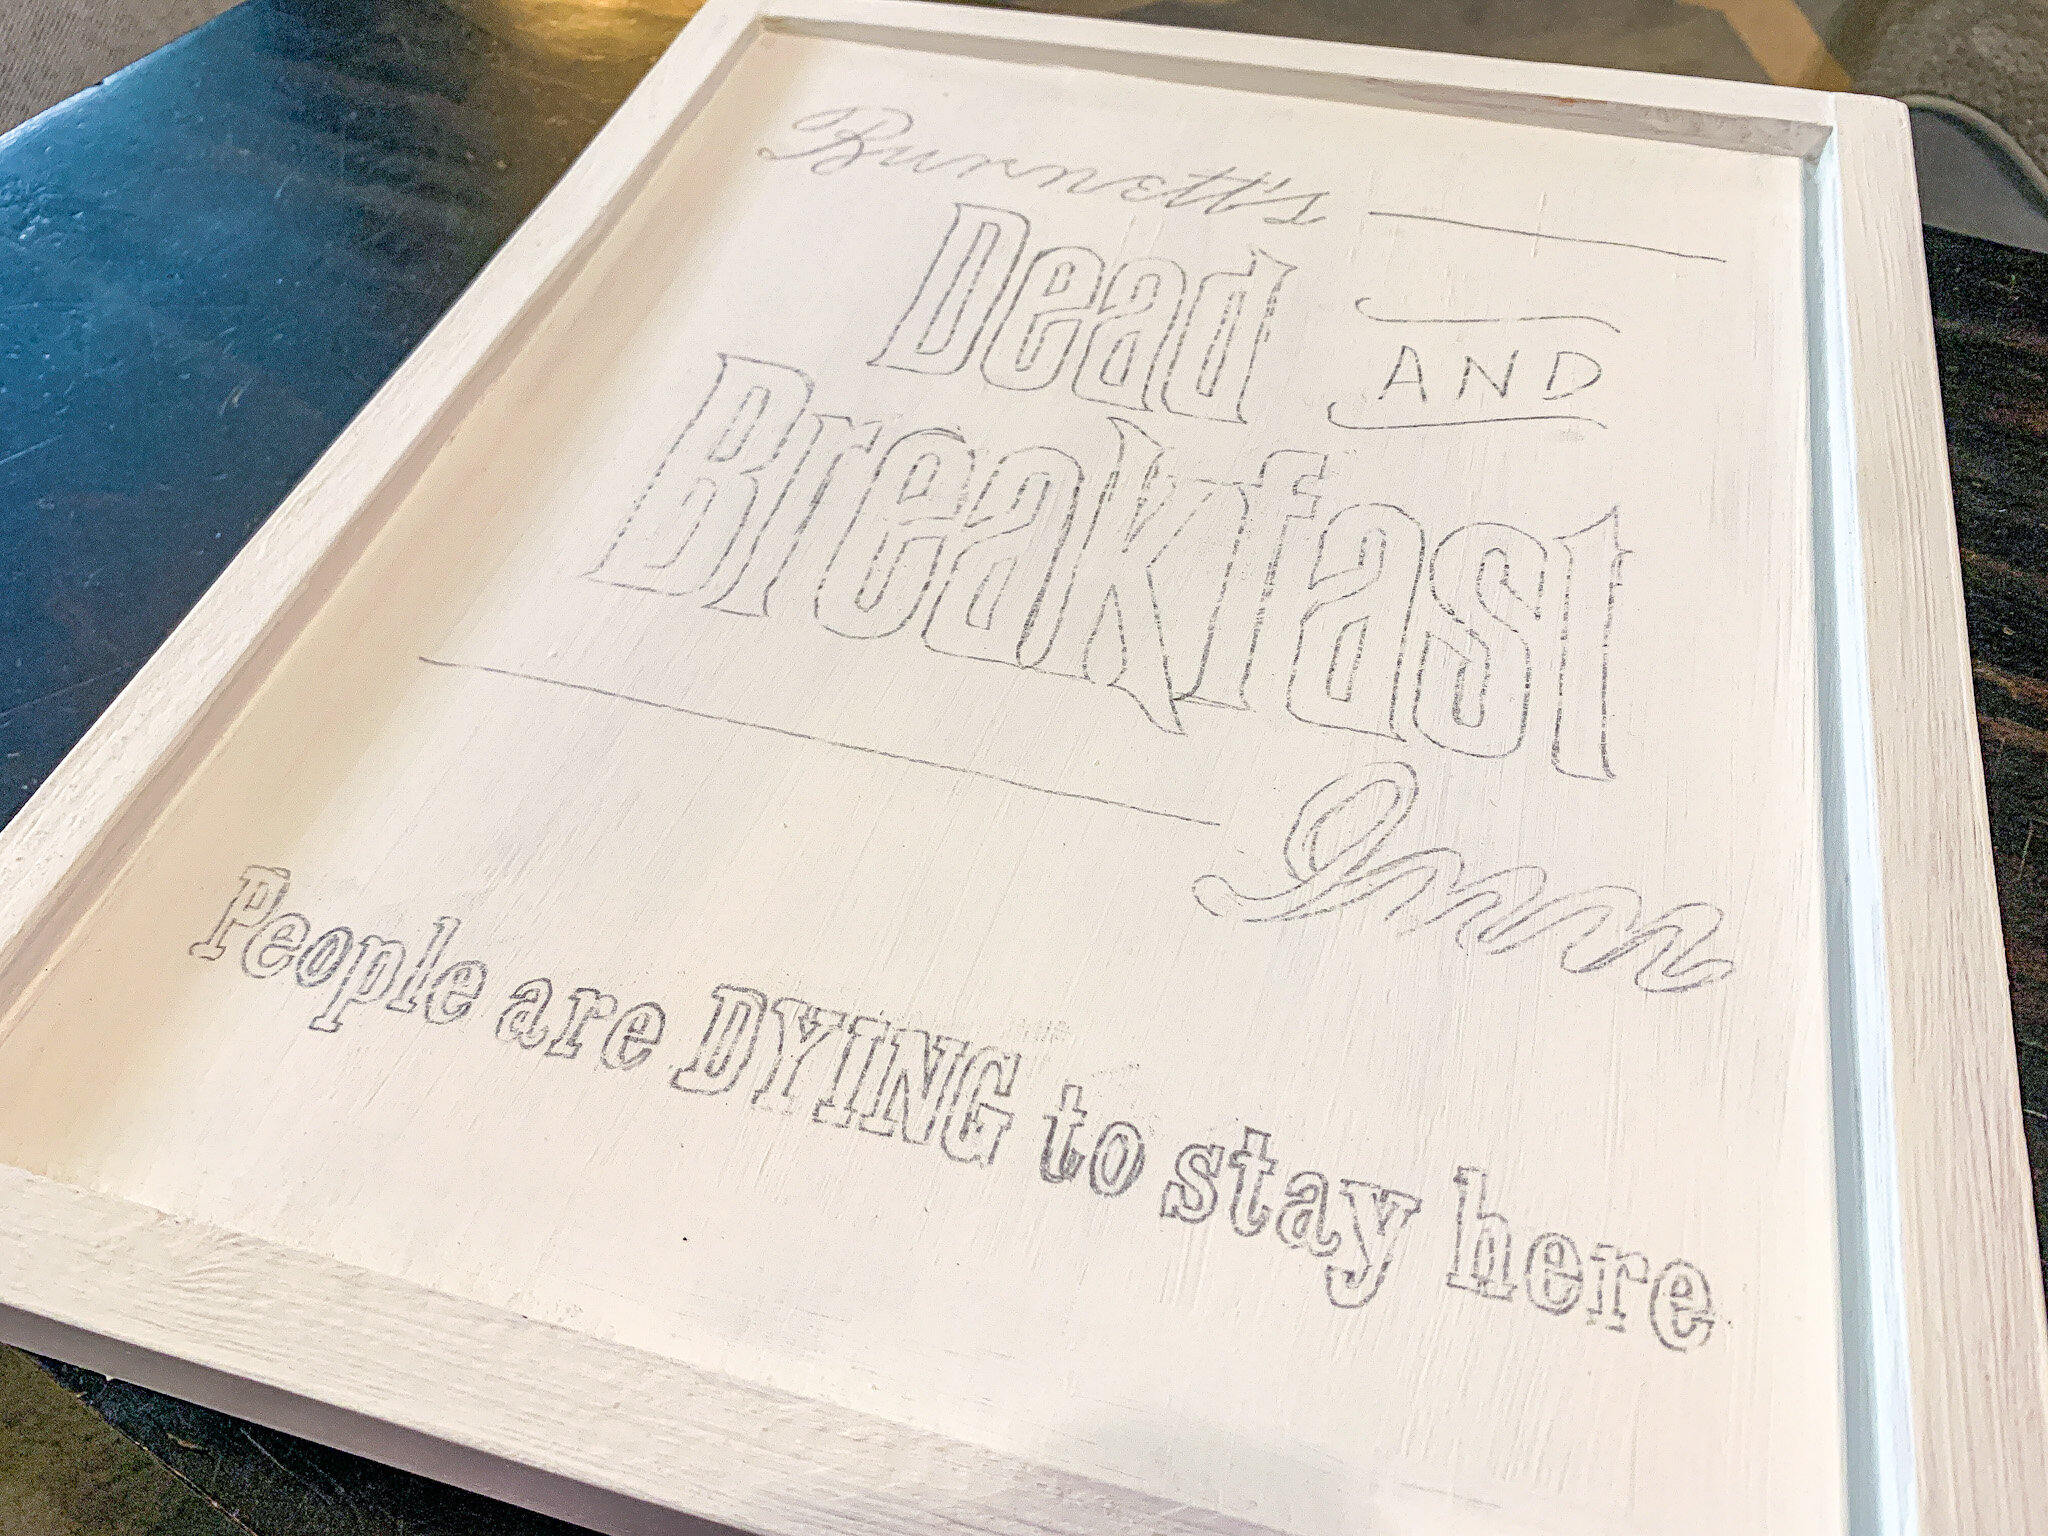
With the outlines transferred onto both sides of the sign, I used Sharpies to draw over and fill it all in.
Random tip:
I learned the ink filled in darker and seemed to dry out the marker less when I colored vertically (with the wood grain) instead of across it.

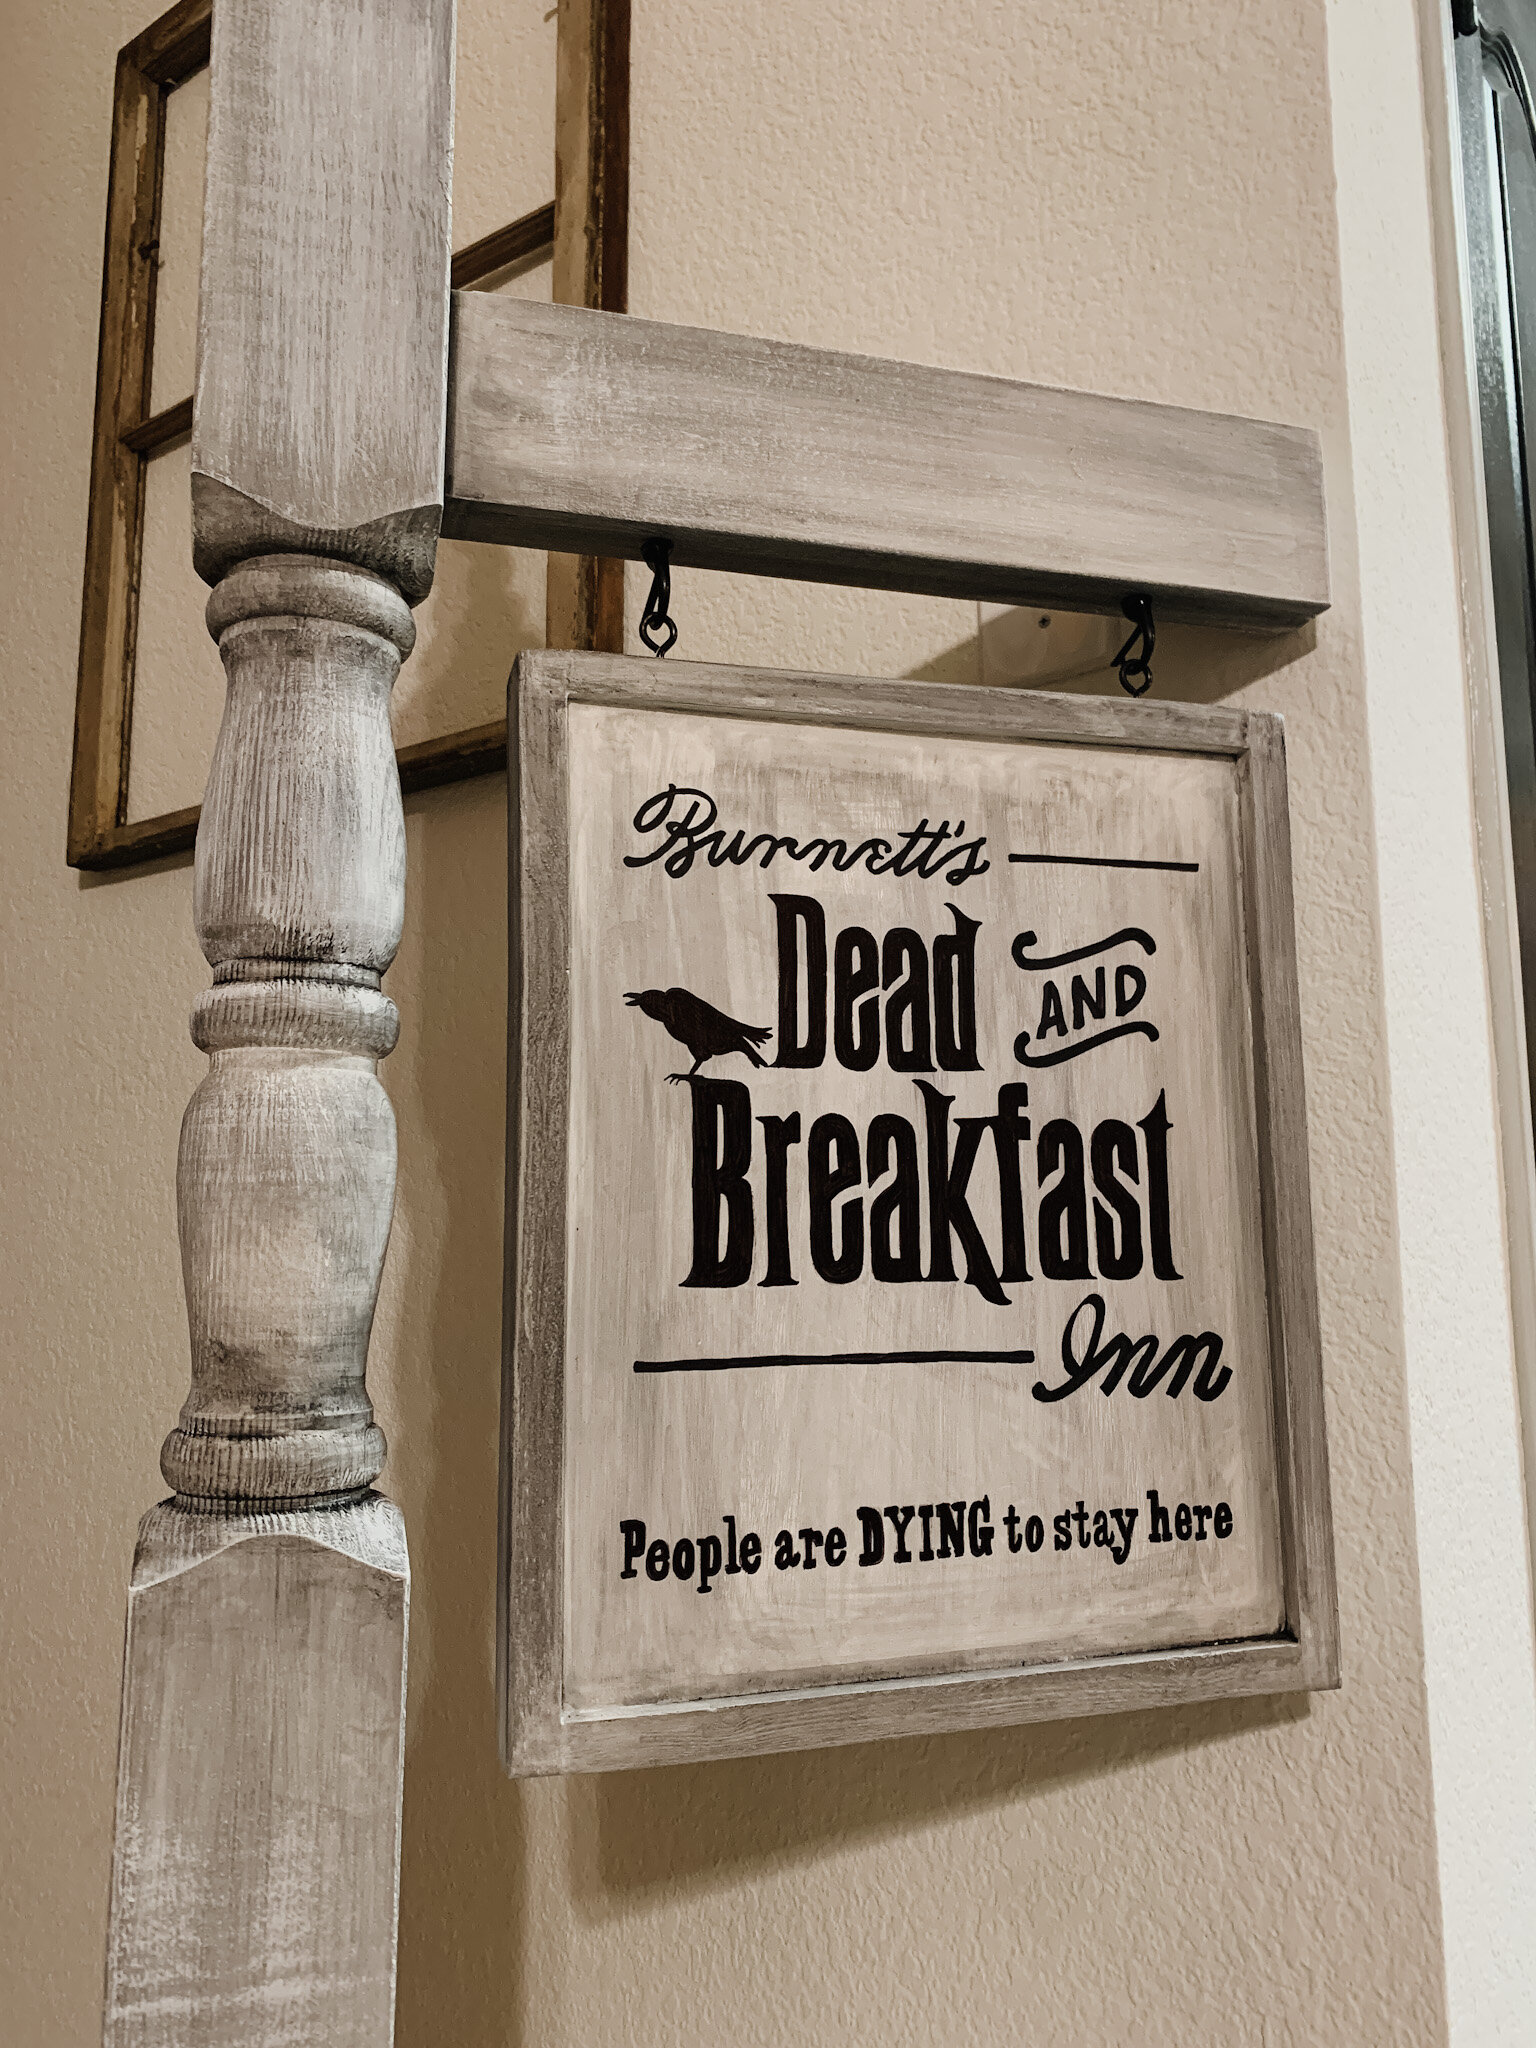
At one point I tried to use black house paint and a very old and slightly ratty small artist’s brush to do the lettering, but it just wasn’t as clean as I wanted and was more trouble than it was worth. (If you notice, parts of one side of my sign is slightly less clean than the other…)
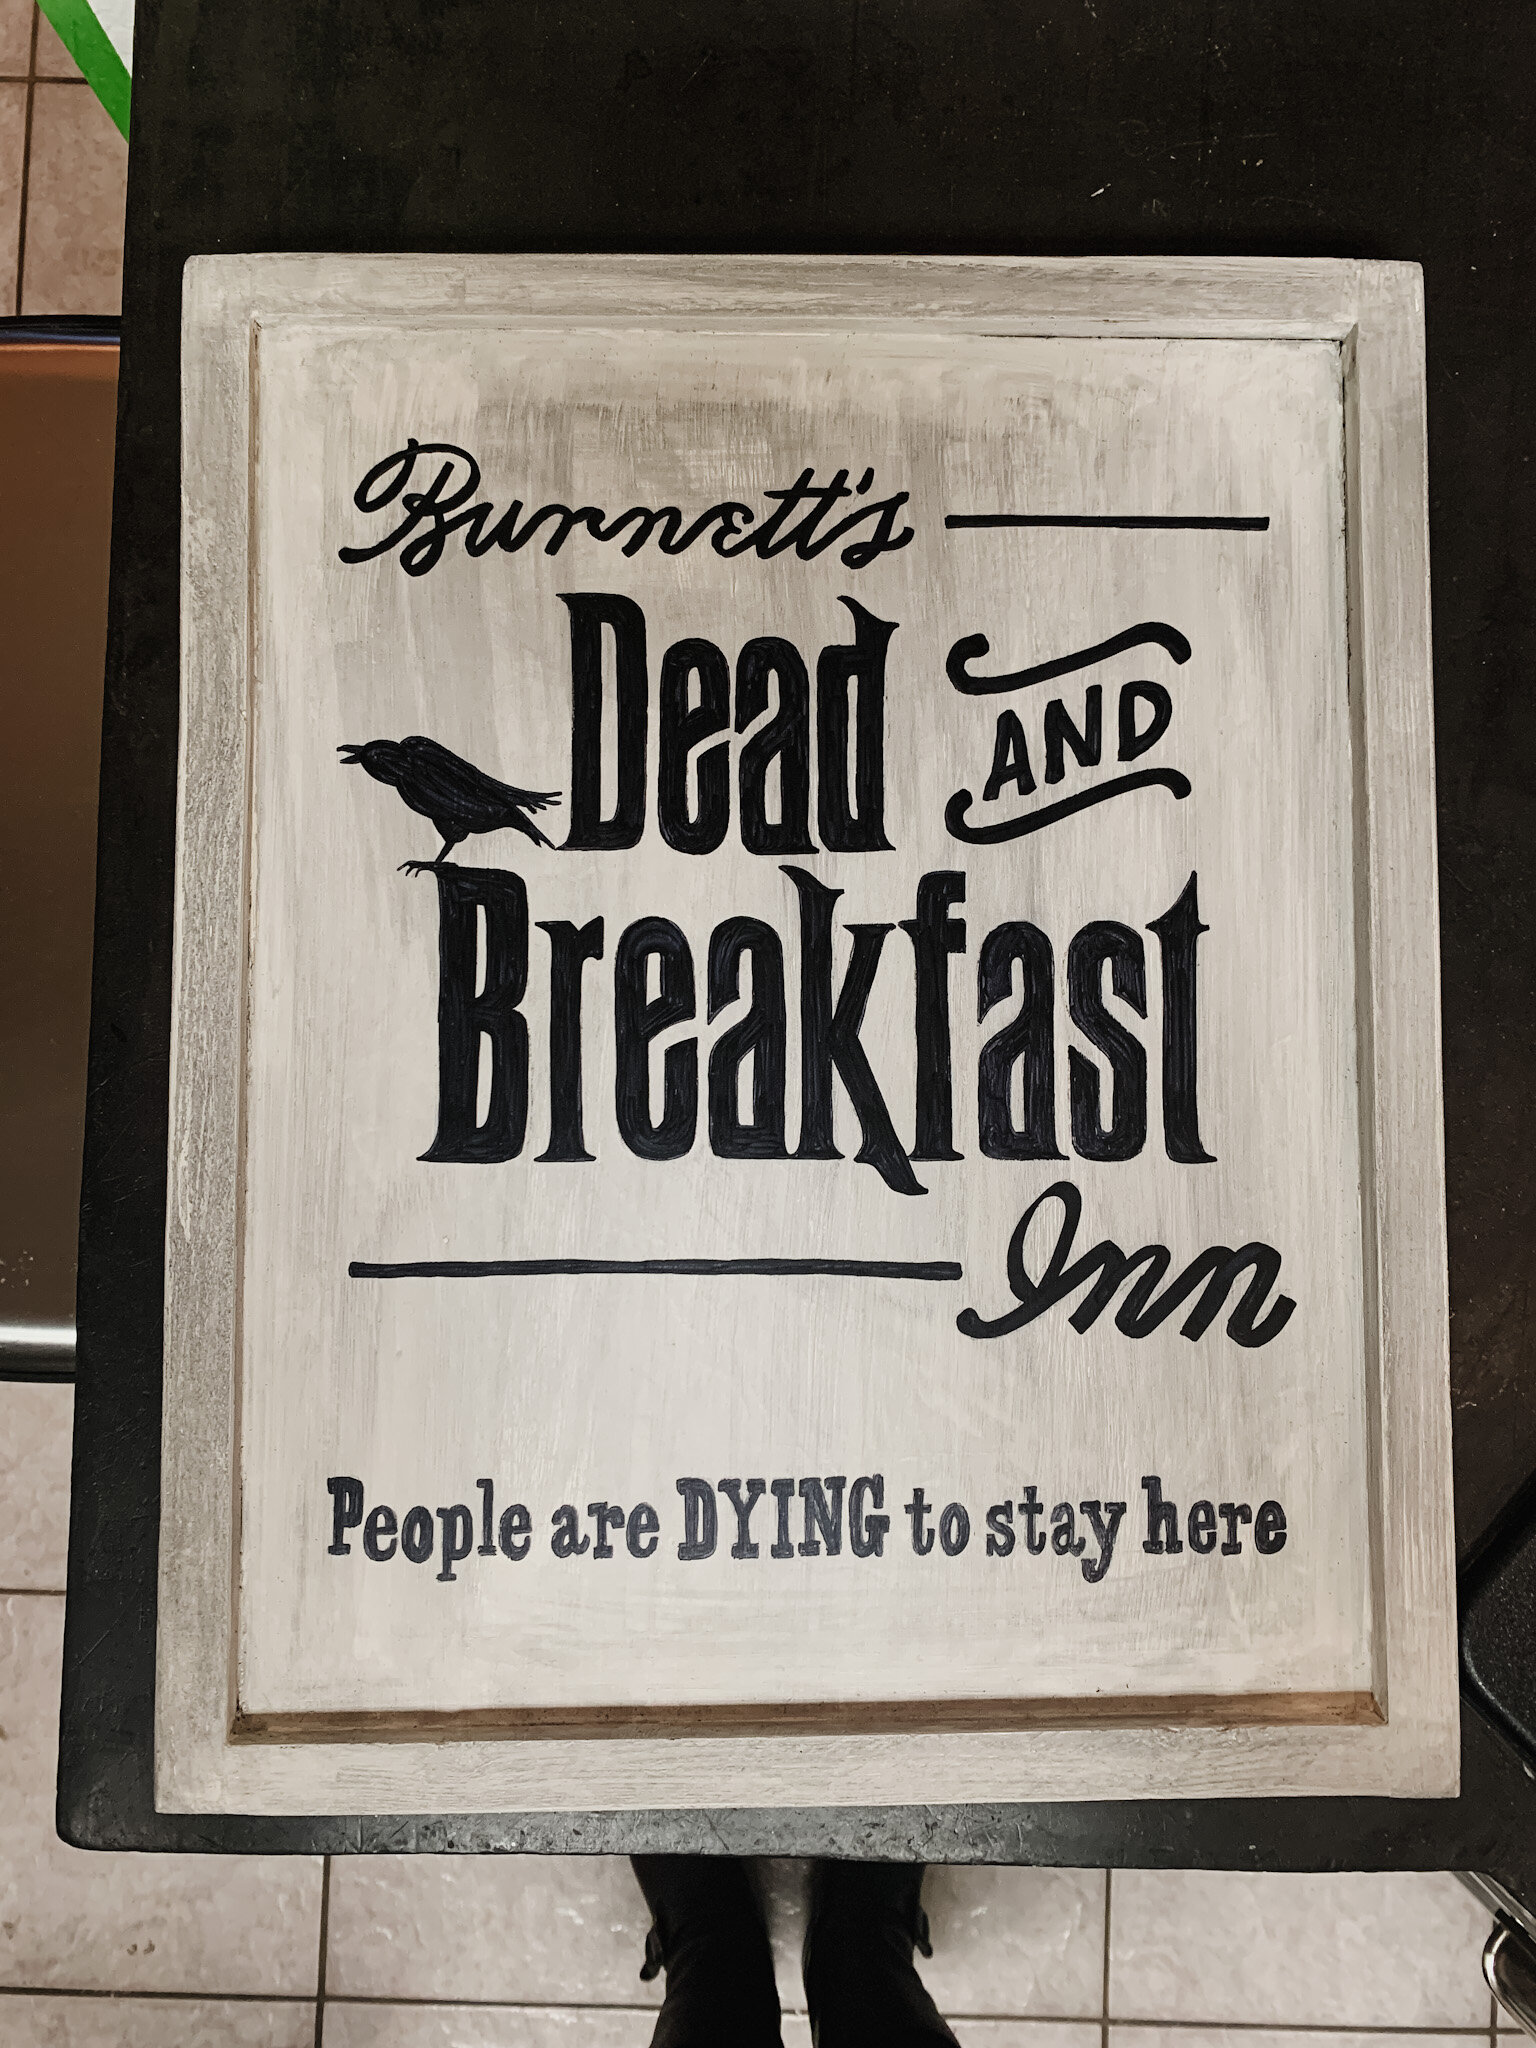
So far the Sharpie (and the paint) has held up great, even when doing the watery paint aging technique above on top of it – and it’s already survived a crazy torrential thunderstorm it’s first night out.
Finishing touches
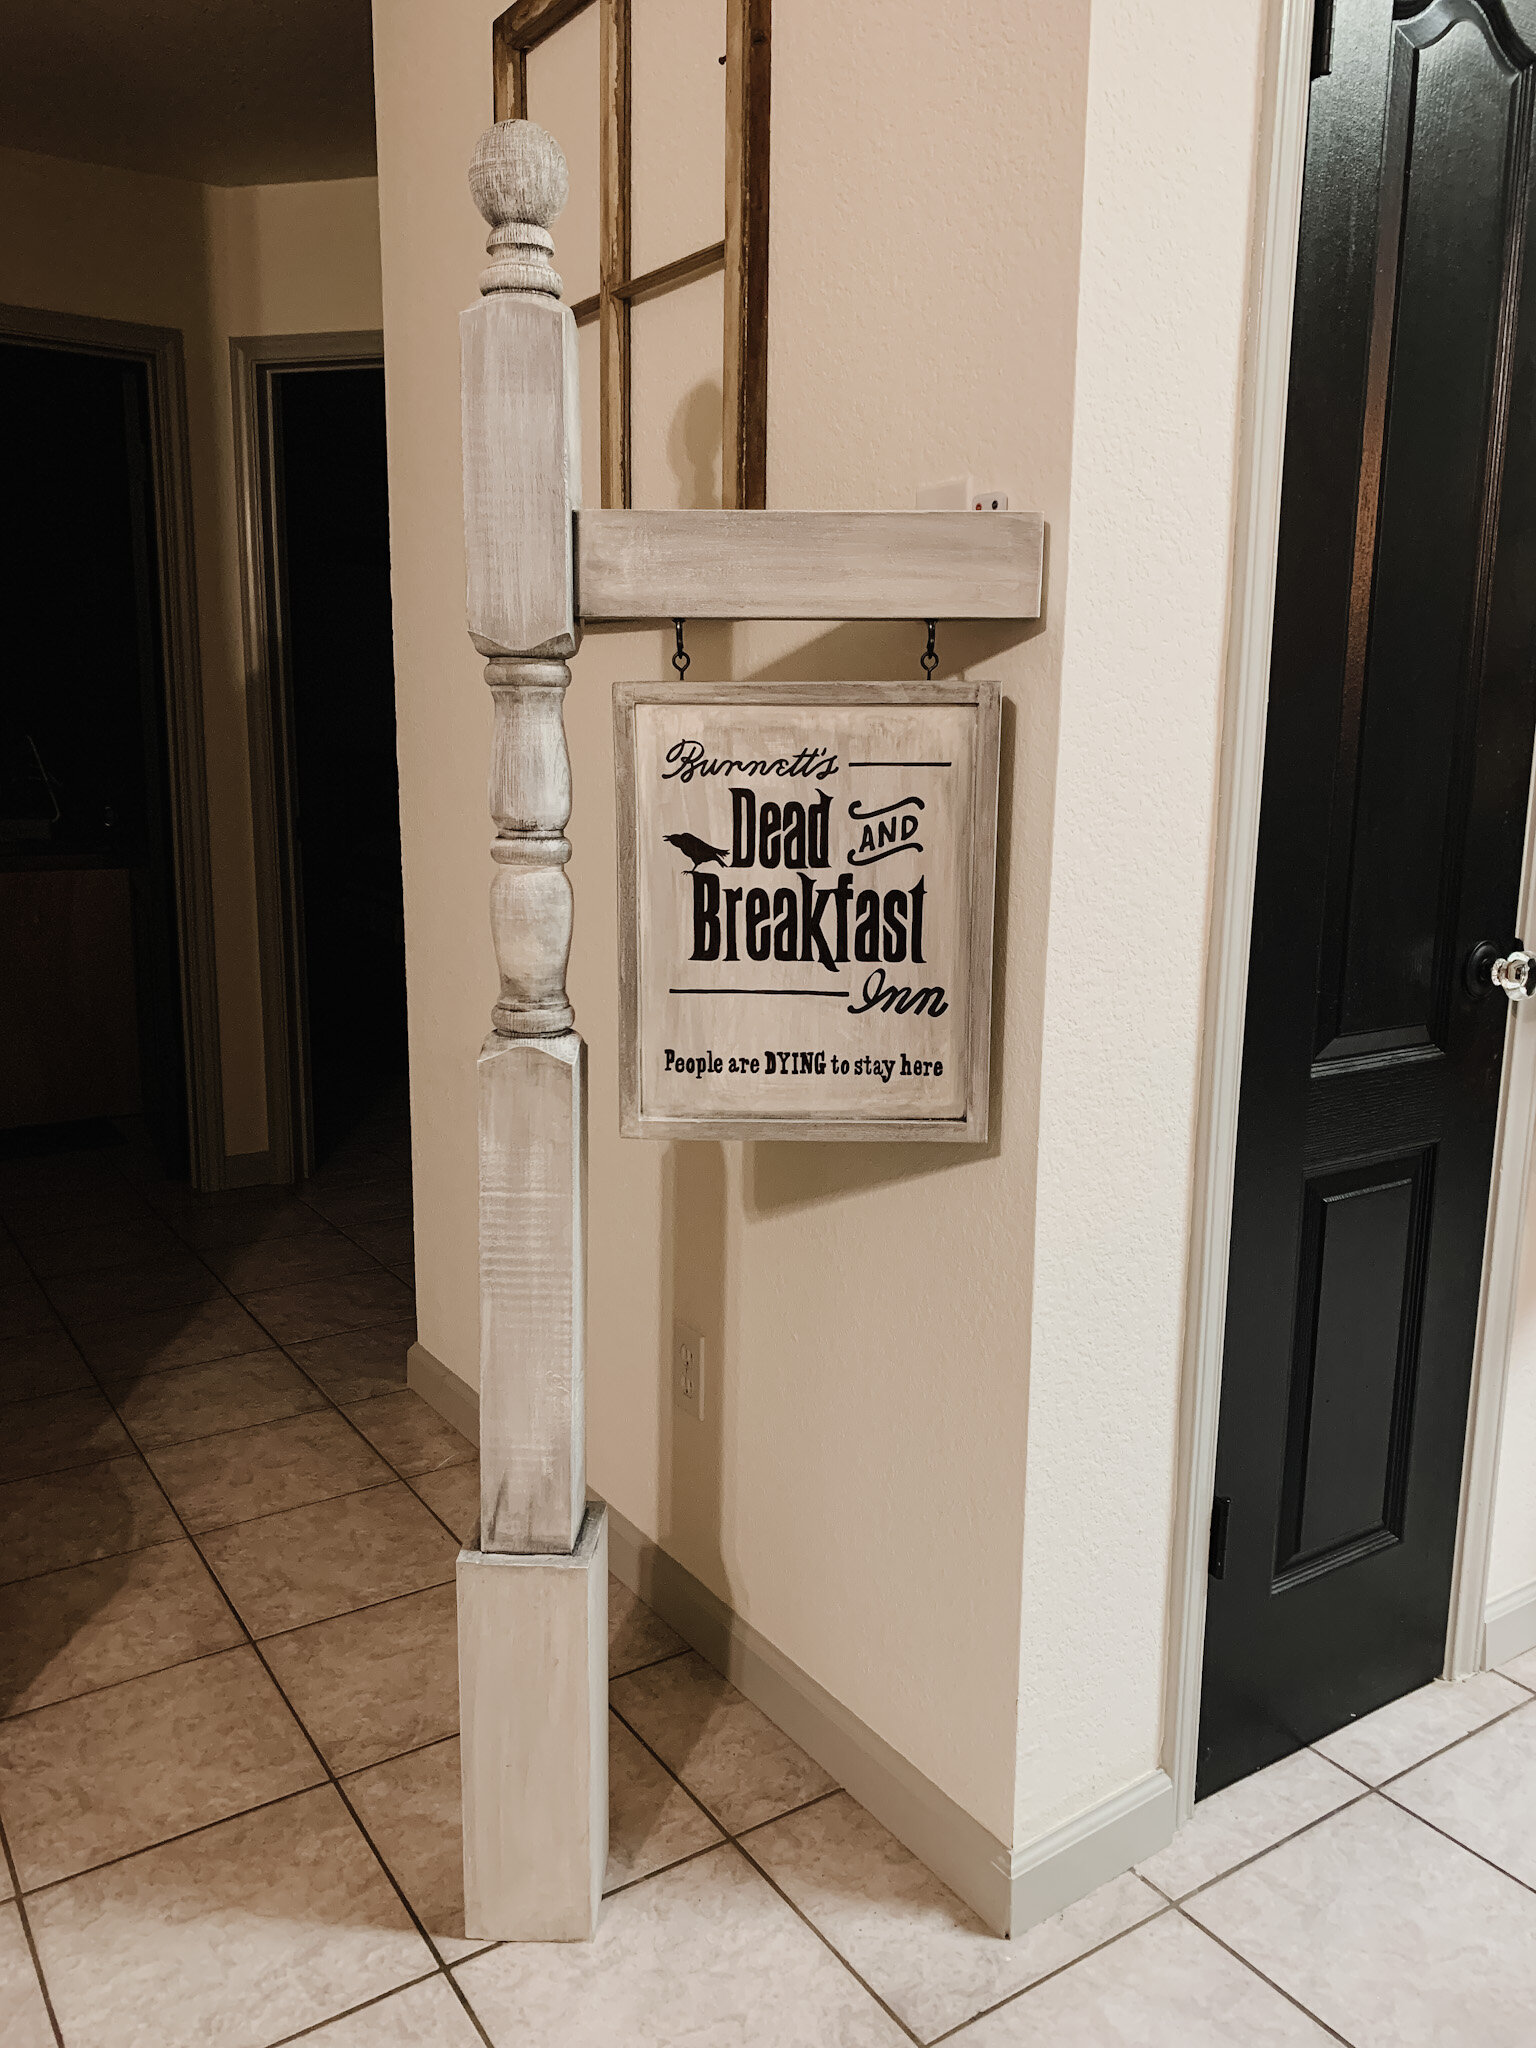
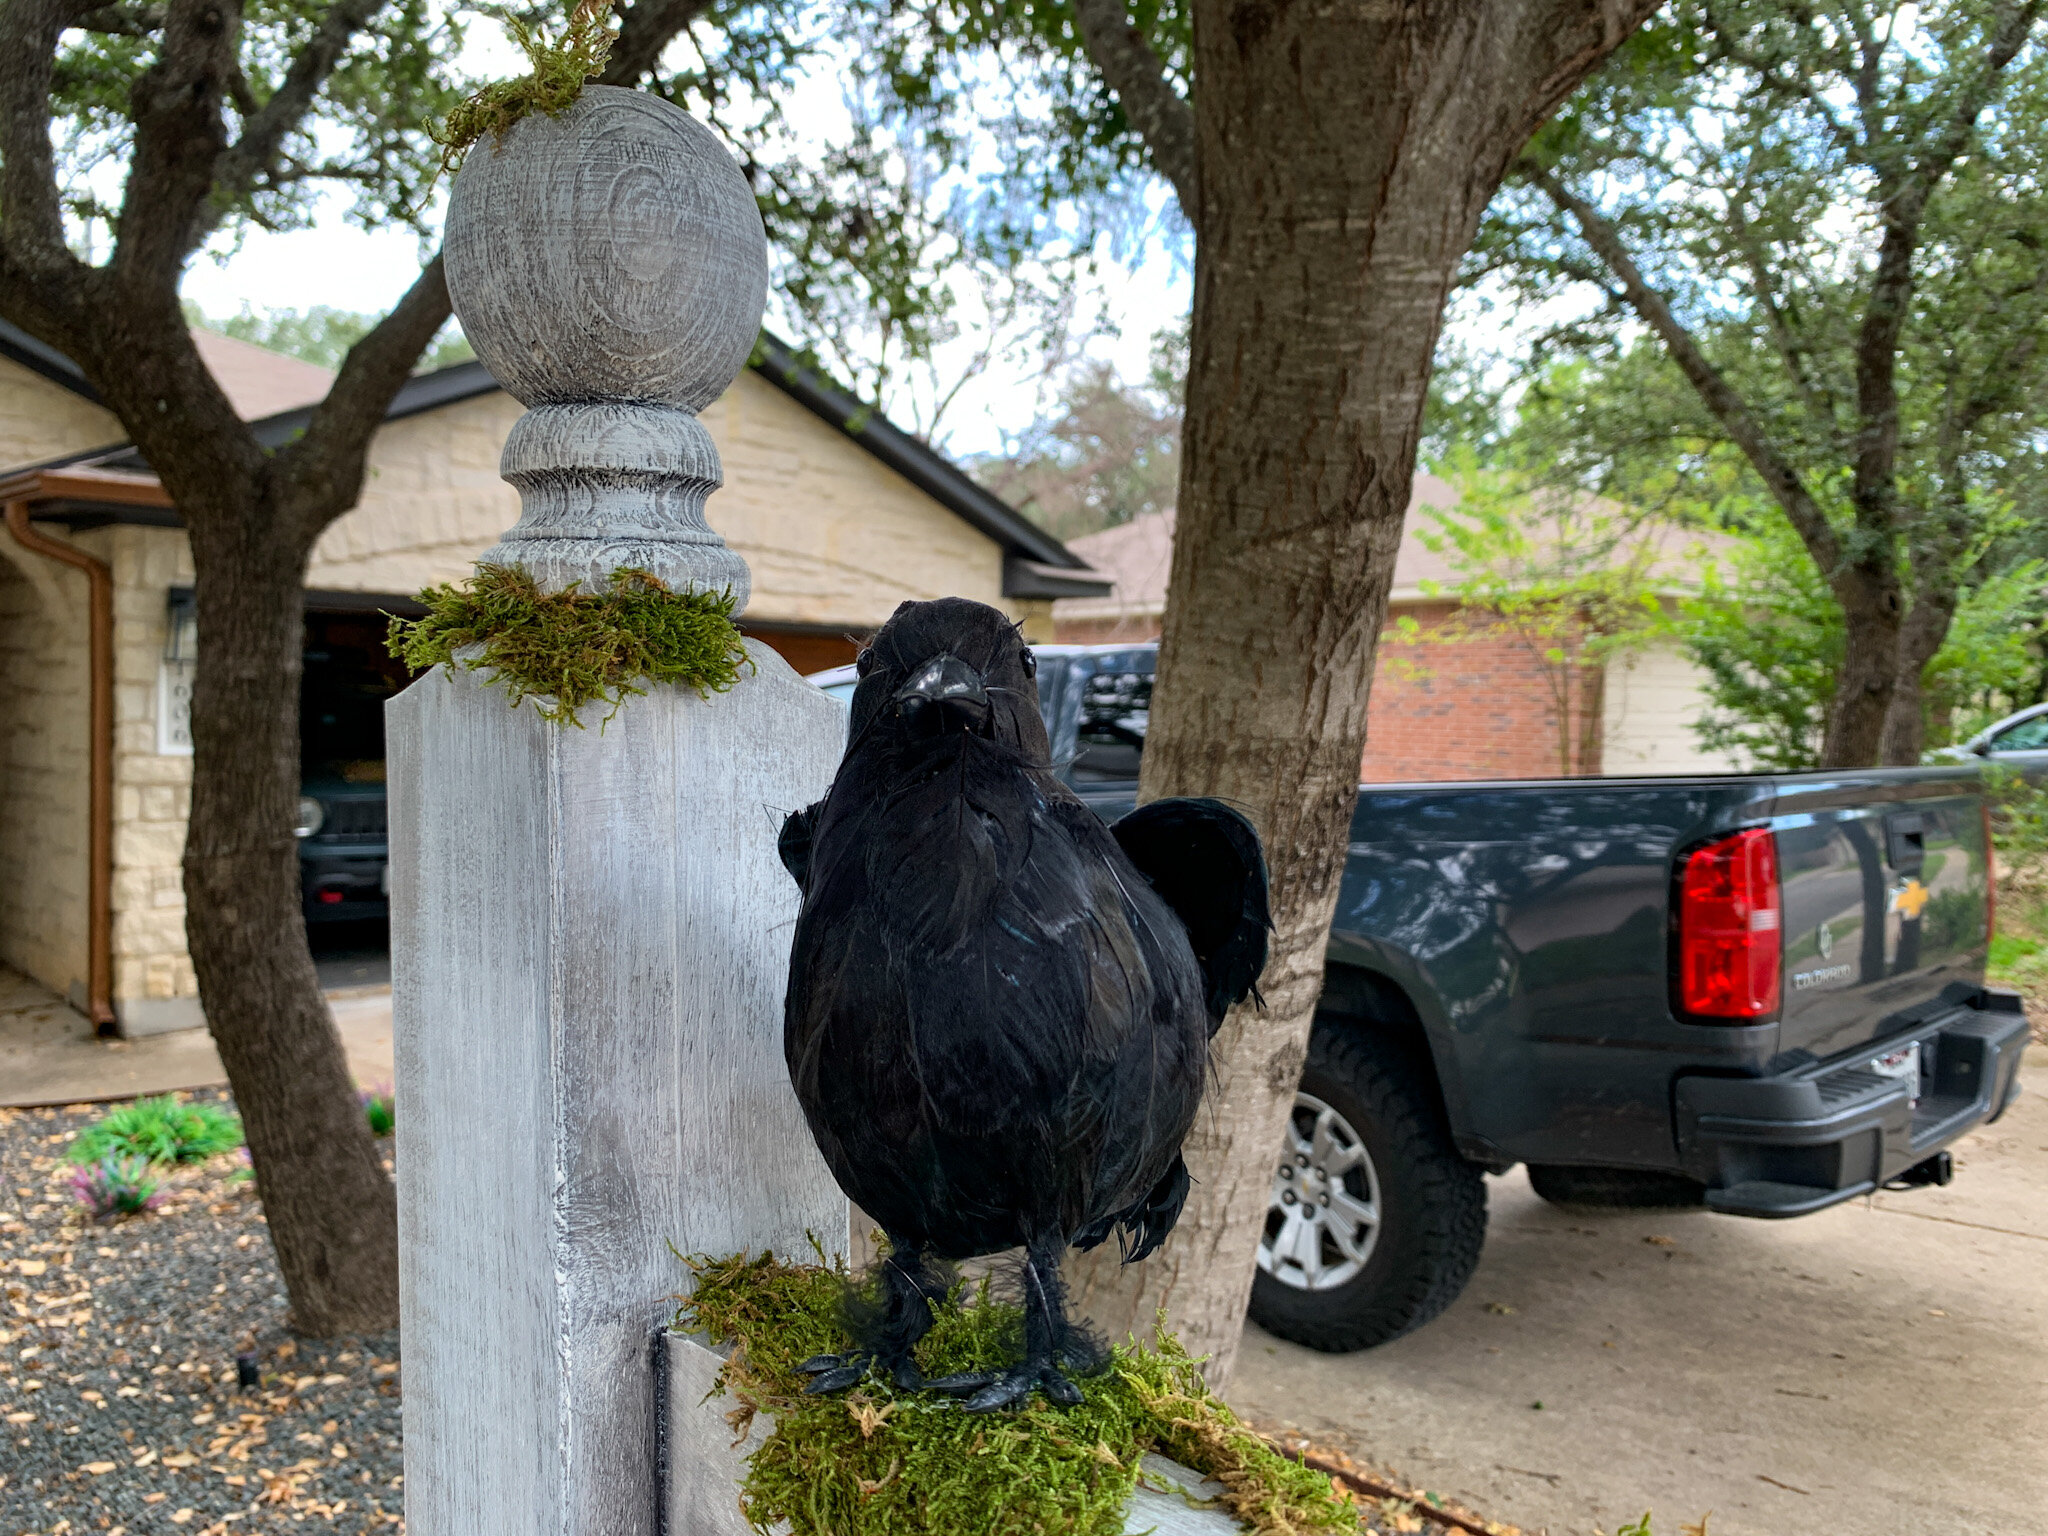
Using a hot glue gun and clear hot glue sticks, I carefully glued green craft moss and a faux crow I had on hand to the sign post.

Installation
Installing this sign was actually pretty easy and thankfully didn’t require digging a ginormous hole in the ground.
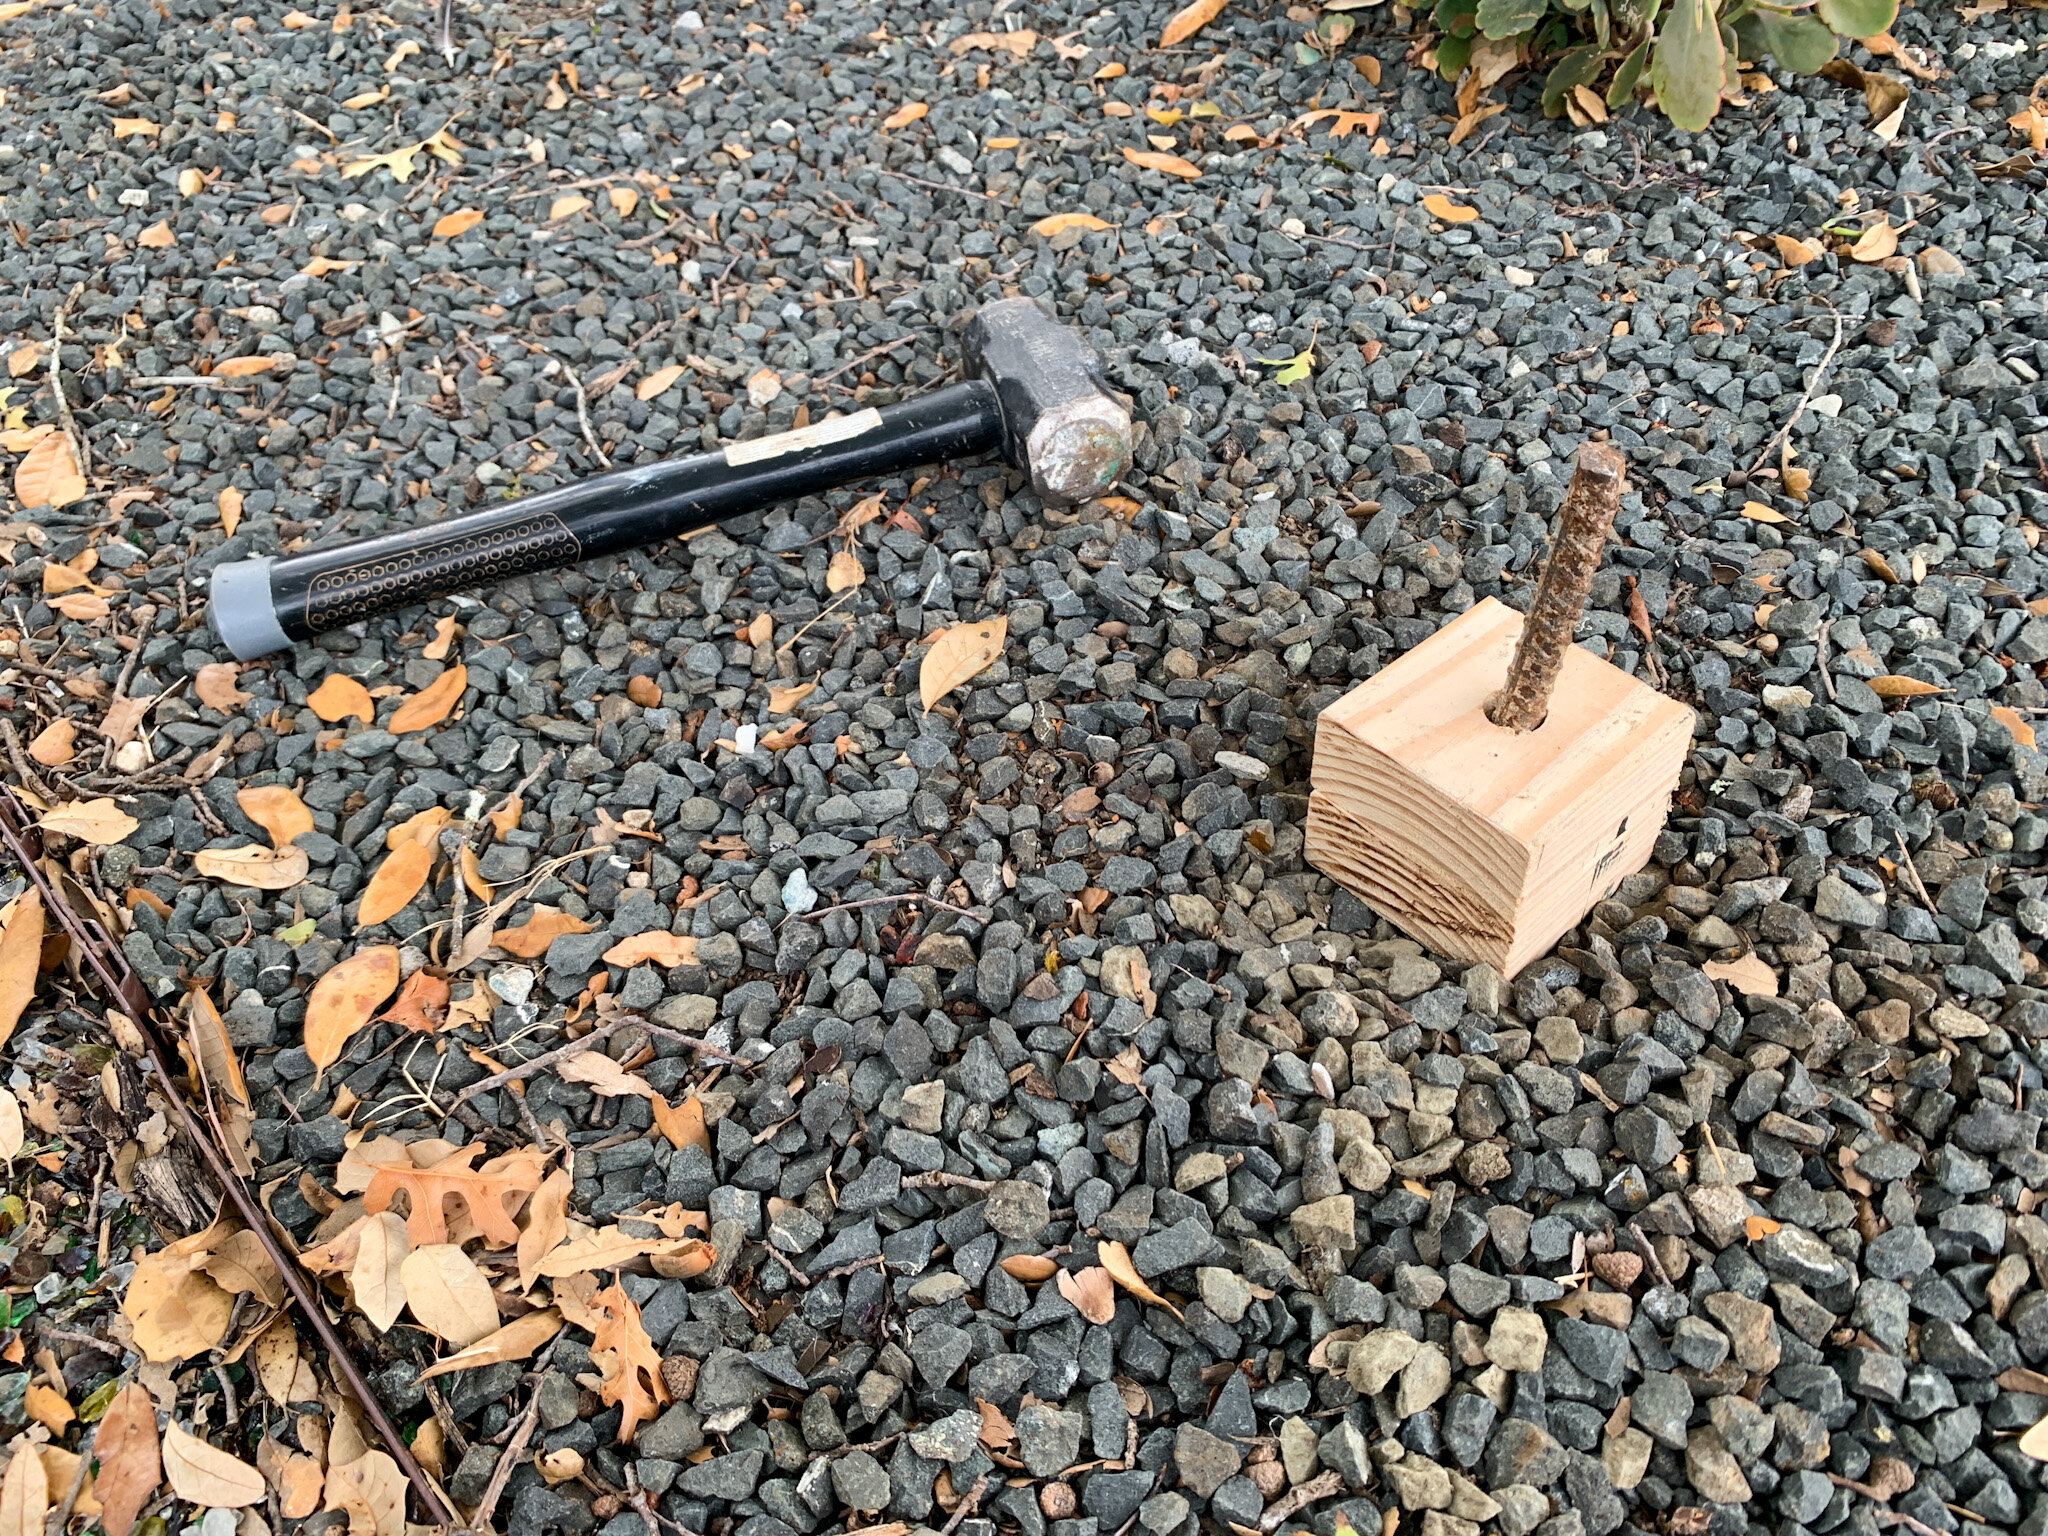
To start, I cut four 2x4s into 3-1/2” lengths (so that they are squares that match the inner area of the hollow part of the post, which should be 3-1/2 x 3-1/2”) and nailed them together in sets of two so that the edges were square and flush. Then I firmly clamped them down to our work table and used a spade bit the diameter of my rebar to make a hole through the middle of each set.
Note:
It is important that the holes are in the same spot on both sets of blocks so that the edges of the blocks all line up with each other when stacked. If the circles are off, the post will not be able to slide nicely over the four blocks.

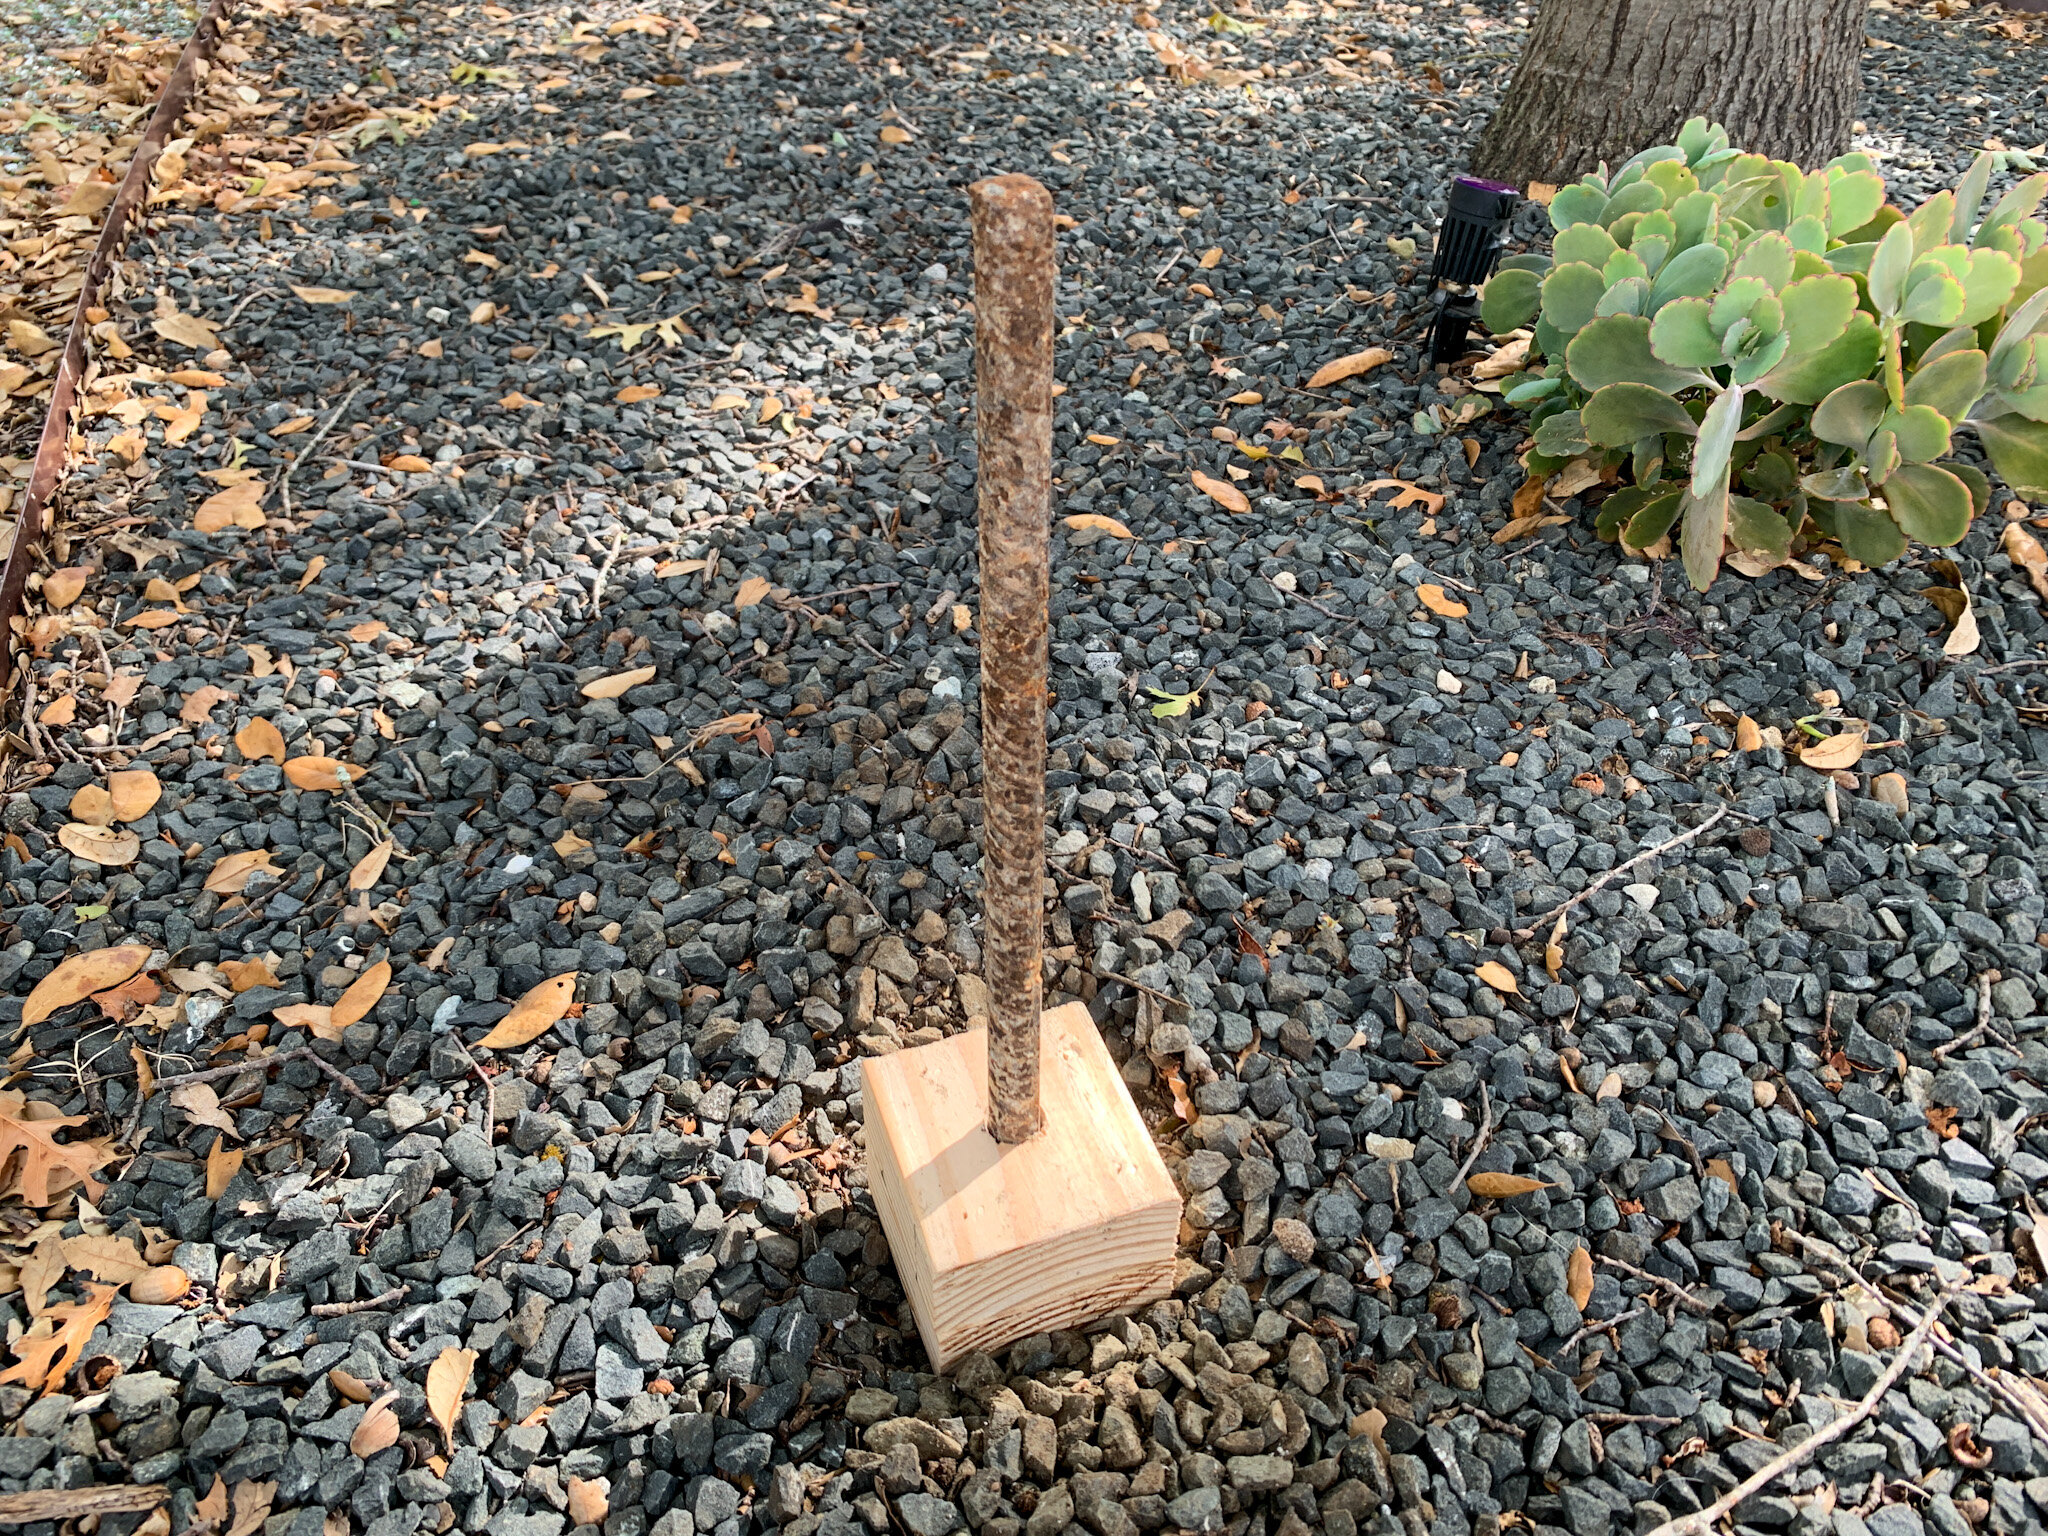
With my blocks made, I cleared the landscaping rocks out from around where I wanted to place the sign, and used a heavy sledgehammer to pound the rebar into the ground as vertically as possible. You want the rebar stake deep enough to be secure in the ground while making sure the part sticking up is taller than 6” (the total height of the inner support blocks) and shorter than the hollow part inside the post. With the rebar firmly in place, I slid the four blocks on top, skewering them with the rebar, until they were firmly on the ground with a straight edge lined up square to the sidewalk.
With the rebar and blocks secure and aligned how I wanted, I slipped the hollow base of the post over the top of the blocks and pushed it down all the way to the ground.
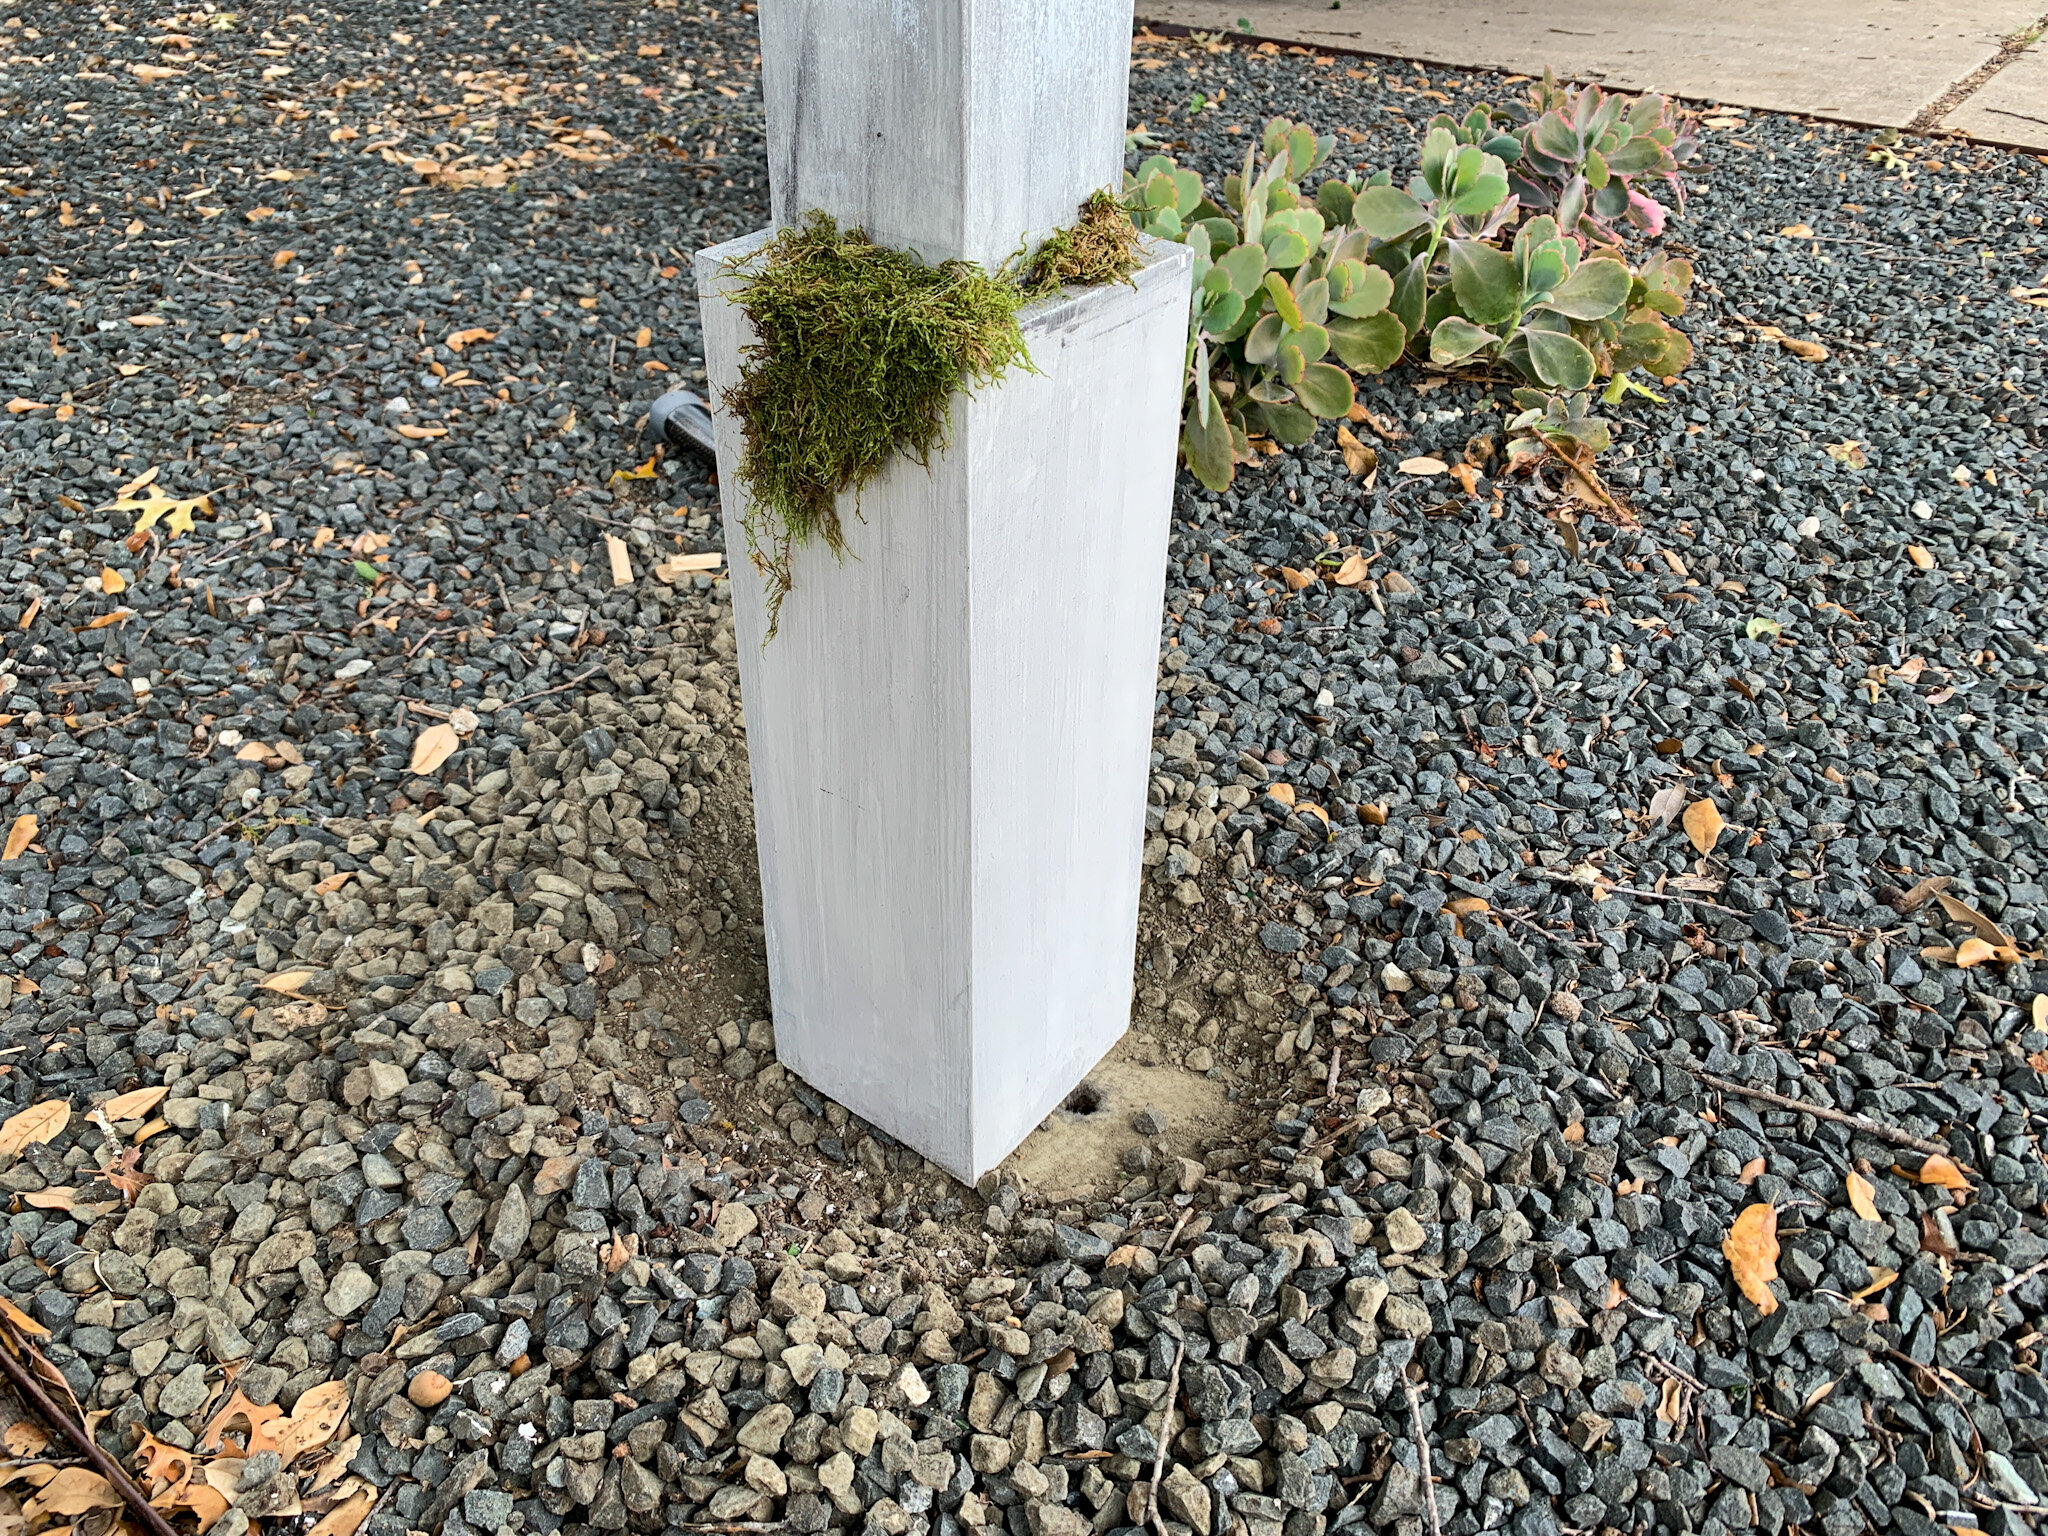
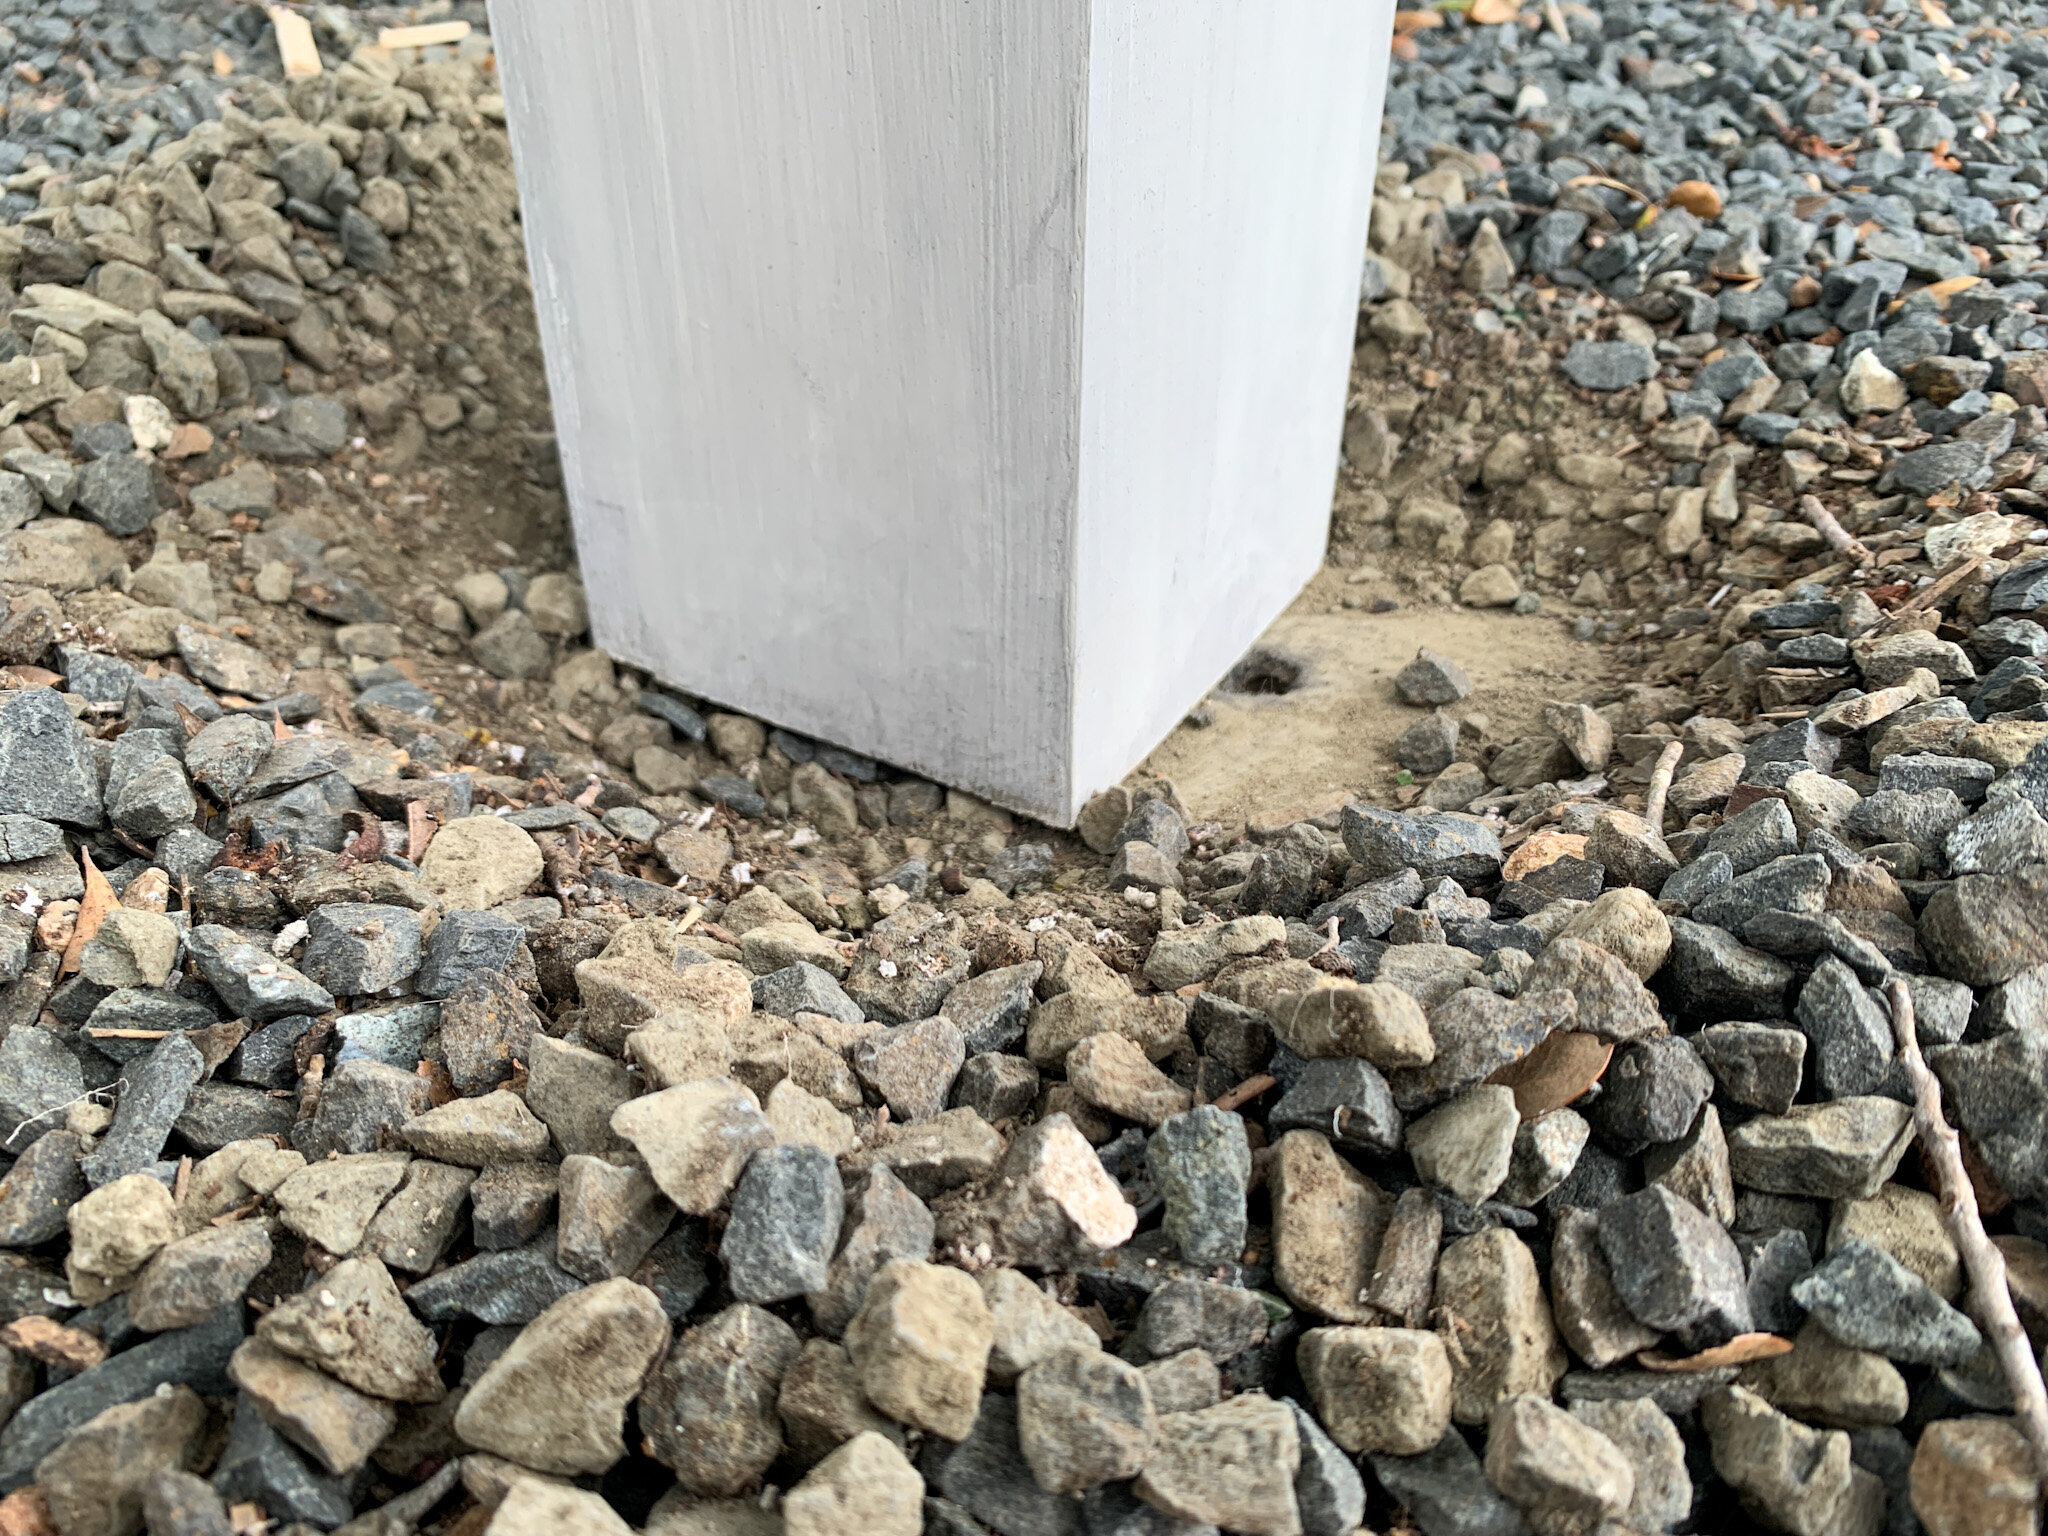
Lastly, I pushed our landscaping rocks back in place and admired my work.


Materials List
(2) steel cup hooks – chose these to help protect against the wind
Scrap materials:
1x6 – about 32” total, to be cut into (2) 16” lengths
1x4 – about 64” total, to be cut into (4) 16” lengths
2x4 – about 15” total, to be cut into (4) 3-1/2” blocks
3/4” plywood – about 12” wide x 15” tall
1x2s – (2) 12” pieces + (2) 18” pieces
Rebar – about a 24"-inch piece
House paint – I used off-white wall paint (Behr’s Swiss Coffee in flat finish) and Sherwin Williams’ Tricorn Black in flat finish
Sliding compound miter/chop saw – that’s what I used, but they’re all straight cuts!
Tape measure, pencil
Drill + spade bit to match diameter of rebar
Kreg jig + screws
Nail gun + nails
Wood filler + putty knife
Sandpaper
Rag + paint thinner
Paint brush
Rag + paint cup
Printer, paper + pencils
Sharpies – I used the fat chisel tip one and a regular sized one
Black spray paint
Faux crow – this one isn’t the exact one we used, but it’s pretty close!
Hot glue gun + glue gun sticks
Mallet/sledgehammer
Other ways to make your own sign
Don’t have scrap wood or feel like buying a new post? Here are some other options you could try for your DIY.
Use four 6- or 8-foot fence pickets and make the whole post hollow instead of buying a post.
Use two 2x4s nailed together to make your post and fill the crack with wood filler.
Use a 2x4 for your horizontal piece instead of two 1x4s.
Use plywood scraps for the whole thing.
Use a styrofoam ball or a turned bun foot on the top to make a finial on an otherwise square post. For styrofoam, you could just glue it on top. For a wooden bun foot, just remove the threaded rod with pliers before nailing it on top, or drill a little hole in the top of your post, fill it with glue, and with the bun foot upside down insert the threaded rod down in the glue-filled hole.
For a lighter hanging sign, use a piece of foam board insulation. You could even use some tools to carve in your design for a nice 3D look before you paint it.
FREE Downloads

Download our “Burnett’s Dead and Breakfast Inn” sign here:
Version 2 – Split into two letter-size sheets for easier printing. Just print and tape them together.

Download a nameless “Dead and Breakfast Inn” sign here:
Version 2 – Split into two letter-size sheets for easier printing. Just print and tape them together.
If you want to add your own name to the blank sign, the font we used for our name is Archive Autograph Script. Can’t download the font at that link to your computer? Get the full alphabet in PDF form here so you can create your own name by hand, if needed. (Remember, you’re just using this to trace over, so it doesn’t have to all be typed out and perfect for you make it say whatever you want.)
Coming up, we’ll be sharing a Halloween home tour (we’ve done SO MUCH more since I made this sign over the weekend), where you can see our front yard cemetery and our indoor decor!
What do you think of our scrap wood sign? Is this something you’ll be trying to add some spooky flair to your place?