The Cameo Camper Renovation: Toilet Install
Hey y’all – long time, no talk about our vintage camper’s modern bathroom … or anything really.
I’ve been wanting to keep you posted on things we’re currently doing and catch up on things we’ve done, but a few months ago now we suffered the loss of my external hard drive where all of my photos and data are stored (of course pretty much right after clearing it all off of my computer to “help it run faster” … SMH) and it’s been a process to get it all recovered. Big time boo. BUT great news is we’ve finally got the files back (all but the three less-than-important photos that were damaged) and we can keep truckin’ along here on the ol’ blog!
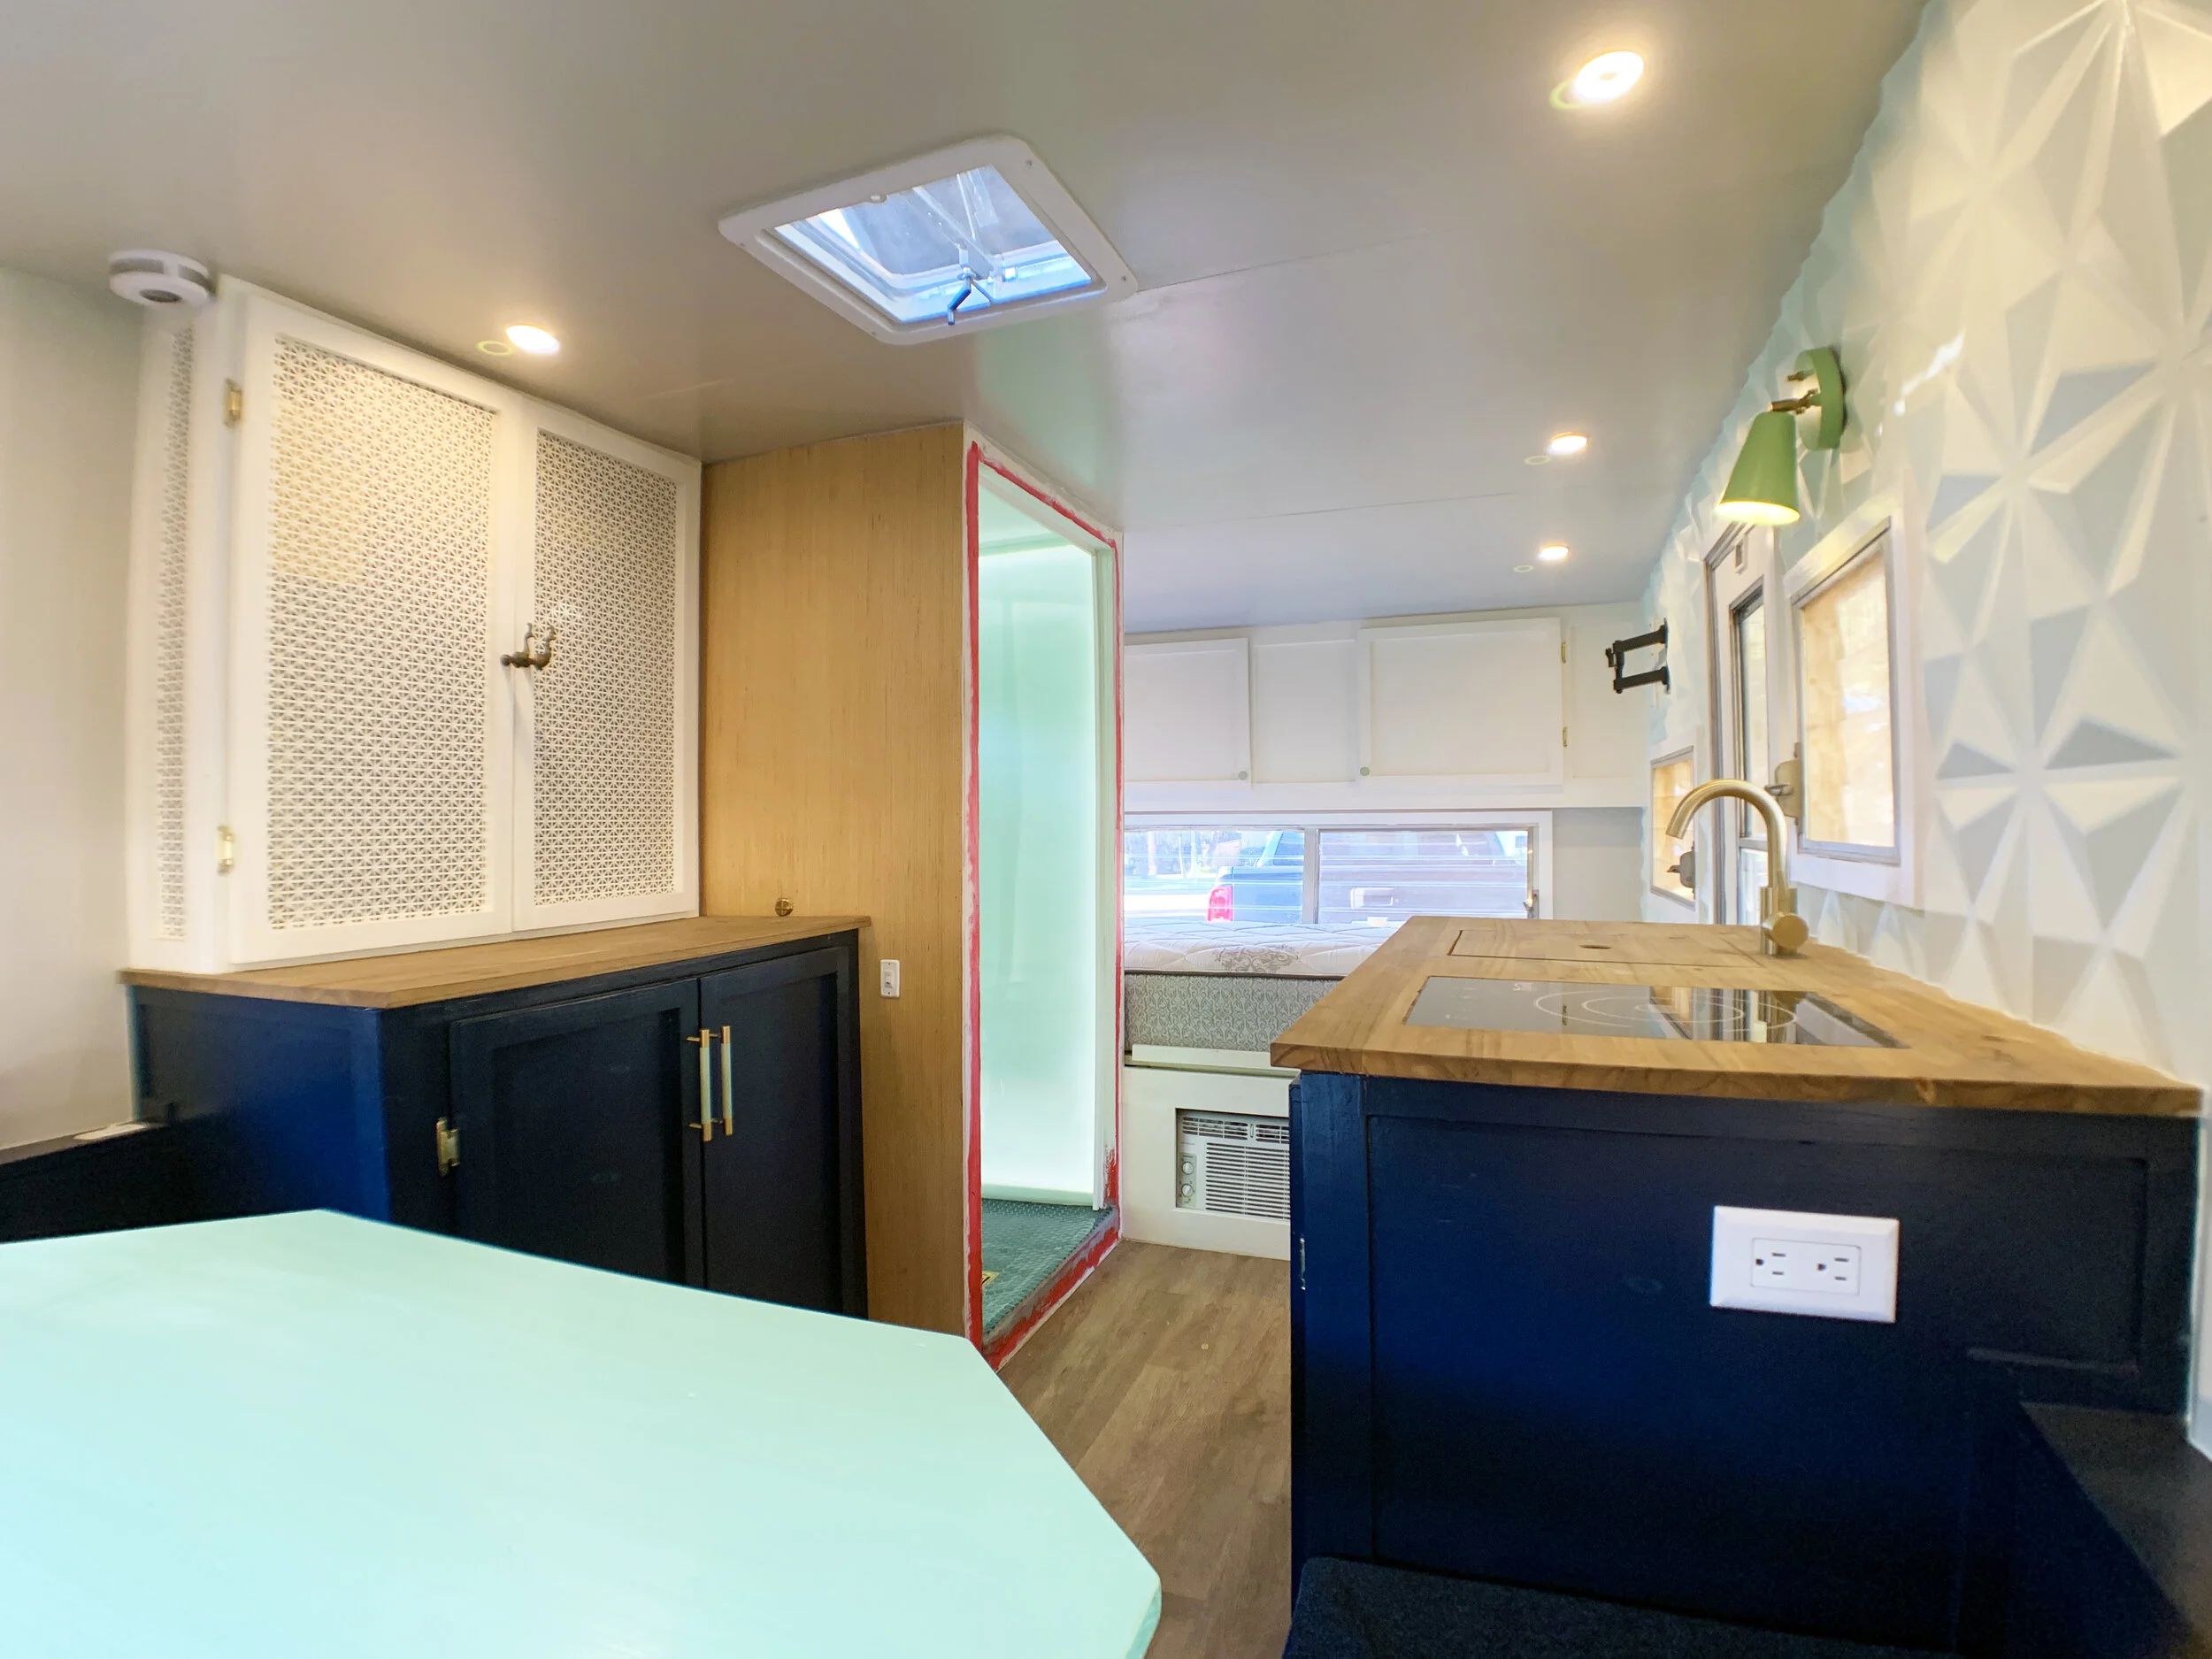
Today we’re finally back and sharing how we installed our plumbed toilet (read: not a composting toilet, so it uses water) many moons ago, making our wet bath more than just a shower with a weird hole in the floor.
To see all the steps for building this wet bath from scratch, check out everything in the series so far:
Look here to see everything bathroom-related (this includes plumbing, water heater stuff, etc., and not just the posts about the actual physical wet bath build + any bathroom-related stuff that’s still yet to come).
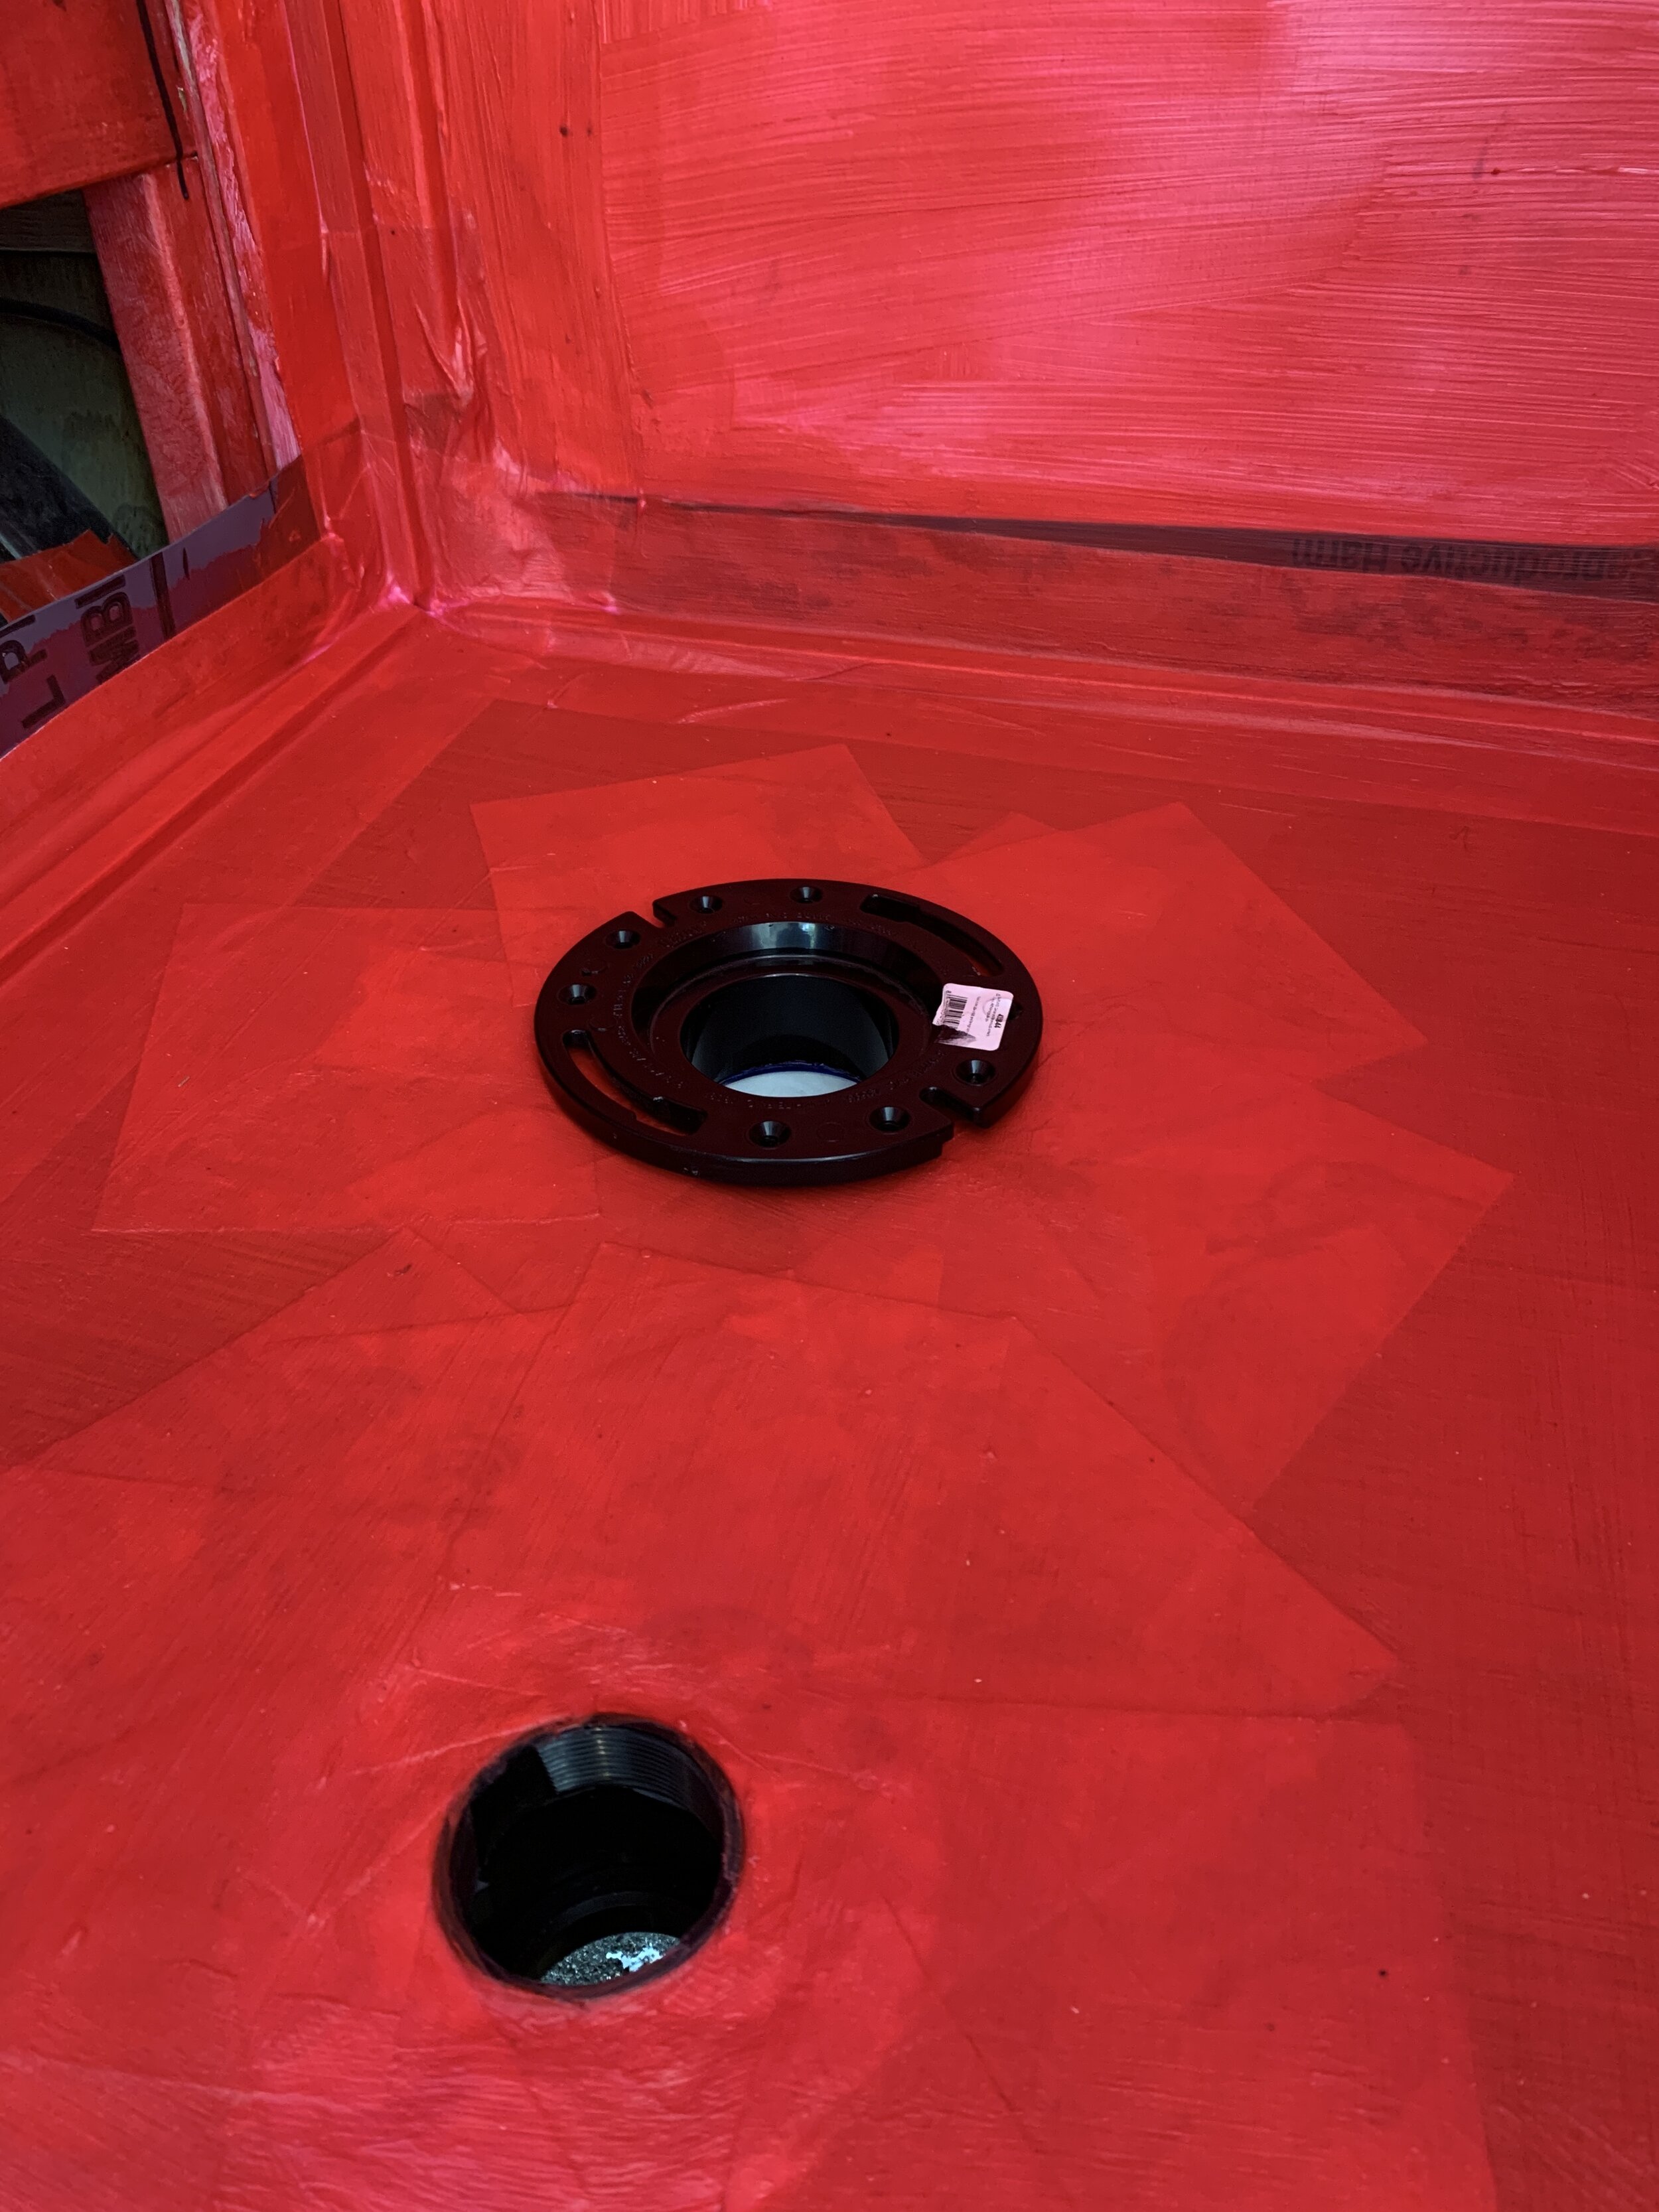
At this point, the hard work is complete! Remember, the toilet flange is already in place (during the RedGard phase, when we built our shower pan and tiled the floor) so the actual toilet install itself is a pretty quick and painless, albeit cramped cozy process.
Our toilet install shopping list
Toilet – for measuring + planning spacing. (We got the Dometic 310 “high” toilet in white, because no one likes a squatty potty.)
1/2” PEX pipe – the same as what we’ve been using throughout the camper.
PEX cutter tool – for 1/2” PEX pipe; You could also buy a nicer one (especially if you’ll be cutting a ton of PEX professionally and/or need to also cut copper or something), but the more compact, cheaper one (at 1/4 of the cost) worked well for our use of cutting just PEX, sometimes in tight spaces.
PEX stainless steel clamp rings – One clamp ring for each cut end of PEX pipe (e.g. one segment of PEX has two cuts, which means two rings).
1/2” x 1/2” FNPT female adapter swivel – part #UC526LFZ – (we used this straight adapter to screw onto the back of the toilet, but it also comes in an elbow version)
1/2” x 1/2”elbow – part #UC248LFZ; You might not need this one, depending on how your water-in meets up with the back of the toilet.
3-handle 3/8”-1” PEX clamp tool – for crimping rings around connectors
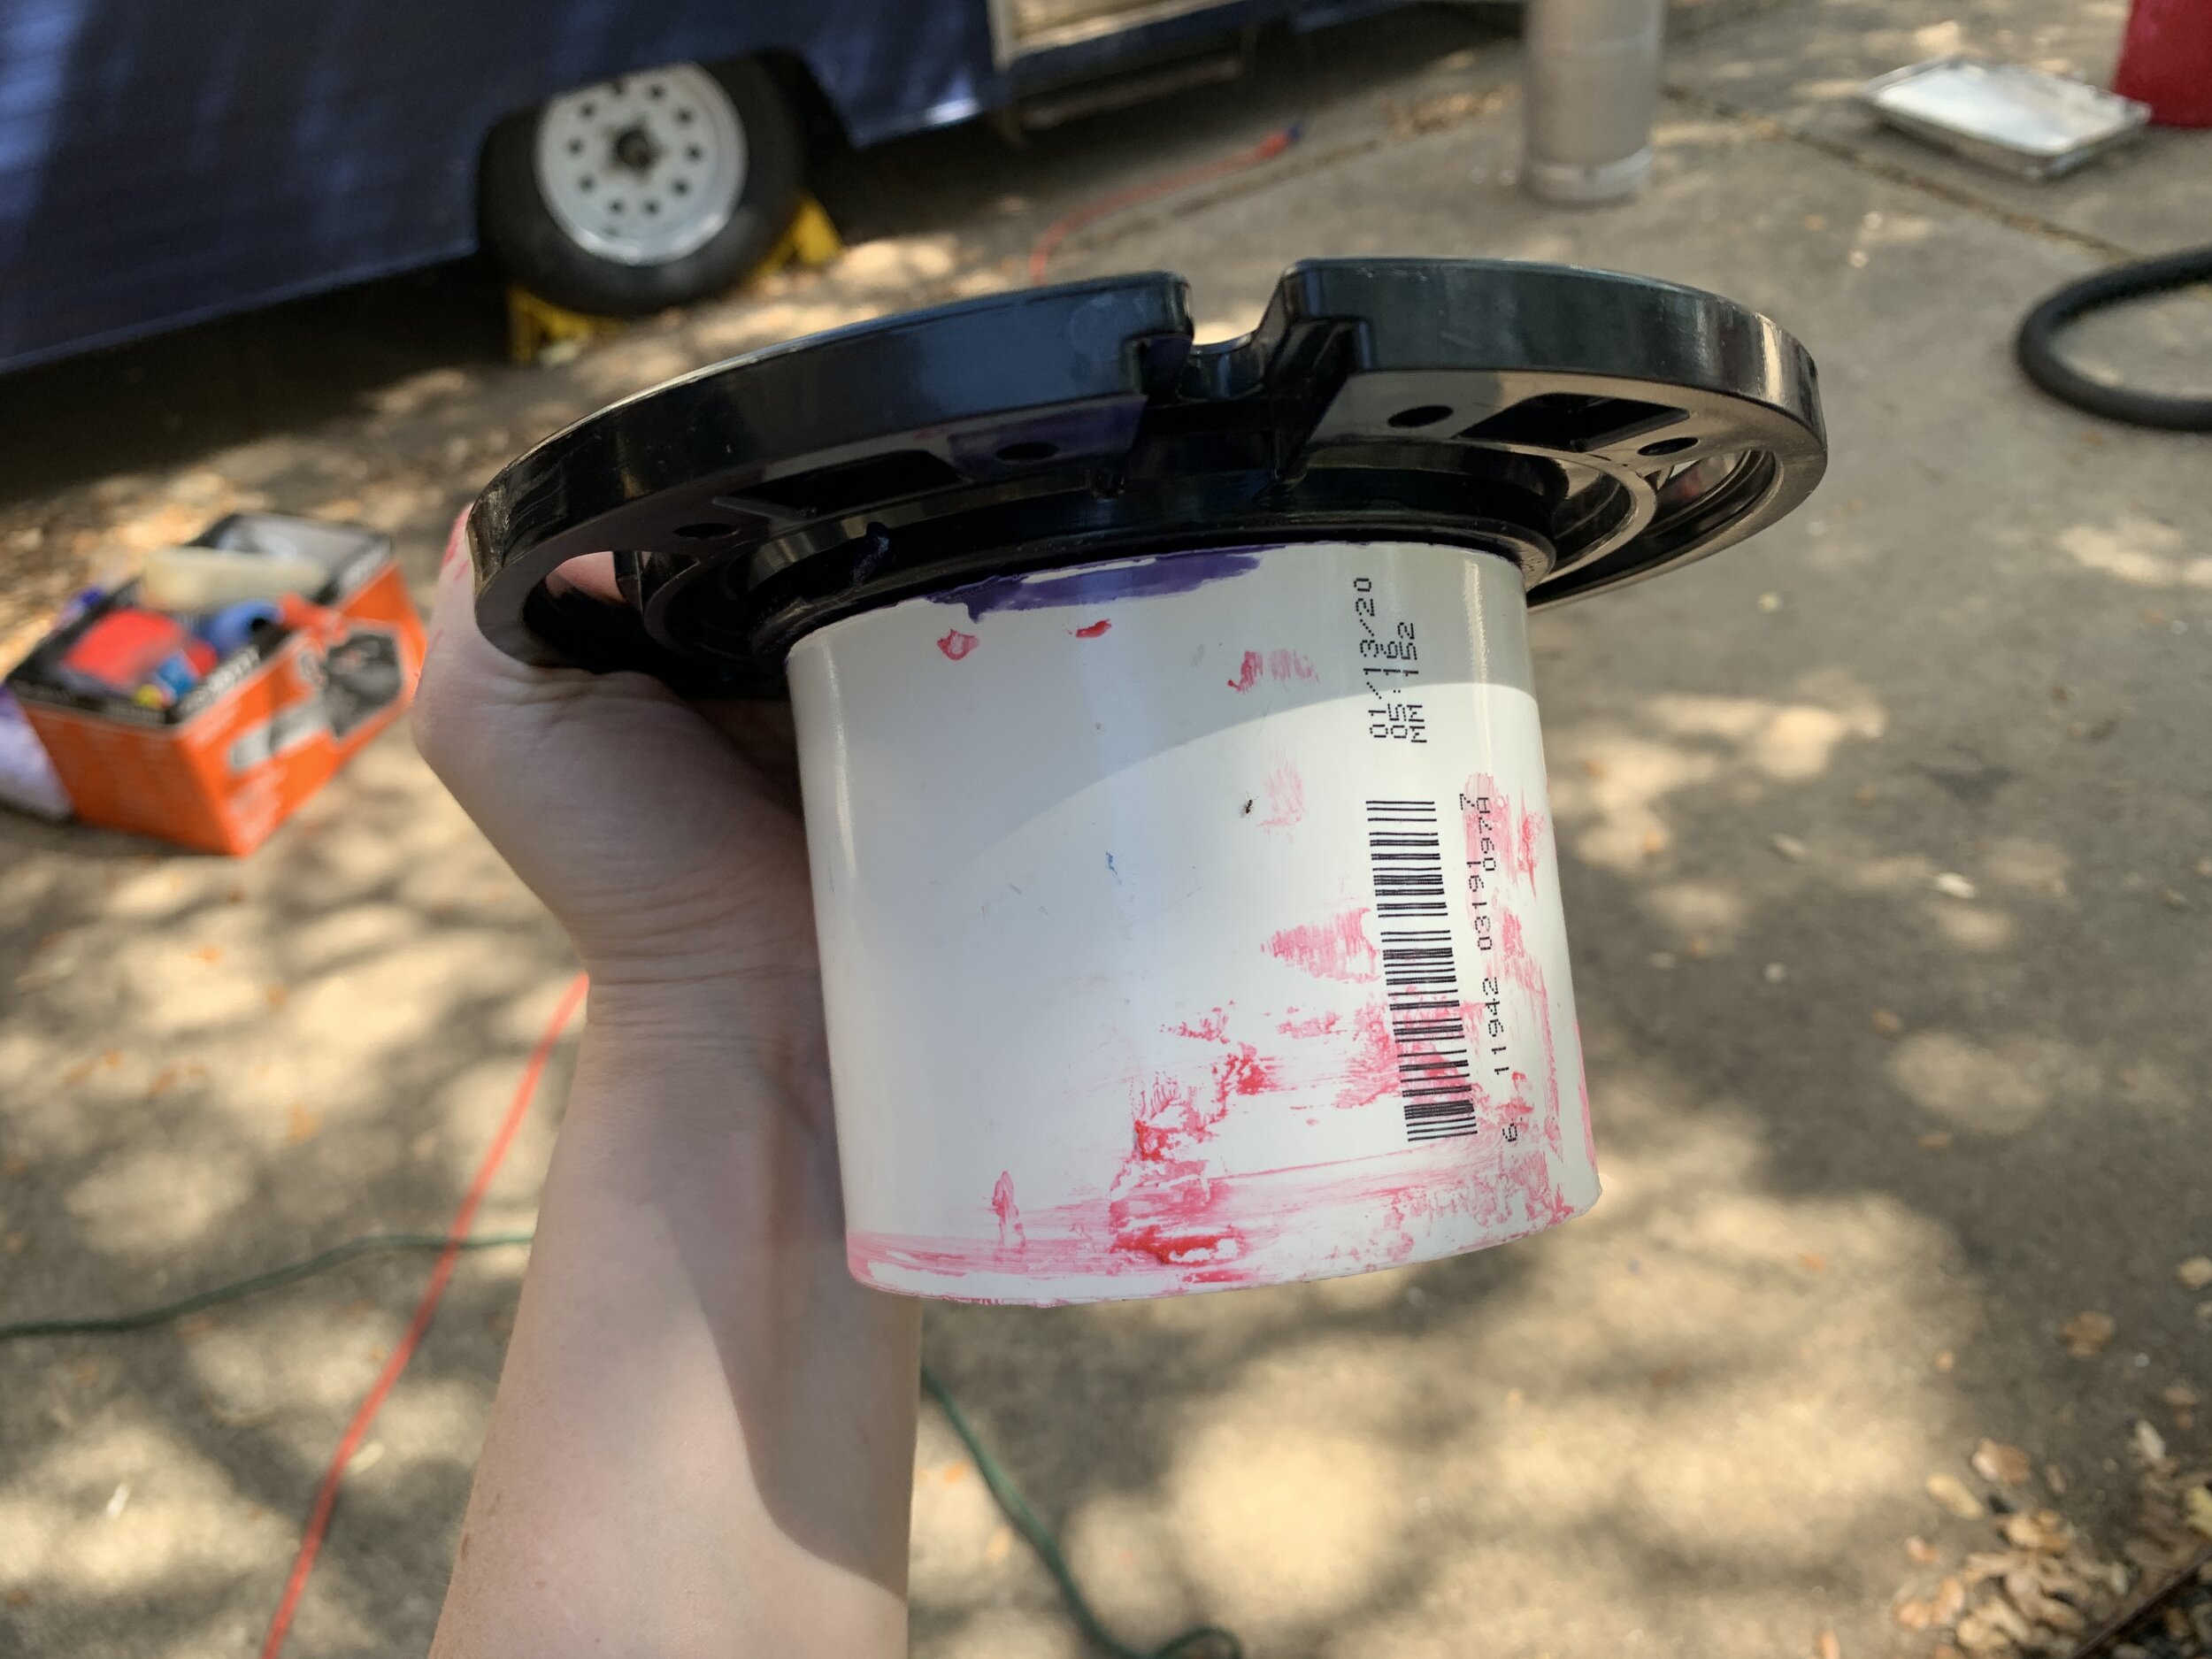
Toilet flange – this should already be installed at this point; we covered it in this post
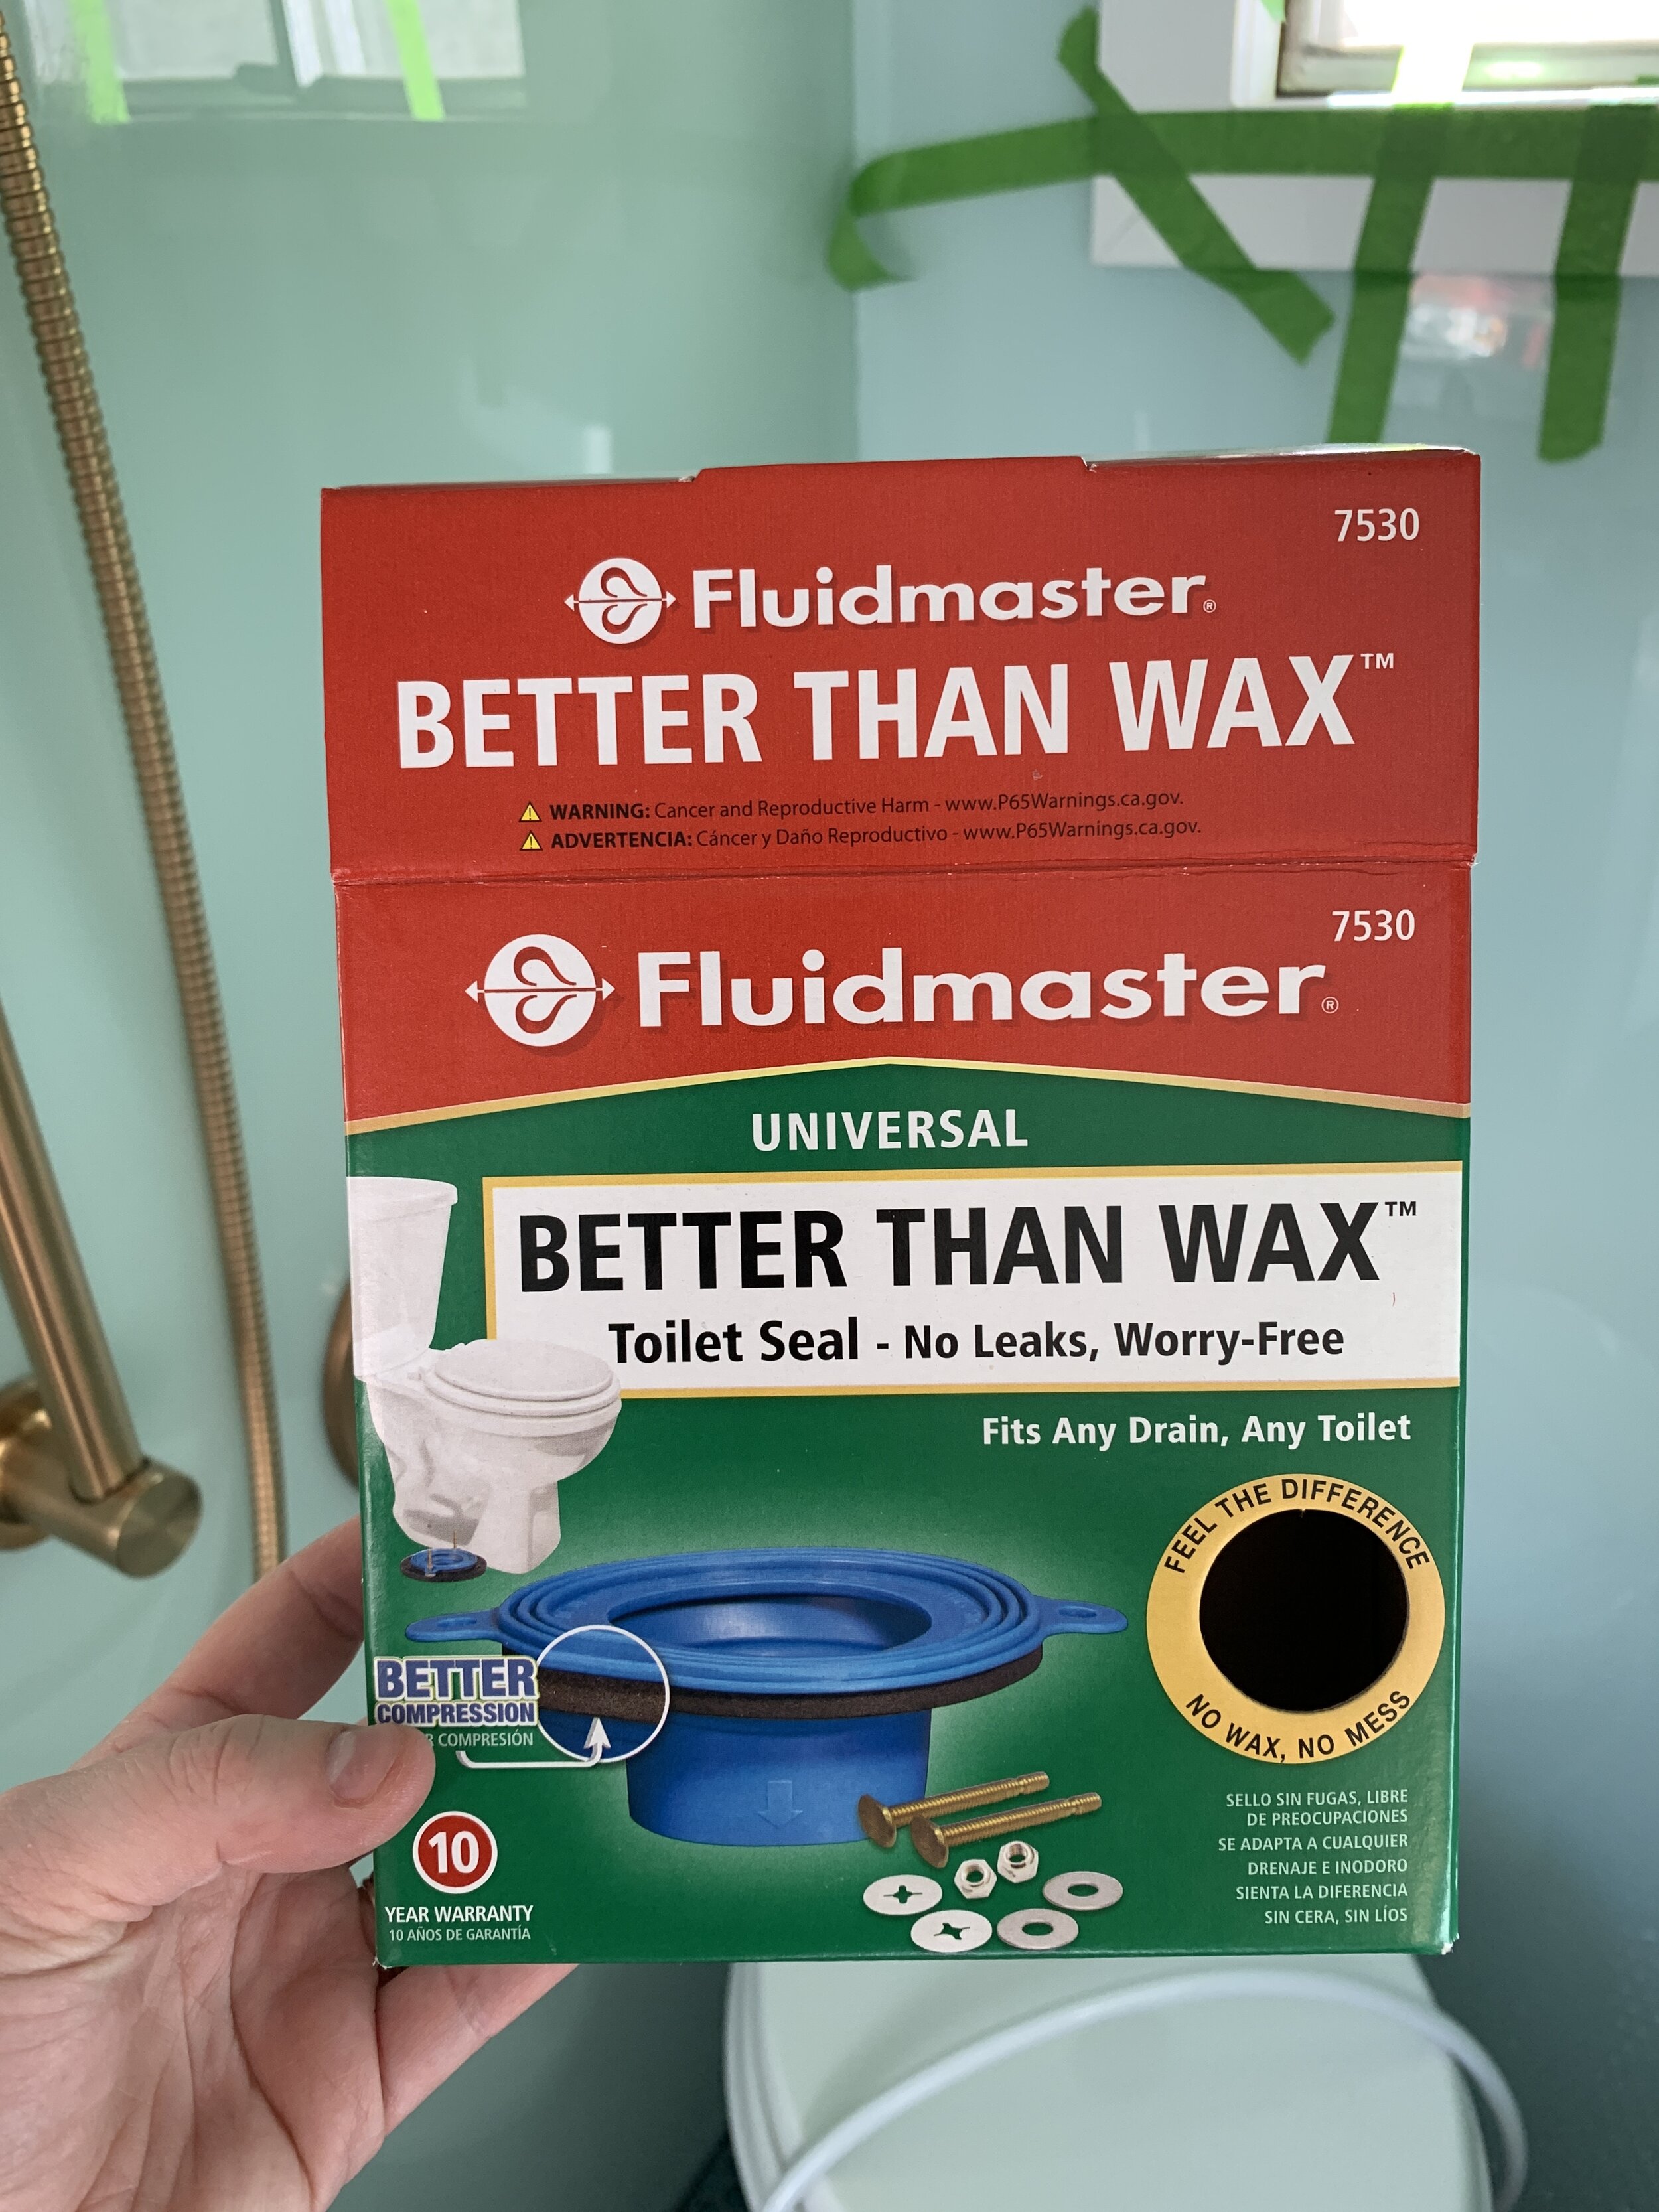
Toilet ring/gasket – we used a rubber one here. While at our house and the flip house we’ve become all too familiar with traditional wax rings, they’re kind of messy and a pain, plus if you don’t sit the toilet perfectly right the first time it’s ruined and you have to get a new one. The newer rubber ones are much more forgiving in this regard.
Brass toilet assembly kit/toilet bolts – needed only if they don’t come with the toilet ring/gasket you get, or you prefer the snap-off kind we used
Wrench (like a crescent wrench) to tighten the bolts
Clear silicone – to waterproof where the toilet meets the floor tile
Toilet caps – optional; to hide the toilet bolts
Preparing the toilet-water-in line connection
At this point we had already plumbed the toilet water-in line in this step, and before we installed the left acrylic wall we cut off the temporary plastic cap from this PEX line, threaded the acrylic wall over the toilet water-in PEX line and glued it in place. With the acrylic wall installed, we set the toilet down over the flange, dry fitting it first to figure out the placement and length of the PEX pipe and adapters needed to connect the line to the back of the toilet.
To connect our water line to the back of the toilet where the water-in port is, we used our ring clamps and clamp tool to attach a 1/2” x 1/2”elbow and a 1/2” x 1/2” FNPT female adapter swivel – with 1/2” PEX line segments in between – to the back of the toilet. With the line prepped, we unscrewed the line from the back of the toilet and temporarily removed the toilet from the camper so we had room to work during the next steps.
Installing the toilet
We chose to (and recommend) installing the toilet after the walls are in but before the door is installed, just so there’s less “stuff” to get in your way during the toilet install.
As you can see, it’s a little tight in here so you really could use any extra space you can create.

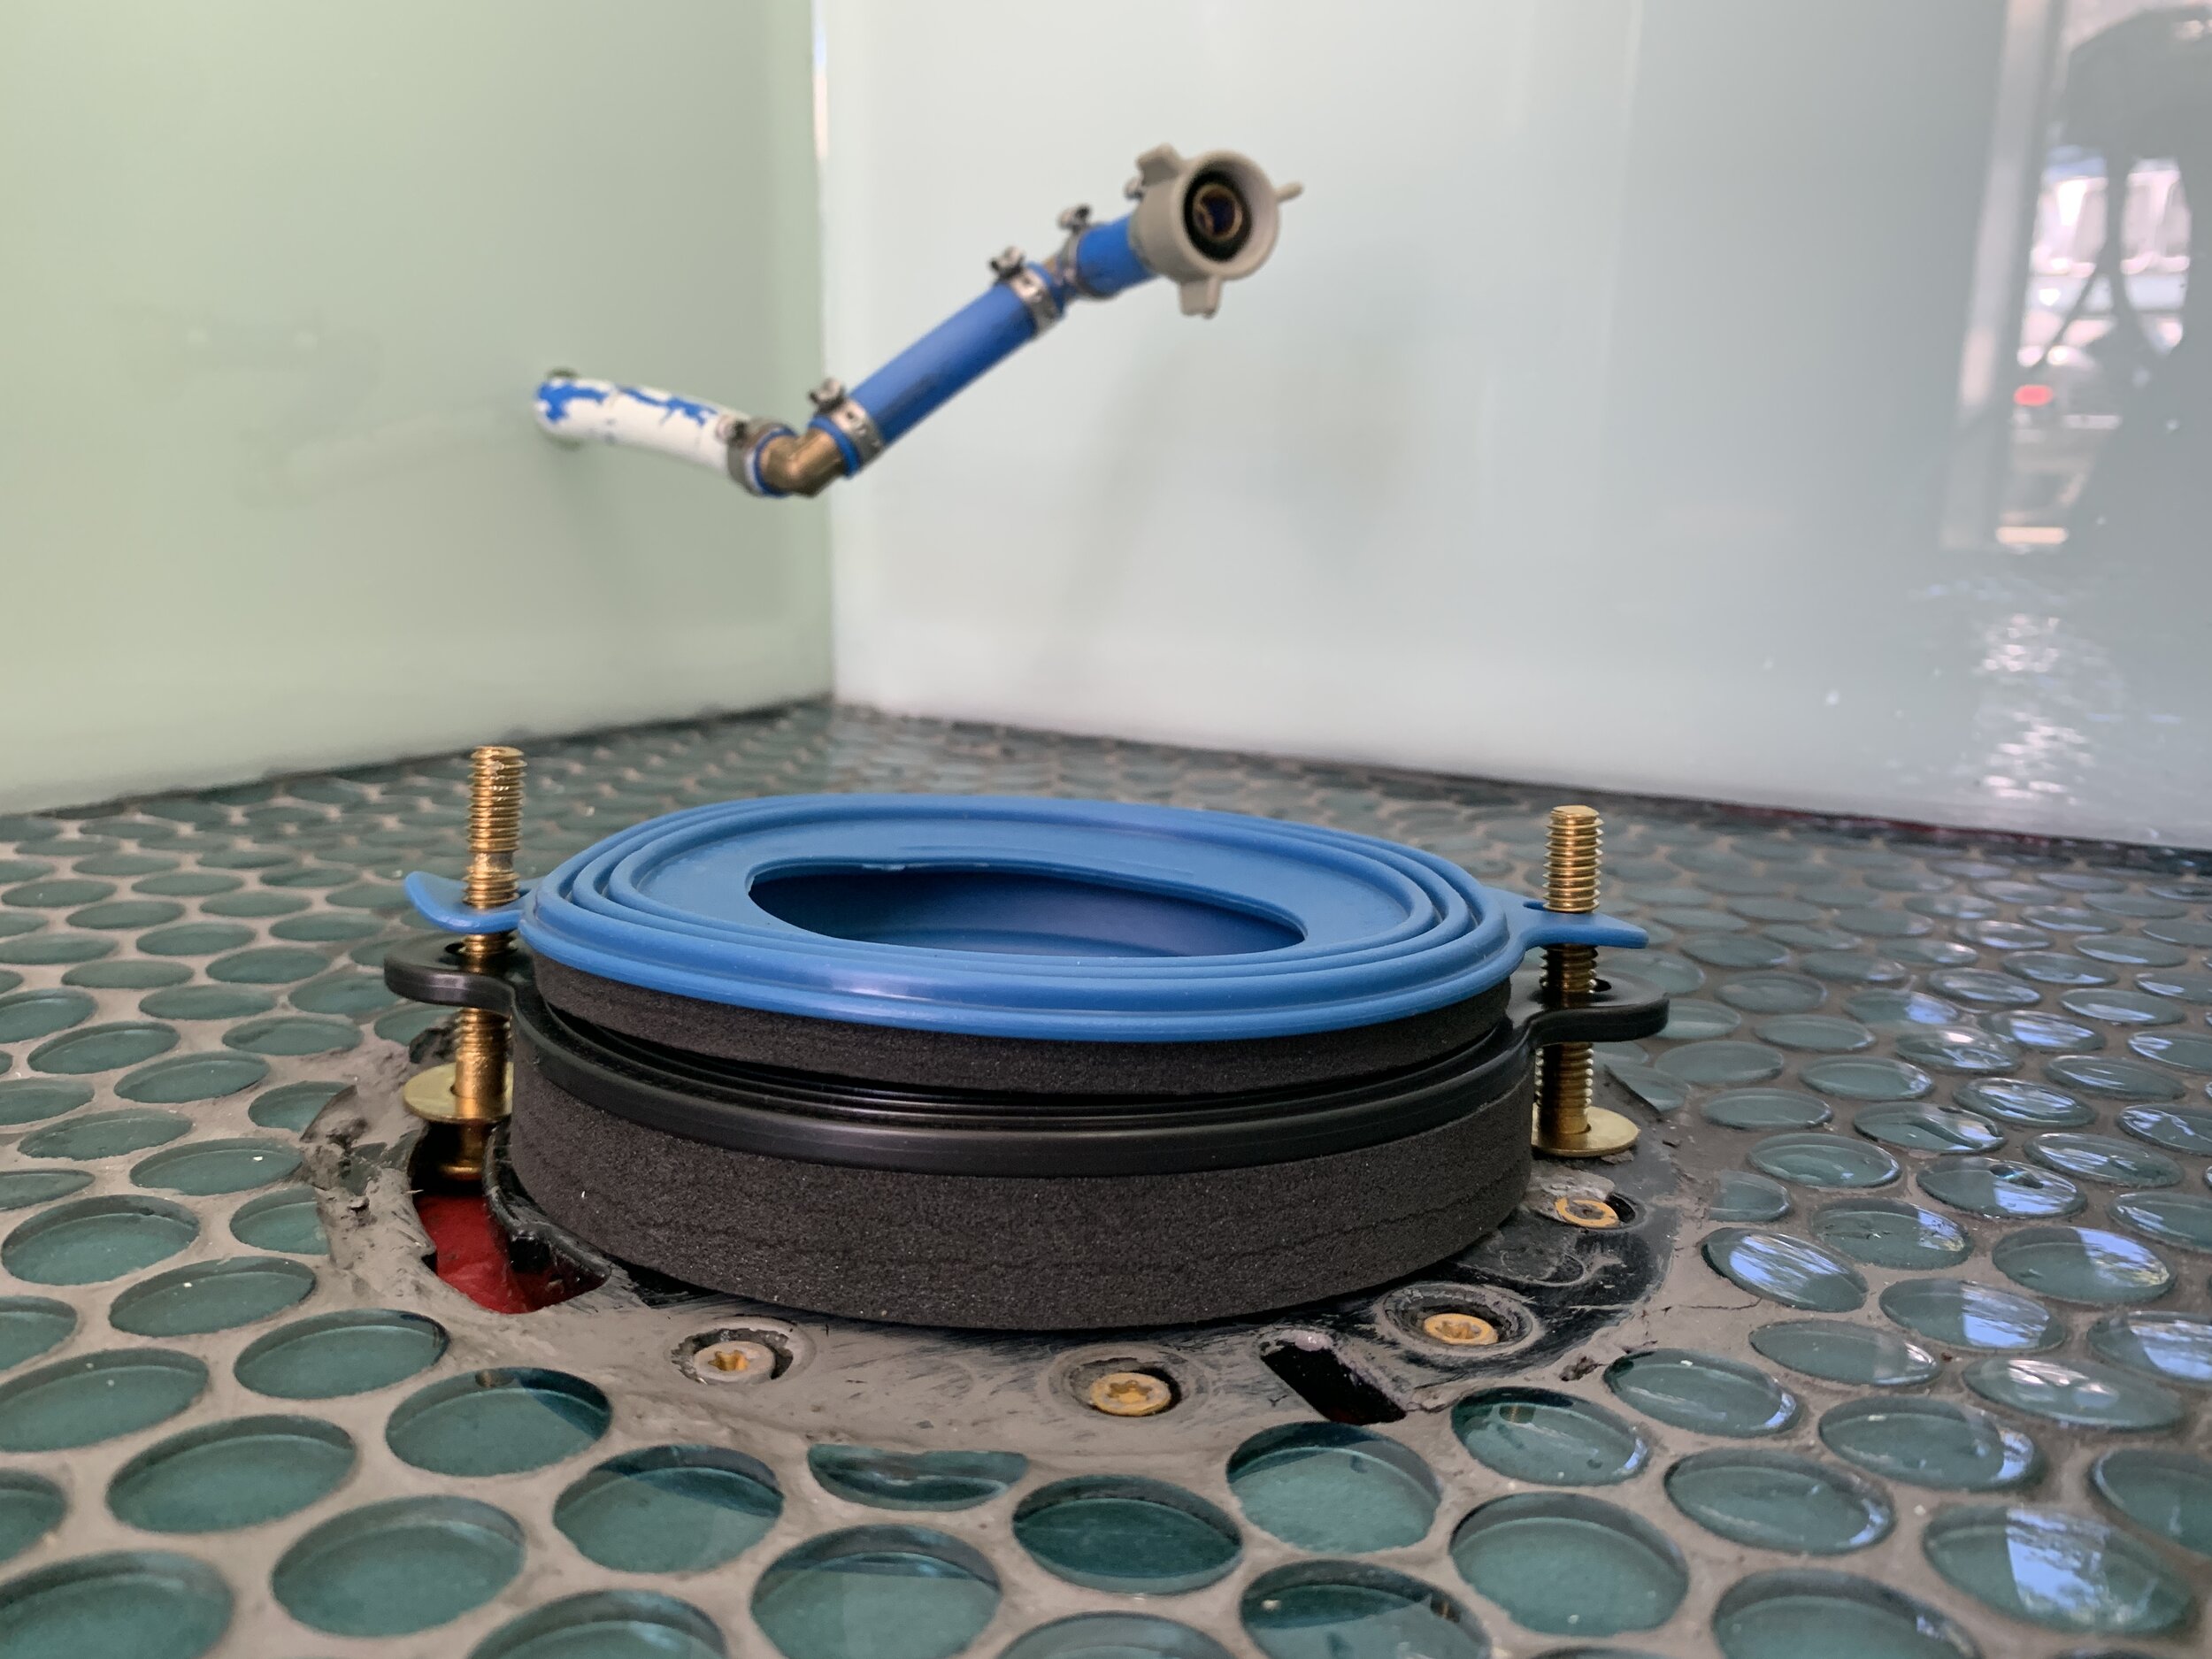
We began by sliding the toilet bolts threaded-side up into the already-installed flange’s collar slots so that the heads of the bolts were securely under the slots and the threaded parts of the bolts were sitting straight up, centered through the middle of the flange on the sides. (For us this was at about a 45-degree angle to the corner of the bathroom since we wanted the toilet to be placed at an angle – versus square to the door or side wall – to allow for more knee room.)

Then, we added the provided washers over the bolts on top of the flange and slid the rubber ring over each bolt. This toilet seal ring kit comes with the blue rubber ring, two snap-off style bolts, the washers and two different thicknesses of foam gaskets so you can pick one or mix and match which foam works best for your setup to get a tight seal.

With the foam seal in place, we then carefully picked up the toilet and aligned the holes in the toilet’s base over the threaded bolts, making sure the toilet was seated nicely over the floor’s toilet flange, and used the provided washers and lock nuts to secure the toilet to the floor, tightening each by hand at first before moving on with a wrench. (Unfortunately we don’t have any photos of this part since we were both all-hands-on-deck to align the toilet base’s holes with the bolts quickly.) If you will be using toilet caps, install the plastic snap washer in between the metal washer and lock nut before you begin tightening the bolt.
Important note
As you’re tightening the lock nuts on the bolts, it’s best to alternate sides as you use a wrench to tighten the nuts one quarter turn at a time to ensure even pressure is being made to the toilet. Make sure to stop when the wrench meets firm resistance since over-tightening can crack the toilet!
After the toilet was in place we used a wrench to carefully snap off the excess ends of the bolts (because we used the snap-off kind of bolt), though you can also use a hacksaw or Dremel with a metal cutting wheel to trim the excess length (and this is definitely what you should do if you don’t have snap-off bolts, indicated by little notches that interrupt the thread). If you will be using white plastic caps, finish this off by popping a cap on top of each snap washer.

With the toilet firmly installed and not wobbling, we hand tightened the toilet water-in line to the back of the toilet and tested the toilet to ensure there were no leaks and then used clear silicone around the base of the toilet where it meets the tile floor to ensure a water-tight seal when we’re using the shower – or I suppose if someone misses the toilet. Without this, shower water could go under the toilet (but outside of the drain and therefore outside the black water tank) and leak out underneath the camper onto the ground (which could get you kicked out when camping).

That’s it! Like I said, it’s pretty quick once you get to this point in the wet bath build, and it’s really just boils down to carefully tightening bolts in a little space.
My final (unrelated, but important) tip
I don’t know who needs to hear this, but don’t try and walk with your portable hard drive balancing on top of your closed laptop when you walk through the house. Because if/when it slides off and hits your very ugly tile floor from waist-height, it will definitely get damaged, you will maybe cry, and you will probably have to pay and pray lots to try and save it. Which brings me to another reminder … Back up your computer to more than one hard drive. #themoreyouknow