The Cameo Camper Renovation: Frequently Asked Questions
Hey y’all! Today is a different style of post where instead of sharing a tutorial, we’ve pulled your questions from all over (social, email, blog post comments, etc.) and are covering some of the questions we get asked most.

Where can I find the VIN # or Serial # on my vintage camper?
The location of the VIN number (or more likely the serial number that was used as the VIN if the travel trailer was made before 1981) can vary by the make, model and year of the vintage camper.
Our serial number was on the inside of the door, though I've read other vintage camper owners have found their info inside of the door jamb or even on the tongue of the trailer. It’s often very faint and can be stamped into the right arm (when facing the camper) of the hitch on top.
This page has some details and tips on where you might find identifying info for your camper.

How’s the exterior Sher-Cryl paint holding up?
If you missed it, we covered the full exterior paint tutorial here.
Our paint job is holding up great and overall we recommend it. It was really easy to apply, clean up and has held up well. It’s mostly parked inside, but it was outside in the Texas sun, cold, and multiple rainstorms for a couple of months and aside from some dirt we could rinse off and the bugs on the front of the camper we got from driving, it looks great.
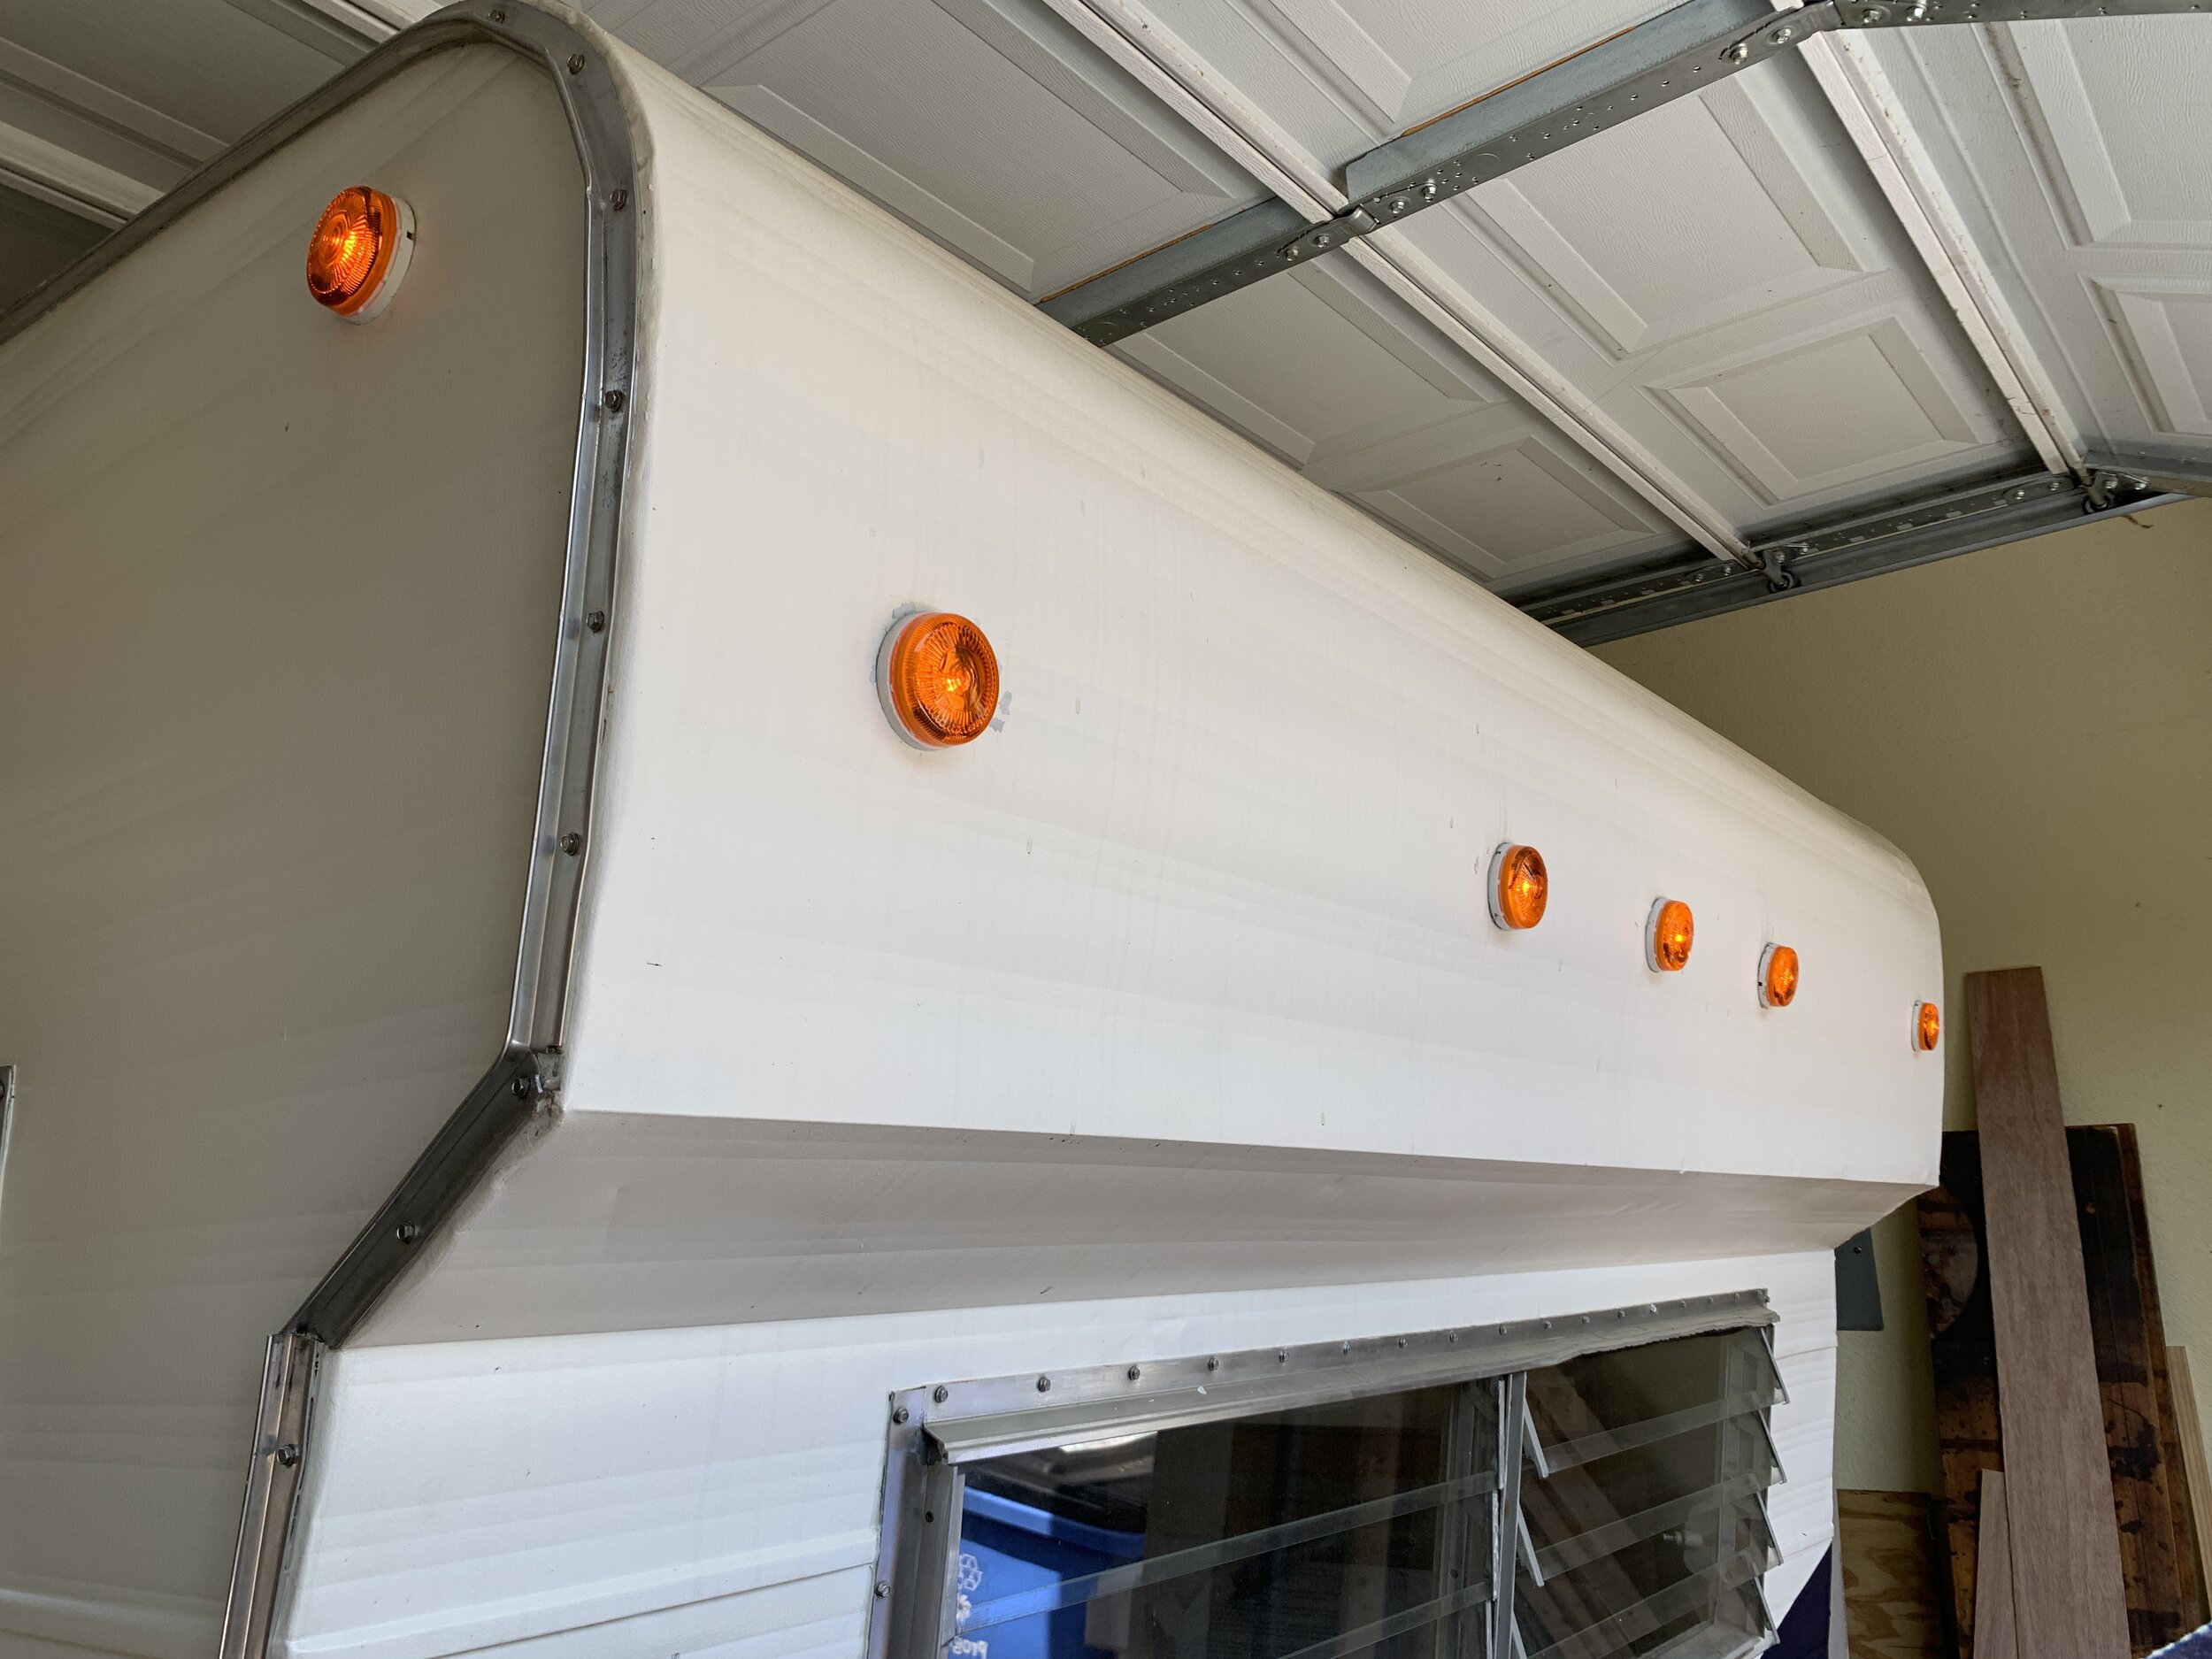
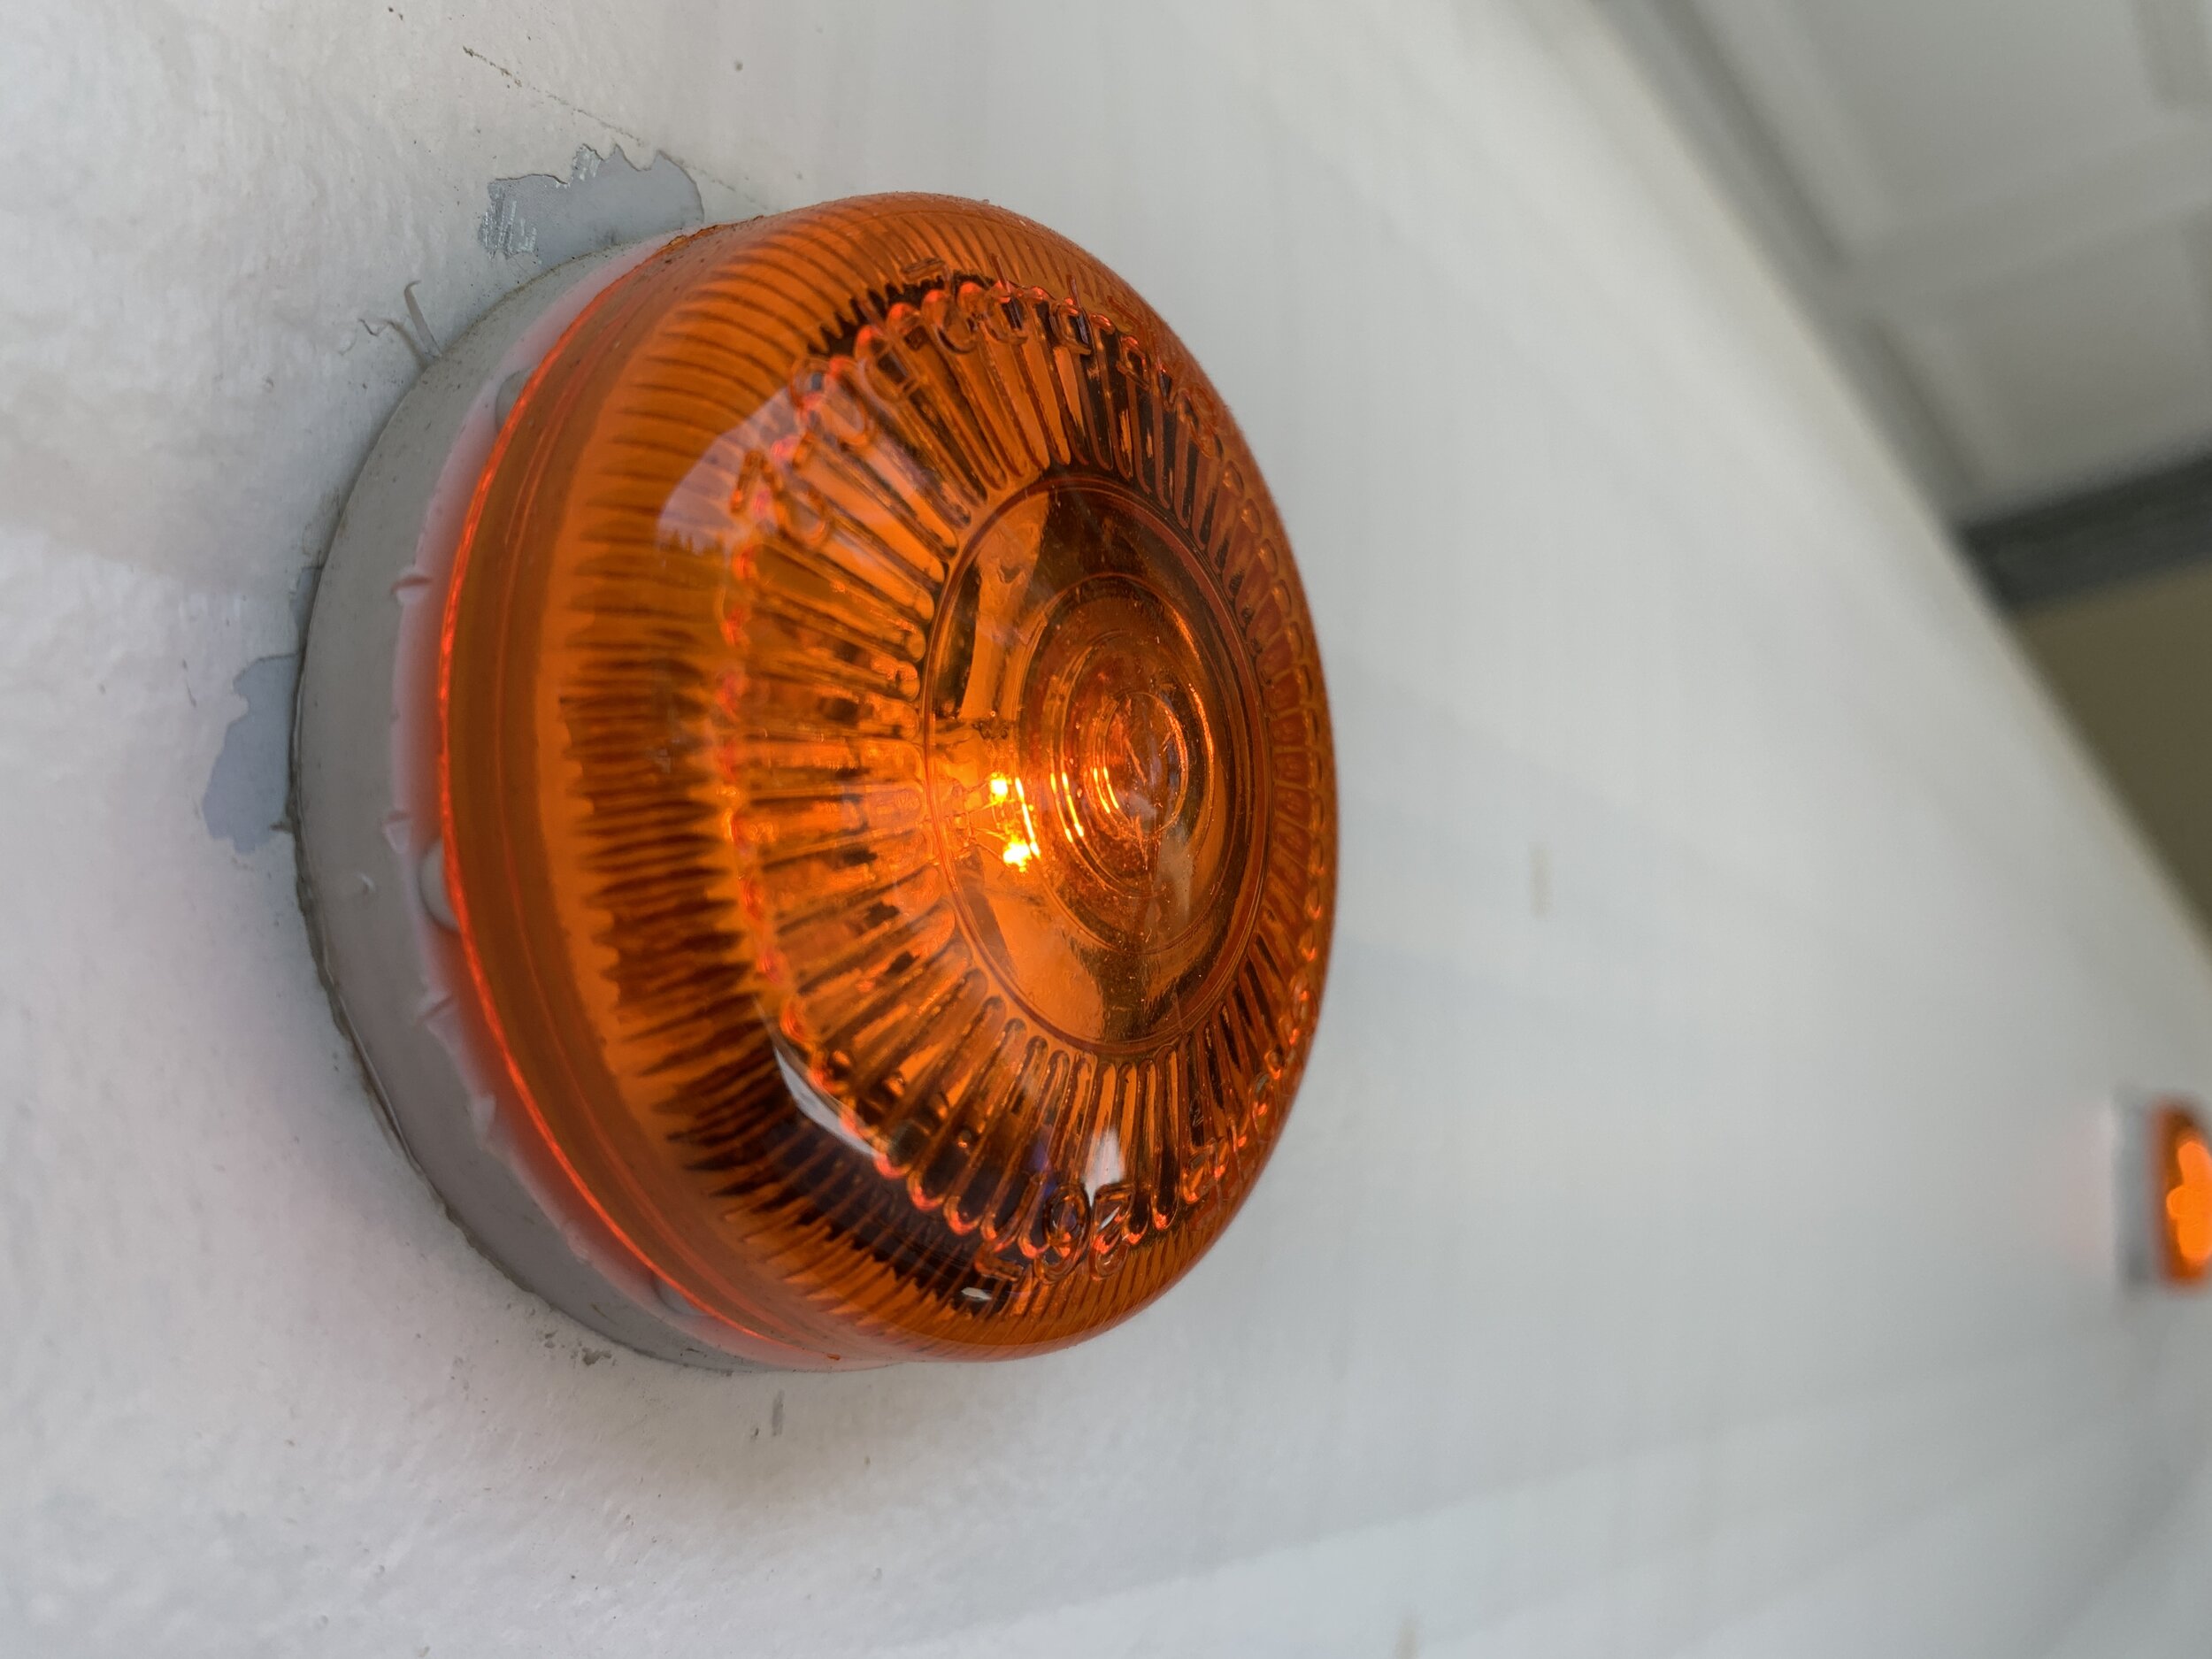
There are some small patches of paint right around the front clearance lights that peeled off after we pulled off some painters tape we were using to keep water out of the camper before we got the new clearance lights installed. We haven’t had a problem anywhere else so we’re thinking we just didn’t clean the putty residue that was leftover from the old lights well enough when we removed them before we primed and painted. As long as you clean the metal really well it adheres no problem. We’ve been carrying things in and out of the camper, bumping into it, etc. and it still looks brand new. We still need to make minor paint touch ups on this area and will make sure we clean it super well and degrease before we do.

Something we noticed is our navy color gets temporarily lighter when wet, but then returns to normal color really quickly once it dries. Not sure if that will continue to happen or if it was only when it was fairly newly painted/not fully cured since it’s been out of the rain in a garage for over a year now. We’ve not noticed any color change with the off-white color.
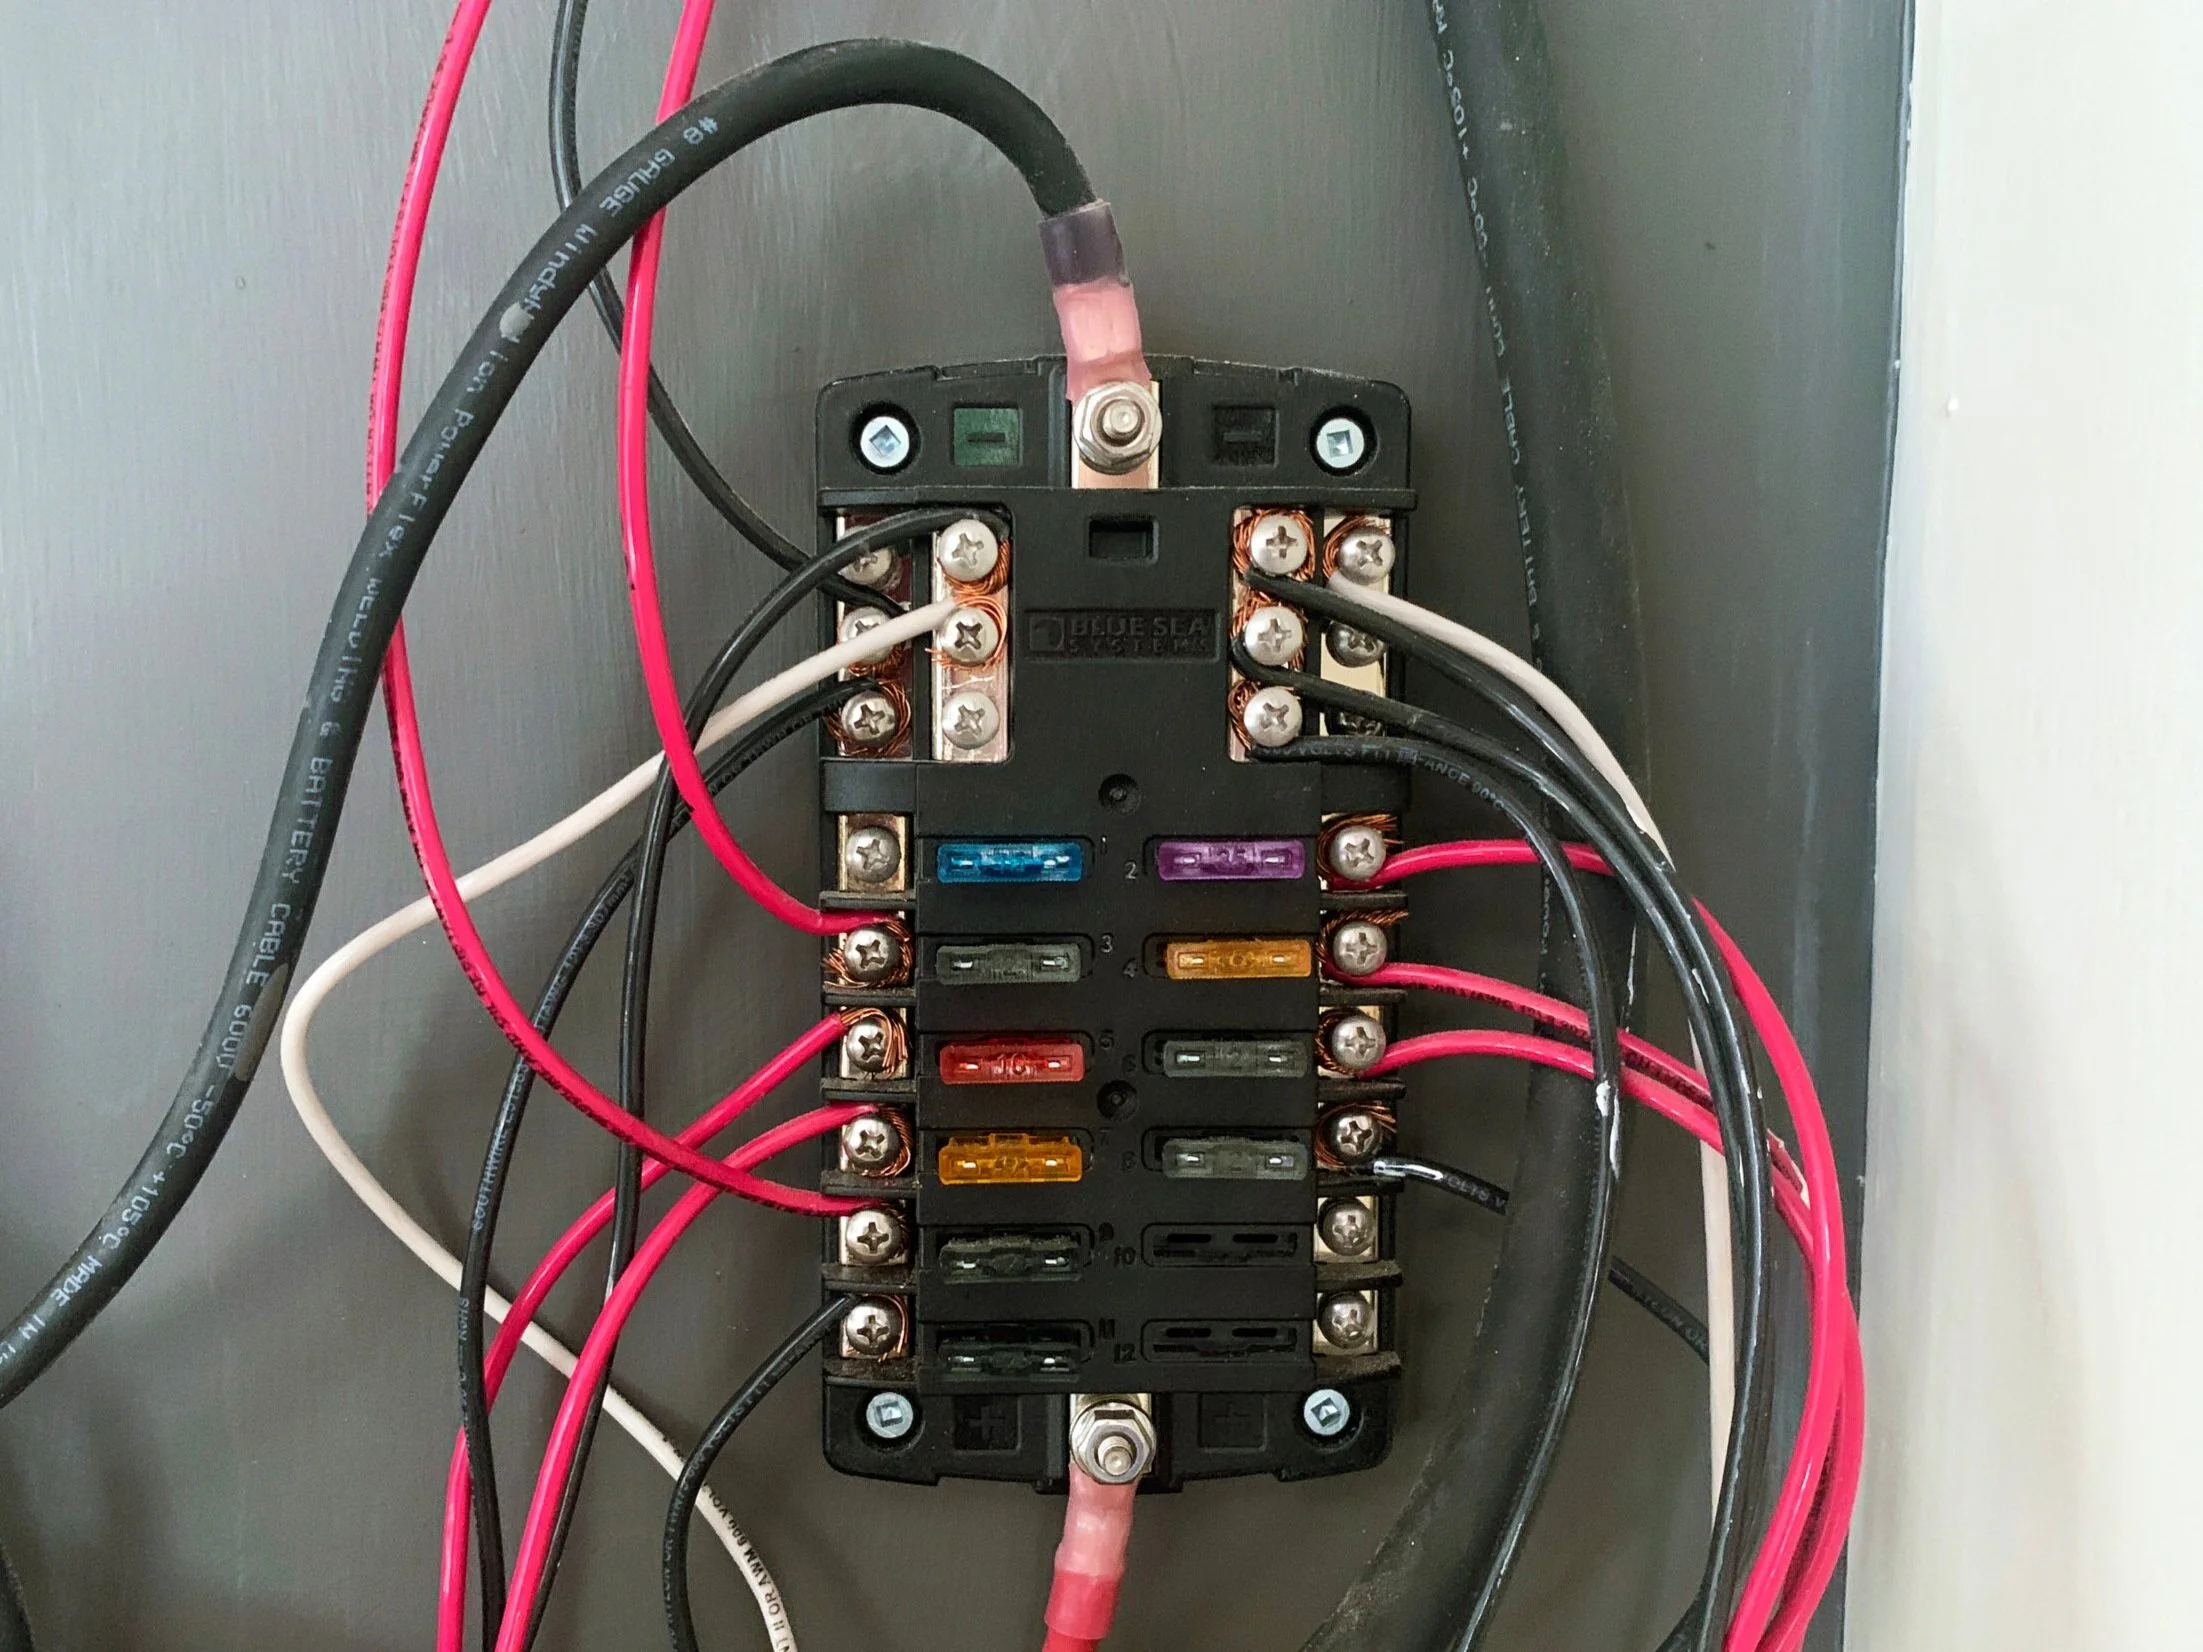
How did you decide what electrical system to put in?
We did A TON of research (enough to make my head spin)! We shared our electrical system and research/materials here, including how we estimated the amount of power we’d need to run everything we planned to put in the camper.

We have a bunch of other electrical-related posts like how to ground a vintage camper, how we built our electrical cabinet, wiring our 12V lights on a switch, installing our exterior electrical ports, and more.
The best way to find all of our electric posts (or any other topic you’re looking for) is to search “electrical” (or another keyword) in the search bar in the upper right or bottom footer of the site.
Or, because I’m feeling generous, you can see all of our electrical-related posts here.
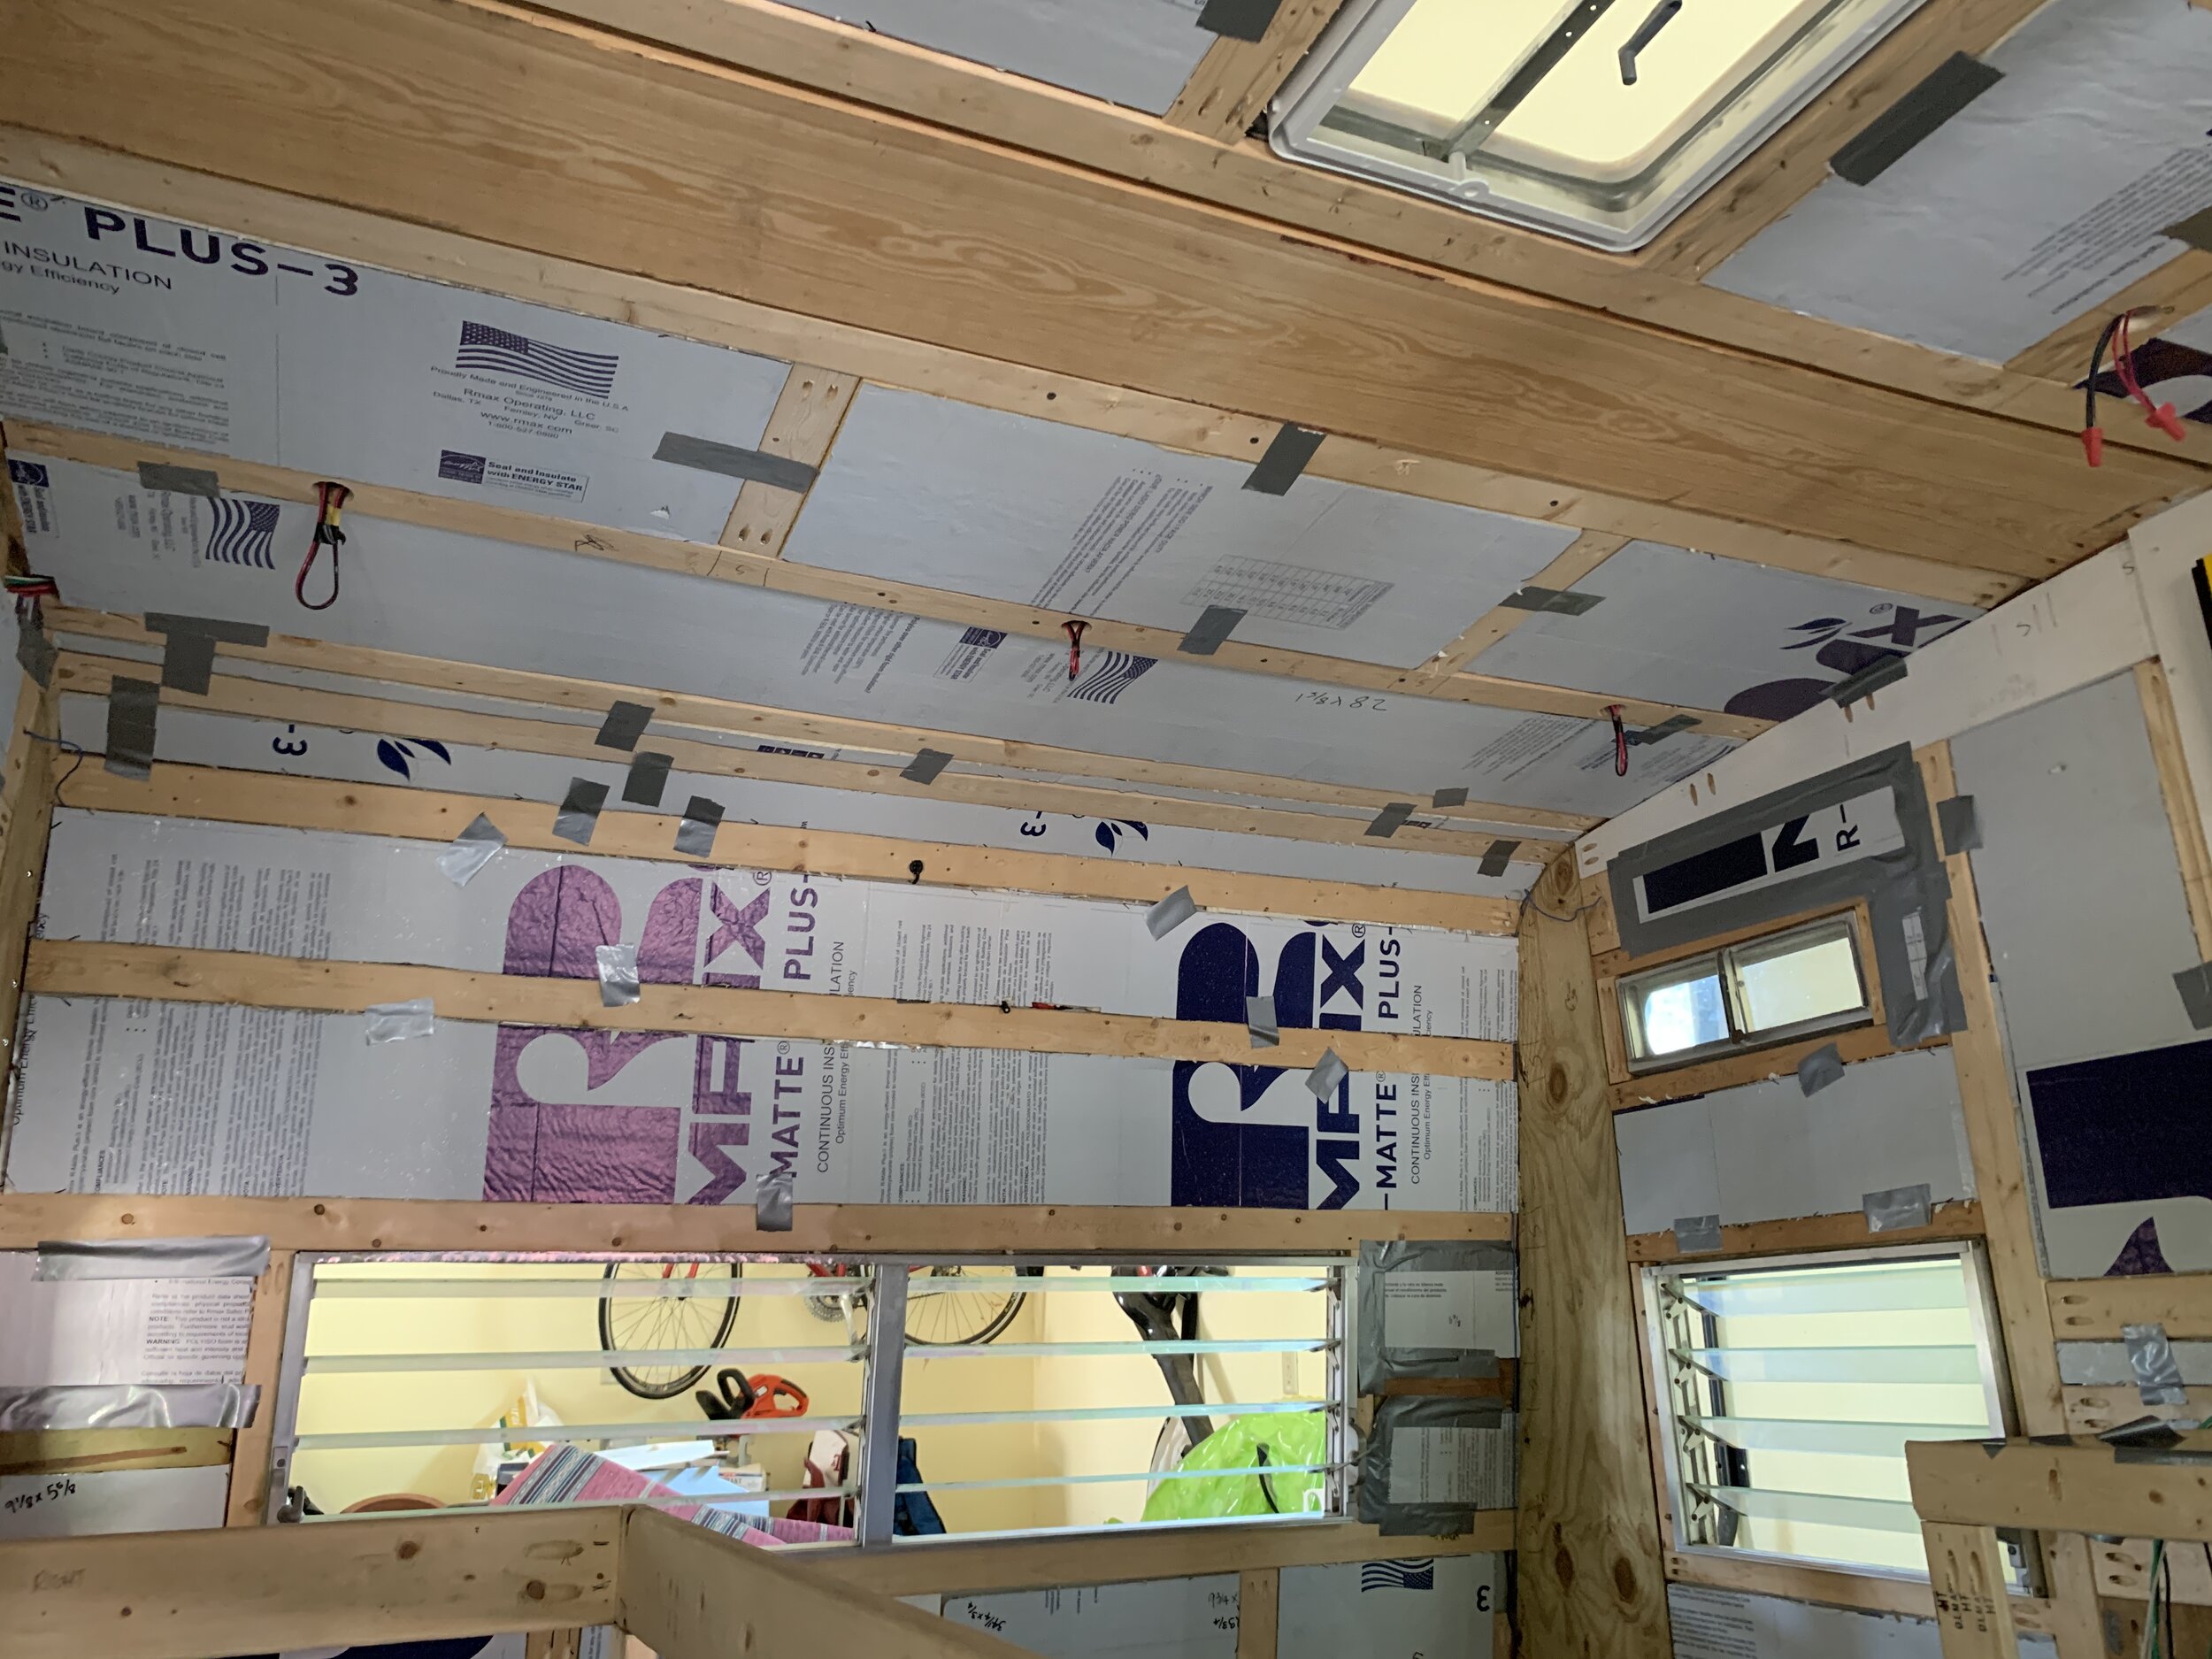
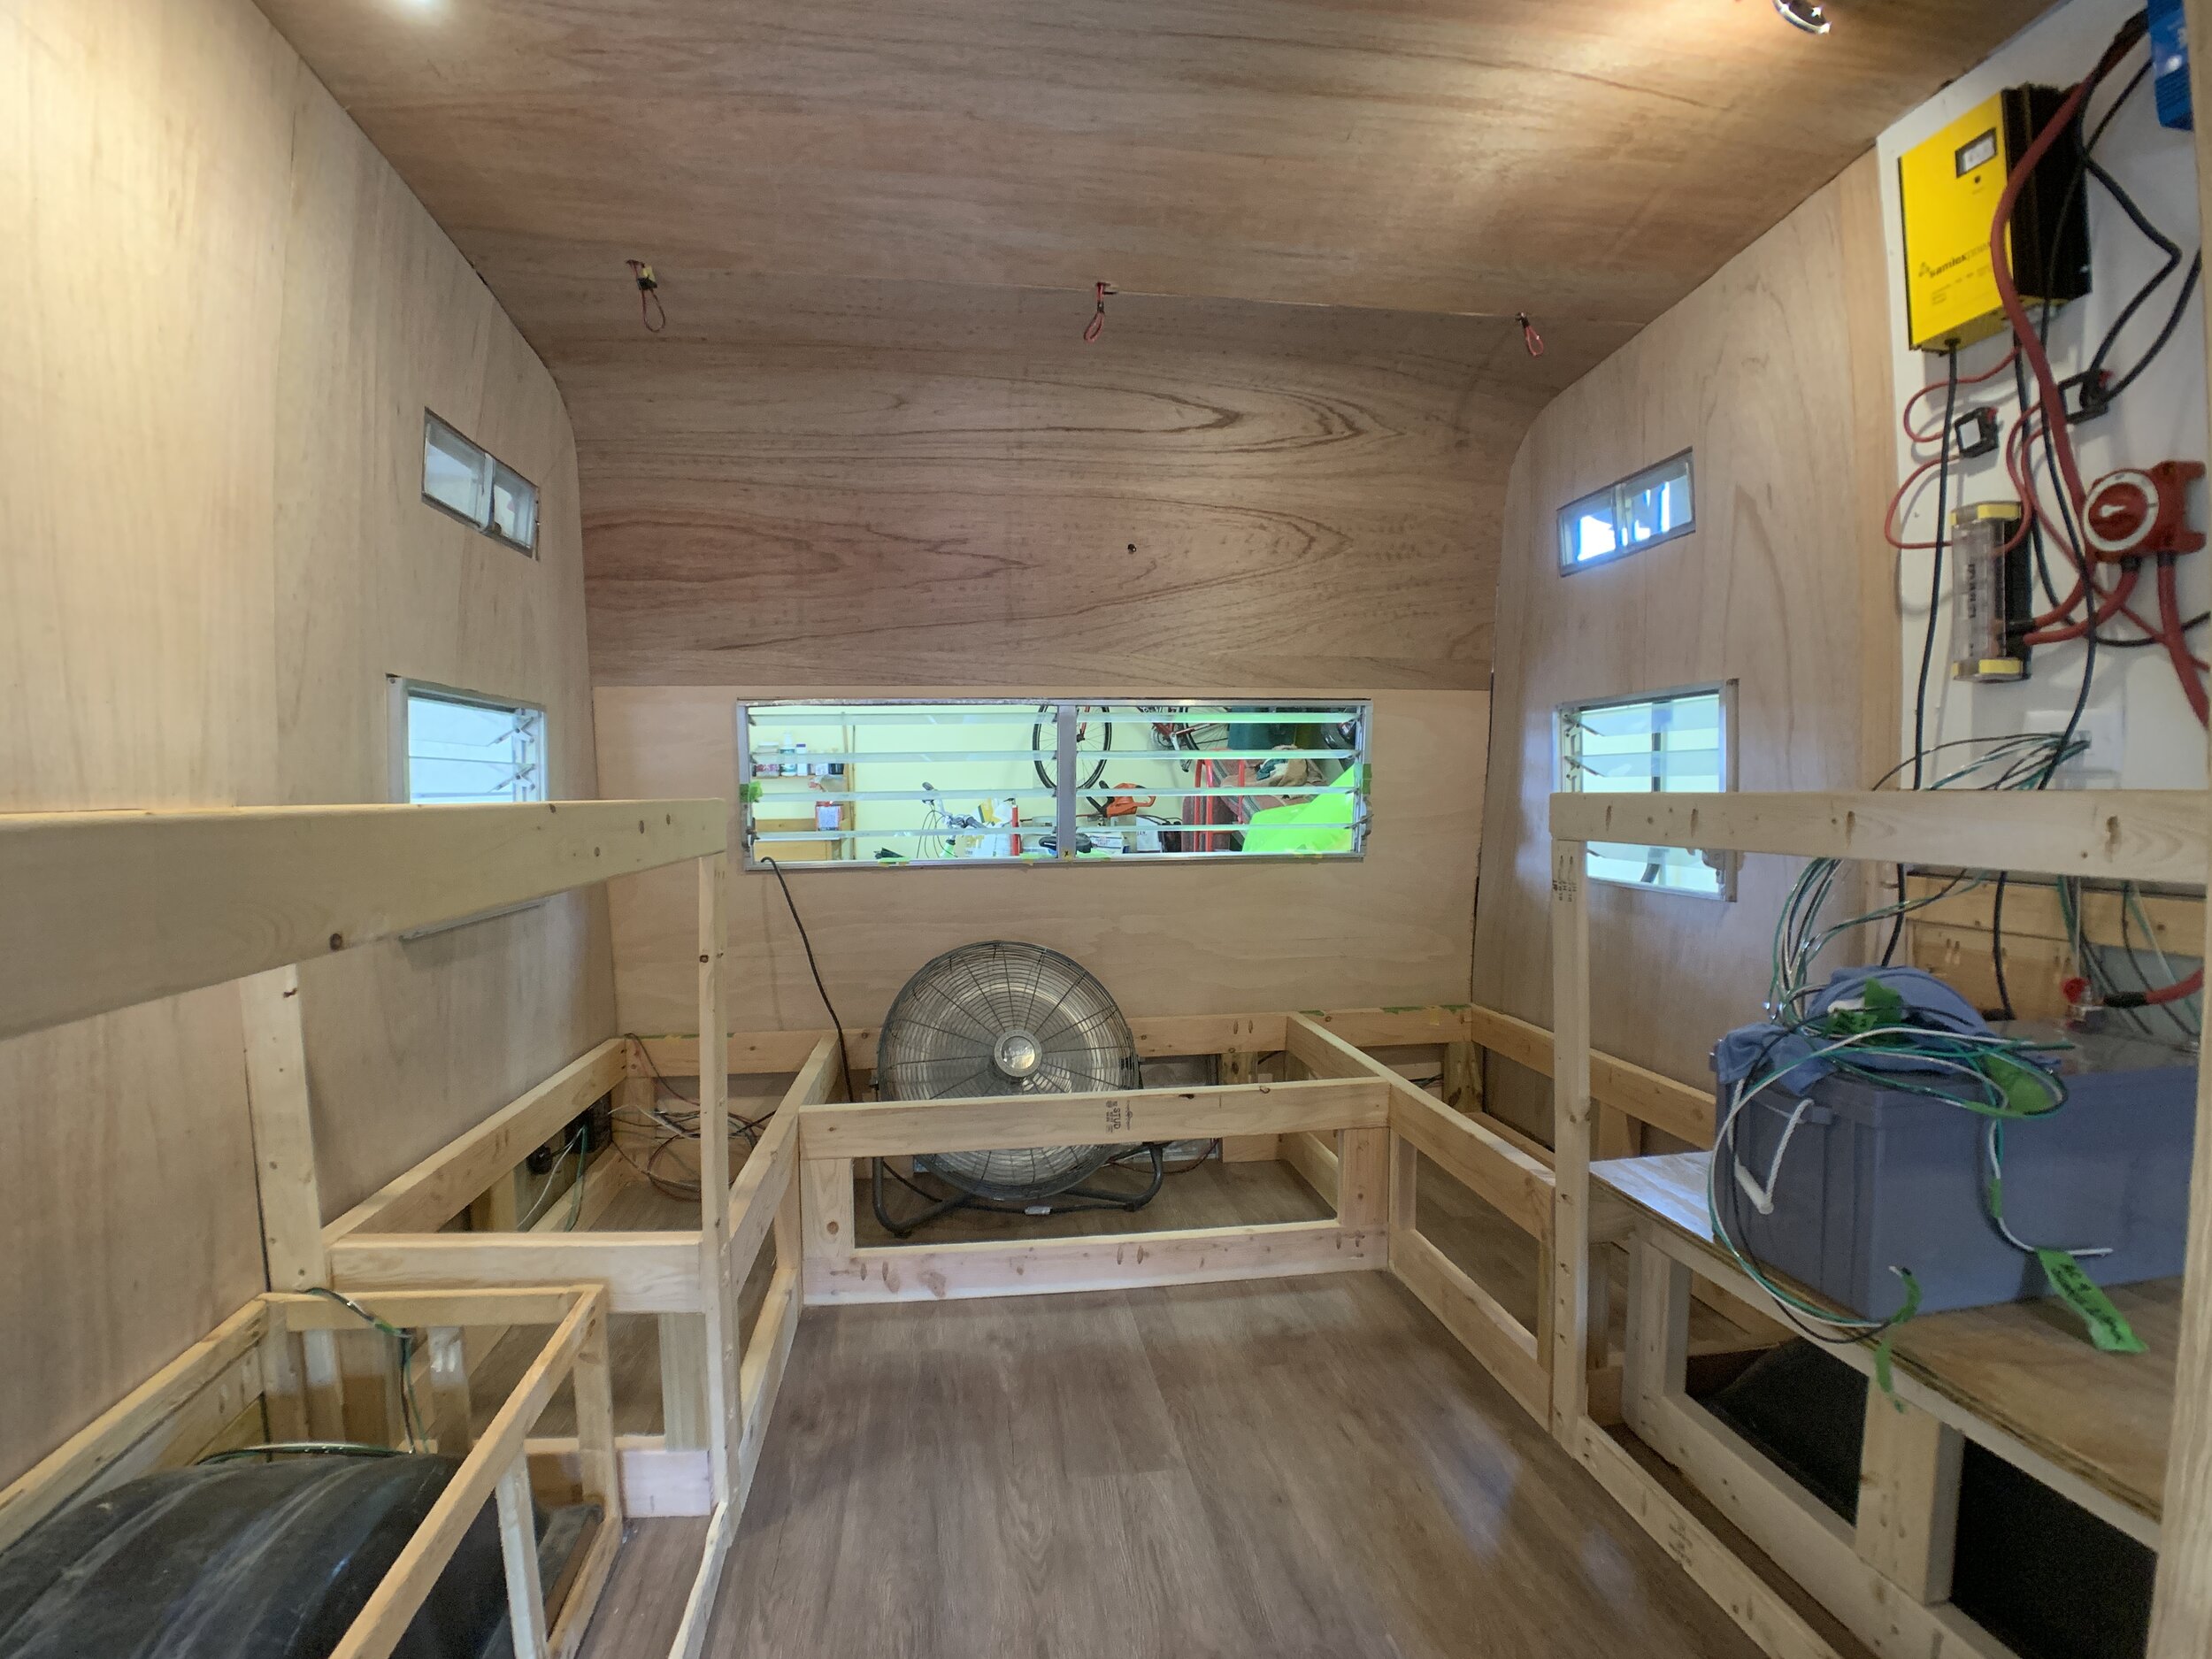
What did you use for insulation and to cover the ceiling and walls?
We used foam board insulation and 1/8” plywood for the ceiling and walls. We covered our insulation and wall + ceiling installs in detail (with links to all of the materials!) here.
Does your trailer hitch have a 4-pin or 7-pin connector?
Initially The Cameo had a male 4-pin electrical cord, which matched what was on our truck when we bought it, but we upgraded to the more modern 7-pin connector when we had the trailer’s original hydraulic brakes swapped for electric ones. (There was no option to stay with a 4-pin and have electric brakes.) We had the female plug replaced on the truck with a 7-pin as well to match (shown below).

Where’d you get that super cool keyless keypad doorknob?
We got this keyless doorknob and LOVE it so far. It lets us in without a key, we can set guest codes if we want and if lights up to be a really pretty shade of blue that complements our paint job (not a must, but a nice little bonus). We covered the full doorknob install and door rehab here.

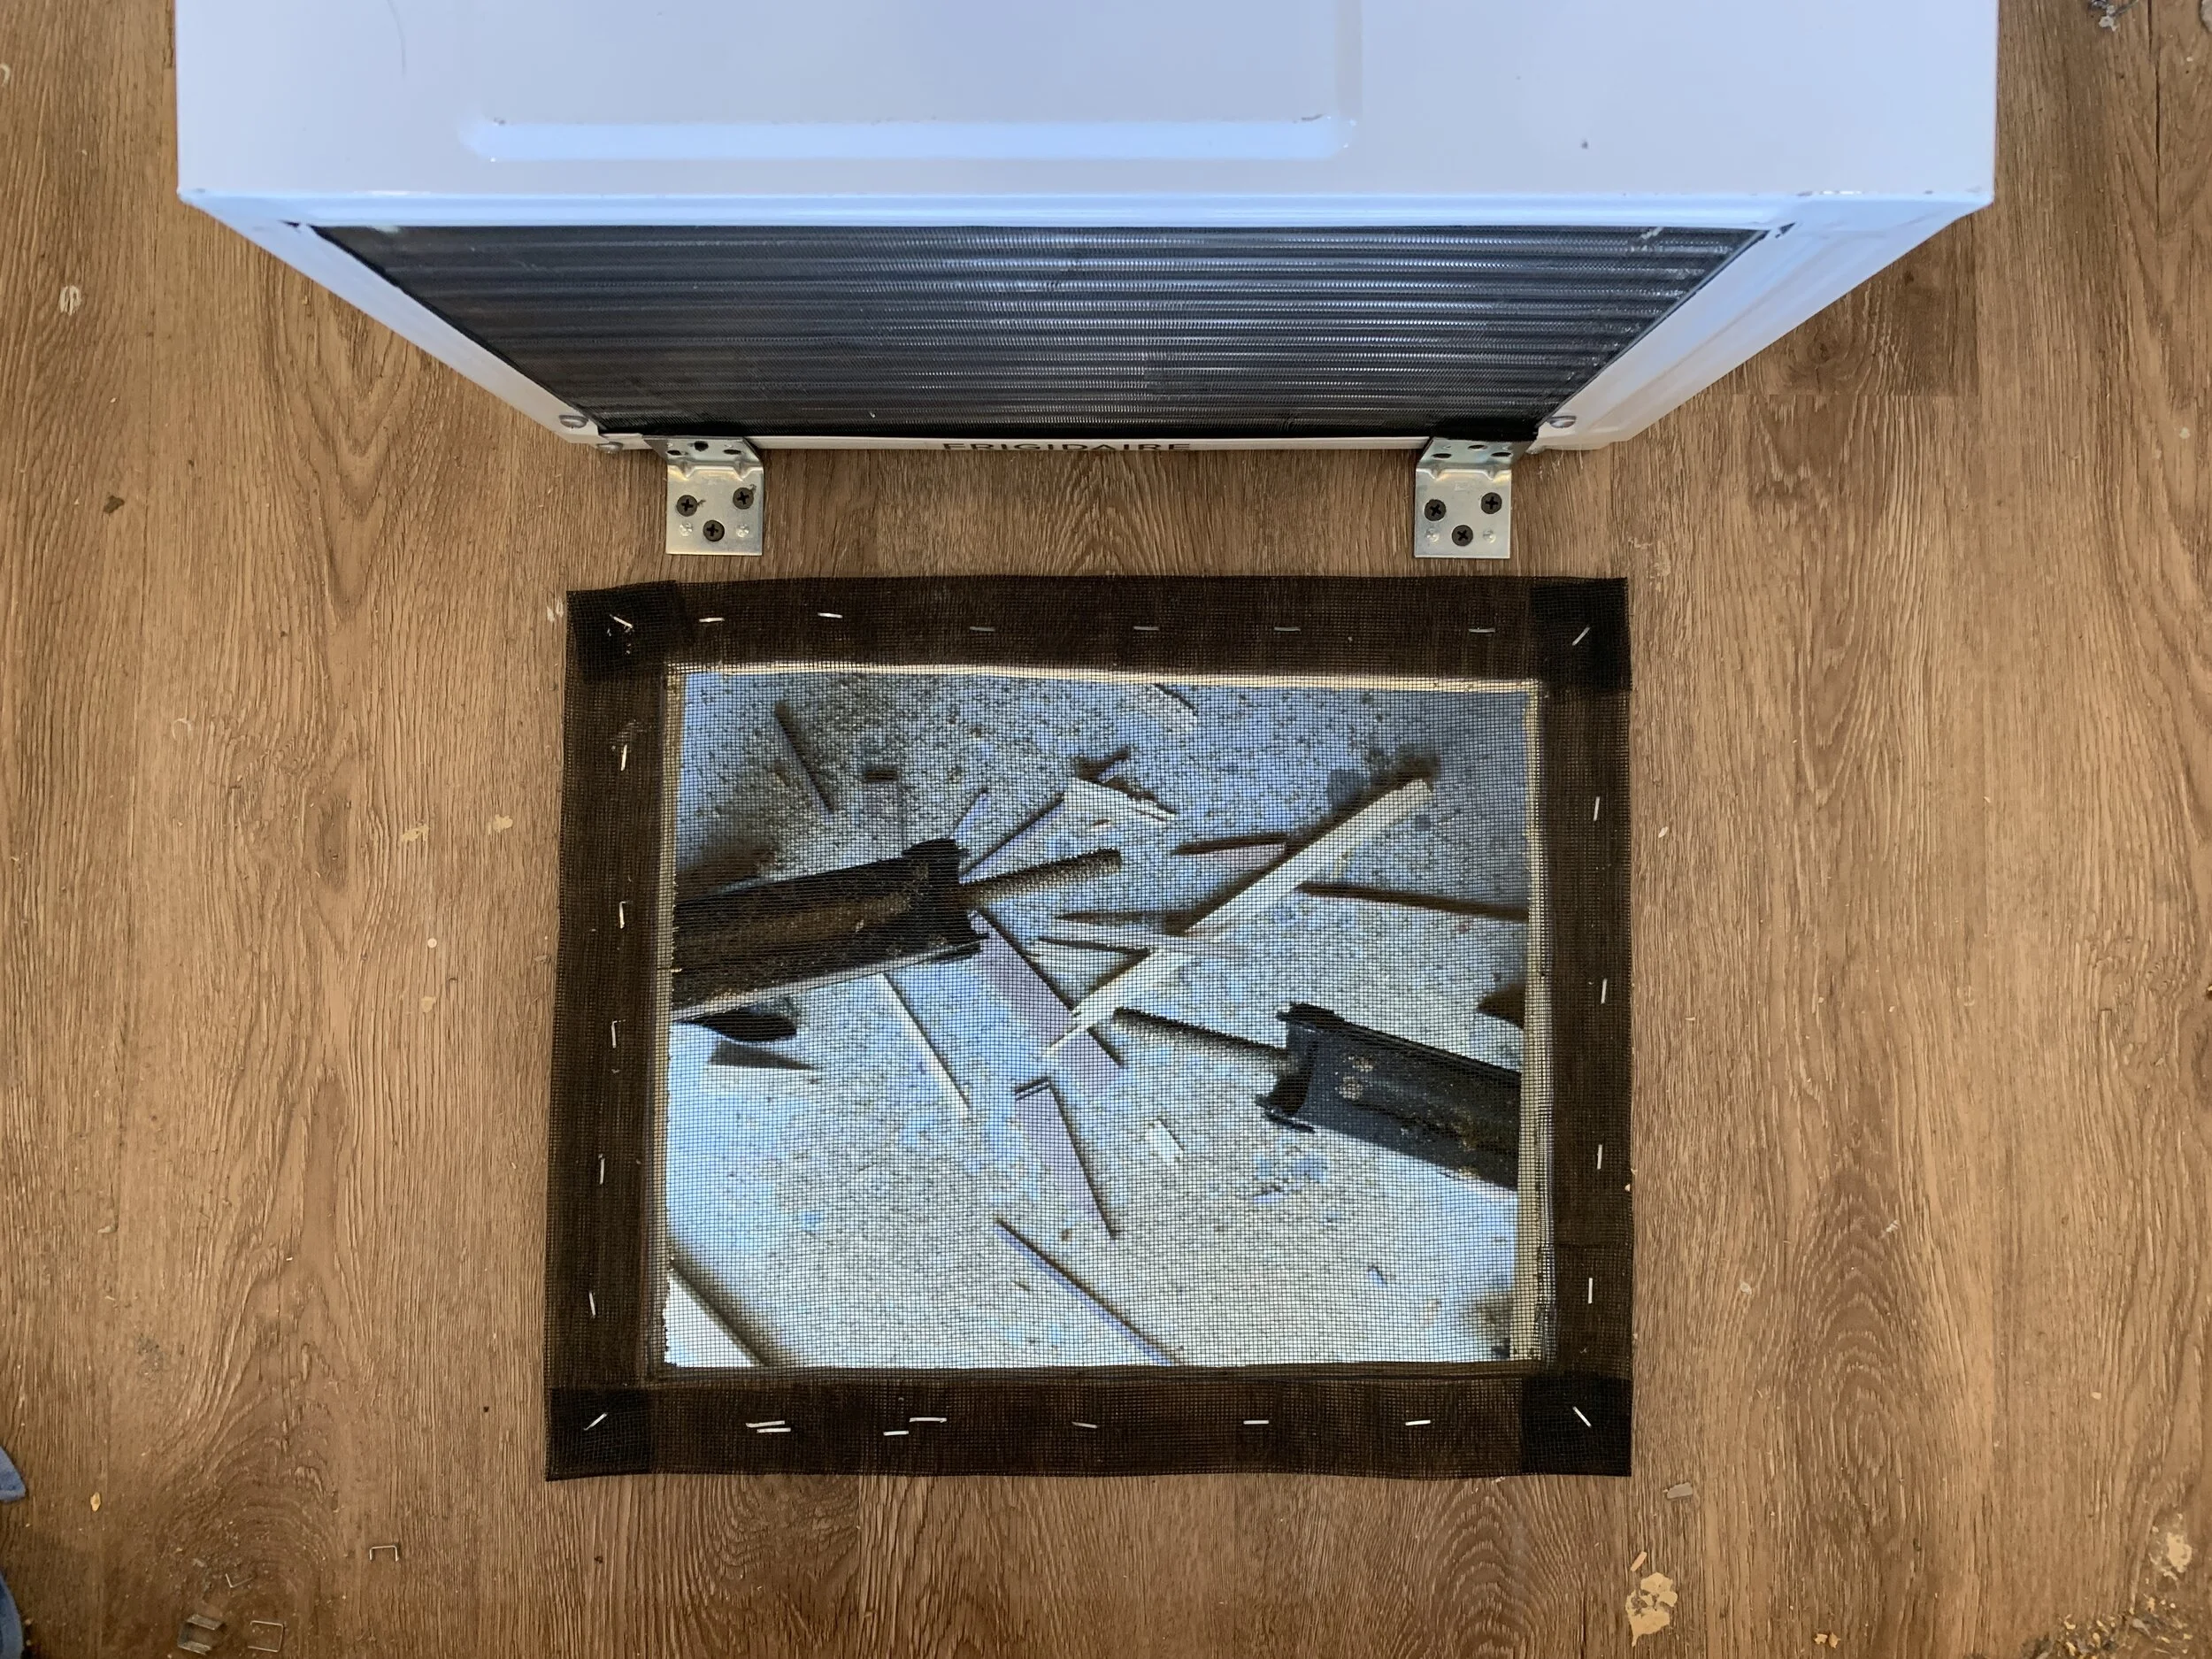
Wow! Your air conditioner is hidden under your bed?! How did you vent the exhaust for your A/C unit?
We vented our window air conditioning unit through the floor so we could keep the exterior metal walls hole- and vent-free. We covered the full tutorial in two parts, including why we propped it up at an angle:
Where’d you get your glass induction stovetop?
We found it here, and covered the full install to get it perfectly flush-mounted in this post. (Don’t forget to figure out what your electrical system can safely run before you buy and install one!)

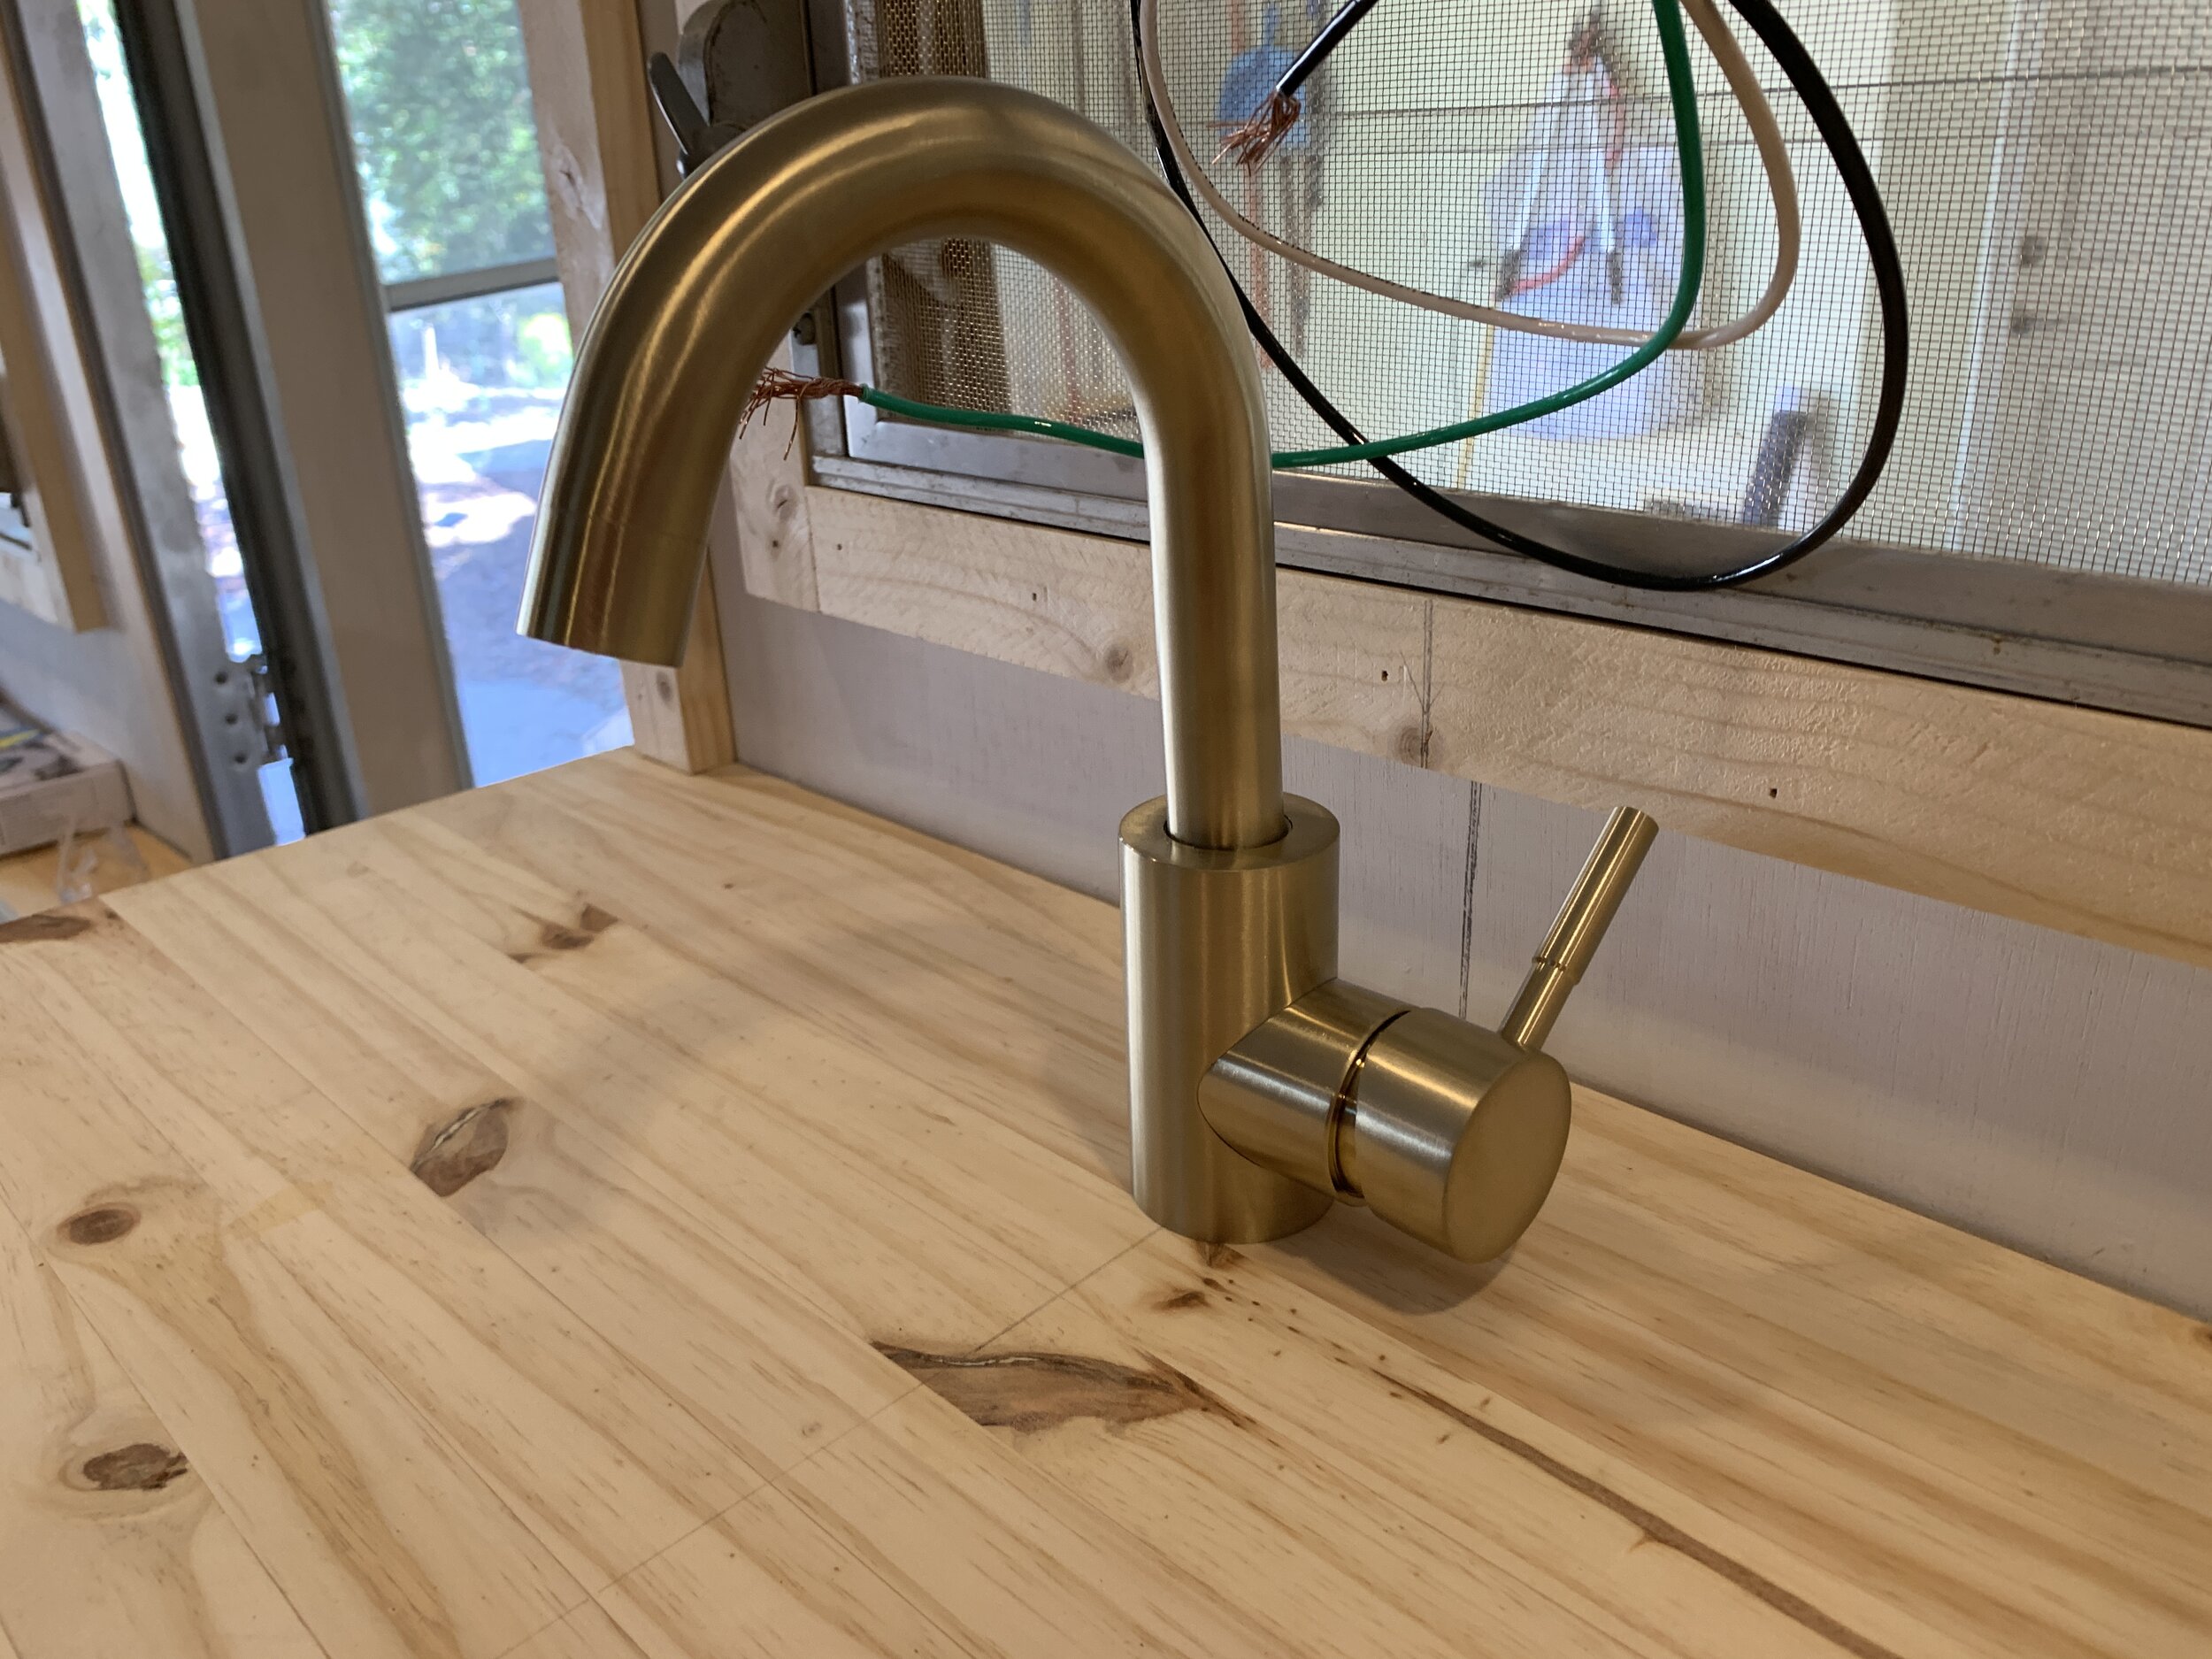
What are you doing for your water system + plumbing lines? Are you planning on drilling through the flooring for your plumbing?
We haven’t put our water system in quite yet, but will be working on it next. We’ll be using PEX piping and fittings that we’ve already picked up, and a Shurflo water pump (still need to buy) to get water from our purchased and yet-to-be-installed fresh water tank to our water heater, through the camper to the shower, toilet and sink. The faucet we’ve already purchased (and not yet installed) is a standard faucet, not a camper-specific one with any special pump mechanisms on it. We’ll be relying on the Shurflo water pump to get water up and out of the faucet, or if we’re hooked up to city water it will be pressurized and bypass a pump altogether (like it works at your house).
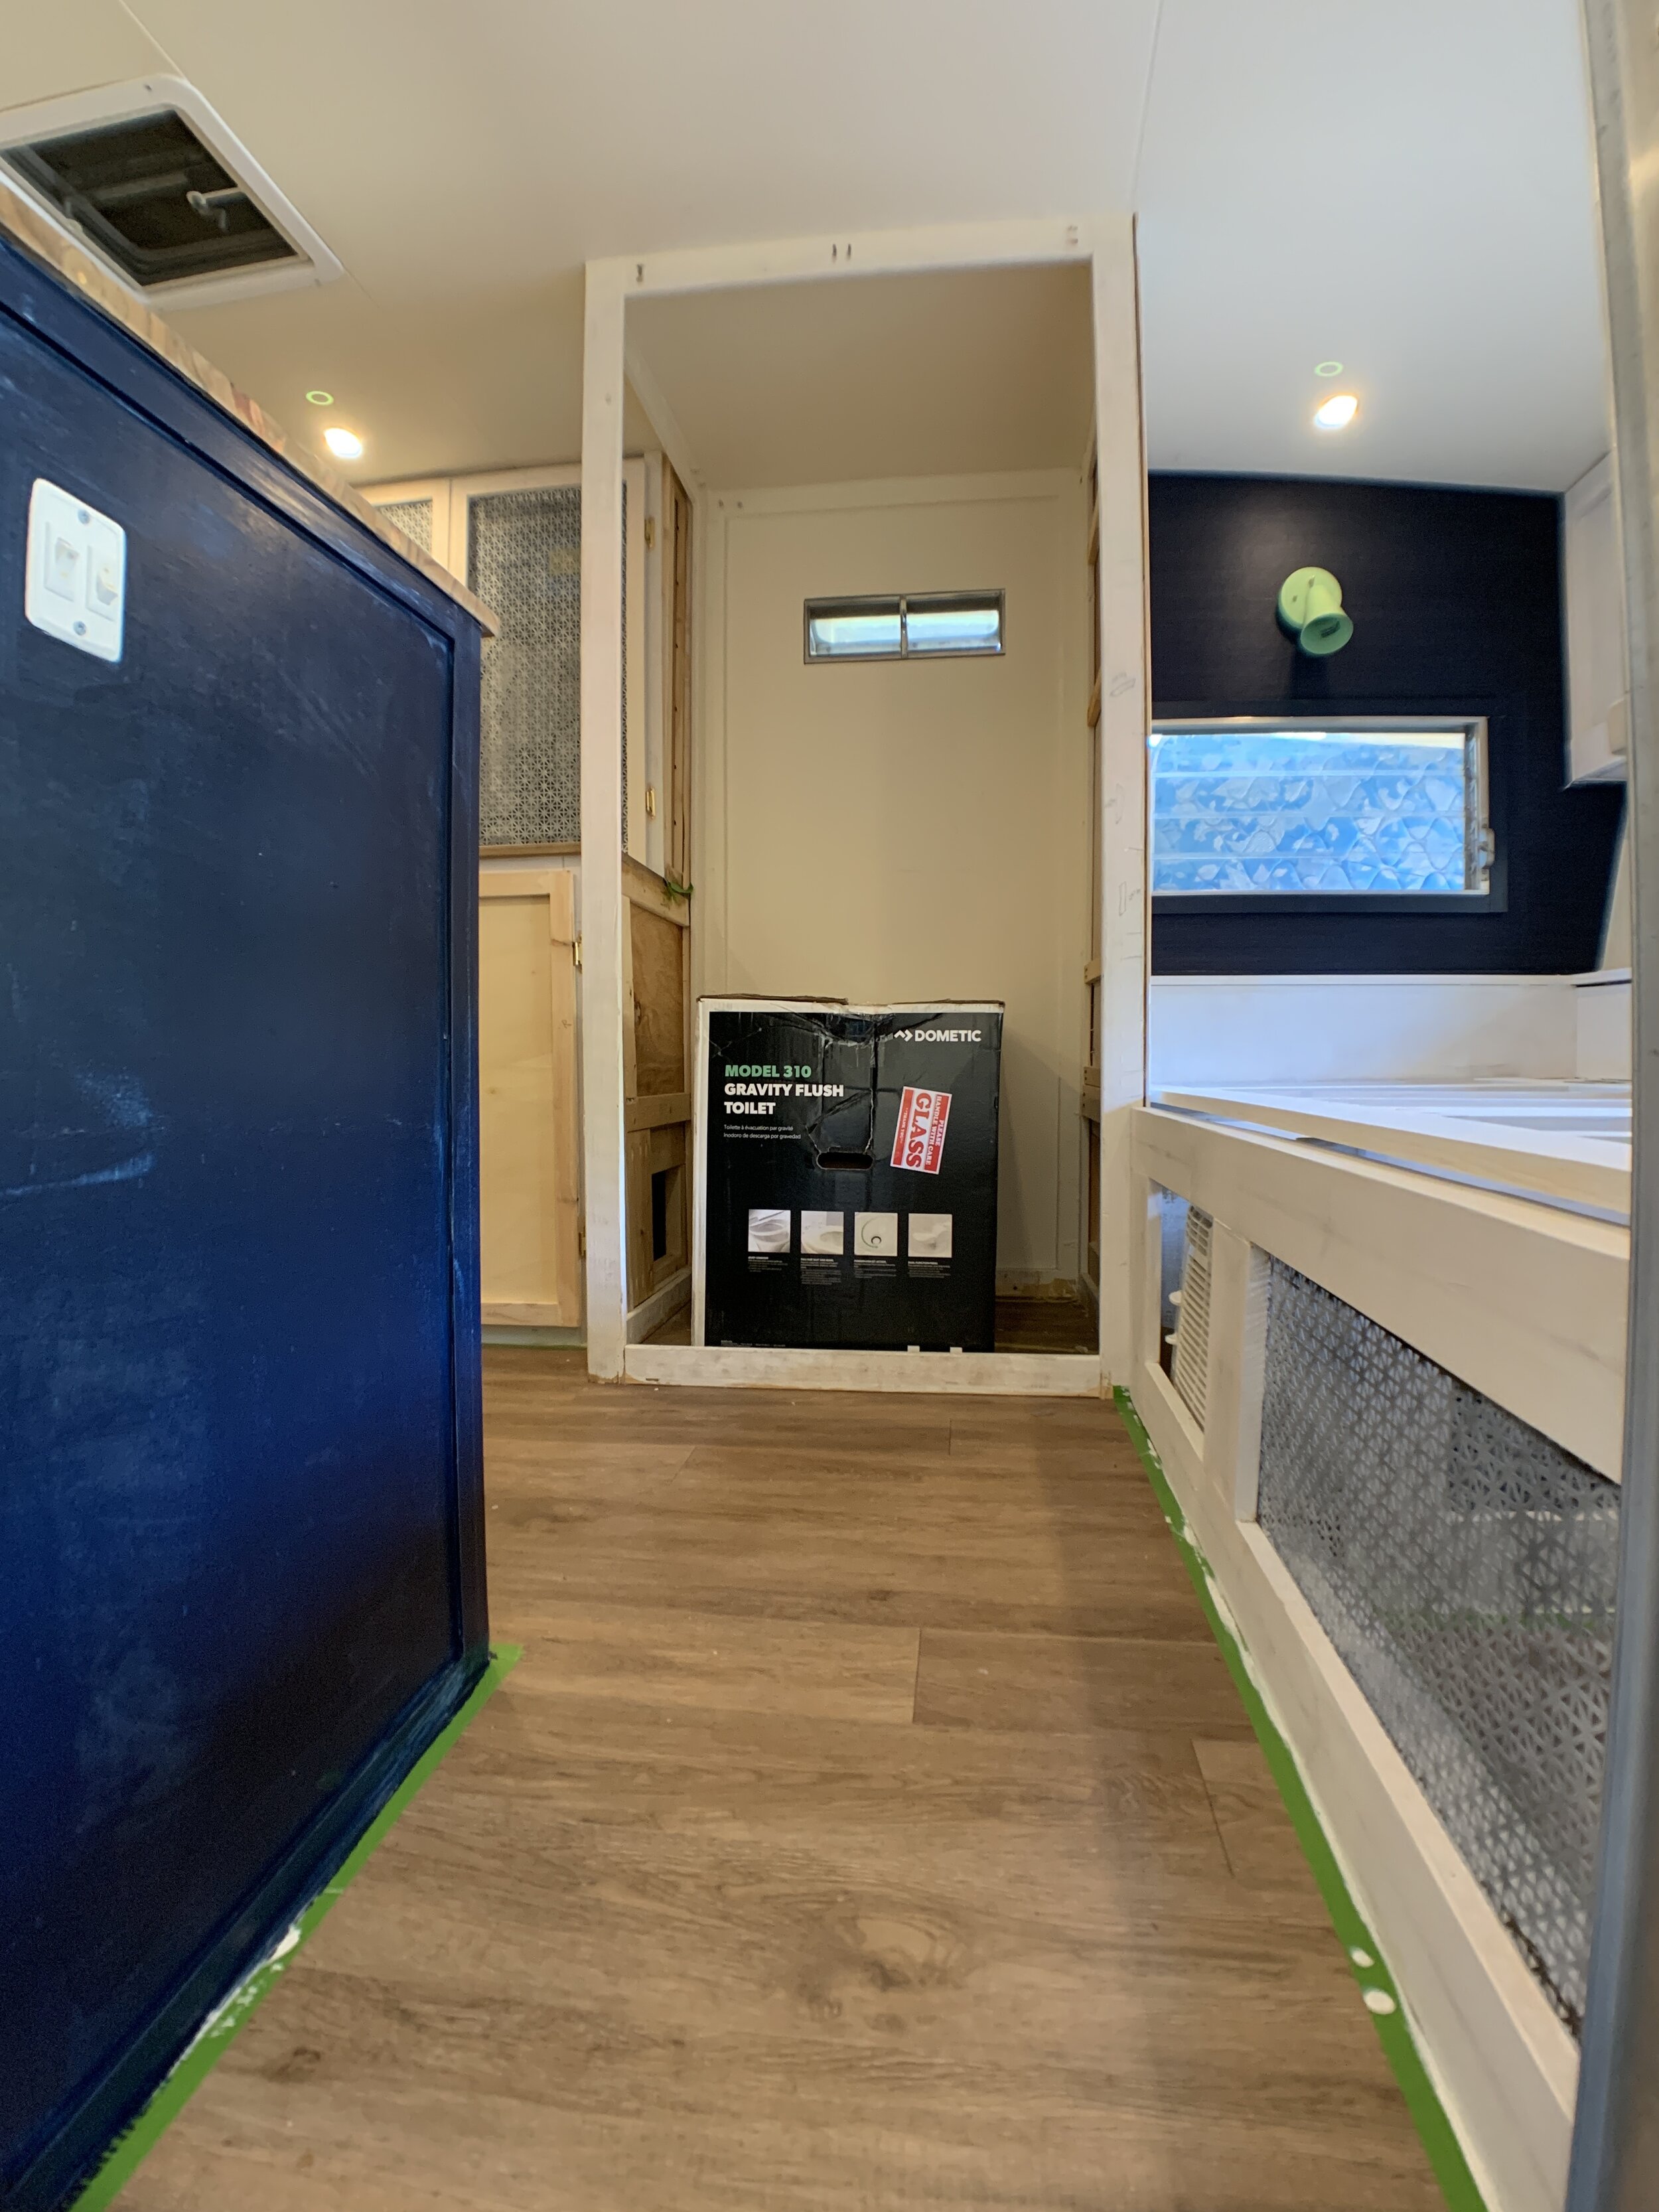
As you can see in the photo above, we’ve already bought and are planning on installing a small camper toilet that we’ll hook up to our fresh water tank (vs. having a composting toilet, which is waterless) and will be drilling through the floor directly over where we plan to place our black water tank so it’s a straight shot. We’ve drilled a pilot hole for the toilet’s drain in the floor and we’re thinking it will line up well for us relative to the trailer frame itself. We have a lot of metal trailer supports that meet up in that area, so we may have to slide the black waste tank forward just a bit and do some kind of angled elbow under the floor of the camper from the toilet flange, but with what we’ve done so far (drilling the pilot hole) it’s looking pretty good on alignment. (On a very related note, please pray for us that it all lines up nice and easy.)
Our shower drain (also yet-to-be-done) will go to a separate gray water tank that will be strapped to the underside of the camper.
As with everything, when it’s complete we’ll share the whole thing in detail, including a floor plan illustration/schematics showing where everything comes from and goes to.
What about gas lines? Any plans to add propane?
We haven’t run any gas line(s) yet, but have rough plans to do so. We think. Maybe.
We’re still figuring out how much gas – specifically propane – we want to add, if any. Ideally we want to go gas-free, but have been thinking lately we might need it to heat our water since electric water heaters use so much power, and we’ve decided we don’t want to compromise on some things. Like powering a water heater and taking a hot – but dark – shower or focusing on our lighting needs and end up taking a well-lit – but freezing cold – shower.
Then, if we do decide to add gas for the water heater we figure we might as well add an additional line for a space heater as well for when we camp in the winter. Again, maybe. (This is where rebuilding from scratch is both a blessing and a curse.)
In our research over the last two years we’ve seen some folks run PVC pipe/electrical conduit underneath the subfloor (strapped to the underside of the floor with U-clamps) so they can easily and freely run their gas line (and/or electrical) inside of it to help protect it from the elements when driving, which we think is pretty smart and may do ourselves if the time ever comes.
Like our plumbing system, we’ll share it all in detail when we get there. (With plans for schematics so you can see a snapshot of how the system is all connected.)
So what do you think – are you a fan of us doing the occasional Frequently Asked Questions post? Do you have any other questions for us (that we can answer here in comments, and maybe even round up in future FAQ posts for everyone to see and hopefully benefit from)?
And don’t worry – we’ll get back to our regularly scheduled programming soon with more tips, tutorials and fails very very soon!