DIY Built-In Bar Storage Part 4: Concrete Countertops How-To
This is part four of a series. Don’t forget to check out parts, one, two, three, and our overall bar cabinet plan.
Hey y’all, first off HAPPY NEW YEAR!! And welcome back to our new custom dining room cabinet build series.
Quick break for a personal, quasi-related anecdote – AKA where we’ve been for the last month
Apologies for the unexpected month+ break in this build series – I debated if I should share this with y’all but ultimately decided since it is such a large part of my life and I like to share all of the good, bad and ugly parts of our projects, it only seemed fair to share the good, bad and ugly parts of our life as well. And that means sharing that I have had chronic migraines for years and years and the fall, and especially this last month has been a really bad run for me. Between my usual full-time work in graphic design and a pretty constant run of many multi-day migraines (with headaches in between) I just haven’t had that perfect combination of time and brain capacity to write a coherent – or as coherent as this thing ever is – blog post for y’all. Long story short, my apologies for the inconsistency – please remember life happens and to be kind to others (and yourself!). You never know what someone else is going through.
Back to our regularly-scheduled project programming
Last time we shared how we built and installed the custom, brass metal-front cabinet doors on our built-in bar storage cabinet. Today we’re continuing with how we did our from-scratch white concrete countertops, made to go with but not be identical to our charcoal gray concrete kitchen countertops.
Some of the links on this page are affiliate links, meaning at no cost to you we may earn a small commission on the purchases you make through that click. Learn more.
Tools
Circular saw (or table saw)
Pencil + tape measure + square/ruler – for marking out plywood cuts
Drill + drill bits that match your screw heads
Nail gun + 2” nails – for securing countertop base to cabinet supports
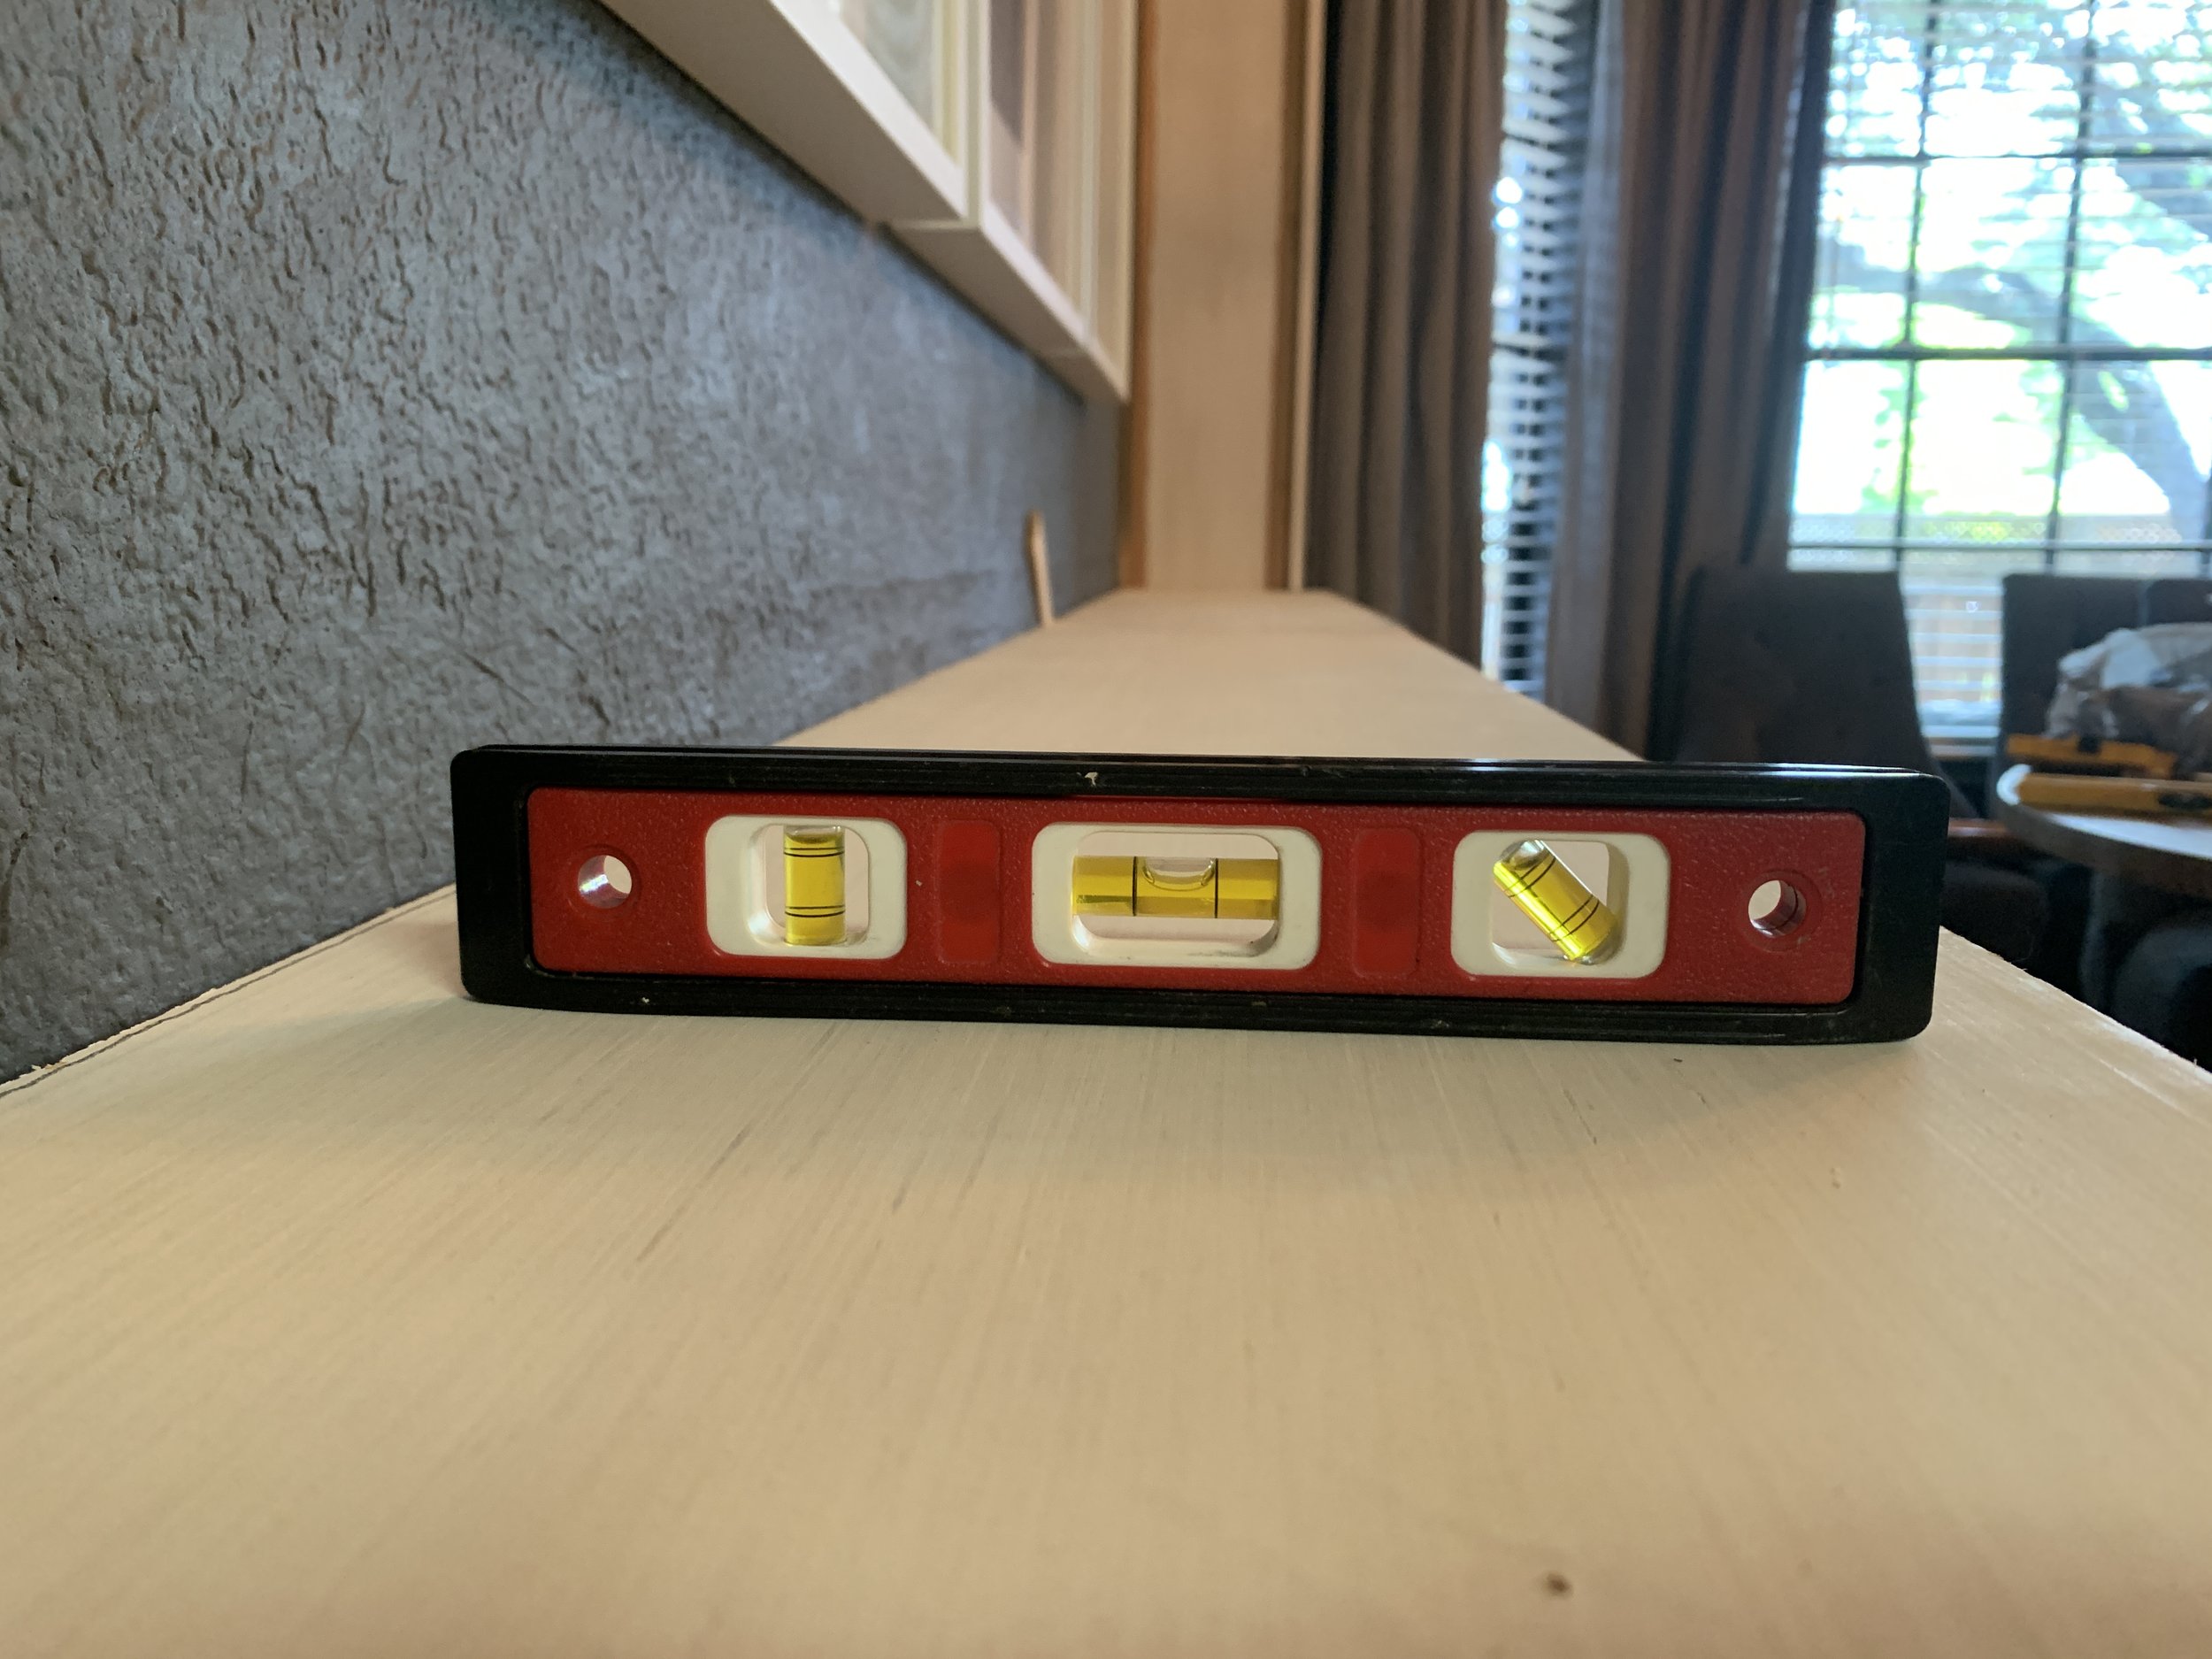
Level(s) – we used a 4-foot level and a short ~8” level
Measuring cups (that you don’t use for food!) – for scooping concrete powder and measuring water amounts
1-quart bucket – for mixing concrete
Old rubber spatula – for mixing concrete. Nothing fancy at all is needed, but the one we have that works great is like this one – the shape and rigidity is great for mixing and scraping the inside of the mixing bucket/cup clean
Trowel – I prefer an offset margin trowel like this one for scooping + plopping globs onto the counter
~10” drywall taping knife – for applying/smoothing thin layers of concrete
Putty knife – for scraping ridges/forming crisp edges
Electric sander + sandpaper of varying grits (down to about 220 grit for extra-smooth concrete)
Plastic painters tarps + painters tape – to protect your house from all the dust
Face mask – you’ll want it for all of the sanding
Vacuum cleaner – for all the dust
Cheap plastic cup – for mixing concrete sealer
Lint-free rags – for applying concrete sealer
Materials
(1) 4x8’ sheet of 3/4” plywood
1-1/4” wood screws – for screwing two 3/4” plywood pieces together
Wood shims – optional, might be needed to get your counter perfectly level
10 lb. bag white Ardex Feather Finish for countertop (we used 1 bag)
Food-safe concrete sealer – this one is a nice natural finish (not glossy)
*Reminder:
3/4” plywood is really actually 3/4”, even though 1x boards are actually 3/4” thick and 2x boards are actually 1-1/2” thick
Making white concrete countertops
Just like with the height of our cabinet, we used our existing kitchen counters as a guide for our dining room cabinet’s countertop both for the thickness and material. To help tie the rooms together without being identical, we decided to go with white concrete to complement the charcoal gray concrete counters in the kitchen. We also chose to skim coat the counters versus pouring solid concrete counters.
Installing the countertop base
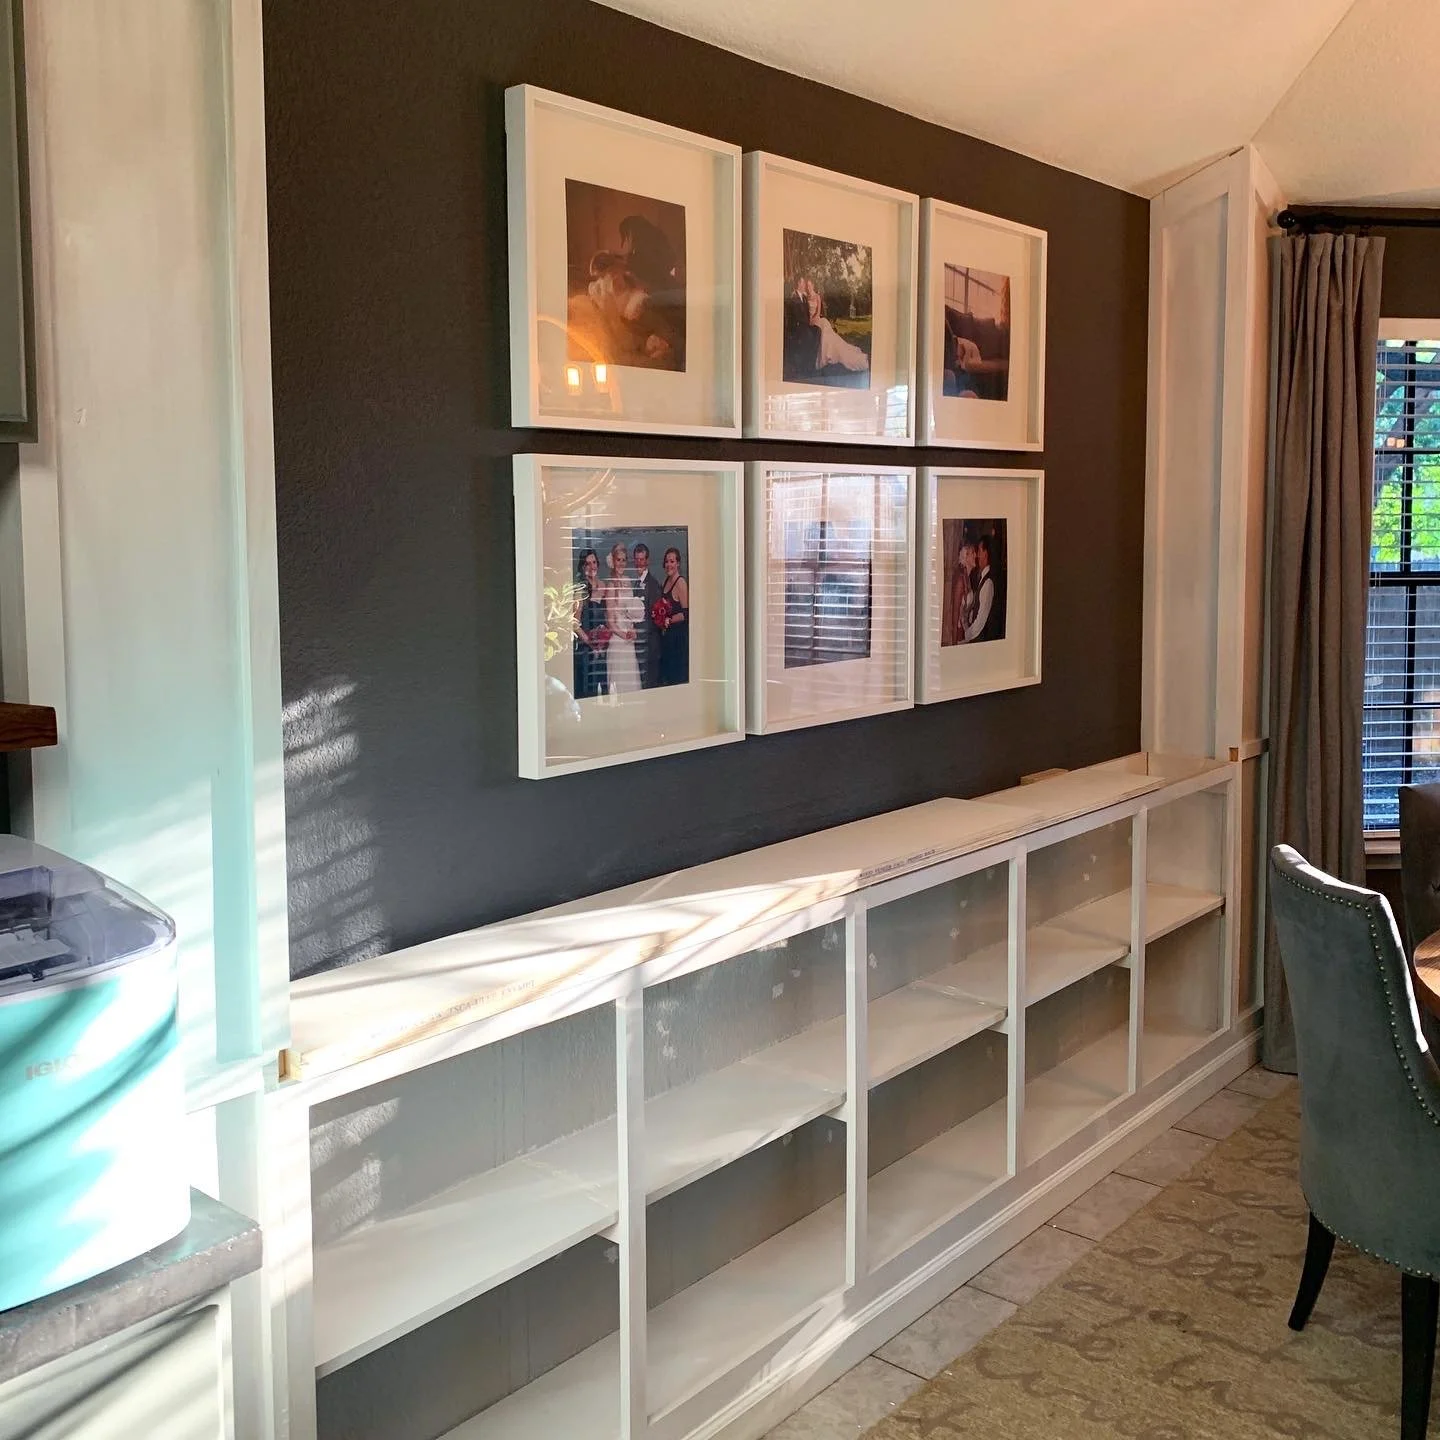
To create the base for for our concrete countertop, we used two layers of 3/4” plywood, screwed together with wood screws (making sure the screw heads are down into the wood and not sticking up at all). We nailed the plywood into the countertop supports so that, with the plywood against the wall, we had a 1.25” overhang from the front of the cabinet face.
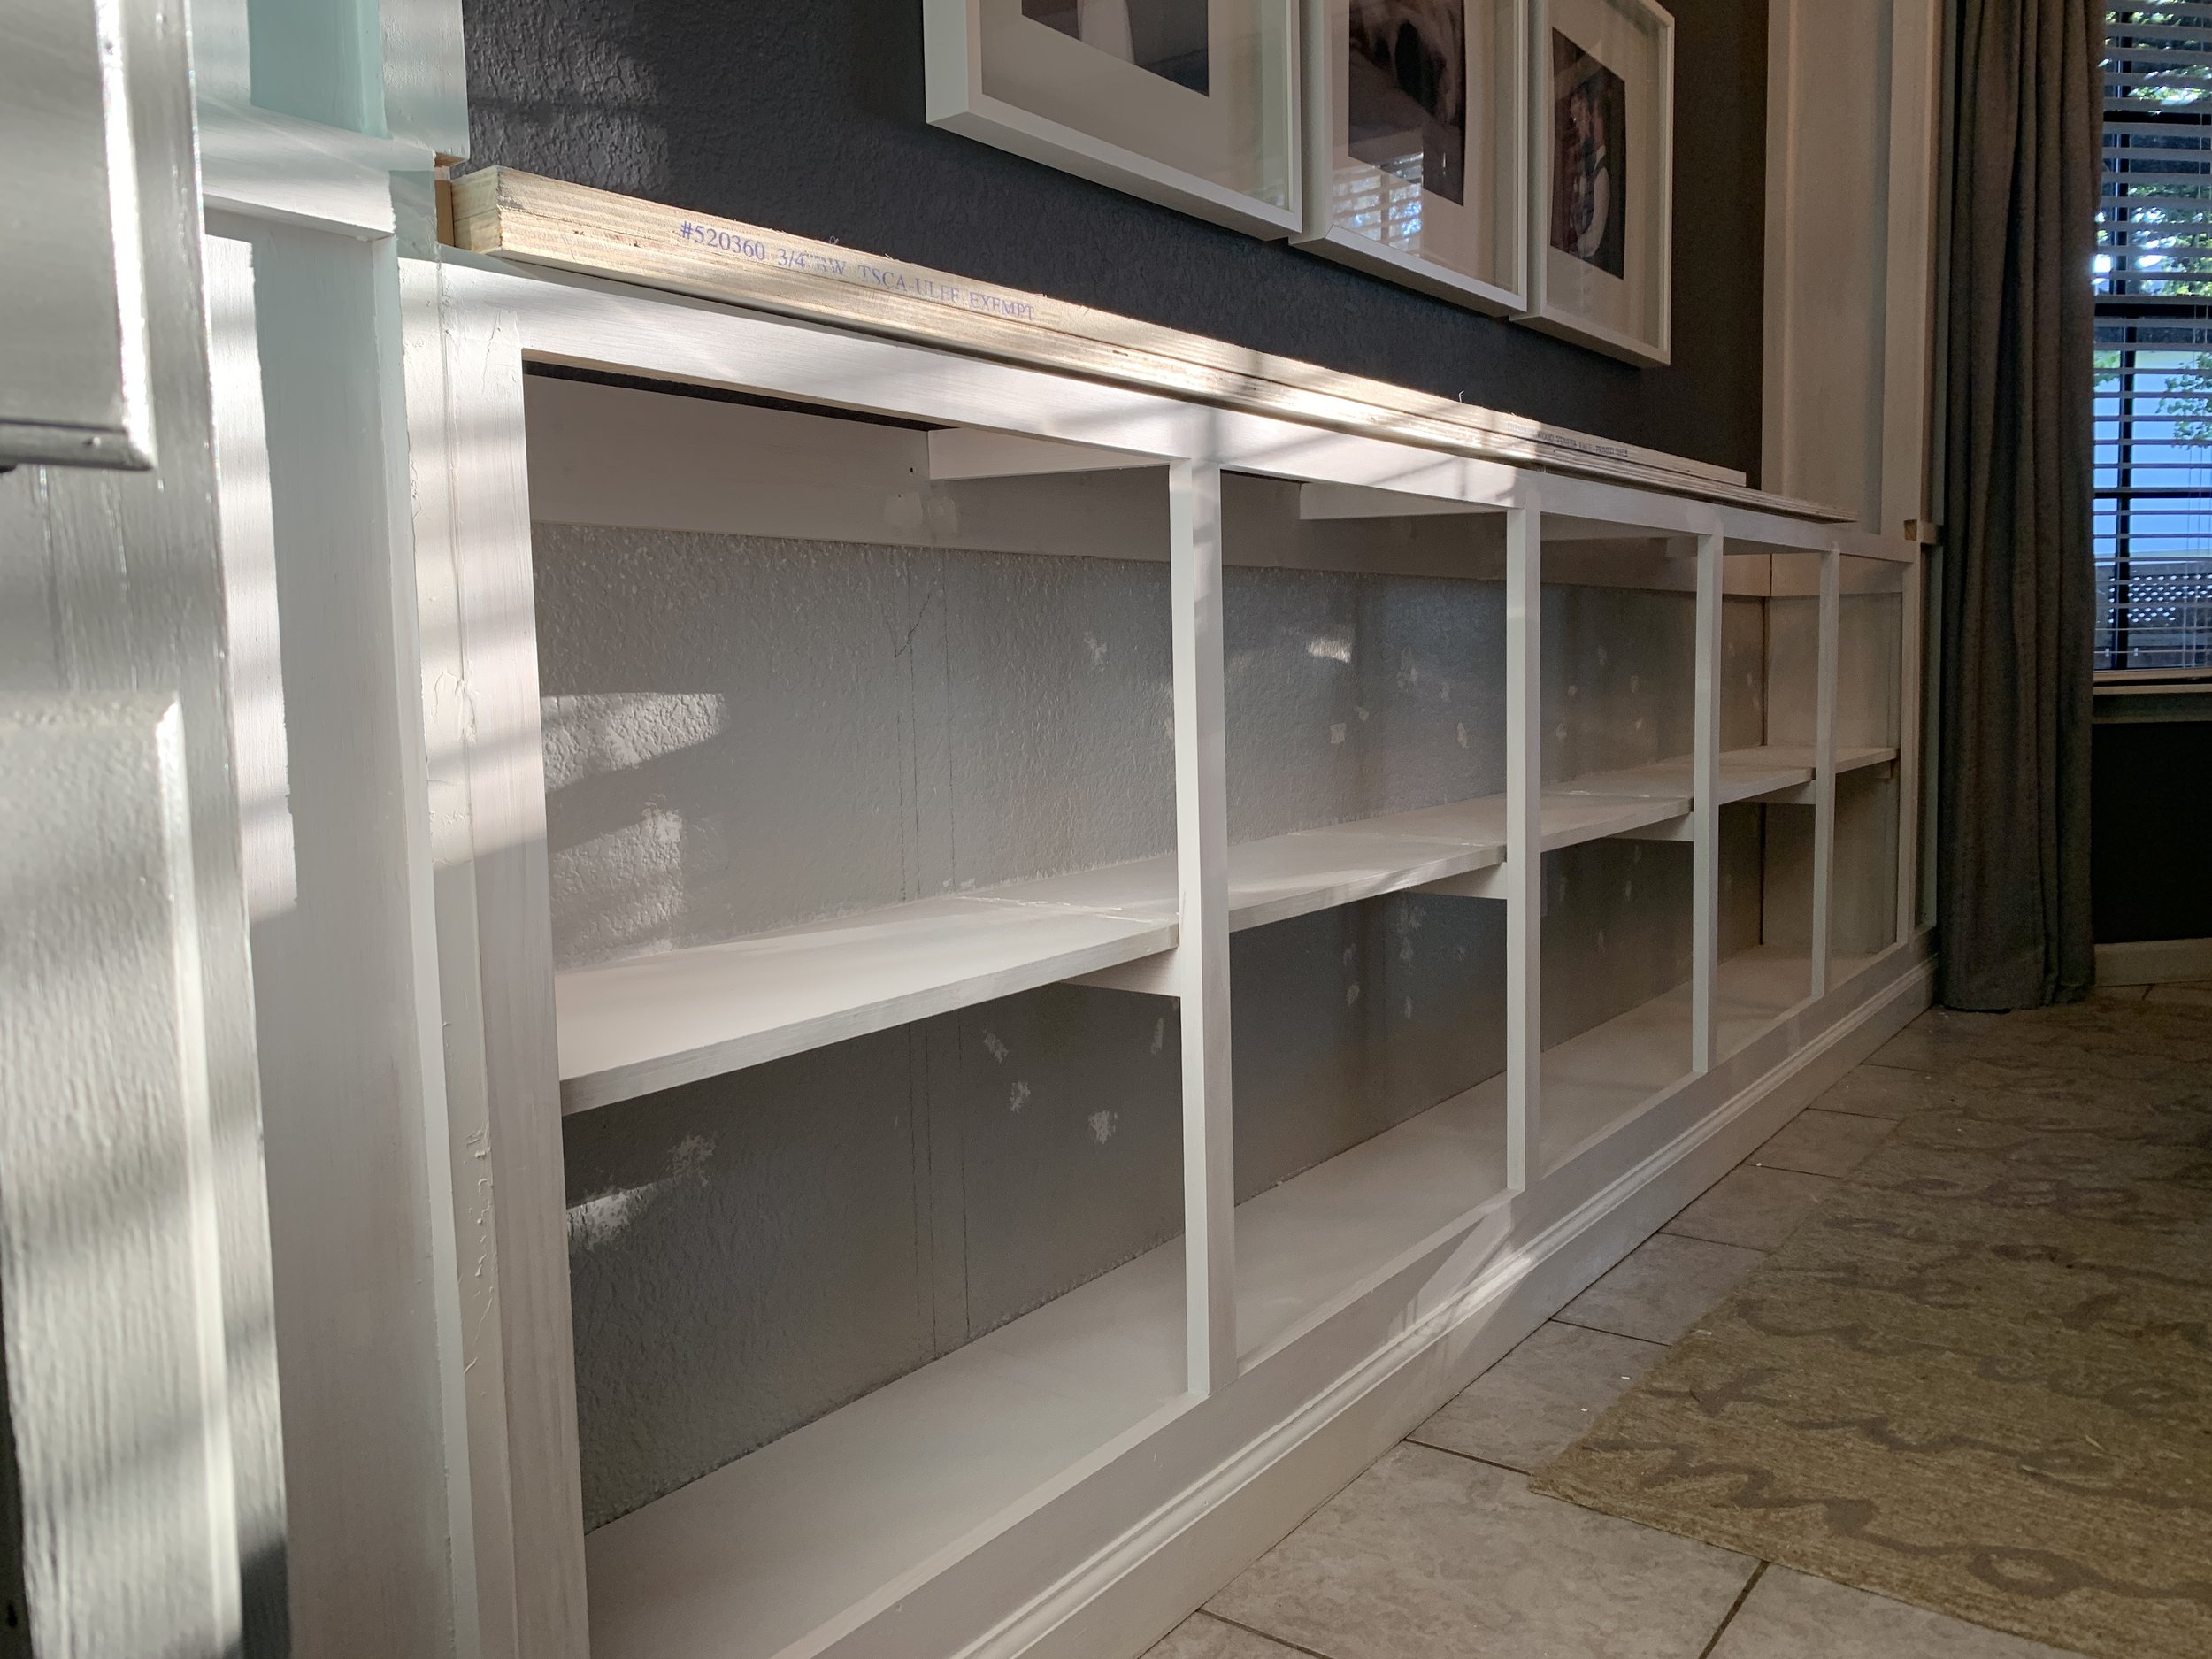
Testing out countertop thickness and overhang with plywood scraps.
(We would’ve done less of an overhang, but we knew we would be adding a piece of decorative trim under the counter lip that we needed to account for. The overhang with the decorative trim added is actually just 1/2” from the front of the trim.)

Just a tiny baby ‘oops’ + a quick and easy fix
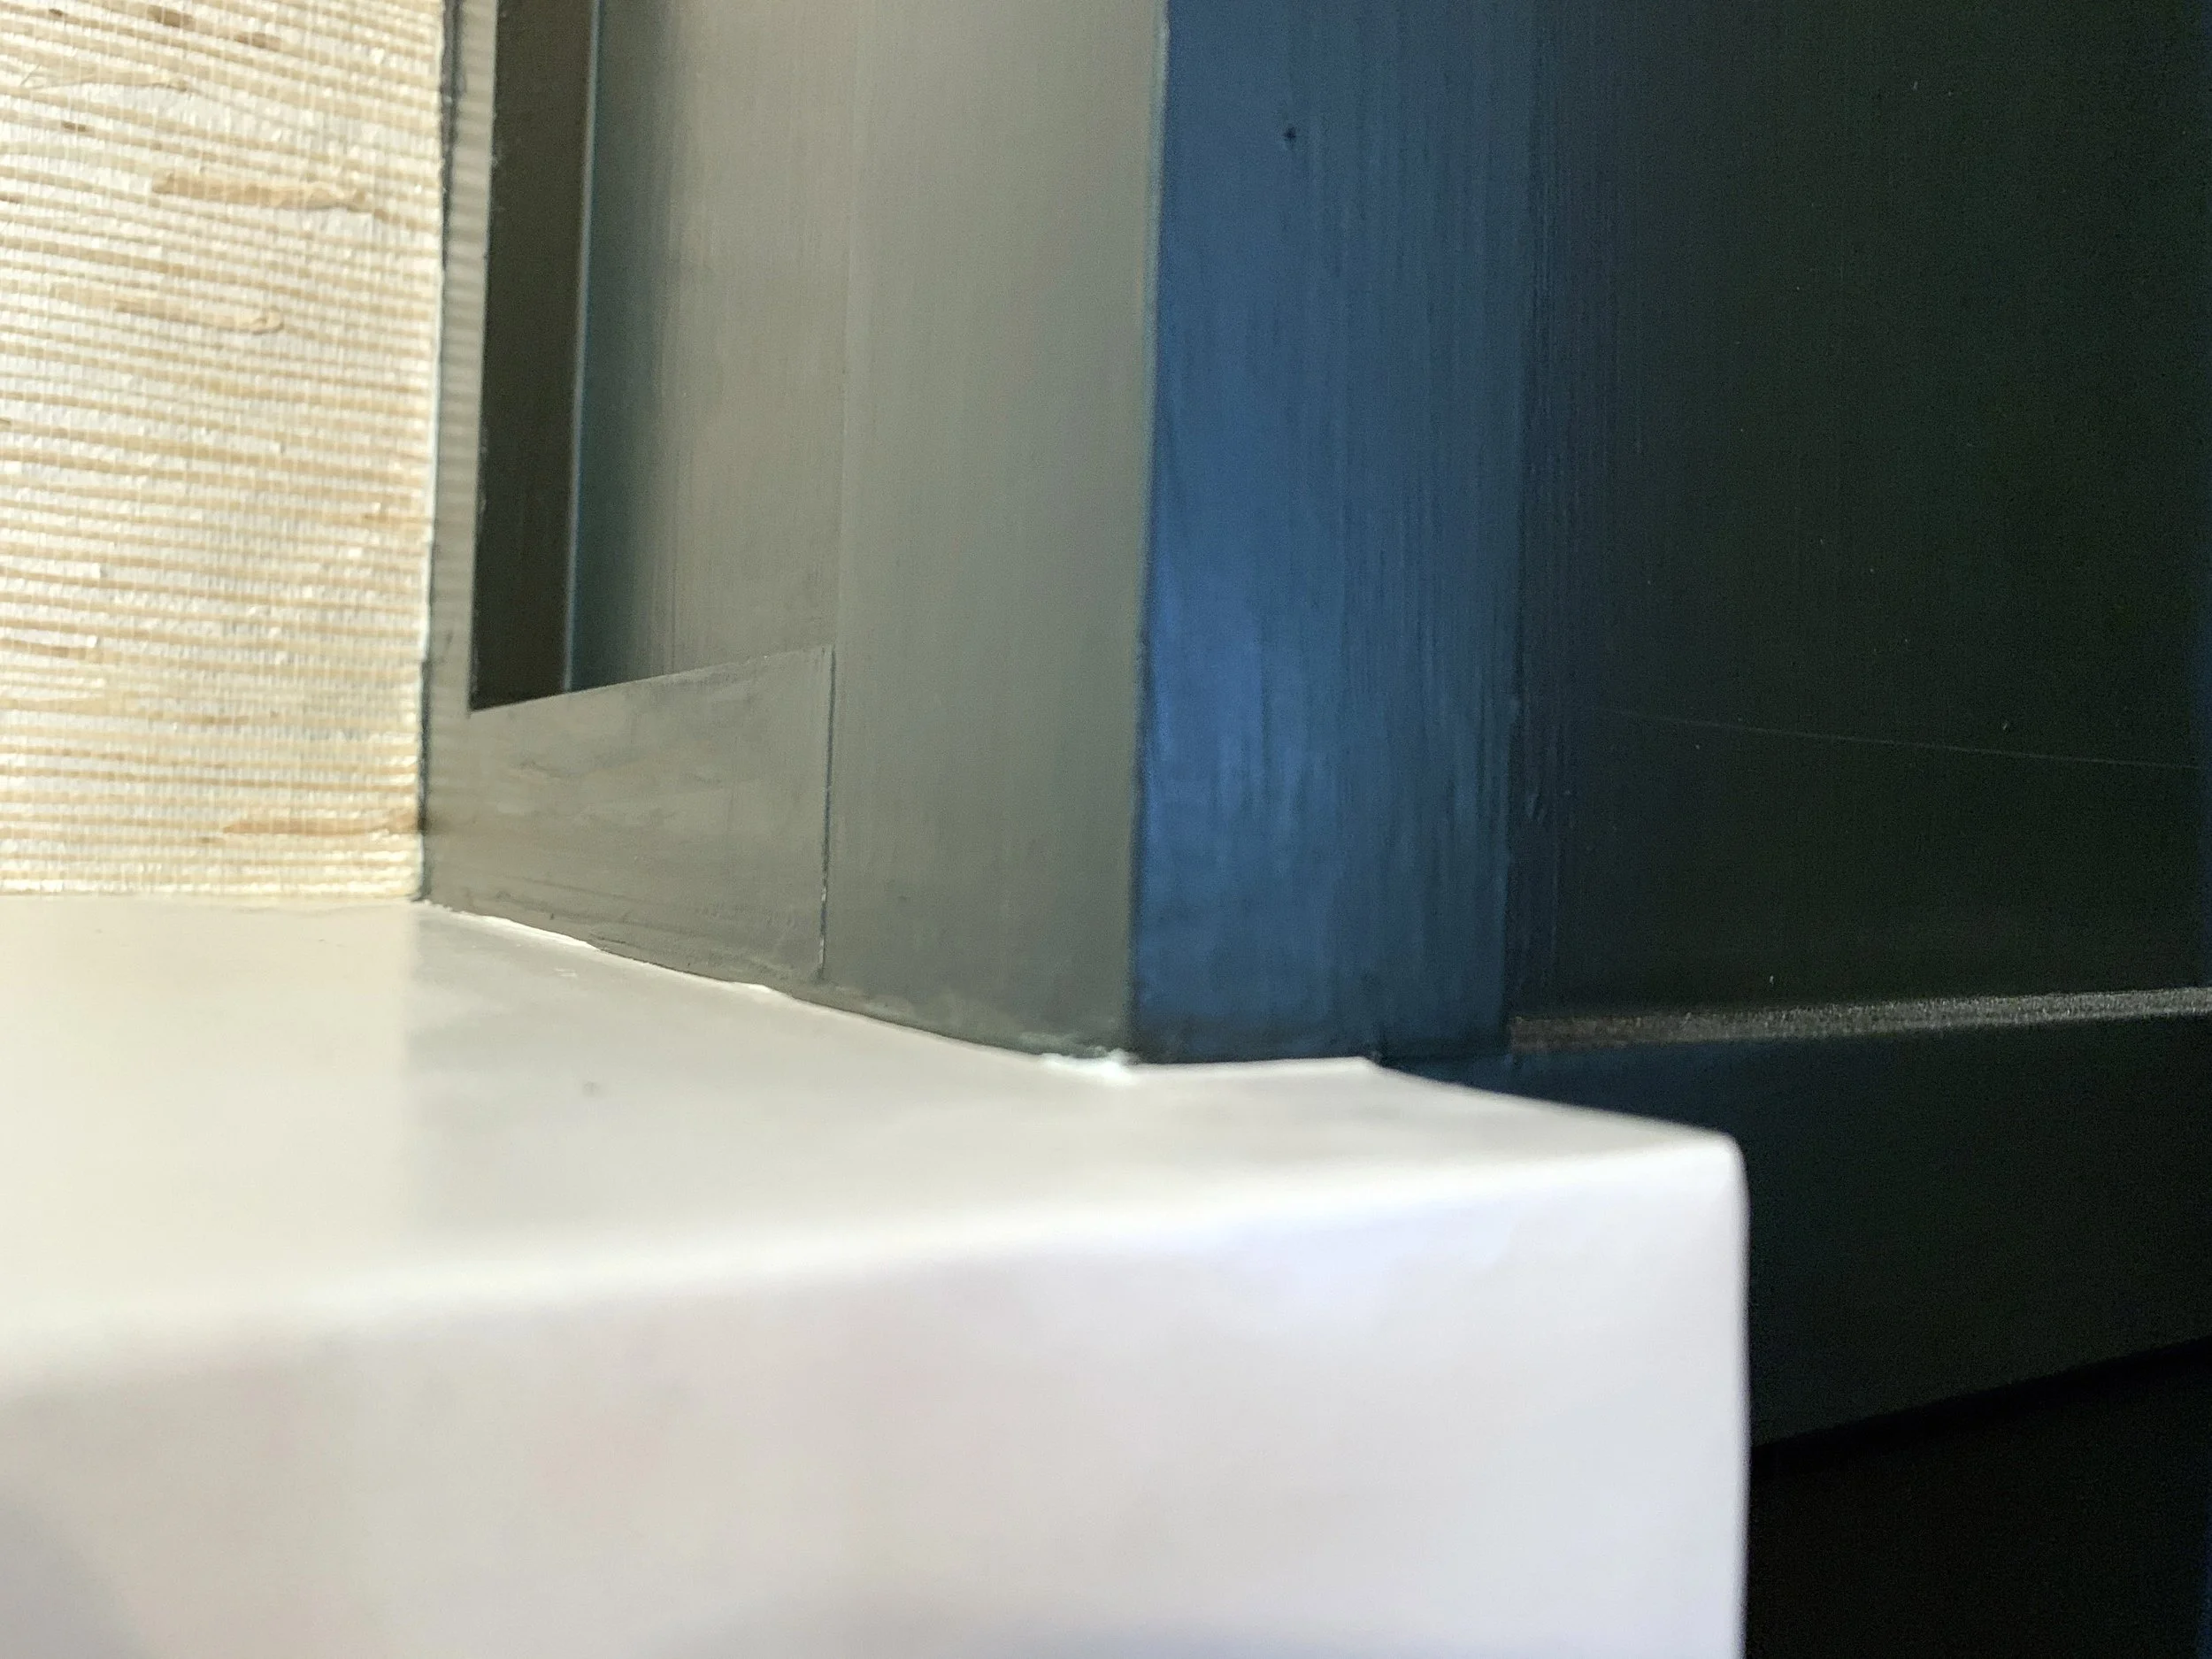
And because we’re friends, this is where I come clean and tell you our cabinet face somehow didn’t come out perfectly level across the front, despite all the leveling. We think it just had a slight sag in the long horizontal top cross piece and when I measured and then Kregged all the pieces together super tight that it made it a little shorter in the middle than on the sides.
But never fear – this is where we also share that with a couple of shims (placed on top of the cross-supports underneath the countertop) to keep the countertop perfectly level, plus some paintable caulk to fill the small gap, it’s as good as level. AND we were planning on using decorative trim under the countertop lip anyway, so it’s almost like it never happened at all. Whew.


Adding the concrete
With this product, it’s good to have a base with some rough texture to it so the concrete has something to stick to – naked plywood does the trick.
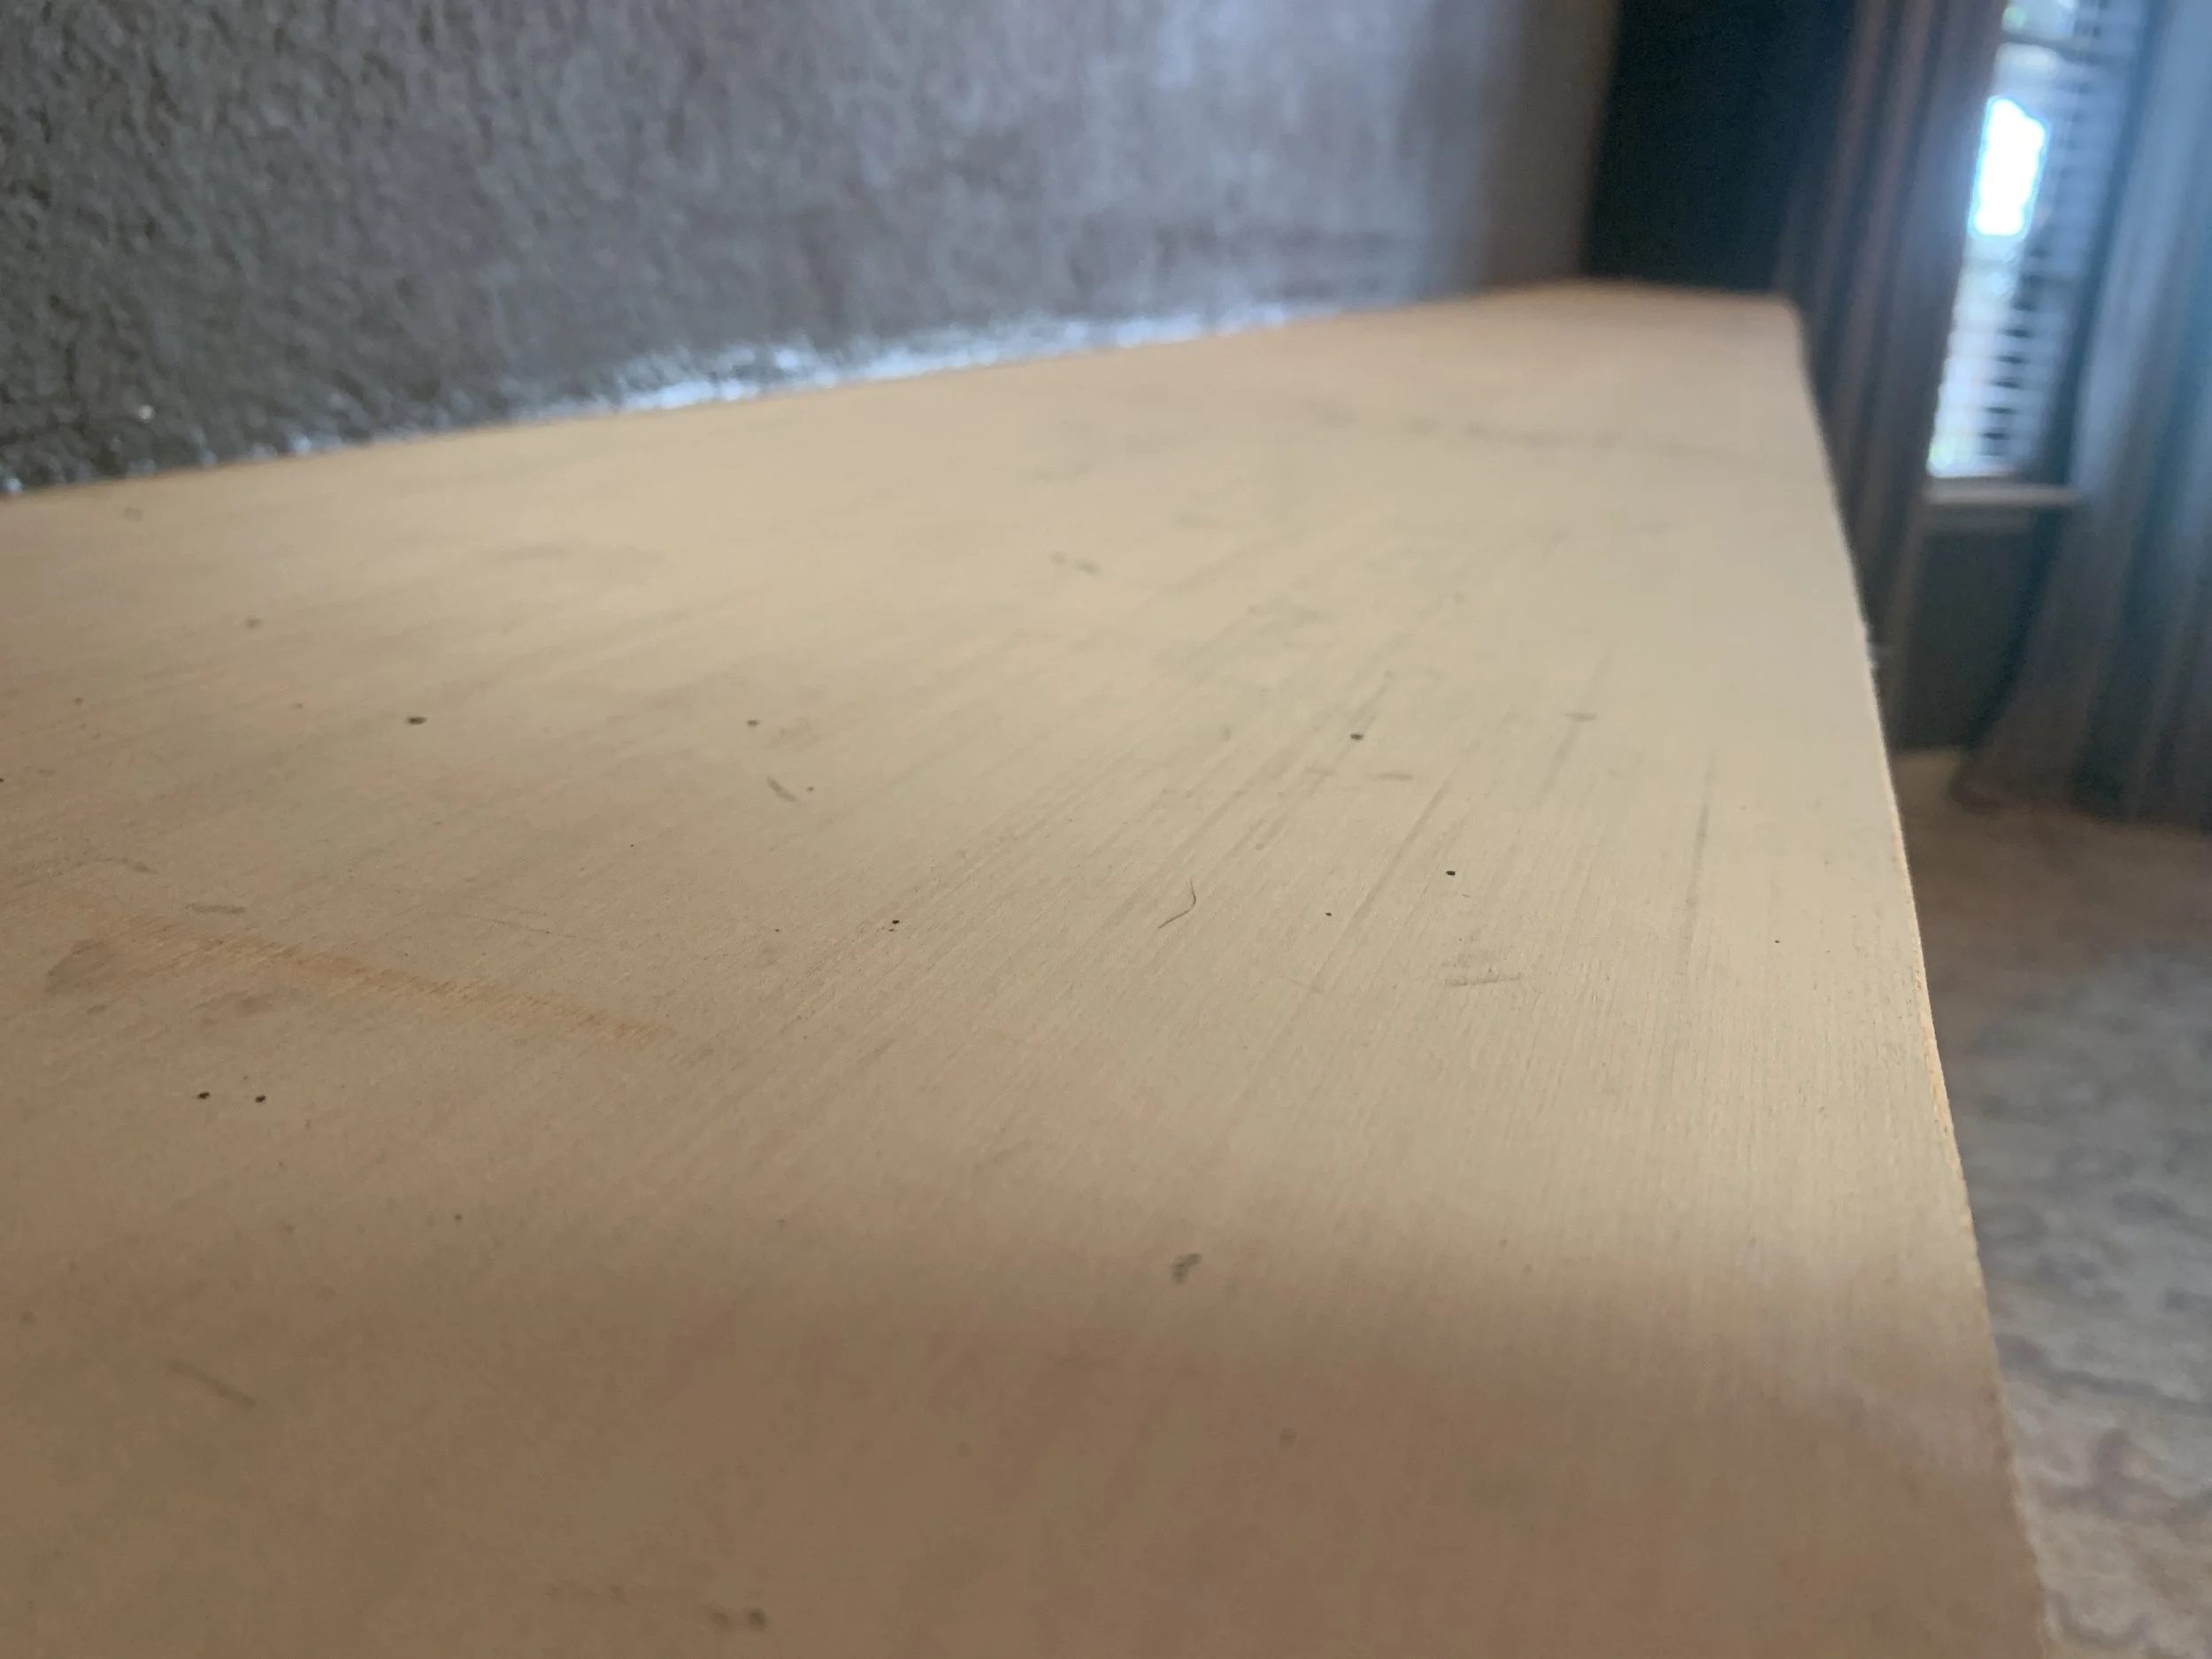
With the plywood countertop base firmly nailed in place, we vacuumed the counter so it was free of dust and used our drywall taping knife to spread a very thin skim coat layer of white Ardex Feather Finish onto the counter.
Layer 1
While you want to have thin, smooth layers, the first couple of layers are ok to be a little rough and imperfect as it gives the future layers something to stick to. The main thing is you don’t want any large clumps or lumps that will make troweling on the next layer difficult or wonky.
Layers 2+
To build up each layer you just sort of plop on the concrete and then using the drywall knife, smooth it out.

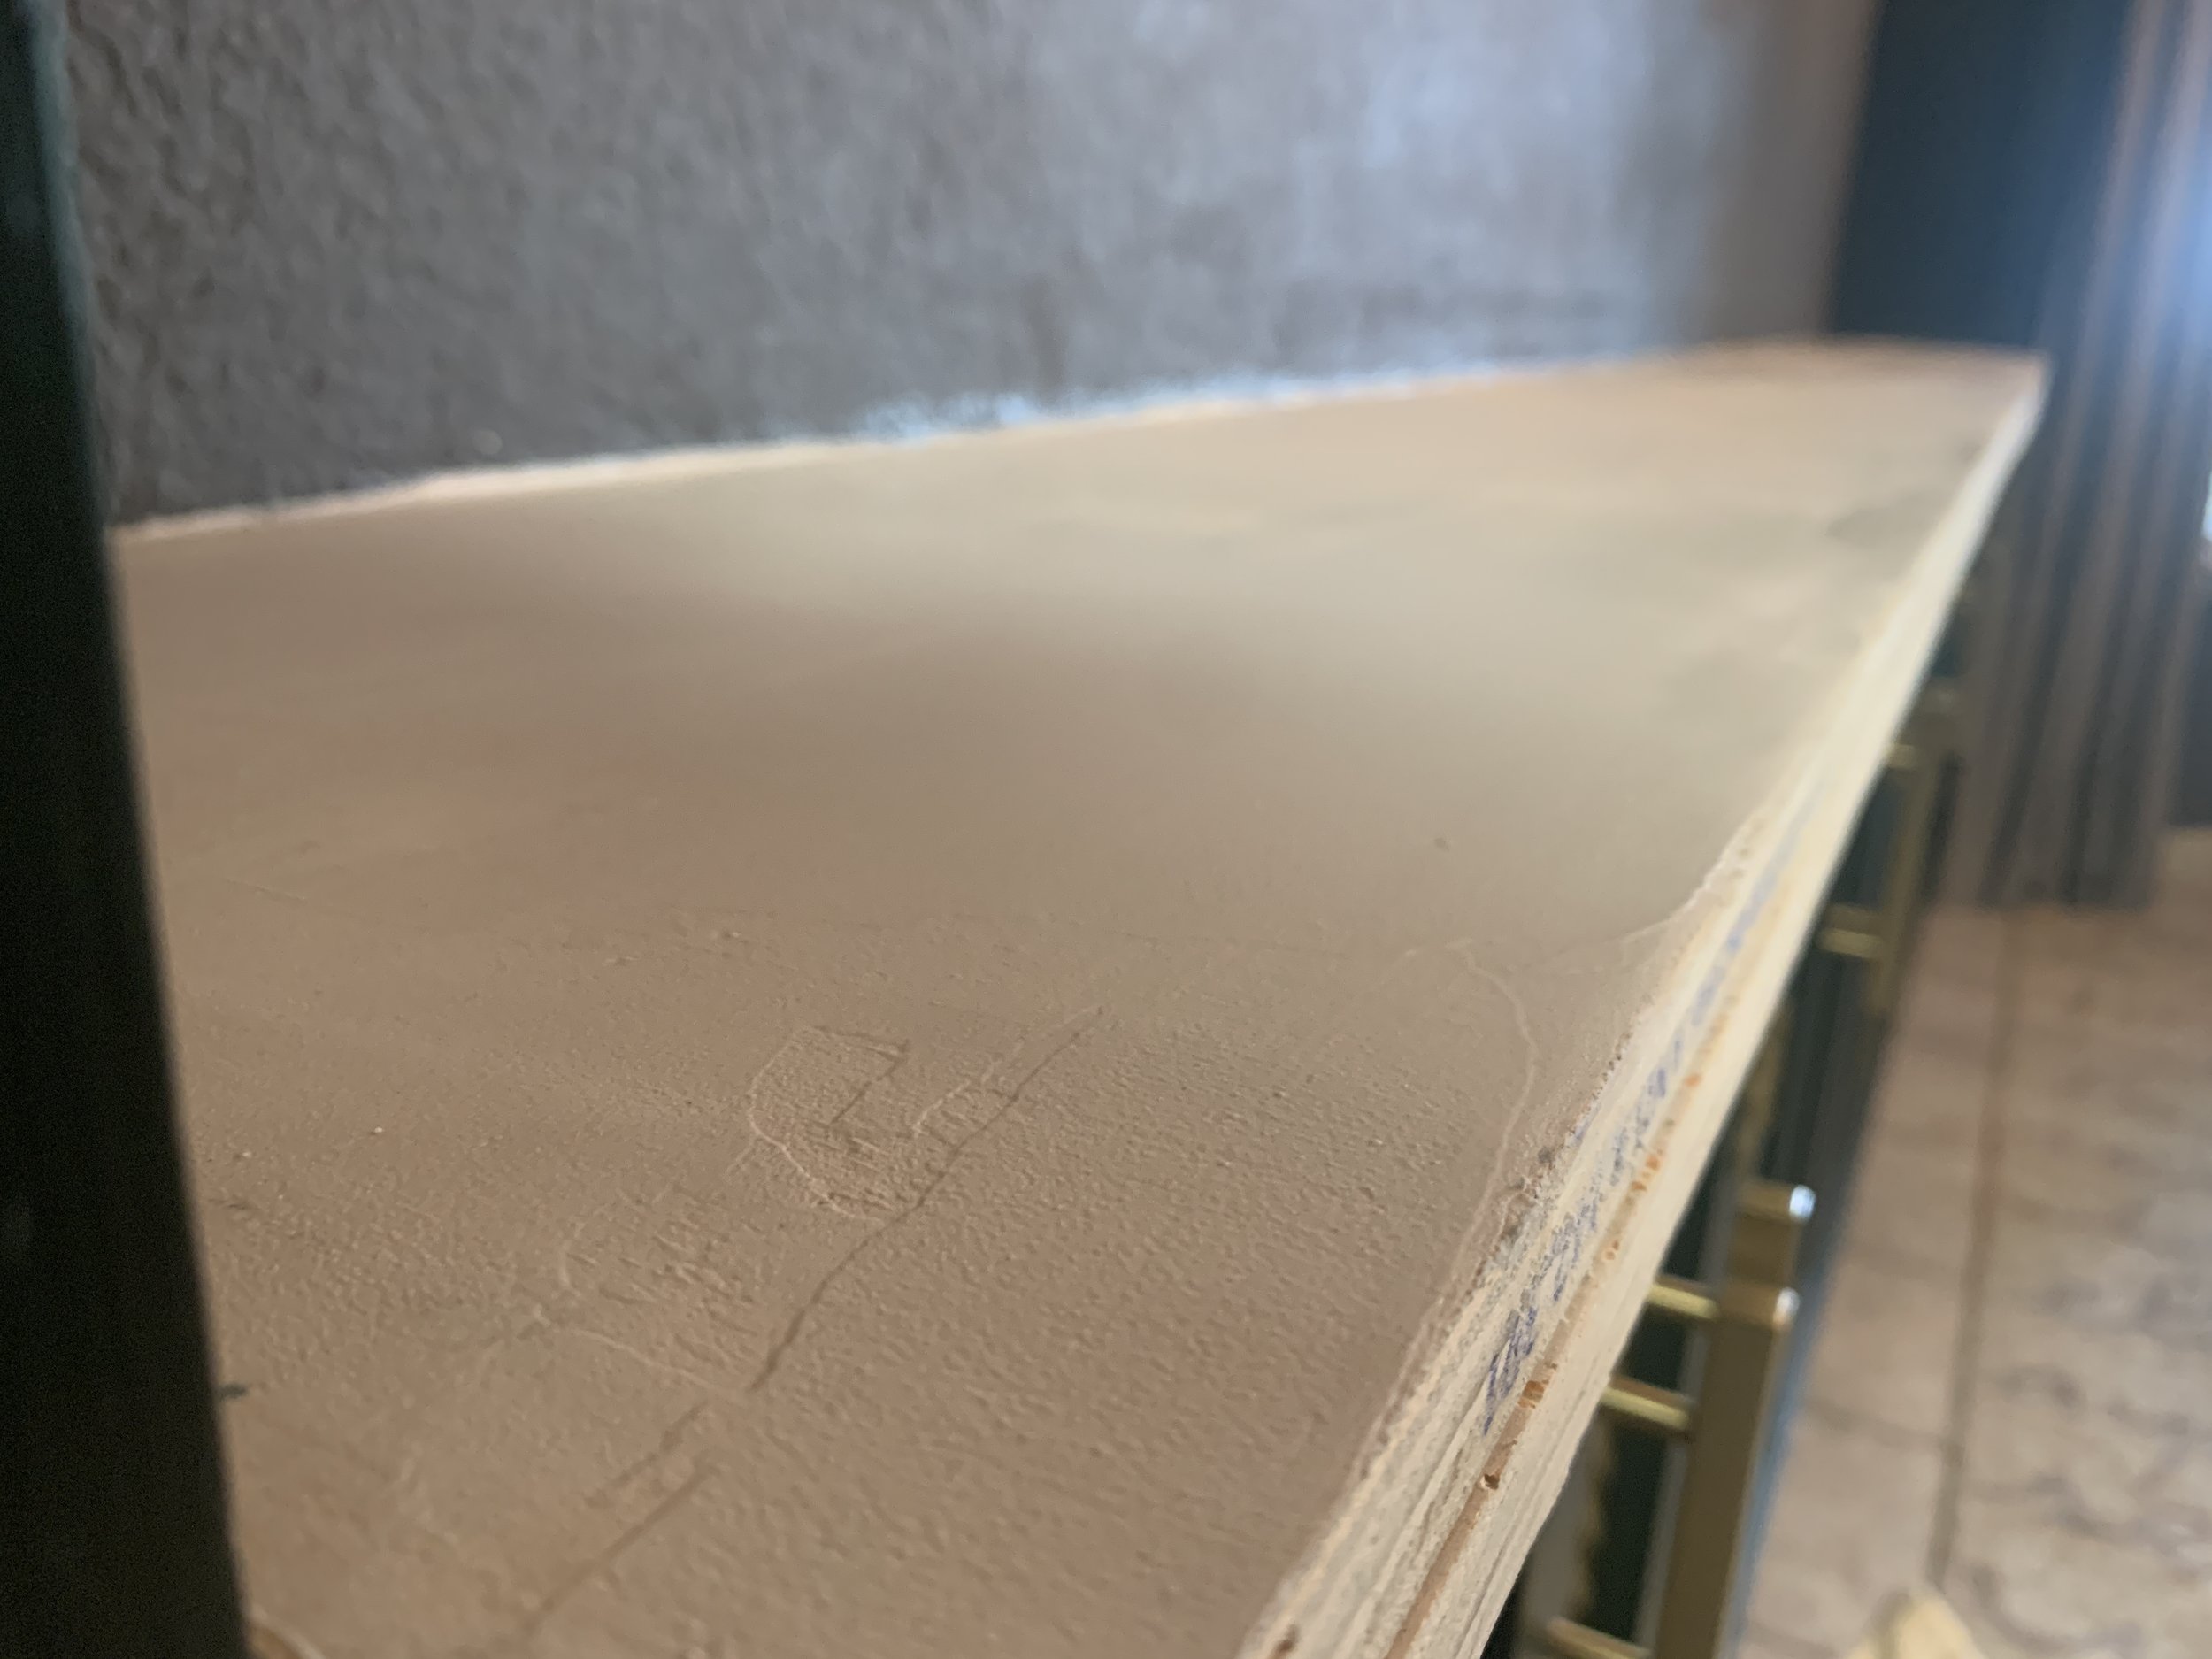
You have to work kind of fast and you can tell when it’s starting to dry out (AKA when to stop working with it) because the trowel/drywall knife sort of skips on the surface instead of gliding smoothly. You can see below what that looks like with a slight texture on the surface. Nothing that can’t be covered over and/or sanded down after the layer dries.

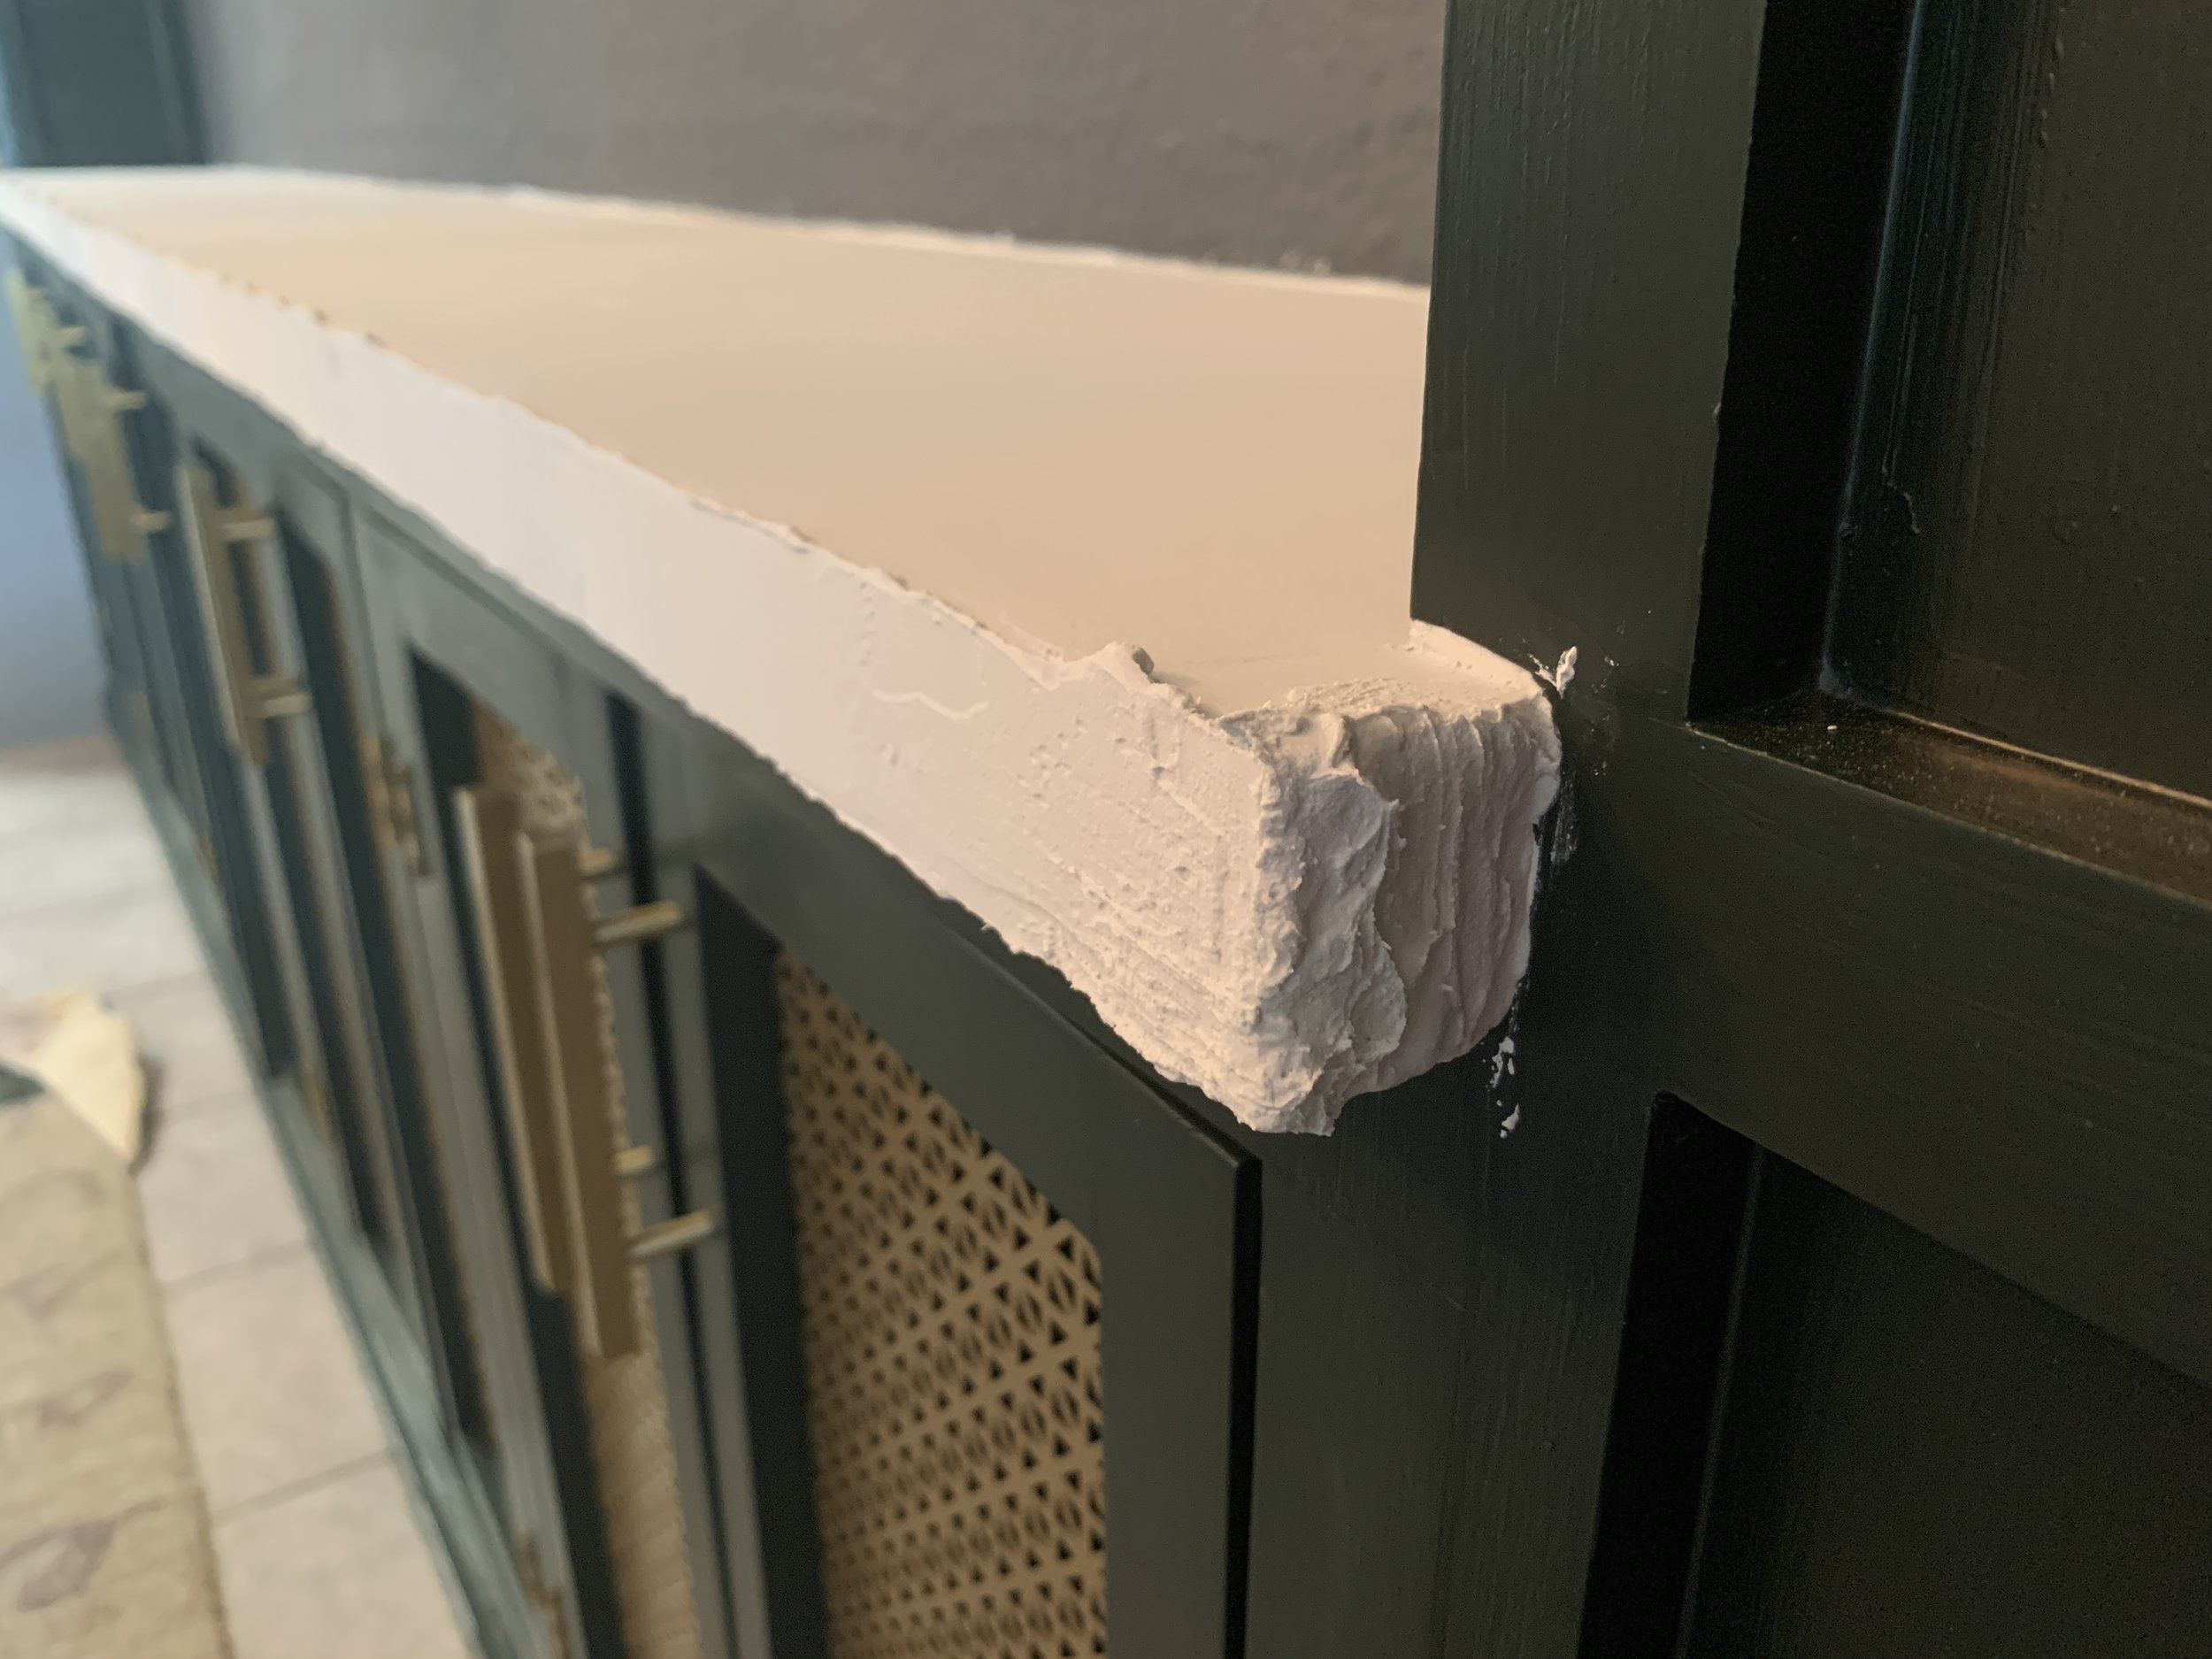
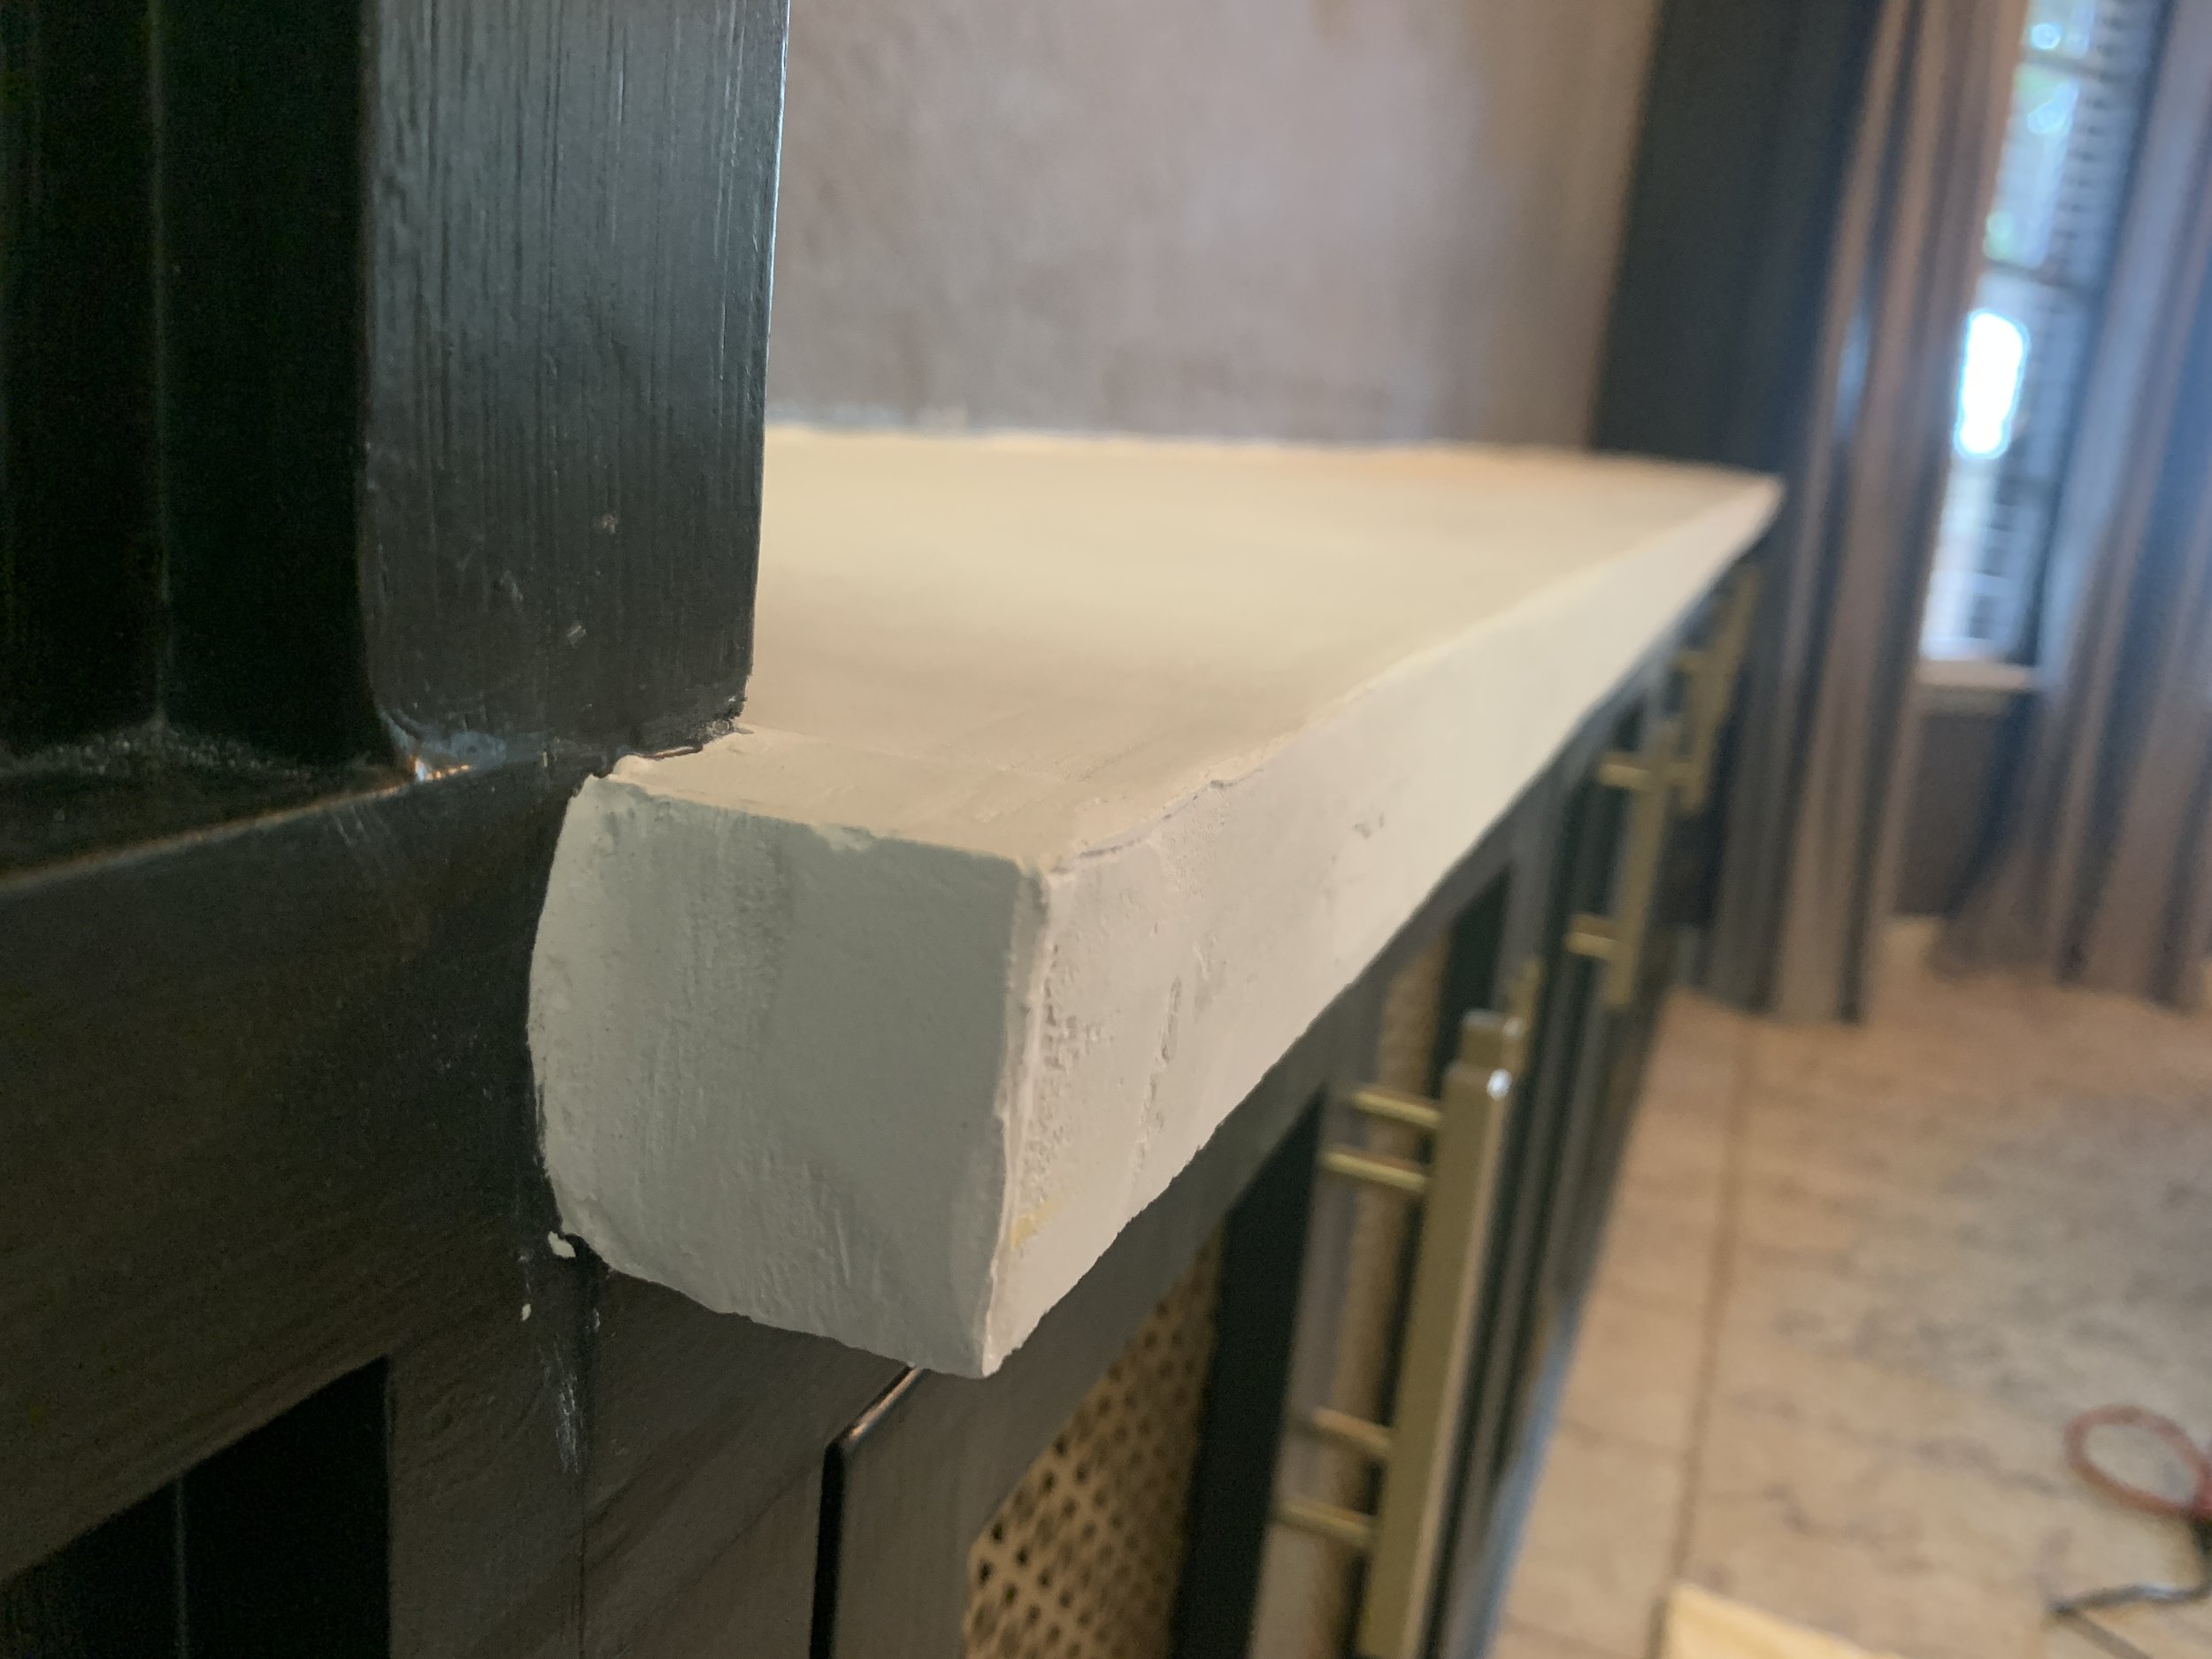
The edges
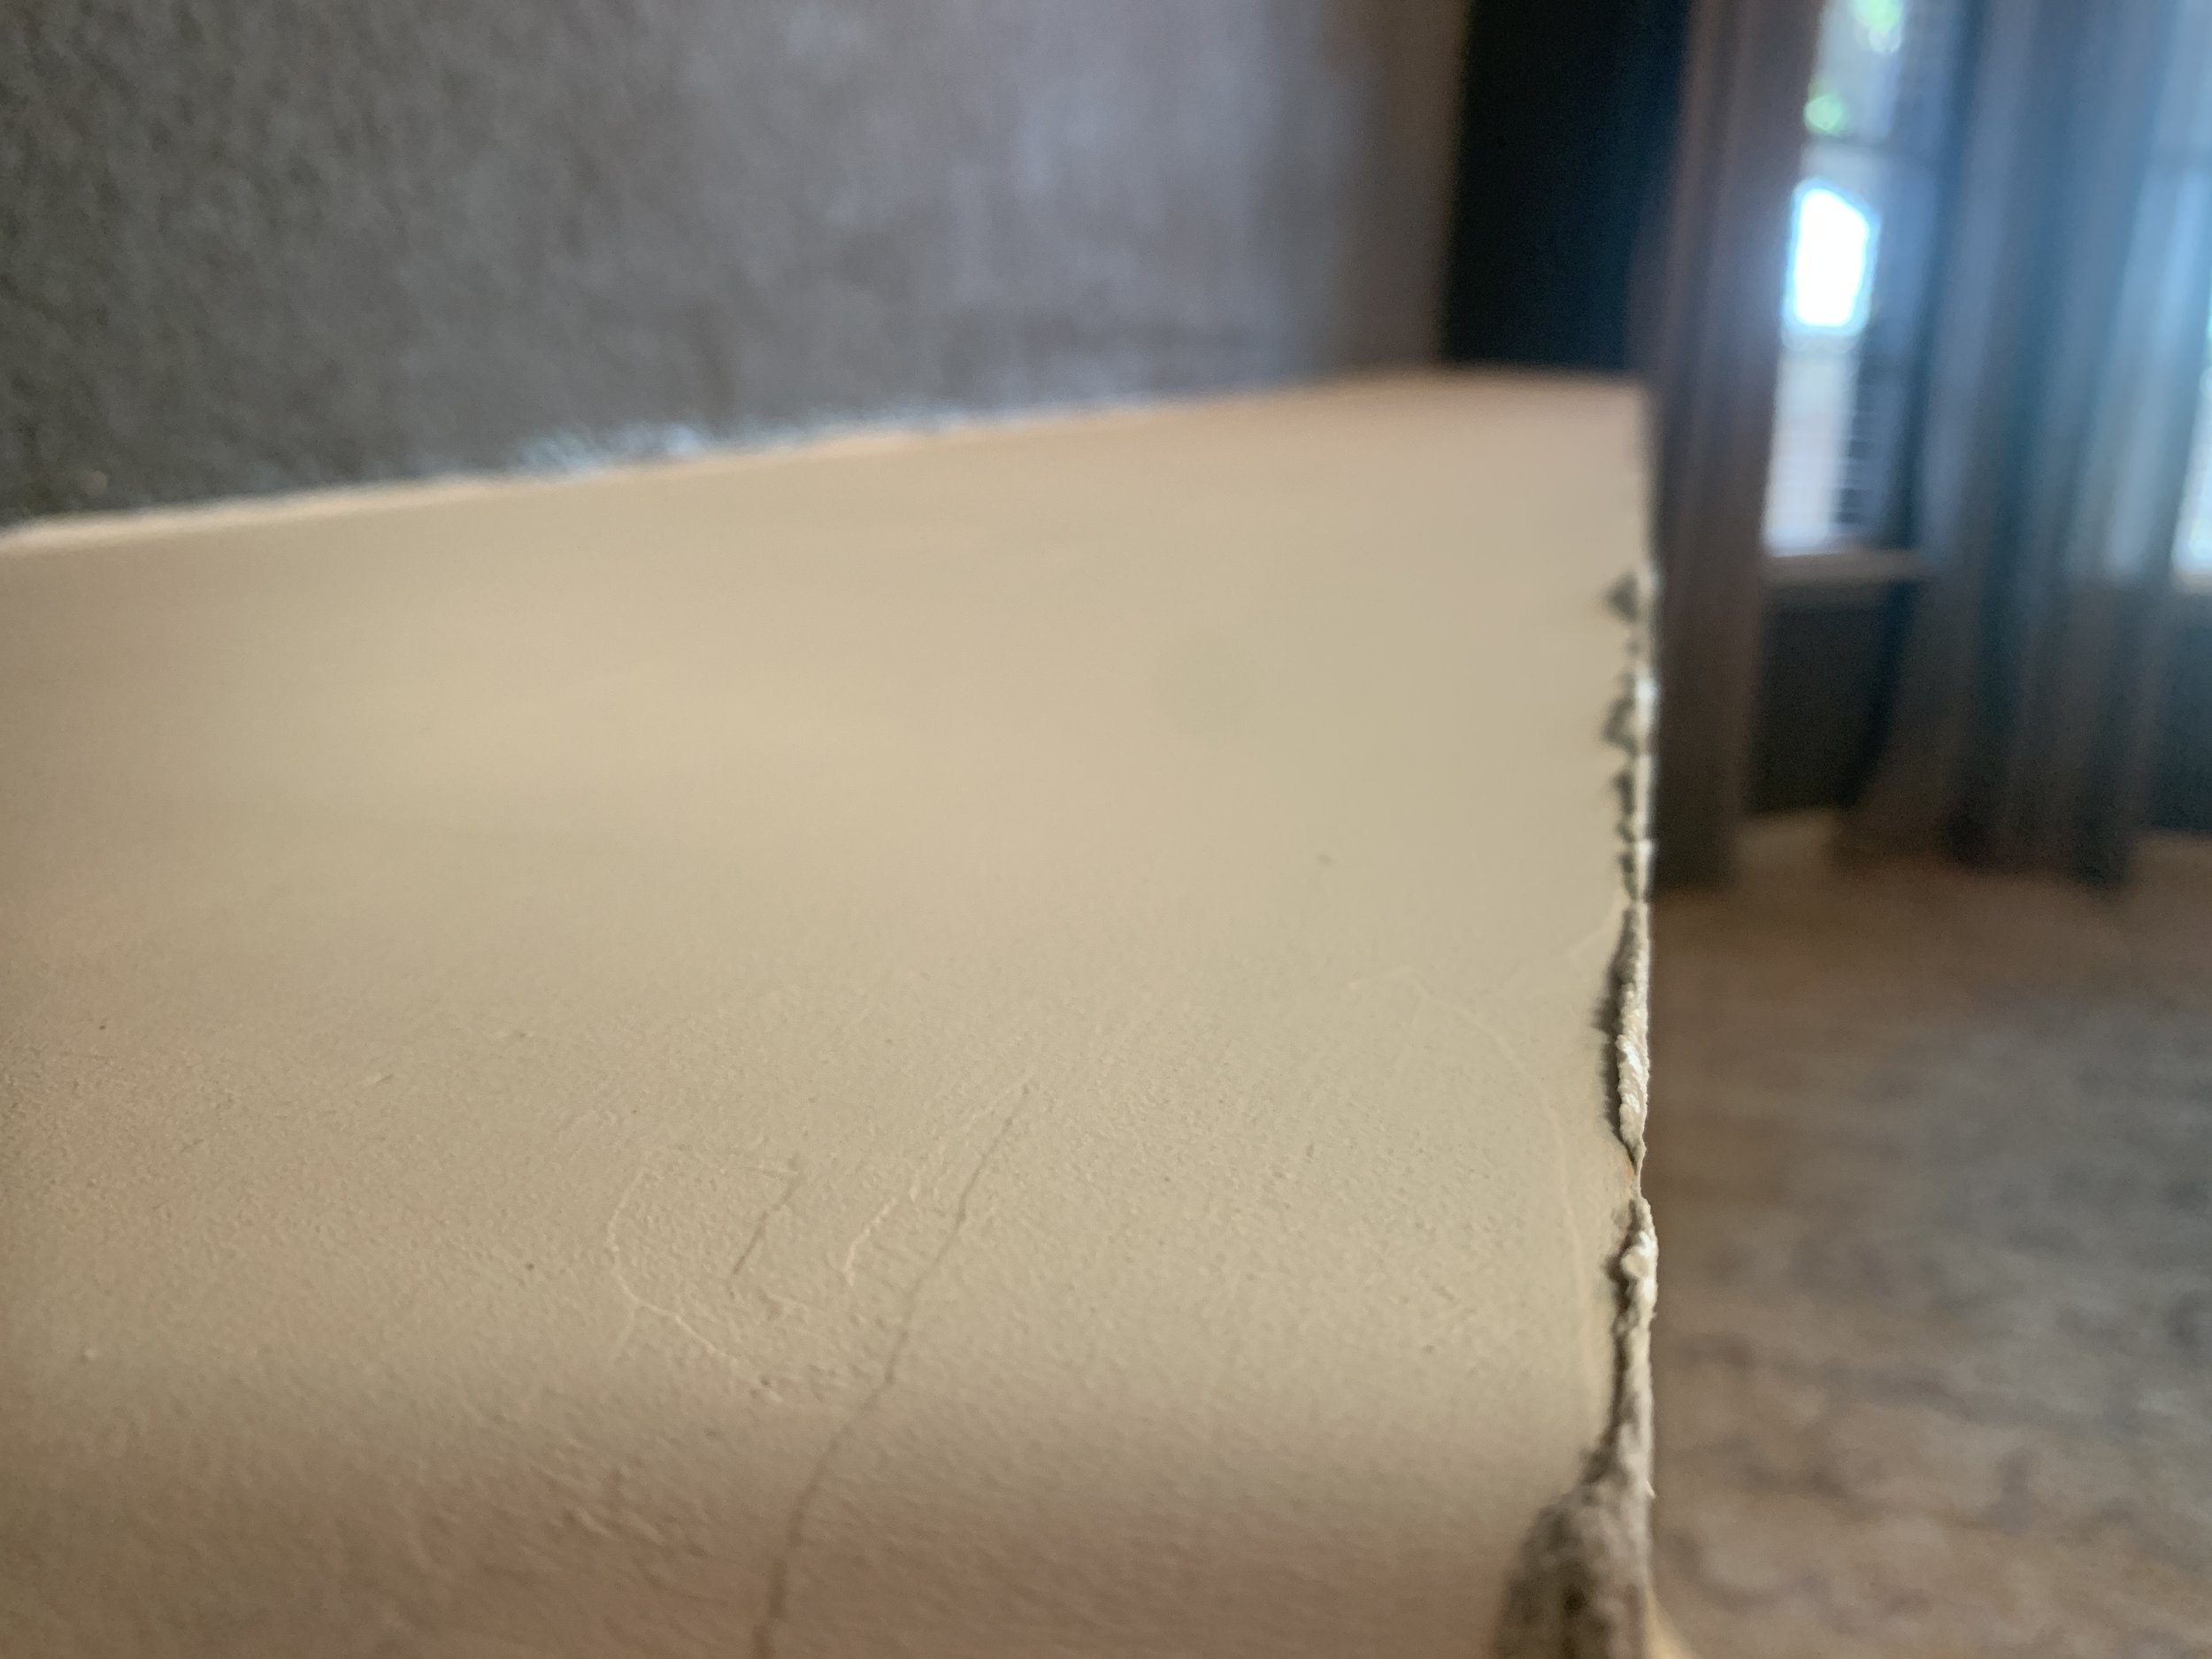
To build up a good square edge, we found it best to leave a lot of extra concrete on the edges and use a putty knife and electric sander to carefully scrape and sand it to a square edge later. If you apply concrete to the corners too thin, it’s hard to get a nice, crisp edge as the concrete is likely to chip/break off a little when sanding/scraping.

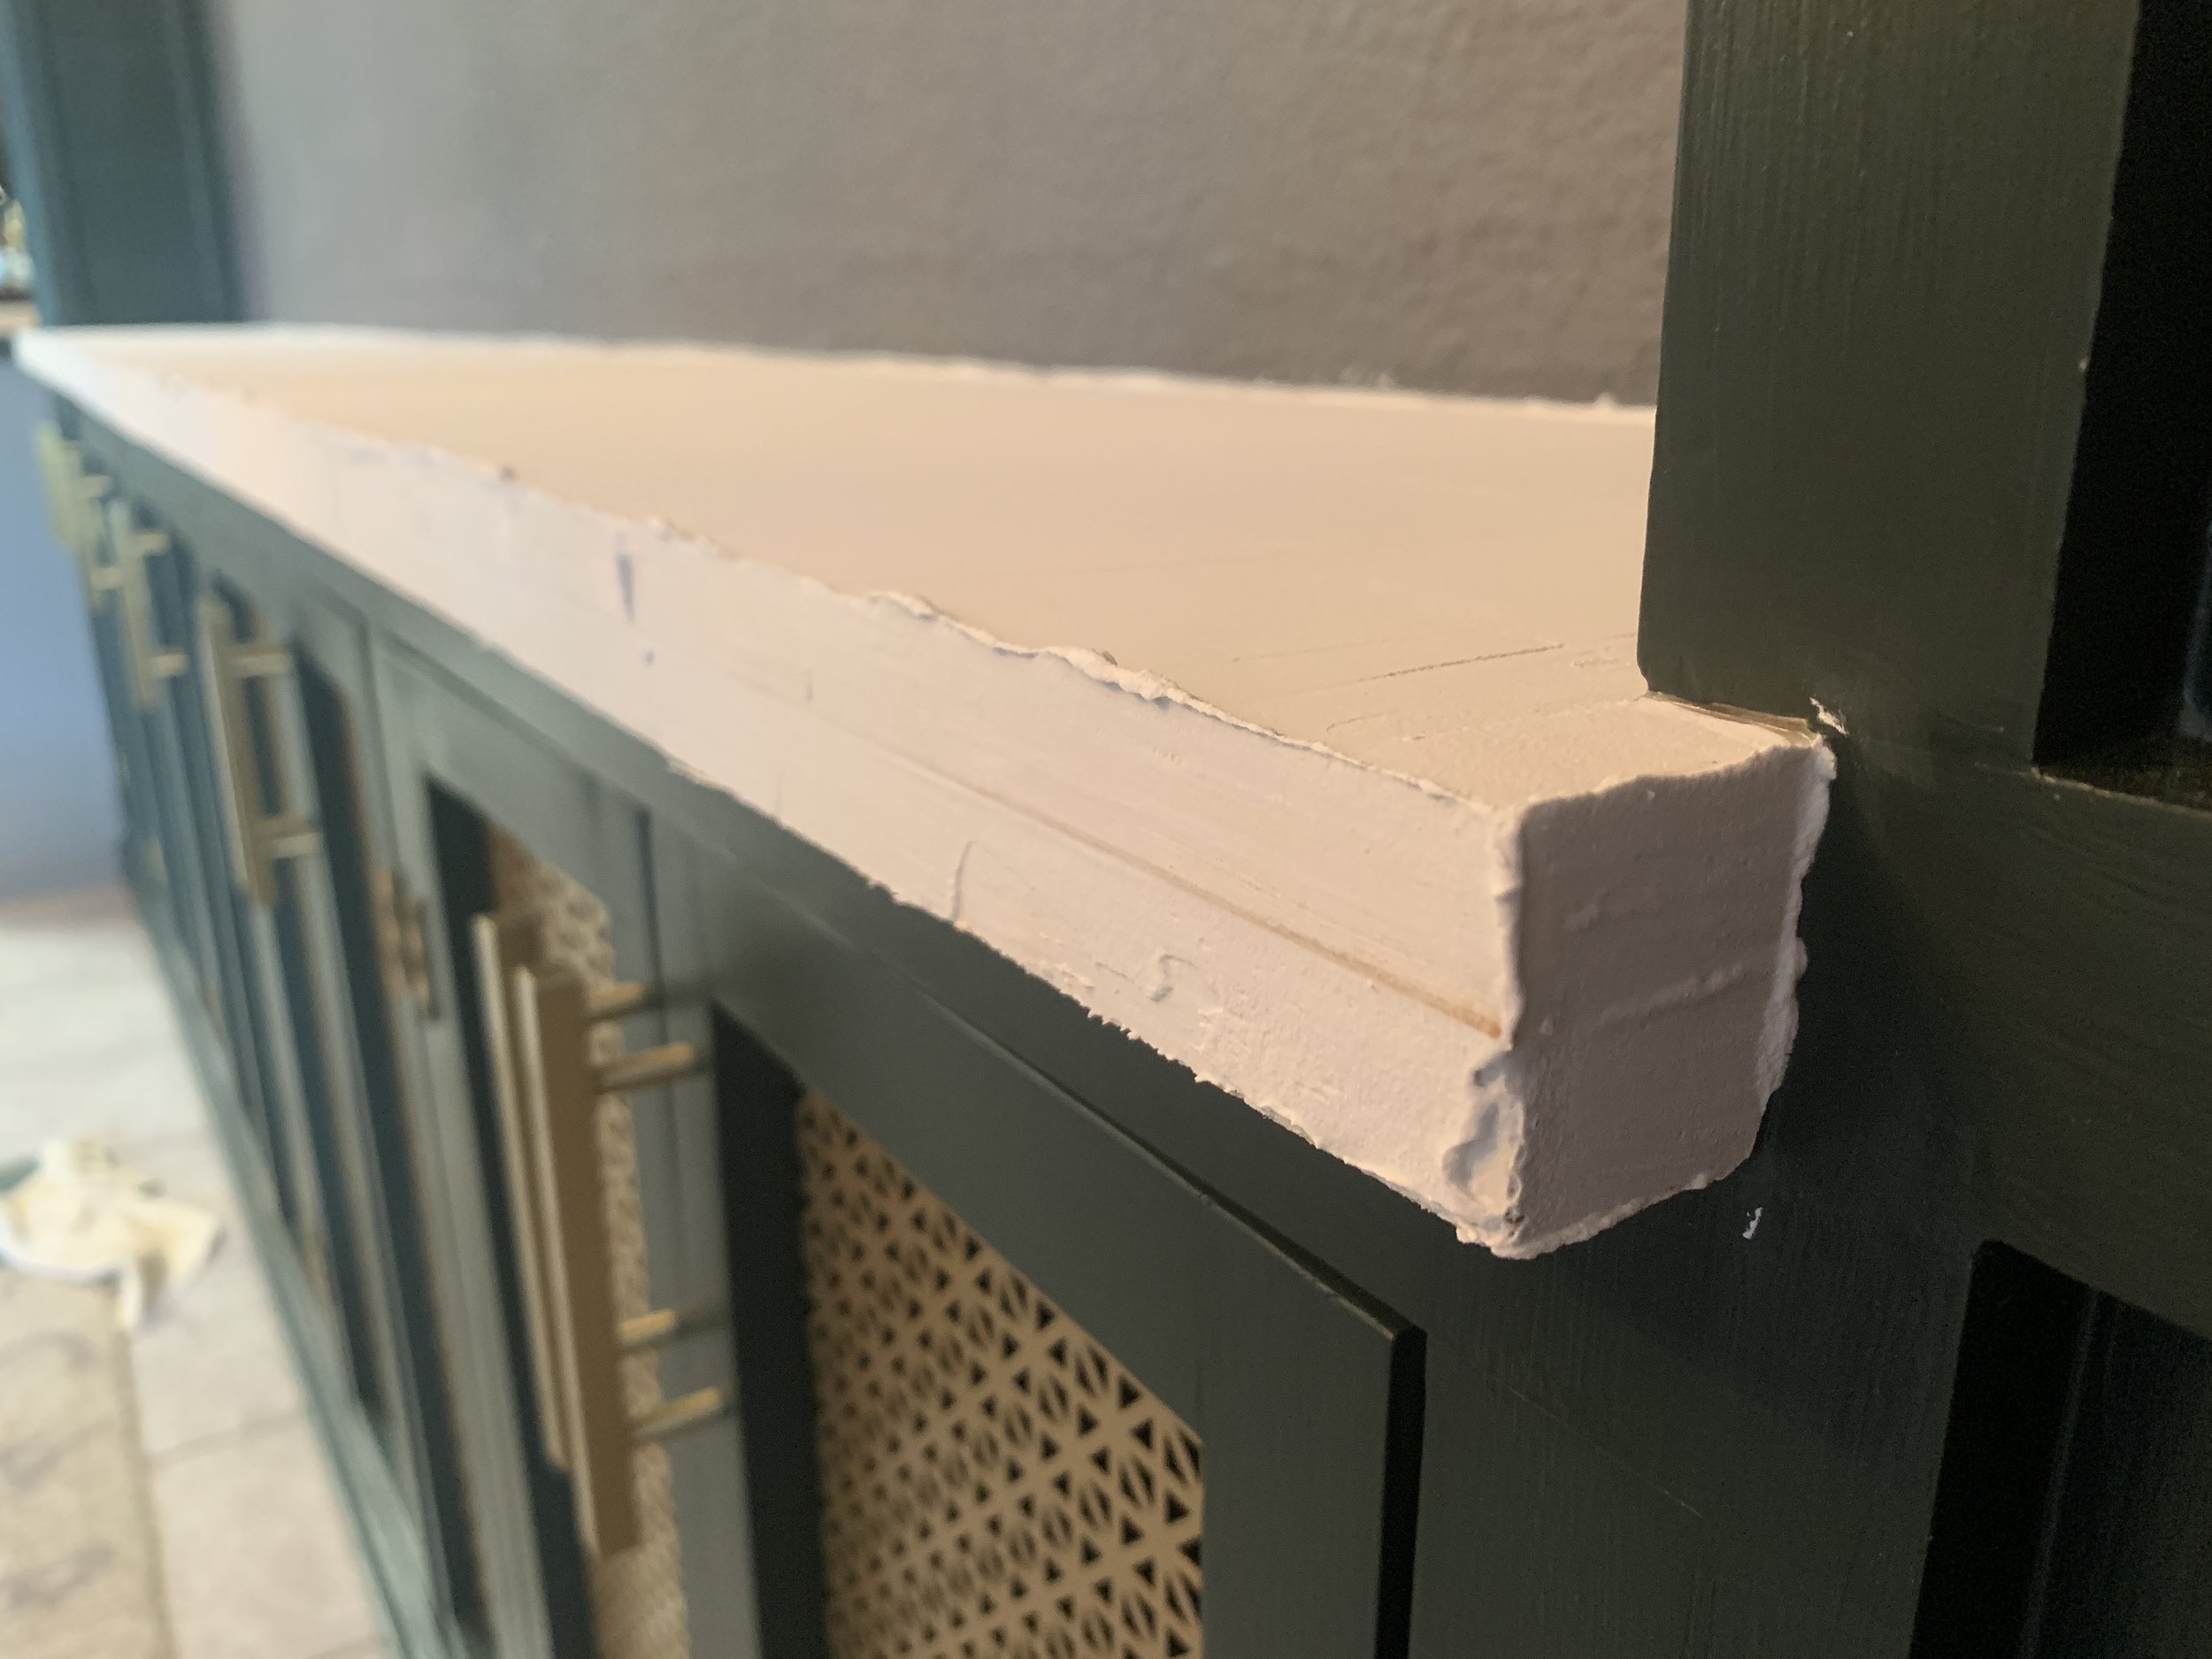
Good news is just like the rest of the counter, it’s totally buildable on the edges.

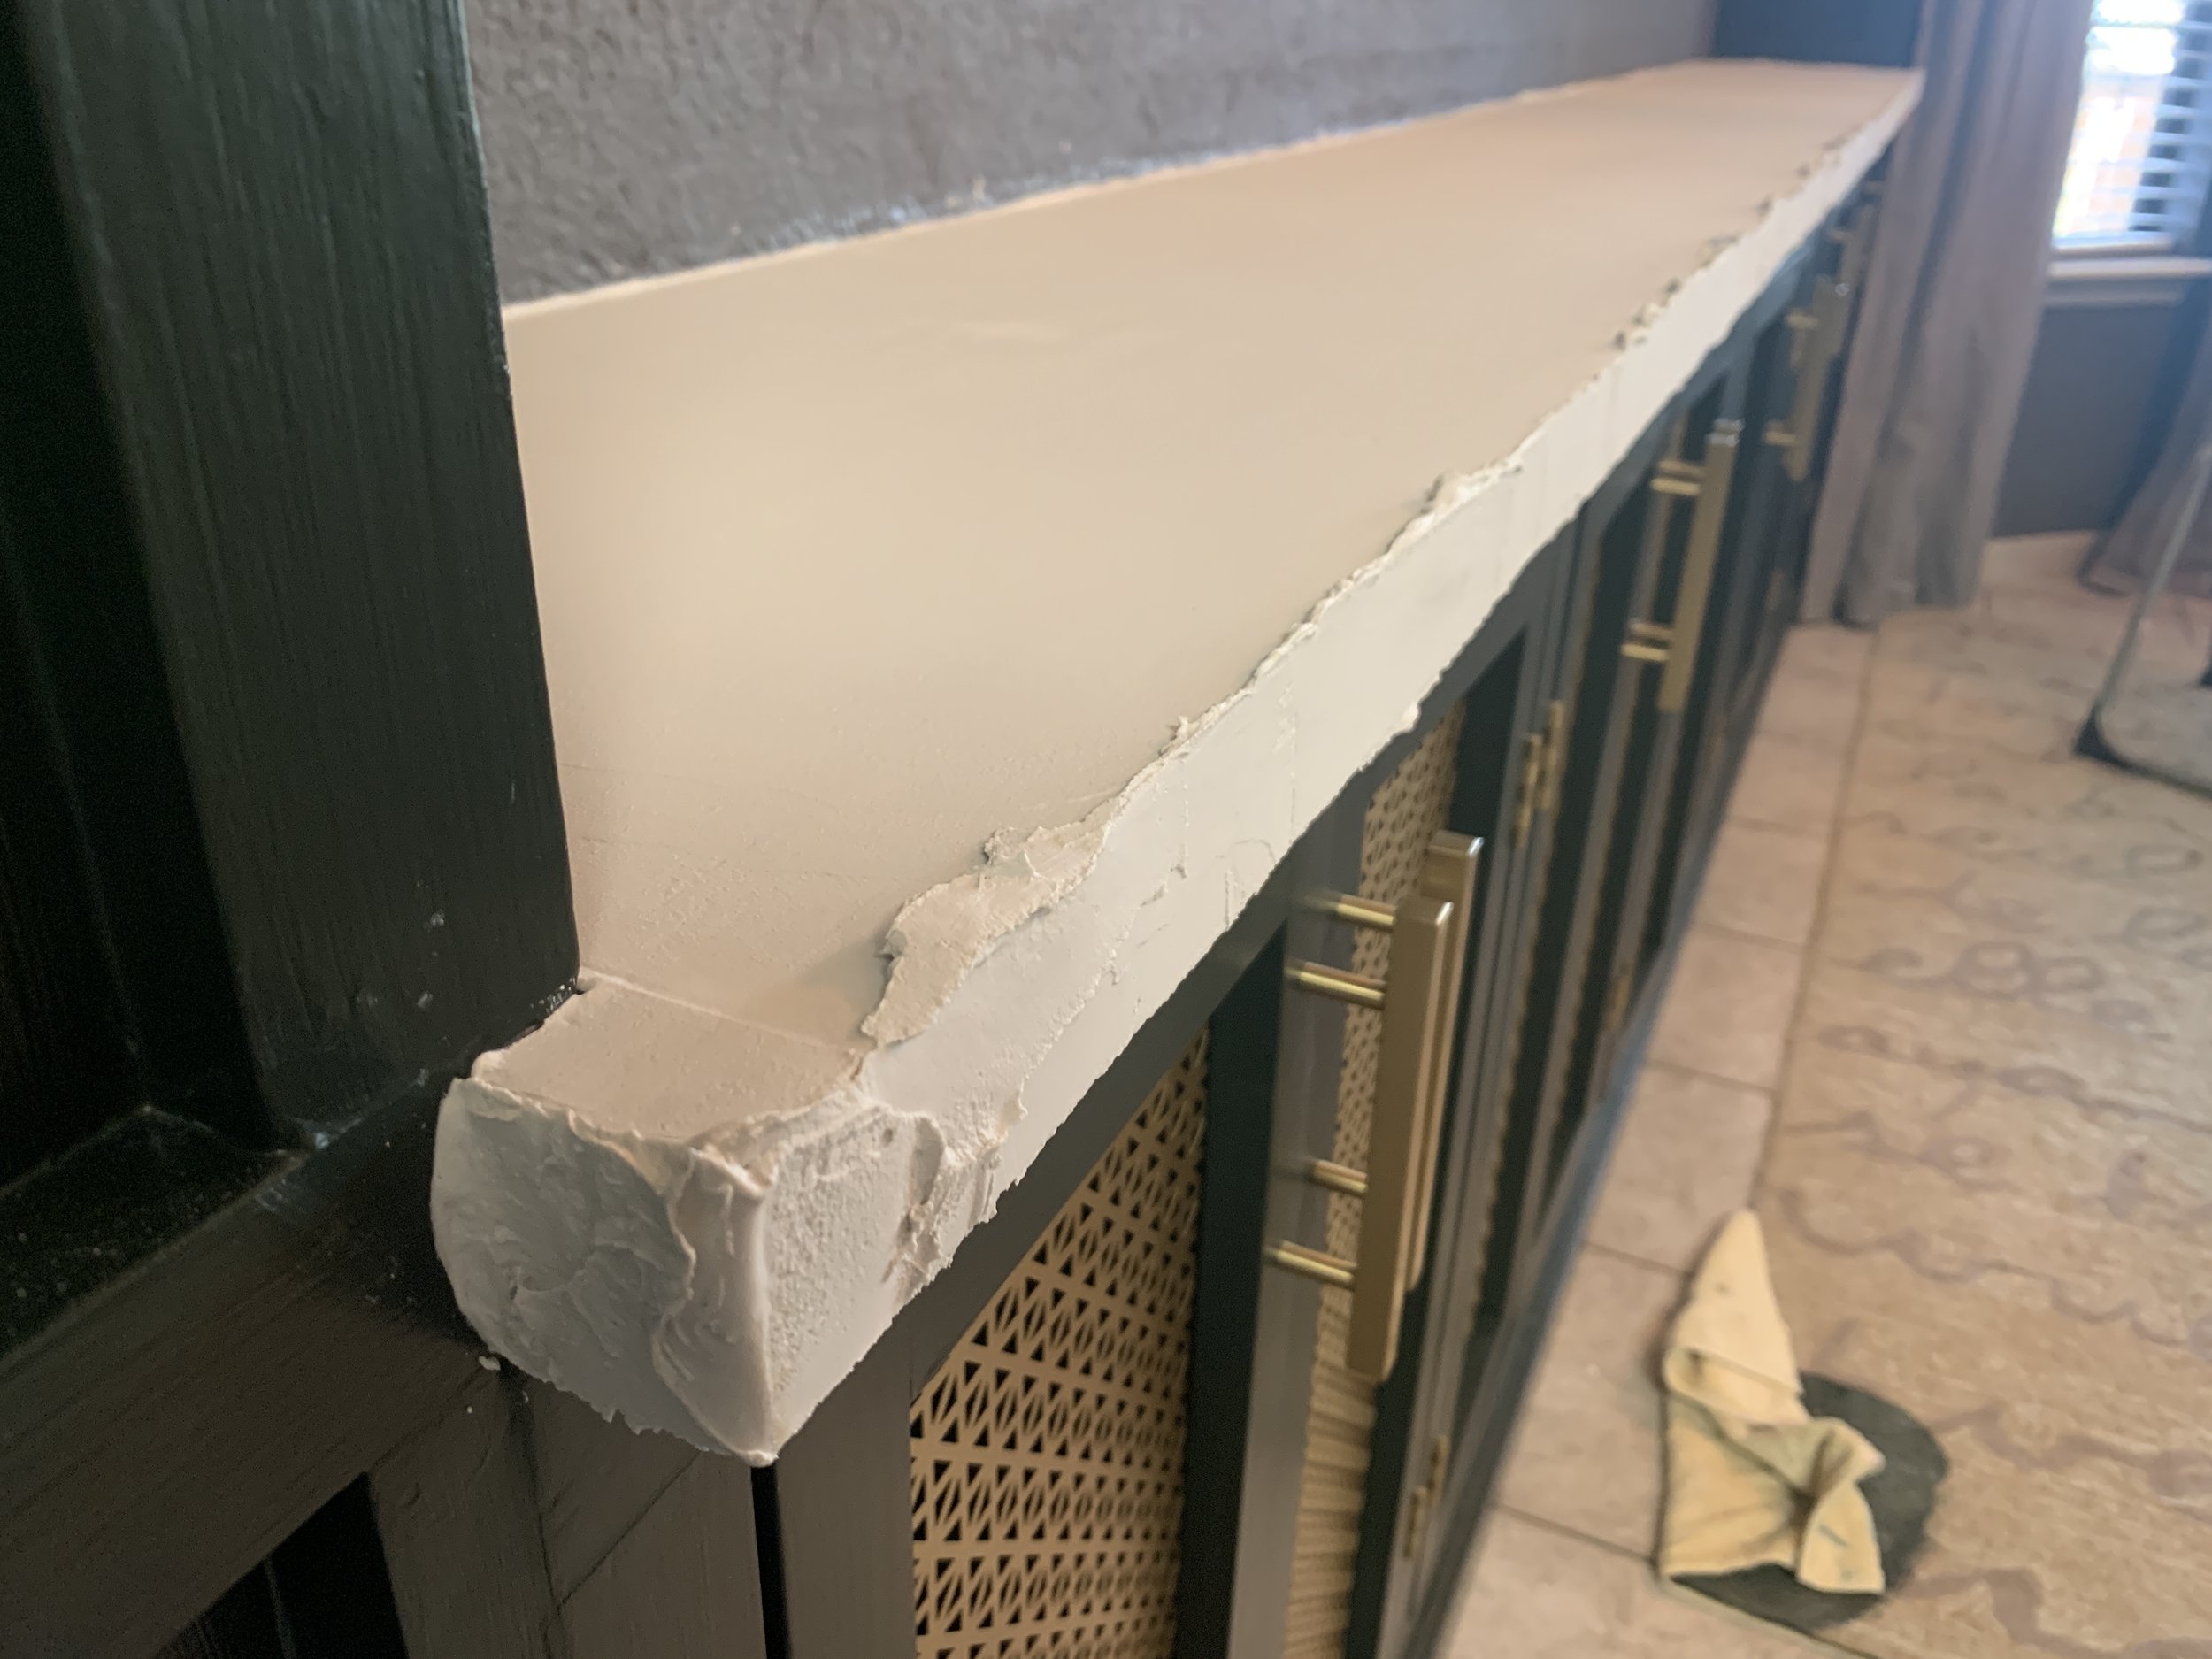
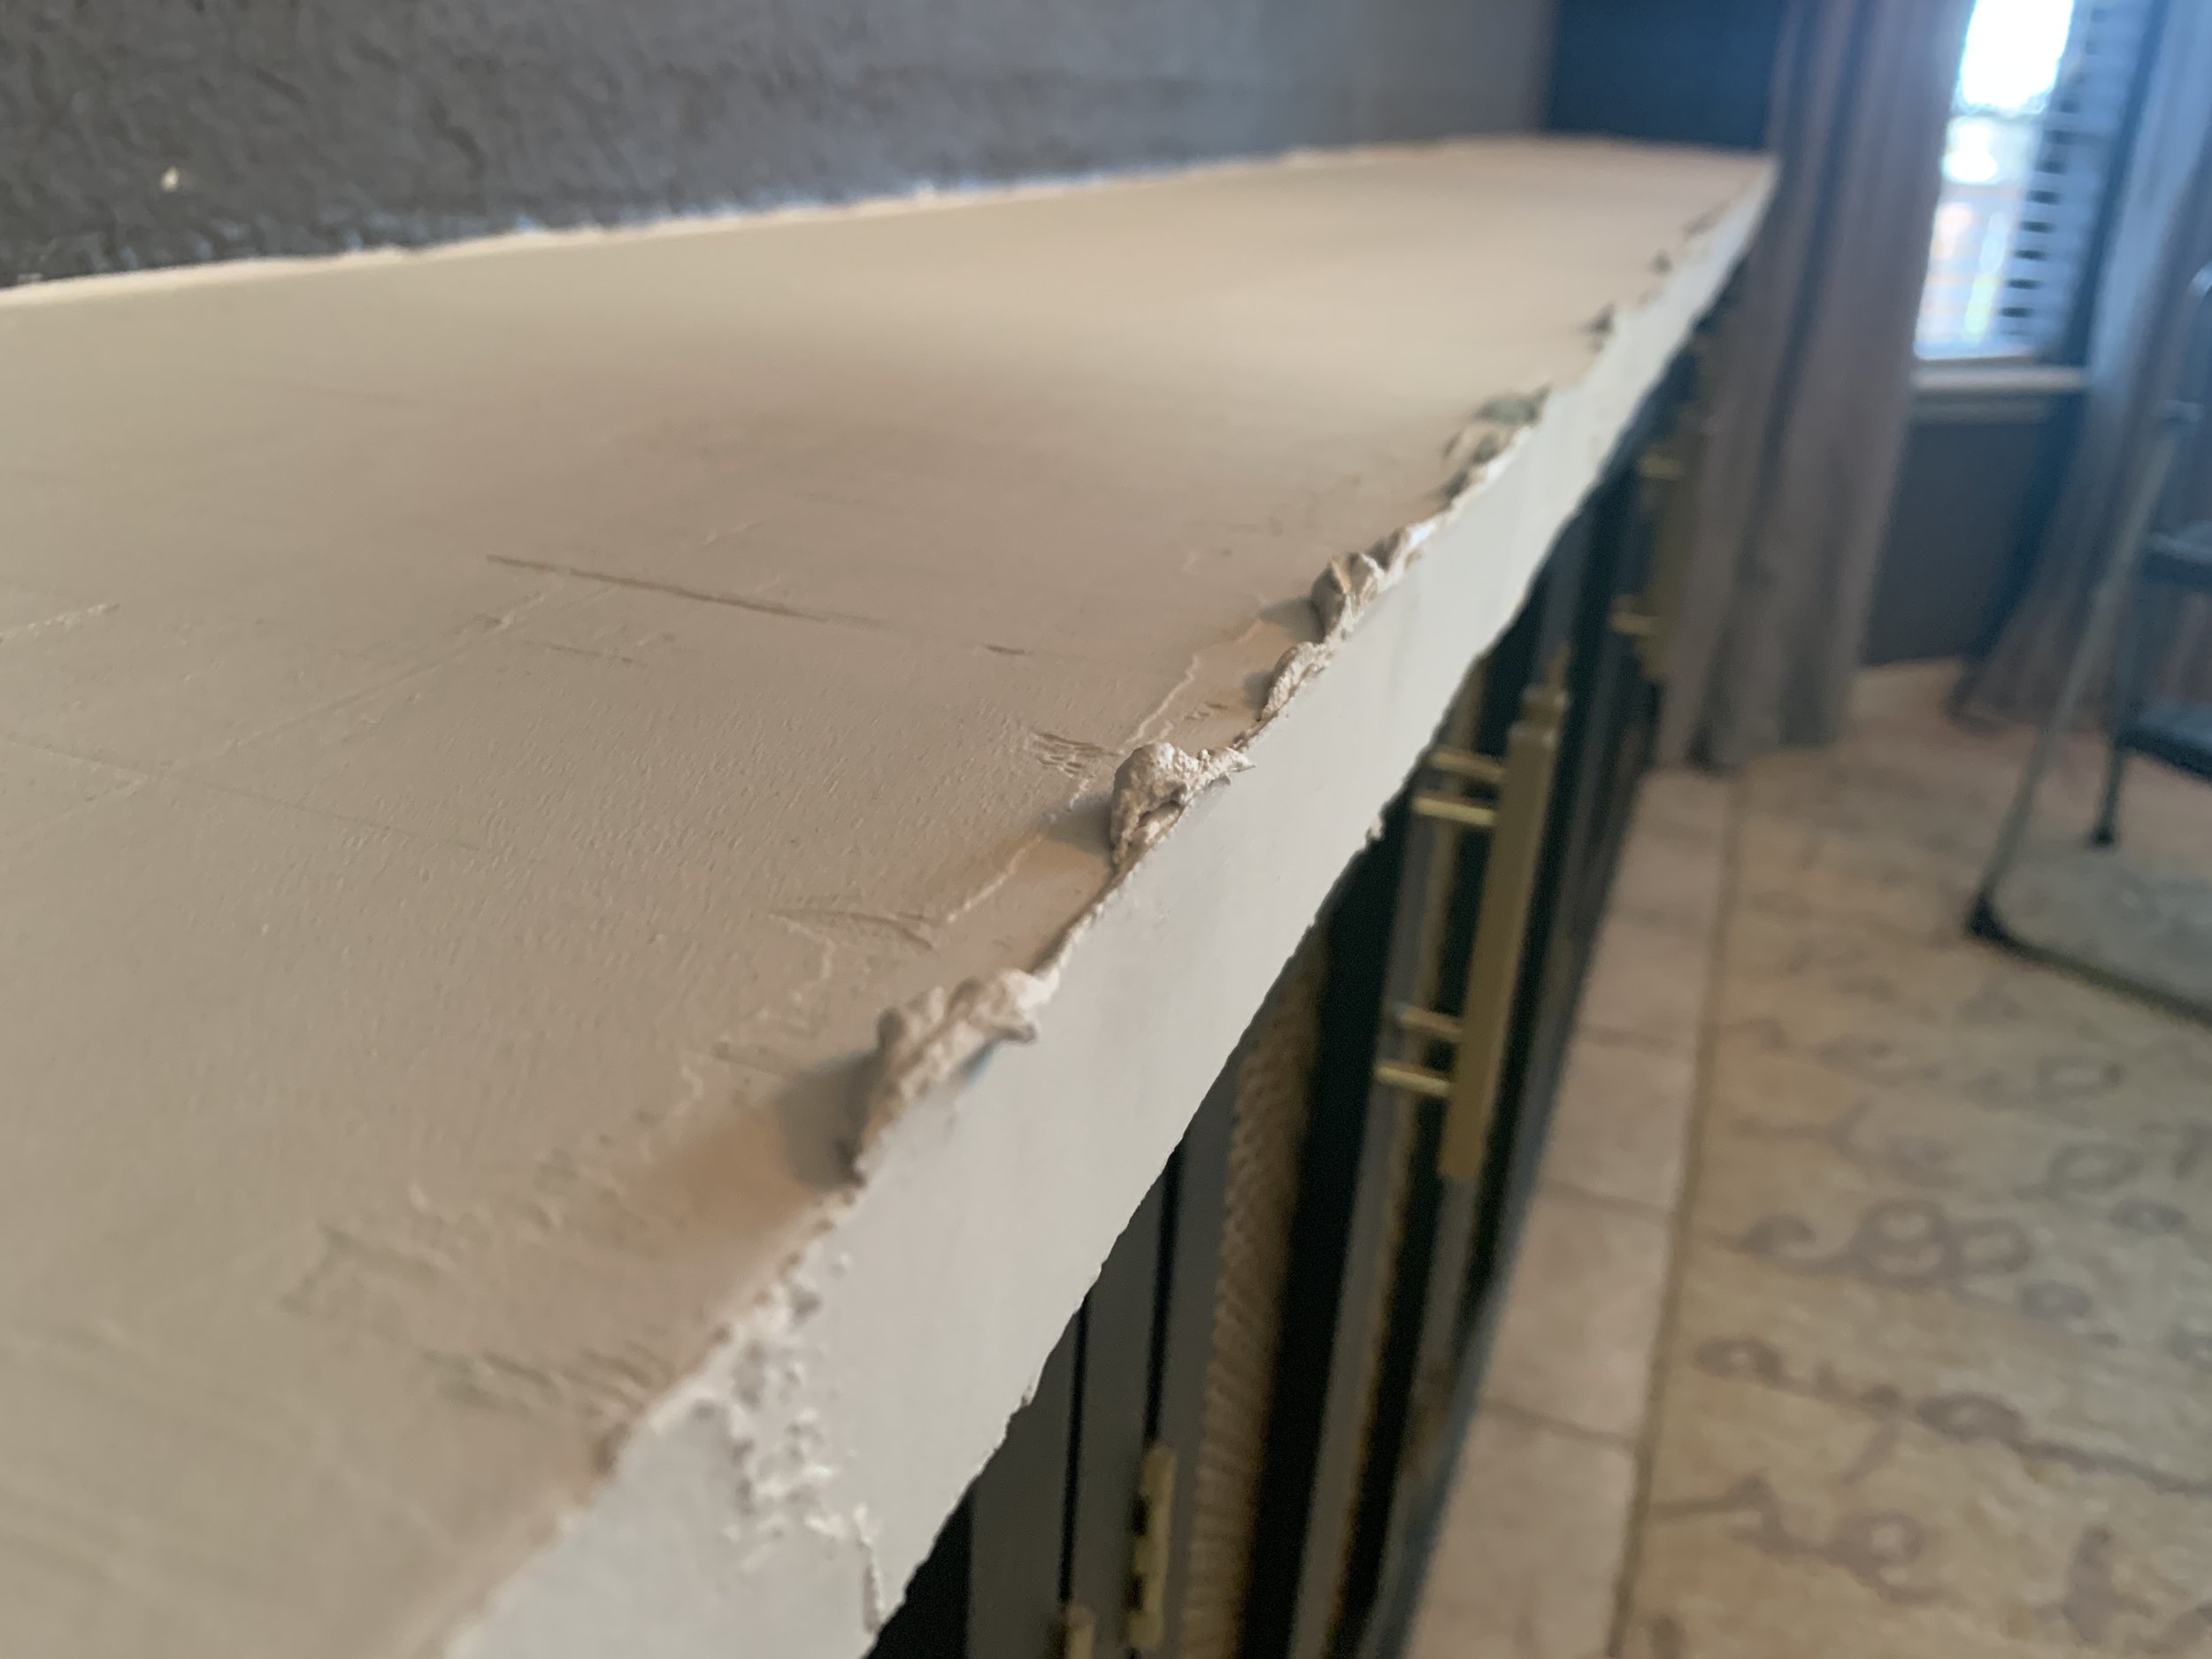
So just apply and sand…
Apply…

And sand…

Until you’re happy with it.

Perfecting the concrete layers
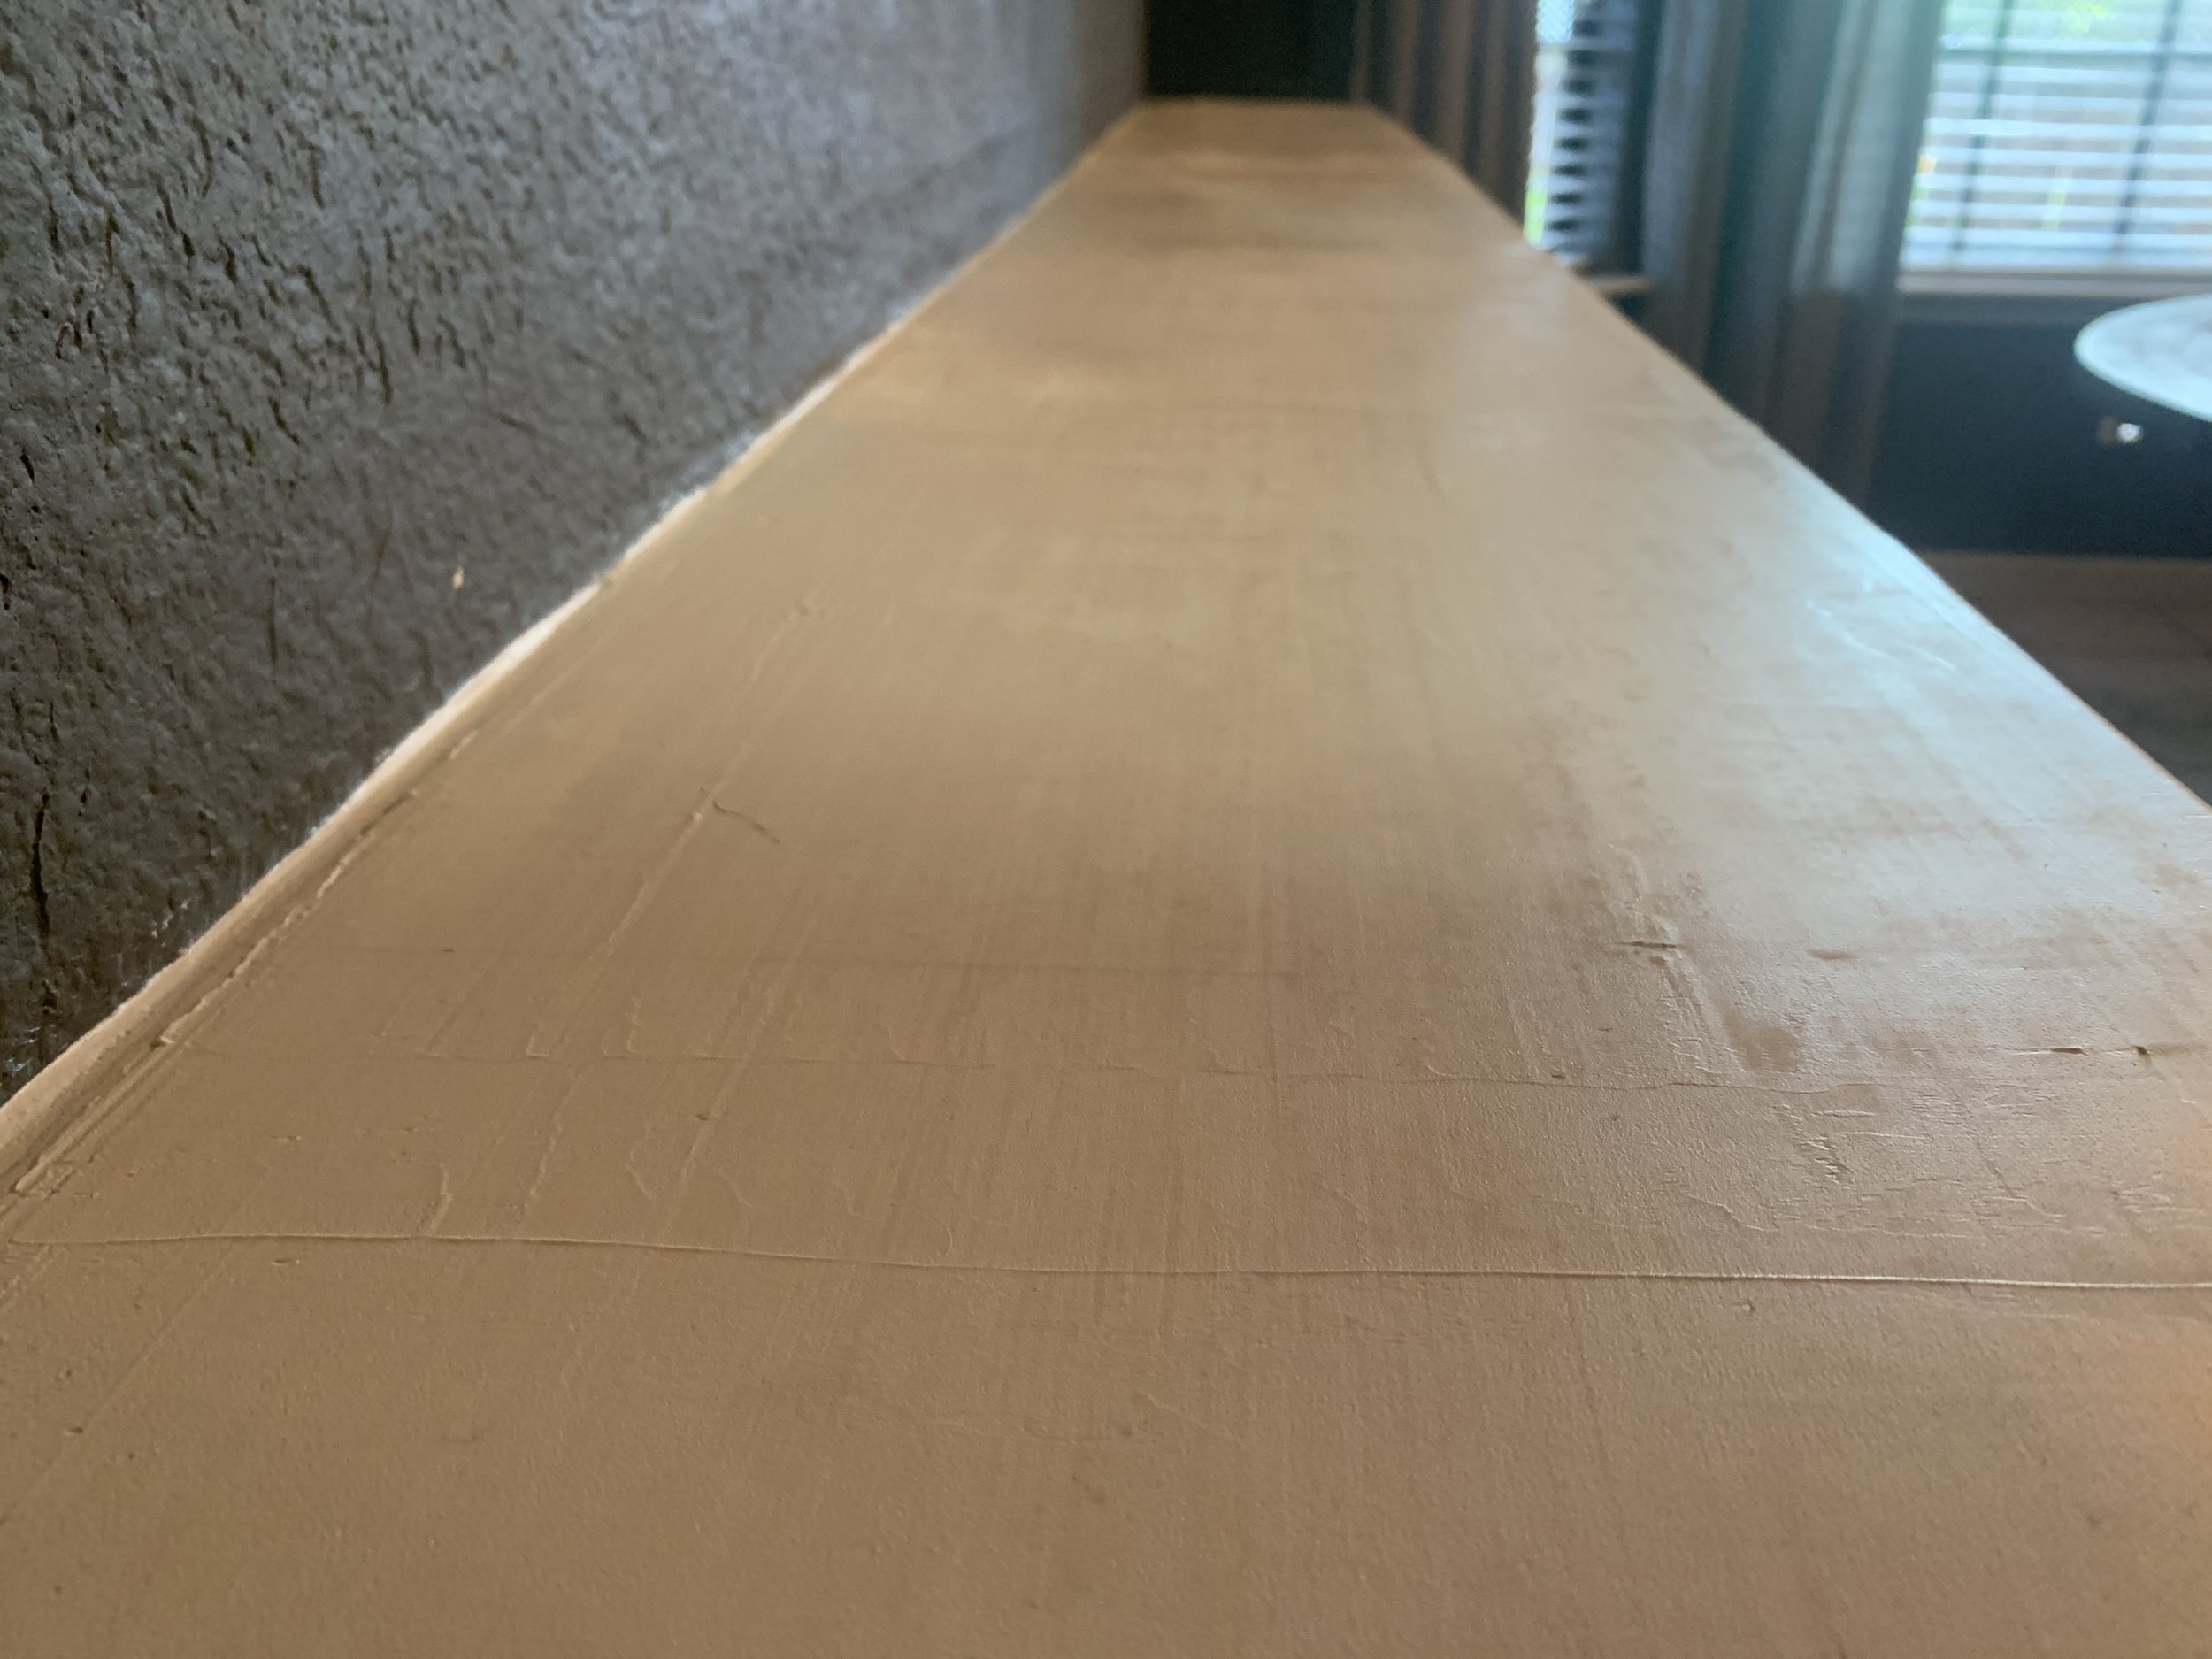
We did four concrete layers in total, allowing each layer to dry completely before moving forward on the next one. After using a putty knife to carefully scrape away any big ridges, we sanded layers two and three with 180 grit to create a super smooth surface for the next layer of concrete and carefully vacuumed the dust from the countertop each time.

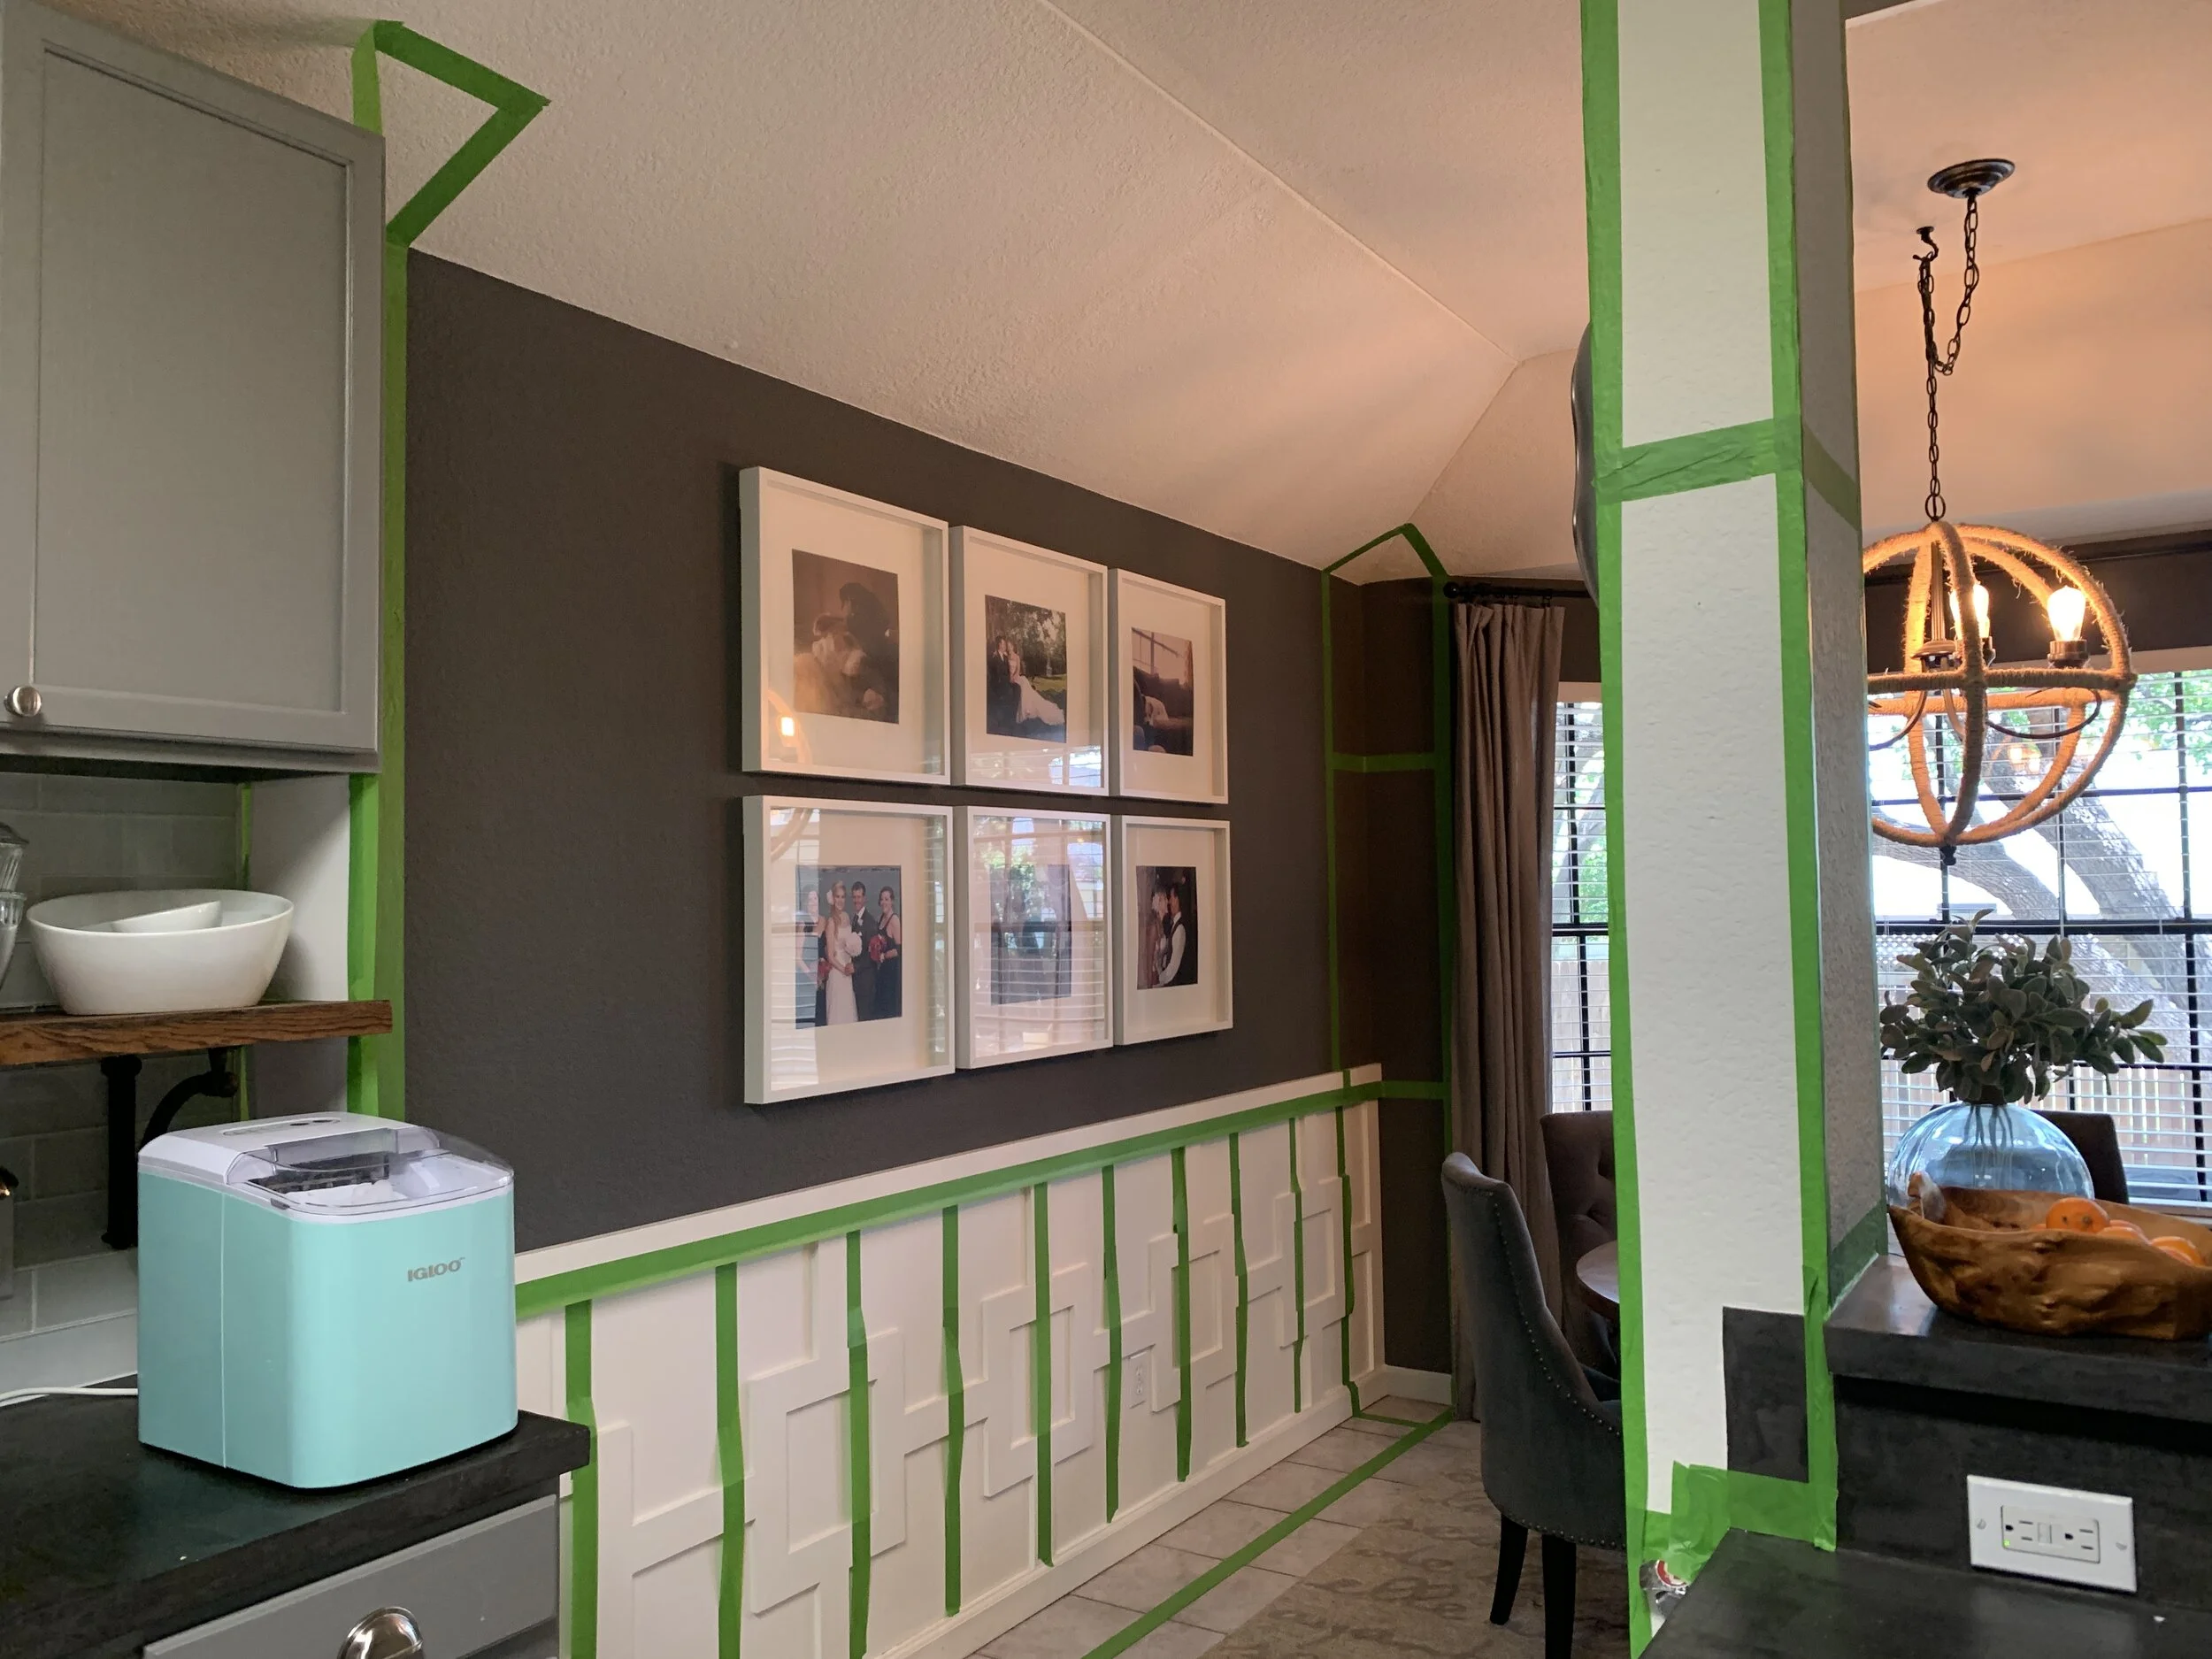
Note
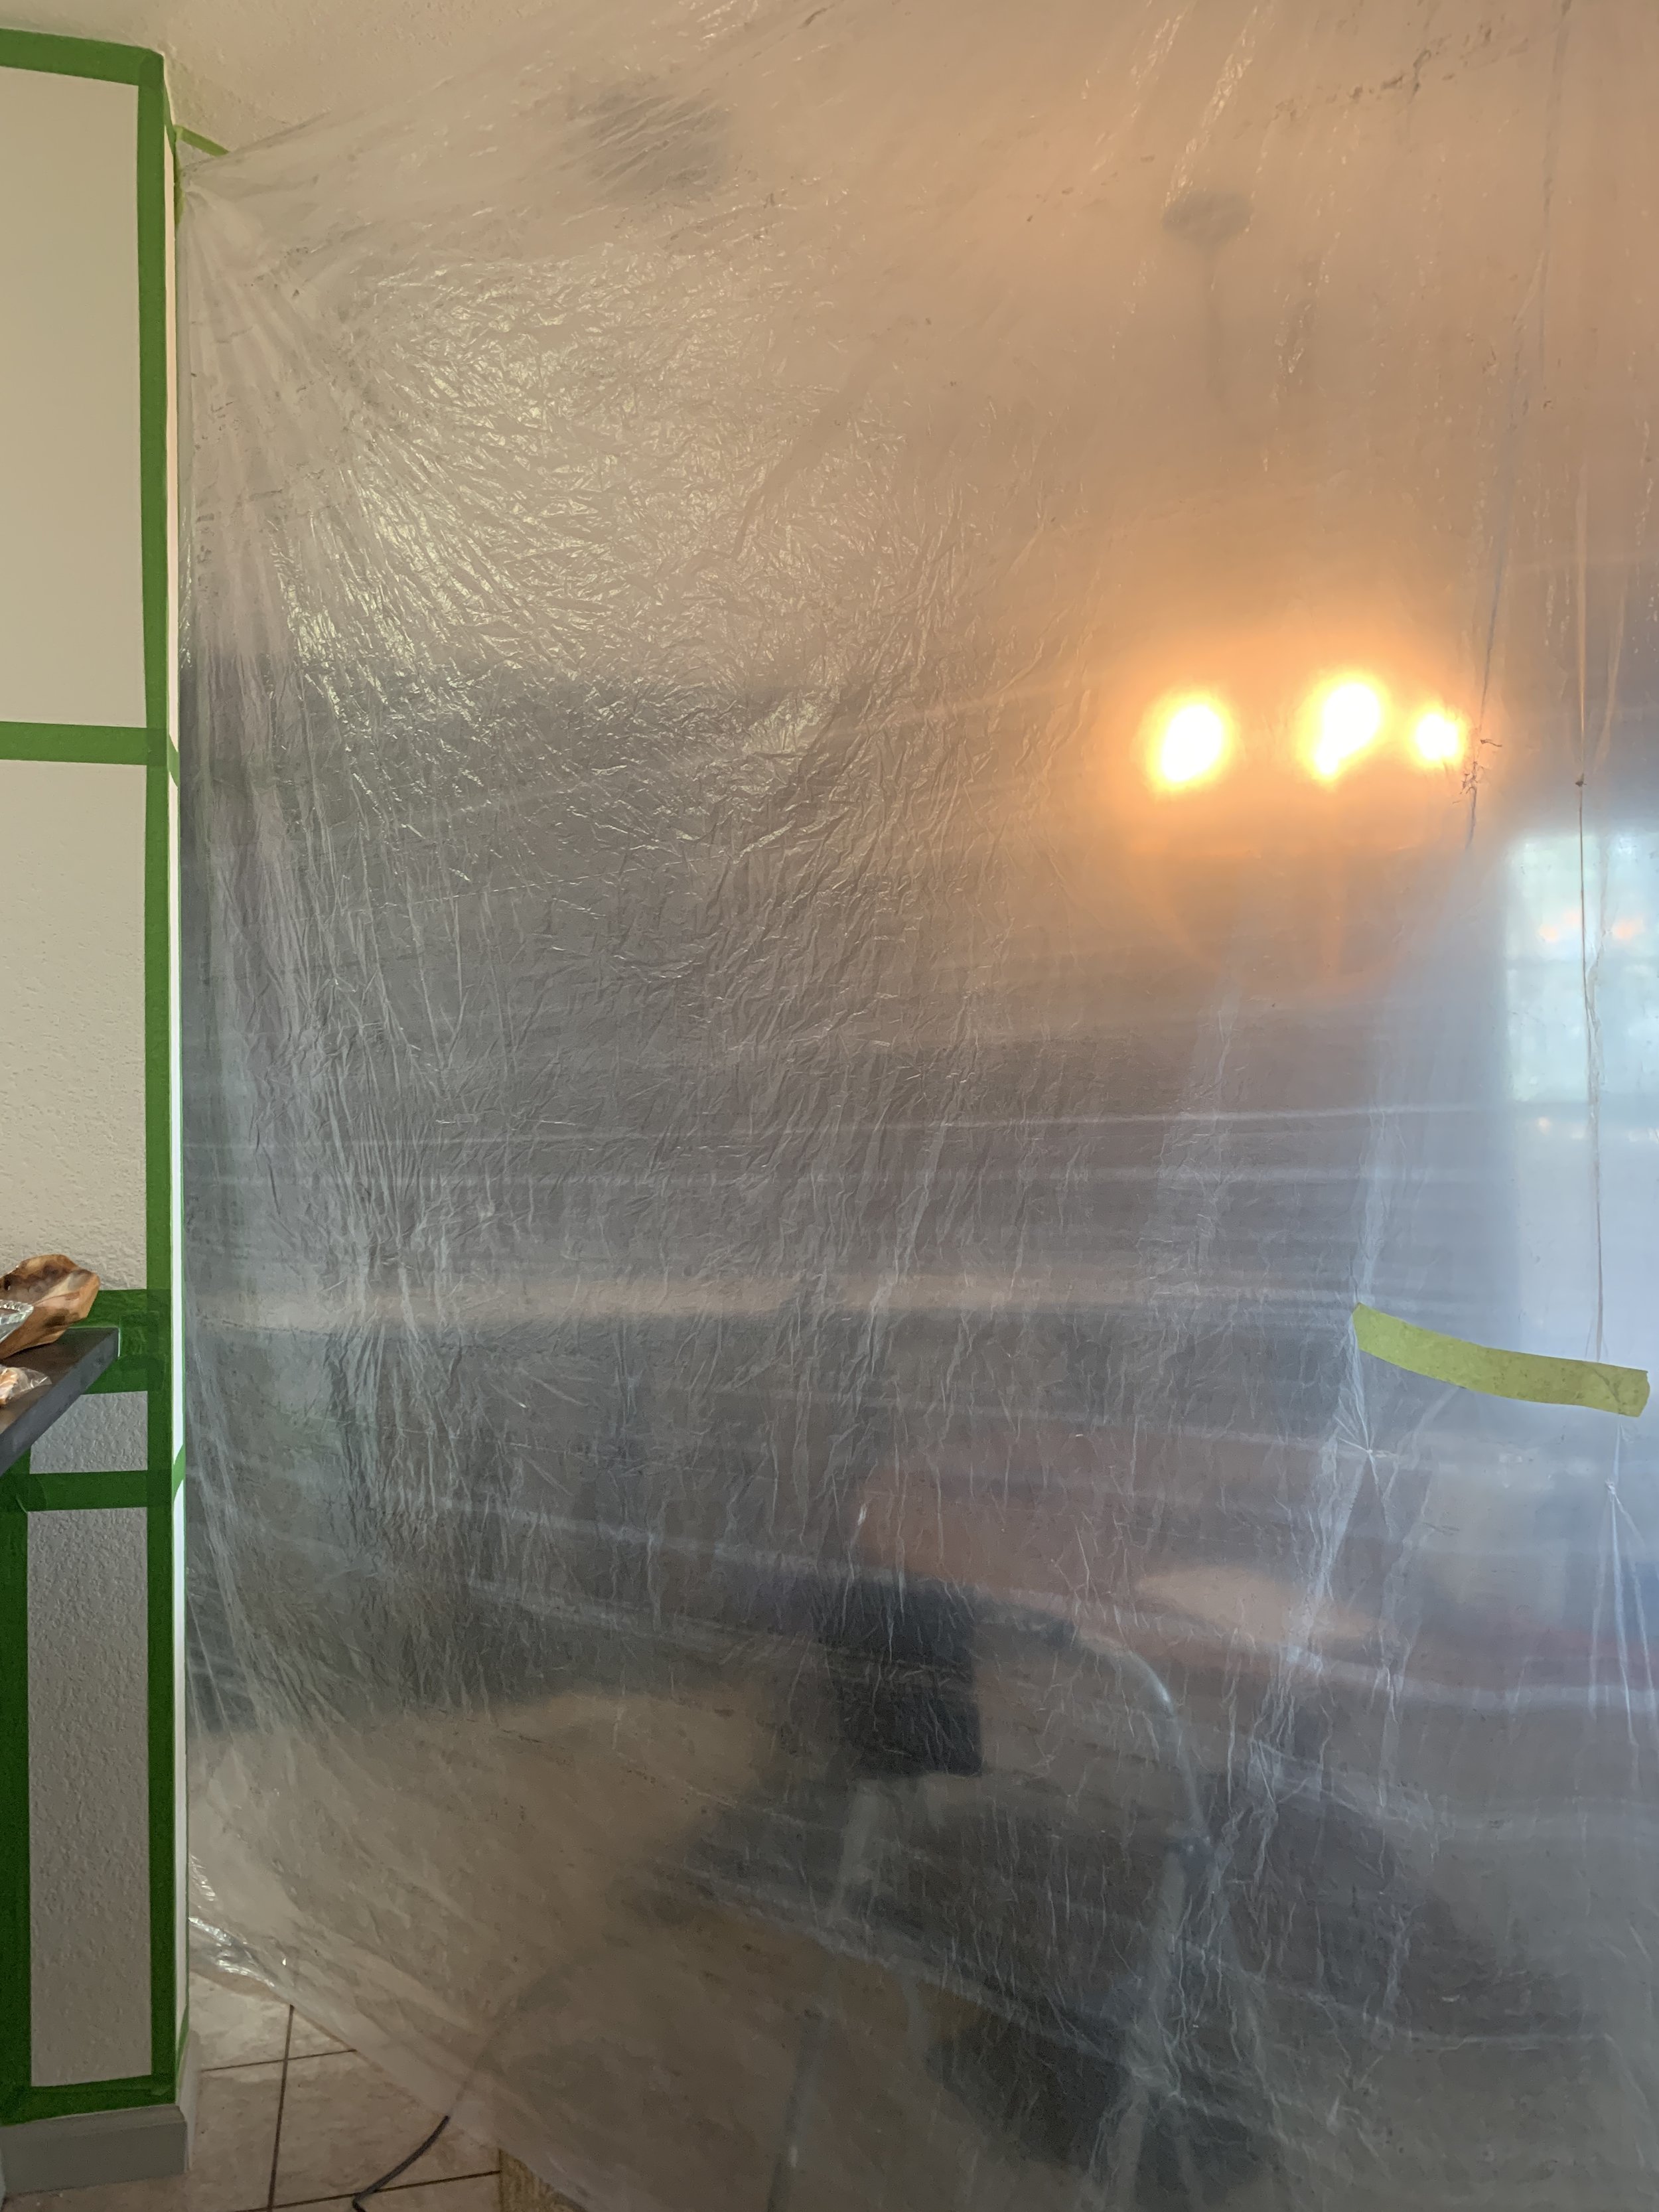
These countertops create A LOT of dust from sanding. It’s super fine powder that will find it’s way onto and into EVERYTHING, so we recommend blocking off an area in your house unless you want it really getting EVERYWHERE. Even blocking the area off, it will get in places you don’t want it to – BUT it is SO much better than no barrier. Just trust us on this.
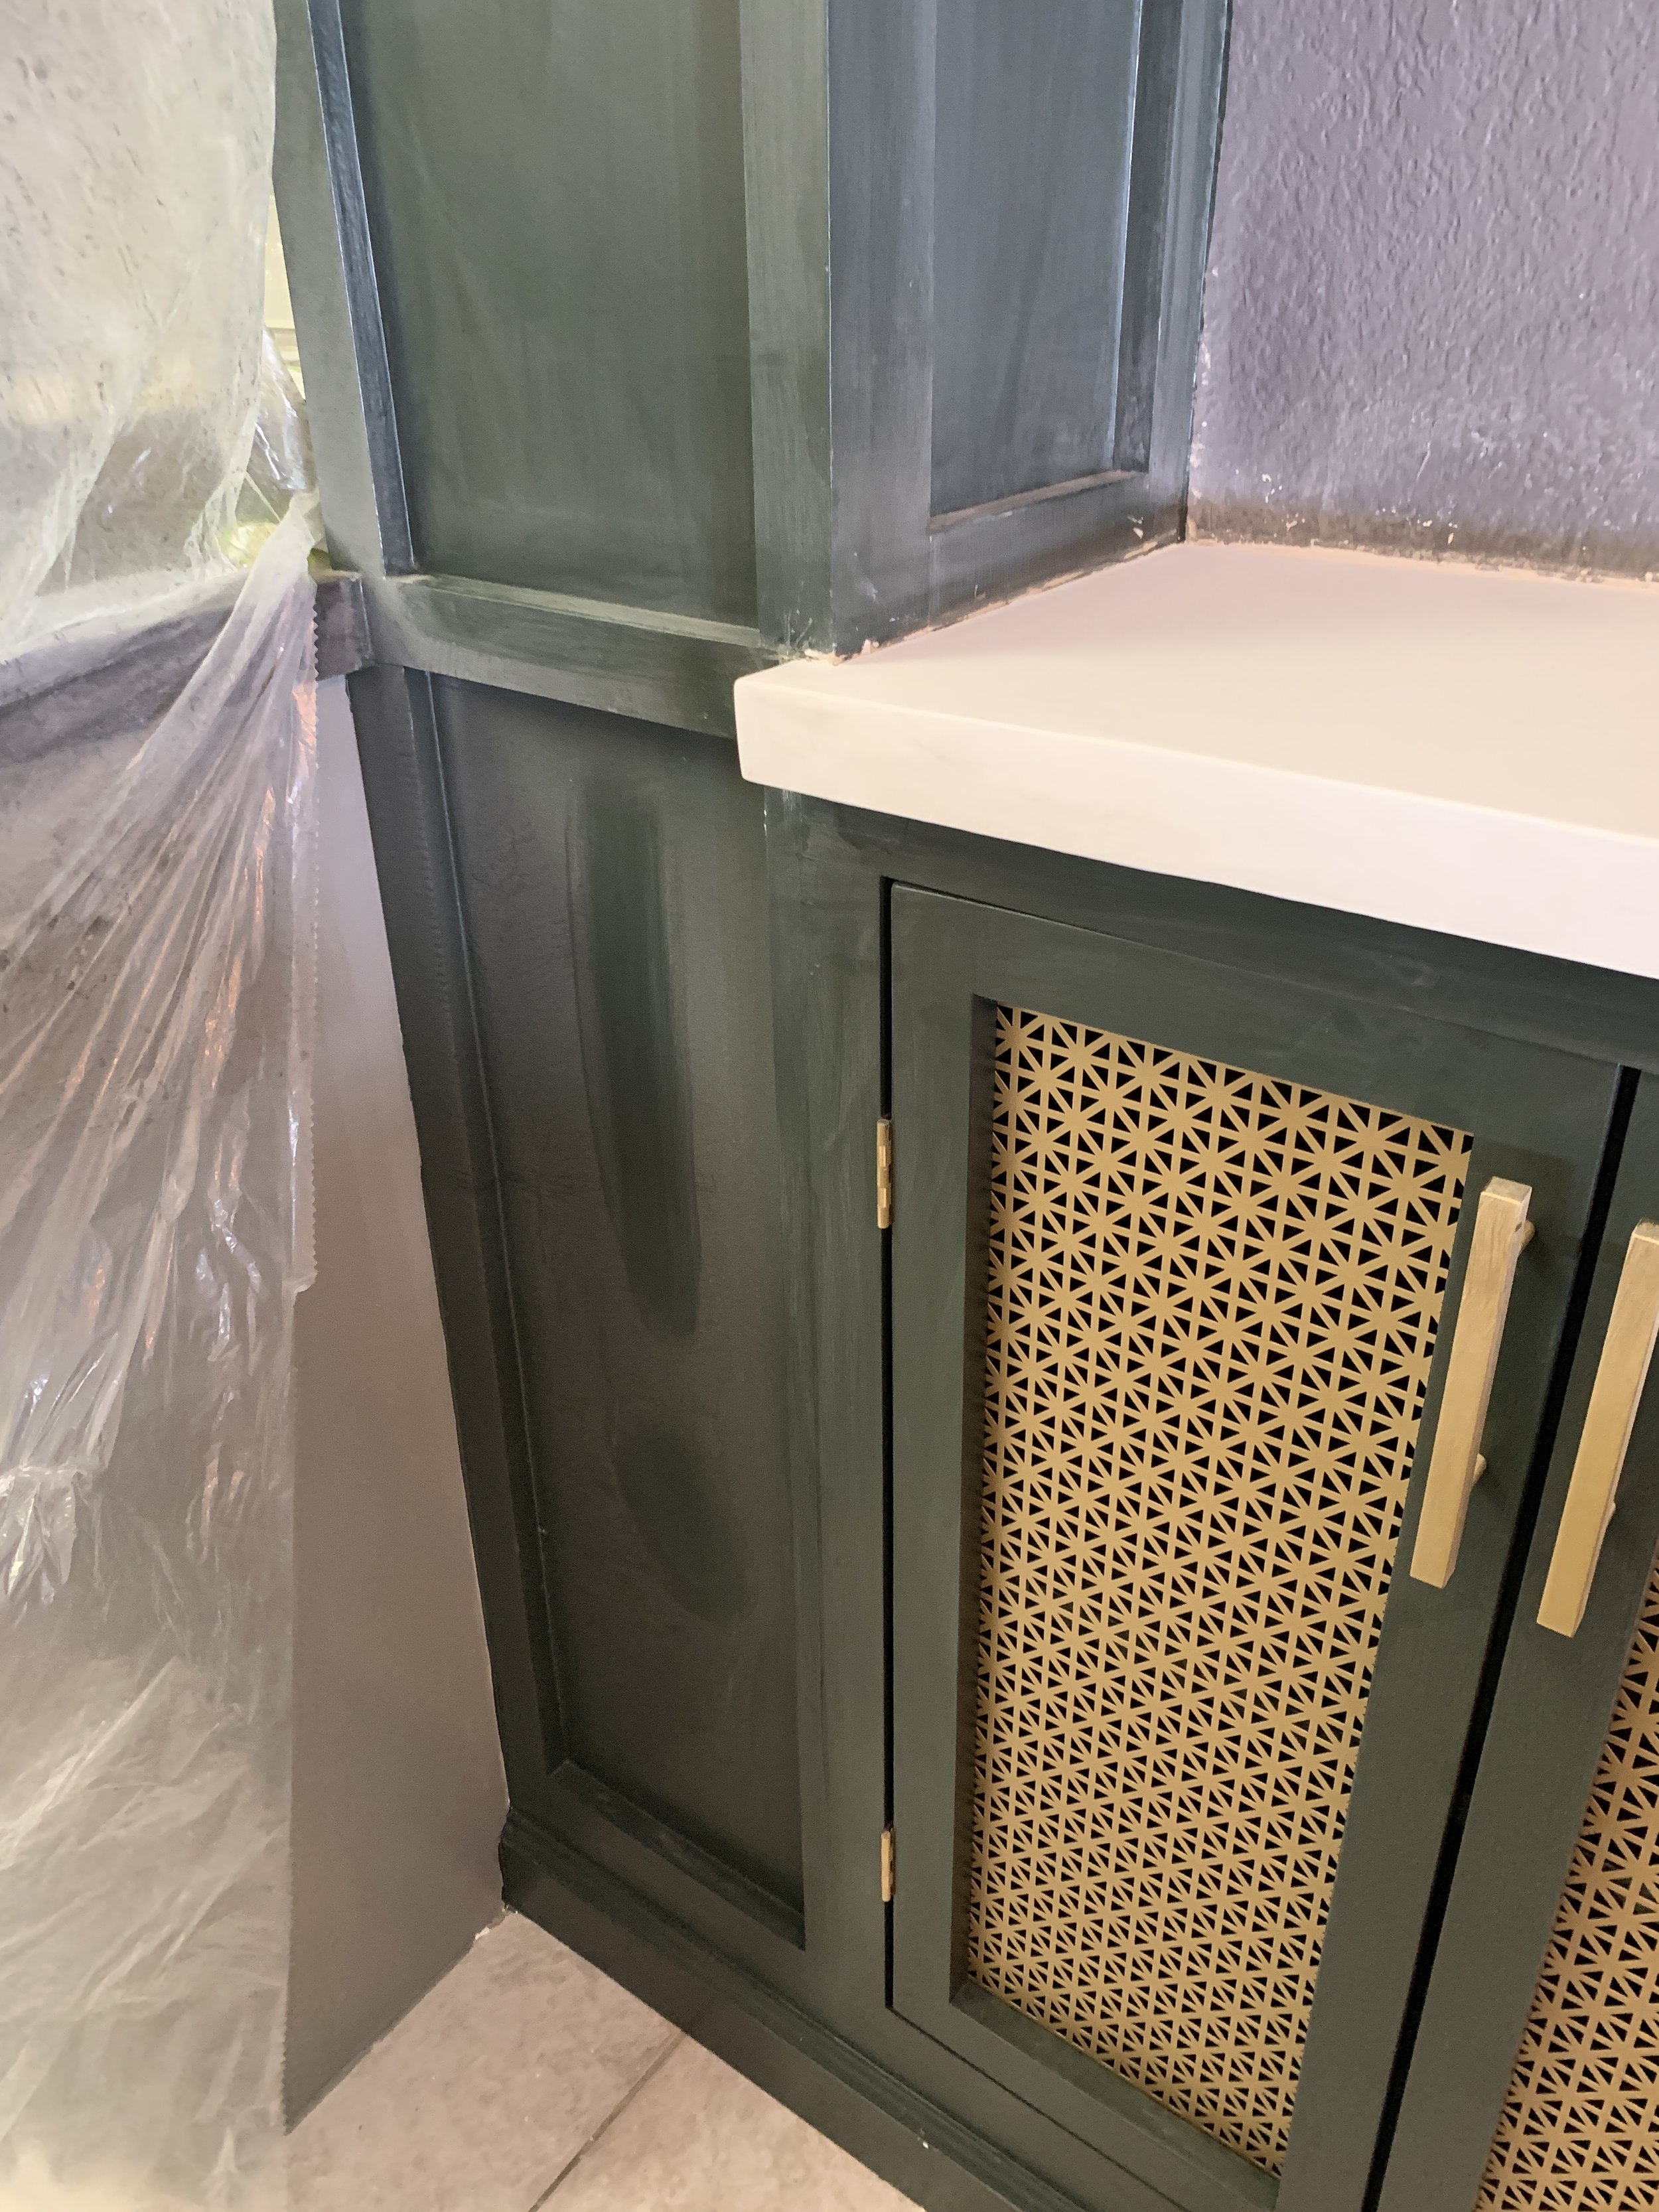
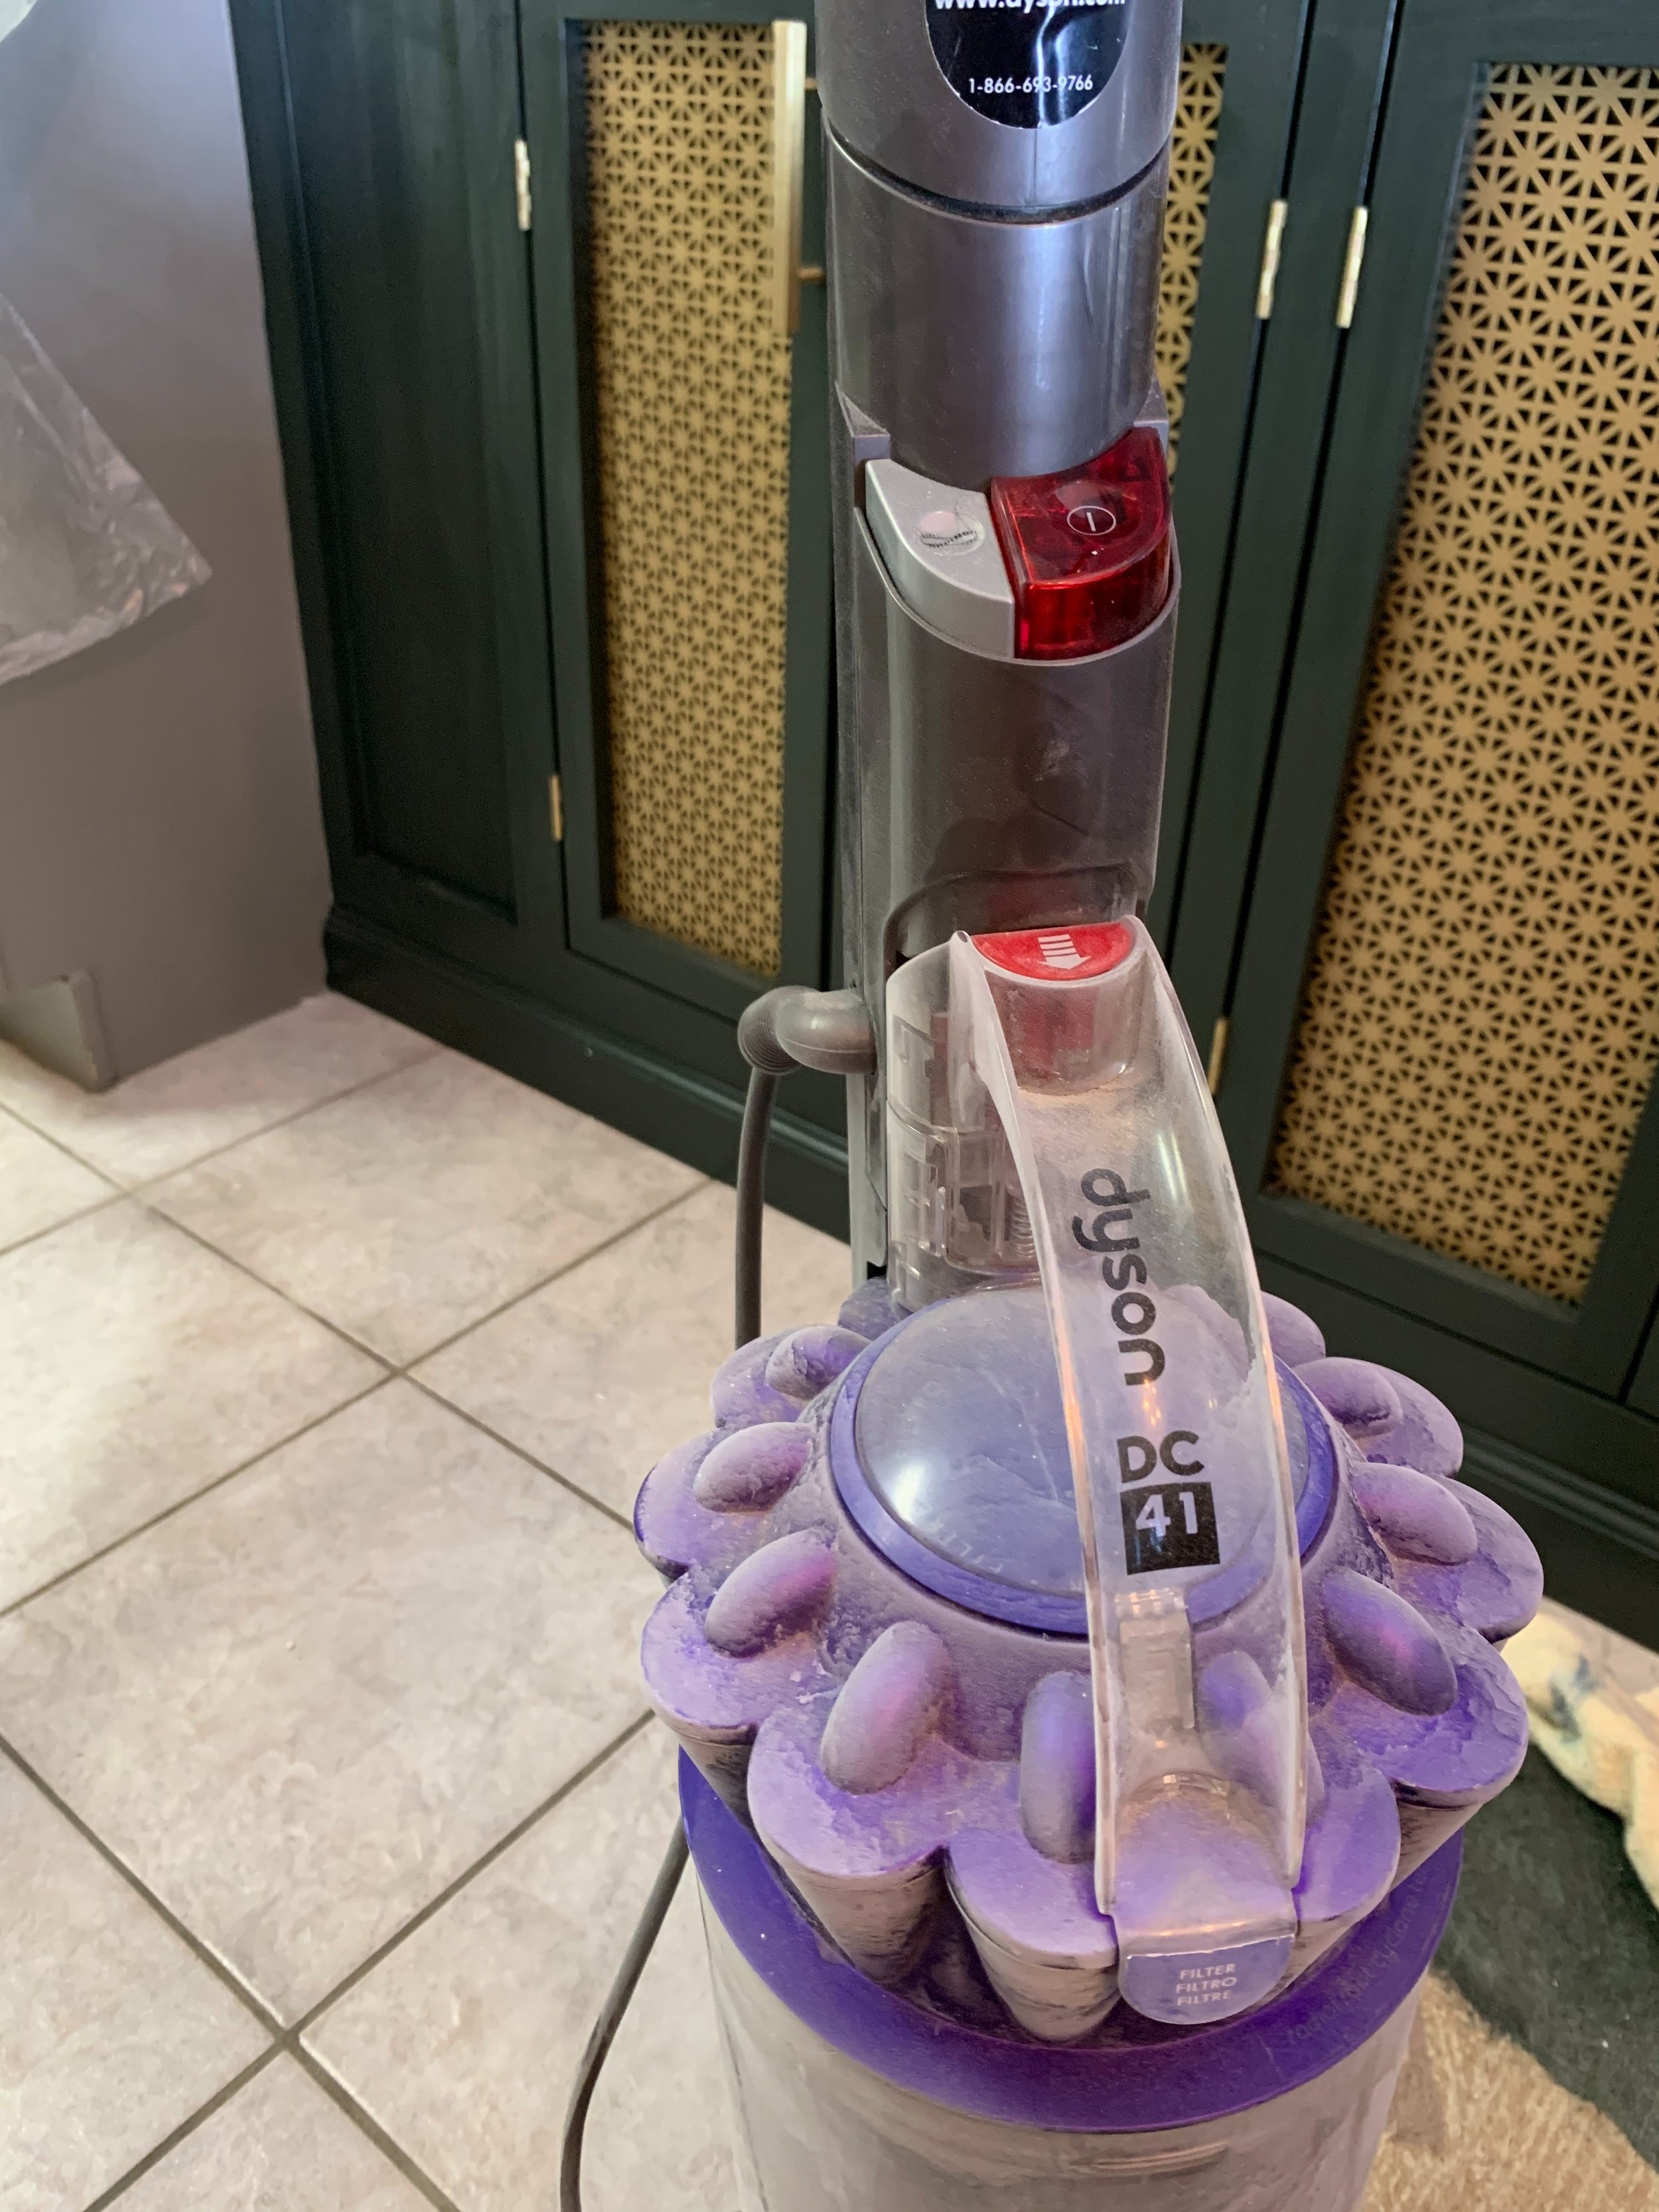
(Never in my life have I felt more like Monica Gellar, needing a tiny vacuum cleaner to vacuum my vacuum cleaner.)
At least Maximus had a blast, popping out from behind the plastic sheet to help “sous chef” for us in the kitchen.

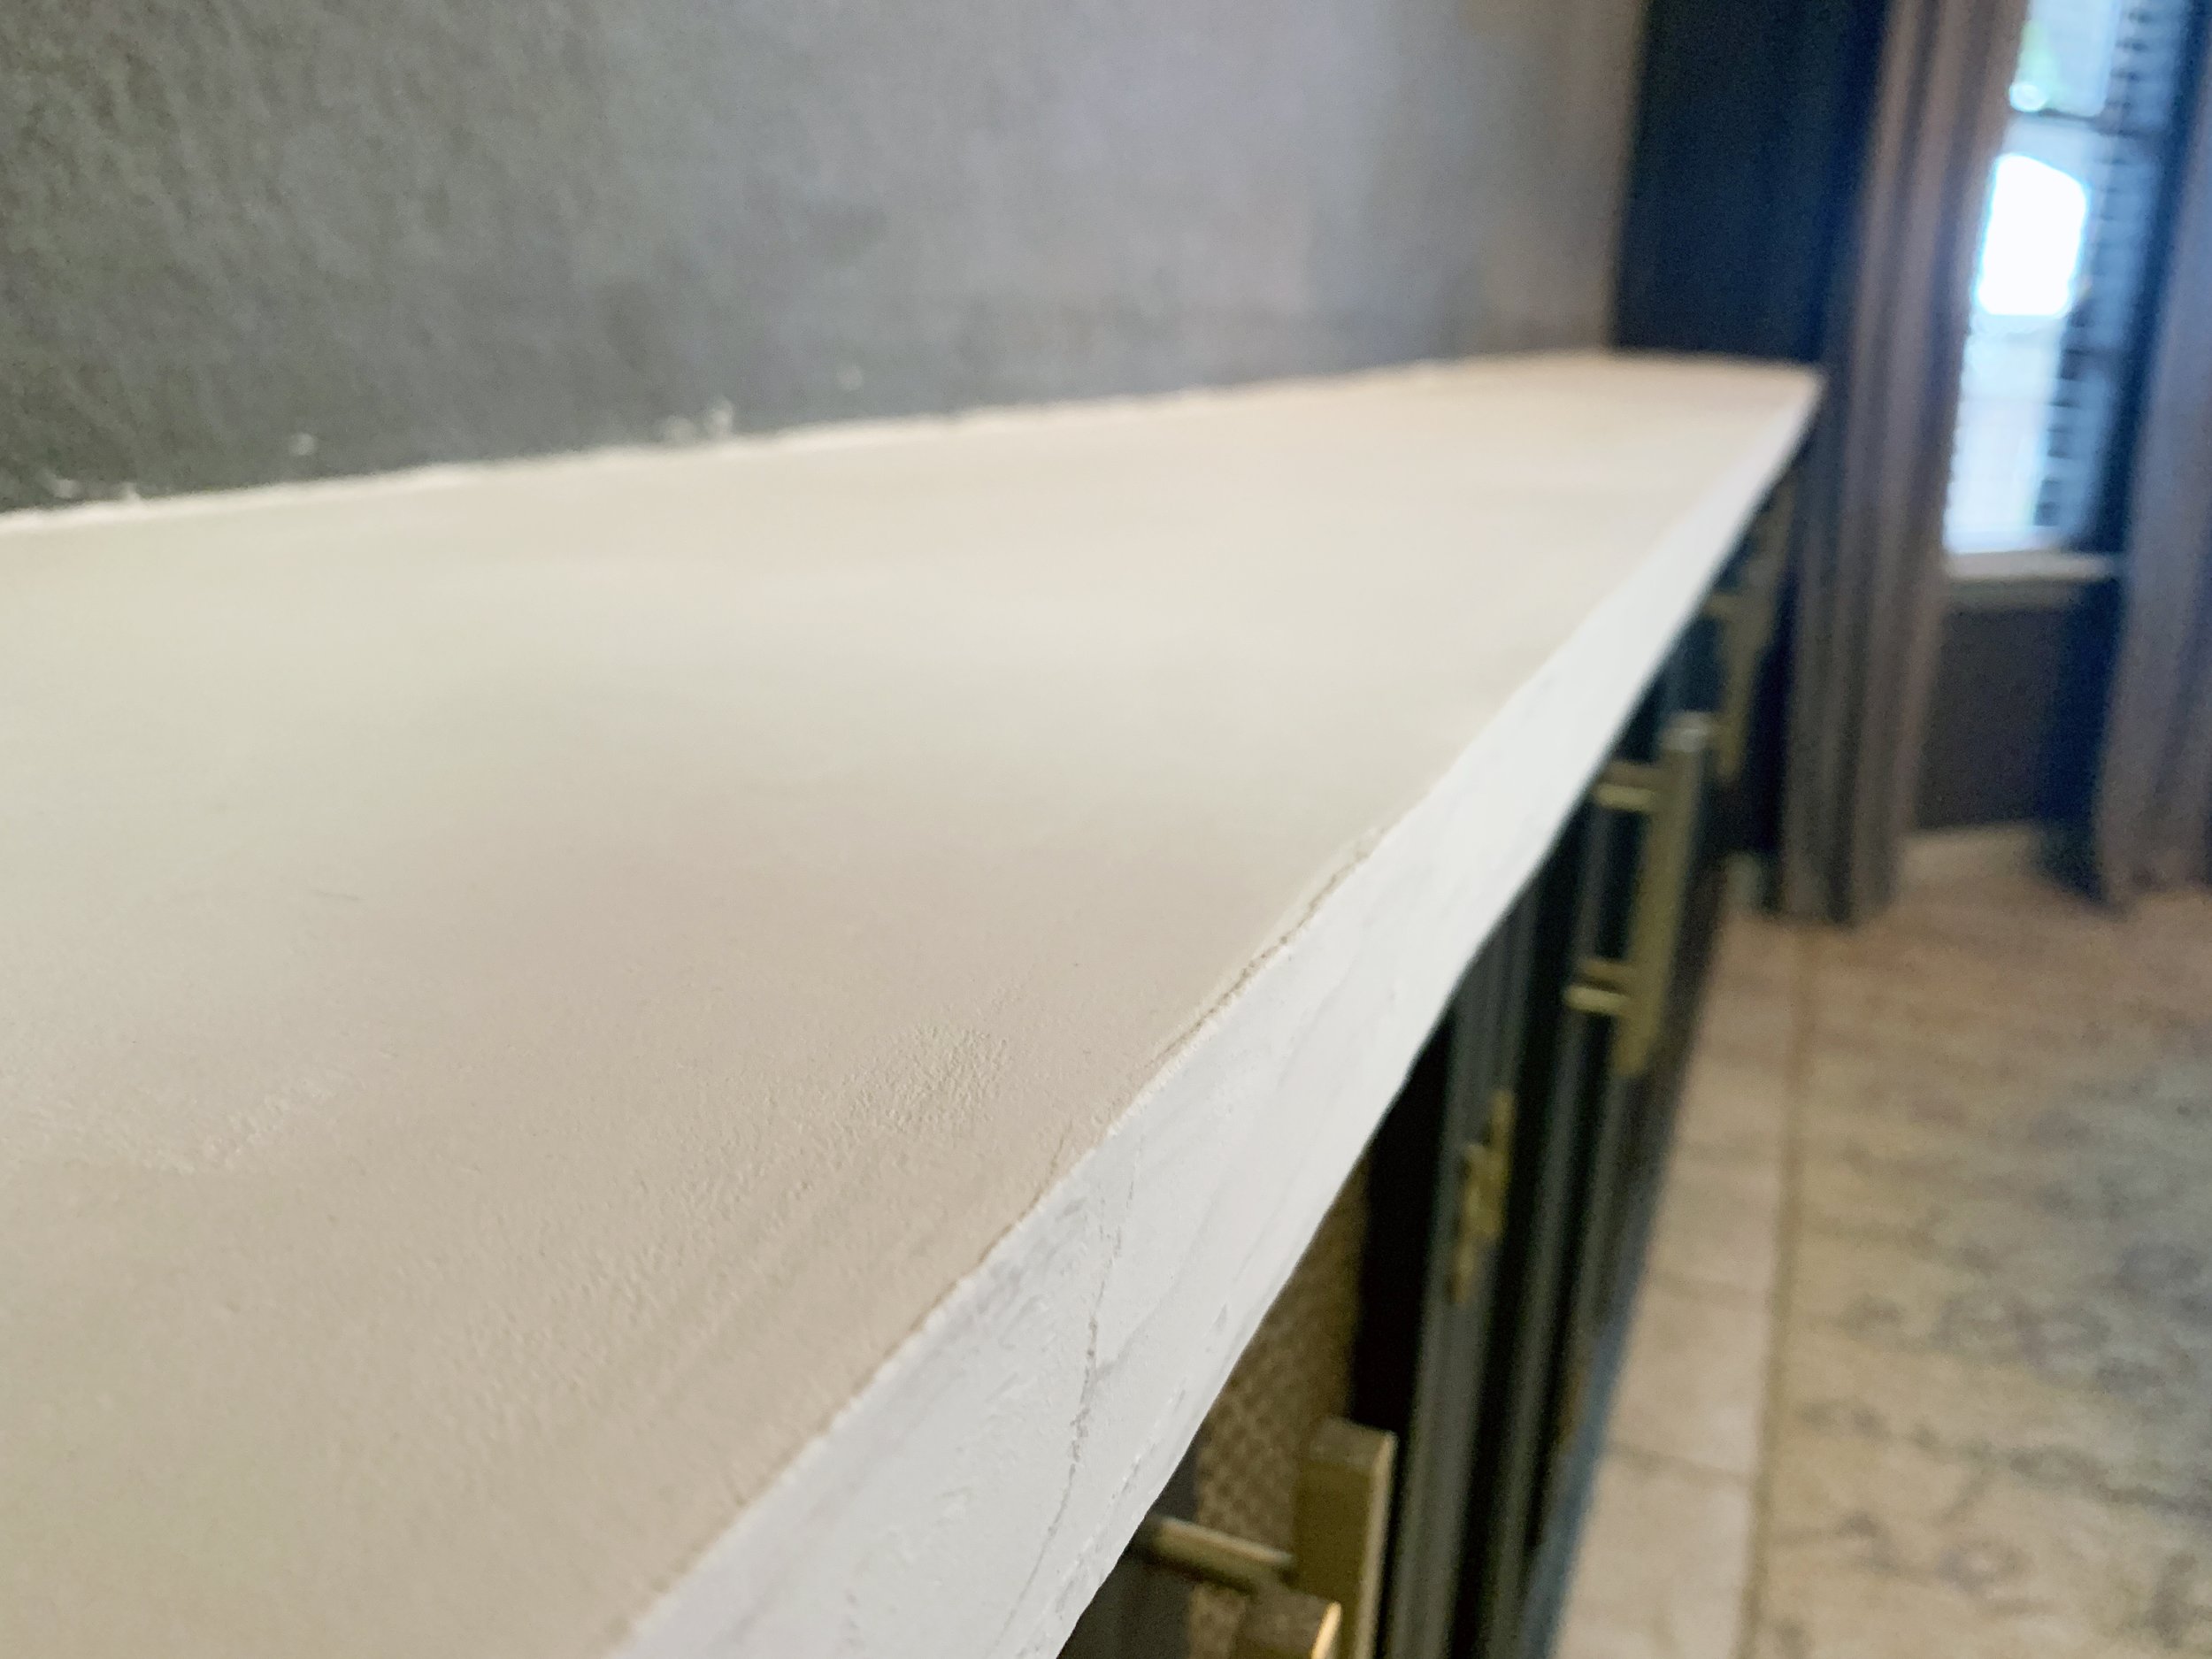
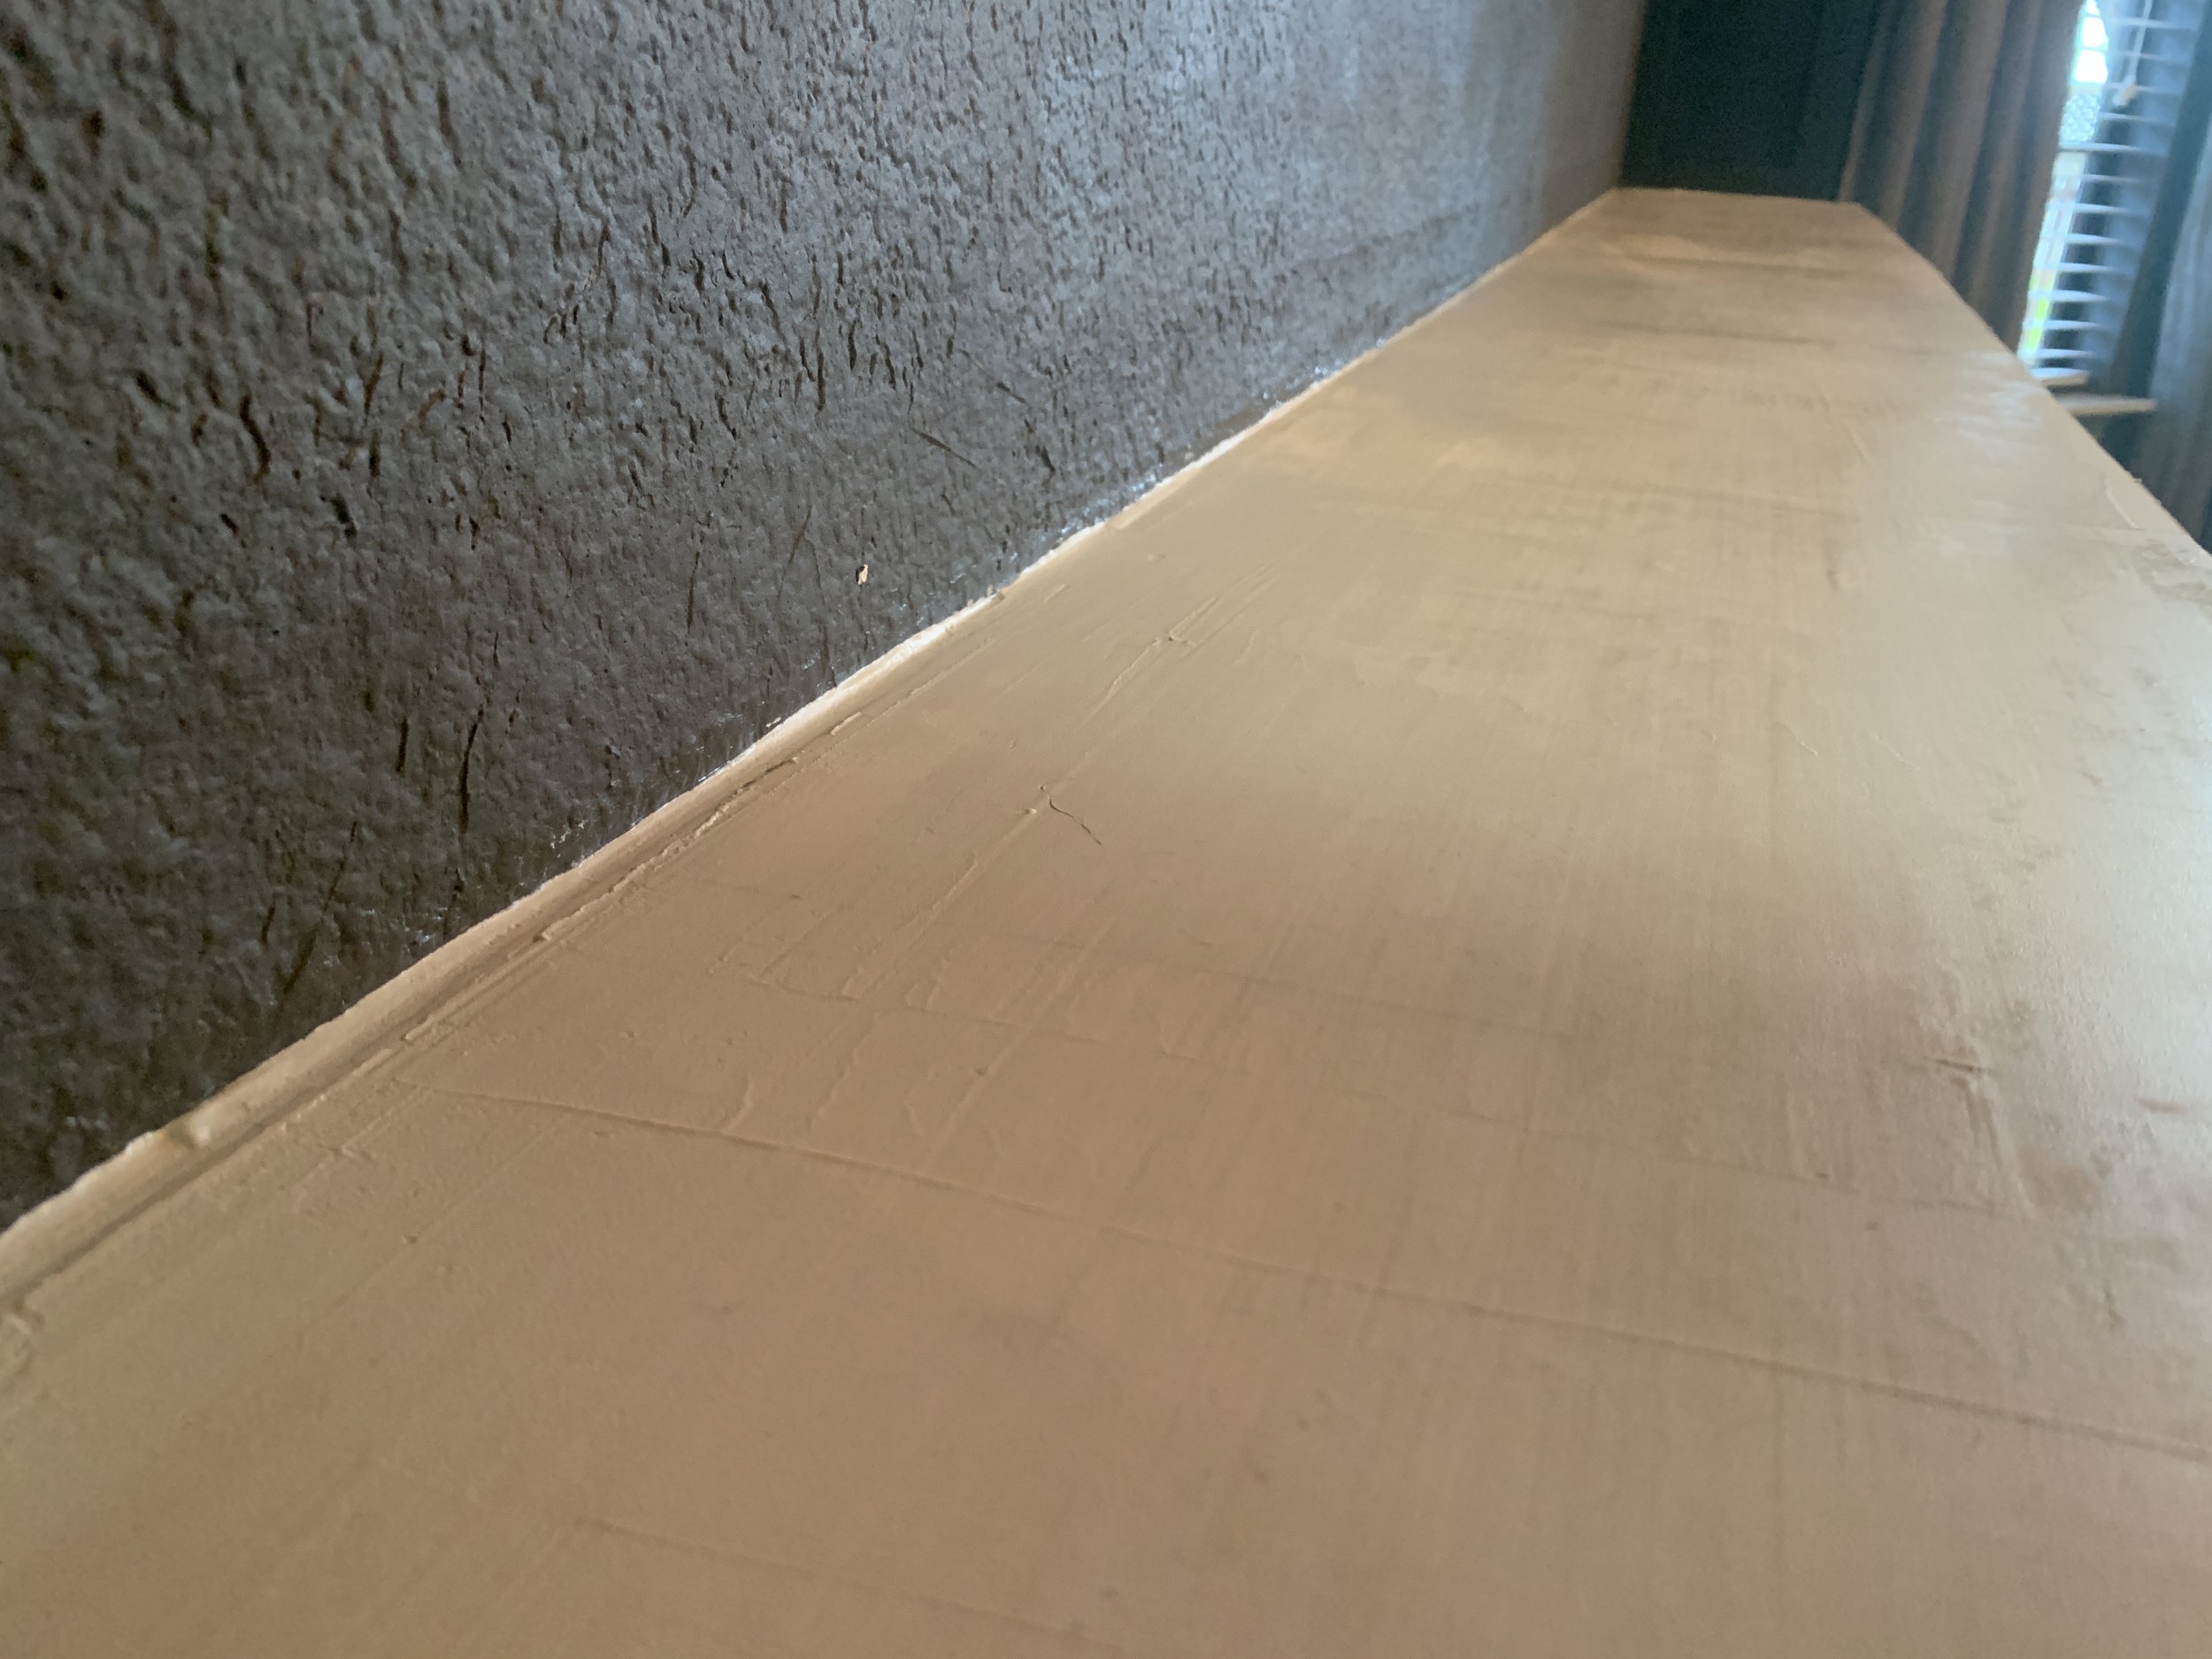
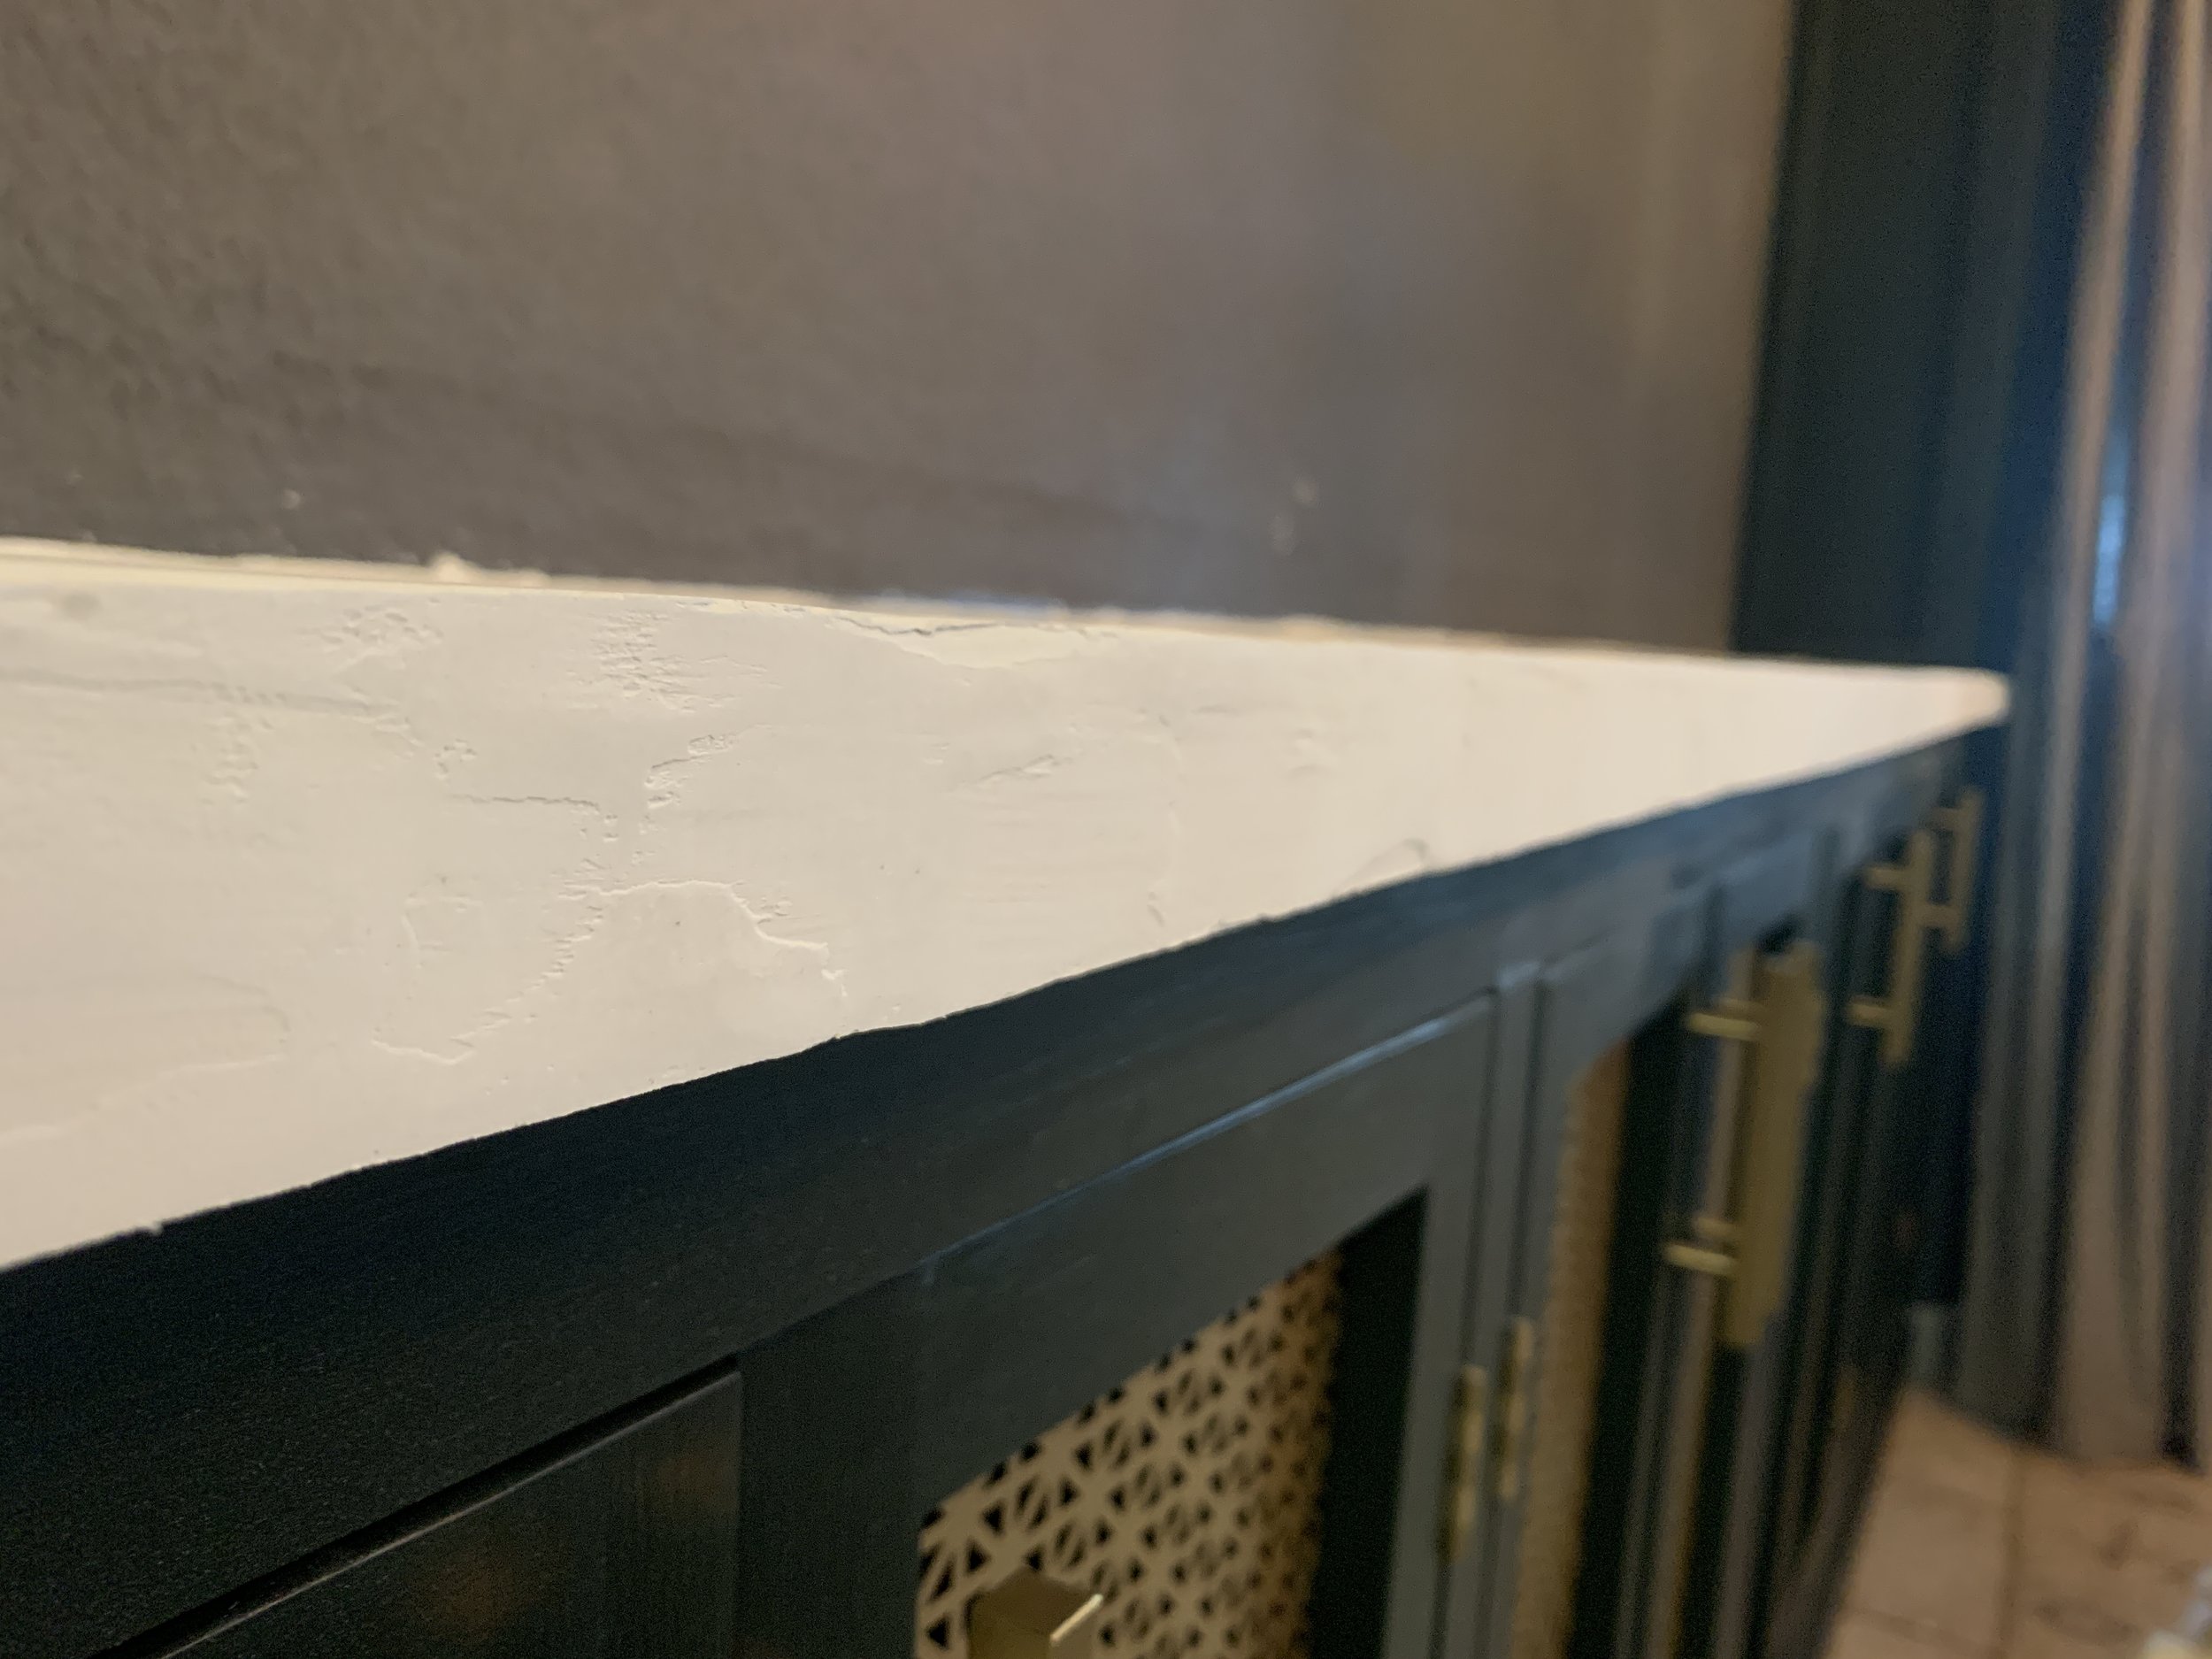
After our final layer, we sanded with even finer grit sandpaper (like, 220) to produce a super smooth finish.
Sealing the concrete countertop
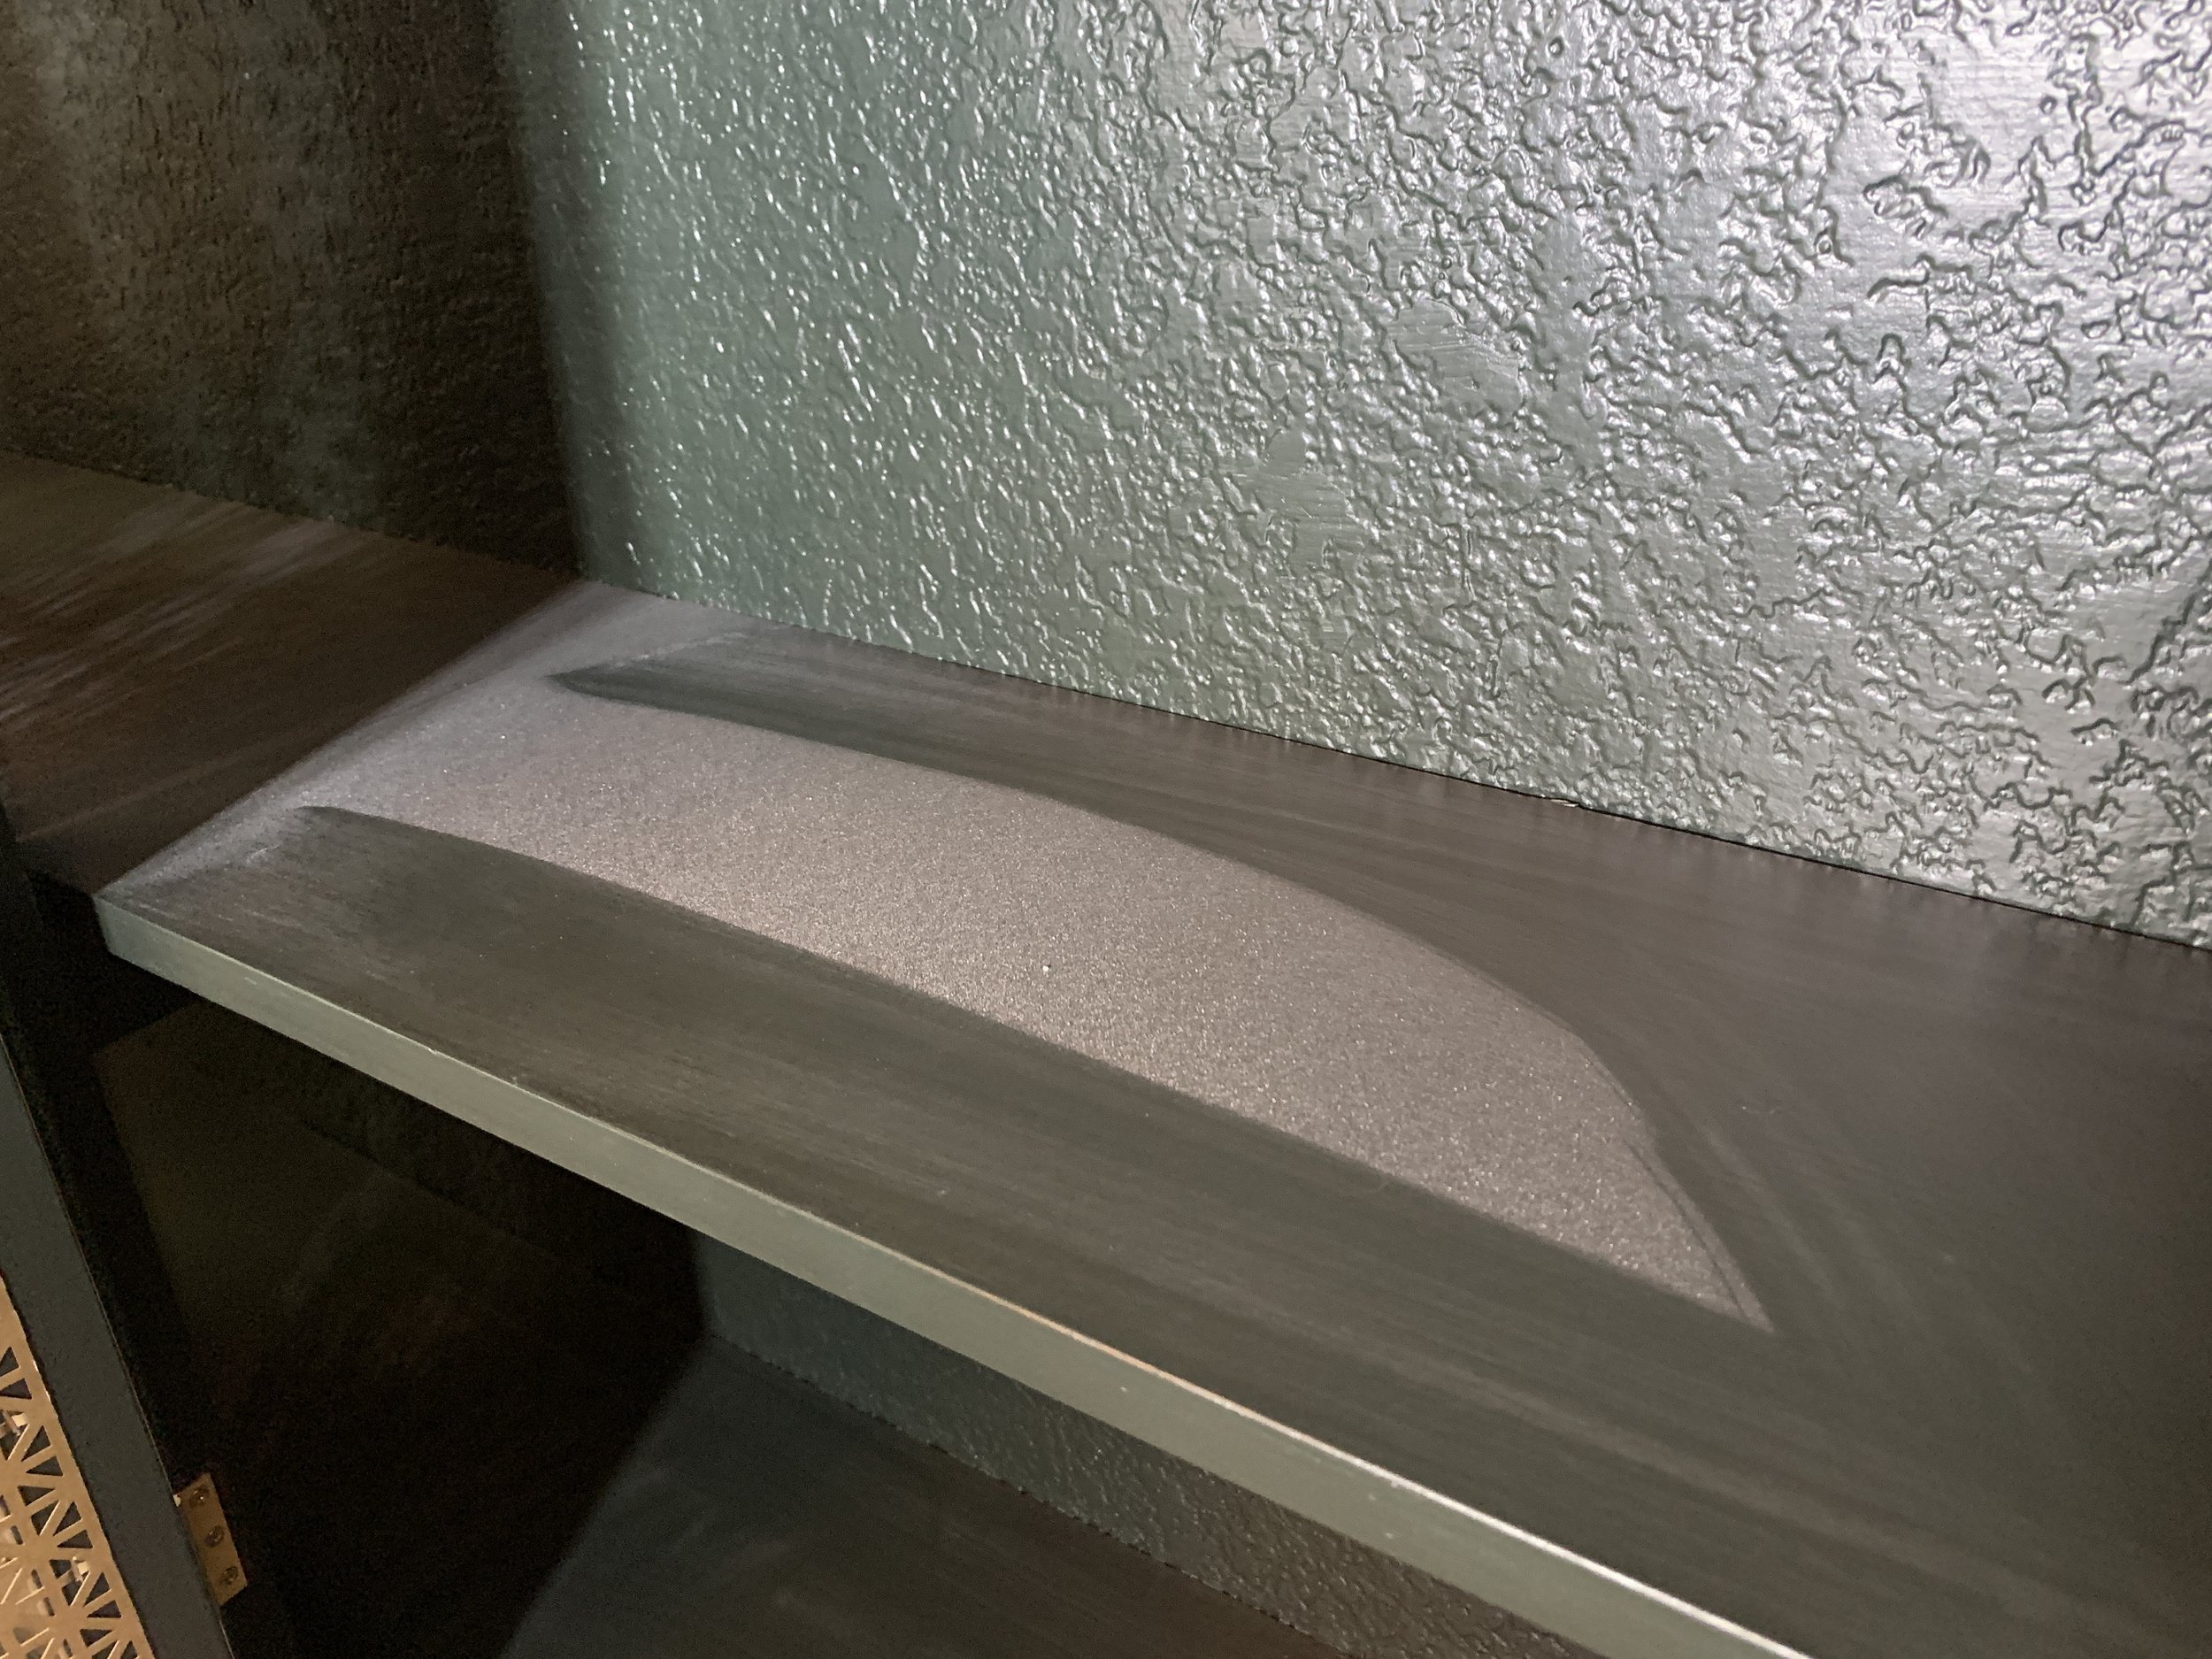
Before sealing, we made sure to detail clean the area with a vacuum and wet lint-free rag so it was completely free of dust, which as you can see, there is a lot of.
We used Cheng, which is a matte finish, food-safe countertop sealer, following the instructions on the bottle. (I would tell you in detail what they are, but I swear they’ve changed since the first and most recent time we’ve bought it, so I don’t want to give you info that could be out of date by the time you get your own bottle!)
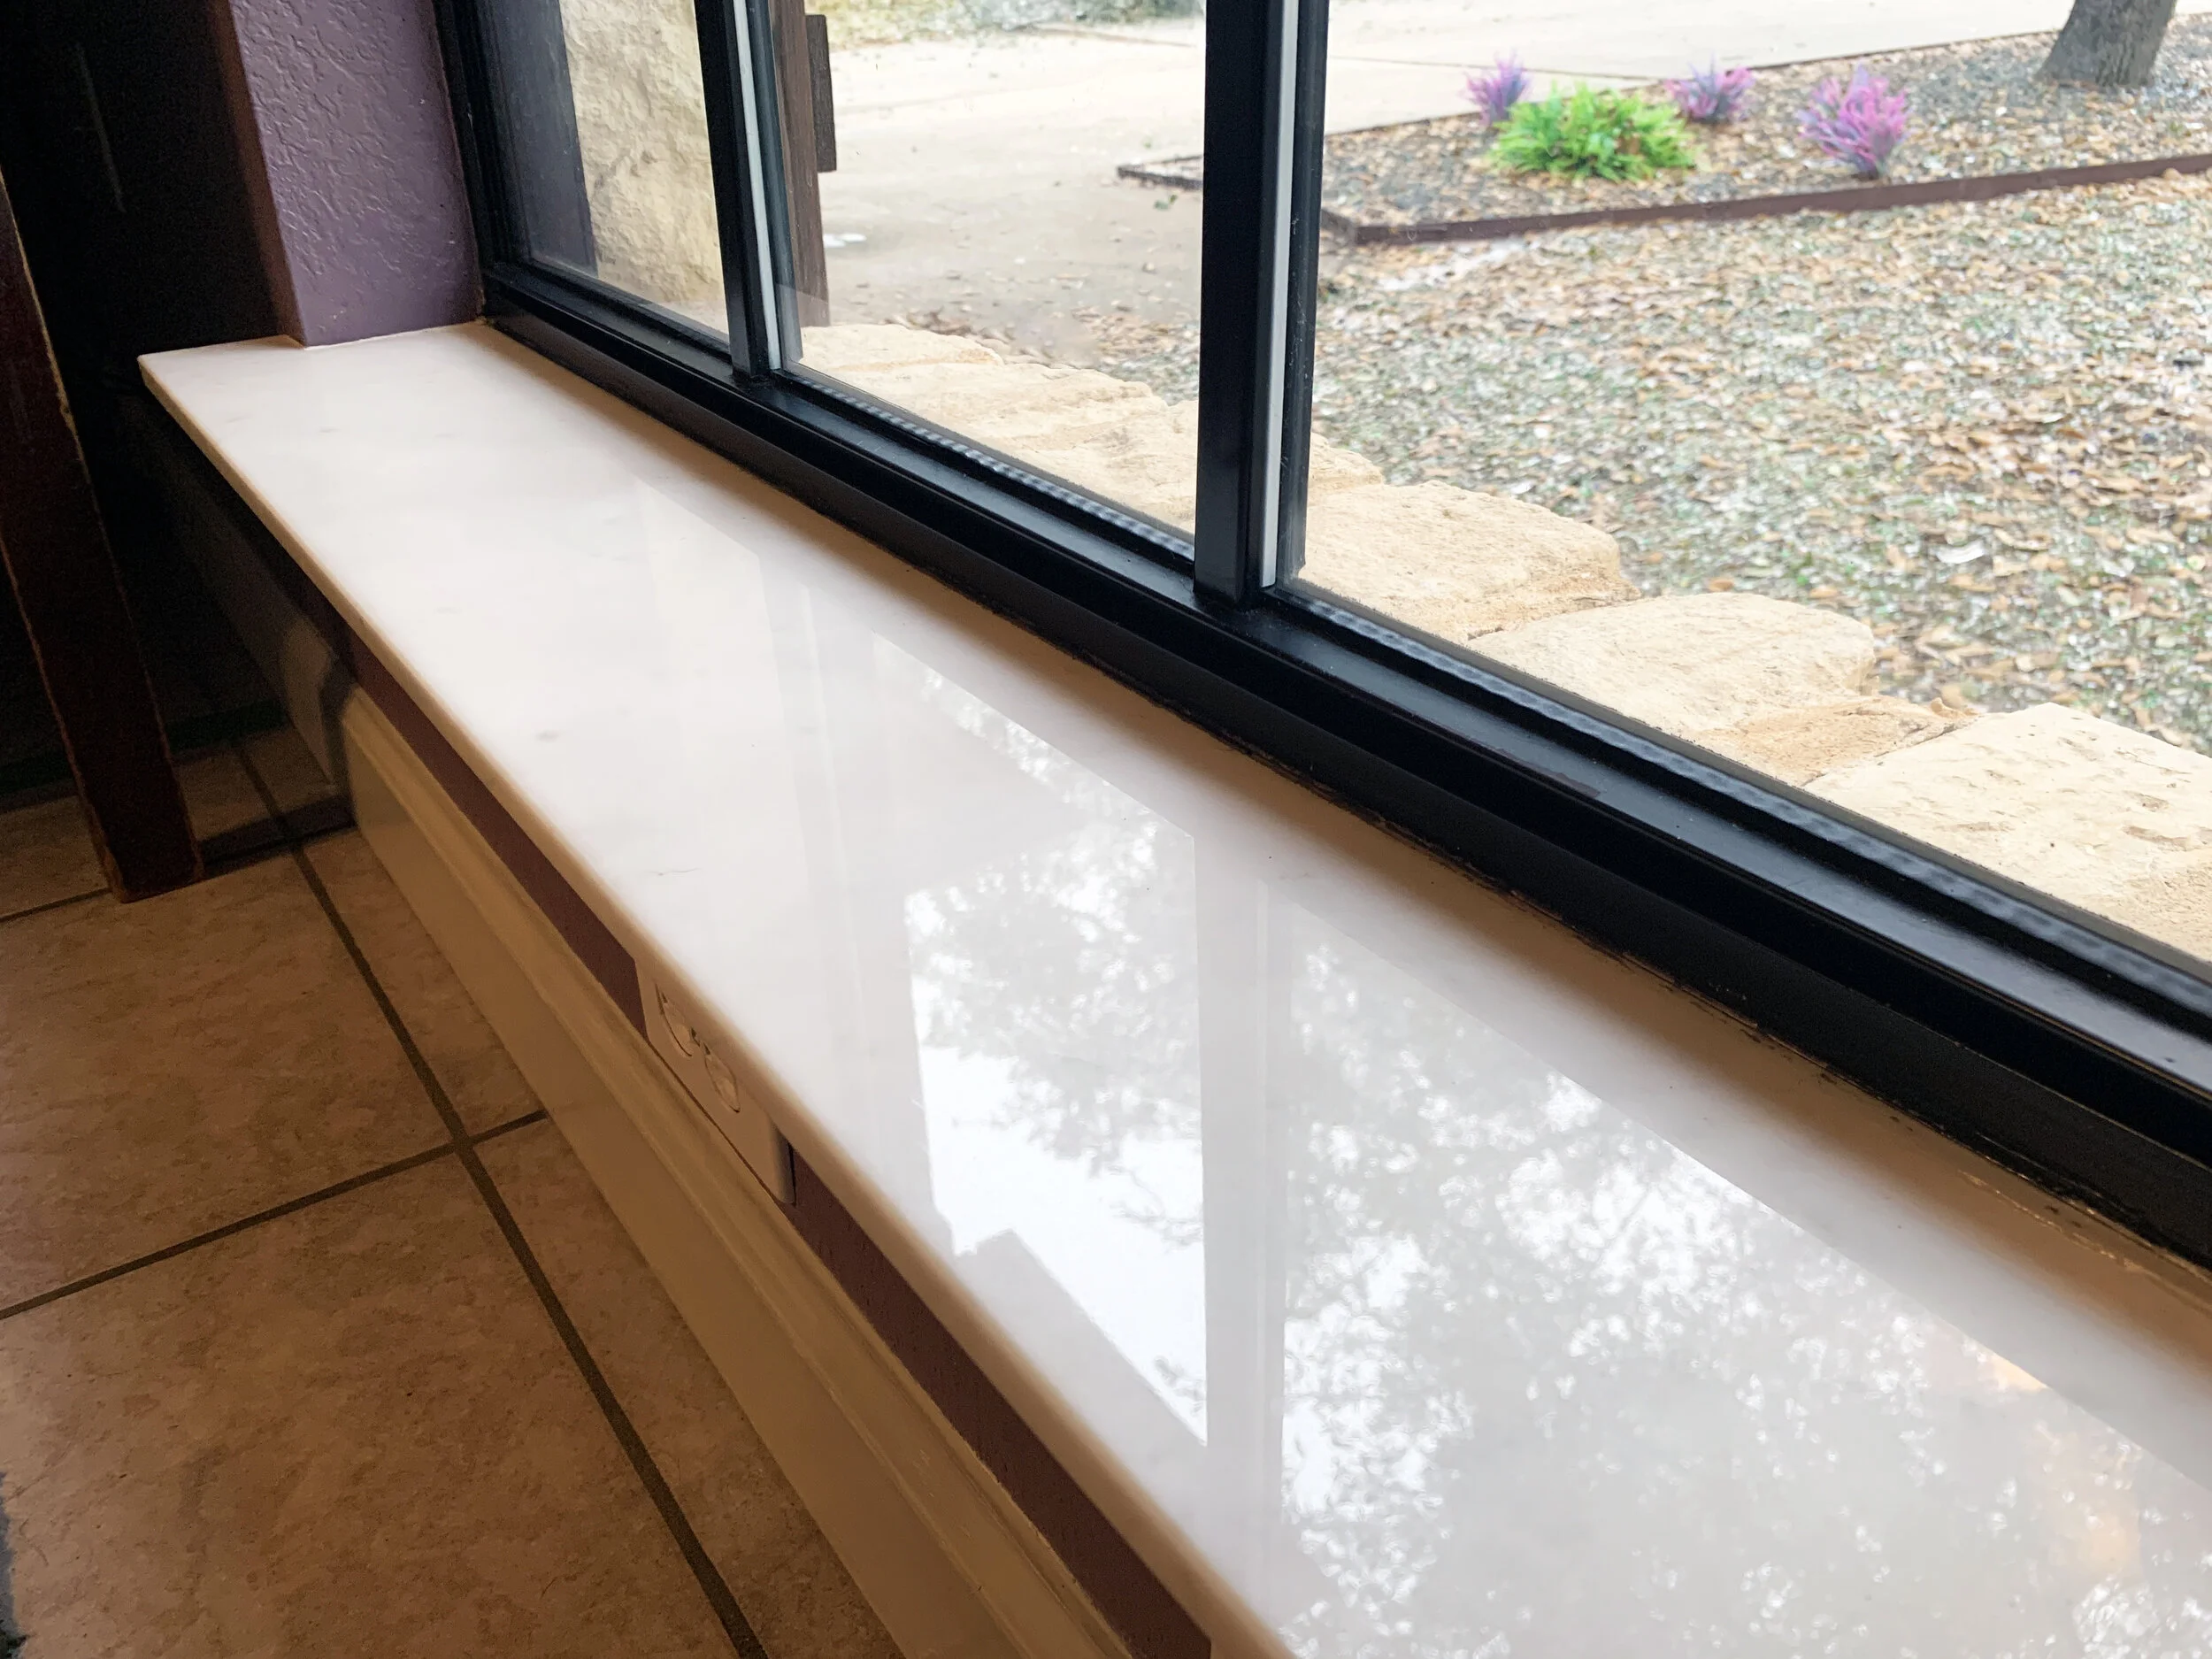
It looks kind of glossy here, but this is mid-process while it’s still wet and soaking in.

The sealer only very slightly darkens the counter, however we noticed it does magnify any imperfections/colors differences in the concrete layers, which in our space can really only be seen from certain angles. For us that really means from the left side, looking toward the window with your face practically laying on the countertop, which as you can guess I do all the time, because it’s comfortable, obviously.
We’ve used this same countertop sealer in our kitchen, first applying it at least 6 years ago, and it’s held up really great.
Coming up...
We’ll be sharing the full reveal, PLUS the new motion-activated interior cabinet lighting we’ve added to it since the build AND how you could get your hands on a one-of-a-kind Lone Oak Design Co. furniture piece inspired by our new bar cabinet.