DIY Built-In Bar Storage Part 1: Columns How-To
This is part one of a series. Don’t forget to check out the overall bar cabinet plan.
Recently we shared the plan to turn 10 inches of wasted space into 20 square feet of additional kitchen storage. Today we’re breaking down the first part of our build – exactly how we built the columns. (In future posts we’ll also be sharing detailed tutorials for the cabinet base and cabinet doors, plus our white concrete counter DIY, and of course the completed reveal.)
While we will be using this area to sort of extend our kitchen as a bar to store our glass and barware, you could easily use it as a built-in buffet/china cabinet, or take this same idea and technique to add storage to any room in your home!
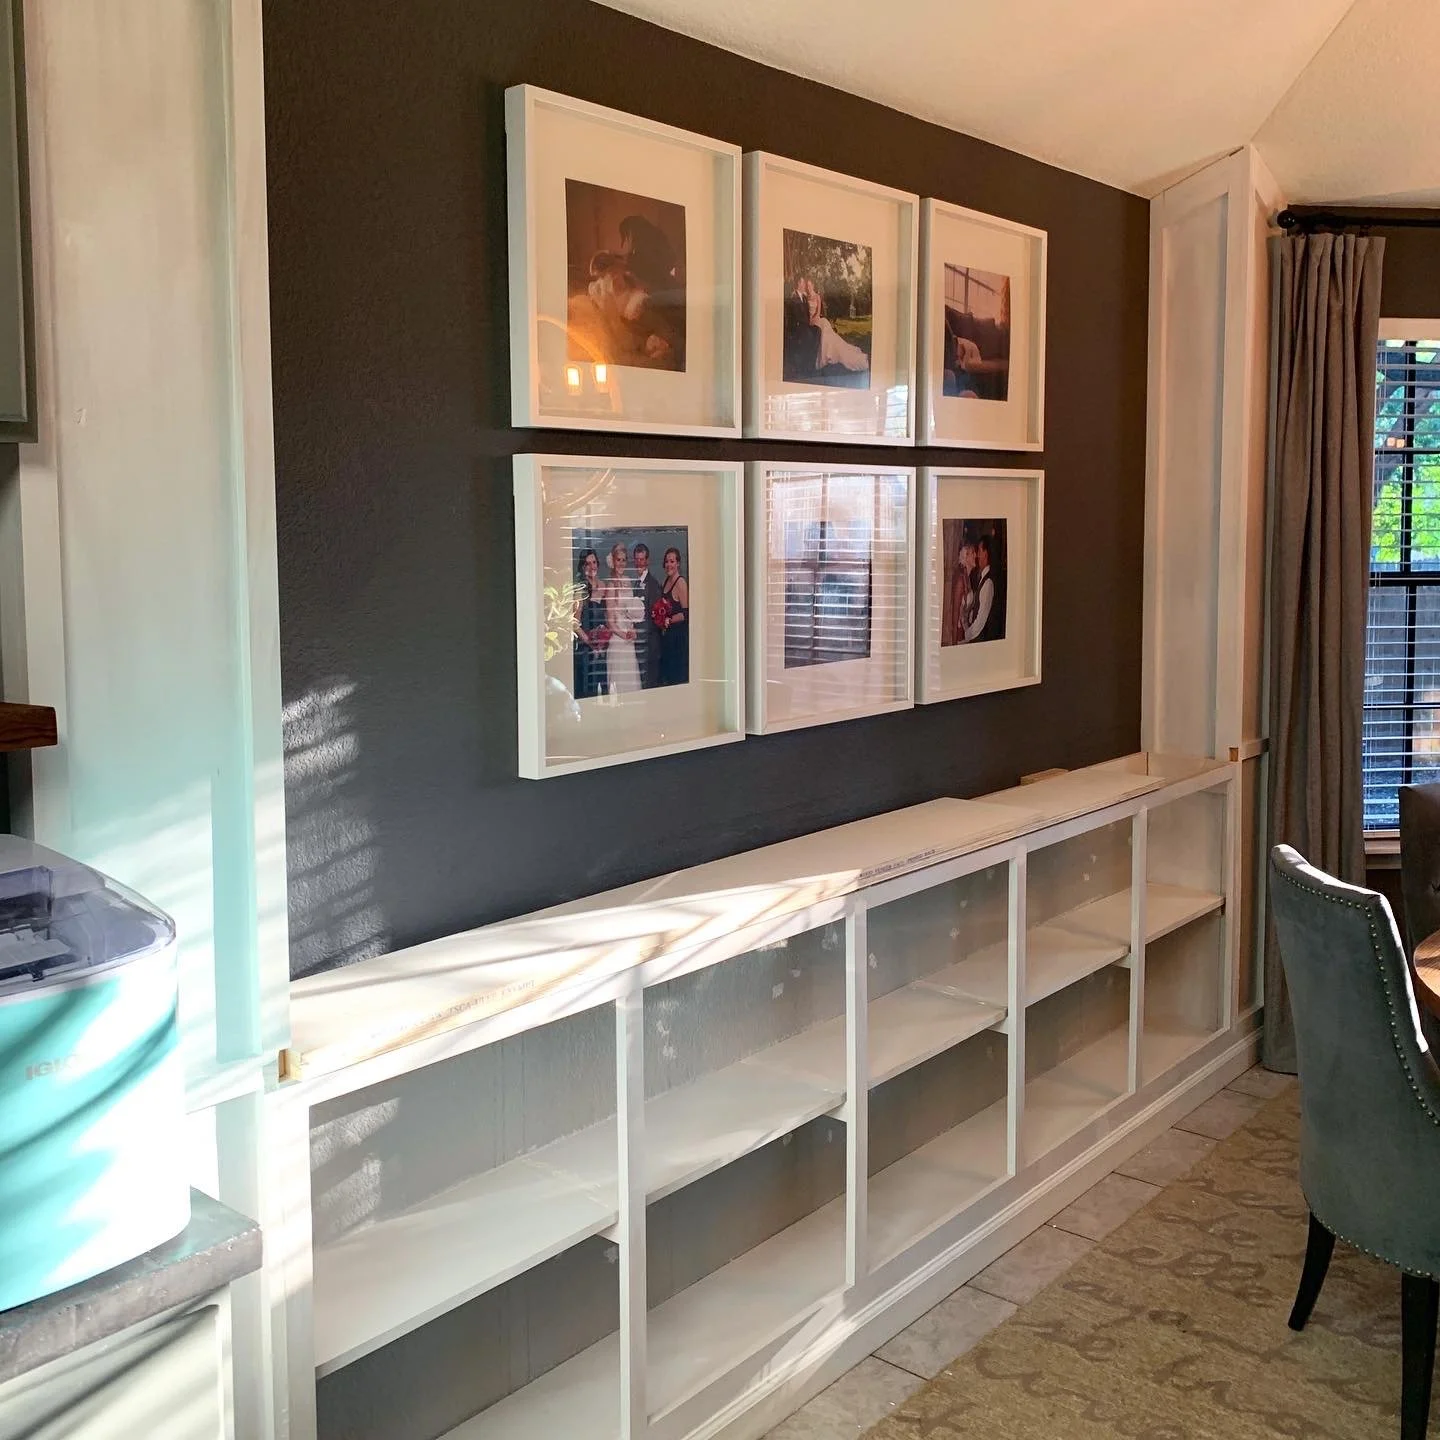
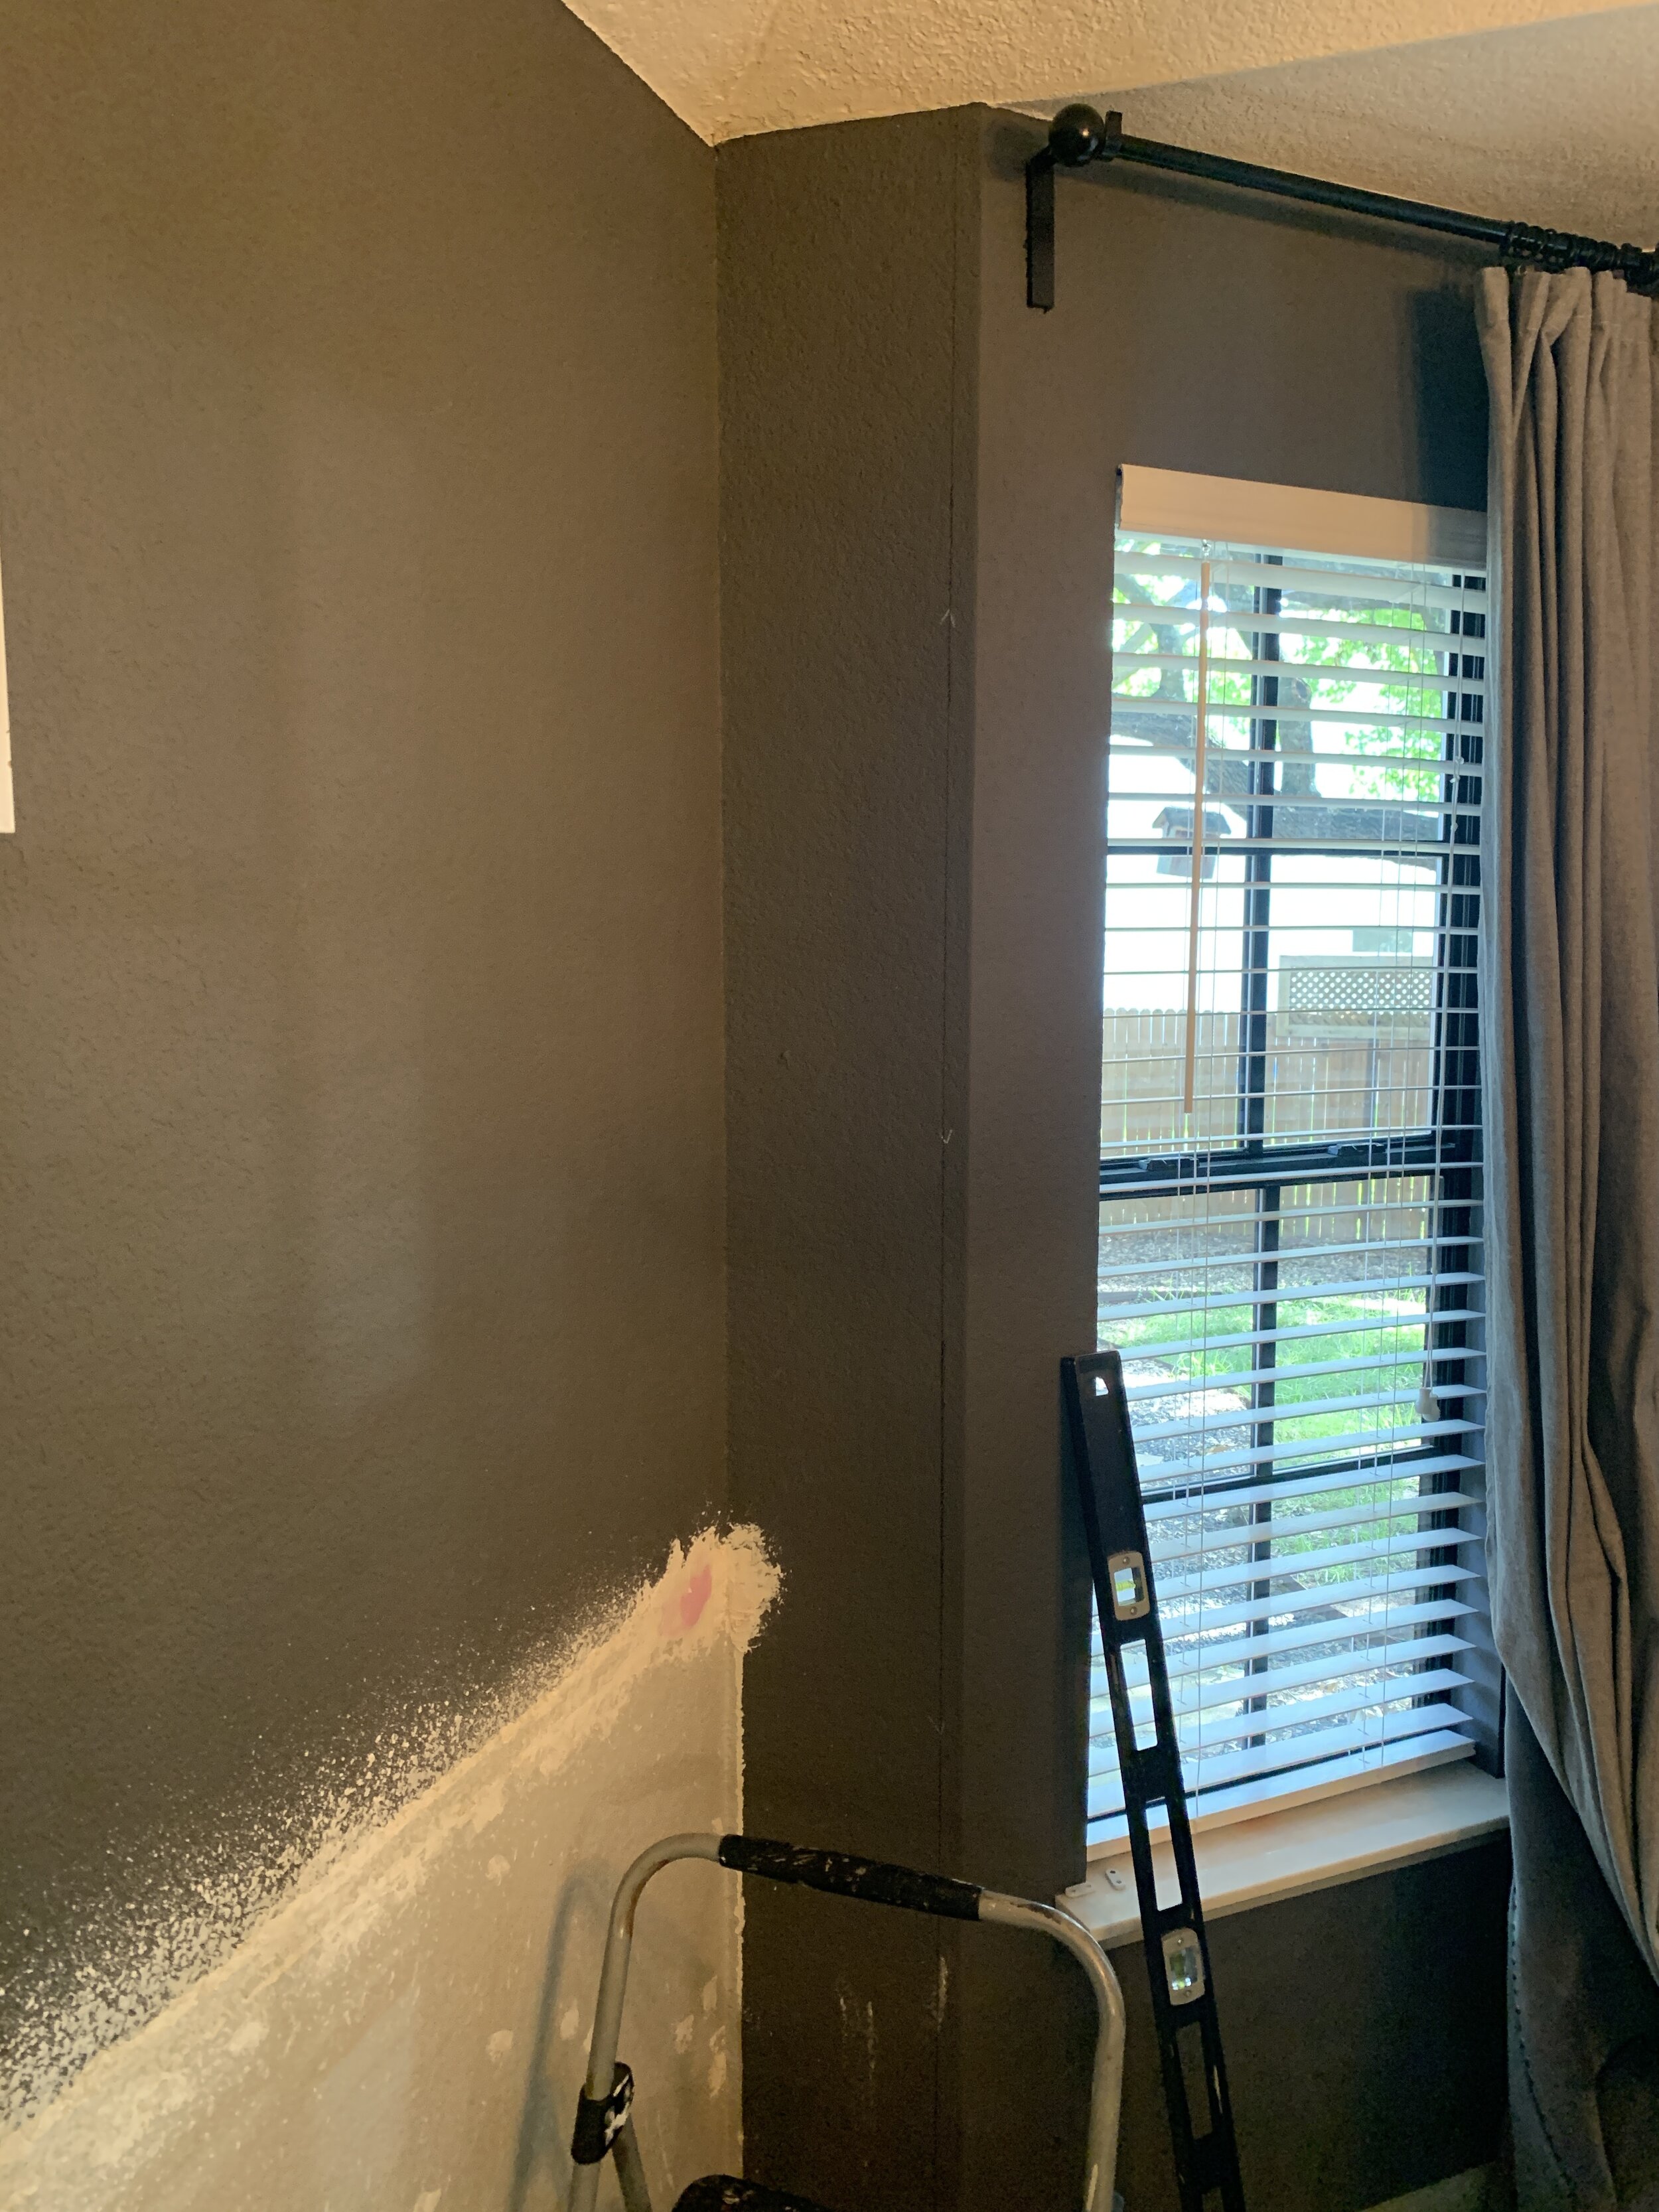
As a reminder, here’s what we’re starting with in the dining room:

Some of the links on this page are affiliate links, meaning at no cost to you we may earn a small commission on the purchases you make through that click. Learn more.
Tools
Kreg jig
Miter saw/chop saw
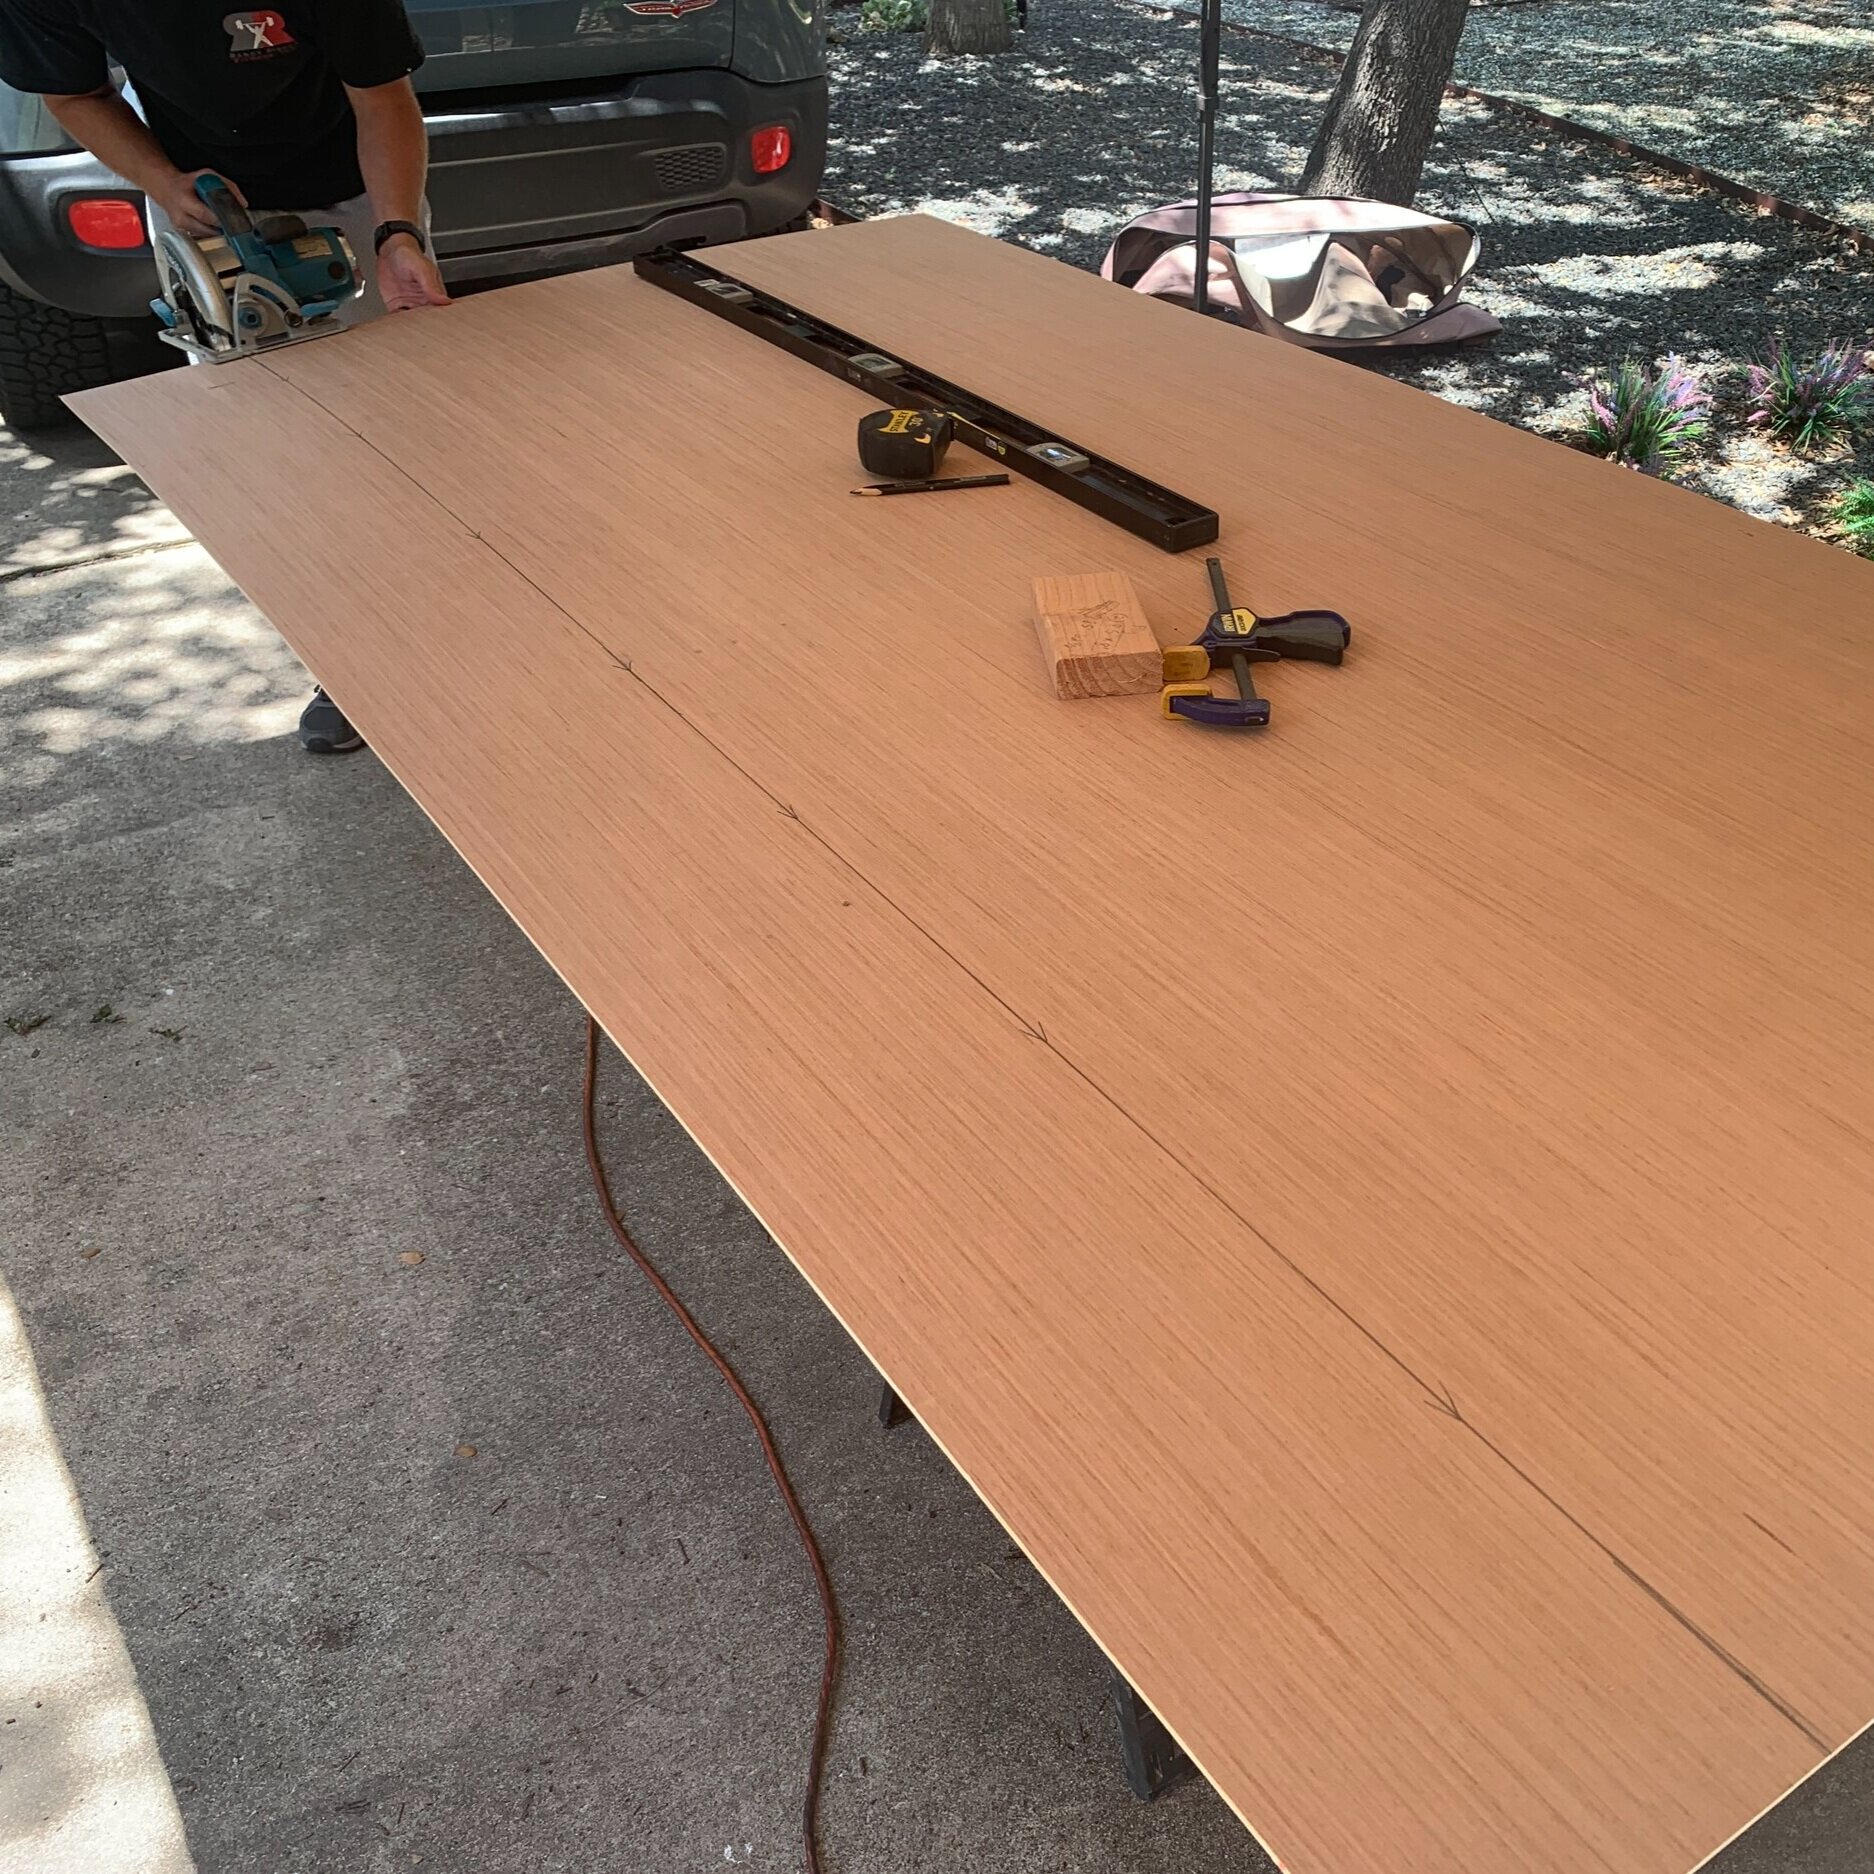
Circular saw (or table saw) – for cutting plywood
Drill + drill bits that match your screw heads
Nail gun + nails
Clamps – we like the Irwin one handed bar clamps
Electric sander + sandpaper of varying grits (down to about 180 grit for painting)
Level – we used a 4-foot level
Sharpie + pencil
Tape measure
Stud finder
Speed square
Step stool/ladder
Putty knife
Caulk gun + lint-free rag
Materials
2x4s* for framing columns – we used (3) 8’ and (3) 10’ boards
1x2s* for trimming out columns – we used (7) 8’ boards
1x4s* for trimming out top of columns –we used (1) 8’ board
1x6s* for lower front cabinet face/baseboard support [we used (2) 1x6x8s]
4x8’ sheet of 1/4” plywood – we used 2 – 1 for the columns
Kreg screws – 2-1/2” for connecting 2x4s
Long wood screws – for connecting 2x4s to wall through drywall and into studs
Painter’s tape – to temporarily hold trim in place
Paintable wood filler
Paintable caulk
Primer + paint
*Reminders:
1x boards are actually 3/4” thick
2x boards are actually 1-1/2” thick
And to make it all even more confusing, 3/4” plywood is really actually 3/4”
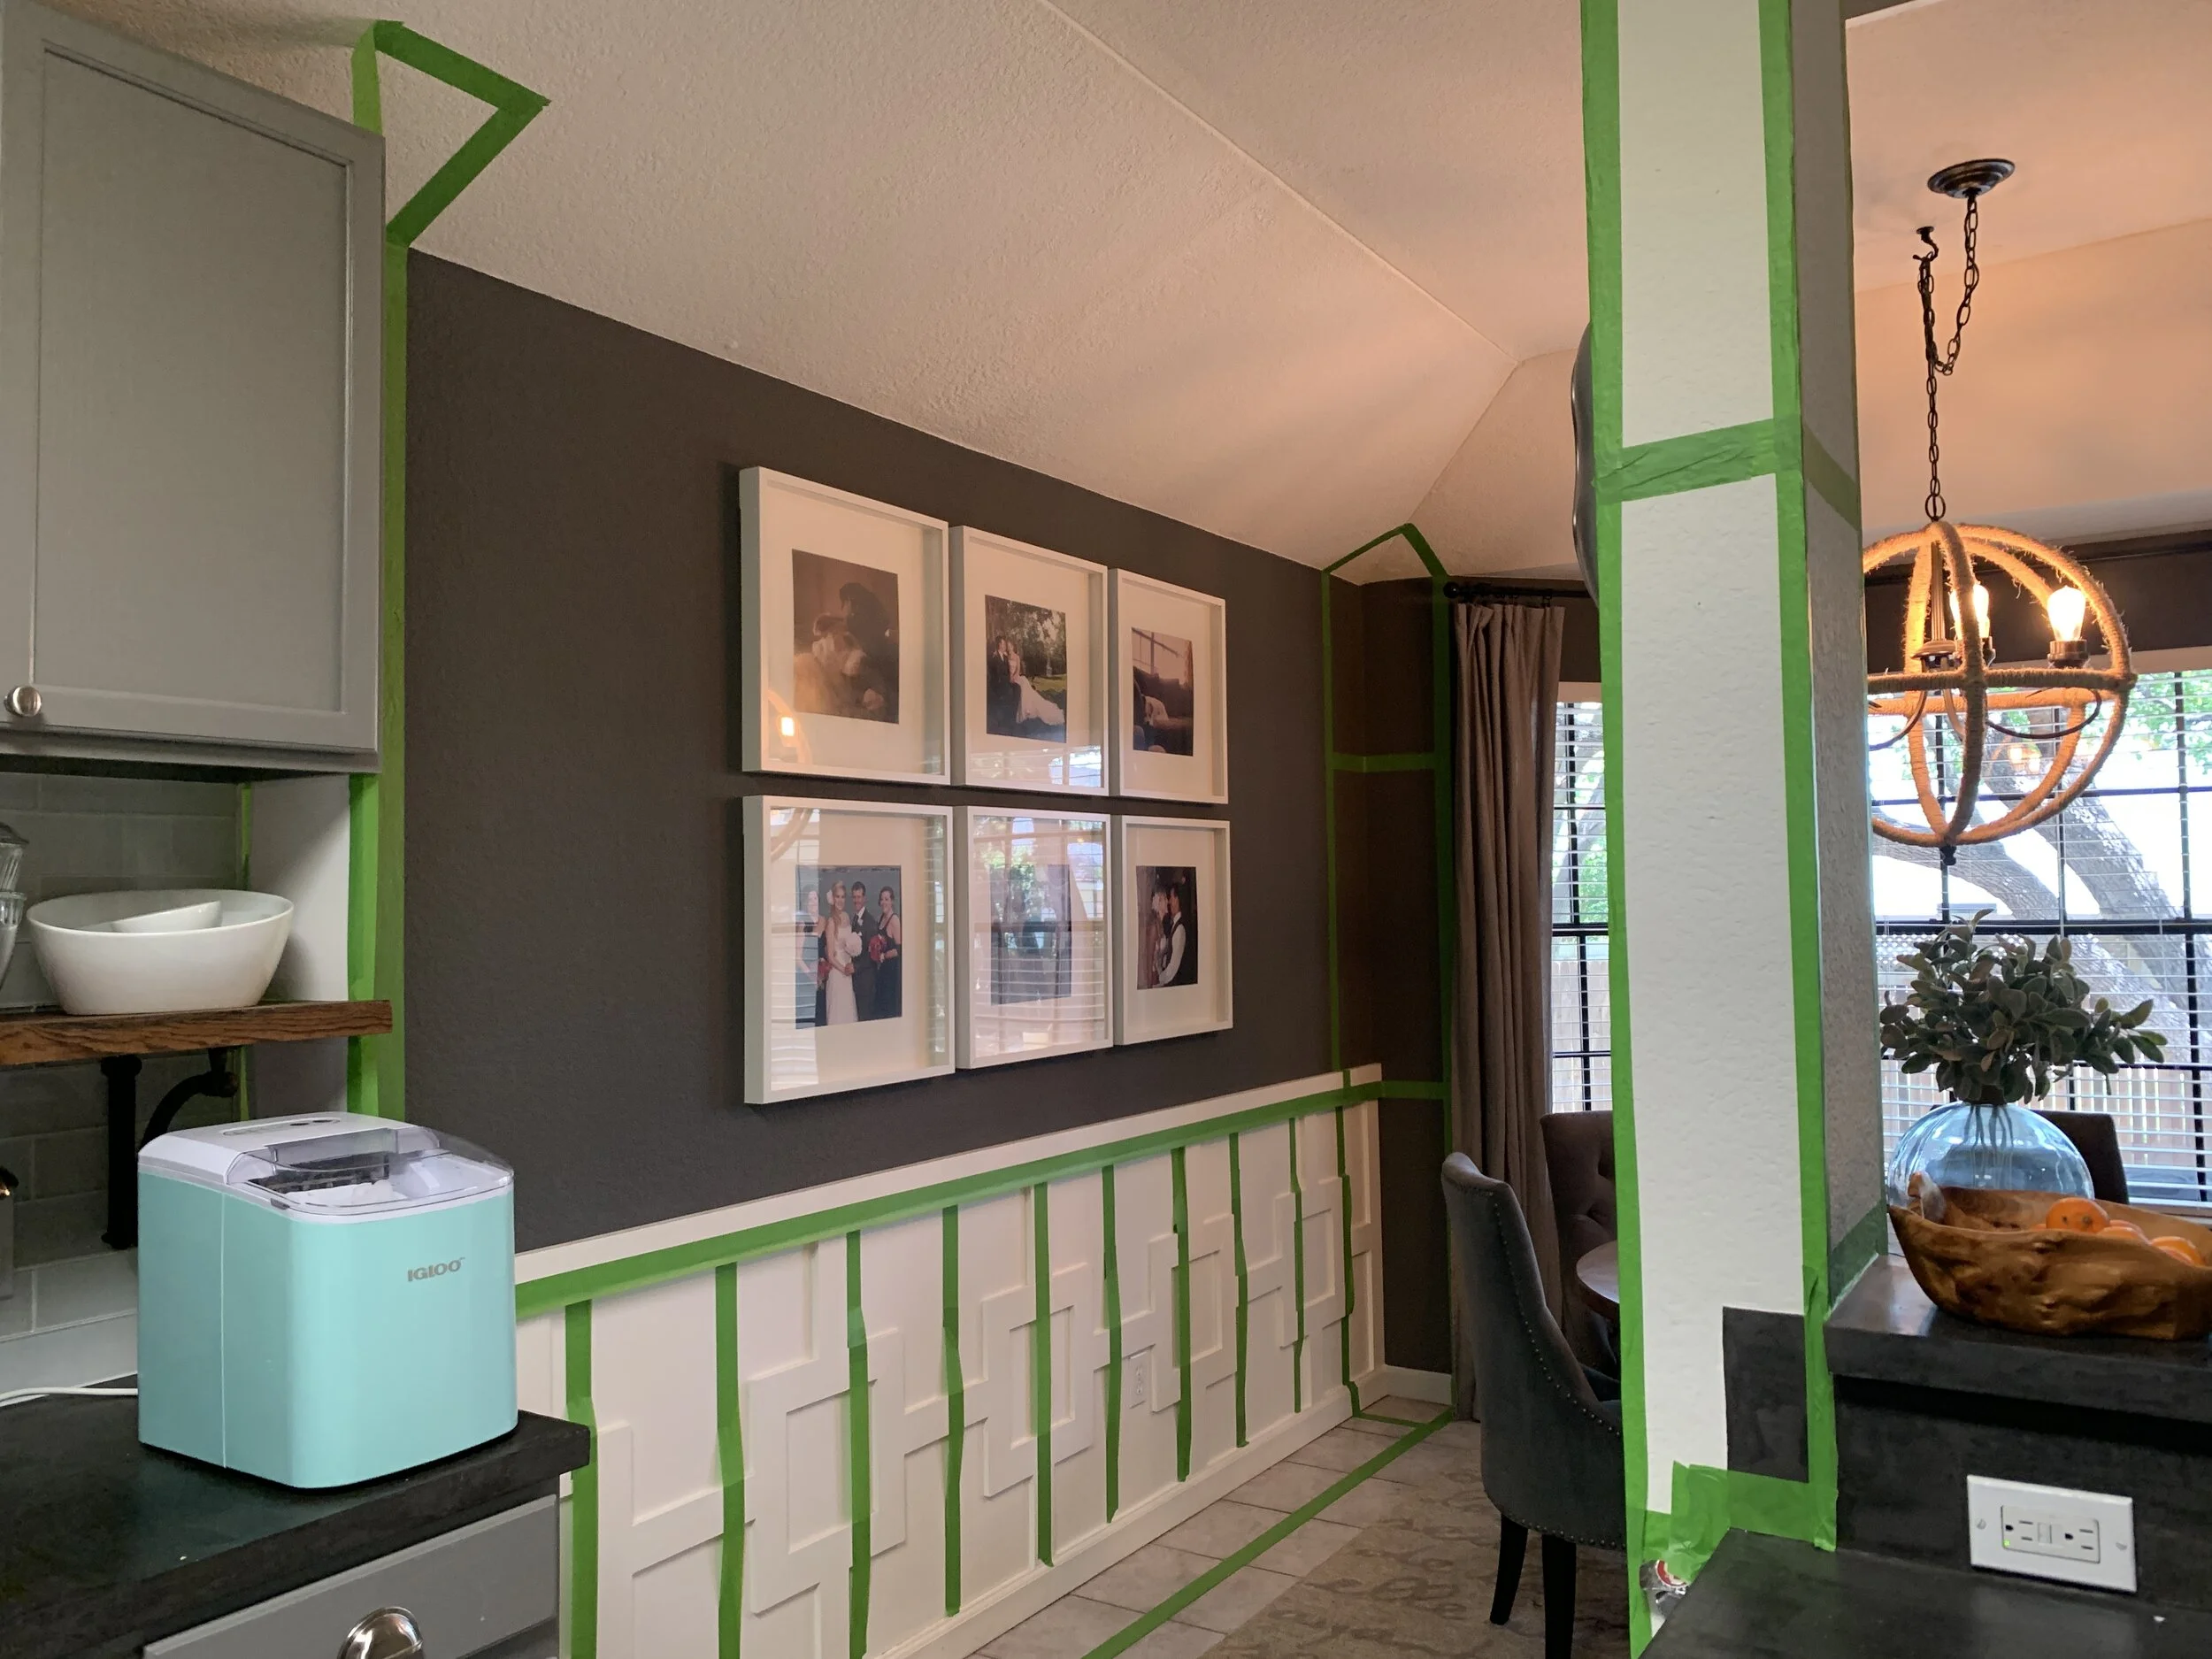
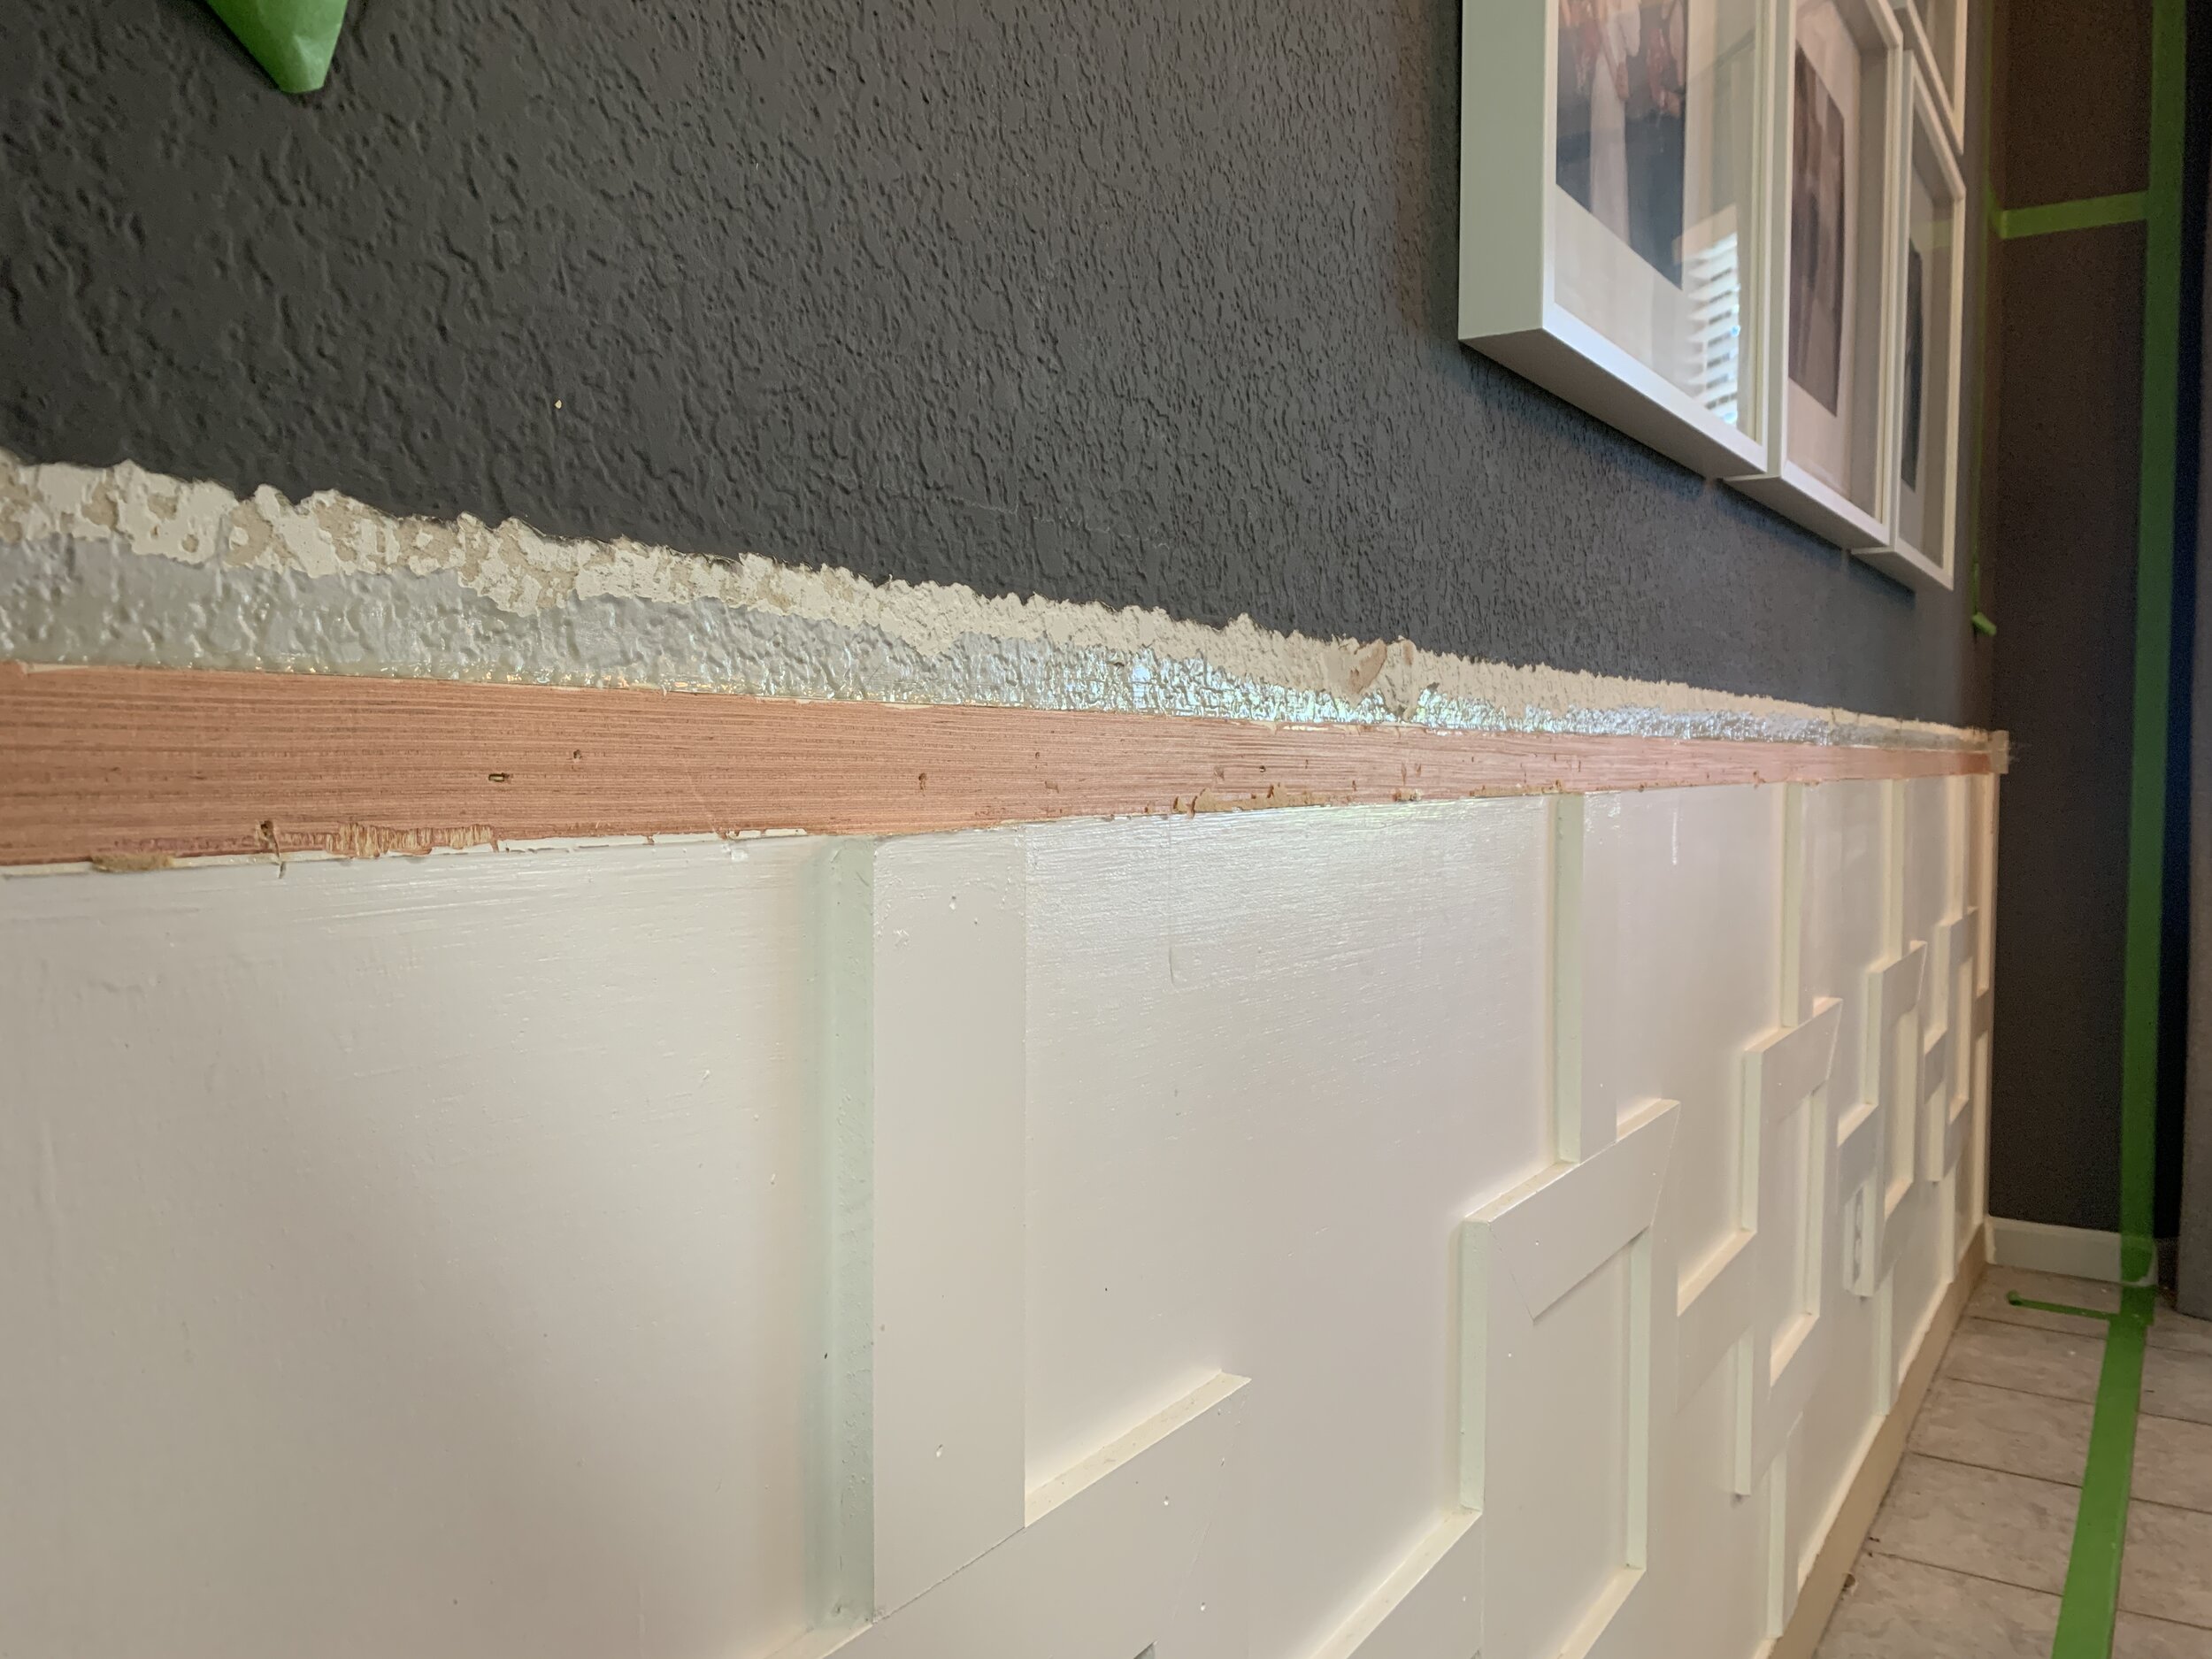
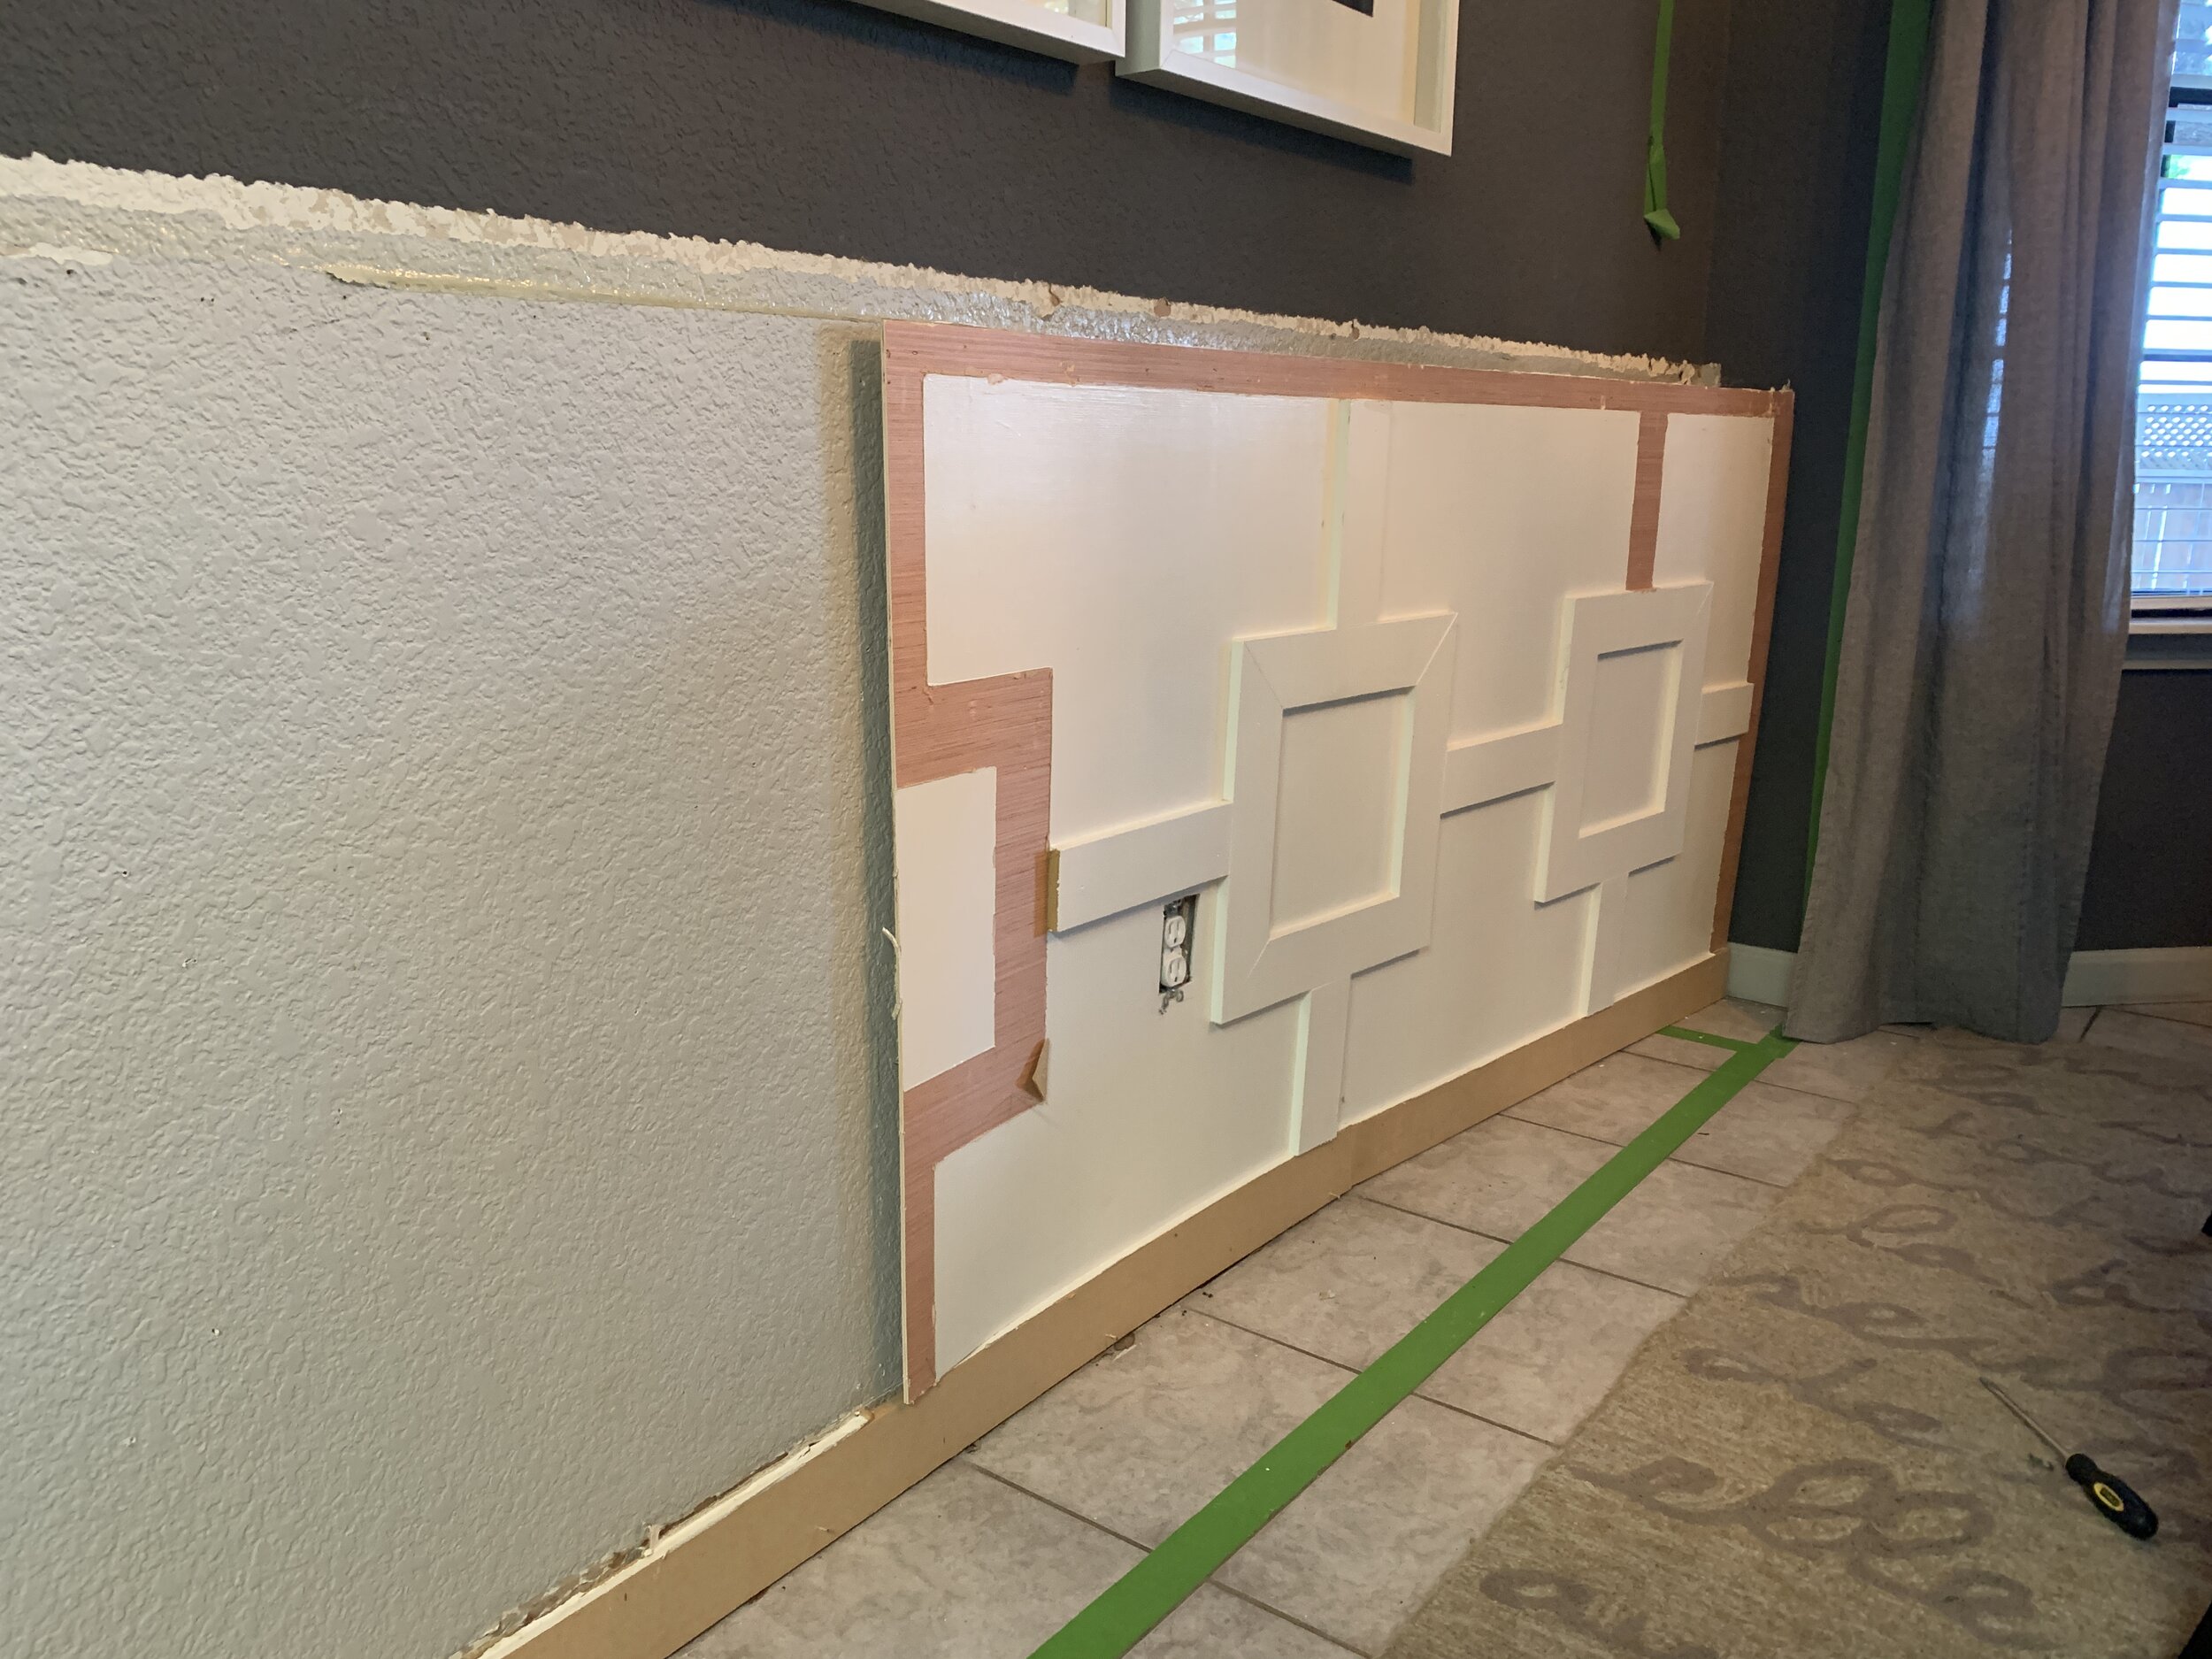
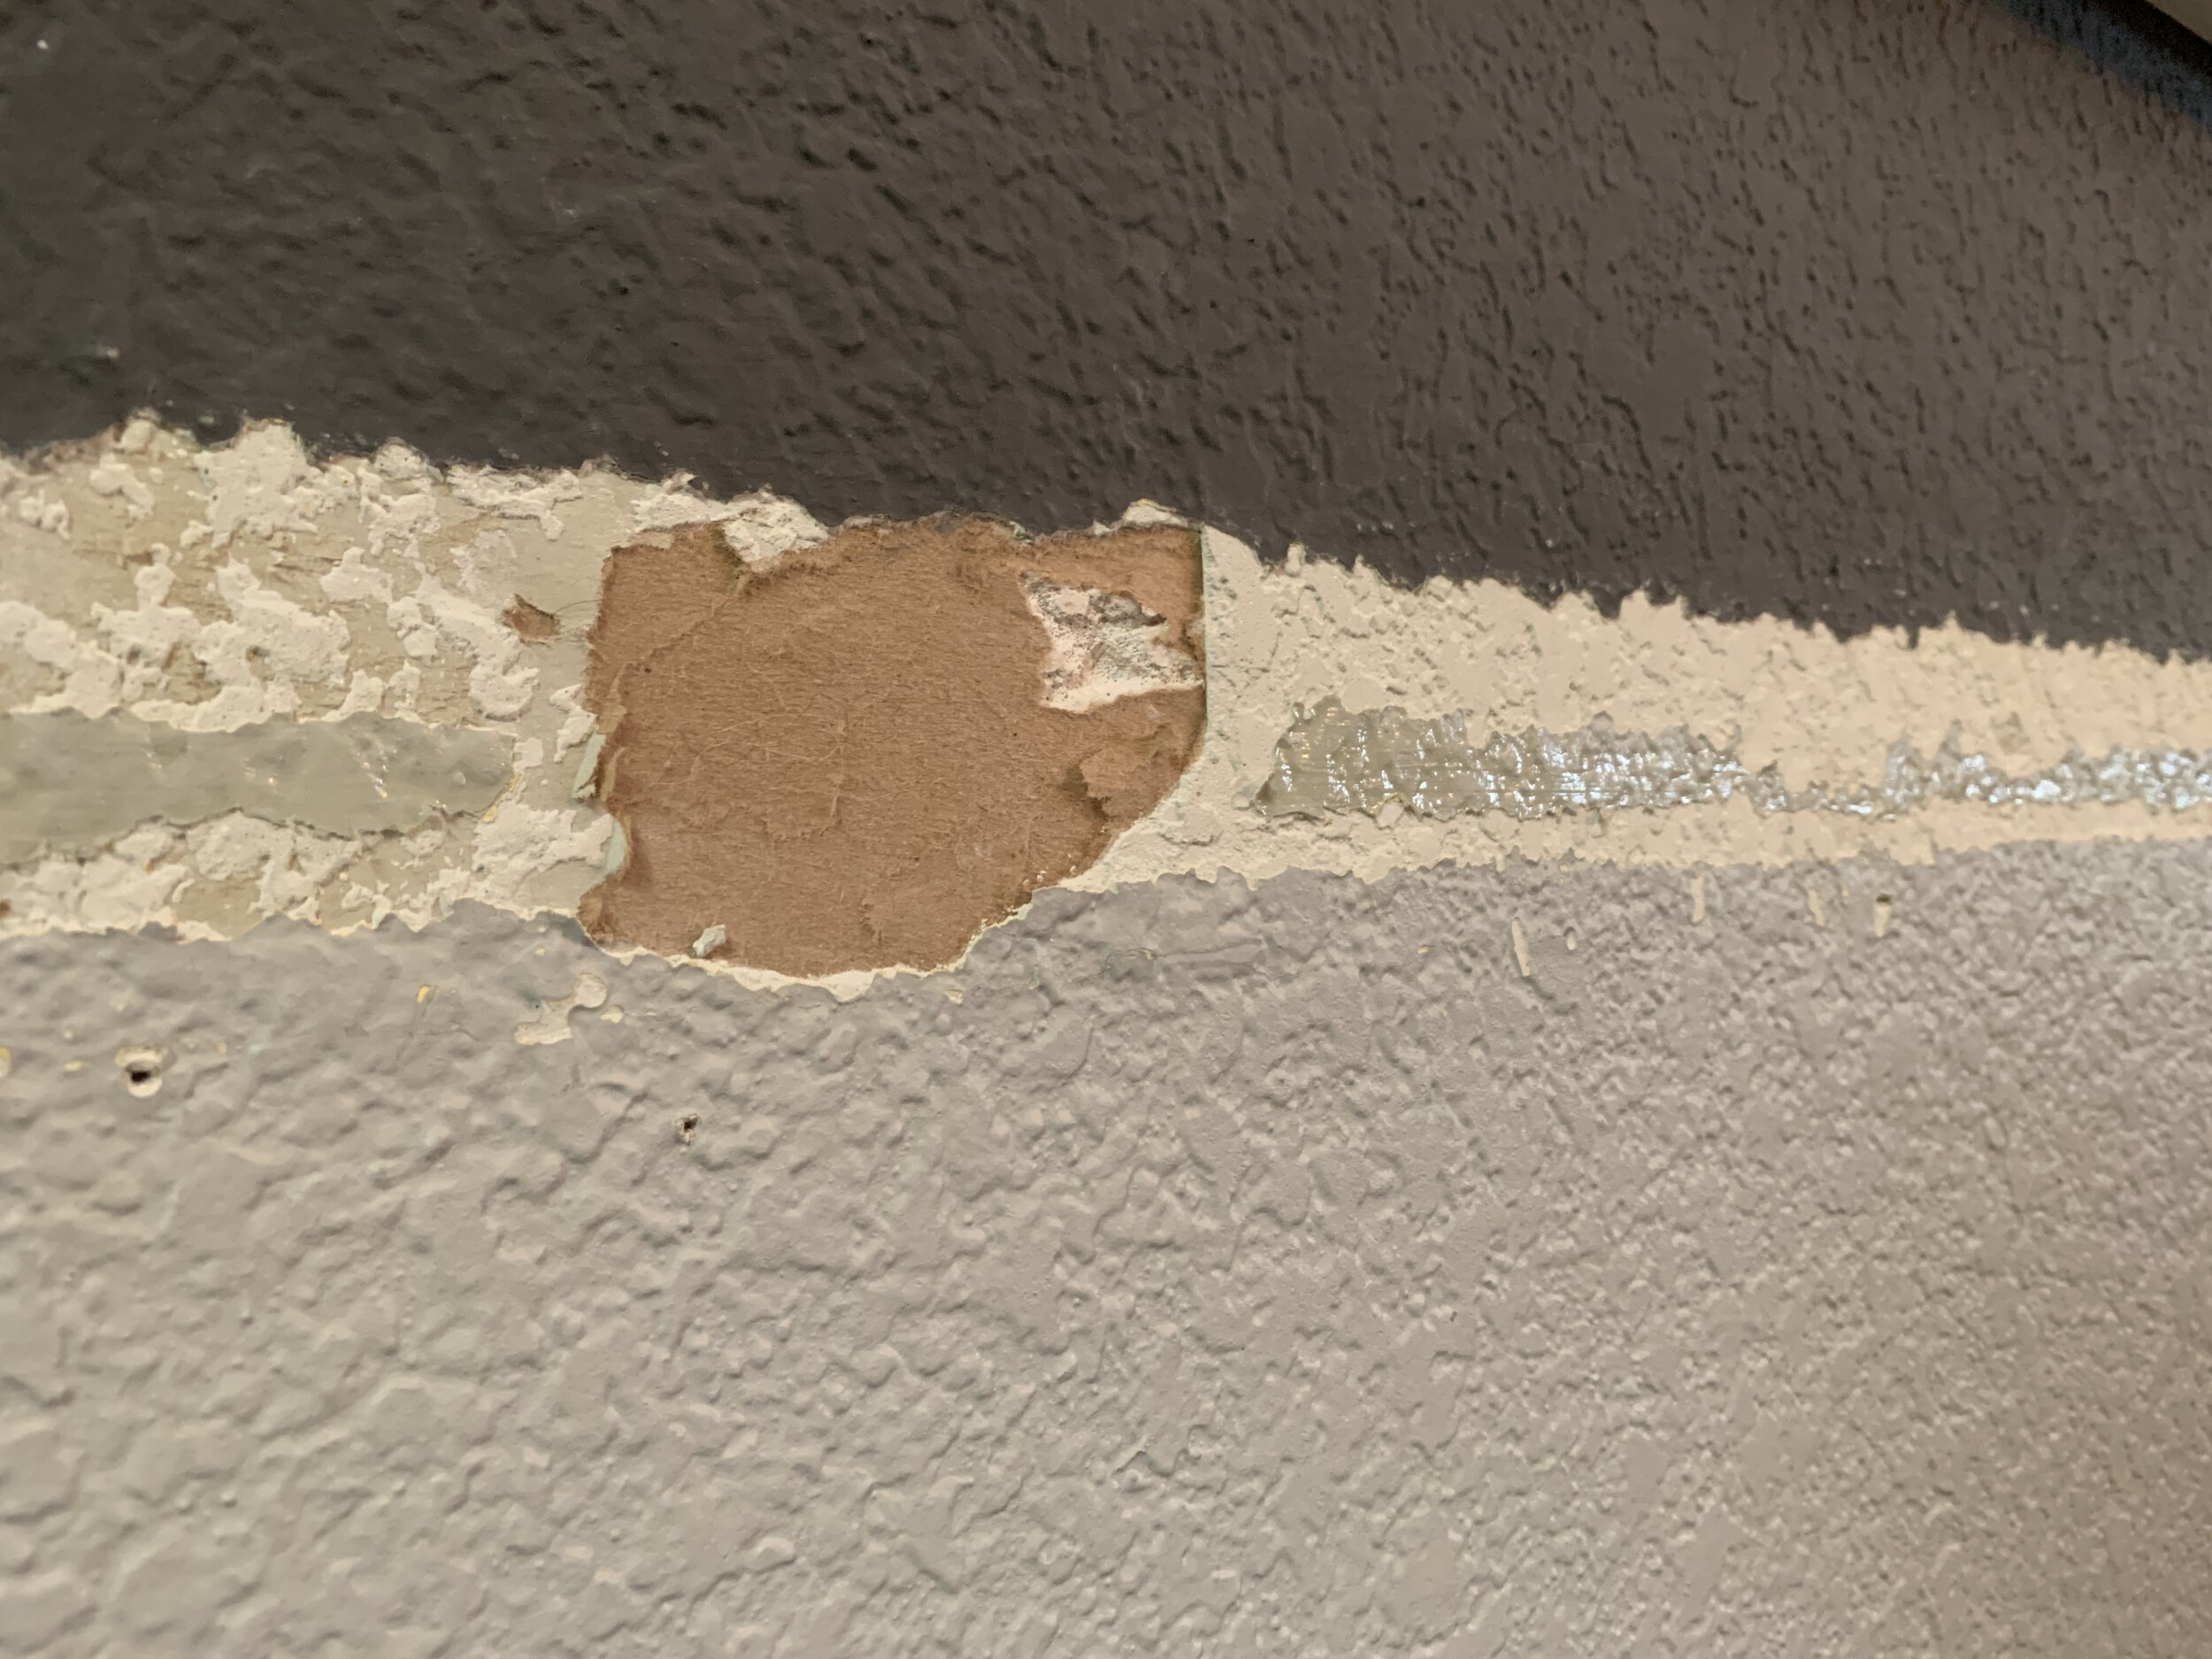
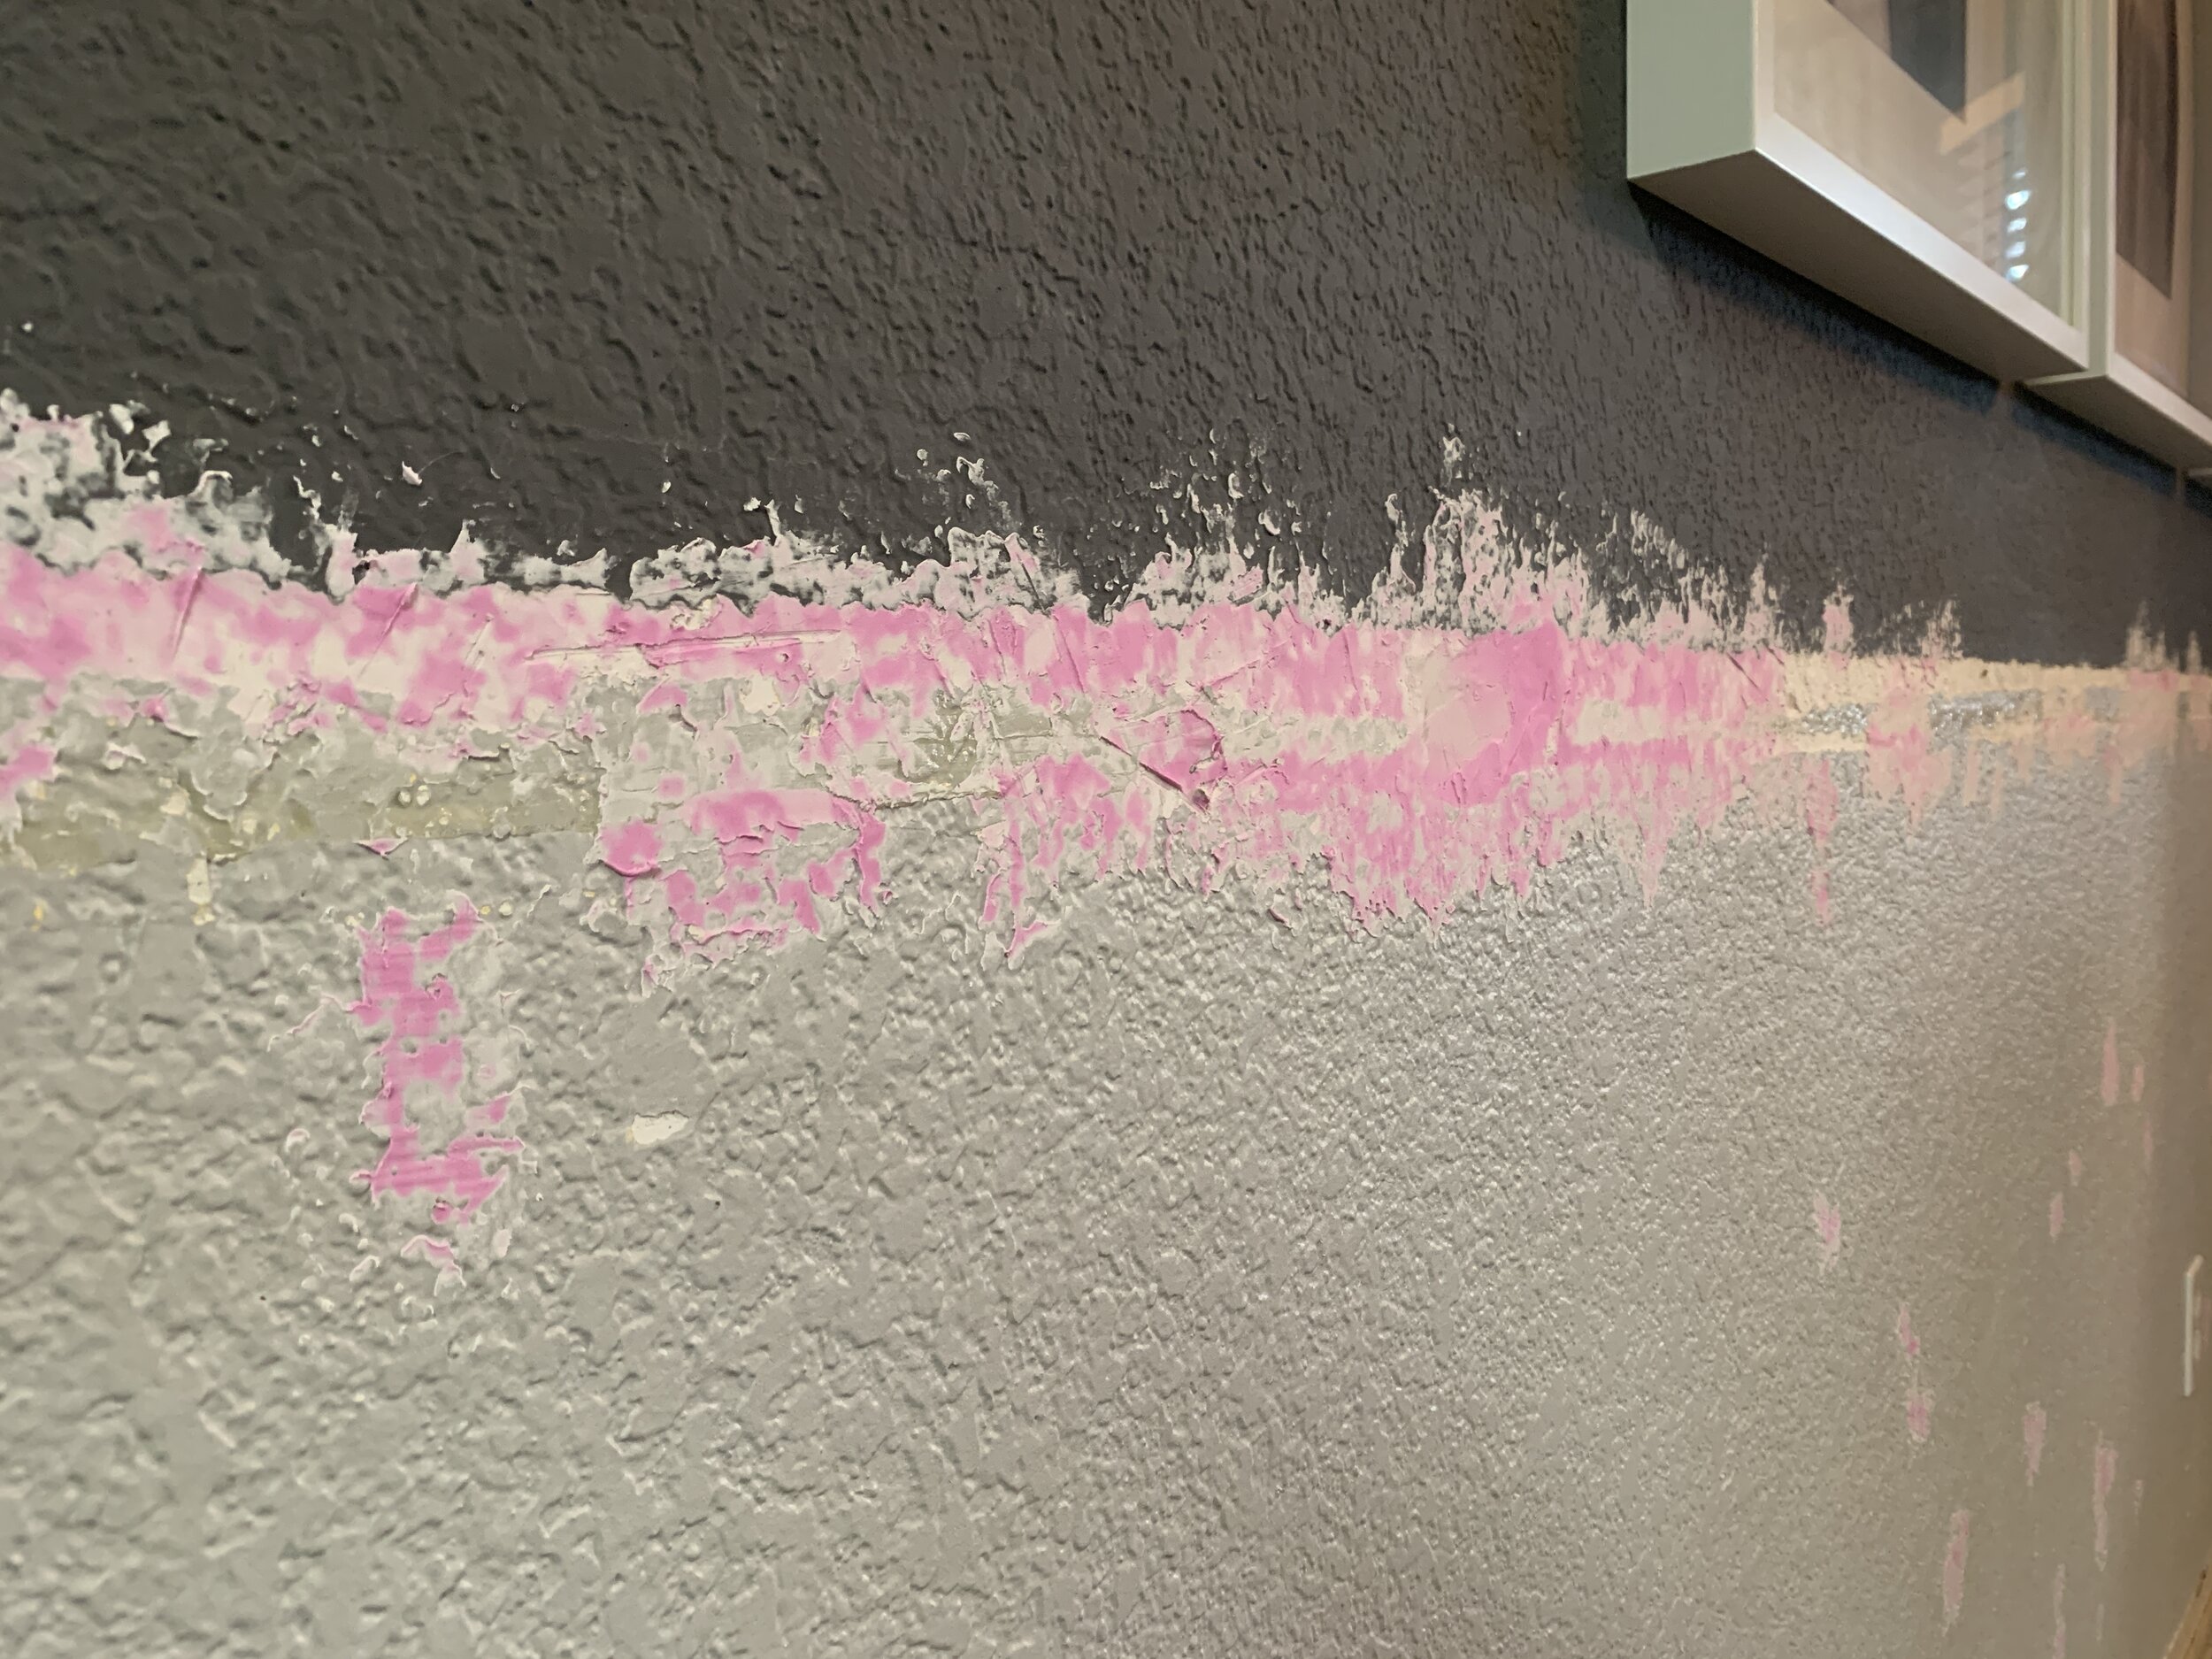
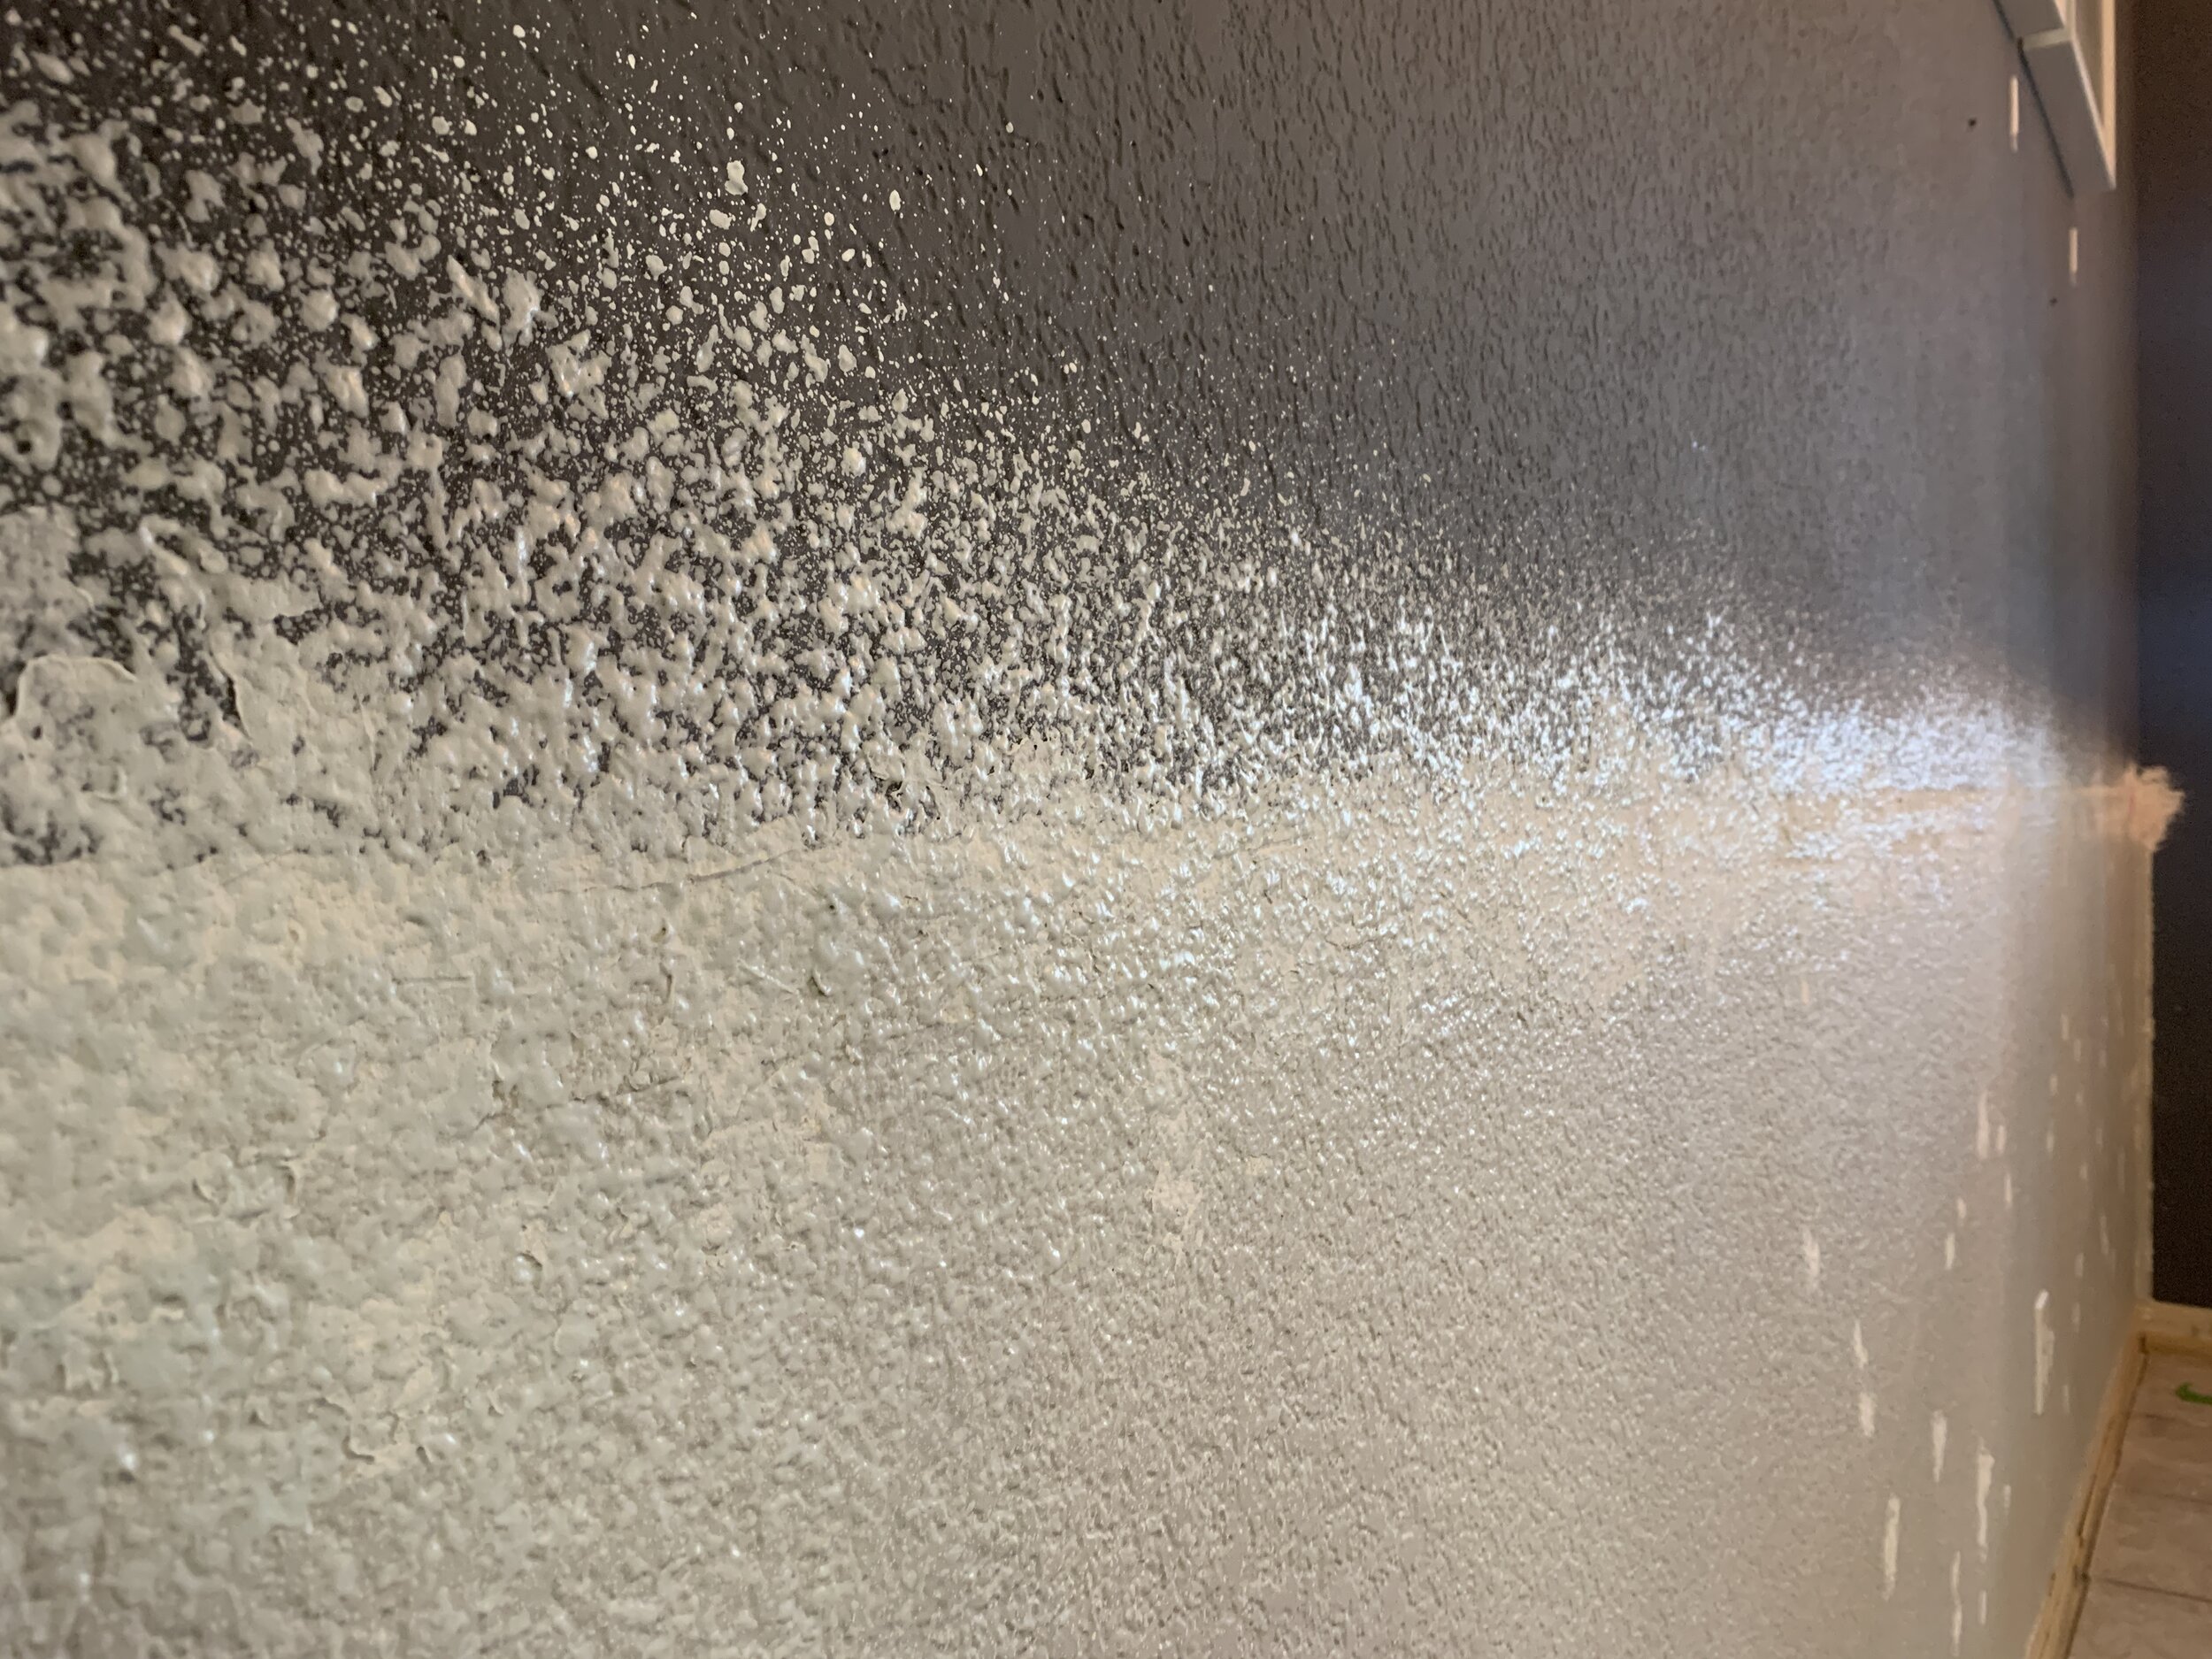
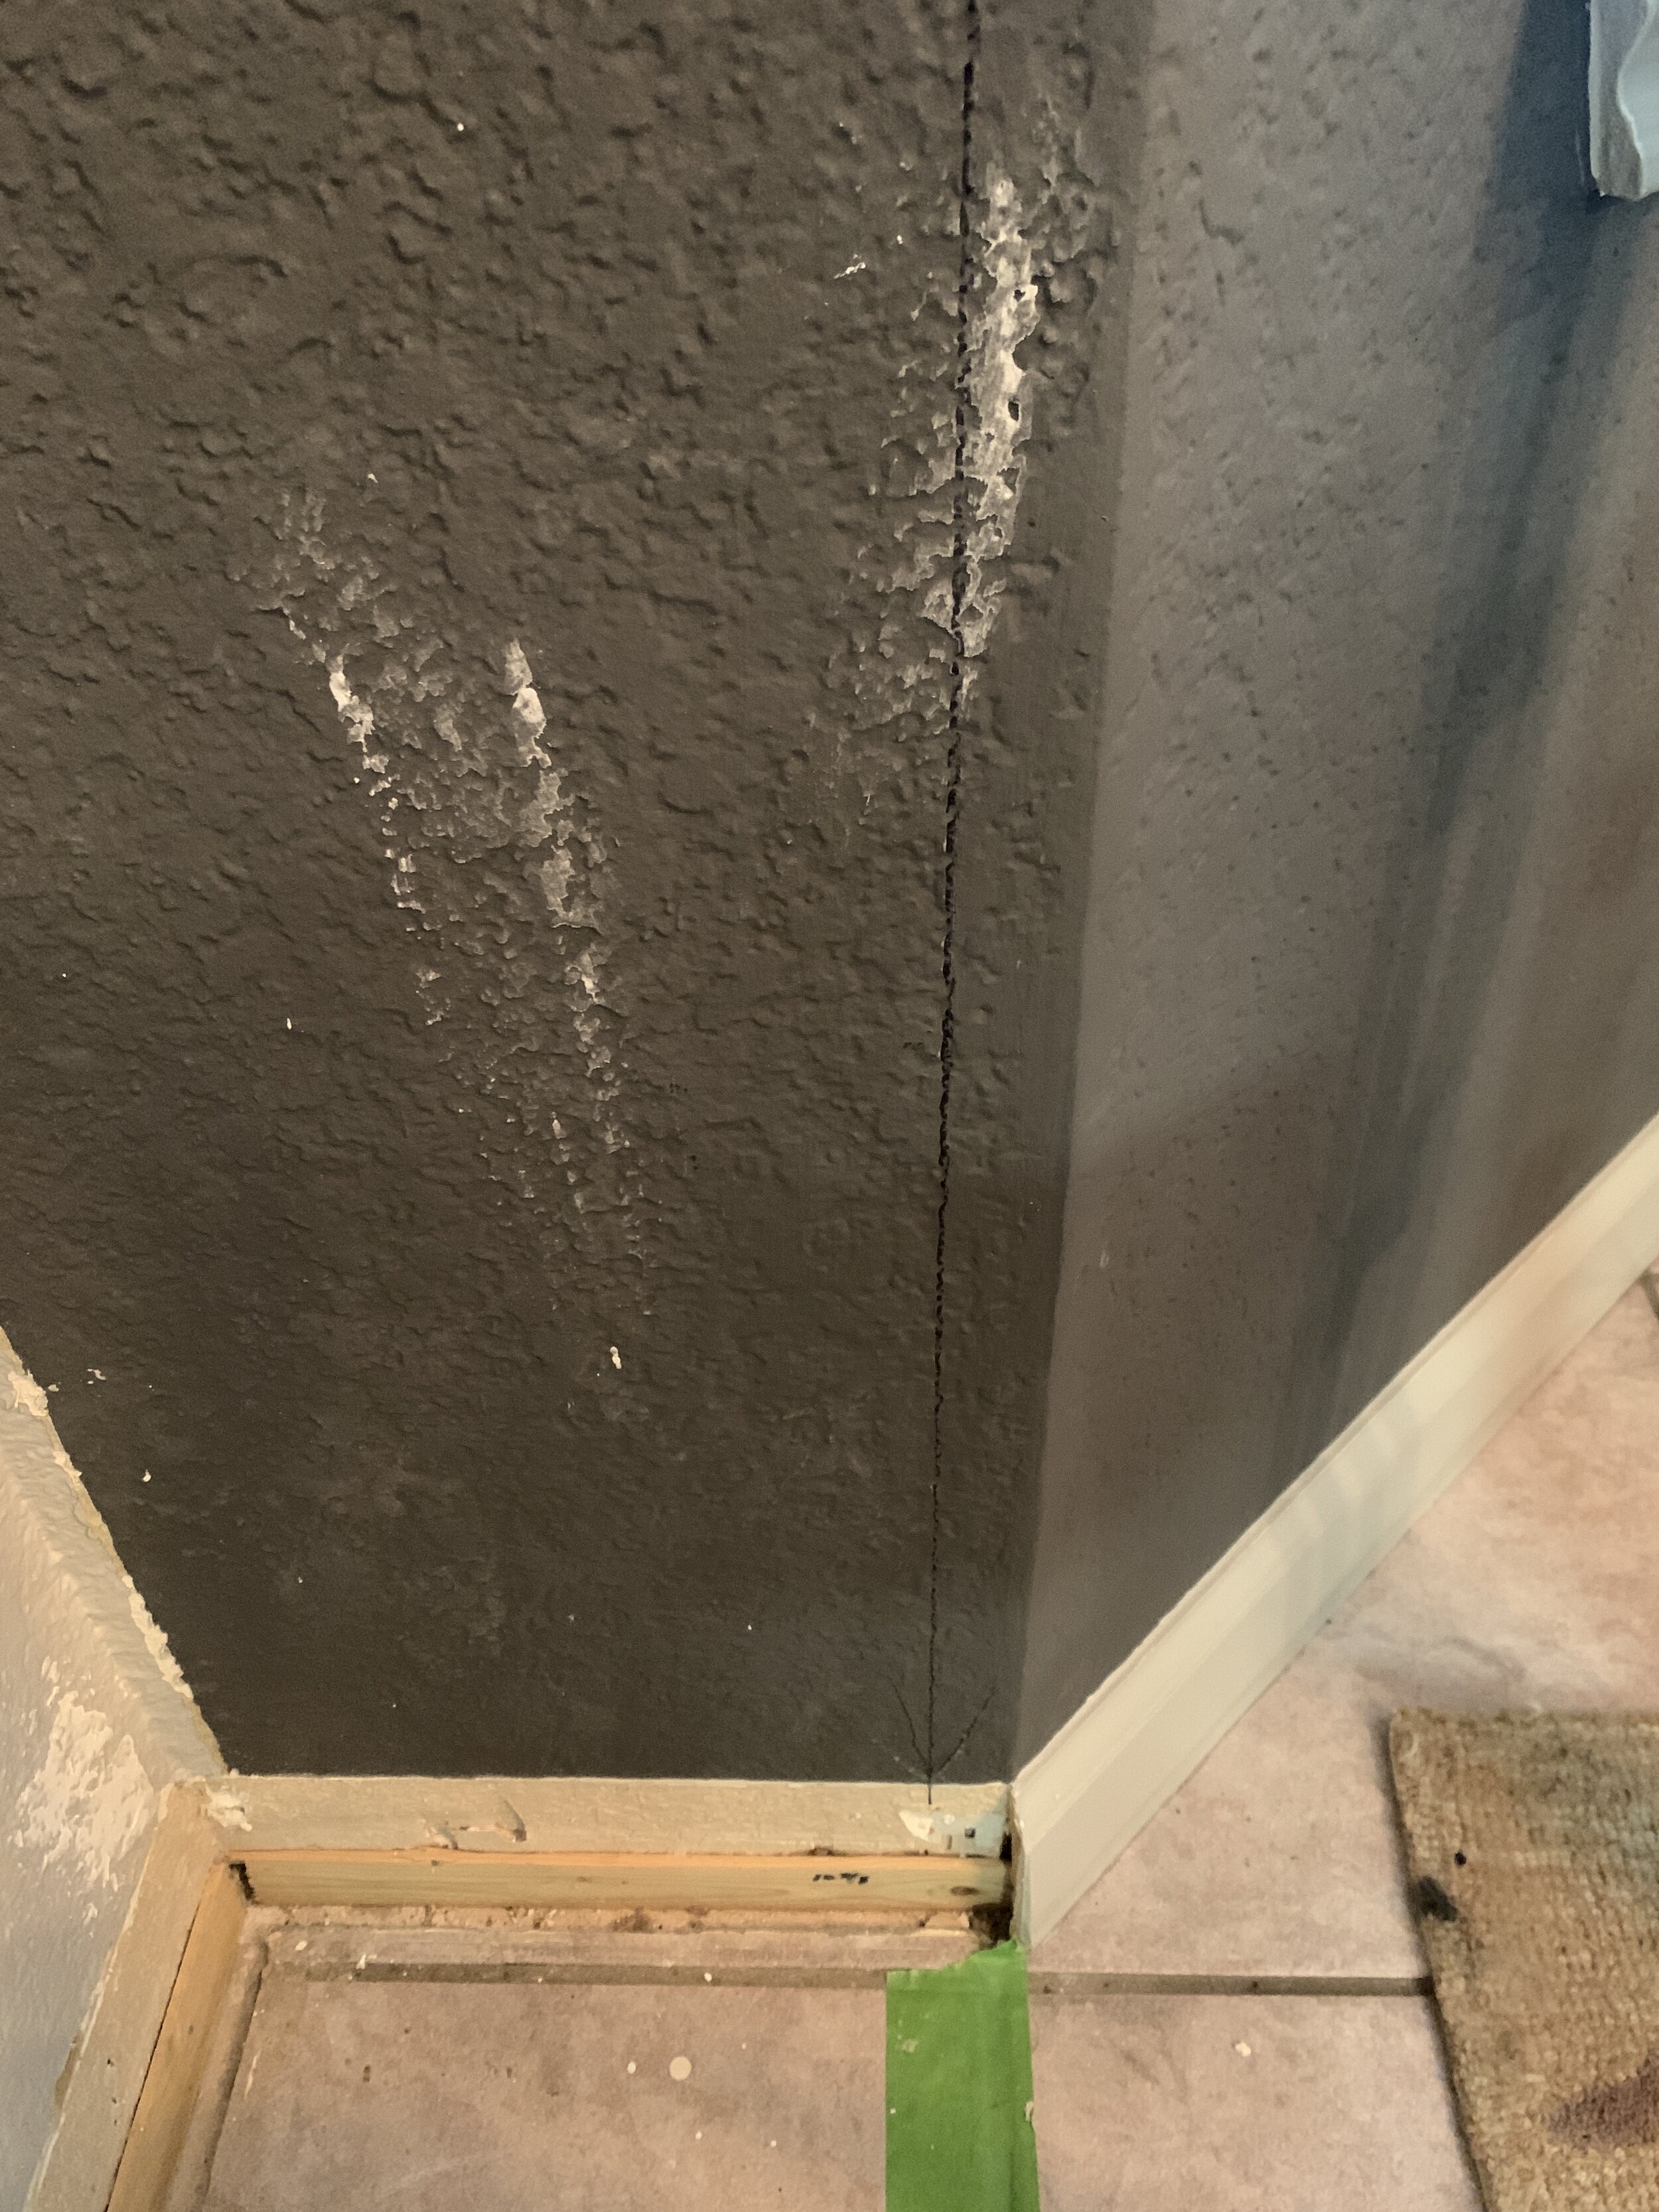
Prepping the area
With our plan in place, we prepped the area to build. For us that meant ripping out our previous wall moulding, and – because we hadn’t decided what we were going to do to the upper part of the wall yet – patching, retexturing and painting some of our wall.
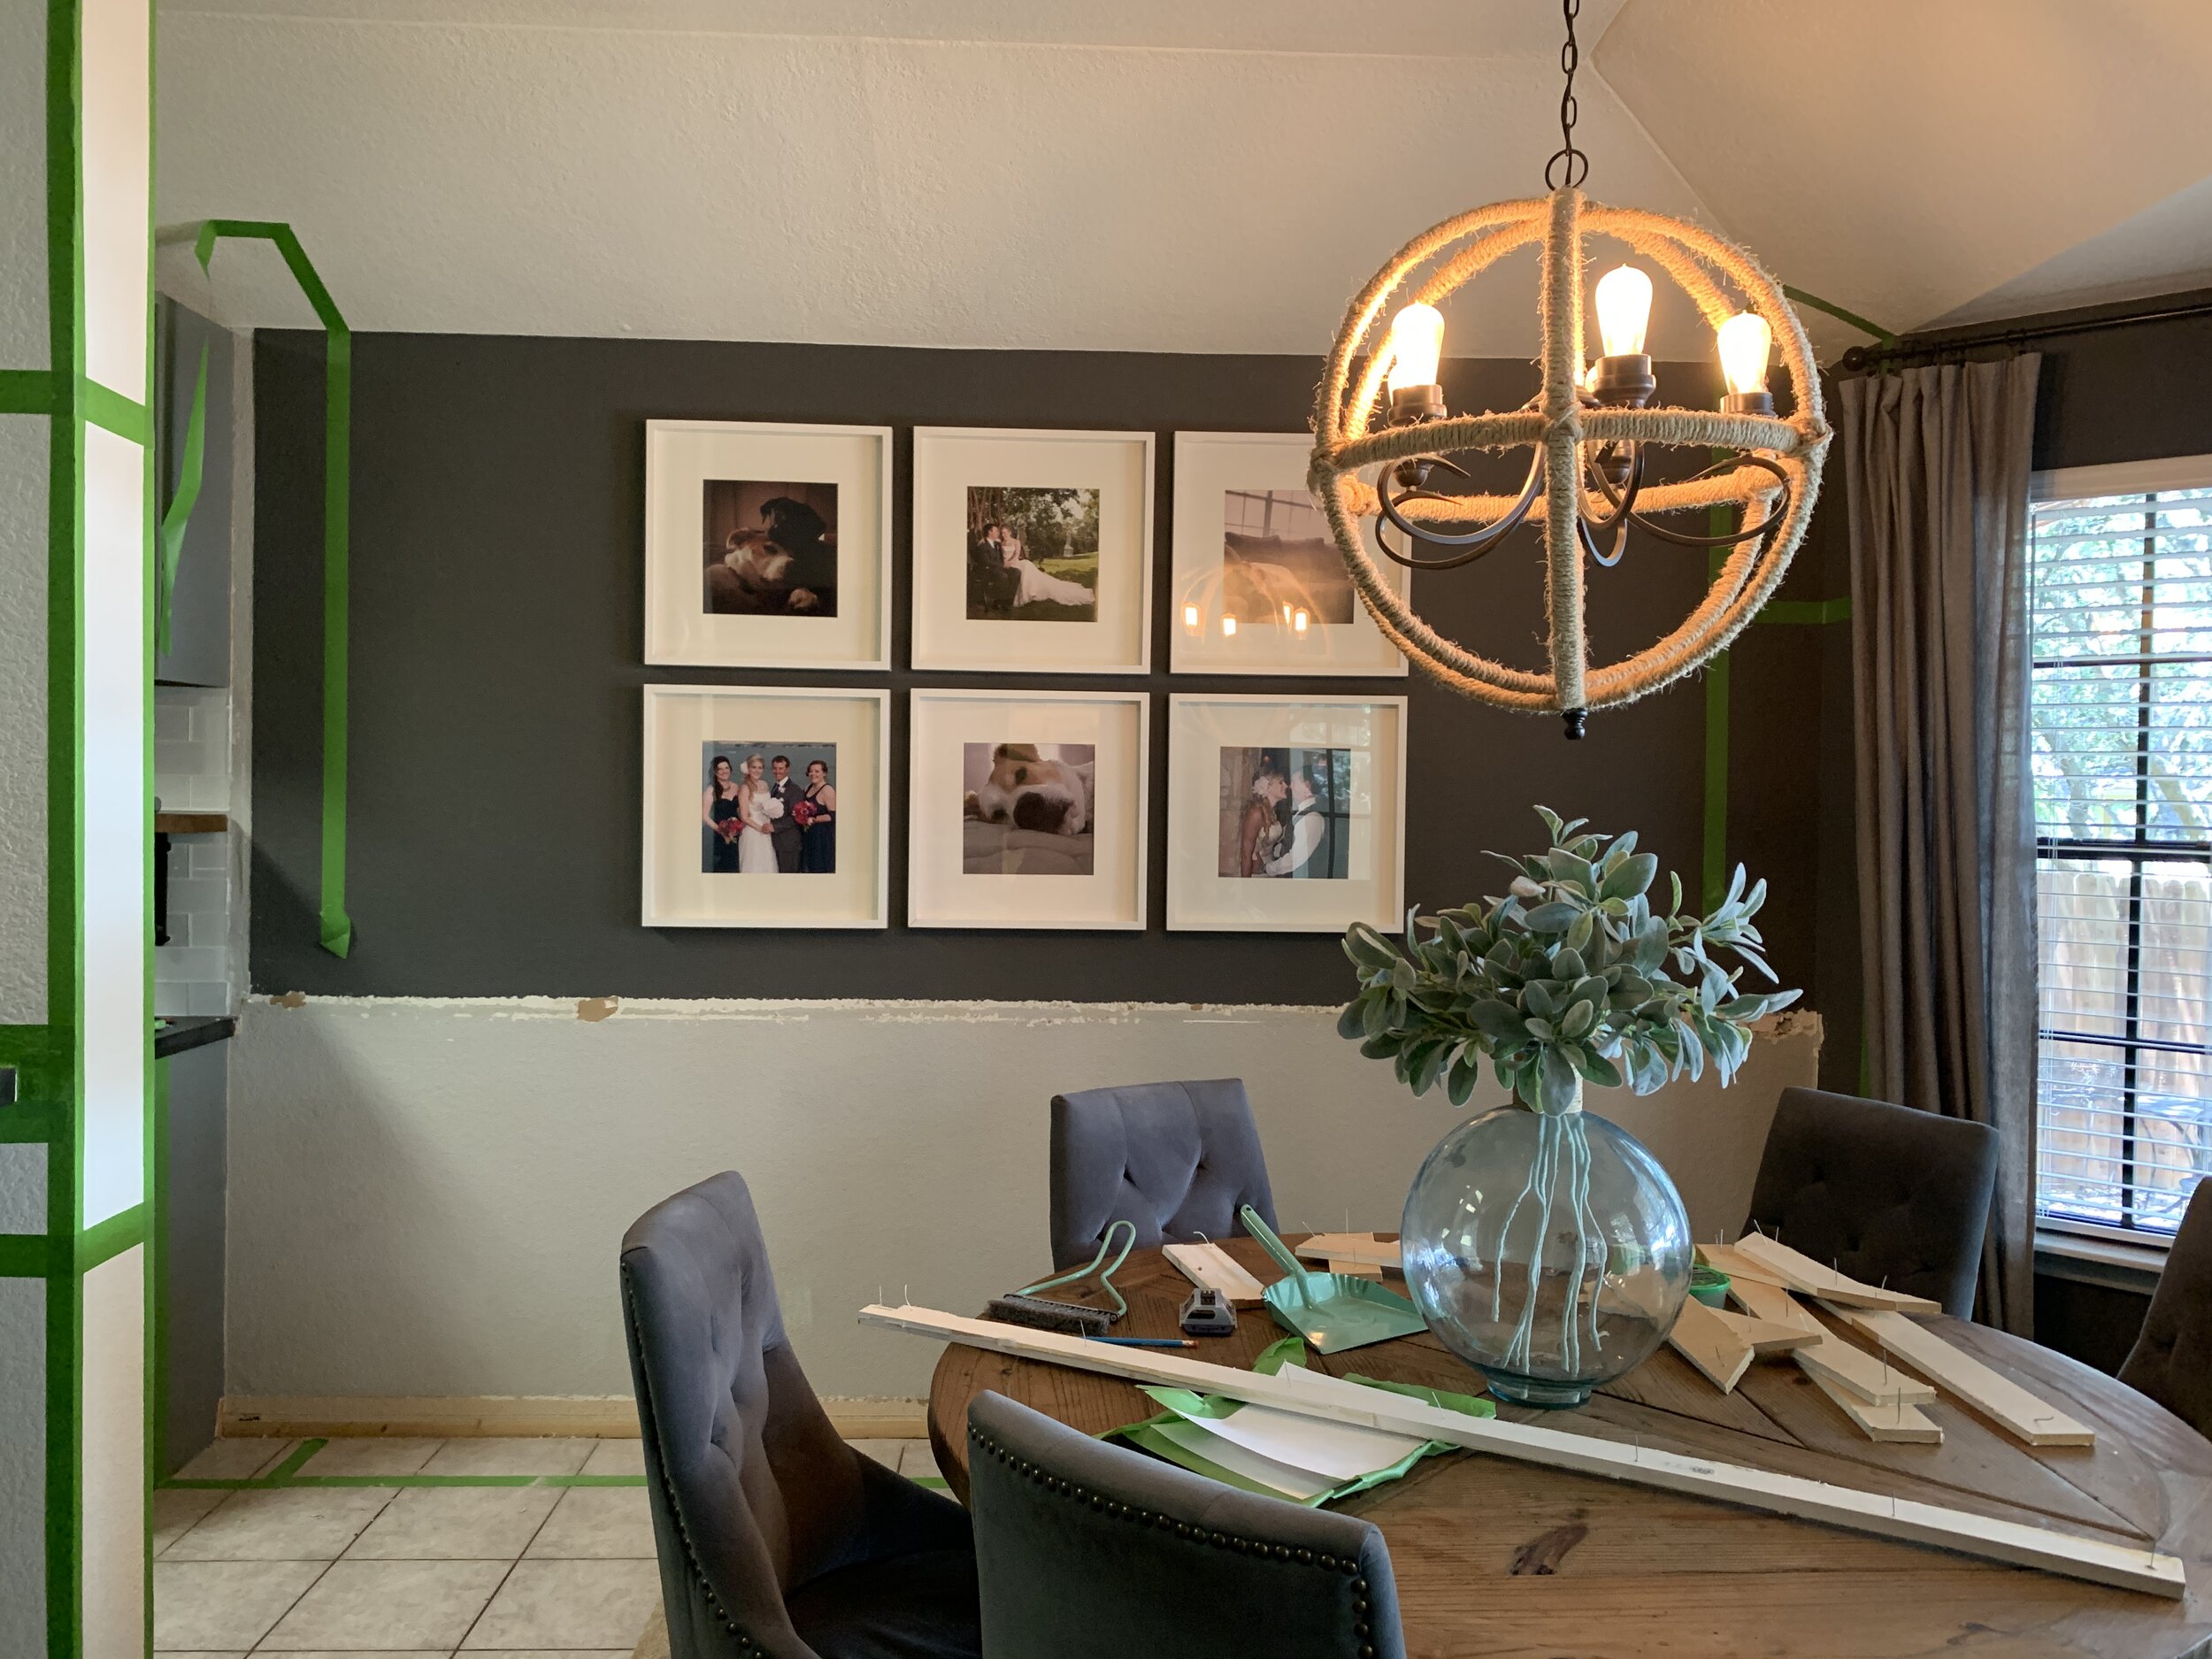
Building the columns
First we built our floor-to-ceiling columns, starting with the one on the right. Though they look the same on the outside and are built with the same materials inside and out, we built each a little different since one only has two sides exposed and the other has three, one of which is beside our kitchen cabinets.
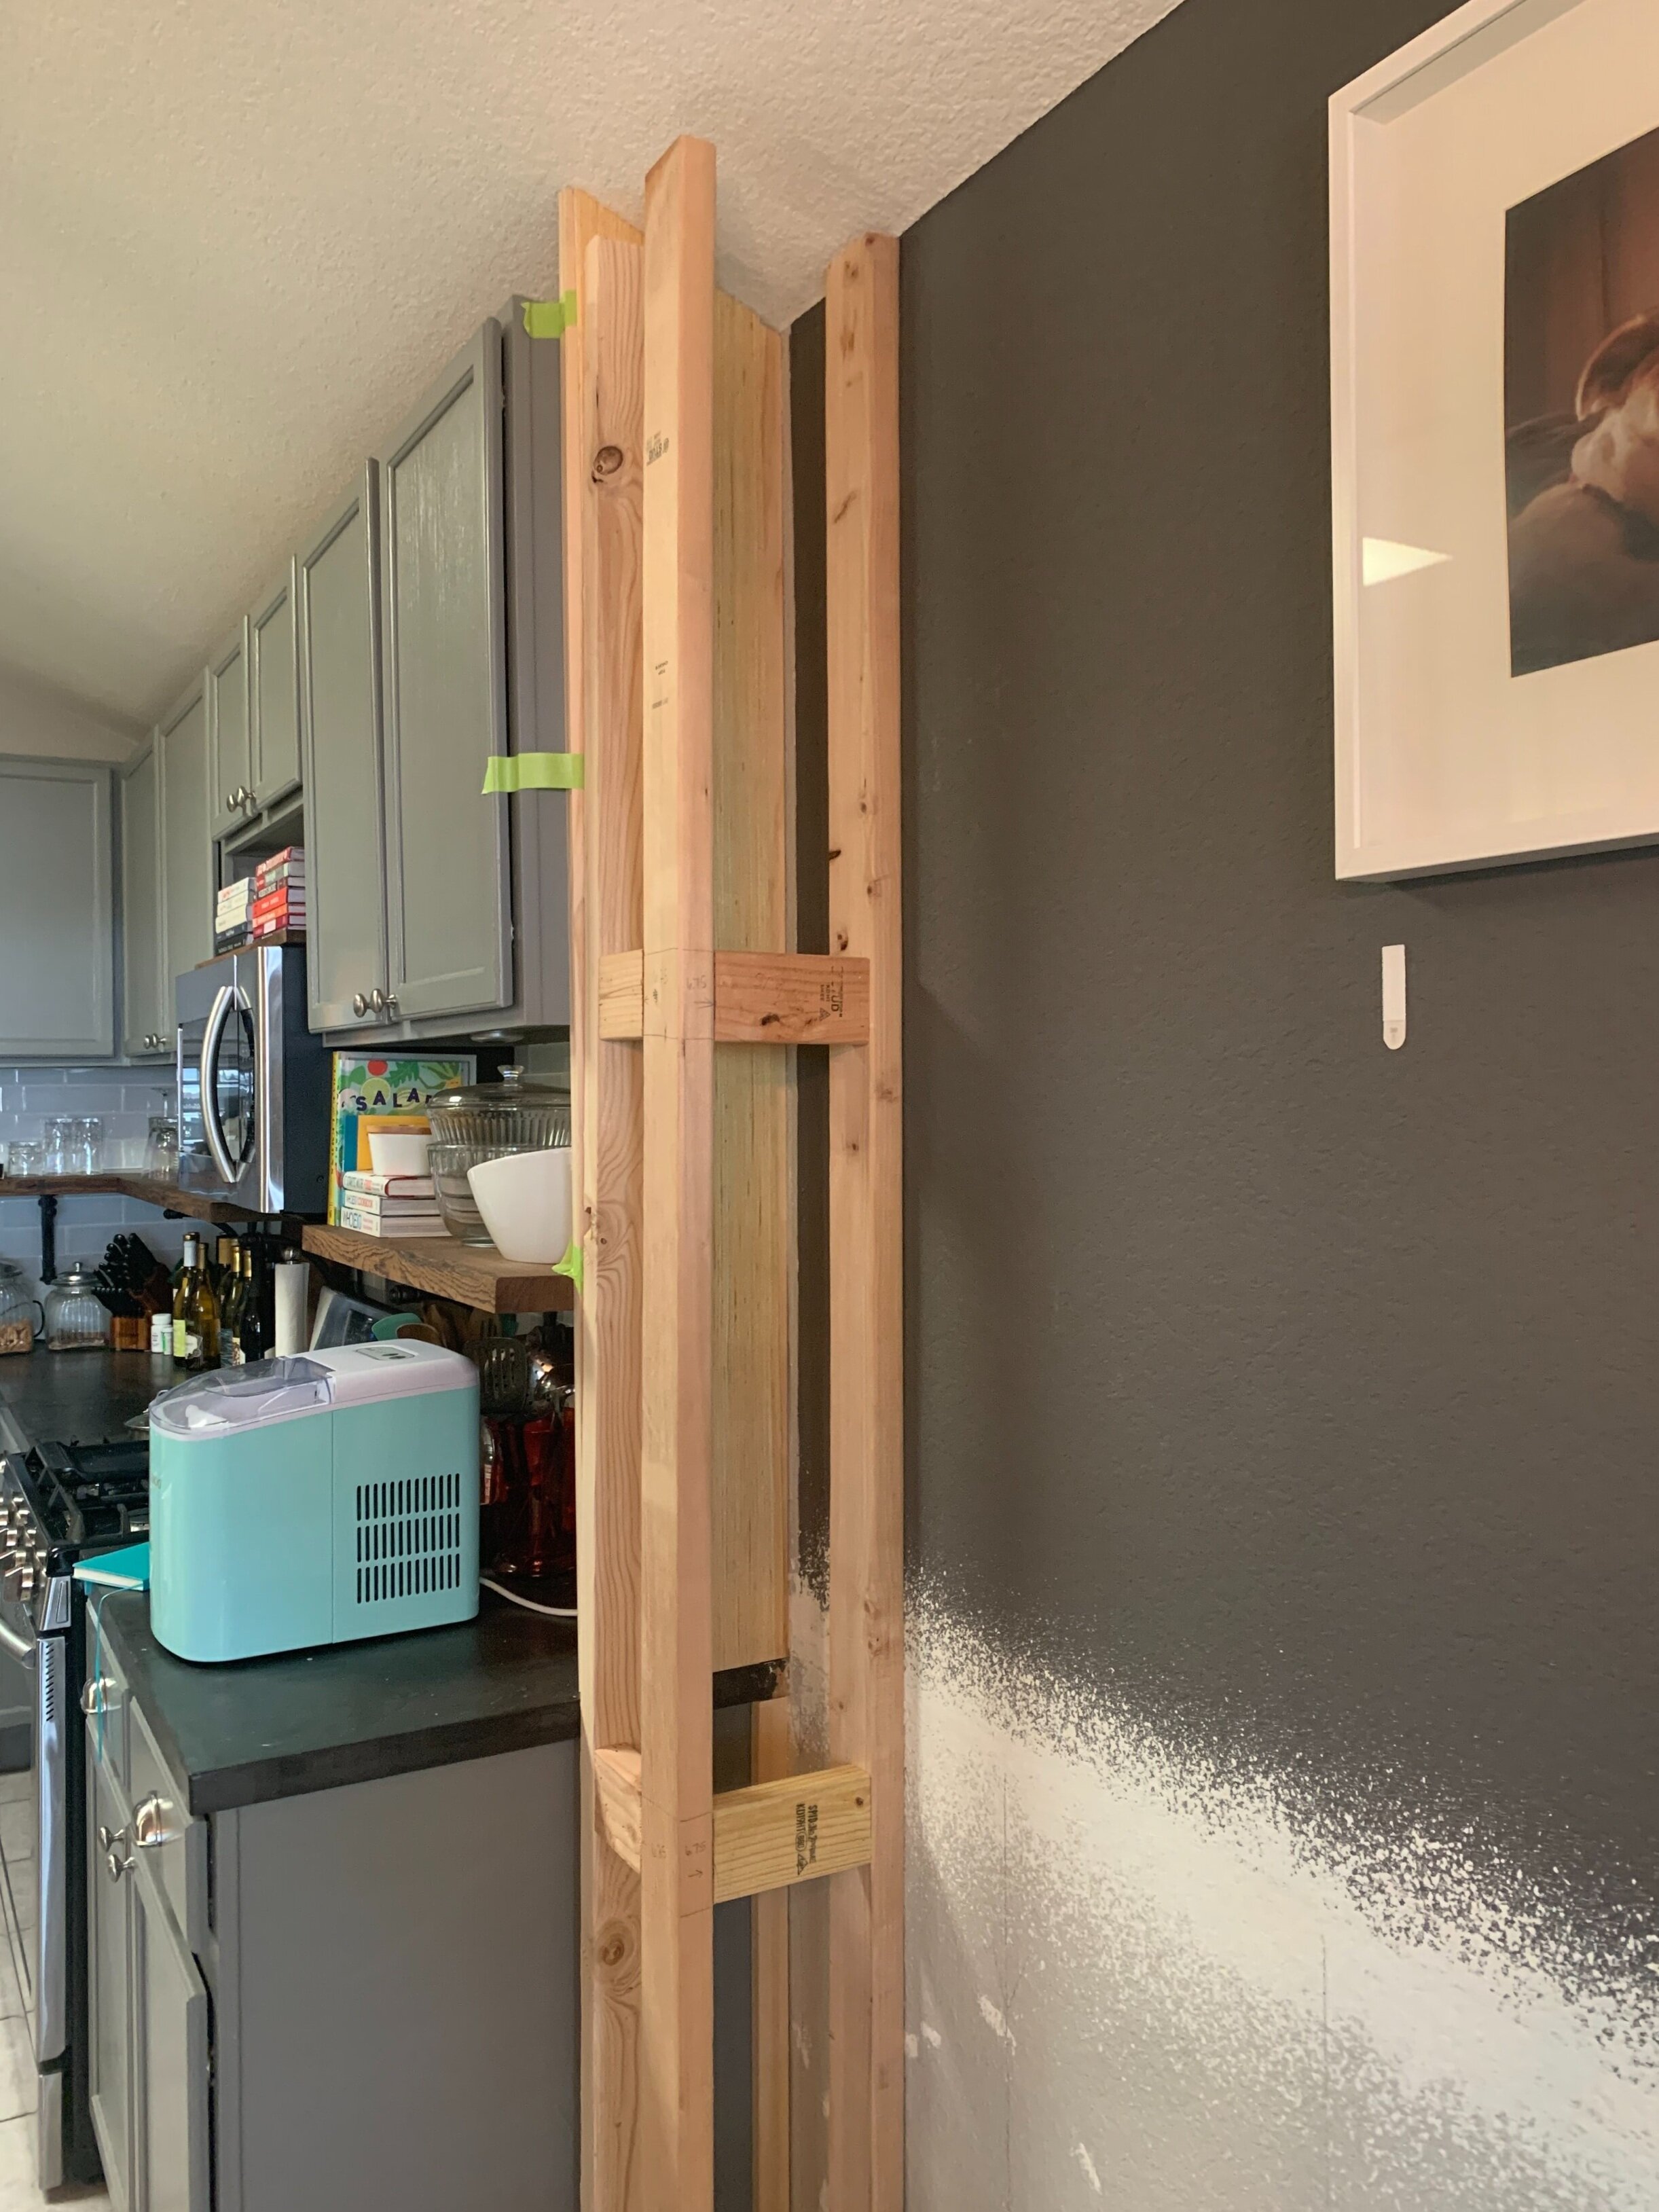
Right column
We started with building the internal support structure, made of 2x4s. Since our right column is in a corner where only the front and left side of the column will be seen, we decided not to put a vertical 2x4 in the back right corner of the column. This is ok as long as the screws connecting the 2x4s to the walls are going into wall studs, (which we definitely recommend you do whether you build a full four-sided column or not).
We used our tape measure and a level to mark out exactly where our vertical 2x4s should go. To do this we worked from the outside of our column in – marking our ideal finished column depth and subtracting 1” total – (that’s 3/4” for the finish trim and another 1/4” for the plywood).
Important note
It’s likely your walls aren’t perfectly plumb/level, so be sure to use a long level to mark out and install these vertical 2x4 supports and don’t just rely on measuring a consistent X” from a nearby wall.

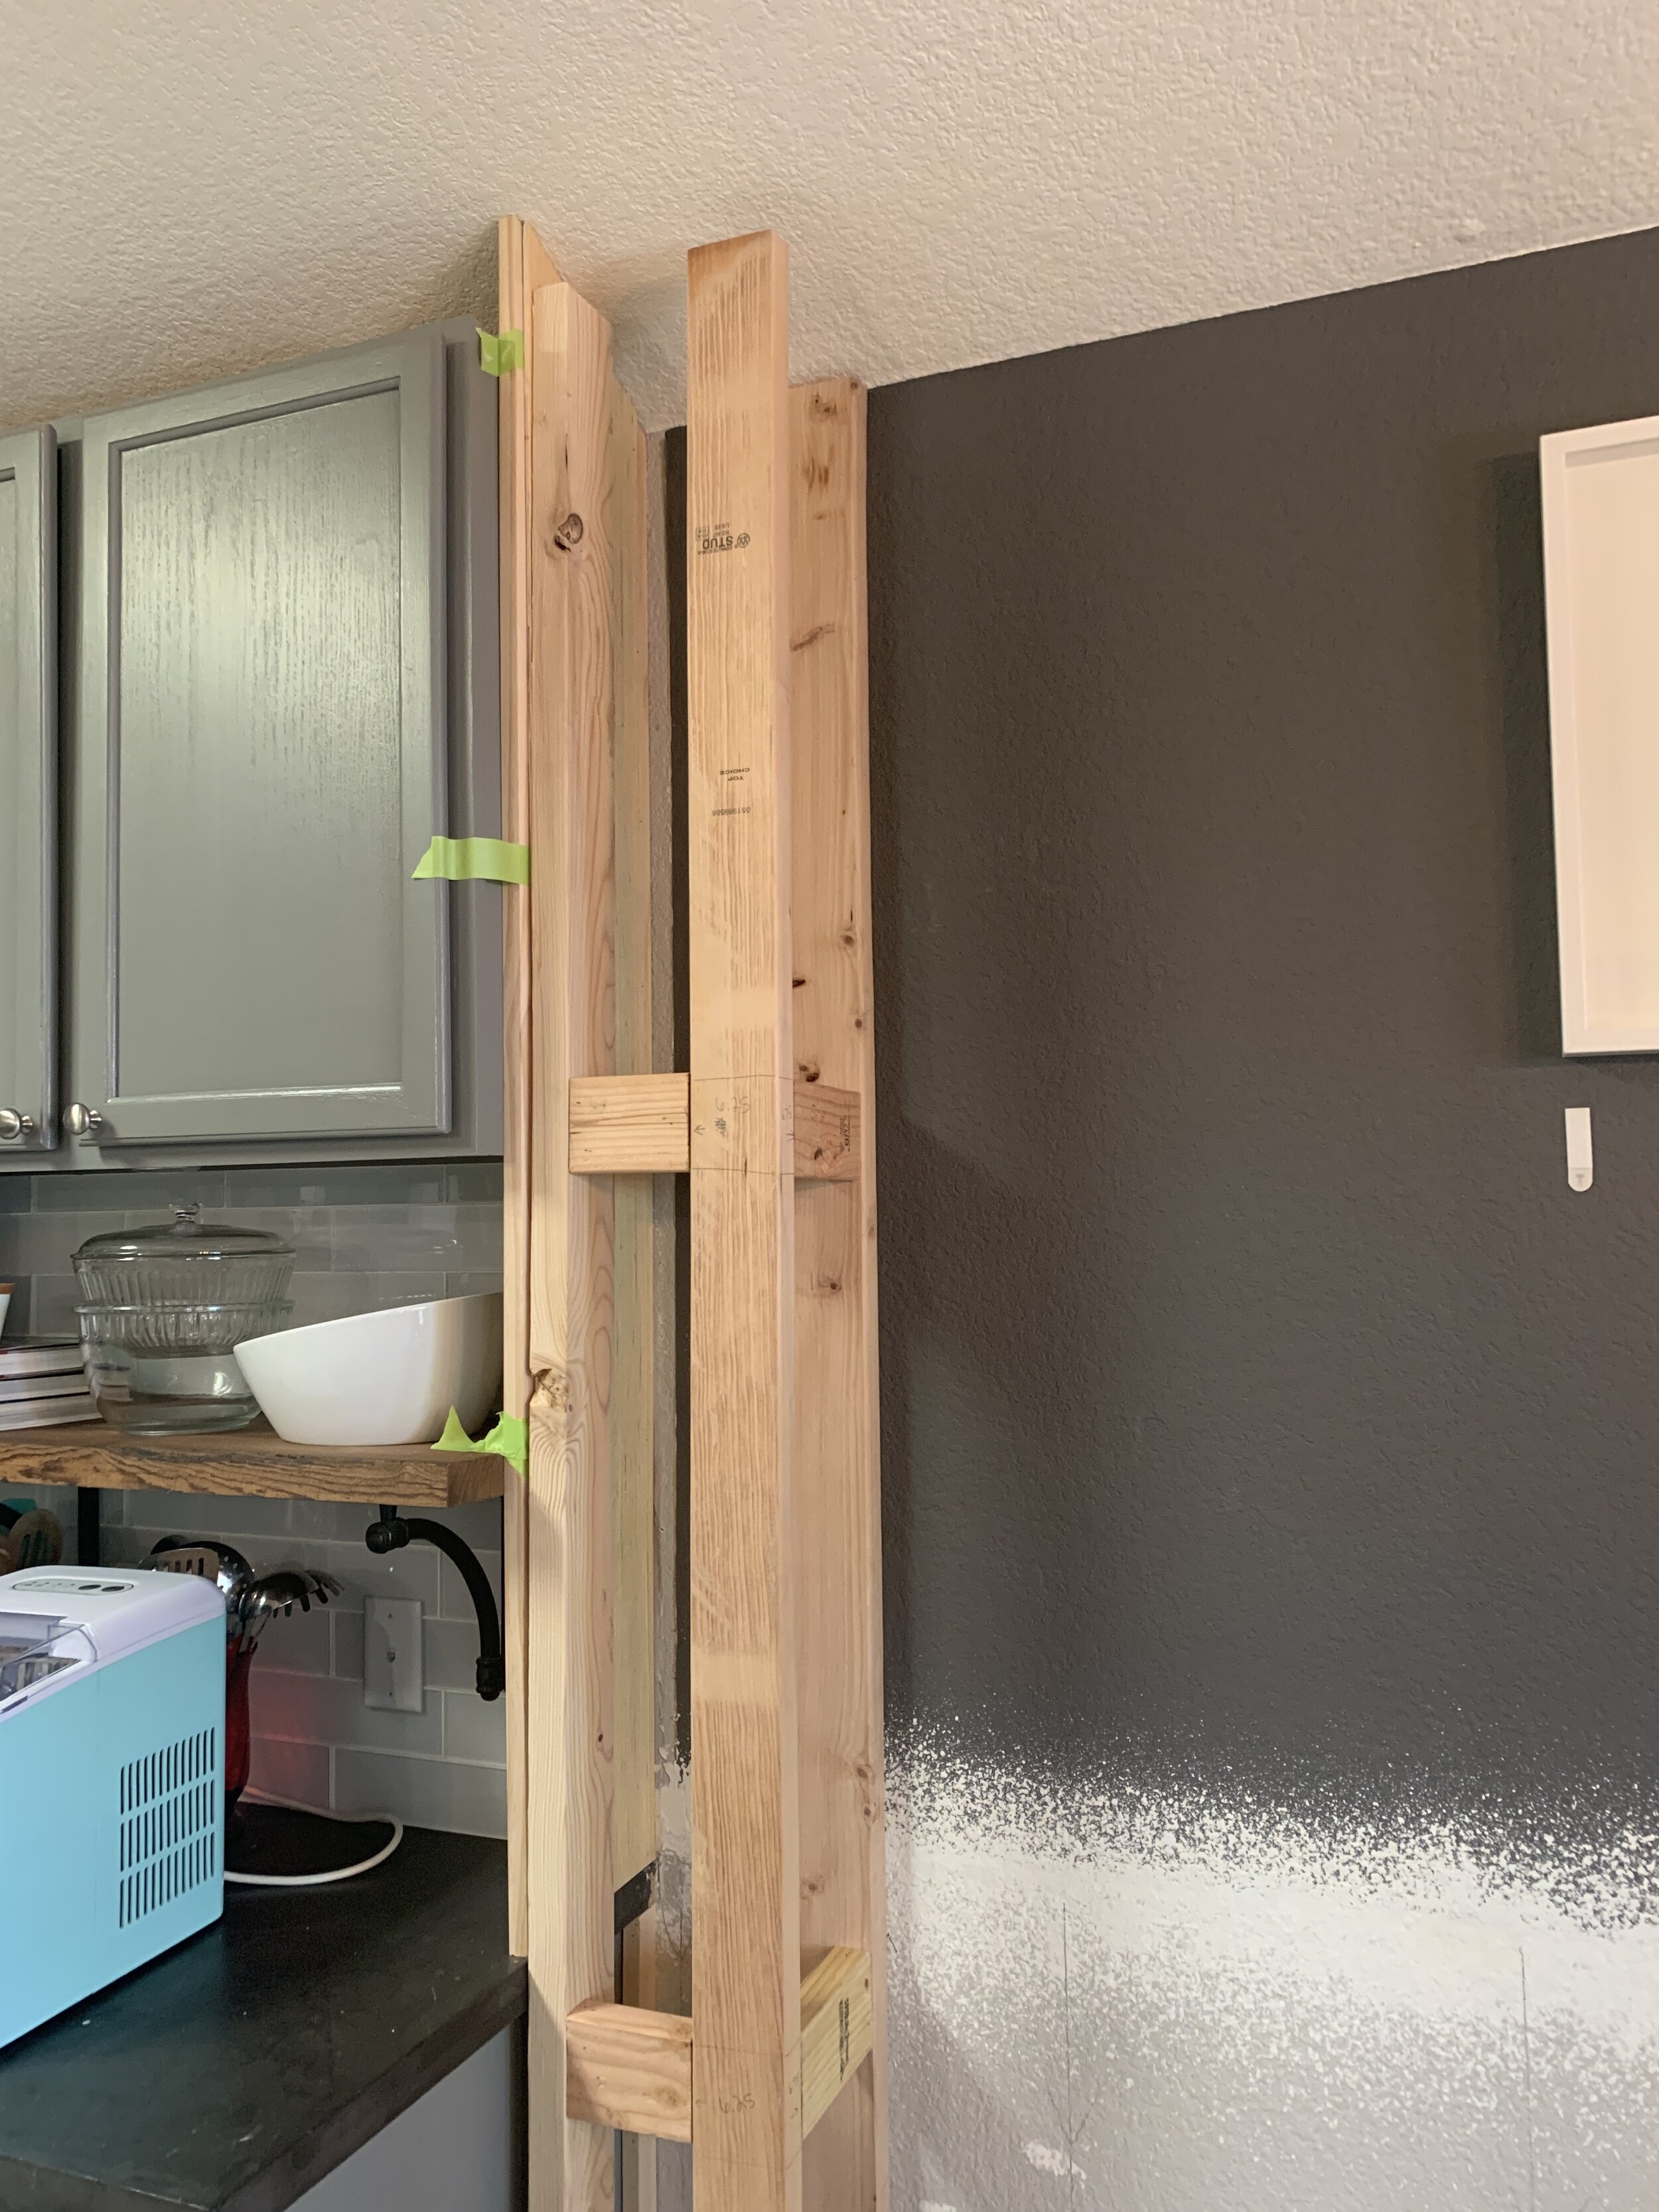
With two vertical 2x4s firmly attached to the back and right side walls to set our internal column depth and width, we used our Kreg jig to make pocket holes in and connect our 2x4 cross-supports to the wall 2x4s and a third (I’ll call “floating”) vertical 2x4 support.
Important note
Install a horizontal column support at/just under your counter height, so you can use it later on in the build to nail the top of the cabinet base into.
With the 2x4 column structure complete we used our nail gun to attach pieces of 1/4” plywood to the frame. The pieces don’t need to be cut completely perfectly and go from edge to edge of your framing since they will be covered by finish trim, but you want to make sure they’re wide and tall enough that they won’t stop short and will be fully covered by your finish trim.
Left column
Because the left side of the left column will butt up to the cabinets and open shelf and can be seen from the kitchen, we needed to build this column a little differently than we did the right column, going from the outside in instead of the inside out.
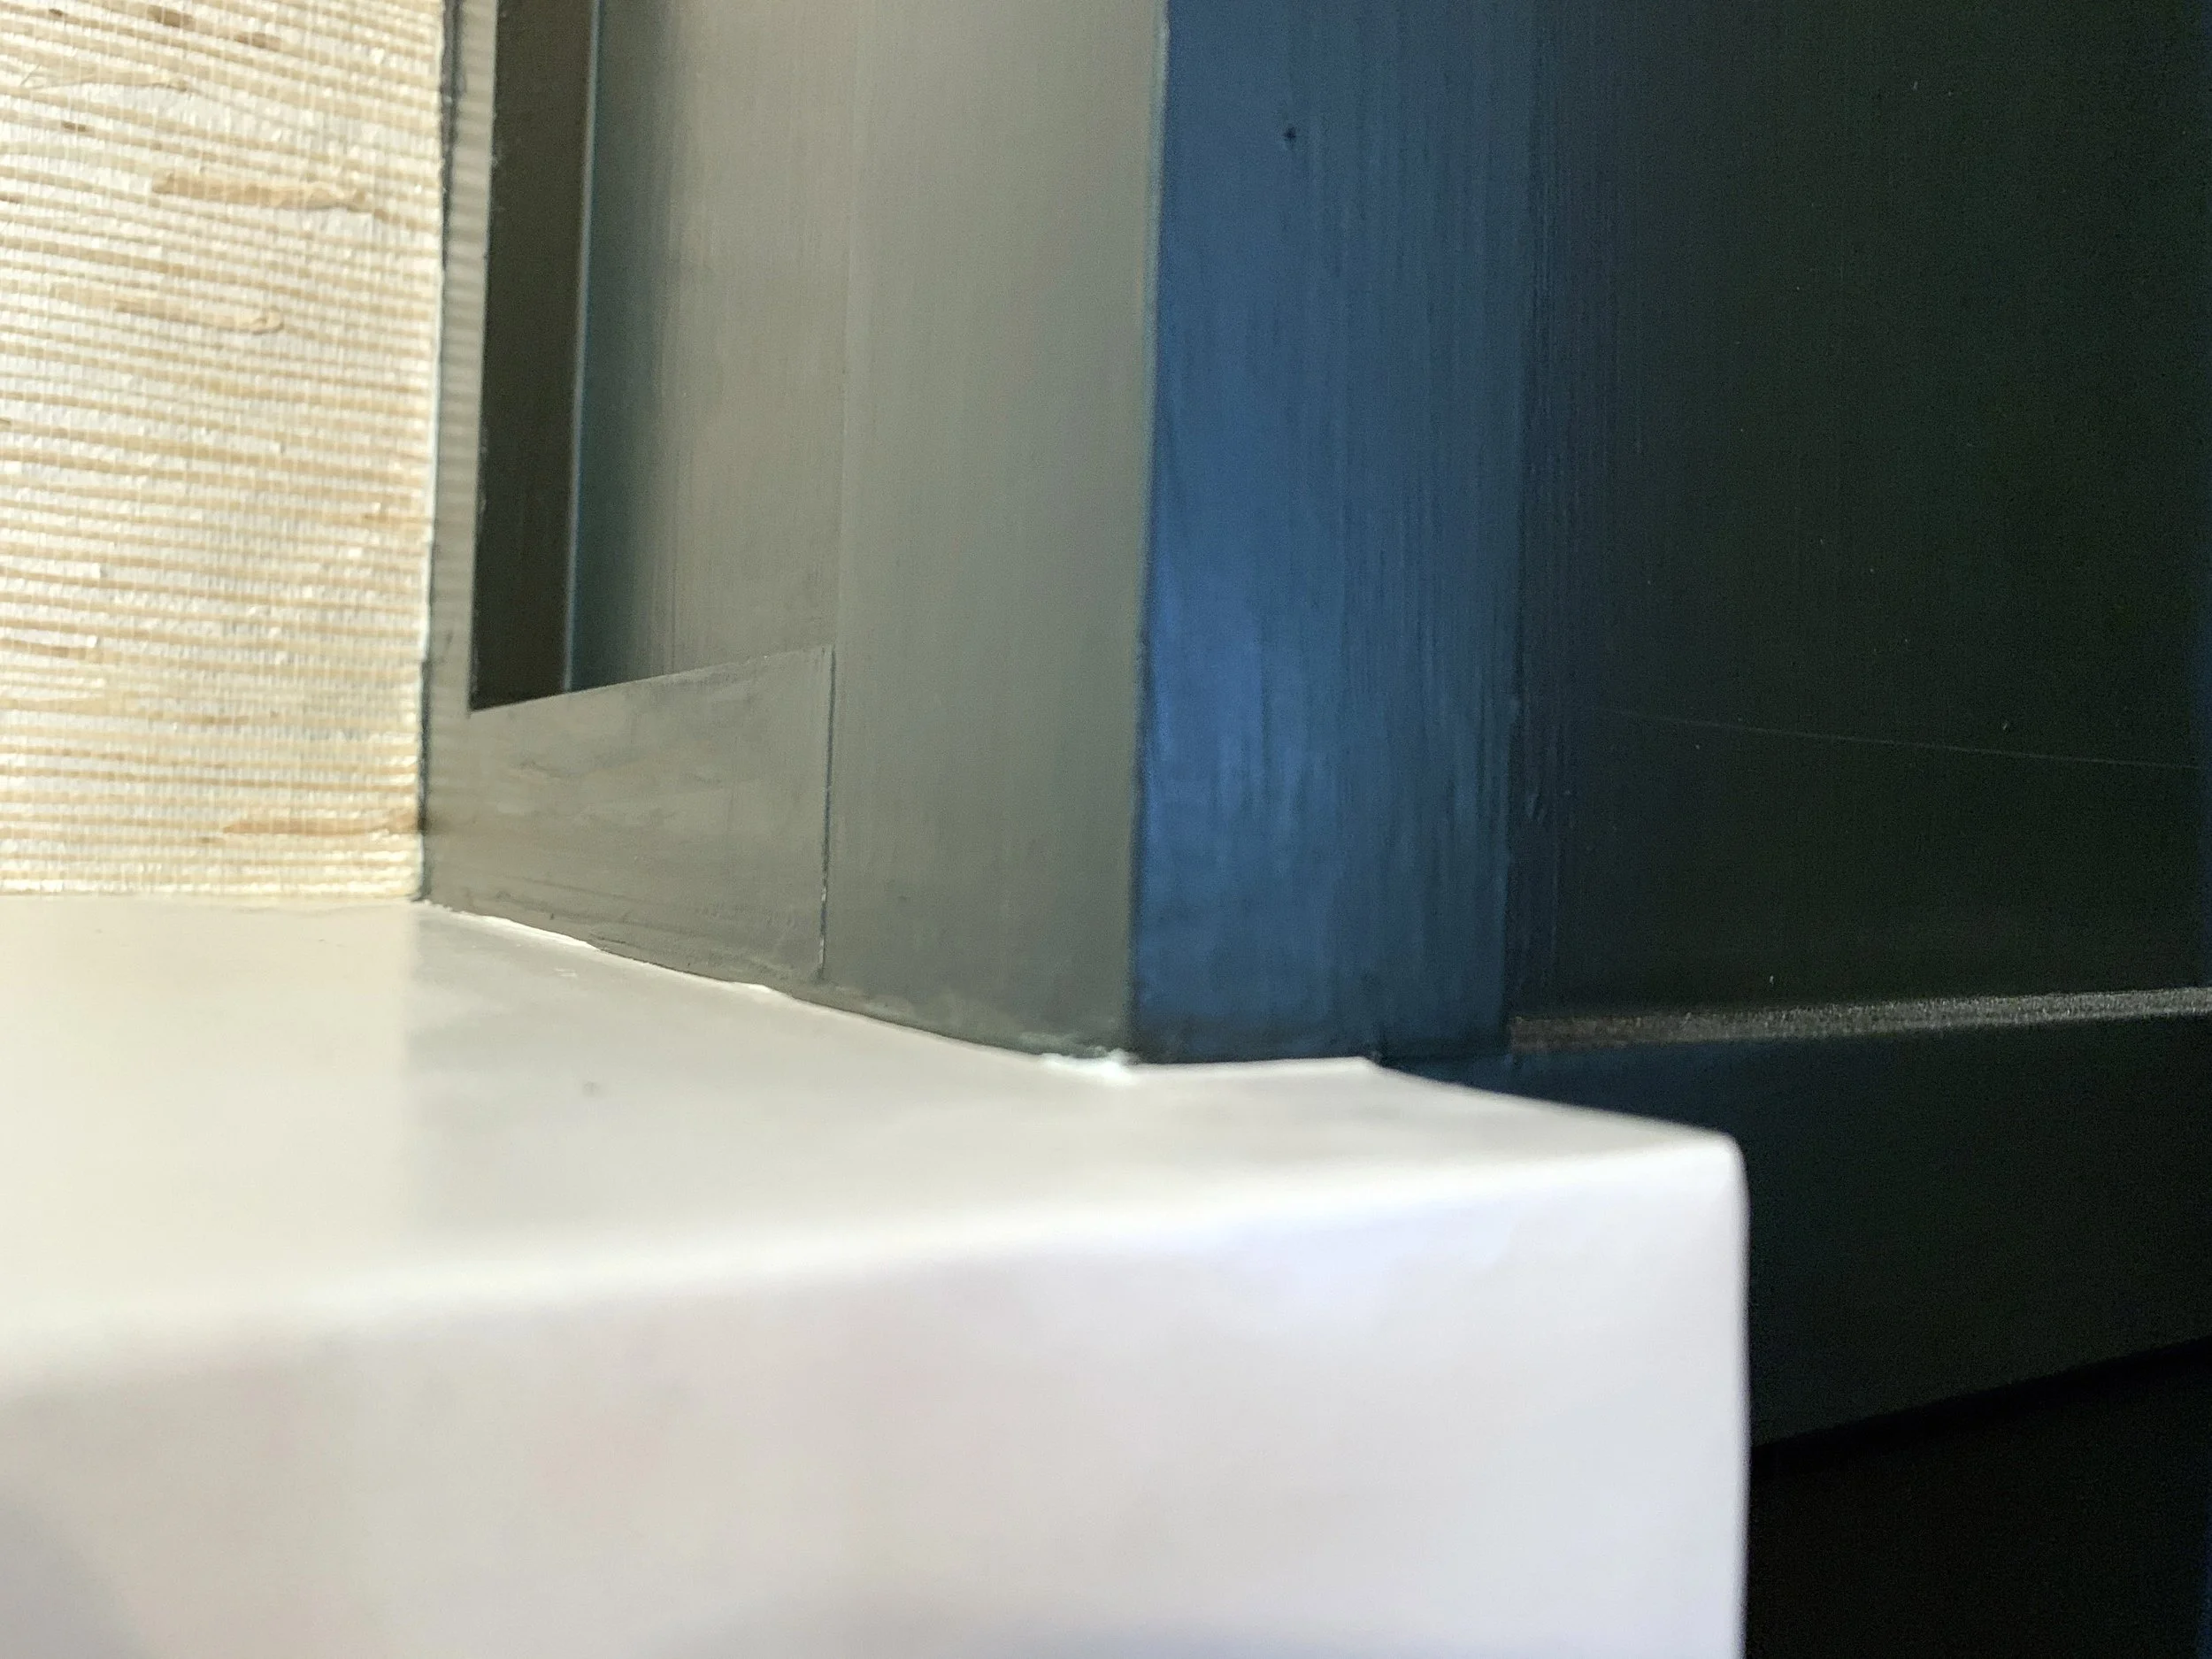
To start, the right edge of the existing backsplash ends in line with the upper cabinet and floating shelf, which means it stops a little short of the countertop, since it overhangs the lower cabinet. With no plans to redo our backsplash or the floating shelf, we decided to have our column’s finish trim touch the right side of the cabinet and shelf (rather than having the main inset part of the column touch the shelf which would make the column finish trim sit on top of the floating shelf and hit the underside of the upper cabinet). We also wanted to build the column so that it was not at all tied into the kitchen cabinet or counter, just in case either needed to get replaced down the road. Now that you know all those little tidbits, we can move on to the build!
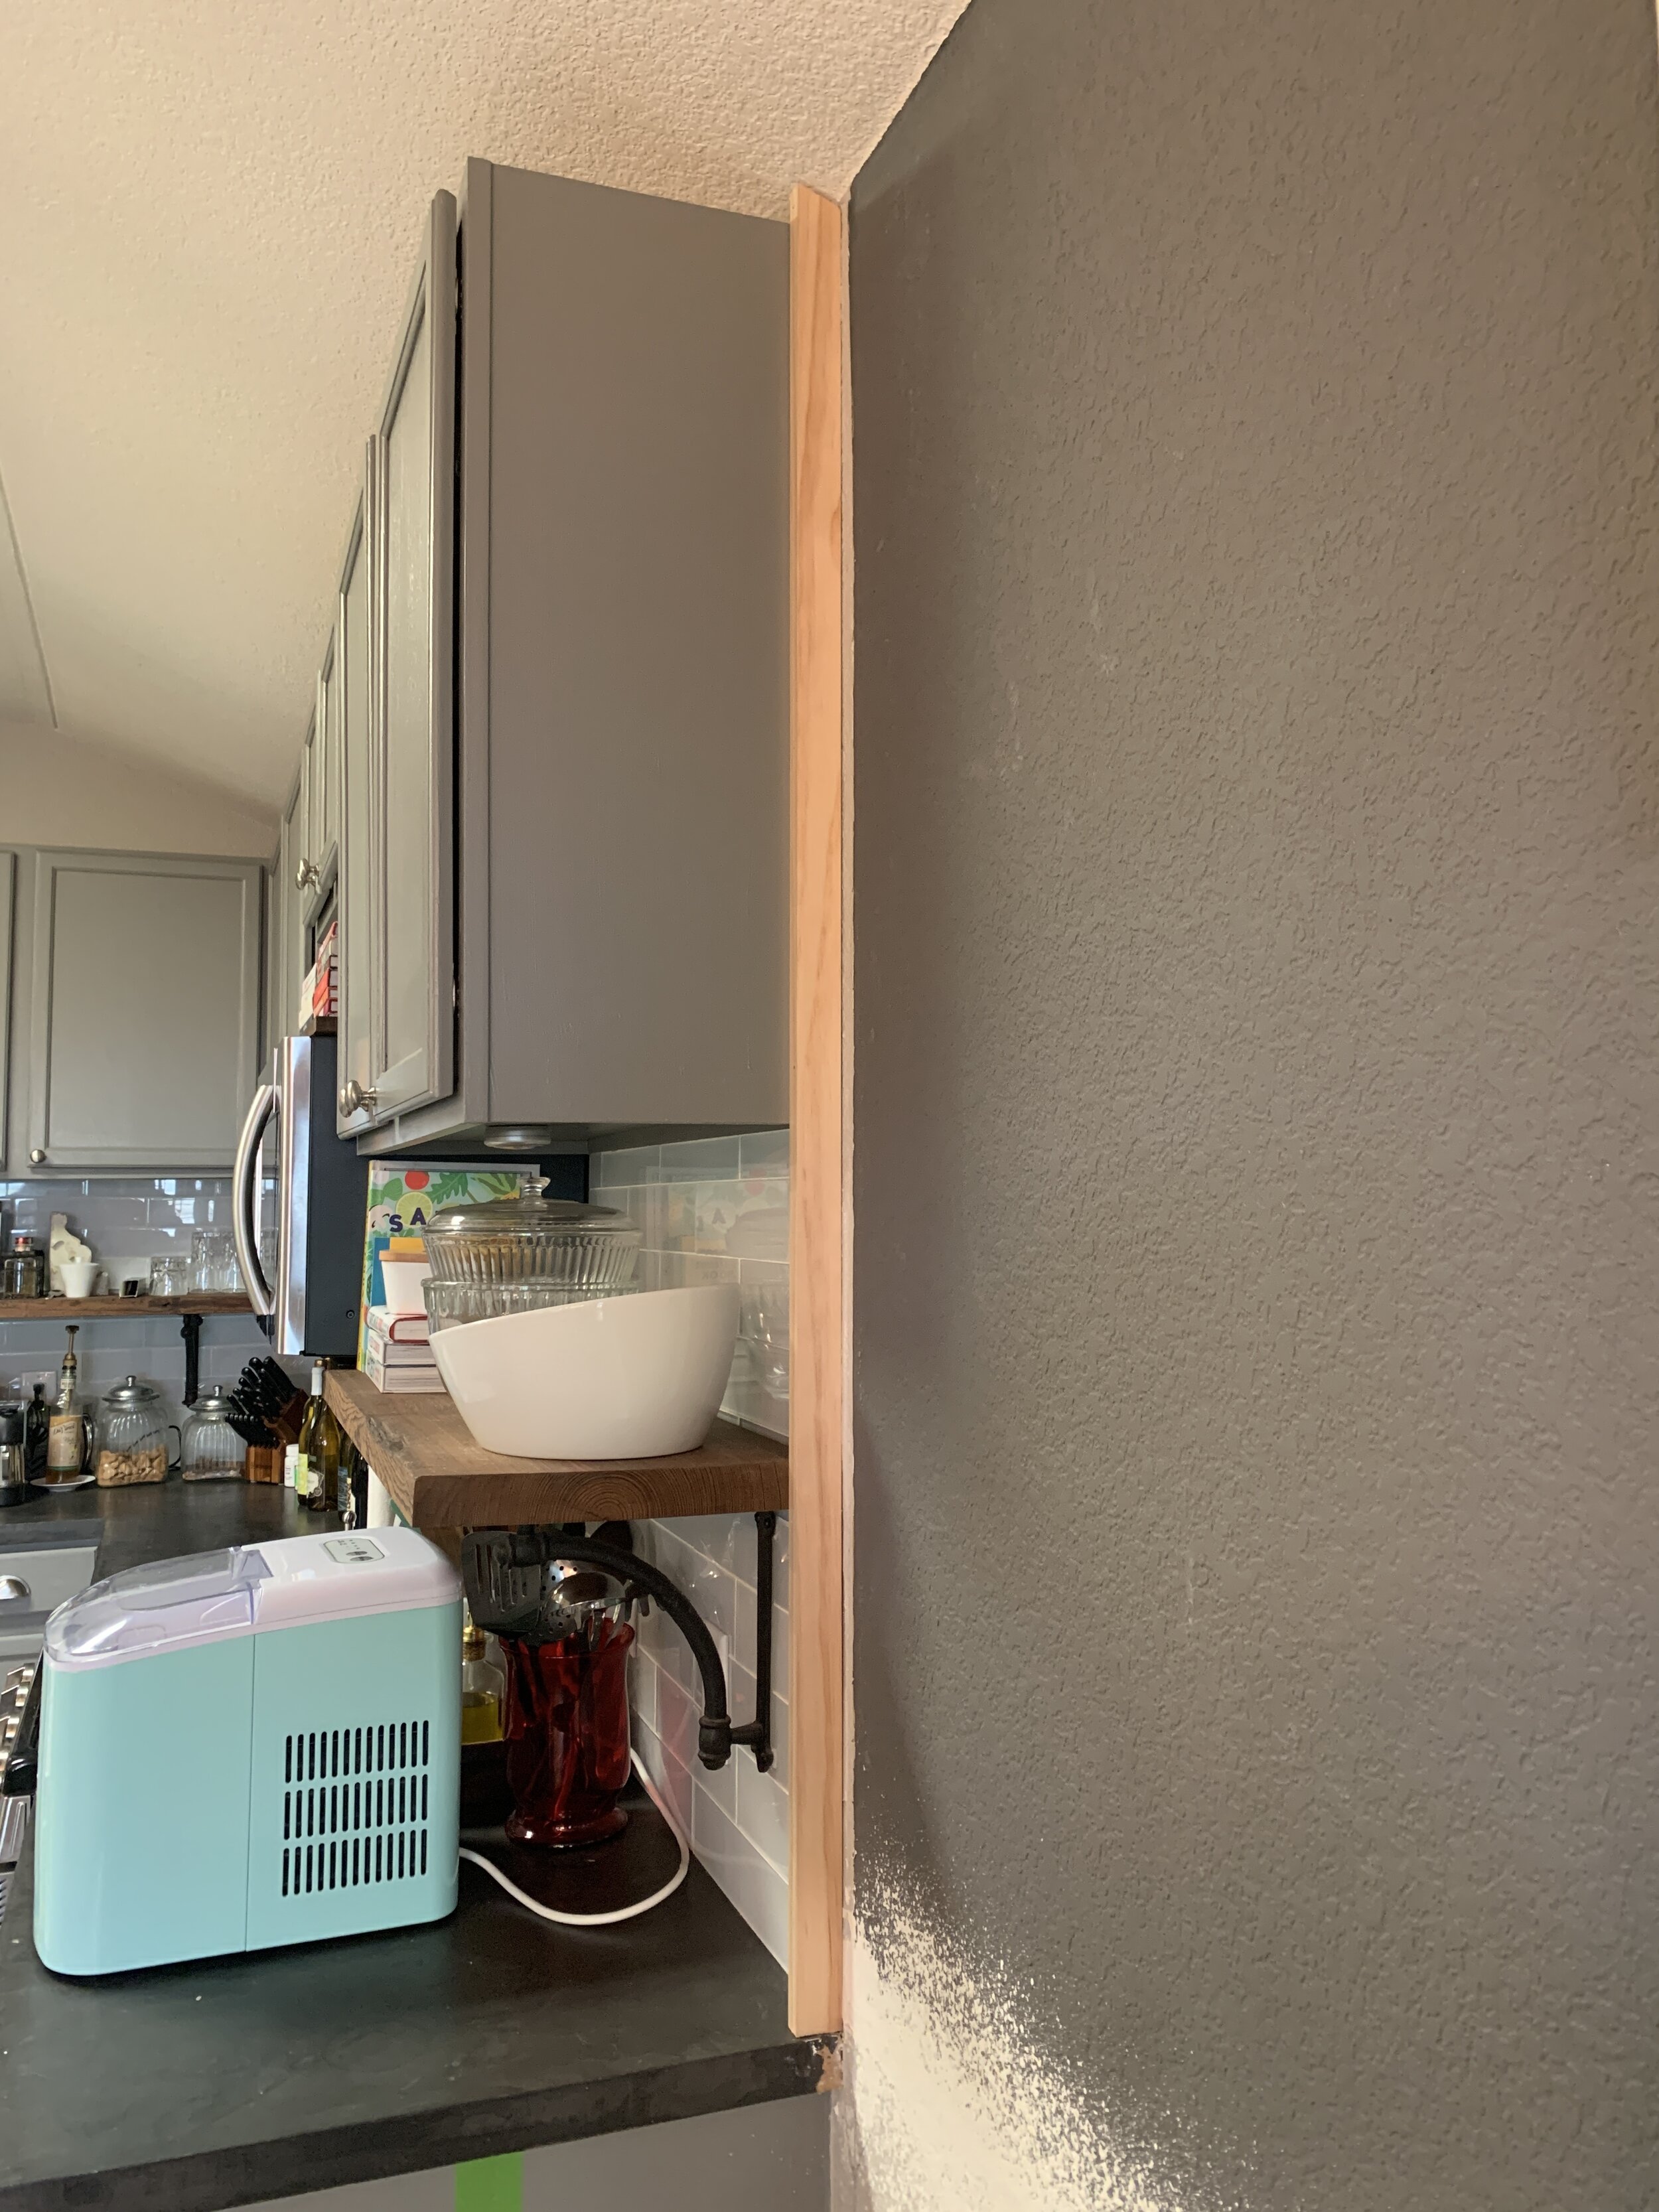
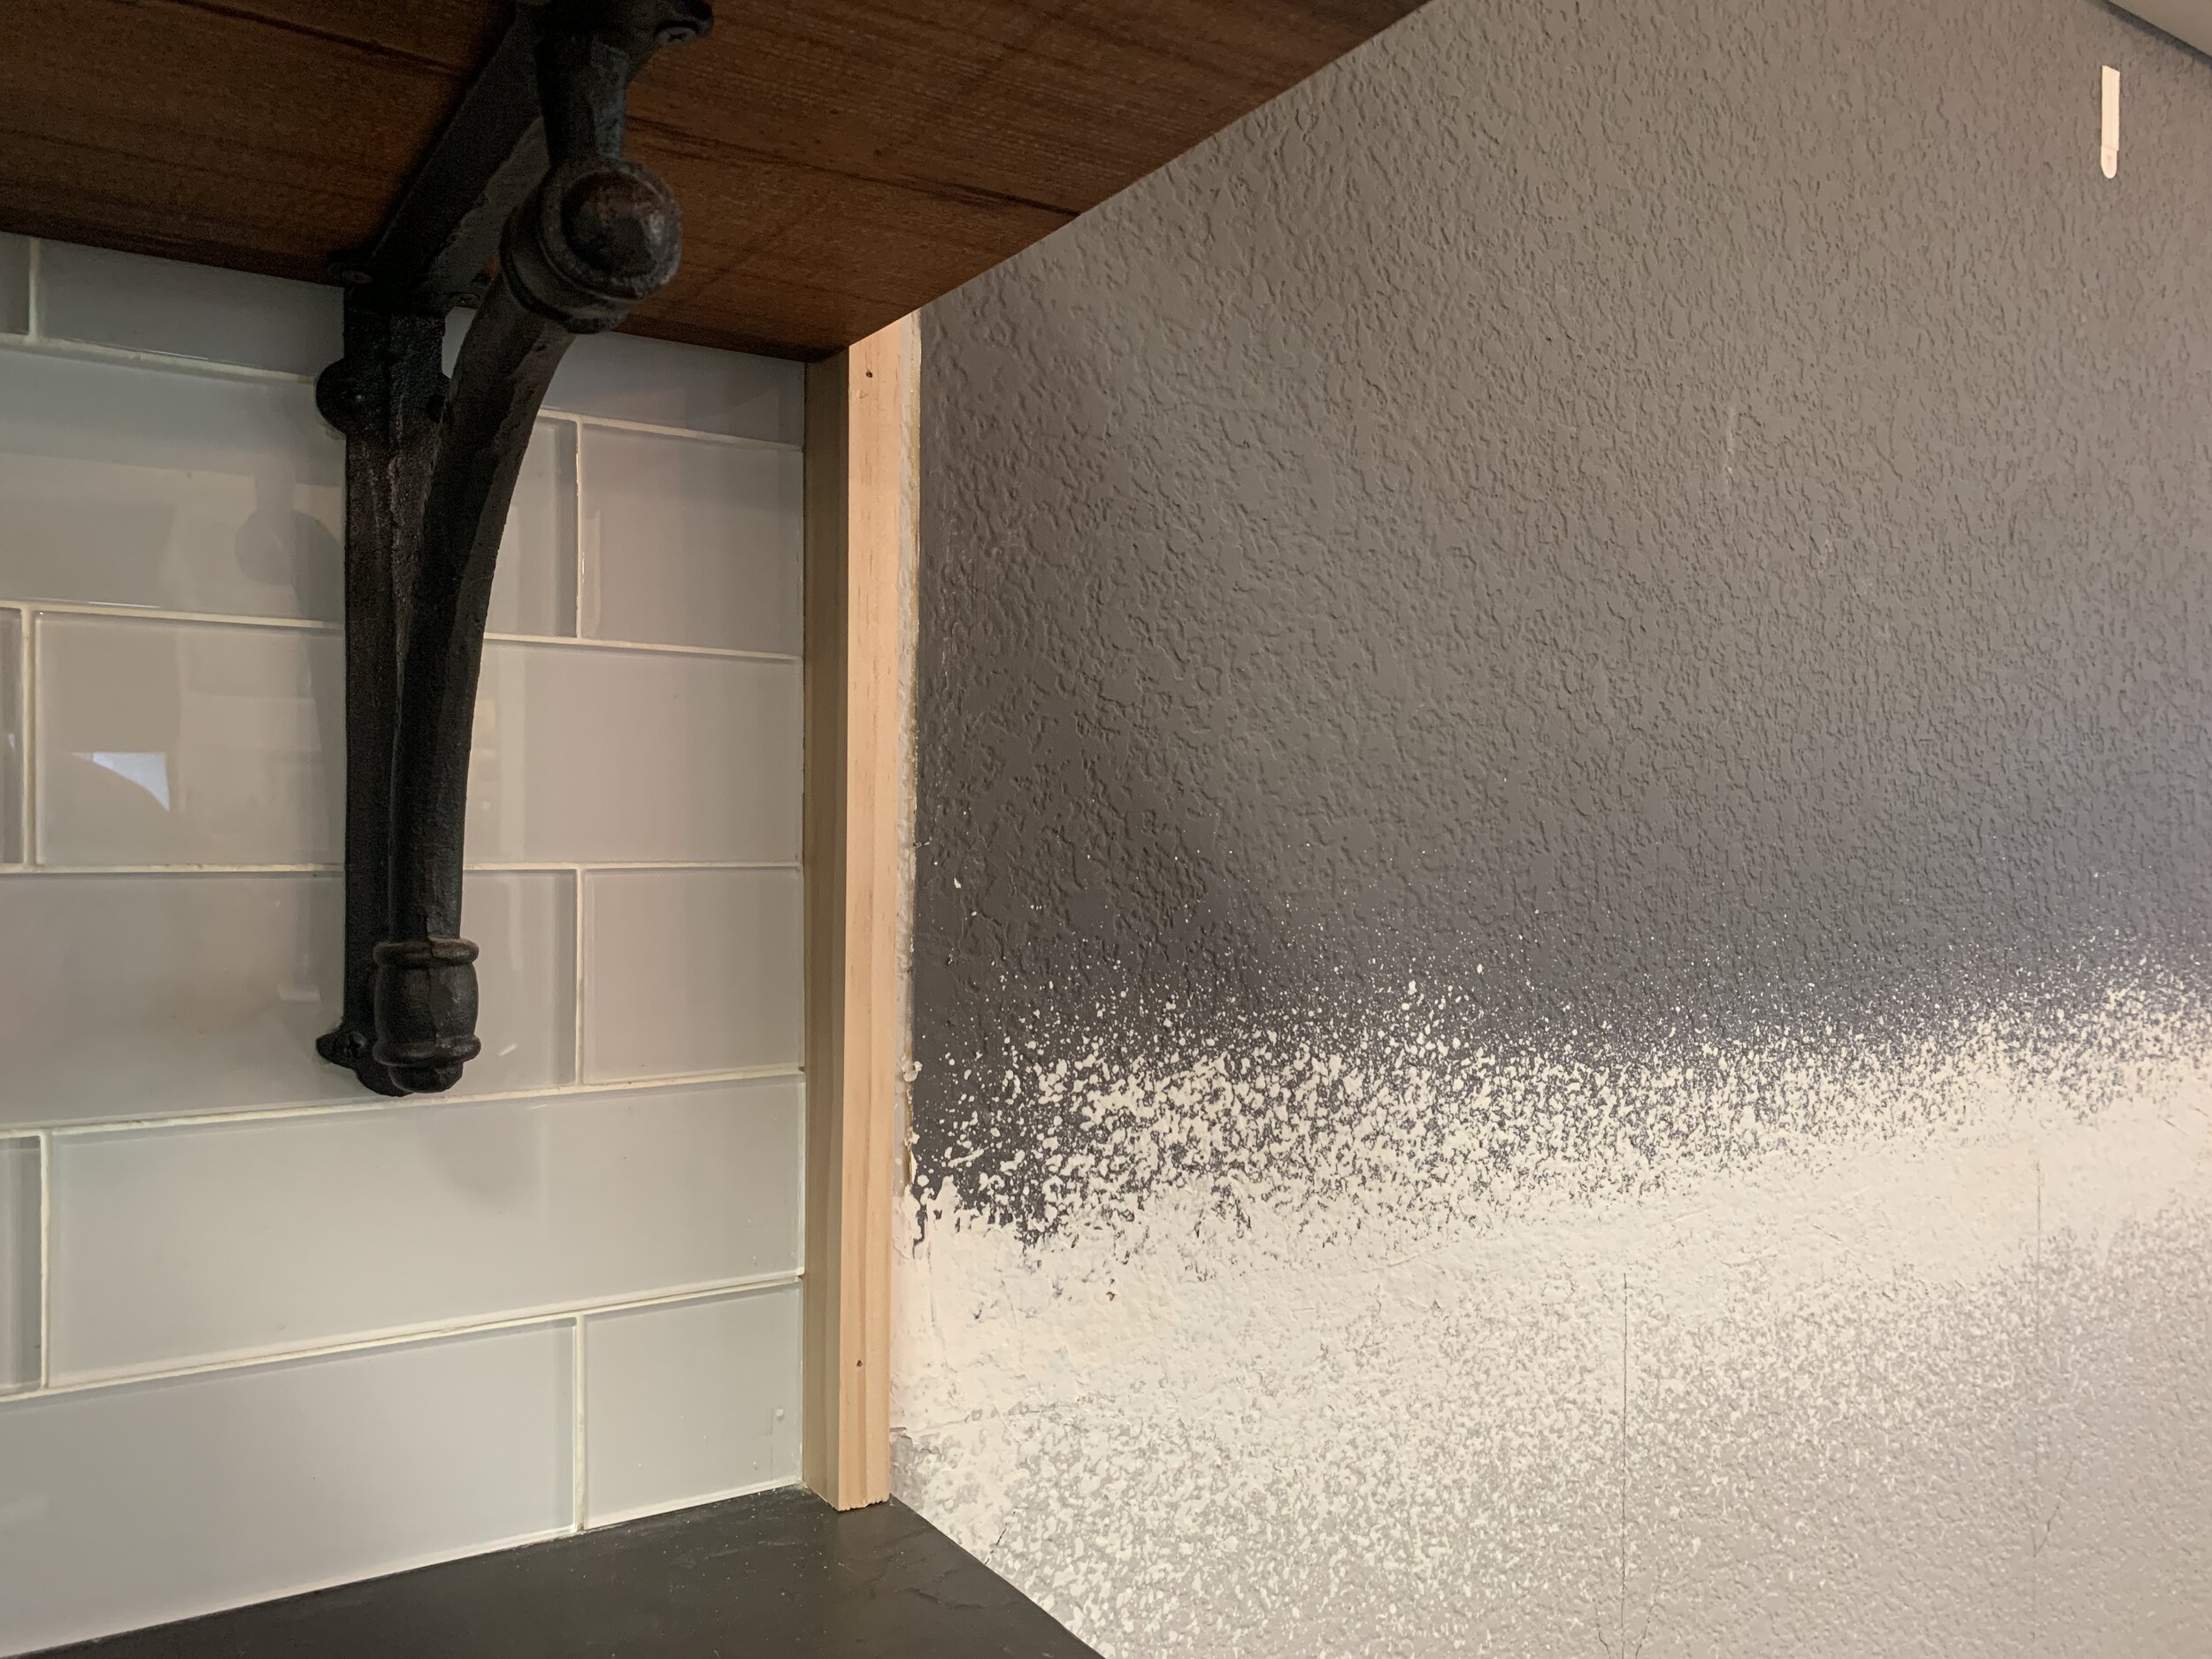
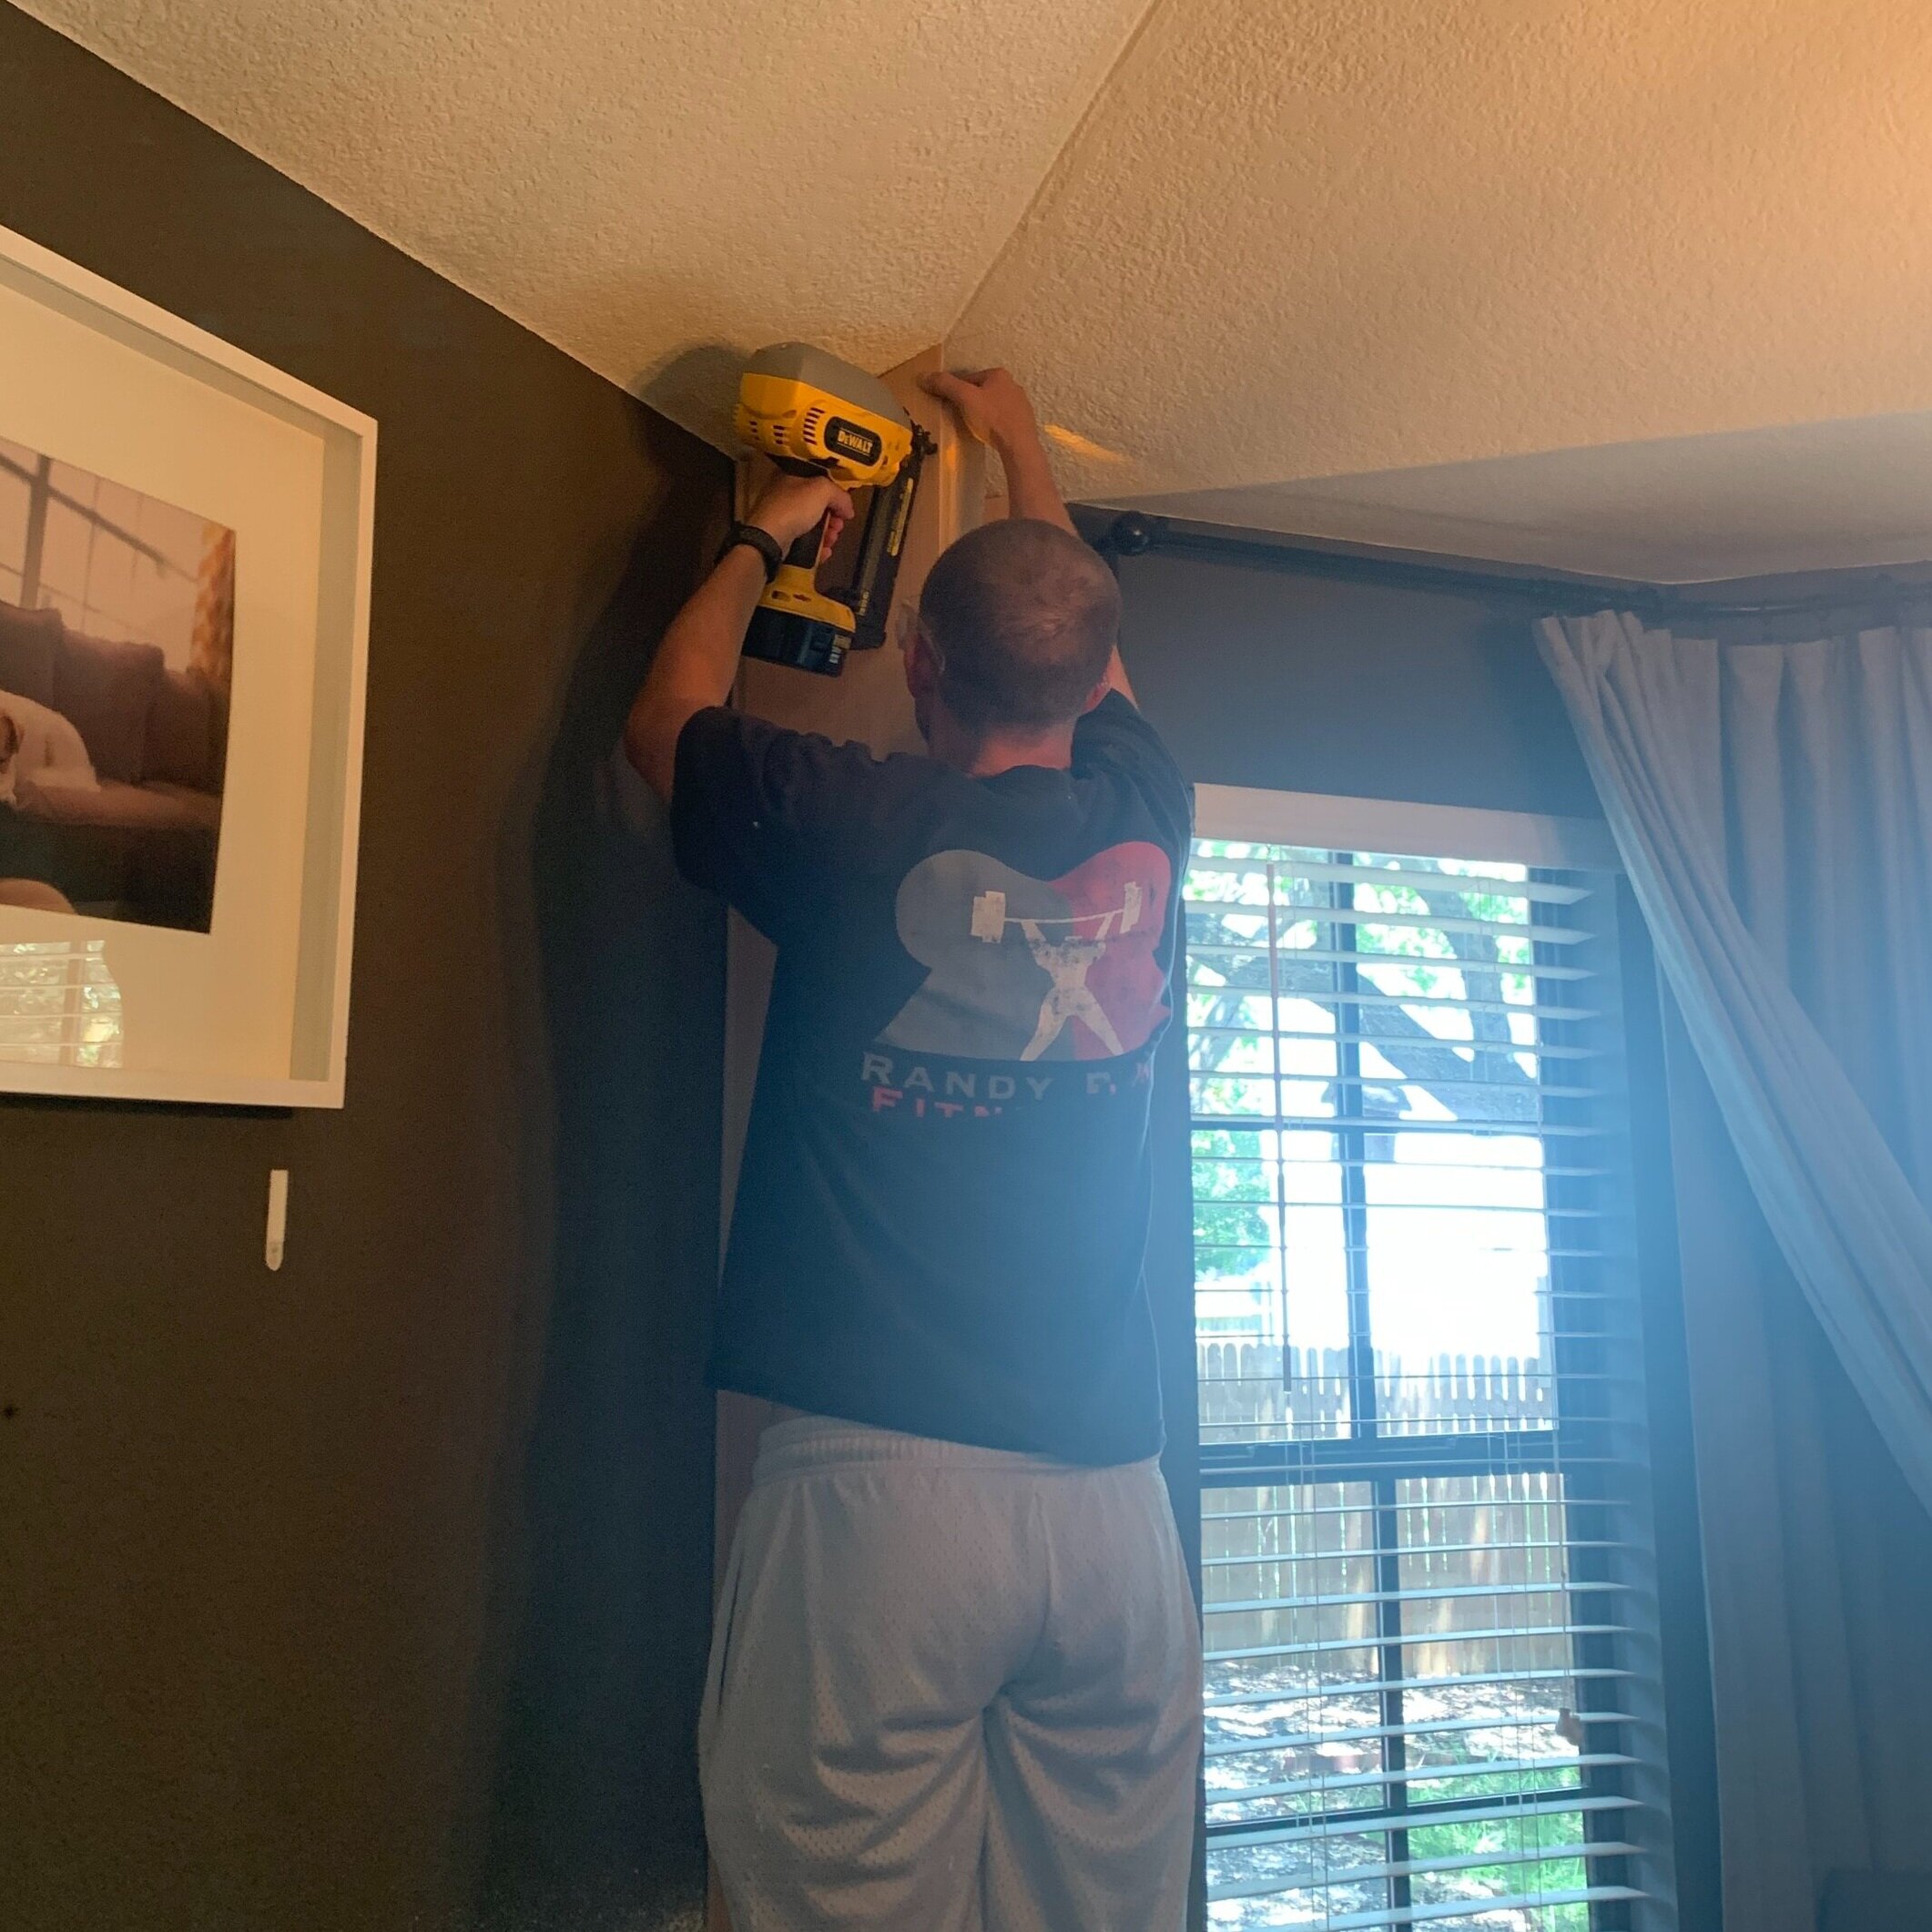
Starting with our finish trim on the left side of the column, we nailed a 1x2 (to the wall, not the cabinet) that runs from the angled ceiling to the top of the countertop. Then, because we didn’t want to nail into the cabinet, we cut and taped up a second 1x2 (for the front/right of the left side of the column) to use as a spacer. Following how we did on the right column, we screwed a 2x4 to the wall to create the back right vertical column support.

Here you can see we also added a 1x2 underneath the counter along the cabinet. (We don’t actually need this at all so we’d recommend skipping that one! Don’t worry, I left that part out of the instructions.)
From what will be the inside of the left side of the left column (so it looks like we’re nailing into the upper cabinet’s right side), we nailed a 1/4” piece of plywood that runs from ceiling to the top of the countertop to the wall 1x2. Like the taped 1x2, this sort of acts as a spacer for where we need to place our left column’s left front side support.

With the 1/4” plywood nailed in place on the left side of the column, we used the Kreg jig to screw the horizontal 2x4 cross-supports to an (uninstalled) front right vertical support (that will connect into both the back right vertical support and the front left column support). Starting from the wall-side first, we worked in sort of a backwards L to screw the vertical column cross-supports in place, and then used a level and square to nail the front left vertical 2x4 support to the 1/4” plywood piece already in place. (At this point the 1x2 spacer trim is still loose and taped in place until we get the front plywood and trim in place to ensure the corners are perfectly in line.)


With the column structure in place, we wrapped the front and right with 1/4” plywood from floor to ceiling.
Note
The plywood on the right side of the left column and left side of the right column will be the insides of the cabinet, so pay attention to getting a tighter/wider fit on your plywood here if you don’t want to have to trim out the inside sides of your cabinet. If you do have gaps: no worries! We did and we’ll show you how to finish it out nicely below.

We finished out our columns, after we built our cabinet so the trim pieces were measured and cut tightly up to the finished cabinet, using 1x2s and 1x4s.
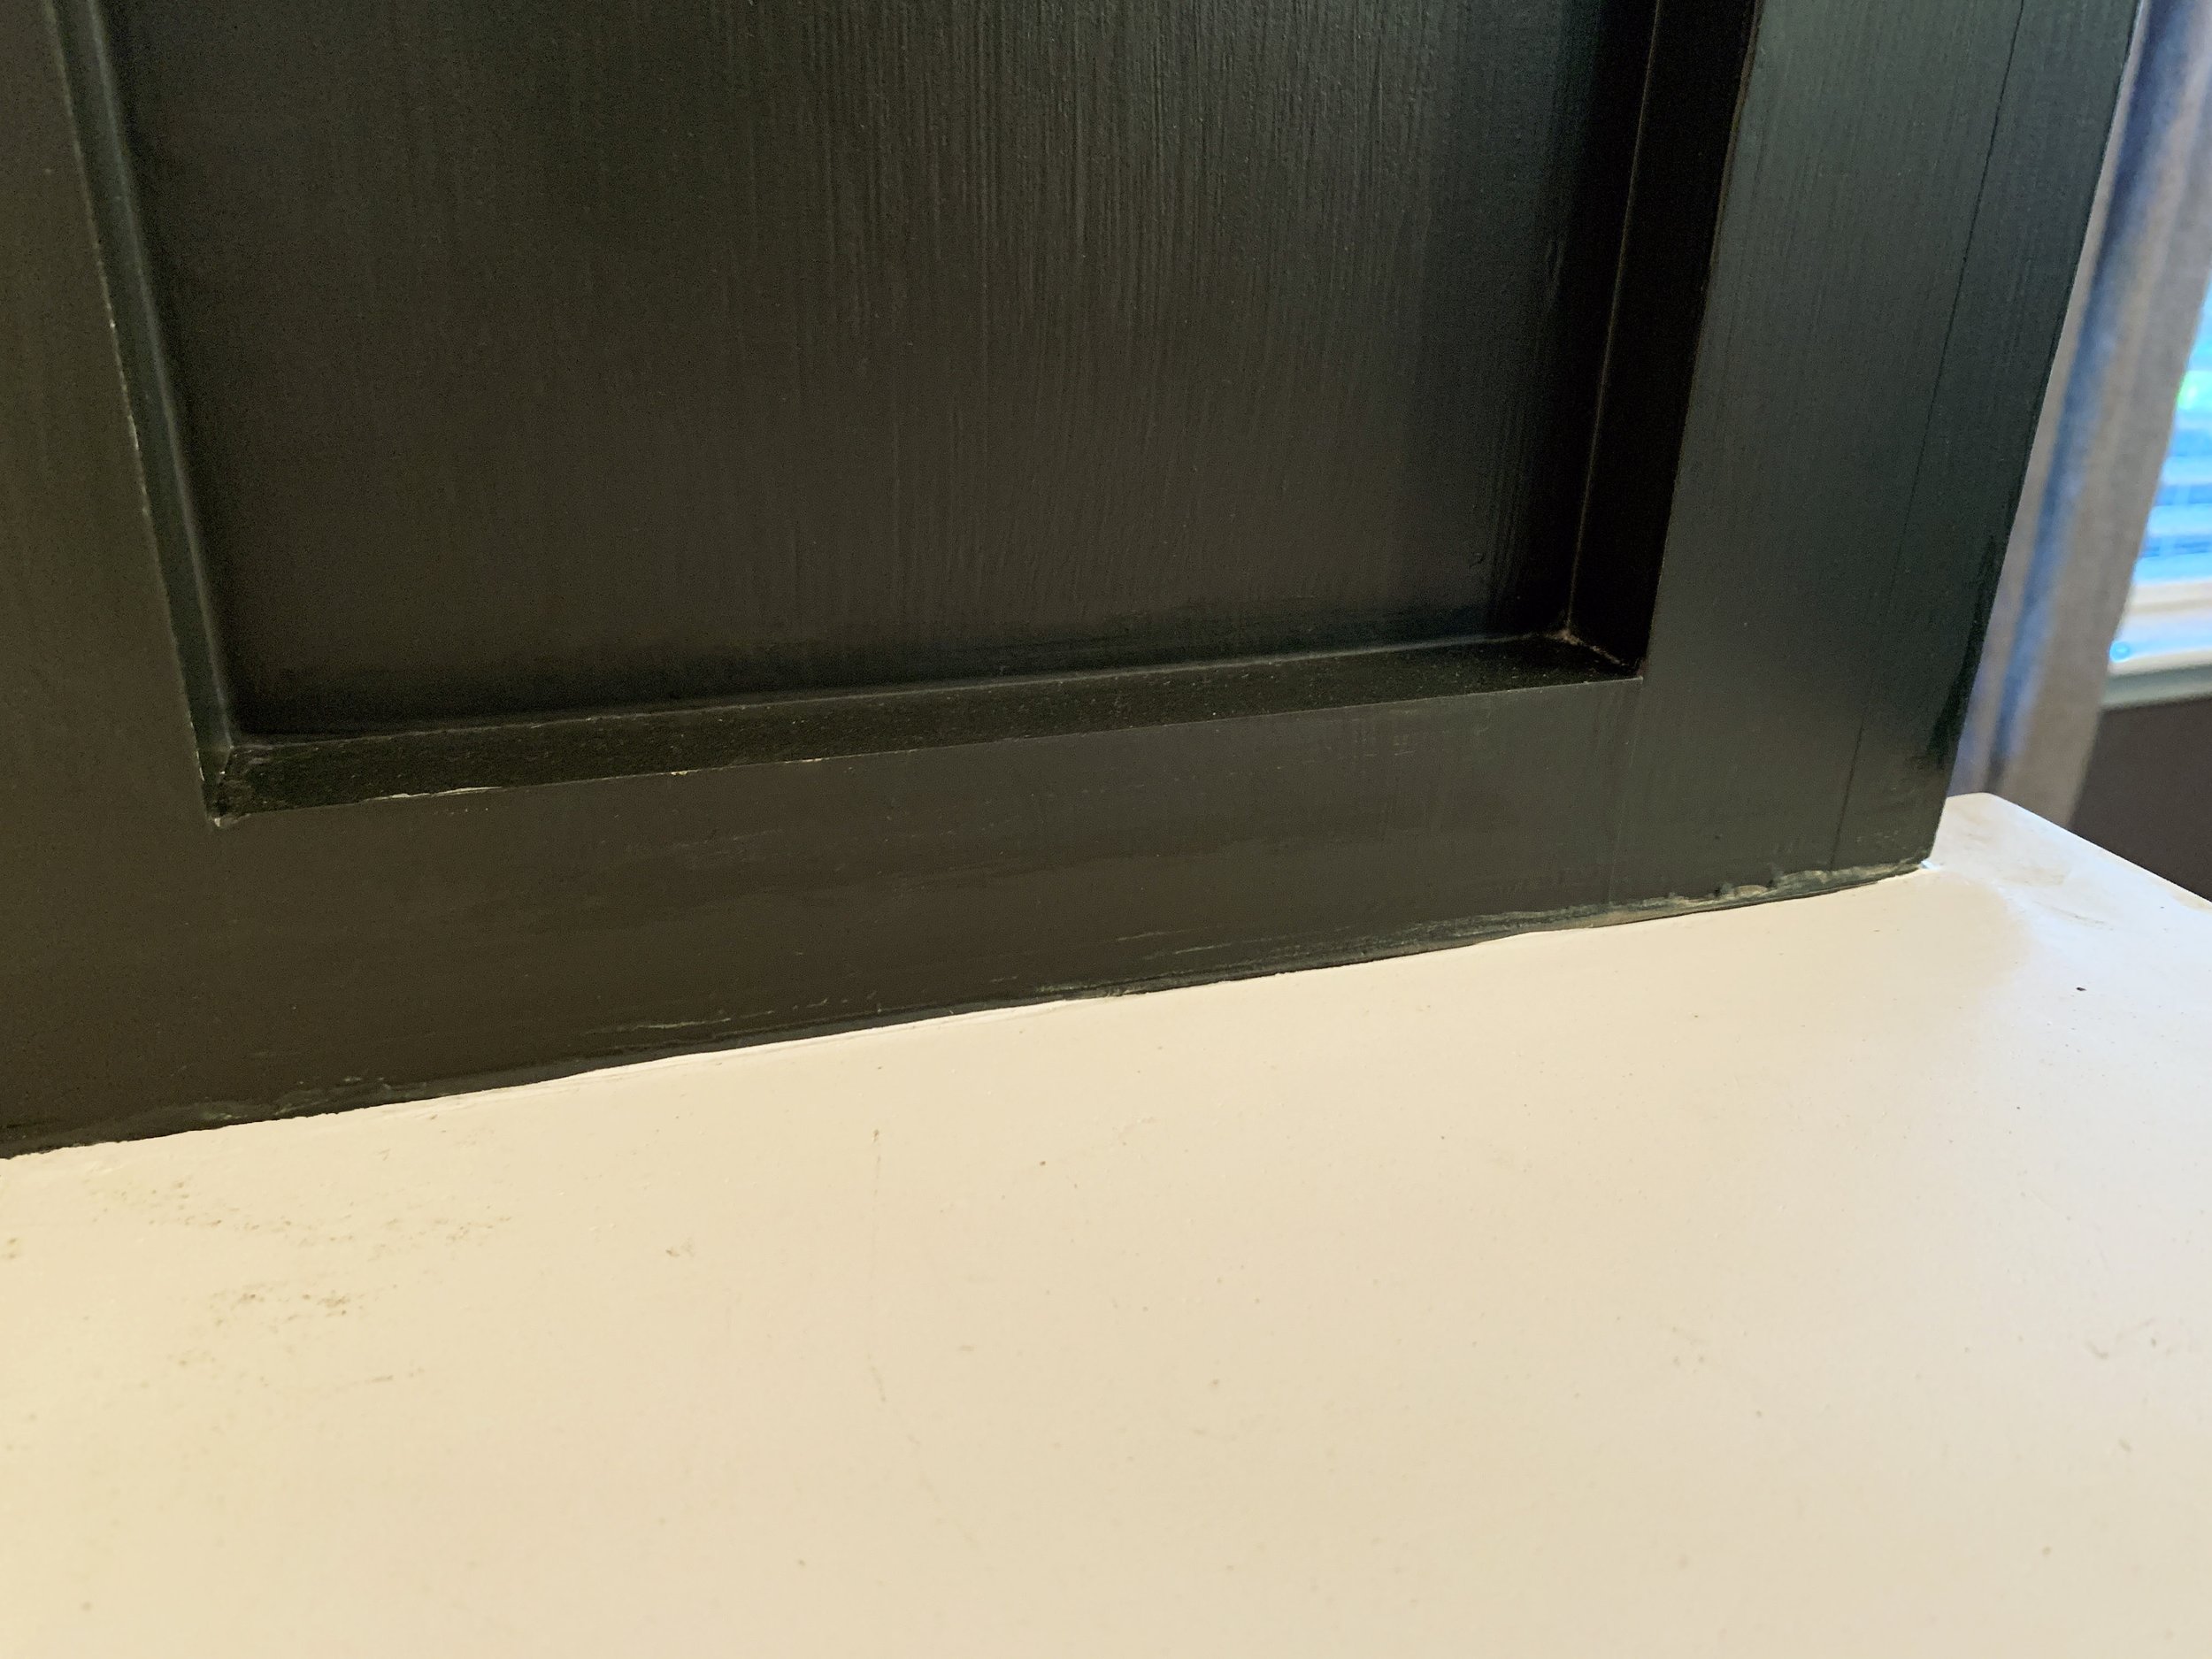
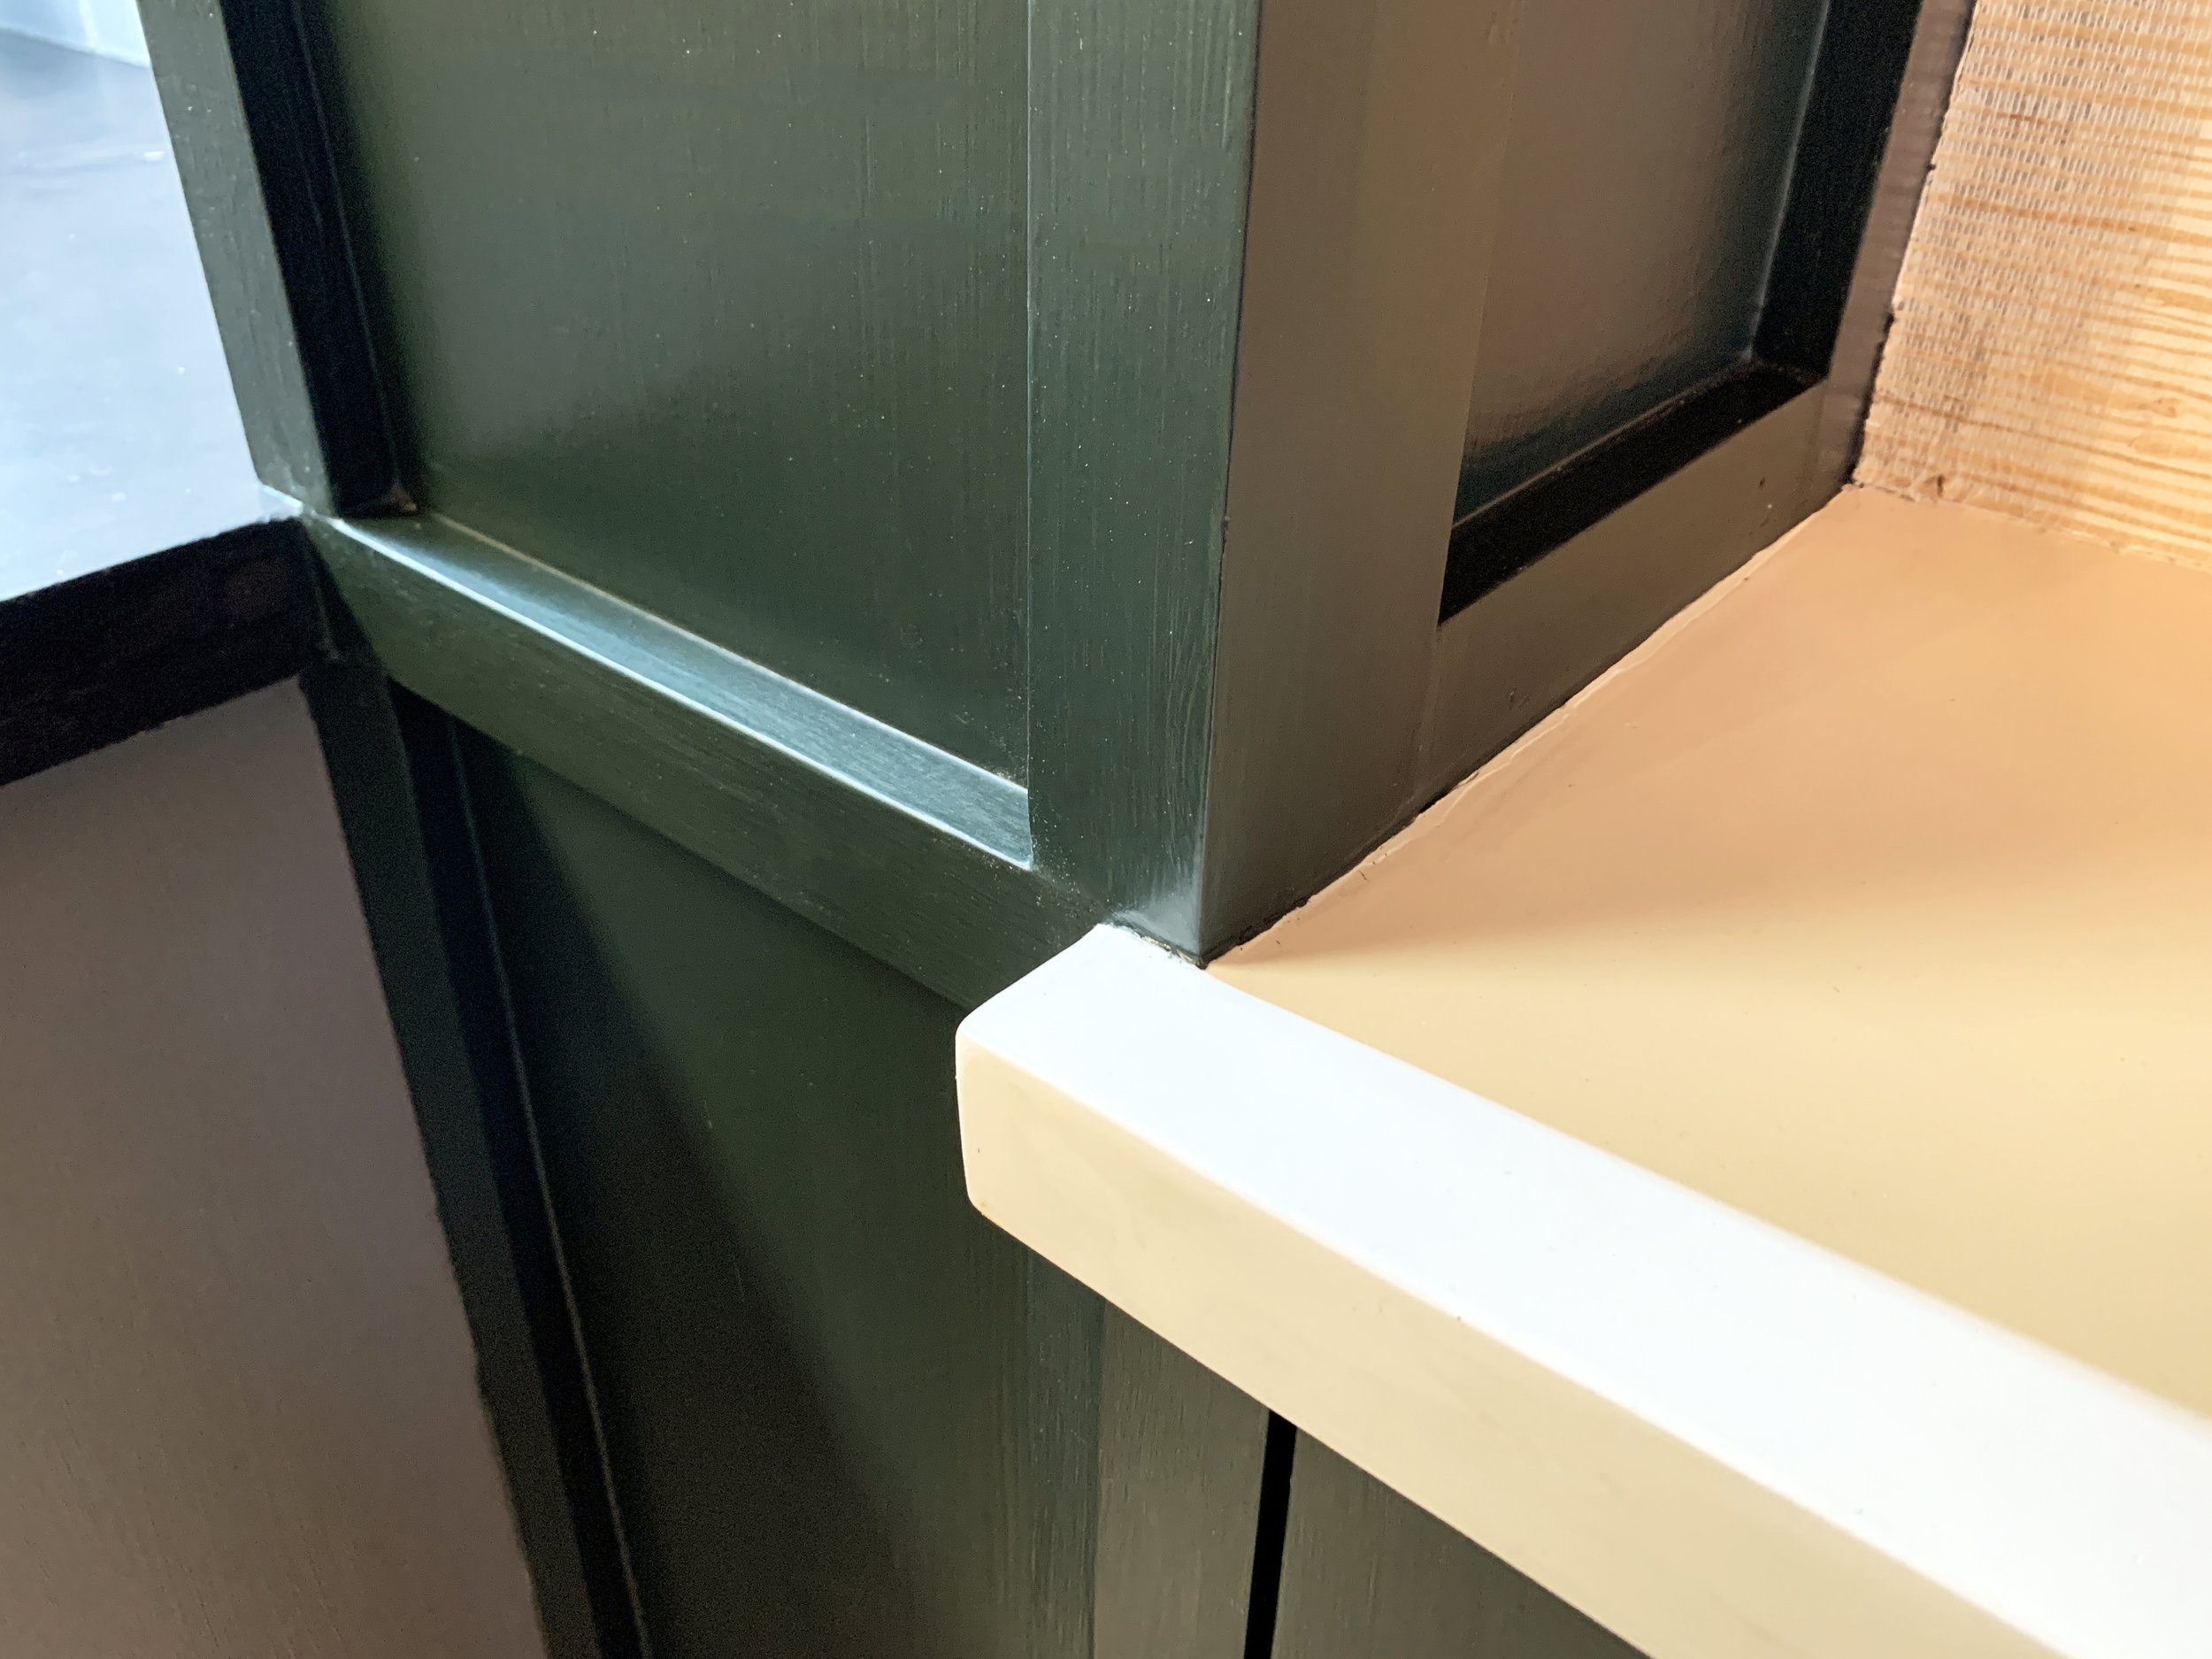
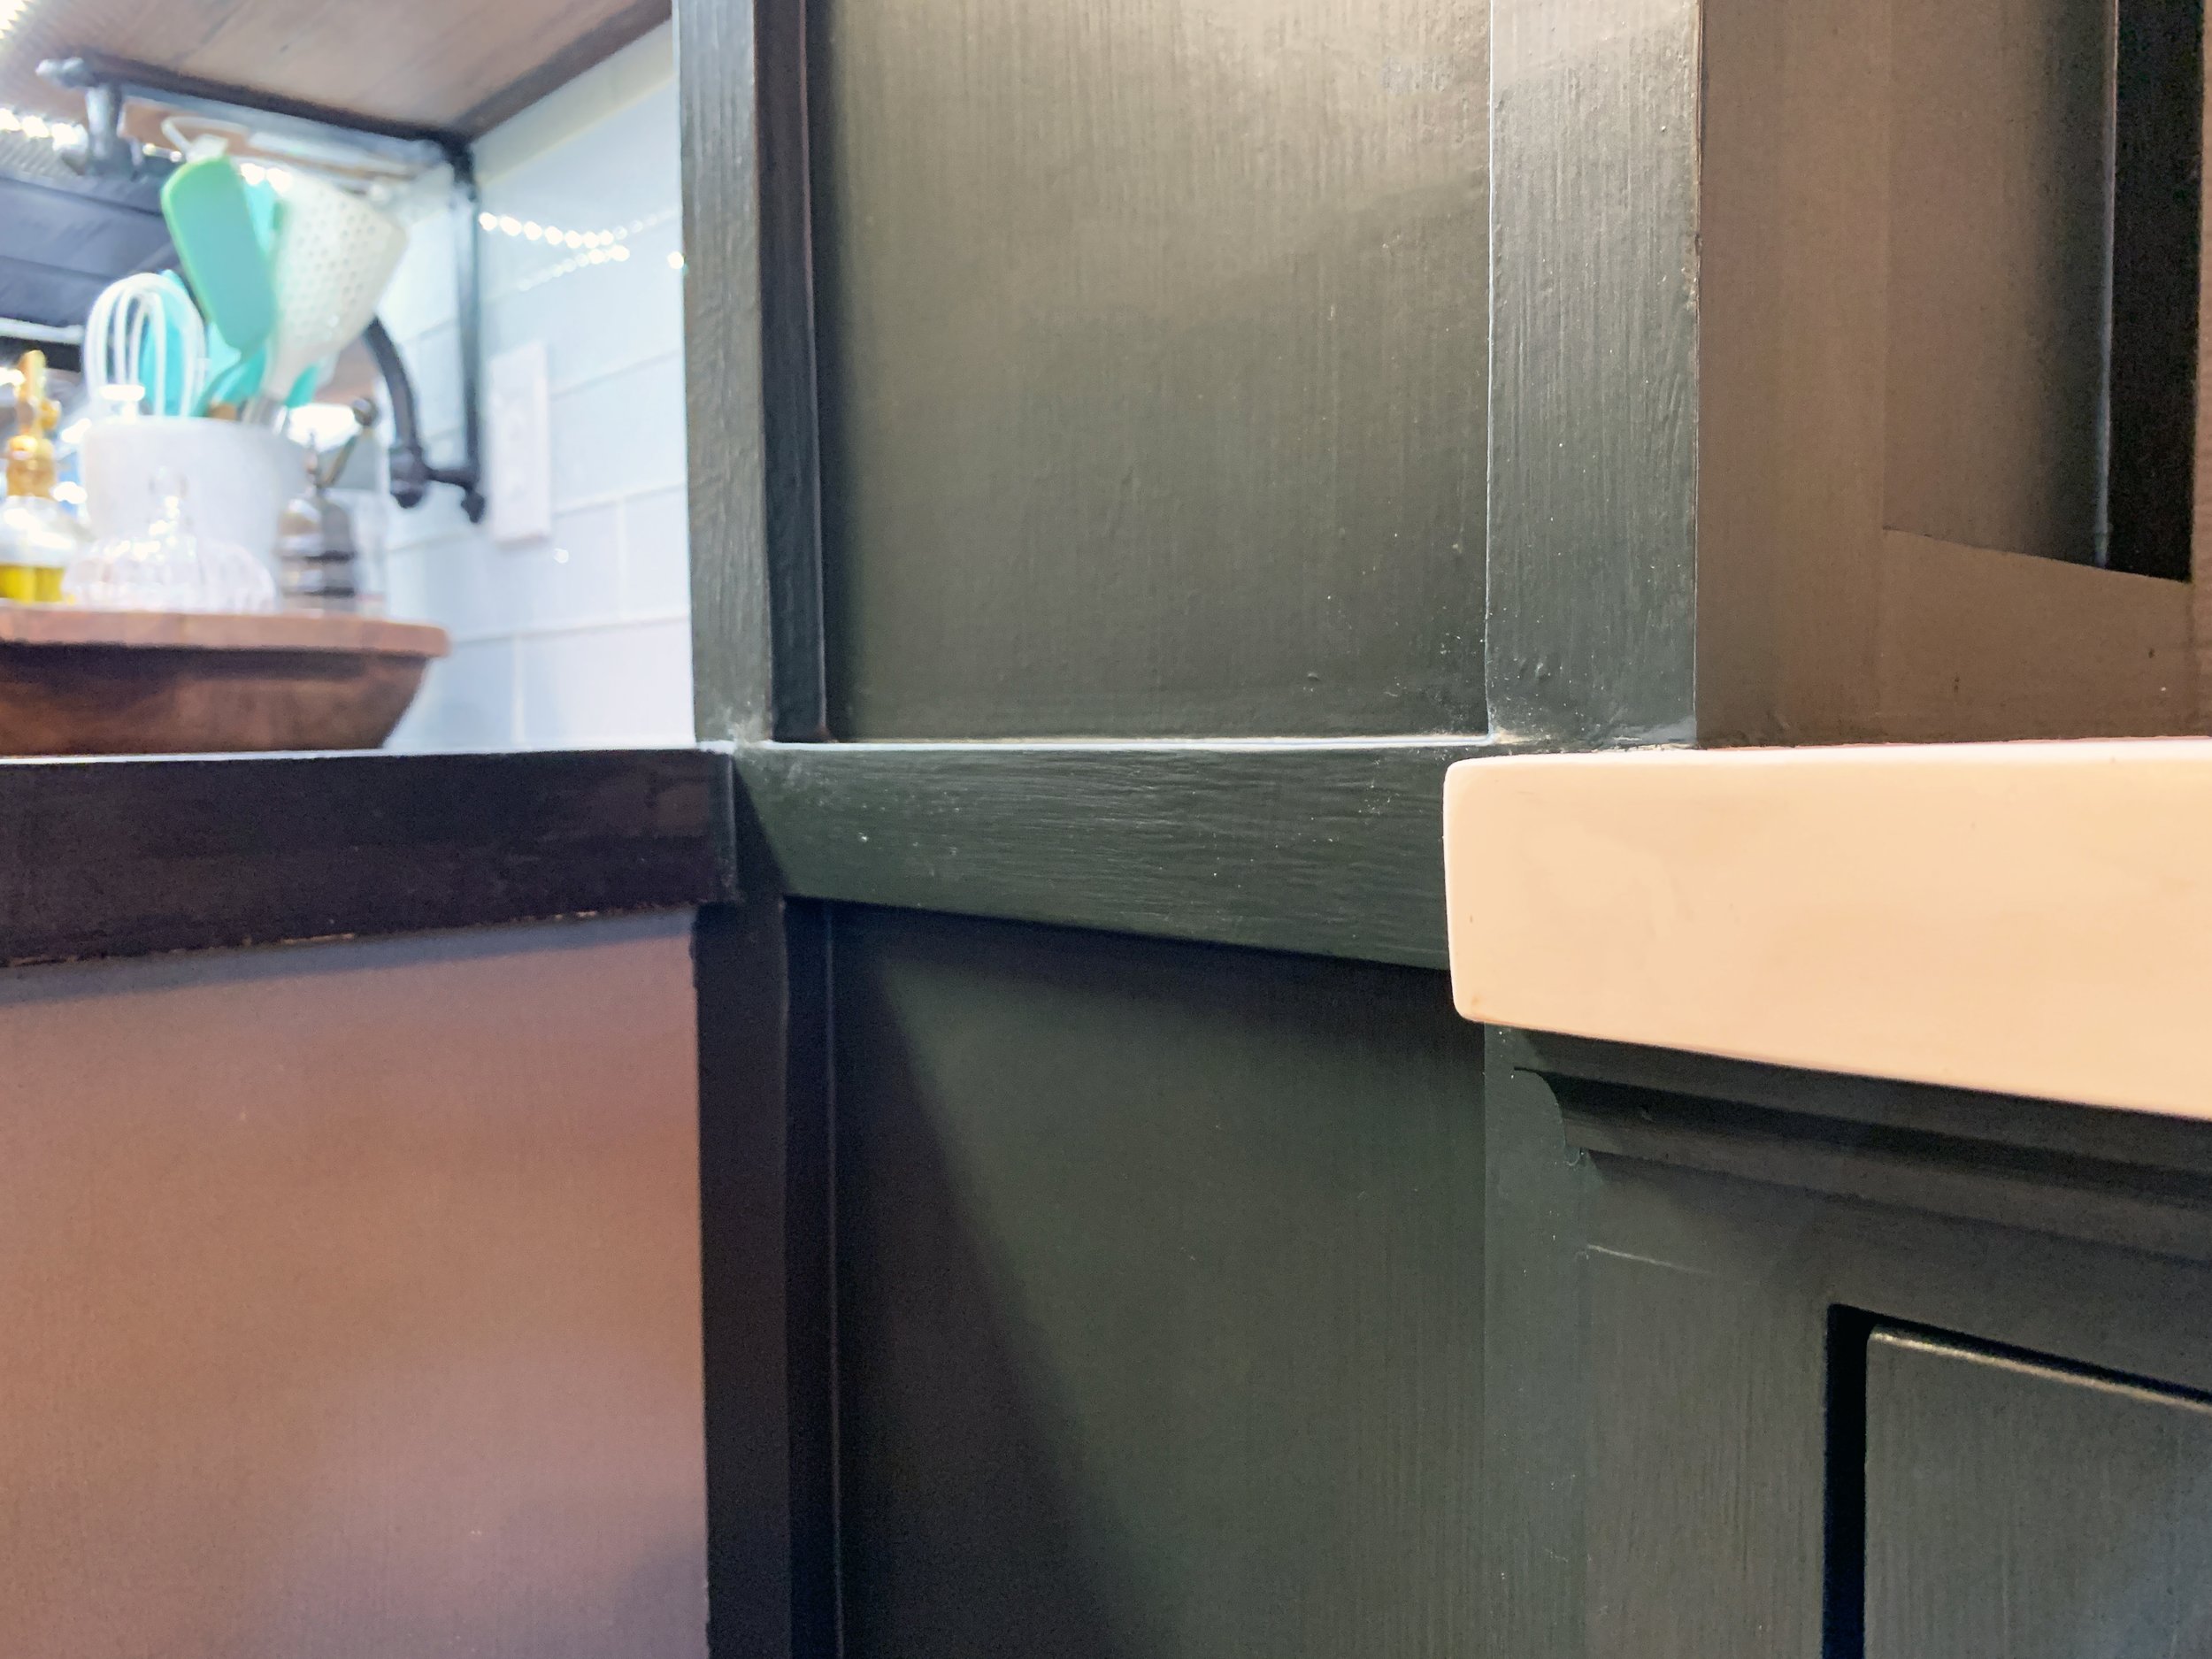
With both columns wrapped in 1/4” plywood, we used our nail gun to nail 1x2 pieces along the perimeter of each column (on the sides and fronts) and horizontally at counter-height and 1x4 pieces along the ceiling. We chose 1x4s for the ceiling to help give a little more weight to it, almost like a crown moulding and better balance the taller space we have over the upper kitchen cabinets that I plan to close in soon for continuity.

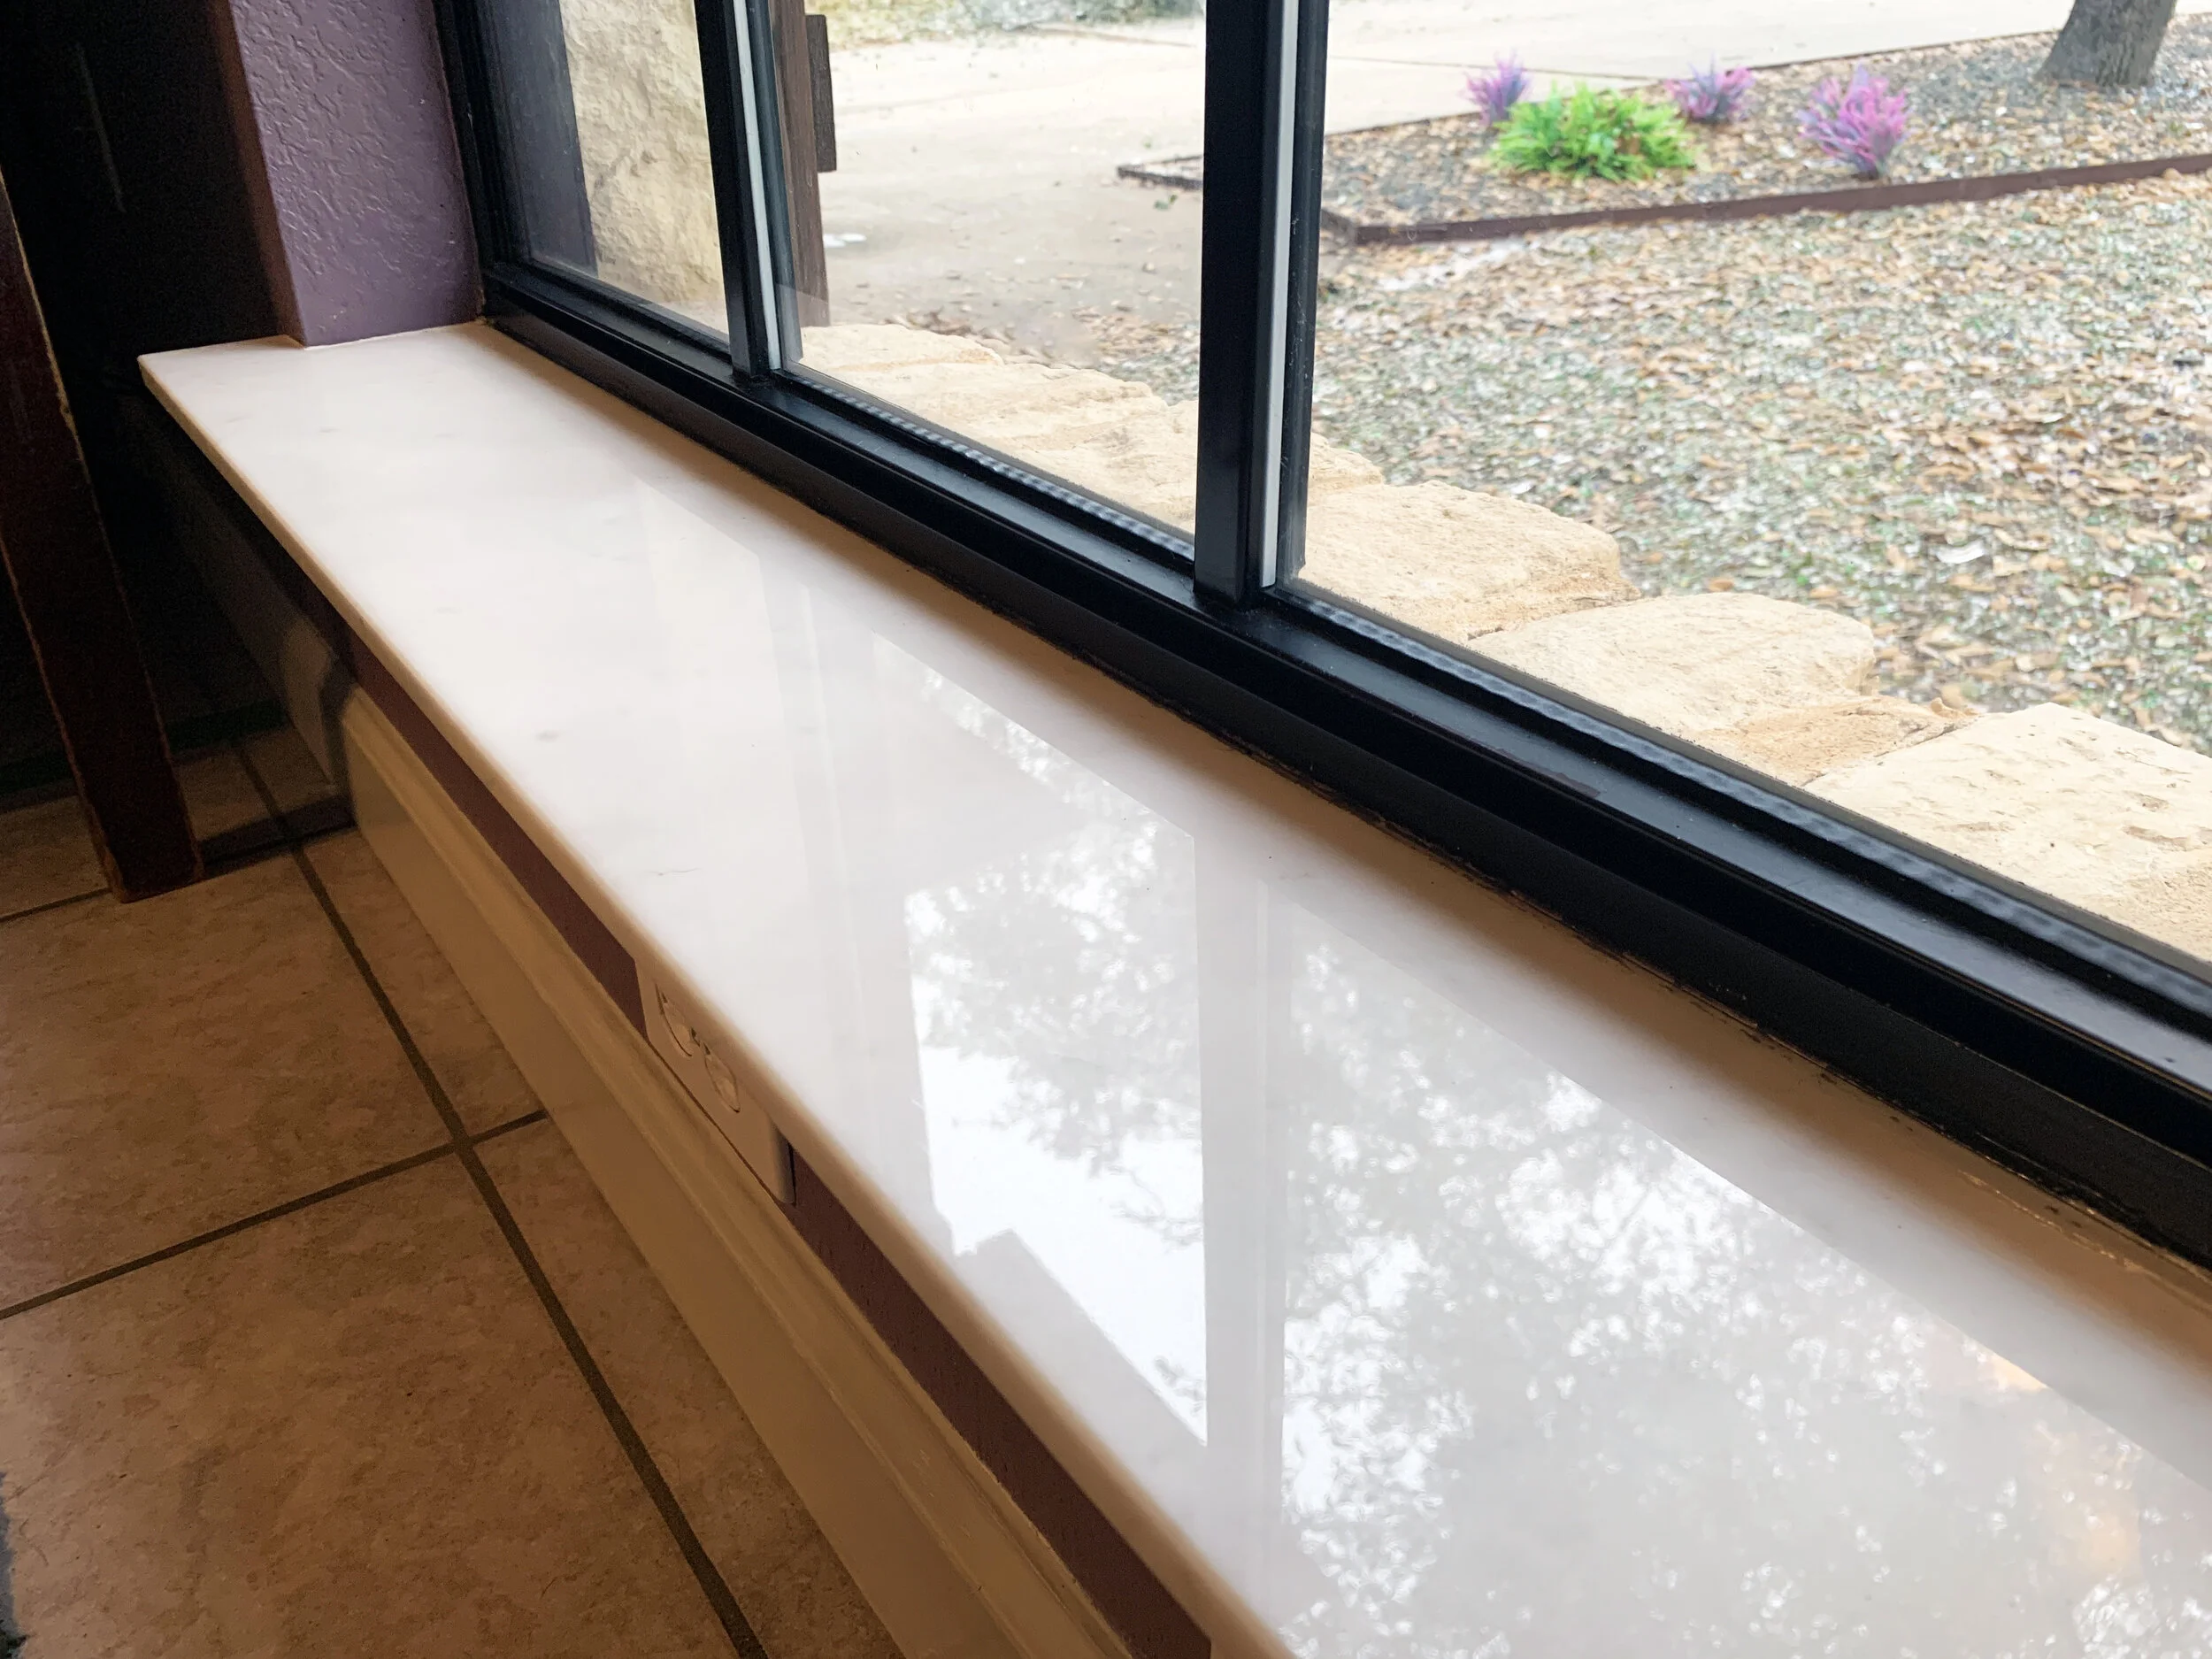
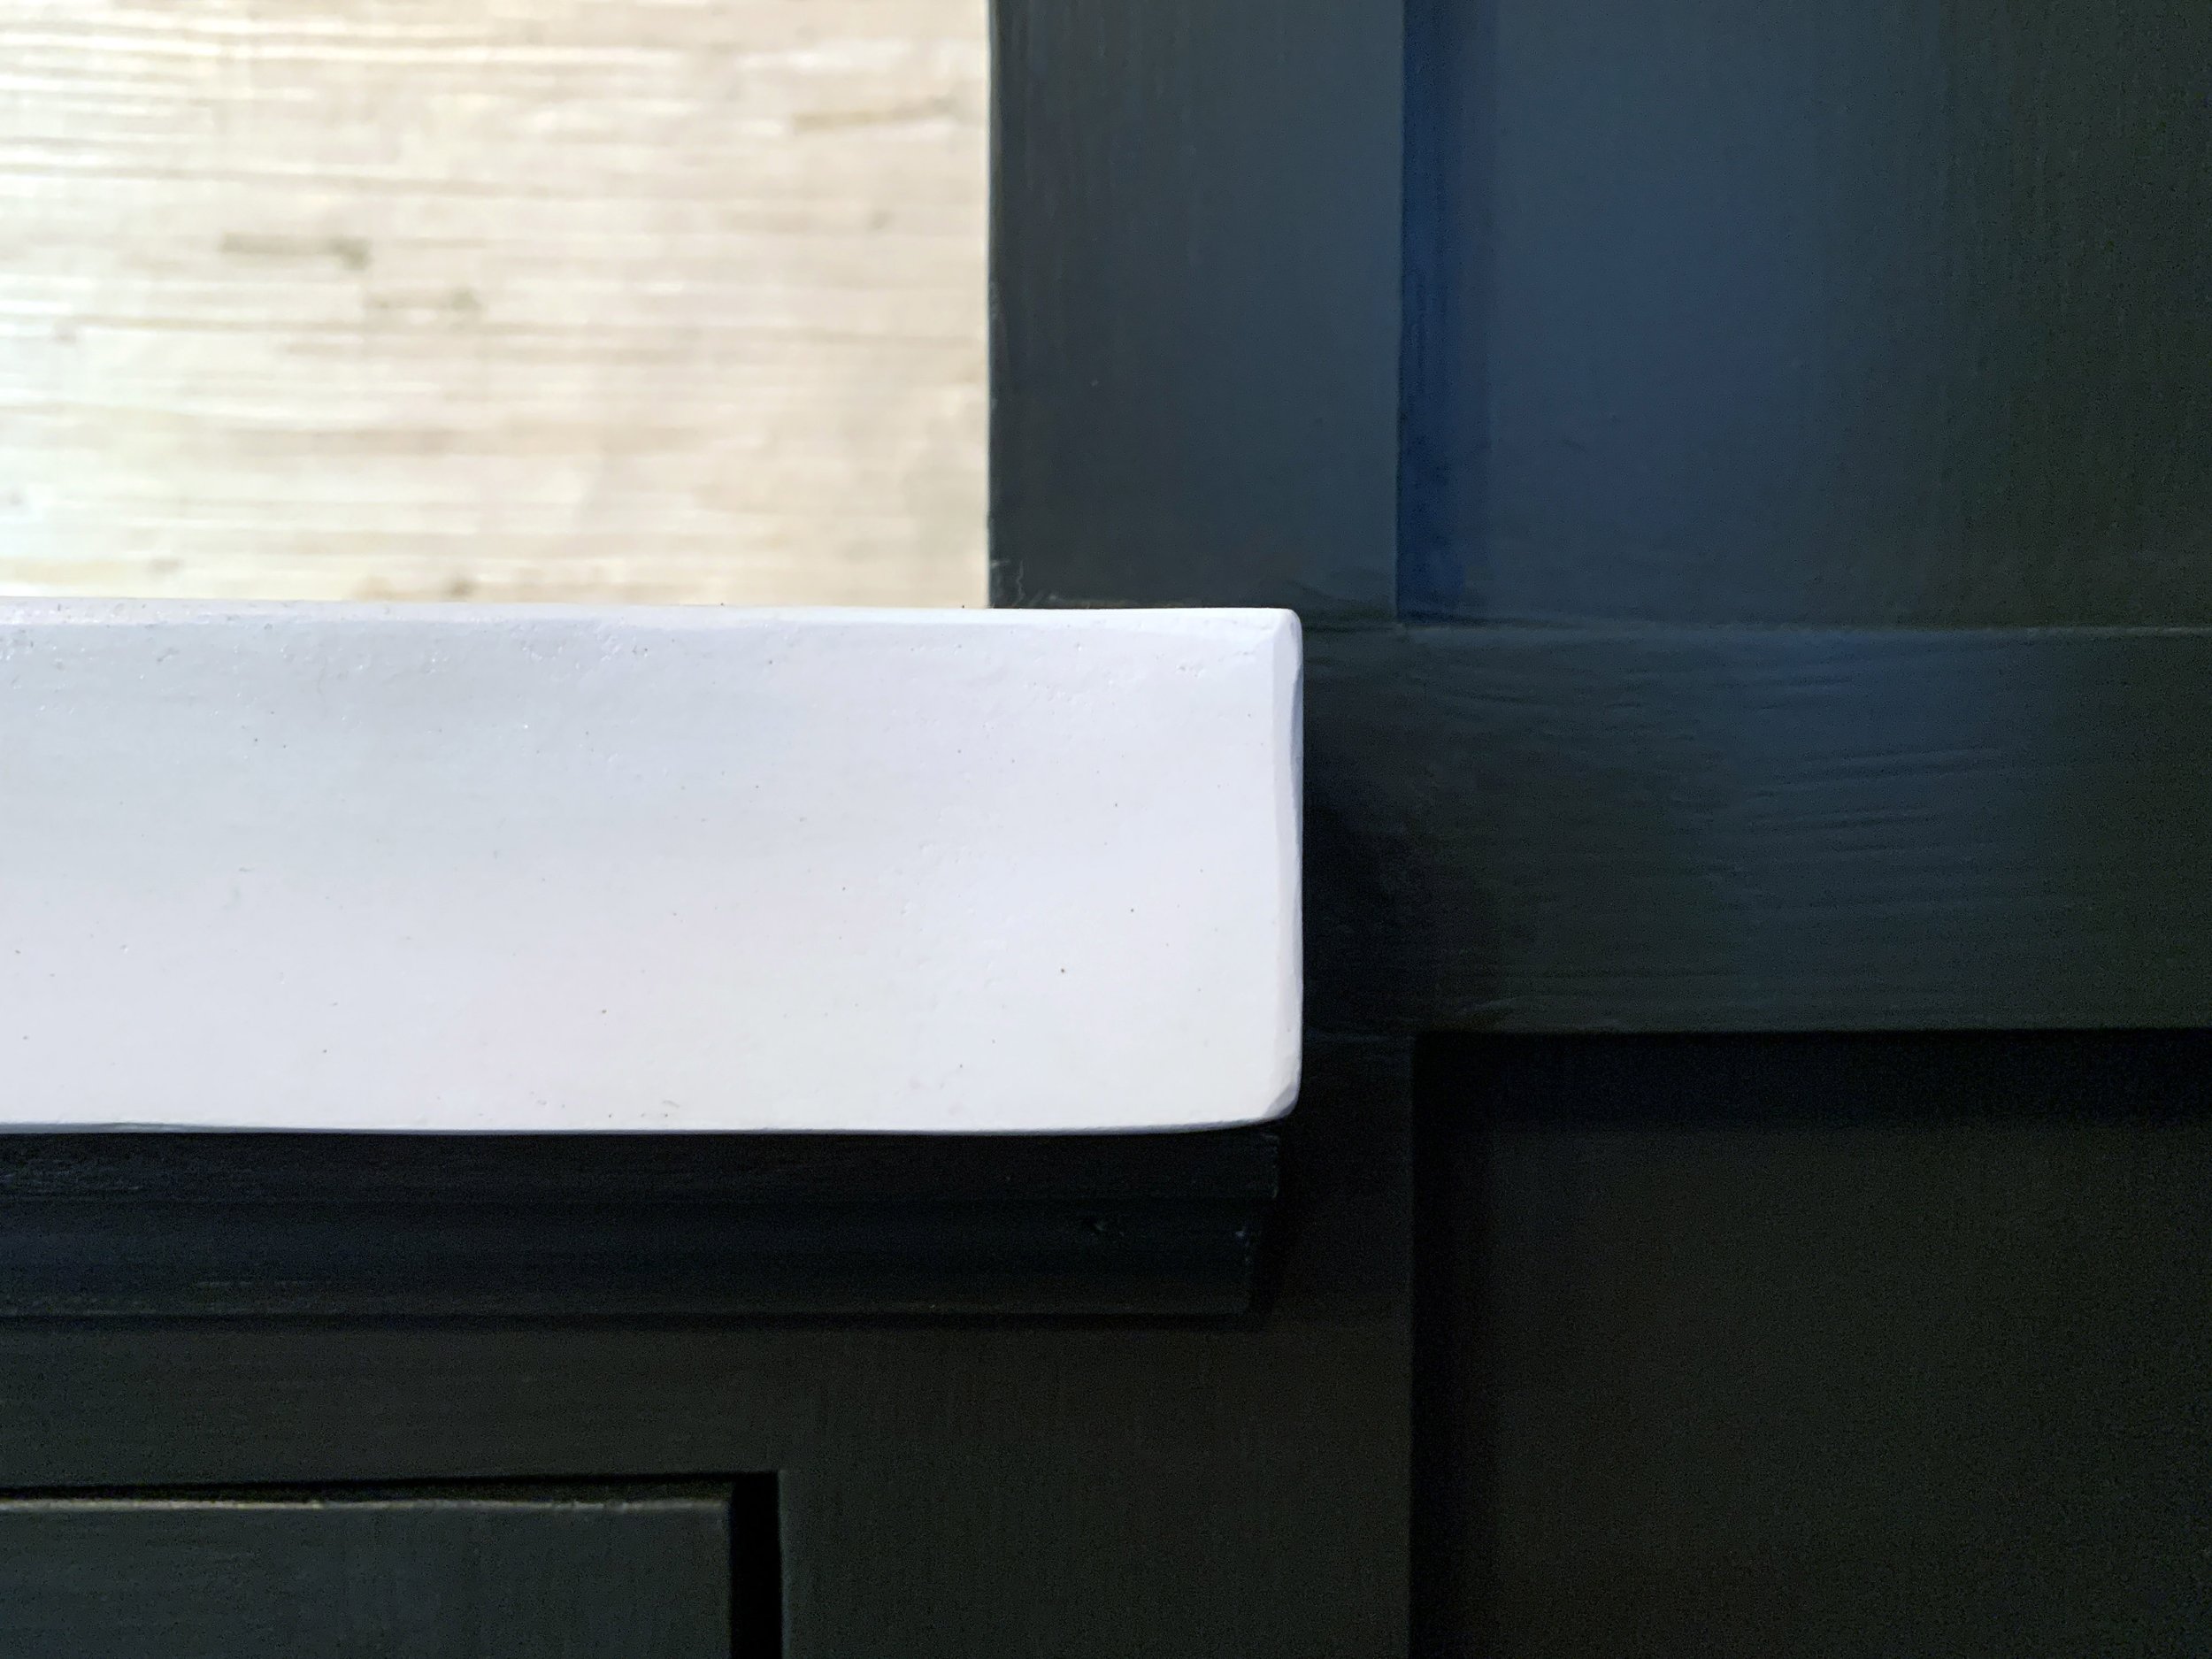
After we finished the countertops, we also added a horizontal 1x2 along the base of the column that sits on the top of the new bar countertop. We also did the same on the left side of the left column where the column touches the kitchen countertop.
To cover gaps left inside the cabinets – partially from not making our 1/4” column plywood quite wide enough, and partially because at the time we were planning on running wiring for inside cabinet lighting – we used 1x2 scraps for a more finished look.
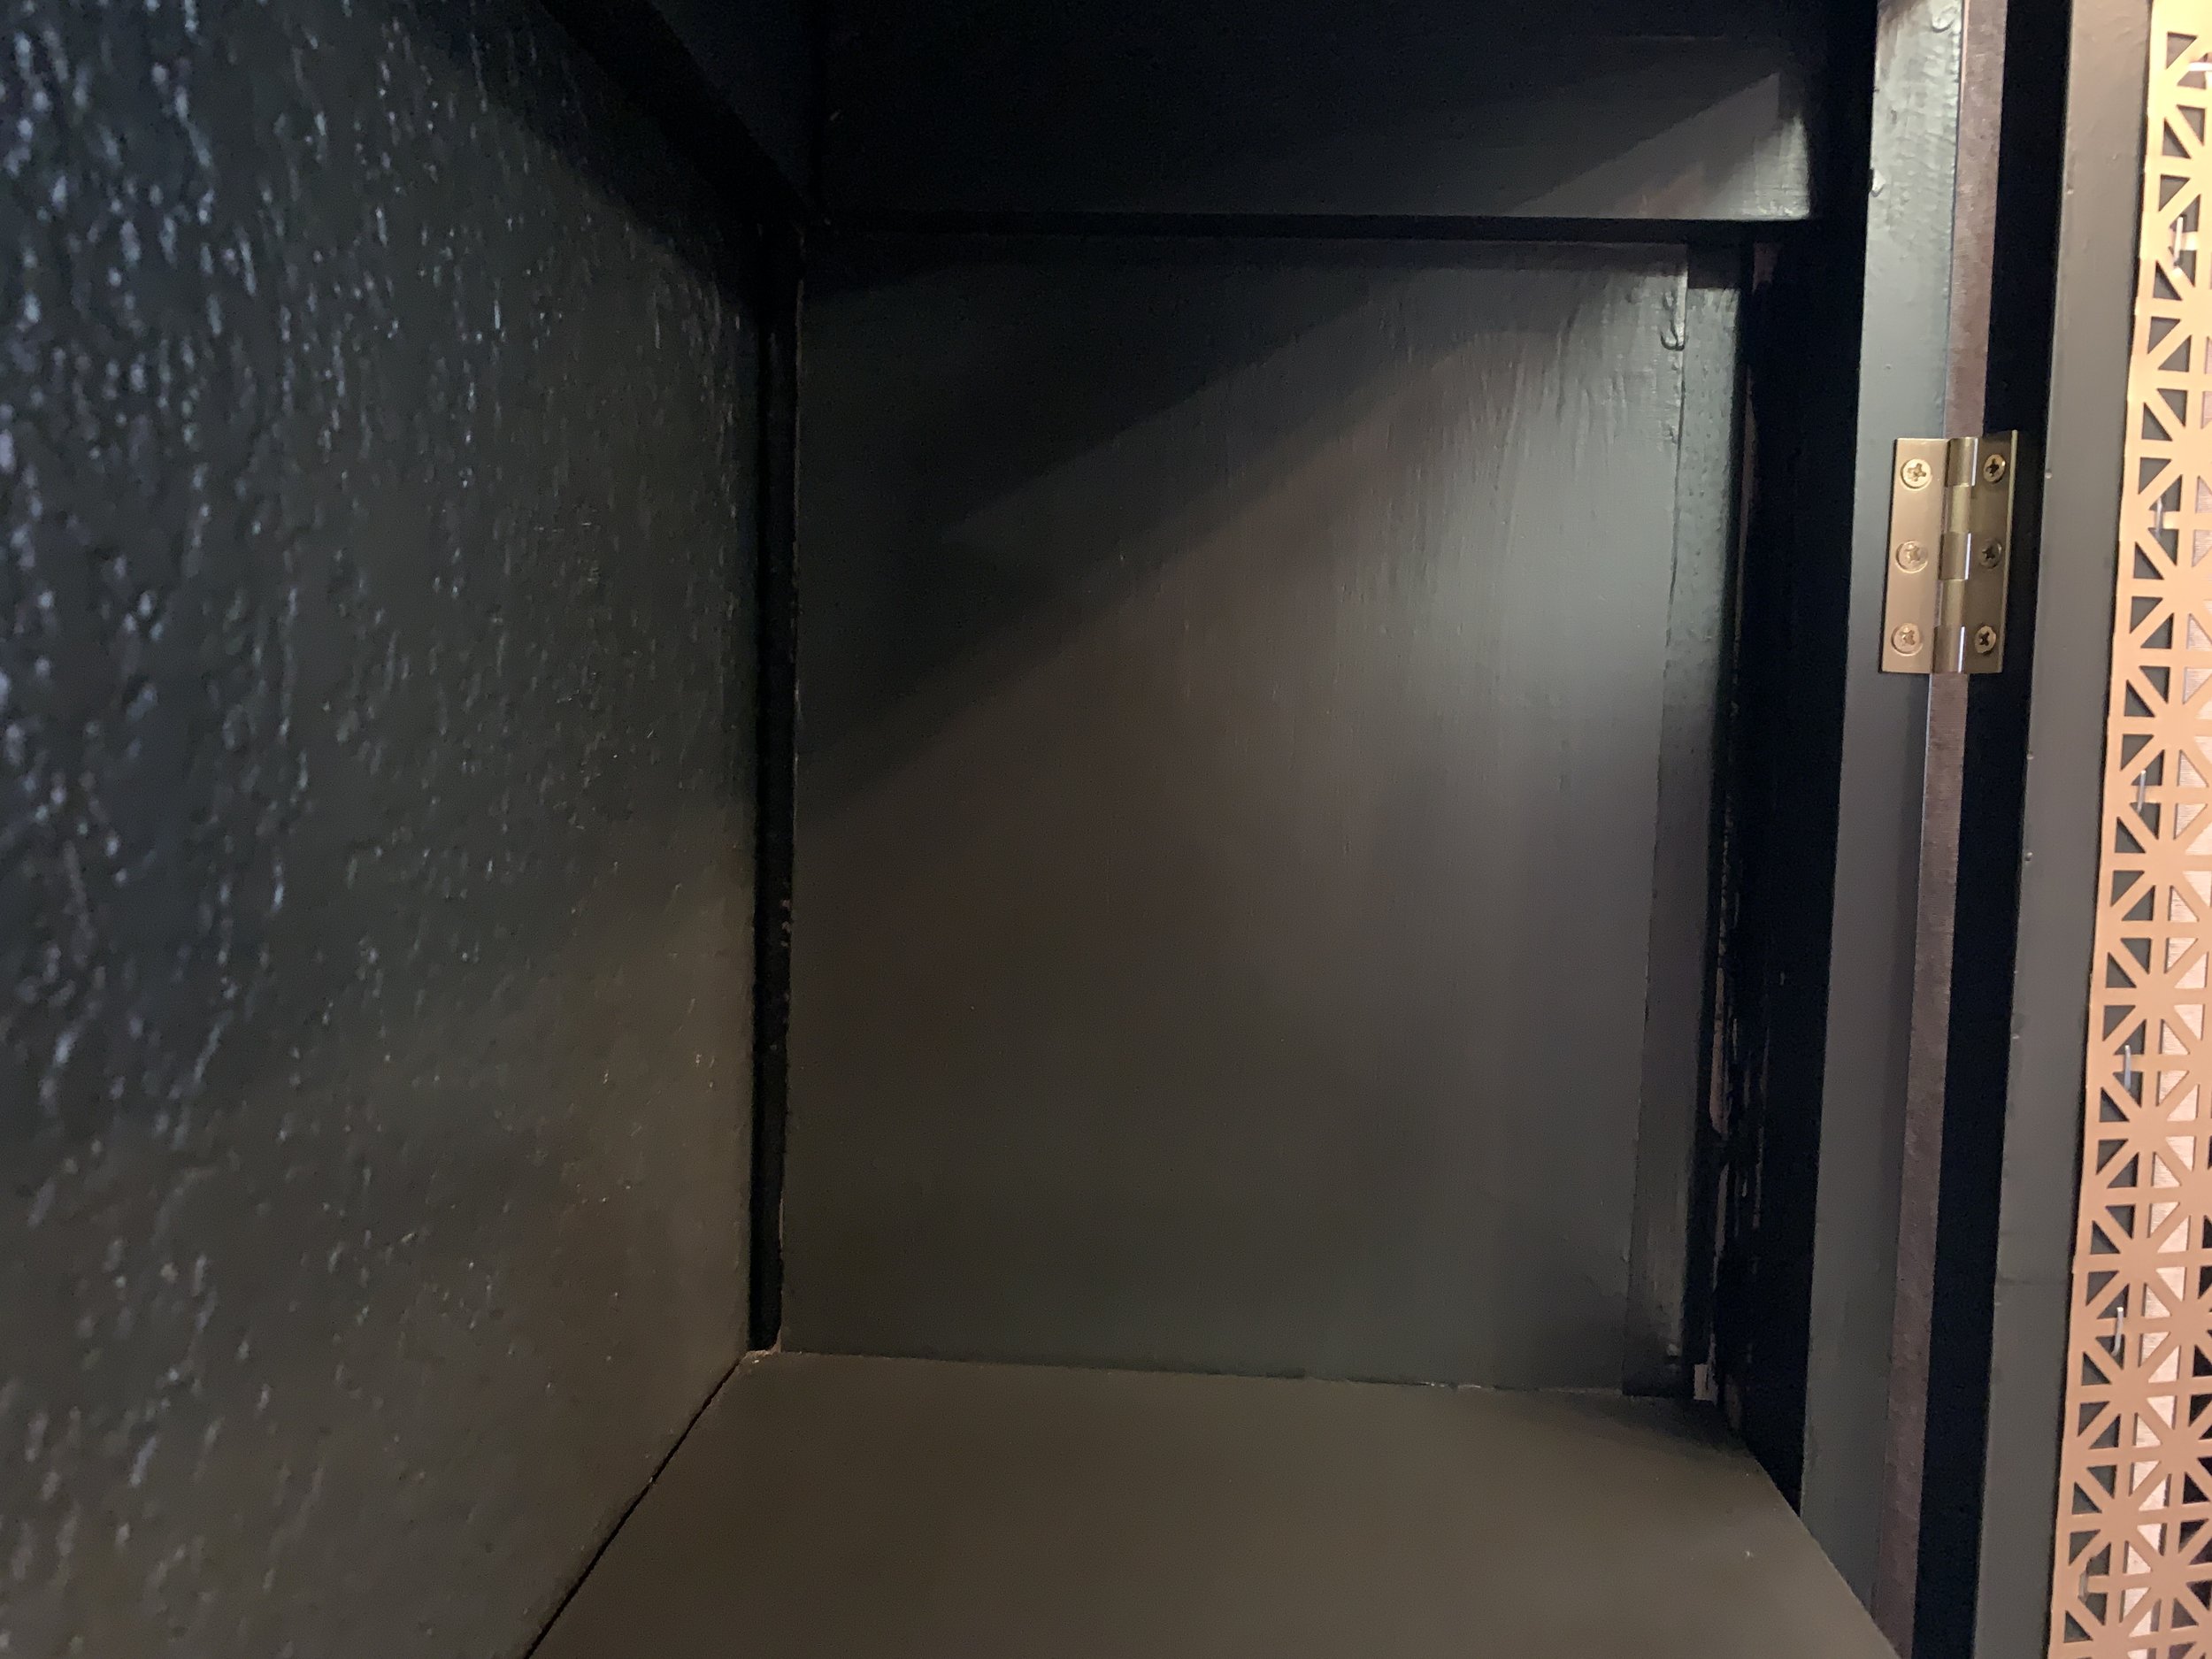
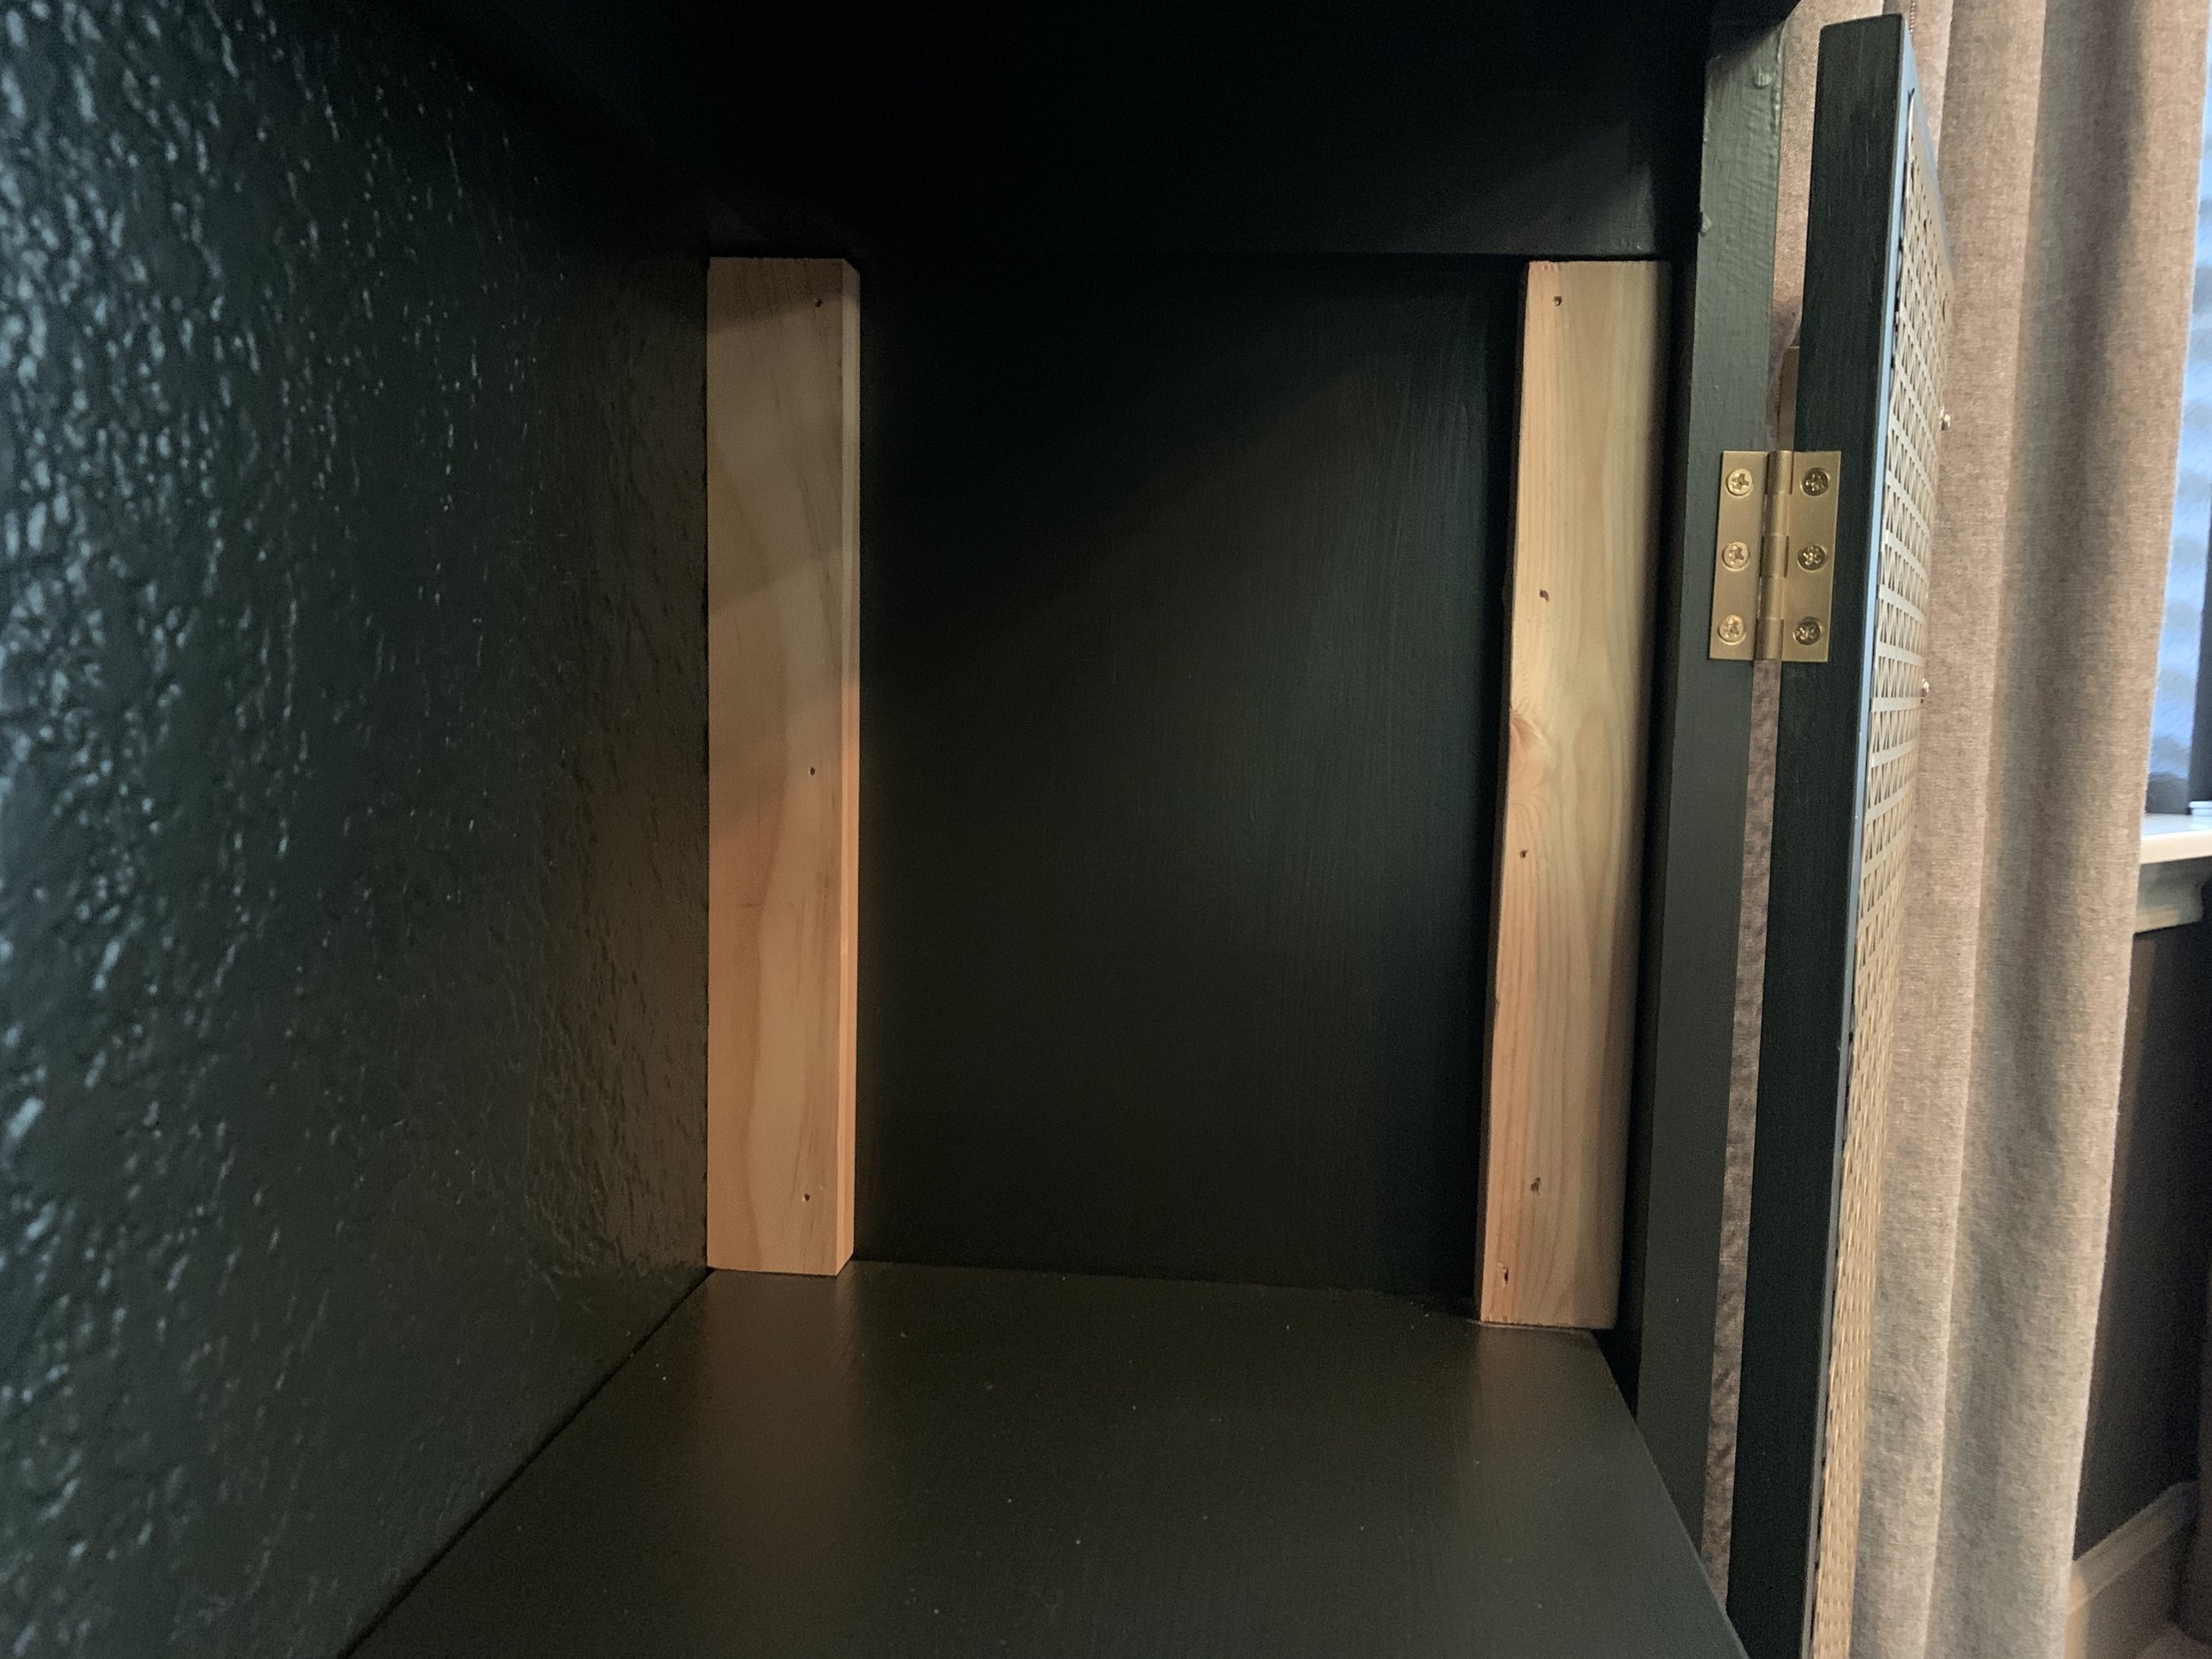
After caulk and paint the trim pieces blend right in.

Coming up in our next post in this series, we’ll be sharing exactly how we built the bar cabinet in between these columns, turning 10 inches of floor space into 20 square feet of additional storage!