The Cameo Camper Renovation: Grounding a Vintage Camper
Disclaimer + safety
Please please please always make sure when you’re dealing with electrical that you turn ALL of your power off, wear the appropriate PPE (personal protective equipment) and use a reliable voltage meter to triple check that your power is actually off. You never ever want to find out the hard way that you guessed wrong.

I know this was covered (though in less detail) in our post about wiring your vintage camper from scratch, but it is SO IMPORTANT we felt it also deserved its own post.
Now, we didn’t actually ground our camper until after we were having problems hooking up our interior lighting. I’m not really sure why we didn’t – I guess because we didn’t realize our ground for the exterior lighting wouldn’t work or something, I don’t know. To be honest it didn’t really cross our minds that we needed to do it (again, but for the interior lights/electrical system), I guess. Bottom line is DO THIS FIRST and save yourself so much headache. Do as we say, not as we do (in this case).
Turning failure into success
Not having a proper ground causes all sorts of problems and irritations and basically can and will waste a bunch of your time. In our case, we ground to both the chassis (the actual steel trailer that the camper sits on) and the bare aluminum walls of the camper itself. I cannot emphasize enough that you need to be grounding to bare aluminum and a clean (read: not rusted) steel chassis. (Majority of our camper walls were coated in paint, whether from the manufacturer on the inside or our exterior paint job.) Similarly, our 50-year-old travel trailer has some rusty spots that needed attention before we could ground to it. Even if your trailer isn’t rusty, it’s probably still a good idea to grind off any surface oxidation, etc. to really ensure it makes great contact.
If you don’t, you’re just asking for problems… like the ones we had when we were trying to ground our exterior/running lights back in February. Not a fun couple of wasted days. This go-round, we successfully ground it on the first try – after we met with an electrician friend that confirmed a bad (nonexistent) ground was our problem.
(Oh, and if you’re running into electrical issues and figured out it was a bad ground, you might want to also double check you didn’t accidentally blow a fuse somewhere on your towing vehicle like we did.)

The grounding-your-trailer shopping list:
Voltage meter
8AWG 15’ red and black cable – (Use the black only for this part – we only bought a qty of 1 and were able to use what was left from our electrical cabinet list for this)
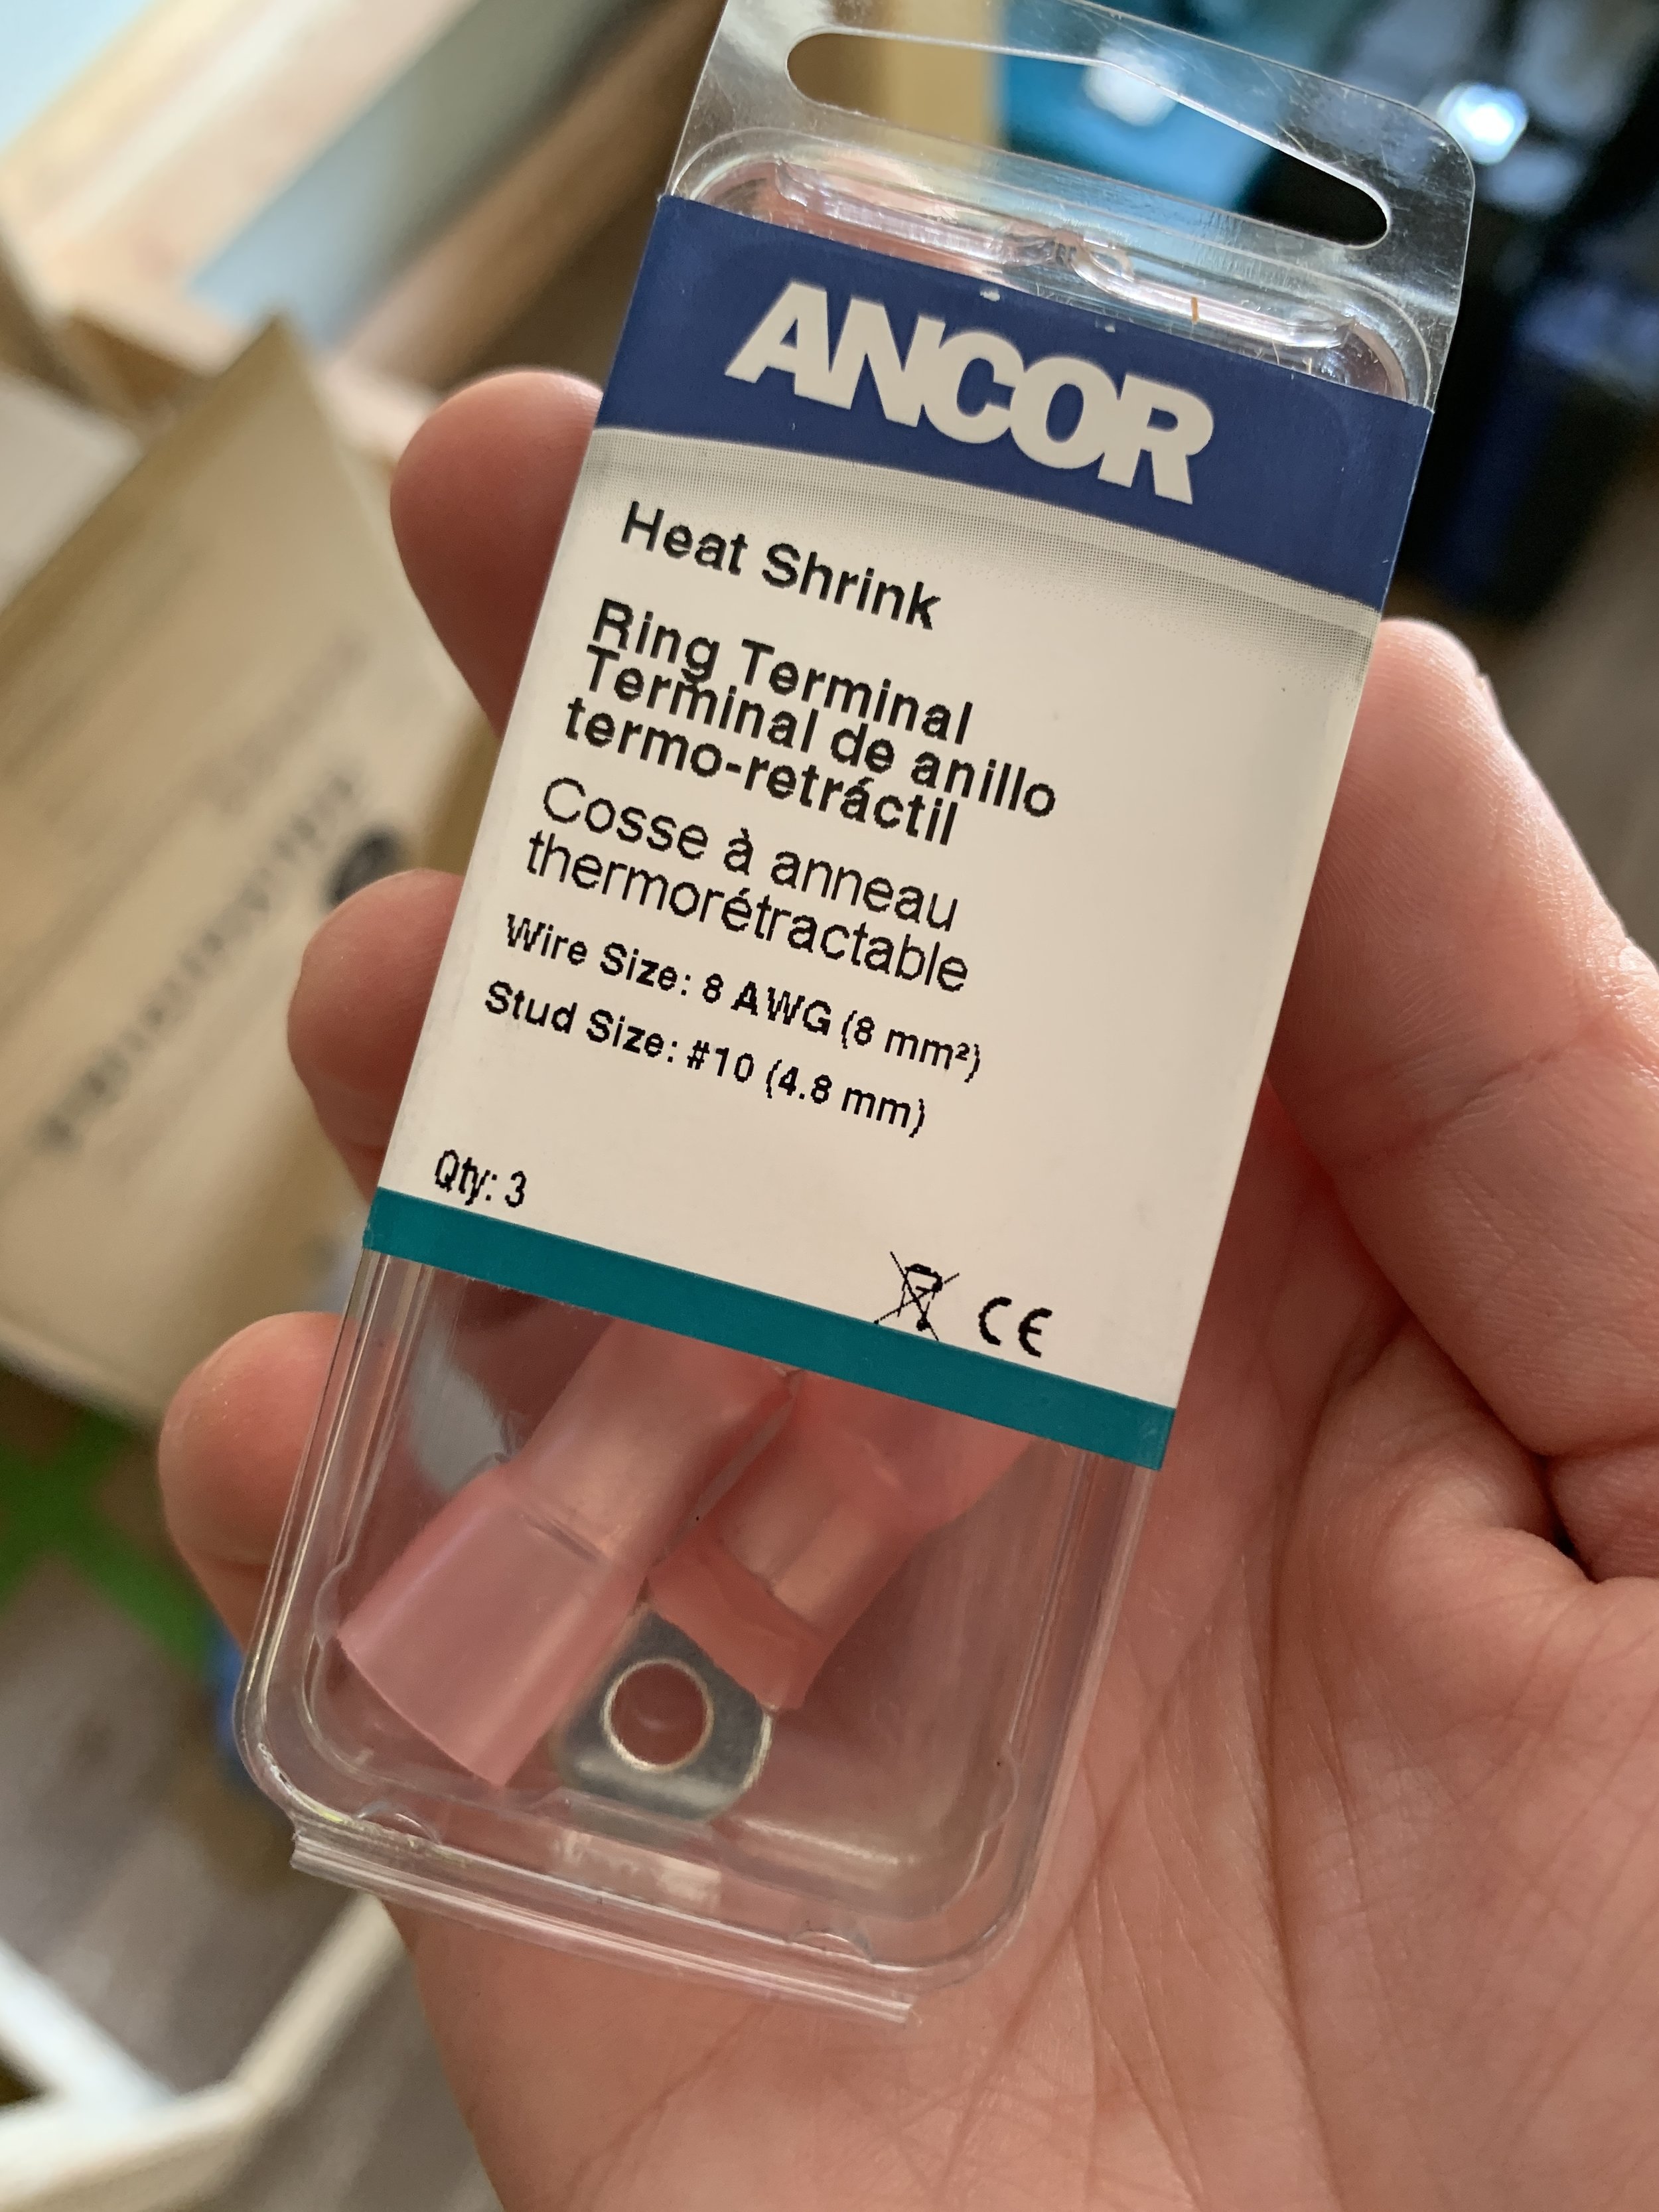
5/16” 8AWG heat shrink ring connectors (3 pack) – (only need 1)
Heat gun (or a lighter will work in a pinch, so I’ve heard)
#10 machine screw + matching hex nut, preferably the same/similar size to any other screw heads you’ve got on your camper – (we had some laying around from who knows what previous project. If you wanted to mount from the outside you could use a self-tapping metal screw, but we wanted to keep the camper exterior as clean as possible and opted to drill it from the inside-out)
Anti-Oxidant Joint Compound (+ a rag for application/wiping) – this stuff improves the conductivity of aluminum electrical connections and is a MUST
Grinder with a sander wheel – for cleaning the steel chassis
Dremel with a sanding disk appropriate for metal – for cleaning the aluminum
Dremel cutting wheel – to cut the end off the machine screw
Drill + bits to match your screw choice
Clip(s) – for securing excess wire/slack on the underside of the trailer to keep it damage-free when driving
Ok, how do i ground my travel trailer?
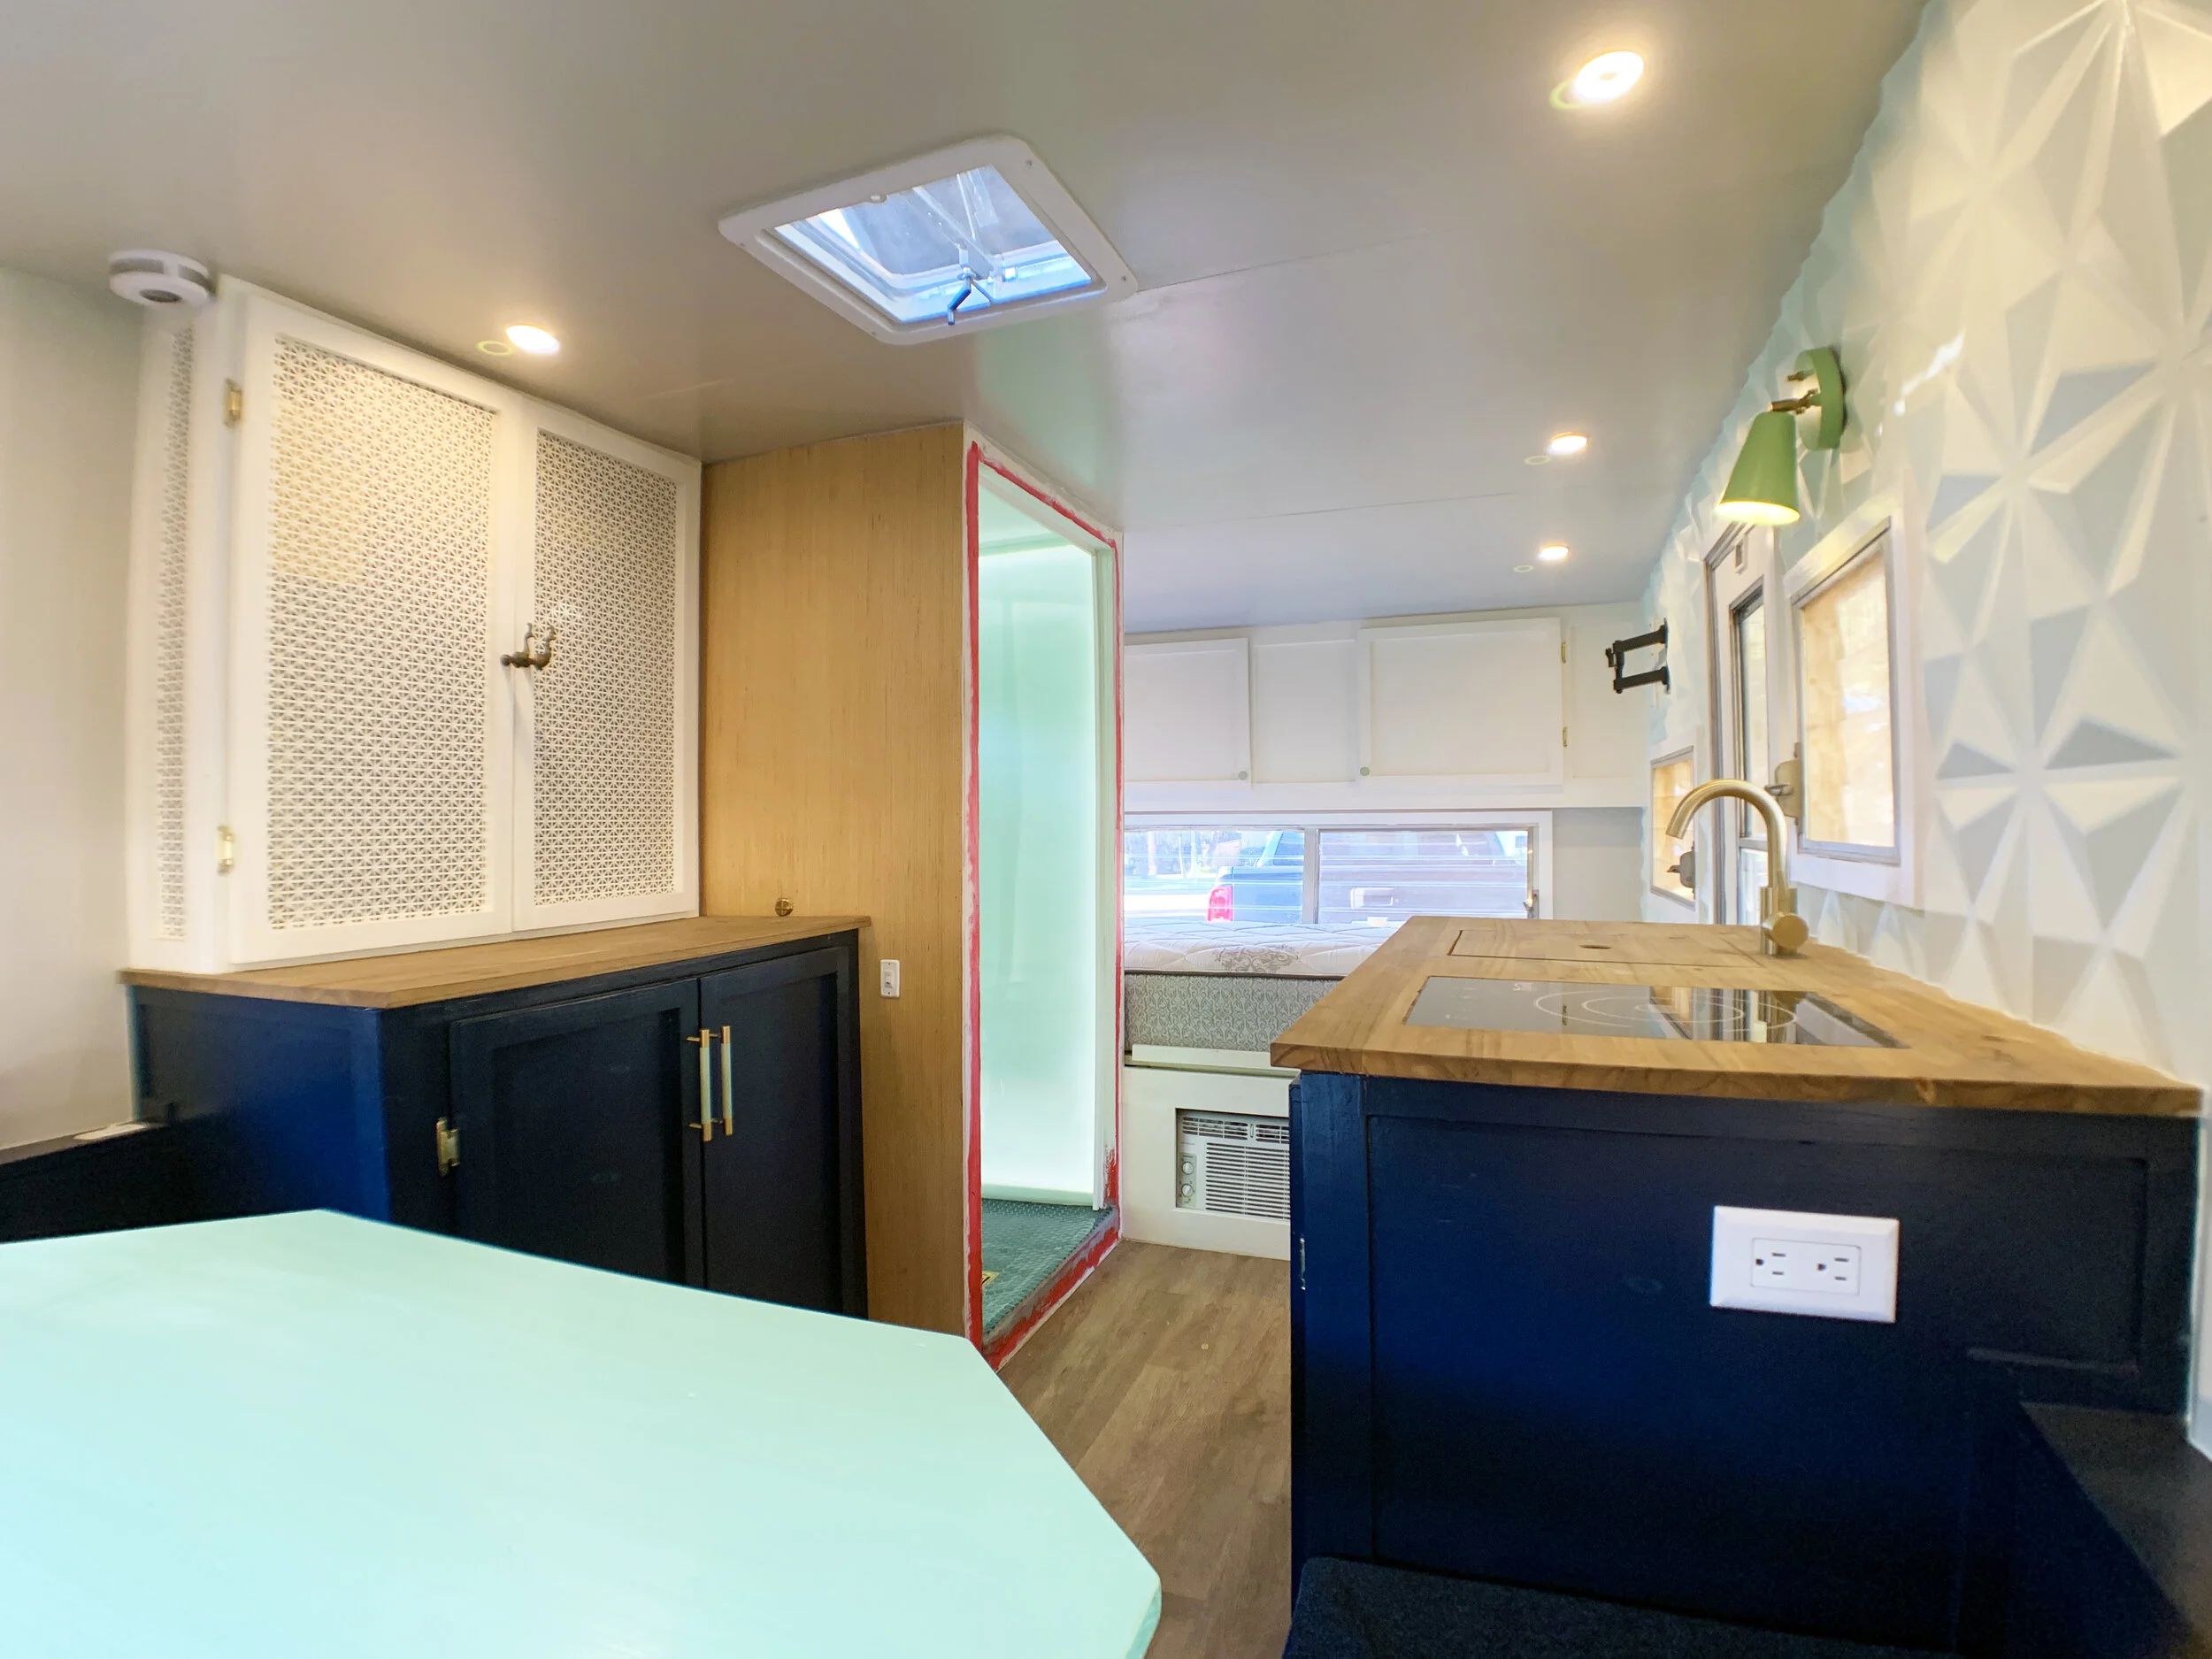
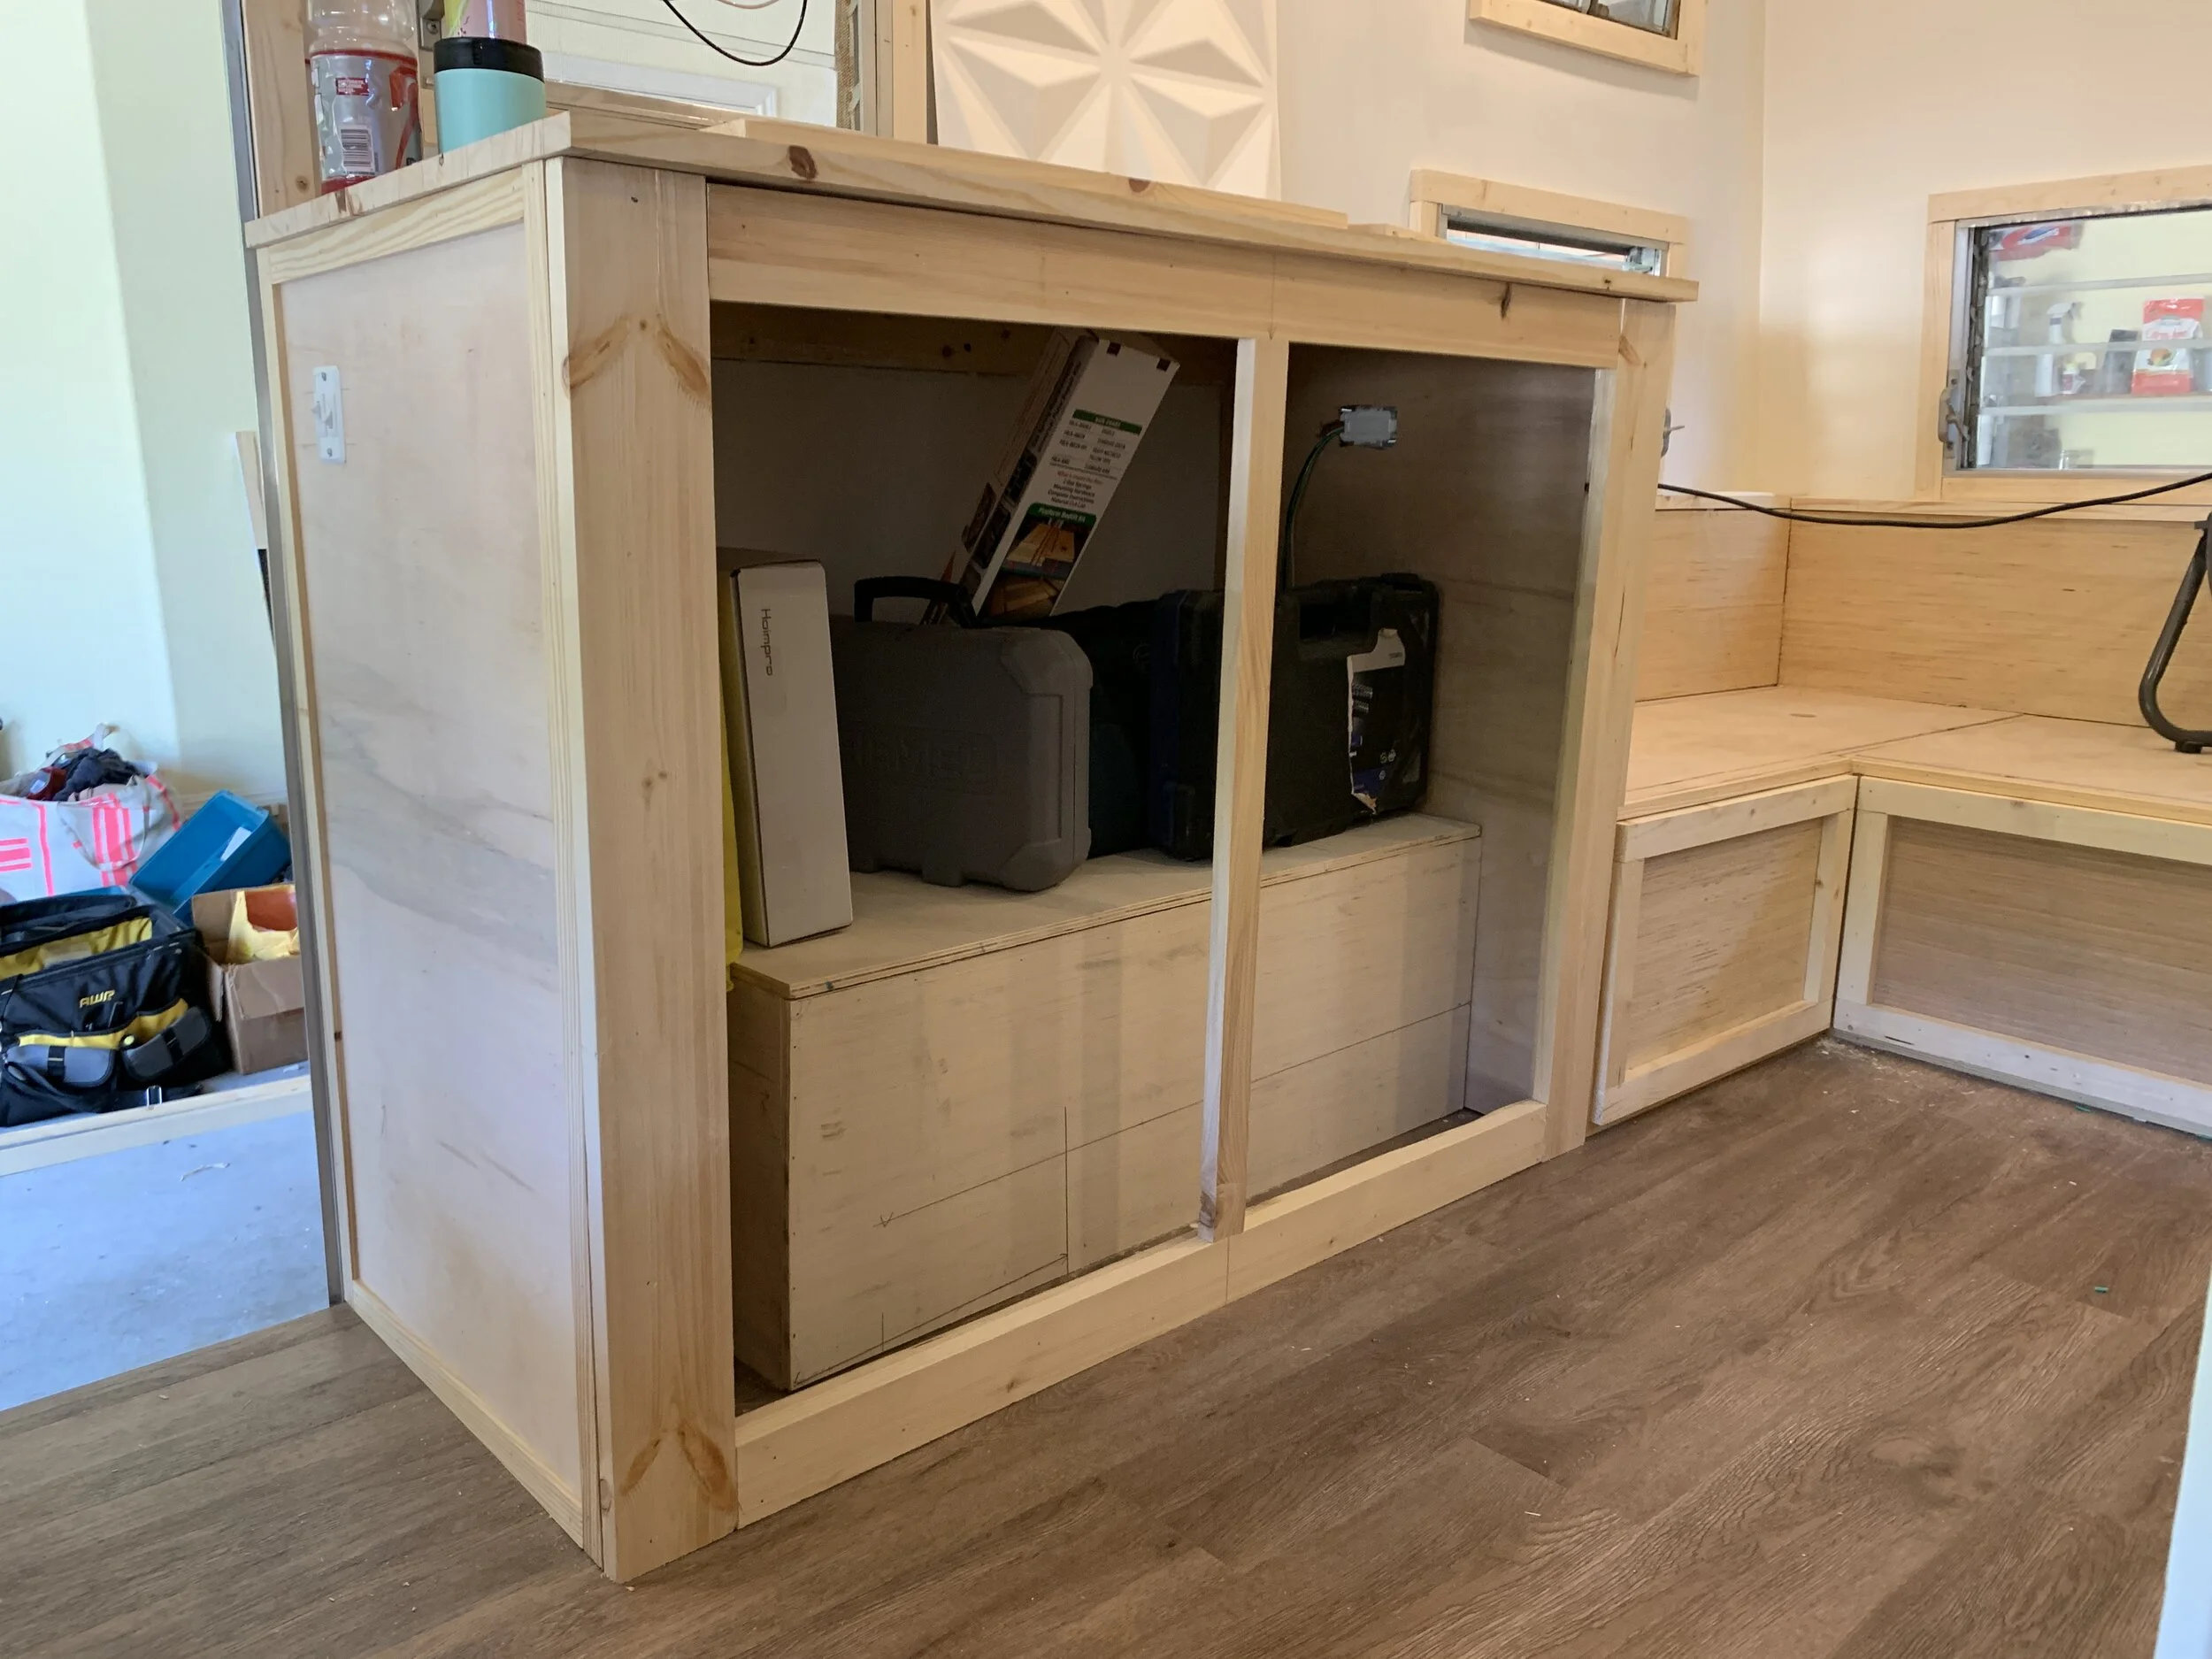
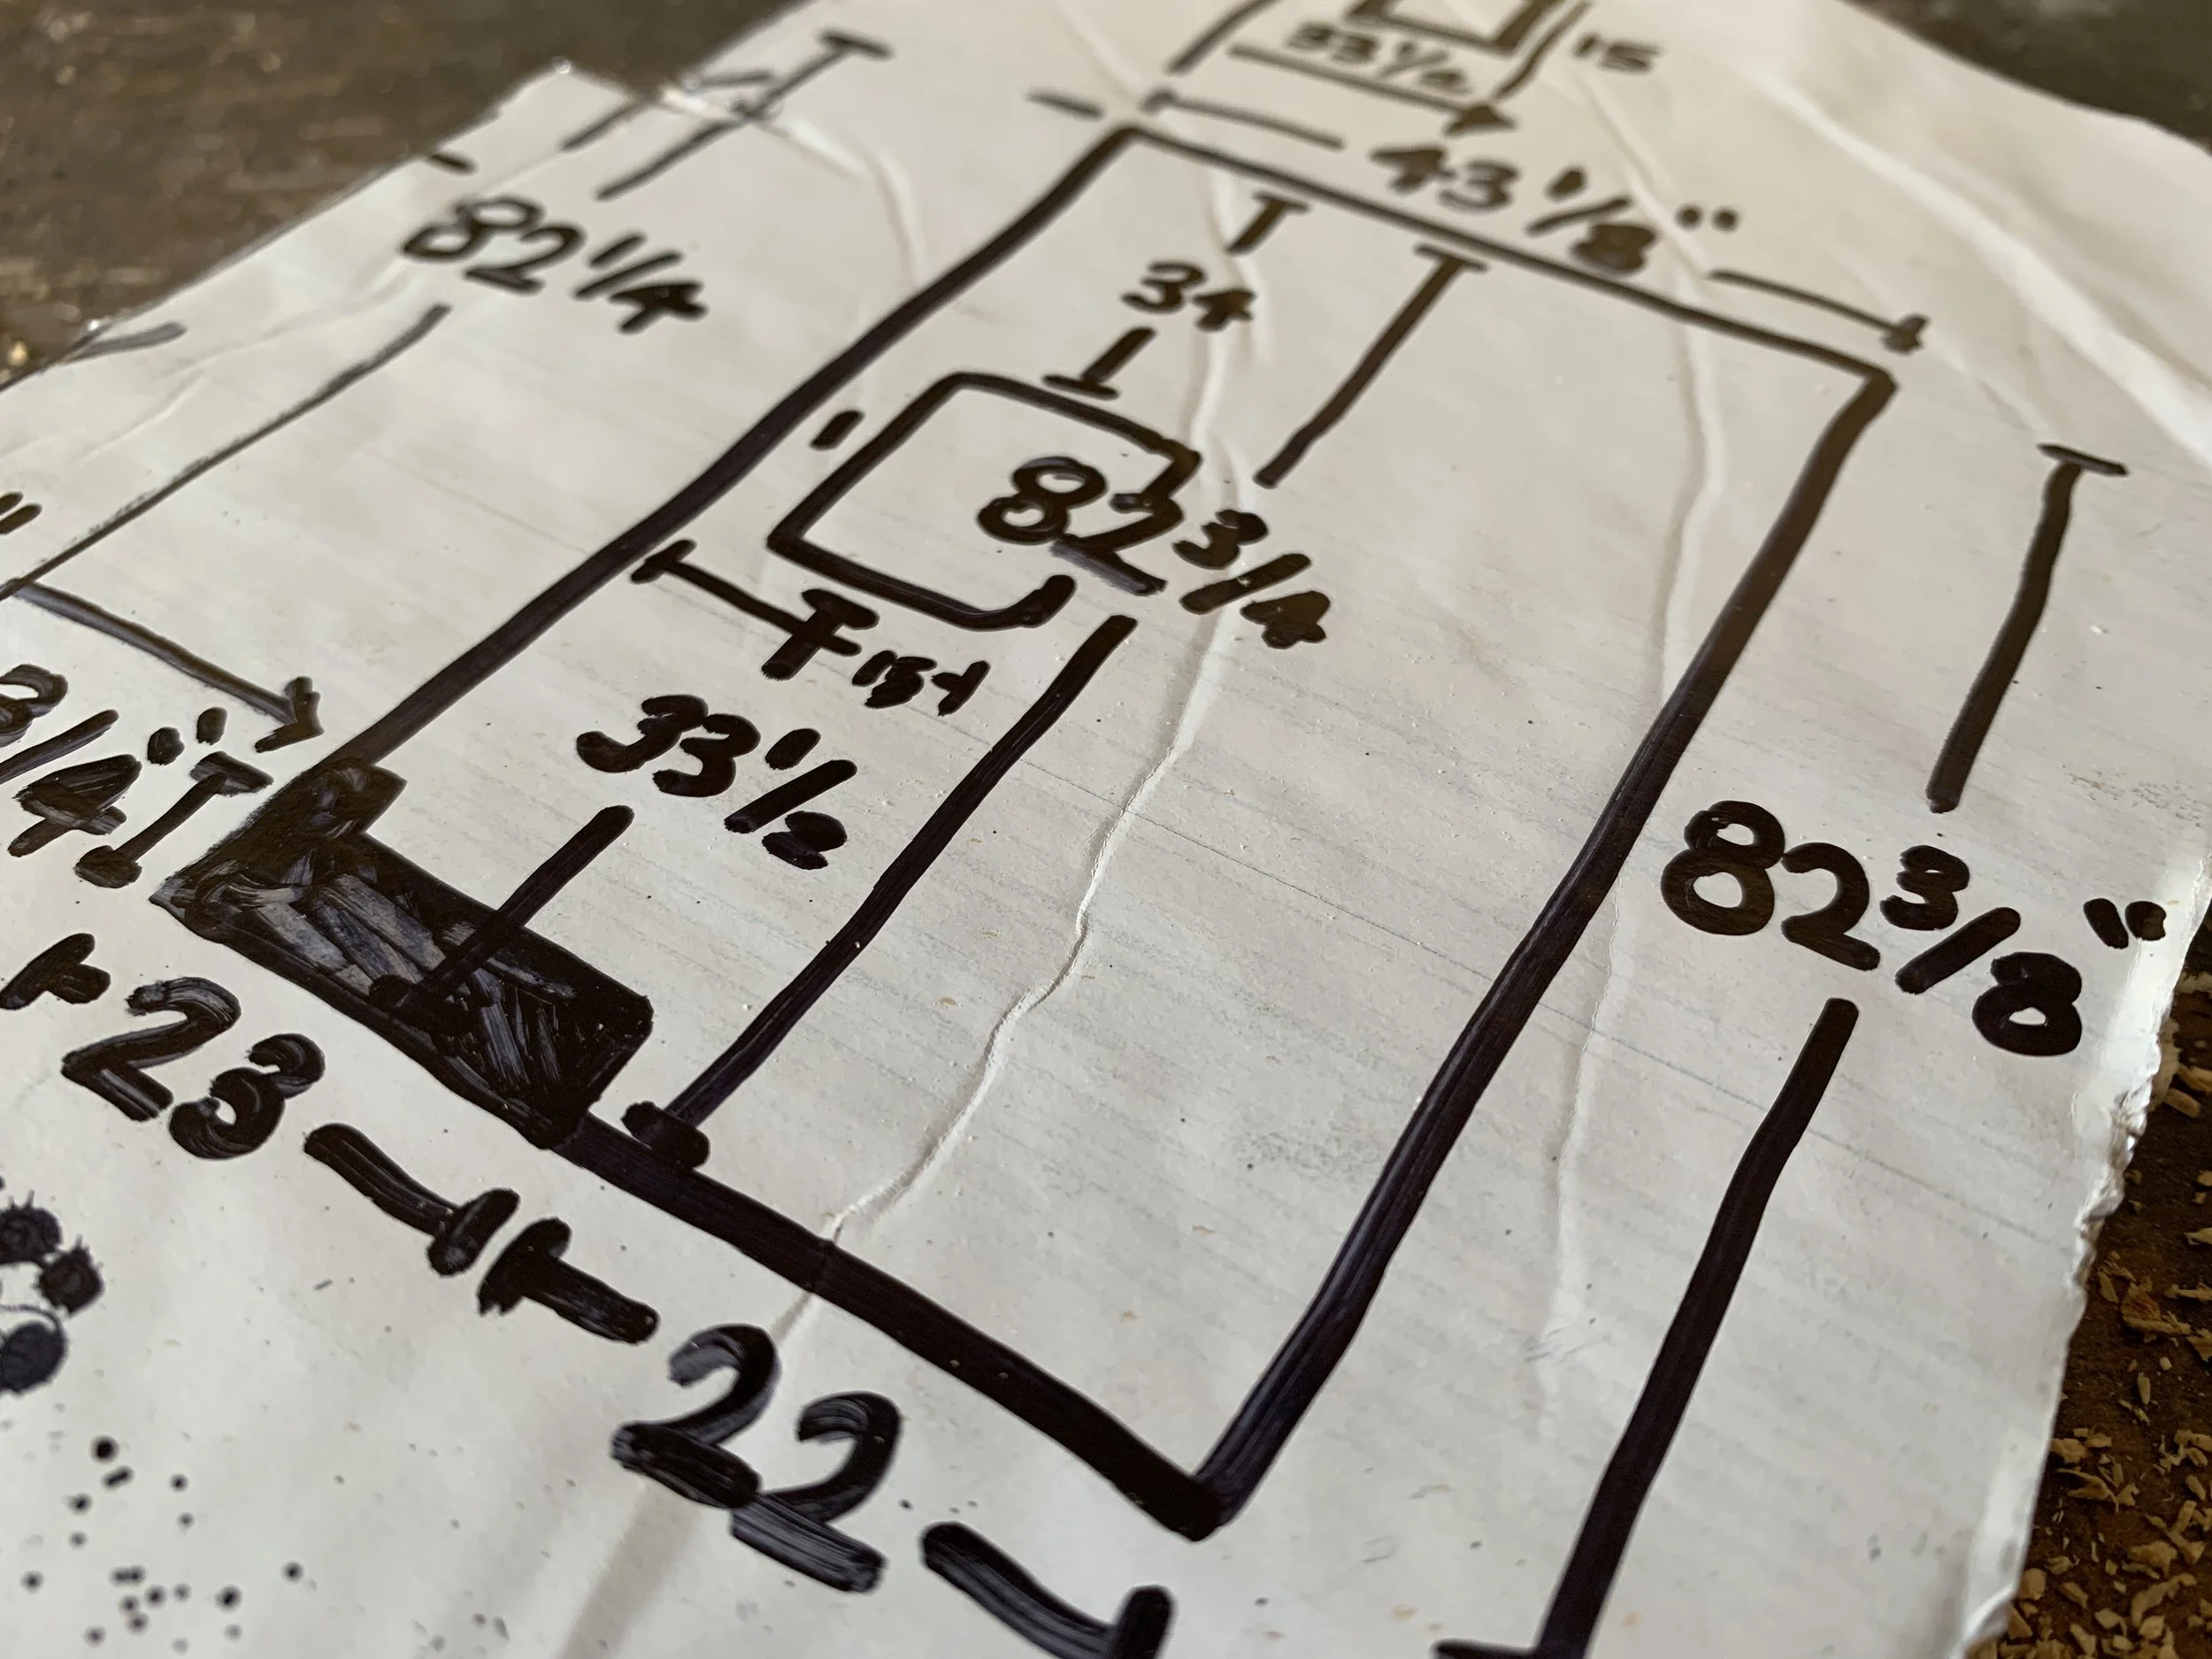
First decide where you want your two mounts to be. One should be on the trailer frame/chassis, and the other somewhere on your camper’s aluminum, and as close to your electrical system as possible just for ease of connection and concealing the wiring. We opted to place our ground right below the electrical system cabinet and kept our aluminum mount as low and concealed as possible, utilizing a small rat-chewed hole in one of our wheel wells to hide the screw among those in the wheel well area. We then chose a spot on the underside of the trailer close by for the chassis mount, making sure our wiring would not interfere with the wheel.

Grounding to the trailer frame/chassis
It’s important that we ground to both the aluminum and the steel because when we were testing the electrical current of the aluminum with our voltage meter, we were getting inconsistent readings depending on where we placed the metal prongs. Though aluminum should conduct electricity better than steel, it was such a simple solution to just tap into both the trailer frame and camper skin for added and more consistent conductivity.
Using a grinder with a sander wheel attached, Nick cleaned off a small area on the trailer frame (while I took photos). The area doesn’t have to be huge – just has to be big enough for your screw to tap into; estimating no bigger than a square-inch. Using a drill bit, we partially drilled into the frame so it would be easier to tap into later. Wipe off the area so it’s free of dust.
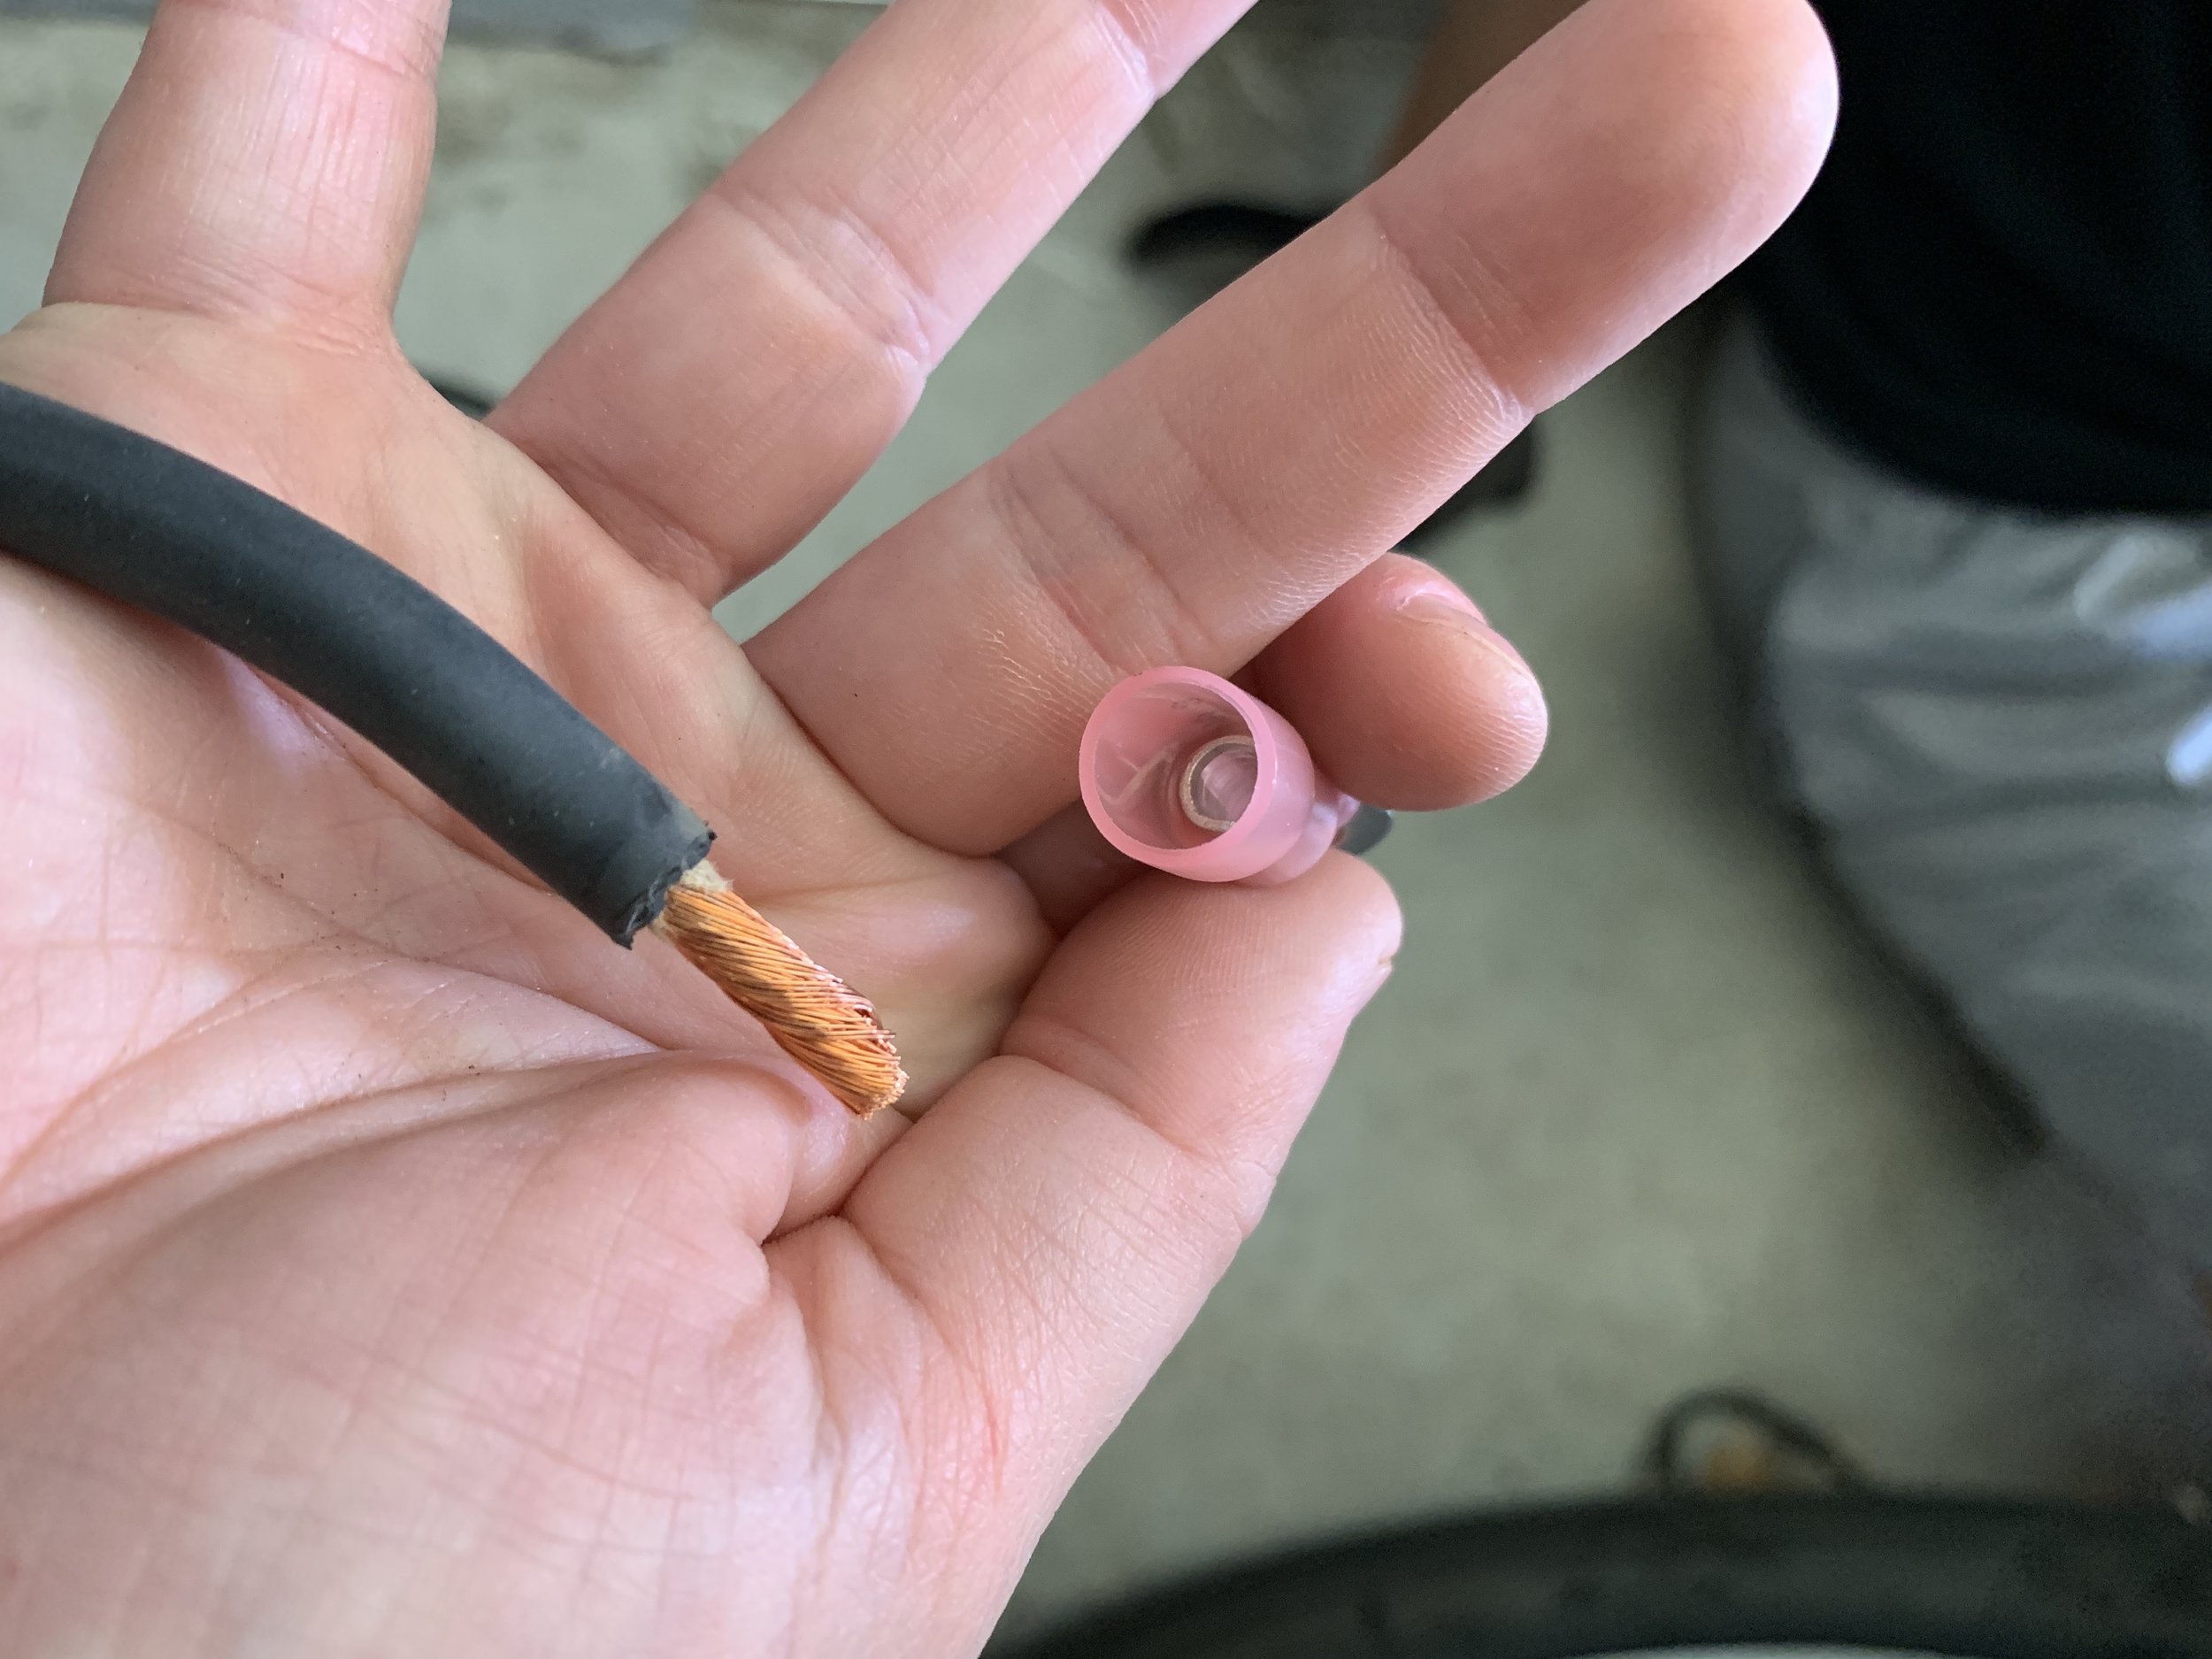
Prep your black 8AWG wire cut to length with a heat shrink ring connector on each end. Your wire should be long enough to get from your trailer to your aluminum mount area, with just enough slack that you can use the clip to secure it to one of your wooden floor joists/the underside of your subfloor. After threading one of your ring connectors over the metal mounting screw, squeeze a small amount of the anti-oxidant joint compound according to the package instructions to the prepped trailer area + screw. Secure with a drill and wipe excess joint compound from the area.
Congrats! You just made a “jumper” that connects your steel trailer frame/chassis to the aluminum skin. On to the next step…
Grounding to the camper
Just like Nick used a grinder to clean the steel frame, he used a Dremel to clean our designated mounting area on the inside of the aluminum skin. Because we would be using a machine screw and mounting from the inside out to conceal the wiring, we pre-drilled a hole only slightly larger than our screw size through the aluminum and wiped off the area.
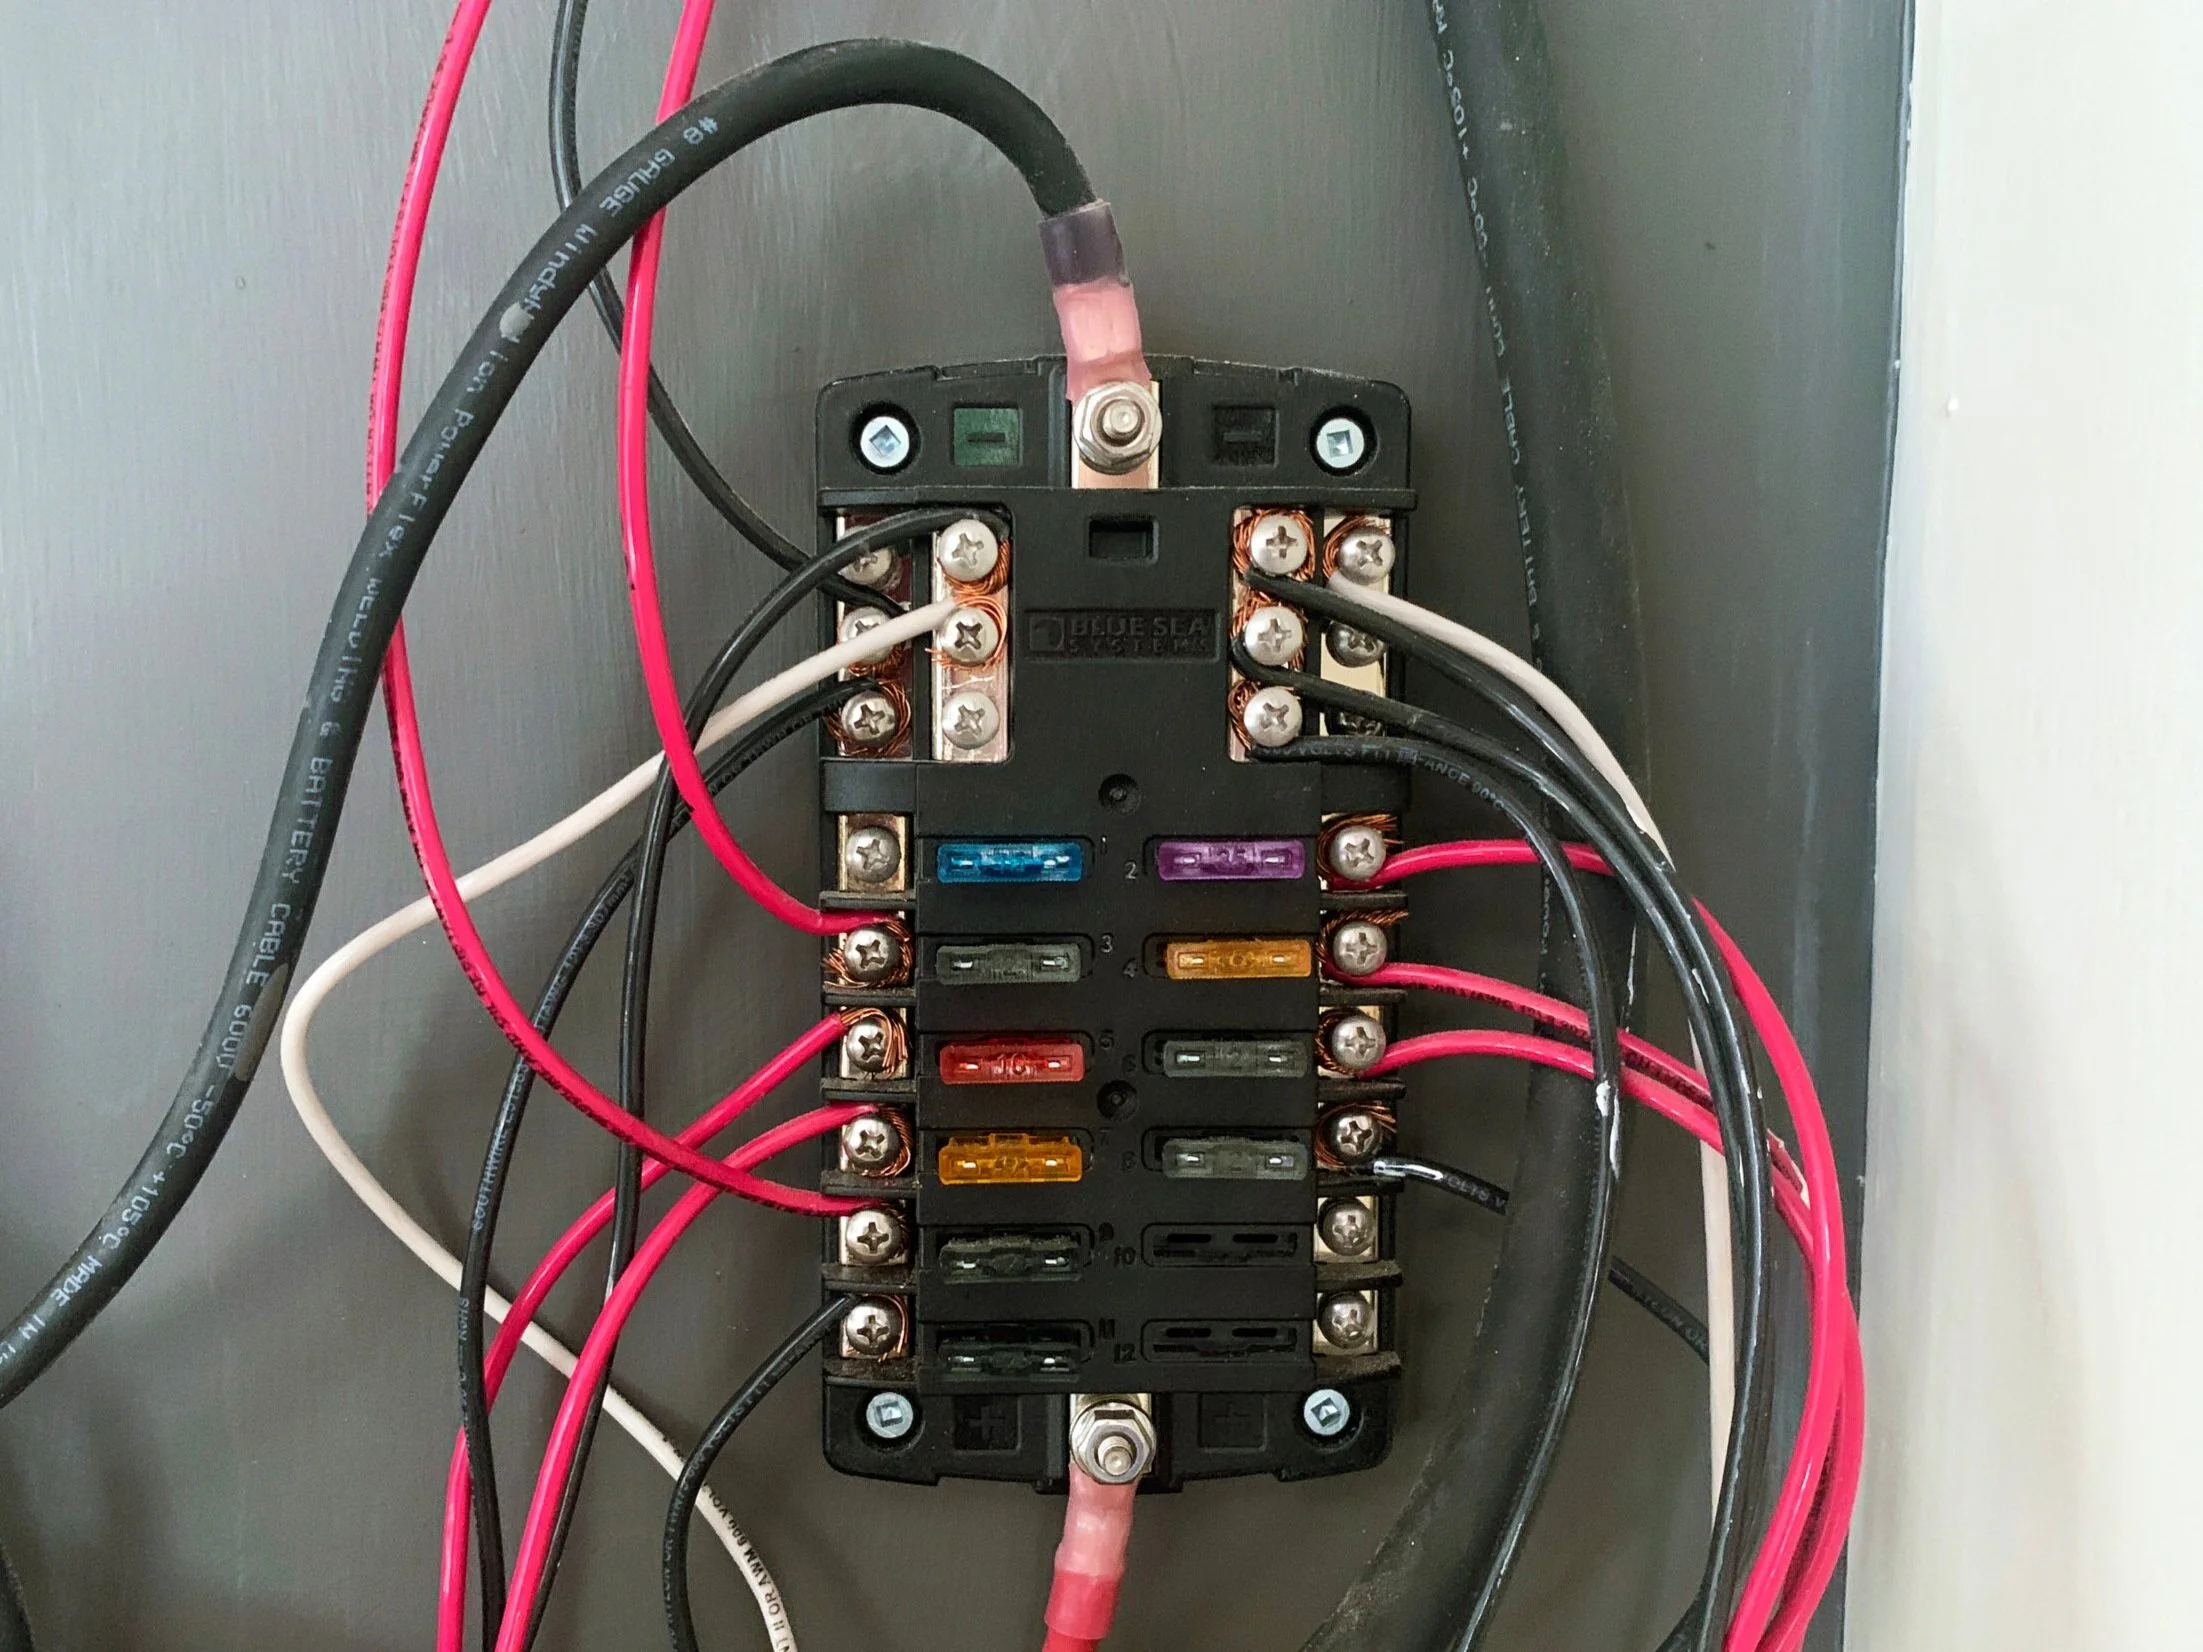
If you haven’t already, prep a second black 8AWG wire cut to length with a heat shrink ring connector on each end – one should be the larger, 5/16” 8AWG to go to the bus bar and the aluminum wall end should be the #10 screw connector size. We had to thread the wire through our camper wall (between the stud and aluminum) before we added connectors on the ends because the space was so tight. This one should be long enough to make it from your aluminum mounting area to the negative bus bar in your electrical system with little slack.
After threading both of the loose #10 connector wire ends onto a machine screw, squeeze a small amount of the anti-oxidant joint compound according to the package instructions to the prepped aluminum area + screw + connectors. Thread the machine screw through the aluminum skin from the inside and secure the hex nut on the outside with pliers so that it’s nice and tight. Wipe off the excess joint compound.
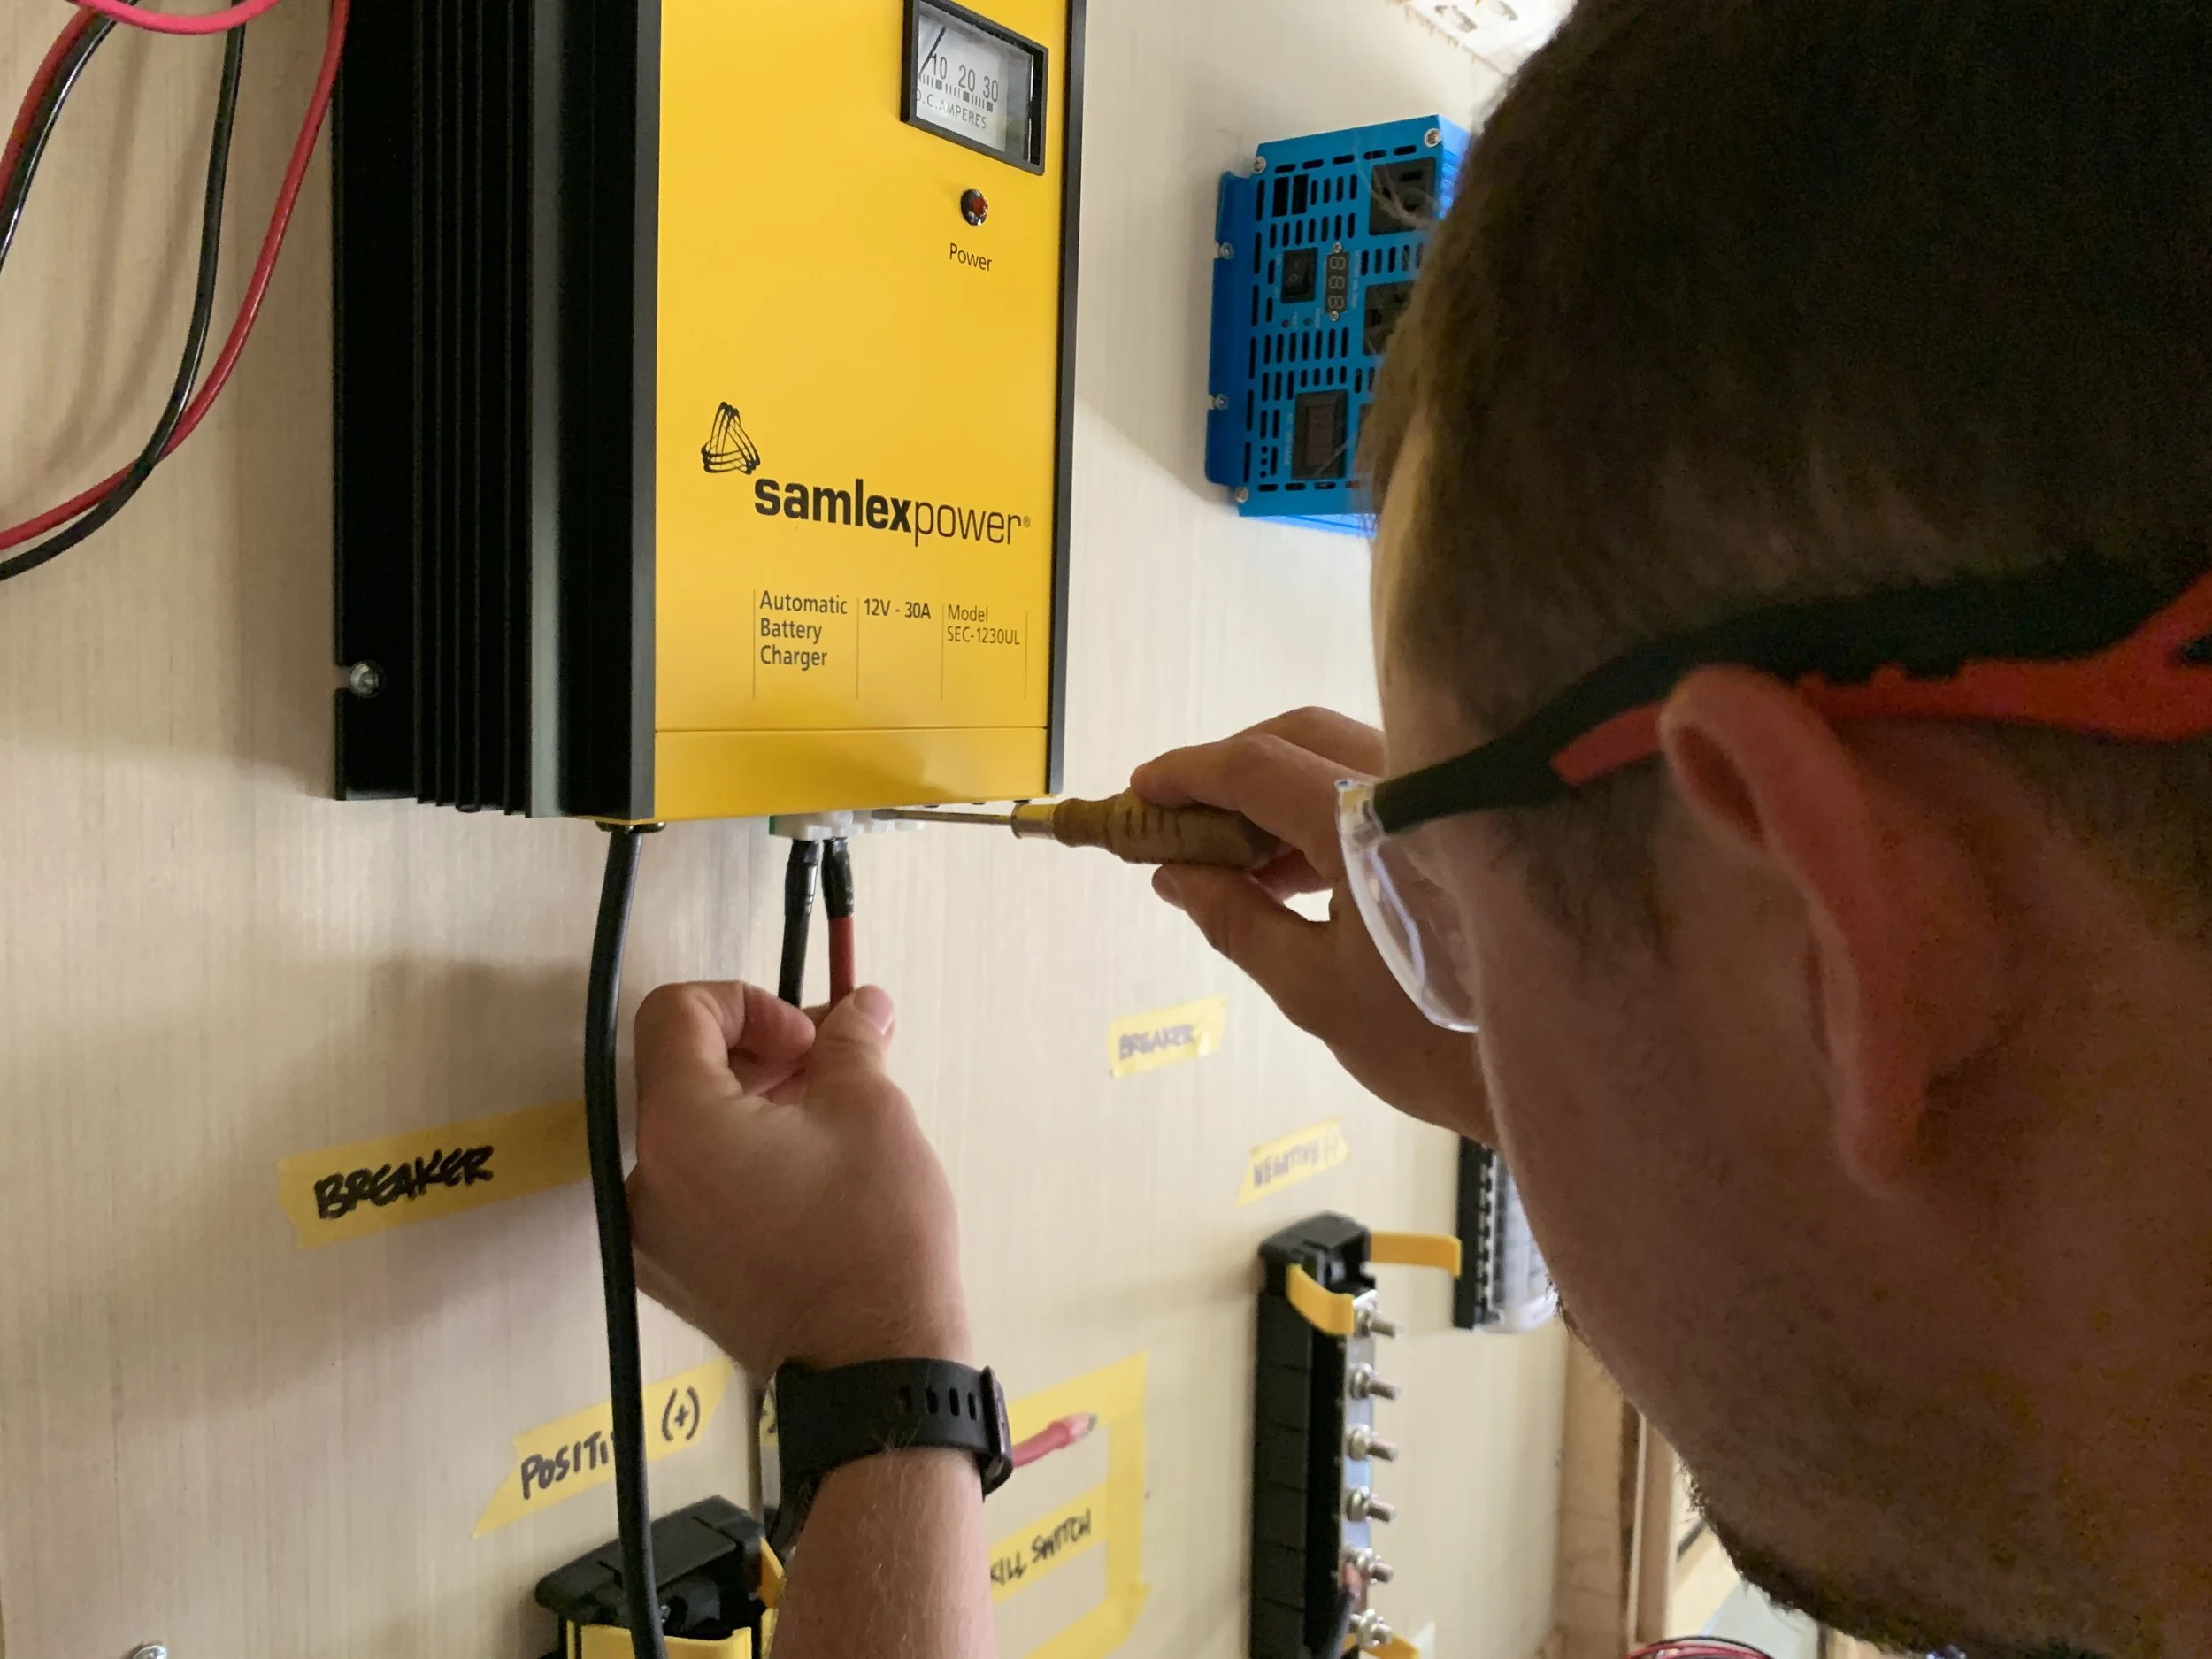
Use the cutting wheel on your Dremel to cut off the excess screw length. Thread the 5/16” connector end to the negative bus bar and tighten down for secure connection.
Test your system and marvel at how you just ground your camper.
We were able to test our ground pretty simply since our porch light is one that is ground through the aluminum skin and wouldn’t work unless we had a successful ground.

Any questions? I know it can sound kind of overwhelming at first and we definitely had our share of problems, but I’m so happy we’ve redeemed ourself and learned from the mistakes we were making on our grounding attempt months ago. If we can do it, you can do it.
Anything you want to see or wish we’d cover in future posts? We’d love to hear from you below – your favorite reads, questions, tips, anything!