The Cameo Camper Renovation: Insulating + Installing Walls & Ceiling
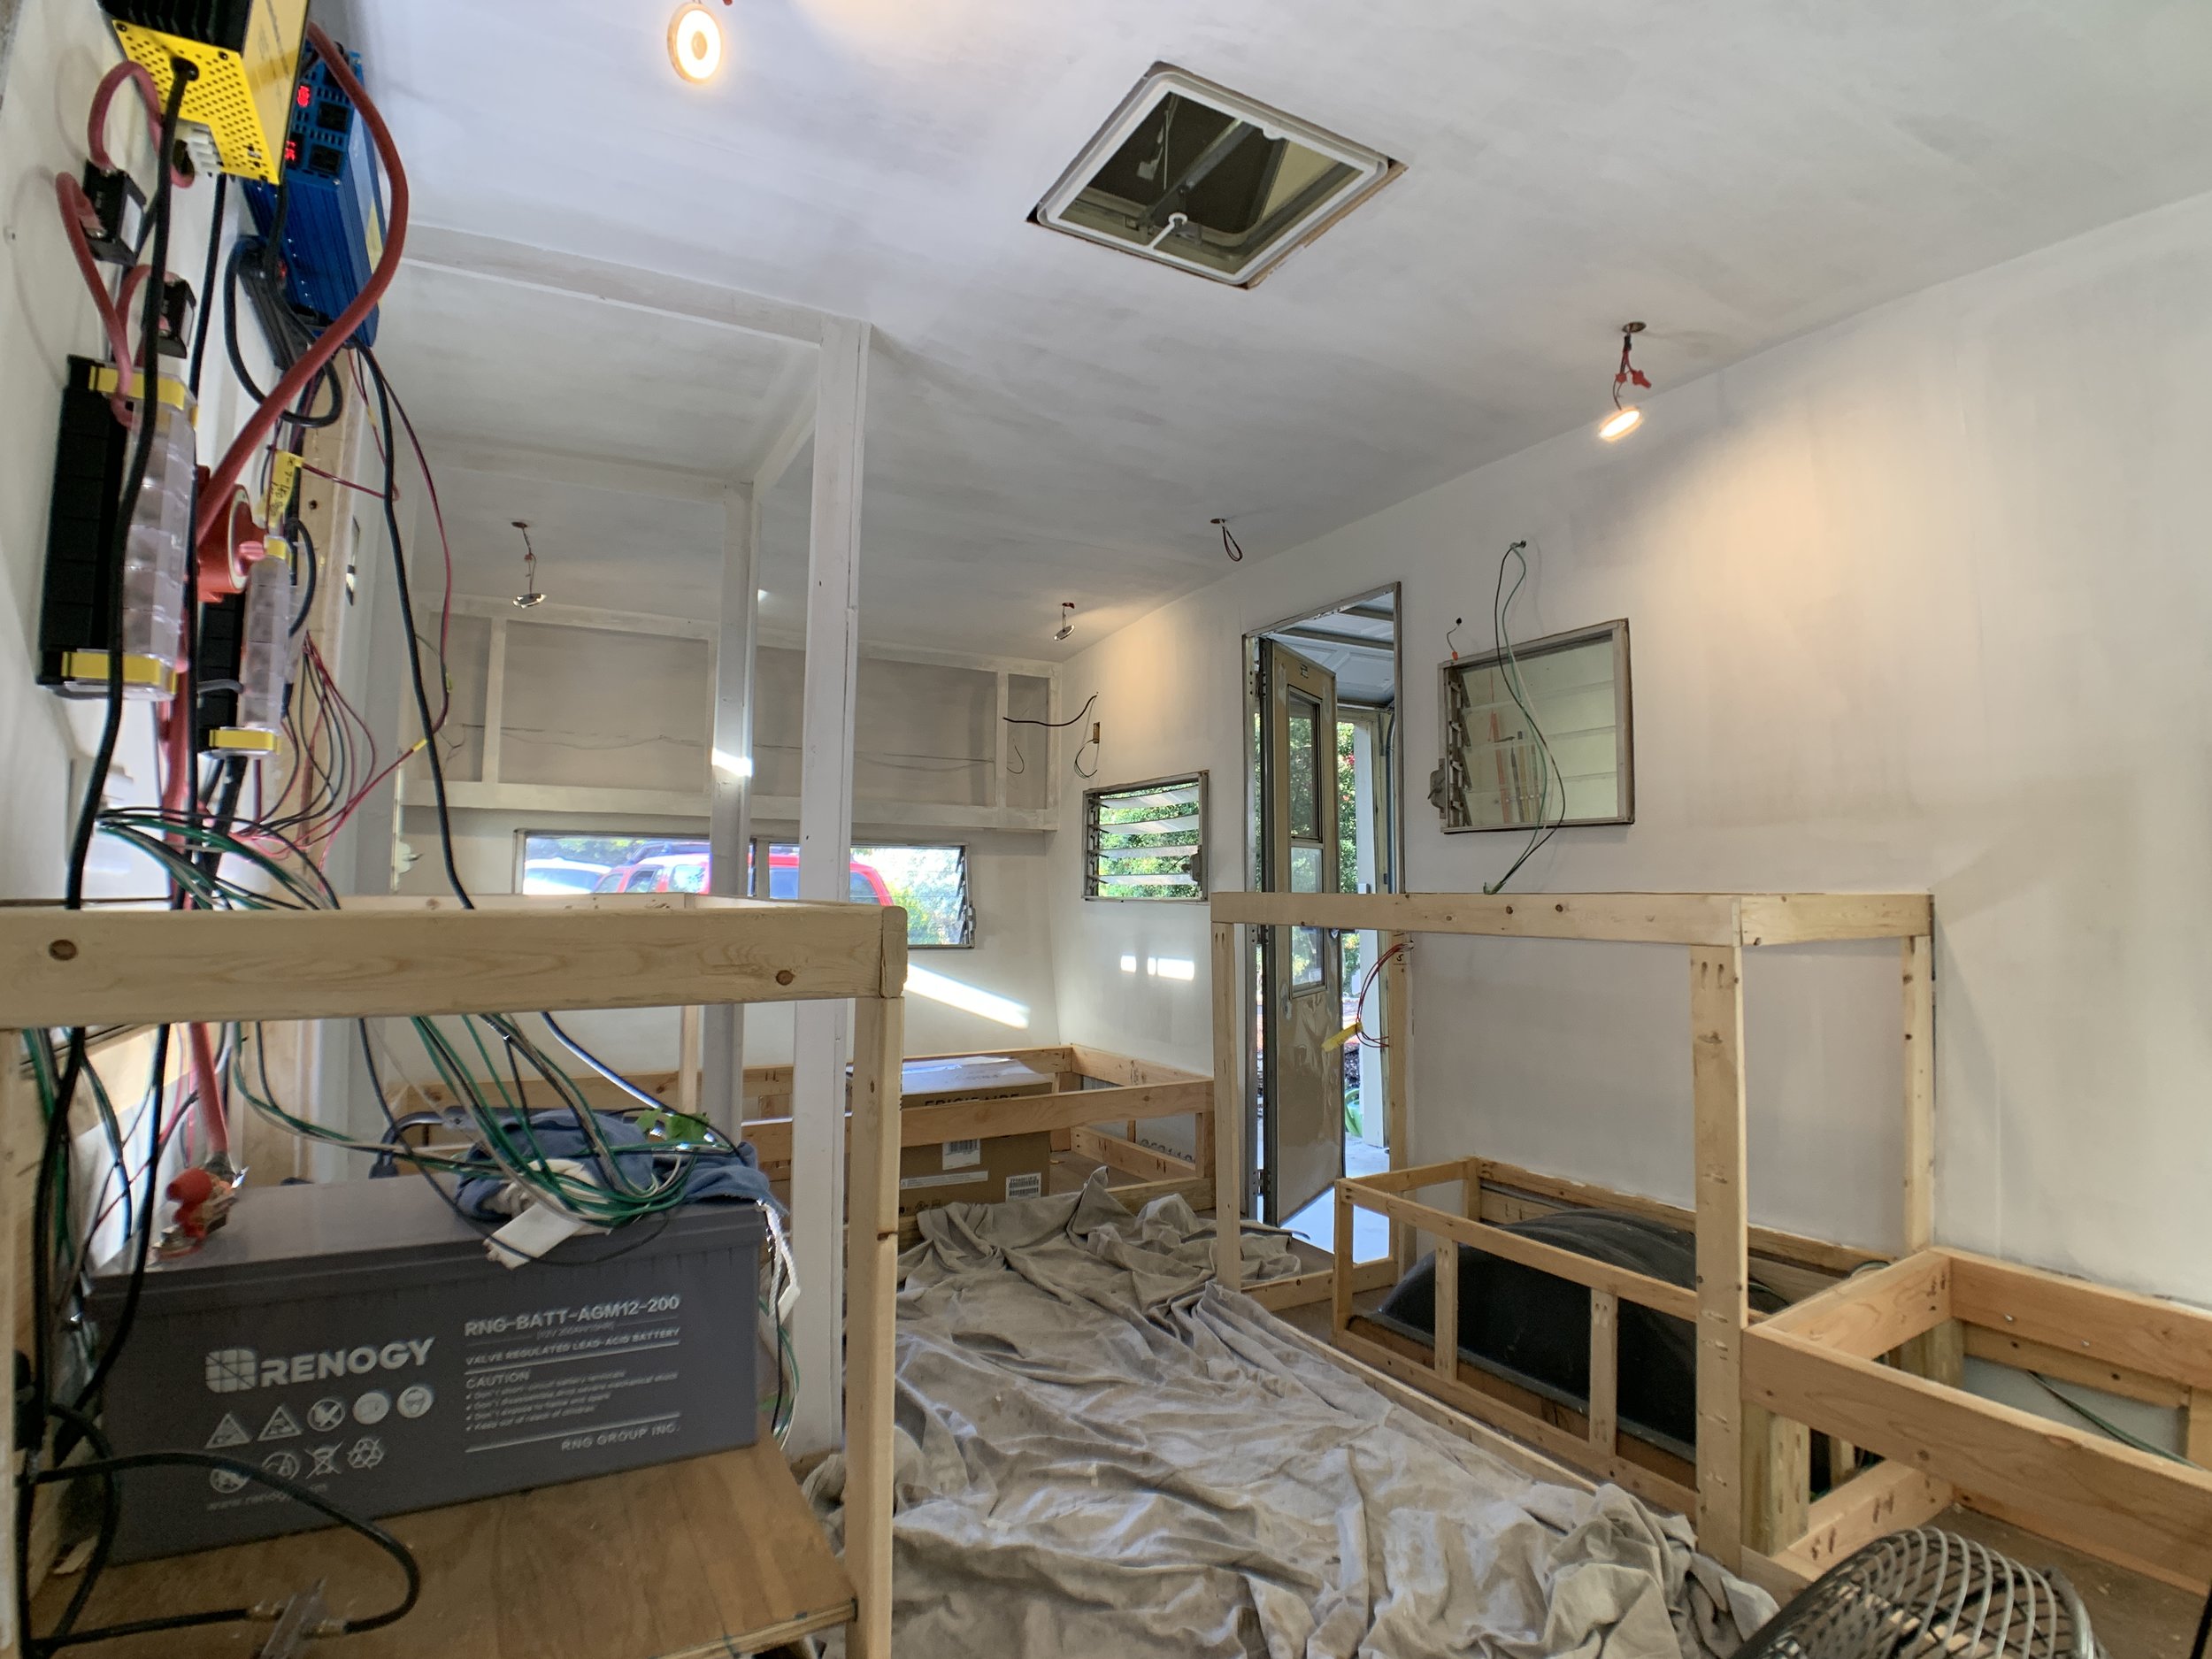
Hey y’all! If you follow us on Instagram or Facebook, you already know we’re finally at the point where we’re seeing some dramatic visual changes in the interior of The Cameo. We’ve done a ton of work so far, and couldn’t be more excited to start closing up the walls and get this thing looking polished. If you’re renovating a camper (or have been following along on our journey) you may already know that each thing tends to go a little something like this: “I need to do A, but in order to do A I need to do B… But to work on B, I really should complete C… But then to work on C, I really need to have already done A.” And round and round it goes. Which helps explain a little bit why we’ve been sharing most recently about our home, and why we’re just now sharing this post even though this part’s been done for a little bit.
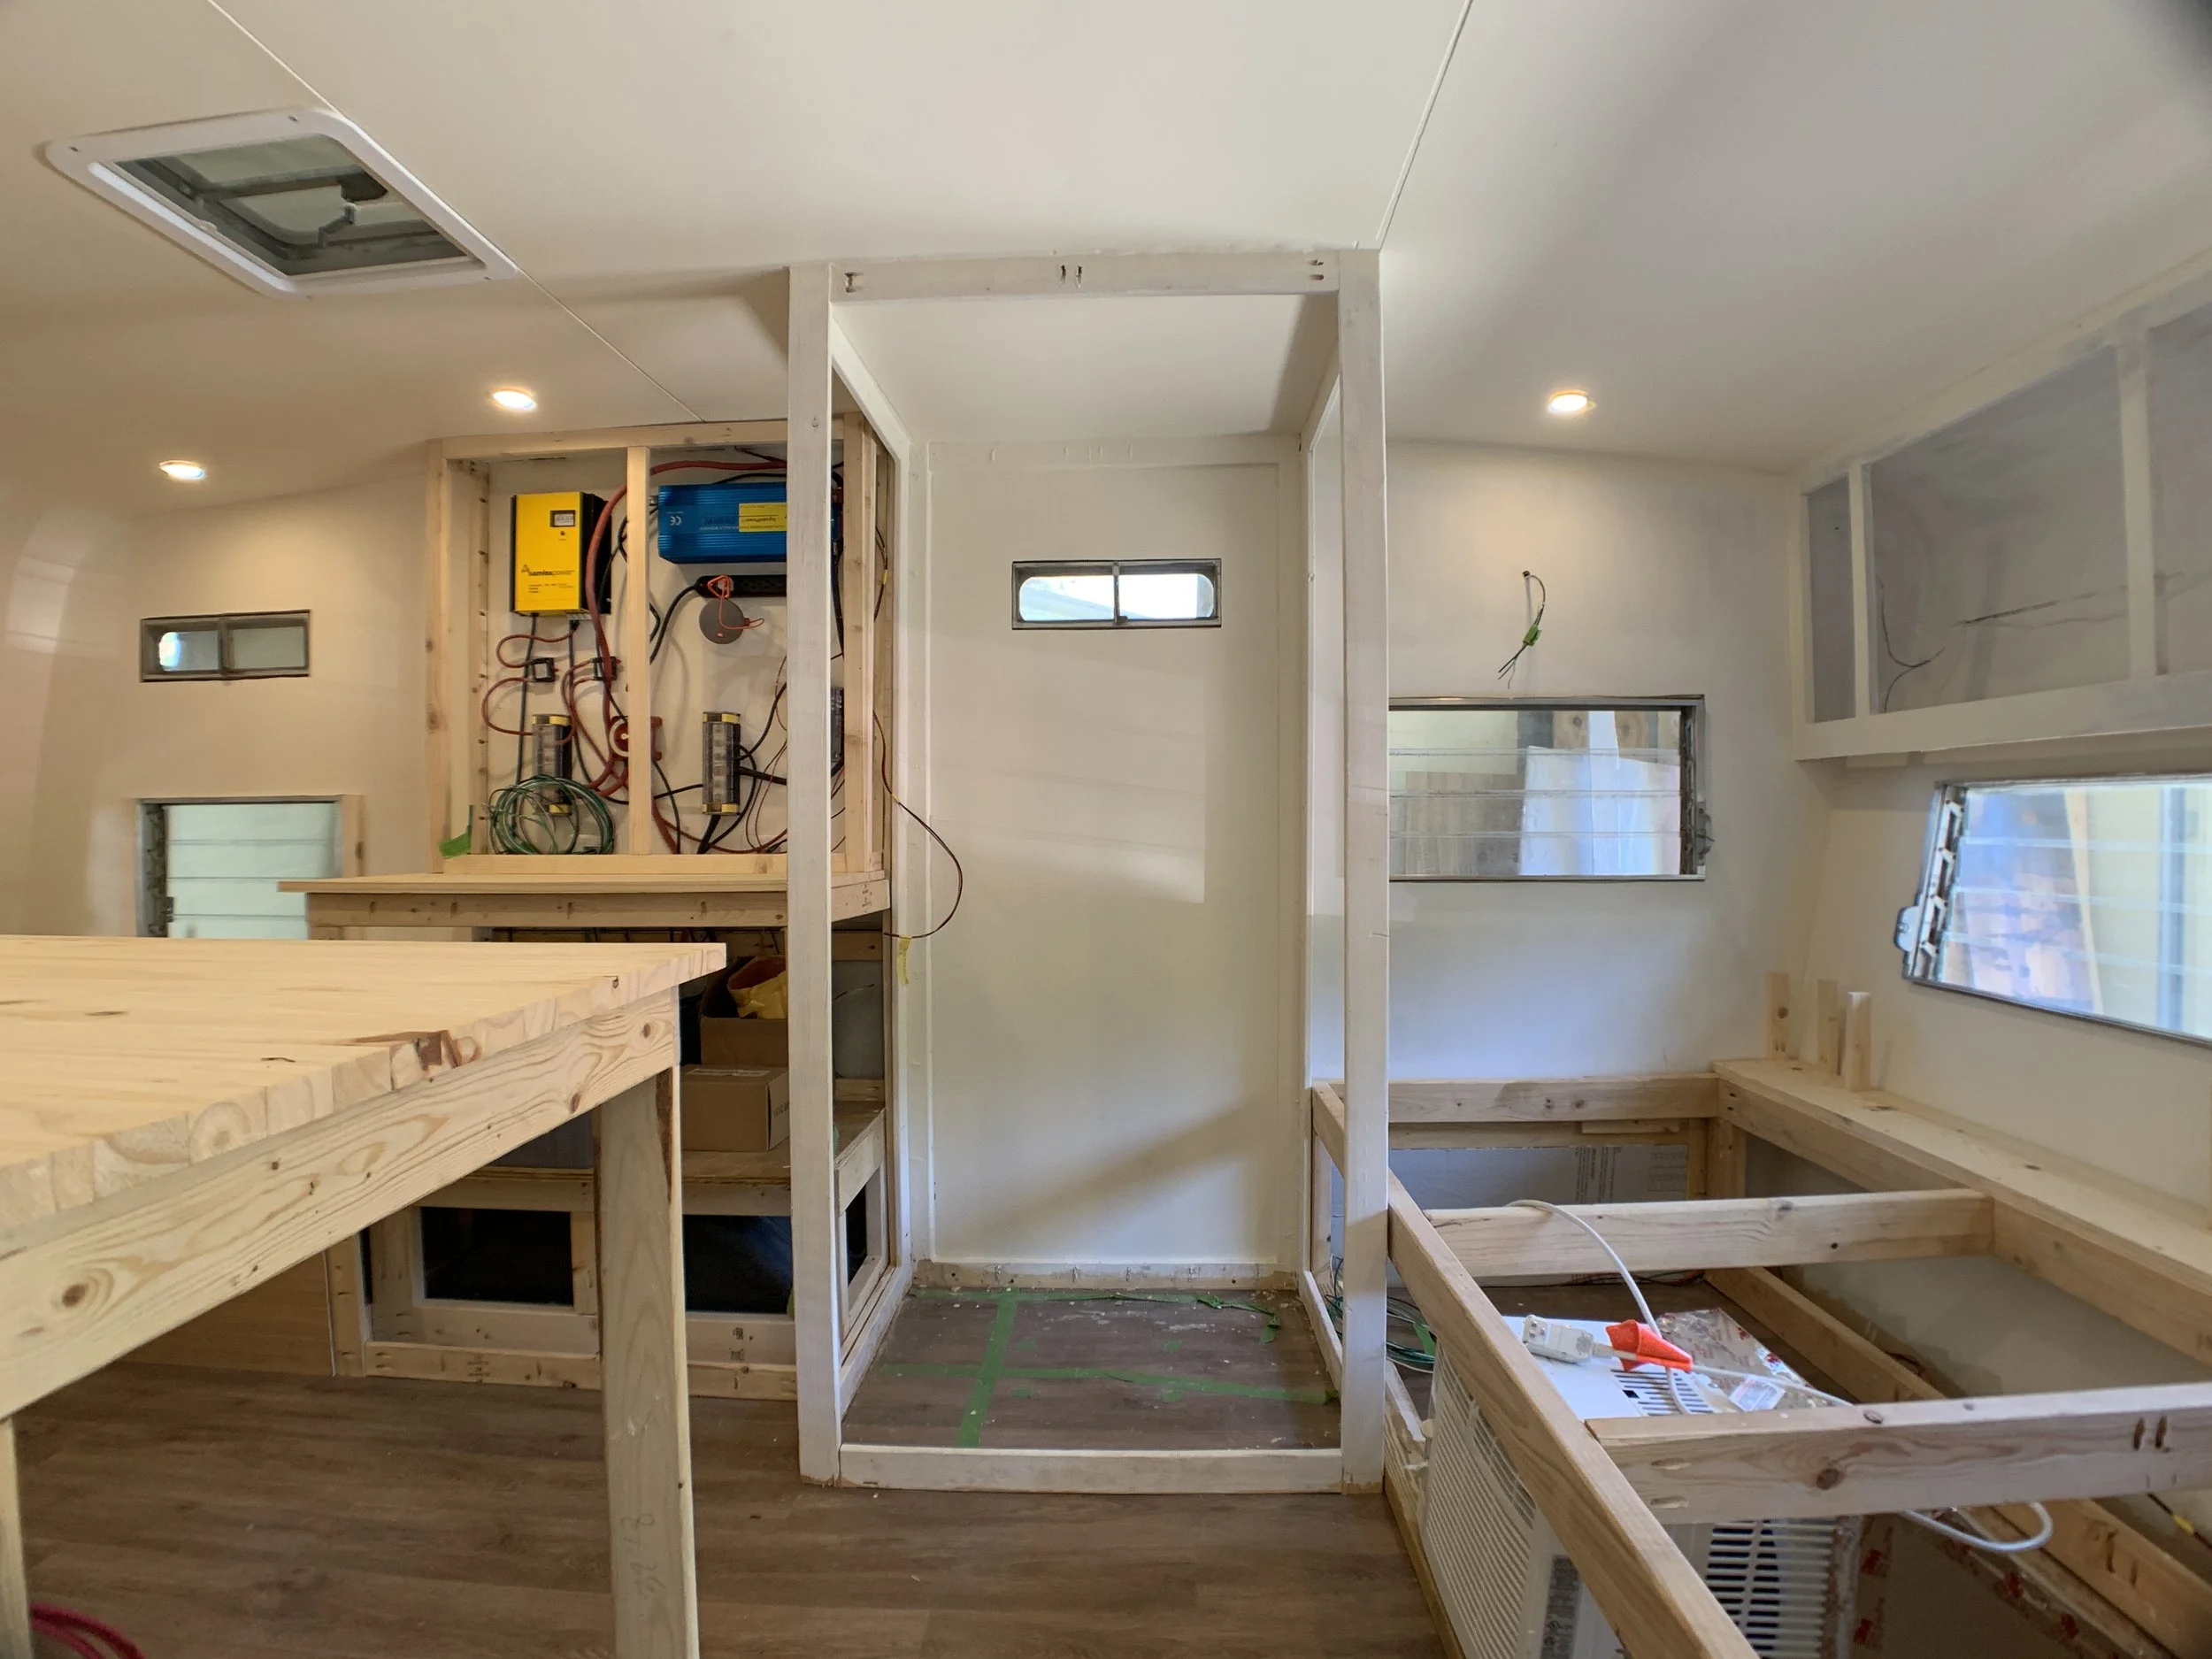
As of late it’s been like a triple decker club camper sandwich just to finish off the electrical work (part of which we’ve already shared with you). This particular sandwich includes electrical, insulating, more electrical, installing ceiling and wall material, prepping the walls (wood filling/caulking/sanding as needed), priming + painting, and then some more electrical.

Our Interior walls + ceiling shopping list
3/4" foam board insulation* – this should be the thickness of your wall/ceiling studs for a nice snug fit between your exterior metal and what will be your interior wall material.
Tape measure(s)
Sharpie
T-square/big level/long ruler (or a long piece of scrap wood you know is really really straight)
Box knife + a ton of new blades
Duct tape – not really needed, or recommended and I’ll tell you why… In theory: We tried using it to help fill the baby gaps thinking it might help insulate even further. In reality: The tape didn’t really like to stick and was peeling off in places, so we don’t really recommend using it.
Jigsaw + drill with bit big enough for jigsaw blade
Liquid Nails construction adhesive – a lot of it, and the kind that works with wood and other materials so it bonds to the paneling (or whatever your choice of inner wall material), foam insulation and wood studs. We went through roughly one small/regular size caulk gun tube of adhesive per panel we put up, and quickly learned to get the mega-size tubes that went much further.
Caulk gun – size to match your size caulk tube
1/8” plywood – We used 13 pieces for the entire thing.
Nail gun – we have one a few years old that’s similar to this that we love
5/8” brad/finish nails – make sure you pick a length appropriate for your studs + wall/ceiling panel thickness without blowing through your exterior aluminum
Wood filler – we’d never used this stuff before, but it was really nice to have the color change to signify when it was dry and ready to sand. My impatient self really appreciated this! (And if you’re worried it will dry weird or be noticeable, it doesn’t and goes on just like regular wood filler)
Putty knife
Orbital/detail sander + 220 grit sandpaper – any should do, but we have this one and love it
Paintable caulk
Mineral spirits + rag
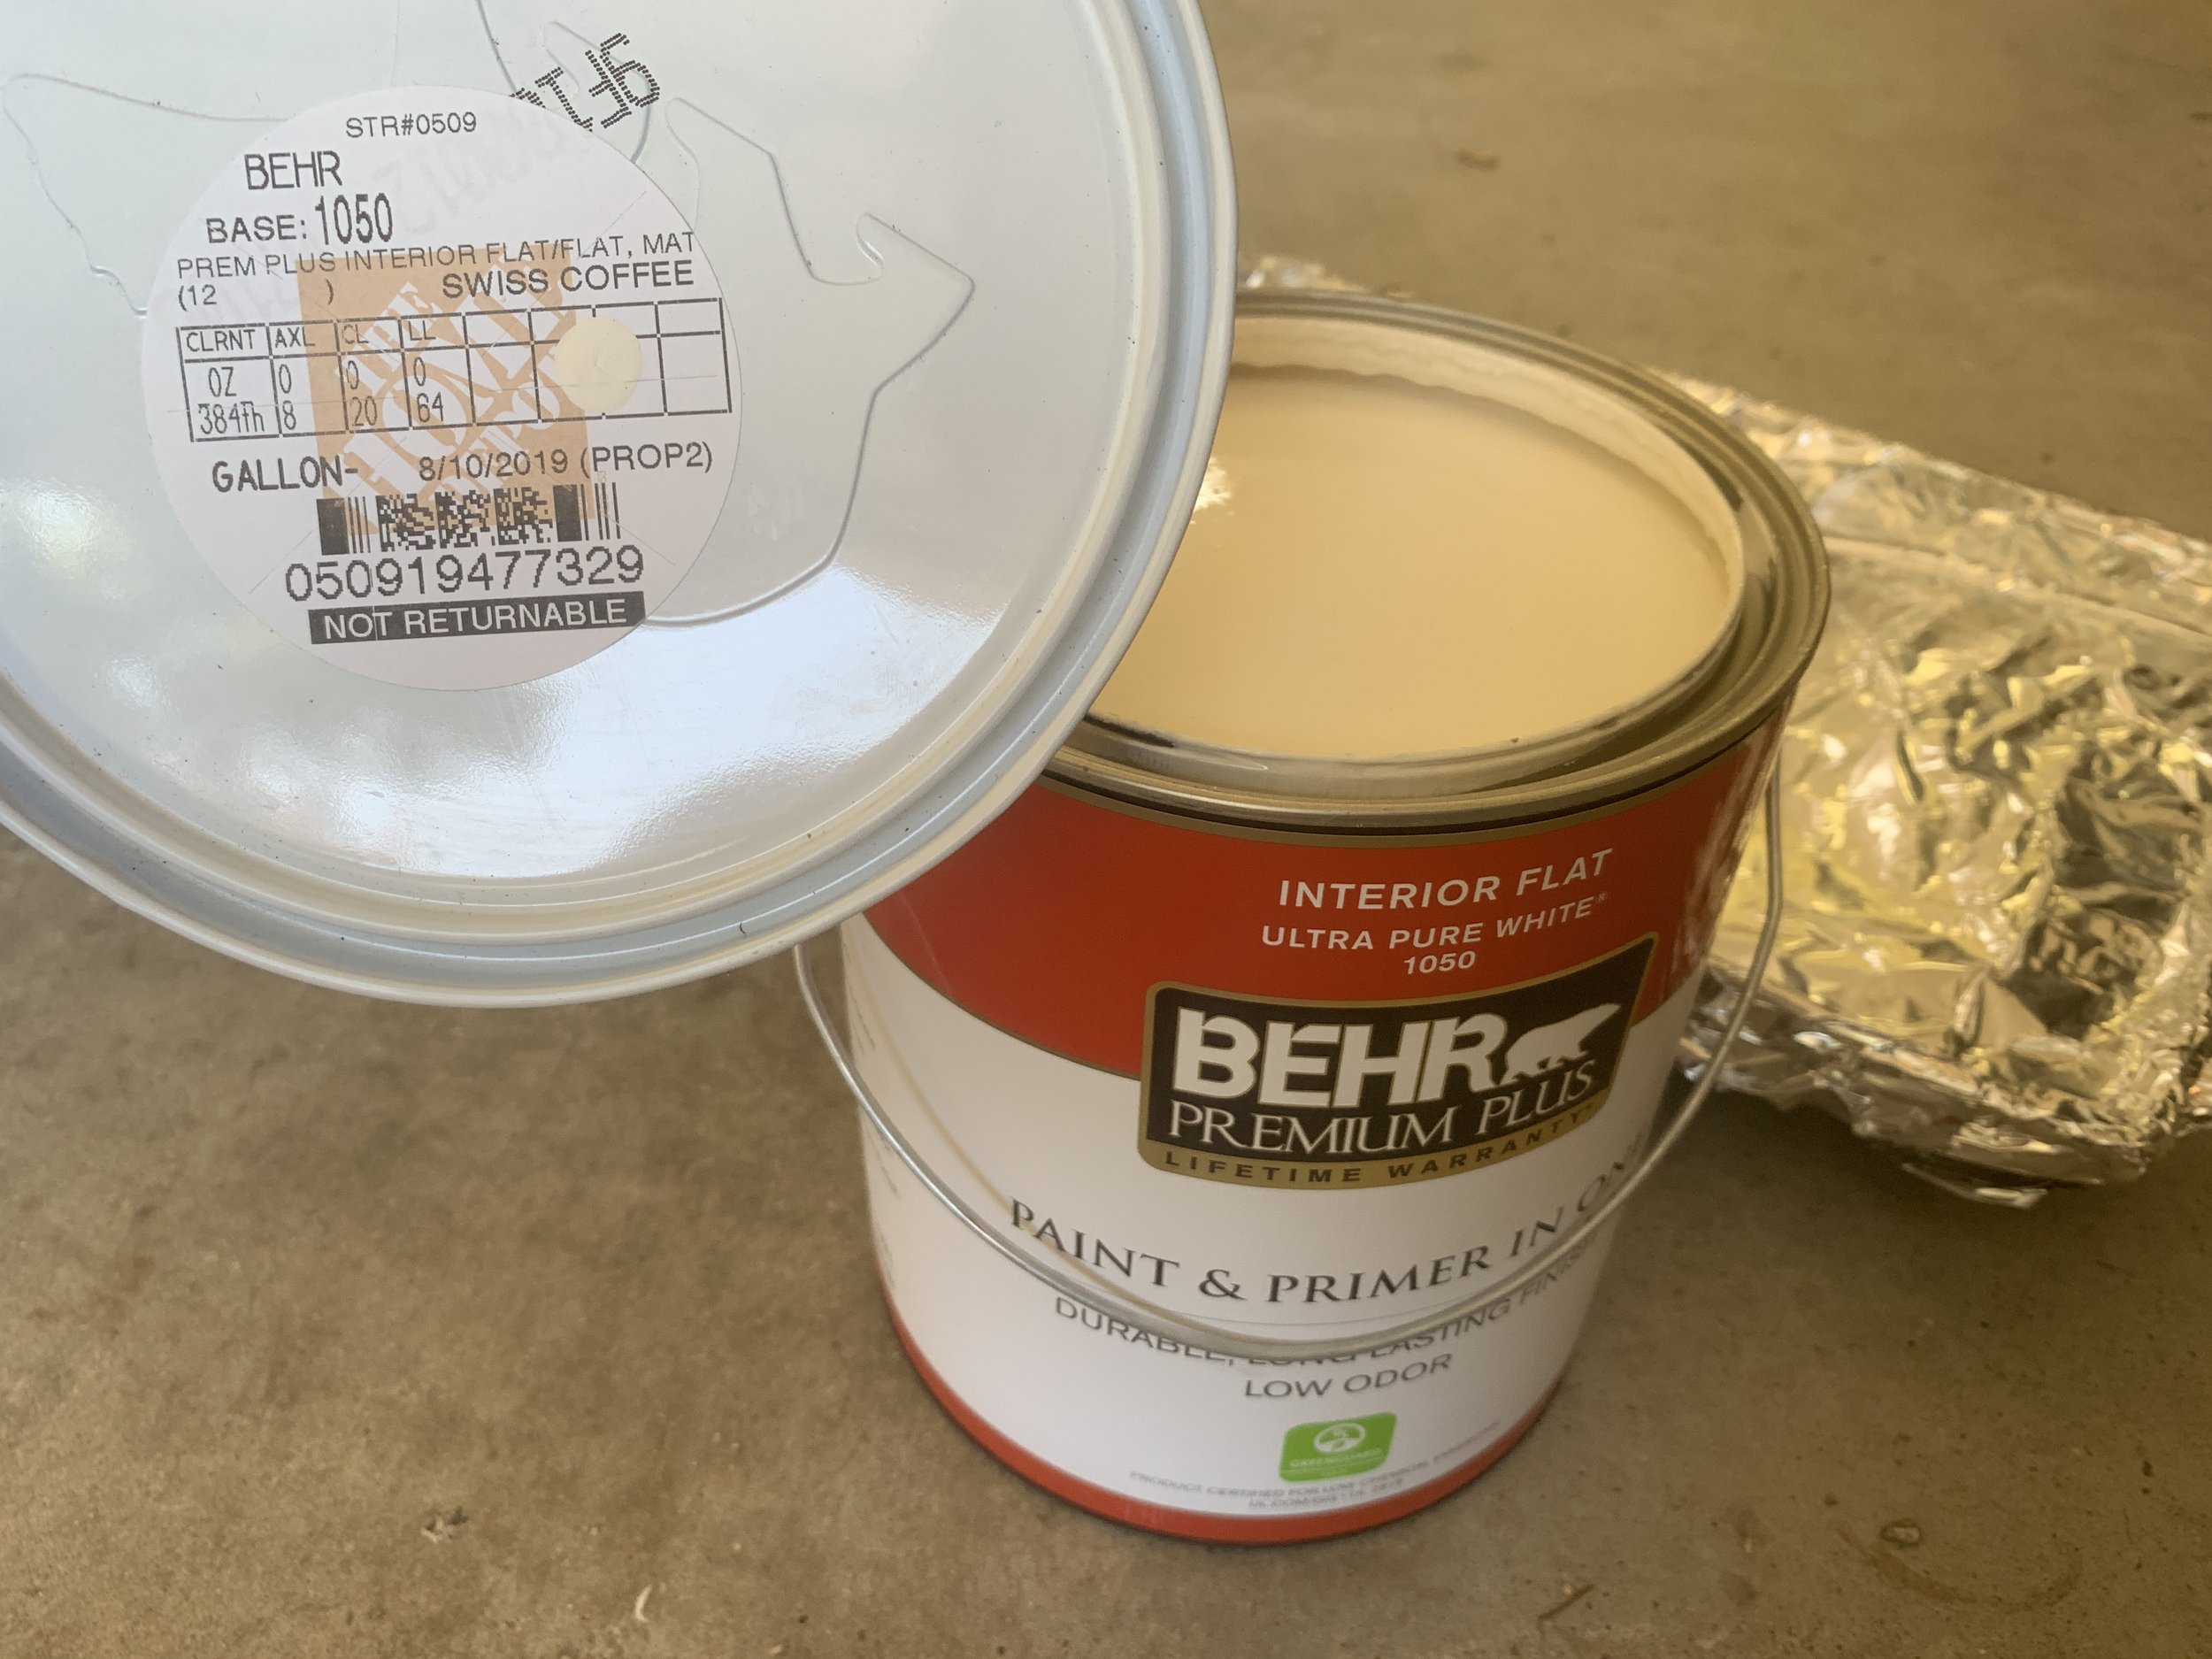
Primer + paint in your choice of color – we went with a basic interior primer (like KILZ or Zinsser) and one of our favorite paints/colors in flat to help minimize imperfections
Angled paint brush – for cutting in corners and cracks
Roller(s) + tray + aluminum foil – you may remember one of my painting hacks from this post about saving money on rolling pan liners by using foil
Insulating a vintage camper
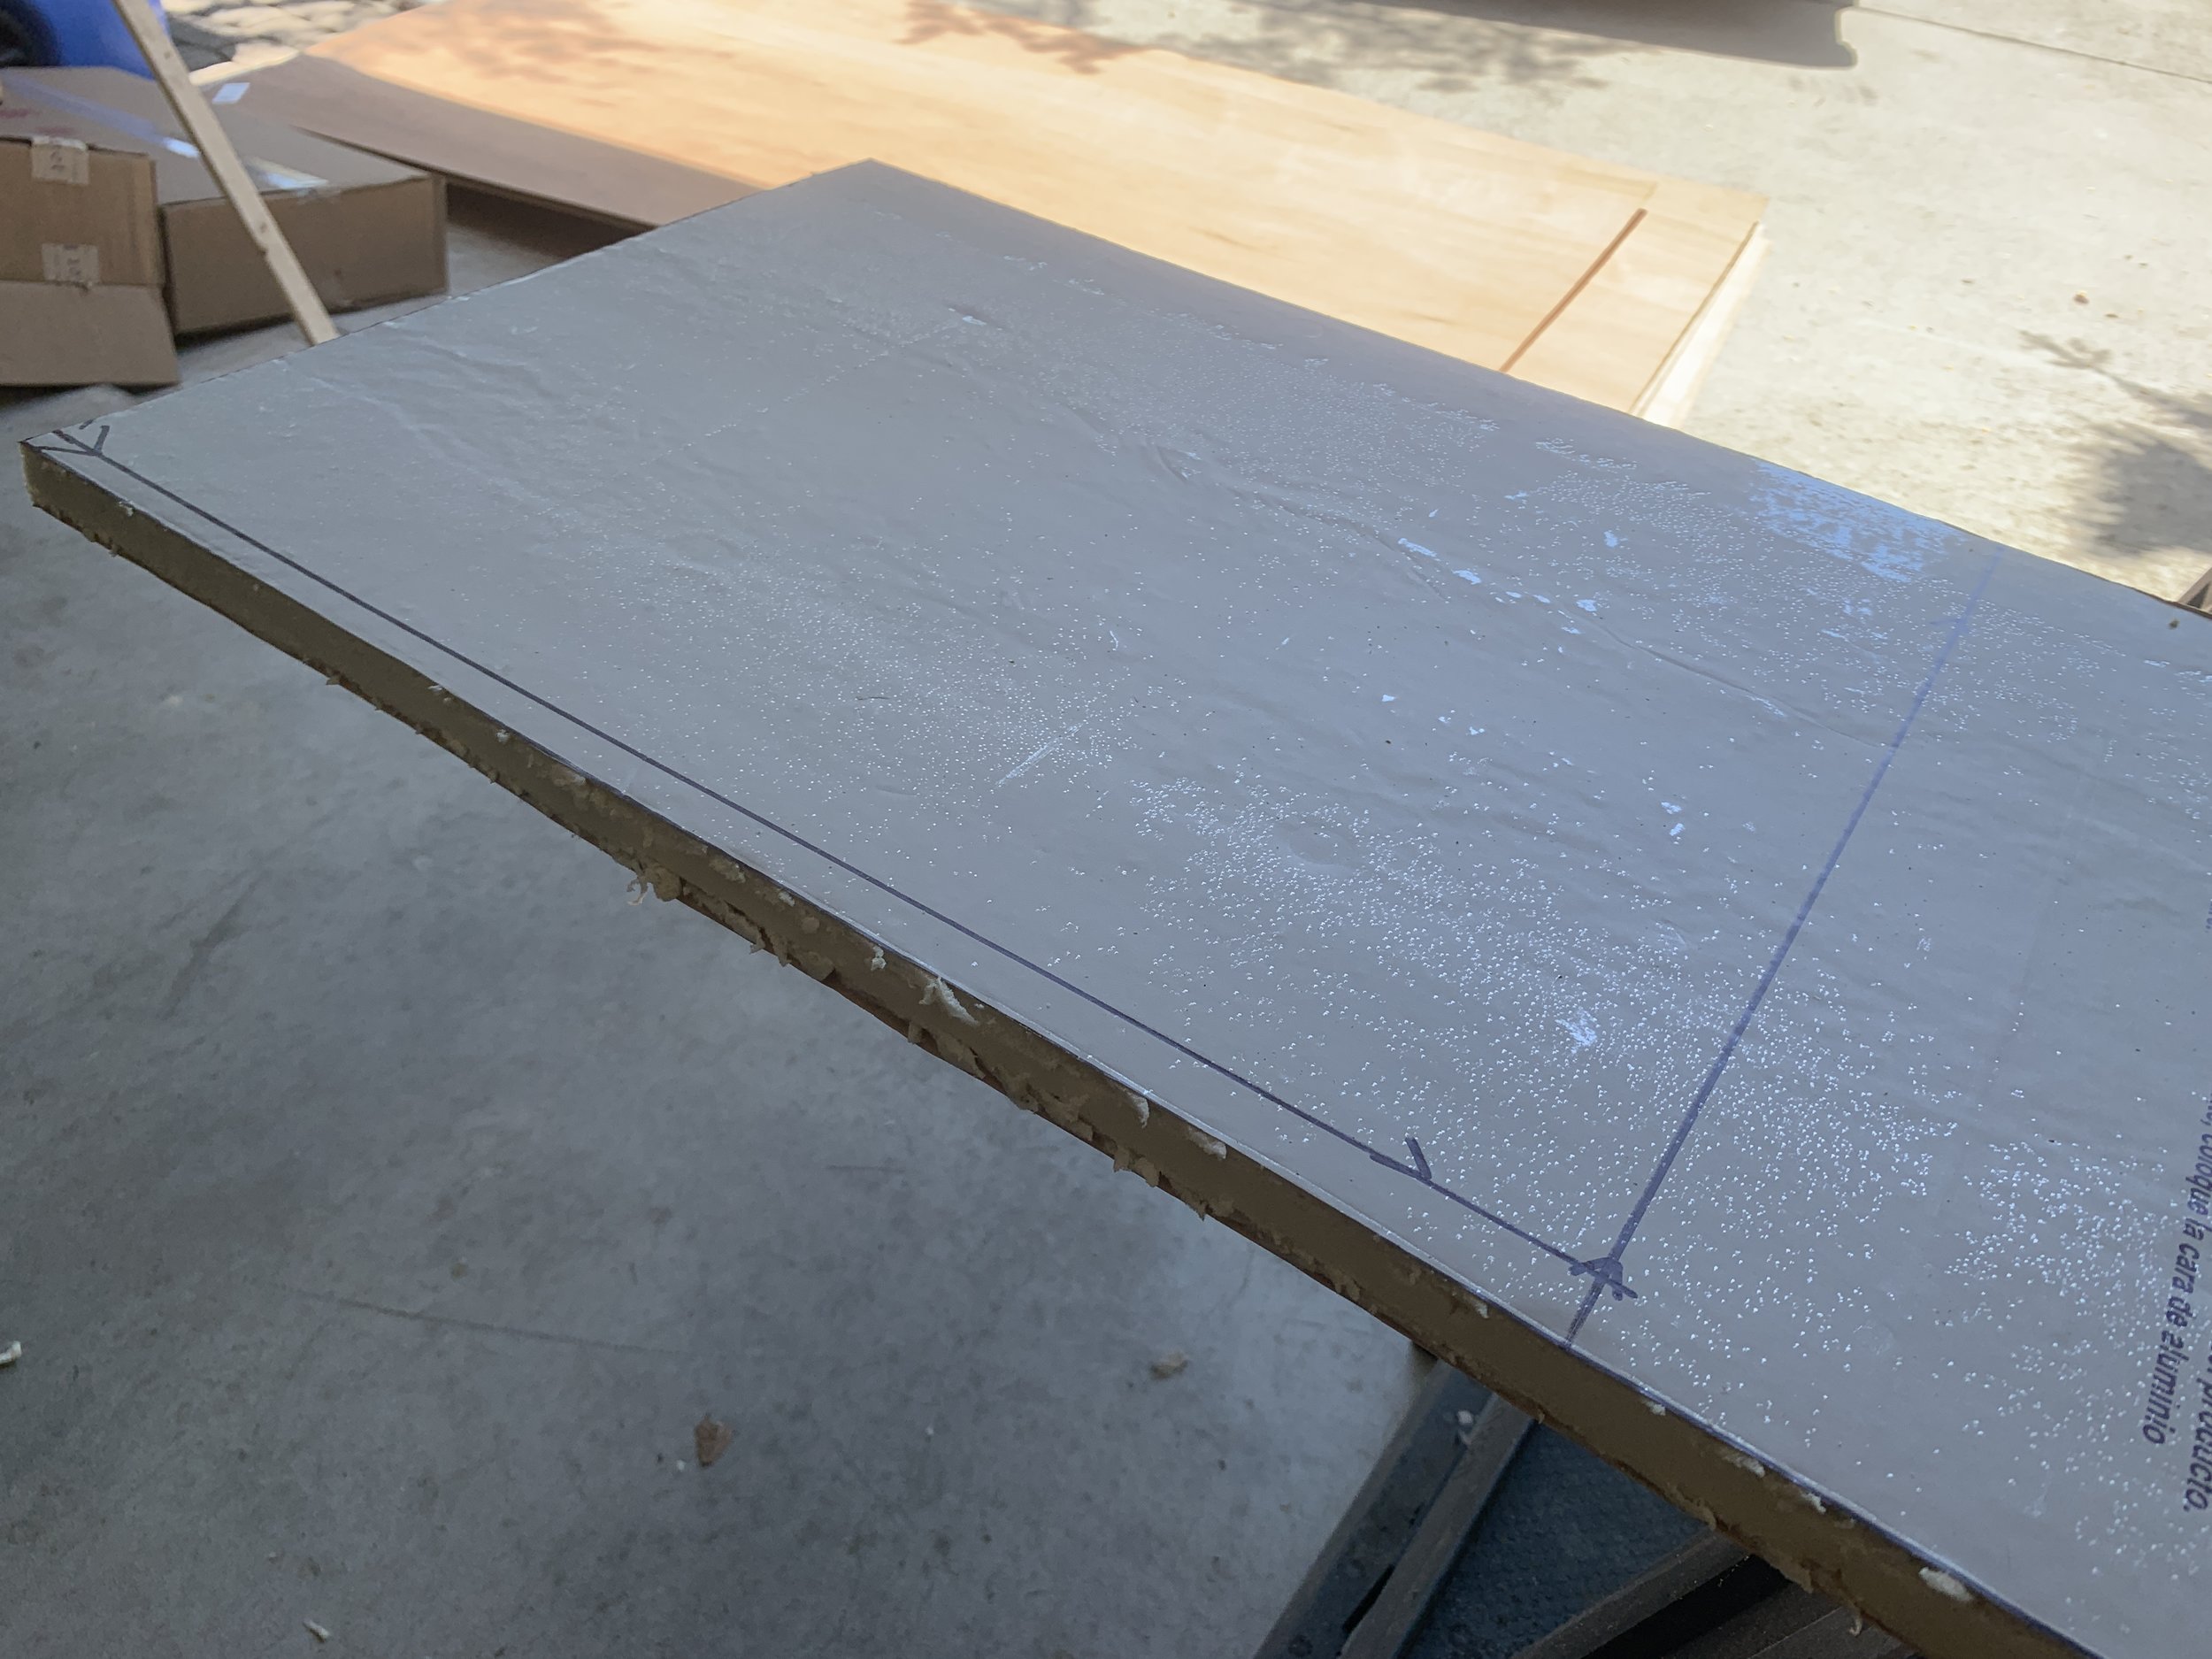
We thought about our insulation options and ultimately decided to go with 3/4" foam board – it’s cleaner (and I’m pretty sure cheaper) than the spray and not itchy like that pink batting insulation. Win-win. As with most things, we worked as a team, with Nick inside the camper taking measurements, jotting them down on scrap pieces of foam while I measured, marked and cut the foam outside.
Some things I learned when cutting the foam:
I found it was easiest to mark it out using my ruler/straight edge and then freehand following the Sharpie line with a blade.
It was also easier to cut with the foam hanging off the table, vs. cutting into a surface. When I would cut on/into the work table, it would catch wood grain/grooves and easily got off my cut line.
Change out the blade often, like at least every 3-5 cuts depending on how long your cuts are. When you notice the blade drag a little or the foam is starting to tear, it’s past the time to swap out your blade for a new one. Dull blades = accidents (and less importantly, ugly edges!)

Insulation installation
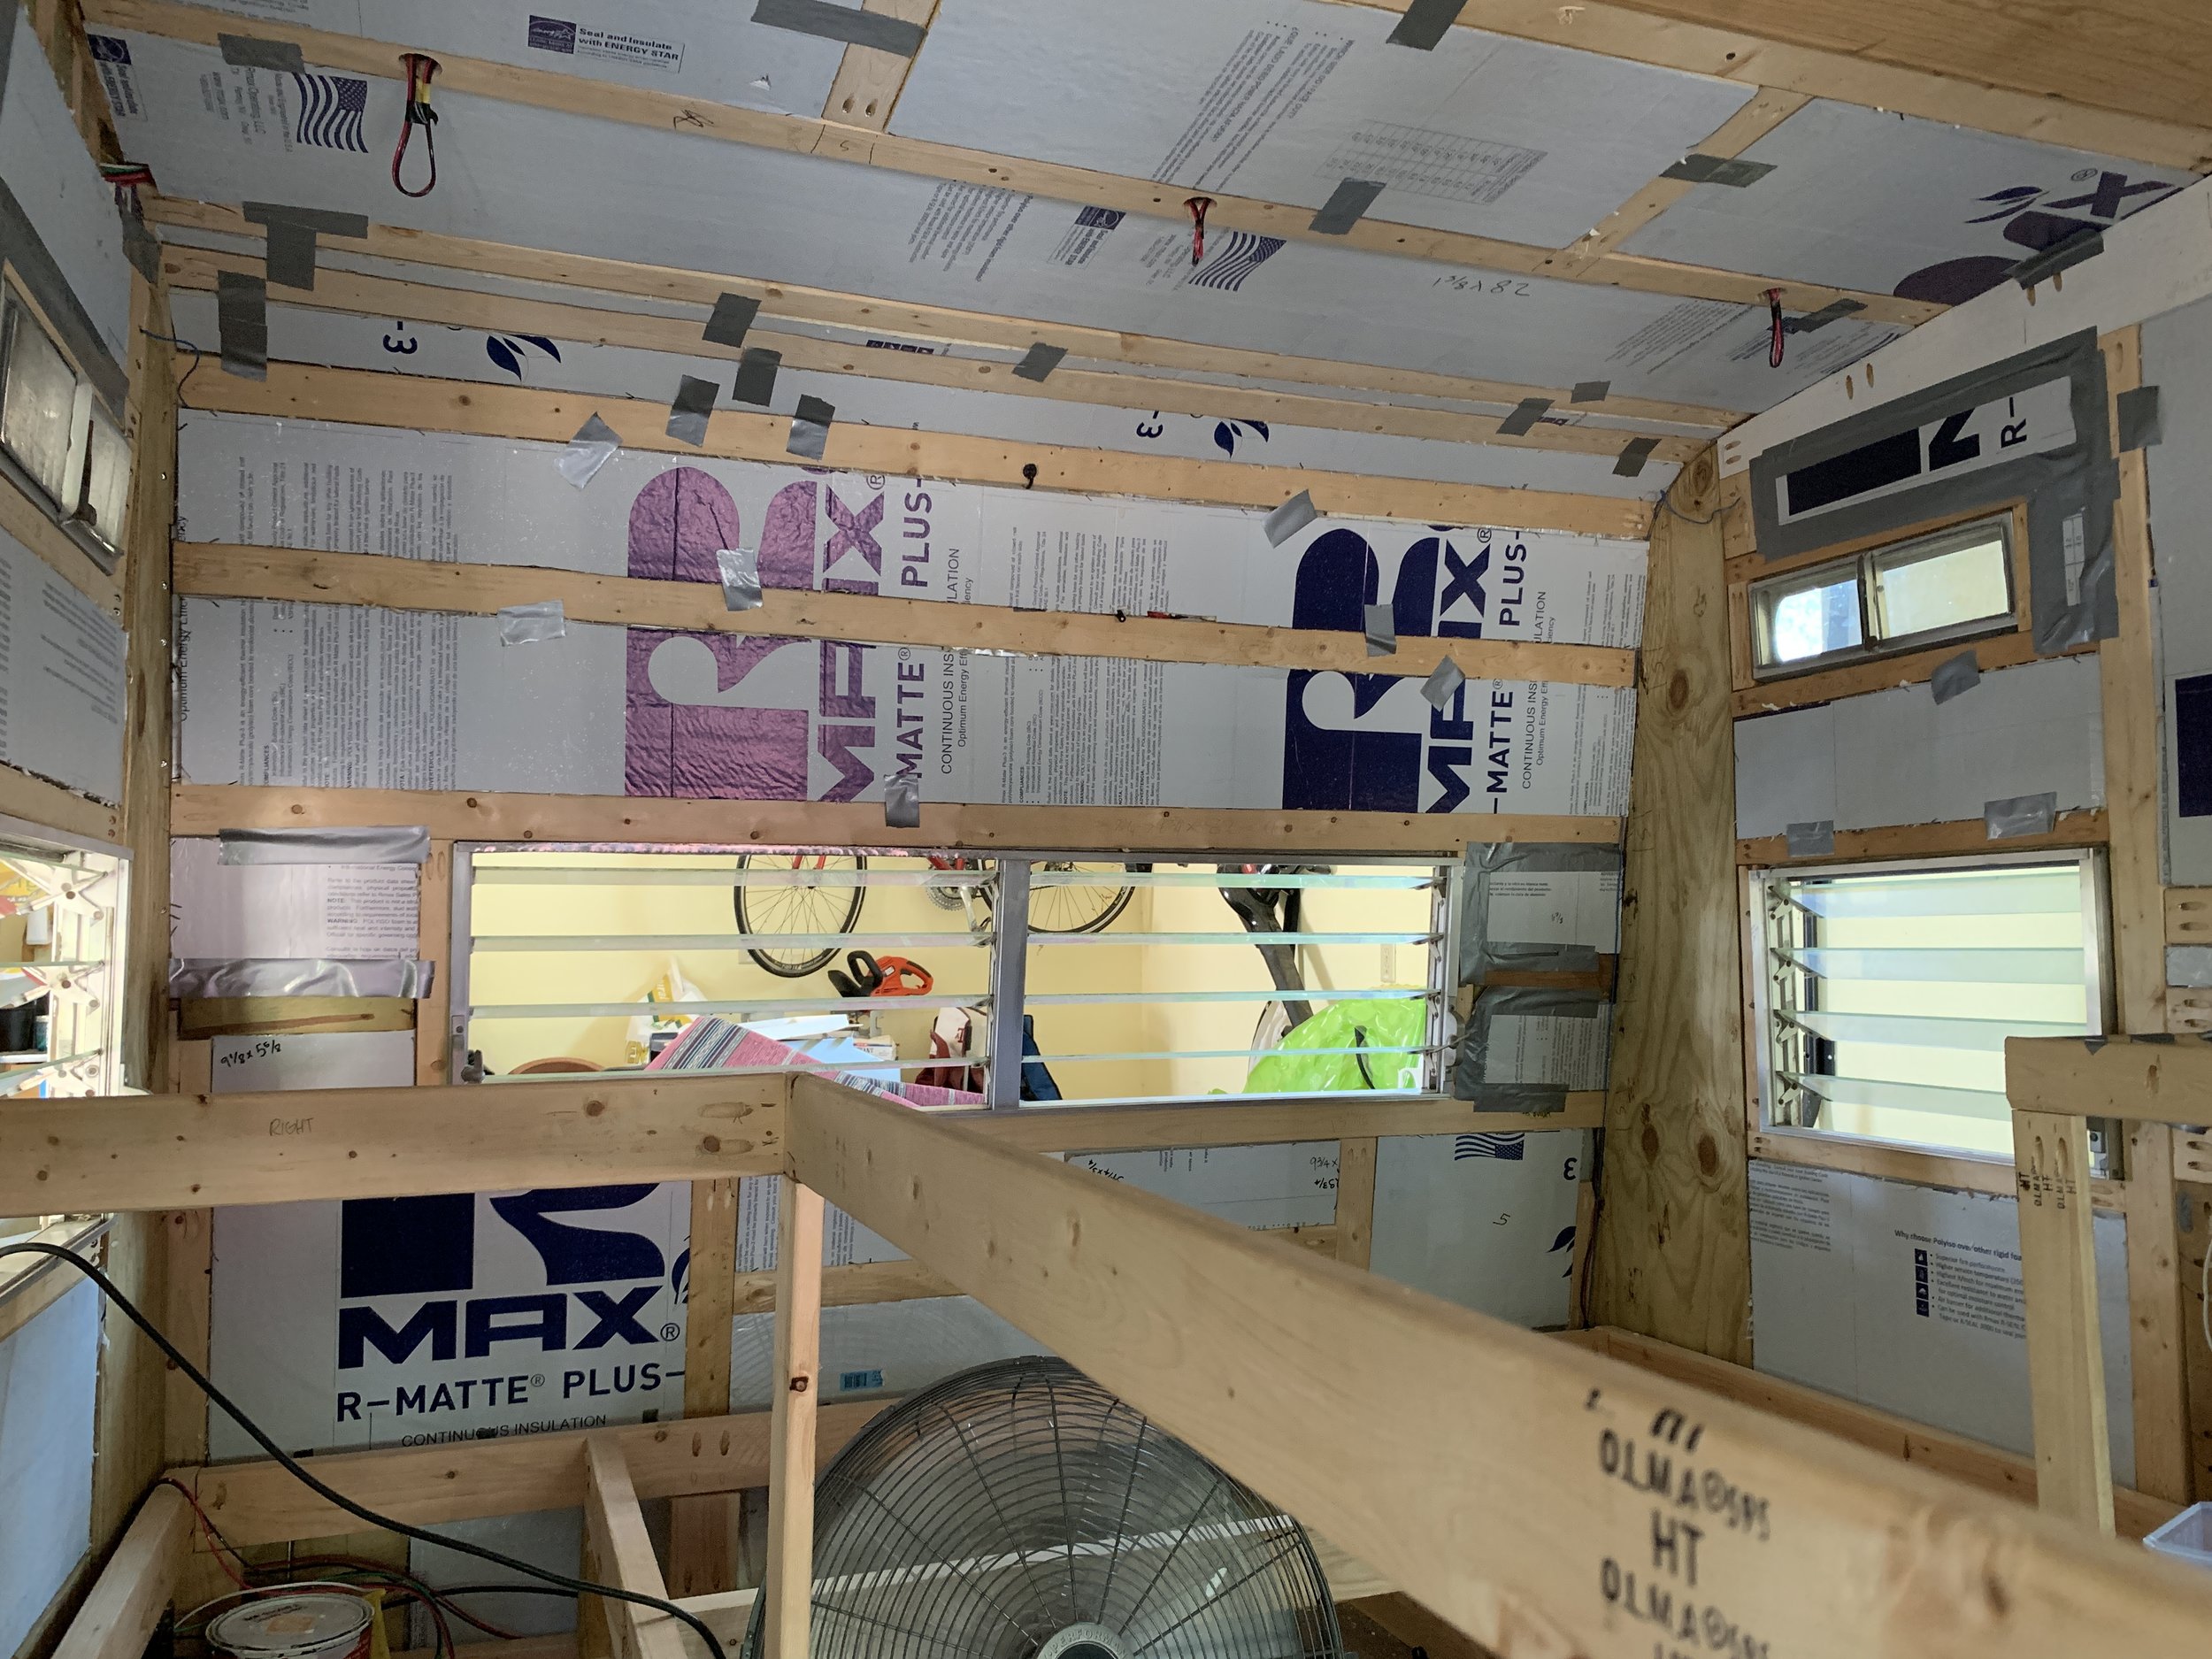
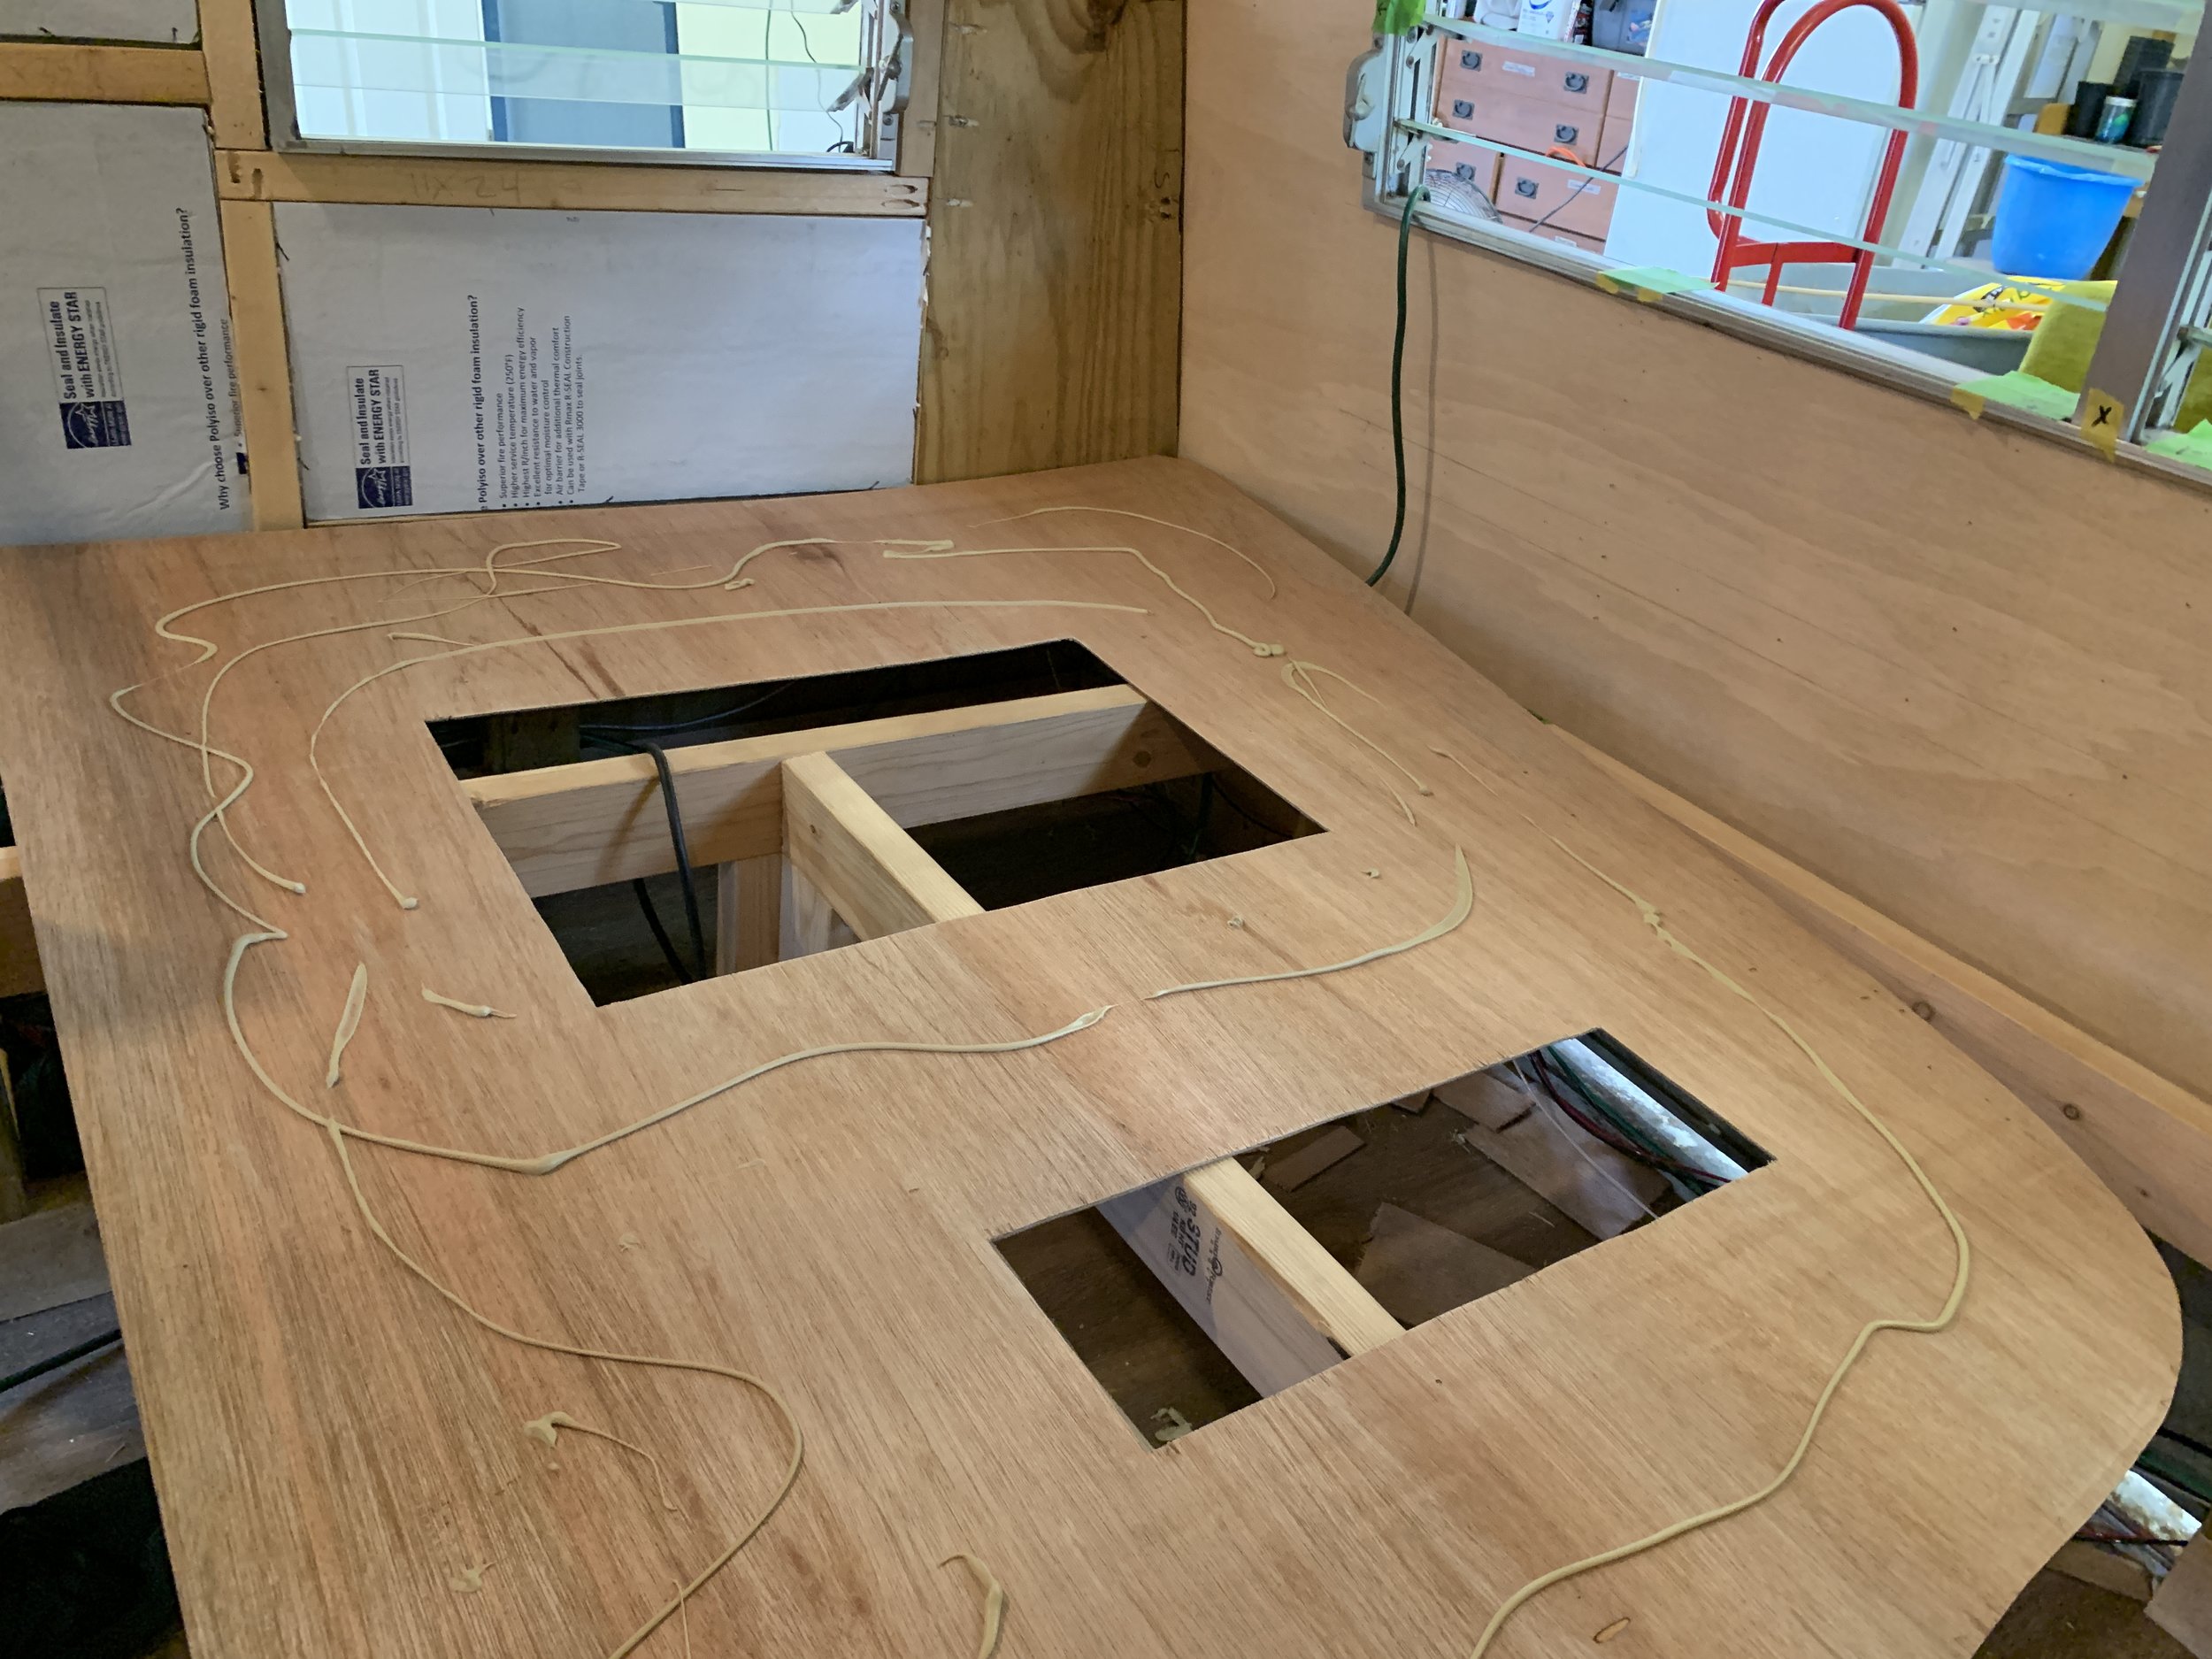
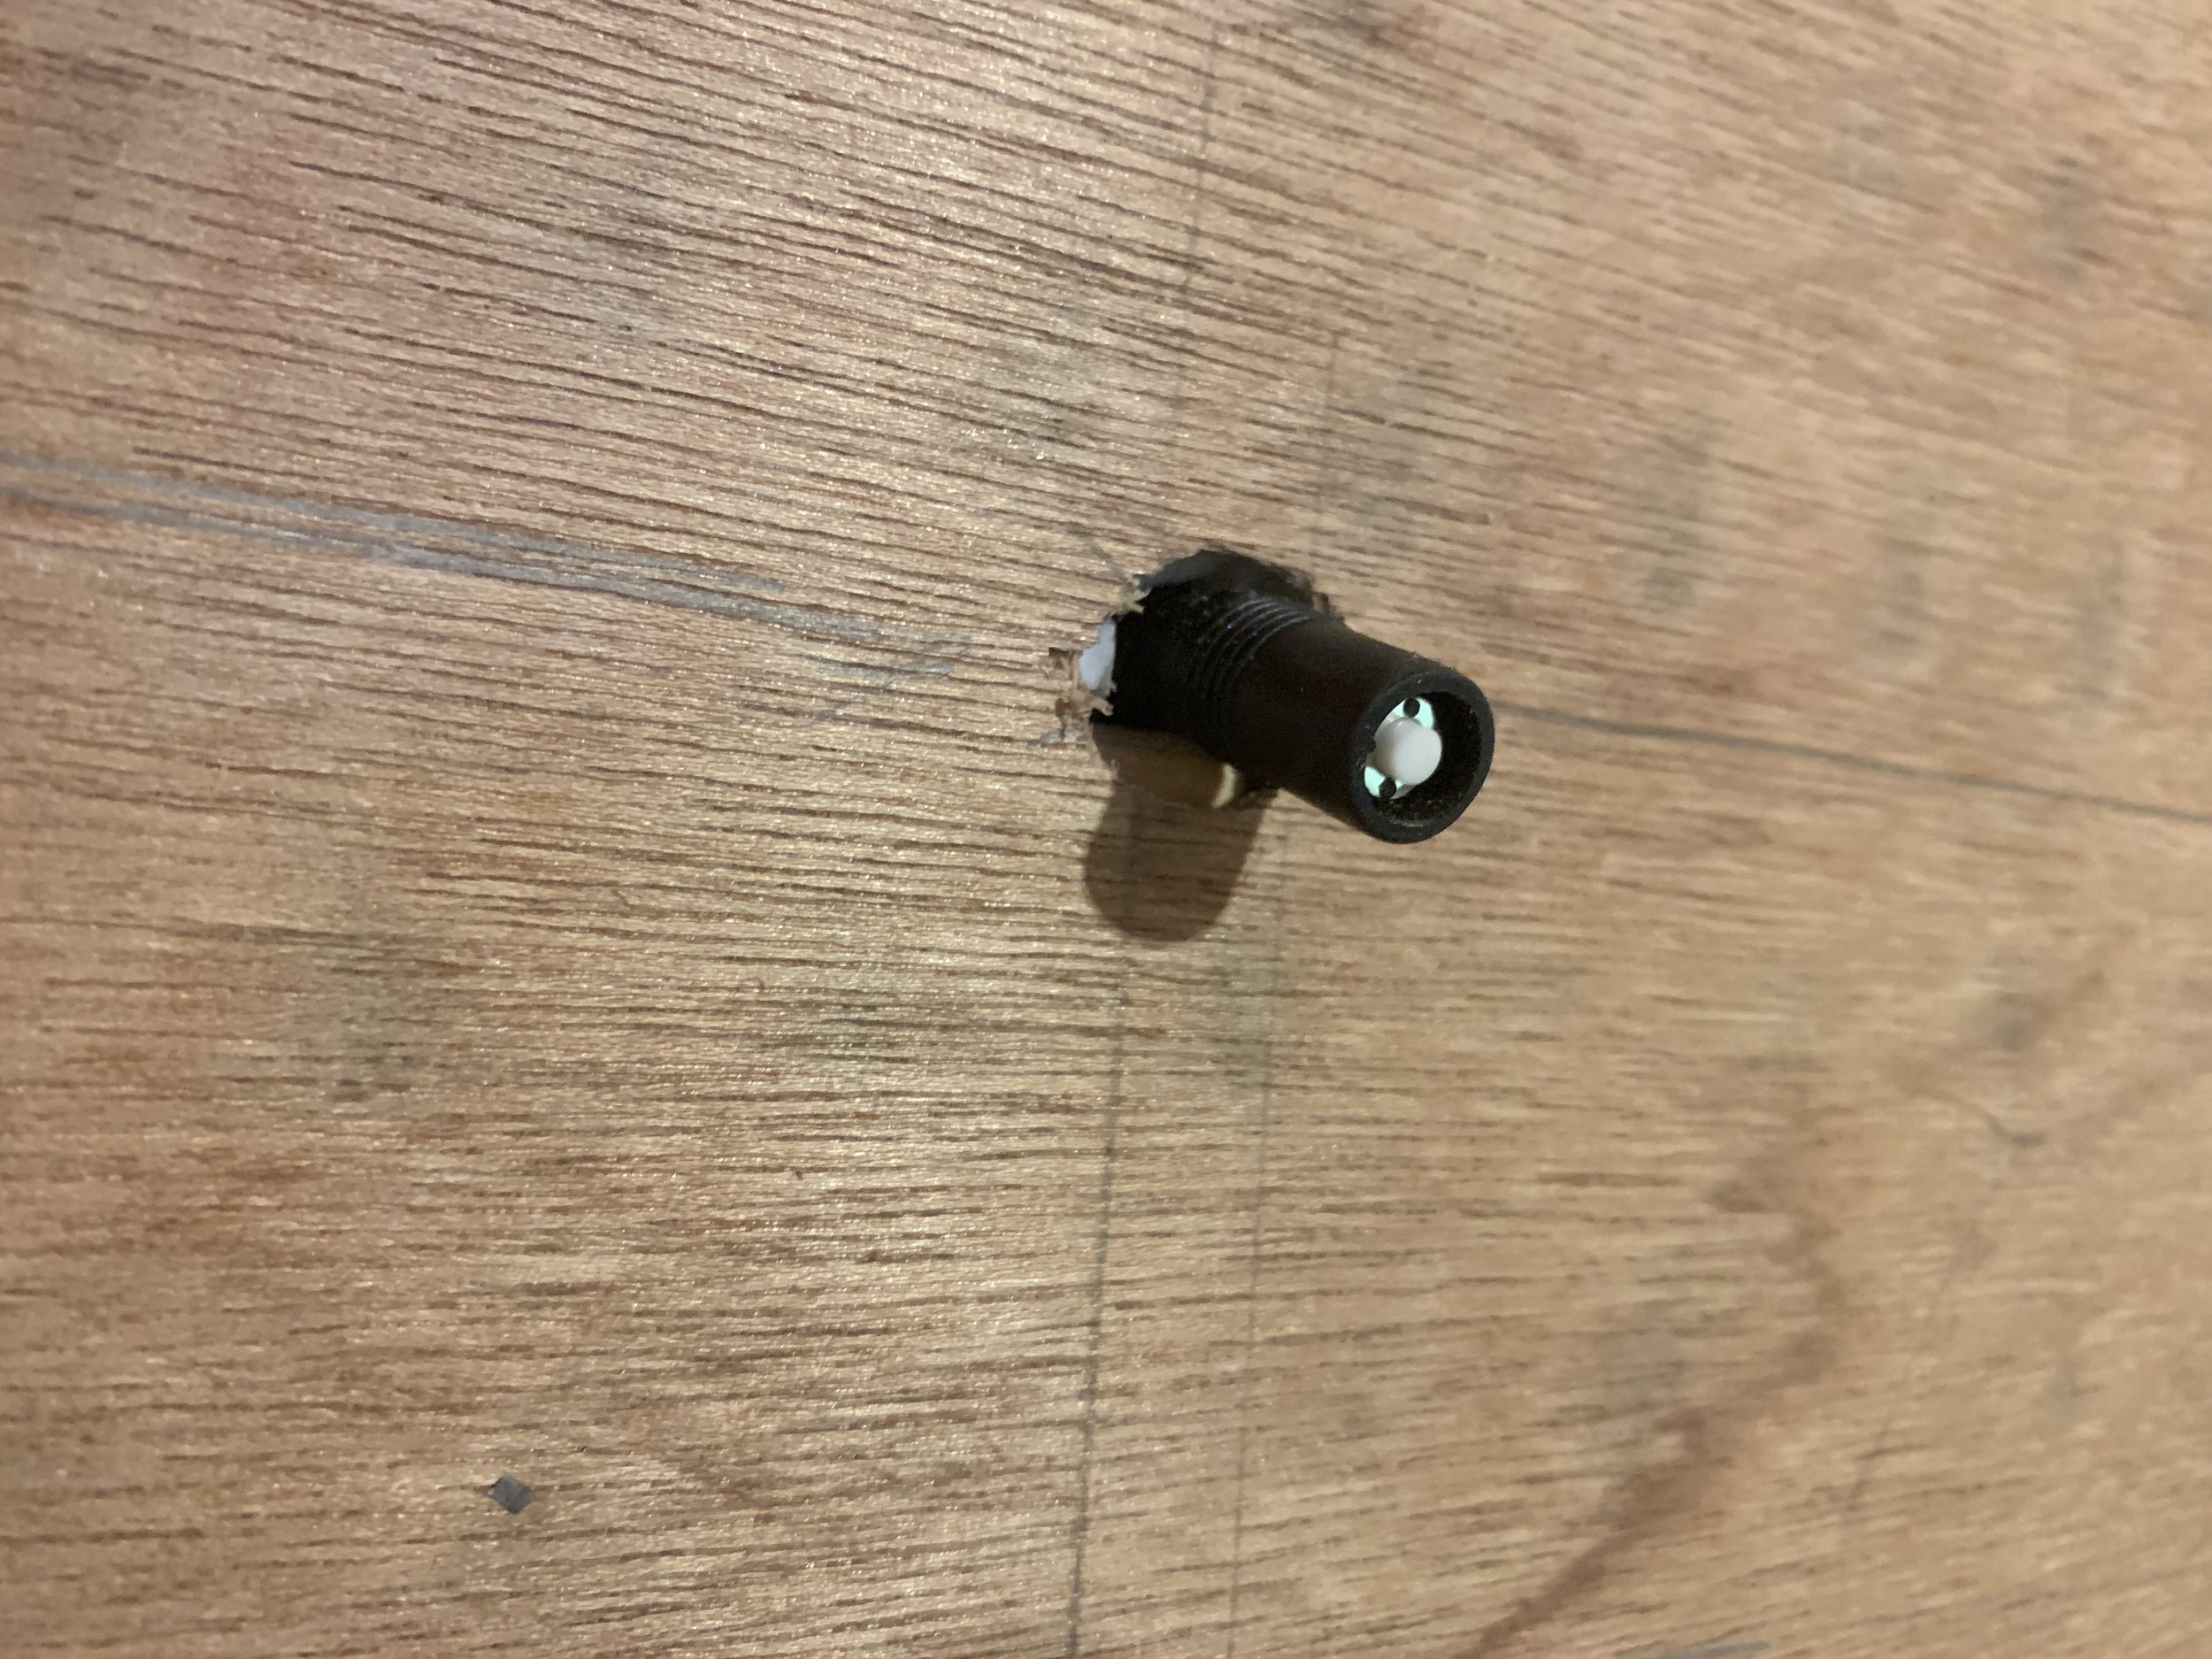
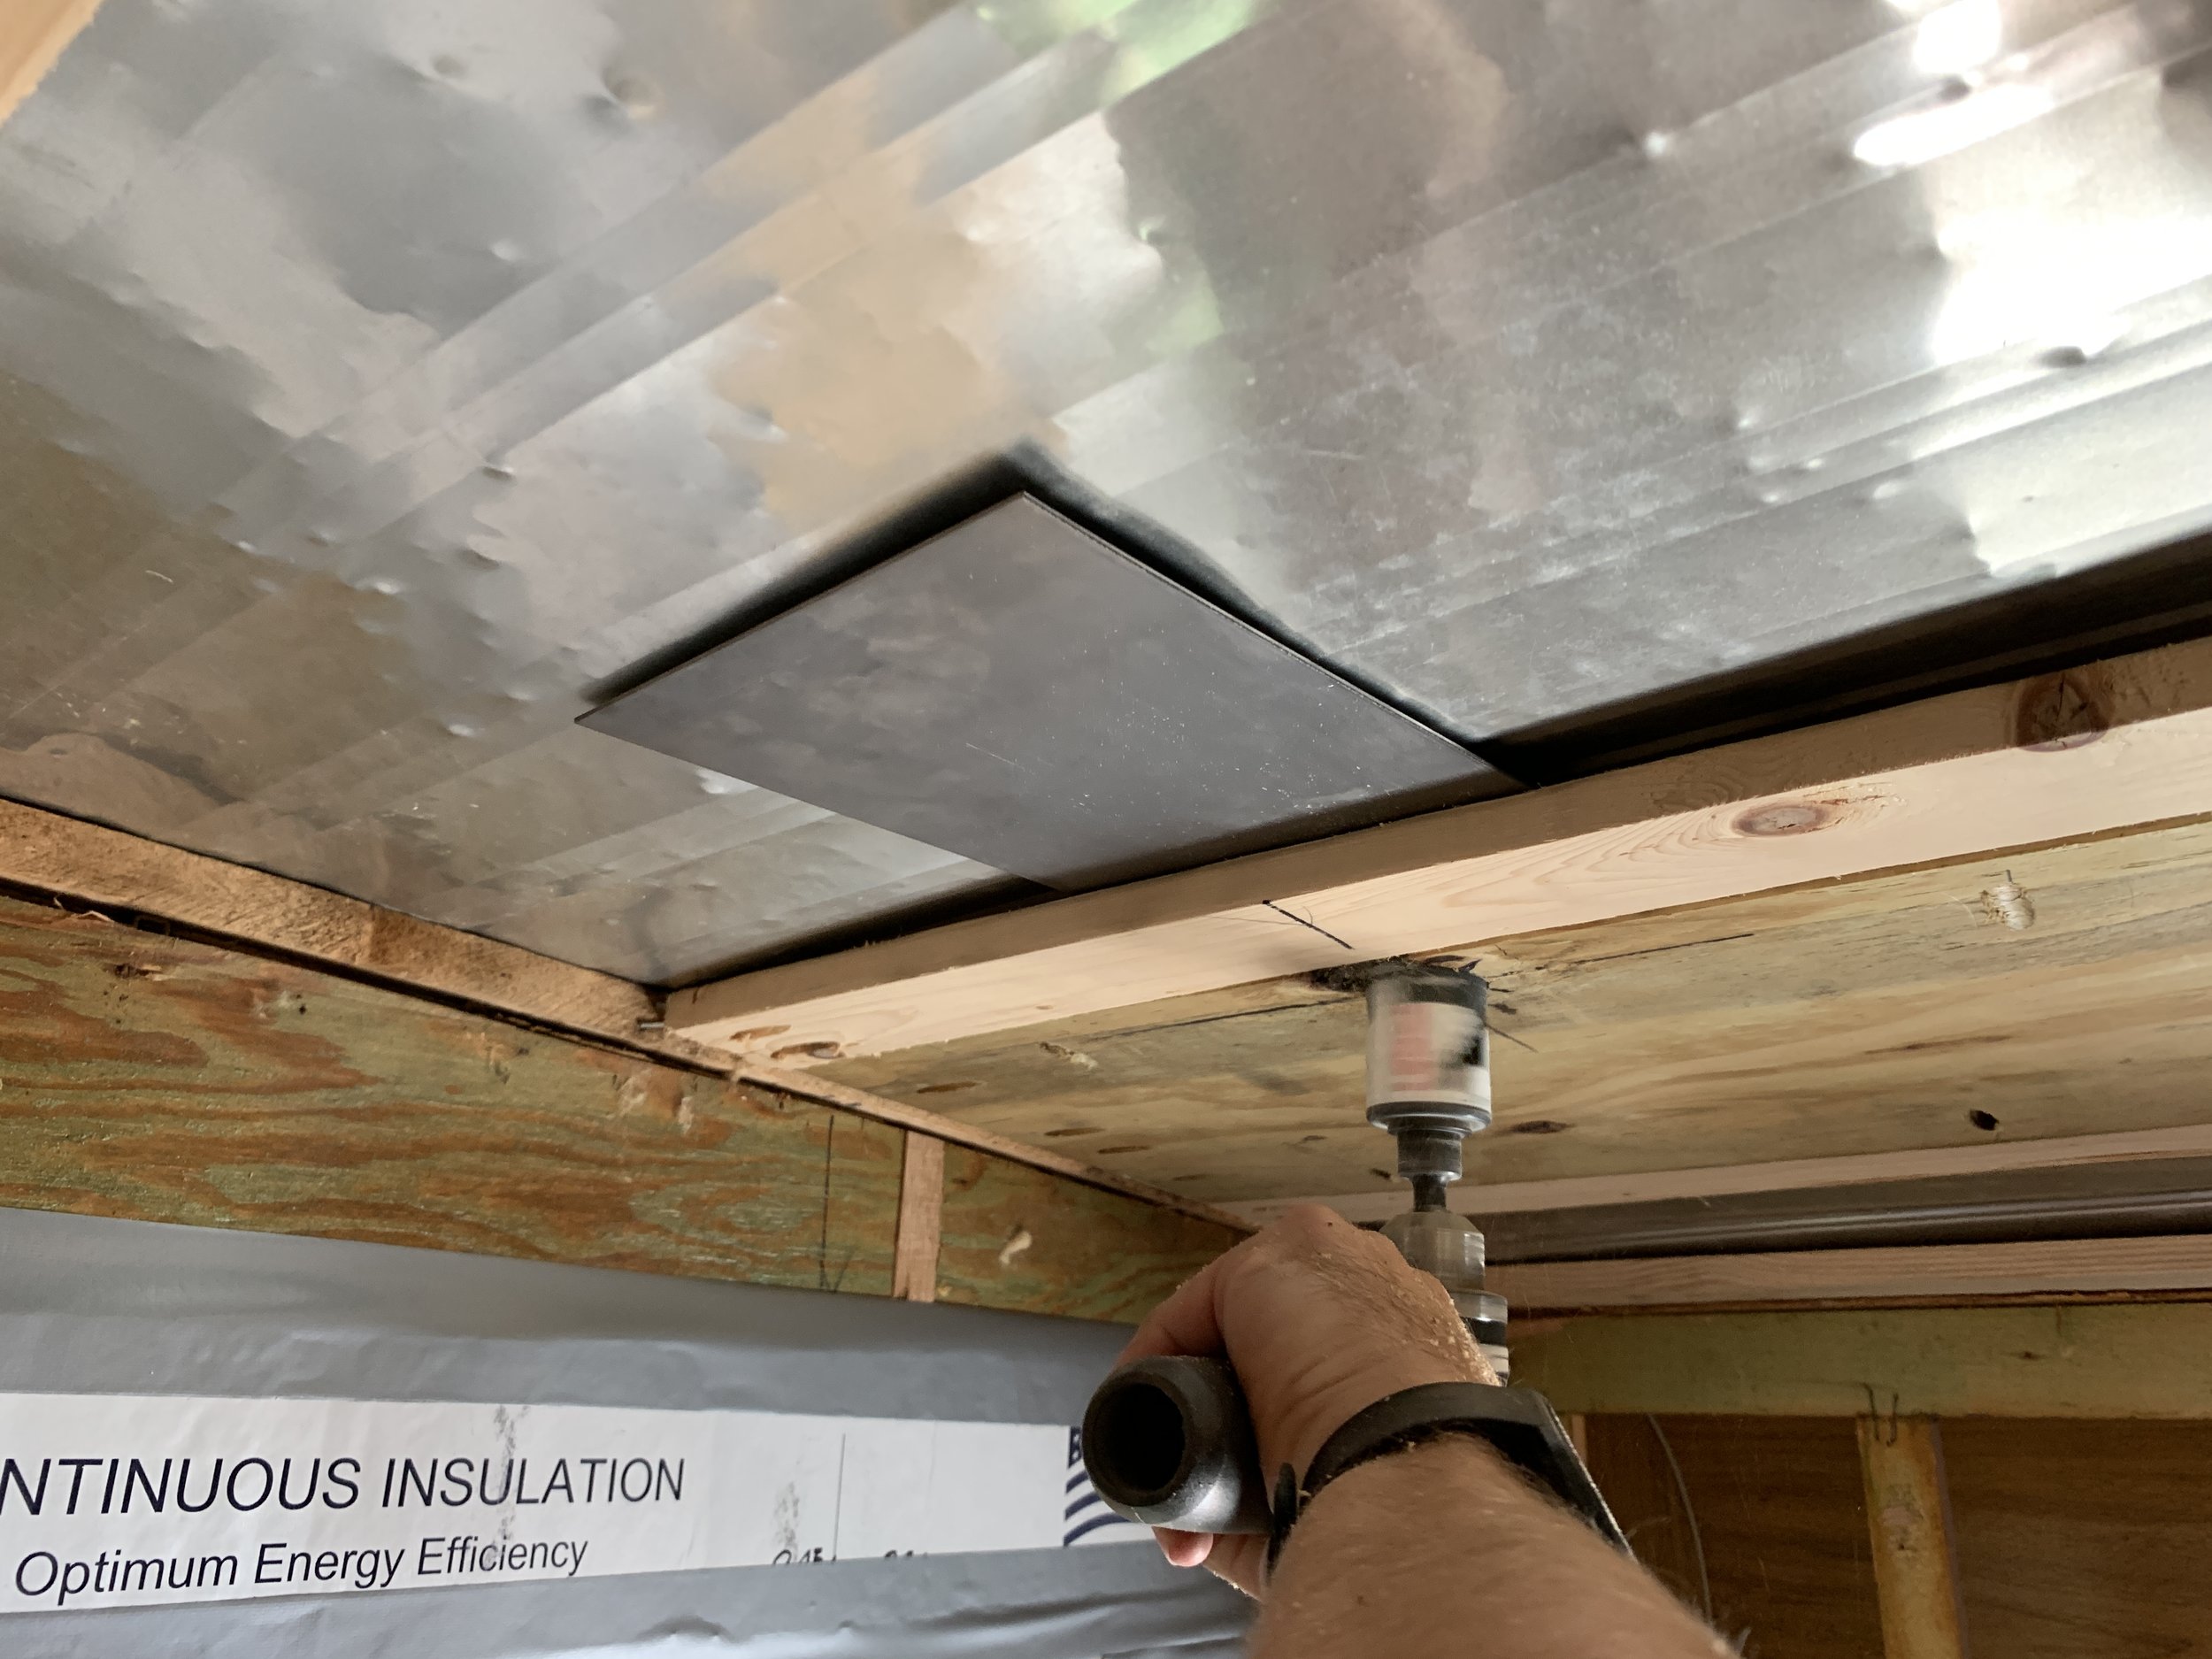
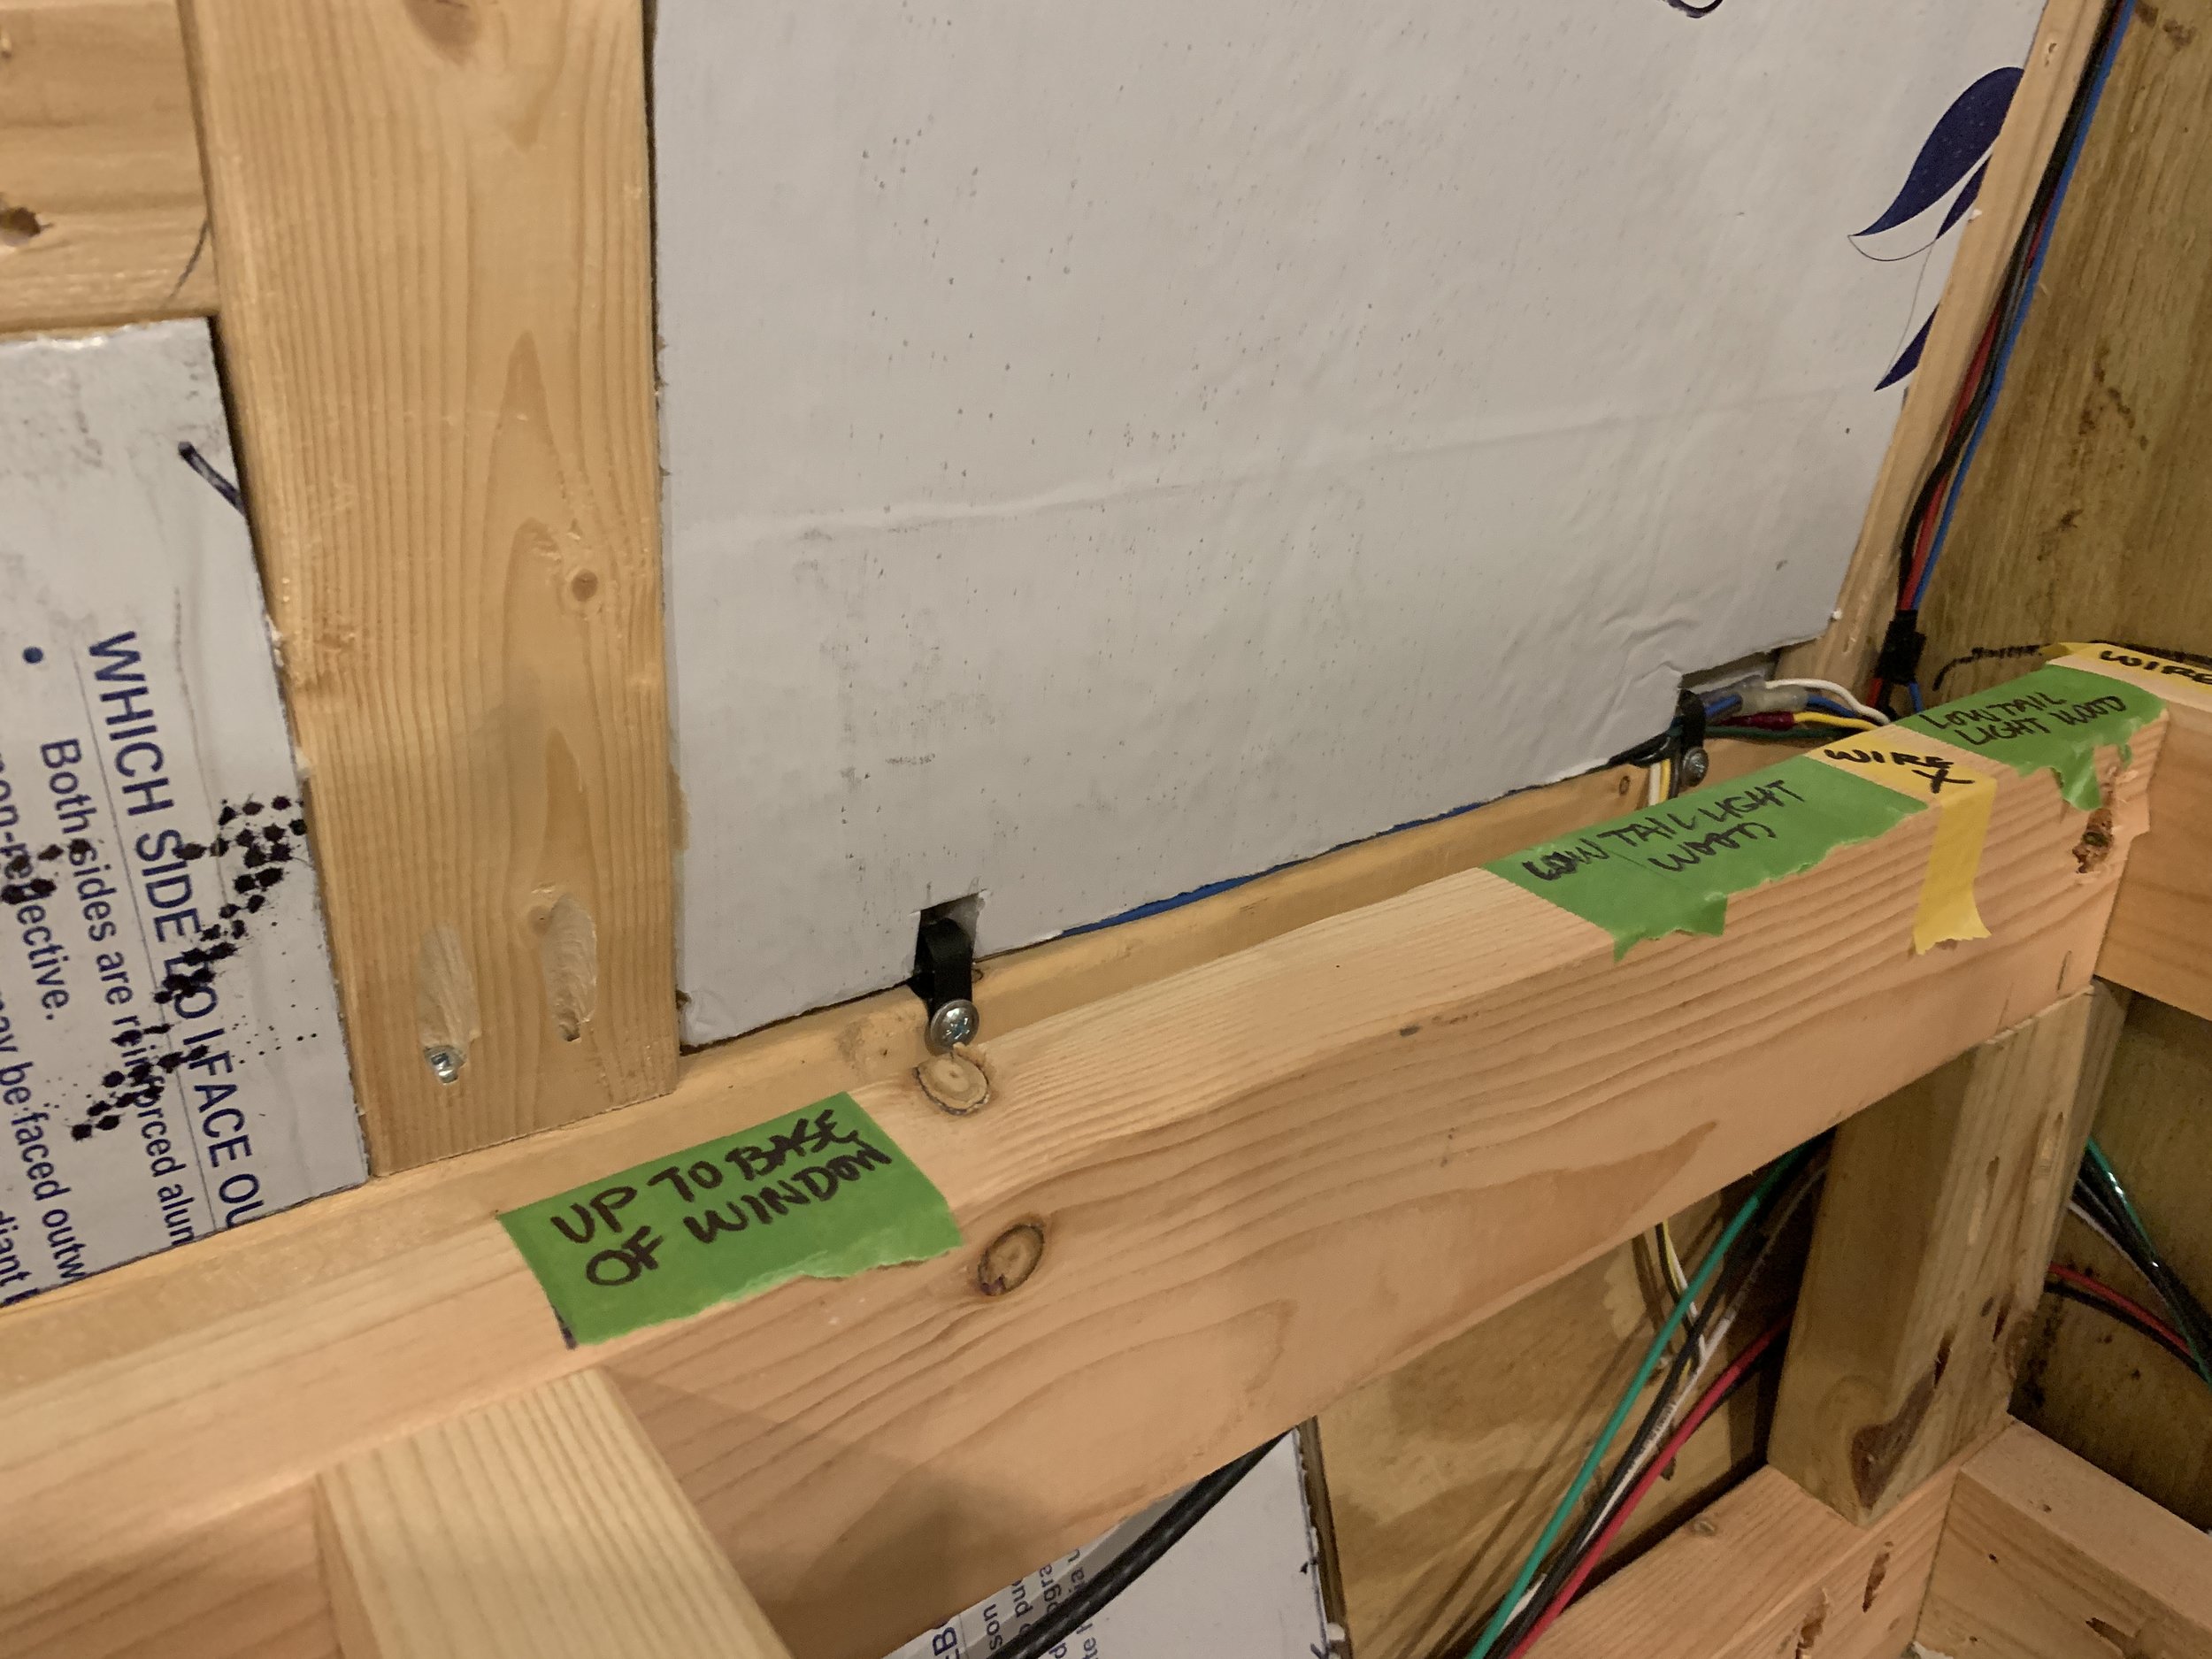
Before we began popping the foam in place, we had to come up with a plan for the reset button for the wireless backup camera and decided to tape it into place to keep it from moving around in the wall (first photo above). We also made sure all of our light wiring were pulled through our holes and not lost behind insulation (second photo).
According to the instructions printed on the board, it doesn’t matter which way it’s installed – silver side in or out, it works just the same. We opted to install silver side toward the exterior, though it certainly would’ve looked cleaner to hide the printed side. Not that it matters since it was quickly covered up by our wall panels. The good news about this stuff is if you cut it just a little big it usually can be crammed into place for a super tight fit, or trimmed down easily until it’s the perfect size. You want it to fit tightly with as few gaps as possible for maximum insulation. I’ve heard of some people (and we considered) using spray adhesive to keep the insulation panels from falling out, but we had such a tight fit none of that was needed. As we kind of mentioned above, we tried to use duct tape to help insulate the cracks between the foam and wood, but it kept falling off so instead we used small pieces here and there (third photo above), which helps add to the disheveled look that makes my inner neat freak get all cringe-y. Which is why I am SUPER pumped about…
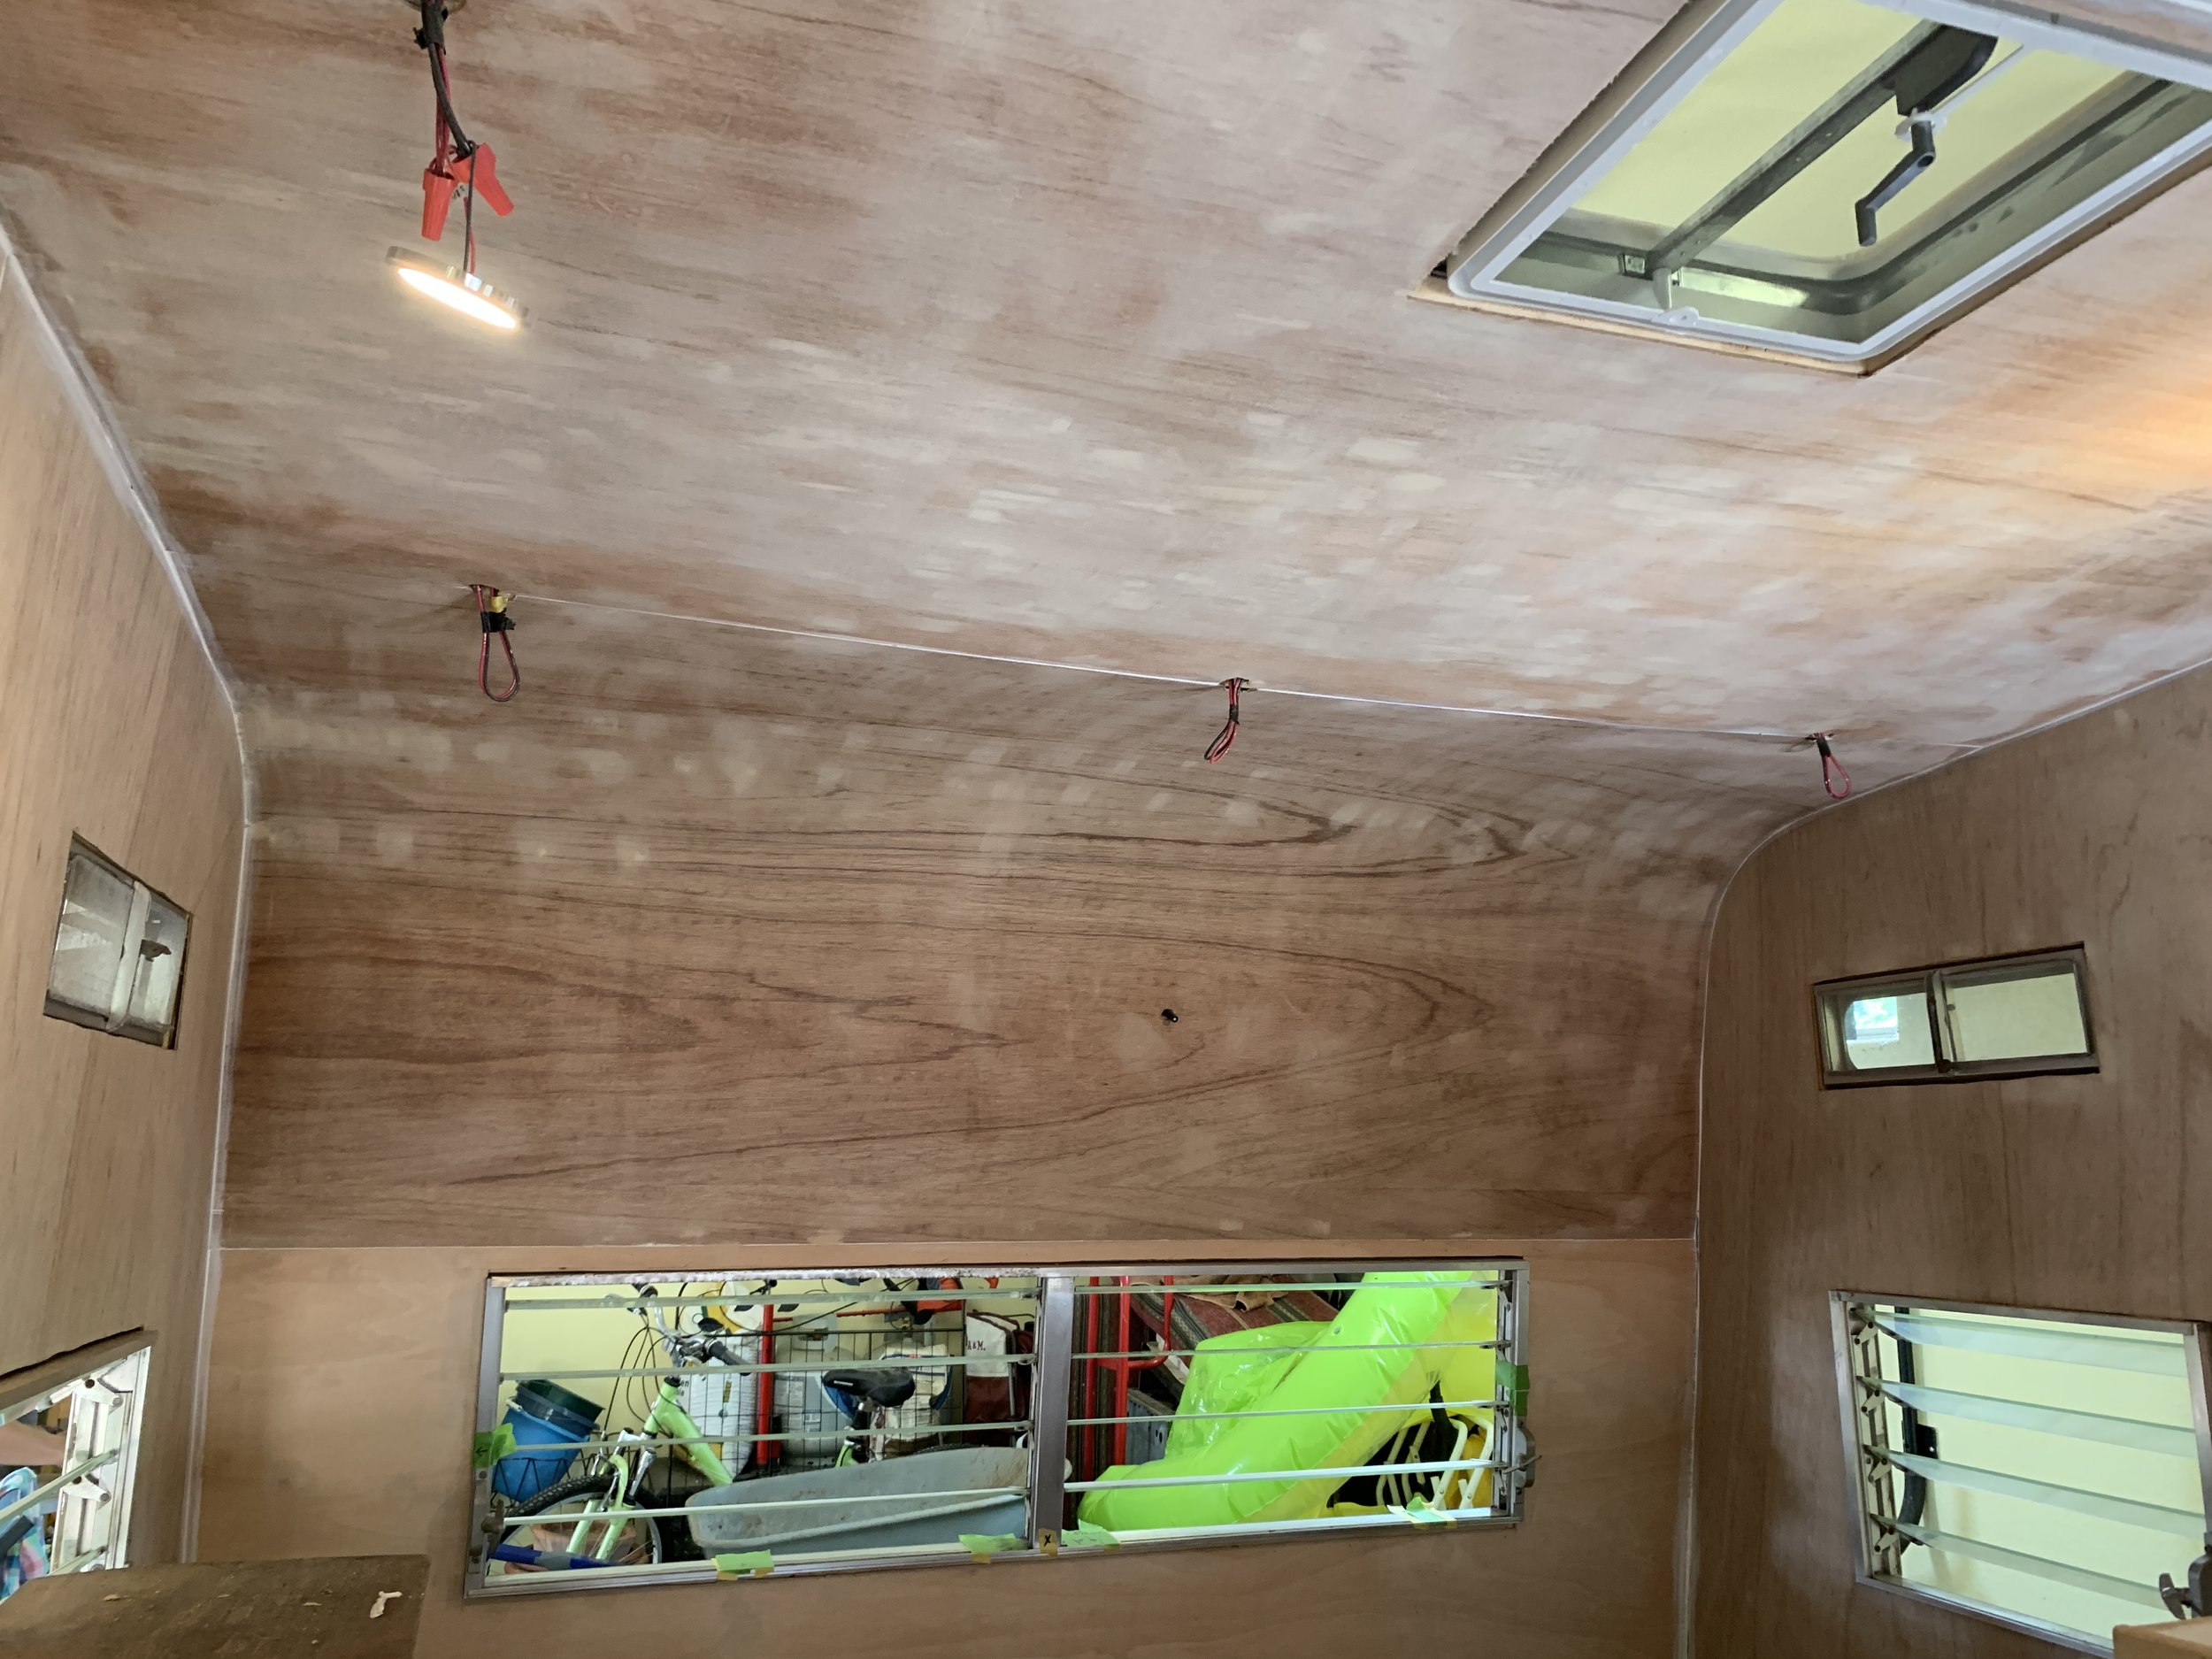
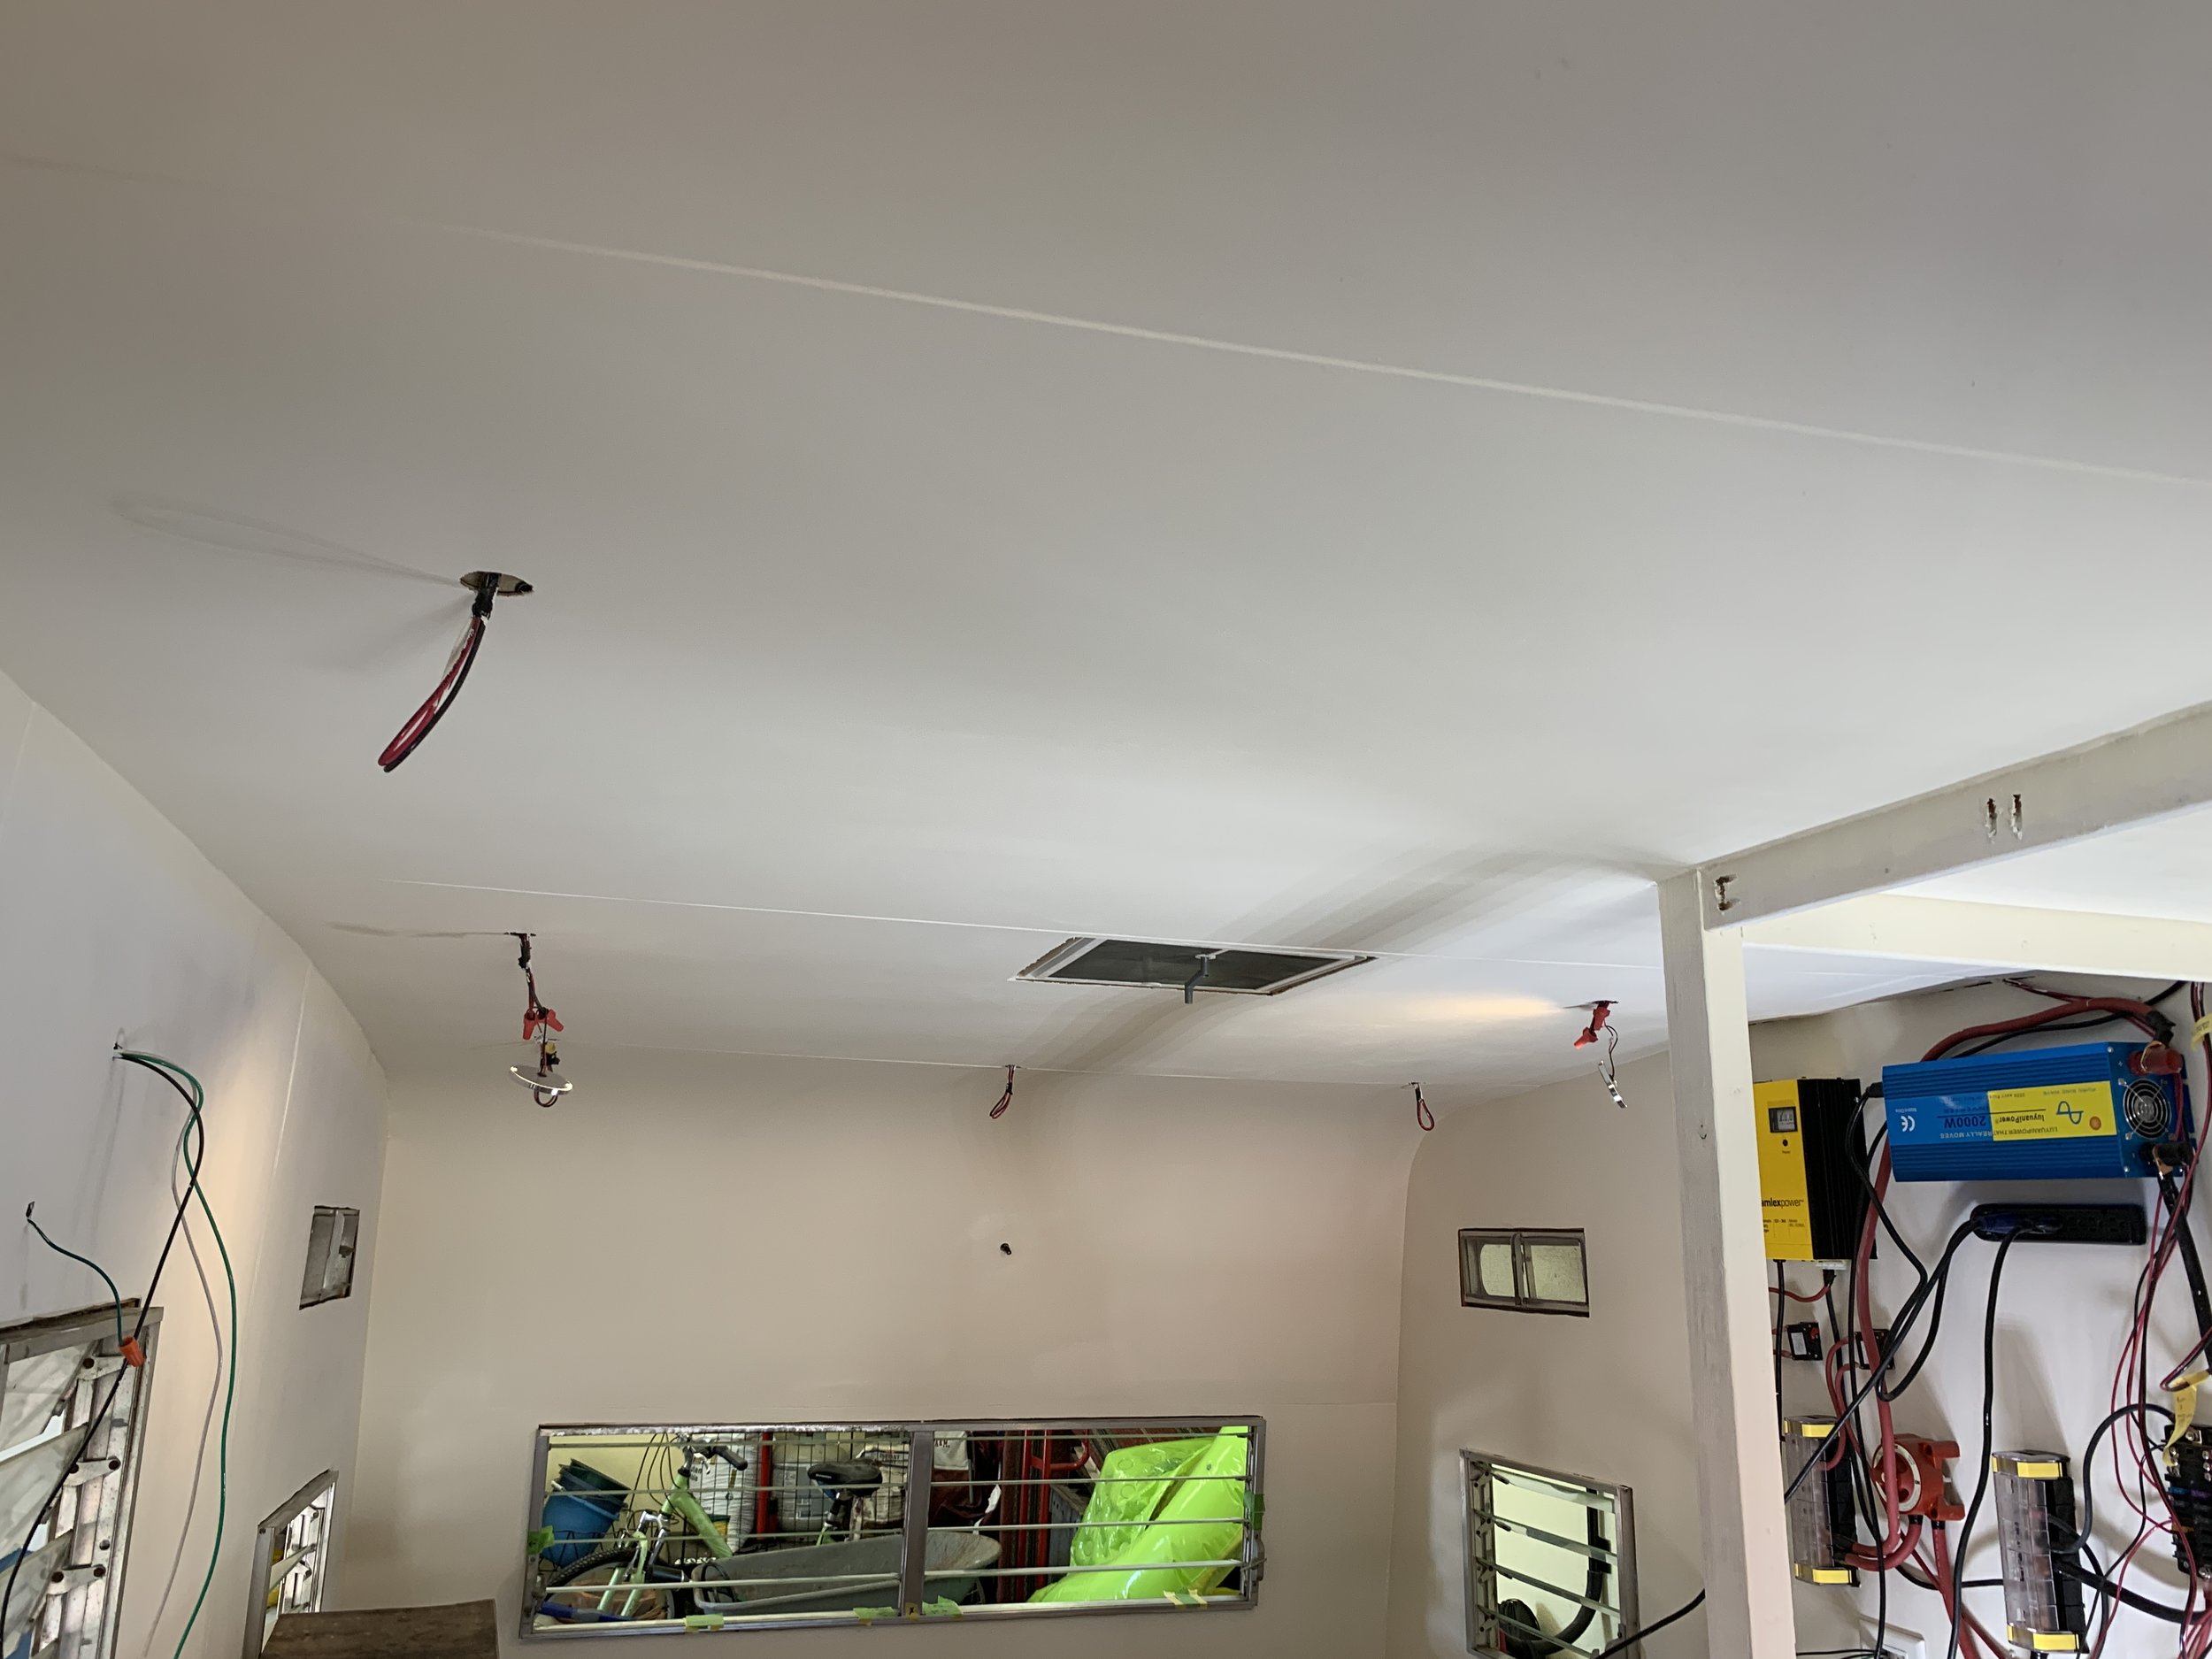
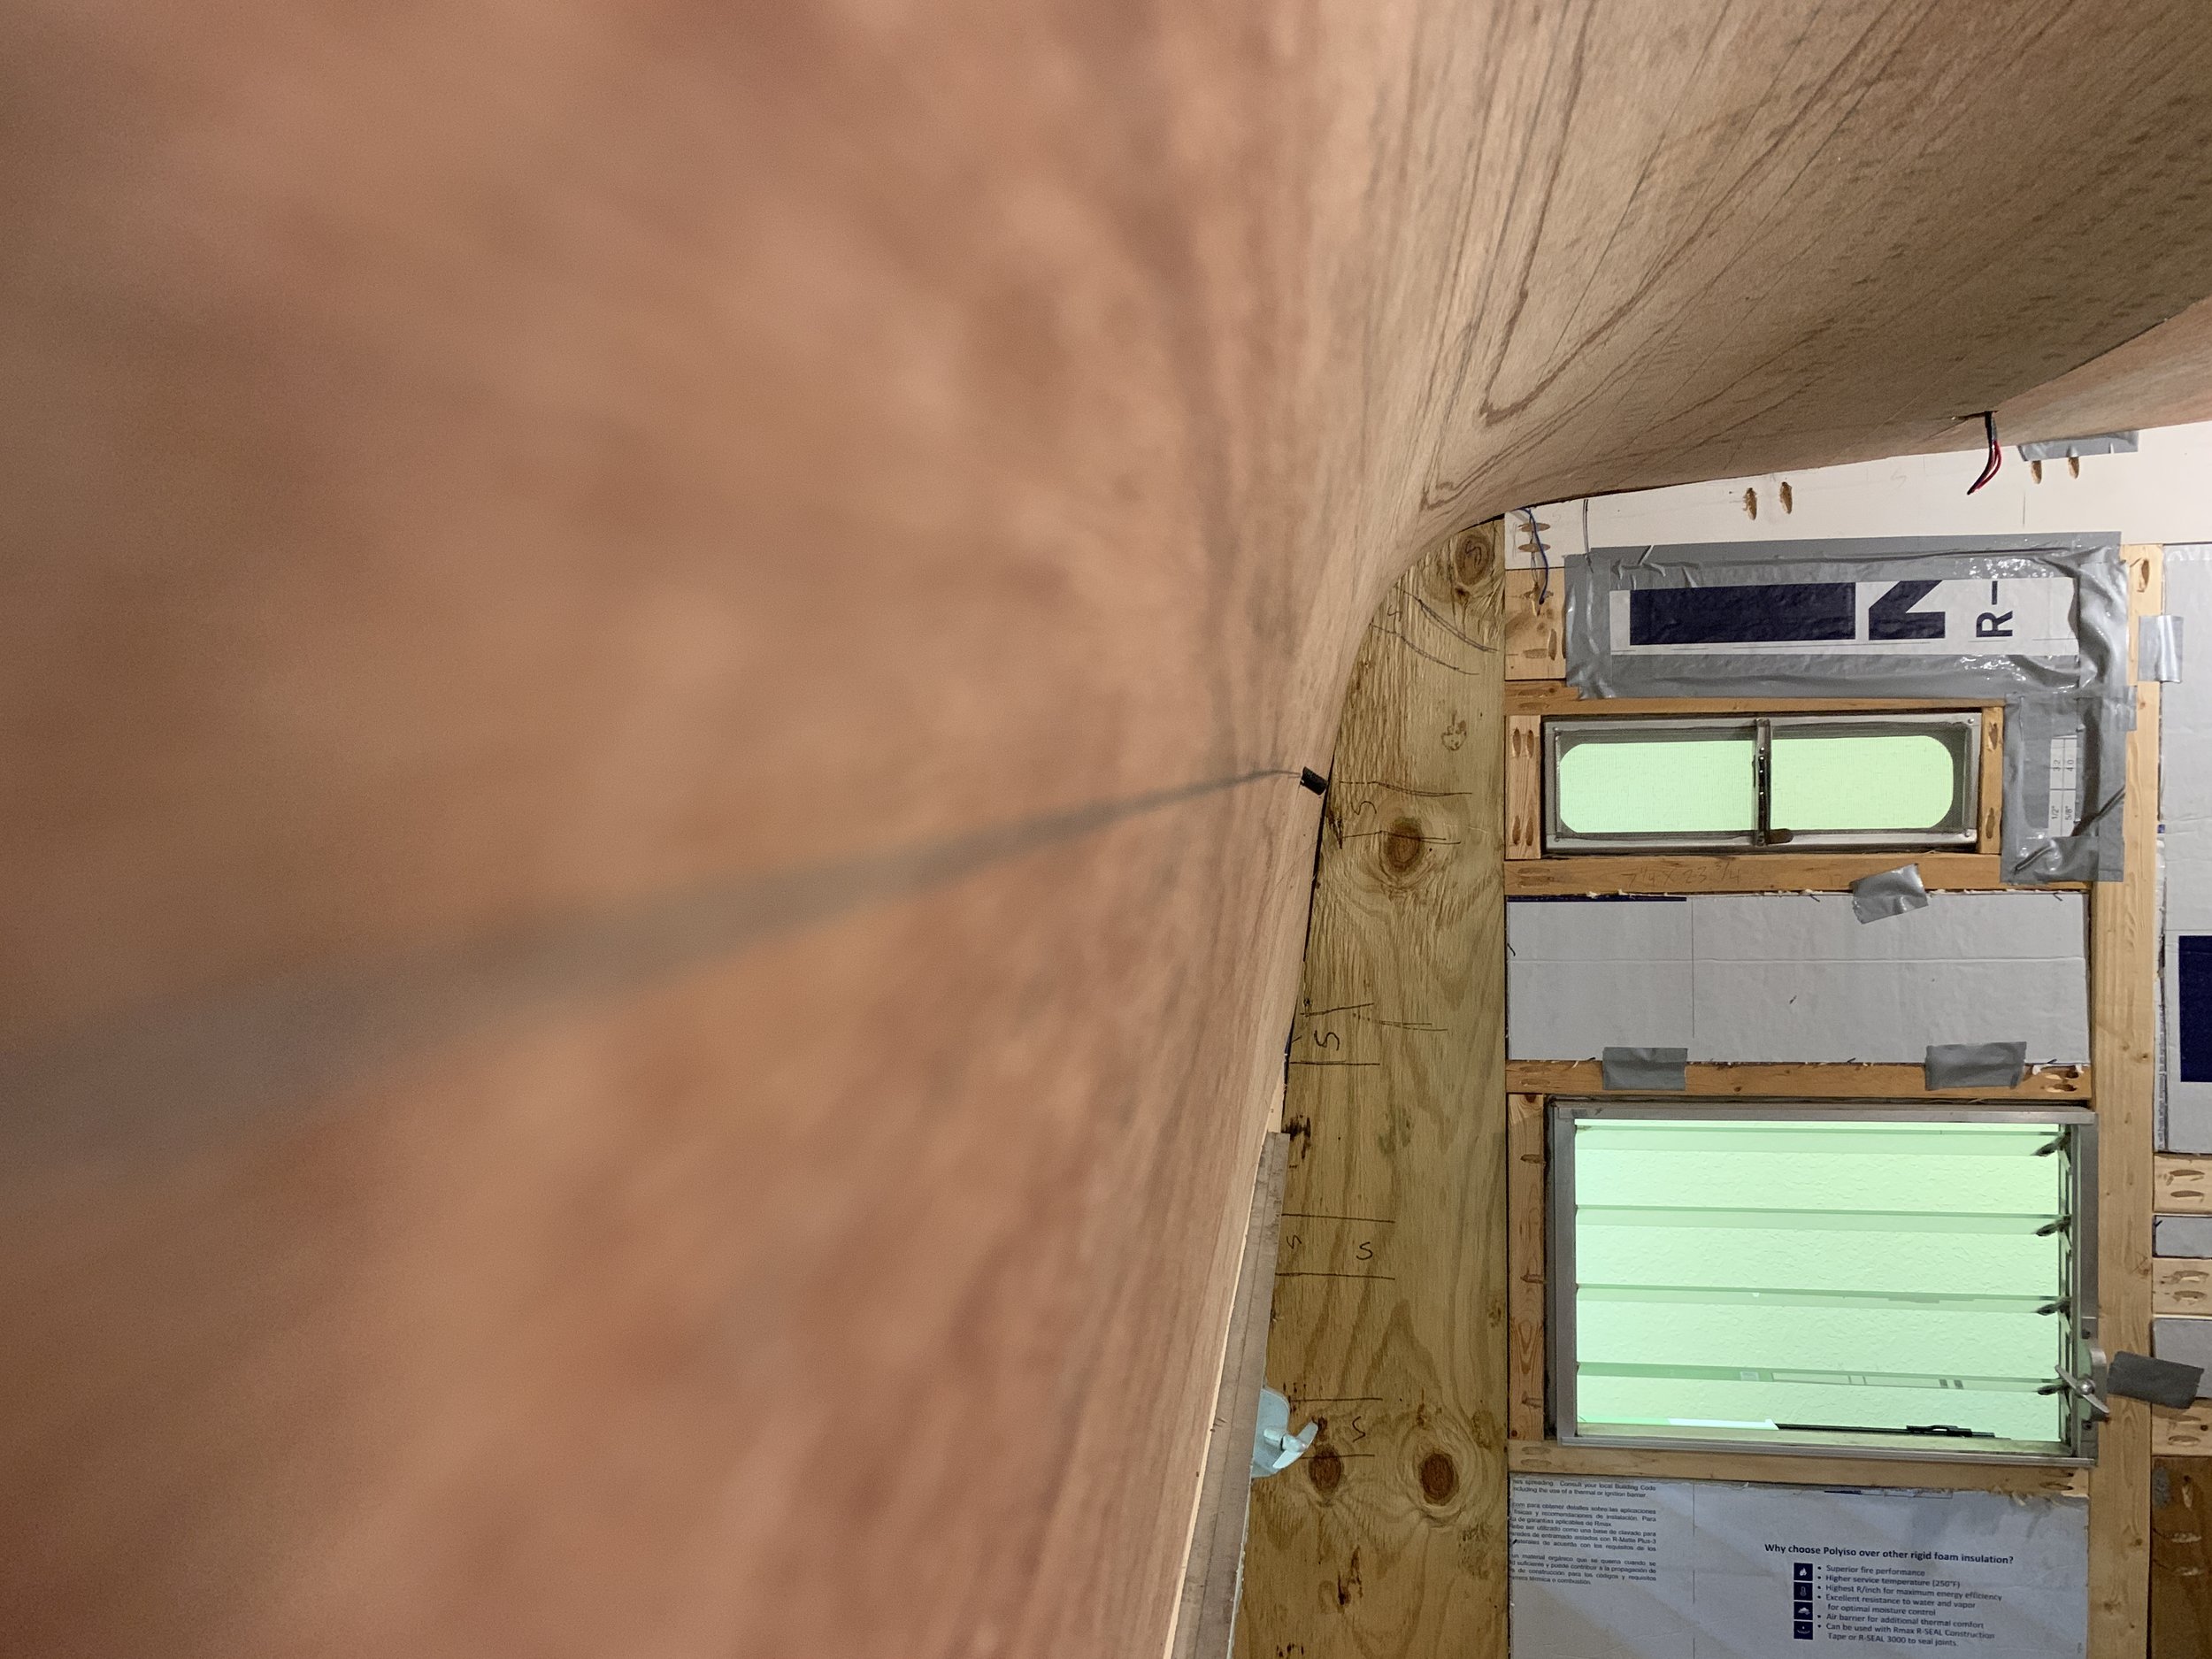
Hanging our ceiling + walls

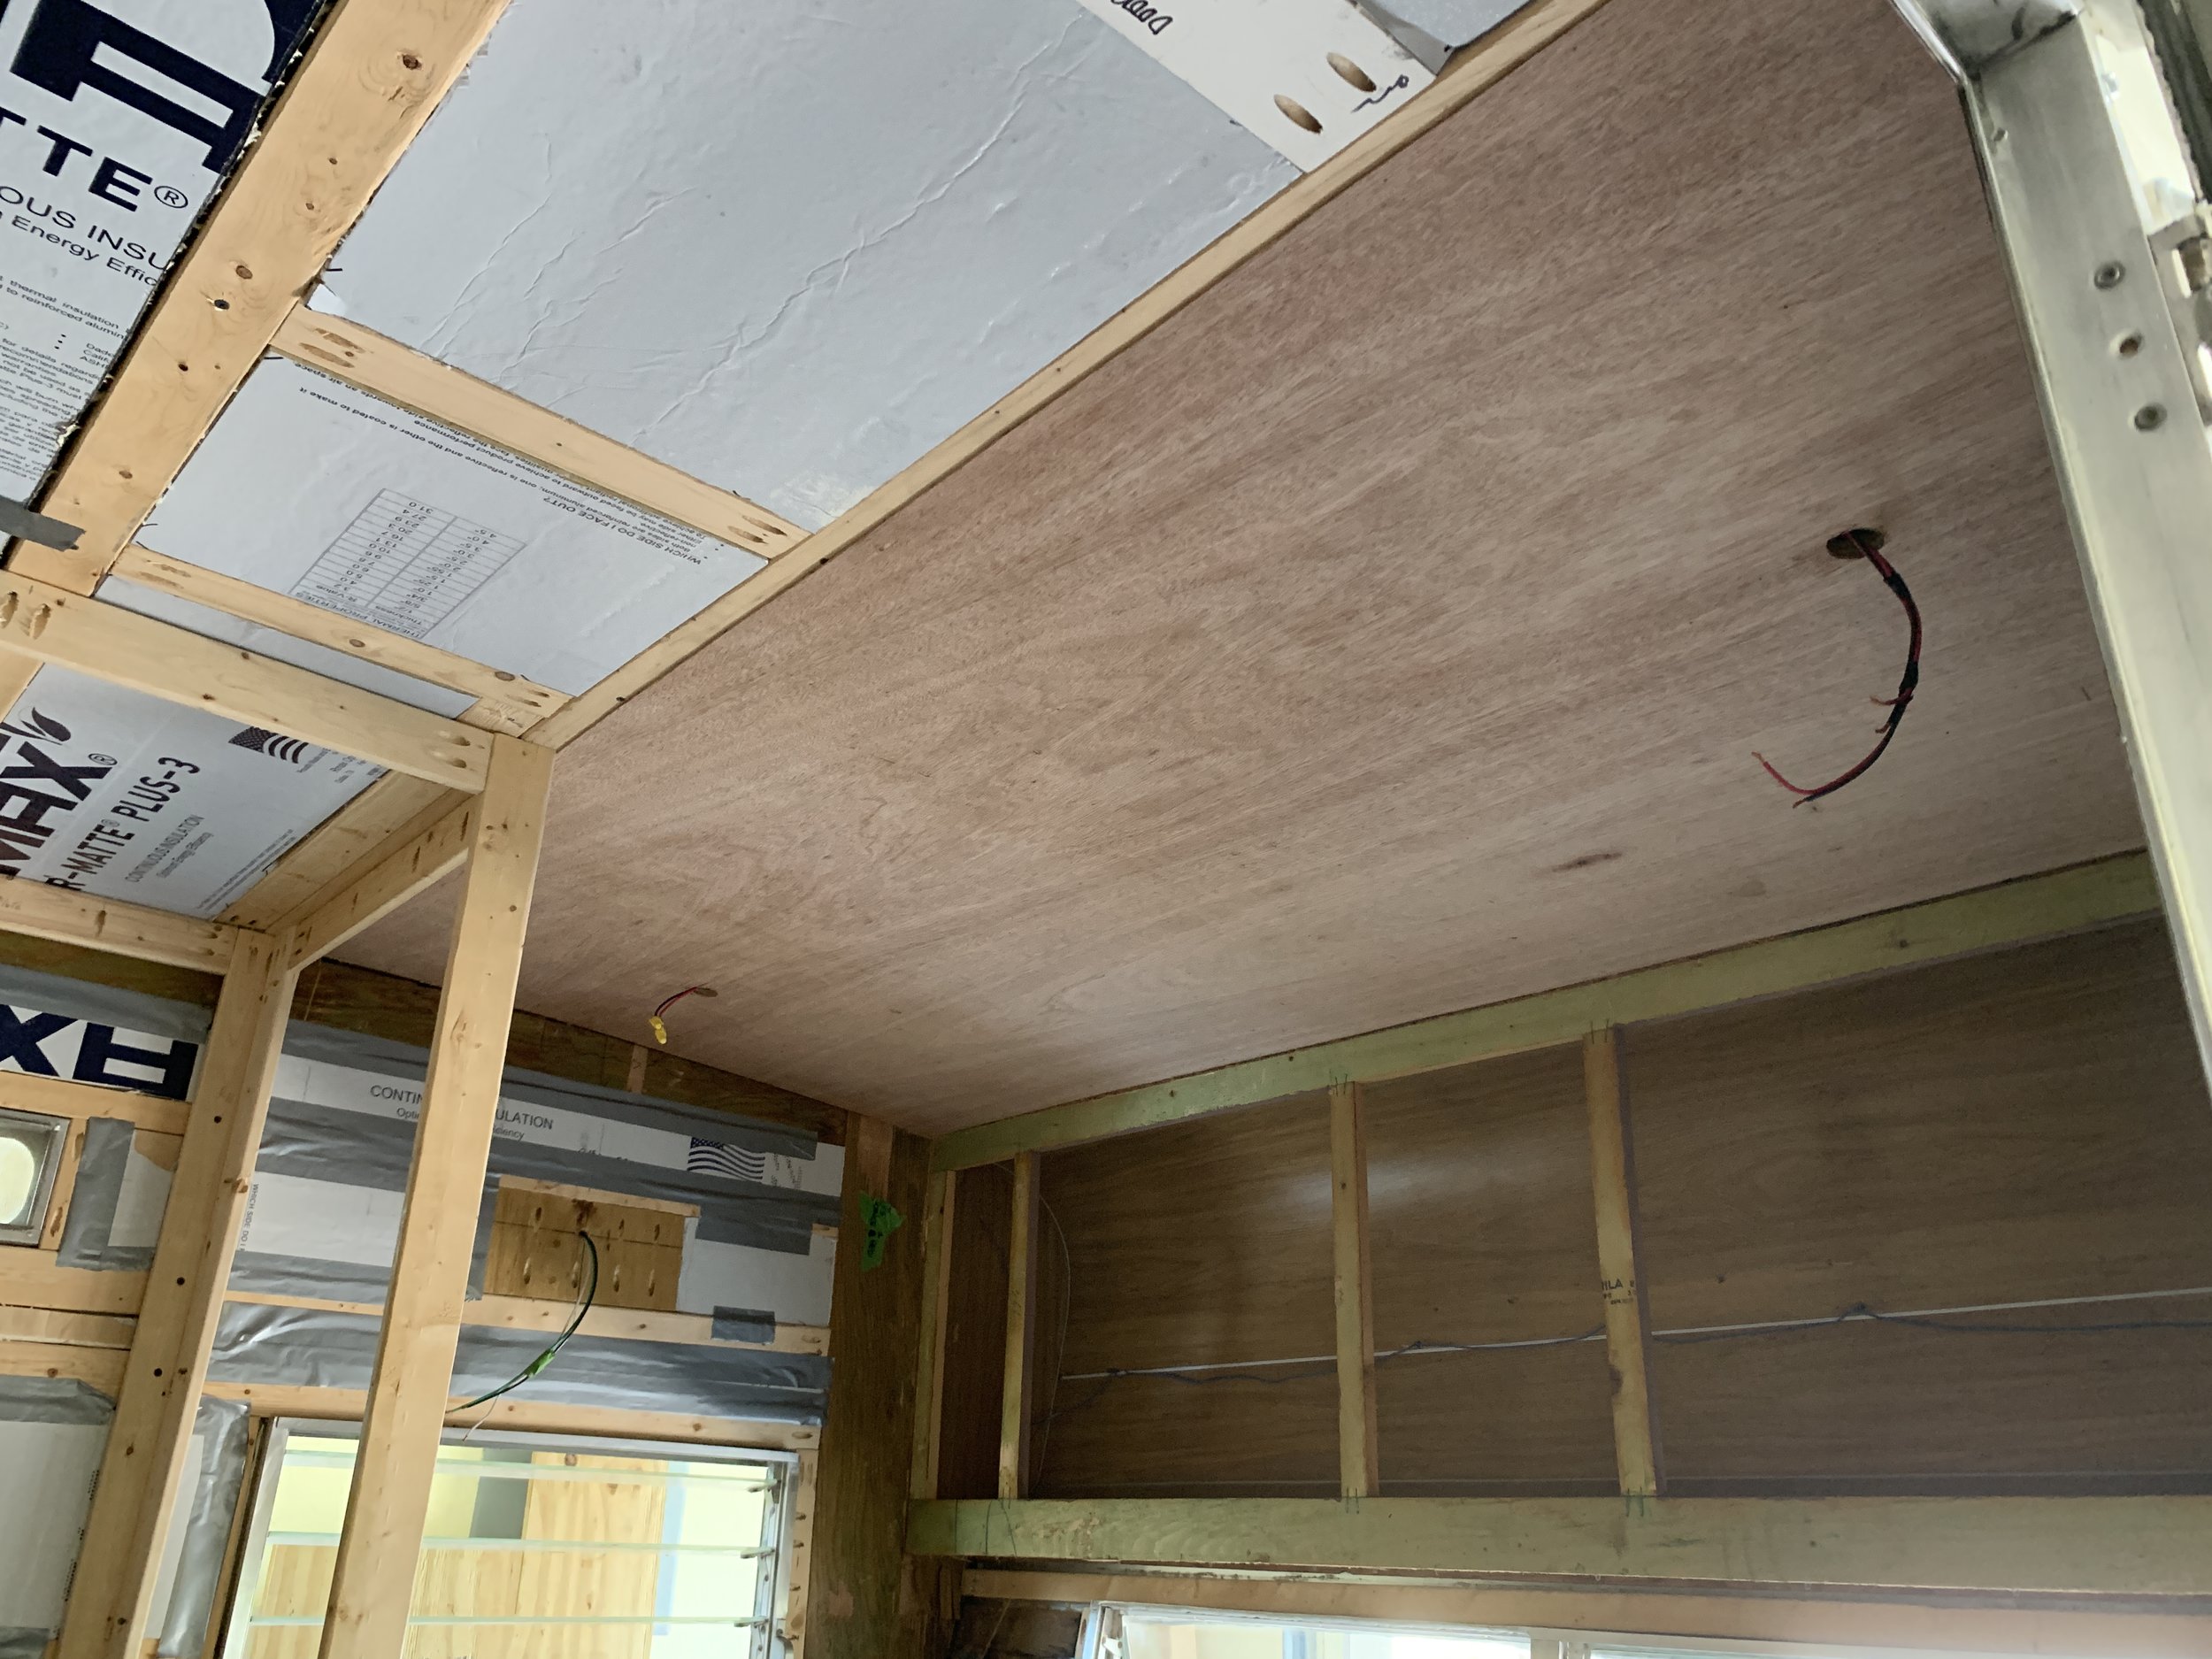
We debated for a hot minute between 1/8” and 1/4” thick paneling and are so happy we chose what we did. We chose this product for a handful of reasons.
We knew it needed to be light so we didn’t add unnecessary weight. More weight = more gas + wear and tear on the truck = more money.
Whatever we chose needed to be flexible so it could bend easily and follow the curves of The Cameo. There’s no way the way we hung the ceiling (from the inside of the camper vs. removing the metal completely and rebuilding the walls/ceiling on the floor and then reassembling the camper) that we could’ve bent the 1/4” plywood on the tight curve above the back window.
We knew we wanted to paint the walls and ceiling for a light and airy look, so we didn’t need to spend the extra cash on super nice birch that’s typical in vintage campers (and it’s kind of a huge faux pas to paint over its gorgeous woodgrain).
We always try to get the best product at the best cost. Ballin’ on a budget, y’all.
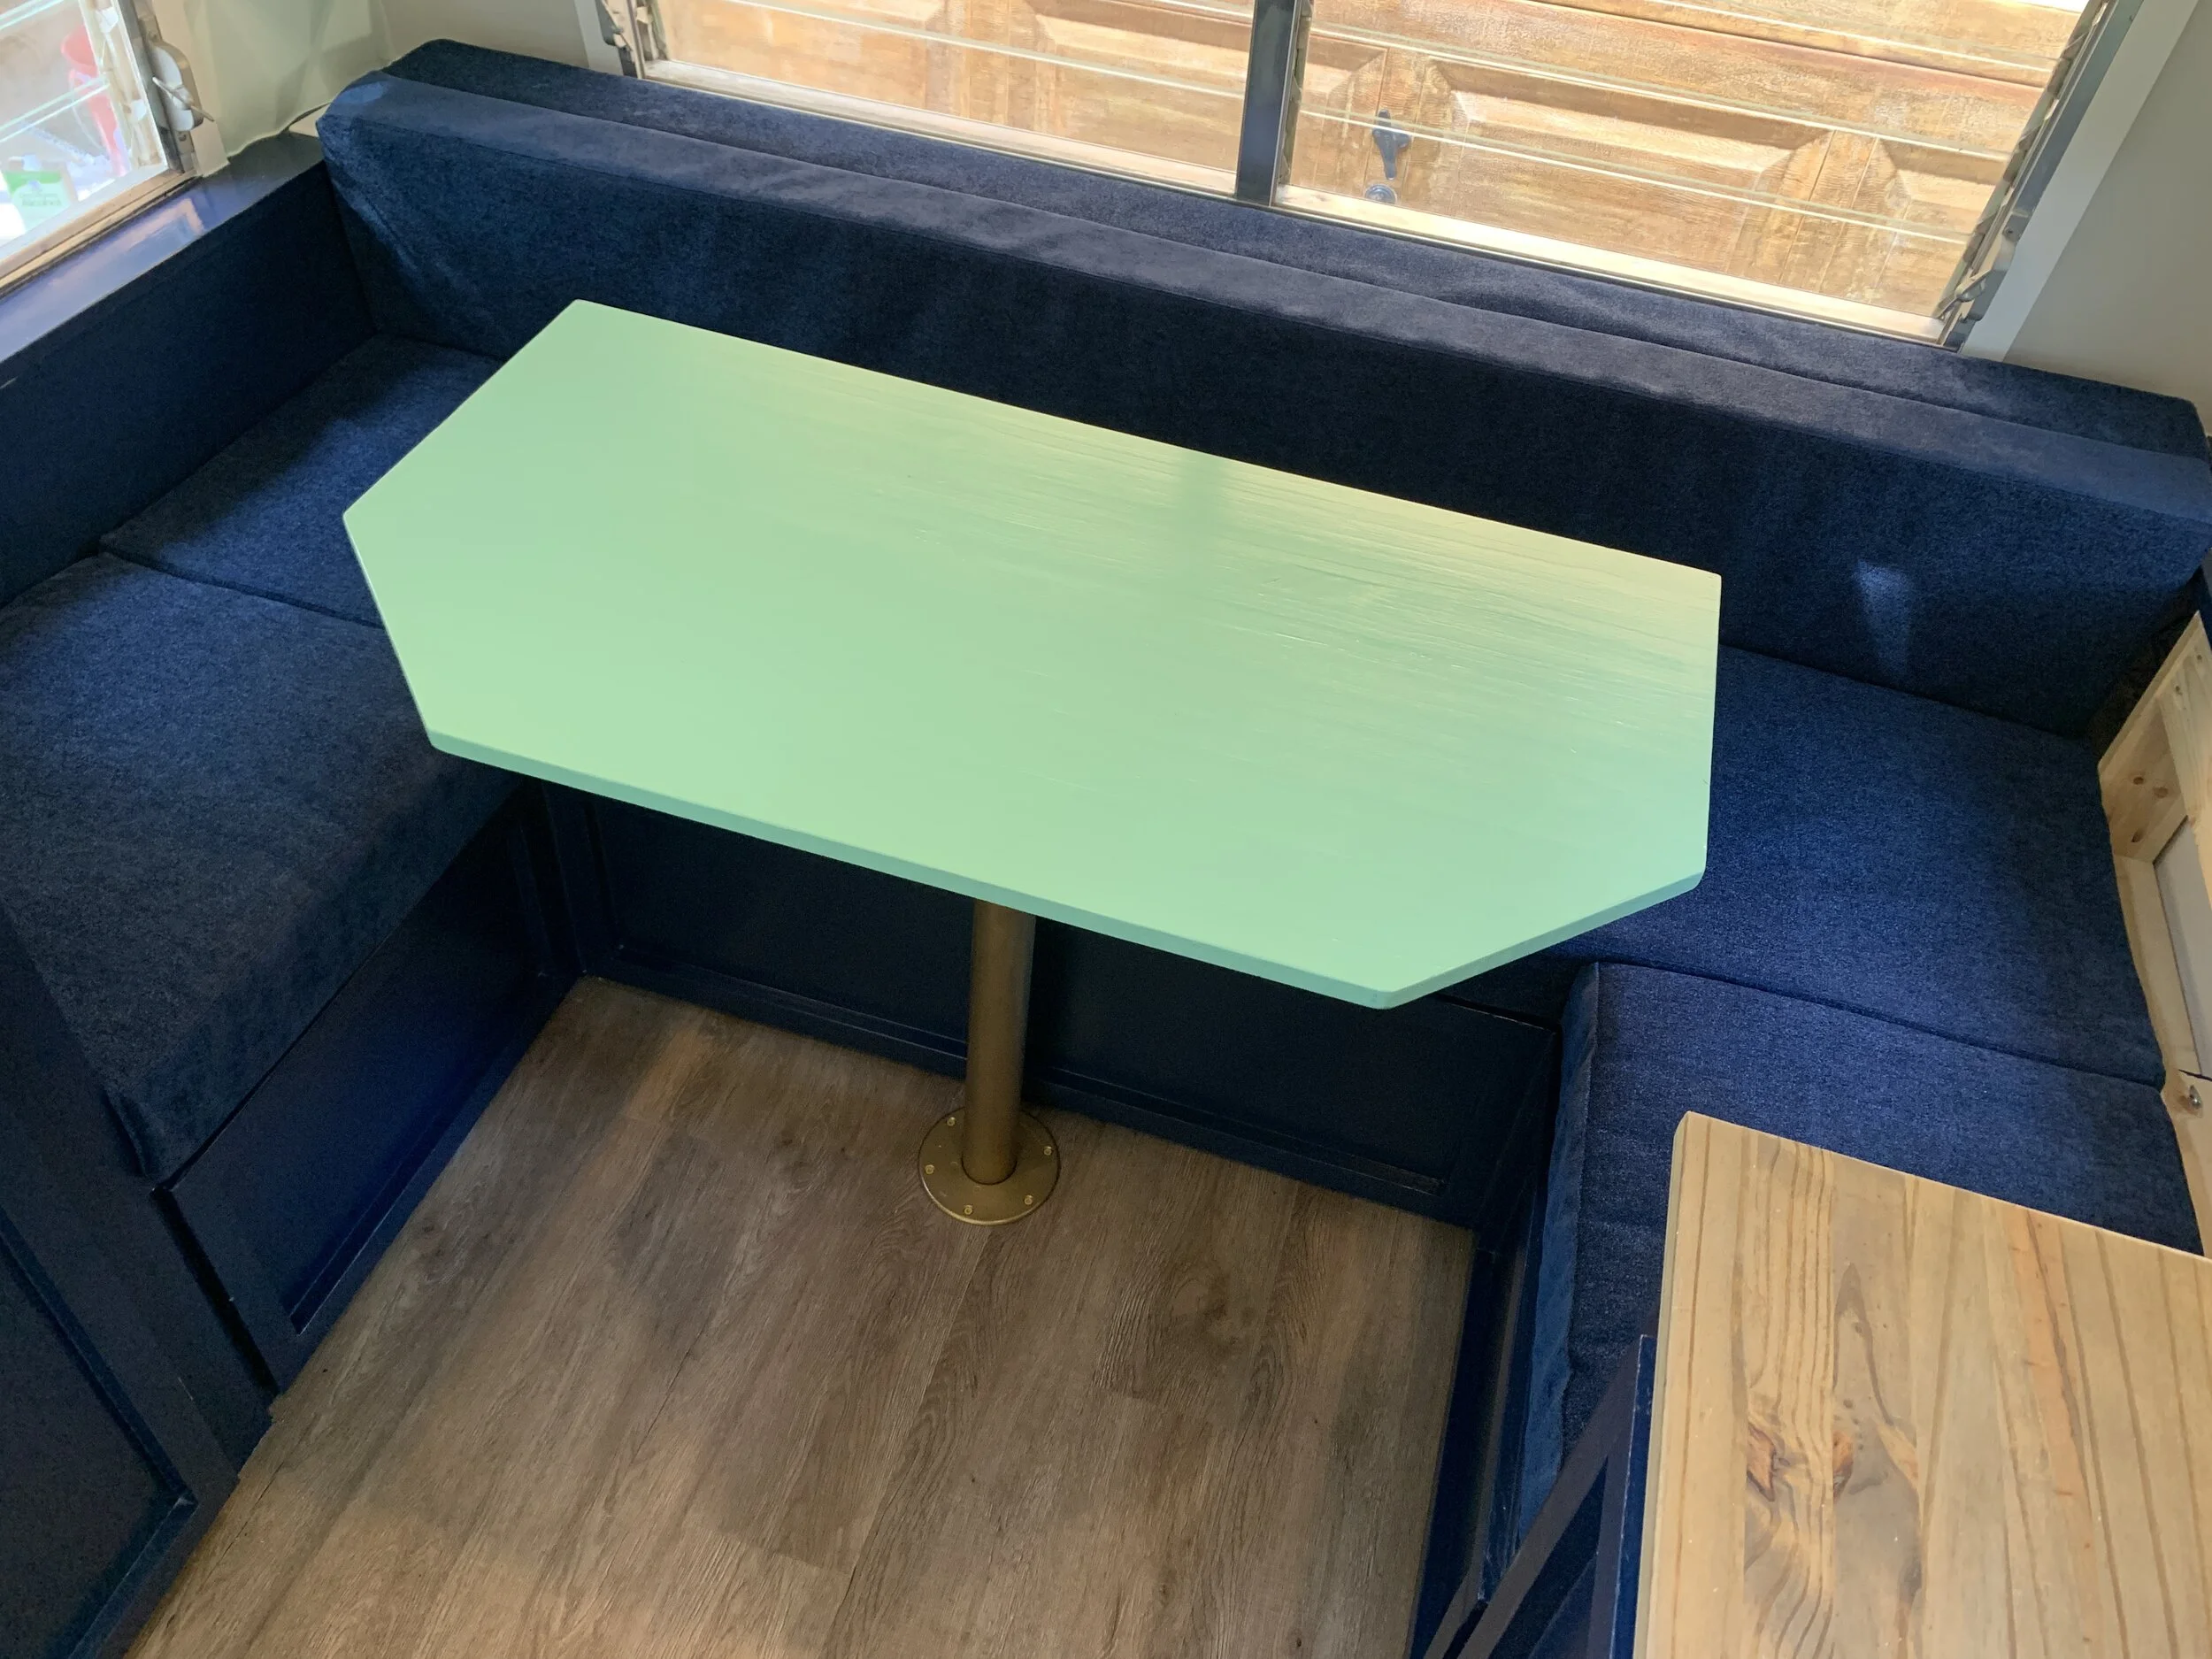
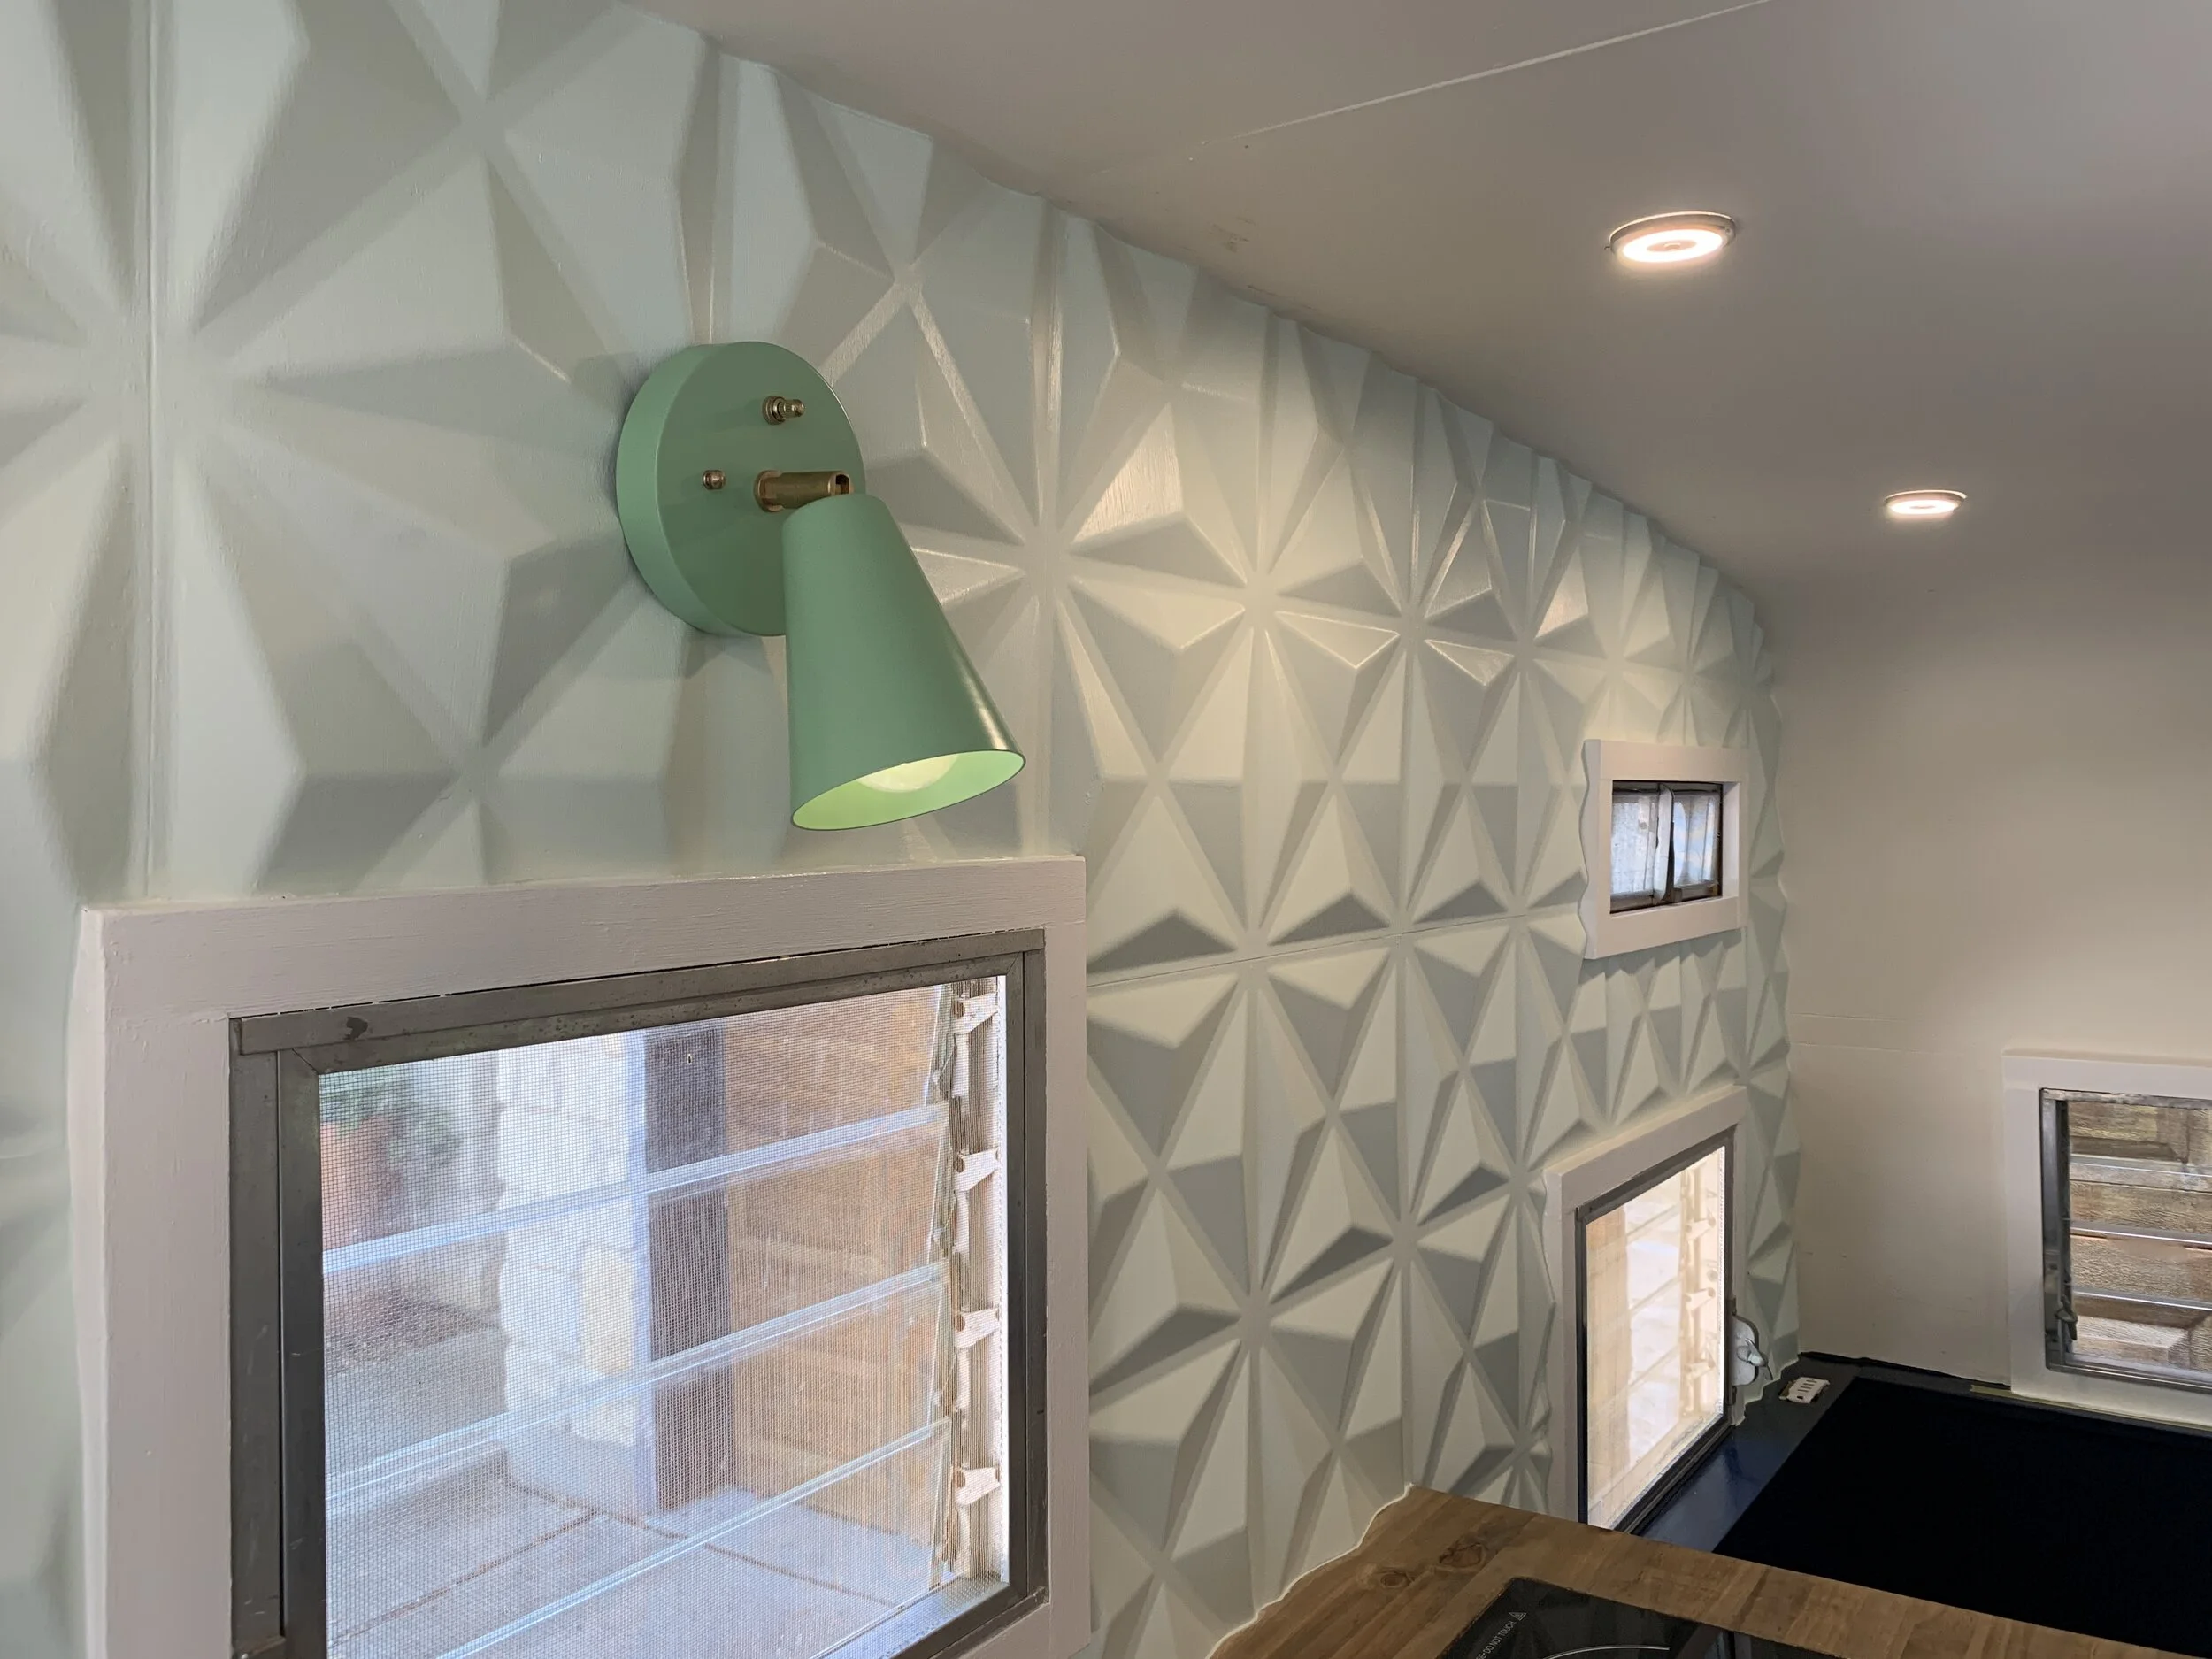
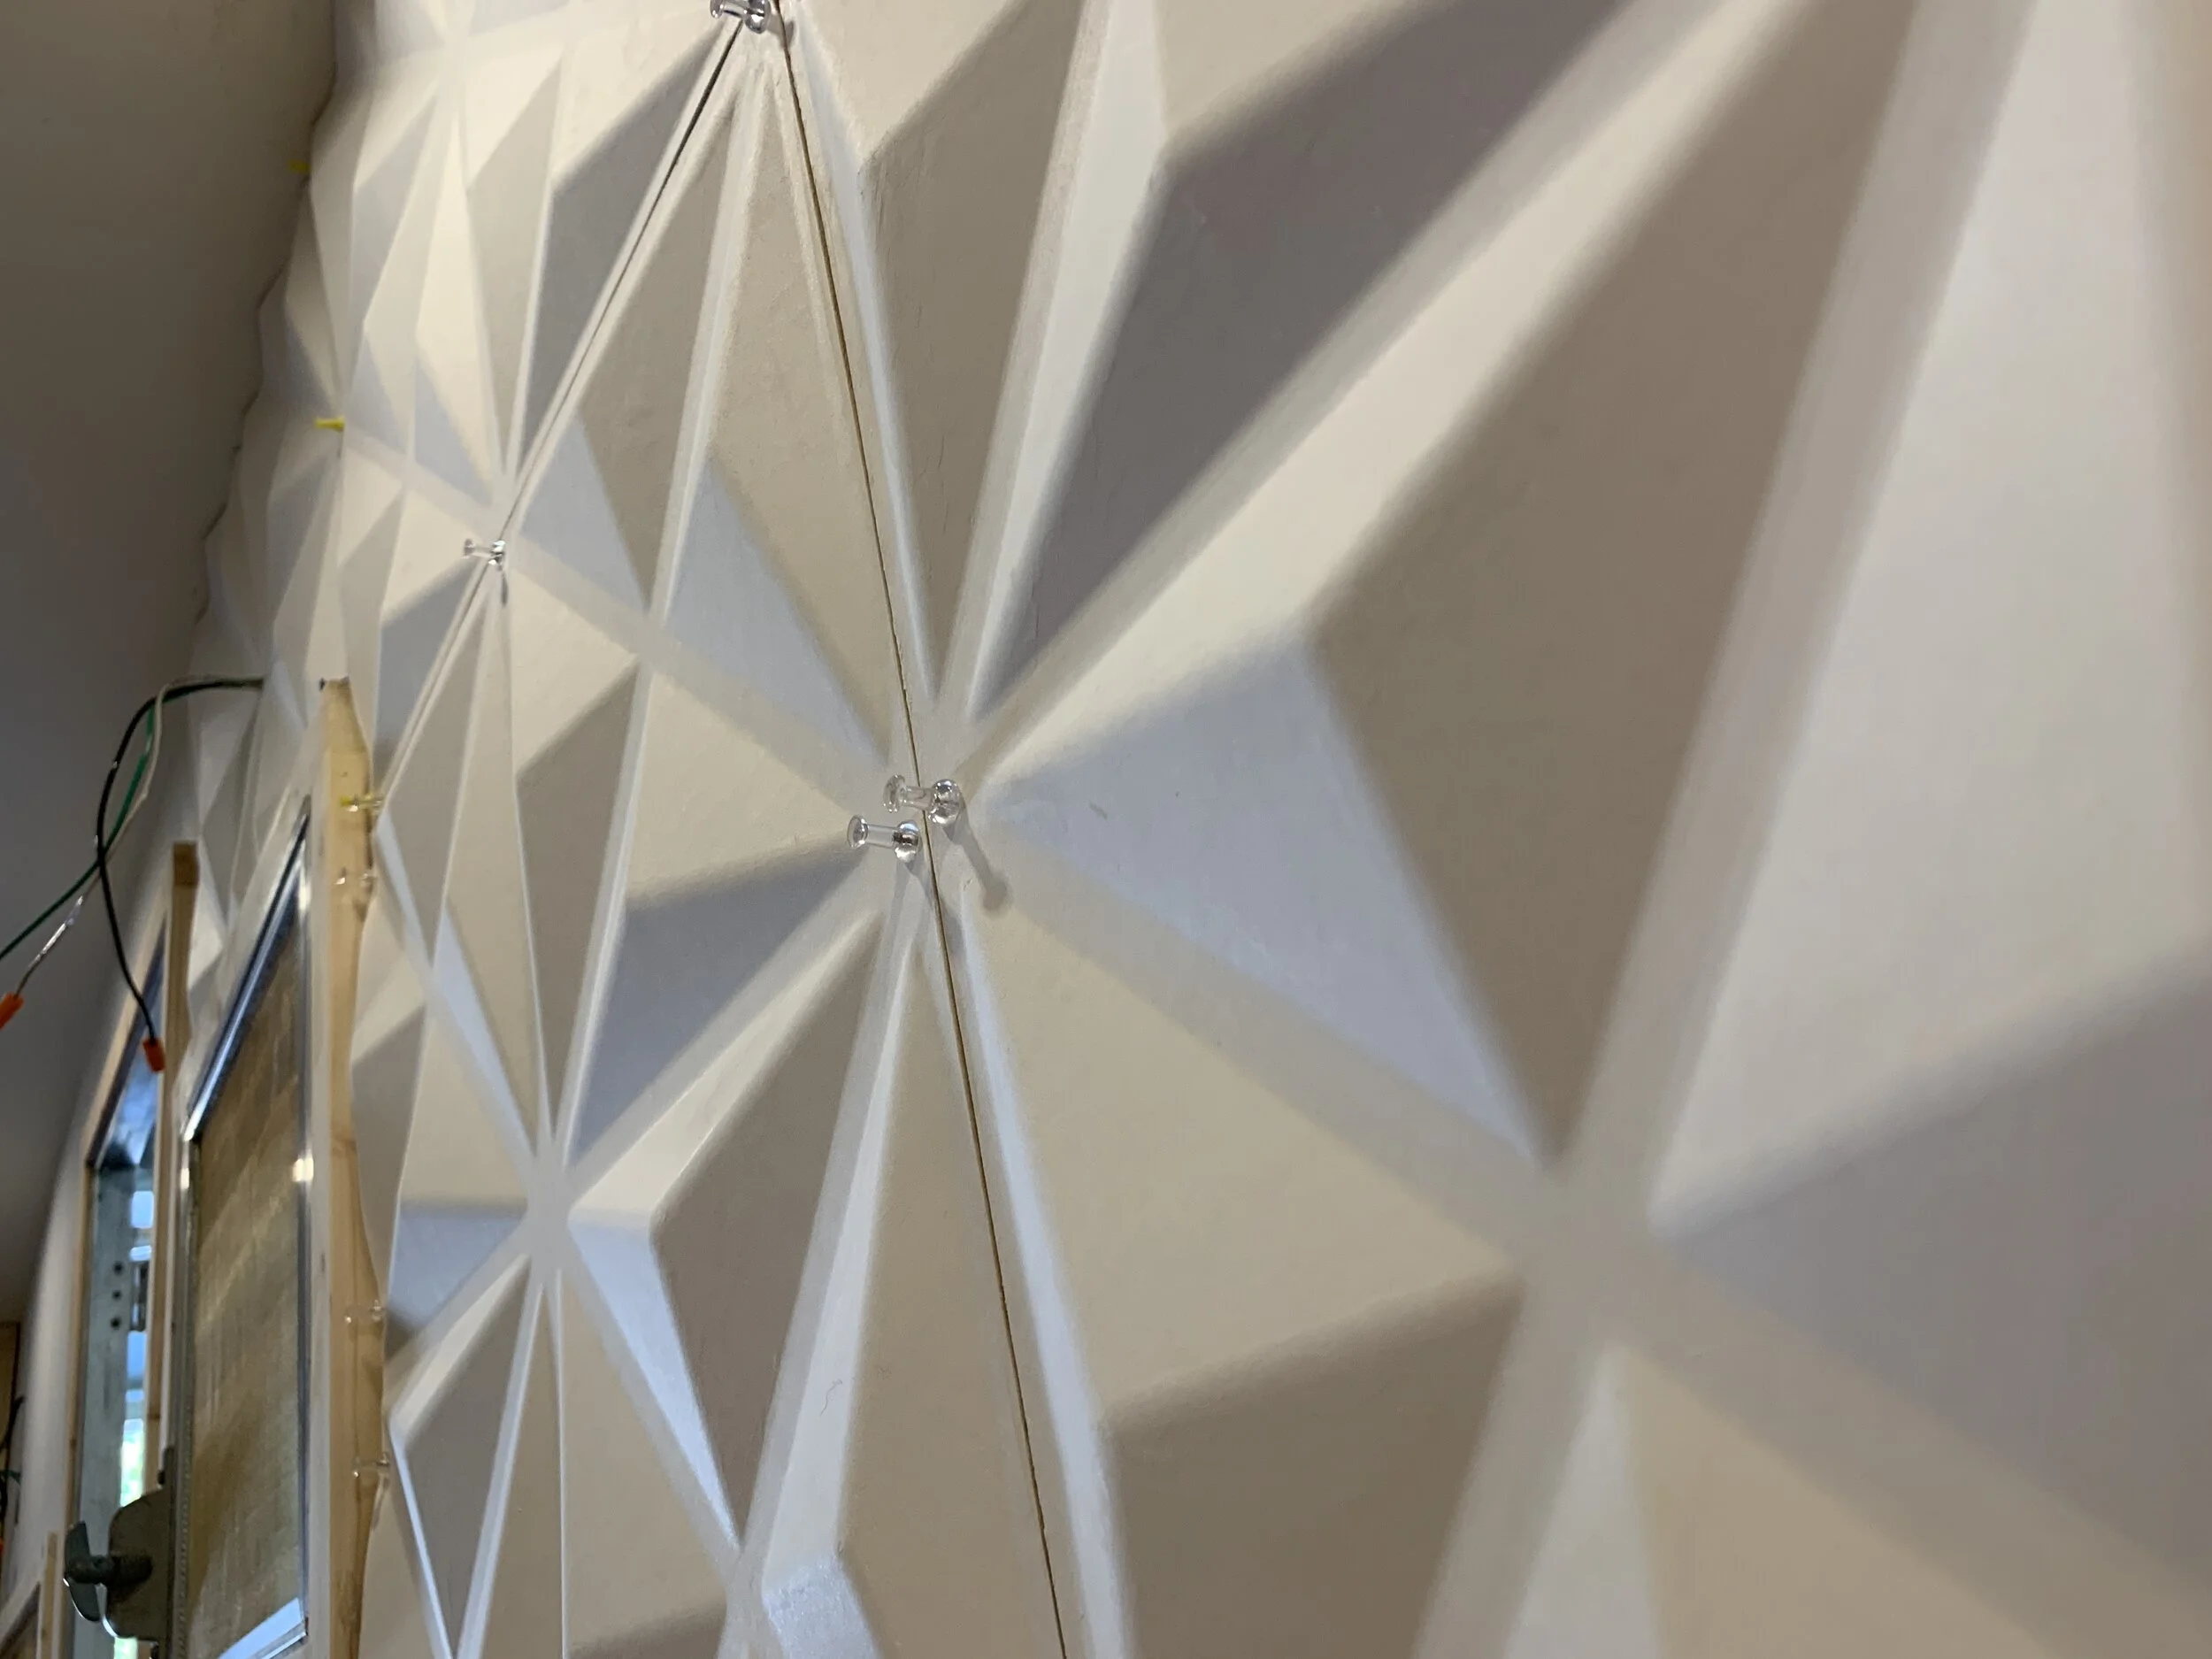
We wanted a nice smooth look for the walls and ceiling.
Anytime we don’t have to special order something is a win. This stuff was in stock at our local Home Depot which made it super easy to pick up when it was convenient for us.

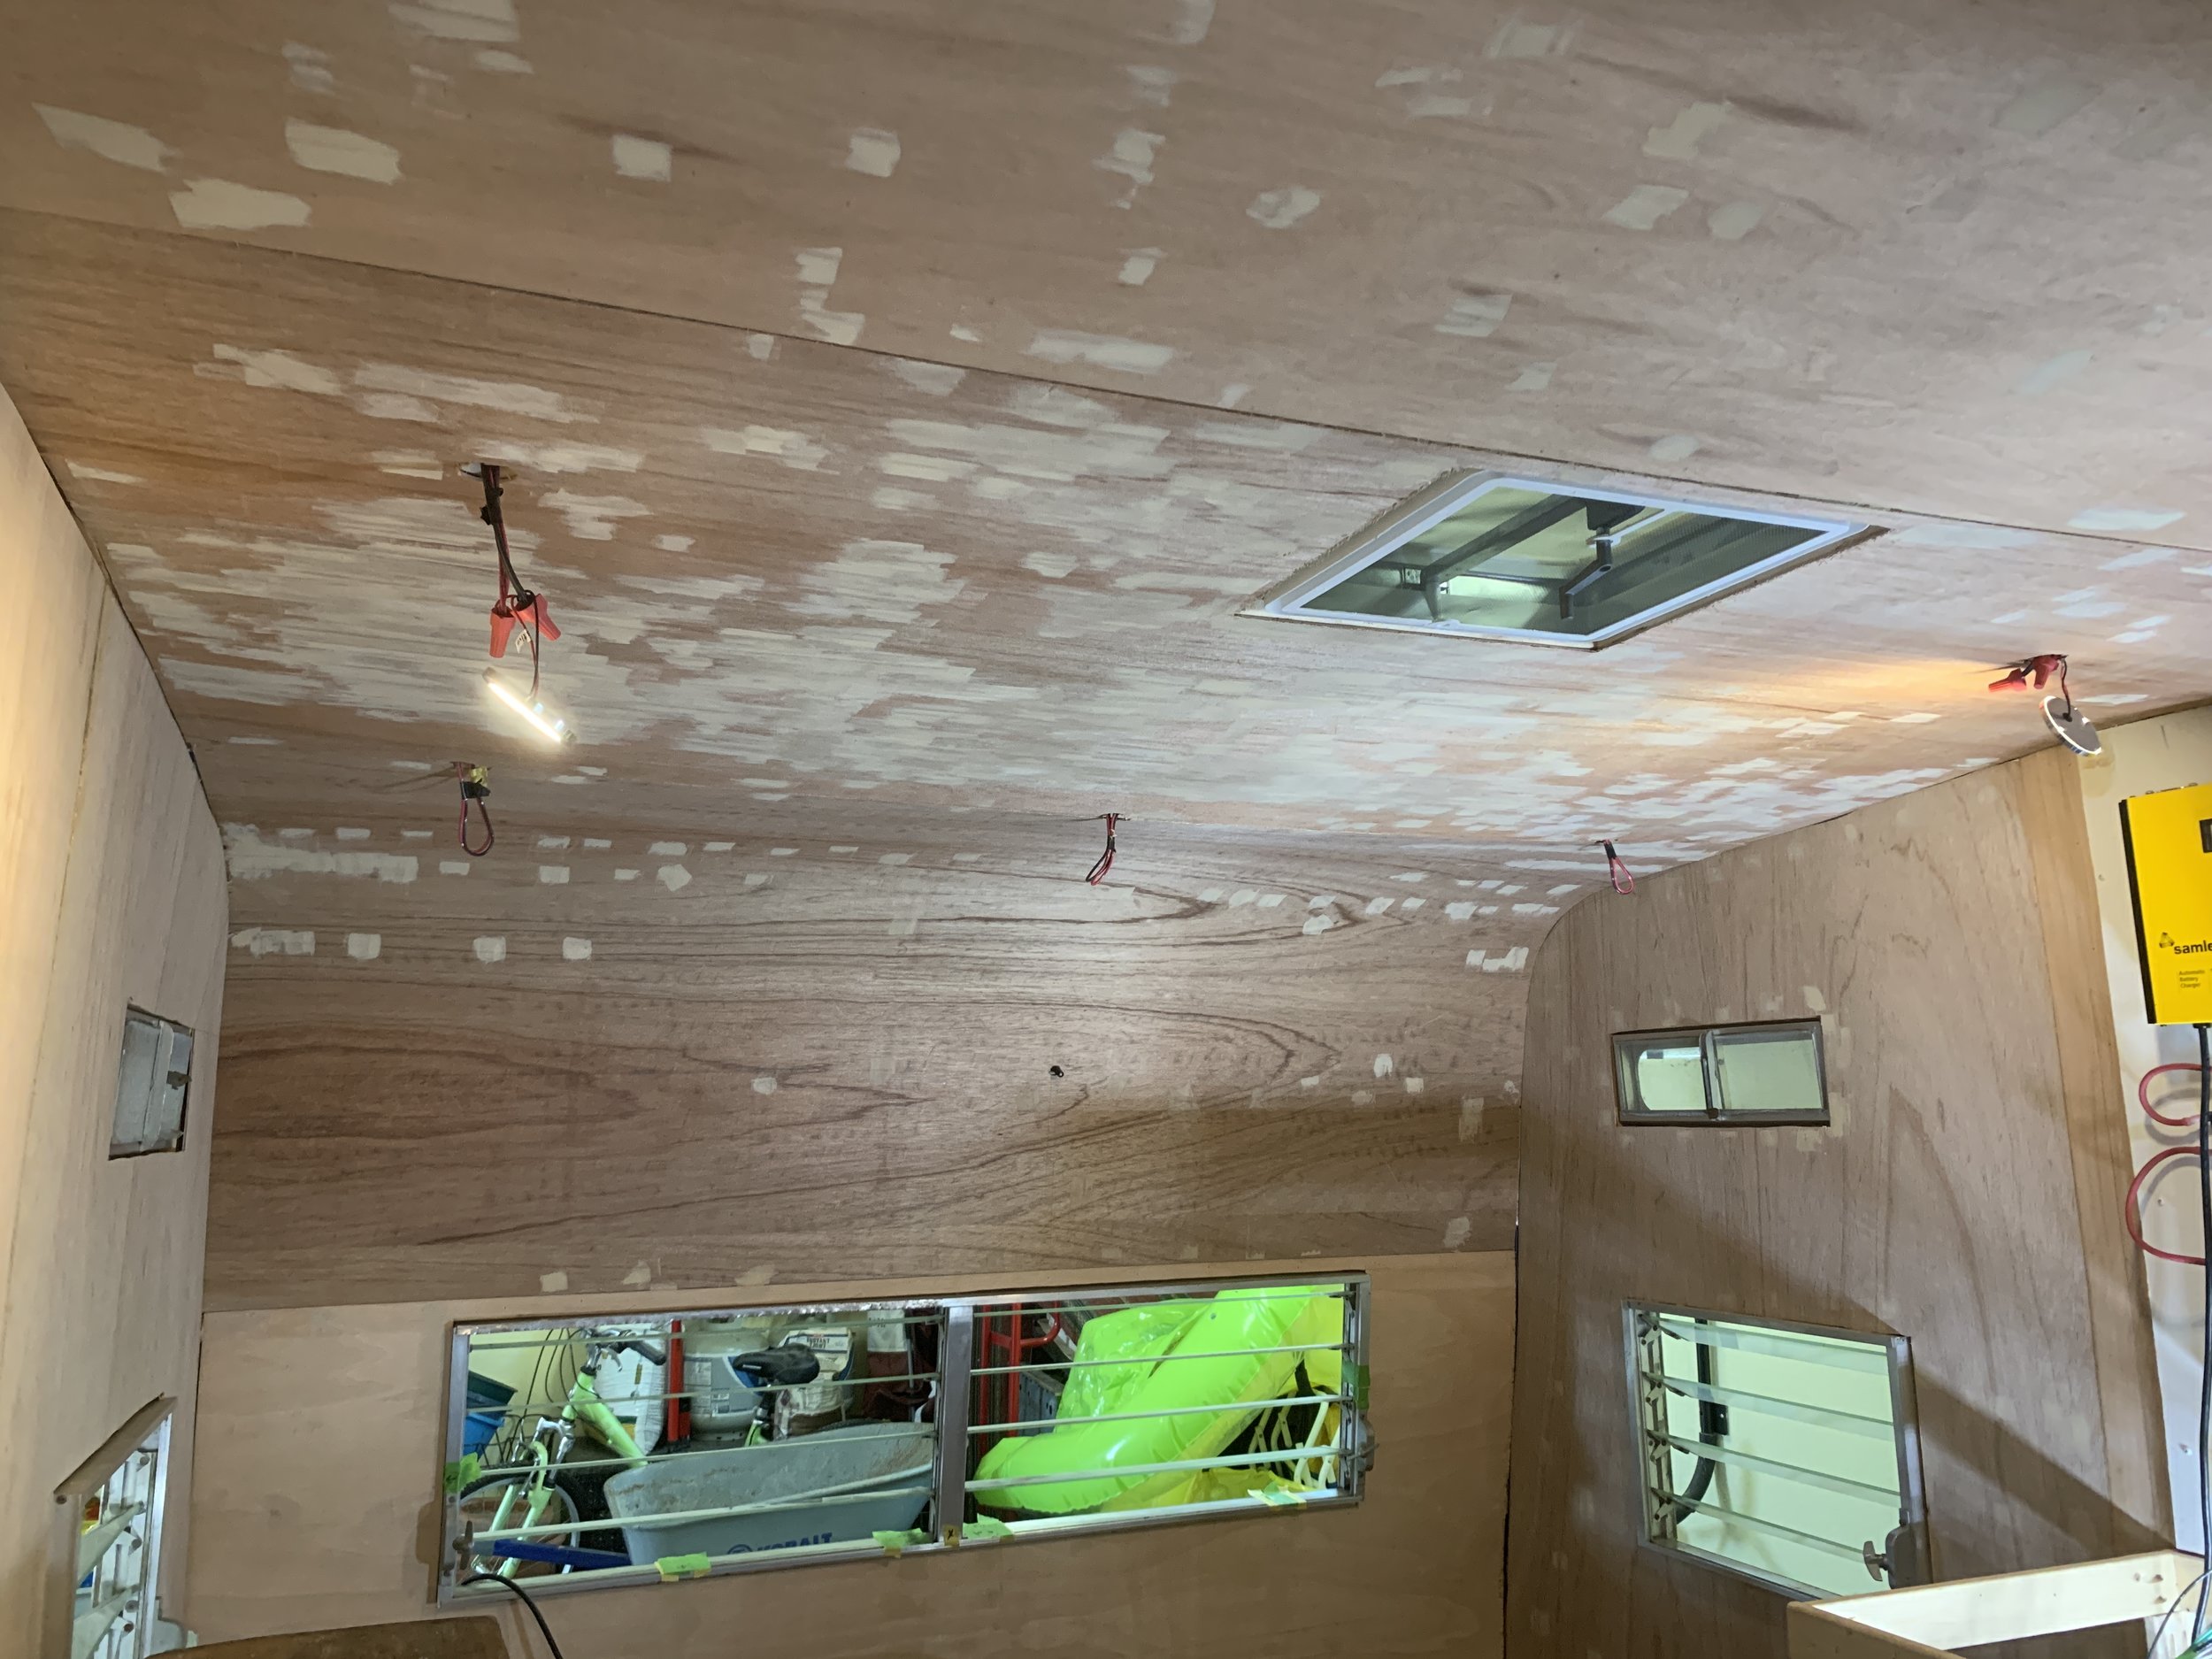
We started with the ceiling first so when we hung the walls it could help add additional to the support ceiling around the edges, and this way we didn’t scrape up the walls trying to maneuver the ceiling pieces in place. (We don’t have any photos of this because it was definitely an all hands on deck process.)
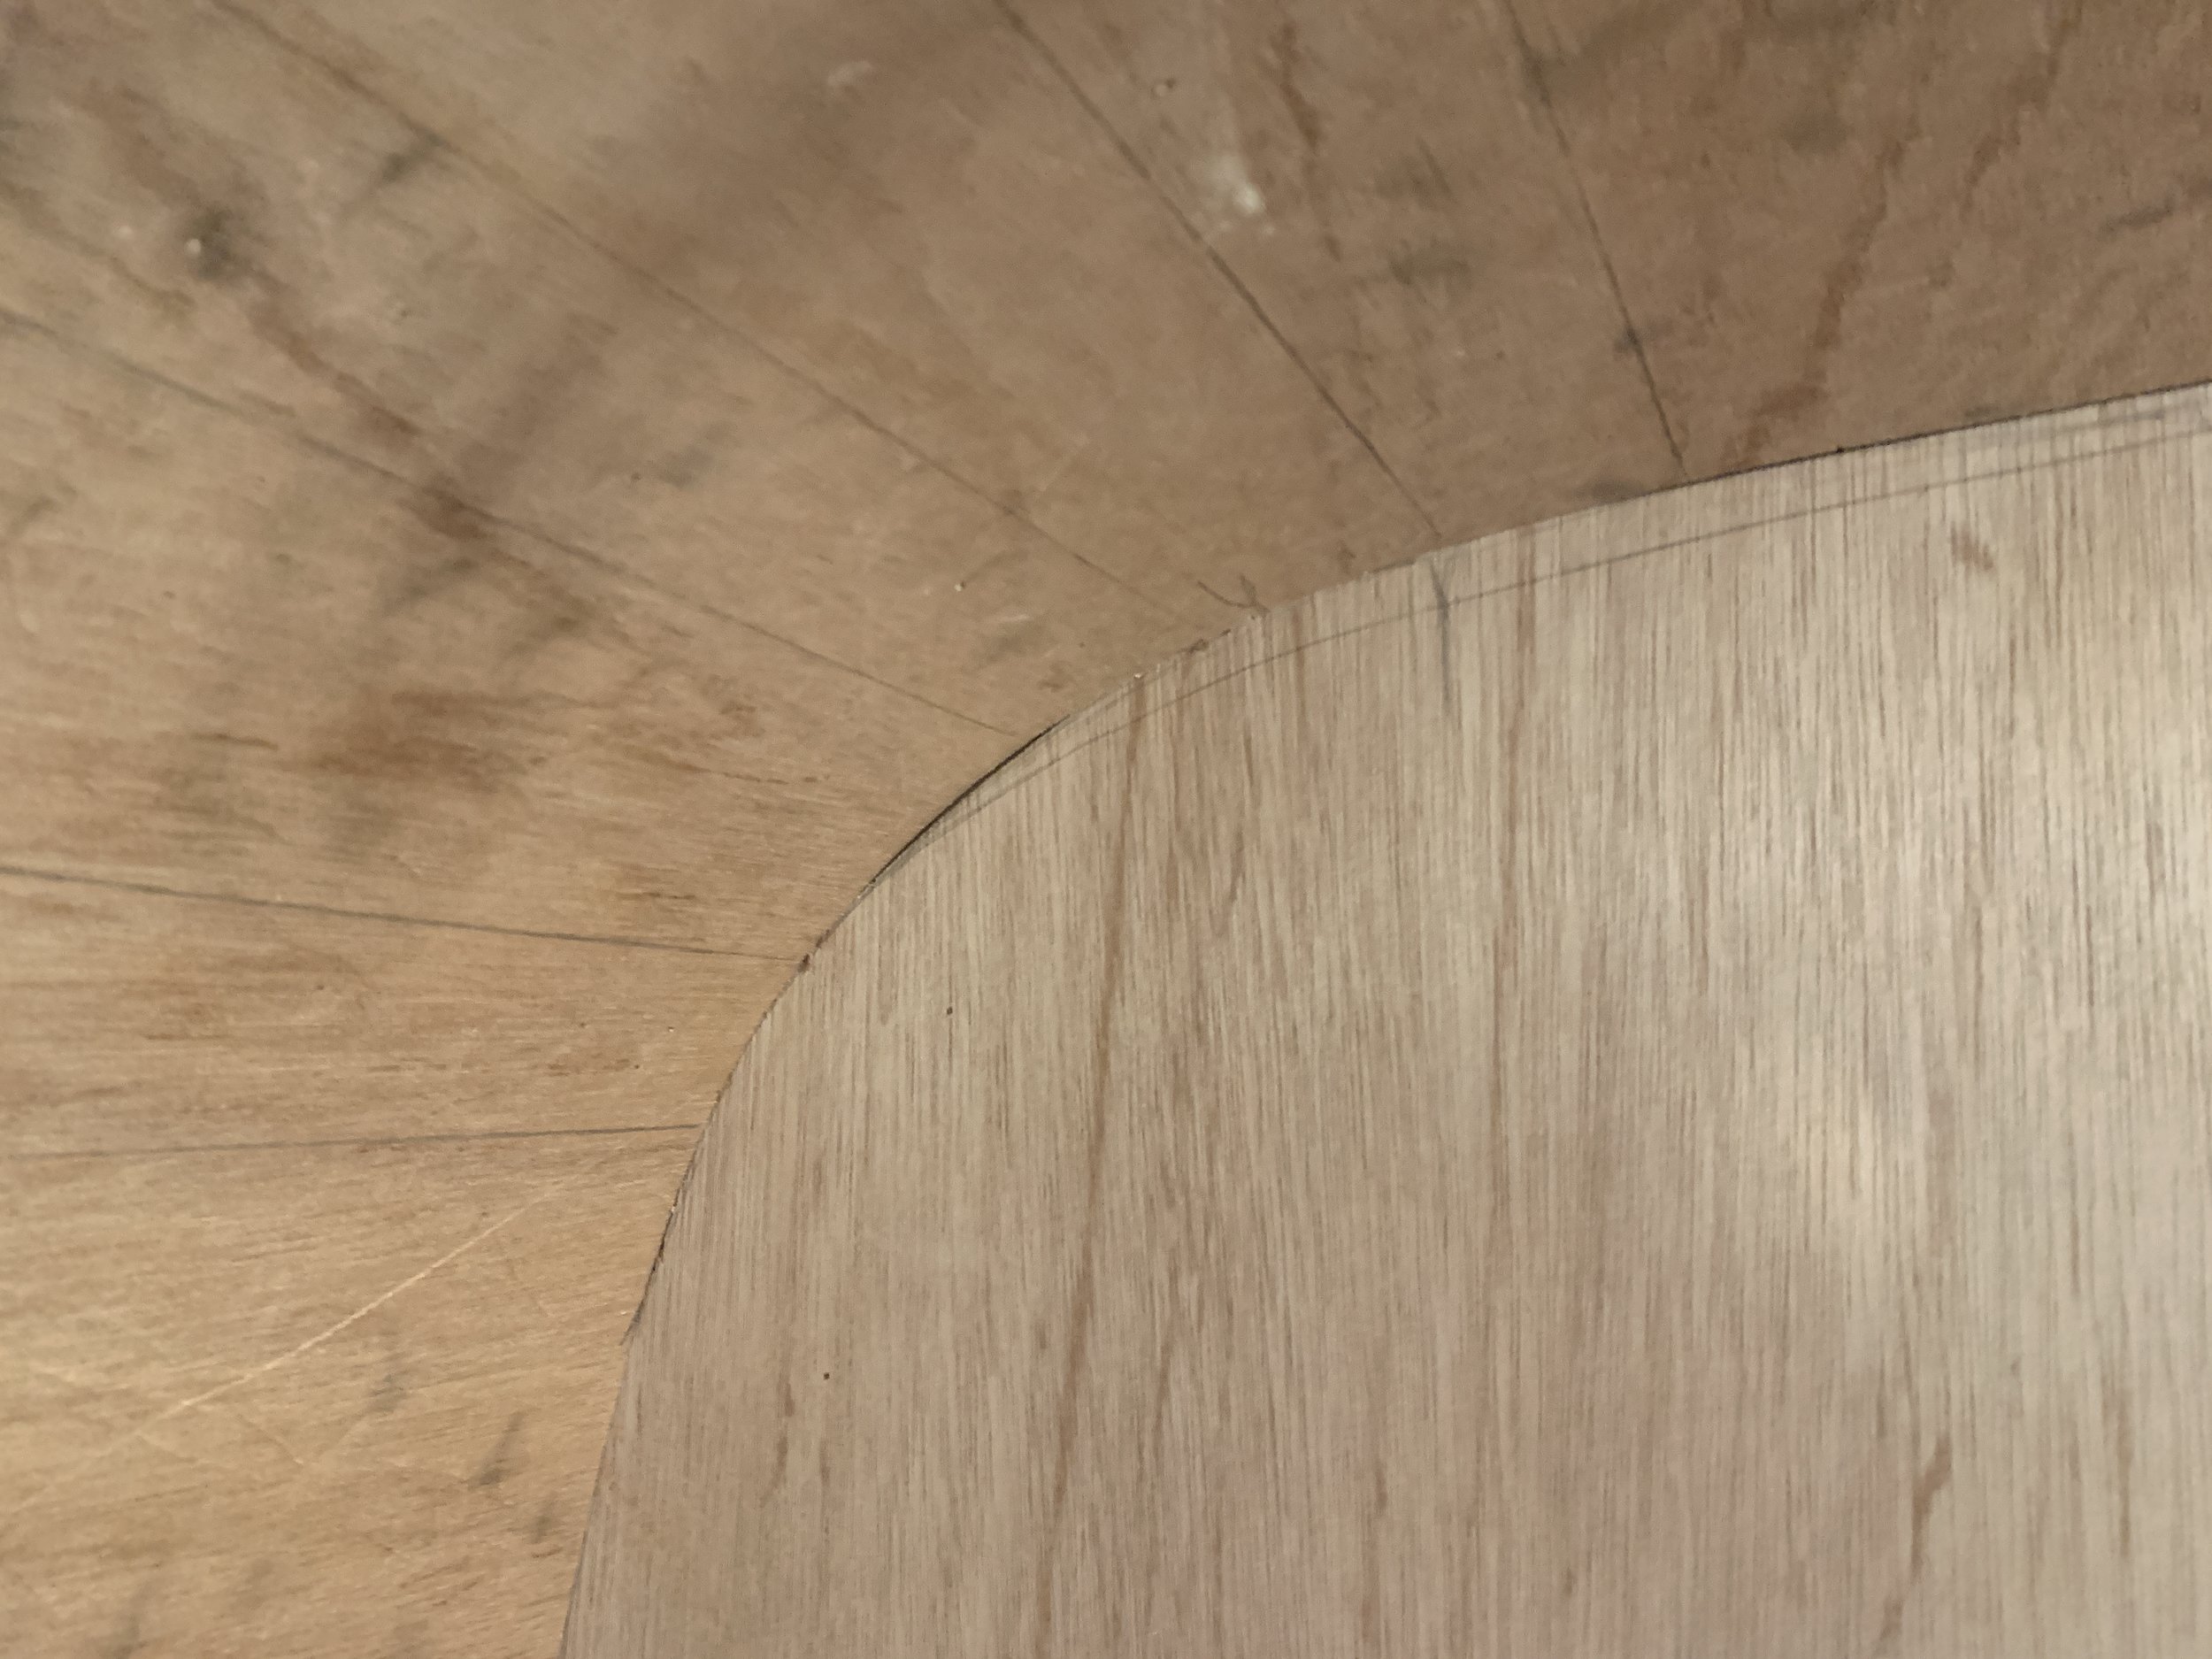
While you can’t really go wrong when choosing what side of this wood to have showing vs. hidden, there’s definitely kind of a good side and a bad side. We accidentally hung one of our ceiling panels “bad” side out. Not the end of the world by any means, but it just meant a lot more patching and sanding than on the other panels to fill shallow little pock marks and remove some roughness the “good” sides didn’t really have. Again, not a deal breaker, but just took a little more time and that’s not exactly ideal when you’re craning your neck/back to awkwardly fill and sand the ceiling over your head once it’s in place.
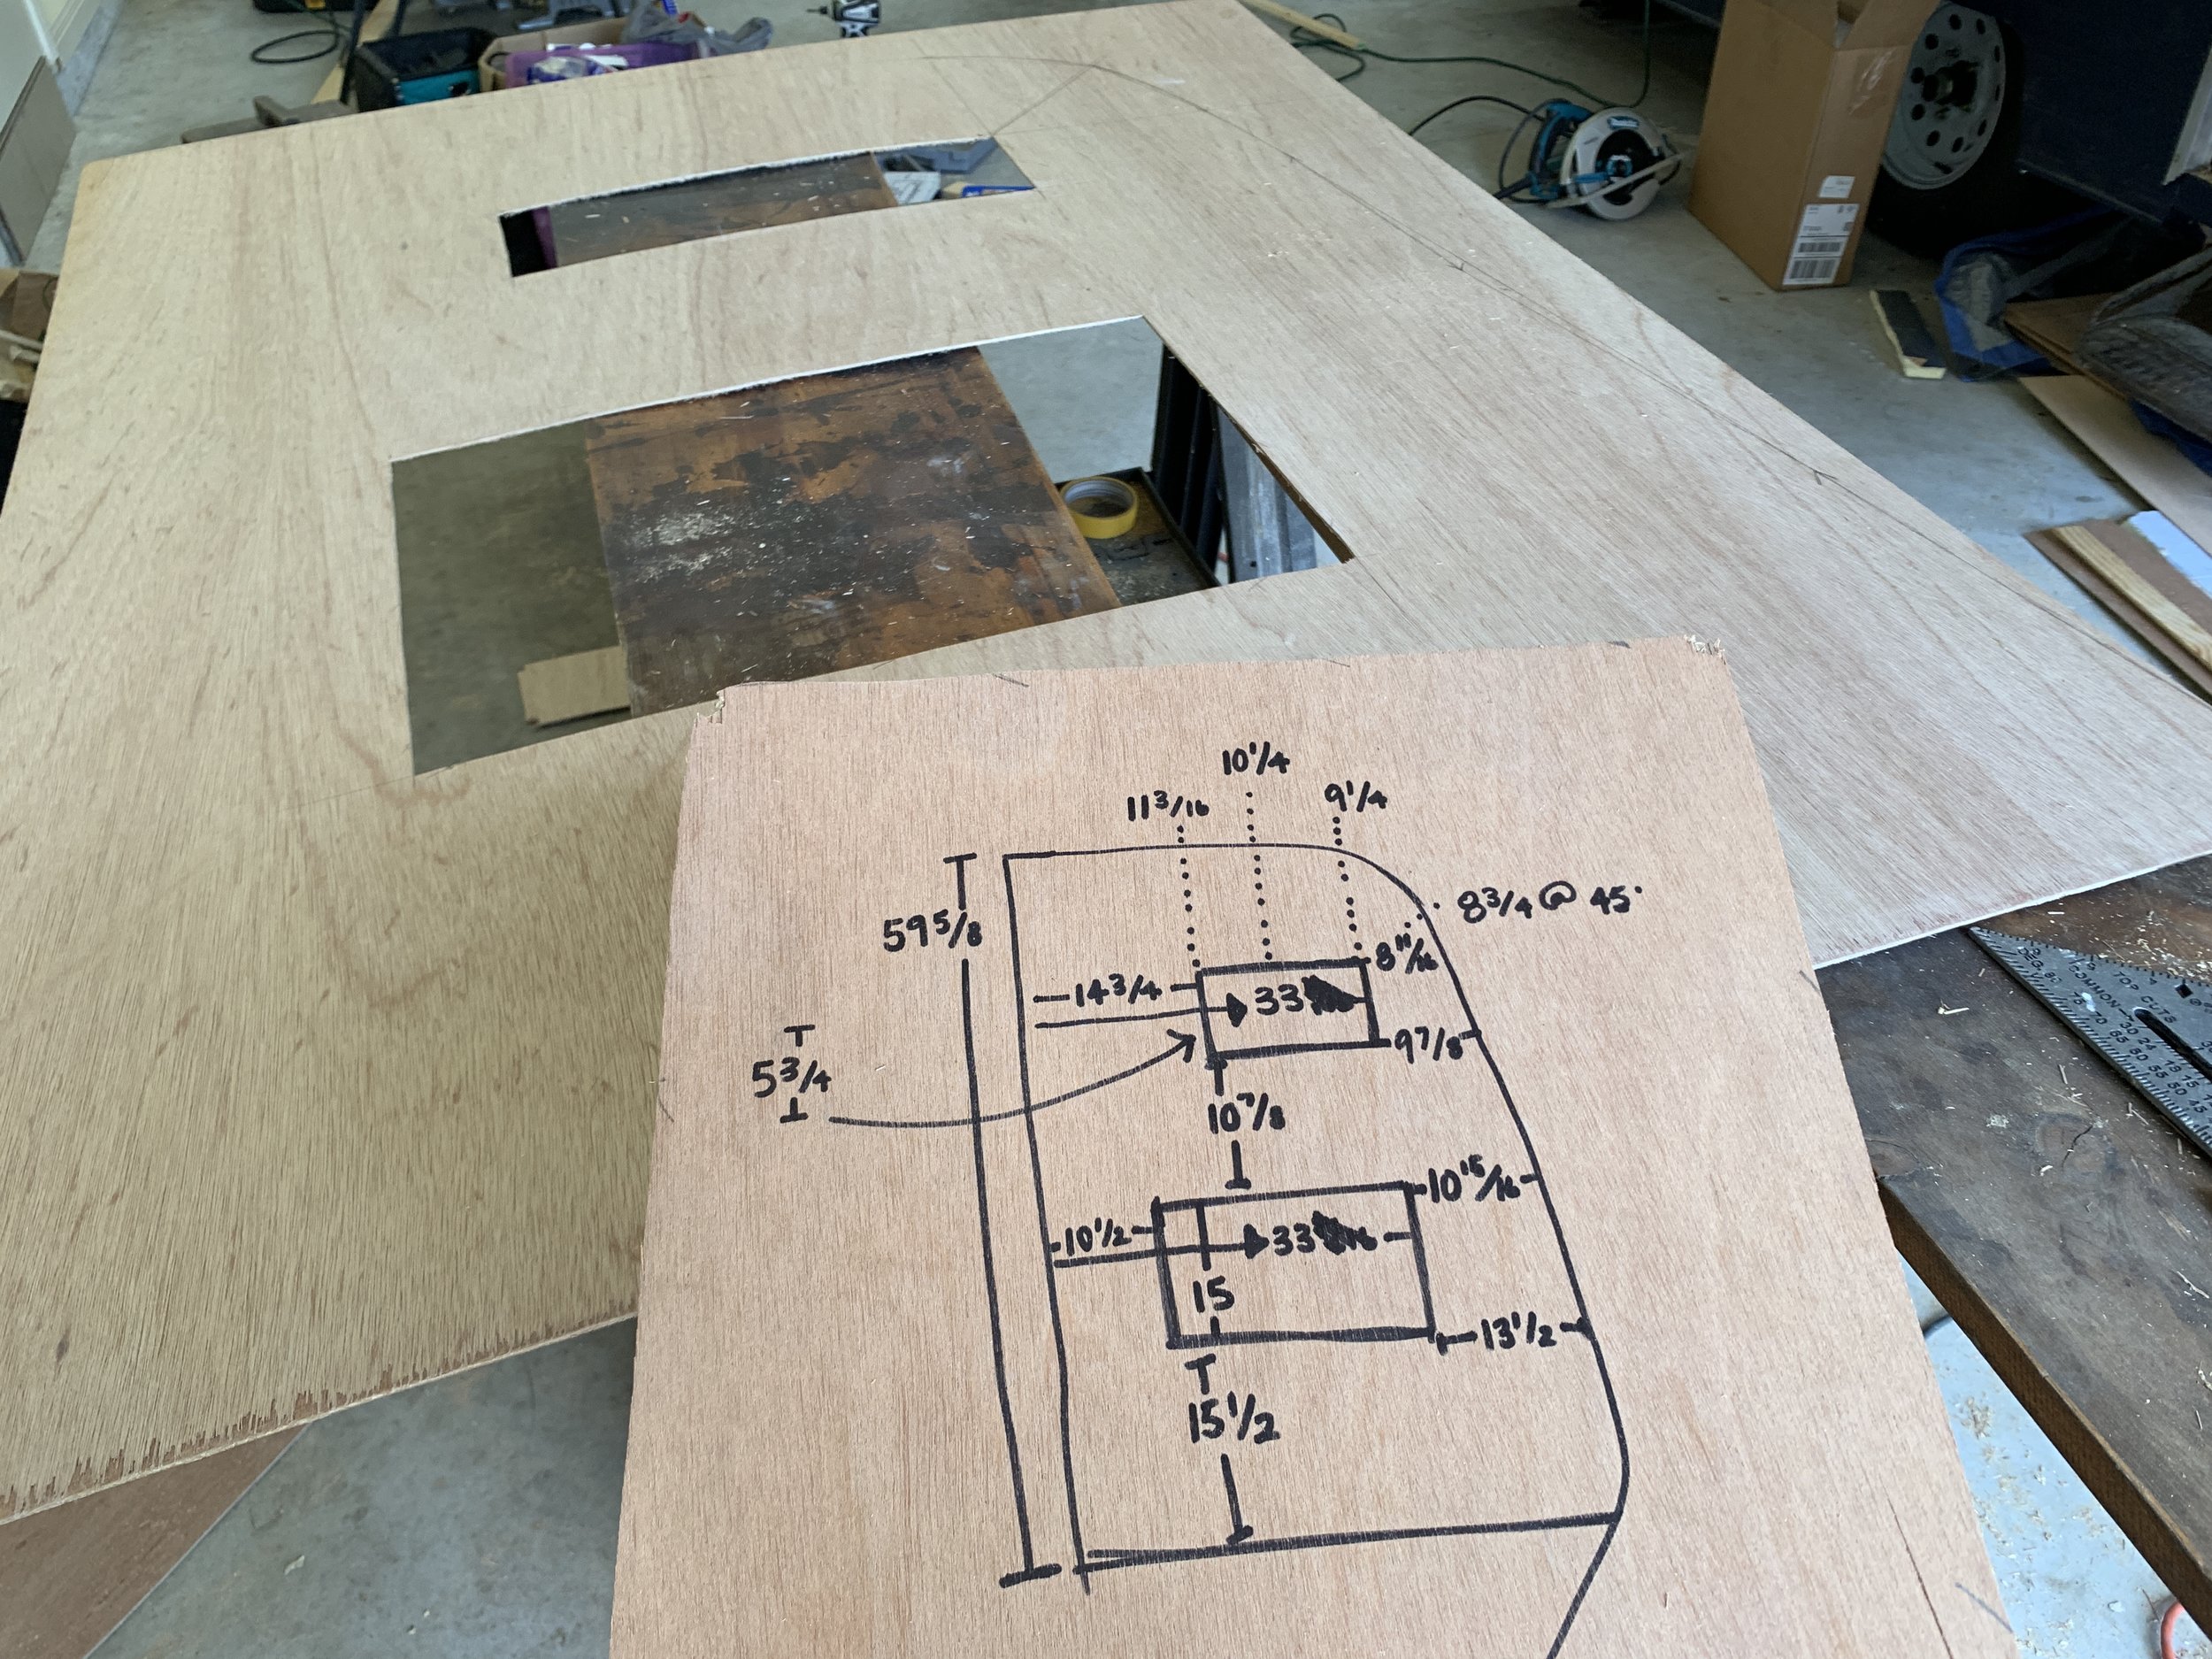
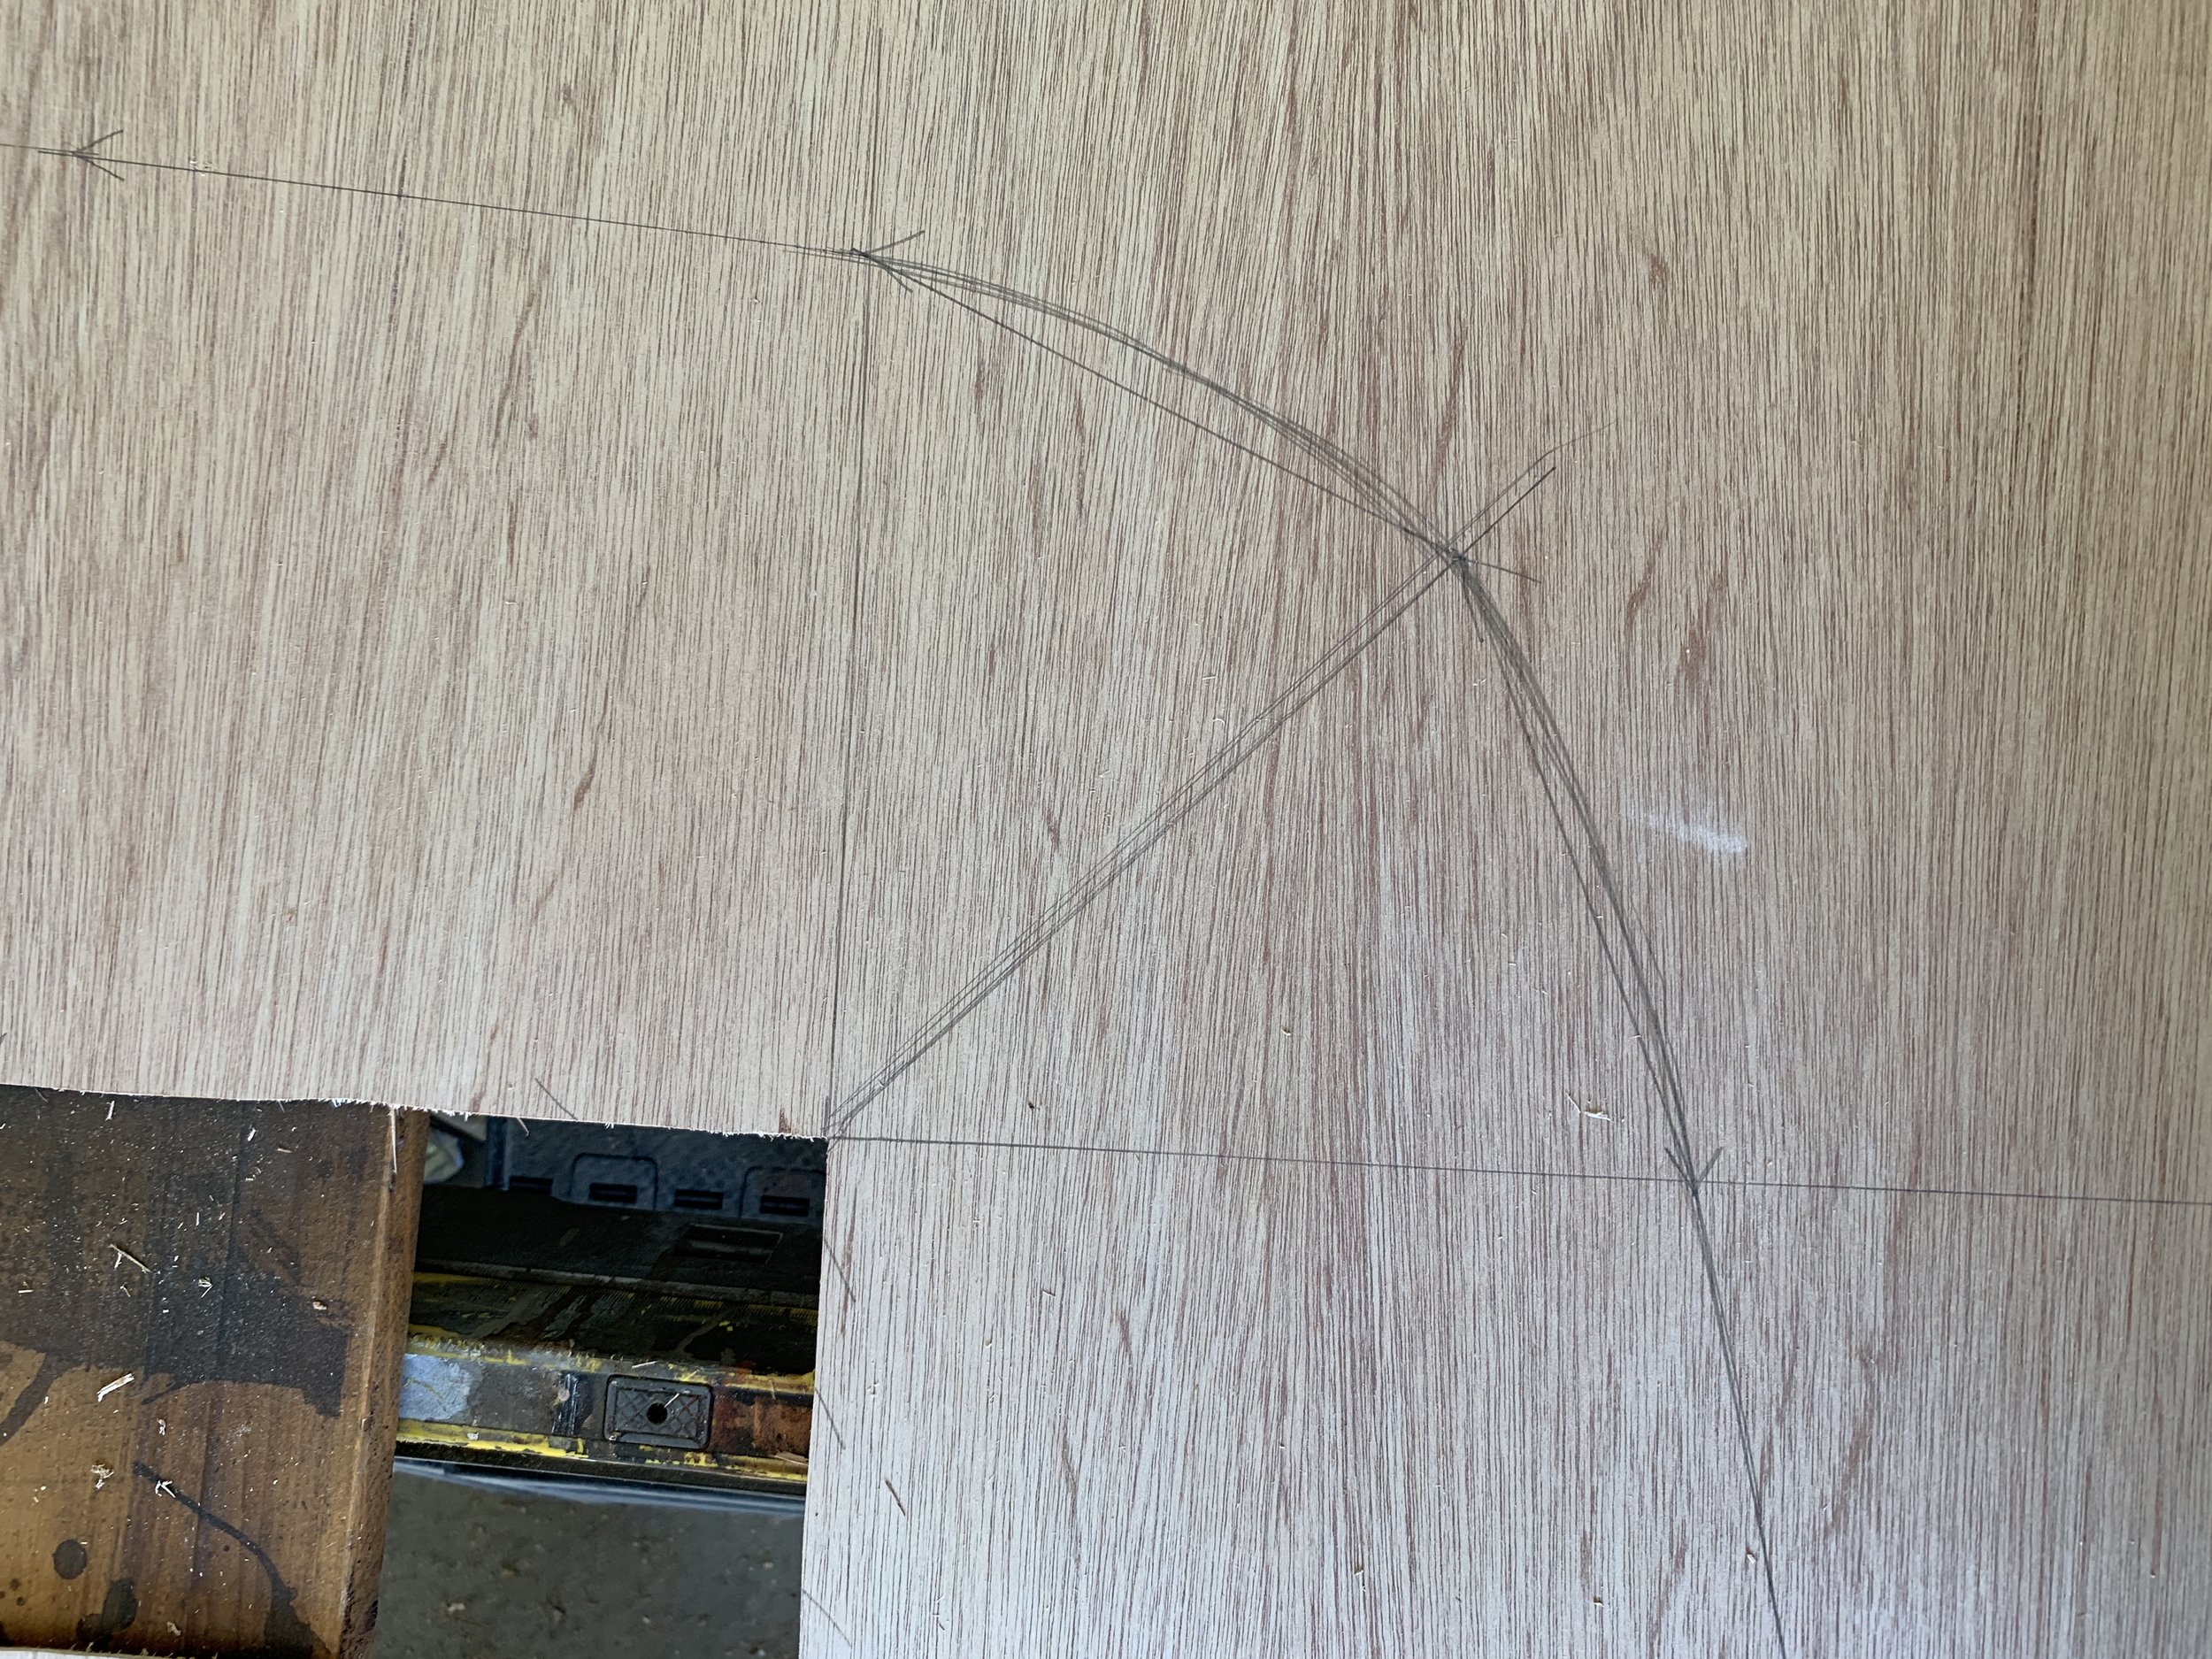
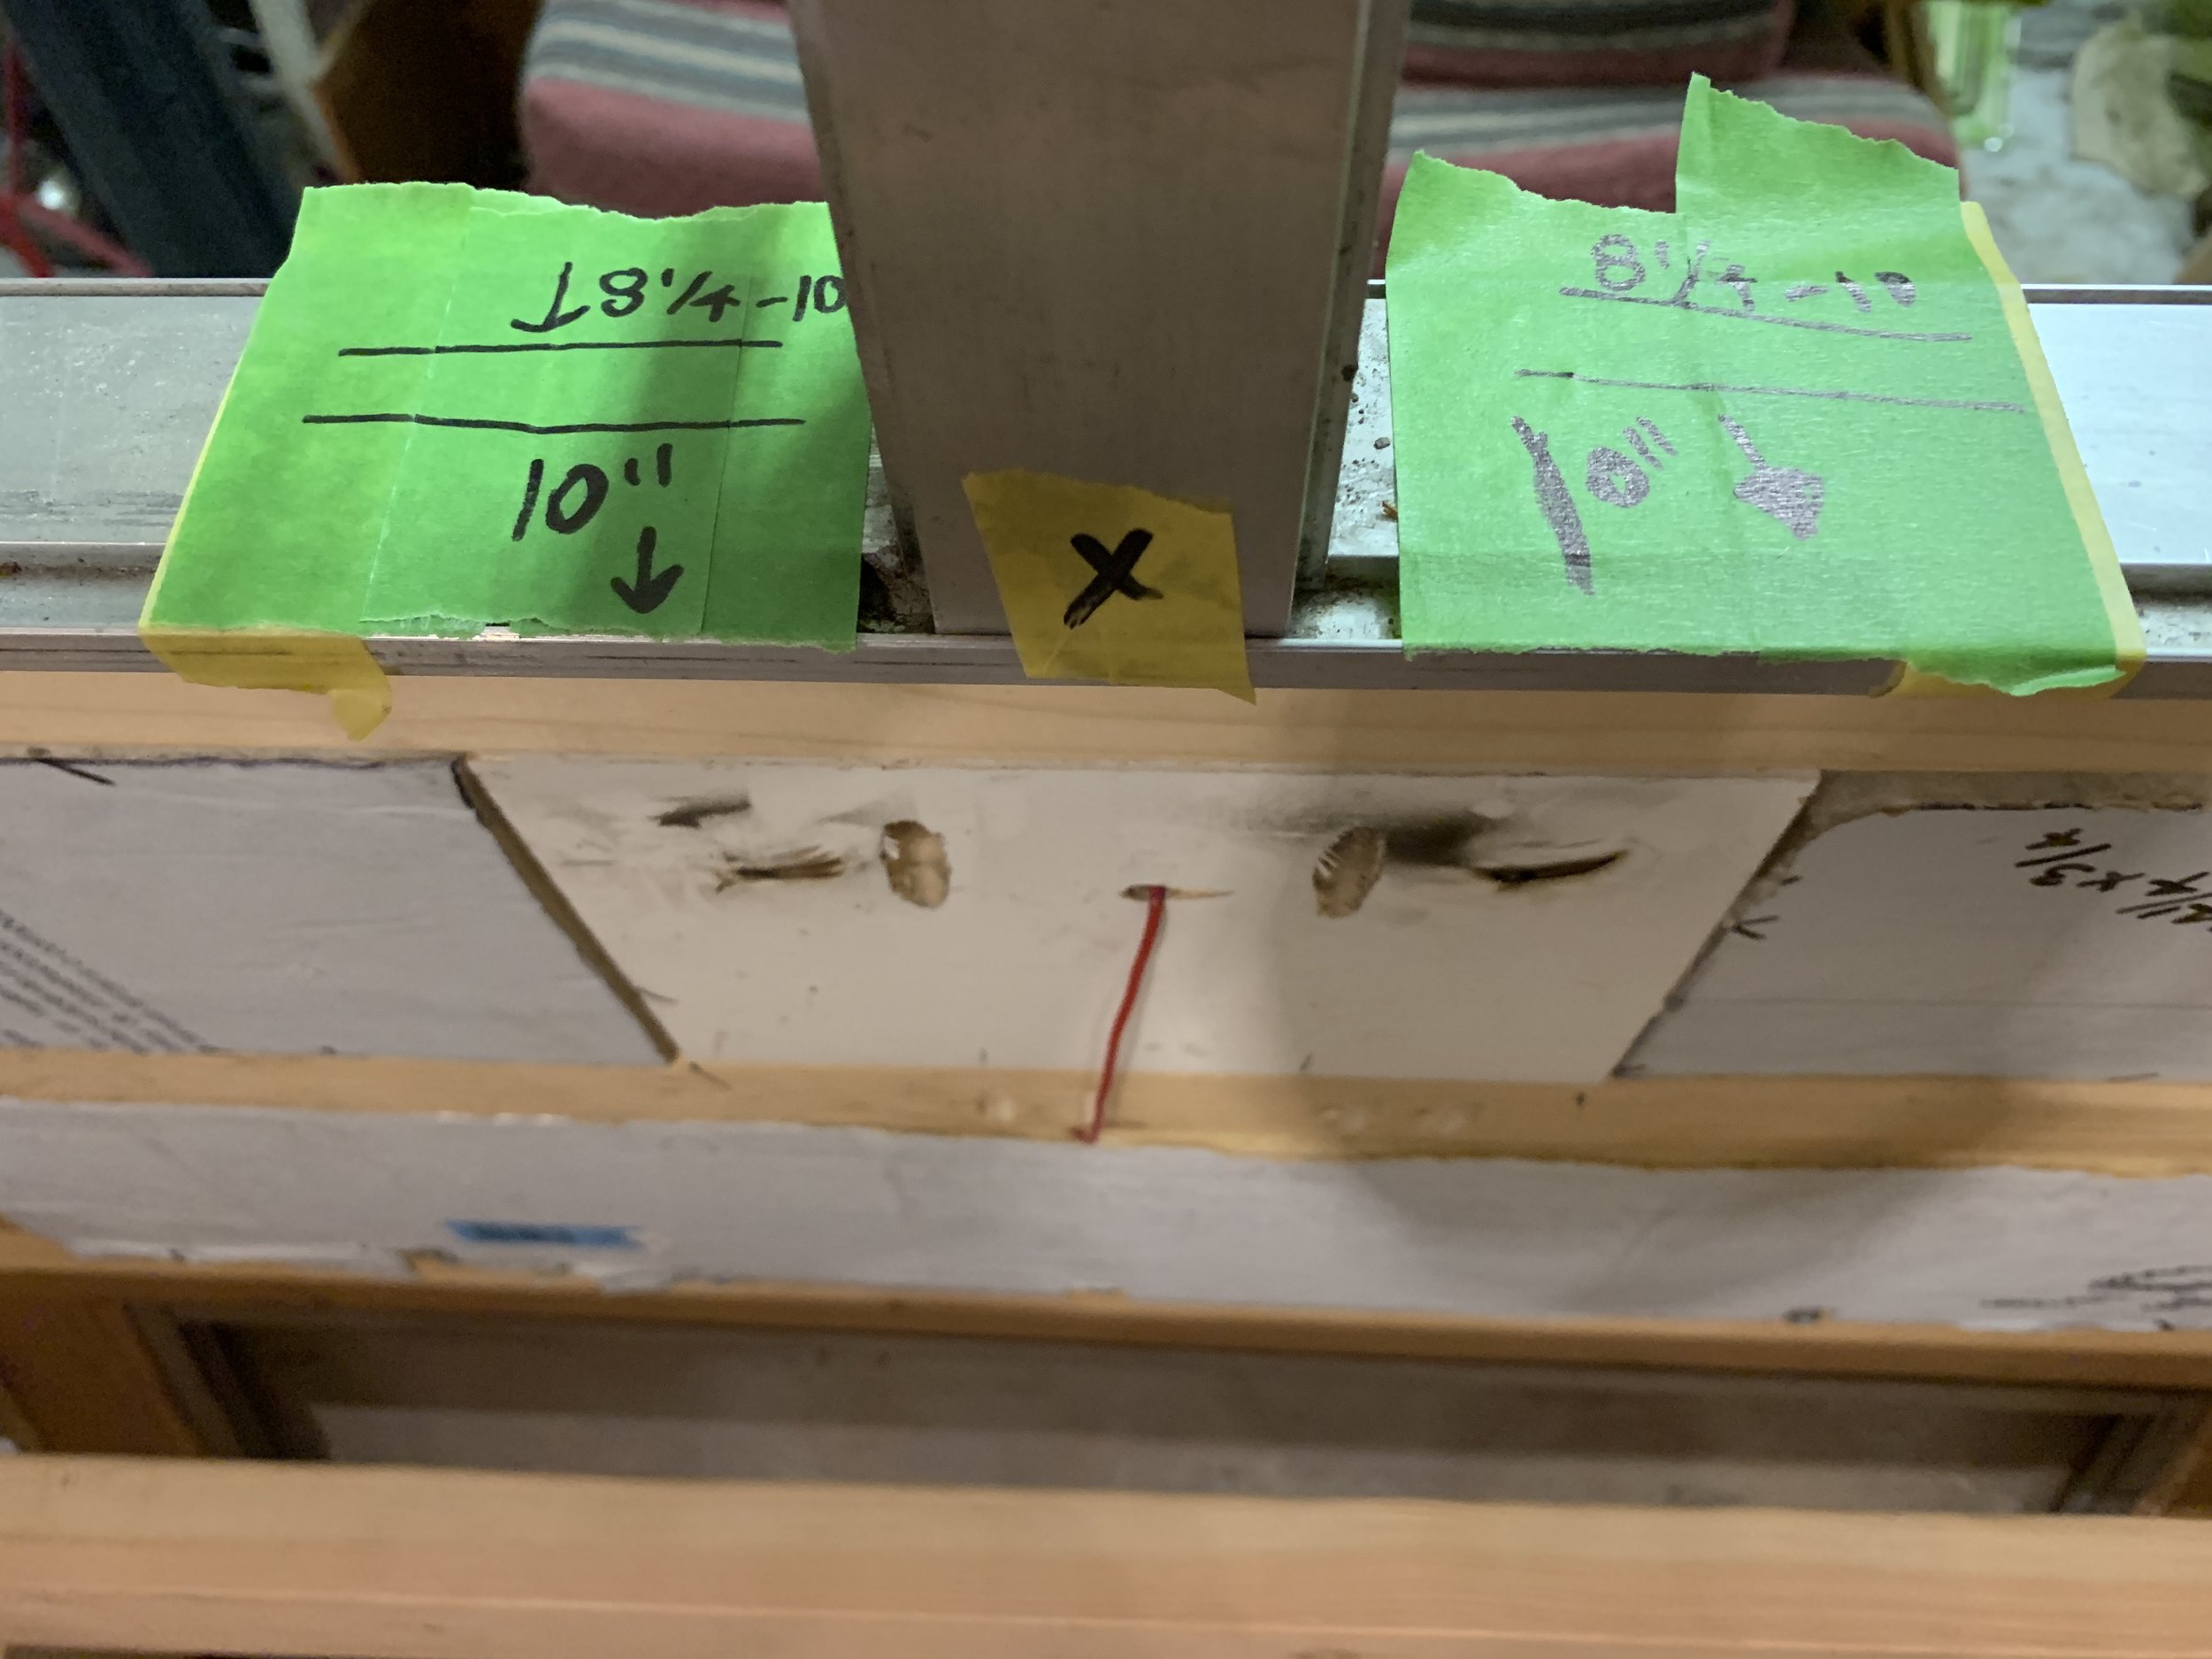
We planned and measured out each piece, making sure our seams were on the center of a ceiling/wall stud. The most important piece you hang is the first one – it sets the tone for the rest of the panels, so make sure you plan it out at the beginning, start it in the right location and hang it square to the camper. If you do that the rest go up fairly easily. Along the way, we used scraps of insulation board and 1/8” plywood to jot down our measurements for each piece and cut our panels to match with a jigsaw.
After dry fitting each piece first to make sure it fit, we applied construction adhesive to the back of each wood panel. Then we pressed the panel firmly against the ceiling and used the nail gun to secure the board to the studs we’d previously marked out as a guide. We repeated the same process for all the ceiling and wall panels.
Prepping, priming + painting
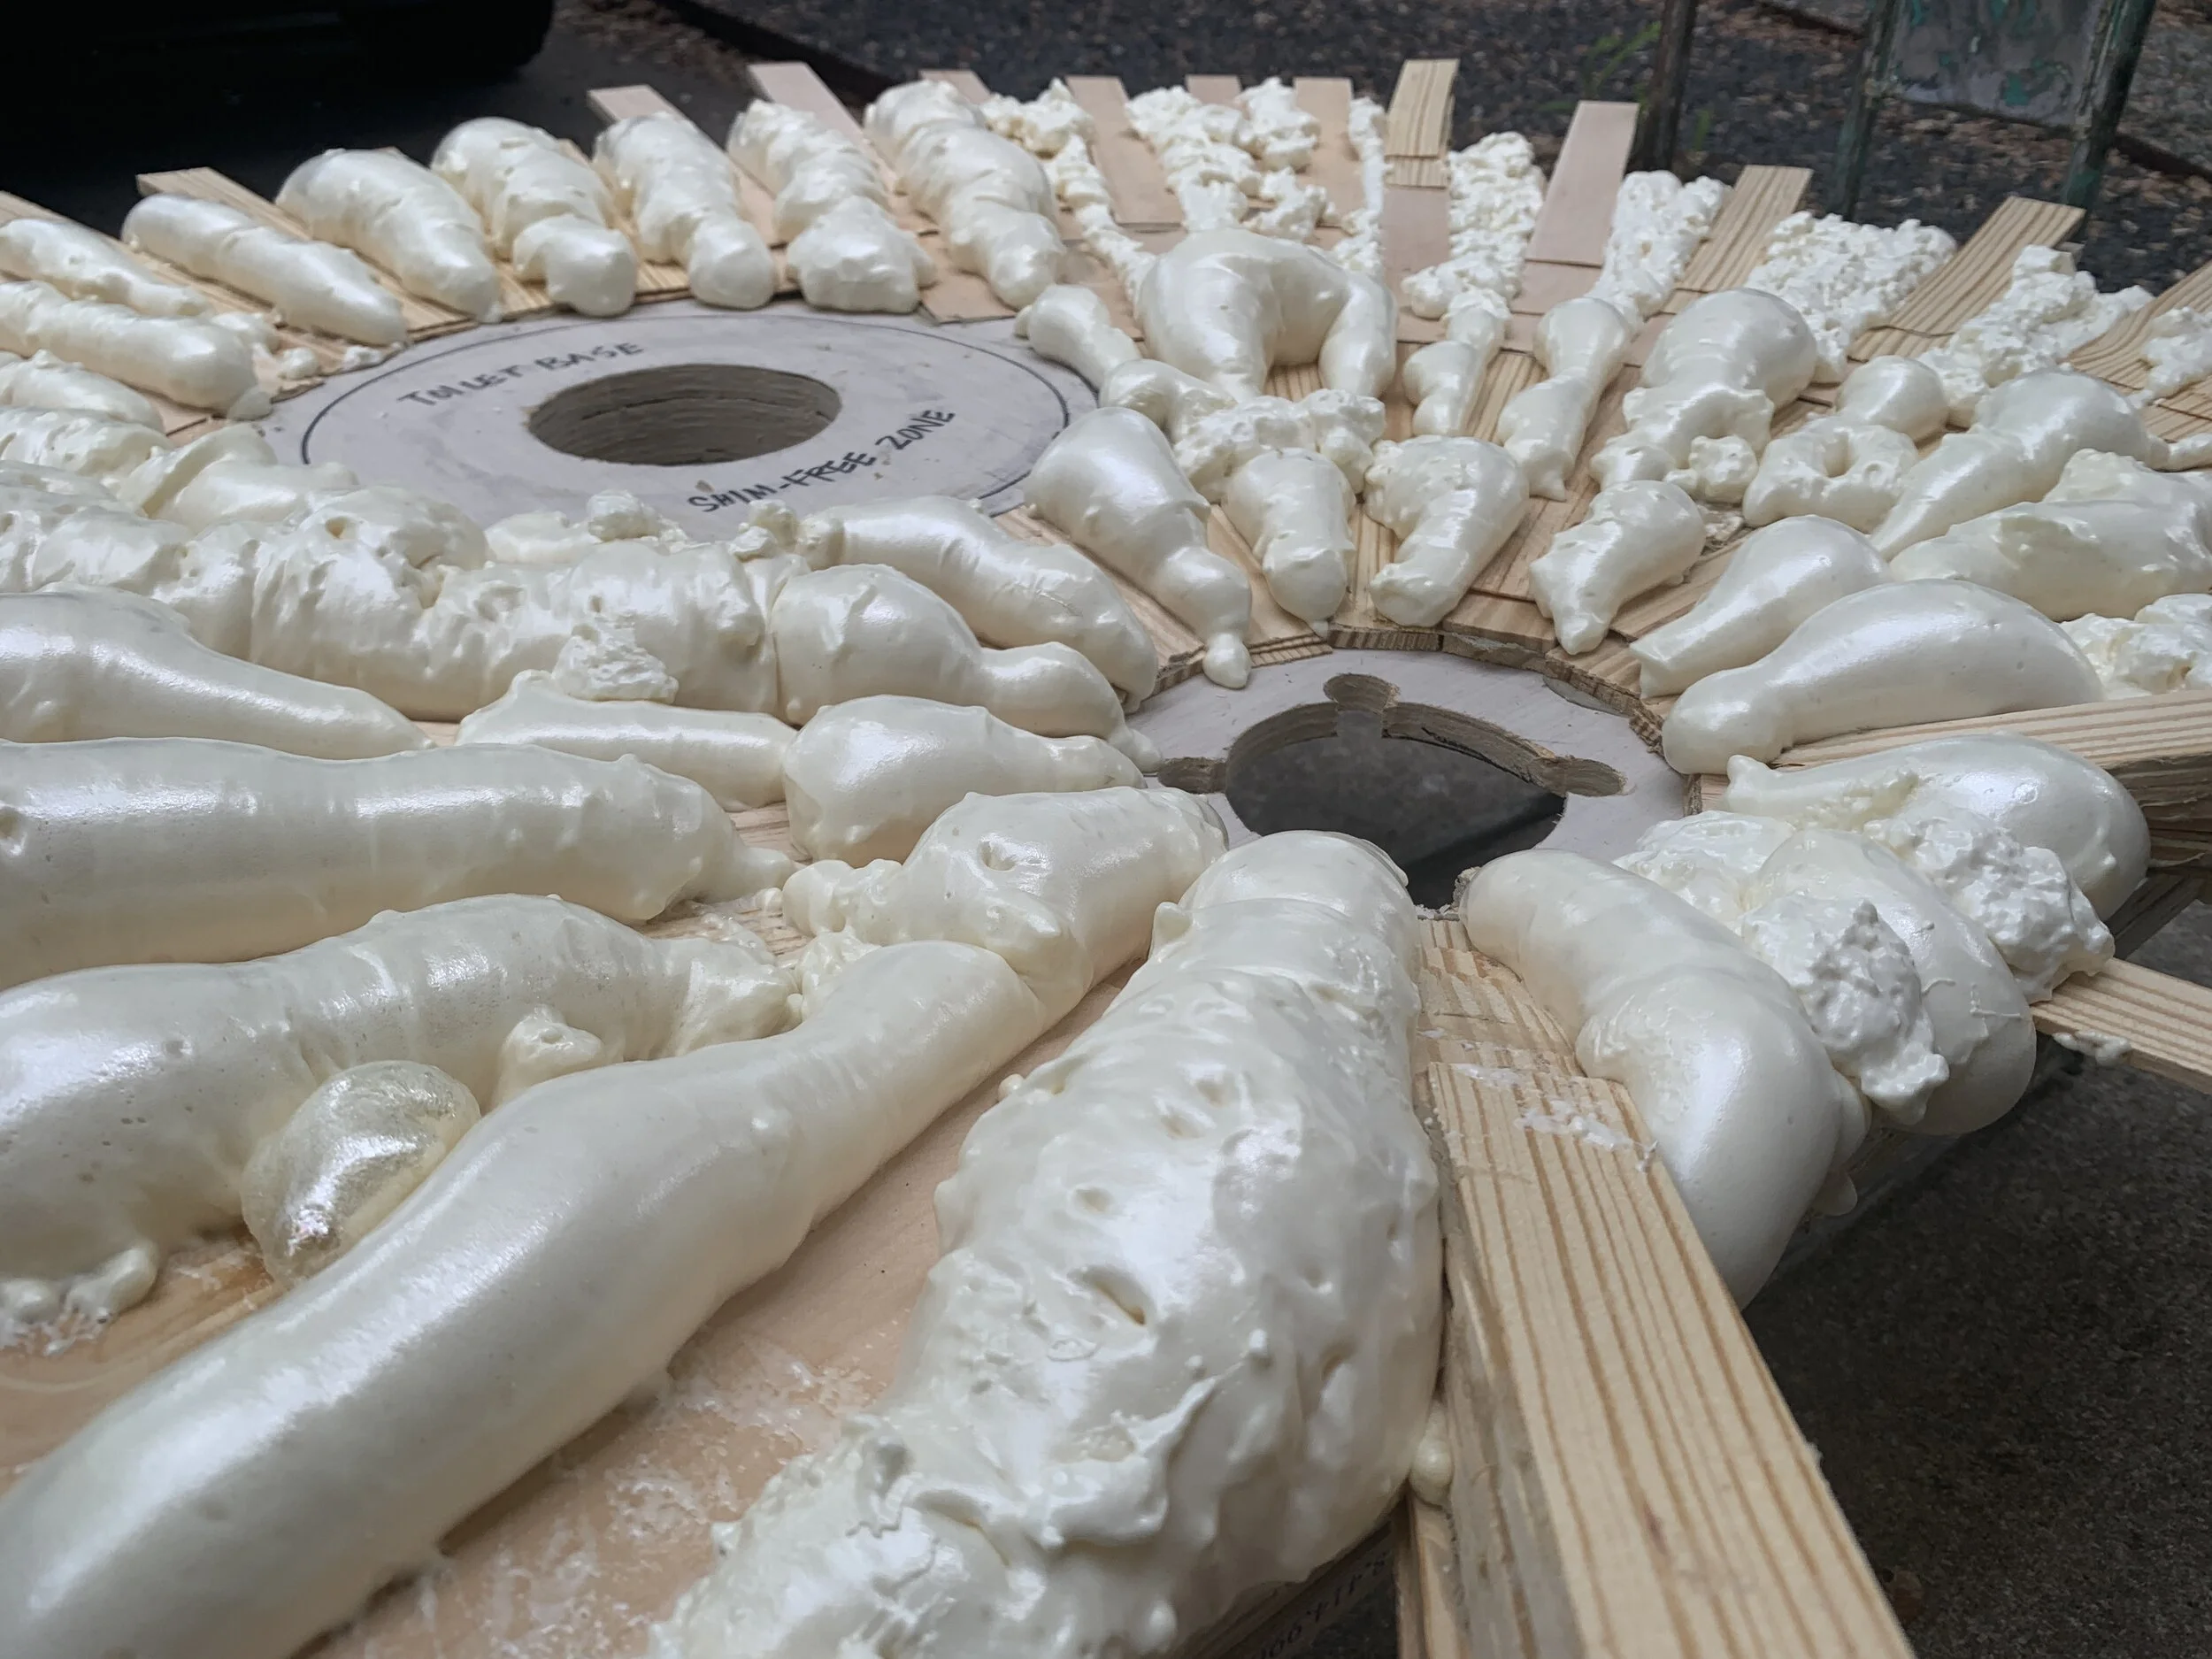
Prepping
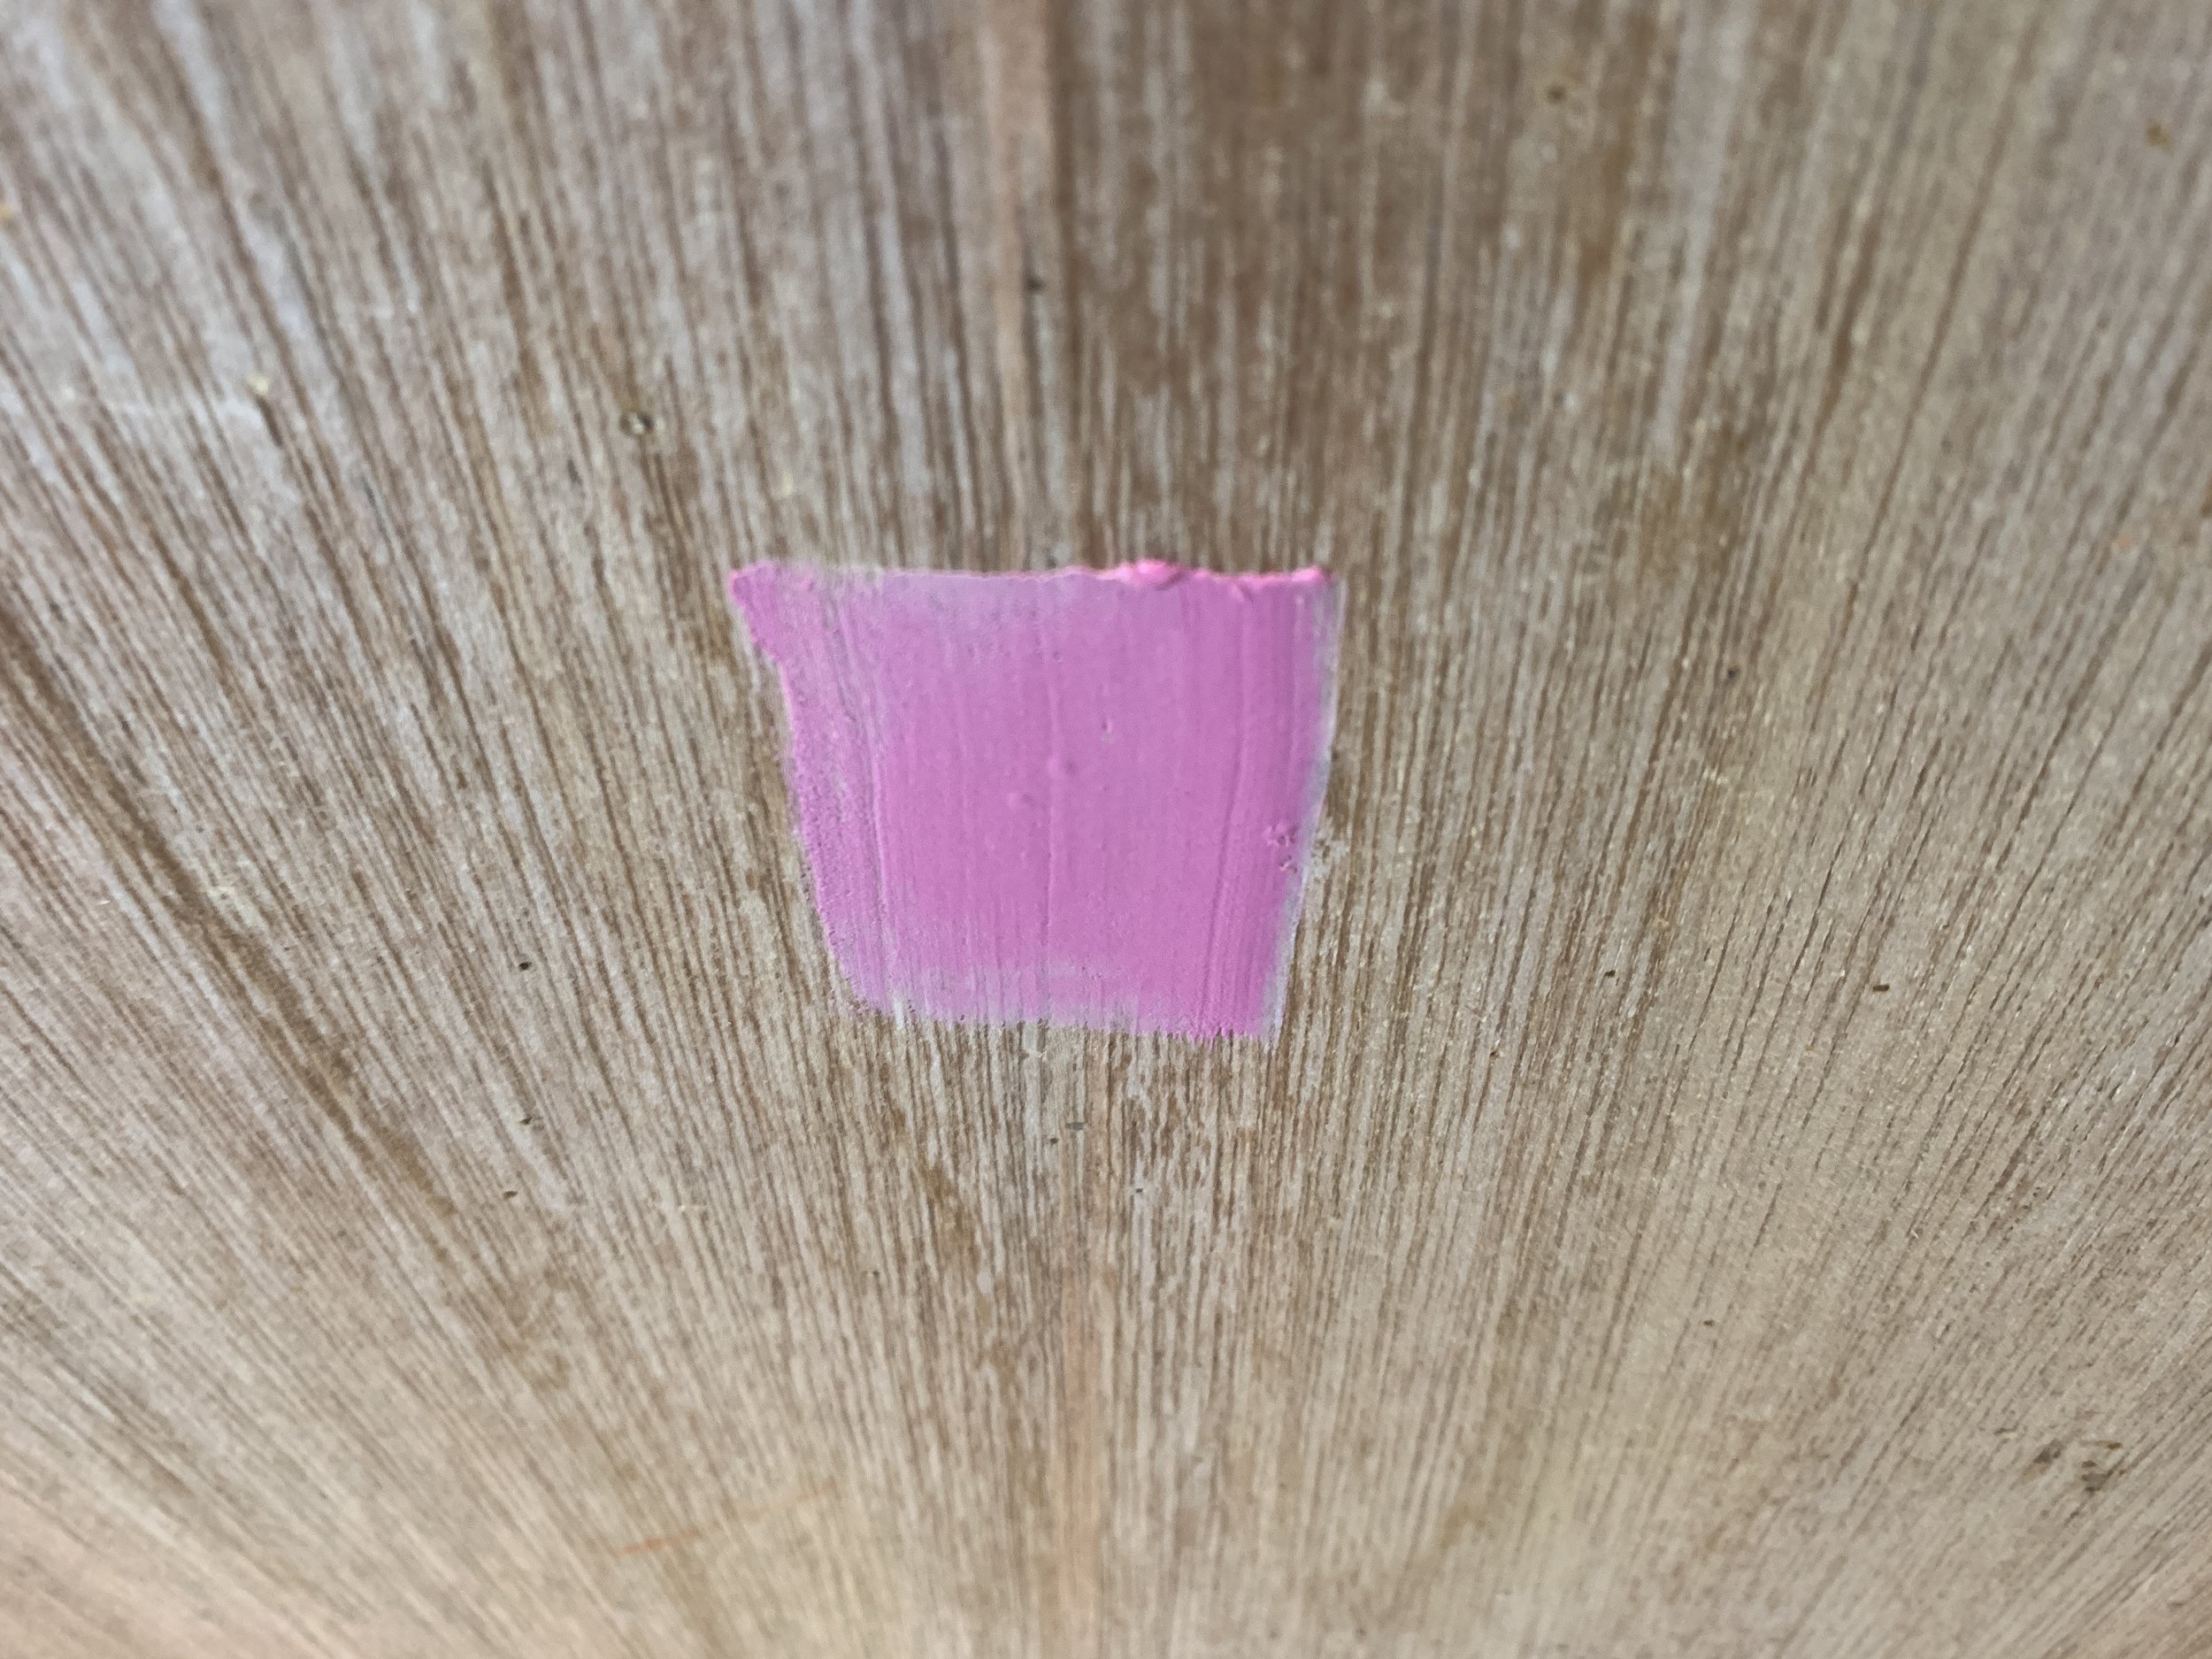
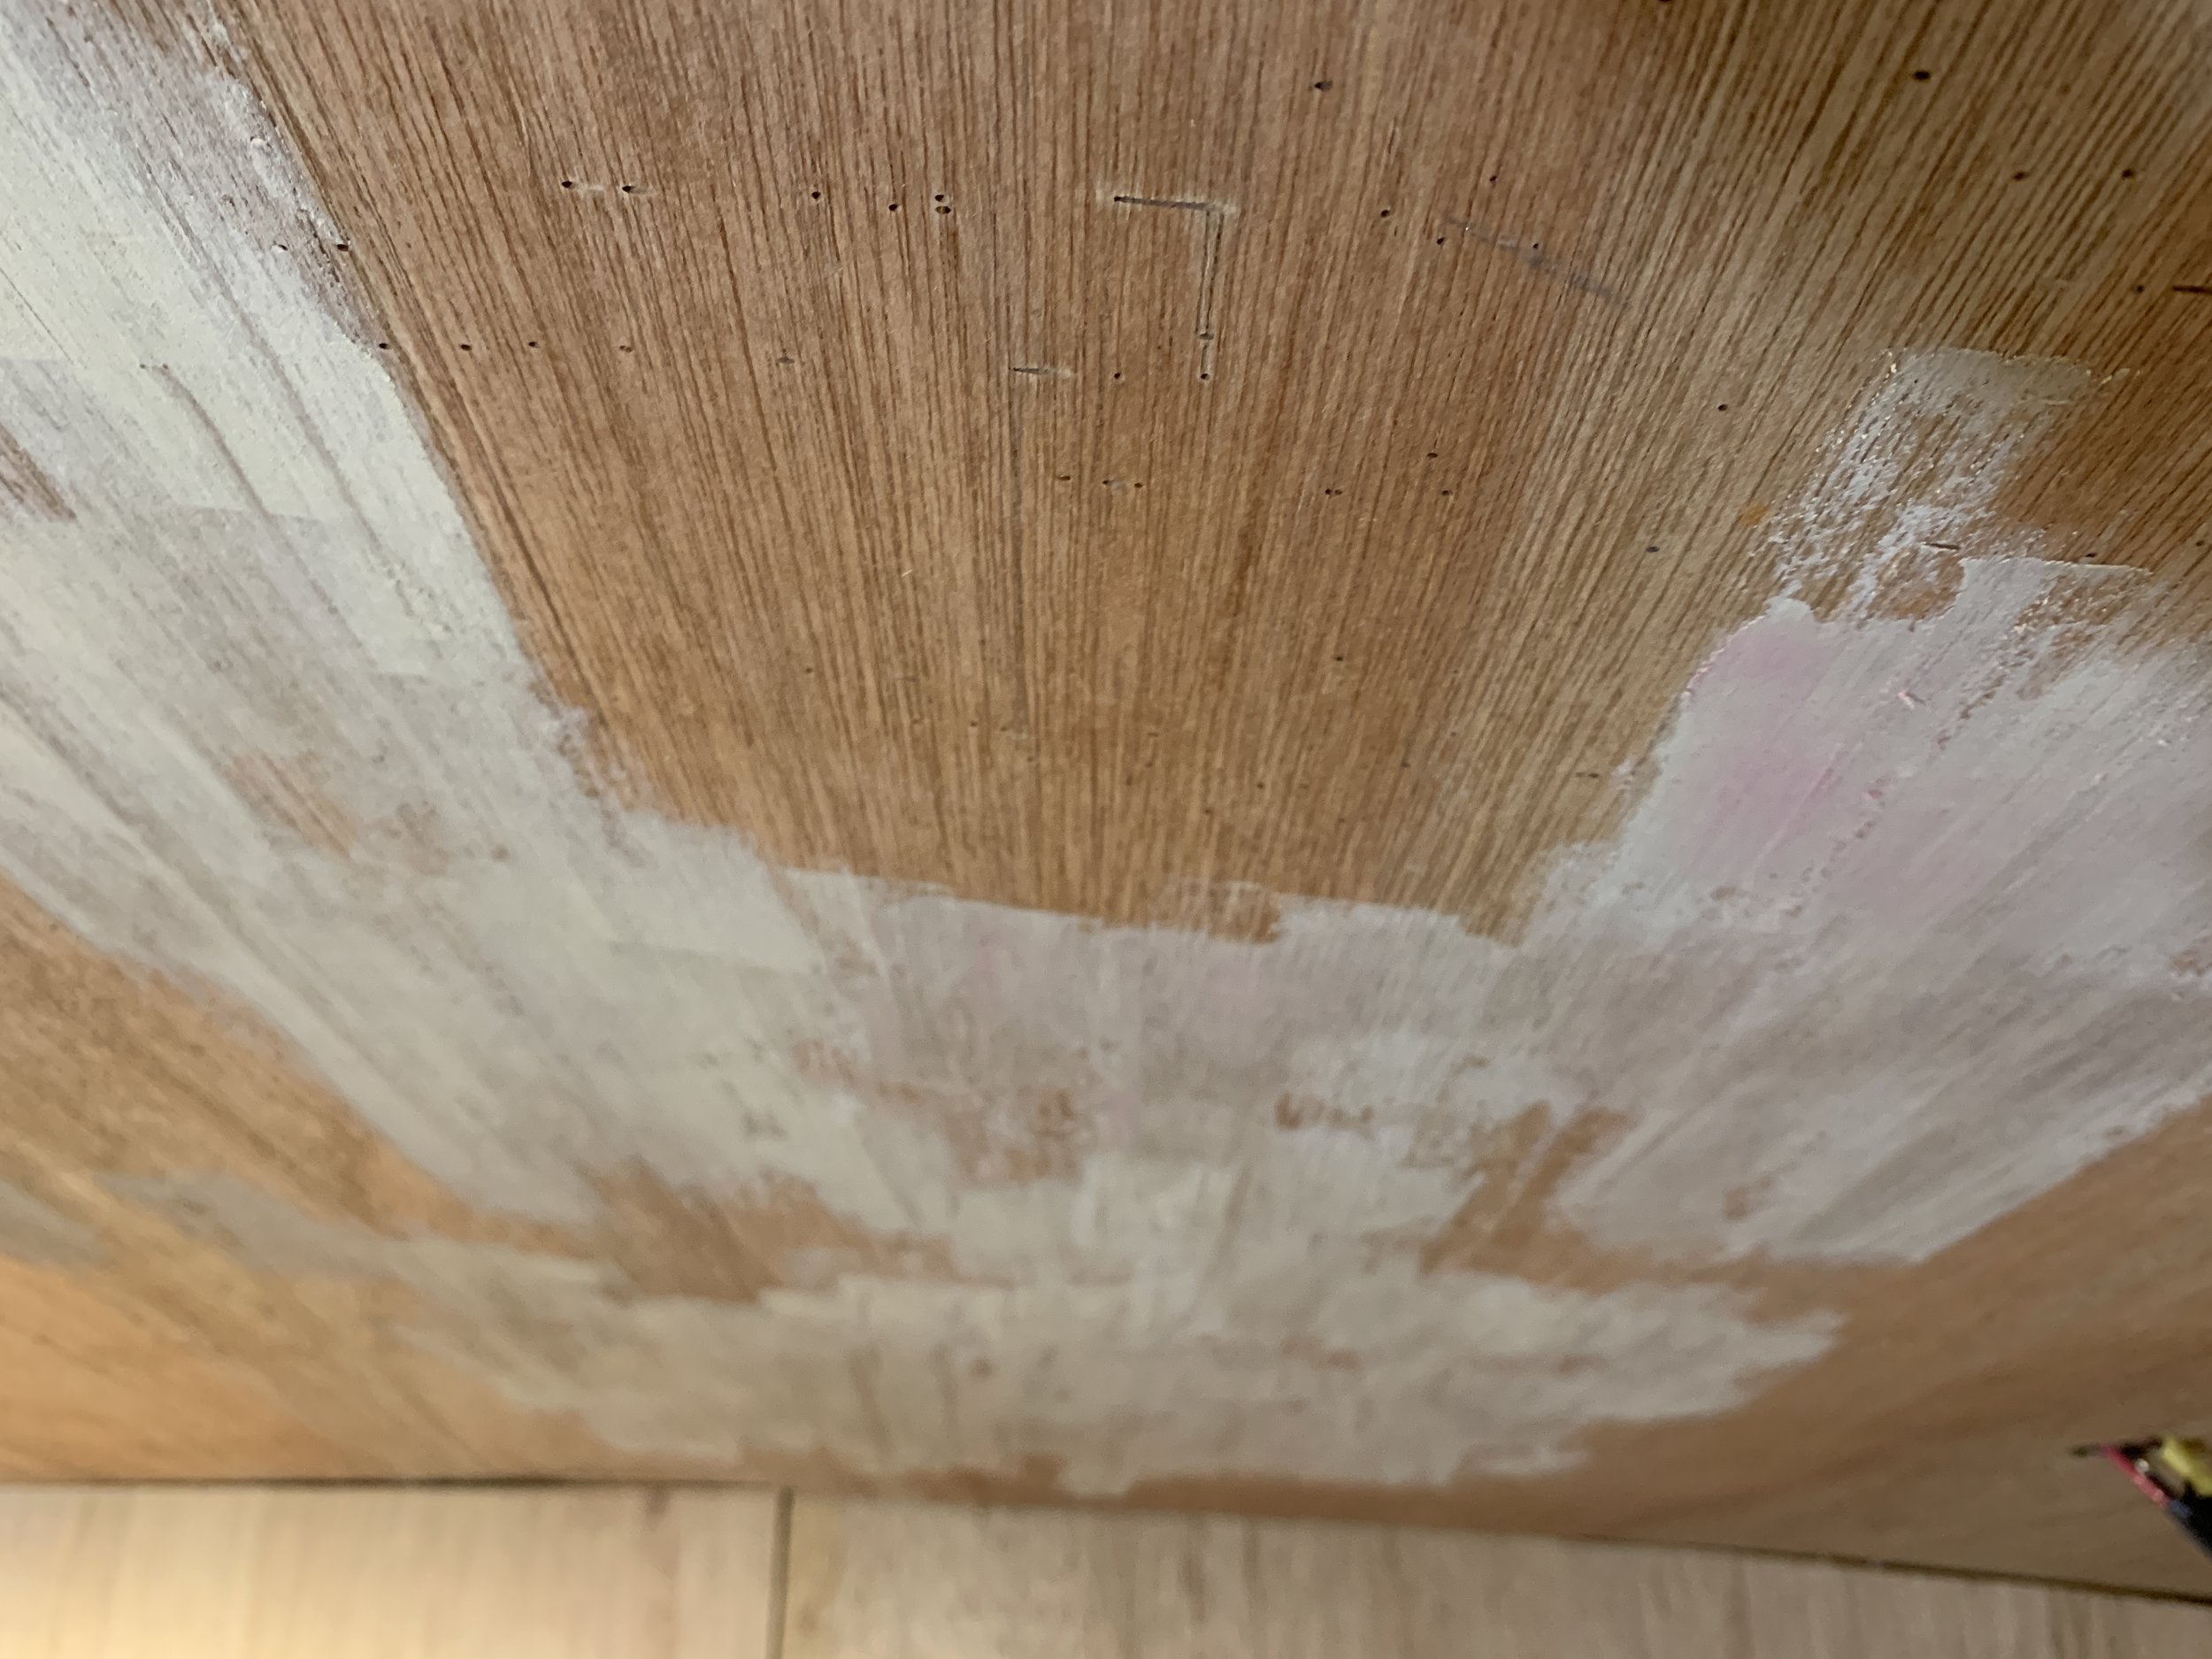
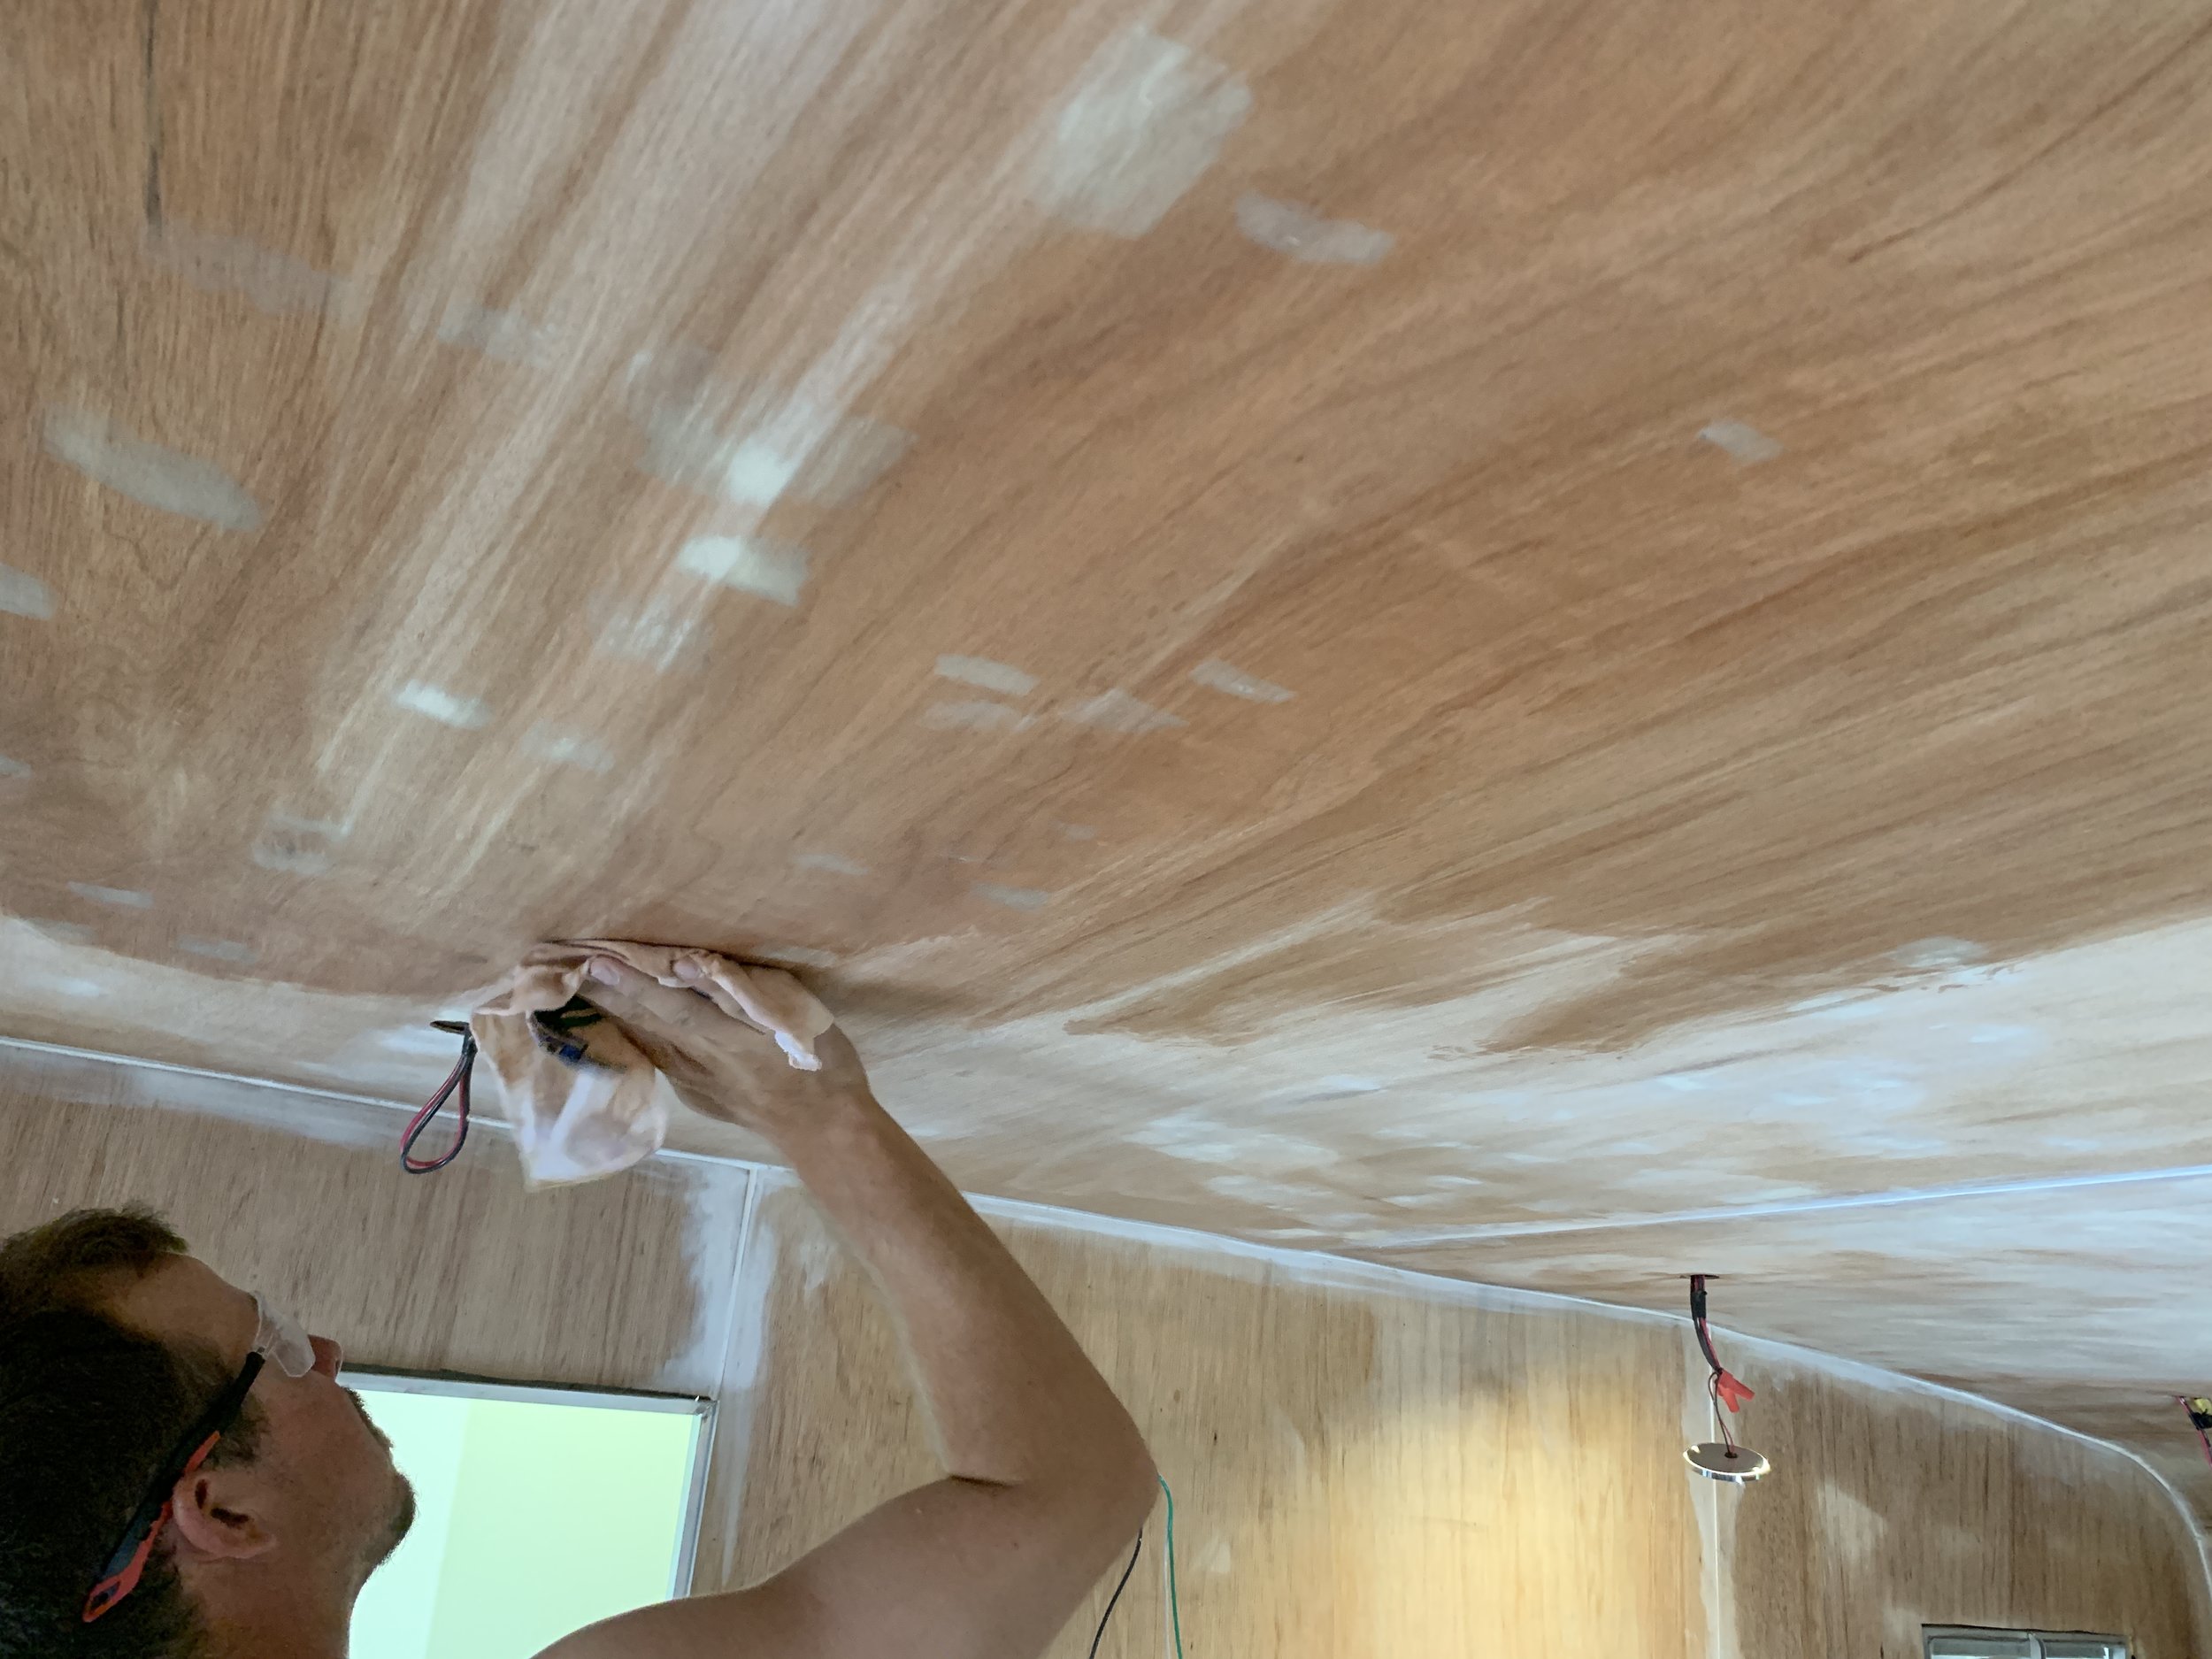
First we used a putty knife to thinly apply wood filler to our small nail holes and any superficial areas of the paneling that had imperfections we wanted to smooth. The stuff we used takes the guess work out of timing – it goes on hot pink and dries natural when it’s ready to sand. Pro tip: Sand your ceilings/walls more than you think you should to get your panels prepped. In hindsight, maybe sand them before you install if you don’t want to sand over your head. It wasn’t too bad but you may see any places you missed easier if you’re in better light. You can see in the photos below which ceiling panel we installed “wrong” side out by the amount of wood filler used.
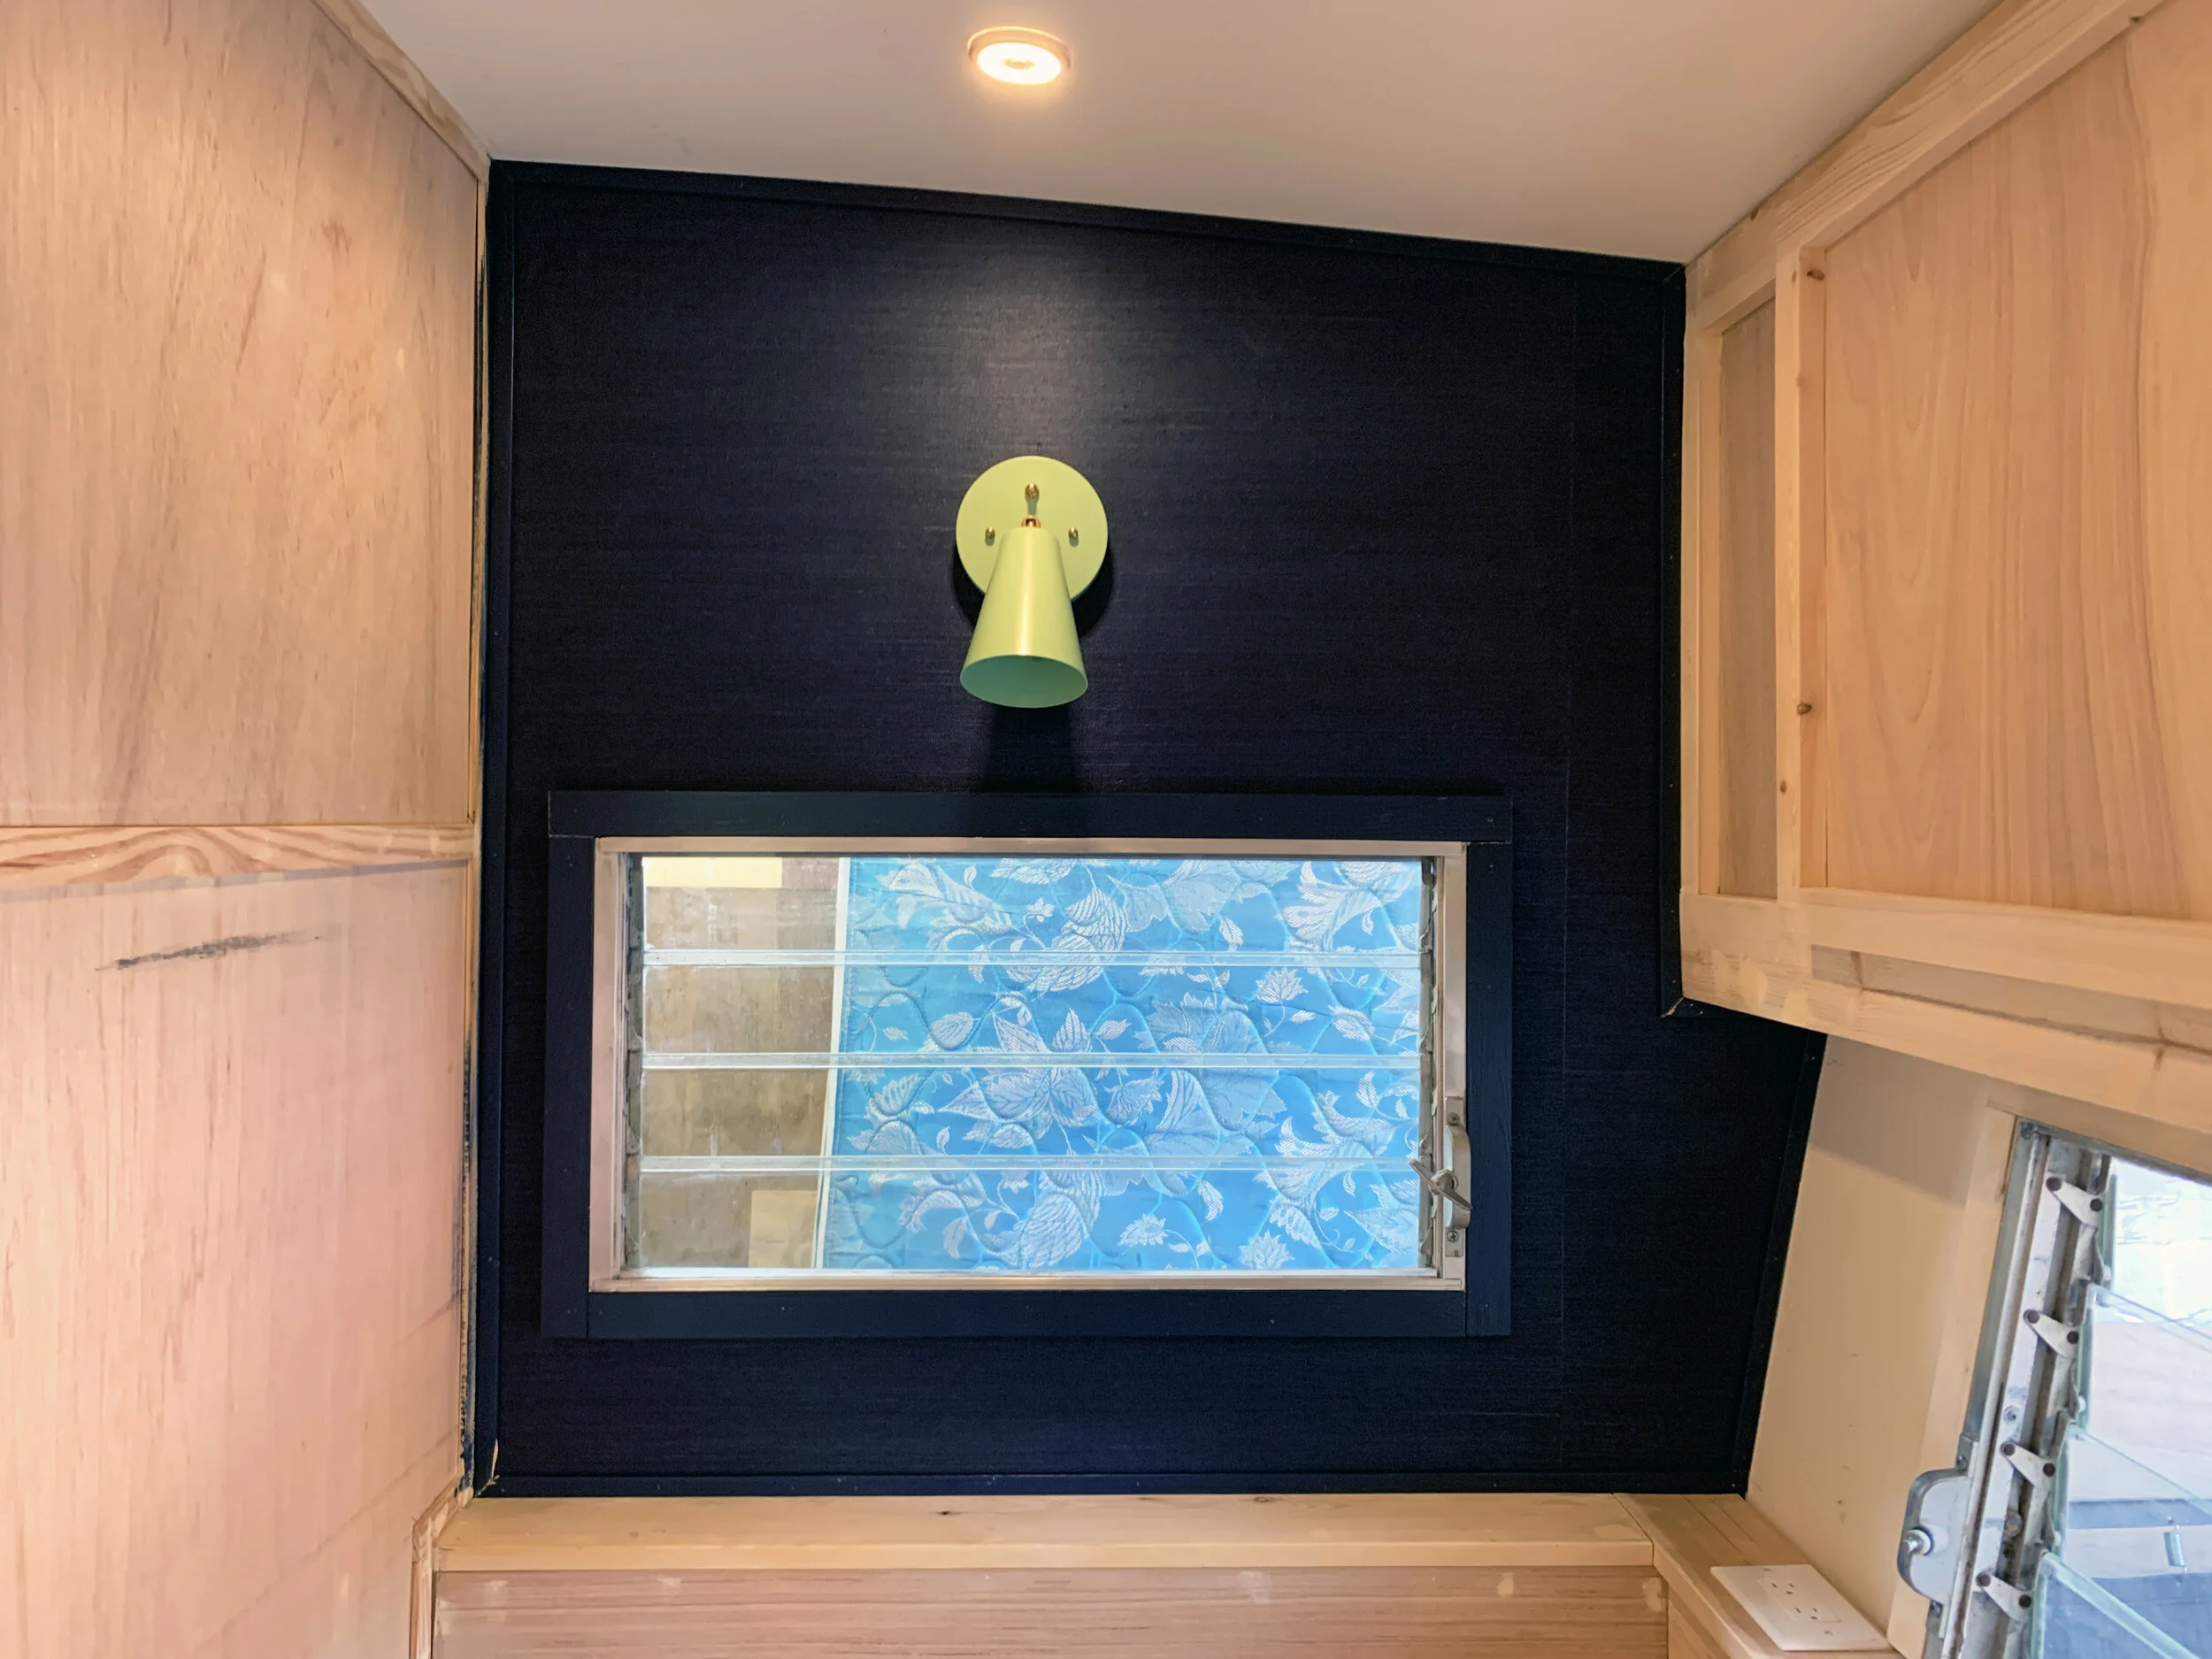
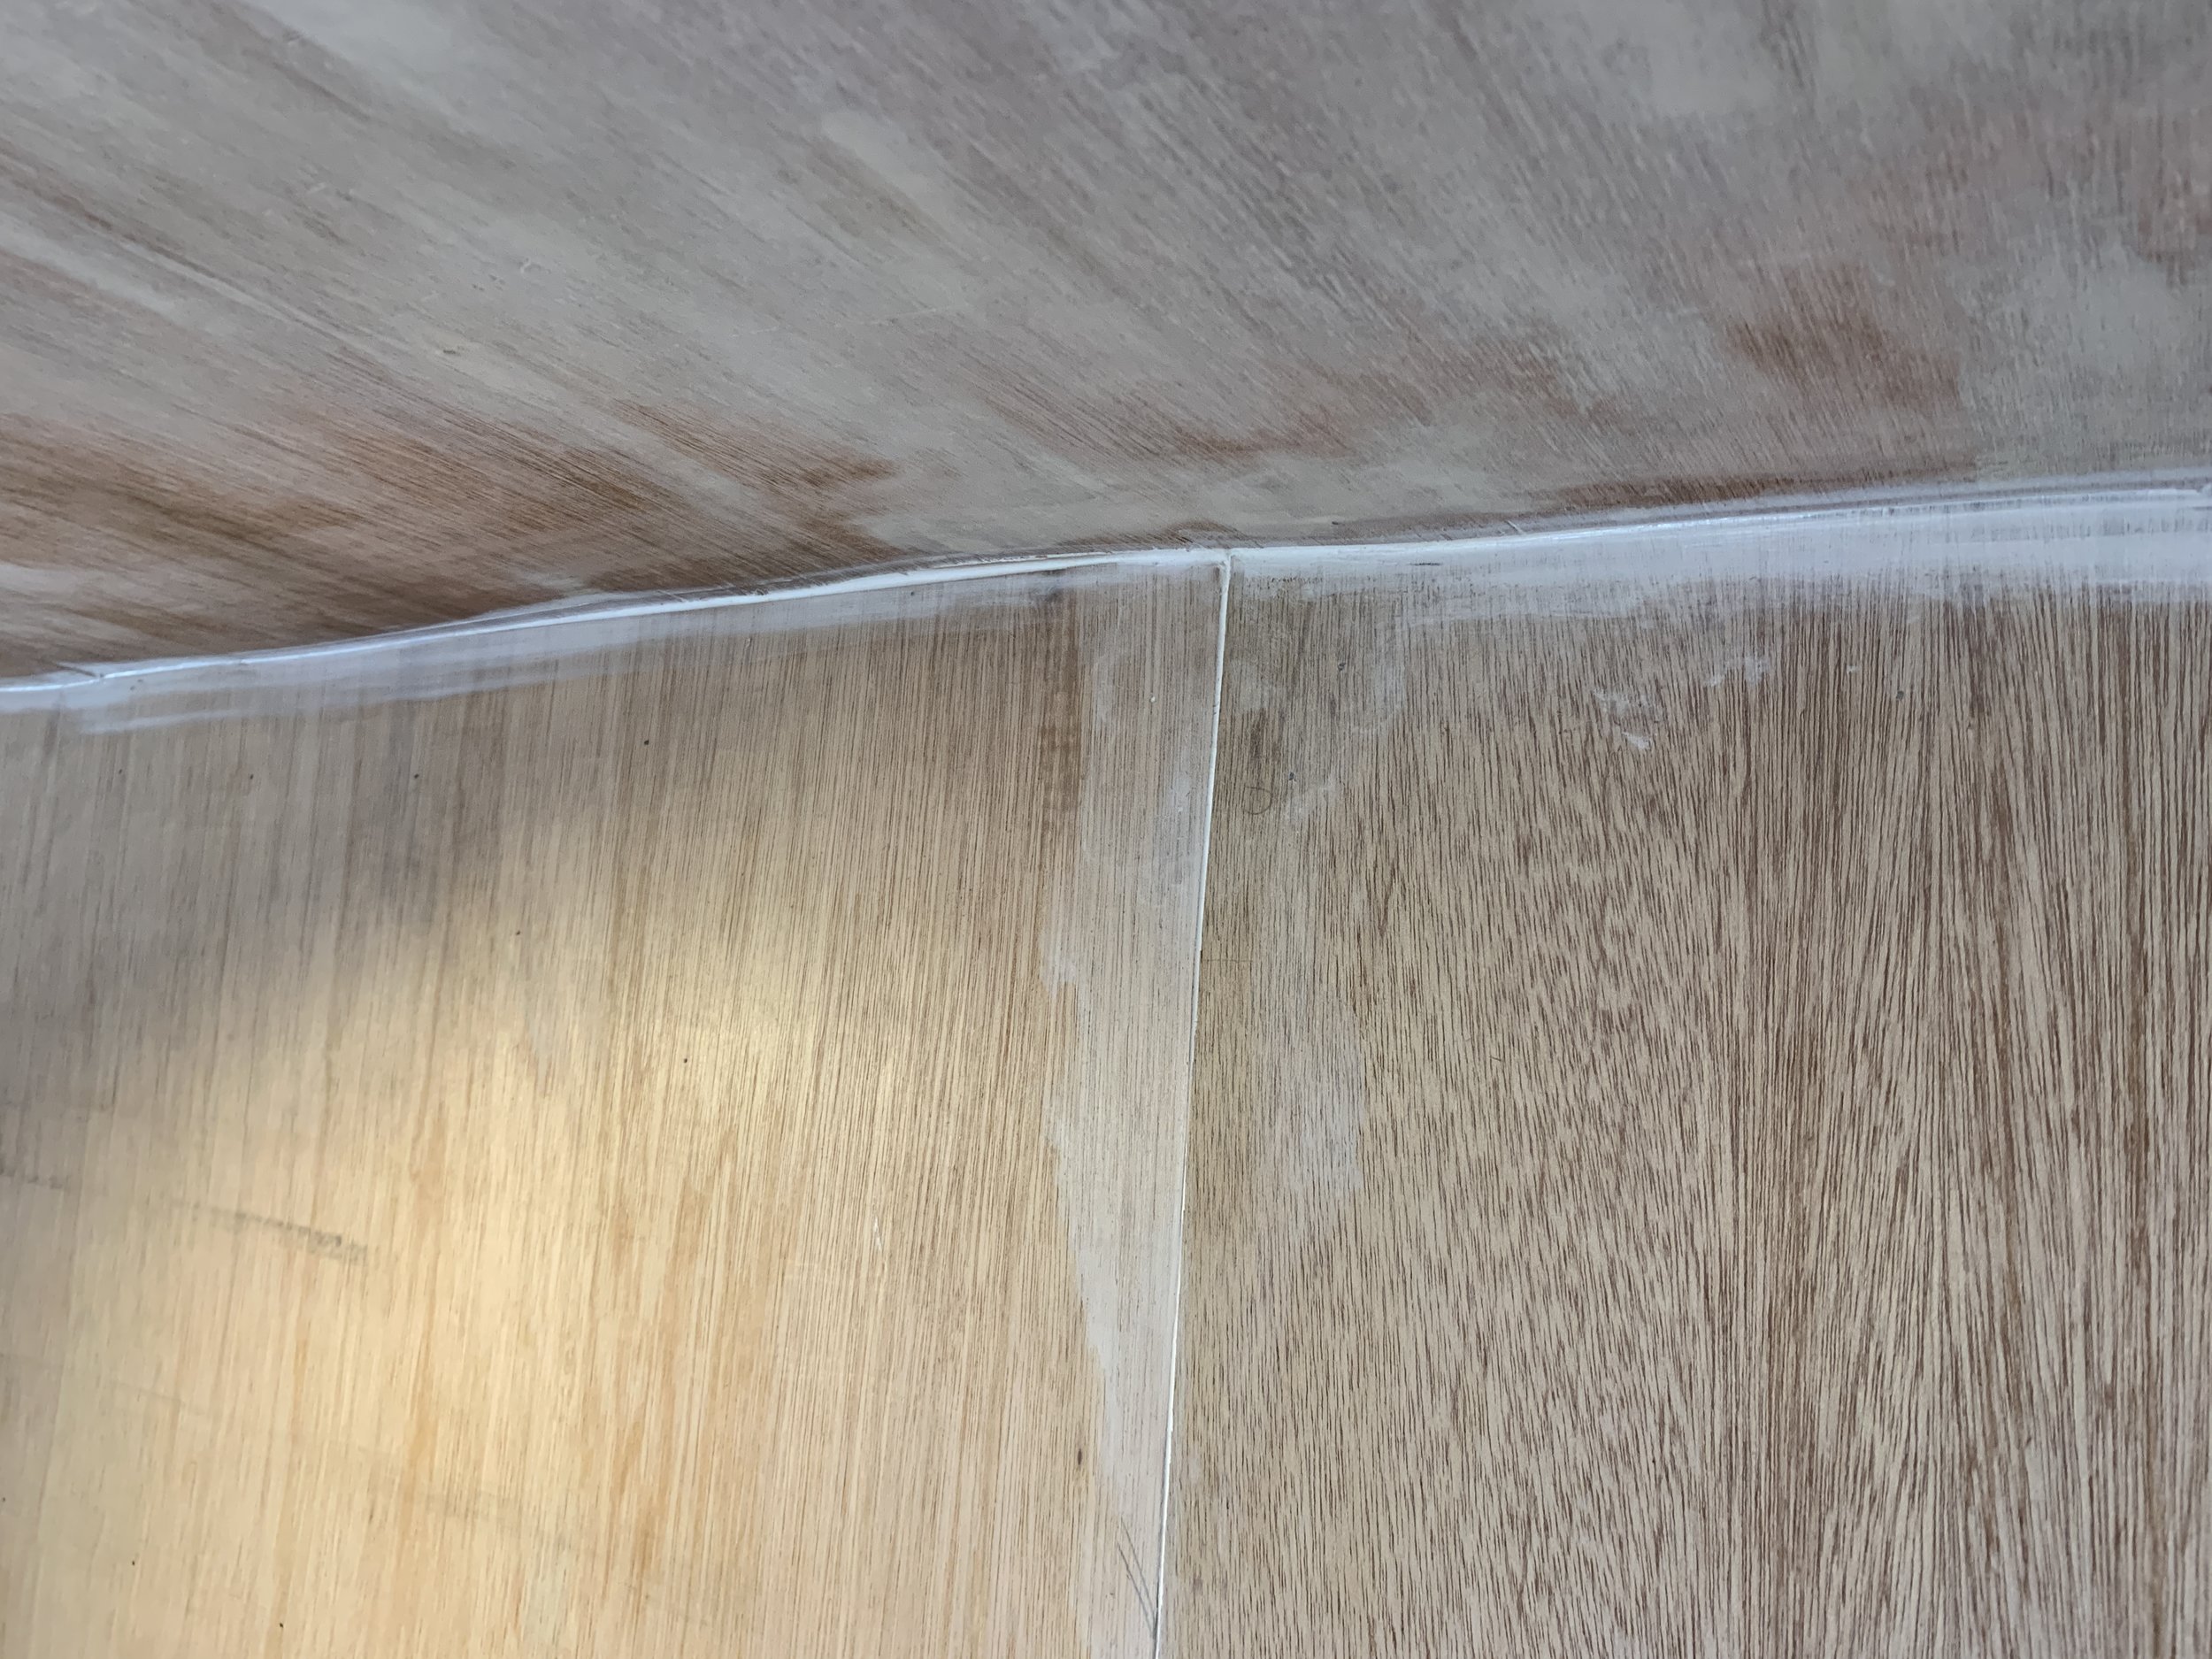
Then we filled our seams (in the ceiling, walls and where the two met) with paintable caulk. We decided on caulk here instead of wood filler because it will need to flex as the temperature changes and will move when we drive, when the wind blows, etc. and we didn’t want our seam filler to crumble and fall out. The caulk will allow for expansion and contraction throughout the year. You could also use some vinyl/plastic seam trim/welting instead. We chose not to use those to help keep as smooth a look as possible. (And we might have some big decorative plans for some of the walls!)
Once everything is filled and sanded, wipe everything down with mineral spirits to remove dust.
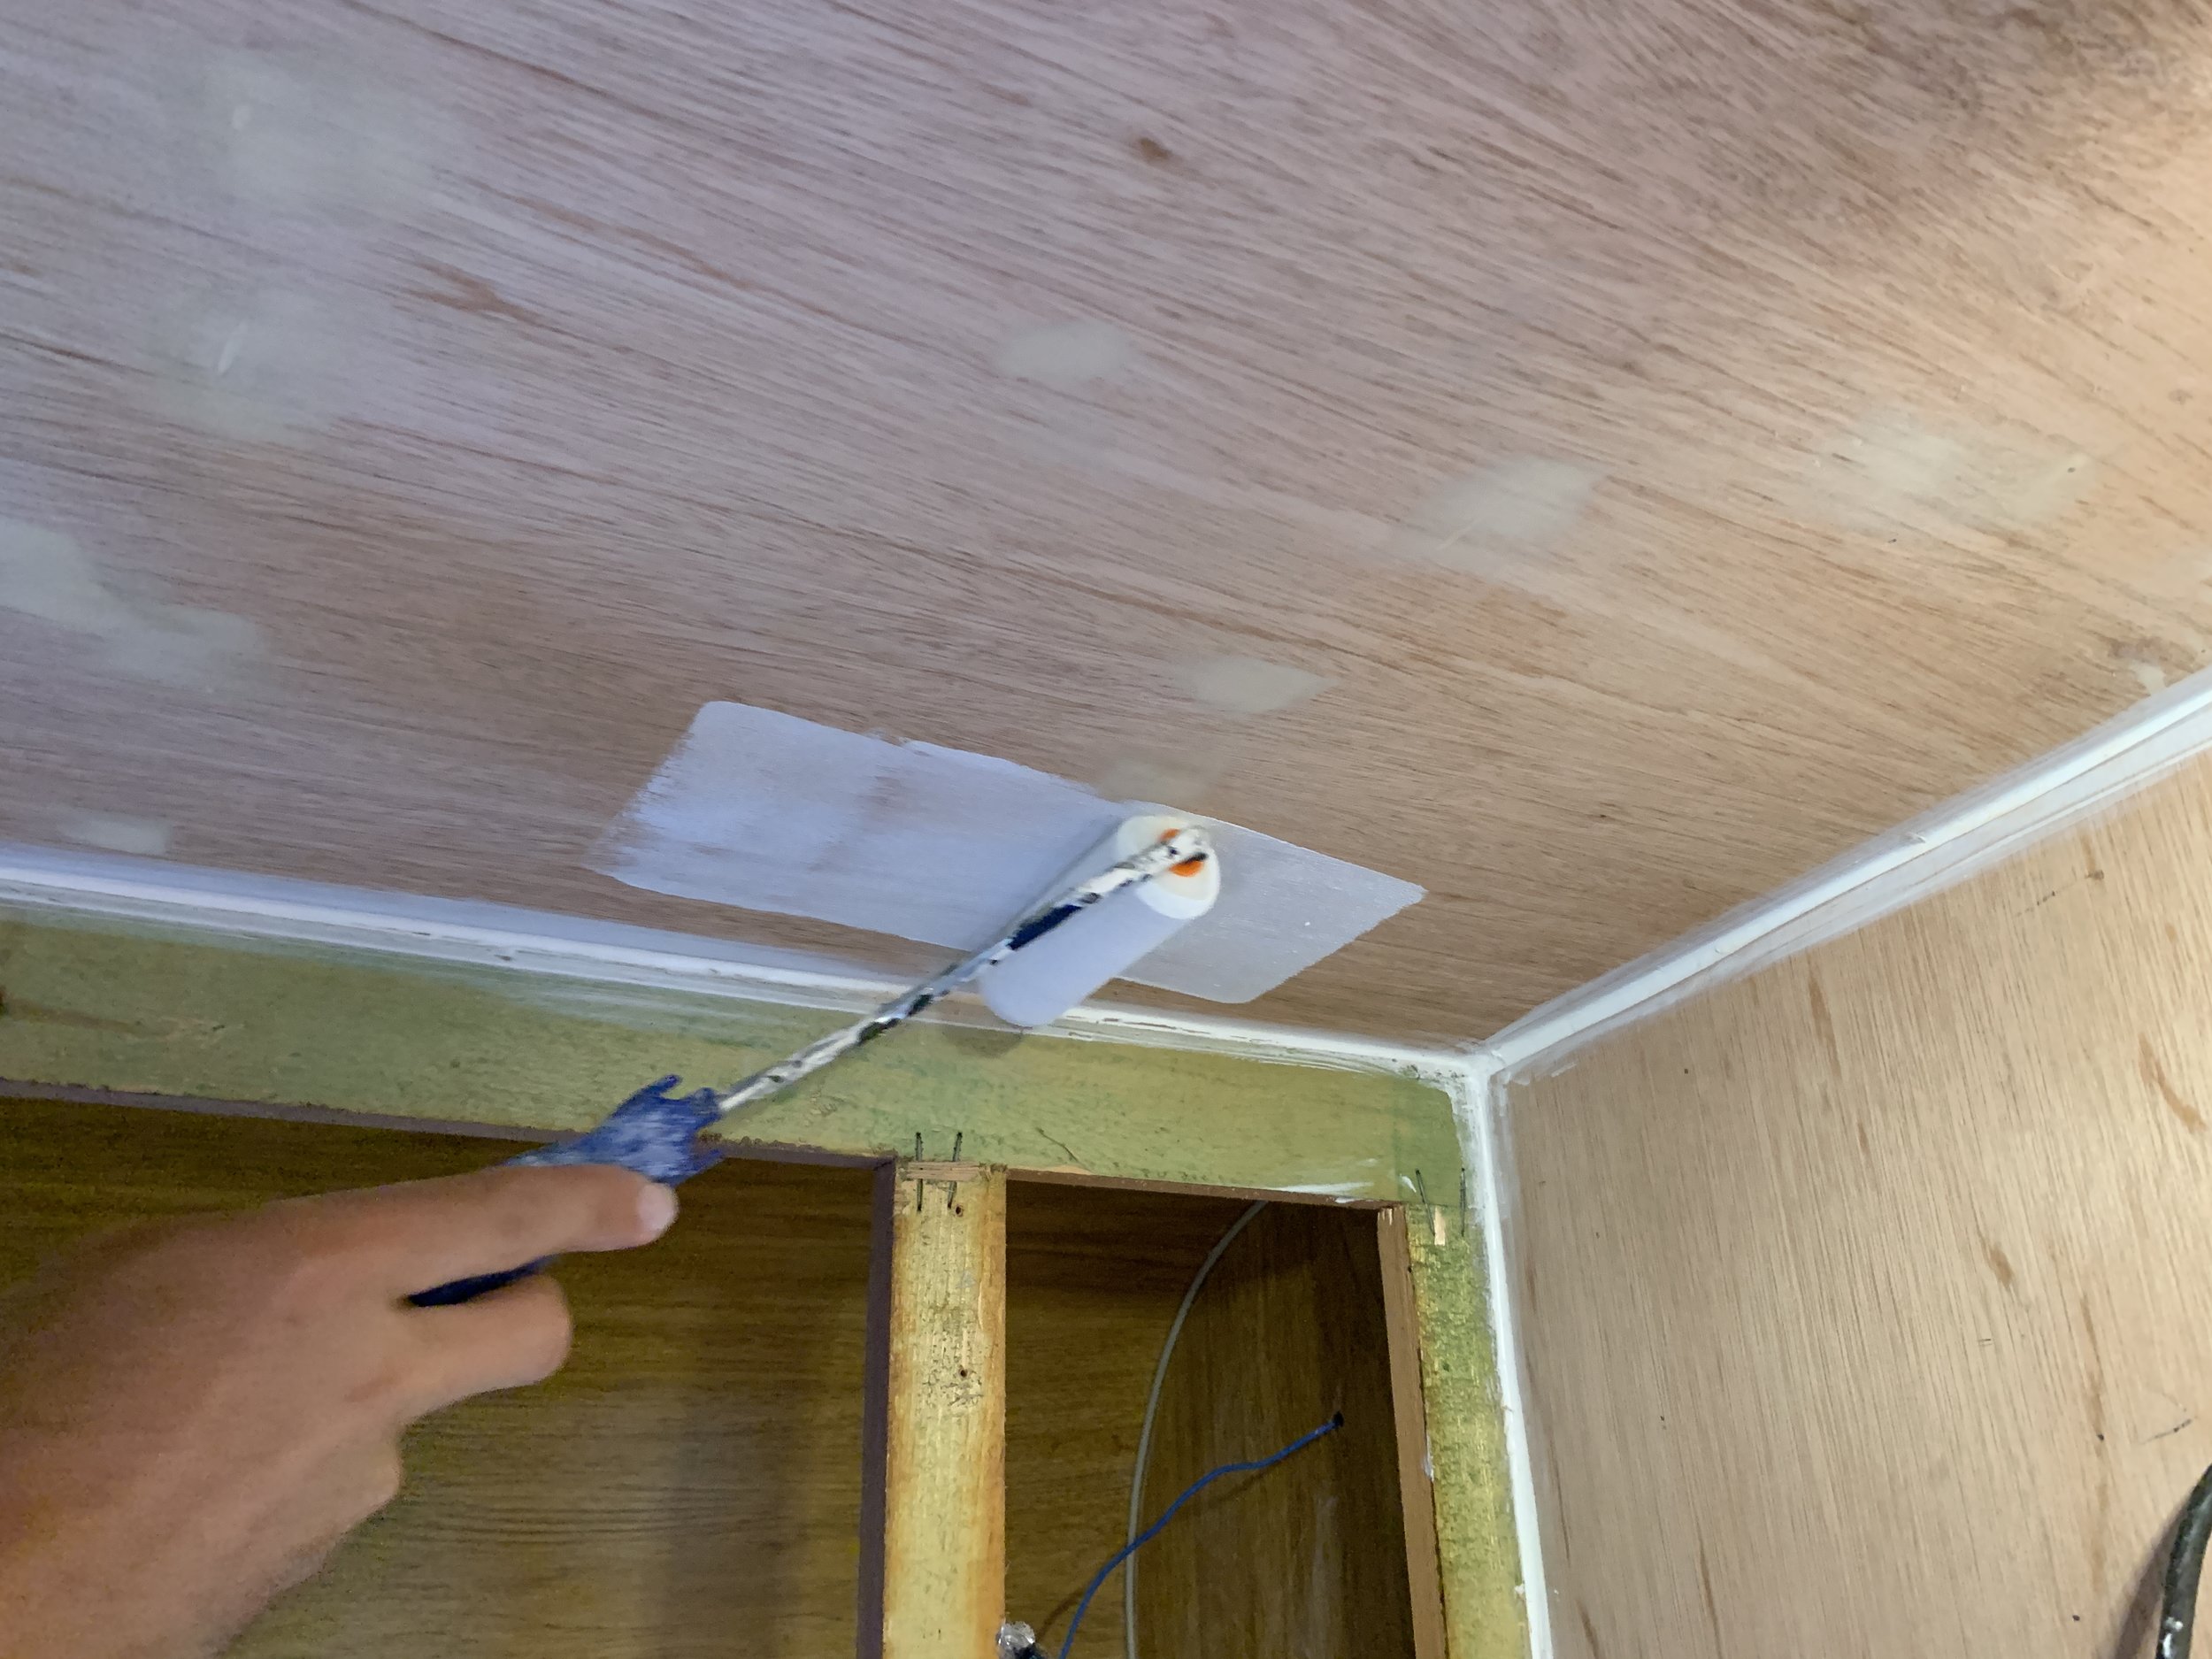
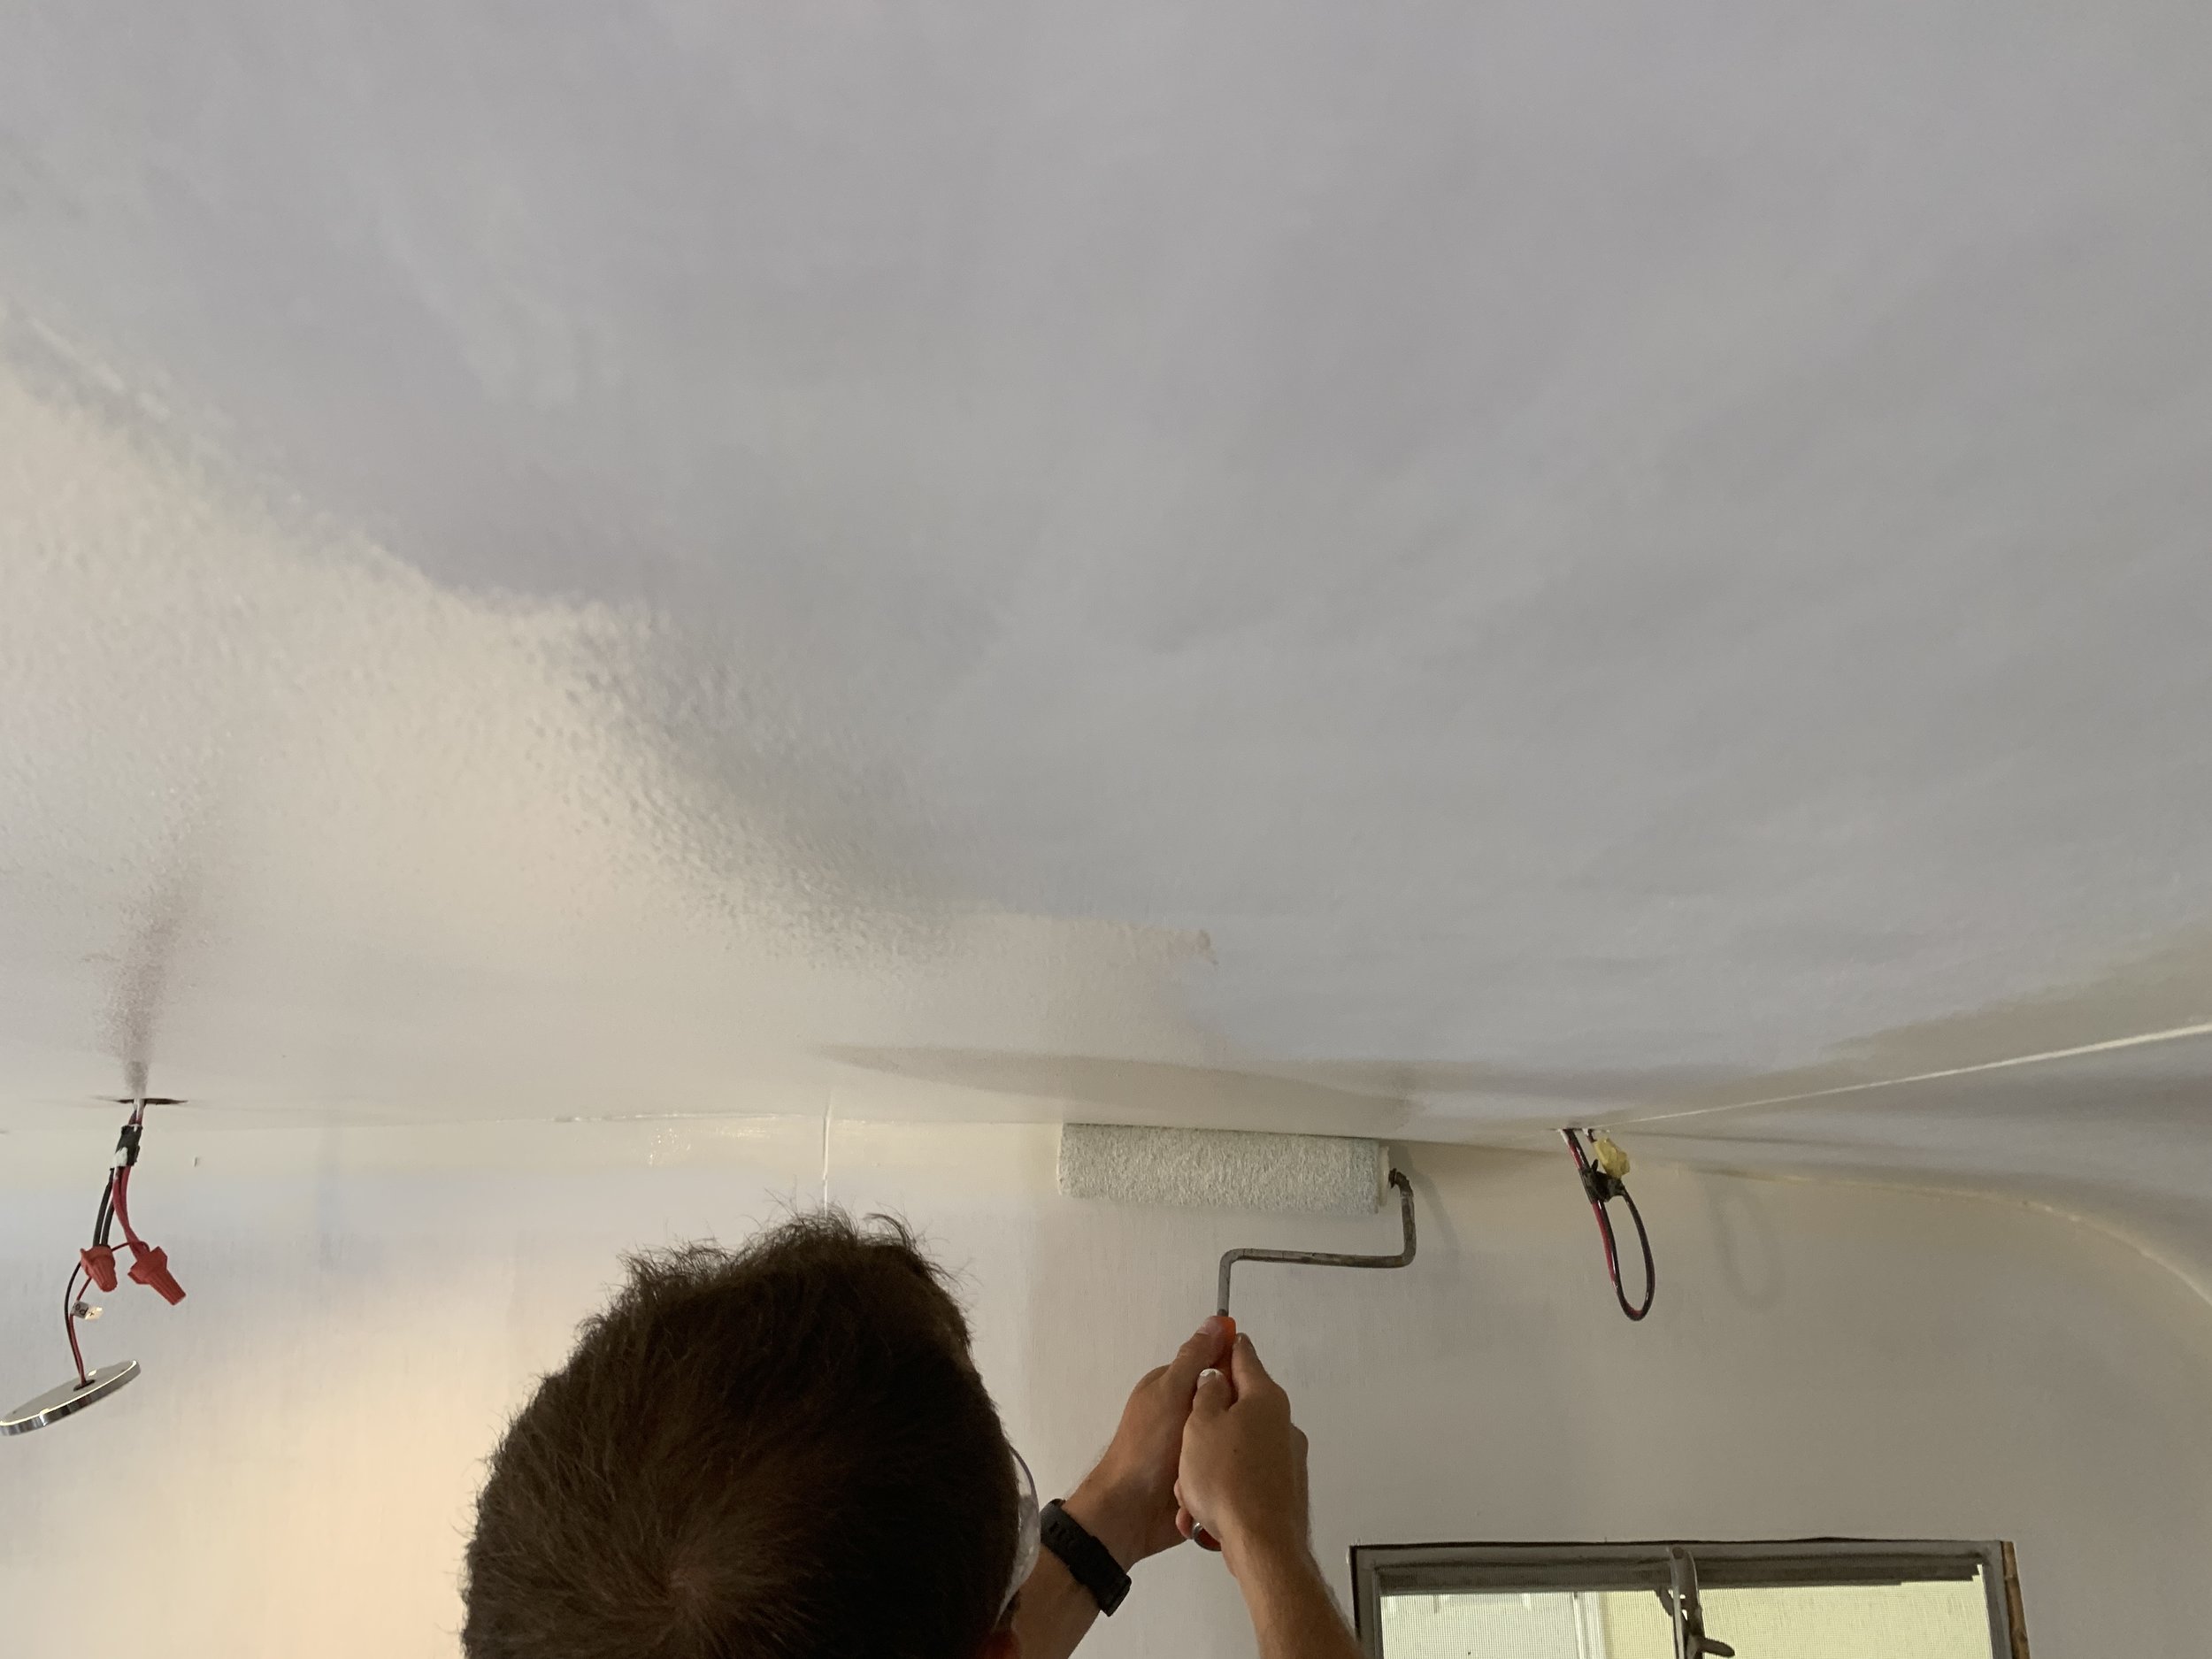
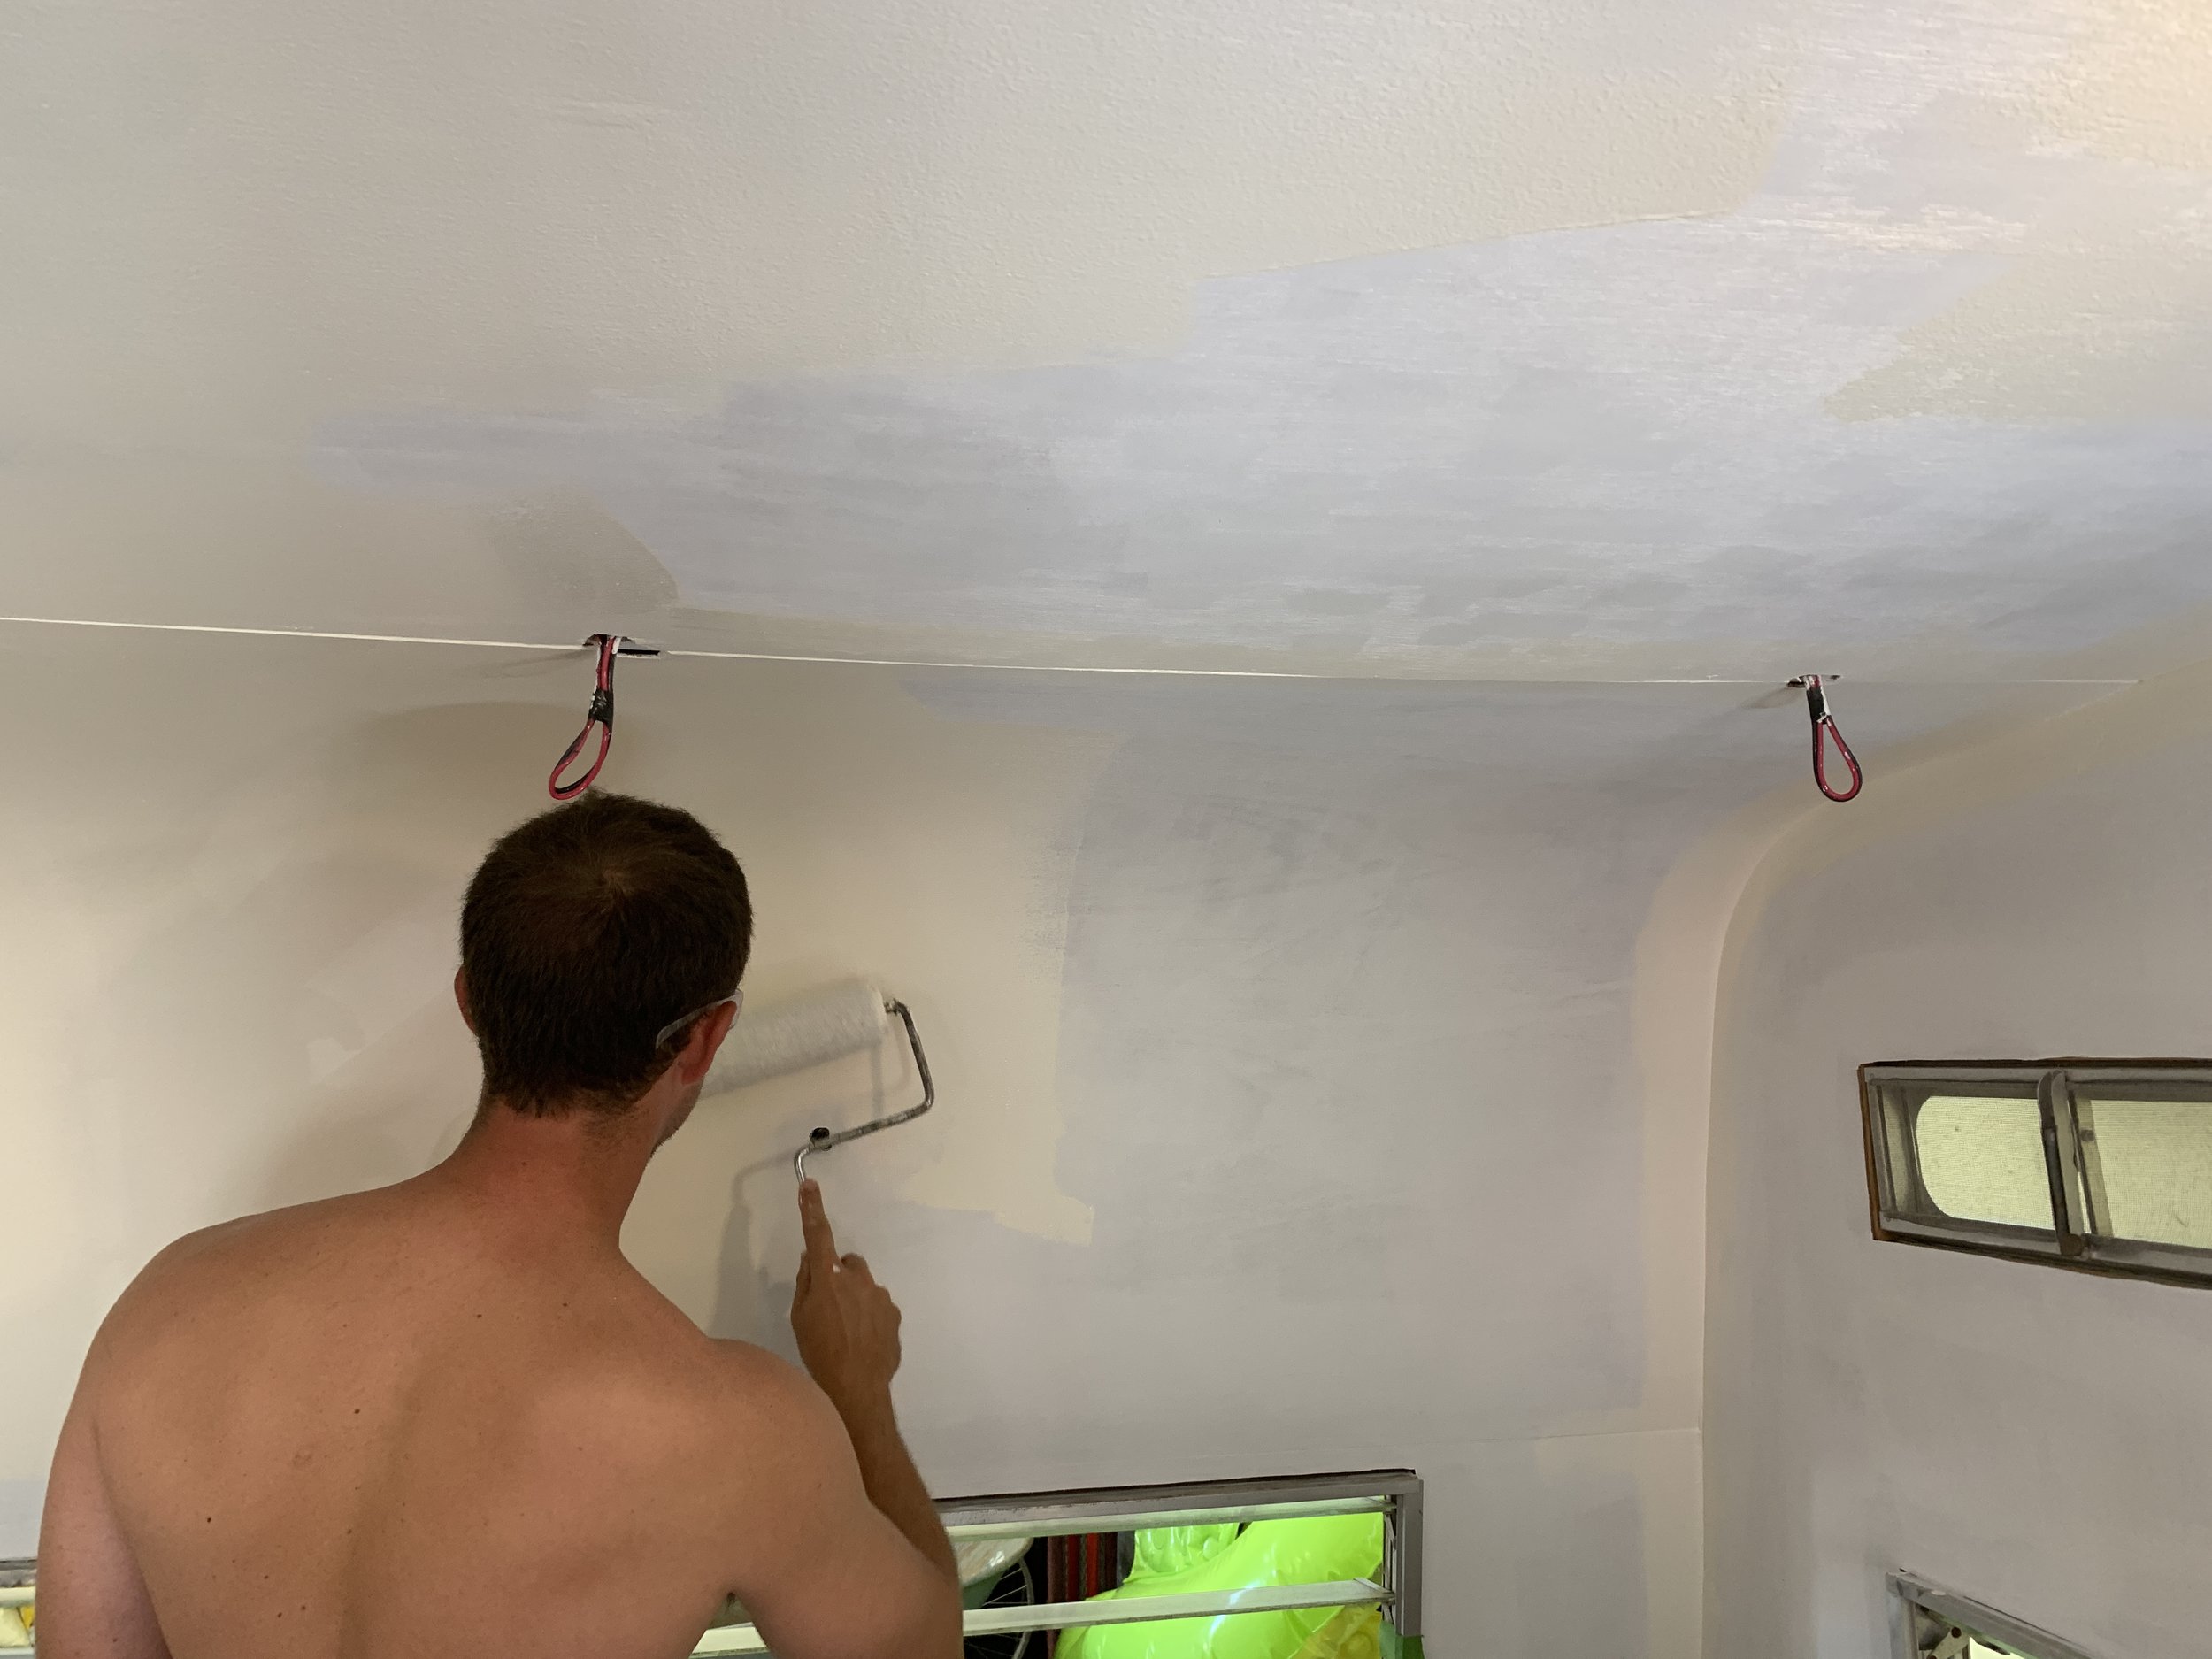
Priming
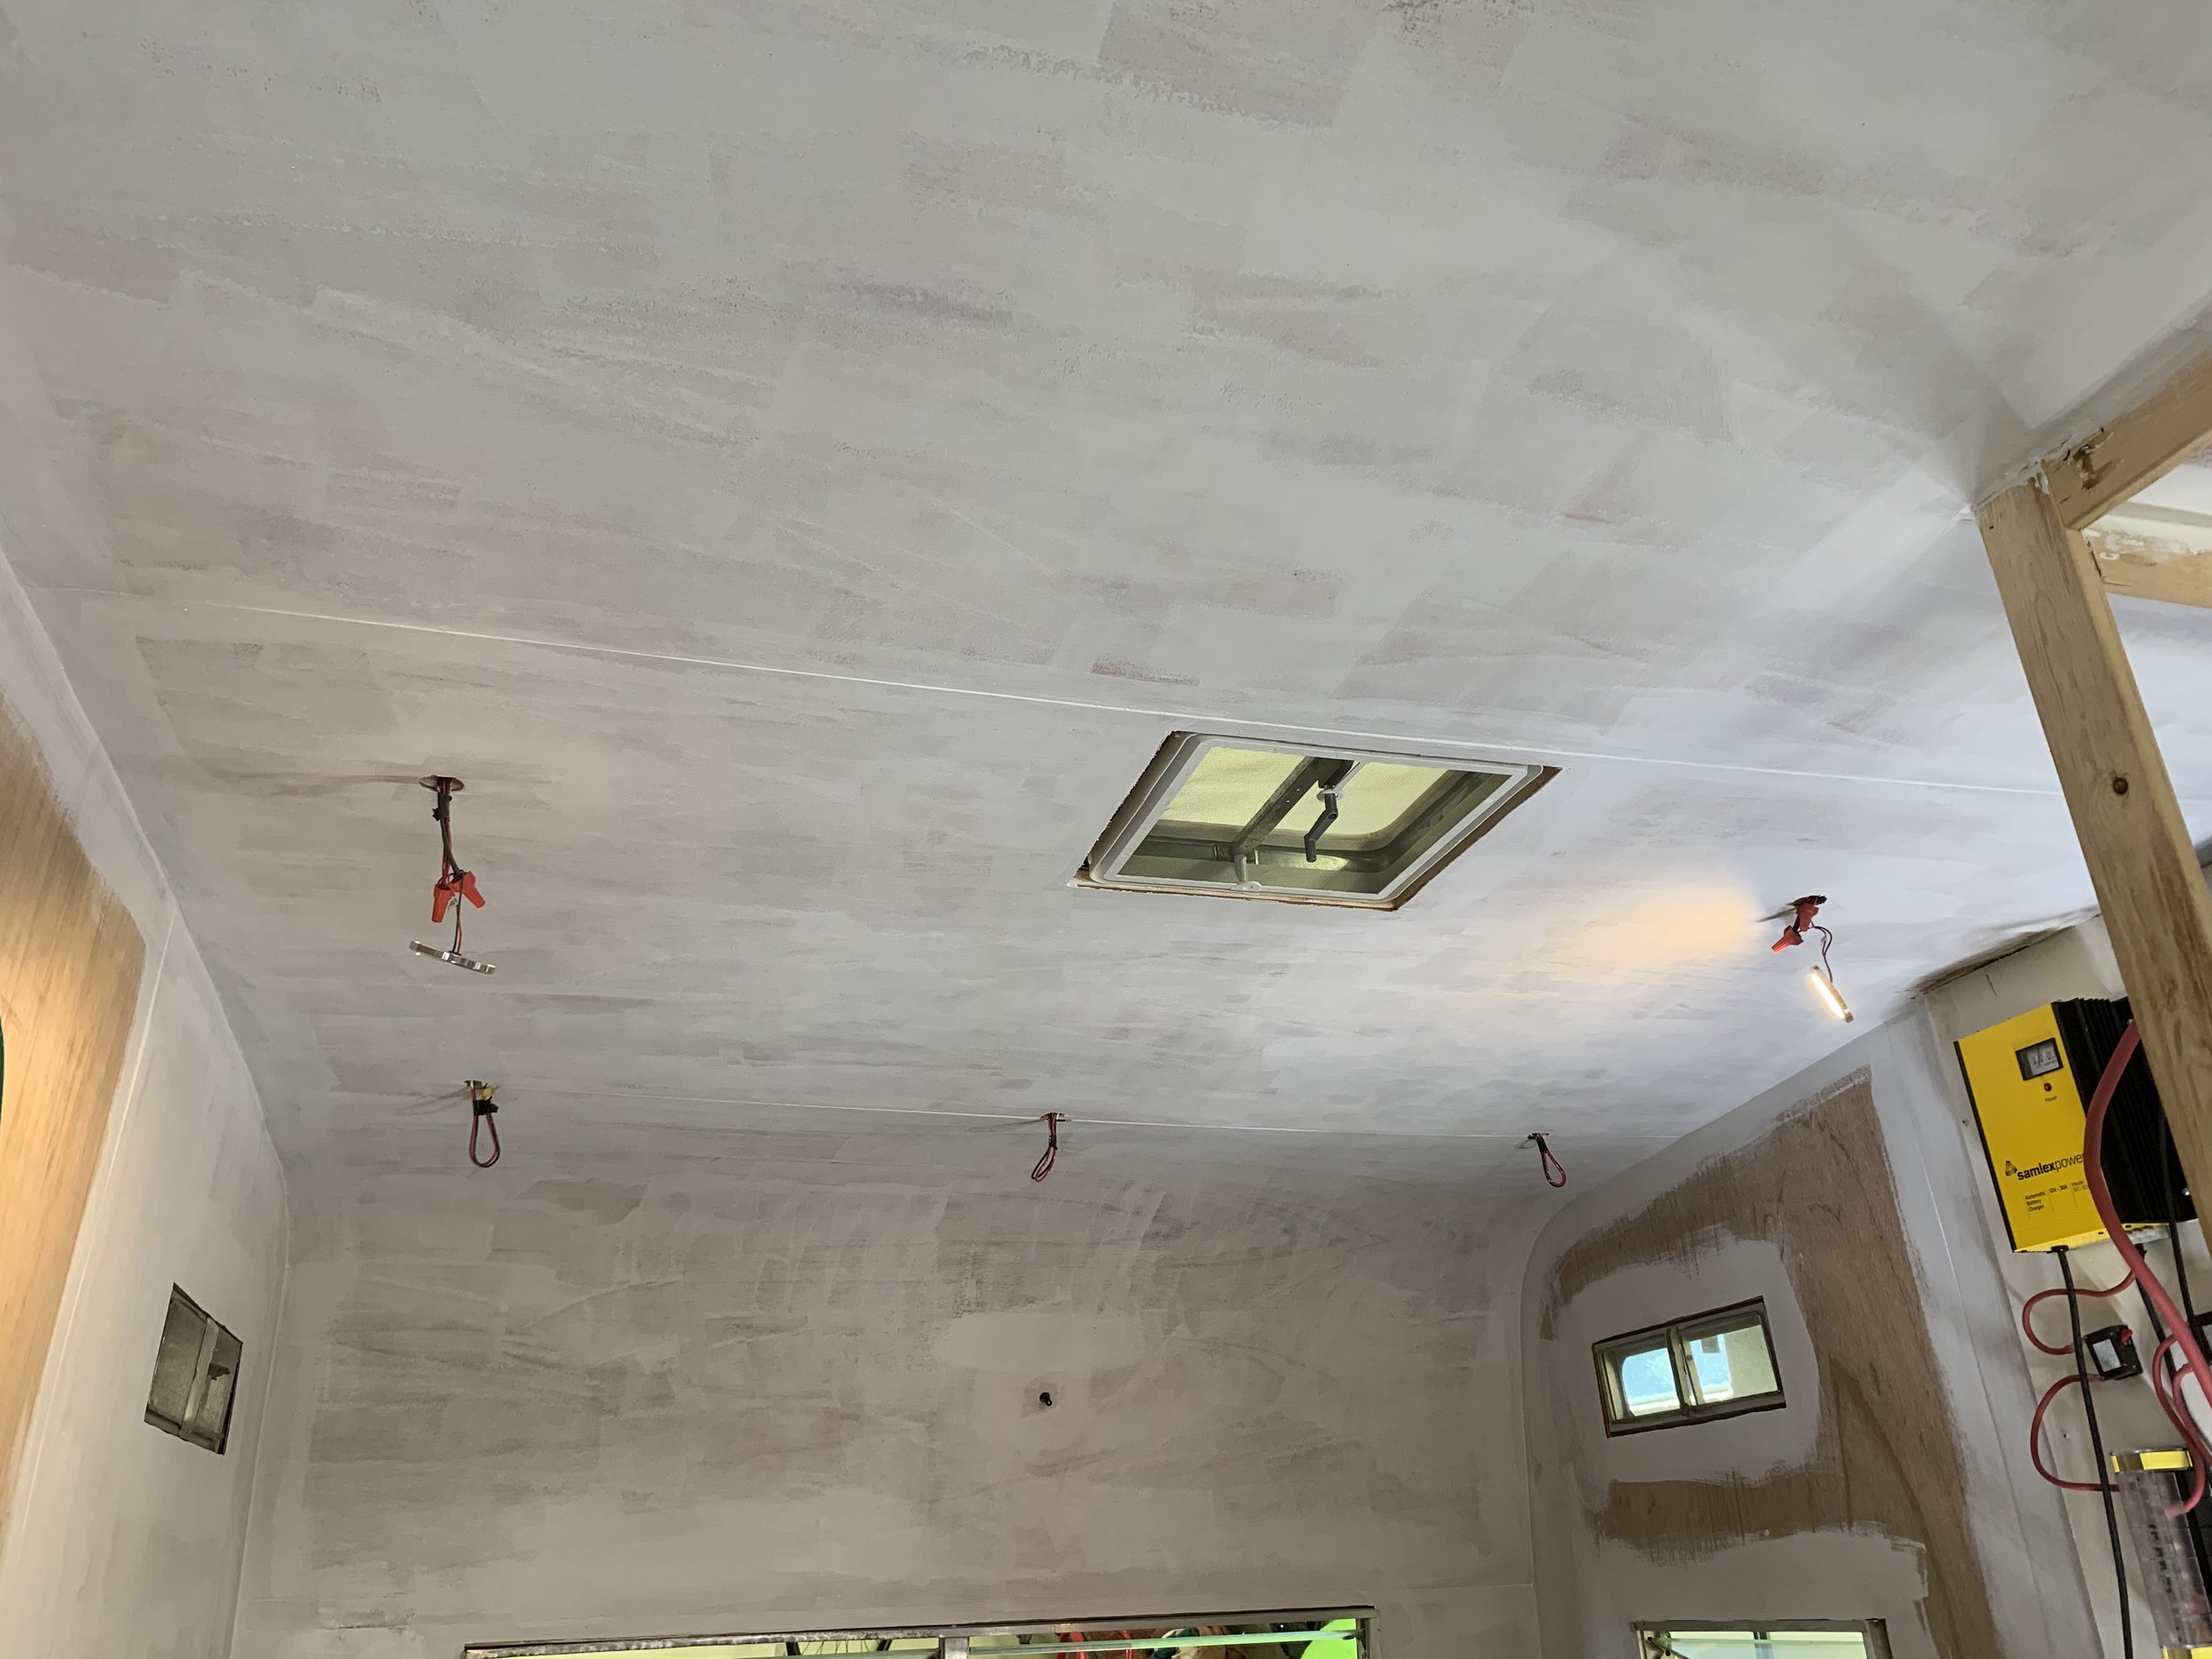
After all the holes, cracks and seams are filled, the panels are sanded smooth and they’re clean, it’s time to prime the bare wood. We applied two coats of basic white interior primer, cutting in the corners with an angled brush and rolling on the flats, smoothing out any drips along the way before they dried. It’s pretty patchy after the first coat and gets a lot better after the second.
Painting
We applied our paint the same way we primed – by cutting in with an angled brush in the cracks and around windows and rolled on the flats. Two coats of this also.
Some tricks we picked up
How to not tear a hole in your ceiling
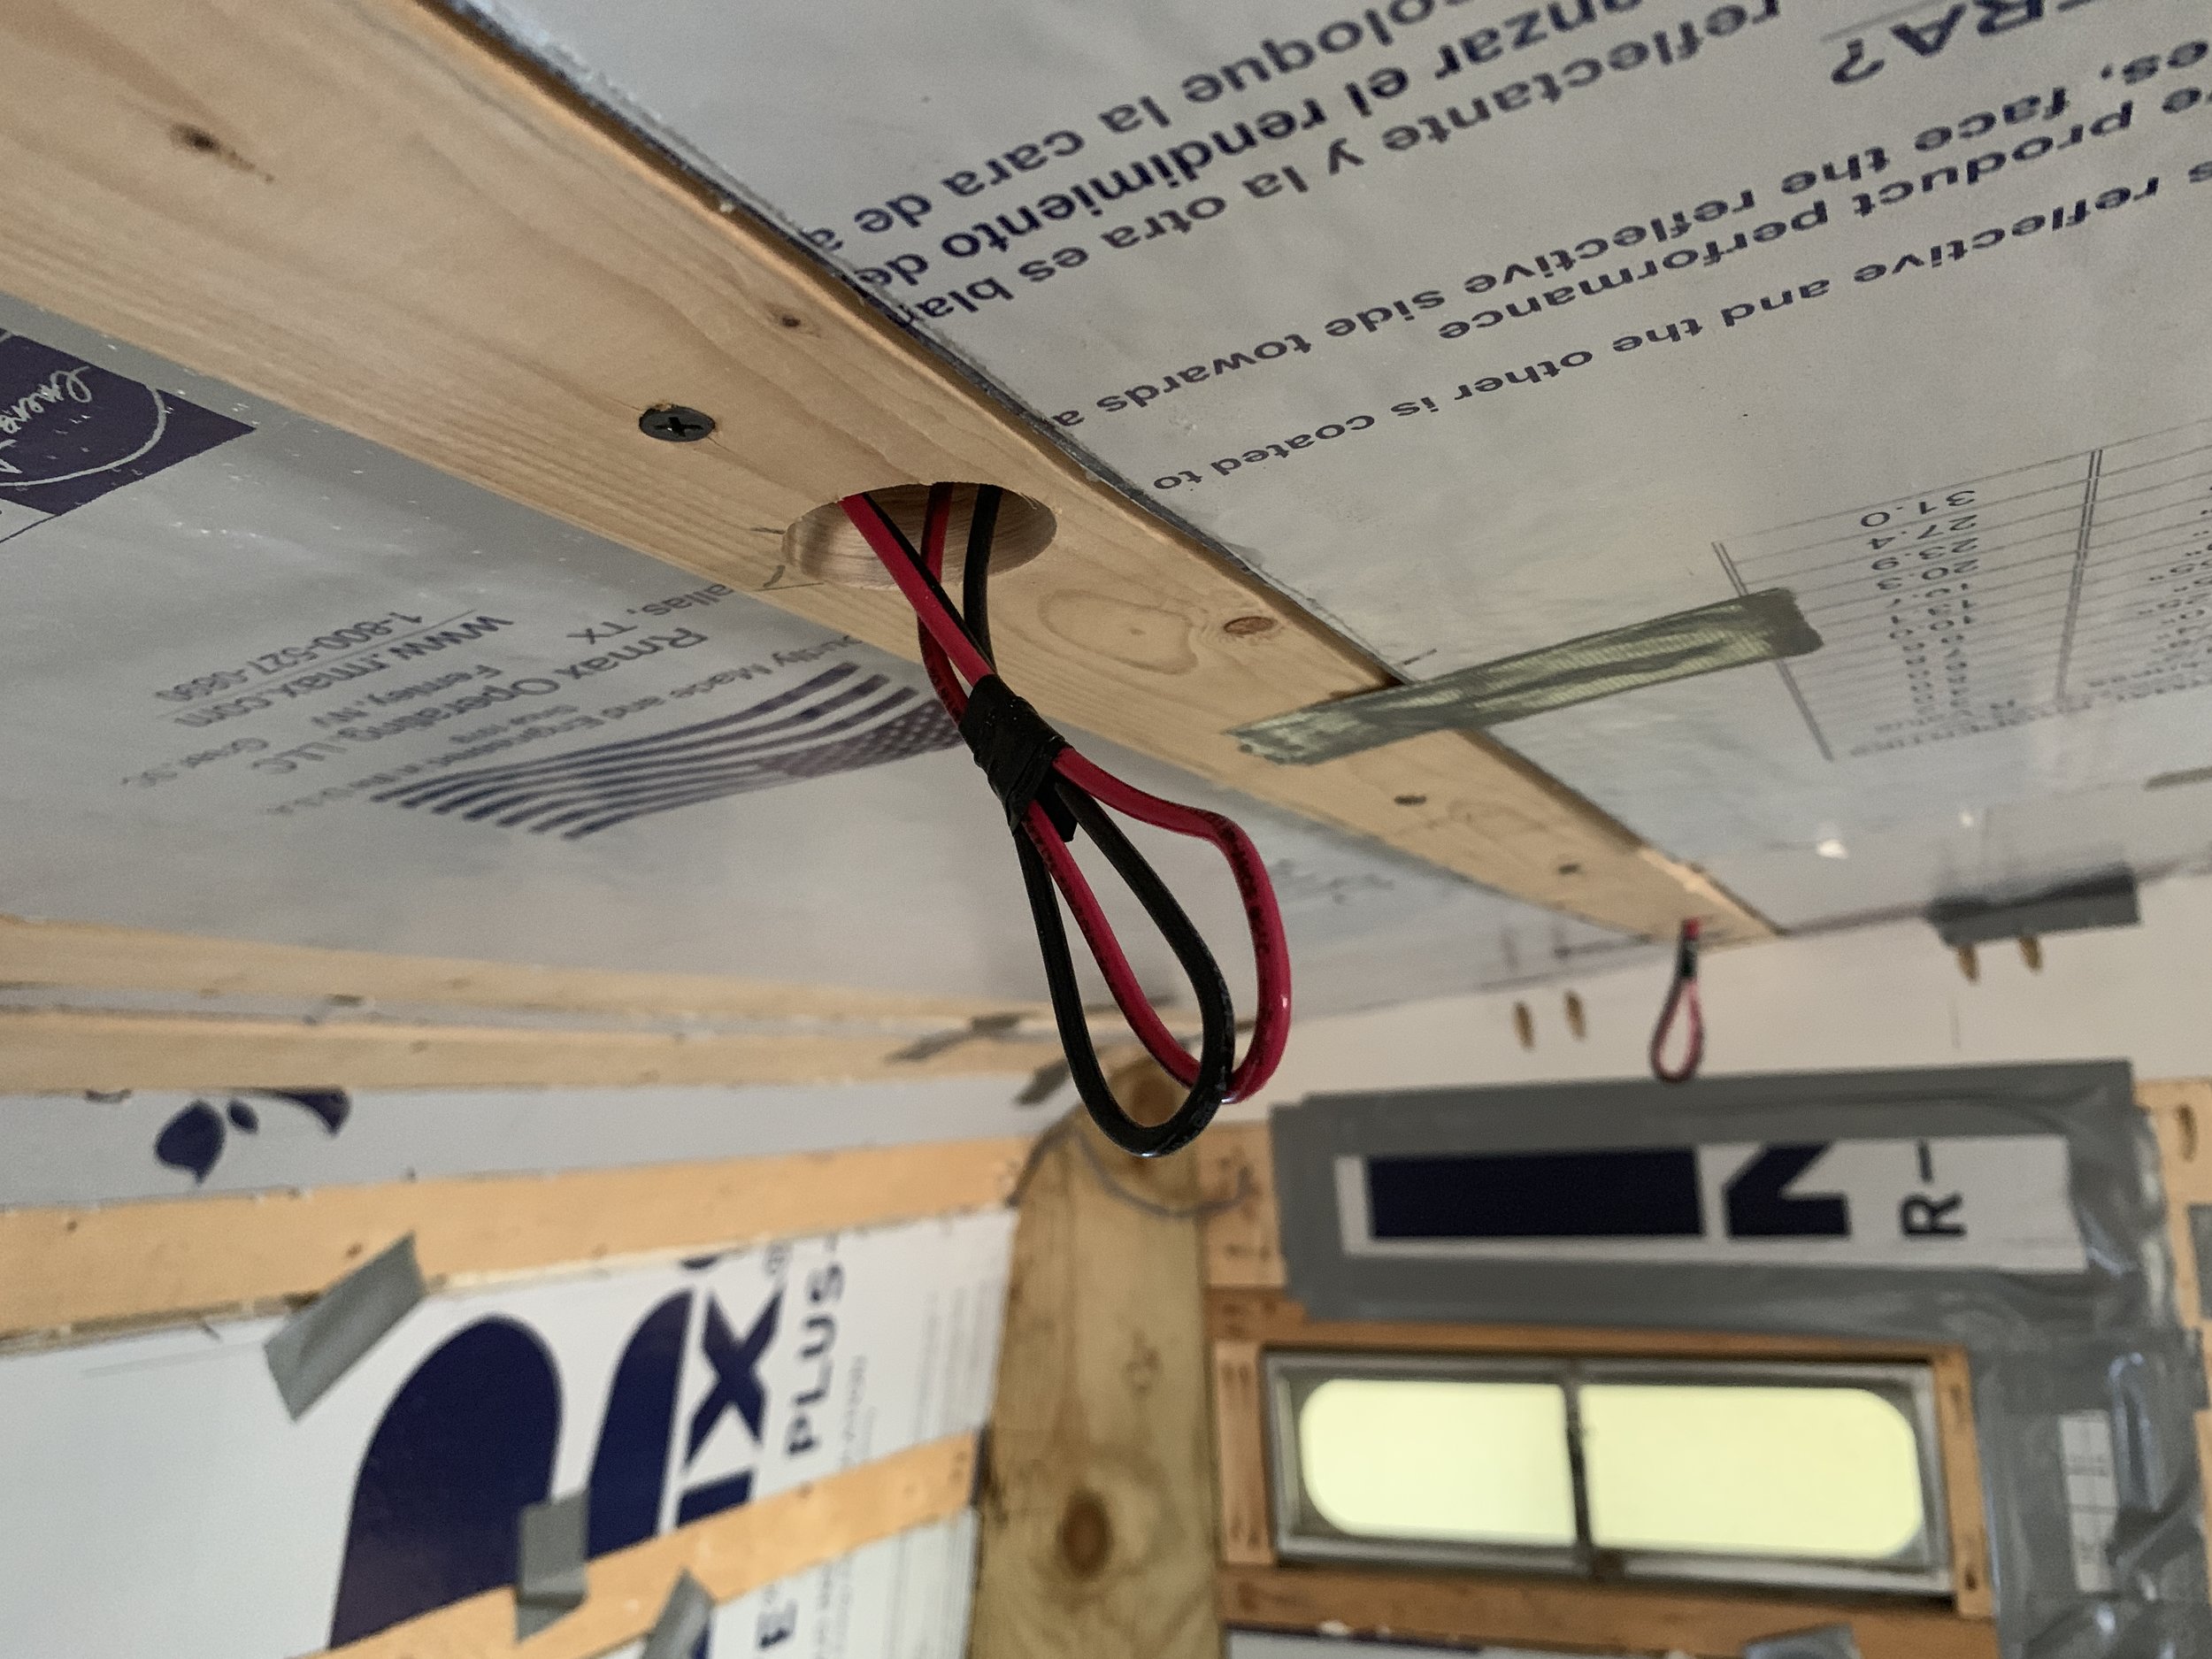
Already have your support studs in place and need to drill a hole for your lights? Use a thick (16 gauge) piece of scrap metal as a backer so you don’t drill through and rip a hole in your exterior metal ceiling/walls.
How to find your studs
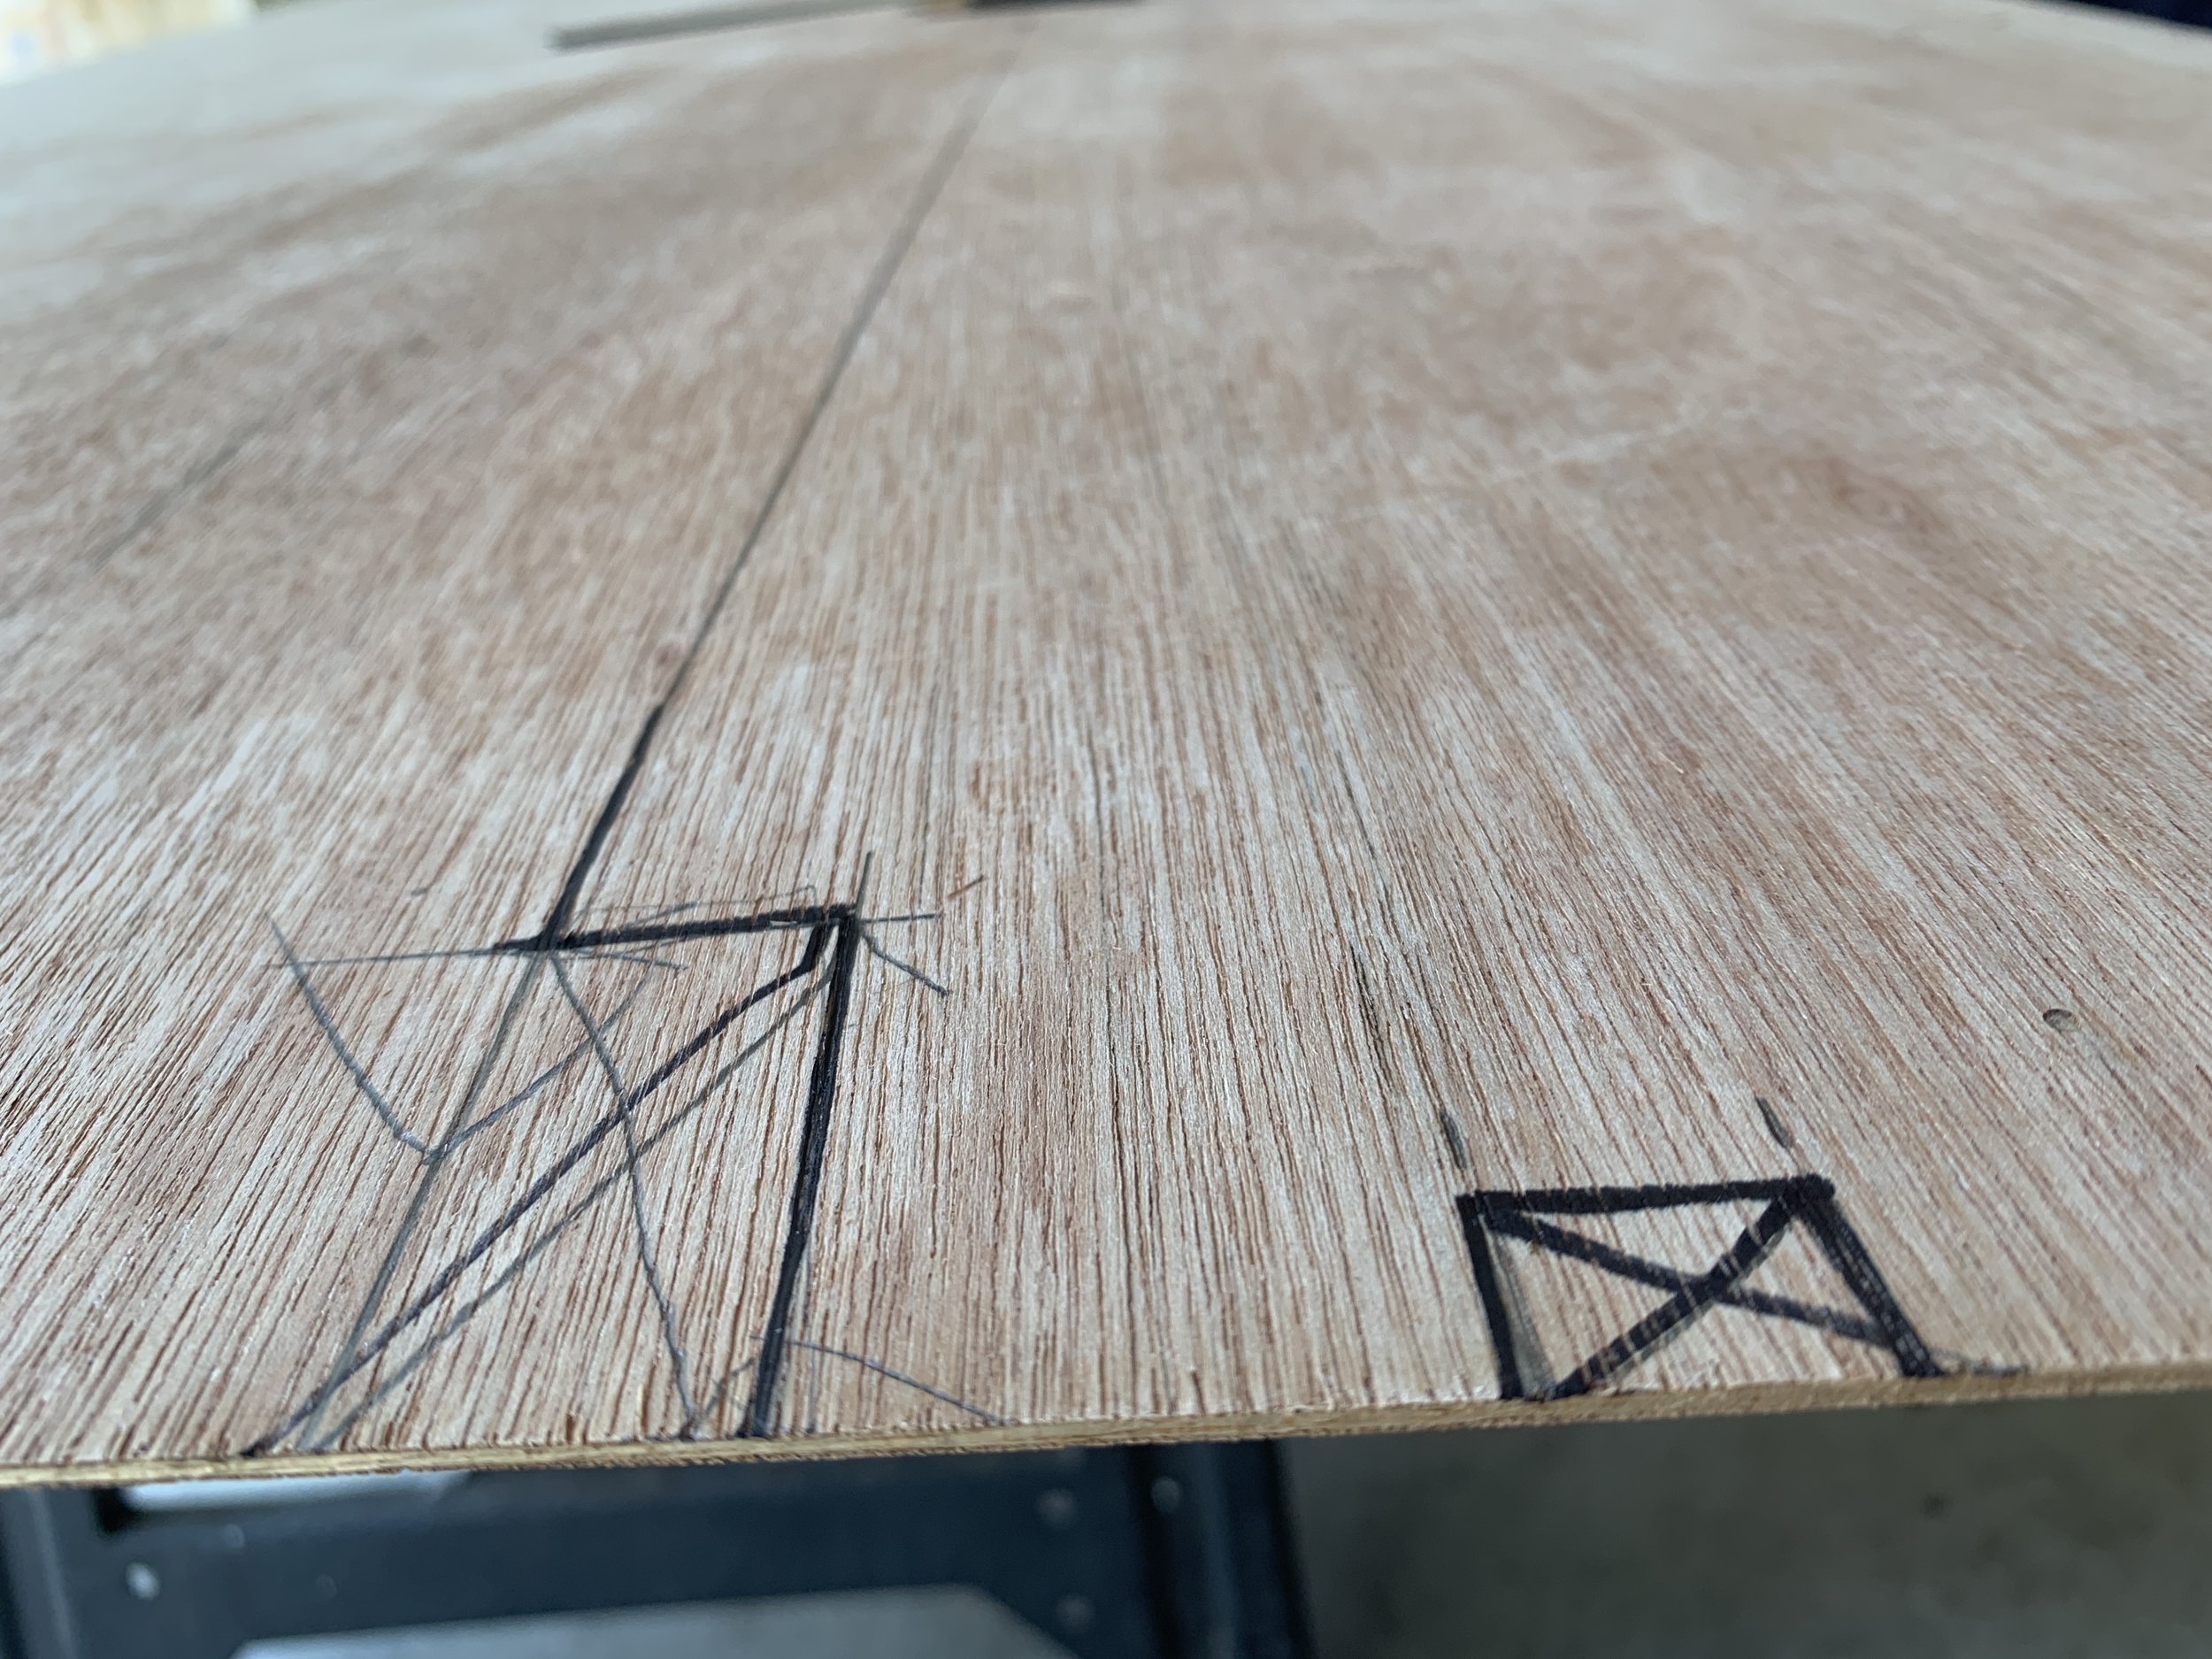
Since our studs were irregularly placed (vs. say, 16” on center or in a perfect, easy-to-find grid), we marked them out before we covered them up so we didn’t miss them with the nail gun and blast through the exterior metal. We marked the ceiling supports on the walls with Sharpie, then after we hung the ceiling marked the wall stud placement out on the ceiling panels lightly in pencil.
Work smarter not harder
Apply the smallest amount of wood filler necessary and scrape off the rest while it’s still wet, or freshly dried, with a putty knife to minimize awkward sanding later.

Even though we’ve definitely had days where we’ve done more work, these few days insulating, installing, prepping, priming and painting the walls and ceiling gave us a big visual change. Since this, we’ve done some more electrical and got creative with our window-unit A/C install (hint: it’s not in a window, and we can’t wait to share our solution with you! But it allows us to keep the vintage look and feel of the exterior, all the original windows but also get the modern amenity of air conditioning. You can catch a peek of it on Instagram. We’re so excited to share our full tutorial soon!) Some of you eagle-eyes may have noticed a couple walls still look a little unfinished… we have some plans for a couple choice locations to add some pizazz! I’m so excited!