The Cameo Camper Renovation: Dining Table Part 1
Hey y’all! Last time we shared our U-shaped dinette build, including how we planned our decorative trim so that it would pull double-duty for us when it came time to turn the eating area into a bedroom. Today we’re going to cover the dining table – also known as the large missing piece we use to support the entire middle portion of the would-be bed area – the dimensions, the paint job, the first attempt that failed miserably.

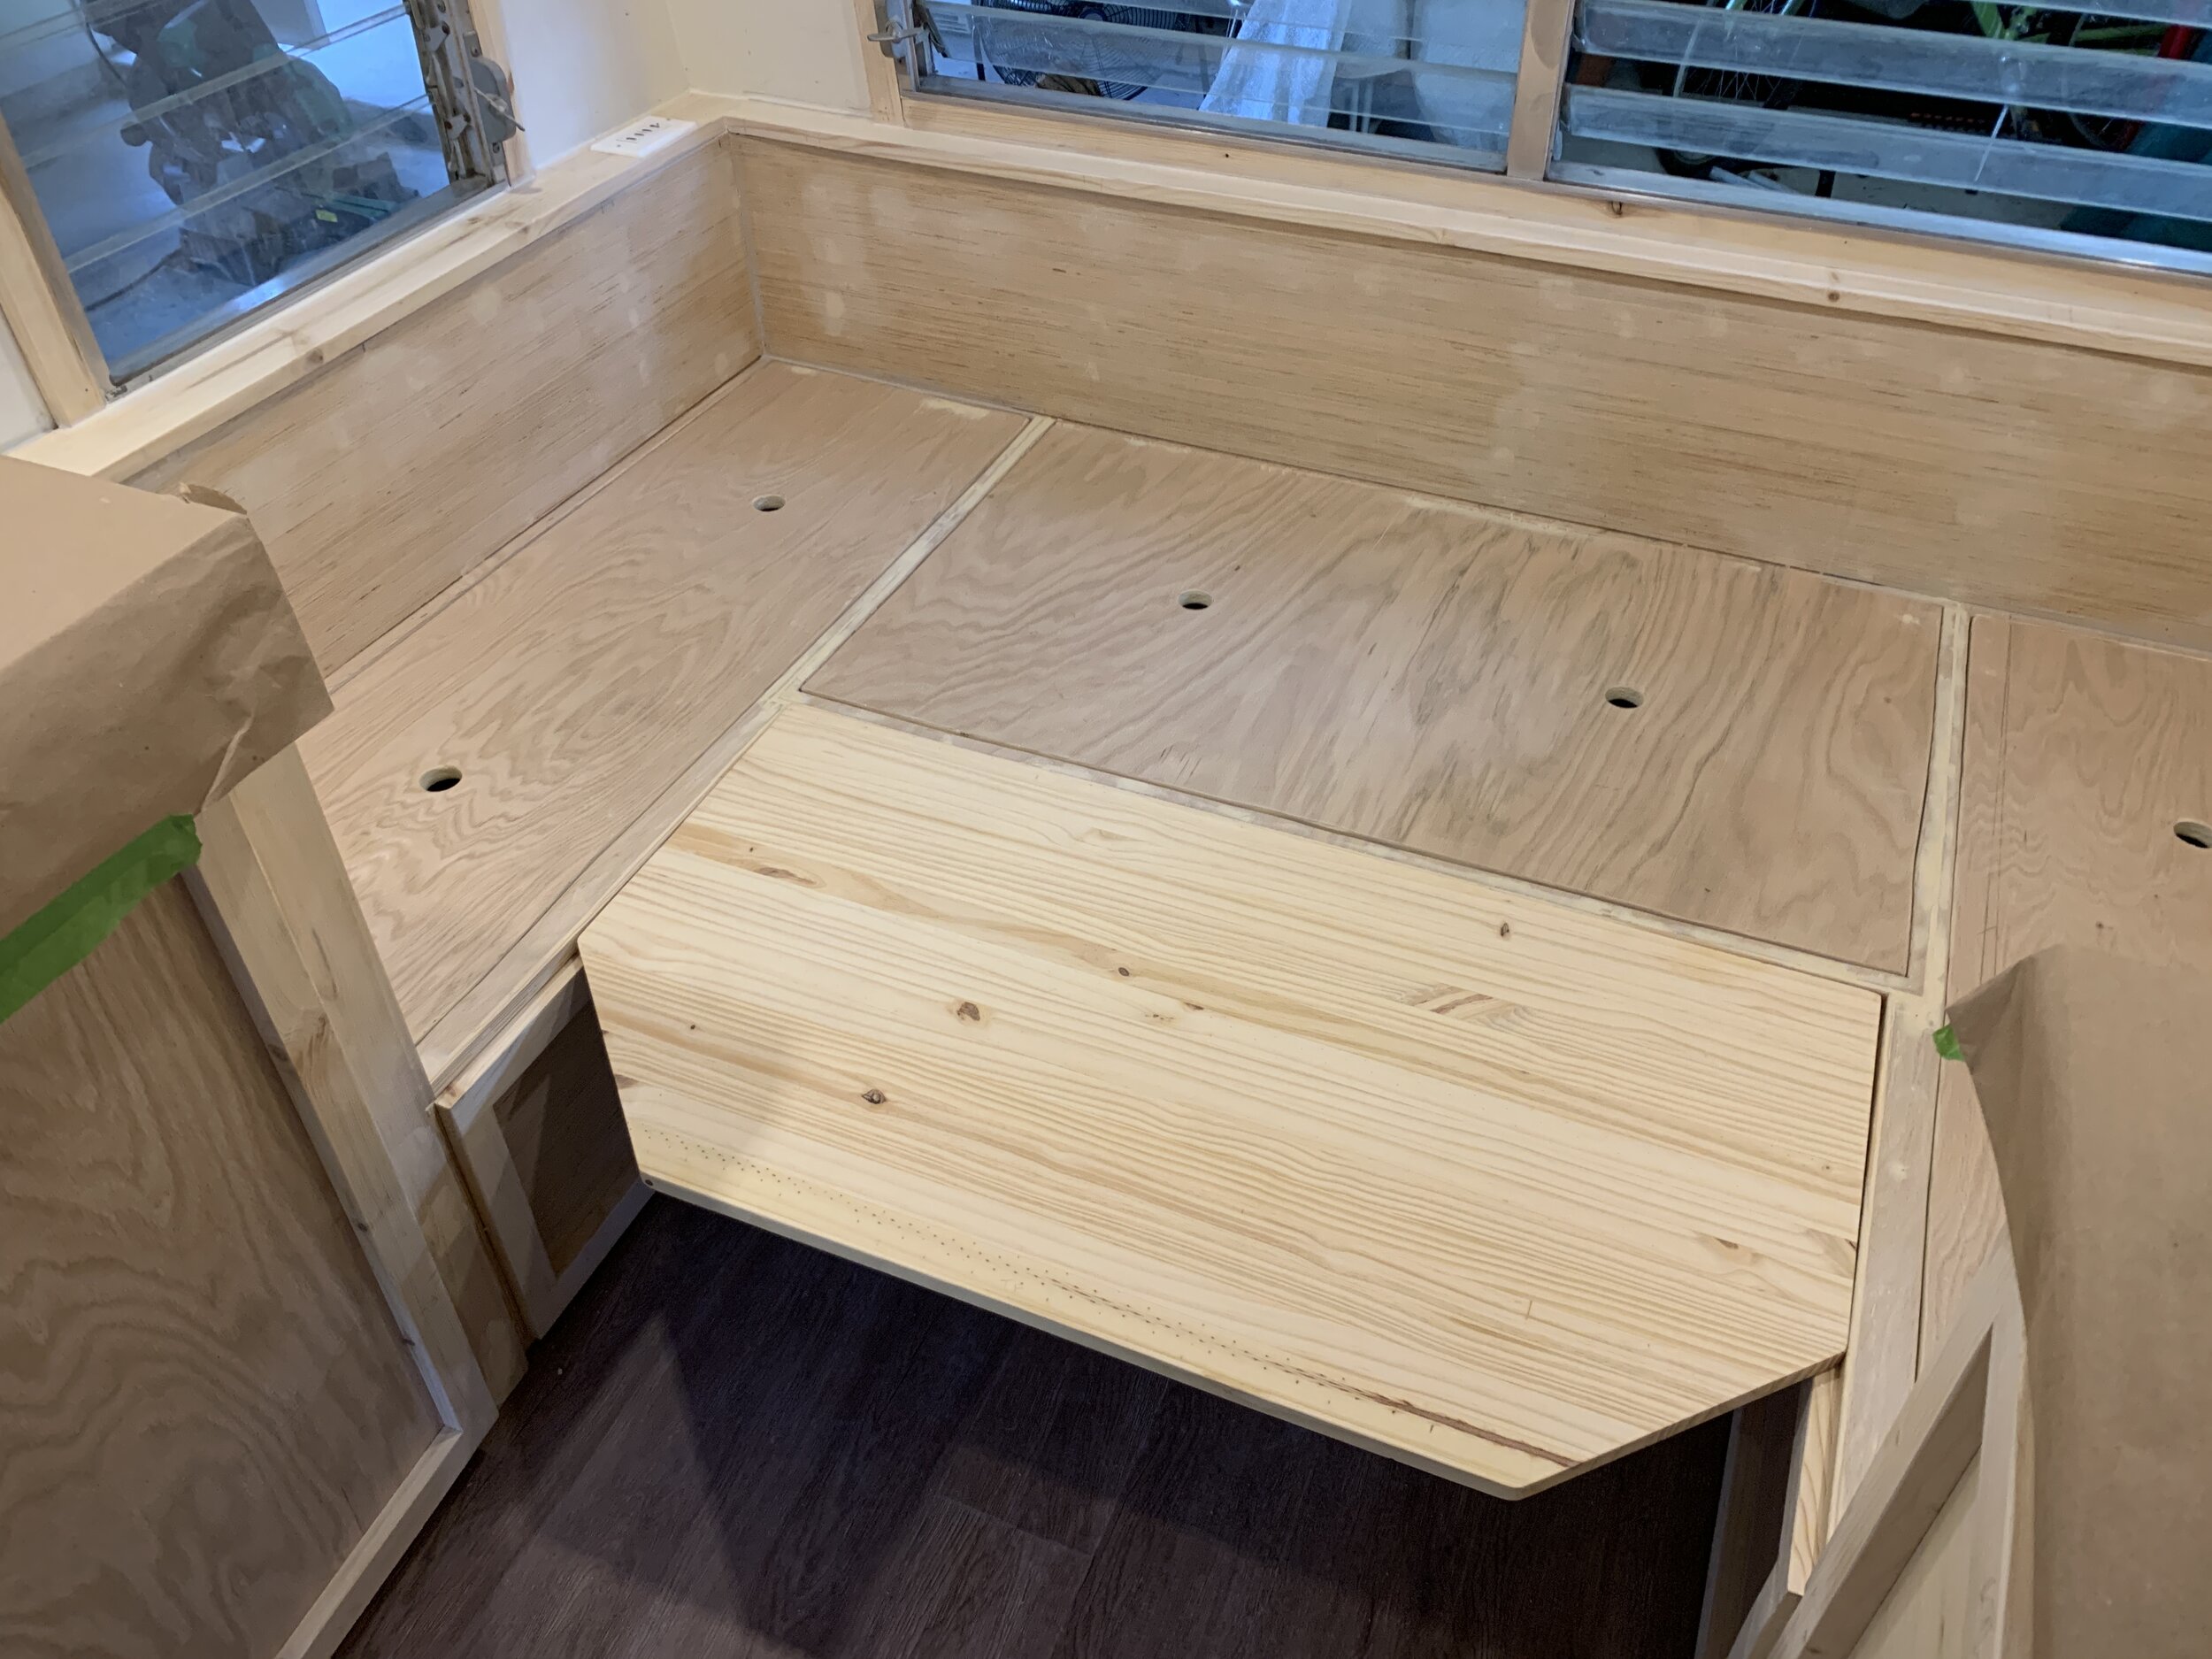
Cutting the table to fit
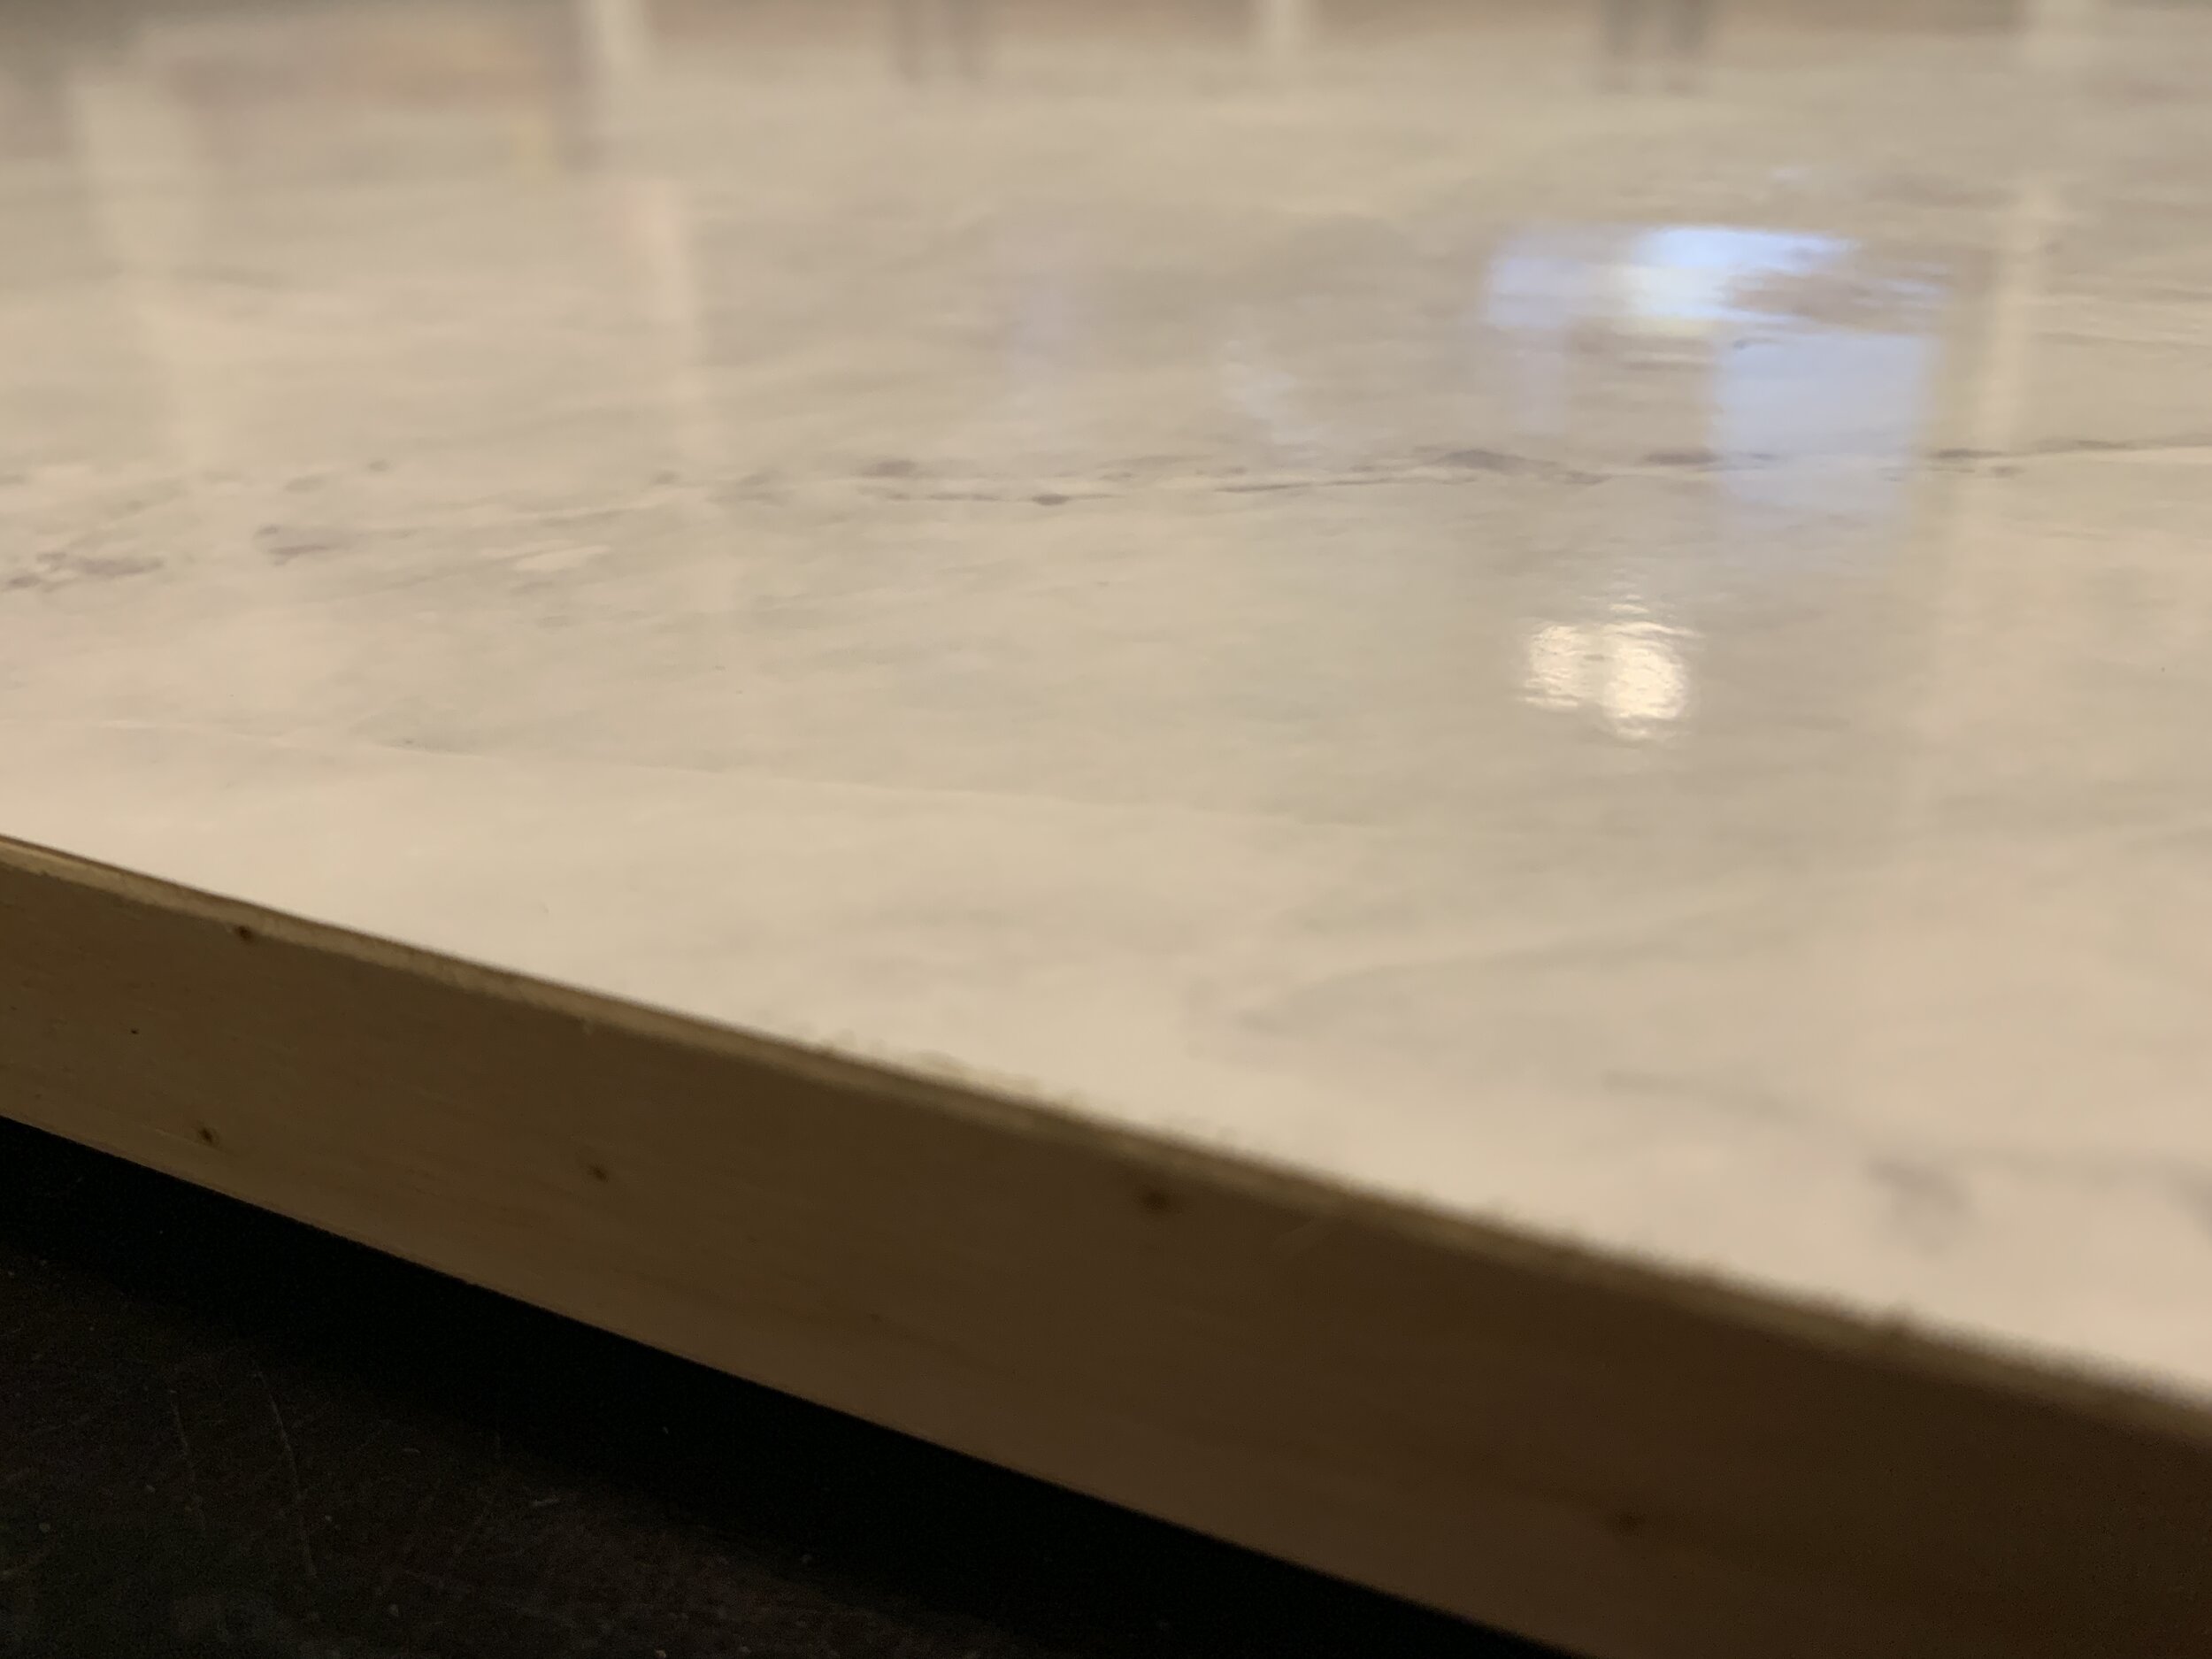
First, we needed to figure out our table material. In a camper, weight is always a consideration, and with us, so is budget and durability. For this we opted to go with a 3/4” wood panel – the same we used for our countertop install – versus, say a stone or concrete or laminate, etc. that would be impractical for this use or a look we weren’t going for. This decision was made before we trimmed out the front of our bench with decorative trim (shared in the last post) so we knew what thickness we needed to use to set our ledge height for a smooth, bump-free bed.

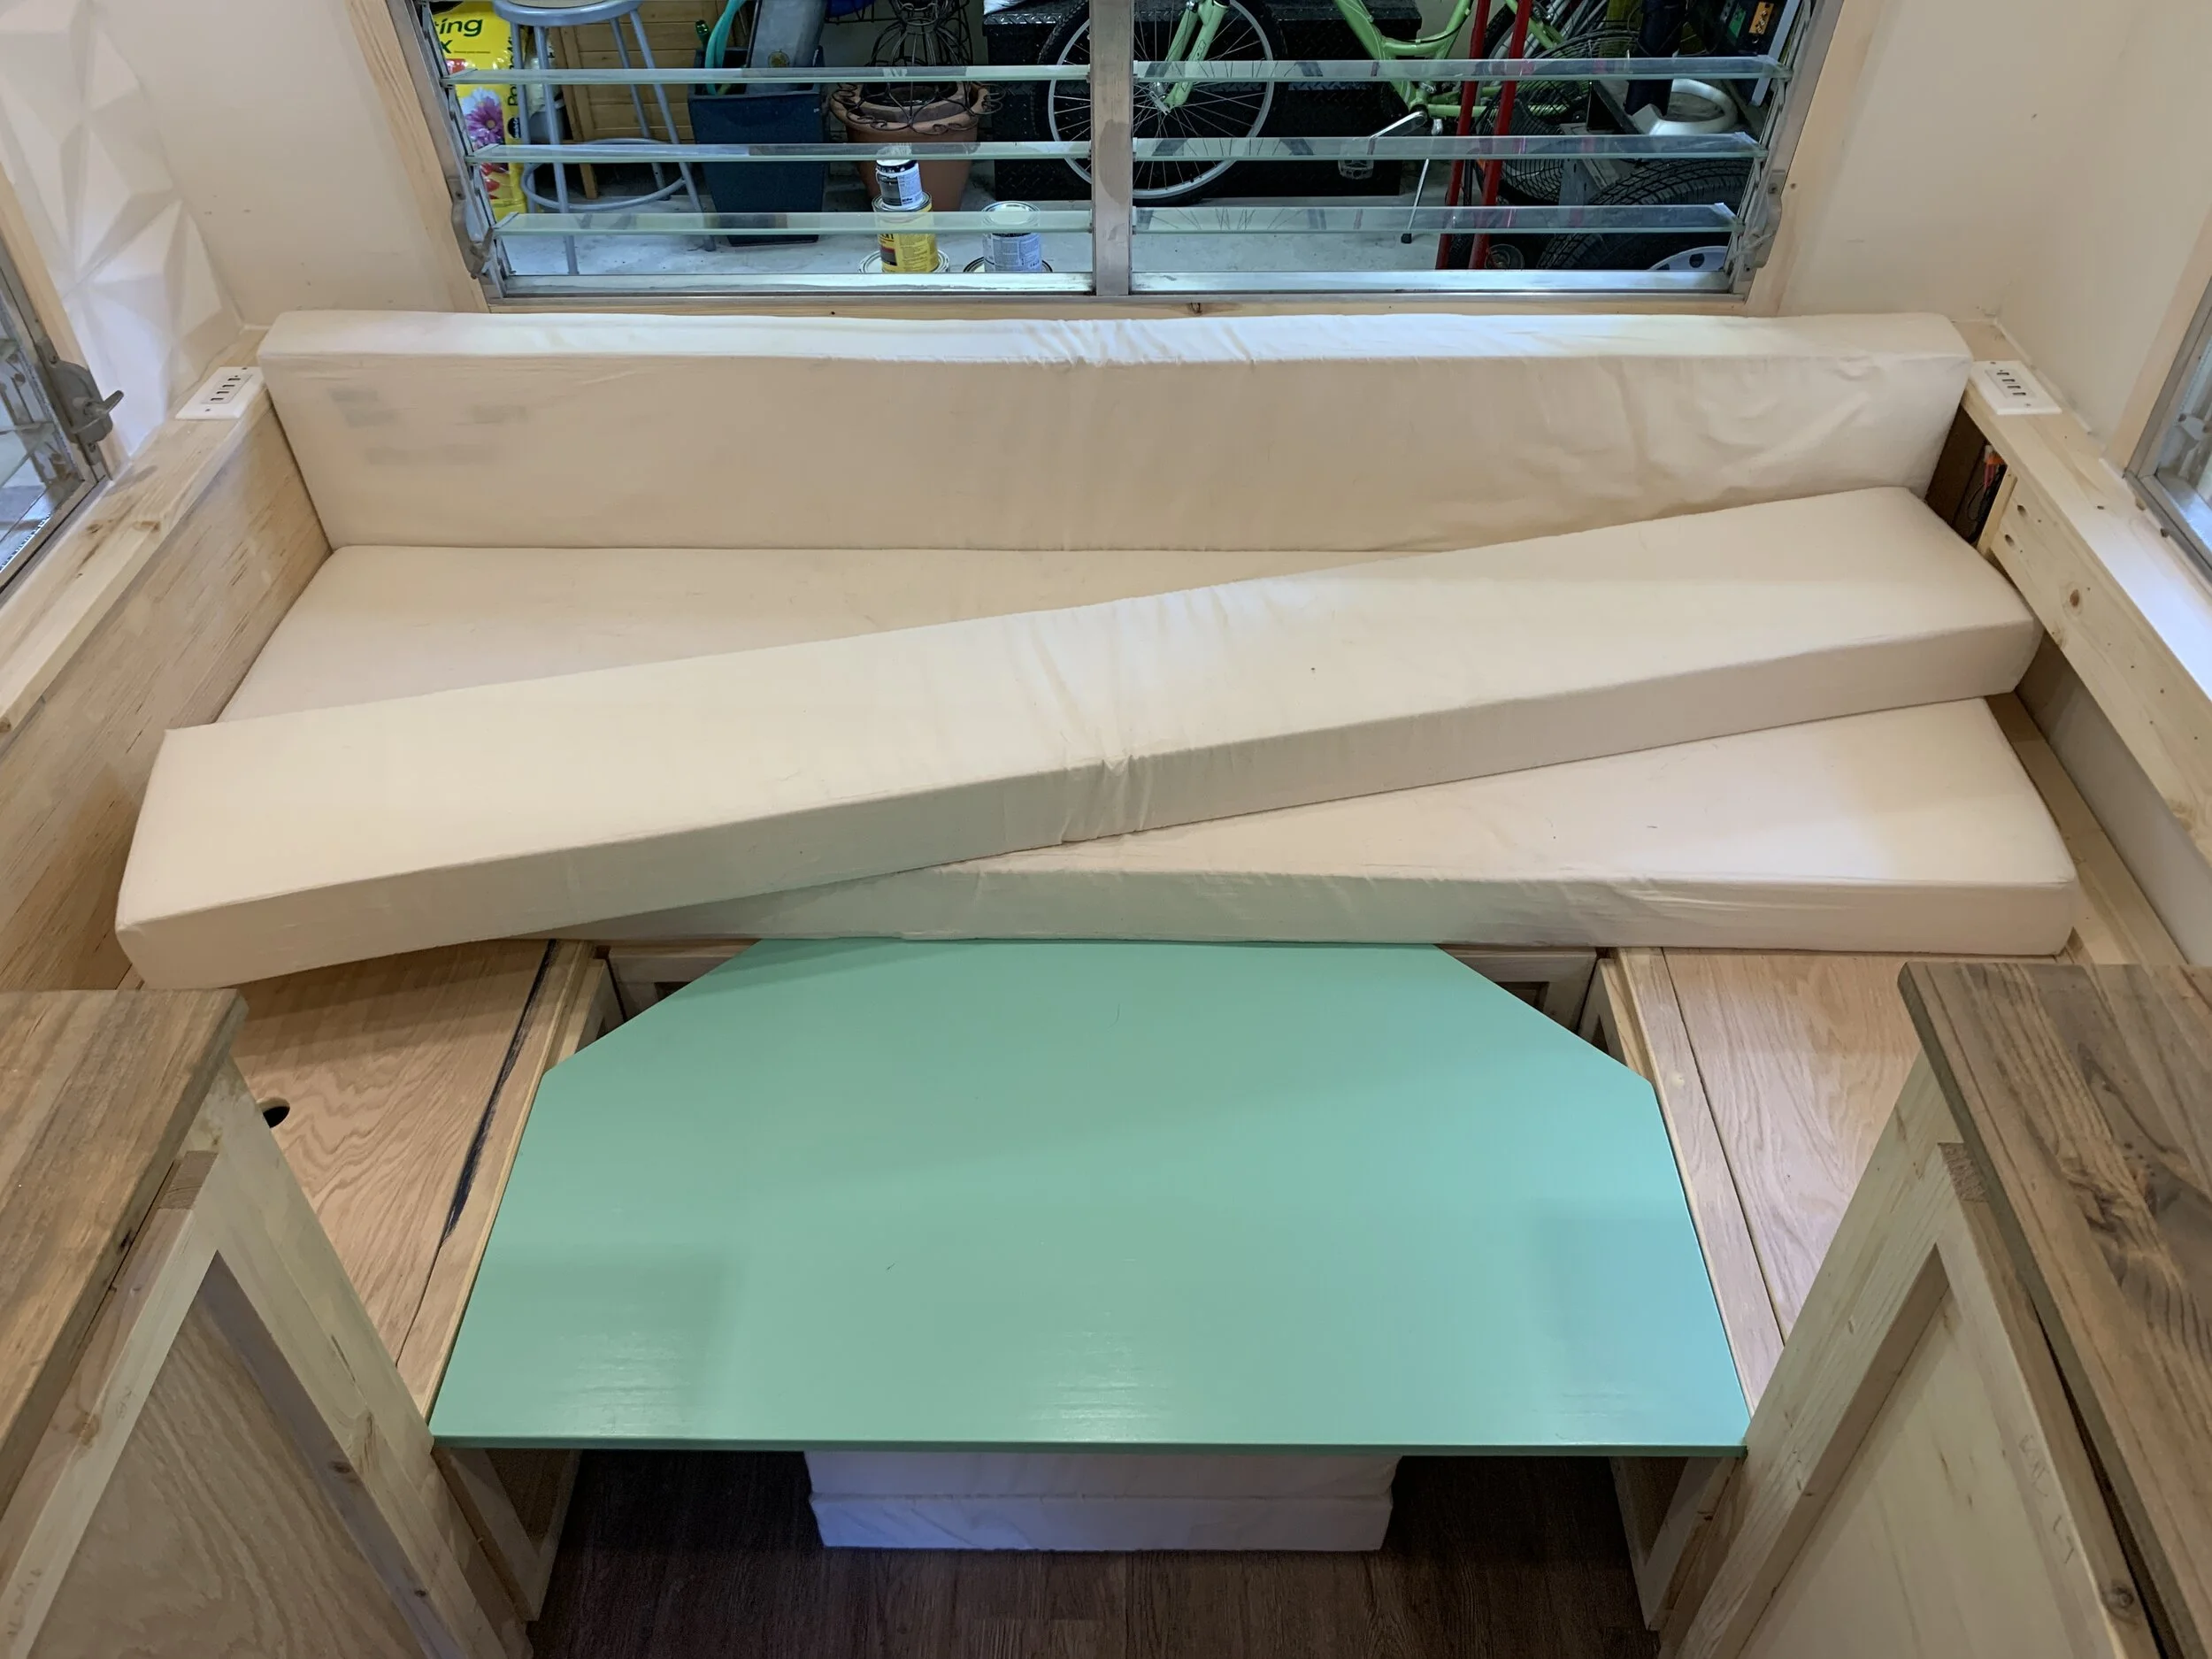
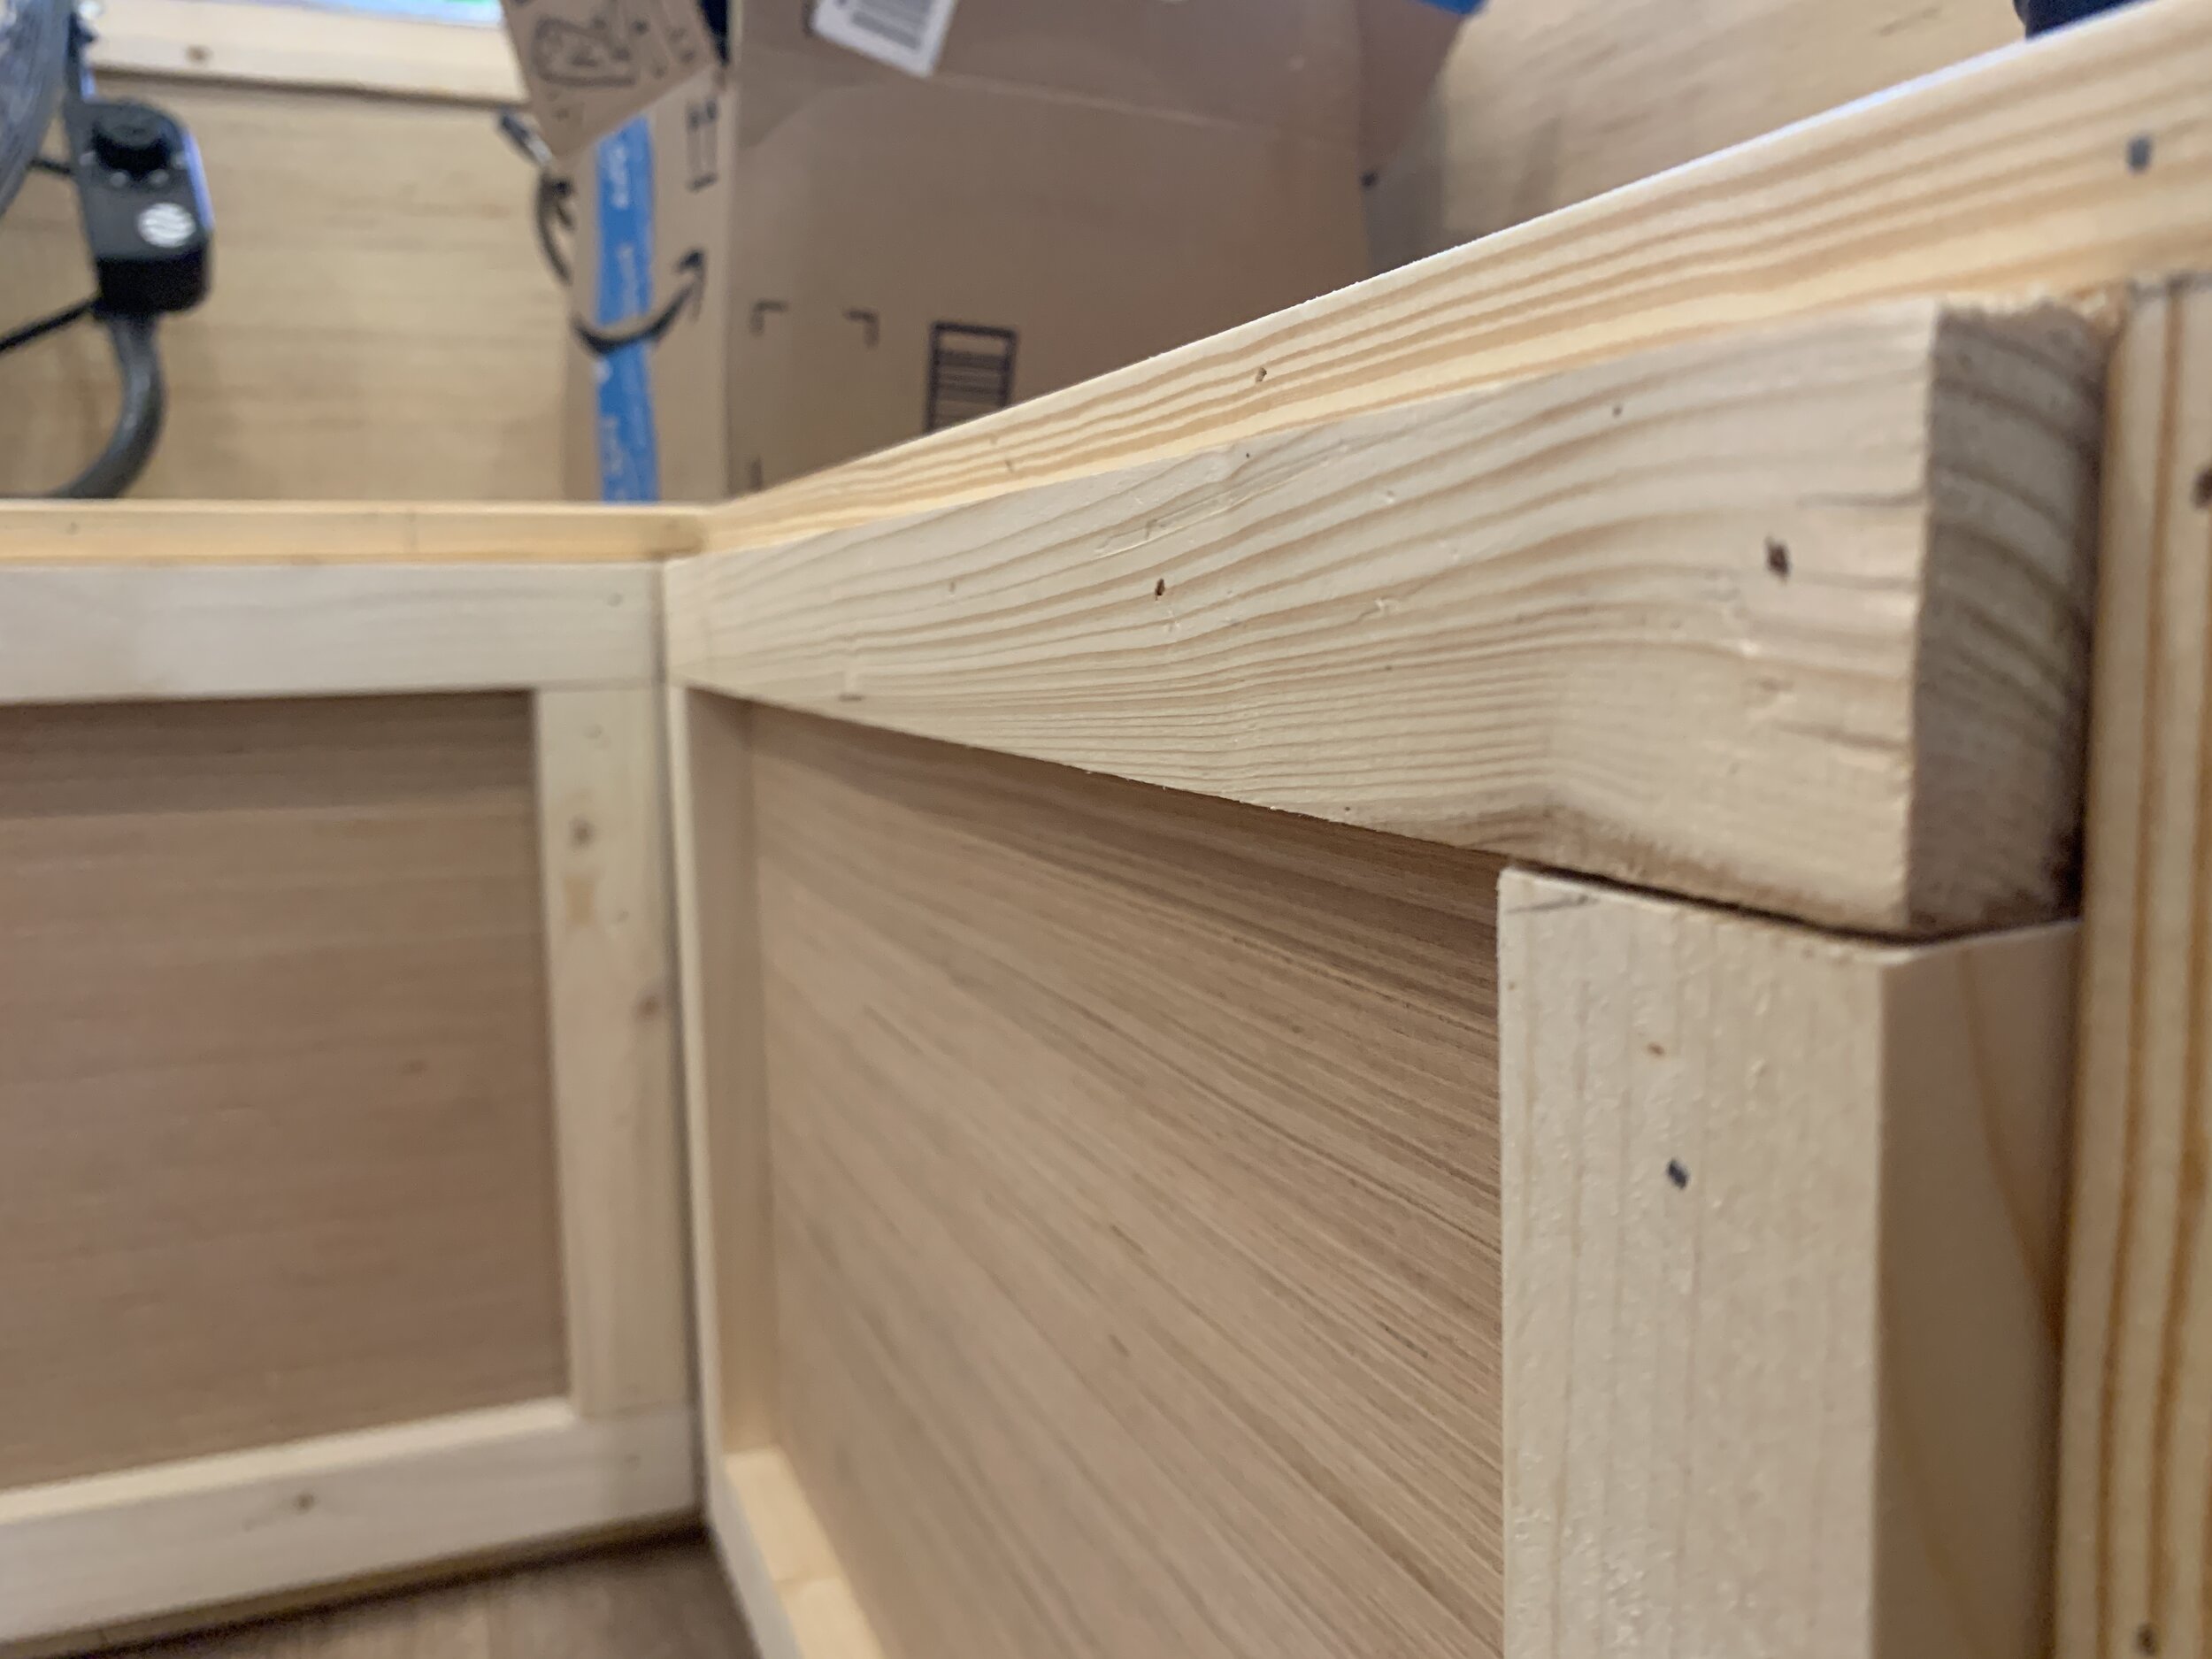
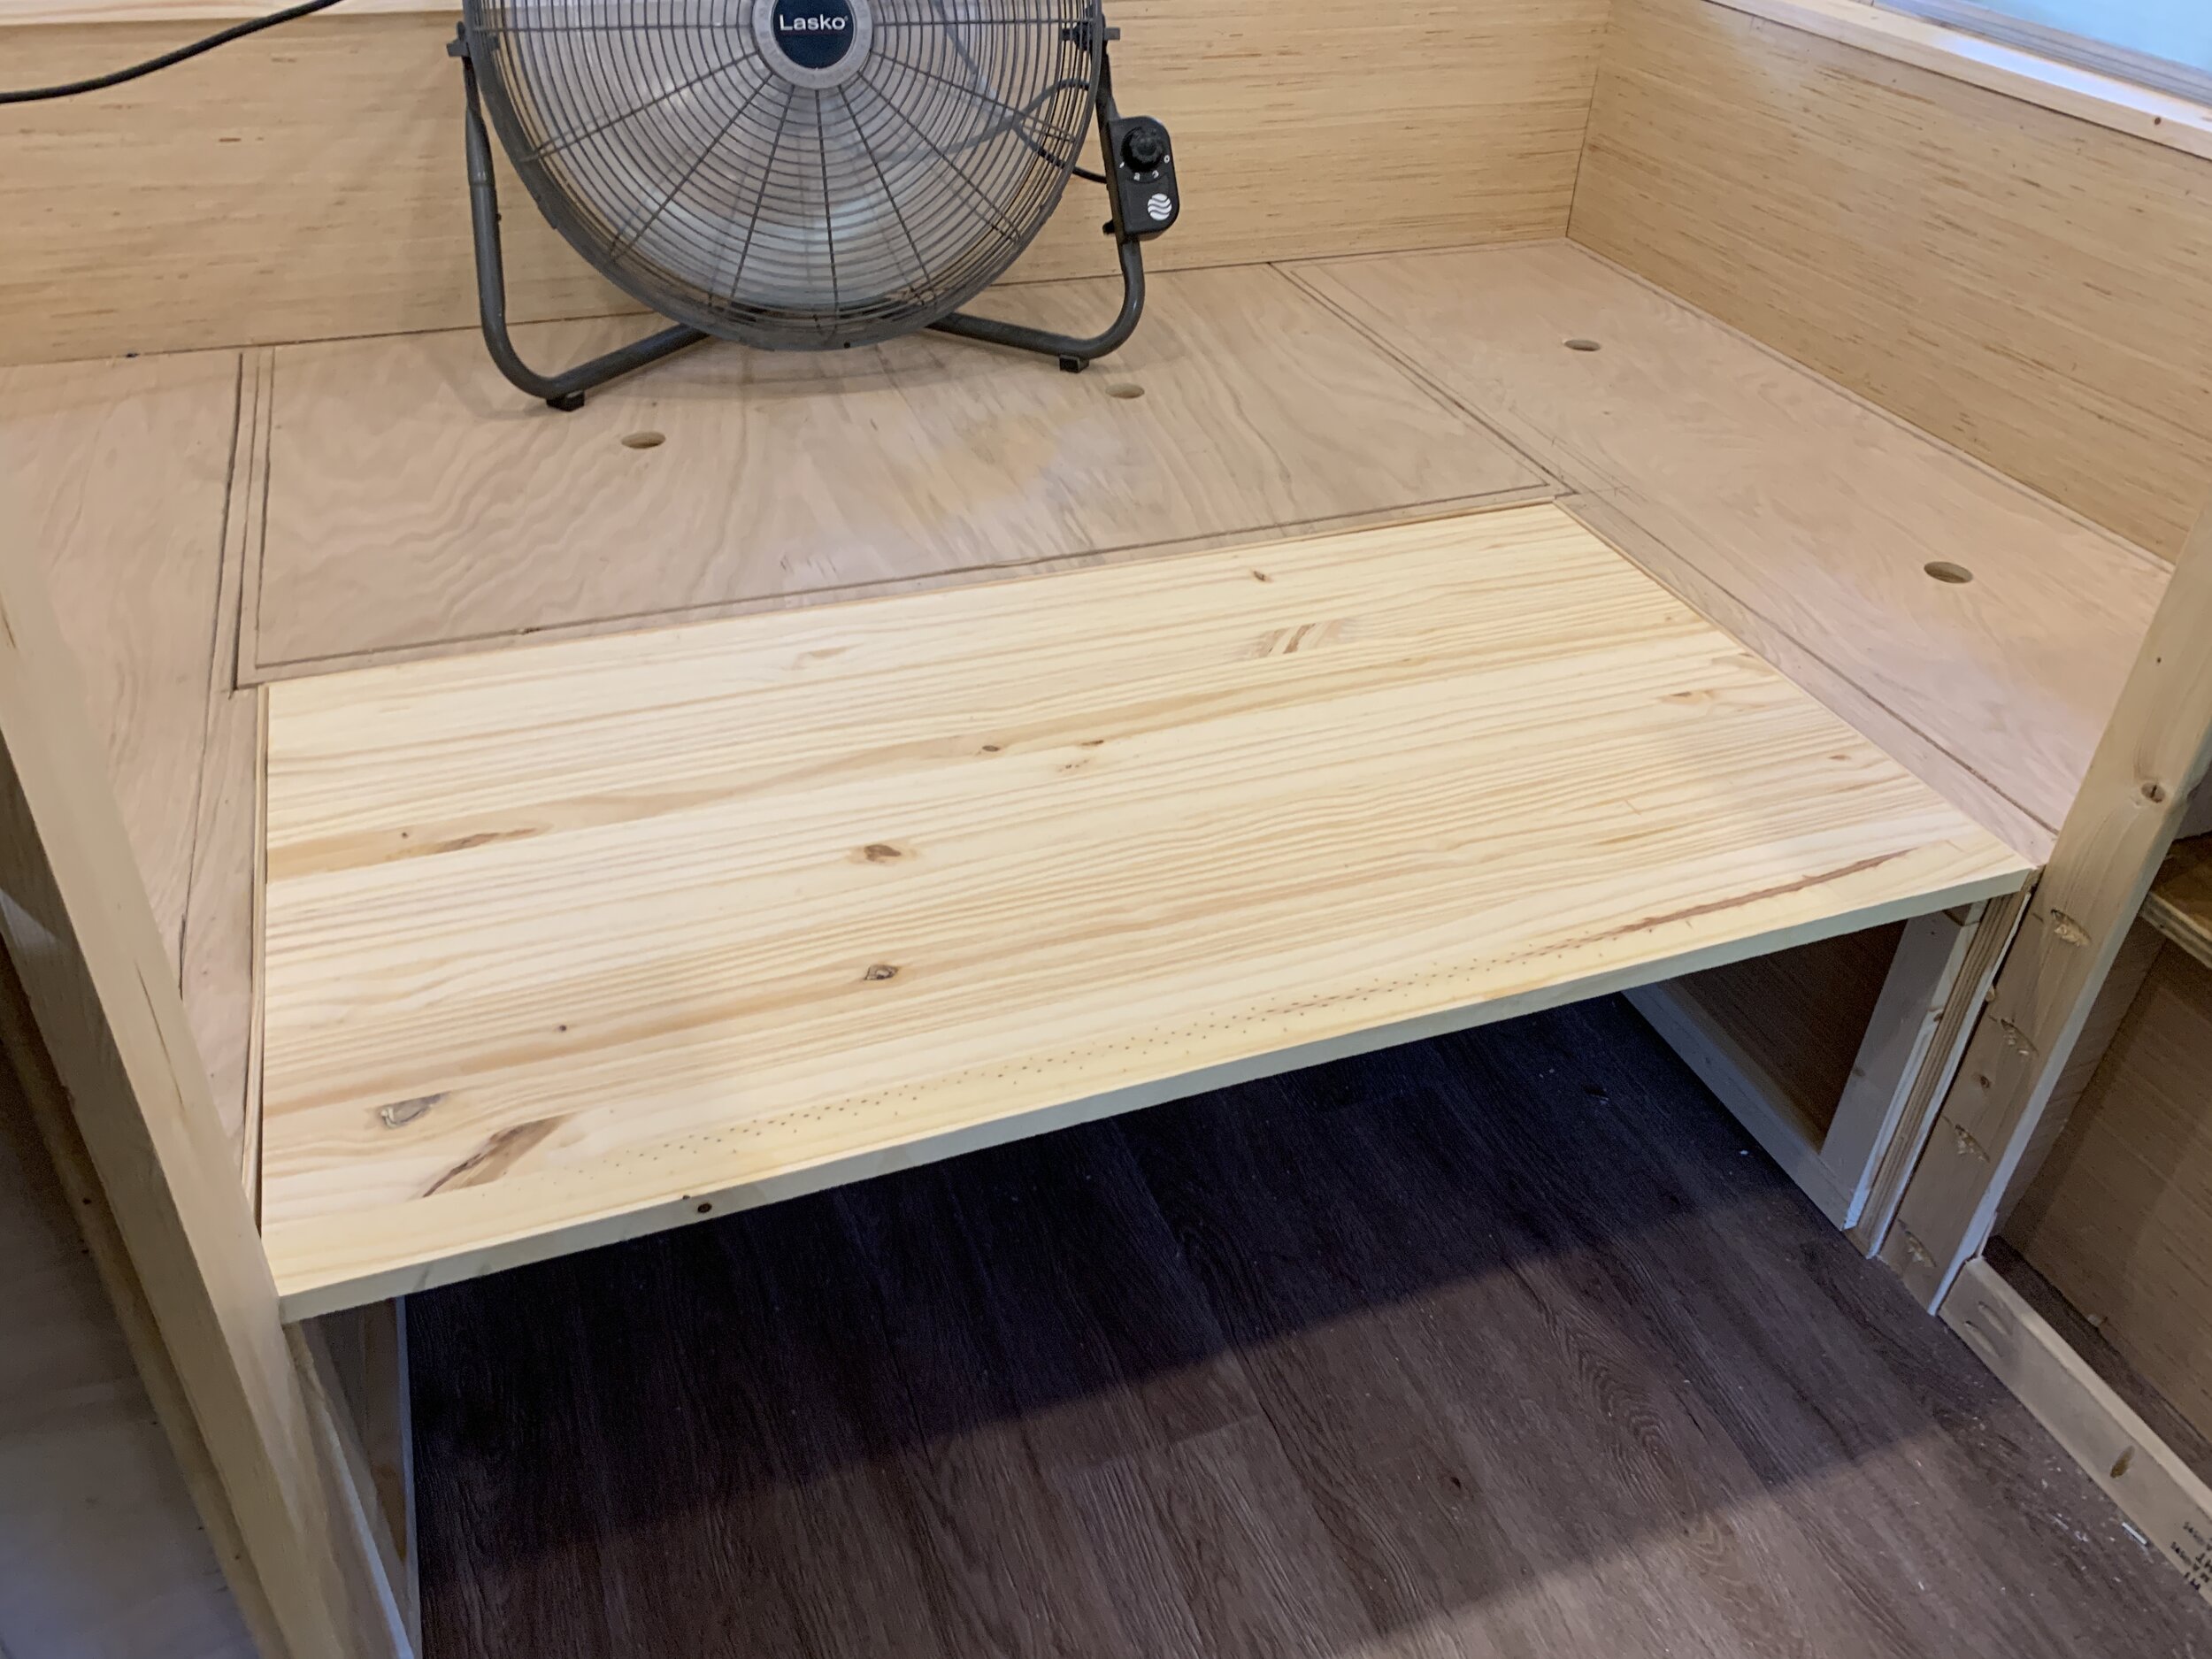
The space we had for the table was 41” wide and 21-7/8” deep. (We measured from the top edge of the bench across to the top edge of the other side of the bench, not from the inside of the 1x2 ledge trim to inside of the opposing 1x2 ledge trim, shown below, since the table needs to rest on top of the 1x2 and not fit inside of them.)
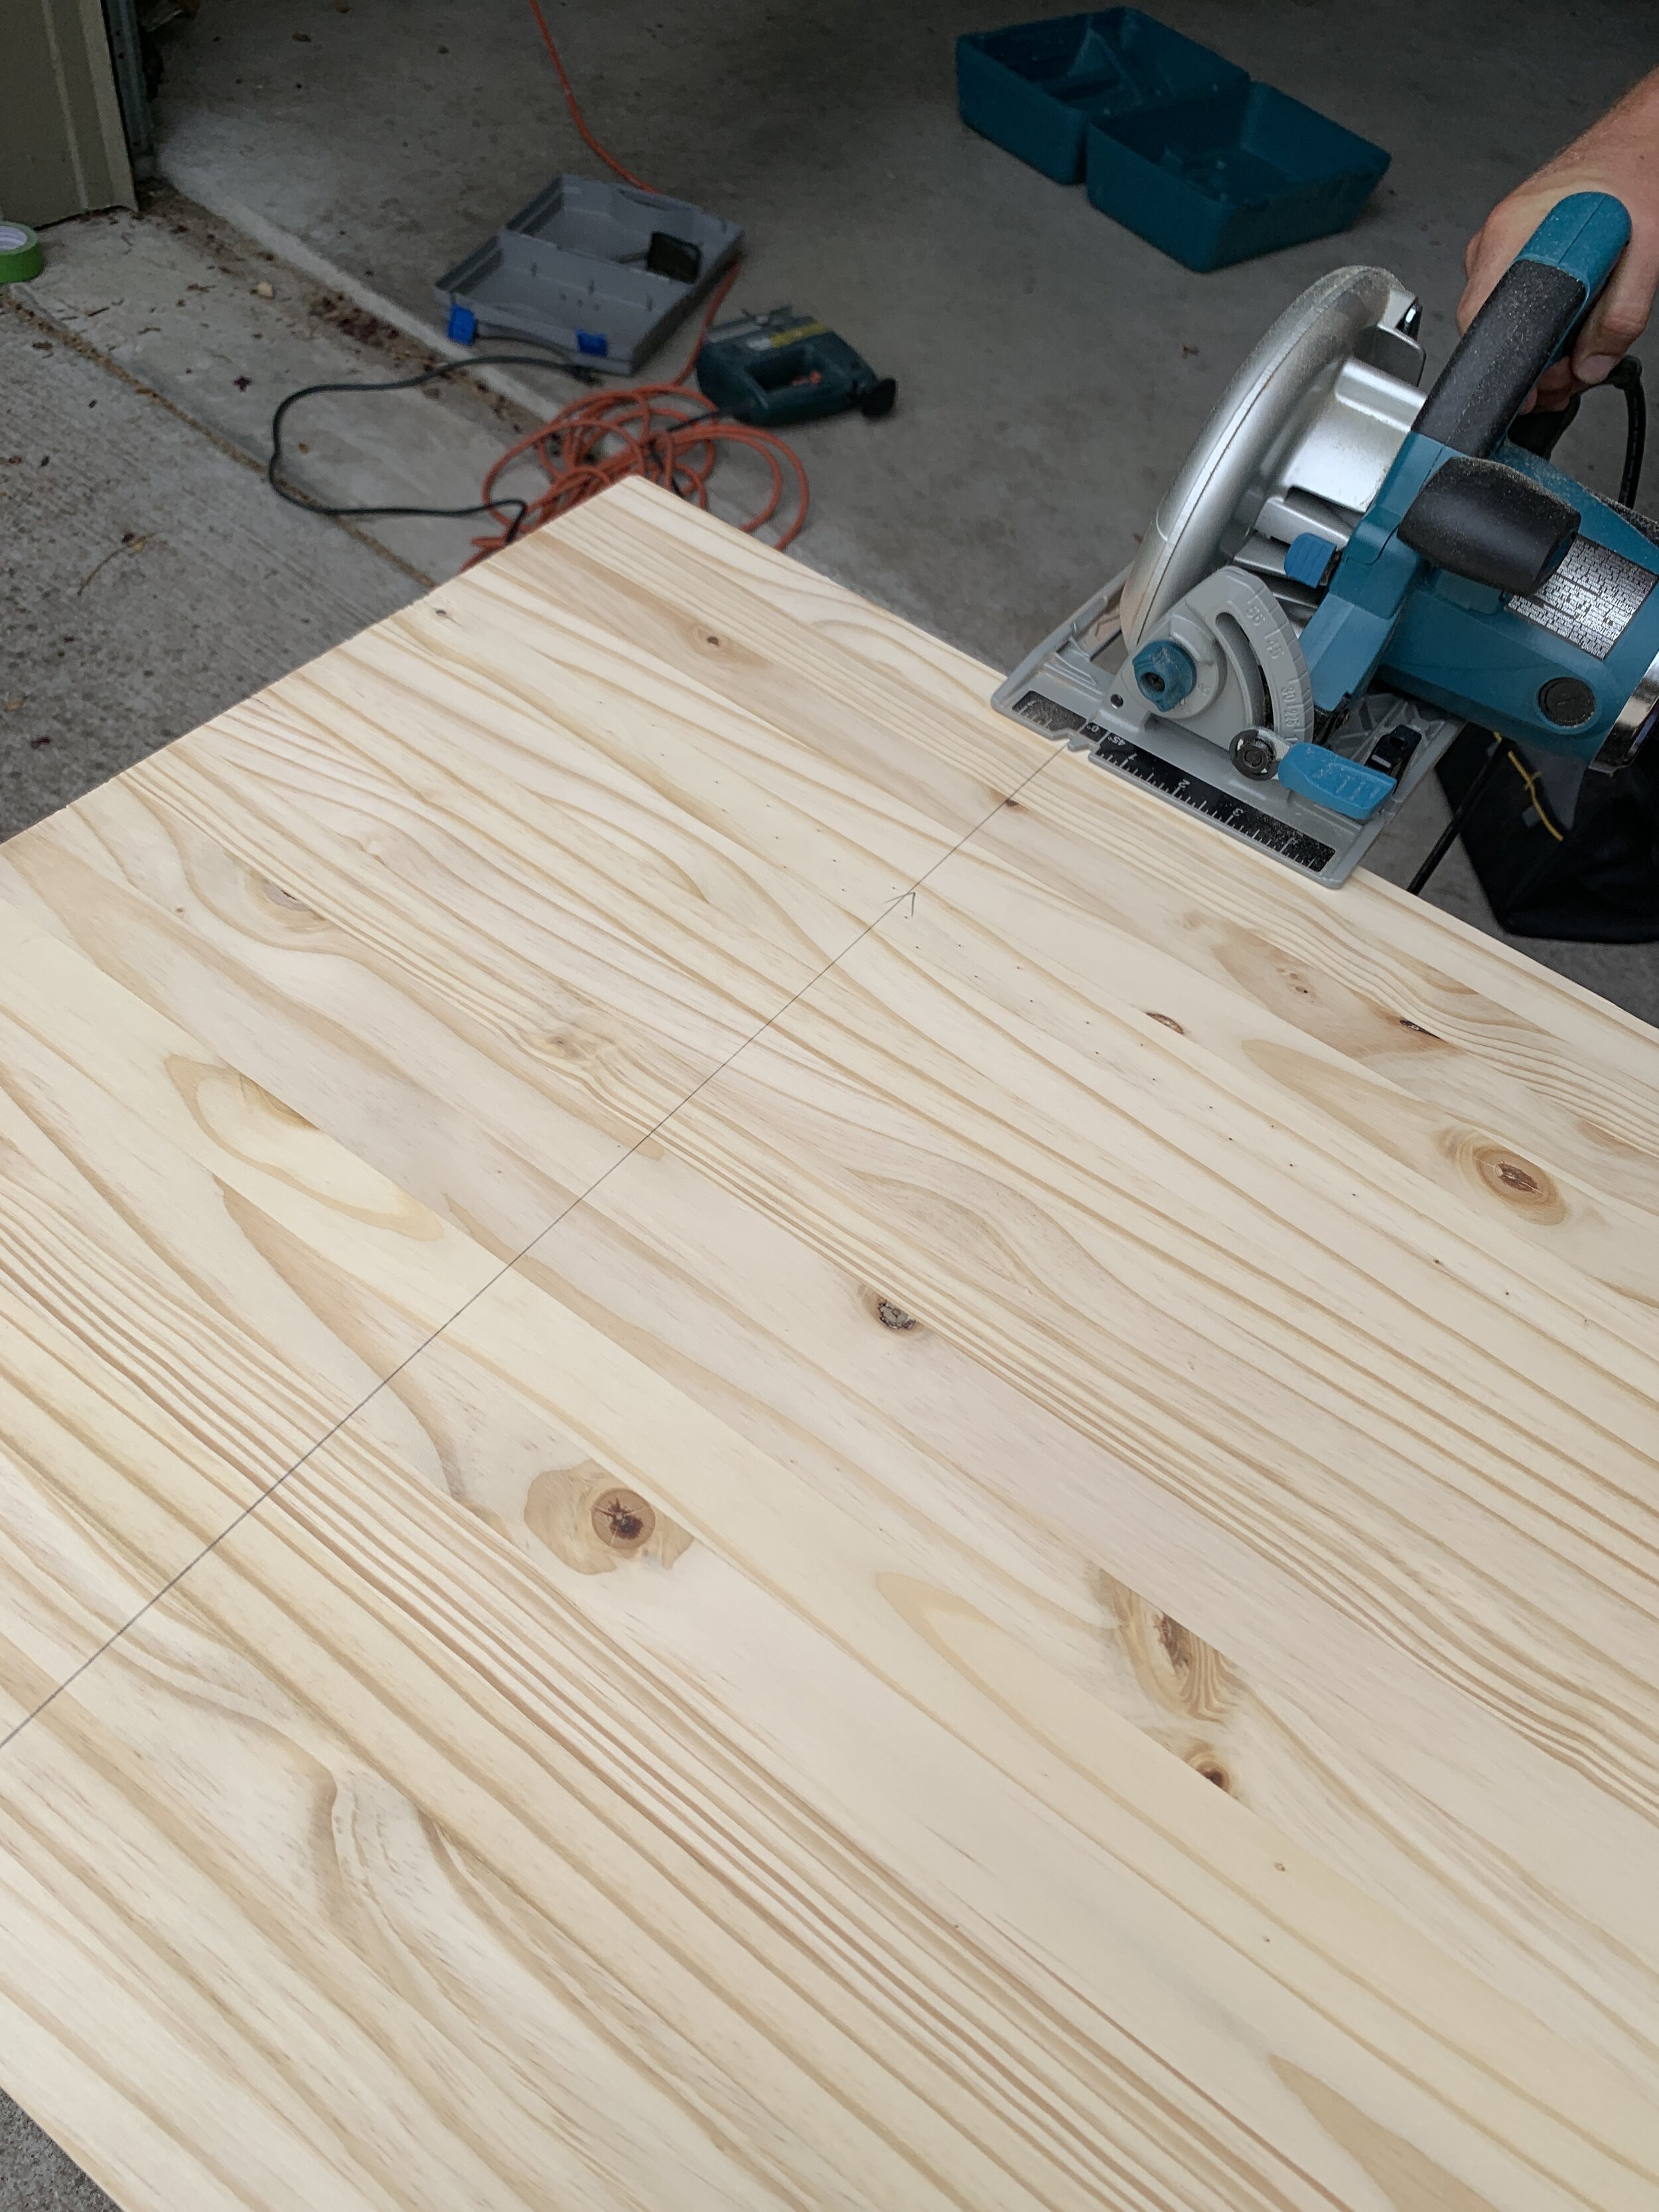
After Nick cut our table to its rectangular size (actually 40.625” wide x 21.5” deep), he sanded the top, bottom and cut sides smooth using our finish sander – leaving the edges square cut since we’d be wrapping it and wanted a crisp edge– and wiped it clean with mineral spirits to remove sawdust.

We tested it and it fit perfectly in place.
Take 1: faux marble fail
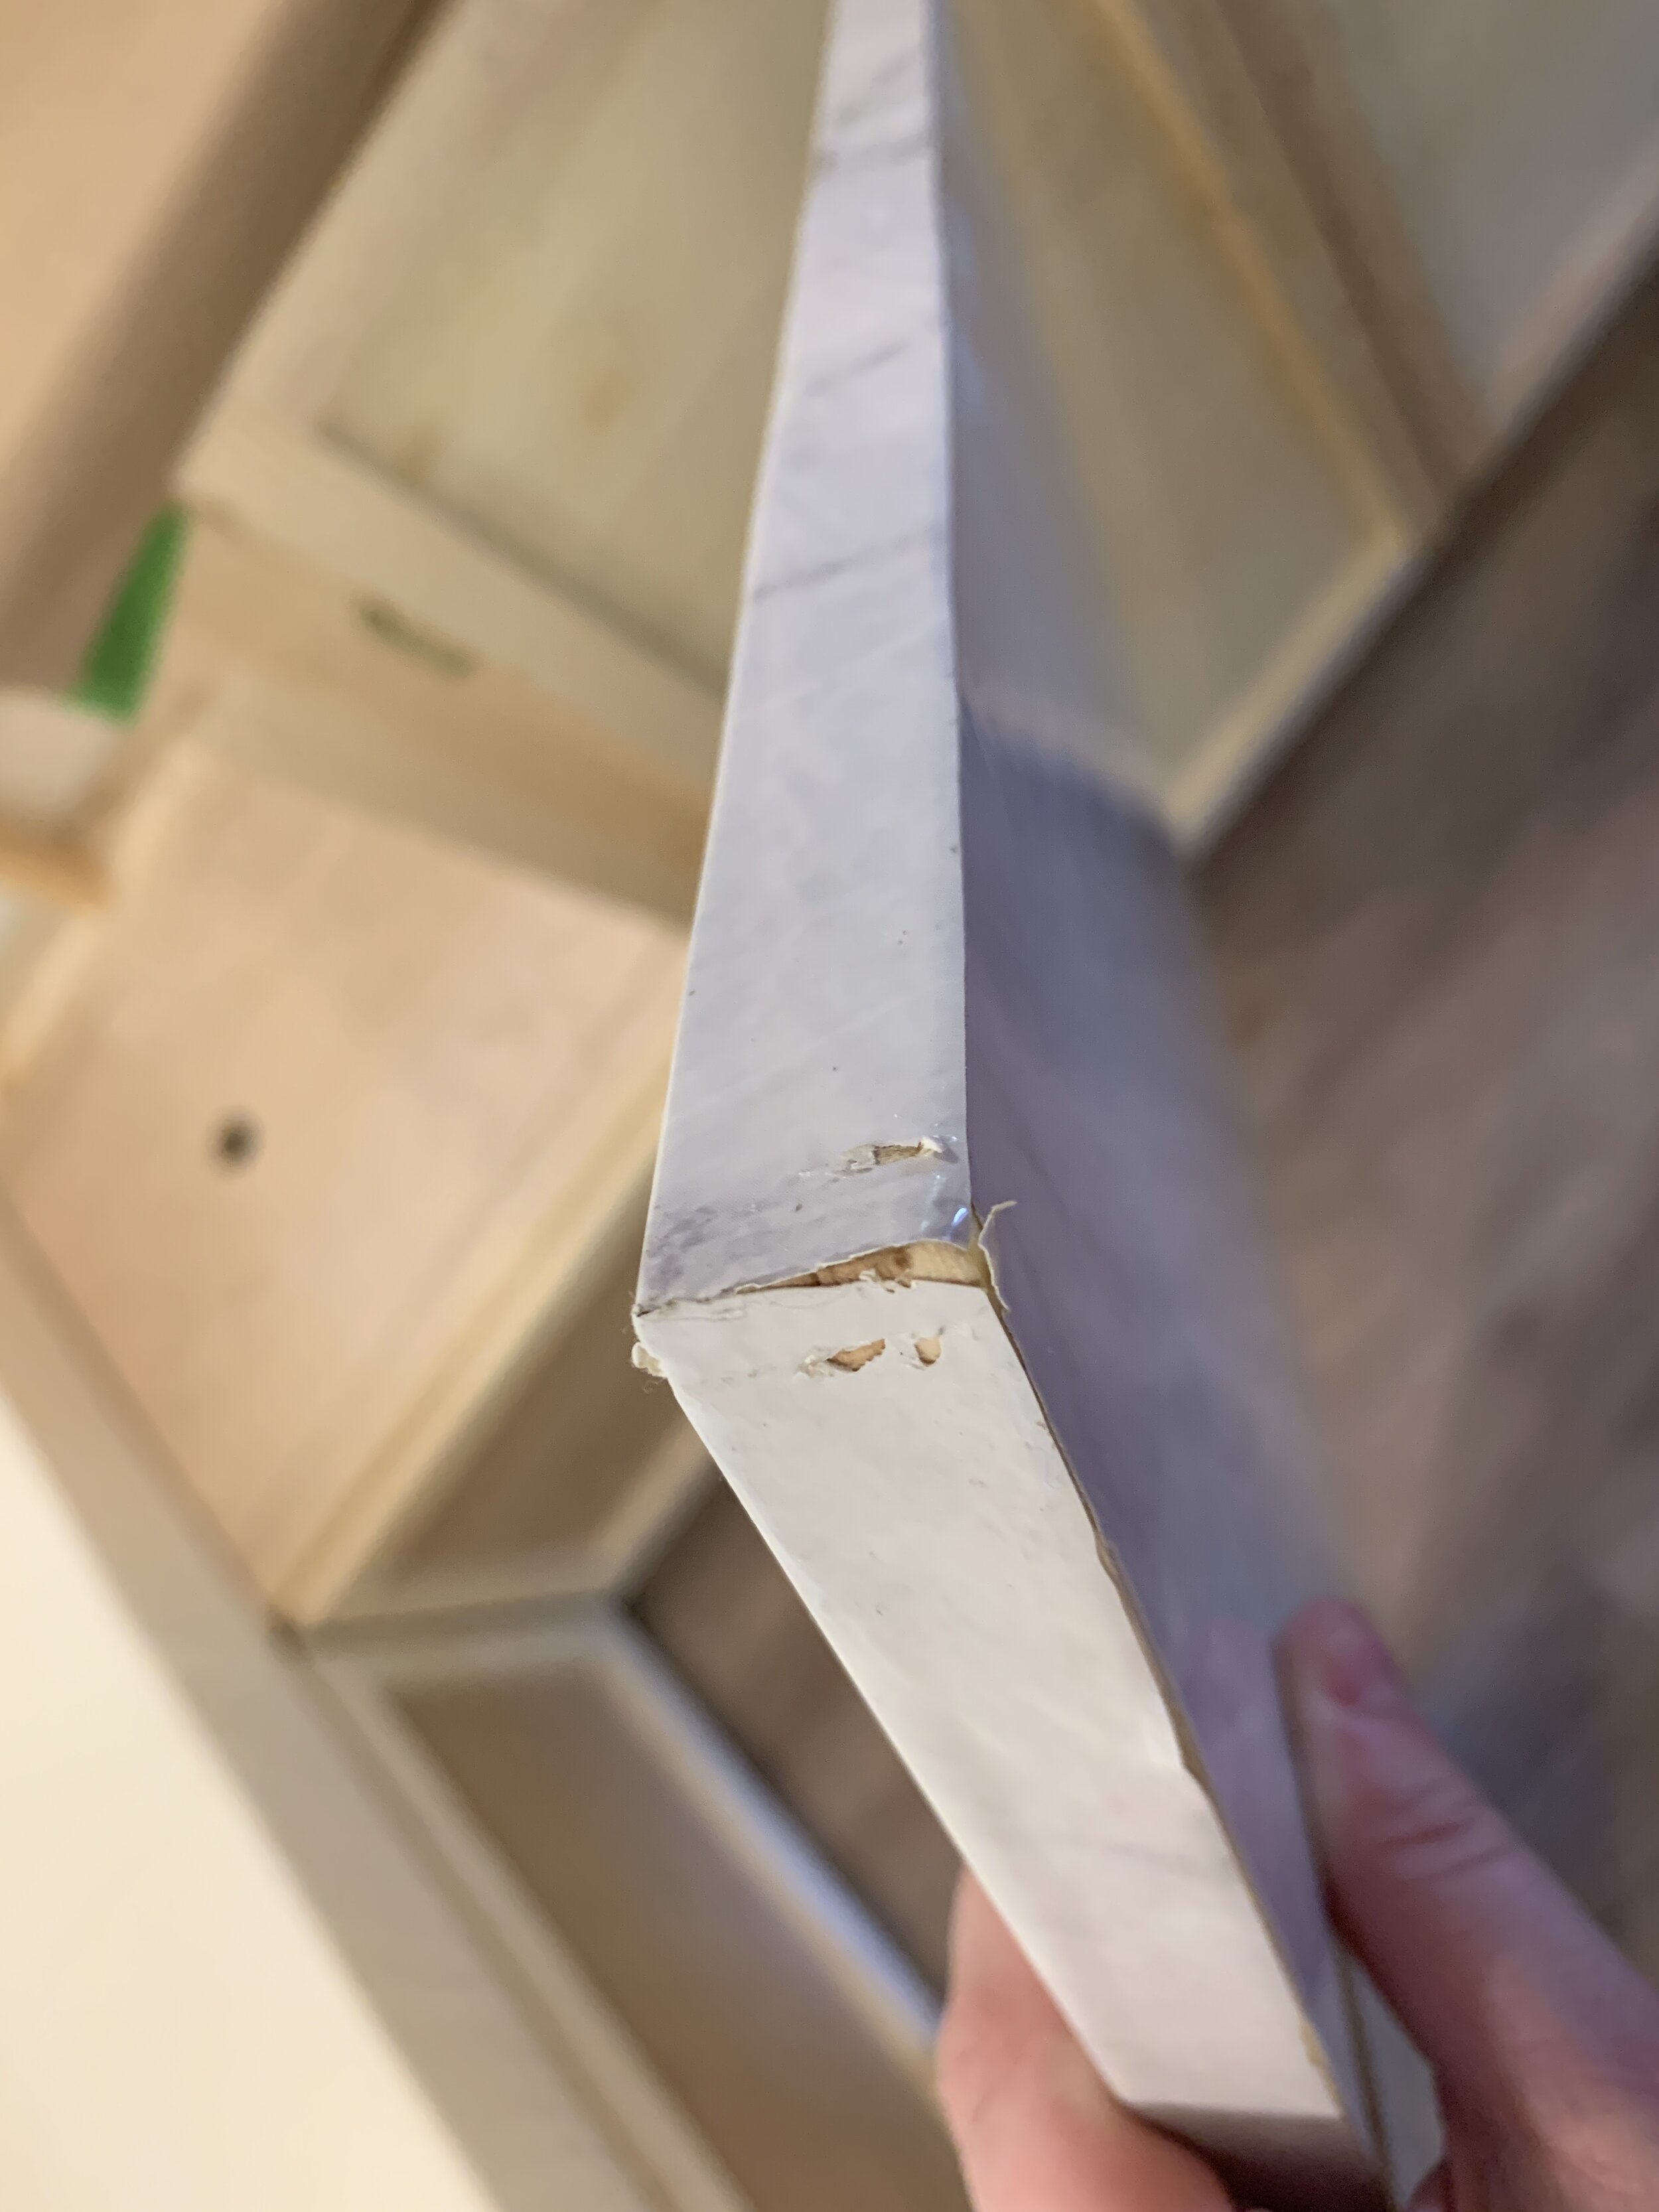
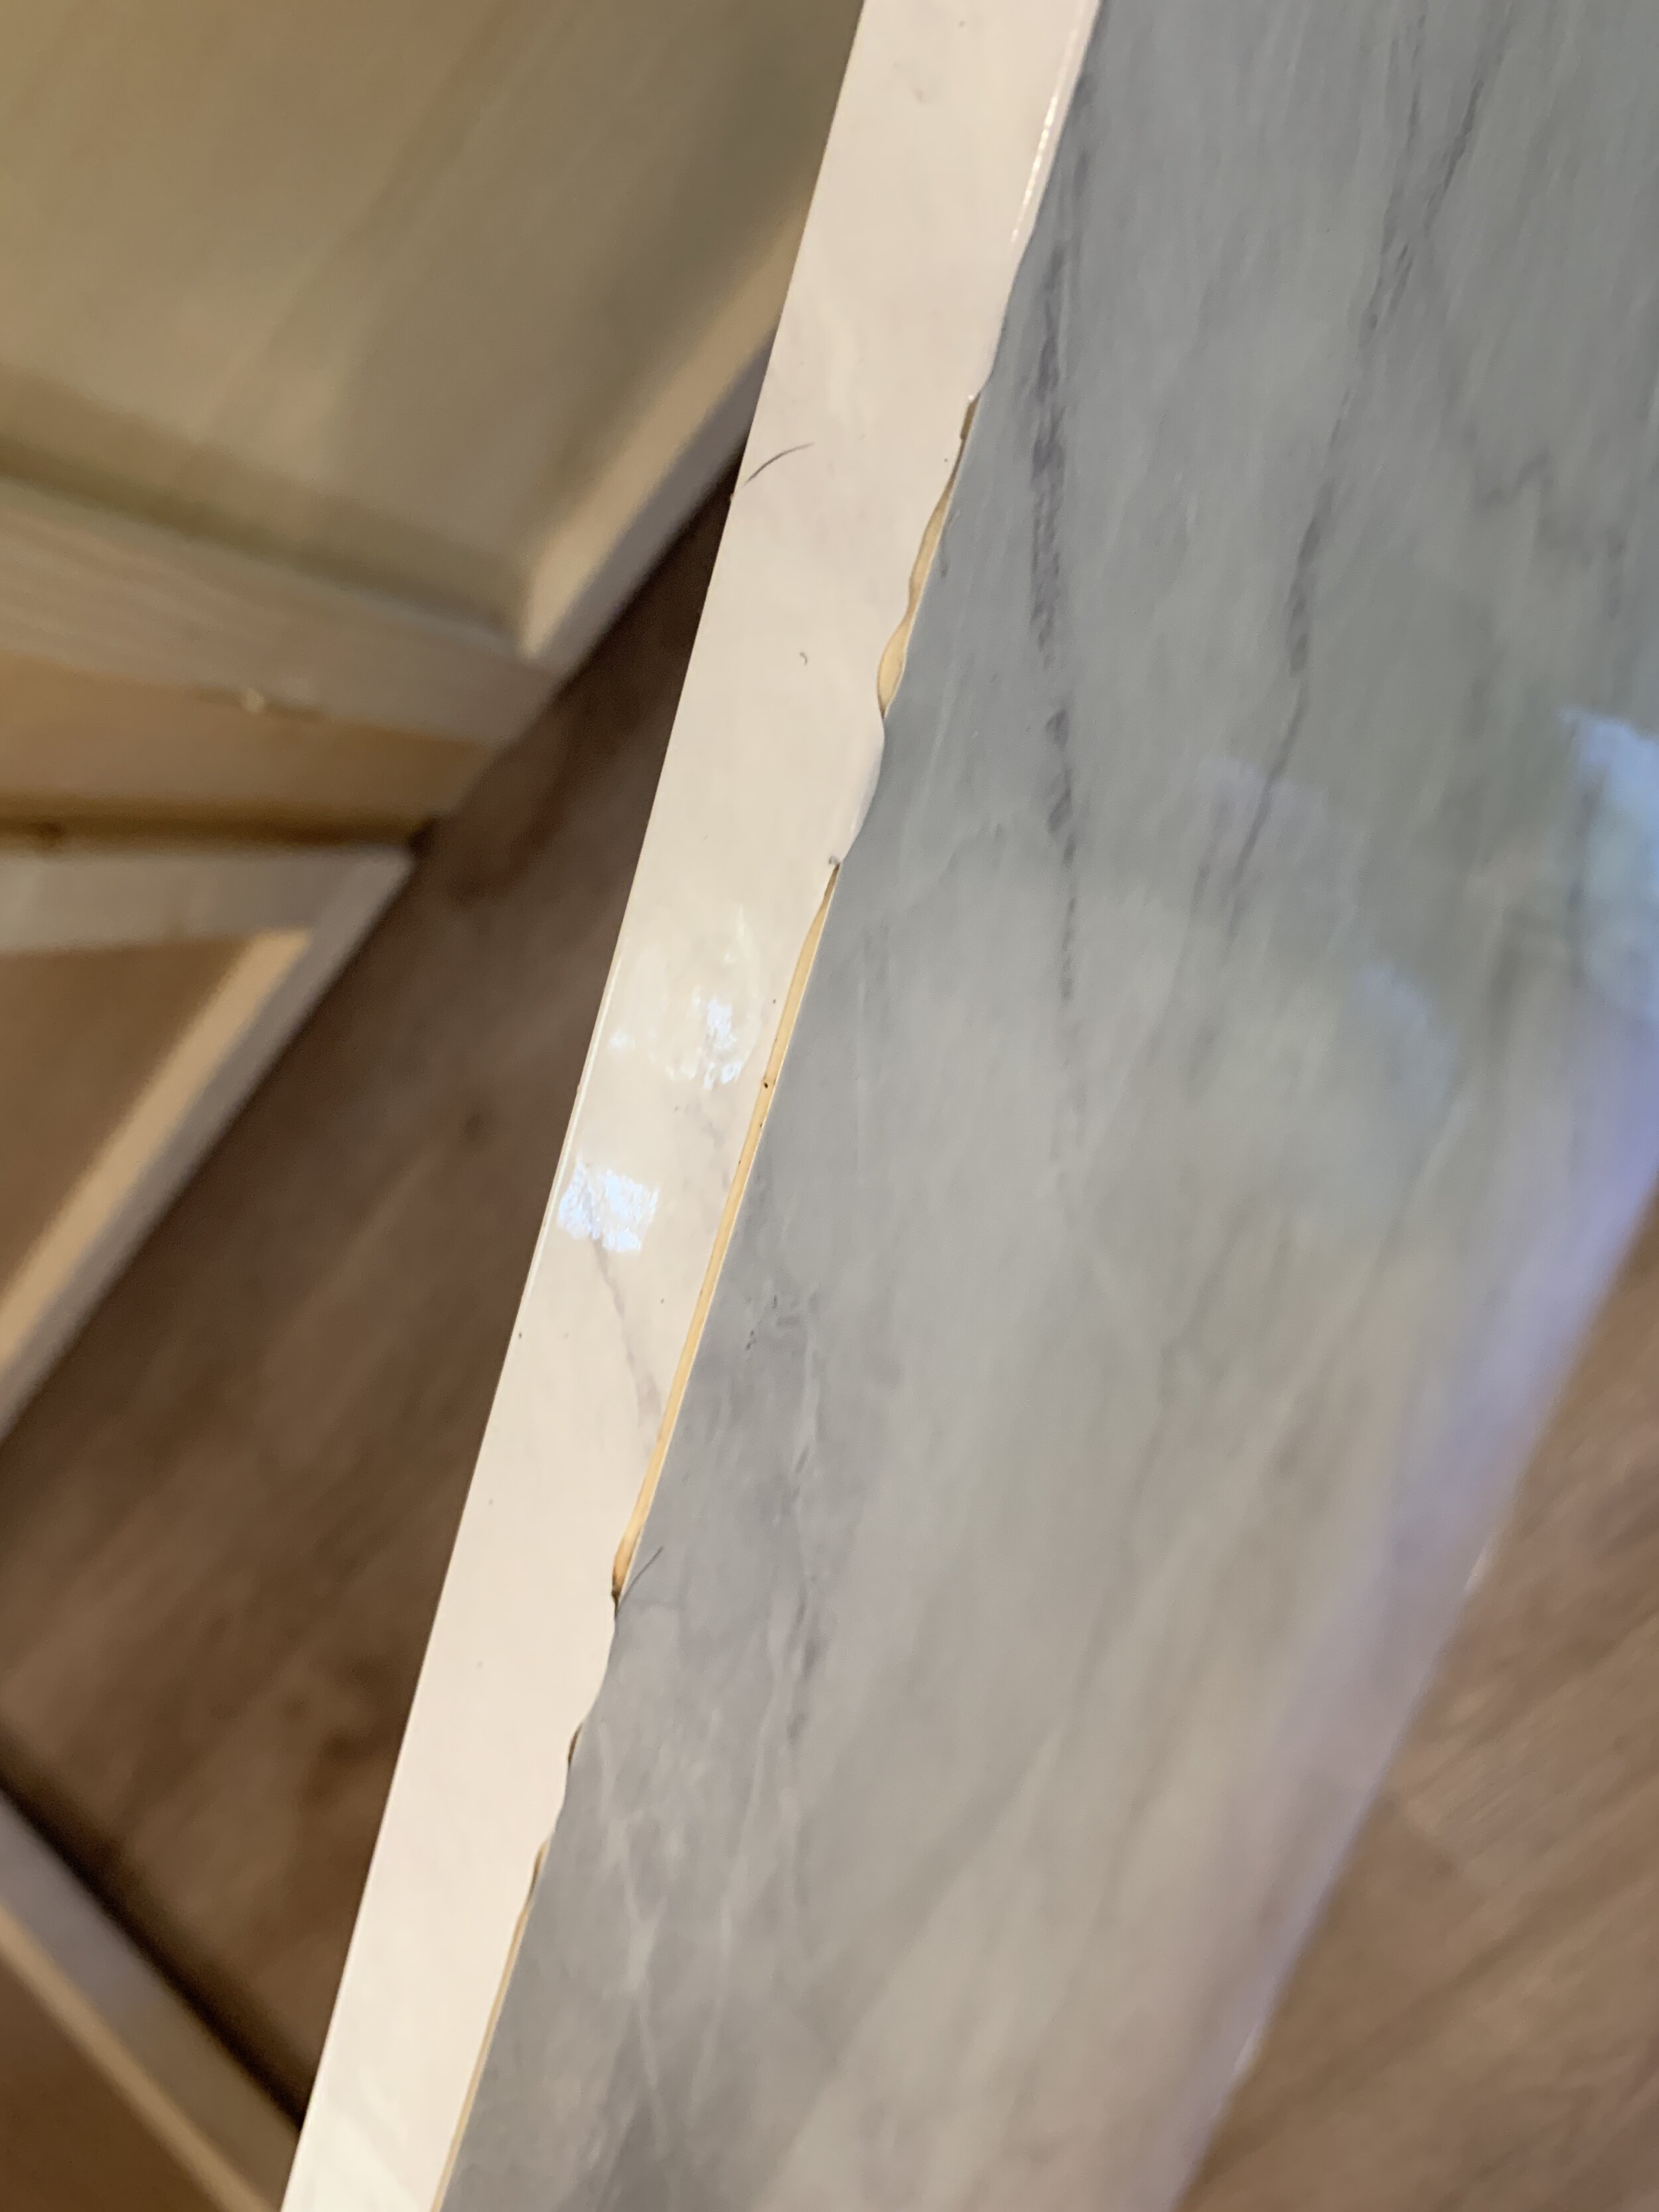
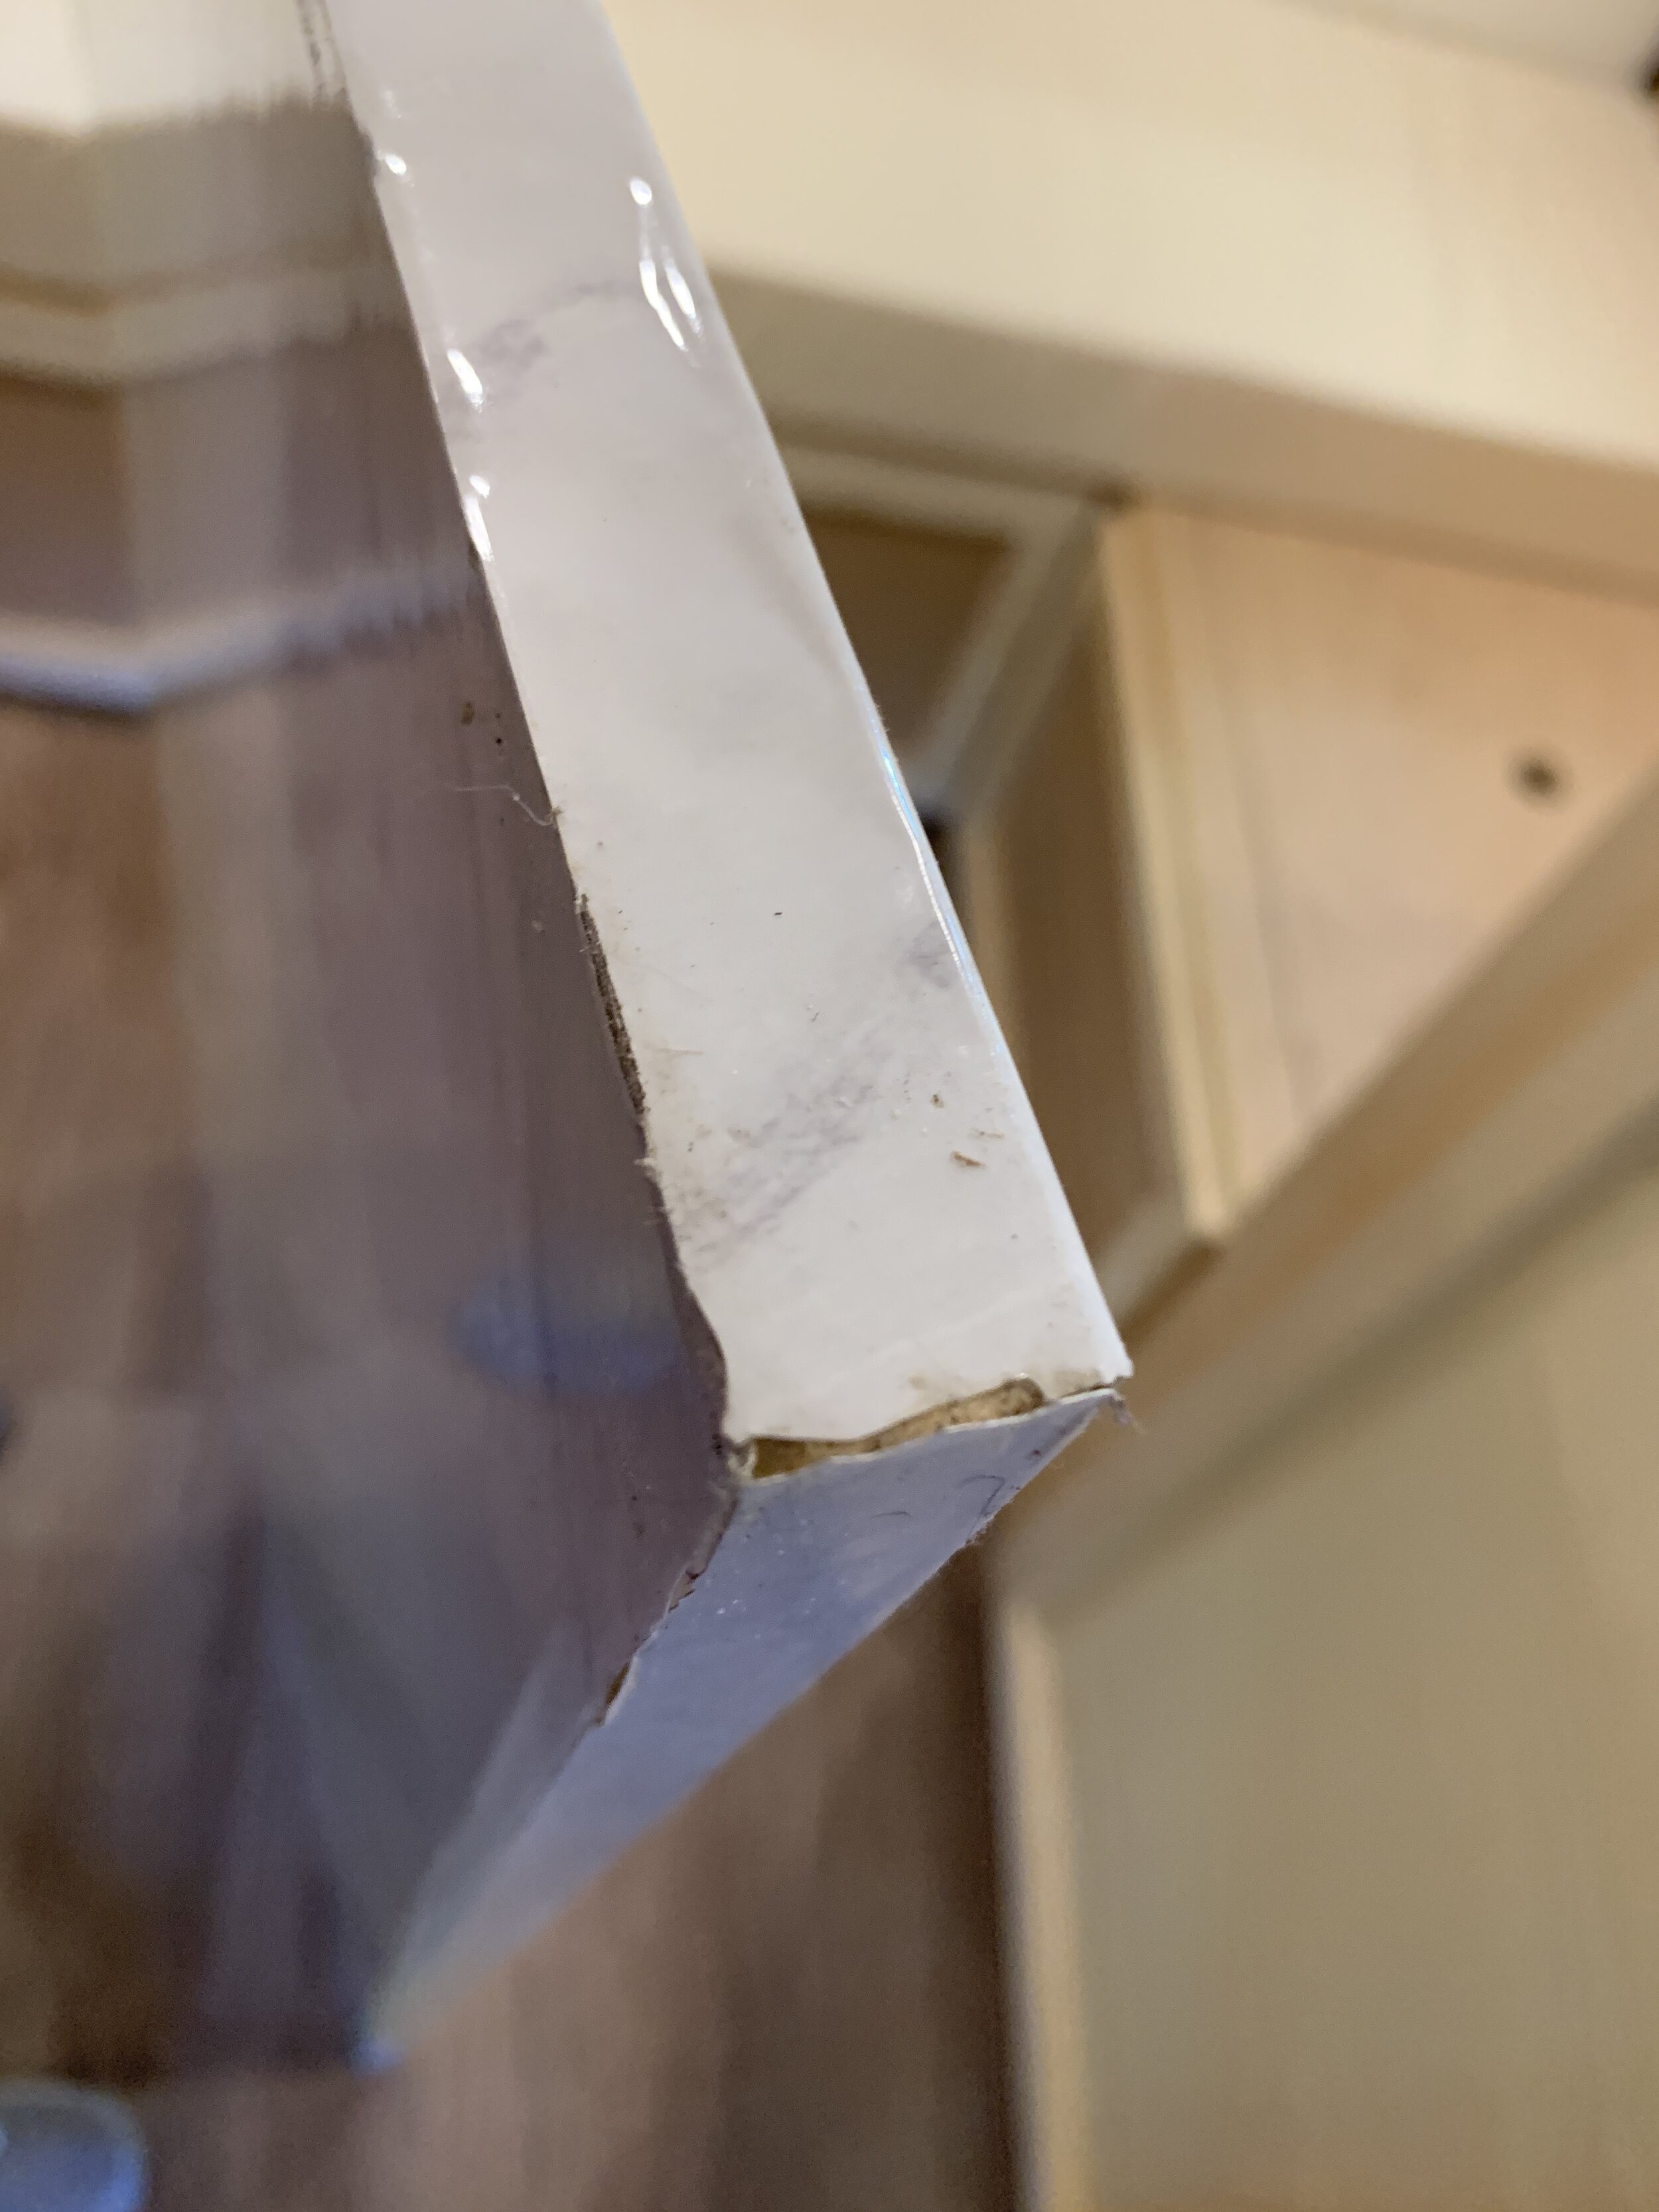
Y’all I’m going to be honest… I’m still a little bit sad this one didn’t work out. It was going to be so beautiful. It was going to give our camper the gorgeous unrivaled feeling of neutral, natural Cararra marble for a fraction of the weight and cost. It was… an extremely short-lived idea that failed almost instantly.

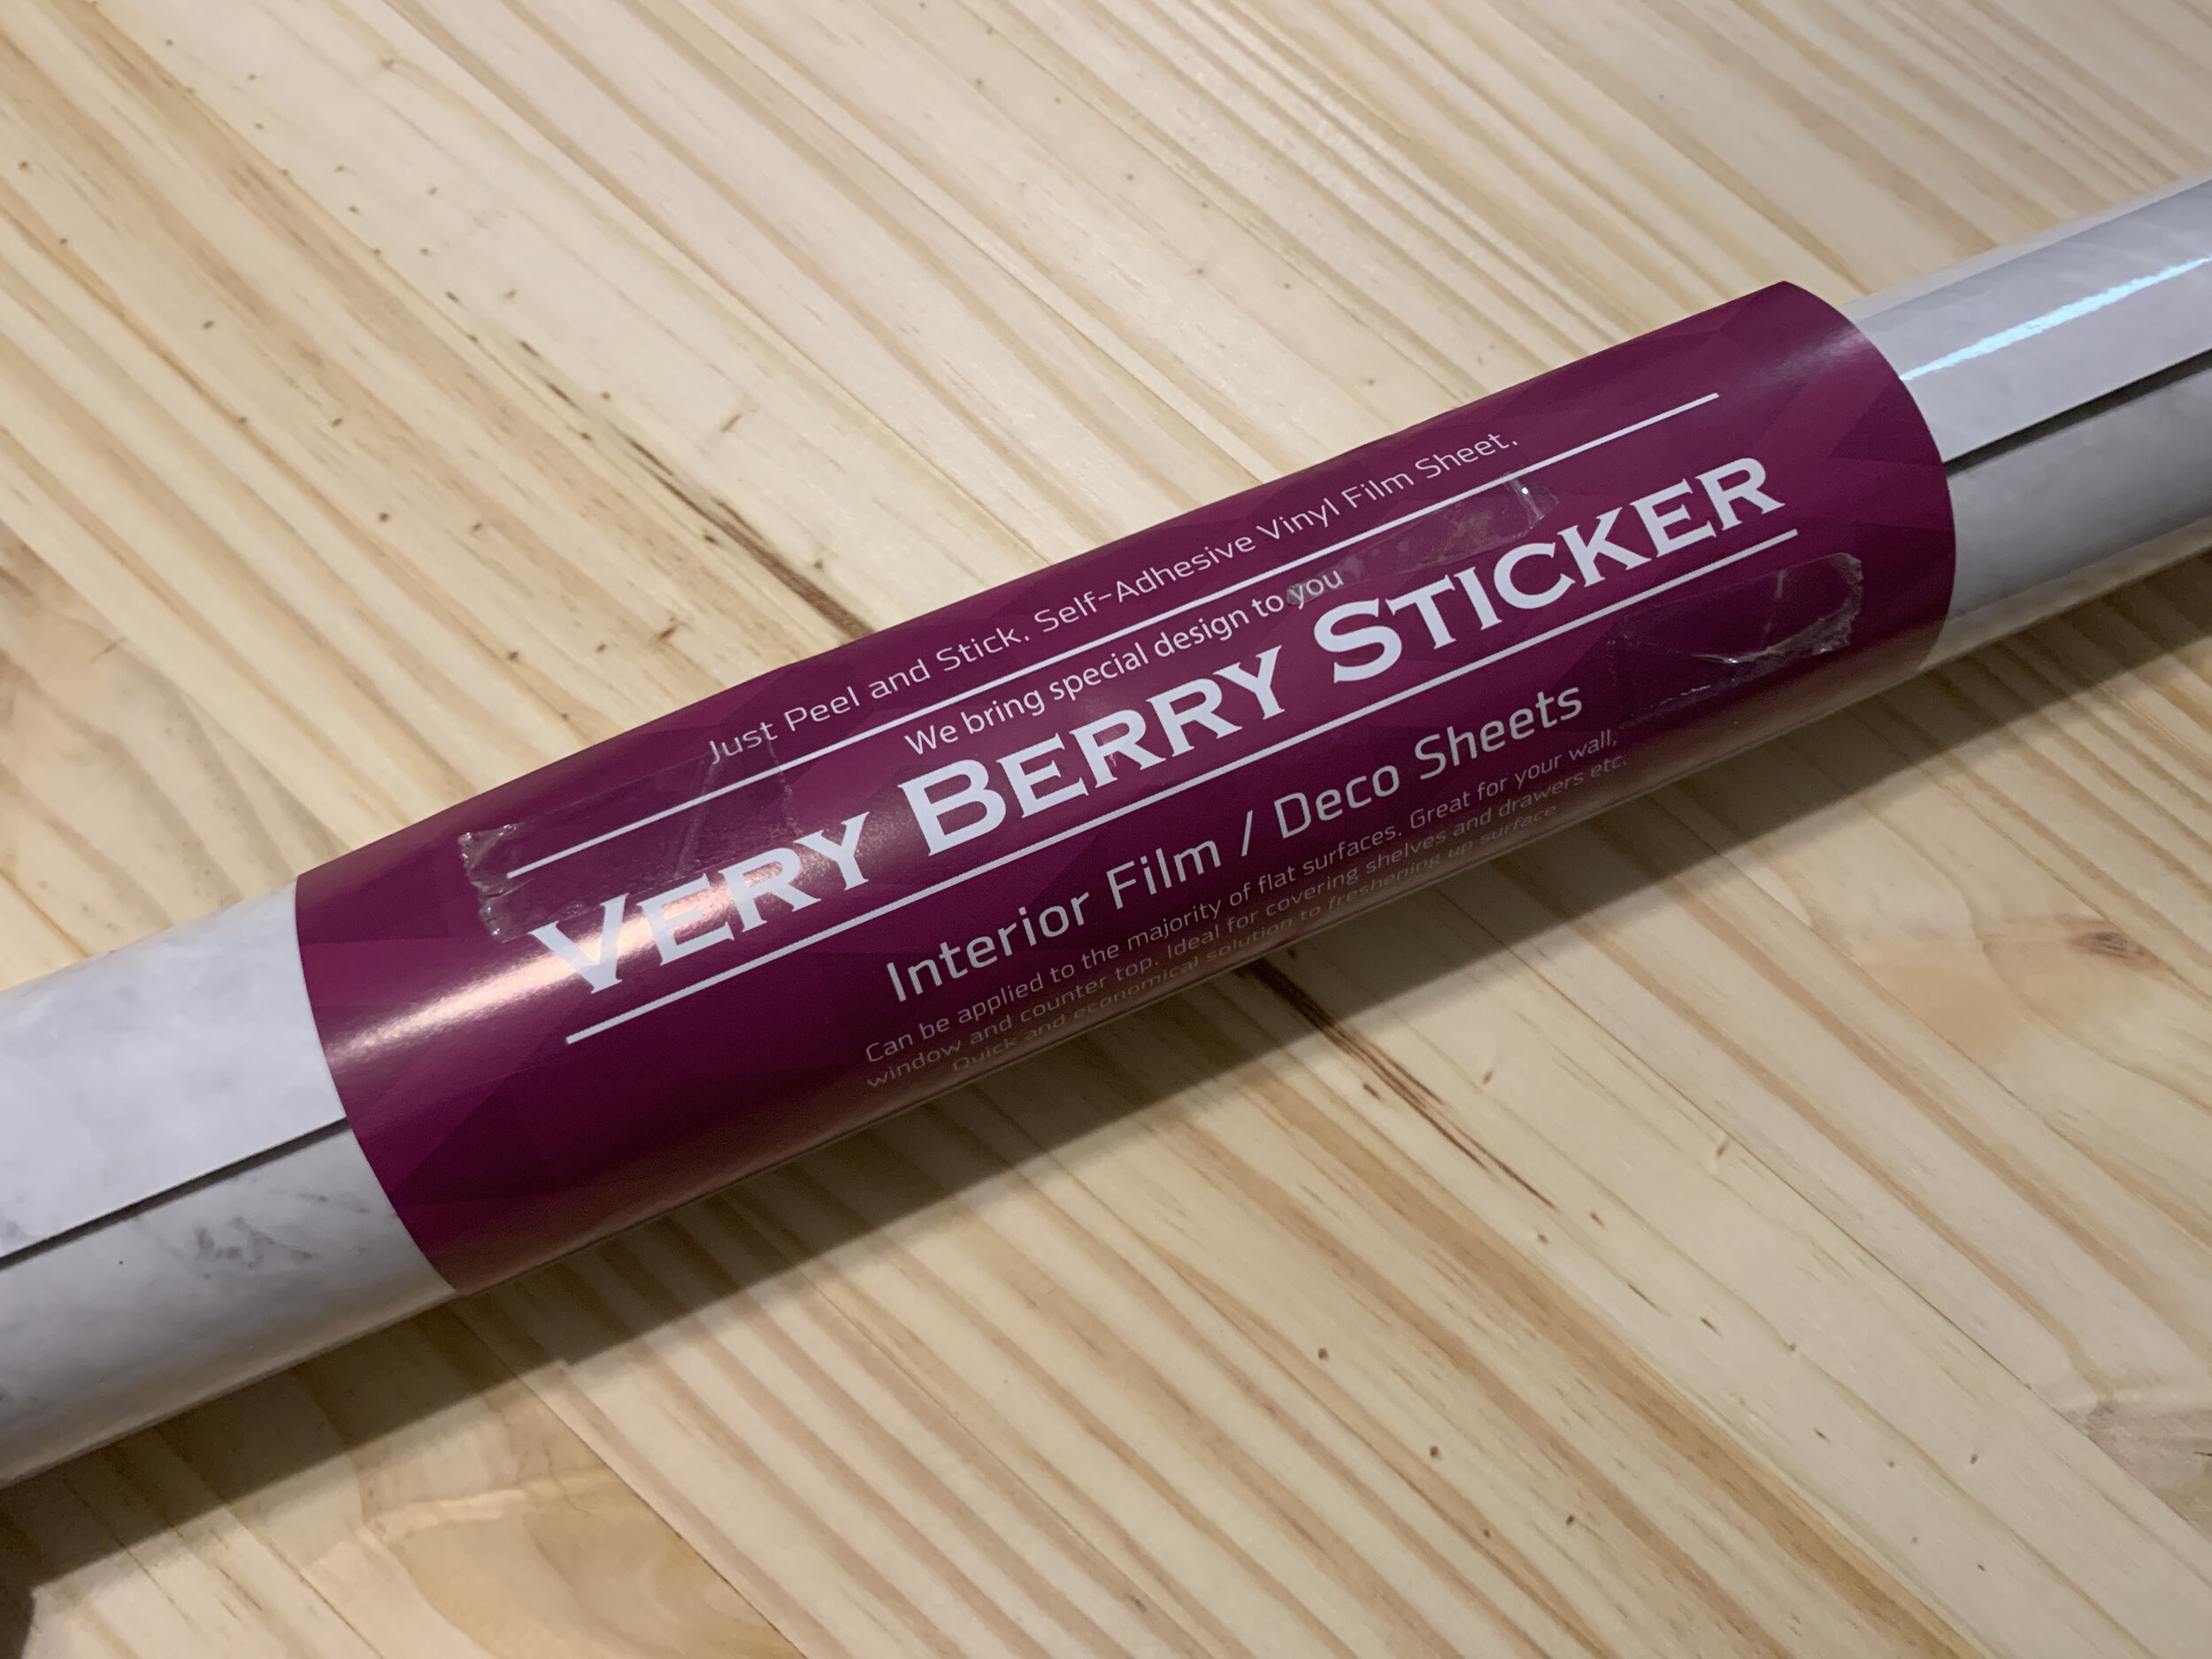
One night I used this film vinyl to wrap our wooden table piece in marble goodness, careful to smooth out bubbles as I went, using a sharp X-acto knife to trim the vinyl around the edges. It worked for the most part and looked nice on the large top and bottom surfaces. The edges however were a different story entirely and looked unfinished from the get go.
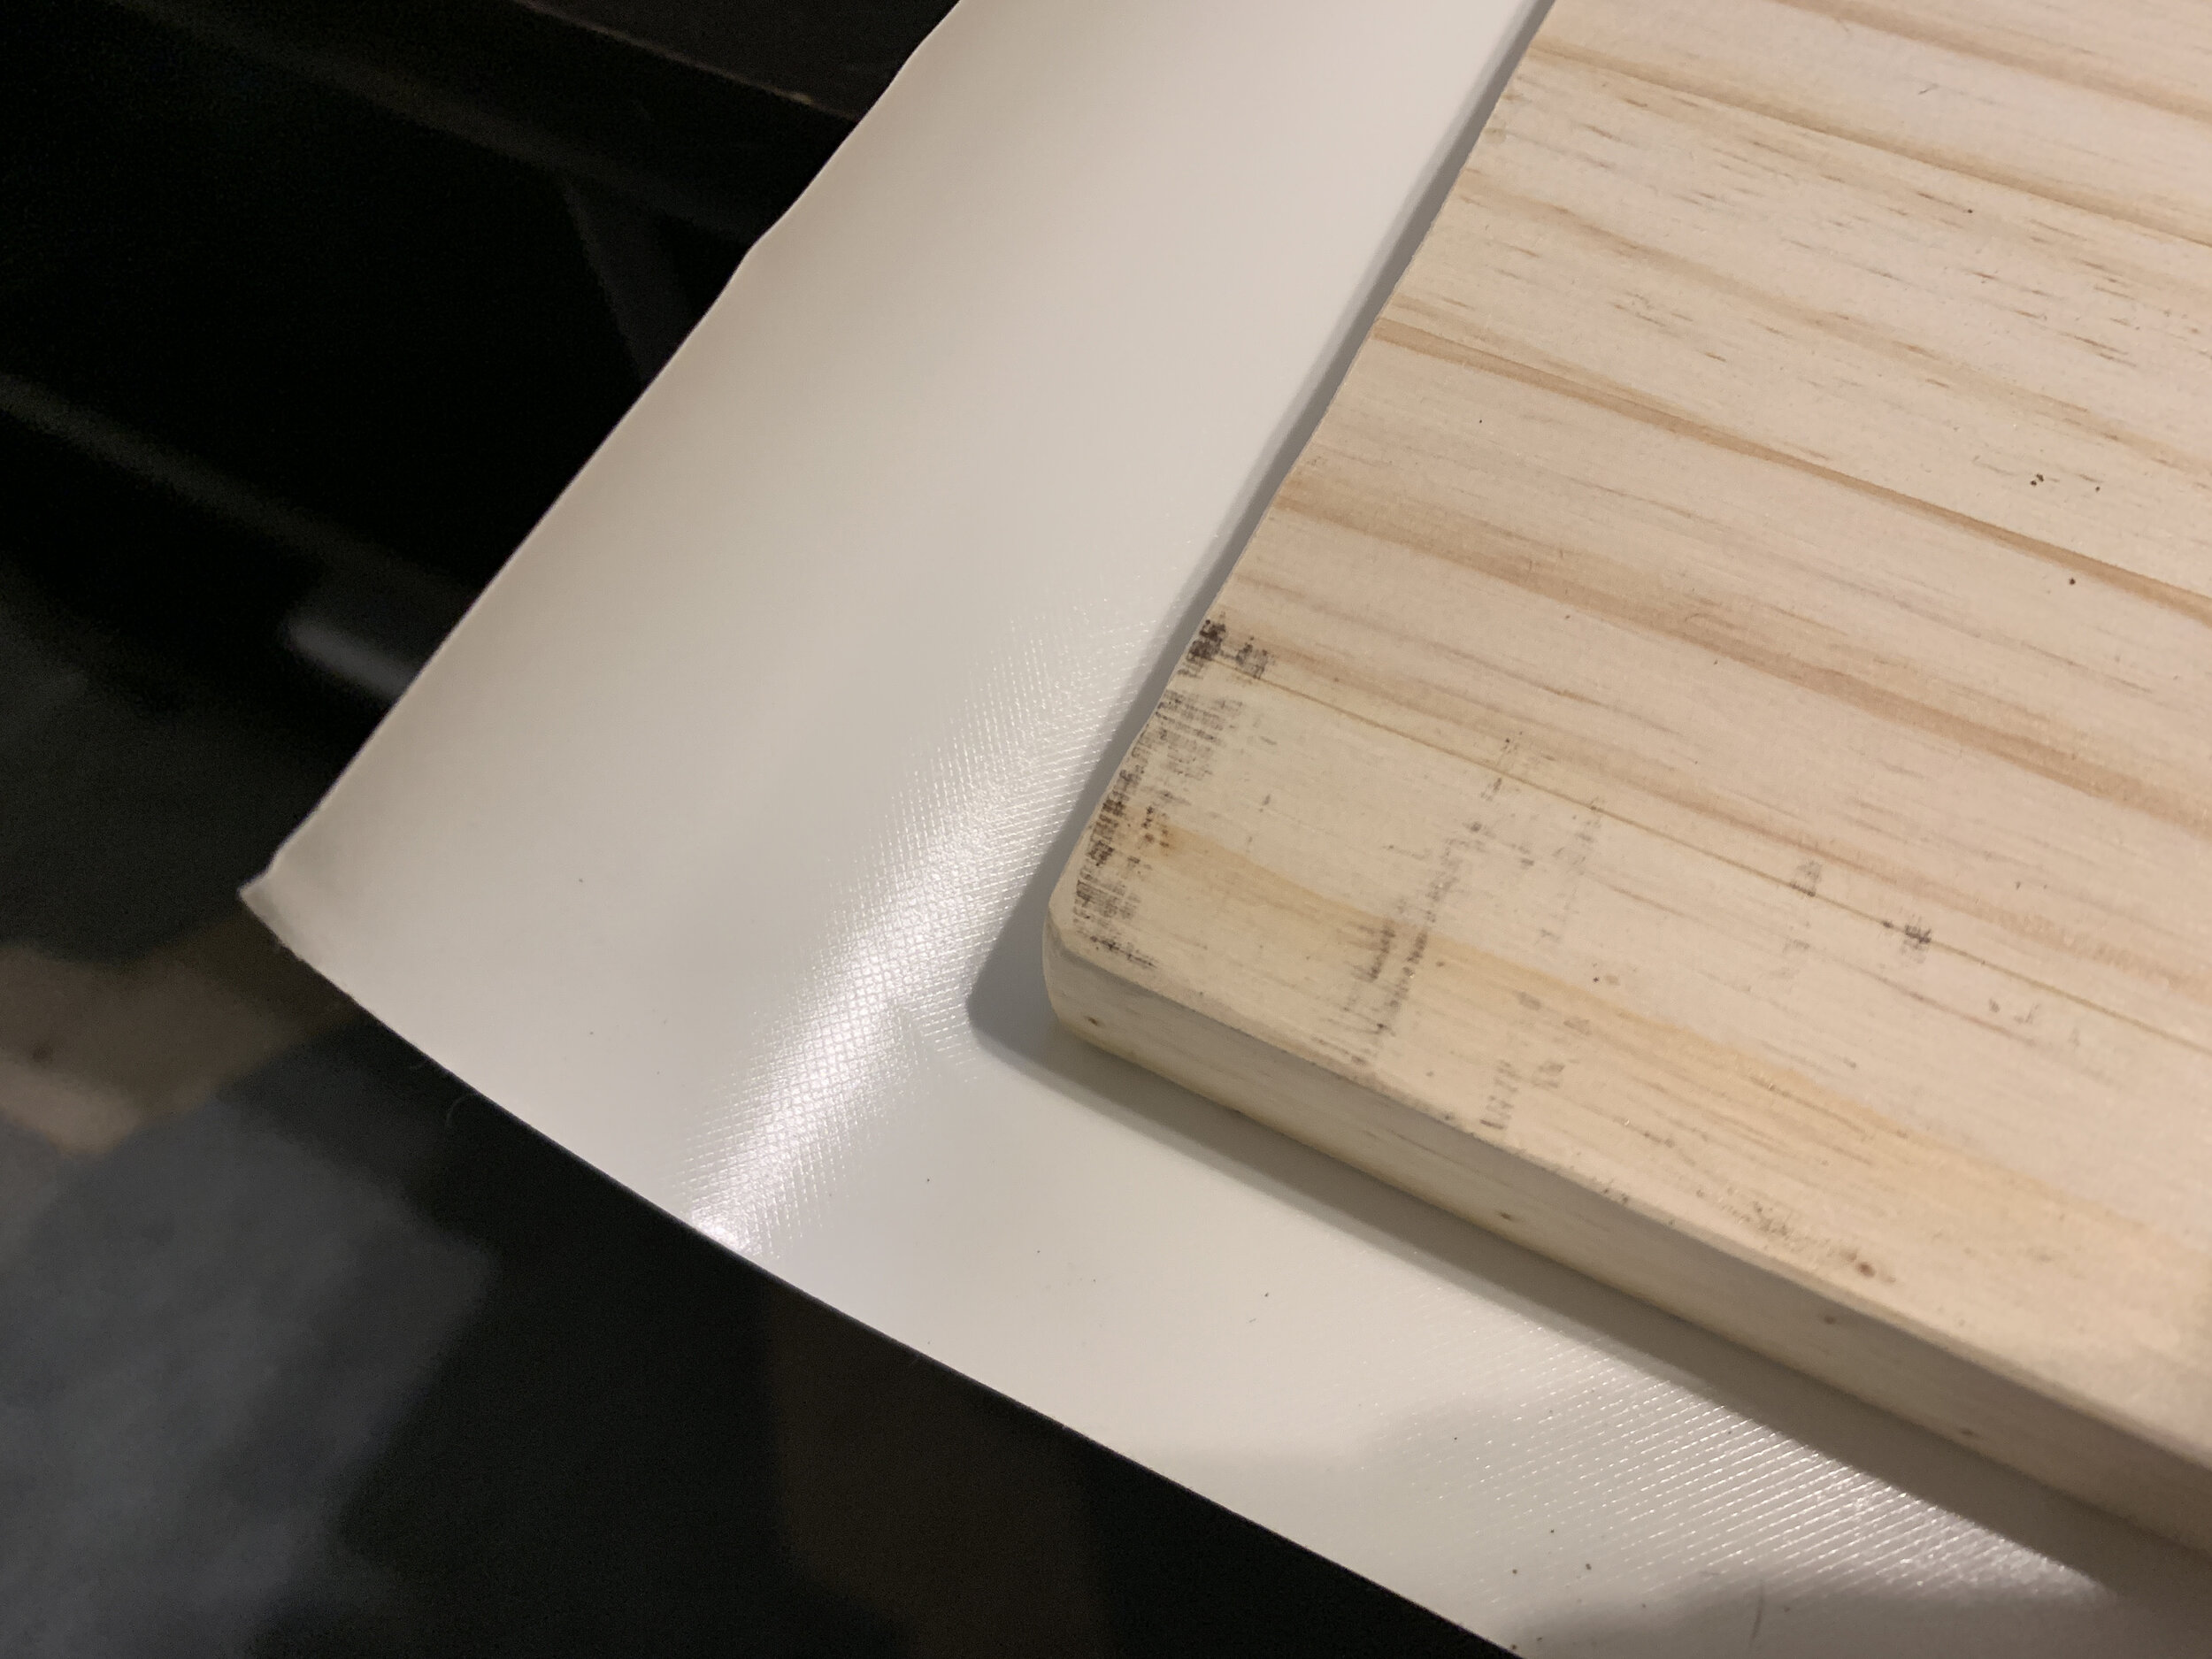
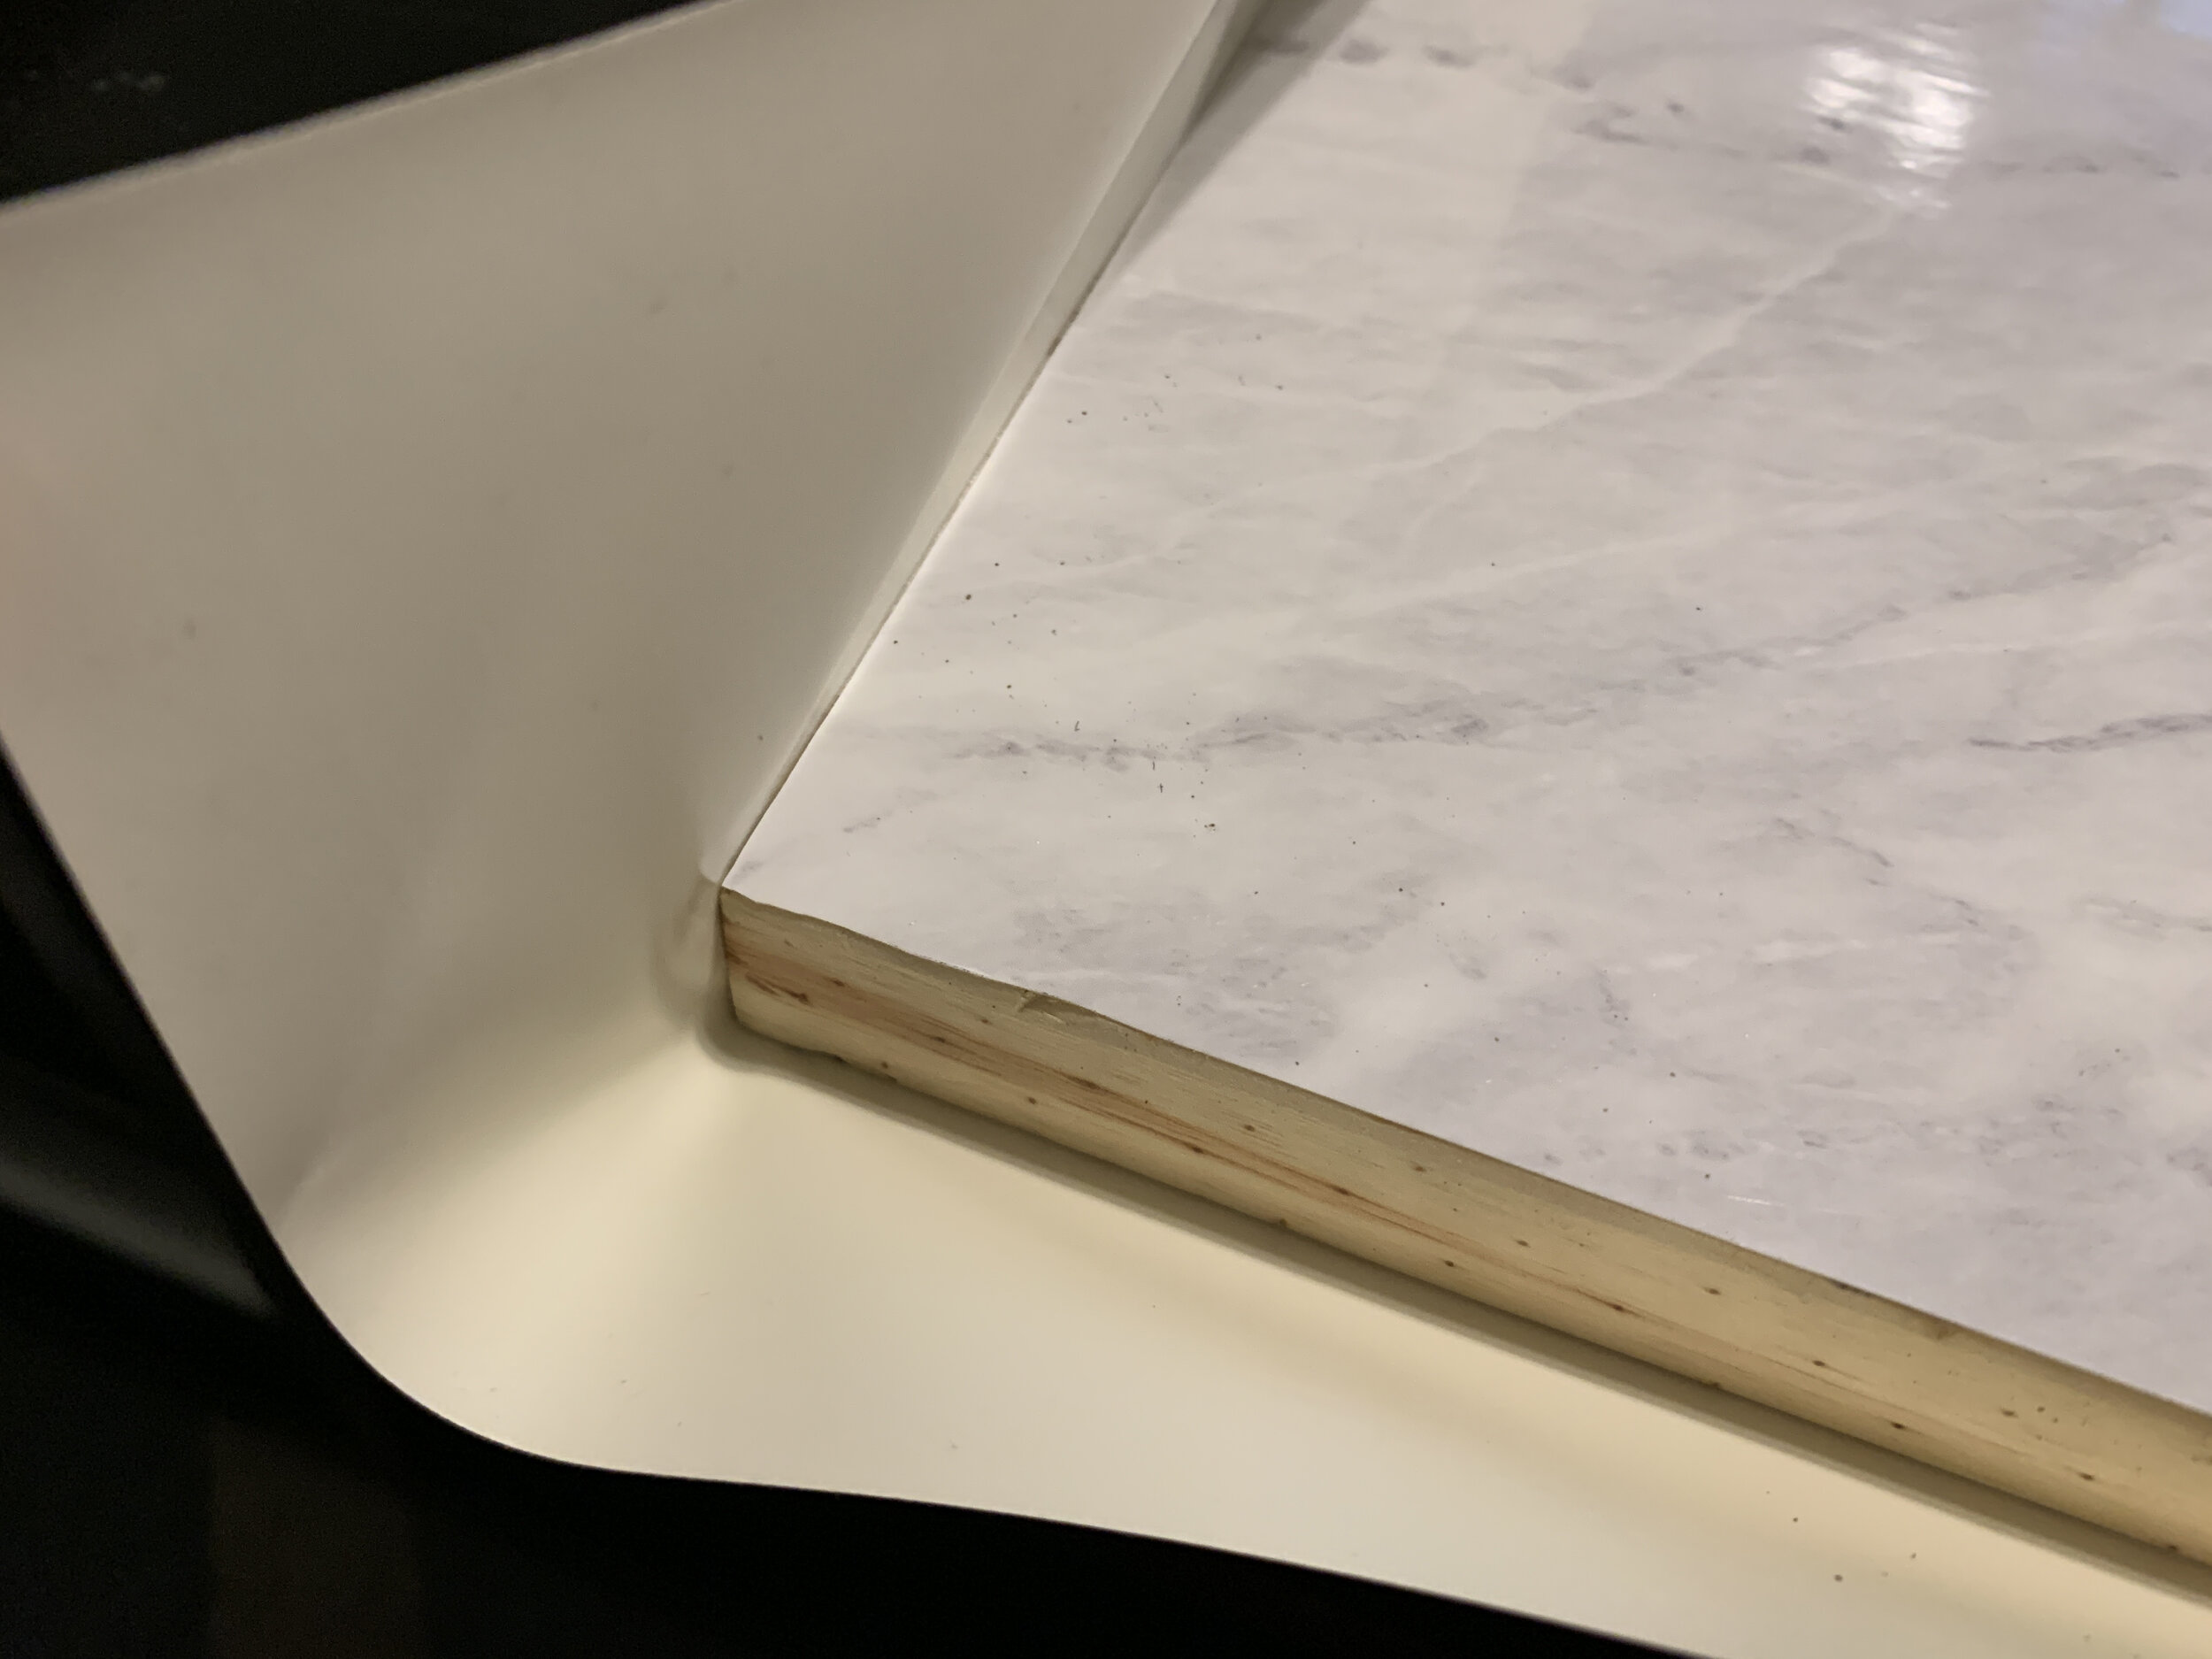
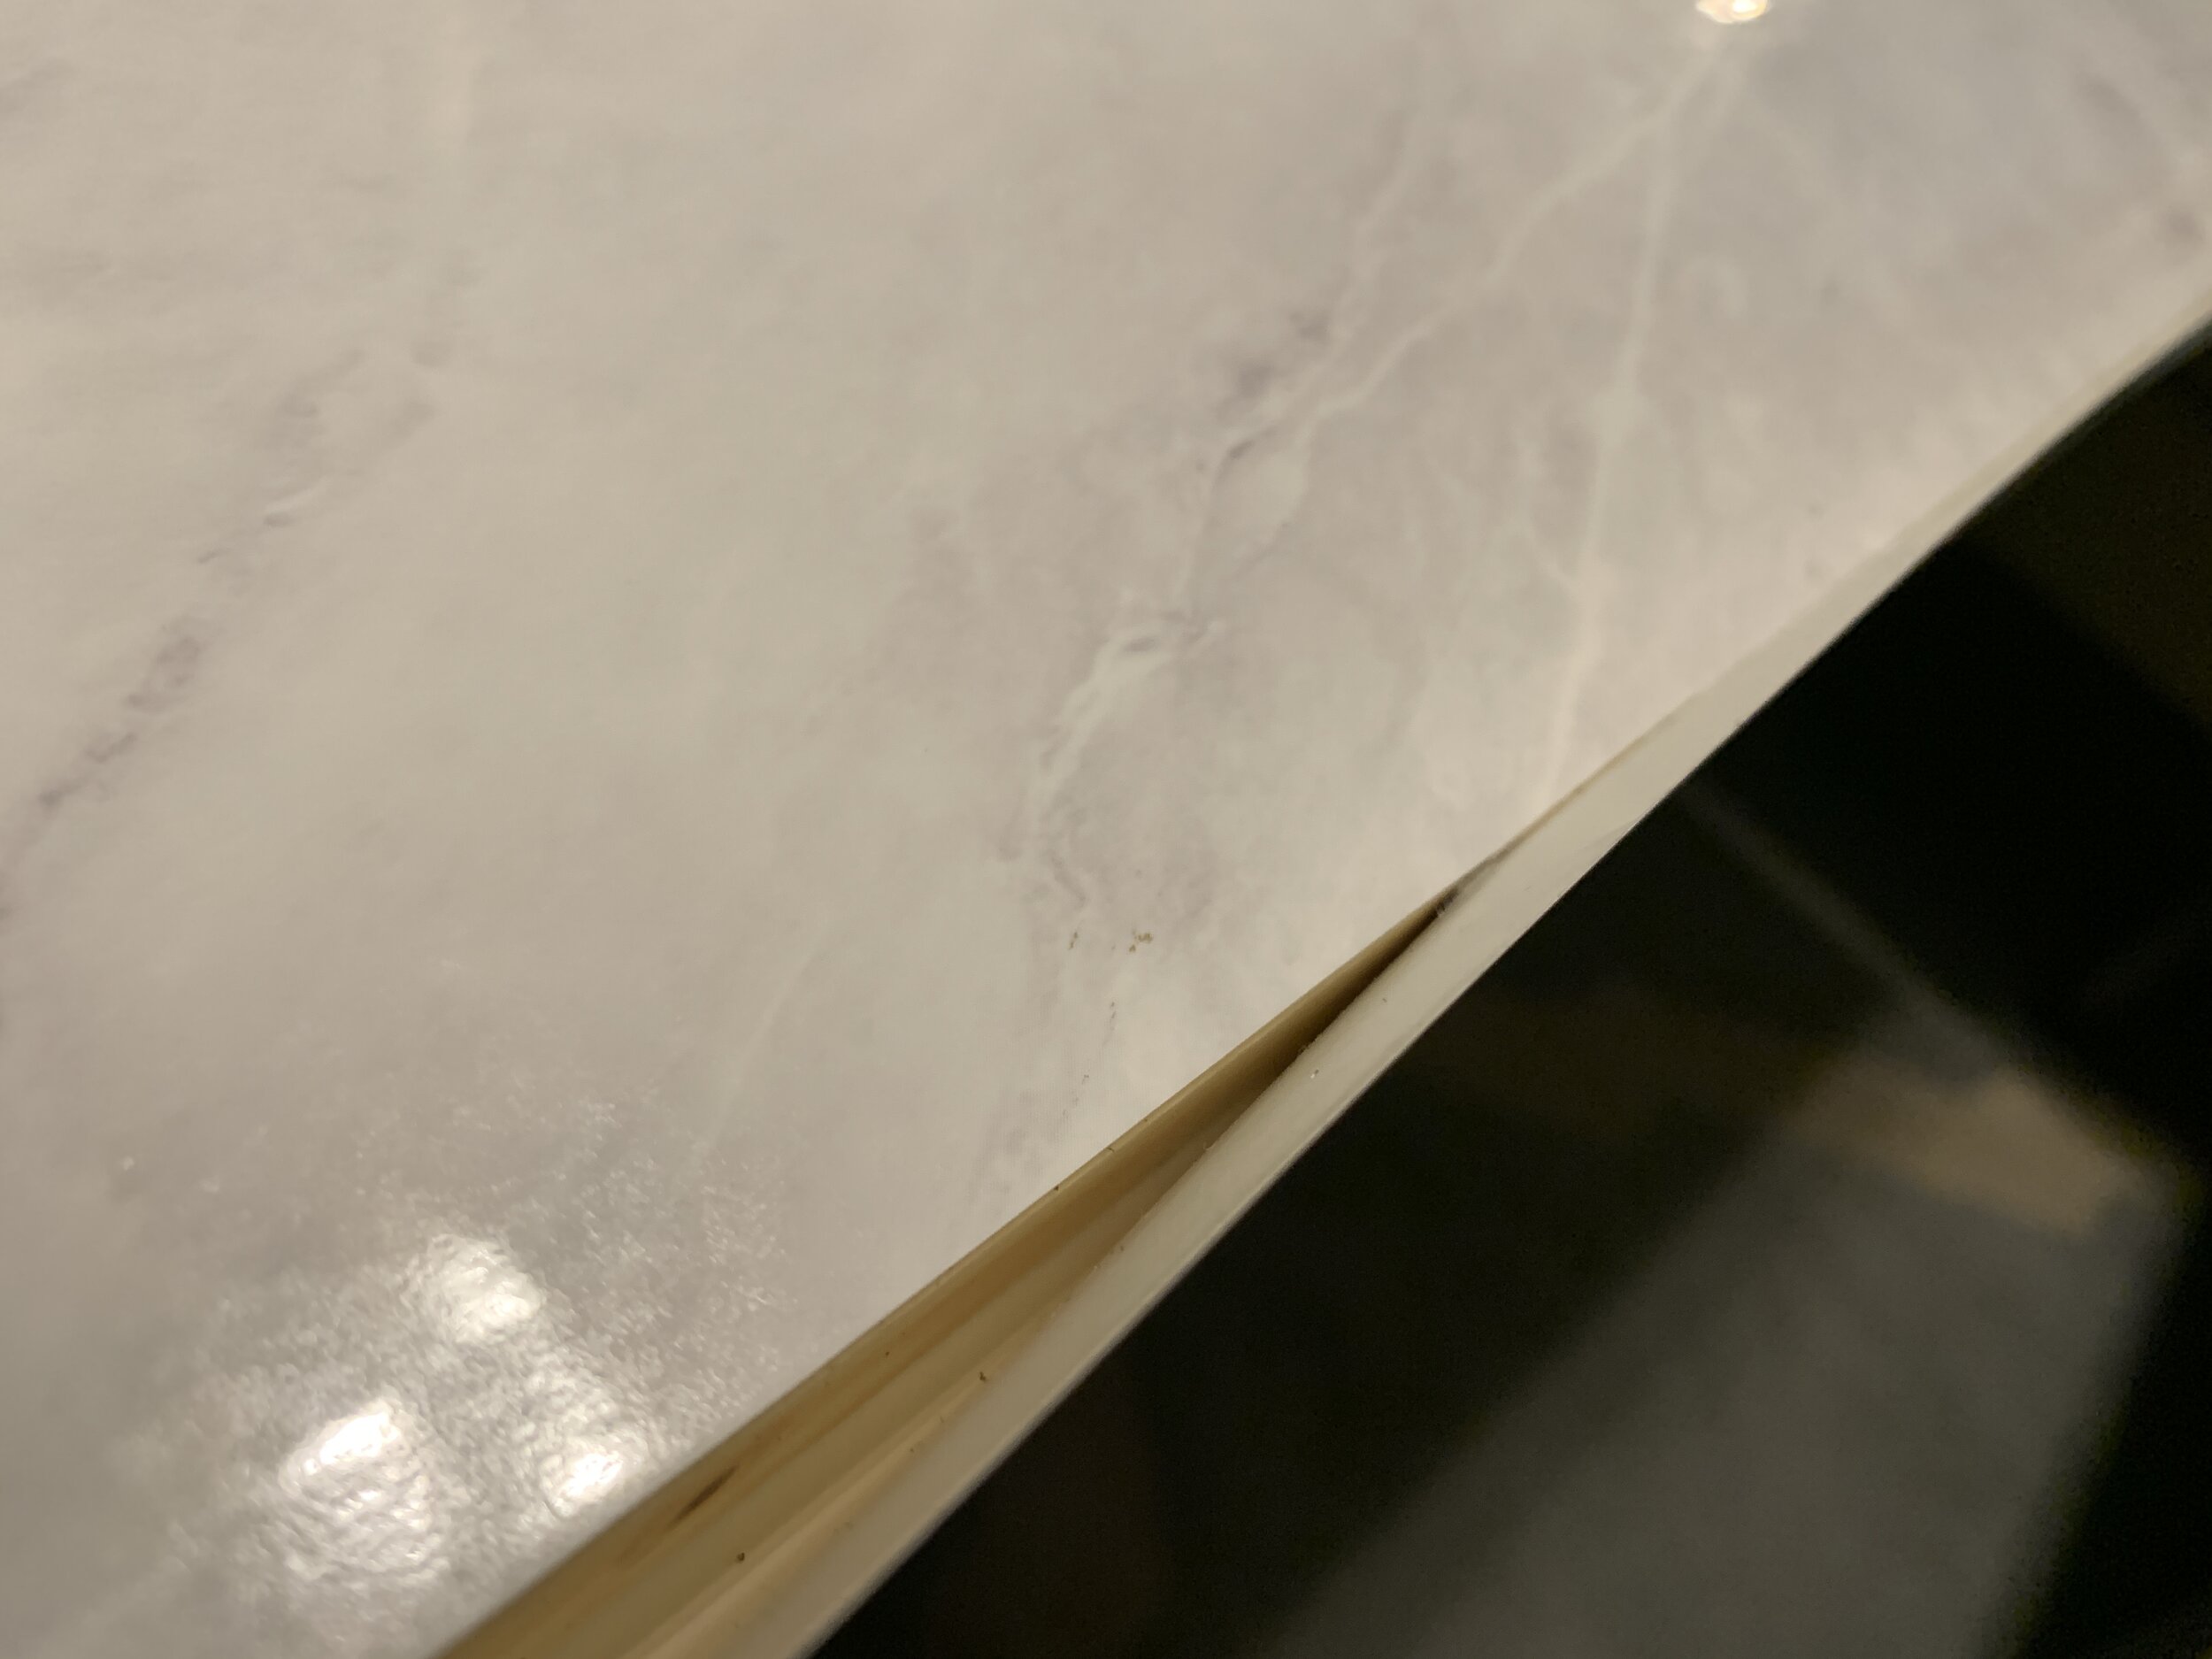
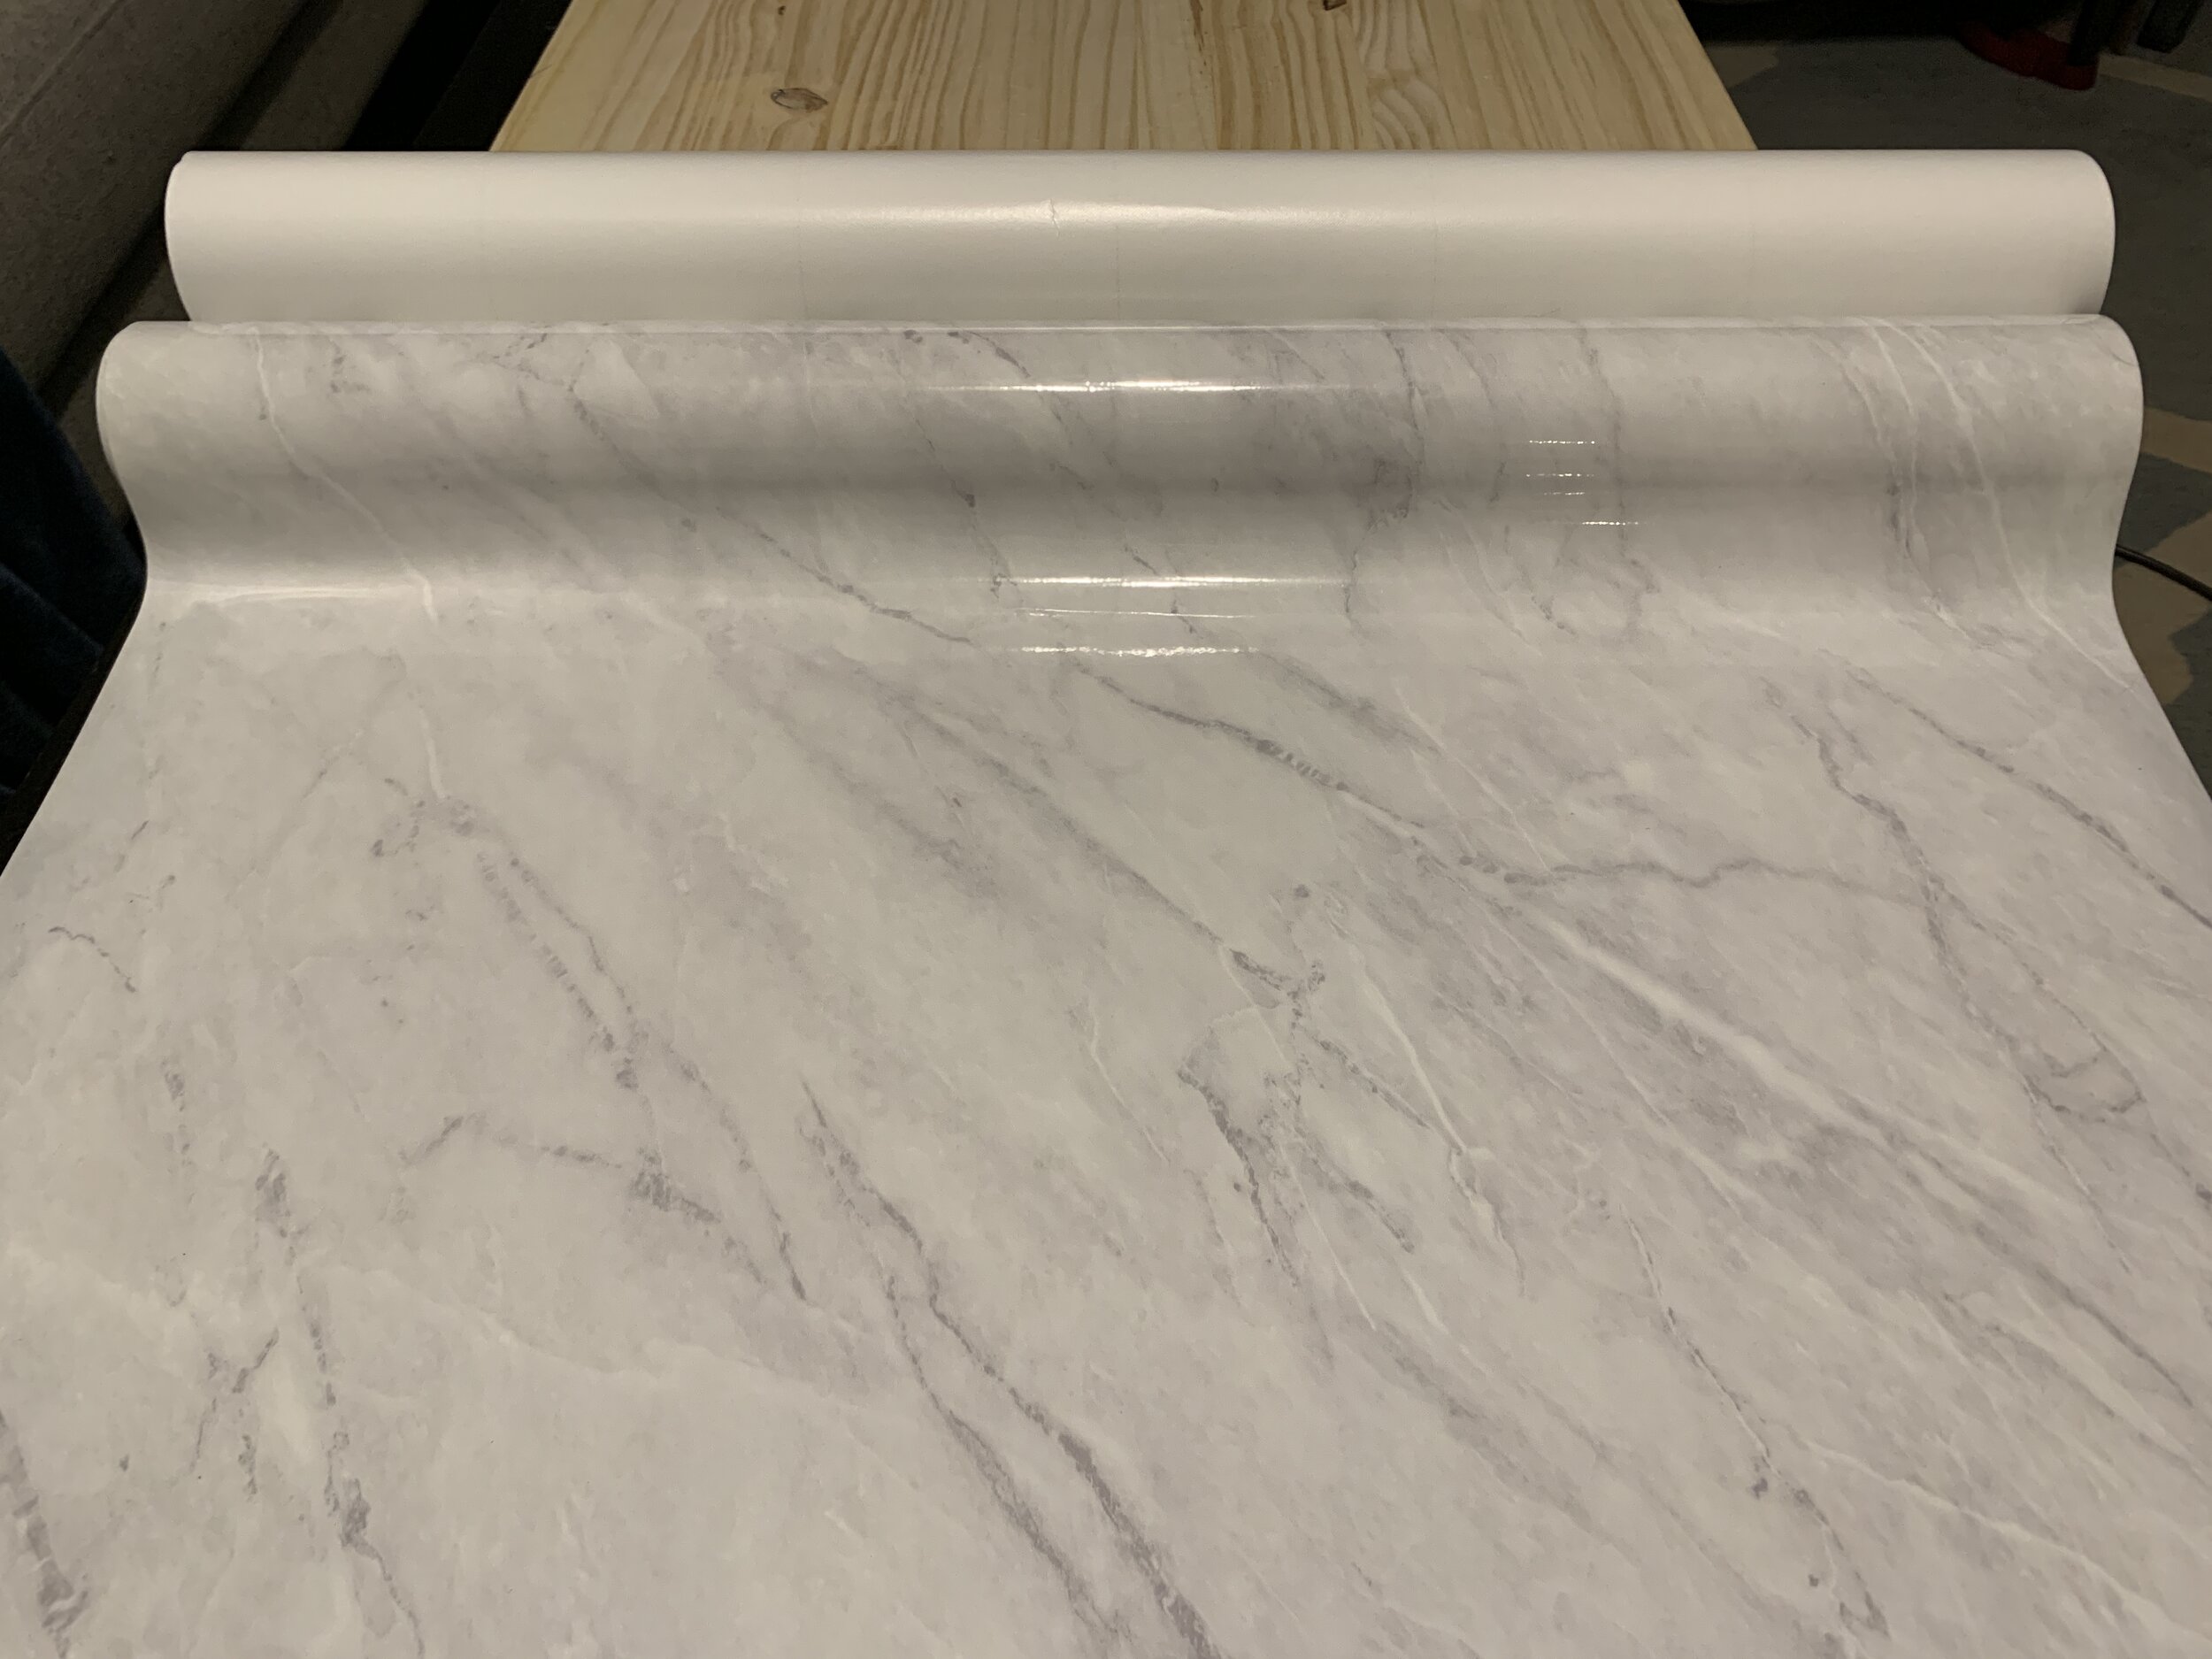
Probably user-error, but as expected the next day when we tested it in the space the issues were only magnified when the act of just putting the table into place to make the bed further damaged the vinyl wrap, scratching and pushing it up on the edges. Between the lack of durability this early in the life of the table and how tight it was in the space (the vinyl added a little more bulk than we were expecting) we decided to cut our losses and peeled the vinyl off.
This led us to…
Take 2: Minty perfection

After the first attempt we learned a couple of things: 1) vinyl wrap may not be for us (though there were so many good reviews and success stories I think it really was just something I didn’t do right, like maybe trying to wrap a piece of raw wood instead of say, adhered to something “stickier” like a plastic or laminate counter), and 2) we needed to modify this table top a bit so we could get passed it and cabinets to be able to actually sit in the dinette area.
Changing the shape
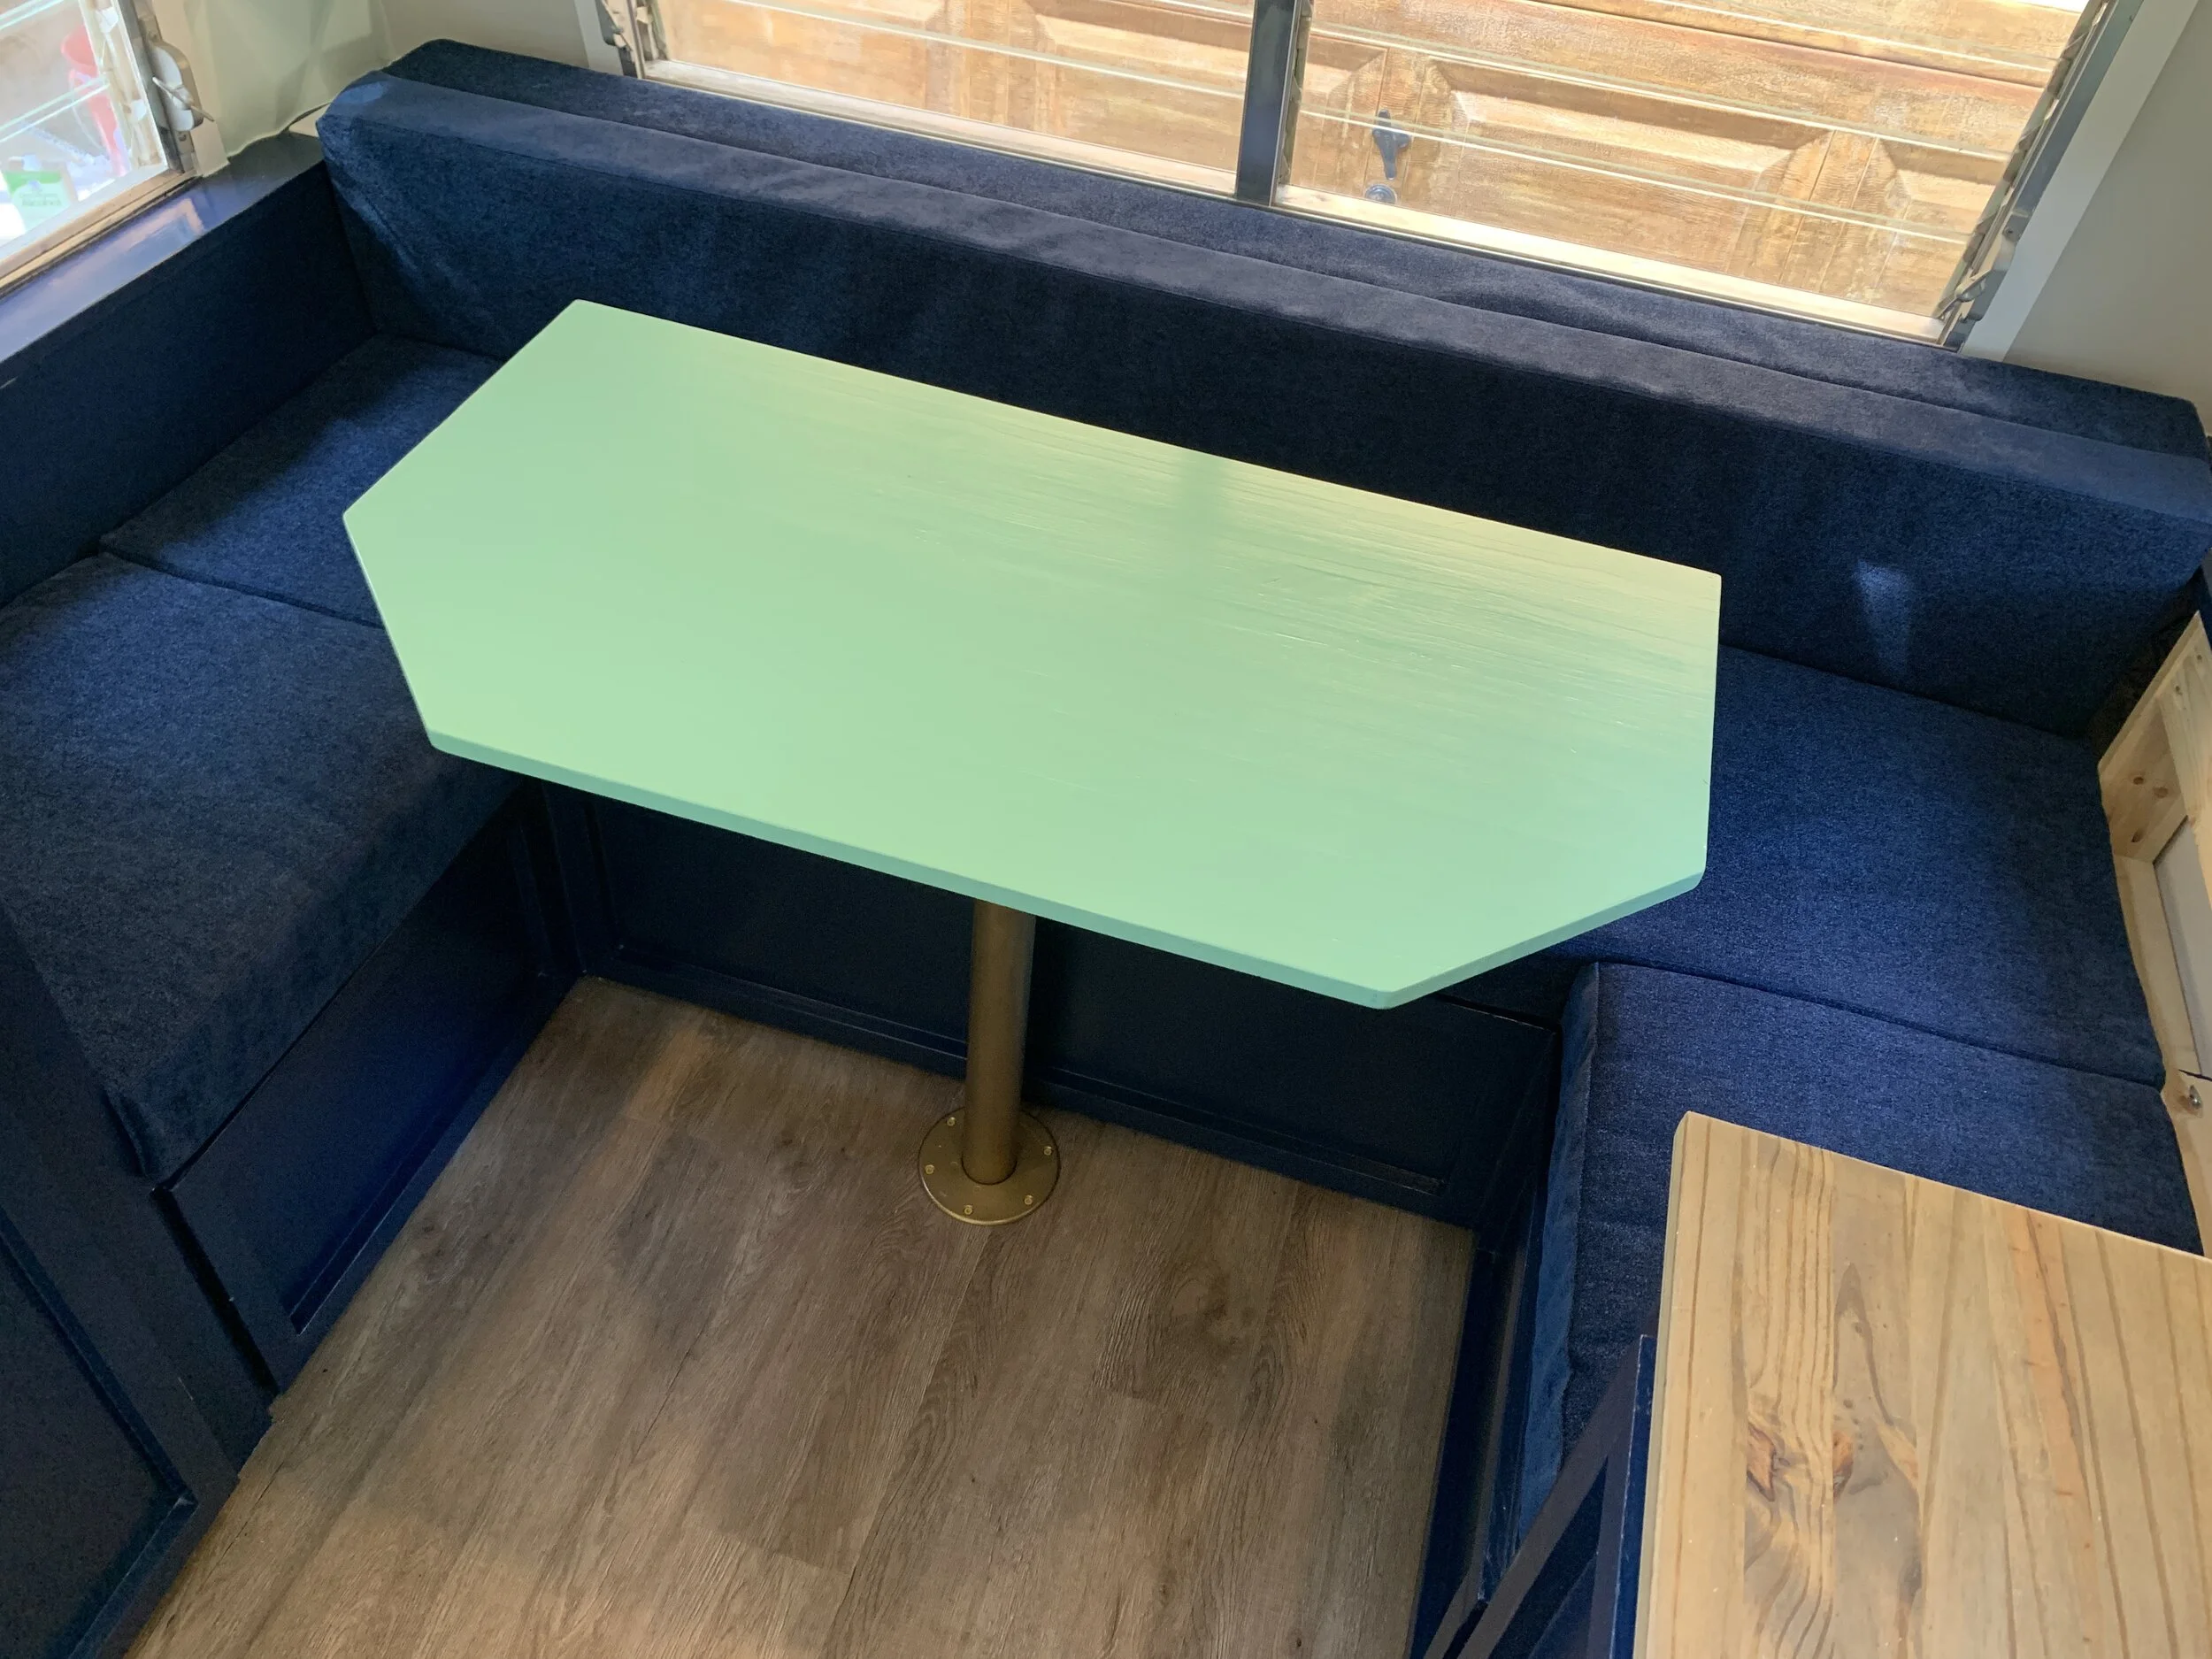
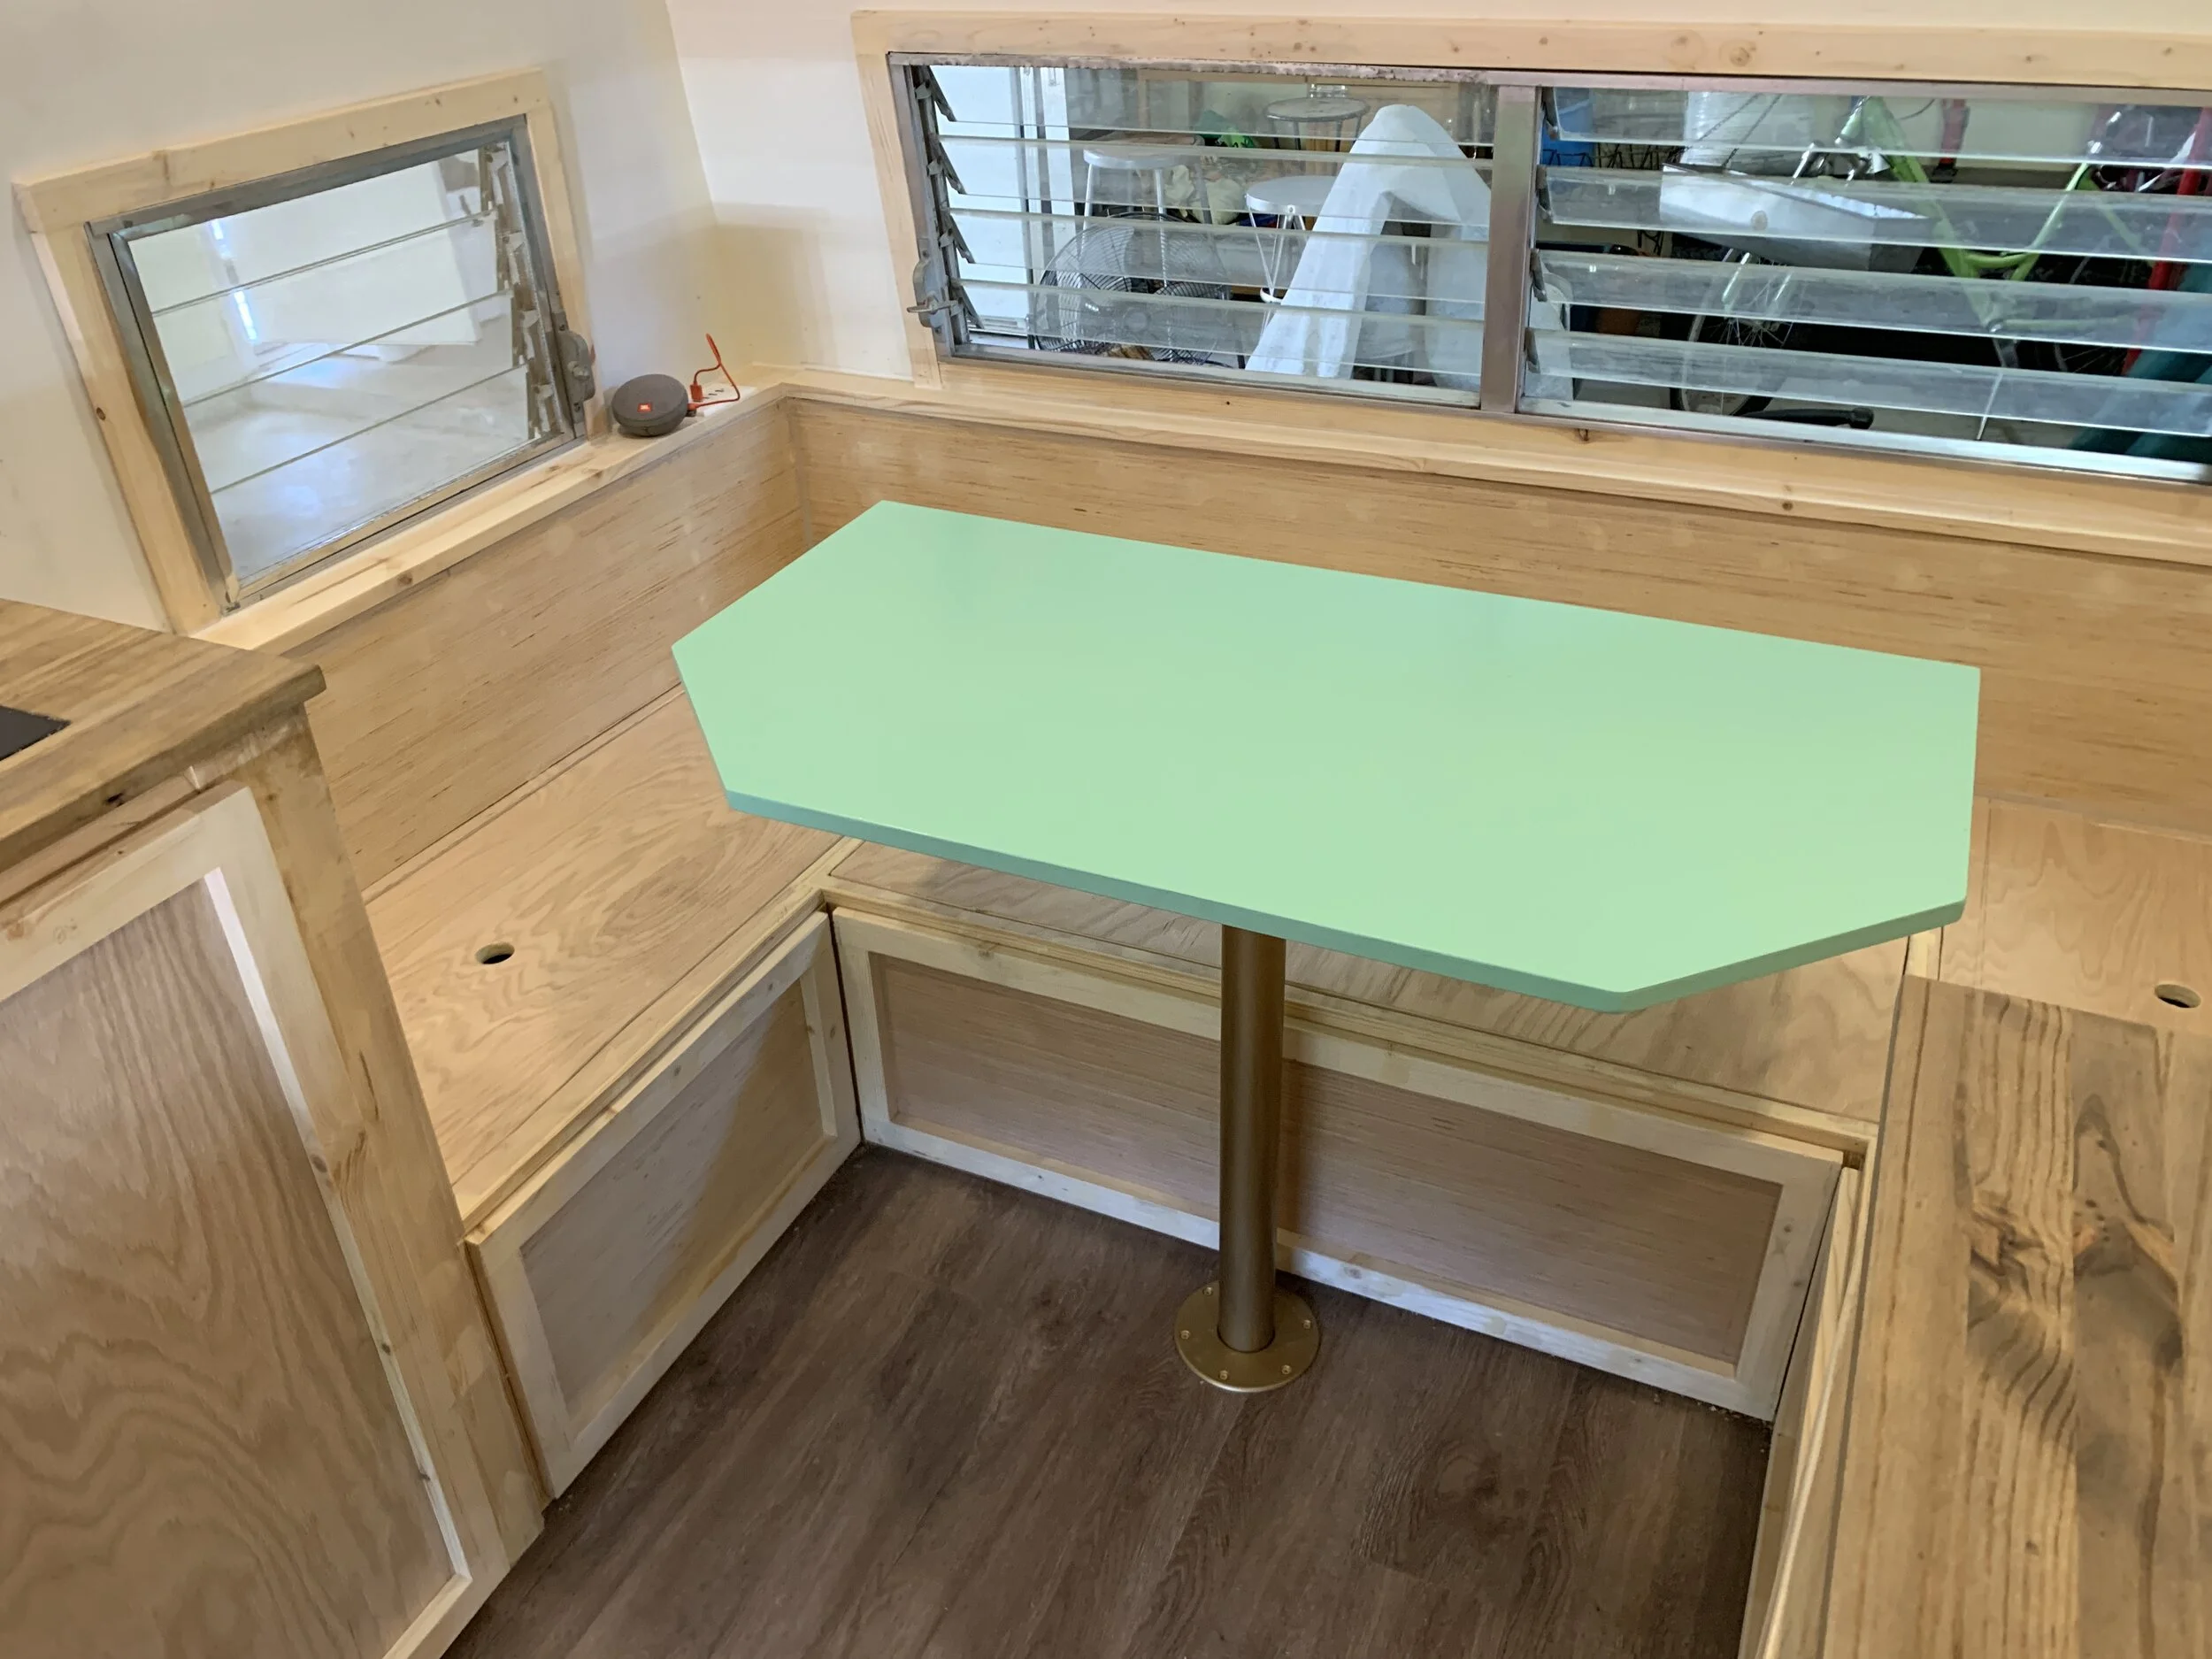
This is when we decided to dog ear the corners by chopping off the 2 front corners of the rectangular table, going with something that looks a little like a rectangle and a trapezoid made an adorable functional baby that I’m calling a rectangazoid. (It’s technically an “irregular polygon” but zzz... so rectangazoid it is!) The exact amount to chop off was decided by one of us (me) sitting in the dining area holding the table at a comfortable estimate of where it would go for sitting height/depth, while one of us (Nick) tried to get in and out of the dinette area by squeezing between the table corner and cabinet.

After plenty of this super scientific squeeze testing we decided to mark out about 8 inches or so from each of the two front corners (we lined up our speed square with the edge to get the diagonal lines) and just chopped them off at a 45-degree-angle with our circular saw. Worst case scenario, we’d biff it and would need to buy a new piece of wood, but our super scientific method worked – wahoo! (For reference after the angle chop, our short-sides of the table lengths went from 21.5” to about 14.25”, before the angle starts.)

Since we don’t like splinters, once we got the shape down we sanded the edges to a nice rounded smooth finish so we could safely handle the tabletop.
Changing the finish
After some deliberation, we decided to paint the table – for the durability, because it wouldn’t add much extra bulk to the size, the cost and for an easy pop of color.
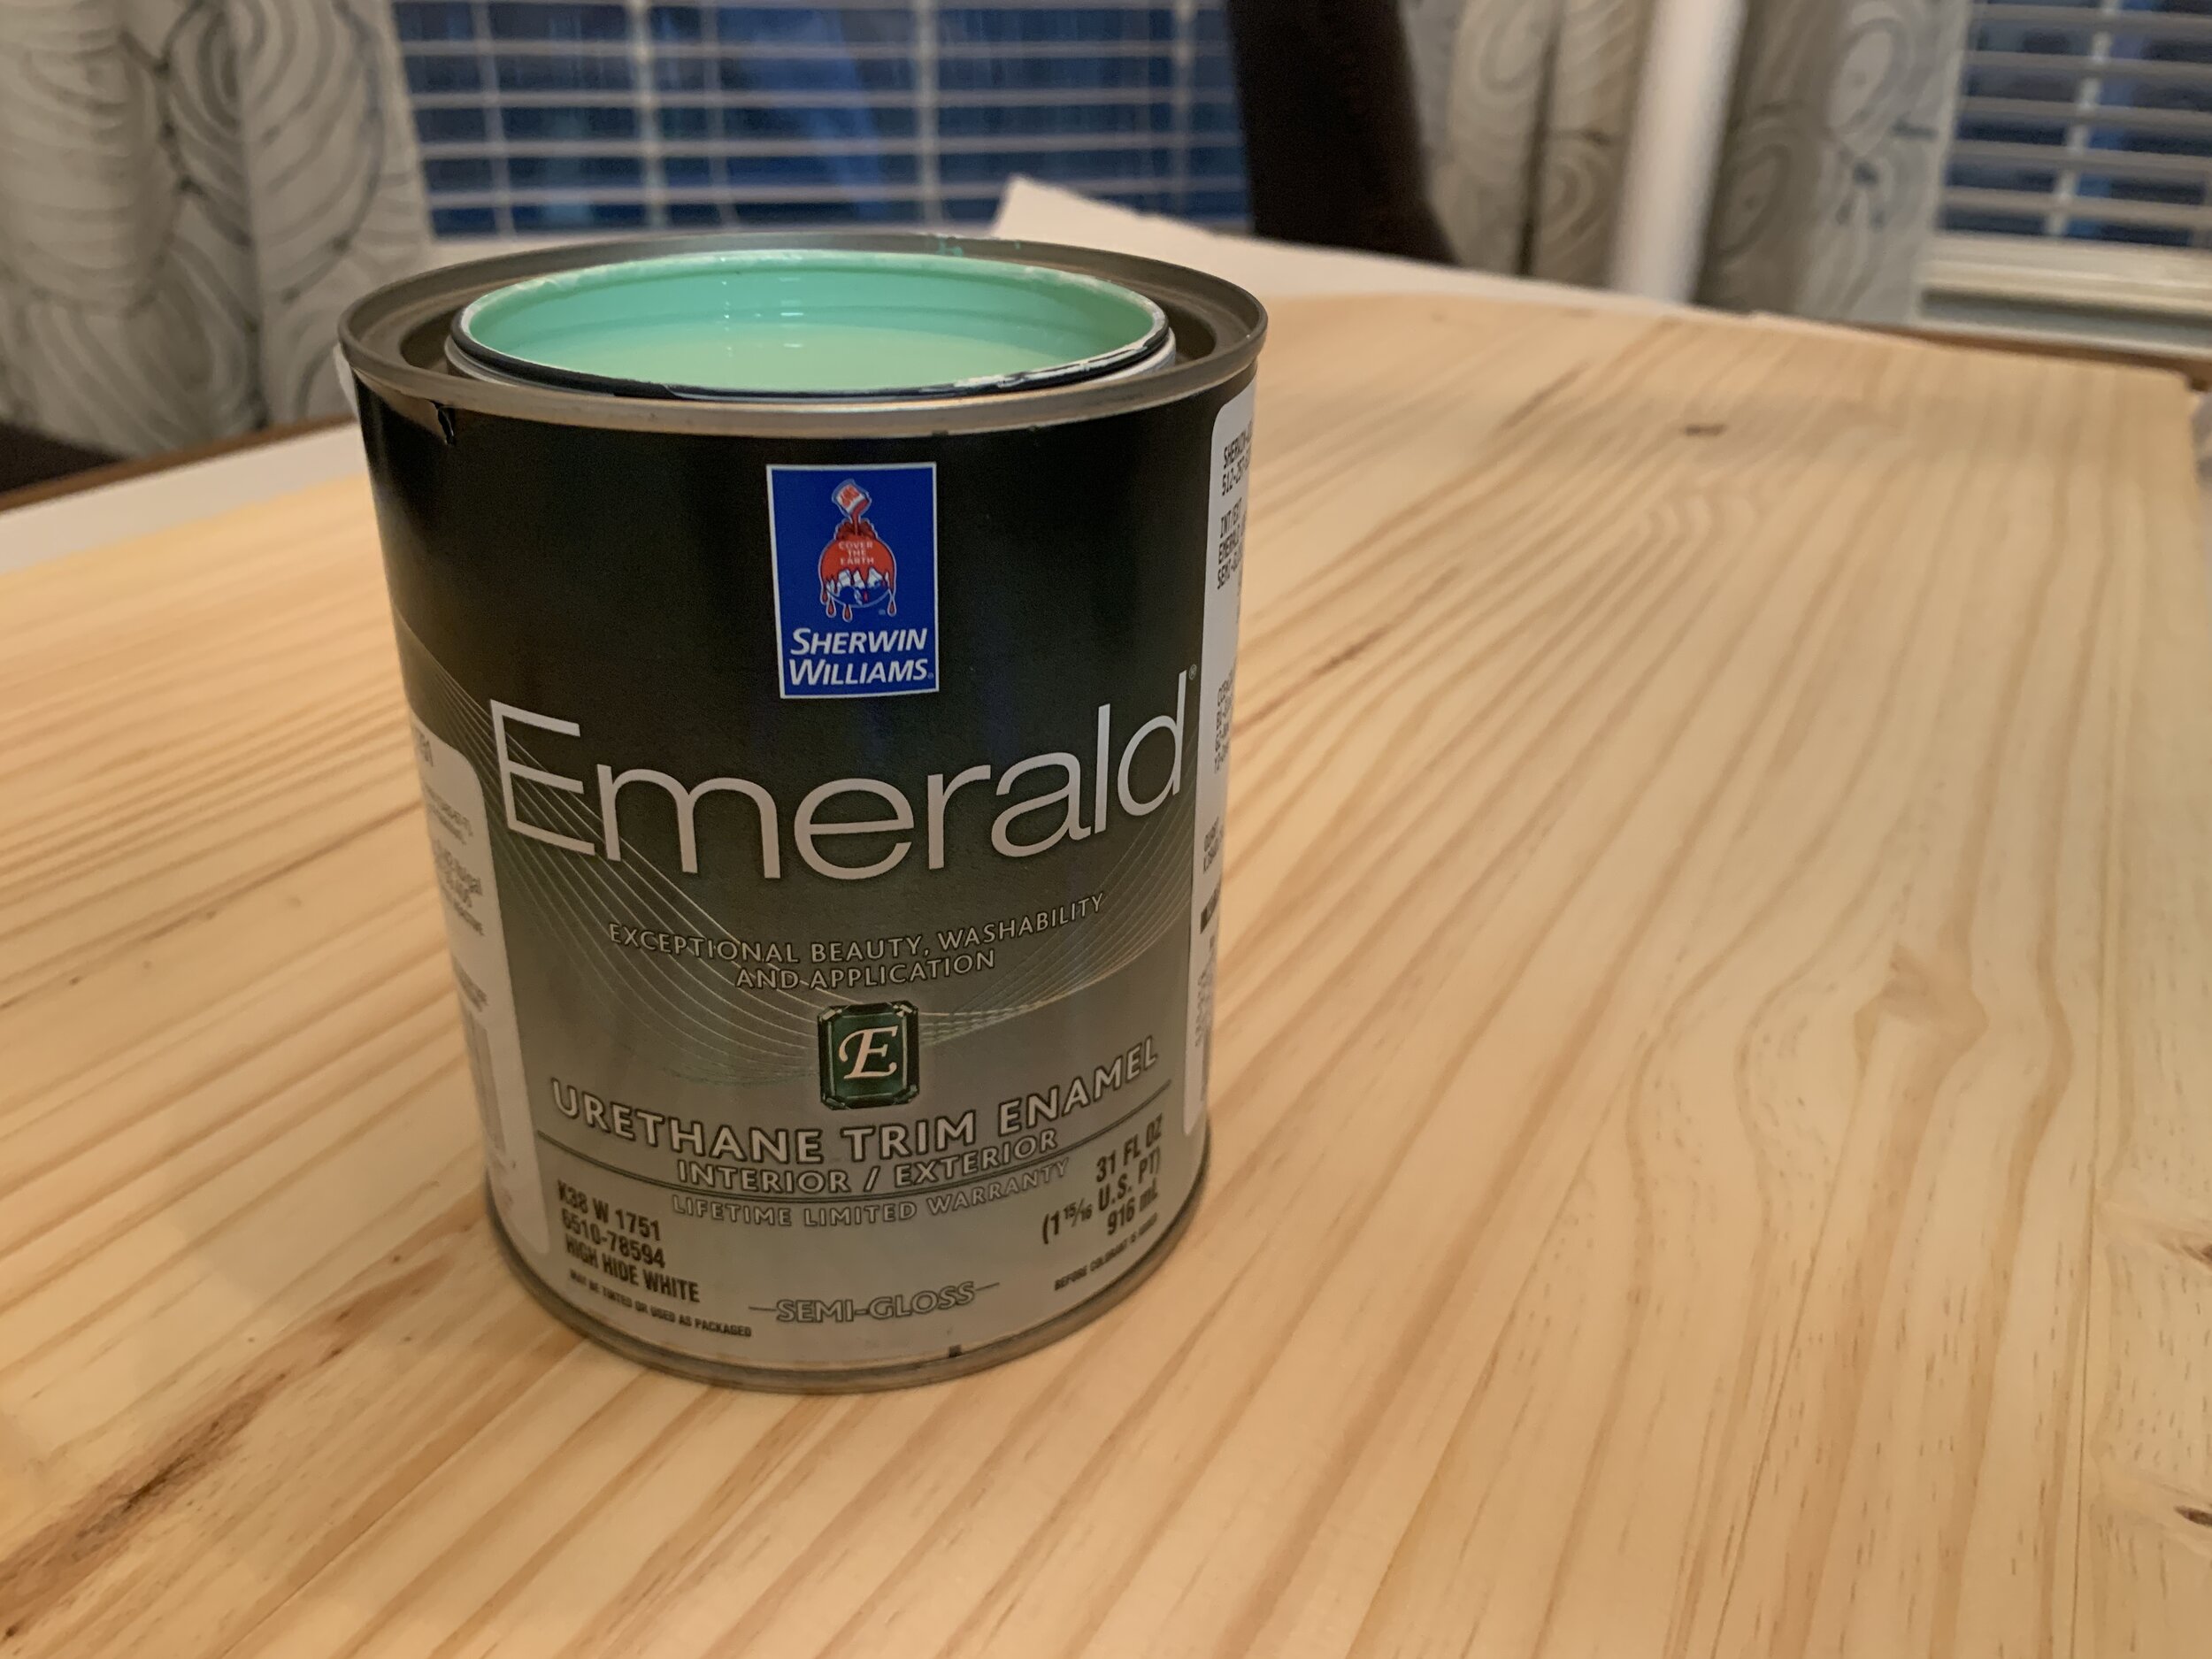
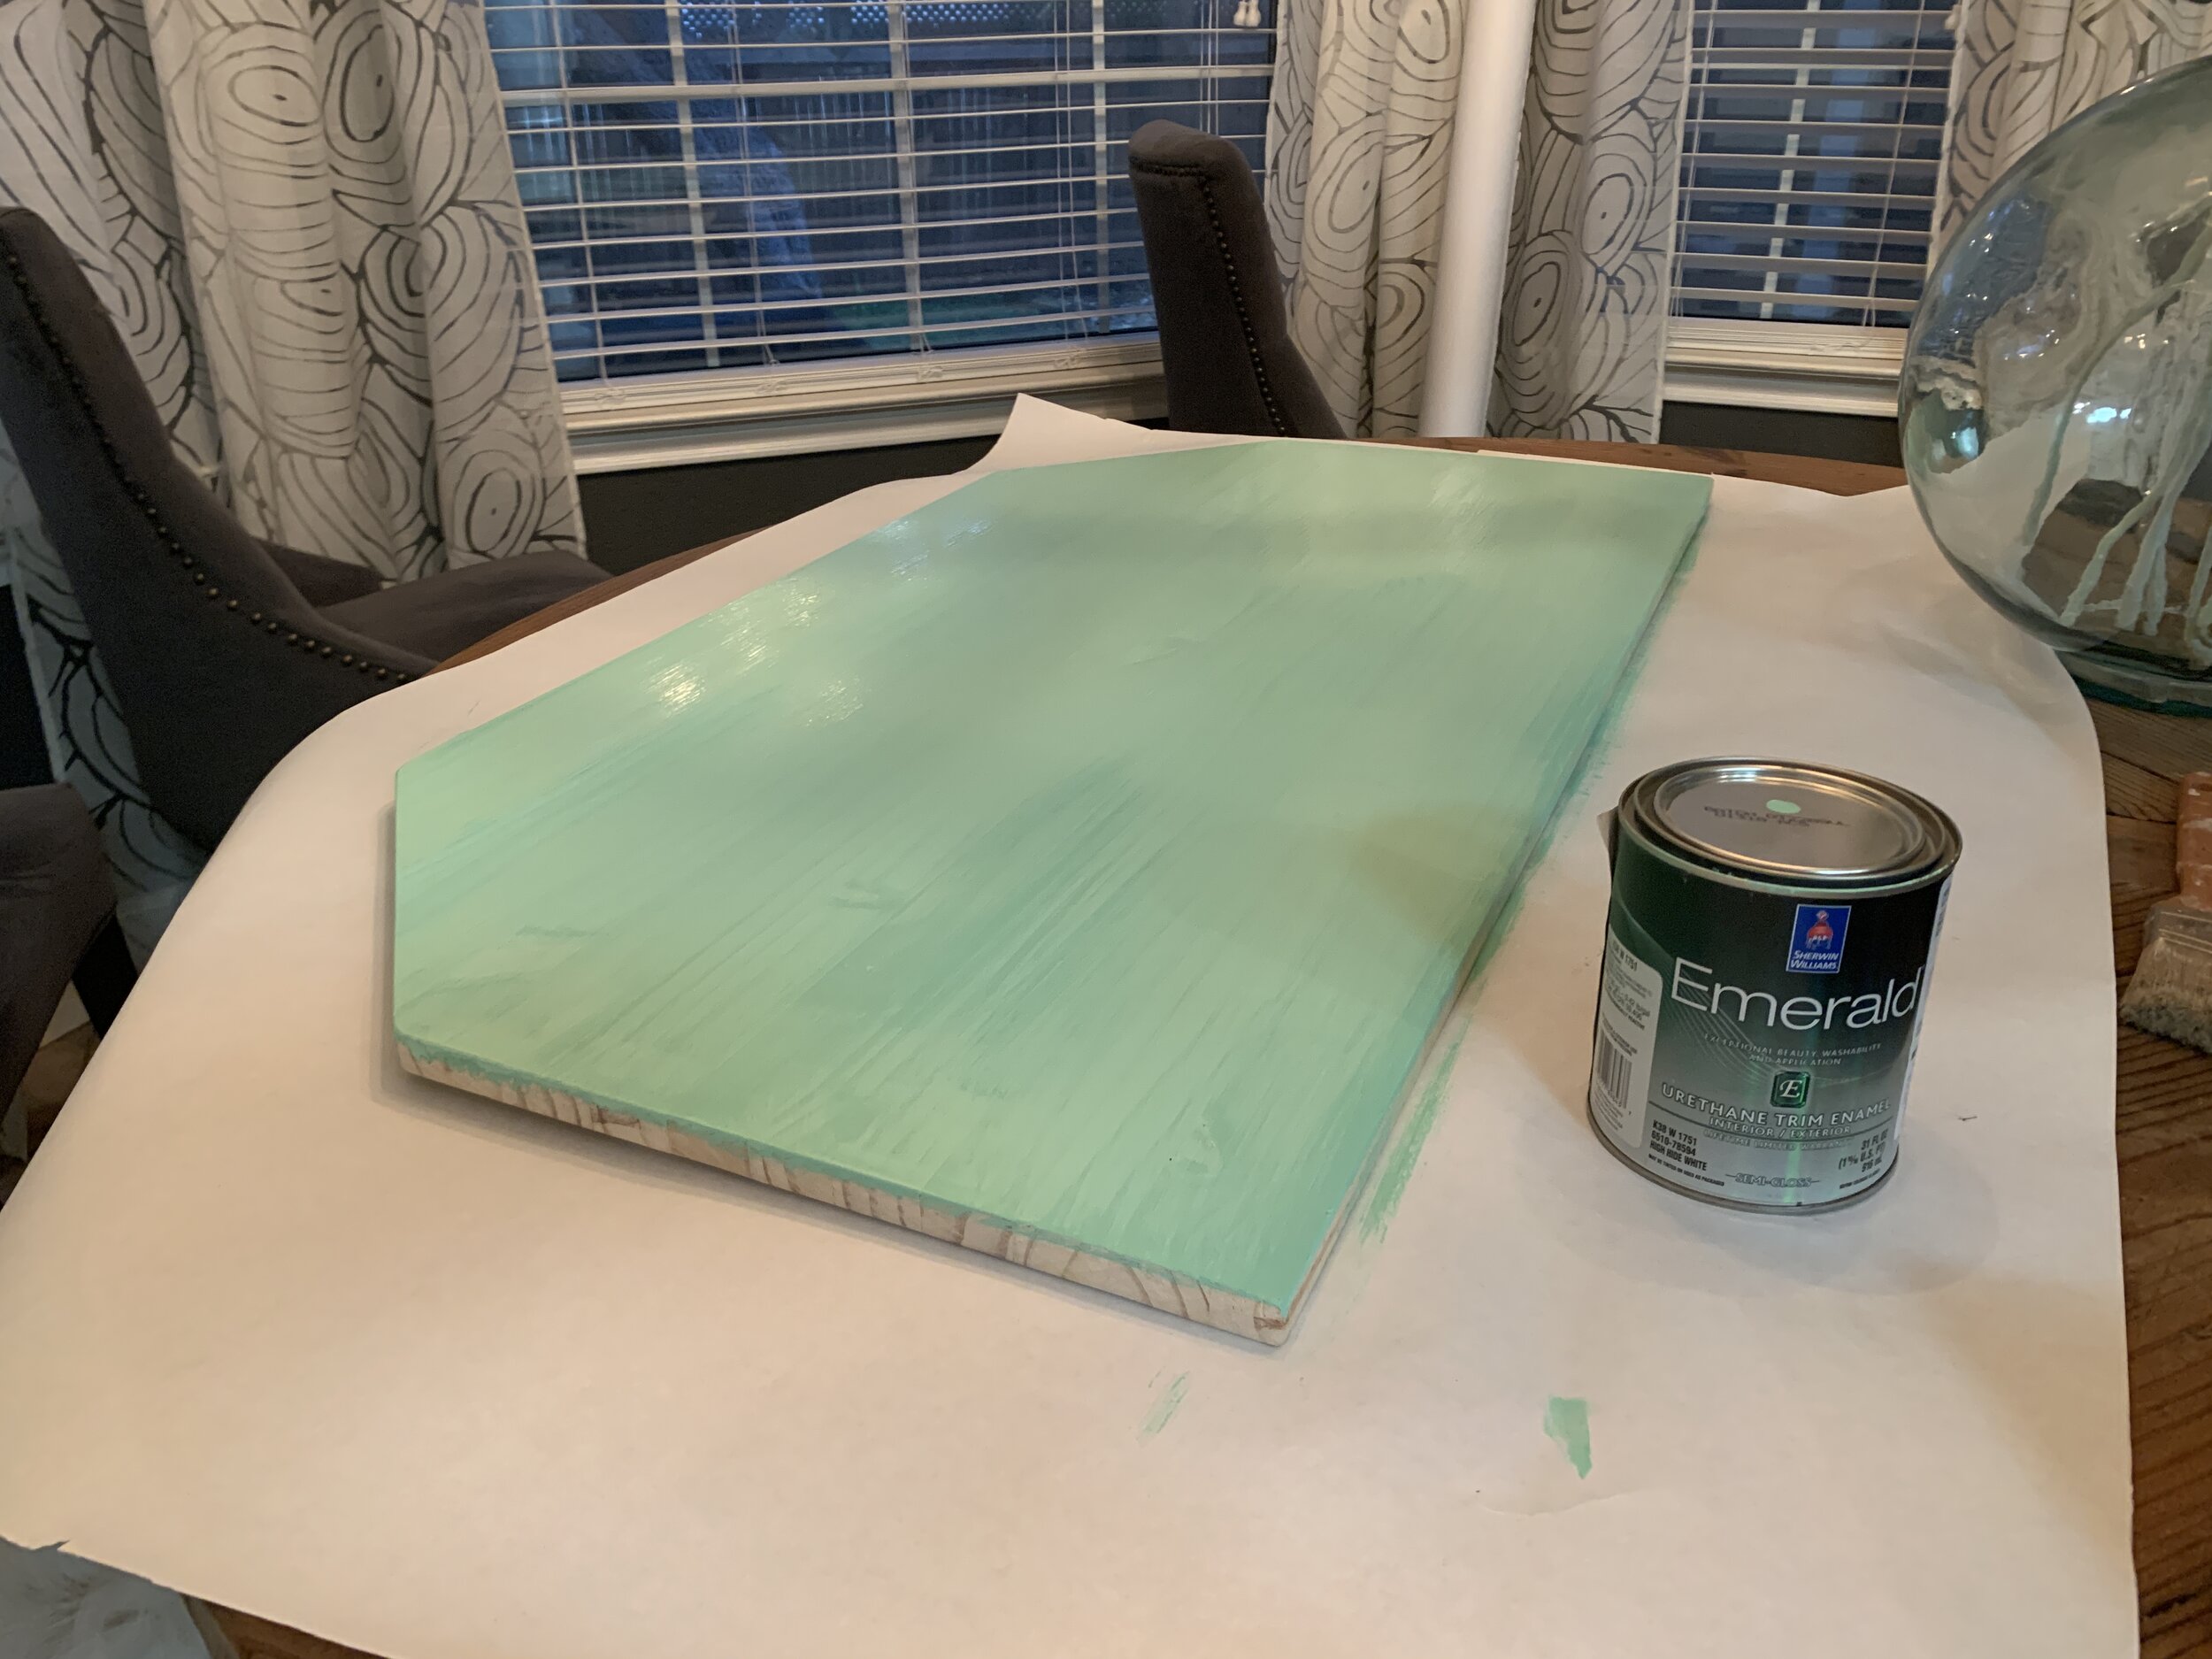
We went with a solid (vs. patterned) paint job, using Sherwin Williams Emerald Urethane Trim Enamel Semi-Gloss paint in the color Retro Mint. We painted three coats on each side and edge of the table and let it cure for days before we handled it.
Our dining room looked like a craft war zone for a good week, week and a half.

If you’re wondering how it’s holding up so far, our fluffy project manager, Maximus, was onsite during the painting for quality control. We’ve had no problems since and are really happy with the result.
In the next post we’re sharing how we mounted it all so it actually works for eating. (If you can’t tell, I’m usually quite food-motivated.) Then we’ll follow up with how we transition it all from a dining area into a bedroom in just a few steps.
What do you think? Digging the pop of mint? We’d love to hear your thoughts in the comments.