DIY Built-In Wine Rack: The Plan
Hey y’all – welcome back! We’ve been a little quieter than expected lately, mainly because getting our brand new online shop setup took way longer than expected (sorry, y’all). (Based on how so many home projects go, I should’ve known to expect it when I shared it was in the works at the end of our last post… SMH.)
Okay, enough of the past – let’s get this show on the road.
Today we’re sharing the plan for making use of another small, seemingly useless space: That weird gap you probably also have above your upper kitchen cabinets that just seems to be good for collecting dust. (Can we just all agree to stop wasting valuable storage space and always take the cabinets to the ceiling?! I’m looking at you, home builders…)

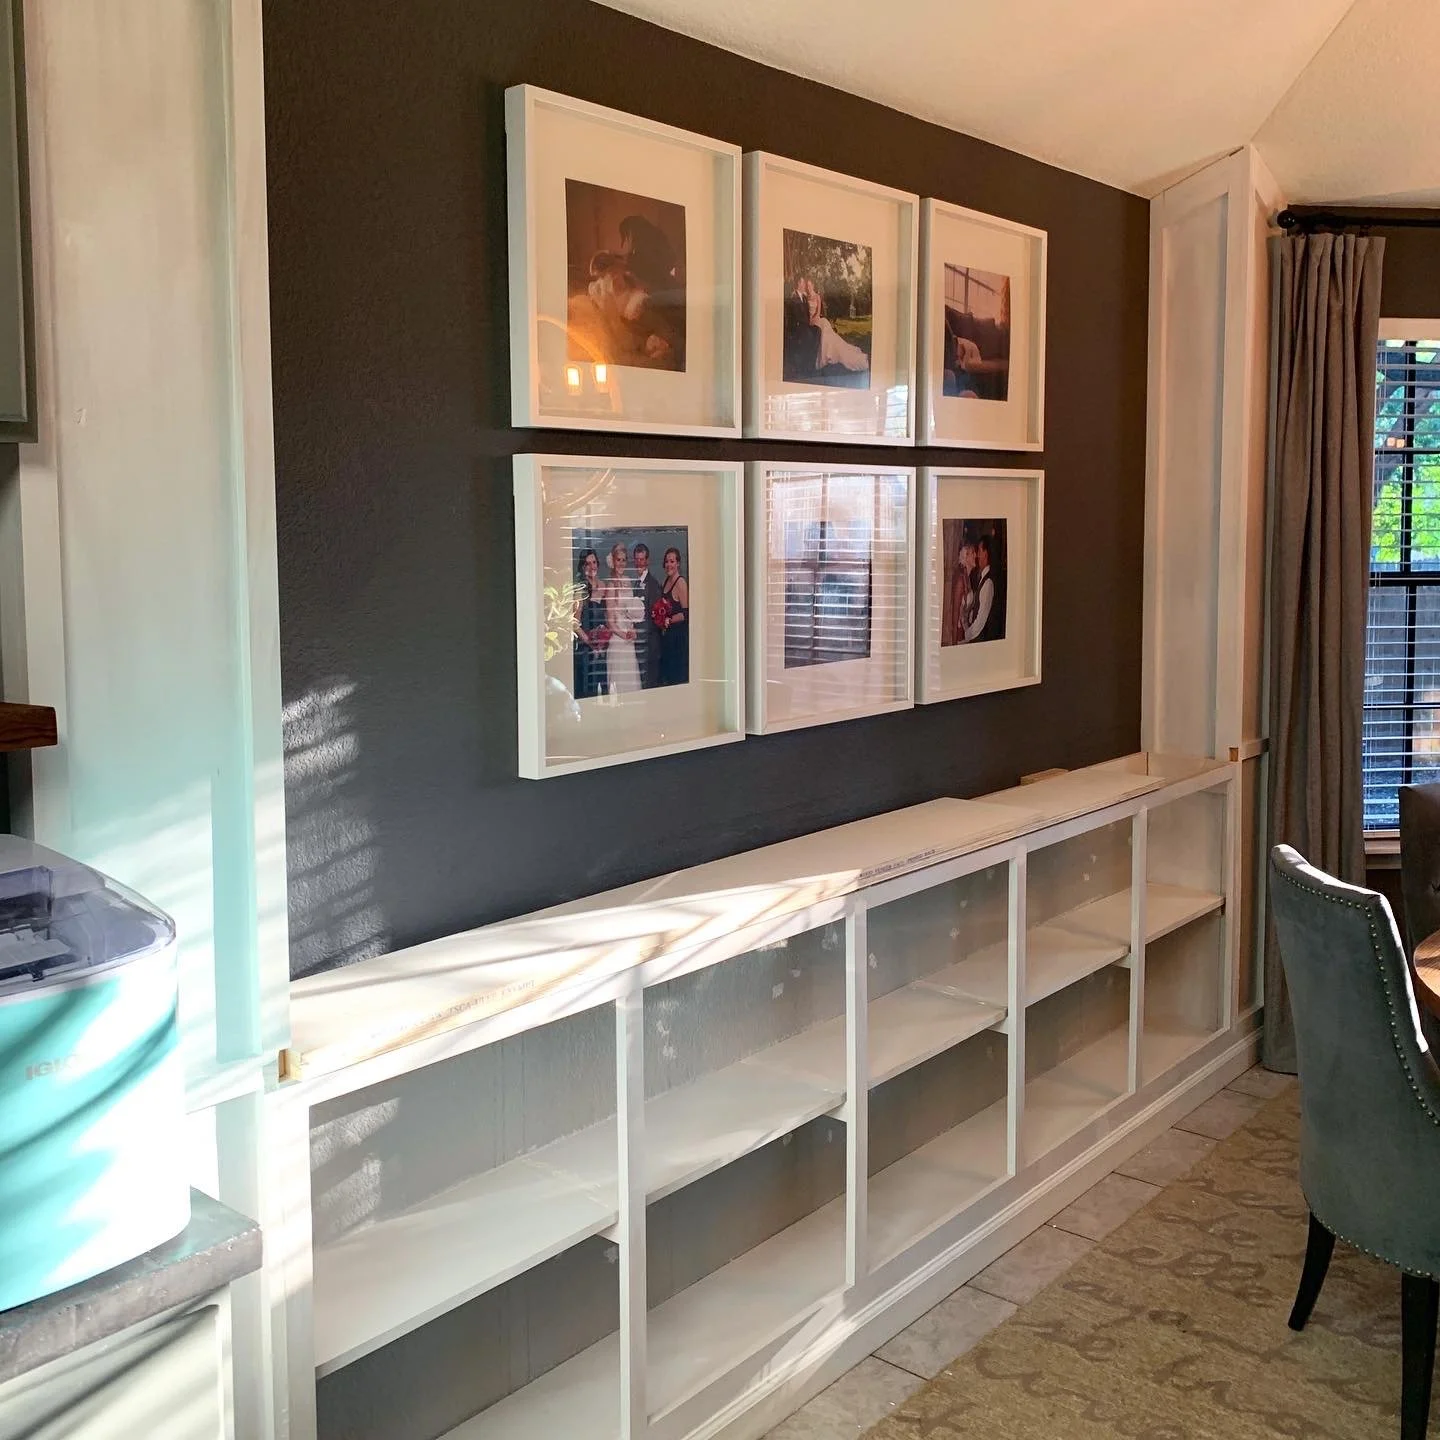
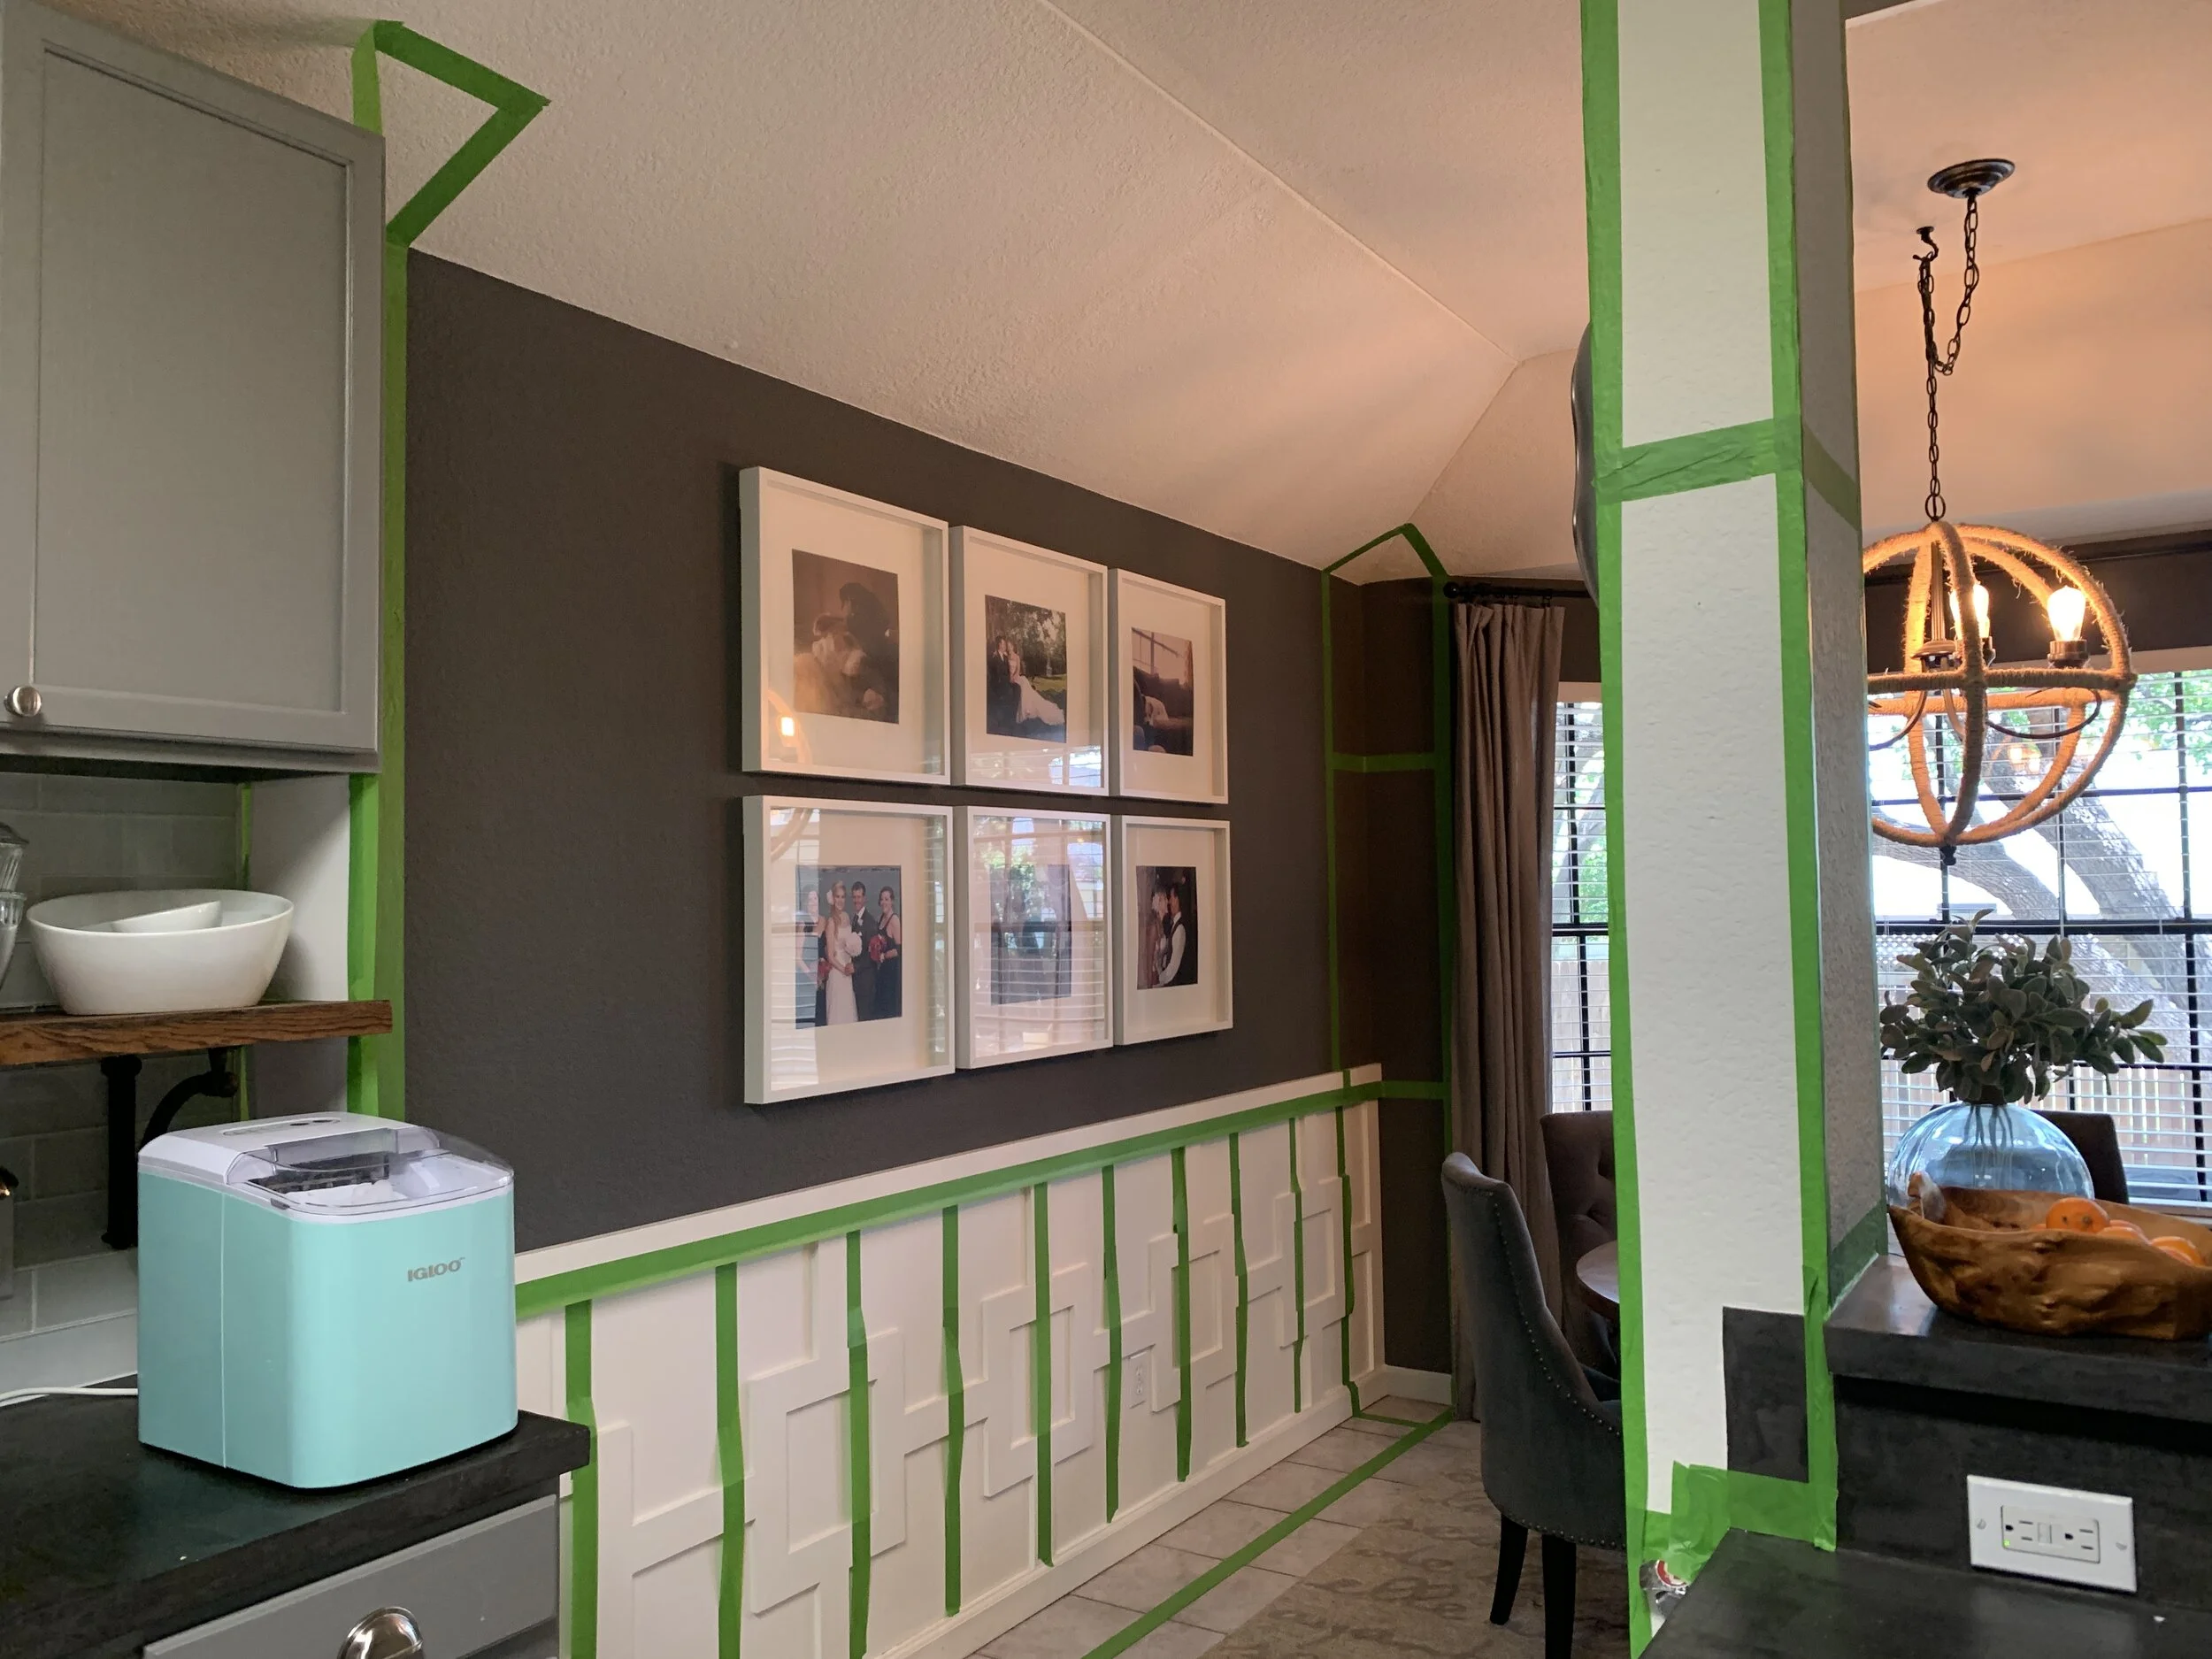
This is a great project to make use of any awkward niche in the house – bonus points if it’s in a place that makes sense like the kitchen, dining room, or maybe utilizing a nearby space under a staircase. For us, that awkward – potentially functional – wasted space is an area on top of our kitchen cabinets, left over from when we raised our cabinet uppers years back. We raised them all the way up the wall as high as we could on one side (and moved the other wall’s cabinets up to match), however since our kitchen ceiling goes from 8 foot at the wall to 9 foot in the room because of an angled roofline, we had one section of cabinetry on the short side of the kitchen that had about a little more than a foot of empty space to work with. Because of it’s small size, this is also another great (potentially free/very cheap) project to use up scrap woods lying around from previous projects!
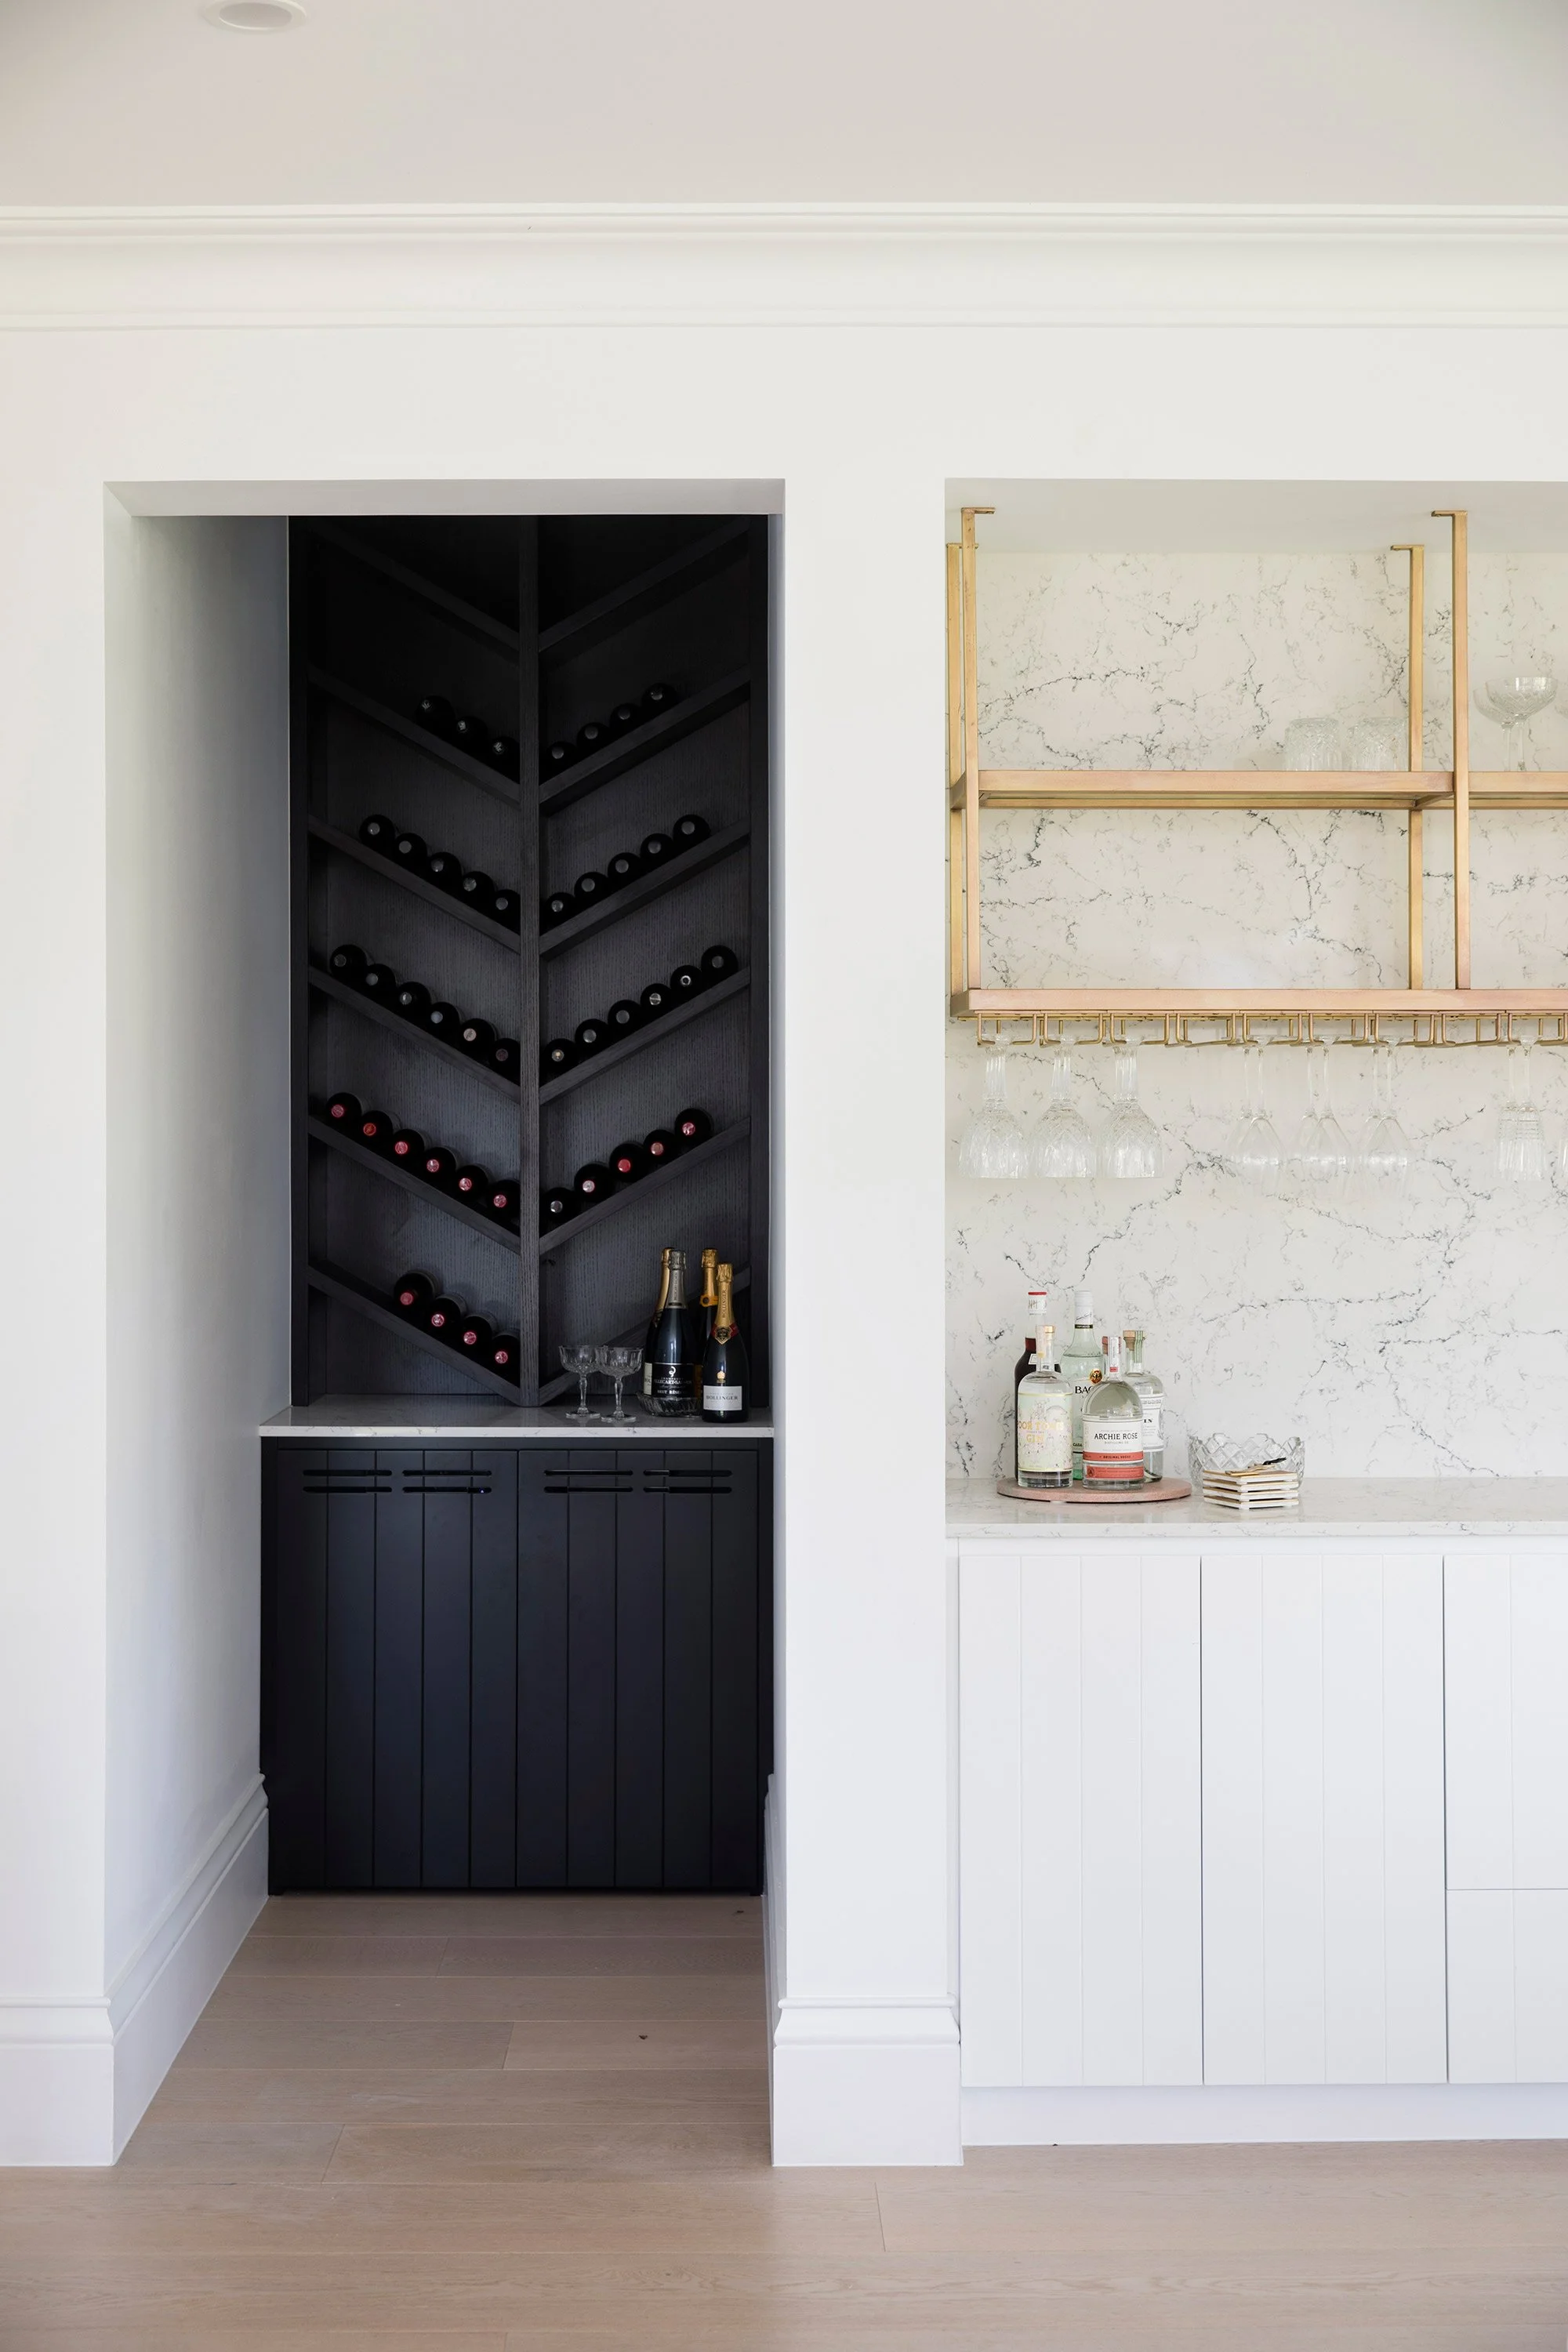
This is kind of a carryover from our “we have too many things cluttering up our kitchen counters” problem we had for a while (as you can see in the photos above), which led us to building a custom bar cabinet in the dining room for our liquor and bar equipment, and is the storage equivalent for our bottles of wine. (If you haven’t already seen our custom built-in bar project and how we turned a shallow, seemingly useless ten-foot space into 20 square feet of storage, you can find it here.)
THE PROBLEM
So. much. countertop. clutter. (And more specifically, bottles of wine.) Plus an awkward trapezangle (half trapezoid / half rectangle) shaped hole above the upper cabinets.

THE SOLUTION
A built-in wine rack above one side of upper cabinets to store wine bottles.
PLANNING TOOLS
Notebook / paper for sketching, taking measurements and making shopping list
Tape measure
Pencil
THE PLAN
How I Always Start My (And Recommend You Start Your) Project Planning
Separate the knowns from the variables. Meaning, to make it easiest on yourself, use what you already have in your space that you know will not change to play off of when planning a new project.
Oftentimes projects like these can feel overwhelming because there’s too much choice – or at least the illusion of choice. If you start out with the things you know won’t be changing – like the depth of your upper cabinets, the height of your ceiling, the size of the ‘hole’ in question, etc. – you can quickly see how the mountain of options you once thought you had becomes a smaller hill that’s infinitely easier and more enjoyable to climb. Letting these items create the outline for you on the front end (like shallower upper cabinets determining your maximum wine rack depth and following the the structure and sizing of the cabinets it’s touching help make the spaces feel cohesive) takes away unnecessary decision-making later and gives you more of a preset plan where you can then fill in the blanks within the outline you’ve already set.
Our “Knowns” For This Project
The depth of our standard upper cabinets – 12-1/8” deep from the back wall to the front frame of the cabinet
The height of the space from the top of the upper cabinets to the ceiling – on the left the space is 14-3/8” tall and on the right just before the angled ceiling begins the space is 13-7/8” tall
The ceiling on the right side of the space is at an angle – estimating approximately a 45-degree angle
The full width from the pantry wall (on the left side of this area) to the front edge of the upper cabinets on the other wall (to the cabinet face, not to the from of the doors) – the length along the top of the cabinets is 81-7/8” and the length along the ceiling to where the ceiling begins to angle is 61”
Other considerations for this project
With the info above already decided for us, we went in knowing we needed a standard upper cabinet-depth, full-width, to-the-ceiling wine rack that looked like it belonged with the existing style of our cabinetry. In addition to the fixed elements – our “knowns” – we had some other things that helped inform other decisions, like…
1. Design elements already going on in our house for cohesiveness:
The width of each upper cabinet, the seam(s) where our upper cabinets touch each other and where the vertical dividers for each cabinet are placed (kind of a “known”, but also kind of not since it’s not really a limitation and more so can be used as a guide) – our left cabinet is 39-1/4” wide and the right cabinet is 42-5/8” wide. These measurements help us with creating a cohesive “grid” we can carry upward and into the structure of the wine rack to achieve a more unified look.
Do we want an angled, X-frame or gridded style rack? After looking at some beautiful wine racks of various shapes and designs out in the world, we took our inspiration from projects we’d already done, deciding to mimic the angled lines found in the brass metal bar cabinet door inserts (a material choice made to tie into our custom return air vents in the entry). Carrying not only the same materials but the same lines and style/pattern throughout your space can really help everything feel intentional as you slowly cobble it all together.
Some beautiful wine racks we’re loving that helped us visualize our design options:
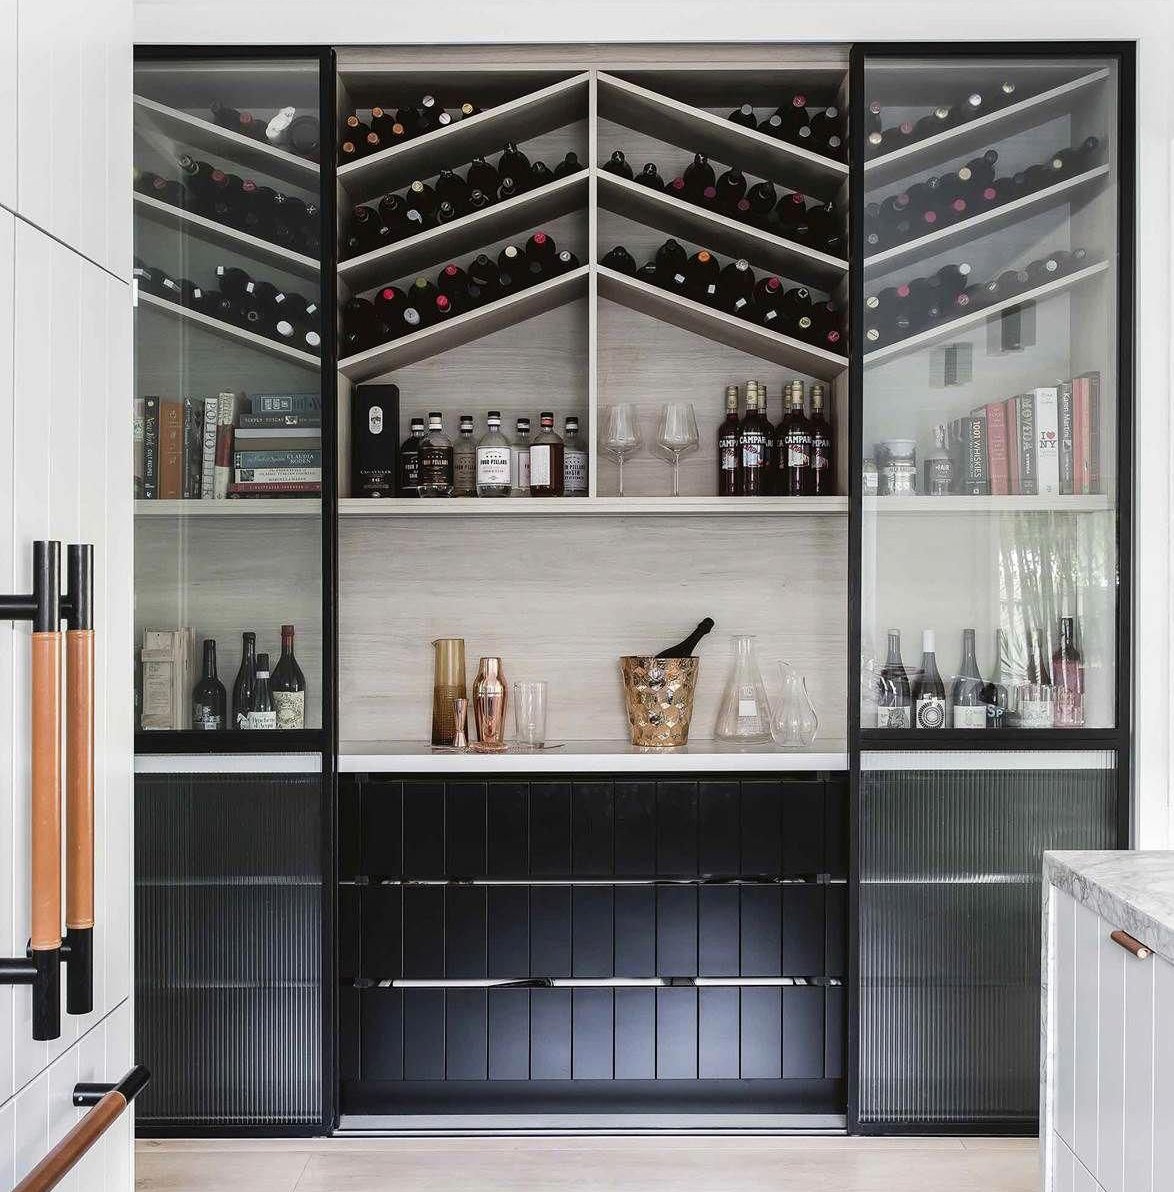
Via bellaMUMMA

Via Cheverell

2. The size of wood scraps we had on-hand
This is definitely the least important since you can easily buy new materials, though it was nice and very helpful to take an inventory of materials we already had in the garage for planning/cut list/shopping purposes.
Making The Materials/Cut List
After we decided on the angled, kind of chevron-style and where I wanted each point to align with the cabinets below, I translated the dimensions* to paper and began making our hardware store shopping list. *Knowing of course nothing is truly square in homes and we’ll be remeasuring everything when we go to actually cut the materials during the build.
At this point in the project I typically draw out the area and begin assigning lumber sizes/types to each part of my drawings. Then from there, I make a written material list, labeling what each is for. (I didn’t used to label what material was for what part of the build, but sometimes when we go to the store they’re out of something so we have to pivot in the aisle and find a replacement. Usually it’s just buying the same thing in a different length, so it helps to have it broken out like this if you need to rework any math on the fly.)

Drawing out the dimensions of the upper rack area (top right) and the upper cabinets below it (bottom right). Then I use those drawings to come up with a “cut list”, which helps me figure out what I need to shop for. This time, I waited until I was building to get the exact measurements of the angled plywood and trim pieces so it could be extra snug and cut at the correct angle.

Measurements of 3/4” plywood scraps we have on-hand in the garage, measured width x height with each piece’s wood grain vertical.
This time I was able to pull from our own stash of scraps for all of the plywood pieces (making sure I always had the wood grain of the plywood going the same direction and measured starting with the width first so that all of my wood grains are going the same way – not important, but adds a nice detailed touch that is noticeable if you’re building something lower/in a more visible space and/or if you’re staining the wood instead of painting it like we did. For this project I only needed to buy some new wood for the finish trim.
THE FUN(NER) STUFF
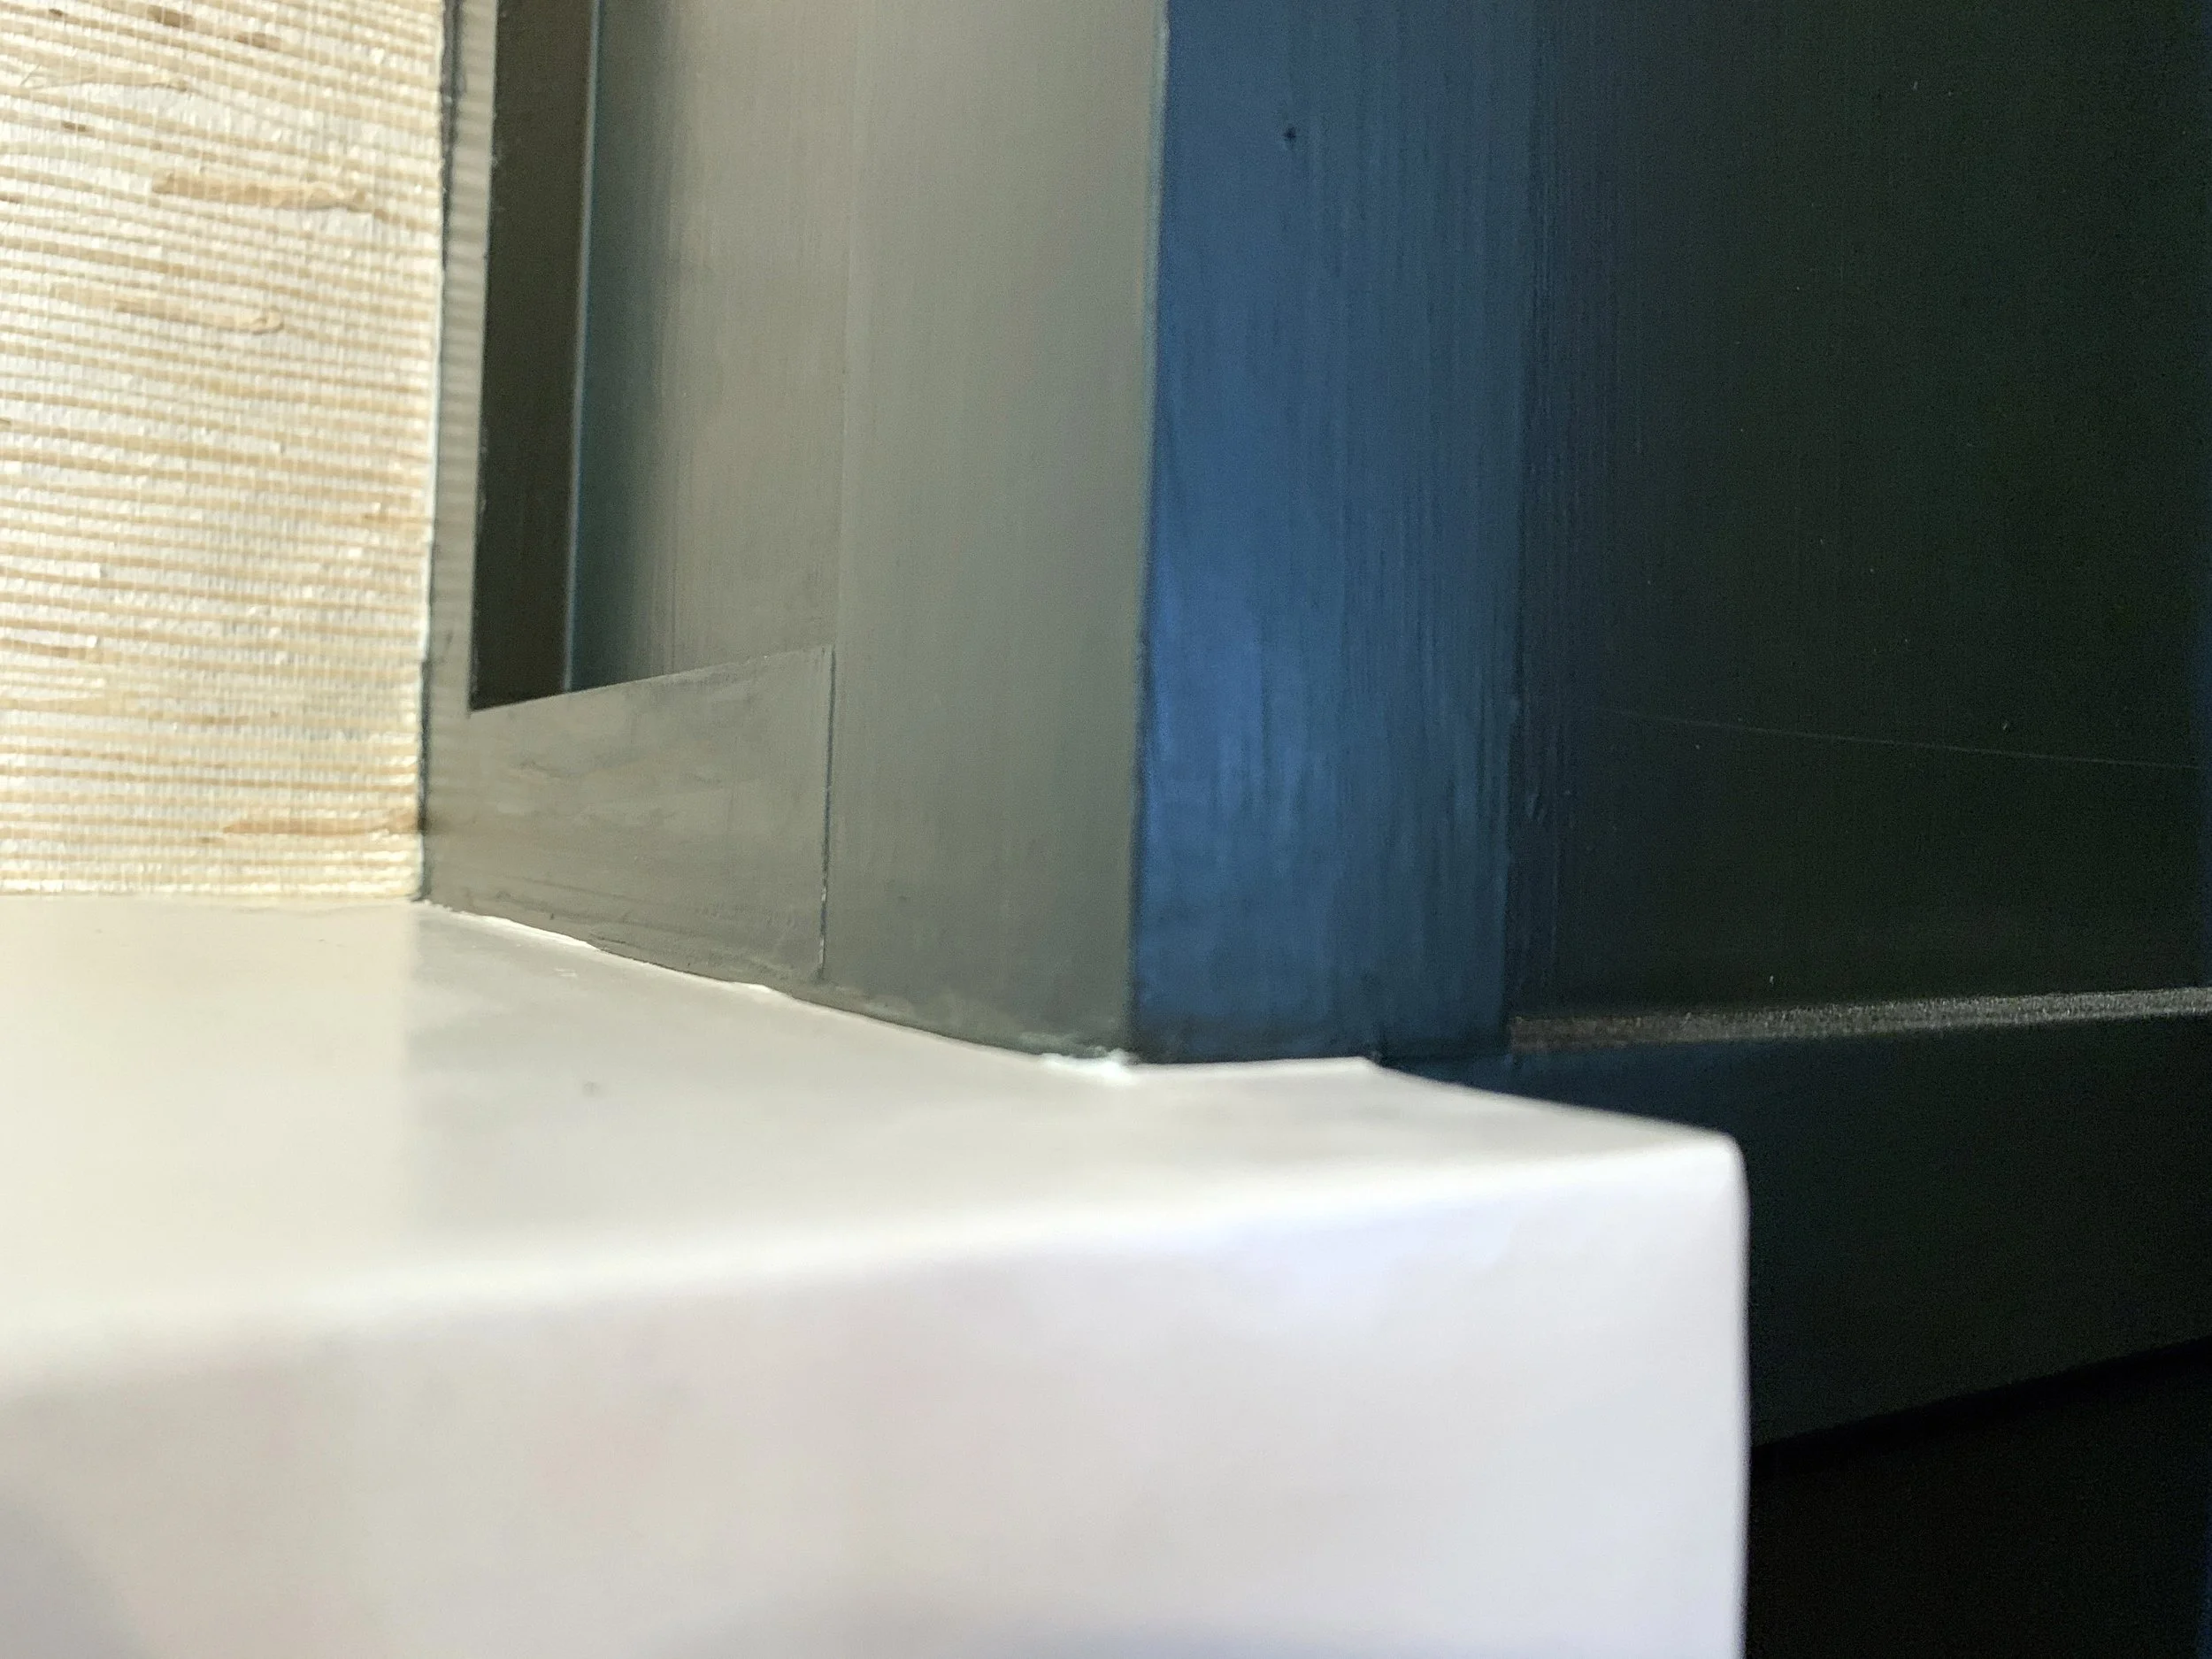
Color-wise we’re using the beautiful deep, moody green we chose for our bar cabinet (Jasper by Sherwin Williams), and will be visually tying the kitchen and dining room together by continuing the same cabinet color from the bar cabinet onto all of our (currently medium gray) kitchen cabinets and up onto the wine rack.

Built-in dining room bar storage cabinet – we’ll be carrying these colors into the kitchen.
Do you have any awkward nooks in your place where you’d add some extra storage like this?
Coming up, we’ll be sharing the finished product and in a separate post, break down exactly how we built it step-by-step so you finally use up your scrap wood to make a custom built-in wine rack of your own!